Leaderboard
Popular Content
Showing content with the highest reputation on 04/03/17 in all areas
-
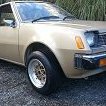
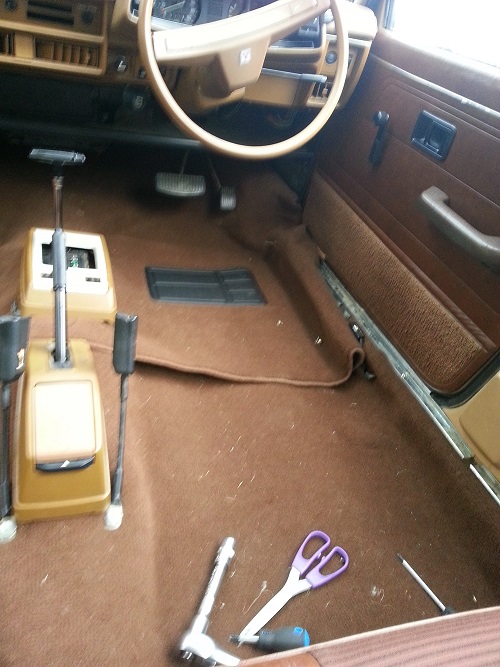
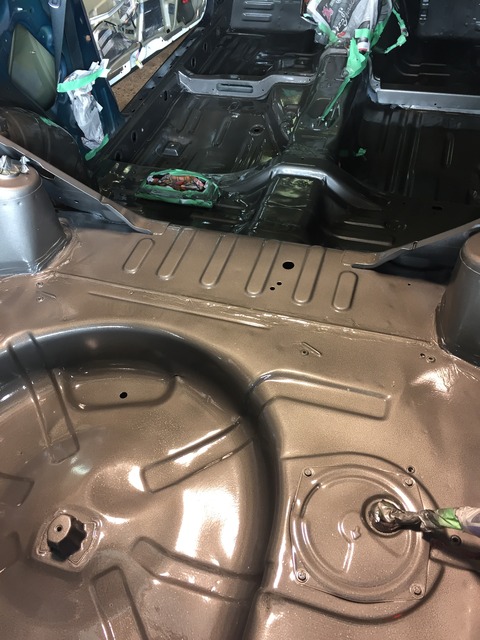
had a busy week and weekend, got the first couple coats of red on the car.did the bottom and the inside and dash area,pretty pleased with it, did one coat on saturday, missed a couple spots, worst thing that happened was sweat running out of my glove on the wet paint, bugger it! gave it a wipe with thinners and it came really nice on the second coat today. Got a few small runs but stoked with it. not bad for a rookie!13 points
-
I have been looking around for a while for a new work truck, wanted to go old school and update it to modern running gear and some creature comforts. I didnt have much of an idea but liked the look of older Chev trucks, did some reading and looking and got to this point. Truck will be in the country mid April, it is currently running a 327 and manual gearbox, and pretty much stock apart from that. Plan is to get it complied with existing running gear then modernise a wee bit. I have an LS3 and 6L80 trans and all associated wires and mechanical stuff in my warehouse now (cart before horse) and maybe a front end suspension transplant from a later truck and a diff with a lower ratio. this one will be either a 4.11 or 4.56 ish I believe, so a bit on the highside. While the intention wasn't to start/have another project, Im quite fizzed up about it. Going to keep it stock looking, no fancy wheels or any of that crap. Will get some hand painted signage on it, I want it to look like it was always there.10 points
-
The road to toytafest! Here's a pic to prove i made it, will post how I got there in the coming days7 points
-
6 points
-
5 points
-
Leadfoot Time - Part 2 Sunday Sideways Here's Leadfoot from behind the wheel Caught up with Tanner in the pits who was super friendly just like everyone else I had talked to over the weekend. Top Bloke Times are in and here's mine for the weekend Prize Giving time Cheers Rod , Shelly and the Leadfoot crew for a very memorable weekend One very happy Father , Son Duo5 points
-
I've loved to piss and moan about how I think these are annoying and a stupid idea. But after having a driveshaft fail at 80ish kph on the weekend, Oh boy am I glad I had these loops fitted! My brake and fuel lines would have taken a hammering if not for these - They are a good idea, even in my case where all factory parts were used within factory power levels.4 points
-
3 points
-
3 points
-
3 points
-
Good news, talked to the bossman at Laurie Forestry in Timaru and he knew exactly what I was after but it got lost somewhere between him and the yard and I ended up with decking.. thank fuck, I thought maybe I had only thought what I said and not said it. Anywhoo Allan's gonna sort of for me.. by god they're good to deal with I thoroughly recommended them if you need mac, quality product, quality service.. In other photographic news, plaster.. Freshly topcoated, and my it smells good.. Ready to sand, She's getting closer and closer.. booked the sparky to come back and do his fitout, gonna ring the floor sander tomorrow and hopefully start painting this week..2 points
-
I built my own triangulated 4-link for the Mercury. No tests needed, but I did use the specified sch 80 pipe (heavy car) and drilled inspection holes for the threaded ends. I did all the welding myself, including the adjustable ends. I do know the certifier through the Hot Rod club, so I guess he thought I could weld OK.2 points
-
Has a good cooler, xr6 coon one. the turbo should be fine, it was in great shape when I put in on and I've never given it heaps. just make sure the cam cover vent is unrestricted and the seals will be mint..maybe take the top off that wee appletons bottle it's jammed into and leave it dangling inside it instead? I'm pretty amped youve doubled the chooch, I was too scared of cooking the back cylinder. That's the downside to running the petrol turbo manifold. If you do kill it, there's a reeeeal honey motor in the garage you can negotiate purchase of from rovers 8-D2 points
-
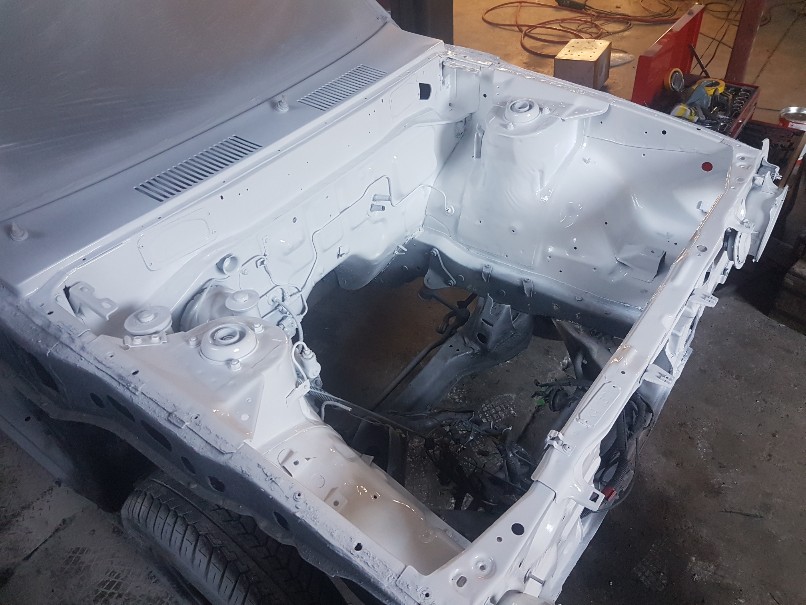
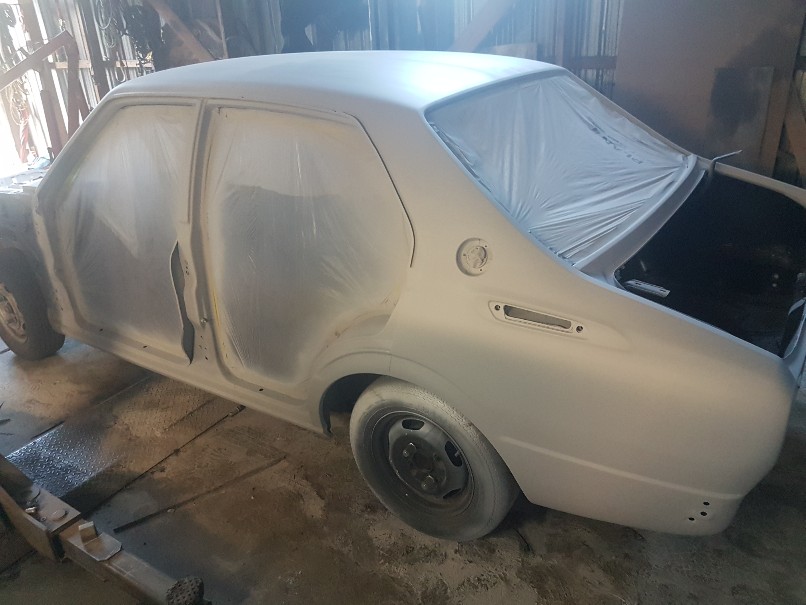
Got the engine bay cleaned up and painted. The body is all paneled and primed now. Just about ready to paint, just a few small imperfections to tidy up and then wait for a sunny day to paint it. All my painting is just done a a outside shed I rigged up made from corrugated iron roof and plastic sides. Not perfect but defanatly better then painting outside under no cover2 points
-
Mounted the solar panels on the roof and more sound deadening today. I'm really glad the van came with this TracRac Van rack, it's really well made, all aluminum extrusion and stainless. I've worked in ski shops and bike shops a lot when i was younger and have mounted quite a few racks so was really impressed with this even compared to Thule, yakima etc. They are ungodly expensive ($550 for three bars and feet) for a van ladder rack so i don't think i would have bought it if it didn't come with the van. Just some 1.5in aluminum angle for the panels.2 points
-
2 points
-
Chopped a bit more out the rear to get it sitting a bit flatter. picked up some 15" ssr meshies off a mate for peanuts sweet cause I can swap the centres over to my flashy 8.5" barrels too had a geez at yota fest at a couple trigger setups. photos from a 3tgte rina and look exactly like what I need. ill use the factory pulley as it's harm balanced etc etc. but for the spacer to sit flat I'll need to lathe the inside surface down and possibly tap the lip off. only needing water pump and alt I might be able to cut the front grooves off as well aaaand I was making coilovers but ended up finding some already made on AA60 stubs so should have those here I couple weeks too2 points
-
The local gasket place in new Plymouth do them all the time. They use a cnc cutter thing that is usually used to cut regular industrial gaskets and they just chuck a piece if copper in and trace your supplied head gasket. I think they quoted me under $100 for a 6 pot one2 points
-
Manged to squeeze in a panhard rod today. may need a few tweaks, but should work. Will leave it half finished till get the coilovers mounted, to make sure everything works together bit hectic under there, yep.2 points
-
Not as epic as the kids table up there but I got epic satisfaction from this little project. We have a tiny home and it's important to free up pockets of space and remove clutter when possible (I'm not good at this) Greg popped in the other day and suggested I put TV on wall..It's been on the to-do list for ages. Measured wall and tv angles Had bracket laser cut Bend along dotted lines Draw corner of lounge and TV on table and use to get angles for steel (ends are not 45s) and weld Paint and screw onto wall Now just gotta add a power point and white cable so they exit walls higher. @flyingbrick Please rehost images on OS2 points
-
2 points
-
Well hot damn it worked Things i learnt theres enough adjustment in the gauge to shift the range +- 40 ohms for fine tuning to a sender (i.e E can be shifted from 40, down to 0 or up to 80, and same with the F) The heating wire is ovbiously bloody small, but it looks to be about 50 coils i unwound 10 of them, and spread out the remaining along the bimetallic strip. and it appears that i have now adjusted the gauge to a full sweep over 90 ohms at around 10v, which seems to be what the gauge will see i the cluster. The bench set up i used was a bit rigged because i have the minimum of electrical tools, but in any case it seems to be proof of concept. i will have to pull the sender out and test it though its full arc to see how accurate the gauge will be in the points between F and E. Will post up a full walkthrough of what i did, because i cant find anyone modifying a bimetallic gauge anywere (dipole types look to be possible with resistors on the full and empty sides). I did find a case of a guy modifying the sender some how, and various senders chopped up and put into other units. But this method would appear to be rather cheap and easy2 points
-
First post on here, so more testing how this works? Picked up Pete's velo bike. It has appeal, as I'm very much a 2-stroke fan. I've made similar projects myself in the past...and hopefully I can get this bad boy going again? Mocked up for inspiration, will get onto in as time allows. Kj1 point
-
//oldschool.co.nz/index.php?/topic/53732-snoozins-79-two-point-five-s-its-for-sporty/ I did it again. The pine set in too strong and I ended up with another of the finest 4 door sedans to grace this fine earth. A Triumph 2500, this time in facelift flavour (my first post 74 example) and a sport 'S' spec model to suit. I had arranged to grab it earlier this year, and finally got around to picking it up in May, after the previous owner completed a few classic car runs/shows/etc's in it. It was originally a white car, and has been resprayed some years ago, door jambs, inside of boot, under the bonnet, everything. The paint's ok, it's not super wonderful but it presents well enough for now. It's a manual overdrive model, good tan interior and has done a shitload of KM but underneath is solid and appears to have been looked after, with excellent condition bushes and wearable components. Pics the day we drove it home. 20160515_104545 by Richard Opie, on Flickr 20160515_105939 by Richard Opie, on Flickr 20160515_105955 by Richard Opie, on Flickr I set about collating my Triumph 2500 owners starter kit in the interim. Had these wheels forever and a day, but elected to give them a bit of a polish and tidy up. 20160417_141021 by Richard Opie, on Flickr Then I popped a Nardi I have also had for a number of years on it. 2016-08-16_09-25-39 by Richard Opie, on Flickr I've done some other stuff too. It's now leaking with a volume akin to a burst dam gushing from somewhere at the back of the motor, so that's this weekends task. Thanks ok bye see you at a meet one day.1 point
-
The Auckland Monthly Meet! Wednesday 19th APRIL the SECOND TO LAST Wednesday of every month. Save the date 7:30pm onward (but you can turn up earlier, no dramas mayte) A chance to catch up with fellow club members, talk with people you may or may not have met before and get your mouth filled with meat. Or not meat if you're that way inclined. Burgerfuel, Mexicali Fresh, Ajadz, Subway, Doolan Brothers etc. Corner of Robert St and Hurst St, Ellerslie See map. The DEAL$: FREE Drink with Burger and Chips Purchase (From the COKE range , excluding mini burgers) FIRST MEET?? If you are new to these meats here are a few points that may help; Most people usually show up between 7:00pm and 8pm-ish. We roll down to get burgers and whatever else is available whenever we're hungry. We sit around either at Burgerfuel or back up top in the carpark and continue the yarns. Remember its always a casual affair, a place to yarn to mates and make new ones. An Oldschool car is not required at all, but if you've got one on the road then bring it and show it off!! Doesn't need to be flash or special, As long as it's special to you And to be honest, only lame people would drive a boring modern daily driver there anyway. MOST OF THESE ARE COMMON SENSE. WE WILL PROVIDE A FEW GENTLE REMINDERS WITH THE NEW RULES BUT REPEAT OFFENDERS MAY BE ASKED TO LEAVE. RULES AND THE BORING STUFF!! Basically these are in place so we have a fun and friendly meet and leave the carpark clean and tidy like we were never there. Take your rubbish away with you or put it in a bin, Use the public bins downstairs not the private ones belonging to the business up top. Smokers please don't dispose of your butts on the ground! Please limit the ALCOHOL consumption. Its a public place and the Police/security regularly stop in and we don't want want anyone getting in trouble, We also don't want people leaving empties around. You are welcome to invite a few mates, but please note you are 100% responsible for their behaviour If you belong to other clubs and feel they might be keen to come check out our meet then that's cool but please see Threeonthetree, Shakotom or BDA780 for permission before inviting them. NO Skids or Reckless/Dangerous driving Please leave a space near the fenced off area clear for the cleaners and don't block them in if they are there. Park in a proper carpark! If its full then just use a bit of common sense and try not to park too many people in. Newschool cars please park to one side and be prepared to move if we get short on space. I have had to ask Newer cars to move and park elsewhere and will continue to do so. The old cars get first preference for parking. Don't be offended if you're asked to move your newer car to make space for something old. AU Falcons may apply for an Oldschool dispensation in writing, by sending applications to "Dave's Intech Compassion Klub" or DICK, 126 Grey Street Onehunga where they will be reviewed. If its raining and we have to park downstairs then new cars park upstairs or out of the way. The covered carpark is very small and needs to be OS only,! If you drive your Mum's Suzuki Swift etc than bring ya Mum. If you have any suggestions or input for the meets then PM Threeonthetree, Shakotom or BDA780 Thanks!!1 point
-
Build an Incline? Timber on the up trolley, firewood on the down trolley.1 point
-
1 point
-
1 point
-
Welded won't pass full stop. There was a lot of discussion on this somewhere on oldschool a couple of years ago. Also, you can buy the manual sections individually now online.1 point
-
While on the search for a fuel tank I remembered the old Briggs from my rotary hoe so stole the tank from that. At this stage I got distracted by Chris's thread on rust removal in a fuel tank. I derusted the inside of the tank, the lid, an old spanner I dug up and a few other useless things because it was fun . Got back on track and welded the tank bracket on. My boy wanted to fit it all so let him go to town on it. He fitted the exhaust, motor and tank all himself :). It took a while to track down an 8mm chain link but found one and chucked it on when he was at school. Put some old gas in it and it actually started too, sitting in it using two hands to pull the throttle cable it easily moved me across the lawn so everythings going well so far.1 point
-
1 point
-
Spent a couple of hours this afternoon on the second to last phase in the cladding saga.. YAY!! Good times, not a great fan of the cca treatment lines but they should fade.. I wonder if there's something you can spray on to make them fade a bit faster..1 point
-
A flying fox would prob be more realistic, bush fireman's pole..1 point
-
To be honest, I should have cut the springs in half from the get go. I cut the springs for no other reason that to make it more pleasant in the shed to look at until the coilovers go in. The right side of the car is a bit higher than the left, I will probably end up with a height similar to the higher side. Not long until the engine goes in!! I also installed my new valance courtesy of Yahoo Japan. The tape is holding the paint/rust on. I decided on a new one as the one I had previously wasn't the straightest and would require some more. Plus I didn't actually own it...1 point
-
It used to be certed and road legal with that engine, not sure what has changed since though. Probably needs some of the interior added back too I would imagine, if I had enough time I would swap a complete interior in from my spare car and get it back on the road (but not much chance of me every doing that).1 point
-
Tank now fully attached. Two pairs of tabs front and rear, split so one is welded to frame and the other to the tank. This way I can unbolt the tank if I so choose. Kj1 point
-
And a waaaaayyyyy over engineered gas cap. But come on, its sexy eh! My OCD kicked in and I even domed the top because it looks better that way. Kj1 point
-
Added this sticker: Drove about 300 miles in preparation for beach hop, car ran flawlessly, drove to beach hop, car ran great again, after being here for a day or so, the want for a V8 has increased substantially, so watch this space once the weather is consistently bad enough for me to justify taking the car off the road until next summer,1 point
-
1 point
-
1 point
-
1 point
-
So the above list was remedied..........mostly, I may have missed 2 of the outer seat belt bolts, when I re-positioned the brake line to stop it rubbing on the airbag it turn out that I had moved it right into the path of the bump stop, I thought i had created enough clearance between the Tyre and the lower shock mount (I had shortened it by around 20mm when i did the rework on the shock angles) but still wasn't quite enough it turned out, And while i had stopped the bags rubbing on the diff, there still wasn't enough clearance so needed to sort that, so I: put 2 new bolts in the outer seat belt lower mounts, made a new brake line that ran onto the rear of the diff, as the original line couldn't be manipulated any more with out risk of kinking the line, as per Clint's suggestion I flapped disc'd the remaining thread that was stuck out past the lower shock mount nut, and gave the lock stops a tweak, I flapped disc'd down the weld seam on the diff and created an angled shim to sit between the top rear bag mount to roll it forward, not only did this create the clearance I needed it actually means that the bag is on a better angle when its aired out, that resulted in this: which resulted in a compliance pass, which lead to: Which mean we could get this: Pretty happy made my goal of getting the car legal for beach hop with 6 days to spare (must be an oldschool record haha), going to rack up a few miles this weekend before we drive it to Whangamata, pretty F#cking stoked to be honest, it drives great, nice and smooth, feels less boat like than it used to with the springs in it so I'm calling it a win!!1 point
-
Cert not required if the OE gearbox cross-member has not been heated, cut, or welded; and the OE gearbox cross-member mounting to the OE body or chassis members is unchanged; and no replacement gearbox cross-member is used; and the OE drive-shaft(s) remain and is un-modified; and no substantial modifications have occurred to the floor or gearbox tunnel area, other than provision for gear-shift mechanism; and the braking system is not modified or changed, including the brake pedal Also, Cletus said " the trap is, if you put a manual spec brake pedal, pedal box, or mod the brake pedal, then it needs cert "1 point
-
Its started, hours of grinding. Lower links. the tube adapters were for some usa spec "dom" tubing. machined them down a few mm to fit sch40 1 1/2 pipe. Have cut all the existing mounts off the diff and tacked the lower link mounts in place for test fit. will do the same with the top link before finishing and welding them. Lower link chassis mount, will be trimmed and braced more, as they will likely get a bit of a hiding Its kinda working. lower links look like they will be ok. still trying to find some more up travel. easy way would be to run the truck at a higher ride height, but want to make it work at stock height, to keep it stable as possible. current things spoiling the fun are: sump, alternator, engine mount and the floor..1 point
-
Sigh* again, not as much as I wanted.. because Old mate from down the road brought his 1964 international round and did a bit of leveling.. in the rain for a bottle of bubbles for his missus. Not a bad job really, little high in some spots and a little low in others but I'm not complaining.. bit of rake work and she'll be all gravy. He bought it from vegas and drove it back to chch, took 5 1/2 hours..1 point
-
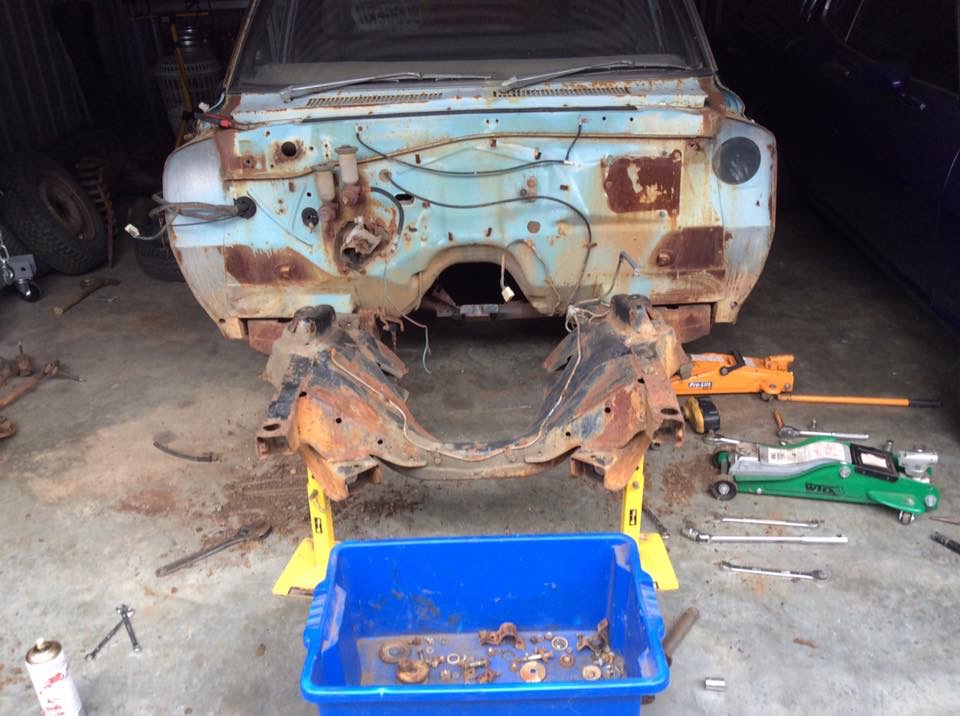
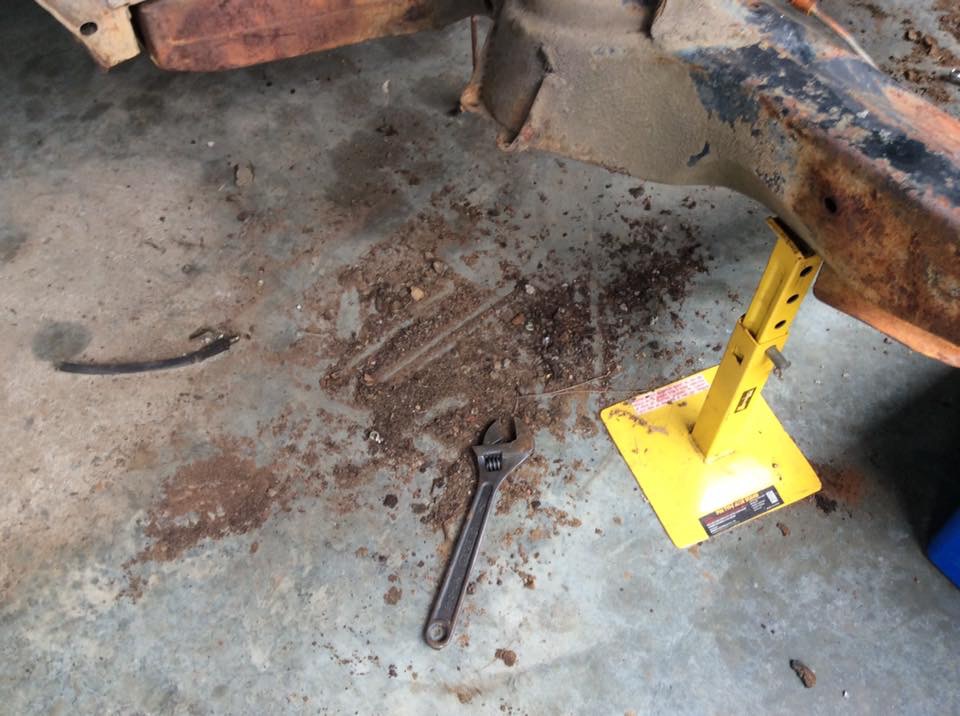
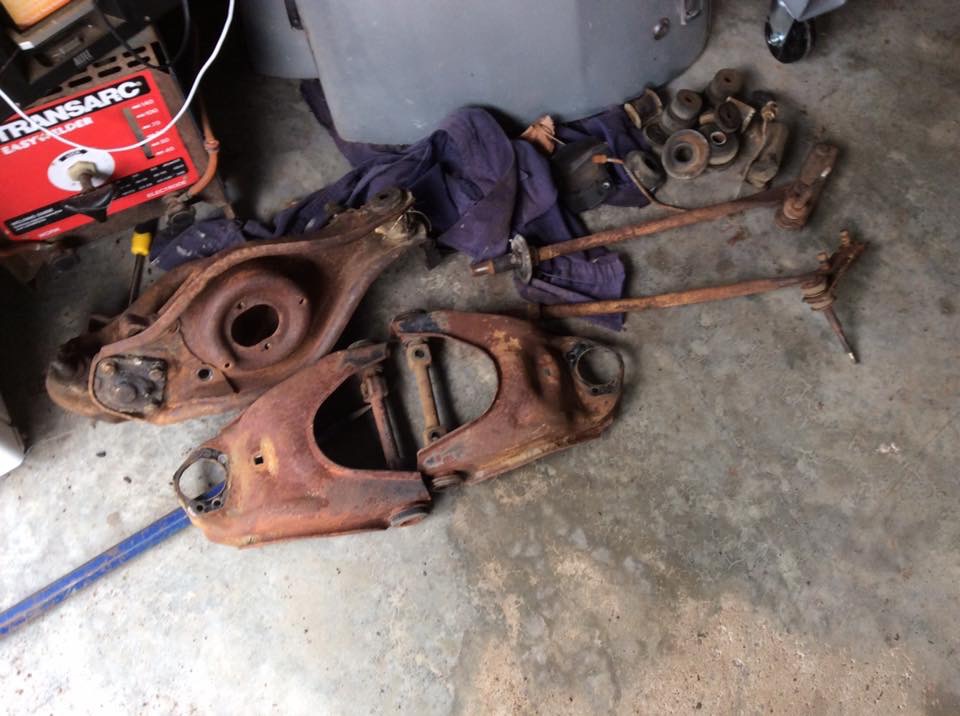
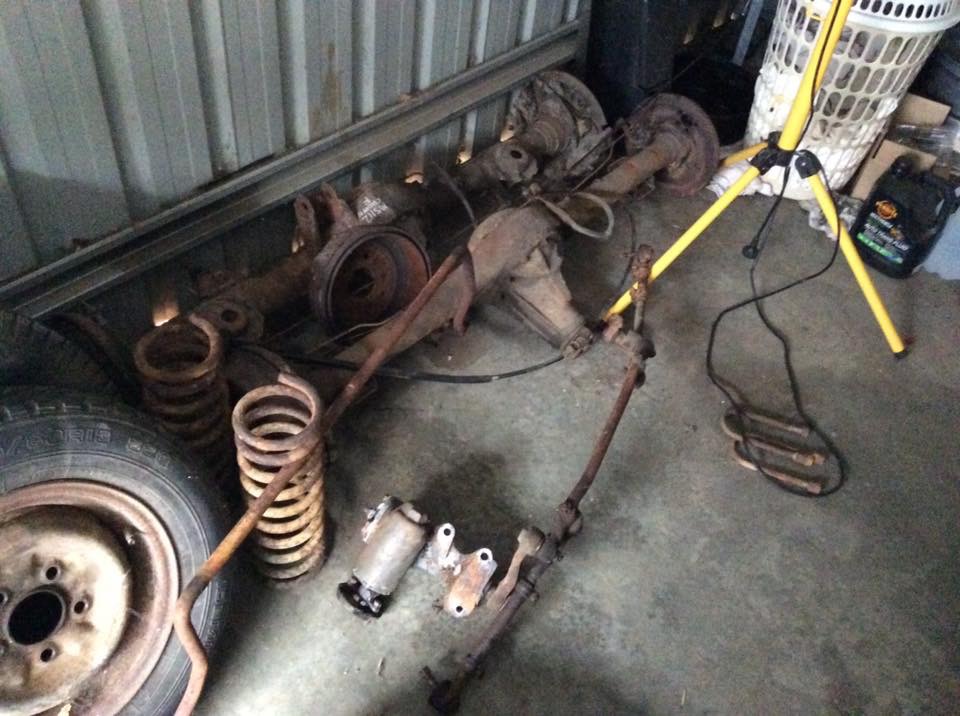
I've been pretty slack, Perth summers are way to fucking hot for being in the garage. Finished stripping the steering and suspension today, it's all fairly tidy under the dirt, grease and surface rust. Am buying the parts new that I can get, inner tie rod ends could be a mission but all the other steering stuff is available, UCA bushes also seem to be a questionable item but I'm not sure if it's just a listing issue. Will clean up and paint the control arms, strip and check out the steering box, then clean and paint the front of the frame. So much parts to take up space! I measured up my old sedan chassis, not bolt on, and it was way more fucked than I was hoping, so I'm keeping an eye out for something with better front panels to grab, partly because I am missing most of the front end bolts and lights and shit like that. cheers Matt1 point
-
1 point
-
Tridies for both cars. Both in 7" wide. Tridies added to the front. I tried to add them to the back, but the guard lips got in the way. Sheepers reckoned he'd had a little bit of experience stretching metal etc so I trundled over there. First he knocked the guard lips up using a hammer and dolly - the paint damage was inevitable, but we lucked out on the passengers side and only got a minor crack. Took it for a drive after that, to find the tyre was now rubbing on the INNER guard, near the top of the sidewall. The trusty hammer came out again, and the inners massaged then undersealed to ensure plenty of clearance now! Next up though, is to remedy that paint on the arch, and replace/repair a super fucked UJ on the half shaft, which made itself evident this afternoon. I'll probably do both halfshafts for peace of mind. //oldschool.co.nz/index.php?/topic/53732-snoozins-79-two-point-five-s-its-for-sporty/ <----------yarns1 point
-
1 point
This leaderboard is set to Auckland/GMT+12:00


