
Leaderboard


Popular Content
Showing content with the highest reputation on 04/28/17 in all areas
-
Not relevant to the topic, but please don't do that stupid F shit. This isn't facebook, commenting F does not notify you when there are replies. Do this if you really want notifications for this topic, don't spam up the thread.
 7 points
 -
Well, ive been trying to get this old nugget going again. I have been working on it off and on over summer, when it wasnt too hot and I could be bothered. Firstly, i put some decent wheels on it : SSR Longchamp XR4 15x7.5 -14 Rear. 15x7.0 +11 Front. Was a real hassle getting them polished and machined up locally but got there in the end. Fitted the biggest front mount intercooler that I could for the size available. 3 full days of cutting carefully, making mounts etc. and I probably had the fucking thing in and out 20 times. 300X600X76 Aeroflow core with 3 inch end tanks. It was cheap and should be ample for my needs. Sorted a turbo smart 38mm external wastegate, Started the wiring, pretty basic really. I bought a new N14 GTIR alloy radiator - fits this engine bay pretty well and am about to start mocking up the aluminuim intercooler pipes next. Also fitted a genuine Walbro 255L fuel pump, was a bit of pissing around but got it mounted eventually. No rust in the fuel tank, not a single spec! Pretty happy with that. The saga continues, should be running in a few weeks hopefully.7 points
-
So 2 weeks before moving to the US this happens! Guy in OZ is rebuilding a T57 and needed a new block. So got to and cast one up! Didnt go 100% but still really well. On a plane to LA in 3days!5 points
-
Well sorry guys. I never did update this thread, Needless to say it all went swimmingly And I managed to get it all wired back up. I never got to see it start up, as I had to go on my bike trip, and they had to do a service on the motor, Bike trip was epic, way more epic than fixing a train. But fucked train paid for the trip so yey for fucked trains Apparently it started first try with no wiring faults. So pretty happy about that. Especially since I was a month under best estimate and 4 months ahead of what they expected. It's back in for a service (I got a permanent job out of the cab replacement, and doing a bit of servicing and fault finding to the coaches) So work for them full time now. Any way. Here's some pics Yeah so that's it, It's also taken out some other retard who jumped in front of it, but they went under the murder train so no real damage.5 points
-
Suzuki Owners Group, Take One Tried to order everything I could think of at once, hopefully more than half of it works / fits. List for future reference / if anyone wants to do similar and for myself to order replacement parts. Por15 tank sealer NOS leg shield inddicator assemblies BIG BLOCK! GPX 140cc Motor MIKUNI - PZ30 30mm Carb CDI - 8 Pin Race Wiring Loom - 8 Pin x2 Vesrah brake shoes VB312 Clutch, Brake and Throttle cable Dual Layer Pod 44 x 102 15deg Angled Uni Filter Domino Tommaselli Throttle Petrol tubing neoprene 3/16"i.d. black (m) Fuel Filter x2 Brake & Clutch leavers 2008/09 Hayden Paddon poster "signed . . . oh what! x2 275-17 HF307 Trail tyres x2 Tubes & Rim Tapes for rusty rim jobs New side stand Carb Manifold Intake Rotator Adapter image hosting websitescertificity.com Frame water blasted and ready for re assembly ish. how to take a screenshot on a pccertificity.com The plan is to try and retain some patina with new running gear in places required. So far the frame is a fair bit more different than from the Honda CUB family so this might not be the simple bolt in job I expected, hence the grinder on standby. Getting the carb to fit will the least fun! Que Rotator Adapter If anyone speaks to the wife . . . all the above only cost a box of beer! LETS DO THIS4 points
-
I thought normally commercial tyre work out to be 82 profile?3 points
-
Lol. I don't do face book, so was about to ask what the fuck f meant, unless you happened to be referring to the diff head code, which in this situation, will in fact be an ' f '3 points
-
sundays suppose to be thunder storms so bring your best windscreen wiping rags for when shit gets foggy.3 points
-
Oosh, cool job. looks like the same train as my Hornby my G-pops gave to me for being born in 19813 points
-
just compression test the engine First lol3 points
-
Pretty much. But I thought maybe it might be in the higher single or low double digit numbers of deaths. LOL/not LOL3 points
-
As an aside clean or change the spark plugs, all that cranking and no fire equals fouled.3 points
-
Whoa, those baby-things take up ALOT of time! I've managed to get the odd bit done on this though. To cure the oil leakage issues that FD's commonly suffer from, a sump brace is purportedly the way to go. They're available to buy, but I thought it'd be fun to give making one a go. I ordered a sump flange gasket, with much tracing and scanning later I had the pattern cad'd up, and could cut up a blank on the waterjet at work. We had some 1/4" 316 stainless plate at work, and I figured that would be good to use. Wont go rusty, and it pretty damn stiff. Kind of heavy, but most of it gets cut away anyway...2 points
-
The good folk at Midnight Upholstery will be horribly offended if we don't show up so I sure hope we manage to get some cars on the road for this one.2 points
-
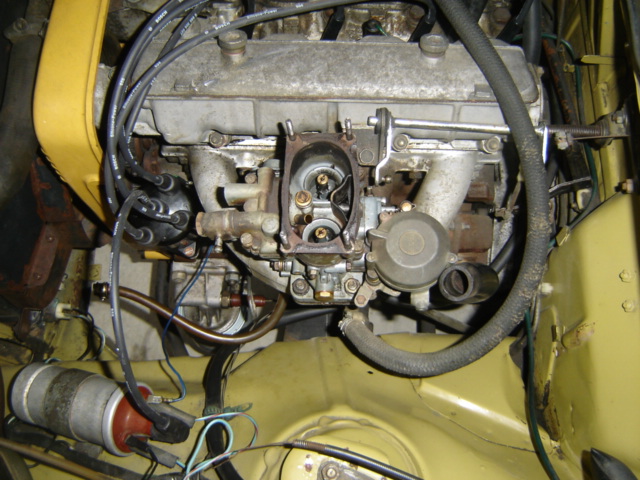
The little Fiat seemed to be running horrendously rich. There was fuel oozing out around the emulsion tube due to a bad seal. Also, it turns out the mixture screw was set 7 full turns out... 6 and a half turns in later and it's much better. I took it for a good fang up the road and the plugs are a much nicer colour. 3 days after this, a carb kit turned up. So easy to get at, I love it. Minutes later... Take one of these and call me in the morning.
2 points
-
Who want's to take bets on the rubber that turn's up looking nothing like this: hosting imagecertificity.com2 points
-
Spacers will make up the difference I can't justify spending half the value of the car on wheels so I'll have the shit looking gtst wheels if they are 1/4 the price. Man a grand for a set of wheels is another car...2 points
-
Thanks. I'm going to write a post in a few days about what I learned, what was hard and what I'd do differently, so keep reading. People never seem to do that on internet forums so I find people keep copying ideas and making the same mistakes.2 points
-
Shhh, just Desmond Regamasters.2 points
-
There were a couple of mx5s at zebra so I grabbed the cv bolts and the diff input bolts so hopefully they are similar enough to work on the fc so its less sketchy. I also have sorted a load of wheel nuts so there will be more than three holding the wheels on. Its a bit early but does anyone have a set of r32 gtst wheels for cheap? I've seen a couple on those wheels and like the look if them. This one on tardme looks pretty sweet imo2 points
-
so. I thought we should do a weekend meet since we haven't done one in forever..... next meet Sunday the 30th2 points
-
Hey OS Trying to find a replacement leg shield. Anyone seen any Suzuki F50 or F70 leg shields for sale? The one I have has been trimmed at the bottom. EBay used to sell them I'm sure. image sharecertificity.com capturecertificity.com SLURP SLURP1 point
-
I filled out the online form for getting this collected from goat, they called last night saying they would collect it today. its a bit too soon as it still needs to be moved out of the shed and I still haven't paid them to pick it up. The tow truck driver is named barry which I thought was appropiate. I should hopefully get it late next week1 point
-
Yep the weather is going to be very average but all of NZ will be mocking us if we bail out because it rains.1 point
-
Just run steelies and white walls.1 point
-
Clint, Whats the deal with chassis mods? If I were to say, buy the back section of a chassis that is IRS, and stitch it to the rest of my chassis in my Crown wagon (talking solid chassis cars here) whats the legal requirements? I assume fish plates, but thoughts?1 point
-
according to all the gtst ones on the tard they +40 Shipping up was more than I expected so wheels are eve further down the list now1 point
-
+1 just do this, easy step along the path of the process of elimination.1 point
-
A bent head can be more than just, Oh, the head wont seal on the head gasket " sort of thing. Can effect valve sealing etc So I guess what i should have asked is, did the shop that machined the head also vac test the valves to make sure they are sealing? Because if they arnt, then you will have no compression,1 point
-
Ditto, ^ Also Murder Train - I've got a feeling I know what you mean but more explanation please?1 point
-
Those ones in your picture will be GTR wheels buuuuuuuuuuuuuddy (surely, if they're not they should be/you should get them instead). Different width and offset to GTS-t wheels.1 point
-
1 point
-
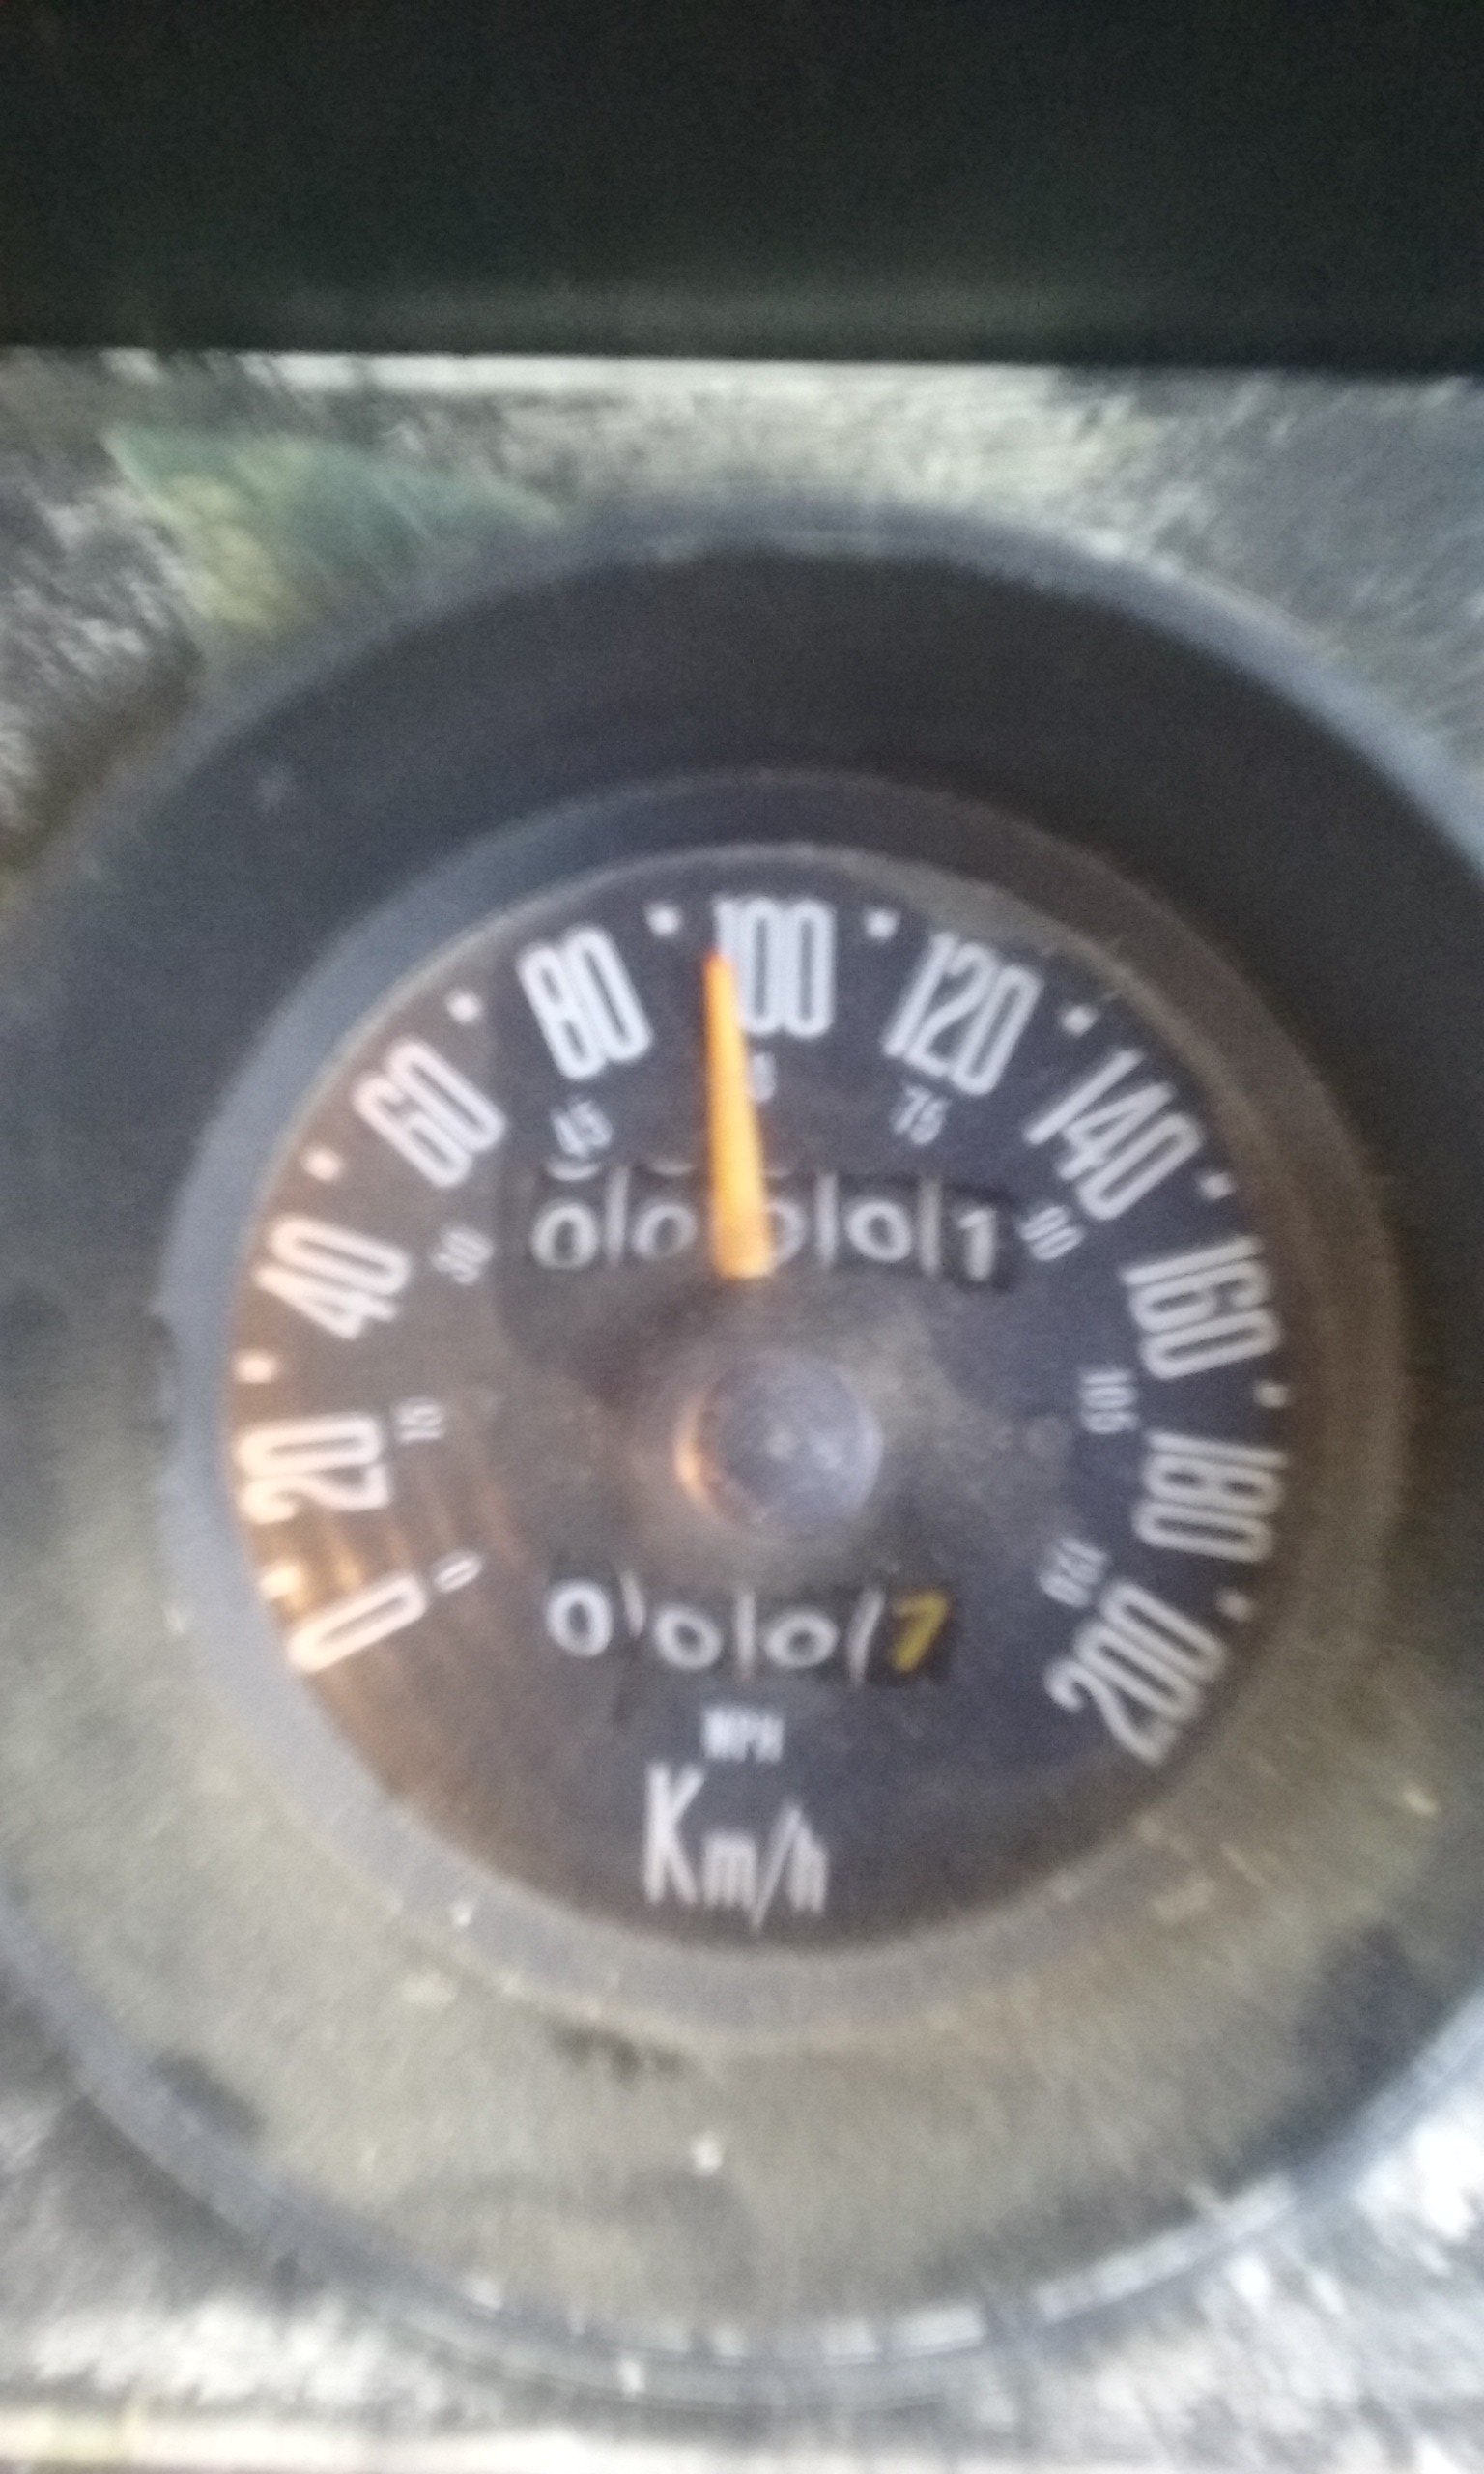
200,000km in 41 years Not bad. Jpg Tho she's a bit like mum's dad's axe (Swapped Diff G box Head etc Body & Bottom end of Block are OEM etc Tho OCD me is not happy with the crooked 00000's Edit : they have evened out with a few more KM on the clock
1 point
-
Better have the coon in.1 point
-
Oh nice thanks guys! The guy refunded me $100 because of it so that was nice of him1 point
-
Clint, Cletus on here, is a certifier.1 point
-
Roman, you know the rules! No posts without graphs allowed...1 point
-
Bike starts, runs, changes gear, and stops. Lights all seem to work, so I'm calling that 'about done' for now. Just need to get my license...1 point
-
I was waiting for the long weekend to cross some bigger jobs off the list and managed to! - Put good dash pad in - Cleaned and painted instrument cluster - Cleaned and rust killed floors and etch painted, sealed up screw holes and seams, rubber bungs in - Cleaned and painted glovebox hinge panel (left as much as I could of the factory sticker with key info and tyre pressure/fuel chart) - Made covers for the rear wheel arches, lower B pillars and exposed parts of the floor the carpet does not cover with some patterned plastic sheet - Painted dash top and the area under the rear screen which are visible. - New carpets - Vinyl died seats. Don't know how long it will last but we will see. The cans sprayed too narrow so I emptied them into spray gun and got a great even application. - Put stereo in properly - Epoxy glued splits in the centre console - Factory accelator pedal back on Still need to make a shifter boot and pick up another demister vent from a mate.1 point
-
Thanks mate. Turns out the hobby car manual is actually pretty good (lol)...I wish I'd bought it earlier (being able to spend 10$ per relevant chapter makes it much easier!!!) I was even more impressed to see things like suggested tube and heim joint sizes... Really really important for someone like myself who genuinely has no clue and tends to oversize everything.1 point
-
This will probably be my last interesting post for a while. Will be moving to California in a month to build space stuff. Visa came through today after months of paperwork!So good! So making parts will slow down, but hopefully CAD work will speed up! Anyway, these are spring hangers and a trunion hanger CNCd from 4140. Having a mill in your shed is key to building shiny stuff!1 point
-
Finished! Bit of machining porn for you!1 point
-
The factory ECU's are shit and the were sooooooooooooooooooooo bad at flooding (from new) they had to make serious changes for the S5. I approve of the mega squirt monster J-Port turbo idea.1 point
-
China IDA plz.1 point
-
To continue with the theme of not finishing any of the utes sub- projects before moving on to another, today I decided to clean up and repair the leather Audi seats so they are ready for installation (even though the rest of the vehicle isn't, lol) Research was done and I did my best while also being extremely cheap. Firstly the seats were given an extremely through cleaning using an old toothbrush and soapy water to get human filth out of all the stitching, seams and cracks. Just this made a huge difference which is hard to show via pics. Before After Next I got a $6 bottle of liquid shoe polish. It is NOT like shoe nugget- this is a thin black liquid that dries and will not rub off- more of a dye. Multiple layers of this were applied to each cracked area- allowed to soak for a short while and then rubbed off with a rag (so it pretty much only remains in the cracks and damage) Before After So the cracks in the color layer are still there- they just don't stick out like they used to. Next up was this hole in the driver's side bolster. This side is pretty fucked and I always said I'd get it replaced properly....But reality says NO right now. Here's the hole. So I copied some instructional videos for $100 repair kits and made a backing patch out of vinyl. I trimmed the hole up a bit cleaner and stuffed the vinyl in there with the cloth surface facing out so the adhesive had a nice surface to bond. Next I grabbed a tube of trusty simpson panel/chassis adhesive and squeezed some out onto cardboard. I agree this is a strange choice of poo BUT in my defence- I know it sticks to EVERYTHING extremely well, it remains flexible when cured AND it is easily painted. I used a flat blade screwdriver to push glue between the vinyl and leather and pushed the leather down as hard as I could. Then I filled the depression with adhesive and smoothed it out as best I could using a rag soaked in thinners. I tried to stipple the surface so it wasn't glossy smooth. Once that was cured I used my finger to apply some cheap black paint. This was WAY WAY WAY WAY more effective than I expected and after a damn good rubbing have established it's pretty durable too! Not perfect but you wouldn't know it's there unless you look really closely! So after a through coating with leather conditioner cream here's the end result.. I'm EXTREMELY happy with how they came out1 point
-
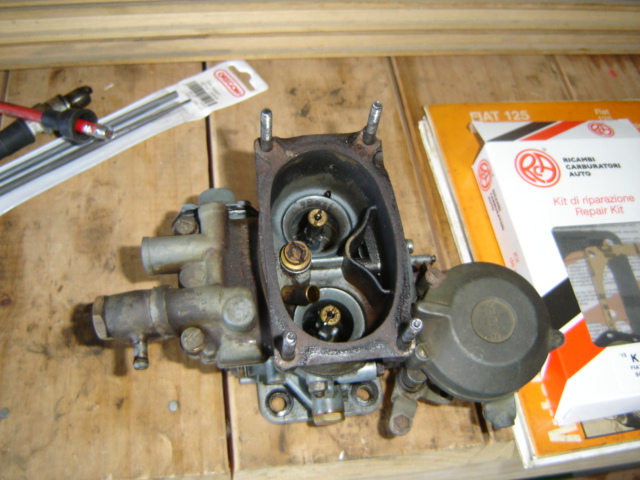
Started running like a ball bag after fanging away from work on Friday, limped it home and had a look..number 4 plug was loose, dizzy was loose and the accelerator pump seal was split. decided to pull the rebuilt carb down, clean and and reassemble. Came out well, ran a lot better. mate mentioned the tallest might be crook, and certainly were noisey so set them too. Then it was onto the dizzy. It had a vanette on in it, which has a screw on cap which is aids to replace so wasn't that worried about chucking it. The rotor was worn on an angle and the cap terminals were eaten. Grabbed a new cap, rotor and points from work and set to it. i had a random spare A12 one and a decent A14 one, but the cap on A14 was larger and the vac advance would hit the block and not adjust enough. so the random one got the green light, cleaned up and plonked in, winner! Goes a lot better. The. An advance isn't great so will see if I can remedy that (suck the hose and it works., unplugged from carb no change). Also threw a new thermostat in cause it wasn't quite right..was a fairly old one I found. found a good condition glovebox lid in the spares so cleaned and painted that. Chipped the old paint off the spare dash pad, will vinyl dye that this week and put in eventually. threw some rubber floor mats in the front.1 point
-
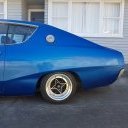
Bought some 15 inch SSR Longchamps for this about 4 months ago out of Japan. Trailed them up, pretty good fitment I then gave them to a wheel restoration place to polish up and restore as the anodized finish had gone a bit cloudy on them etc. Long story short. I started getting pretty nervous when the wheel resto shop was not returning any of my phone calls to see how they were getting on. One day I went in to see what the fuck was happening. Apparently not much at all, which I found pretty annoying after having them for 6 weeks by this stage... I have given them to someone else much more reputable now, should have them back in the next week or two.1 point
-
I see where this is going1 point
-
1 point


This leaderboard is set to Auckland/GMT+12:00