
Leaderboard


Popular Content
Showing content with the highest reputation on 03/28/24 in all areas
-
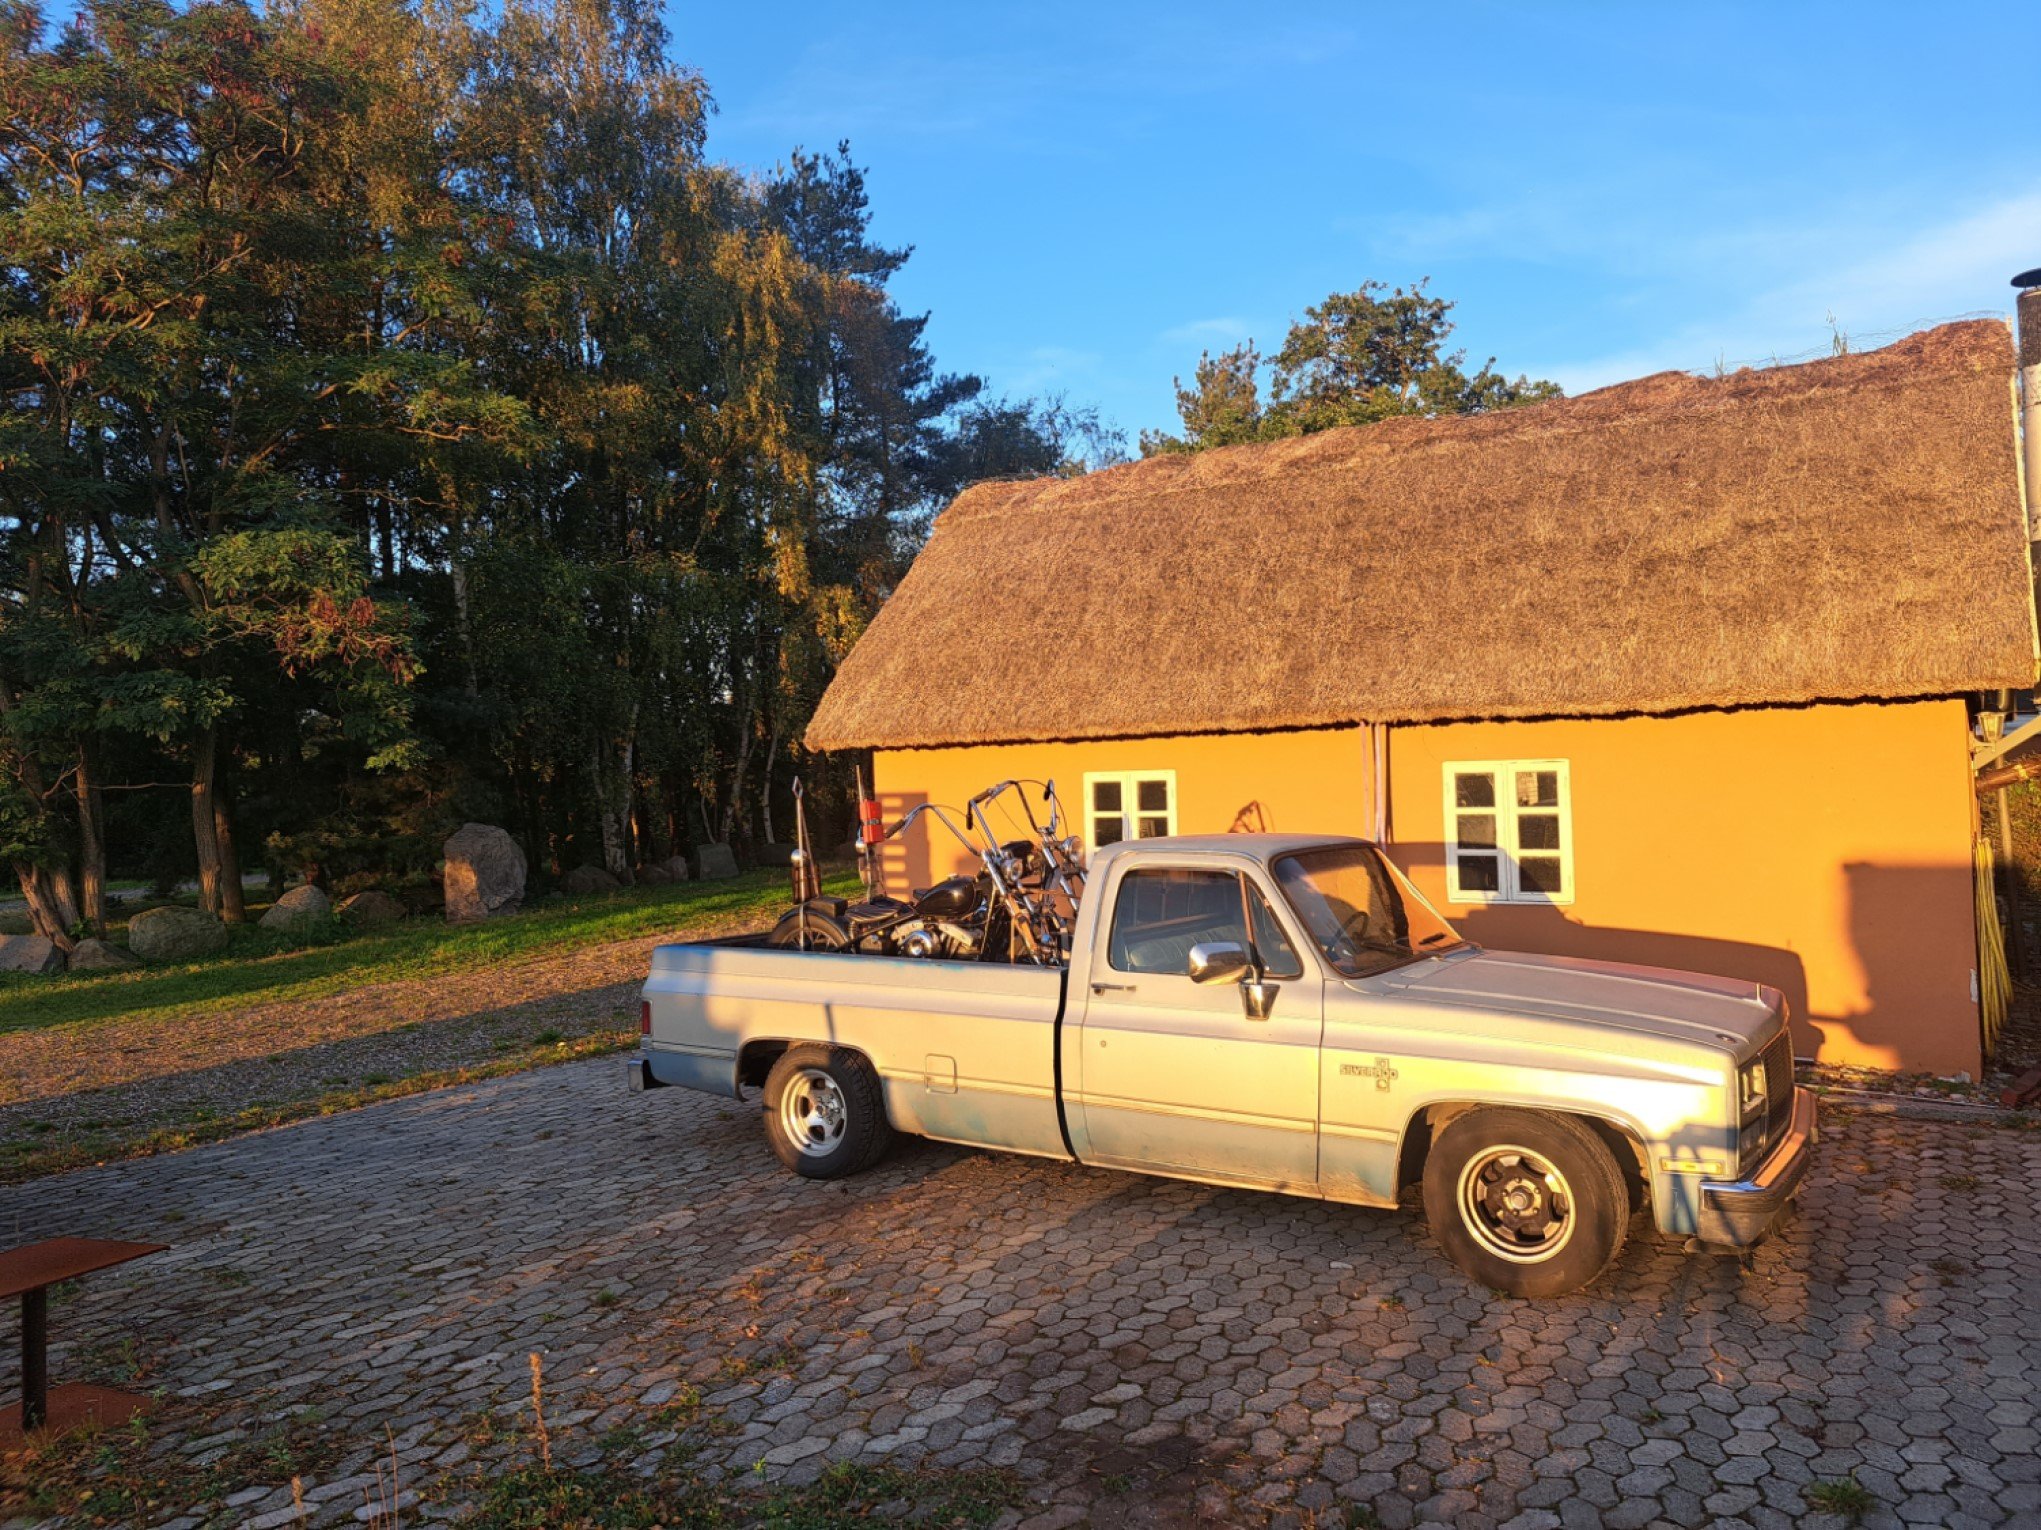
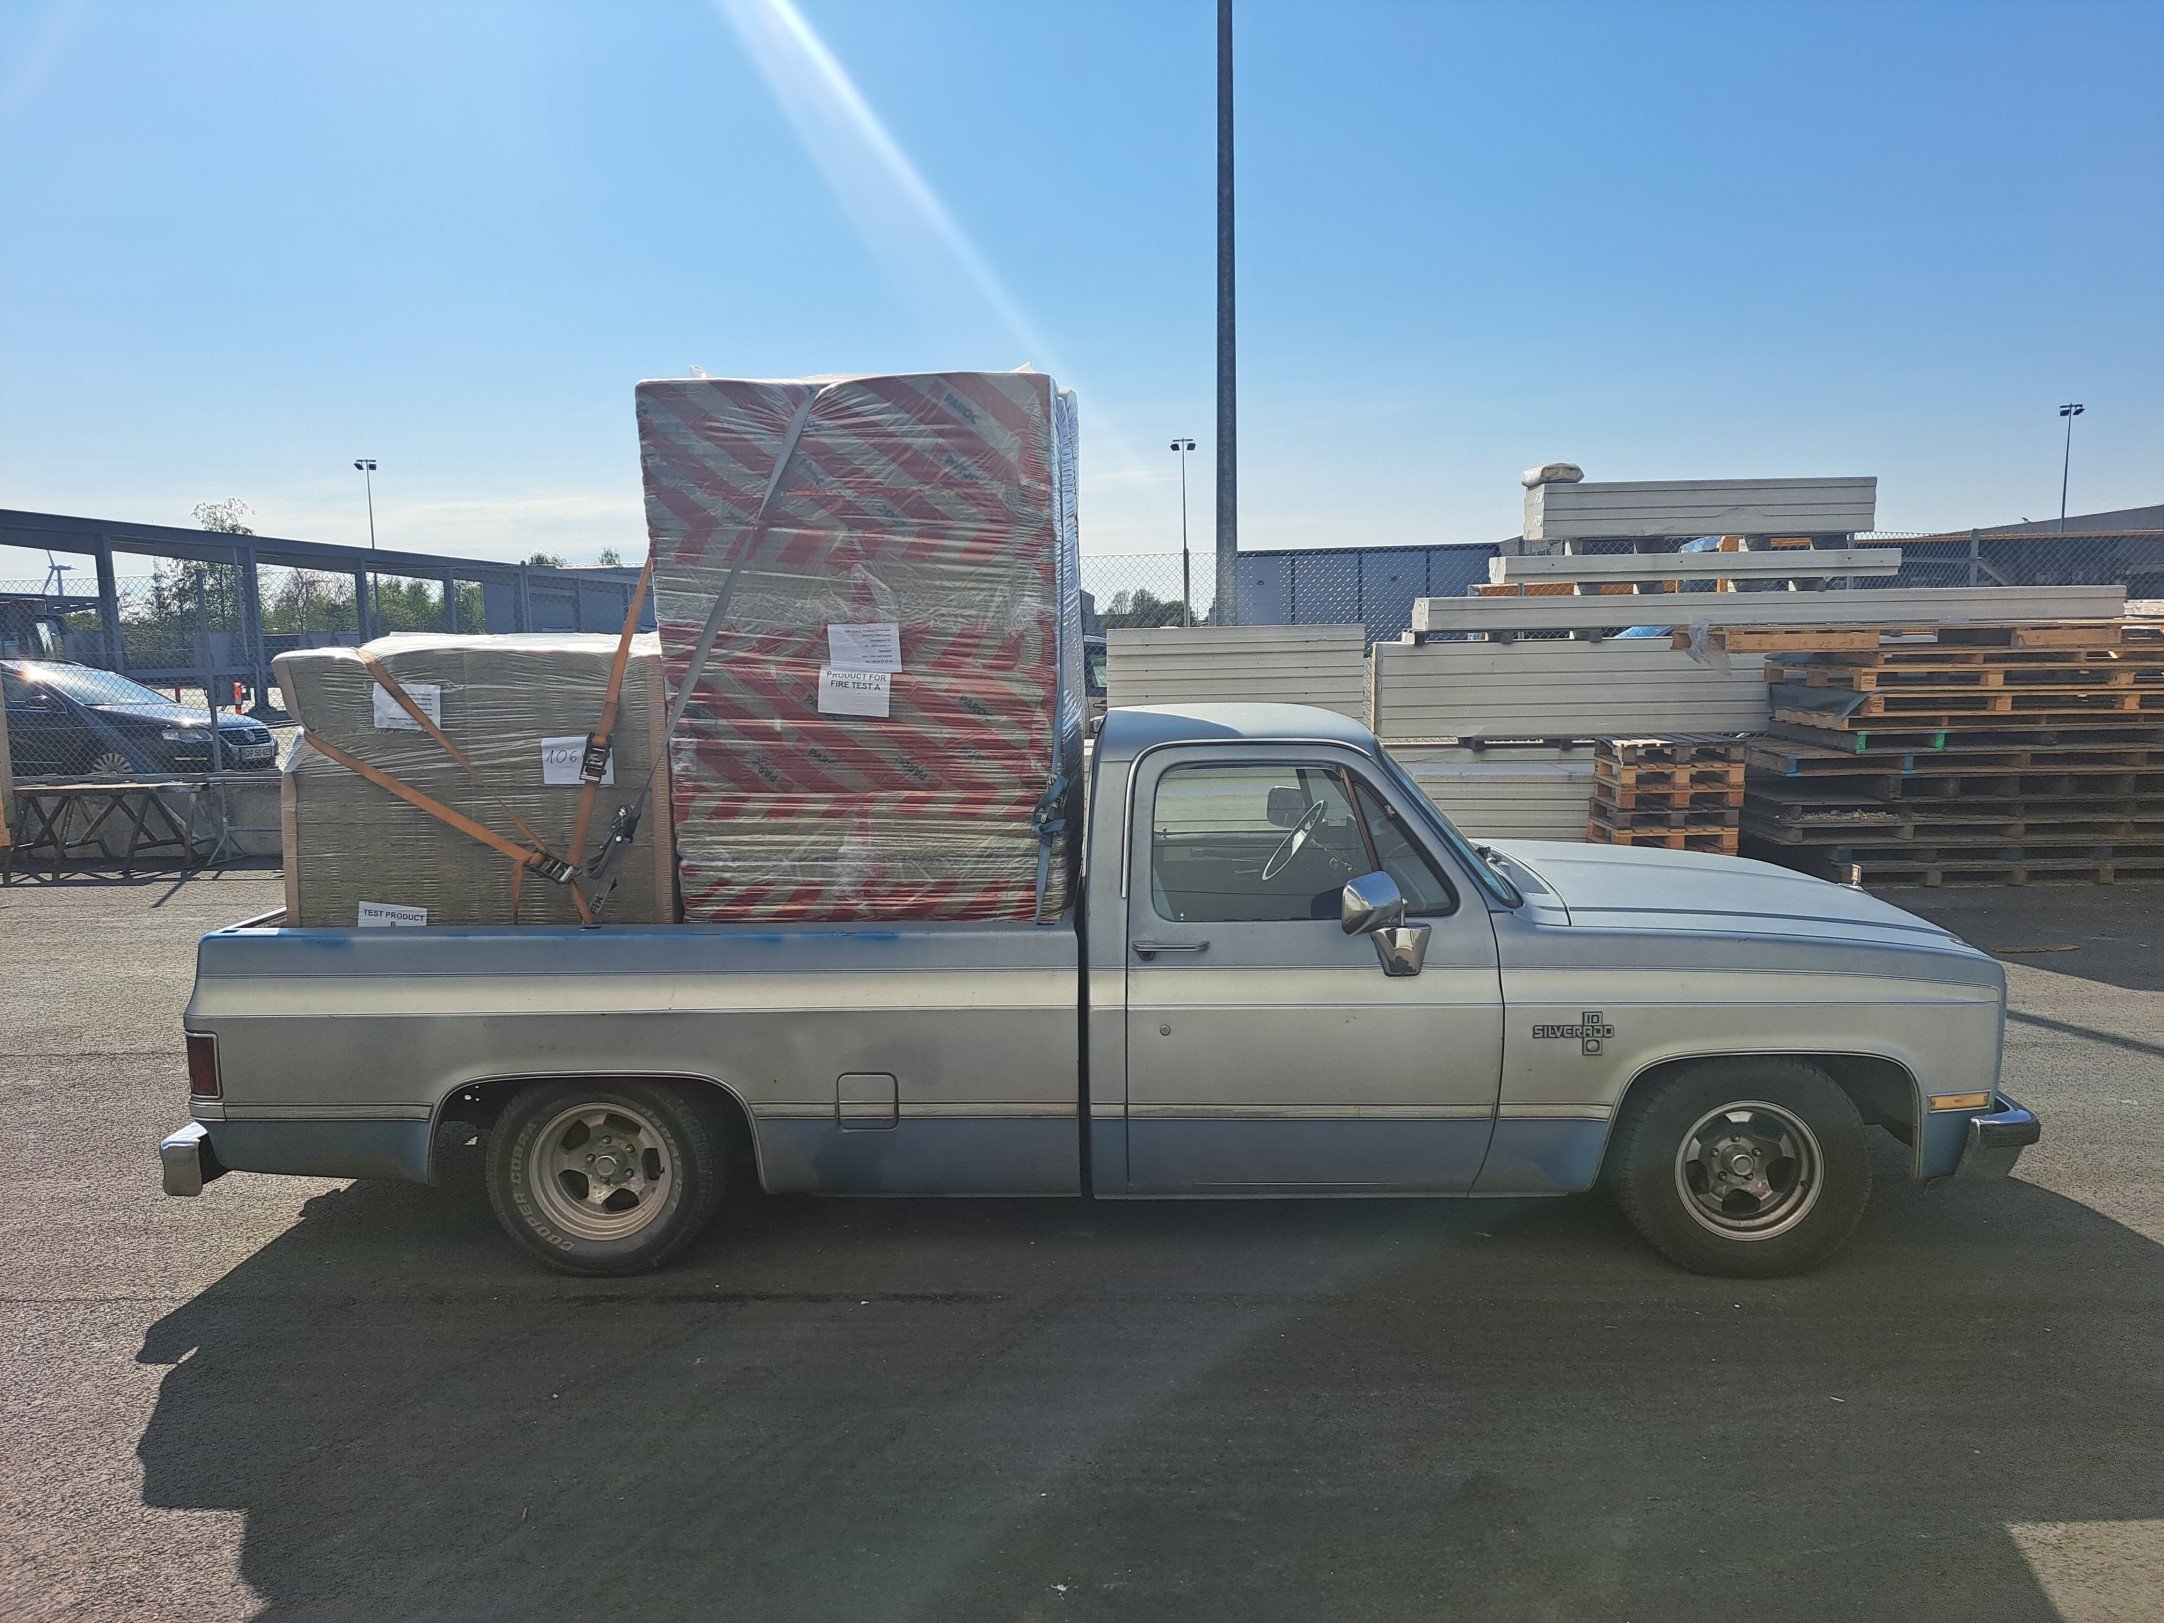
Yo, Long time no see, I figured that because im about to embark on phase 2 of this heap that I should probably make one of these. Anyway, I needed a new daily so I went shopping and found this sweet 82 long bed, I was after a long bed specifically as I needed/wanted it for my shop truck to haul choppers round with. The 350 had a sweet cam and gear drive so it sounded cool and had the requisite chop chop but the 4km/l fuel consumption meant that the daily part of the new car purchase didnt work quite so well. Luckily I had done my due diligence before the purchase and also bought a 2005 Mercedes Benz E320 cdi. Anyway @98cc hit me up and said he wanted to come visit so I put him to work and we pulled the 350 out and swung the OM648 in. Then at some point a @peteretep came and visited so we did some more work, anyway, I had a deadline, I made it, the truck got its maiden voyage with its new motor around Norway chasing a bunch of bikers, good times. Basically the rundown of the swap were: OM648 3.2l inline 6 diesel, the same one the Blacksmoke Racing dudes use. Baldurs Control Systems DID1 stand alone ECU 722.6 Mercedes 5 speed Auto with lockup OF Gear TCU 3 inch intercooler Built 10 Bolt with 30 spline axles, 9 inch housing ends and bearings, Eaton Trutrac and 3.08 gears. At this point it turned into my summertime daily and did truck things Then doing the usual facebook marketplace thing late at night I found a truck camper for sale, so of course I had to have that... At this point I found the limit of the 1/2 ton suspension so with the camper and the 6/8 drop that it has, so I had to do something, I made a bag over leaf setup in the back to help with load carrying capabillity. So about here is up to date, the engine swap is legit, it now gets 14 km/l and will happily cruise at 120 on the highway, because of the 8 foot bed it hauls all manner of things without asking, and does a skid. Discussion
 40 points
 -
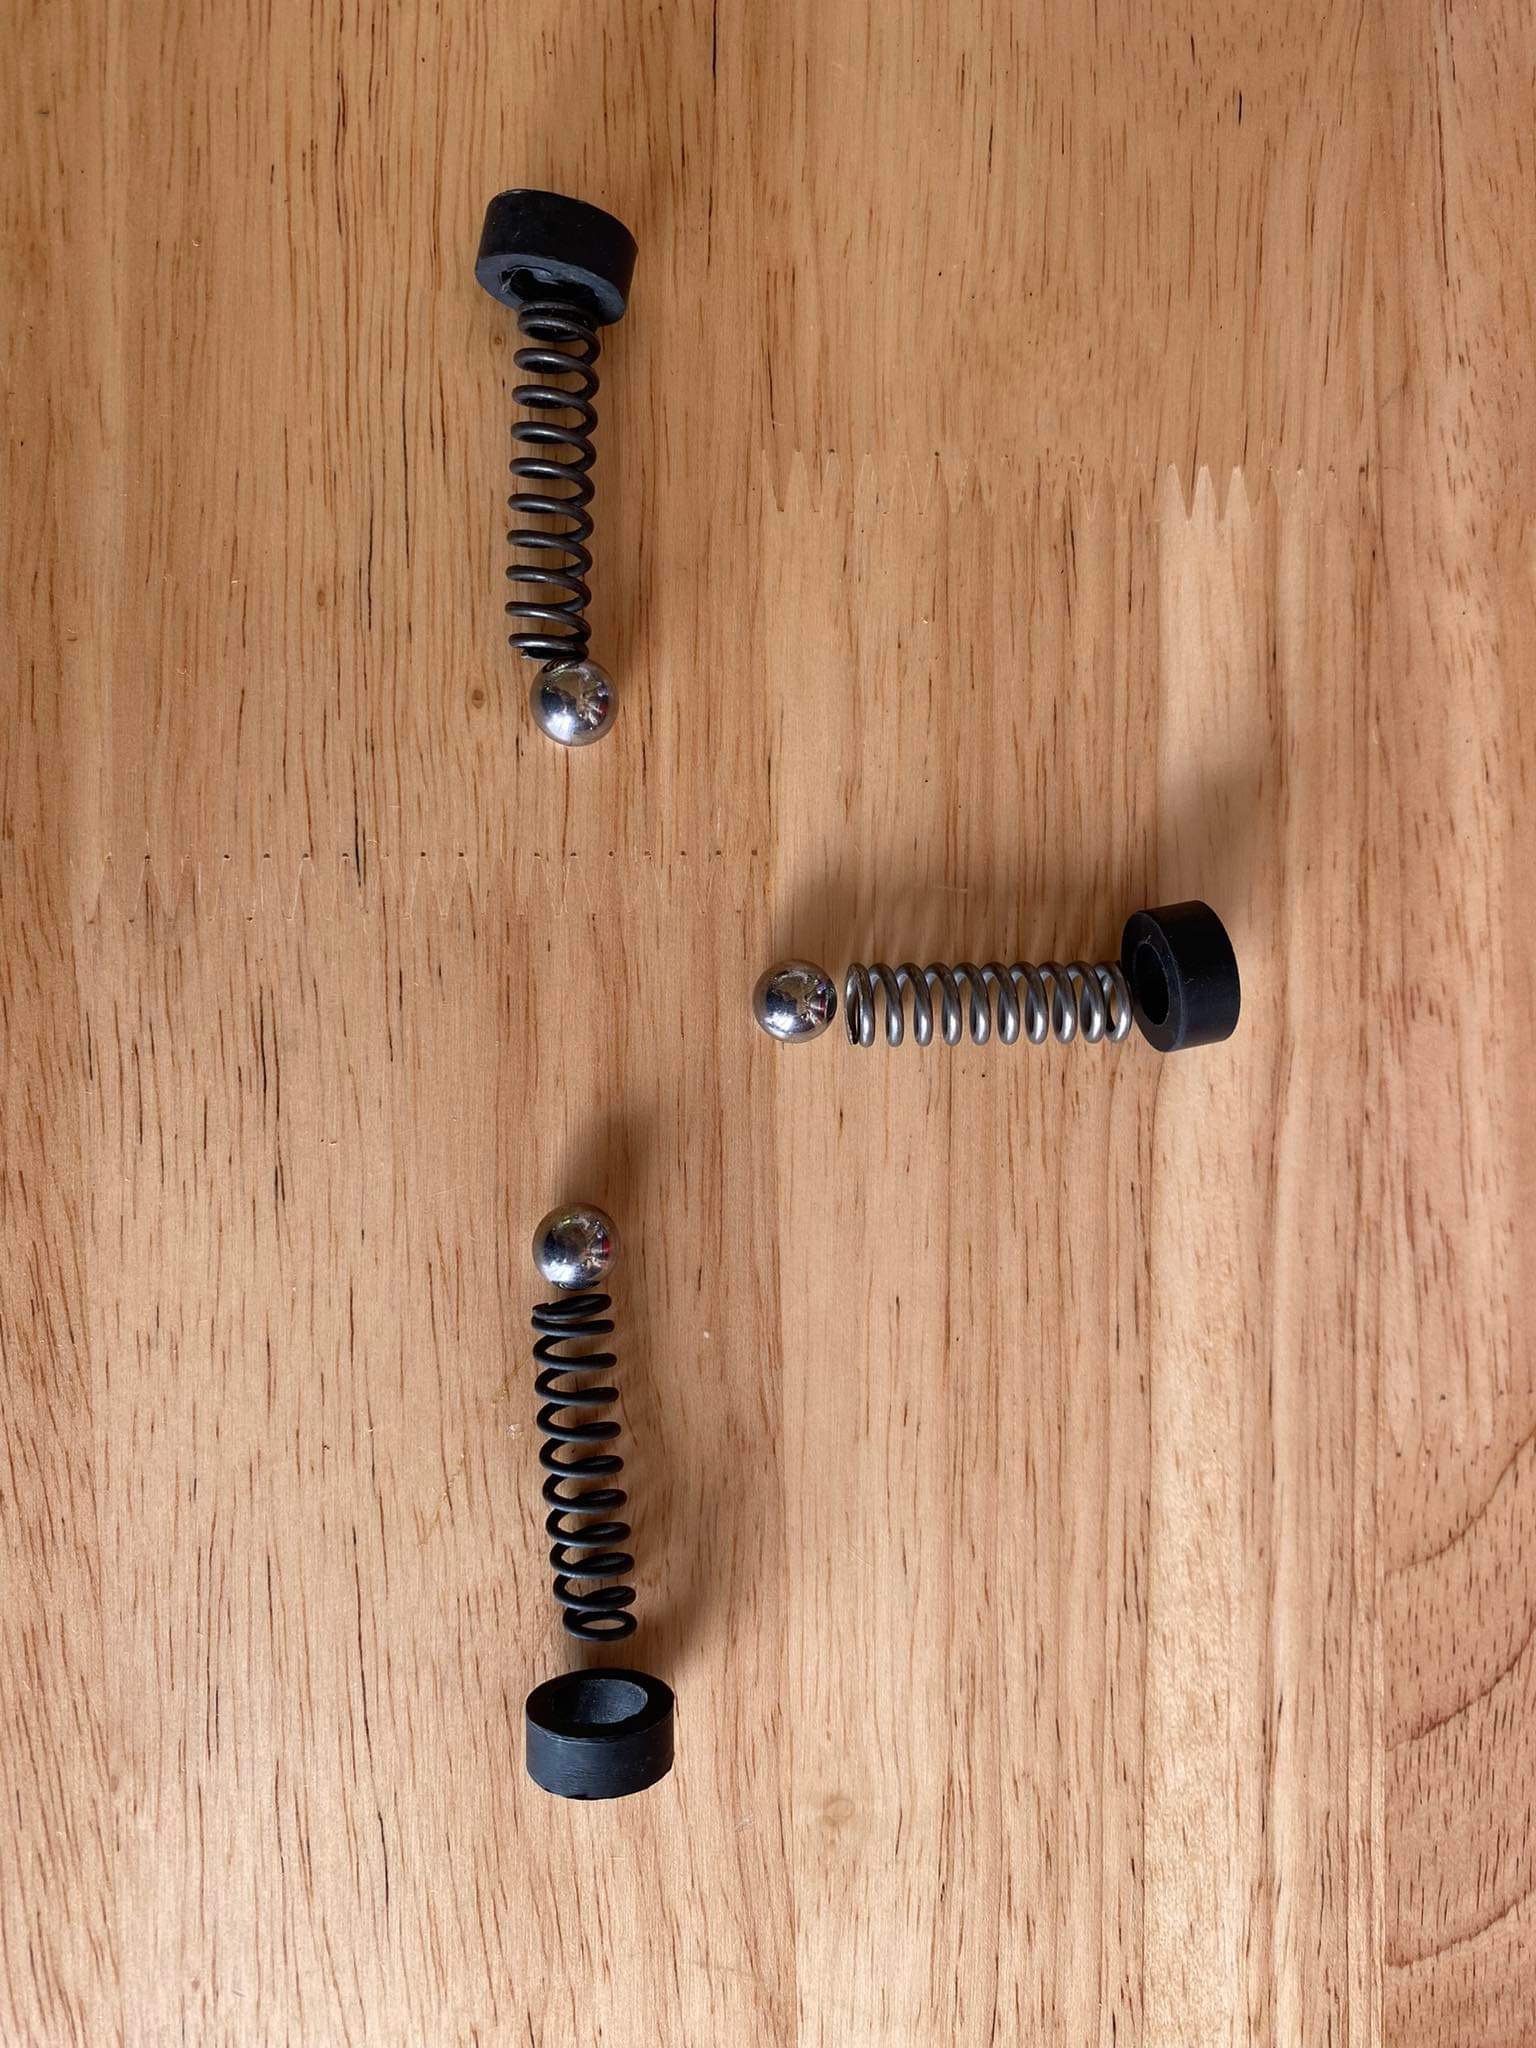
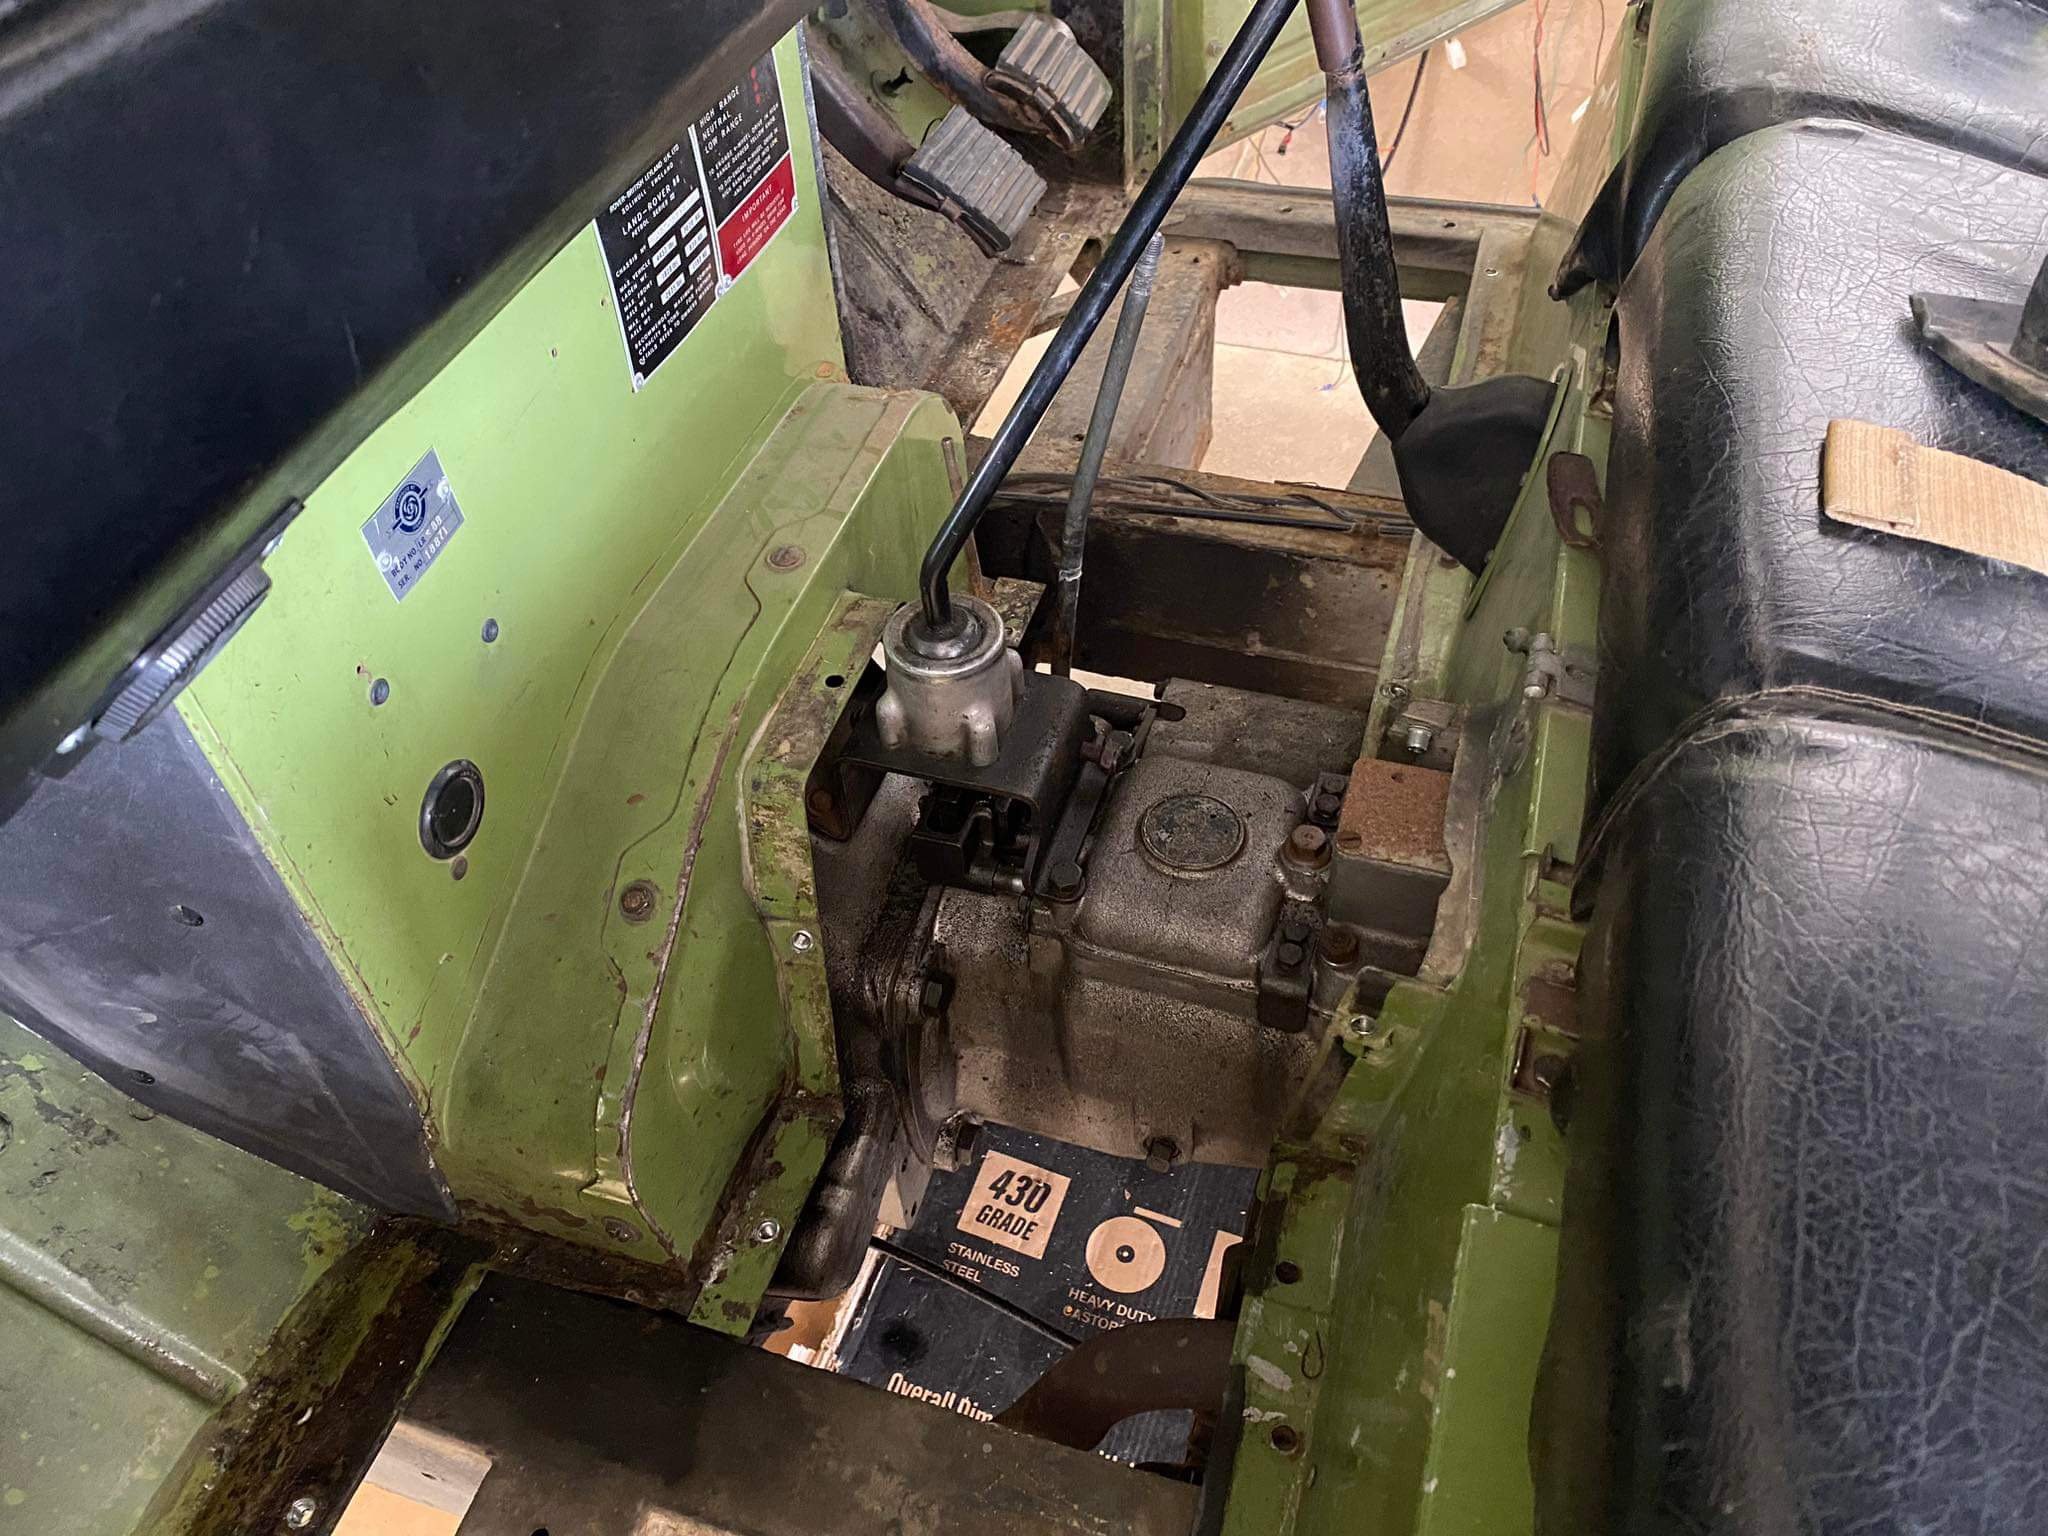
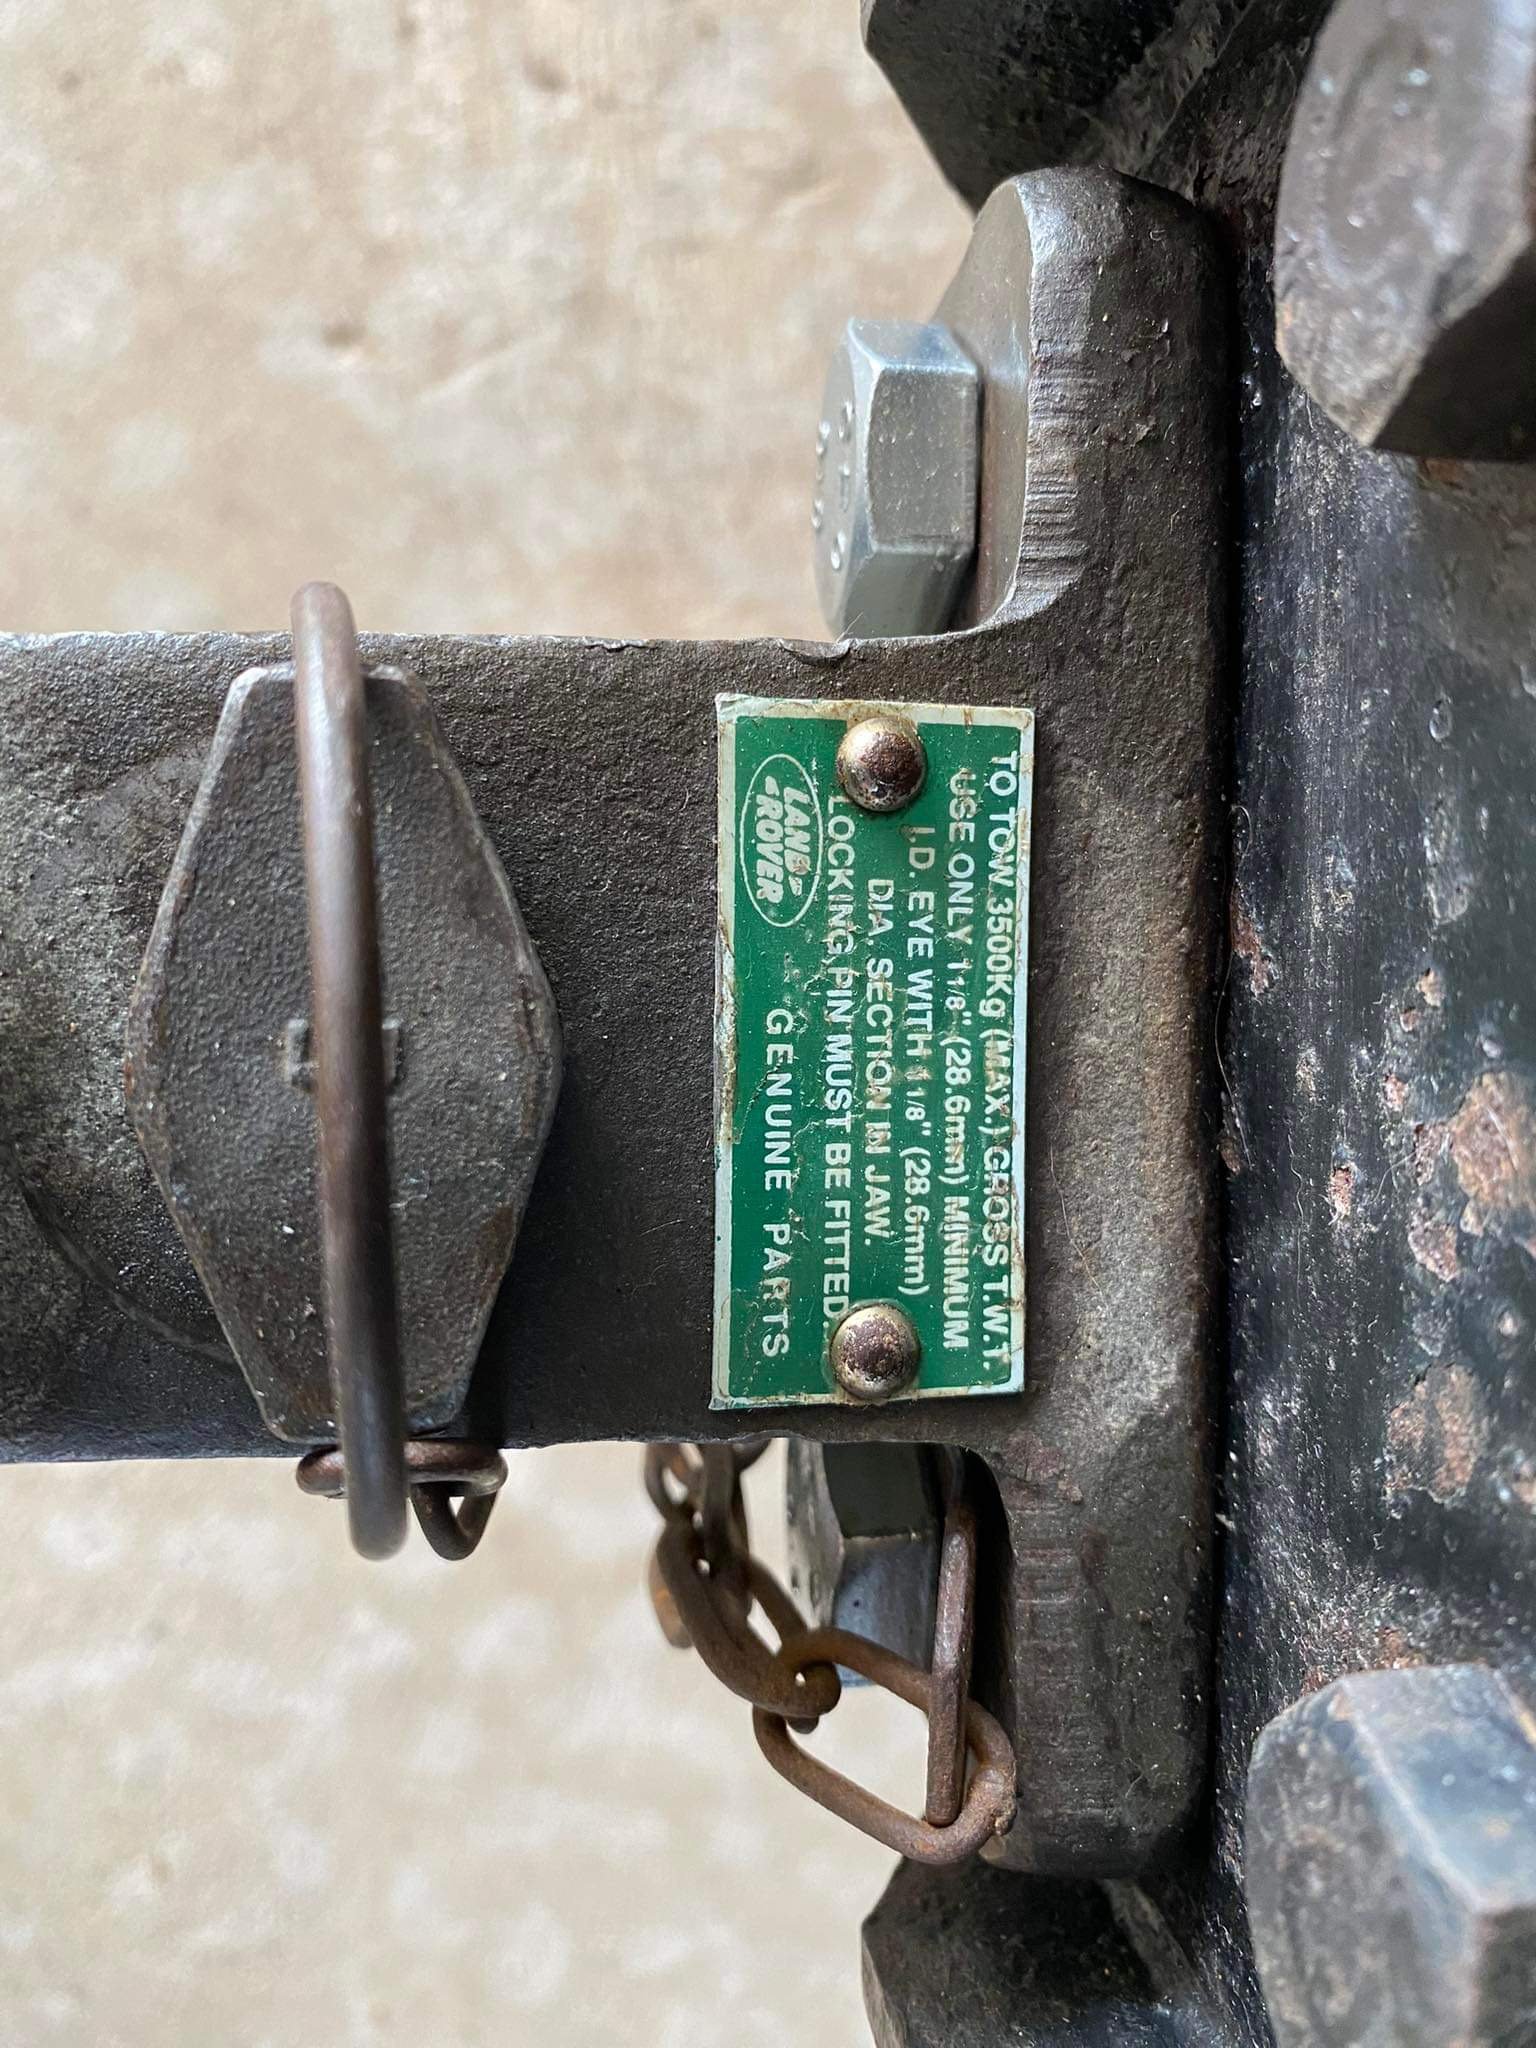
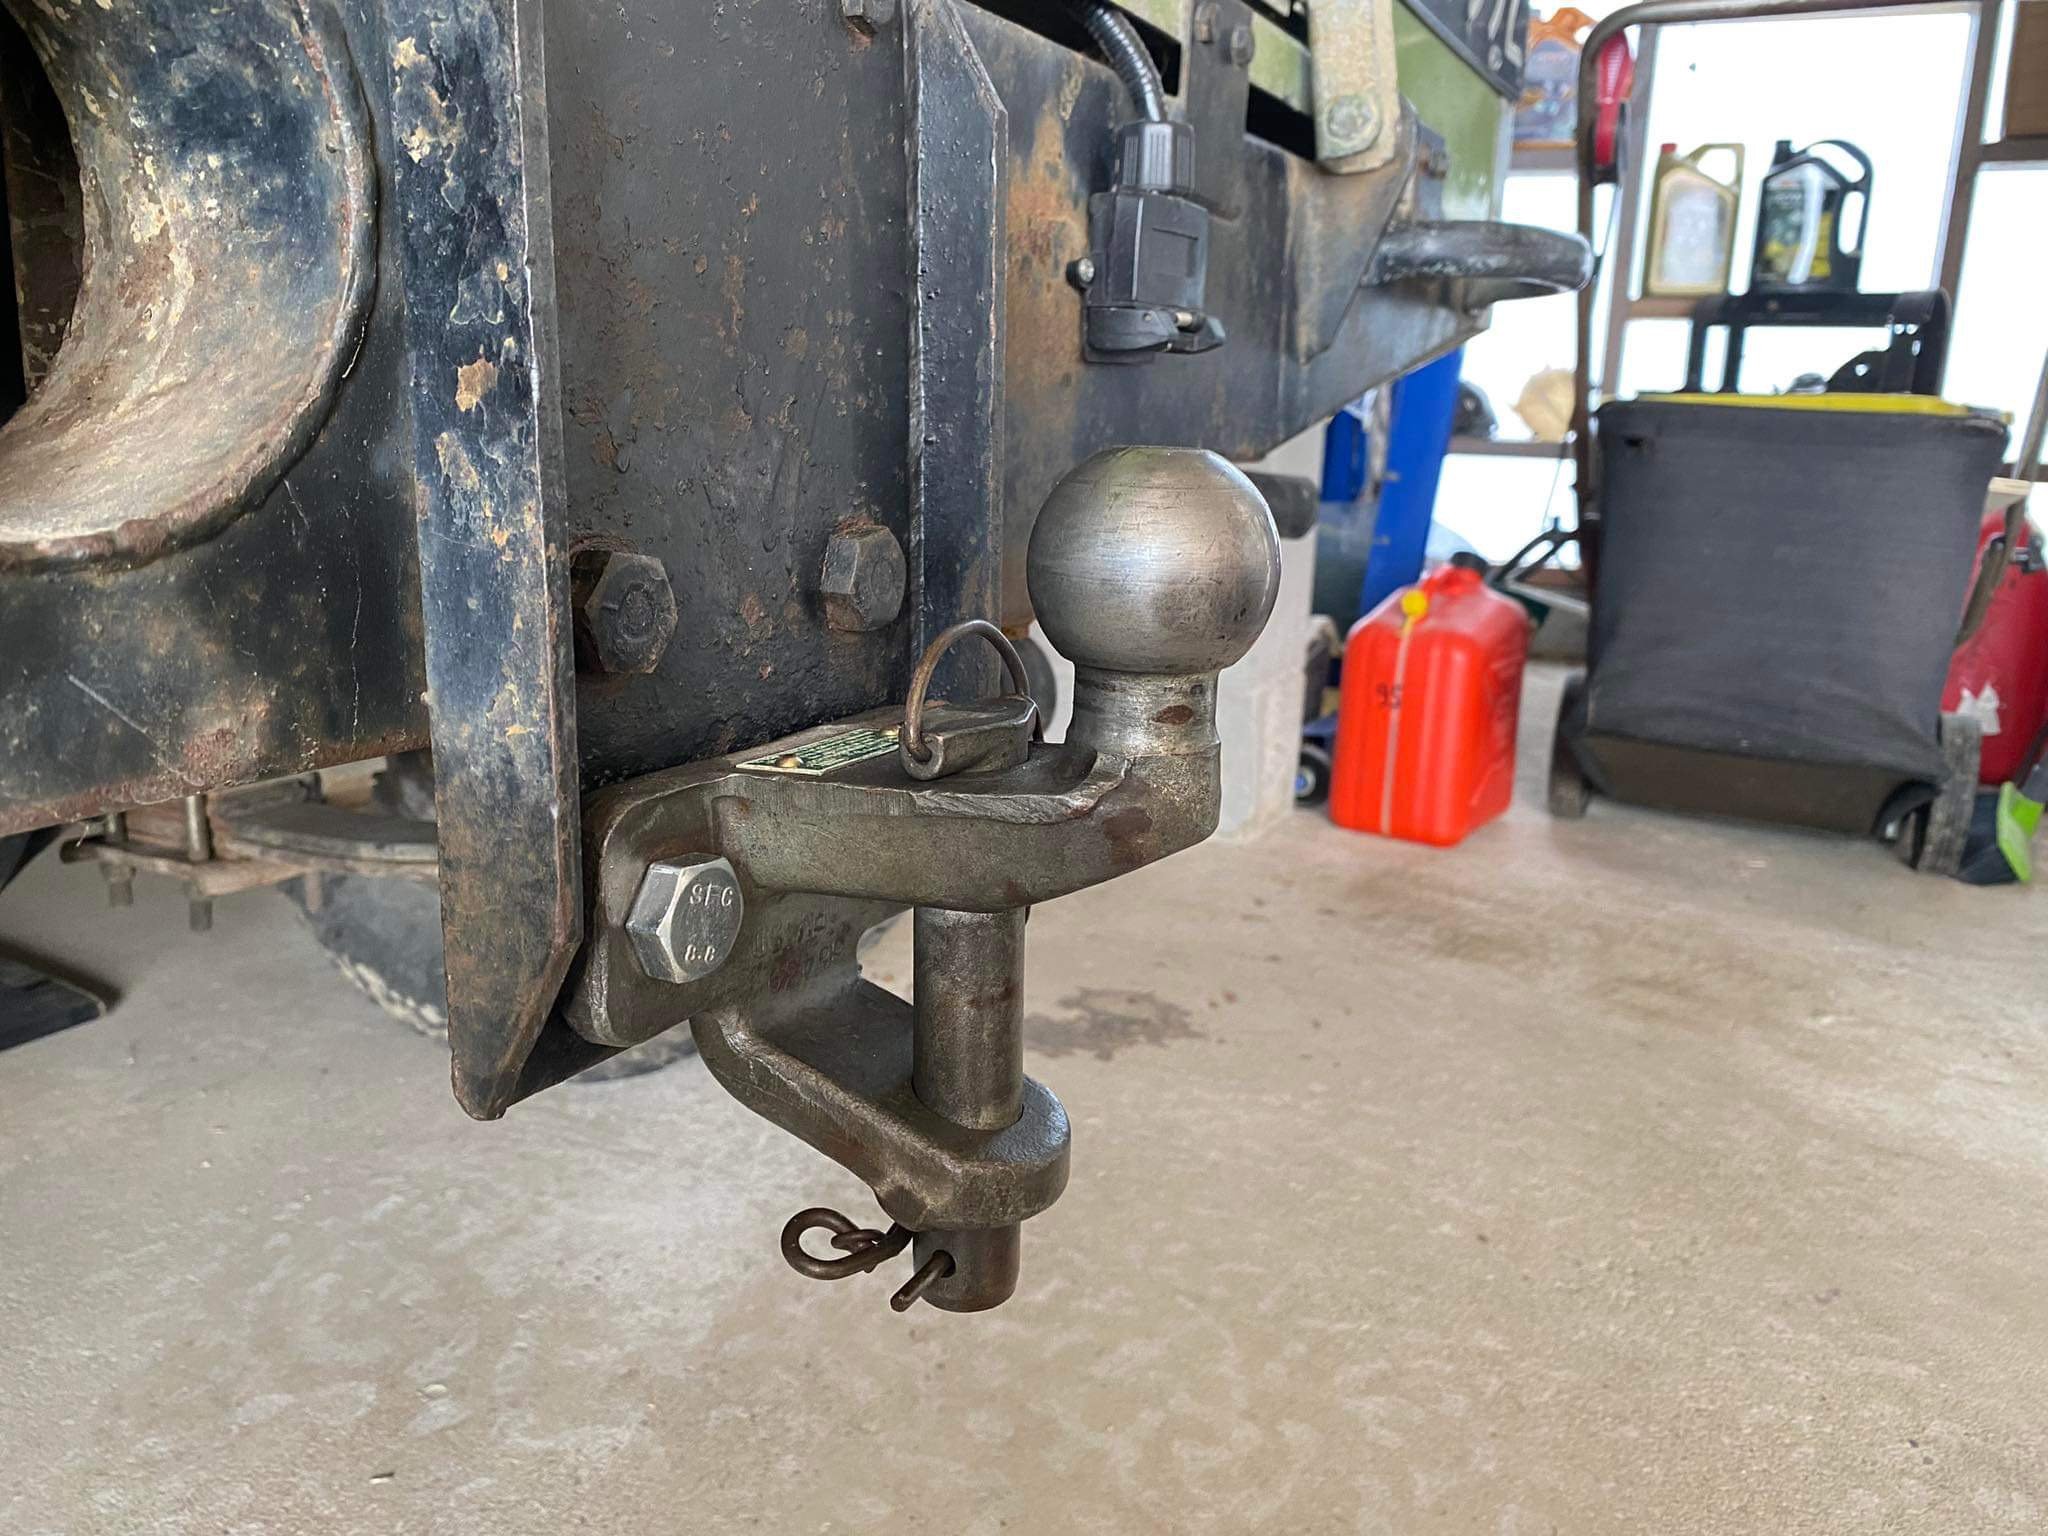
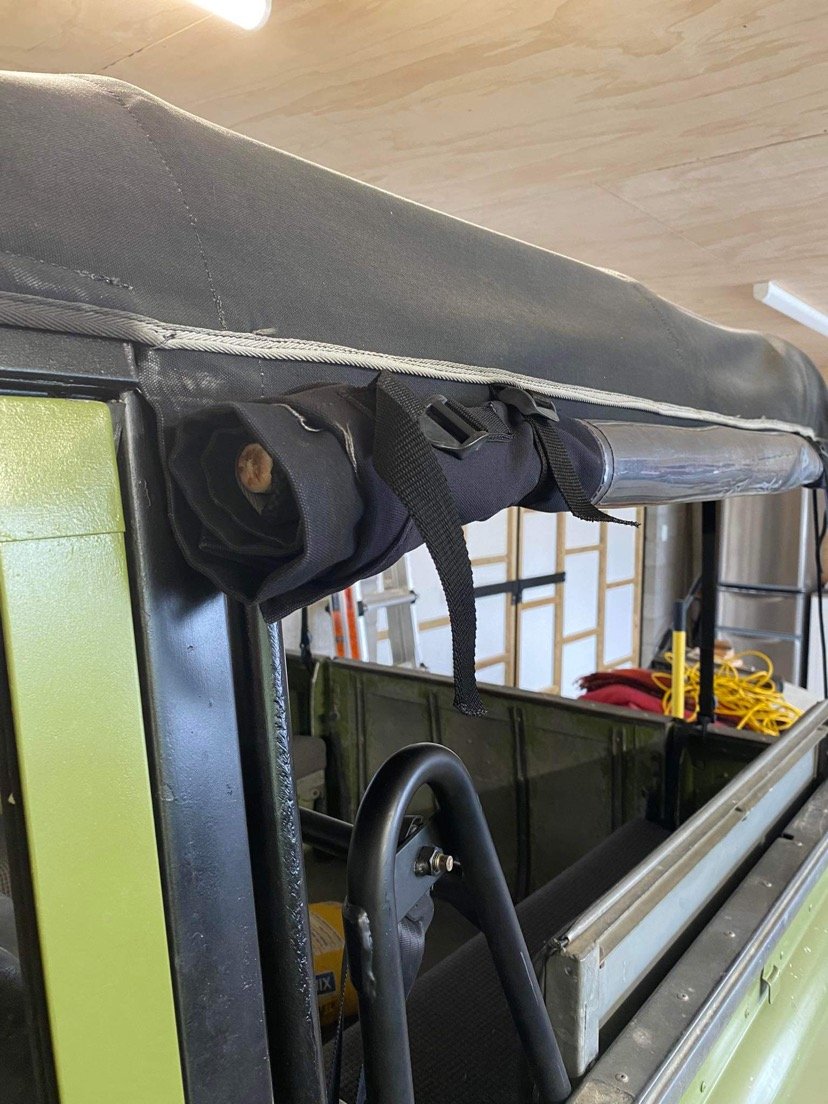
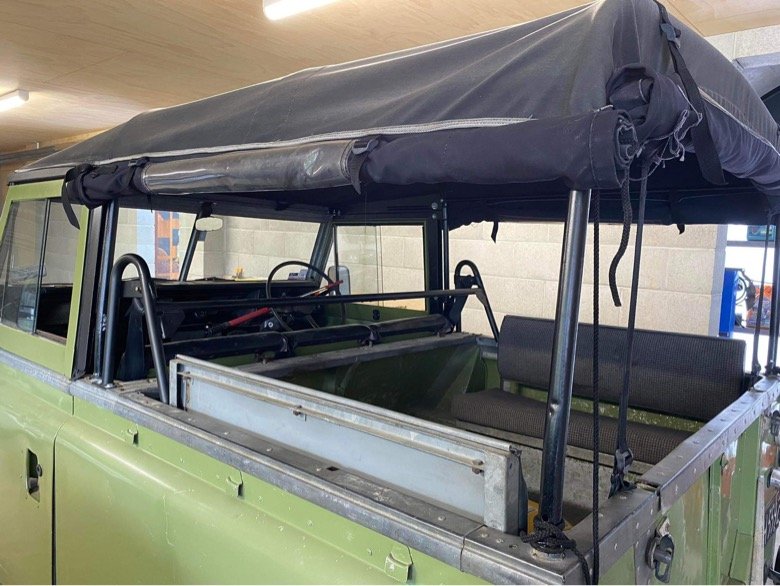
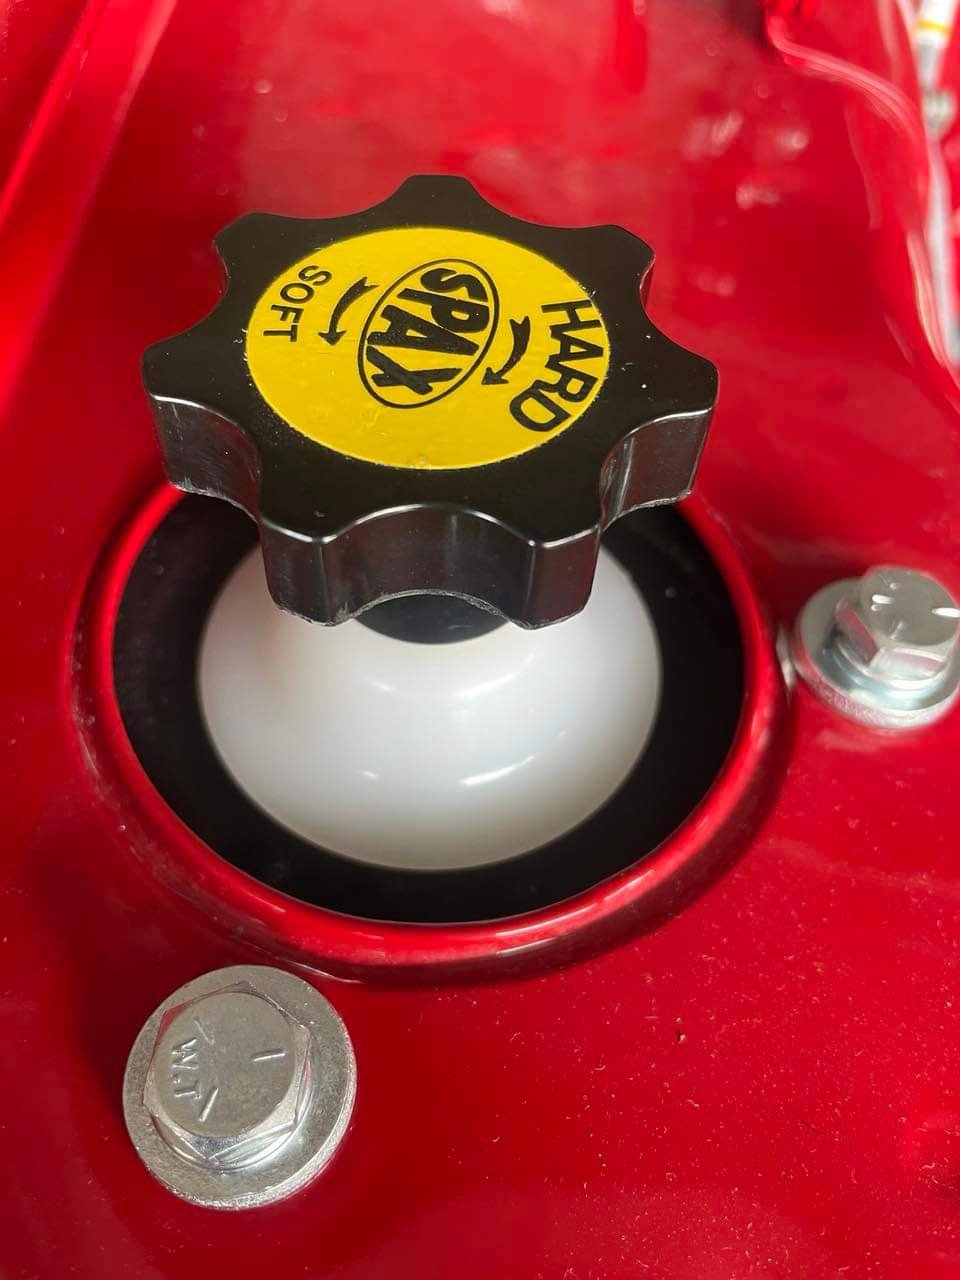
Pulled the floor and tunnel panels off to change the detent springs last weekend. Didn’t know what to expect or if the old ones would be in bits/not even there. But they were all present but a bit more compressed than the new set. Turns out I didn’t need 3 seals, the top one had a recess in the nut: Tightened the gear selector grub screw as it had backed out slightly. It’s no short shift kit but it’s certainly better. Scored a genuine Land Rover tow ball with hitch pin on the tard for 80 bucks. Old one may have become compromised using it to pull tree stumps out a few years ago… Saw a neat trick on Instagram to keep the soft top sides tidy when rolled up. 3 wooden broom handles slipped into the hem of the soft top.
13 points
-
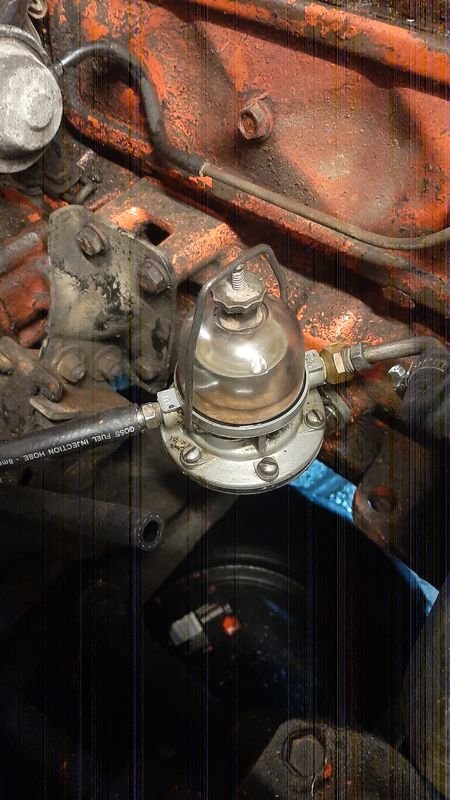
I spent some time dicking round with the airbox as I didn't like the long studs coming up off the carbs, plus the carbs themselves seem to be mounted in a slightly different position and the airbox really didnt like sitting down in place. So I made a new baseplate that fitted nice and put some 16mm tube in there so the screws could clamp it directly through the baseplate. Its a bit cleaner looking too... Then I glued the windshield trim on with some extra and probably non standard fixing methodologies; I am missing the joiner bits but I might just poo the gap up for now once its cured in place. A new and marginally sexier fuel pump arrived and got placed; Ooh and here is my sexy top link what I made in place; So just the rear valance to make, plus probably a heat shield for the alternator as its still close regardless of the wrap. And the alternator light doesnt work for some reason. And I found another sneaky little rust hole in the drivers floor. I should have noticed it as there was a 20mm stalactite of bog hanging down underneath, but obviously I didnt up til now. There is an argument for step drilling it out to 25mm and calling it a drain hole, but I will make a closer investigation. Oh and I bolted most of the rest of the bits back on;8 points
-
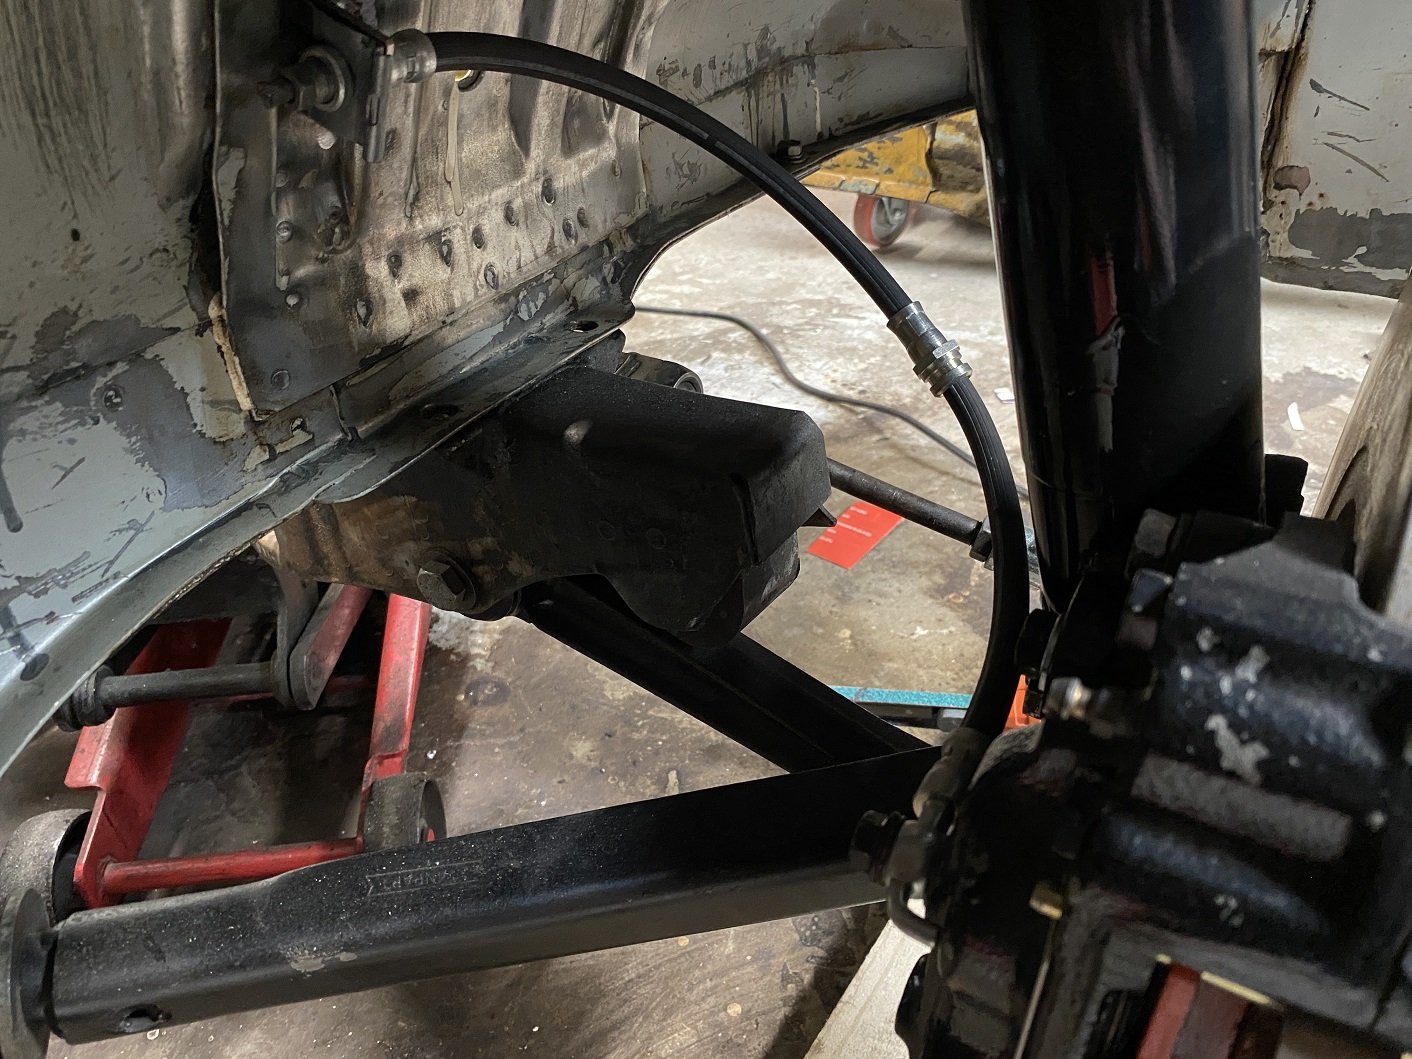
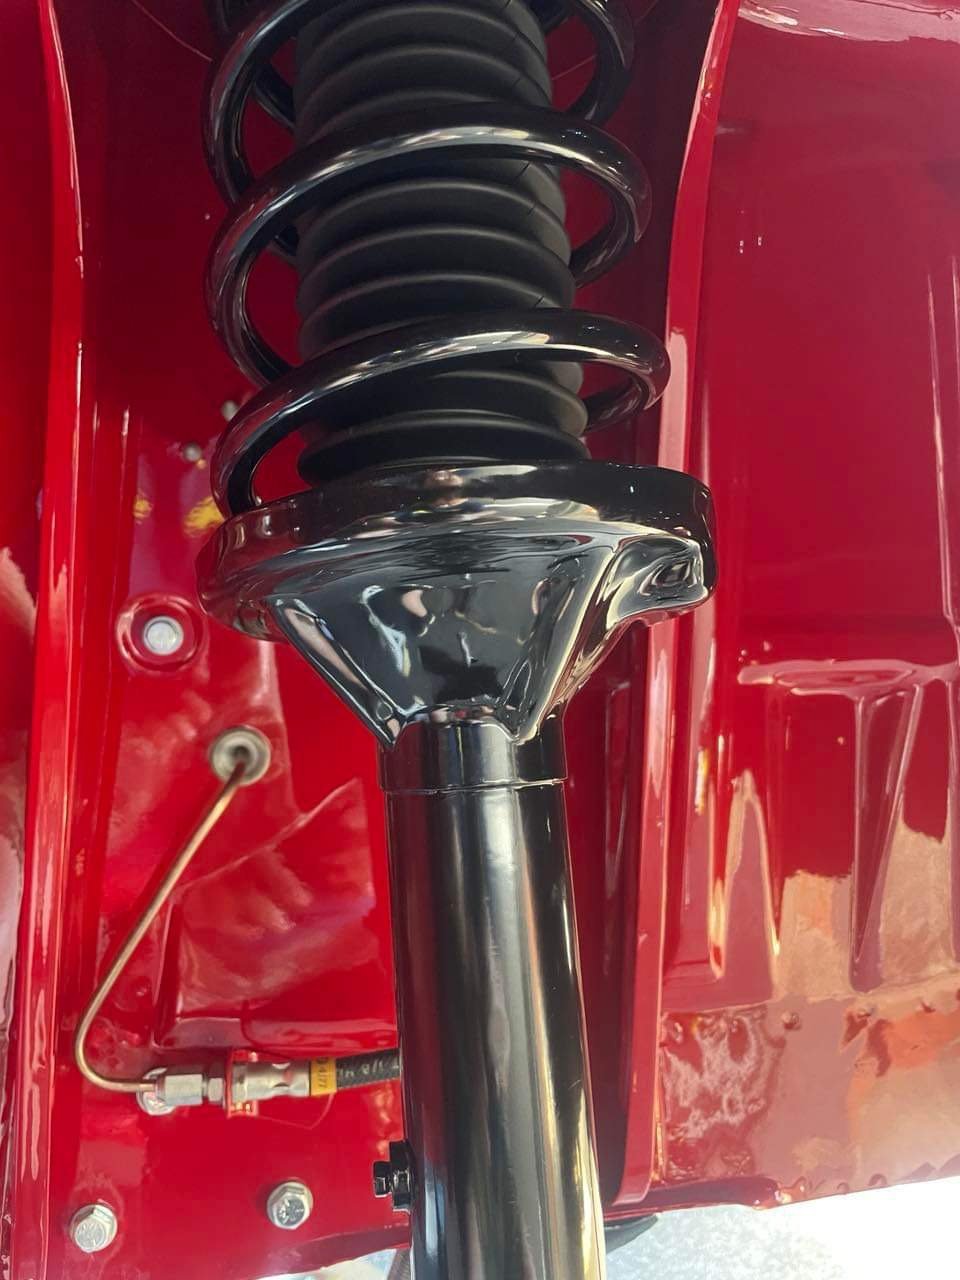
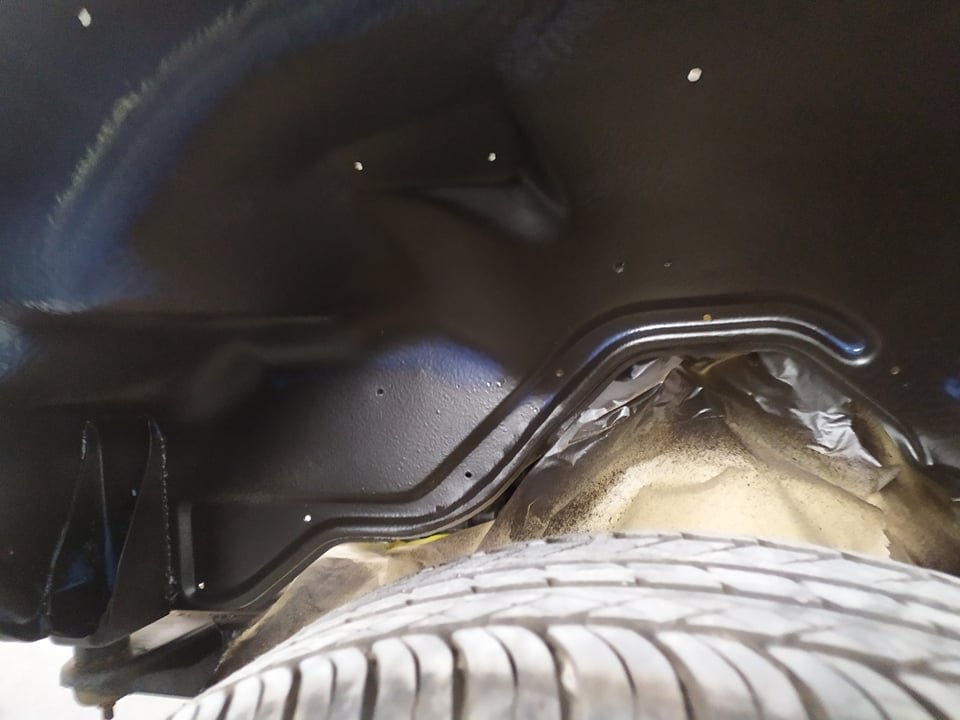
A clutch line. Bent by hand so not robot straight. I made it a little longer than required just in case I need to redo the flares. Hopefully having it go higher than the reservoir do not cause issues bleeding. The reservoir is just on a hose and bracket, so I could make it higher if I needed to. And the hose bracket I made. With the hose like this it keeps out of the way of the wheel and it doesn't get tight from lock to lock. The hardline originally went under the chassis rail, but it will be way too close to the exhaust, I'll run it through the inner wing.
7 points
-
the best barry bullshit yarn i ever got was from someone that claimed their 186 powered land rover was capable of dropping it into 3rd gear on the motorway and spinning the tyres and beating xxx type of cars at the lights etc etc7 points
-
6 points
-
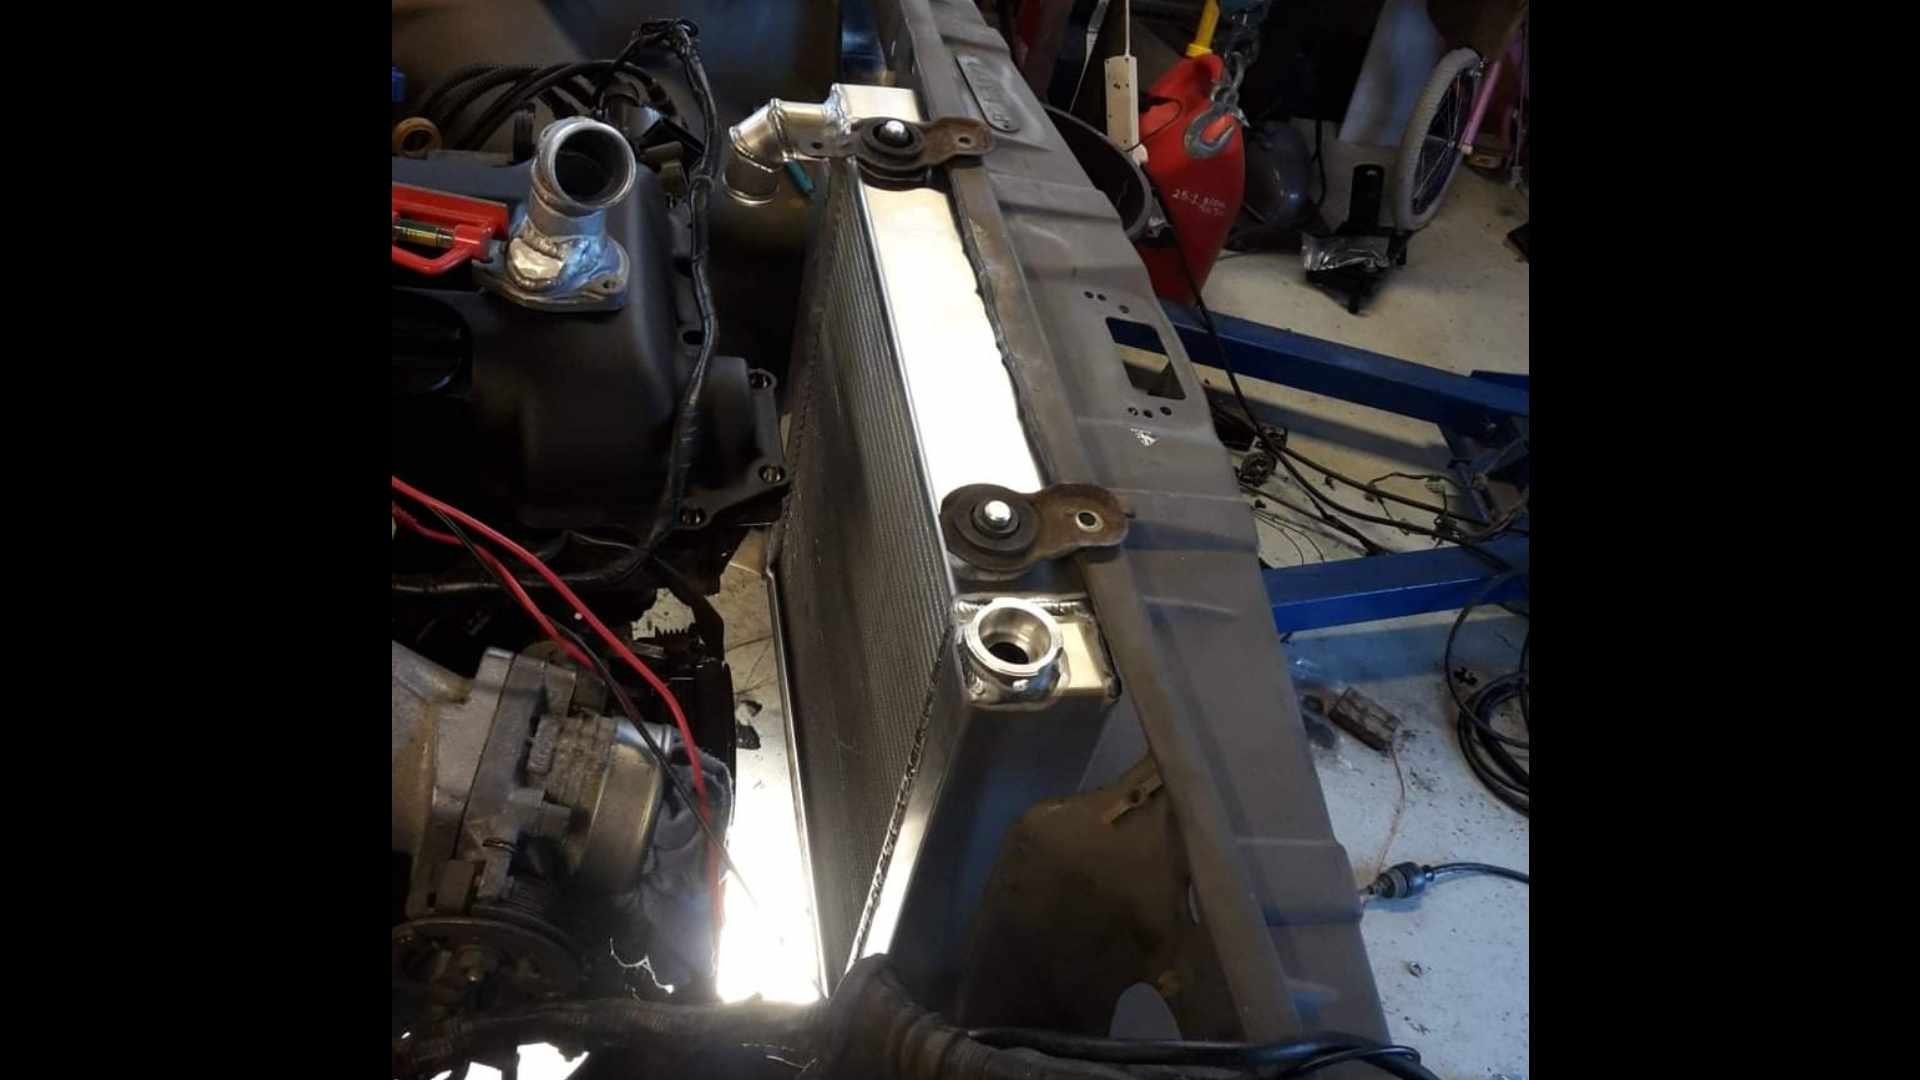
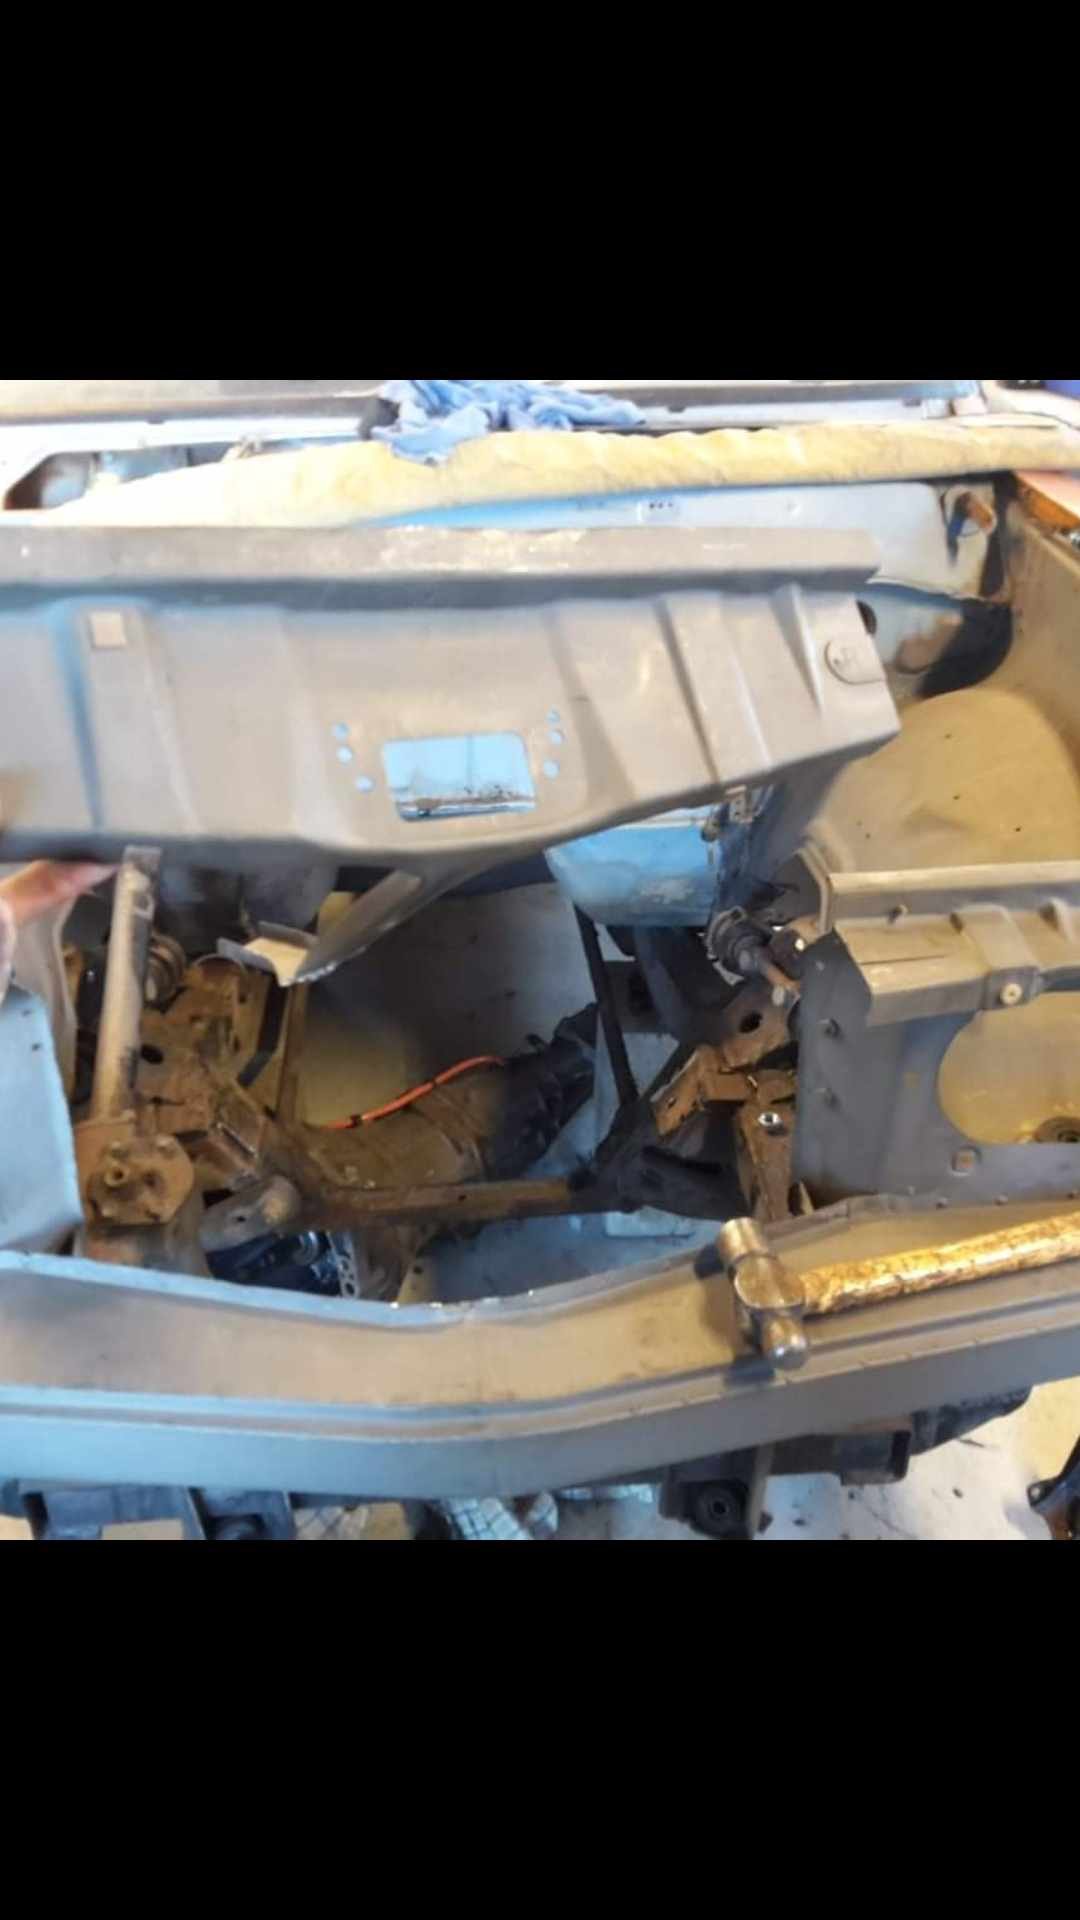
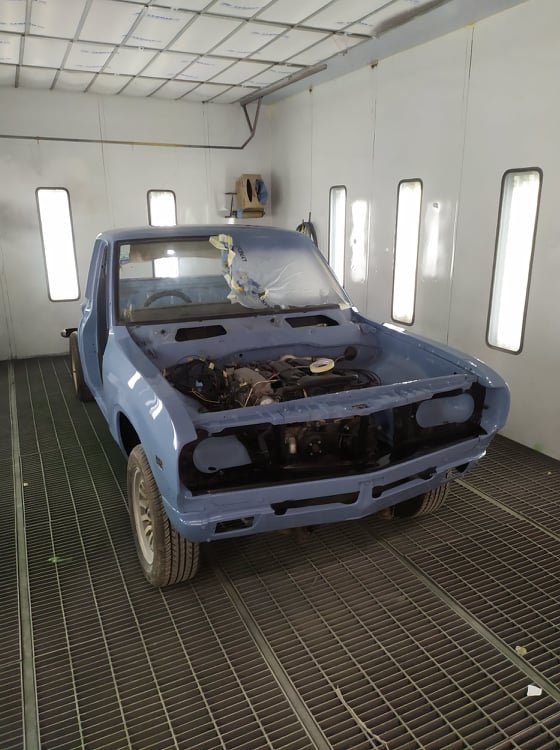
The donor front/radiator support panel came from a farm ute, which had had an L16 repower. Some butcher had gas cut the radiator supporr panel out so they could fit the larger L16 radiator. I tidied this up as best i could (not very well) and got a mate to make me a custom Aluminum radiator to fit in the space i had.
6 points
-
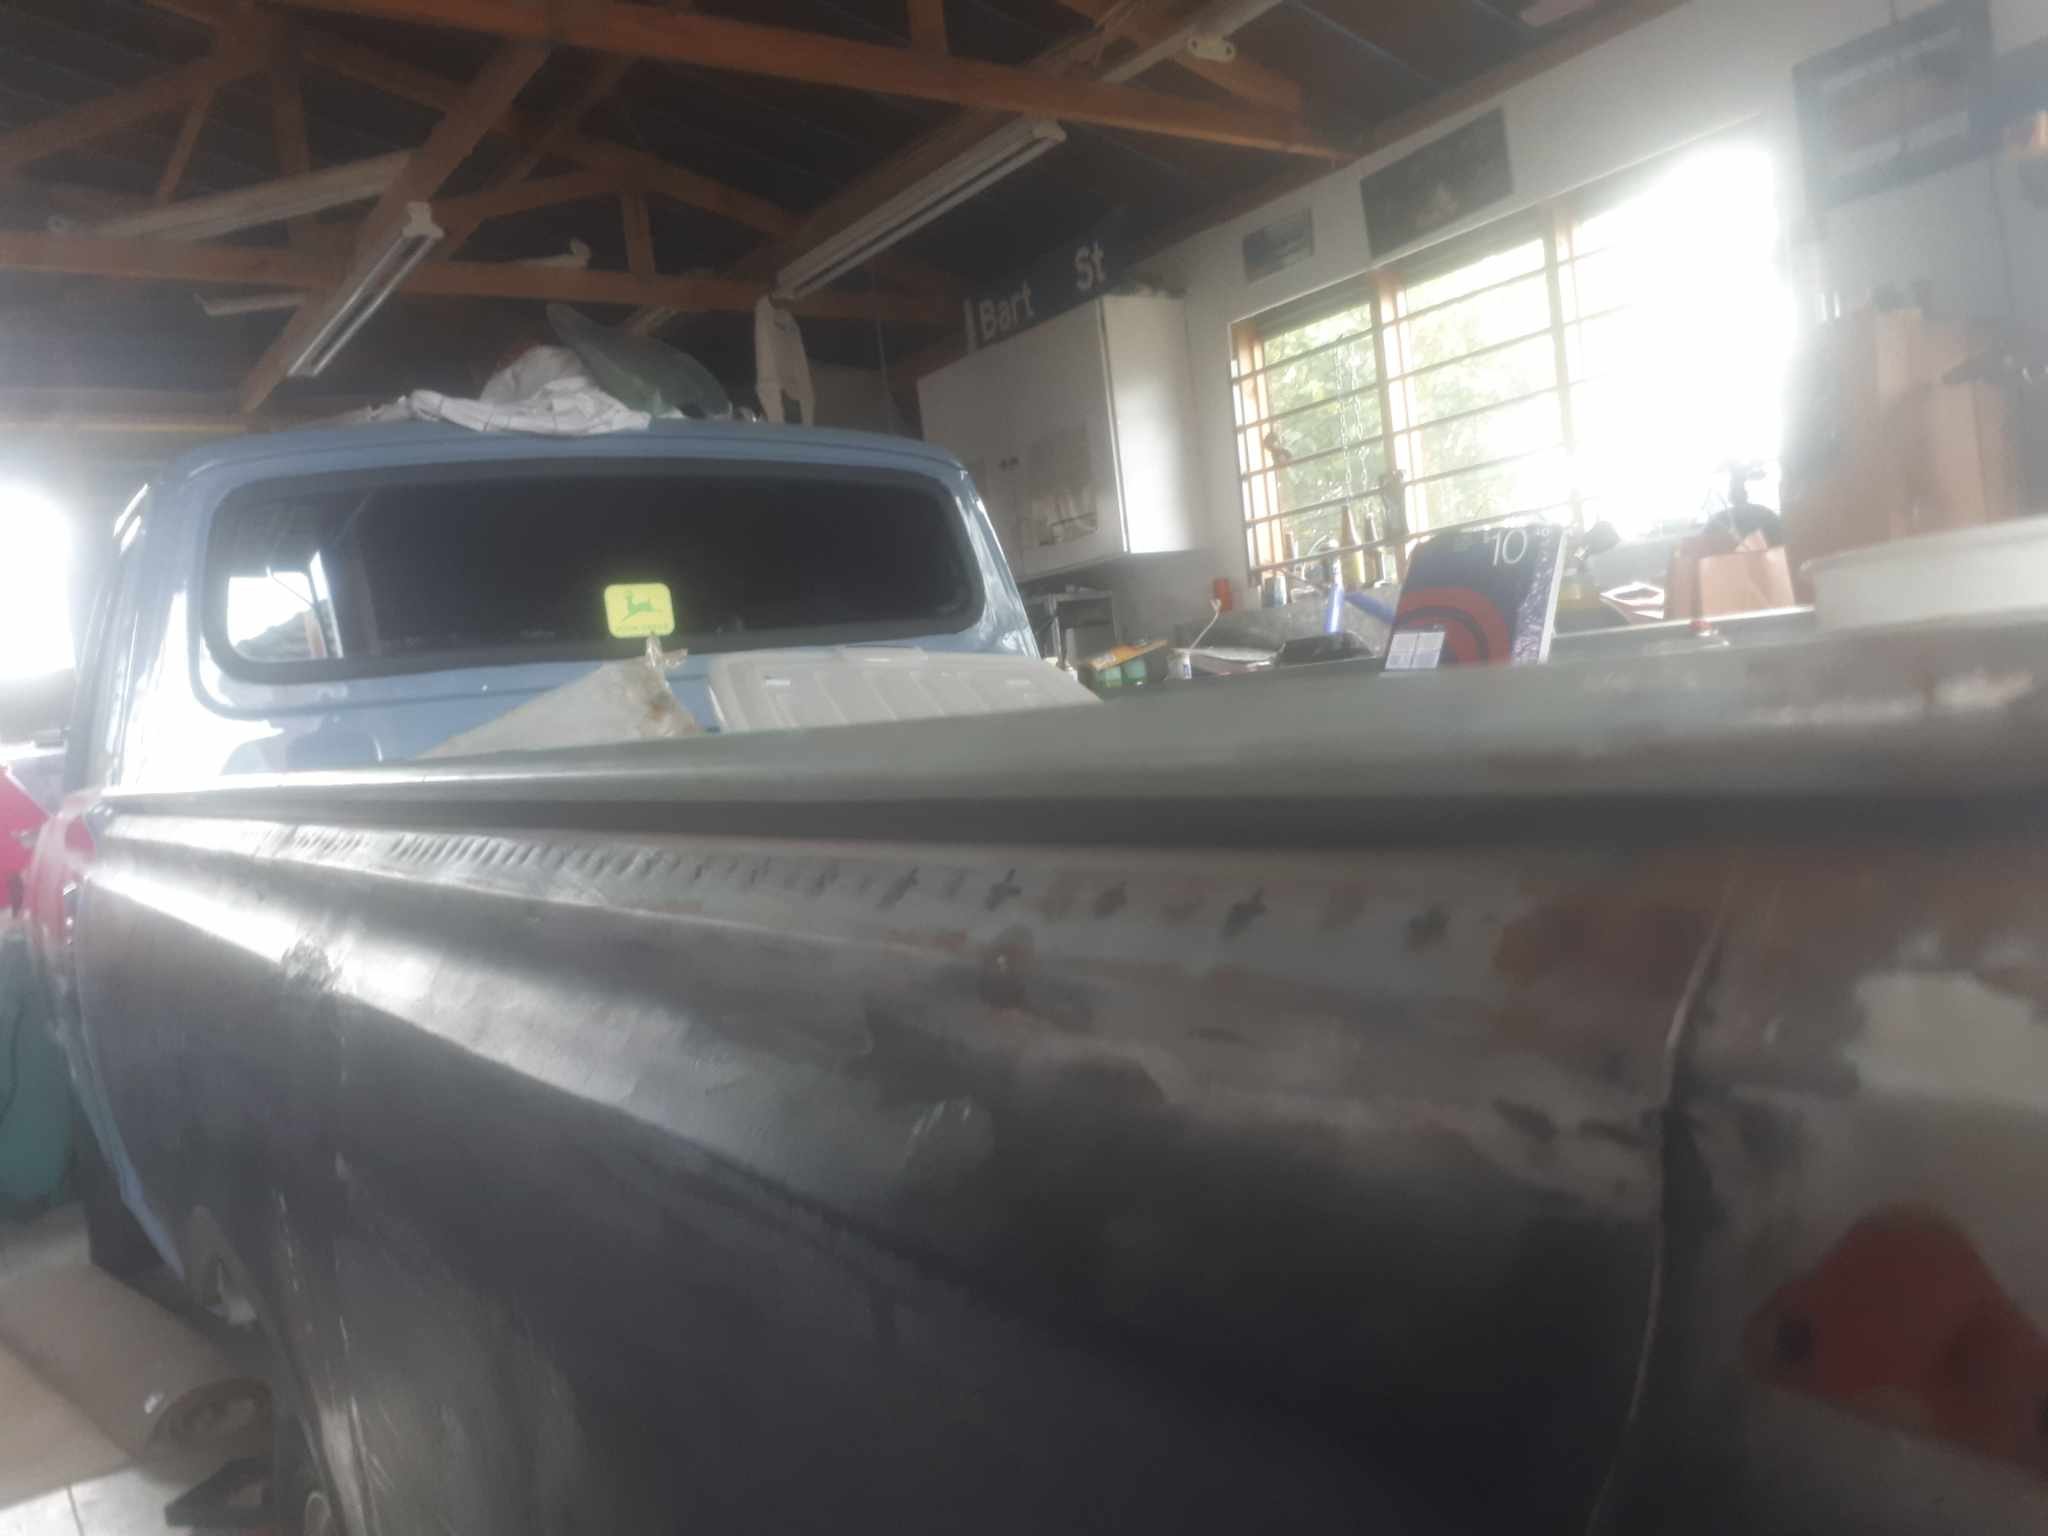
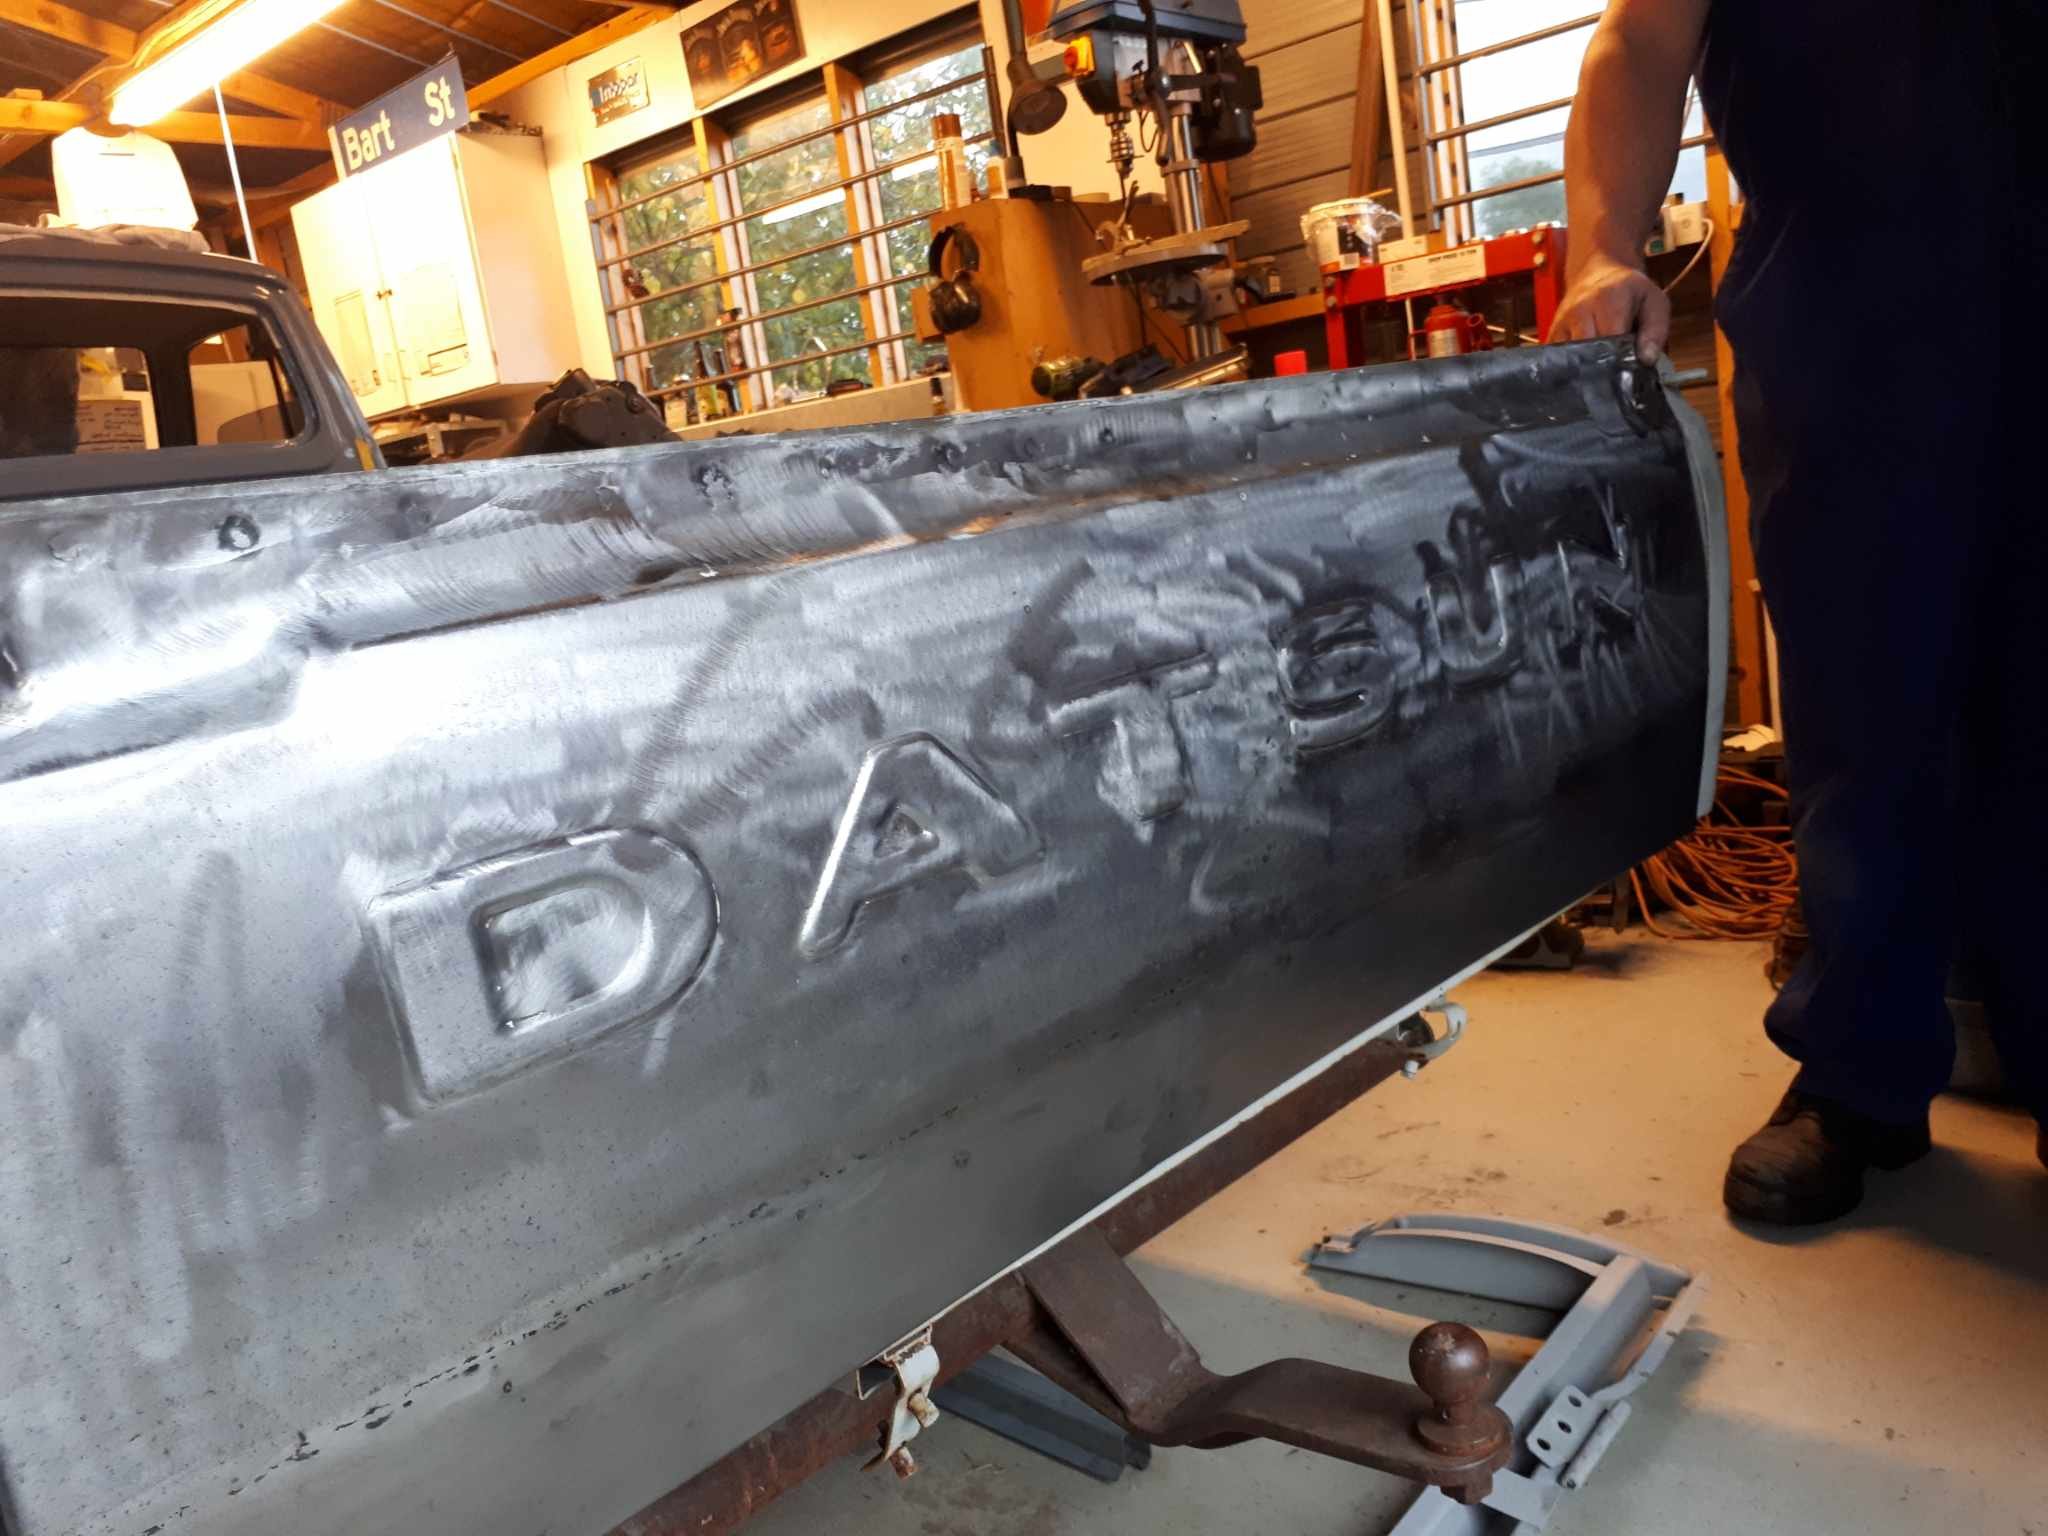
How about that wellside tray i hear you ask? Well, thats an ongoing saga. To start with, i had is sandblasted. Yep, she was a "bit" rusty. it must have been left sitting full of geass or the like i think. Anyway, i was somewhat worse for wear. Dropped it off to a mates shop, and he sid this with it. fast forward to lockdown, and i removed the floor. (It was fuuuuucked) I disovered this was a new Zealand made tray. (Possibly made in Timaru) they had a different profile on the floor, different wheel tubs, no swage around the whel arches to match the front. I replaced the floor with like for like. And a sheet metal mate halped me make new wheel tubs too. ( @JustHarry grafted these in) the same mate helped me reproduce the top edges which were also different. (Harry grafted those on too) Harry also grafted in wheel arches out of some fucked front guards to mimic what a proper datsun tray would have had. The tail gate is actually off a proper datsun tray, and its needed quite a bit of fettling to fit. (The NZ tray is a bit deeper) The tray is still a work in progress. Harry has opted to make new lower sections from scratch, rather than attempting to strighten the mangled mess that was there before.
6 points
-
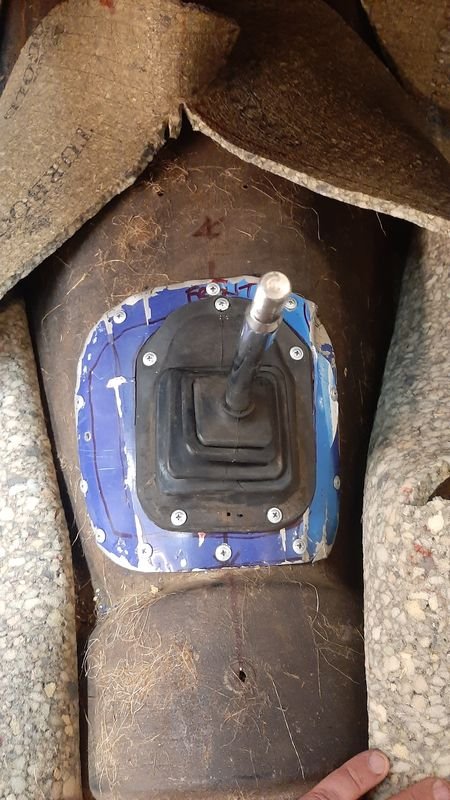
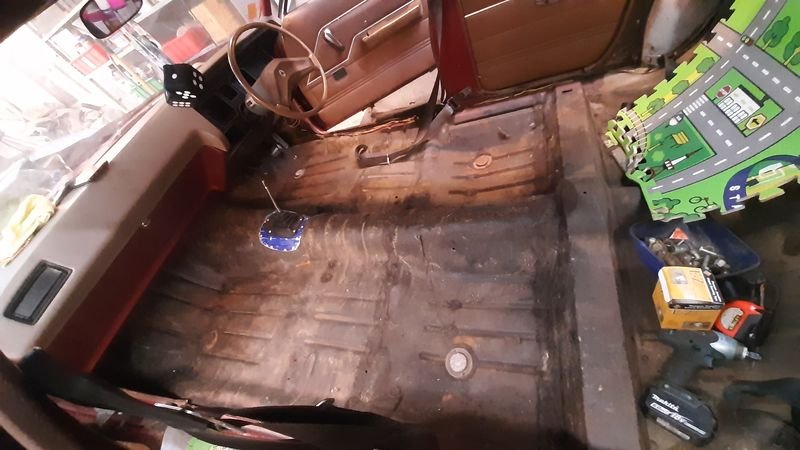
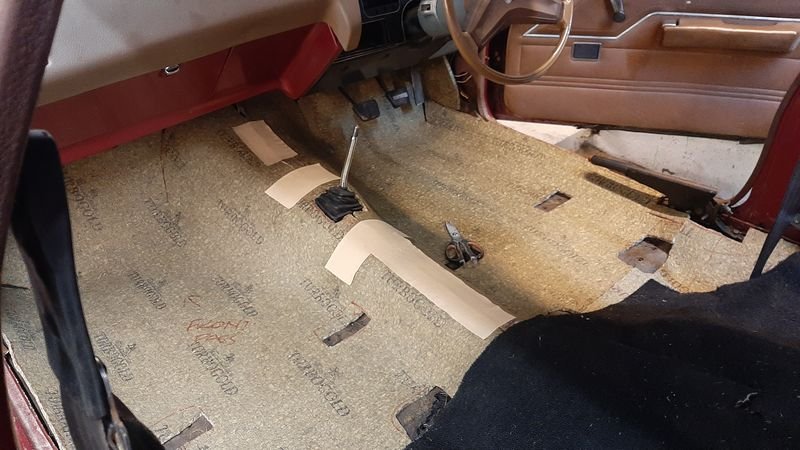
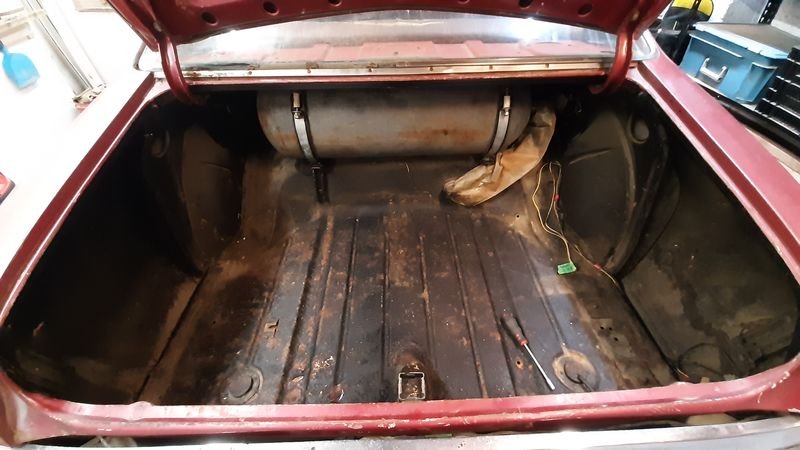
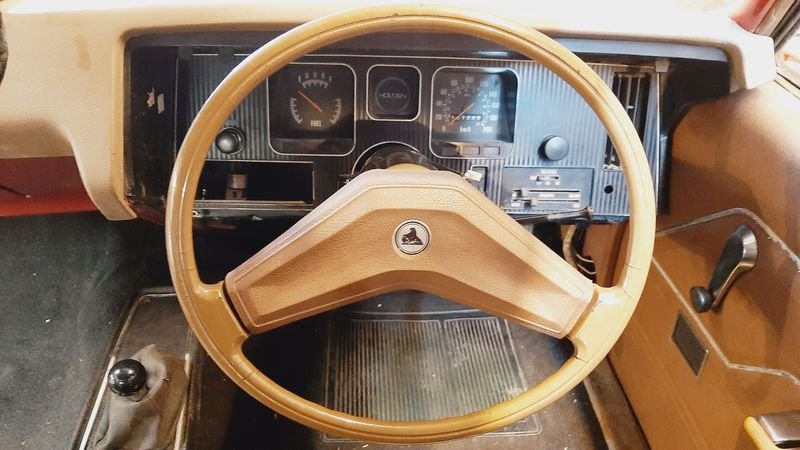
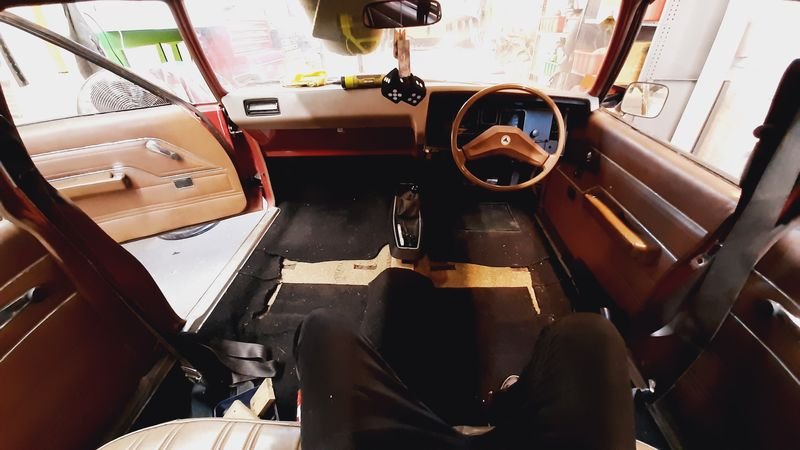
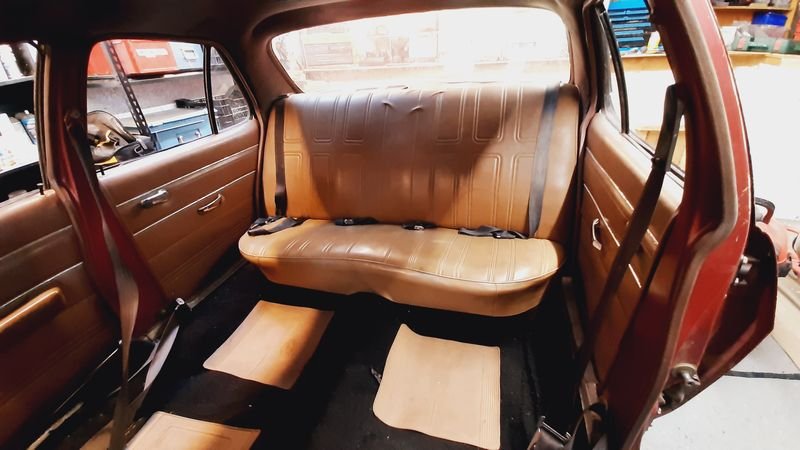
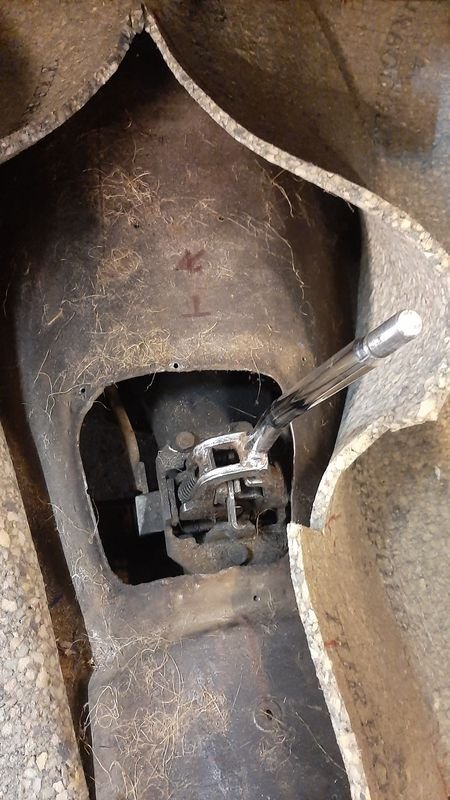
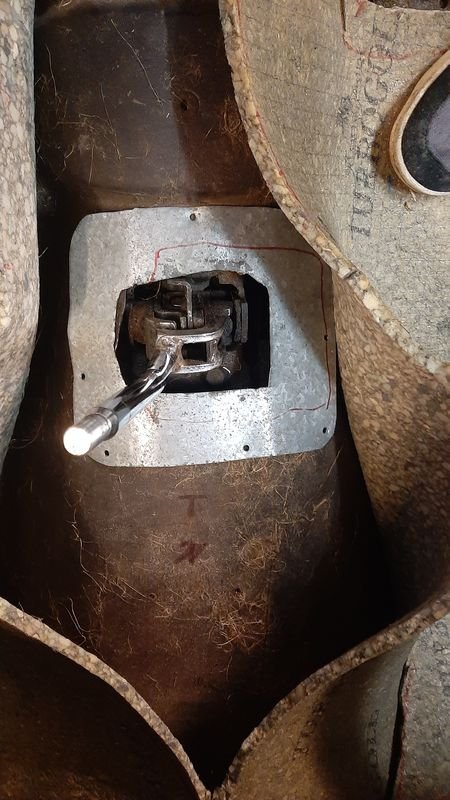
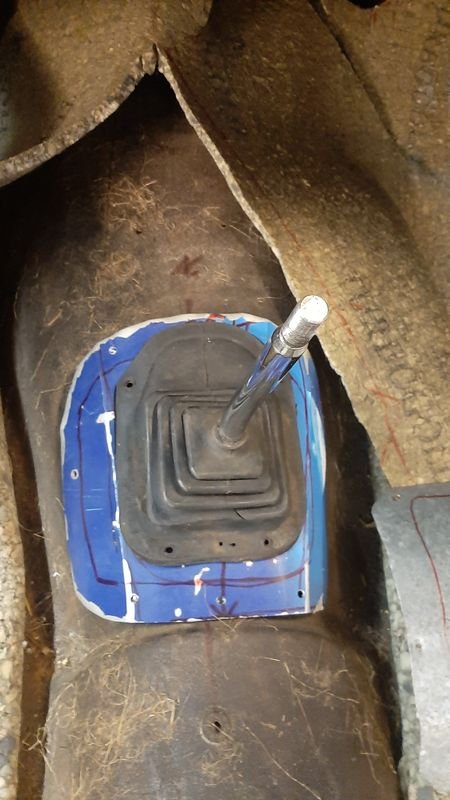
Now we know it runs, next step is to make it worth driving The interior was pretty good condition but there was a lot of evidence of rats eating and storing snail shells in the engine bay and mice droppings in the interior, but no evidence they lived there long, and the shed it was in wasnt water tight so it was all a bit smelly and musty Anyway, all needed to come out for a clean & deodorised the seats, throw away the original horsehair underlay and to make it easier to do a few other jobs, like... Improve the shifter opening, replaced the galv flashing and countersinks that dind really cover the hole with some alloy sheet (from the Sign of the Year! - now in 5 of 5 of our classic cars!) and a rubber boot - adding my first FIAT part Removed everything else and give it a good cleanup. Floor condition is excellent, no rust at all! 'New' Underlay (free second hand stuff) to replace the original horsehair stuff that was a bit smelly and flat. I think the front carpet might be ex-torana too, it doesn't quite meet up with what im pretty sure is the original HQ rear carpet. Both carpets are in nice nick, and we will cover the gap (which under the seats) with some cheap nylon outdoor carpet from m10 that we will also use for the parcel tray that is also unmolested by axe holes for 6x9s etc. Rear came up nice as well, car has a tan interior with dark brown headlining - class! Removed the steering wheel spayed the steering column black (was grey and still has the column change mech in it) and tidied the (omg its so janky!) dash up a touch, and the wiring behind it mainly by removing anything that has added in And then remove the dead weight out of the boot to make room for bodies and crates of DB Its easily 80kgs, empty Things will likley slow down a bit now, as from here its time to start spending money on parts, most likley starting with brakes which i have not even had a wheel off yet to even check what they are apart from being discs up front and drums out back) I suspect the weird too easy/dead stop half way pedal/no brake function issue is the piston is jammed halfway down the master cylinder, as there is no leaks from any soft lines, and lots of fluid in the MC.
6 points
-
I think you should use some 10mm thick angle iron and be done with it. Man up.5 points
-
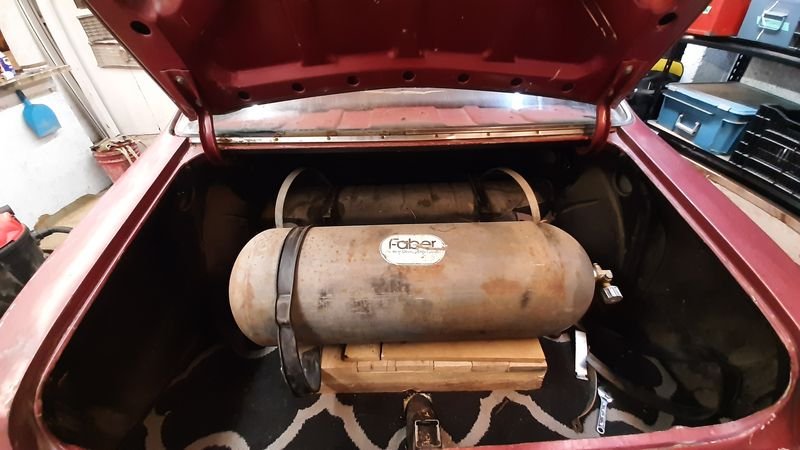
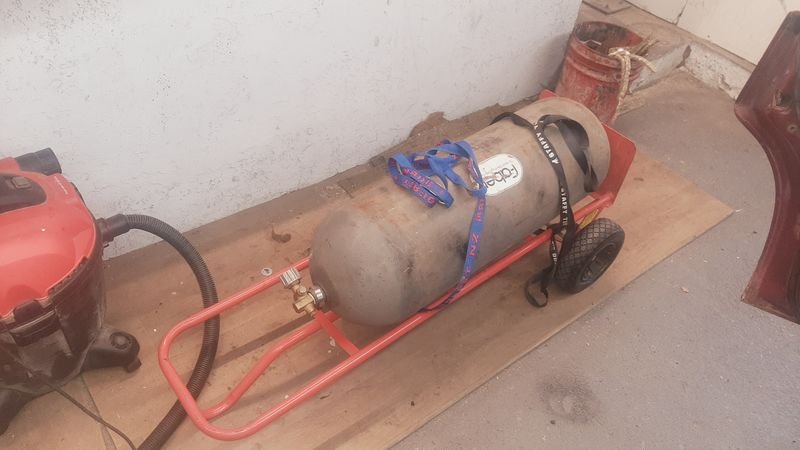
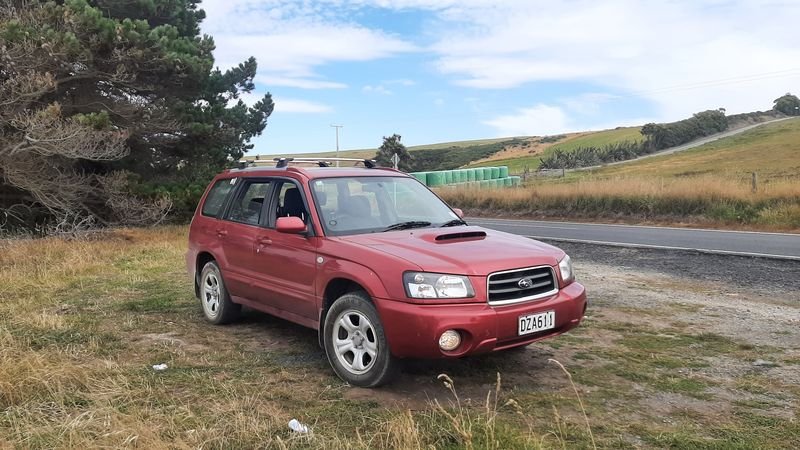
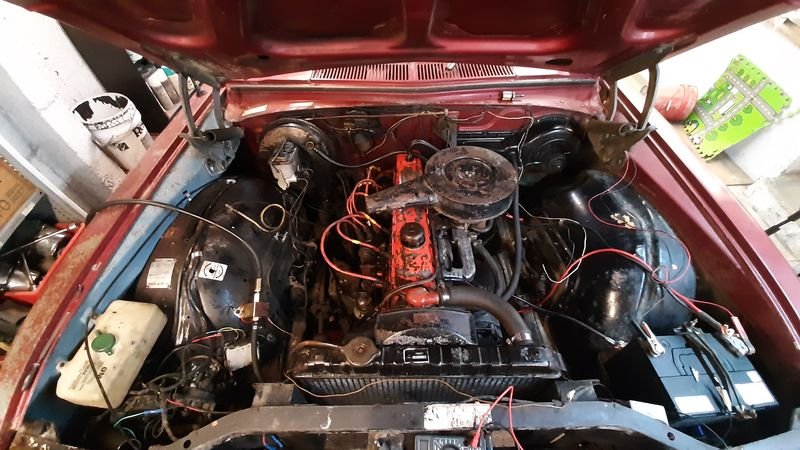
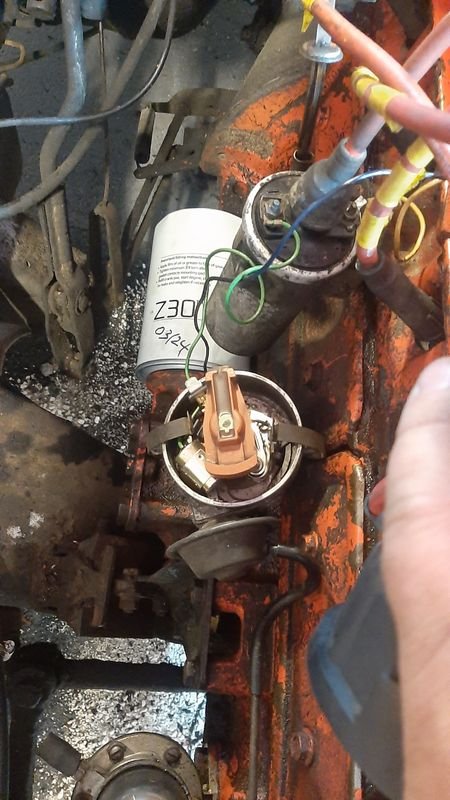
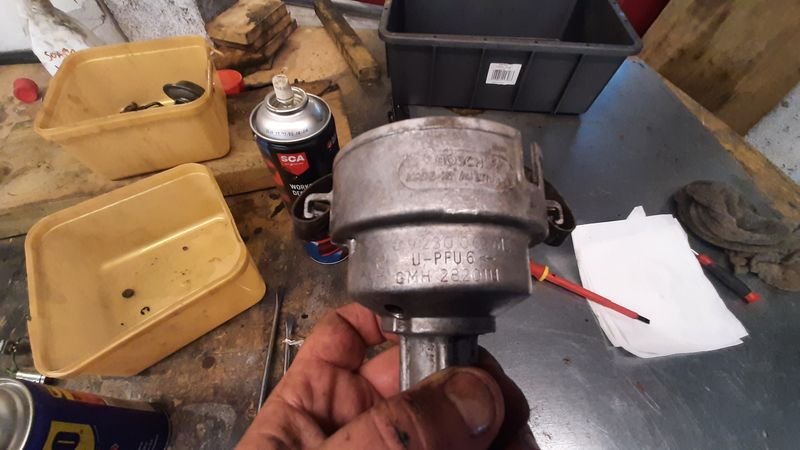
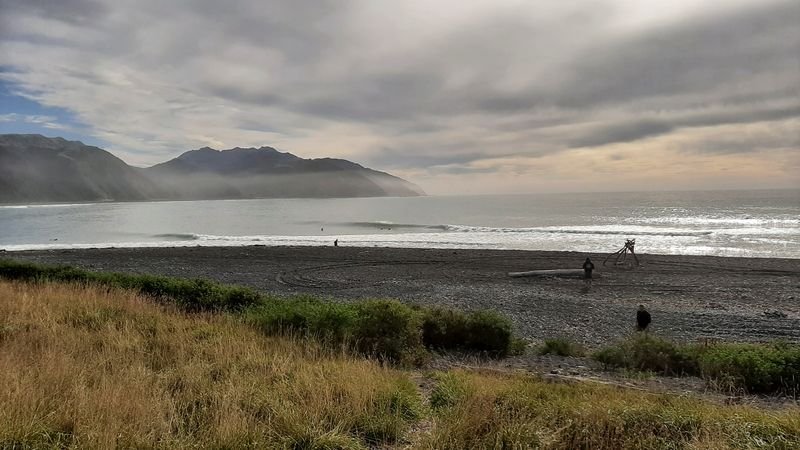
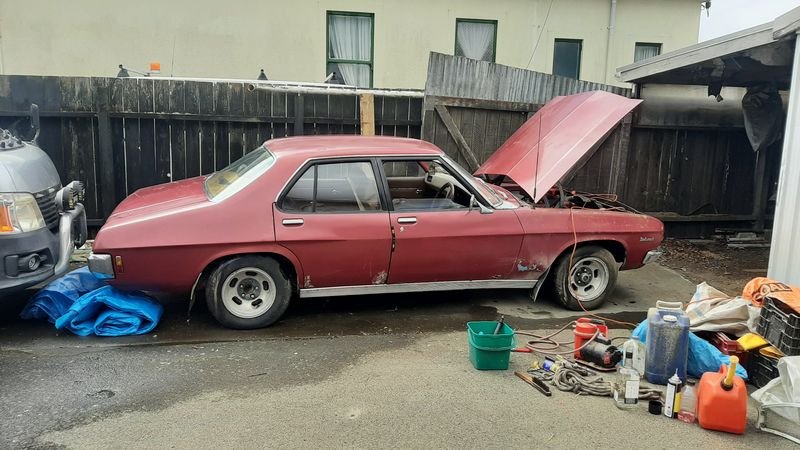
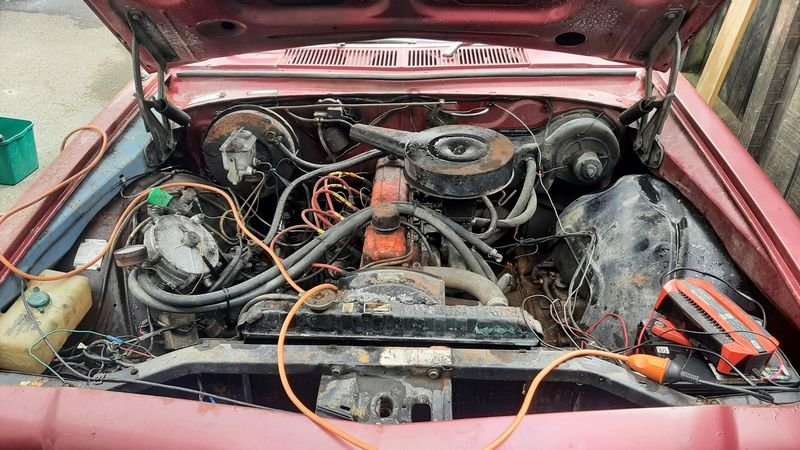
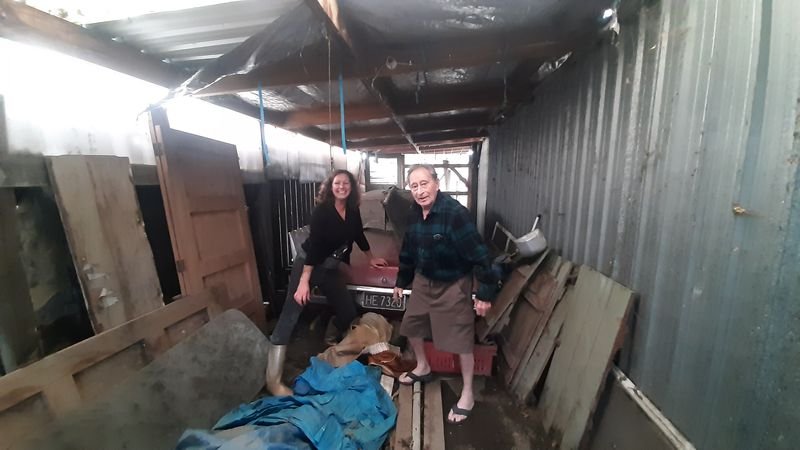
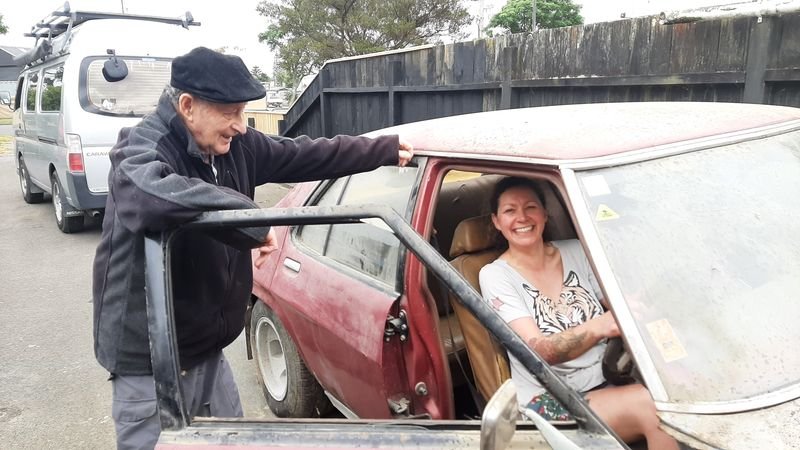
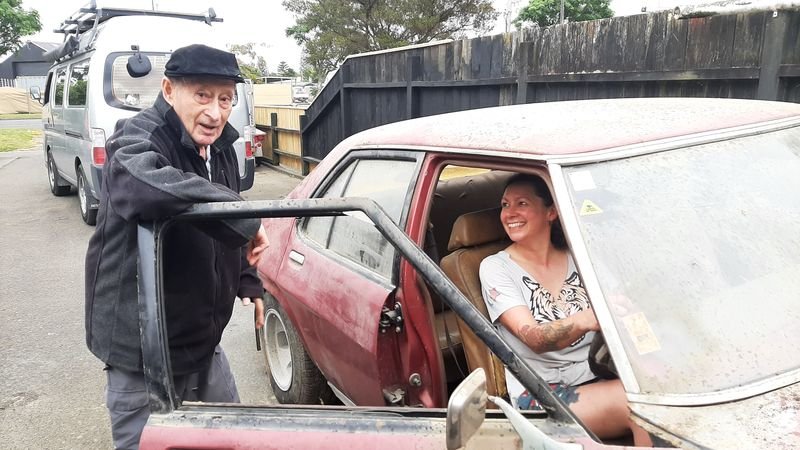
Ma te wa to Bill and whanau, then we headed home, with our van loaded up with other treasure from the shed(s) Forgot to mention i got jealous of her getting new car, so I got me one the same colour as hers on the way up. Given i had to drive this, Kirsty was driving the van the whole way home, she was none too pleased about it (But, yes it is better than my current 2005 Forester X its replacing in every way, thanks for asking - 2002 XT, totally stock, sub 200k and after a few wee issues (MAF sensor, oily connectors, new spark plugs) it really kicks when the whirly boi winds up!) Good Day in Welly before overnight sailing Breaky fry up in Kaikoura a quick stop to rise the north island off And about 3 days after we got home, this turned up. Used Classic Towing - worked out fine, but lucky both Bill and myself are home most of the time because the communication around changes of plan was a bit lacking tbh. The man can sure back a trailer tho. Its a fricken whale compared to my 'big' Fiat, an easy foot wider. Time to poke the bear First thing, remove the CNG stuff from the engine bay. Not only is it unfillable, the electrics are one of the layers of fuckery (the least bad to be fair, but also totally redundant), the tees that loop into the factory heater coolant lines to stop the regulator freezing up were corroded apart, and the carb hat gas injector thing made the air cleaner butterfly nut rub on the underside of the hood. 'New' heater hoses (from the old CNG line) and a bit of a wiring tidy up Fuel pump clean (no go in Feilding, leaks like a sieve now, still no pumping action), now bypassed with a clicketyclack, needs a rebuild kit (diaphram and gaskets) Carb cleanup, was pretty clean inside the bowls etc, works ok now, needs a kit too (tore a gasket) Sitting clean on the still very oily 173 Dizzy removed, cleaned and oiled, gap reset, but all the points, cap, rotor, leads and sparkplugs all look relatively low miles Changed the oil and filter (black and smelled like petrol but no chunks), re-crimped a new loose connections, taped some twisted wires, removed some vampire taps and chock blocks as well Put it back in starting from first principles (ignoring the marks, get cylinder 1 on compression stroke at as close to tdc-ish you can with a long thing in the spark plug hole, rotor pointing to lead 1) and it was about 90 degrees off where it was before - dizzy couldnt be turned enough to get the right timing, so i wonder if it had been tutued with before and the hassle of it not running well was why it got parked. Bill did say it had several minor issues needed sorting out and they got a newer, better car and he just stopped driving it. Anyway, buttoned up and after some further fine tuning it starts on one pump of the pedal and idles smooth. Not smoky (any more) Still no coolant or brakes.
5 points
-
I think the 1/24 scale aspect of this thread went away a long time ago lol4 points
-
Rookie Daves diesel mobile doggin unit4 points
-
Aahhh so these injectors might be okay, at least for starters. I left them all to soak in CRC overnight, then made a up a lead to tap them on/off straight onto a 12v battery, and they all clicked. So then I setup the injector test mode in the ECU to run them through 10,000 cycles while they were full up with CRC. Then tested all 6 outputs on my loom and they're all working. So they might have just been ever so slightly stuck. They still might be partially blocked or whatever, but I'll flow test them first to make sure they are balanced and that the spray pattern looks okay. If I can avoid a $500-600 bill for new injectors, that's money this month for stuff like the exhaust which is much better!4 points
-
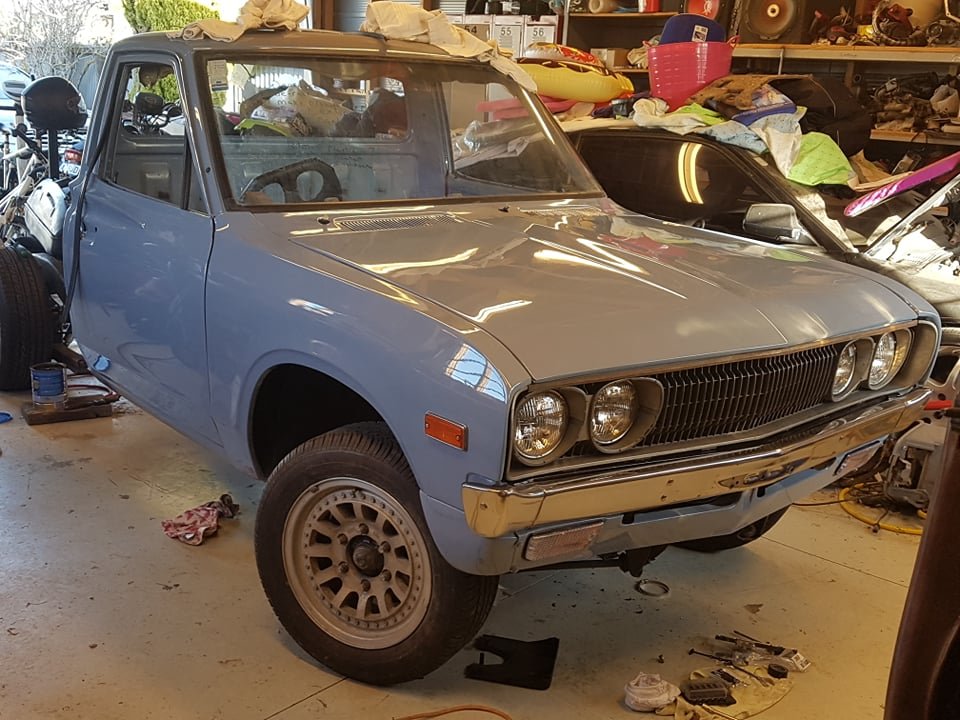
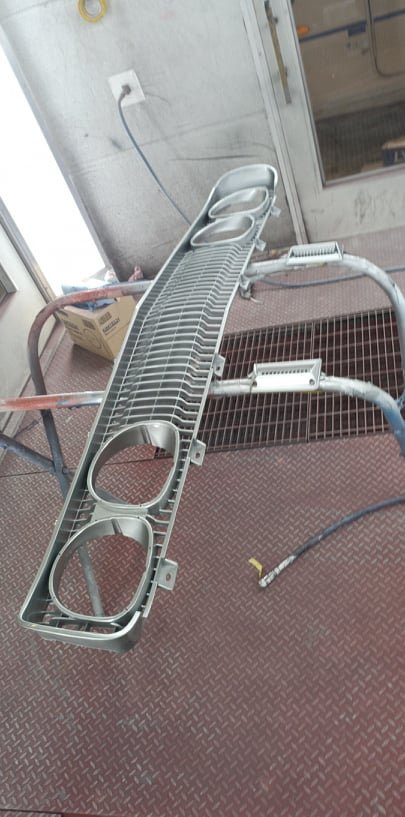
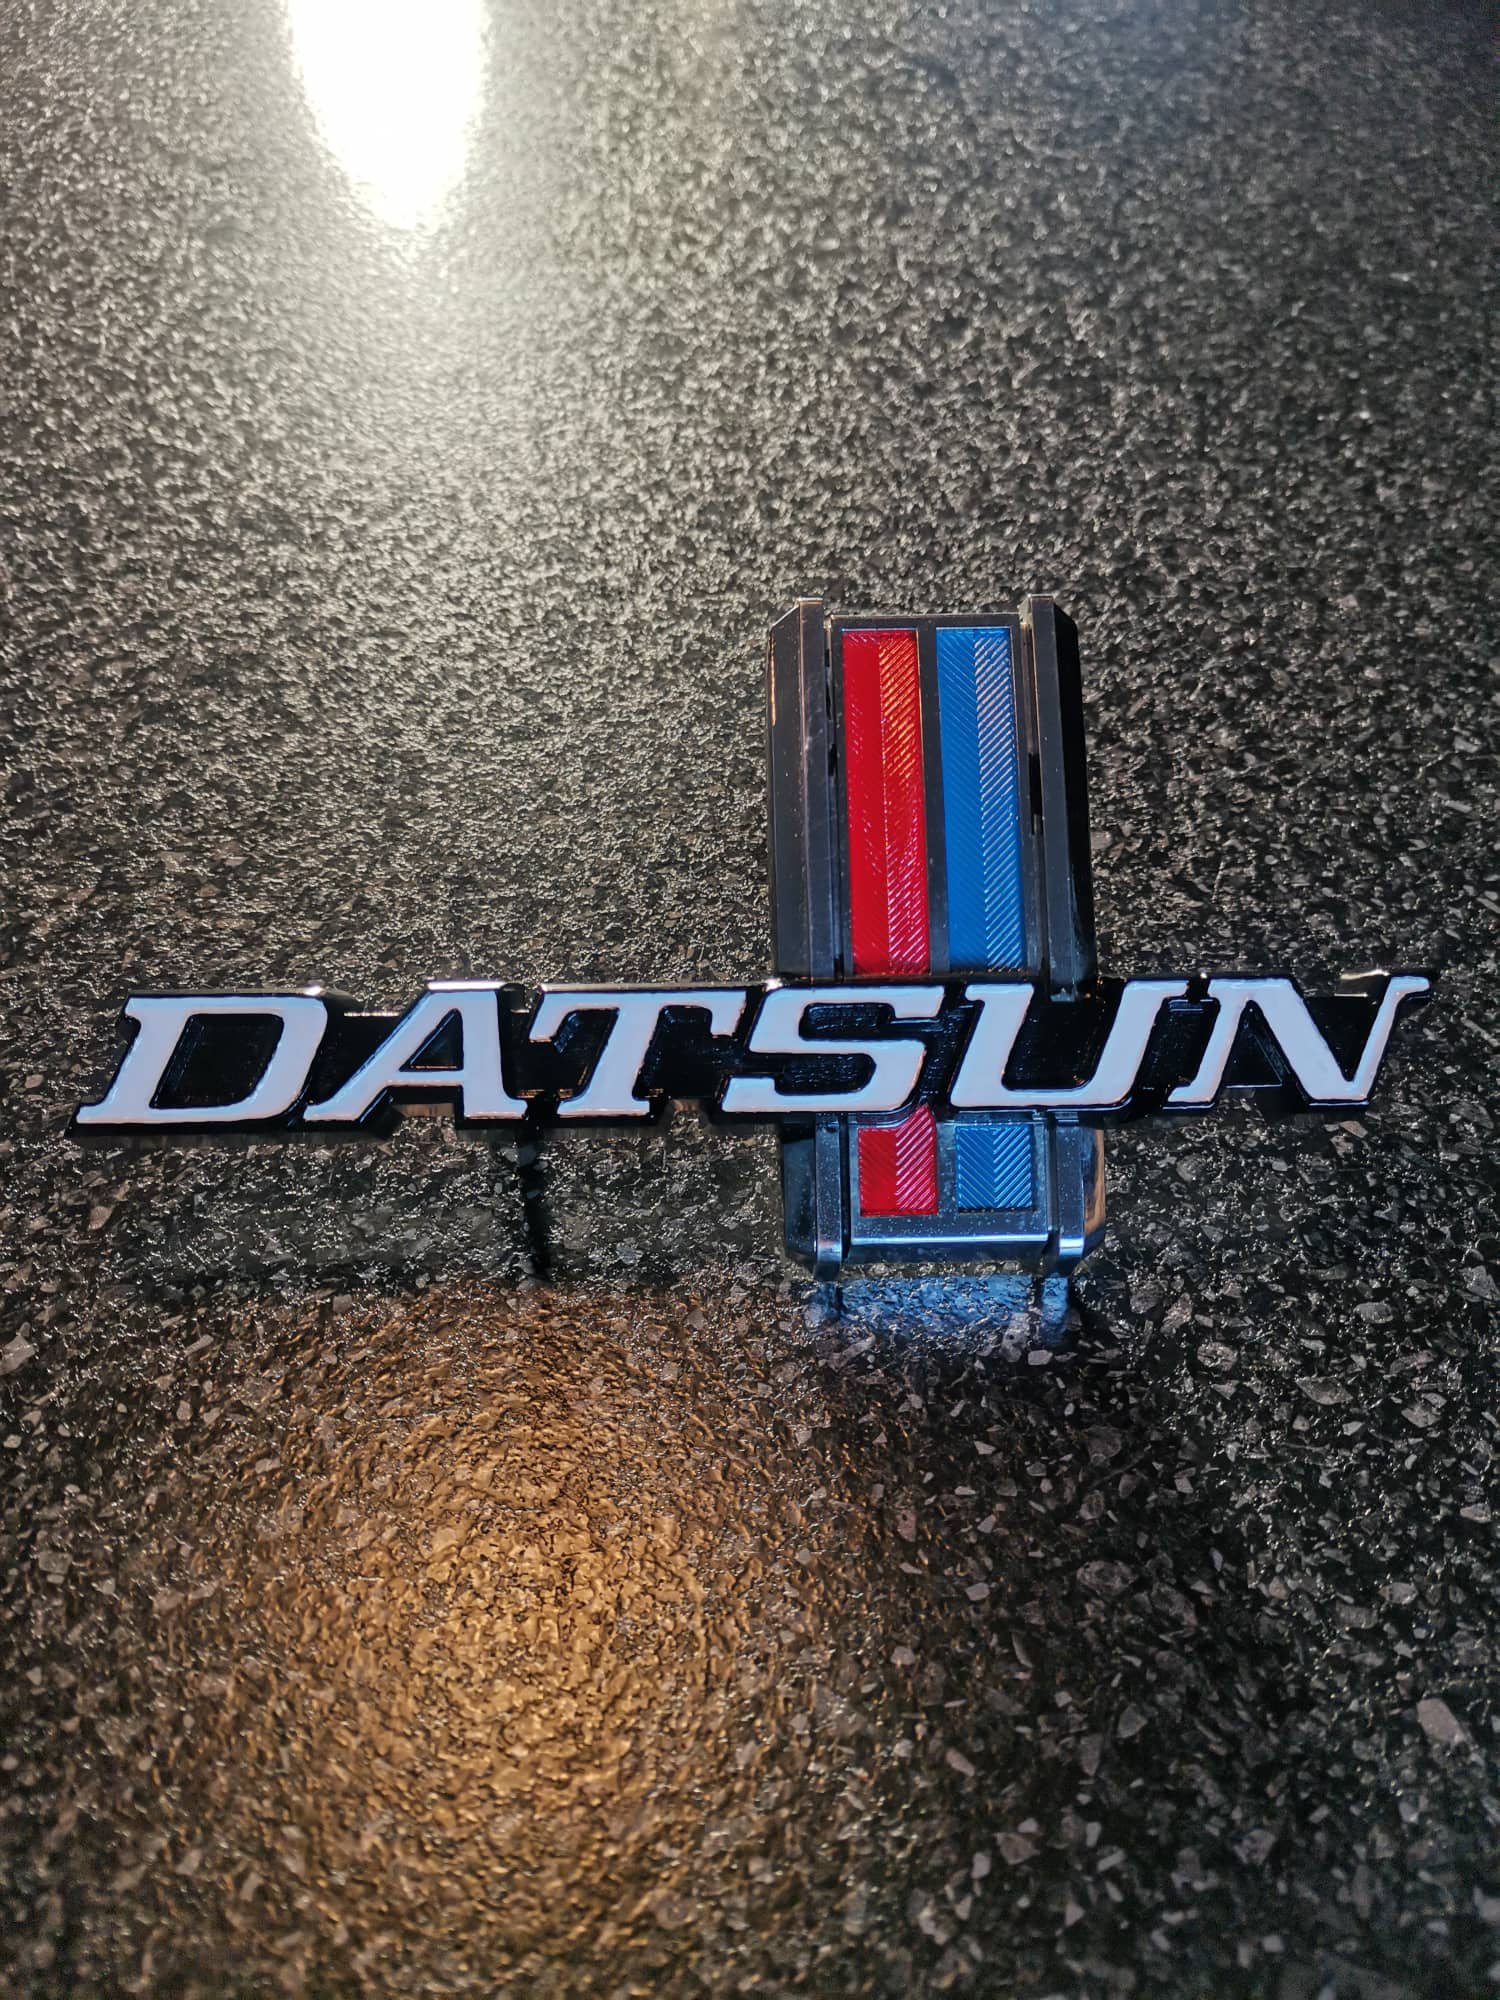
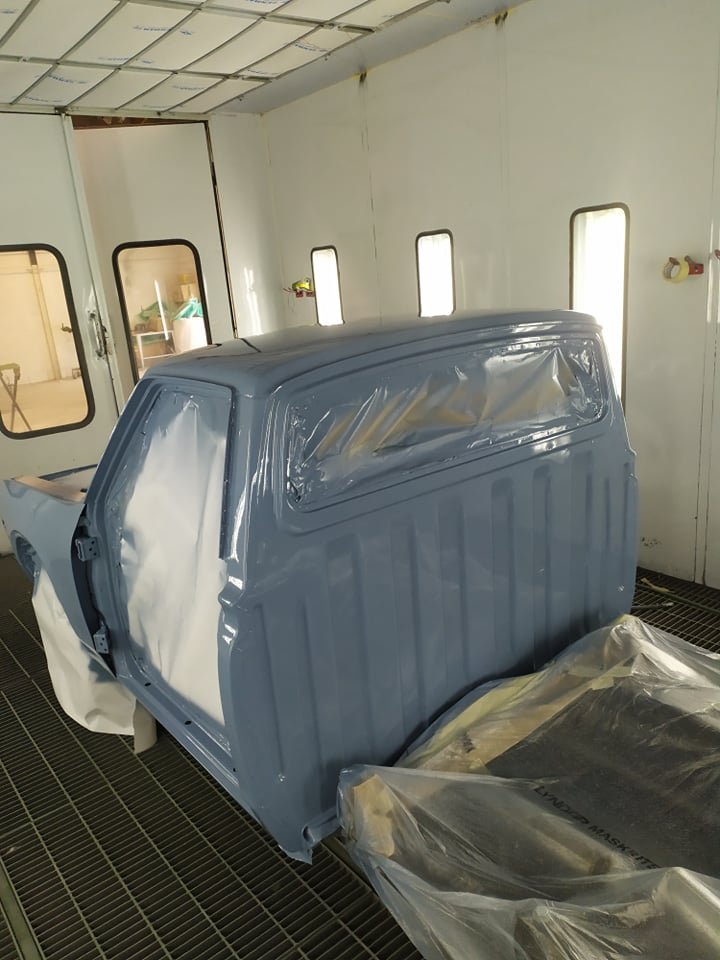
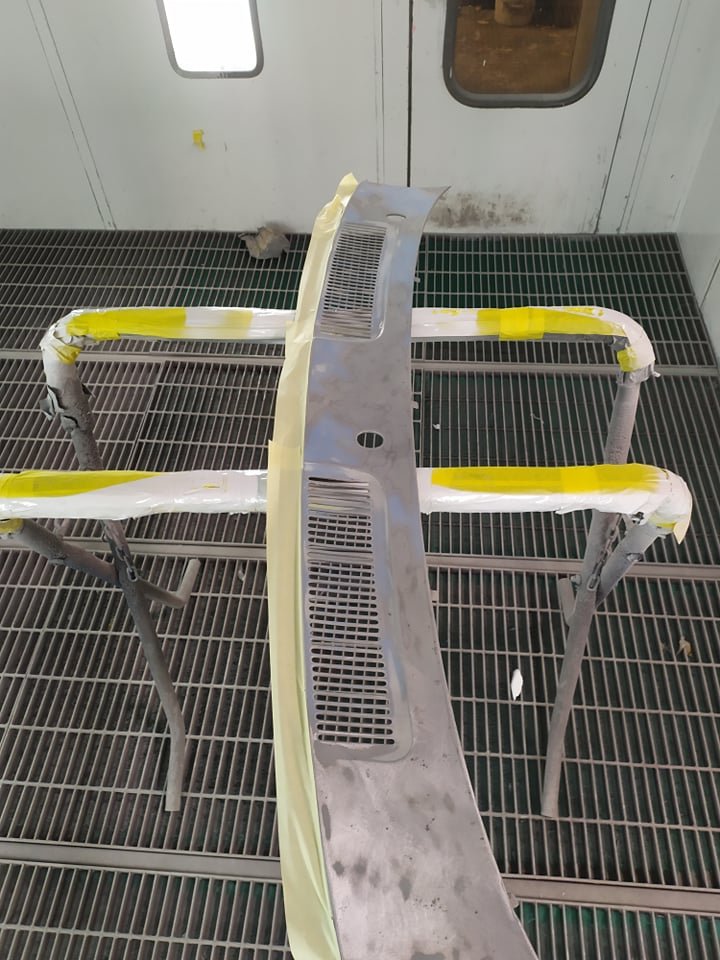
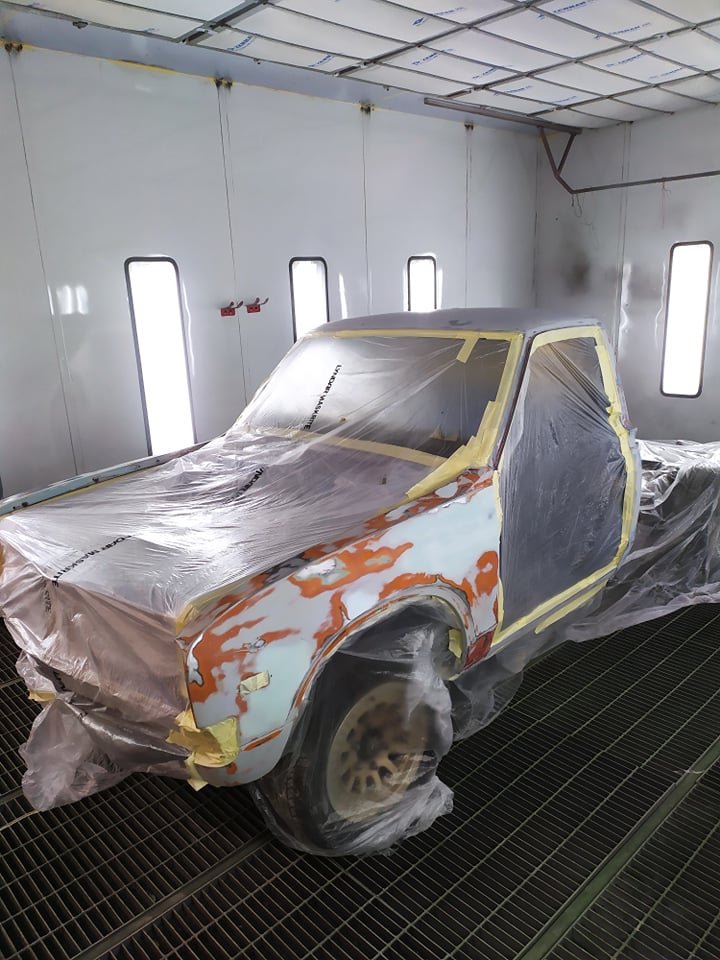
You can see the grill just didnt look nice enough with the rest of the truck painted. So once again i called on Hamish to give it a birthday for me. And the grill badge likewise looked pretty used. I enlisted the help of @filthy one mrs (Gemma from twisted sister customs) to give it a birthday for me.
4 points
-
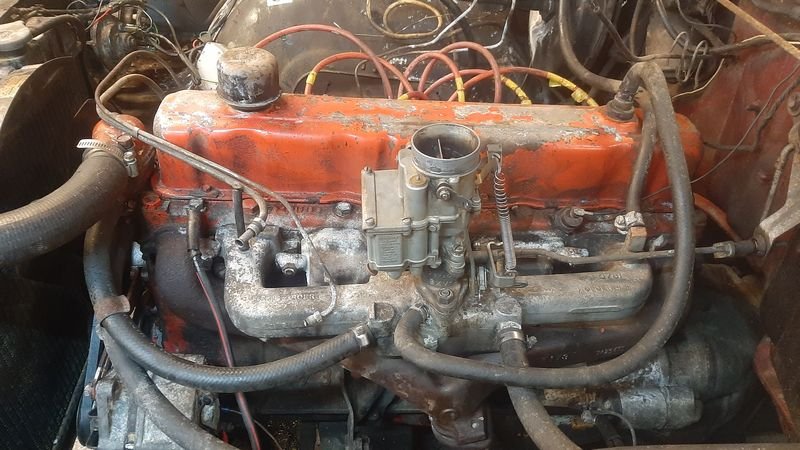
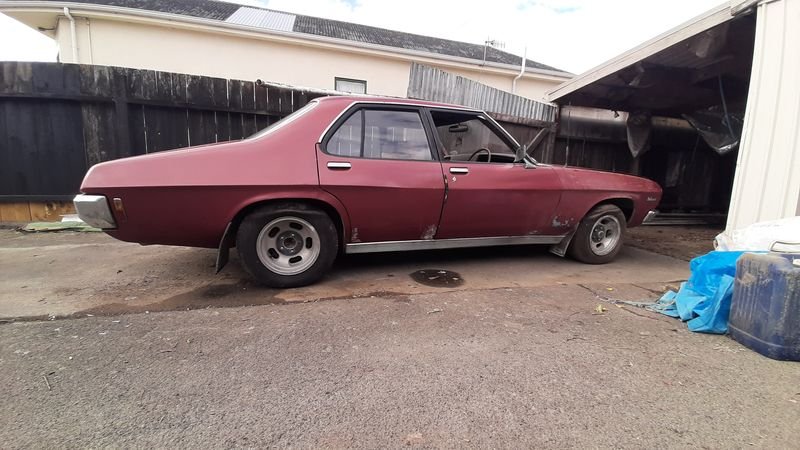
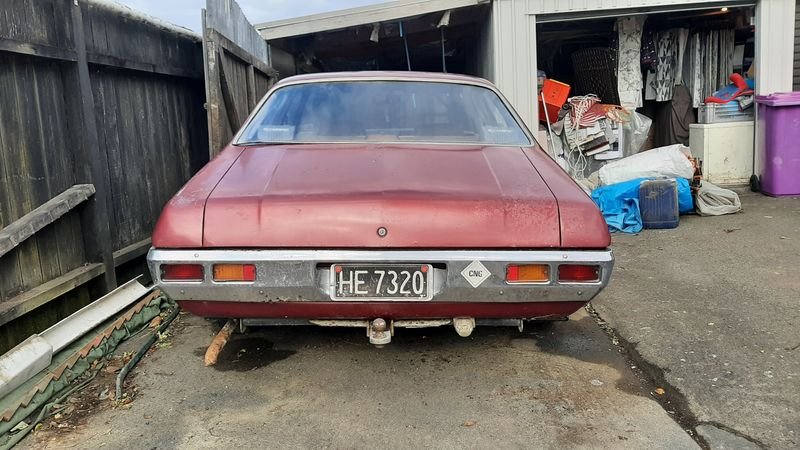
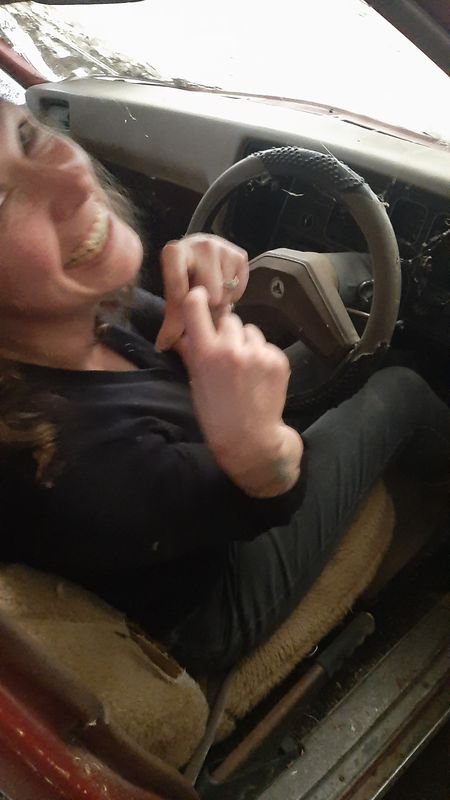
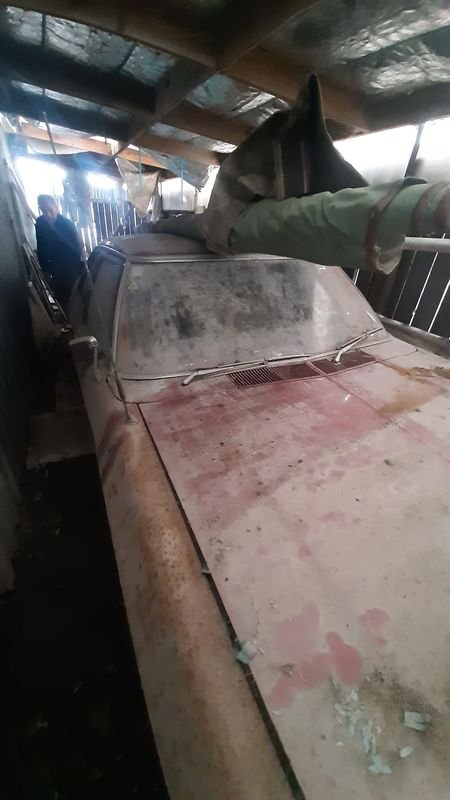
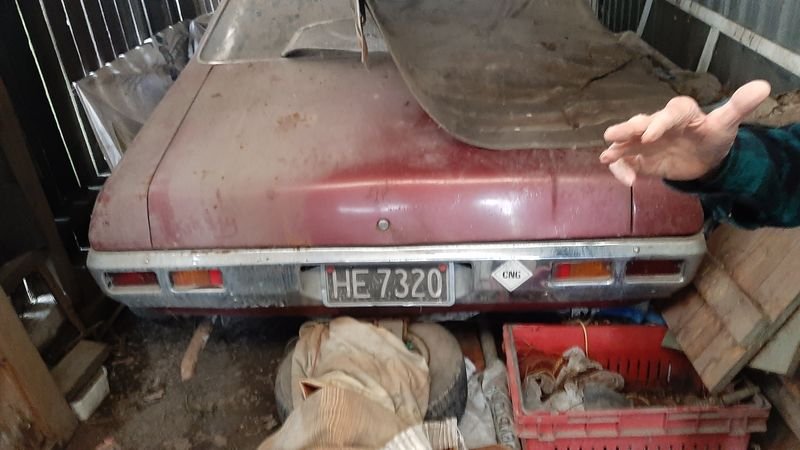
Then of course it was time to have a good look while cleaning it a bit, and taking stock So, its a 1974 Holden HQ Belmont Sedan in Orchid Red. Last wof/reg in 2001, so was on the road into Kpies early 20's around the same time i met her. Seems it also got the Torana front seats, maybe the centre console? Interior looks pretty good under the dust. Overall looks pretty straight and complete. Some rusty bits of course but not too bad at all for one of these 8s out back and 7s up front, massive CNG tank in the book gives it a rake. This car was a NZ new factory 202 manual 3 on the tree car. Bill bought it cheap from a guy who bought it to put the v8 that was in it into something else, or something - bought with no engine in it anyway The engine and box now in it is a 173 (2.8l) with a manual 4 on floor from the aforementioned rolled Torana, which had recently had a fair bit spent on the engine (??) It has a single barrel Stromberg and also has CNG. Only $4.20 to Whanganui! Took the plugs out and oiled the cylinders, cleaned the sparkplugs and filed the points and hooked up a battery. Neighbours come to assist. Many opinions were shared We managed to get it to fire off on squirting gas down the yap, but it just wouldn't keep running. The consensus is that the timing and/or the electrics are weird Brake pedal does nothing till halfway then hard stops, no braking action. Handbrake kinda works. Engine isnt stuck and clutch is free and gearbox goes into all gears. Bill is stoked it fired up, Kirsty is happy, and that it rolls at all is good enough for the transporter man. We push it back in the shed to wait for the transporter
4 points
-
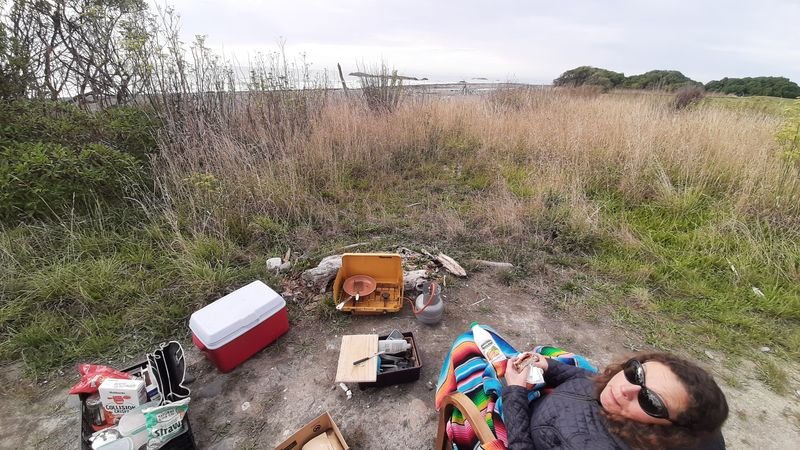
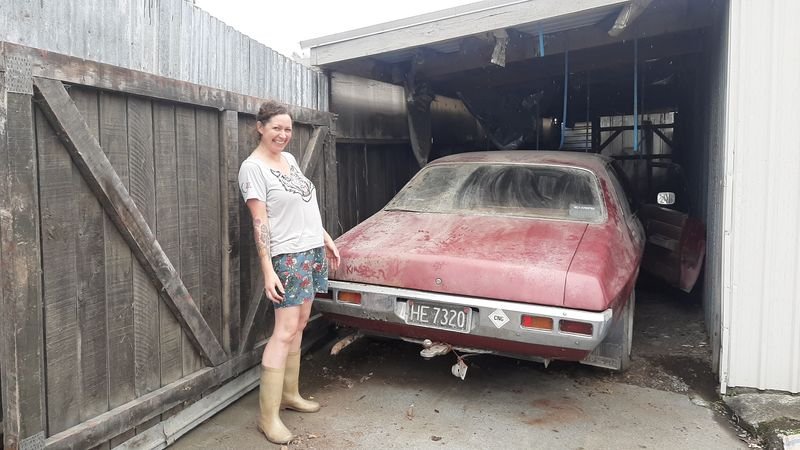
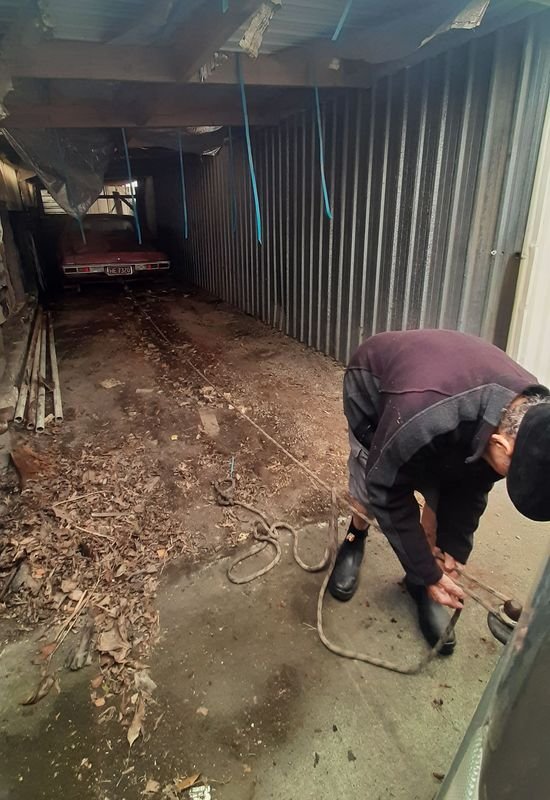
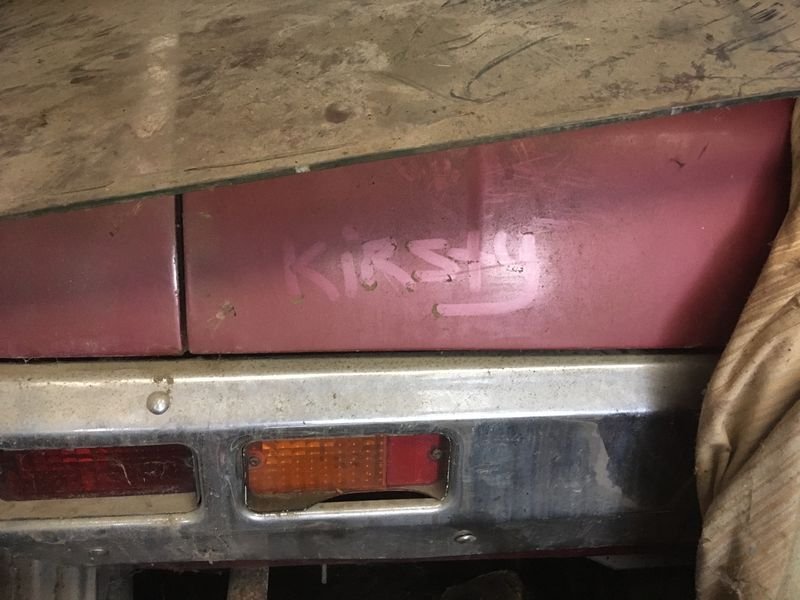
Organized time off and ferrys etc and a cool 10 days hanging in Fielding. Real barn find! Her names on it so this must be it. We pumped up the tyres and had a general look around one day Then cleared all the stuff out over the next few days, did a lot of gardening too, Hooked it up to the van and pulled it into the light
4 points
-
This is not my car. Im just the low rate mechanic. What i knew about this car was: My Father in Law, Bill, has 'The Holden' in a lean to shed. Kirsty learned to drive in it, and shes always wanted it and Bill said she could have it one day. It has the engine and gearbox (exact details unclear) from the Torana her older brother rolled when he was 16 'dodging a rabbit' on a gravel road. Its been in the shed pretty much since they moved into the 'new house'. He used to bring it out sometimes to wash it but hasnt for a long while. She put her name on it a few years ago and sent me a pic. My first and only view of it till now. Then a couple months ago, he said 'come and get the Holden' So, we did.
3 points
-
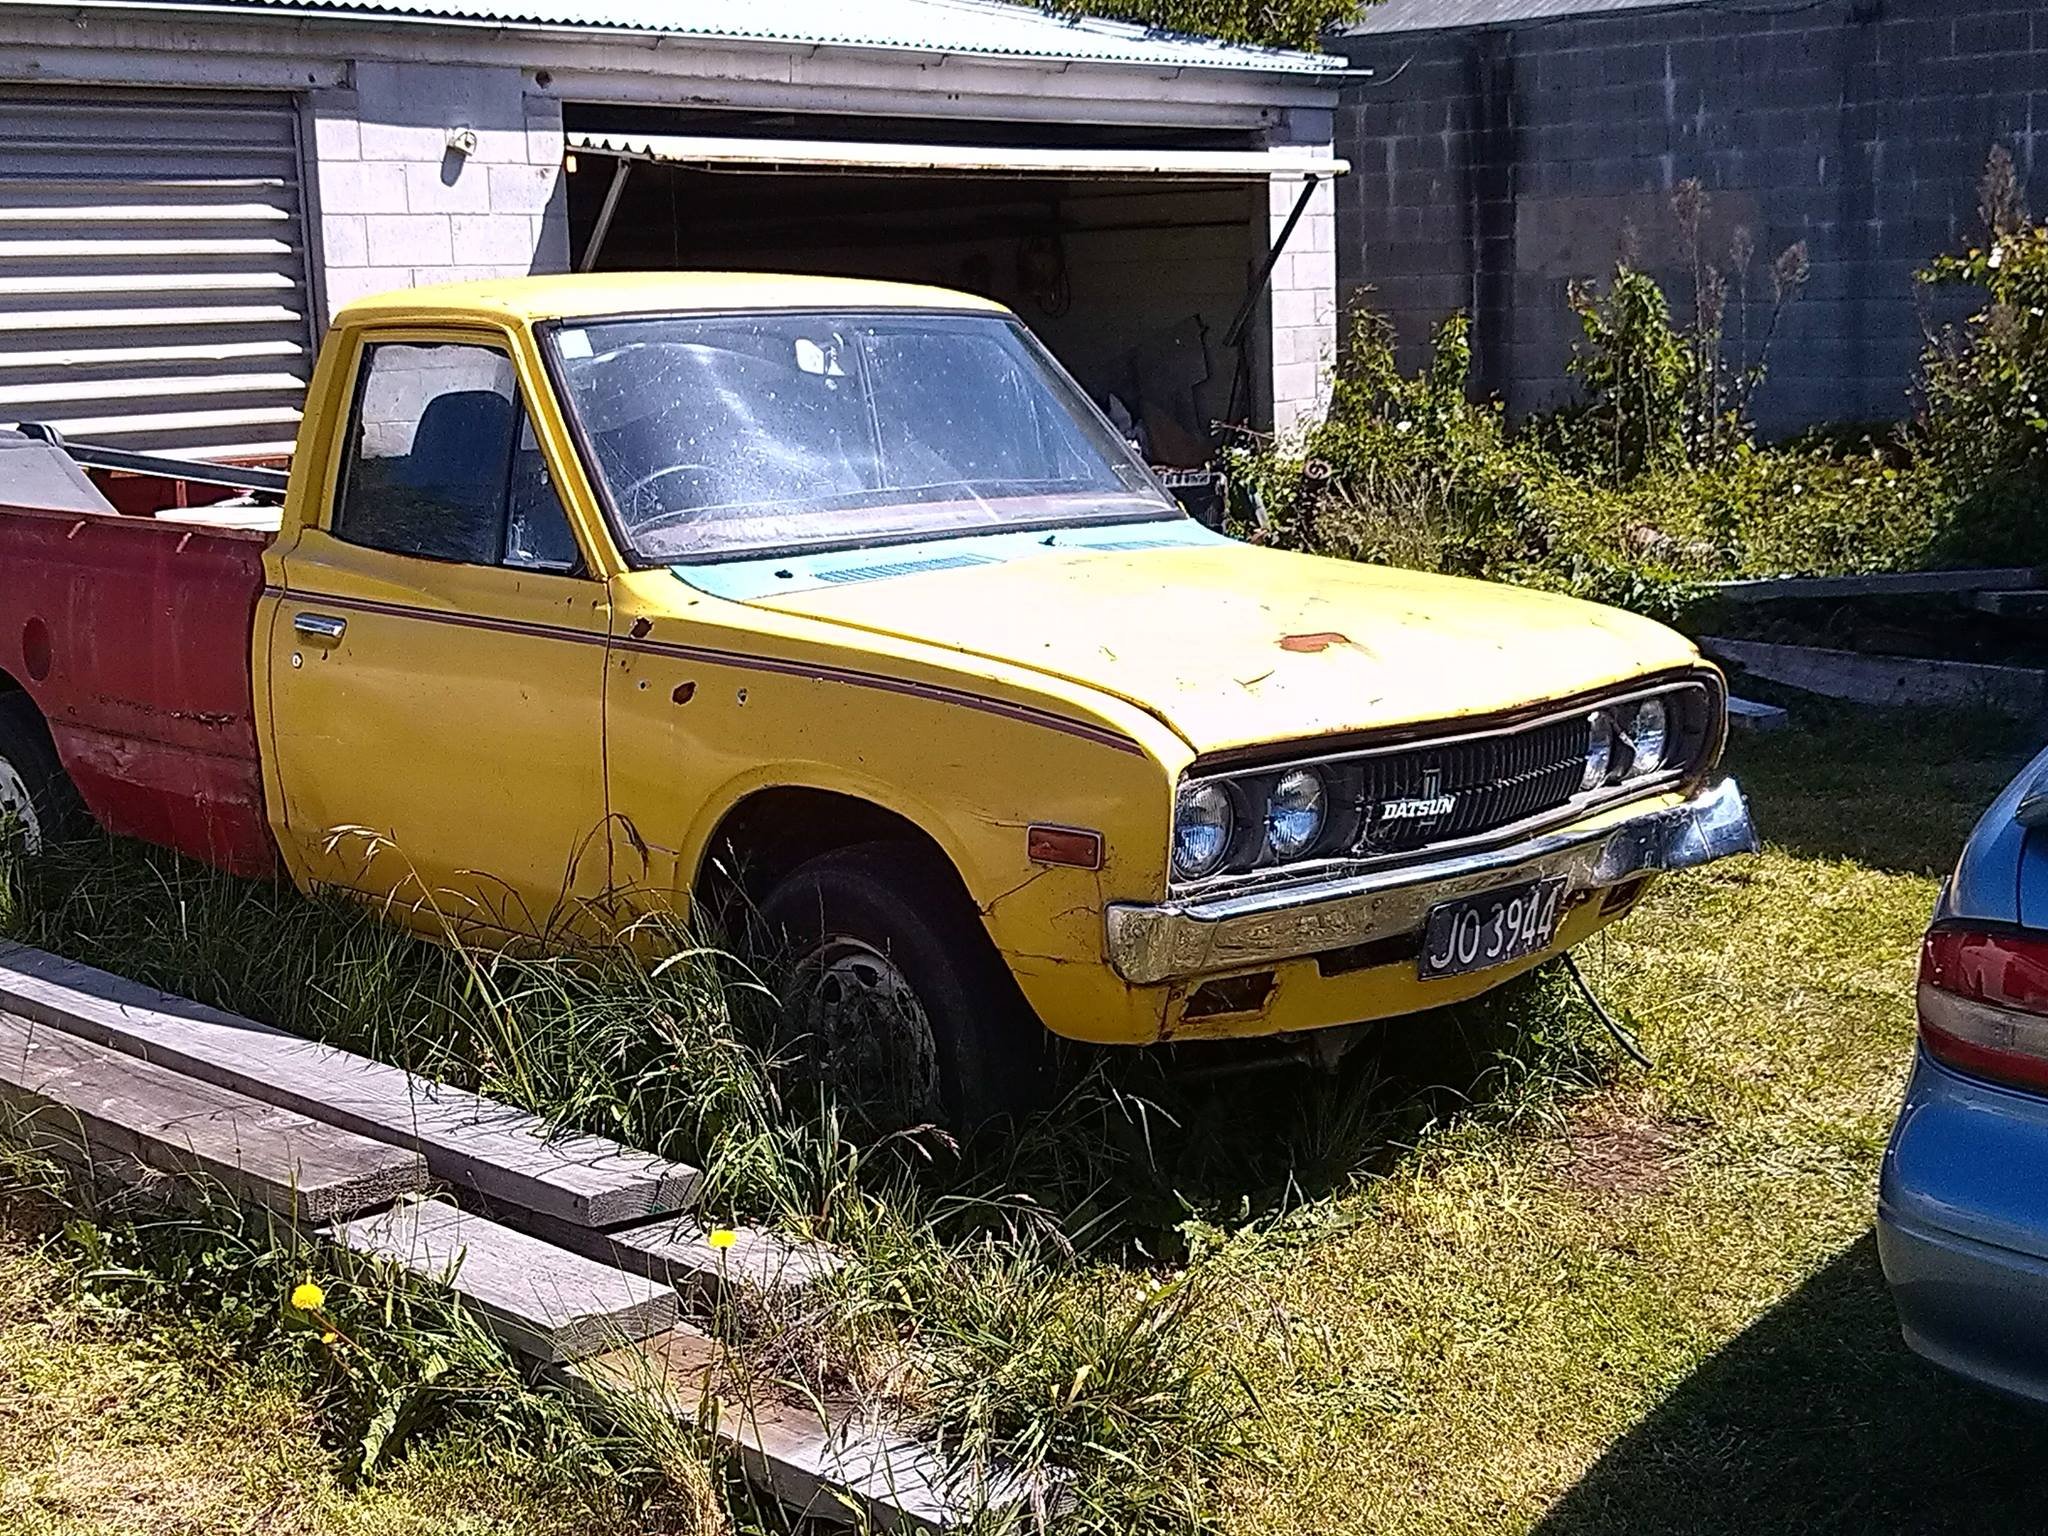
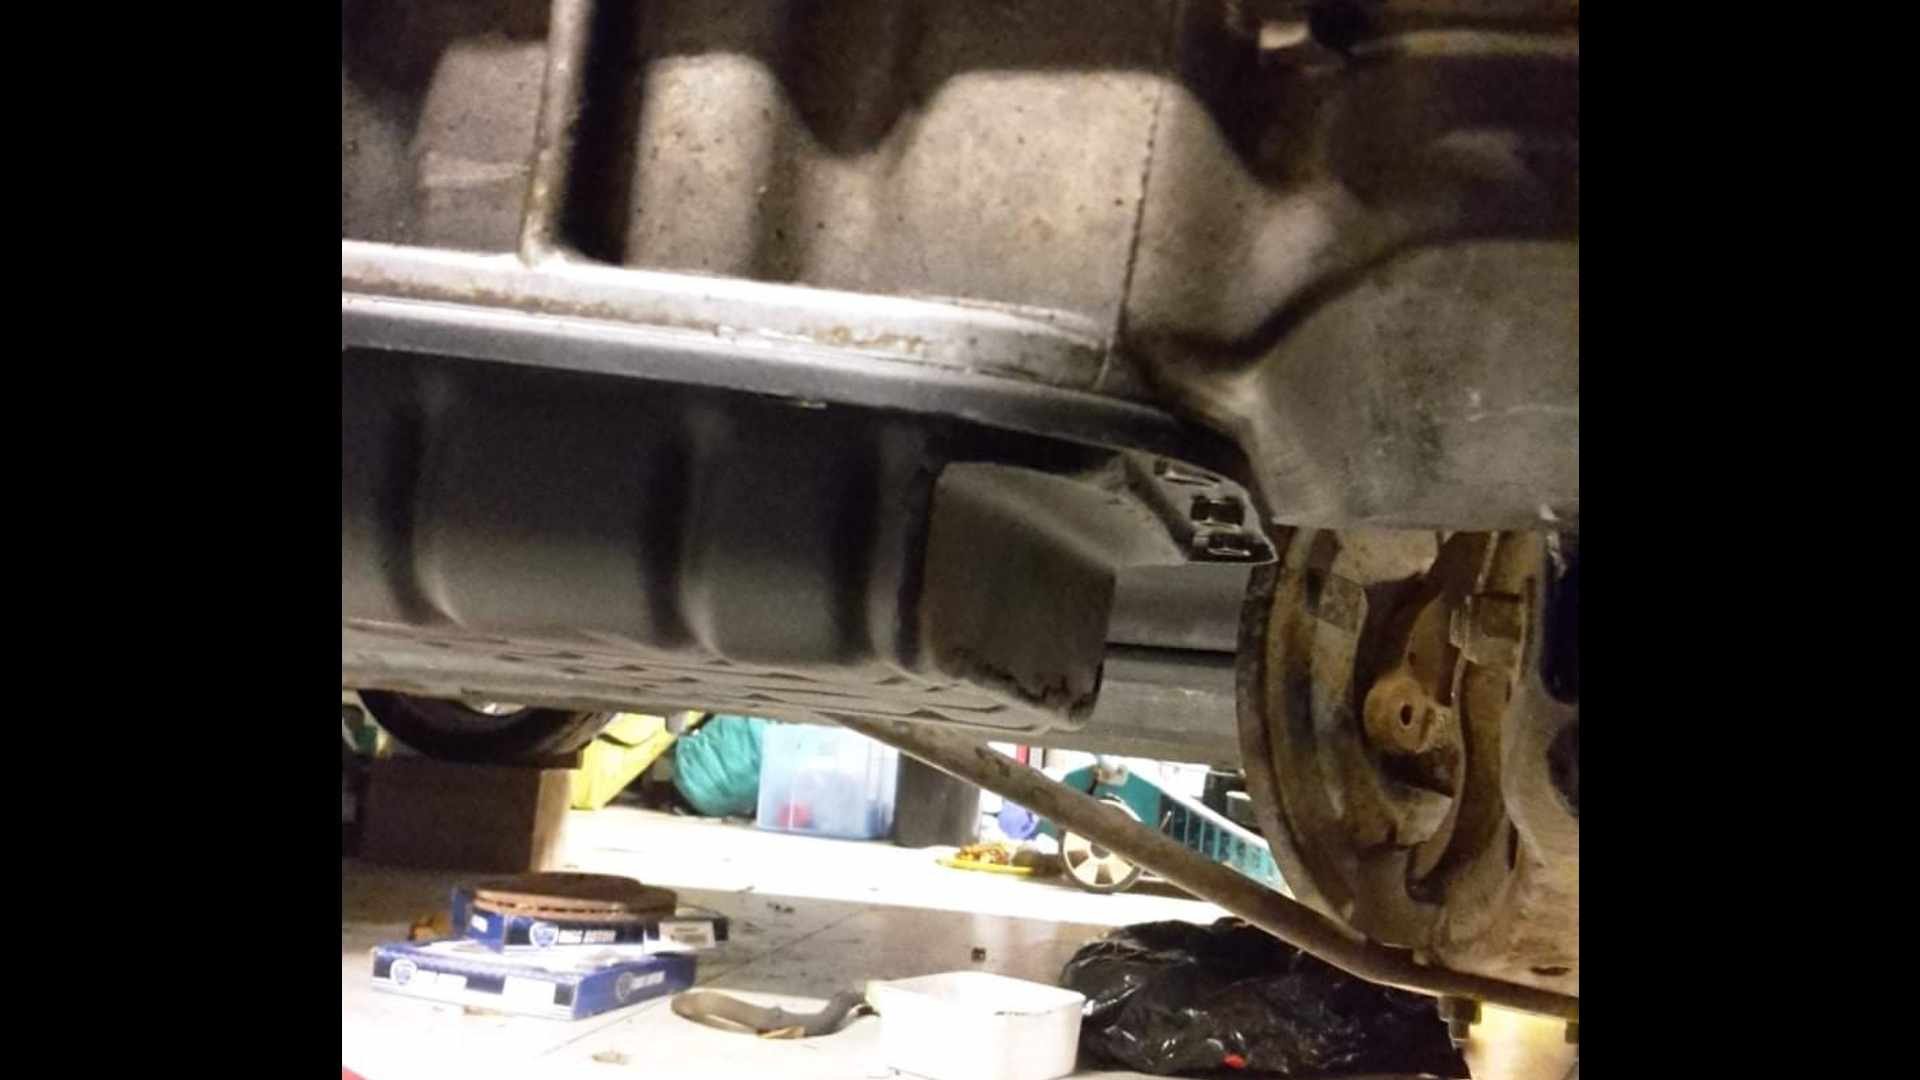
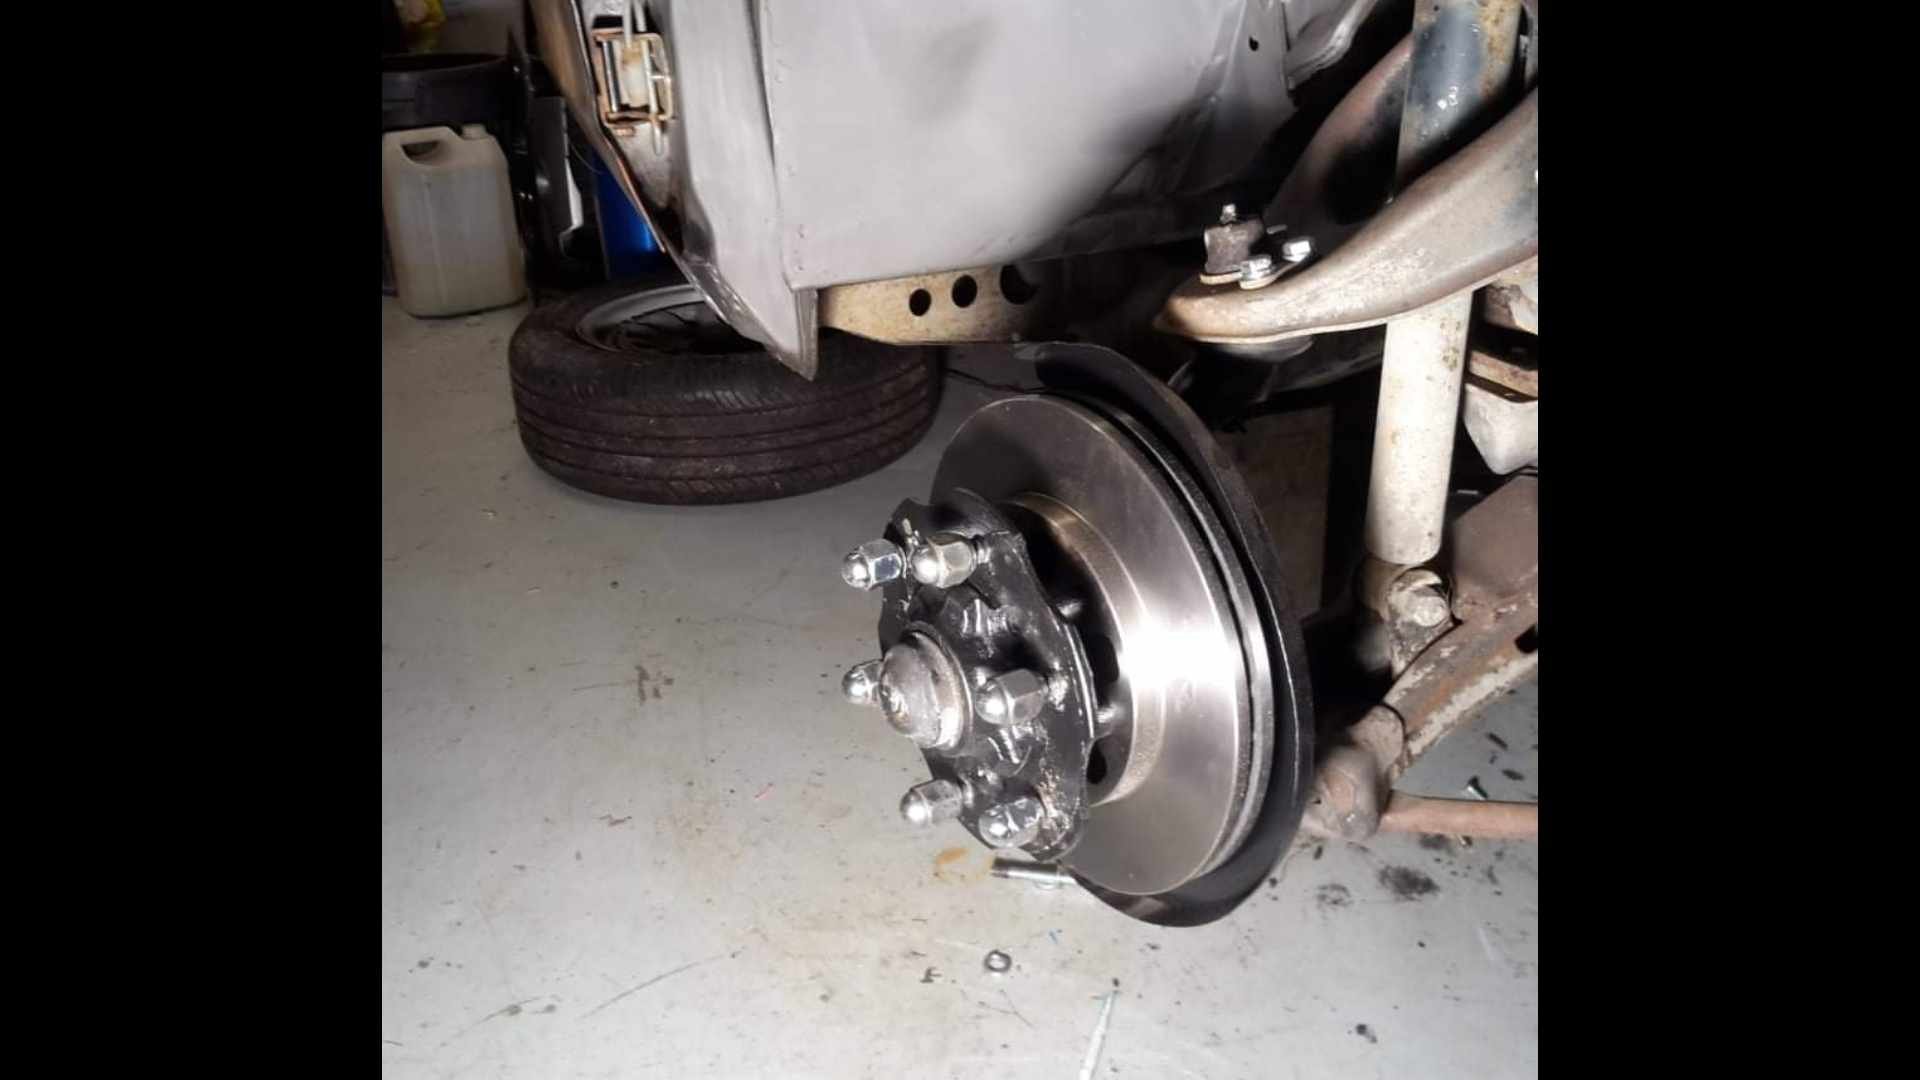
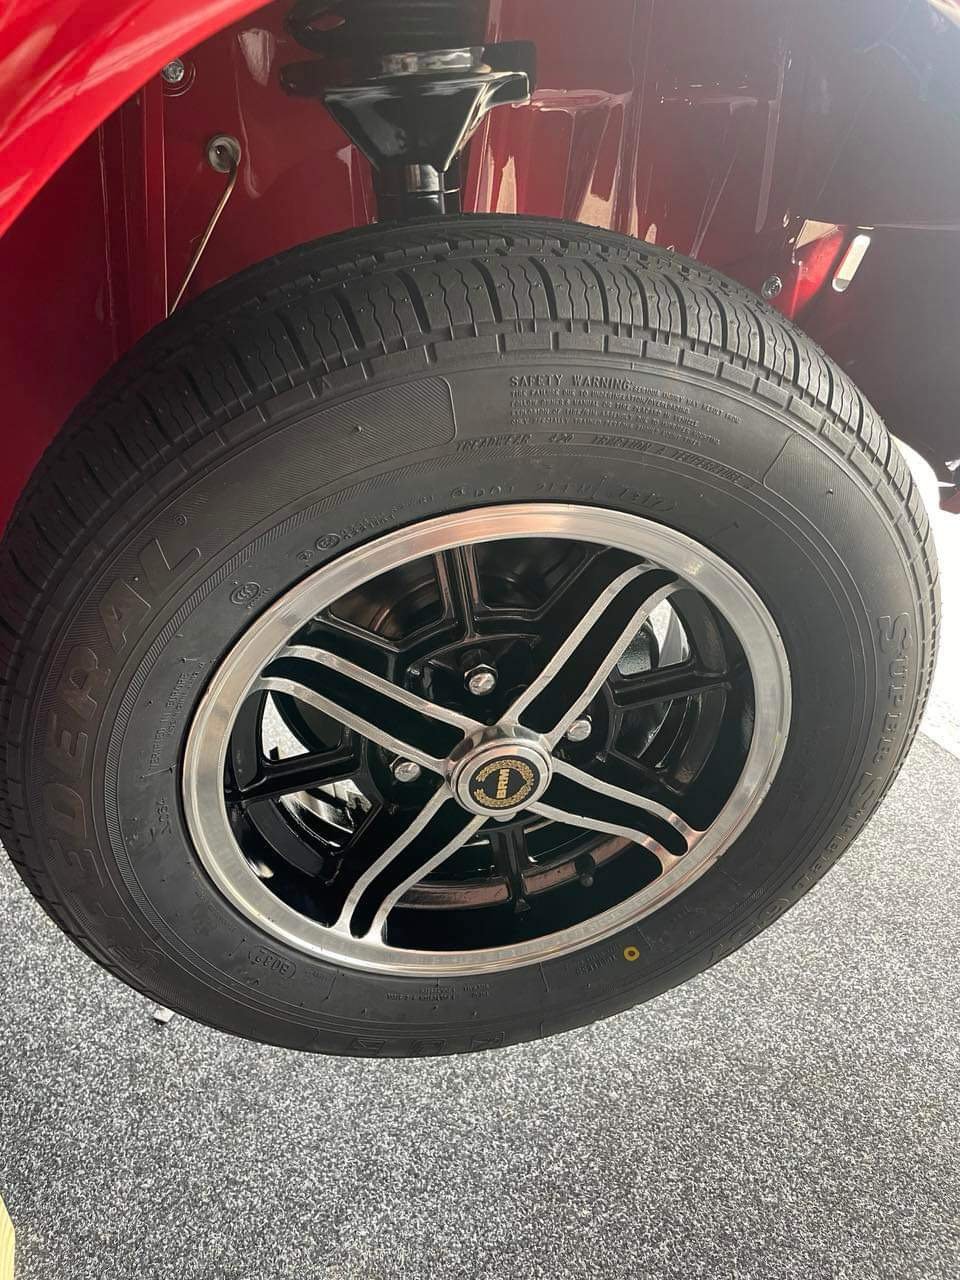
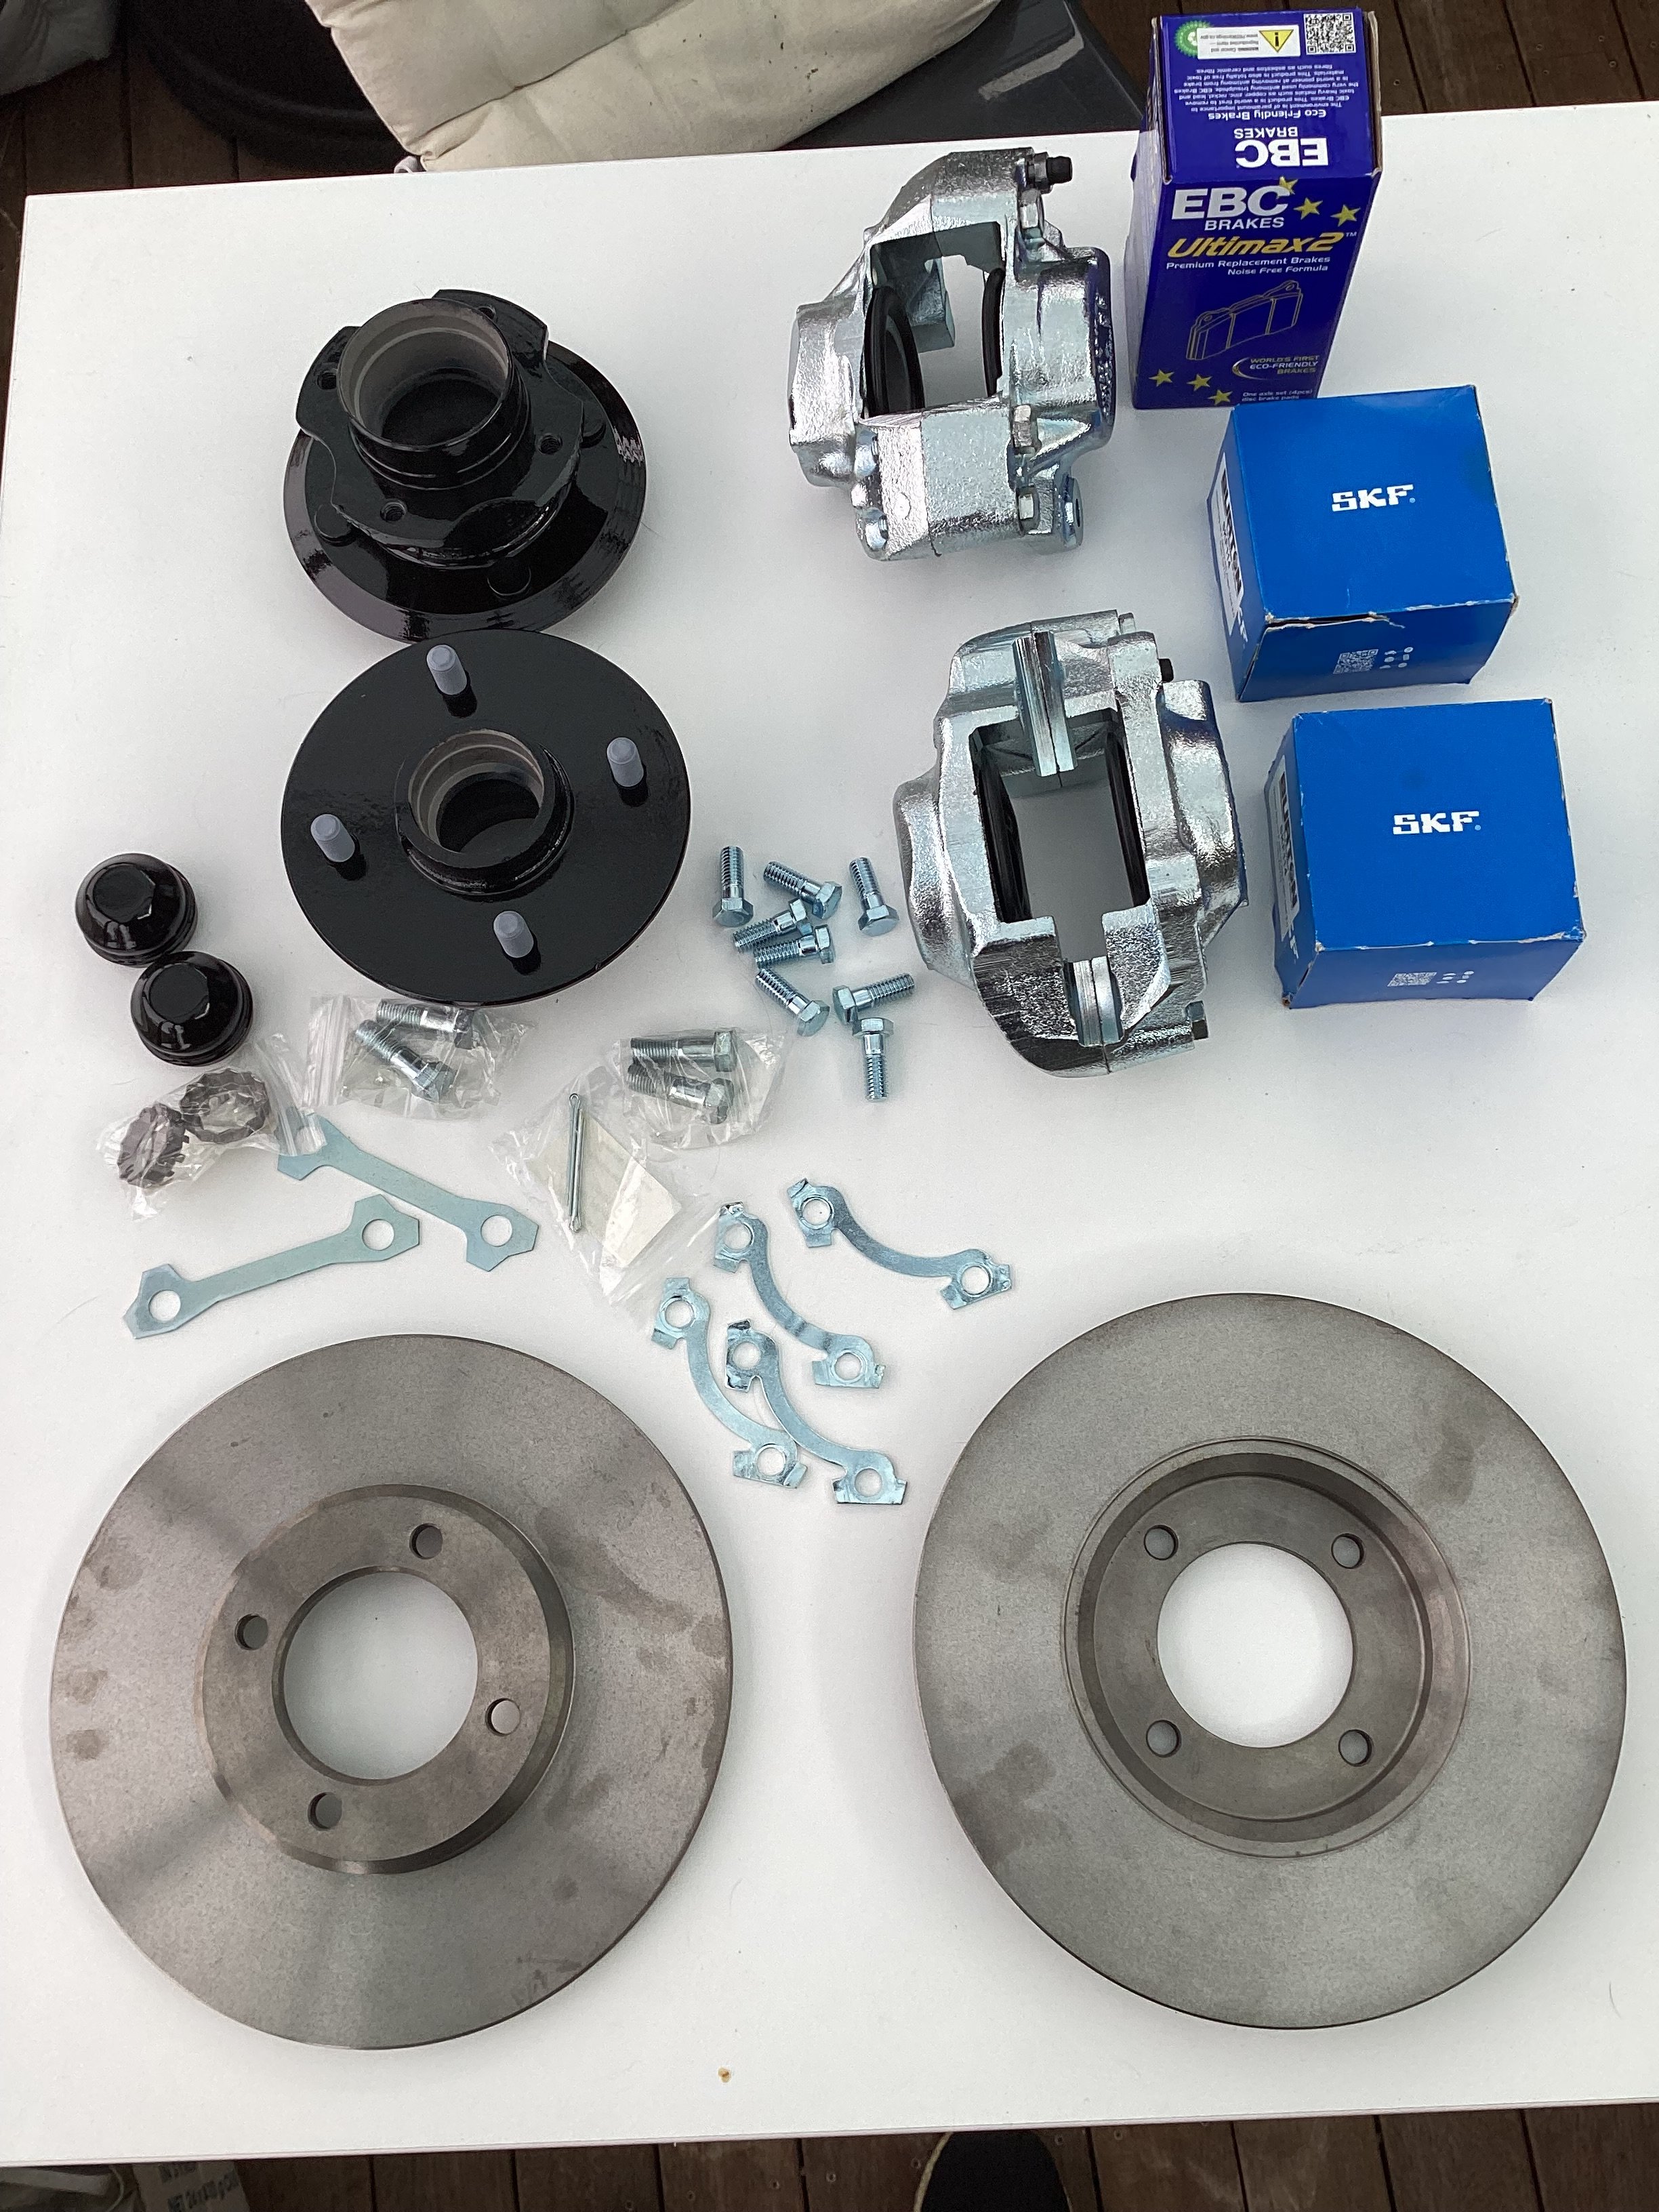
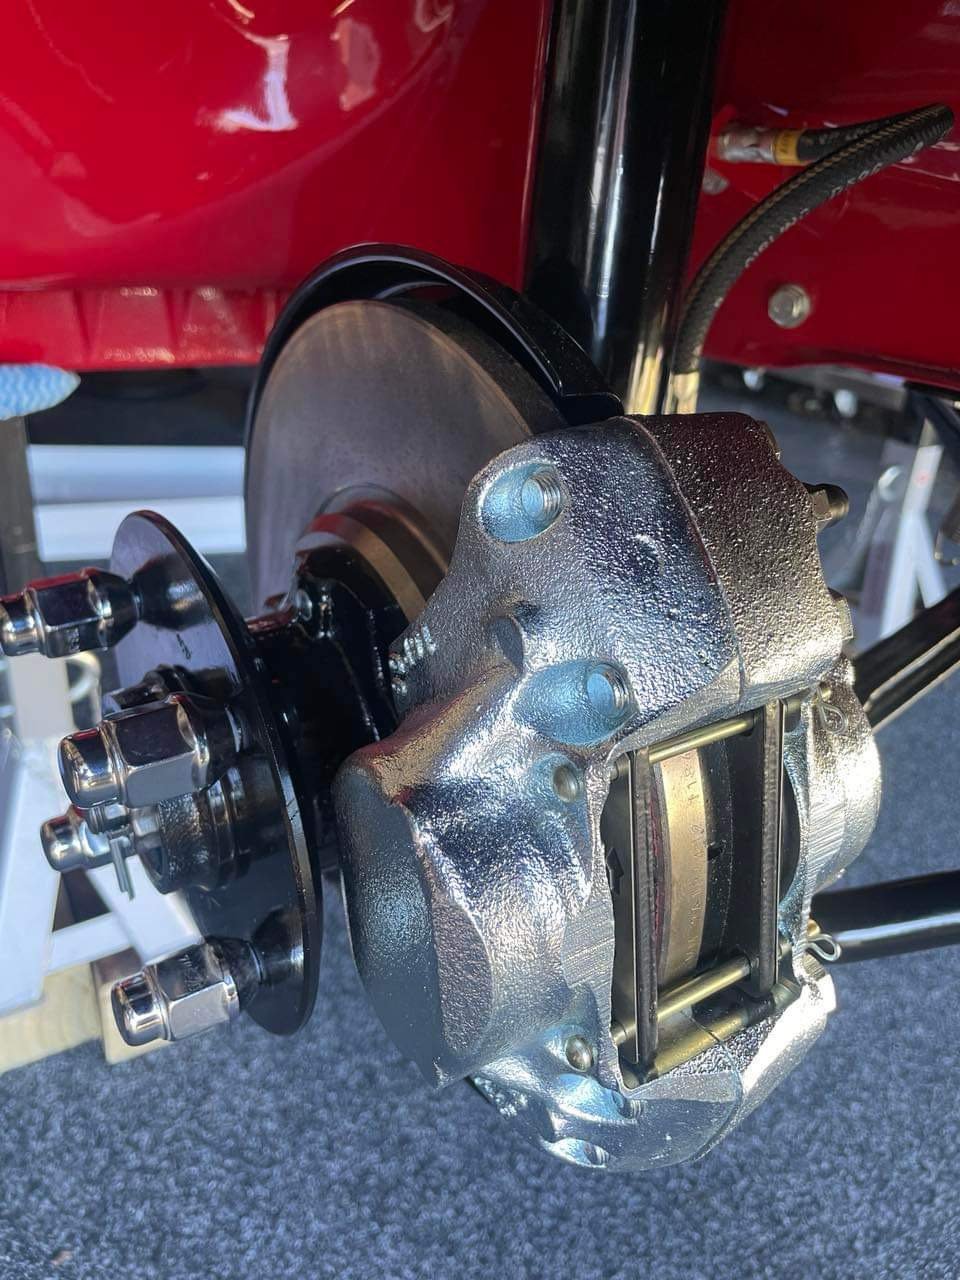
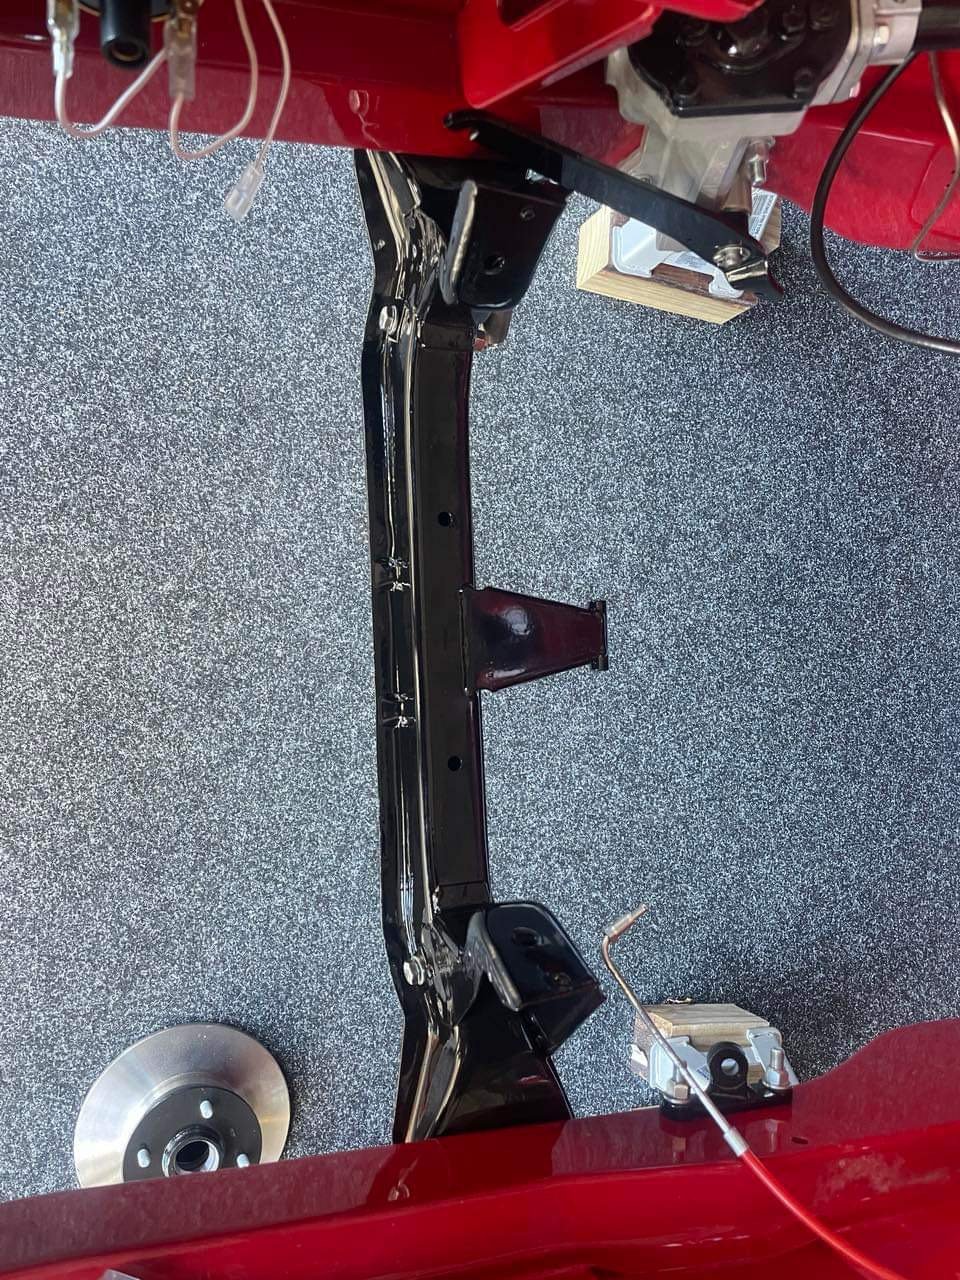
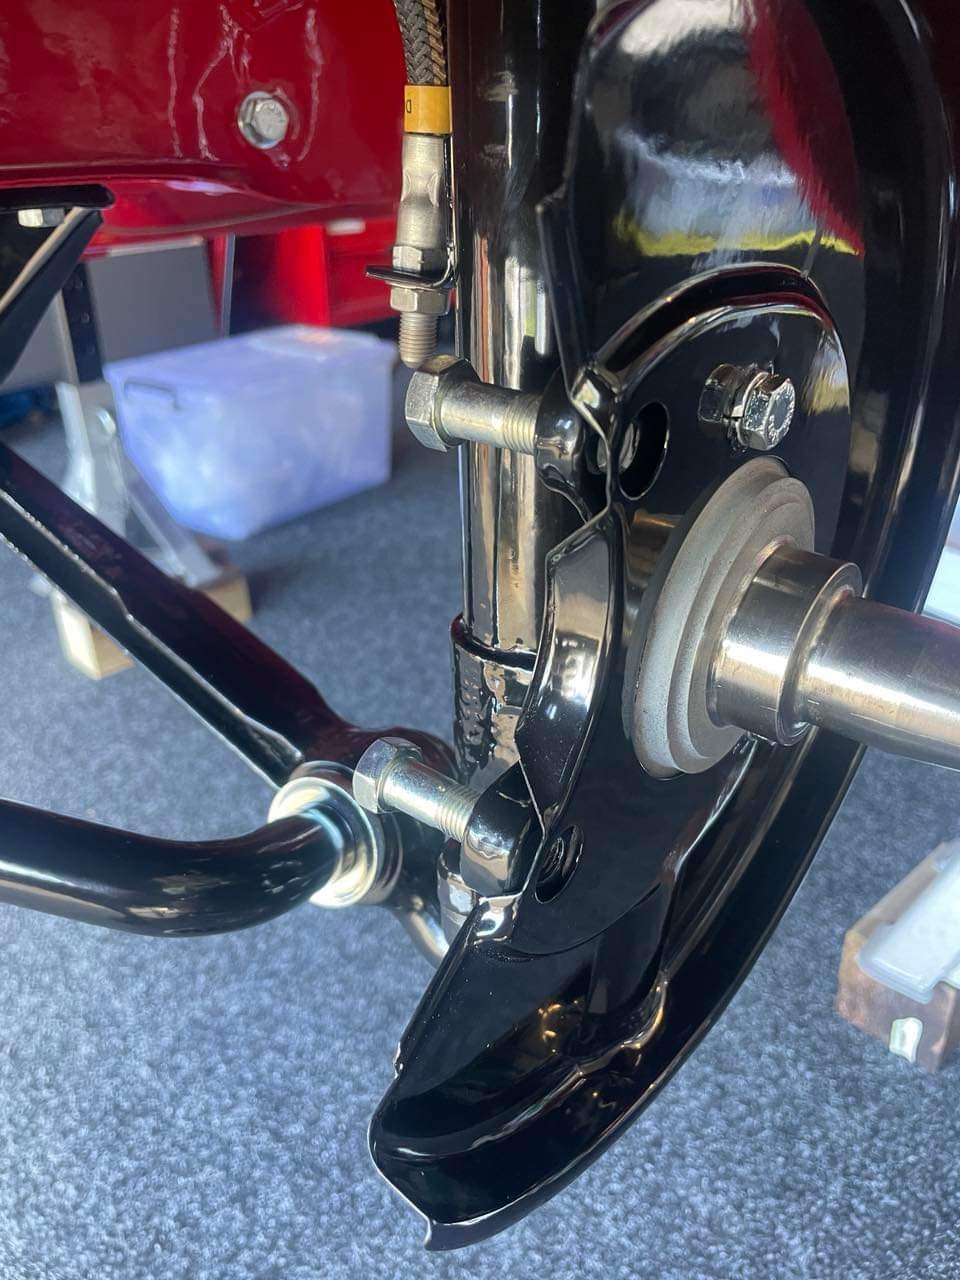
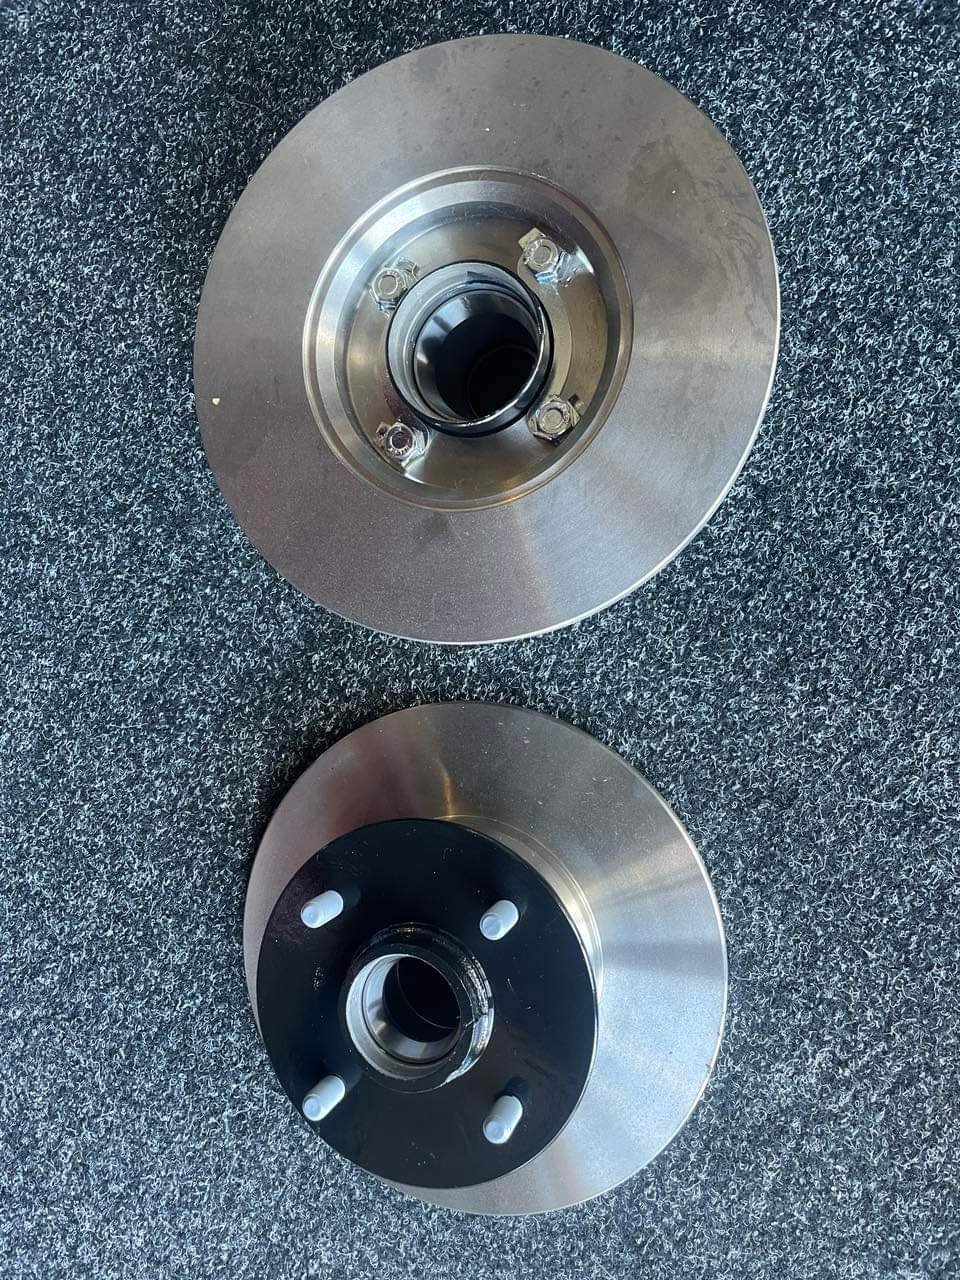
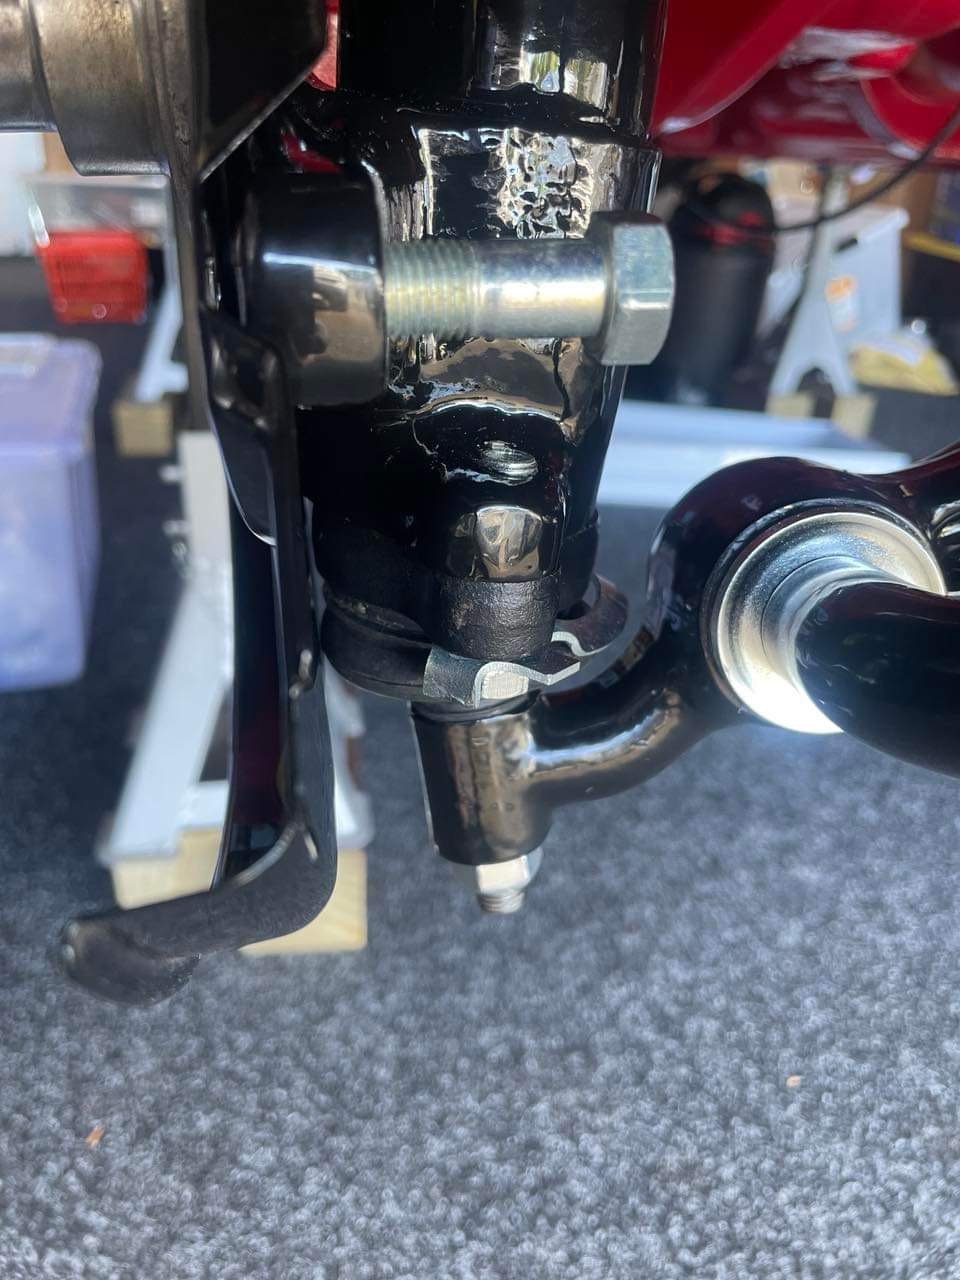
A few people have asked why theres no thread for this vehicle. (Because the owner is so useless tbh) i showed some pictures on my phone to some people at Garlic nats. And one of them convinced me i should post them up. (Thanks @Sungai Sungai) The story begins quite some years ago when i bought a datsun 620 ute of @Mr.Mk1. He'd rescued it from scrap. He also found a pretty fucked wellside tray for it. (Which is also rockinghorse shit 8n terms of rarity) it would seem i only have one picture of that truck. It needed plenty of work, but the rego was on hold, and it was (mostly) complete. When josh and i did the mission down to Alexandra to collect it, he showed me another 620 ute. It belonged to the landlord from whom his brother rented his business premesis from. Daily driven, and a real sweet honey. Because Alexandra is as dry as fuck with no foreplay, it was completely rust free too. (For what its worth, 620 are without a doubt the most rust prone vehicles on planet earth) Some time later, i learned that the elderly gentleman who owned that truck stacked it. And some time later it popped up as wrecking in Christchurch. Hoping to get some parts, i shot around there. Where i met @Agent75. The truck was still pretty rust feee. But unfortunately Shane had cut the radiator support panel off to make removing the engine easier. The inner gaurds were a little bit puckered, but it could have been straightened out. A deal was struck, and i dragged it home. Another mate had another 620 he wanted ro move on. ( @I'm new here) it had been completely dismantled. And had some prettt cunty rust. So i bought that, and had a coachbuilder mate graft the inner gaurds and rad support panel off that cab onto this one. Unfortunately i have no pictures of this. I also picked up a pair of front guards off another mate. As i didnt get the nasty, underpowered, leaky, J15 with the truck, i opted for an S14 SR20 that i bought off @mint16. With the gearbox attached, i had to make the centre of the rad support panel removeable. After id painted the engine bay, @fletch have me a hand to do the final engine installation. Because id slung the engine so low, and so far back, the sump had to be notched to clear the drag link. Seeing as this chassis is the later model/last iteration of the 620, it was fitted with ball joints, rather than king pins. This is a wicked bonus, because i learned that if the top ball joint is swapped over, that D21 navara hubs and stubs are a bolt in affair. No more gawdaful drum brakes. Best of all, a mate gave me a set for free. (Less calipers, which i then sourced of marketplace) because im not a total broken arse any more, i threw on a pair of new rotors too. Discussion,
3 points
-
I’ve just started building USS Voyager. It’s not 1/24th scale but I’ll punish you all with my terrible slow progress anyway. You’ve been warned!3 points
-
I've bought the car back and will be parting it out if anyone is after anything3 points
-
Perfect topic for a H series Holden Barry like me.3 points
-
First to answer the questions. All 6 cylinder Holden motors share the same bell housing pattern, so swapping the 173 for a 202 of any vintage is a bolt in. The CNG fill port is under the bonnet as part of the pipe work. I had an HJ ex taxi on CNG and my grand father had his Austin Princess converted back in the day. The all filled under the bonnet, LPG had the remote filler. My first Holden was HQ sedan, 202 and factory Tbar auto and bucket seats. Pretty flash in the day. That got a 253 swapped in one weekend when the 202 and auto got worn out. Also had HQ ute, 308 and auto, would run mid 14s down the strip, HJ ex taxi, HX wagon, HZ sedan. Awesome vehicles, wish I still had the last HZ. My step father had a HQ wagon that got a celica 5 speed. I also put power steering in it. Good car to drive. Power steering is possibly one of the best upgrades to make them nice to drive.3 points
-
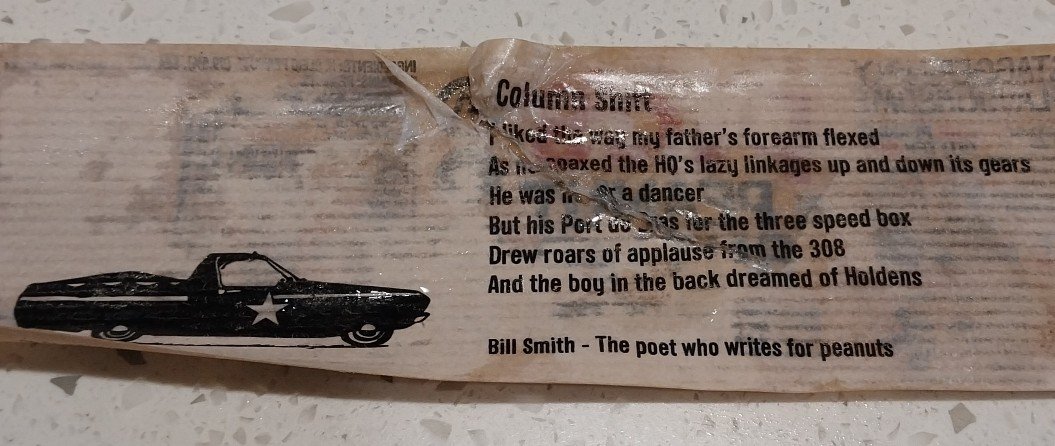
Fibre timing gears is a weak point. Can replace them with alloy ones that give a slight blower-type whine. Found this on back of Pics peanut butter jar label this morning. Not sure there was a 3 speed column change 308 option? Lazy linkages is on point tho...
3 points
-
The later model commodore electronic distributors fit in nicely put one into my tonner, only issue is the vac advance mechanism on mine isn't advancing so if your points dizzy is in good condition I'd leave it imo. And barries want way too much money for them All the old barries say headers and exhausts / electronic dizzy makes them quicker but the tonner did exactly the same 1/4 mile after headers /exhaust/electronic dizzy so it's probably just barry crap. Edit: if you change the timing gears may as well do the cam while you are in there... https://www.aucklandcams.co.nz/camlist/holden-149-202/3 points
-
Twin SUs thank you please. The ones off a rover V8 will be spot on.3 points
-
In the past I've just slapped the decal onto the paint directly and have never done any clear coats.3 points
-
For your brake line clamps etc I think I have a box of these floating around if they are of any use - I made a heap of them on the CNC. If those dont work might be able to make you some custom ones if needed - might just take a couple of weeks to slot into the schedule as all my routers are running double shifts at the moment trying to keep up.3 points
-
3 points
-
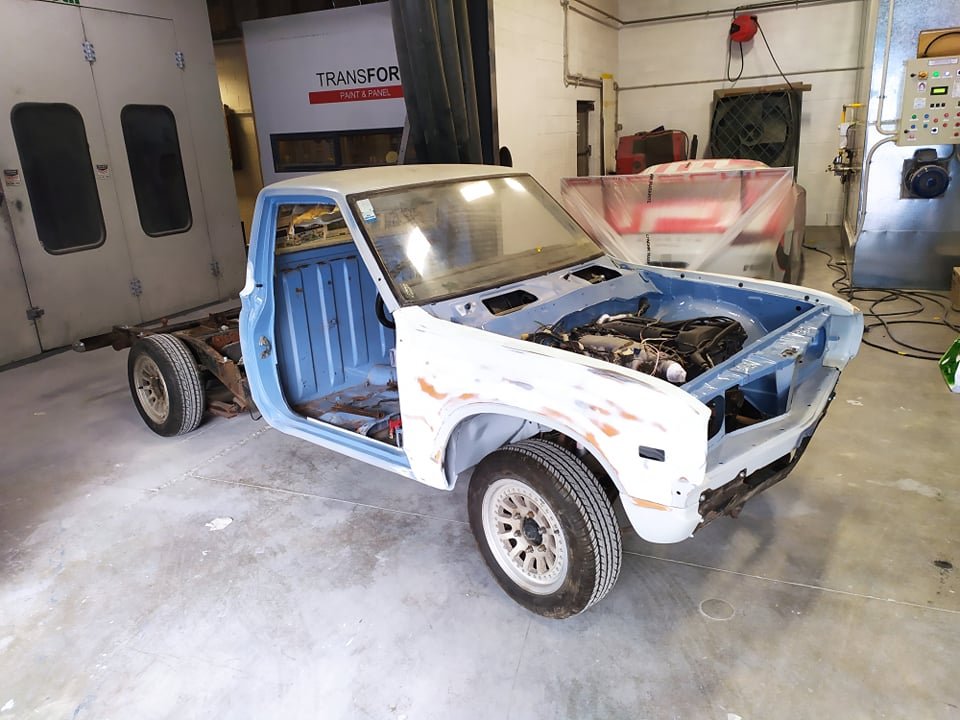
Front end pretty much back together
3 points
-
Been doing more
3 points
-
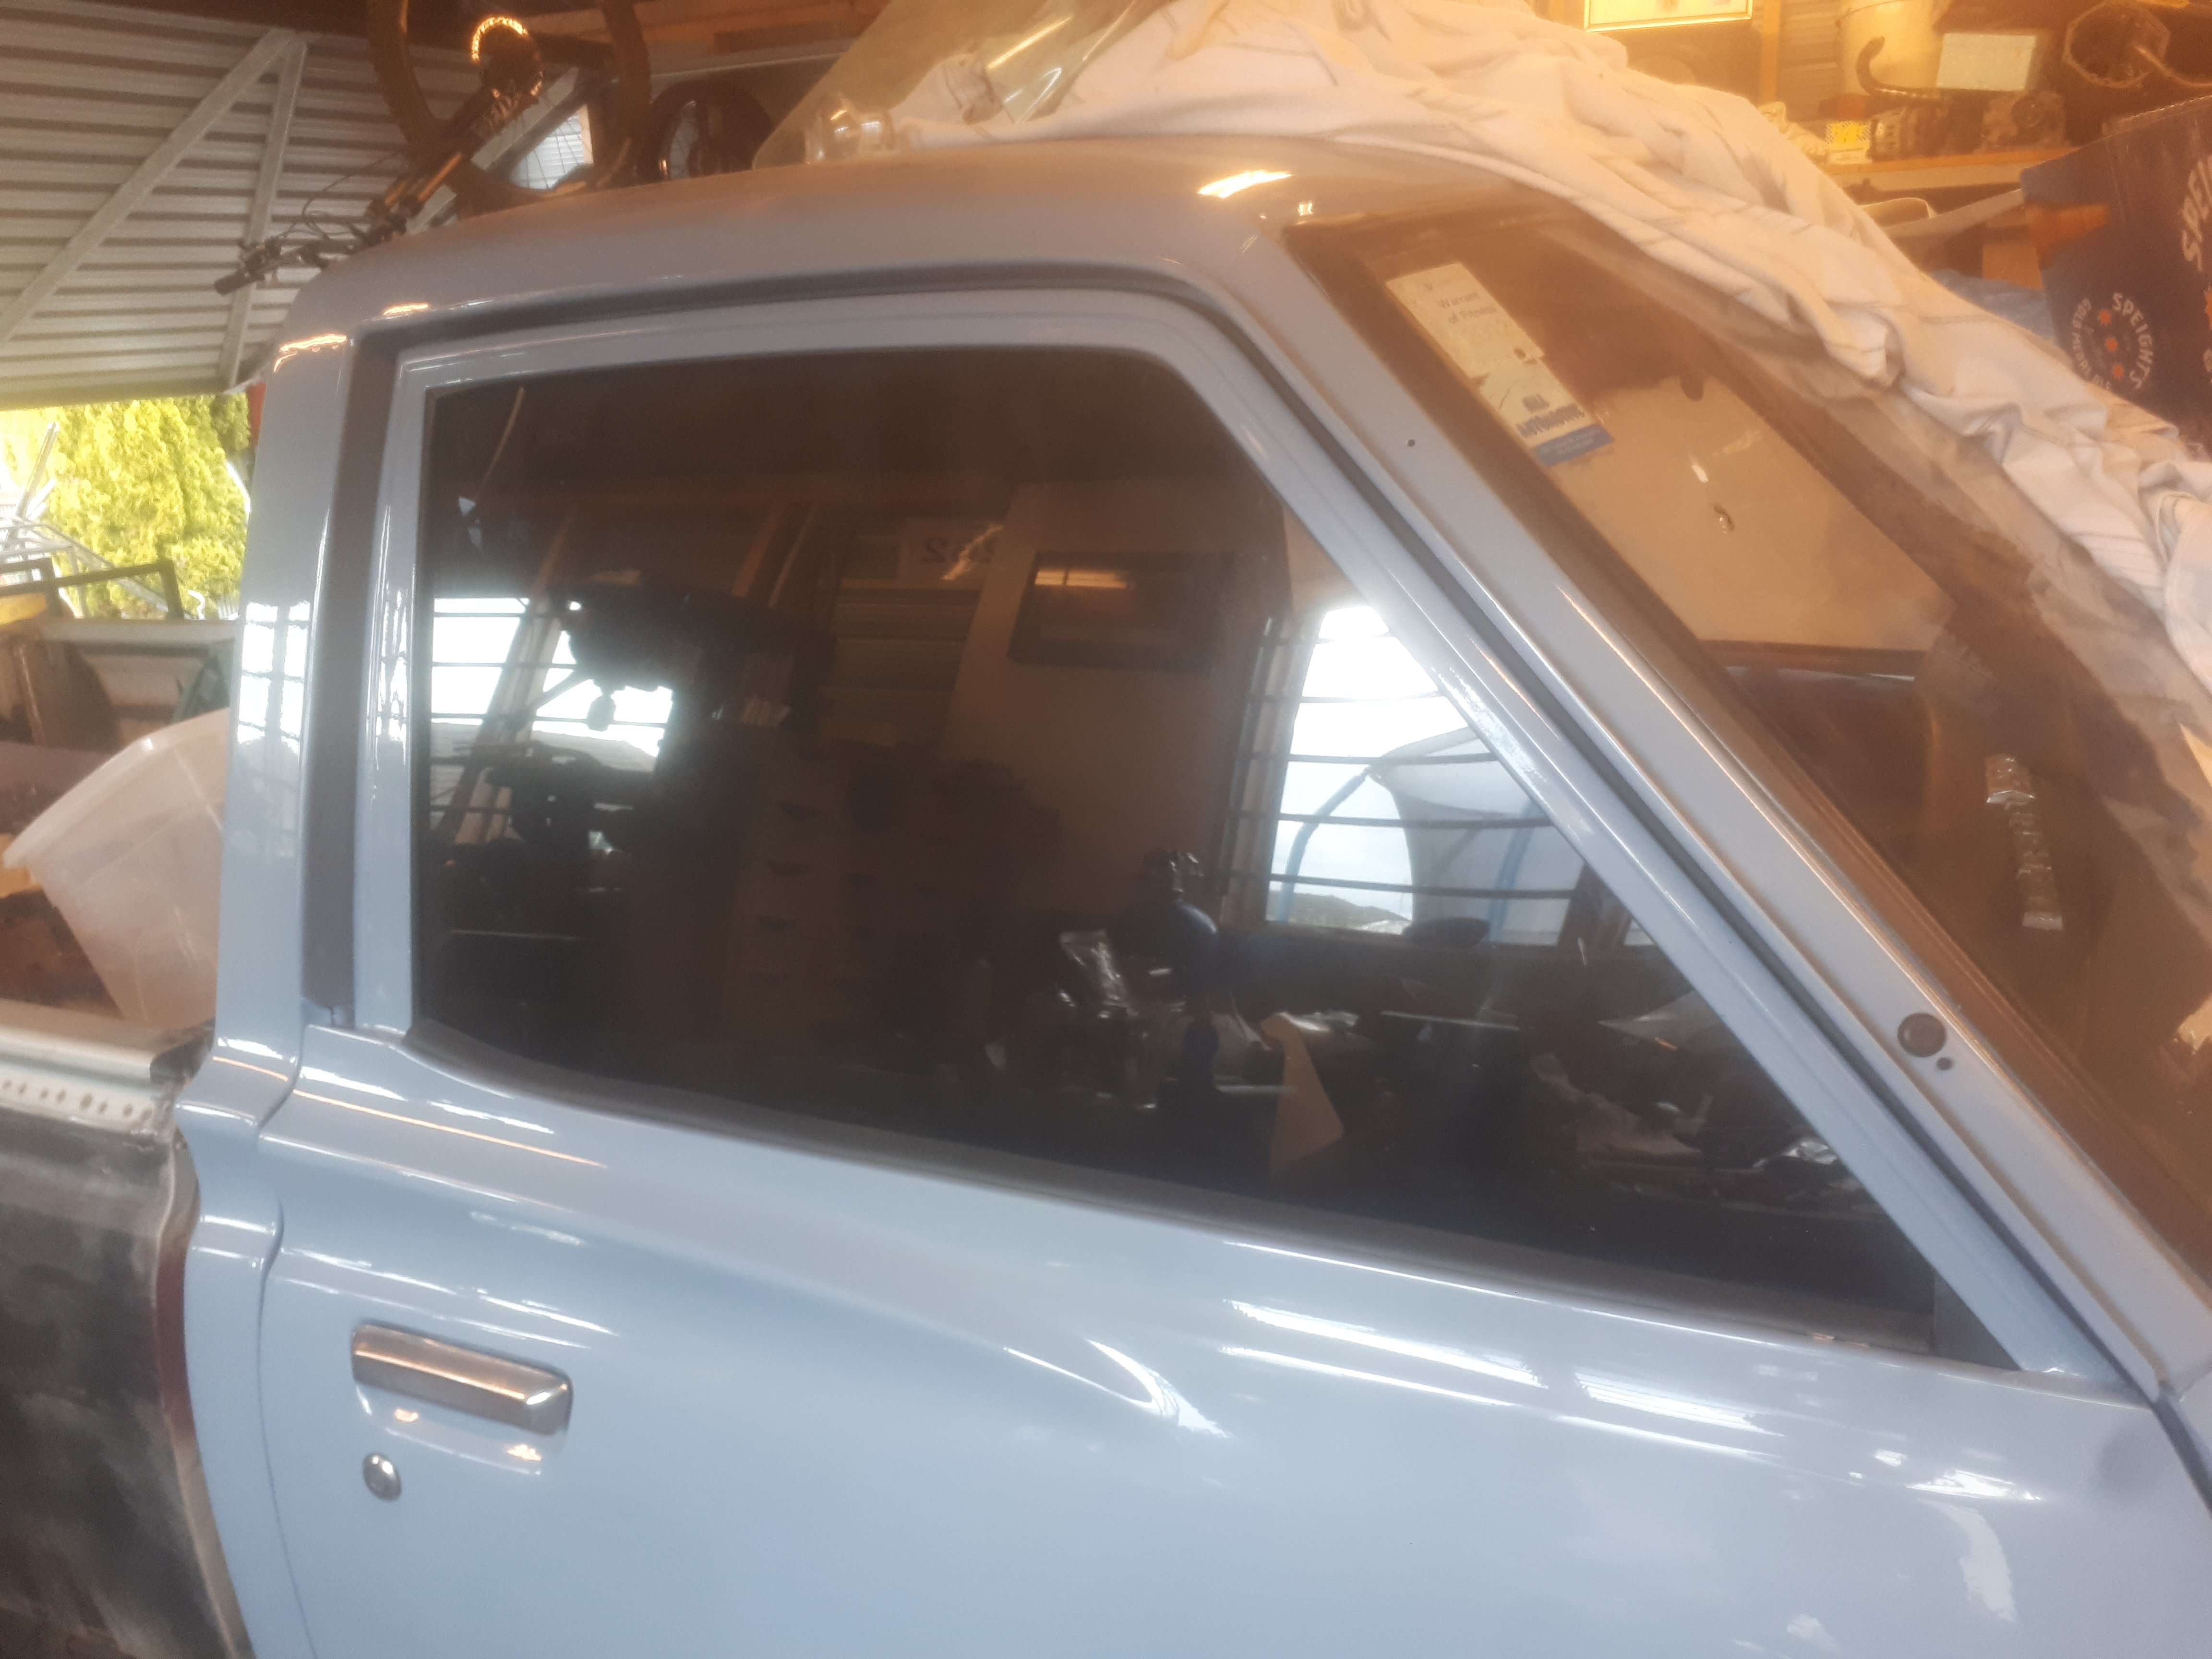
[SHARN] The NZDM 620s all came with the quarter windows. And im not a fan. Im sure in the days when everybody smoked they were great for drawing away the smoke. But they leak, they whistle, and they offer another place for someone to try break in. The USDM trucks all had one piece door glass. A good while back, my dad gave me a heads up. " one of my mates is imporring a couple of boats from the states. Theyre being shipped out of seattle. If you want to get anything shipped diwn here for free, get them sent to qhere the boats are, and they can be put in one" So i jumped on SeattleTacoma craigslist. I found a guy wrecking a 620 KC in Seattle. And although i was fairly sure that the doors were the same between KC and regular trucks, i wanted to be sure. I jumped onto ratsun.net, and explained my situation/asked the question. Yeah theyre the same was the response. Sweet! But then i get a PM from a user on there named @bananahamuck saying his mate has heaps of that stuff, heres his number. (Turns out its the same Bananahamuck as the one on OS! So i ring this fella up, and he says yeah i got heaps of rusty doors etc. I tell him, ill need him to freight them up the Seattle. (This guy is actually in Portland) he says, oh, our shipping is really slow, and expensive. Ill drive them up there on Saturday. Im like how far is that? About an ahour and half drive! Fucking hell. I offer to pay for his gas etc. So i ring my Dad and get the address of where these boats are in the container. Turns out its not Seattle, its a place called Yelm. (Its actually closer to Portland) i email Ted with the address. He replys, oh i work in Yelm. Ill drop them off before work one morning. So a couple of months later i get the call that my glass is here. And after having them tinted, they went it beautifully.
3 points
-
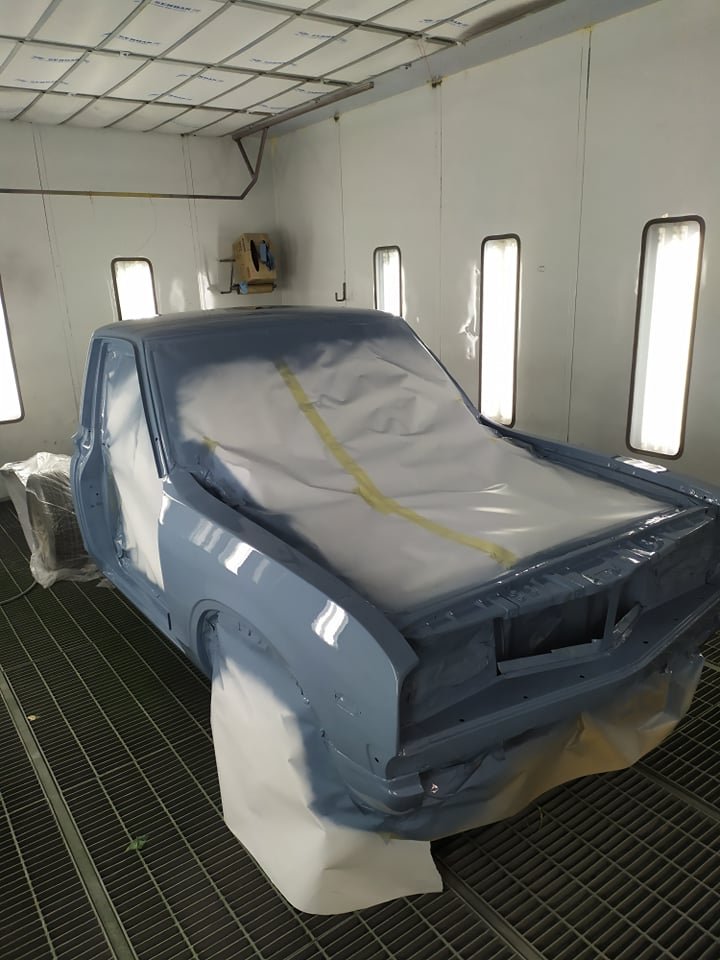
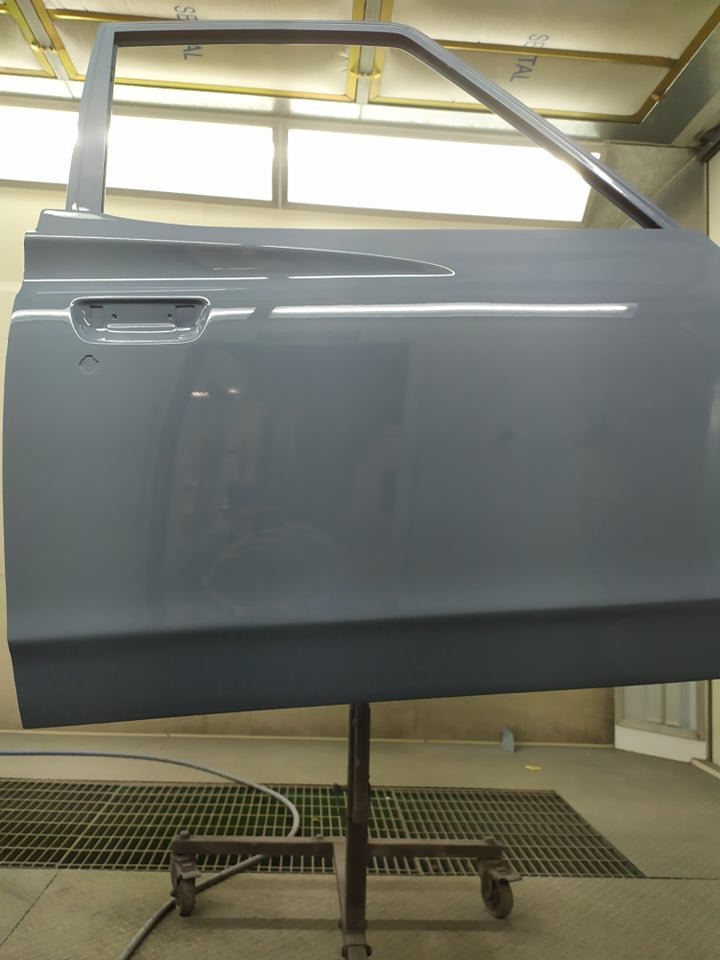
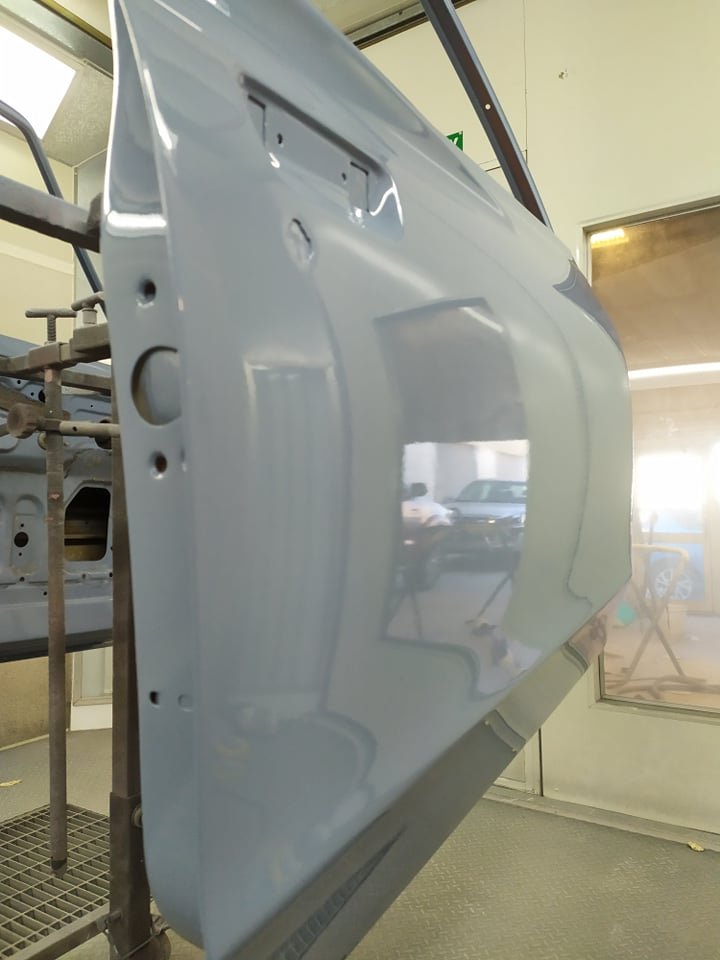
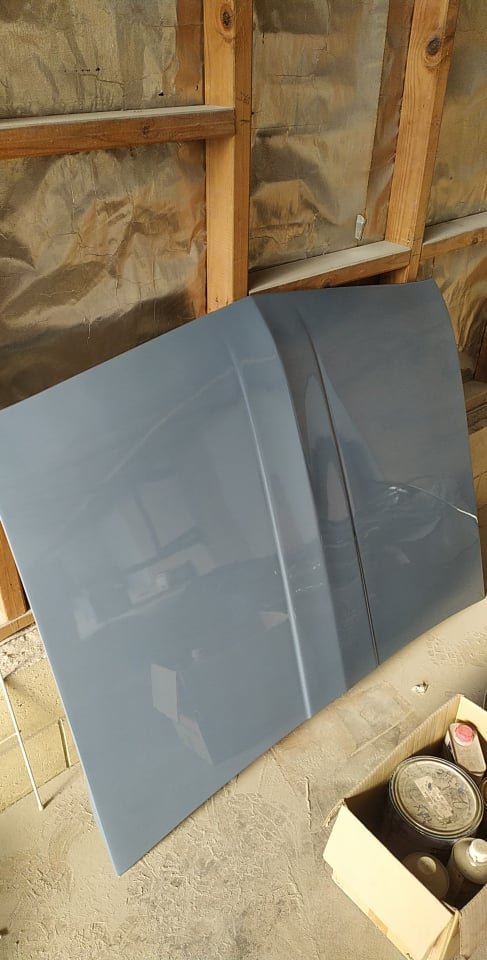
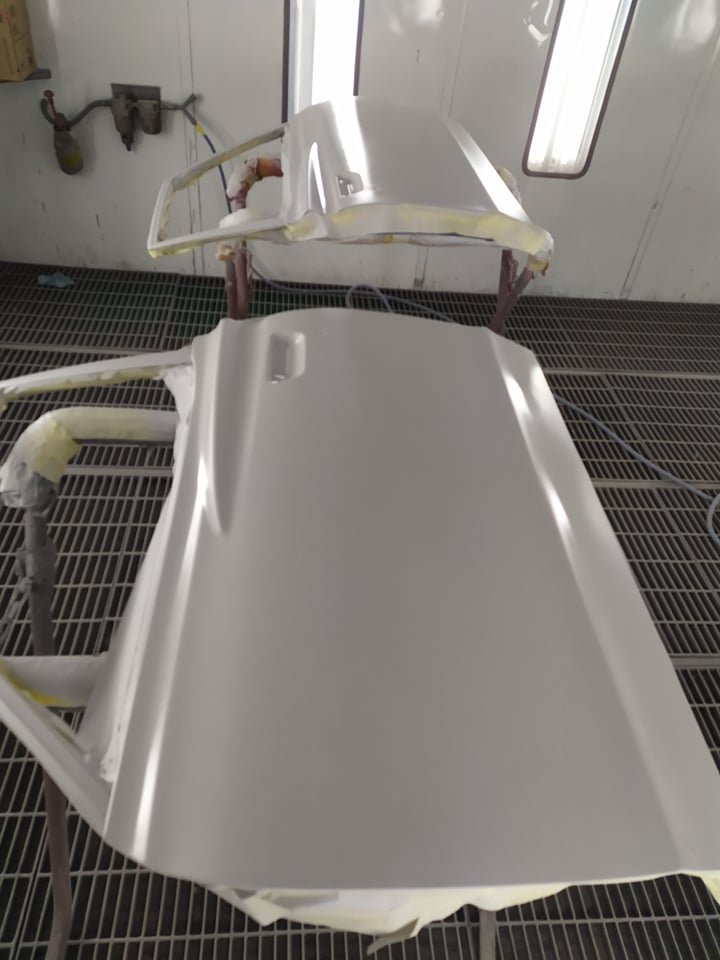
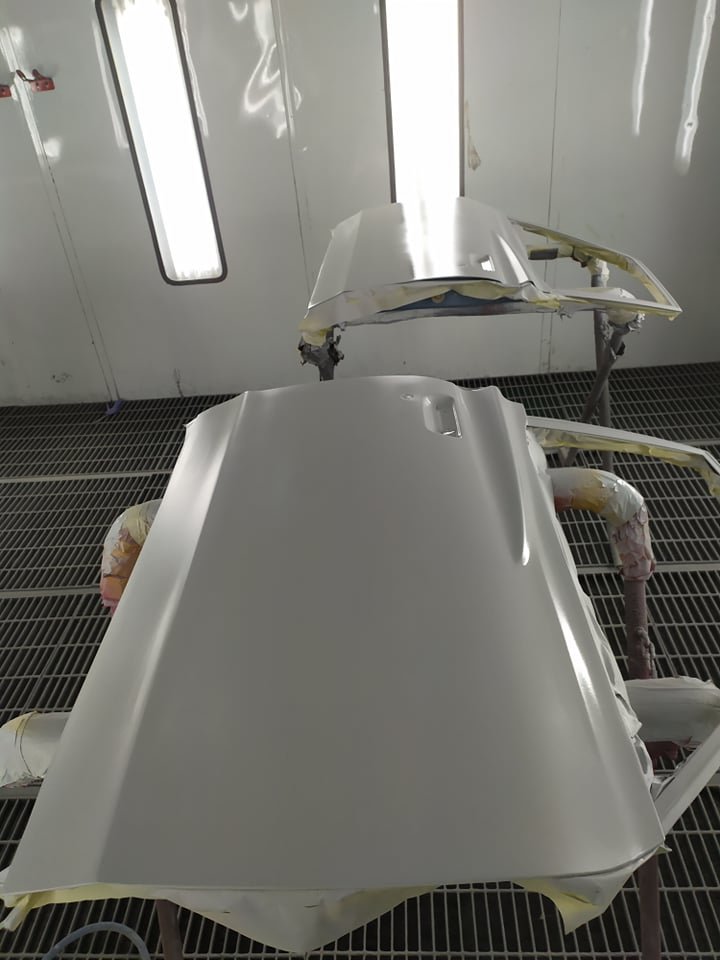
Bit of colour went on too.
3 points
-
You did well @Kiwibirdman. You answered all 18 questions!2 points
-
^ Good point. @azzurro I might have an alloy gear and a few other bits (maybe a rebuilt fuel pump for you) in my barry box of bits.2 points
-
That does seem to be the 'correct' way to do it, but I've never had a decal fall off a matt painted finish yet. It all sounds a bit "Emperors new clothes" to me. Surely you'd start losing detail lumping all that paint on. Is there not something called decal fix or similar ? You could always get masks for the markings & airbrush them on....2 points
-
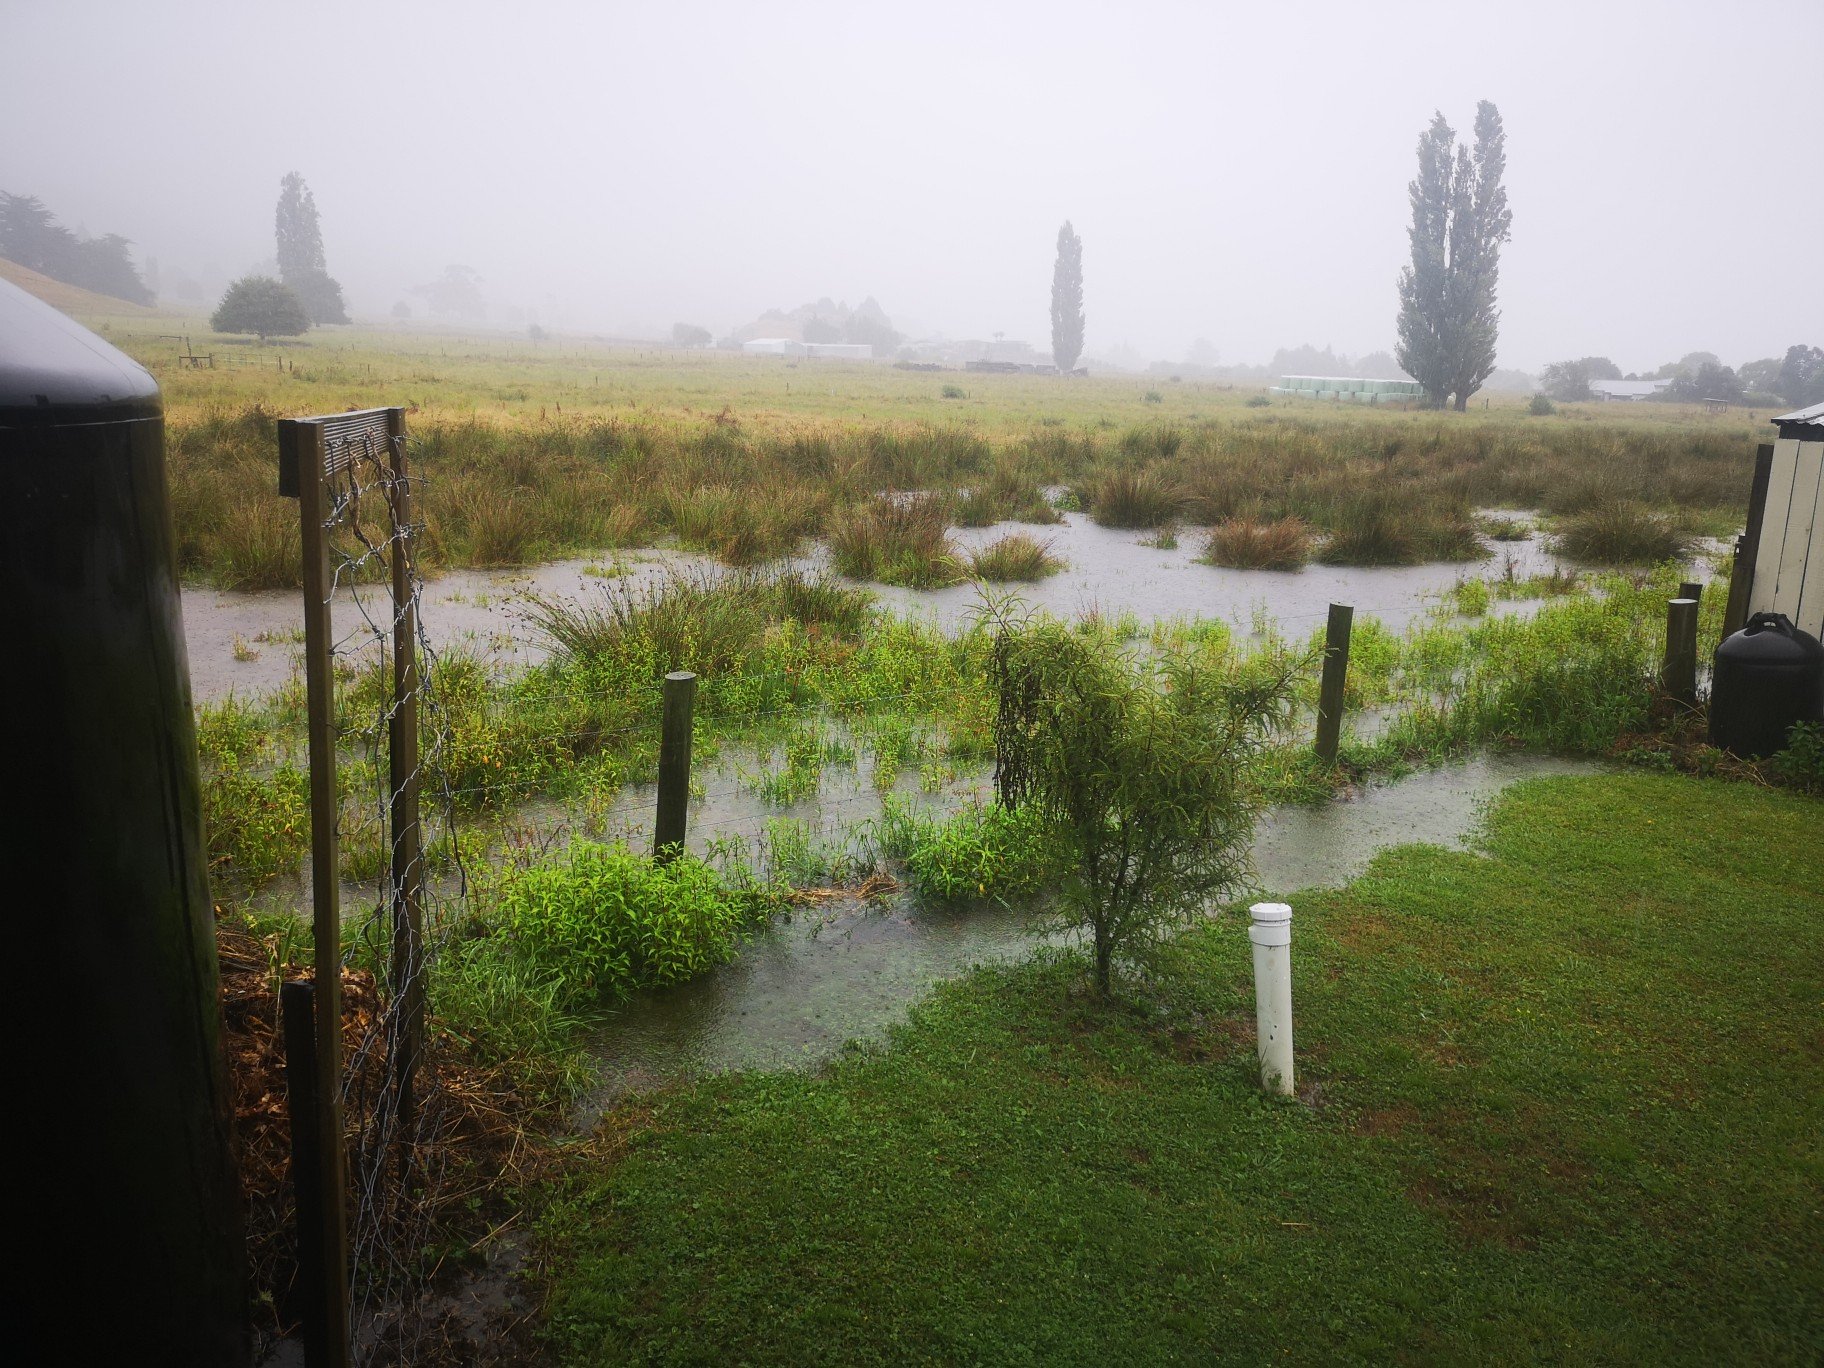
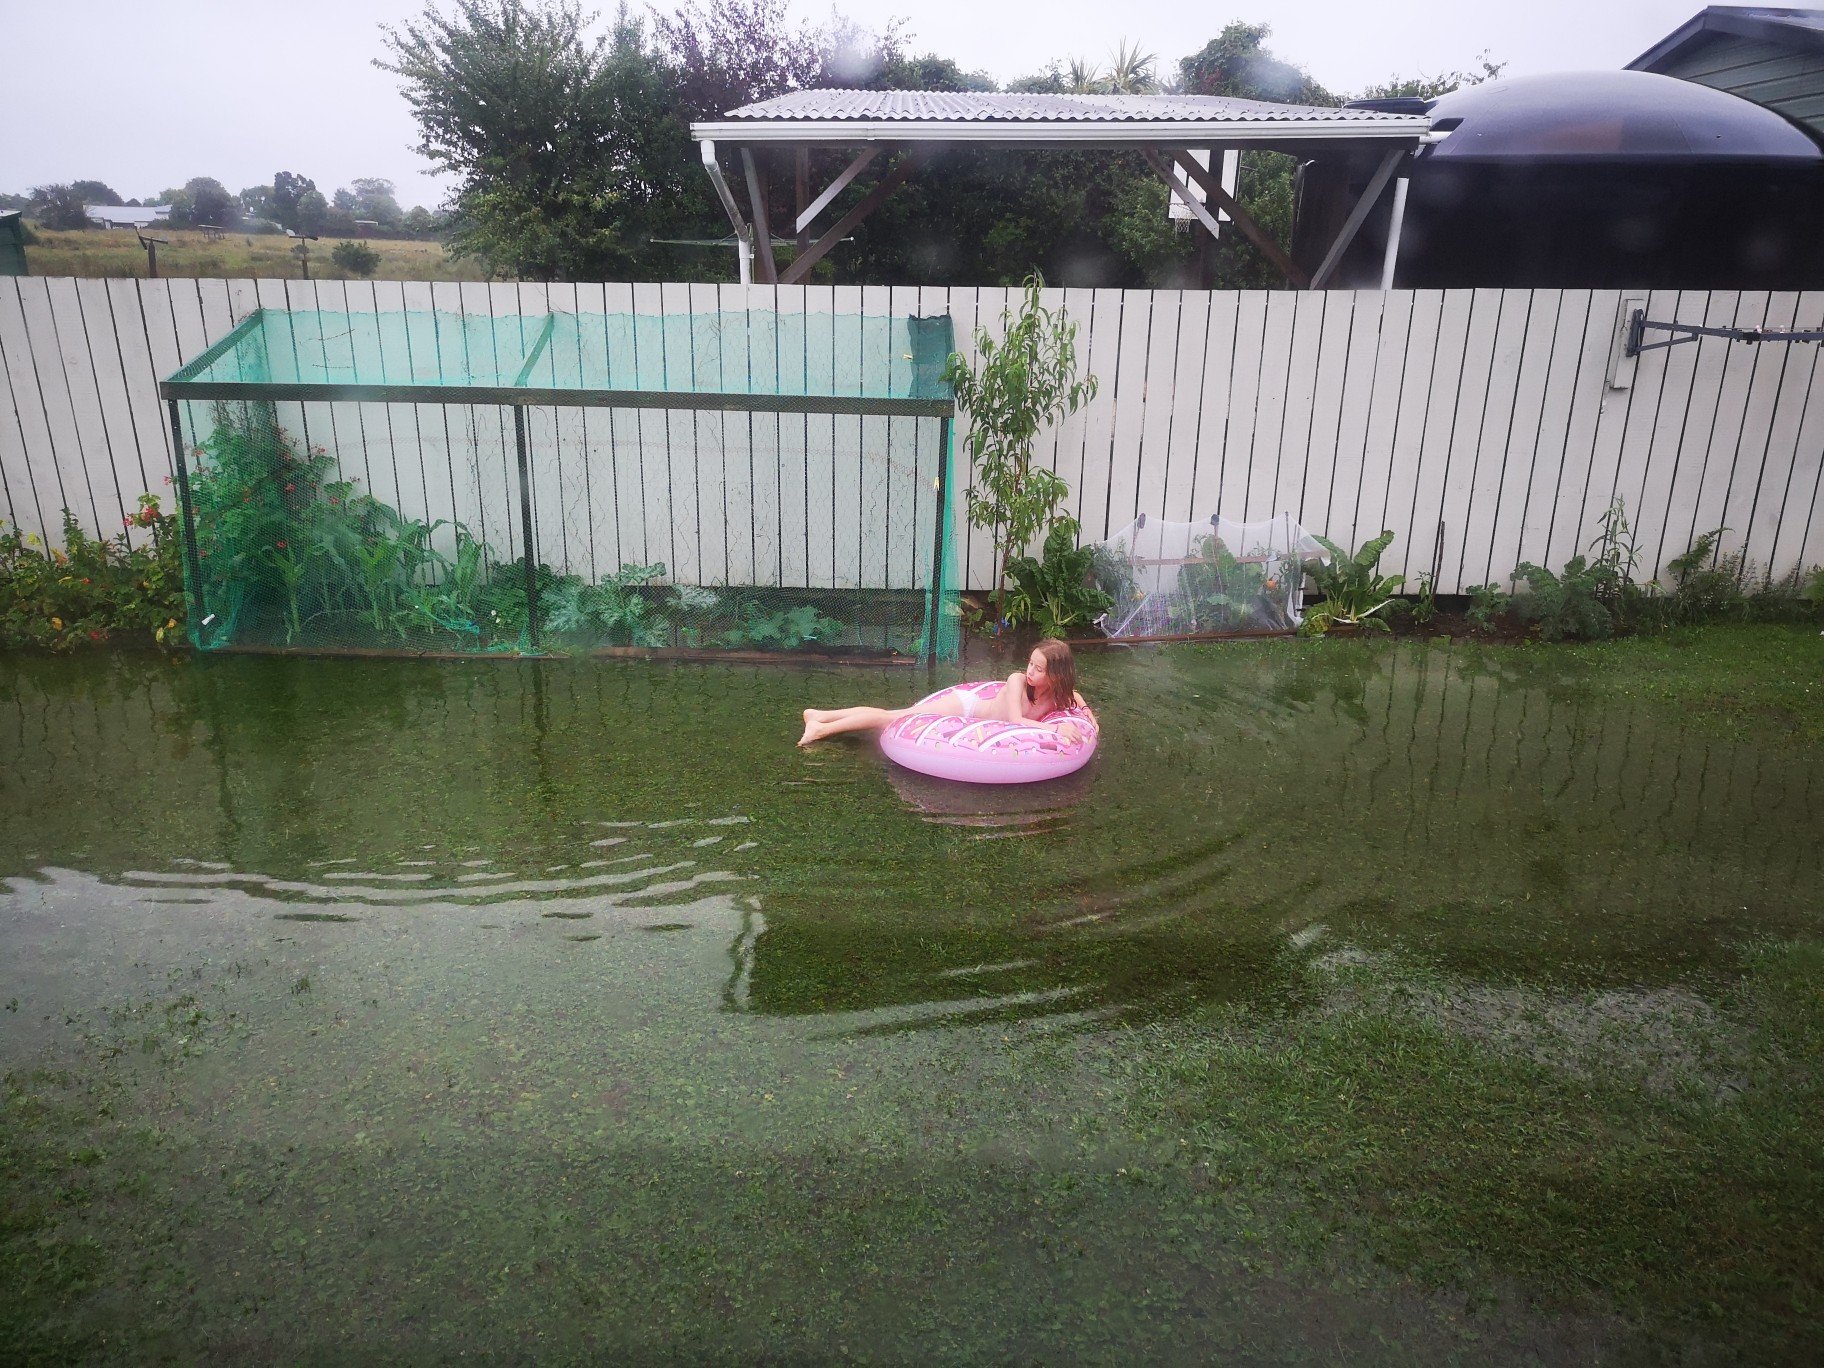
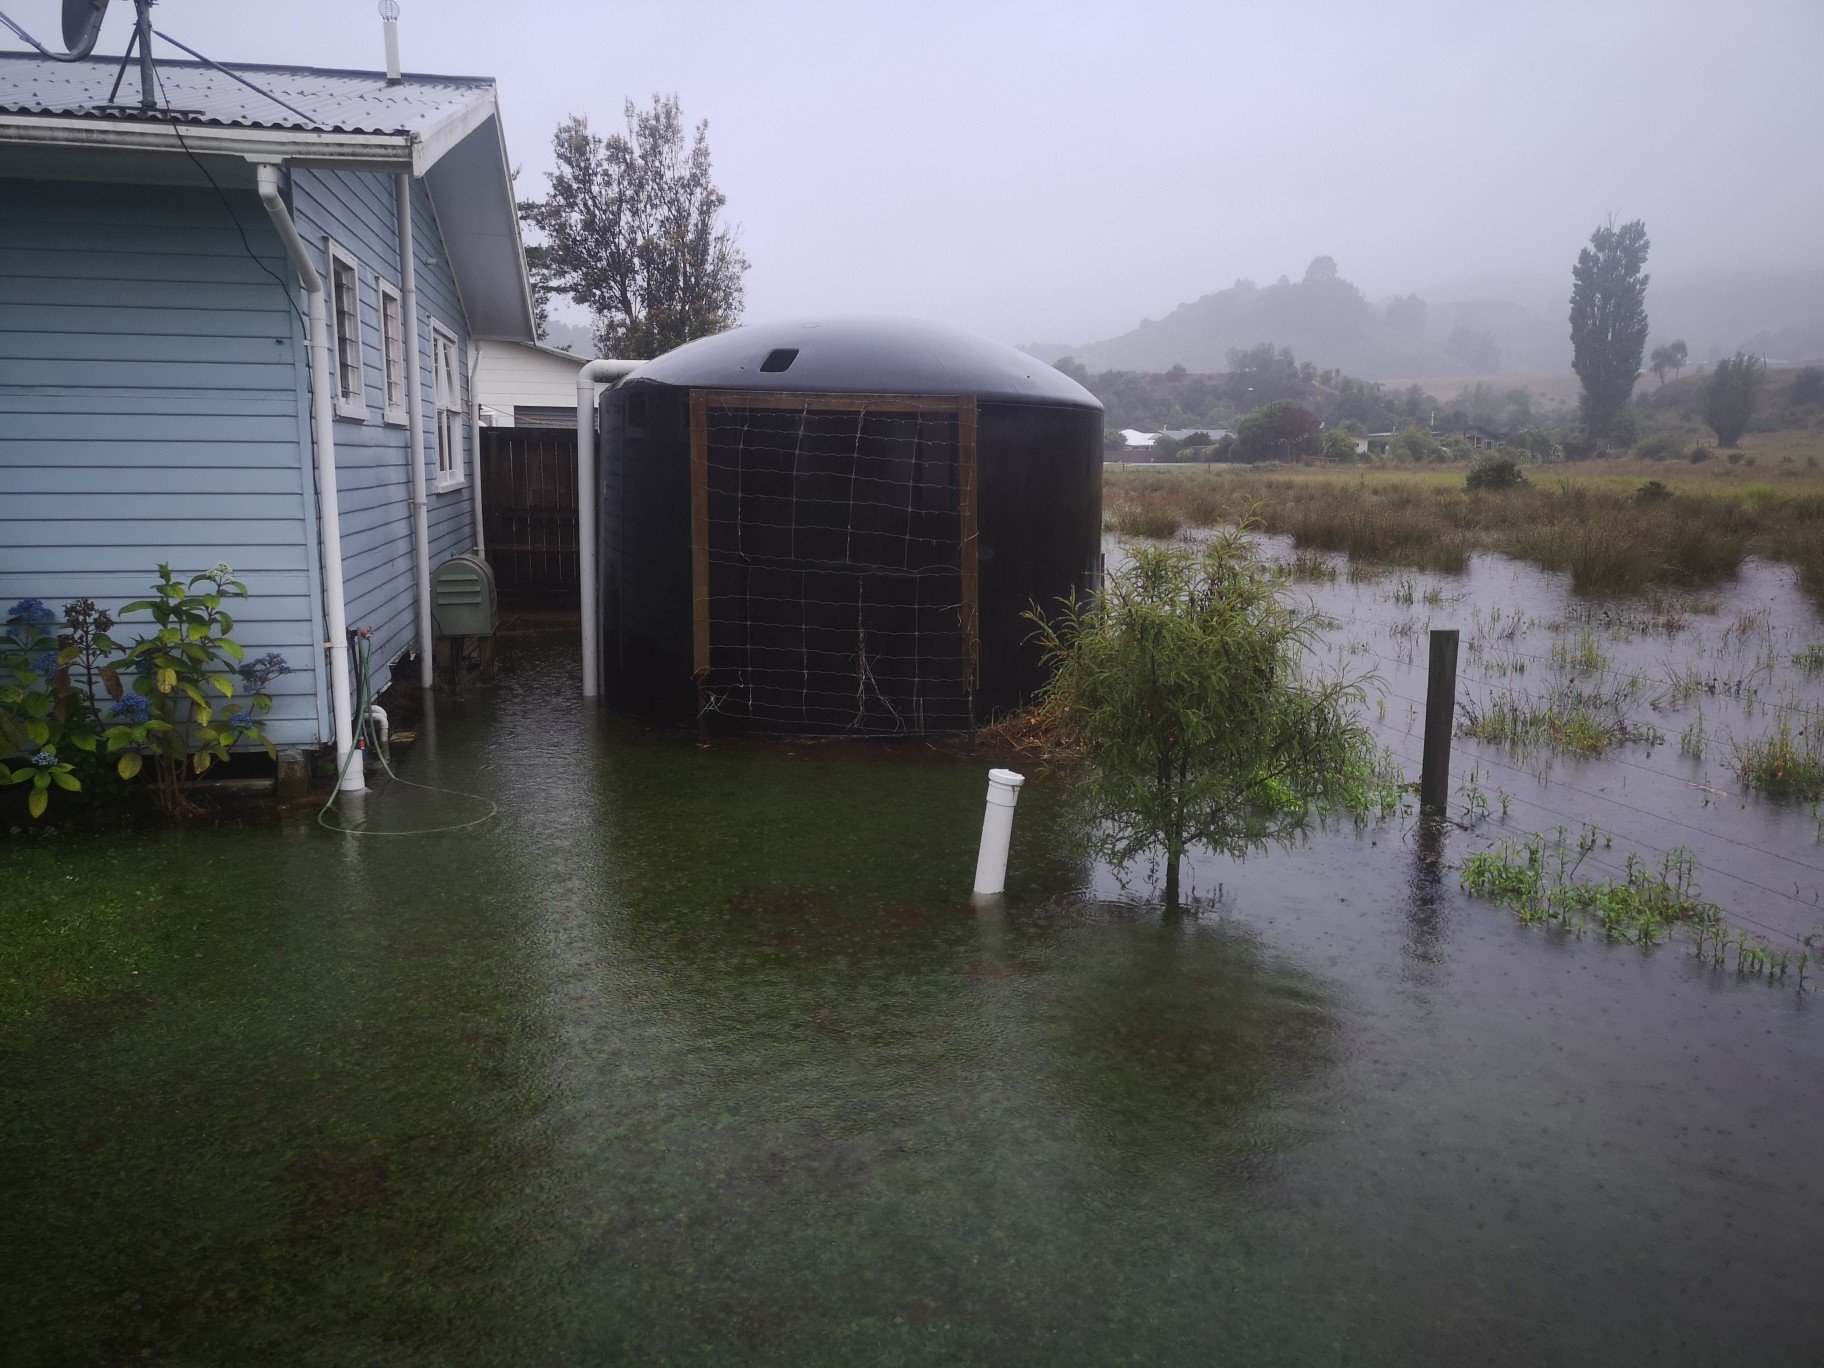
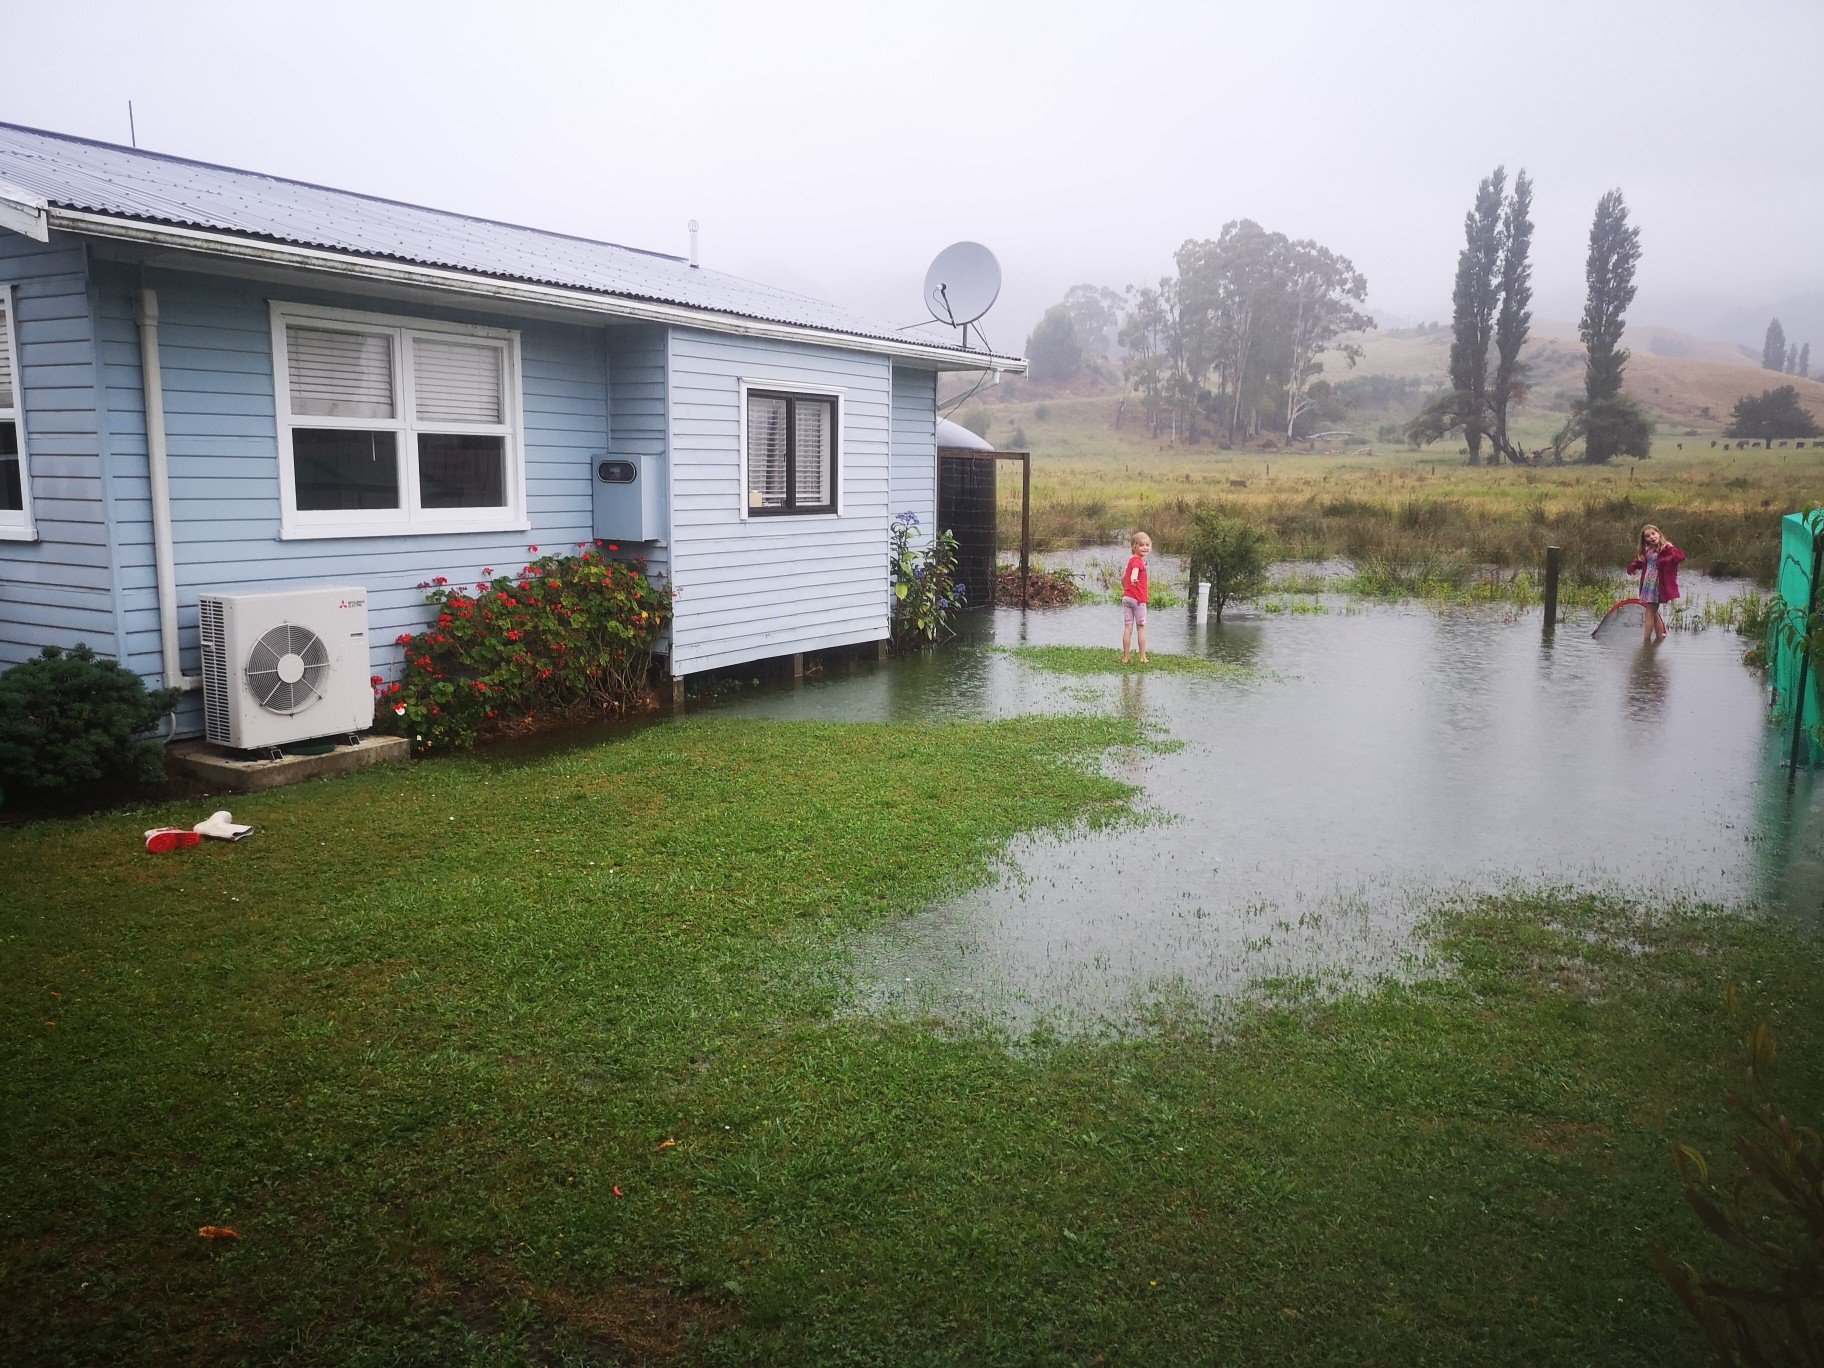
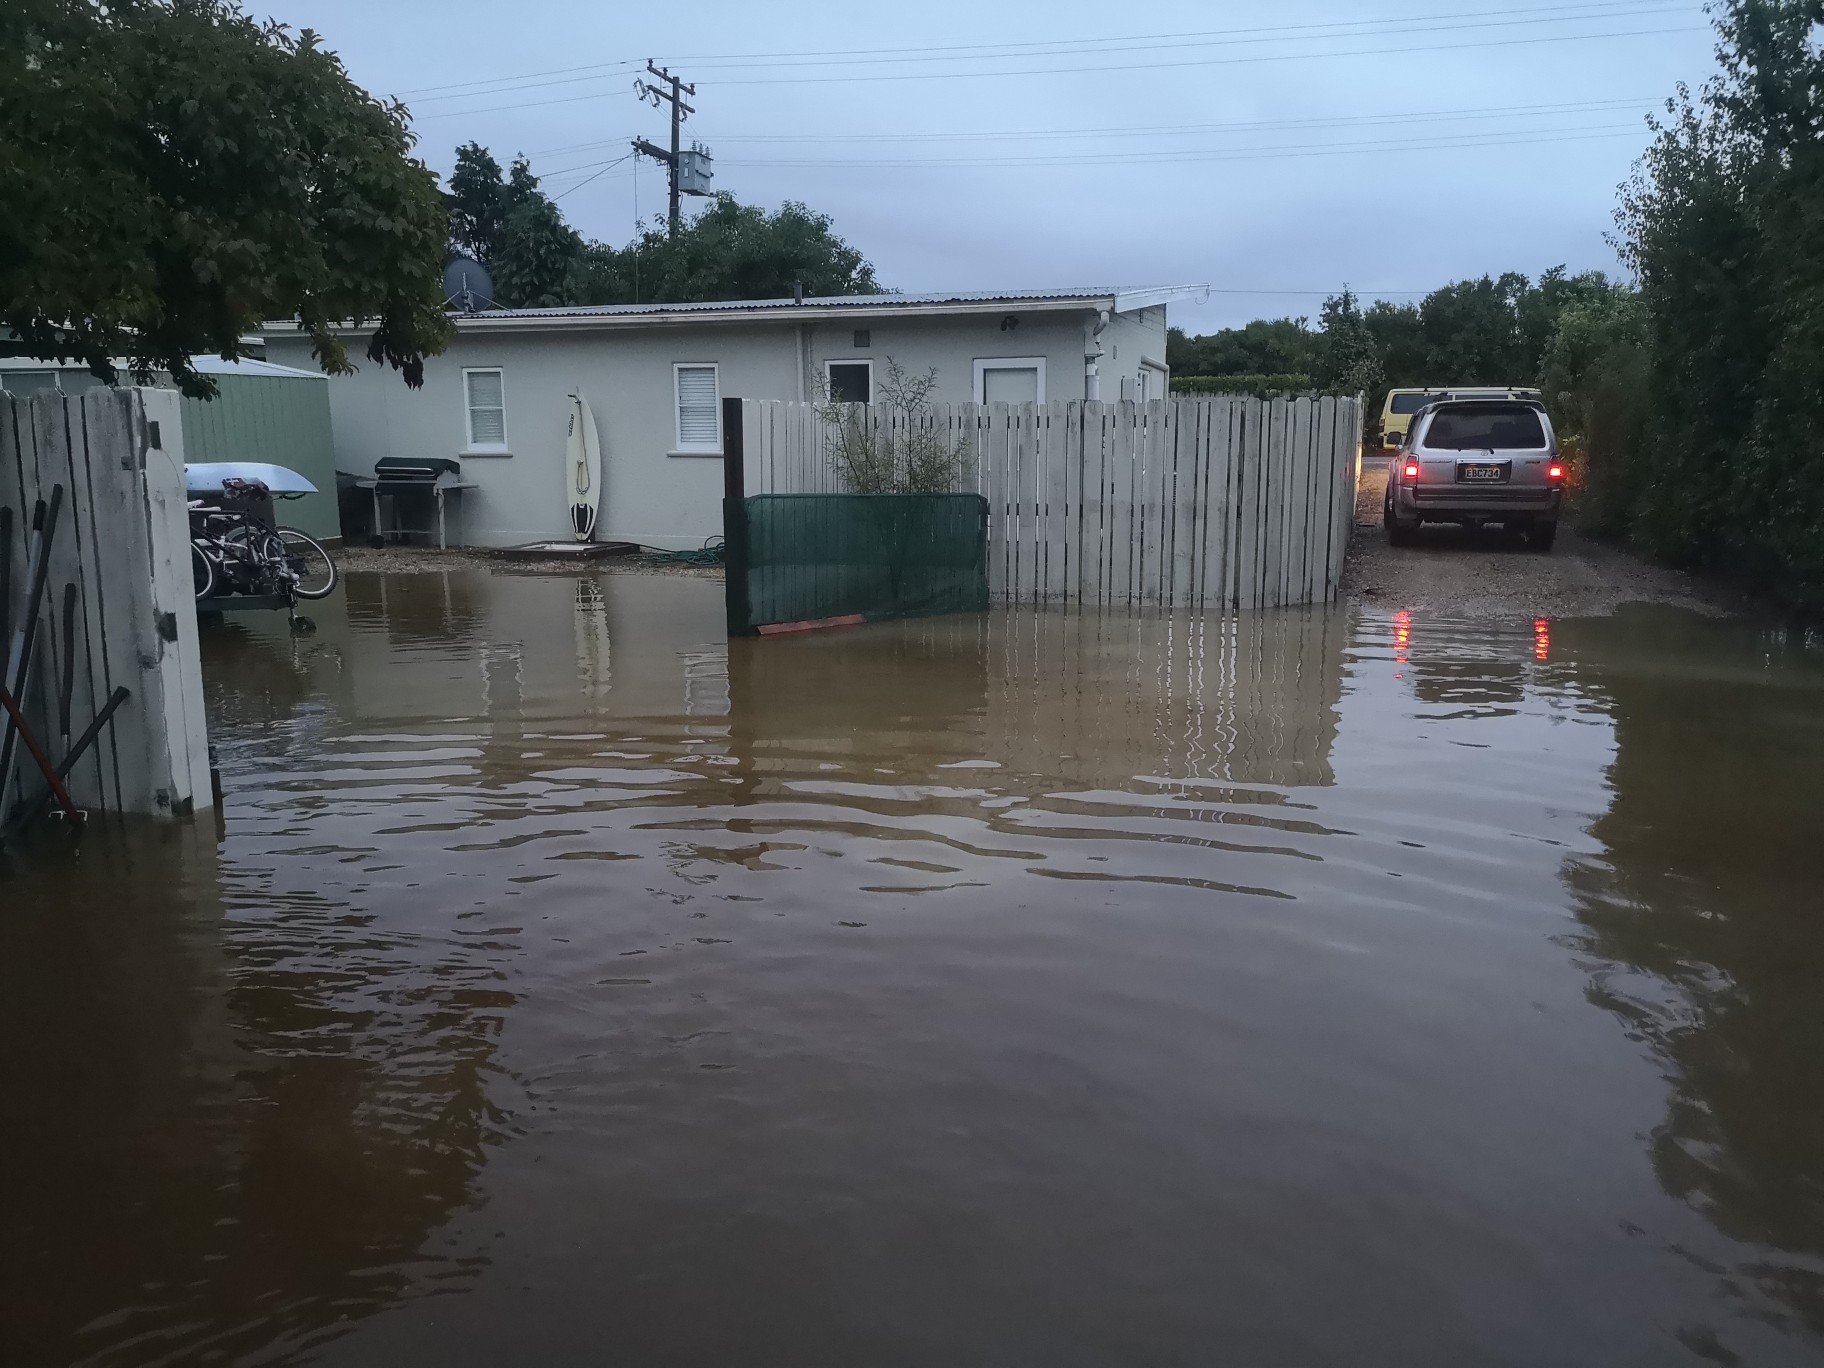
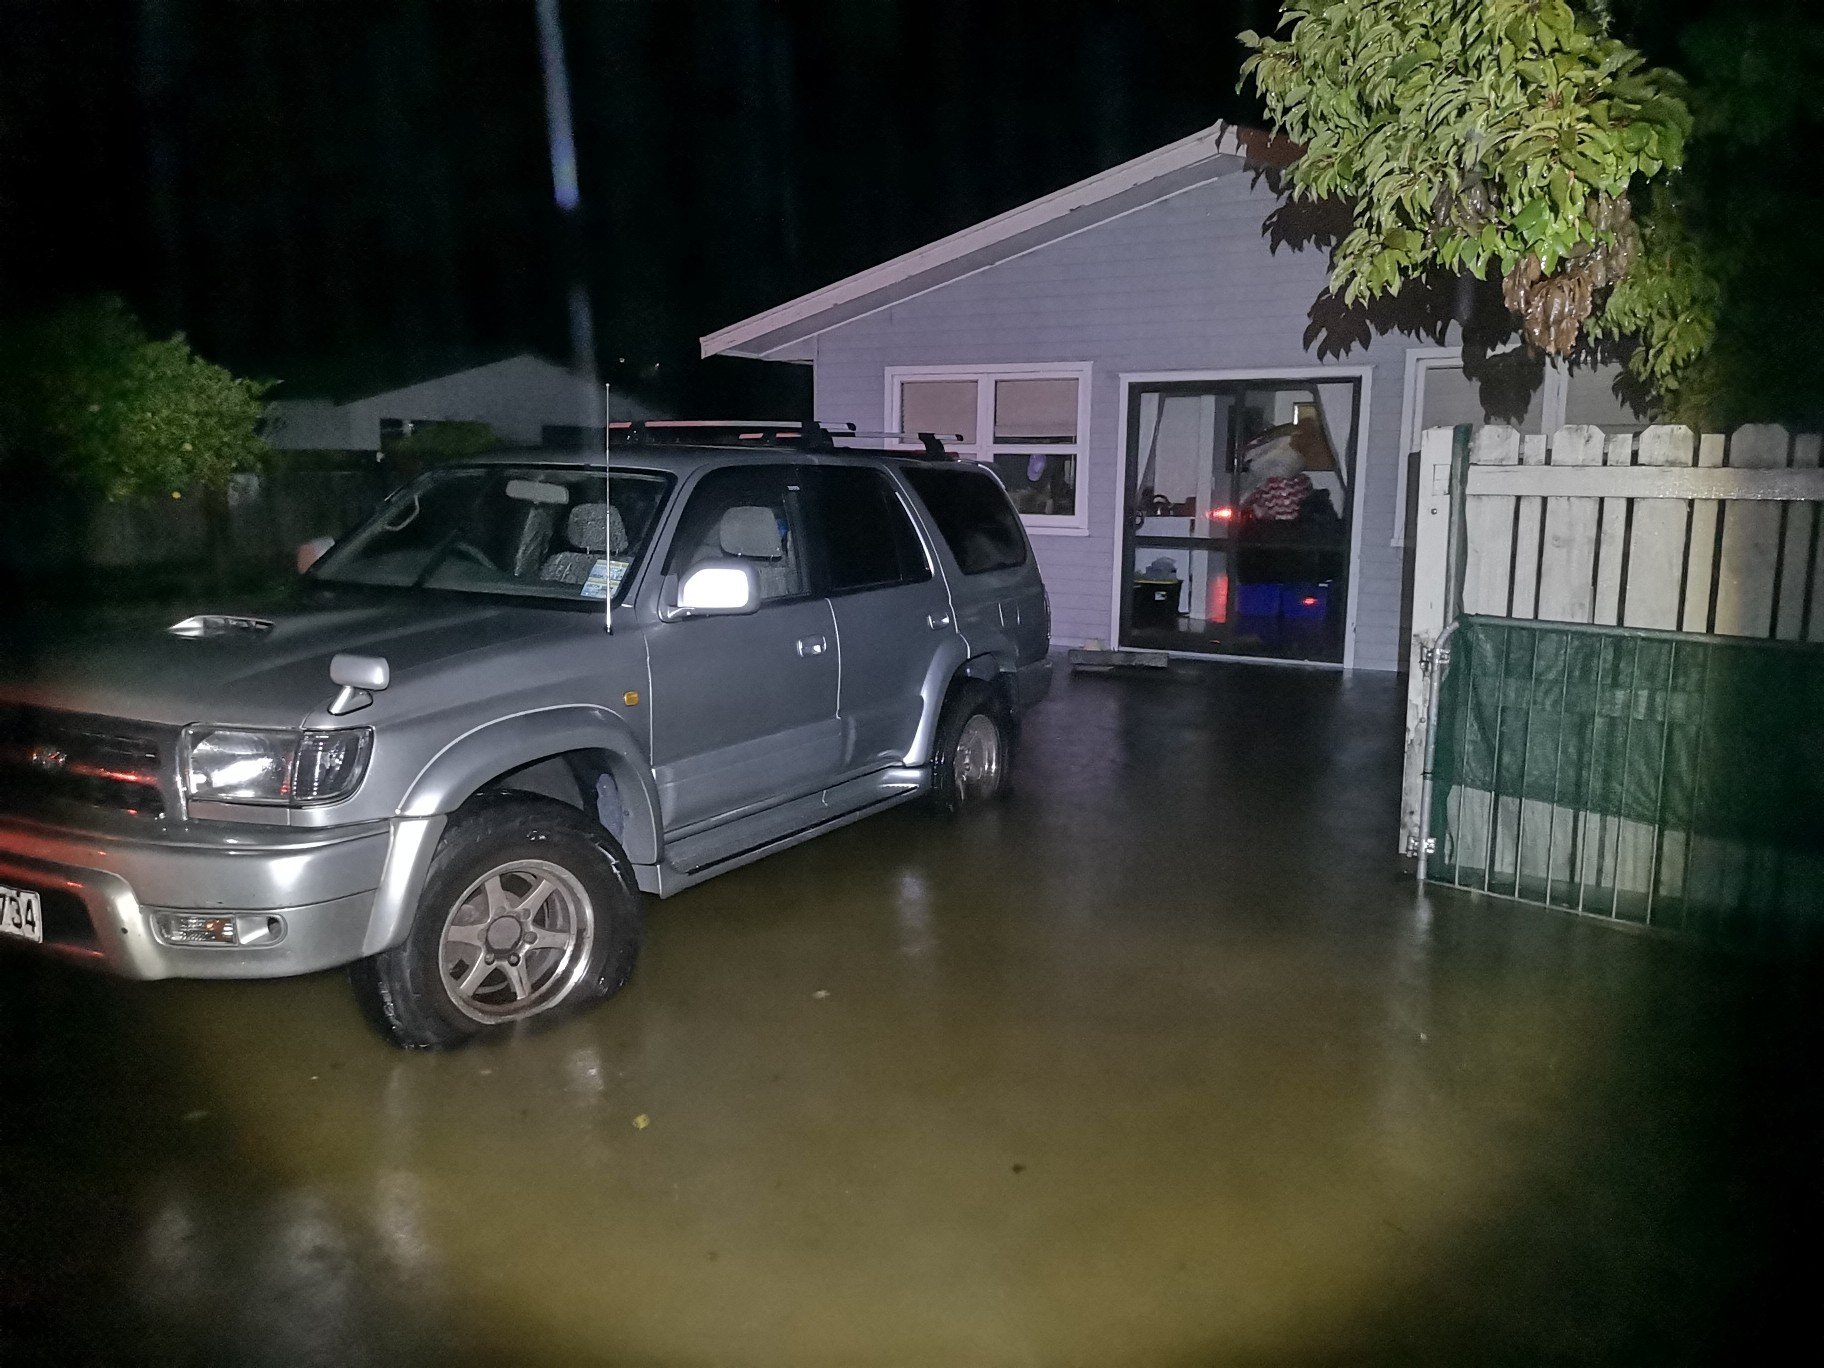
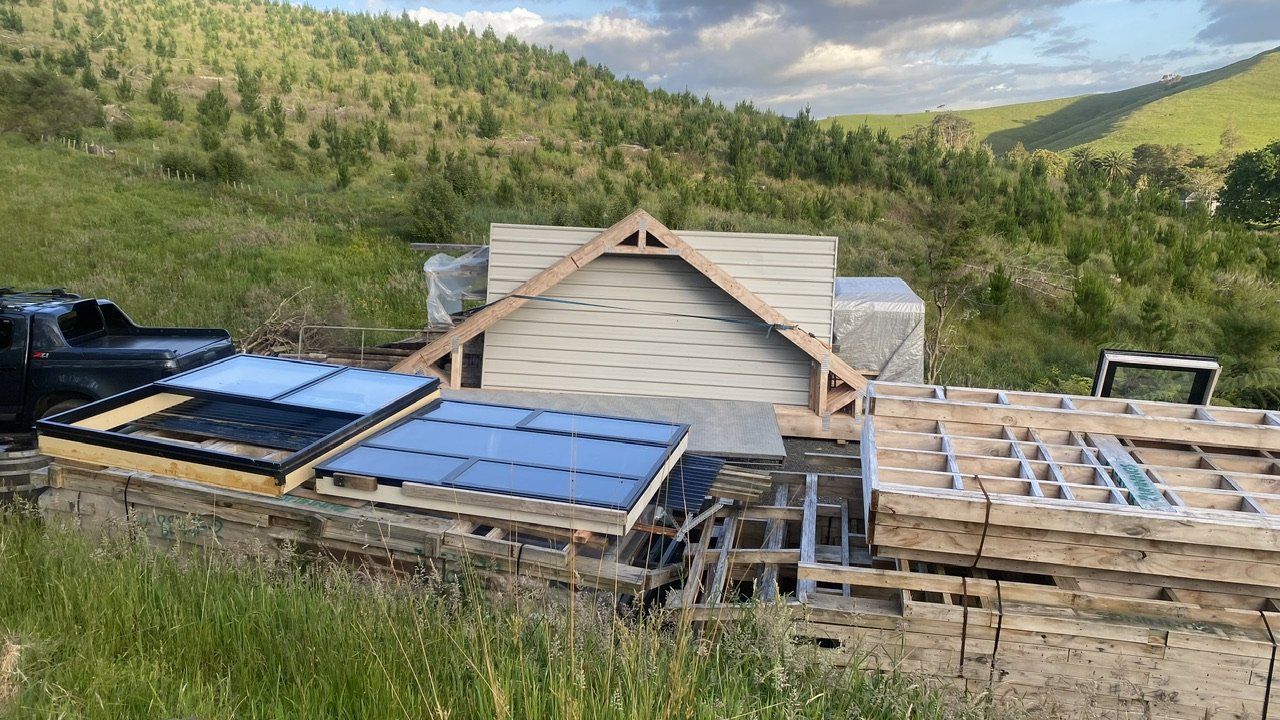
Pics of the first flood.. This the day before showing the location of the wetland behind us if you zoom in below the three poplars you can make out a row of fence posts, they mark the location of the Bartlett creek and the source of the flash flooding. In this pic you can see by the top of the water tank a gate in the distance this is where farmer has blocked Bartlett creek with a 300mm round culvert that can't handle the jandle and blows it's load all over the paddock behind us. In this shot looking to the left you can see in the distance a large poplar, it also comes over there. It was fun and games initially.. But in reality getting woken up at 11pm to evacuate isn't so fun.. Looking back up the drive to the rental which is about 150mm higher than ours, the council has a lot answer for, like, why the fuck let our house be built lower than the front house?
2 points
-
Condenser arrived today, dougs given his approval Fits in the space nicely, little bit of overhang so I'll need to figure out some shroud /bracket arrangements. From all the the info I found condenser ideally shouldn't be more than 13mm away from the rad so I can keep it nice and close2 points
-
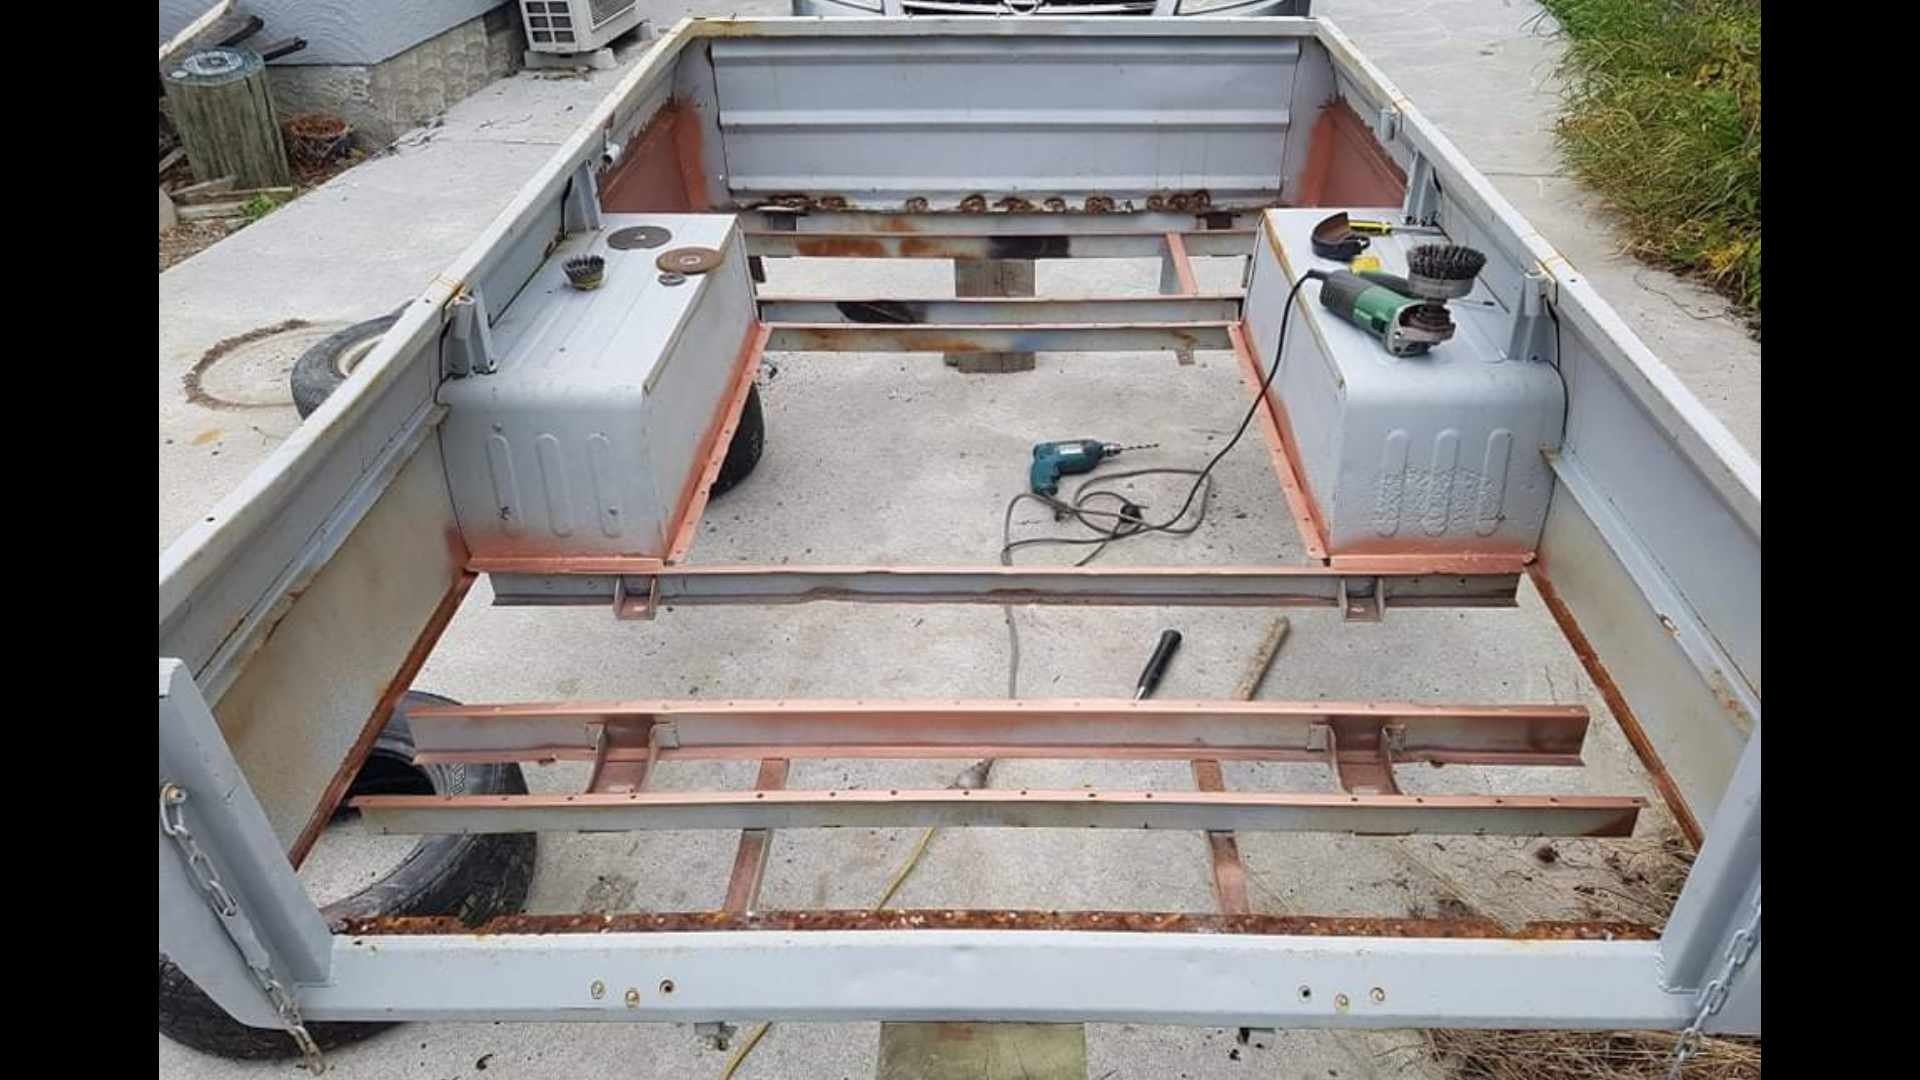
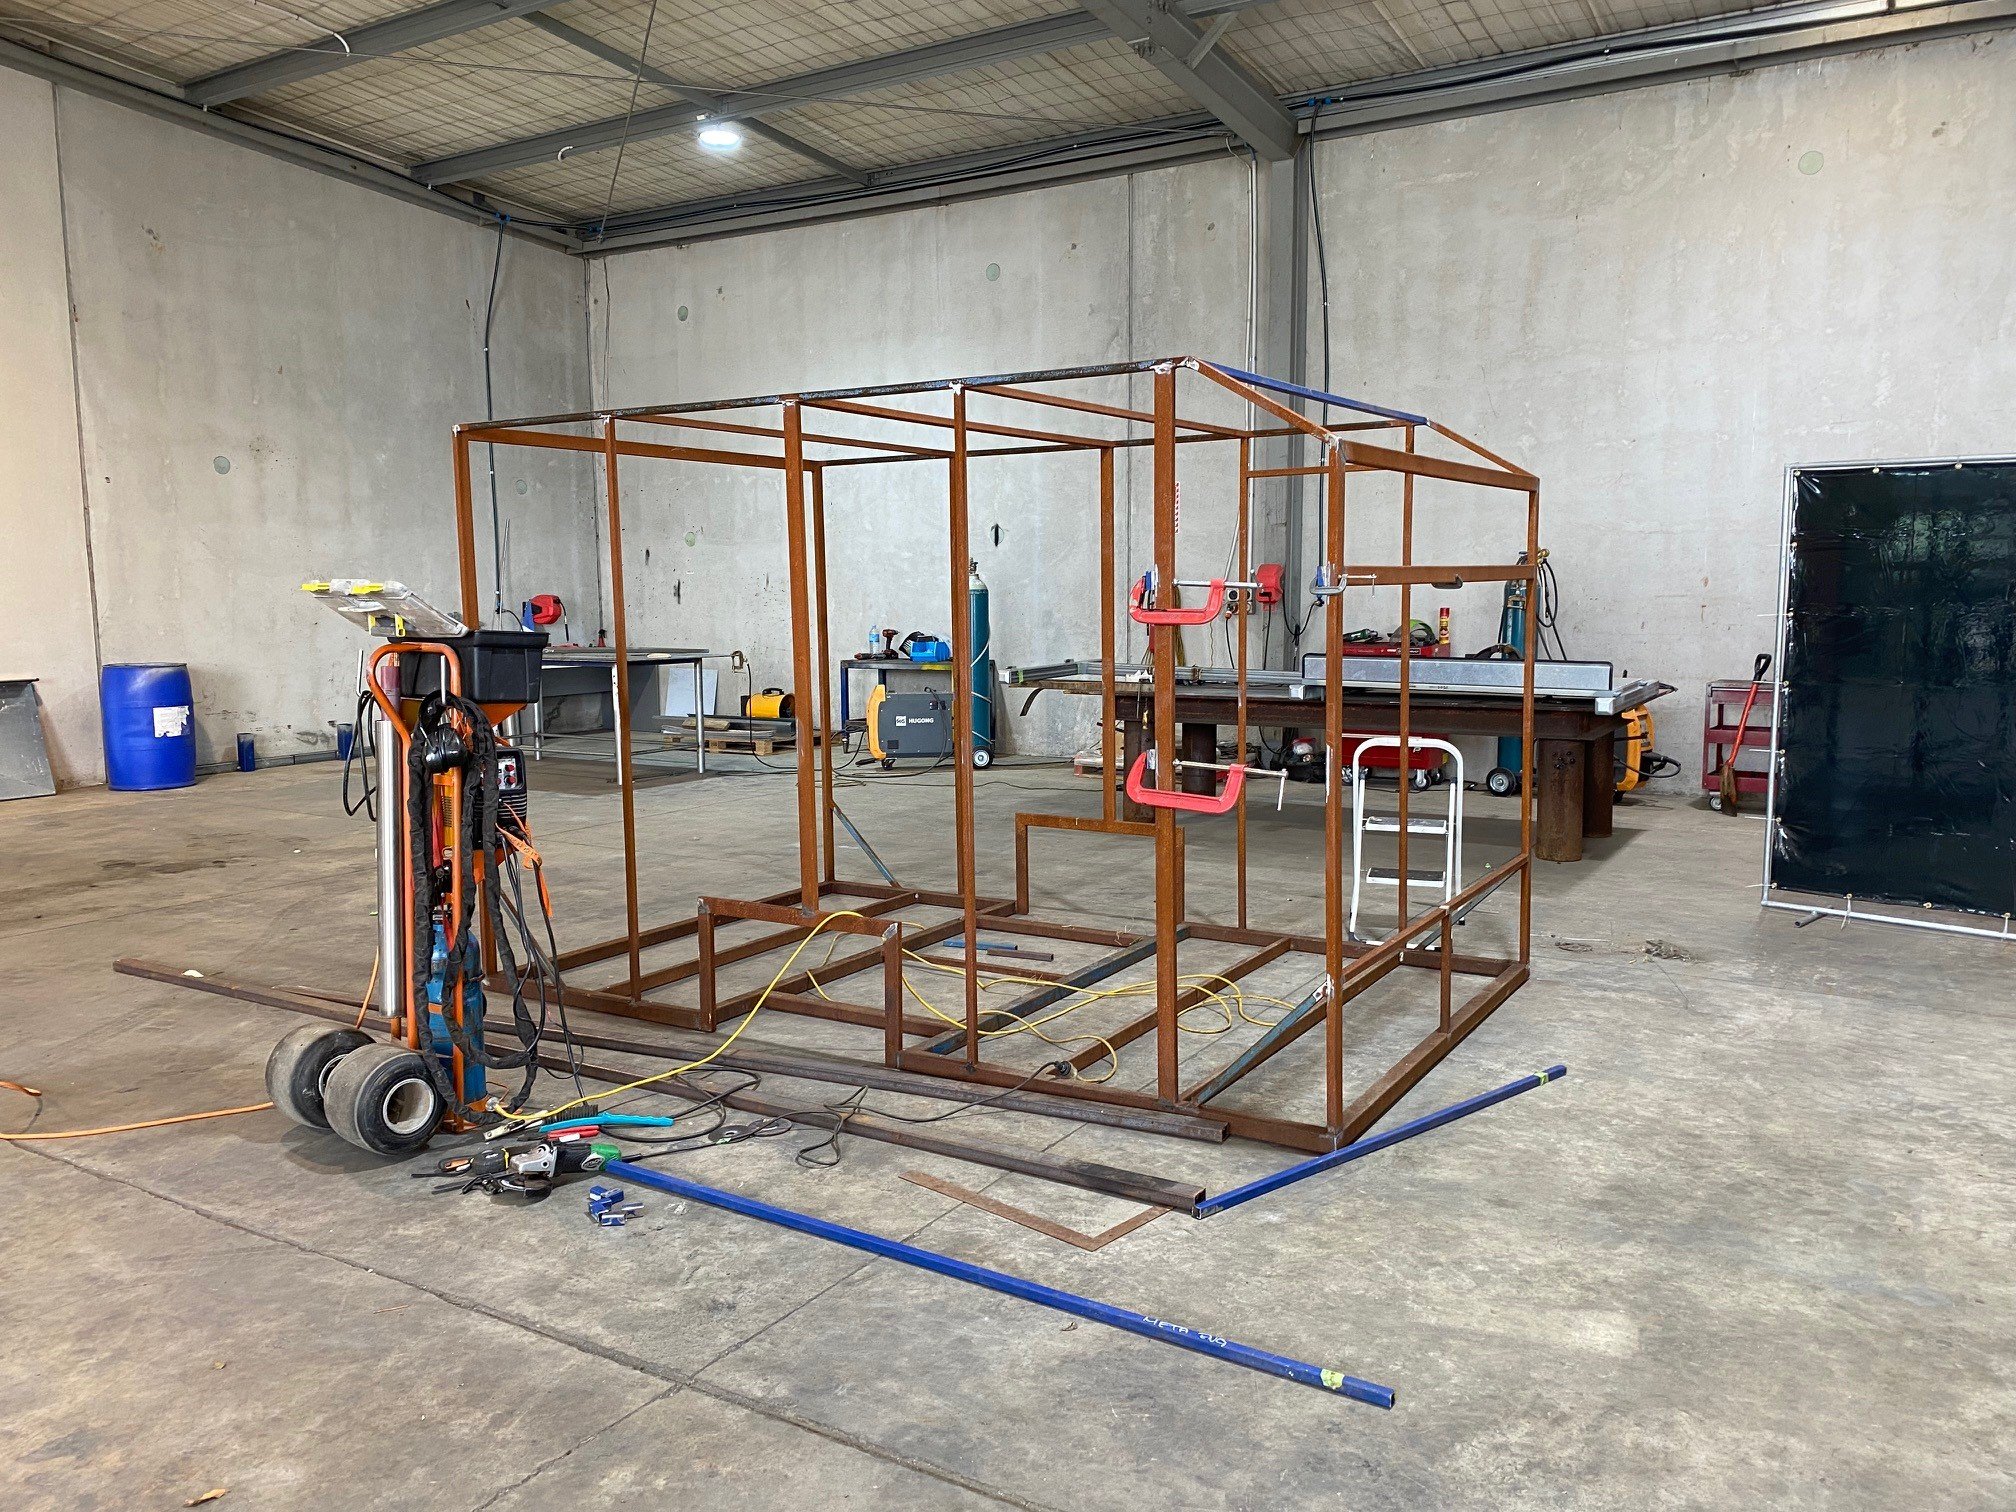
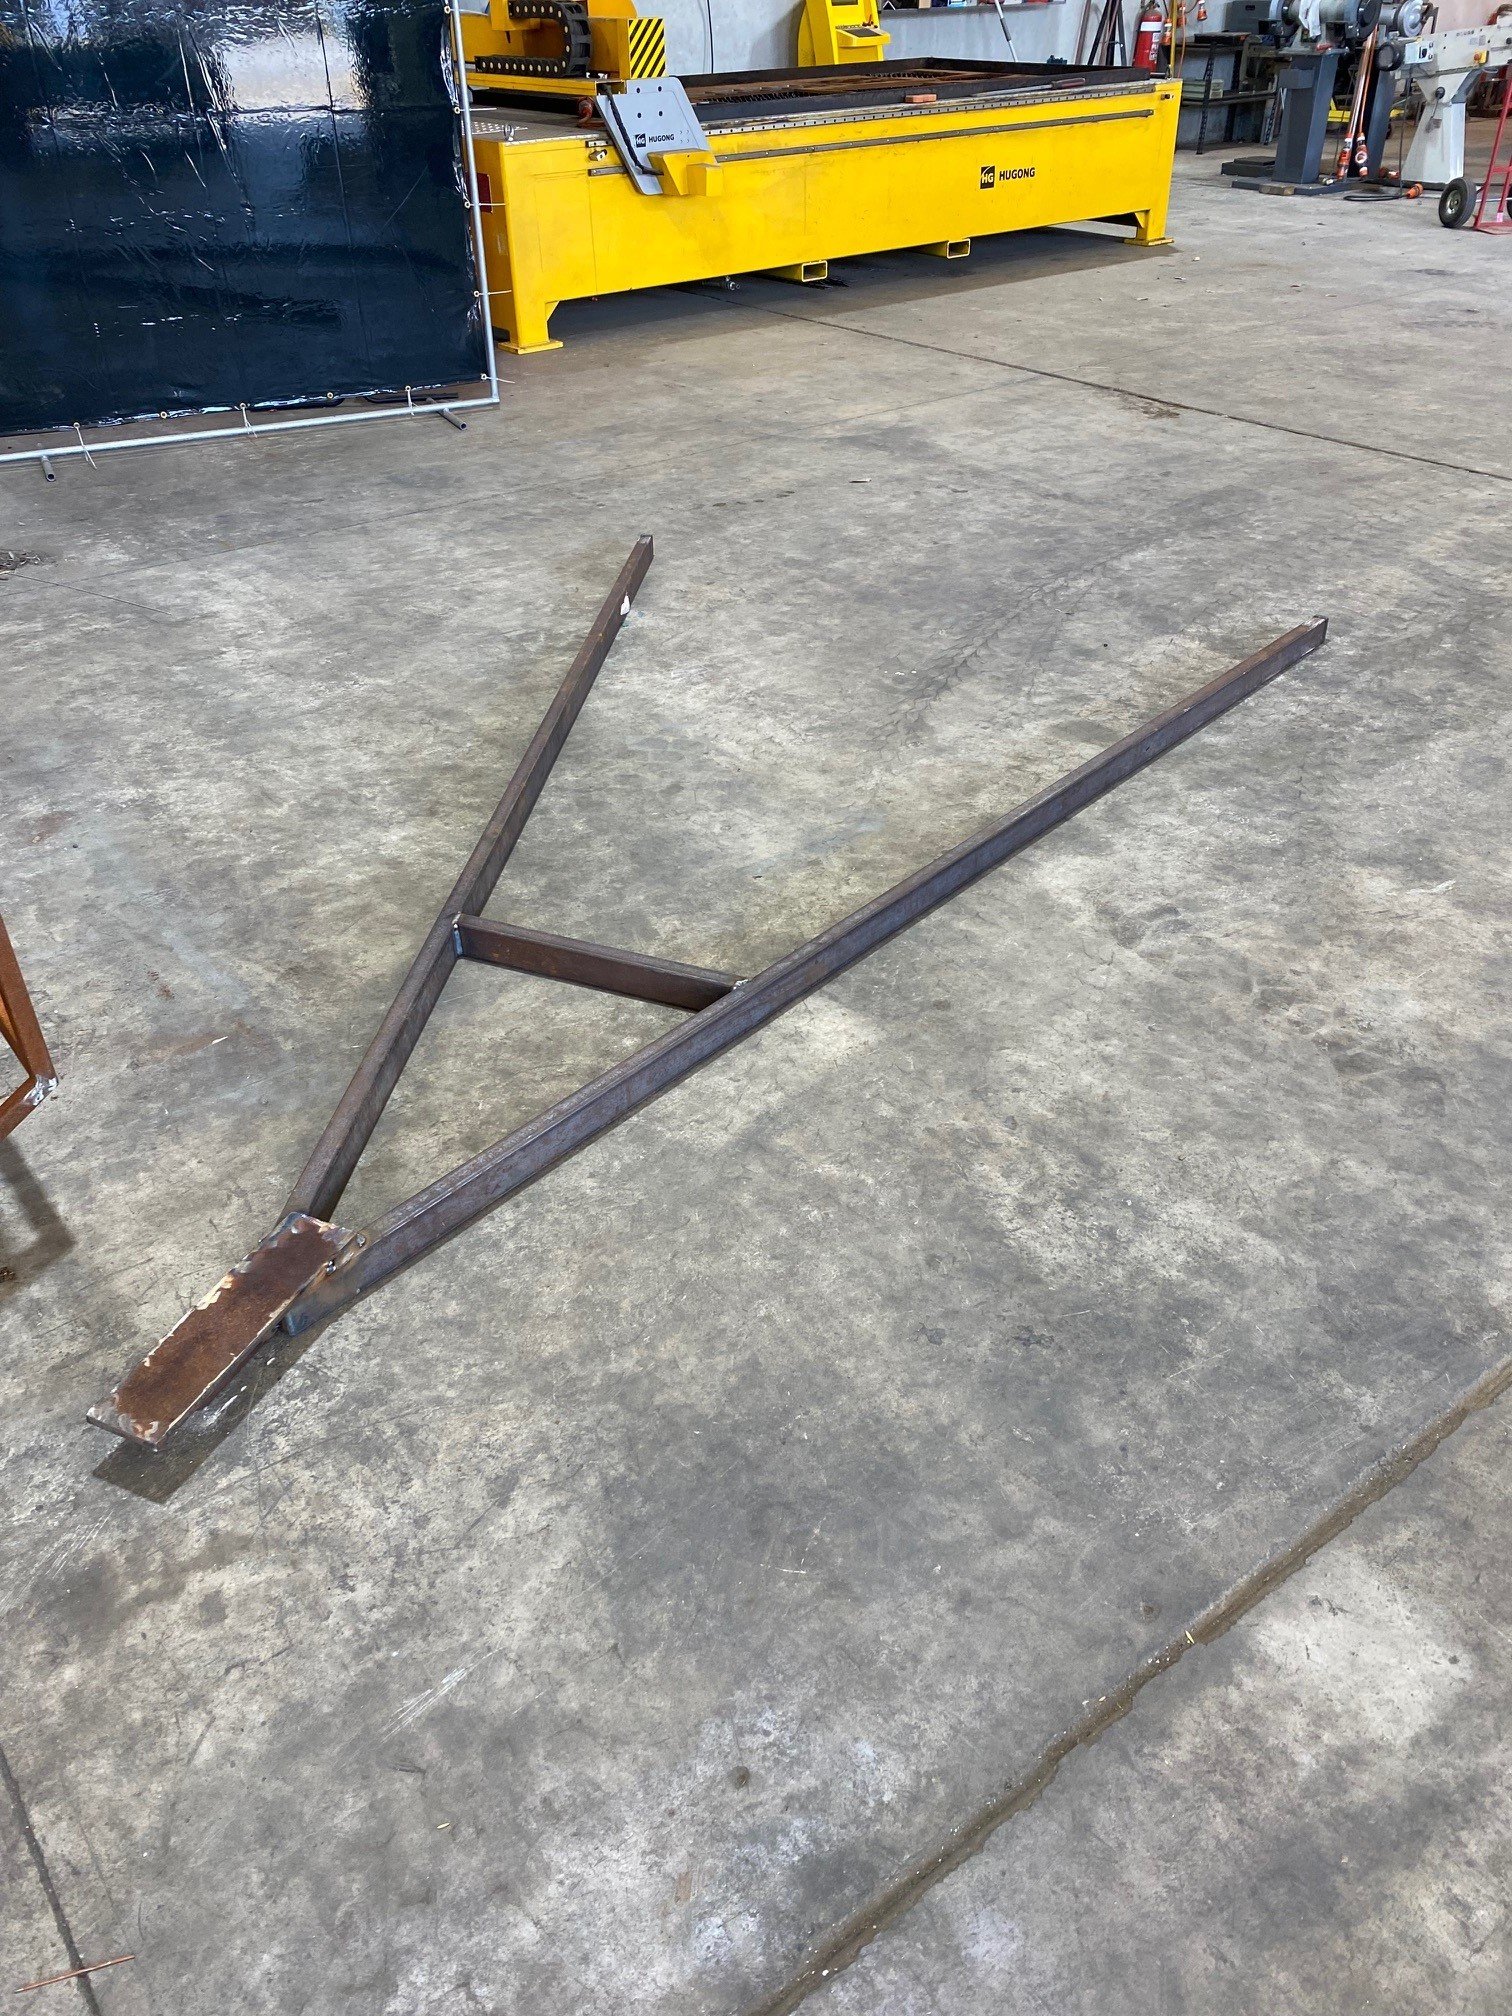
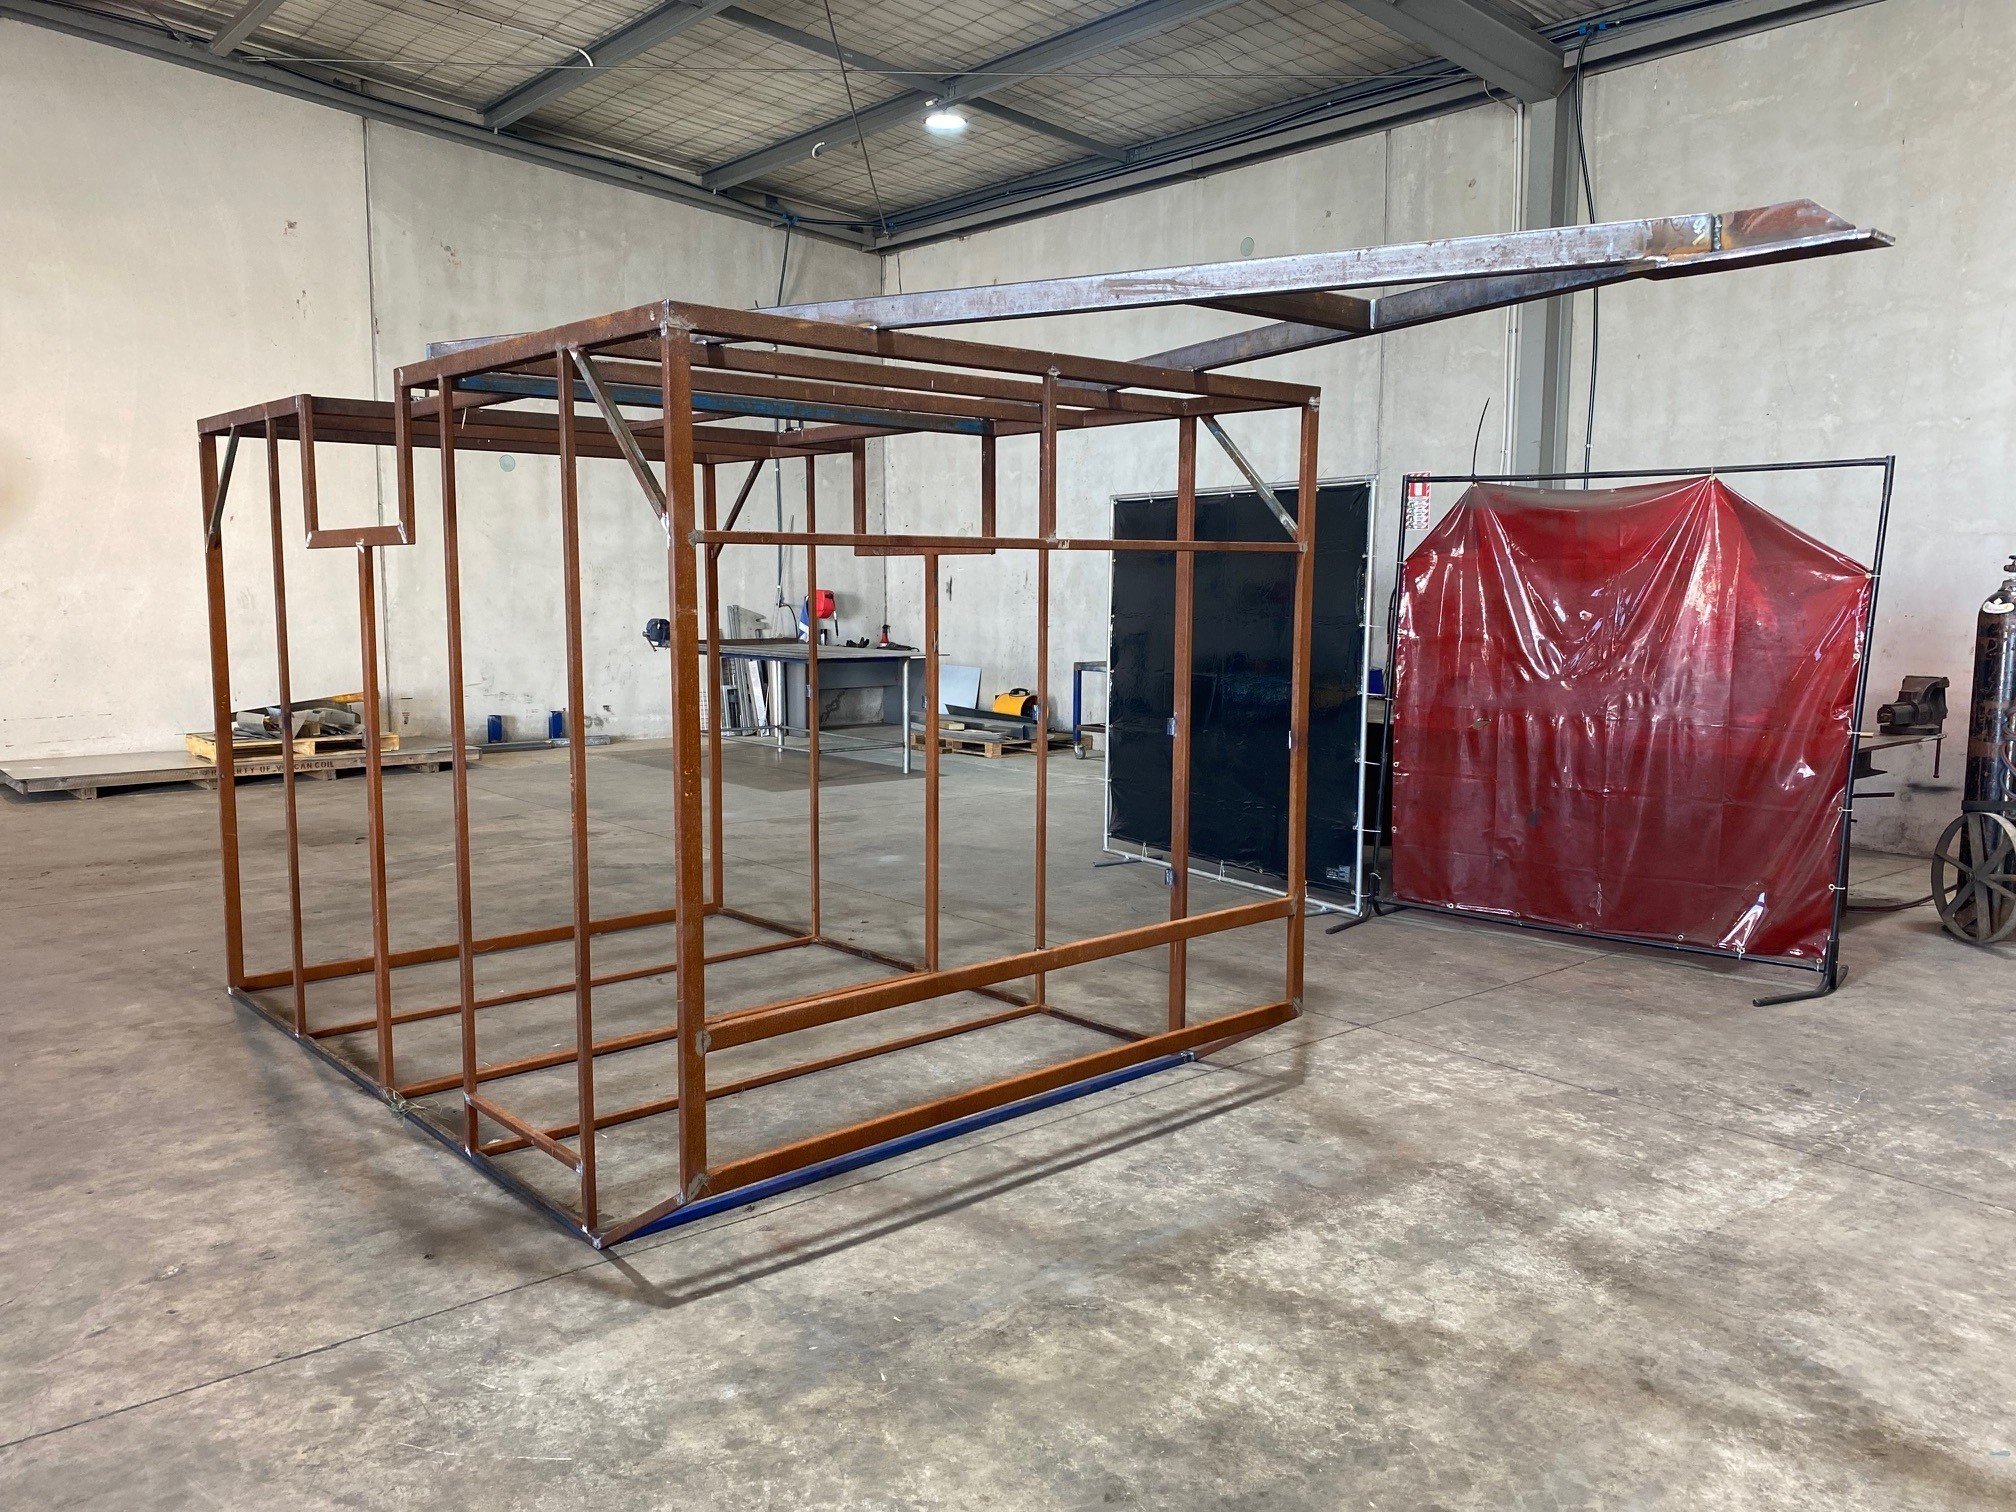
Jesus! 2022 was my last progress on it! Well, after that update, we decided to sell our house. So I was frantically working on the house for about 6 months and then we moved, and the trailer doesn't fit in the new garage. So its been outside, in the grass since last June/July and its developed a bit of scale. Anyway @Duke Blackwood decided that he wanted it off his lawn, so he came up with a clever scheme that got it moved and forced me into working on it at his workshop. Yesterday I took a day off work, welded on some mounting points for a future removable tire rack and work bench, fabbed up a draw bar, and welded on the spring mounts. It was a pretty massive day in the workshop for myself, usually an office fairy... so today I'm pretty shot, to the point where my boss commented this morning on how tired I look Anyway, its finally going to be heading off to blast and paint, and then I will make it towable so I can at least move it around while I sell something to pay for the cladding.
2 points
-
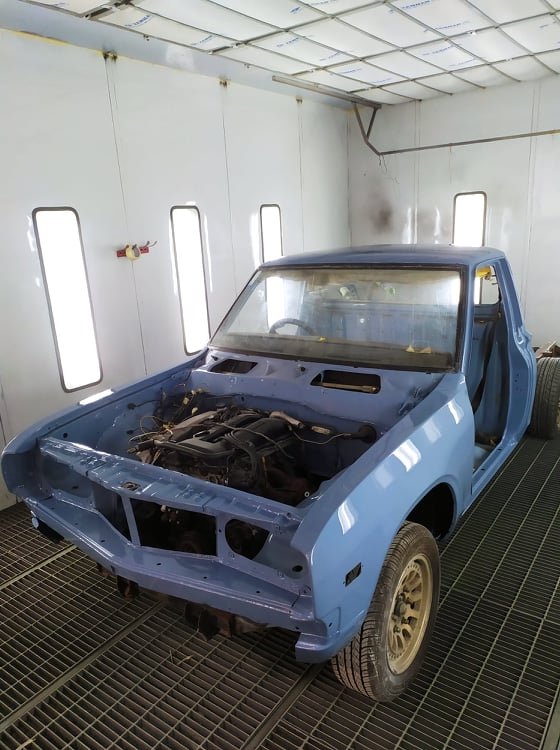
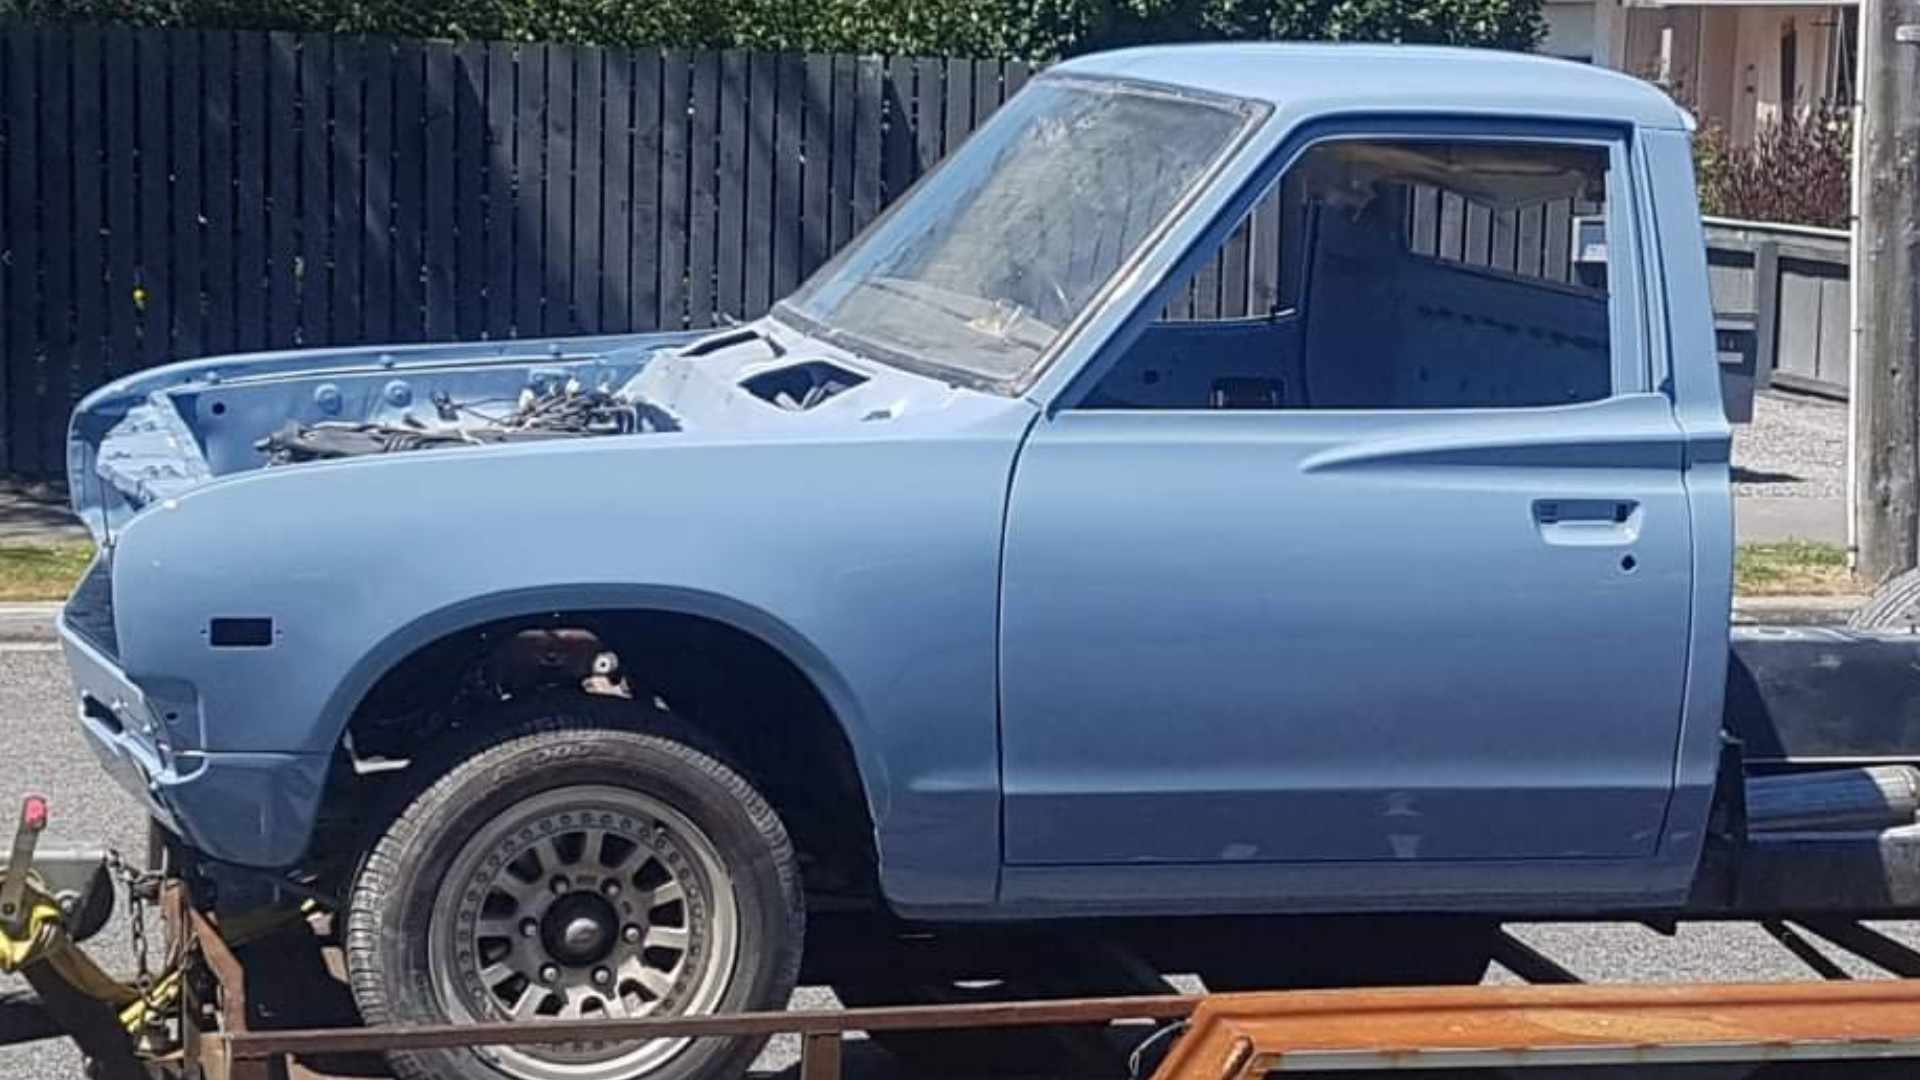
This is a picture of when i beought it home. Its a good pic because its in the sun. But the doors had just been thrown on to bring it home, and it grates me how poorly hung the door is.
2 points
-
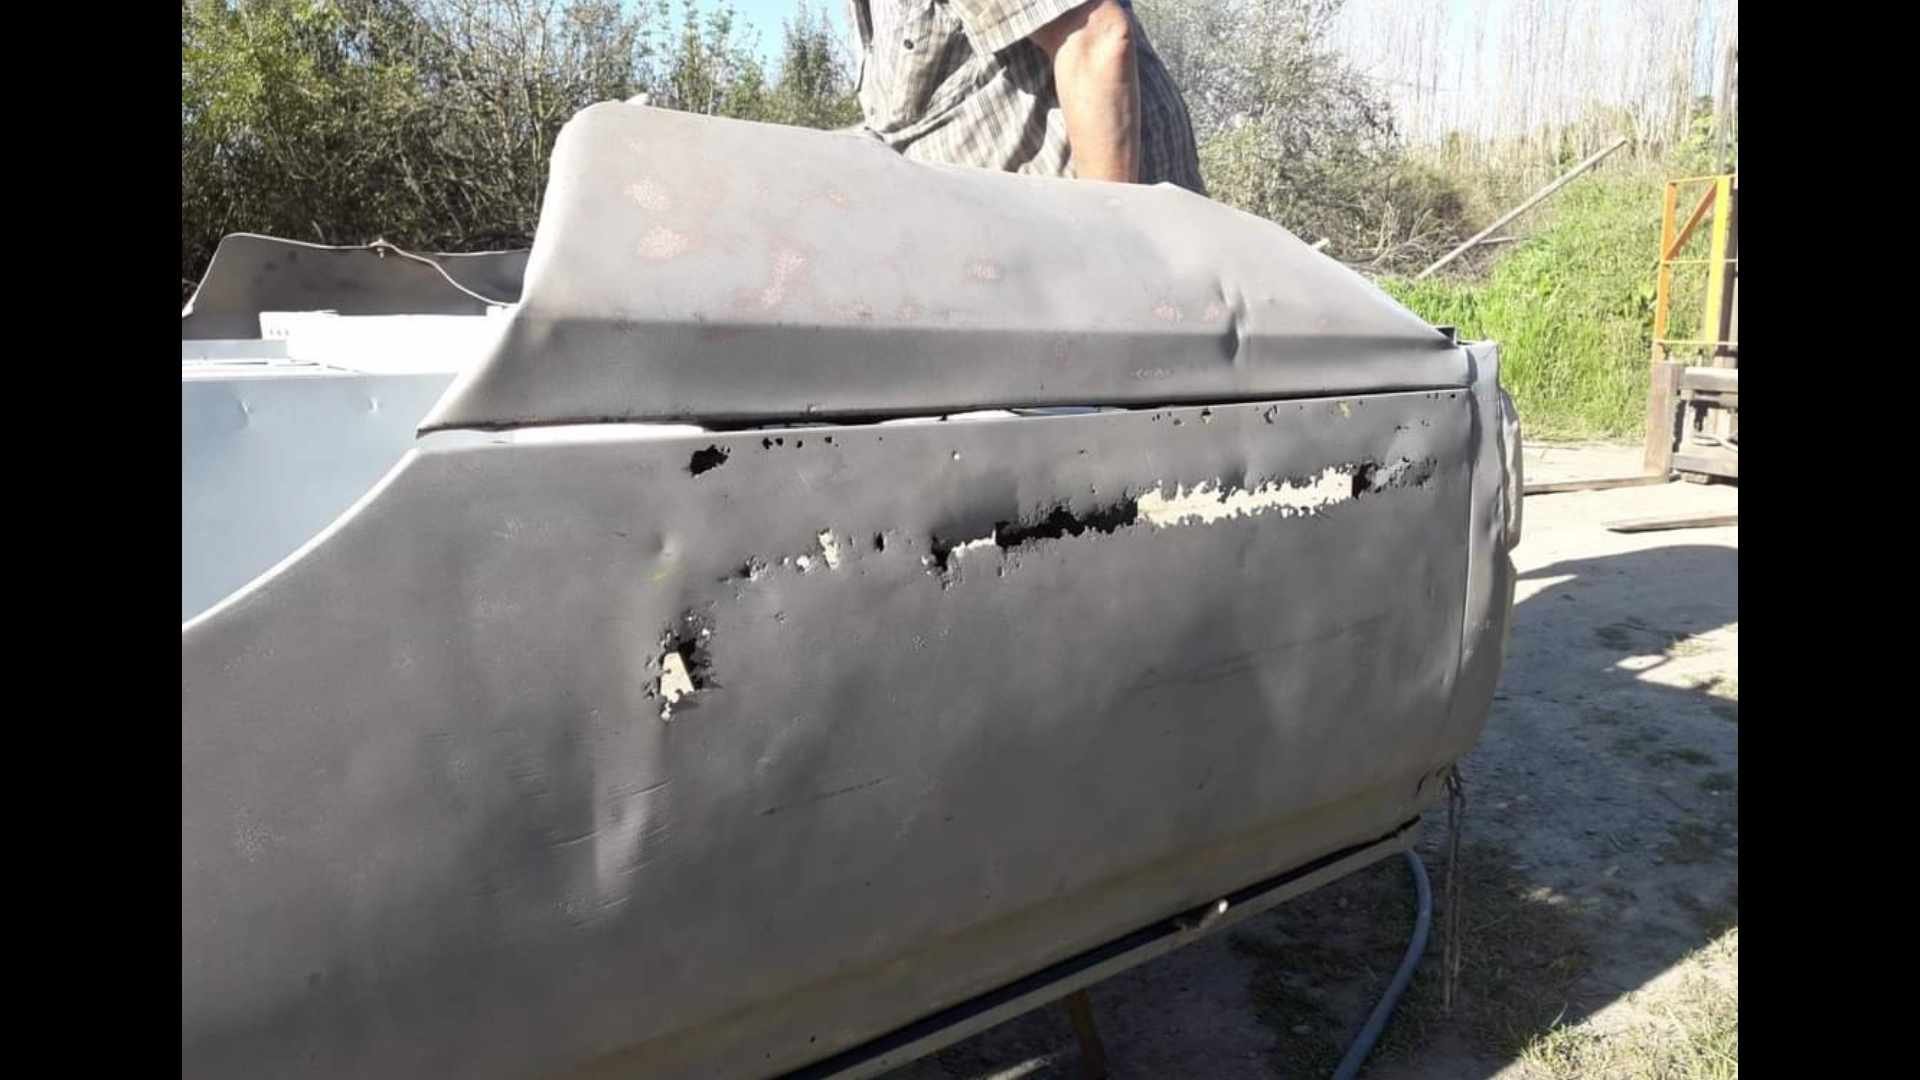
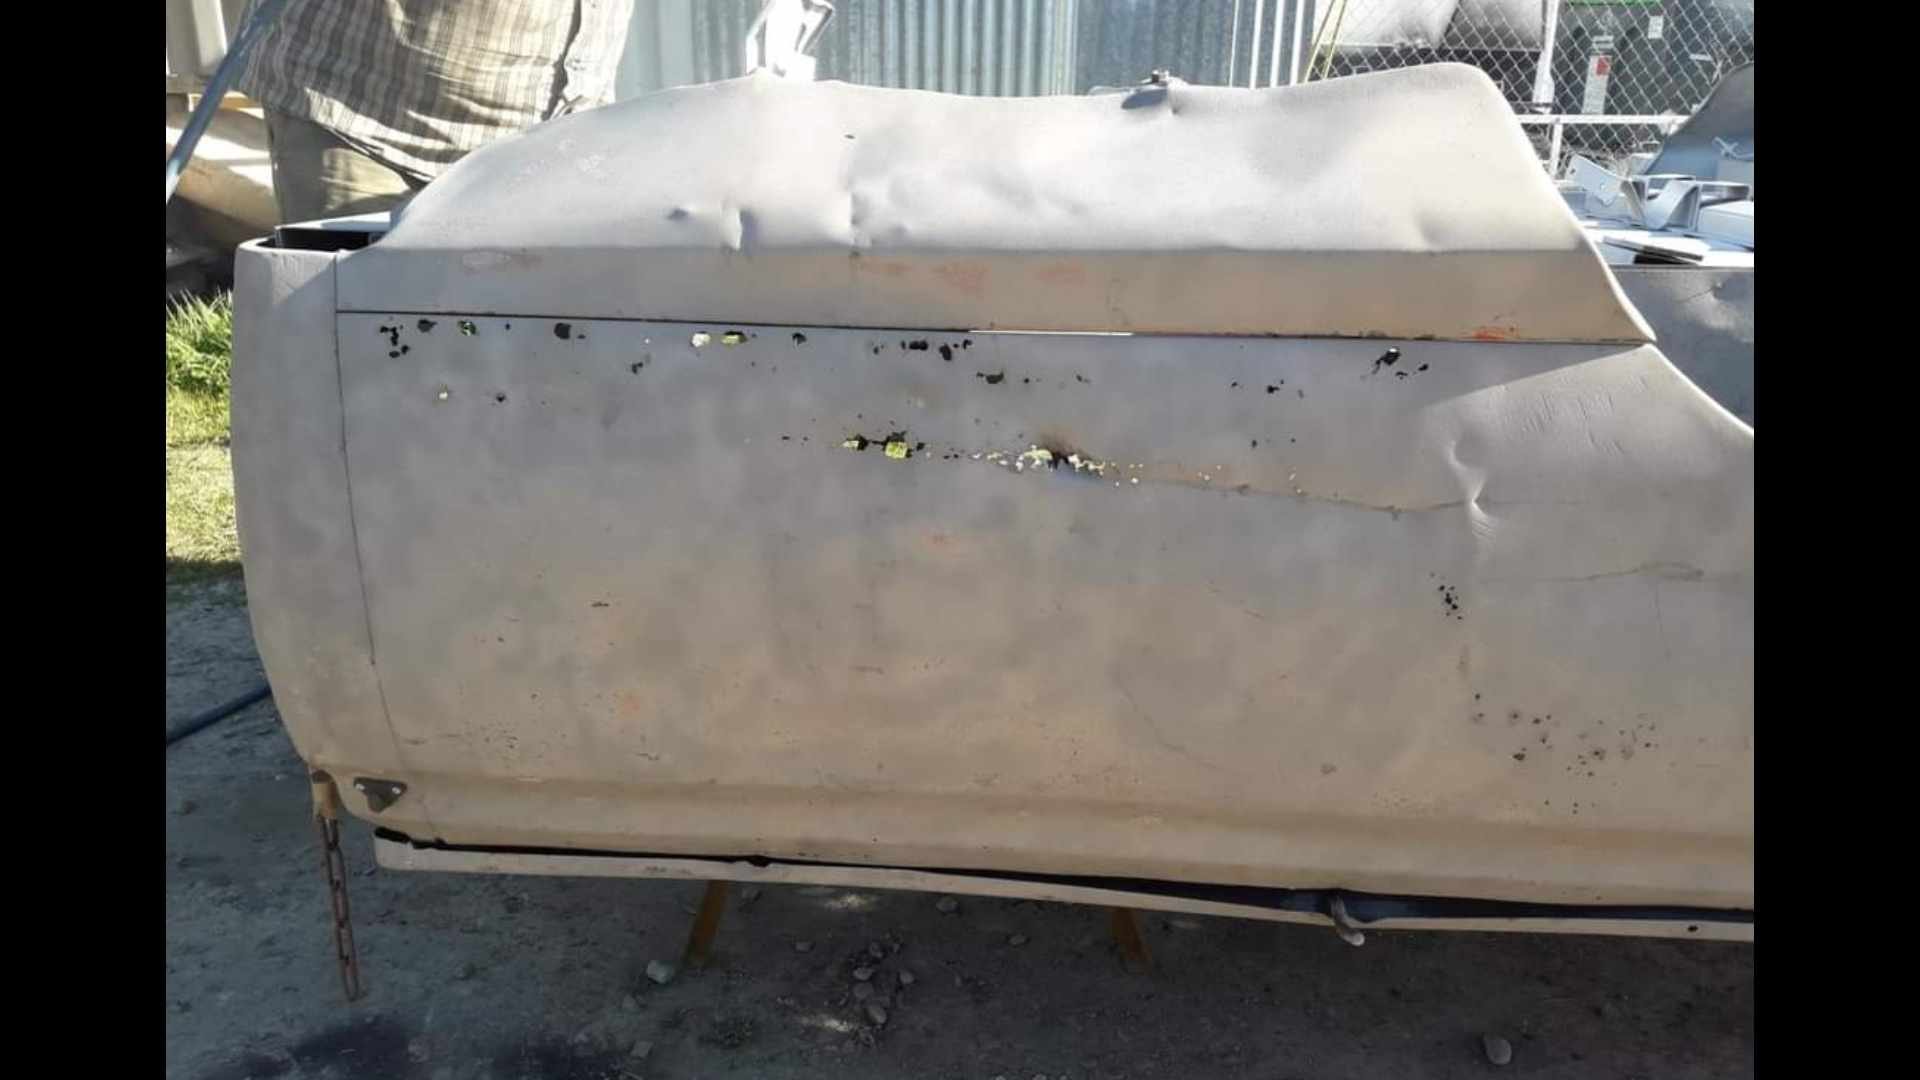
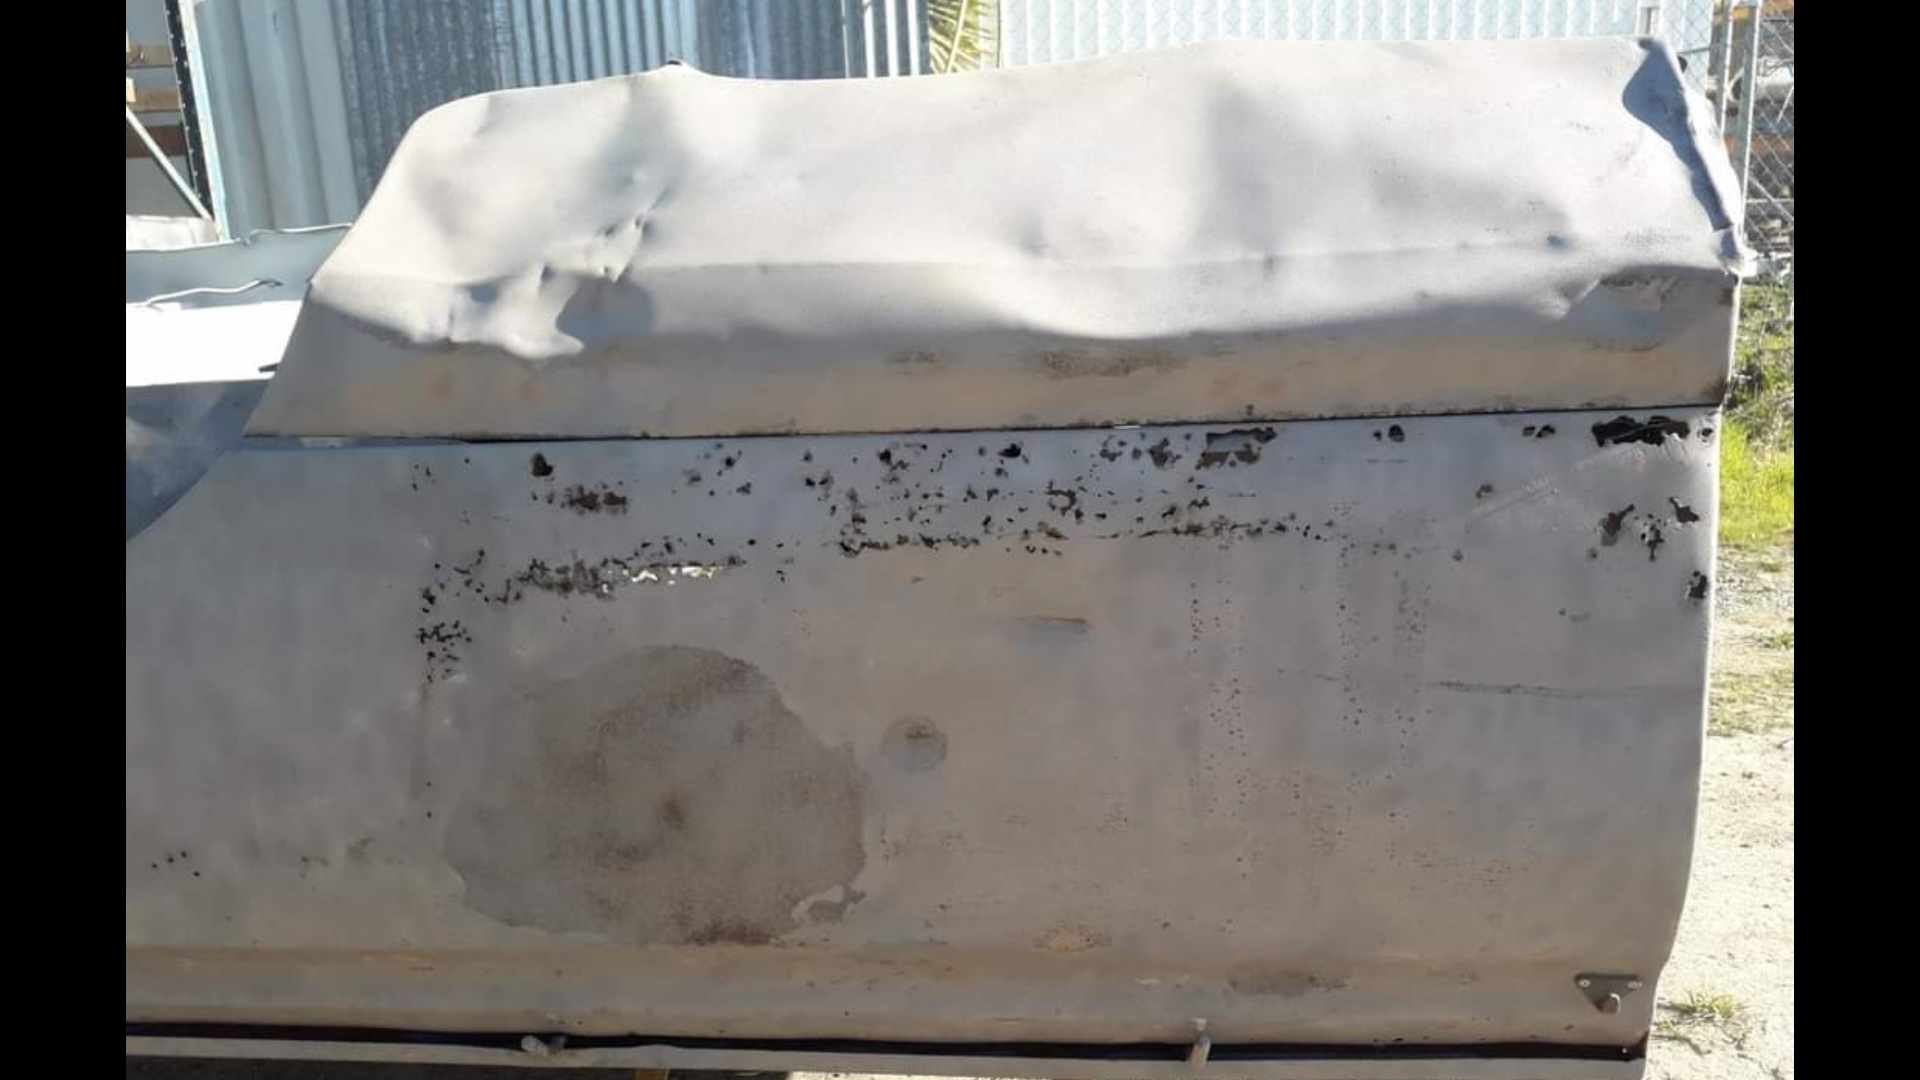
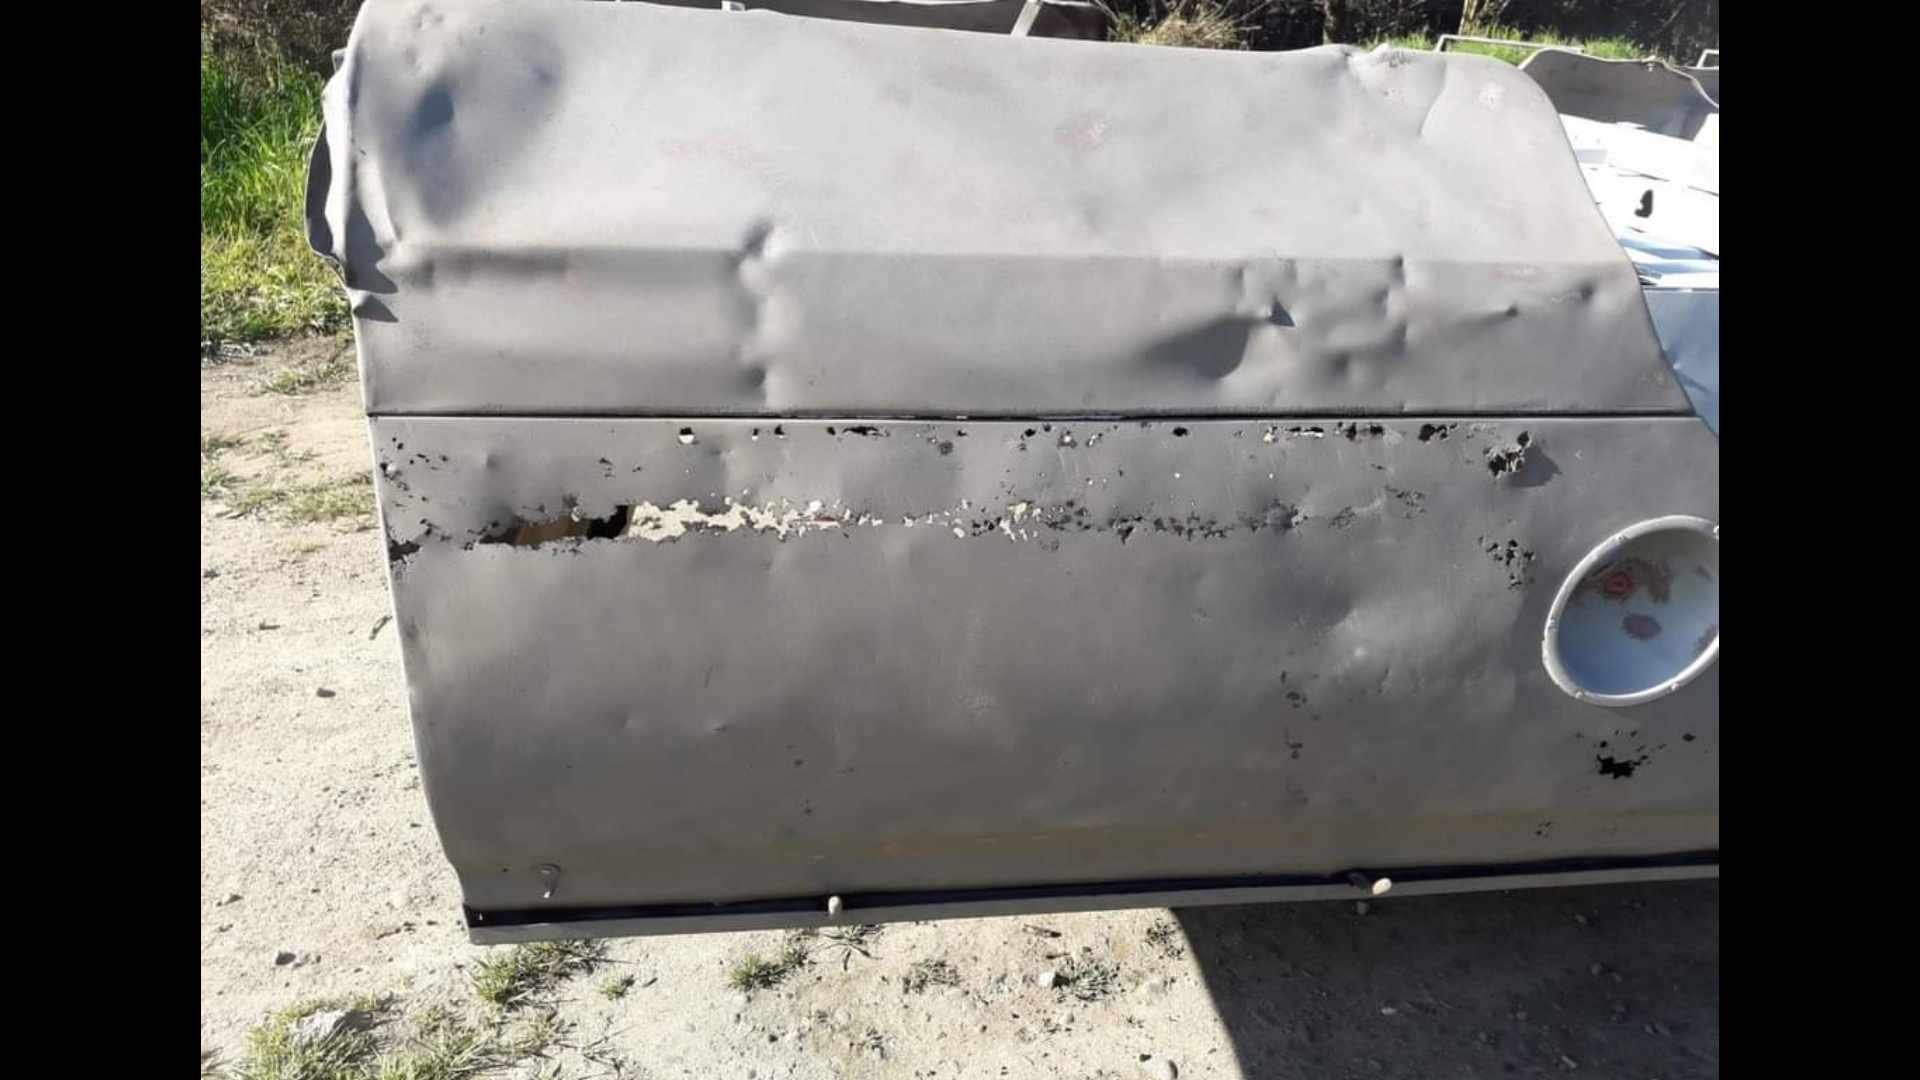
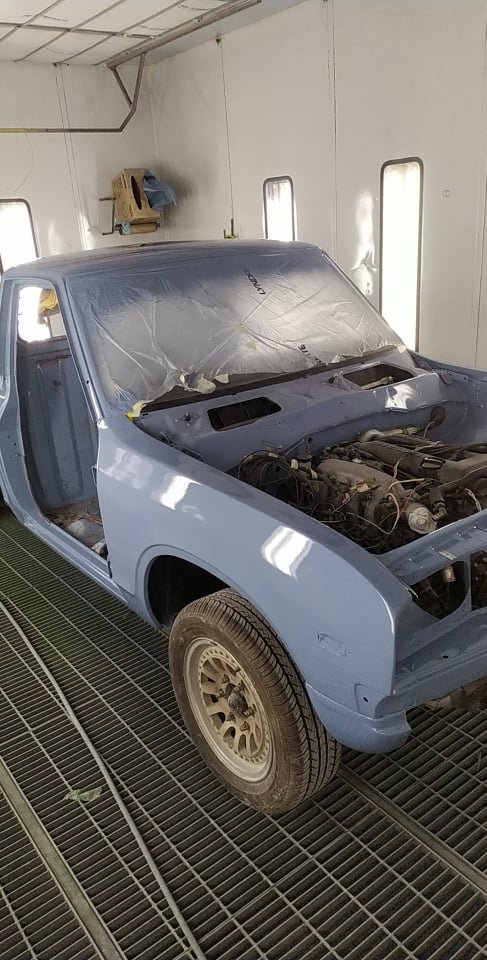
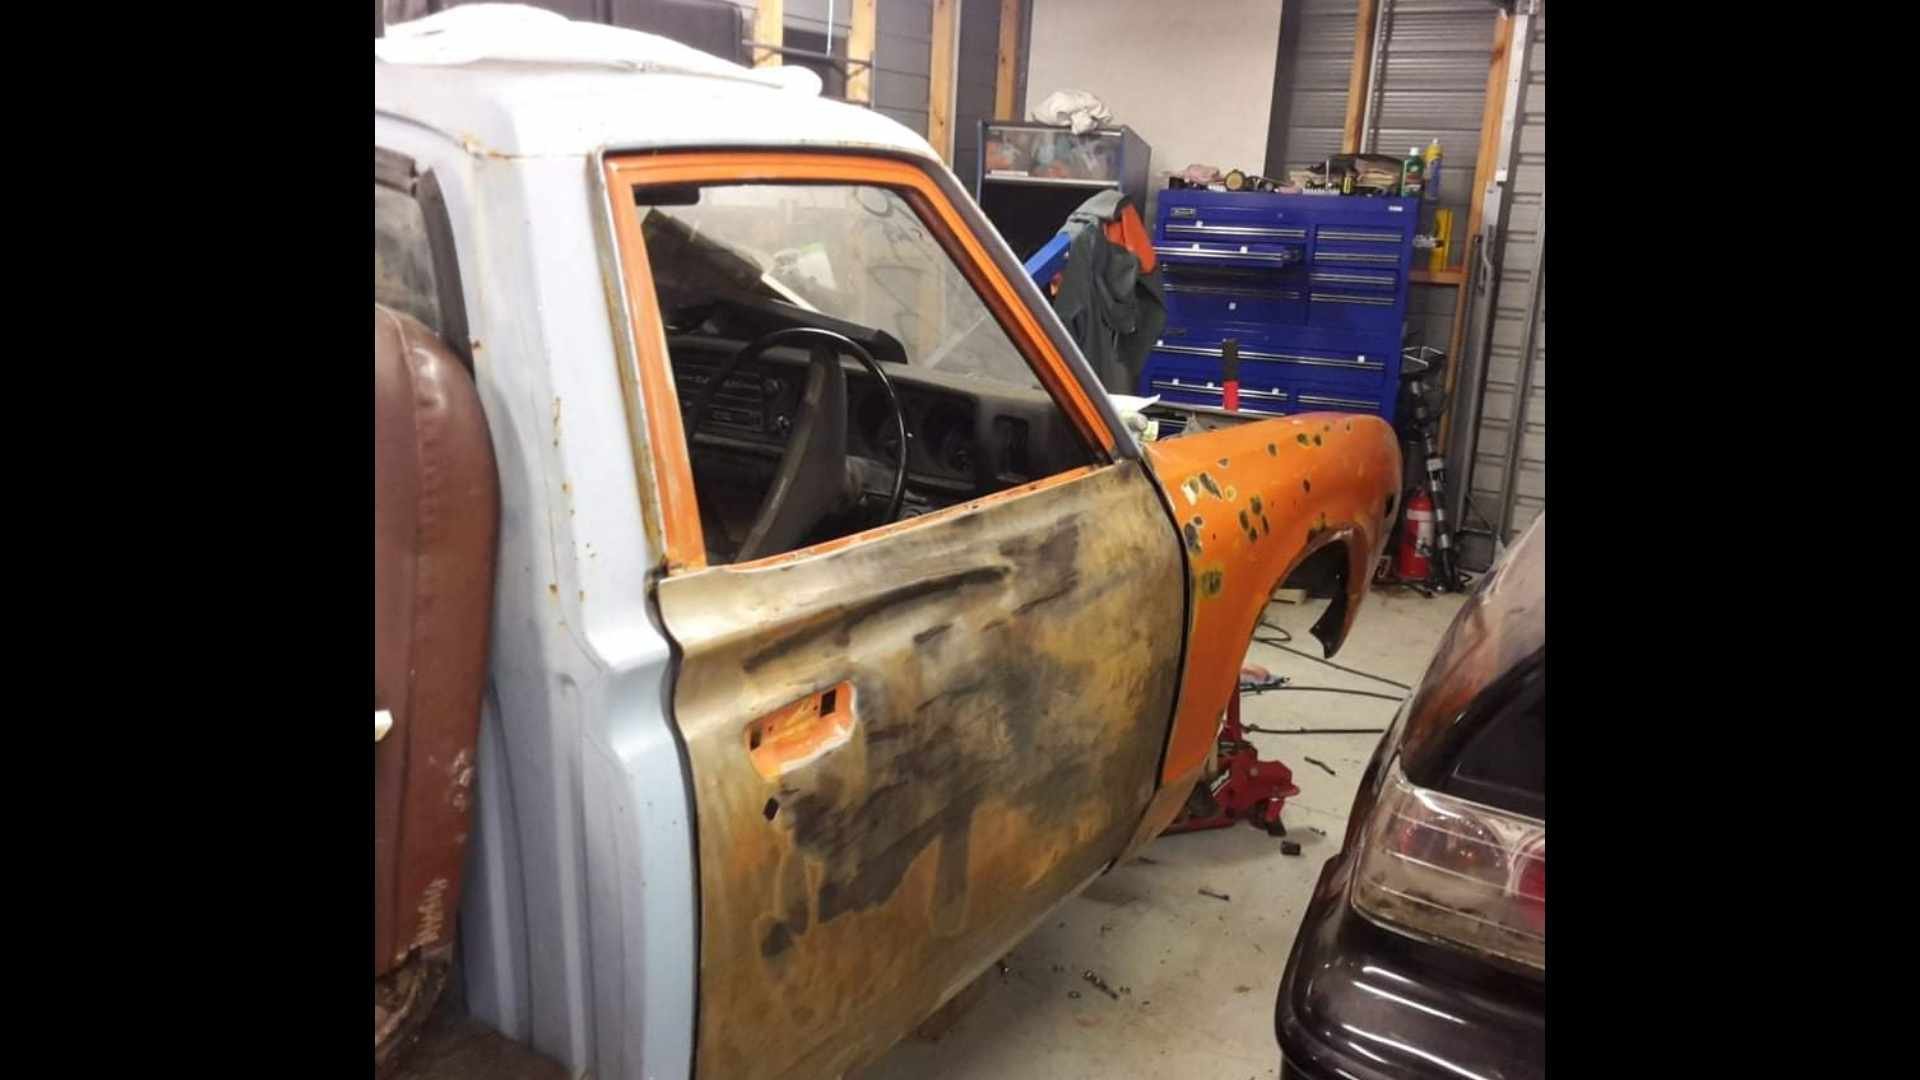
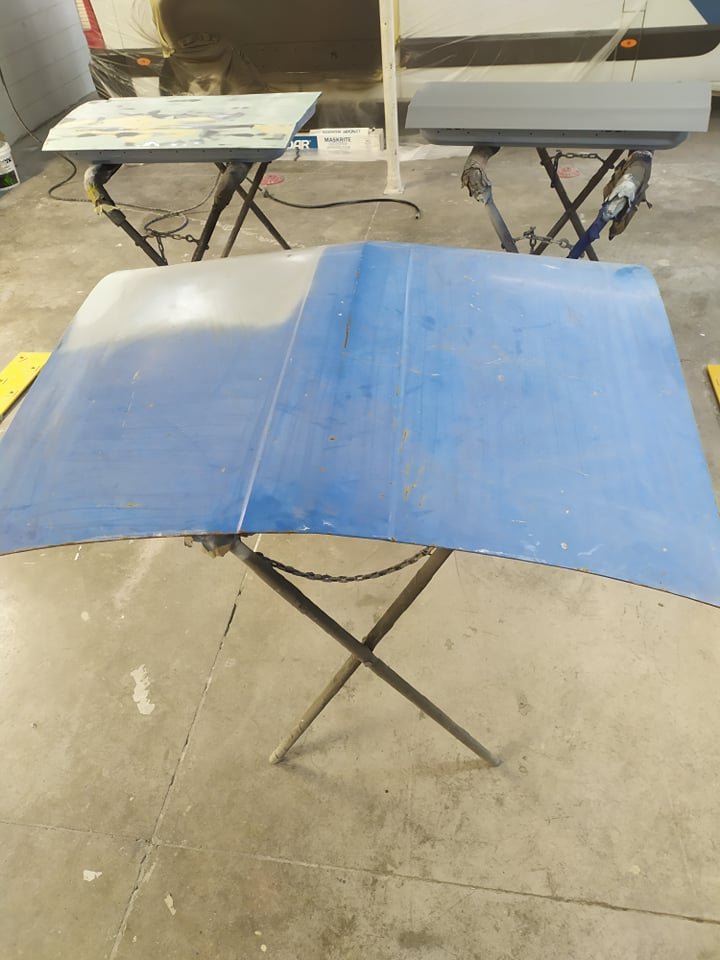
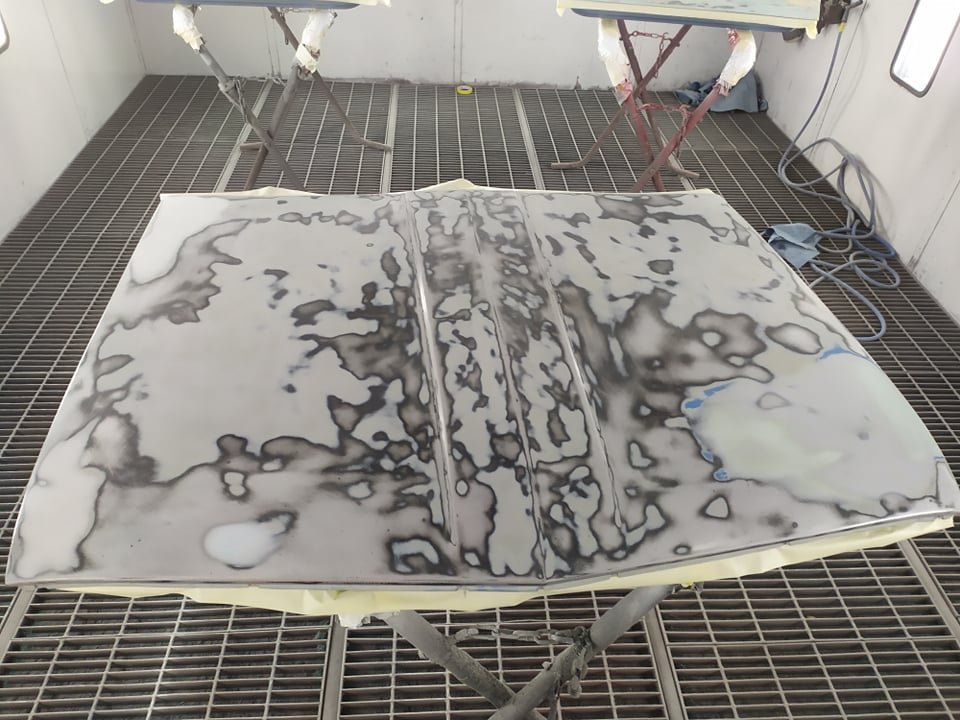
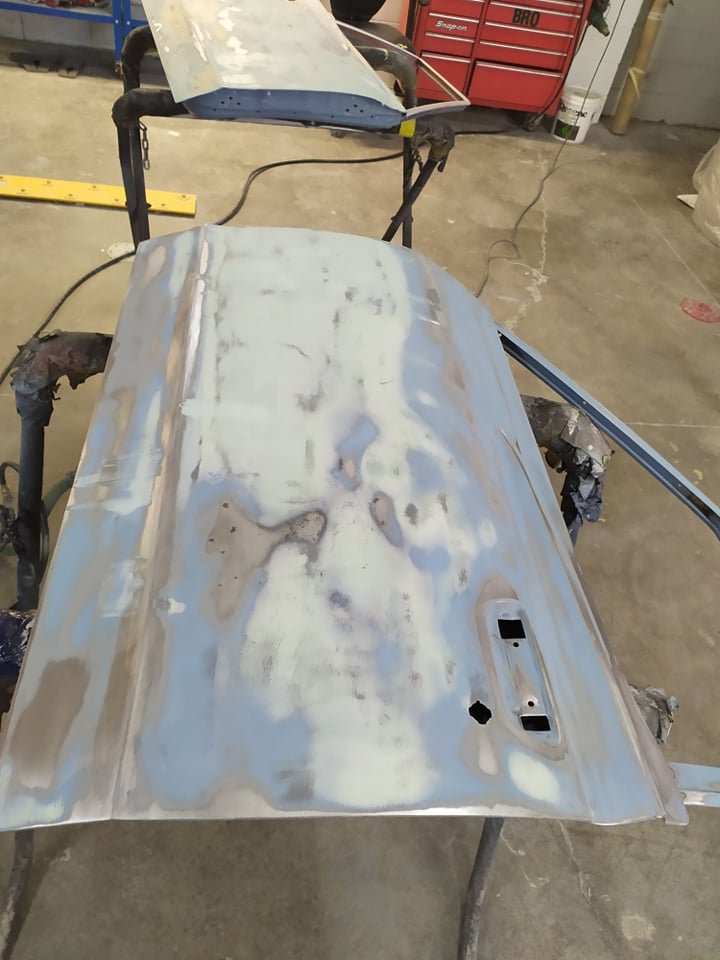
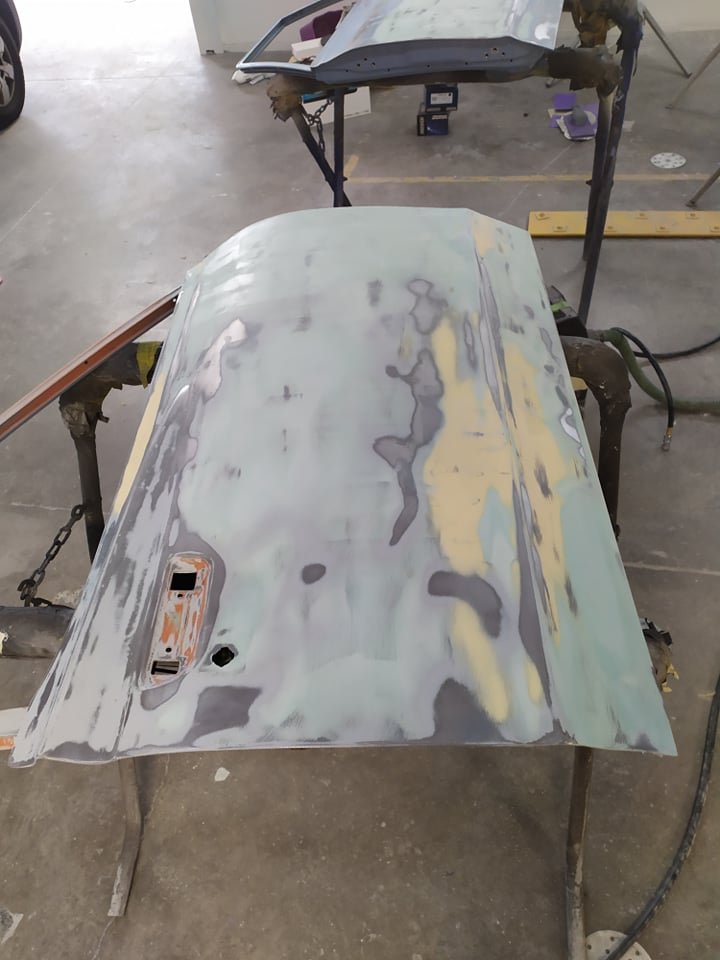
Then theres the body work, So it began pretty rust free. But sitting around outside in Christchurch, a bit of cancer began to show. My coarch builder mate fabricated me a new drivers side sill, and @governorsam grafted it in for me. (As well a couple of other small bits) i dont have any pictures of this either. And one of the gaurds needed a patch too. Again no pics, but i got a panel smasher to come weave his magic. Id fitted the front guards, and they did not match the shape of the doors at all. Also i found that old repairs etc meant that the drivers door was beyond economic repair. And needed to be replaced too. So mister panel smasher had the guards fiting beautifully afternonly a couple of hours. I removed rhe back window, and dropped the headlining down so he could pop some dents out of the roof. (It had been a working truck in its former life) he did a bloody good job all told too. I told him, im not some file finish fuckwit. Its a datsun, and its a ute. You can use as much filler as you need to. Because i knew he wont use more than is necessary. I also said, u donr expect a show car result. If its good enough fo you, its good enough for me too. But as a tradesman, i also knew he would do a good job. The last car he did for me came out really really nice. After the panel smashing was done, a mate brought over one of those paint spectro camera thingos. We took a picture of the paint on the underside of the roof skin. This gave me the colour the trauck was when new. Most of the rest of it had suffeeed 40+ years of central otago UV degradation. Some paint was procured, and it was sent into @I'm new here work on a long weekend. Hamish really pushed the boat out with stopping all the repairs, before paint
2 points
-
Tell me about - how you/brother/dad/uncle/cousin/mate used to have one Never had an HQ but did have an HJ(?) Wagoon - why my mrs is now tougher and cooler than me Always was - why big Australian cars with a mix of metric and imperial fasteners are better than silly little European ones that only use metric ( i had to dig out my very limited and mismatched Imperial sockets and wrenches that had been banished to the back of bottom draw of the tool box and put them right in the top bit ) Hey, at least they don't have BSW - where to get new parts easily/cheaply/locally Um, BNT? - why the second hand stuff on FBMP is outrageously priced and clearly owned by meth head bogans and how to avoid them Maybe try Invercargill area? - tips and tricks for hotting up your 173 using OEM + parts (commie inlet and exhaust manifolds? - the single stromberg and right angled log exhaust manifold offends me!)) I've got a couple of twin carb setups but never fitted them - can you bolt a 202 to the Torana 4 speed? Should be fine, I think the red motors are all the same - where to find a nice 202. In a rusty Landrover or CF Bedford - why do i even want a 202 (re-rego mainly), the 173 is probably perfectly fine, KPie doesnt really care (unless its a v8), and it wont be the engine from the Torana any more, You don't - where the fuck is the fill port for the CNG system on this car? (its not behind the number plate with the petrol filler) I dunno, but I made a brazier out of a CNG tank many years ago and it hasn't rusted away yet. Those things are stout.2 points
-
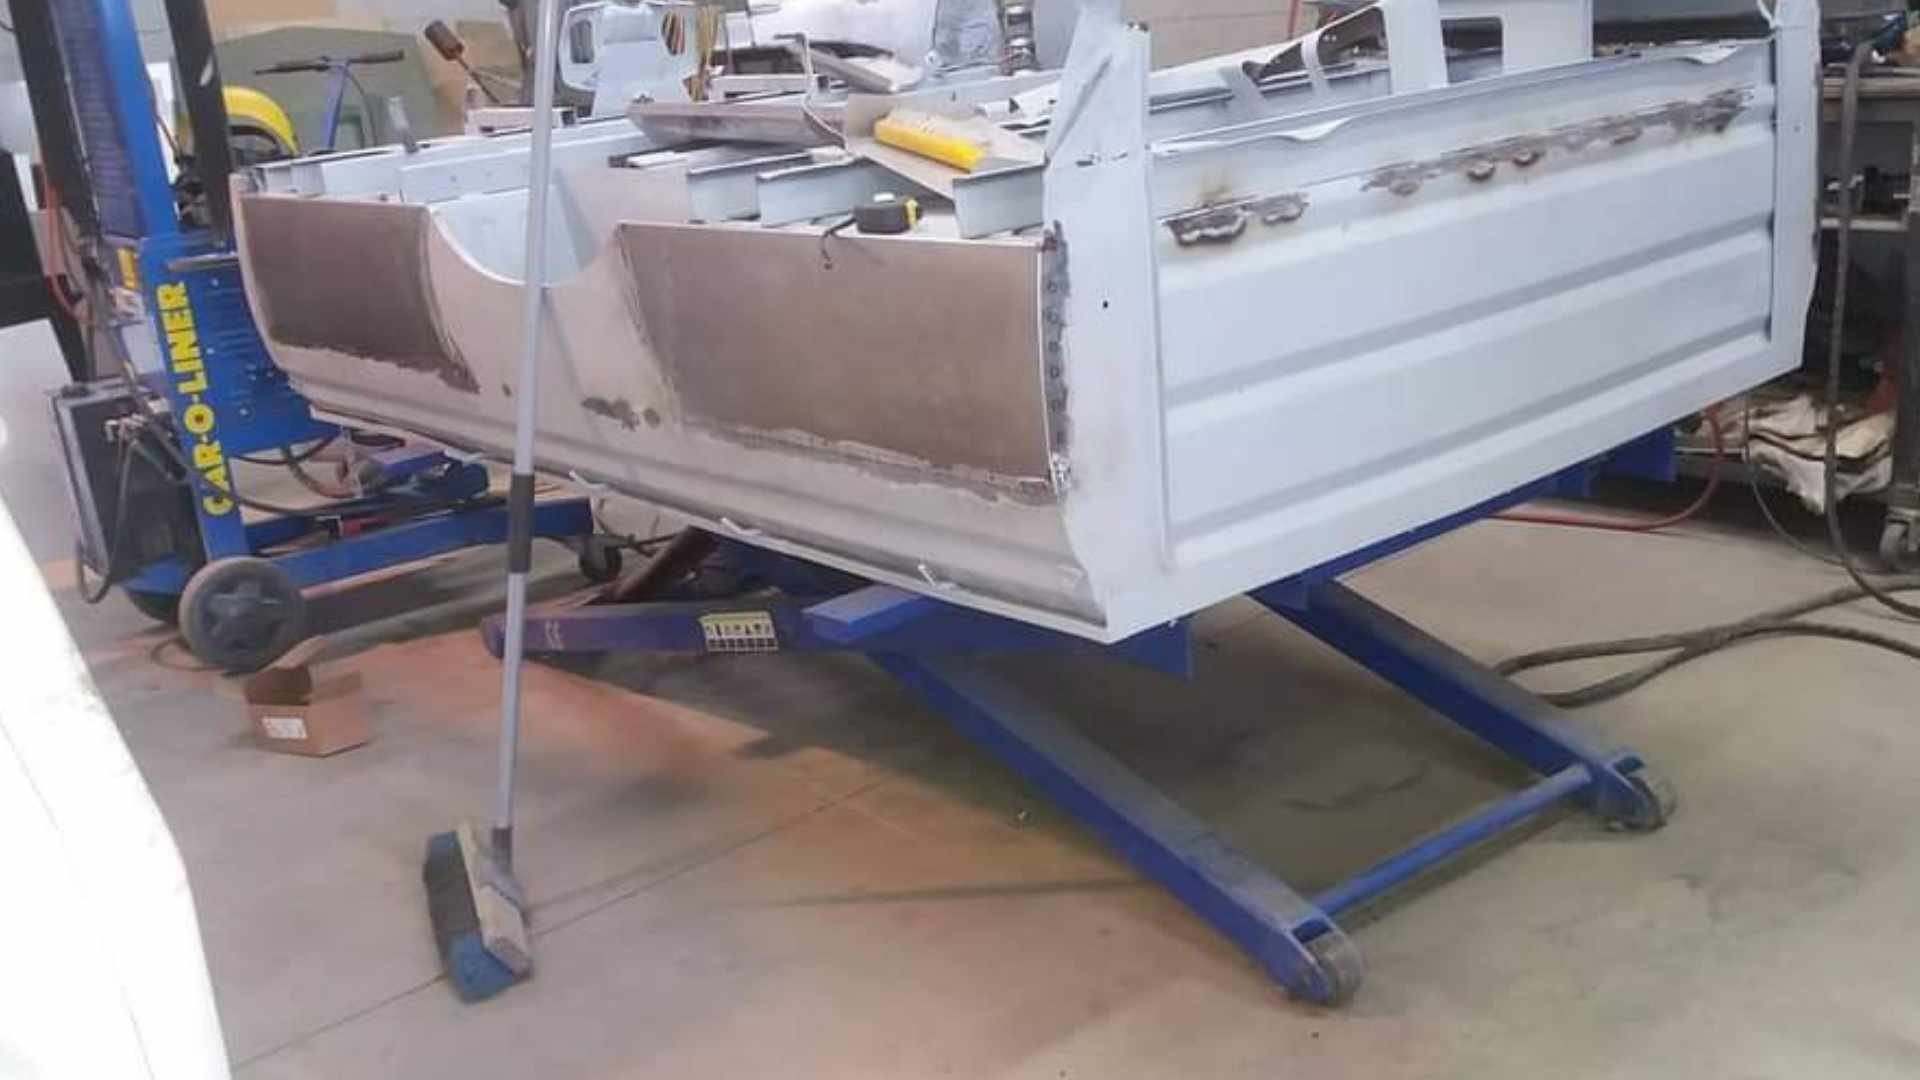
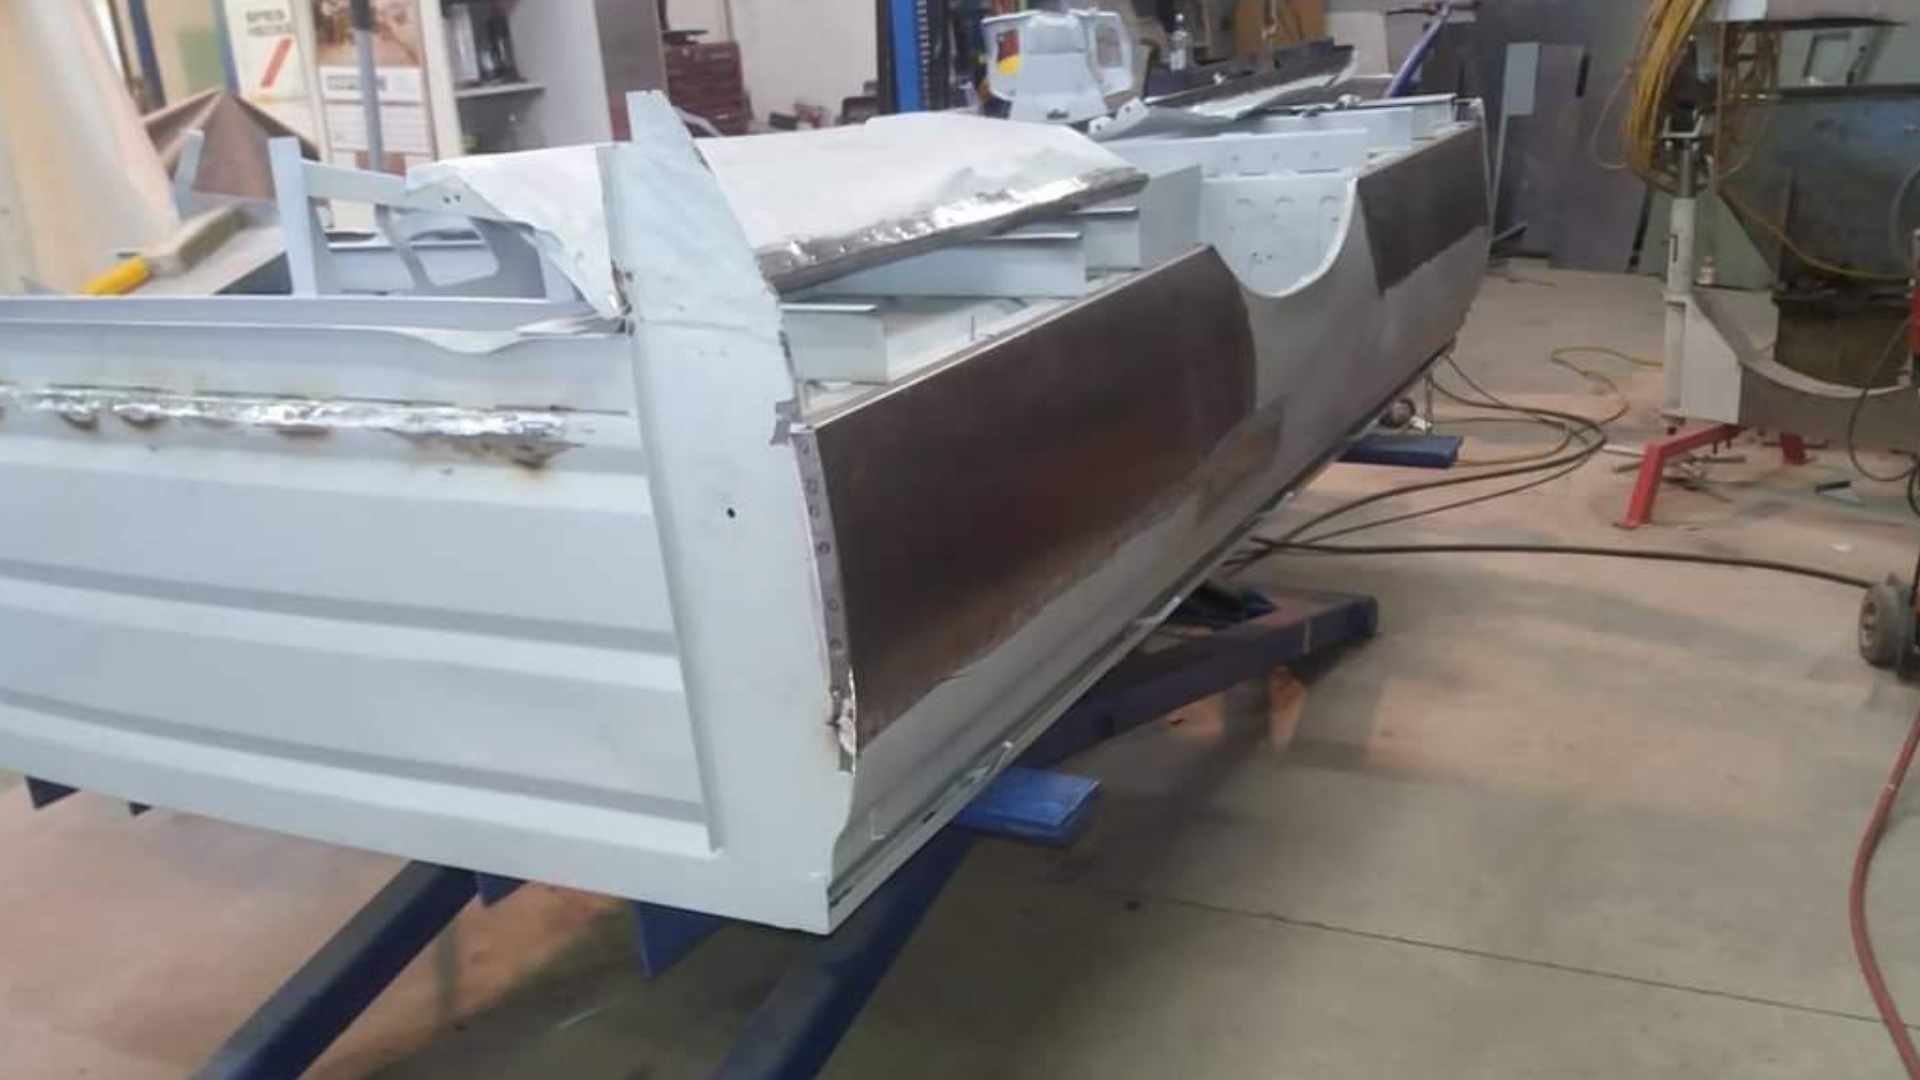
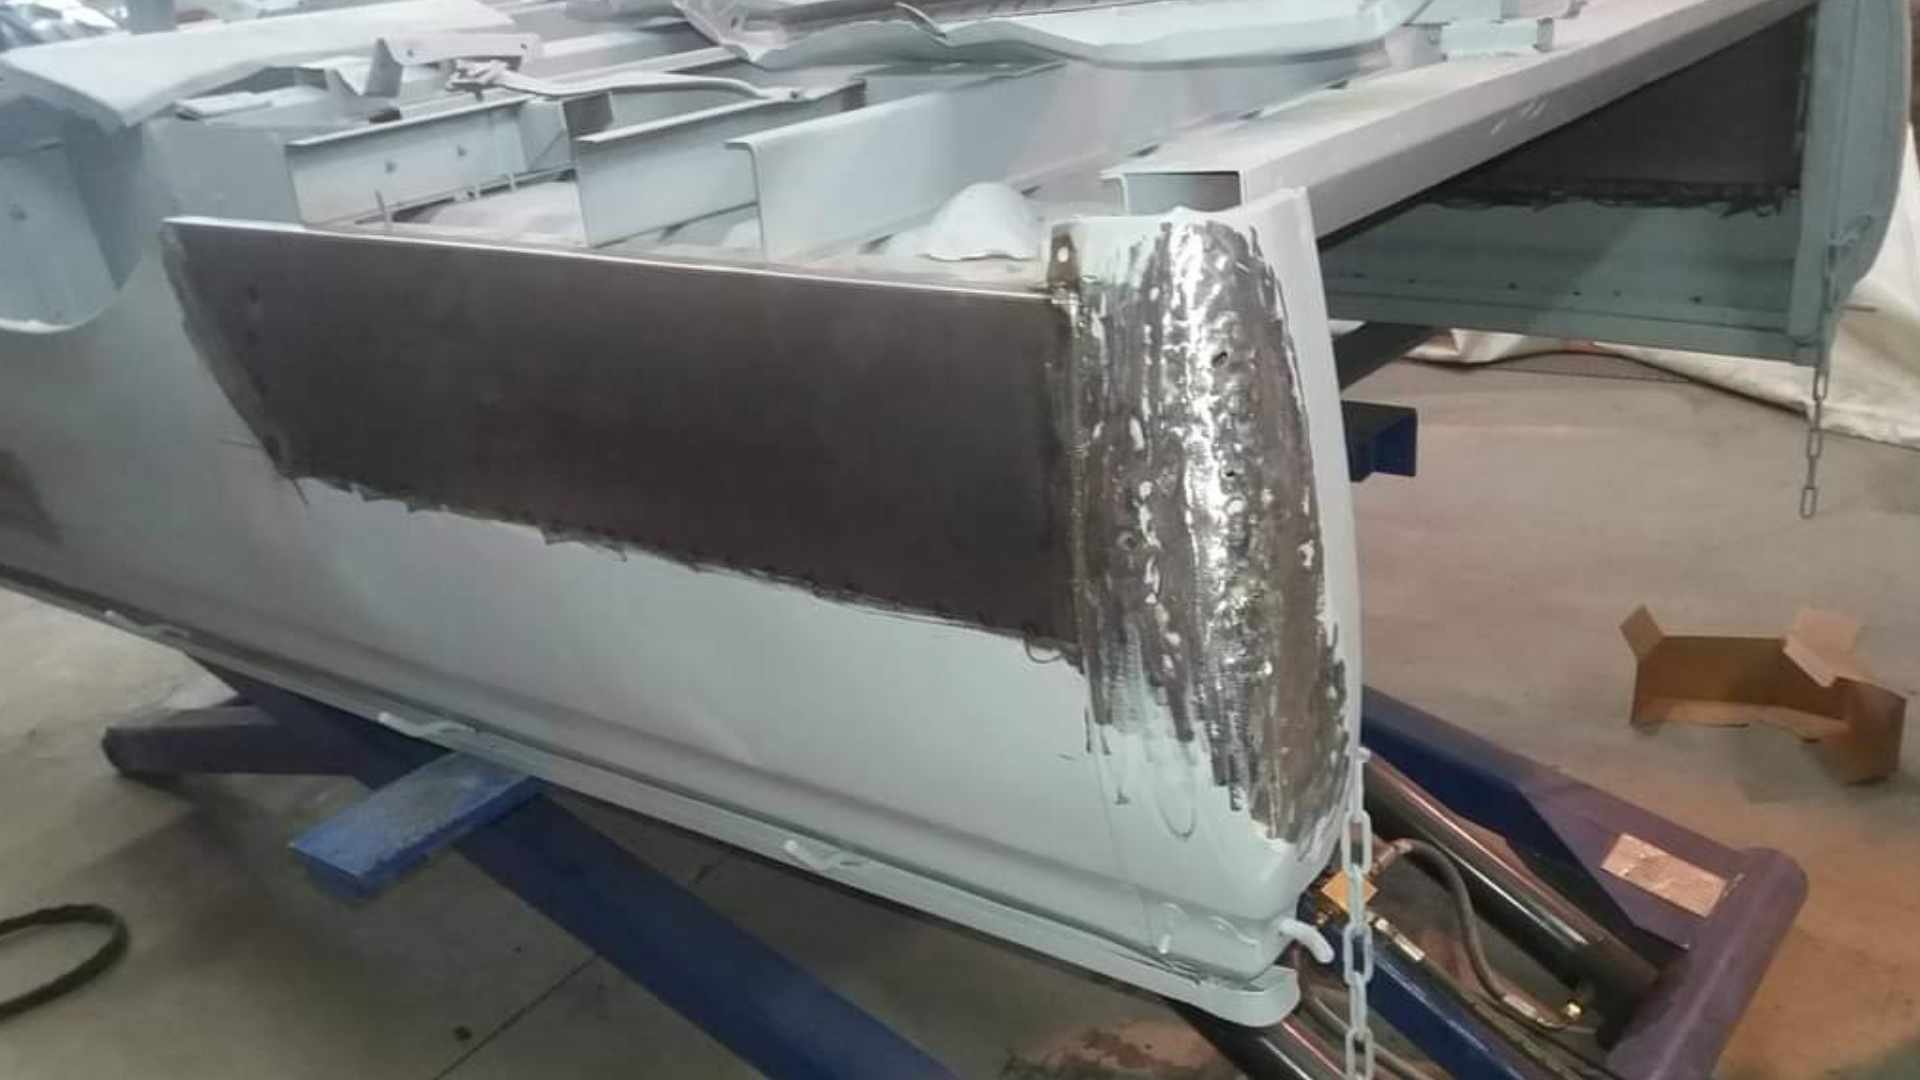
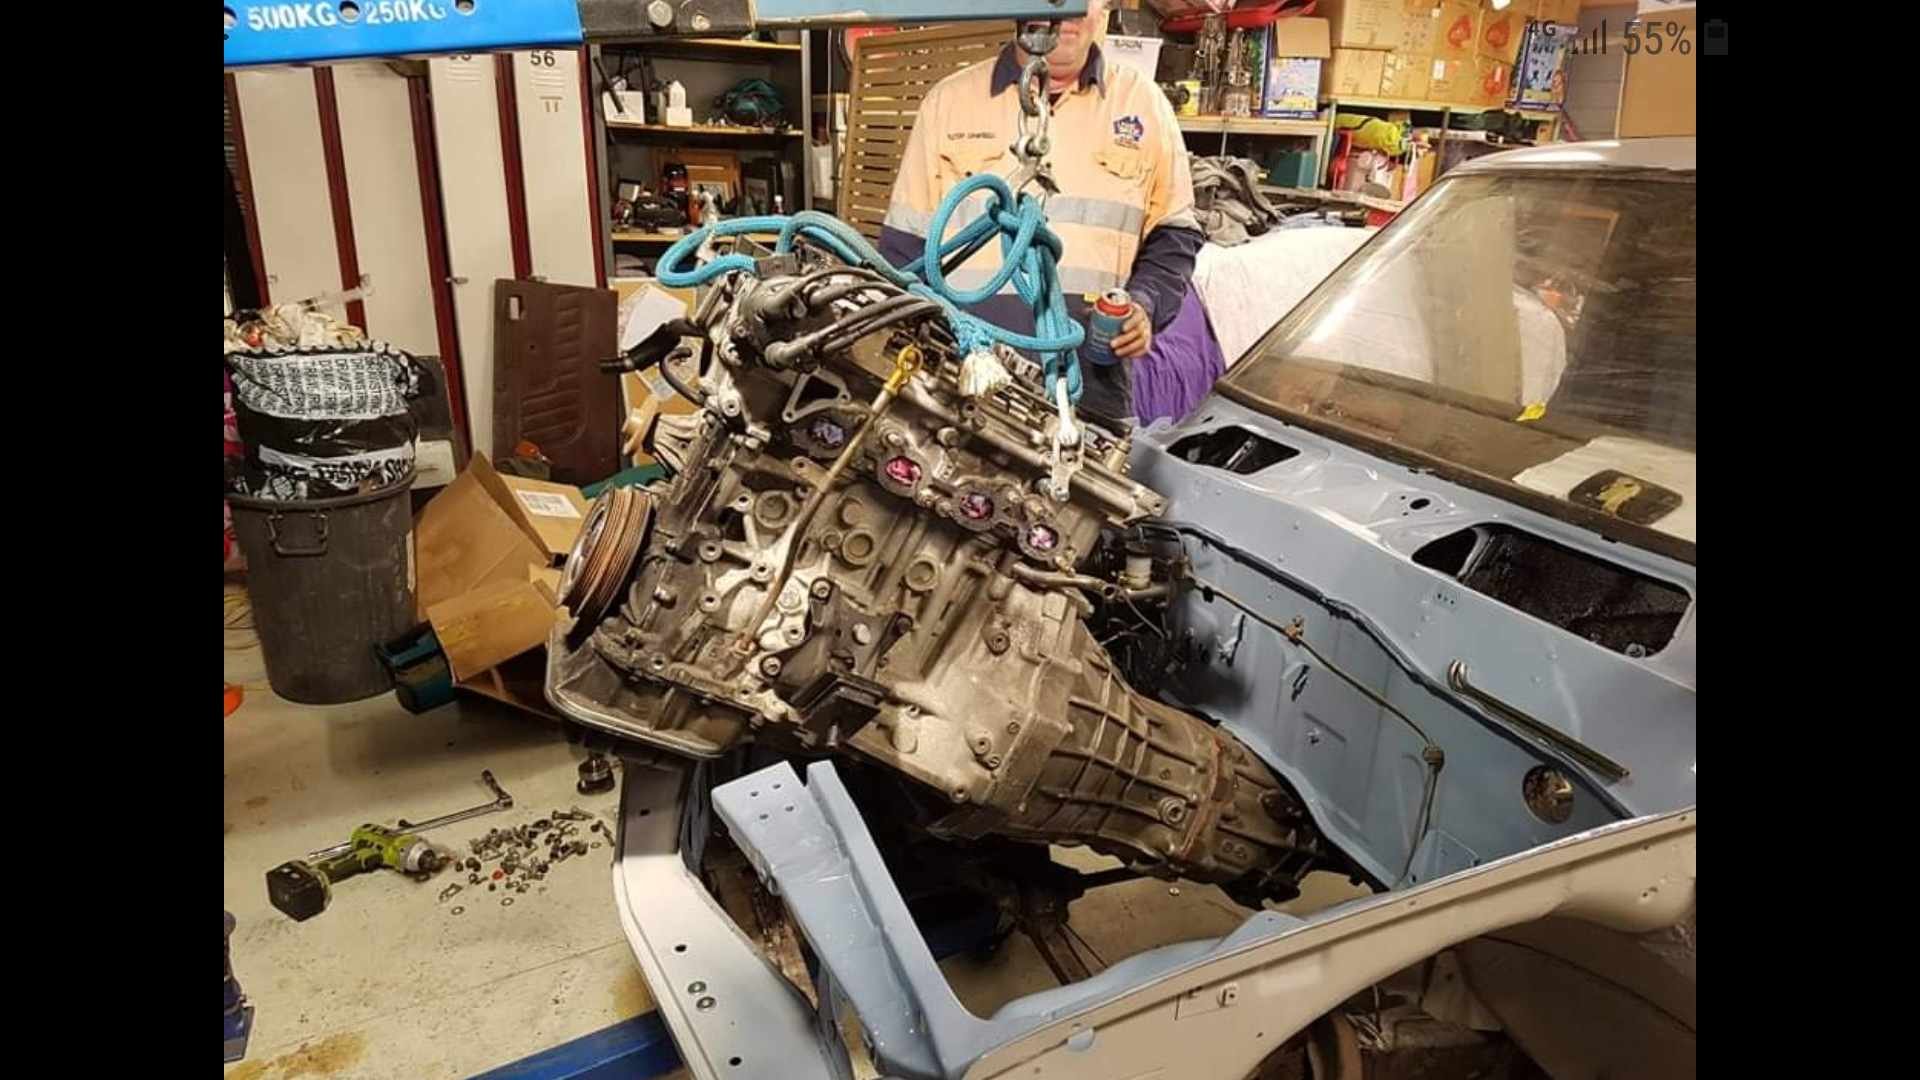
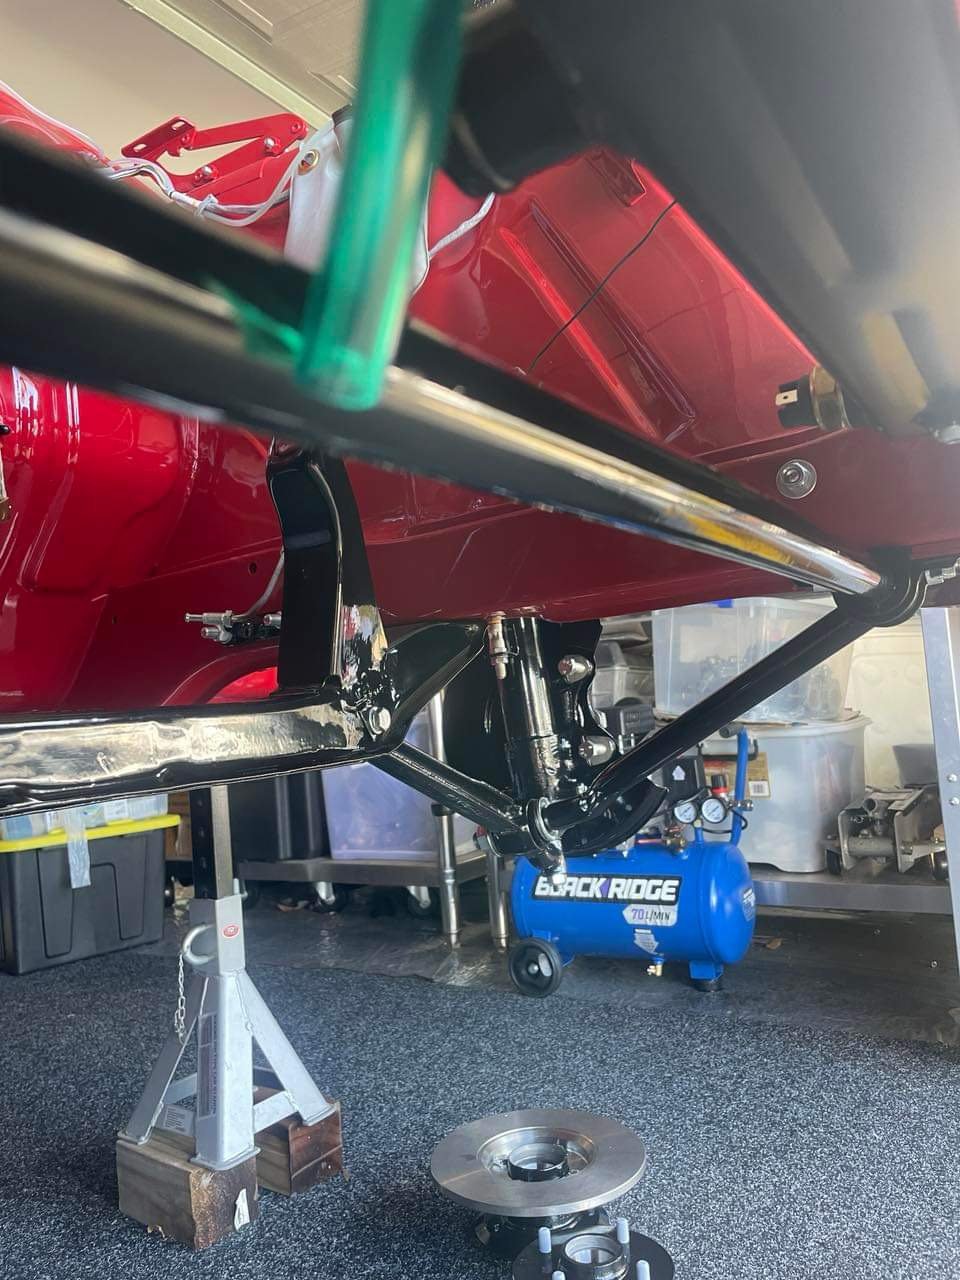
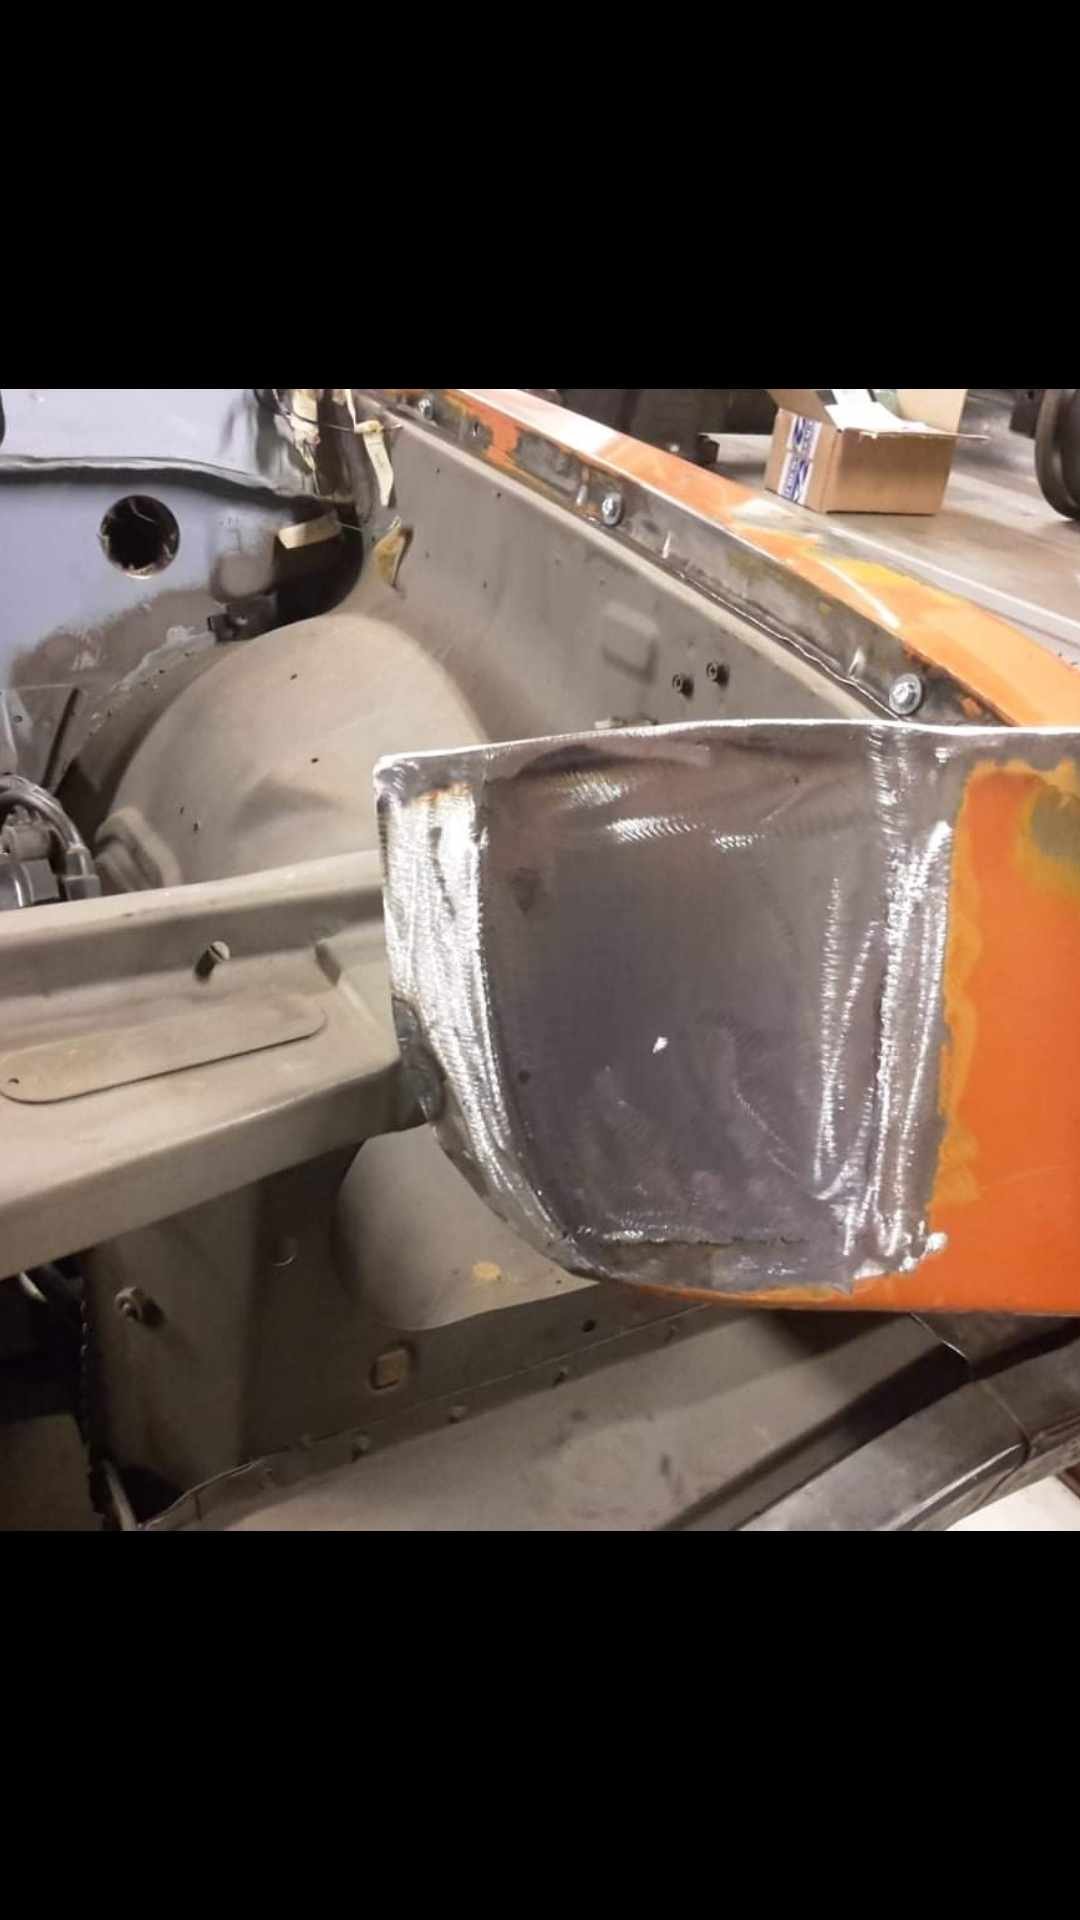
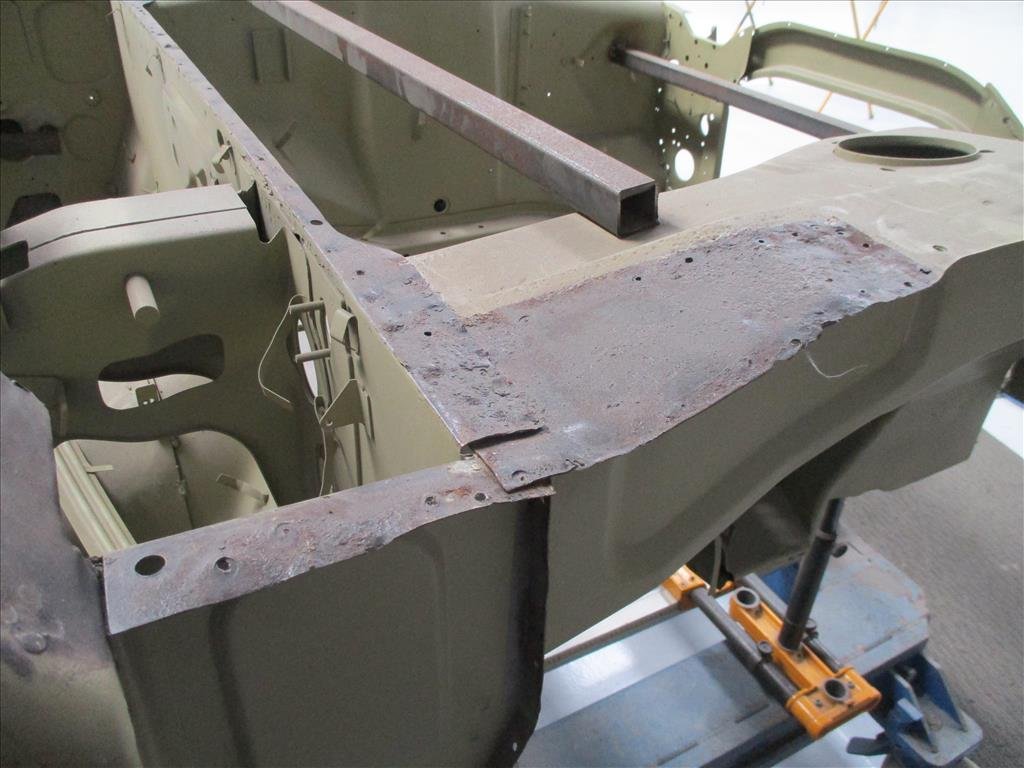
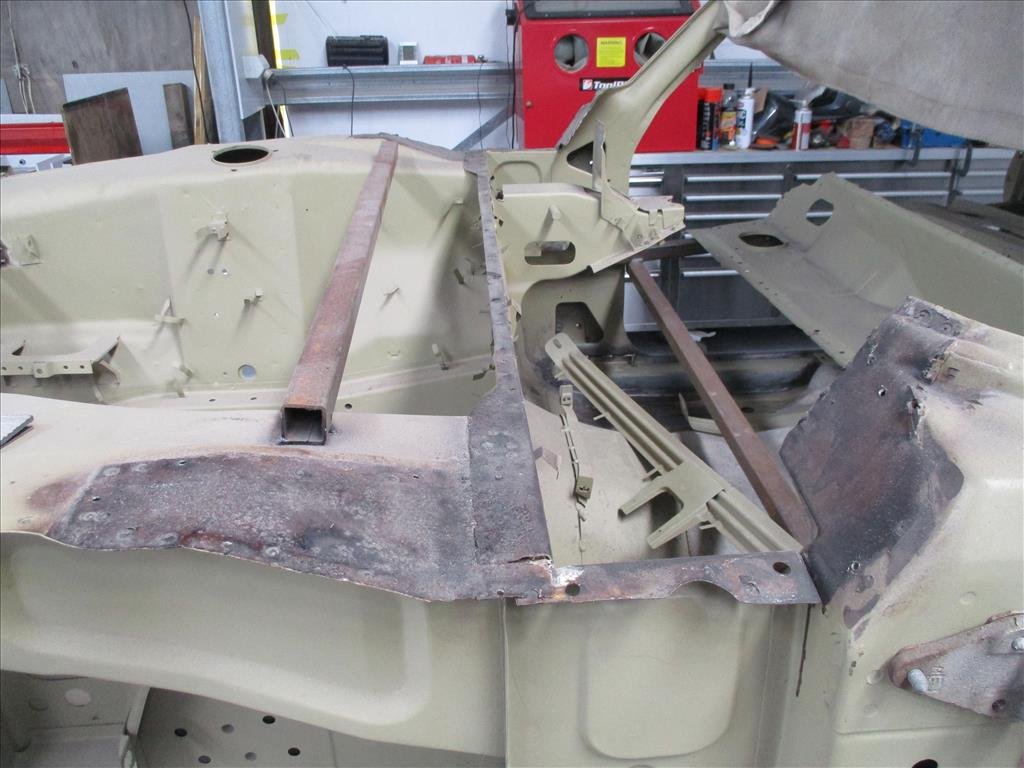
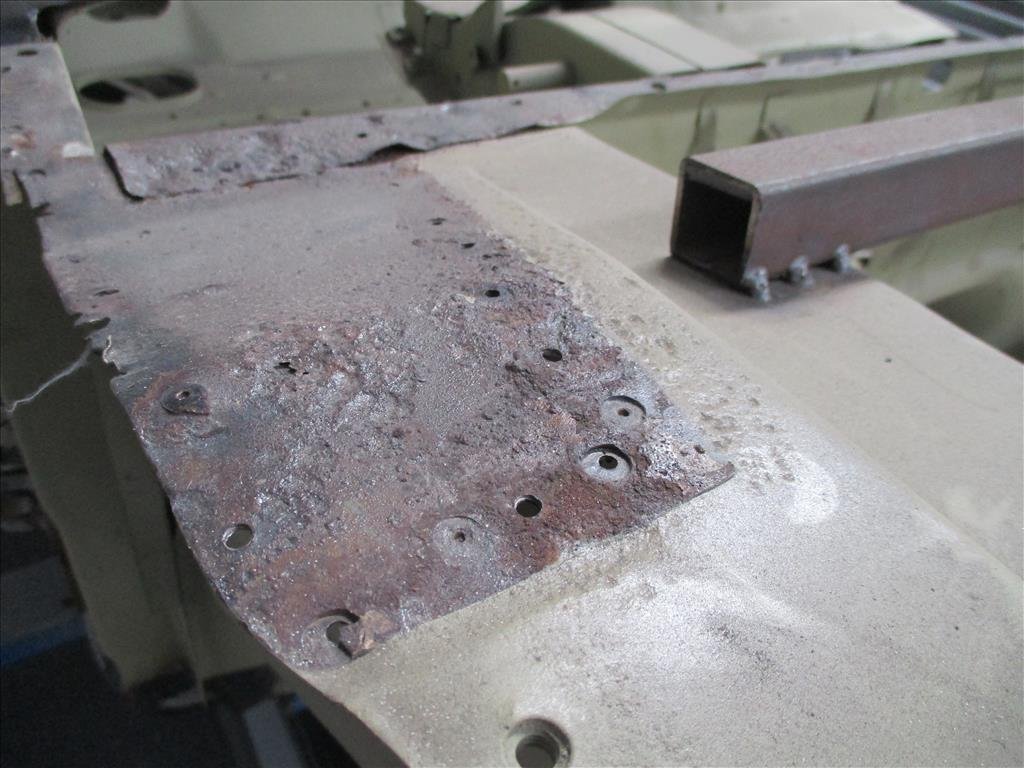
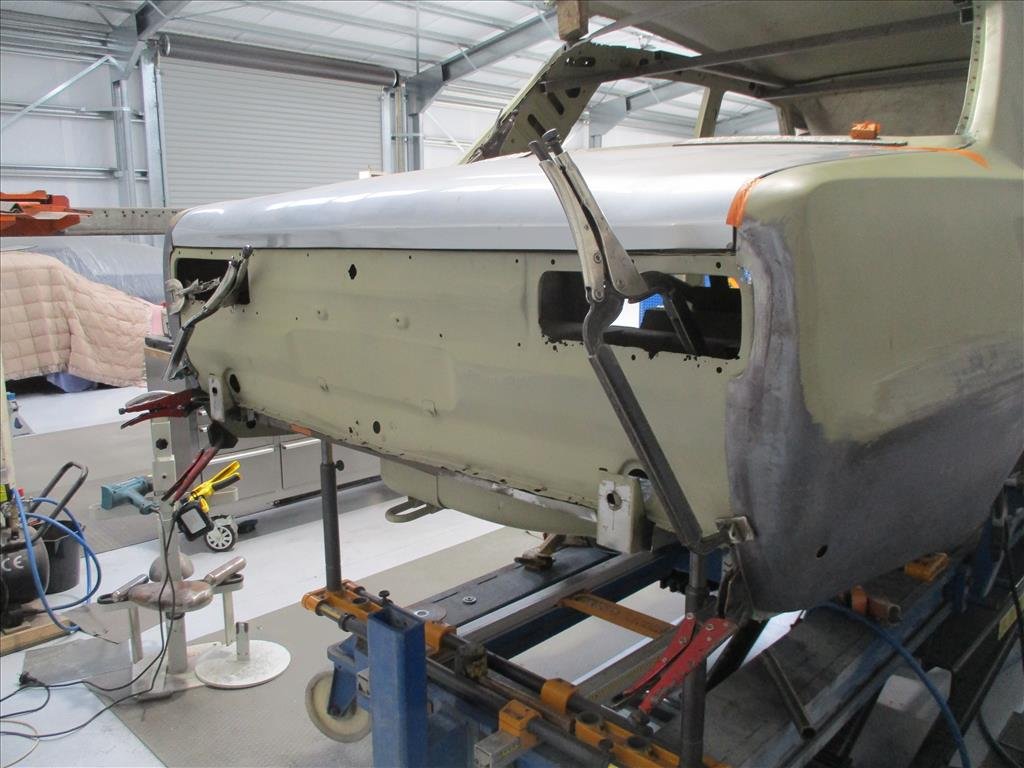
I won't bombard you with 50 more Panel Barry Hakosuka photos but this one is a huge milestone. The majority of the fabrication and rear end structure have been completed and the final weld up is on! The chassis is now razor straight, likely straighter than when it came out of the factory. I can't remember the last time it had a rear end on it? It's been over 5 years for sure. The back panel you see there is the original one which he's using to get the correct holes for welding then will be replaced with a brand new reproduction item that I've provided. Onto the front and to my amateur eyes it doesn't look nearly as bad as the rear but I'll leave it to the professionals on that one. He will have a poke around, clean up what can be cleaned up and replace what needs replacing.
2 points
-
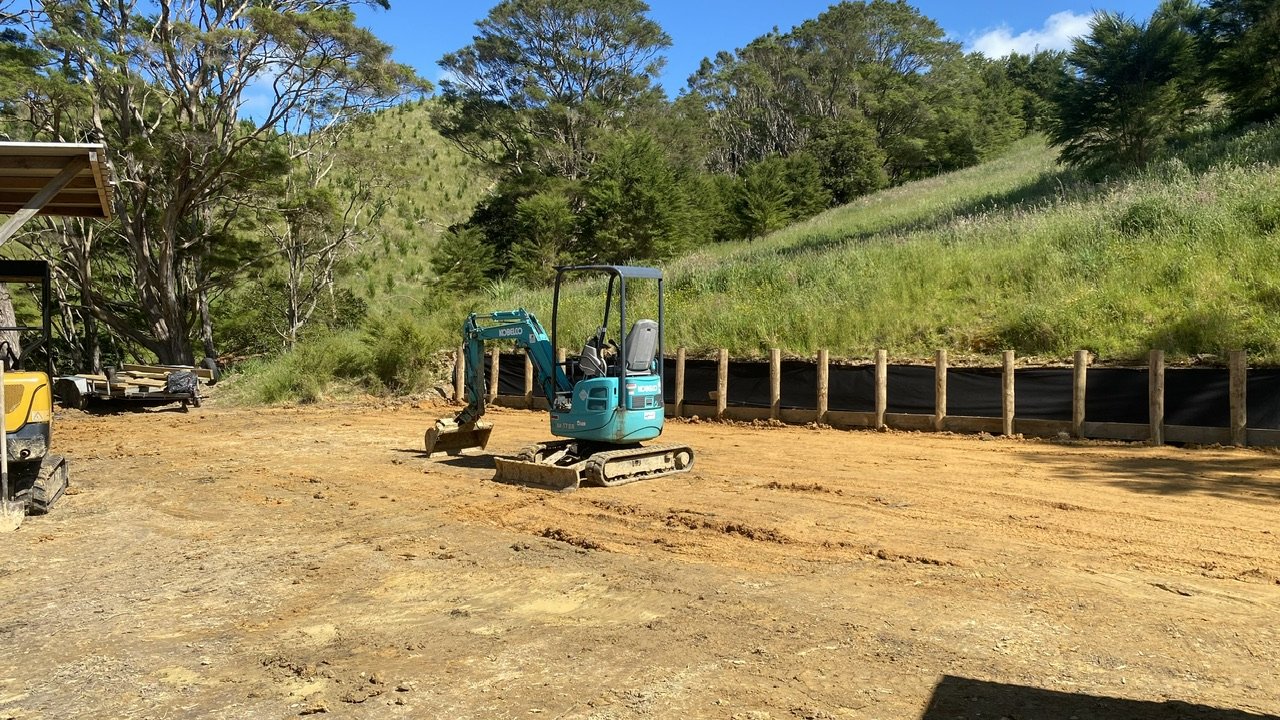
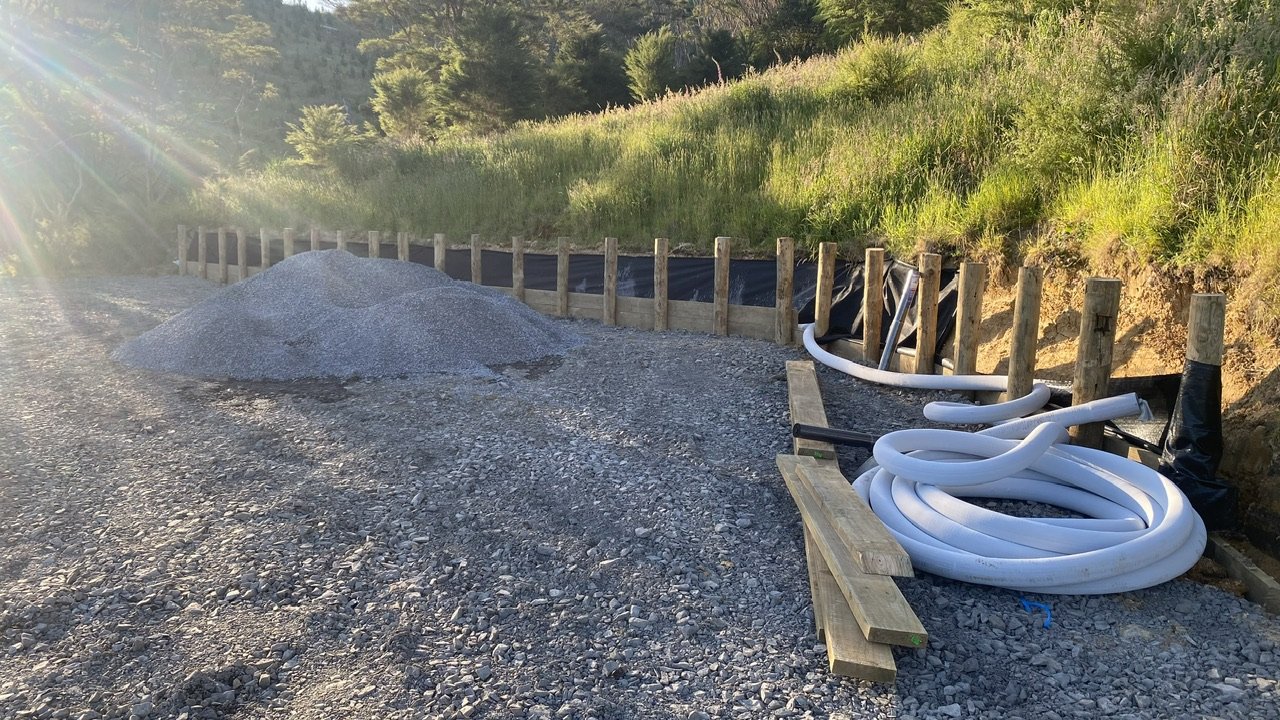
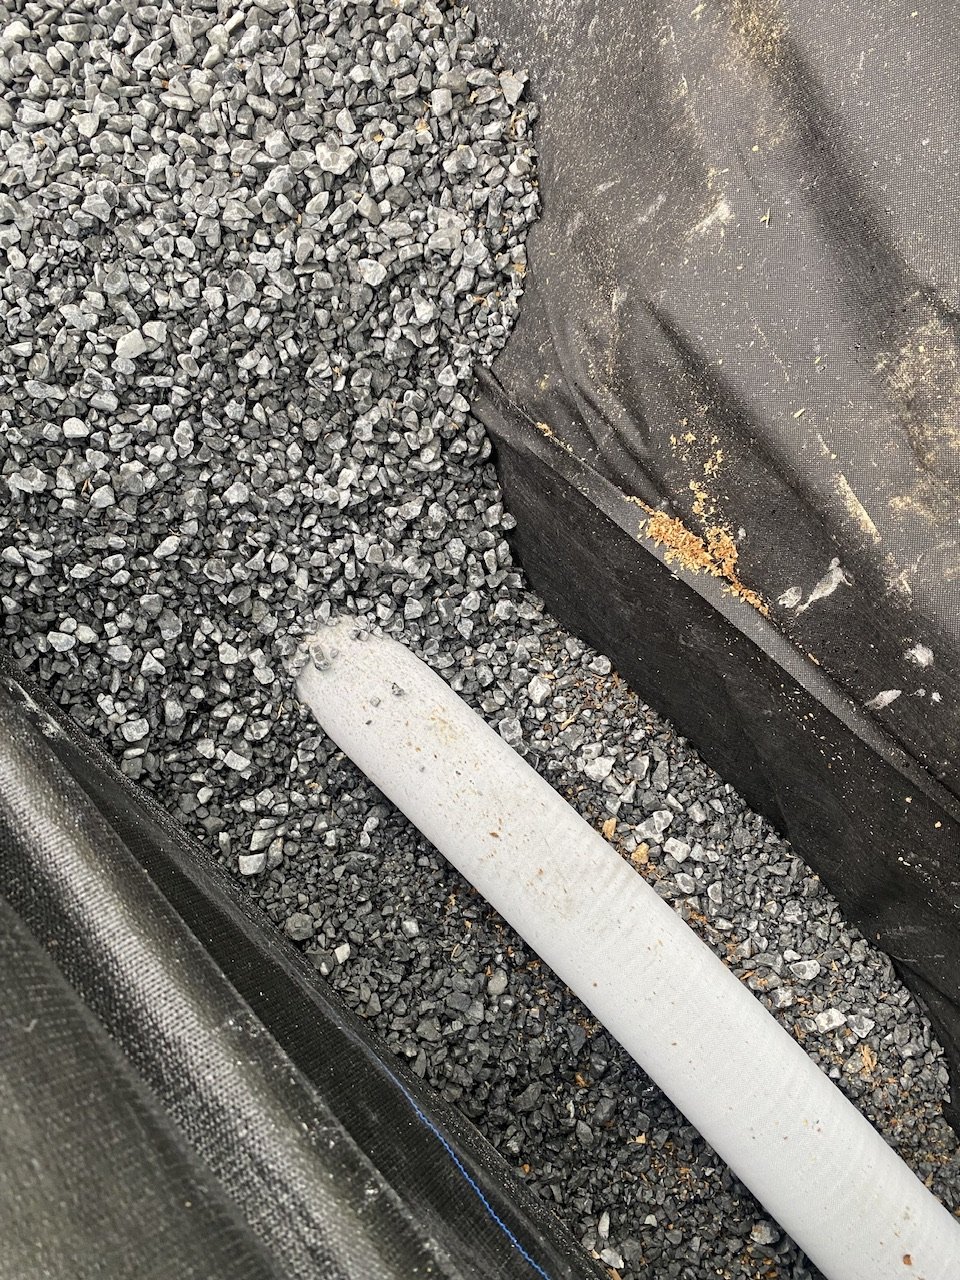
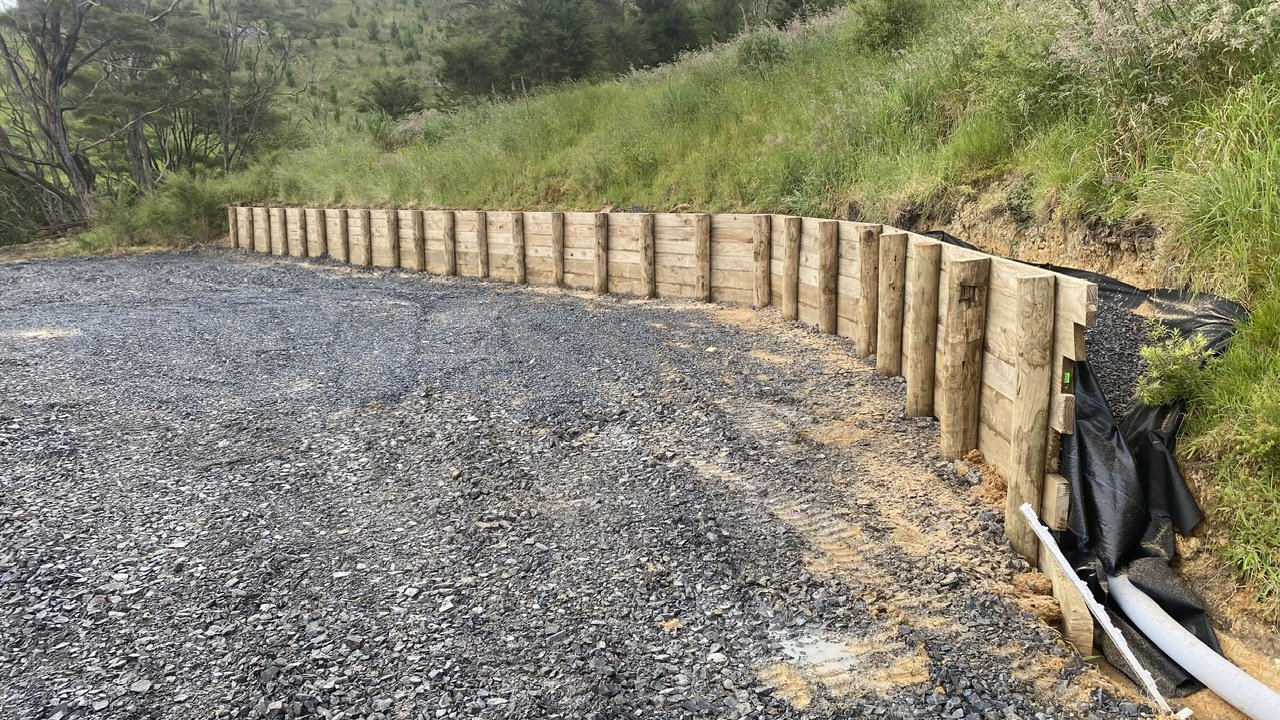
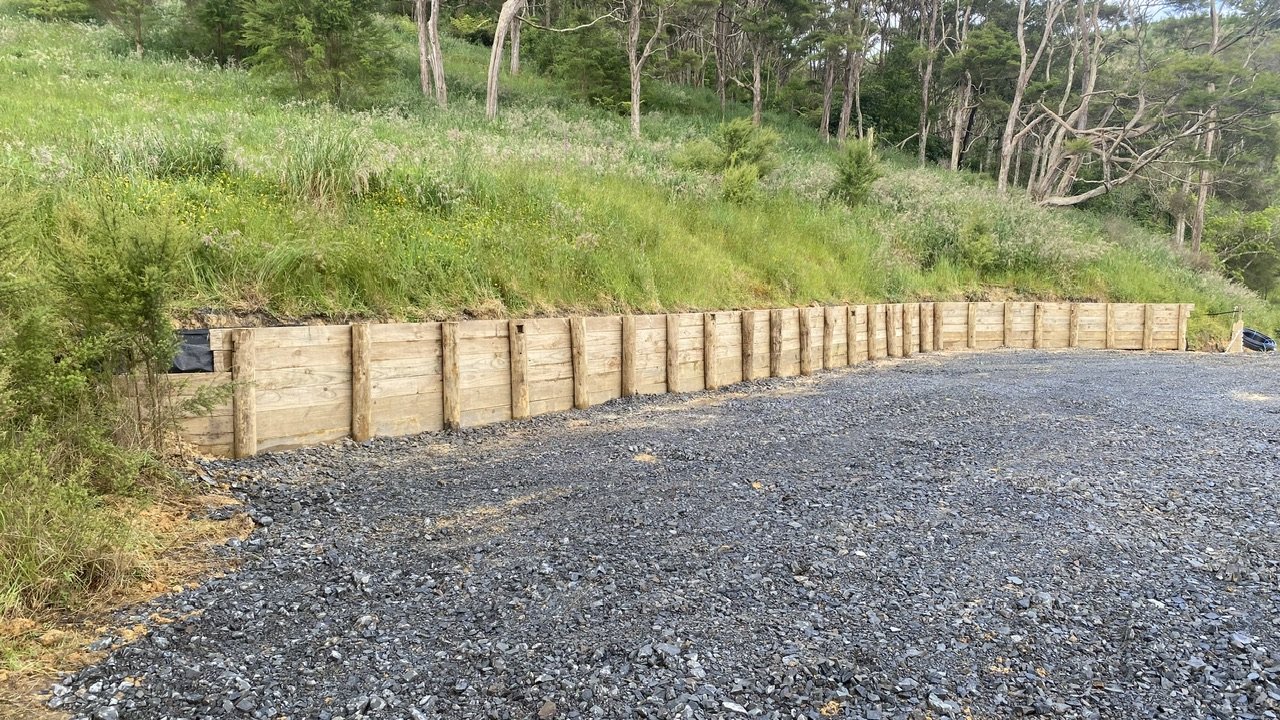
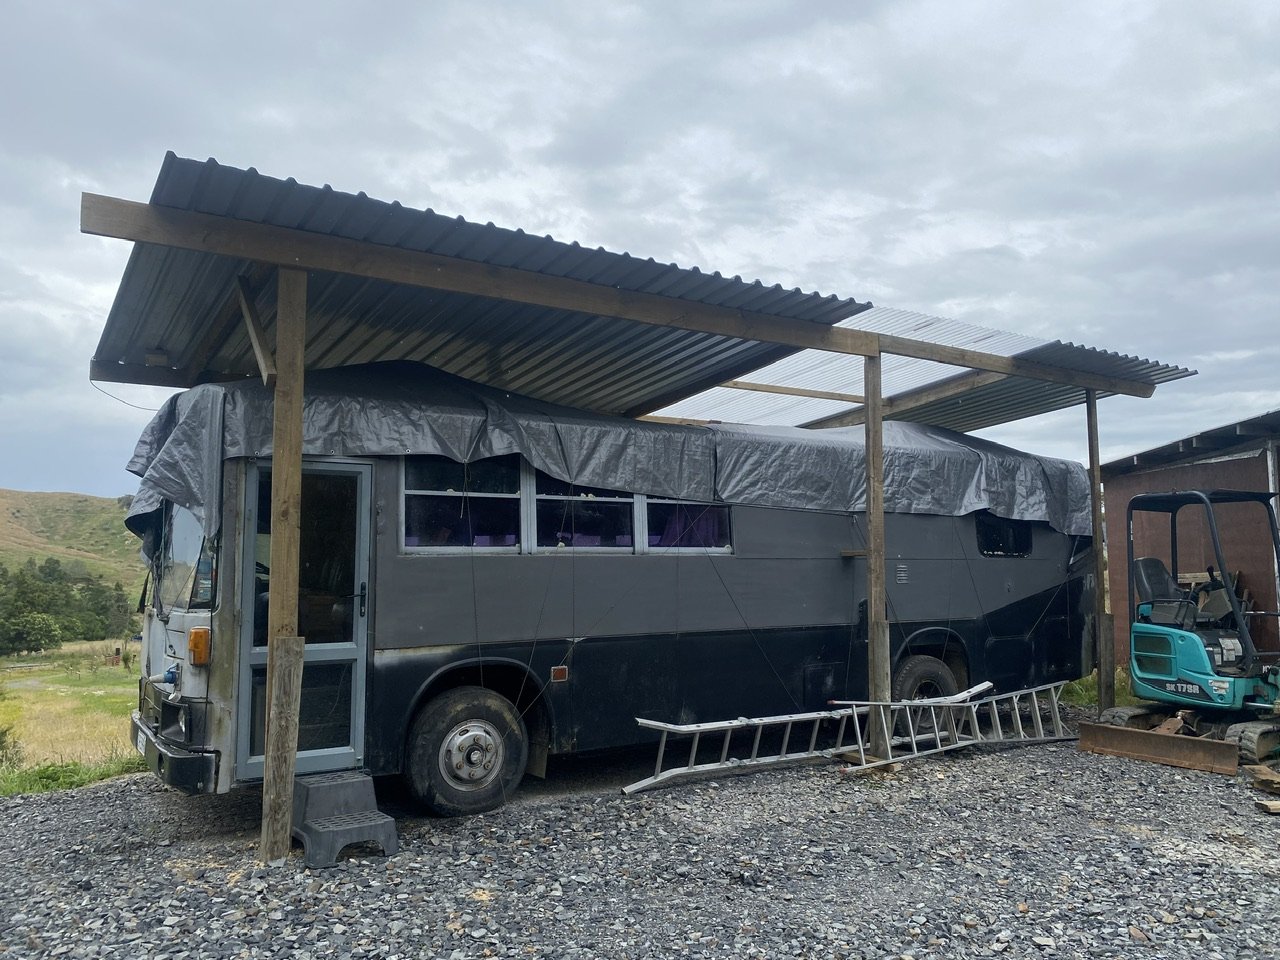
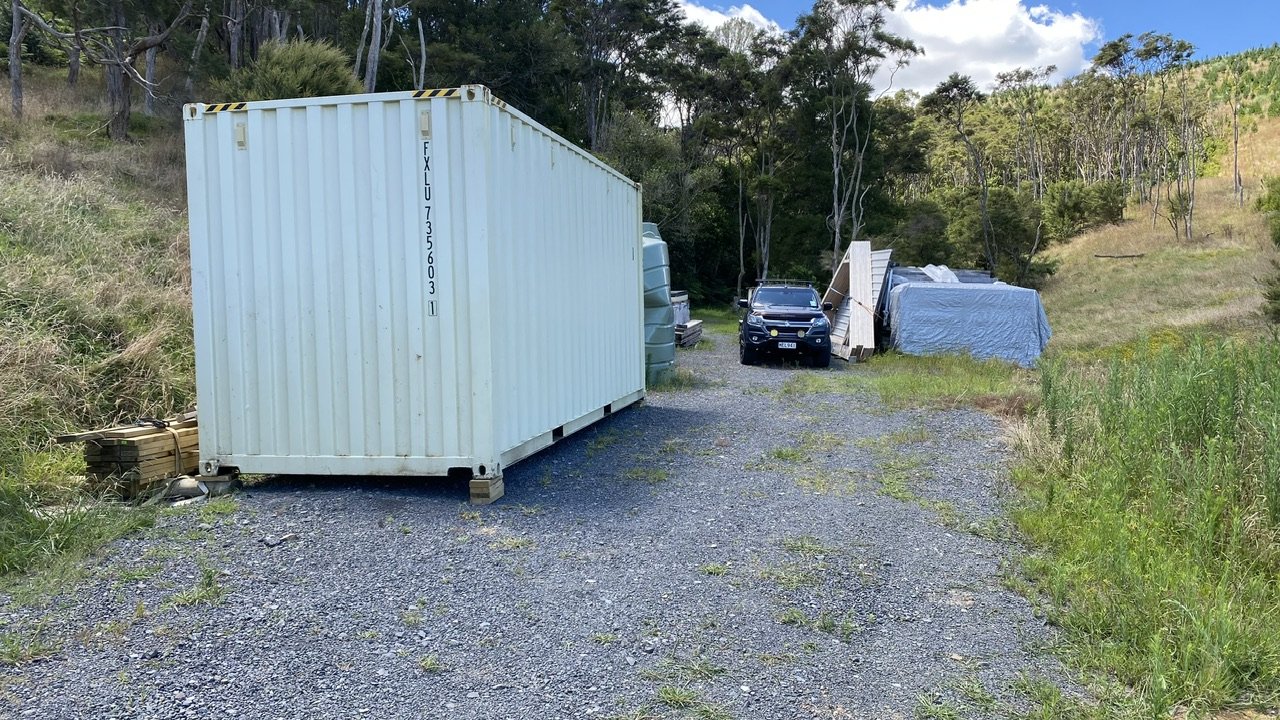
Been a minute or two.. had shoulder surgery late last year which slowed me down a bit. Just prior to that I got dad to come up and help me build a retaining wall. Still got the ends to finish off but it turned out pretty neat for a first timer. Moved the bus up to the building platform and built a sketchy roof over it so it could dry out better. I’ve since removed the tarp. I’ve also got my container down there now and the place is looking more like a builders storage yard.
2 points
-
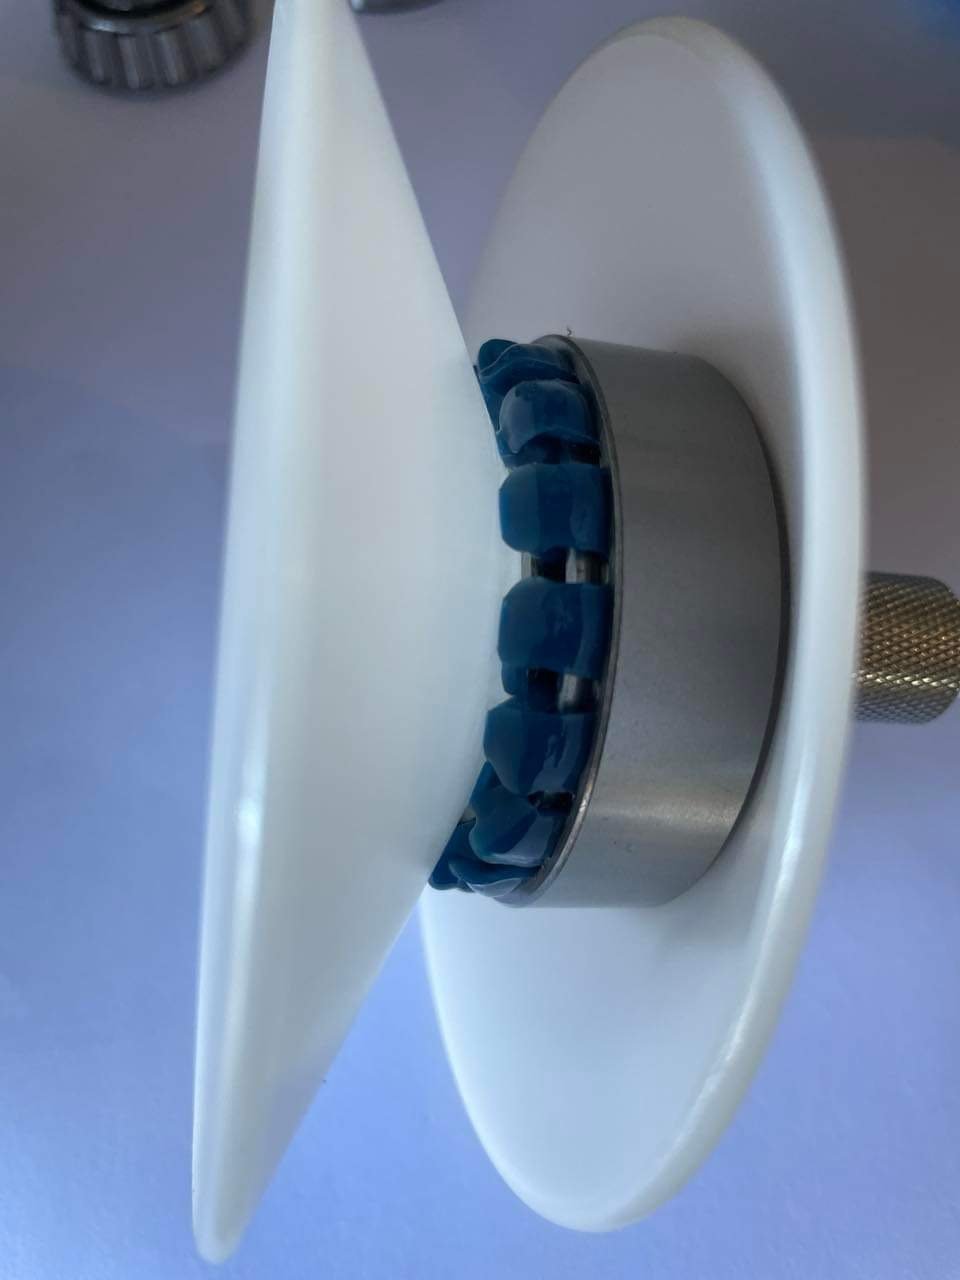
Lots of spreadsheets and mulling led to the decision to rebuild it ourselves. The engine the mechanics sourced had no information other than "64kkm"; engines before 2019 models have thrust bearing issues I'd like to avoid. They'd charge a lot of money for something that I'm meant to be learning how to do. The cost of getting an appropriate year replacement engine from Japan is approx $5000 delivered with gst, depending on who I go with. Engine reconditioney man said if it was his block, he'd re-use it. Obviously he's not going to put "it's fine" on paper but it's better than him saying a perfectly reusable block should be tossed to avoid liability. Anyway, The good news The crank and conrod could be saved! The block should be fine! The bad news For the life of us, we couldn't find any undersized bearings for the crank in the "standard 0.25mm" increments. The engine is used in so many cars, I find it hard to believe there's nothing out there, but we just couldn't find the right people. Apparently part numbers are king in Japan and they are super cagey about anything else for liability reasons. After a while of inquiries and searches, I gave up and bought a new crank and conrod. The good news 2: electric boogaloo I'd been plugging part numbers into Amayama and bugging them to update their database because no altos past 2015 are in there. But while inquiring with Jesse Streeter, he mentioned off hand that he could get them for cheaper. I gave it a shot and.... yeah he's right! Amayama: $1.9k Streeter corp: $1.45k Delivered faster, too... That said, I'd already bought a batch from Amayama; still, the bulk of the parts went through streeter so I'm very happy with that turn of events. When Jesse's first batch arrived at his office, I asked him to send a pic of the crank stamps. This let me use the block and conrod stamps to figure out the most likely bearings to use and order them in advance. I forgot to get him to check the new conrod but fortunately it worked out While girlface cleaned the schmoo and old (possibly metallic) oil from the block, I cleaned up the old crowns. I struggled a lot with some old kitchen scourers and toothbrush with acetone before I spot-tested a brass brush and absolutely blasted through the rest of it. I also replaced the new flywheel bearing (don't worry it's clean now), 10mm for scale Cleaned and schmoo'd the transmission clutch housing, ... and the floor, went slightly overkill getting rid of those fuel fumes that we really should have dealt to weeks ago, And sorted out those drive shafts. When we removed the engine, we cut the boots open. I was super dubious about this move, having (somewhat) recently dealt with the Starion's shafts and watched people on youtube reinstall their modern FWD shafts, but since when is DIY engine overhauling smooth? I popped the shaft ends out of the transmission easily with gentle pressure from a crow bar and some light rubber malleting. Then dealt with the other ends which were still in the car. Fortunately I didn't have to remove any suspension bits because there was no engine blocking them, I just had to remove the wheels and hub nut. That's a rusty rotor. It's okay bb soon hush Then I recruited girlface to slam them out in an afternoon. Ew Ugh gross This is the closest I'll ever get to baby poop We struggled for like an hour to get the big end "properly" seated. It just looked like there was a notch waiting for it. We used shims, screwdrivers, pliers, the vice, brute force... I finally had the idea to go confer with Kelvin on how they look assembled on his car, and also hunt for high-res second hand drive shaft shots on the internet, and discovered that nope we'd been all the way on the whole time .... :') So fine, moving on to clips. The suzuki boot clips we got were this design I'd never seen; you bend a piece of metal over and it has the precise correct clamping force for the boot. Cool. Well it was cool until we had to do the two large clips. You see with the small ones, we could just use adjustable pliers to perform a reach around and grip both sides of the shaft. This let us press down easily and evenly. There's a lot of force required to get the metal to bend over, and it needs to be consistent along its length because it'll happily deform. We tried a few things, and just when we thought we had a good thing going with a hammer, we broke it :\ We didn't think the other one would go any better - or inspire confidence if we did get it on - so we decided fuck it, we'll go generic. One clamp installer and generic set later... ... the drive shafts are back at square one. I sure hope the outer boots don't die any time soon because you have to take the inner ones off to service them ... ... We need a final shipment (bearings) to arrive which will take up to a couple weeks probably, but we've got all of the other parts and there's plenty of work to do in the mean time. I've been assembling a (work-in-progress) dependency/workflow diagram to try rein my brain in and have been printing out sections of the manual for stuff that's trickier to do in front of a laptop with greasy hands. And we're caught up. Oh I bought a head stand and it's probably overkill... So um, here some more pics for scale.2 points
-
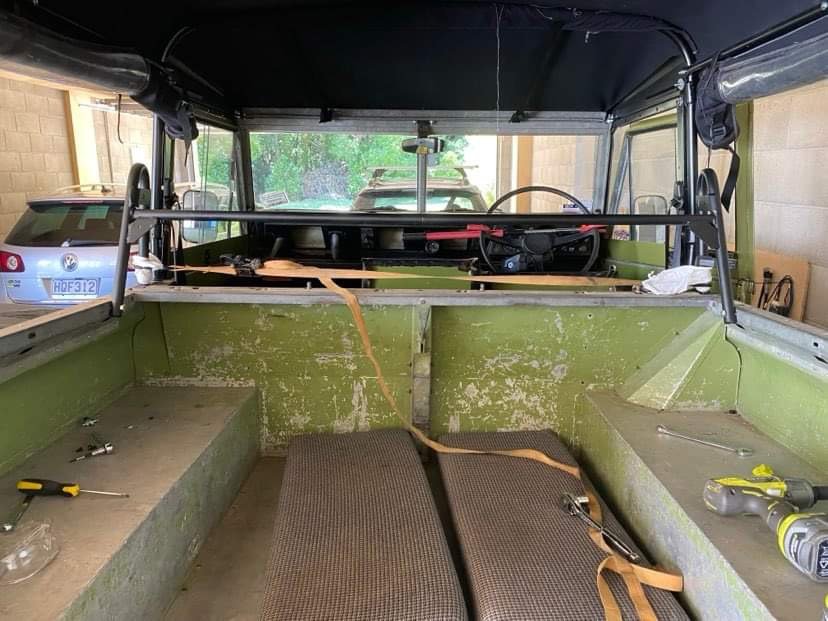
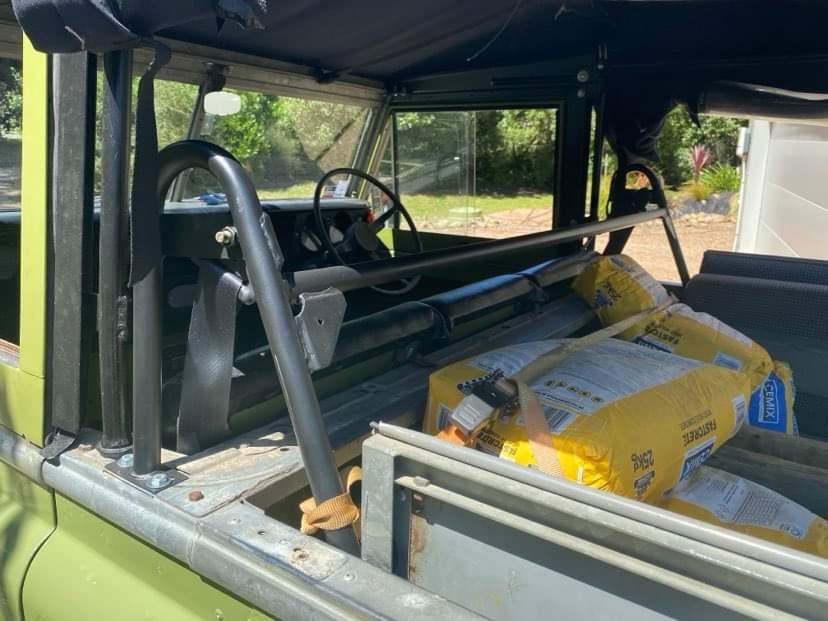
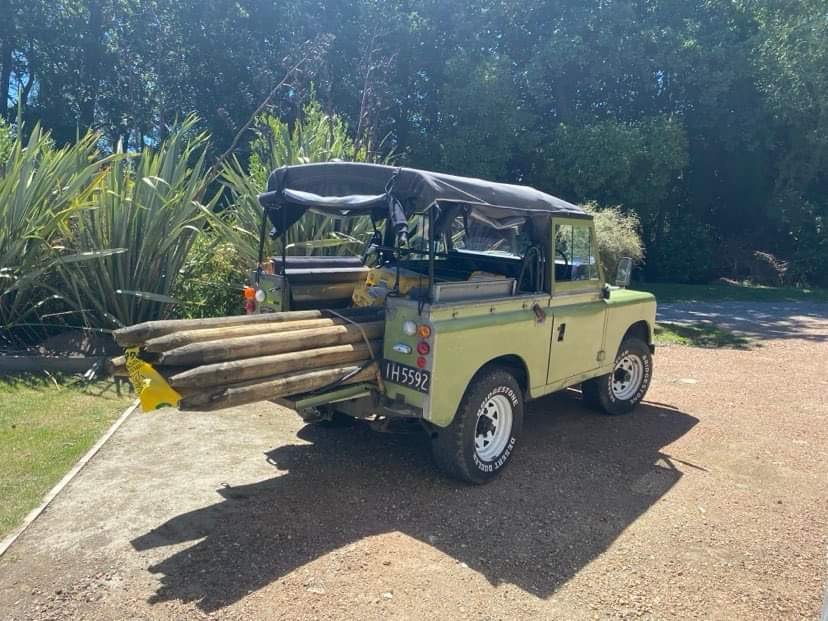
Seat belt bar arrived so fitted it a few weeks ago with a bit of ratchet strap persuasion Been using it to grab fencing supplies the last few weeks, can fit a 2.4 post in the back, less dodgy when weighed down by a few bags of premix Next job is to replace the gear selector detent springs, sometimes it doesn’t want to deselect gears or it’ll jam in gear, hopefully this fixes it.
2 points
-
Others that I know seem to be a 50/50 split between paint/clear/decal/clear and paint/decal/clear. Your mileage may vary, but 20 years from now you may find the decals lifting/flaking if they don't have that thin waft of clear over the top.1 point
-
I got some pressed sheet metal ones off I think off summit racing a while back. Quite thick1 point
-
cheers, i been watching this meathead bogan slap together an HQ and record it on a potato, has some good tips and stuff, but i think hes secretly a bit a bit of a nerd, i reckon you might like him:1 point
-
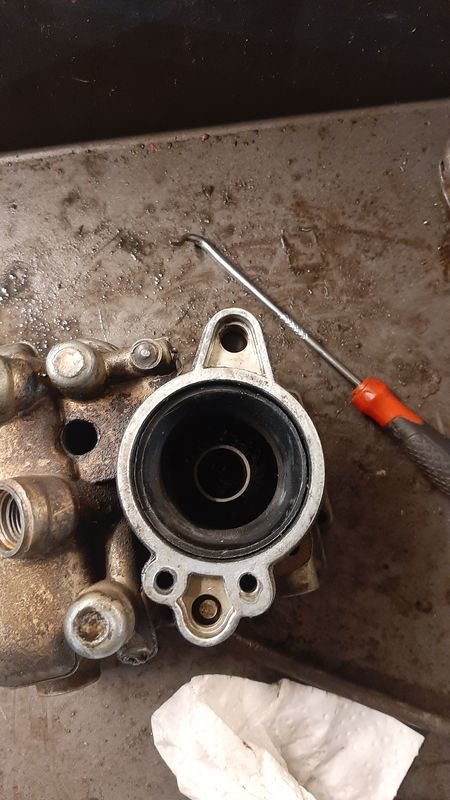
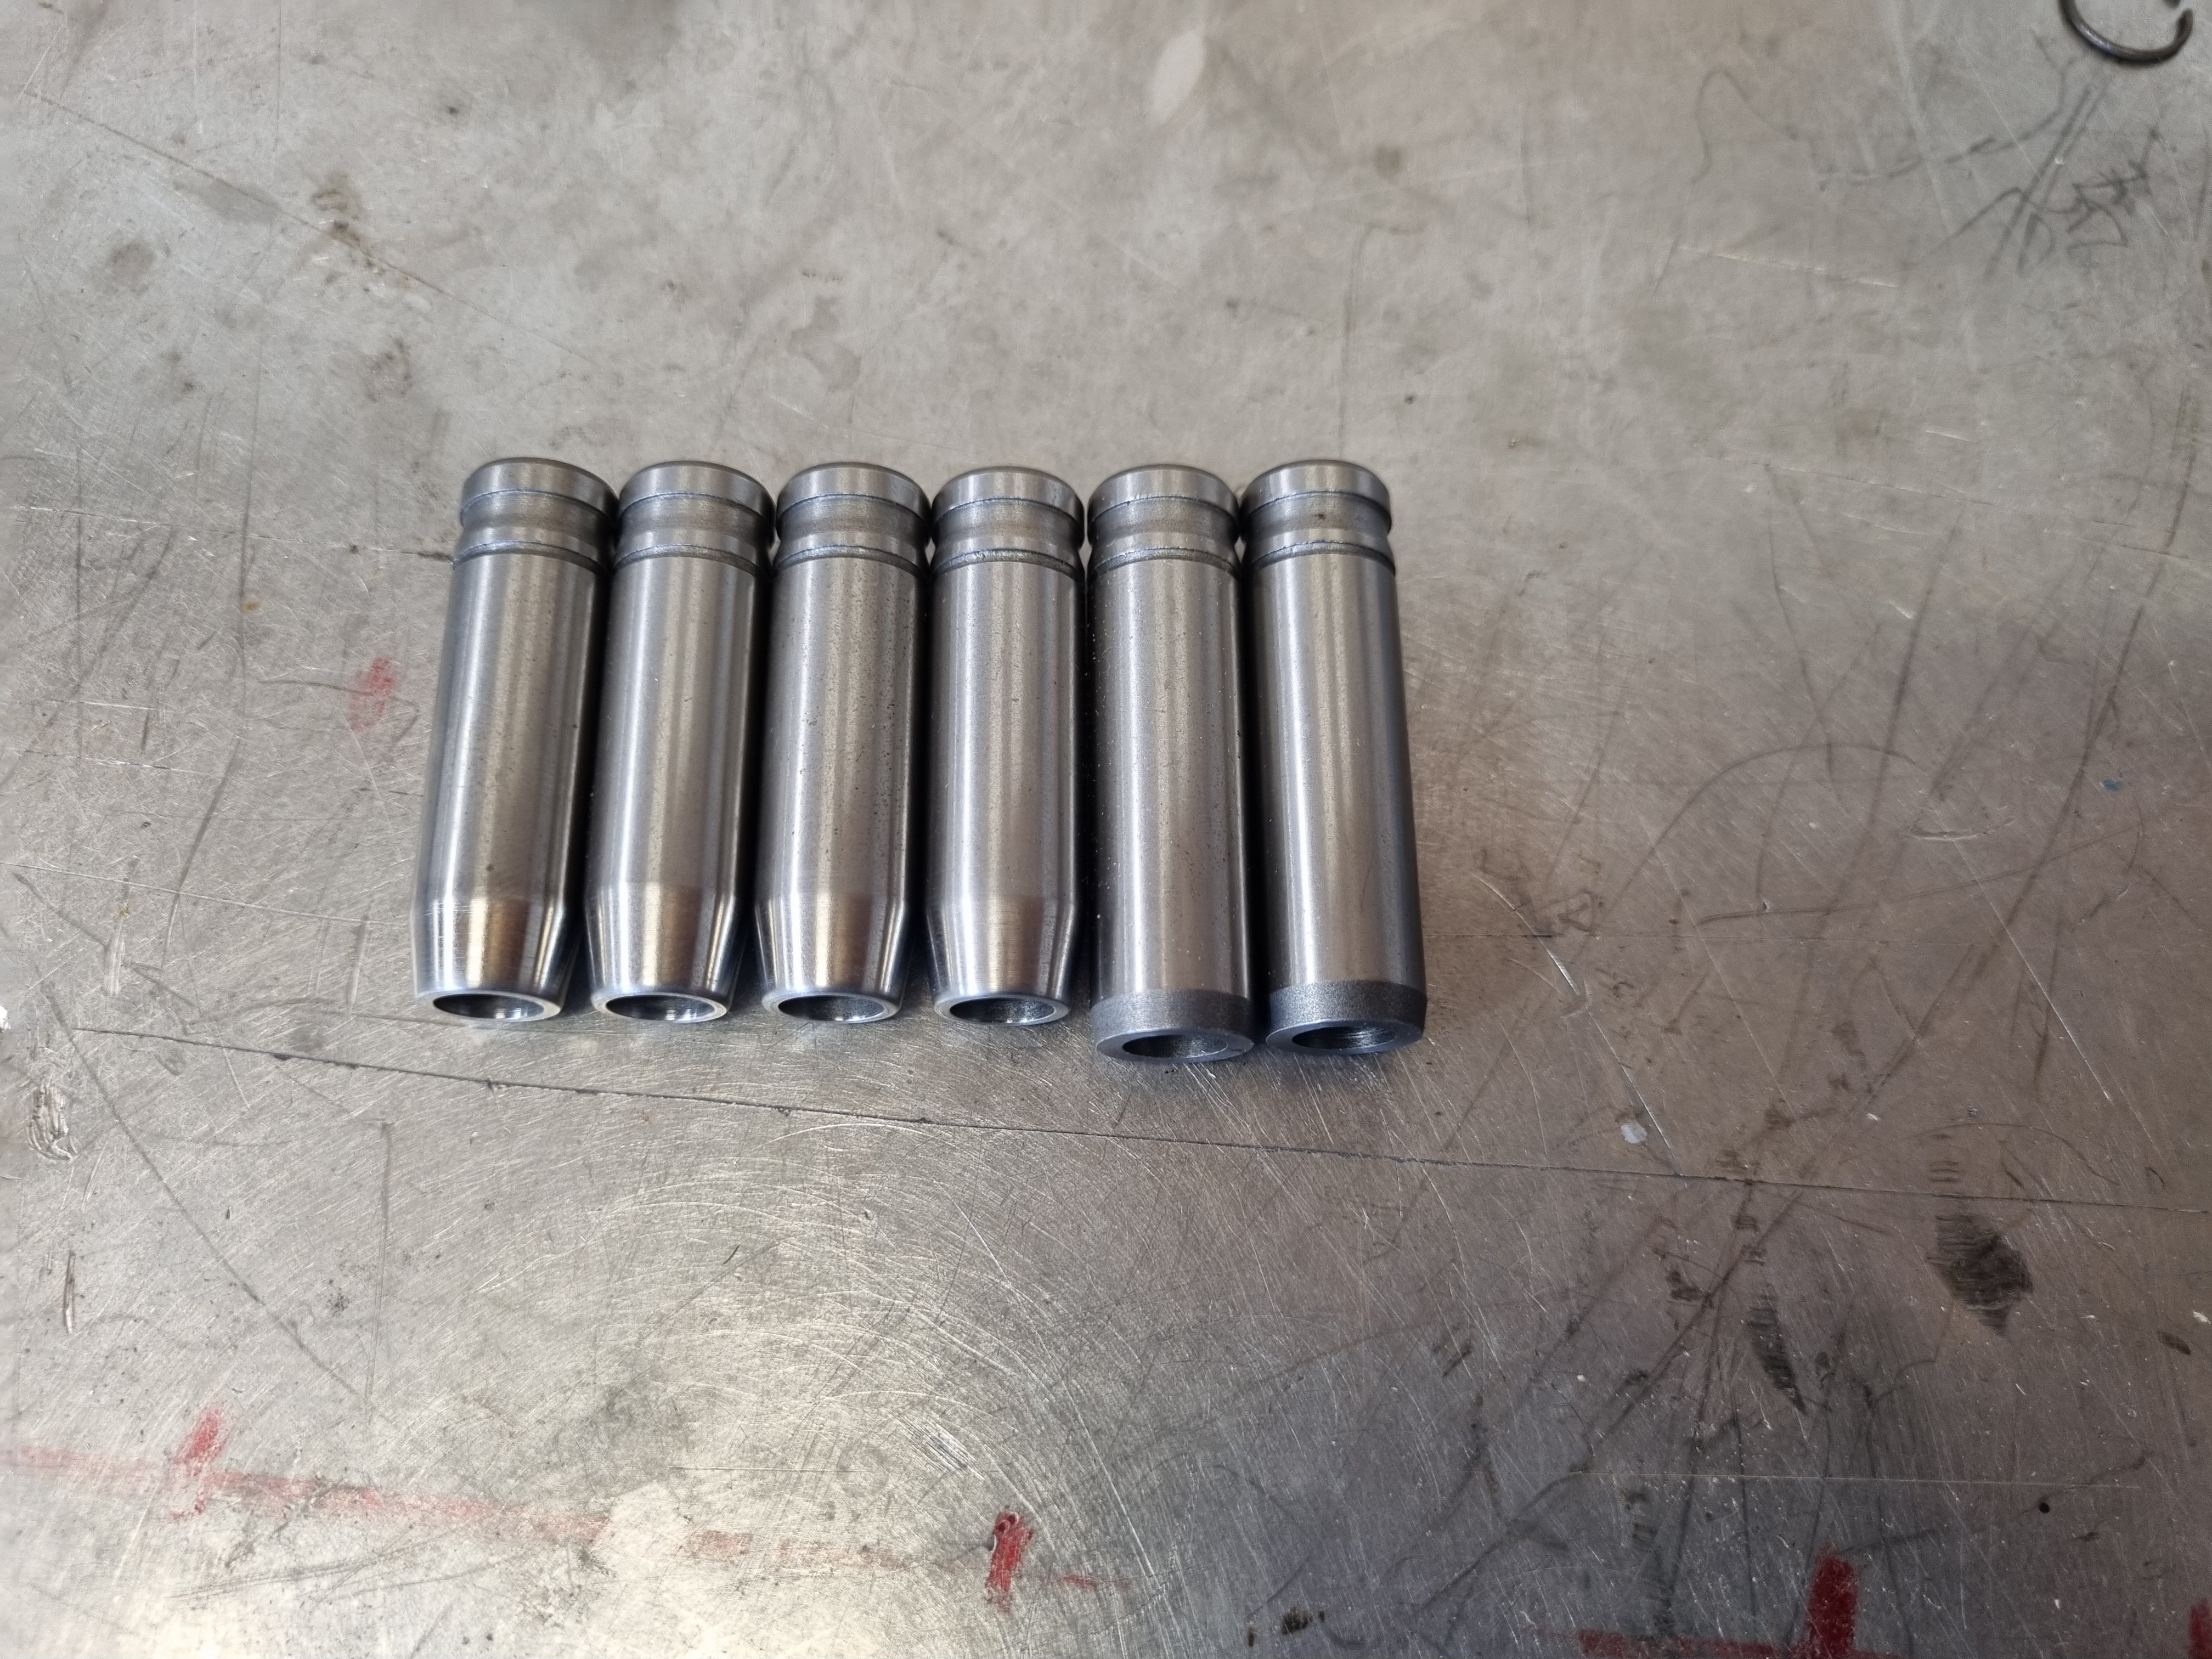
So when I left off the motor was back to completely disassembled. I got the cap machined and now it's back together with the correct crank end float. The other thing is that I got the head flow tested with the porting and bigger valves. It shows about an 11 percent increase over stock. I was kind of hoping for a bit more but using the "no science just hog it out" method is probably why 11% was the result. Anywho, now it's time to get the head all sorted and I can bolt it on. Need new valve springs, new spring washers and retainers - all of which will need to be custom or at least sourced from some other engine. In preparation for this I shortened the valve guides to suit the machining that the head needs to clear the higher lift. 3mm off the exhaust and 6mm off the inlets
1 point


This leaderboard is set to Auckland/GMT+12:00