
Leaderboard


Popular Content
Showing content with the highest reputation on 08/07/22 in Posts
-
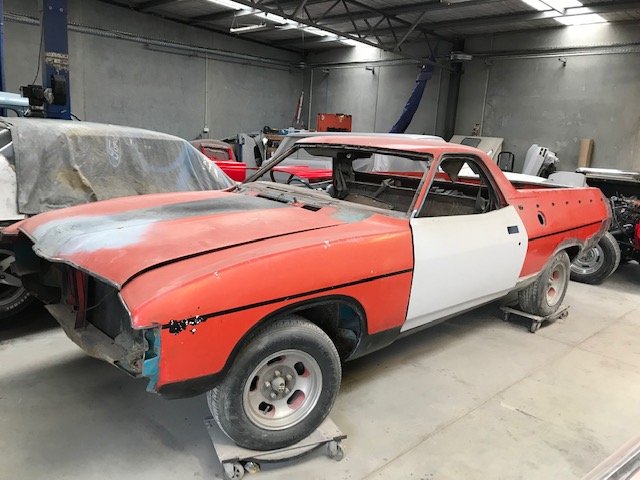
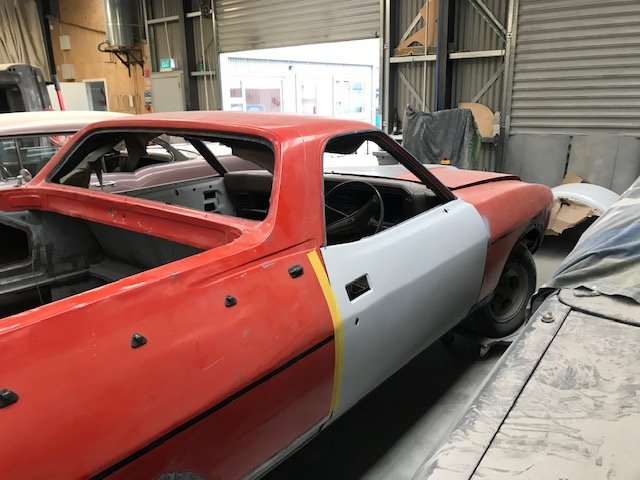
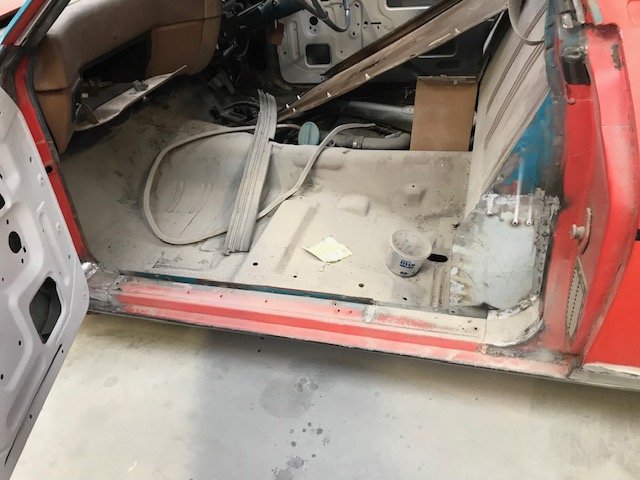
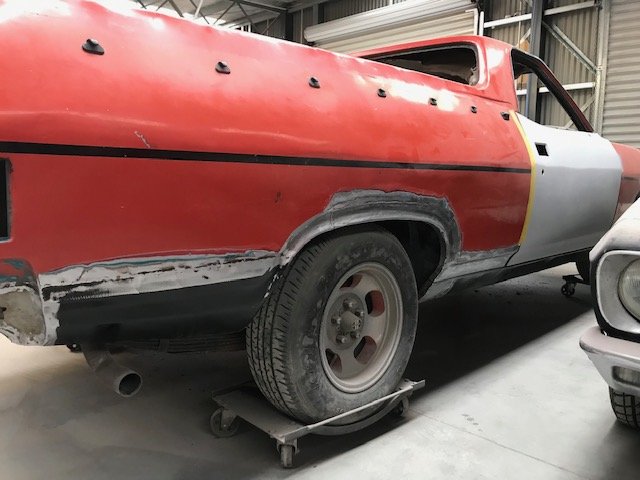
The photos so far are where things were left at Christmas, with the assumption that this would end up dismantled and forgotten in the shed. Was surprised to hear a month later it had been lined up as a downtime job at a local panelbeater and was dropped off shortly after. Got to see it a couple of weeks ago and there’s been decent progress: Replacement doors sourced: (For those following from the discussion thread -@Lord Gruntfuttock and @locost_bryan - think these were out of an XC coupe, and he’s deciding whether to tweak for XA handles or just going with the XC ones). Minor repairs to each door step: A tidy up of the quarter panels etc:
 16 points
 -
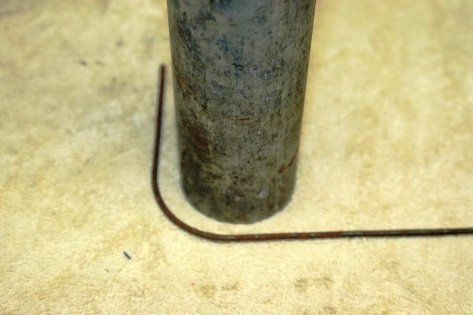
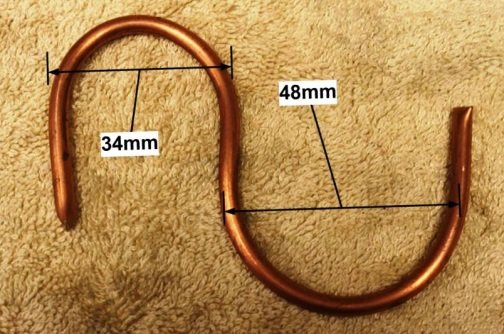
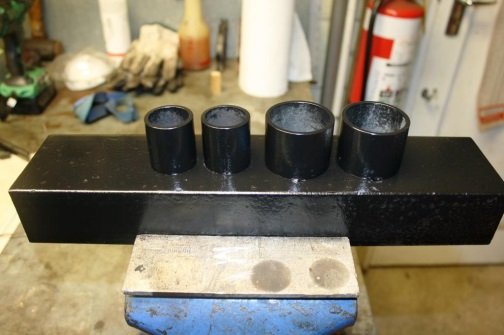
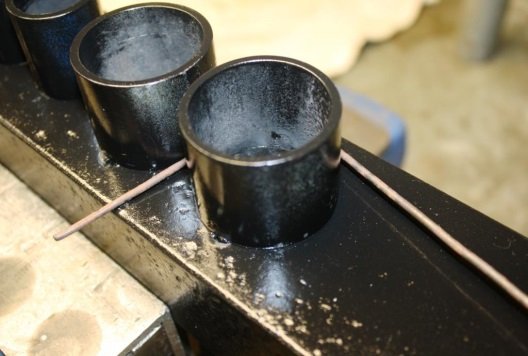
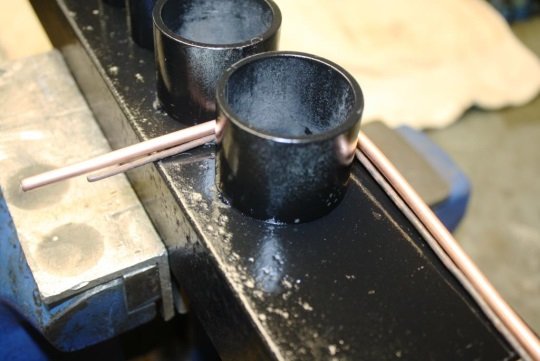
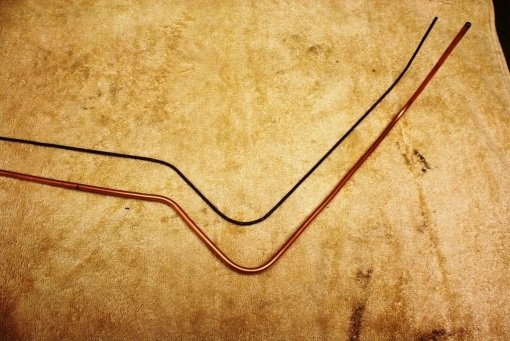
Brake line bending 101 Hi guys; more semi-incoherent, sanctimonious musings from the Universally Renowned sr2 man-cave University of Beer, Bullshit and Bad Manners. As always feel free to comment, disagree or just sling random insults. https://oldschool.co.nz/index.php?/topic/49843-sr2%E2%80%99s-1947-vauxhall-%E2%80%9Crigamortice%E2%80%9D-discussion-thread/ Just finished a brake & booster upgrade on a friends MBG GT and thought I’d share my brake pipe fabrication technique. For what it’s worth this is how I do it. In the late 70’s and early 80’s copper tube was commonly used and we produced some very pretty hand bent installs. In its defence despite copper being soft and susceptible to work hardening we had no failures due to the material used. These days with higher pressure/less displacement systems copper is frowned upon and after a brief flirtation with steel Bundy tubing (bloody awful stuff) most of the industry has settled on copper nickel tubing. It’s malleable, looks the part and is a joy to work with. Traditionally I’d make a pattern using 2.5 mm welding wire and then attempted to replicate it with my trusty bender. Problem was replicating handmade wire bends with a set radius bender at best produced an average result. After a rare Wild Turkey inspired flash of inspiration (i.e. a rush of shit to the brains) I tried using a piece of scrap pipe of the correct diameter (i.e. 48mm as per my tube bender) to bend the wire pattern. Things got a lot easier but it was still challenging to get the length of tube between the bends consistent with the pattern. I had a little play and discovered that with copper nickel I could ditch the bender and just wrap the tubing around my pipe former and better than that I could even manage a smaller 34 mm radius bend without distorting or collapsing the tube. Next step was to knock up a 34/48 mm bending former out of scrap. I use the bending former to bend the wire pattern… And then line the tube up to make the same bend in the same position. Easy as… Bottom line is if you use the same bending former for both the wire pattern and the brake tube you save yourself a lot of grief.
7 points
-
last on the road 2007 ish. spent about 7 hours on it today.
7 points
-
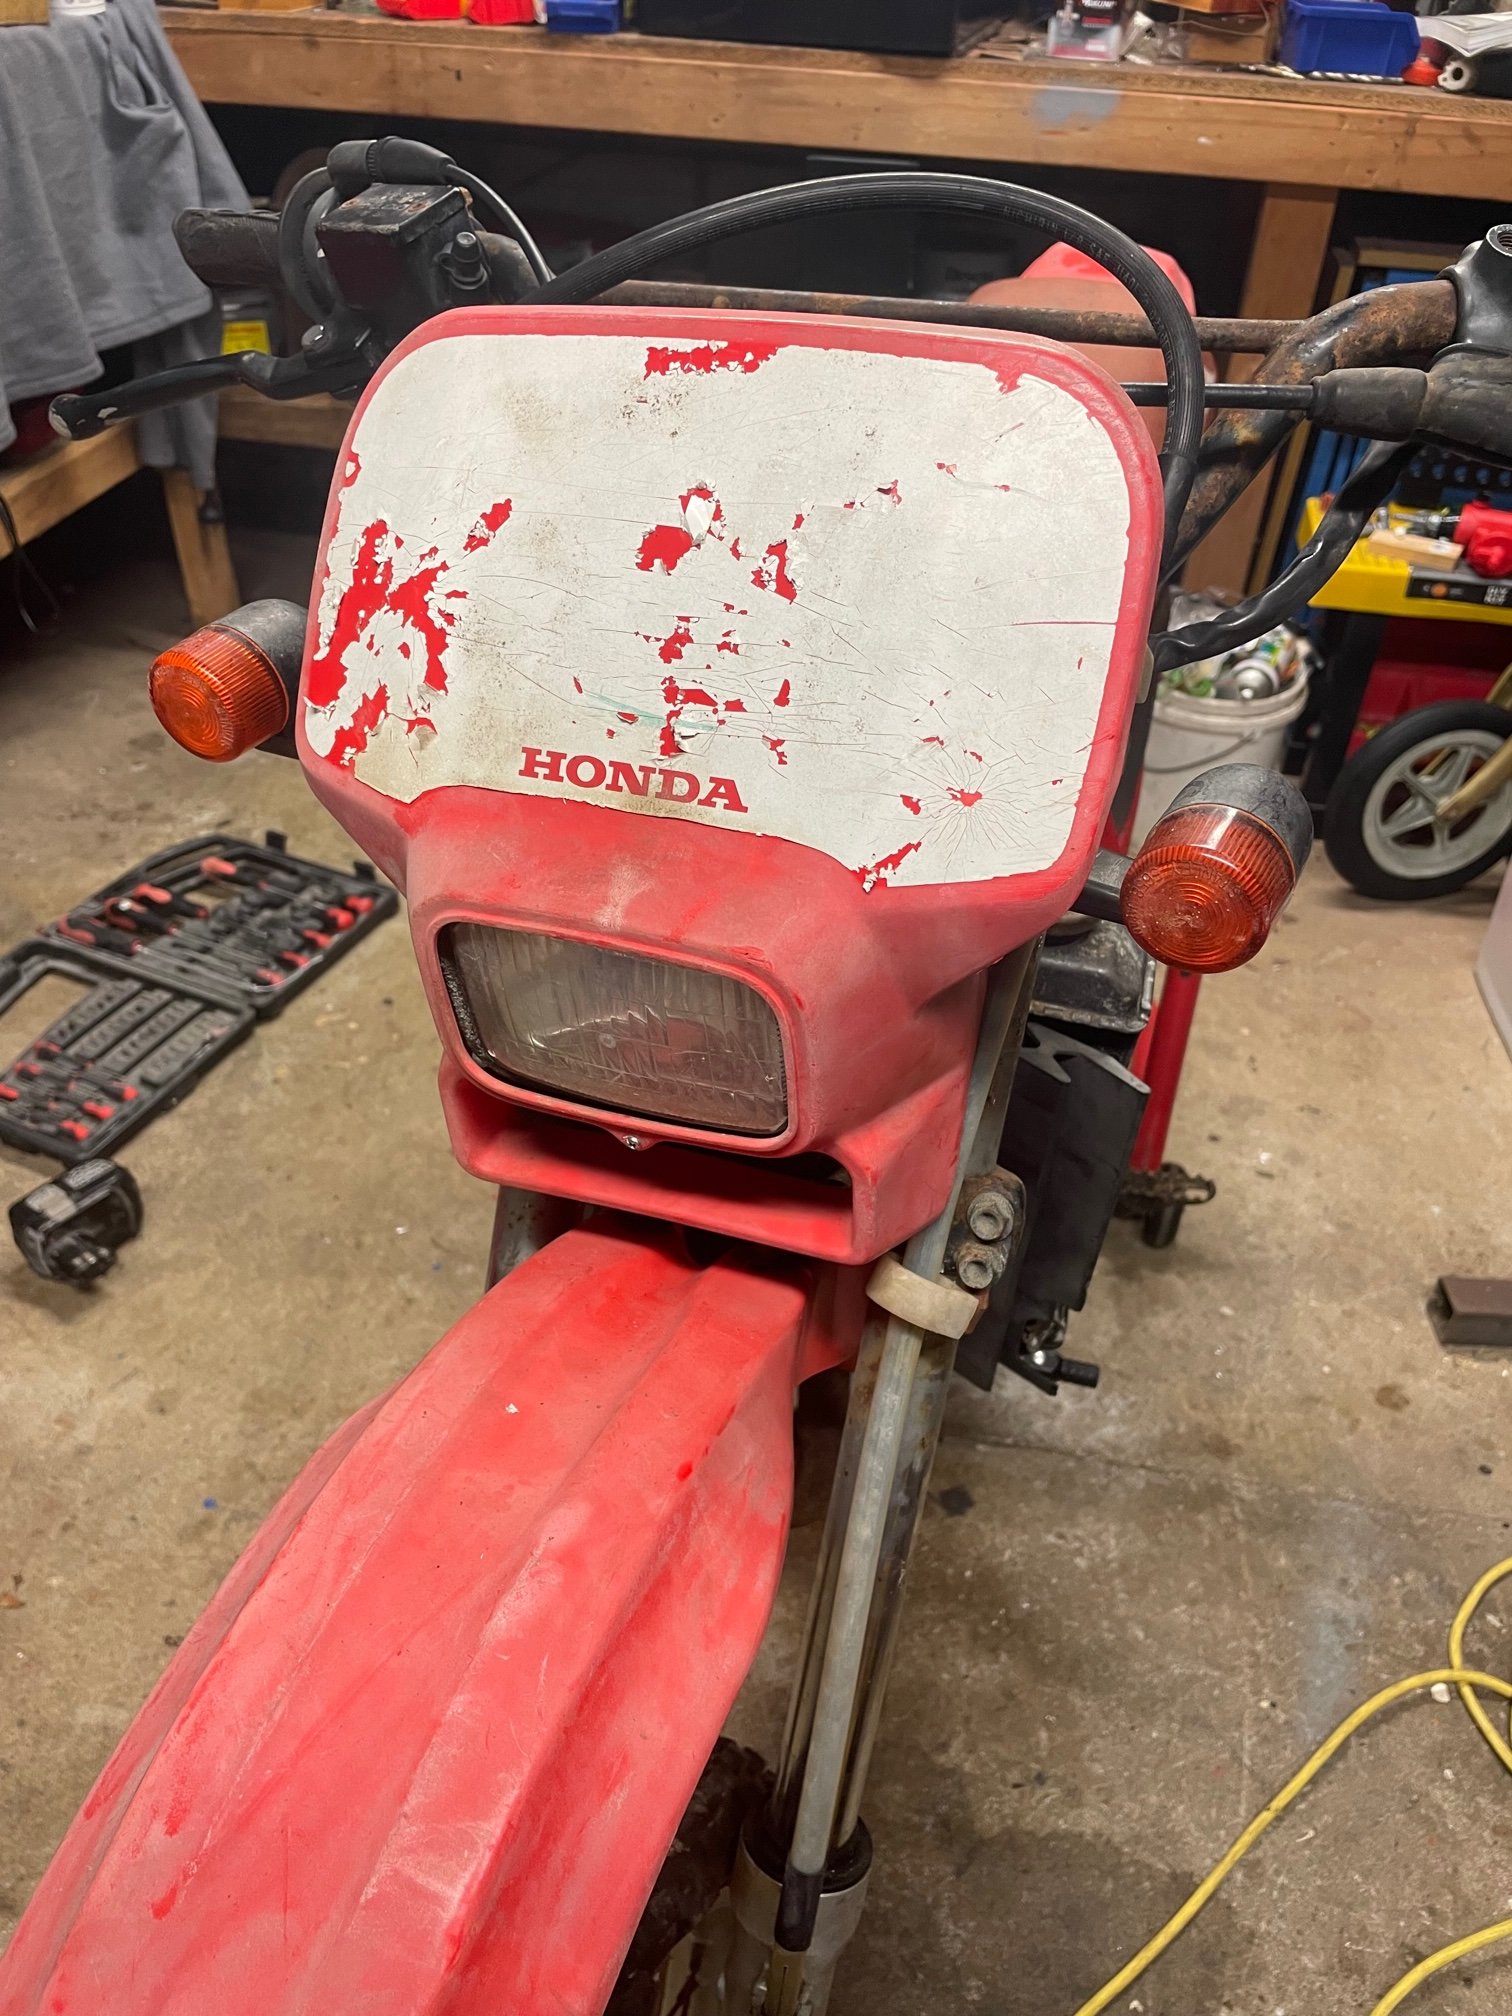
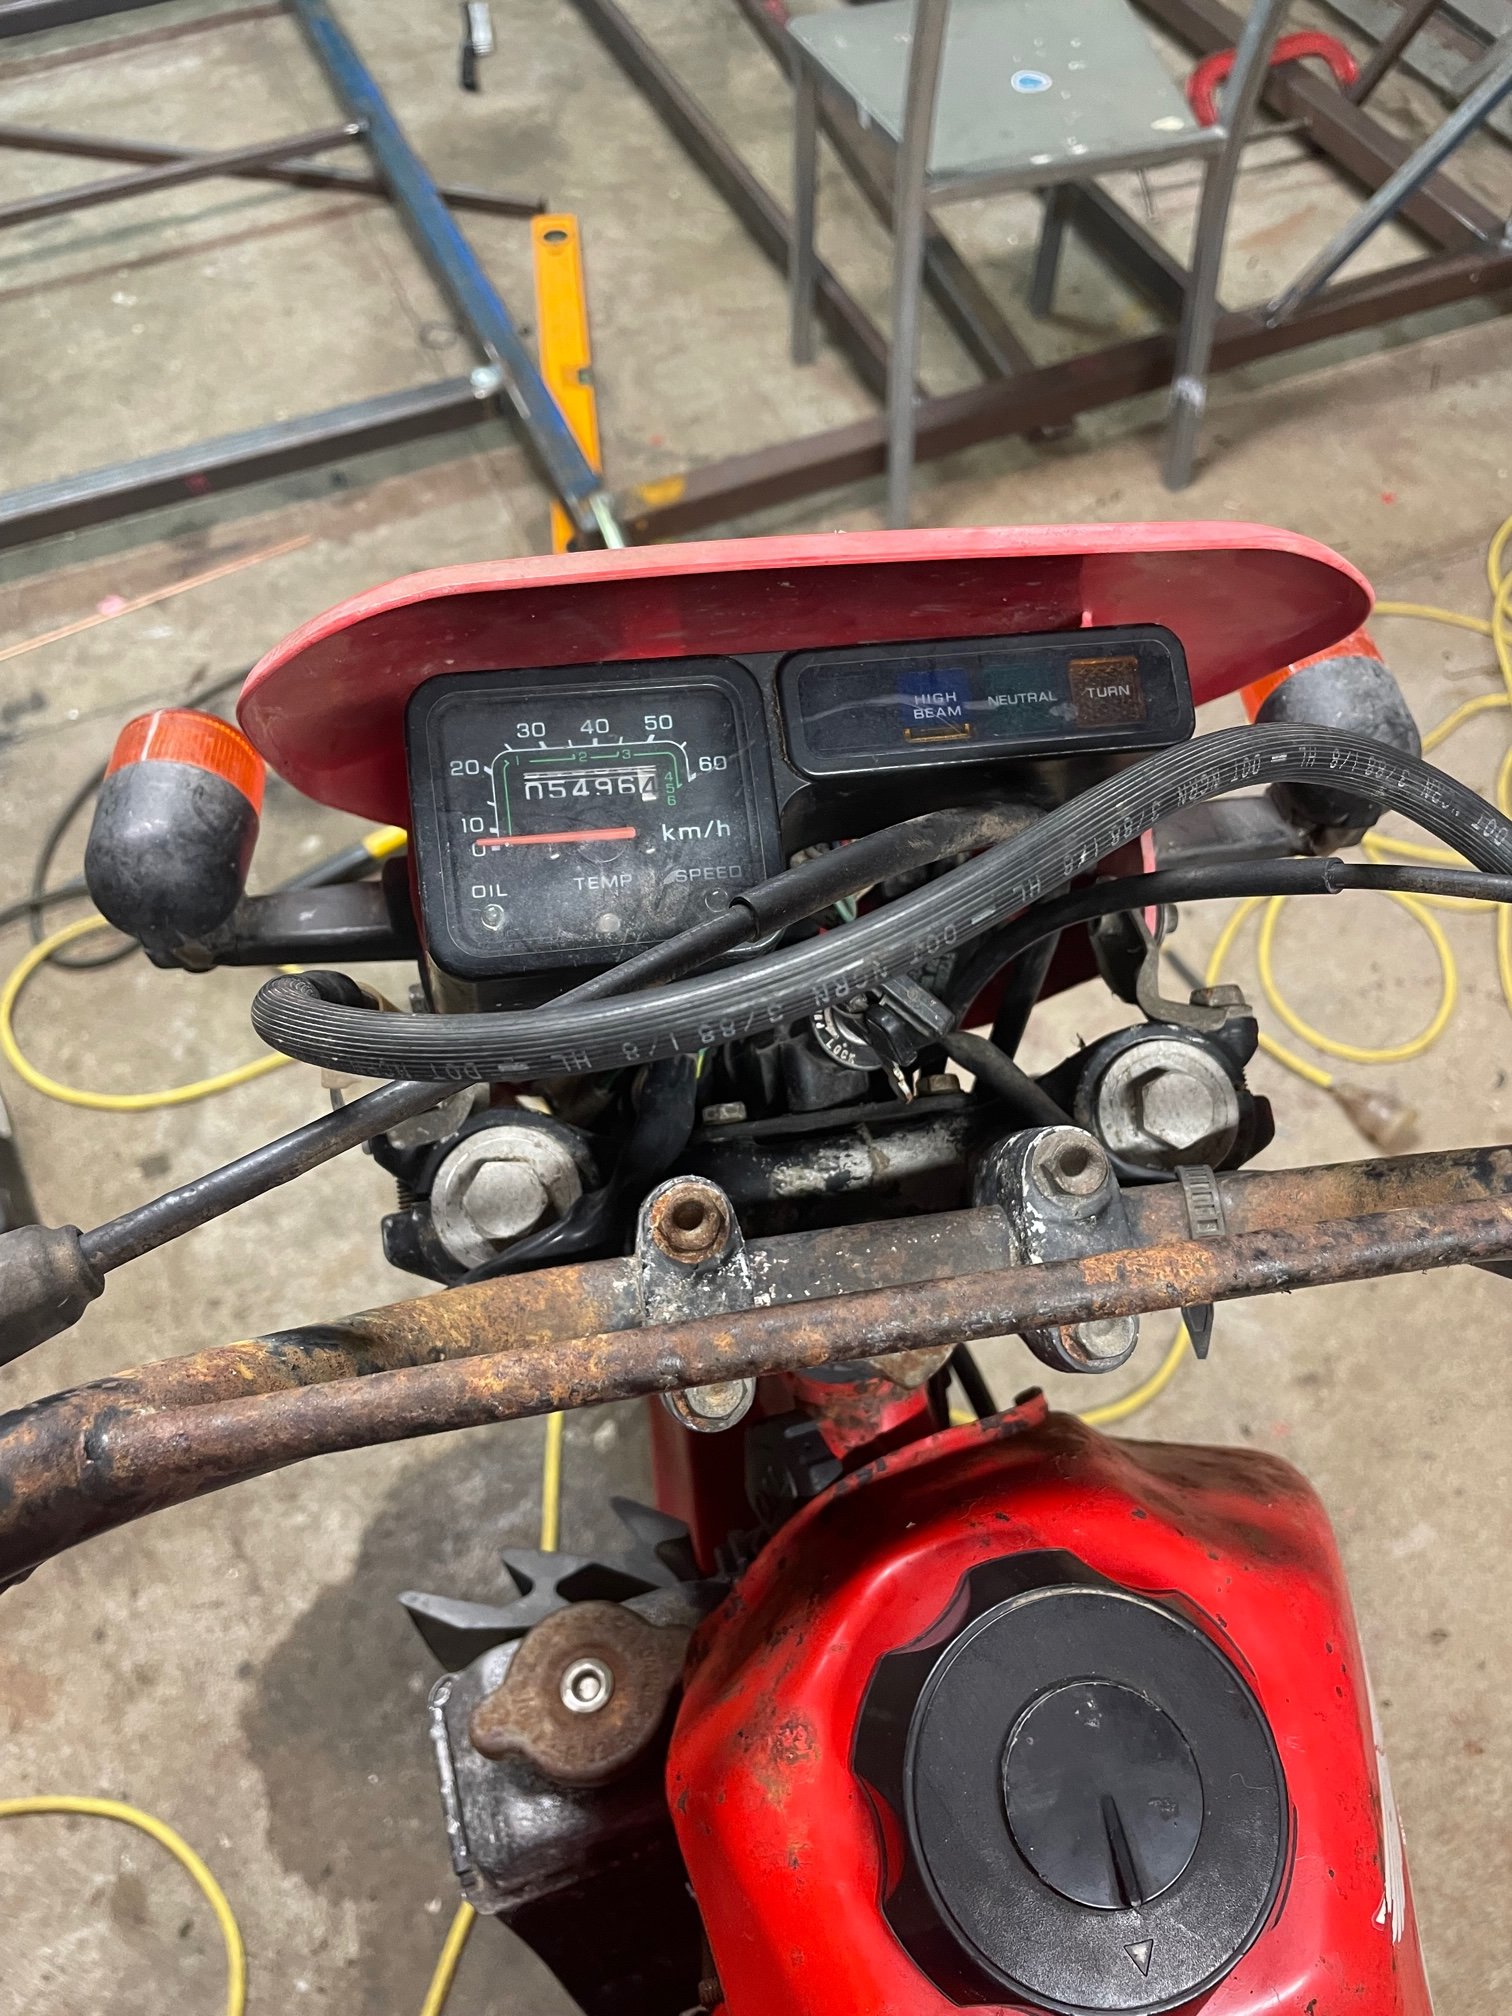
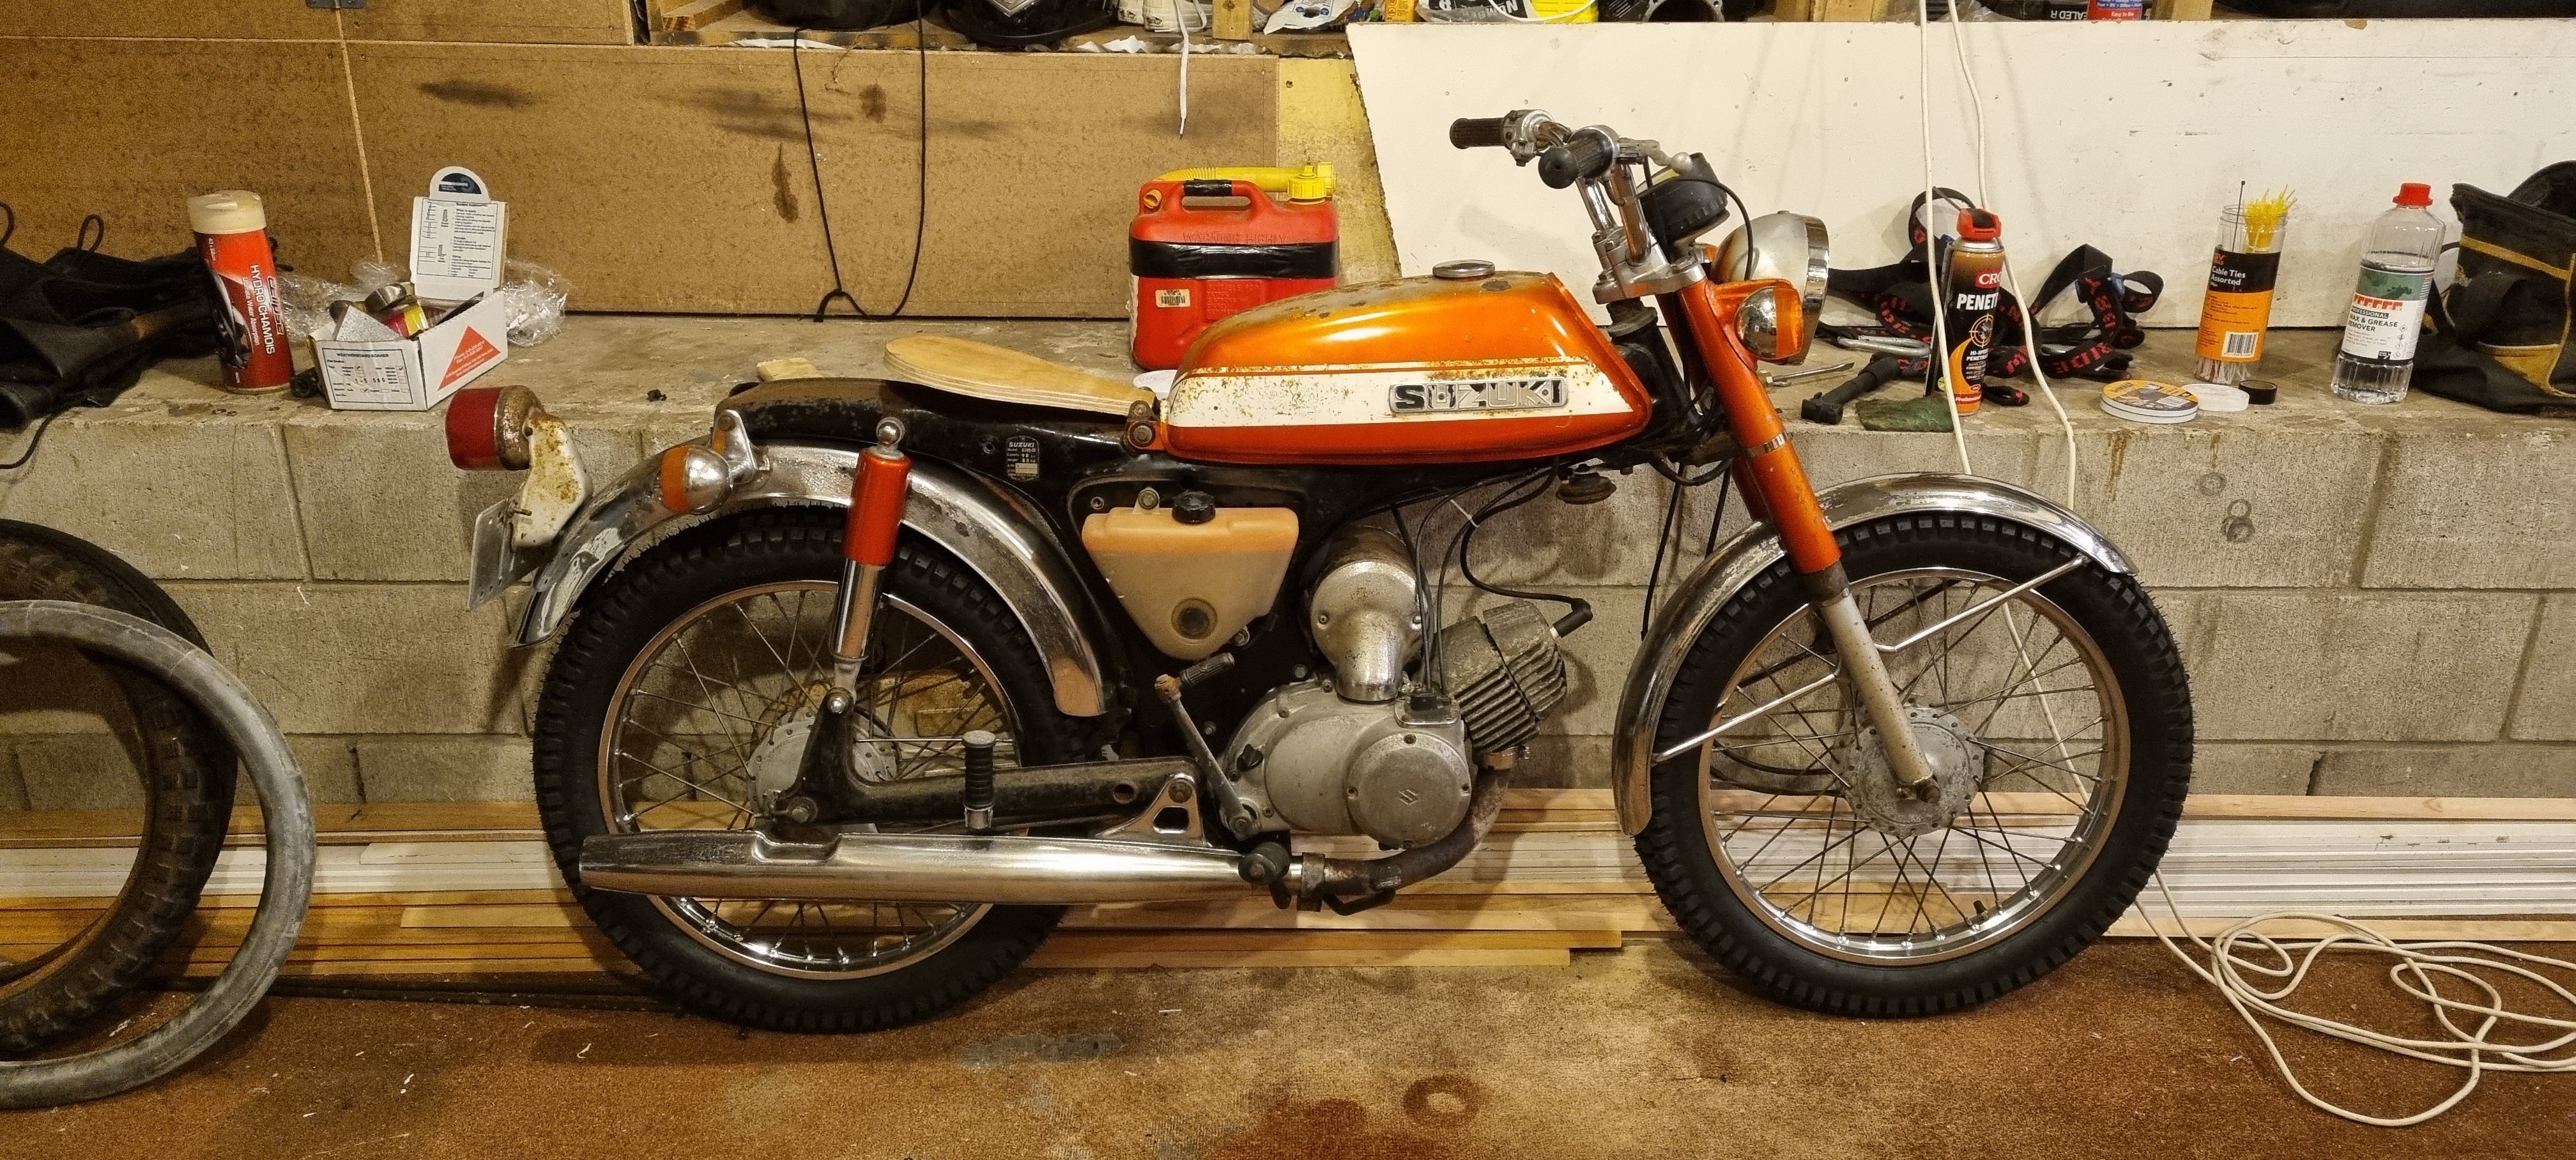
brought this off trademe, picked it up on friday. mileage not really known speedo has been replaced at some stage. 1987, blake plate, on hold. painted the frame on saturday with a rattle can.6 points
-
I’ve still got some carb issues to sort. The hoses are very hard and aren’t sealing so it pisses fuel everywhere and I think it’s sucking air into the oil hose. Last night I thought I’d see how much of the road gear was in the box of bits and assembled the front. I was so stoked it was genuinely all there including most of the original screws. None of the wiring has been cut. The Speedo cable wasn’t lost. It even has the original key that matches for the fuel tank! I fired it up quickly and it all came to life
6 points
-
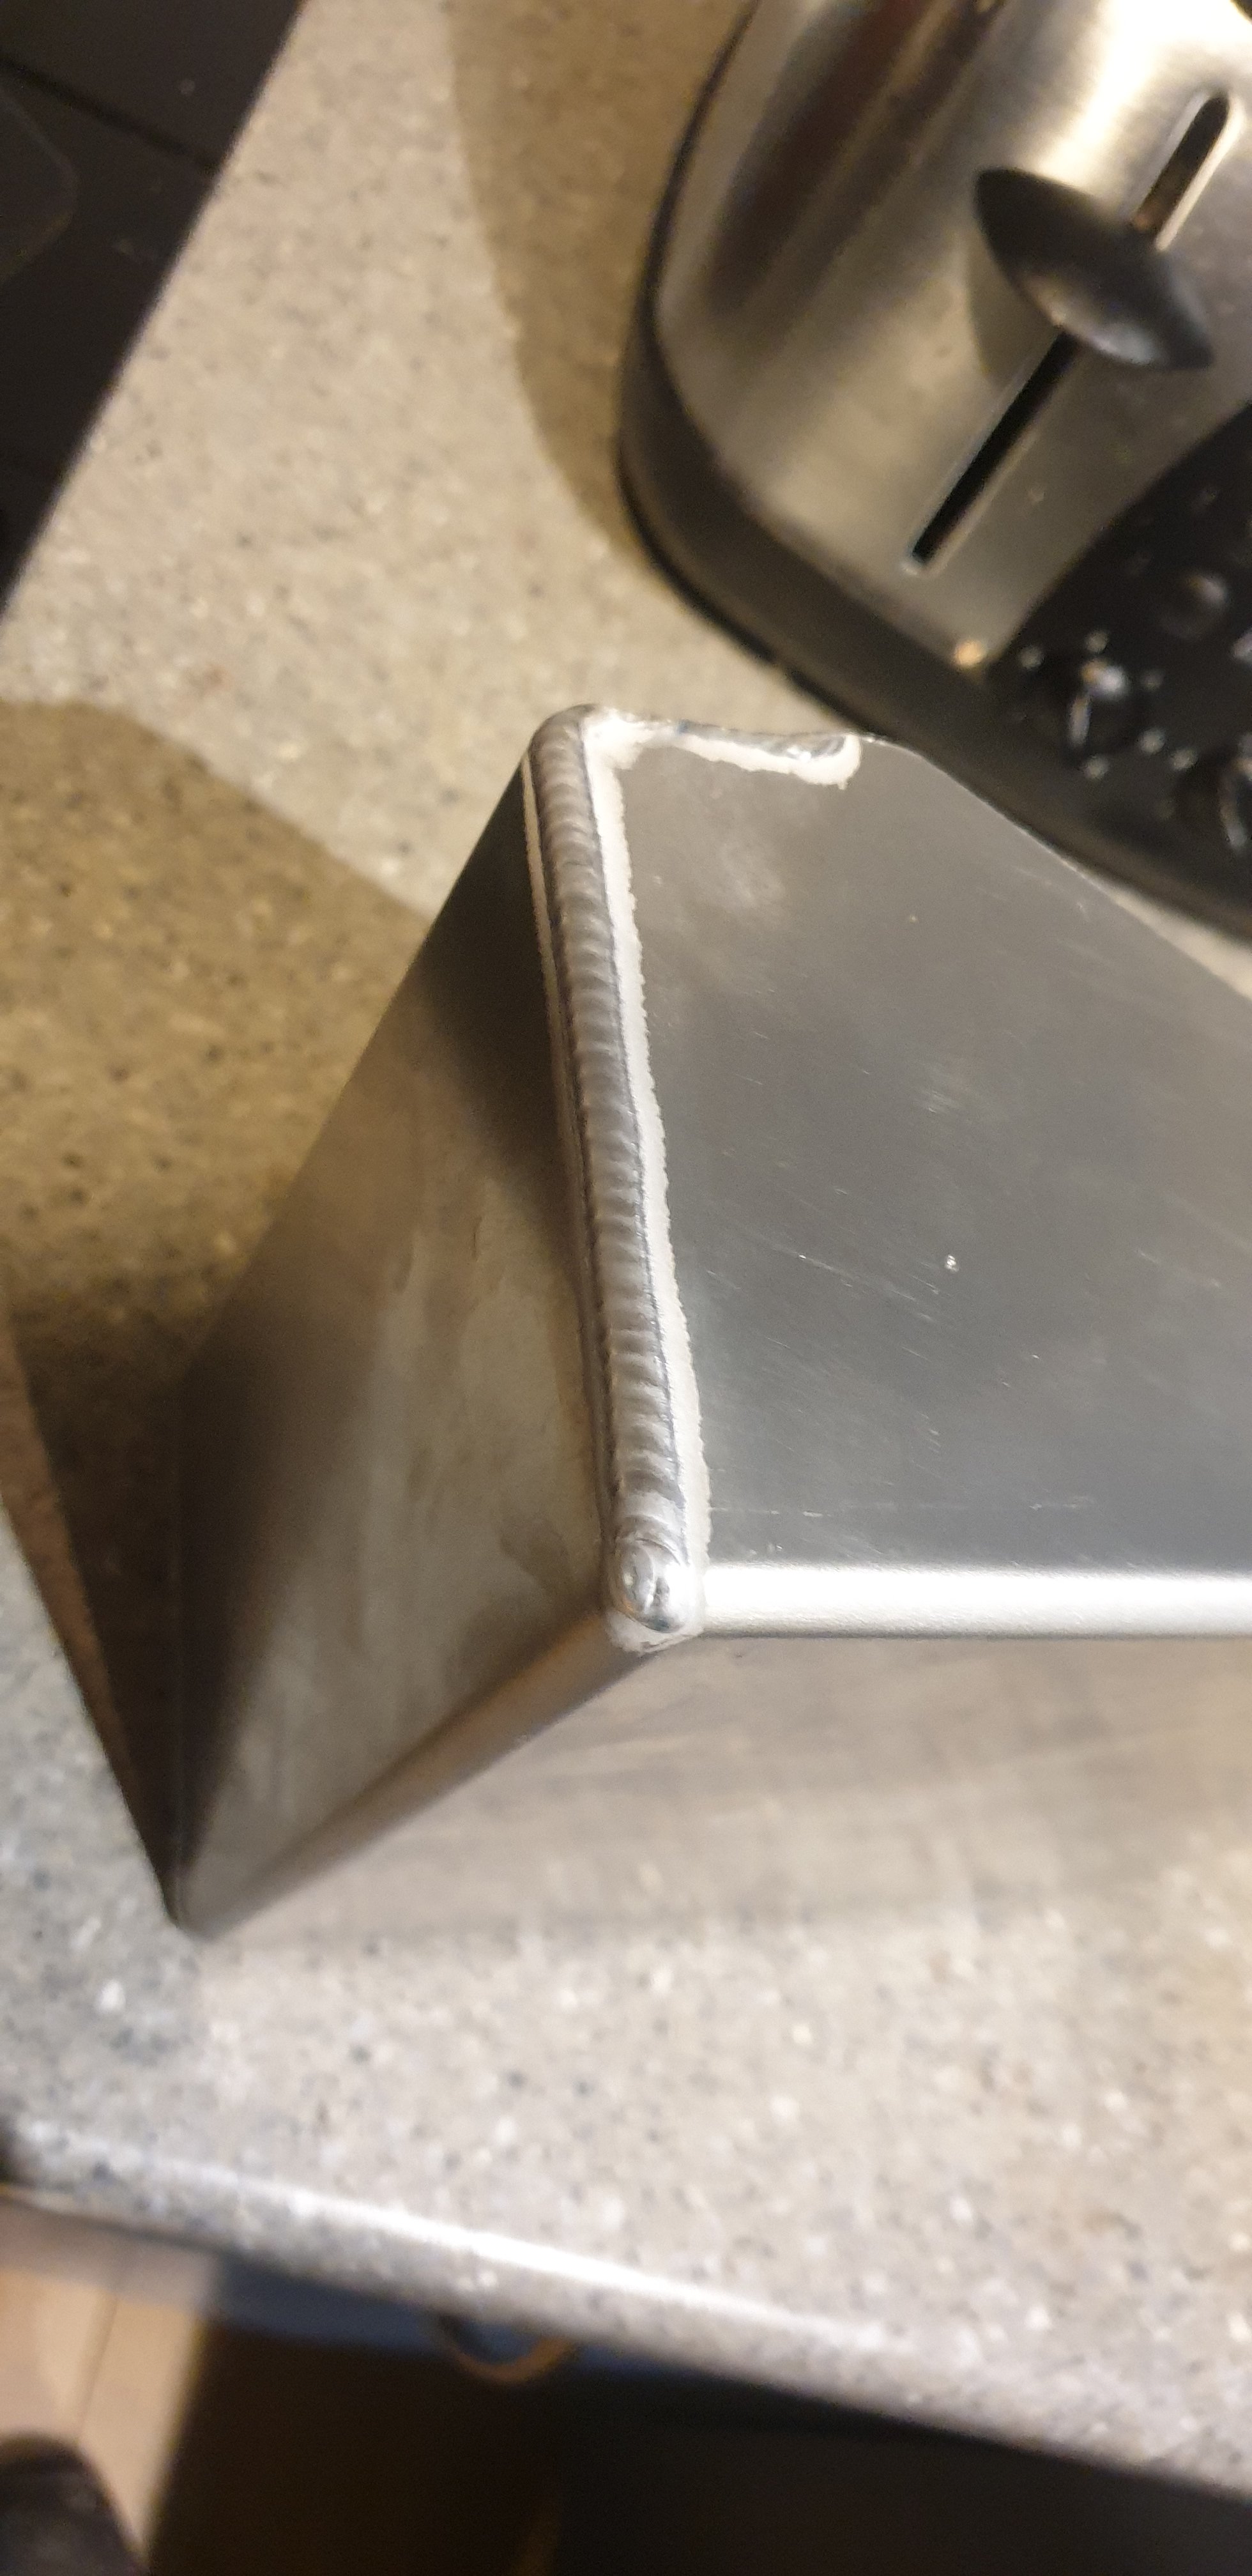
I can weld that no problems. Done heaps of shitty oil filled cast alloy stuff and it's fairly easy too. Probably be couple hours max in it. Good surface clean. Grind a big vee weld prep, go nuts here. You need a bit of room to get the tig torch to the bottom of the vee. Leave only 1-2 mm wall thickness at the bottom of the vee with the original break so it lines up perfectly. File the ground surfaces so it's clean, a grinder tends to rub and fold alloy over itself trapping crap in there. Good preheat to draw the shit out and final clean. With the tig tack it together. Here's where you need to take your time. Set the tig to a bit more cleaning than penetration. Strike the arc and puddle the torch around a big area. (Don't add filler yet. Castings are full of air bubbles and you don't want to try add filler wire on top of a bubble). Keep moving the torch around until the bubbles come to the top and the surface becomes smooth and shiny. Now you can add filler. Once all tacked in place, clean up any more oil that's come out. Then use the above technique to clean and weld the rest of the join. If crap keeps getting drawn through when trying to get a clean smooth surface then dial in a bit more cleaning on the balance control. Don't be tempted to chuck filler in there to cover it up, it goes pear shaped.6 points
-
Can also add to the list of "probably slowed the overheating but did not stop it" Heater core auxiliary cooler, this showed an 18degree difference in hose temps between hot and cold side Removal of intercooler. Side note at idle there is a warm breeze of 54 degrees coming out of the turbo
5 points
-
My new water pump controller arrived Saturday, props to Davies Craig for sorting it quickly. I plugged it in and everything looked good. I gave it a test today and ran it for about 30 mins. Temp limit was set to 85 degrees so when it hit 88 the fan came on and within 30 seconds the temp had come down to 85 again, pretty happy with that. I let it do this a few times and it seems to be working well. Only issue remaining is the time it takes to warmup, I suspect they'll recommend a thermostat with some extra bleed holes in it but I'll run it past the manufacturer and see what they recommend.5 points
-
5 points
-
Hks turbo kit on the buyee https://buyee.jp/item/yahoo/auction/k1056861506?conversionType=yac_item_bottom_recommend_list5 points
-
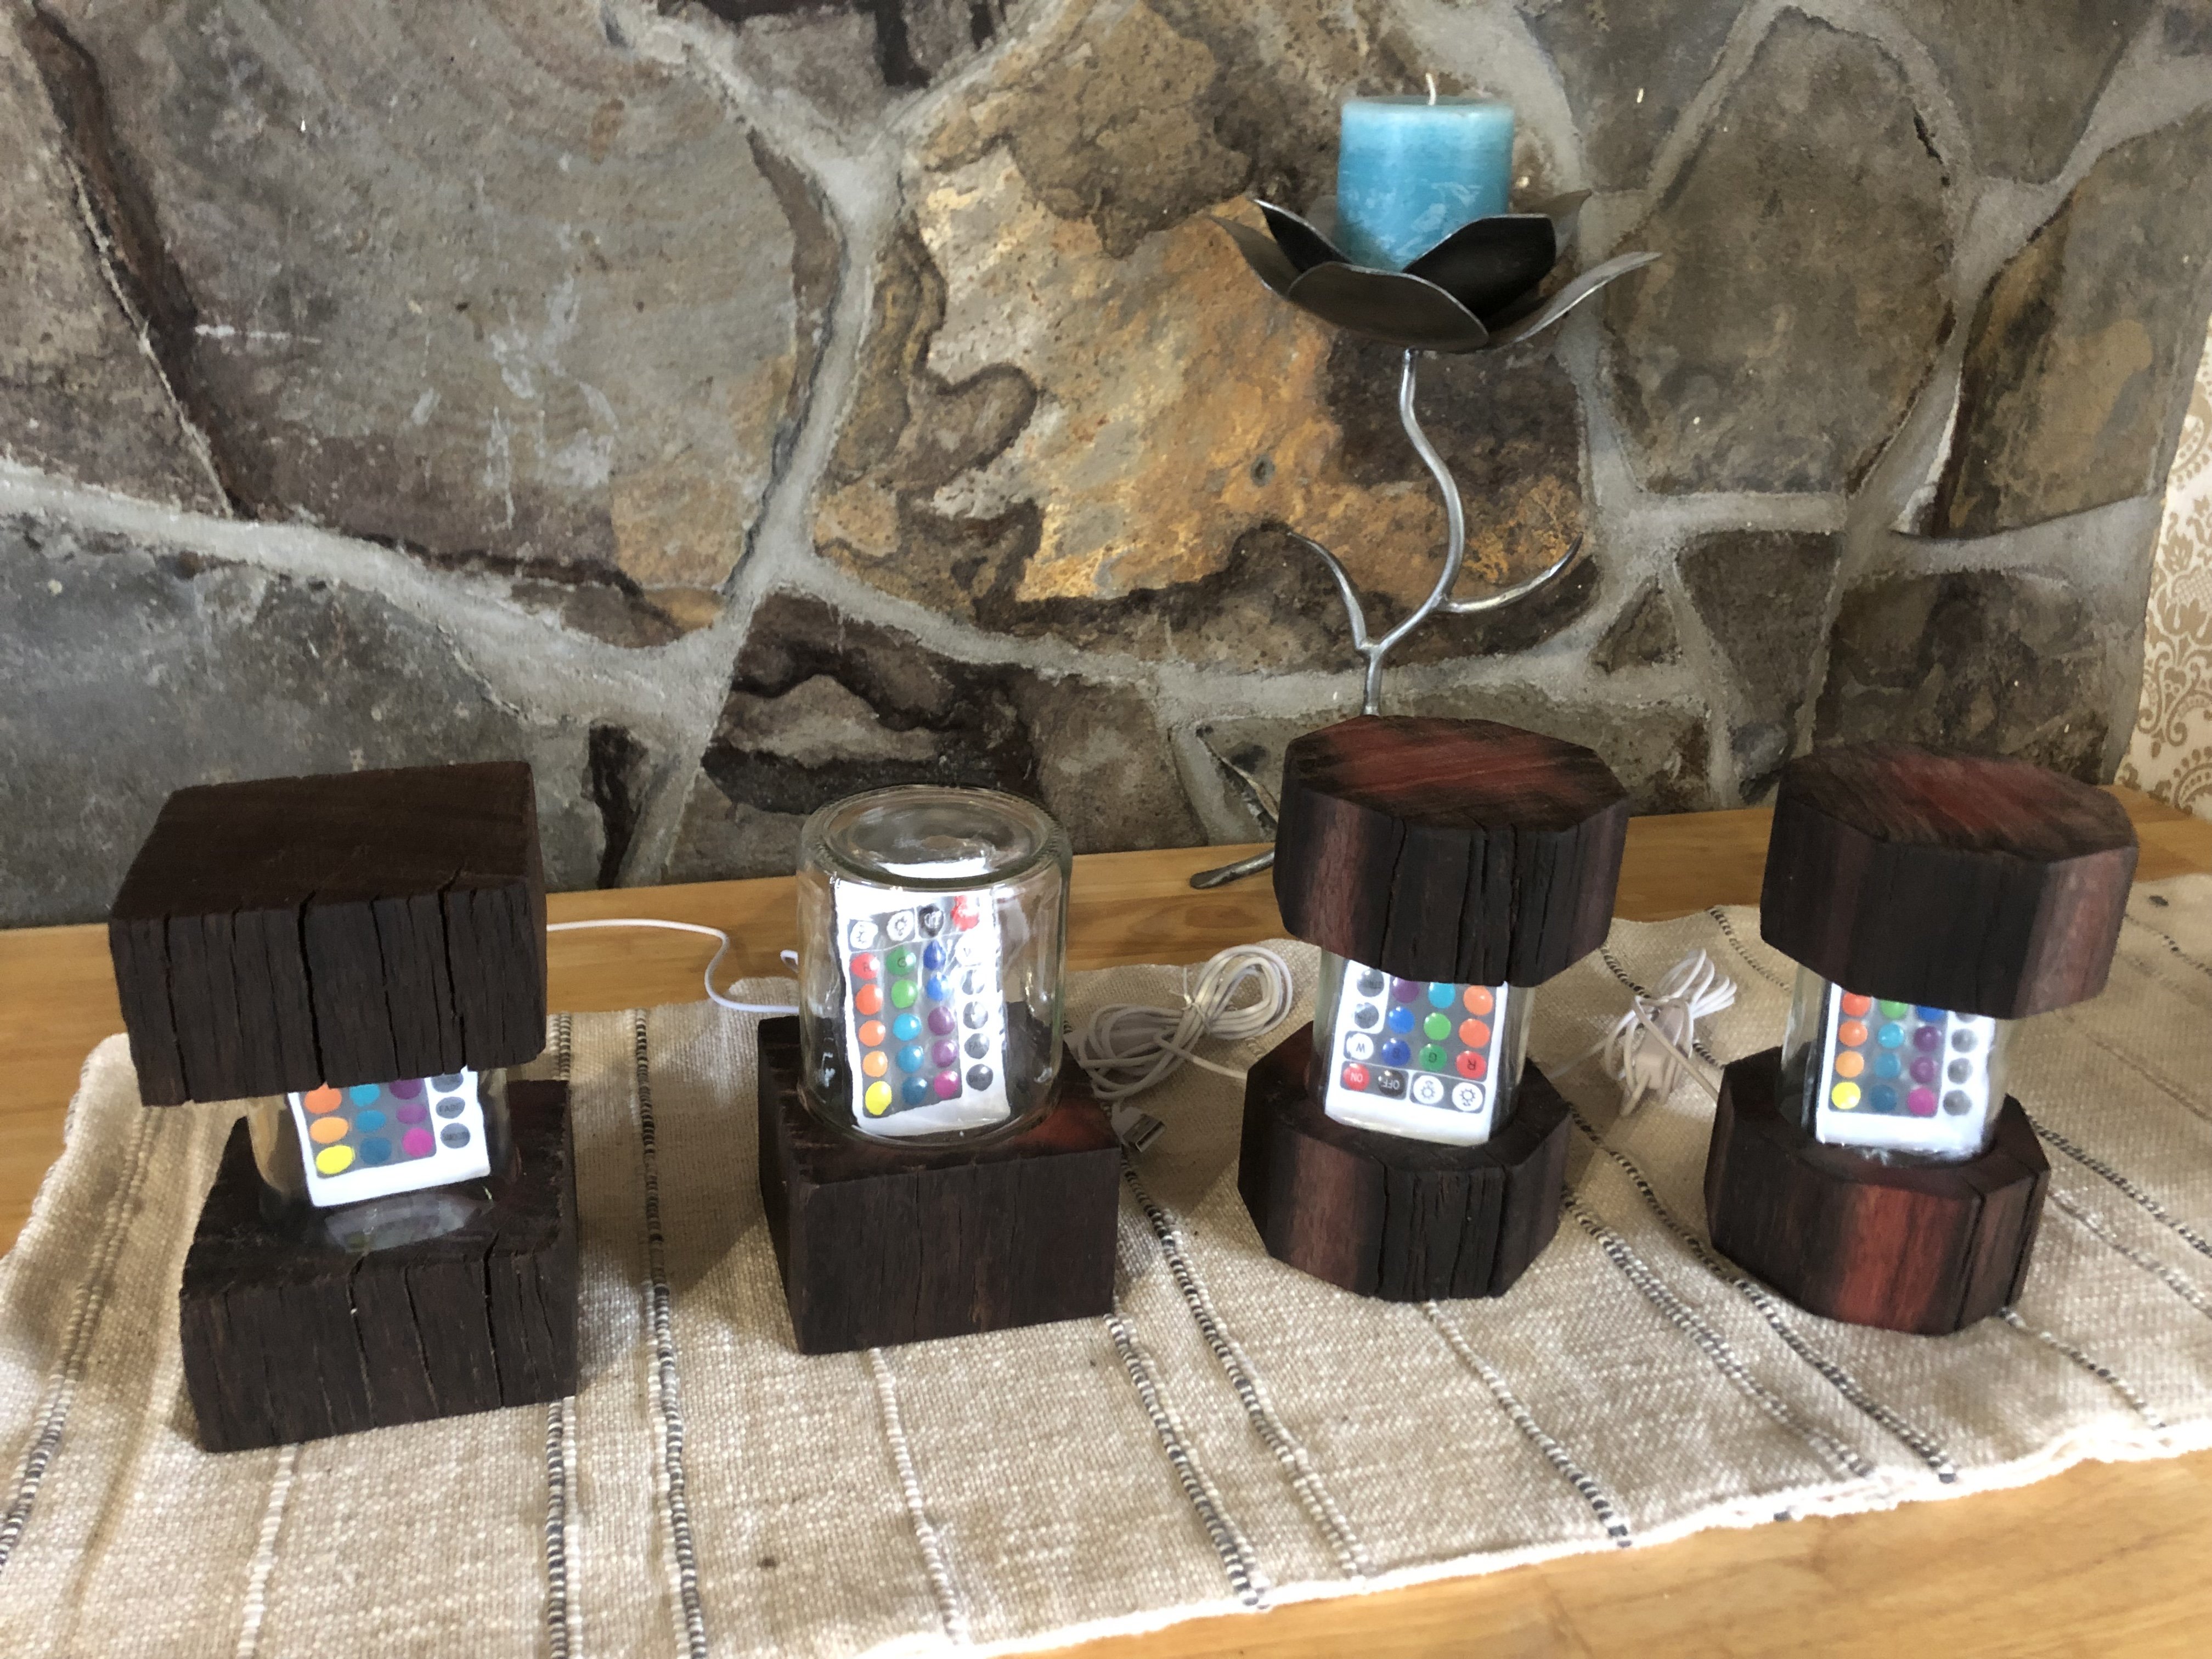
Ready to take to the local craft shop
4 points
-
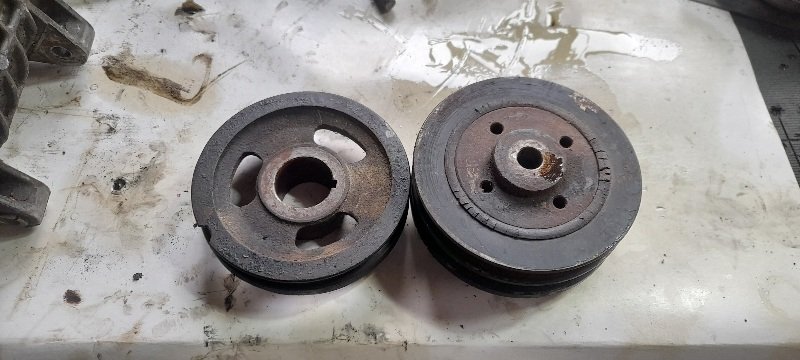
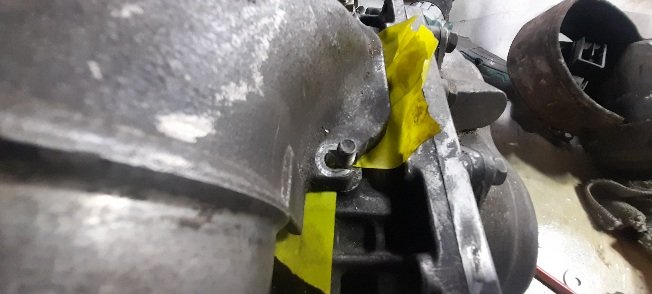
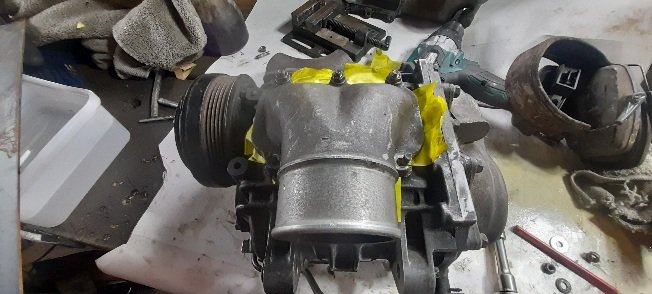
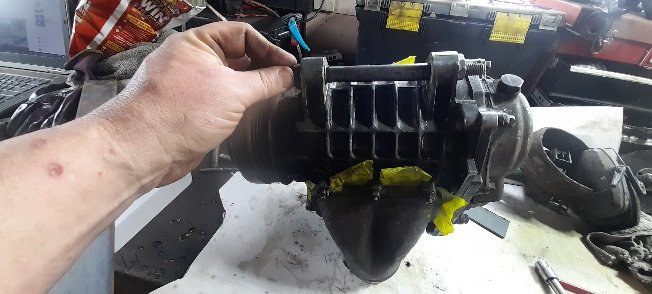
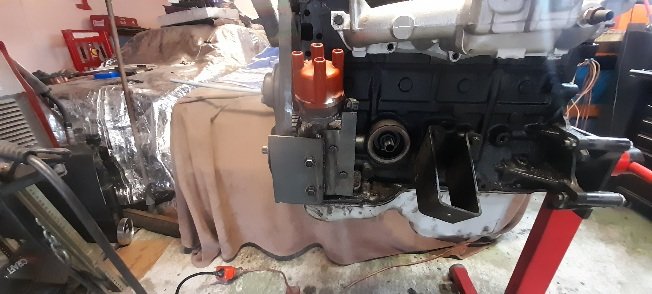
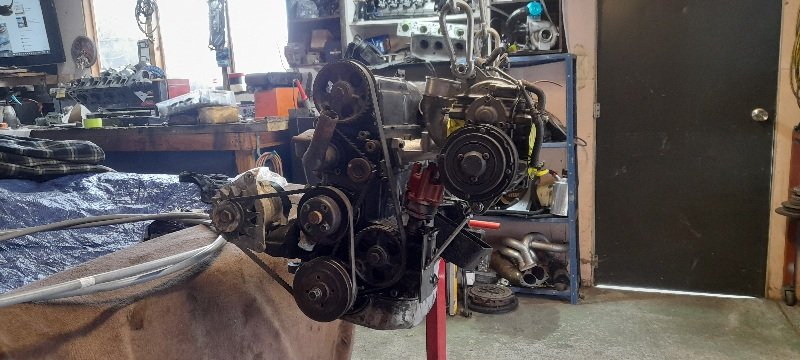
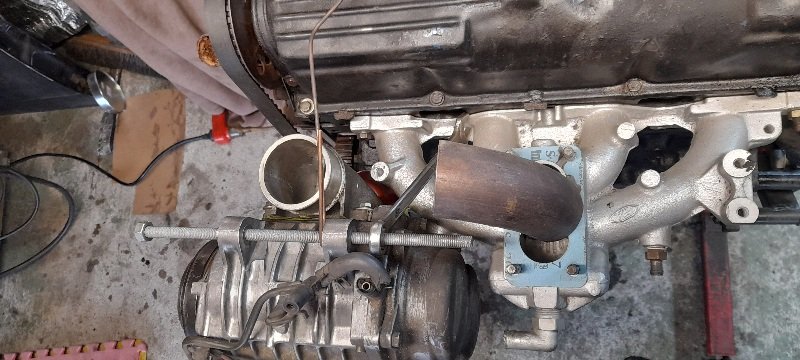
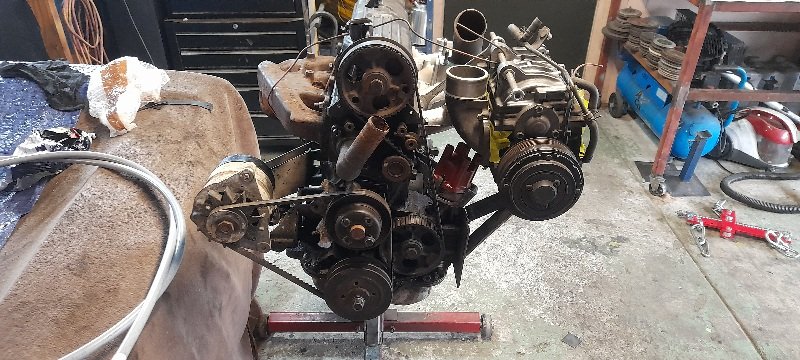
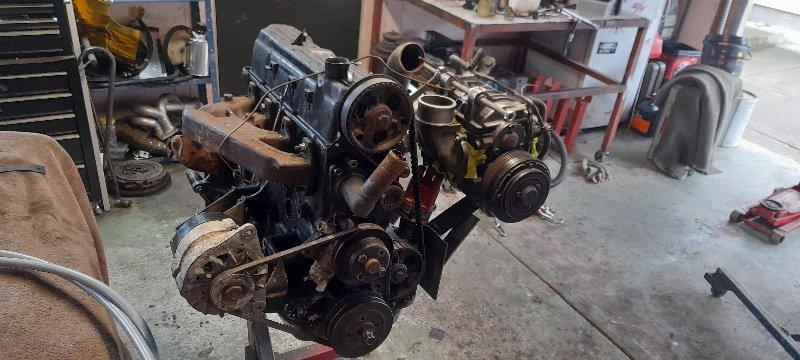
so some stuff I ordered for my motor has now been lost somewhere in the world ...so I'm a tad over it now.. so decided to play around with the supercharger (for my nephew)on a spare motor.. 1st thing was to take the inlet side pipe and put it on the outlet side (just slotted some holes and removed a stud for that). made some basic mounts and plates to be able to weld to. sorted a location infront of the inlet manifold and above the dizzy.(will need to go a little higher).. now the outlet can just go to pipe straight onto the inlet manifold (where carb was). join them with a silicone joiner. Going to run a side draft on the intake side of the sc14 (actually thinking SU carbs). found a twin belt crank pulley from a sierra (timing marks are the same ). going to run a v belt so on the hunt for a late 80s early 90s sigma/magna aircon pulley.. and will make a tensioner. as for my motor .. parts I ordered are now lost somewhere....so I'm a tad over it. cheers
4 points
-
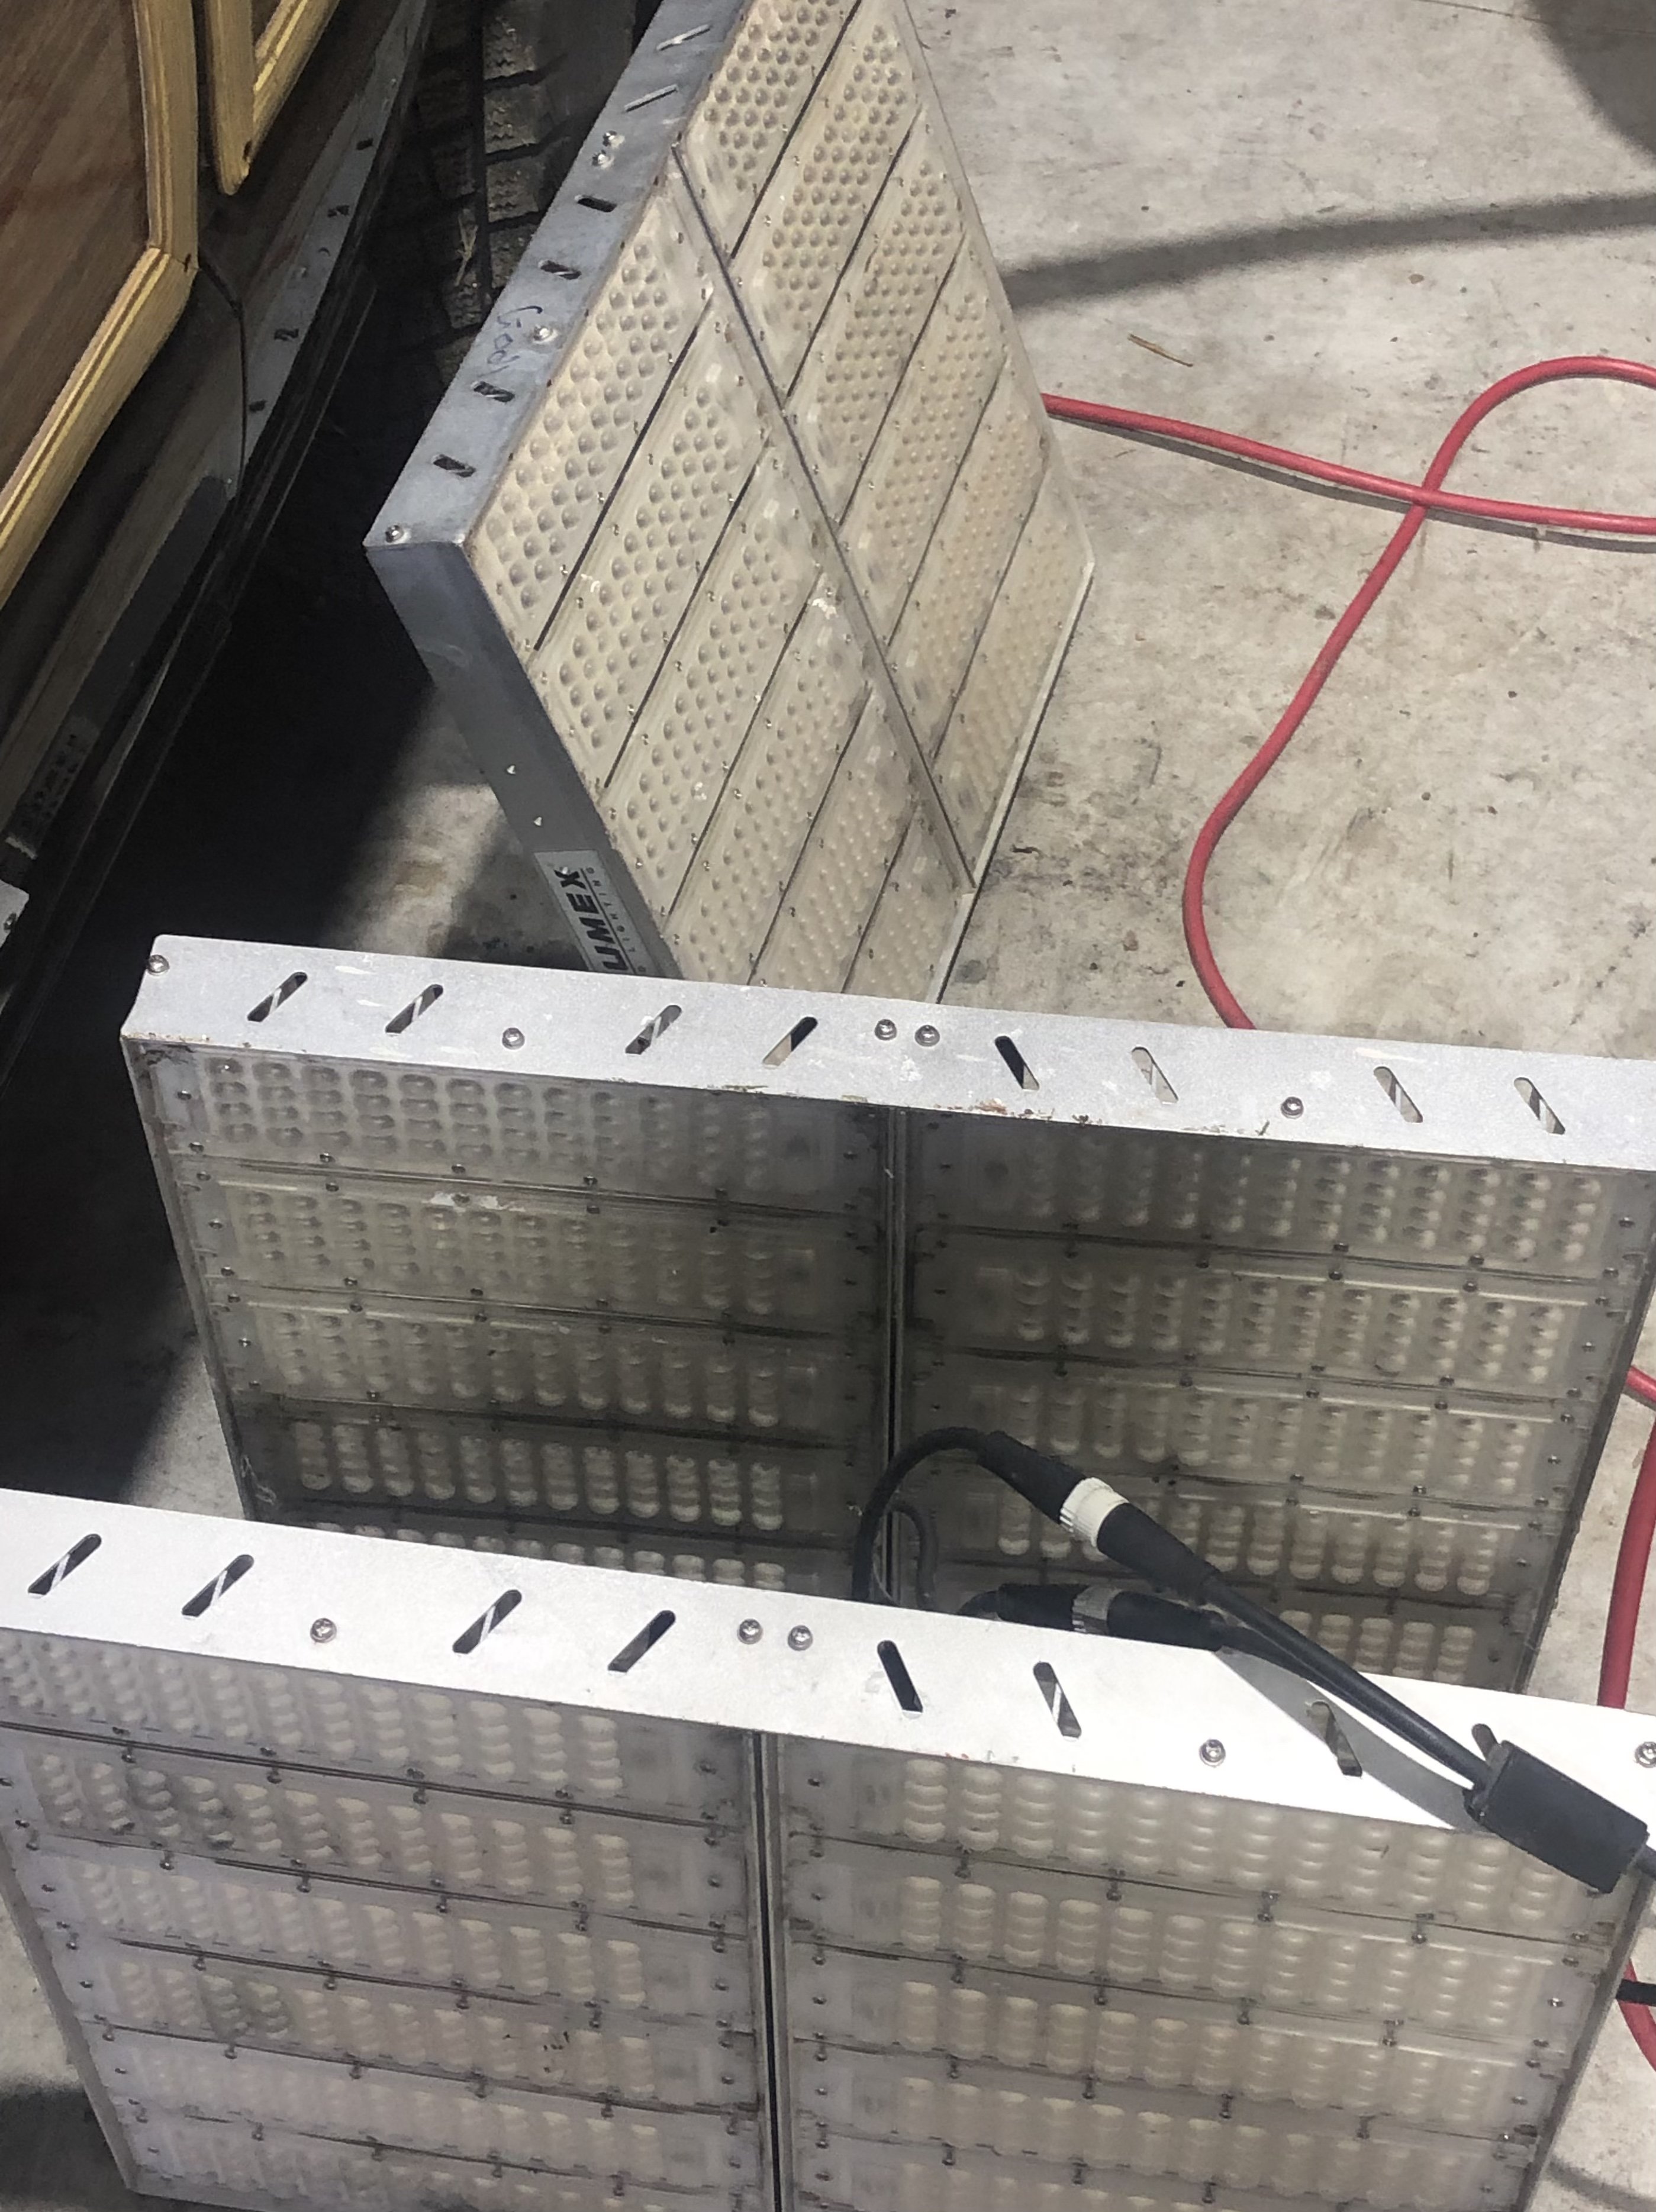
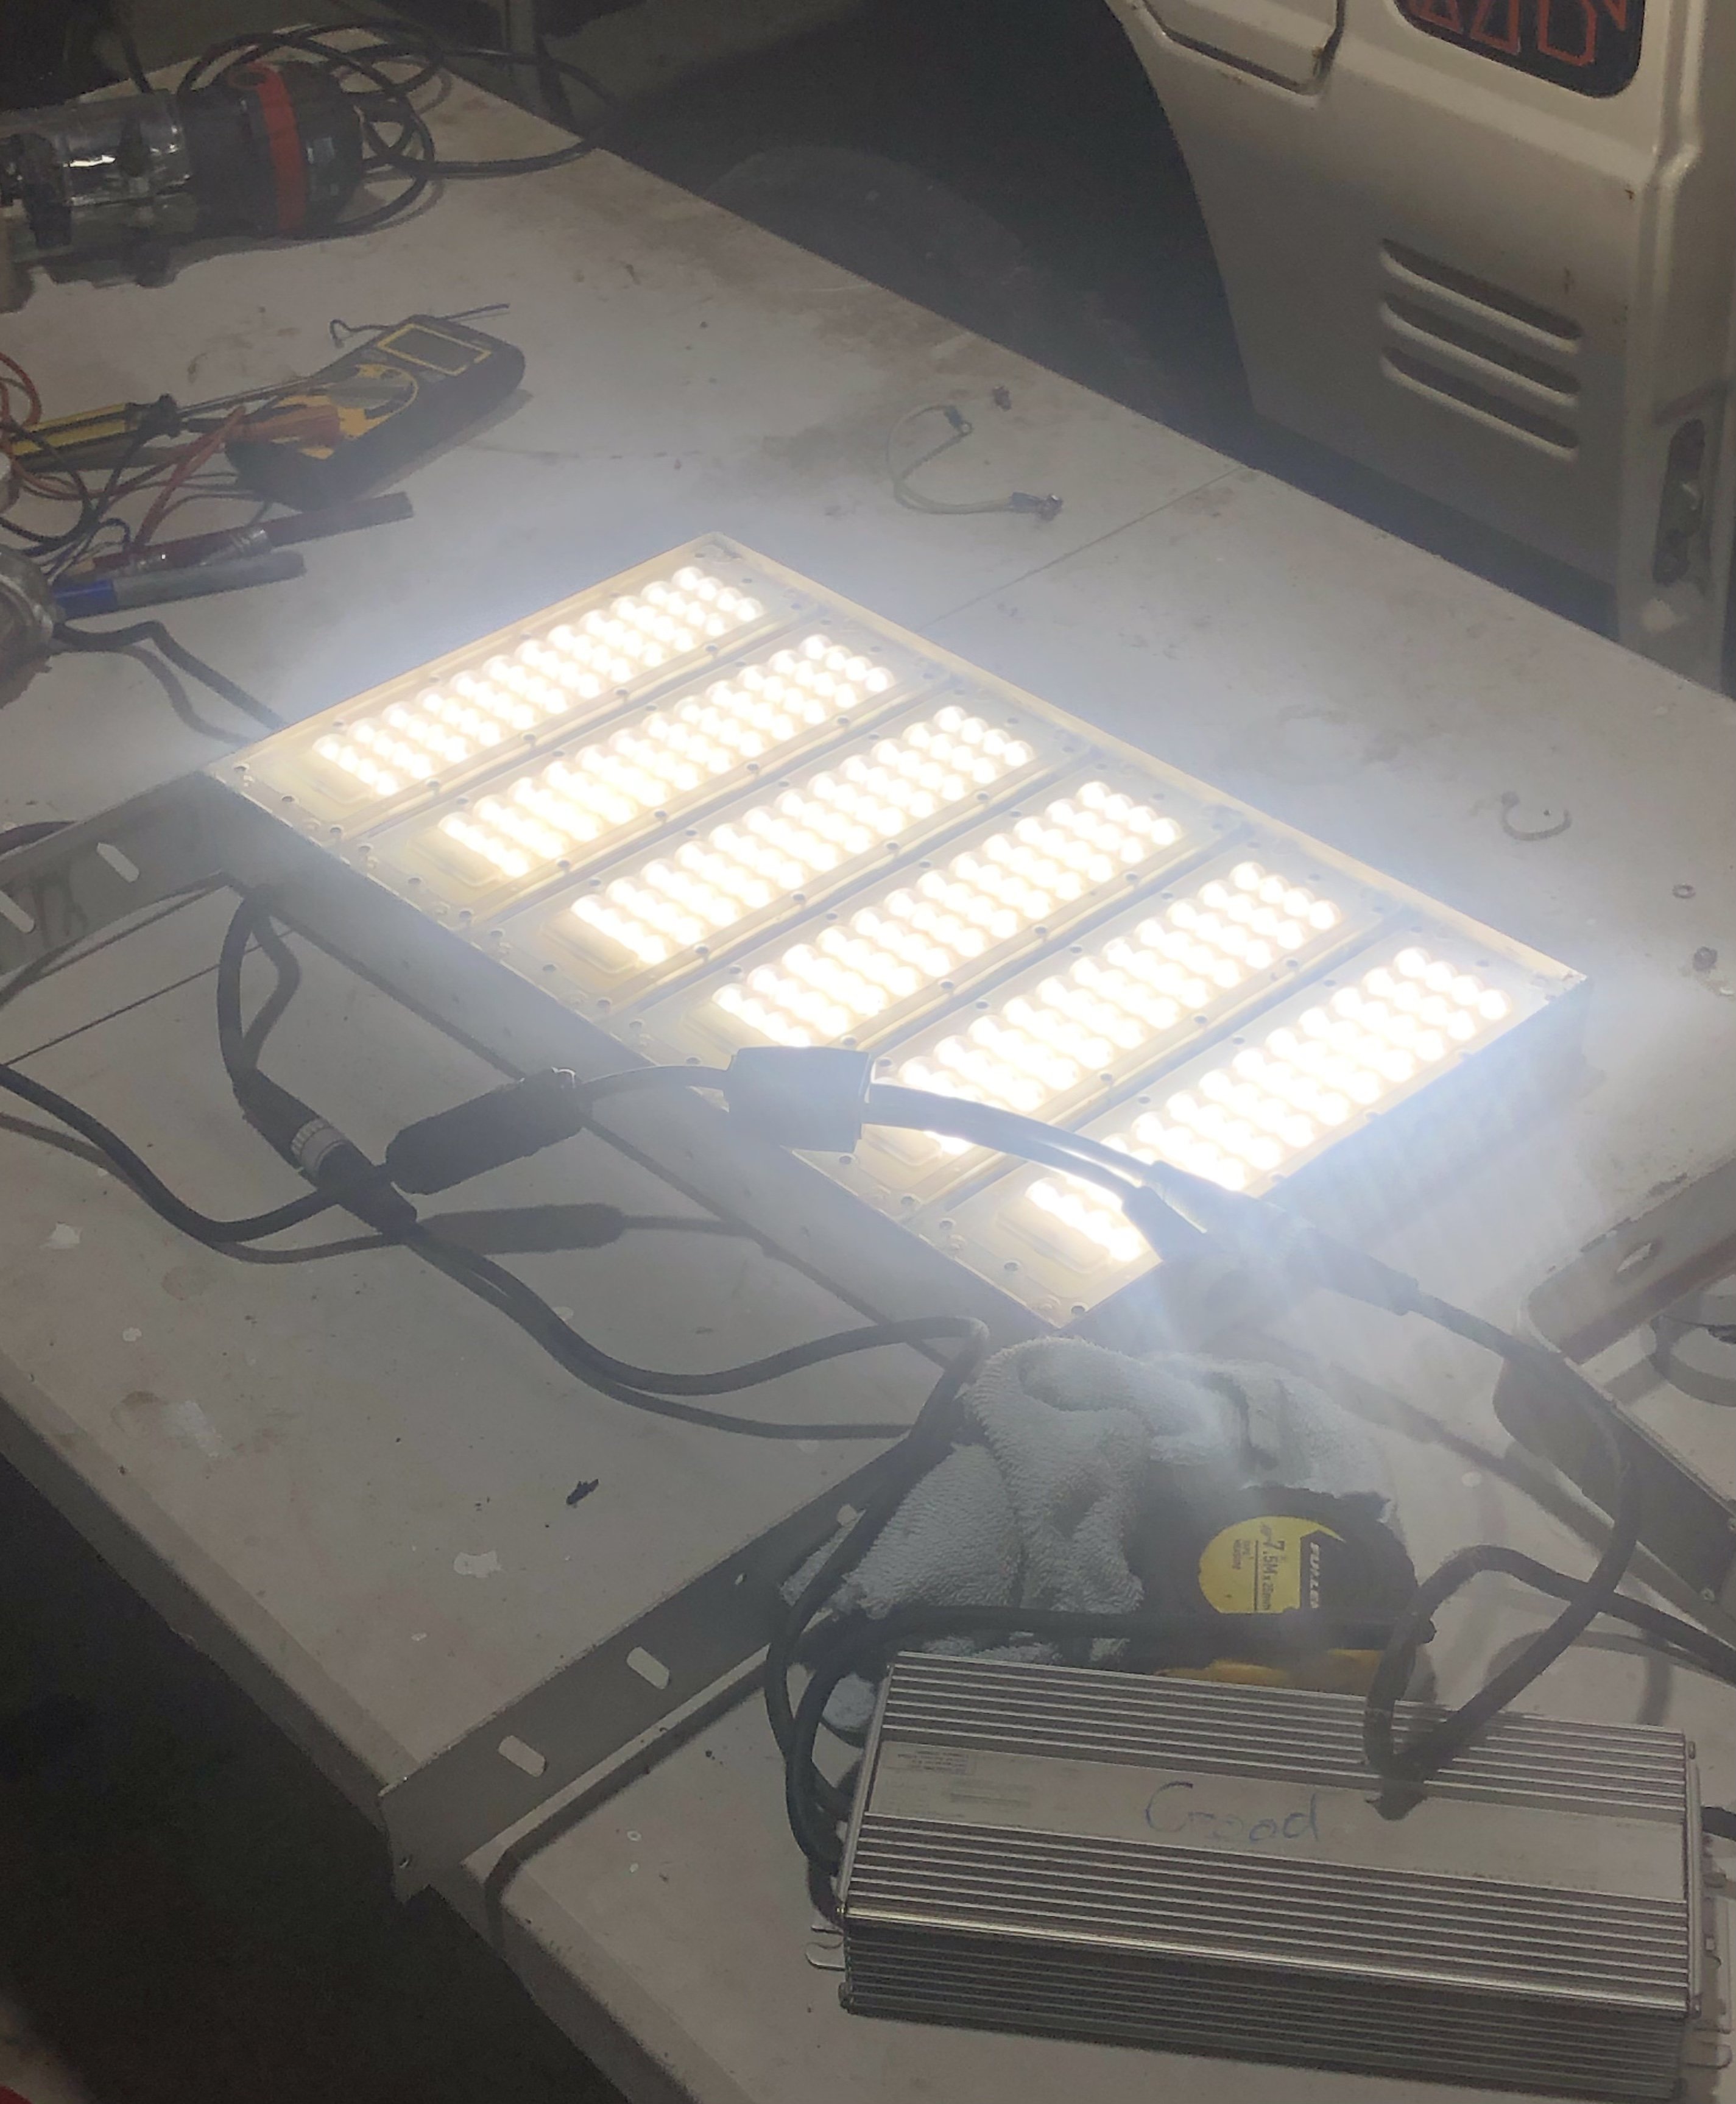
There are about 50ish of these going in the skip this week, ex stadium leds, however quite a few of the drivers have blown but the leds are mint, are they worth salvaging? The new drivers are over $300 on Ali. Each big panel has two lights and two drivers at a total of 600w. They go hard for what they are, will sling a few up around the shed
3 points
-
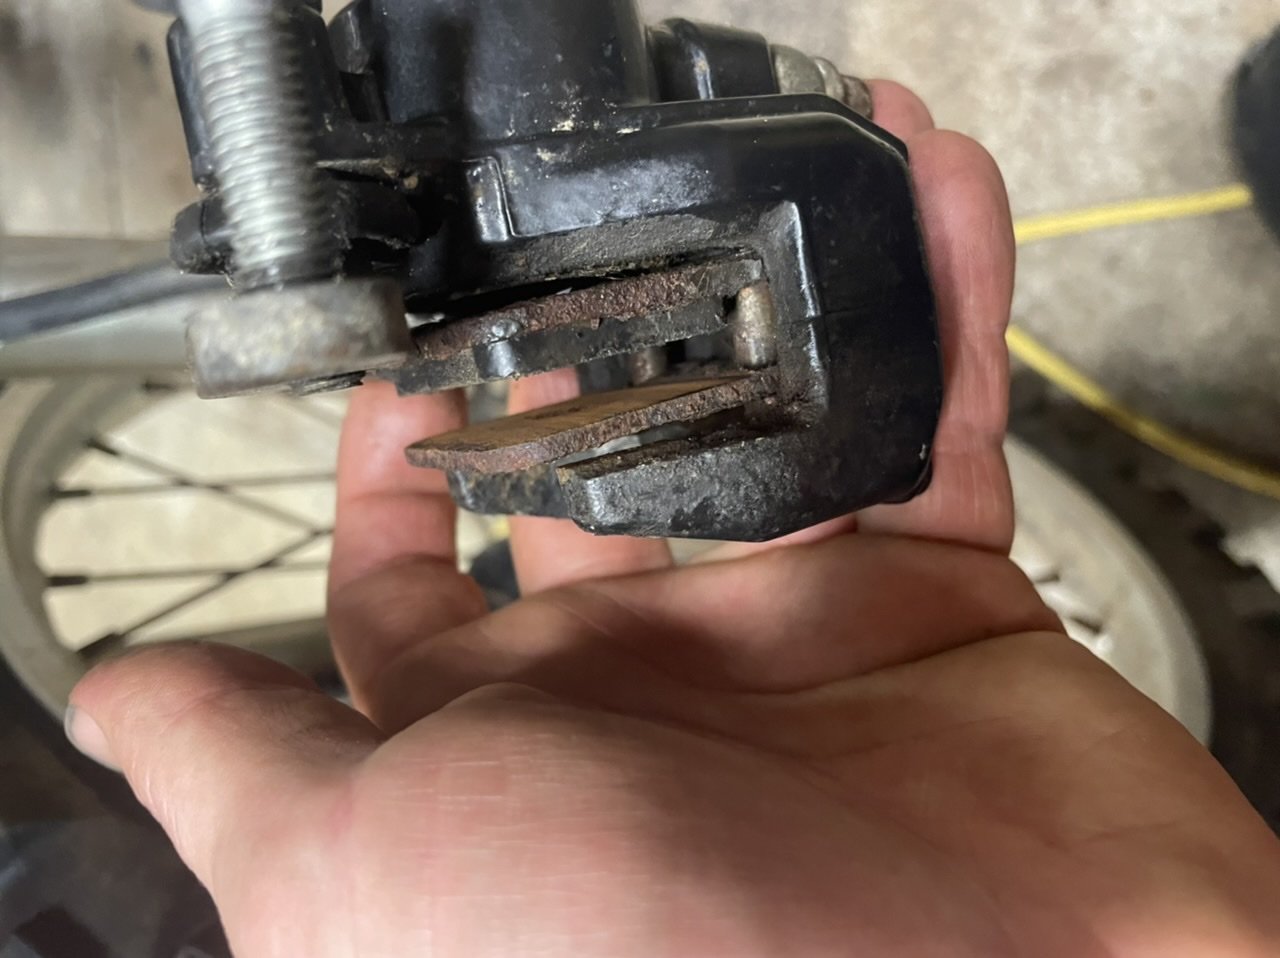
Next on the list is the front brake pads. i think they’re due…
3 points
-
9New direction, I was taking the fog lights off when I remembered I had a box of lights that might work. So now I have DRL's instead, dekatora running lamps. I have some spare if anyone is keen.3 points
-
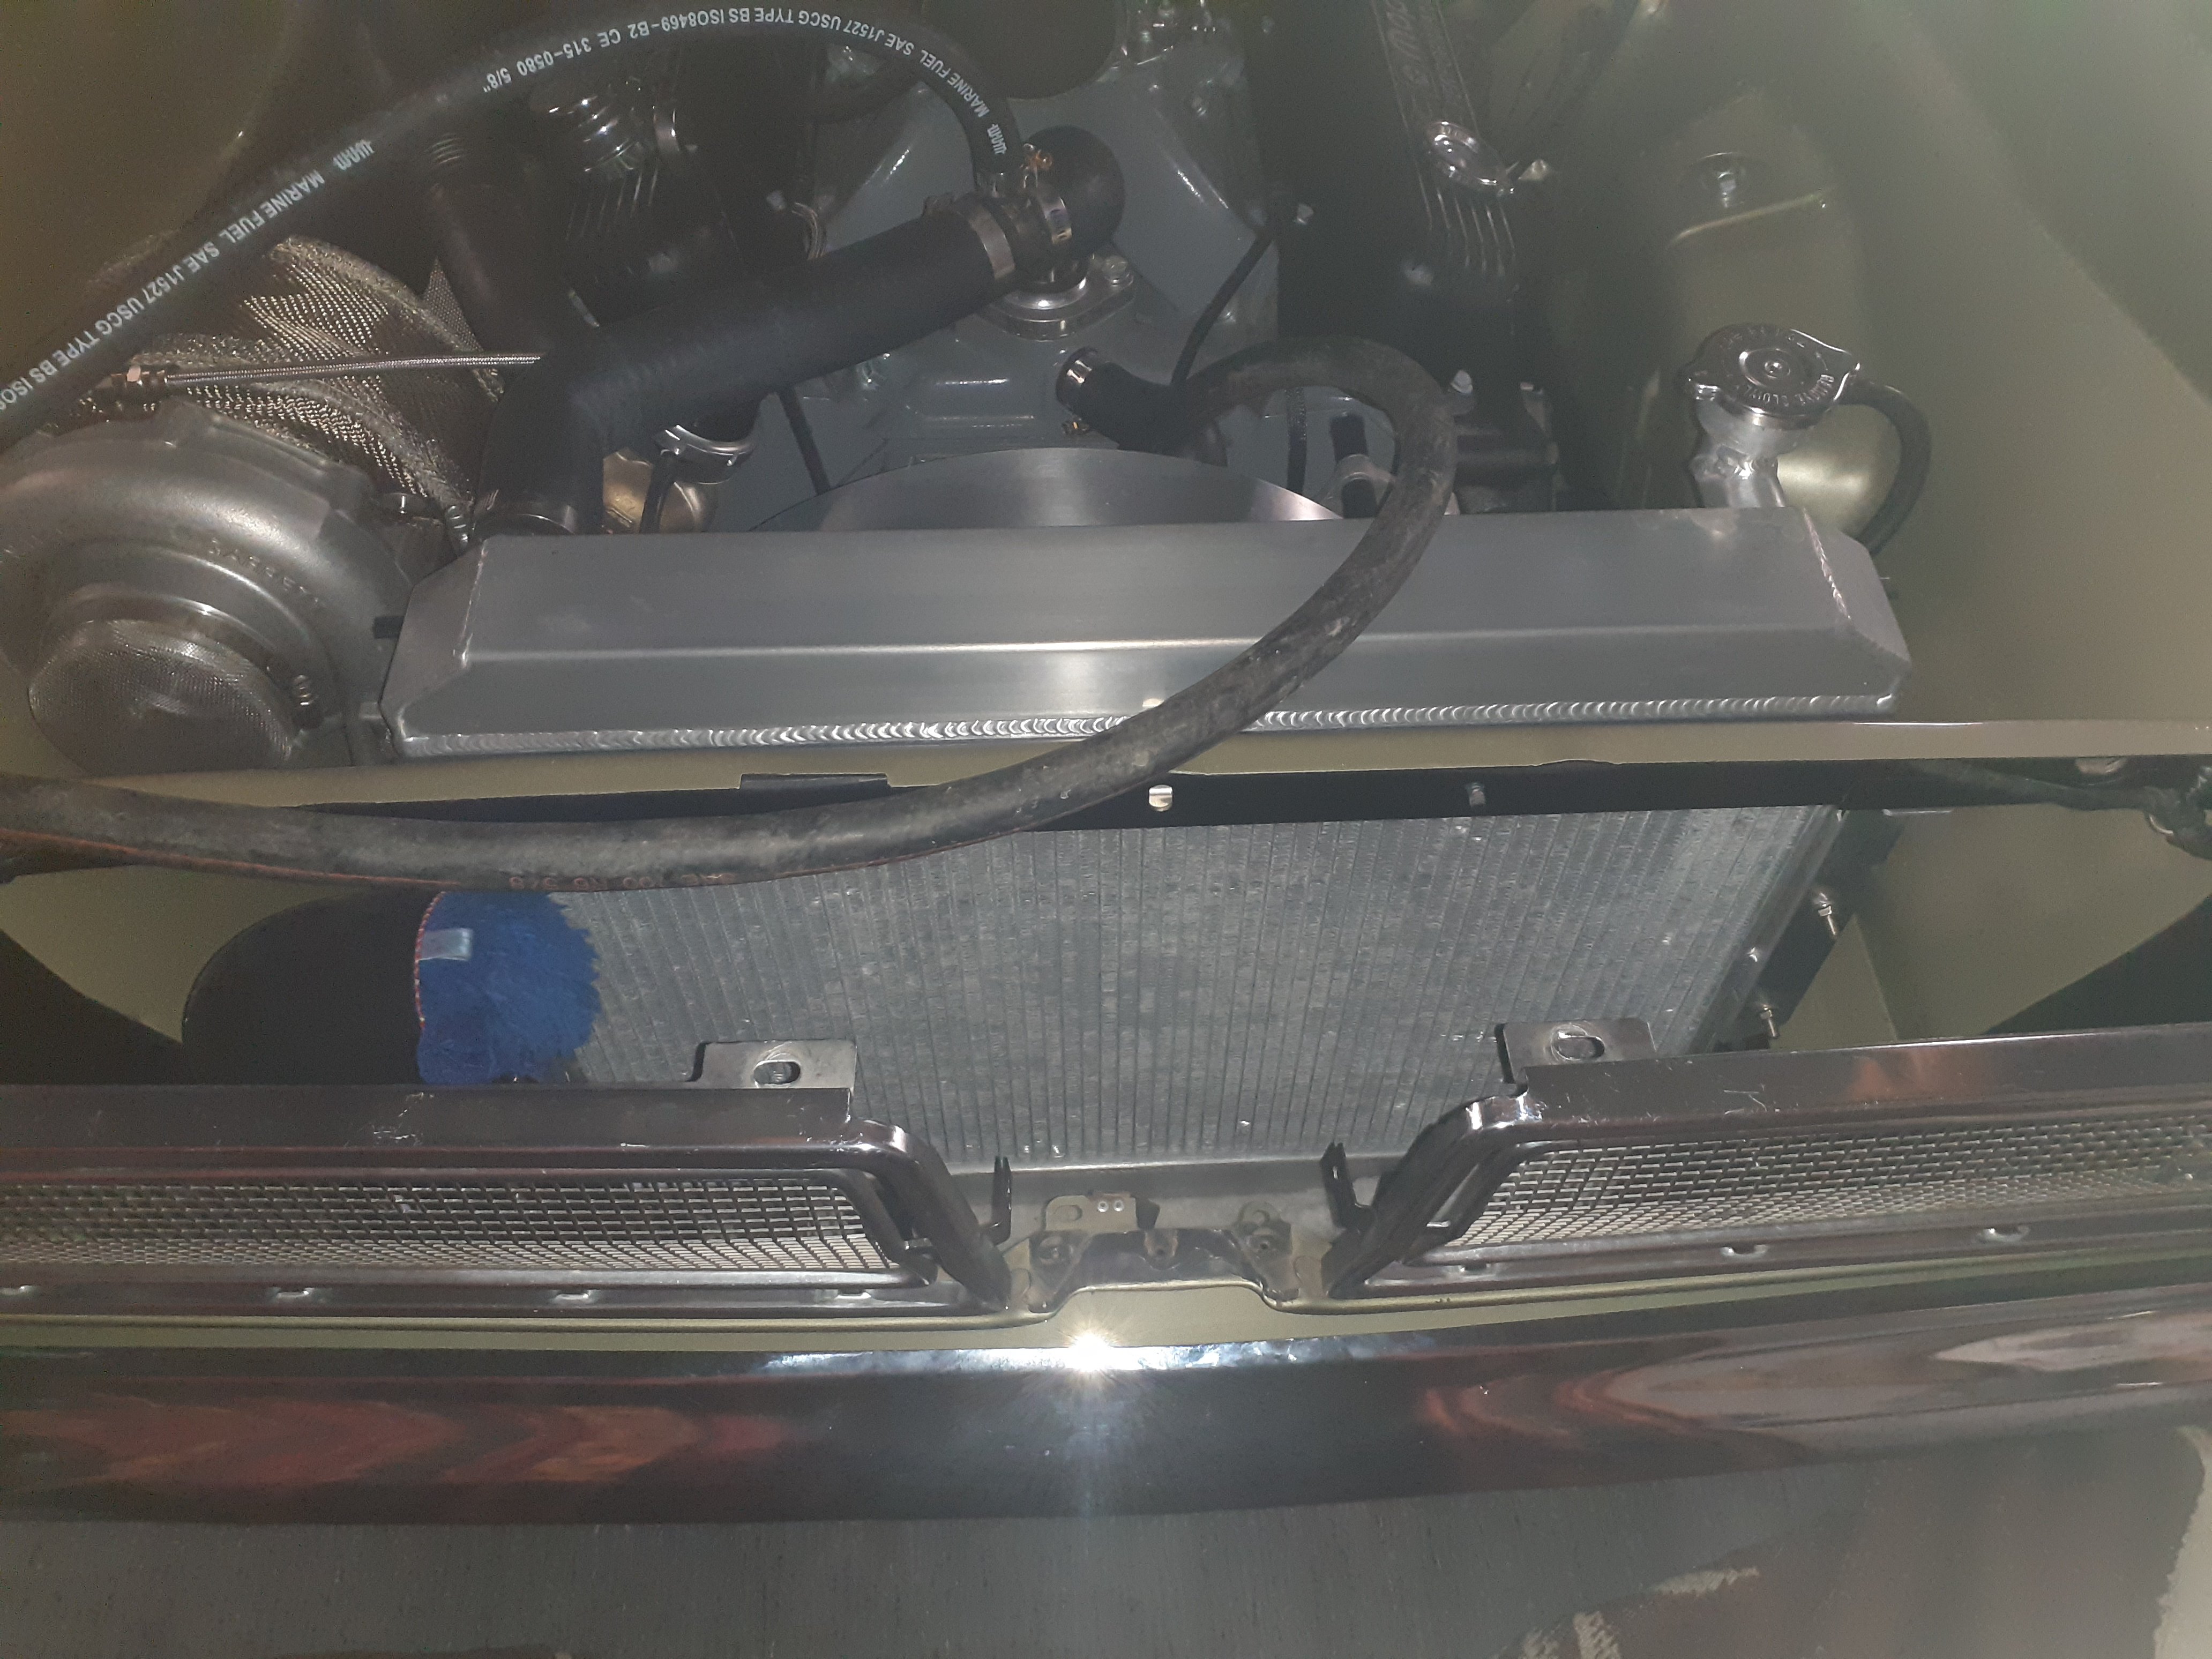
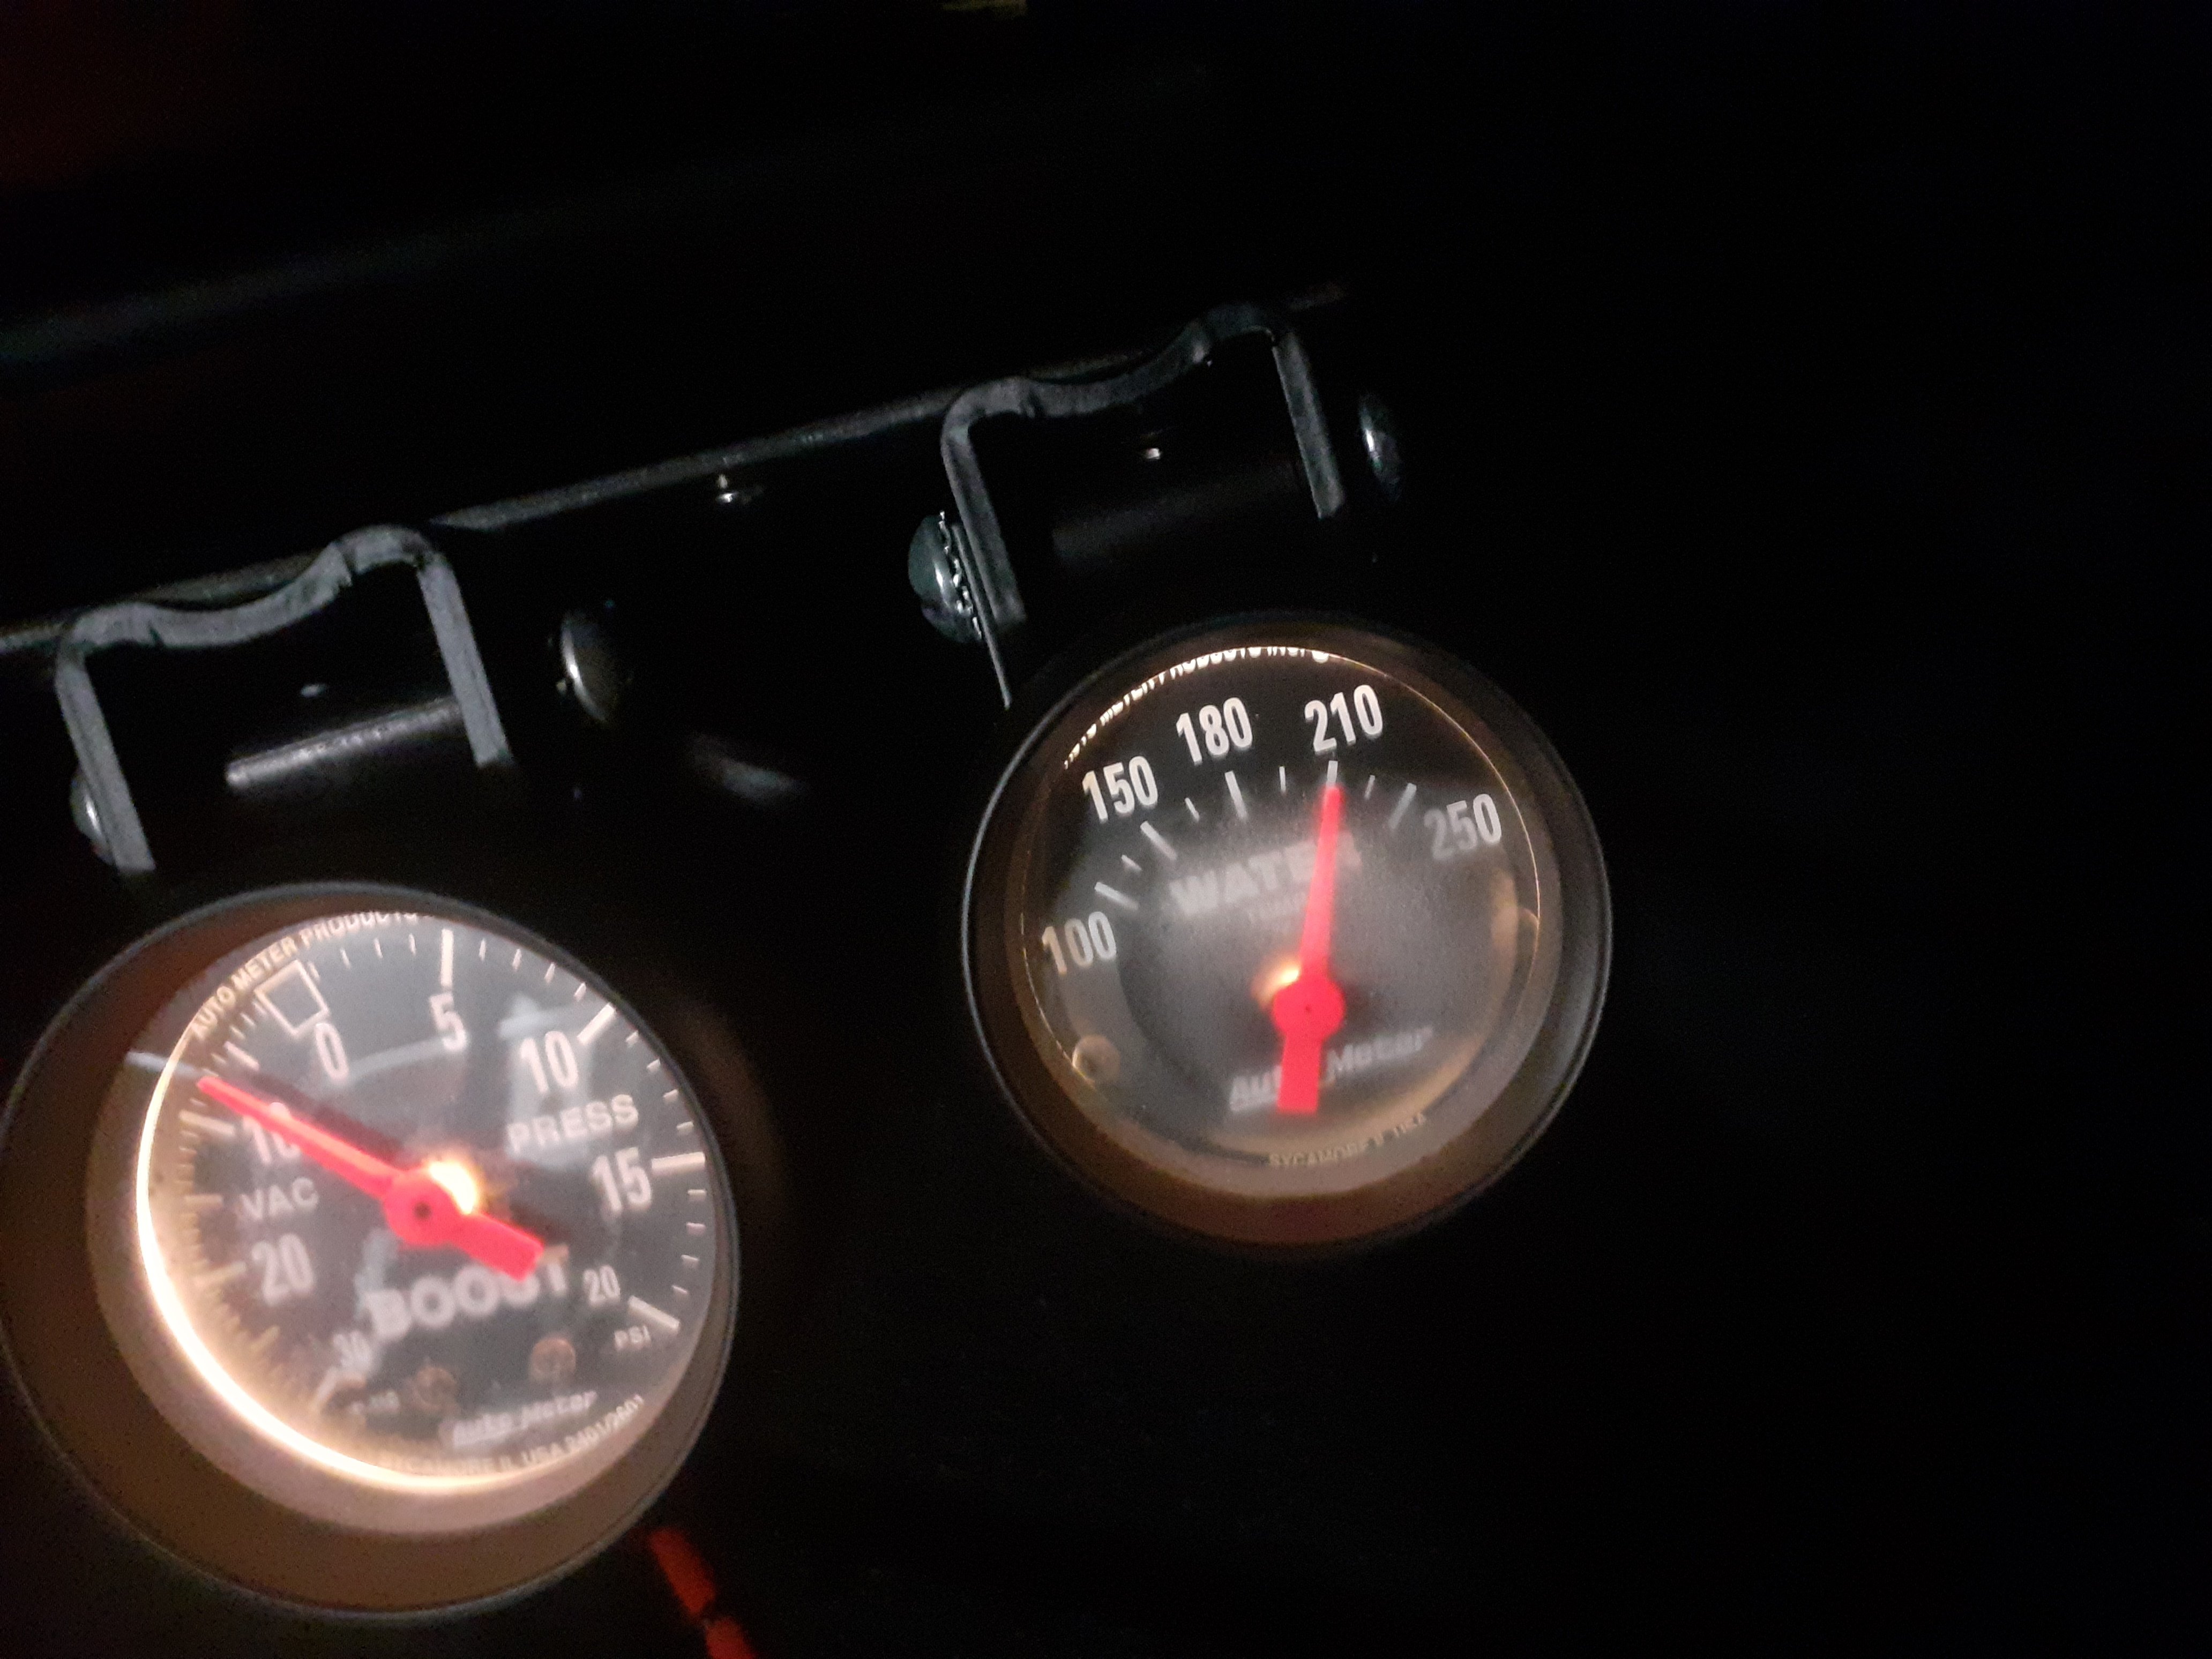
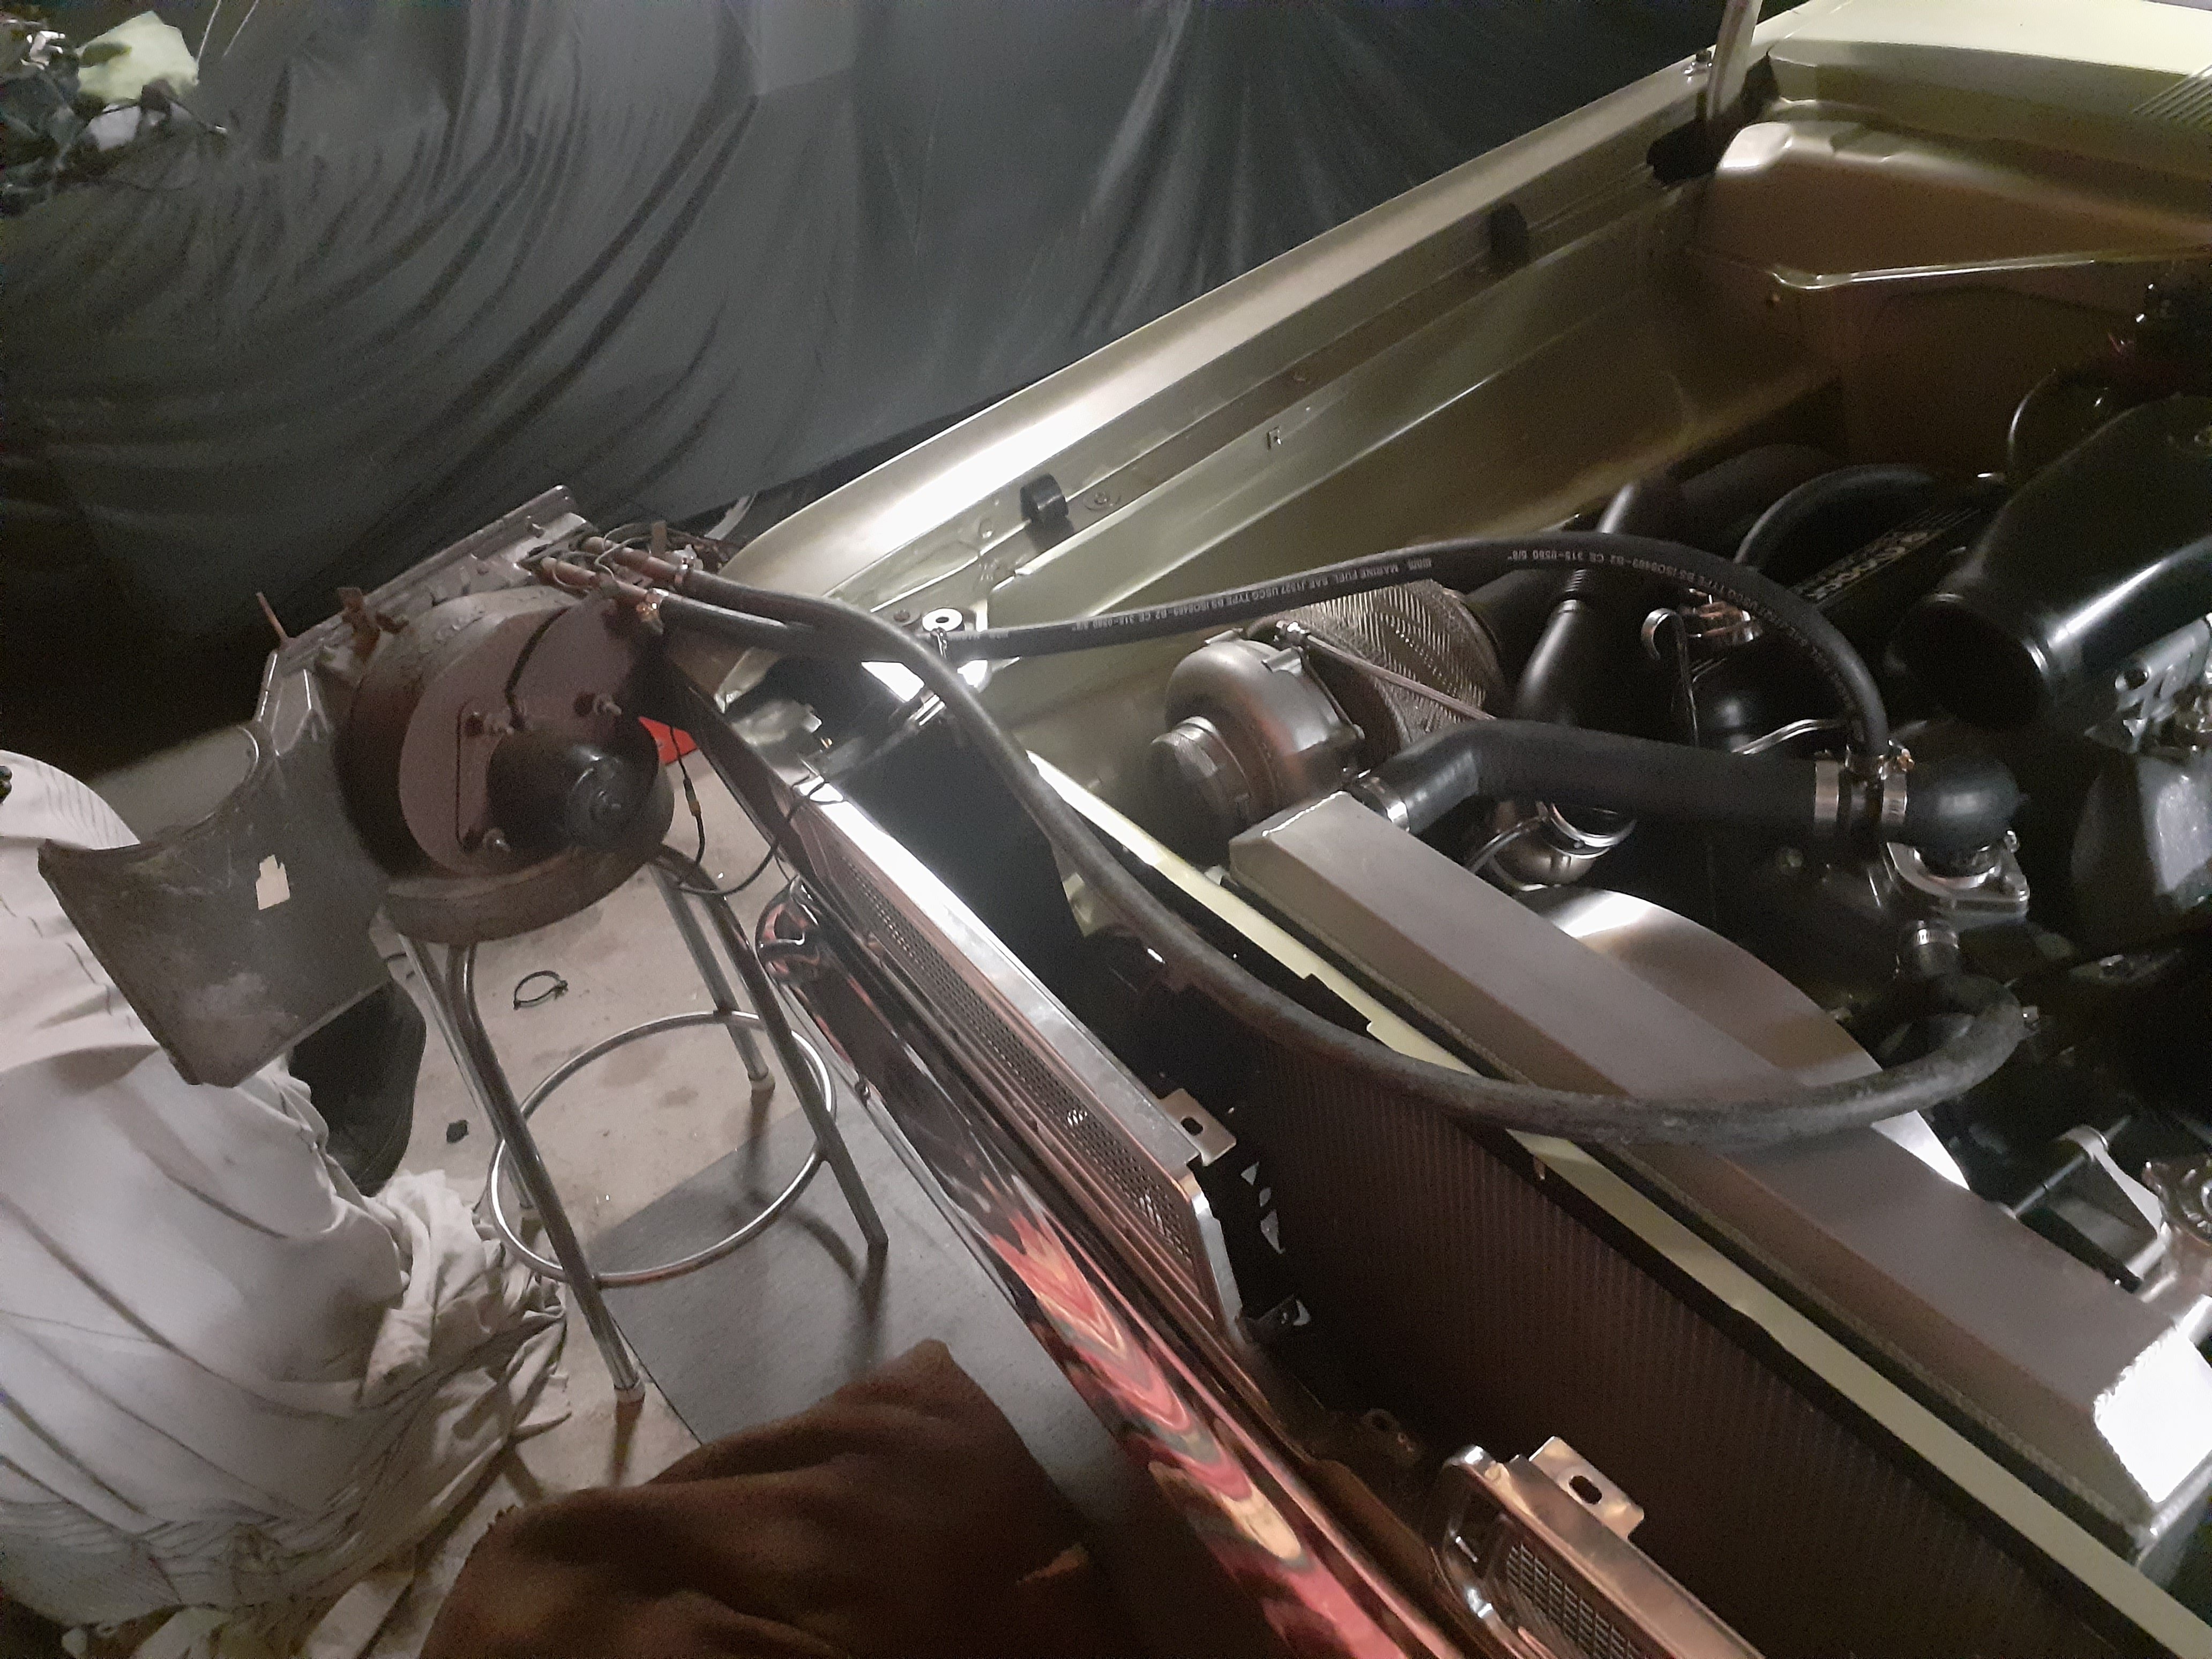
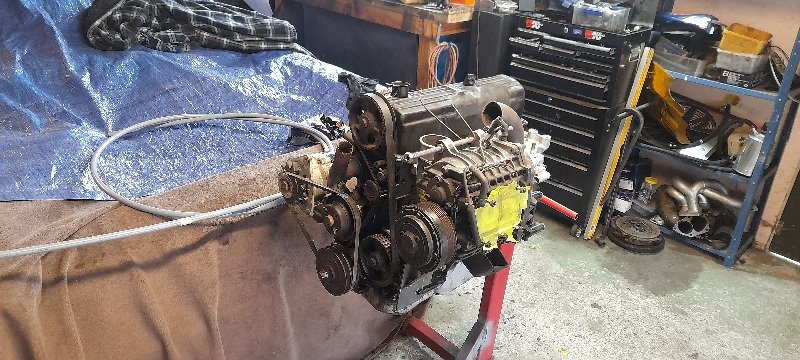
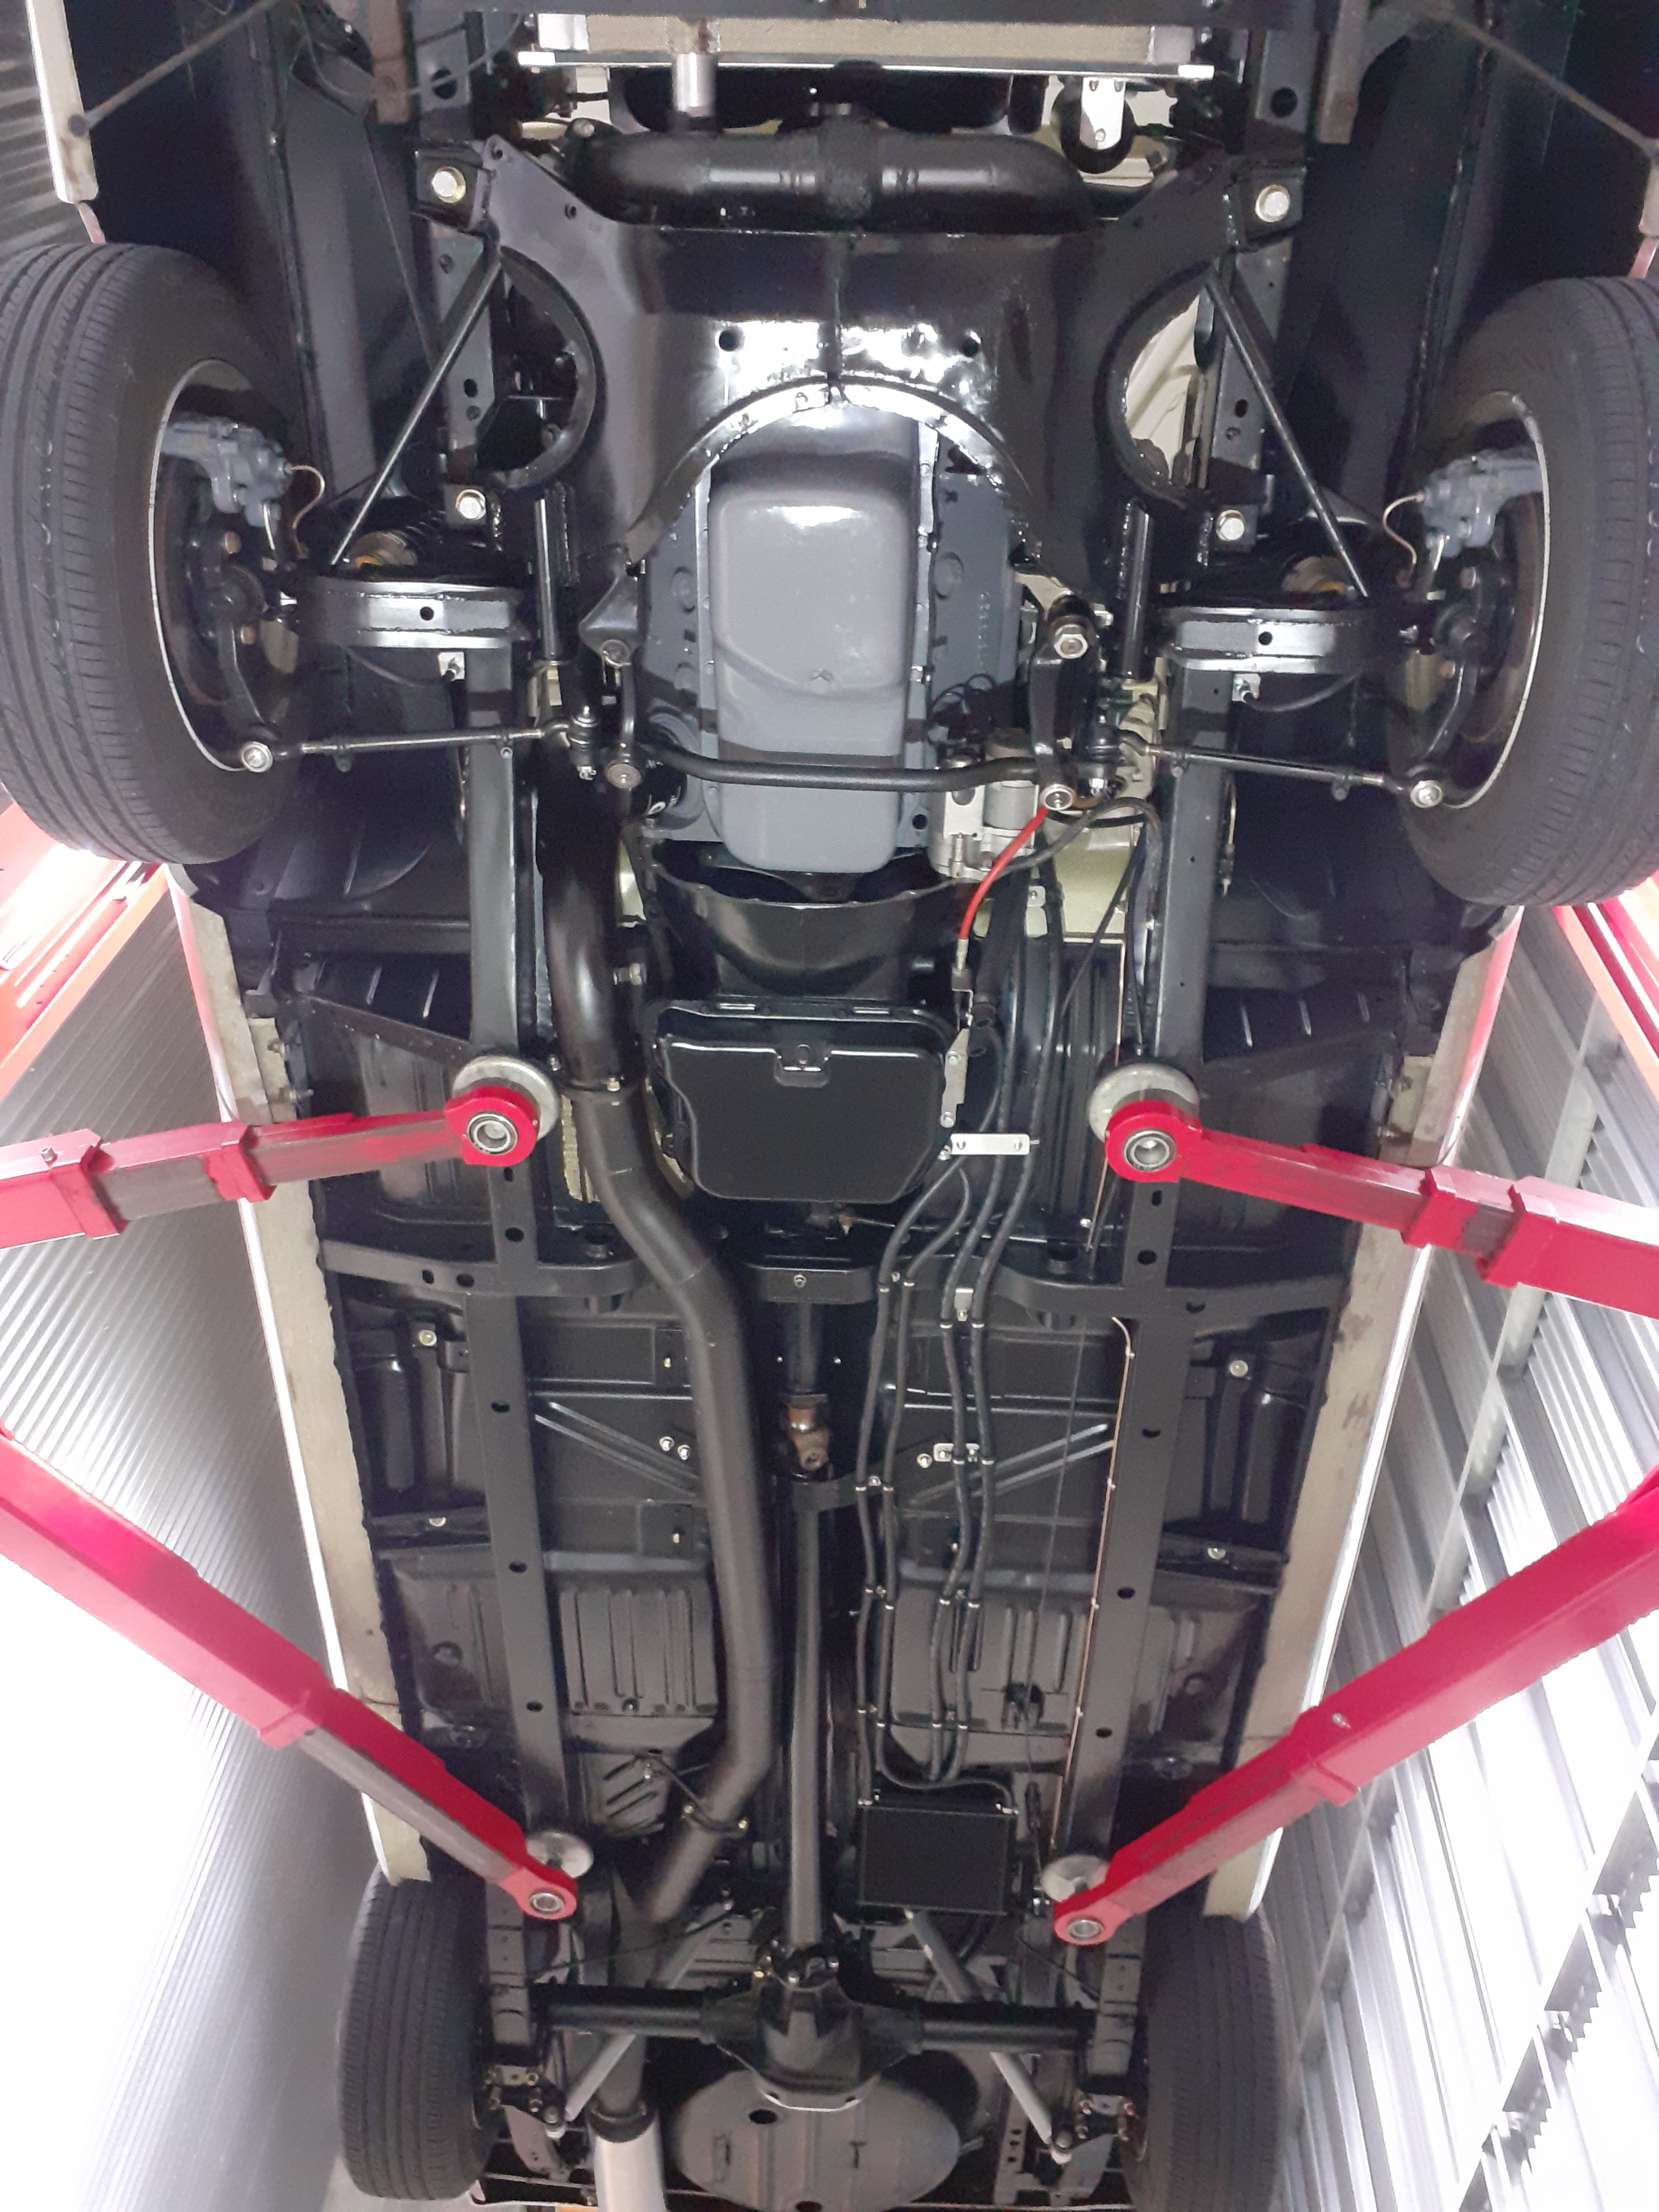
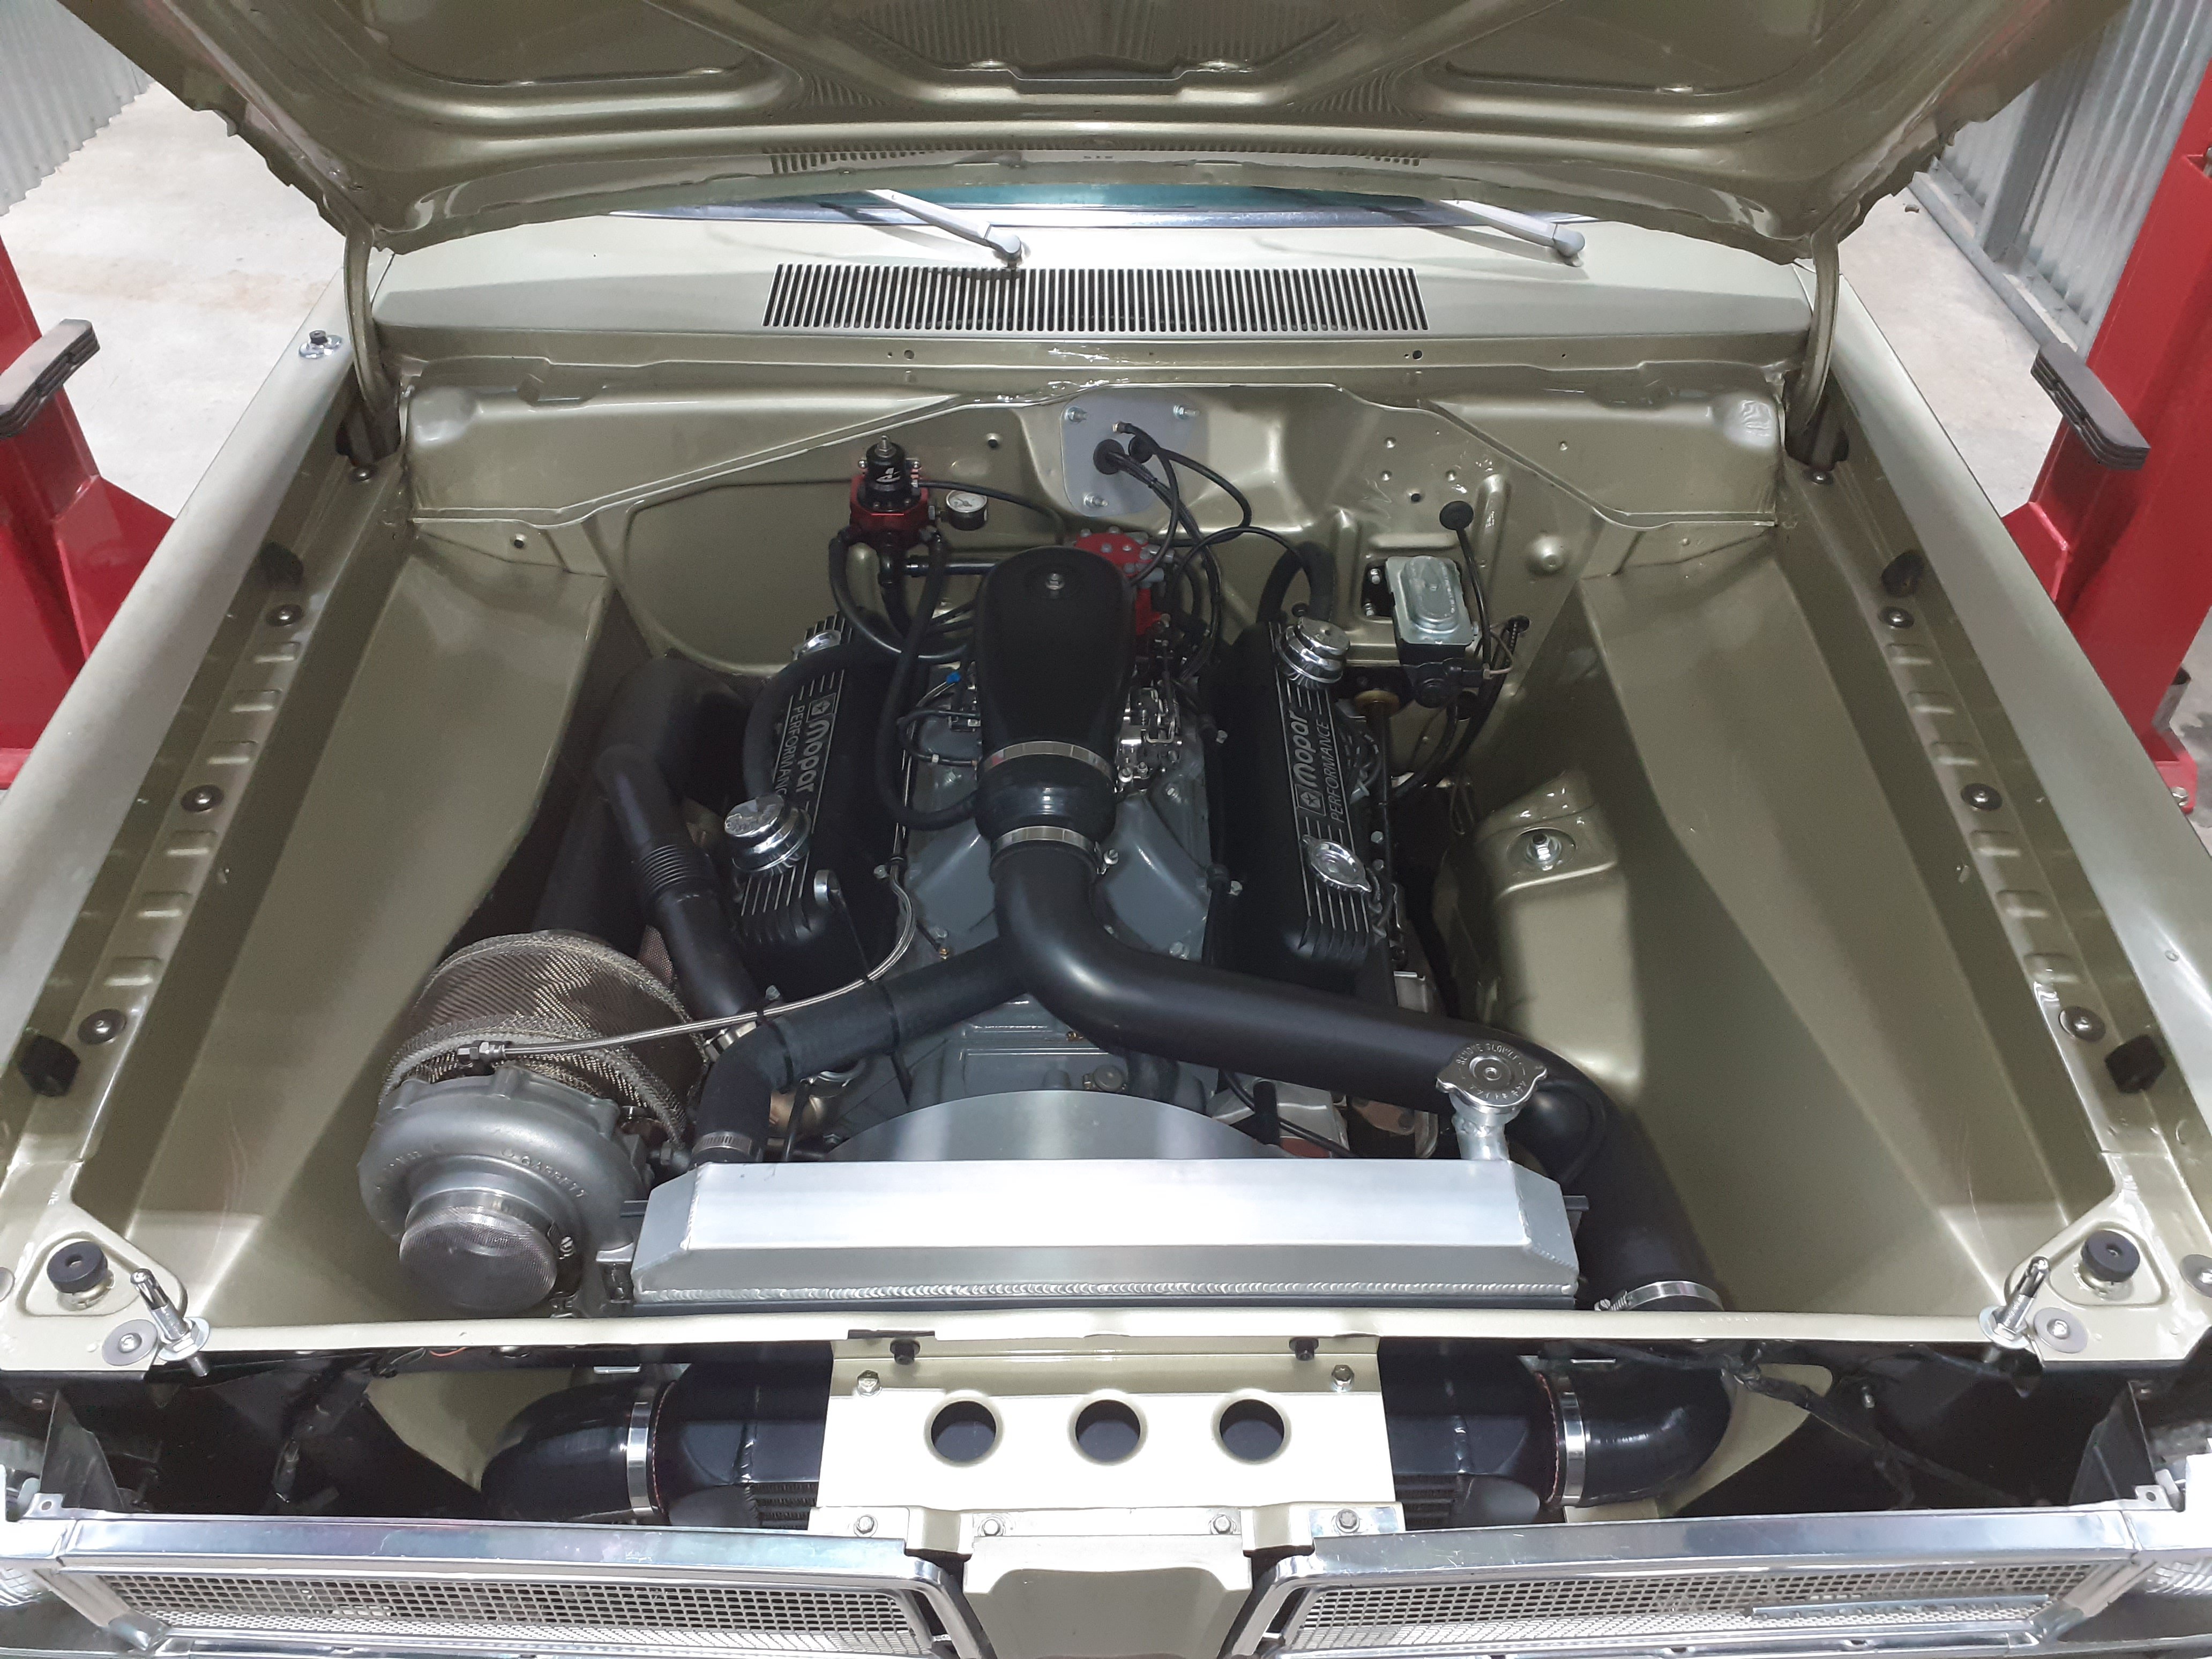
OK V8 fan and sealing around the edges of the shrouds made it better Good enough that I drove it in total over 100 miles over a couple of days and it was pretty good, doesnt go over 180, at open road speed it's mint Today I made a heat shield thing between the exhaust and radiator Still gets hot and boils at idle though. So I'm pretty sure air flow is the problem So next will be try it minus the intercooler, I'm picking that will make the radiator work better, plus then there's space for a big electric fan on the front That will mean I'll have to redo the piping and swap the rad hose to the other side of the top tank. Dumb. Anyway, have some pics.
3 points
-
New shiity bike acquired for this year. Also keen to jump in on accommodation if any going or someone hasn't booked
2 points
-
Yuck ^ Number would be up there if it logged how many liters of oil it used2 points
-
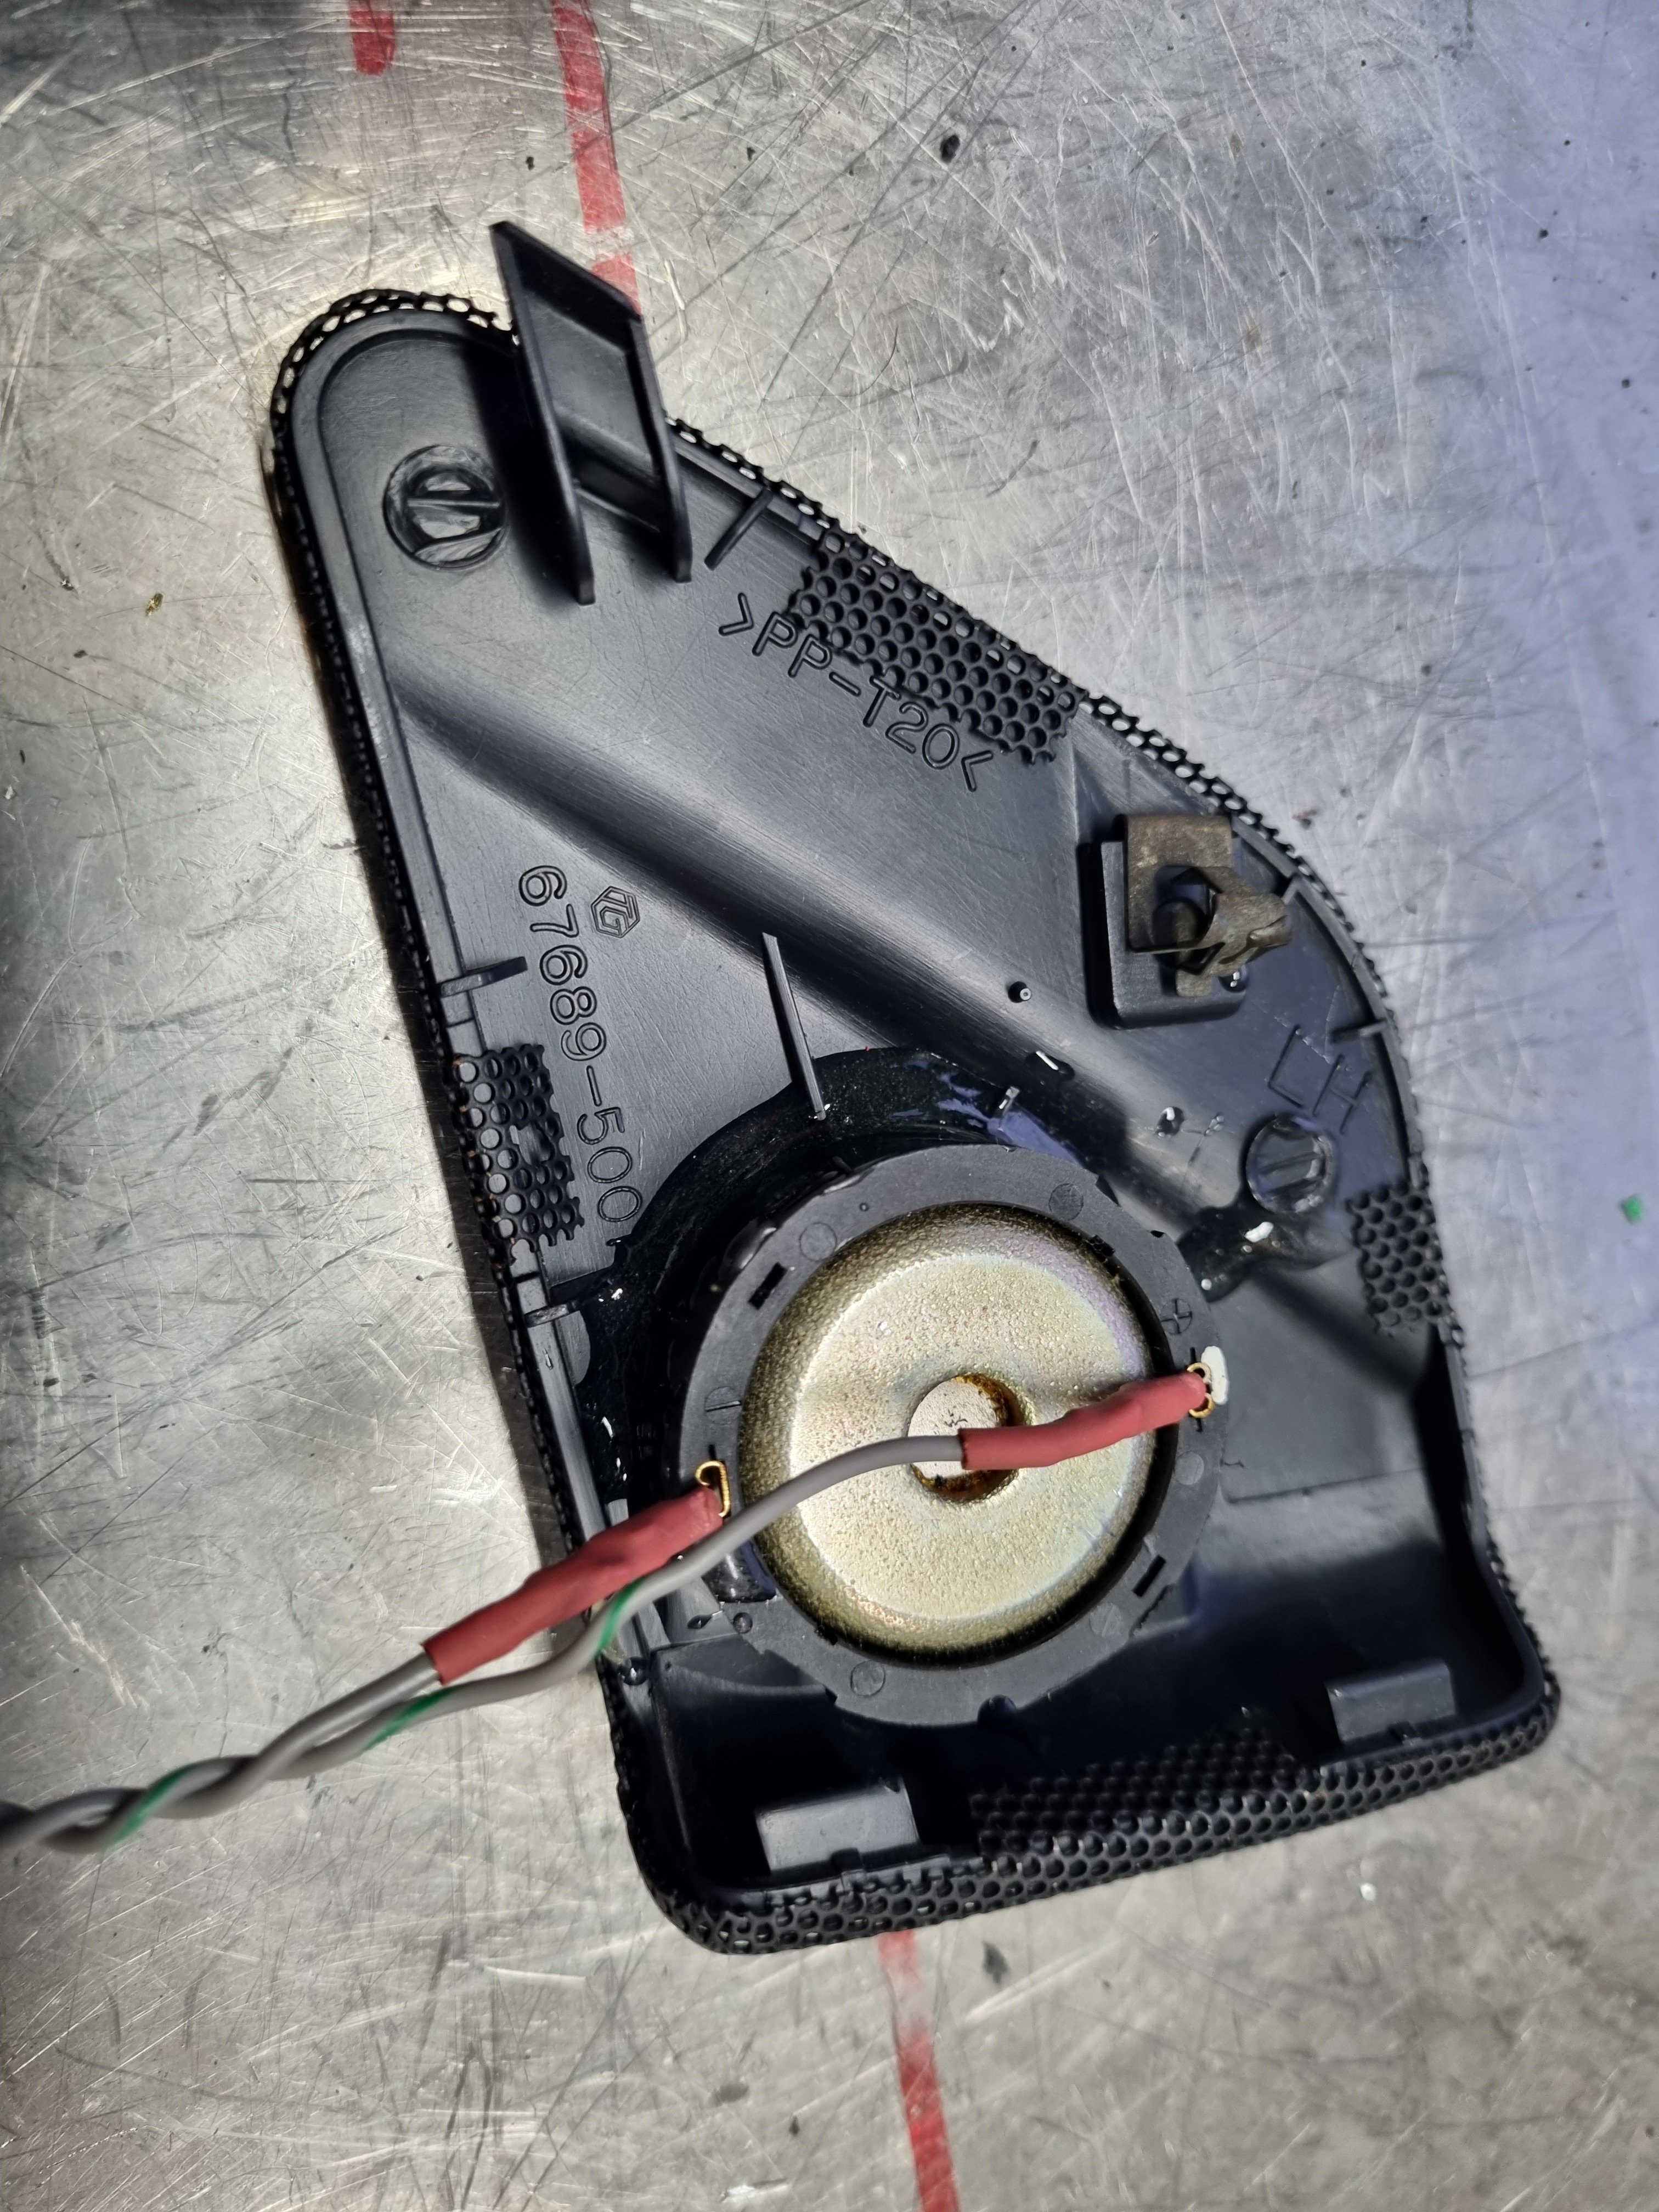
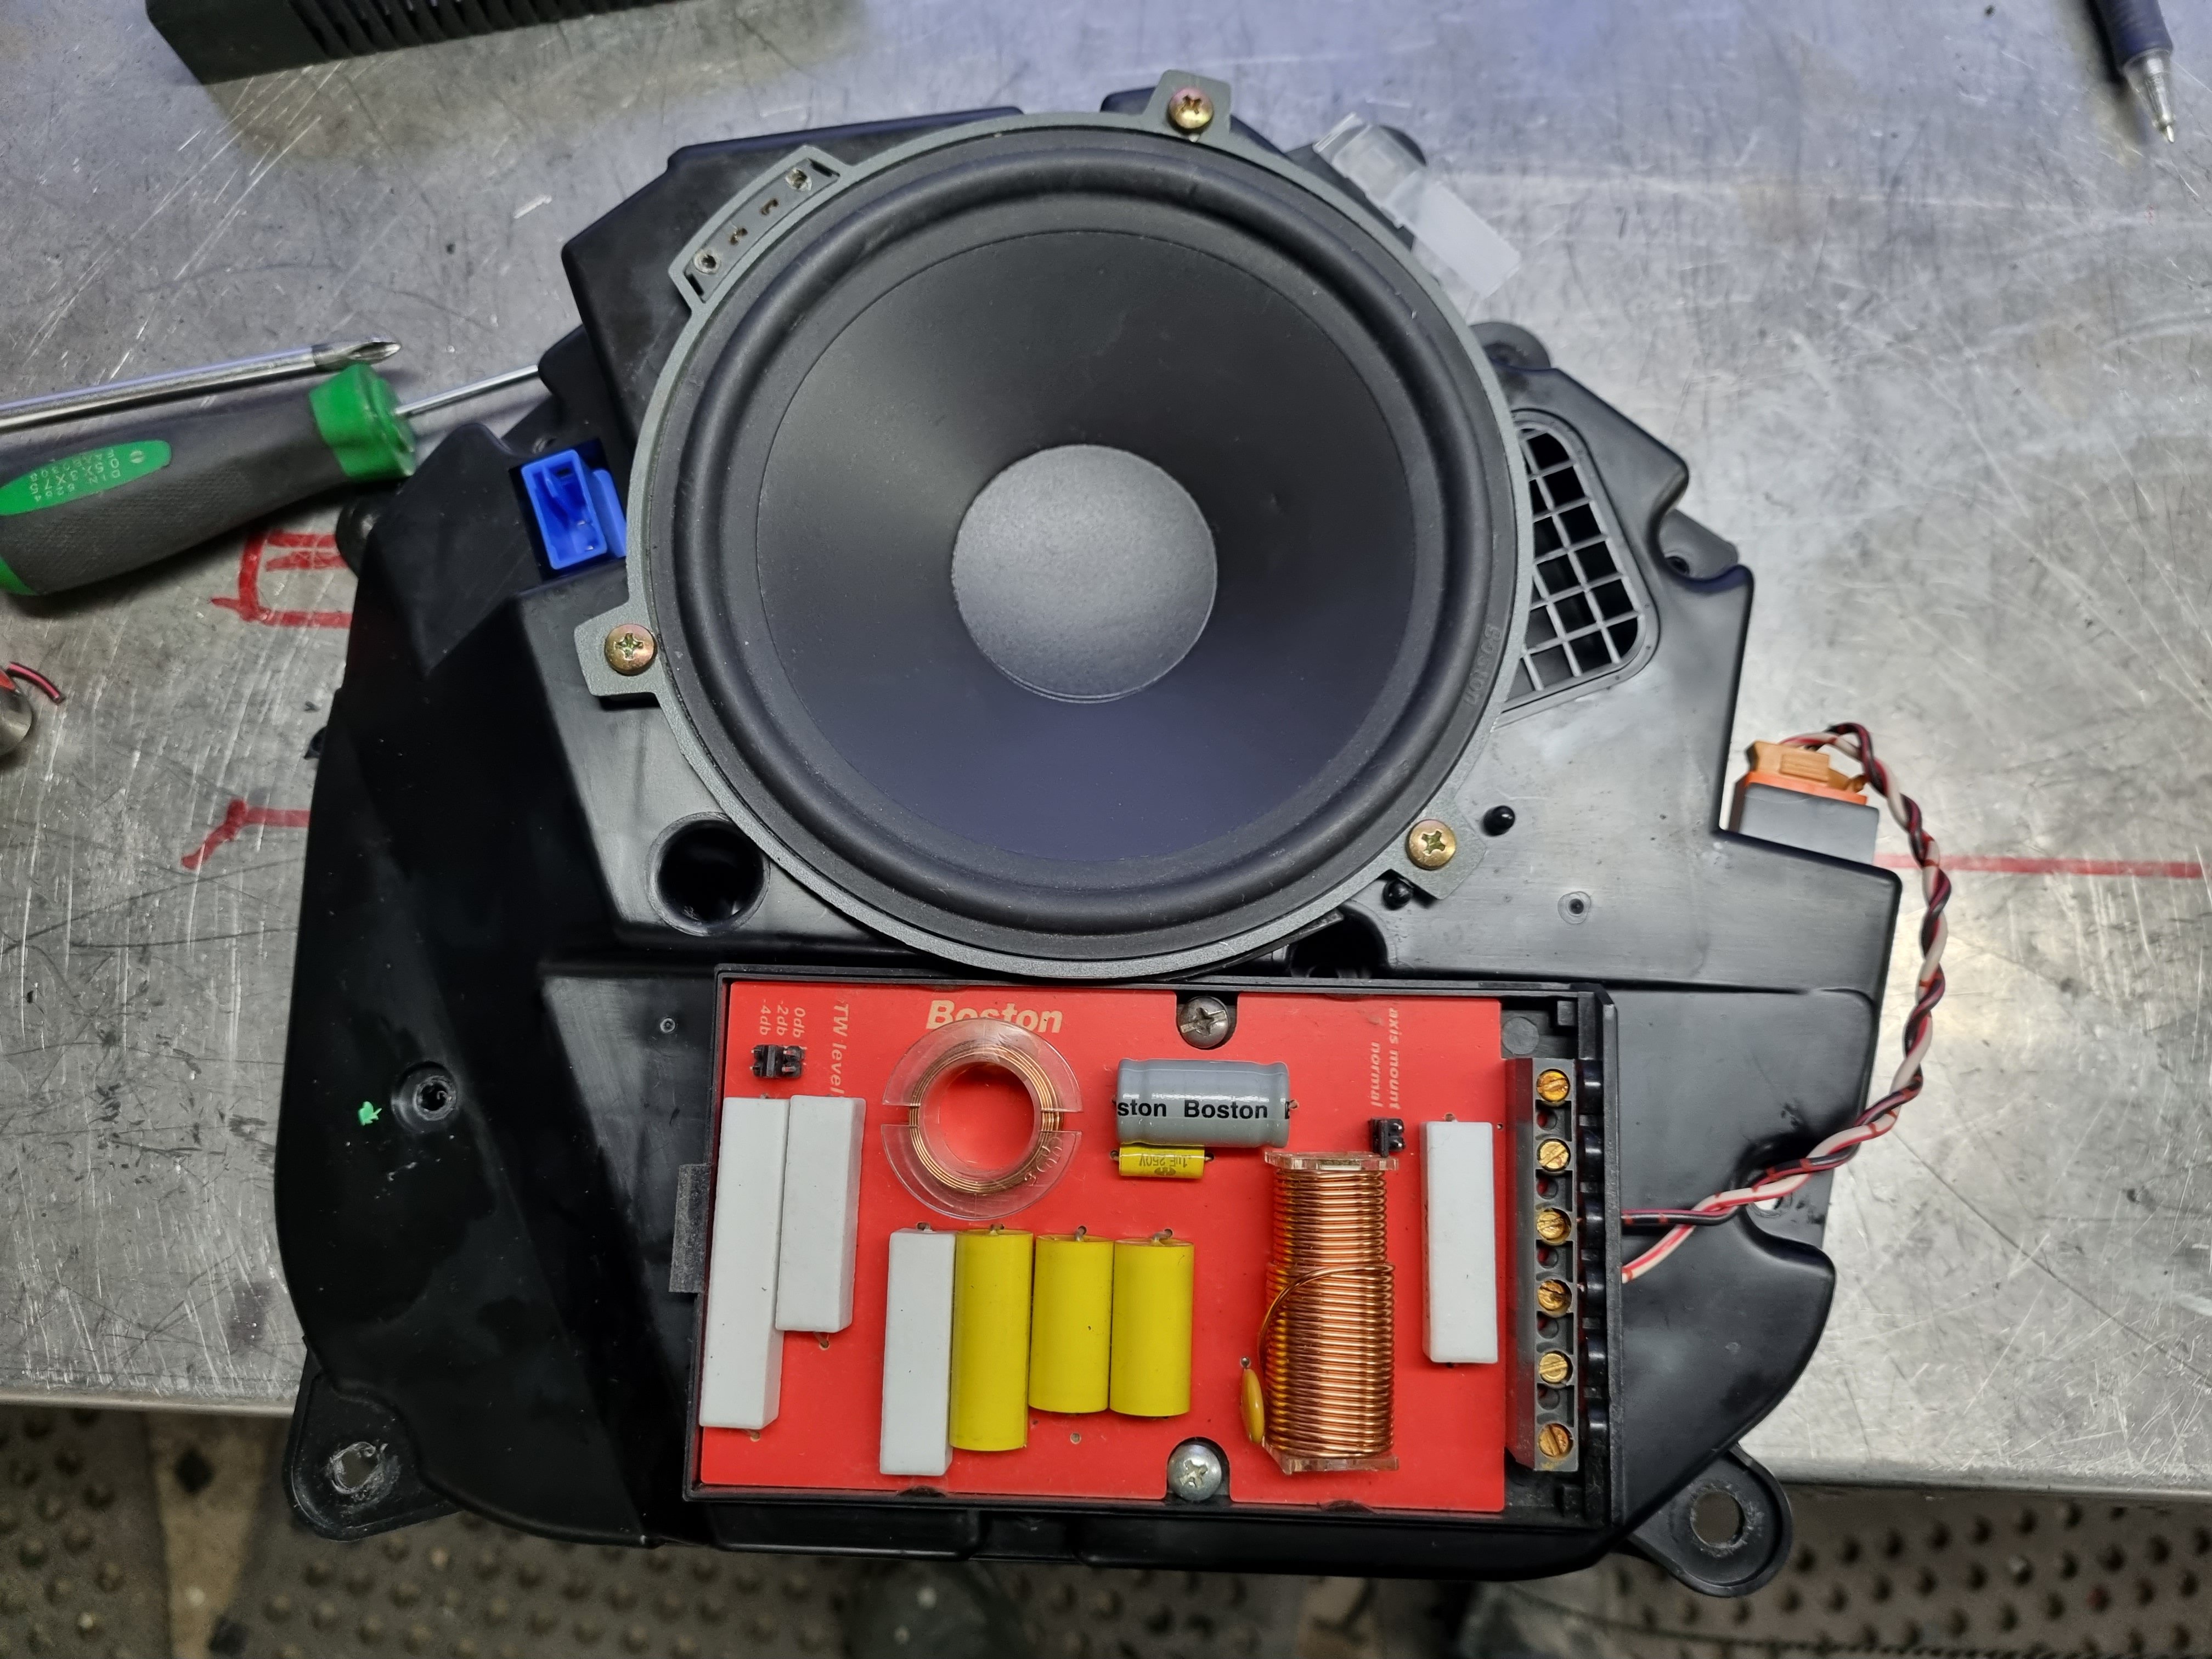
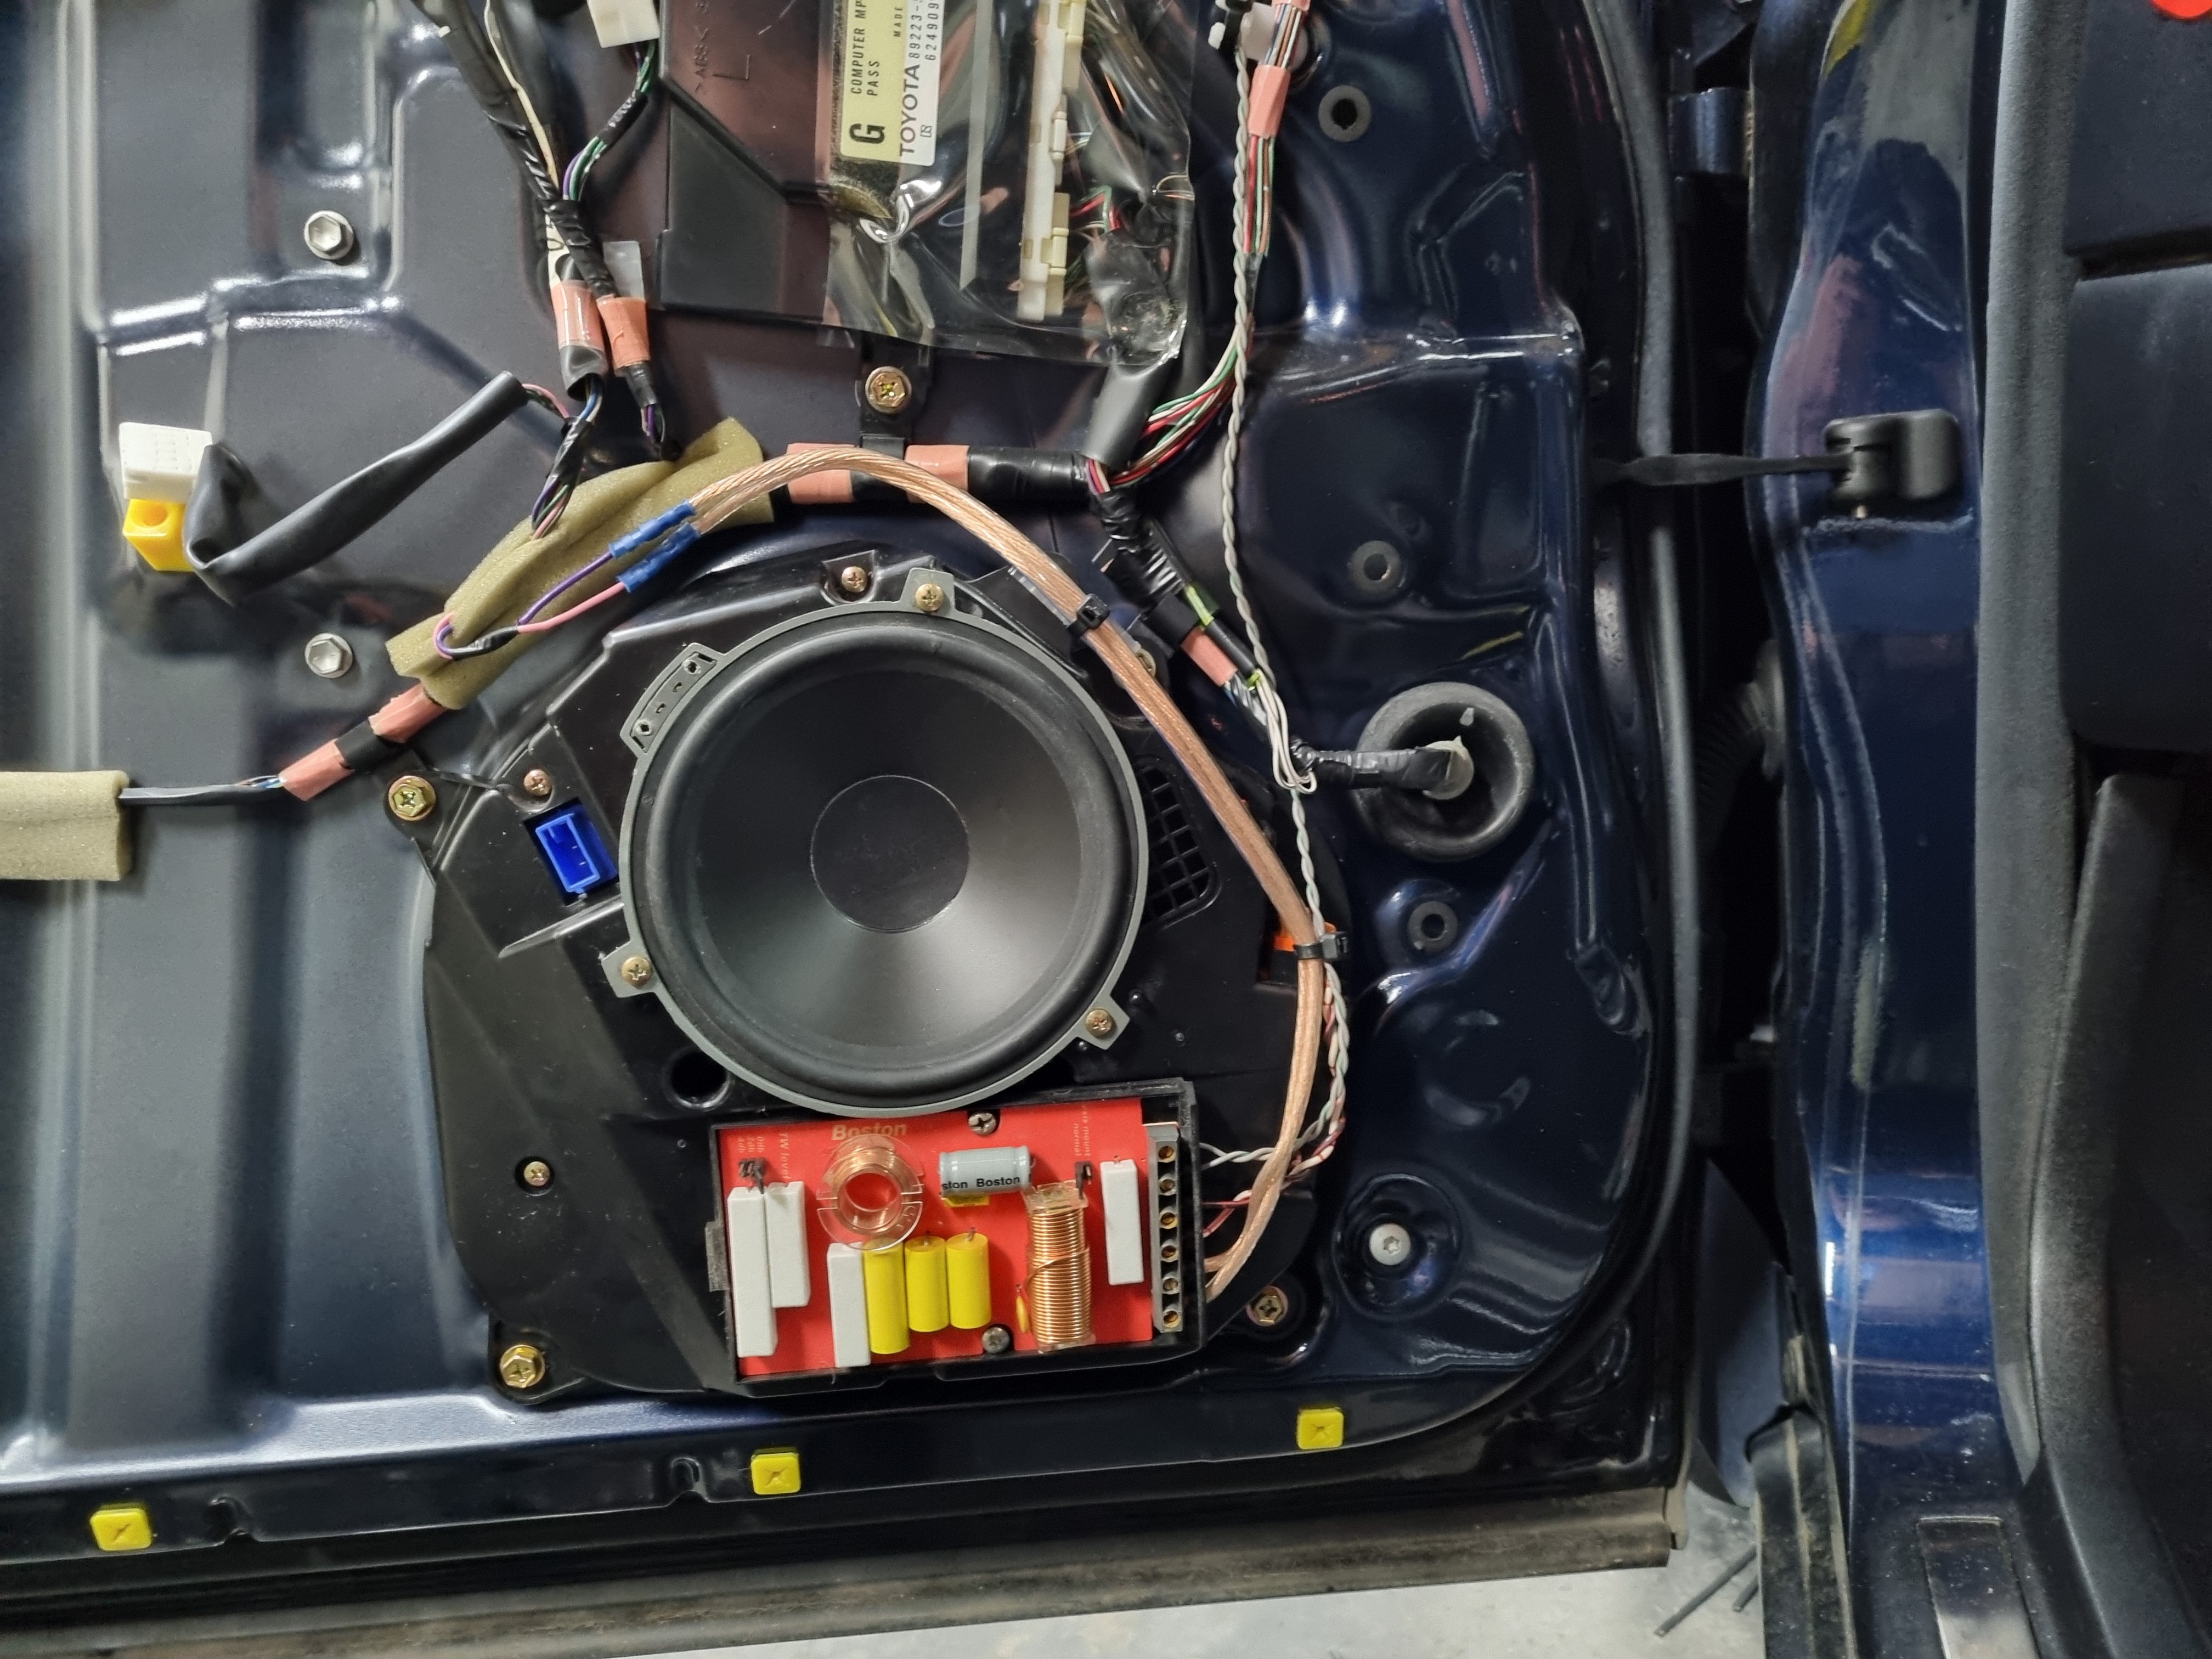
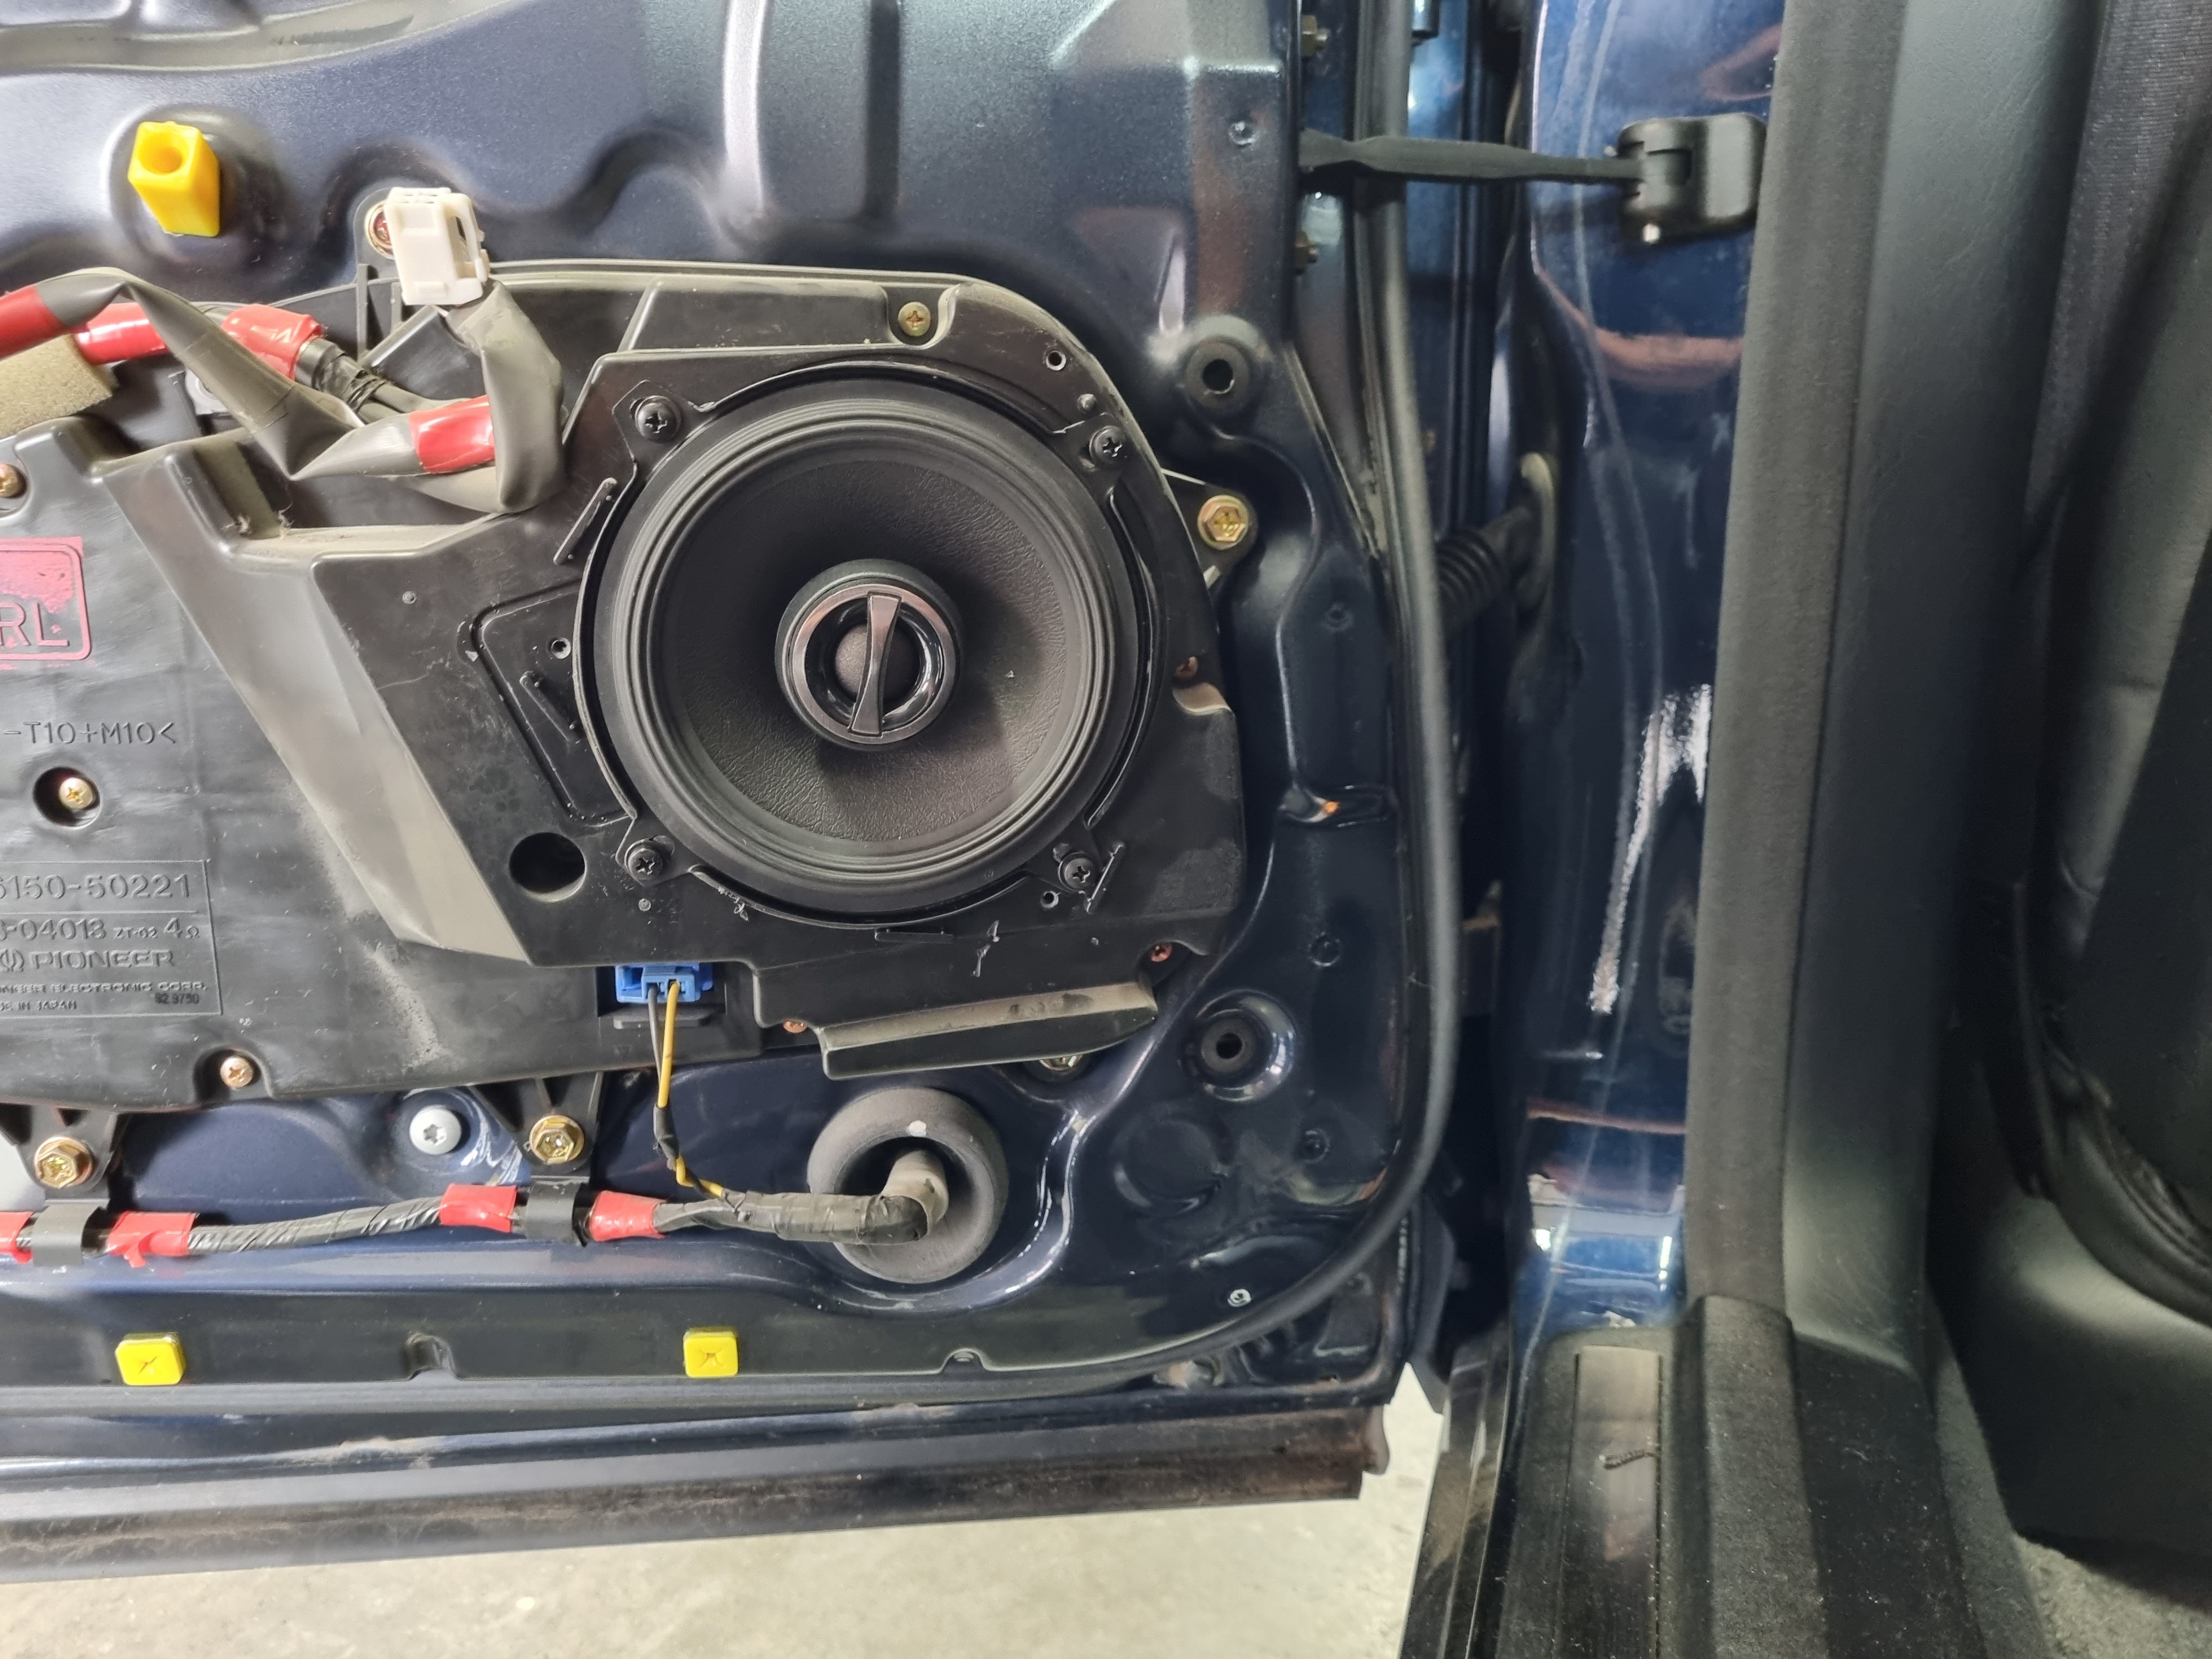
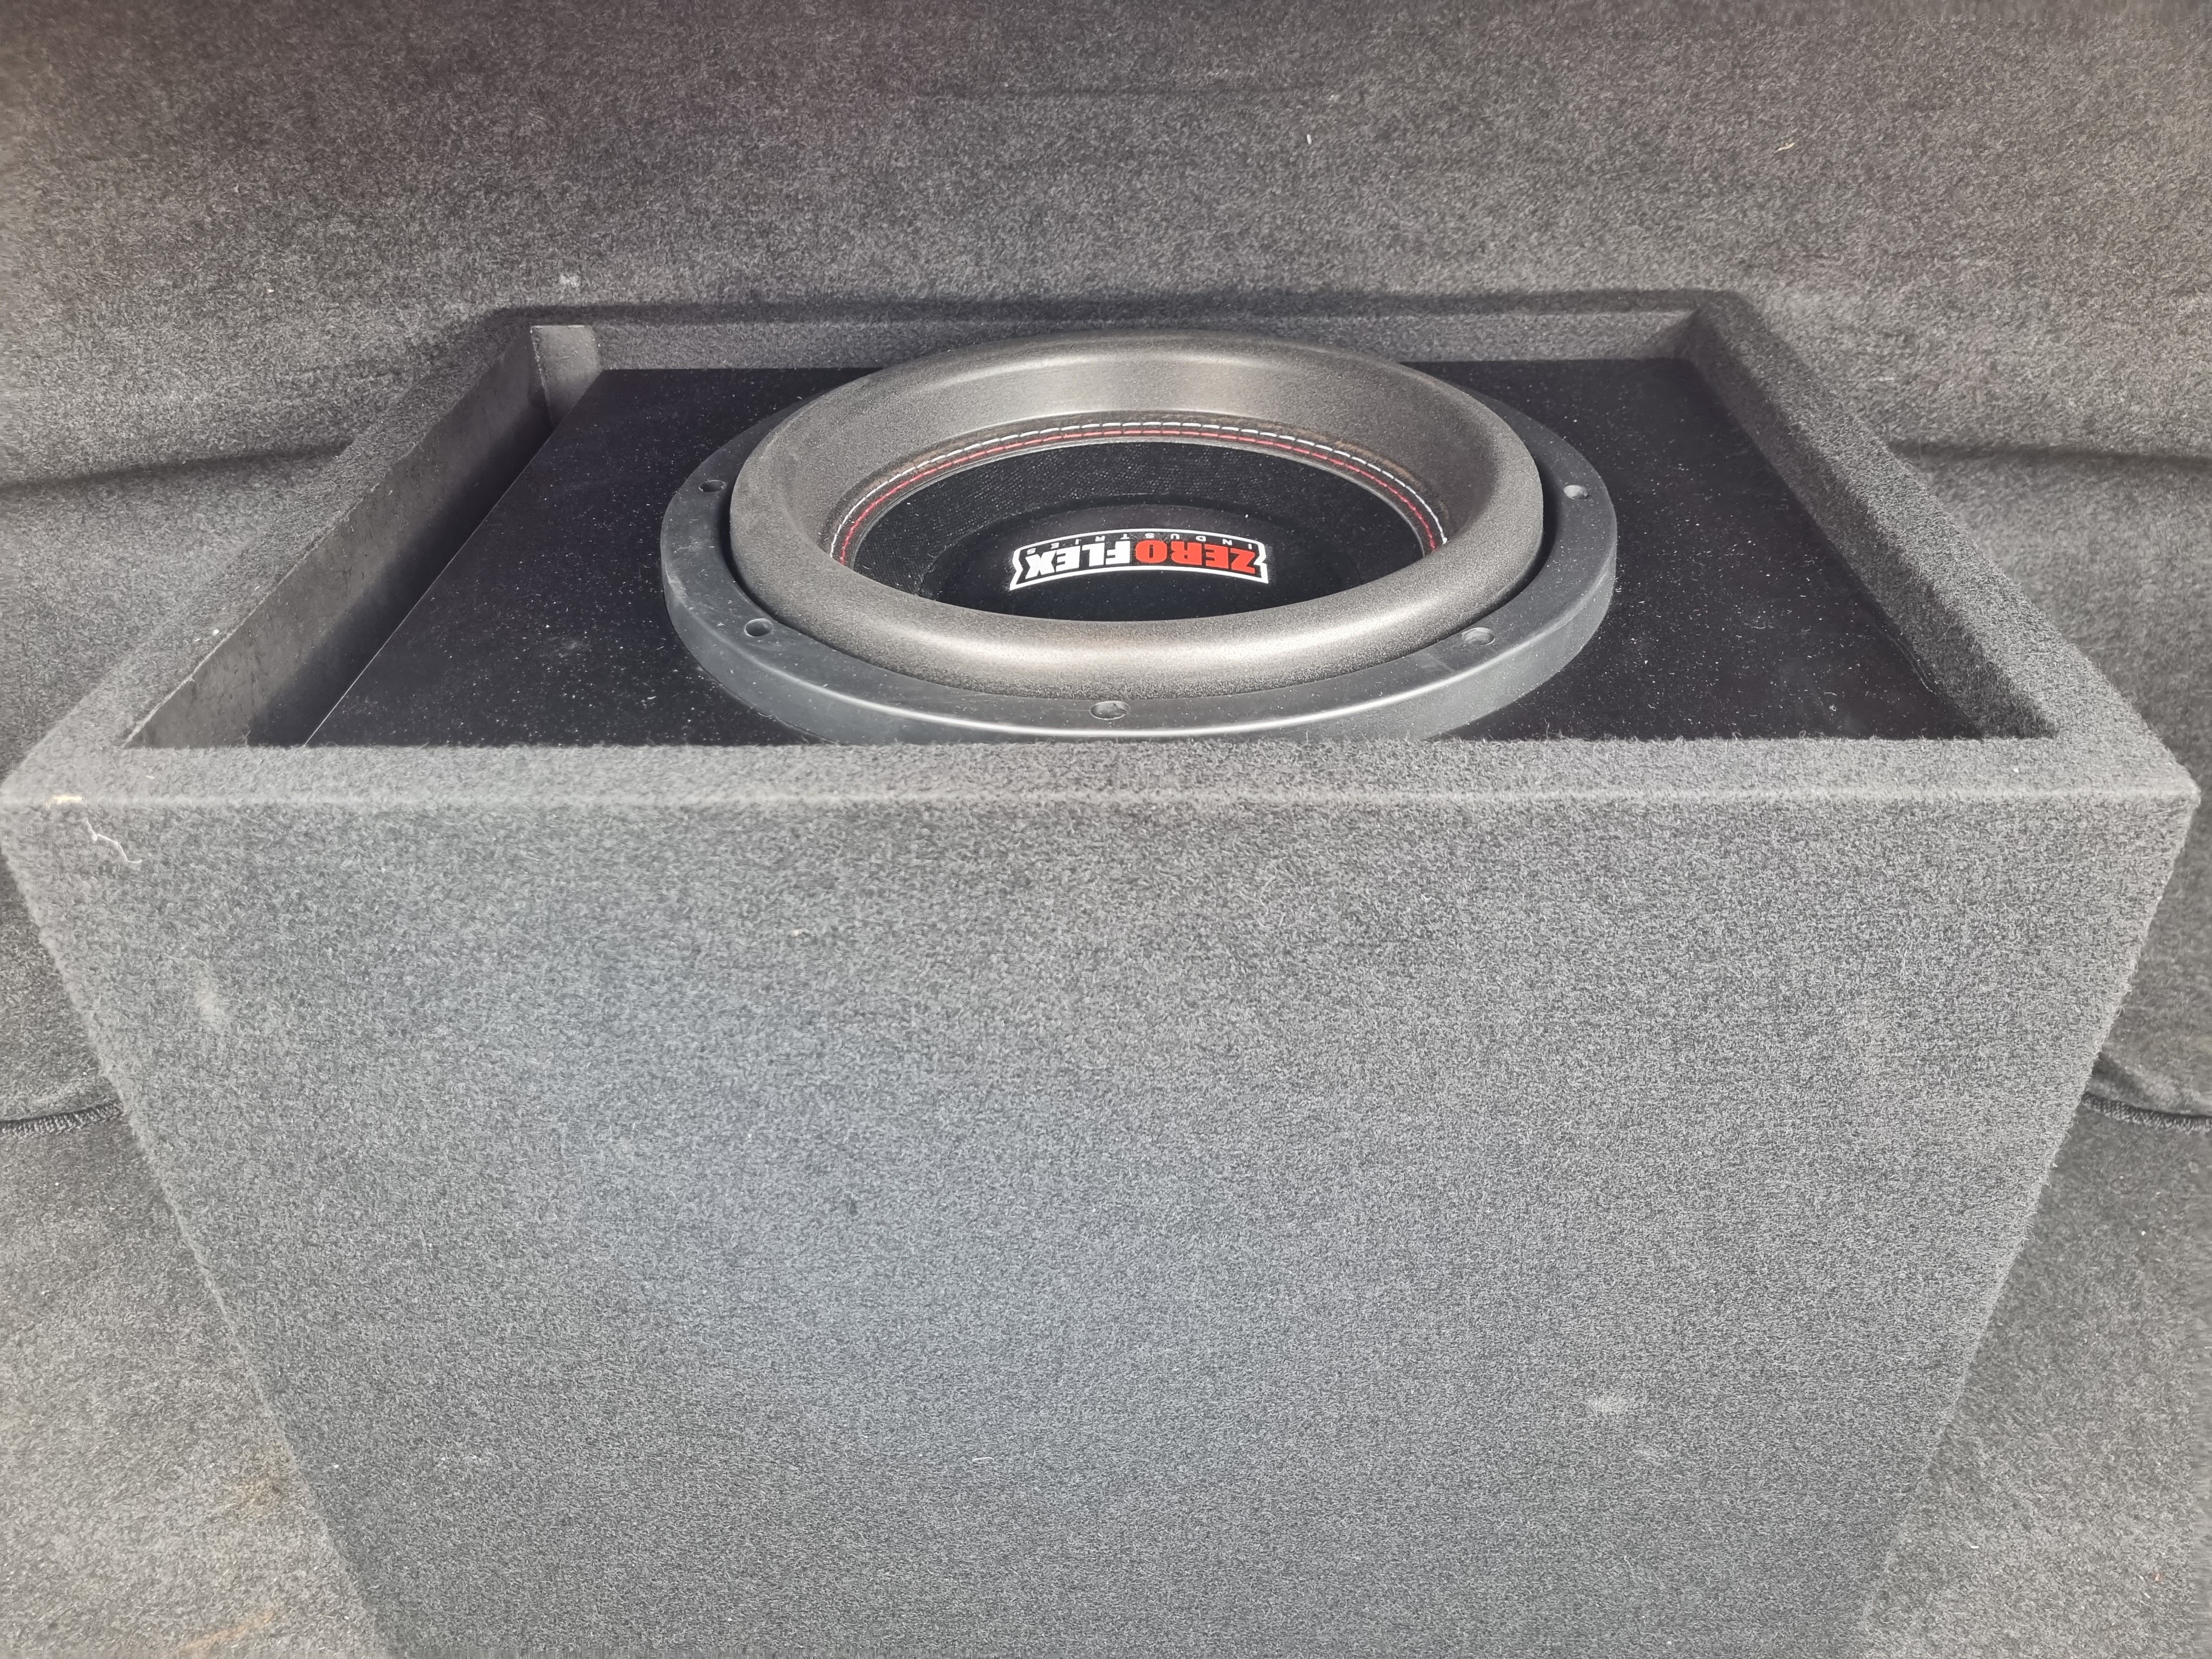
New stereo. Factory system was OK but no Bluetooth no hands free etc. So I replaced everything. Had to re route some of the factory loom and patch in a couple of wires but it was pretty easy. Running the power feeds under the car was the hardest bit, fuck I can't wait until I get a shed with a hoist. So anyway head unit is a kenwood one. It's got buttons and shit. There's a 100x4 amp under the drivers seat and a 600w amp running the sub. Front doors for a pair of boston 6.5LF pros that I've had for a while. Had to cut the hole or a bit to get them in but the rest was easy. Rear doors got some 5" alpine things that work great. Sub is a zero flex 10" which absolutely cranks. I'm still fucking with the steering wheel controls to see if I can get some basic functions working off the steering wheel, time will tell in that one.
2 points
-
2 points
-
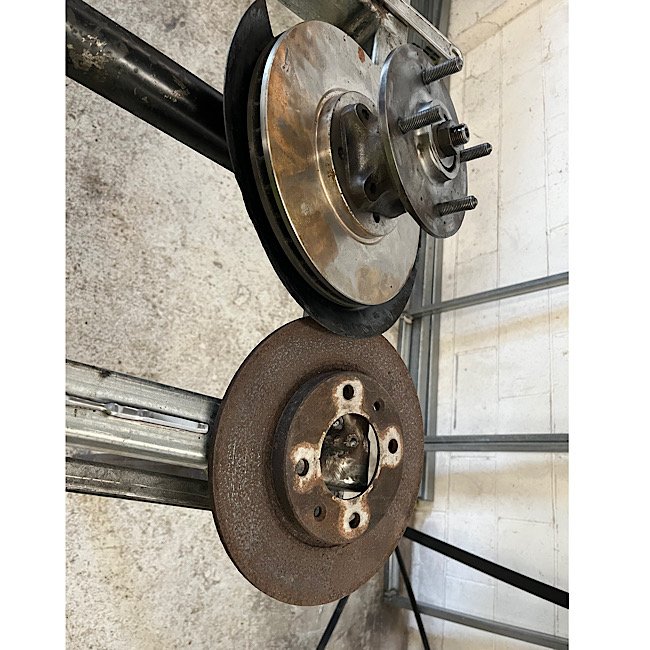
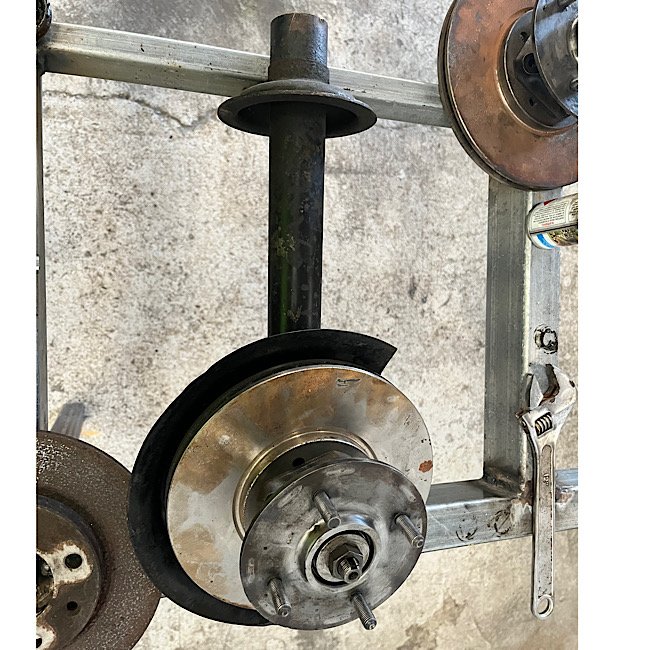
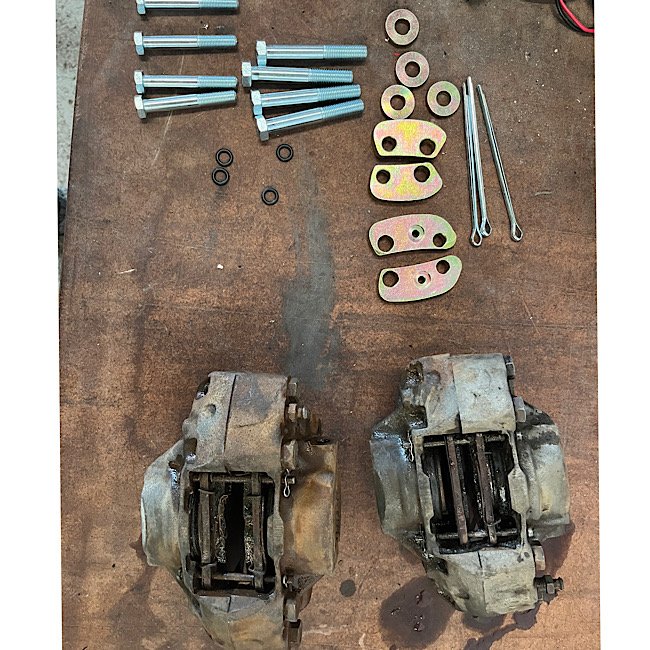
Have started on the front brake upgrade. first task was to fit a remote booster that would’ve come standard in these. id say the original had failed and was deleted on. so I salvaged one off a parts car I had. Got that fitted up. then sent my spare hubs and new capri vented discs off to Chris at suspension tech to get machined up. just need some wedge lock washers so I’m told. got a calliper spacer kit for the type16 escort calipers. these calipers are fugly, so have got a pair of rebuilt ones on the way. then lastly will need to get new hoses made up or an adaptor. Cert is booked in next month with Cletus, so should be plenty of time to get it back together.
2 points
-
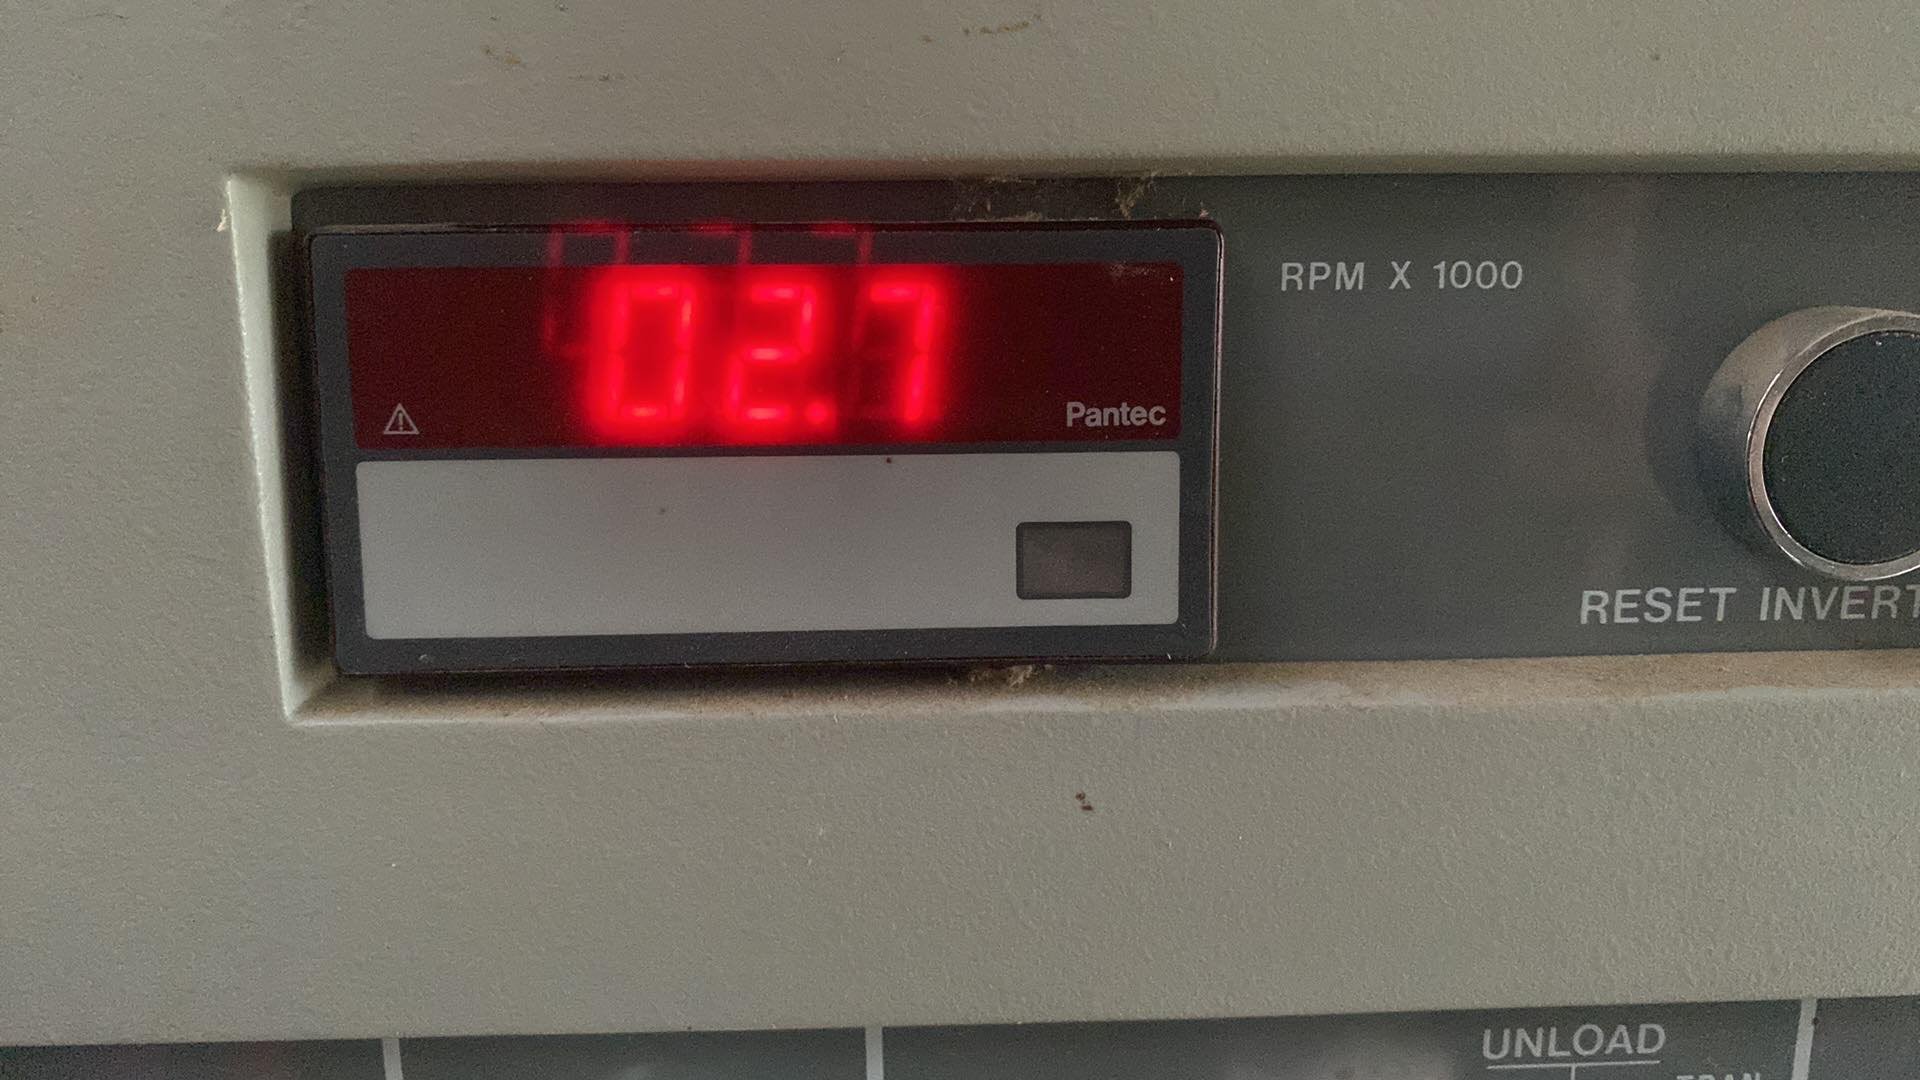
Hmmm it just gets more interesting..... Had a good read of the VFD manual, Power Electronics SD50, from that I identified the most likely settings which were in need of a check up- Control input, remote operation, min/max speed, control input type etc etc. Well, before getting to the inputs it turns out the basic characteristics are all wrong, input voltage, motor power etc so quickly dragged them to range, then moving to the control side I found it was set to remote operation, local speed control, set speed 400Hz or ~8000rpm. A quick reassignment of inputs and she's all happiness, typing GCode into Linux activated the VFD and spun up to speed, even the tacho now reads a reasonable value when asked for 3000rpm, no doubt confirming parameters will get things inline. Its a pretty big win in the overall process, but mindful that there may be some more bad settings I shut down and tomorrow will dig through the entire VFD menu and confirm each and every setting, yuck.
2 points
-
Another cool bike for someone wanting a maybe cheap steed for Eastcape... https://www.trademe.co.nz/a/motors/motorbikes/motorbikes/classic-vintage/honda/listing/36975480112 points
-
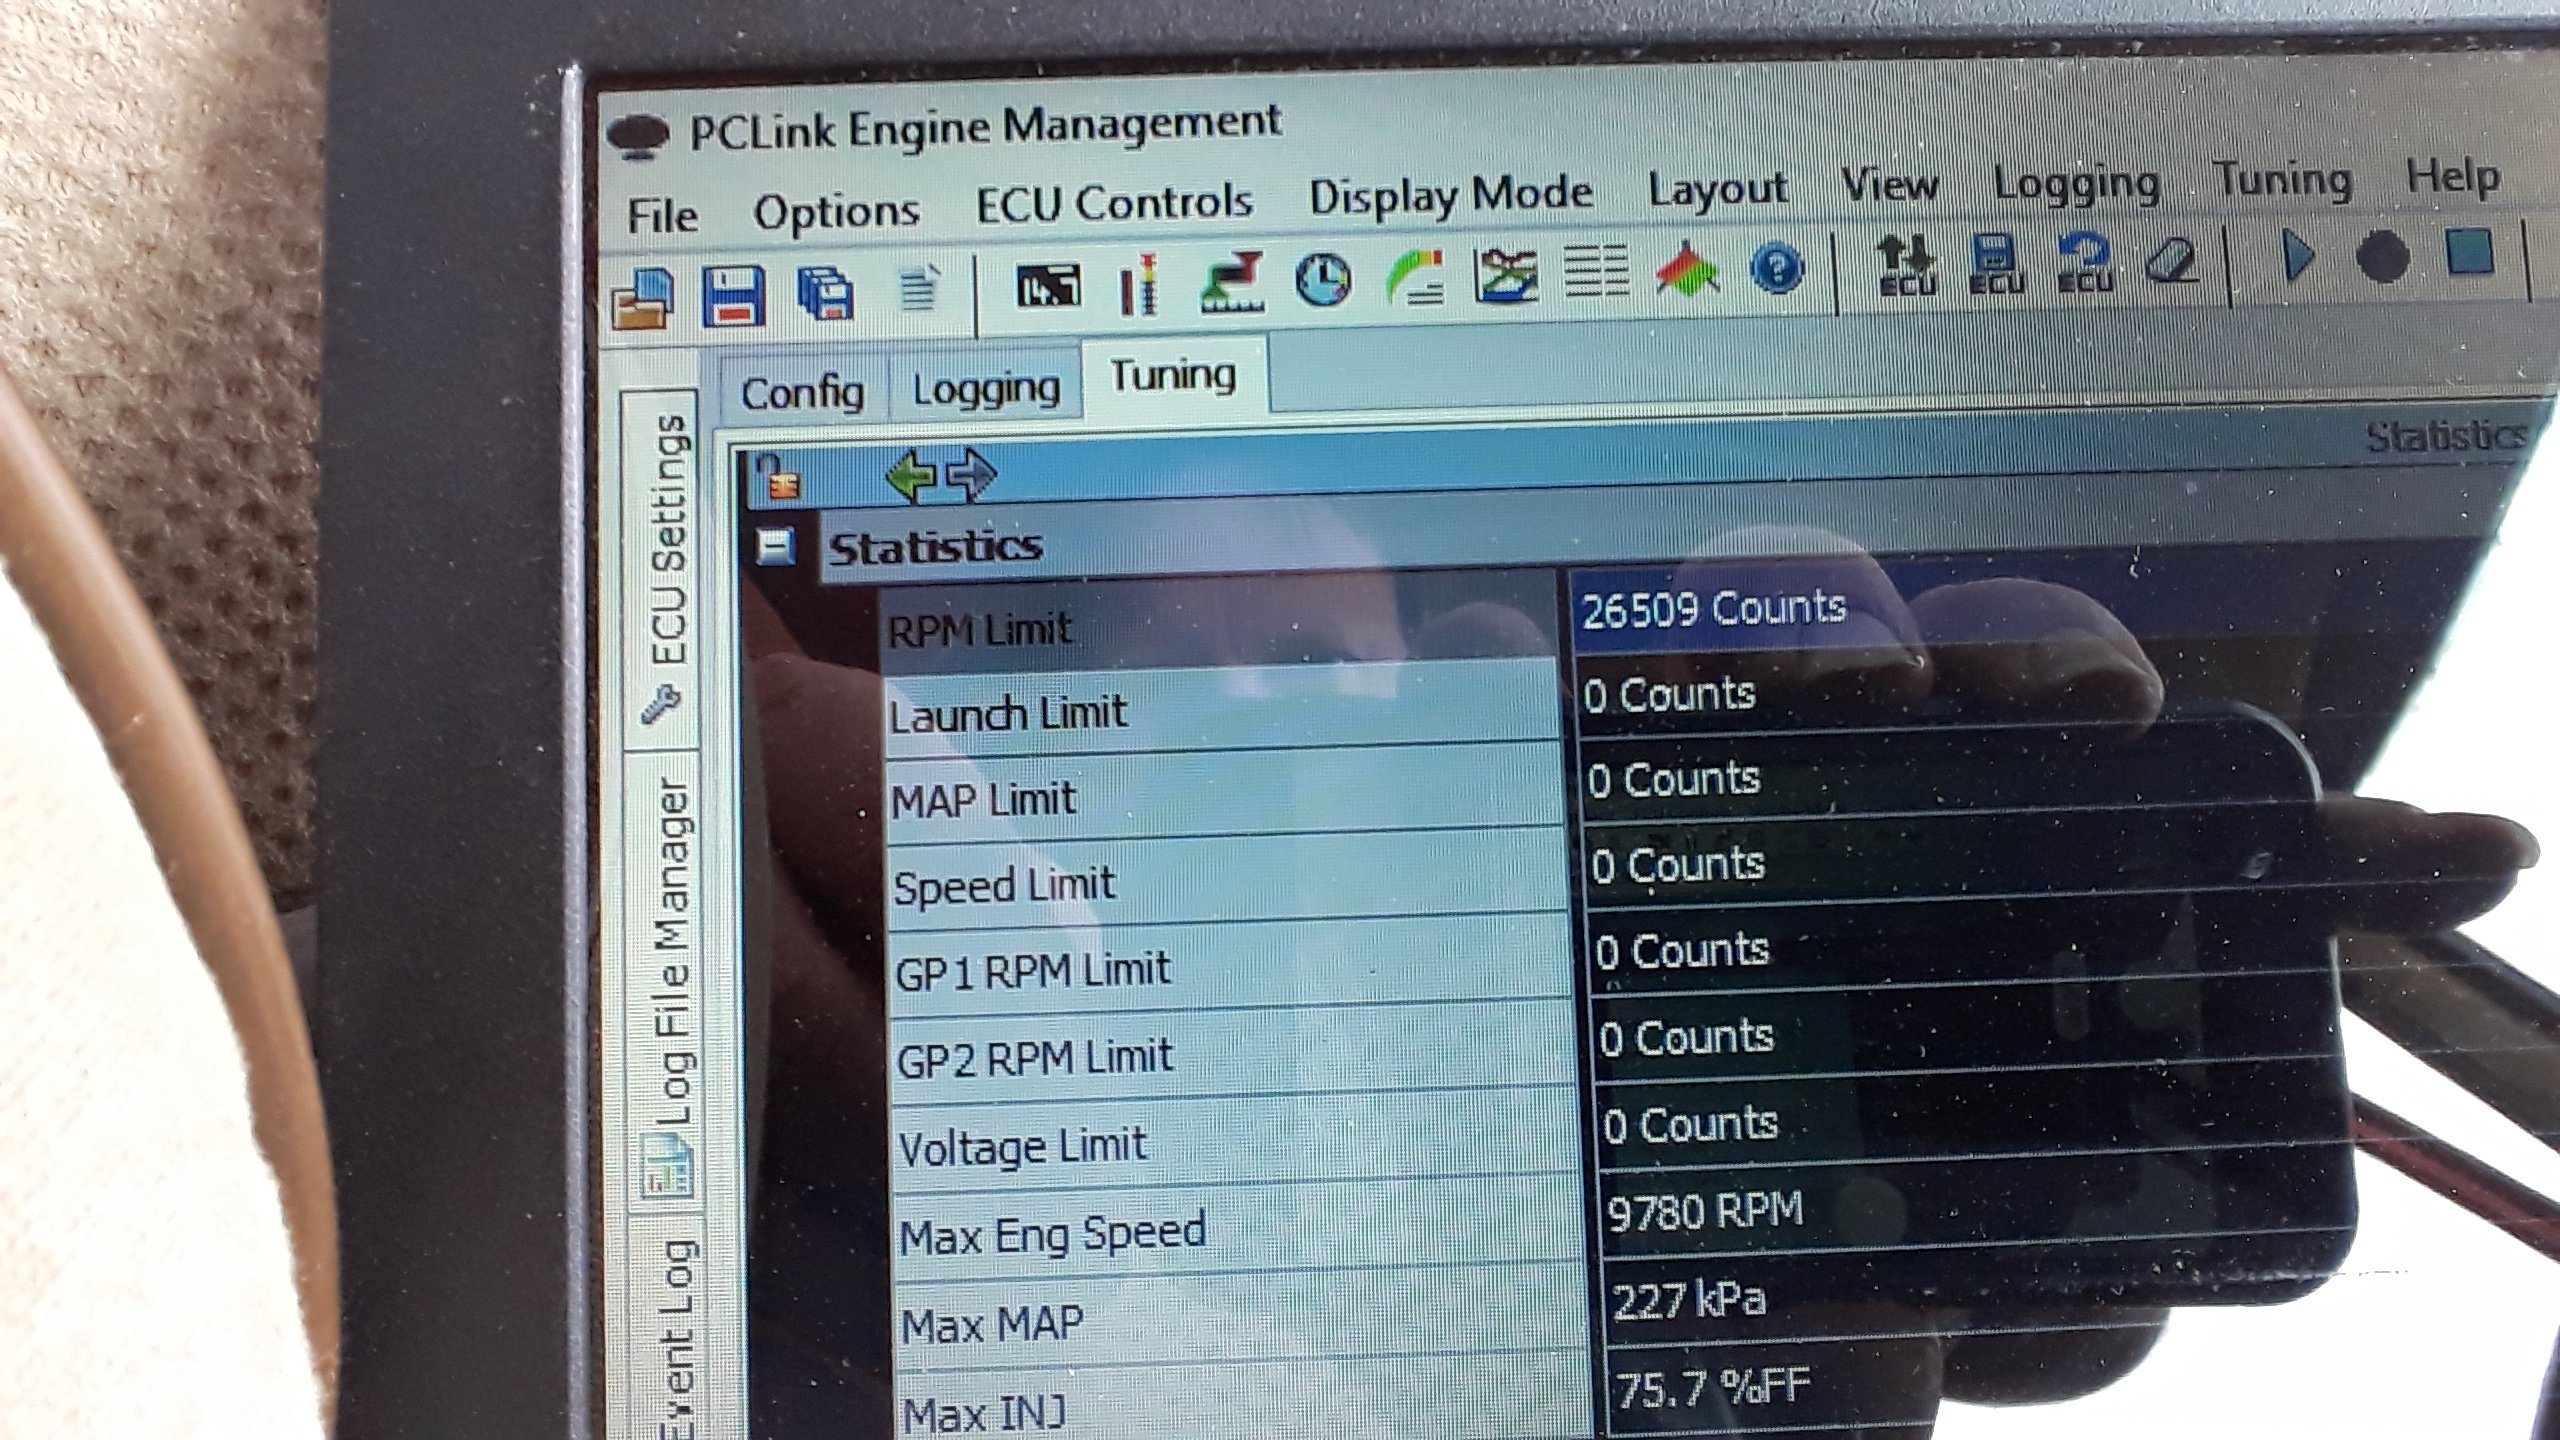
Once you get your "life back in order" (then tell me how its done) can you log the number of 9k pulls this engine does? When this one goes Bang! You'll have an idea how long one lasts. But once your shit is sorted, time for Round two of crowd funding. I'd say sub one month to raise enough coin for a third engine, and a set of forgies. Then you can build it up while waiting for this engine to scatter its gizzards all over the road. This thread is better value than Netflix.2 points
-
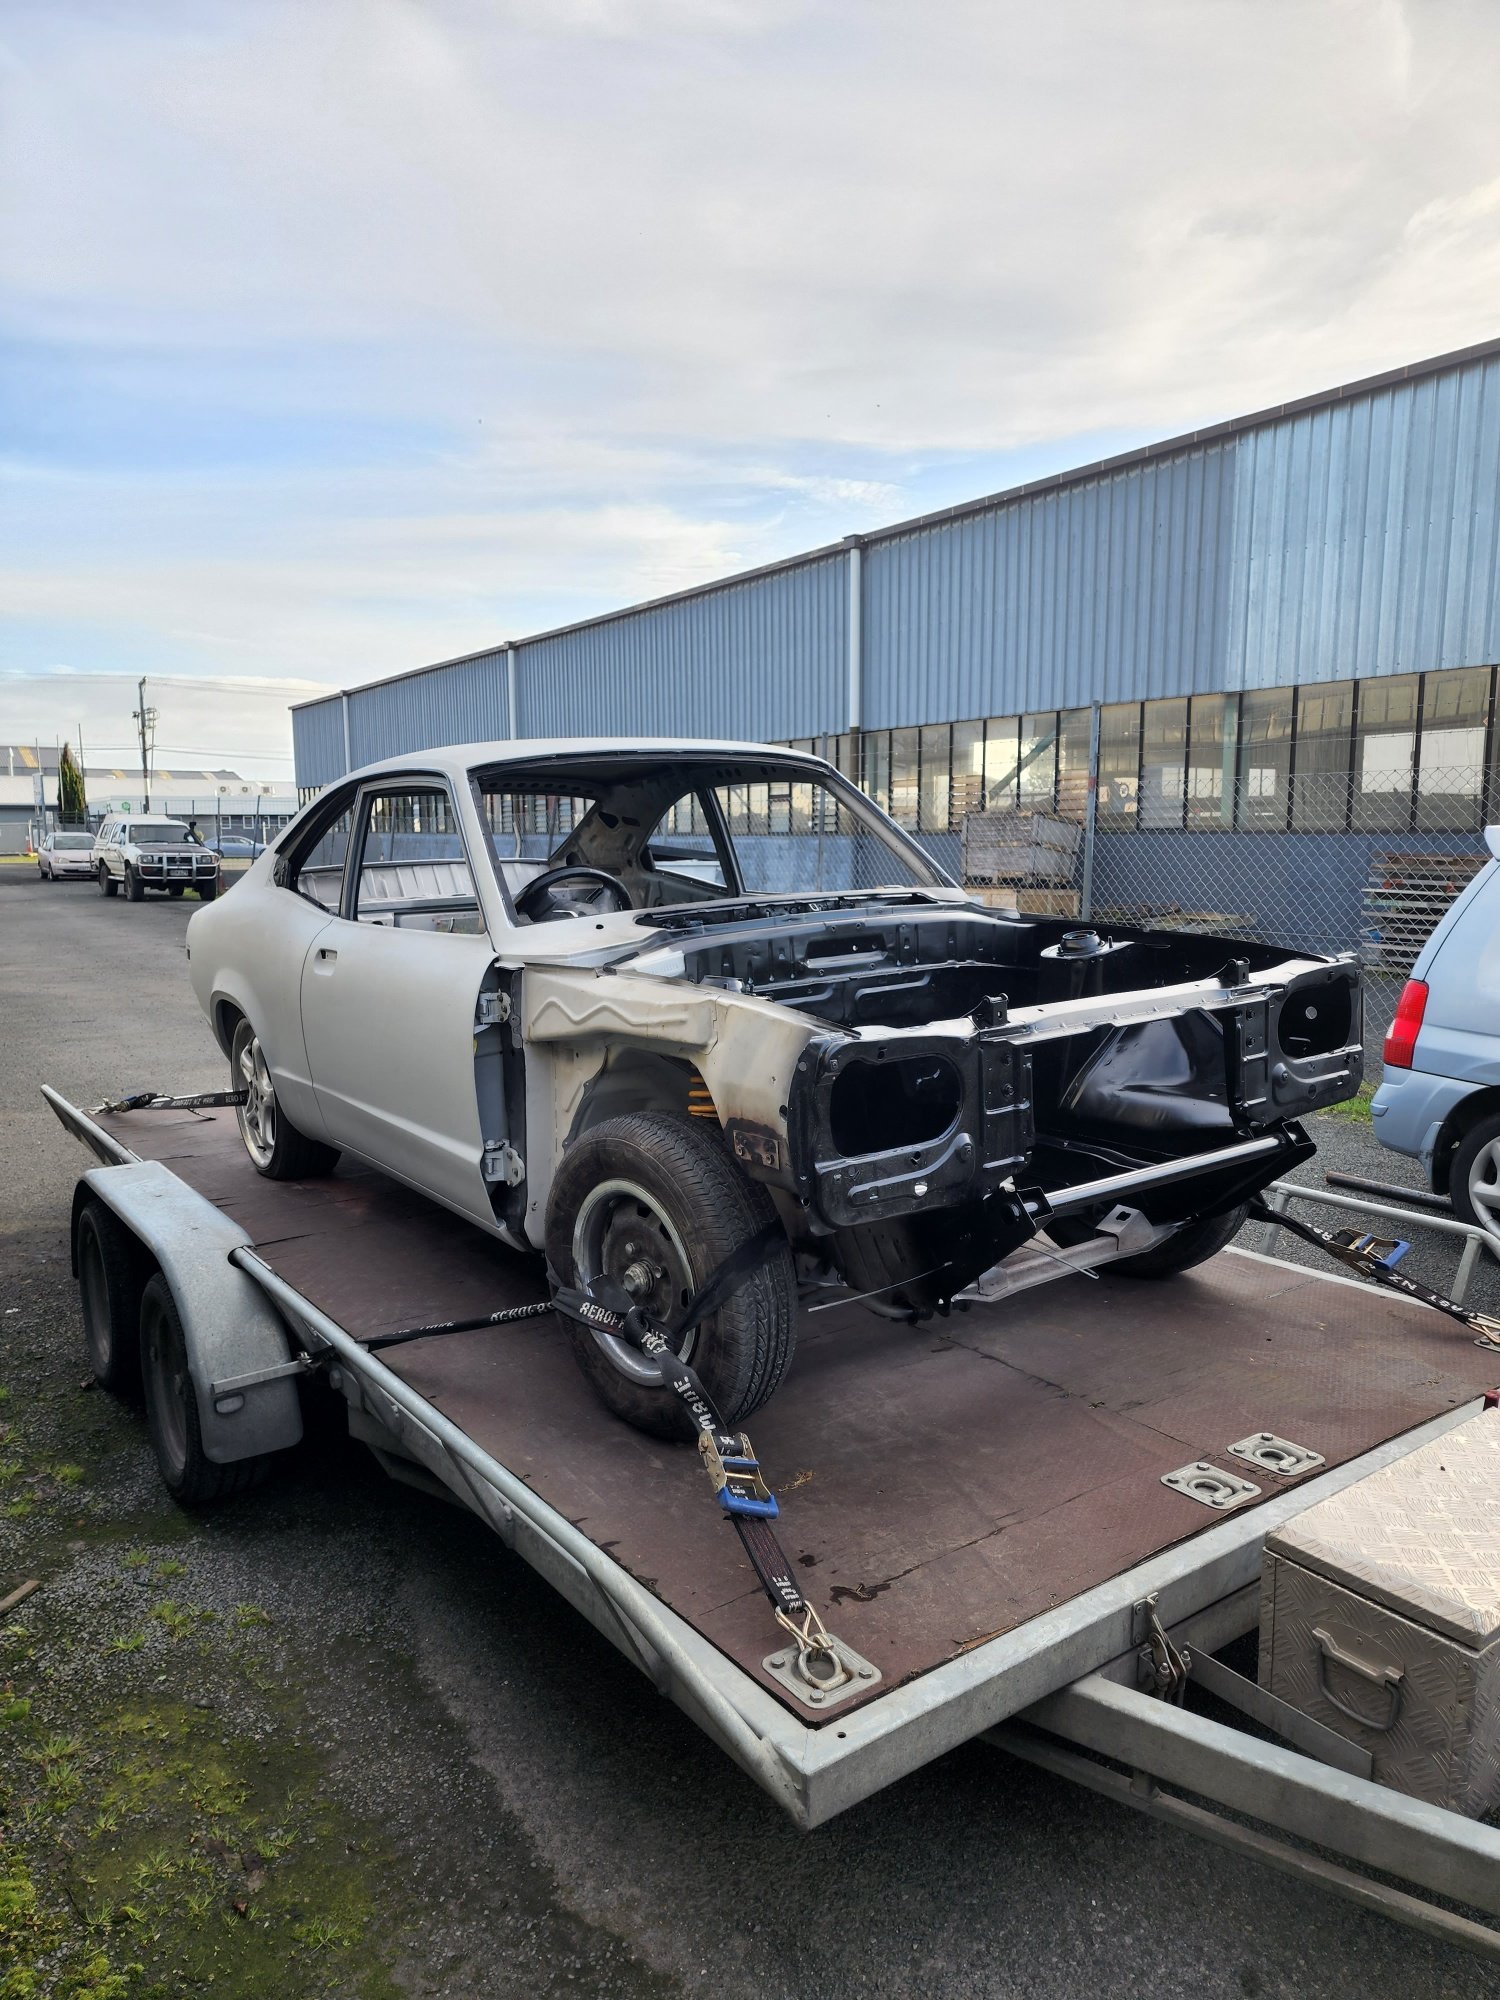
The story for this project starts about 6 years ago, I was on my OE in the UK, my then flatmate asked if I wanted to join him and his mates on a trackday at Snetterton which was just down the road. One of his mates Jon, had a Renault Clio 172 Cup which he proceeded to thrash all day and after a few passenger laps I had a new found love for the little French hot hatch. The search for one was halted when an insurance quote came back for £4,500 and a car itself was £1,500. The trackday lads wound up being my friday pub locals with drinks frequently flowing and track cars bought and sold by all of us. Currently the fleet has an E92 M3, Mk7 & Mk6 Fiesta St's along with a Porsche Boxster. Fast forward a few years, after a problematic and uneconomical supercharged Mini being sold just after the Covid Lockdowns, I was in search of a new car. A workmate had a Renault Twingo for sale, his wife had owned it from new, it hadn't seen a wash in at least 2 years but seemed to be reliable and the price was right as he needed it gone. The Twingo 2 was based on a Mk2 Clio which gave it a great platform to build on and the 1.1 turbo had 100hp from factory which in the city gave it enough pep to be a bit of a laugh. A trip to the Peak district and a few fun driving roads brought back the love for the French Hatch and sticking a set of track tyres on it only helped. Twingo below. My wife and I made the decision to head back to NZ and sell up most of our possessions including her Fiat 500 and my Twingo. Jon ended up buying the Twingo as a stopgap before he left the UK to head to Saudi Arabia. Once back here I had a quick look for Renaultsport Clio but didn't see many around, decided to cut my losses and soon moved onto an MX5 alongside a Golf as a daily driver. After a few months of working from home on the kitchen table, I decided to make my own permanent office and needed to buy some furniture. After seeing how expensive decent office chairs can be. I decided to look at Pick-a-Part to see if there were any car seats that I could make into a suitably comfy office seat. I saw they had a Renault Clio in stock and after going through the photos a few times and running the VIN it turns out that it was a Renaultsport 172. No parts seemed to be missing so after a bit of discussion with my wife, we jumped in the car and went to have a look. On investigation of the car, someone had tried to remove the spoiler without removing the screws however the rest looked ok. Parts were there and it seemed too good to be true. A carpark negotiation about the practicalities of this project and how it would be feasible was entered with my wife. She's a good one and was happy for me to buy it providing the MX5 would be listed for sale in the near future. A price was agreed on from Pick-a-Part and collection was arranged later in the week. How it looked at collection about to go on the trailer. They shut the gates behind as they didn't want it back! Steering was locked so was a prick to get on the trailer A photo I received later that day after I had to rush to work. In its current hiding place. Its not pretty, but there is potential. The previous owner apparently scrapped it due to losing the keys. The key is coded to the body control module (UCH) and then also to the ECU. With no easy way to override the immobilizer, I can imagine it being an expensive exercise to get going again without importing anything The next day I purchased a new ECU, body control module and key from a Renault breakers in the UK and that is currently on its way. It's deregistered so needs to go through compliance once it starts and a few things are fixed. Hopefully with a good wash and polish it will start to look a bit better. The interior is coming along nicely and after a good clean is looking far better. Some of the previous owners seemed to care about it with decent tyres on it and receipts for various repairs and services. Pick-a-part helpfully removed the cat converter and drilled a hole in the fuel tank to drain it. If anyone knows a way to fix a hole in a plastic fuel tank, advice would be appreciated. Plans at this stage are to get it started and then get ready for compliance, no damage has thankfully occurred on the underside so it shouldn't need a repair cert. It needs a new exhaust so that will get made soon, new brakes are on their way and a full flush and service will happen too. Thanks for reading!1 point
-
Takumi still using it bro1 point
-
What volts amps? Might be cheap/dirty psu options we can suggest.1 point
-
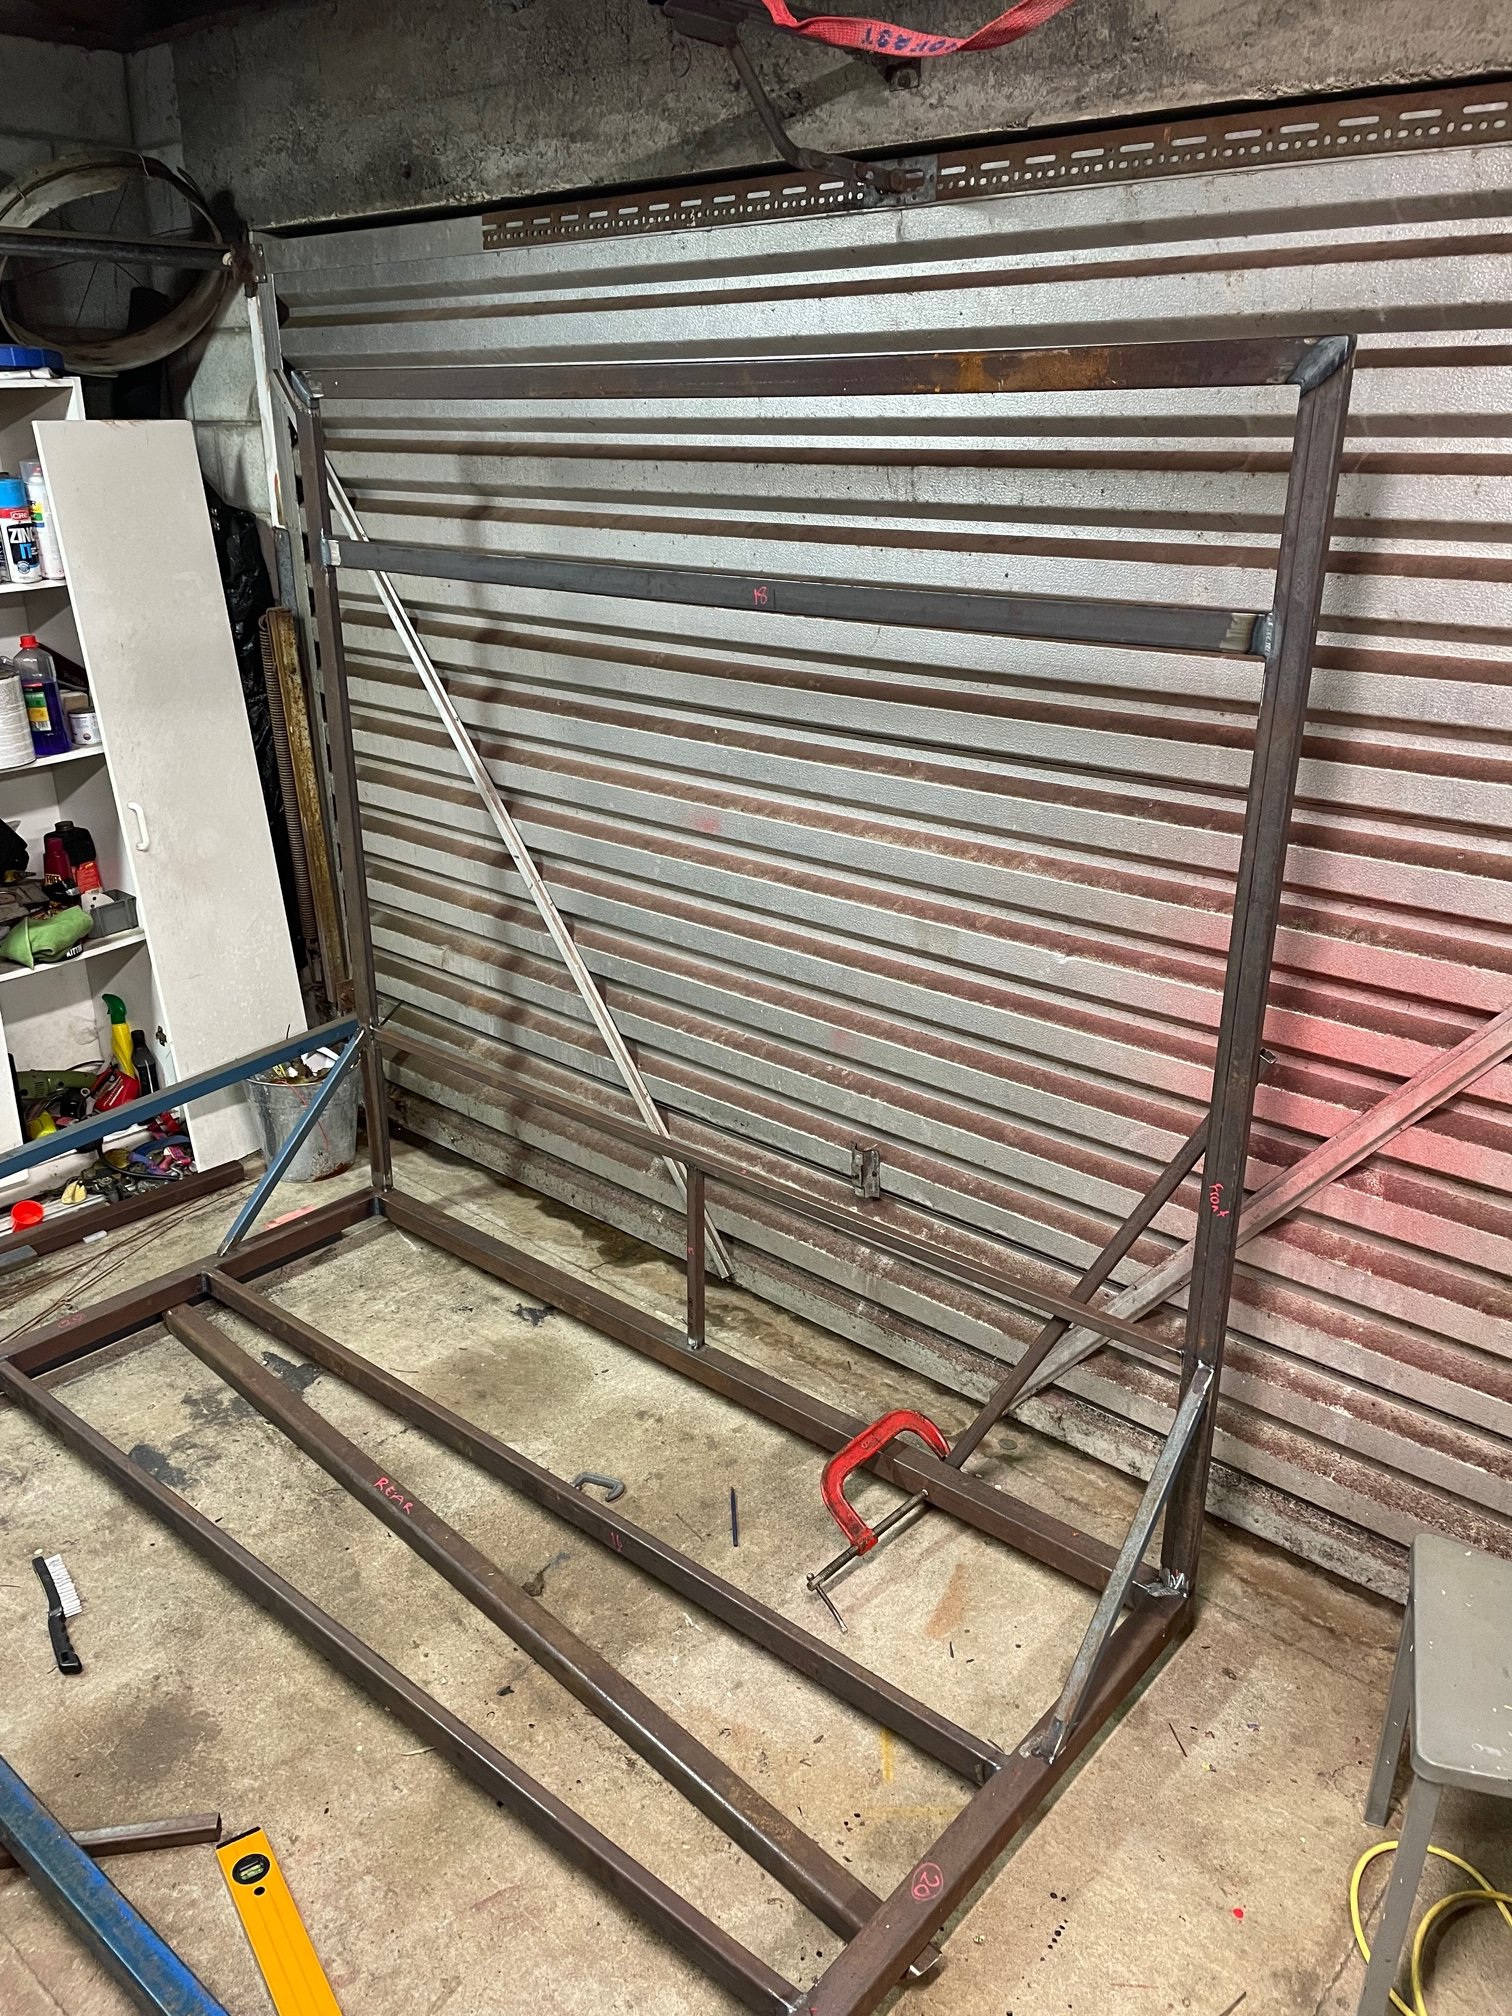
Got a wee bit more done last night. Tacked the other bars into the front section and welded out the top part. Thought it might be easier before the upper framework goes in. I didn’t want to start fully welding the bottom and bracing until the top is restrained. Also got the rear frame tacked up.
1 point
-
if the steering controller are the type that pull different resistances for each button press. there are both stereos that can handle that out of the box, and adapter boxes for the stereos that want a standard input. there are also all manner of adapter boxes, many from axxess, that can handle specific steering wheel controls. super lush having them work so well worth a little bit of money imo1 point
-
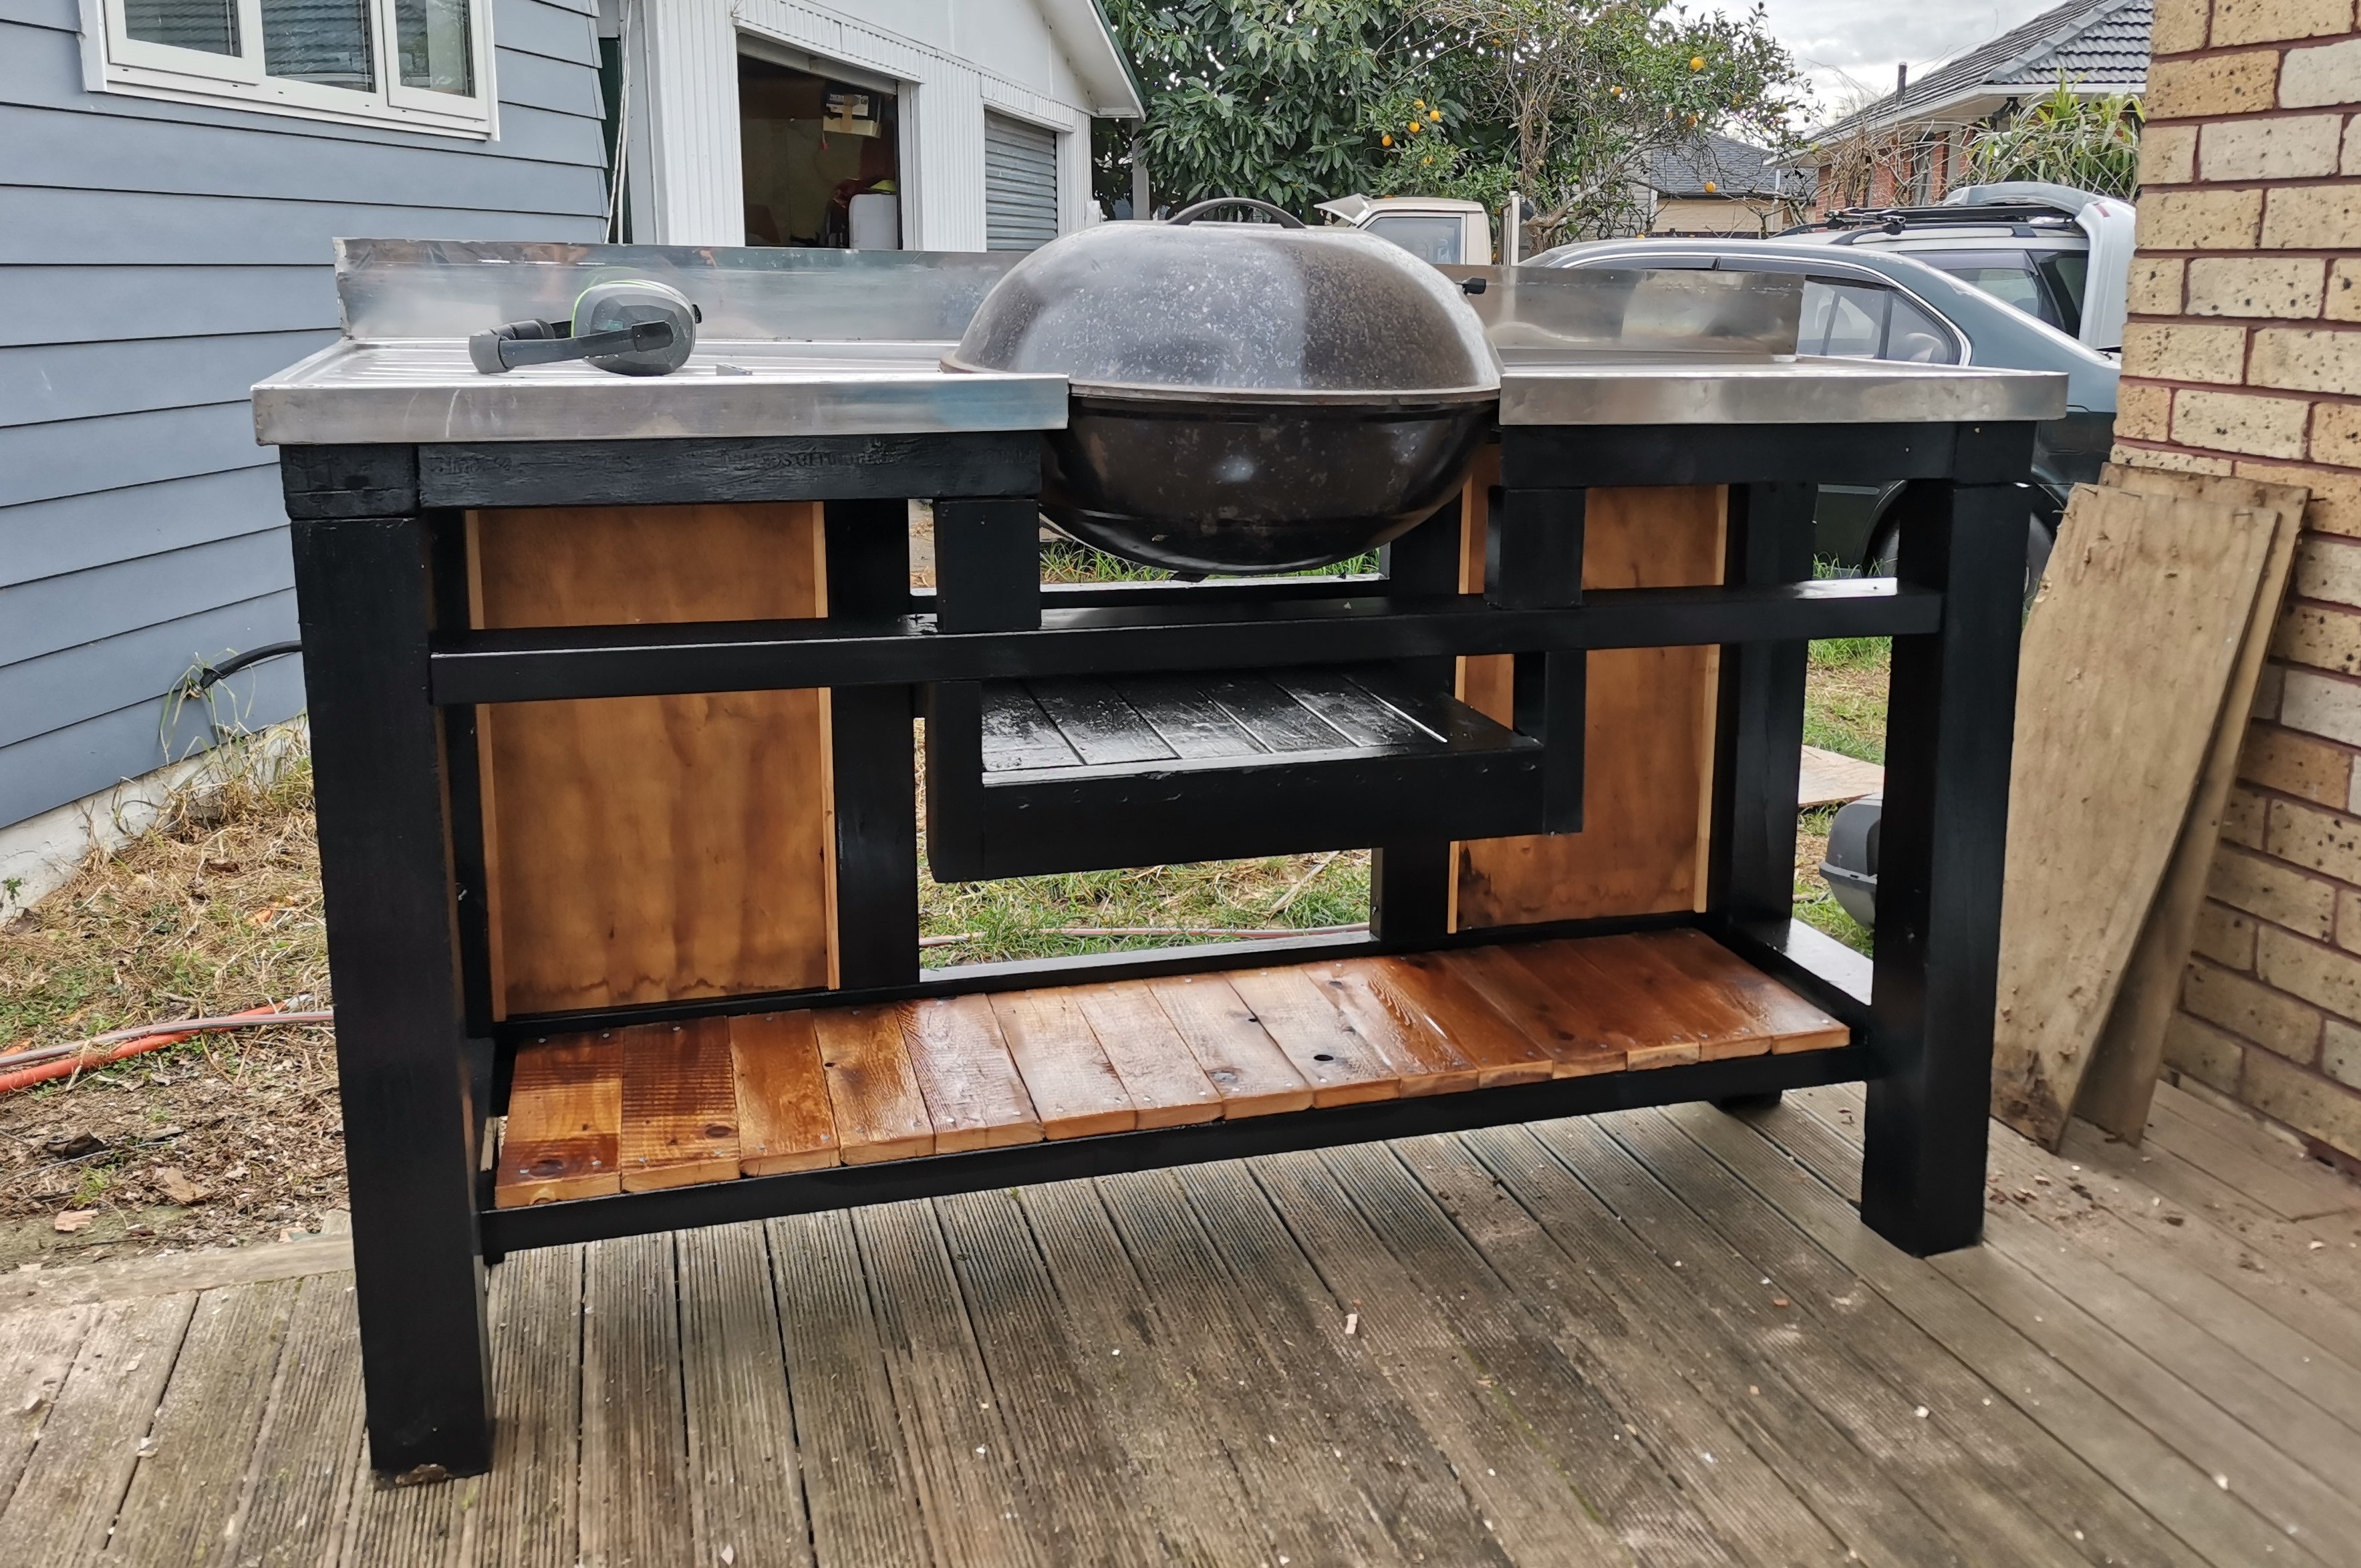
And for day3 I have my eye on some old totara timber from a knocked down house to close in the sides, will see if I can sneak enough home Think I will waft some high temp black over the bbq, got to trim a bit off thr front lip of the bench for lid to fit nice, then screw it into the frame. Maybe some chimney caulk to seal it in there
1 point
-
Also try asking garry grant at alltrax here in tasman. He races a starion and might have some ideas, spares to help. https://www.facebook.com/alltraxnelsonnz/1 point
-
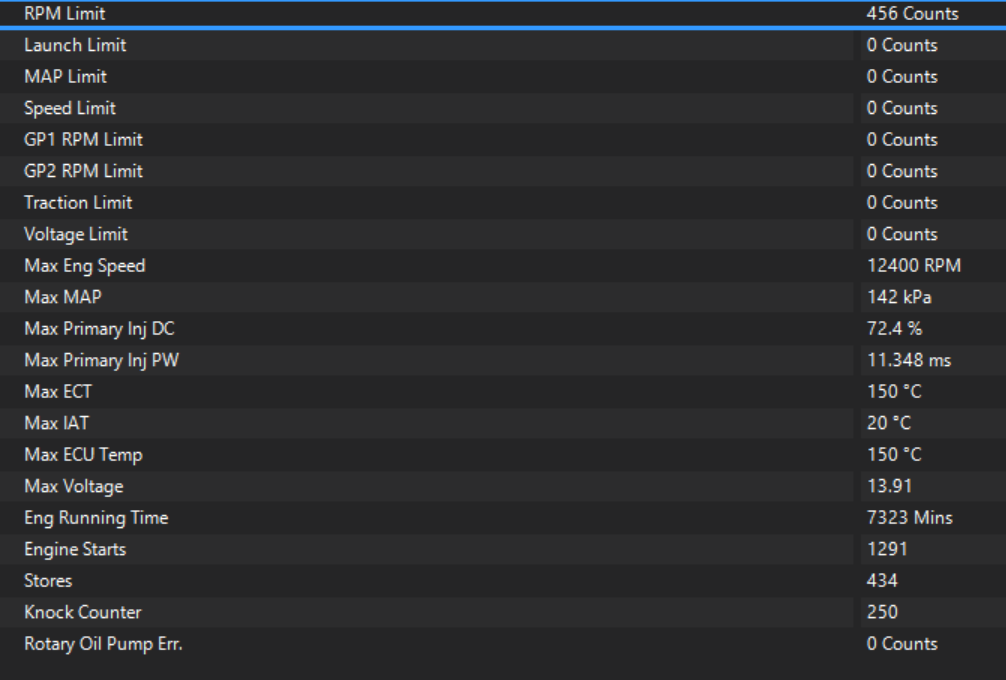
Ahhh right! Well that makes life easy. I've never used that before. Just checking my current stats, I must have unkowingly reset it at some point. The numbers are too low for it to be all time numbers including Carina usage. 122 hours total runtime. I'll reset the stats for the new motor. A lot of these stats (like 150deg temp, or 12400rpm) are from things like a sensor being unplugged or trigger errors when first setting things up.
1 point
-
The ecu stats on link is fun game, this is off my starlet a few years back
1 point
-
I think there's a way I could achieve this. There's two ways that my ECU can do logging. You can plug in the laptop, and it records everything to that. Or you can record to the very limited onboard memory when certain conditions are met. I never really use the onboard logging, apart from when I want to look at something with a bit more resolution (as it's 100hz vs 40hz) Since the amount of memory is small, you also need to economize which values you want to record. However, I could setup a trigger condition so that it just just records engine rpm only, at say 1hz resolution. Every time the motor goes over say 8000rpm. Then when it blows up I'll have a log of hours spent in the danger zone... I'll be honest though, when that last motor blew it rattled me a bit. I felt lucky not to have started a fire or skidded on the oil or something. (or oil filter...) It would give me the shits to do that at a track day at higher speed. Longer term the stronger pistons and rods will be a necessity for safety's sake more than anything, I think. One interesting thing that I've noticed since I've blown holes in my old block. Because the factory pistons and rods are so light, (I guess?) there's only one counterweight per cylinder. Also, here is a shitty time lapse video with some annoying generic music, of pulling a big bunch of junk off the motor.1 point
-
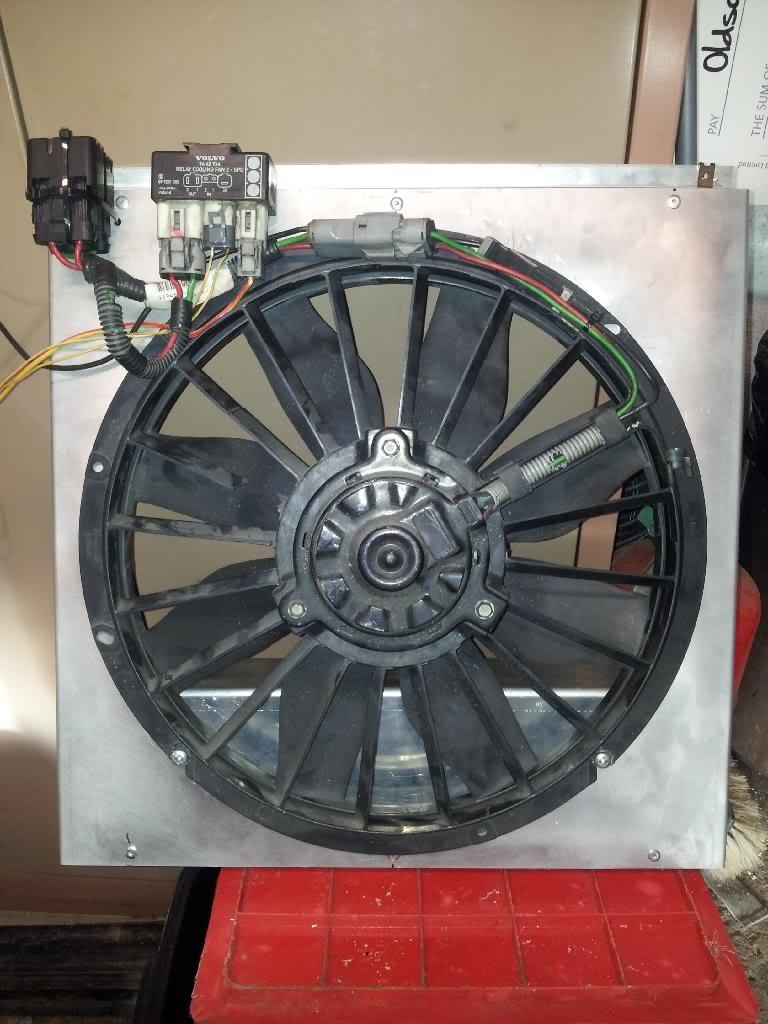
The fan unit look like this - all the wiring a direct positive and negative feed to the battery and a pair of wires back to a 2 stage toggle switch in dash (With my new motor I am going to wire one side to a thermo switch so stage 1 will turn on automatically and put stage 2 to an override for when I notice it getting a bit scorchy)
1 point
-
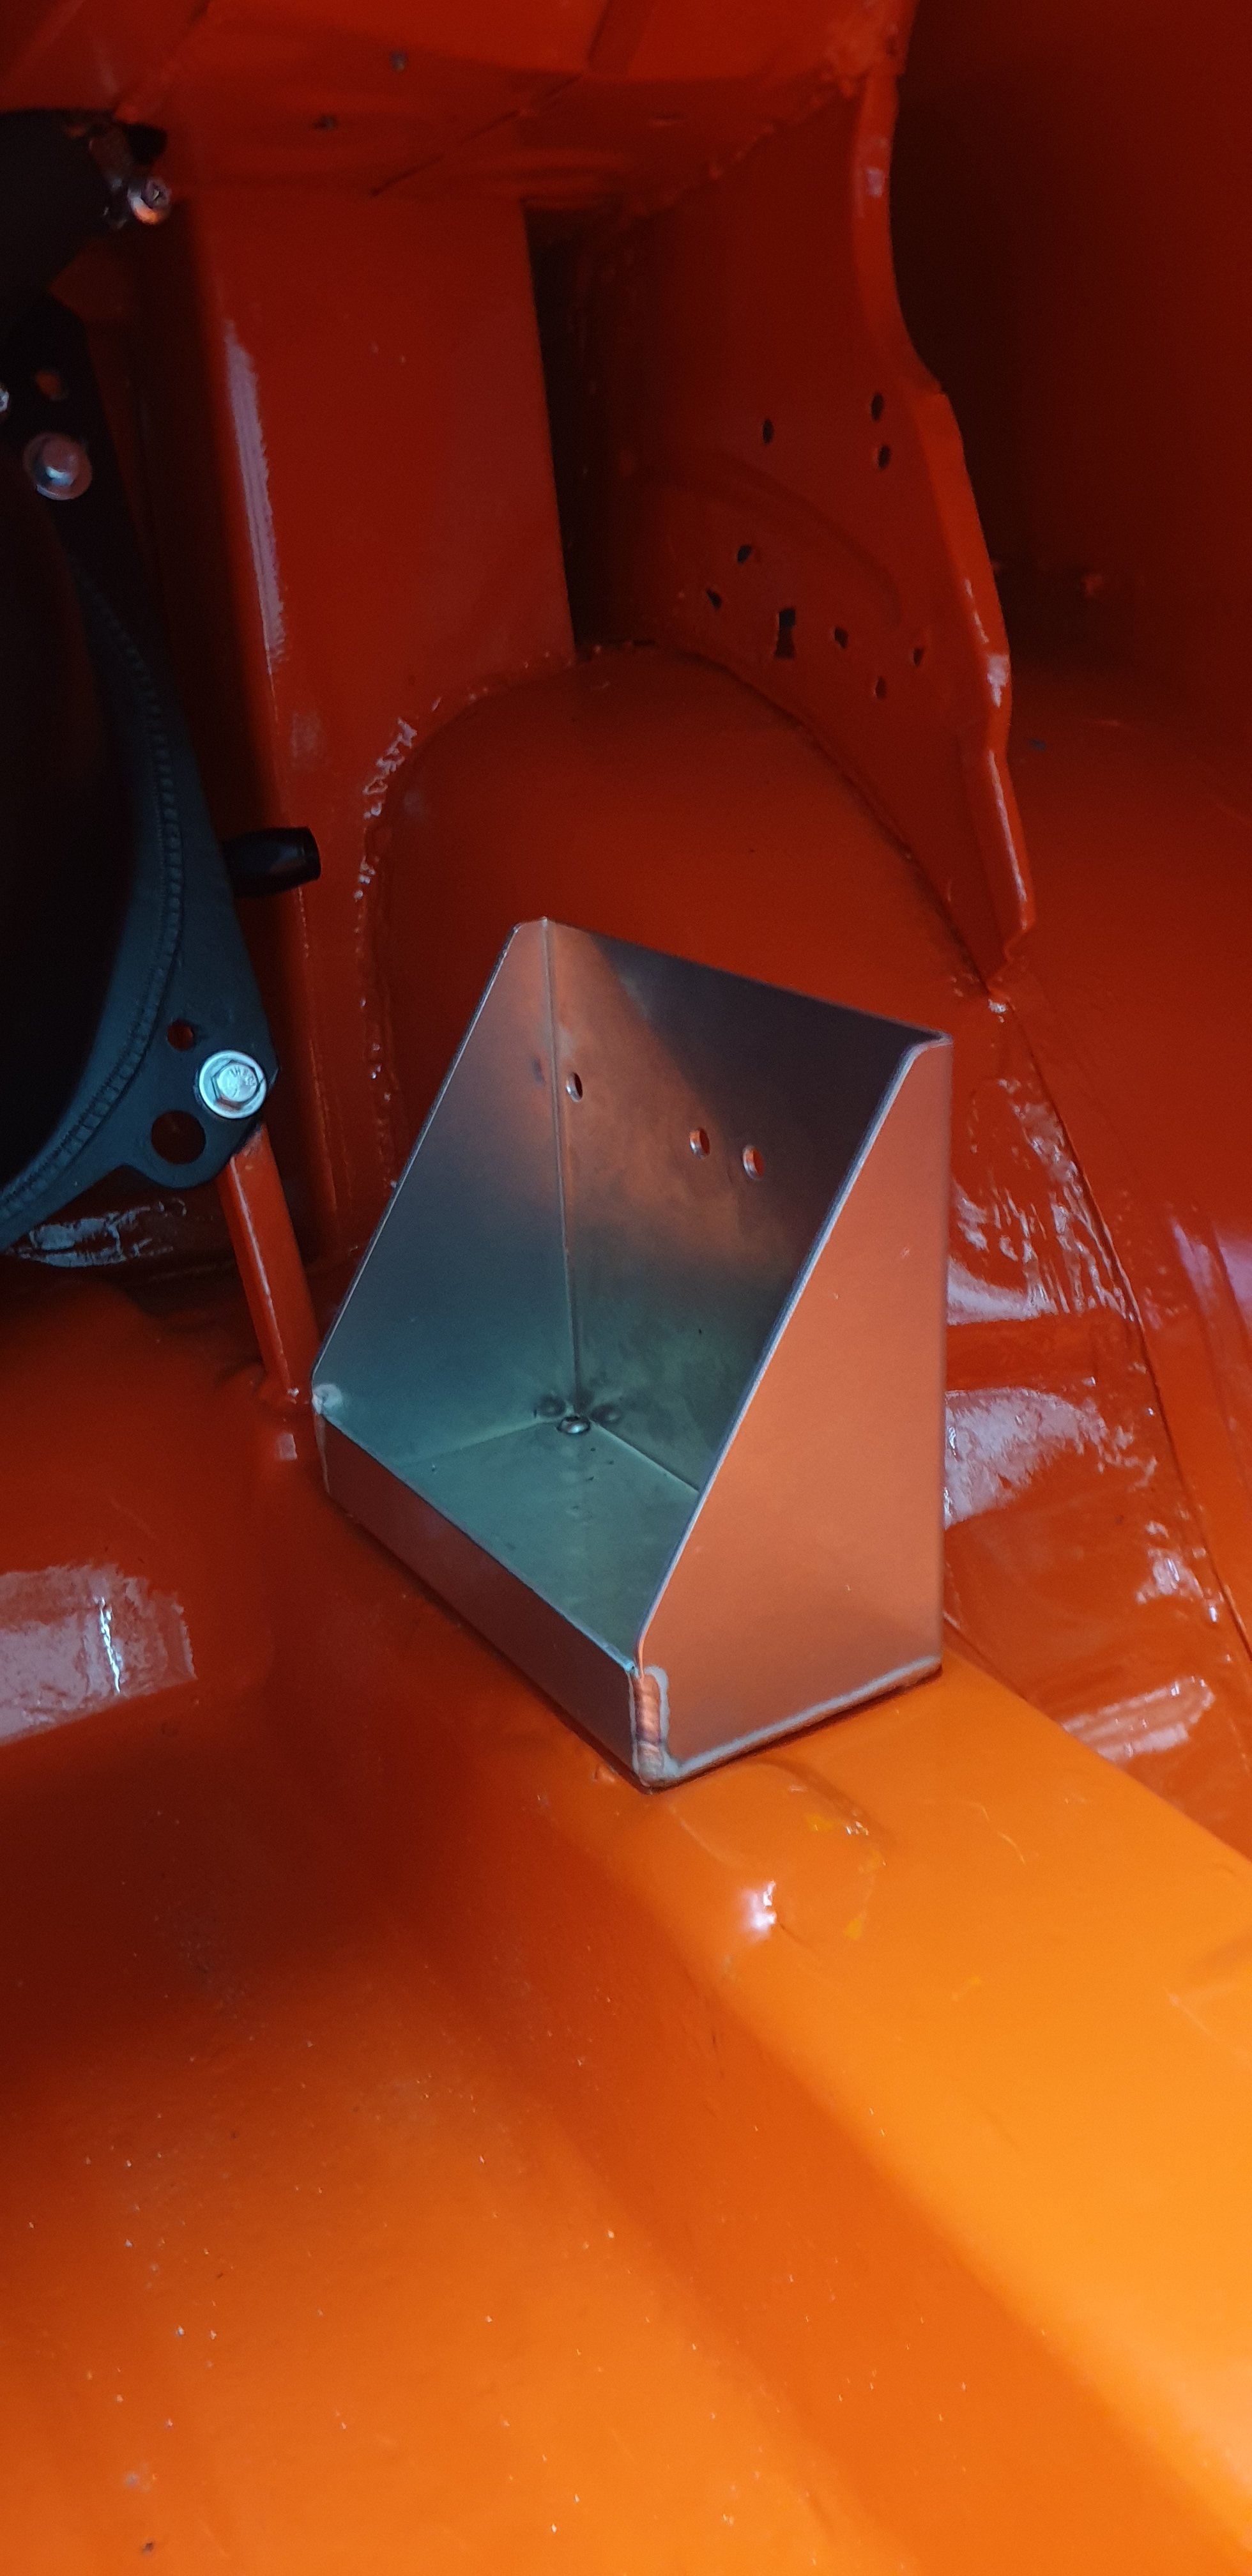
Well this week its been dropped off to fabricators for the following works: -Engine and gearbox mounts -Radiator & oil cooler fab with PWR cores -Catch can and overflow bottle -Battery box -Exhaust and exhaust manifold Painter has been working on the guards an nose cone so they will be in spritz shortly and will go back on the car. Also some 2" BBS 30 Hole 15" lips popped up on FB Marketplace so i grabbed them in the hope itll solve the BBS RS Fitment issues on the front and replace the 2.5" lips on it. Once the guards back on ill test fit that.
1 point
-
About 9000rpm1 point
-
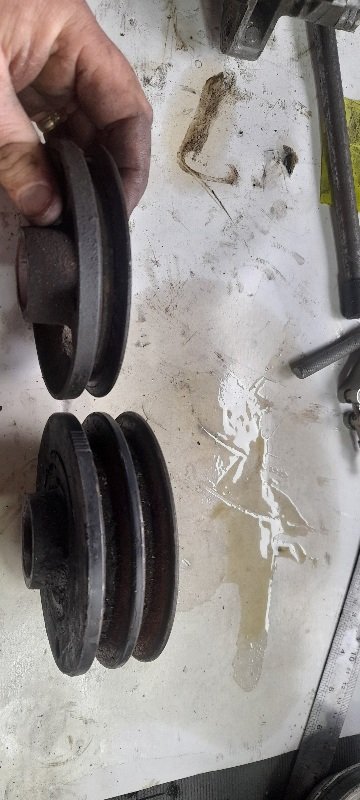
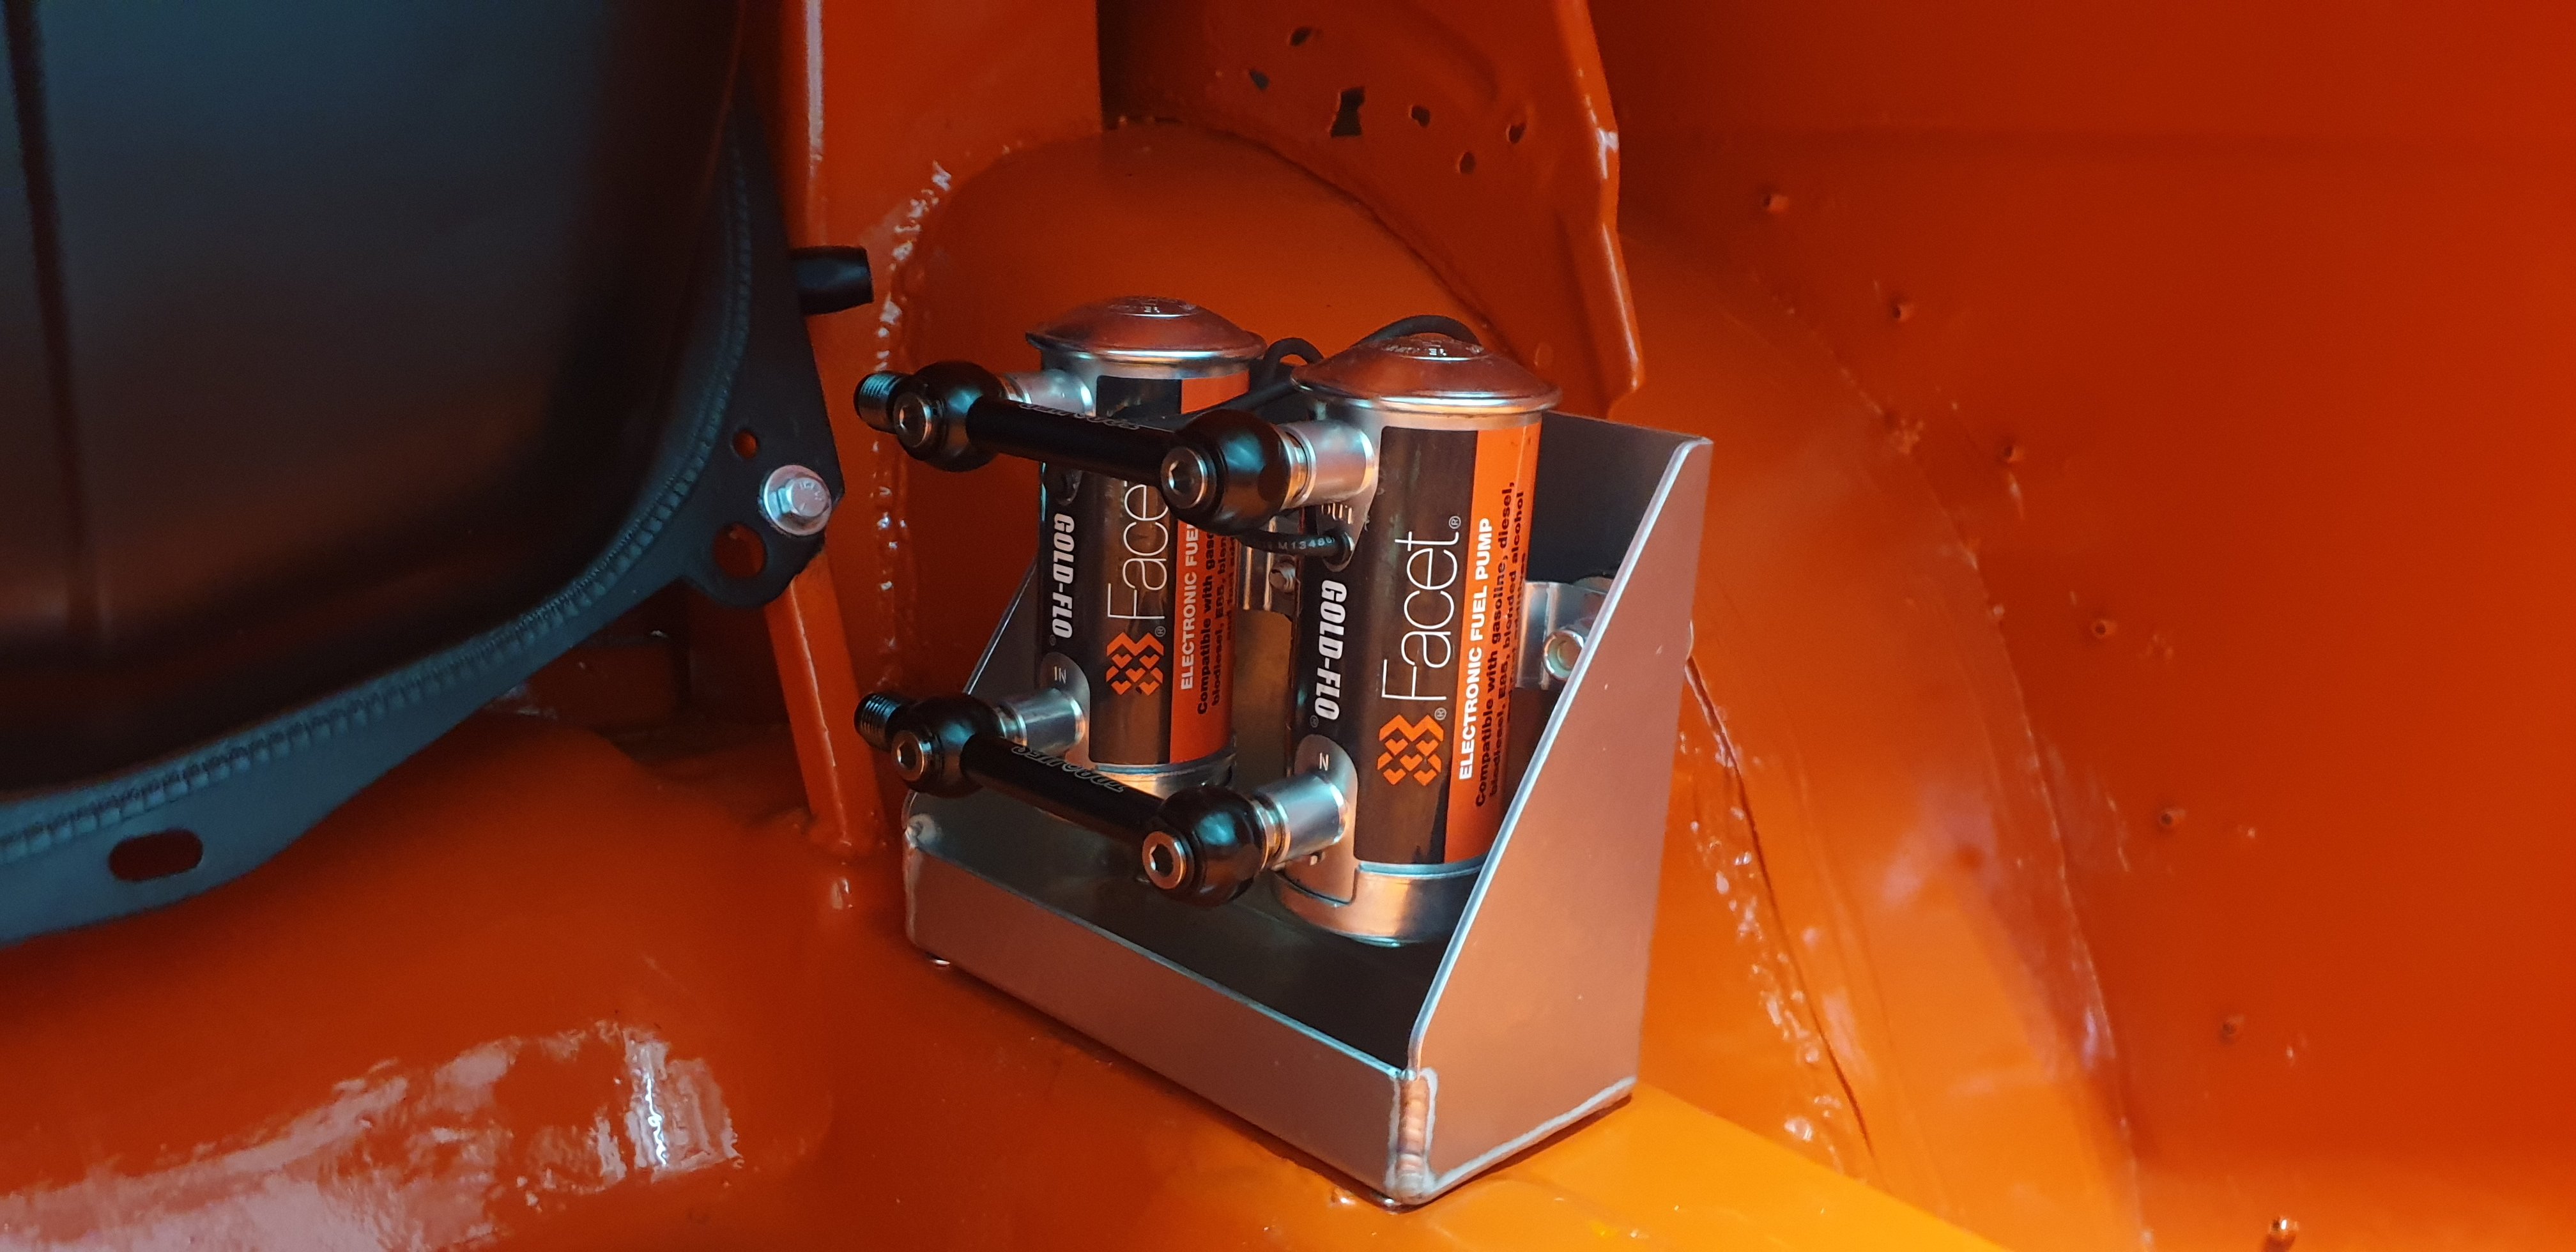
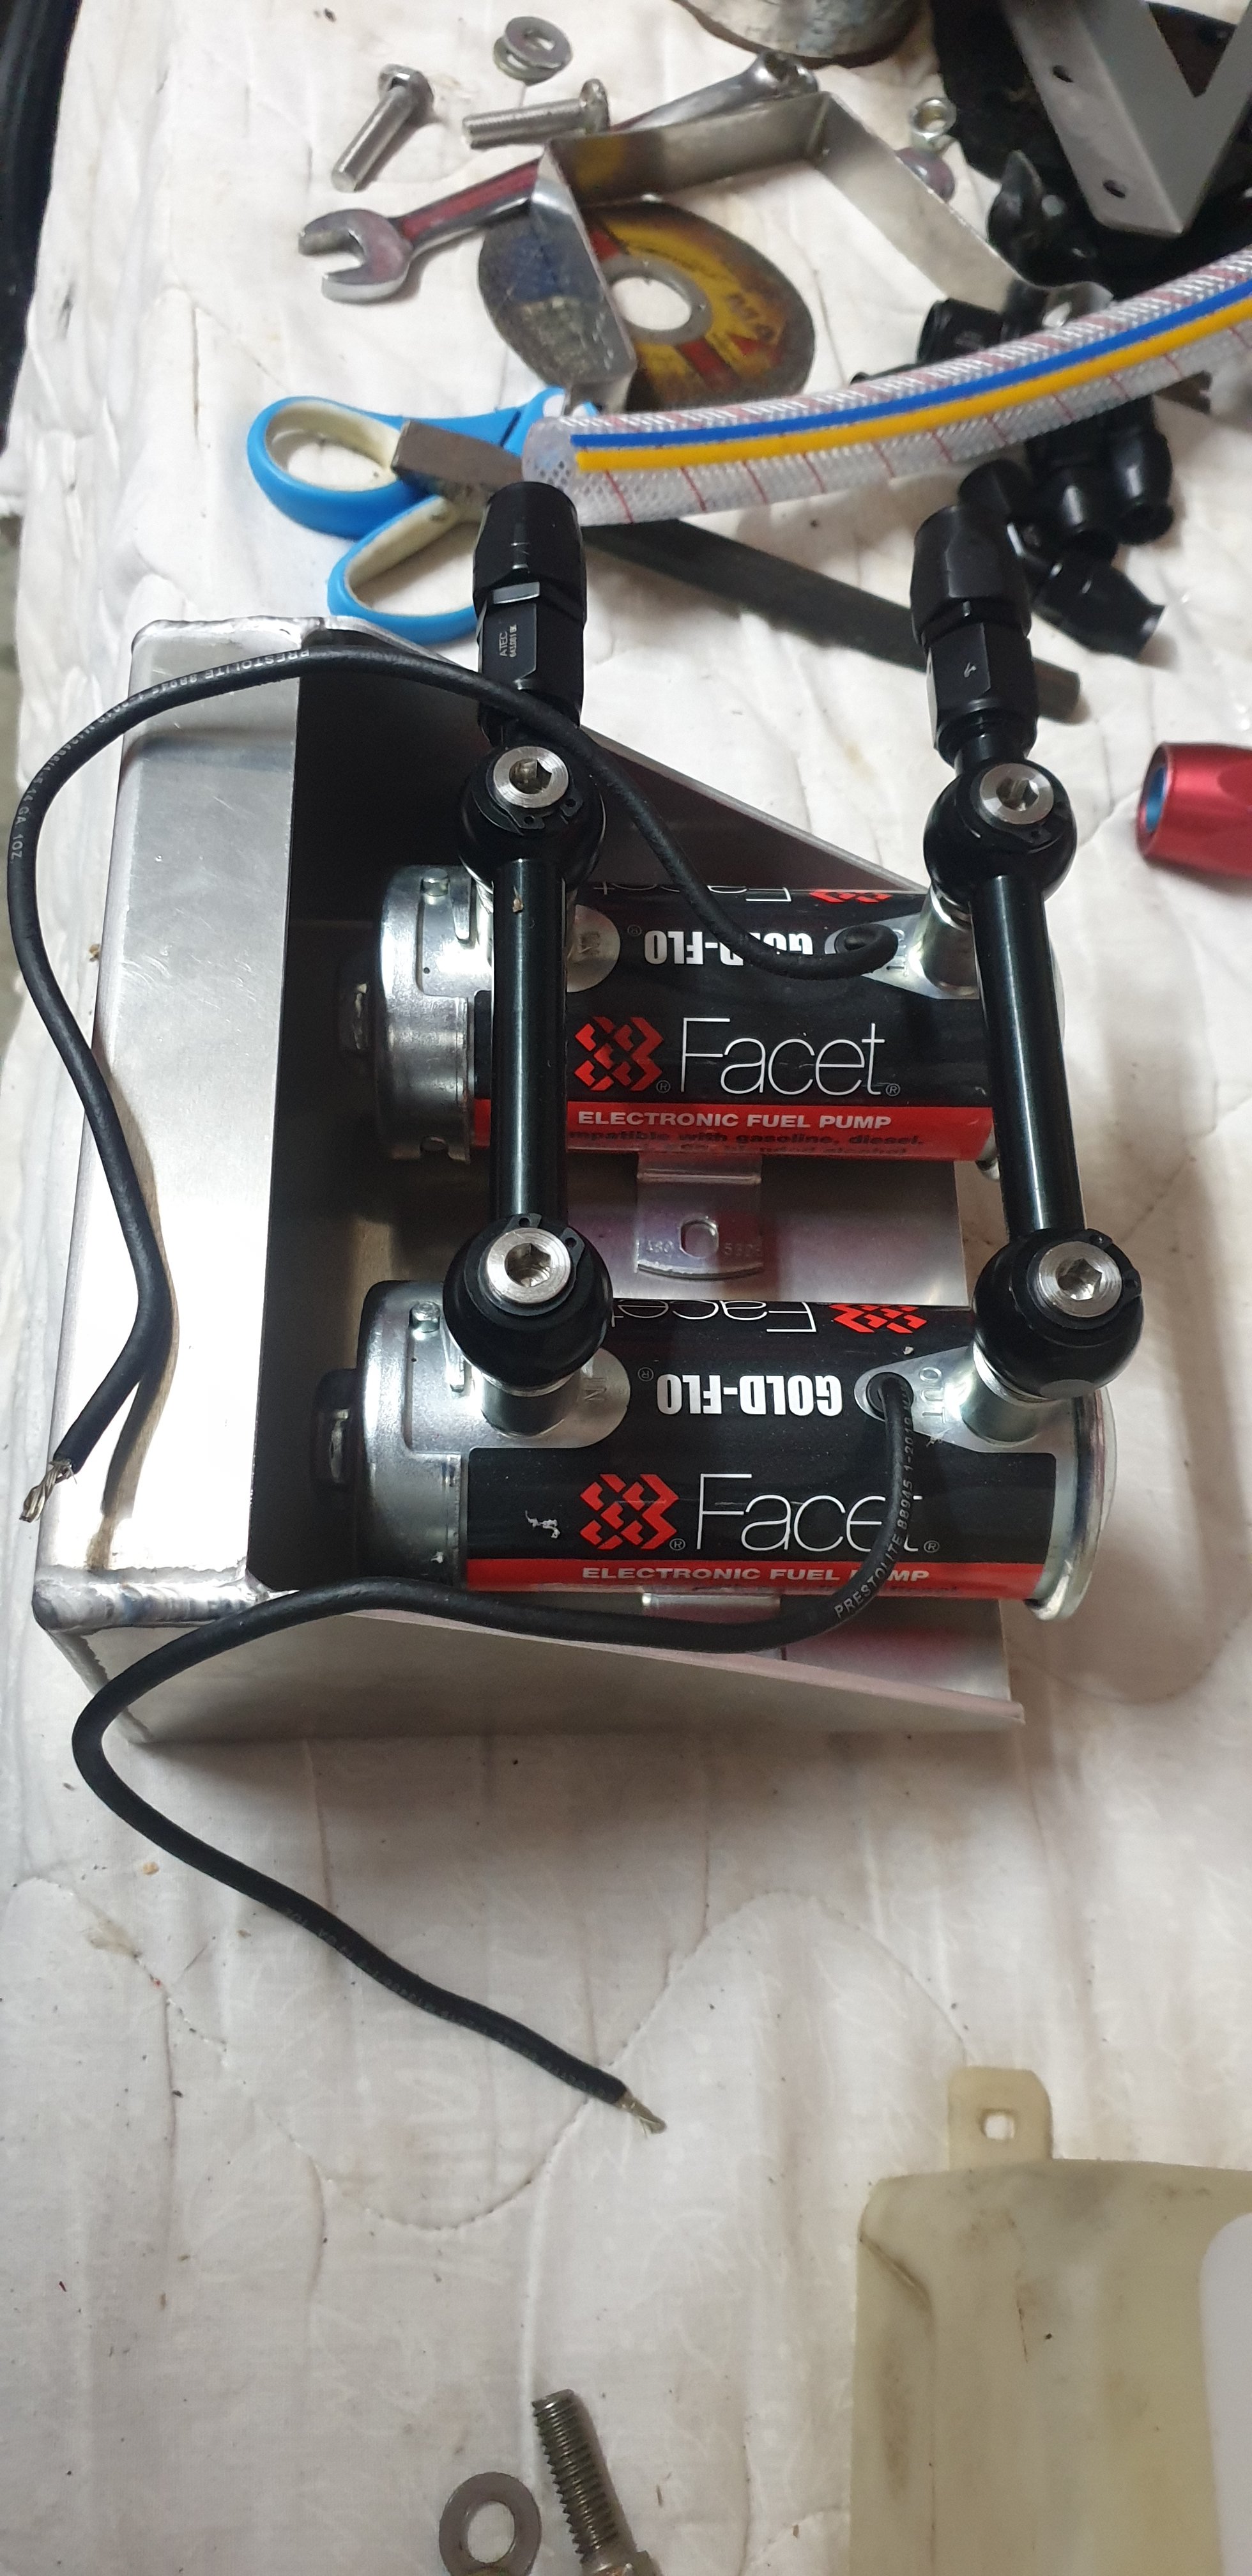
Offered up the pumps last night. Should work out quite nice.
1 point
-
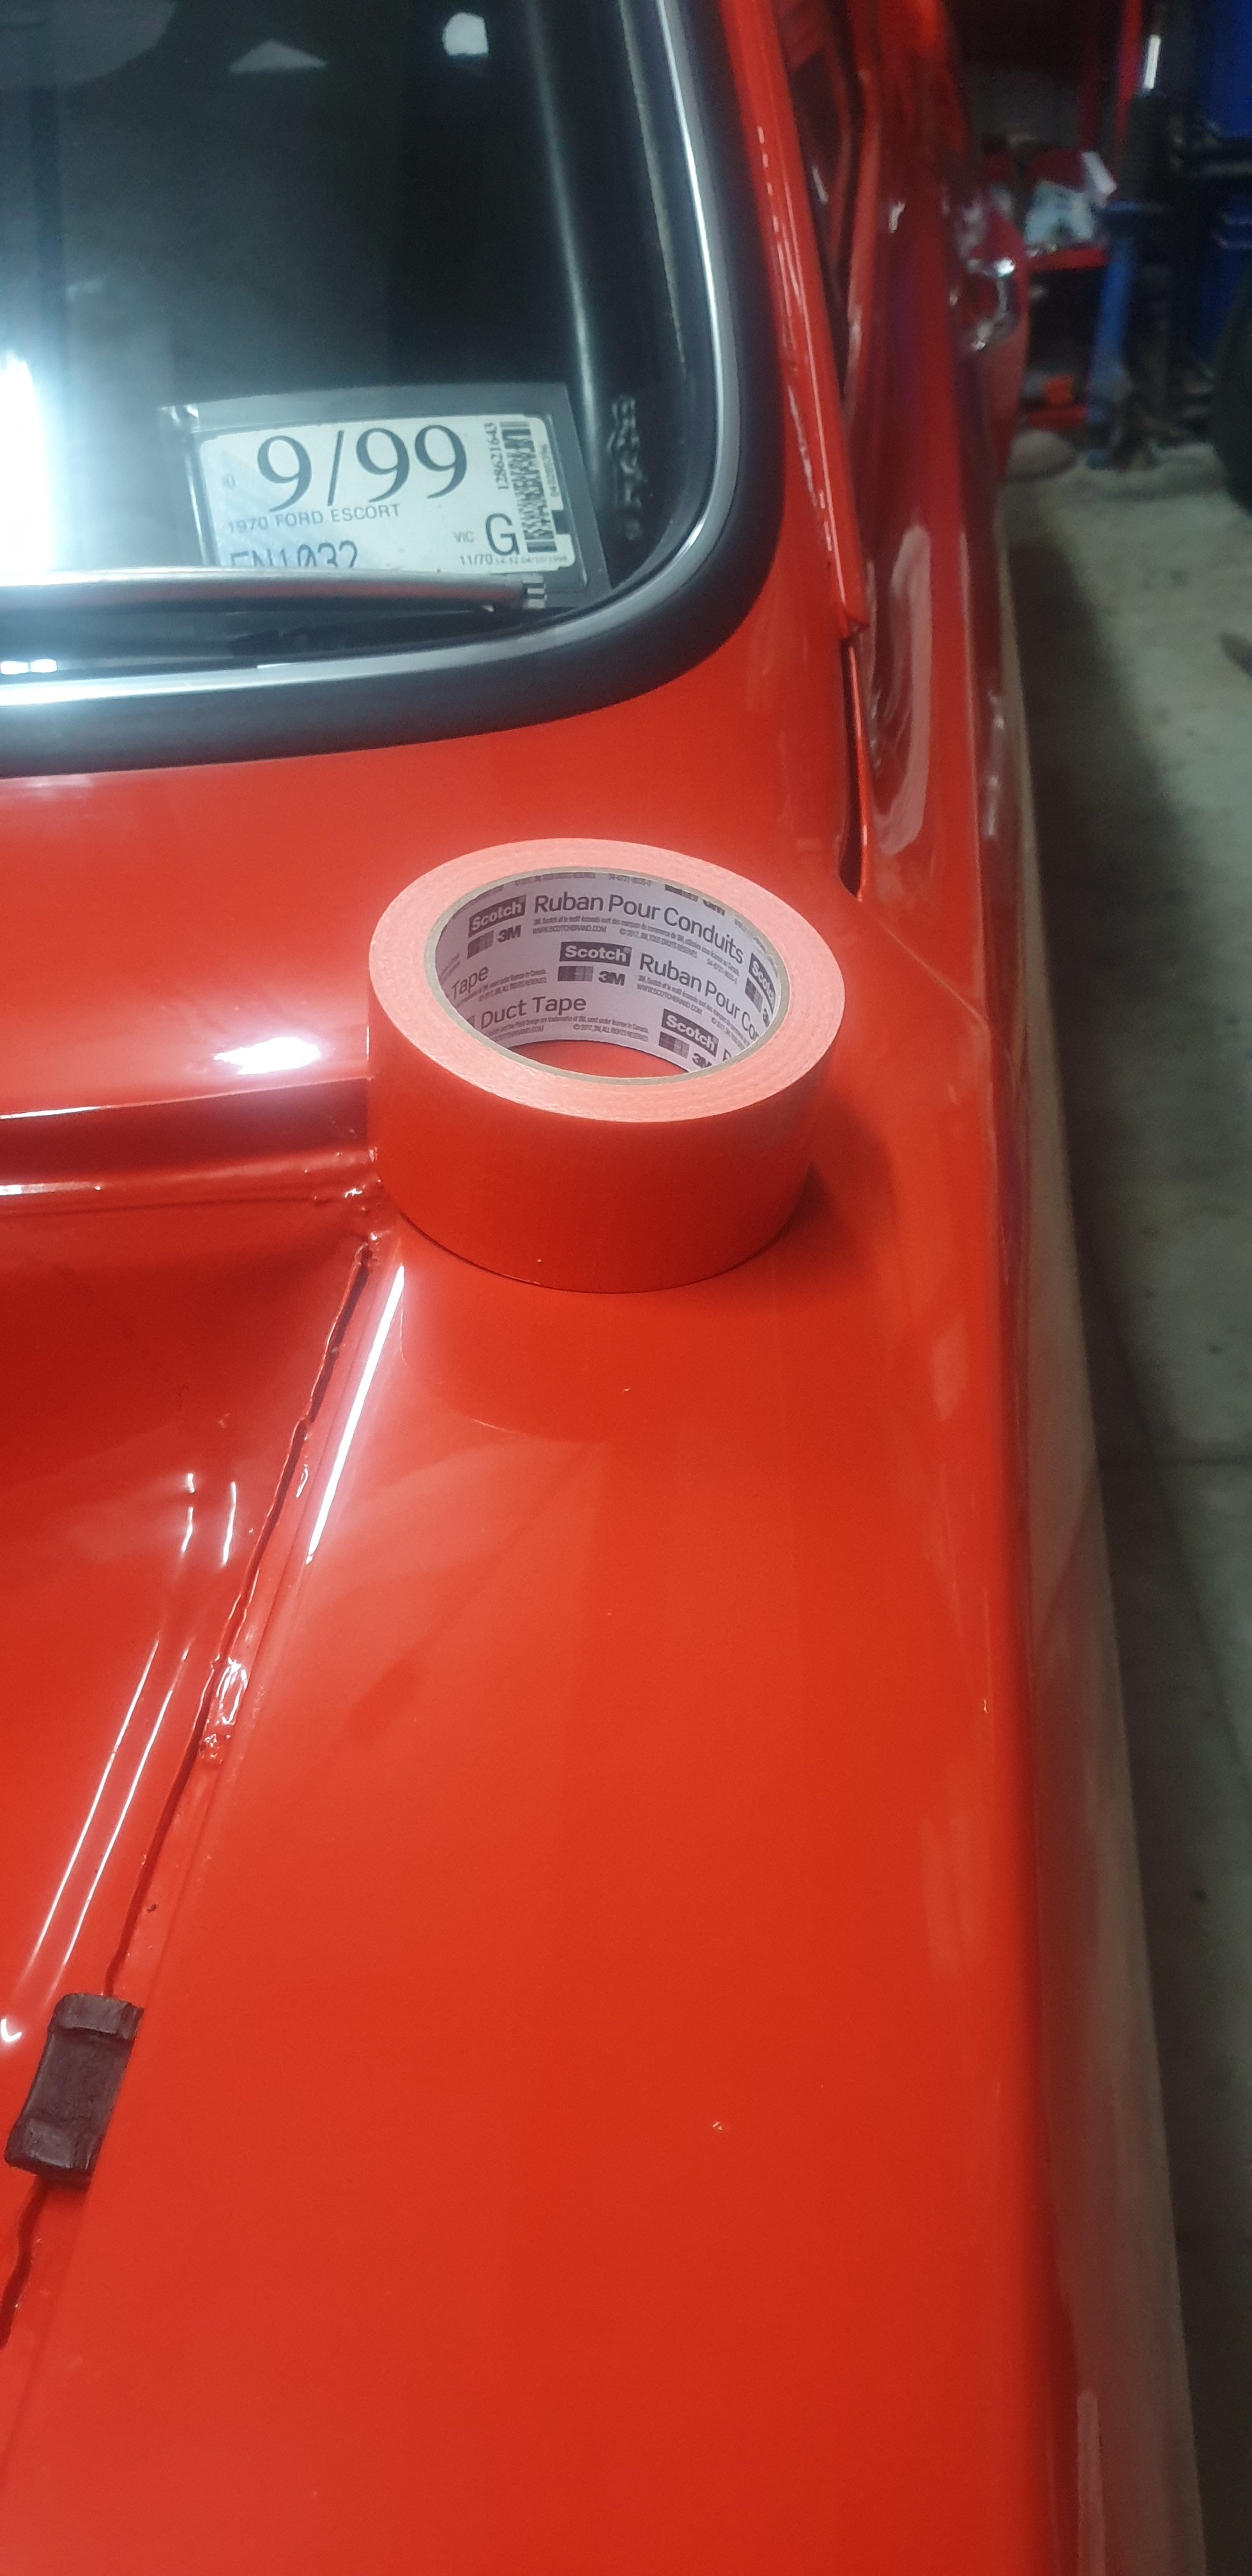
Been pretty slack recently on getting our to the shed. Mainly due to it being freezing.. Found some almost perfect match 100mph tape ... just in case something happens..
1 point
-
Cheers for the offer! But will give it a go on the 50cc first time around. Have entered! Will sort accommodation later / plenty of time for that.1 point
-
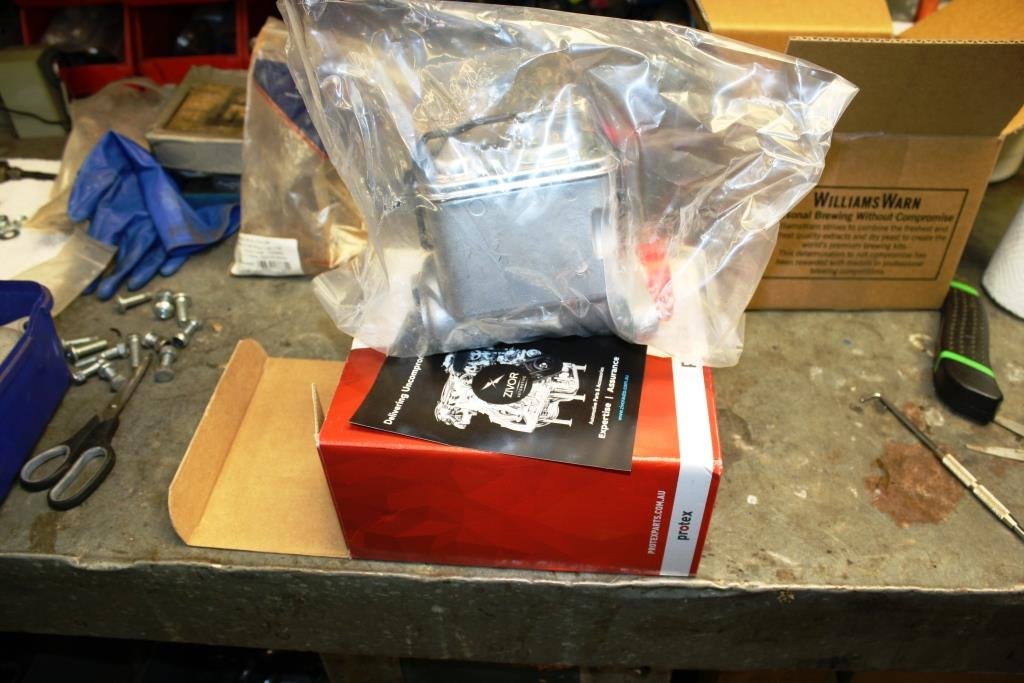
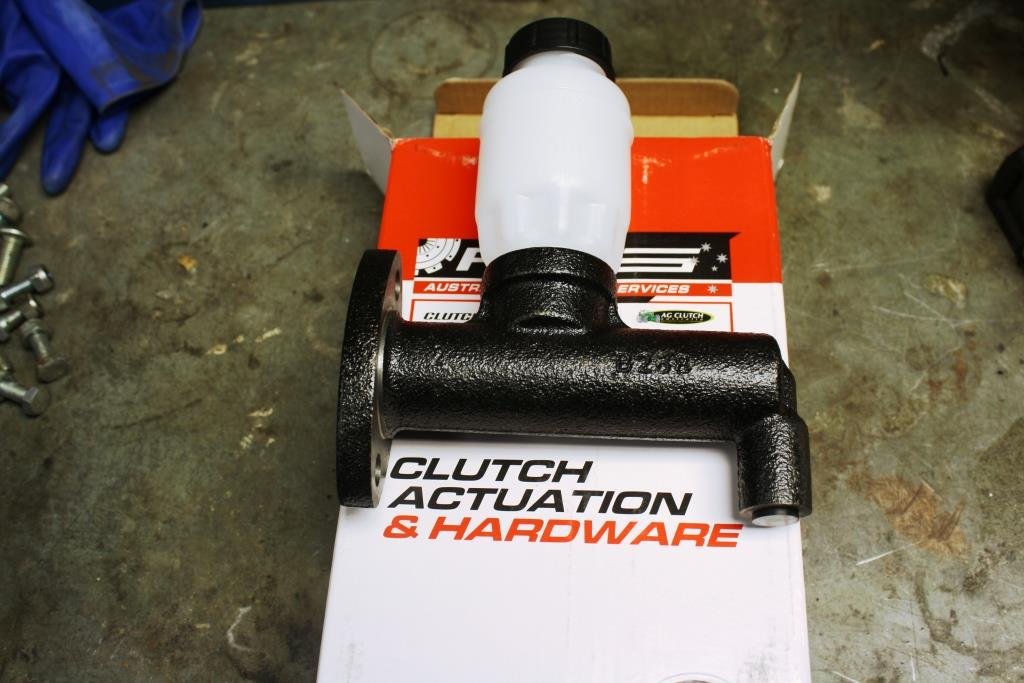
A new Master Cylinder arrived today…. And a clutch master as well… A bit more paint…… All mounted up….. Needed a 1 inch clutch slave and found a Triumph 2000 one at a great price.
1 point
-
Since the last update we made some signs for the garage. Took a while to decide what to write and longer to actually take some time off other jobs and paint the things. Sketched out the main centre board first which hannah then painted - like a big colouring in book I downloaded various images of car badges and the sketched them out for hannah to paint over. They look good but a bit 'new' so hopefully they'll fade soon enough and start looking old. We'd sort of finished the signs a couple of weeks ago but finally got around to putting them up on Friday. They still need the capping fitting. I snapped some pics that evening. I'll get some pics soon of the kitchen which, but for fitting a built in oven and a couple of bits of trim, is pretty much finished.1 point
-
Chassis update: I managed to make it back to NZ for a bit, a couple of months ago, to have a go at this chassis building thing my Dads been raving about! Turns out it is actually hard work! Hes just finished both rails! I just got a bunch of machined parts done. Spring mounts and braces that go between the rails. Just have two sheetmetal braces to figure out then all of it can be bolted/riveted together (with a few more holes and some tweaking I'm sure!)1 point
-
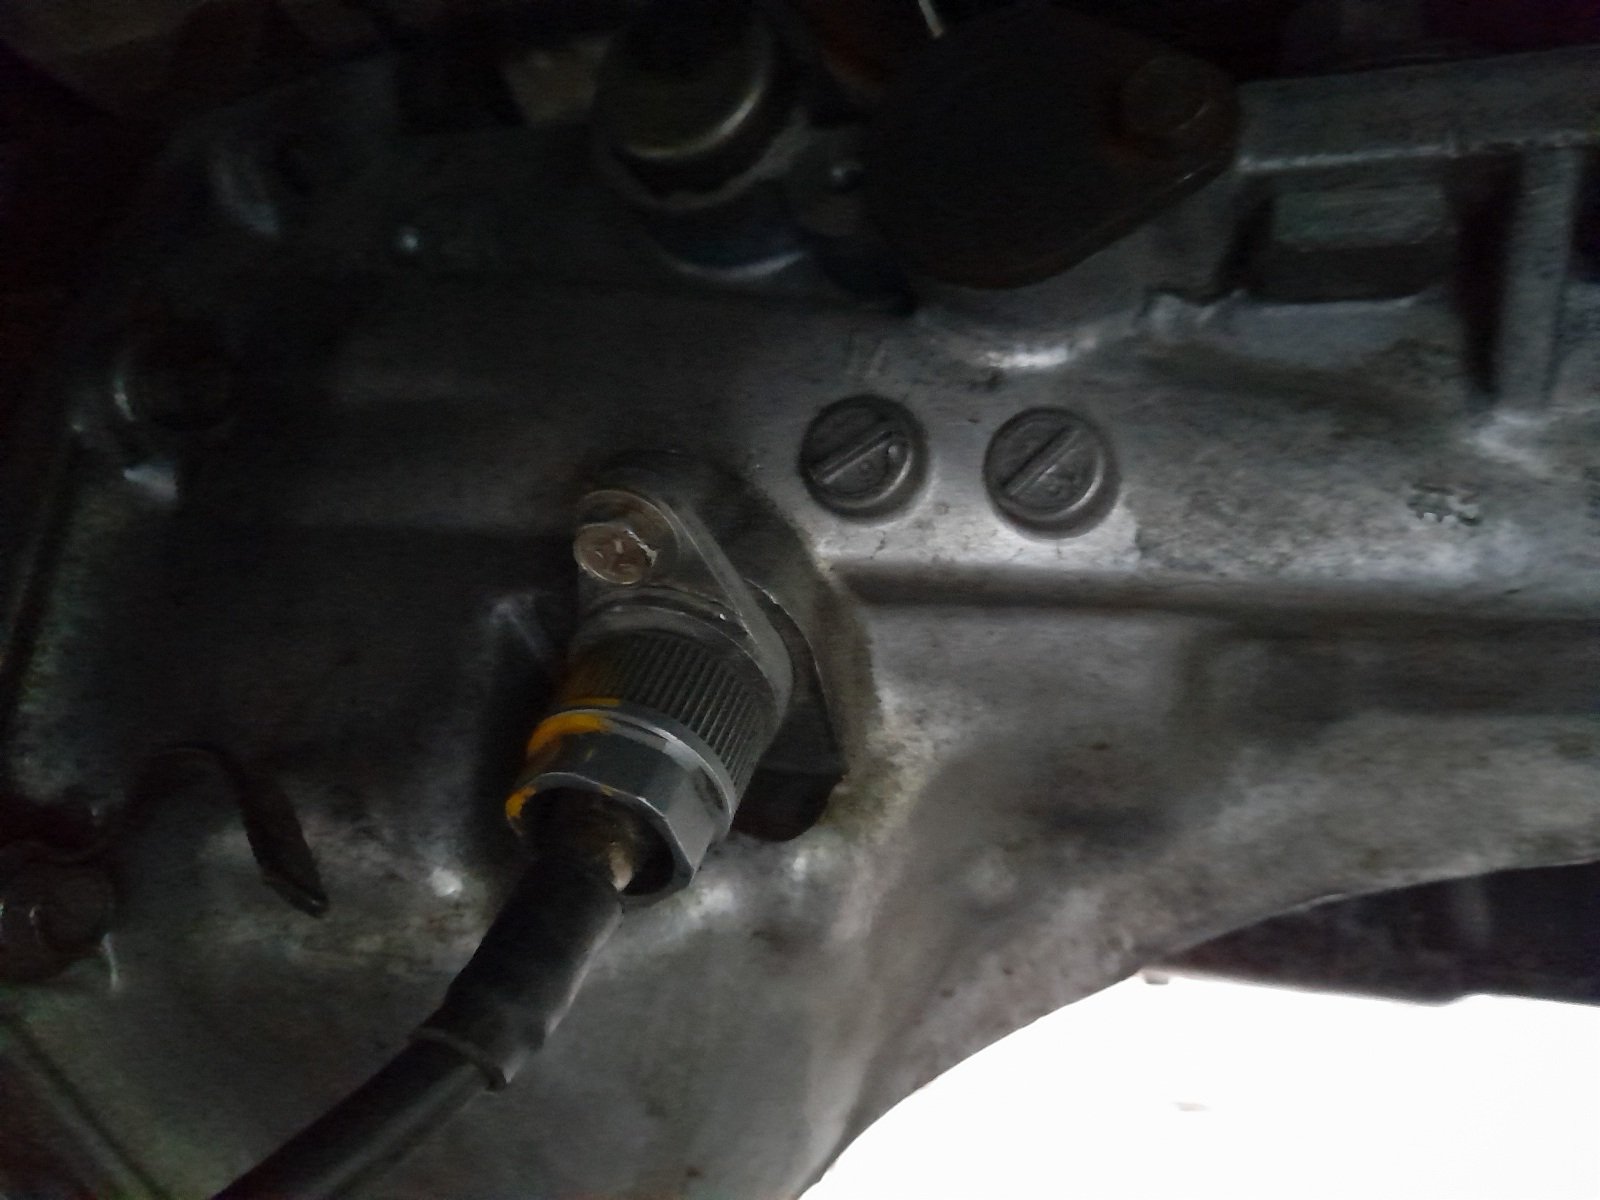
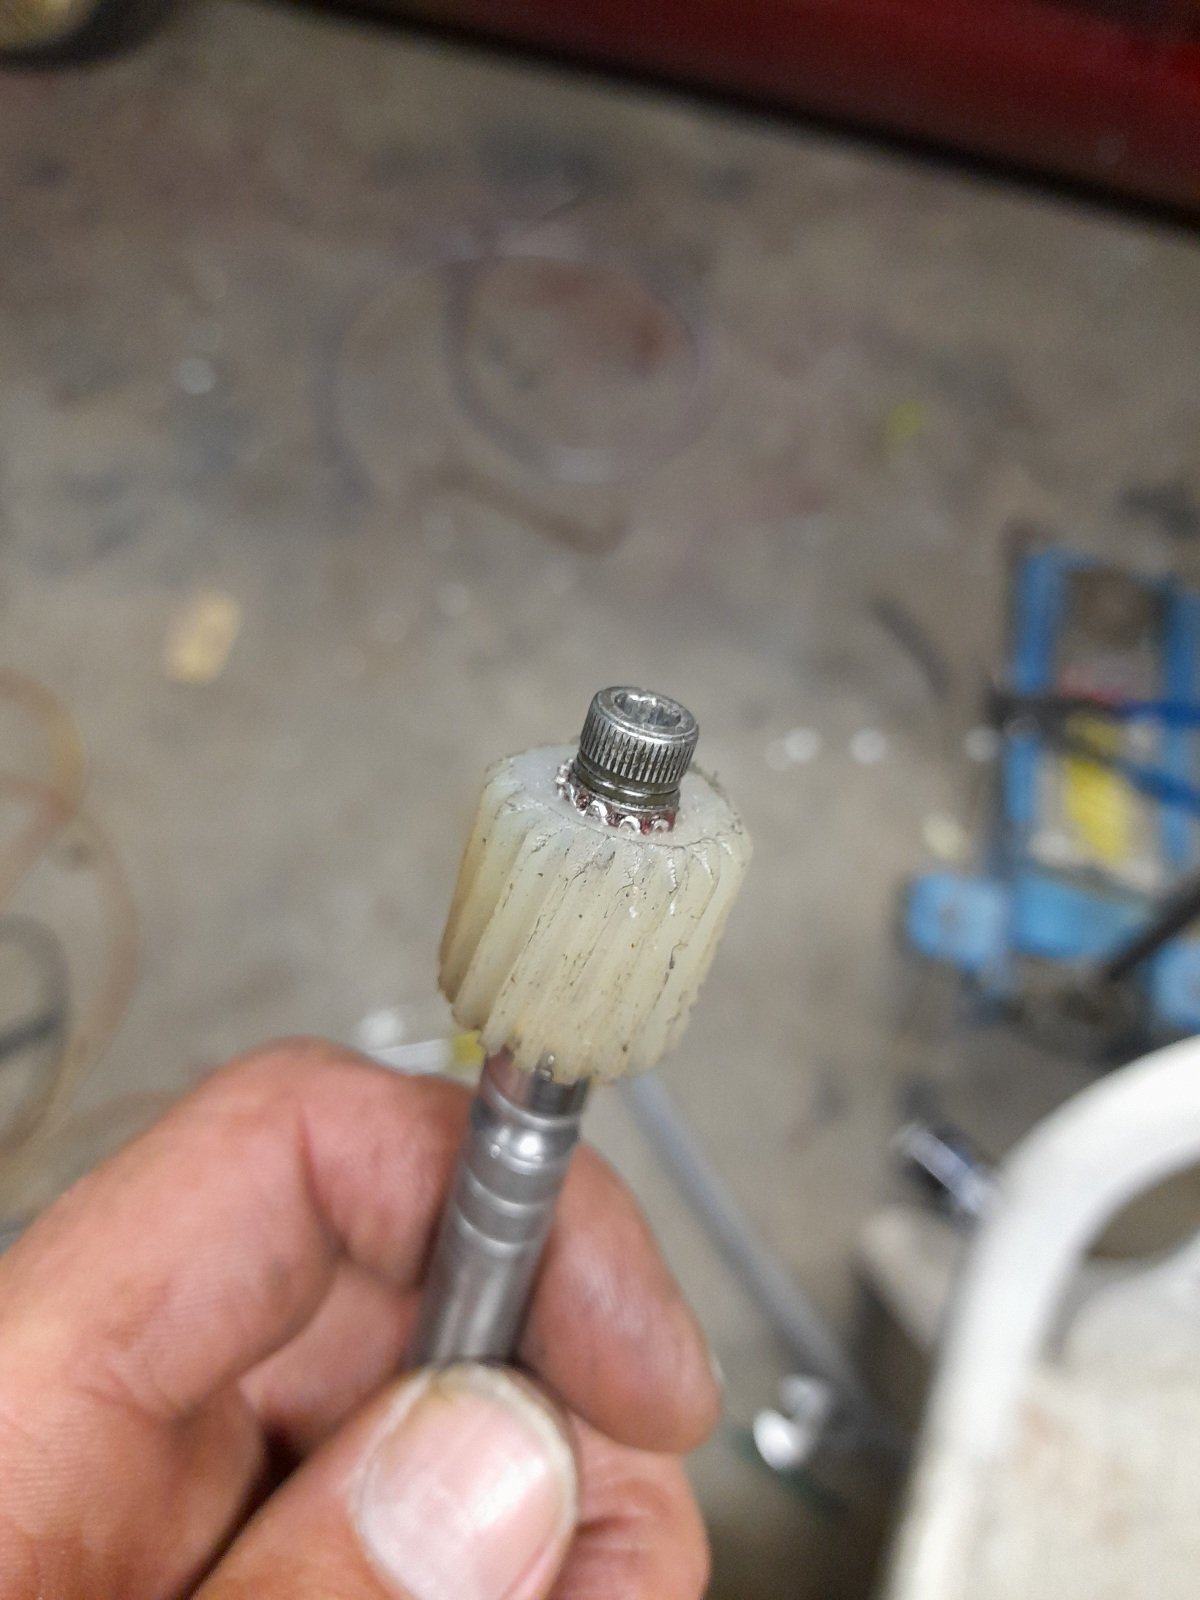
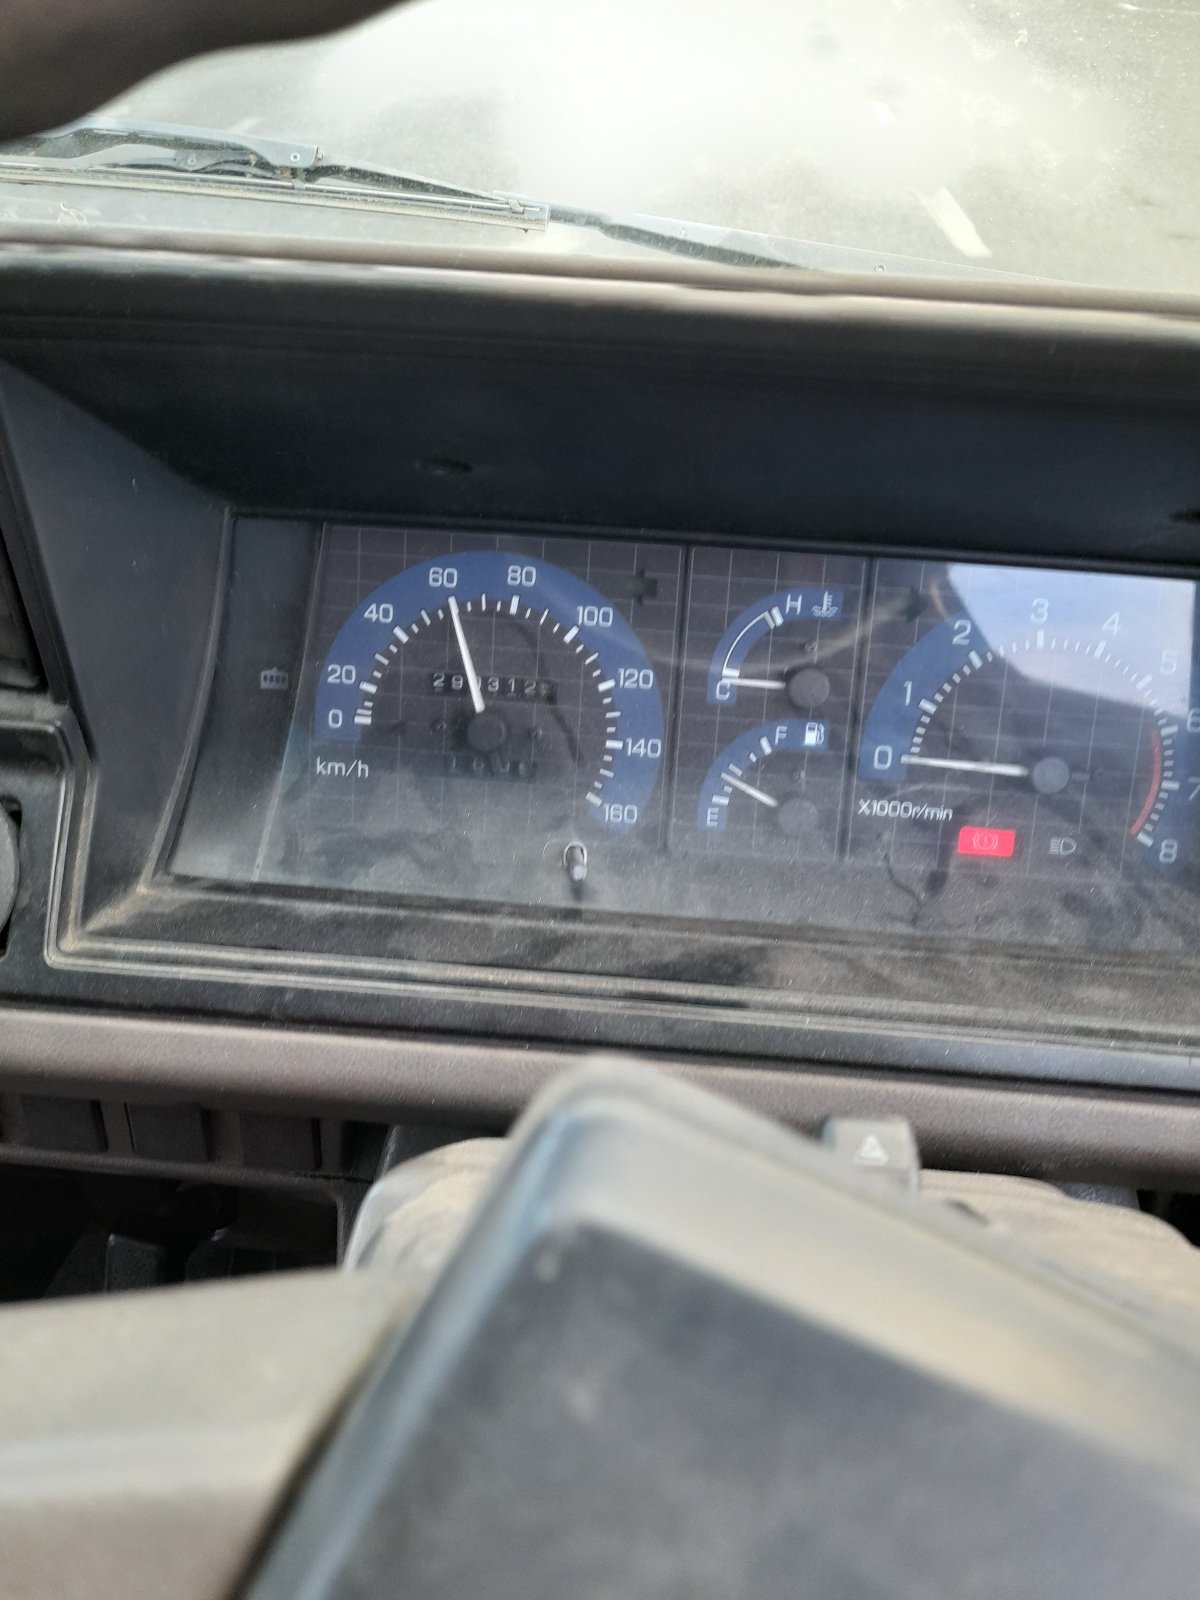
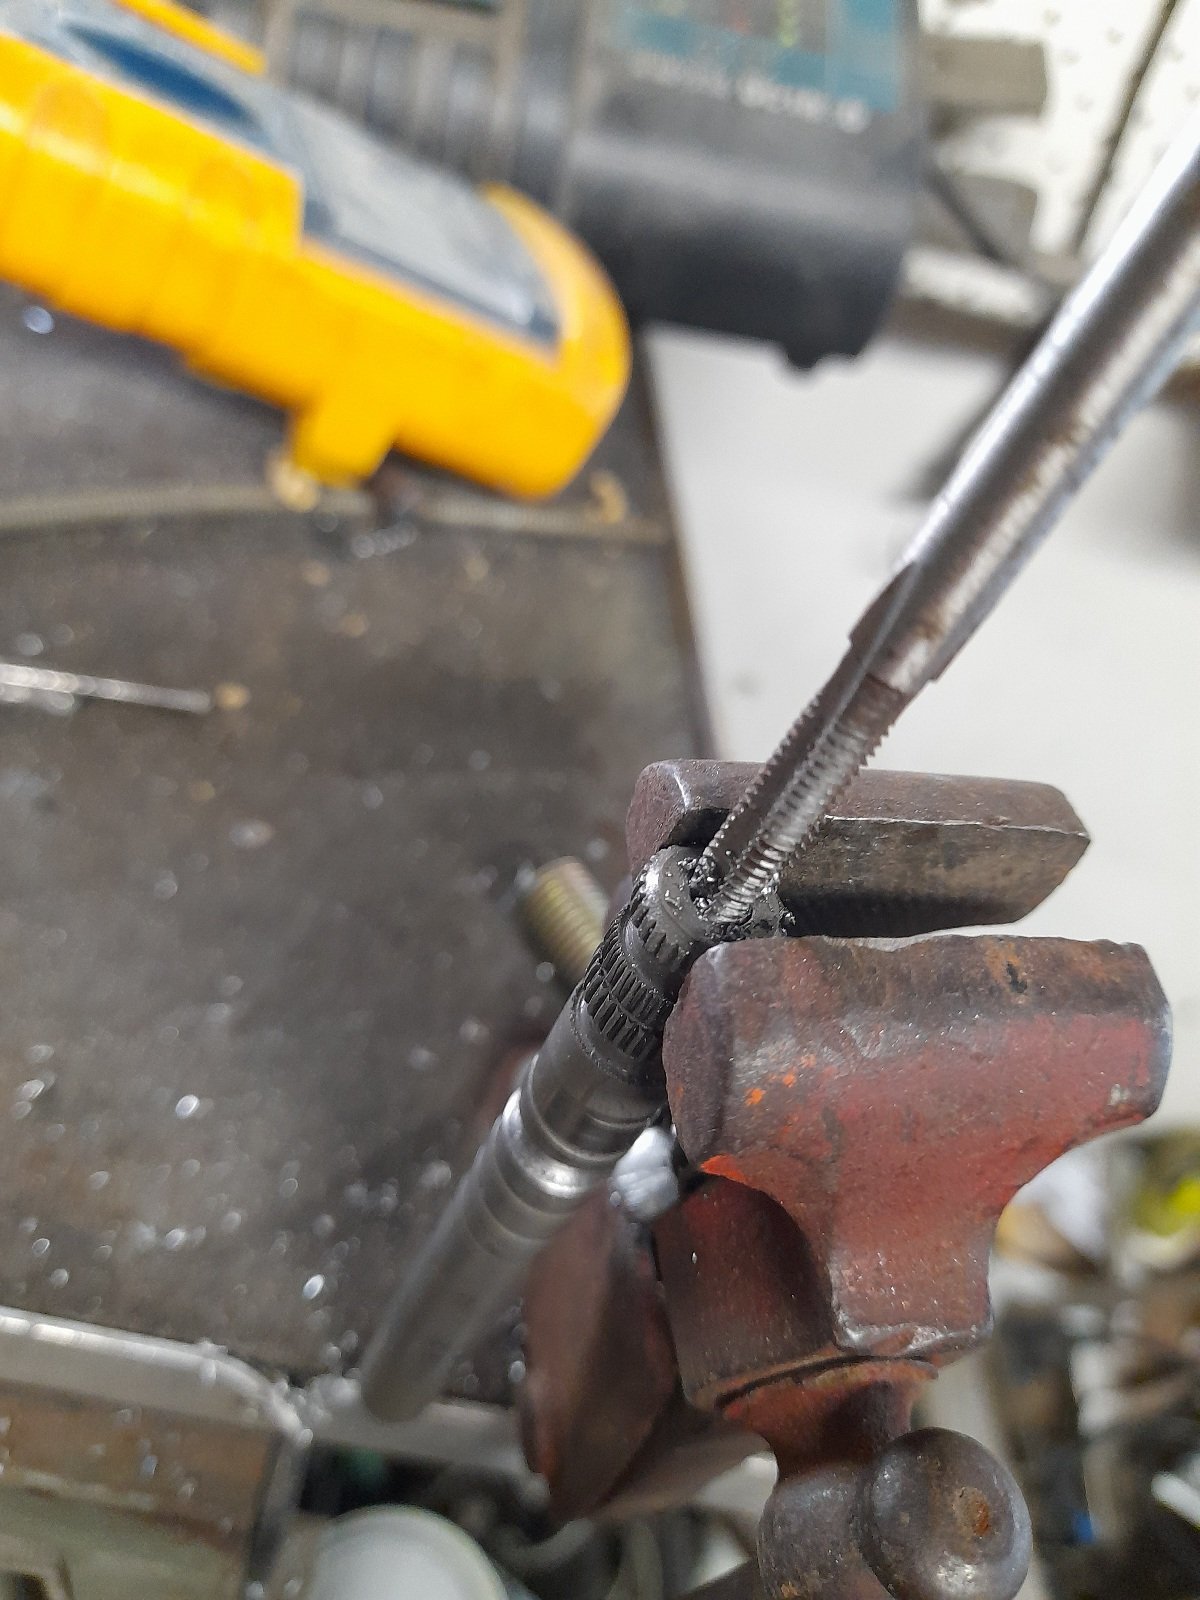
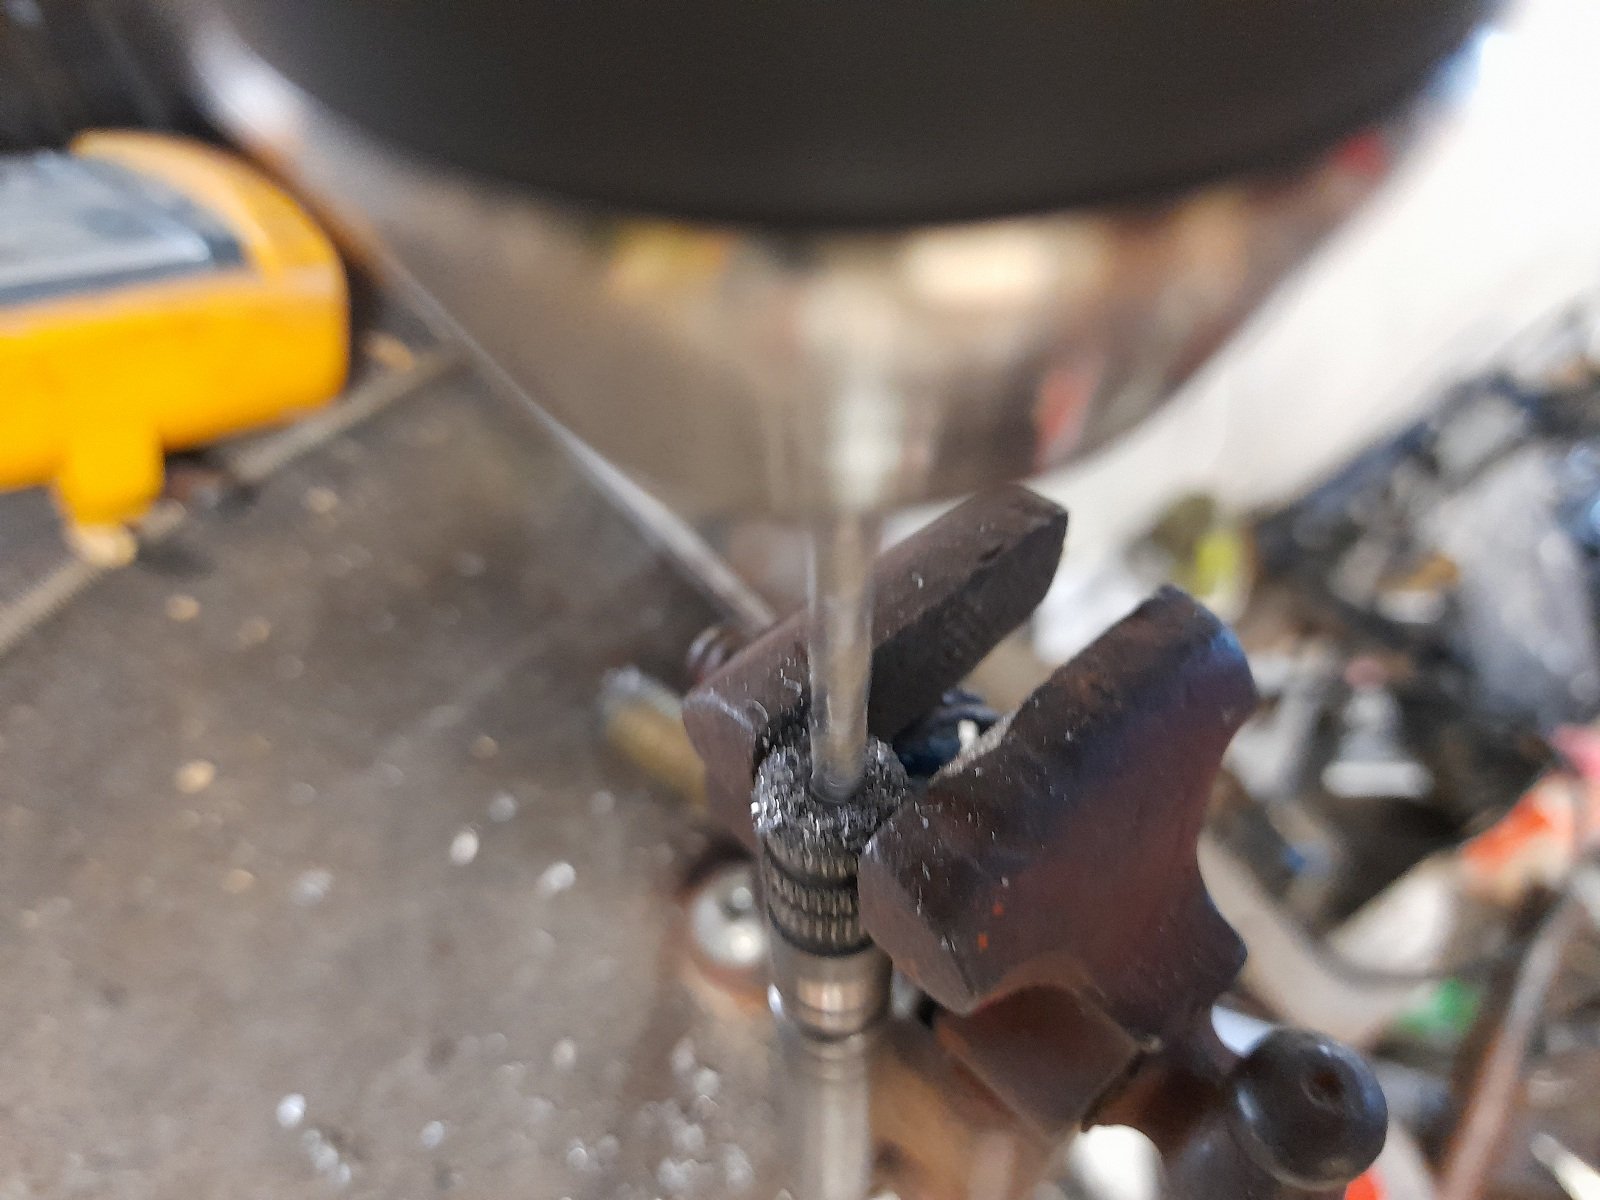
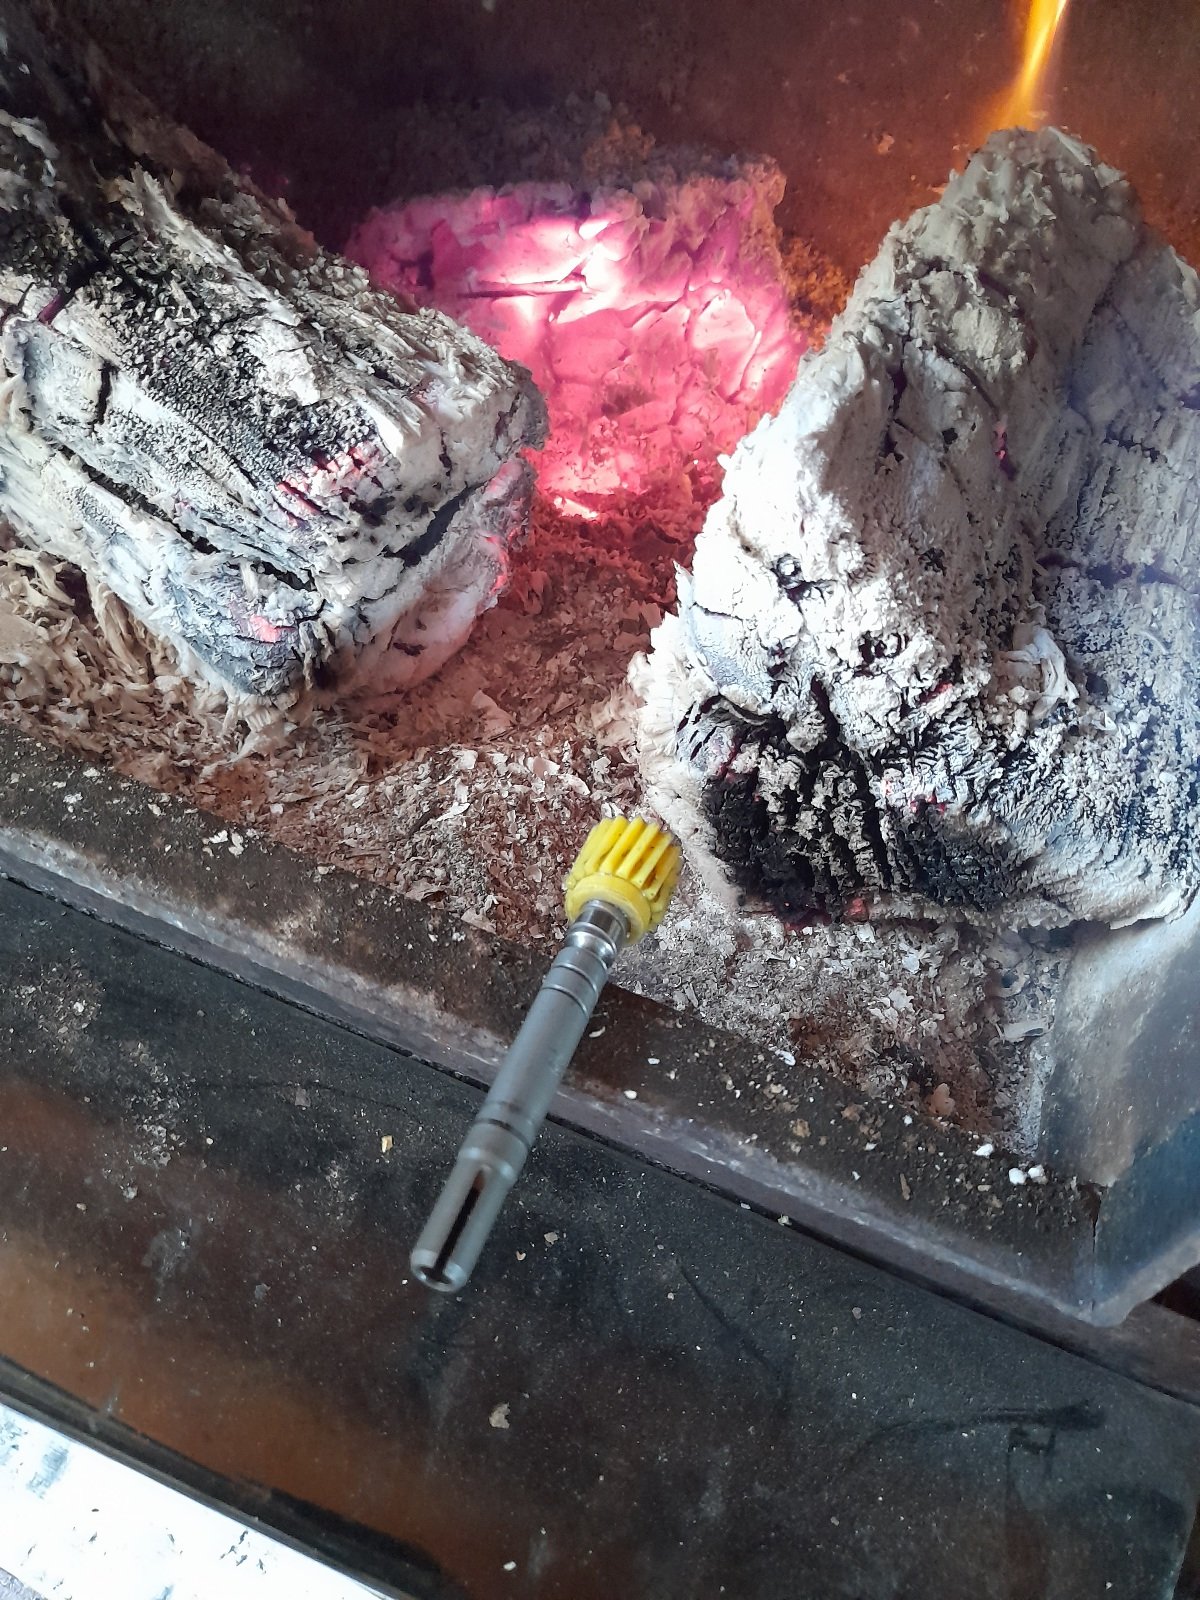
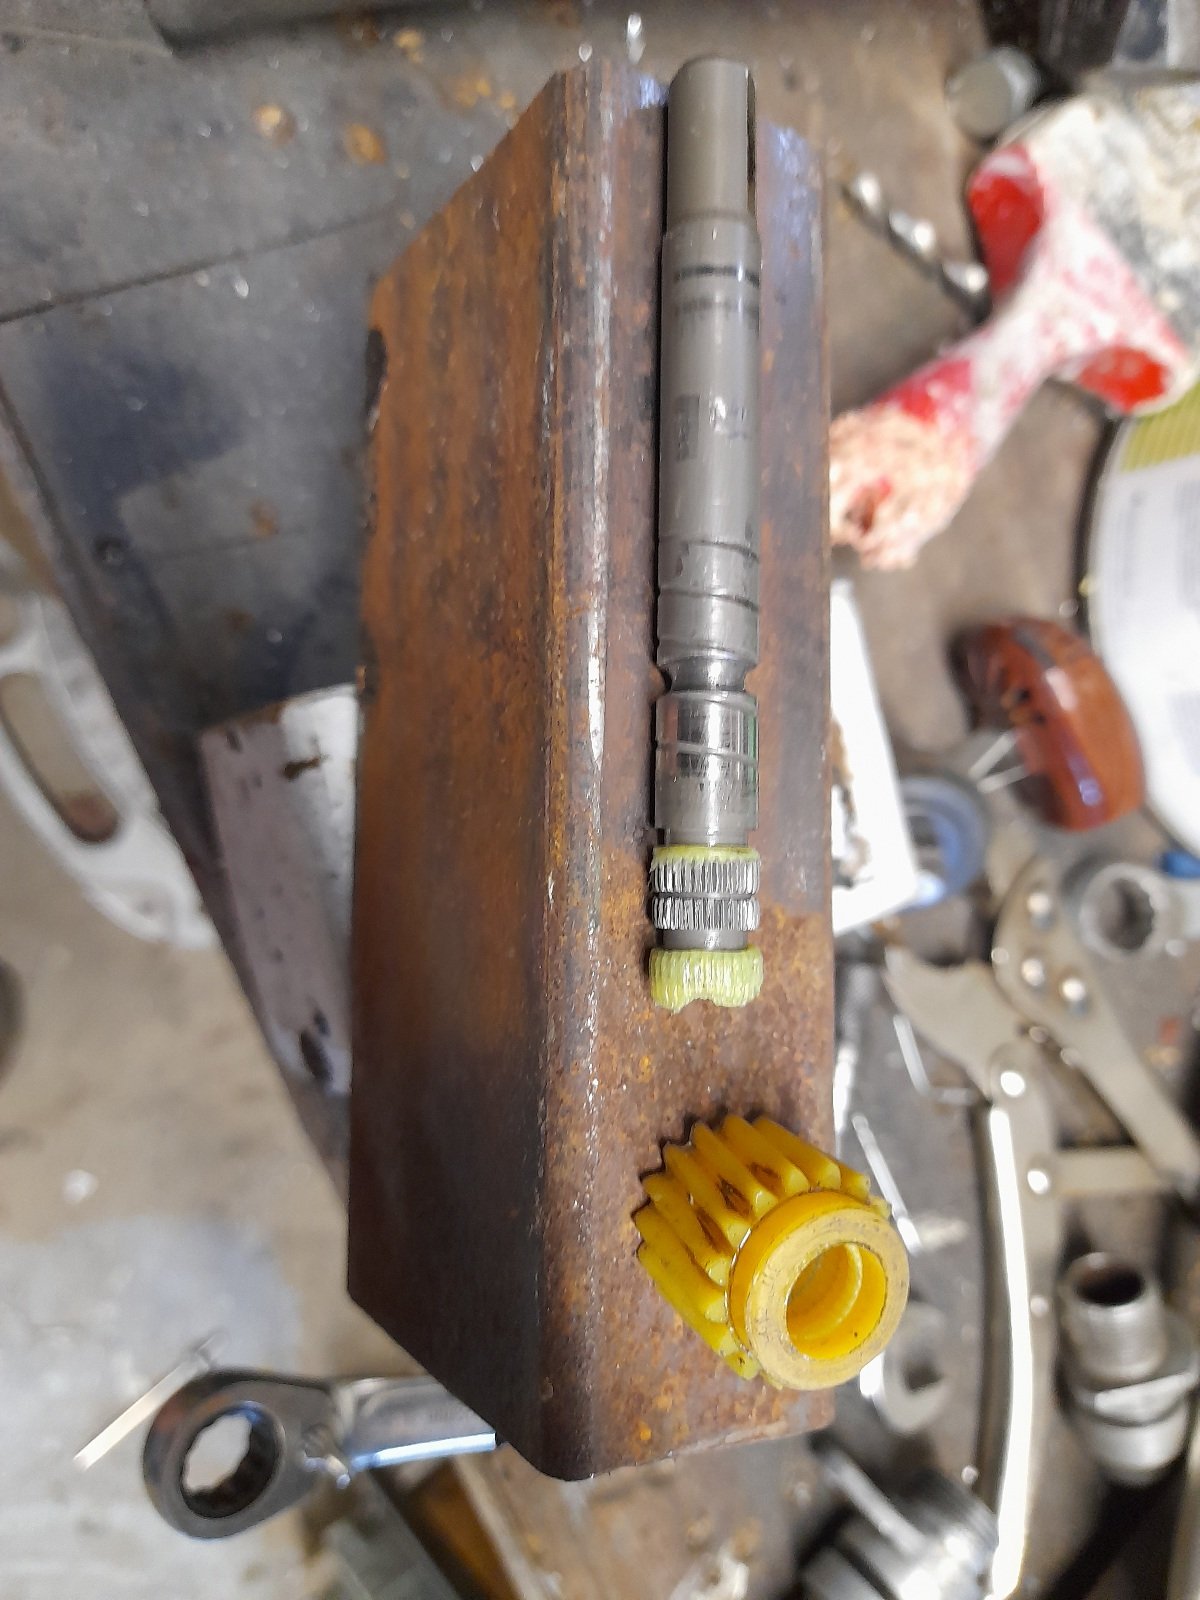
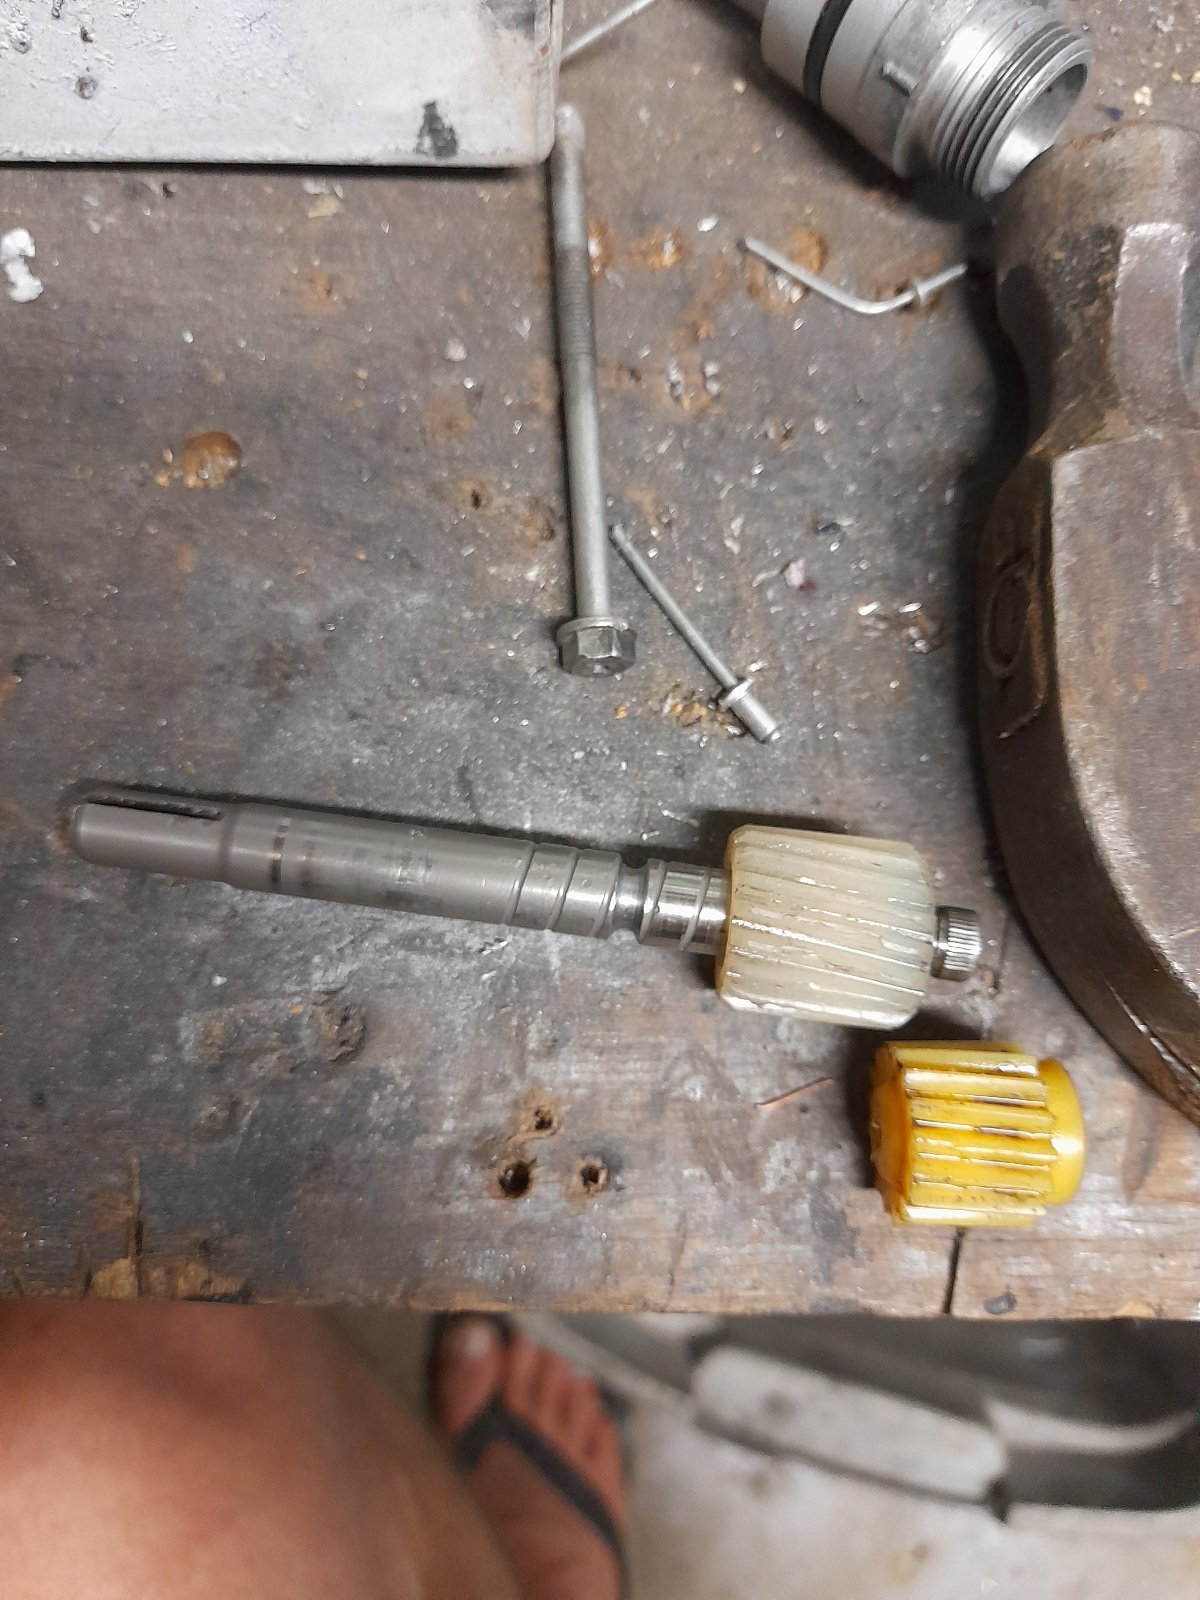
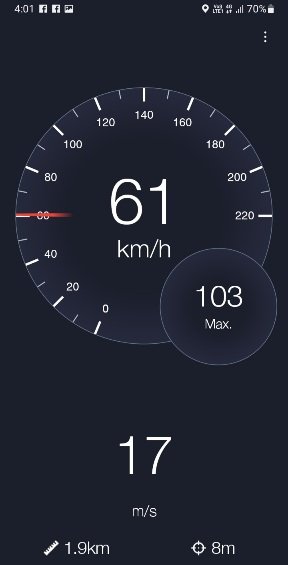
Had a bit of time today to see if i could fix the -20kmh speedometer discrepancy, had a hunt around the shed and found a gear that had 2 more teeth than the one that was in it... Had a look-see if any datsun/nissan gears were available on line, no luck so i decided to use what i have . The original yellow gear was being stubborn in coming off so i heated it up a bit and it came off with a bit of force .. The new gear was a tight fit, but to make sure it stays on i decided to drill tap the end and red loctite a m5 bolt in there with a locking washer to really ensure it stays on took for a test drive with a gps speedometer app and it reads pretty damn close ... pretty happy with that
1 point
-
In daylight you can hardly tell... Should keep Mr policeman happy.
1 point
-
More mucking about, this time connecting the stripped down bike loom into the car, it'll be powered through a fused relay off the car ignition switch. I ended up writing three pages of notes on what each circuit needs to do to run the engine, some more simple than others and a few sneaky ones. For example the side stand switch is just a simple join the wires whereas bypassing the bike ign switch needs a resistor on a particular wire as the ecu uses it as a rudimentary antitheft device. A sneaky one which doesn't seem to be very well known is the clutch switch, most people seem to just join this one too but apparently there is an ecu feed on it and if you just join them the ecu will only detect the circuit activating once when starting so will think the bike is in neutral and run a fuel map for it. I just happened to have an appropriate switch so I'm just going to hook it up to the pedal and keep it as is. Having the big rust hole that I am yet to patch has been a godsend for accessing the wiring behind the dash but I still found myself upside down in the tiny footwell. I had to make a platform next to the car to lie on, then ended up lifting my legs up onto the seat so I wasn't banana-ing my back on the sill, 6/10 would trade again1 point
-
Well well well... Picked up the old tart from sprint re today, got my first drive in it since the swap.. I'll do a run down on what they did shortly.. But I'm so stoked that it starts a pulses away. It is low on comp but it's even across all faces. A refresh will be happening next year along with a respray. But here's an idle video1 point


This leaderboard is set to Auckland/GMT+12:00