
Leaderboard


Popular Content
Showing content with the highest reputation on 09/21/18 in all areas
-
Big day today!! Dyno day!!! Popped the doors back on yesterday. Loaded up the trailer last night. Early morning start and off to the dyno!! Engine is all looking really sweet for the dyno runs. Getting the car all ready for the dyno. Even with all the dyno wires hooked up the engine bay looks tidy as. Here is a video of a power run. My god it is loud, and not from the exhaust, it is all induction noise, sound so sweet. Also did a run with the bonnet down to make sure the air cleaner setup with the bonnet closed doesn't suffocate the engine, pretty much no difference with the bonnet closed. Here are some power graphs. 209 KW engine power and 277 lbft engine torque. Look at how smooth that power curve is And the axle torque and power After I got back from the dyno, I finished off the rest of the dynamat. And installed the back carpets. They still fit but the front won't because of the bigger transmission tunnel.17 points
-
drove it to work. its going for a warrant this arvo so i had to make sure it would actually make it. no drama other than its only a 4 speed which is quite weird. 2018-09-21_06-33-10 by sheepers, on Flickr14 points
-
CELEBRATEOTURNIPS!!!!!!!!!!!!!!!!!!!!!!!!!!!!!!!!!!!!!!!!!!!!!!!!!!!!!!!!!!!!!!!!!!!!!!!!!!!!!!!!!!!!!!!!!!!!!!!!!!!!!!!!!!!!!!!!!!!!!!!!!!!!!!!!!!!!!!!!!!!!!!!13 points
-
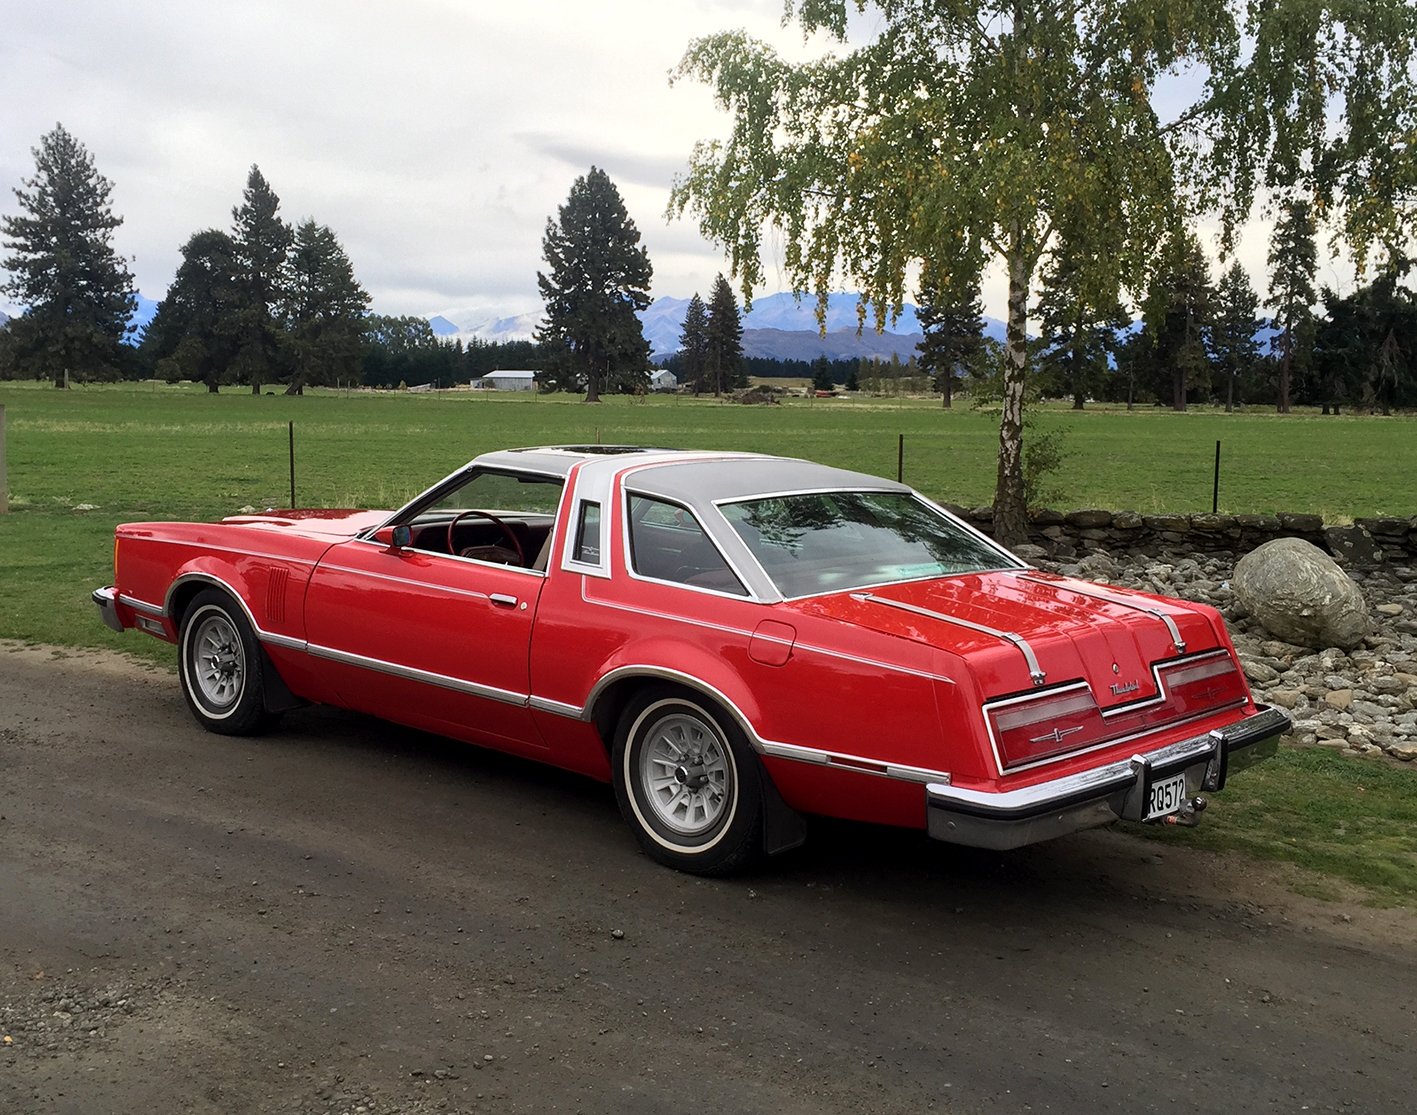
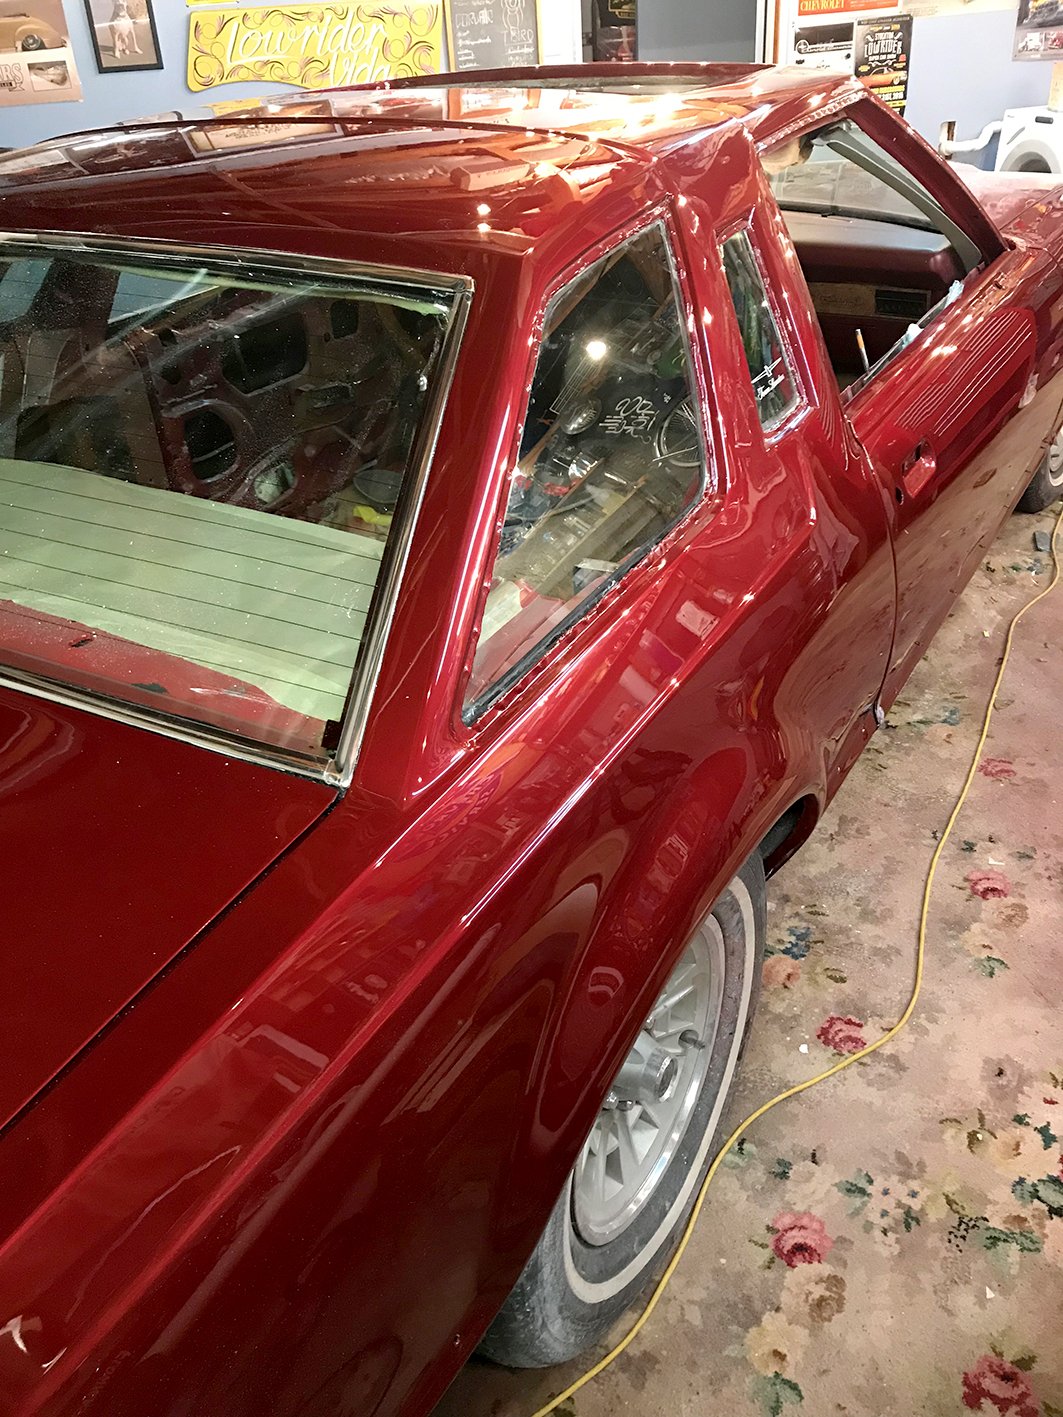
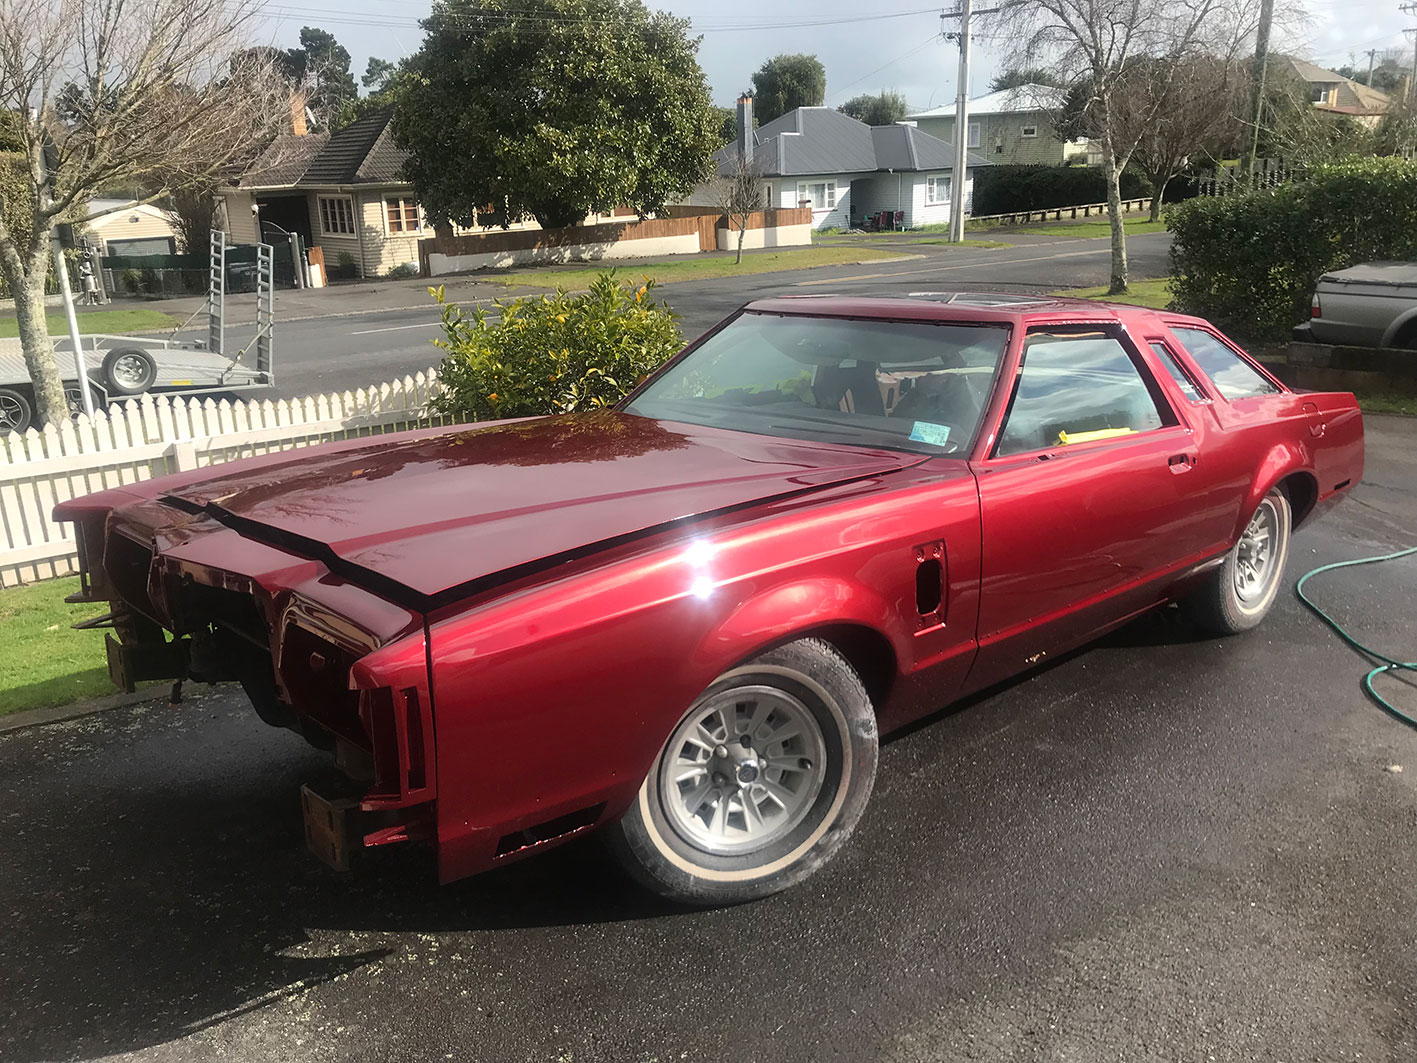
Looking back to how I got it, fuck that red was yuck! Not to mention all the other shit like the trunk straps, wheels, vinyl roof etc...
 12 points
 -
All back together
9 points
-
And a couple more shots...
8 points
-
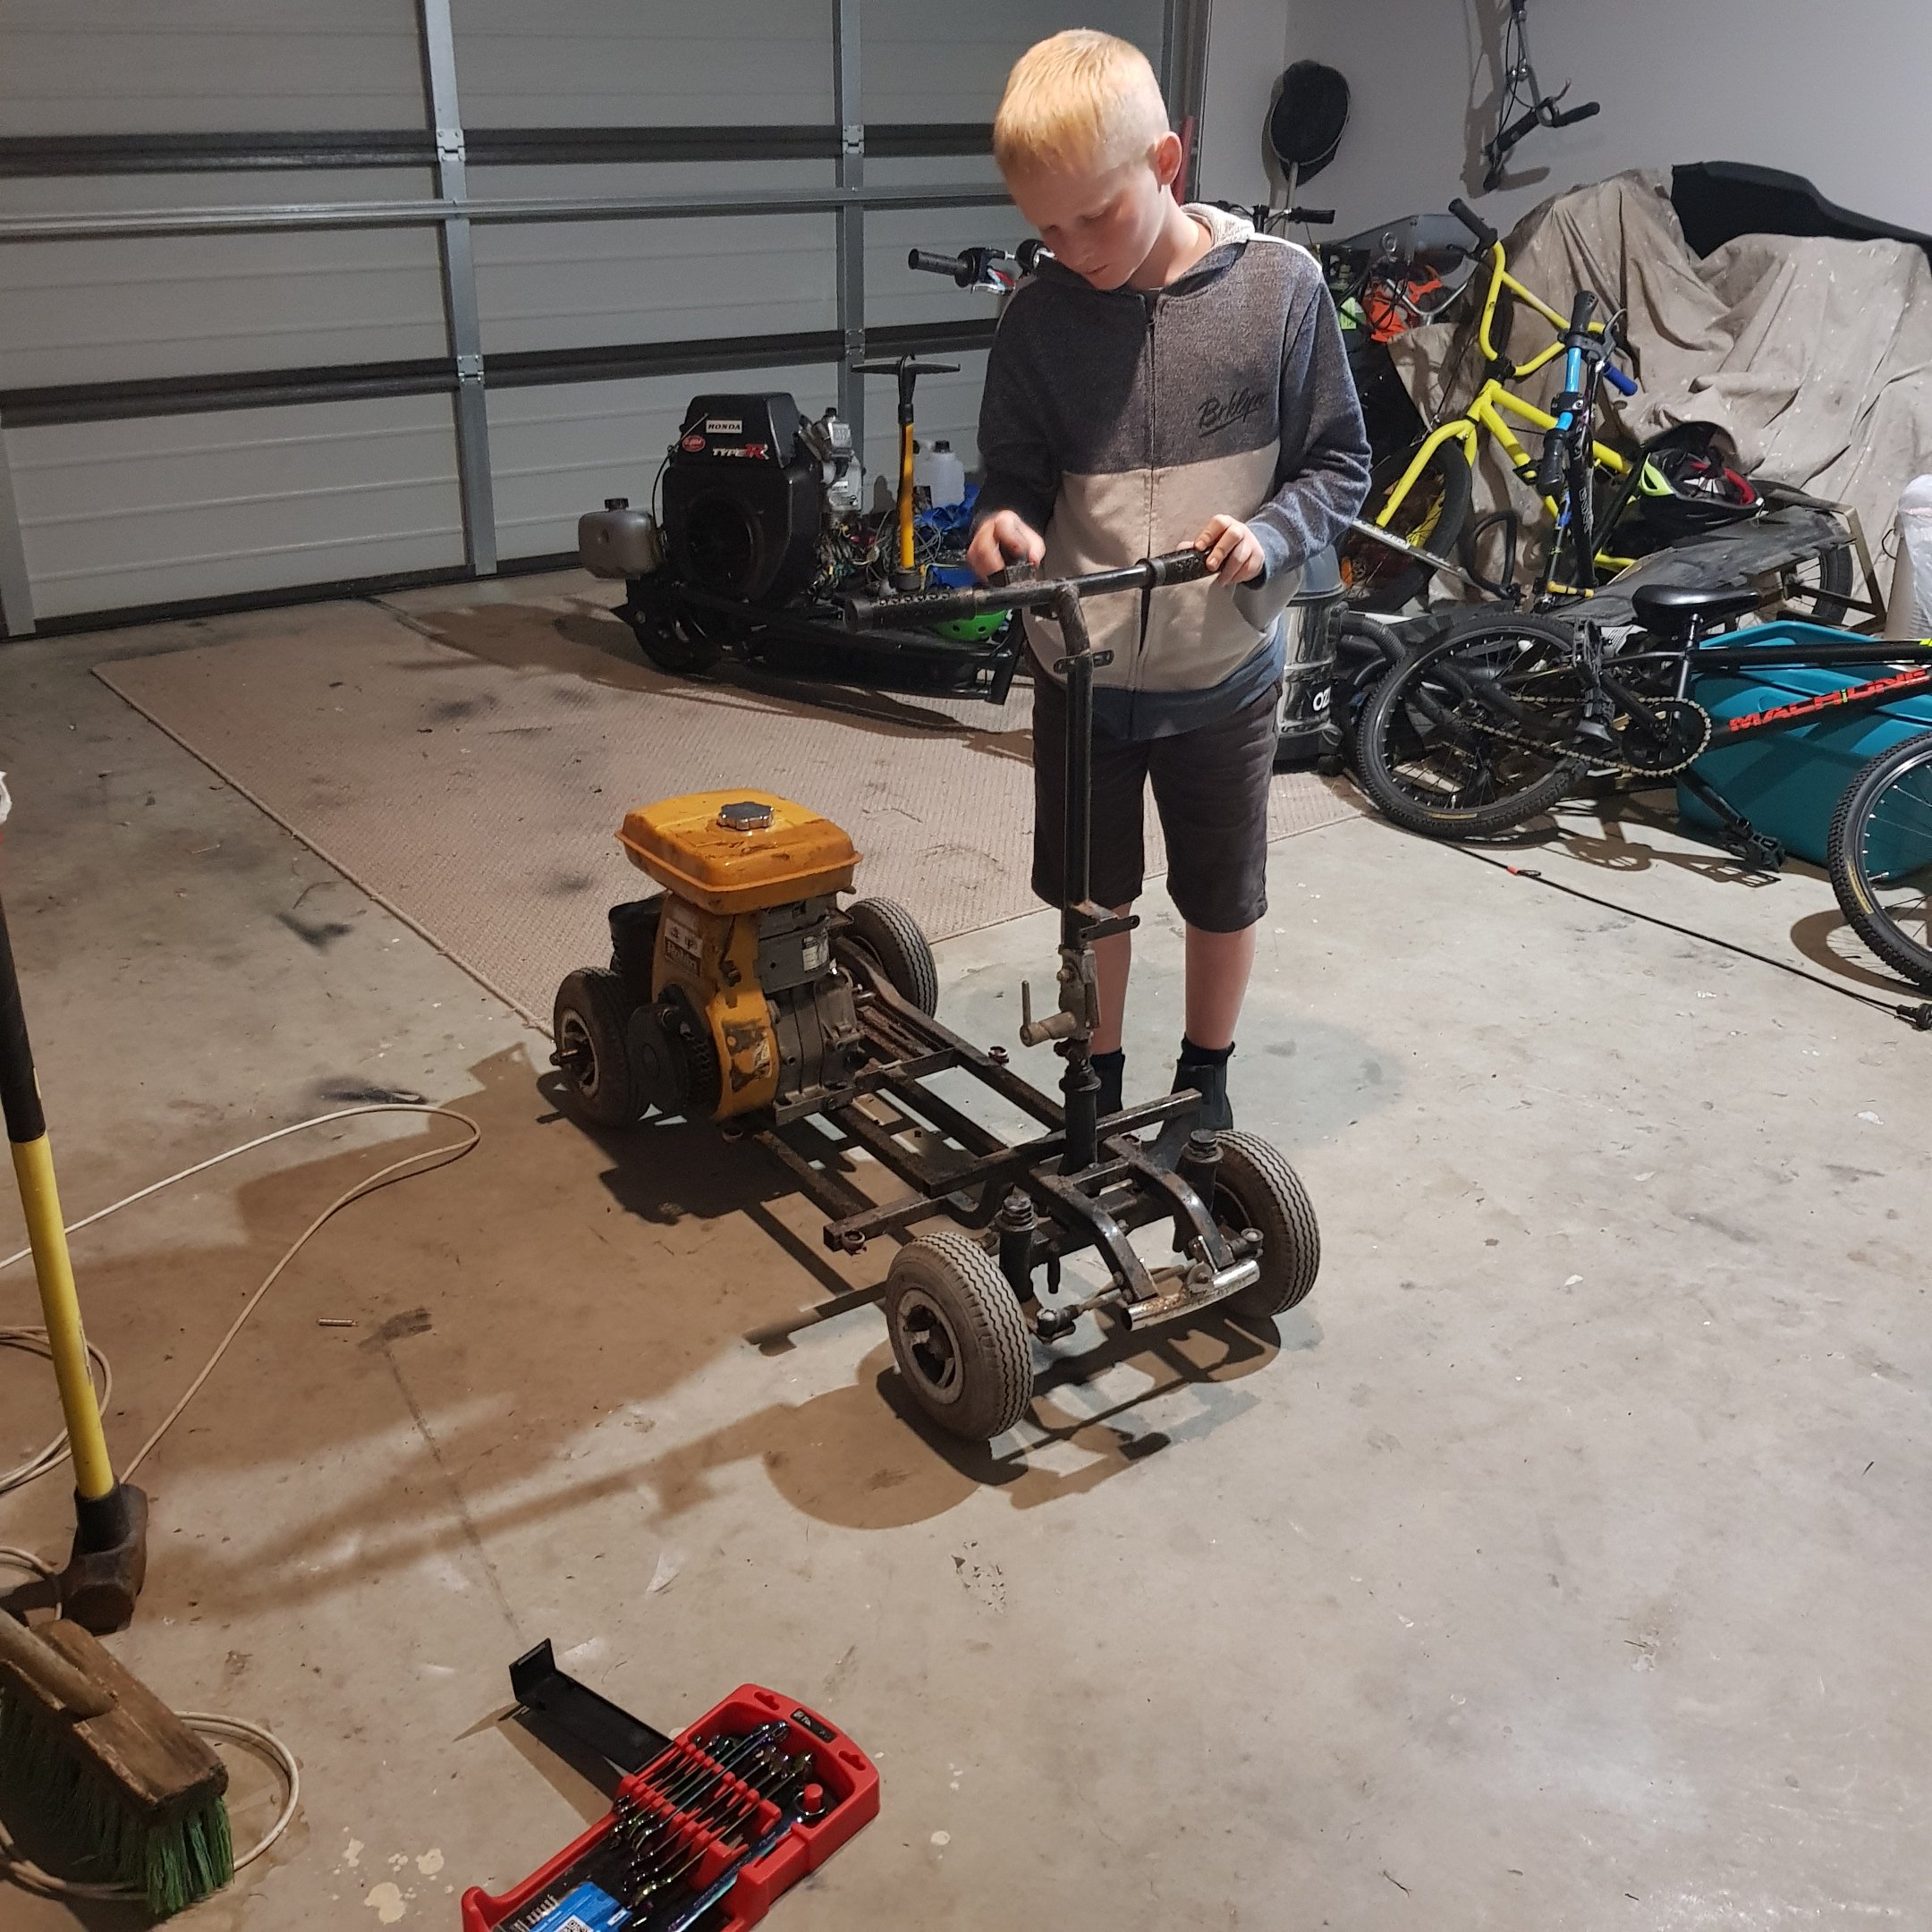
Picked up this slightly flakey but overall very solid mobility scooter rolling chassis tonight for $25. My son will be in charge of this project hes stripped all the lame wheelchair stuff off wiring and gearbox etc..... has a motor for it as you can see an hour after it got home its starting to resemble something else and cool. Rad steering setup on it gets mad lock and everything is built overkill to lug around the morbidly obese.
6 points
-
So my donuts finally turned up a couple of days late. I didn't think to take a pre-cutting photo but this was what it looked like when it turned up: I got stuck straight into cutting them up and hoping like hell I didn't screw them up. I made up a quick and nasty jig to help make sure each cut was made square to the center line and therefore the round profile was retained. It could have been better but it more or less did the job. With the jig, I got each bend cut out quick smart and taped it all up. Here is the passenger side: And the driver's side finished up too: Of course, I had to sling it into the bay and check out the fit. It'd be rude not to really. I learned a couple of things. Firstly, there isn't an awful lot of room between the passenger side strut tower and the intakes. Secondly, there isn't a lot of clearance between the TPS and the upper bulkhead at all, and no room for the clutch fluid reservoir in the position I had it. I can solve that piece of cake though by scalloping the bulkhead slightly and repositioning the clutch fluid reservoir somewhere more convenient, a handy side effect of having a remote reservoir. I also threw the bonnet on and checked that for clearance. Here is the view through the heater bubble hole: Looks good... And from the front: Heaps of room. Tomorrow I'll see about making some tweaks to try and blend the original manifold flanges into the bends better, as well as hopefully make a little more room between the strut tower and the intake. Then I'll see what kind of a mess I can make of the whole lot with the welder while making dort noises in my head. Should be swell!6 points
-
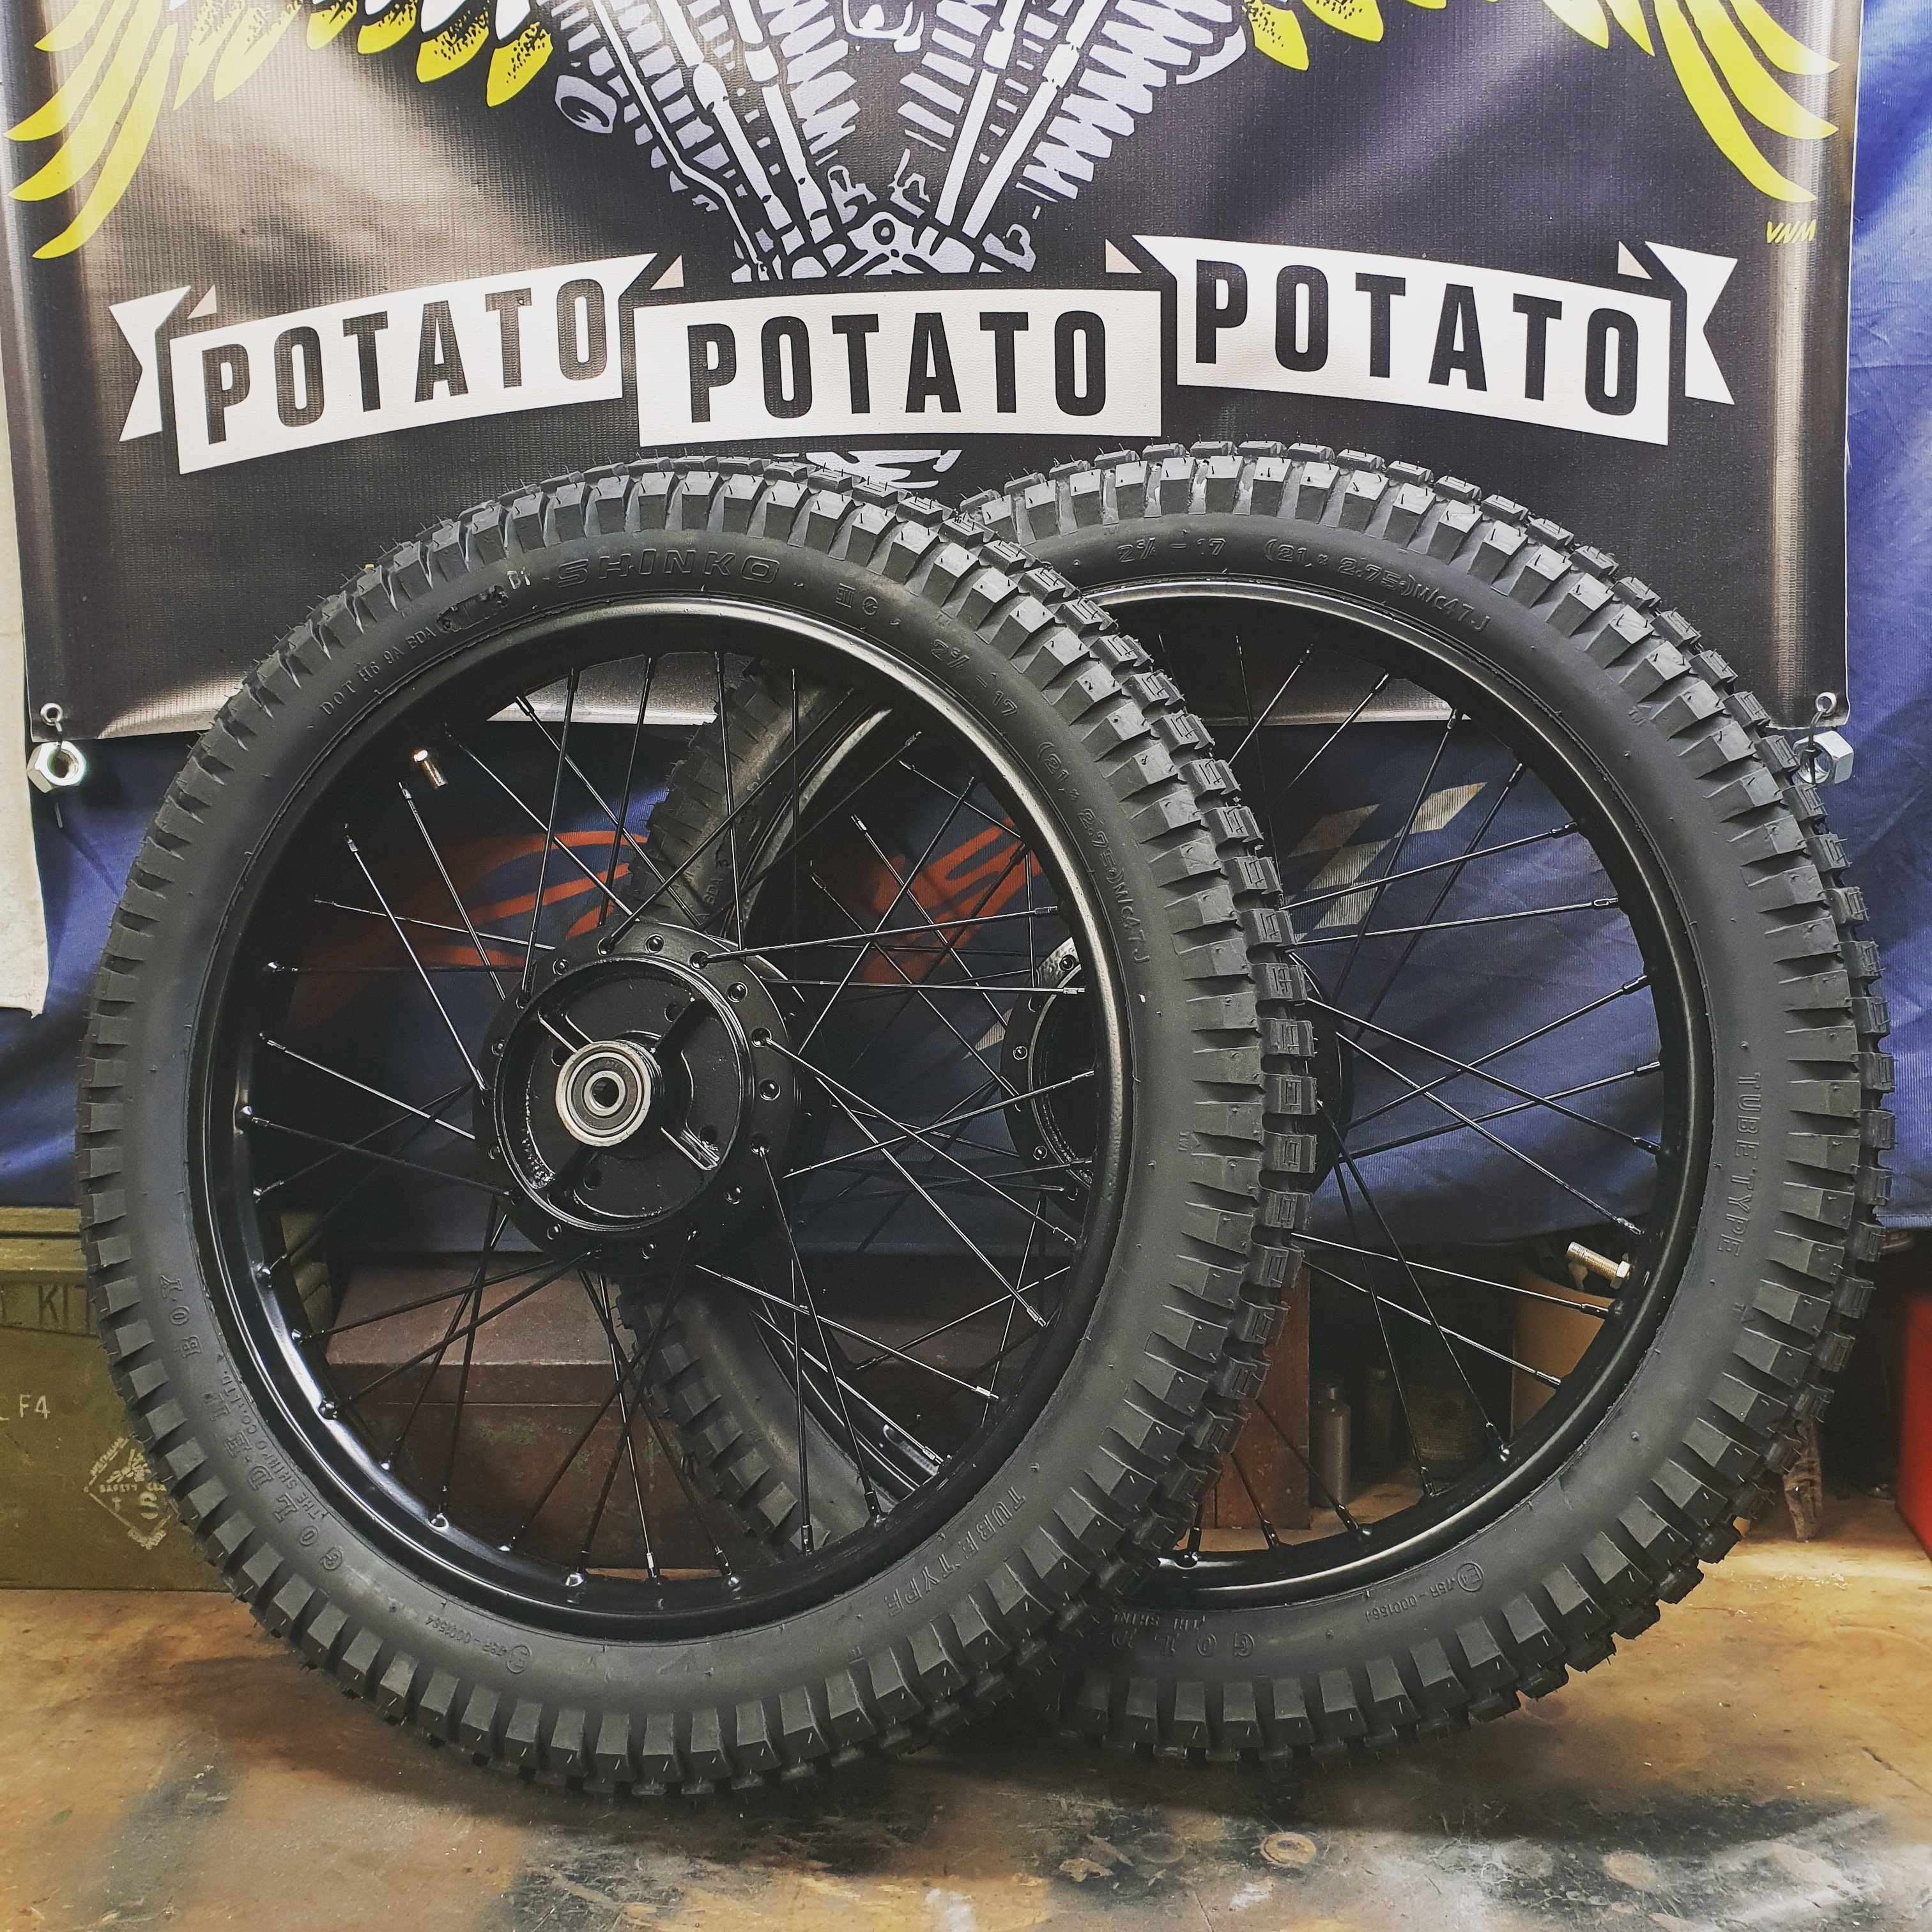
Fuck it ill post the wheels only. Powdercoated stock wheels by PowderCoat Solutions on Coleridge st in Sydenham. New Shinko SR421 2.75 x 17 Tyres from First European on Carlyle st in Sydenham New Bearings from Saeco Wilson Front Wheel Seal from Seal Imports in Sockburn
5 points
-
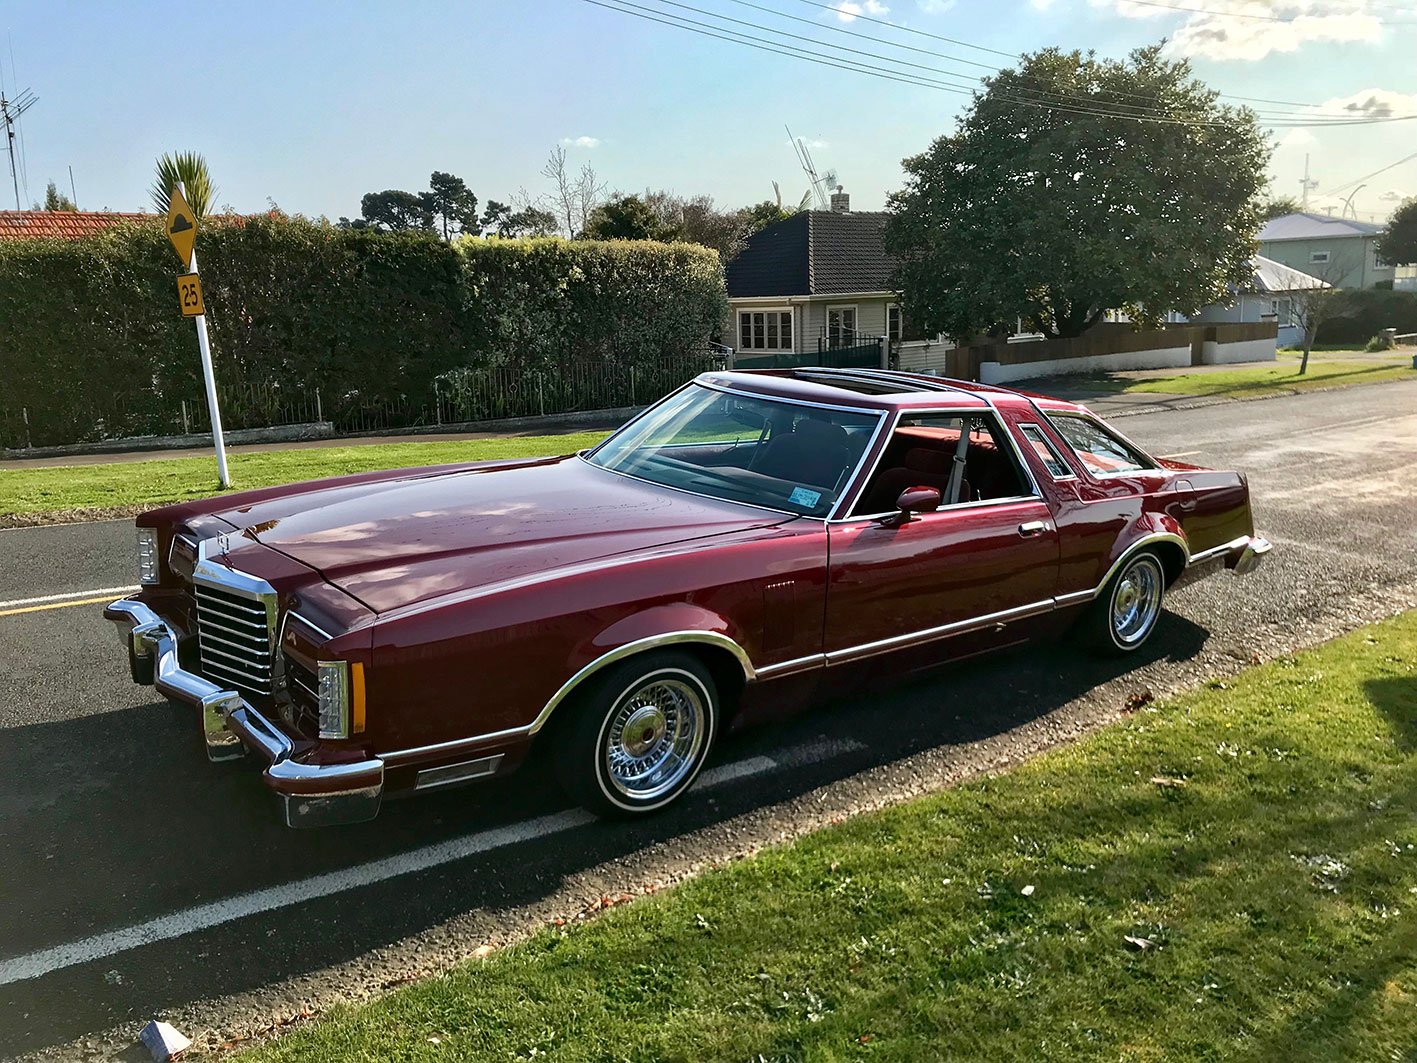
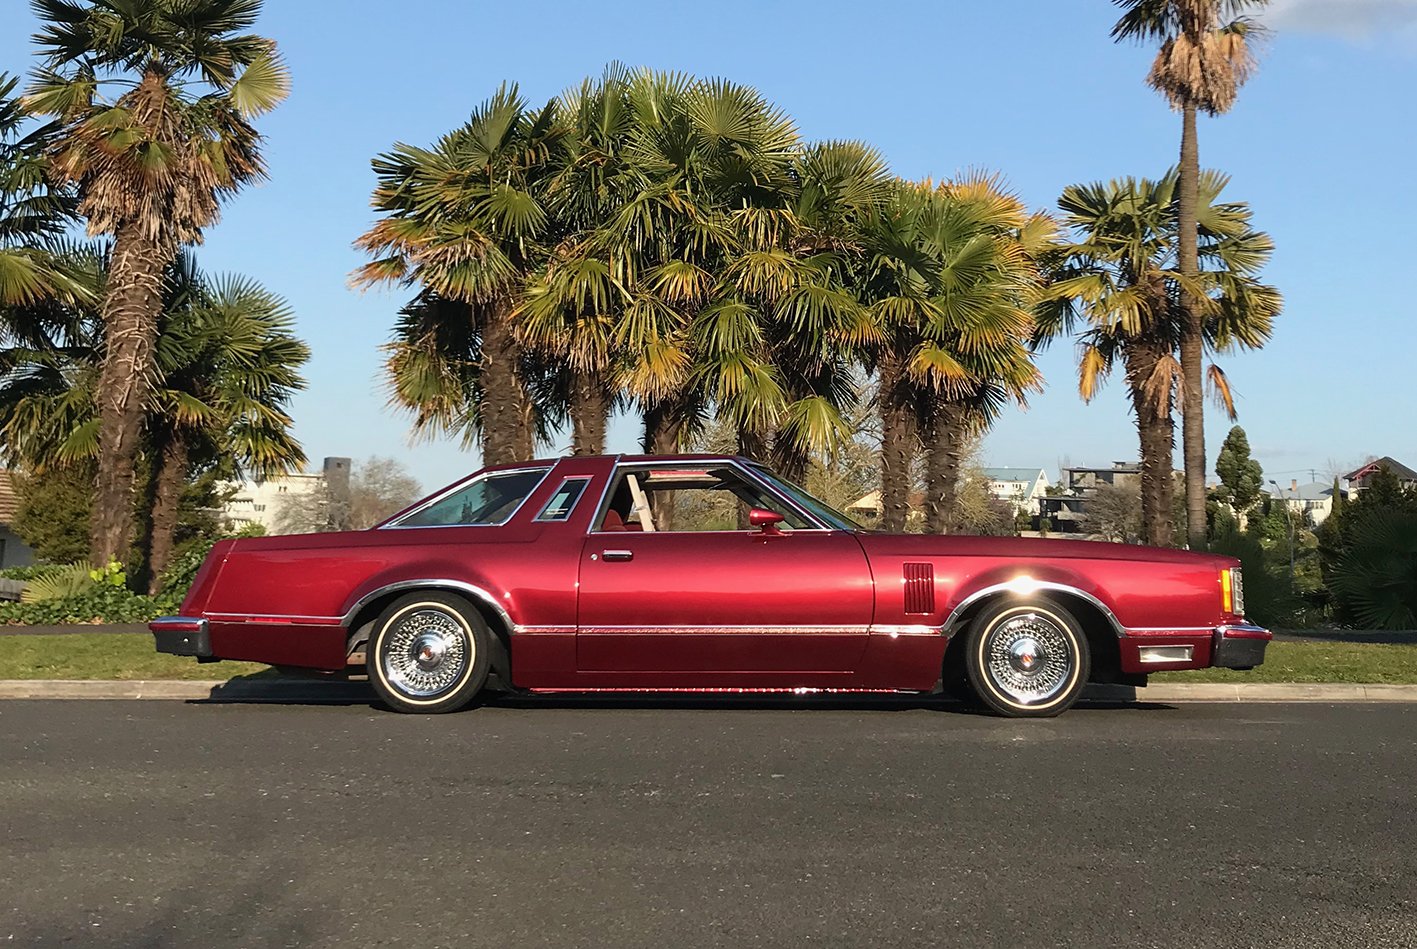
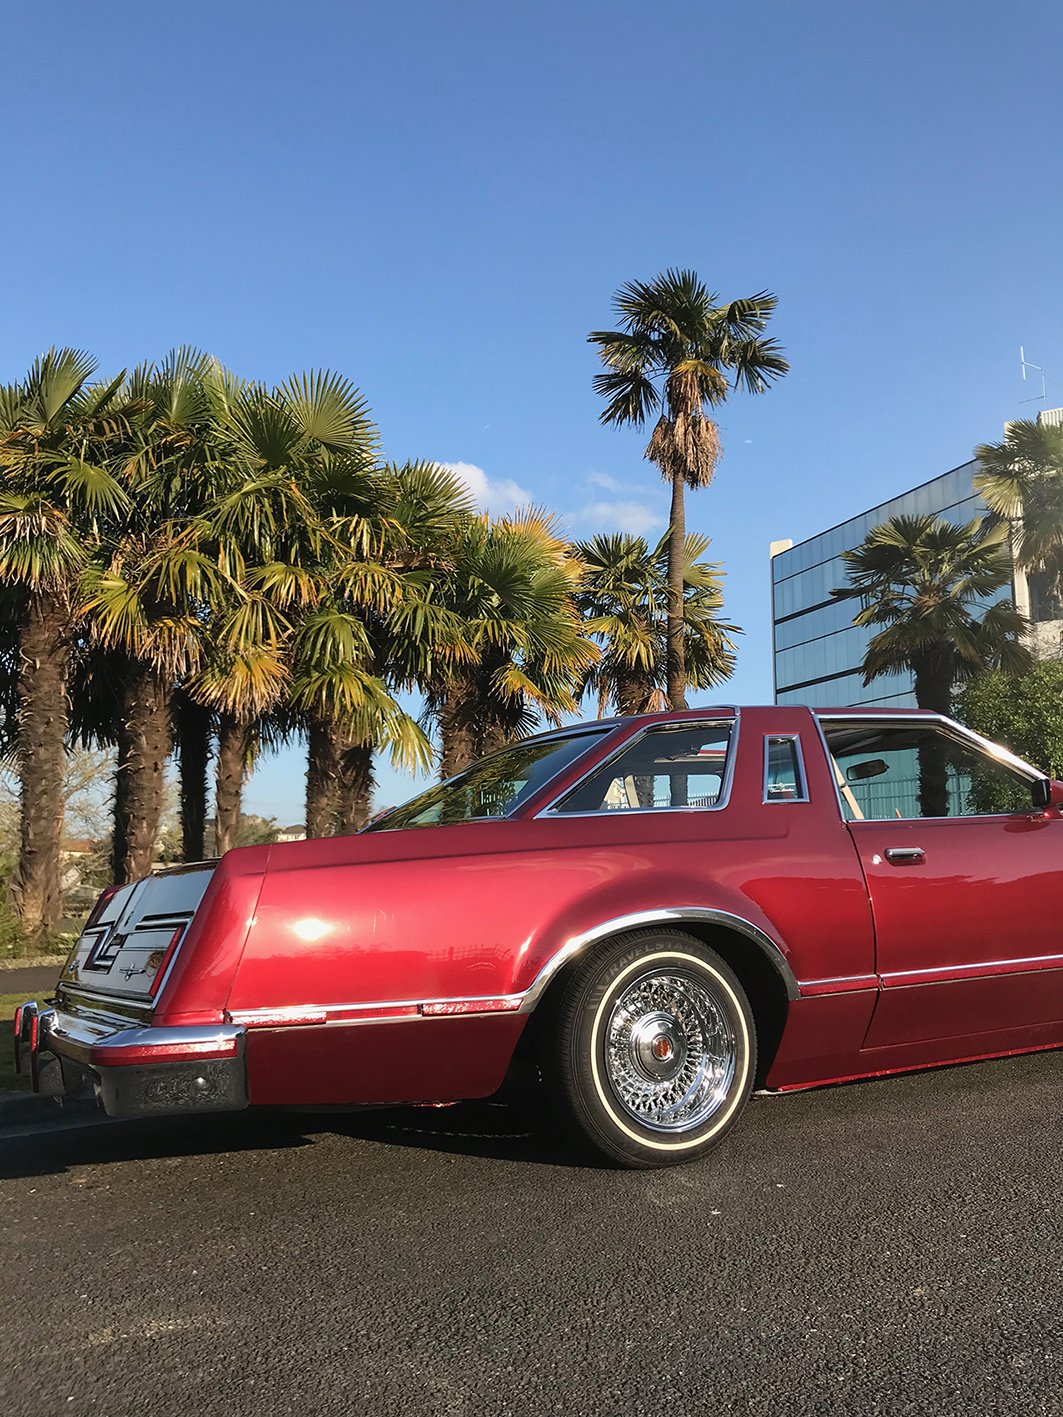
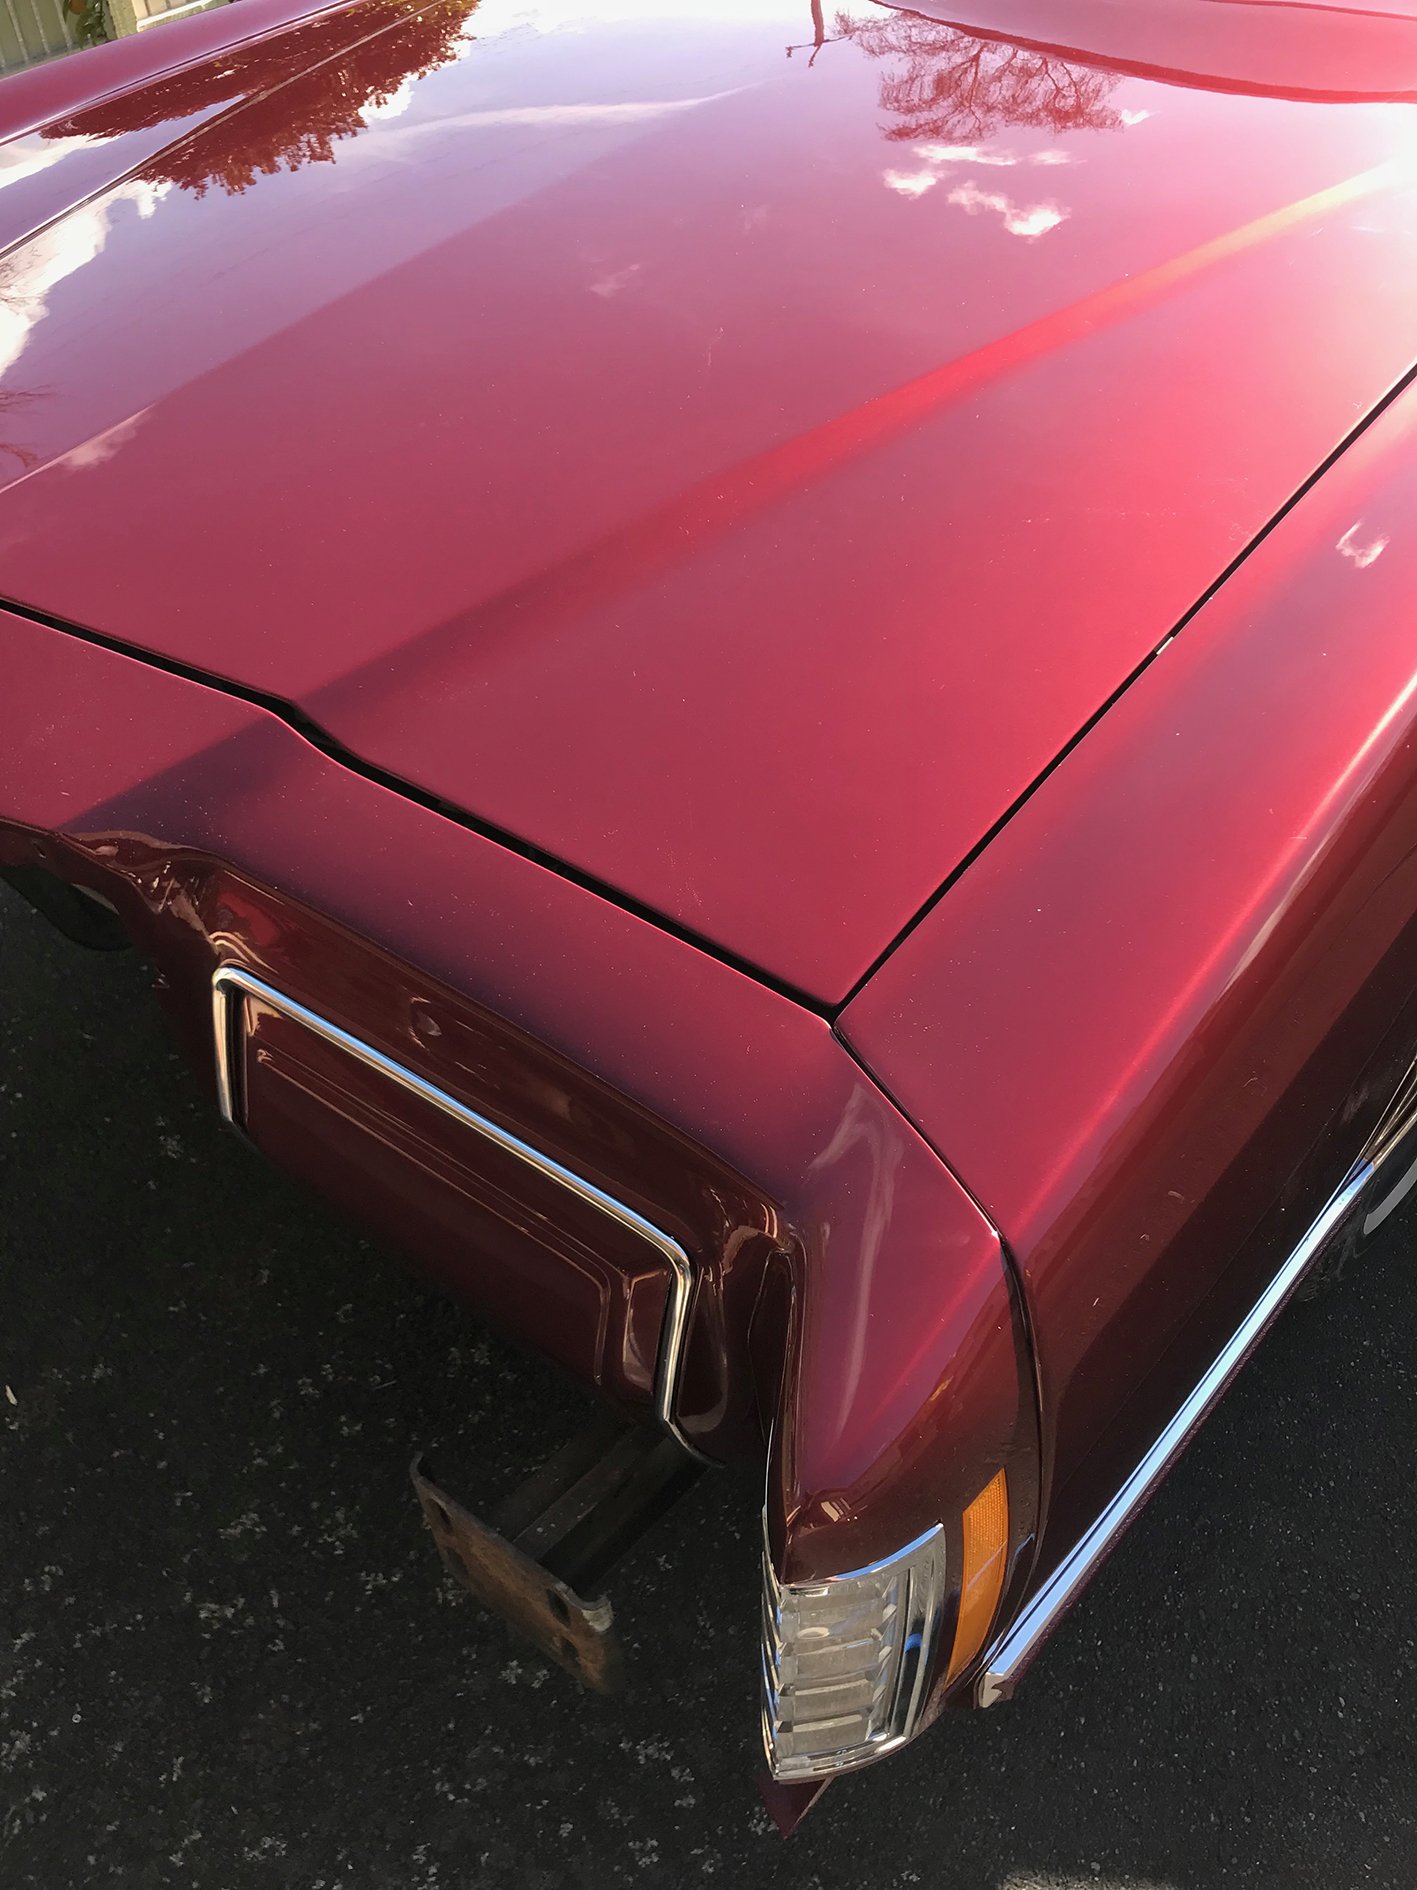
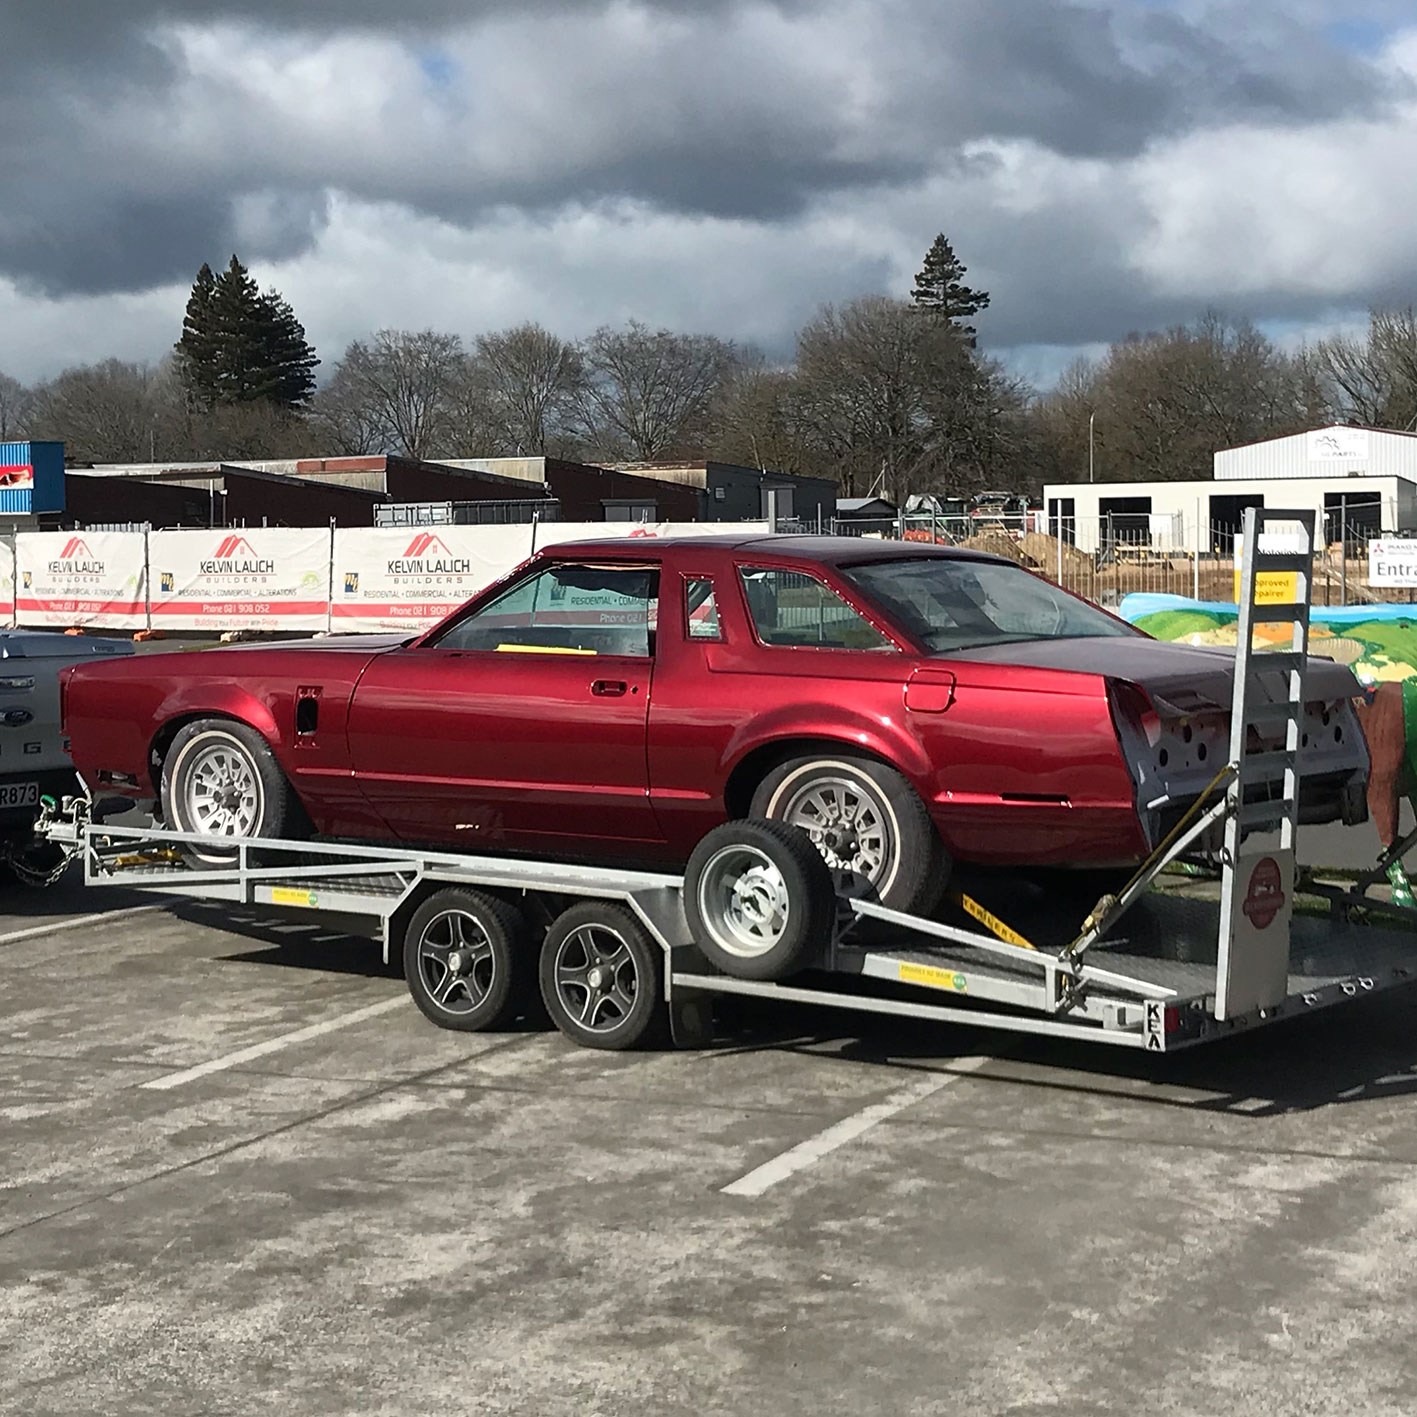
A lot of work has happened since my last post. Pretty much finished the car haha A whole lot more sandy and buffing. Then assembly... Its crazy how much the colour changes in the different light
5 points
-
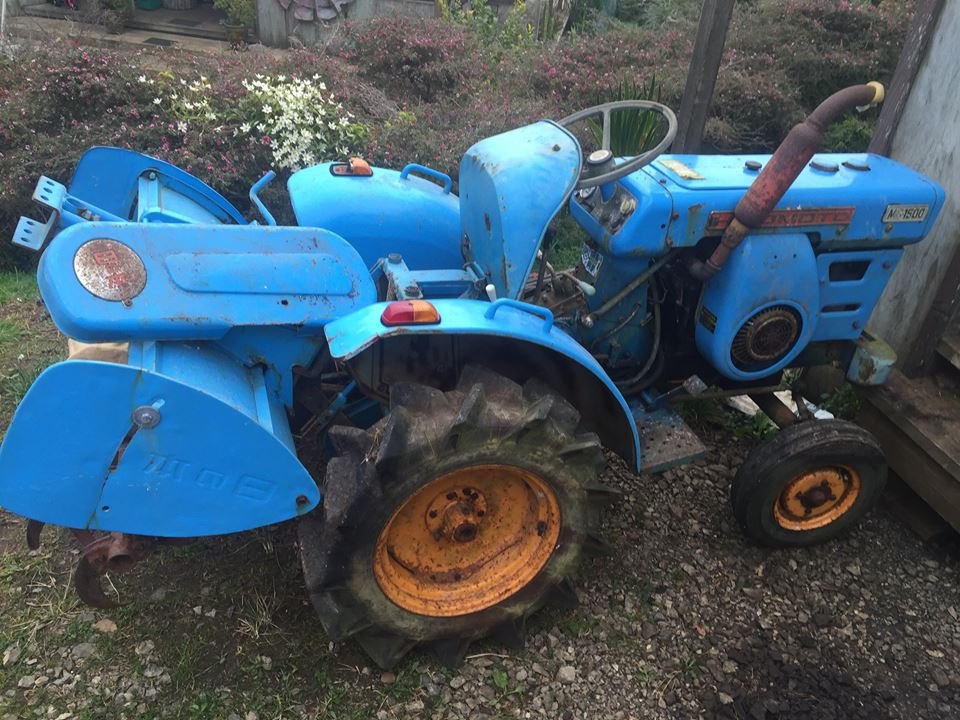
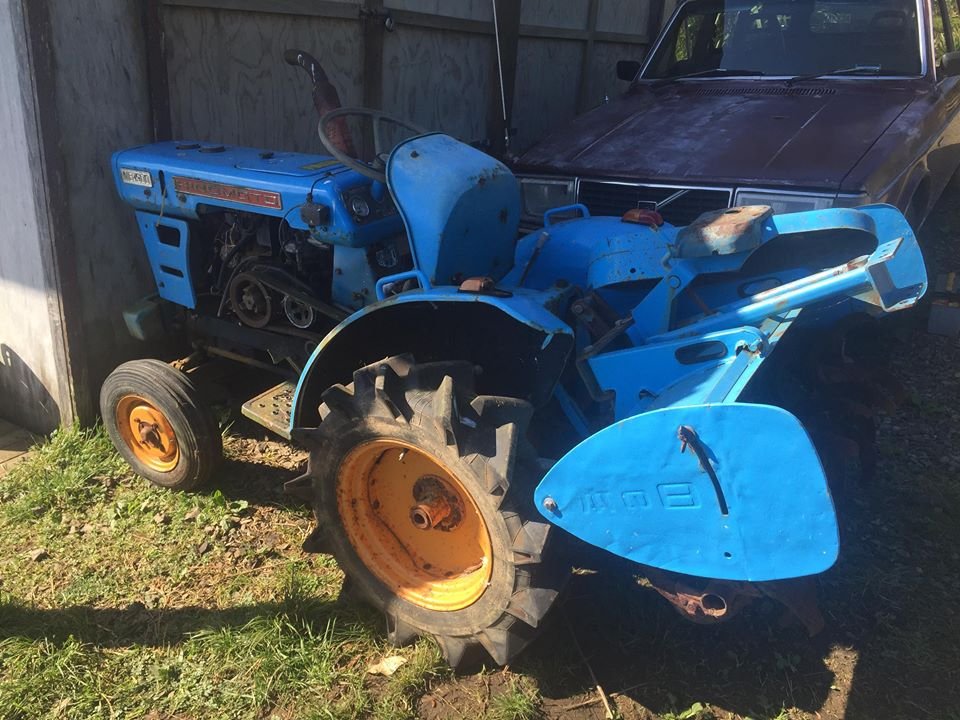
So Now I have this thing, it has hydraulics, PTO, and diff steering, it has 2 fuel tanks and a carb that will run the engine on petrol or kerosene, engine is 630cc 17 HP, It has 0nly 255 hours on the clock and is in very good condition, the only problems are it got water down the exhaust witch seized the exhaust valve and filled the cylinder with the inside of that Coby muffler, bore only has marks where the rings sat at the bottom of the stroke and I just gave it a hone with sandpaper, I had to replace the main bearings as they had water marks, other than that it just had light rust witch wiped off, crank journals are mint. exhaust valve had a slight bend so I have straightened that and valve seats and valves are away getting ground.
4 points
-
Got it running a bit better today. The clutch slips if you don't change really gently. It goes OK though!
4 points
-
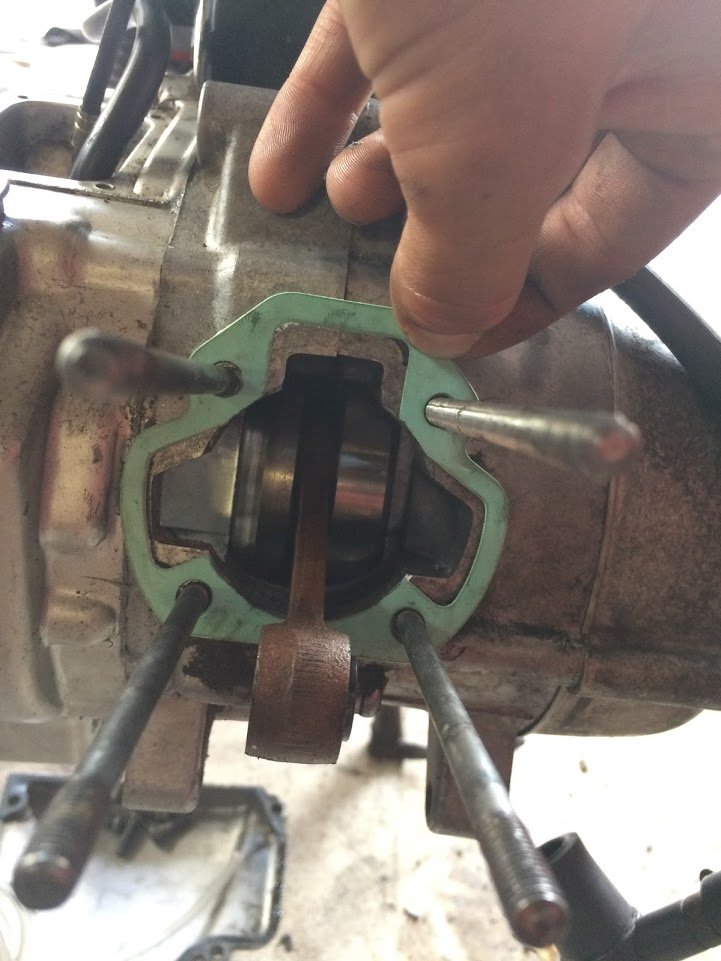
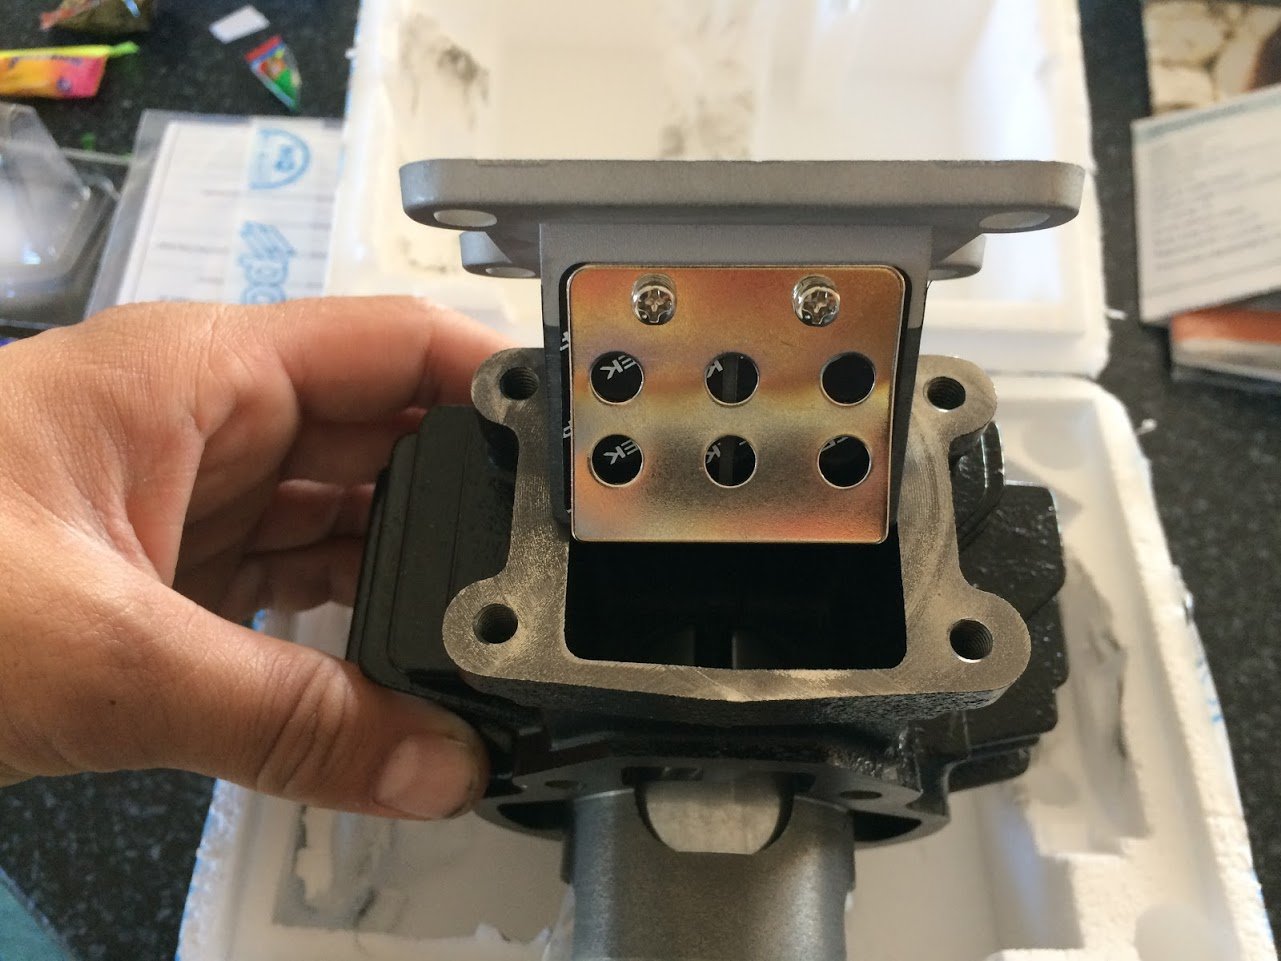
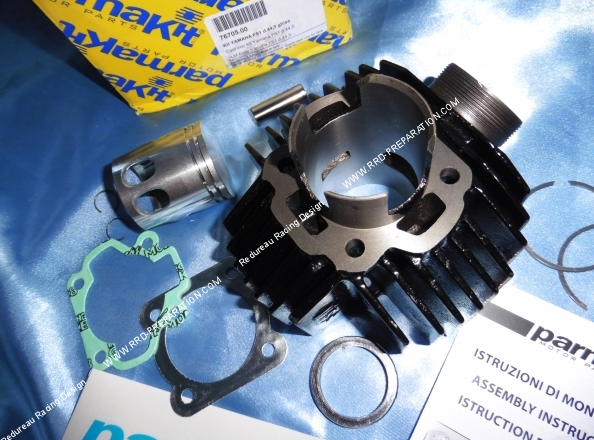
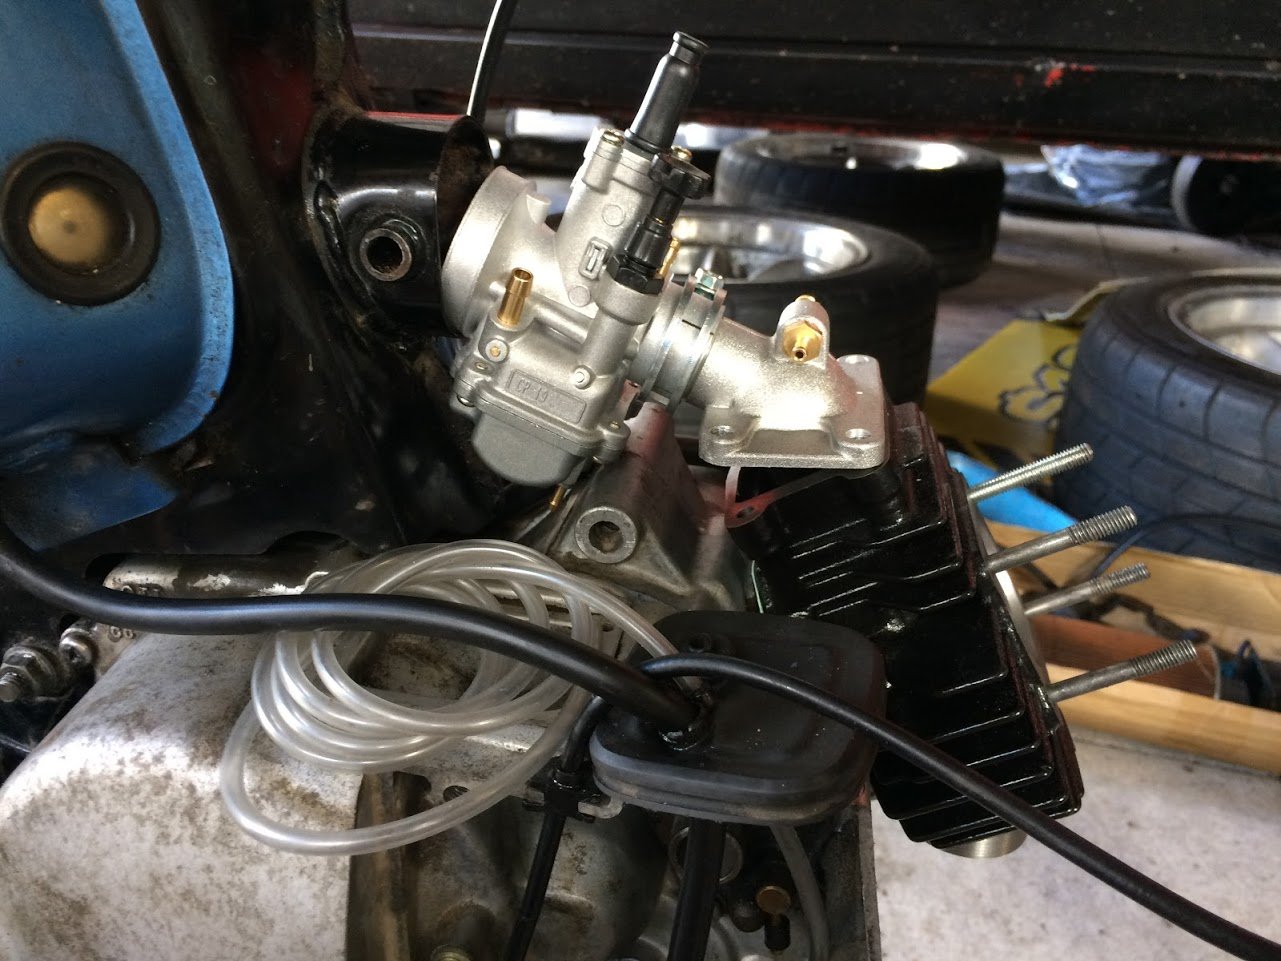
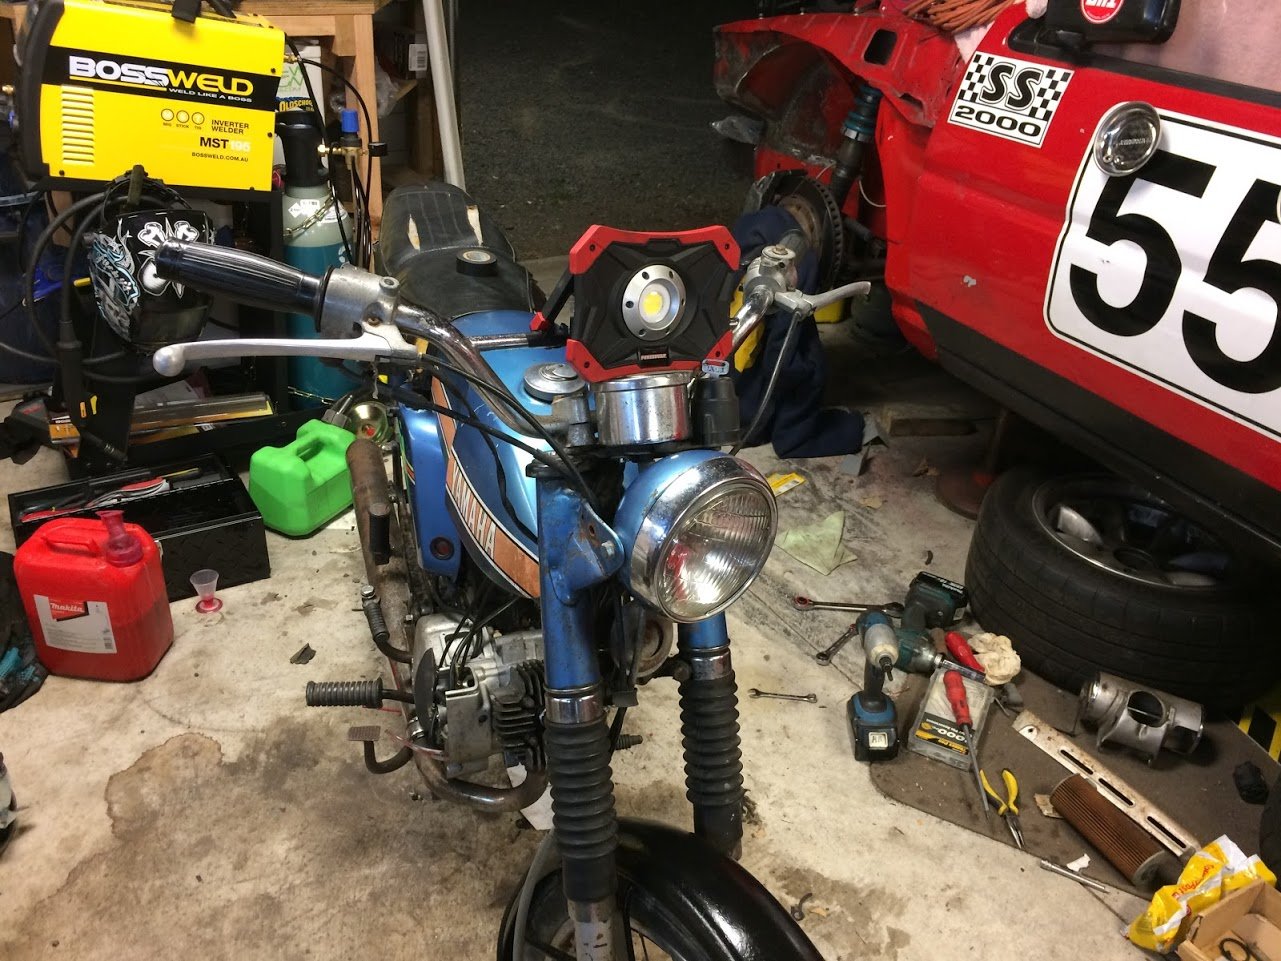
Yay, parts day! Unfortunately there's a bit of work needed to make everything work. I gambled on the Polini cylinder for the Chappy being correct because of some info that I'd found on the internet, but it turns out the Polini kit has HUGE transfer ports that are far too big for my crank case. This leaves gaping holes around the edges of some of the ports... So I'm stuck trying to find a solution. You can see the difference between Polini and standard ports here: My first option is to use JB weld / some type of compound to goo up the ports on the cylinder. I'd also add goo to the mating face on the crank case to get a good sealing surface. Then I can port match the cylinder from there. Option two.... Um.... A metal gasket or something? Not sure. I also need to modify the inlet to get the reed cage to fit. It needs a couple of MM taken off to fit nicely. I'll also need to modify the chappy inlet manifold to suit. I could either add a wedge underneath to get this angle or add to the manifold with an elbow / new tube. Once I realised nothing was going to work today, I set about trying to make it go as a 50cc again. It was a pretty mad mission and I was trying to finish it in time for the oldschool meet tonight, but it wasn't to be. I got it going afterwards though! Here's my temporary headlight until I sort the wiring out: Took it for a hoon. It's going much better than the last test, but still not well. It splutters a lot, although I did double up on oils (premixing incase the oil pump didn't work) and the carb enclosure was open, so it was likely running lean, causing the splutter. I just had to ride it to make sure the next lot of effort will be worth it! And it seems like it will be... The thing is quite peppy when it decides to pull through the revs.
4 points
-
Good stuff, cheers peeps! And some leftovers to take home4 points
-
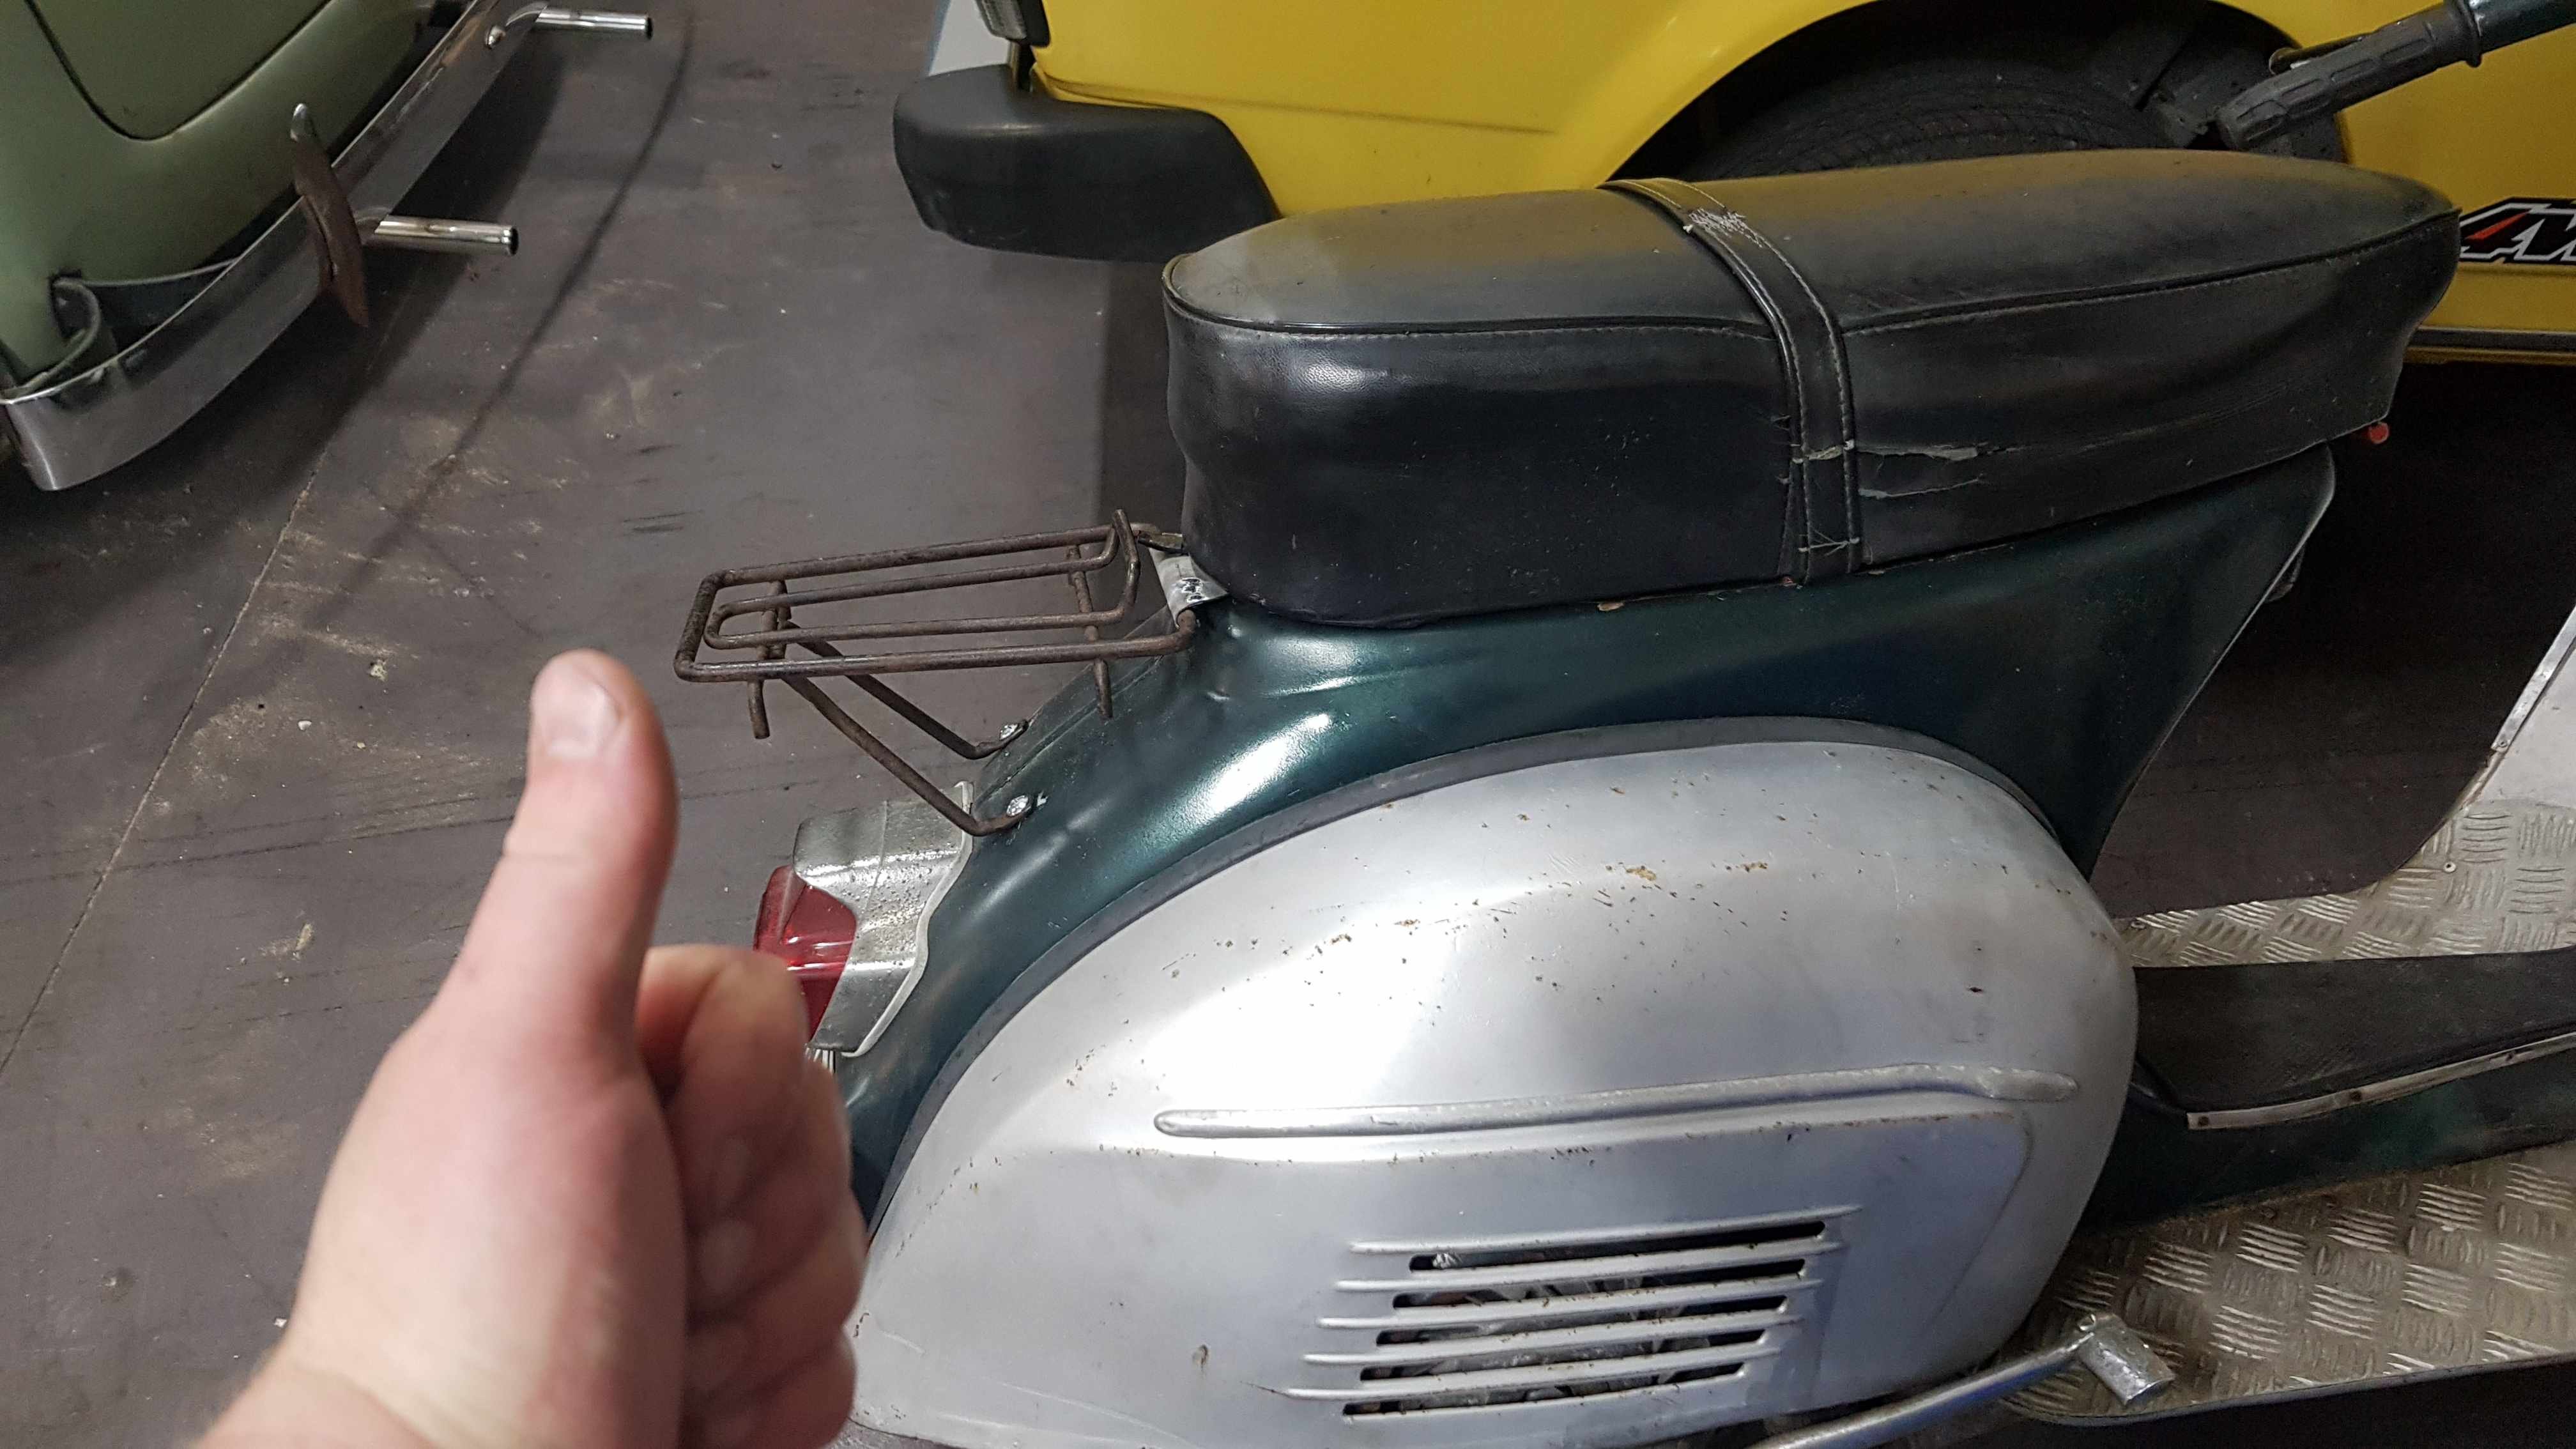
Rack attached. Good old riv nuts are a life saver. Two in the bottom and welded the top nut in. Lock washer arrives tomorrow so no need for any lock tight. Lucky I'm actually riding my bike and finding these issues now. And out to do more testing this weekend. Might make my sack to carry luggage in the front this weekend. See how i get on.
3 points
-
over night parts from china. ordered the carb Tuesday night, delivered Friday arvo. thats pretty legit. it looks way better than i thought it would, it actually looks like its well made. 2018-09-15_06-14-18 by sheepers, on Flickr so i strapped this on and it ran like shit, Nick the good cunt sparky came over and we fucked around with it. turns out the points were fucked and so were the plugs, put some new plugs and points in it and it runs like a dream, its like fucking new. we went for a hoon around the block and its running mint, stoked! so this friday its getting a warrant and then itll be on tardme ASAP. 2018-09-15_06-14-27 by sheepers, on Flickr 2018-09-15_06-15-04 by sheepers, on Flickr 2018-09-15_06-14-40 by sheepers, on Flickr3 points
-
Painted, couldn't be happier. Next is a wet sand and buff
3 points
-
Powdercoating picked up and looks amazing ! Will refrain from posting pics till its finished and outside. Got new tyres as well. Just Swingarm Bushes on thier way and Brake shoes from @Raizer hopefully here in a week. Will prob fit tyres to fresh Black rims tonight2 points
-
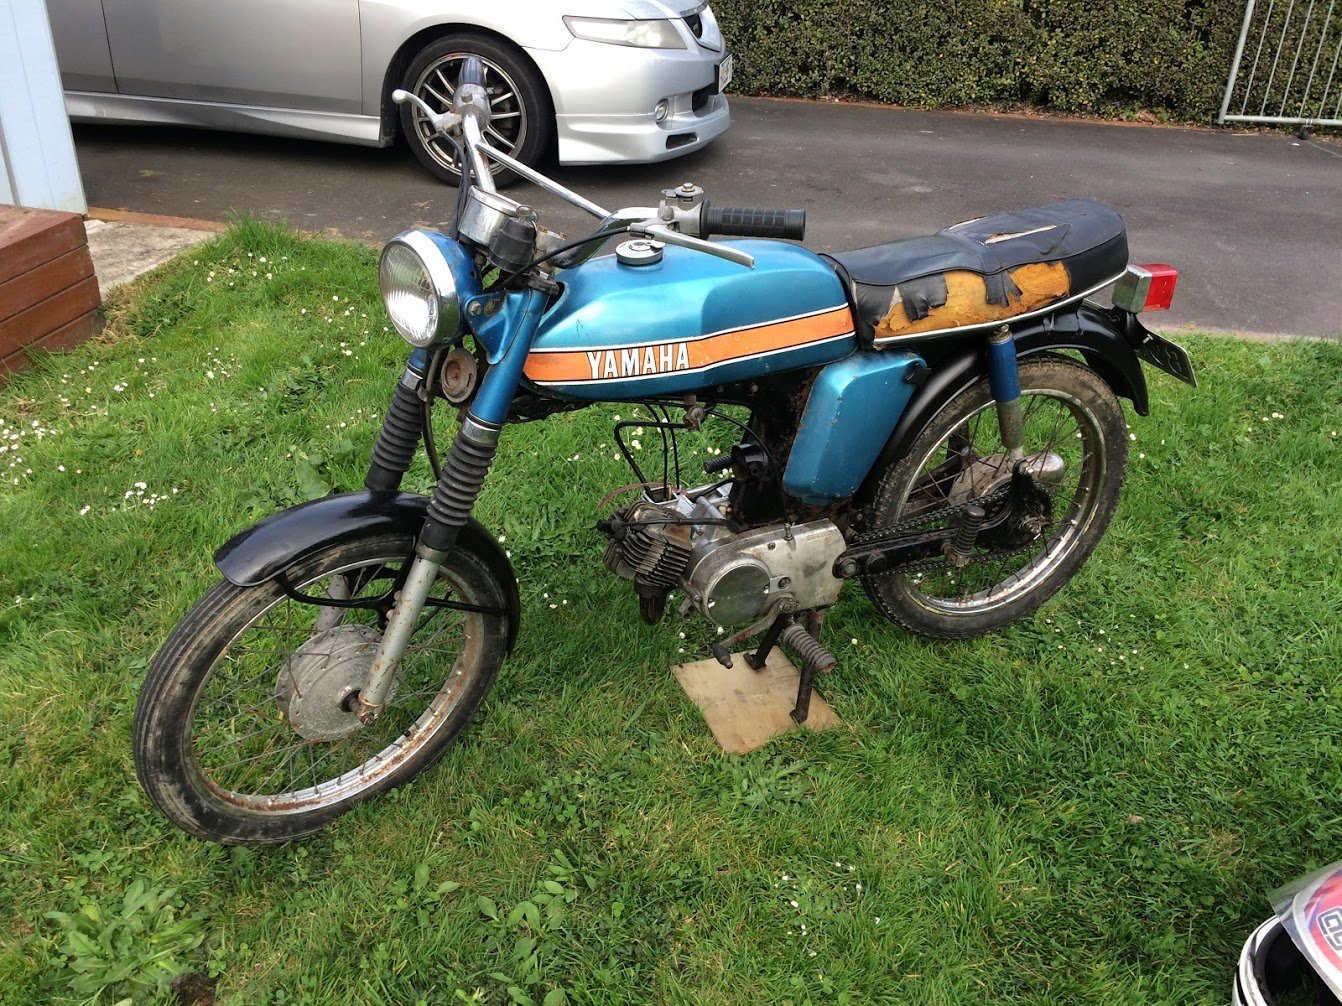
Quick update to say that this old beasty is still going strong and earning every cent of its $300-400 price Its never ran completely right fueling wise but everything seemed in order in the two times I stripped the carb. It would just simply lean out if I tried to give it too much throttle. The needle height was correct too. In the end I thought bugger it- I'll get a carb kit just in case I've missed something. $30 later and wow!!!! I wish I had fitted a kit ages ago. Sooooo much better. The only thing I can guess at was that a previous owner has fitted a kit with the wrong needle taper. Anyway.. now its a rocket ship. Apparently they are geared for 80kph? Well yeah it would easily pull up to that but damned if I'd want to be on it at that speed. However its way better at climbing up to the ridge. Damn its a handy thing. Loving it. Lawn mowing and tree planting on the ridge...easy. Next to do job is build a tiny trailer, about a meter wide. Sort of a trailing dolly type thing as I have a new plan on how to tow up all the decking and other timber for the cabin. Back flips here we come.....
2 points
-
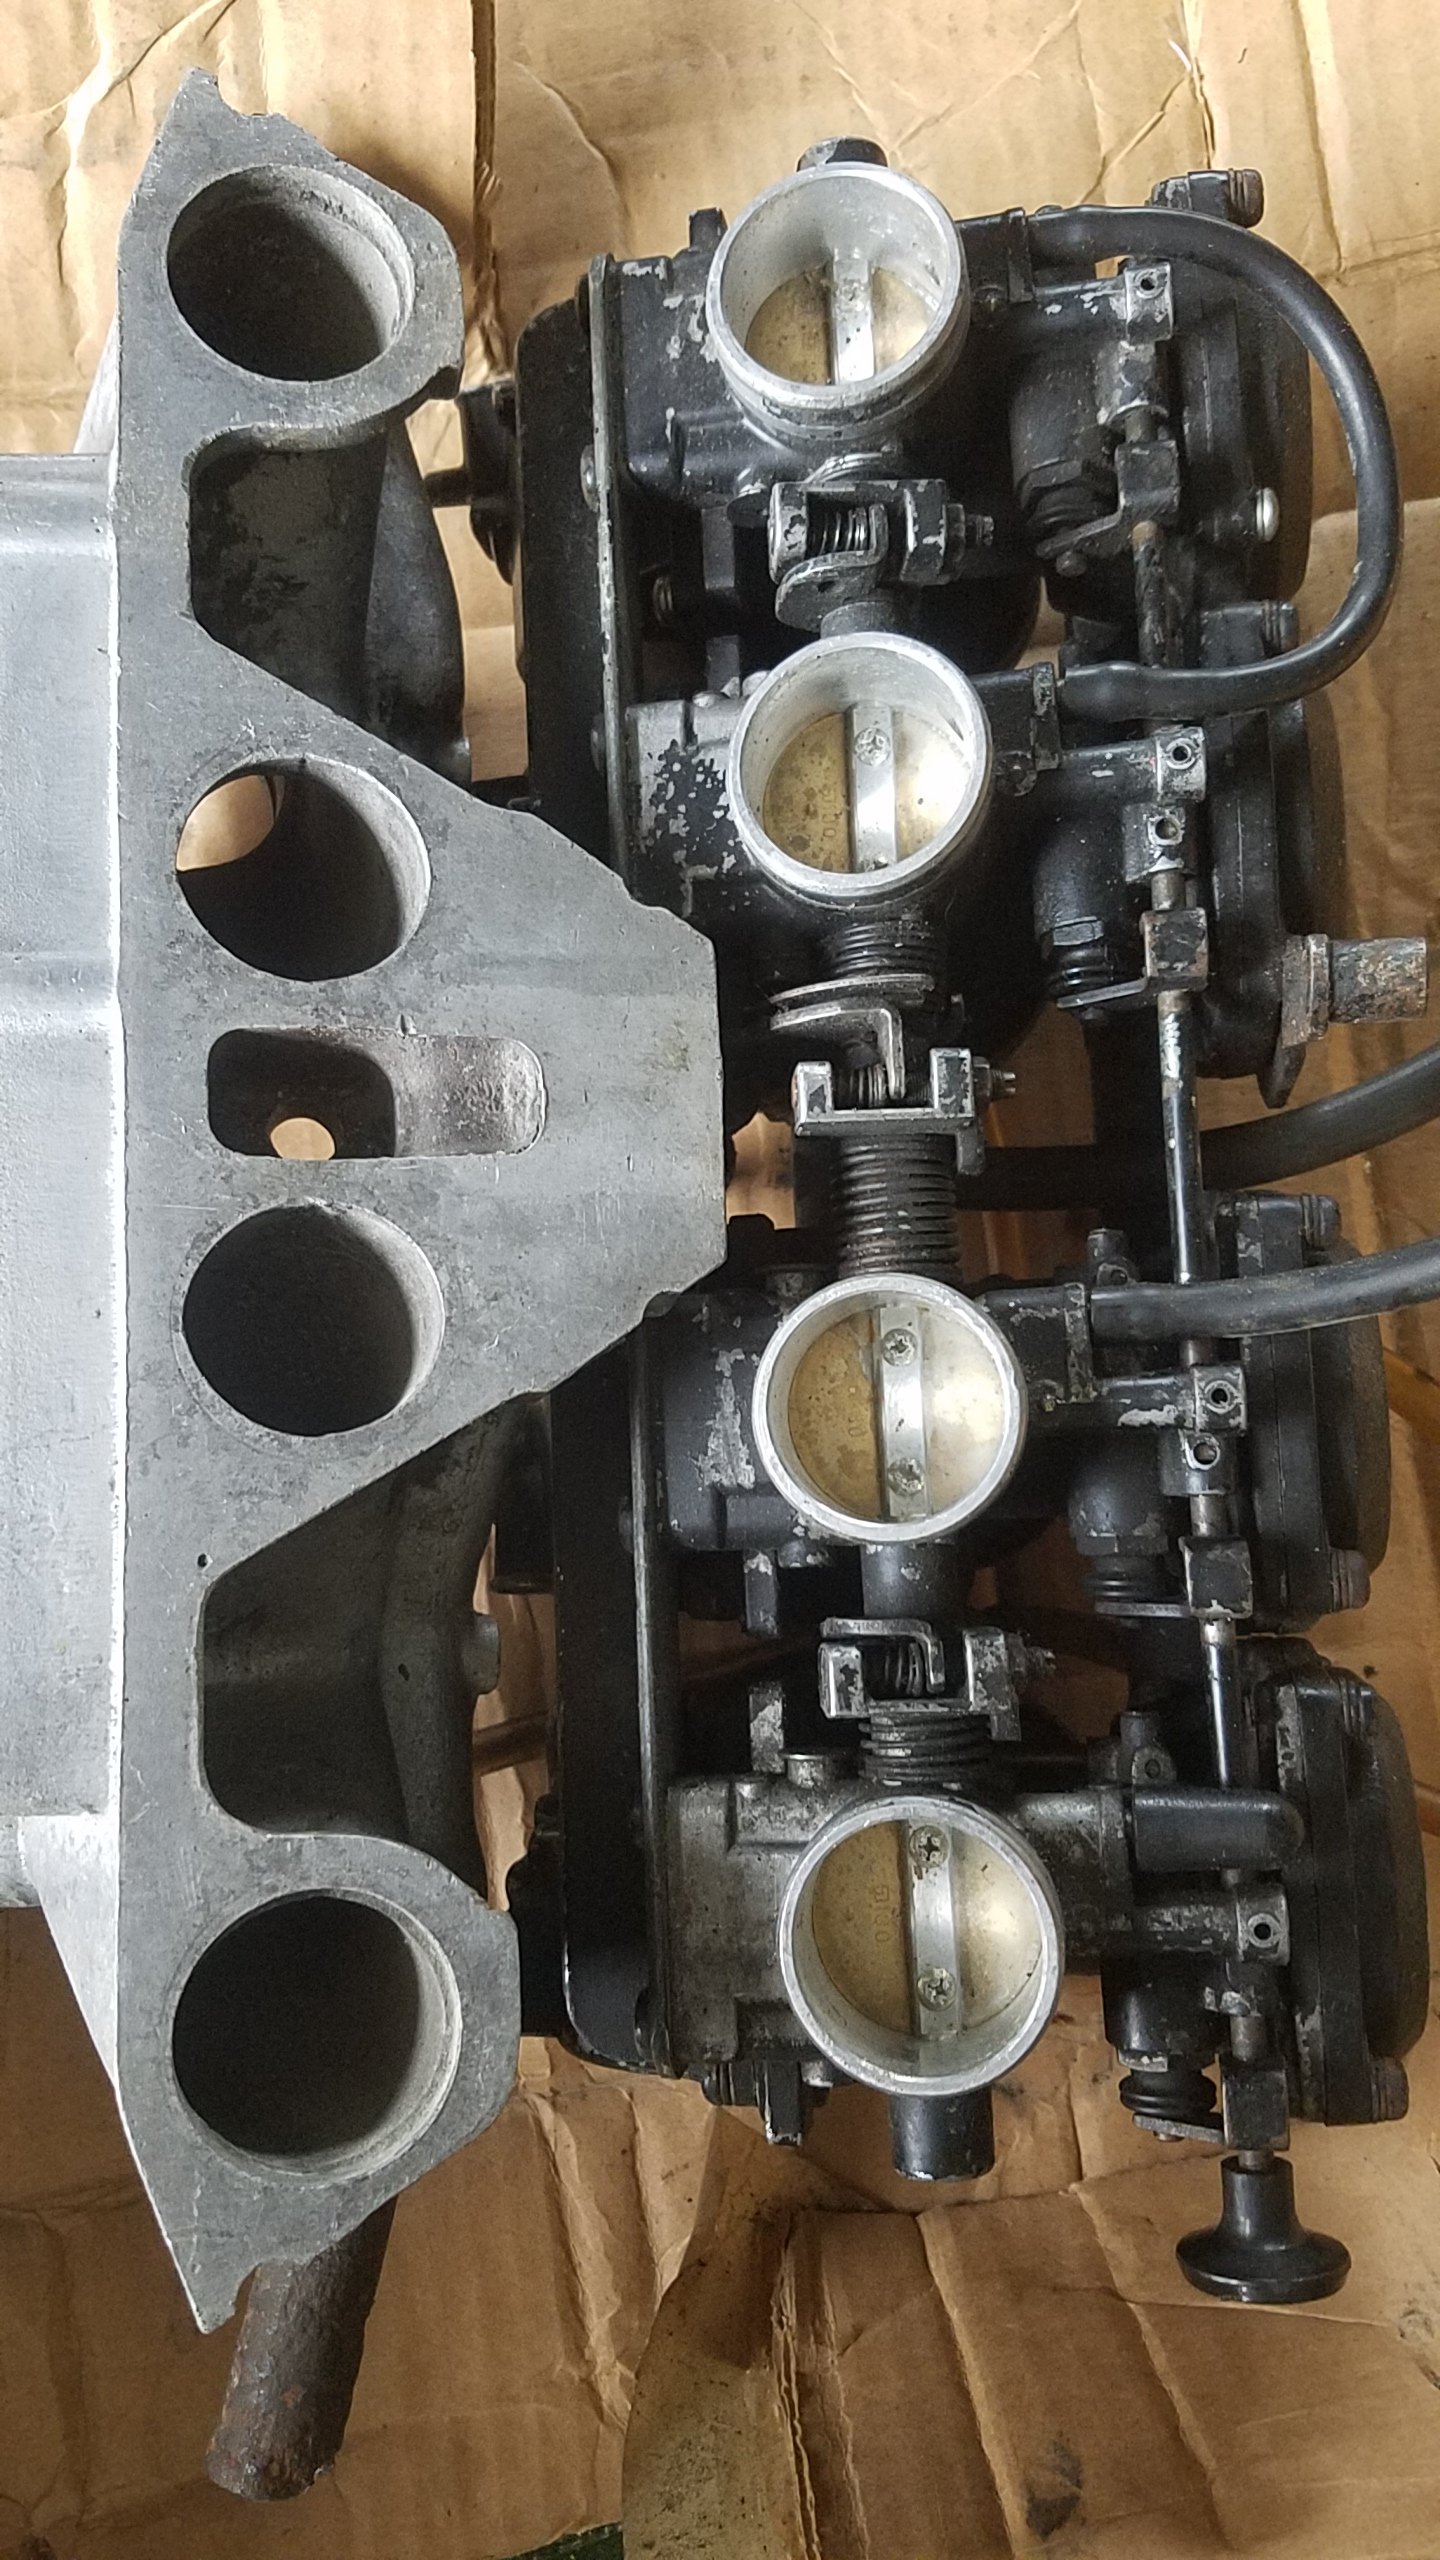
Had a small delivery this morning. A set of bike carbs turned up on my doorstep. The inlet port size is the same as the hunter, and look how close they line up on the outer ports..this makes for a fairly nice manifold design.. Just need to grab an inlet/exhaust gasket to get some manifold plates cut up.. Will need to make headers at the same time to match the inlet flange thickness as they share studs. Will also try and find a suitable fuel pump and remove the factory mechanical pump.
2 points
-
She drives!! First drive around the yard. Got the engine running really nice for the basic tune. Found I had to reverse the polarity of the wires for the cam trigger and crank trigger. With both of them wired the "Correct" way according to the documentation put me about 40 degrees retarded, I checked the trigger scope and they were clearly around the wrong way, flipping the cam got me to about 15 degrees advanced, then flipping both of them got the timing bang on. Did some other stuff like set up the idle control solenoid. Here is a little rev I have it booked in at the dyno on Thursday!!! Got the checklist back from the certifier. Not a very long list. Most of it is just little things like lock nuts, and things we haven't got like the wheels and we can't test the brakes yet. Got the reverse lights going. Which is pretty awesome because it is my first Avenger with working reverse lights. Here in NZ the reverse lights were only hooked up on the top of the line models. As all of my Avengers have been base models then they haven't had reverse lights, they have all the wiring in the loom for them but they just don't put in the switch or bulb holders. Got it down on it's temporary wheels, we had to put some smaller rubber on the front so it is even lower at the front and jacked up at the rear so it has that drag car rake, it will look more normal with the final wheels on when they get here. Also finished the battery brackets.2 points
-
Big milestone. Fired the engine up for the first time. A few issues. The biggest problem is that the TPS doesn't work, The shaft on the throttle bodies spins the opposite way to the standard 1UZ TPS. Need to do some research to figure out what TPS I can run. In other news. Got the gearbox boot and gear knob. Tried this one but it was a little high for my liking. Swapped it out for a smaller knob which feels much better (Ladies!! See, a bigger knob doesn't always feel better) It also has the correct H pattern on the top which is cool because it is different to the 5 speed sierra gearbox in my 75 Avenger and the old standard Hillman 4 speeds, they both have reverse next to first instead of below 5th, so I'm sure I will forget where reverse is on this one if I didn't have the H pattern there. Also got the dash up and going. It still has the protective screen protector on it so it looks a bit fuzzy. I will take that off once it is all mounted in the car.2 points
-
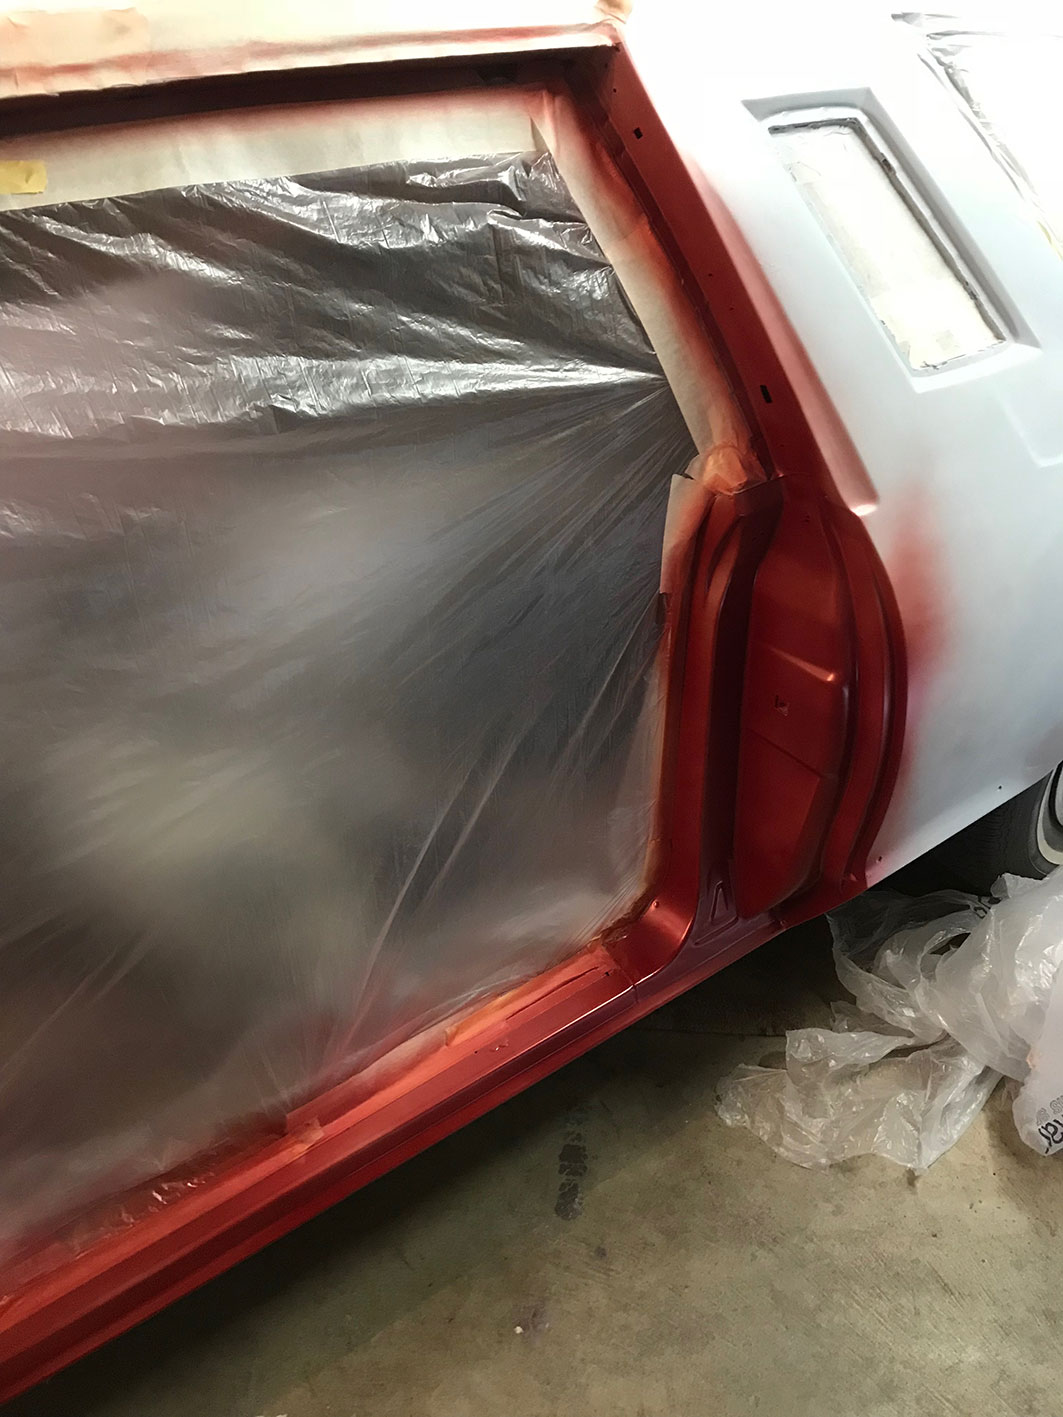
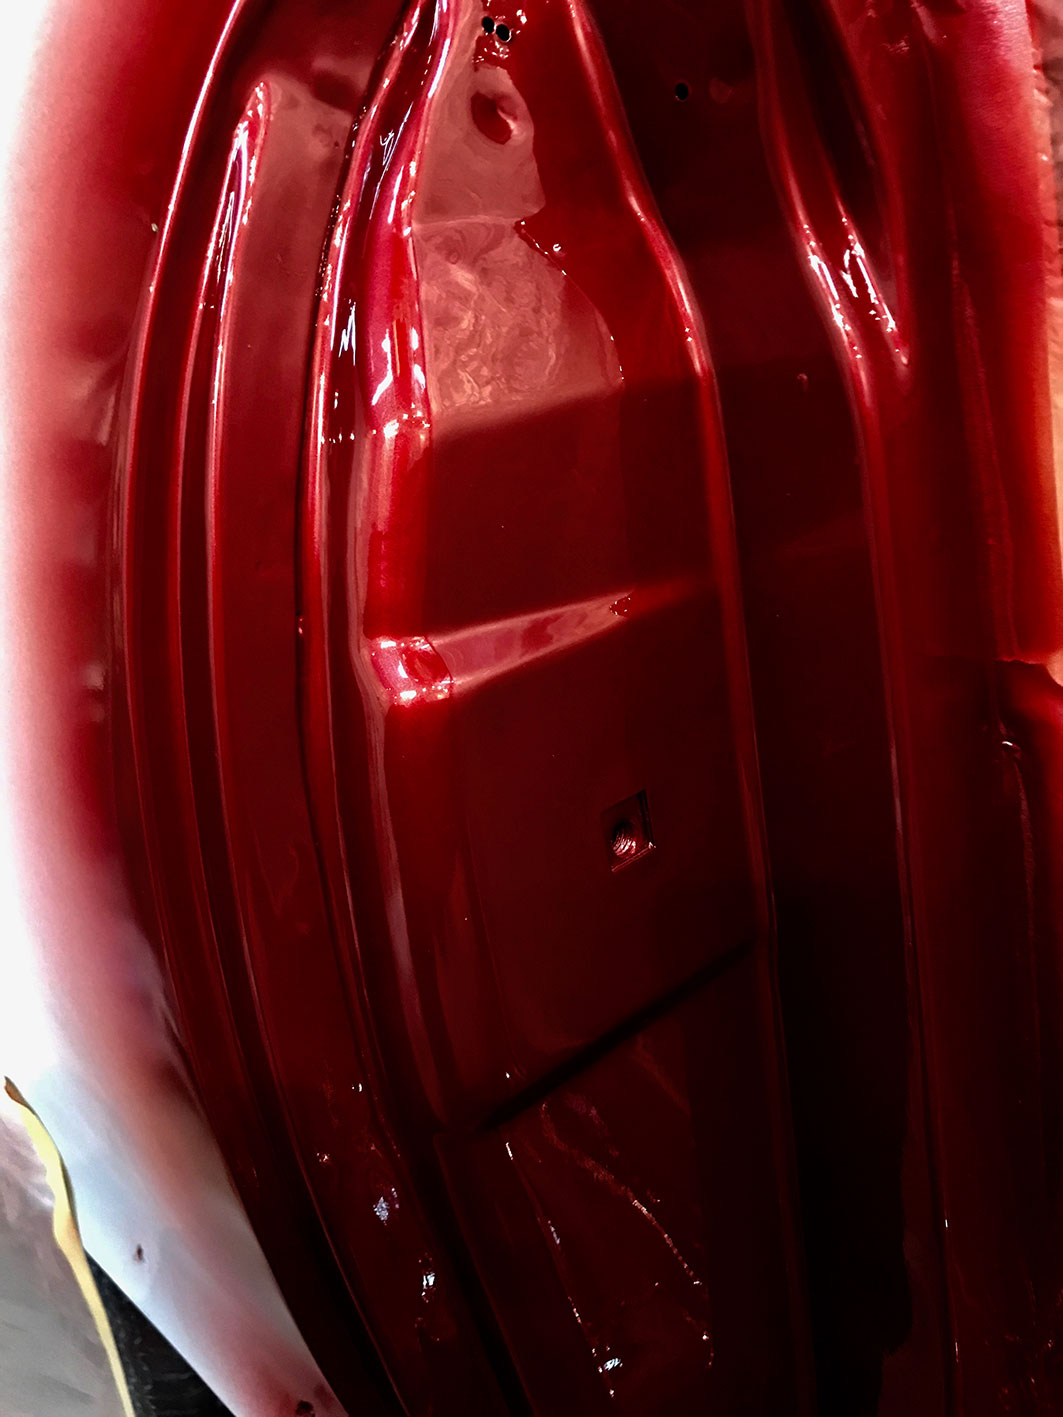
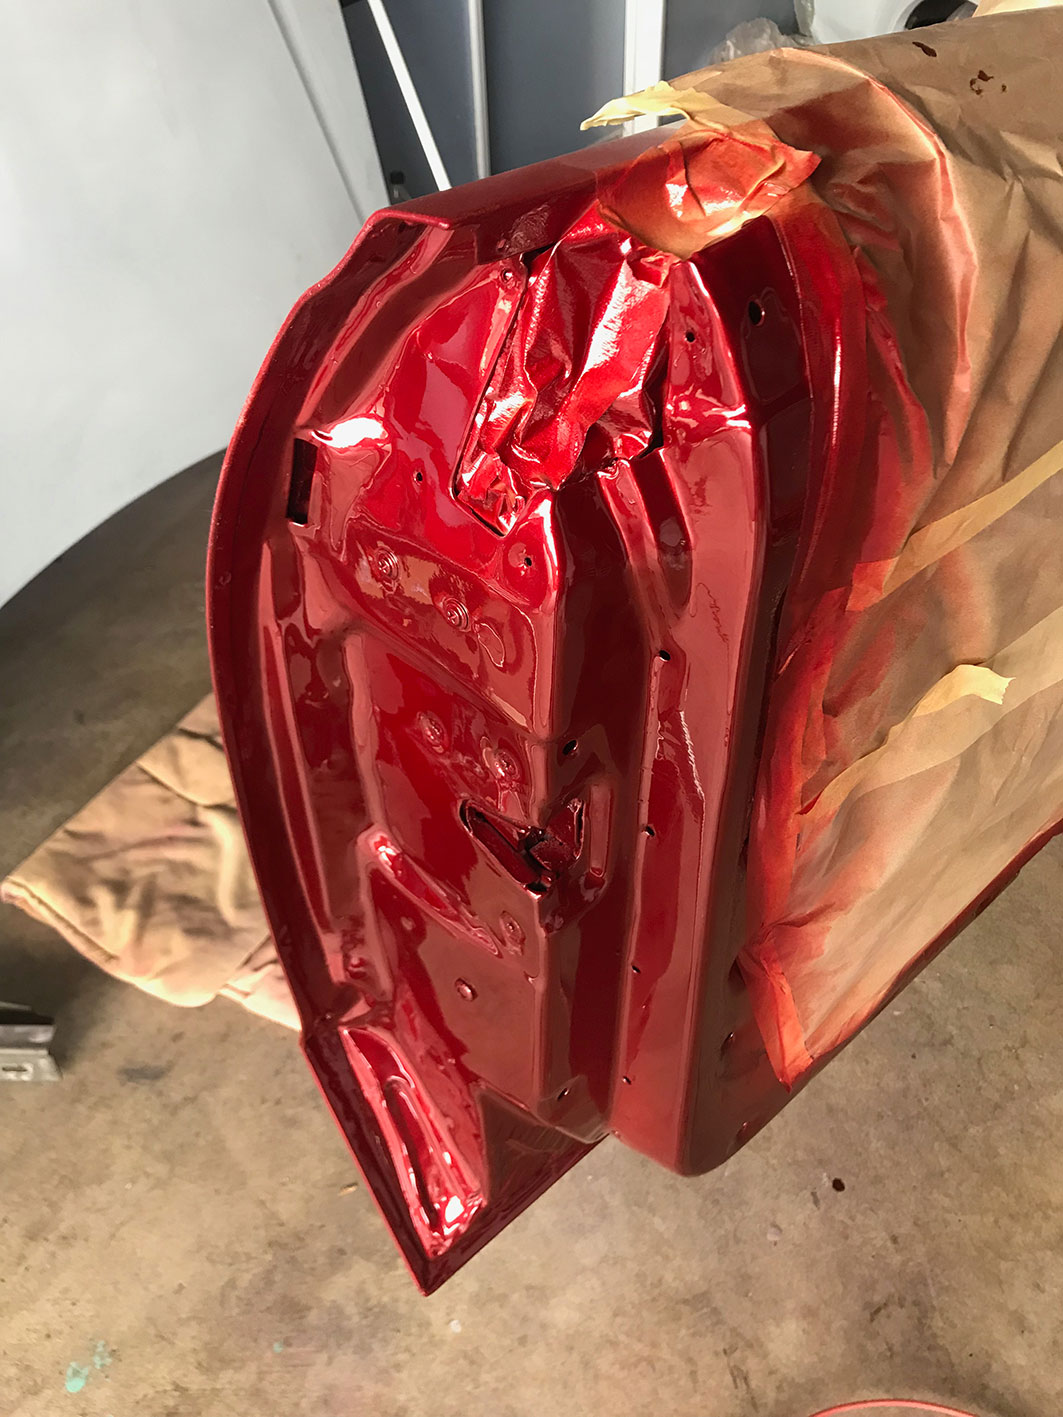
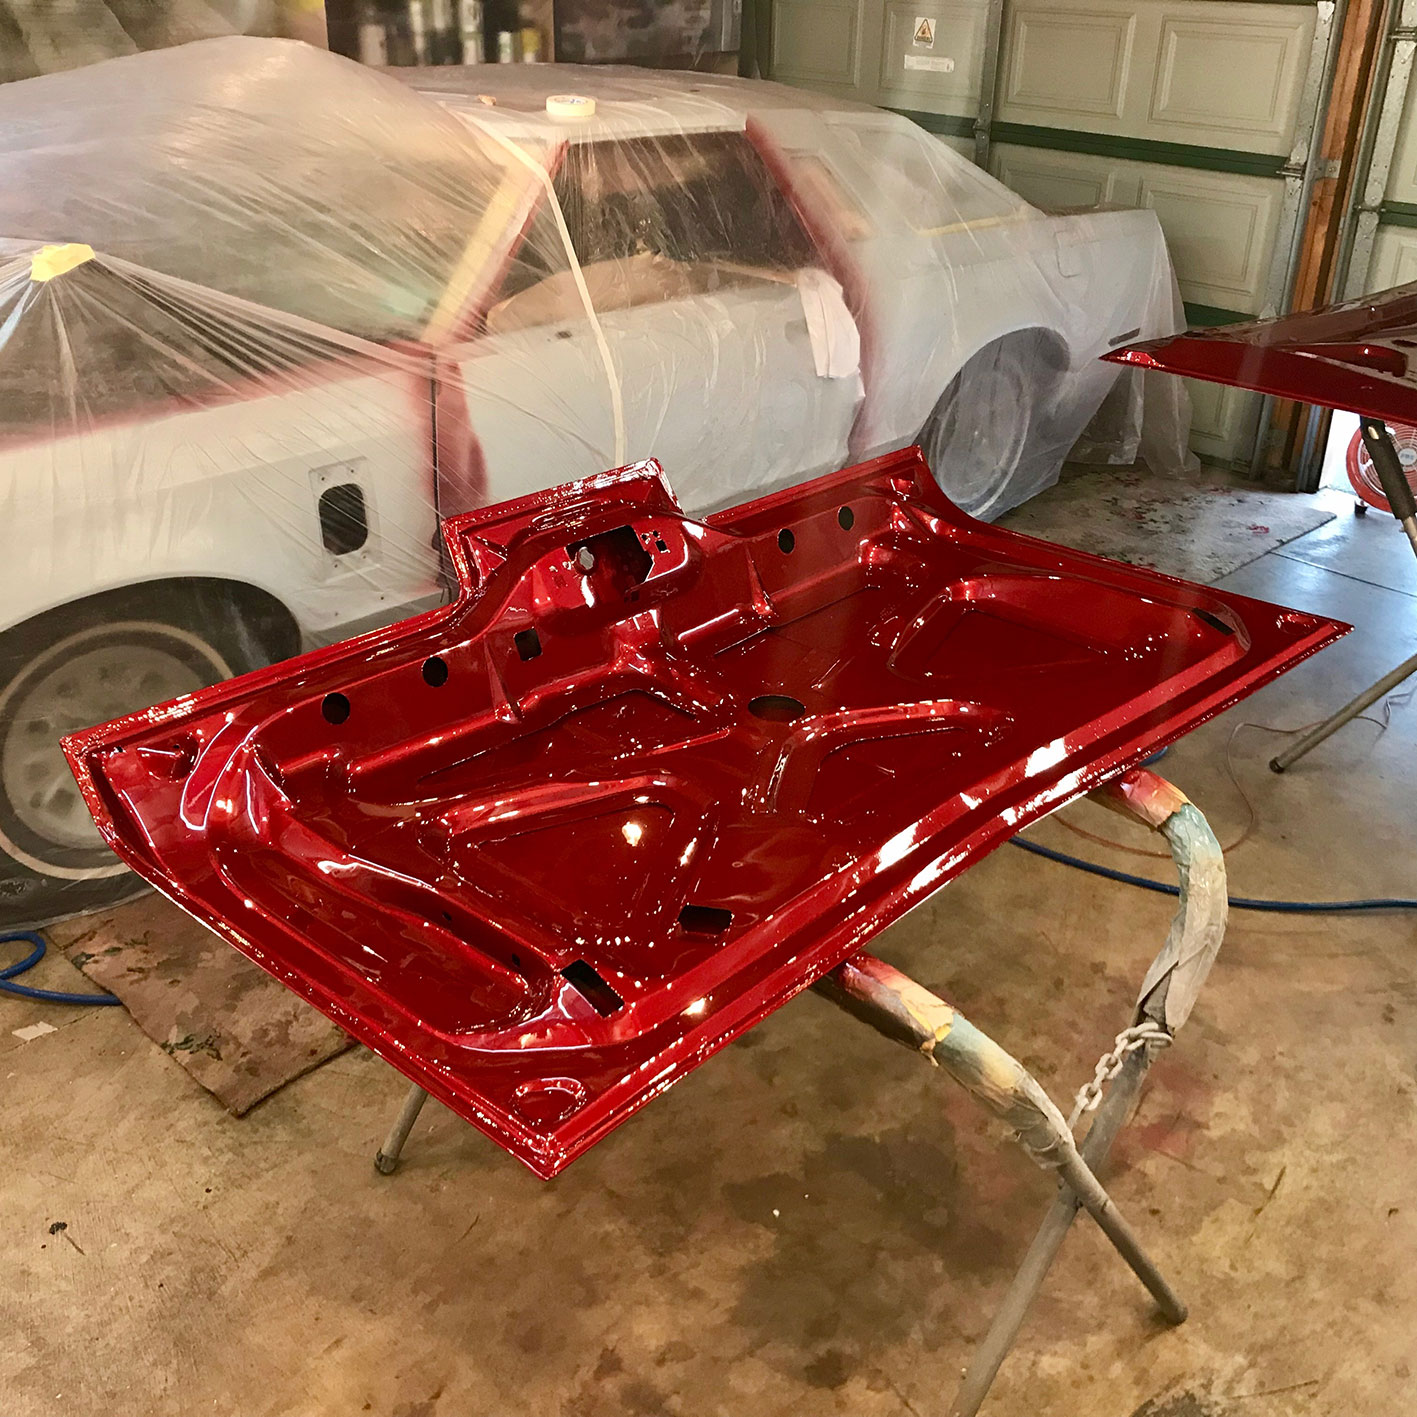
Got some colour down on the jams and on the underside of the trunk and hood. Loving the new colour! Its Mazda Ruby Red... We put the hood and trunk back on and shipped it off to the workshop where the rest will be painted in the booth. Cant wait!
2 points
-
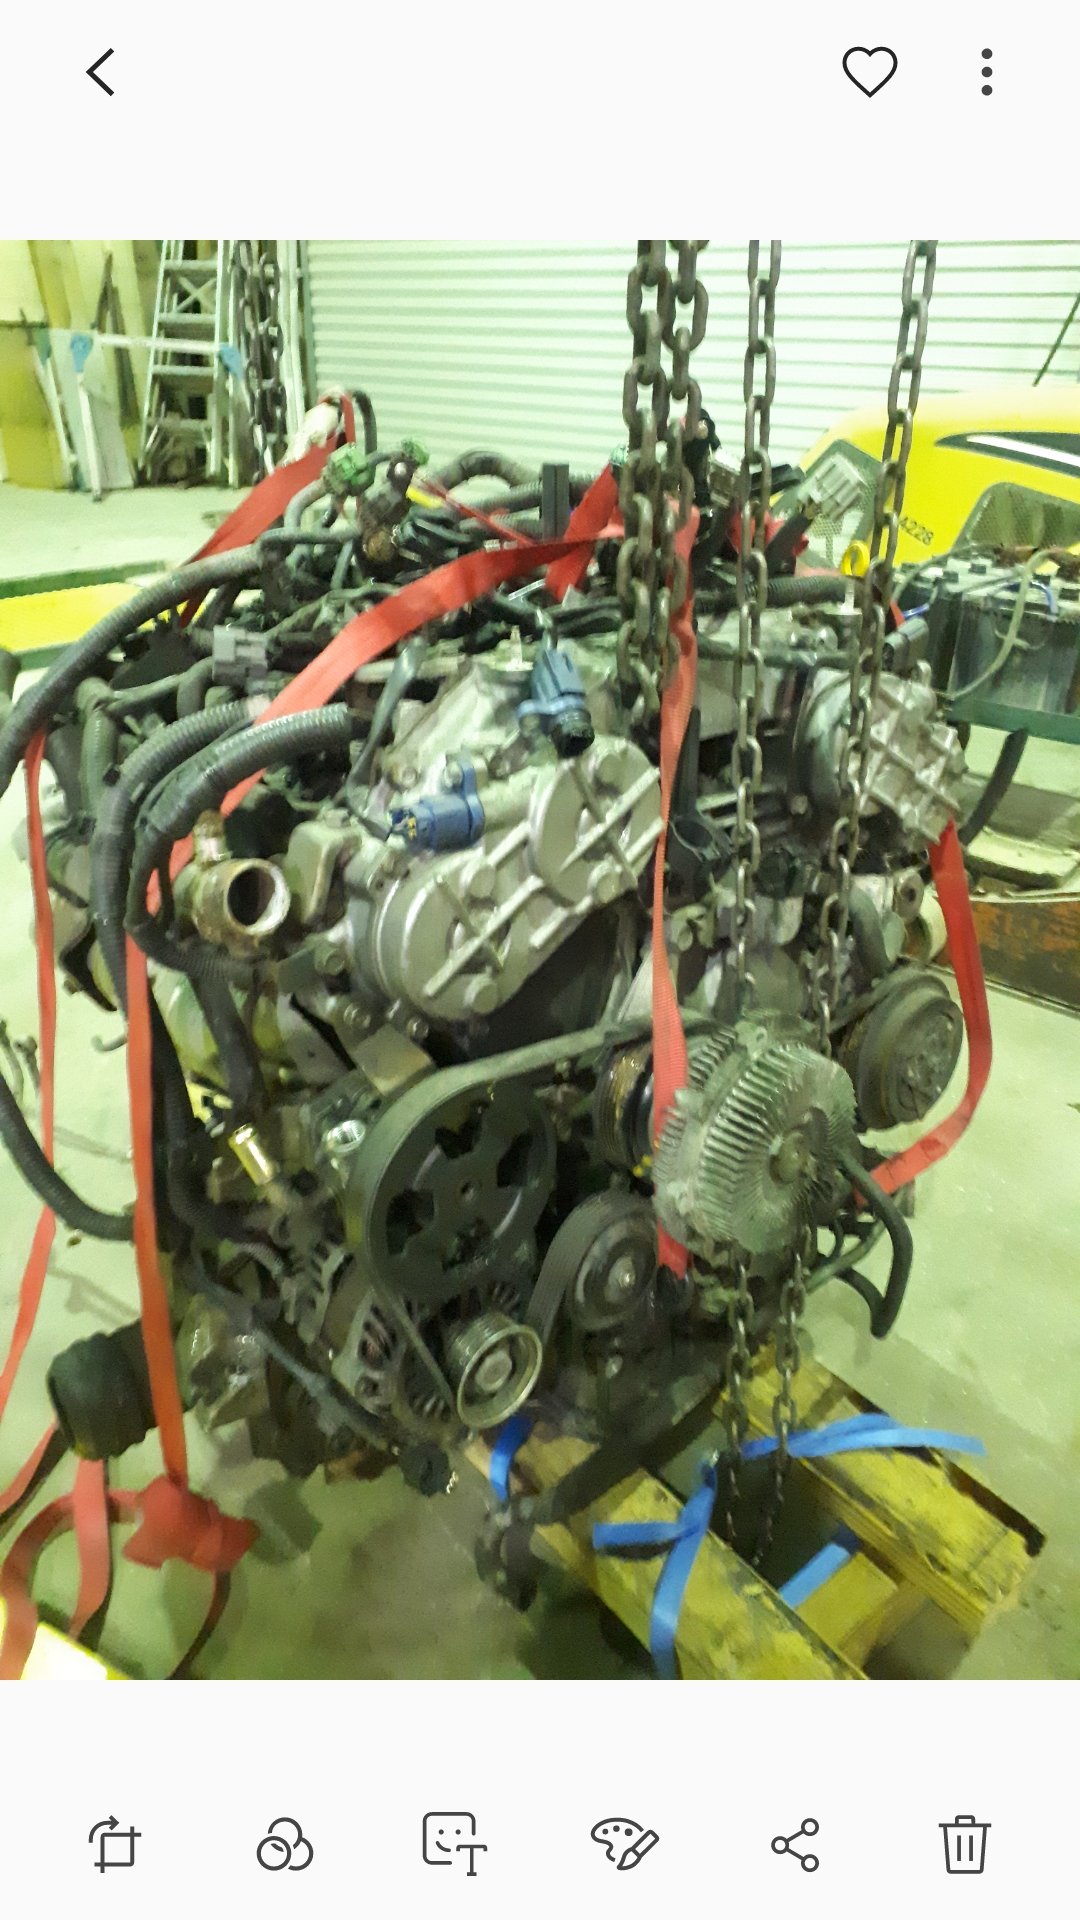
Got a VQ25DET and loom sitting at work ATM......mmmmm, would make van go nice...., might have to sell CA setup.
1 point
-
Are you dumping one of these over top? https://www.summitracing.com/itemgroup/55-pedal-cars/?ar=1 etc1 point
-
We bought an innovate LC2 + 4.9 sensor (had to change the output range using supplied programmer software) and I made up an LCD display using a Nano (convert lambda to %O2) and put it in a nice box. Tested it out using argon from the tig welder and it went straight down to 0.0% O2 (reading 20.9% in free air), so it looks like it will work. Assembled it onto the furnace so it should be ready for testing on Monday assuming the instrument grade argon arrives. Also, don't have sensitive electronics like arduinos near (older?) tig machines when running, it corrupts the memory instantly. If it works that means a saving of about $9k1 point
-
My old 250 Suzy quad tows a trailer loaded with sand , they definitely can tow , stopping is a little difficult though .1 point
-
Cardrona is open til the 21st of October so still plenty of time for snow stuff. I am likely to be down at the car show on Sunday. Not entering just popping down for a look.1 point
-
Are you saying it sucks? /spam1 point
-
Bollocks.1 point
-
Love your work. Would something like this work for you? Even if the rear steering was done separately by someone sitting on the back kind of deal.1 point
-
this breaks my heart. traitor. oh well catch you up there mazDAVE1 point
-
Yeah, that makes total sense. I think I do. have the drums off the wagon but I know I had to steal one of the springs to put on the my Avenger sedan. I will check a look and see what state they are in and let you know.1 point
-
@Avenga would you have a set of brake drums surplus to requirement? A friend needs some to upgrade the brakes on his model T Ford.1 point
-
https://www.aa.co.nz/membership/options-and-fees/aa-plus/ take this out if you’re that paranoid, may be a long wait, but will get you to civilisation eventually.1 point
-
I was thinking more along the lines of a couple of swapper crates filled with ice cold amber liquid.1 point
-
Remembering that this year if shits gunna break its going to break on the first day, as thats when mechanical weakness will let go as its first big stretch / roughest road and also the most "difficult" terrain to ride. the benefit of doing the trip in the opposite direction this year is we will have gisborne / raizers workshop to fix non terminal issues so i think one should be enough. just dont do a @MopedNZ or @Shakotom and crash, dont do @64vauxhall and bring a pile of crap that had not run properly ever, dont do a @doozi and bring no spare tubes, or a @blizzo and bring a bike that has a tank full of rust that just blocks fuel filters. tick all that shit off and you should be sweet1 point
-
Is the wood you're touching down a bank? Puhuhuhu1 point
-
Made a little custom startup screen for my dashboard. Looks pretty sweet. Here is a little video, along with some of the screens I have set up, I still need to name some of the things better Here is a shot of the startup screen After running the engine for a while I noticed that the vacuum line was collapsing so I have replaced that. And while I had the vacuum manifold out I figured I would take a photo of it.1 point
-
Been dinking away on this from time to time. Bought a home made folder on TM, should be better than angle iron and a hammer. Welded it onto this trolley for mobility. It uses air rams to clamp the top. Cleaned up the bare metal (again) on the firewall and inner guards. and splattered some primer on it. Mainly to stop the rust that collects over time. There is still welding need for the inner guards but I'll just clean that off and re-prime as needed. Quite a bit of time has gone into fixing this after Hanmer, the grille needed to come out to be glued back together which meant removing the slam panel. I stripped and repainted that while it was out. A couple of clip-on nuts (what's the right term) dropped out of the inner guard panel, included one that holds the bonnet bumper stop. Getting these back in meant removing the guard, which in turn needs the front bumper removed. Kinda wished I hadn't used such a sticky sealer on it last time it was apart. Good to see it's in nice shape behind the guard though. 'Just' needs putting back together now.1 point
-
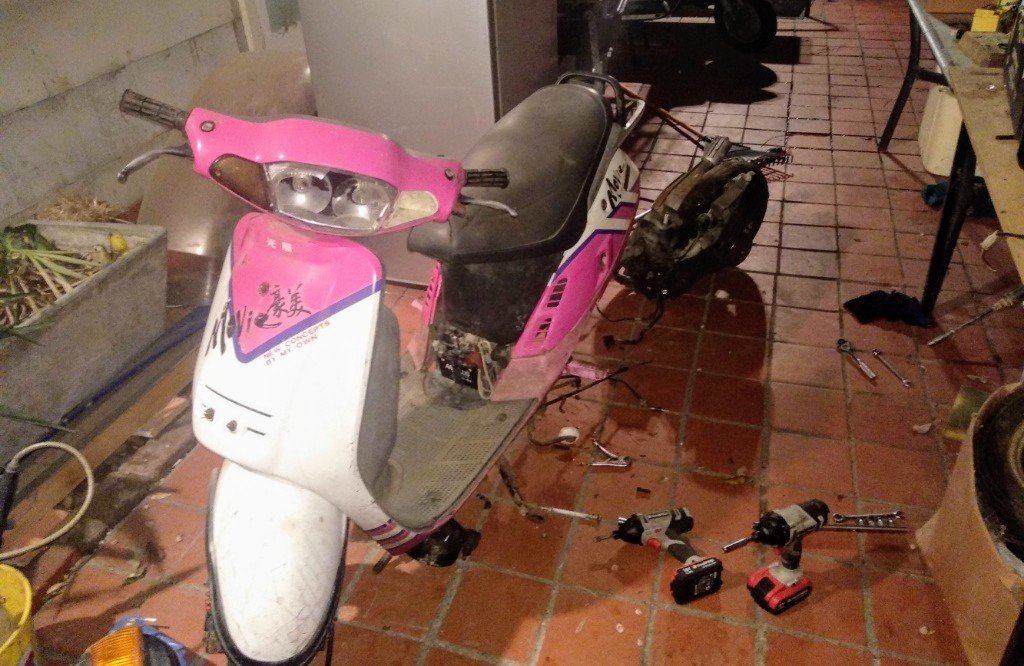
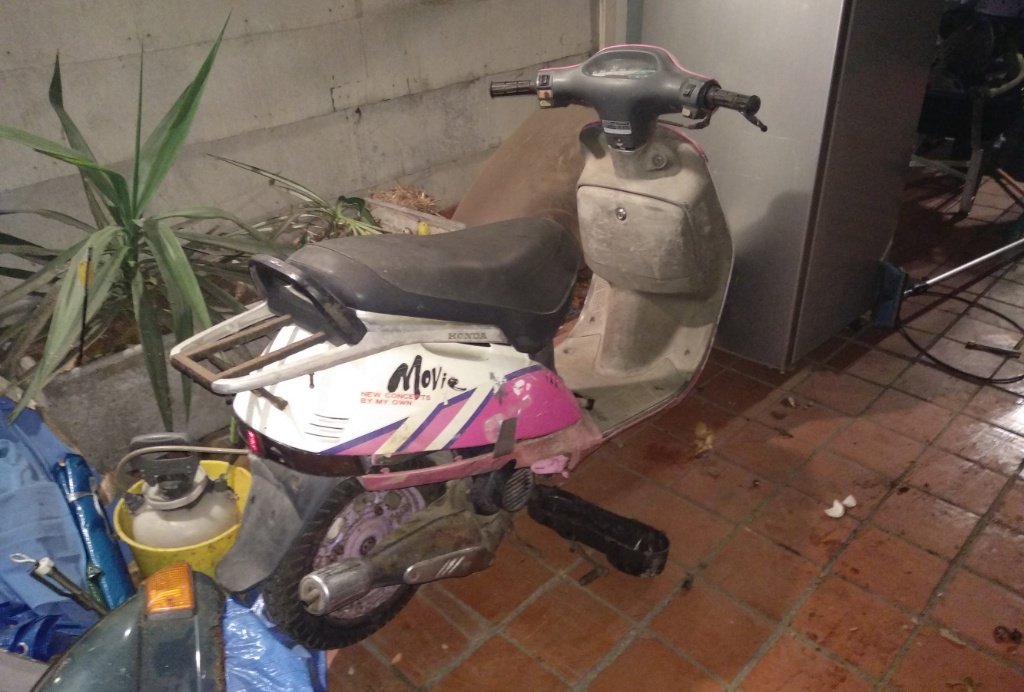
Haven't had anywhere near as much scooter time as I'd like lately. Managed to get a few hours to muck around with Barbie tonight though. Squirt of engine start and 2 kicks was all it took to get the purple parts one started up, sounded healthy enough without the exhaust so I pulled it from the frame. Removed the old engine with collapsed bearings from Barbie Fitted the old Gyro brake shoes etc to the new one and bolted it in. Managed to get it running fairly well, the gas and oil in the tanks are likely from 1998 and the resulting smoke clouds smell like death haha, first burnout was achieved first start ha. Next steps are: unlock front wheel, maybe get brakes working, fit headlights etc from parts pile, buy a plate, remove springs and fit neons. Then decide on the best way to start her on a meth habit.
1 point
-
it wont run without a carb surprising enough. but i did install the new rear springs. and shocks. 2018-09-14_05-42-16 by sheepers, on Flickr1 point
-
Brought my bonnet pins. They are the same AeroCatch pins that I use in my 75 Avenger. This will pretty much be the only external mod that you will see when the bonnet is closed. Finished the front of the engine loom. Cam sensor, Crank sensor, oil temperature, oil pressure coil and suppressor. Alternator wiring. Vehicle speed sensor and reverse switch. Updated my documentation with a few of the extra plugs that I needed to figure out. Mounted the fuse box Throttle linkage and valley. Front of the engine loom. You won't even see this because the radiator hose is right above it. Then it runs down the side of the engine Started mounting the battery. I decided to run it in the guard, behind one of the trim panels. That keeps everything out of the way and still gives me full usage of the boot, because wagon. The engine is all fully wired up now and the engine bay is looking freaking tidy. Almost no visible wiring. And from the other side1 point
-
Took some measurements for the wheels I found that the fronts need to be ET+19 which rules out steel wheels so I went for Performance Wheels Challengers. 15X7 ET+19 on the front. Big thanks to Chris (CUL8R on the oldscool forum) from Mag & Turbo Christchurch for organising and ordering the wheels. And for the back I needed ET-25. The best they had in the cast wheel is ET-9 so I will have to run a 16mm spacer. They do a forged wheel which I could get in ET-25 but they are super expensive so I will probably wait a year or so and then get a set of forged ones made. This is the 15x8 ET-9 that I will be running on the back I found a photo of a wagon the same wheels as I am getting but mine will look 1000 times cooler because V8 Avenger wagon Got the bonnet back from painting Started on the rest of the exhaust Over the diff The front muffler and flex joint Started on a little shield for the brake lines and fuel lines.1 point
-
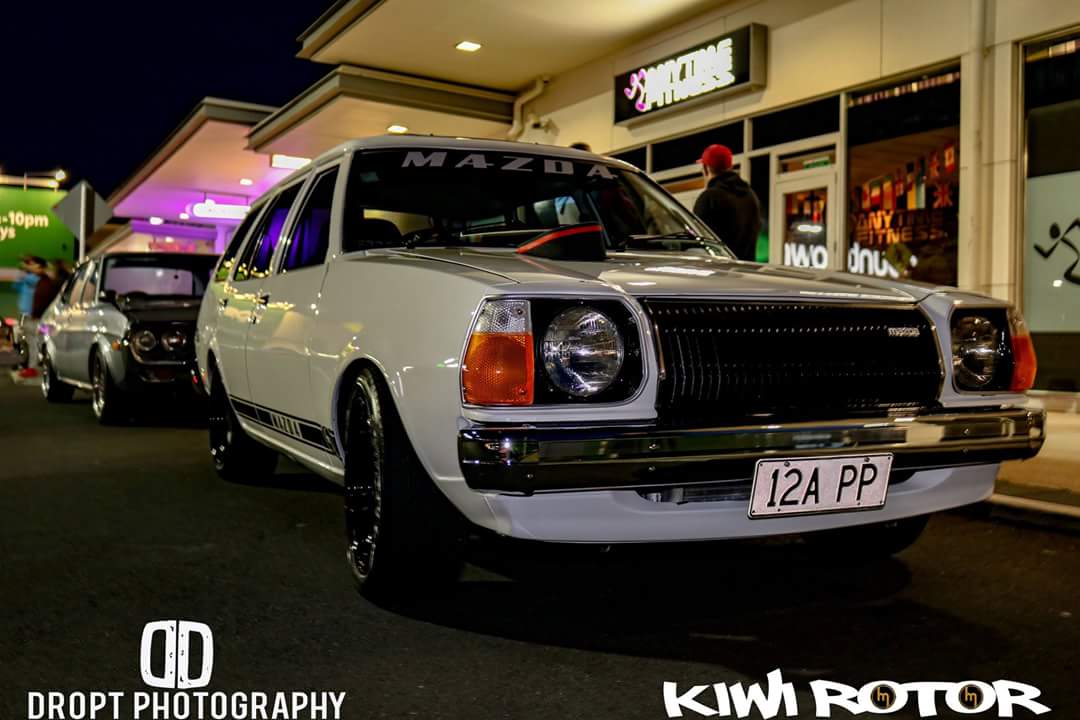
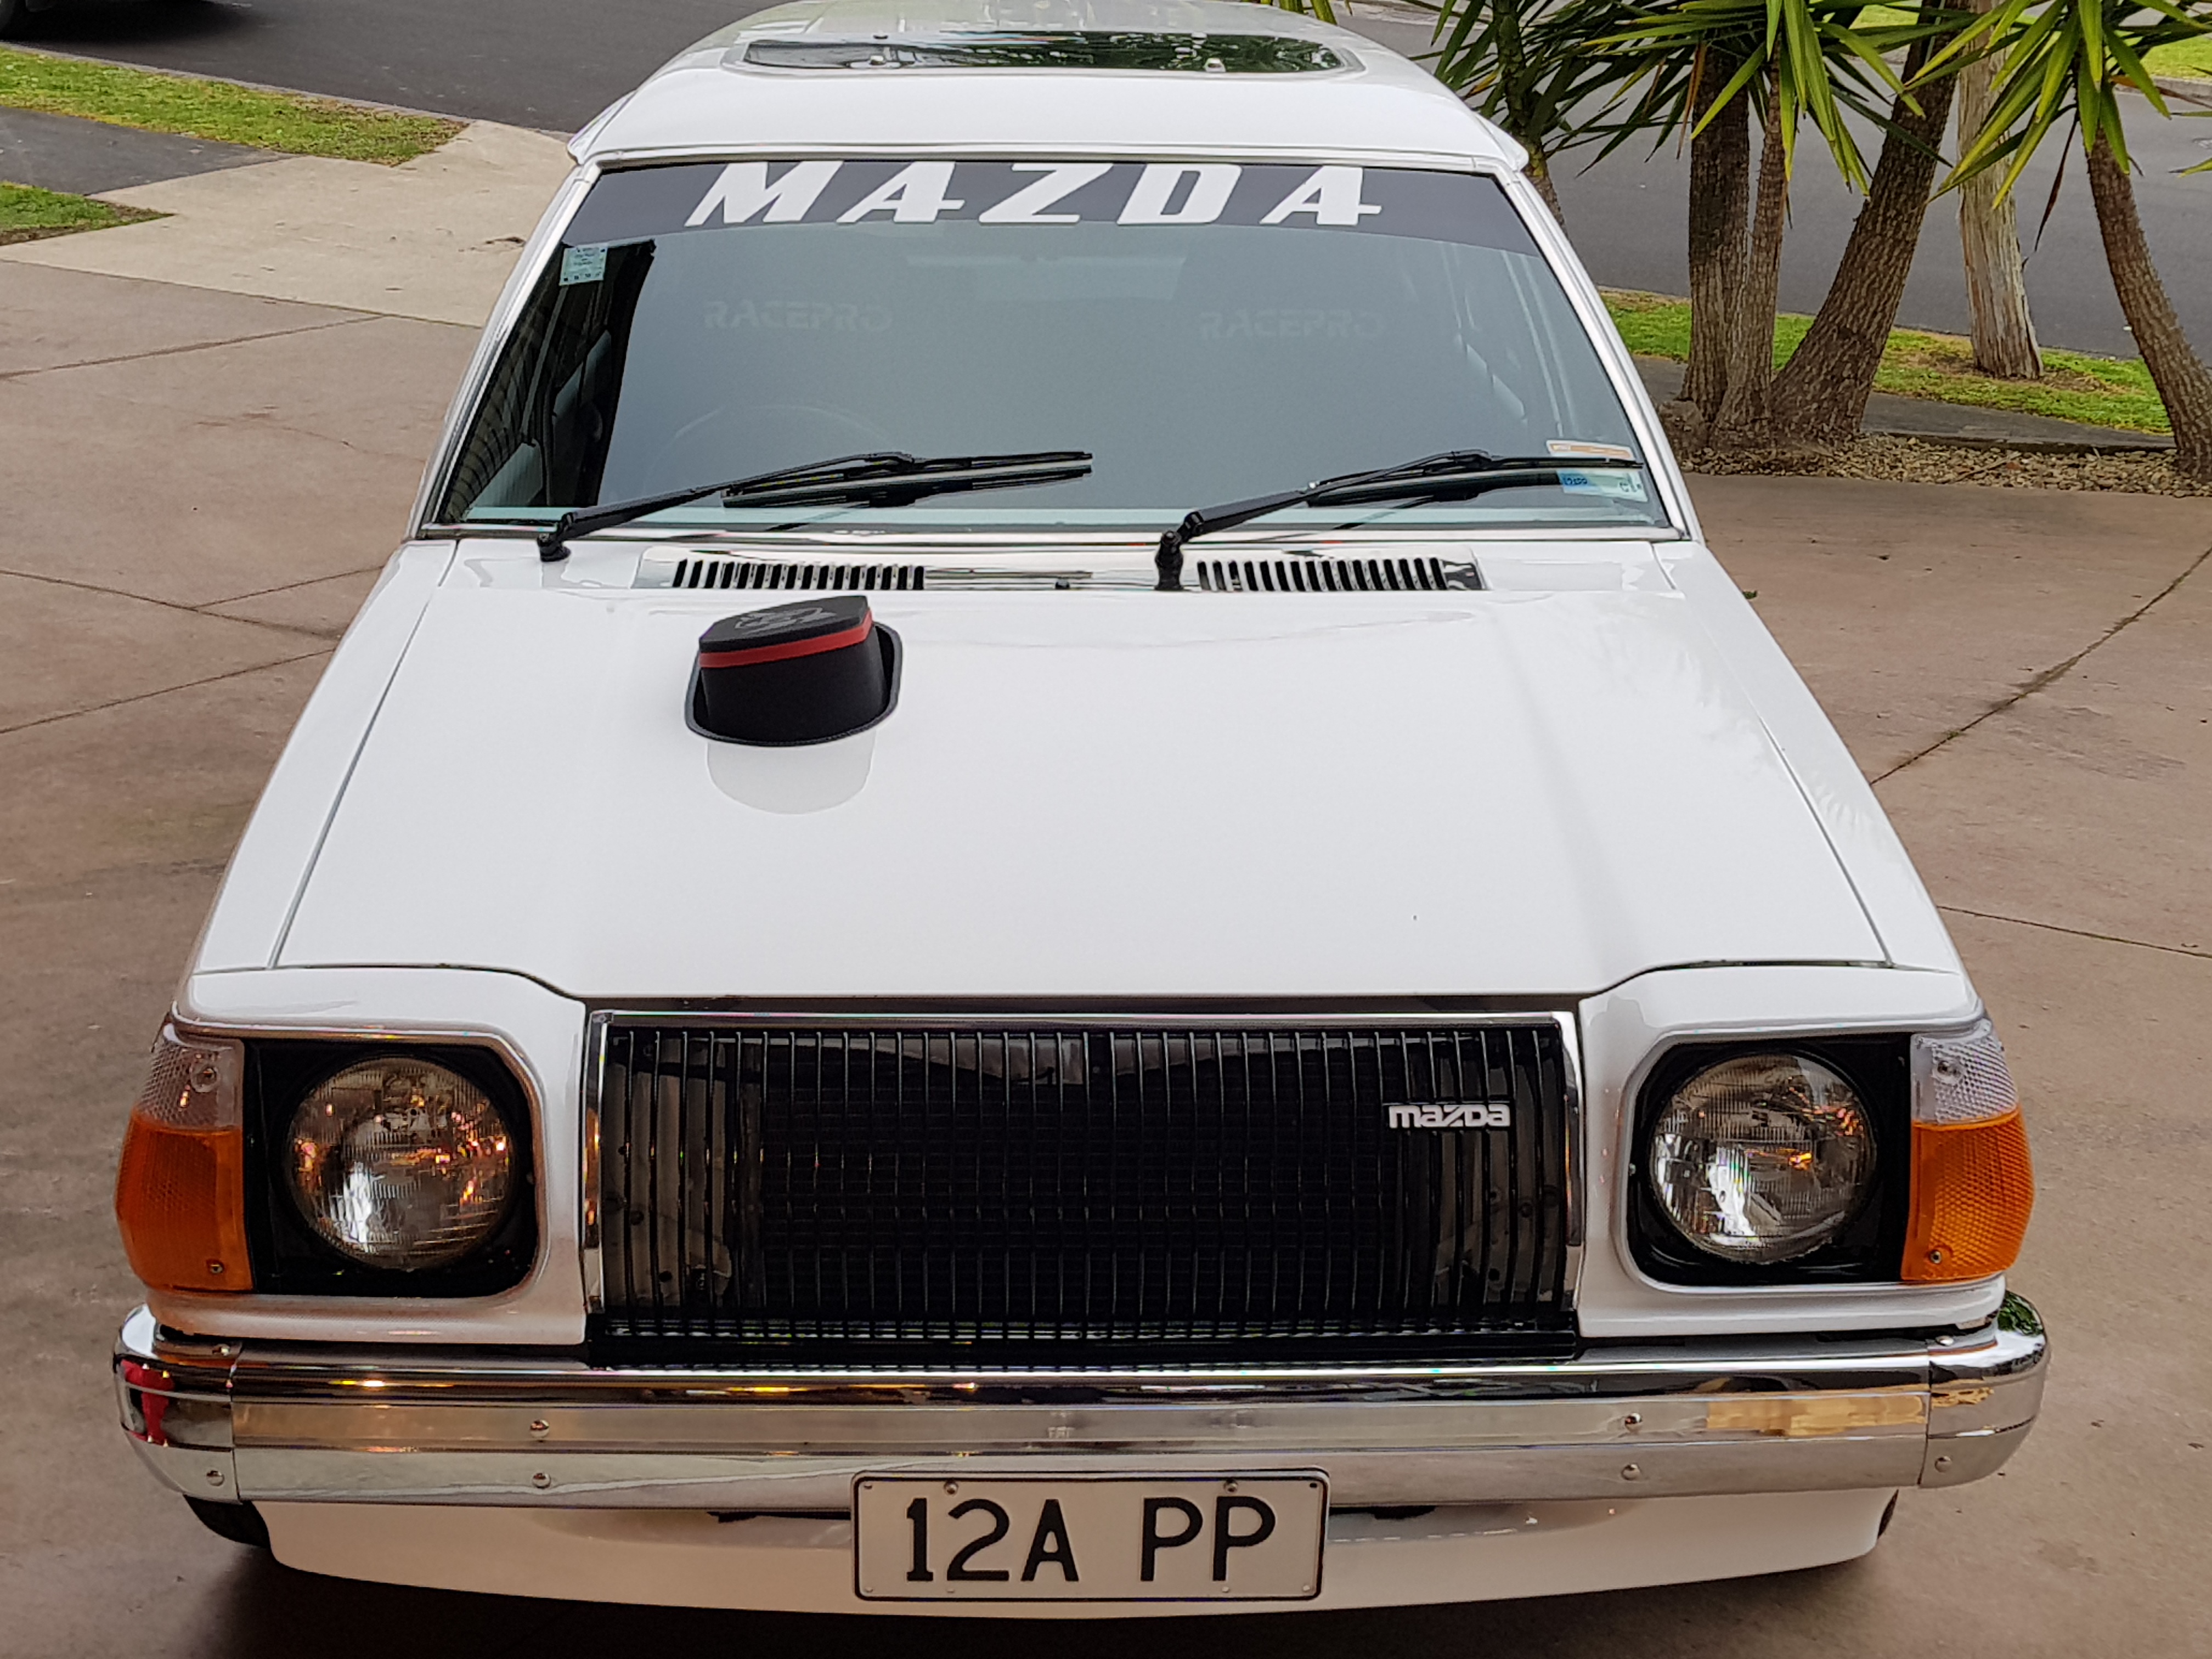
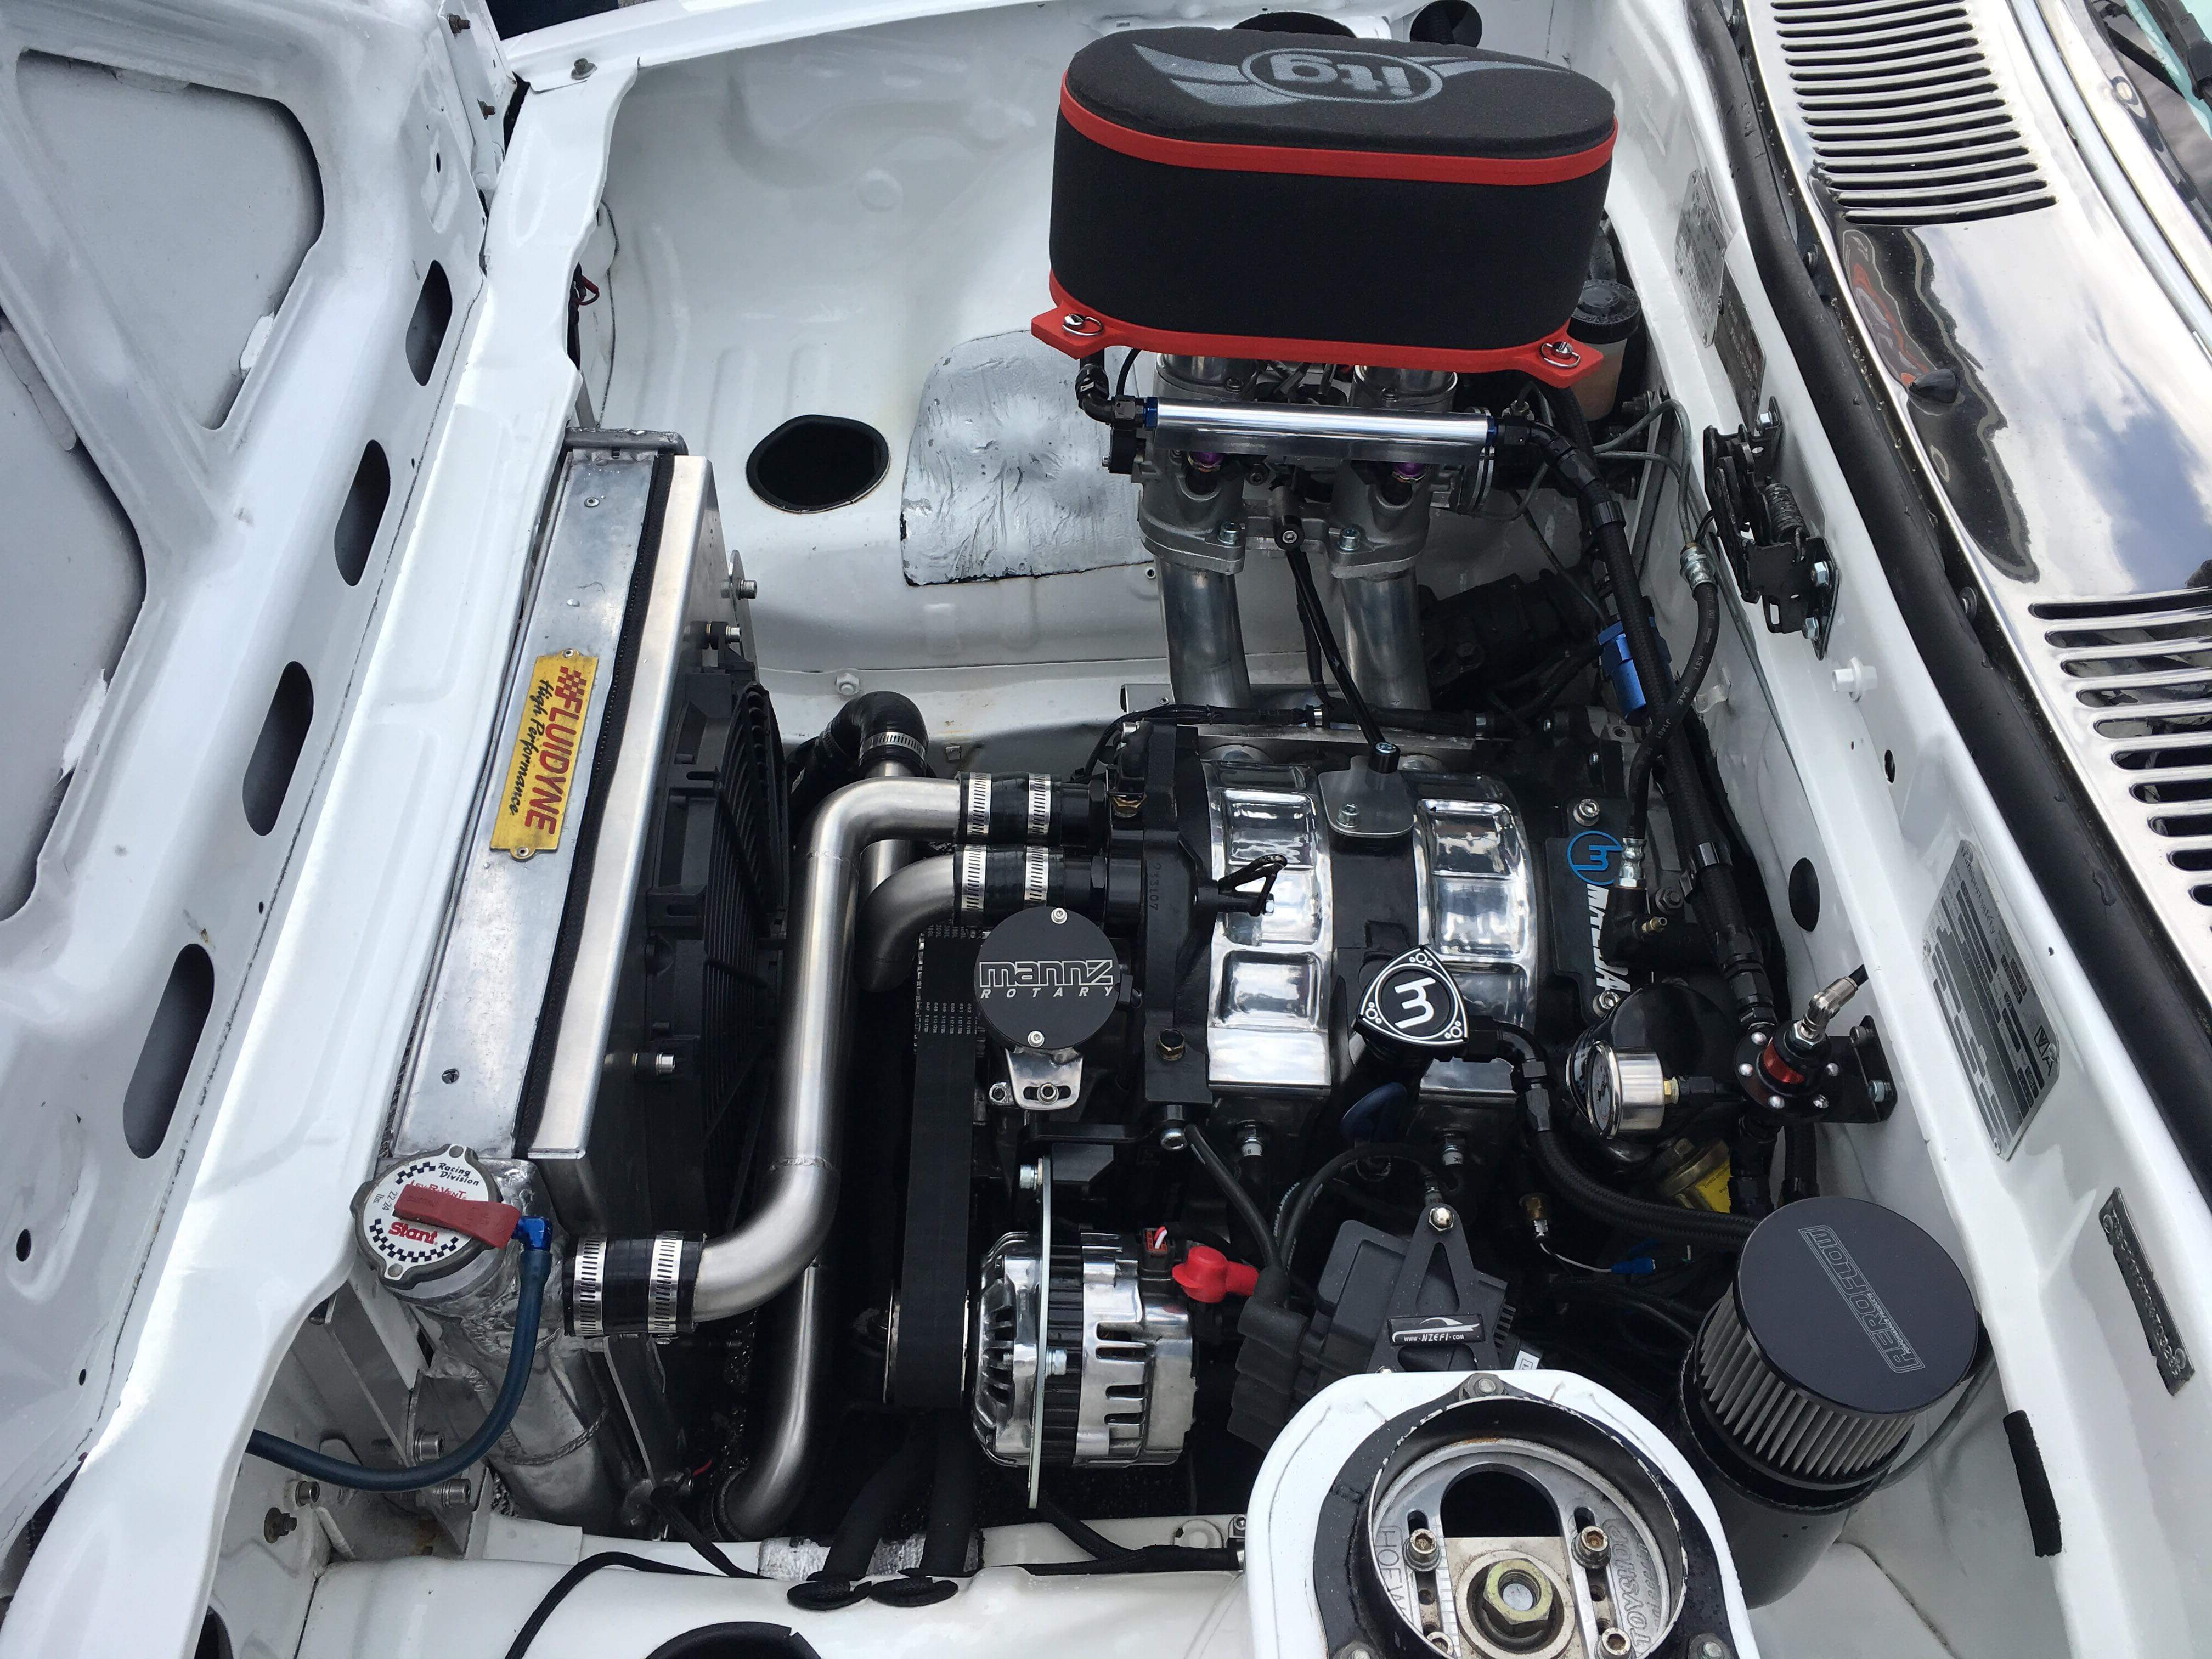
So this is the "misses" wagon we been doing up for a while. It has a lil 12a PP in that is now producing 281HP at the wheels fair to say for a little light wagon it goes alright. Put a rx8 5 speed box in it, hilux diff, Webber EFI injection setup and wired in a link Atom, redone the cooling system and fuel system. Full chrome bumpers, general clean up of lenses, big ITG filter out the bonnet and stainless exhaust system etc etc.
1 point
-
I couldn't imagine a more enjoyable way of punishing my anus for three days.1 point
-
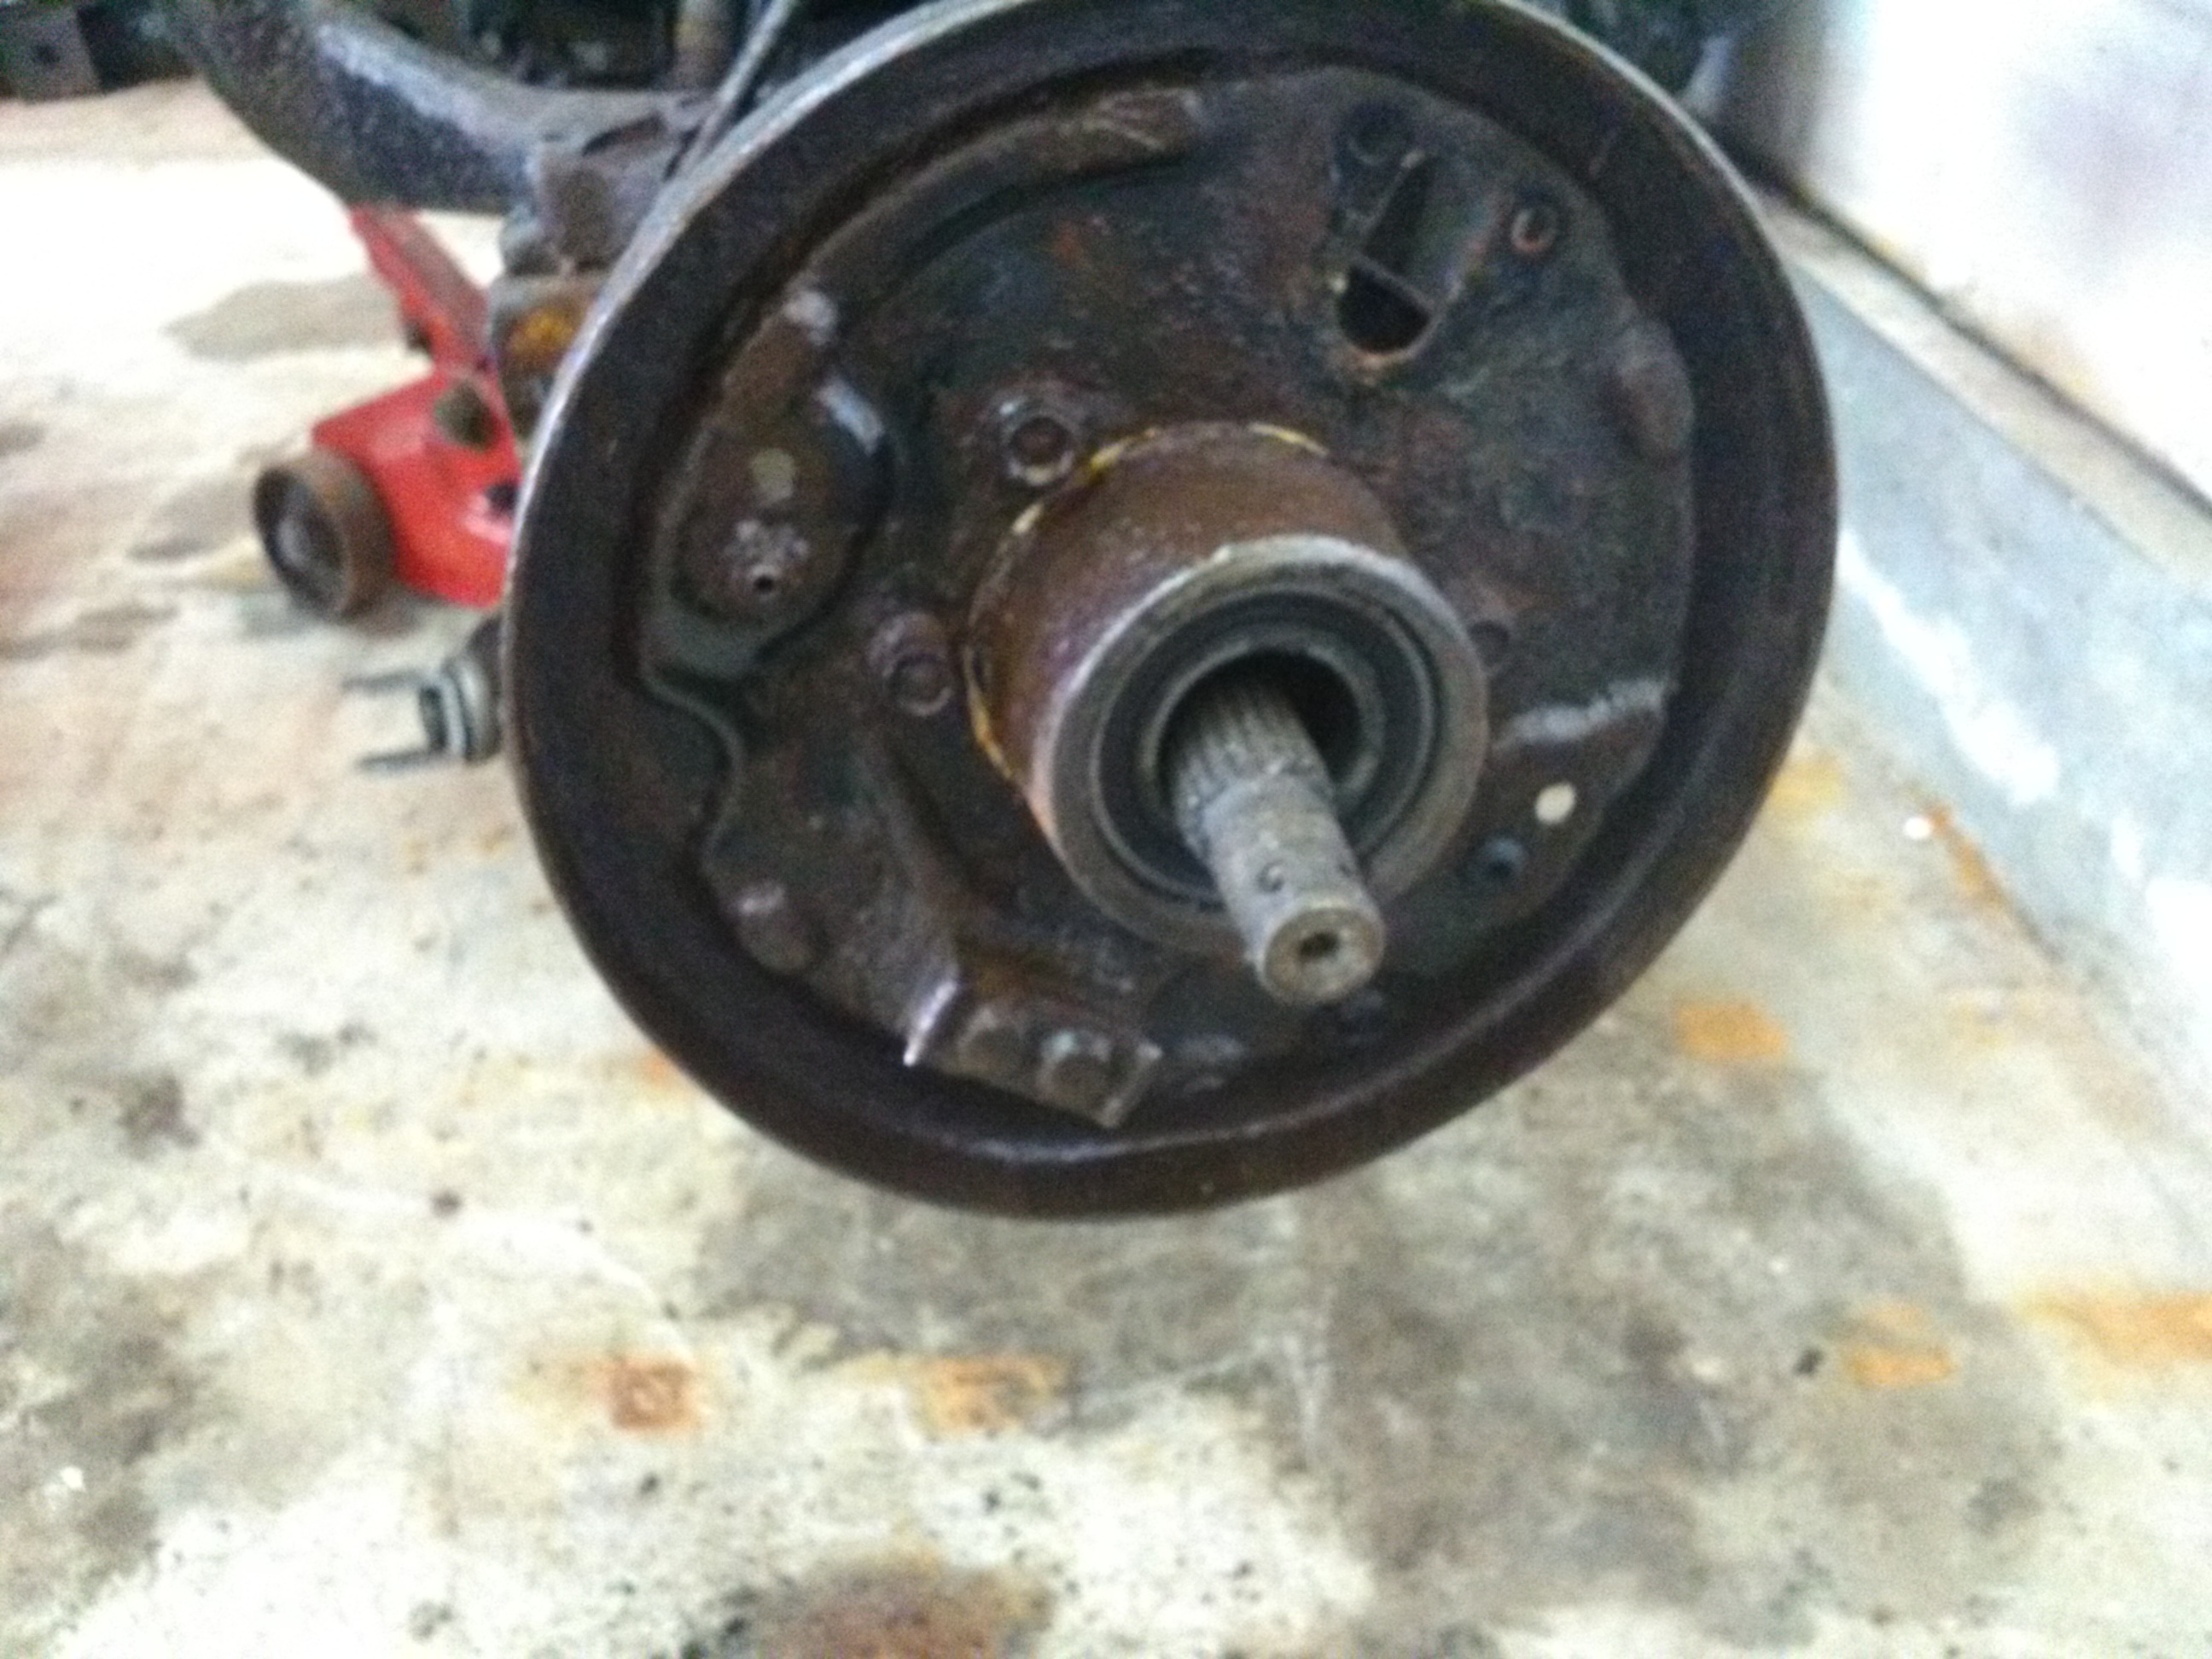
When I found this thing had no brakes I didn't think it had "NO BRAKES" literally
1 point
-
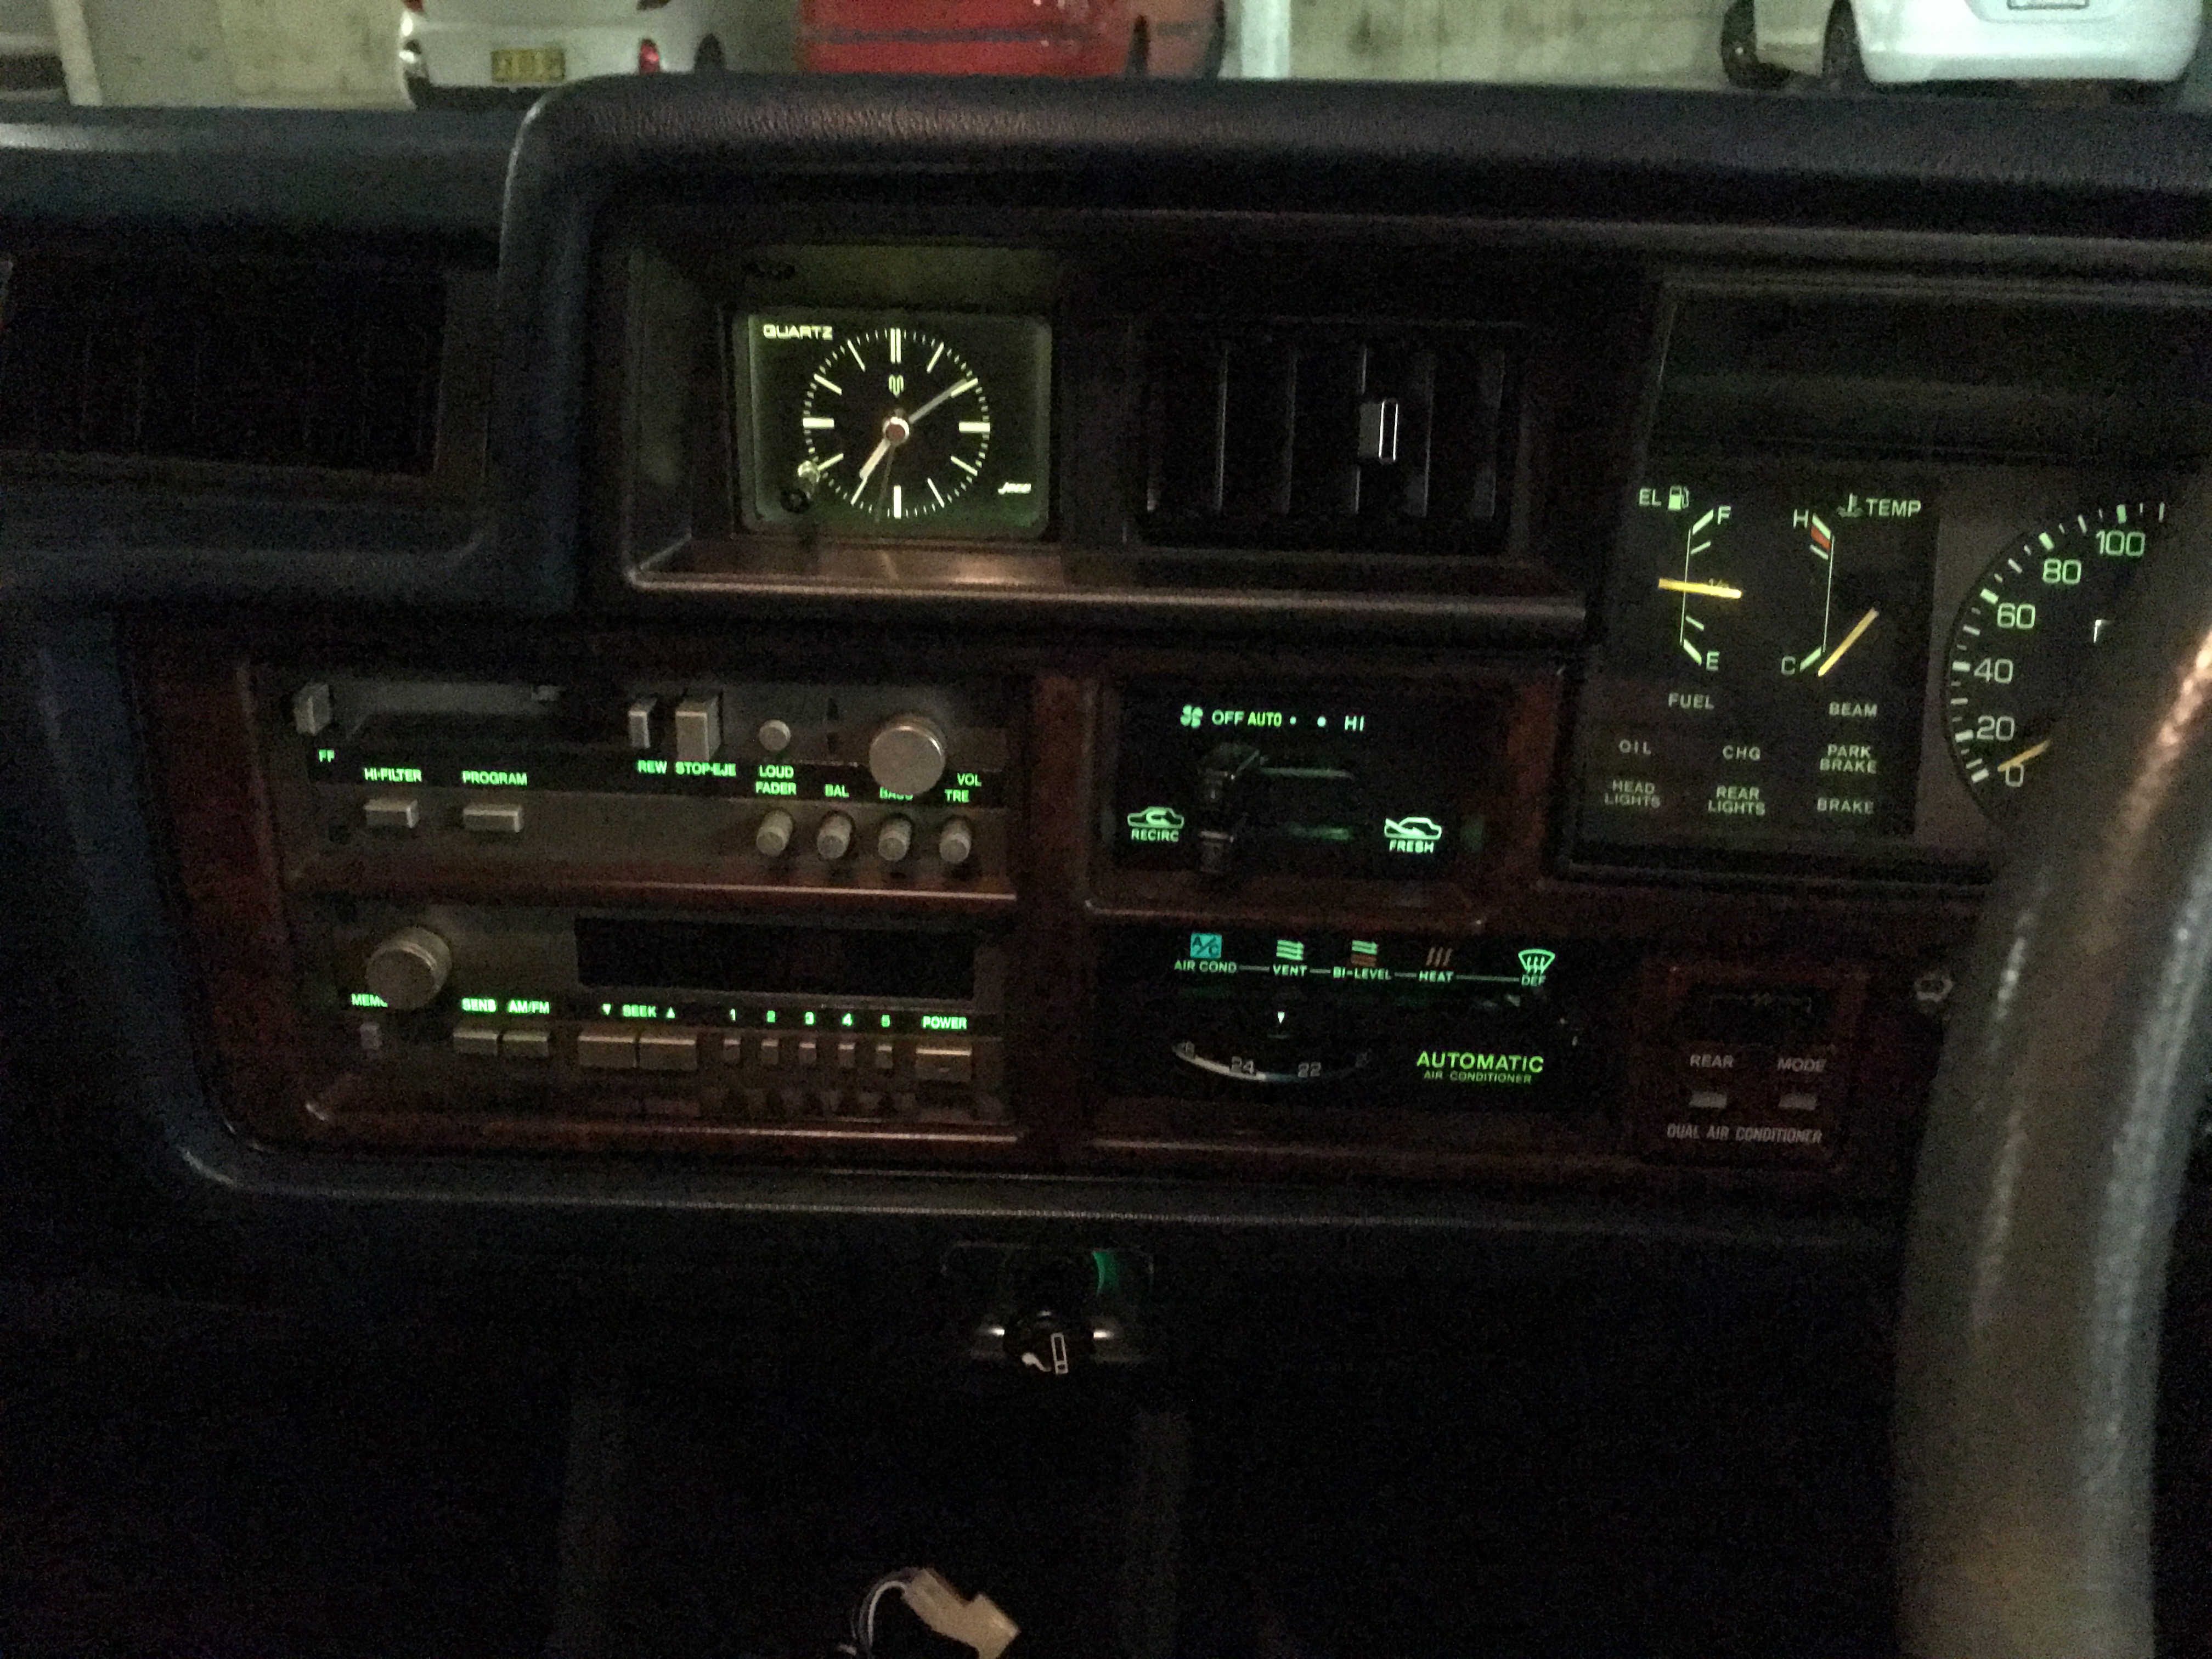
Haven't done much... But have done this! Analogue clock...nice
1 point


.jpg.07ff67c0493b5fb36d56a4a0f1c4a349.jpg)


.thumb.jpeg.384ff72c8d2b0ee0d34a7bdedb55bdcf.jpeg)


This leaderboard is set to Auckland/GMT+12:00