
Leaderboard


Popular Content
Showing content with the highest reputation on 10/03/17 in all areas
-
Okay soooooooo as awesome as it was living in a beautiful place and having a cool Automotive related job, life in Cromwell/Queenstown wasnt quite right for me. It was awesome fun working at HPA, made some friends and great memories which will last a long time. But, it just didnt quite feel like somewhere I wanted to settle down and in some ways it wasnt the career direction I wanted to take. So for a variety of reasons I ended up coming back up to Auckland. Being landlocked so many hours away from the ocean just didnt feel right! It was a bloody awesome experience though and it felt like it reinvigorated my life and got me back on track after some hard times lately. But anyway! It was good that I never got to the point of attempting to drive the Carina down, as the new driveshaft combination wasnt good. It took a bunch more mucking around after I got back to get this right again. But sadly it looks like the previous incident may have stuffed the bearings in the gearbox as it's pretty noisy now and leaks fluid out the rear main seal even after replacing it. Pooz. But it was great to get back home and be able to go drive it around again! The R888s are on my normal wheels so I've been driving around with a 15x6 running 205/50/15 and have noticed no negative effects to handling. Possibly because the sidewall of the AD08R is so stiff. Since I've been back, I started with a fresh sheet of paper on the tune file in the ECU. As it had some old junk in there, as well as some stuff that I setup when I ahhhh knew less than I do haha. The staged injection seemed to work well enough in terms of delivering the right amount of fuel and blah blah... But it was always a bit crappy in transient conditions. I decided I would turn on the outer injectors 100% of the time and try tune the car using just those, and get the accel enrichment and so on working as best I could. But it just felt boggy. When I reverted back to 100% inboard instead, holy moly the throttle response difference was amazing. And so the pull out of corners was much better and it felt like you could more accurately mash the gas and know what the car was going to do. So I ditched it and put a standard manifold back on. My theory is that since my intake manifold is thermally isolated from the head, it is not able to use the heat of the runner walls to evaporate the fuel so you have massive fuel pooling issues... Which means you lose control of your fuelling as some fuel you squirted in several cycles ago is only just entering the combustion chamber as it evaporates. So fuel you add at say 5800rpm only enters the cylinder by the time you get to 6000rpm and so on. And so if you tune your car with the acceleration rate of say 3rd gear fuelling isnt right for 1st gear anymore. Just lots of headaches that you cant really address well enough with the accel enrichment available on a G4+ In the documentation from Toyota on their wall wetting experiments they note that on a cold port (engine cold starts) fuel can take over 1.5 seconds to evaporate and contribute back to fuel in the engine so even if it was only half as long on the runner walls. It's a massive surface area covered in fuel which is always going to be a ball ache to compensate for. Going back to a standard manifold looks to have cured a vaccum leak or two as well, haha so the idle and so on is much better too. I've been playing around a bit with a few variables such as injection timing and VVTI advance as well. I have found that changing the injector timing so it's injecting fuel as the intake valve is open helps a lot with cold starts, and results in a lower fuel consumption when the engine is hot too. Since it's been cold I've also spent a bunch of time getting the cold idle really nice, closed loop lambda adjustment works really well if you set the adjustment rate to 1hz so its only slowly adjusting it. Otherwise it makes the idle surge if you try to run closed loop at say 20hz like you could if you were doing 4000rpm or whatever. Under cruising conditions it seems that advancing the intake cam at all just means worse economy. This may relate to the tuned length of the primaries and secondaries of the exhaust causing some undesirable something something at cruising rpm compared to a standard exhaust manifold... But for whatever reason, it isnt beneficial to advance the cam. And at high rpm low load, rather than retarding the cam I figure I may as well keep the cam advanced so when you stab your foot back on the throttle the cam is not having to "catch up". And this seems to have made the throttle response even better as well. So the engine response is better than ever! I picked up a cheap Altezza engine, planning to give it a freshen up and at some point swap it over. I'll be losing the fancy ported head of my current engine, but will be gaining: -Exhaust side VVTI -Higher compression ratio -better alternator position -Better water line setup -Better engine mount setup -Better PCV valve arrangement -And a few other minor advantages so I think it's worth the trade but will be interesting to see. The state of the oil and colour of the coolant in the altezza engine though is bloody disgusting though so it'll need a strip down and hot tanking or whatever before doing anything with it. So might be a while until it's ready to swap in. But looking forward to having a play with the exhaust side VVTI. I think I'll wire in an exhaust pressure sensor when I do an overhaul of the loom to suit some of the changes needed. Will be interesting if this will show anything relating to tuned lengths of the primary and secondary pipes. In the immediate future however I'm just really enjoying living at the start of Scenic Drive in Titirangi now and being able to go for some awesome drives on some backroads making doort noises again22 points
-
thems some holes in my tinfoil hat Ah well, at least its clean inside6 points
-
Right! I've made a good start on the mechanical's by getting into the little 850, and the front sub-frames. The engine is rumored to have traveled a mere 40,077 miles since it's birth in early 1962. It even had its original cast iron water pump and fan belt! I've deconstructed it enough for my liking (Short Block, the crank doesn't need to come out), and as soon as the gaskets and assorted new bits arrive it will be going back together. No lip on the lifters, bore, or any other parts. The clutch has a ton of meat left on it, and I didn't even snap any of the bolts off in the strip down That's always a plus! The grand plan is to give the engine a big birthday, new gaskets, thermostat housing and thermostat, water pump, hoses, fan belt, paint up, plugs, points, leads, extractors and a better carburetor. If the engine is anything to go by, then I'm expecting the gearbox to be in great shape too! As far as subframes go, I'm happy to have a pre '64 Mk1, as 1964 was the year hydrospastic suspension was introduced to the mini. Since my two front rubber cones sat still for 23 odd years, they've been naturally compressed and are holding their, so I'm expecting the car to sit a little lower in the front. After we construct a rotisserie, the body will be properly rust proofed and under-sealed. Then paint will follow. Even though I can understand doing a period correct colour, there aren't many solid colors that I actually like. I'm liking the looks of the light metallic blue on the new BMW mini's. Was thinking I could do this with an old English white roof for a sort of modern take on a classic (old mini with a new mini colour scheme kinda thing). Anyways, I don't currently have enough money to splash out on paint at the moment so I have plenty of time to think! Cheers -Jack5 points
-
did some sweet hoons on this thing couply weeks ago down at DGR welly. Had a good ride with Russ and the boys on saturday out to makara beach and she ran without fault, its pretty deafening / hilarious to ride and gets a good share of attention. So i can tick this project off as complete, on to the G/S paris dakar resto now4 points
-
Time for a little update I think. Thursday arvo I chucked the bracket that the battery hold down bolts to/the battery cover attaches to along with some very rusty bolts into some white vinegar to soak for a couple hours, then I promptly forgot about them on the bench and went out of town for a few nights lol. Took my AF35 front wheel and one of my spare CVT covers along for a ride to Auckland, can't remember if it was this cover or the worse one now @Mr Vapour worked his magic on them and they now look like this Bit of a drastic improvement! Grabbed a Pirelli SL26 and a couple (wrong) lights from Scootling And then today my levers arrived from Aliexpress and I got my parts back from the powder coaters, so happy I went with satin black, looks like the factory Honda finish! Of course the levers aren't going to work though. Aliexpress indicators look the part to me though! Remember the bolts I forgot? I didn't get any before pics, but they looked trashed and the bracket was 2 tone bad black paint and rust. We got home early hours this AM and the Mrs complained the house stunk of vinegar and metal... oops Quick rinse under the tap I'm impressed!3 points
-
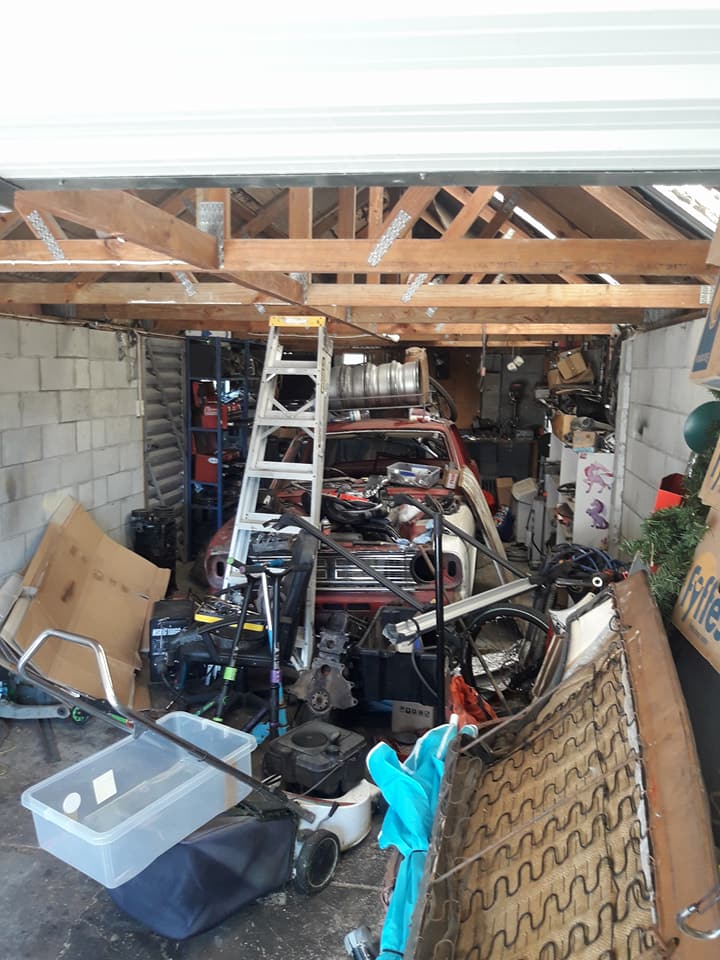
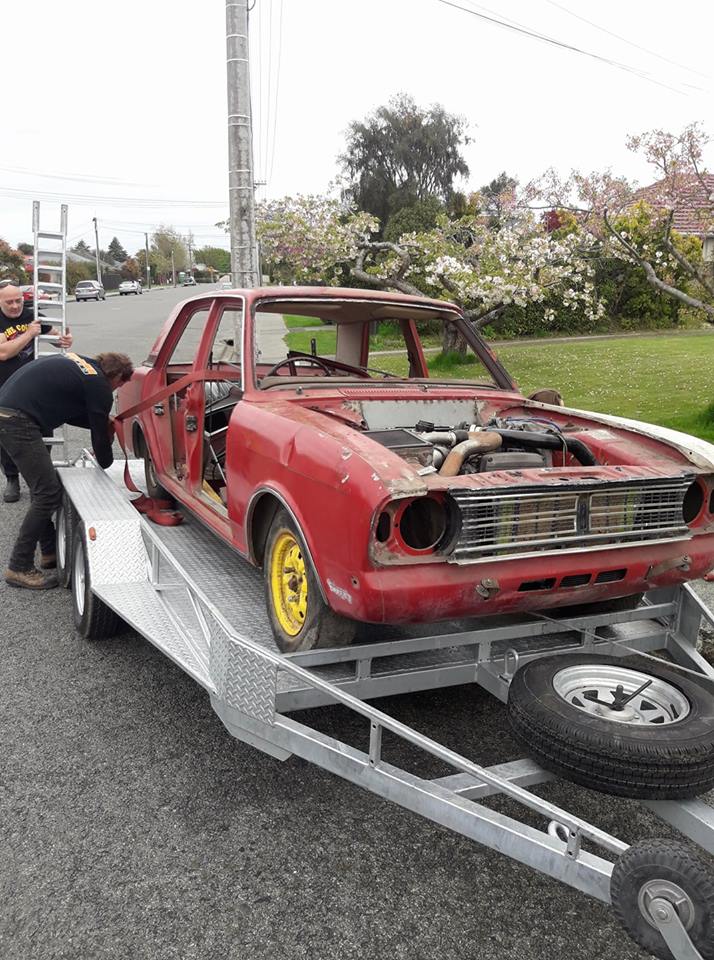
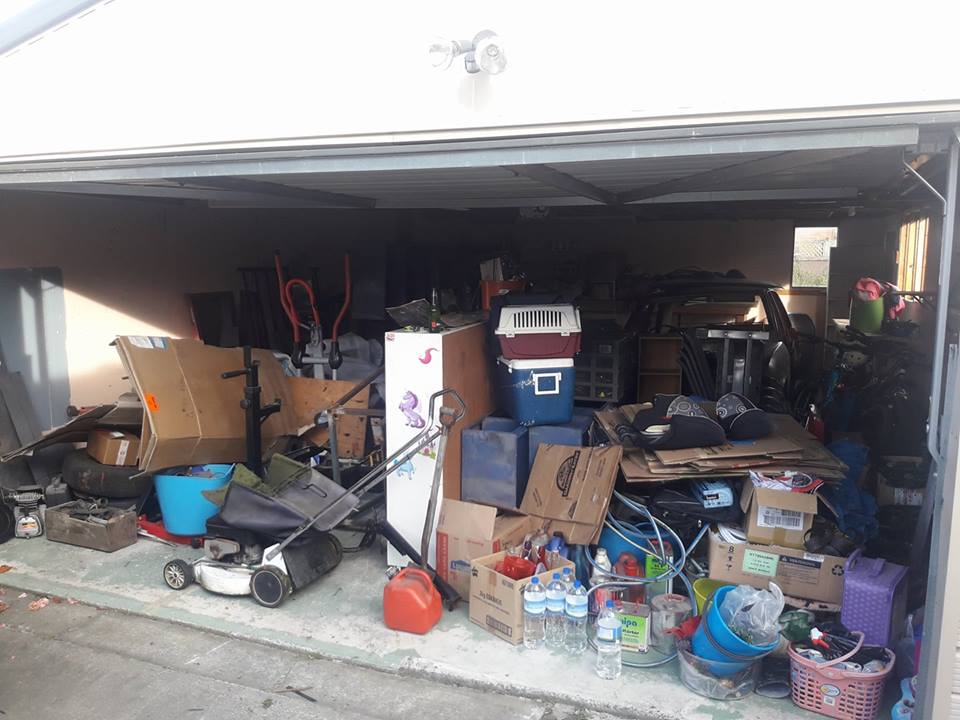
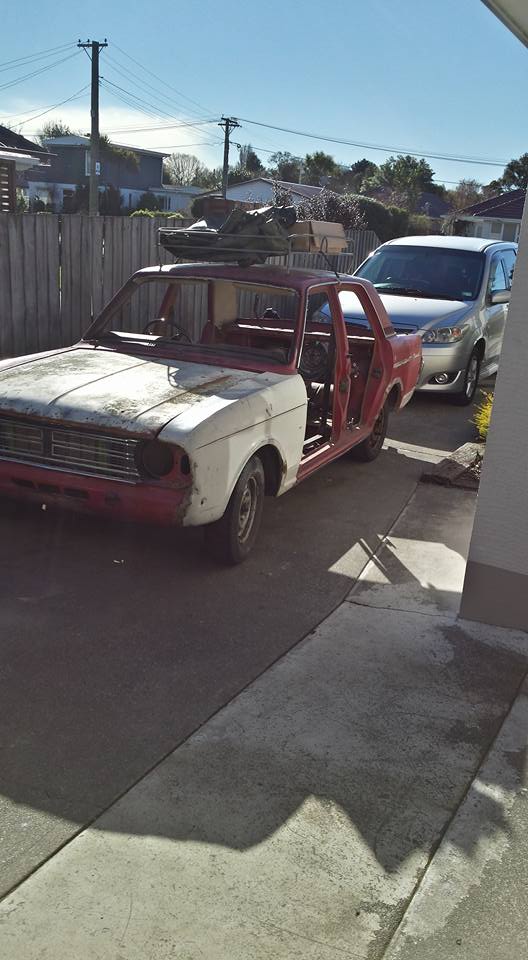
well its been about 15 mouths since i actually worked on this (not just fucking around with it.) ..we said we would have an awesome holiday last xmas as it will be the last for a while so stopped working on it and saved .,took 5 weeks of work over xmas and we took the kids on a road trip around NZ...... during this time the wife and i decided it might be time to bite the bullet and buy a house.so we decided that what we would do this year ...so once again i put the old girl on hold till we had our own home. we we finally managed to buy a house .....so our gilrs have a place to call home and so do my projects.(twice as big as the last garage) i had done 2 trips to the new house and i could kinda see the mk2 in the old garage. and the 1st time she has been out side in a while. and after move all my shit i have come to the conclusion the old garage was the fucking tardis as i have no idea how it all fitted... as its fulled the new garage. so once i get all of this sorted i will be back into it......normally i would have sold this off agers ago but i love it to bits and i bought the mk5 after xmas to keep me amused .. also bought a mk3 last week so i will see what thats like when i get around to picking it up. cheers
 3 points
 -
3 points
-
I was looking forward to driving it to work the other Saturday cause my work car is boring, but when I did it was flat as fuck, boring and generally disappointing. when I got home I put the timing light on it to find it had moved a little, so tightened. Needed a warrant so I put a standard carb on, so it had choke and wasn’t a jerk to start for them. hosed gas into the engine when you shut it off. pulled it apart and cleaned it, did the same thing. then discovered the power valve actuator was frozen up Freed that up and it was mint, but The morning of the warrant it started doing it again. passed with a clean sheet! Was a totaI knob to start afterwards so I hotwired it and wouldn’t rev out, popped and banged, so chugged it home. They didn’t mention it doing this to them so she must have behaved. more of the same. Have since thrown the twin carbs back on. it pulled a bit under brakes so I ripped the other caliper off (did the opposite side before last warrant) and: one Piston was a bit scabby so used a spare and got it back together, cheers to mint16 for the bleeding help! cheers also to the above for making my sweet rocker shaft spacers. likely overkill but it’s a cool old school mod which replaces the springs with a brass bushes to stop the rockers moving laterally under revs I also modified the mazda air box a while back so the bonnet closes over it. required me to cut most of the base, push down at front and then fill the pie-cut section with panel steel. and found out the hard way that if you leave the key on while you go check something else, it can get ultra hot,produce a lot of rank smelling smoke, drip Brown shit out of it and fail! Lucky I had a spare generic one, cooked one was a GT40. I have a new one, but I’m planning to go electronic dizzy soon so needed to be a non-resistor type. Heres a shot of the current state of play. I used to have the fuel line running over the rocker cover into a tee, but discovered that the factory hard line will reach with a little bending. Much tidier and safer.3 points
-
Replaced the front wheel bearings, and it's now all road legal and still owes me sub a thousand. Now the boring bits over time for some fun. Also took it back to the old owner and he said he still has its original black plates and will dig them out so I'll hopefully get them back on the car
3 points
-
The last few trackday events I've done, they have all been on very hot tracks in summer time... lots of grip for R888s which were coming up to temperature nicely, very quickly! Thanks to all this grip I've had, I've been able to wind the brake bias heaaaapppssss more rearwards than I ever have been able to previously. Which is awesome, it stops the car up great. Then, the Manfield round of Superlap... I was greeted by an intially damp, very cold track. First run out, feeling a little too confident... by lap 3(?) I still had almost no heat in the tyres, was pushing it a little too hard, and the brake bias caught me out. I spun off turn 1, ending up stuck in the kitty litter which was embarassing, and I felt bad for delaying the session while I was towed out. I went back to the pits, took a few winds out of the brake bias (it isnt adjustable in the cabin) Second session, wowzers! Track came up to temp nicely and the car was running great. I was still getting familiar with things as I've never driven there before. But had an awesome time. I was driving conservatively as I didnt want to be "that guy" that crashes twice in a row haha. Feeling confident lining up for the third session of the day, and ready to push a bit harder. I get waved out onto the track and my driveshaft makes a clunk noise. Try go forward again... same thing... shit. I head back to the pits, and it looked as though the hanger bearing had crapped itself, so the centre of the 2 piece driveshaft was free to flop around. It felt okay to drive "normally" so I said my good byes to friends at the track and went back to accomodation (Thanks Lachlan) I packed the car up and started driving home. I got about an hour out of Manfield, and driveshaft noise was getting bad going up a hill when it was under load - Boom! The front UJ broke, and the driveshaft went smashing around in the tunnel like a MFer! Lucky I had driveshaft loops in place or it would have made a bloody big mess. Once I got safely to the side of the road, and had a look under the car. It dawned on me that I am 6-7 hours drive from home, with a car that's fucked haha. About 1/2 an hour later, something magic happened! Some other competitors saw my car on the side of the road, and stopped up. They couldnt really help, but wanted to see if they could assist. Then some more competitors came past - this time with their track car on the trailer behind tow vehicle. They stopped up, unloaded their track car from the trailer so they could tow my car home - and drive their track car instead. These guys lived near Hampton downs, but drove all of the way to Glendene in the pissing rain to help me get my car home by about 2am. Which meant they didnt get back to theirs until 3 or 4am after a very long day. Absolutely blown away by the help. Big thanks to Jakke and Matt for being awesome well beyond the call of duty. Sometimes when you're up to your eyeballs in shit, and someone helps you out - The sort of thing you remember for a very long time. Some good memories and good friends, made by a bad situation.3 points
-
Pity it's not in Auckland, could rent it out for a few hundy a week...2 points
-
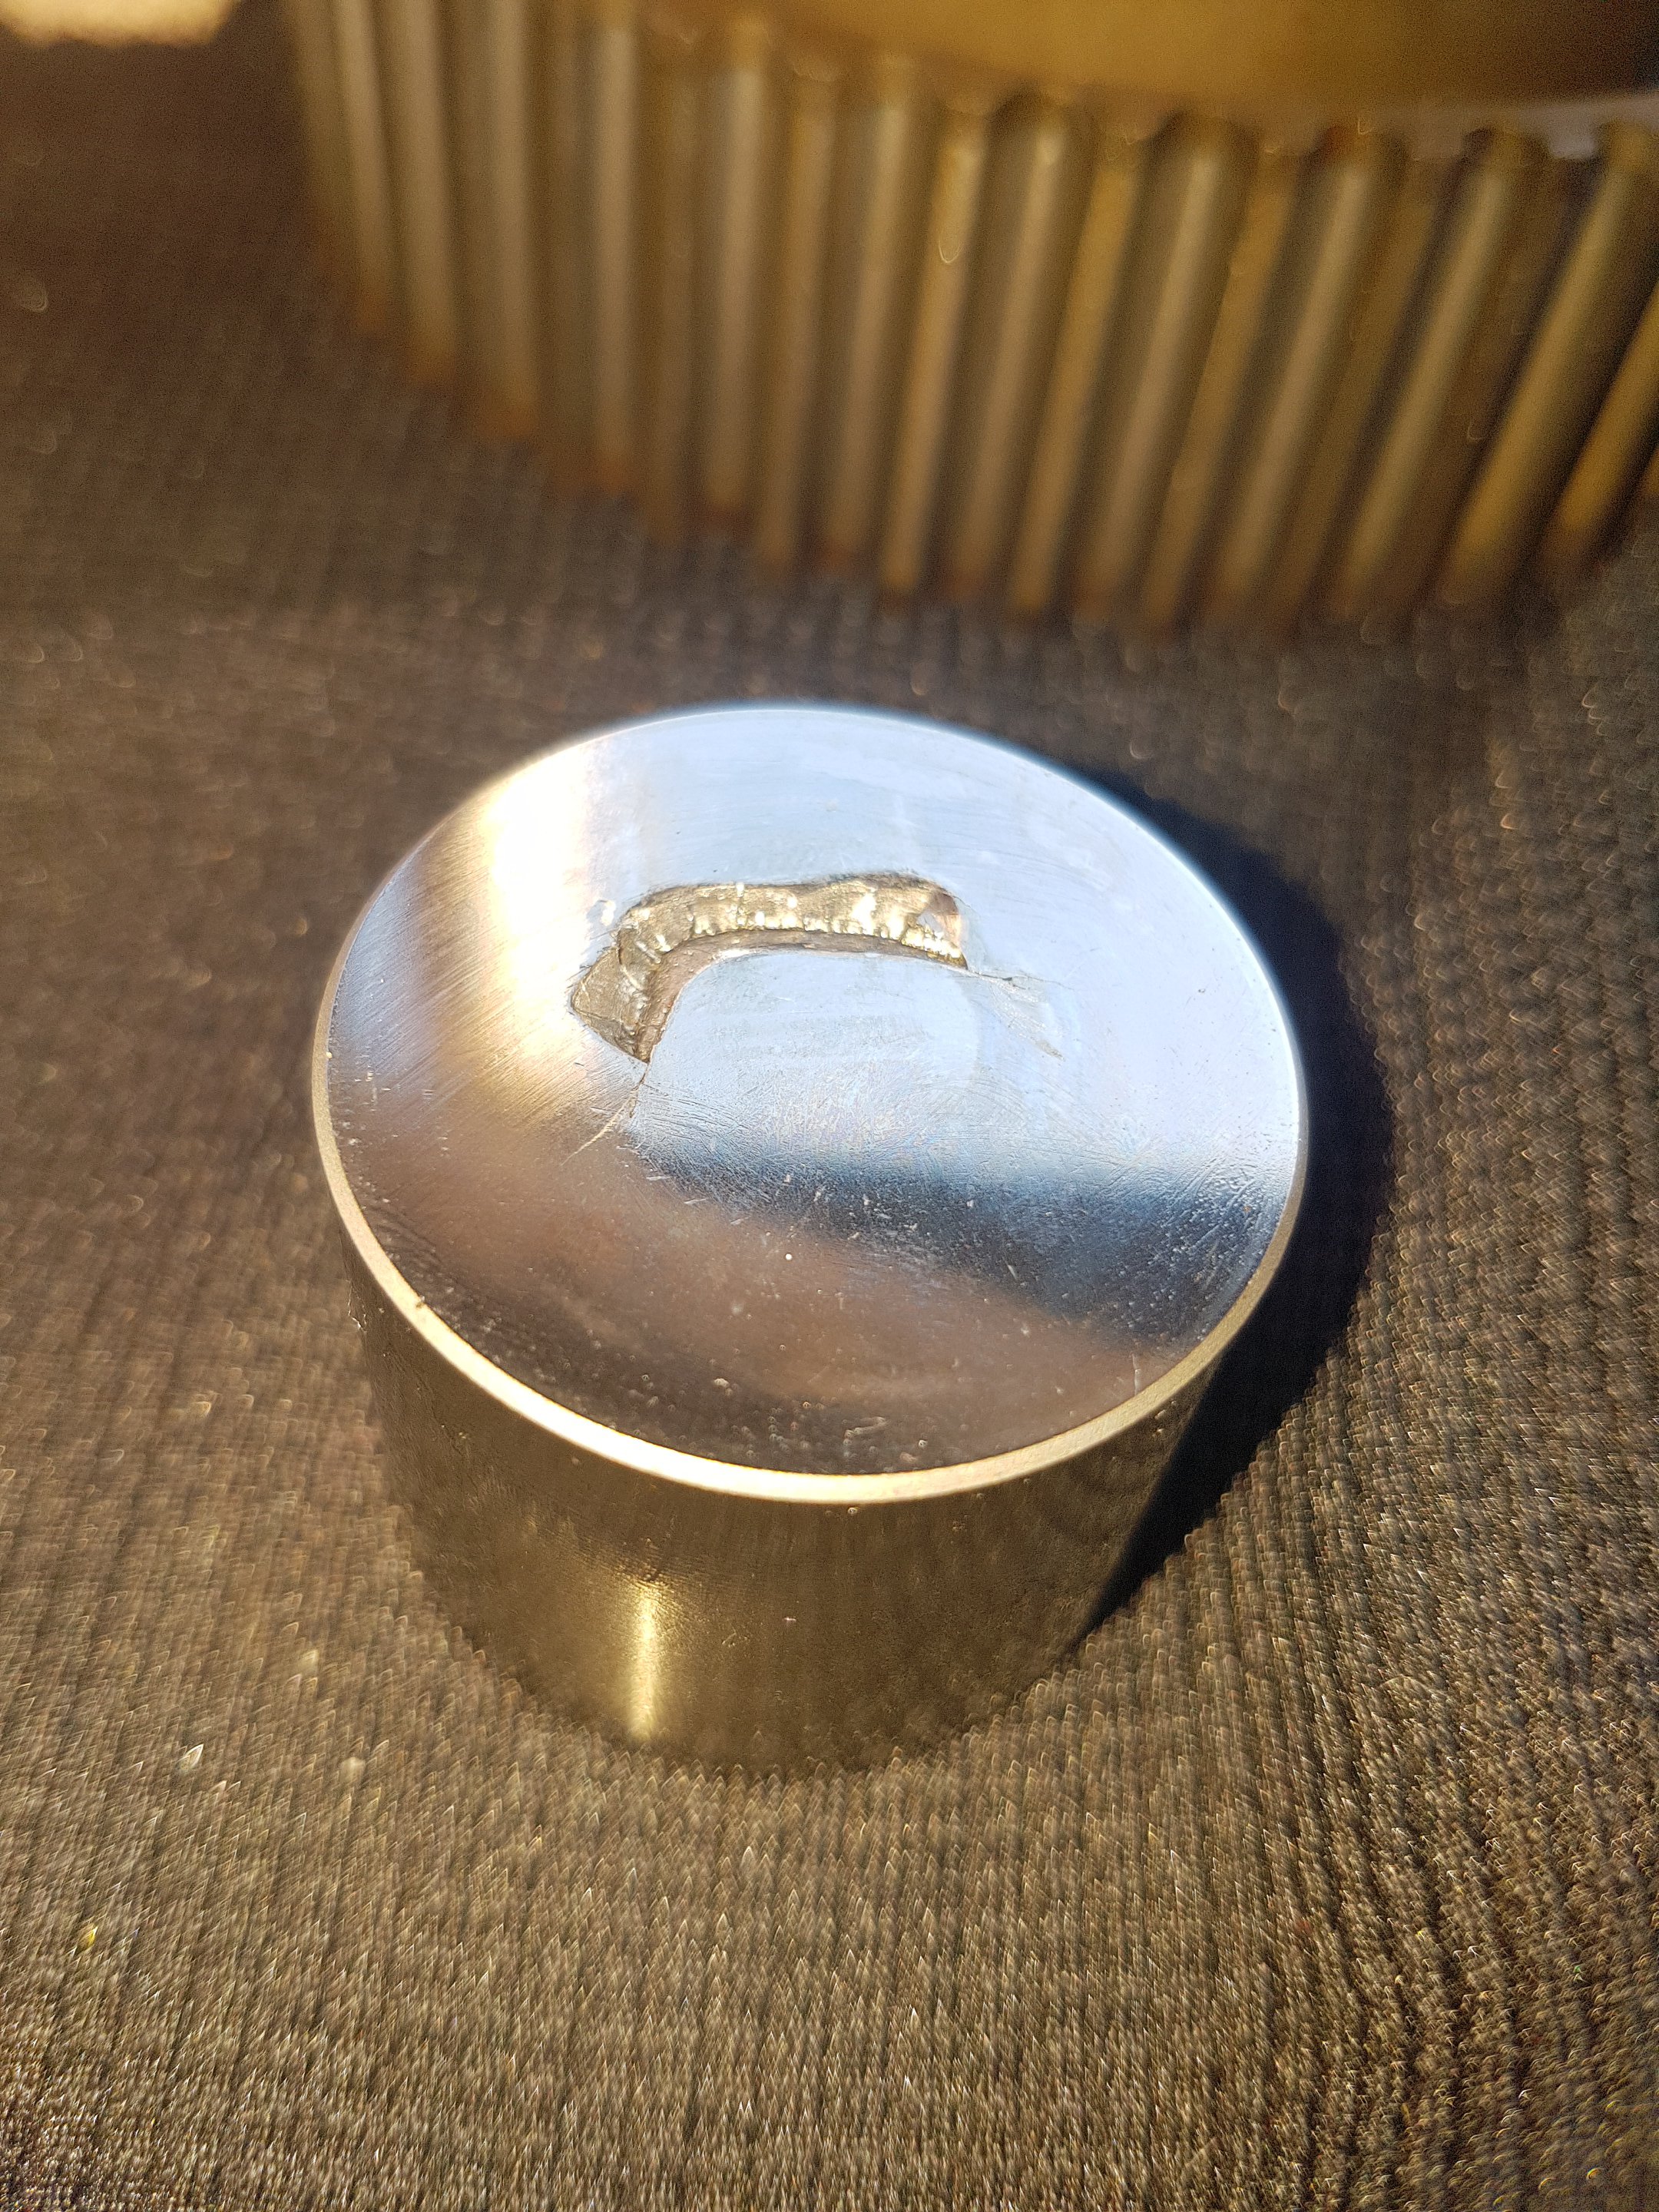
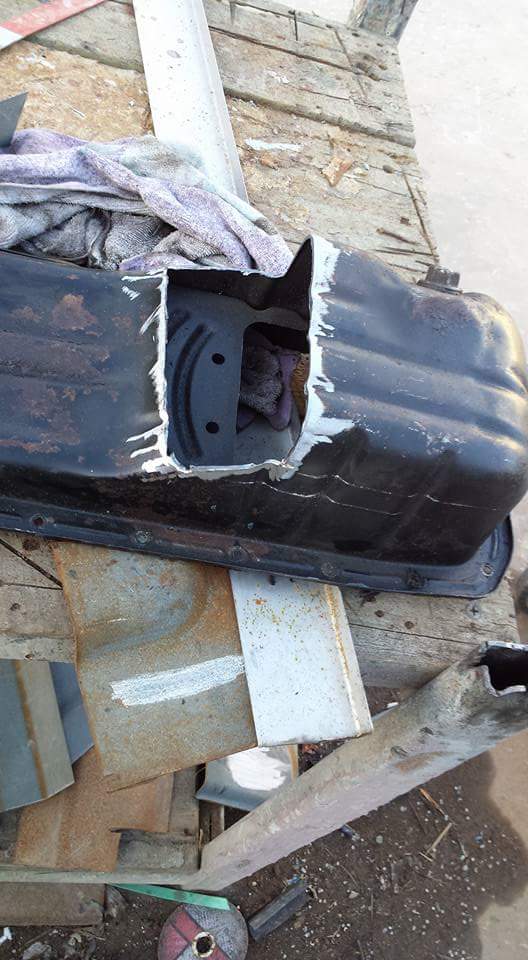
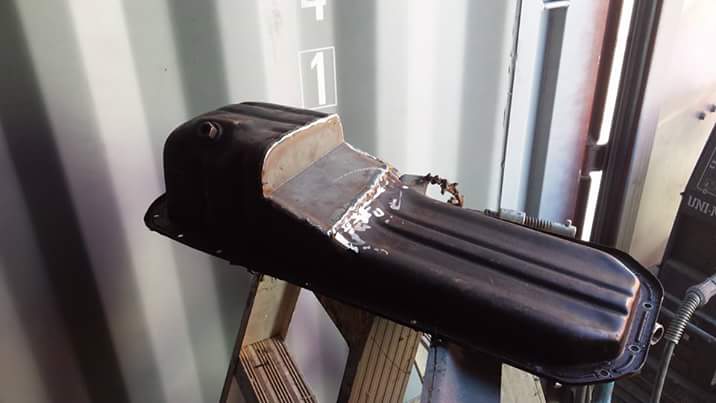
much work over the weekend mott came round on saturday and helped a bunch finishing welding up all the exhaust stuff that I had fitted up and tacked togethe,r while i worked on the thesis for my turd polishing doctorate. not only had the good old boys bo and luke of north taranaki been trying to emulate randy campbells greatest ever stunt and bashed the crap out of the fuel tank, it had some epic corrosion paint coating chemistry going on which took several hours of wire wheeling to remove and find out what specification colander i have. Im guessing the combination of the rustpaint protective coating and the holes being on the top of the tank meant no one ever noticed previously. anyway got all the paint and rust and shite off, cleaned and treated the rust. will have to cut and weld and patch in the top and the one pit hole in the bottom and some of the dents will get sorted with the fitting on the sump. also made up a frame and and brackets to mount the tank and got all that done. will get onto fitting the sump and repairing the tank next. PS thanks again jack ma, can vouch that these all in one drillytappy things with impact driver hex drive are astonishingly better that what i expected actually work awesome2 points
-
Turned left after doing a bit more reading. Made front mounts and a trans mount. Assuming I have all my measurements right, its in the middle, and I have about 1.3 degrees slope on the 1st section of driveshaft which is where it needs to be according to the interweb. Im swapping the rear end to a 12 bolt, so I can set up the pinion angle. Been pretty productive really ! All just tacked together at the moment. Everything is just sitting there in the photos, need to drill a few holes and bolt it all up. not 100% happy with the trans effort and may rejig it a bit yet.
2 points
-
Bought some solder paste and cooked things on an element. Probably got it all too hot but wont know until i test it All the connections and tracks work
2 points
-
G'day All, Figured I may as well make a little project log thingy for my newest project, a '62 Morris Mini Minor. I picked this thing up not too long ago and have been getting stuck in with ambitions to have it done early next year. I've been on the hunt for a MK1 for ages now so I'm super stoked to get into it. The car had been stripped down and semi-restored some 20 years ago by the previous owner, but never quite finished. This has led to the paint deteriorating, and heaps of parts disappearing over time. This prompted me to buy a '62 parts car from some guys lawn for its engine/interior bits/suspension parts. I've got almost all of the parts for it now! Its just a matter of painting it and getting it back together and on the road again As far as plans go I'm still not totally sure what color id like it to be. Wheels can be changed to suit, but I guess paint's a different story. Was thinking something along the lines of a light metallic blue with an old English white roof, wide steels/mags and a mesh sun visor for that retro mod kinda look. Something that could be taken back to original spec if need be. Was even thinking of doing it black or just standard white, but I'm not too sure. Cheers guys, looking forward to getting more involved on the forum. -Jack. -The 850cc engine in the front end of the less than fortunate parts car. 25 years of sitting on a lawn didn't stop it from running - it fired right up the day after it fell out of the van and onto the driveway. Wasn't seized, and has only done 40,000 miles. Just hoping that the 850 will be enough for me to keep up with traffic!1 point
-
Its going to depend on the dizzy to do this. Generally you need to really be able to have a range of springs (how quick the timing comes in) and the ability to adjust the max timing (the stop). Then once you have done these mods or got a dizzy that can be modified you then need to tune it on the road. You can setup a knock sensor and some headphones with some kind of amplifier (laptop) and go nuts tuning spark till your ears bleed. I did some of this on my car but I am lucky enough to have a murican V8 so a new adjustable dizzy is a off the shelf item. I tuned it pretty bleeding edge (its a donk so timing all in @ 2500rpm) and then when it was extra loaded (like 6-700kg) on a very hot day up a hill I got some knock as my cruise RPM was way up. So lesson learned on safety margin and tuning for conditions. Lucky you can just pull over and guess dial it back to keep going. I probably wouldn't trust a shop to do anything apart from some machine work if possible to make the dizzy adjustable? after that I can't imagine a shop road tuning a carby car for you without many hours being spent and lots of $$. Seems a journey best traveled in DIY and learning shit. Saying all that the car will work with the stock dizzy for now (which you seem to think it wont from above comments?) all you may want to do is limit max timing (mod the stops) so you can put more base timing in. Or electronic control like above but that ads complexity.1 point
-
You can still get the filters brand new from David Silver spares in the US then YouShop it home. https://www.davidsilverspares.com/parts/by-part-number/partnumber_5985/ $45 usd each still ain’t cheap but I usually order a tone of other small stuff like replacing rusted out bolts and stuff too All the part numbers are listed here: https://www.cmsnl.com/honda-cb175k7-super-sport-1973-usa_model423/partslist/?model_q=cb175 I just put the part numbers in the David silver site and build up a decent shopping basket. Easy to spend way too much lol.1 point
-
I haven't checked the cam properly but it seems fine. I'll be checking to make sure the cam is straight and true though. Current theory is Valve float causing a chatter at high RPM and it's fatigued over time.1 point
-
Better be ready for OS 20171 point
-
Yea dont fuck about with a generator for that distance. Bit of 16mm NS. Pretty sure you can get led indoor tomato lights now. Dont use much power at all...1 point
-
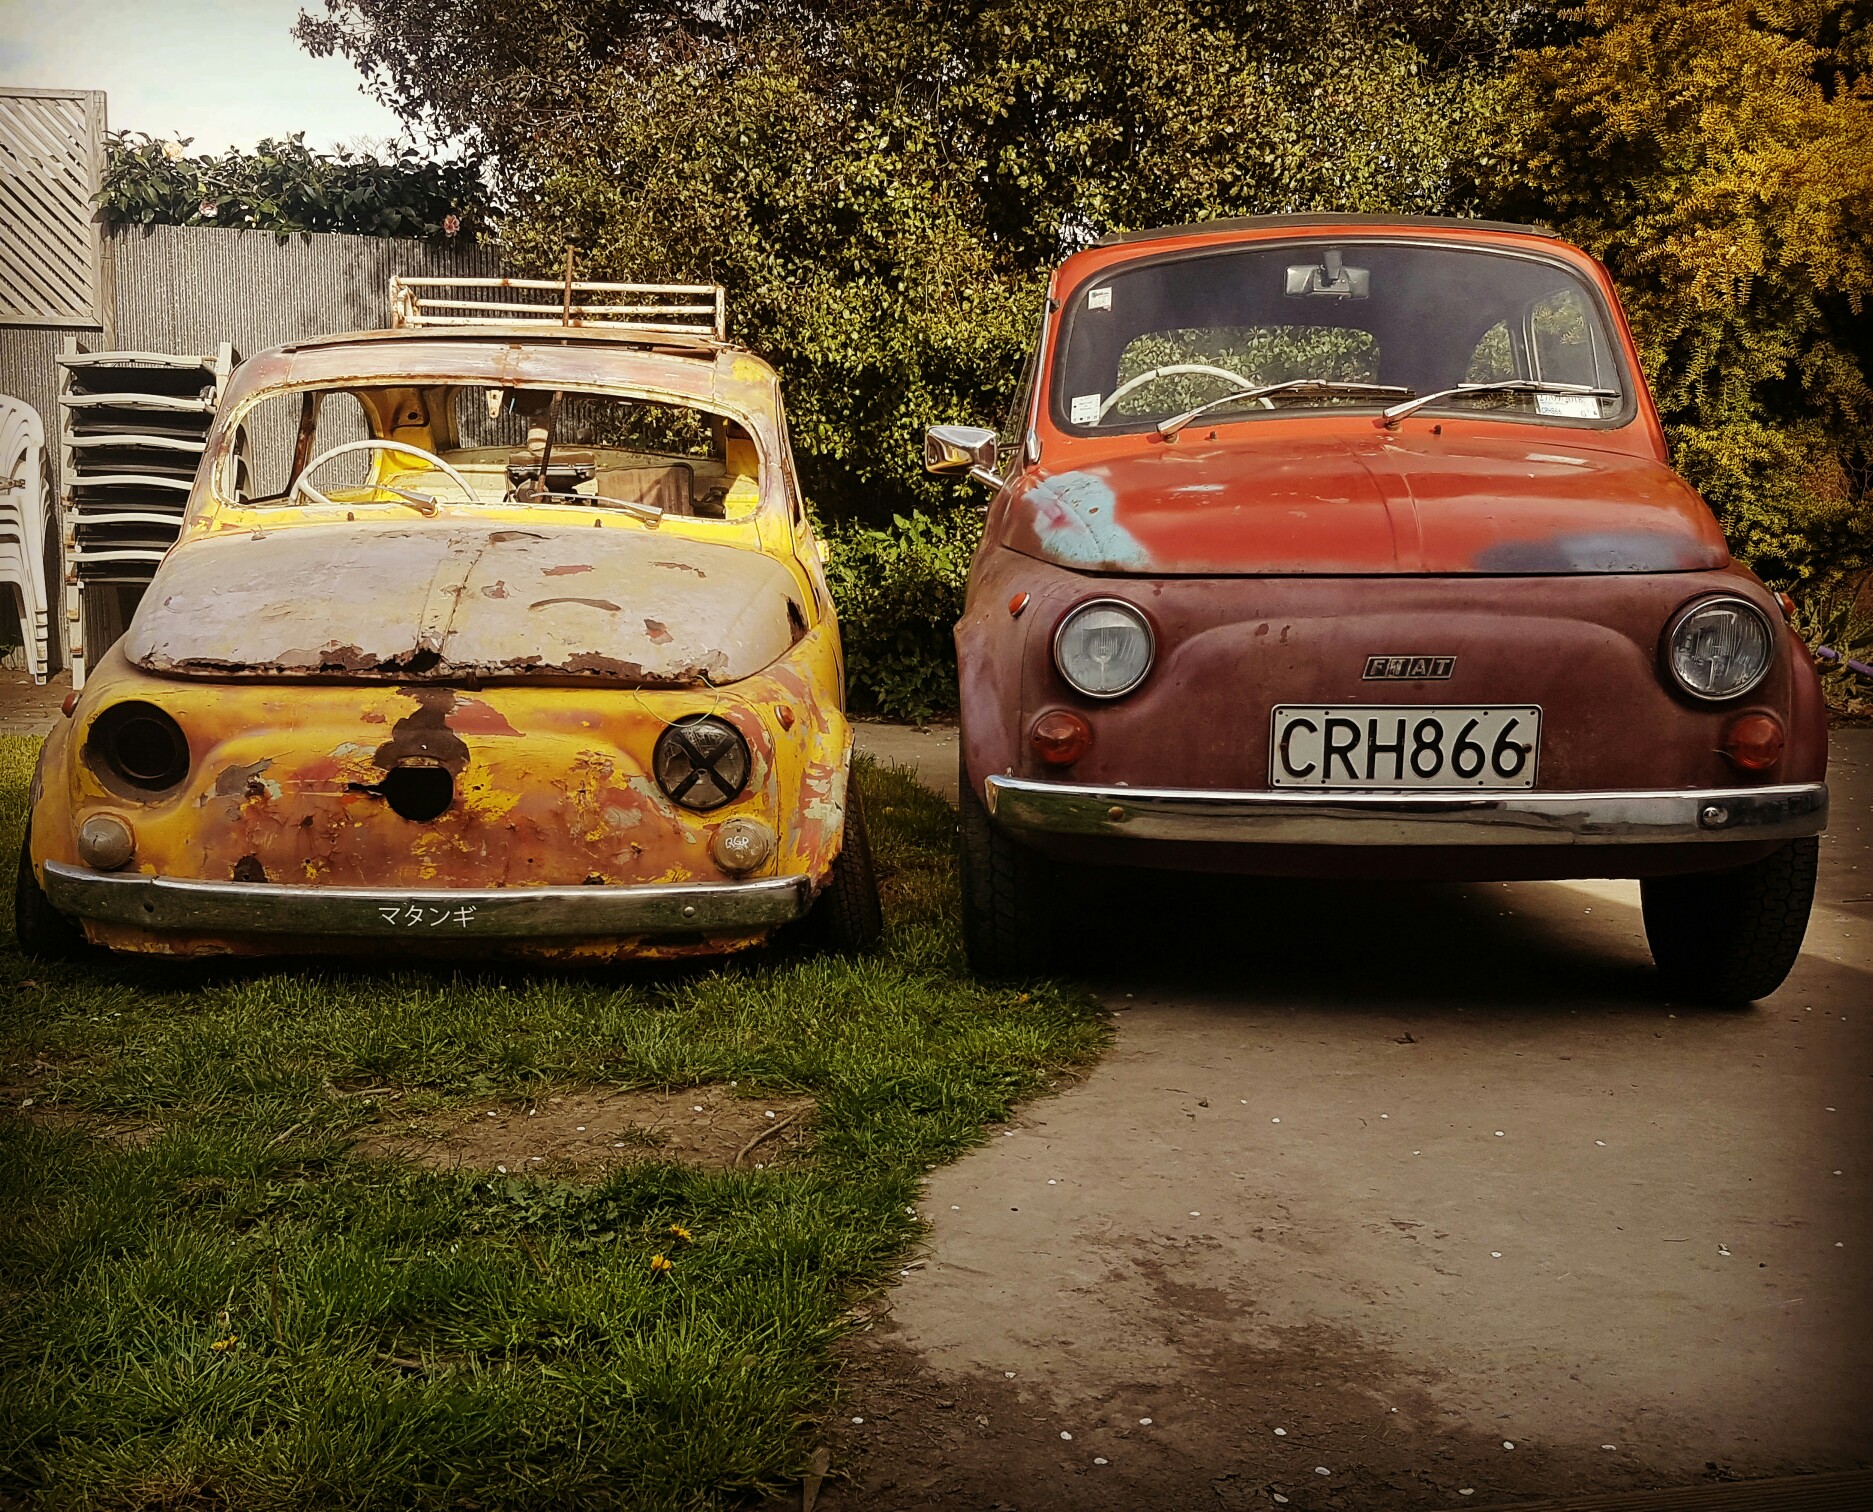
I already tried to buy it, he's not keen. Reckons he's collecting the set, has the wagon, 2x2 door sedans and a 4 door sedan back in NZ. Fluked the wagon find when him and some mates were picking up a cheap bus to take to scrap and it was just sitting there in a field. 1 owner, she retired it 8 years ago when she lost her licence. Such a shame it just sat there, it's pretty rough now, but definitely fixable If anything comes up I'll keep you in mind though, it's crazy what's still sitting around in WA, it's just a matter of finding it1 point
-
Is that your shed up the back of your old house? Get a chain trencher and drop some neutral screen cable in the ground. Best in the long run. Can do hookups for good pricing.1 point
-
Fitted electric ignition with heaps of help it wasnt that hard, always more fun with a friend
1 point
-
Stereo fluro lights compressor 150amp mig welder assorted powertools Not at the all being used atsame time obviously cause im not an octopus. Got a dumb idea in my head to find a diesel powered something and run it off chip oil1 point
-
^ 3.50-10 is the factory size, same as what my Dax has. I have the Tanaka 3.5" wide rims on the Chaly which is causing the front guard issue.1 point
-
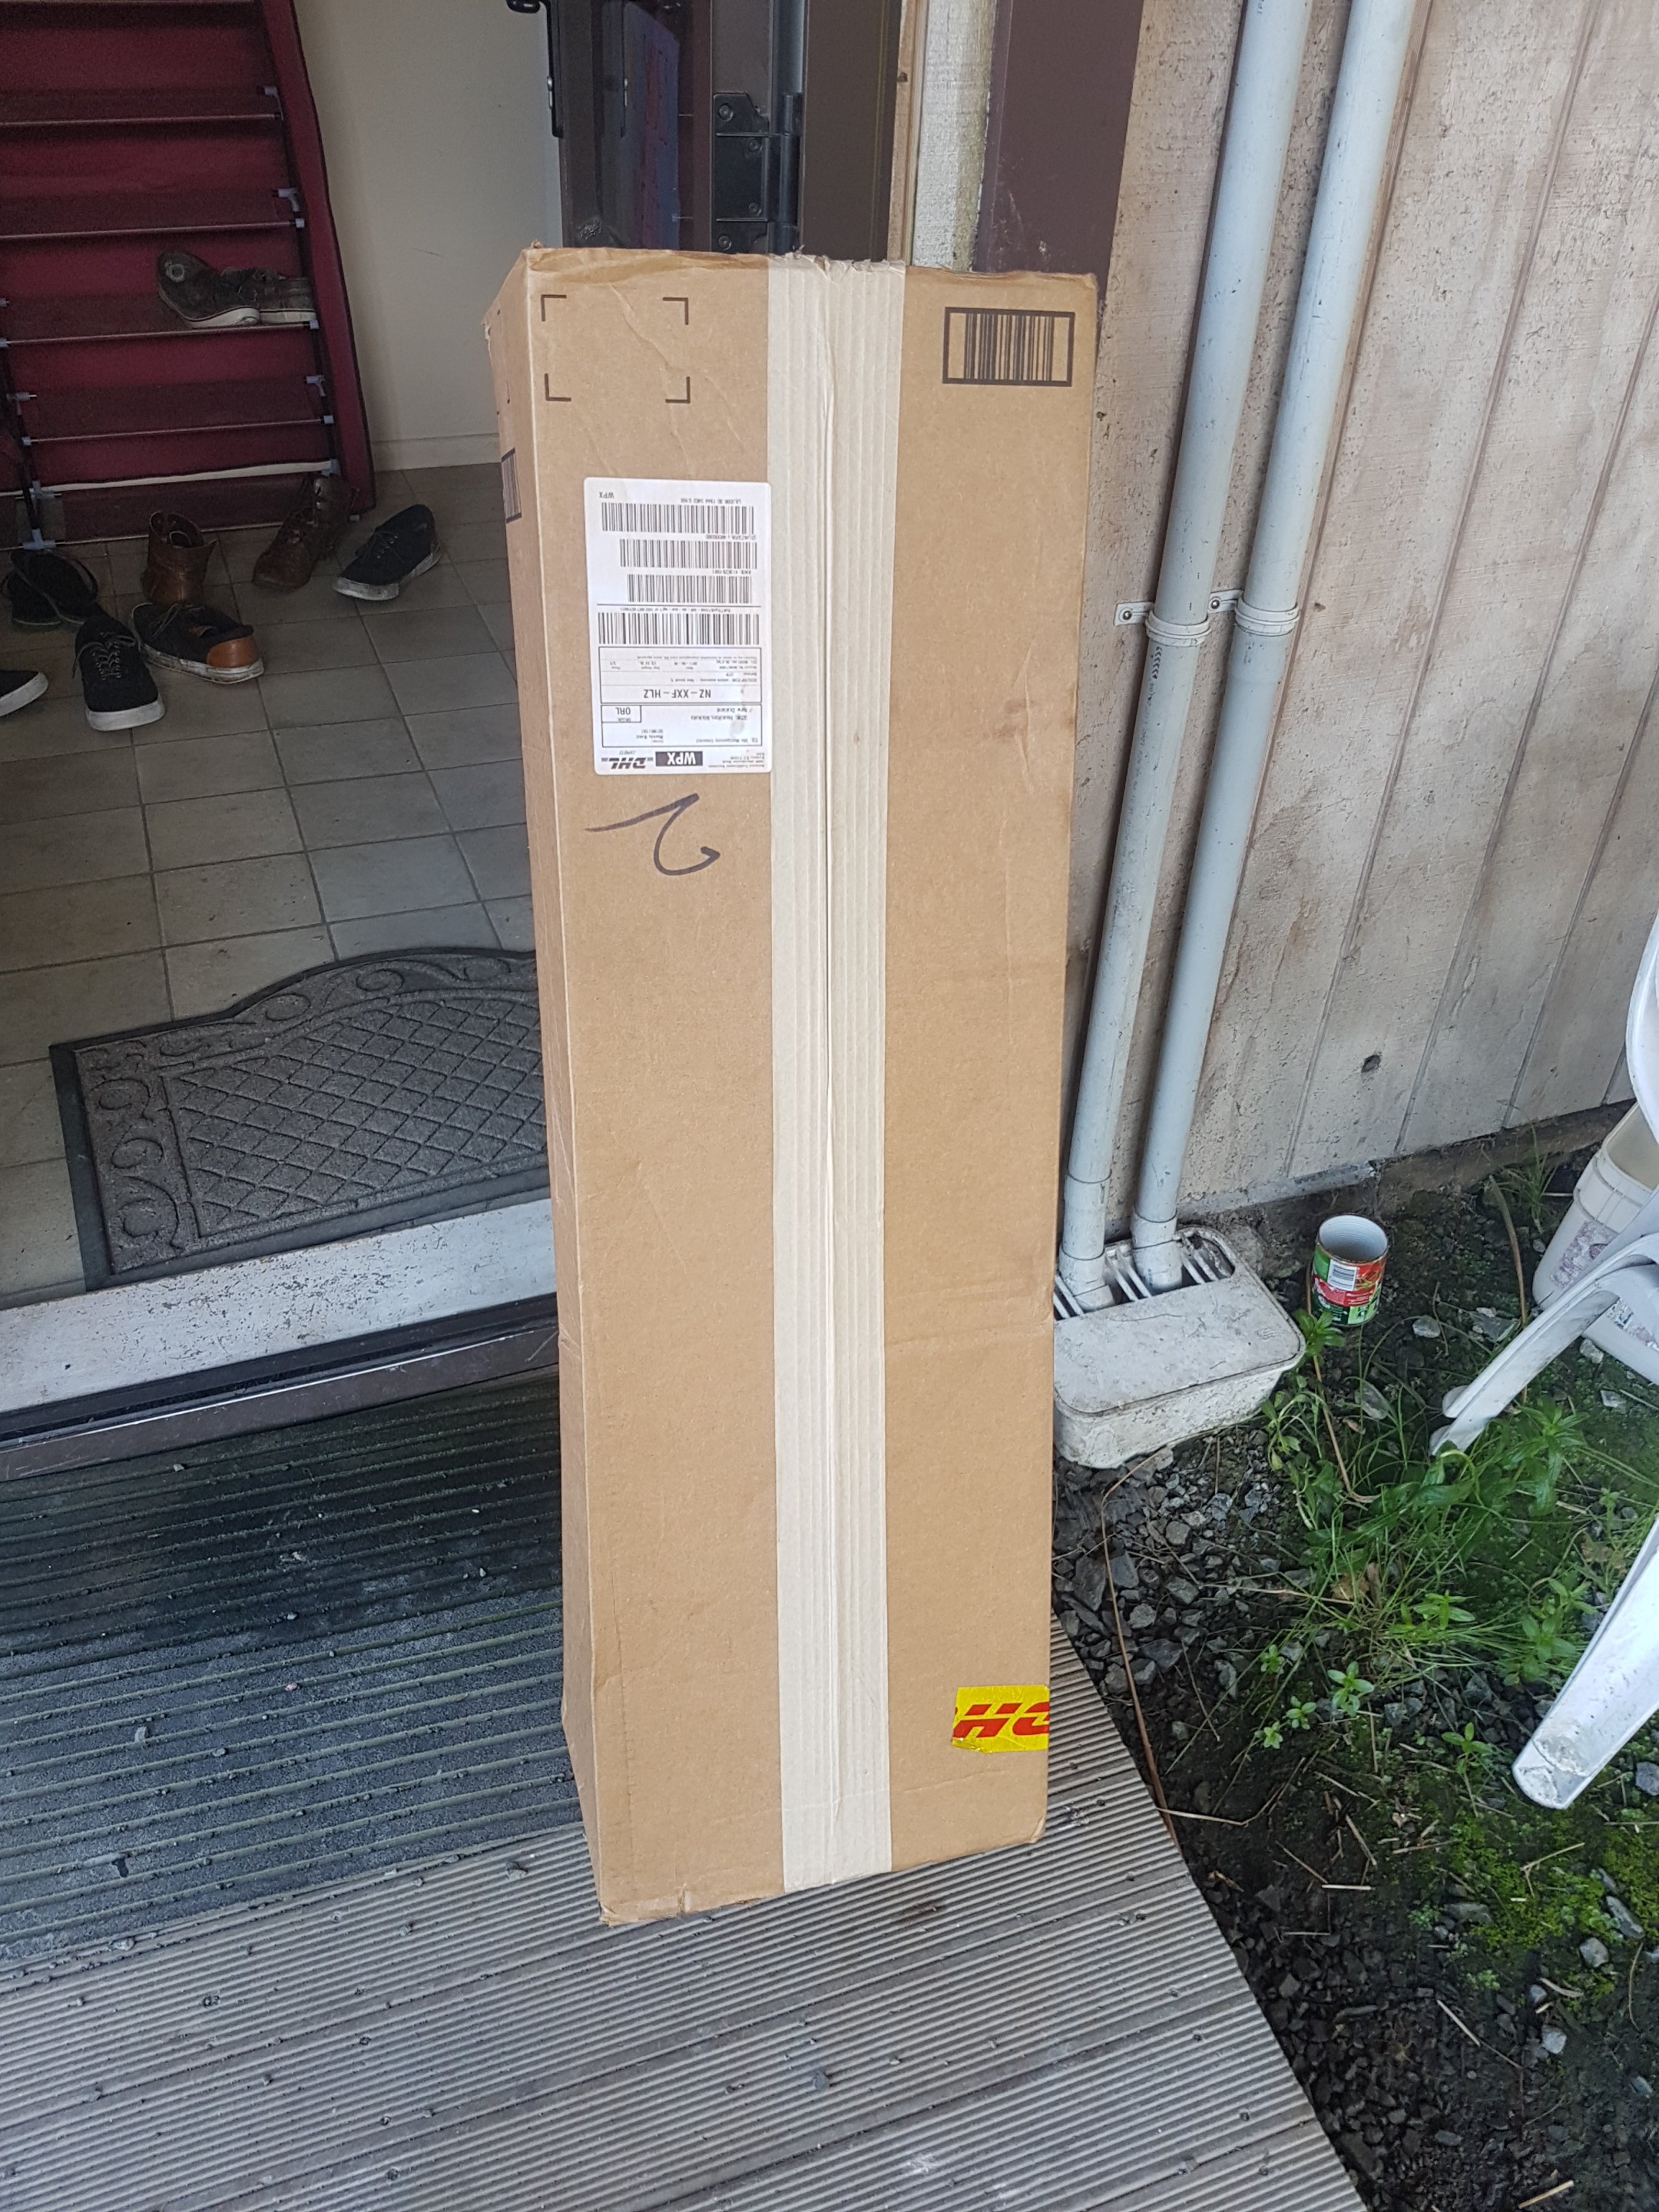
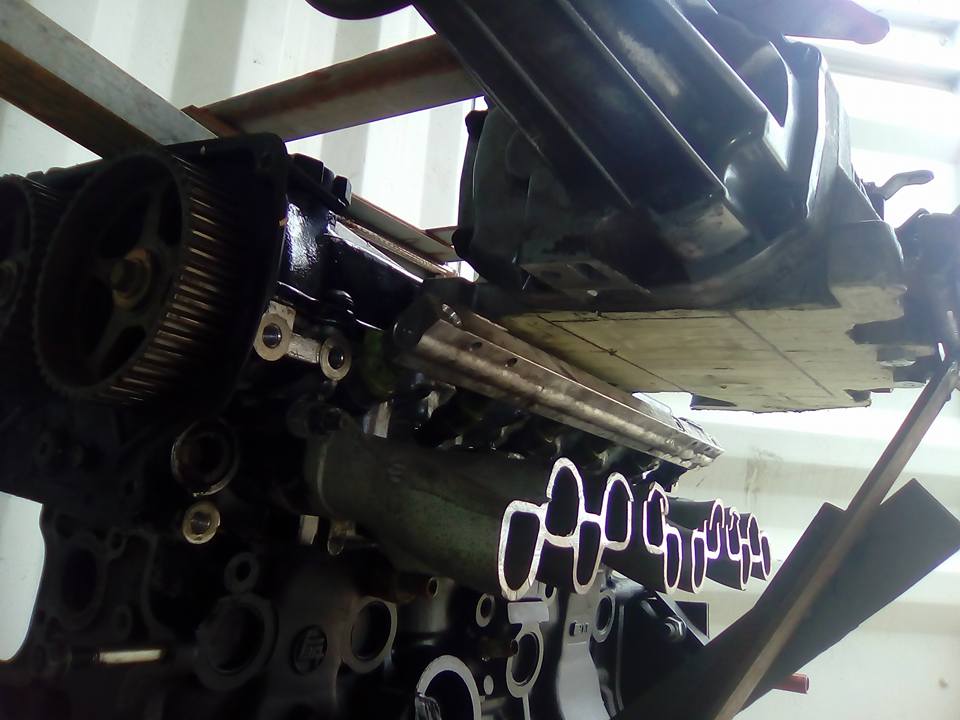
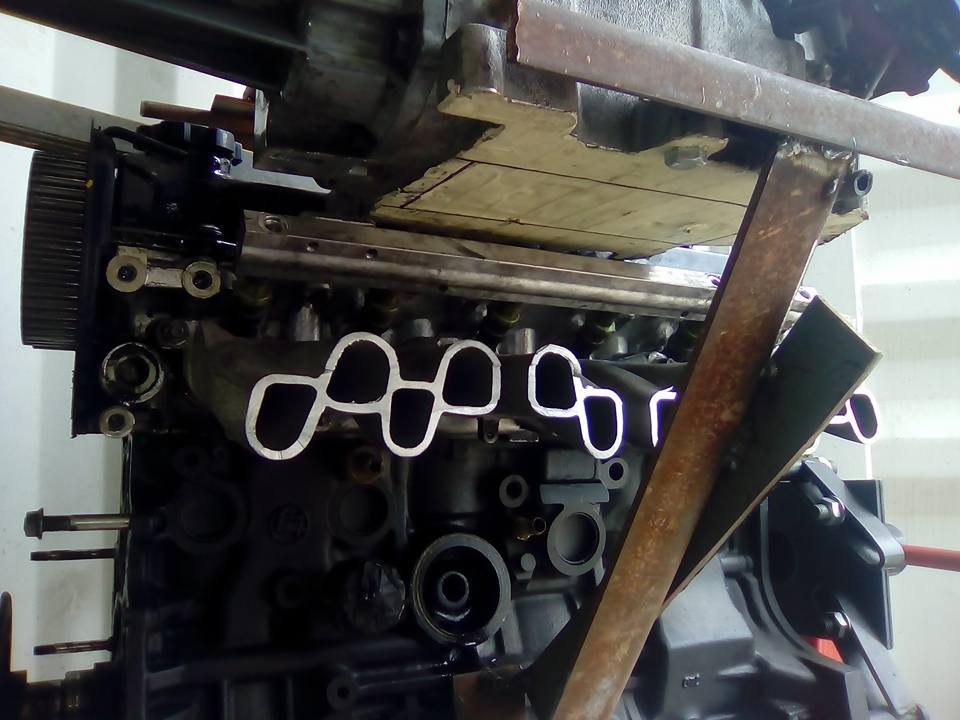
A bit of further investigation shows no signs of stress on the underside or the valvetrain. This chunk obviously decided it'd had enough... But it's hard to know why. Also had this massive box arrive from Amazon: Which contained my new muffler. It's no wonder their shipping was so expensive! I chose this because it's 3". But also because my neighbour has the same on his K24A DC5 Integra and it sounds great. I've also got the matching 3" resonator that I'll probably make removable so it can be added if the car's too loud at Pukekohe etc.
1 point
-
"Let the flood gates take you over, Aviemore"1 point
-
Made a start on the bed over the past week, first thing was to remove all the old brackets and supports. They were a bitch to remove since they were spot welded ever 150mm or so and you couldn't see where the spot welds were, eventually got there after doing 1/4 of them each day after work. Decided to put the c-notch up through the deck because I think they look terrible with a raised deck with hardly any depth. After that I made up a frame out of 40x40 box section that fits on top of where the original wood would of sat. That means the deck will be about 40mm higher than standard, which is good because it will hide all the rust/corrosion behind where the old brackets were removed. Need to sandblast/paint where those brackets were and everywhere below the box section and fix the rust up the front of the tray. Was thinking of making the whole deck lift up so you can access stuff underneath it, but I couldn't figure an easy way to do the hinges. Then I realised I only really need to access the airbag stuff and the fuel tank so I'll just make the back third lift up. Made a mock-up in Solidworks to test how the hinging works. The pivot point needs to be above the wooden boards so that they clear the c-notch panel when it lifts up. Seems like it works well, can lift up to 60 degrees before it hits.1 point
-
1 point
-
Another shakey video1 point
-
experiments with scrub radius. so the front end is less than perfect with the 245s on the front and a really positive scrub radius its pretty twitchy. i couldn't get the wheel any closer to the strut, its basically touching now. i started thinking about the clevis type mounting of the strut that lots of modern stuff has. that design would allow me to move the wheel inboard and decrease the scrub radius right? so, choose one that has lots of parts available and is really well supported by aftermarket shit. S15. parts for days. so i bought some S15 front hub carriers and LCAs and had a bit of a measure. straight away its clear that the Nissan design moves the ball joint 30mm closer to the centre line of the tire. whilst all other things remain basically the same. win. on first inspection it looked like it could work. there were a couple of things that might throw a spanner in the works but i rang the guys at Techno Toy Tuning and they could supply me with a fabricated lower control arm that would bolt into the AE86 crossmember and have the right balljoint taper for the S15 hub. good. so with a bit of fucking around i amassed the following parts that in theory would all come together seamlessly to make it work, S15 hubs S15 Tein coilovers MX70 cresseda inner tie rods TTT LCA's made to adapt S15 to celica/AE86 (ring them, they make heaps of them apparently) complete with castor arms stock S15 tie rod ends bolt it all together then attach it to a celica and it all fits. bump steer measured at +2mm from ride height to full bump and + 2mm from ride height to full droop. a total travel of 140mm and a total toe change of 2mm positive. that will do me just fine. have i fixed the scrub radius? well its all theory at this point because i only trialed it today. i need to get the struts rebuilt and find the bracket that came with my front brakes that will bolt my calipers to the S15 hubs. but, the ball joint is 30mm closer to the centreline of the tire. at 2 degrees camber the strut top is much closer to the center of the car that it was before. when you draw it all that change in line angle makes a big difference. also there is now a 20mm gap between the strut and the wheel so i could move the wheel in by 20mm and decrease the scrub radius even further if i need to. im calling it a win. im going to get the struts rebuilt and find the brackets then bolt it all in and see what happens. here are some random pictures of things. 2017-09-30_04-59-07 by sheepers, on Flickr 2017-09-30_04-58-57 by sheepers, on Flickr 2017-09-30_04-58-39 by sheepers, on Flickr 2017-09-30_04-58-30 by sheepers, on Flickr 2017-09-30_04-58-21 by sheepers, on Flickr 2017-09-30_04-58-05 by sheepers, on Flickr1 point
-
Build the 850 into a screamer Single carb and oversize the exhaust to 1 1/4" People say don't do it because the bigger engines are common enough, but before they came out the 850 did have some speed tuning development (because it desperately needs it)1 point
-
got 13psi dialed in, one day might get the wheels off the ground. not enough run up /too slippery here. looks like it wants to nose wheelie, due to the front weight bias and rear setup. but soaks up the bumps good made a new heat shield for intake. half finished here measured it up, pretty much bang on standard ride height. even with the extra 3inchs up travel in the front.1 point
-
applied maths and string theory zing they see me chooching1 point
-
WeBike is the go for genuine, way better pricing than anyone on Yahoo/Amazon/Honda NZ. Just need to already have the part numbers. Need to find a nice little speedo and couple other bits, also maybe one more WeBike order for some little bits and pieces.1 point
-
if that's where the bakery is1 point
-
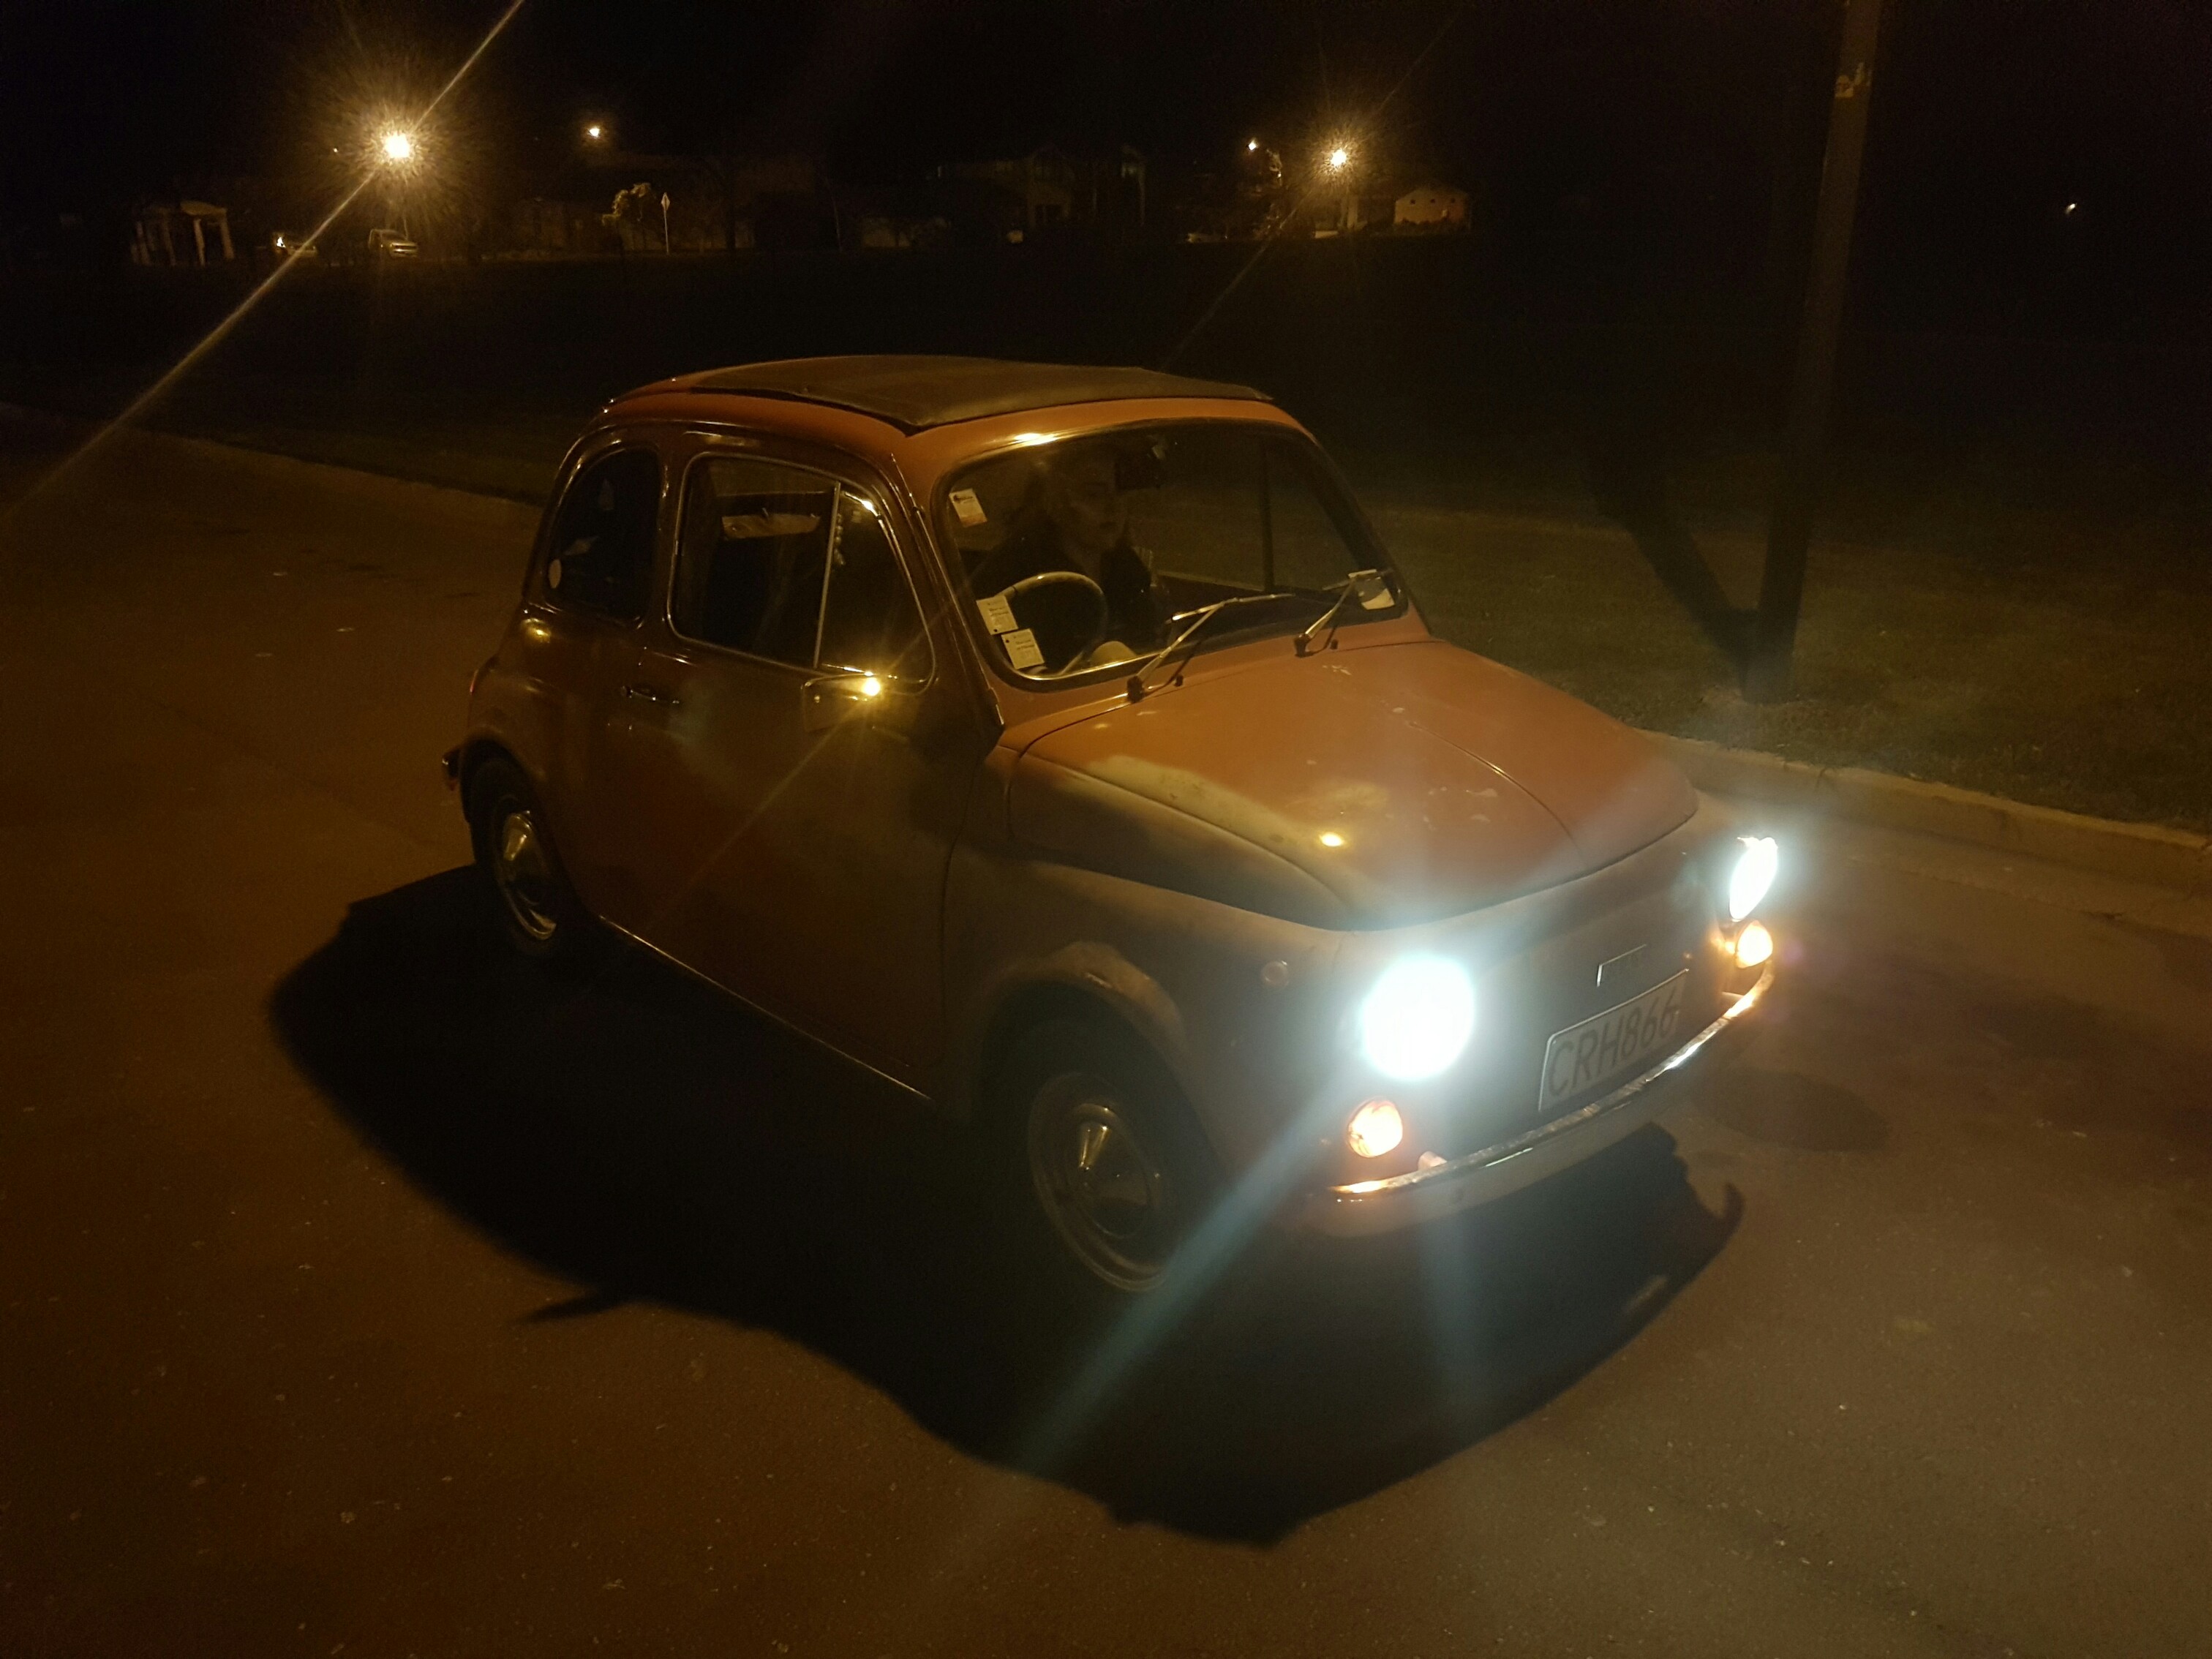
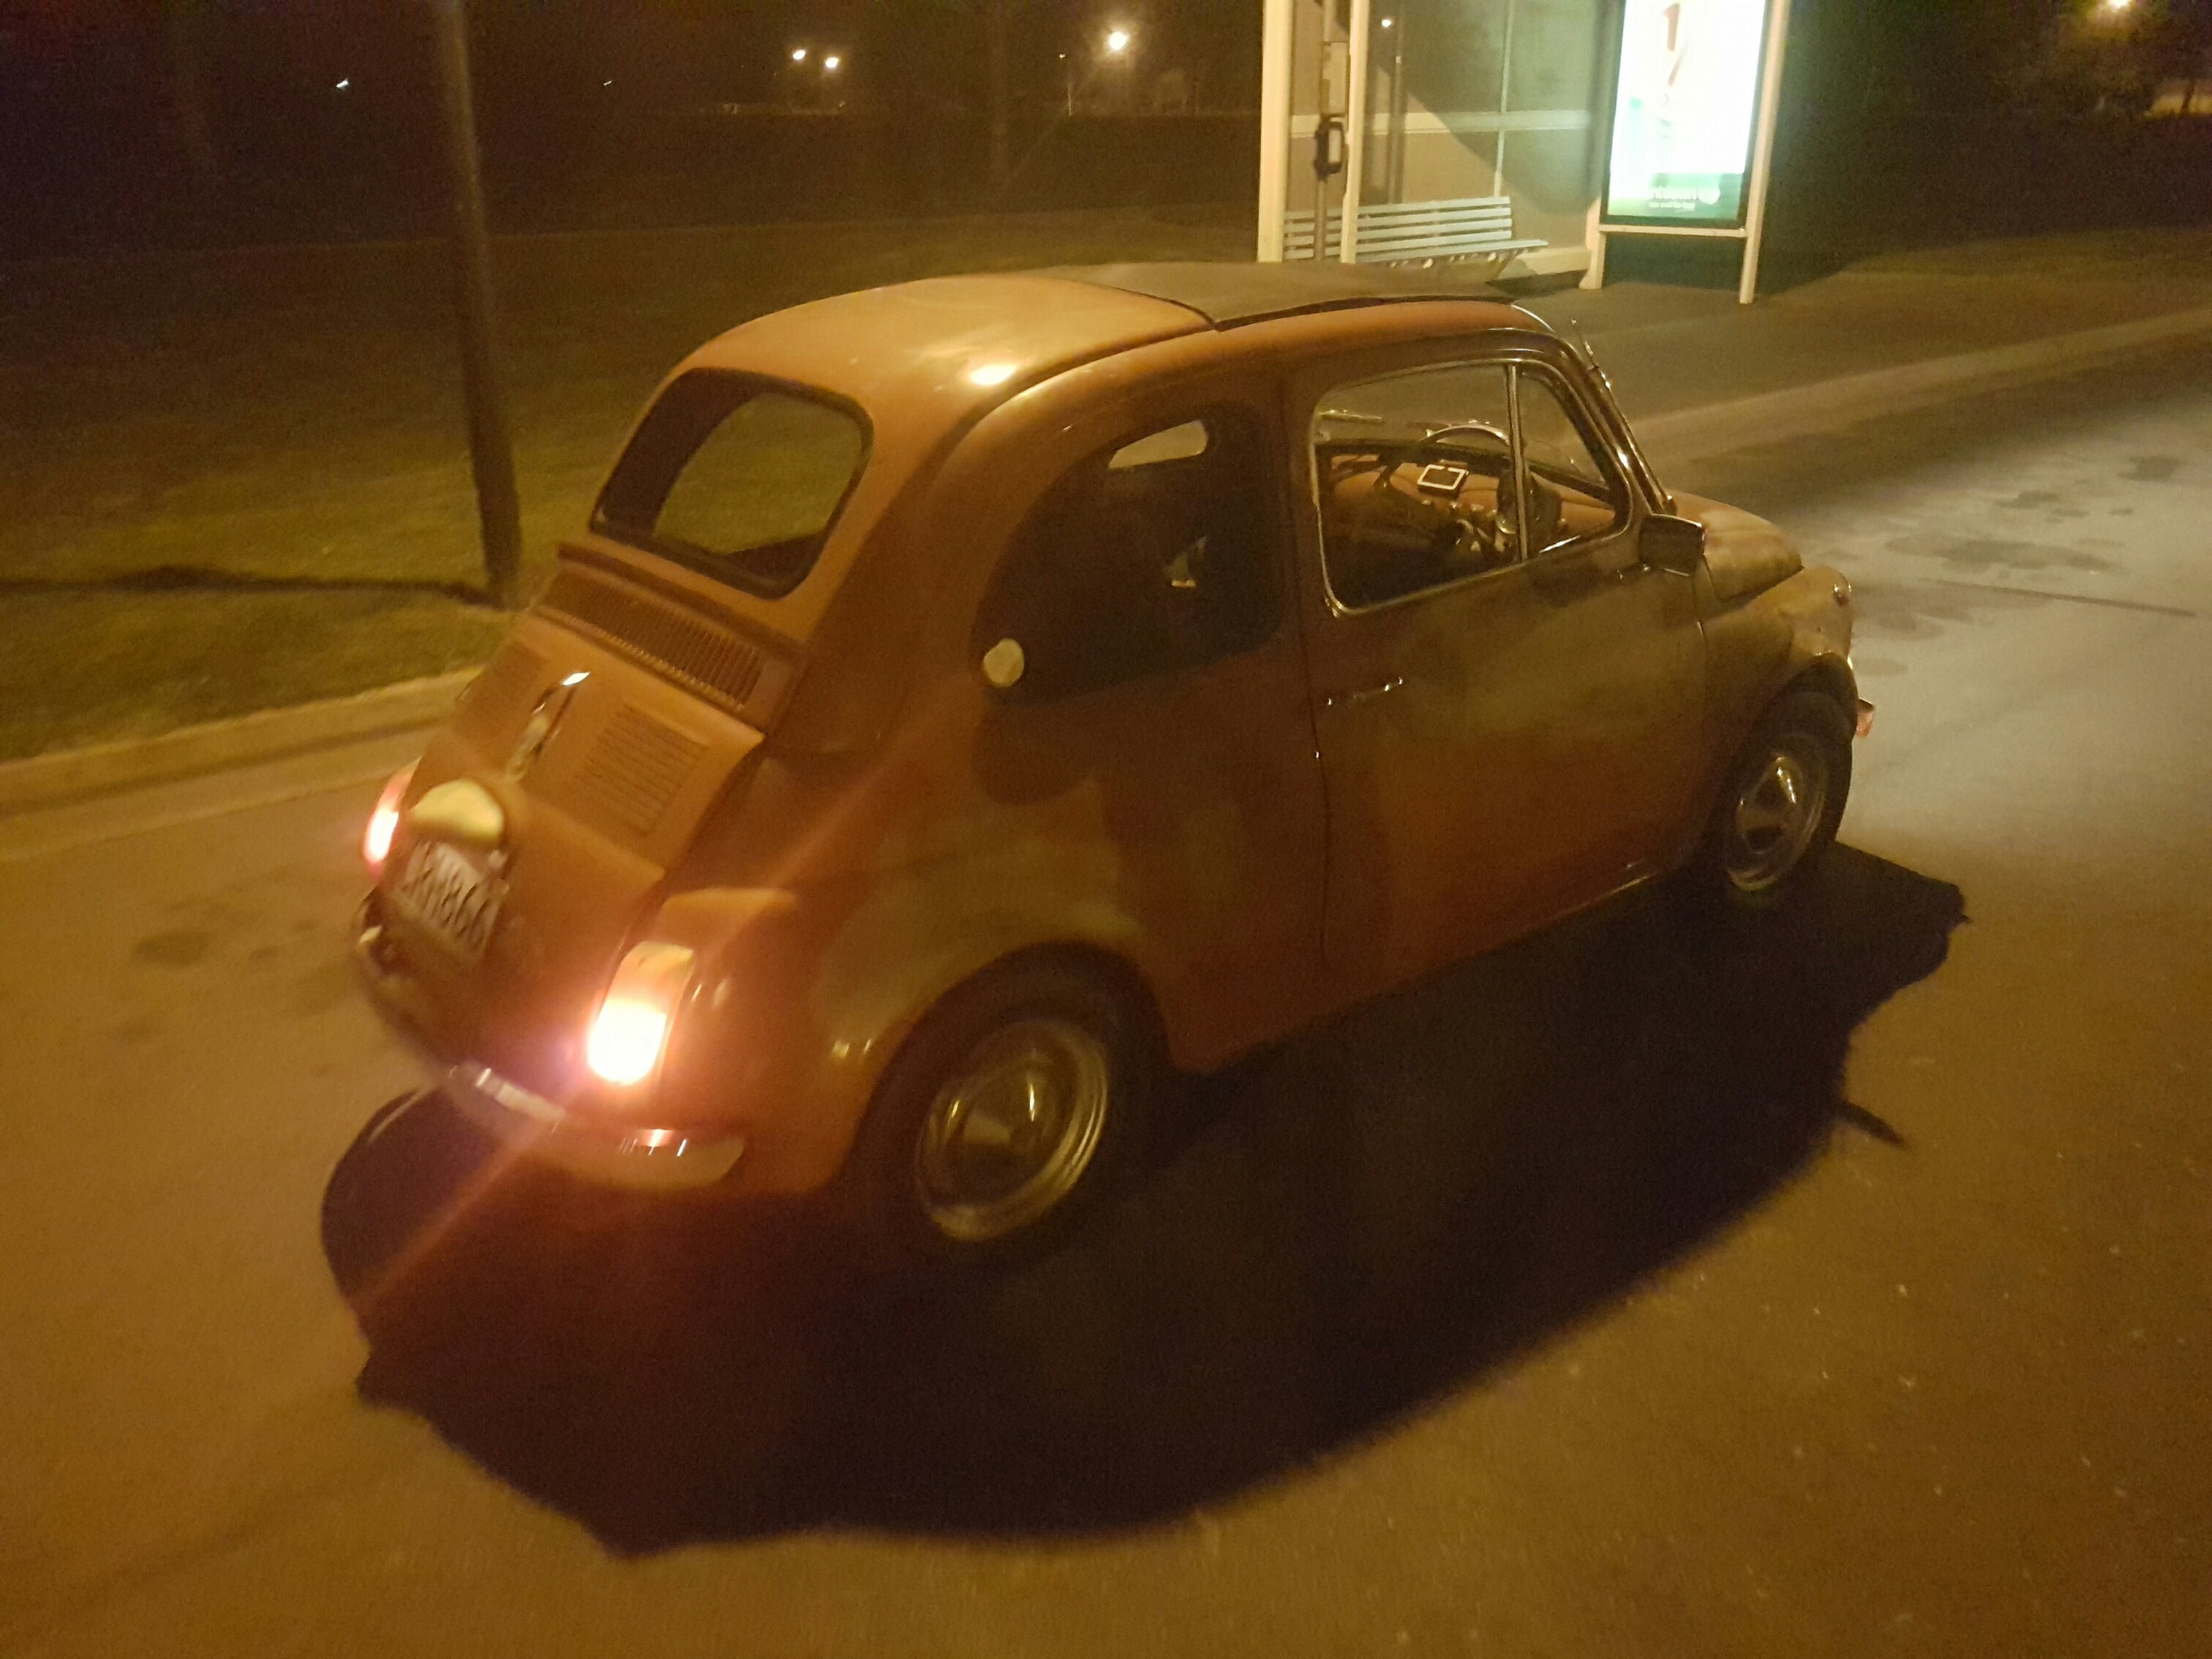
I didn't plan on doing a thread so photos so far are lacking, I will sort that for future posts. Here's some photos from when we went out driving in it
1 point
-
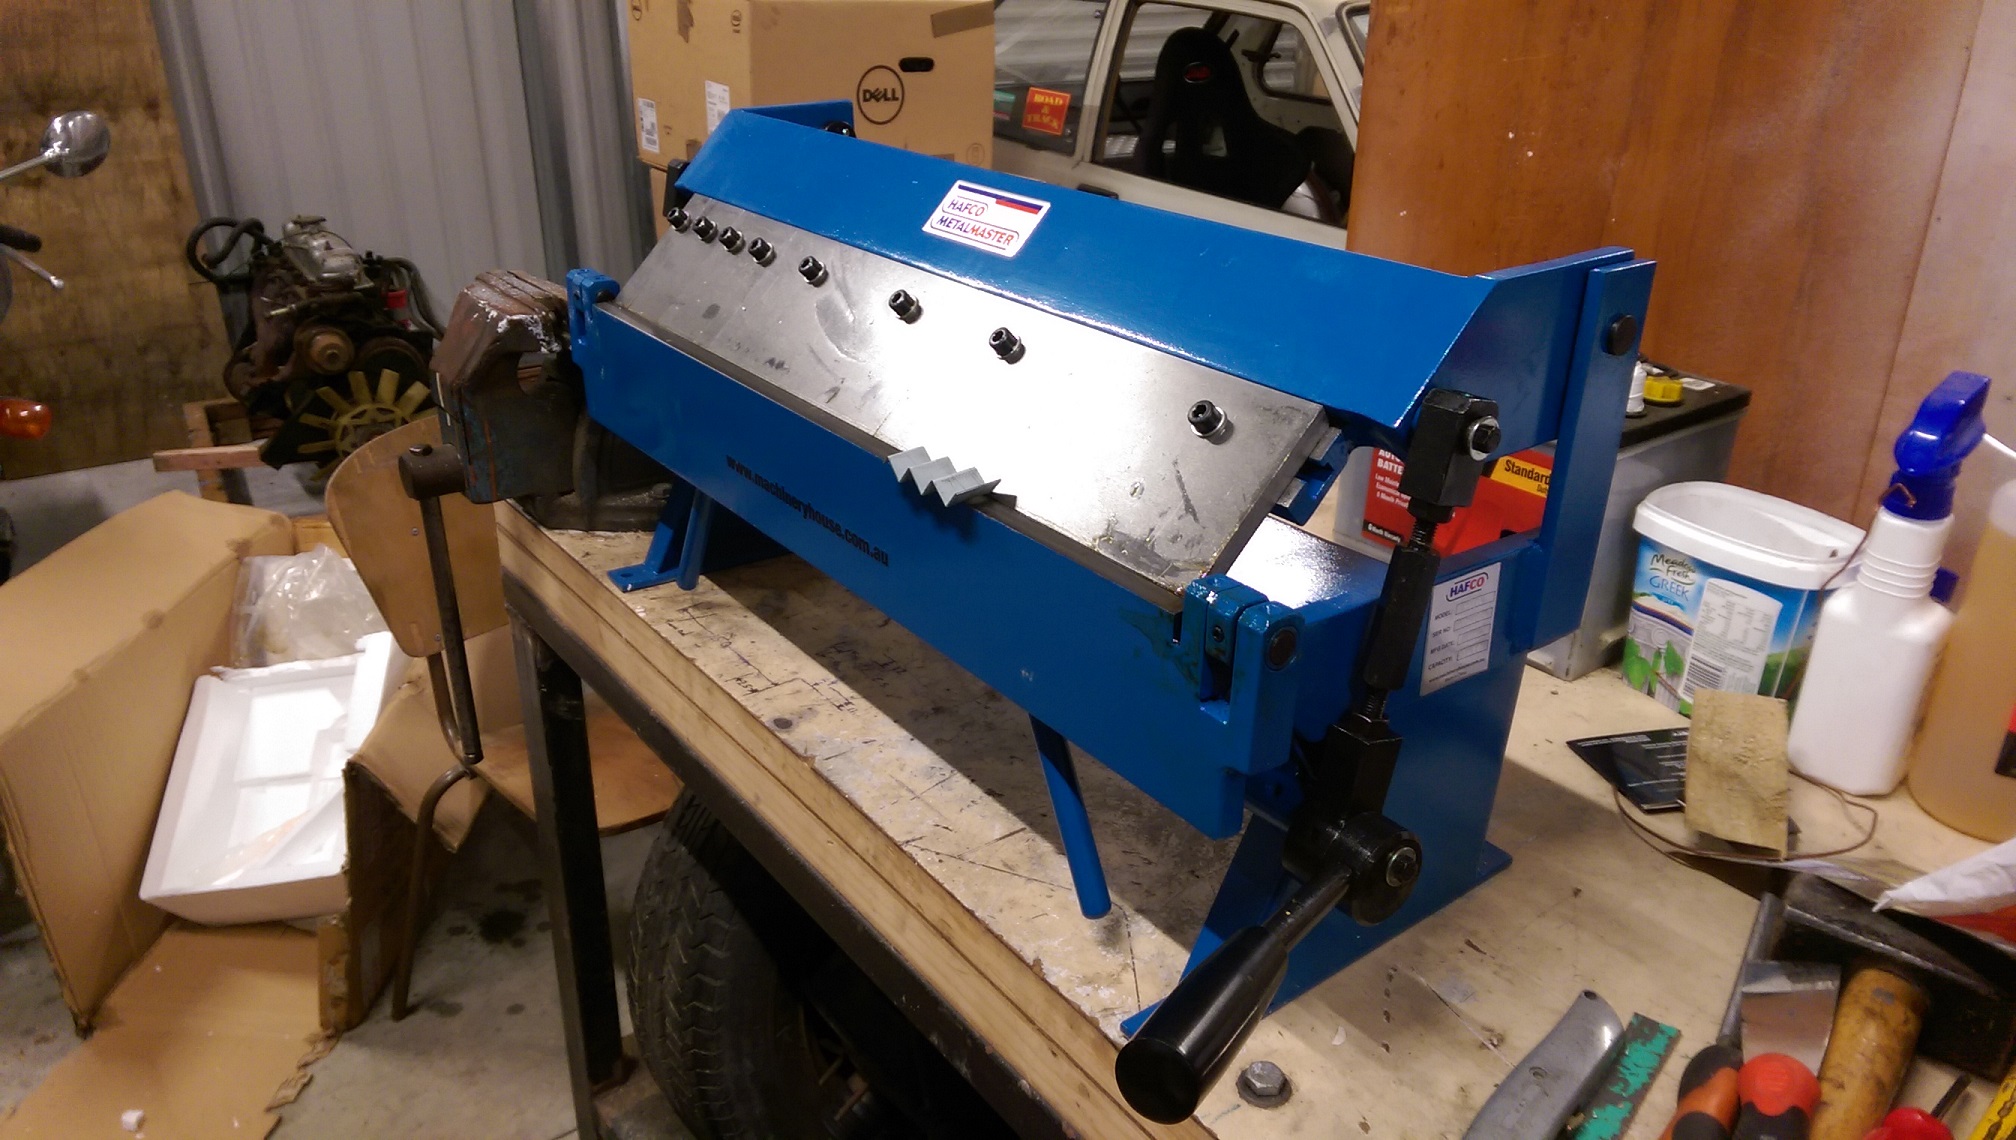
I bought a thingy. Got a $50 voucher for signing up to MachineryHouse, so it was basically free freight. So much easier than using the vice and bits of angle iron. It does up to 1mmX610mm. The majority of stuff I will be doing is 0.8mm, so it's fine.
1 point
-
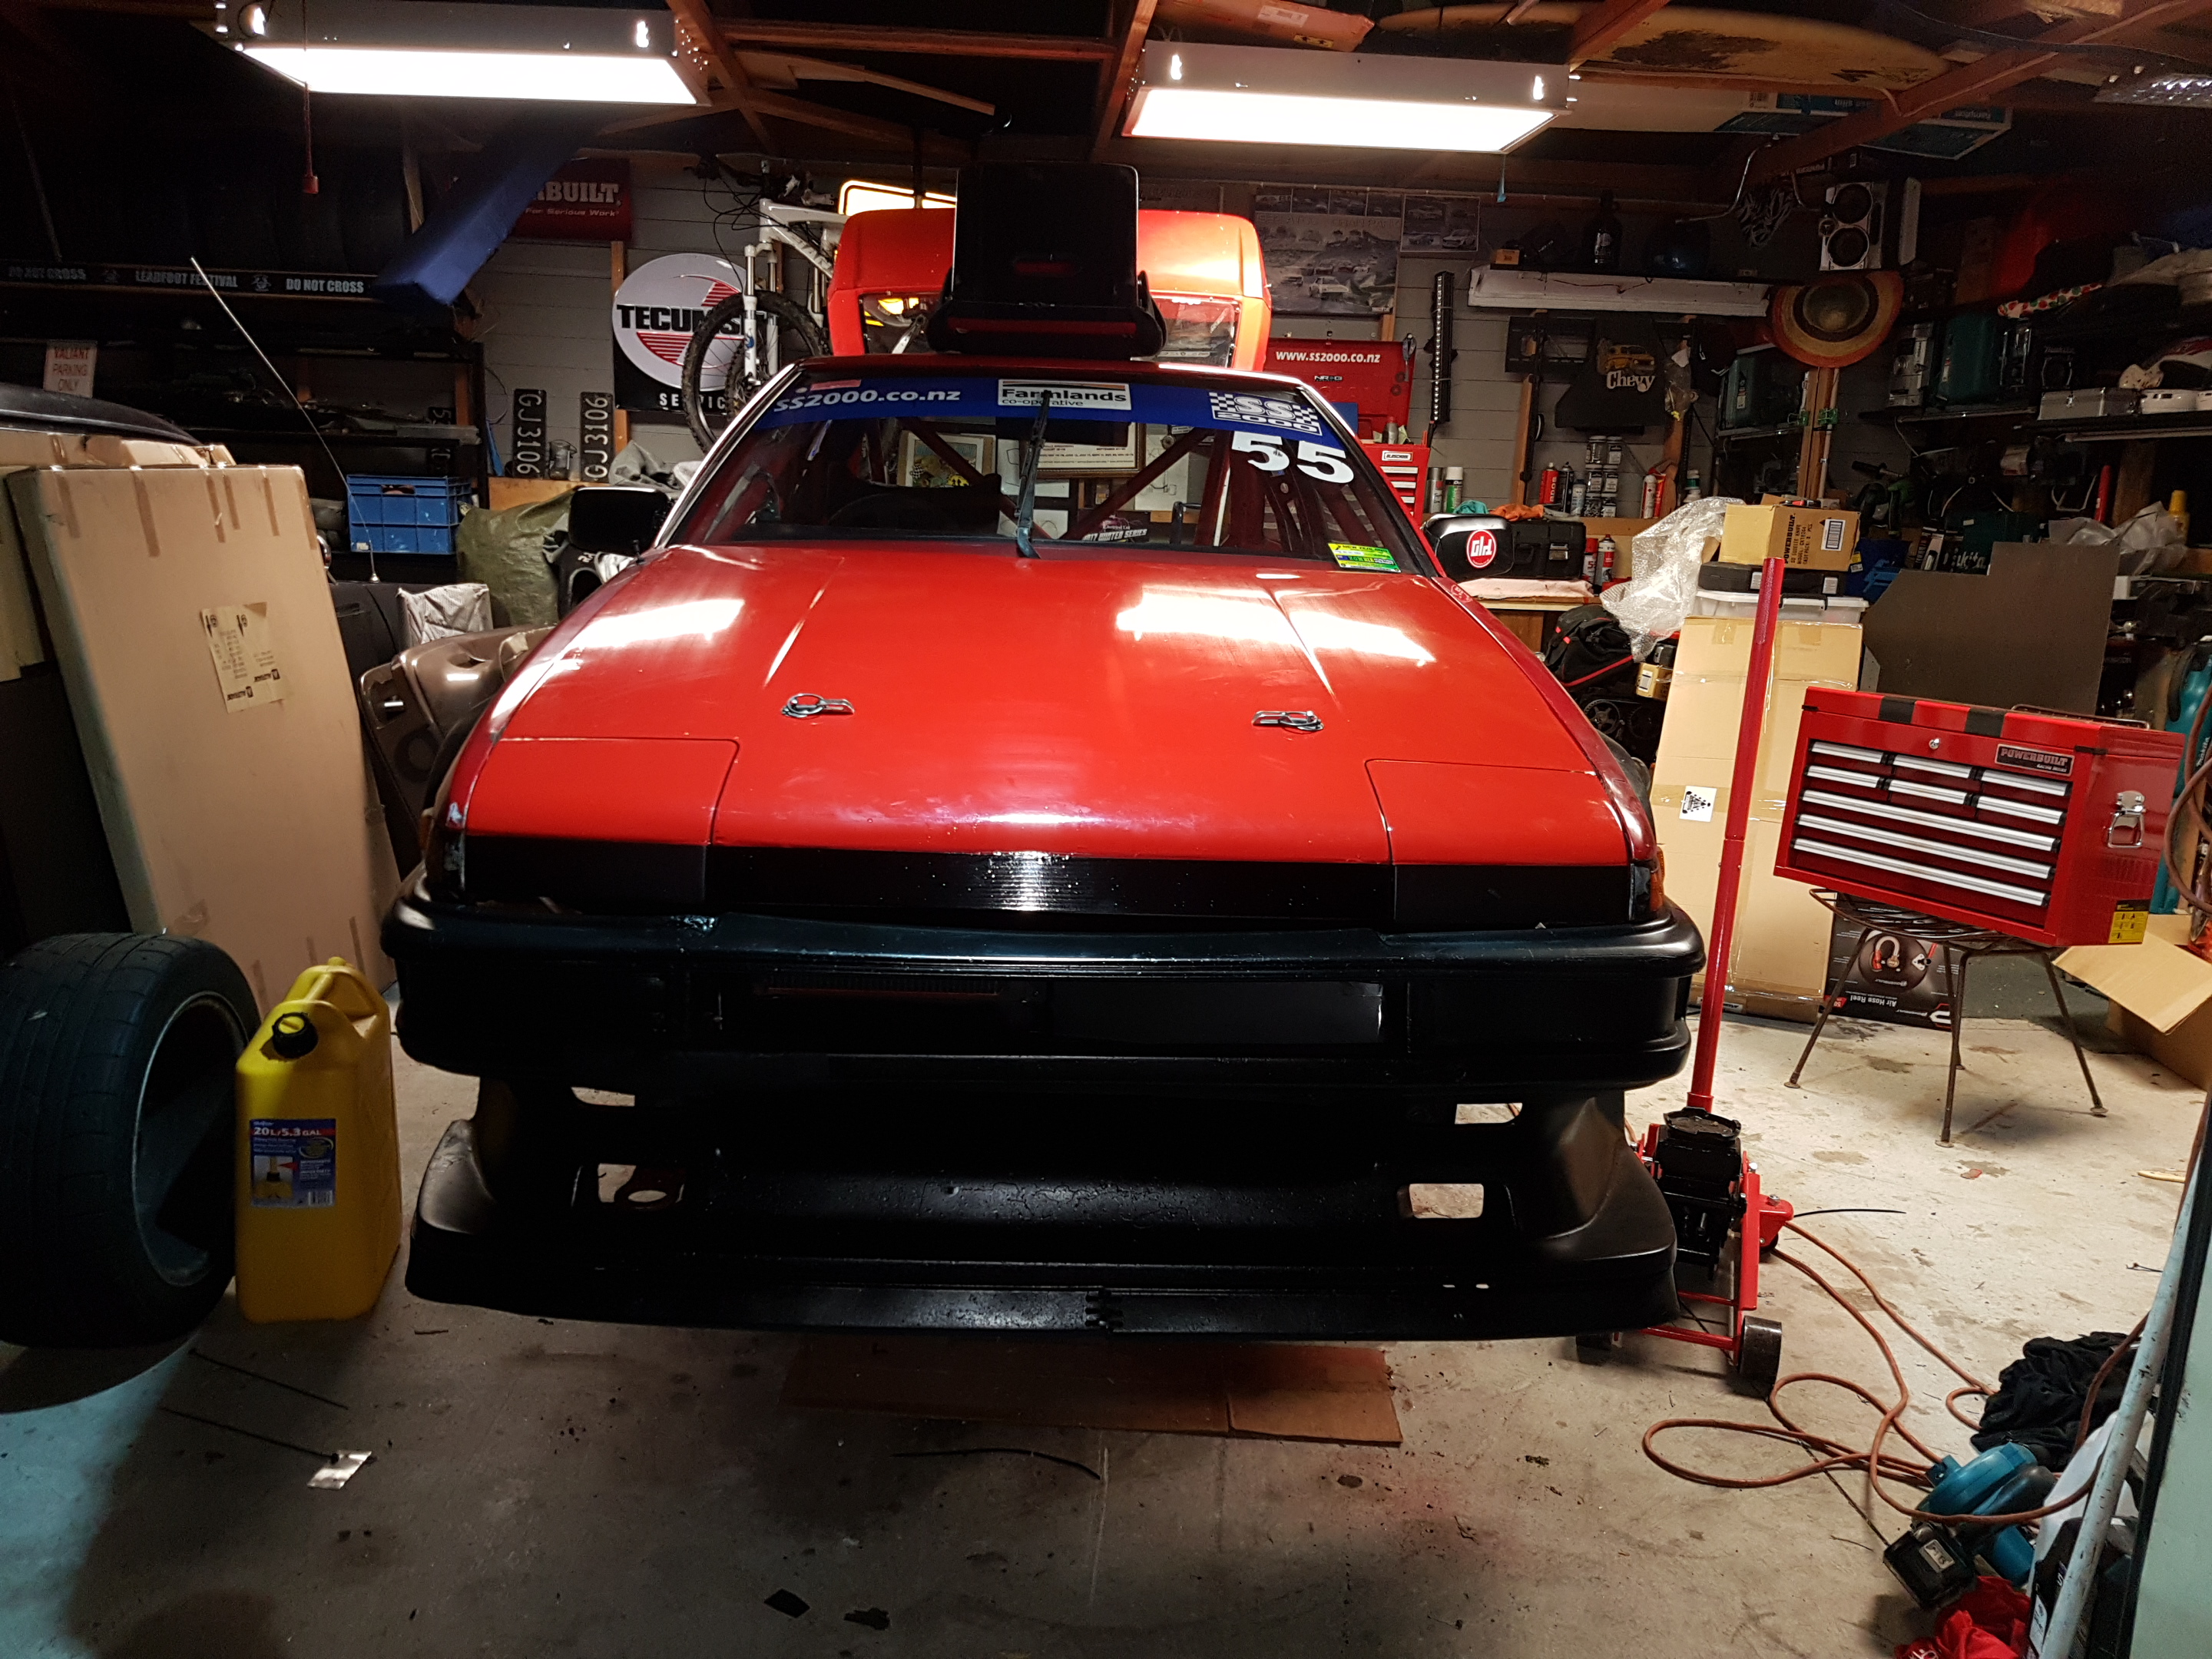
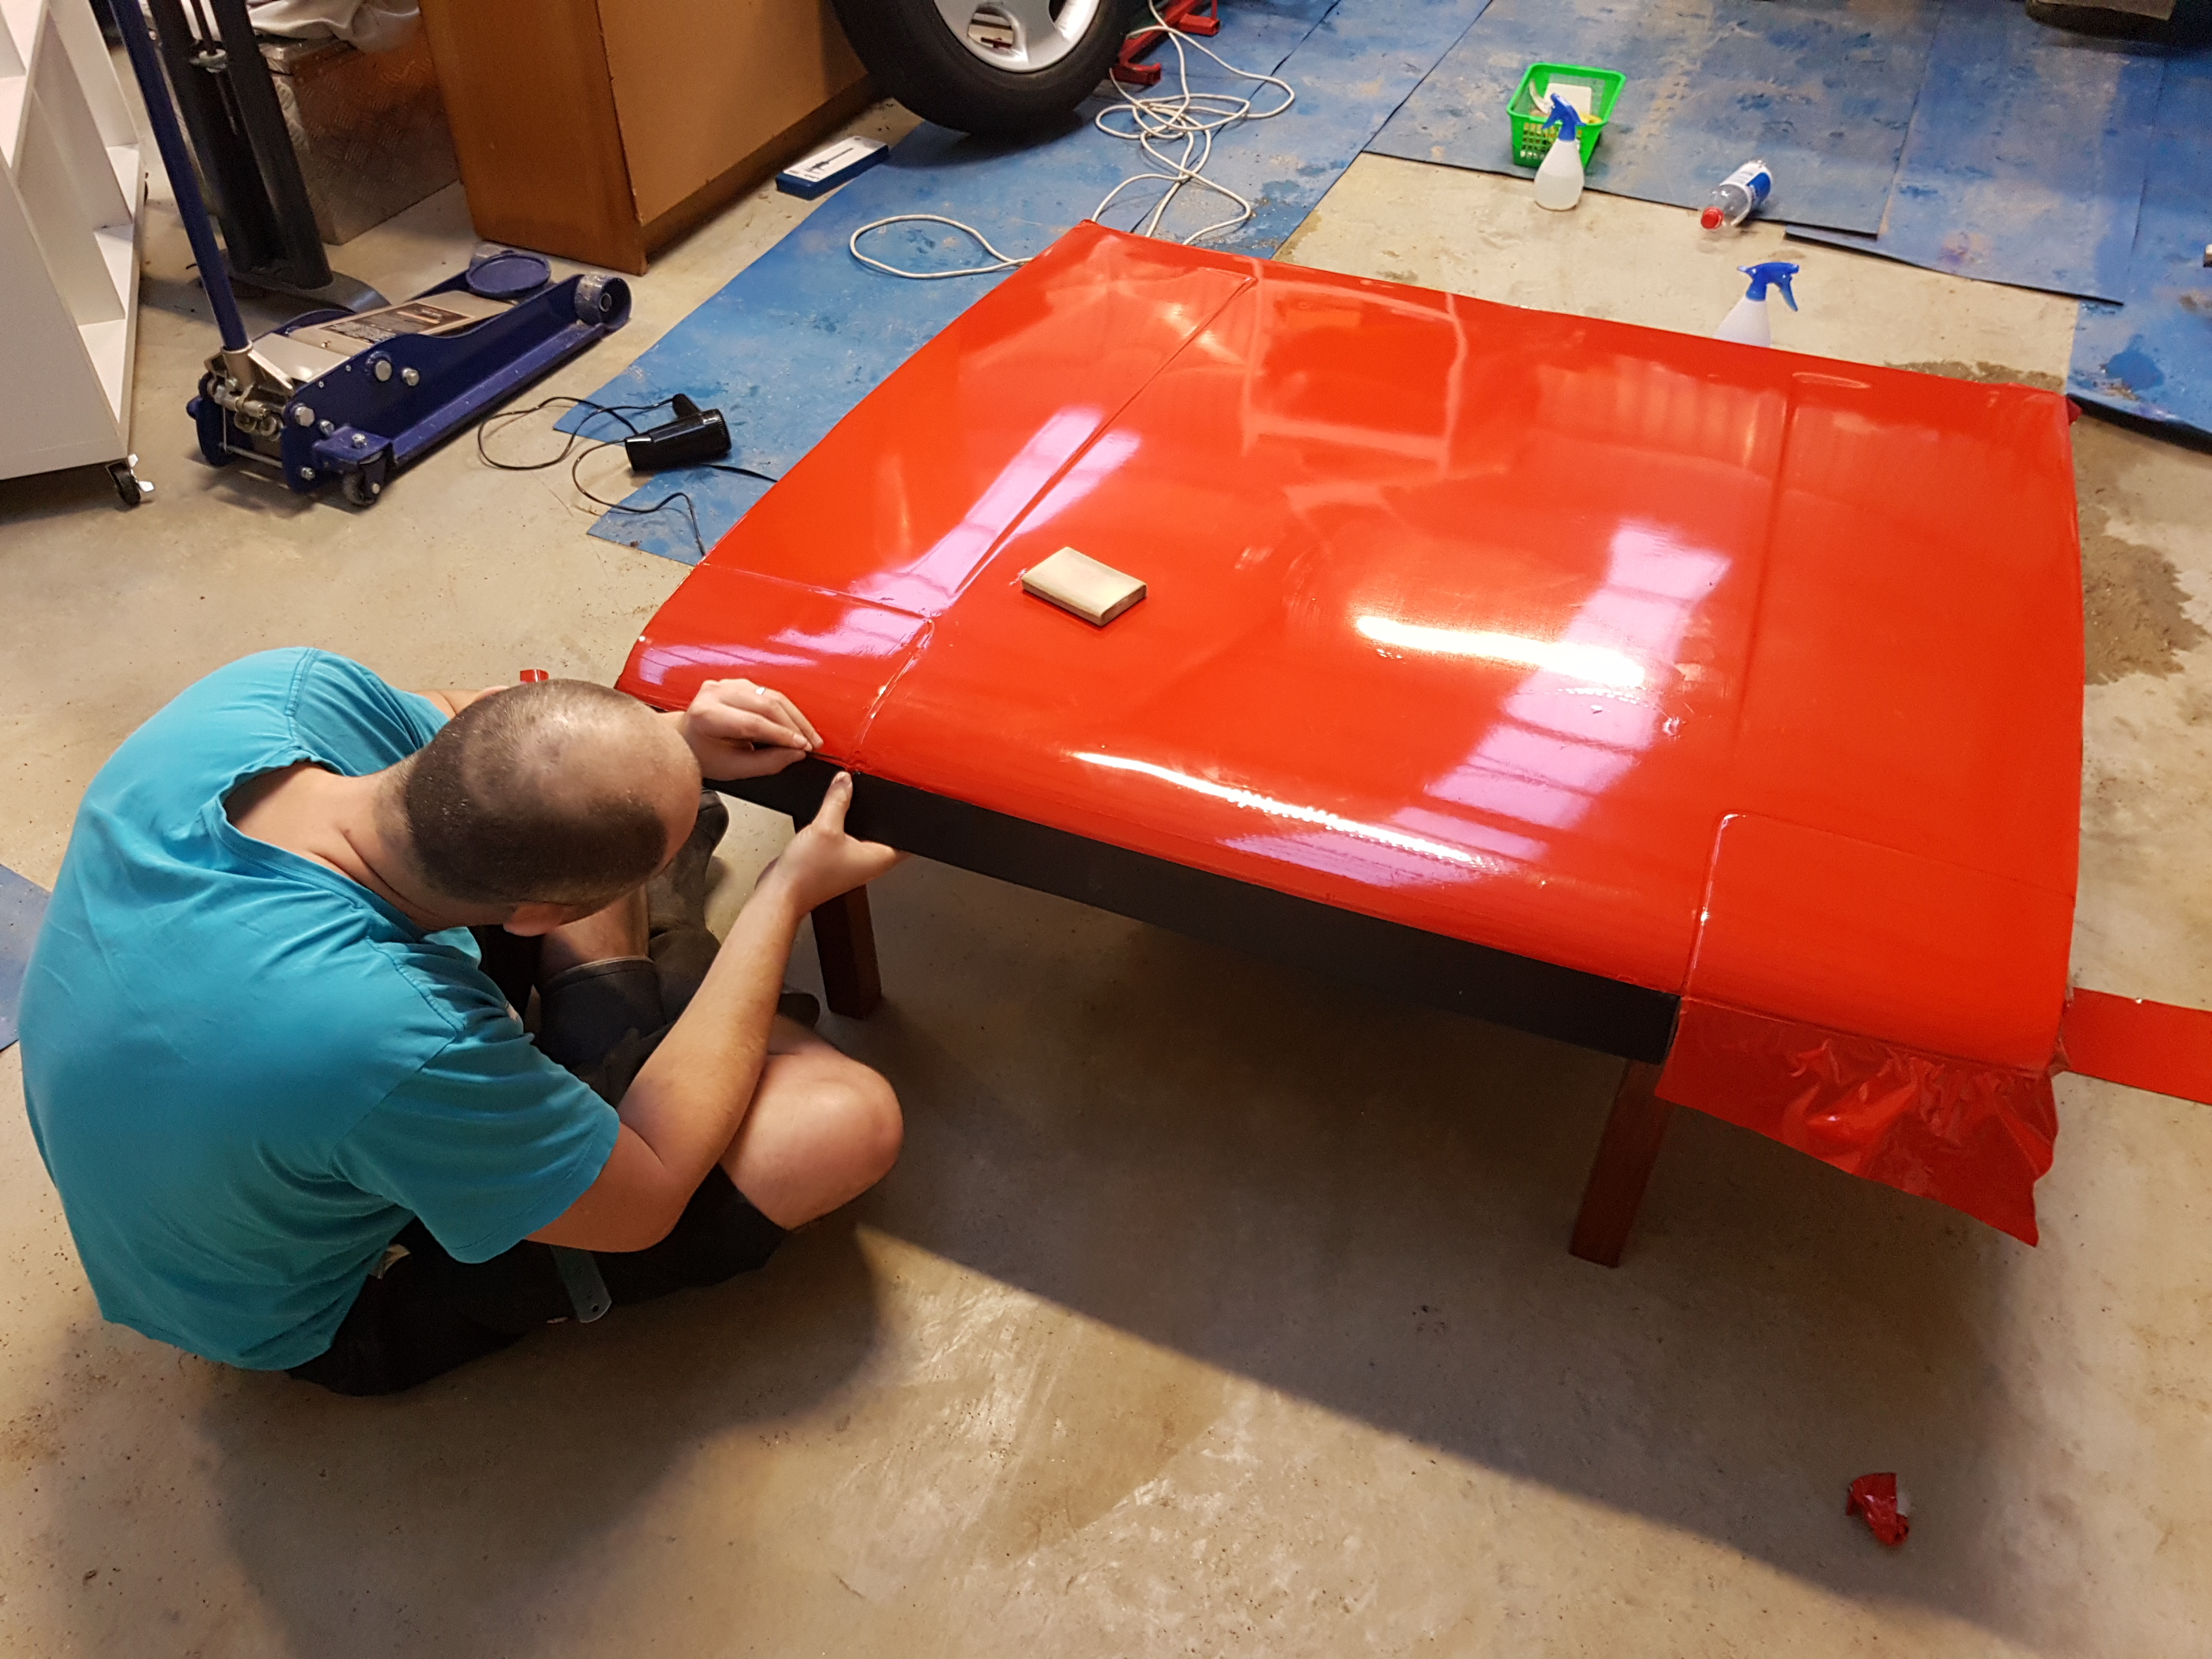
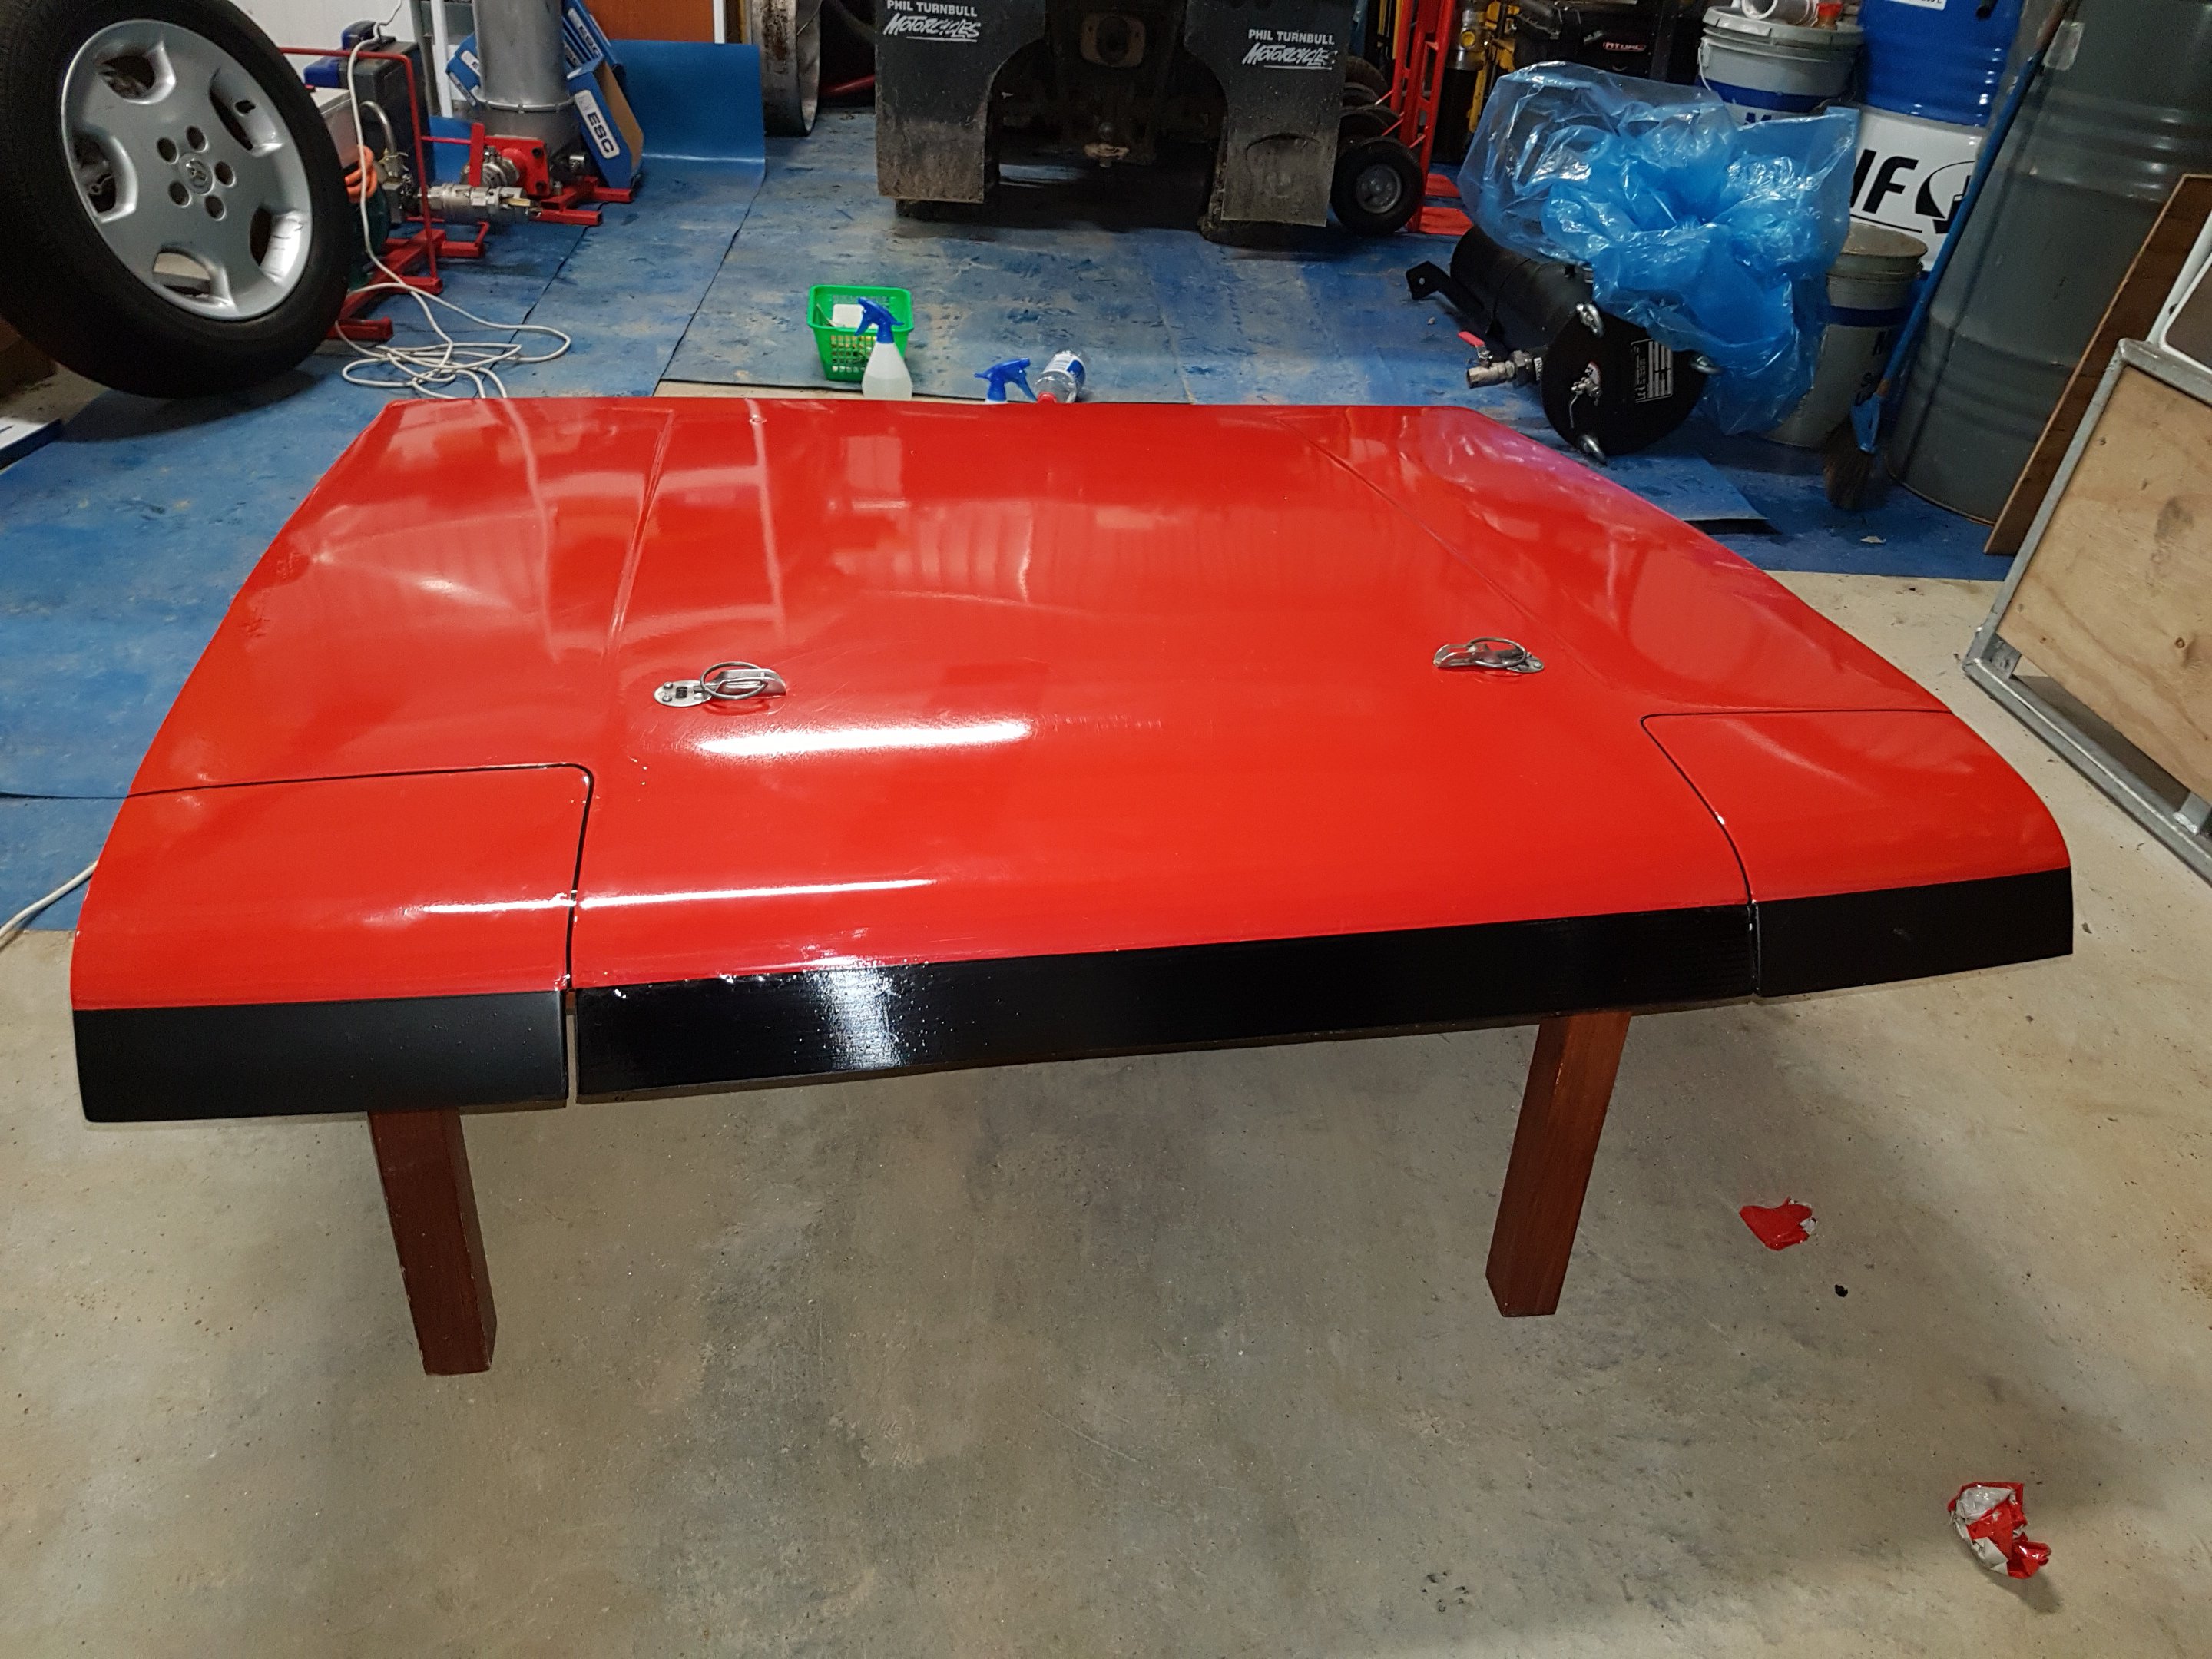
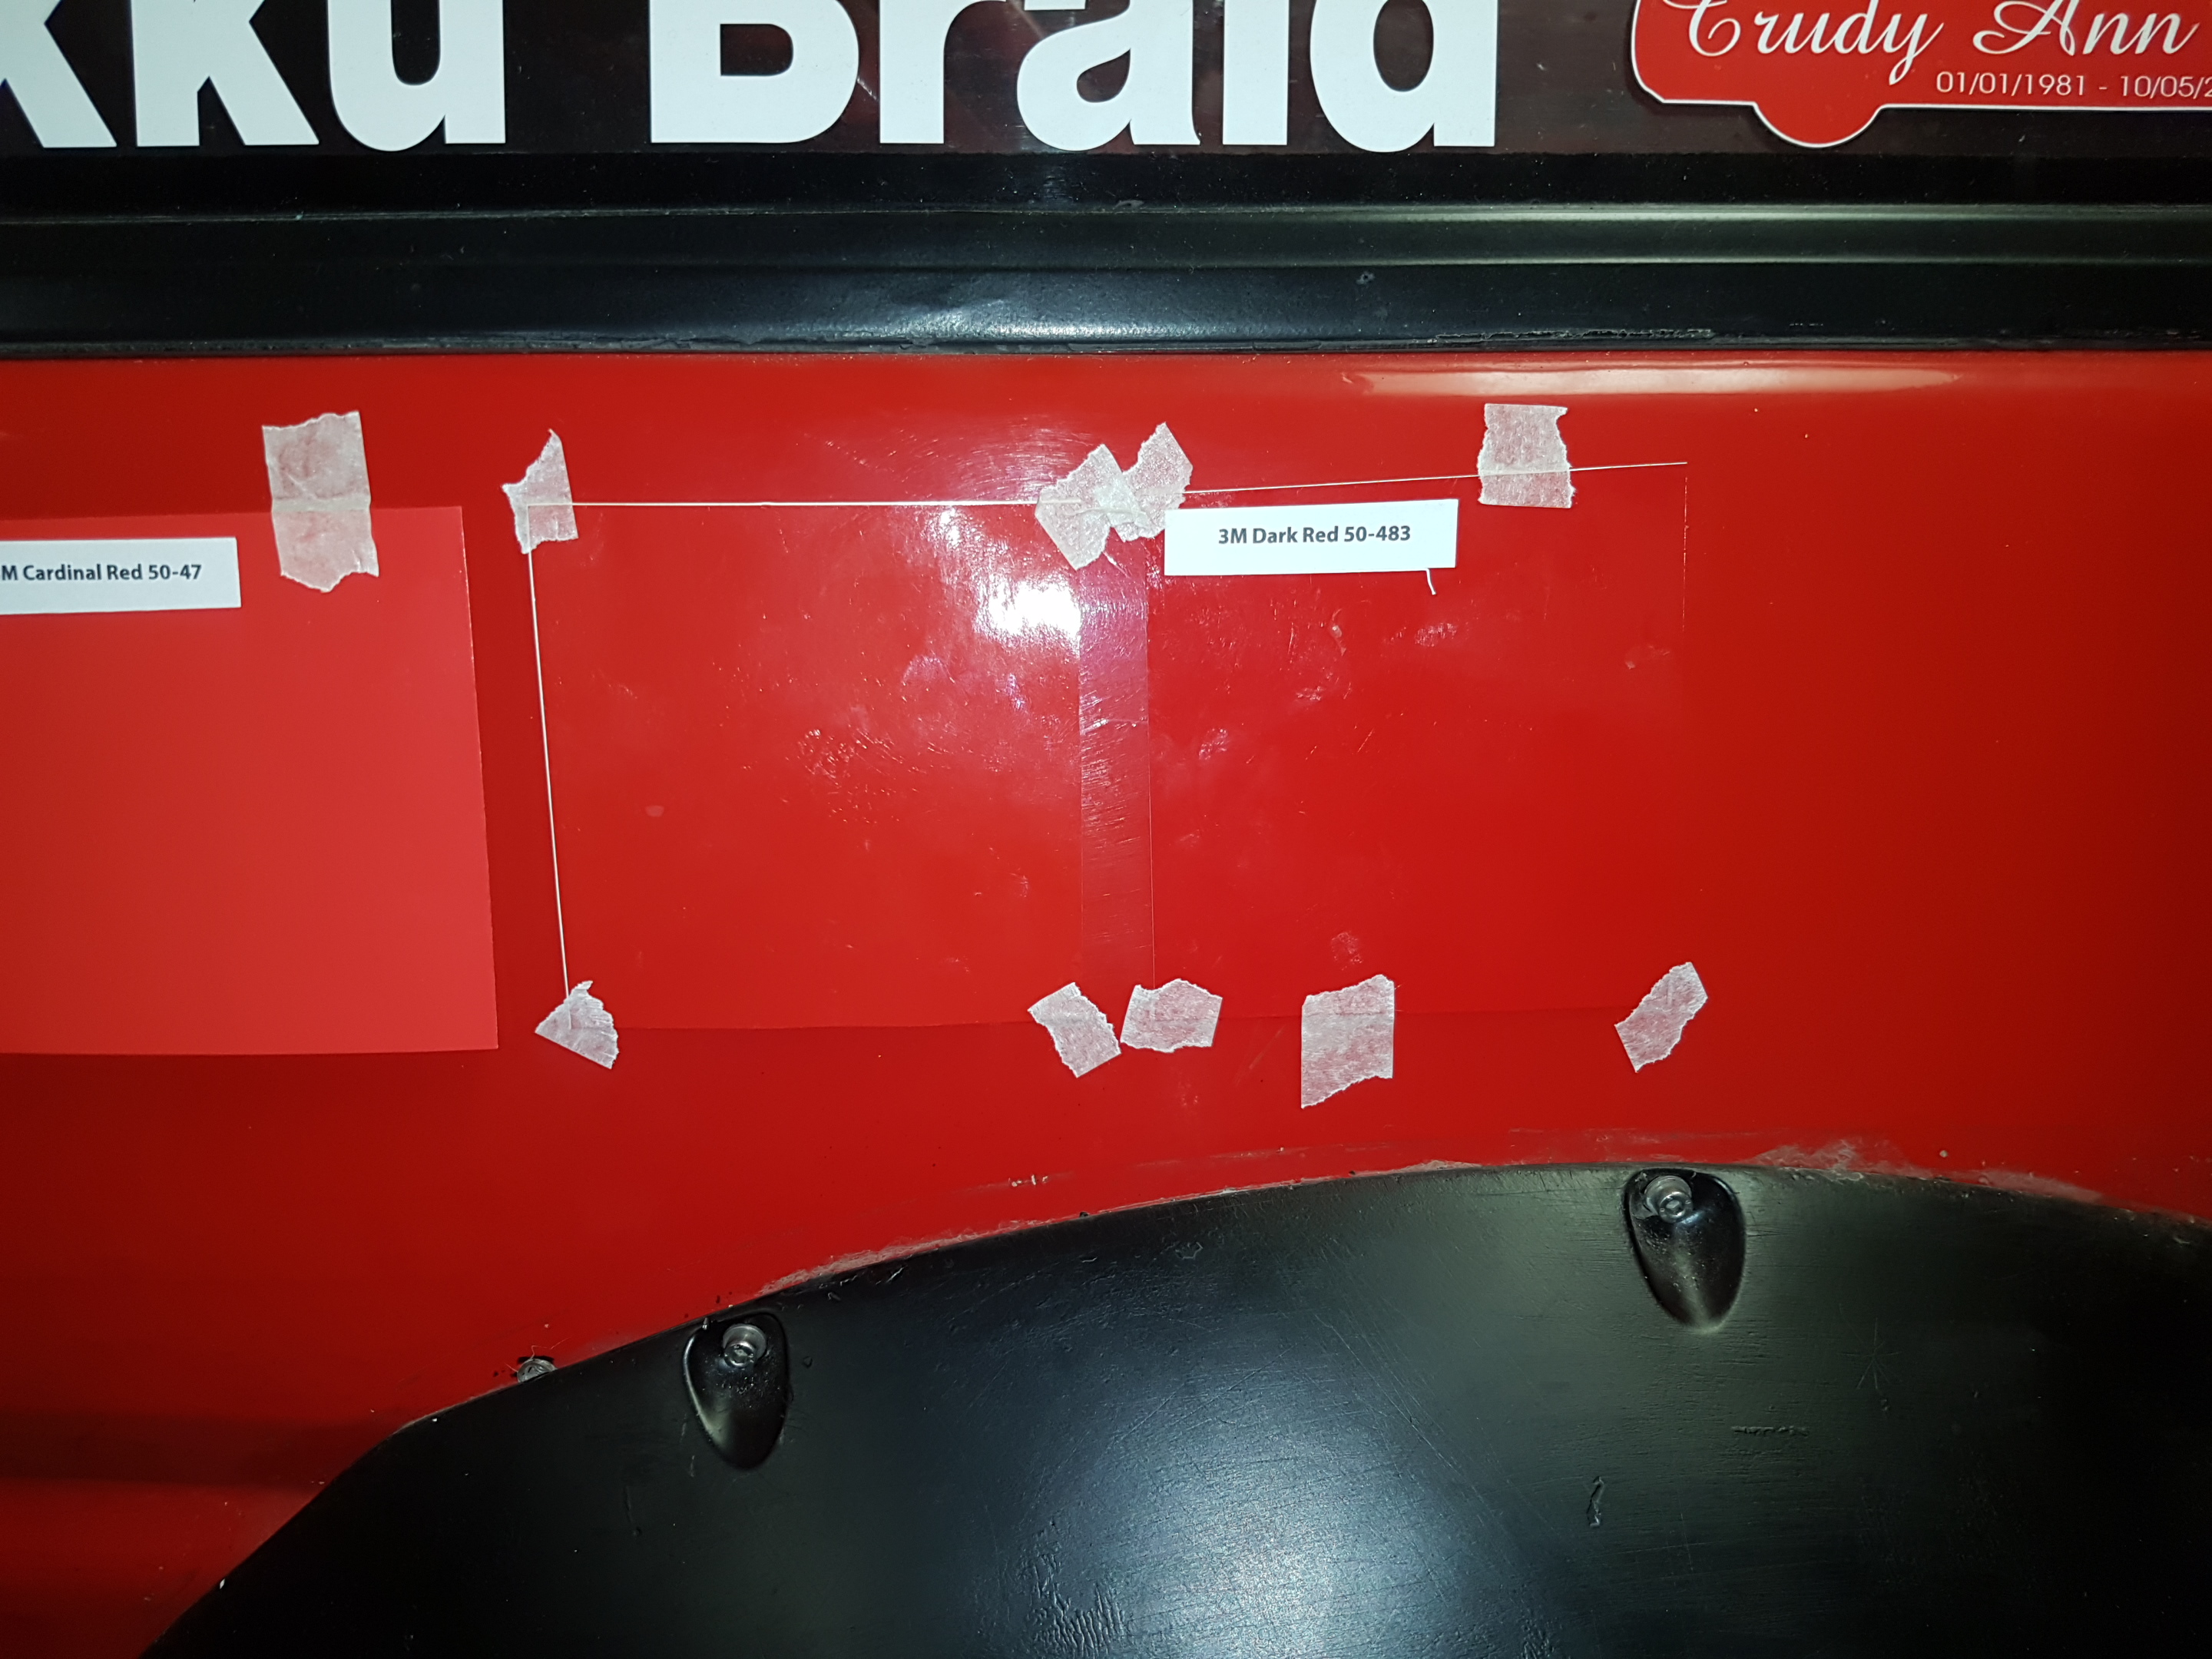
Took the bonnet out to @Archetype's place on Sunday to have a go at wrapping it. We'd used a bunch of vinyl samples to choose the colour "3m Dark Red" which seemed to match well. The 3m 1080 film is amazing stuff to work with. It seems almost impossible to get a bubble! After a bit of mucking around we had it finished with new vinyl eyelids and "grille" too. We used matte black for the eyelids and gloss for the grille to add depth. Got it home and chucked it on - looks nice: But... The colour is different to what we thought it would be. 3m obviously has a different colours for the 1080 wrap vs the standard 30 and 50 series vinyl. This is called "dark red" but it looks almost orange compared to the test sample. After a bit of research it seems like there probably isn't an option in this range that will match my paint... Dammit. For future reference - it's best to wrap your panels on or next to your car to make sure the colour matches as expected. Massive thanks to Brent / archetype / Doozi / MotoringEvents for making it happen. The job itself turned out mint.
1 point
-
1 point
-
So Manfield finishes up... And I'm enjoying doing superlap and the camaraderie between competitors. Buuut everything else in life was starting to feel a little stale. I have been daydreaming about moving to the South Island for the last few years, but I'm not a planner person... I figure if I wait until I have a plan, I will never do it. So I made a bold move - To just hand in 30 days notice at my IT Manager job, with no idea what I'm going to do next. I knew this meant sacrificing the remaining rounds of Superlap, and would probably lead to some hard times financially and otherwise. But it was just what I felt was necessary. All I knew was that I wanted to move out of Auckland for a while and start on a fresh page after some tough times over last year or two. A few days after this, I see an ad pop up on facebook... "Remote Dyno tutor/manager at HP Academy in Queenstown" Awww hell yes, could that be any more the ideal career/city change, at exactly the right time?! I applied for the job - and got it Then not long after, thanks to Bigfoot, I had some accommodation sorted too. It was the most low effort career/city change ever! Within the course of a week it went from my family probably thinking I was a bit of an idiot for quitting my job without a plan. (and a fair bit of doubting myself as well) to, "God damn it you're a jammy bastard Dave" To anyone who has along the way thought "David why not just take your car to a tuner instead of wasting your time doing all of these stupid tests/graphs/etc" Well, all of these things that I've done were a major contributing factor towards me getting the job. So there's probably some motivational message there about following your dreams or something. But end result is I'm pretty happy right now, and working at a company where drawing graphs and looking at datalogs etc is par for the course. Which is bloody exciting. So I packed my echo full of essential stuff and drove on down to start a new way of life down here. So far so good! Keeping some relevance to this thread though - My Carina is still back up in Auckland. It's packed full of "want but dont need" items, it's ready to hit the road as soon as I've organized a place down here that has a garage to store it in. I've been learning so much from Andre and the team, it feels like getting an apprenticeship from one of the best engine tuners in the southern hemisphere. I feel like I'm only just smart enough to be on the cusp of understanding some of the stuff Andre talks about. But I think I know just enough, that he doesnt feel like it's a waste of time explaining things to me. I expect that by the time I've got the Carina down here, I'll be ready to redo my tune from scratch using the new knowledge and tools now available to me. Cant wait! A new southern chapter of graphs, nerdiness, and awesomeness awaits the Carina. The next post in this thread, when the time comes. There will be graphs, oh yes, there will be graphs.1 point
-
I was planning to do the next round of superlap with just a temperature probe fitted to the existing setup to get a baseline of what the oil temps get to. Buuuutttt smashing the windscreen brough plans forward a bit! As I had to pull most of the dash out anyway so it makes sense to get wiring changes etc done sooner than later. I have finished building a shroud for the oil cooler fan and the brackets to hold it in place. Unfortunately the cooler is too damn big to fit anywhere except for ahead of the radiator panel, but I've placed it behind the bumper / numberplate and quite far forward so it shouldnt get too much airflow through the core without the fan going. Also I chose black AN fittings where possible and put some fibreglass heat sleeving stuff over them. Mainly because it looks a bit nicer I reckon. Nearly finished the physical install of it, then just the wiring to sort out. Dad has provided me with a PWM fan controller, it's really easy to setup so that should be cool to have a play with! Markku has loaned me another speedo drive to test with, hopefully this makes everything work nice again and cruise control will be back up in running in time for the next Superlap round at Taupo.1 point
-
Engine has been running EXCELLENT post injector setup (and I fixed a vaccuum leak, well spotted (heard?) Clint cheers) Full power is back! woot! So I decided to go for a tootle up north. Coming around a corner on the Brenderwyns, truck coming the other way and then BOOM! Windscreen instantly shattered, presumably by a flicked up rock. Managed to pull over to the side of the road safely and inspect the damage... I'm so glad there was that area in the middle that I could see out of! Seeing how I was about 2 1/2 hours north of Home, I was at a bit of a loss what to do! I flicked a txt to a few people to show them for a laugh, then my old man called me back... Basically saying "Stop being a pussy, break it out and just drive back home. it will be sweet" haha. So that's what I did! Including an absolute clusterfuck when trying not to get glass in the cabin... Had a few bees and insects fly into the cabin, didnt get pulled over or anything... Made it home safe! I've got a new screen arranged already, just need to organize with a glazier or whatever to get it fitted. And then spend about a week vacuuming glass out of the car...1 point
-
This Friday just gone, I attended another Taupo trackday. It was an excellent success! Improved my laptime from a 1:55 down to 1.53.07. The Advan tyres were really great, and I learned a few new lines which were a bit of an improvement. I started the day on 30psi cold, found they bumped up to 37psi after first stint. Bled them back down to 32 which is where they stayed for the rest of the day. One thing though... Last time I was here I flat spotted two R888s, fitted to the front left wheel both times. This event as well... I had a few minor lockups but also a big one into the sweeper. When you have a lockup when you are going (for example) 150kph, if you lock up a wheel for 1/2 a second you've just slid for 20 meters. With no ABS its pretty easy to scrub a lot of tyre off! I was thinking "Shit there must be a bump or something that I'm going over that causes it" So I kept an eye out on my next lap around, to see if there was a bump in the track that I could avoid. What I found was interesting, there's actually a surface change in the track where they have resealed it... It's probably only a drop of 5mm or 10mm but when I'm braking right on the limit it's enough to upset it enough to lock up! As seen here: It's probably been there forever but I've just never noticed until I've had good enough tyres that I can brake right on the limit. Once I figured this out (and that I cant drive around it, I always have to cross the bump as the entire surface changes) I could start braking hard, off the brake over the bump then straight back on it. Which shortened up my braking zone by heaps. Unfortunately my laptop died in the afternoon so I have got no GPS data of the difference. Or laptimes for the afternoon either. My Dad also came along to this event, sometimes he'll drive the carina but he had his own toy there! Cutting some laps and baking some tyres in the JZX90, it was awesome: On the whole, apart from flat spotting a tyre it was a fairly uneventful trackday mechanically speaking which was awesome. Didnt need to use any tools what so ever. I almost gave an MX5 a bit of a nudge: Drove back home with cruise control turned on for 90% of the trip and it was just freaken sweet. Makes such a difference being able to stretch your legs a bit while driving. Still loving this gimmick haha. I've bought a full set of brand new R888s so will have these fitted for my next track event. Cant wait! Hopefully no flat spot issues anymore now that I know why!1 point
-
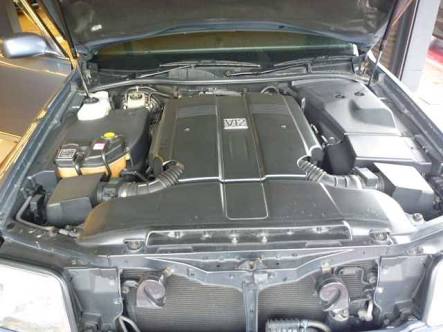
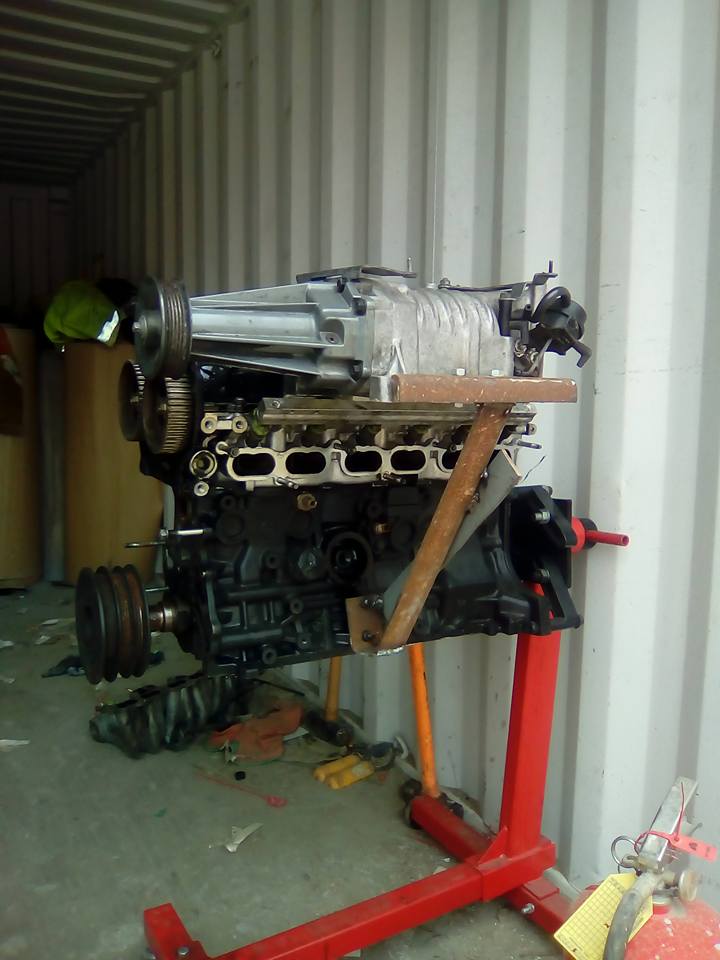
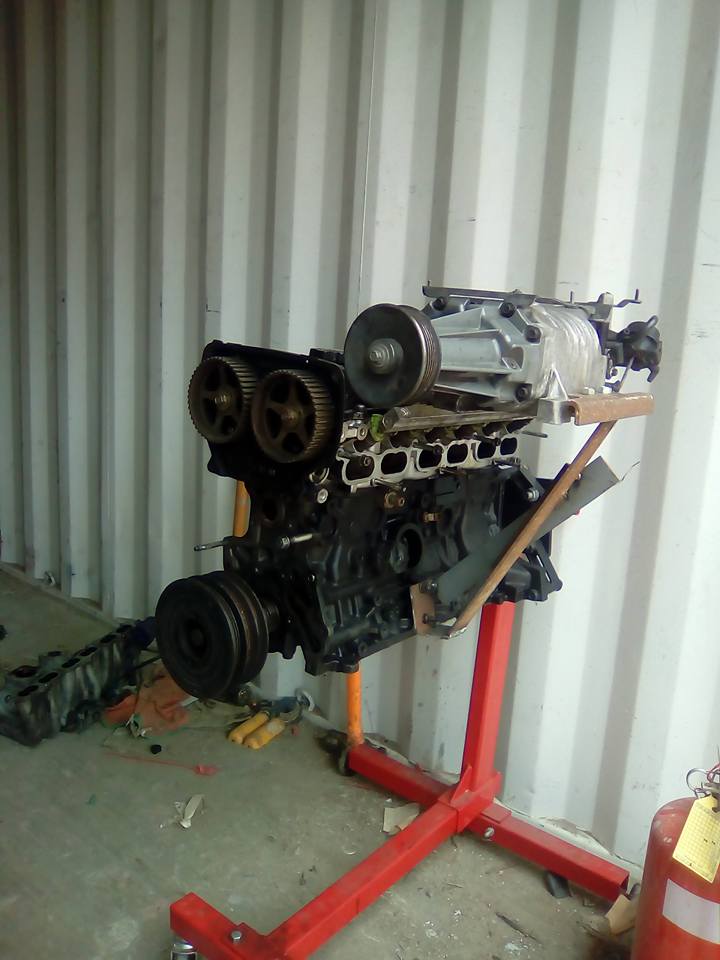
well its been pretty slow at the moment so i took some parts in to build a long block and started looking at making the supercharger side of the motor. so i made a bracket that i could sit the SC on and it would keep the whole unit level with the engine/crank and still be able to slide it back and forth ....mainly just to see what pulley on the crack i want to use. so made sure i clear the fuel rail and also have access to all the injector plugs....and cut an old manifold down to start looking at the manifold
1 point
-
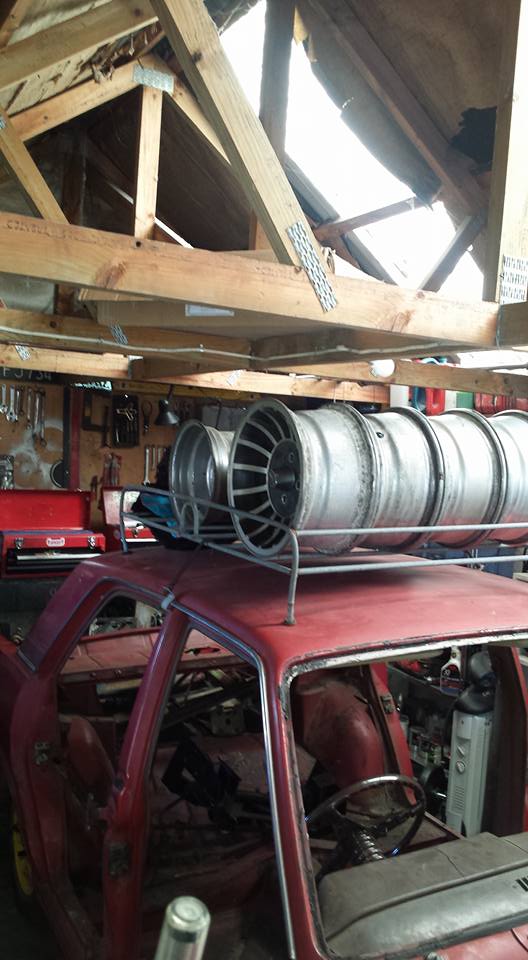
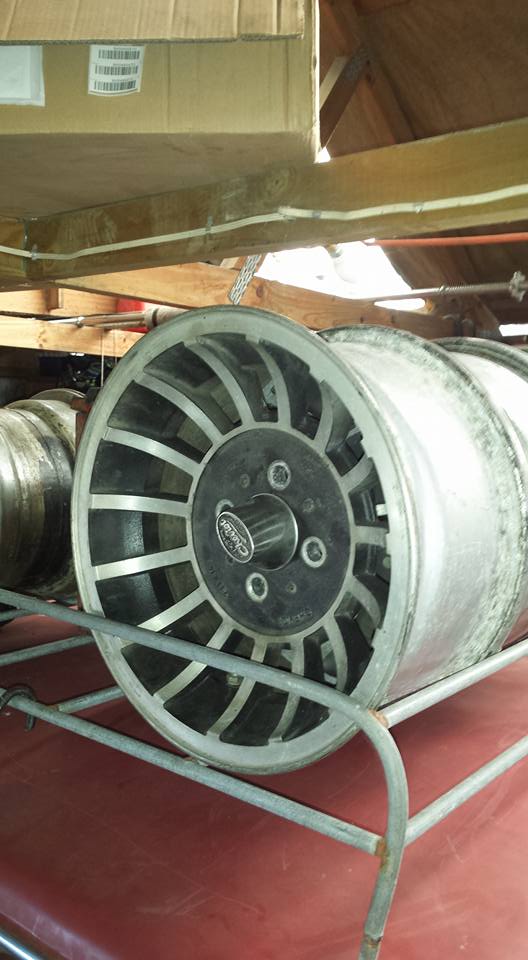
just a quick one. rims of the future ....turbos.. 14x7 so they clear the rear discs nicly thanks to the man that kindly sold them to me.........you know who you are.
1 point
-
In dissapointing, yet exciting news. Shortly after purchasing the nitrous setup, I made a decision about something else which means it will be up for sale shortly. Pooz! The reason for this is exciting though! I am going to enter the next season of Superlap. If you're not aware, Superlap is basically this is a string of glorified trackdays, but with official timing with transponders etc. You race (against the clock) for points across the season. Six events, one per month starting December. Nitrous is banned from this, and I'll need every penny I've got in order to make it to all of the rounds. So I made the decision to pull the plug on the nitrous. Superlap starts at Hampton normal track, (cool) Then Taupo full track, (My favourite!) Then Manfield (Never driven there, looking forward to it!) Highlands Park (!!!!!) Taupo half track (Not my favourite, but still fun and will actually favour my car compared to full track) and then Hampton FULL TRACK for the final. (Hell yeah!) So this is a good foot in the door to get to some new venues. Which to me, is a lot more exciting. I'm really excited about this! If you're not familiar with Highlands Park, it's a fairly new track that's down in Cromwell. It's heavily constrained in terms of how many events it can run, only a handful per year because of noise restrictions from the council. It's also set against an amazingly beautiful backdrop in one of the best parts of the country. So any opportunity to get on the track is worth taking. I'm going to take a week off work each side of it, and go on a camping trip around the South Island. It's not until February, but have started making some preperations already as it's a bit of a hike even if I take the shortest possible route: I've never had a spare tire, so this is high on the list for obvious reasons. I borrowed some 20mm spaceers from Sheepers to test fit to see if this helps with brake clearance. 20mm spacer now means that I can fit some standard Toyota alloys, hooray! Which is convenient as we've got 8 of these kicking around haha. The only problem is that the wheels that I've got currently look like they've been under the ocean for the last 20 years. So I've spent bloody ages today scrubbing up one of them, nearly ready for some grey/silver paint on the non polished bits. I'll fit some nice cushy long wearing 195/55/15s on them that will make the car nice and comfortable for long trips. Apart from a 2nd set of wheels I need to make some careful considerations about what tools and spares I will need to bring. Some of the cars in street class have 4x or more that power that my car has, super wide tires, more modern suspension, aero mods, etc etc. Lots of turbo 4WDs, especially in street class as they can make the most of tires limitation. So it'll be cool to bring some 80s flavour to the event, and try hustle some of the more modern cars out of some points haha. It's going to be so much fun! Actually cant wait.1 point
-
back on her wheels for the 1st time since Jan 2015 well thats it till next year now boys and girls..........thanks for watching
1 point
-
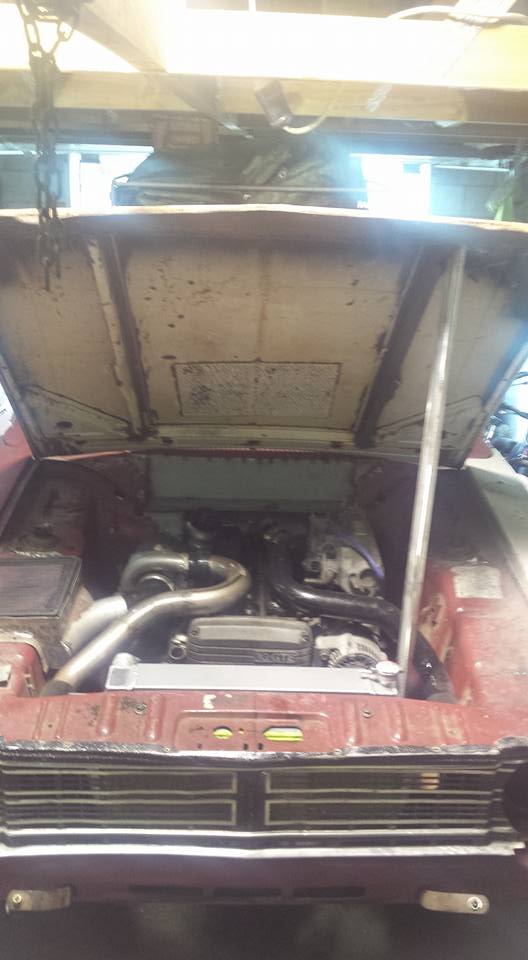
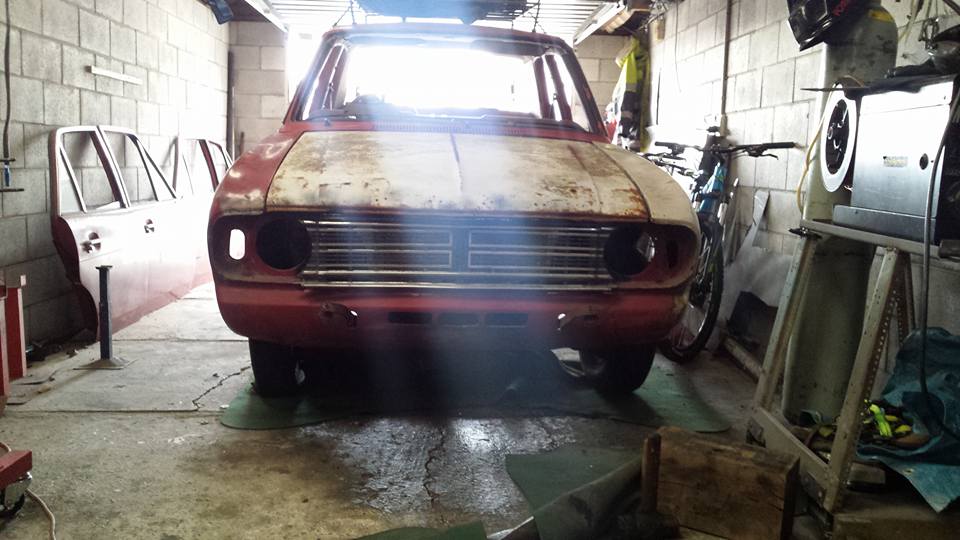
i put the front back together so i can make it a roller again. thought it might be time to see if a bonnet fits as well. what 6 cylinder turbo!! fuck me it fits and the bonnet is perfect just as it is and matches the passenger side gaurd and the front back on the ground
1 point
-
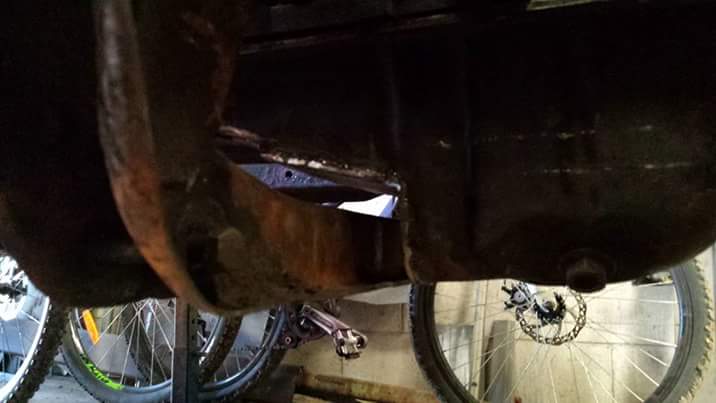
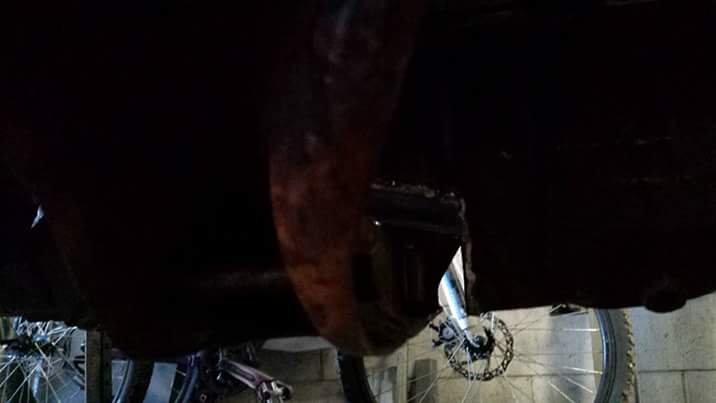
Sump cut and welded. Shit photos but clears nicely. Will just have to move the oil pick up over a wee bit with a hammer
1 point


This leaderboard is set to Auckland/GMT+12:00