
Leaderboard


Popular Content
Showing content with the highest reputation on 09/20/17 in all areas
-
Interior got a scrub down today!11 points
-
so, heaps has been happening but I'm busy as fuck a the mo so haven't updated this. insulation is in. AC units are plumbed. we've painted the back wall of the house so the builders can finish the deck and the pergola framing. gib lining begins on Thursday. many other things oh, doors are also installed. 2017-09-20_11-58-09 by sheepers, on Flickr 2017-09-20_11-48-55 by sheepers, on Flickr11 points
-
made up a crossmember for the driveshaft hoop to mount to. need to take some 50x6 flatbar and use the rollers at work to make a circle to go on there. tig welded up the nascar rectangle thing. fuck me my left hand is shaky lol. good practice though apart from all the gas in my bottle disappearing rather quickly.8 points
-
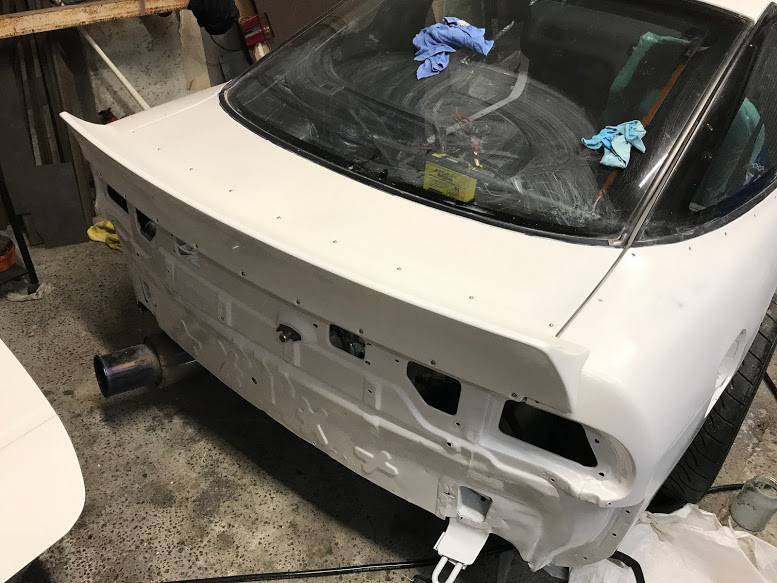
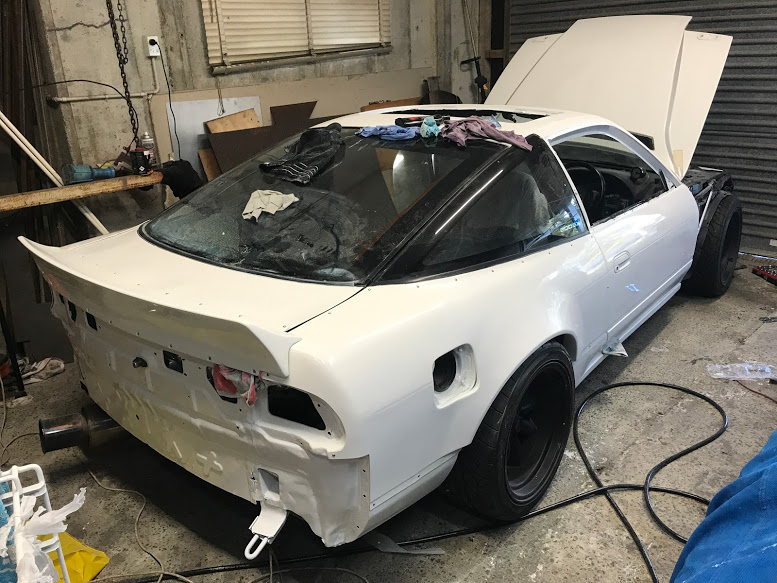
Progress, slow... but progress. - Hatch seal fitted - Wing fitted to hatch - Hatch fitted. - Drivers door fitted. - Rear quarters fitted. - Wet sanded and cut n polished all of above. Rear quarters on after fixing a couple of paint issues:
 5 points
 -
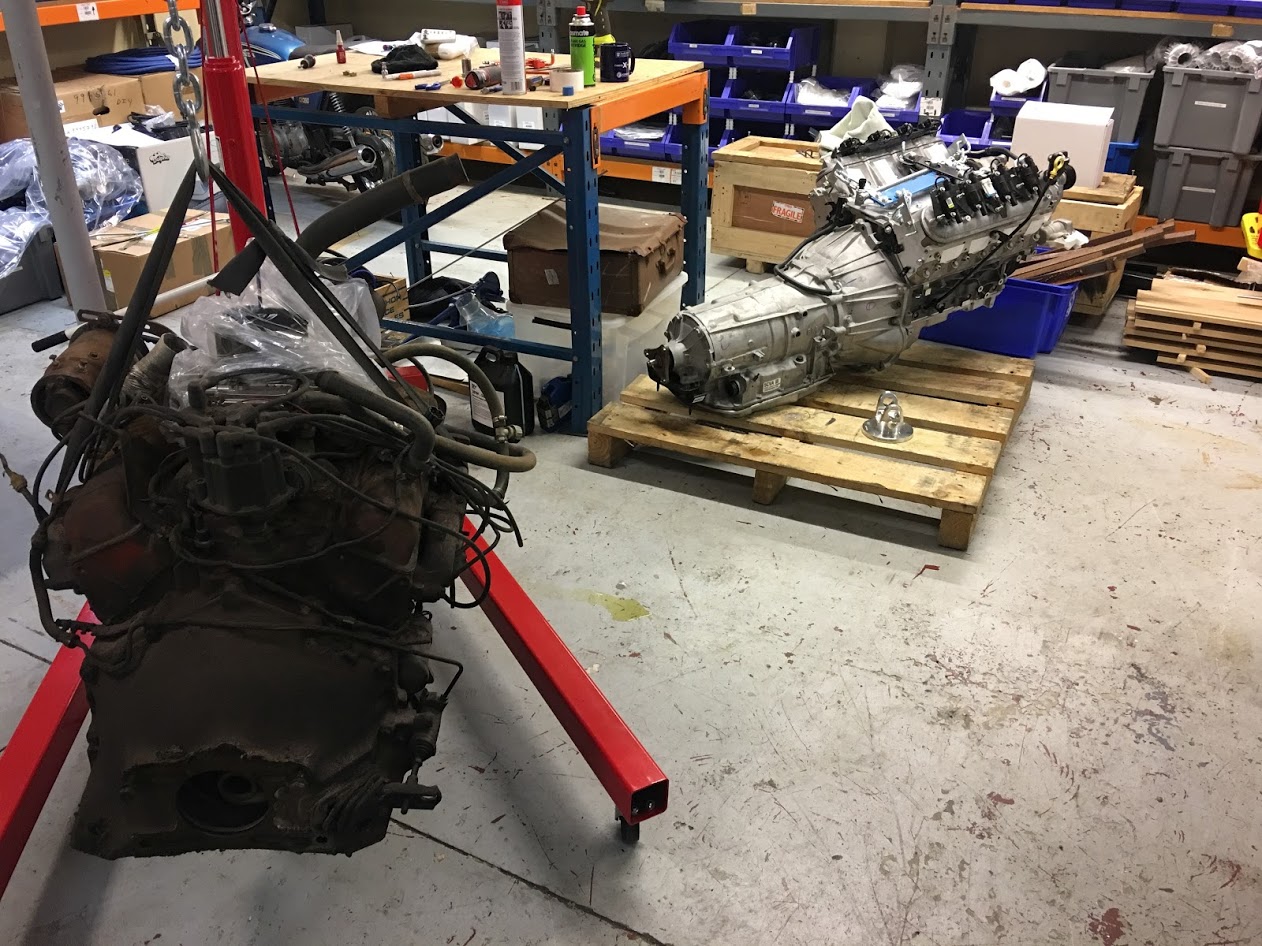
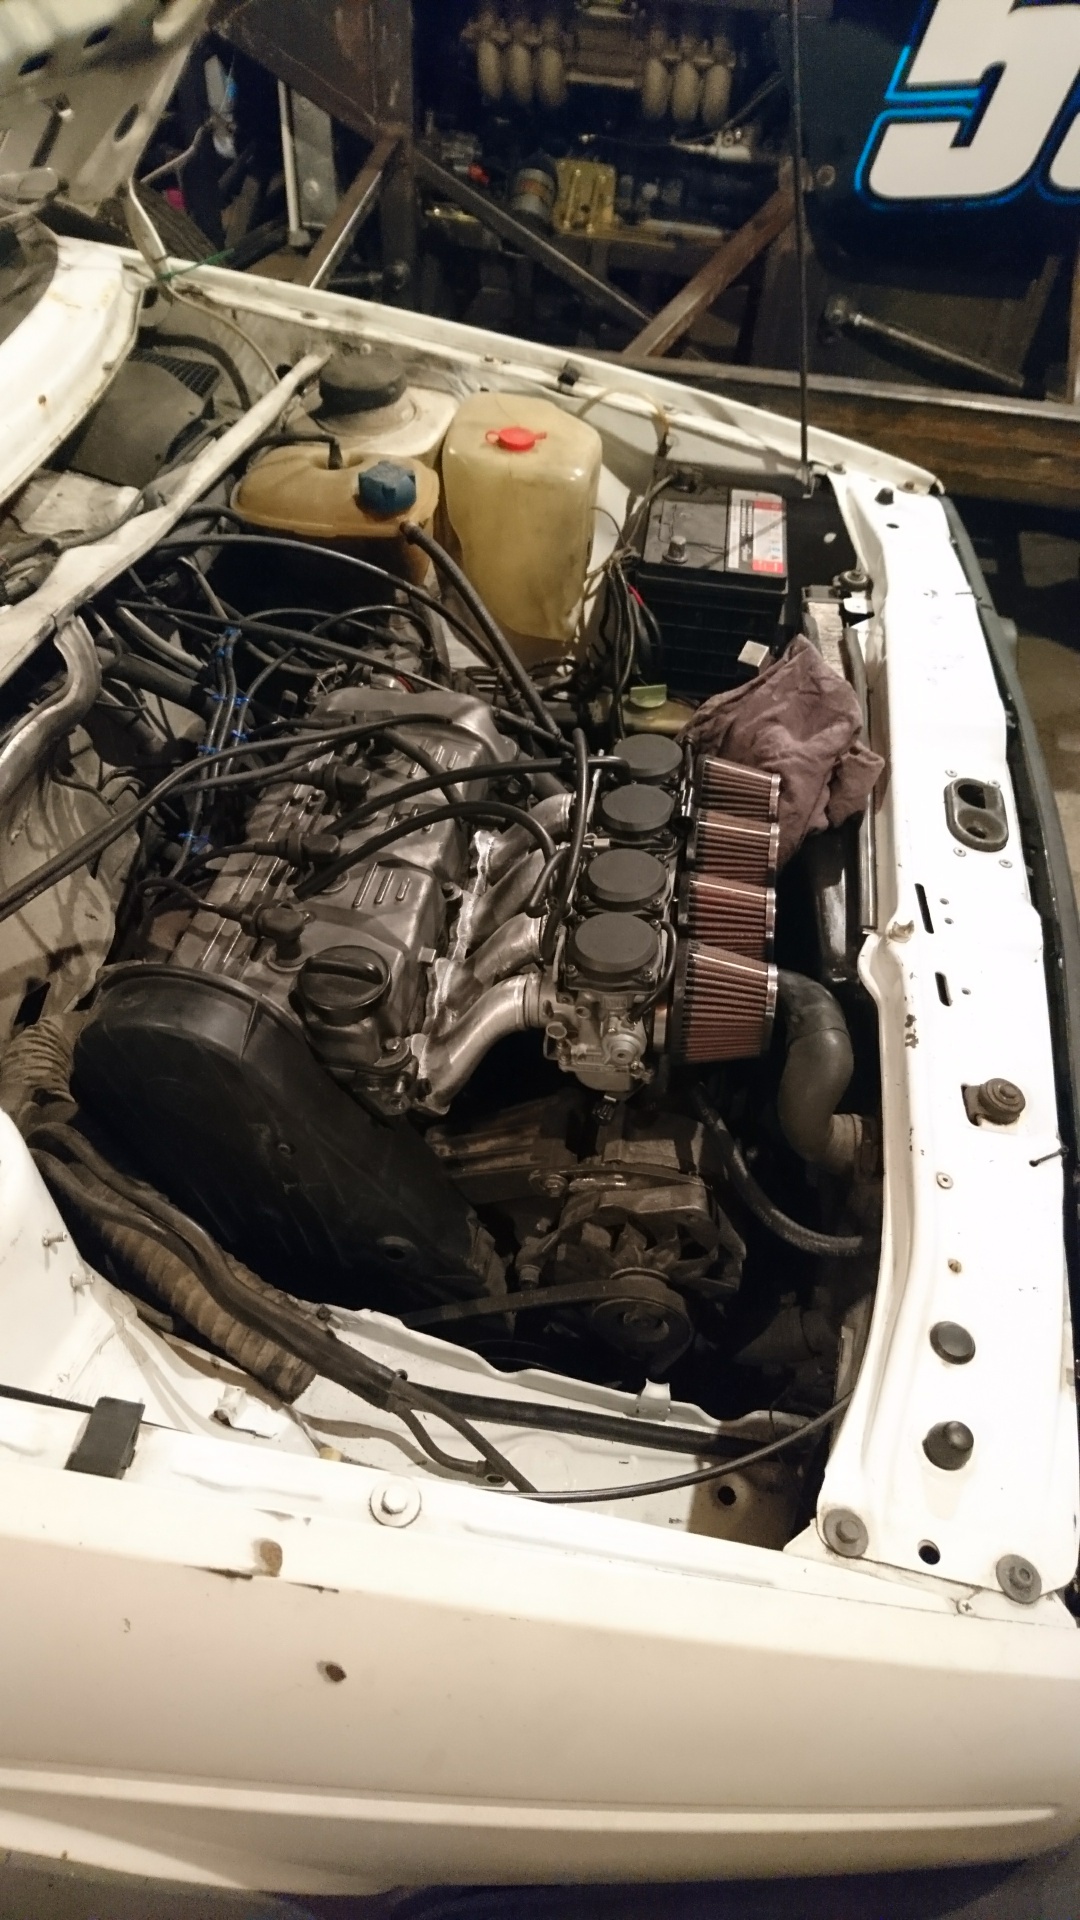
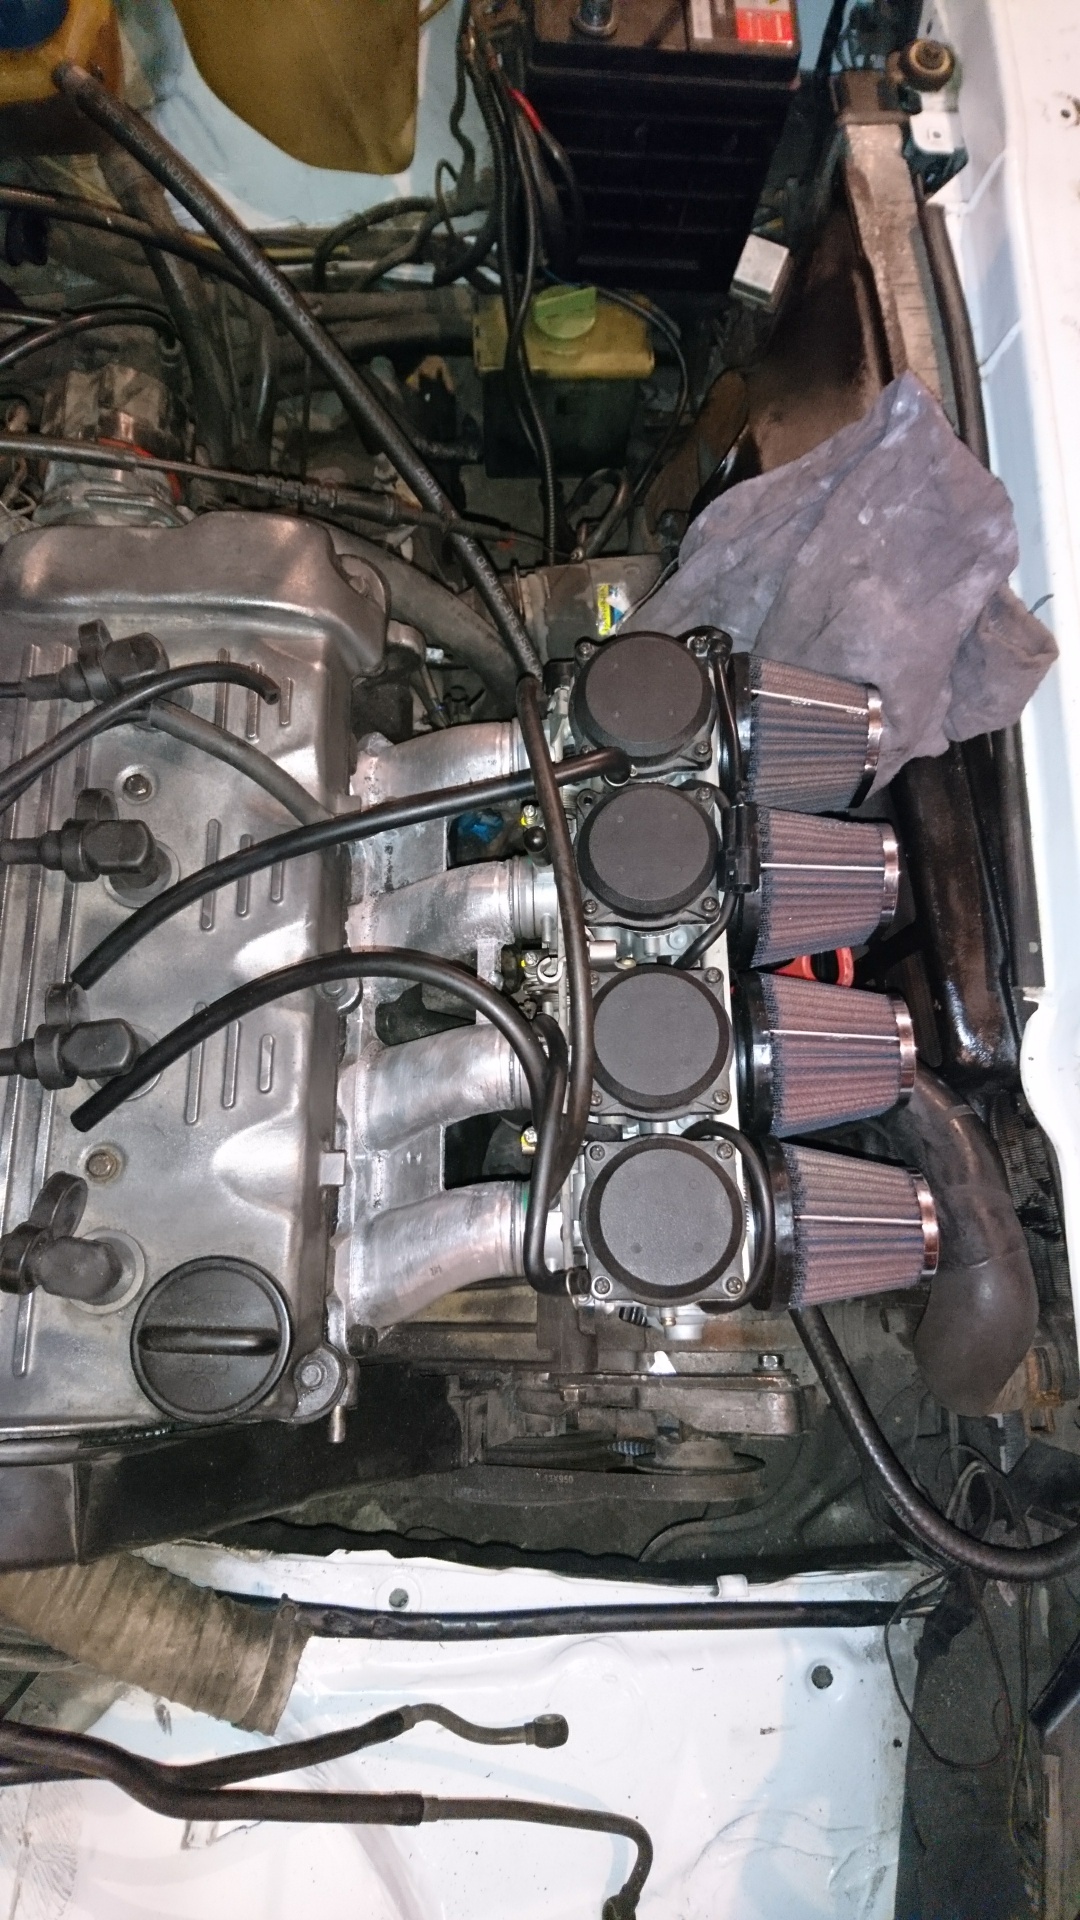
This has been my week. I have tremendous newfound respect for the late model car guys. What a nightmare trying to work on all the modern stuff! I've spent the last week stripping out the Mazda for all the parts I'll ultimately need to get the engine running in the Escort. This has basically only meant the loom and the in tank fuel pump assembly but to get to them I had to essentially fully strip the interior of the car. With the loom now out I can wheel the Mazda back outside and forget about it for the near future while people buy parts off it until I inevitably take it to the wreckers. That means I can get back to focusing on working on the Escort. I'd love to dive straight in to making an adapter plate and getting the engine and box mated and mounted but I don't want to get ahead of myself. I'm going to get the front end fabrication work completed first, meaning new chassis leg and inner wing on the passengers side just as before so I can put it behind me and forget about it. Then I'll do the engine and box work before I fully mount the front radiator support panels or the front panel. This will let me swing the engine straight into the front of the car while I'm mocking it up instead of trying to tilt and wrestle it down into the engine bay every time it needs to go in or out. Doing it this way also lets me put the car back on it's wheels a bit earlier and I am really looking forward to that, let me tell you.5 points
-
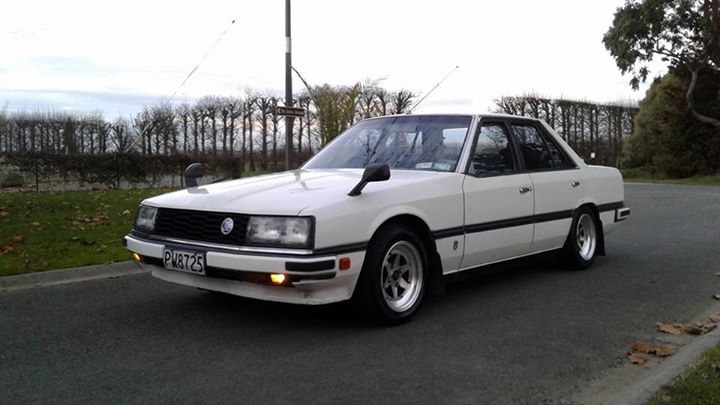
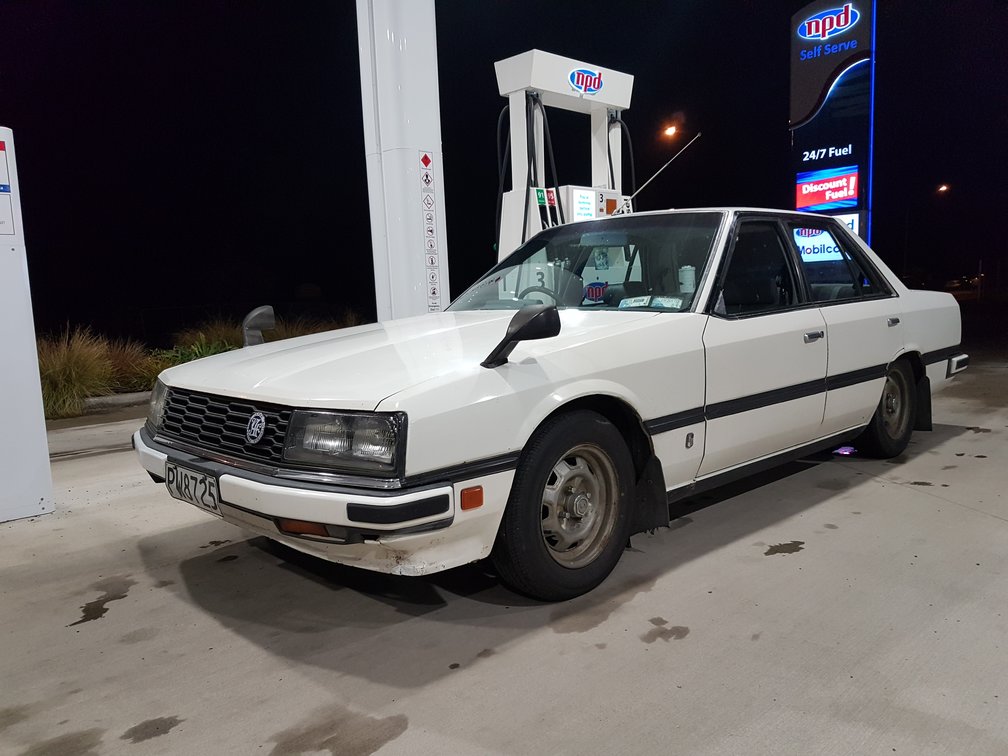
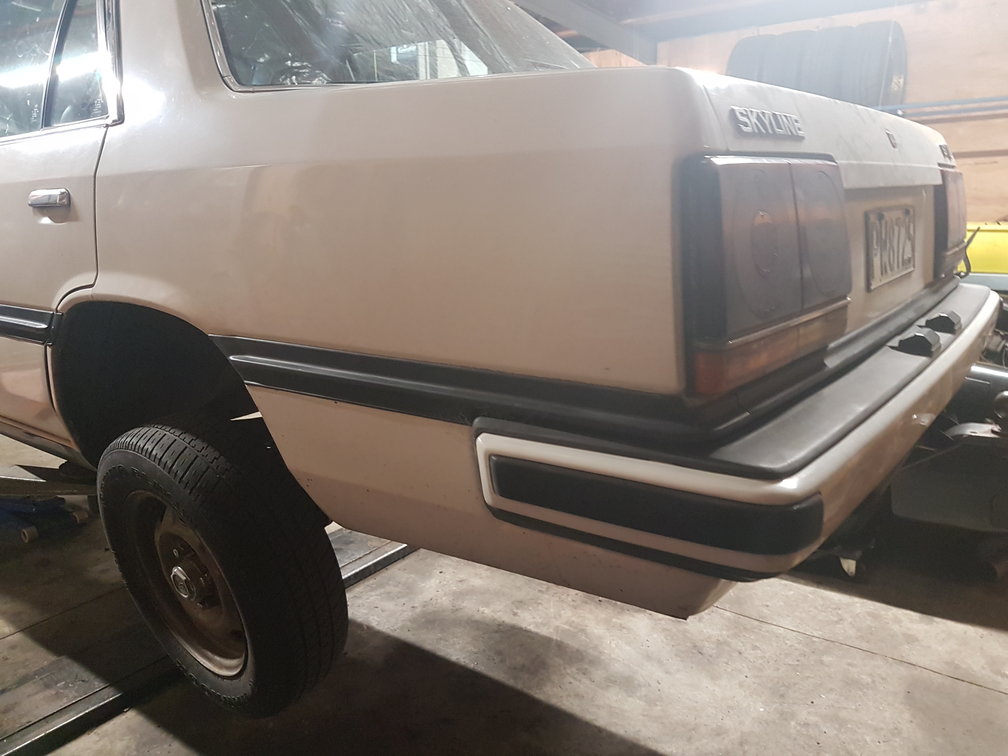
Right, I'm back again, to actually make a proper effort at a car, unlike my KE70 that I abandoned after a week. The R30 pine has been strong as of late and after sharing my pine with Scott (Brdflu) the week after Hanmer-nats he pointed me in Slacker_sams direction. A few Facebook messages and a 40 minute plane ride(stupid pencil planes) and BAM! Glorious! Topped off the tank with diseaseline at 6.45 in Motueka, swung past maccas and left at 7pm. 5.5hrs chugging through heavy rain, I was lucky theyd cleared the Lewis of the Spring snow fall that closed it the night before :S 461km from Mot to my door, didnt miss a beat! Safe to say the already noisey diff is making even more noise now though. On with the project! Discussion: https://oldschool.co.nz/index.php?/topic/57362-beaubots-1982-er30-skyline-sedan/
4 points
-
Haven't done anything with this yet, but have some more photos, apologies for blurry photos my camera screen lens thing is cracked haha. Got the steam cleaner onto it this avo as well!4 points
-
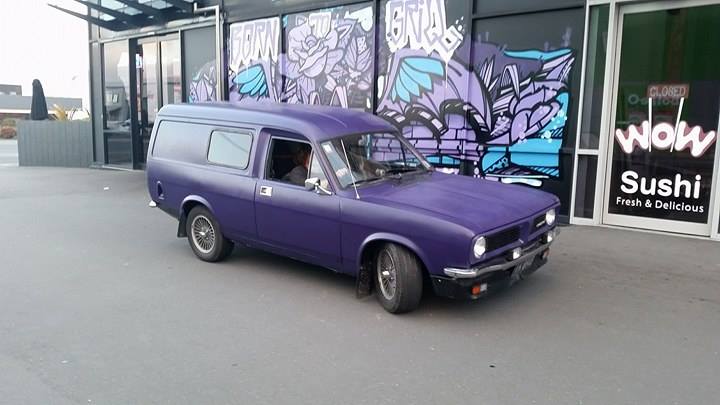
Shakedown run today, "little van in the big city". Went well, just need to tighten fanbelt a touch & vent the fuelcap (is a radiator cap fitting, typical leyland build-efficiency) bit of excess lash in the diff too to look at, not terrible though.
4 points
-
New fanbelt, vented the cap, re-oiled the front shocks.. turned out what I thought was diff backlash clonking was actually the u-bolts being loose a.f clonking, phew! also much less rattly in general, not that it matters as I now have giant speakers All I can really think of now to suss out before random upgrades/neglect is a non-working heater blower motor (though enough crap came flying out of the vents during test running that i'm hopeful it will work now) and a non-working front interior light. Idles a little erratically too, sometimes steady at 700rpm, sometimes steady at 1000. Probably carbs a bit out of sync or timing but no big deal, she runs good!3 points
-
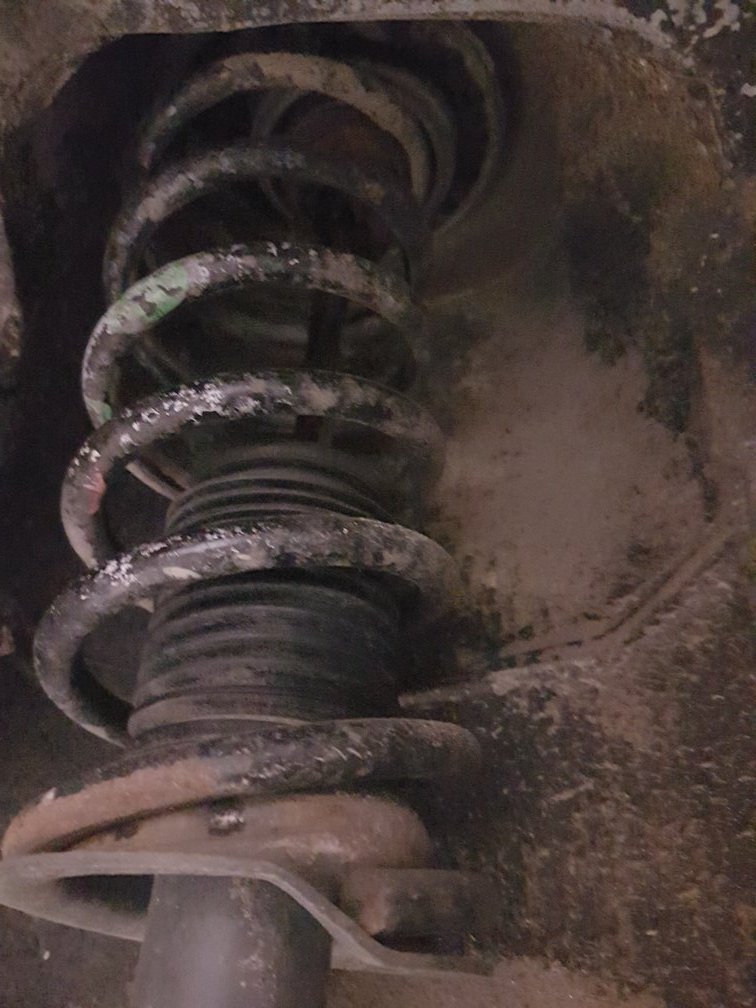
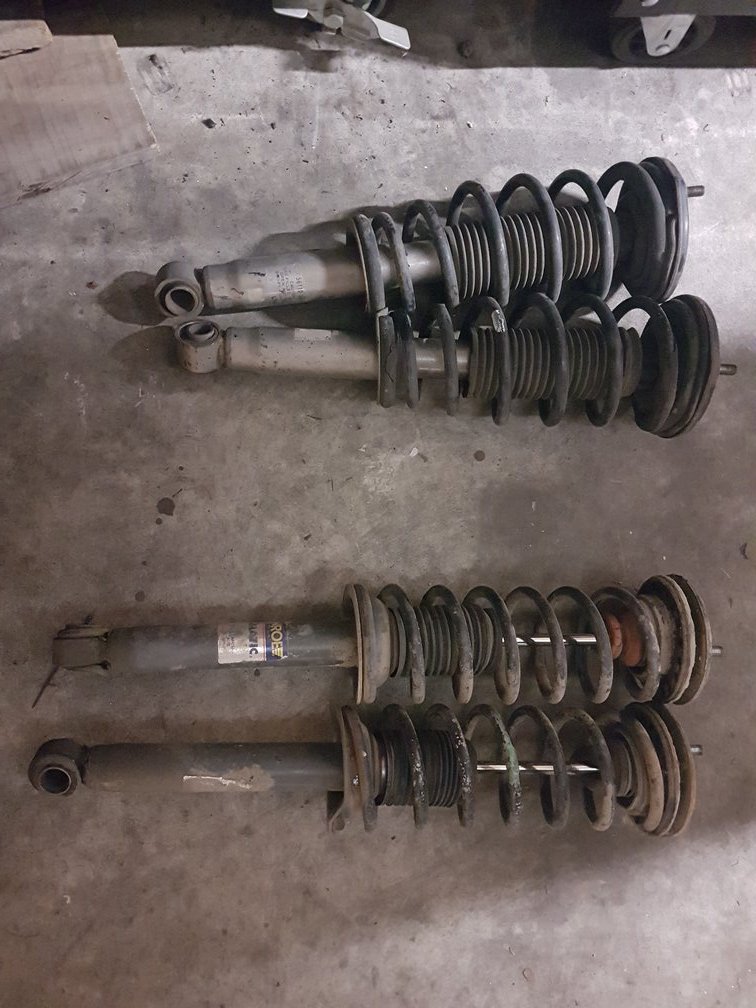
After a thorough examination on the hoist, everything seems to be in order. The body is really sound which Im extremely happy about and aside from some small oil leaks, tired glow plugs, the gearbox chatter and worn diff bearings (which @Slacker_Sam. told me about) its fairly mechanically sound too. After finding the RH rear makita one way was not quite as captive as originally thought and that the lower bushes on the rear shocks were in fairly average state, I got into my first free mod, using the original front shocks from my old Autech 26 R32 A quick tophat swap and viola, new(er) healthy springs and shocks. No droop required Soon Ill tell you all about getting carried away on Yahoo.jp Discussion, advice and suggestions welcomed: https://oldschool.co.nz/index.php?/topic/57362-beaubots-1982-er30-skyline-sedan/
3 points
-
You will still be able to get a free Coke product with every large burger and chips ordered from BurgerFuel. Just let them know you are with the car club when placing your order.3 points
-
right this minute the dog has a whole bunch of paint on her. I foresee it getting worse.2 points
-
if that's where the bakery is2 points
-
and now we both know why paint jobs are so expensive.2 points
-
131/132/argenta 5 speed zf gearbox is alloy case, there is no steel case fiat twincam gearbox. they have steel synchros though. completely different case design and ~90mm longer than the 124 5 speed. but as above they only came in the 2L cars afaik. depends what year the 131 is, the early ones had ohv motors which wouldnt be much of a upgrade from a lada motor but if its a later supermirafiori it could have the twincam 1600 which is an ok motor. not the torqueyist but the shortest stroke of the twincams so can rev out pretty well. 95hp standard with a single carb and room for tweaking that up if desired.2 points
-
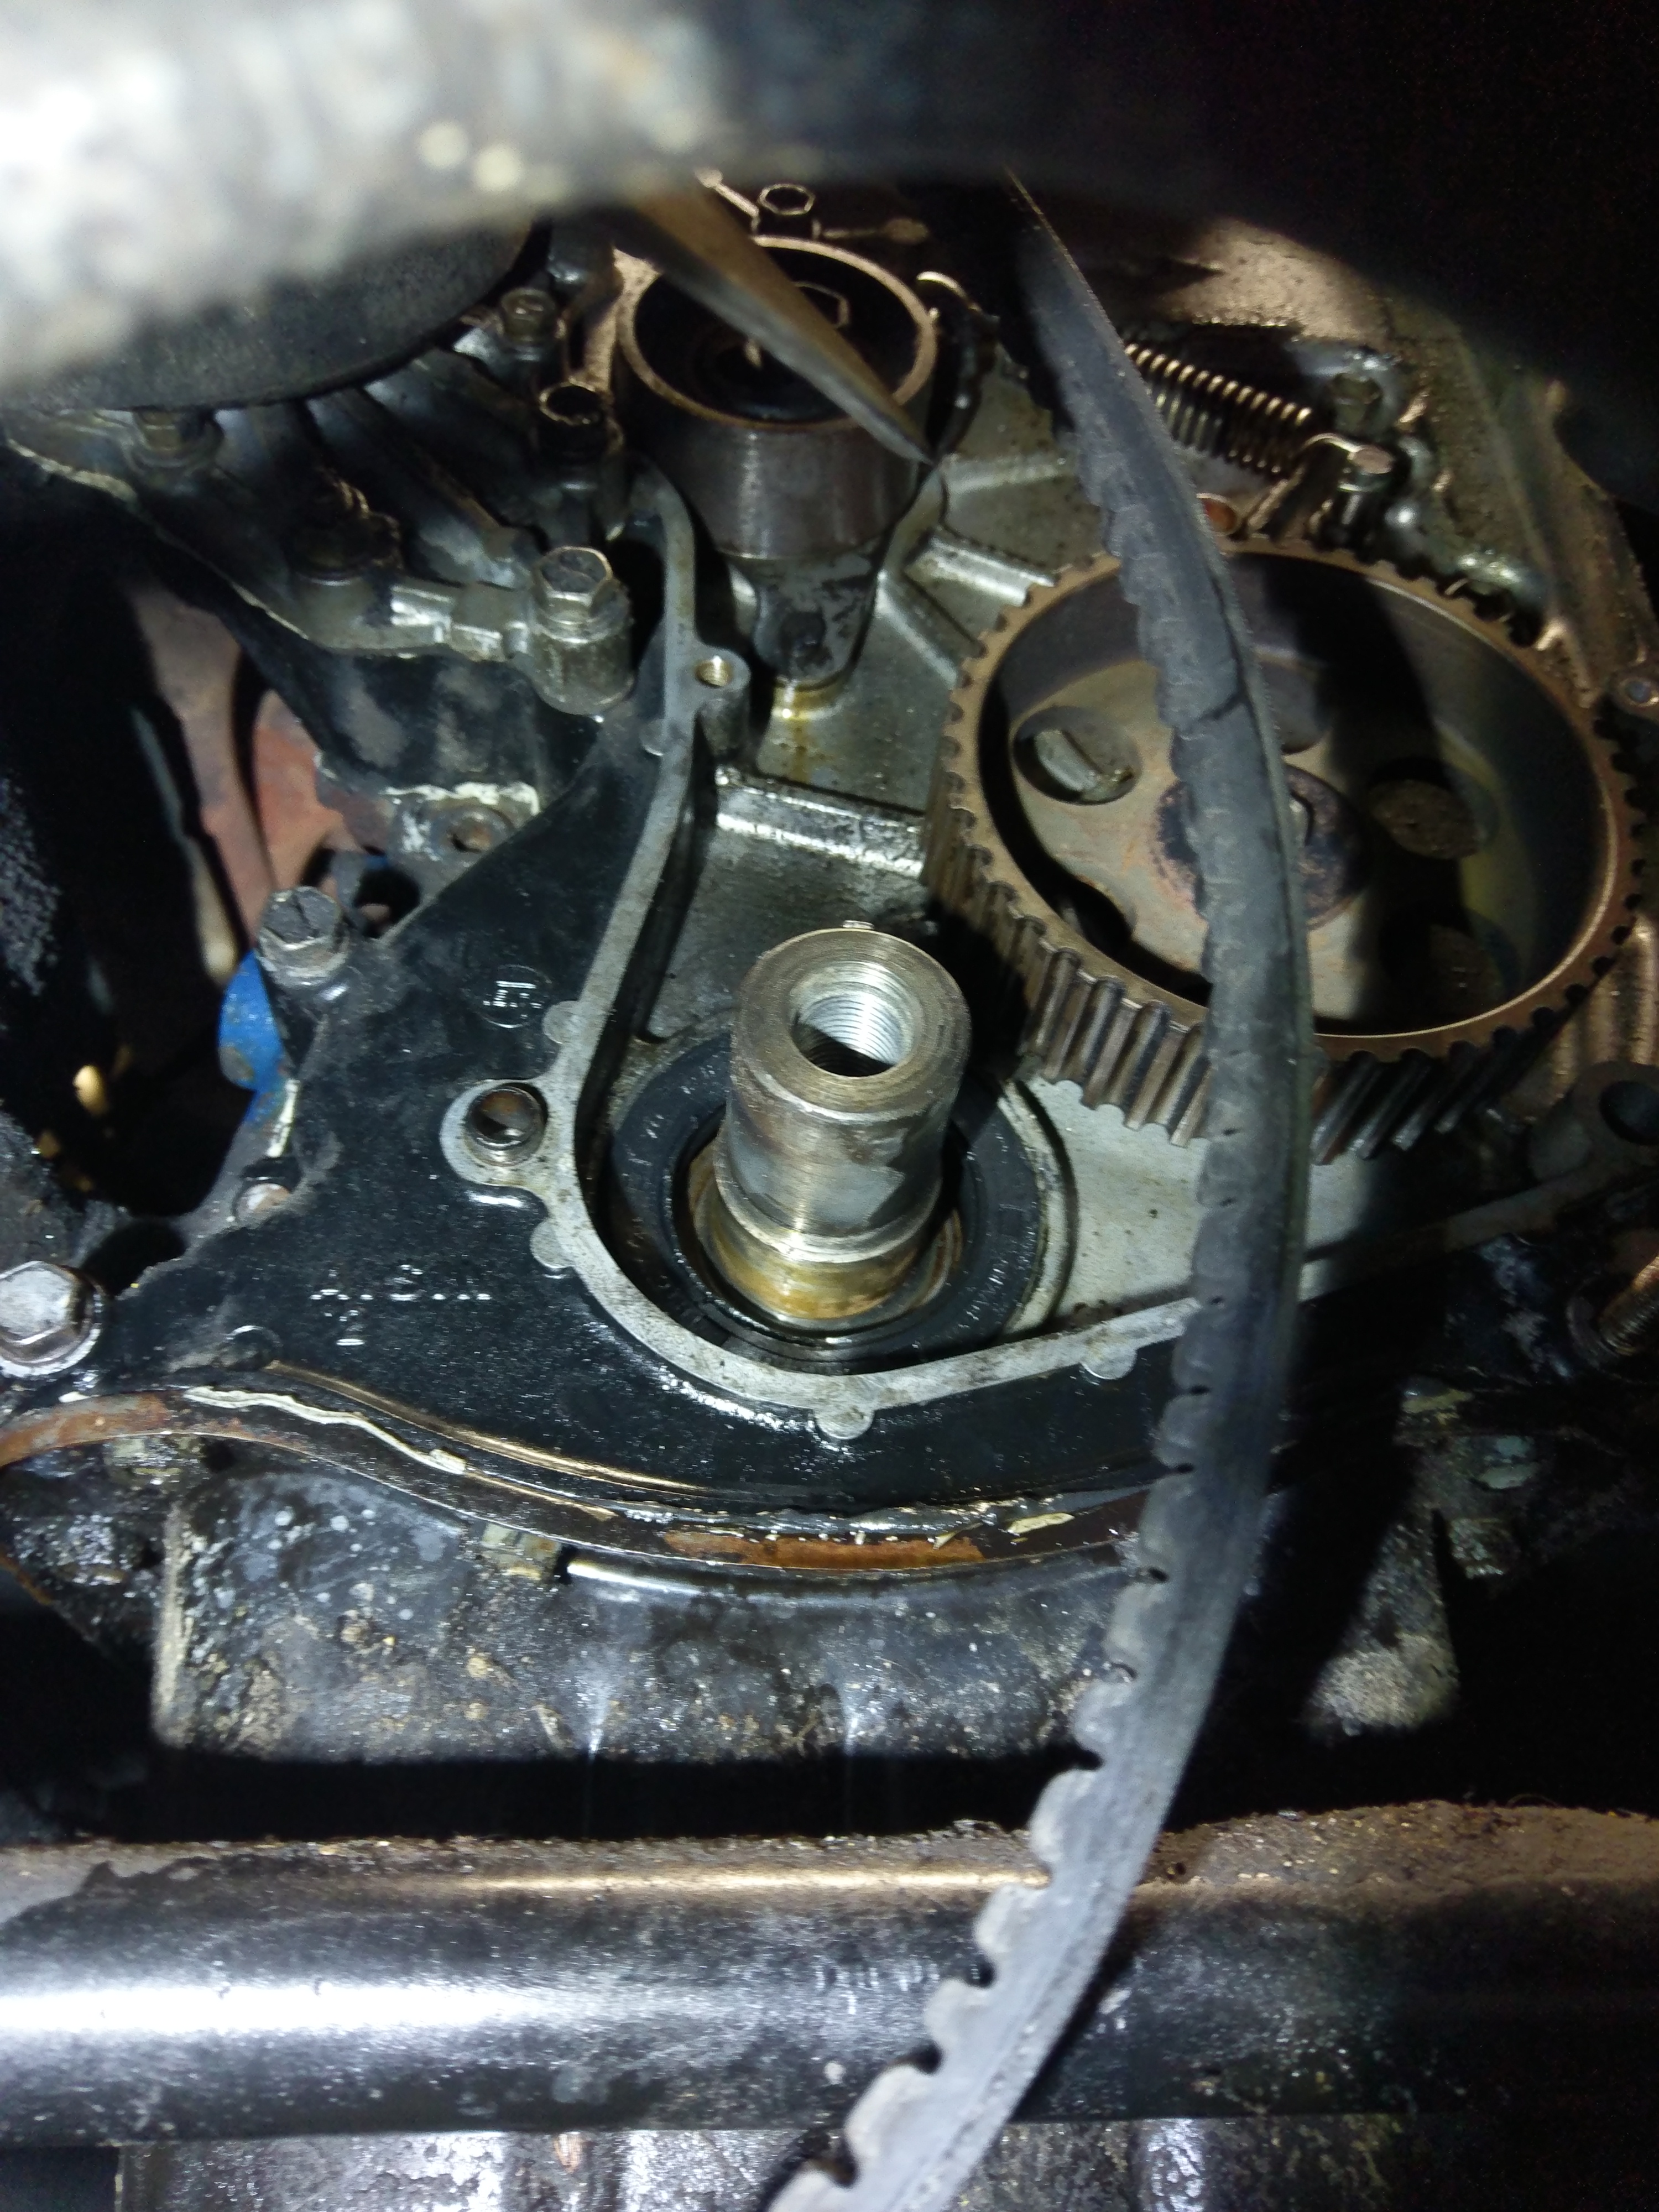
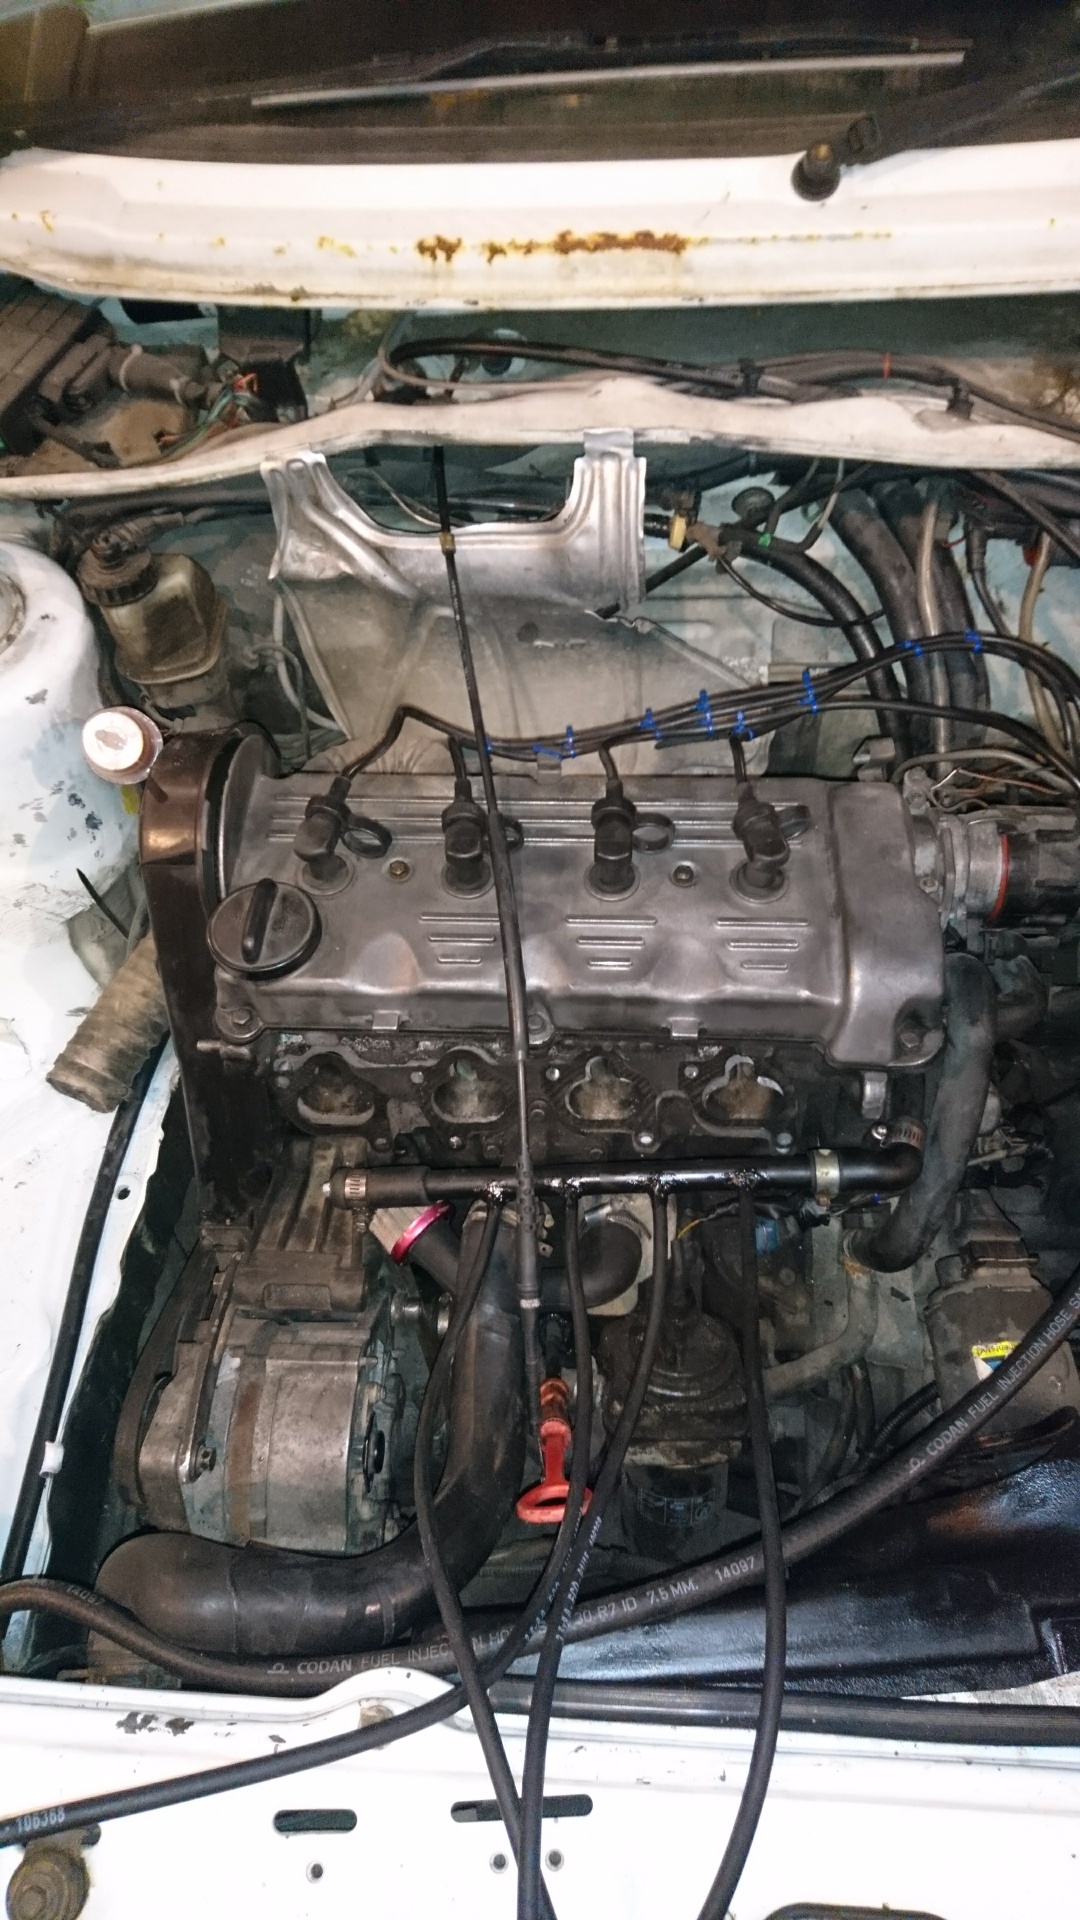
Tonight I replaced the front crank seal and cambelt. That's the old one. Ya can't see it very well in the pic but it was pretty sad looking. Oh yeah and while fixing that leak I found another oil leak and two coolant leaks.
2 points
-
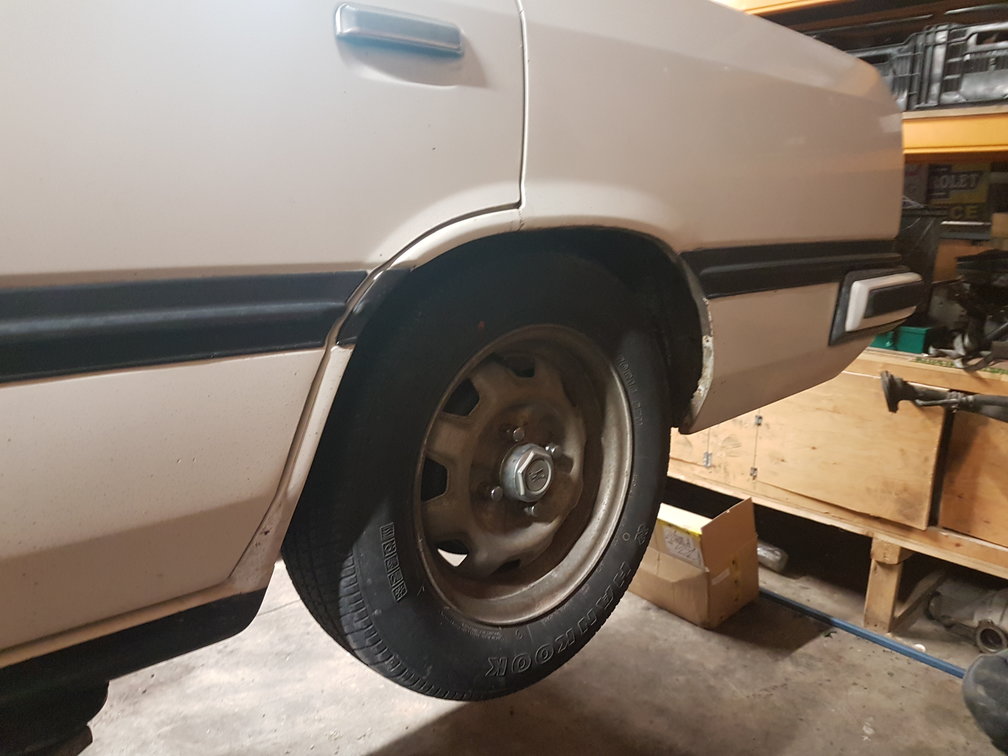
Not a lot has happened to this thing, still drive it as a daily. Bought some 13x6.5" and 7" Hayashi Streets from Japan a year ago. They were fully powdercoated black so I stripped that off and gave them a polish. Only recently purchased some tires and fitted them. They're too wide for the guards without pulling them out, which I don't want to do. So I'm selling them if anyone is interested. Also after another pair of starsharks in 13x6.5" if anyone knows of any.2 points
-
hey upper north island folk, thinking about how boring labour weekend is going to be, sitting around for 3 days, wishing there was just something to do??? HOW ABOUT COMING TO HAWKES BOES?? its a grand old time with great people, as i'm sure anyone you ask will tells ya! thread here pack your self into cars, load up some bikes, booze, babes? boes and come join the fun!1 point
-
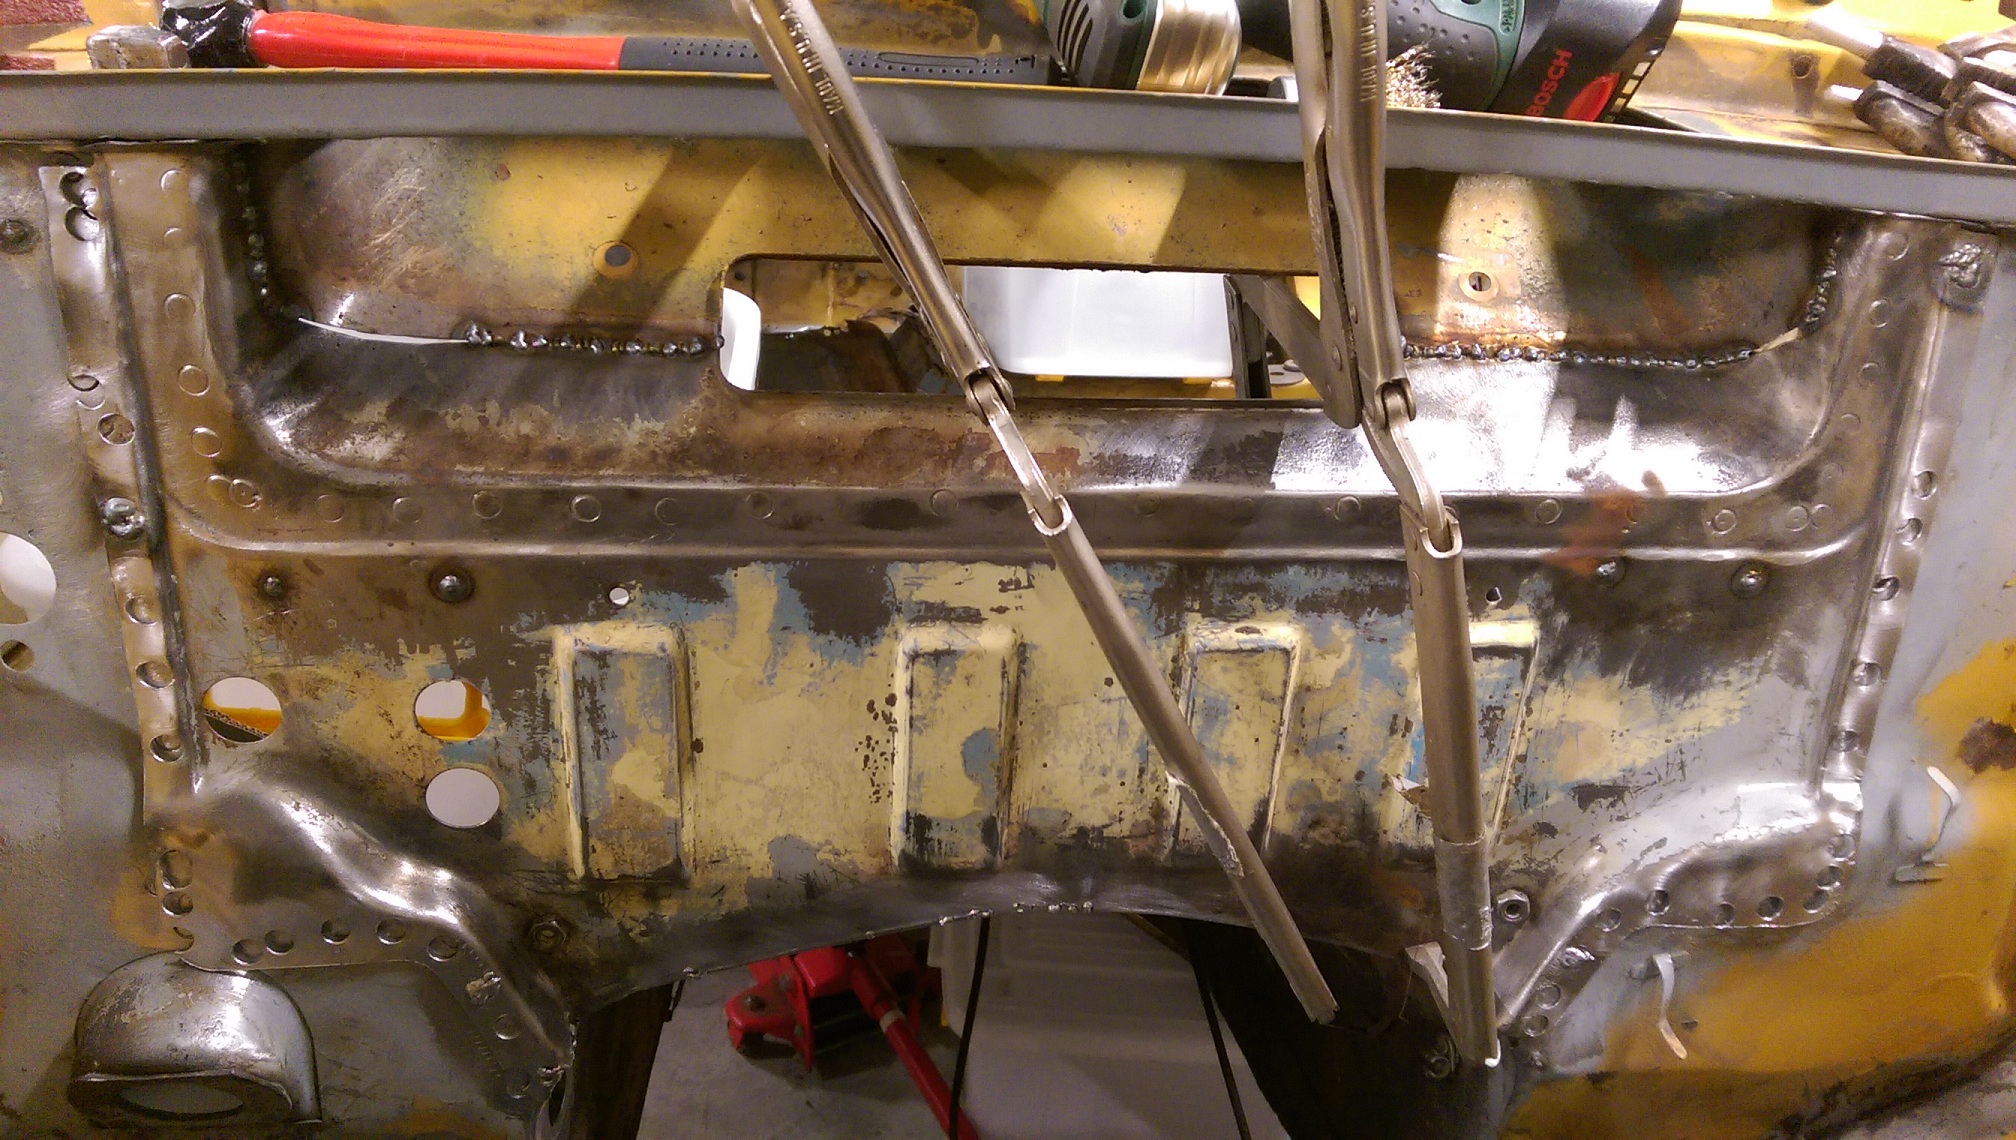
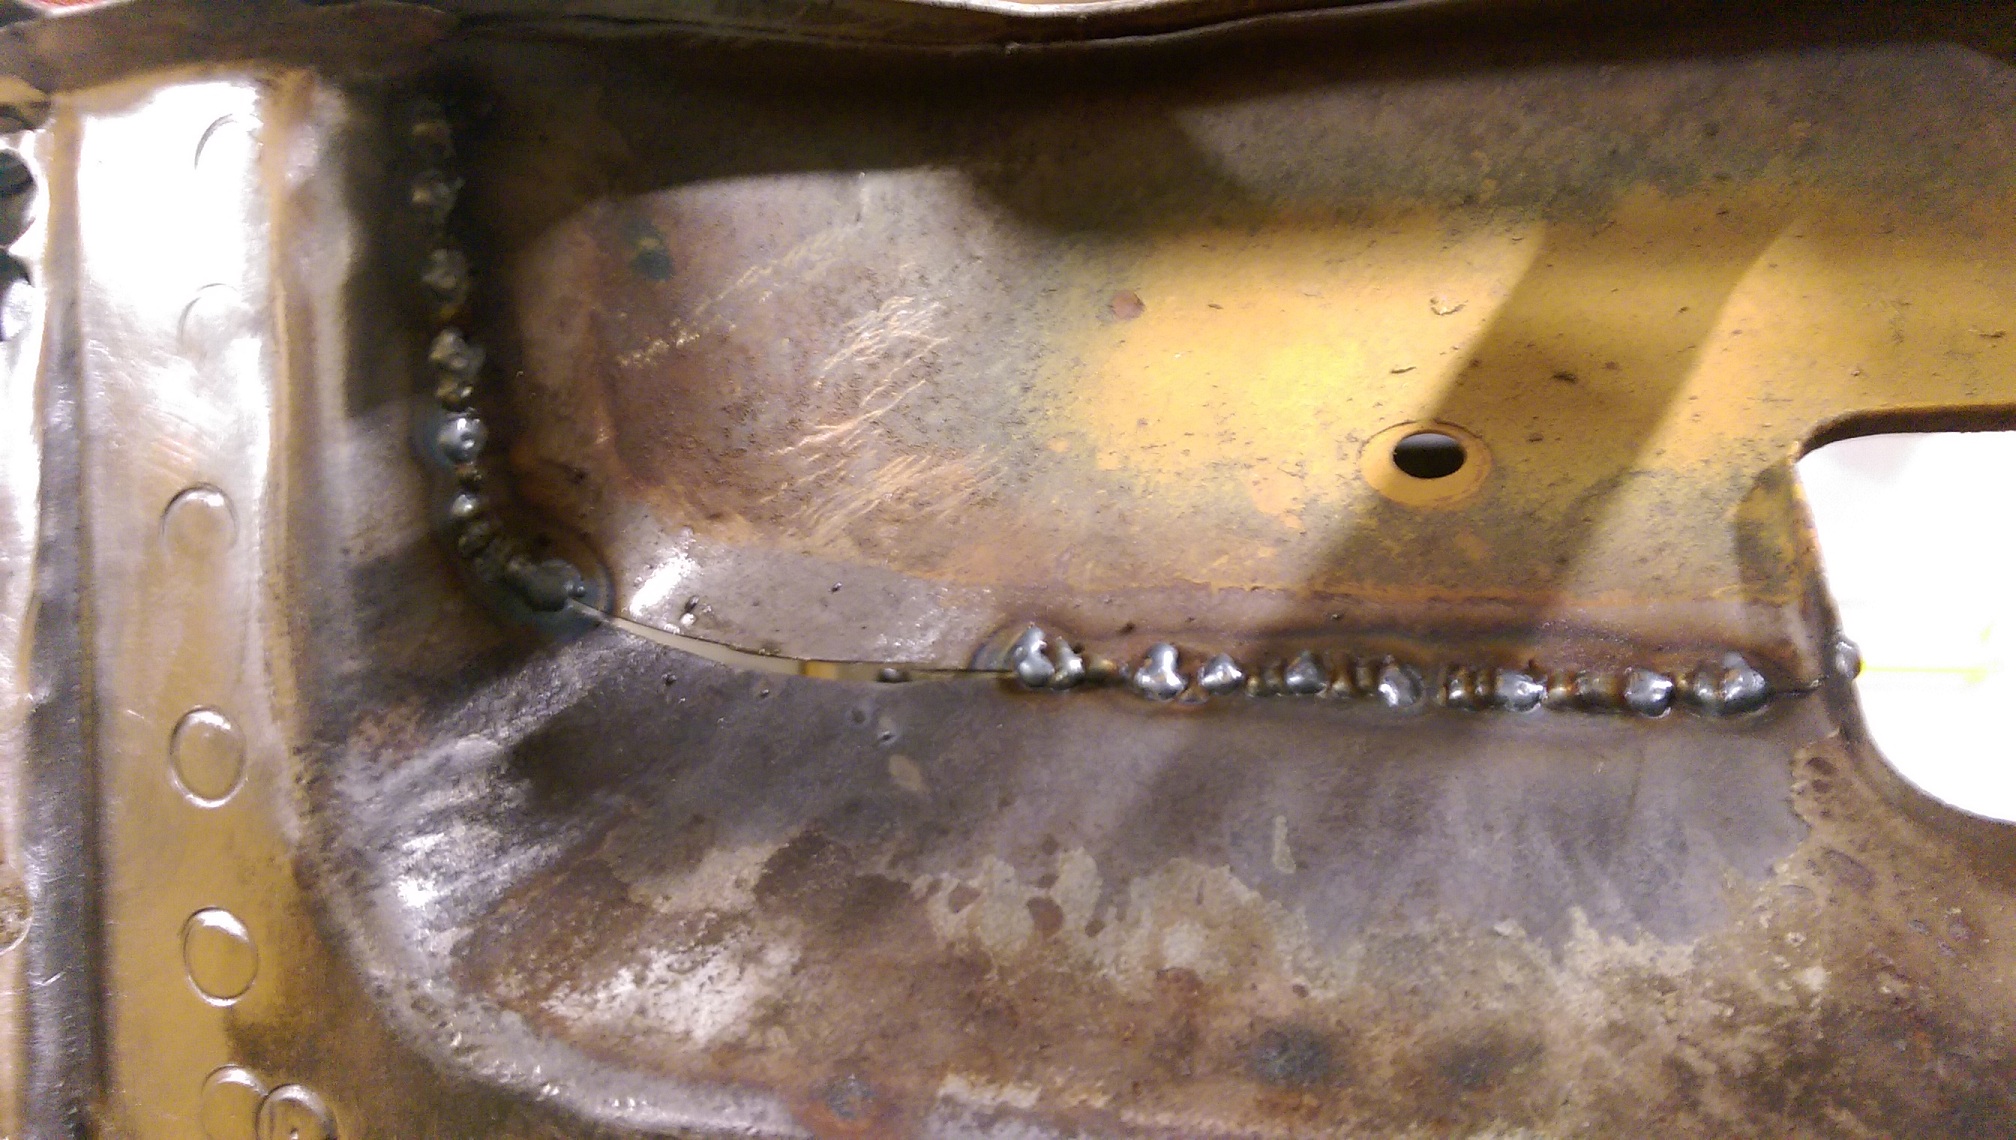
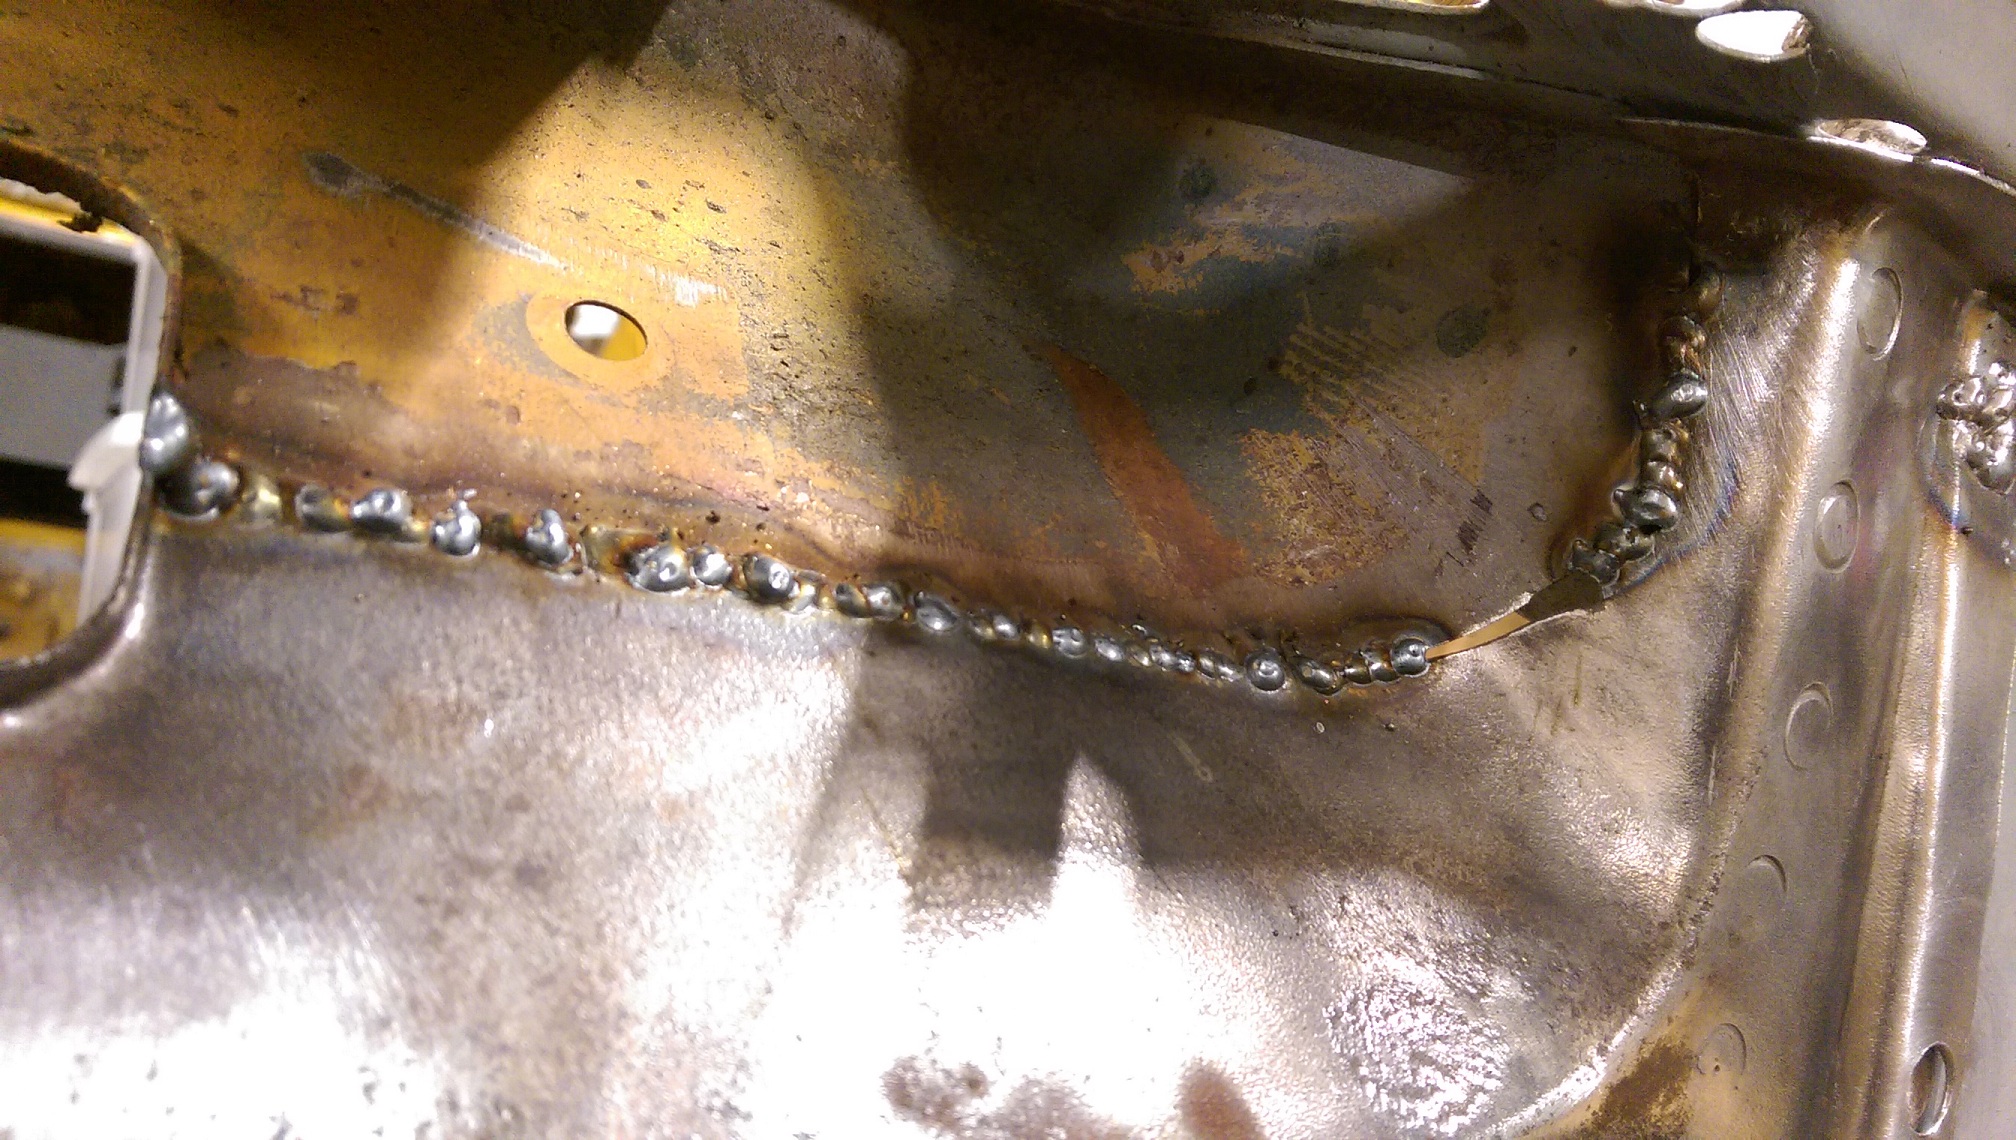
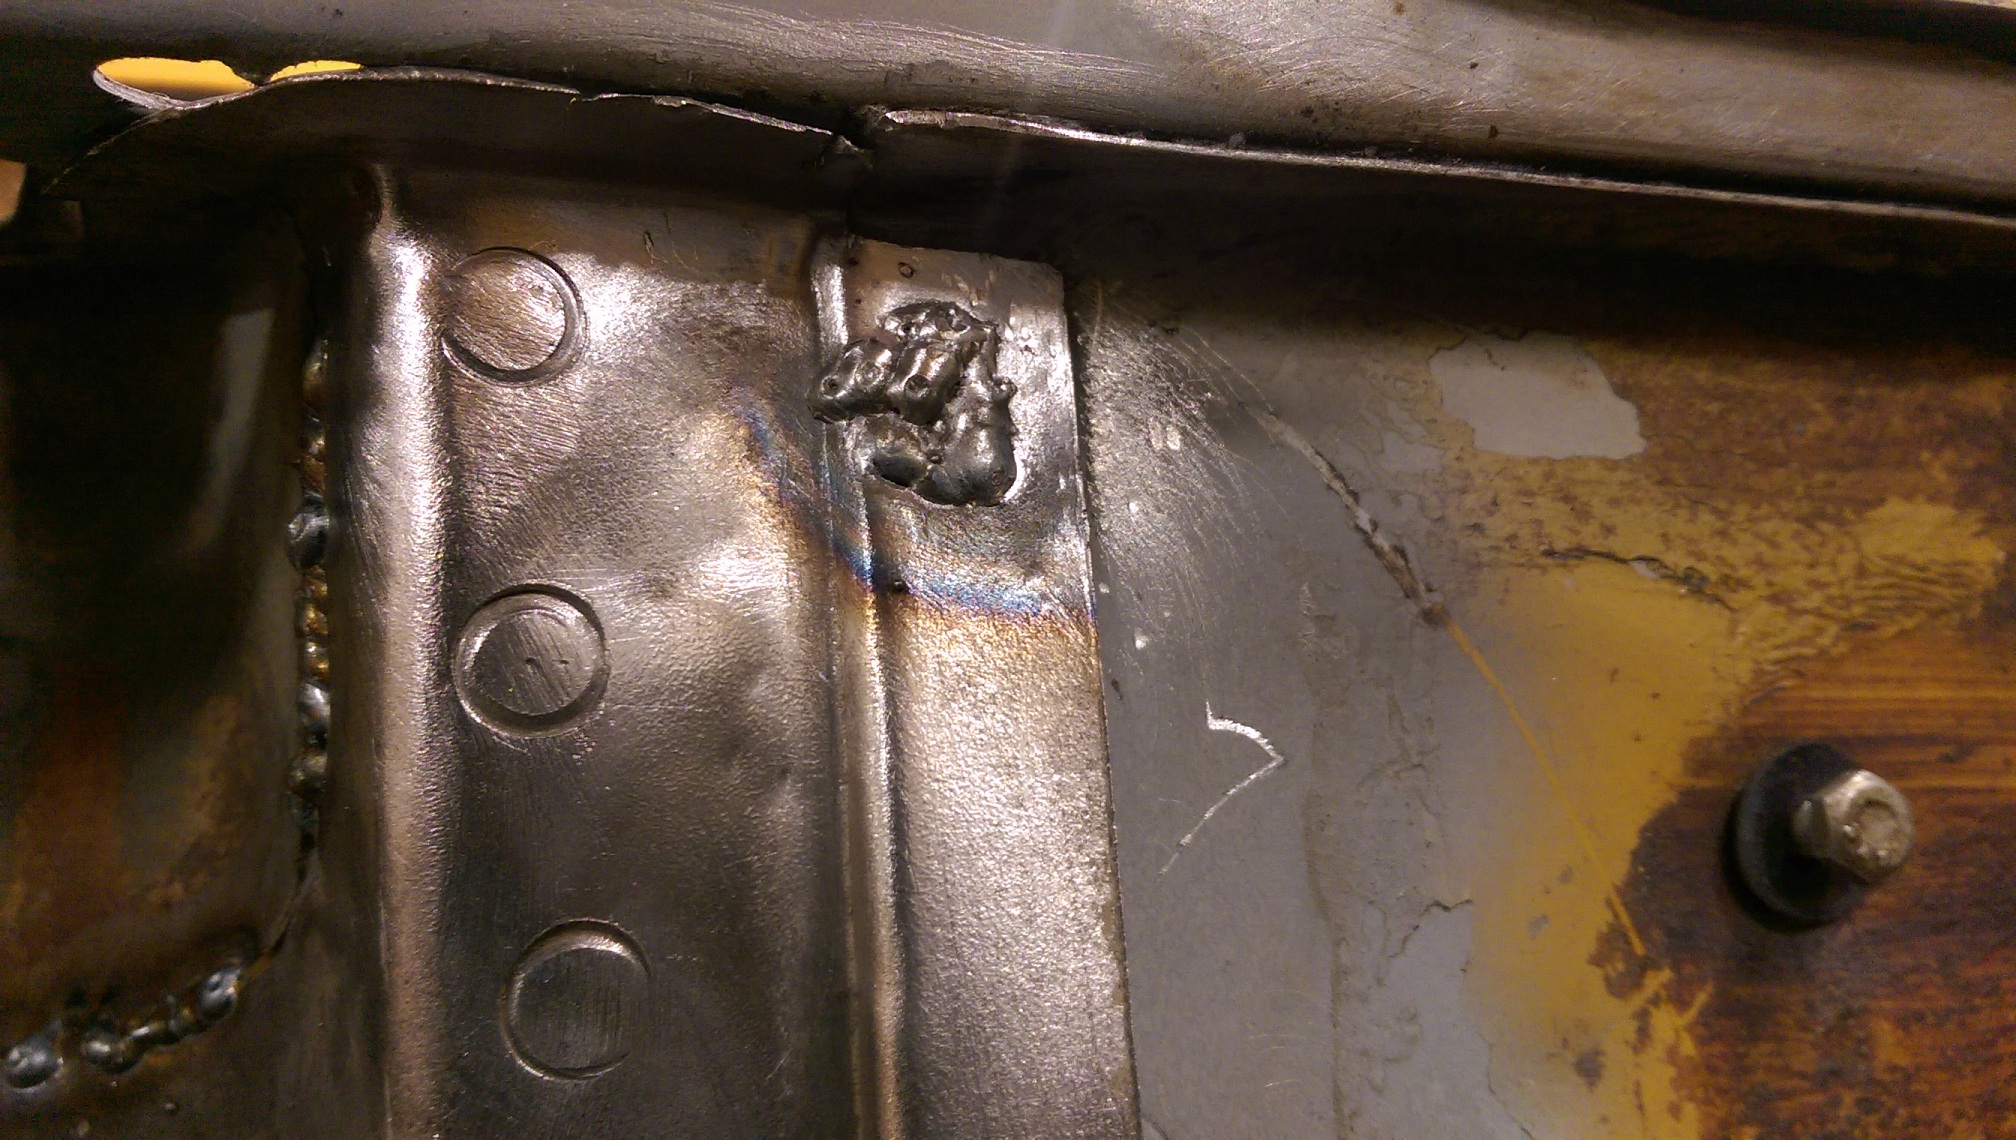
After much cutting, grinding, trimming, filing, bashing and trial fits, I got the firewall patch to fit acceptably. I also cut off the lower flange and bent up a flange on the top of the tunnel so I get rid of the lip that catches water and shit. I used crc zinc weld through primer on both faces where the panel overlapped. I tried some spots and tacks... Weld though primer is only kinda weld through, my welds looked shit as. So I stopped. Today I got a selection of wire brushes and did my best to clean off the primer through the spot holes. There was success. I'll do some more welding on the weekend. I kept getting blinded when doing those spots along the top because that gutter would block the sensors on my helmet.
1 point
-
Twin charging did cross my mind but I'd have to build a strong engine and run 30lb of boost to make it worth it1 point
-
So I did a thing. I saw another VL listed on trademe and quite liked the look of it but didn't really think too much more about it as I couldn't really justify spending anymore coin. Watched it for a week or two and then the E36 I'd been dailying packed up again, parts for the Bimmer are bloody expensive and I loathe the thing anyway so that will be for sale soon and this will be taking its place. It's RB30E auto, paint is a bit tired but it does everything I want from a daily with the bonus of being something I actually like driving. The main selling point for me was the interior. Madeira Red is my favourite of the interior options, maybe one day it'll get Calais headlamps, an LS and a two tone respray in Tuxedo Black over Asteroid Silver but for now I'll get a nicer looking set of wheels/chuck my cop steelies on it and tidy up a few odds and ends and just roll it as is. Also included in the sale was a rather stuffed parts car. It belonged to the son of the seller and they were sick of it sitting in the yard so asked if I was interested in it. It's powered by a 3.8 out of a VP (I think) and has a 5 speed box and a V8 LSD diff. I'm going to pinch the diff for the Royale although I'm a wee bit concerned about the effect that changing the diff ratio will have as the RB30ET doesn't produce quite as much torque as the 5.0L Maybe not enough difference to be an issue? Also need to look into whether I can swap the crown wheel and pinion from the original diff into the LSD head to keep the same ratio and keep the speedo working correctly. That's a problem for another day though, current priority is stripping all the decent parts off the crashed Vacationer so I can get it off my long suffering parents driveway.1 point
-
NASCAR ZORST - PUUUURRRFECT1 point
-
HA! yeah that does cross my mind a lot. I actually like the painting bit, the body work, prep and sanding fcking sucks though. If only I didn't have another one to paint...1 point
-
not to ever paint a fucking car again?1 point
-
I have been getting into the Sunny wagon lately, will get back into this soon. Should actually do updates on the Sunny1 point
-
Ive updated this thread back to a non-photobucket state! On that note I managed to find a 7m CT26 from this bro through facebook for lunch money dollas the amount of play feels great which is awesome found 2 oem 7m exhaust manifolds in America hopefully getting shipped soon, my friends also turboing his x7 That's all for now1 point
-
Dropped the bars, front and rear racks and headlight loop in to be powder coated satin black today, some AliExpress indicators arrived yesterday, ordered black but received chrome, quick paint will sort that and the seller gave a full refund too. Got an email earlier that some bits arrived in the country from Japan this arvo and will be here in the morning, hopefully the levers from Aliexpress don't take tooo long! Need to strip the anodizing off the front wheel/forks and attempt to give them a polish, need a new front tyre too. https://i.imgur.com/AkaOAh1.jpg1 point
-
I spot a factory toolbox!!!! Both bell housings work, the fiat puts the starter on the left, lada on the right, although the lada bellhousing needs a cutout in the top to clear the waterjacket, ie 5min with an angle grinder.1 point
-
Did some testing today, I found that a street near my place works for wide open runs, one corner requires some bravery if there are cars parked on the side of the road. Got a good 1.2k's of WOT on a spankers new plug and..... Shit's whiter than out of sync clapping along to music Also, just to keep me on my toes, the plug cap snapped in half when I pulled it off. At least it was mostly downhill back to my place. So now I'm waiting for my jets and a new plug boot to turn up before I do anymore. Actually I should probably fix the slow leak in the rear tyre, then clean up the rim, then clean up the front rim, then clean up the front forks cos they'll look shit otherwise.1 point
-
Even though the sills are missing in this car it runs and drives so I think this will be the first in the road as long as @- i5oogt - lets me have it. The thread will mainly focus on Reddy the Ceddy.1 point
-
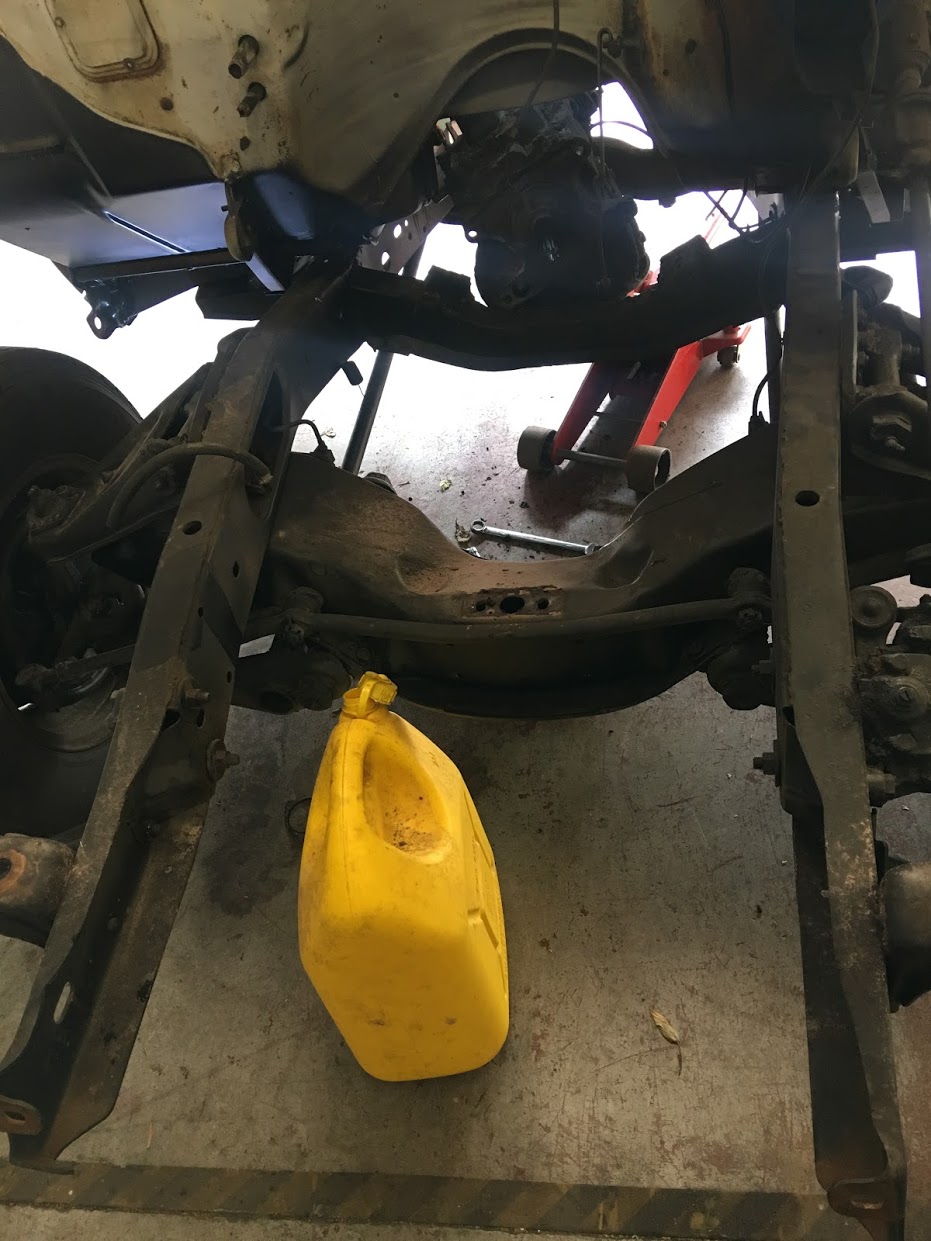
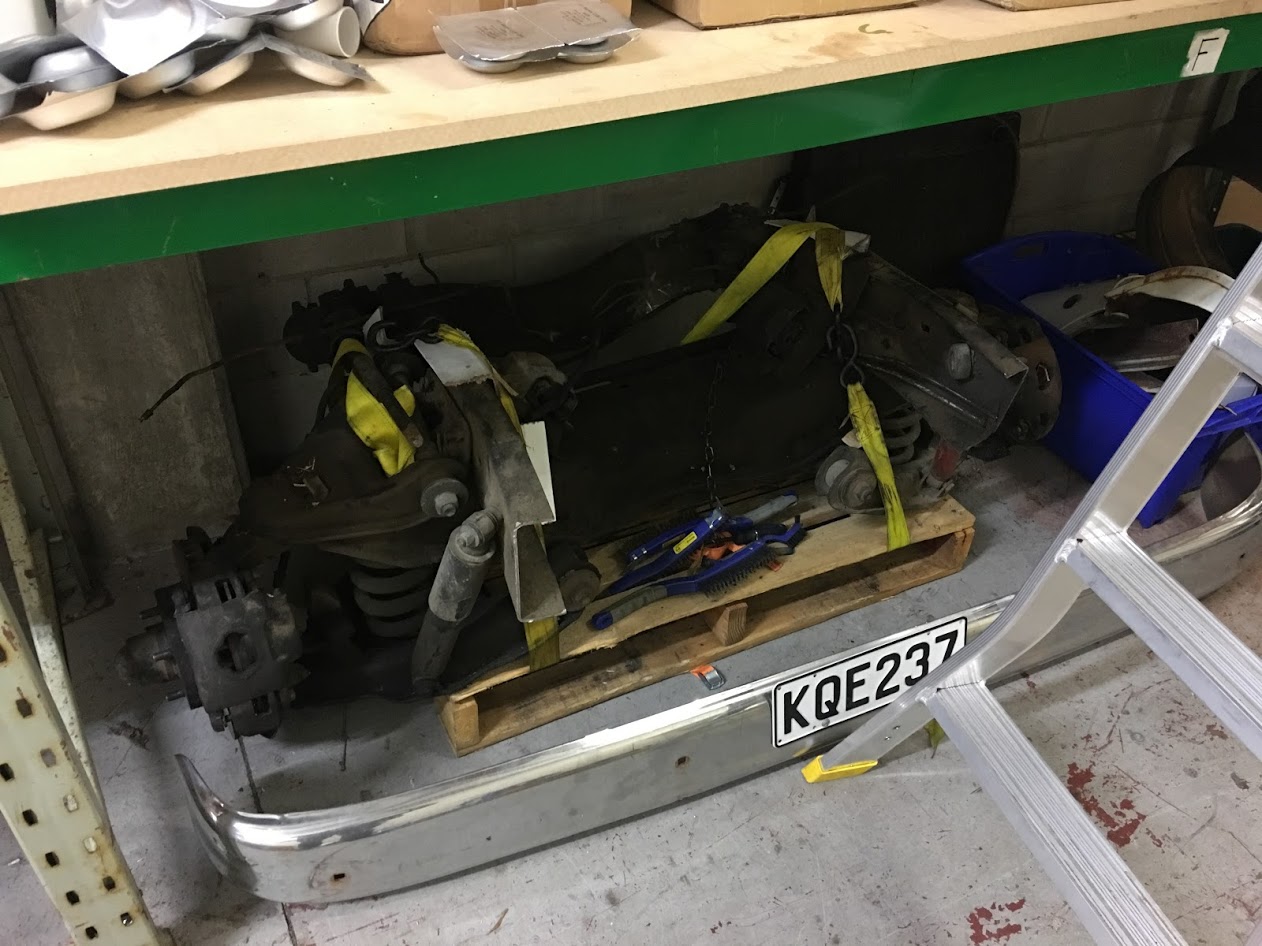
So pulled the front end off and engine and box out over the weekend. Gearbox/driveshaft fought me for a couple of hours before admitting defeat at the hands of a bigger hammer. Have taken all the extraneous crap off the LS and changed the sump so it will clear the crossmember, will need to hang the AC compressor and the alternator off the heads, rather than off the base of the block they are in the Holdons. Pretty much every conversion I have managed to find, the torsion bar front end has been pulled in favour of a later model, basically the crossmember the torsion bars attach to is in the way. Im going to test fit before the front end swap happens, Id really like to keep it how it is... Also have obtained a 12 bolt rear end, this is off to be rebuilt and an eaton posi chucked in it because 11's. I will be doing the bulk of the conversion myself, the front end swap (if I have too) is basically a bolt in barring one mounting hole. The front end I have is out of a 77, and fortunately it is a front cut so lots of measuring to get the steering geometry right. What I do need is someone to do the welding on trans crossmember, once I get to that point. Any suggestions would be great, also at what point should I get a certifier involved, Im not cutting it up, rear diff is a bolt in, may go to a one piece drive shaft... etc... If anyone wants the old exhaust, come and get it, no holes, not rusty, but I chopped it in half to get it out
1 point
-
keeping on smashing at this nugget quite a bit of time in welding up a bunch of seams, small holes and little reinforcements here and there. working on getting everything on the bottom of the car sorted. a bunch more measurements to figure more or less where things will likely sit. got prehistoric on the back end of the trans tunnel to make some more room for the drive shaft. fiexed up the hori gearbox mount rookiedave and mott made ages ago. ground off the bits they had glued on, welded up all the holes and re machined the crossmember to suit a factory GM powerglide mount. started on the exhaust next. with it being 3.5"/90mm really trying to tuck it up to the maximum possible to avoid getting beached at the still relatively unslammed slammedness that will be possible. to further this following some stick poking, umming, ahhing decided to make a nascar boom tube inspired rear section. keeps the same or greater cross sectional area with 40mm more clearance. still a bit of work to go go from round to rectangle but happy with the progress. need to get some more tube in 22x3 this week and try to scrounge a section of 200NB steam pipe for the driveshaft hoop. once those are done re fit the fuel tank temporarily to figure out how to mount the fuel system and get all the mounting points for fuel lines, trans cooler lines and such things done.1 point
-
Ok so I haven't been documenting this car very well so here's a rundown down from the past year or so. The car blew it's third auto trans, so one night after work I put a manual box in it. Conveniently I had everything I needed in stock so it was a quick and easy job. Later I got bored and removed some coils and fitted the above posted AGX shock absorbers. The fronts are SW20 rears, and the rears are some Ford Focus units. The fronts are shorter than MX73 shocks to they're held in place with some T3 spacer top nuts. T3 RCAs are also fitted to correct the lower arm angles. The engine BHG'd over new years (yeah, yeah..) so I put in a spare engine that I had laying around intended for my MS65. It's a stock standard 5MGE but built on a 7M block coz it's a bit stronger and has piston oil squiters, the guy who built it was gonna turbo it. As far as I'm aware the internals are stock 5MG. I then fit an Altezza LSD. Later my rear tyres wore out (funny that) so I bought some cheap Advante 17x7s in the wrong offset and wrapped them in some 215/45 Nitto NT555s. Bought some spacers off eBay to make the wrong offset right, Manu spun me up some hubcentric rings to fit them all together and now I have plenty of grips. I've also had to repair plenty, the brake master cylinder shat out, the shifter position on the gearbag was wrong so swapped that to the correct one, which cost me way more than the gearbox did, rocker covers were leaking, driveshaft was incorrectly phased, balljoints were shot, windscreen was leaking, seatbelt jammed up, radiator split, radiator hose split, heater core split (what a shit job that was), I attempted to revive the AC but the compressor leaked all the gas out aaaaaaaaand probably some other bits. Still to fix is the a pillar rust, boot lip rust, shot passengers electric window, leaky tailshaft seal, very leaky crankshaft seal, horrible engine vibration (pretty sure it's flywheel / clutch out of balance), some of the instrument backlights not working, excessive rear wheel camber, pathetic brakes, pathetic head lights, cracked indicators, falling off boot trim, worn hanger bearing, worn subframe bushes, worn caster arm bushes, and anything else that fails in the near future. Stupid car.1 point
-
Ok that was a fail ^ and a few more followed. Did some more runs and wasn't happy how unstable boost was. Put a bigger 40mm gate on it. inc bigger pipe off manifold Was just as bad, if not worse. Probably should have brought a 45mm and may have worked. Decided to try mount the gate on the turbo housing, before buying yet another wastegate Grill weld Grill cut a patch out of an old collector fixed Finally holds boost perfect now.1 point
-
Fuck I hope you just made that up for giggles1 point
-
Final spec on the motor was Standard bore 2.0L pinto block YB cosworth rods & pistons Ported, big valve 1600 Pinto head (9.1:1CR) MLS head gasket & ARP bolts throughout Custom turbo grind camshaft, HD valve springs, Newman long pad followers YB under piston oil squirters, high volume oil pump & Peterson oil pressure relief valve Custom Go Pipes steam pipe manifold & 3" dump, ceramic coated 3" mandrel bent exhaust GT2860RS turbo Turbosmart 38mm external wastegate, FPR800 and Kompact bypass/BOV Romac harmonic balancer & custom trigger wheel Modified (1 tooth) YB distributor with phase sensor Sierra EFI manifold with 630cc Siemens injectors LS1 coil packs Haltech PS1000 ECU Haltech wideband controller1 point
-
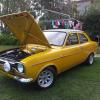
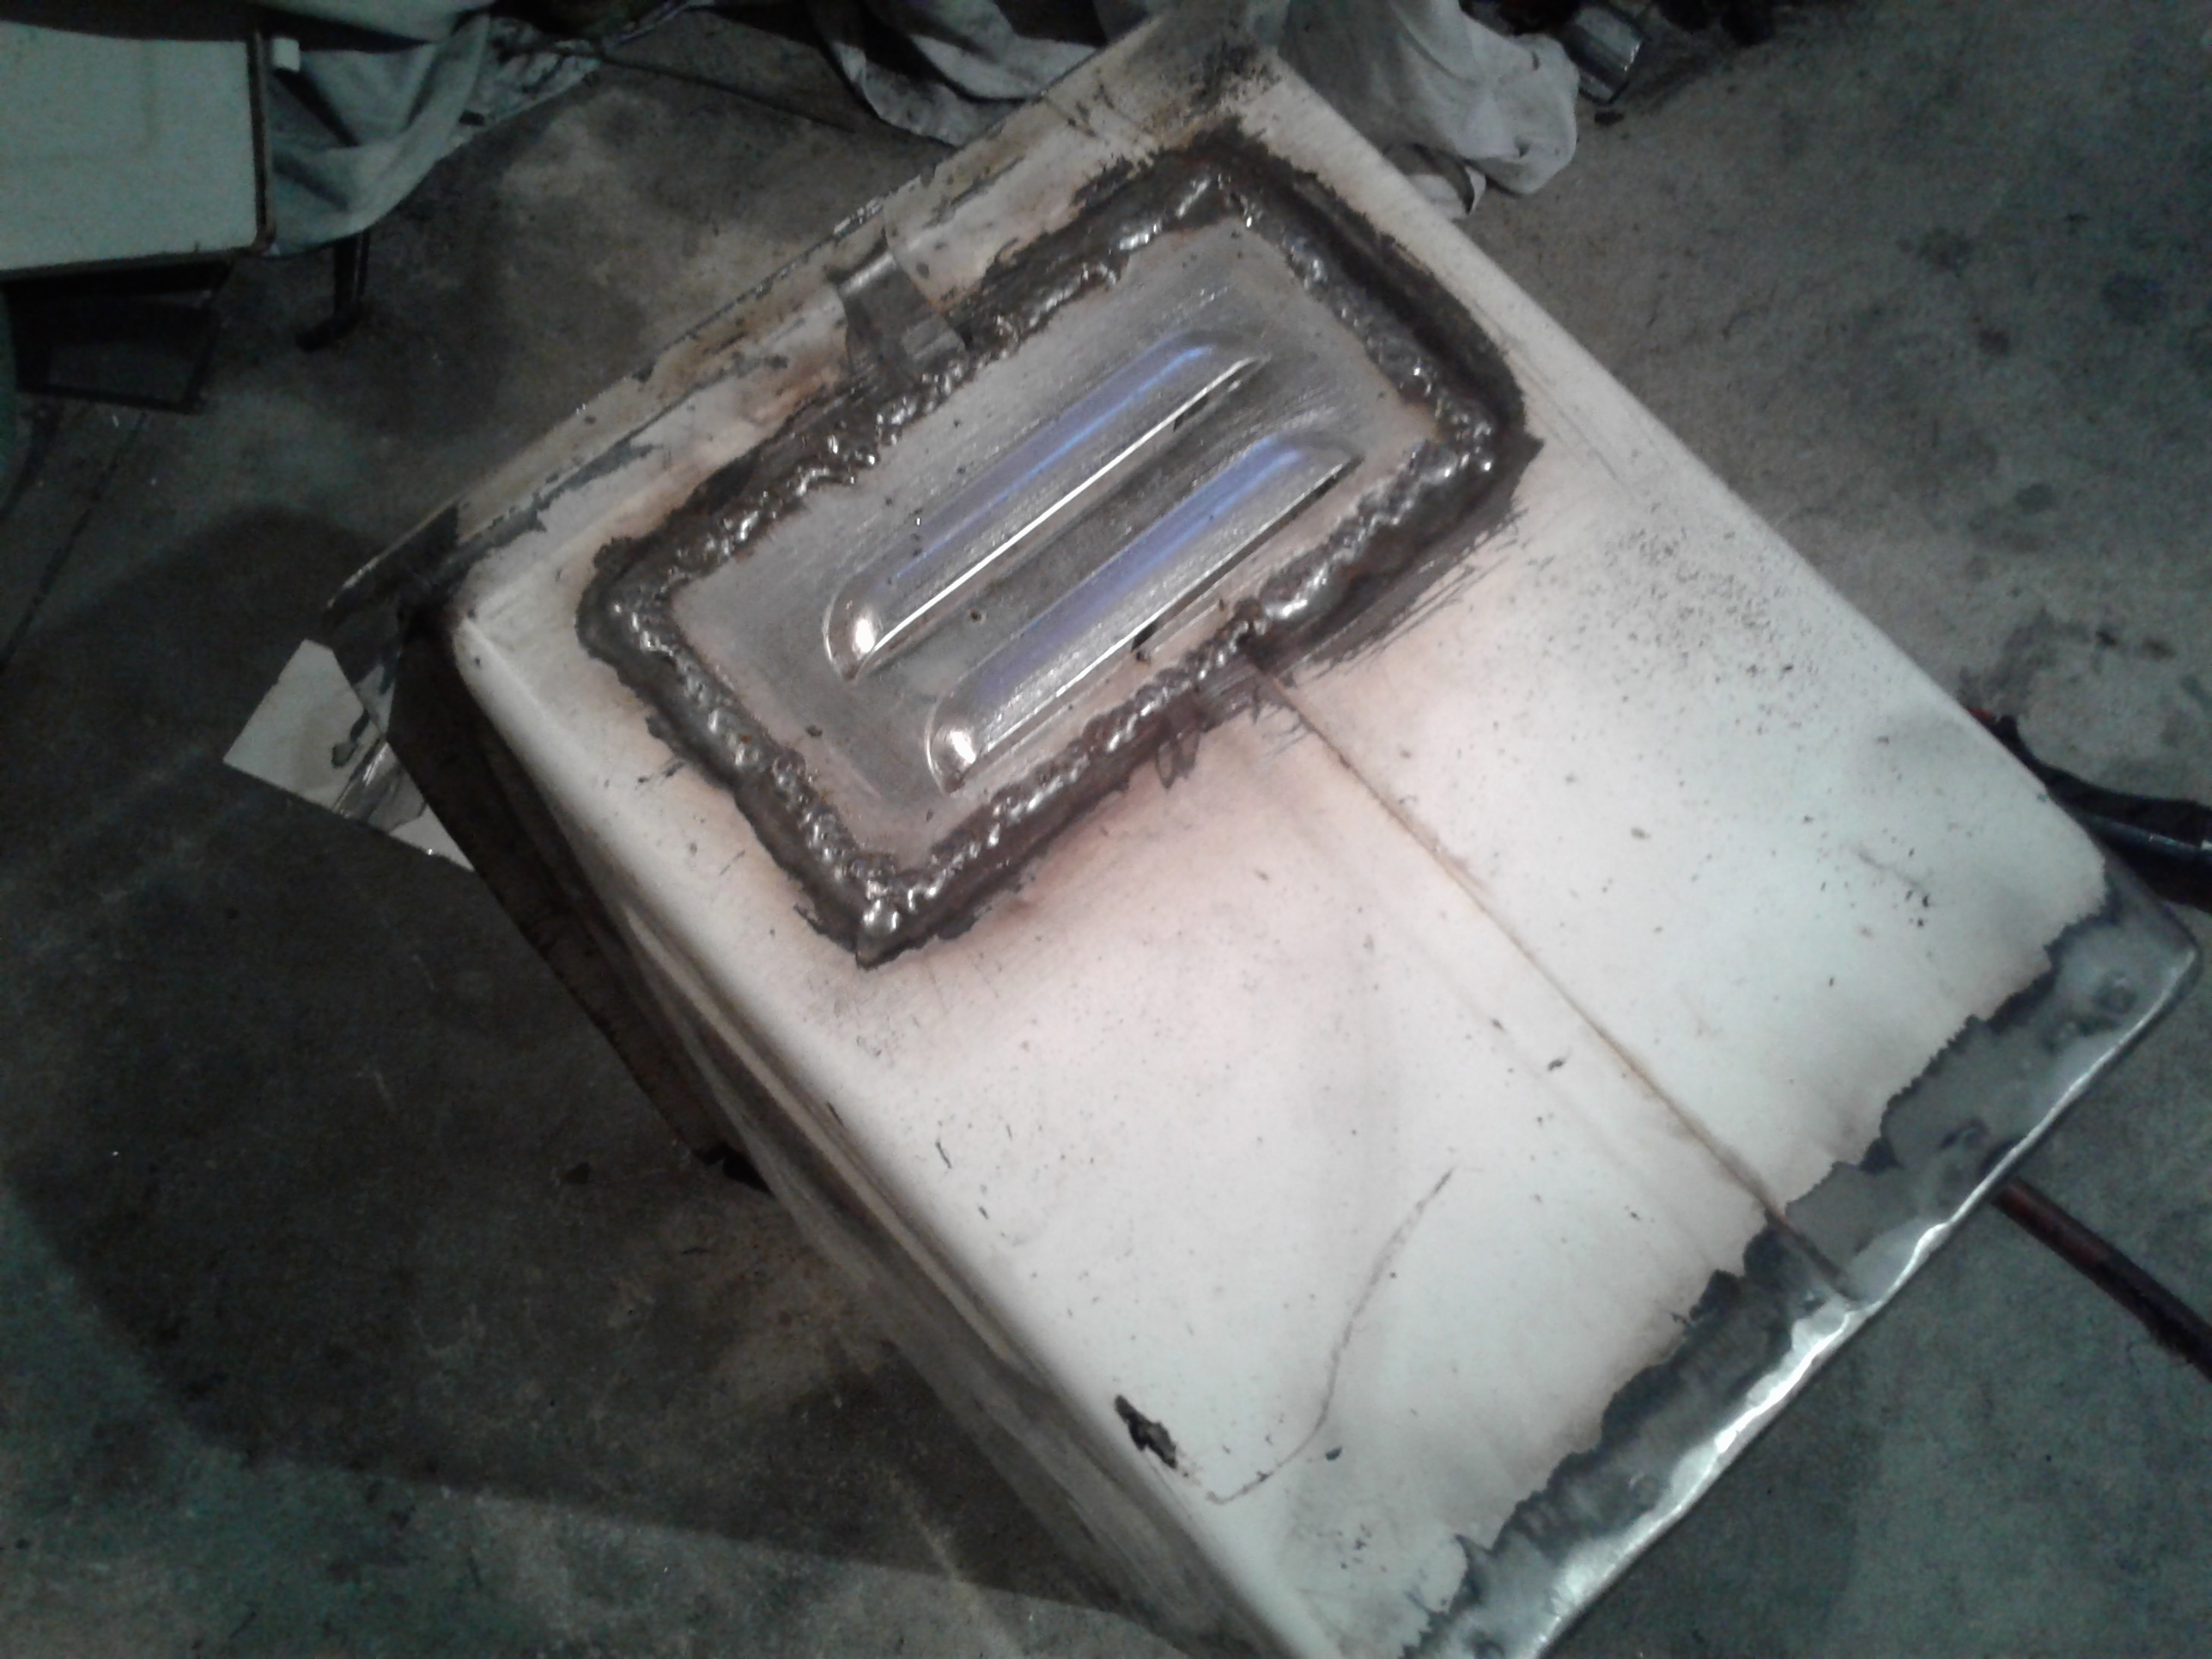
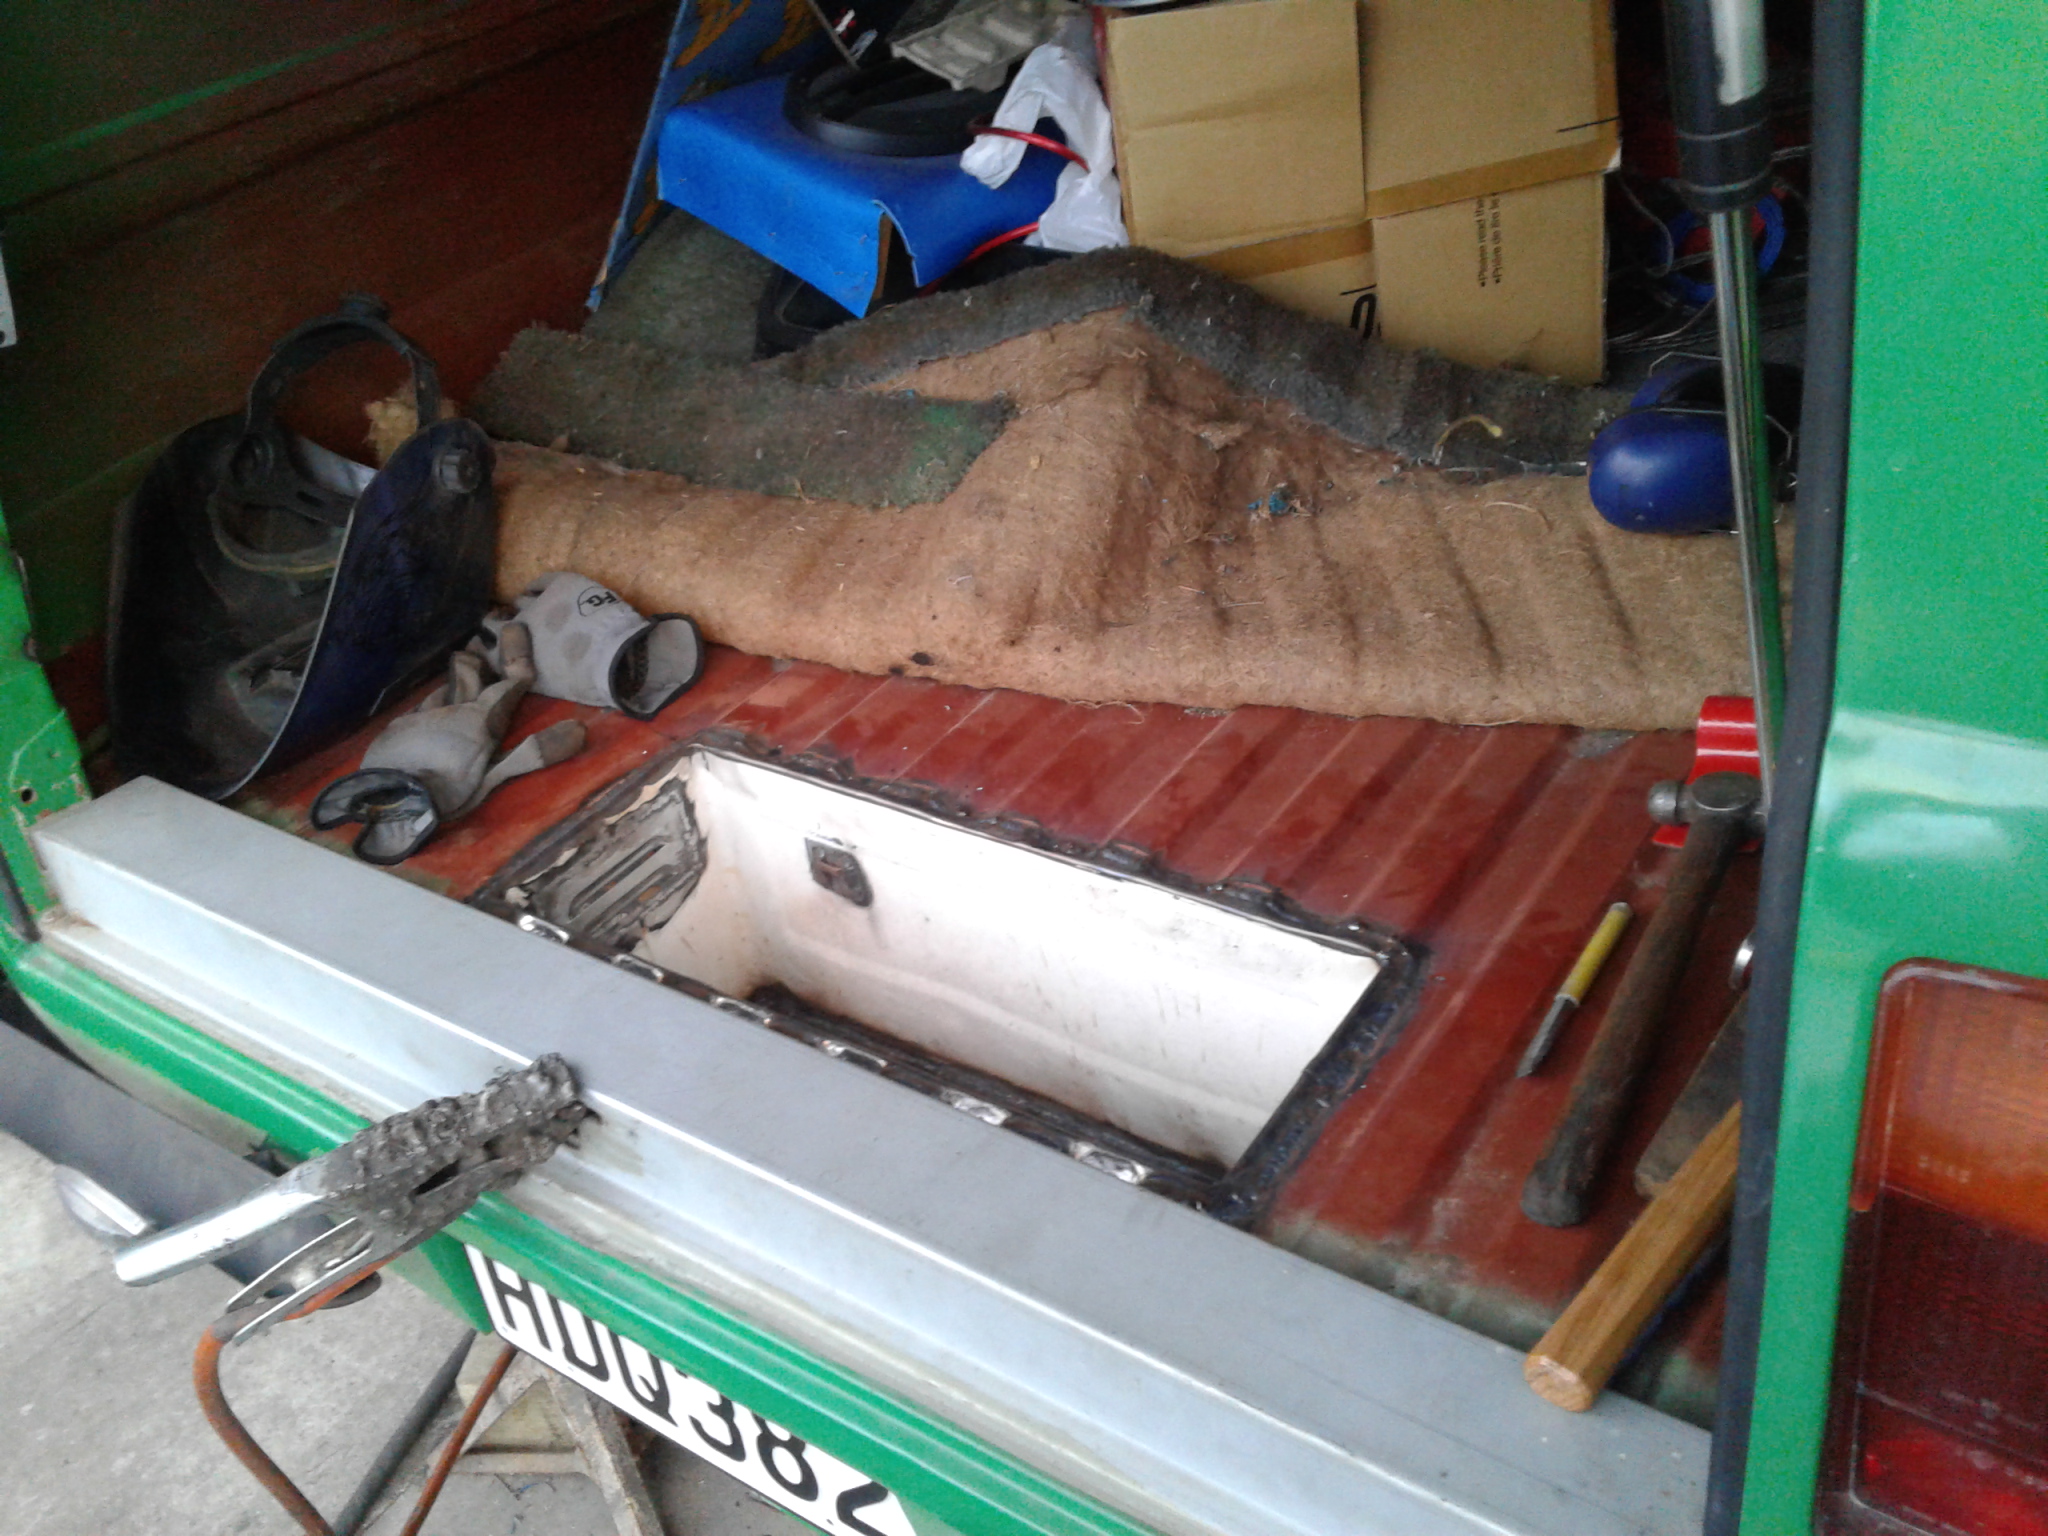
Welded in a vent Ground back Cut a hole in the floor just behind the crossmember and fuel tank and welded it in Right after I started welding it in, I remembered I hadn't made a flush lid for it yet, at the rate I'm going that's next year me's problem
1 point
-
305s don't get max $$1 point
-
Big win tonight! Made a big hole... And filled another... Tonight was focused on simply getting the motor out of the car and by the time that happened it was pretty late so I spent very little time at all putting the engine in the right place. That said, considering how worried I was that it would be a tight fit requiring lots of firewall cutting, I'm very happy with the initial mock up. It is nowhere near the final height in the engine bay, nor tilted correctly fore and aft or side to side, but the over all length looks like it will fit a radiator just fine and the sump shouldn't require much extensive modification. I'll have to get the gearbox adapter plate finalised before I can get the engine position sorted but there's still a few steps before that can happen. Still, progress has occurred.1 point
-
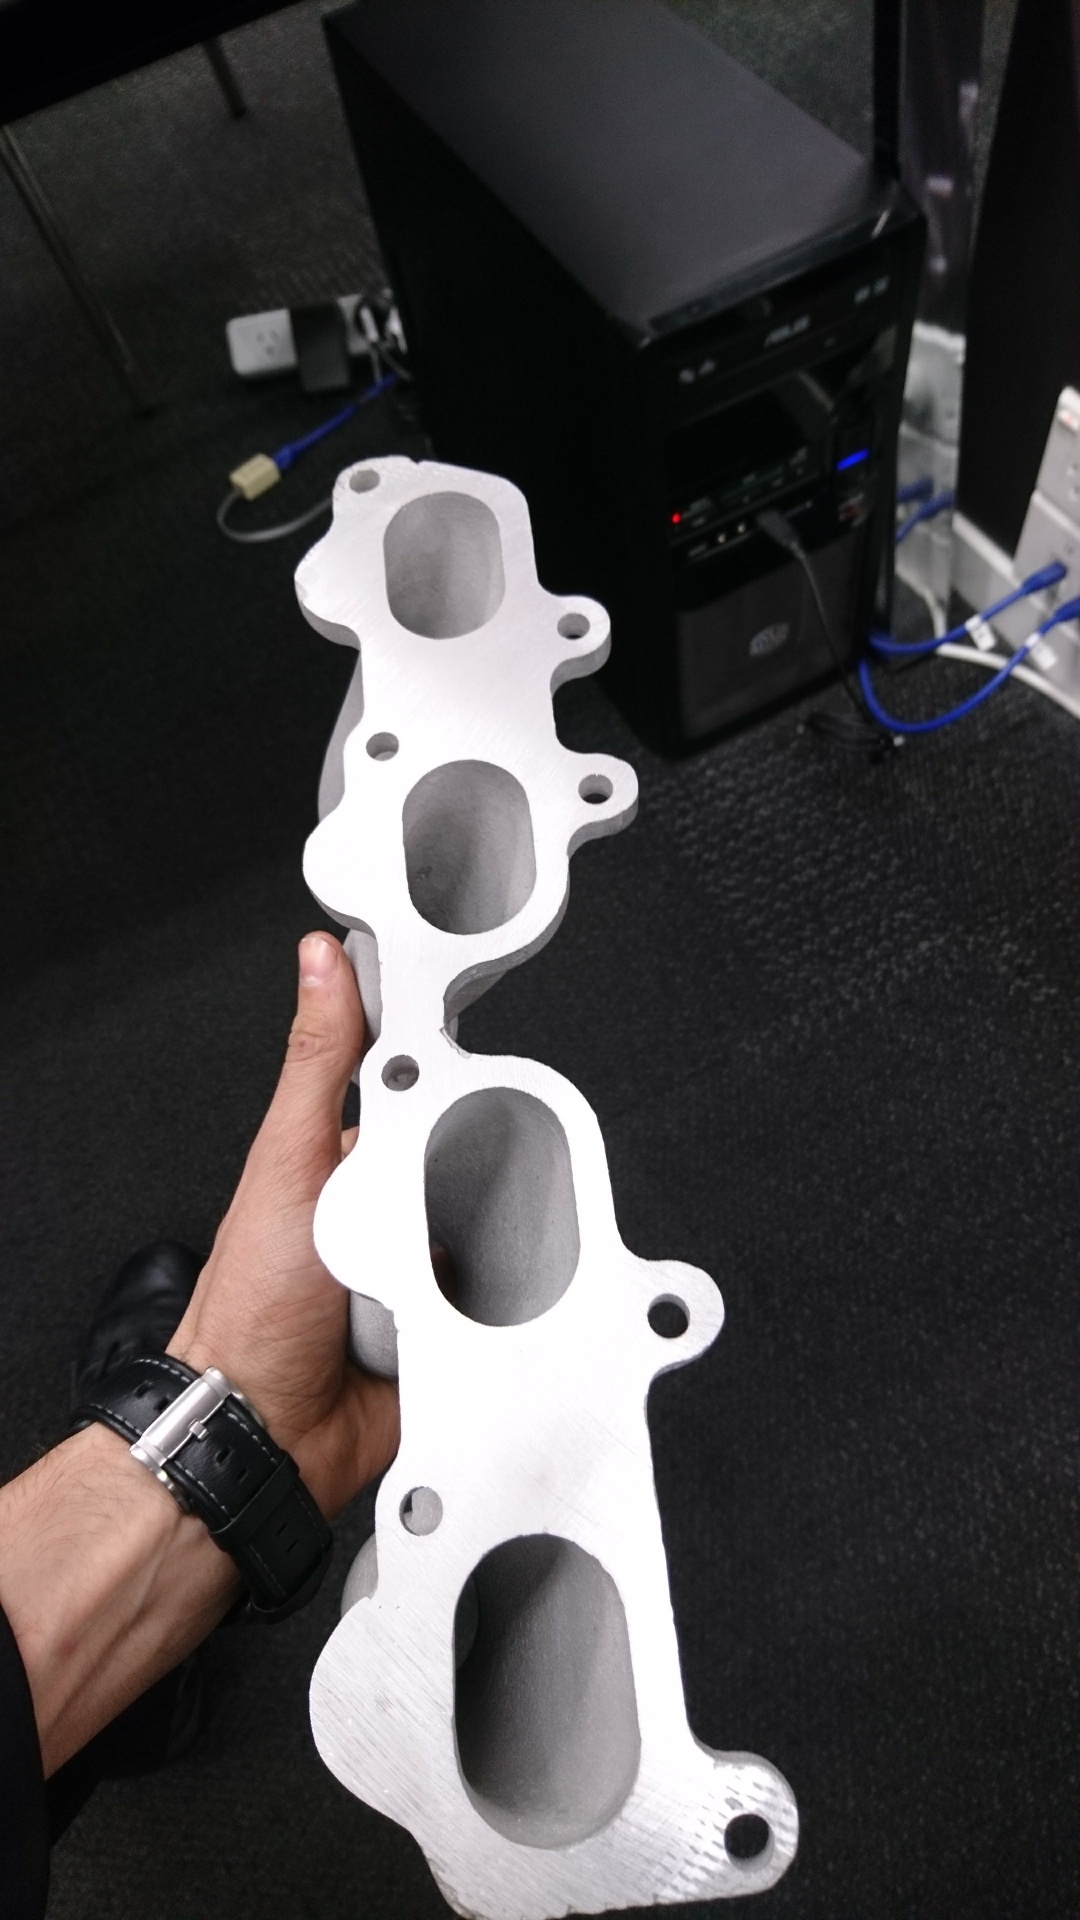
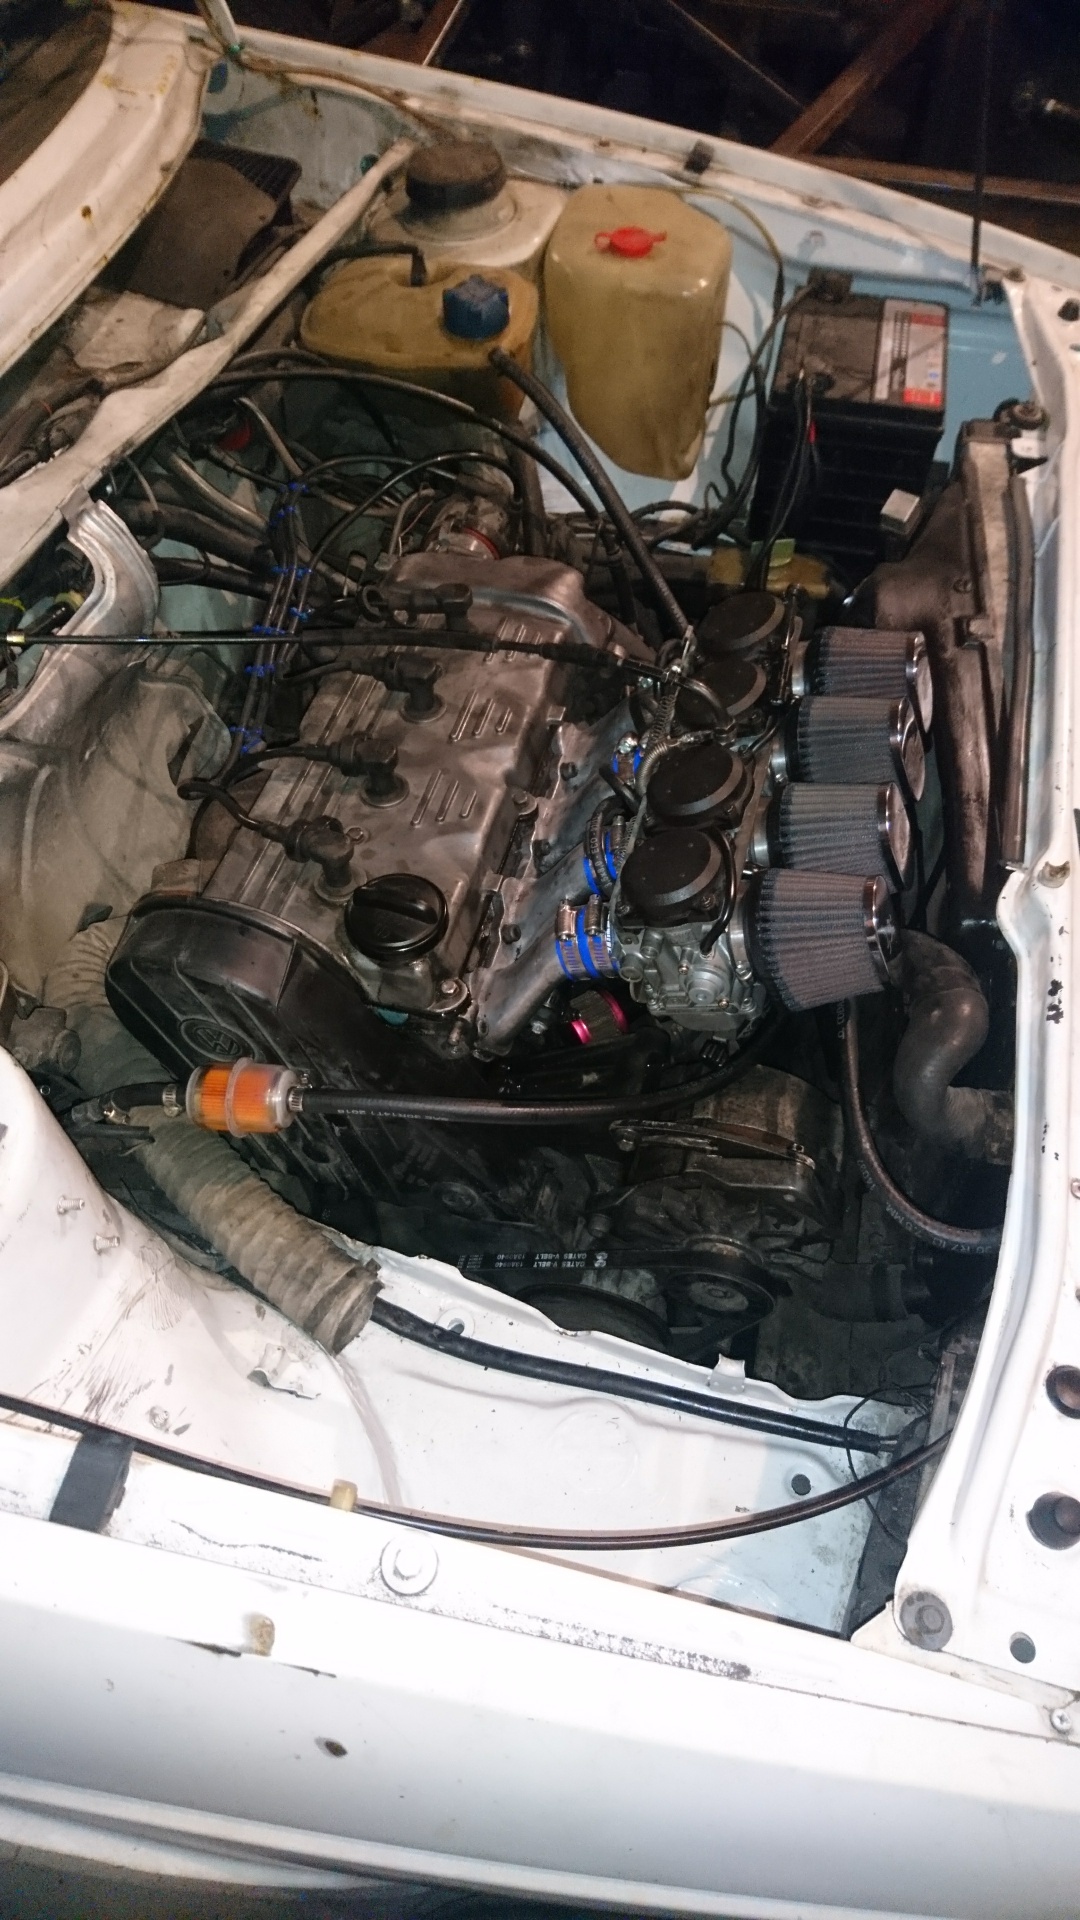
So, with the help of a friend, finished off the throttlecable for the manifold. Decided I'd make a log manifold for the vacuum ports off the carbs, used seam sealer on some factory plastic pipe and capped the end- hoping for the advance and maybe boosted brakes but who knows how well it will work.. Whitleytune Manifold fitted perfectly, looks very smart indeed - I've had it blasted after being machined. Back of the manifold after being surface ground flat. Running the original intank lift pump. After the first fire up it was leaking out the carbs, and had a puddle under the floor. I left it for the night, came back in the morning to find I'd left the barb fitting loose from where I'd put the inline filter & hose, and the carbs were most likely leaking from sitting from a sticky needle/float valves. Need to balance them properly, however for 5 min of running they are running beautifully - better than the CIS unit ever did in my ownership.. Cannot thank Rob enough for his work and persistence in making the manifold, and friend Gary for his help modifying the original cable to work. Can even shut the bonnet without it hitting anything! Discuss; //oldschool.co.nz/index.php?/topic/48778-chriss-1987-mkii-golf-eurocup-racer-car-with-added-moss/
1 point
-
right side up upside down welding removed even more car made a C notch for more slam and got fully sideways1 point
-
*Photo heavy post* Been getting some free time lately to get into me old girls, So as of late i went ham and cut back 90% of the rust and smashed on some POR15 to seal it up then coat of colour matched paint for now, keep that patina look lol. have been purchasing care packages of parts, each time making her run that much better. Now to the point where i get 600kms to the tank of 95 without fail! pritty stoaked so i daily this beast now. Not sure if i posted it but i ended up having hawkes bays 2 gold cressidas I nabbed the facelift front and various other pieces, fixed up the shotty engine, adjusted all the valve timing on the correct rotations.. ran mint then sold to a young fella in Napier basically where im at now riding on Riverside Reverges, this is the first car which ive actually really loved to look at and enjoy driving every day Lots of little pieces ive replaced, trim clips you name it, pritty pedantic but its paying off. So far the engine have a new fuel filter/plugs/leads/thermostat/cambelt shizz/afm/tps/screw bung etc etc heres the latest package Filler cap seal was rock hard, so is the rocker cover seals but that wont be done till i get my turbo...oh yeah im chucking a turbo on as well lol will shed light on that in due time other things ive done during my hiatus on here was jap spec chrome wing mirrors, gx71 mk2 sedan monsoons, factory headlight covers, nardi classic woodgrain wheel, carozzeria parcel shelf speakers that light up with the park lights, I made a VU meter bar from led kits and a bit of ingenuity, works pritty trick. Latest installment was to fix the dented lower valance, been pissing me off for years Fitted the og undertray that i pinched from the other cressida While i was at it i fitted the facelift front lip, eventually ill colour match it but its ok for now \ Thanks for reading if you made it this far lol, hopefully keep this thread more up to date as the turbo setup becomes complete1 point
-
1 point
-
only took another year and a half to get all barred up about this again1 point
-
it has a 10 year warranty so it souls last 10 years and 1 day then dissolve1 point
-
no i got them done at Jack the stripper. he did a great job but man are the doors wet now.1 point
-
Unfortunately VLs are growing on me, and this one isnt helping Looks cool, do you have the other mesh wheel to complete the set?1 point
-
Hide them1 point
-
I've watched this video so many times. I've never heard another Jag V12 make a high-pitched scream like this and I've seen quite a few posts from people wondering what this car's secret is.1 point
-
Old mate American Dan came around and did some great work while I was cursing other vehicles and getting sunburnt working in the driveway. getting to look serious now "Great Node of Justice" still a bunch more to do but most of the longer tricky ones out of the way.1 point


.thumb.jpg.b5491dbec1053270a4d99ed376fc2c36.jpg)


This leaderboard is set to Auckland/GMT+12:00