
Leaderboard


Popular Content
Showing content with the highest reputation on 09/19/15 in all areas
-
Wow- after a bit of digging about through her old photos my mum finally found some of our old 120y wagon from back in the late 70s/early 80s. What I was after was confirmation that the car for sale on the oldschool classifieds area.... http://oldschool.co.nz/2011/forum/index.php?/topic/49659-fs-datsun-120y-wagon-nelson/ Mum phoned me this morning with good news. Yes!!! it is indeed our old car. Damn this is cool news!!! I have spoken to Dave's (avenger tiger) boss and its still up for grabs so I have said I'll take it away Mum and Dad are very excited about the prospect of getting their old car back. Mum has been talking about getting a Morris Minor Traveller like they had before the Datsun but they are too expensive. Getting their Datsun on the road for them would be awesome. Luckily it sounds like I might be able to get the old original engine back as well. Its currently in a Suzuki 4wd but the owner wants something else to power it. So this will be good if I can secure its original heart. Anyway- I'm so excited. I should be in the workshop right now welding my Viva wagon but I couldn't help but start a thread even though I don't yet have the car. I am under no illusions that it will be an easy resto. It will be rusty like Ive not seen before. But I don't mind that. Hopefully if I need any parts there should be enough bits floating about in NZ on the vibrant datsun nz forum. Another choice thing is that because mum has photos of it with the plates visible hopefully I can apply to reuse the old plates when it come to the re-vinning process. So here are some cool photos. All taken in the late 70s or early 80s. This is up the Westbank road when we used to go visit this mad old farmer/recluse fella. He would hang weird things about in trees if I remember correctly and thats what we are looking at. This is me and my brothers and sister in the boot along with Bella the smelly old Lab and Pipi the cat (who lived to be 19 years old!). I'm the little fella sitting on the back seat on the right in the white collared top. Here's the two family wagons. My Dad was very proud of his Mk4 Zodiac wag that he brought over with him from the UK. It was always giving troubles whilst the Datsun just purred through life. Dad never bought another english car again and we ended up with two more Datsuns after the 120Y. Mum and Dad did buy my first Triumph off me when I left for me 10 year OE and they loved that old car. But that's because Triumphs are bloody awesome too. Finally here is a photo of a Family reunion at Woodend. It was my Mums family and this was the mens beauty contest. The little Hillman Superminx wagon next to the 120y was my cousins and that was a cool car too. I think my cousin Helen ended up crashing it Here it sits in its current condition.. Discuss Here34 points
-
The tube sticking out of the dashboard is a light, like a map light but can be turned to light up the instrument and switch on the dashboard. Supposed to look like this. Mine is made from a small piece of copper, a nitrous oxide canister of the kind that used to be found on every roadside, a disused trim clip spring and a piece of wire that was one of the tie wire / safety wire bits on one of my connecting rods. Waste nothing.6 points
-
5 points
-
underside of the bonnet prepped and painted. there was a tiny bit of rust in between the skins right at the front lip. i tried to take a photo but it was pointing into the light so it didnt work to well. but you can see right at the front of the bonnet the lip is all wrinkly. what i did was prize the two skins apart between the spot welds and i used the air hacksaw in the gap to act as a scraper, using the sides of the blade rather than the face, to get the shit off the two surfaces, then i rust killed it a few times while using the air hacksaw in between coats of the rust kill. it came up really well. so then i painted it. i mixed up the paint then used a brush to flow paint down between the two skins. its better than new in there now. then i painted the rest of the underside of the bonnet. ill give it a sand with 240 odd then wet lay another coat of primer then colour but thats a little way off yet. next is to fit the bonnet and get the hinges right then ill weld some gussets into the hinges so they don't fold like the frenchmen they are. 2015-09-17_11-36-05 by sheepers, on Flickr 2015-09-17_02-37-20 by sheepers, on Flickr also i blocked the bonnet down and wasn't happy with it so i put a tiny bit of green spot putty in it and primed it again. i hope that this is the last coat of primer before colour. i bet somewhere in this thread there is the immortal phrase "I'm not going to get to carried away with this build" whatever dick. 2015-09-18_12-43-47 by sheepers, on Flickr 2015-09-18_01-58-58 by sheepers, on Flickr also did some snow tyre traction testing. snow tires don't traction too well. 2015-09-18_05-50-17 by sheepers, on Flickr5 points
-
DGR LYFE (thanks to my photographer www.stephenfield.co.nz )4 points
-
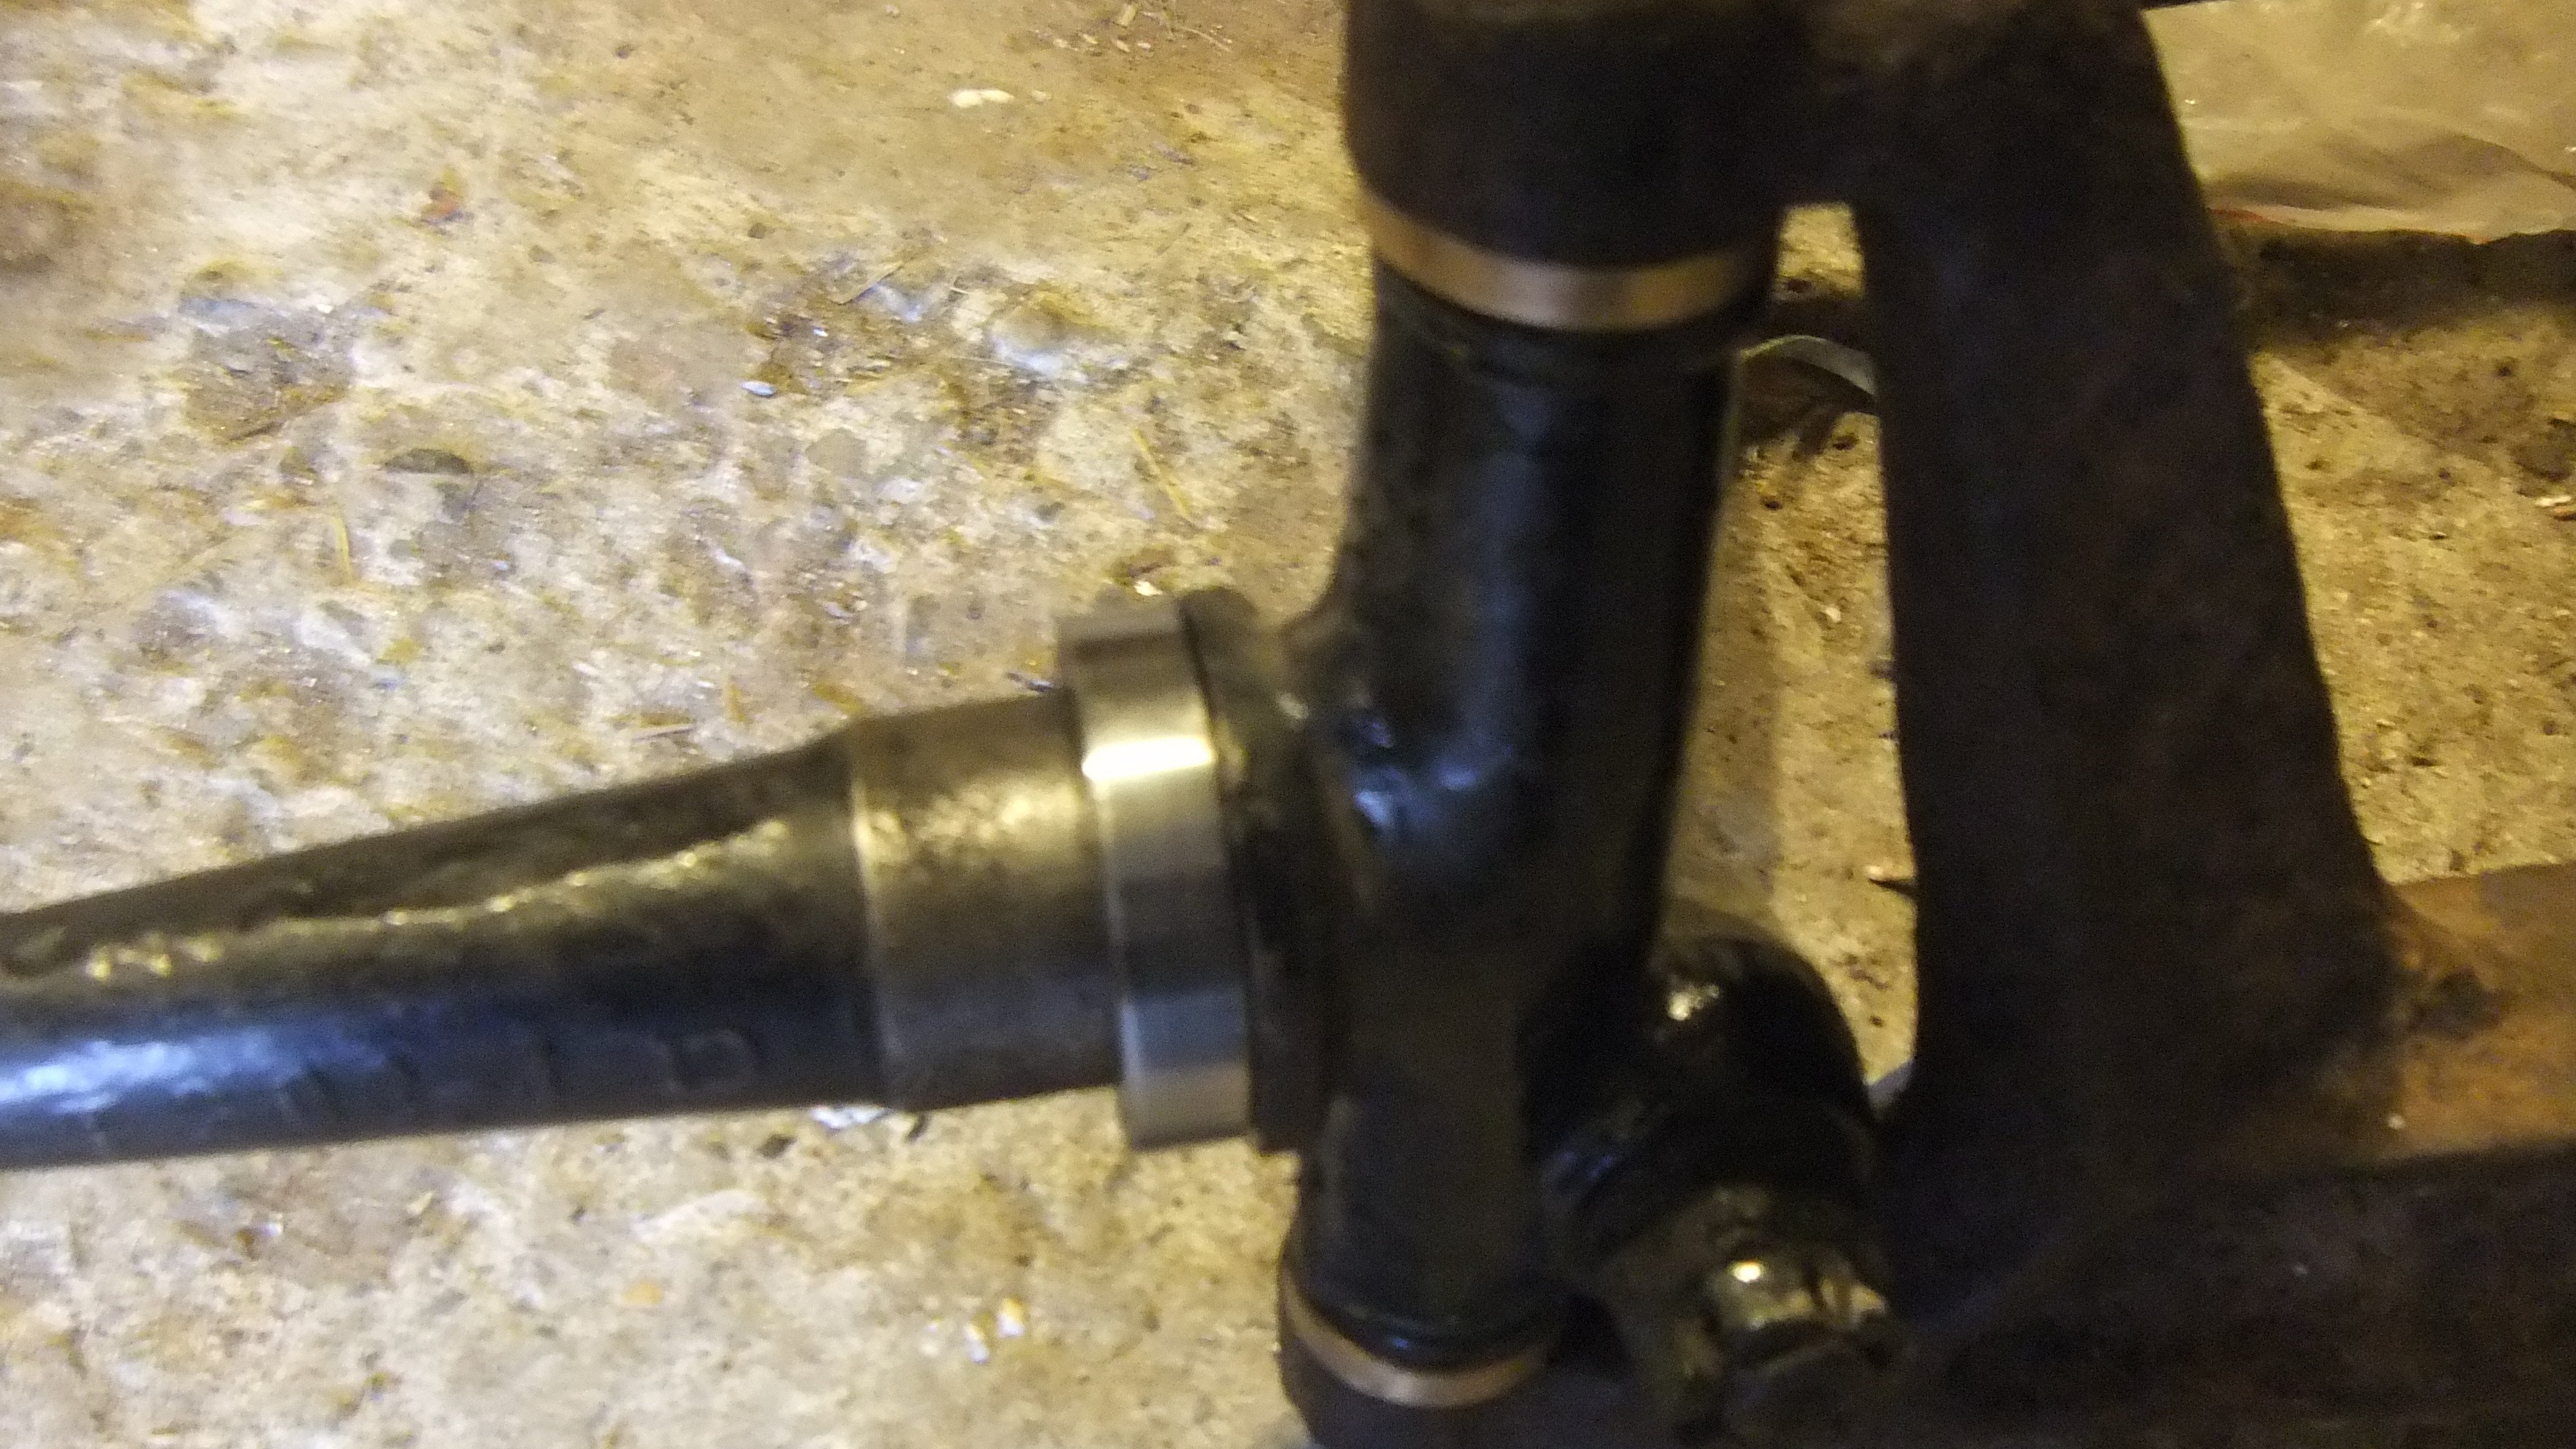
So SOHC helped me turn these wheel bearing spacers. Actually he did most of the cutting out, i only did one cut and the radiusing of the corners and honing and gave them a really rough polish. Now more modern type wheel bearings will fit //oldschool.co.nz/index.php?/topic/47381-rustiz-1920-26-ford-t-bucket-of-rust-discussion/
 3 points
 -
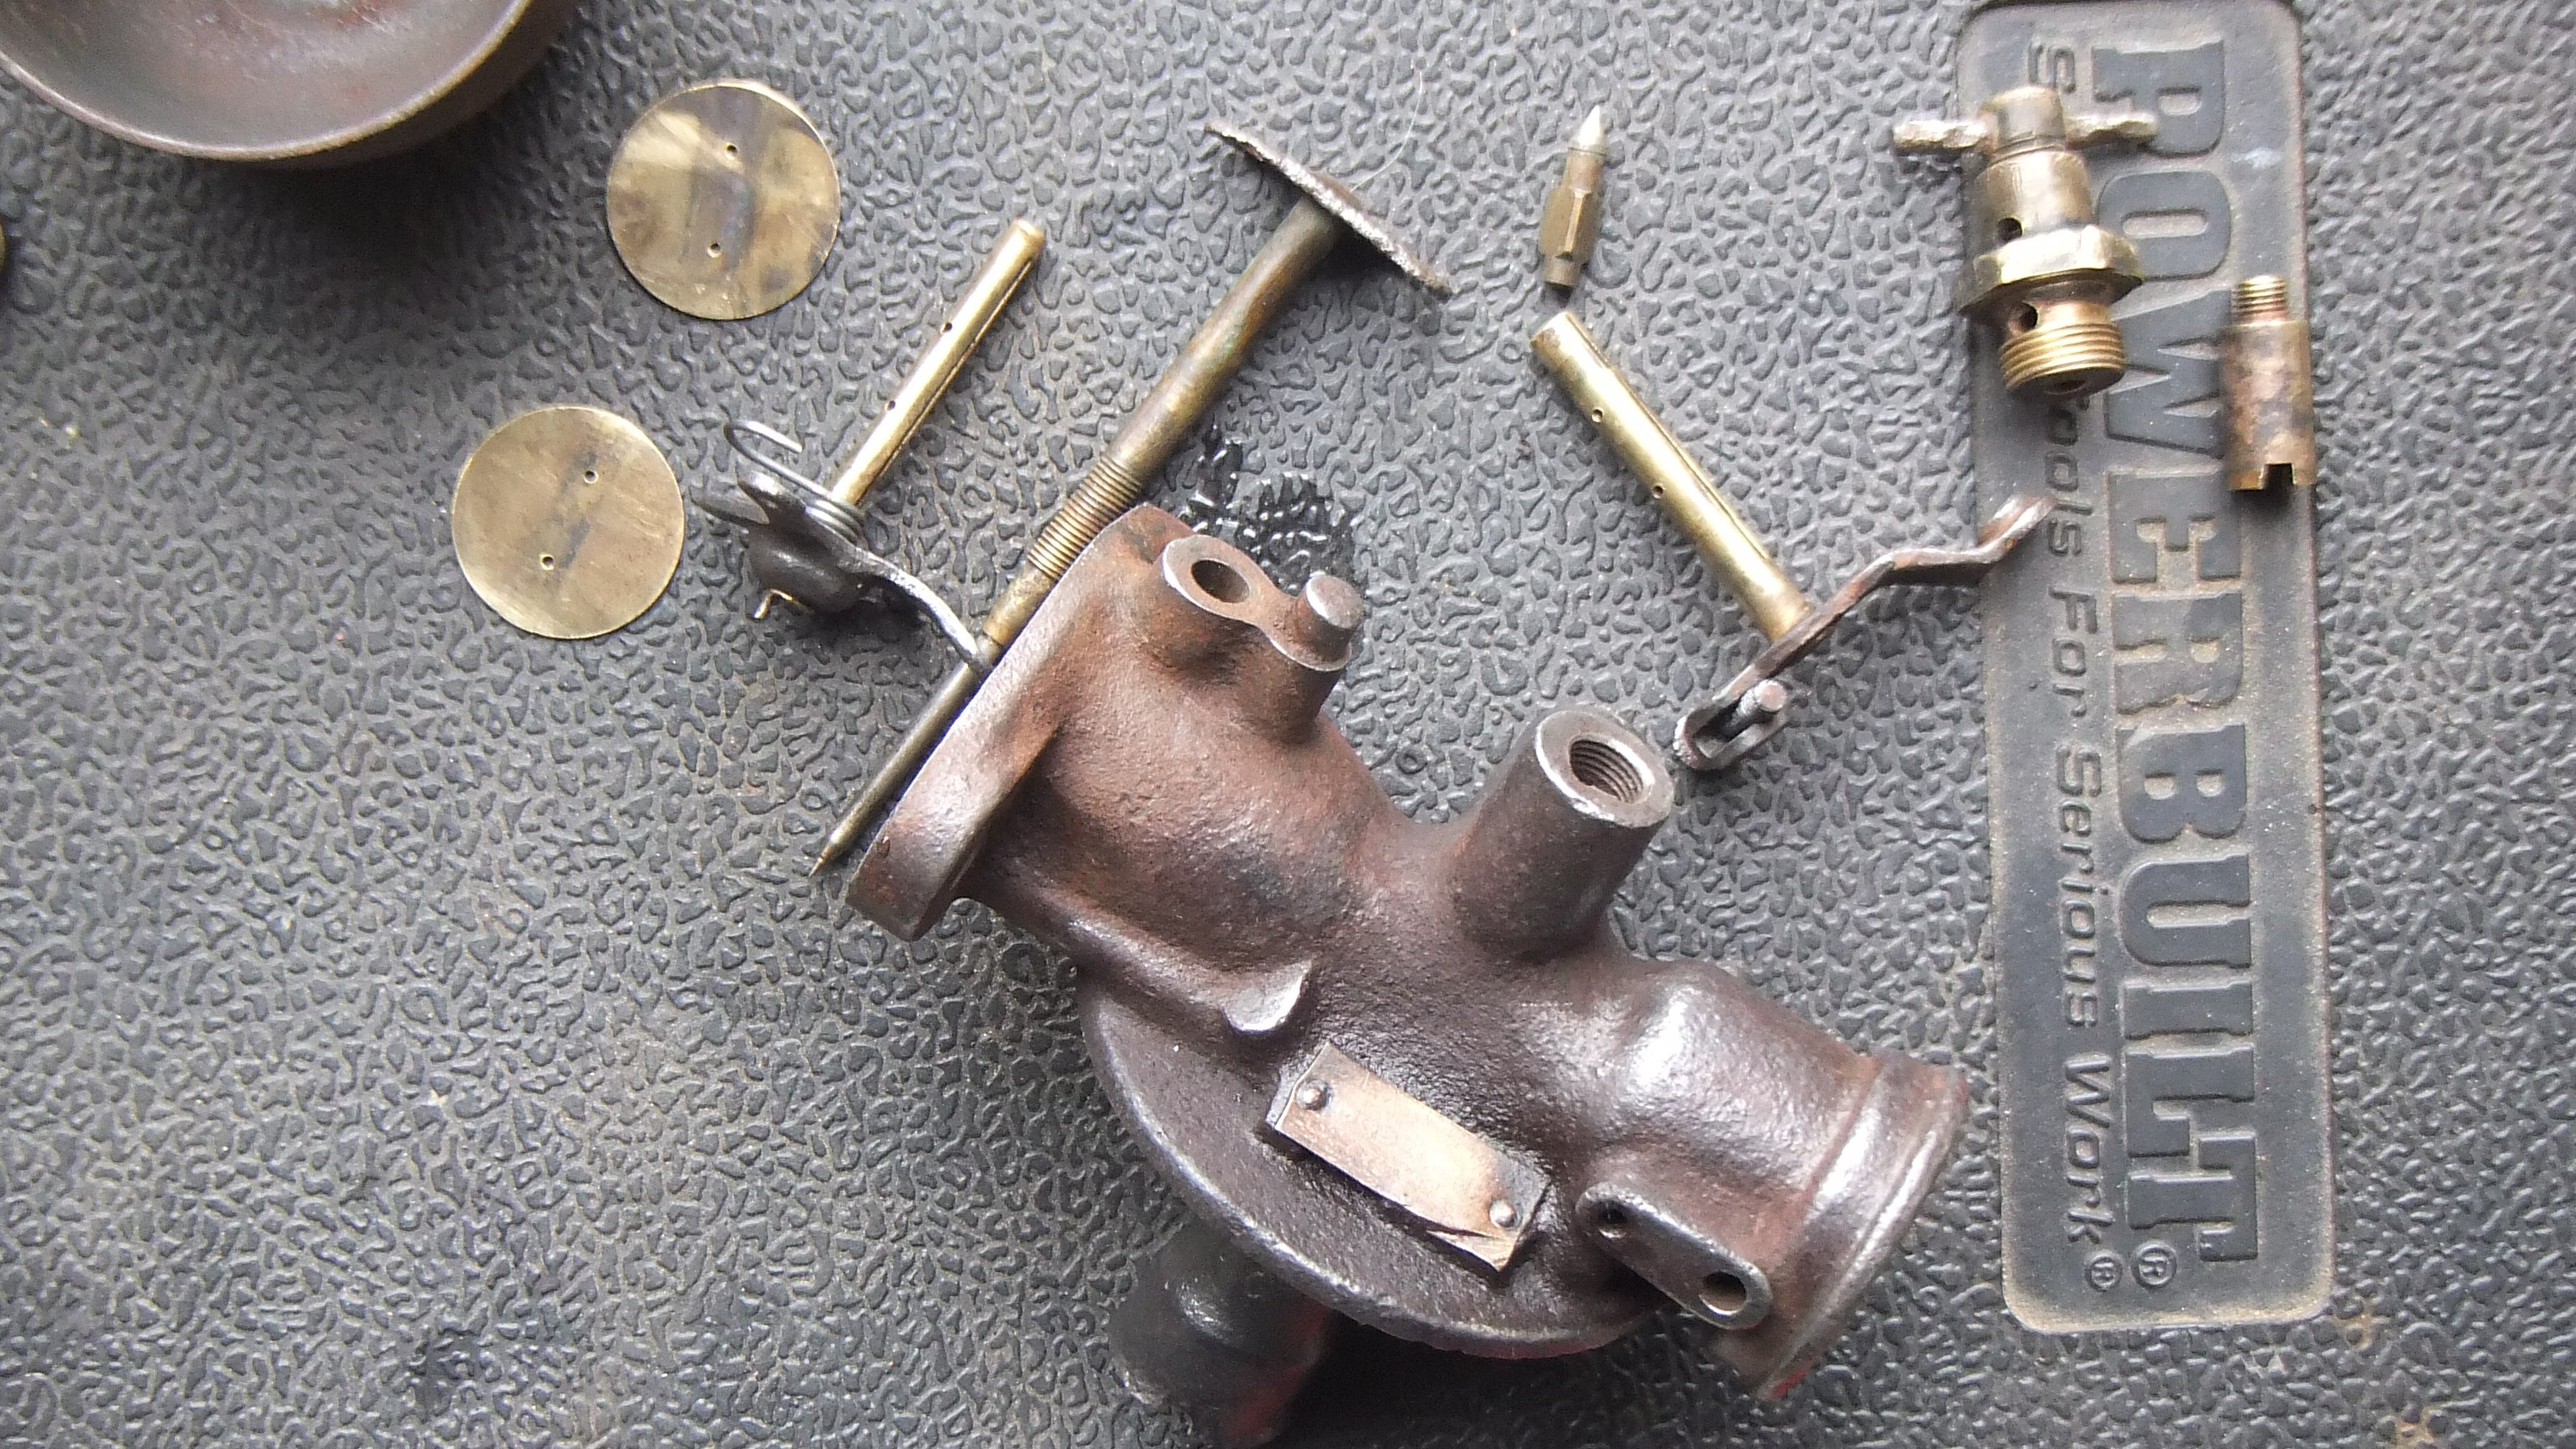
It's like working on a lawnmower carb' but bigger and no plastic anywhere. Not sure if you can read that but the name plate reads "Holley carburetor Detroit Mich" The whole car is like a mechano set.
3 points
-
Yeah- Im pretty damn stoked!!! I used to always wonder what become of this little car but always thought it would have just returned to ground as old Jap cars do best. The plan is to get it back to my parents and see if they enjoy driving it. I think the lack of power steering might be tough but its probably not that bad. Im going to go check it out later this week and sort out getting it home. Mum is going to keep looking for more old photos of it and I'll post them up if people like it. I like old period car photos and so happy mum took plenty.2 points
-
I would be genuinely surprised if they picked it up, but just argue with them as you are allowed +/-5%.2 points
-
Thanks. Yeah I think it's awesome too. No I won't be doing a full restoration on it. I have straightened the frame and given it a thorough clean, same with the components. There is a good 28x1 3/8 rim in the garage and an Eadie coaster brake to replace the missing rear wheel. They were Nickel plated and then painted. They weren't fully painted though this one looks like it has had some kind of 1920s flame job with the nickel plate showing through. I'd say it was so the bitches could see you had a shit hot bike?2 points
-
Still working on getting this wof'd for our trip up hopefully warranted early next week. Will swap a few parts over tomorrow.2 points
-
Im back! Well I was always around but on one night a couple of weeks ago A cold sneaked up behind me, threw a sack over my head and dragged me off to a place where I did not want to do anything but sniff and feel yucky. This was just after having been busy fixing other peoples cars for that money thing. Basically put.. my roll had stopped rolling and this wagon stayed up on blocks. But yesterday I got my rust mojo back and got stuck back in. The wagon has been sharing the workshop for the last few weeks with a cool old Volvo 145, a very bright Saab 95, Bimmer 320 plus Hannahs Trump Mk1 wag. I do like lifting the door to see intersting cars in there Not too much to show because it was all slow repairs around the chassis rails and jacking points which I want to really make sure is nice and solid. I have now just earlier finished the worst of this area with not much to go. I used a combination of 1.6mm steel and a very handy piece of box section that happens to be the correct width and thickness. This has been saving my folder from trying to fold 1.6 too often- it being really only designed to fold up to 1.2mm. Luckily the rust has been along the bottom of the rails where the damp has sat thus leaving the uppers attached to the floor nice and strong. I remade the gearbox mounting brackets and made them semi fixed with an extra bolt rather then the little tabs that Vauxhall had fitted, now rusted away. As I have been working my way along the rails I have sprayed the insides of the new steel with zinc rich paint. Later on it will get a heavy dosing of wax. So the last very interesting photo for this mega update is of the underside sort of almost rot free. I promise I will try to do better next time although I most likely will just take more photos of rust. I am very much looking forward to the mechanical/bodging/fiddling/tweeking updates when I get the car moving and stopping. I have been having many day dreams whilst chilling in the sun under the influence of man flu about what I could do with the engine/what I could swap it with. I still love the absurdity of a grand plan I dream about where I squeeze a BMW V12 with a manual box in place However I usually come back down from cloud nine and mull over more realistic propositions such as a sneaky carb fed turbo, perhaps a Datsun engine or maybe fit fuel injection from another 1200cc car (that last one more for the technical fun in doing so rather than any real benefits it most likely wouldn't really bring) For now though it has to be rust removal.2 points
-
Proof:2 points
-
I like the map light, mine has a red diamond peace of glass in the end, I have set it up to be the high beam warning lamp.1 point
-
Thanks, now that i've read the comments and seen that^ link my mind is at ease : )1 point
-
As per above, should be within 5% for WOF, otherwise cert is needed. Be somewhat surprised if they cared. Remove the placards? https://vehicleinspection.nzta.govt.nz/virms/in-service-wof-and-cof/motorcycles/tyres,-wheels-and-hubs/tyres-and-wheels#table10111 point
-
That's a great find - is this all around the Nelson region? It is a good area to for older cars to stay alive. I'm lucky to have my parent's Holden (I grew up in Nelson). Better start hunting for the MkIV!1 point
-
Thats pretty rad to find a vehicle your olds once owned! we have a similar story in my family, the old man saw a chev corvair on TM that brought back memories of the one my grandfather had when they first moved out, he somehow tracked it down and even better managed to buy it! here it is tucked away waiting on hefty rust repairs but the effort for that history will make it worthwhile. I must show him this thread for motivation!1 point
-
I too would be surprised if they notice.1 point
-
Try a tap with a hammer first, loosen the castle nut but leave it on and hit the knuckle where the taper is, might have to give it some gusto1 point
-
Haha that's funny! You could always do your dream build with it too! Rotary Flares Dumpy Zorst And of course... modgies!! Oh and I can't forget the white interior and camouflage paint job1 point
-
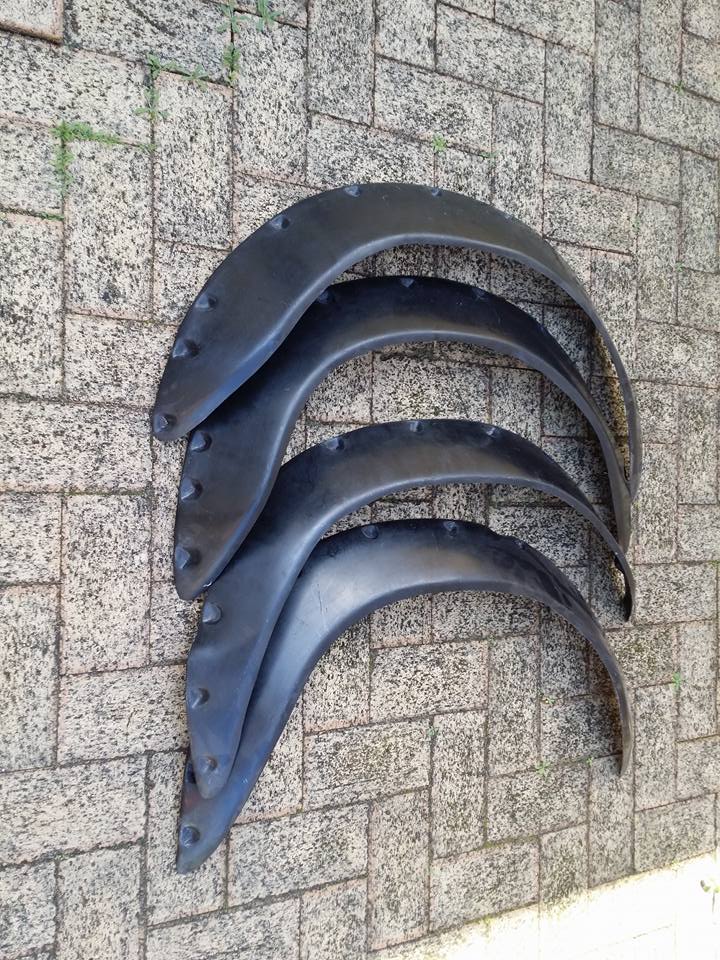
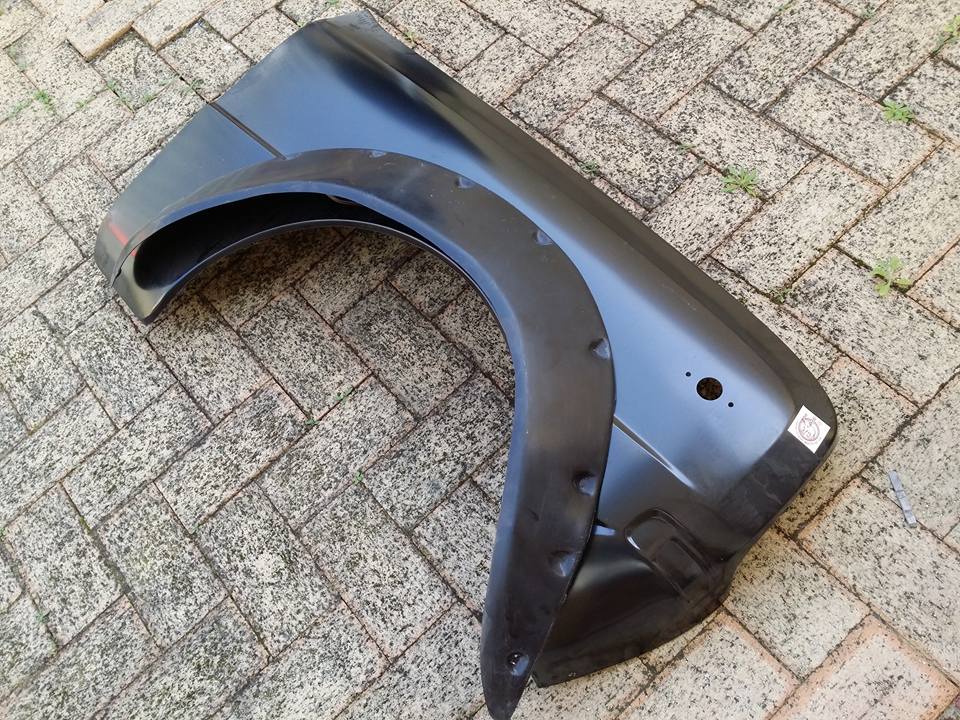
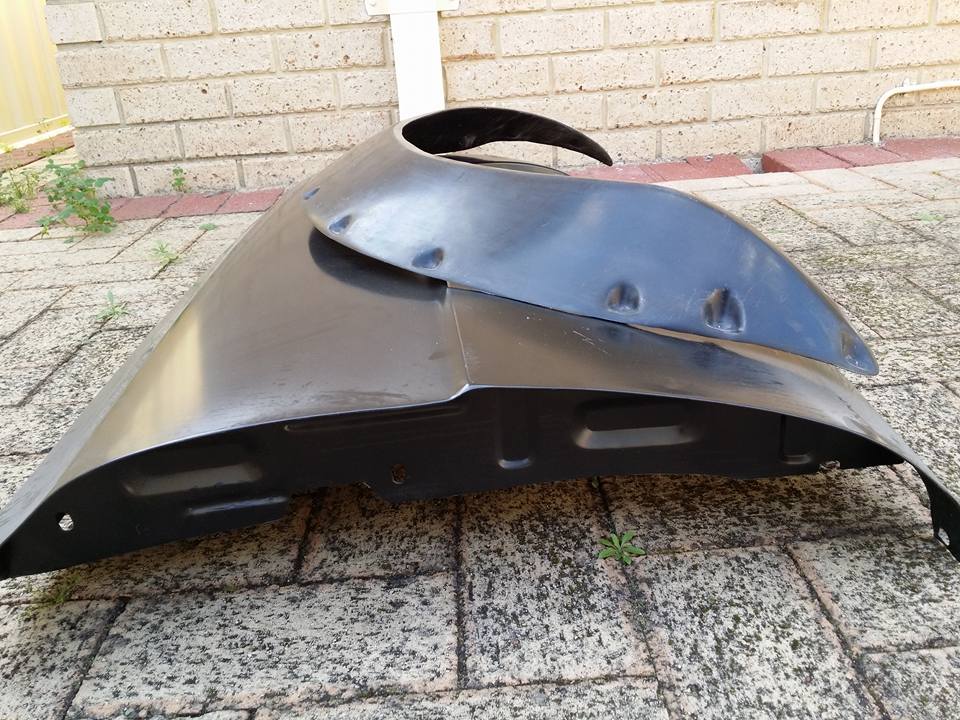
And that is where these come in.. Managed to sort these Group C RX3 flares locally for very good price. Mocked up on a spare guard.. Obviously trimming and bending required but they look the biz. Should be wide enough for the rears with a suitable tyre combo (unsure what tyre sizing at this stage). The main issue though may be clearance issues with the rear doors. May look into cutting them and bolting to the doors so I can still open them (could look bad though) but will have to wait and see when i'm at the car. Any thoughts on alternatives for fitment? No further updates on rust work at this stage but stoked as the look is all coming together. Thanks for looking. Tai.
1 point
-
That would be fancy! But doable. I'm looking to use ultrasonics for height if I can get suitable accuracy, anyone with an opinion?1 point
-
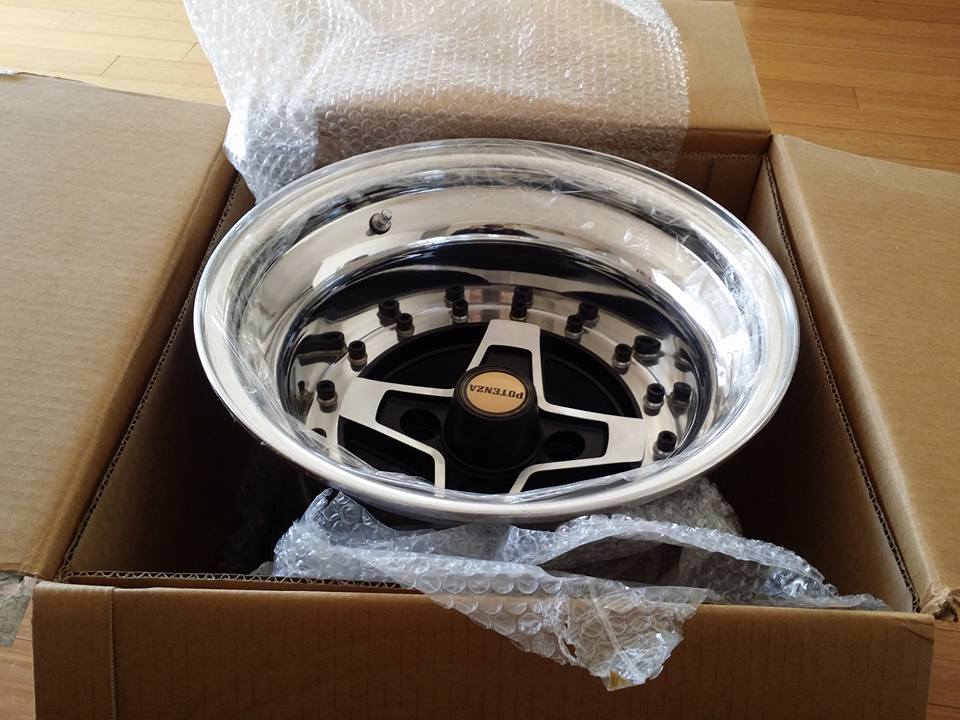
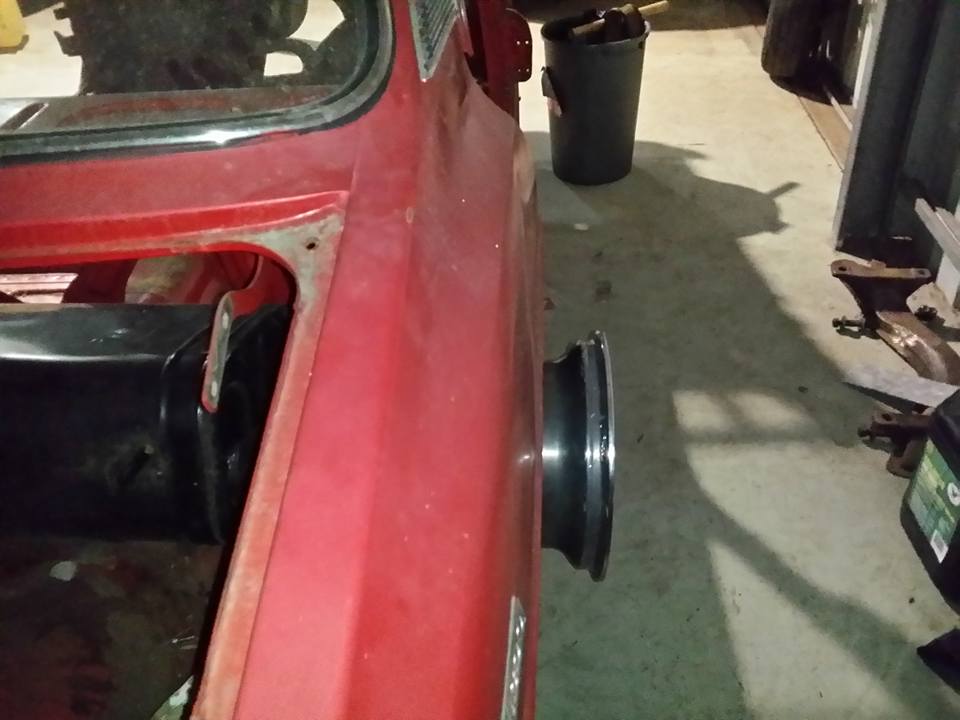
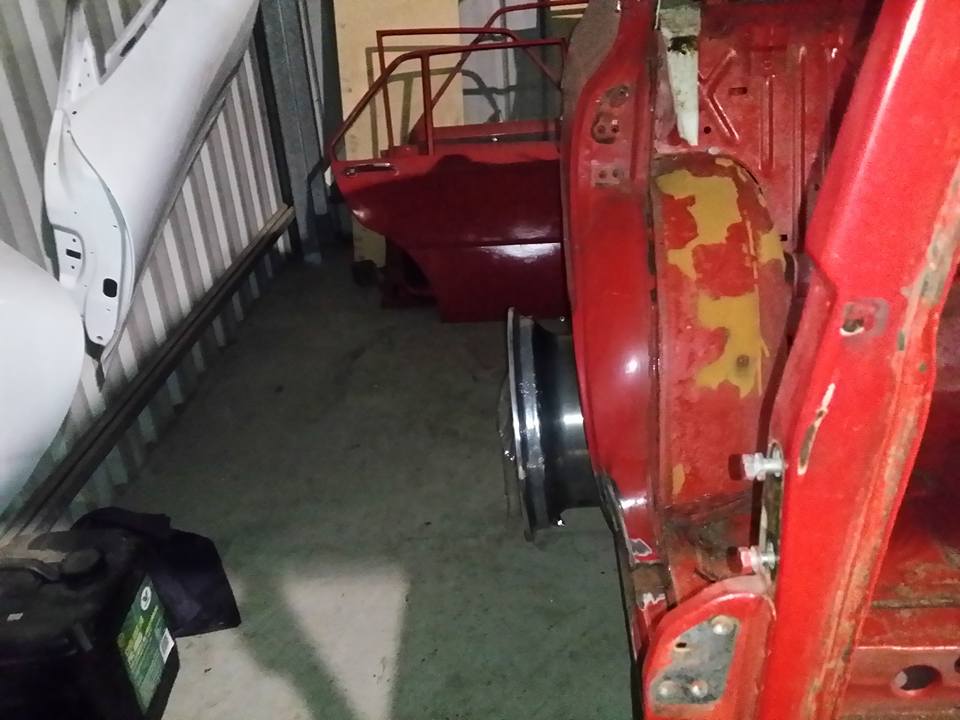
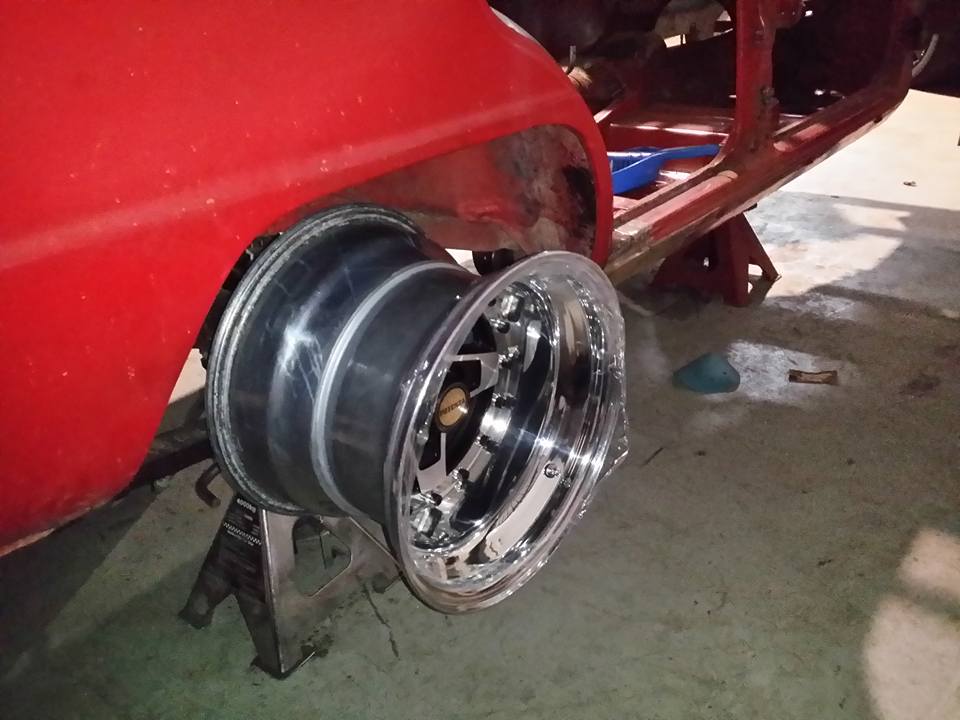
Some boxes arrived. Daaaamn these are bigger than I pictured in my head. So stoked though! And here's what they're like on the back... oh shiiet.. The rears are poking out approx 60-70mm!! Luckily there's enough inner guard clearance in the rear so no mini tubbing required there. Haven't been able to fit up the front yet as it's all apart, may need to need to minitub the front for clearance at lock but no doubt outer guard work is required.
1 point
-
Keen to see you 2 stepping and flat shifting Roman, make it happen son.1 point
-
Cheers, it's a s40 boulevard ls 650. Miata tyre page says 4.6% off on speedo. Yep 15" rear and 19" front.1 point
-
Yep. 15s? What bike you got?1 point
-
I always wondered if you could run an airbag system using an OEM control system from a car that has bags. The 88-92 shape Galant came with ECS in the top spec FWD cars, you could adjust the ride height and stiffness on the fly and it would automatically lower the car at speed along with sending more air to one axle or one side when the car brakes or corners heavily. It had its own electric pump and three valve/solenoids per axle. The bags ran in tandem with softer springs in the struts, but unfortunately they were prone to wearing out every 5-10 years. I wanted to transplant it into my VR-4 but the rear suspension is different between FWD and 4WD so stock shocks can't be mounted. Video of it doing its thing - quite cool for 25+ years old1 point
-
Woo! Wheels finally arrived from Japan. They turned out to be 13x6.5 instead of 13x6 which is good. Gave them a bit of a polish and some new nuts and bolts. They didn't polish up as good as the other pair because they have a clearcoat on them. Will have another go removing it at some point. Was going to paint them all gold, but I think I like the red a bit more, because it's darker and has more contrast with the polished bits. Just need to lower it a bit now.1 point
-
Setting up some new fun bits at the moment: -A 6 switch panel for turning things off and on -proper knock sensing -ethrottle -Redoing the 8 injector thing (Although still waiting on better firmware to get it running properly) -clutch switch to ECU -brake switch to ECU -Cruise control switch -Second map sensor and IAT for datalogging stuff E throttle is so friggen greedy for inputs/outputs! For safety reasons there needs to be two TPS signals and two FPS signals. Plus the + and - for the E throttle motor. And a PWM output for an electric clutch that's in it. And an output to switch a relay to cut power to the system if there's a fault code. So 8 inputs/outputs hogged by just that haha. And then one more for a cruise control multiswitch, because why not Still got inputs and outputs to spare though which is cool Looking forward to experimenting with the e-throttle. The main thing I'm after will be having a non linear opening rate so that it's less jerky to drive around at very low throttle. And some launch control shenanigans for cheating at OS drags haha.1 point
-
christ half a day 3 alternators 4 voltage regulators and problems finally fixed ready for wof next week.1 point
-
I'm just running switches and pressure regulators, lots easier to use than when I just had switches, probably not as easy as a controller but saves $15001 point
-
I'll be in Aus heading to Chopped otherwise I'd have likely attended.1 point
-
Hopefully the work will keep coming in..it sure is great not commuting anymore although it's hard not just dossing in the sun. I need to stay focused. Its in for cancer surgery. Neat little car! Yeah I blame either you or sam. I did drink from govenersams hip flask too. Plus so many random hugs. Could be aids from anyone. But yes.. please visit and bring mtb. Would be so cool and a great project to get stuck into. I've already measured up the bay with dimensions from that BAD MAN bairdy. Would need much bulkhead repositioning. But wow.. imagine it.. a glorious v12 still clothed in the manky skin that is a cruddy old viva wag. Machinery house. Very handy having removable different sized fingers for folding box sections etc.1 point
-
Haha man that's just how it is, when I'm 40 I'll think the shit I'm posting now is retarded.1 point
-
lol the 5 years ago me is an idiot. I should have been banned.1 point
-
OH MEAN. So yeah did't get compeltely finished with a few things. I wasn't completely happy with the brakes, exhaust is still buggered. headlamp adjustment was done by me on the shed wall and I thought it was stil way out of whack, and yeah she's got a couple of rotten looking tyres, but the compliance man was happy as a dog with two dicks with the thing and only kicked me out for the exhaust. Took it straight to exhaust shop once the testing station lad rang me, and will hopefully collect it from there mid morning tomorrow and go get a recheck and win at legality. CHOICE1 point
-
I was thinking of certifiers1 point
-
Honest all you guys doing panel work should have 2 part epoxy primer in your shed. Put it on every metal surface, inside and out, this is the only way.1 point
-
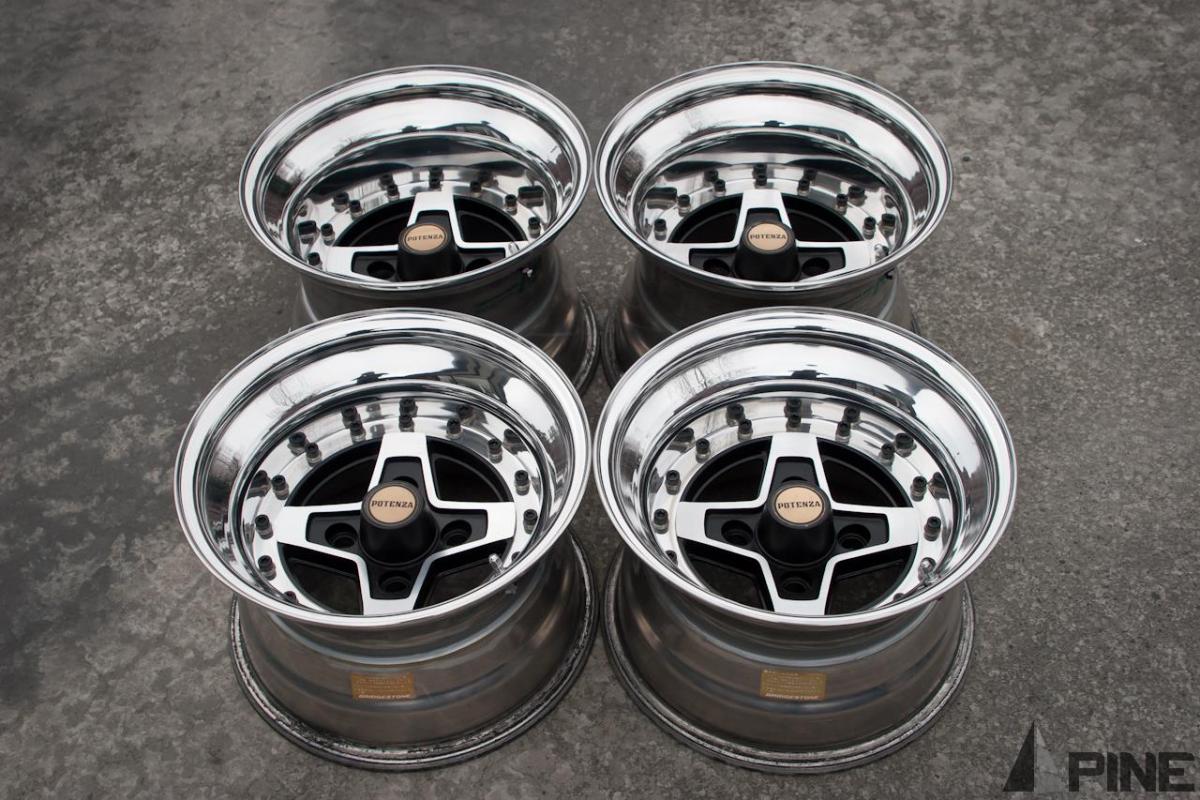
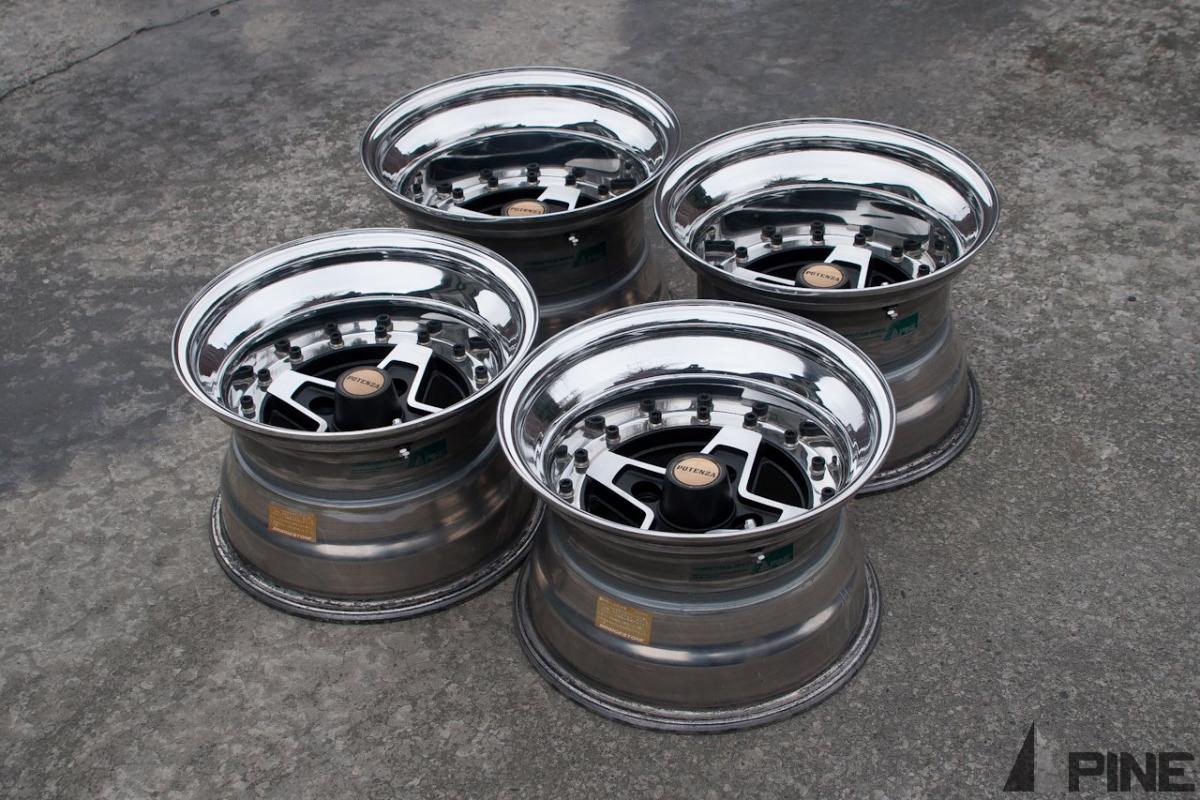
And more on the wheels.. Should be here maybe tomorrow or next week!!! Thanks for looking, Tai.
1 point
-
Made some square nuts. So when i sleepwalk i sometimes make mirror brackets. Not even mad about it. Thanks to a donor i have some leather to cover the seats with. Found some springs too but they were a bit harsh so i took them out to maybe rework them or swap them out later. Maybe give the foam underneath some better shape later but for now i'll live with the plain bulge. Here is the now leather seat base. Pretty sure it was BangBug who was the donor.1 point
-
RacKing up dem fines #Rotalife1 point
-
i sanded both rear quarters back looking for rust and general dodgy shit. i took WHOLE BUNCH of bog out of the passengers side but apart from that there wasn't much to find. there is a dent in the drivers side thats pretty hard to fathom how it got there but thats about it. so after removing a ton of superfluous bog i laid a sealer coat of primer over it all. ill start getting some shape into it this week. also i tripped on my air hose while i was carrying the bonnet and dropped it on the panel stand putting two nice dents in the skin. i need a grown up to help me because i think ill fuck it if i hit it any more. 20150823_155327 by sheepers, on Flickr 20150823_155402 by sheepers, on Flickr1 point
-
Well Ive not spent as much time working on this as I was planning this weekend just gone. In fact I did nothing to it on Saturday. This morning I woke up to snow on the mountains around us. It never really warmed up and felt like what a proper cold winter day should be like. However I managed to get enough done today worthy of an update. First off I finished the passenger side repairs. I had to put the car up on hoist so I could shift a Volvo under it. Was quite nice standing up to do these last outer skins. Since it was up in the air I repaired that hole on the inner sill which meant I was able to paint epoxy on the entire inside before welding a new skin in place. I wont grind the last welds down because well, I just cant be bothered right now as its boring grinding. I might just paint them over in primer to go along with the rest of the fancy paint job the car currently wears. I know not what could possibly be under this lumpy looking skin but it feels crunchy. I think I will leave that till later... I put the car back on its feet and shuffled it over to attack the other side. Its not as bad on the inside floorpan. Just a couple of areas that need cutting out. However the outer sill...mmmmm. Yeah pretty shot although with the squeeze test it feels like the bottom might be ok. Will find out soon. Good news- I found more money to offset the cost of the car.. So into it then. First off I cut out the rotten area around the drain. It would be easy to just weld in a square of steel and be done but I want the floors to drain as they should so I had to make a go at replicating what I cut out. Hole sawed a hole into a piece of 1mm thick steel quite a bit bigger than needed and then using a bit of pipe and a piece of round solid about the right size I formed the step in the vice. Turned out good and I was a happy chappy. I had to form one corner to suit the two channels and then cut the square to size. Welded it in and ground down the welds where the channels enter. I'll finish the floor and then cut open the sill. Oooooh I cant wait! ...its going to be like a really shit Kinder surprise isn't it.1 point
-
One of the most fun parts of a new car project, in my opinion, is is the initial clean out/strip down/inspection and the organising of all the bits into labelled boxes. So just before Nats I moved Rosie (as named by the previous owner) from her corner in the workshop and made a start on the engine bay going from this: to this: Sadly I ran out of time and Rosie was relegated to the corner again as we packed up and set off to the Coromandel (fun times ). On our return lots of jobs needed doing around the property (build woodshed, stack wood, organise workshop, etc.) so it wasn't until earlier this week that I had a chance to continue. I started by cleaning all the mossy green stuff from the windows. Alex wanted me to leave it on for patina but I actually like being able to see through the glass. Here is Rosie looking all shiny in the evening sun: Then I unbolted the seats, removed all the yucky, disintegrating carpet and vacuumed out all the pesky dust mites: The floor is surprisingly solid with only the driver's side needing attention: I discovered this under the rear seat so it seems this panel at least is from Oxford which is where I am from. How cool: I then moved on to the rear of the car. I already knew it was really rusty so was not shocked by what I found behind the trim: The floor is the worst bit: I have carefully stashed away all the trim pieces for future refurbishment. Everything looks salvageable. The other good news is that the rear doors look repairable (I already have replacements for the rotten front doors). So lots to do but at least I know what I am dealing with. It will be good when we have our new hoist installed and I can properly assess the underside. Next on the list is remove the cylinder head and see what state the engine is in (I'm expecting the worst). Now that Alex has his Viva hatchwagon in the workshop I am under pressure to make good progress on my project. I can't let him get his car on the road before mine!1 point
-
This^^^ The Triumph Herald based kit car thing that we're currently working on (zebra dude's) could be put onto the road with some major monumental modifications and a whole lot of headaches. So instead we've accepted that it will be a runabout for at car shows/on the property etc so we will never even bother to make it road legal in the slightest. You need to make a decision regarding the intended use of your vehicle, stick with it then continue down that path. I vote for doing whatever the hell you want and not bothering about the legalities. Hoon around at Jalopy dust ups, Kumeu, car shows etc and enjoy it every time.1 point
-
As per above. If you don't want to deal with the certification, either accept that you will be closed road/display only or restore it VCC-spec stock. For the front axle, something Model A based would give you more options I expect. http://www.nsra.org.uk/newforum/showthread.php?58359-Model-T-GOW-JOB-!!-Hand-built-steel-body Or, something like this could be built... http://www.mtfca.com/discus/messages/118802/177724.html?12929275151 point
-
So yeah pretty sure that this has had a combo of resprayed sections and hand painted sections as there are signs of over spray and also heaps of brush strokes. I think it makes it look badass and weathered, will give it a polish back and see if goes from oxidized pink to the O.G red it once was. It has has heaps of hori fixes including modifying a halogen bulb in a far for the boot light, house carpet stuck on car mats tek screwed to the original fucked carpet. no.8 wire used all over the show and this lol fix on the broken muffler.. The brakes are also almost oblivious and clutch is gone. made fun times driving it to the workshop this morning. Anyway I've got some big plans for this which are literally happening. Yes i've been talking a shit out my previous cars including my KP61 and GZ10 however this is actually happening as I have funds available now. I've dropped it off at Hugh at Tyrepro whom is a local Rotary guru (there's only a handful of workshops around here that specialize in rotaries and have only heard good things about what this guy gets up to so should be good). I put together a list with Hugh today about a full engine conversion that will be taking place over the next few months. The list includes: -13b bp (unsure if going to go ID fuel injection setup or IDA carby). -s4/5 transmission -Hilux diff in rear -Brake upgrade (unsure at this stage maybe s4/5 4pots in front and hilux rear brakes). -Fuel system upgrades including lift pump and surge tank. -New brake lines and fuel lines (braided) -Oil cooler and alloy rad with thermo fan. -Chromoly flywheel and uprated clutch. -New leaf springs with torsion bar and panhard rod. -Might go coilover setup in front. -Nolathane bushes. -Gussetting and stitch-welding in the engine bay. -Probably going full stainless exhaust system. -Convert stud pattern to 4x114 Plus all the other crap to get it legit, do it once do it right ay. The body wont be getting a hellovalot of attention at this stage. What I have in mind is.. -Patch up the obvious rust. -Those kind of round Datsun Z style fender mirrors (black with the chrome lip). -I'm undecided on blacked out bolt on flares (I love the shape of the 1300s but I reckon it would make it look so staunch but will be a mission on the rear guards). -Black ducktail spoiler or black/carbonfibre hakosuka style spoiler. -Maybe a black chin lip. -Period style racing stripe w/stencil or decal towards rear quarter or door. I love the retro japanese racer look and I reckon this could pull of pretty swell. Will tidy up the bumpers and give them a polish. I'm thinking about plasti dipping the grill a flat black and also might convert the tailights and rear garnish to r100/rx2 but will see how money goes. My friend reckons he has a set of original Hayashi Yayoi Sakura wheels that he will sell me so waiting on him getting them up from lockup and if they're legit i'll be buying them :):D. So yeah that's pretty much it. Let me know what you think. Chur, Tai.1 point
-
I vote for tubed rear end, hilux diff, 22" Simmons, 20bbptt motor running standard brakes. Oh, and white walls of coarse. /nicecarwant.1 point
-
Simon at AirrideNZ, can supply valves, recommended https://www.facebook.com/airridenz?ref=ts&fref=ts1 point


This leaderboard is set to Auckland/GMT+12:00