
Leaderboard


Popular Content
Showing content with the highest reputation on 04/04/24 in Posts
-
Dads finished up a radiator shell. Looking great. The original cores are made from hex flared tube to make a honey comb bundle which is all soldered together. There are about 5000 tubes! The plan is to make a false tube core /front but use a custom aluminium multi pass radiator to work as the real radiator. It will be nickel plated once the core brackets are figured out and any other tweaks.18 points
-
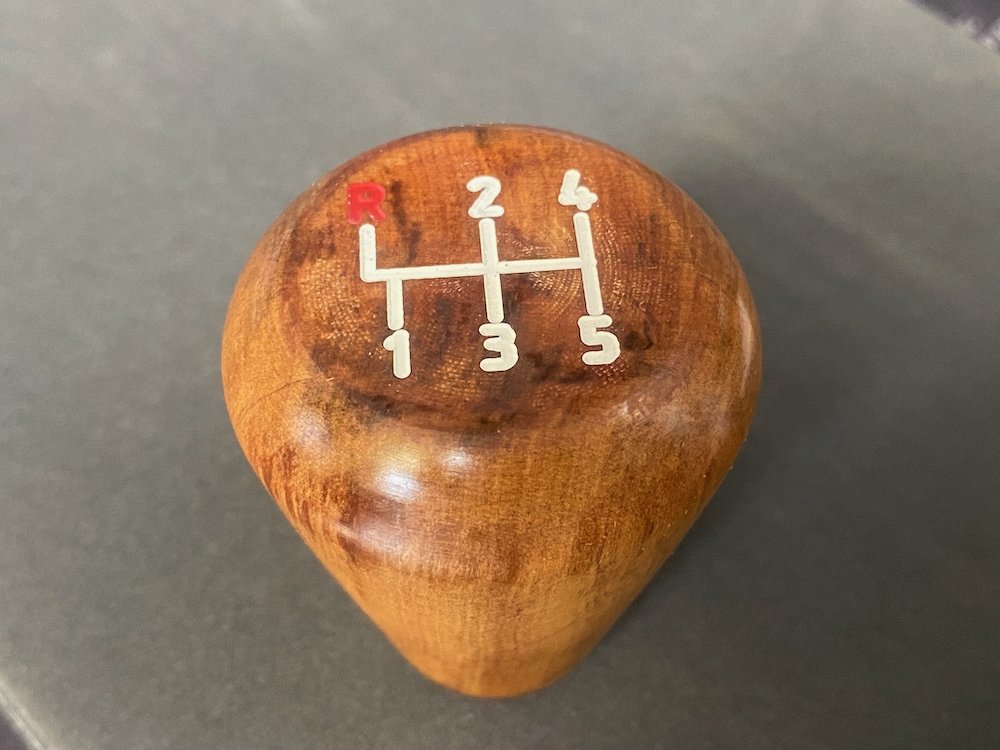
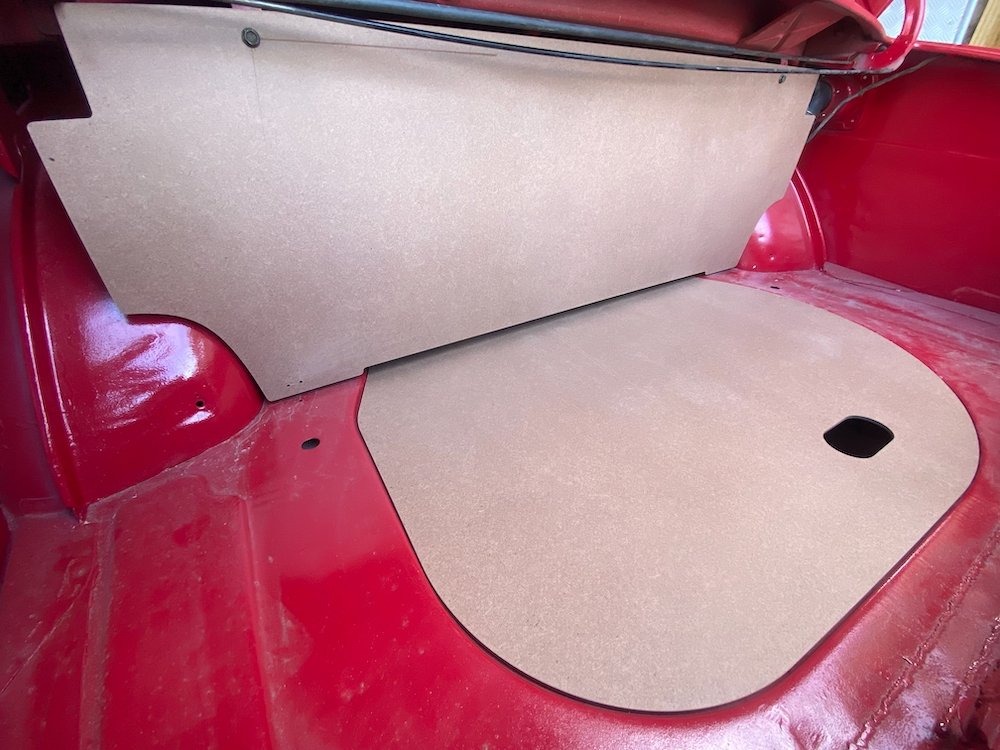
After guessing the shape, dad provided me with dimensions and photos of original boot panels, gave the CAD model an update, grabbed a sheet of 4.75mm hardboard and set about probably the most to factory spec part of the rebuild! Also carved up a gear knob from scrap rimu with the correct shift pattern, scrubbed up real nice with linseed oil too.
 12 points
 -
I have only just now realised what's going to happen the streets of Chch when Bort's old man pops his clogs....
10 points
-
Whatever you do, do not accept an airport pickup from this man ^^ Bort kindly offered me a ride one time, which I was happy to take, but then at several points on the trip I seriously feared for my safety and death flashed before my eyes. Sliding around the back seat of the angry V8 Valiant coupe (2 door sedan?) with no rear seatbelts as he did the imperial ton passing slower traffic on twisty roads. I was not entirely comfortable with that situation. Drive it like you stole it comes to mind. Then we were regaled with stories of how he rolled a car while younger, and other interesting motoring calamities he had encountered - whilst entertaining, did not add to the feeling of safety. Then we were relieved of the near-death experience when he decided to do some road levelling with the sump of the aforementioned car, and it decided to drain the lubricating fluids, rendering it inoperable for the remainder of the event. Hence the nickname "Sumpson" was acquired. Then IIRC @yetchh gave me a ride back to Christchurch in his 121 which seemed to have an intermittent fueling problem and so it wasn't being super reliable either, but we made it. Such memories. TL;DR - if you don't want to die, don't travel to Hanmer with @RUNAMUCK8 points
-
New beam’s laminated and machined from @Ned’s 3d scans, amazing outcome for such a big surface and “low cost” scanner Realising I don’t have enough talent for structural fiberglass work, talented uncle Neemia from work took over and is doing an excellent job, a layer of glass is over the inside of the hull and the beams bonded in place to be laminated over the top of.
8 points
-
That was highly embarrassing.. Halfway through overtaking a commonwhore and the engine splutters and dies.. Road leveling was pretty impressive given the size of the boulder on the road... But I'm a definite.. *edit.. Twas the other marque.7 points
-
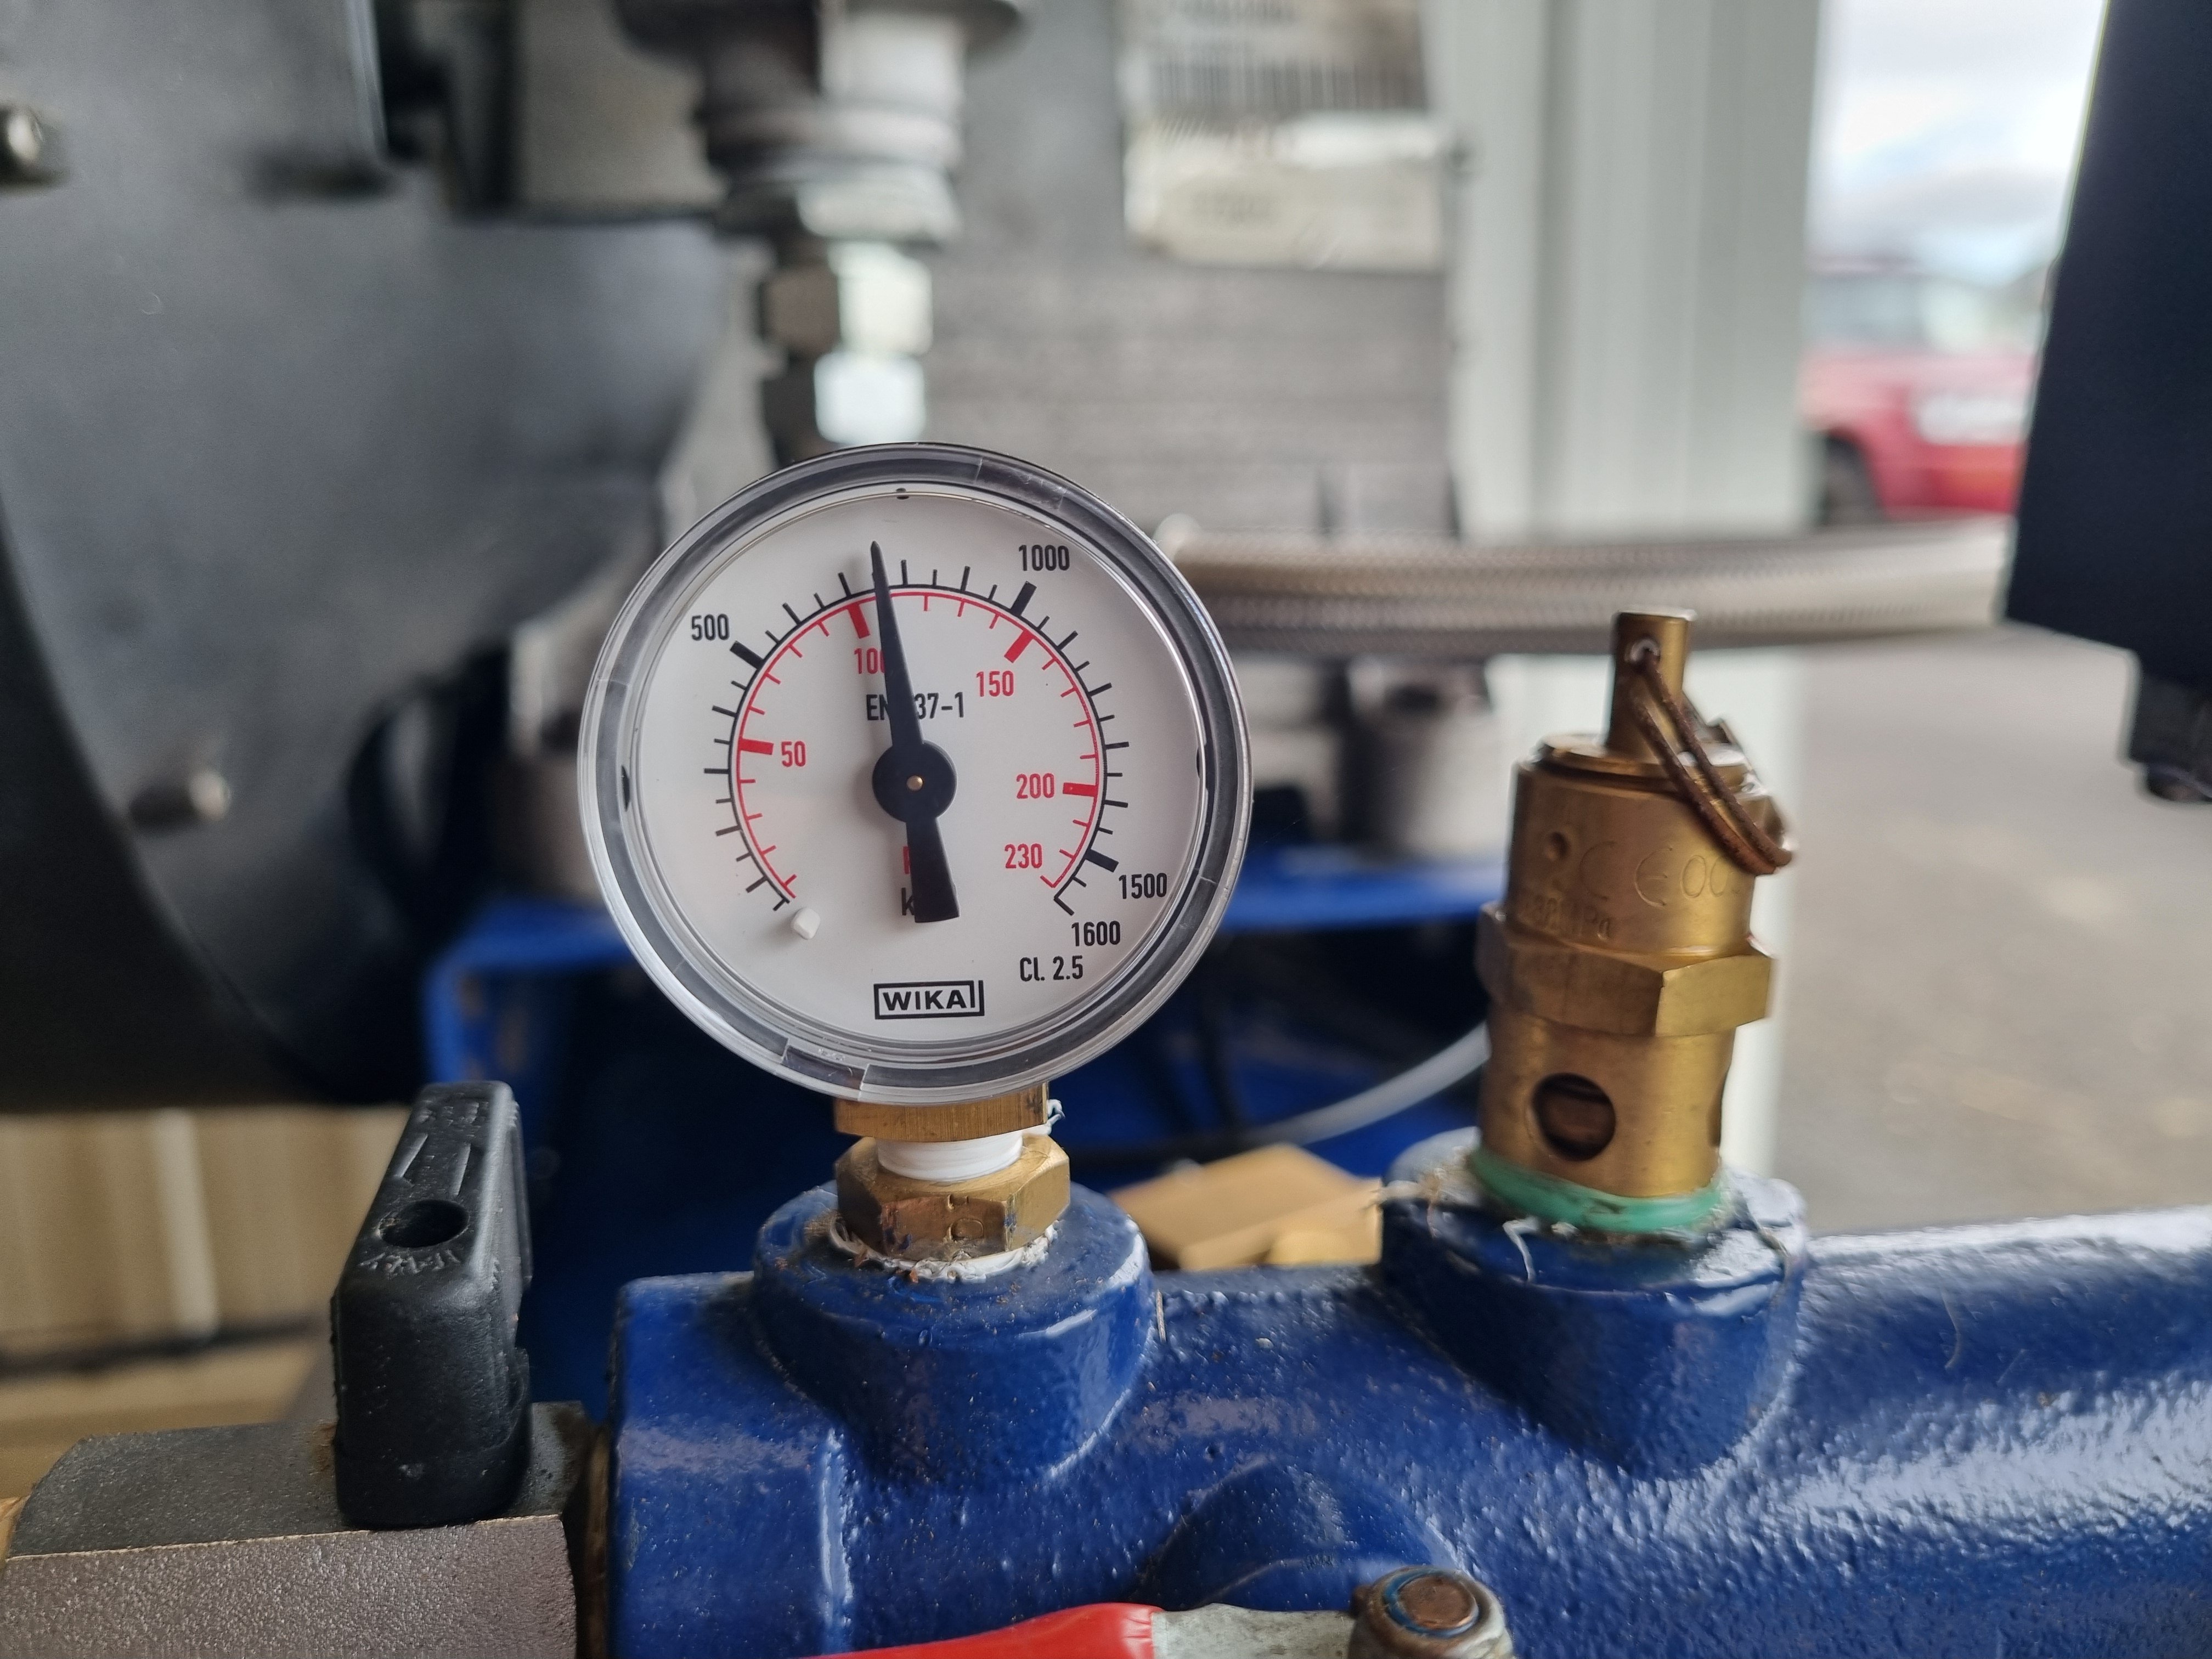
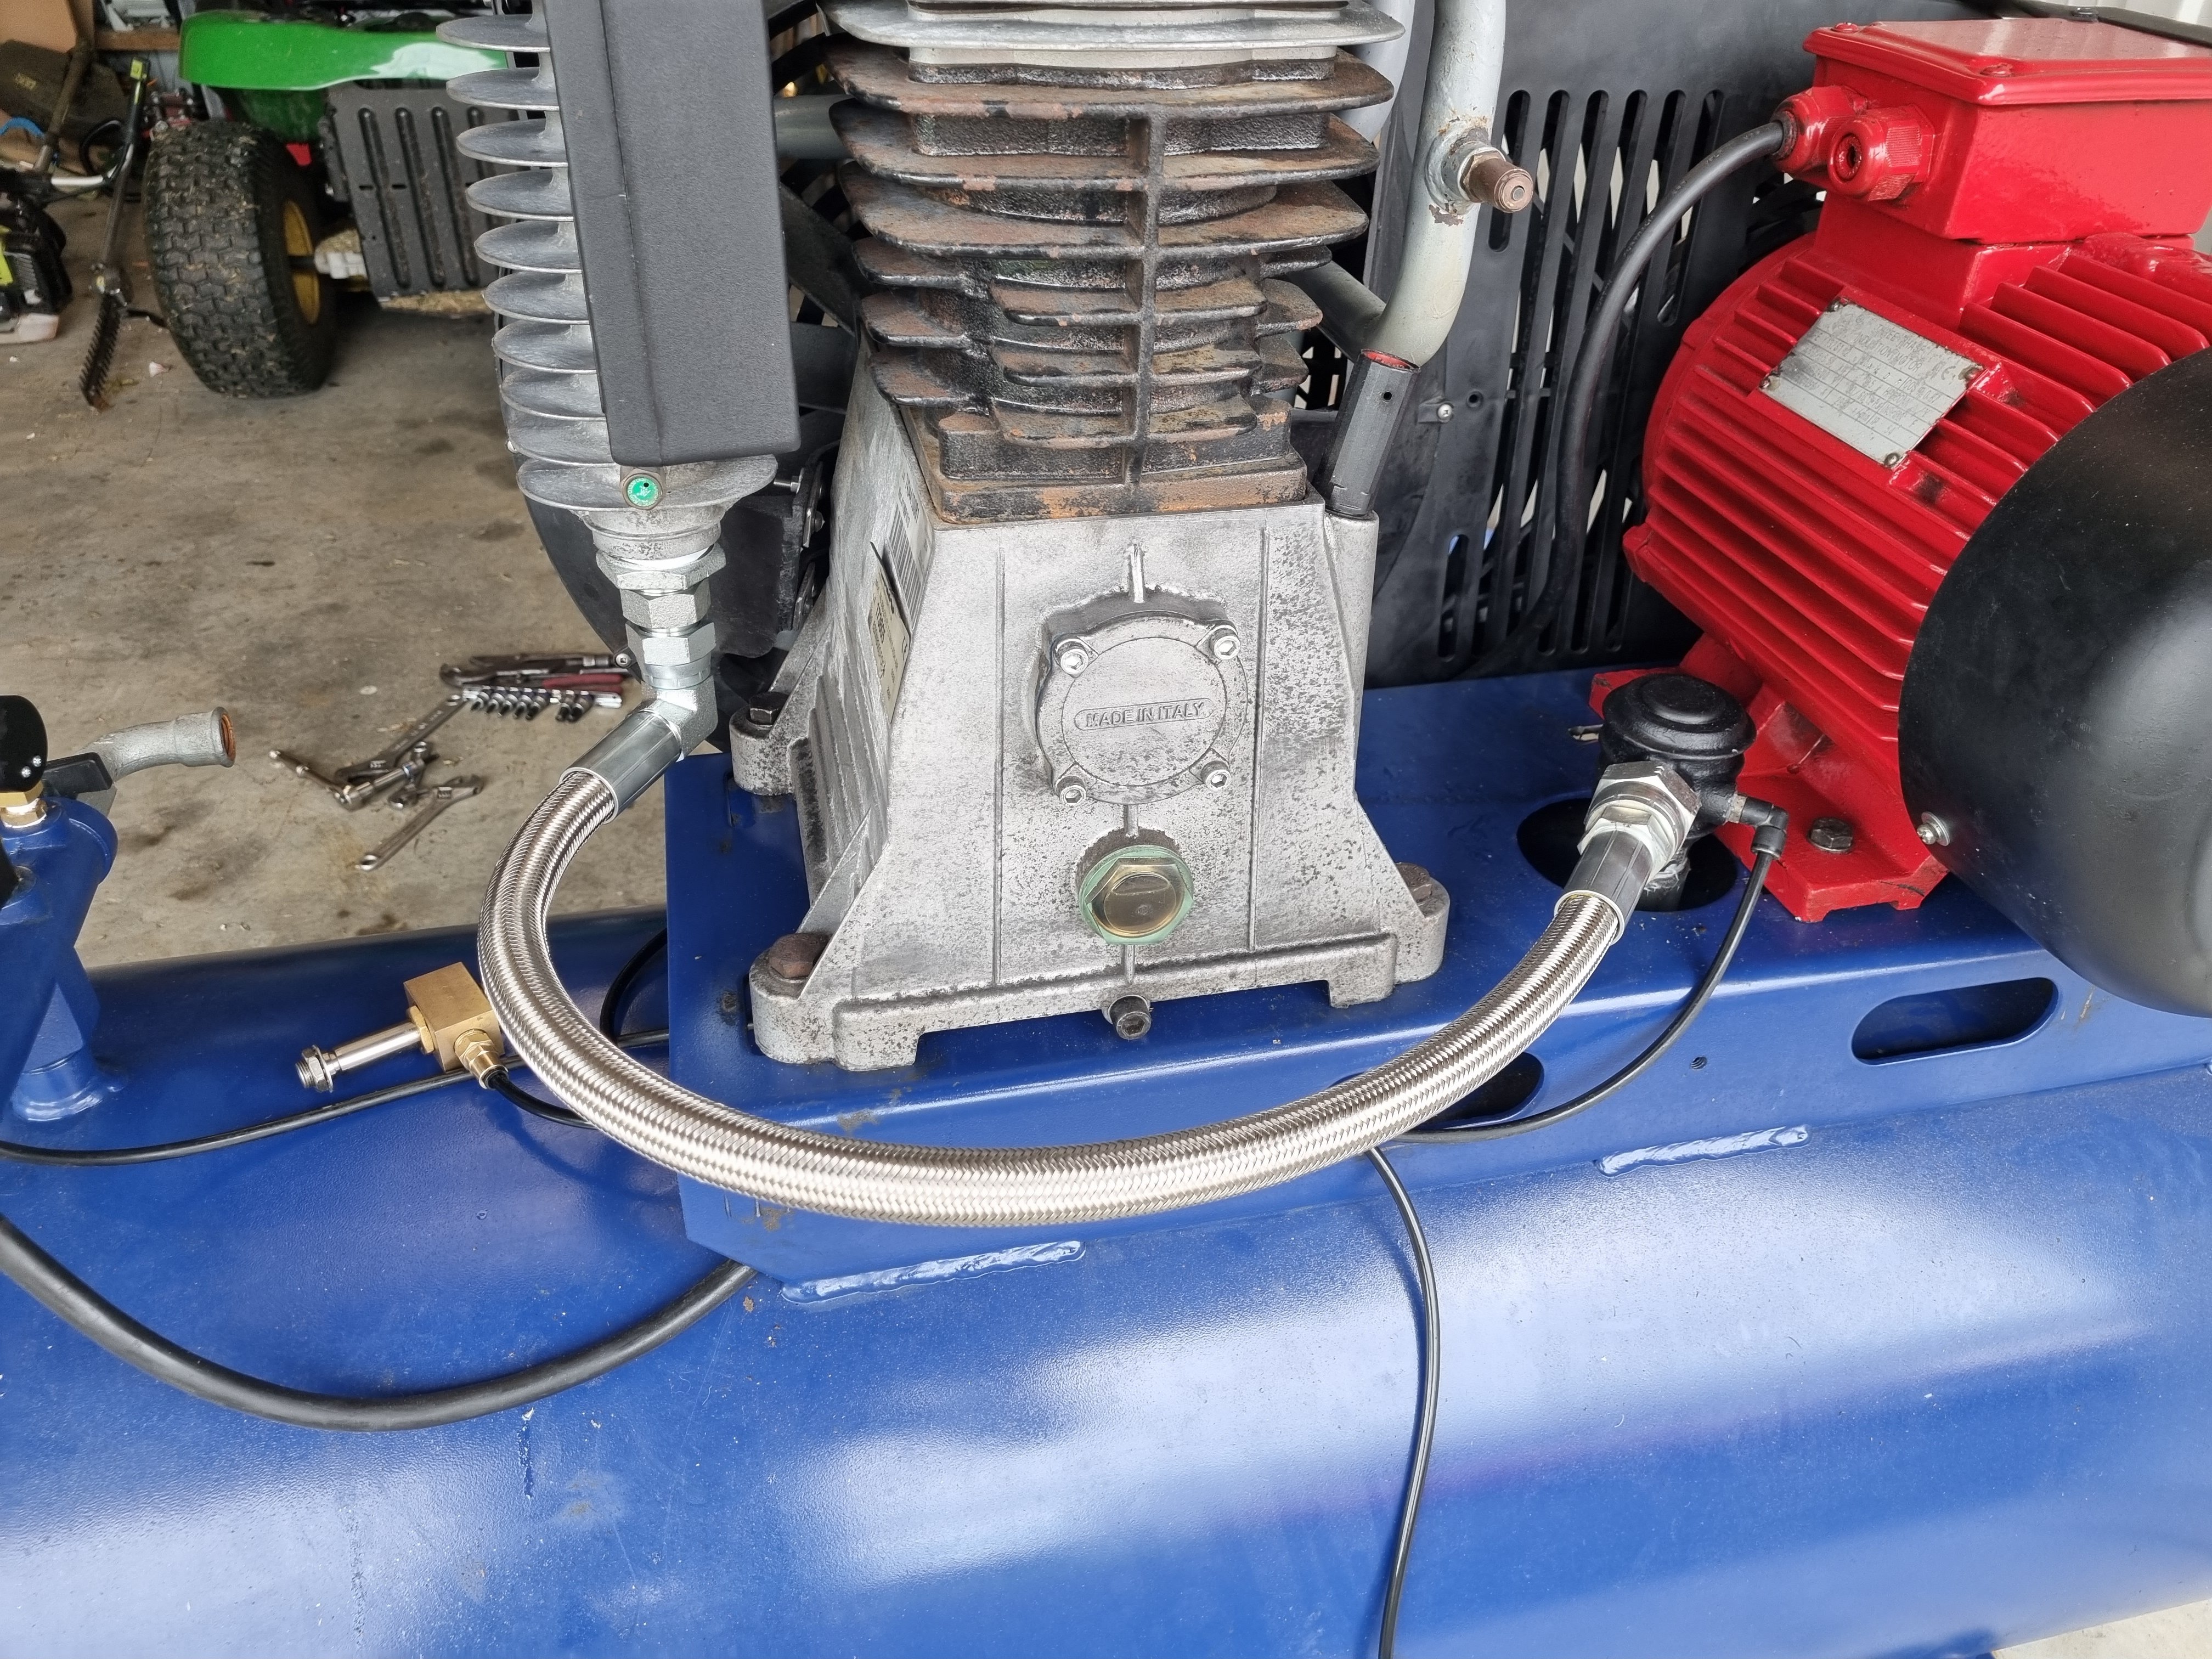
I got a Teflon lined hose and plumbed everything up. It works. The switch turns it off at 110 psi so I'm going to up that a bit because why have something explode at 110psi when your could have it explode at 140psi. The thing I haven't finished yet is the purge valve. I have a bracket for it I just need to wire it in, I'll probably do that now. Anywho, it works.
6 points
-
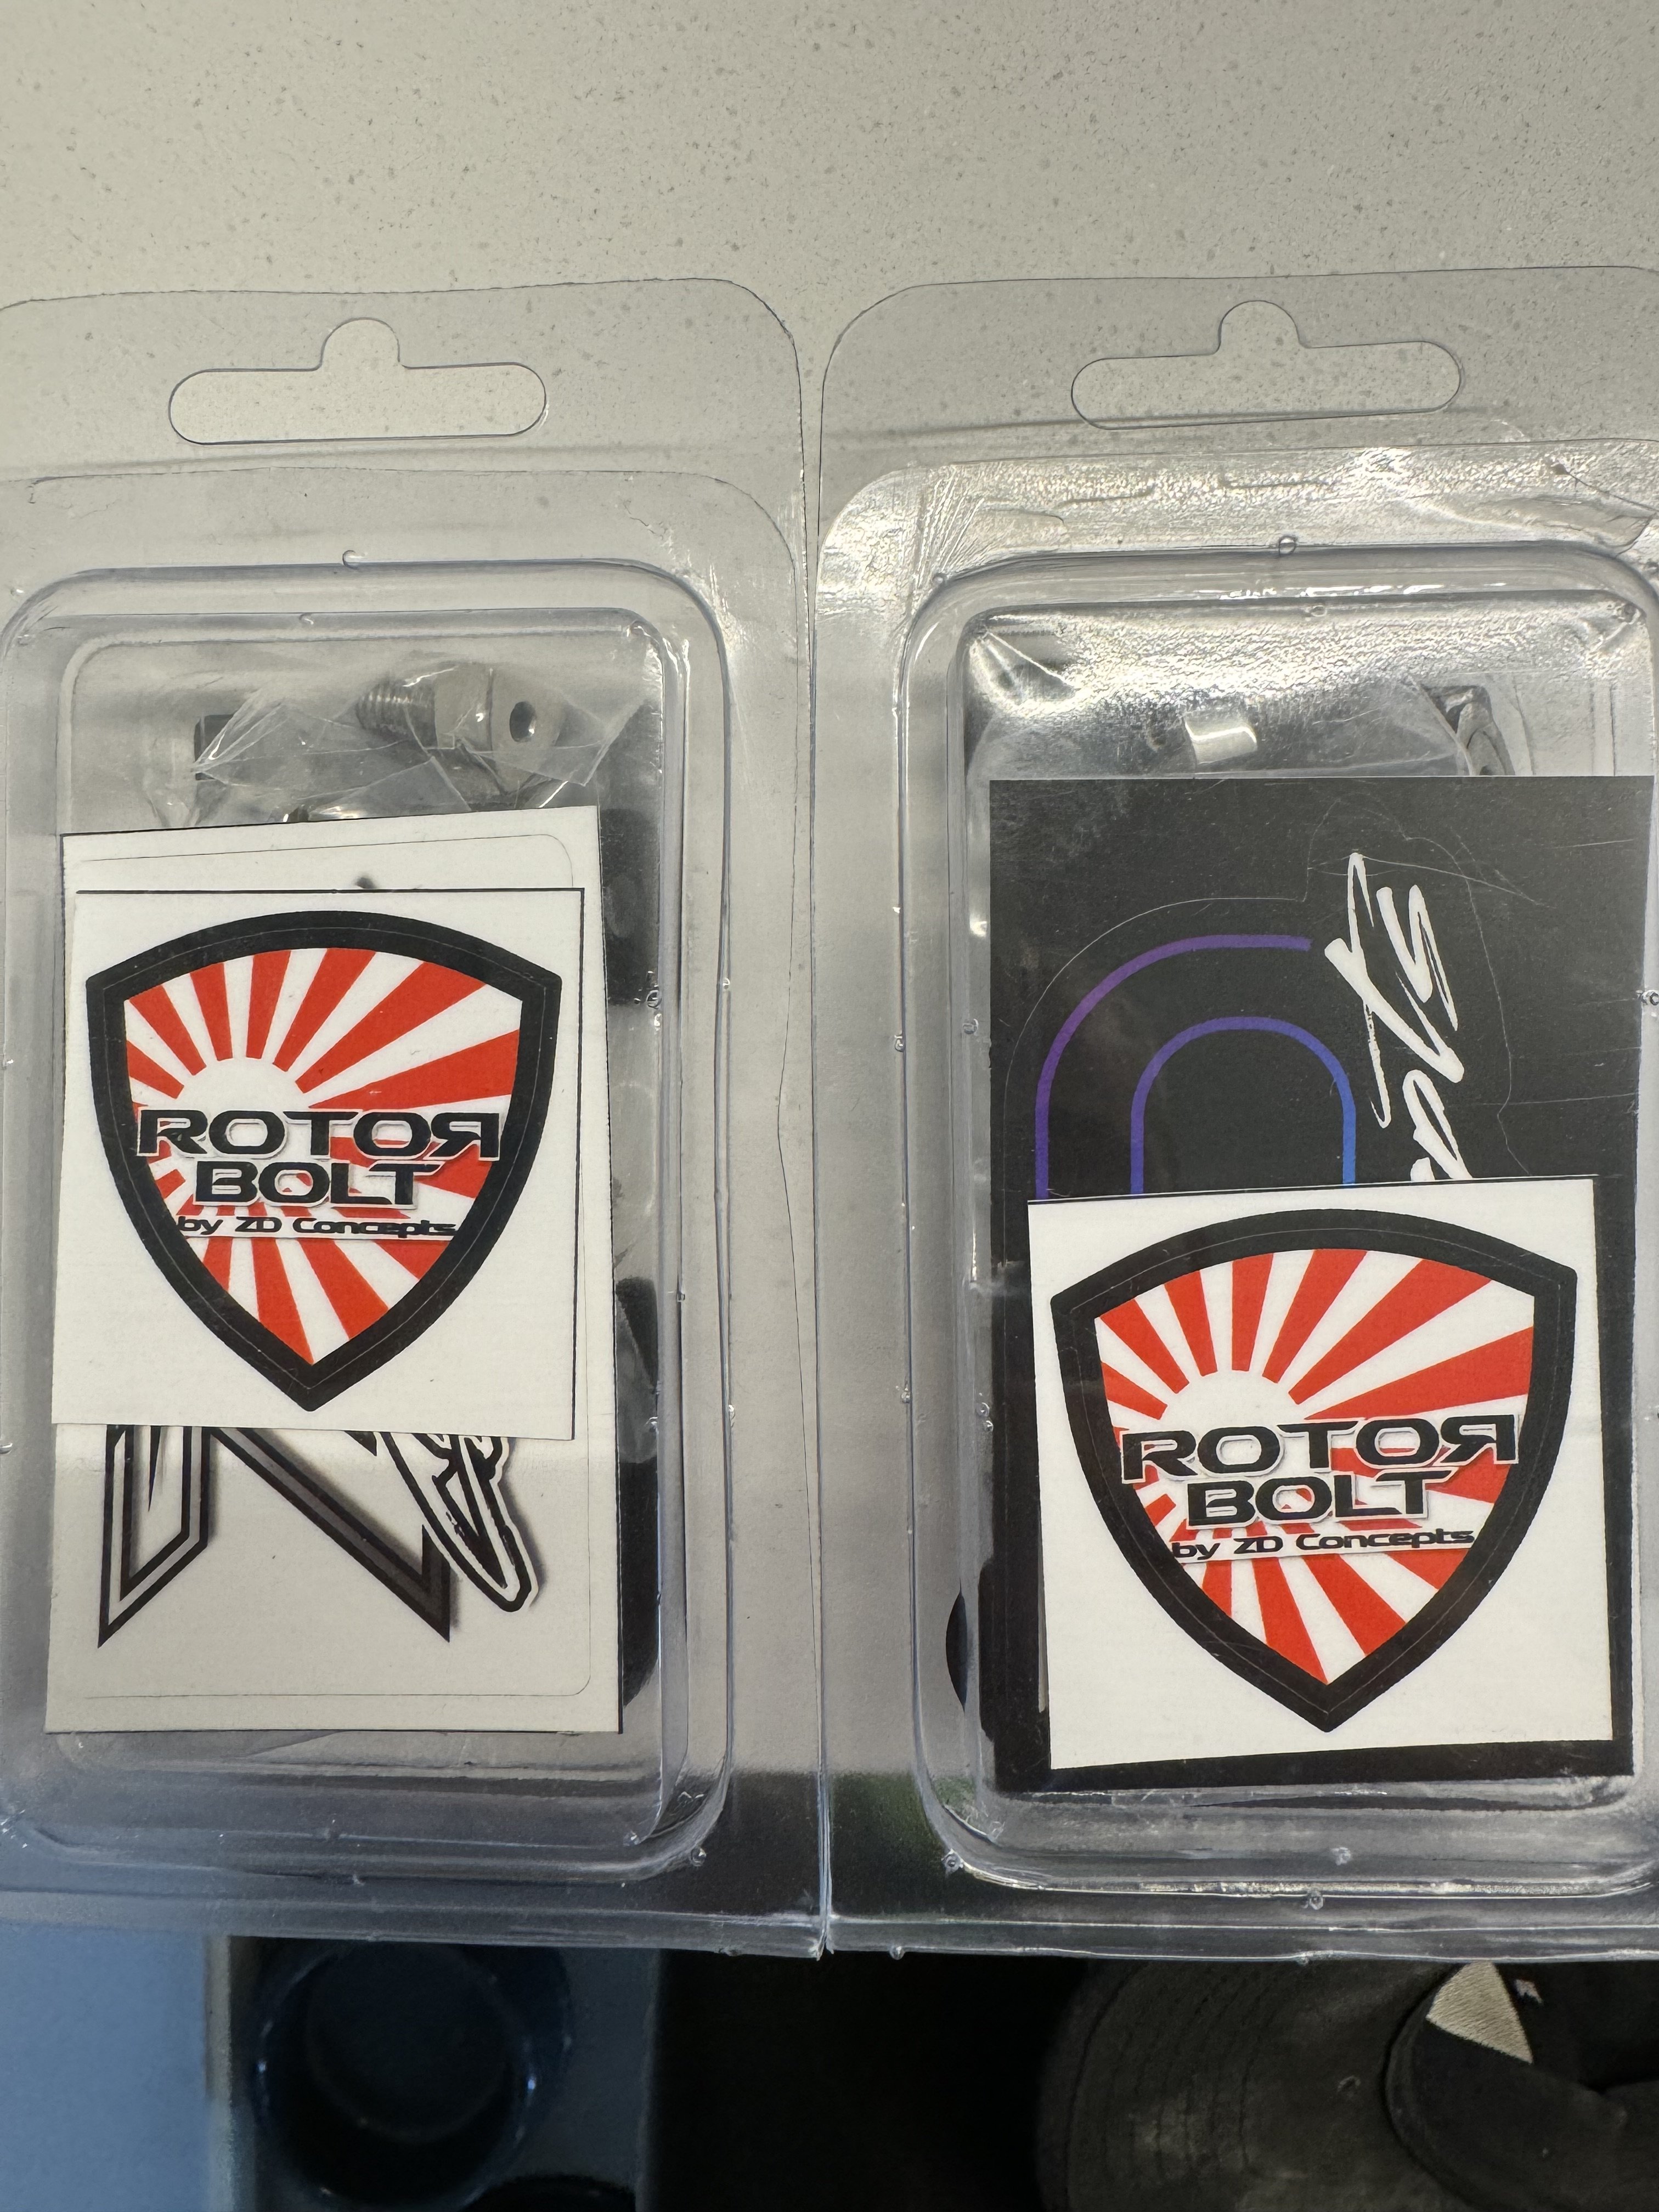
Some goodies arrived from across the ditch. thought I’d give them a looksy
5 points
-
5 points
-
Or fly to Nelson.. Should be my aim to get the zed sorted for this, then I can prove to @Valiant my slamming skilz.4 points
-
Imma sit down tomorrow and figure out how I can make this trip work to my advantage somehow will likely be flying into Blenheim and bringing some boring vehicle unfortunately. edit: Or should I fly to chch and get a ride with @RUNAMUCK4 points
-
Ill endevour to come along, i guess i need to send the car back to the workshop.4 points
-
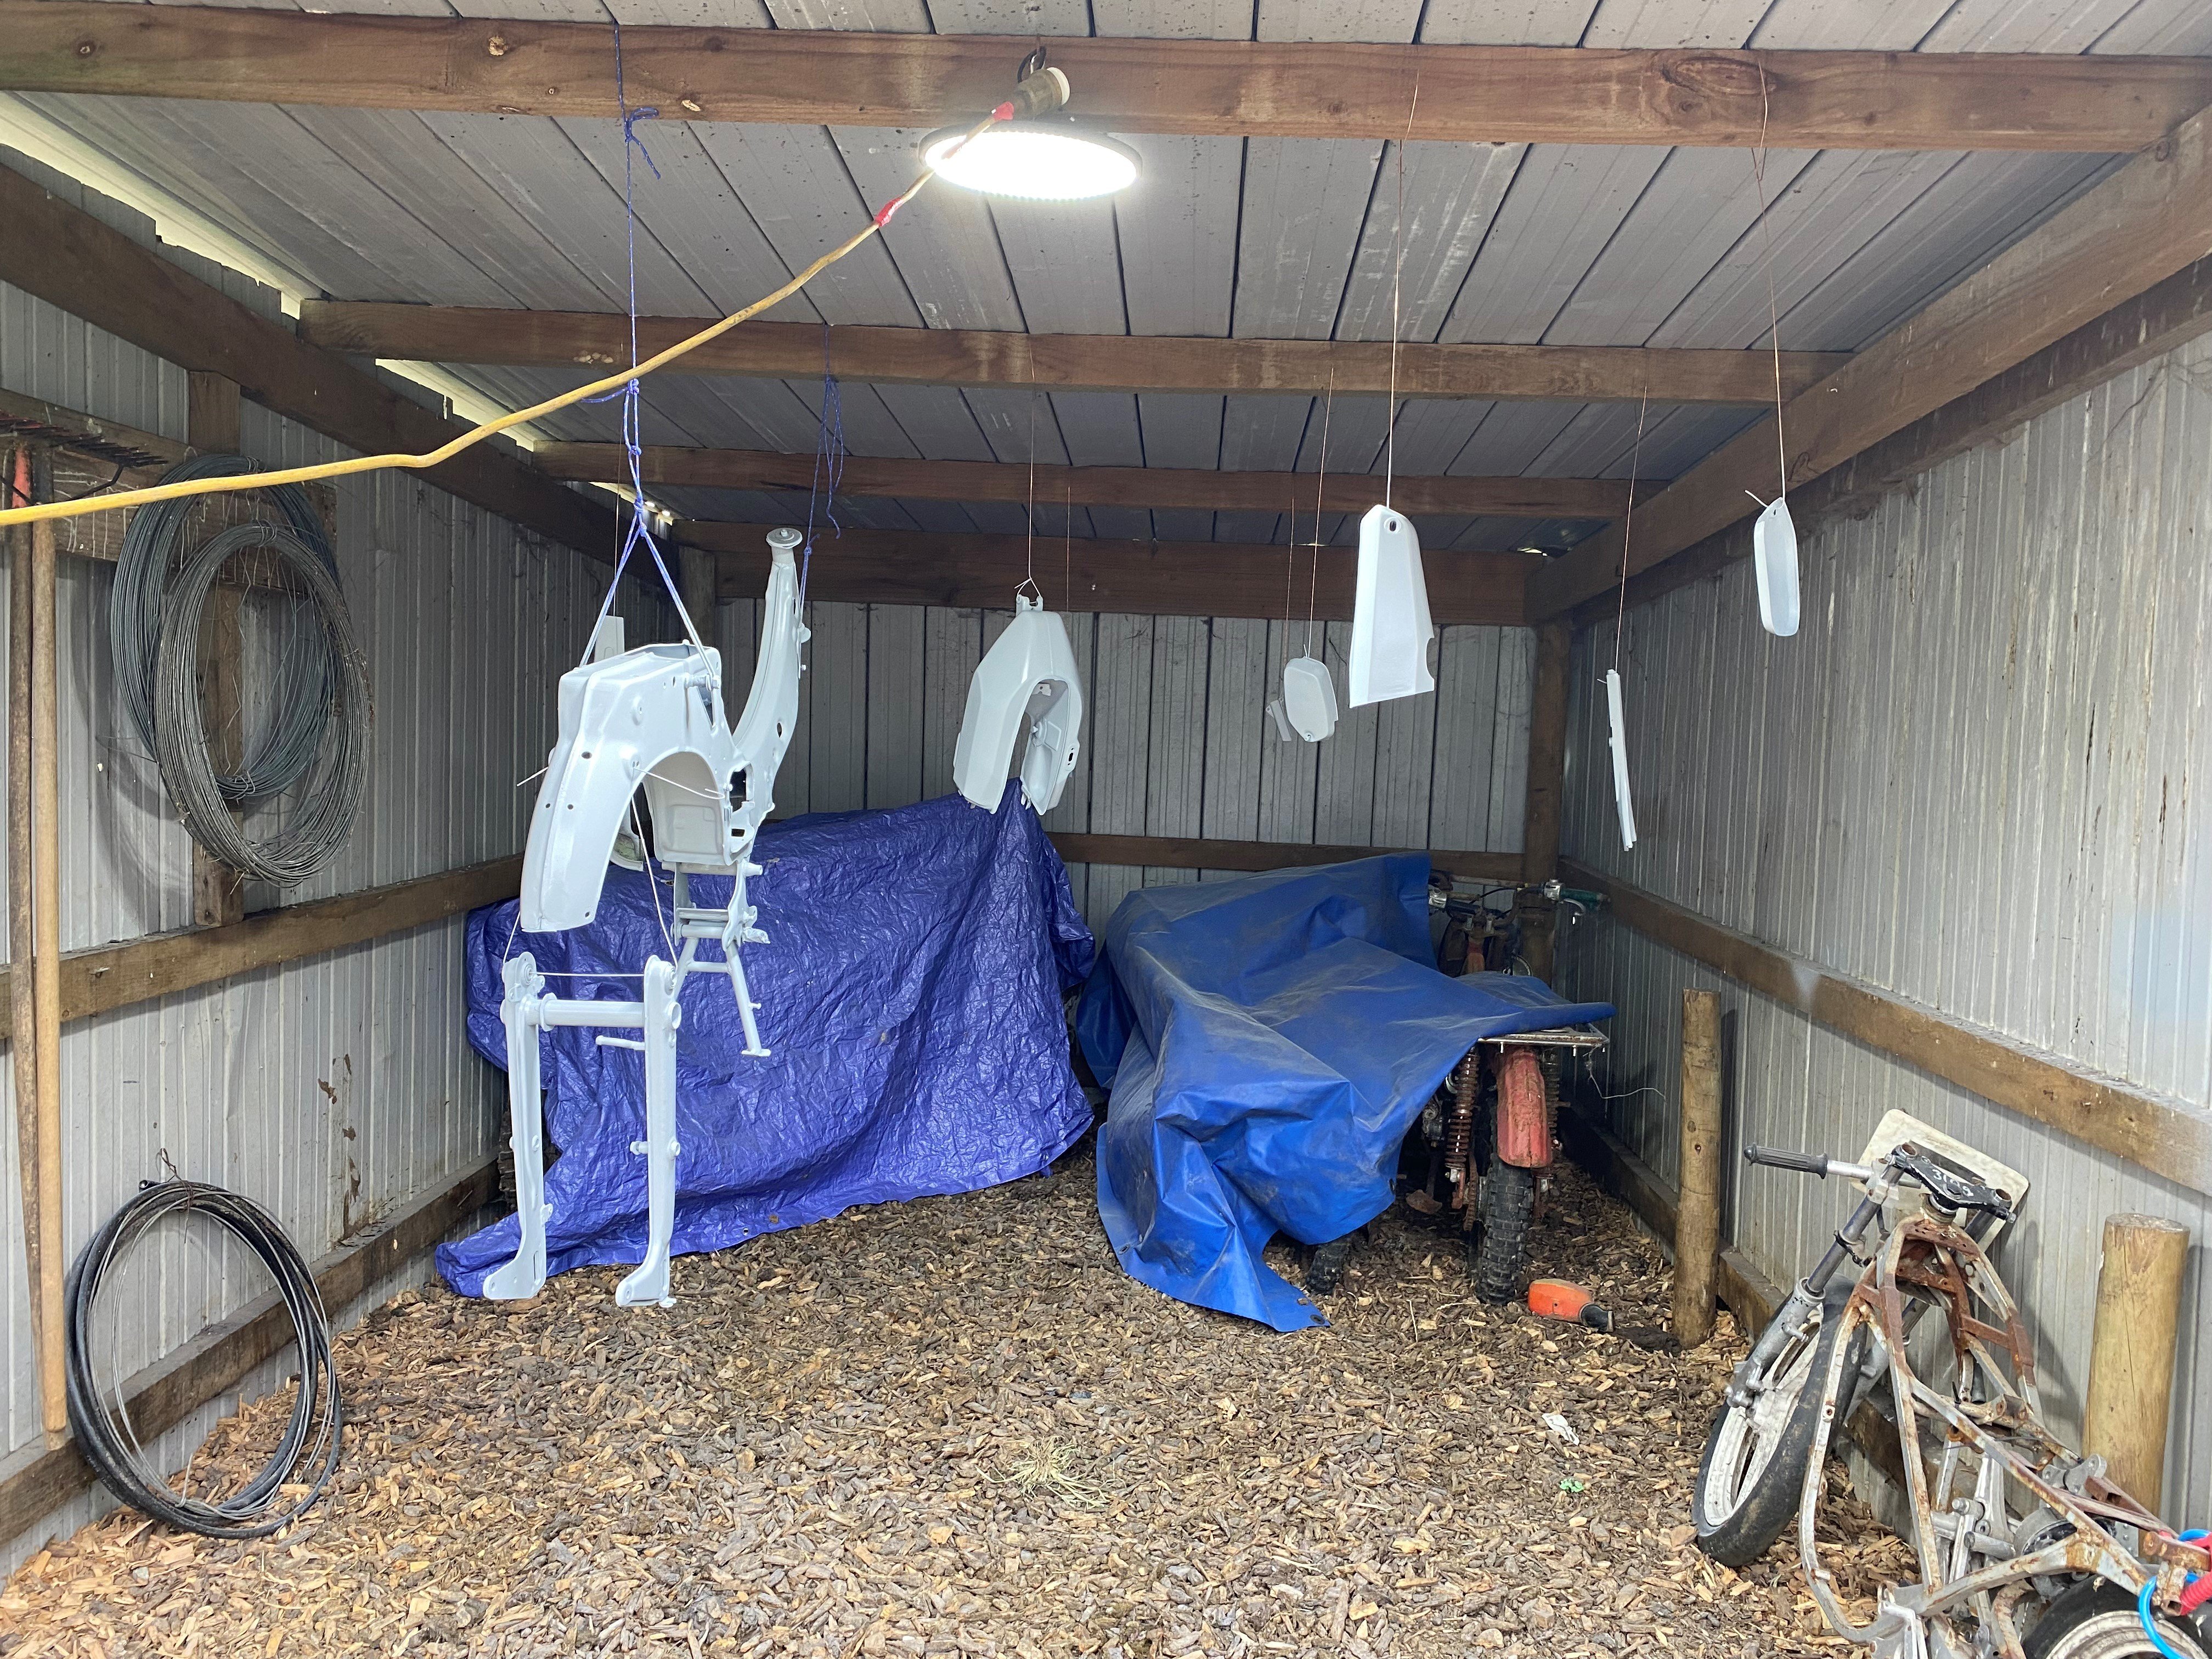
I finally managed to find make time to lay down some primer. Now its sanding time I suppose The eagle eyed viewer may notice that painting it with the center stand installed is a bit of an odd thing to do. This is because the mounting shaft is bent, so the installation is permanent. I guess that also means it will be colour matched to the frame, also an odd thing to do...
4 points
-
More photos before it's stripped - just for reference. I find trawling through historic build logs really fun over the years to see how far you come I sent mum out to take photos. combined with someone who can't DSLR, and one who can press a few buttons on Lightroom. we come back with this. _MG_1118 by phillipbaines, on Flickr _MG_1086 by phillipbaines, on Flickr _MG_1092 by phillipbaines, on Flickr _MG_1094 by phillipbaines, on Flickr _MG_1099 by phillipbaines, on Flickr _MG_1100 by phillipbaines, on Flickr _MG_1102 by phillipbaines, on Flickr _MG_1104 by phillipbaines, on Flickr _MG_1106 by phillipbaines, on Flickr _MG_1111 by phillipbaines, on Flickr _MG_1113 by phillipbaines, on Flickr _MG_1122 by phillipbaines, on Flickr _MG_1127 by phillipbaines, on Flickr _MG_1129 by phillipbaines, on Flickr _MG_1131 by phillipbaines, on Flickr _MG_1133 by phillipbaines, on Flickr _MG_1171 by phillipbaines, on Flickr Getting picked up this weekend to be stripped. Car will be entirely media blasted to bare metal Car will be off for full panel work resto in July. Will see what the blasting yields!4 points
-
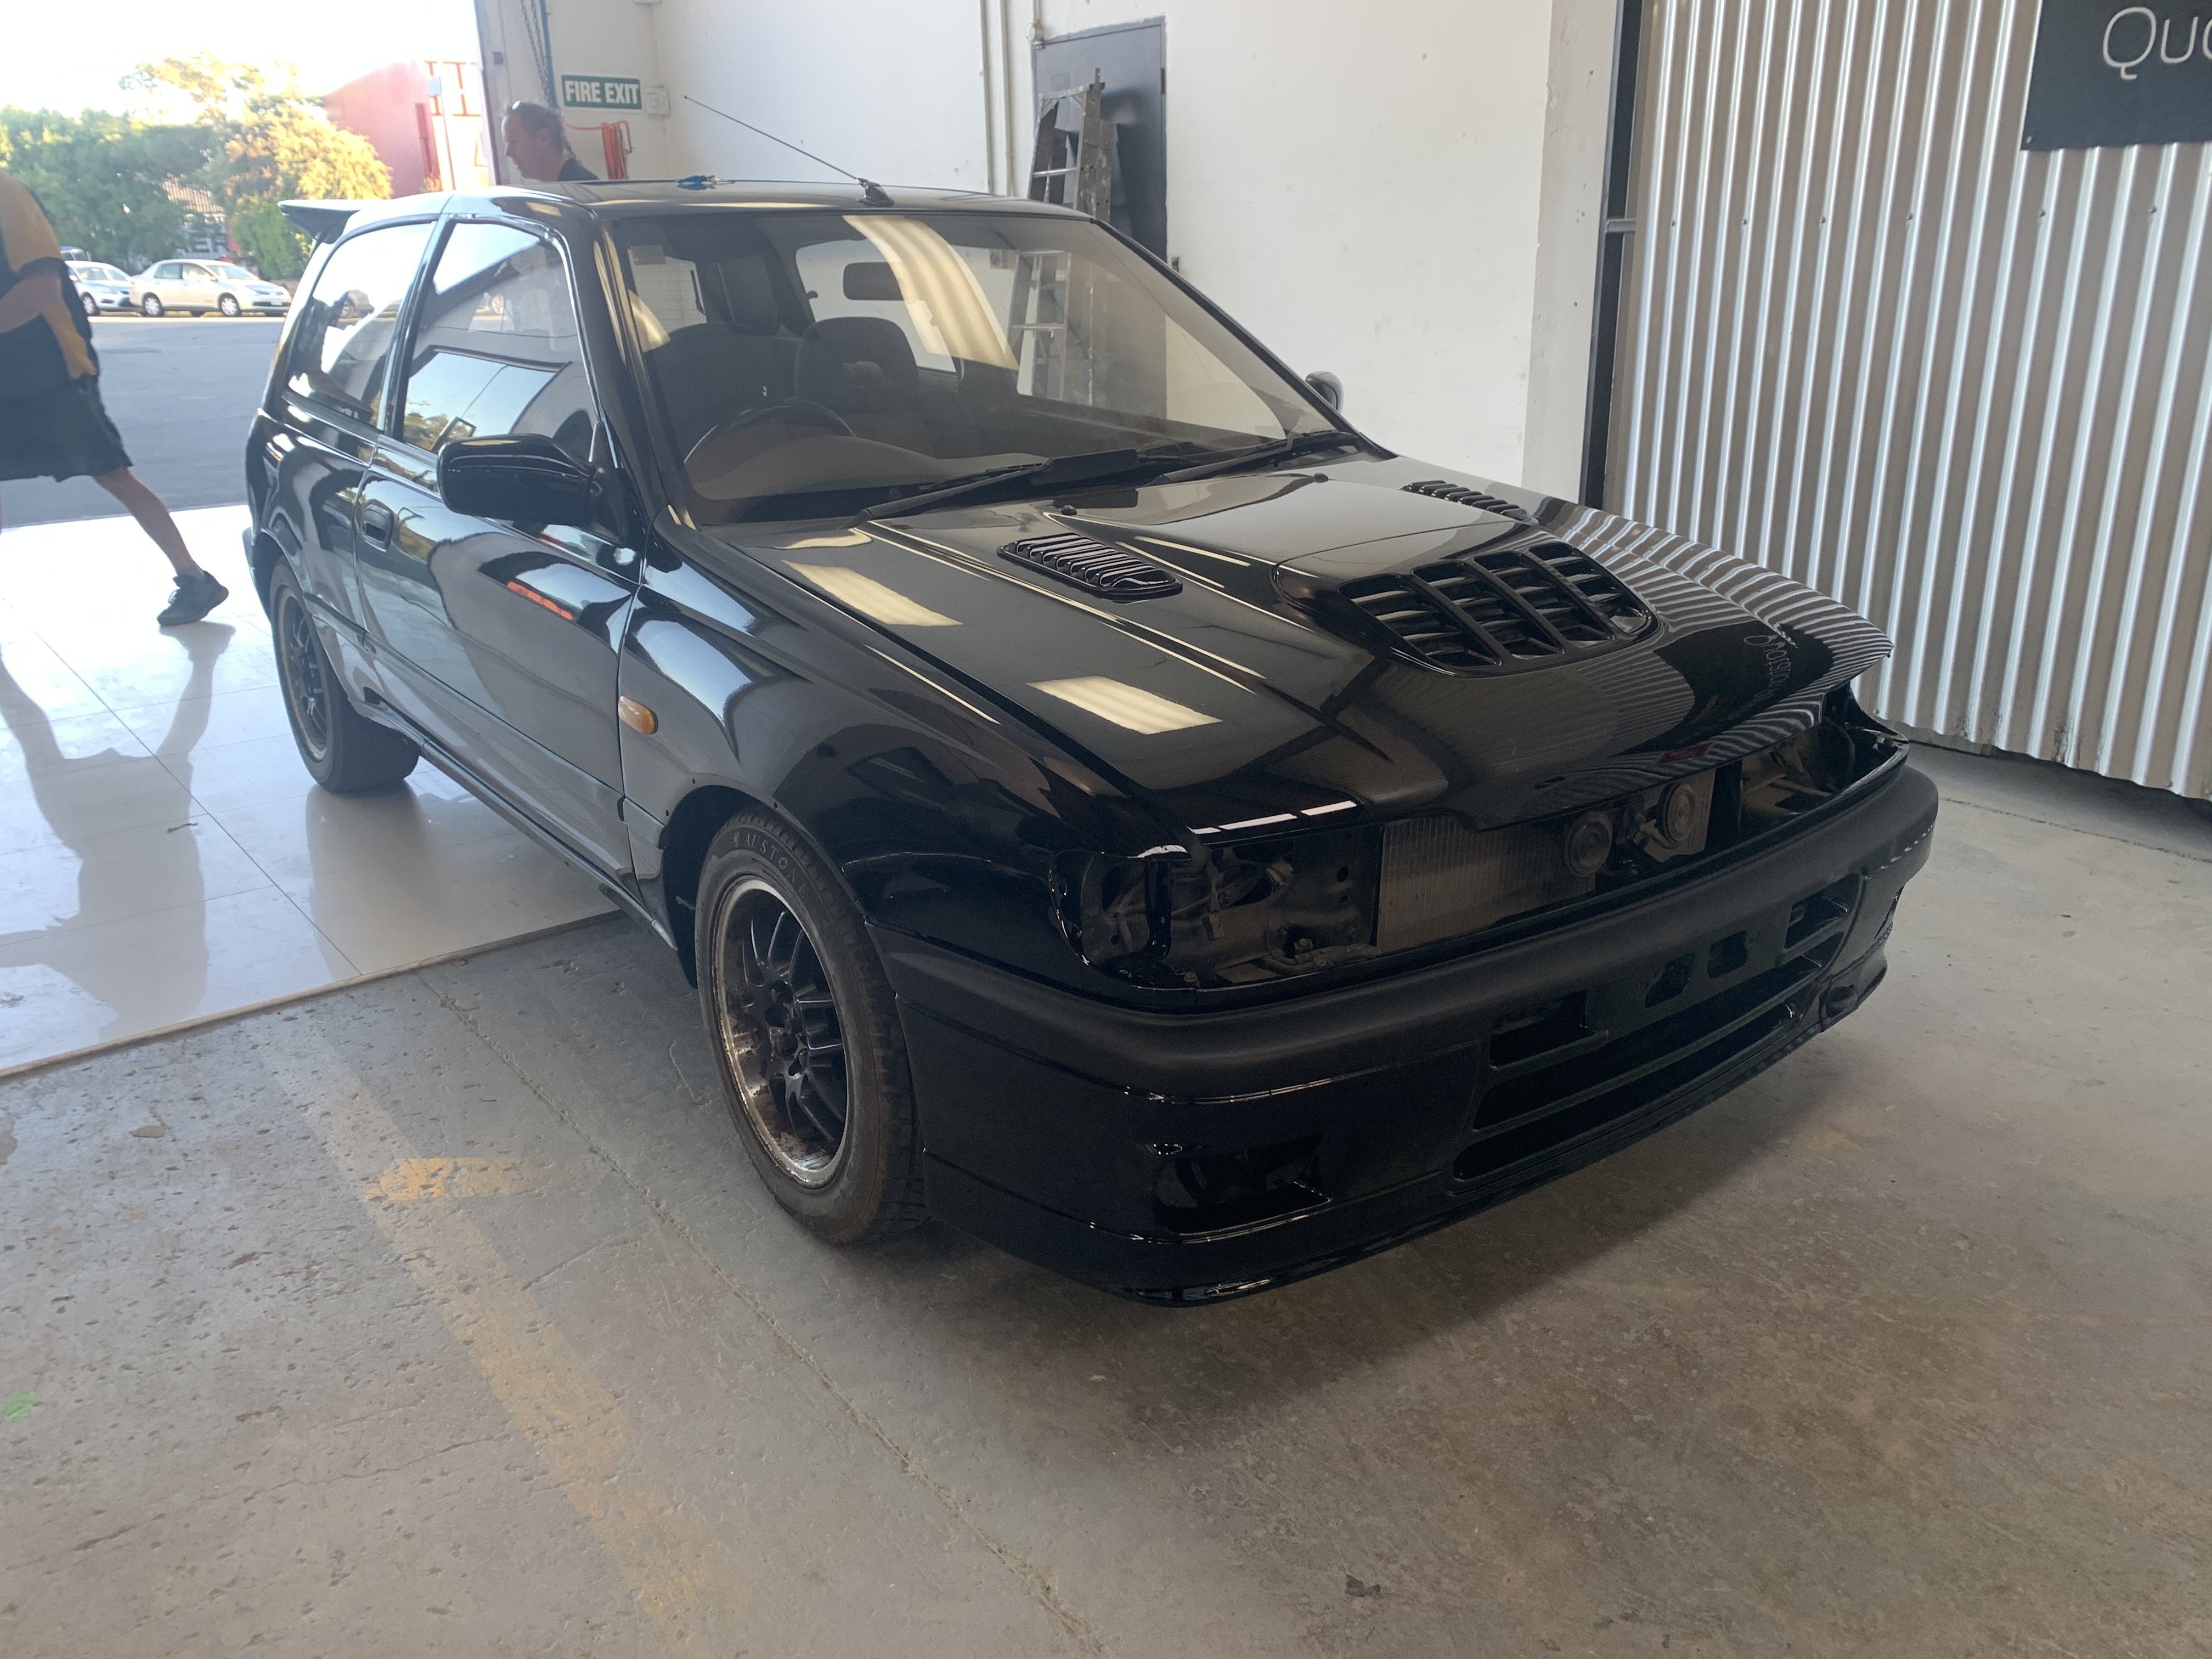
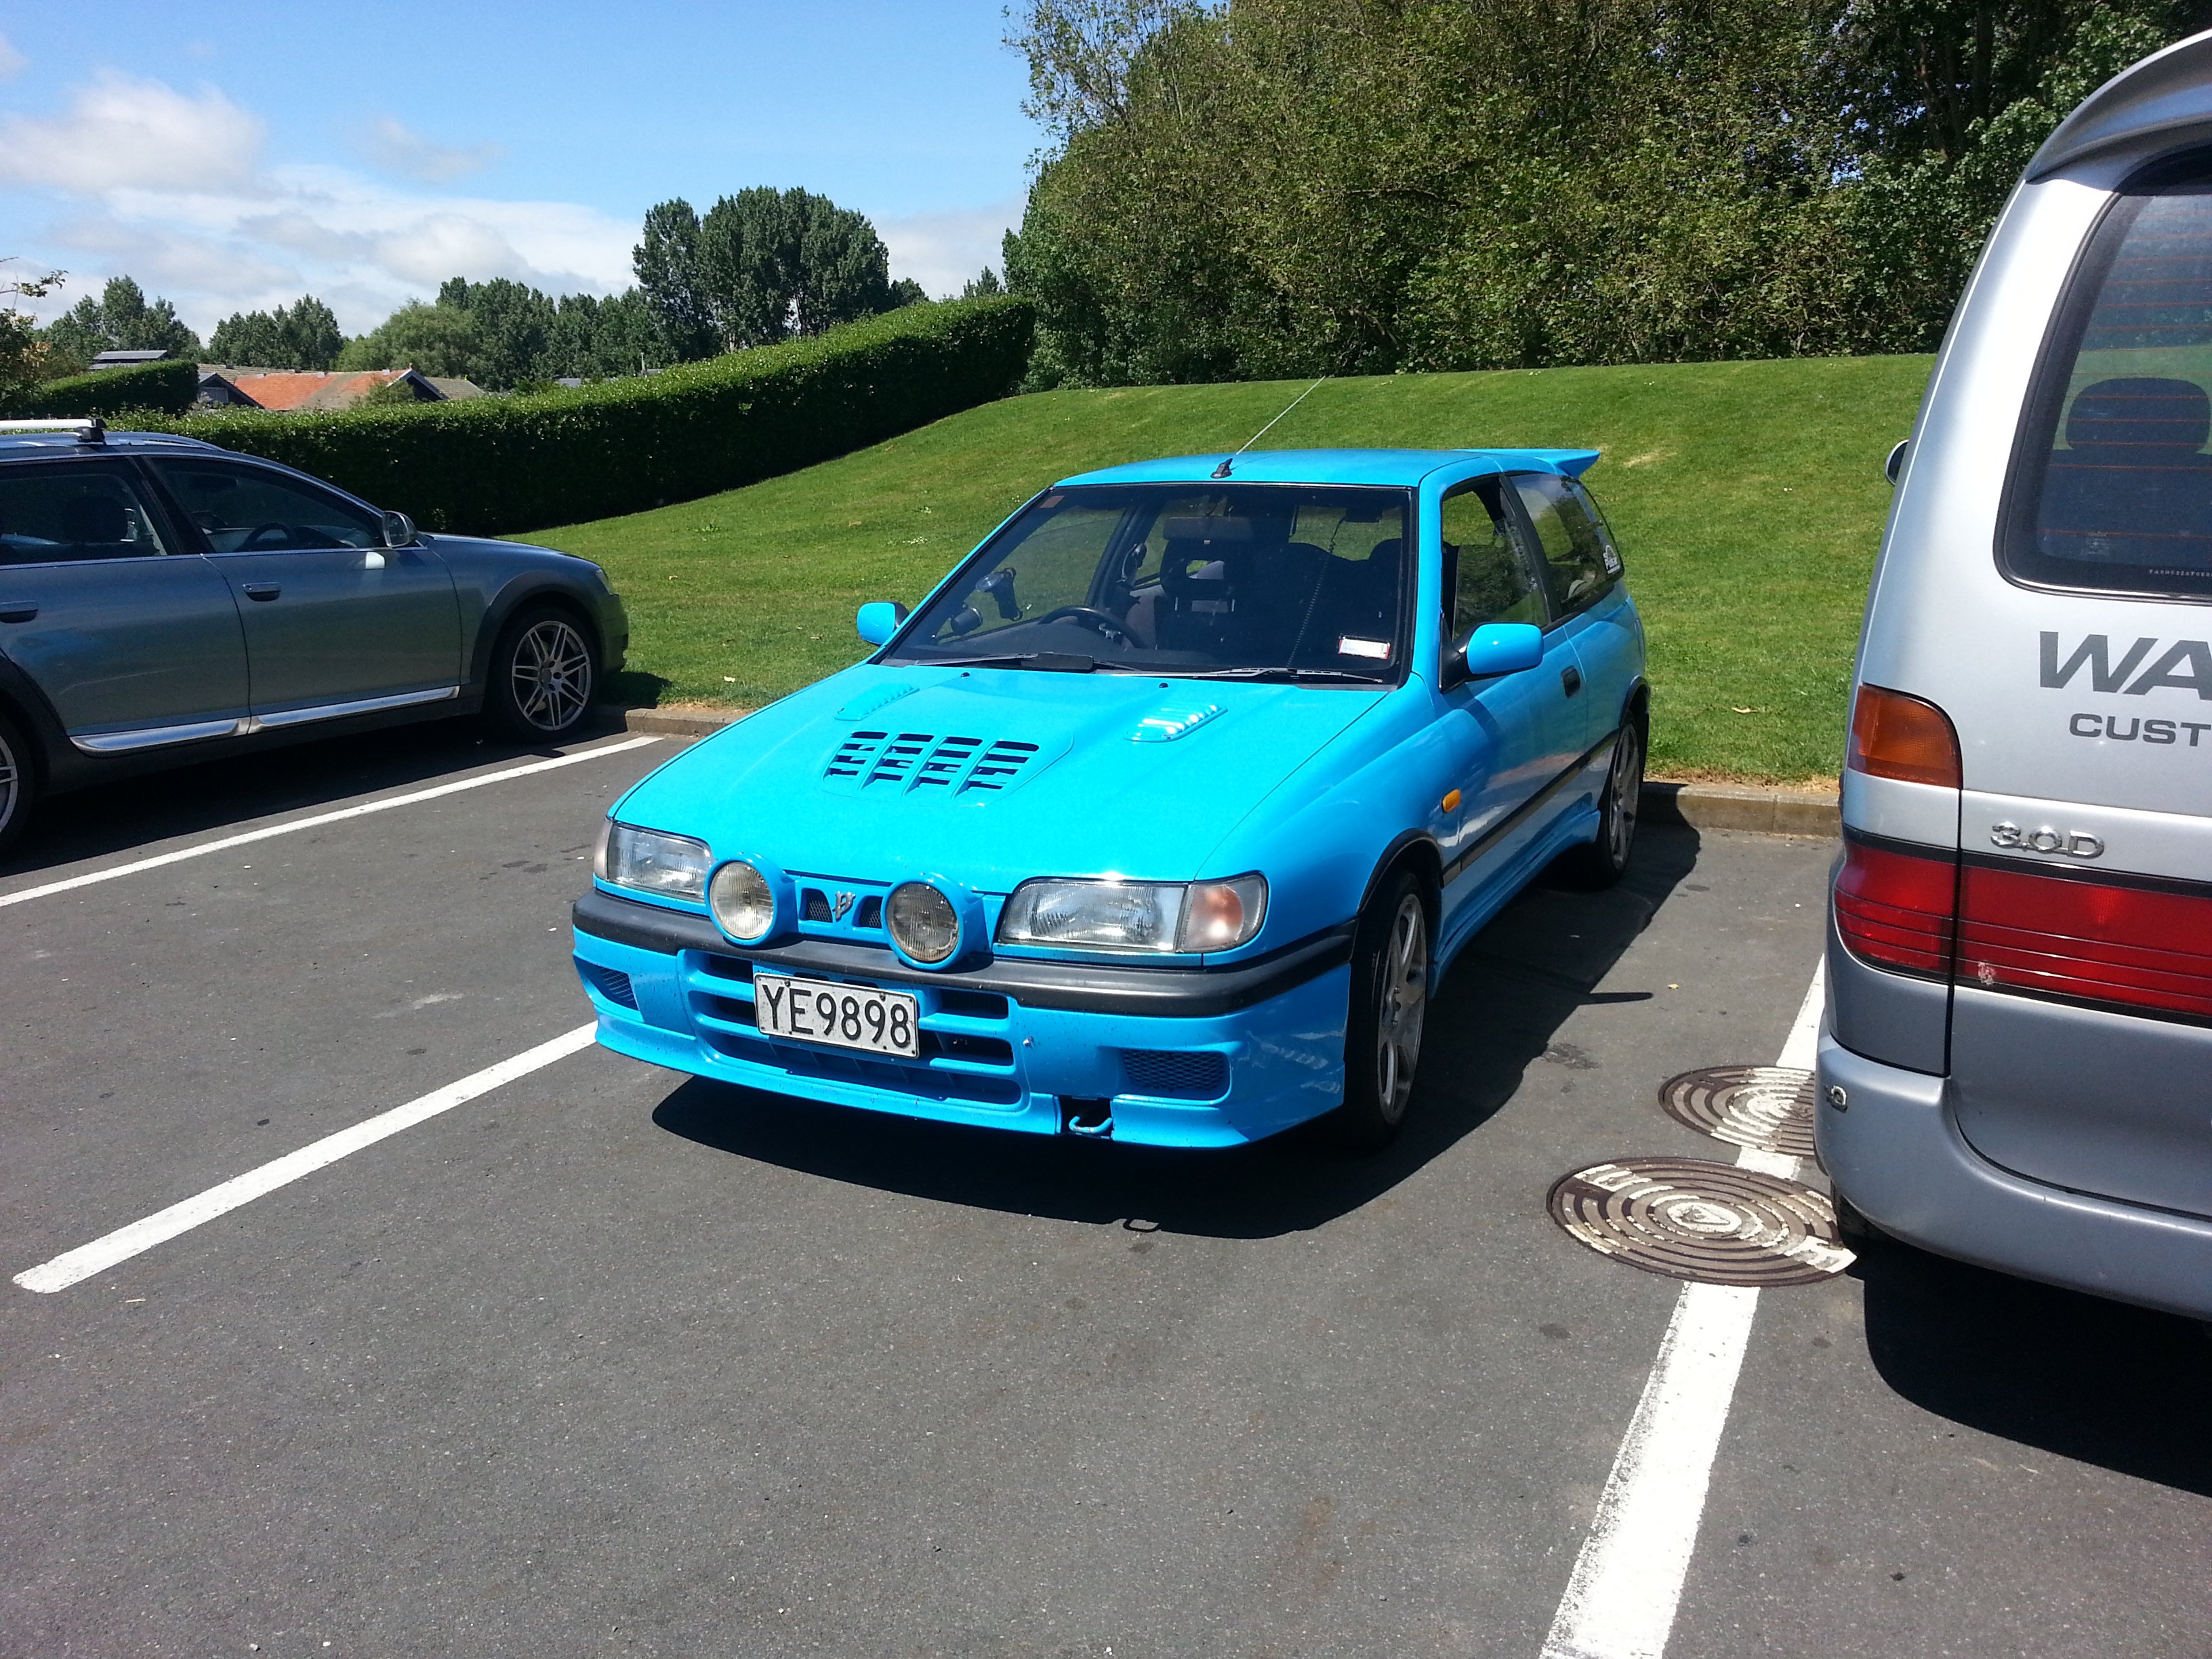
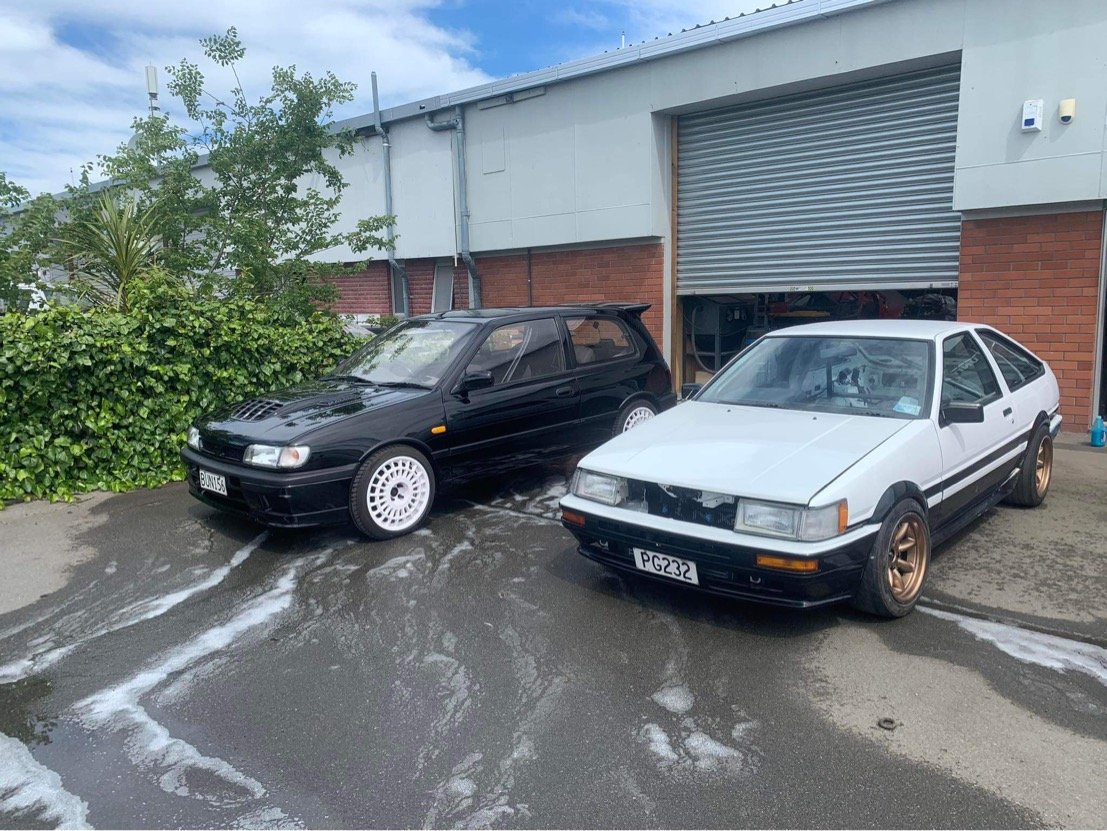
This was the only full GTIR ive owned, bought for 650, sold for 6800. Had the umbrella too..... Dont think it lasted long after i sold it to some bogan down Whanganui way, according to carjam.
3 points
-
A wild @mk2marty sitting in some half mounted fishnets, thankfully not wearing any fishnets. Take it as you will, but we just have another few holes to drill and then we'll make some holes in the seat rails to mount them up properly.
3 points
-
I don't think Ken will do this work for anything other than his own parts. I do have a bath that I can dichromate mag parts in. If you can get the parts bead blasted, and to me within a day of blasting (as magnesium oxidises quickly and the dichromate won't work then) then I can do them for you. I normally charge $100 for whatever you can get in the bath in one go, its about 600mm round and 500 deep from memory. So a couple of motorcycle case should be no problem. The parts will come out anywhere from dark brown or dark grey to black, all depending on the magnesium alloy.3 points
-
Redone the high pressure hardline to the receiver drier. Few more joins that I'd initially hoped for but they brazed up much nicer than the block did Cut some bends out of the selection of hardline I had. Needed to drill one out to suit the hose Lined everything up Brazed each section individually so only one thing would move I decided it'd be better to have a flexible hose both in and out of the condenser, less risk of my brazing fatiguing and cracking. Drilled out the compressor adaptor fitting to suit the hardline and brazed it on I'll make a little plate and bolt the fitting so it's secured3 points
-
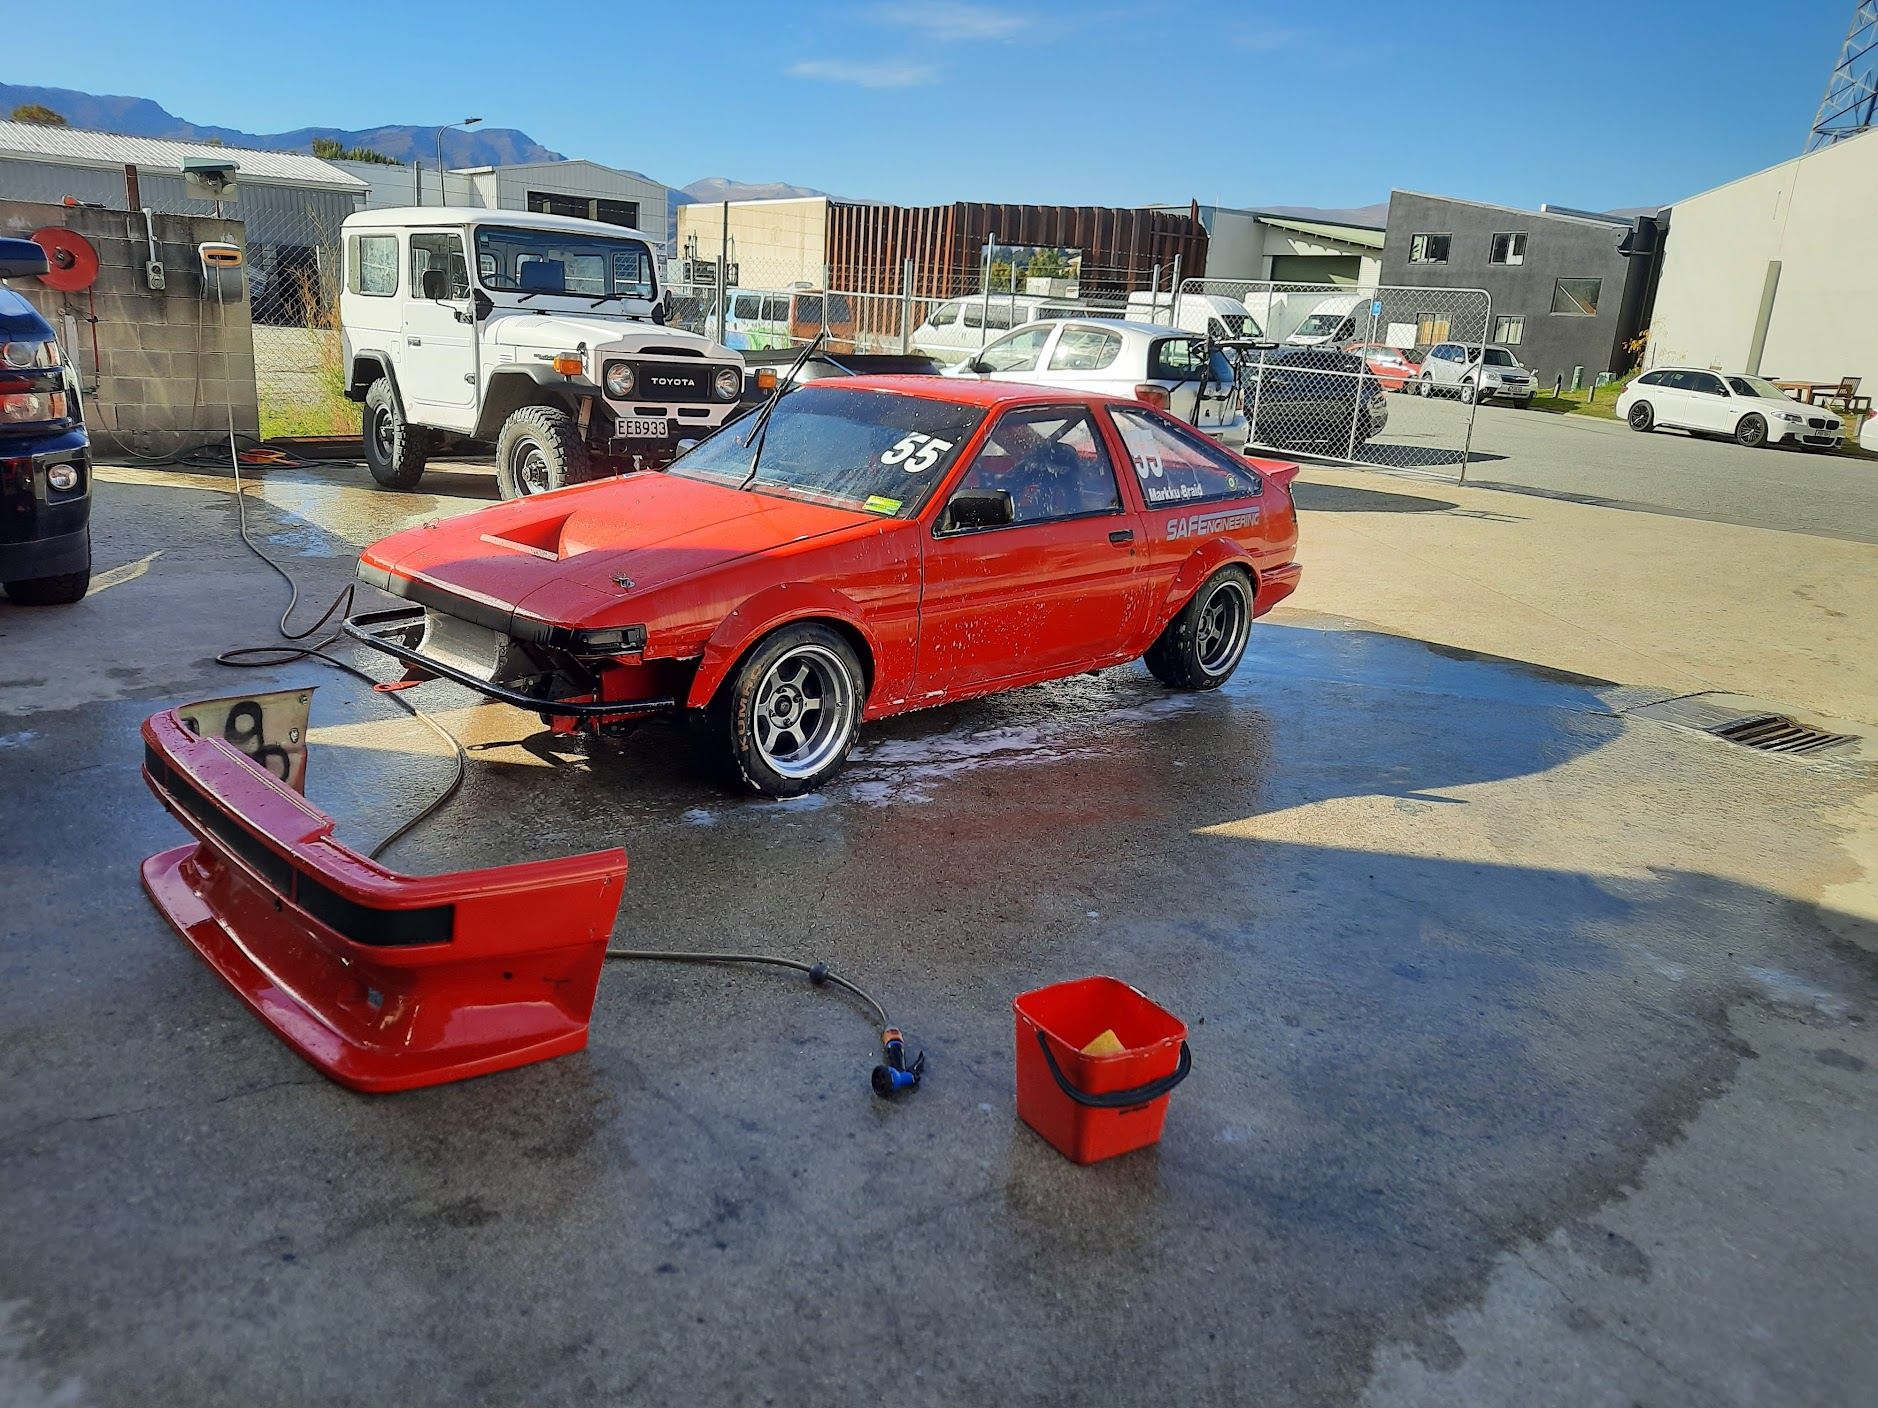
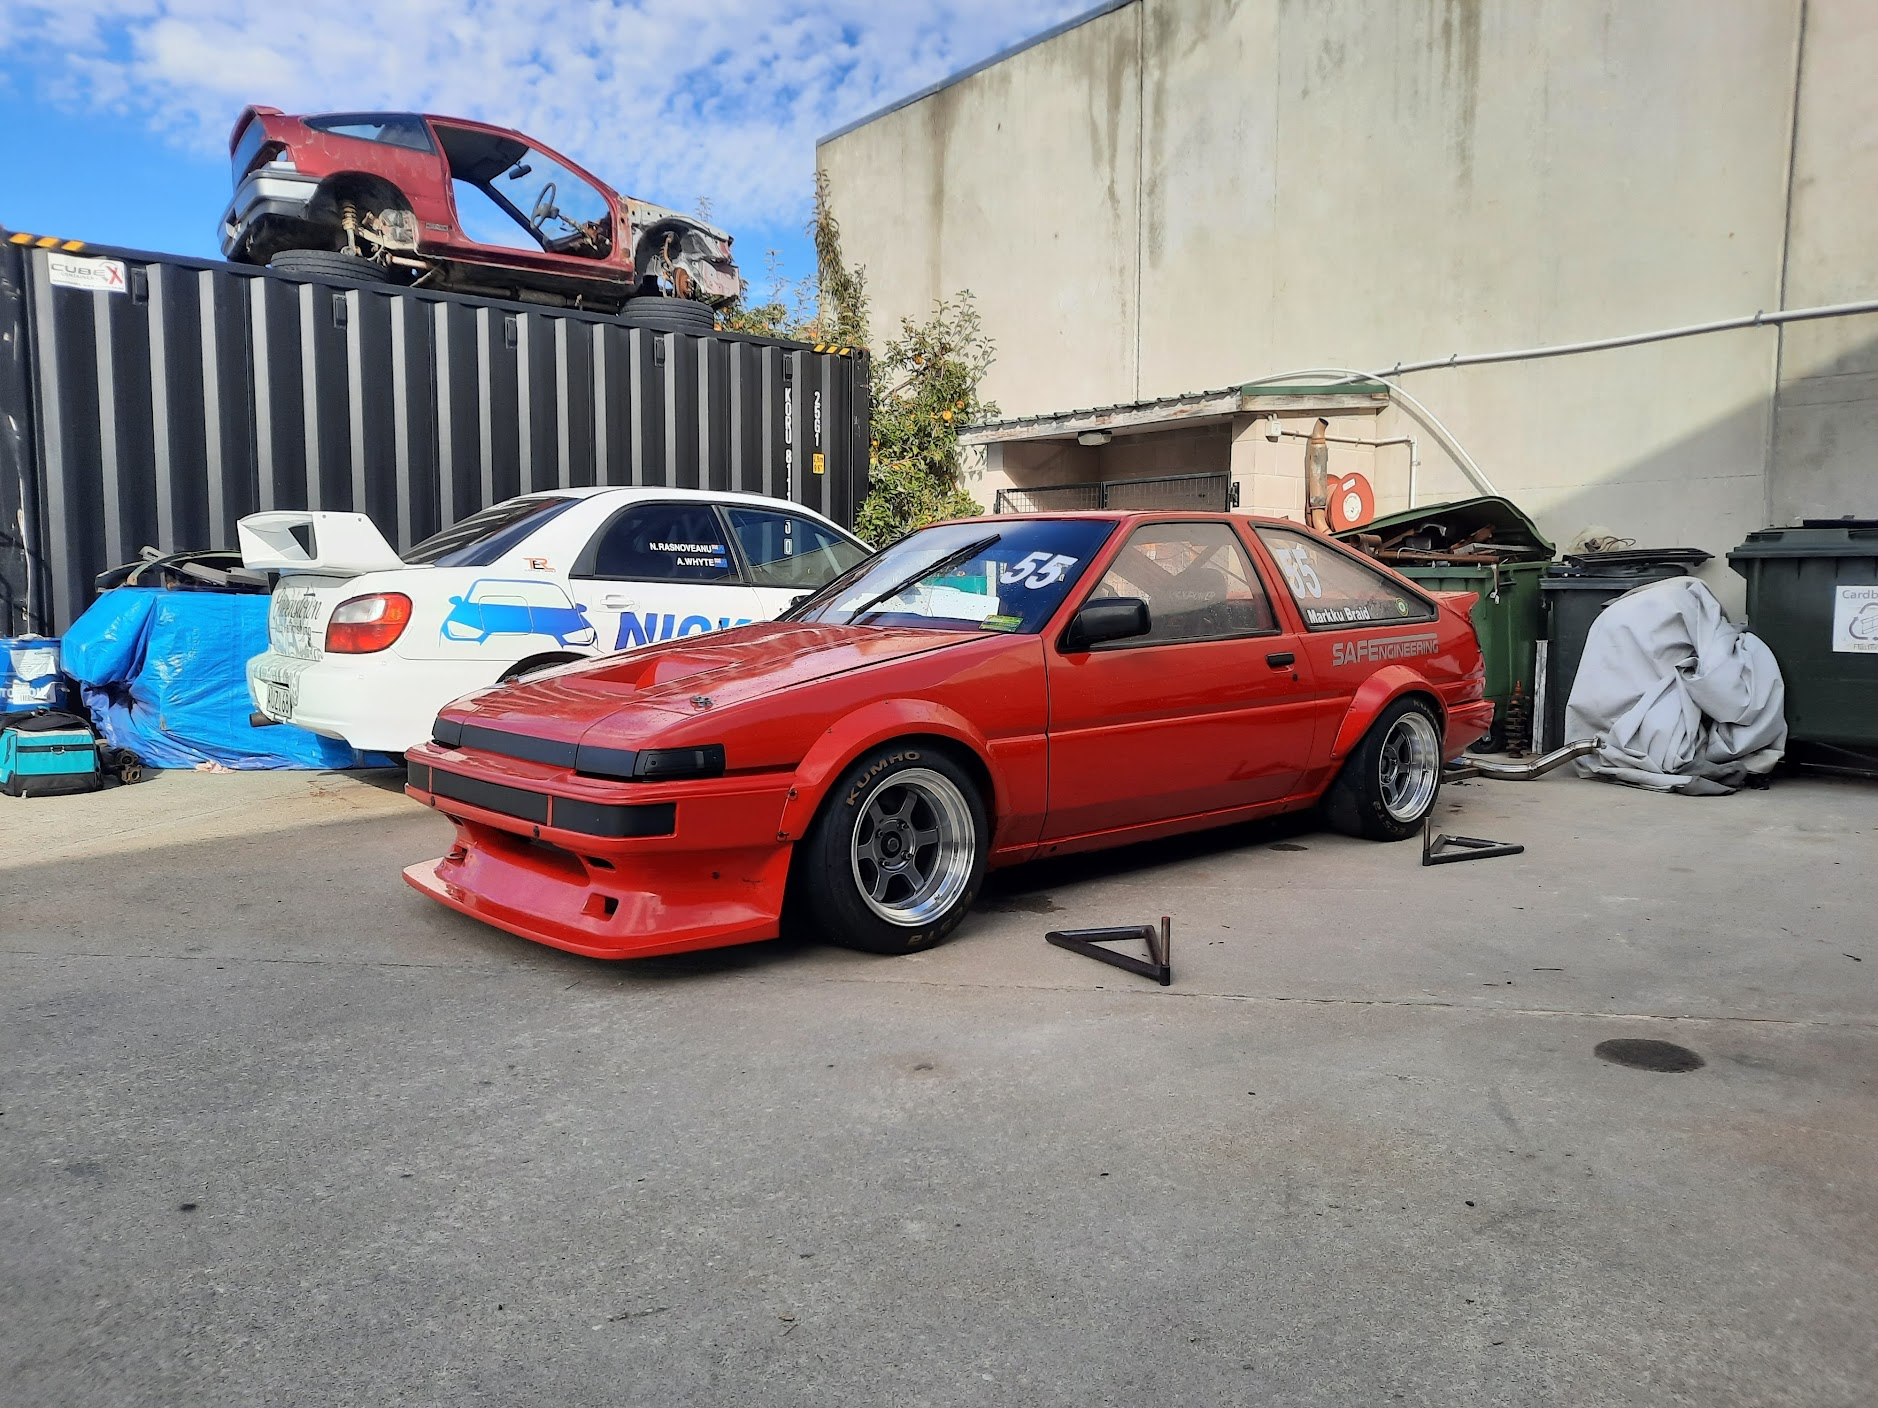
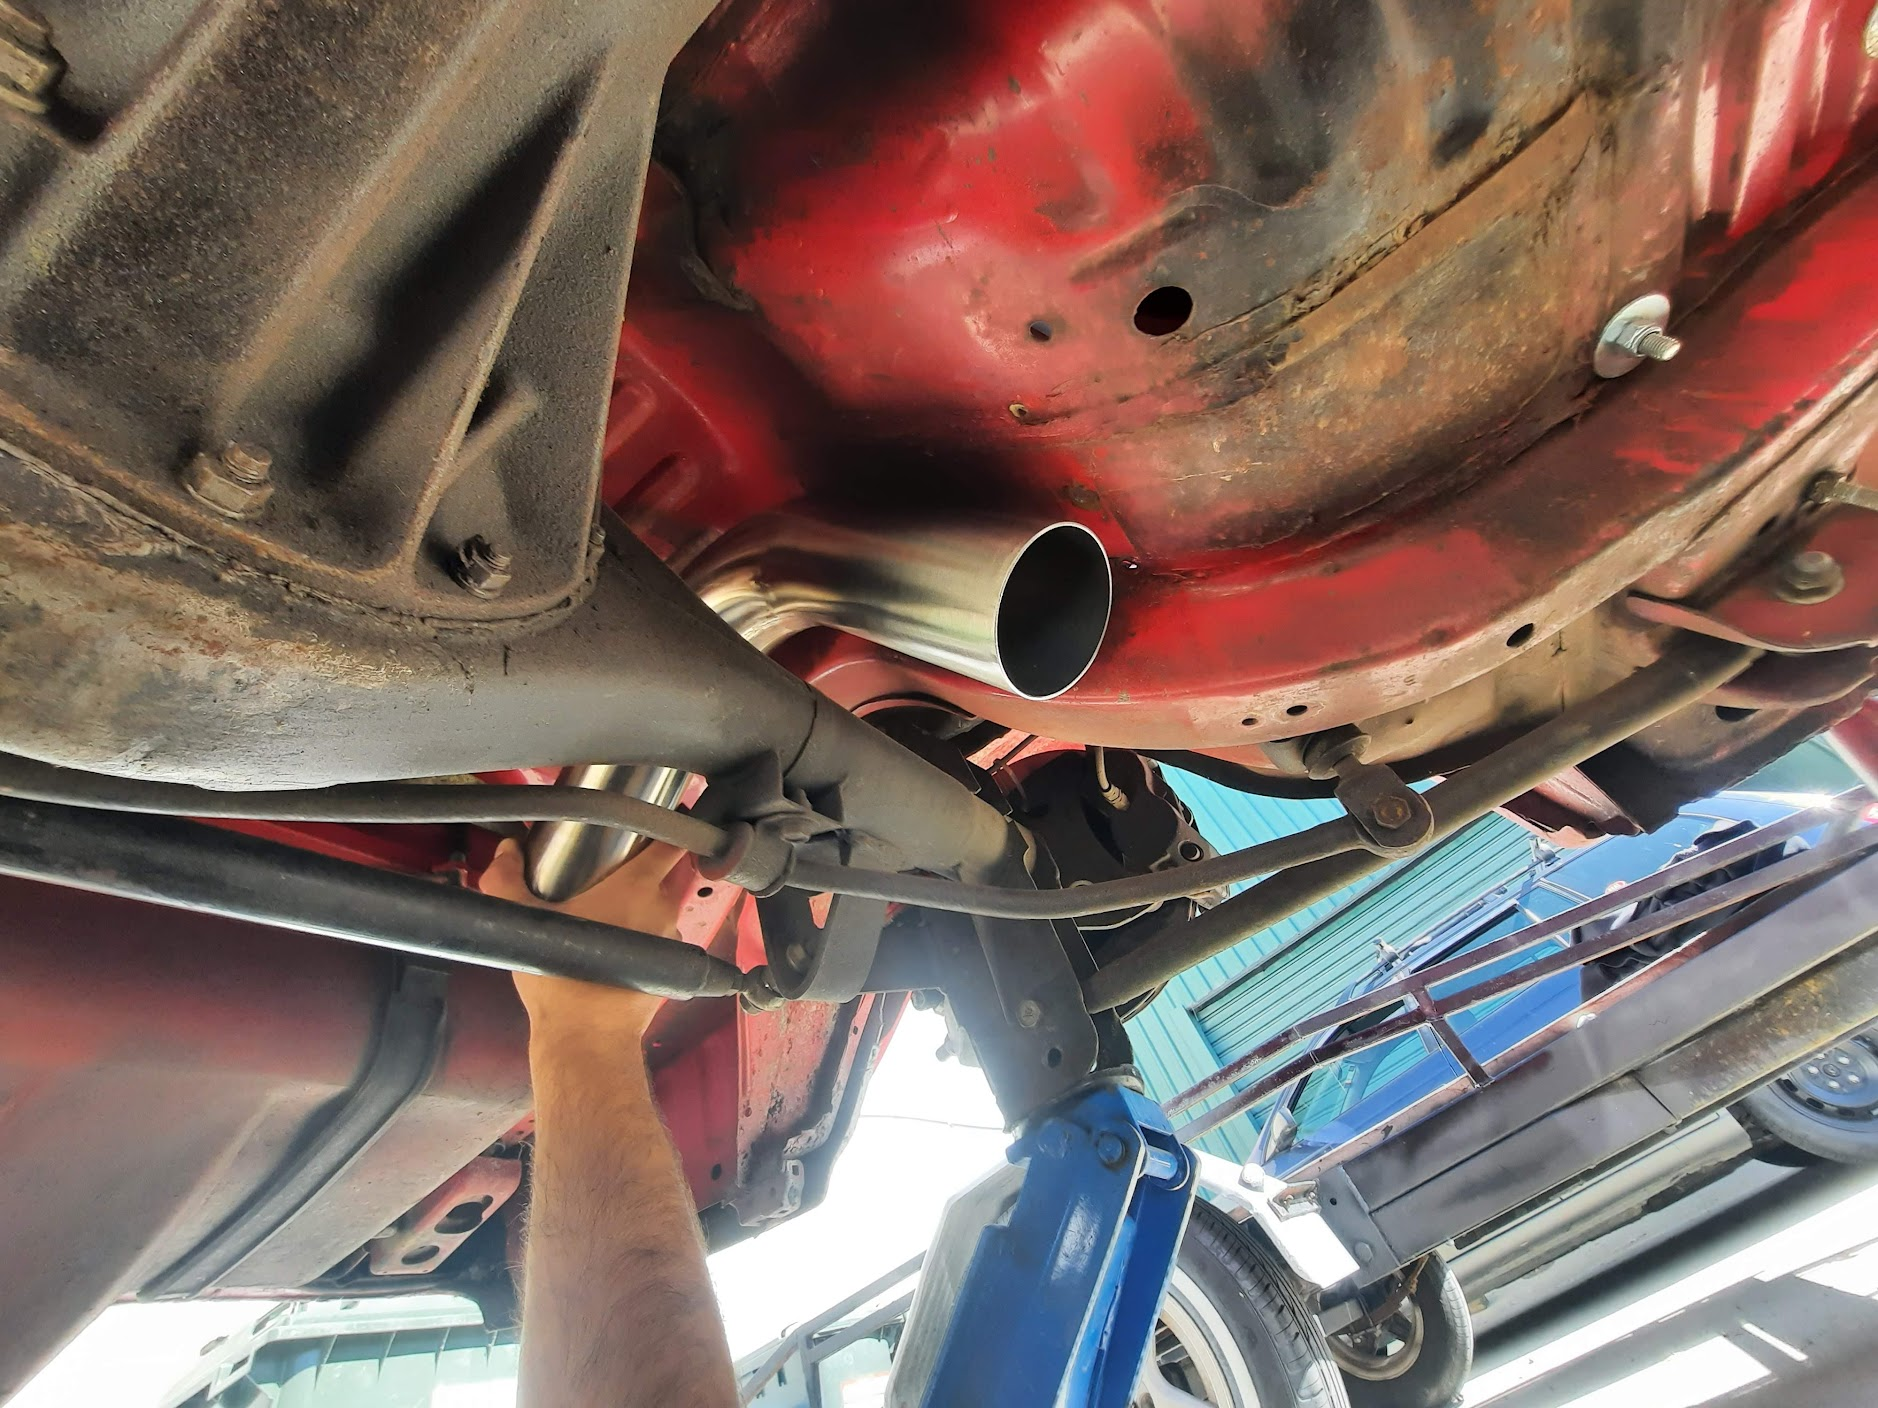
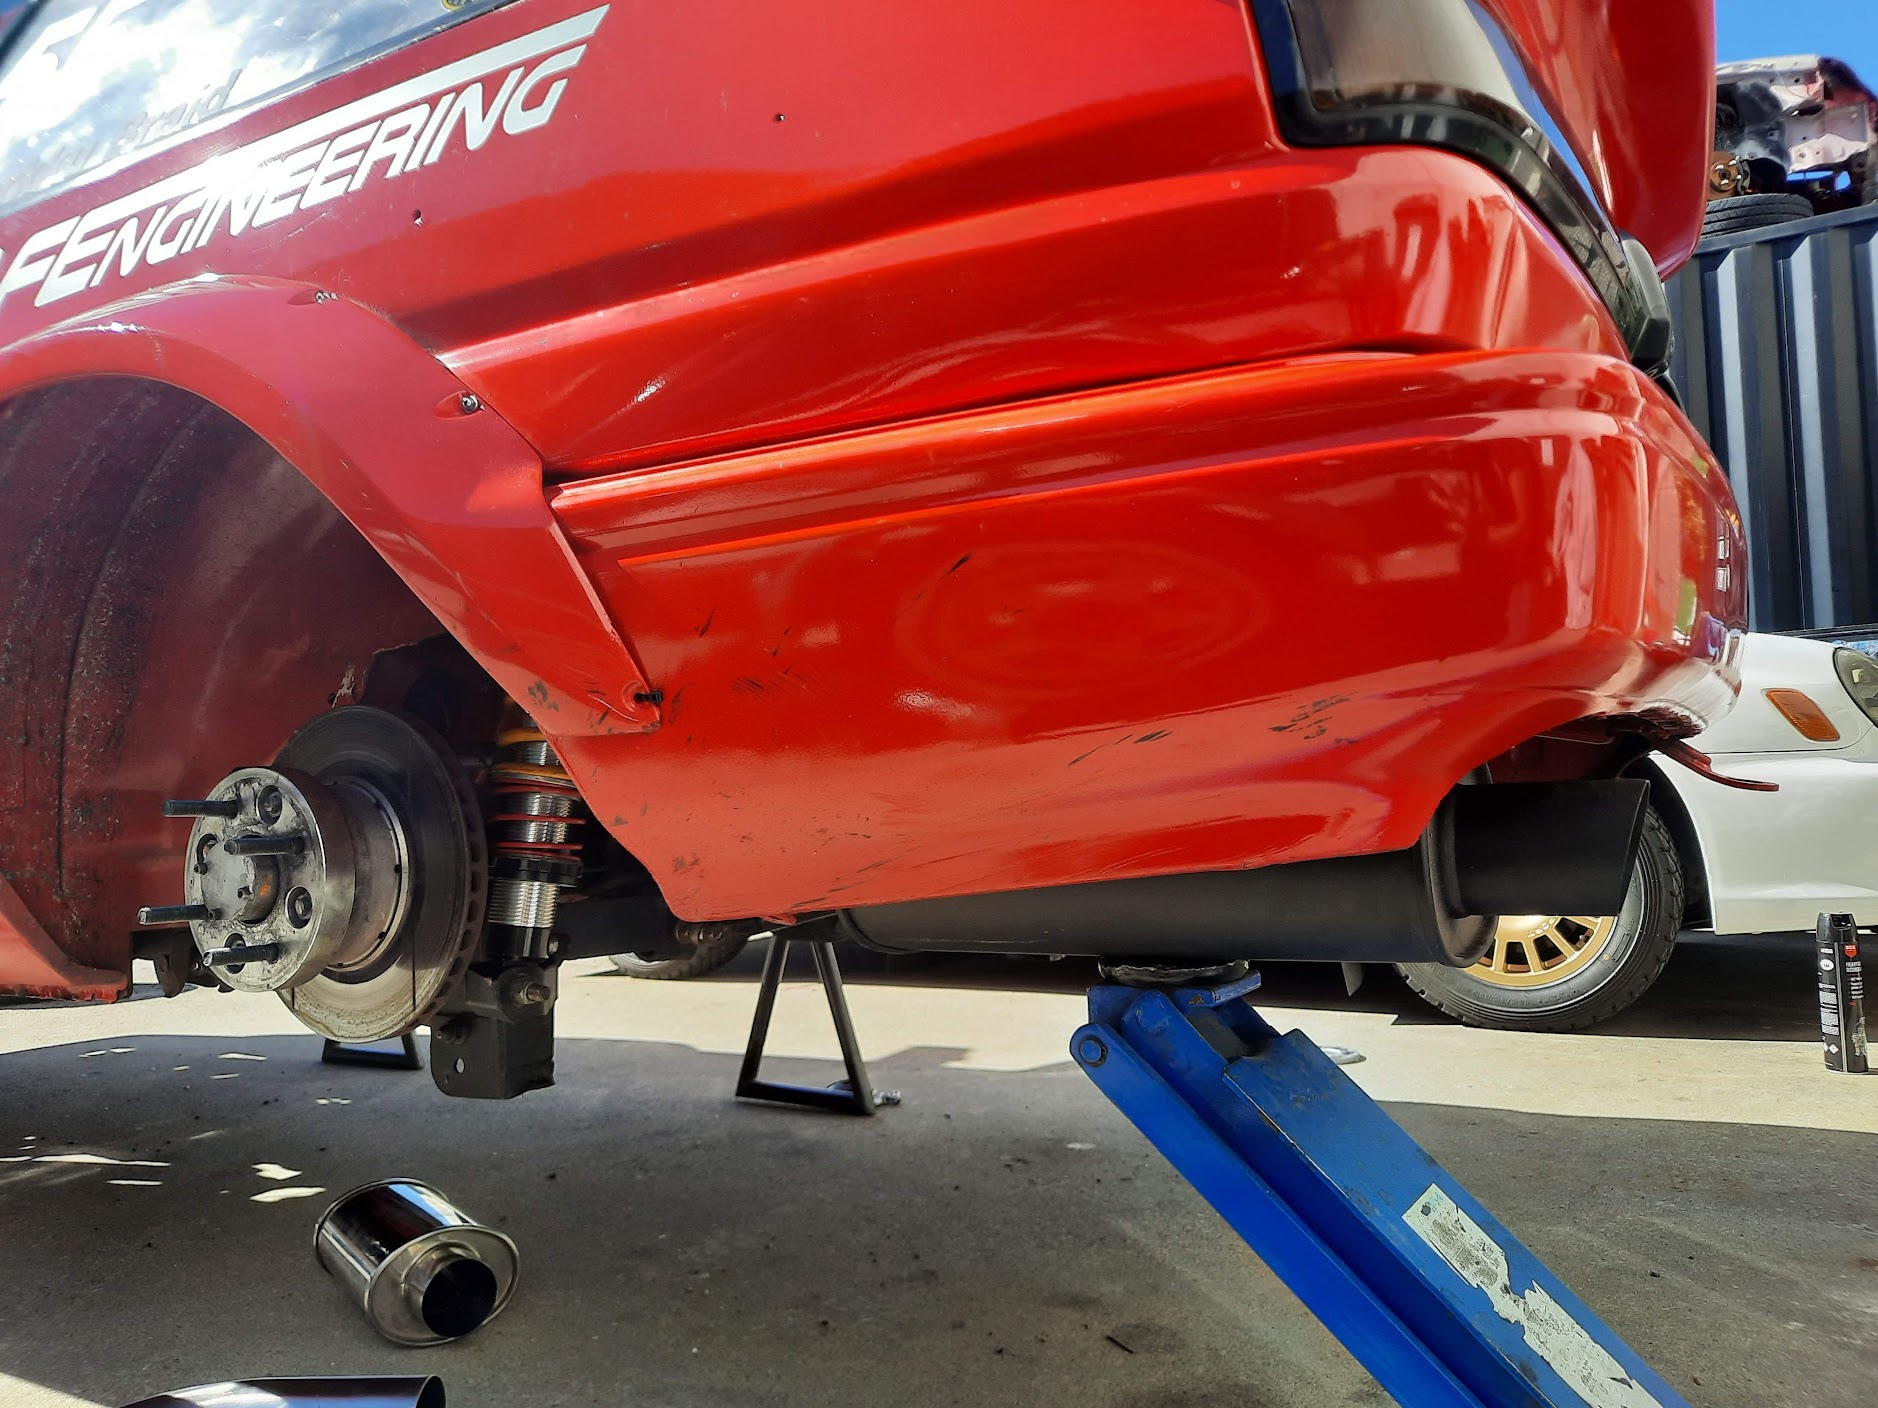
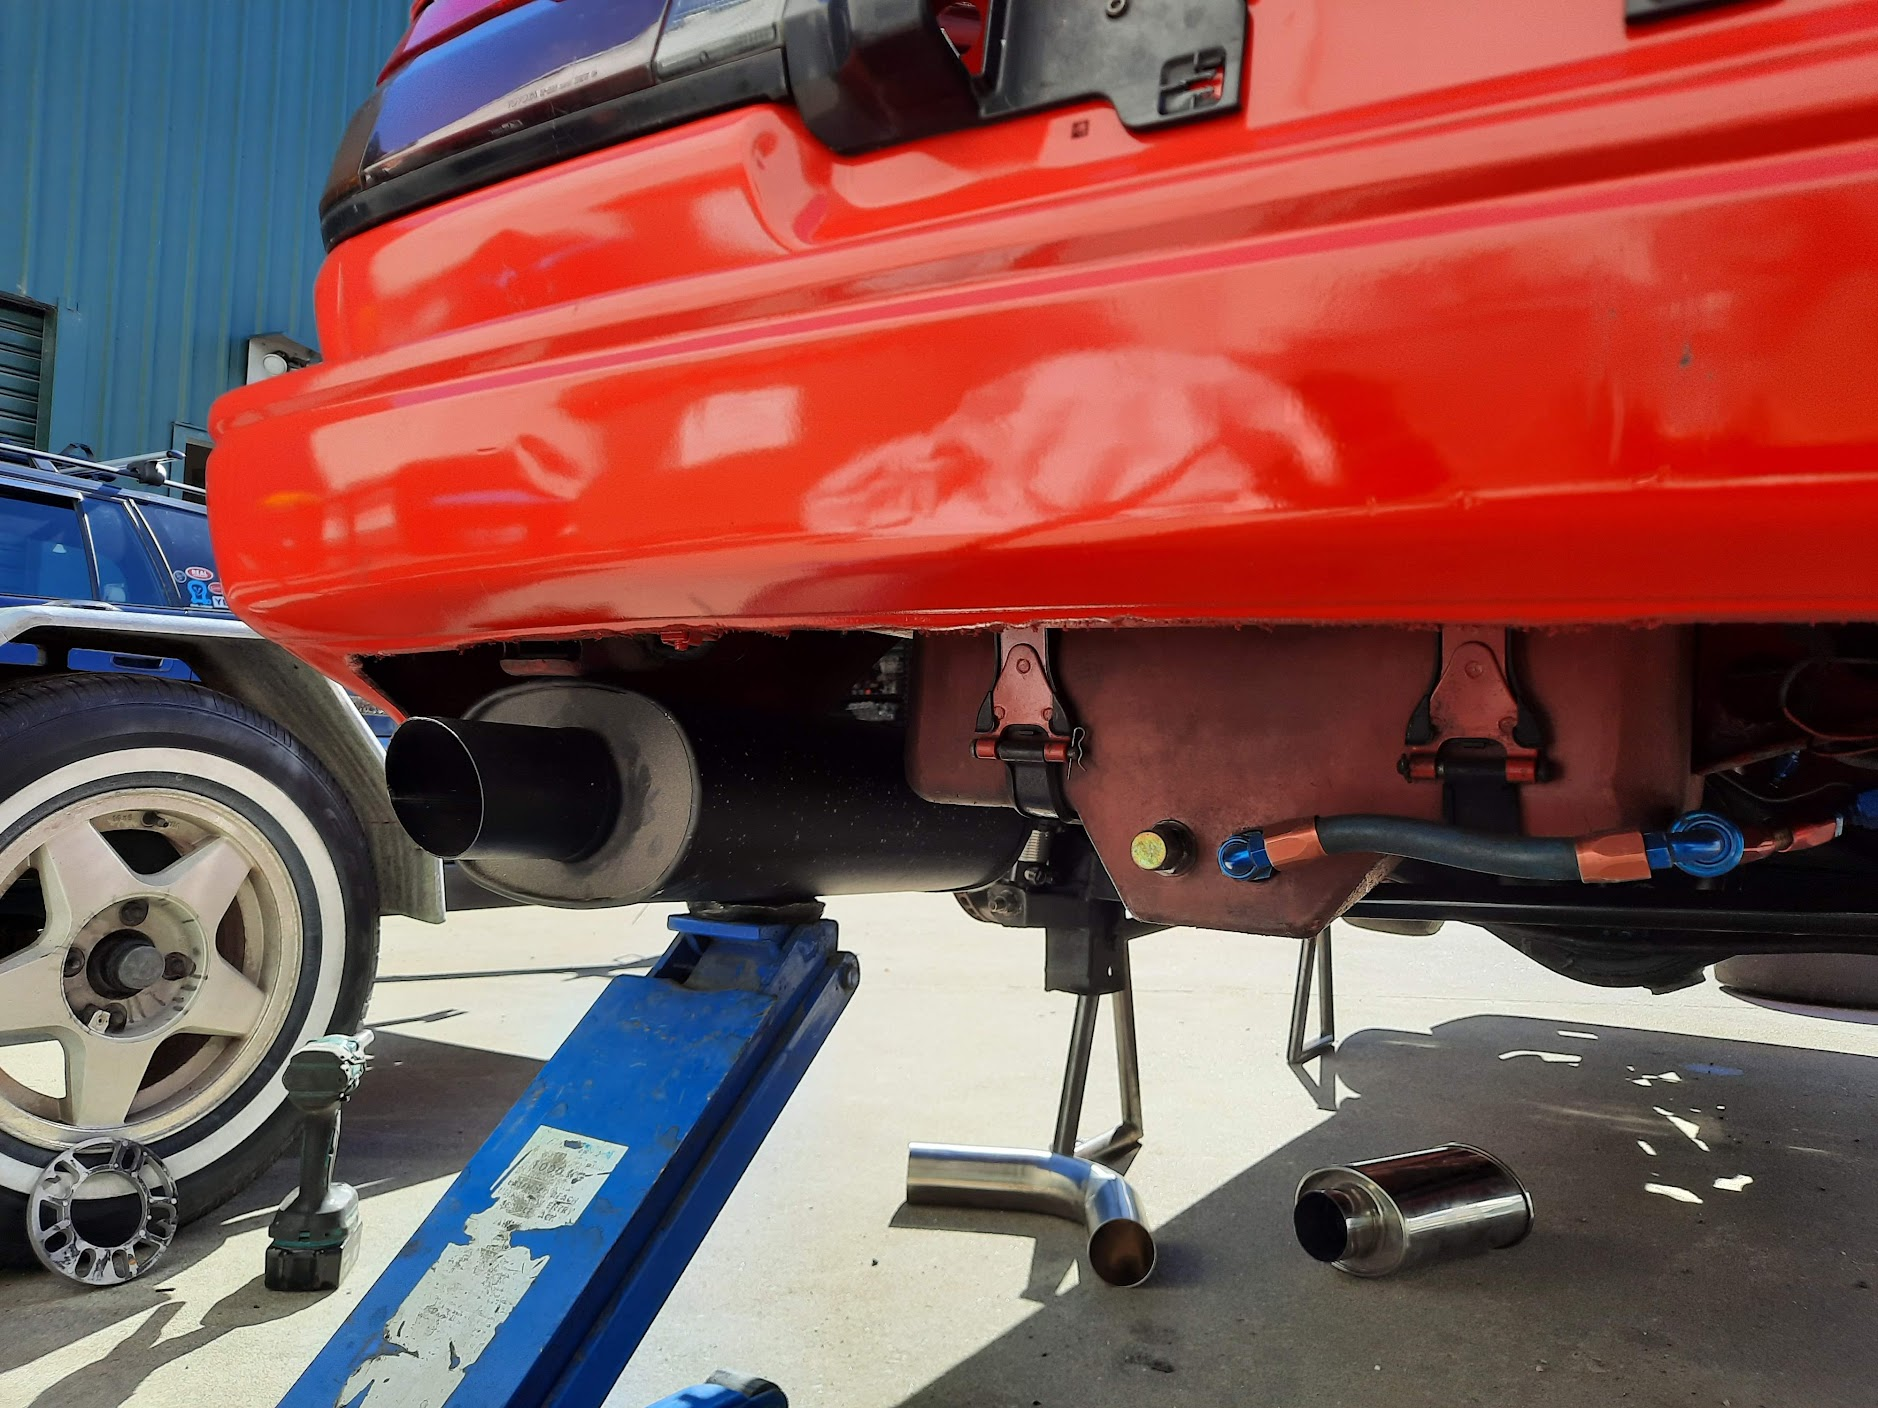
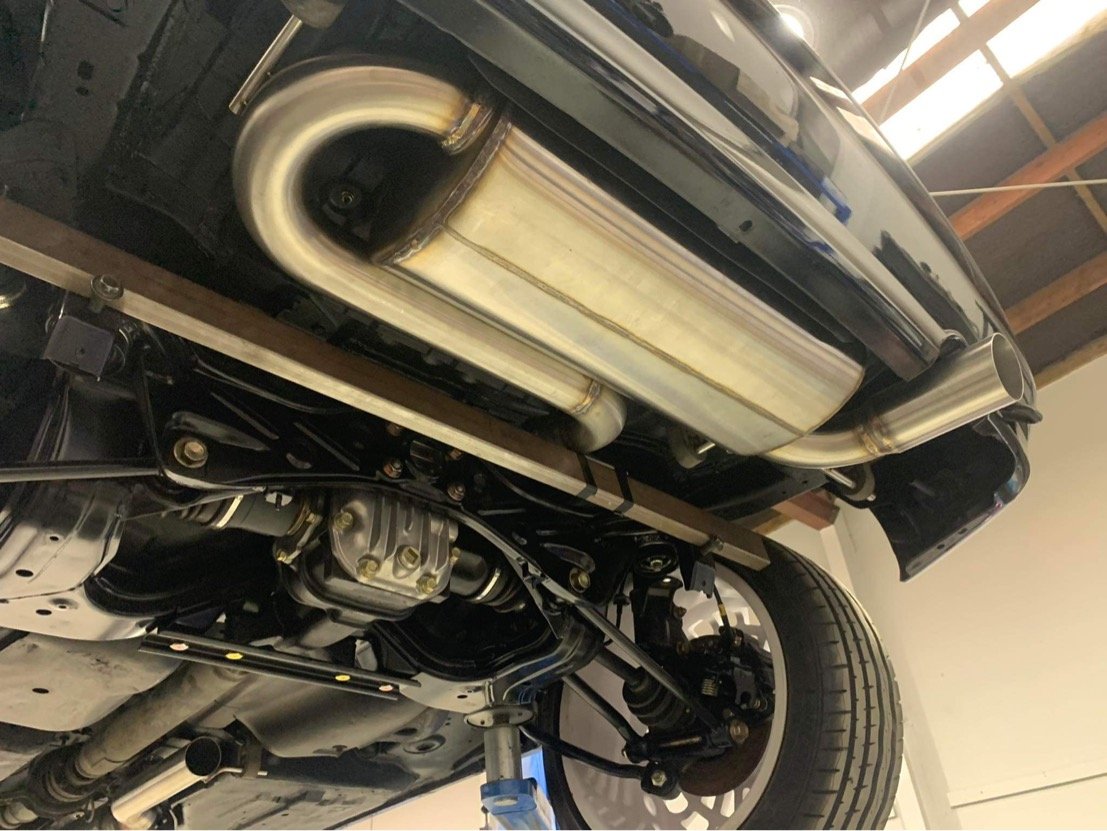
About 2 weeks after I brought the car to Queenstown, I broke my shoulder riding the XR250... So for the last 8 weeks I've been staring at this in my garage without being able to touch it. The sling came off last week. I'm still a one armed bandit for anything heavier than washing dishes, but I still wanted to feel like I was making progress. A couple of mates helped me get the car to work over Easter weekend so I could wash it and start on a few small jobs. Much better. One job I really want to do is update the exhaust. The old side pipe has cracked and it had a bad habit of hitting the ground over ripple strips etc. This time I'd like to go full stainless and exit out the back of the car, with two mufflers. Going under the diff will be tricky because of my droop travel and lowered panhard rod mount, so I'm thinking of heading over the diff instead. It looks like it'll work - this is with the LR shock at close to full compression: Rear muffler location will look something like this: I'll run the smaller reso/muffler just before the diff and might run a V band up the front because the old flanges I've been using are pretty tired now! Taking the exhaust out the back makes me feel old. My ear drums will love me for it though
3 points
-
Thought I’d have a go at showing off the shiny cam gears. Added clear plastic cambelt cover. nice, then cover it up with the silly intake pipe. Hmm, must rethink the filter set up
3 points
-
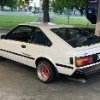
End goal pretty much this
3 points
-
I'll just put this here2 points
-
I am in if the 95 surf is allowed2 points
-
And you will get your money back selling parts easy2 points
-
Well that’s cheap enough to have a spare engine just in case2 points
-
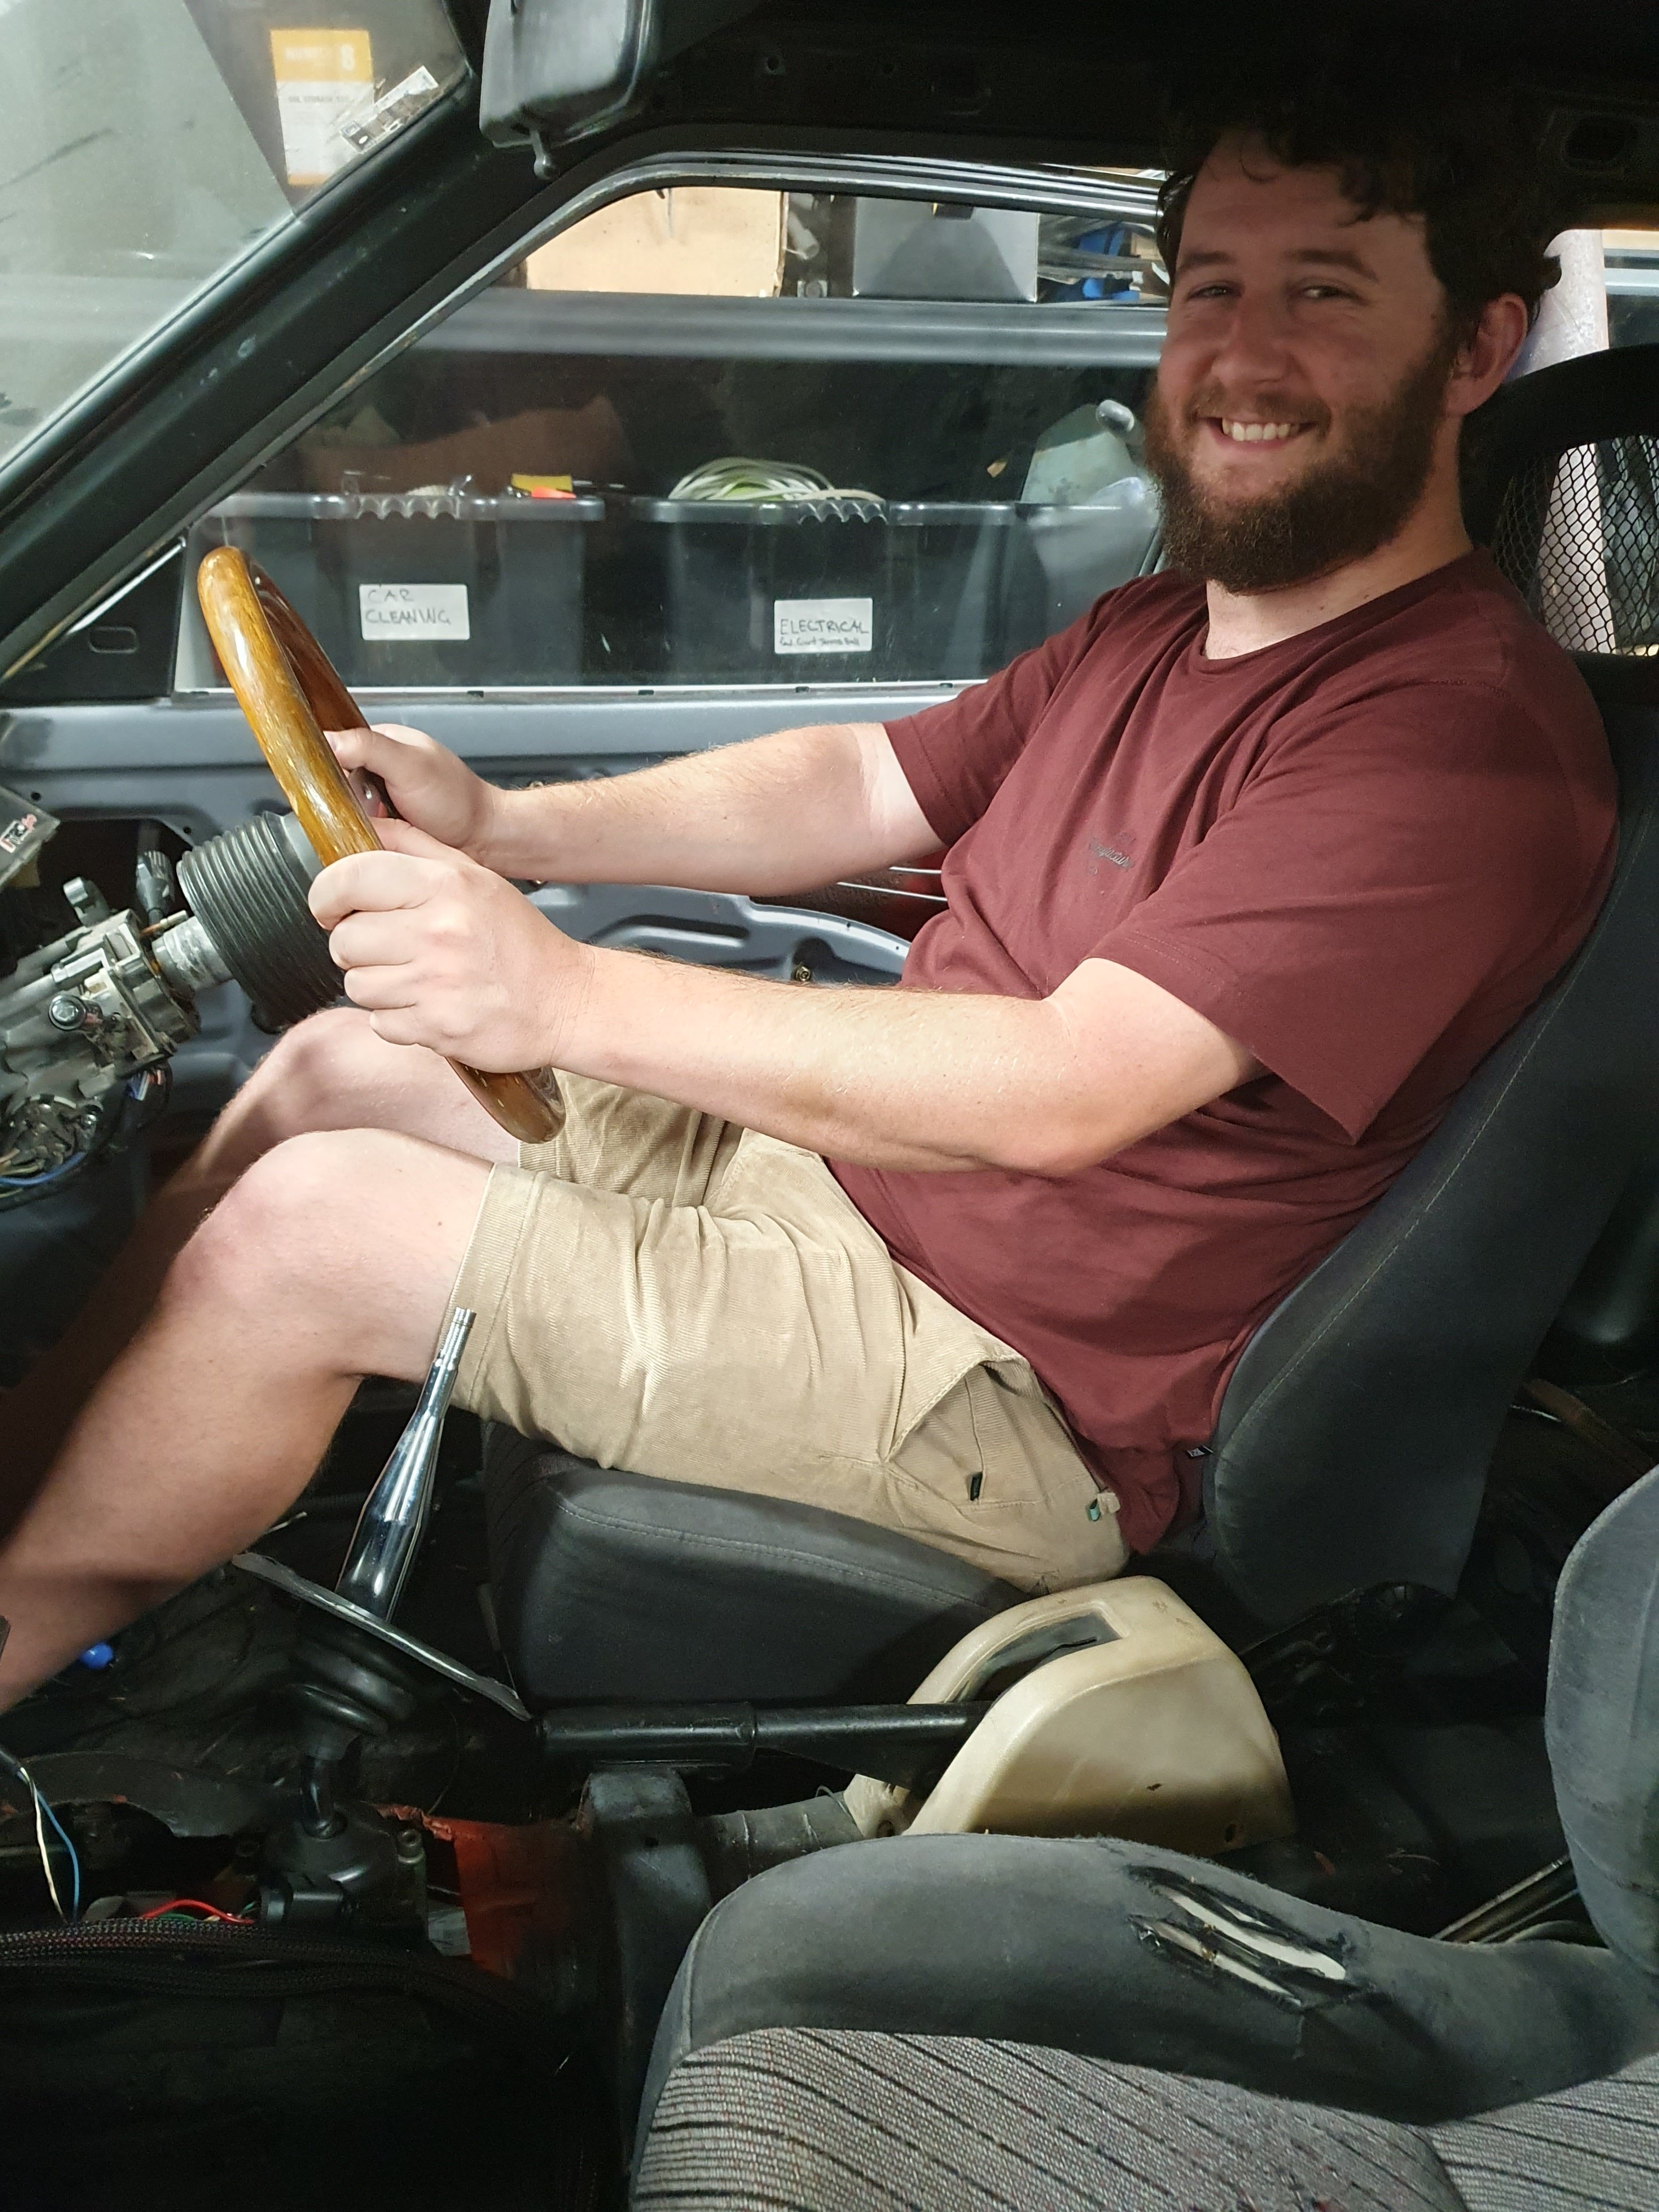
I hate to break it to you, but i was taking it easy? Now that white datsun i used to own, that car i really used to pedal like i meant it.2 points
-
Fixed that for you2 points
-
Wiper switch turned up today. All 5 points select solidly, they are pretty bulletproof so no further testing will be done until i fit it and it doesn't work. And that could be years away.2 points
-
Yea keen to put together a rag tag crew of poorly organised individuals to drive one of the wounders blue smoke machines across the Amuri Plains in search of PGs and Irvine’s pies2 points
-
You could drive @MaxPower sigma down!2 points
-
@RUNAMUCK can finally be the property mogul he dreams of2 points
-
While this meet is an OS.co.ng meet (because new cars are shit) its 100% about the OSGCs too. So if its beyond your means to travel a day and a half each way in your old school whip, (which has been on blocks so long itll probably never see the road again, stop kidding yourself) theres a perfectly good plane station down the road in quakechurch, so dont be shy about piping up, and im sure the local crowd can arrange pick up/ a ride to Hanmer. The people running the camp atm have it on the market too. So this could be the very last one. (Karl and i spent ages sharning up a storm getting to know the present people over a few visits)2 points
-
Few random snaps
2 points
-
So the car has pretty much been all sold. *Motor is going into an escort. *loads of parts are going to others to keep other st170s on the road *and the rest of the car is going to palmside to be a race/rally car ....so thats awesome.....no waste2 points
-
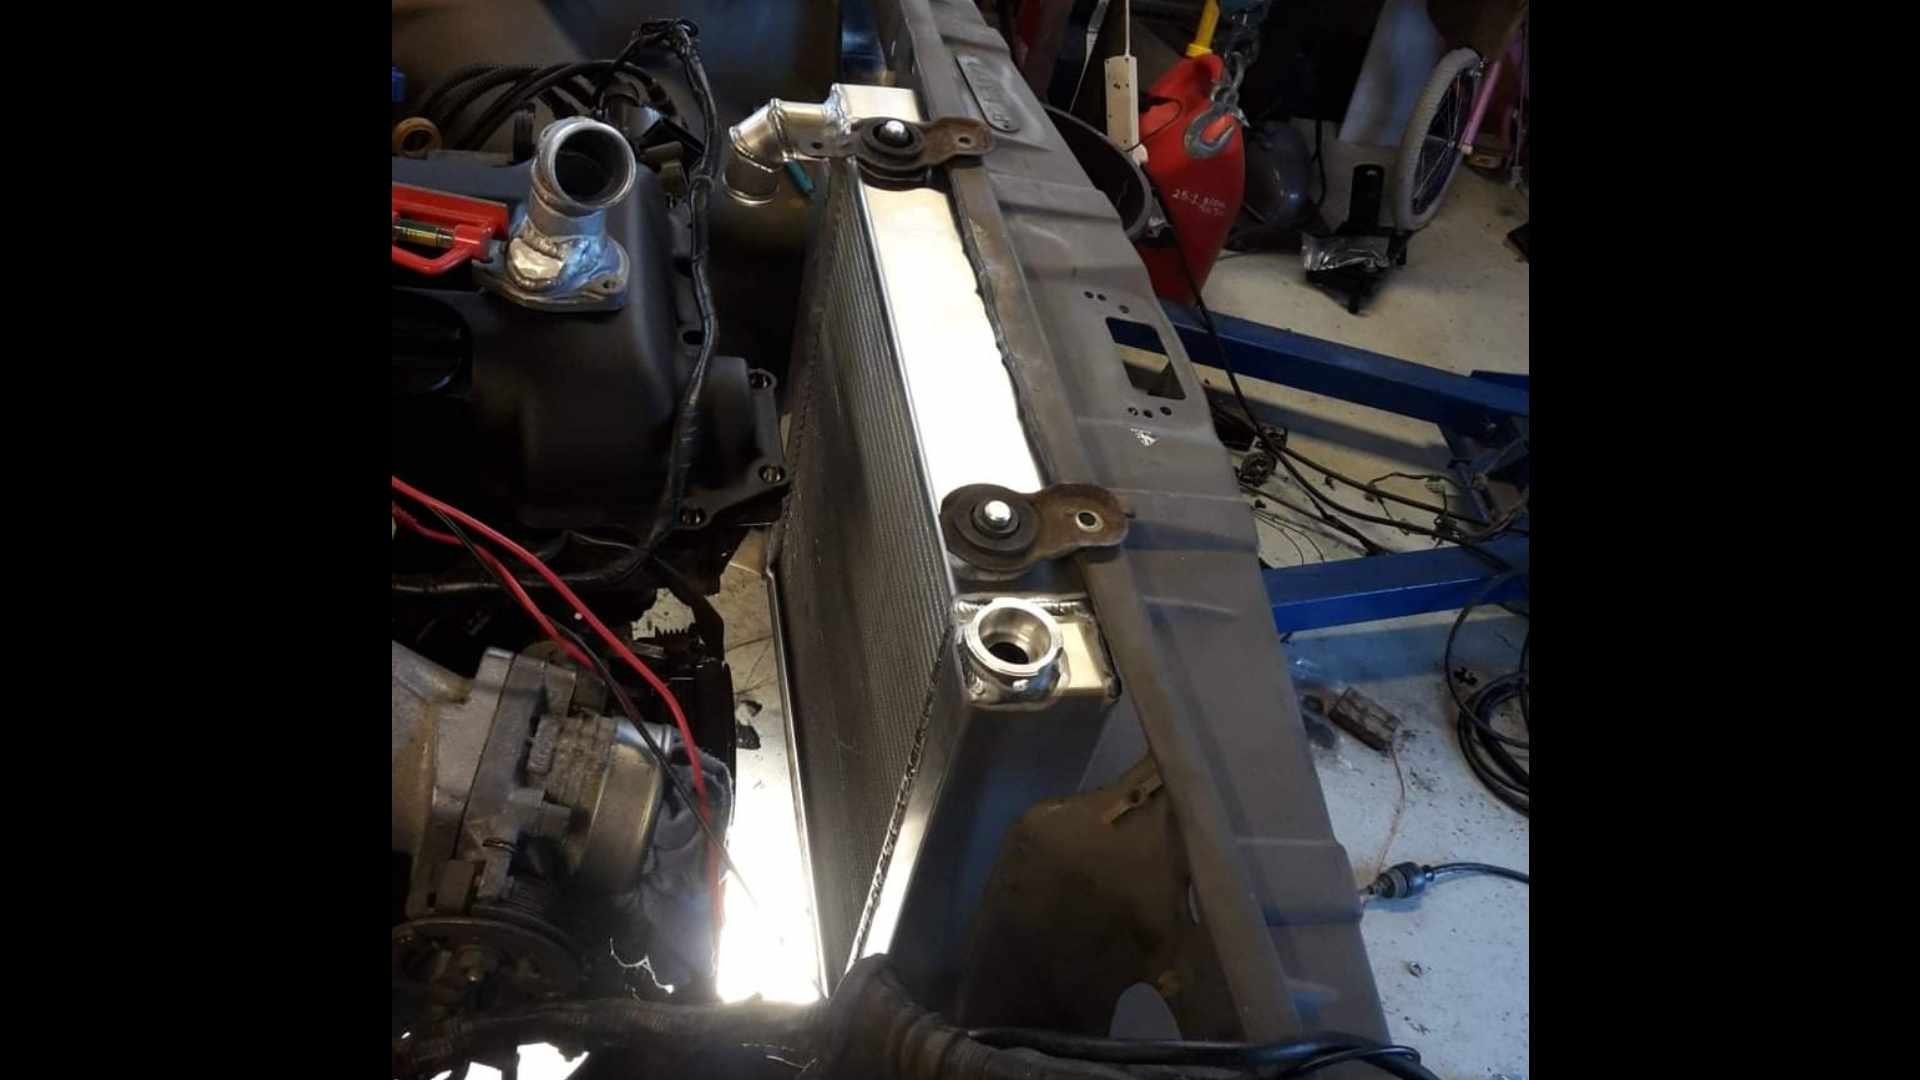
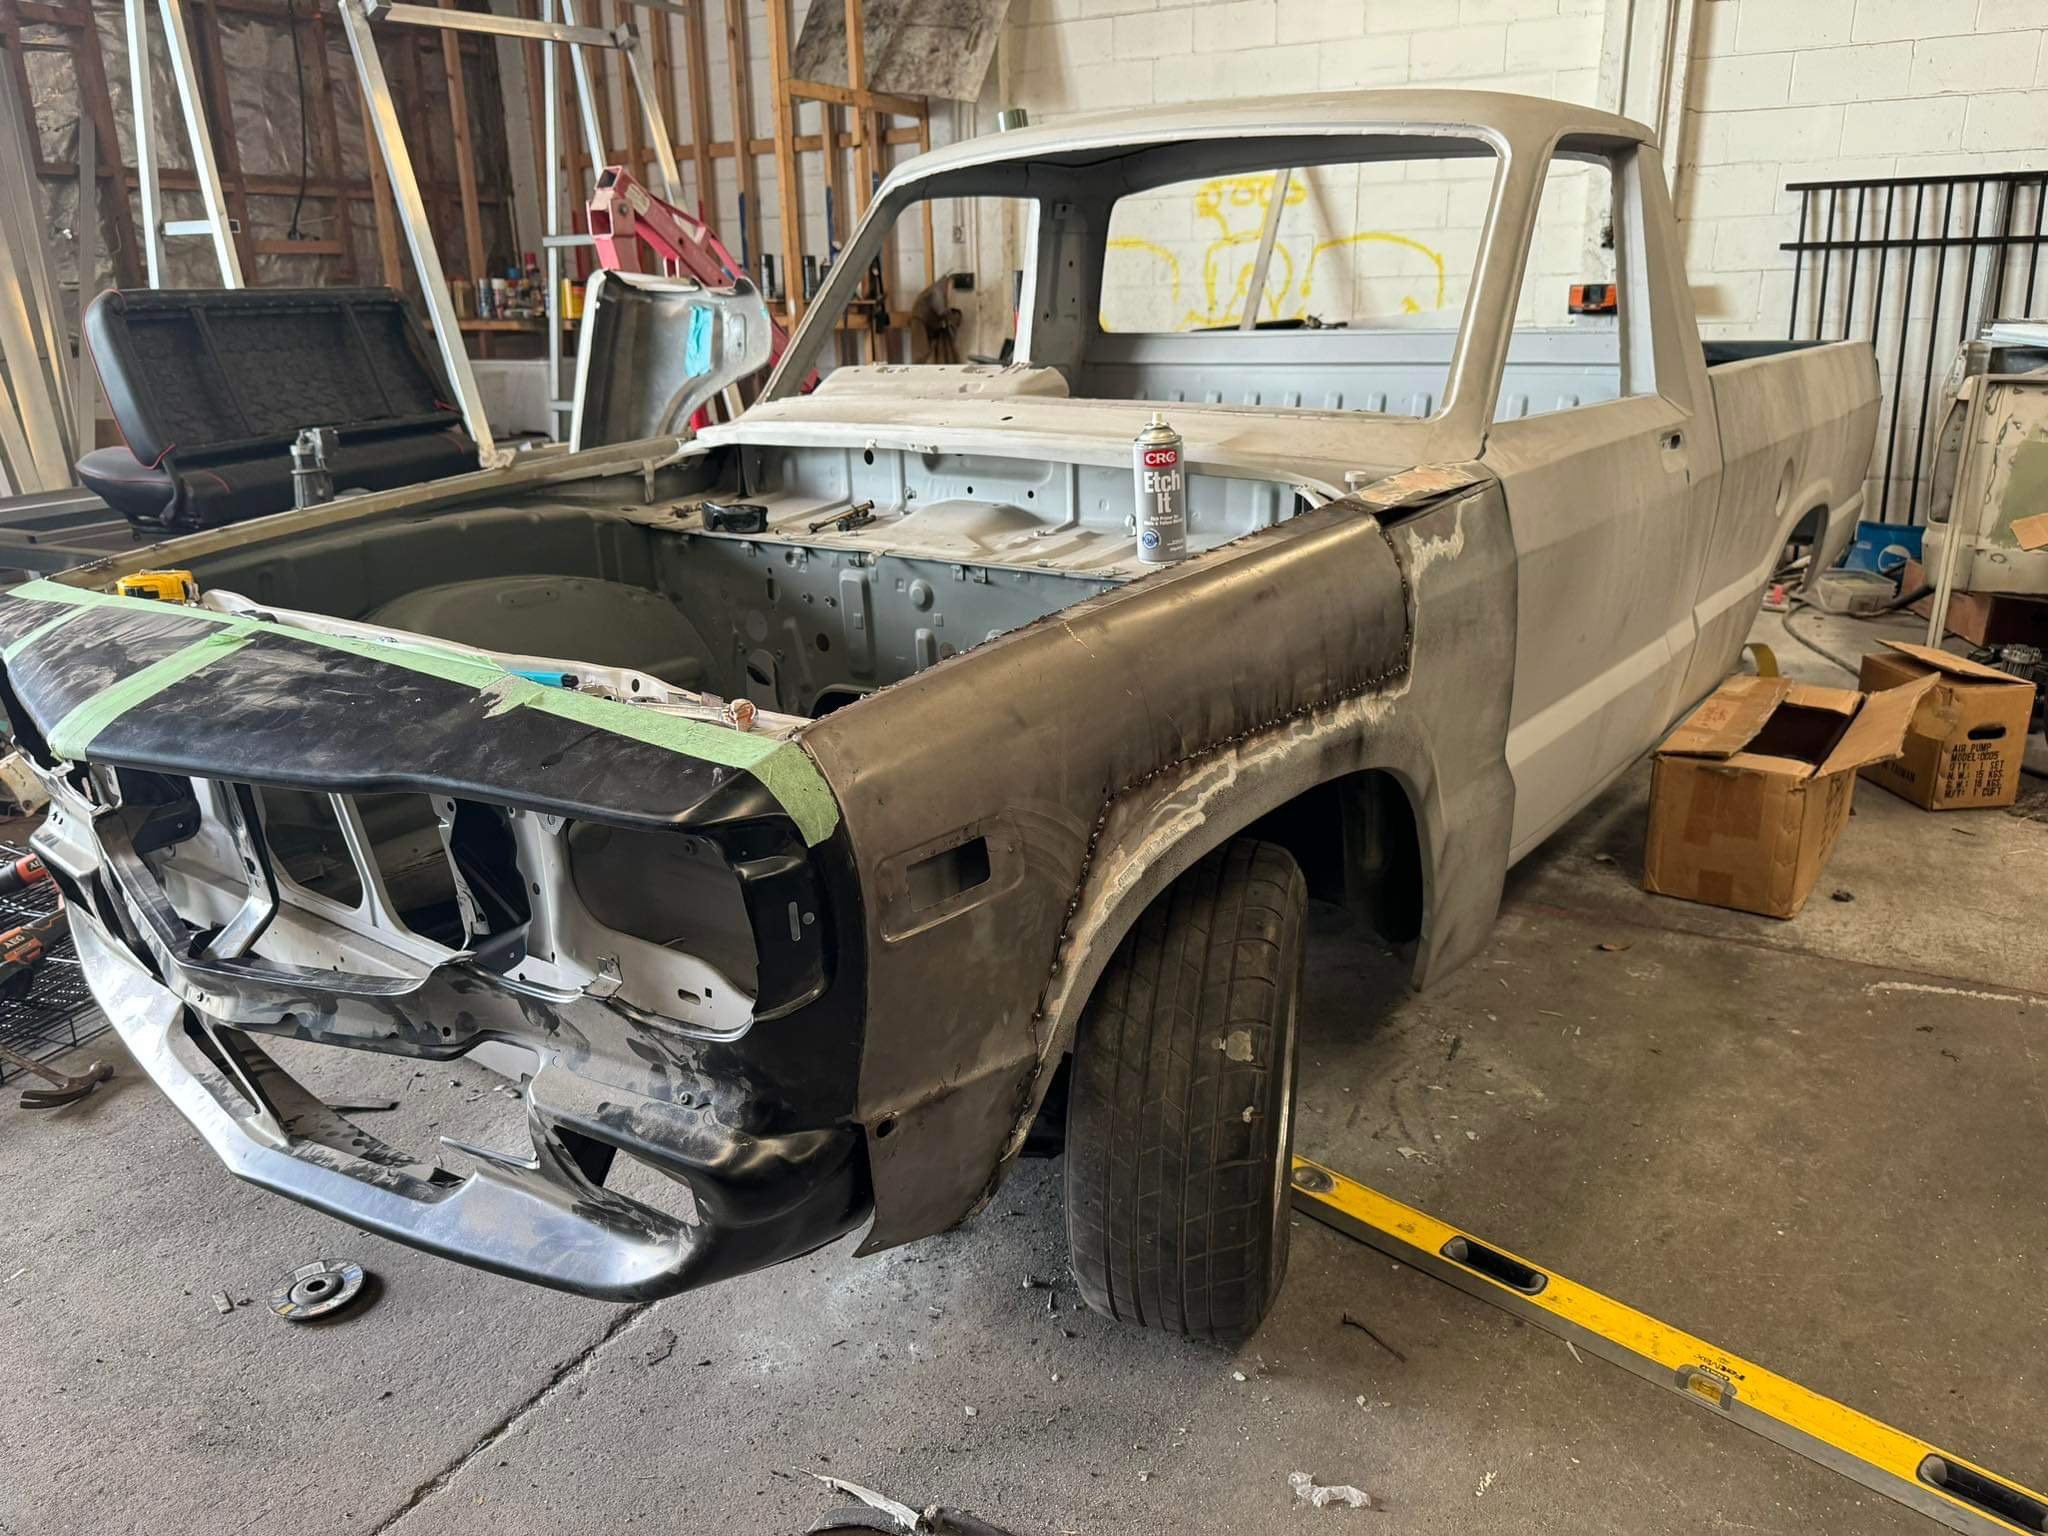
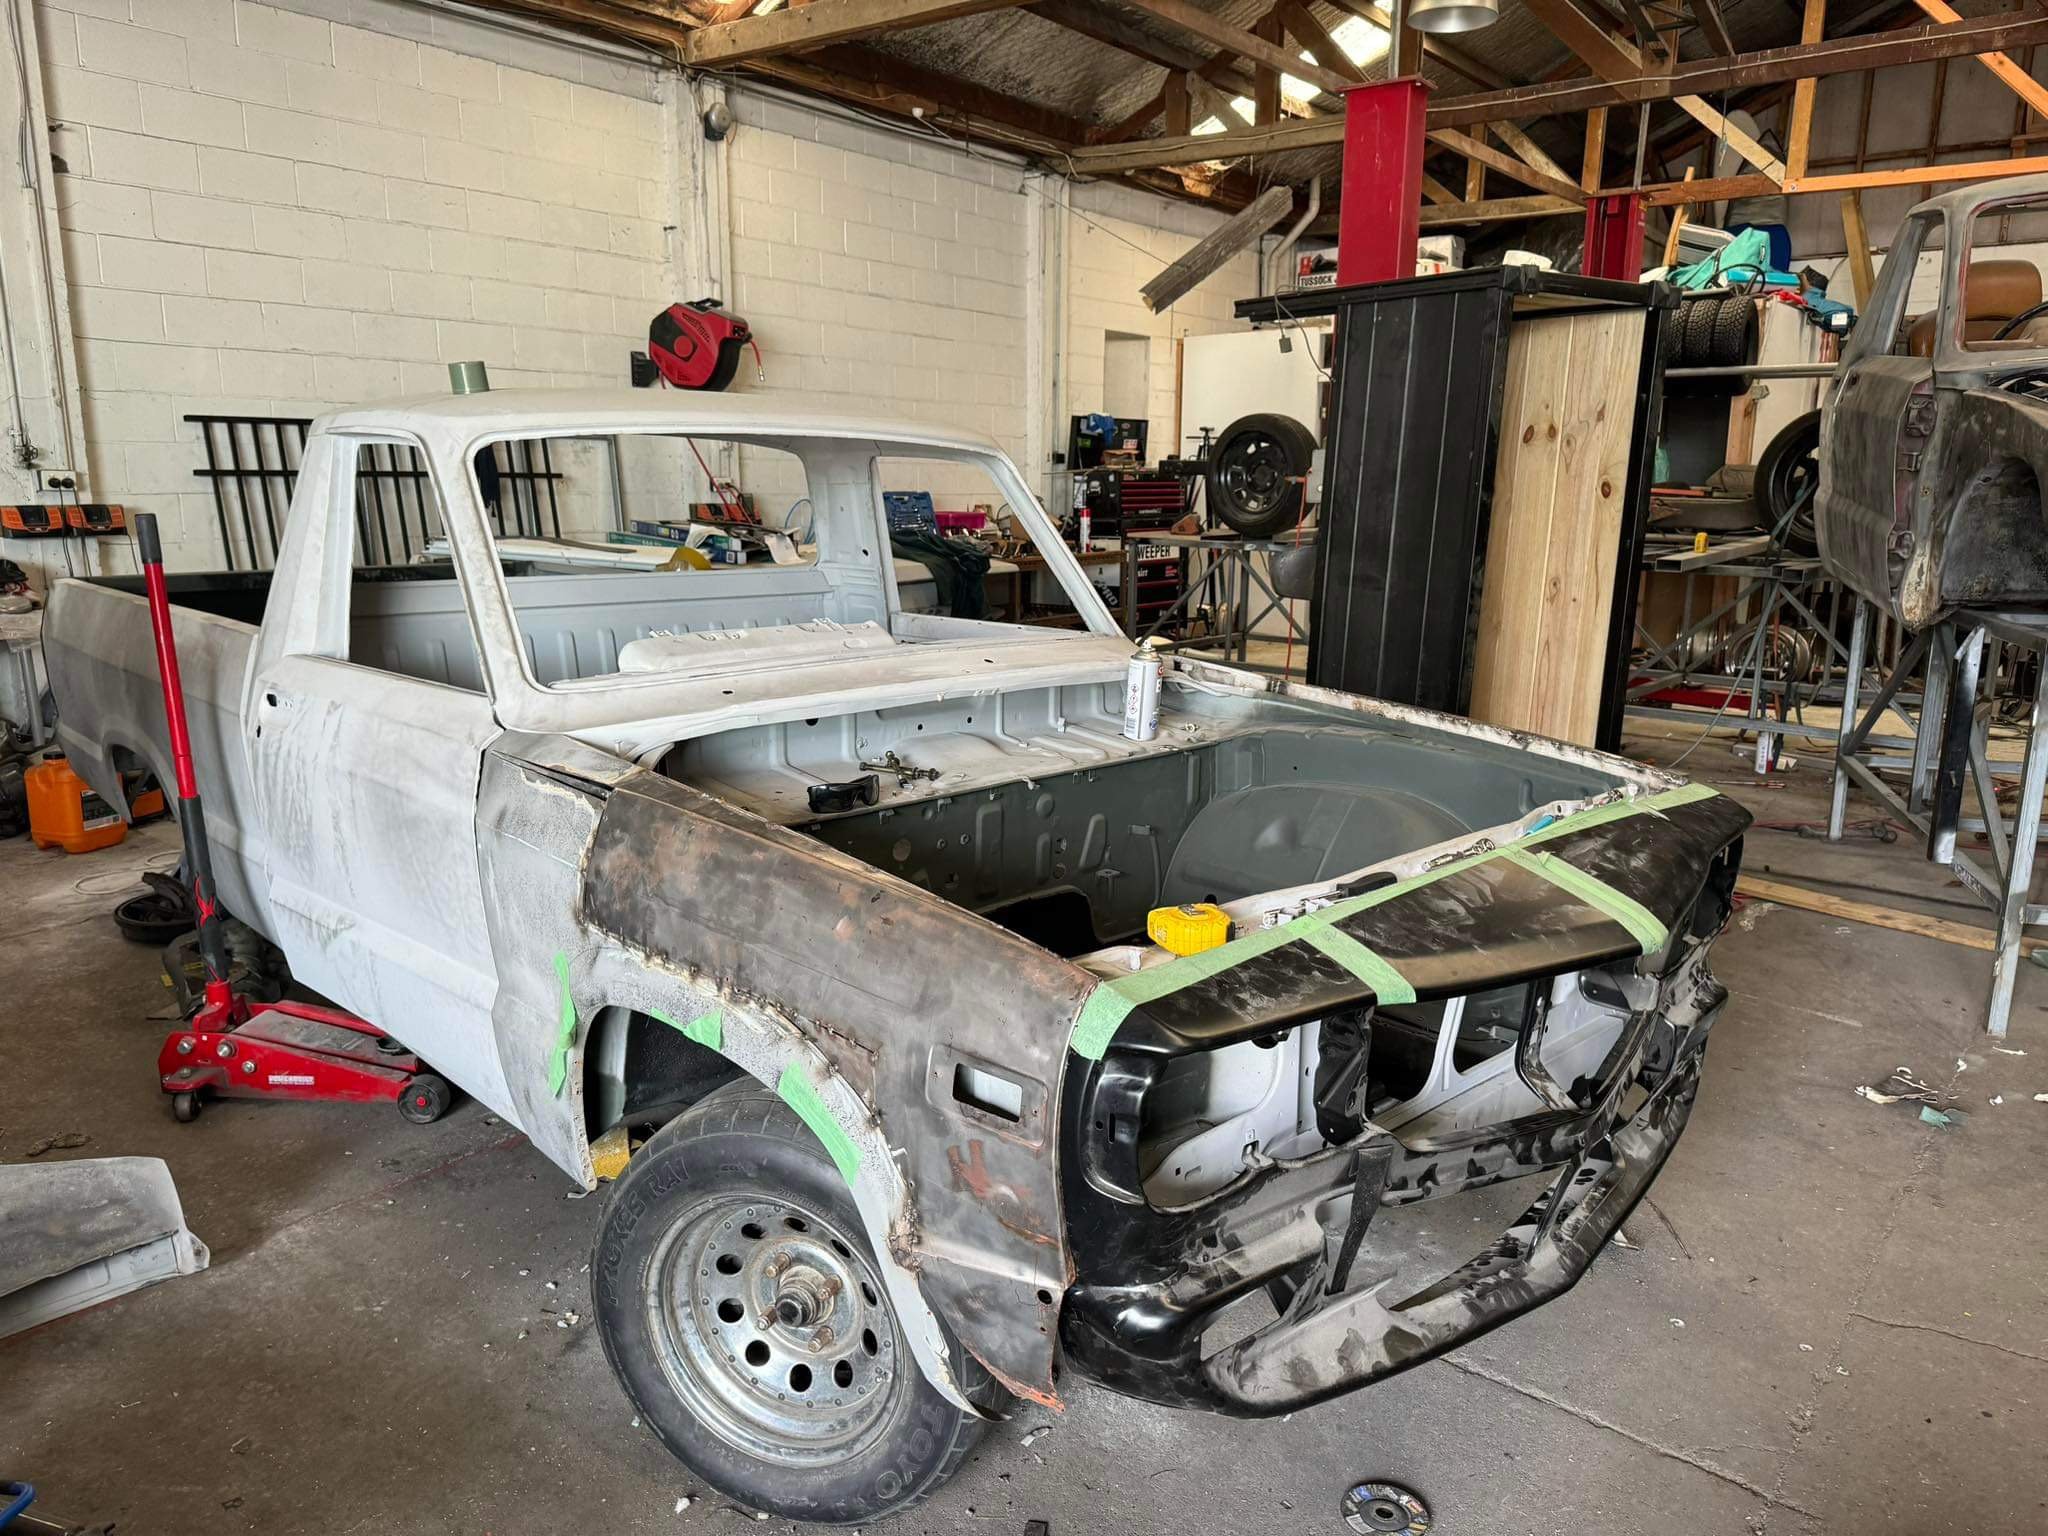
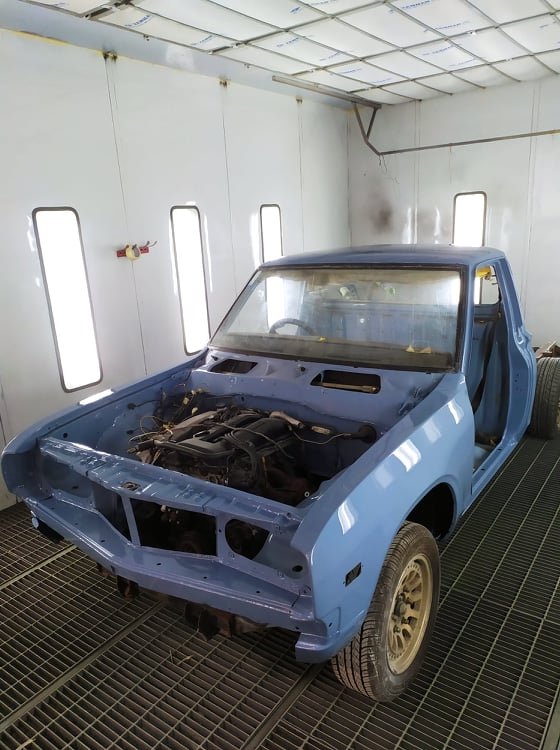
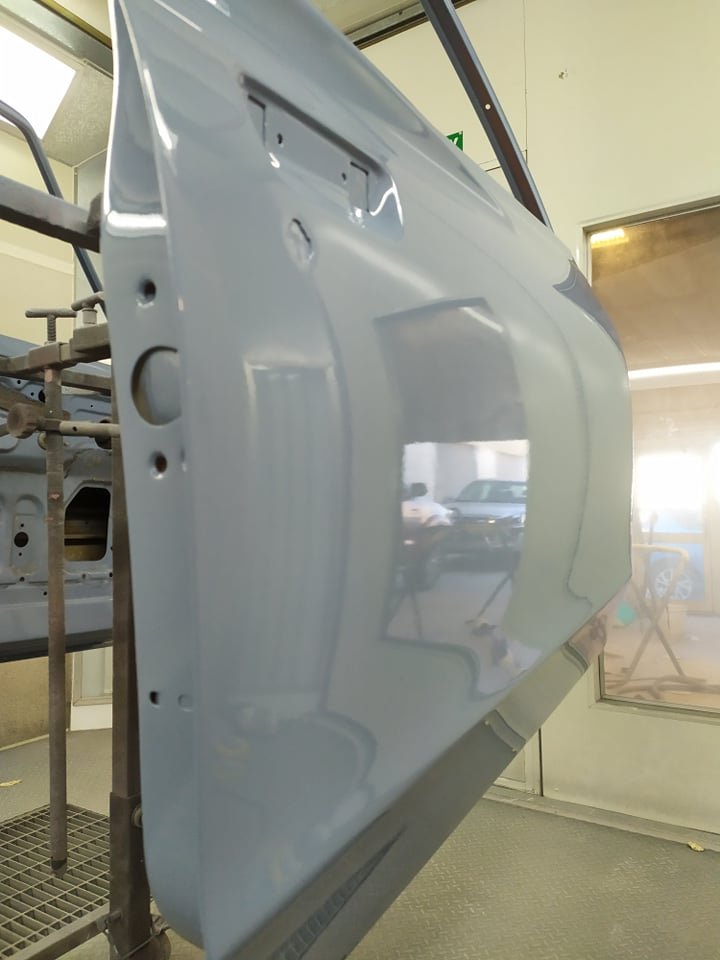
The donor front/radiator support panel came from a farm ute, which had had an L16 repower. Some butcher had gas cut the radiator supporr panel out so they could fit the larger L16 radiator. I tidied this up as best i could (not very well) and got a mate to make me a custom Aluminum radiator to fit in the space i had.
2 points
-
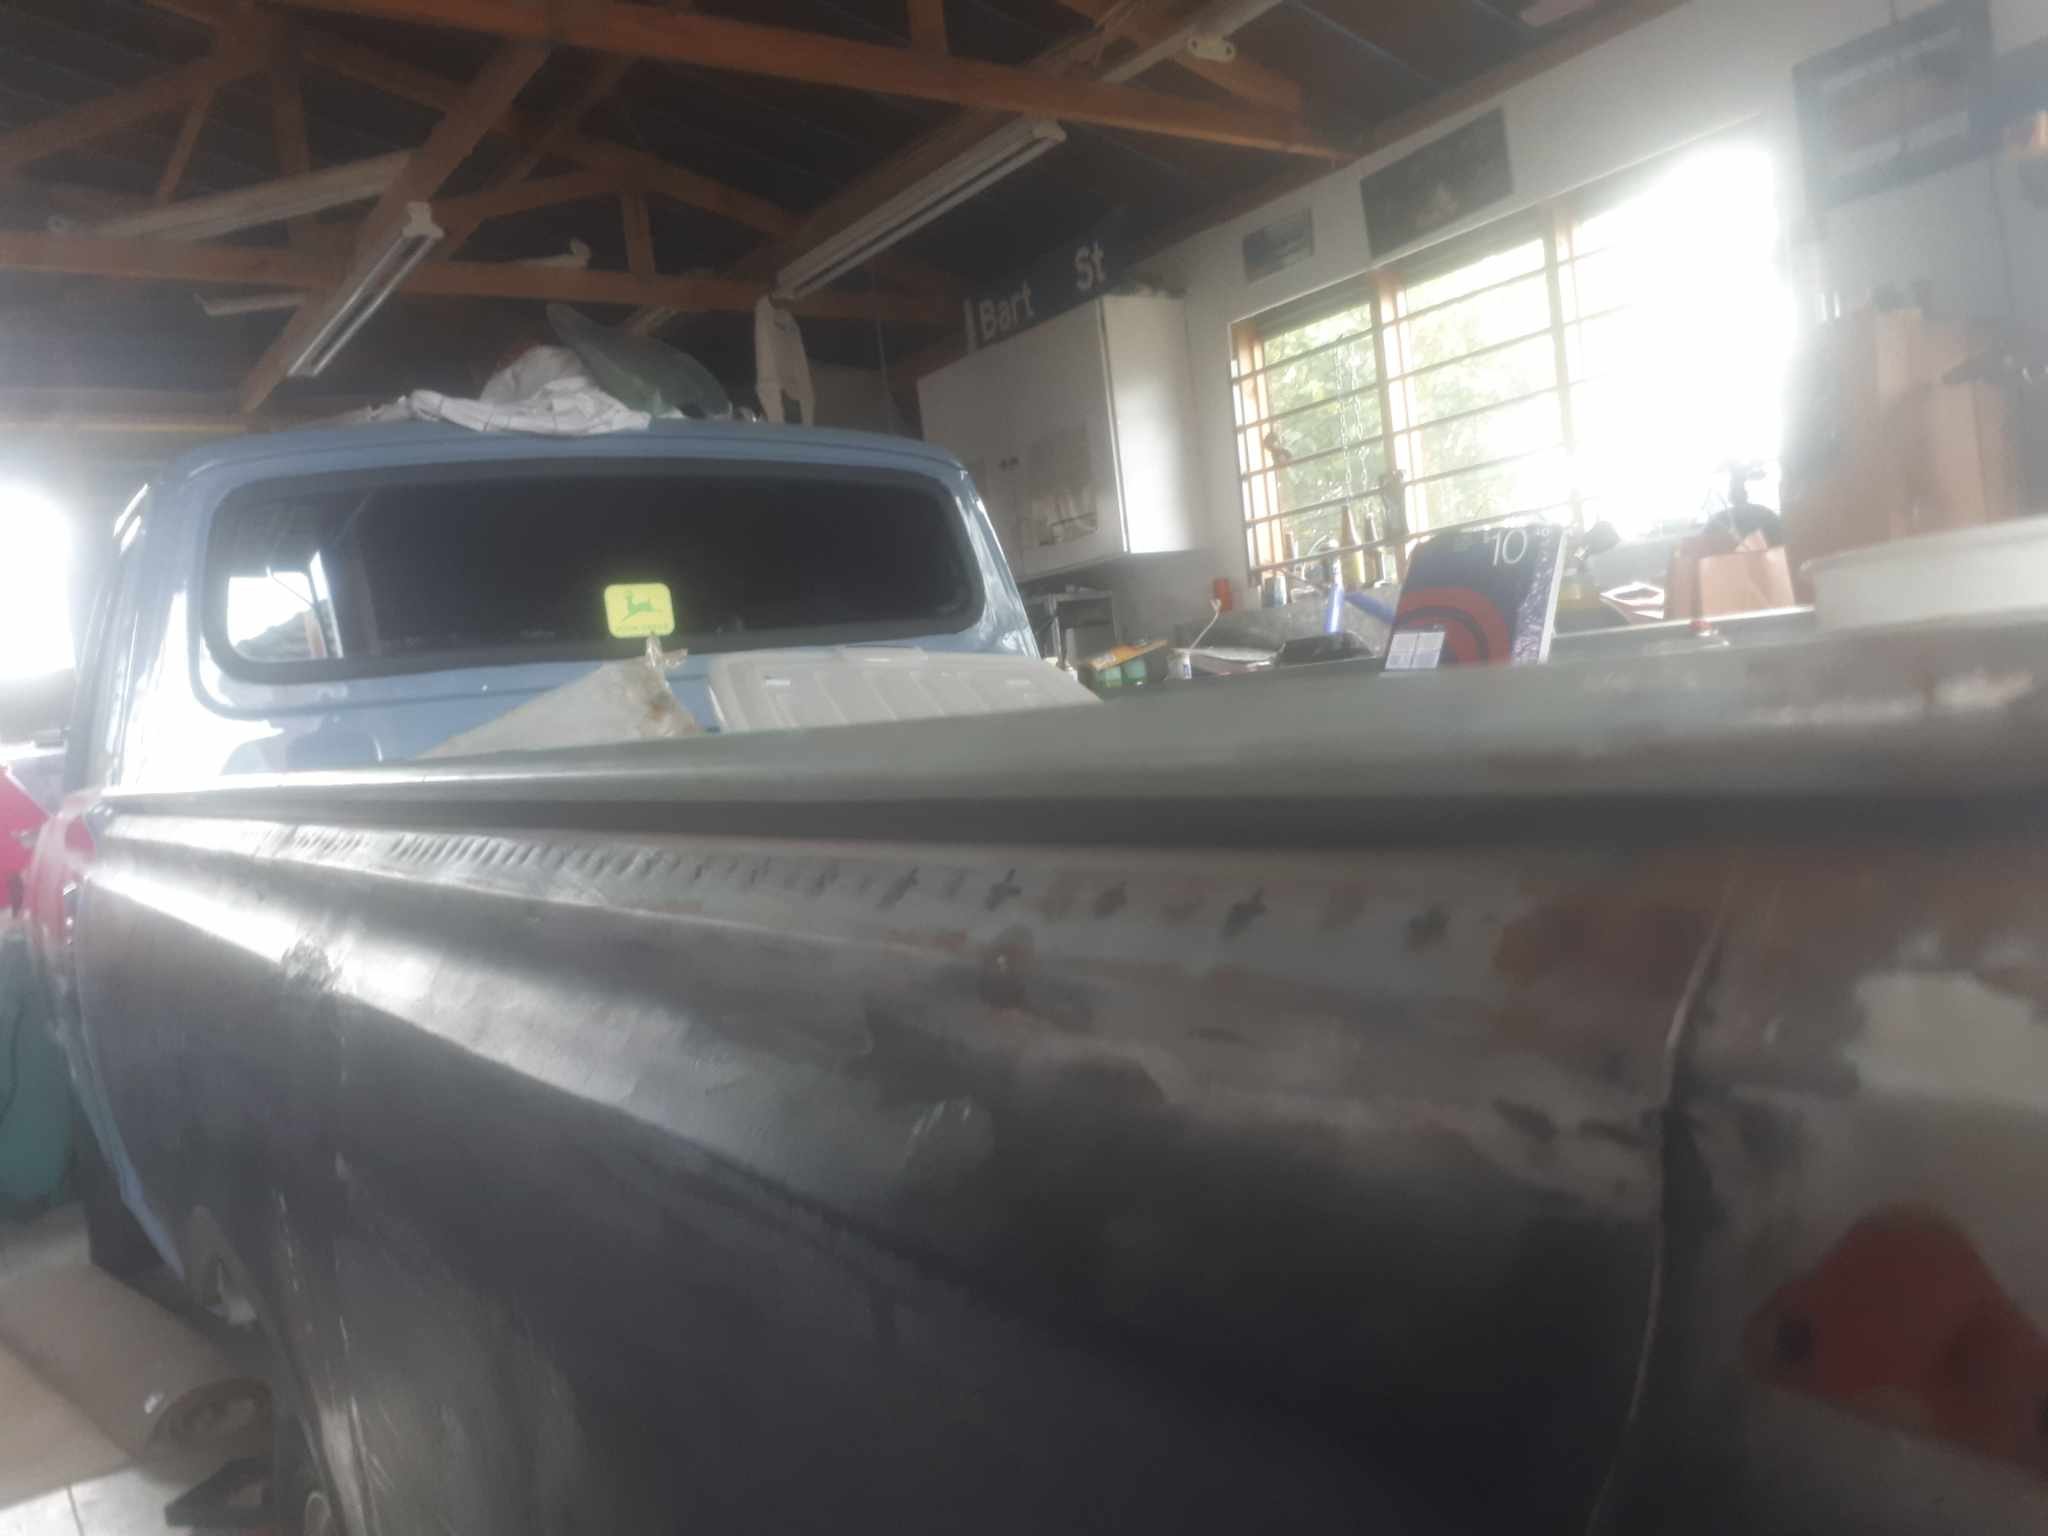
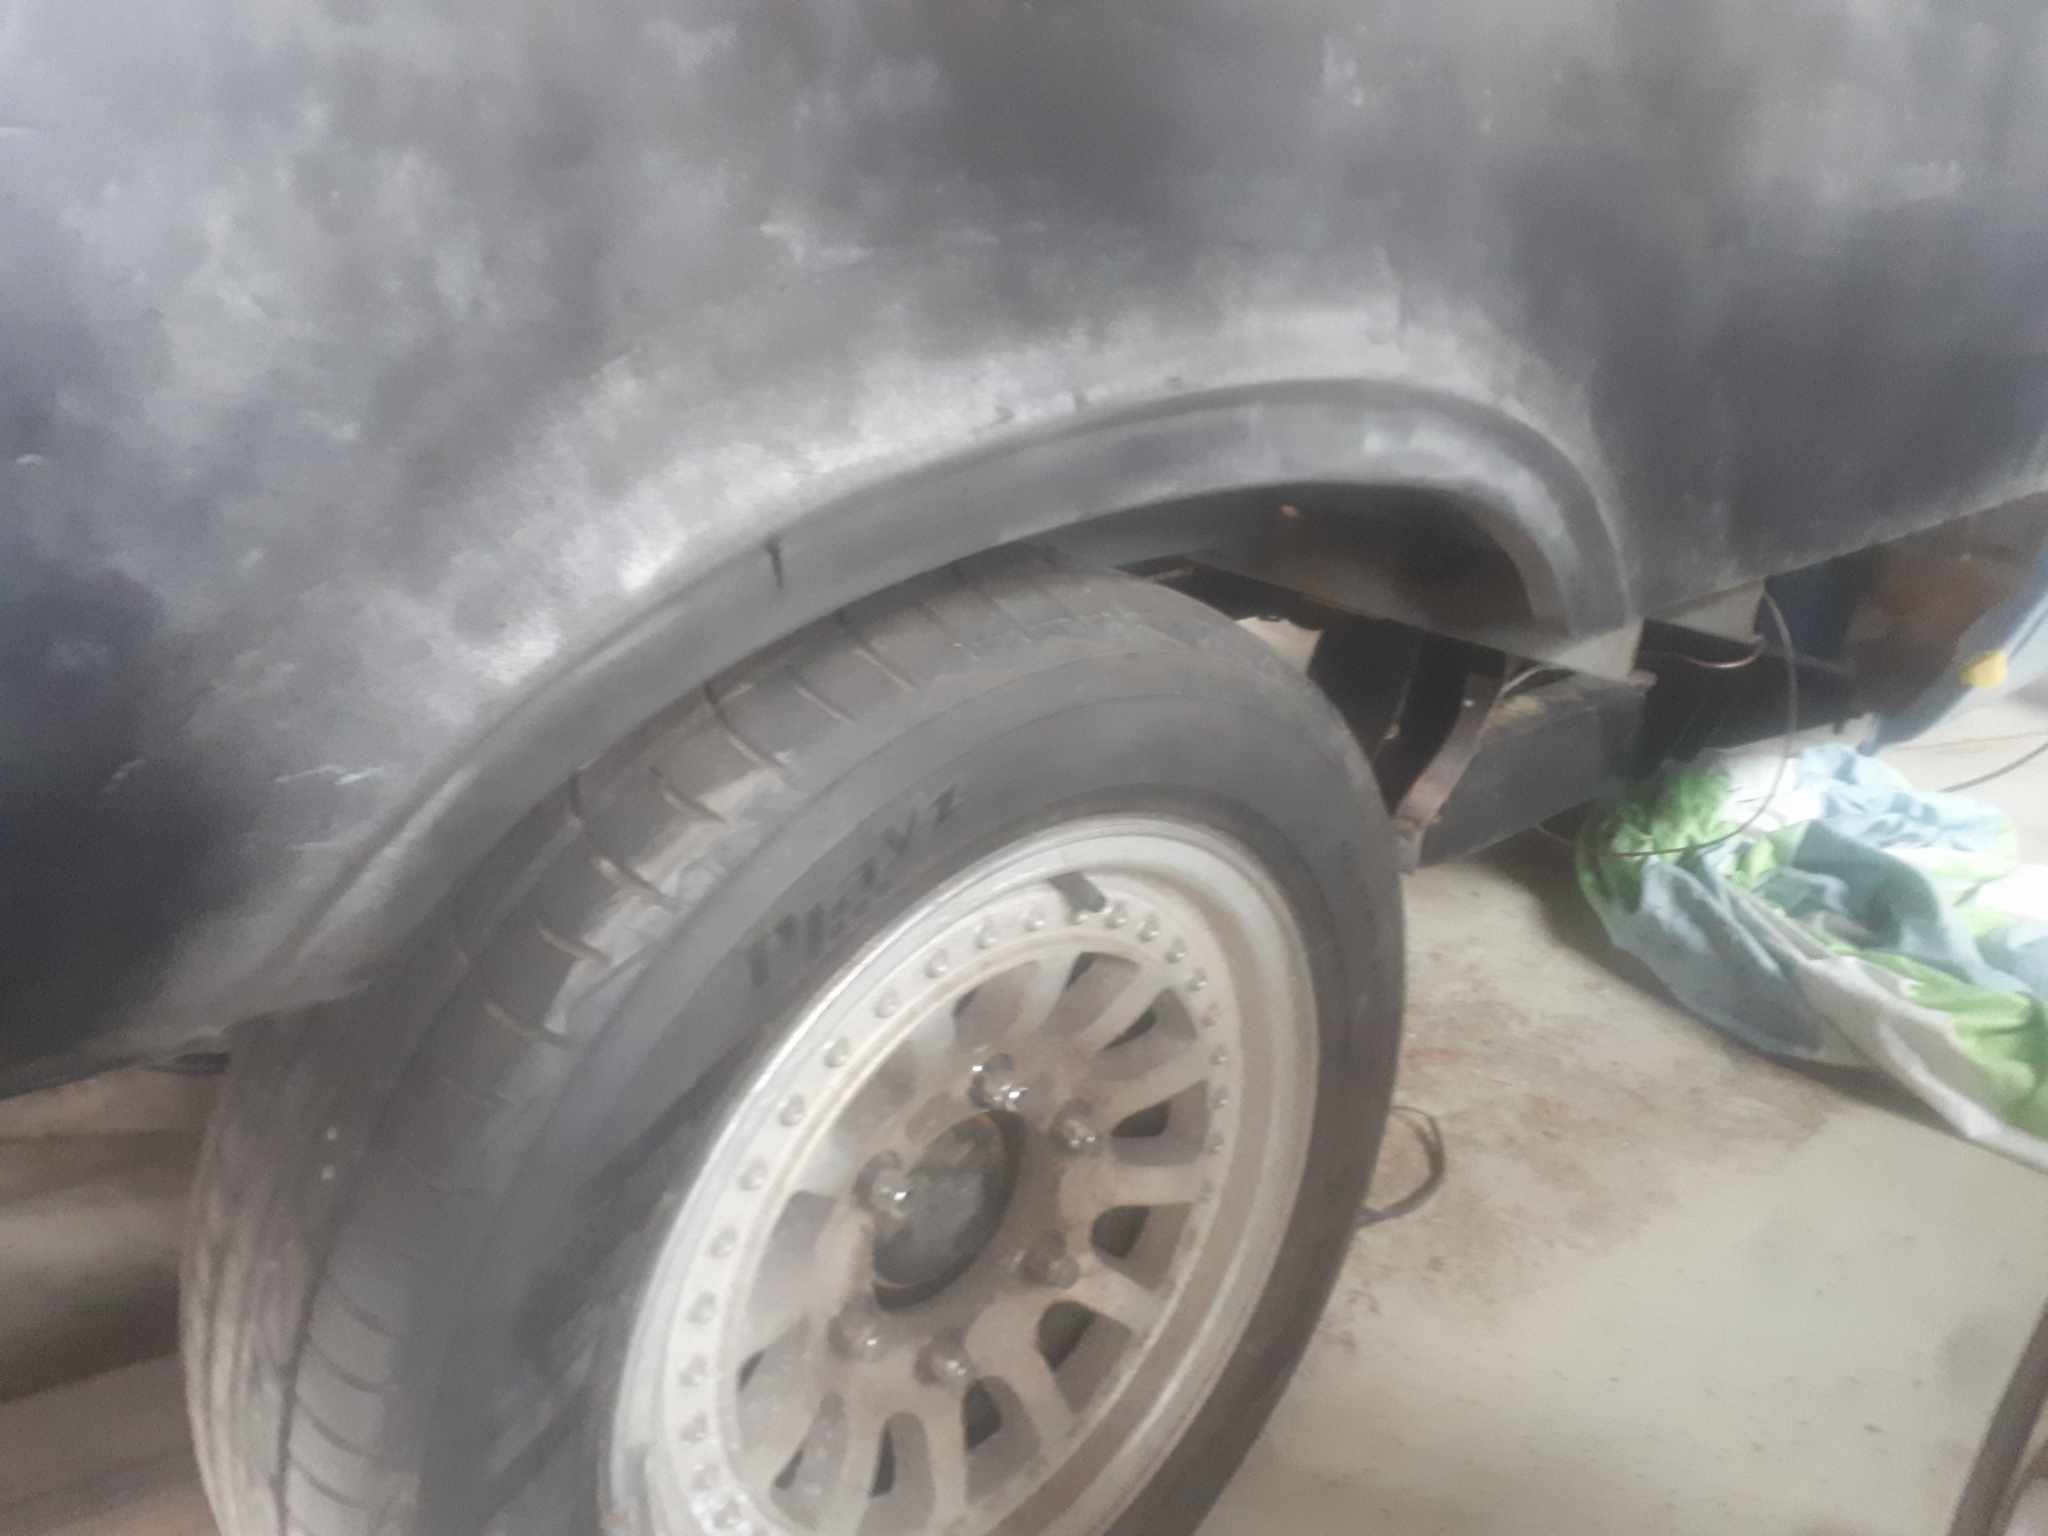
Nosecone is fully mounted, rough guards are on for mock up. this ute seems to be longer than the other ute. Probably built in a different factory as they are 4 years apart from memory.. im glad I chose to use this ute for RX3UTE, it is the same model and spec now.
2 points
-
best get the Raghead to sign up as a member, and not a lurker. he has stock of some very absorbant material for wiping up the foam, and the dribble from both sides of Simpson's mouth !!1 point
-
i cant see a problem with that if its all factory parts, and the work is done well, welding is good, sealed and painted etc1 point
-
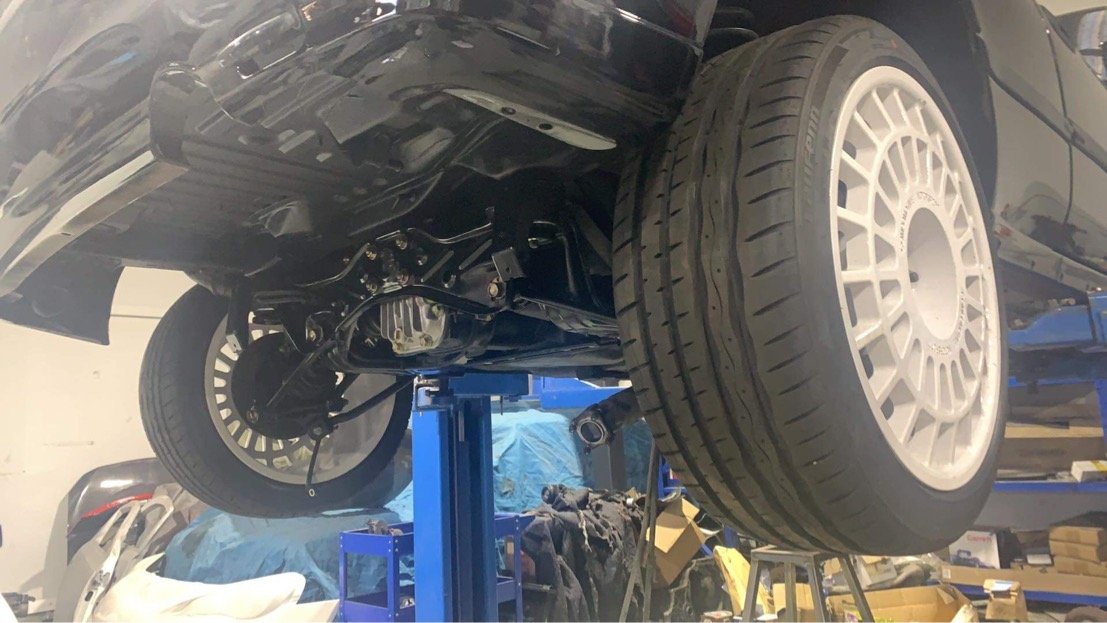
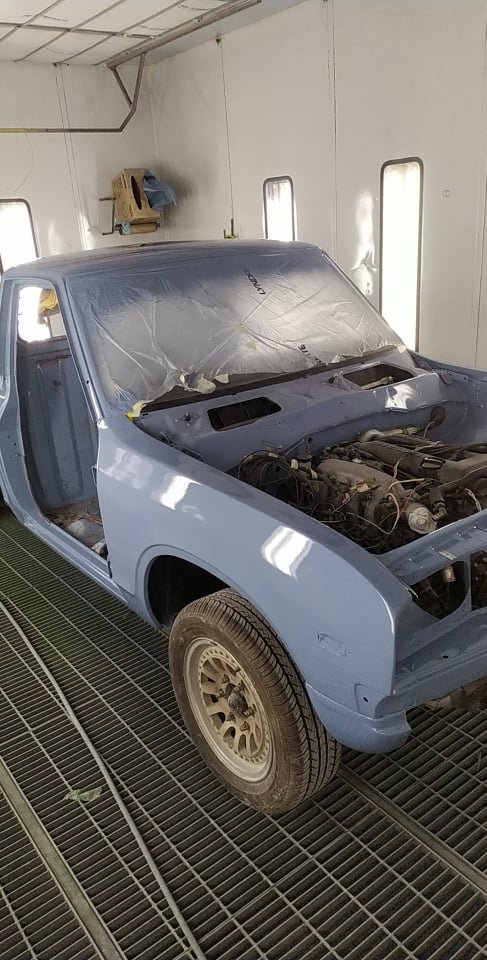
So collected the black car. Much better base. Driven to Dry storage 8 years earlier. Fuel pump seized from sitting. Has all the factory bits. Pretty unmolested as far as these things go. I assumed it was fairly straight forward from here. I replaced the fuel pump and fired the old girl up. It promptly pissed fuel from every rubber hose it had. Fuck on the hoist fuel tank out replace all the fuel lines. Get it up and running and blast it round the block. Boost leaks everywhere. while idling the thing in the driveway investigating the boost leaks it spontaneously dropped all its coolant from one of the water lines in the depths of hell under the intake manifold fuck sake repaired this and promptly sent it to the paint shop to sit in the naughty corner for 6 months back track a bit and sometime around 2021 I enquired with Modena in Oz about diffs for these things as they were the only company who didn’t list them as NLAbut really for no other reason than I was interested to see what they costed - quite a lot was the answer. He said he was thinking of making a batch soon and he would email when he was doing them. fast forward 18 months later and I get an email. He has a front and a rear sitting there with my name on it. So I fomo panic brought them. Did I have the money for them. No. Did my road car need LSDs. Also no this started the next unnecessary phase of the build. Full underside rebuild rebuilt subframes diff and transfer box. Brakes. Basically everything mechanically except the engine and gearbox1 point
-
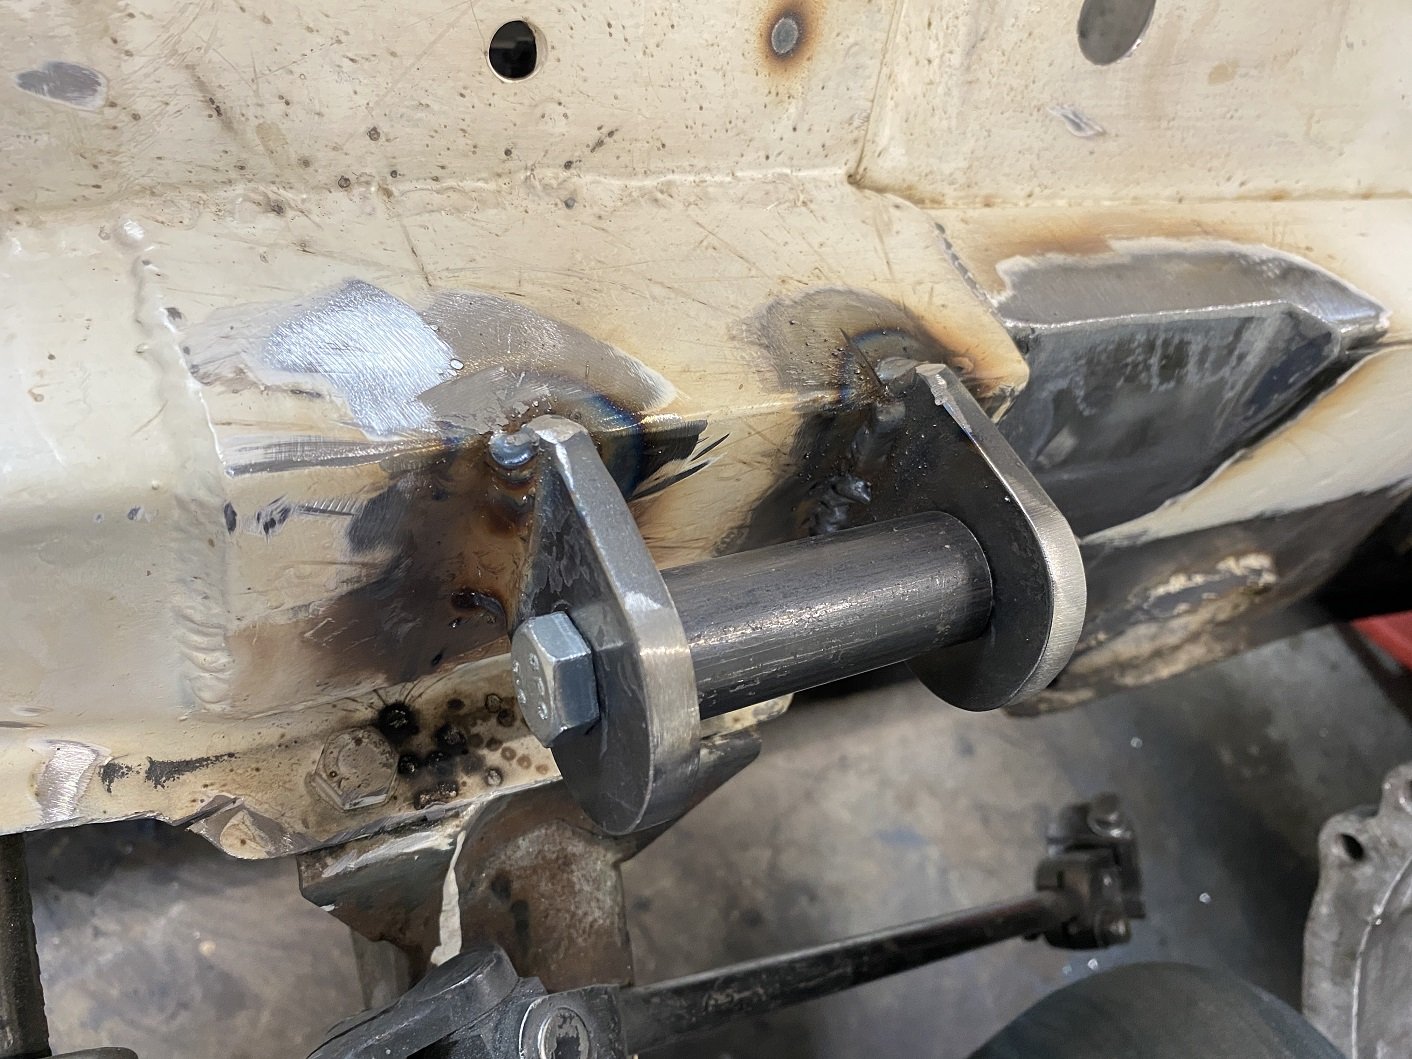
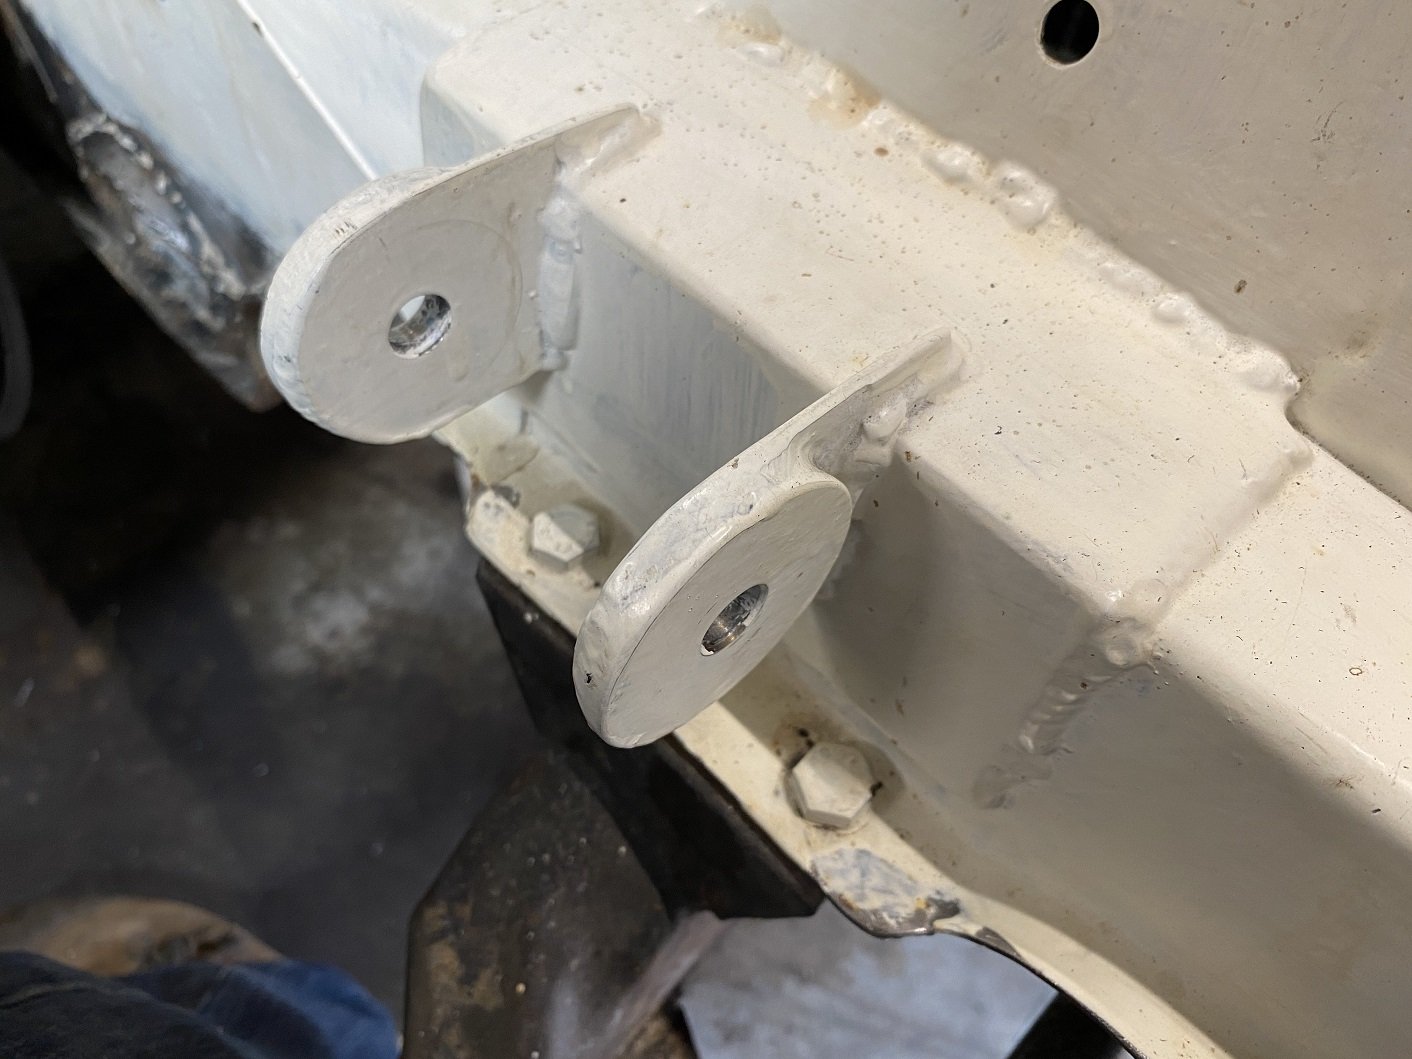
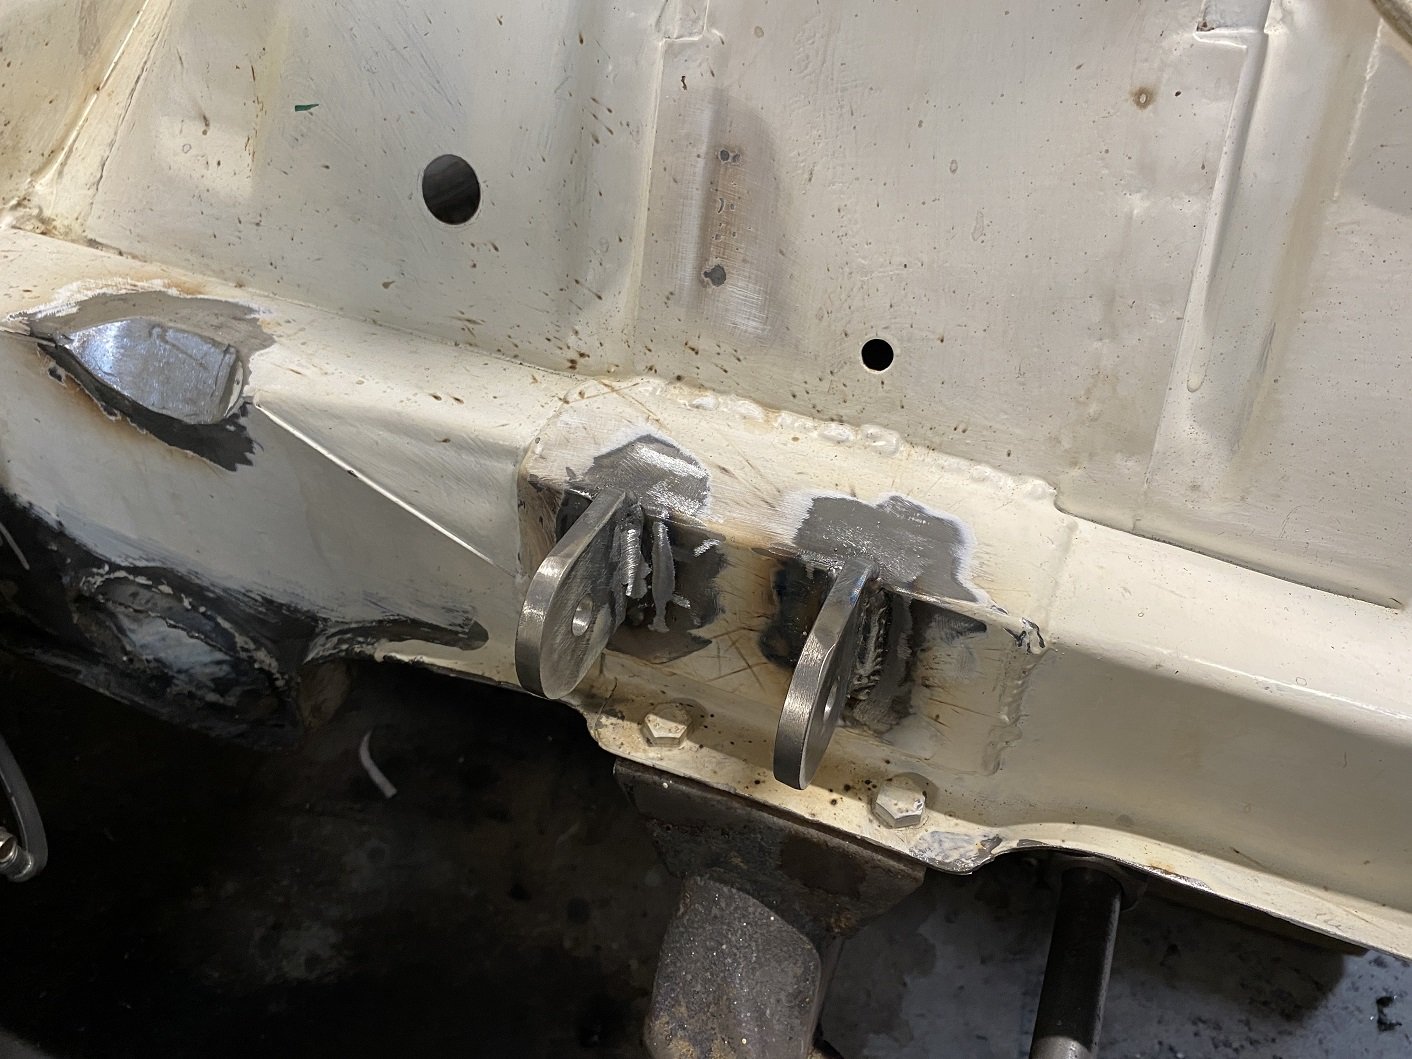
Engine mounts redone in thicker material as advised by the man. 8mm should do it. I machined up a spacer and did half at a time so I could use the original half to keep the alignment. But I also added a 4mm spacer when welding on the first new half to shift the engine back a tiny bit and give me just a little more clearance between the cross member and the sump. I hope that doesn't come back to bit me in the arse later. When welding in the second half of each mount I replaced the 4mm spacer with a fibre washer as a shim so it's not such an uber tight fit to get the bush/sleeve in there.
1 point
-
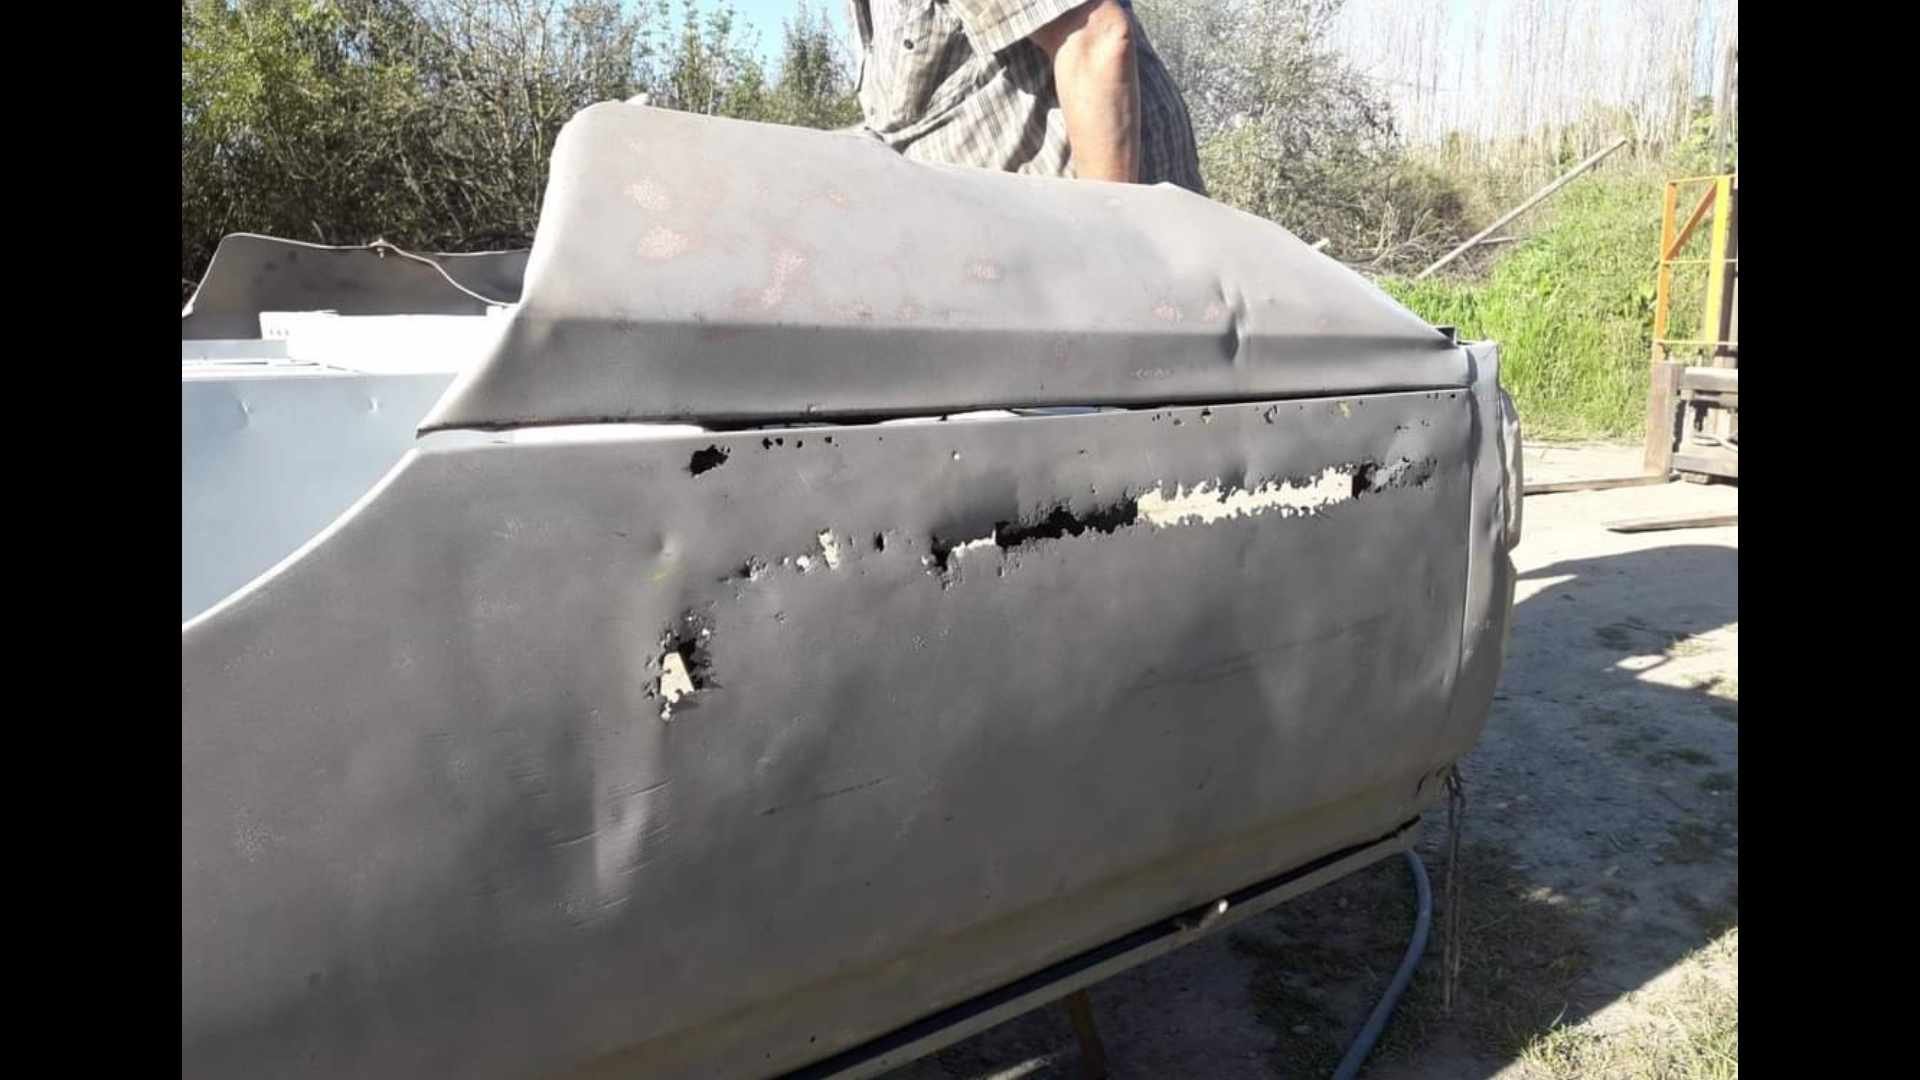
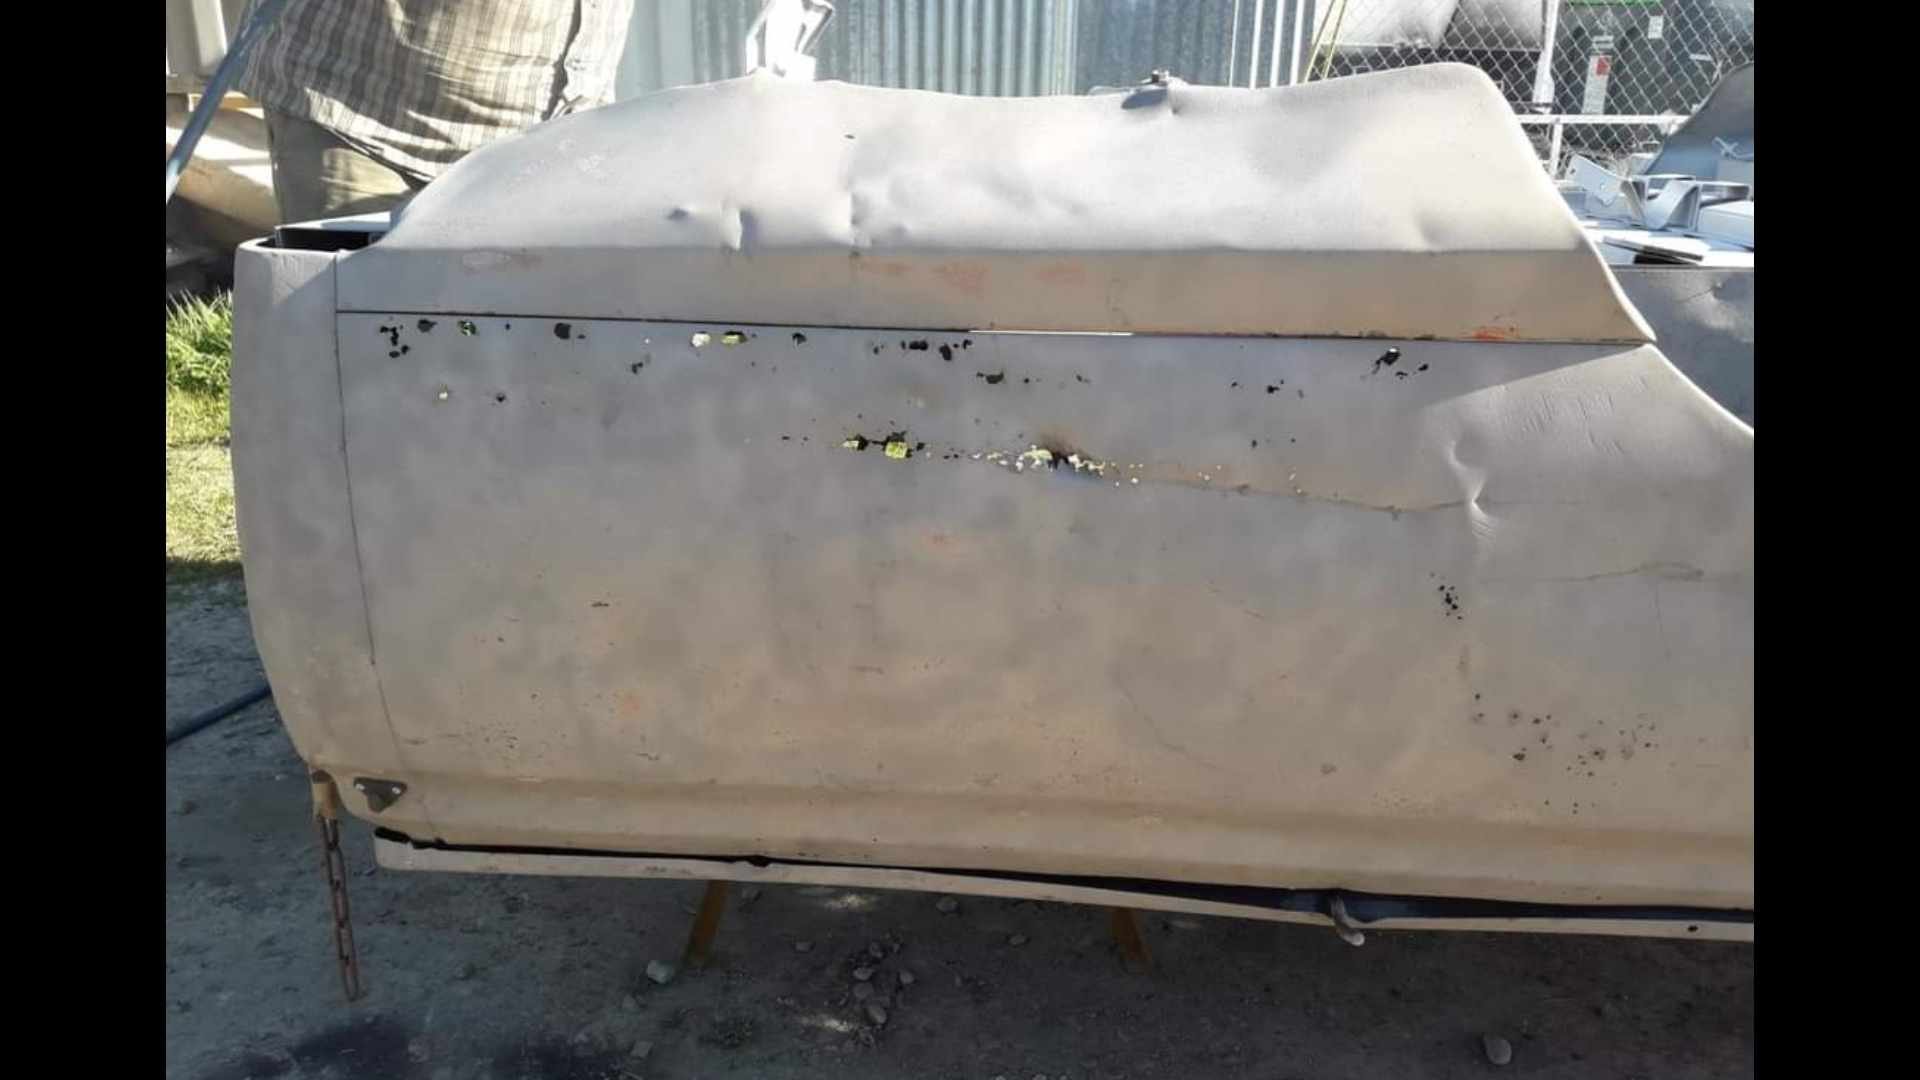
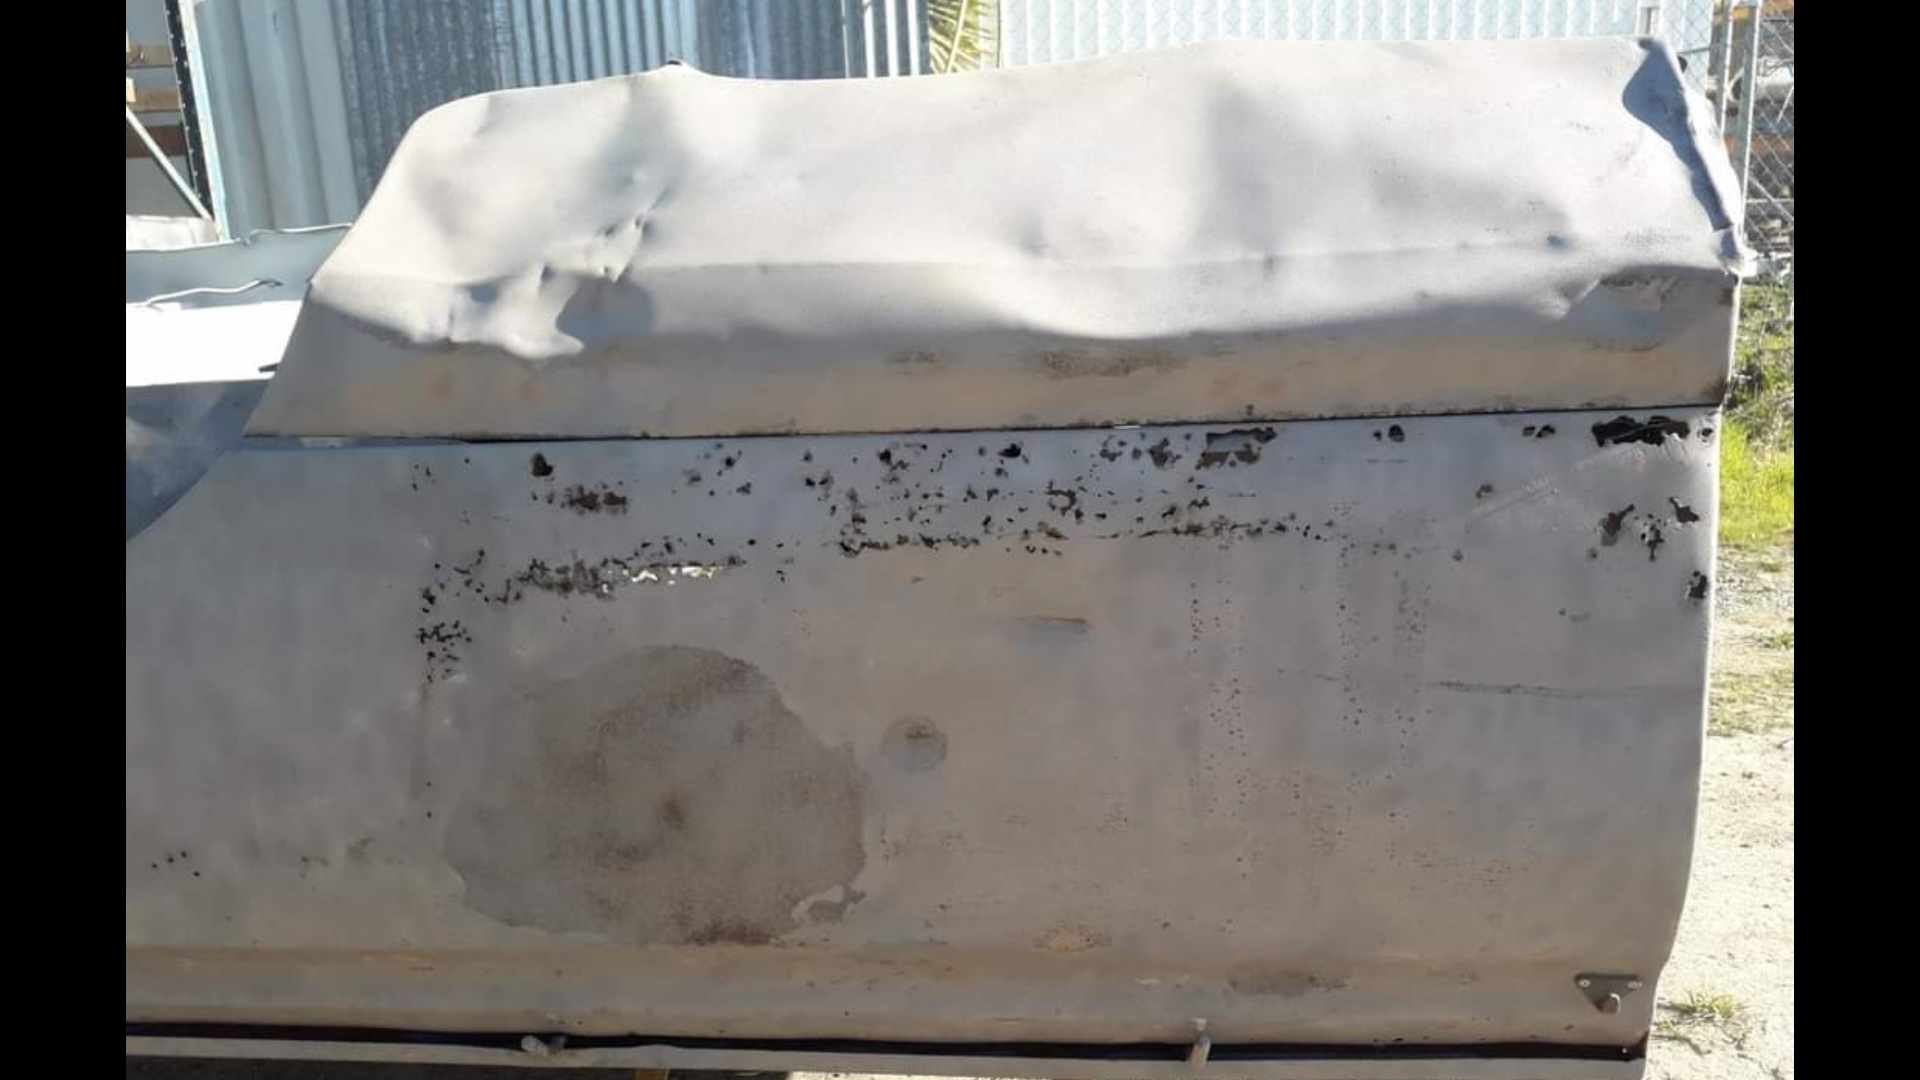
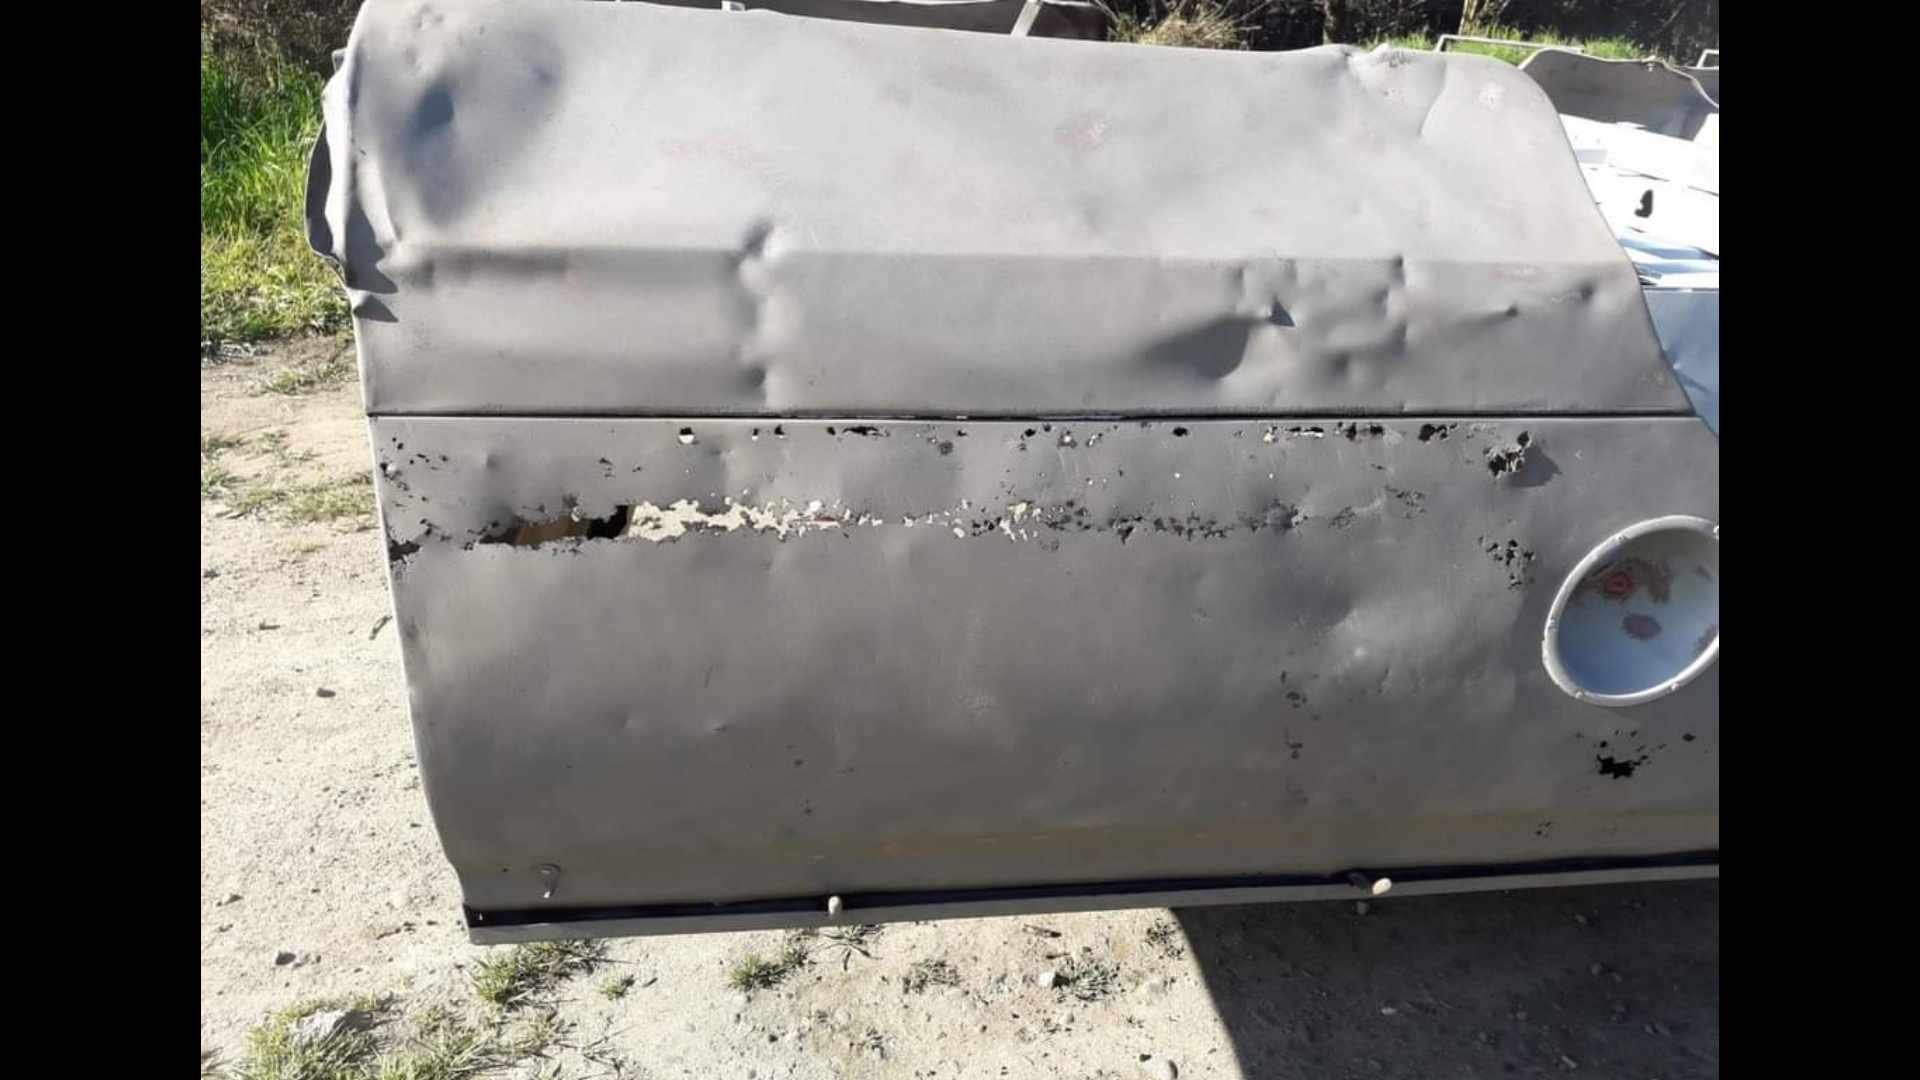
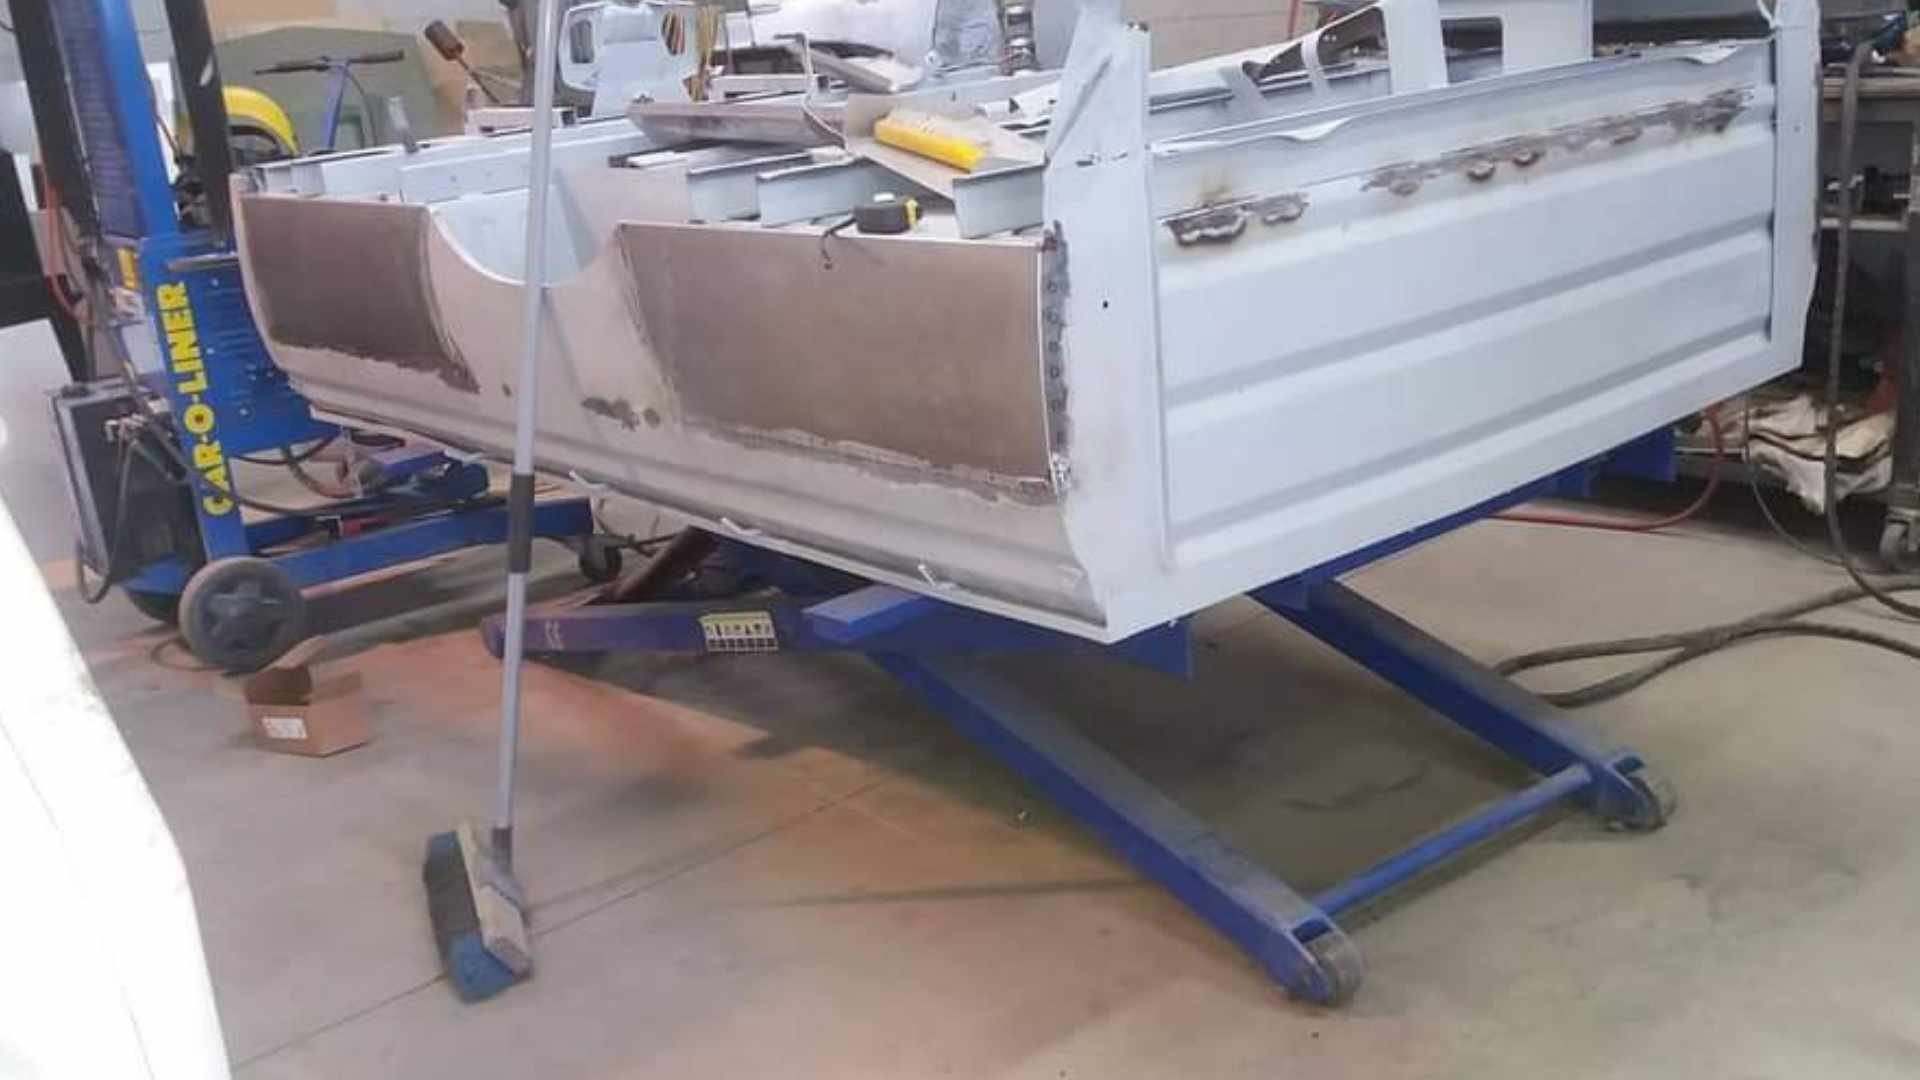
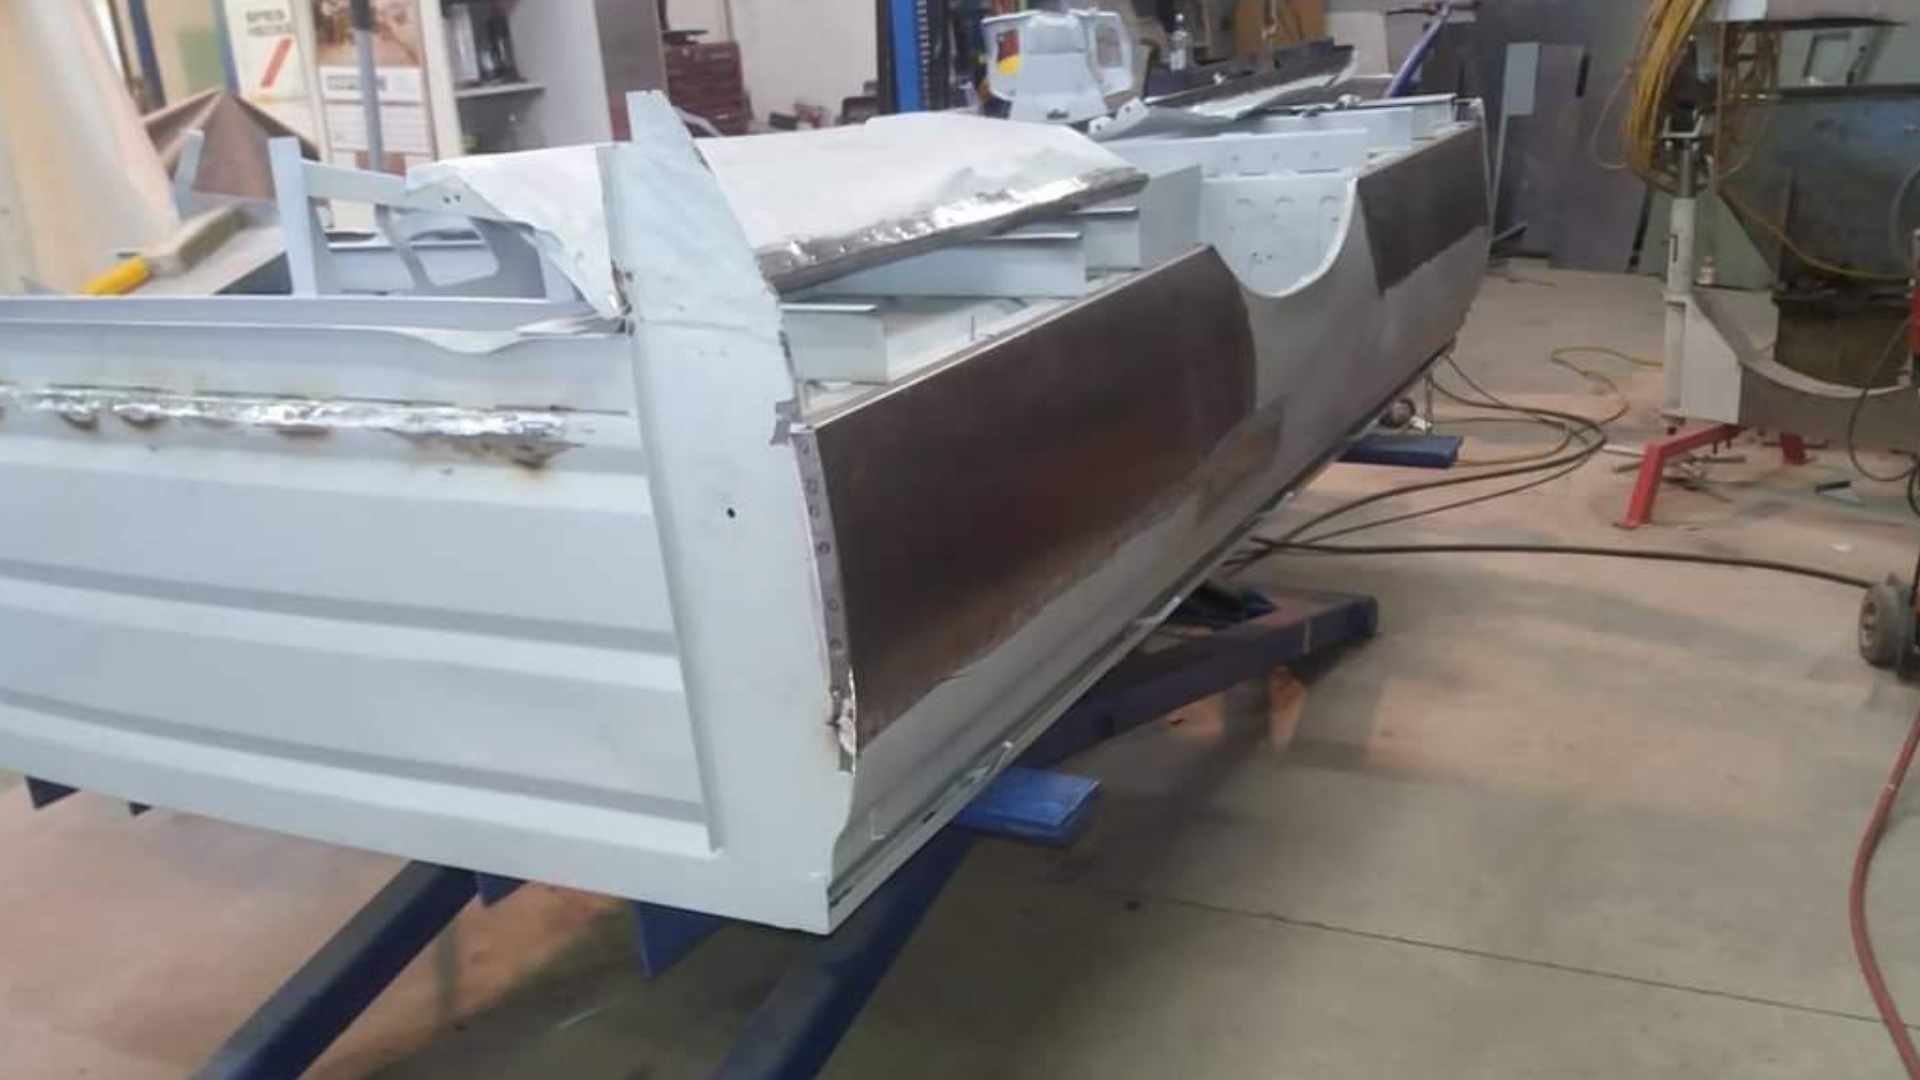
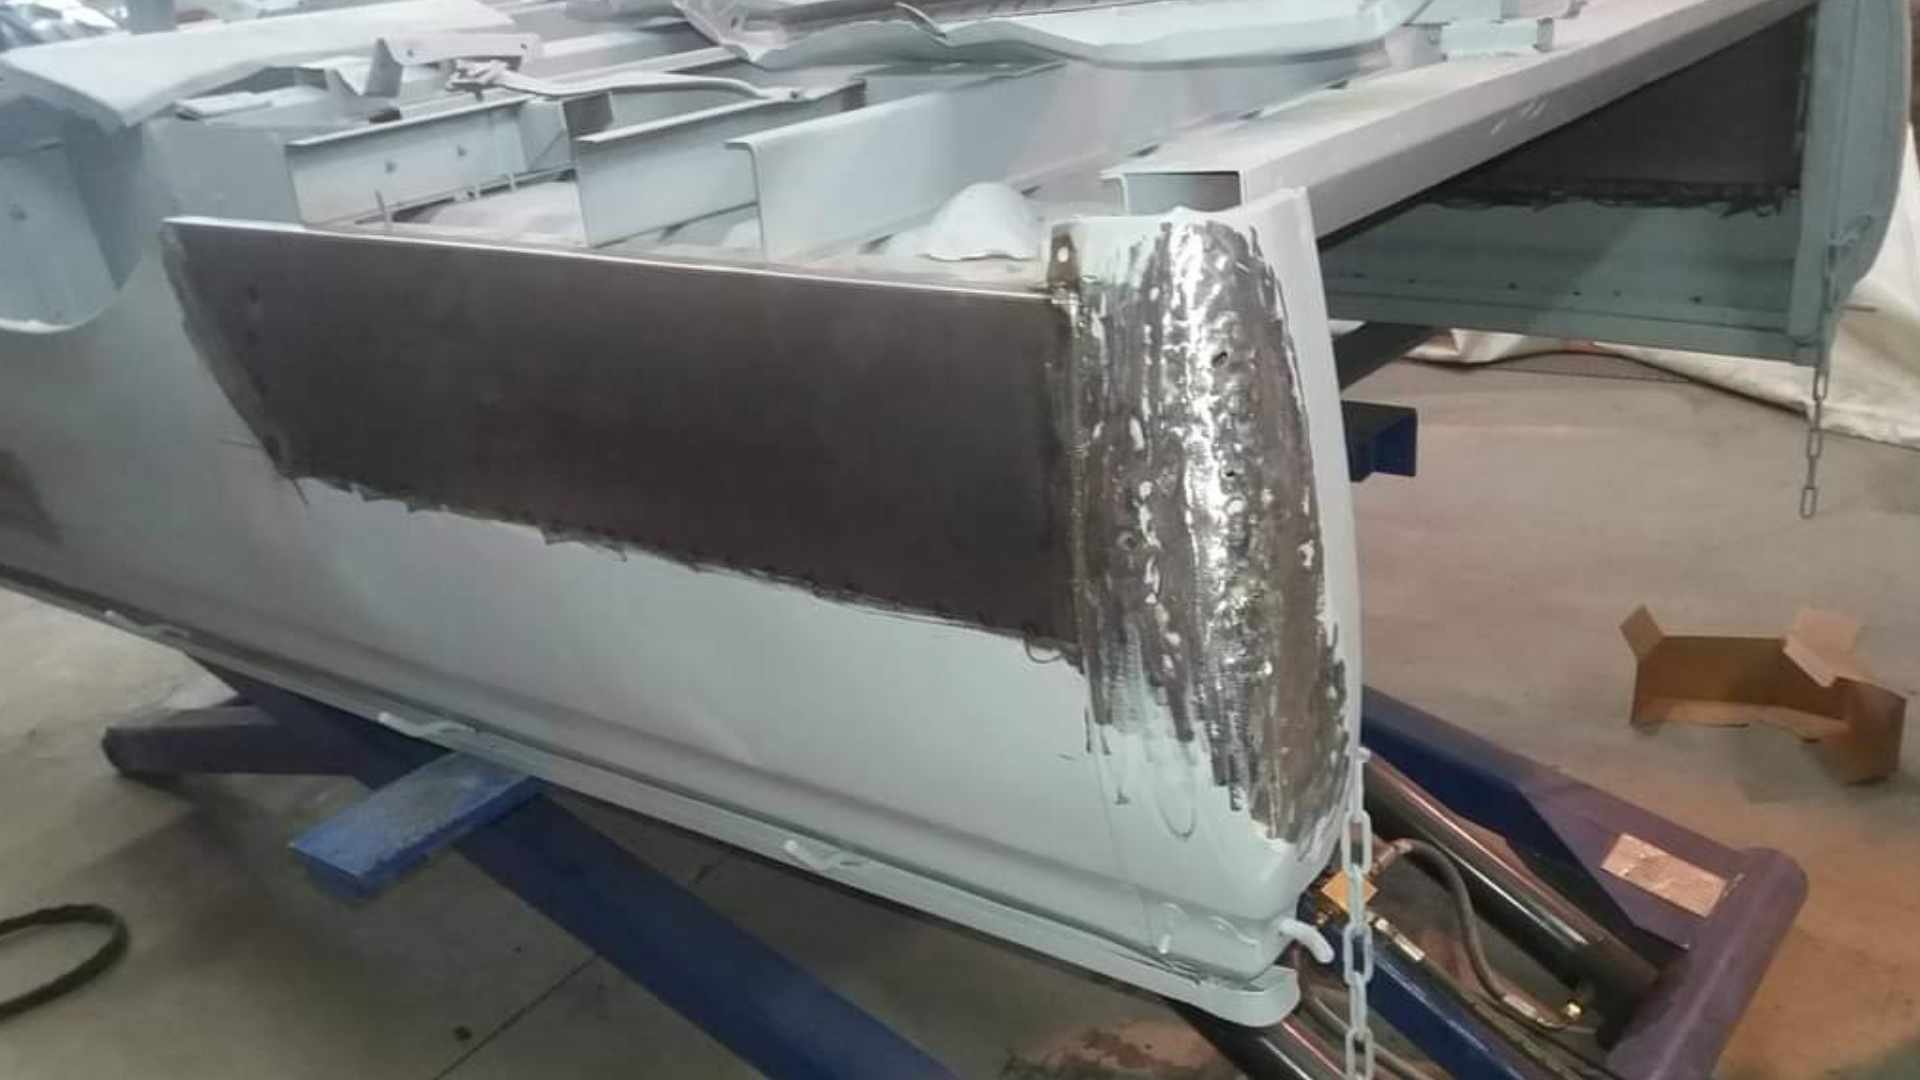
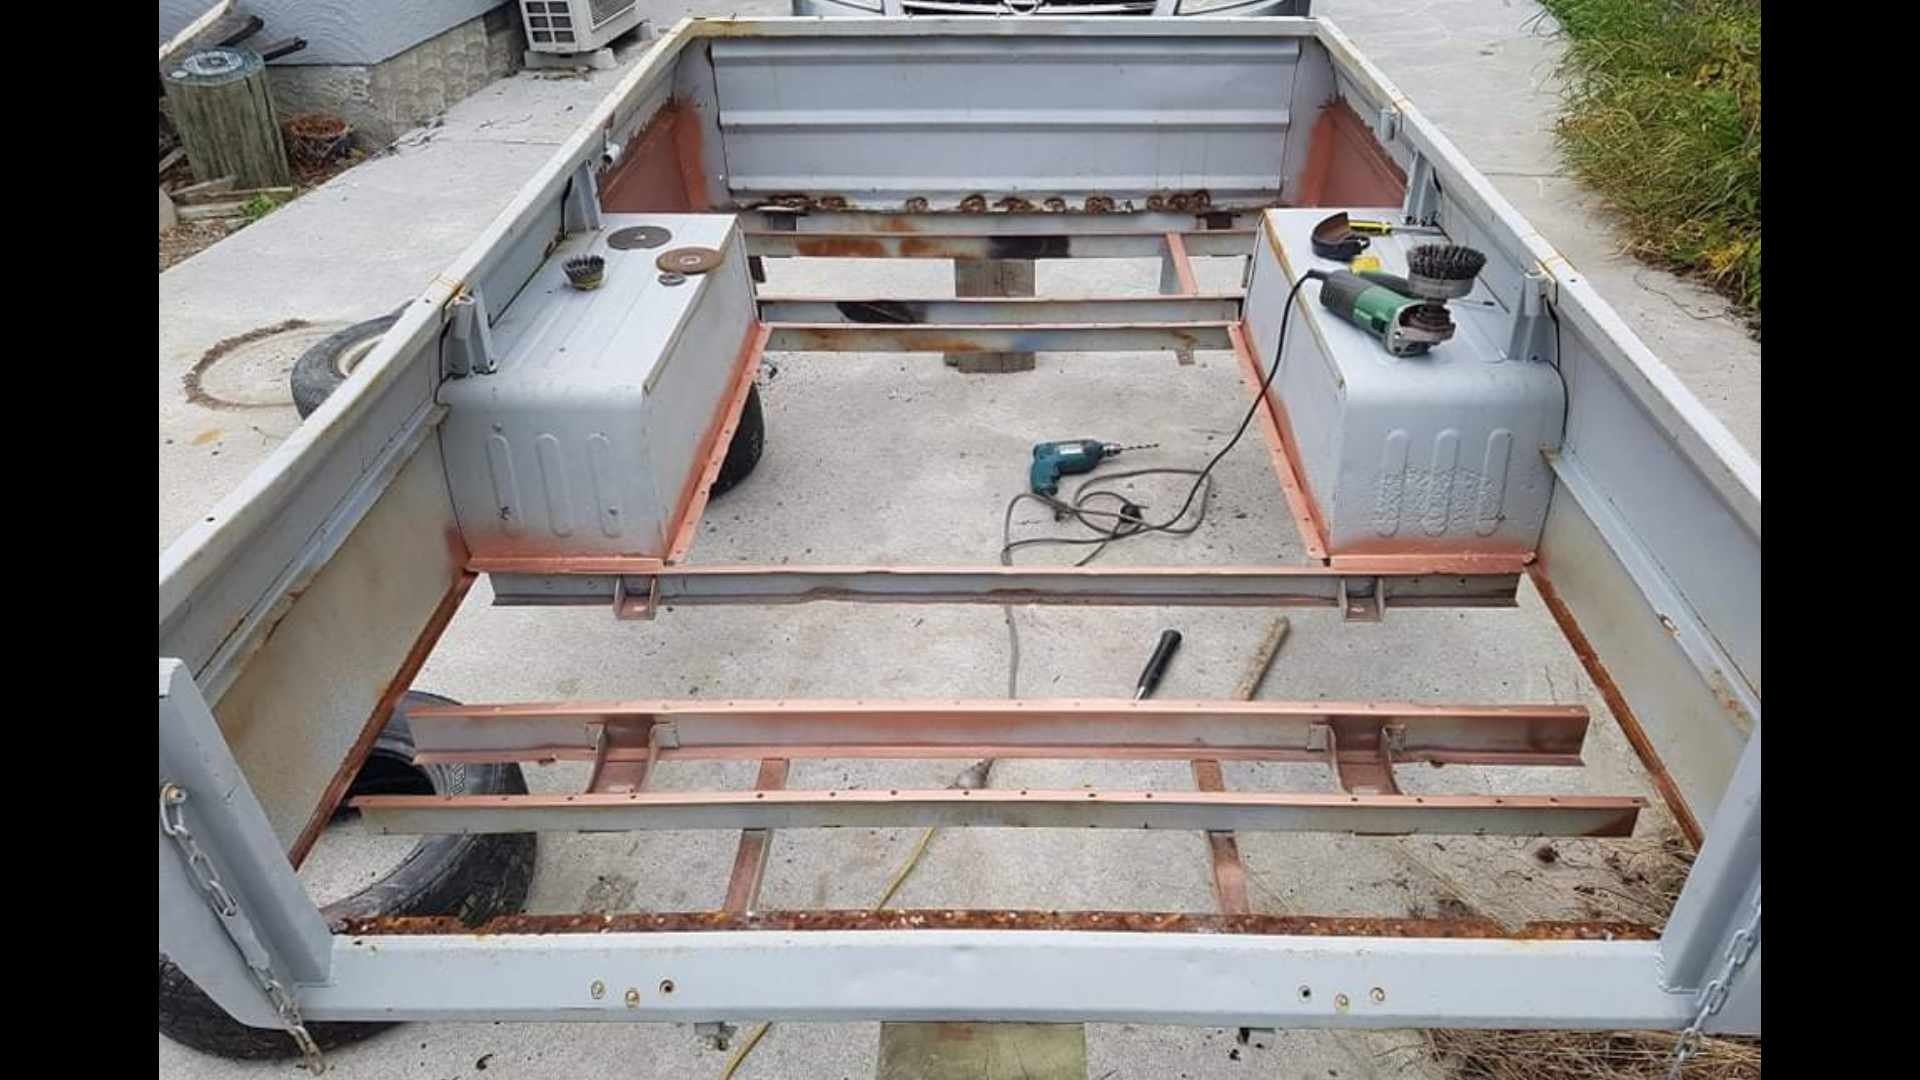
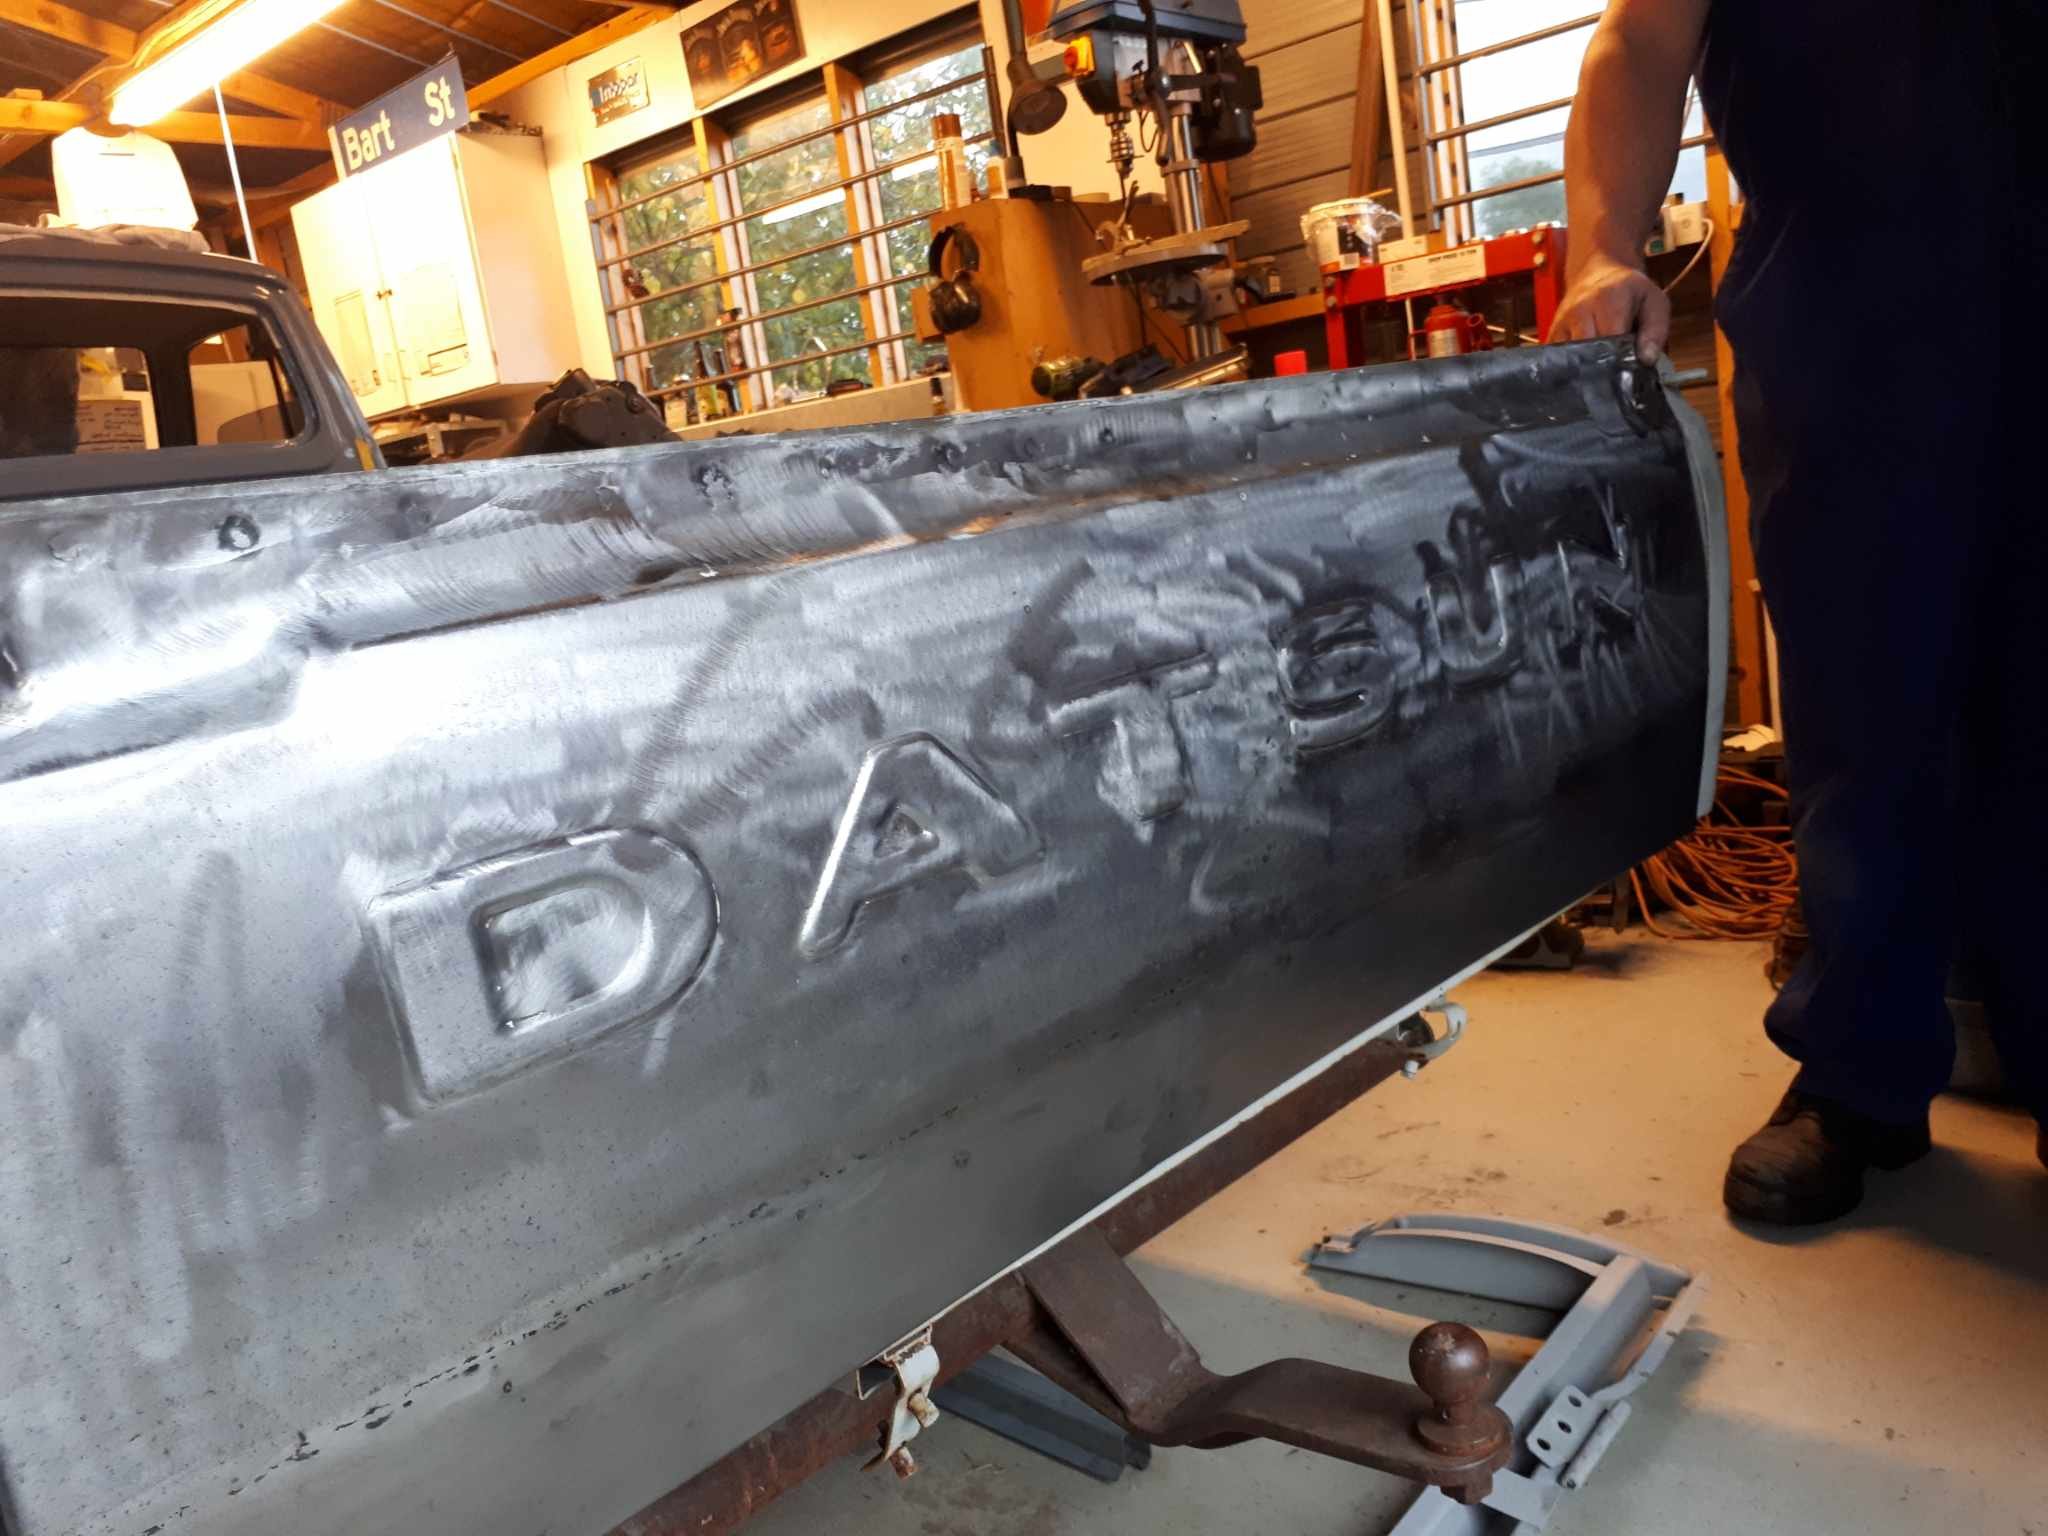
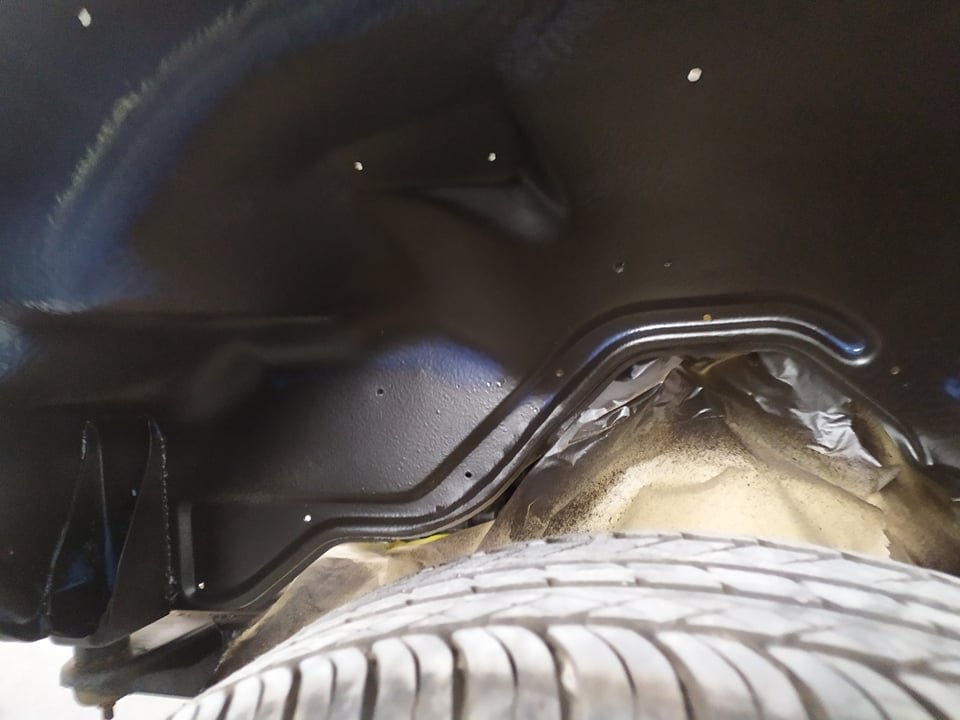
How about that wellside tray i hear you ask? Well, thats an ongoing saga. To start with, i had is sandblasted. Yep, she was a "bit" rusty. it must have been left sitting full of geass or the like i think. Anyway, i was somewhat worse for wear. Dropped it off to a mates shop, and he sid this with it. fast forward to lockdown, and i removed the floor. (It was fuuuuucked) I disovered this was a new Zealand made tray. (Possibly made in Timaru) they had a different profile on the floor, different wheel tubs, no swage around the whel arches to match the front. I replaced the floor with like for like. And a sheet metal mate halped me make new wheel tubs too. ( @JustHarry grafted these in) the same mate helped me reproduce the top edges which were also different. (Harry grafted those on too) Harry also grafted in wheel arches out of some fucked front guards to mimic what a proper datsun tray would have had. The tail gate is actually off a proper datsun tray, and its needed quite a bit of fettling to fit. (The NZ tray is a bit deeper) The tray is still a work in progress. Harry has opted to make new lower sections from scratch, rather than attempting to strighten the mangled mess that was there before.
1 point
-
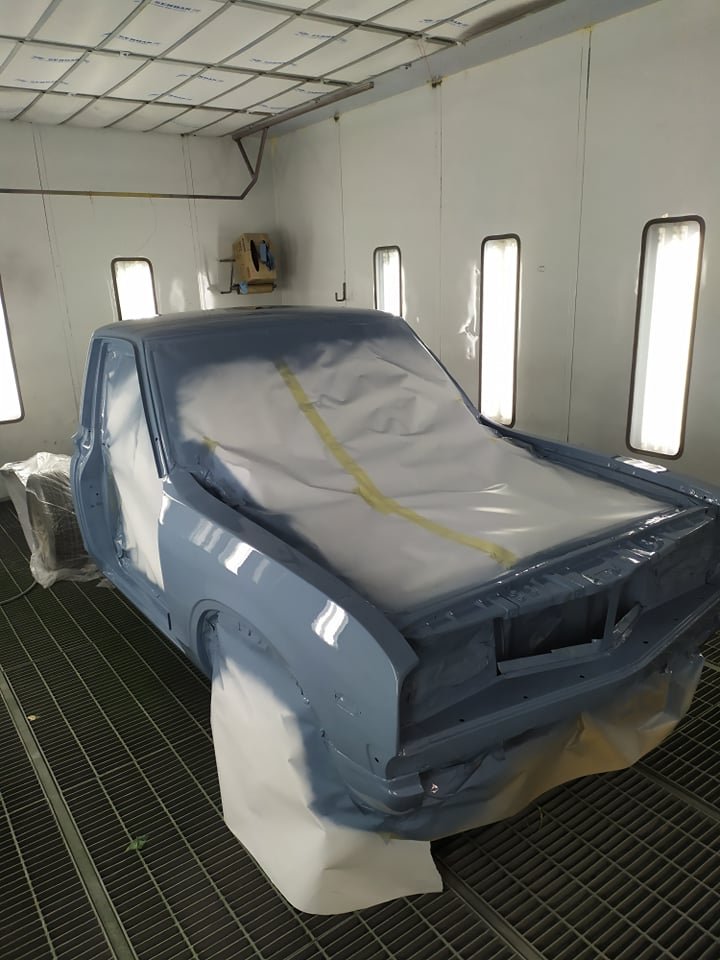
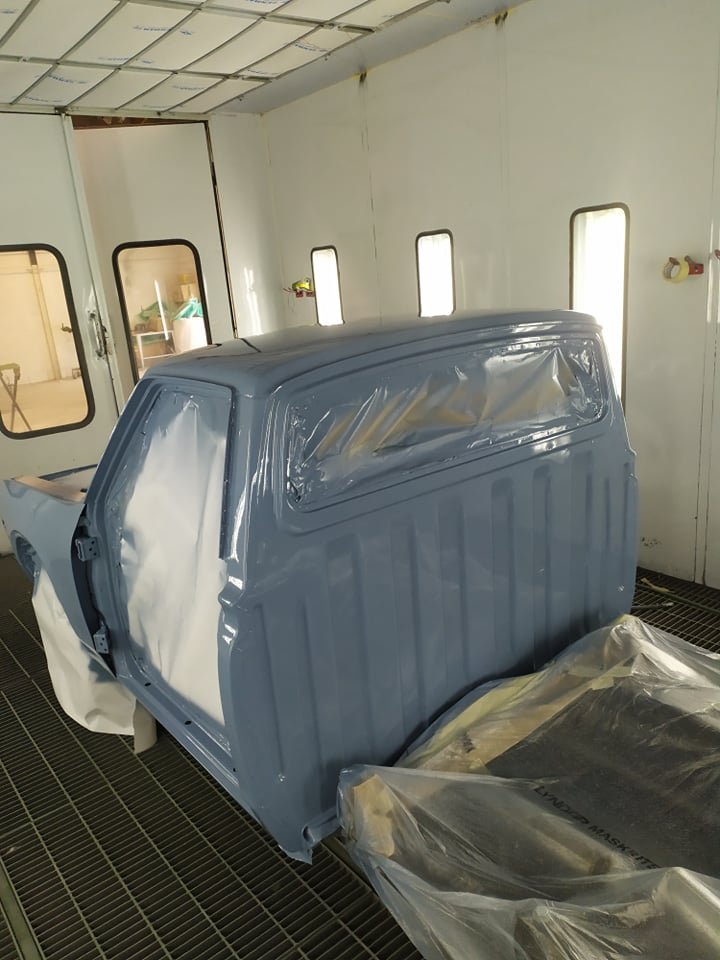
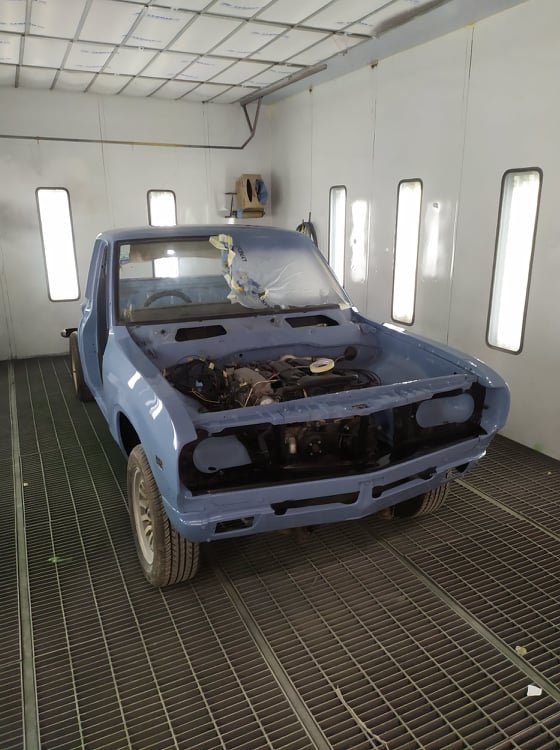
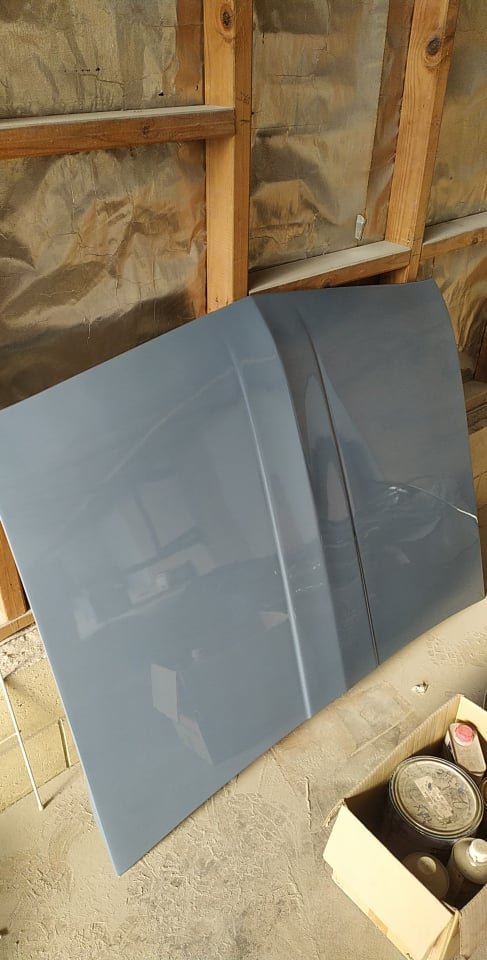
Bit of colour went on too.
1 point
-
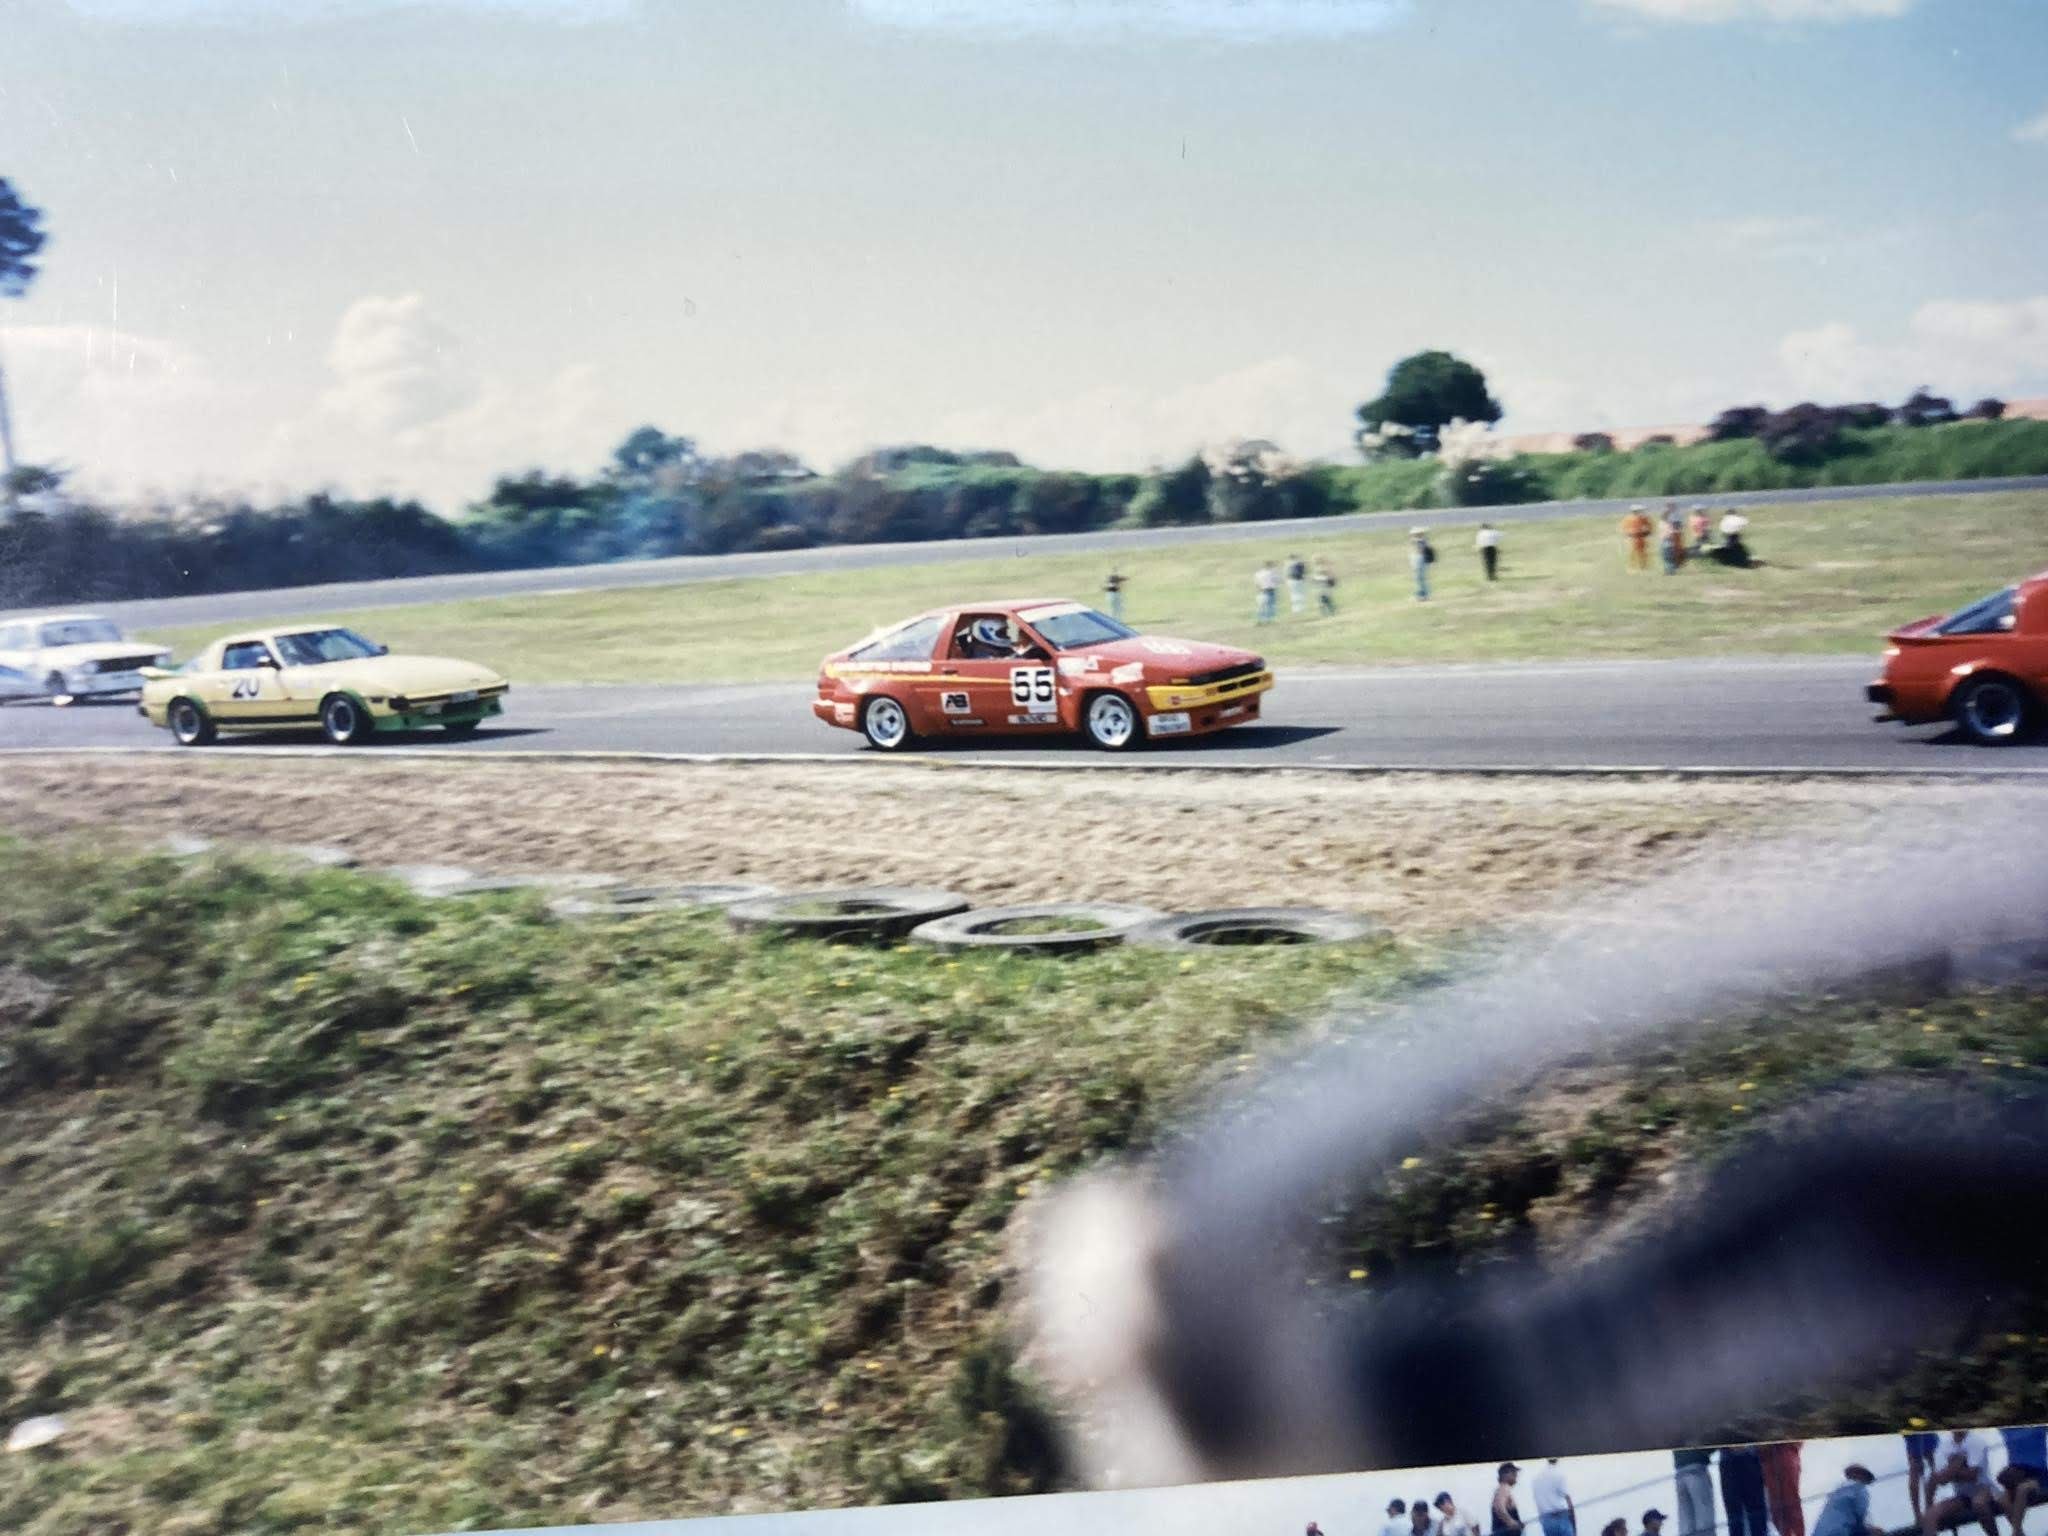
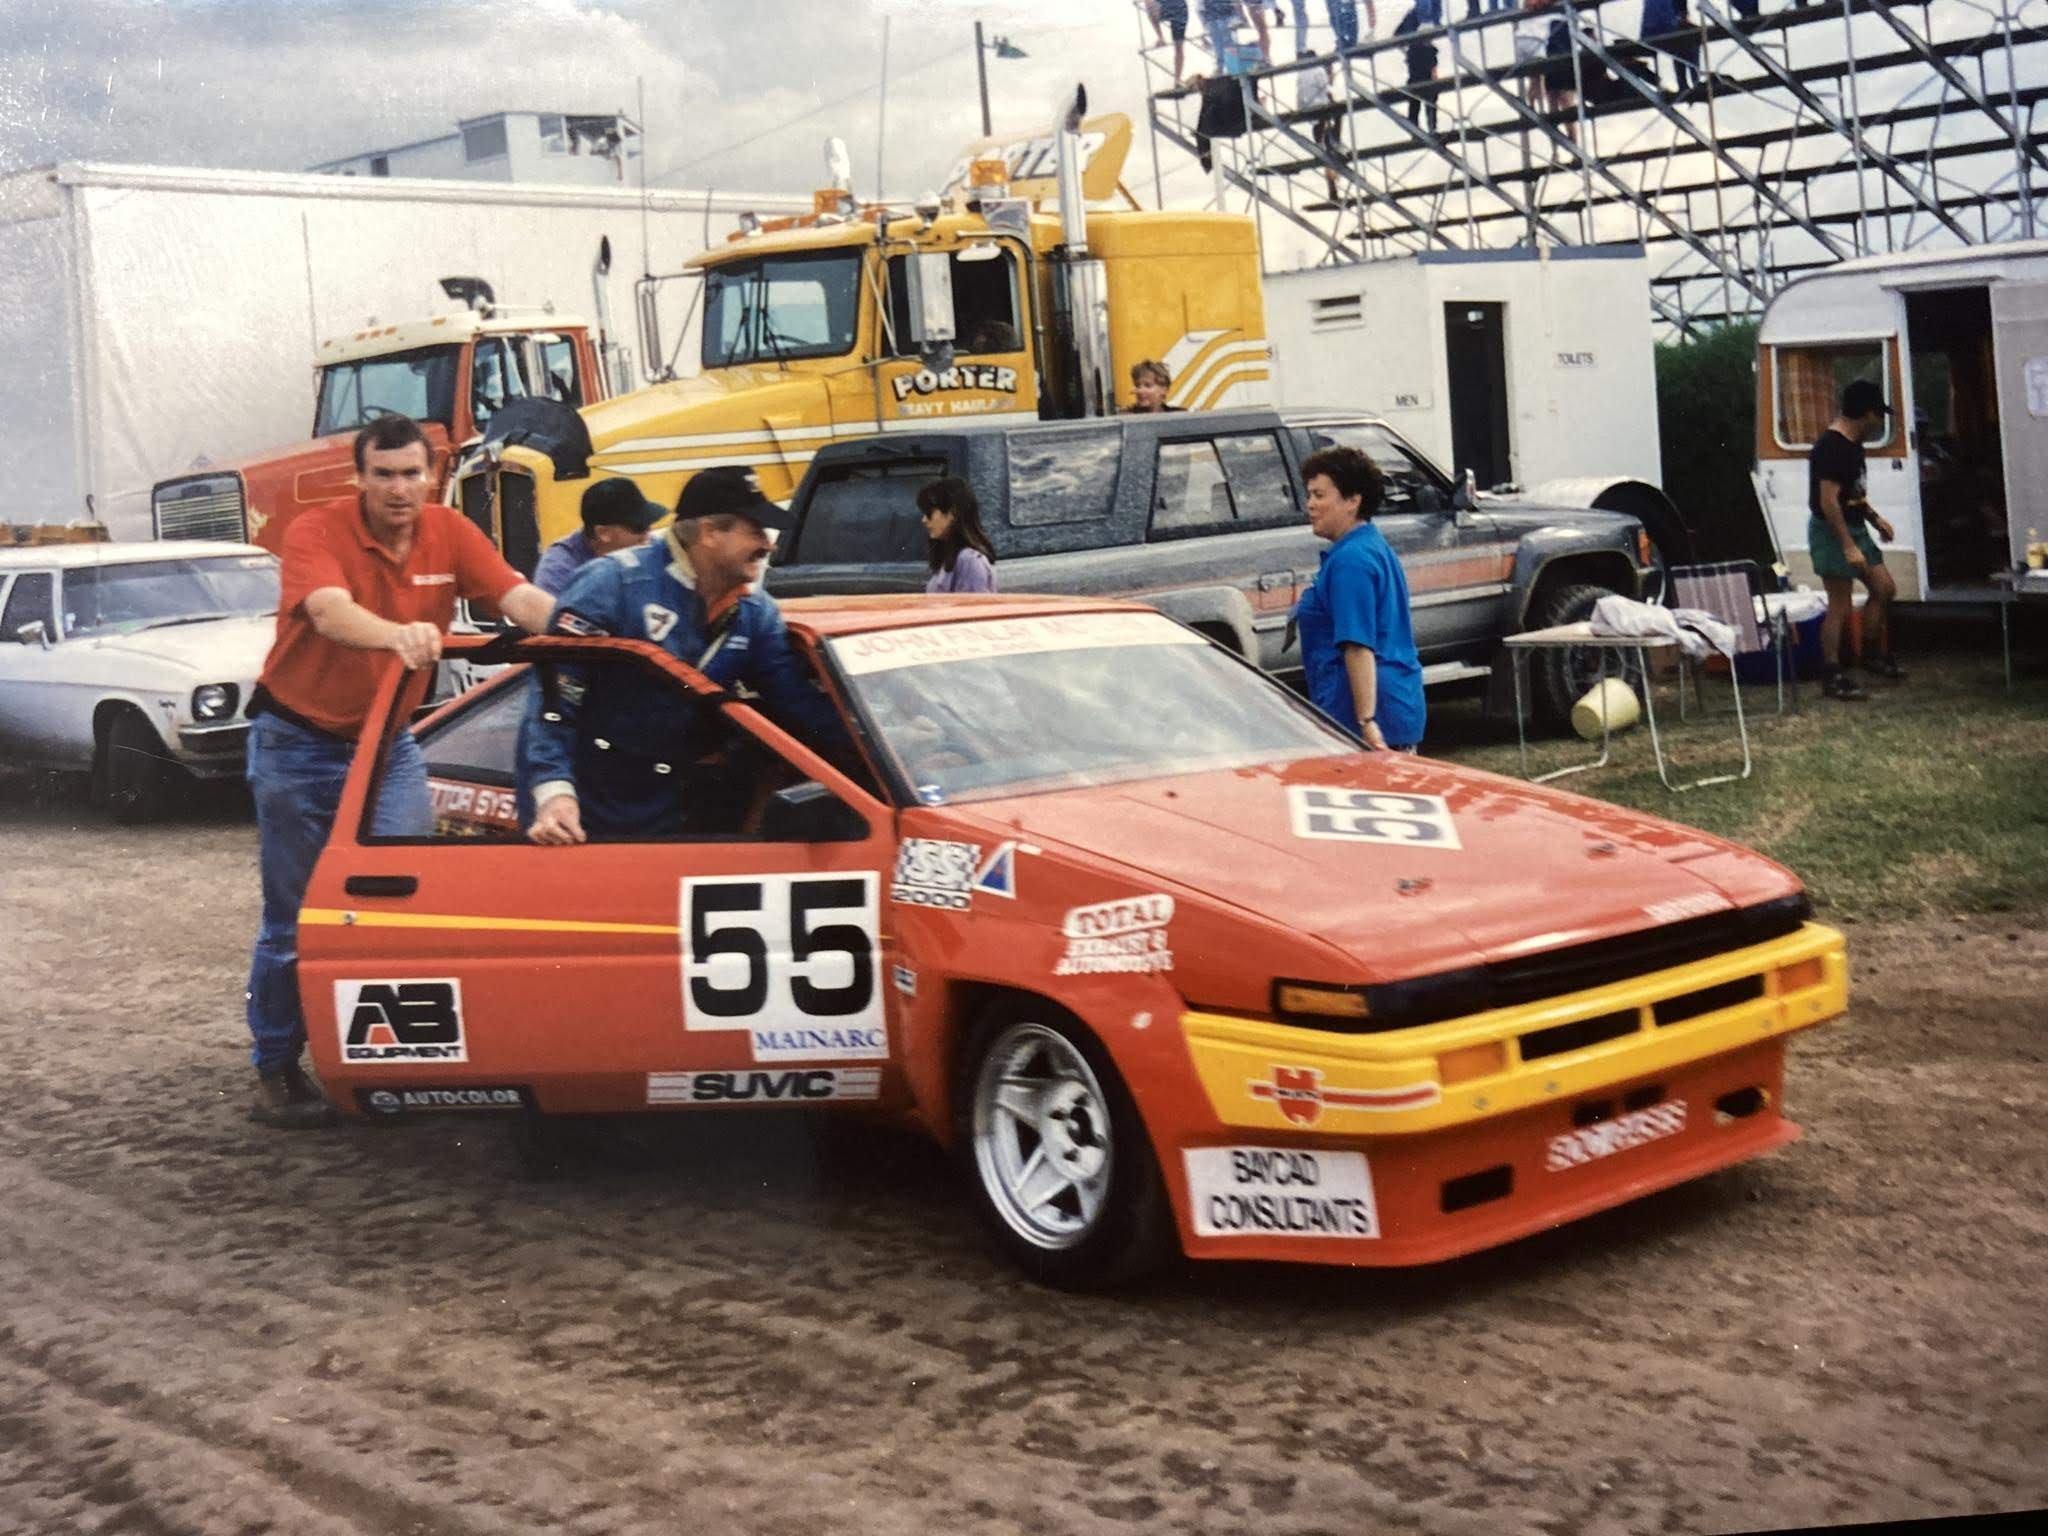
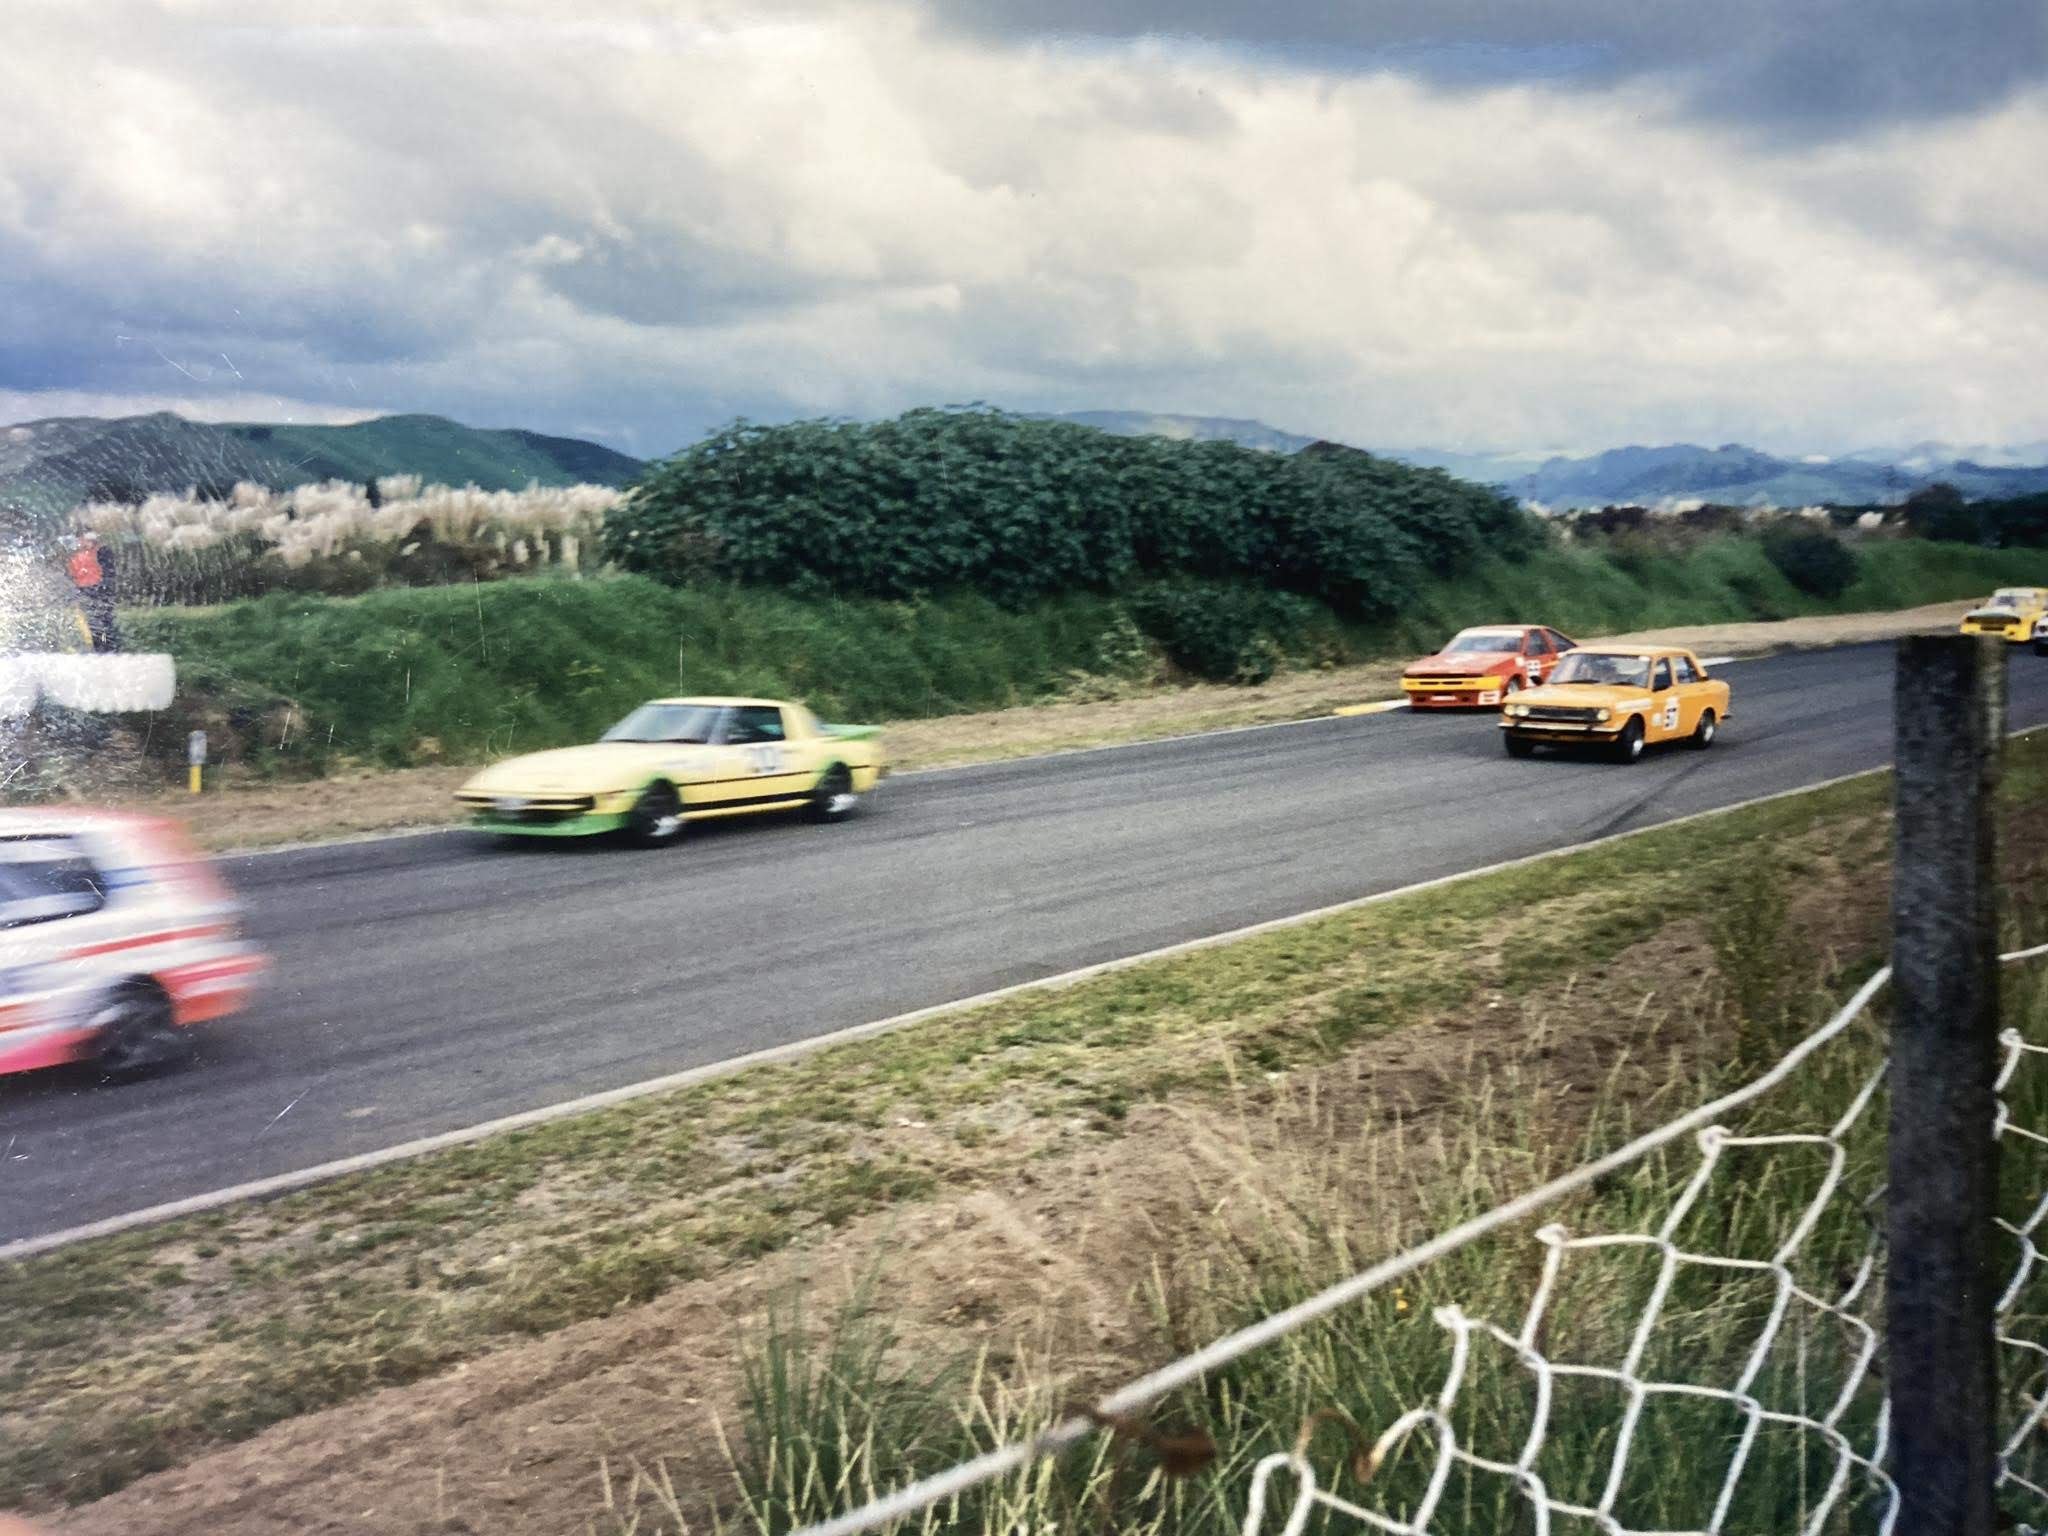
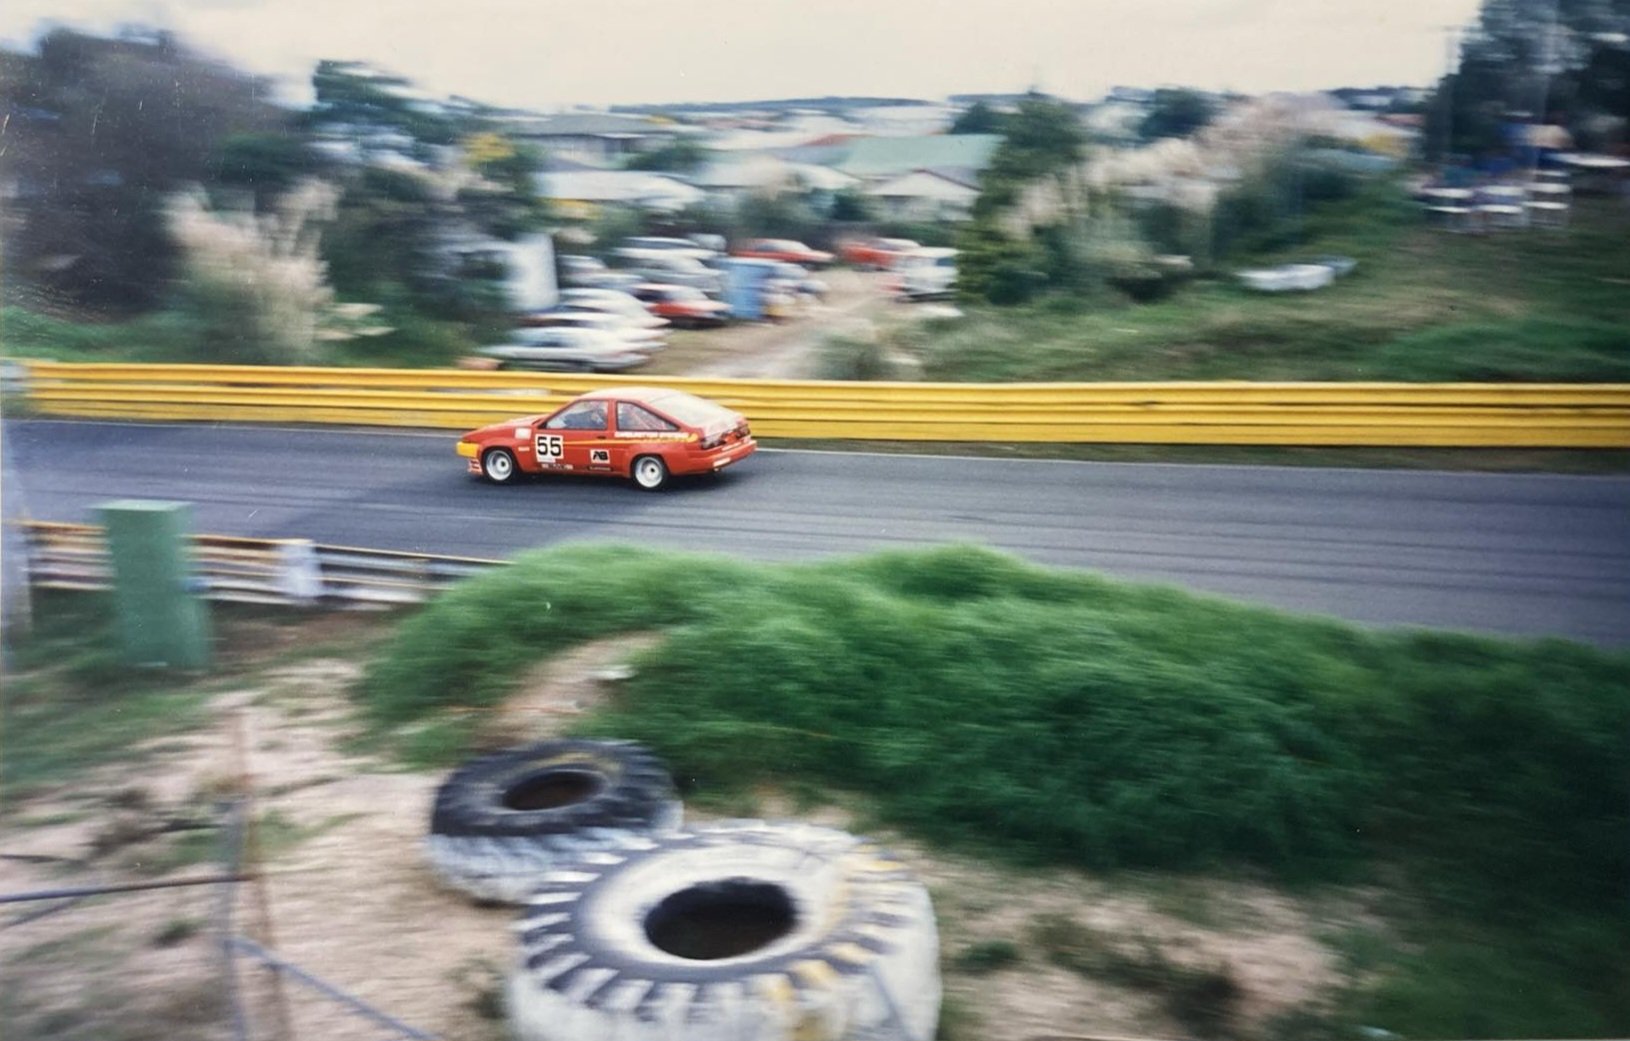
The vault has been opened More photos from Bay Park 1995:
1 point
-
Dad dug this photo out of his archives this week. Finally, a photo of the car racing at the final Bay Park race meeting - Easter 1995
1 point
-
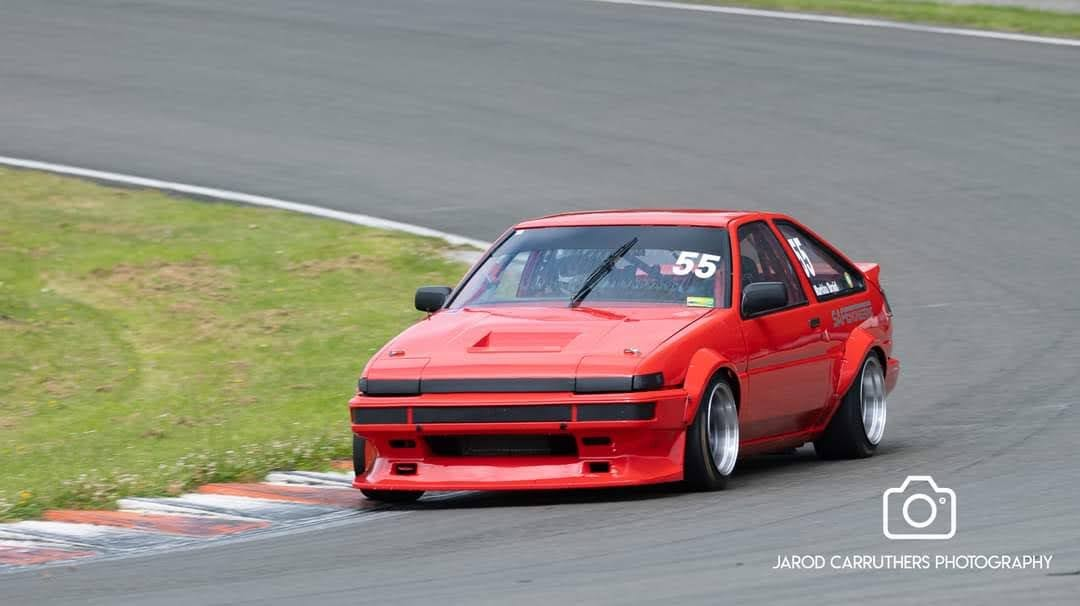
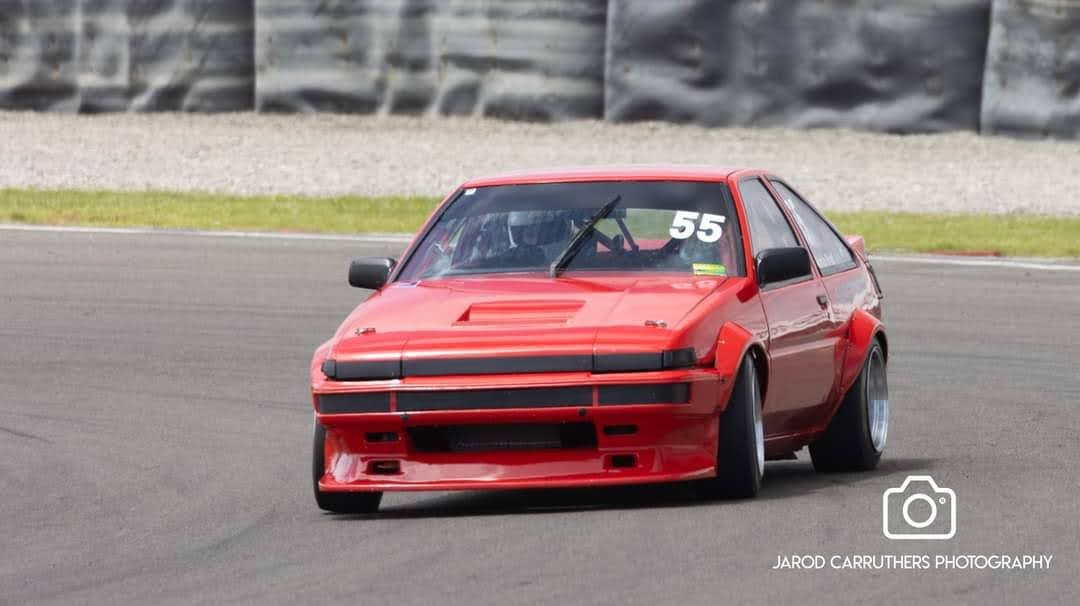
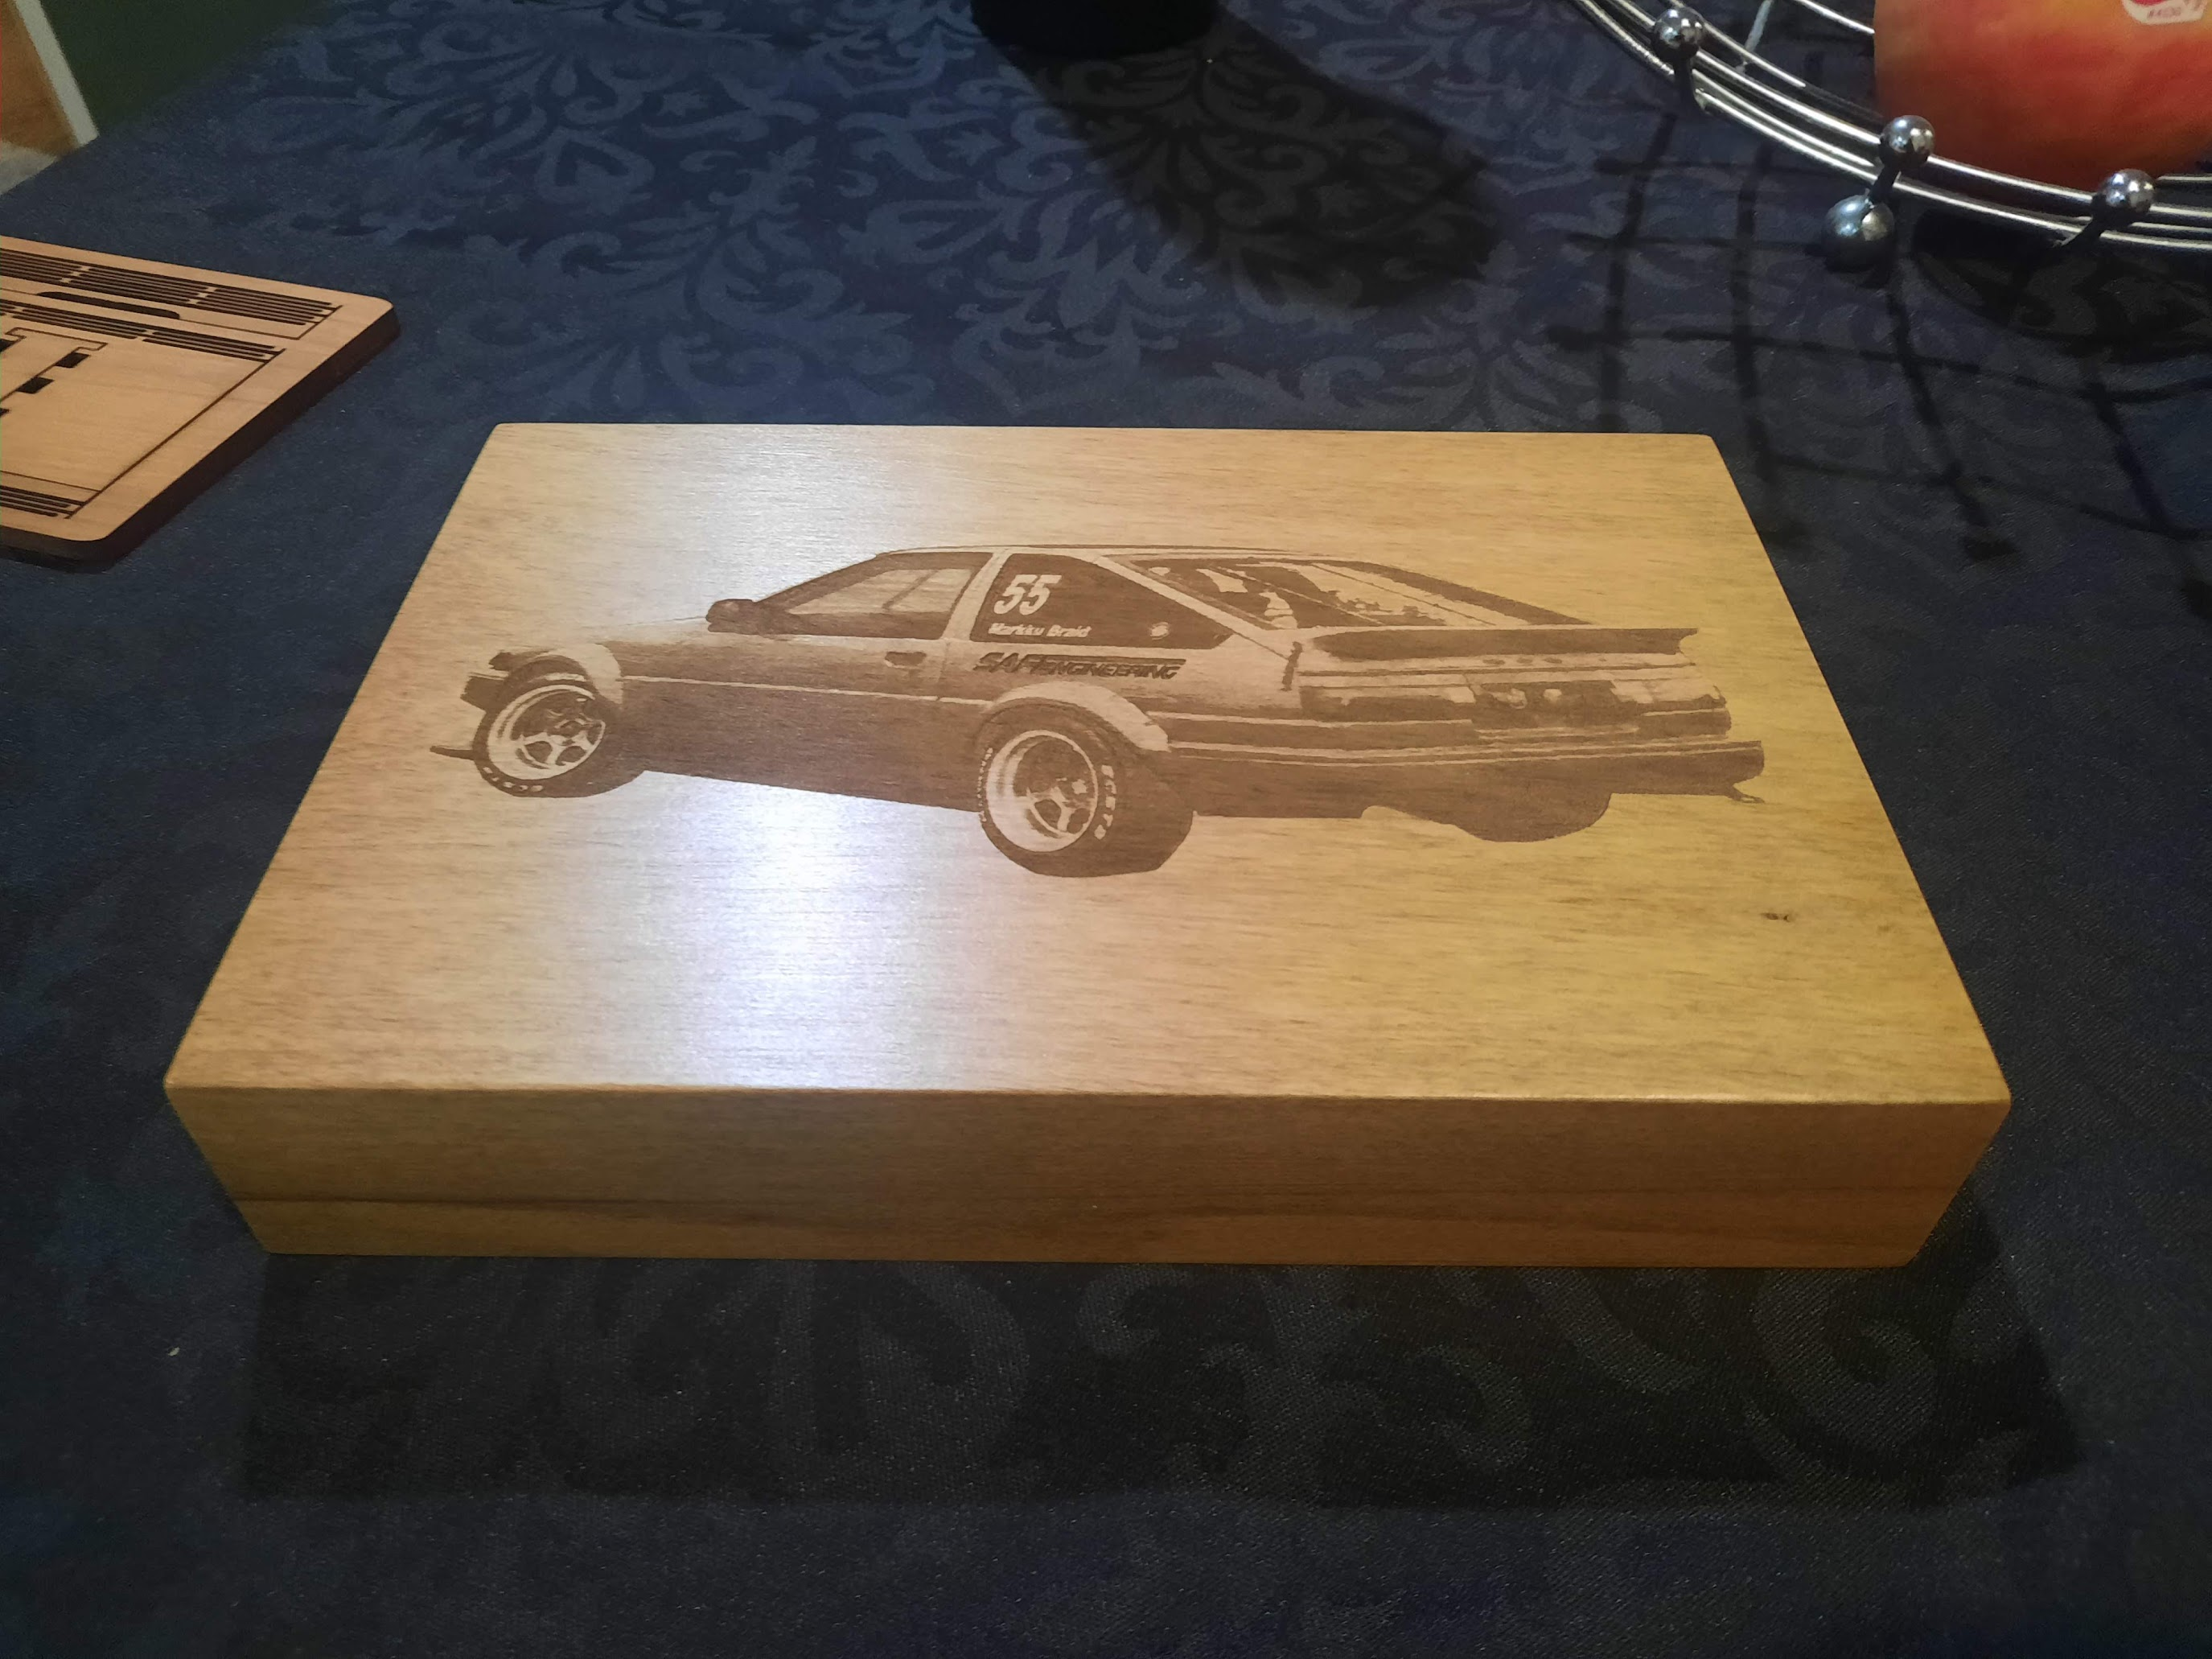
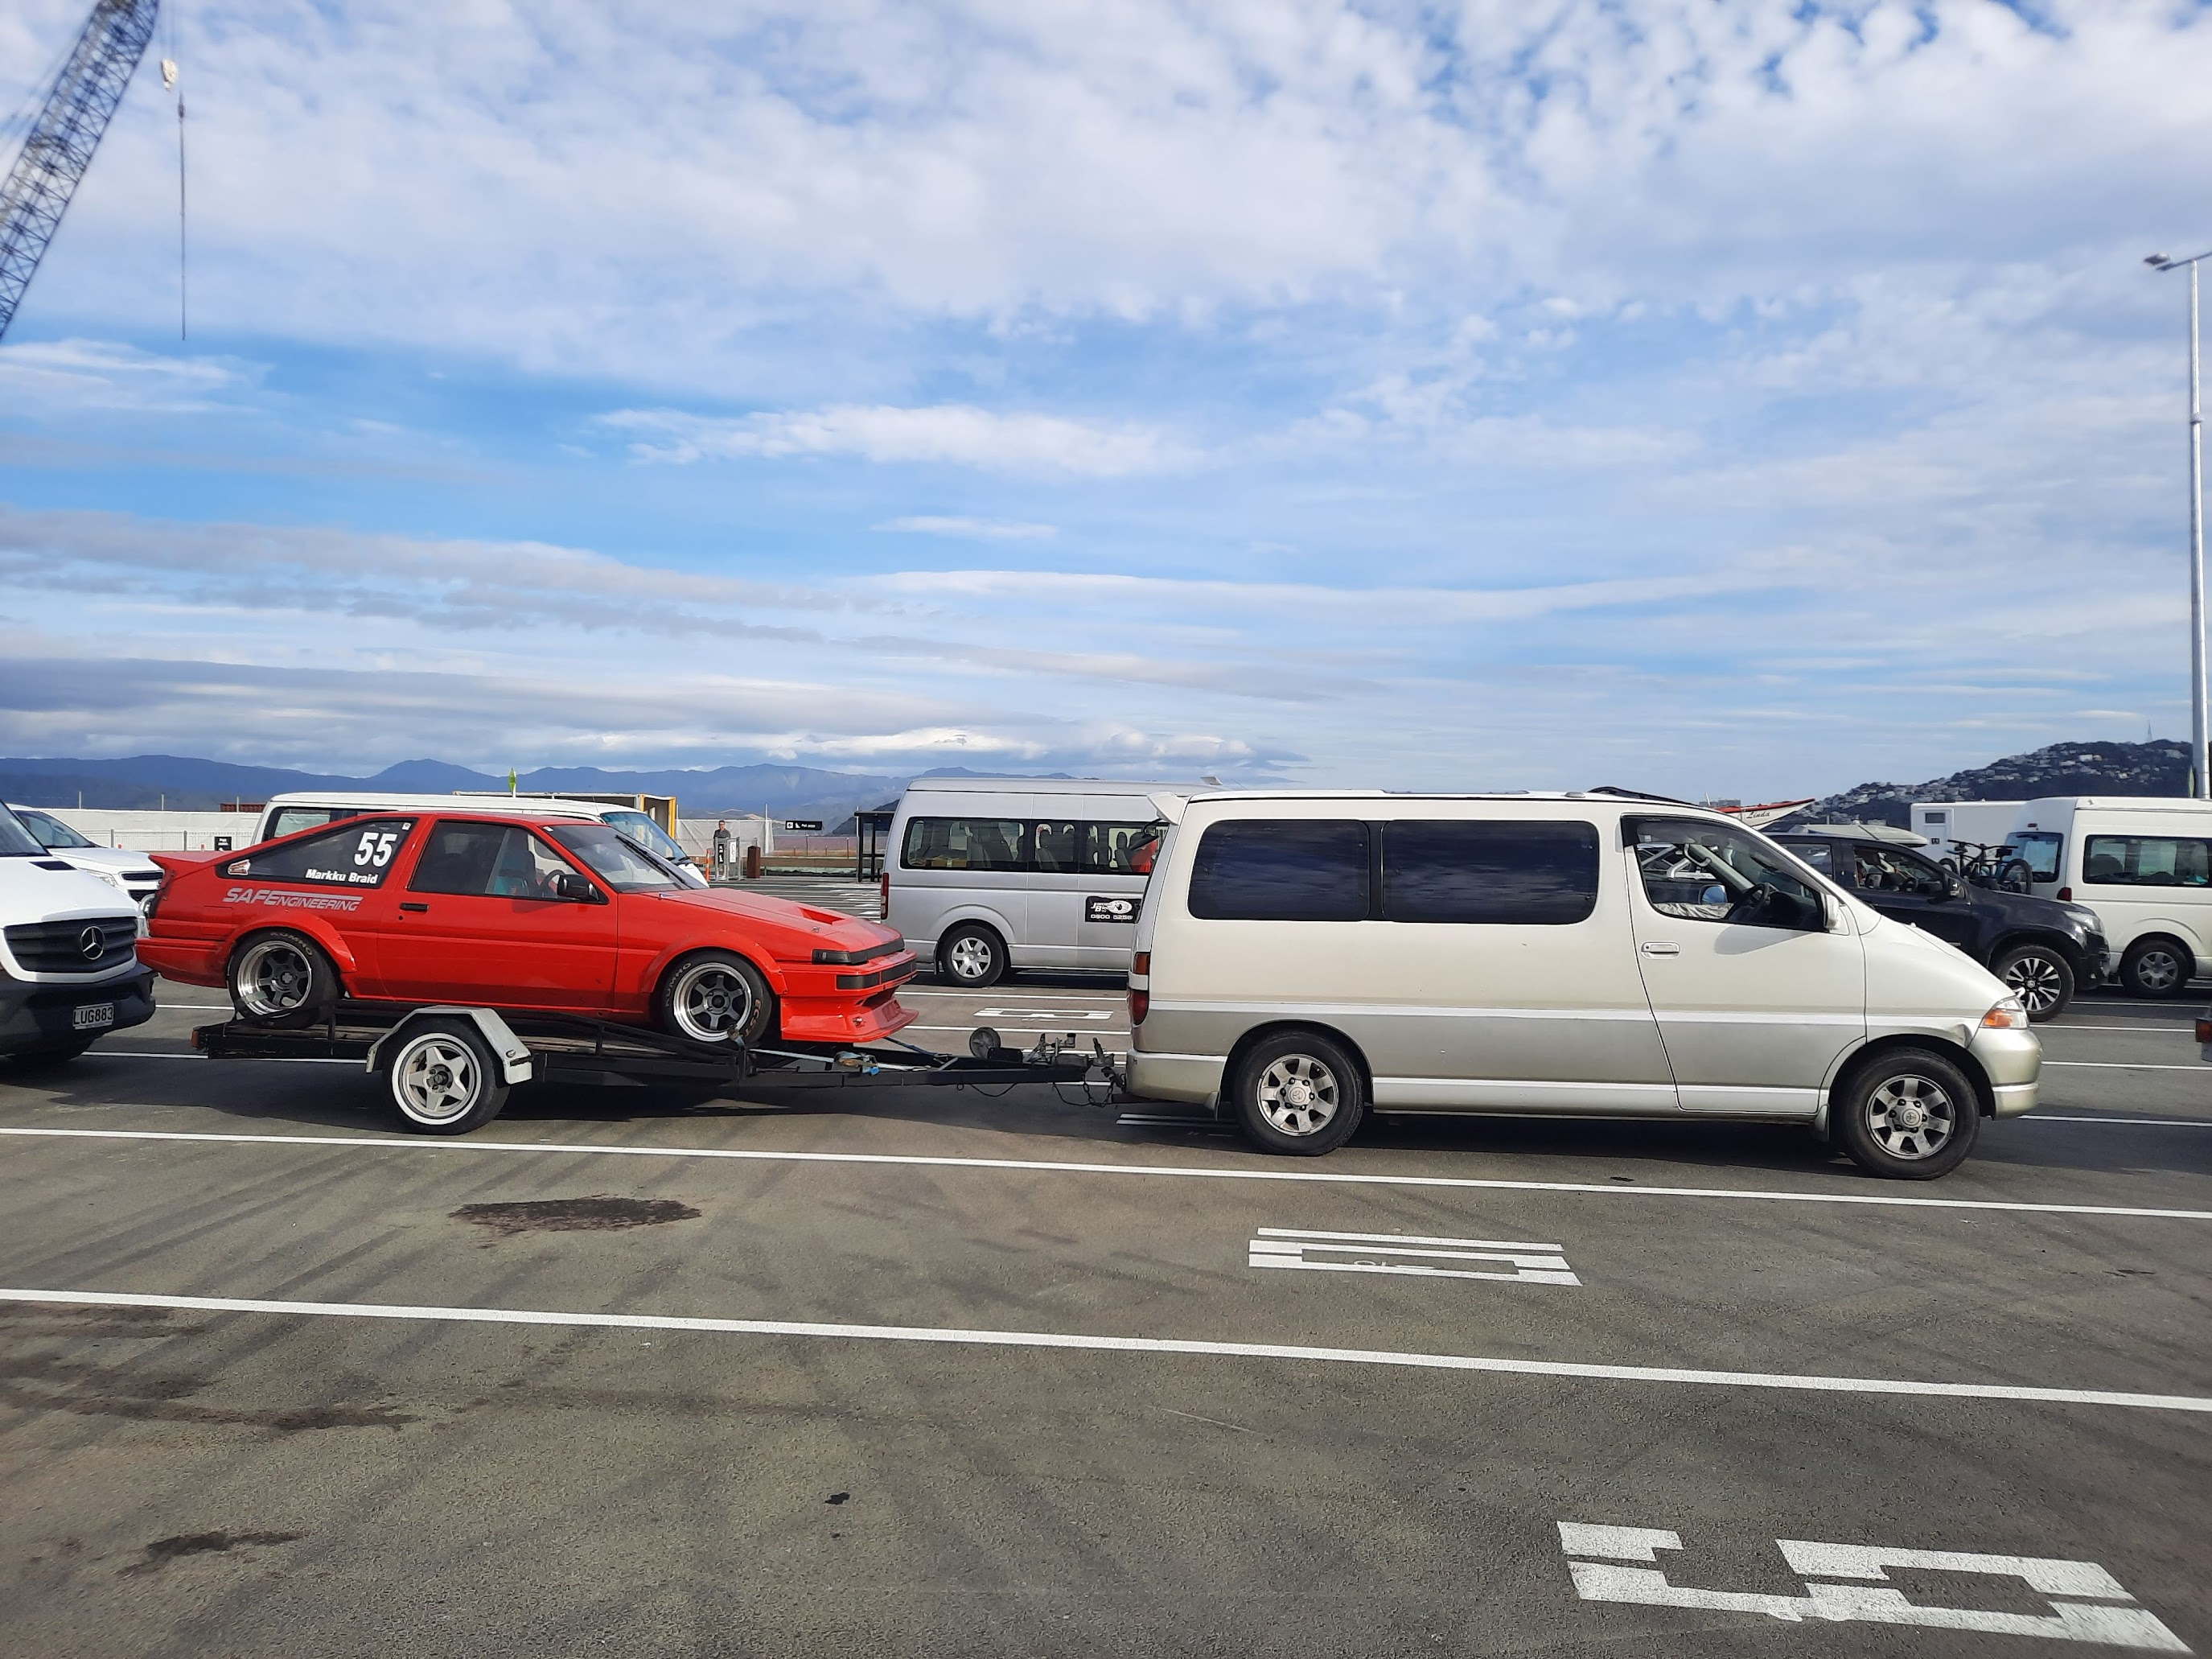
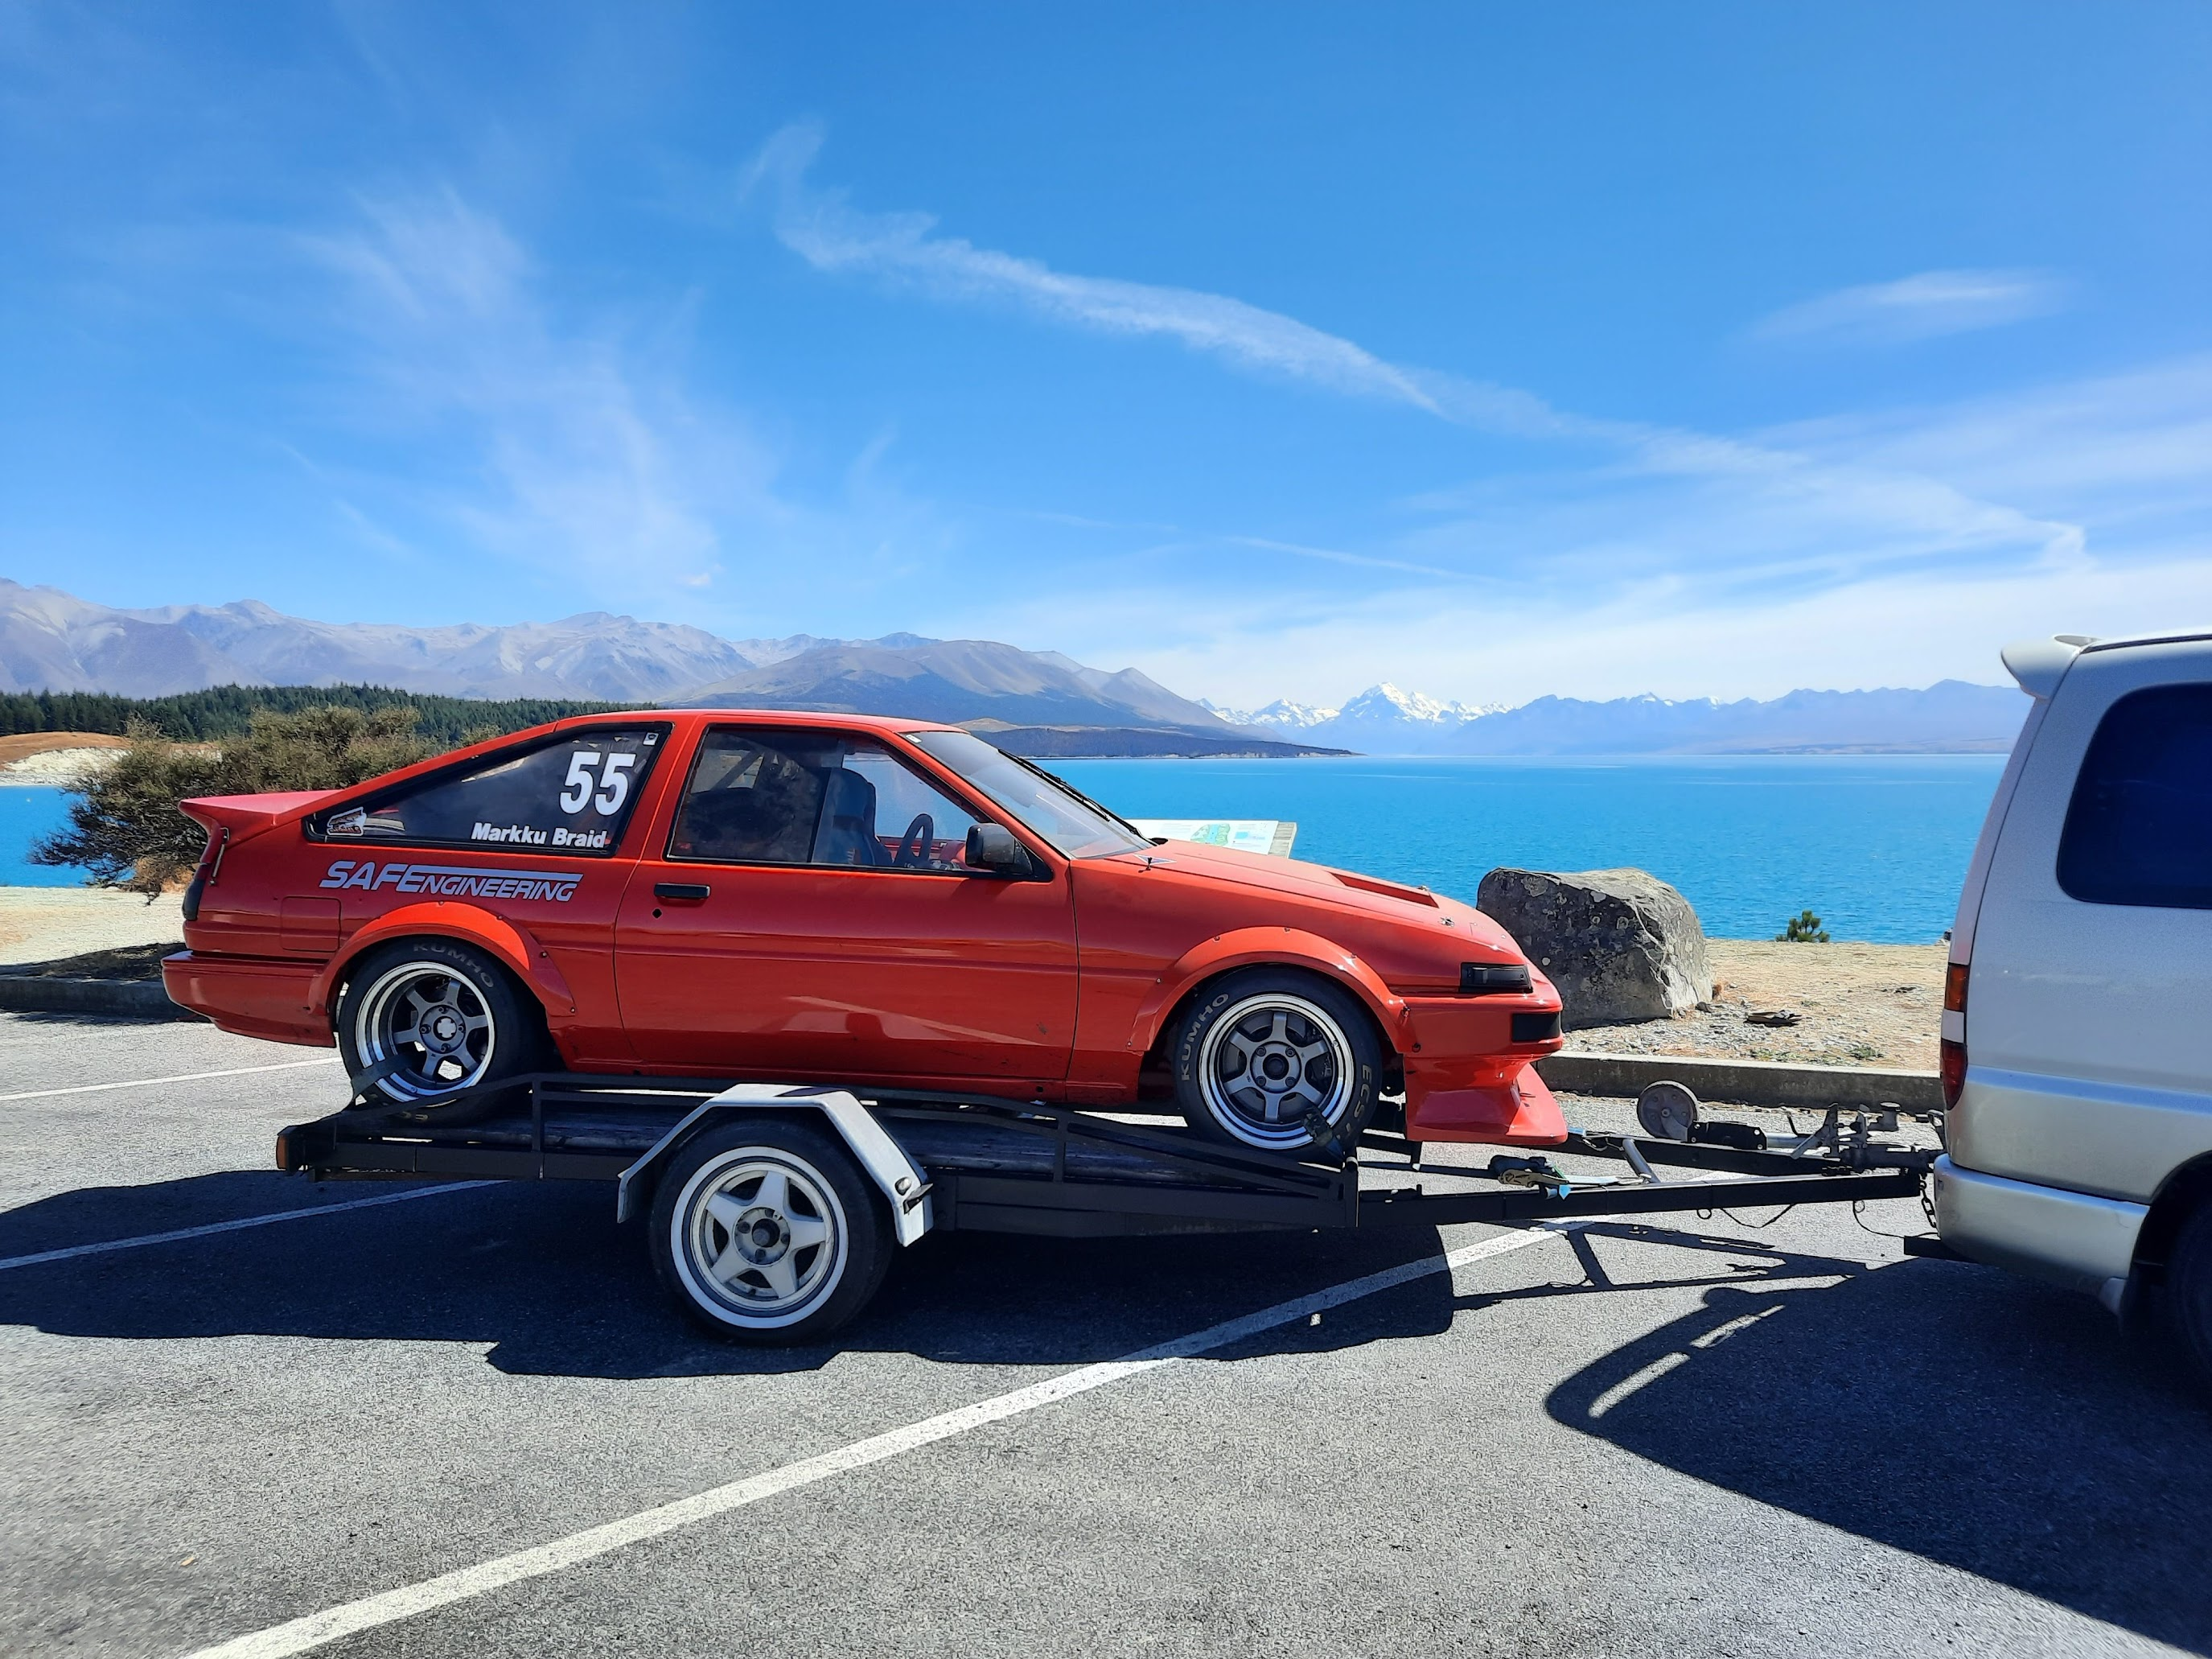
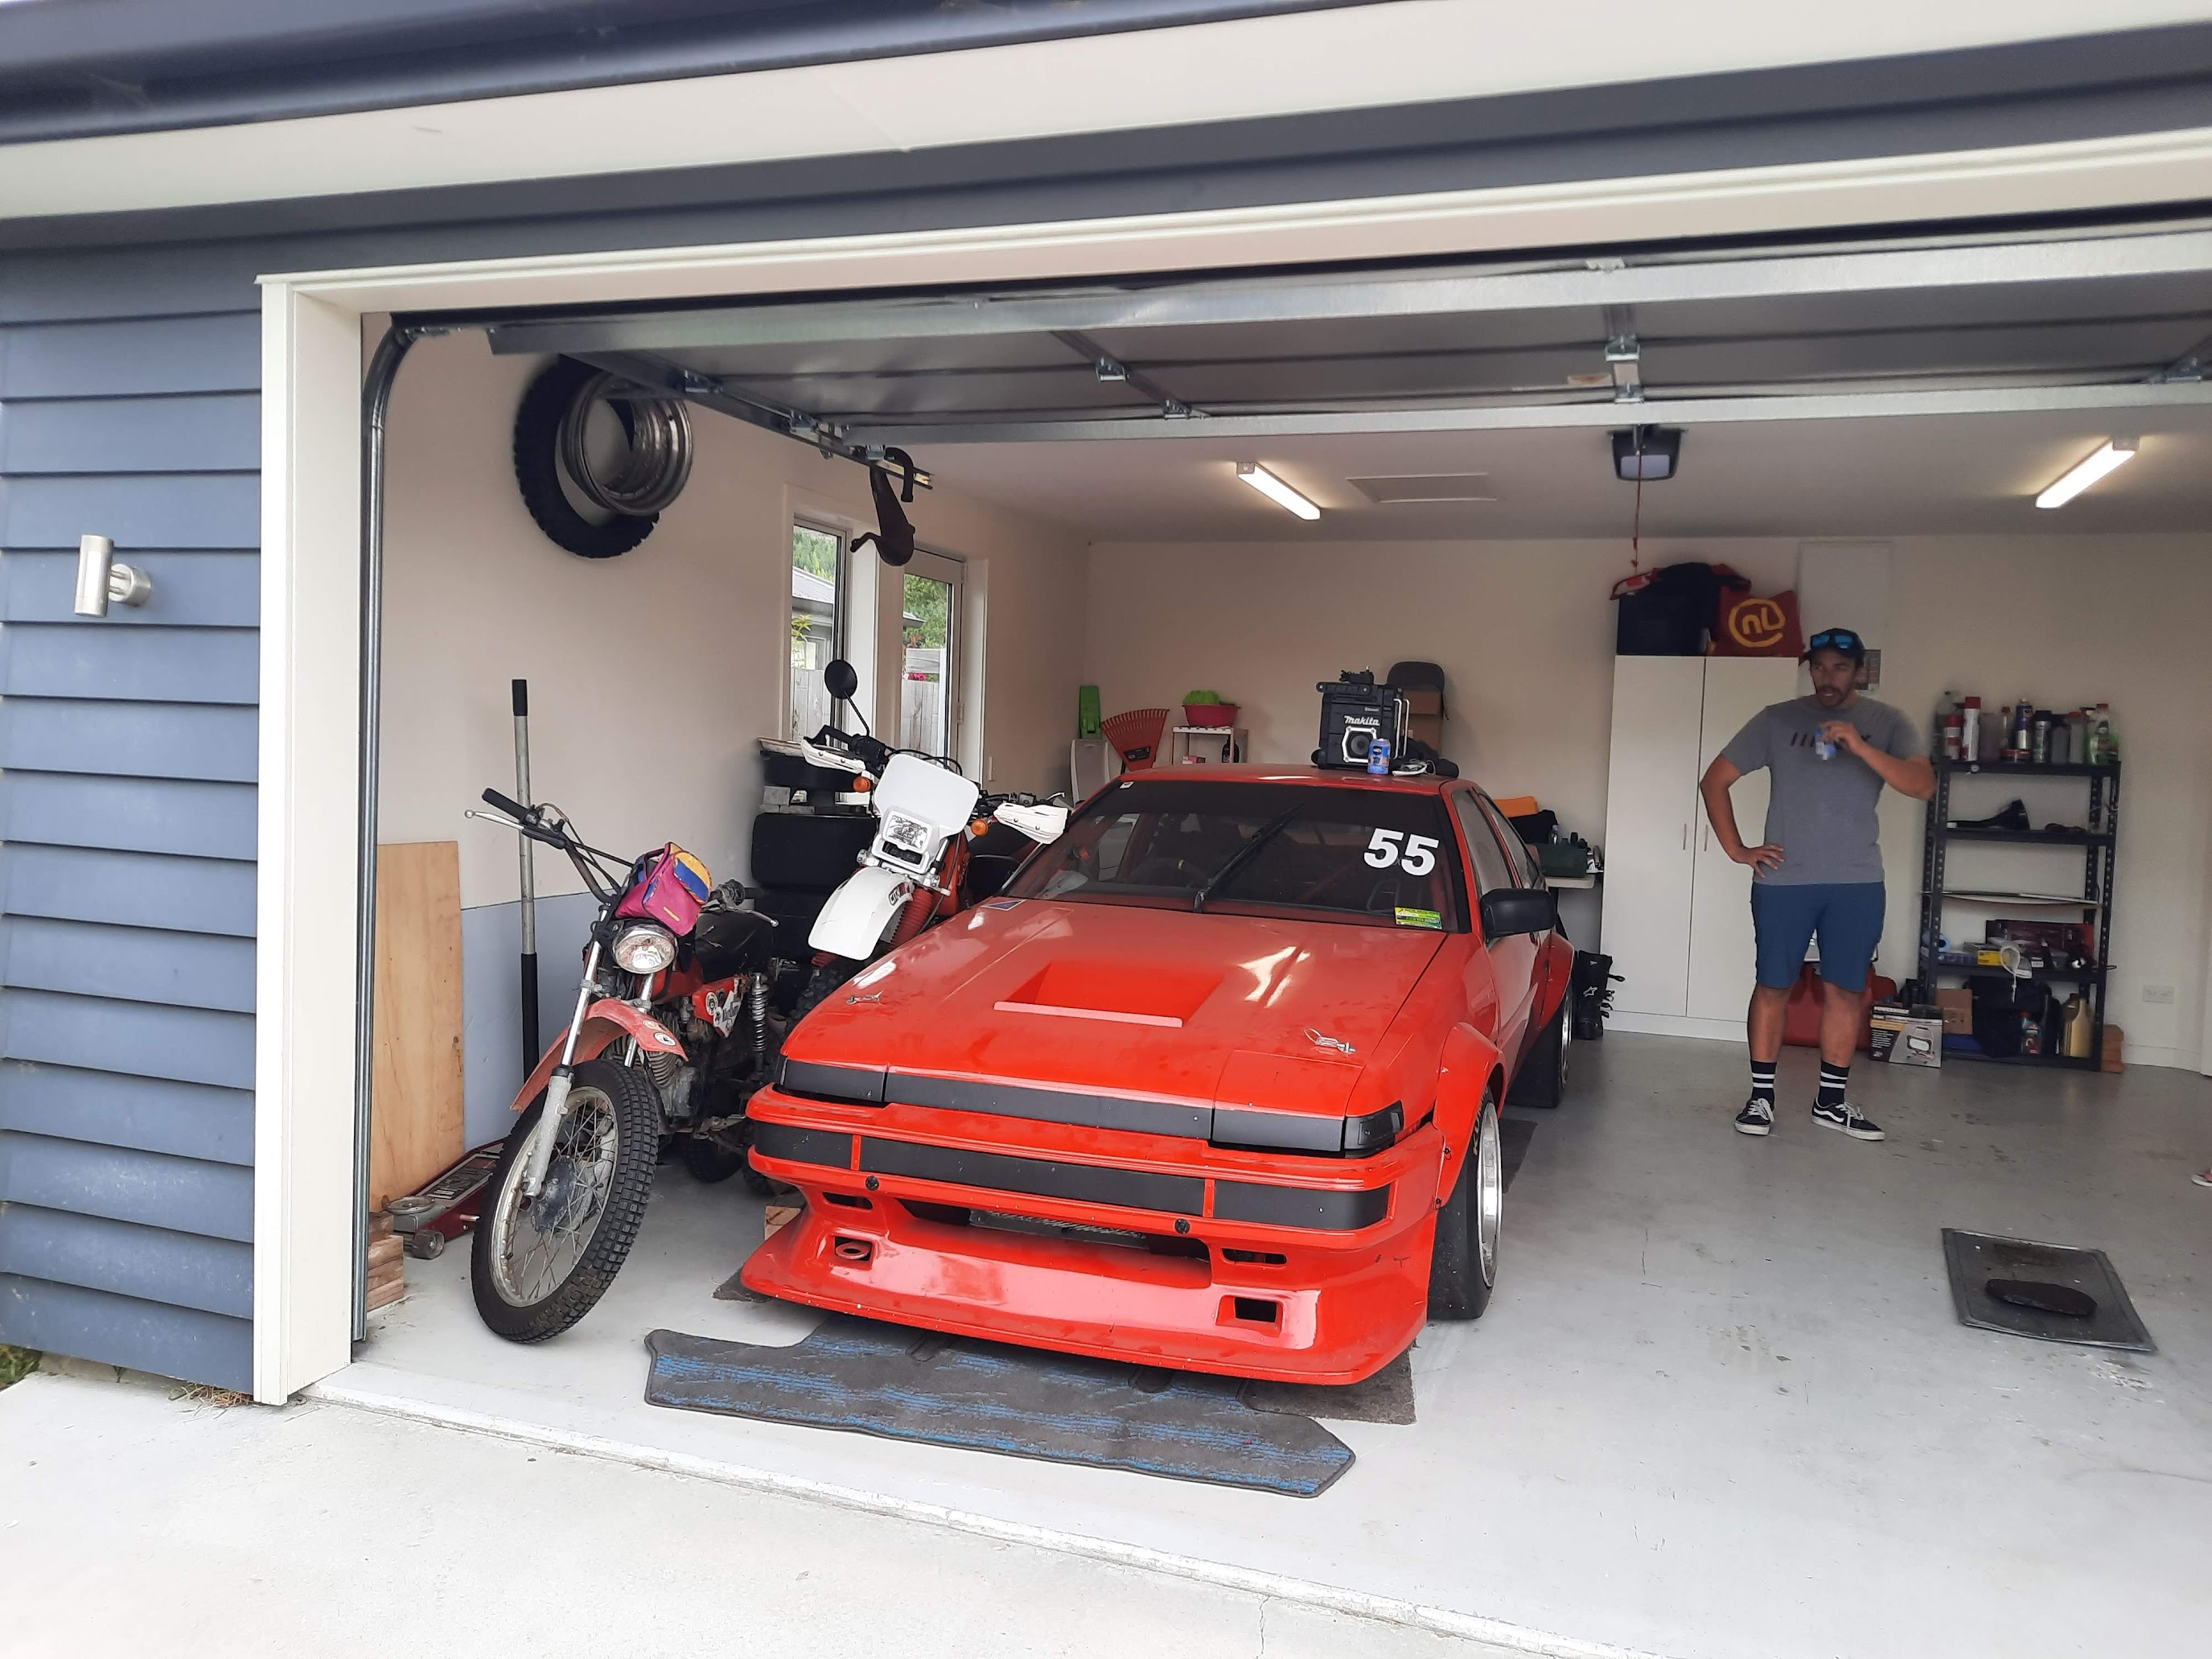
I've had this out for another couple of hoons since the last post, but it's mostly been sitting while I renovated my house and raced the MX5. Here's a couple of shots from December 2022: And @Iggy made this awesome thing for me on the laser at his work. That's going straight to the pool room! Then I moved to Queenstown in June and left the car locked away in my garage in Palmy for another 6 months. My new job has a full workshop and some other cool things (like a dyno), so I've been itching to get it down here! That mission came together over the Christmas break. I bought a 1KZ Granvia in the North Island, flew up and towed the 86 down at the end of my holiday. I loaded it with as much stuff as possible and filled the van with even more. There's an engine, gearbox and a few other fun parts in the stash, so I'll be building an engine in the next wee while. Very keen to see what a Beams engine can do with bigger cams and more compression. The poor old Granvia was loaded! I stopped at lake Pukaki for a photo op with Aoraki: Made it to Queenstown safe and sound. I only have half a garage here, so have to be pretty careful with my hoarding (it's probably for the best). Feat a wild @TimShadboltfan27 Looking forward to getting out onto all the South Island tracks this year!
1 point
-
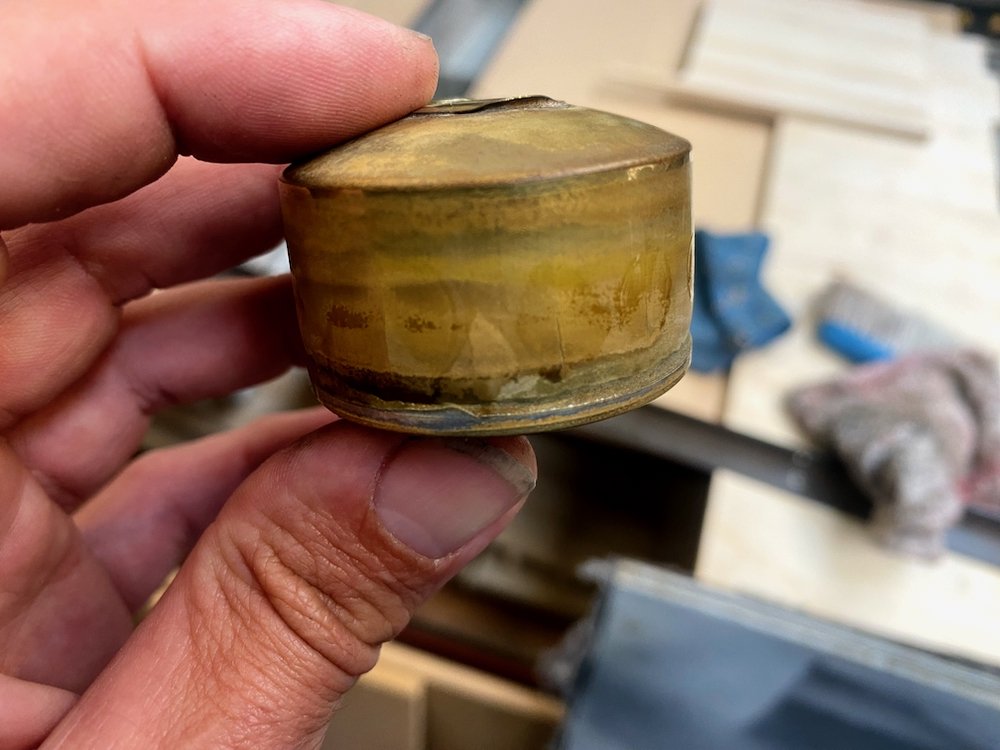
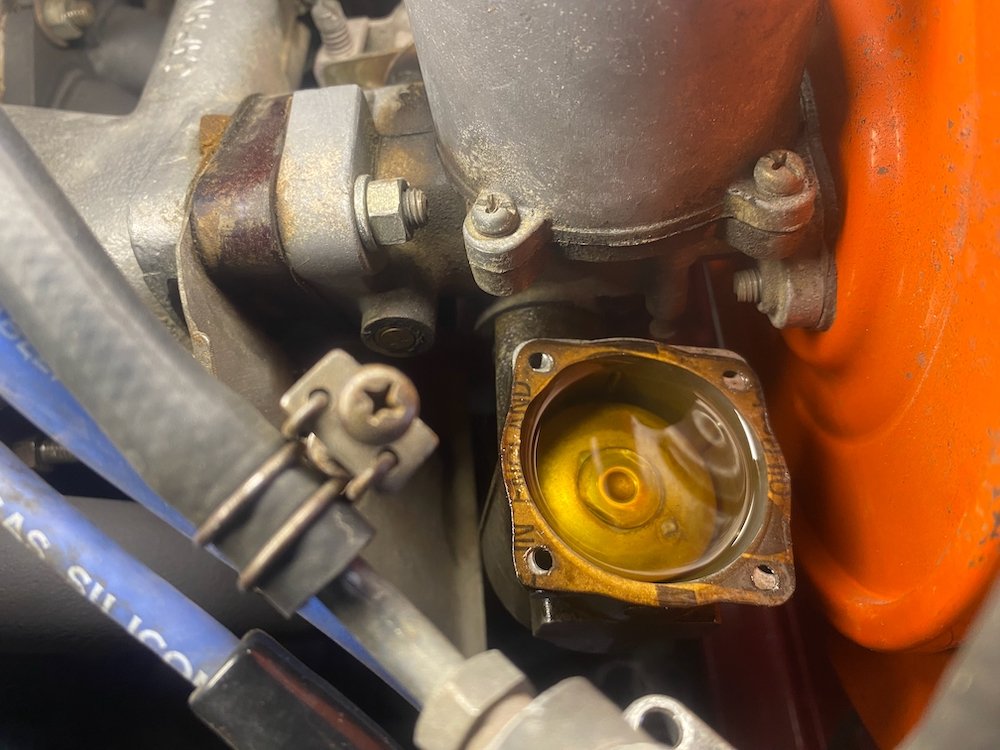
All running and driving, or so I thought Had a the plugs occasionally foul on start up and the engine now and then would start running super rough, running through the options didn't find much until after one drive I could definitely smell fuel, queue a case of the o shits etc. Leak was from the forward carb overflow, popping the lid off the float chamber was evident Seems we have a slight case of the oceangates.... Brass float had cracks all the way around. When I brought the car I also received a pretty good spares package so picked out the best looking float and threw it in. WOF man then failed the inspection on a number of minor issues, brake balance wasn't up to his expectation, small exhaust leak at a joint and rear brakes grabbing, managed to solve all in quick succession after work and sticker status returned! I haven't worked out the number of days but approx 3 years after taking the car off the road I can now legally drive again, while no where near finished in my mind, it is a giant relief to not have a pile of parts in the way! Still to go is interior re-trim, carpets, door seals, paint detailing, polishing, wheel refurb etc, mainly tidying up the cosmetics. But for now, lets go for a hoon around the neighbourhood
1 point
-
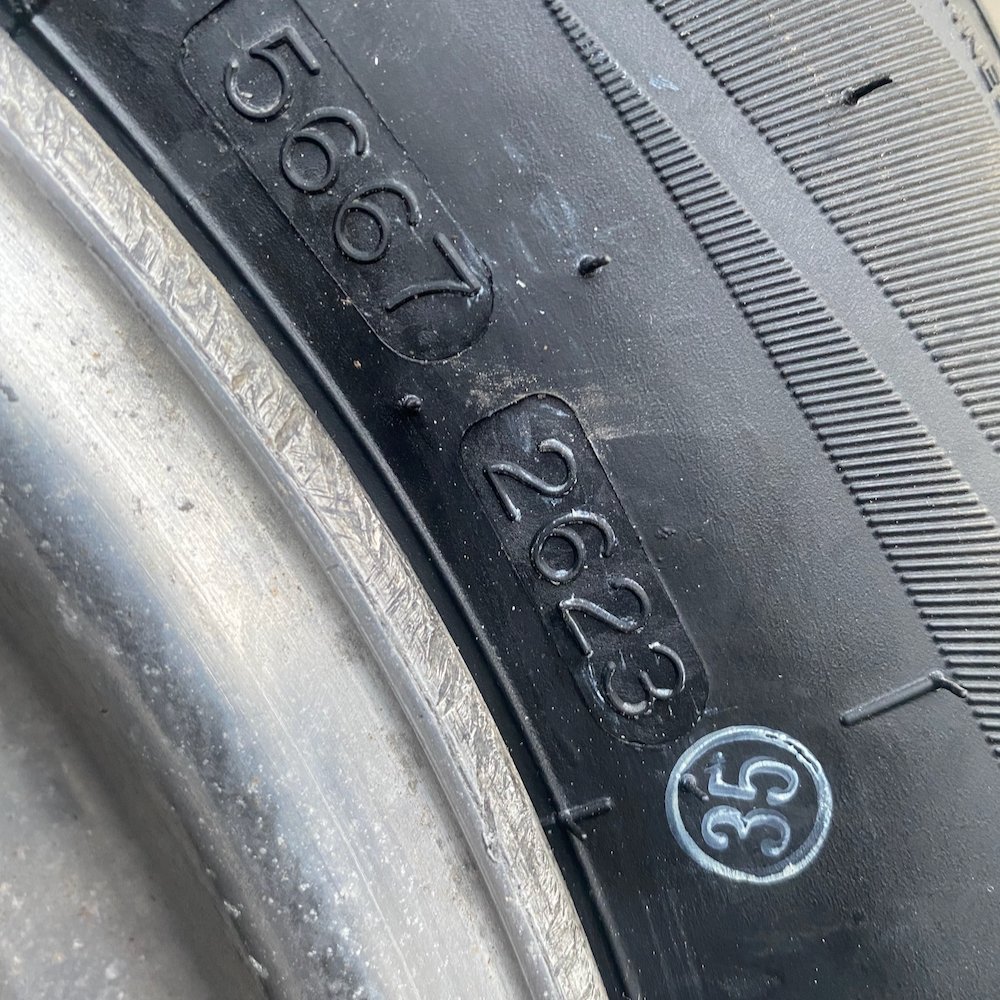
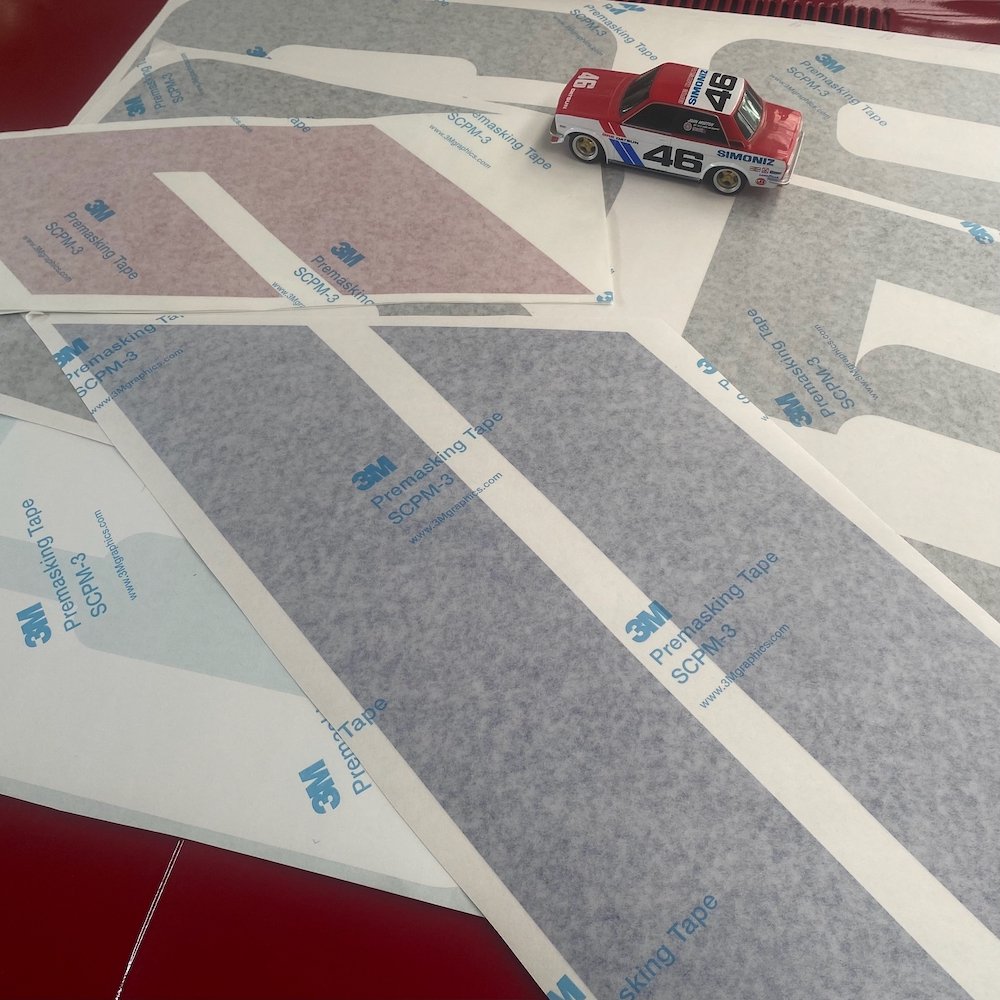
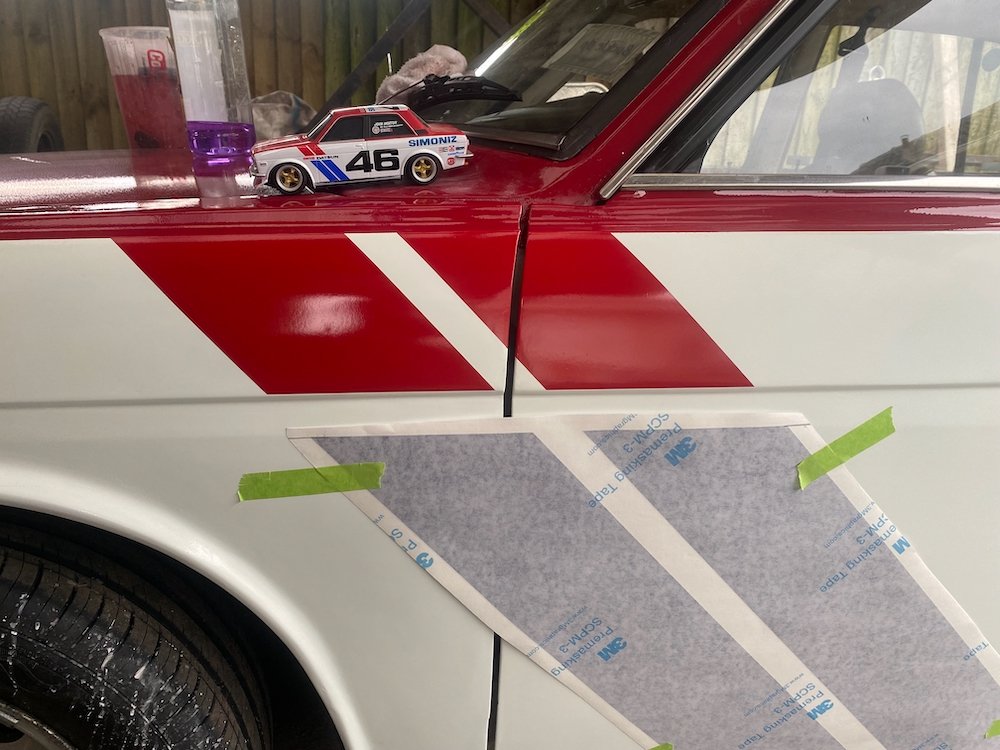
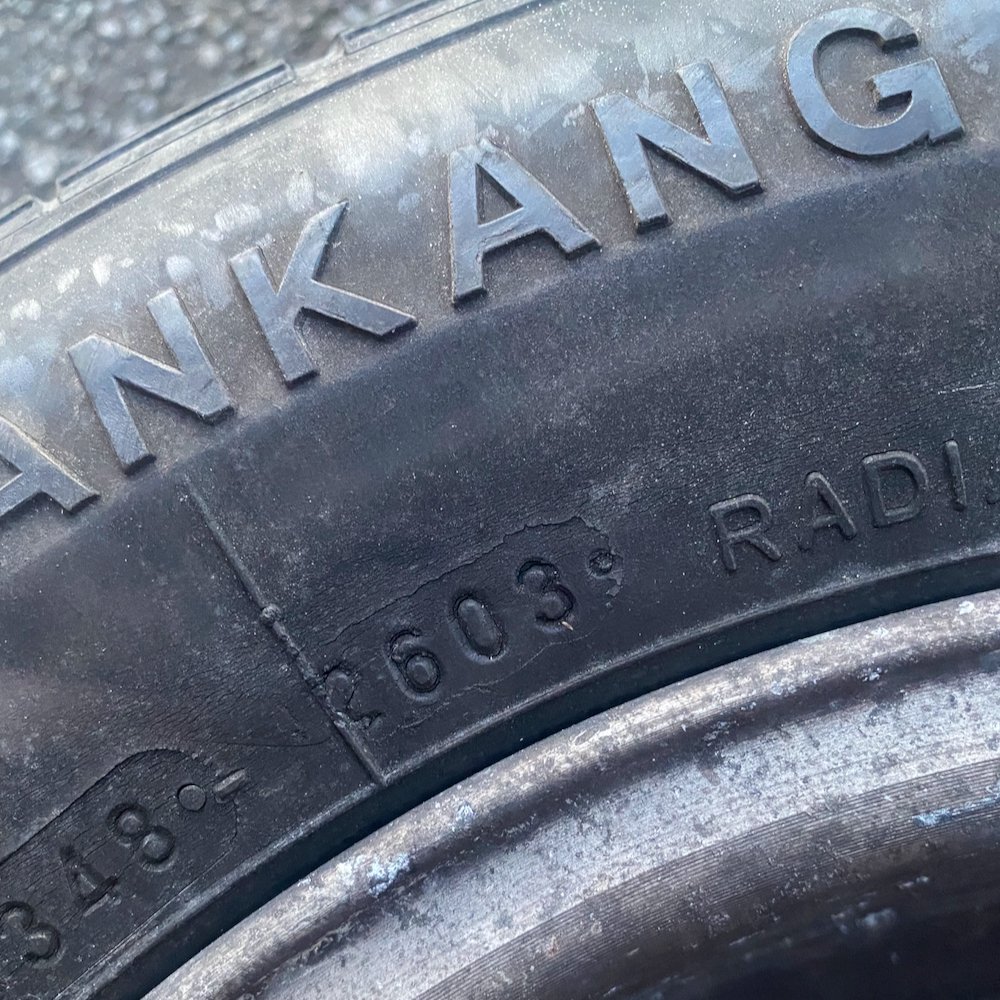
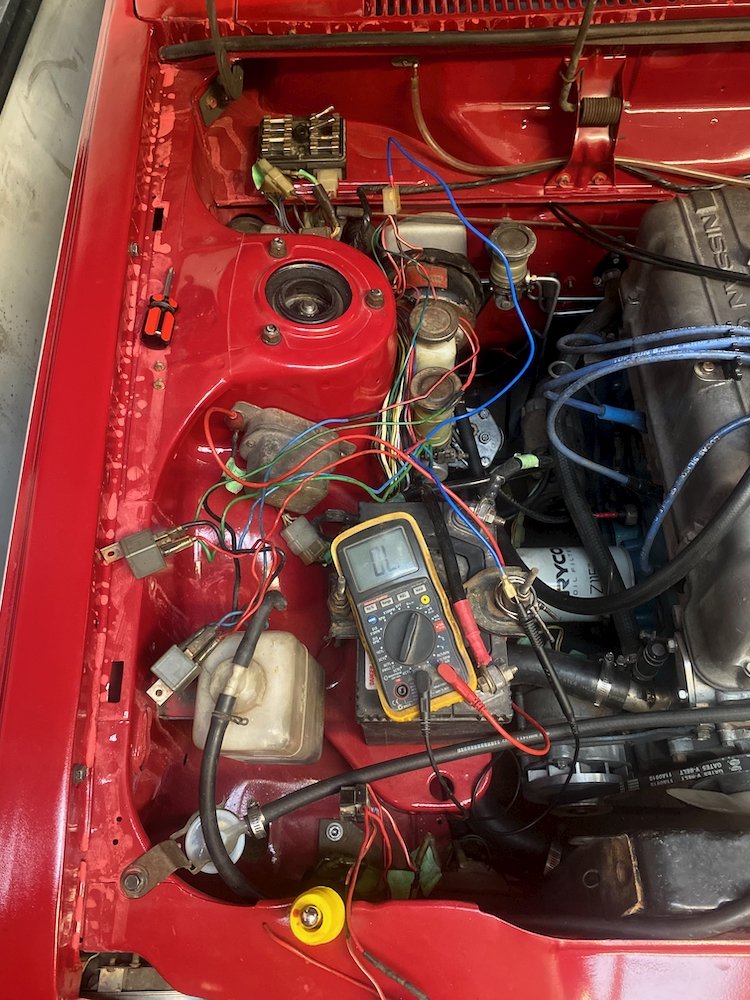
Yeah/nah the wof man aint gunna like that so the 20 year anniversary of these tyres will be their last Much nicer although they do feel softer...... Postie was feeling generous and delivered a roll of fun, had to dig out an old toy to approve the design Approval gained after a thorough wet sand to hide the painter I am not, quite an enjoyable task with the current temperature reaching for 30 odd. During a test run I found the hi beams not quite up to task, this lead to unwrapping the loom to trace the aftermarket relays, somehow a few of the connections had been messed up and along with the ever present dodgy fusebox had left me chasing the wrong issue. After a few pages in the 1B5 to figure out the circuit, its all back together and selecting the correct beam. For added bonus the high beam relay is no longer a parasitic load, hooray!
1 point
-
Bit of an update as requested. See Discussion thread for a 'Life' update. My dad finished a second set of chassis rails (gotta both have a car right!) They were actually done close to a year ago now! Time flies! I came across some original Bugatti drum brake backings and pads. Not sure if theyll be useful but atleast theyre a cool to have. Finished a lot of proper detailed CAD on the front end. Wheels, hubs, axles, springs, hangers. The wheels are 8 main pieces, big radial spline onto the rim. They dont look easy to make!1 point


.thumb.png.b2aee08688778d18bdc7b3e3c1852d9c.png)


.thumb.jpeg.e0a4bff61111e0c8c7396950fcc94da1.jpeg)


This leaderboard is set to Auckland/GMT+12:00