
Leaderboard


Popular Content
Showing content with the highest reputation on 02/09/24 in all areas
-
Its looking more like a car now!36 points
-
Got a lot of CAD done this winter. Radiator: Diff/Axle Rear end assembly. Just external. Fuel Tank: Bulkhead/Steering: Gearbox: External20 points
-
The body work was difficult. Far from complete but the overall dimensions are now 'close to' correct.19 points
-
19 points
-
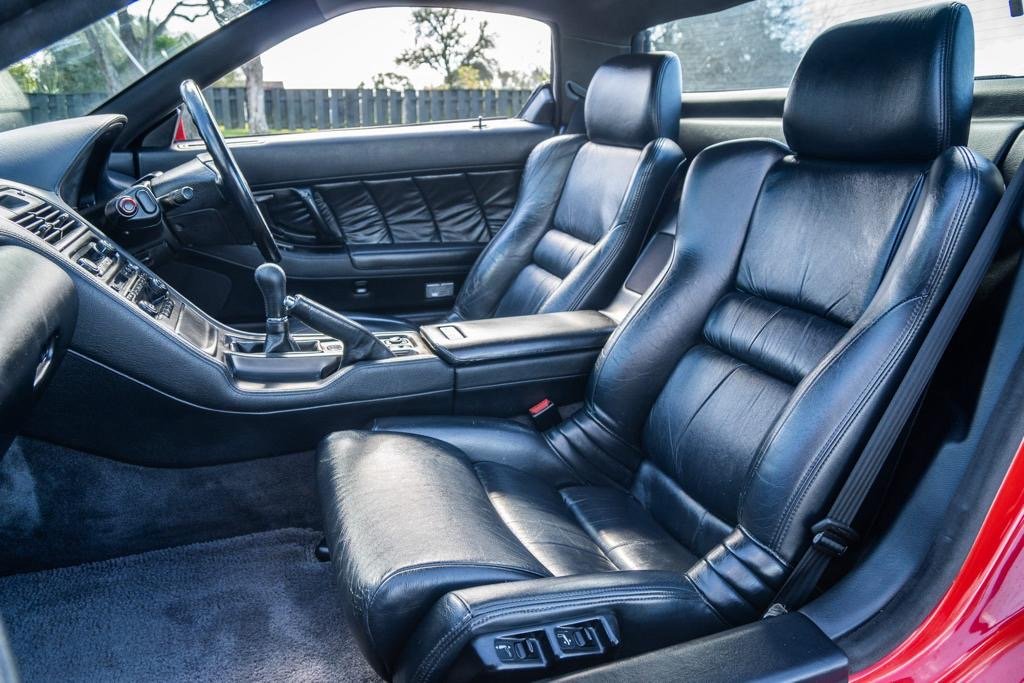
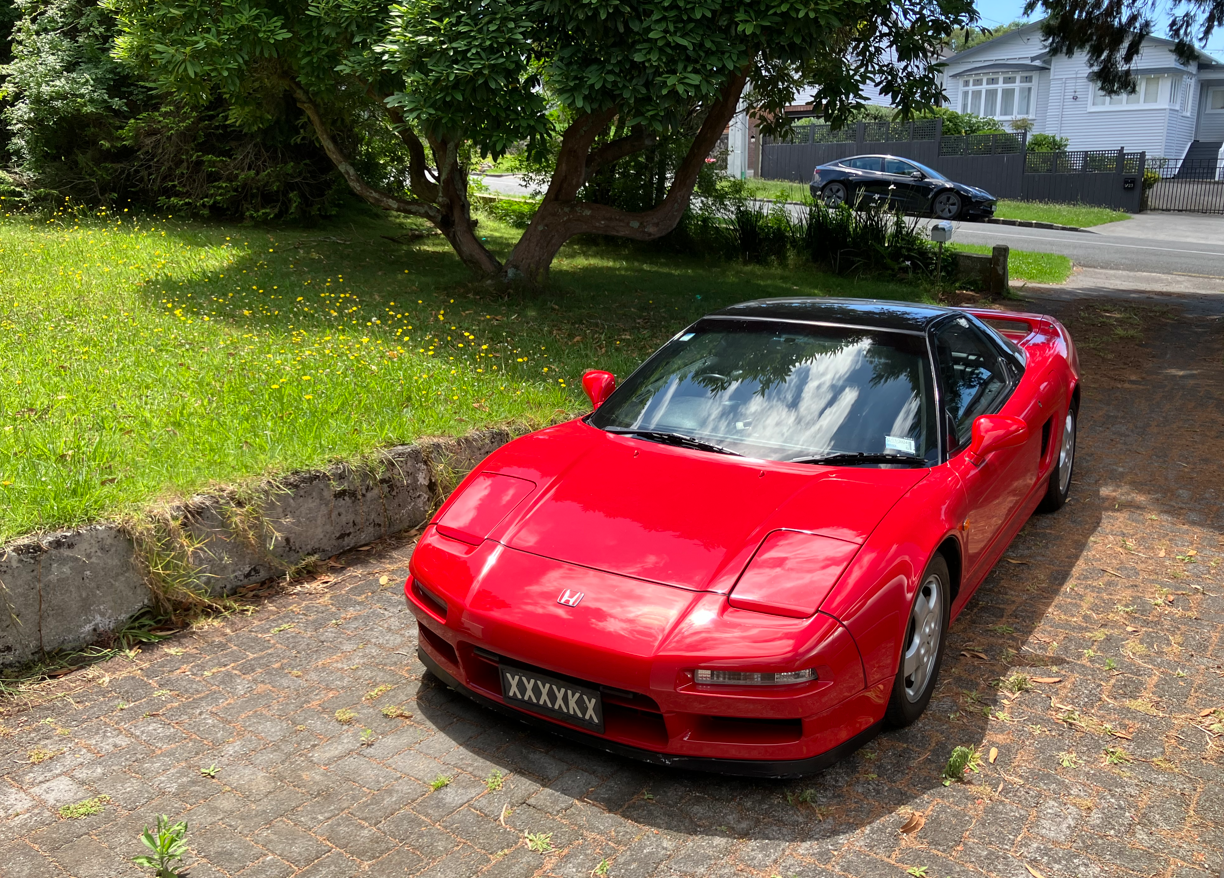
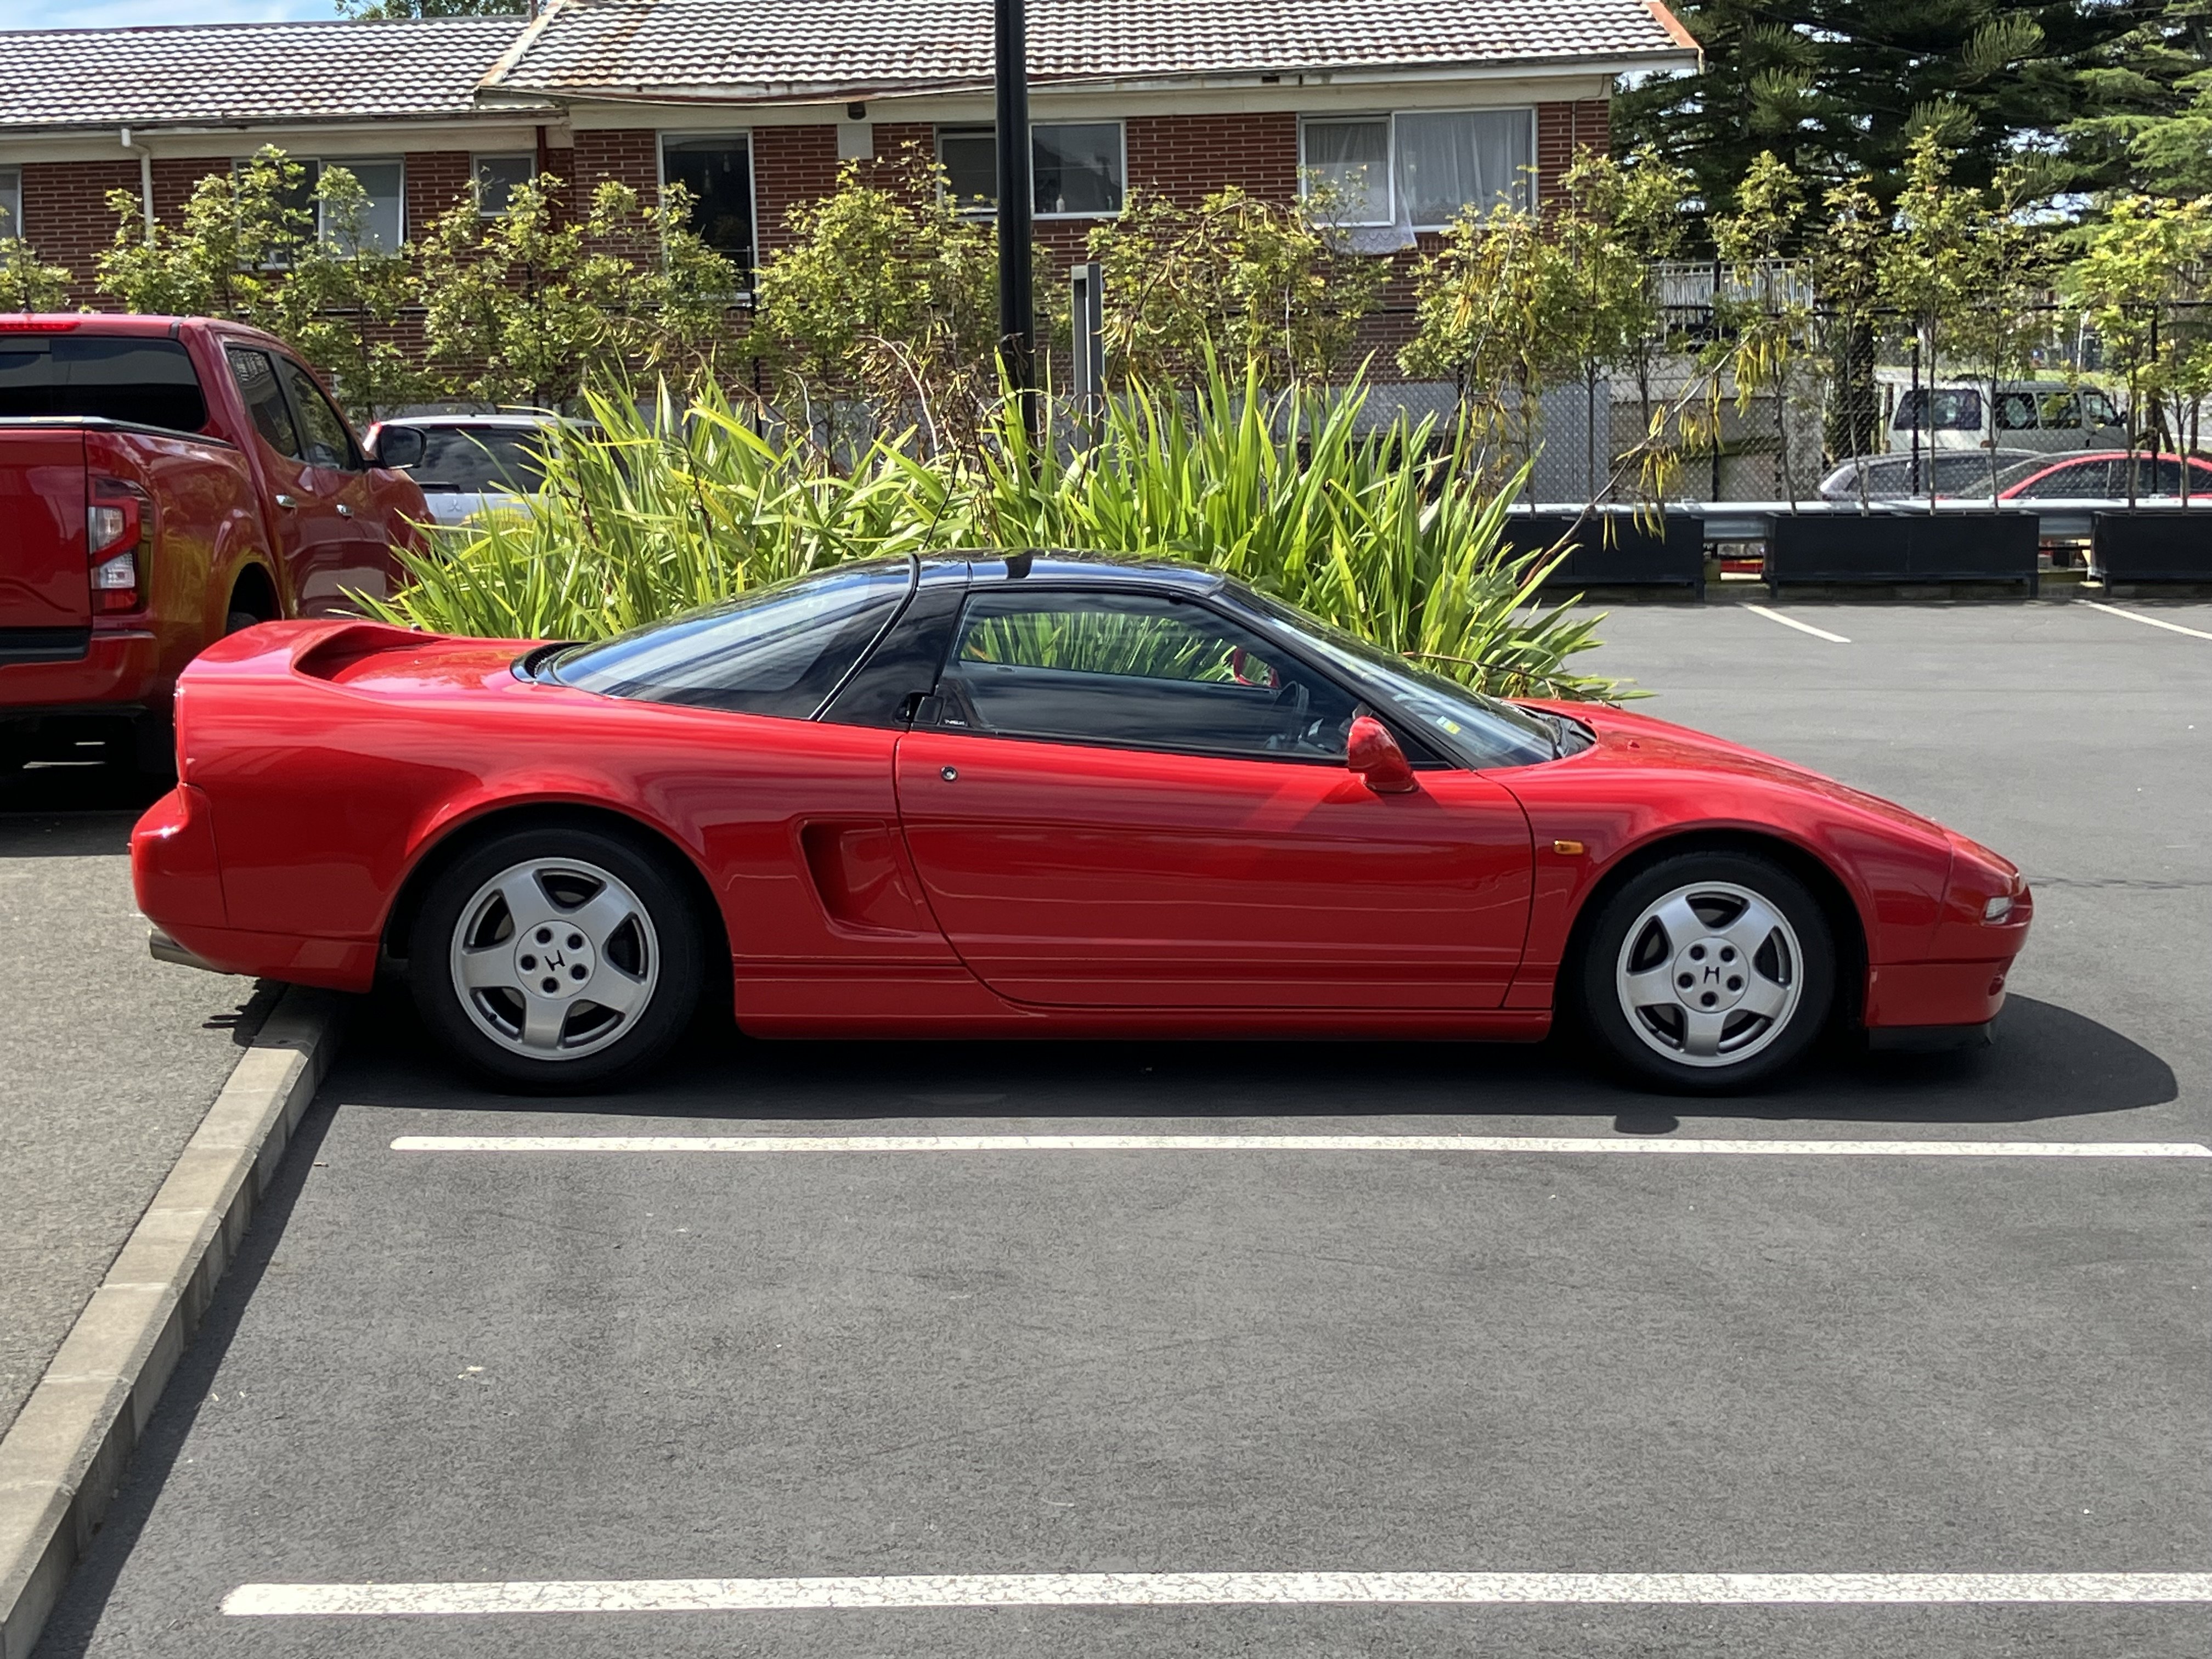
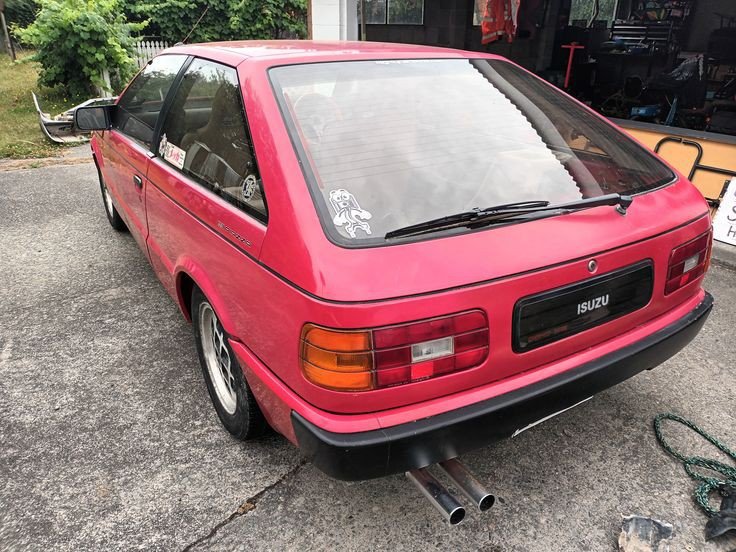
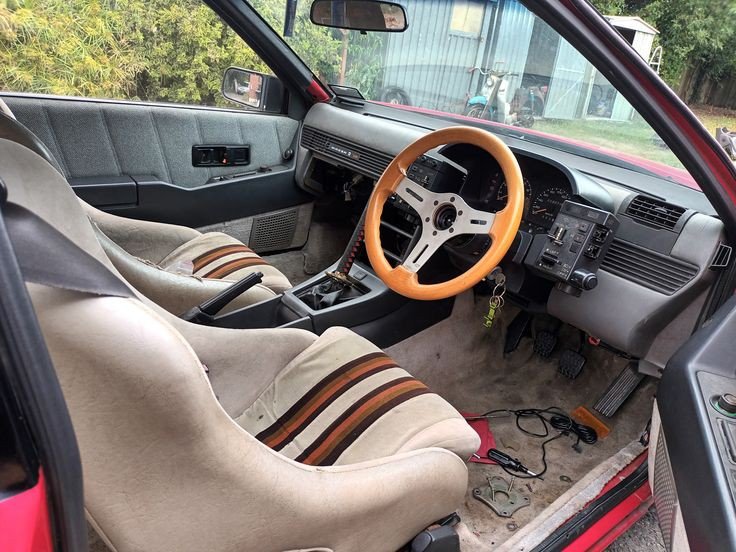
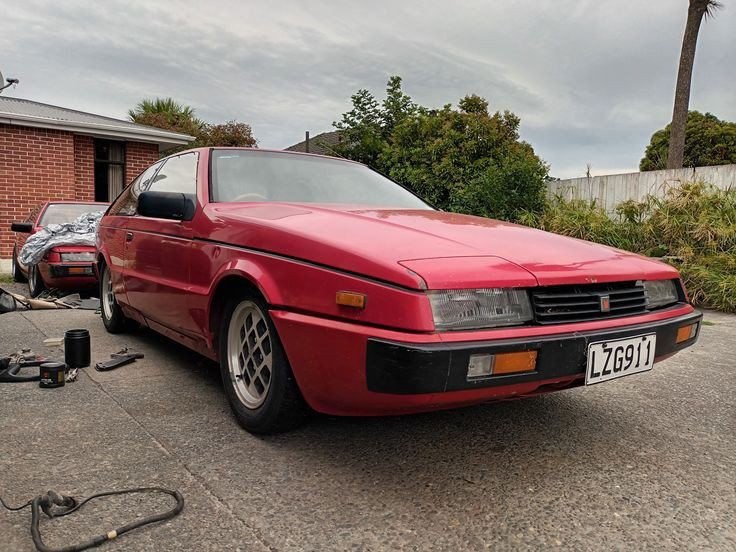
Got myself another car to add to the collection. Still got the 911, the GTR and now got another japanese legend to add to the stable. Plans are wheels, intake and see where we go from there. Everything else seems rather expensive since you cant just crank the boost up. Overall it goes pretty hard for what it is (which is harder than I expected)
 18 points
 -
Unsure how you upload a decent amount of photos these days so this is the best for now
15 points
-
10 points
-
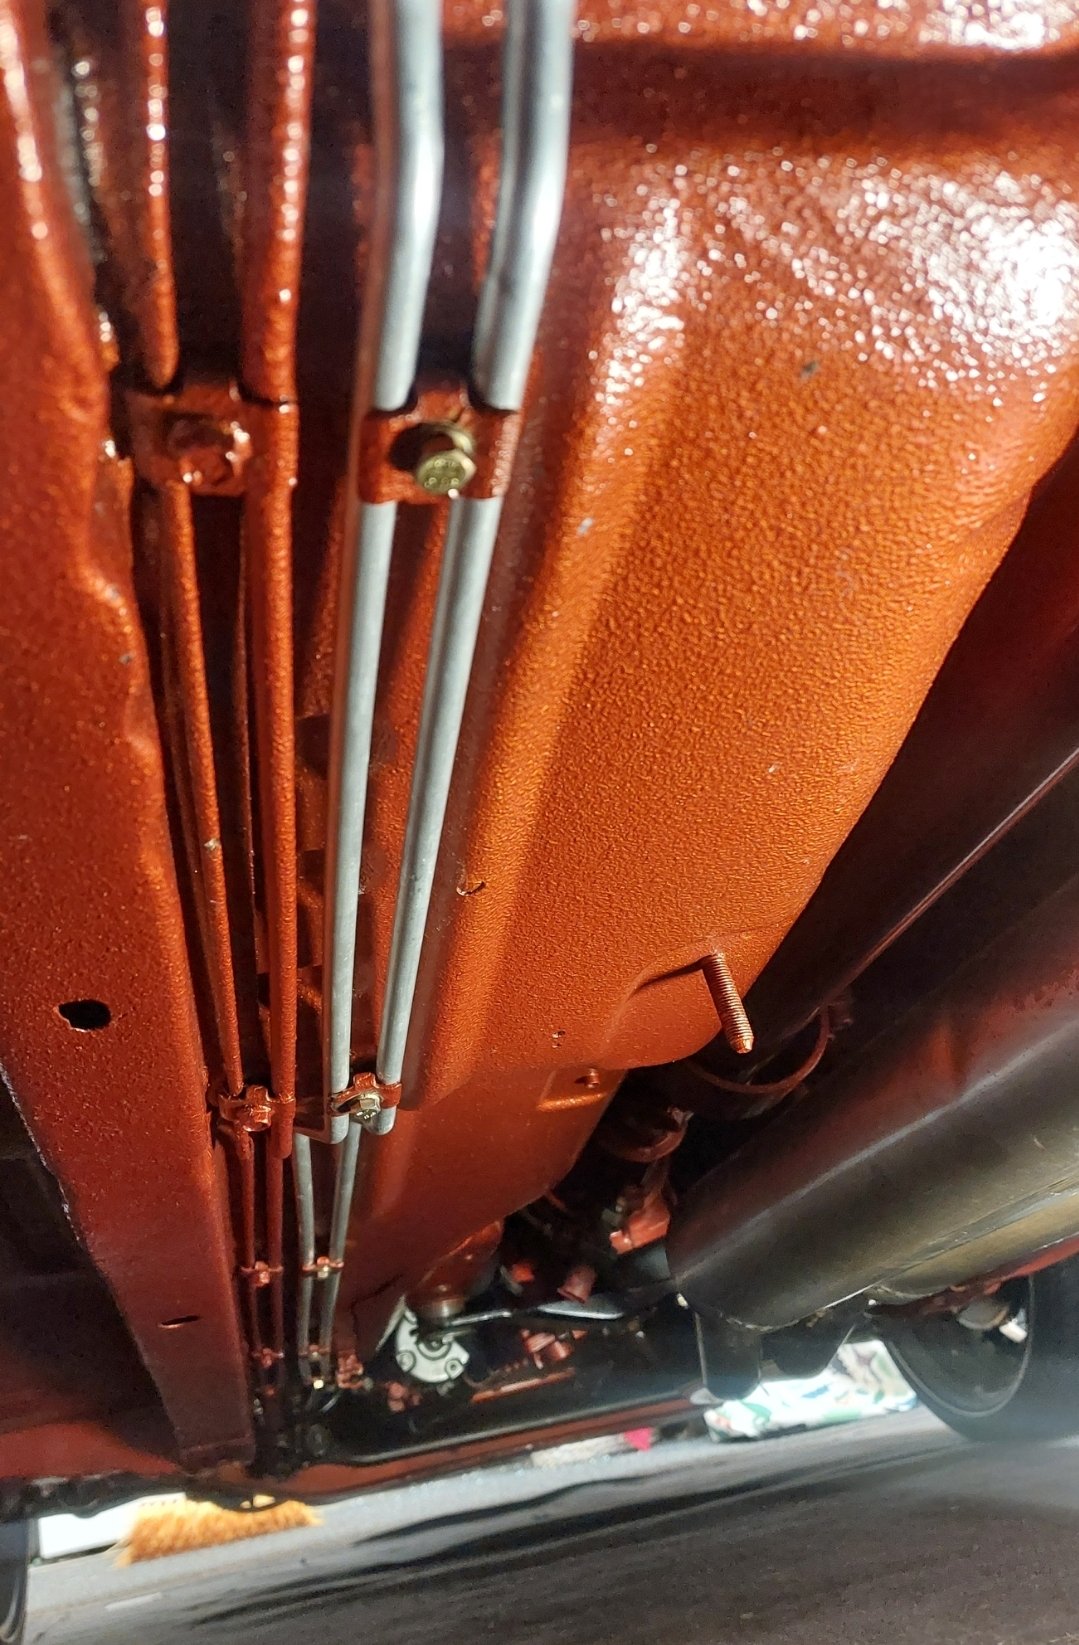
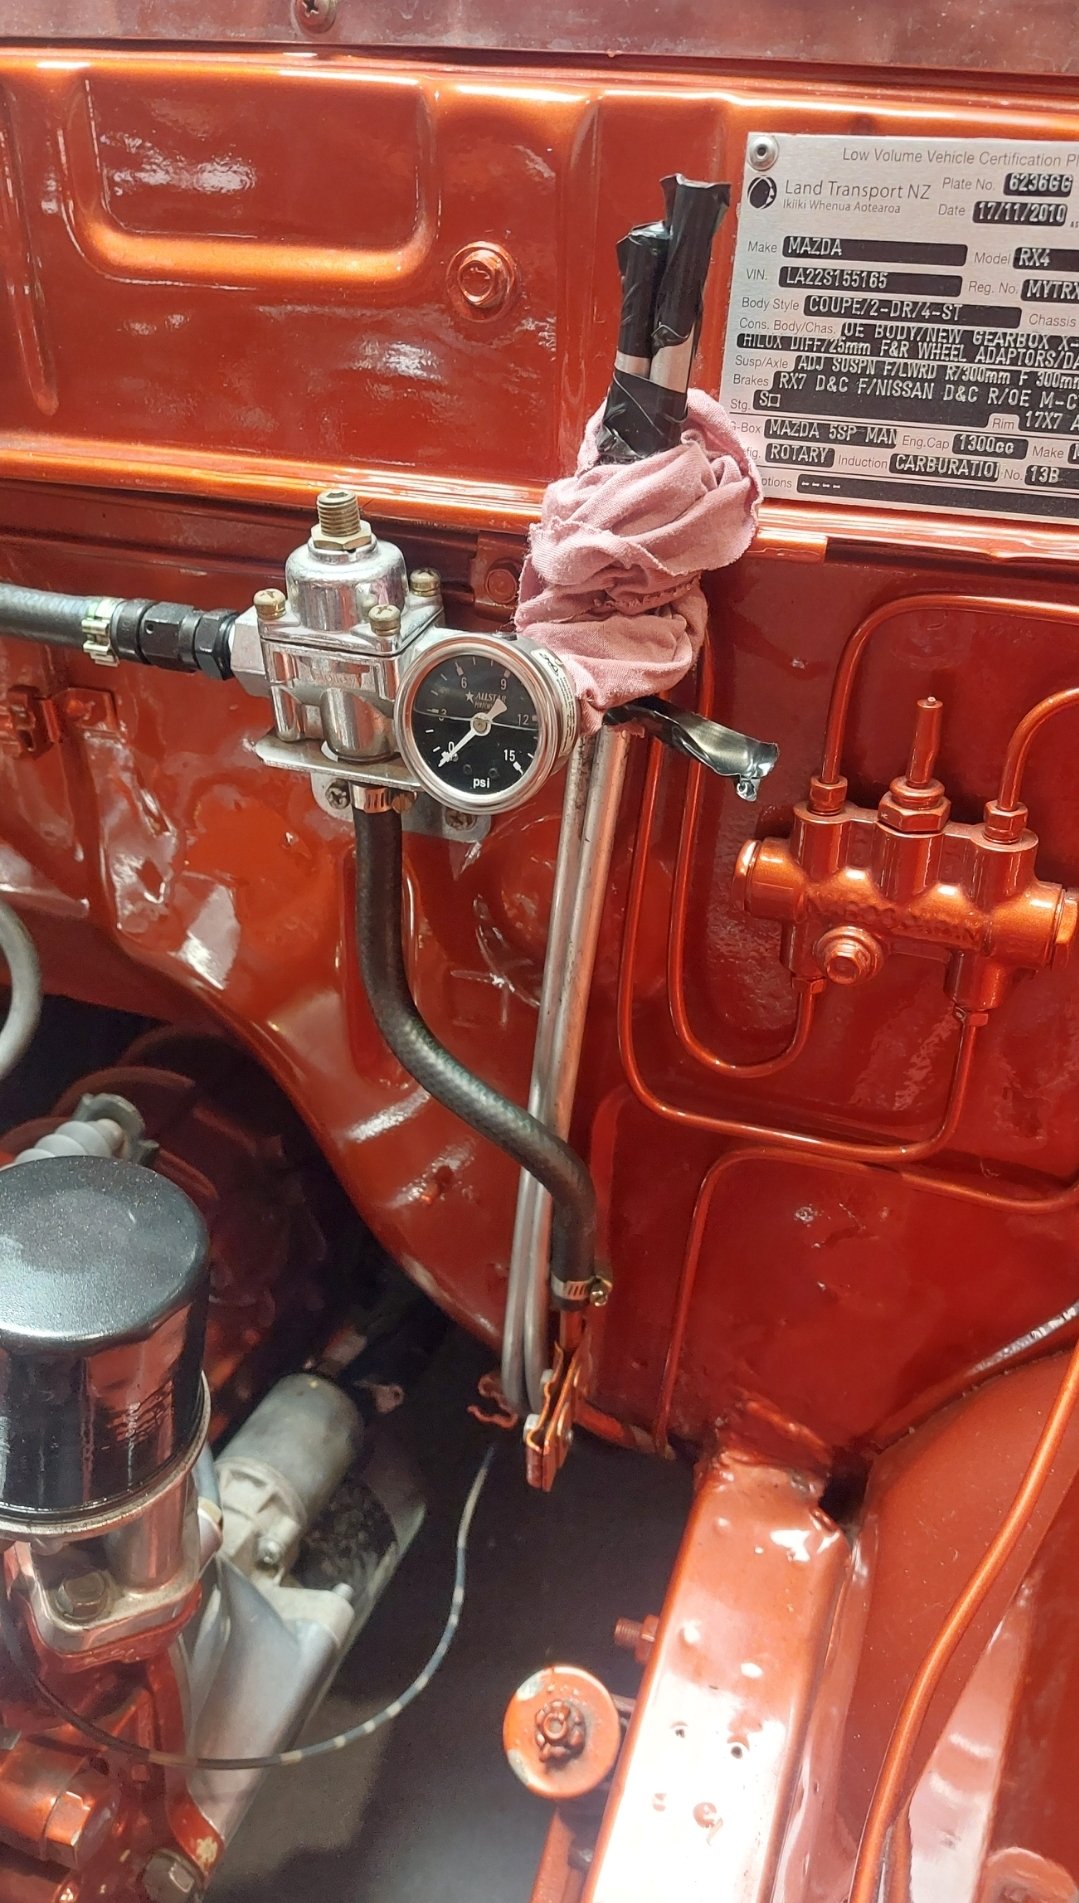
Boring but necessary update, have bent up and run new 3/8 fuel lines in preparation for EFI conversion, horrible job without a hoist, but had to be done. Have managed to retain the original line for now too, so can still run it with carb until ready to switch over. New lines just left long in bay until I can position the high pressure reg once purchased.
8 points
-
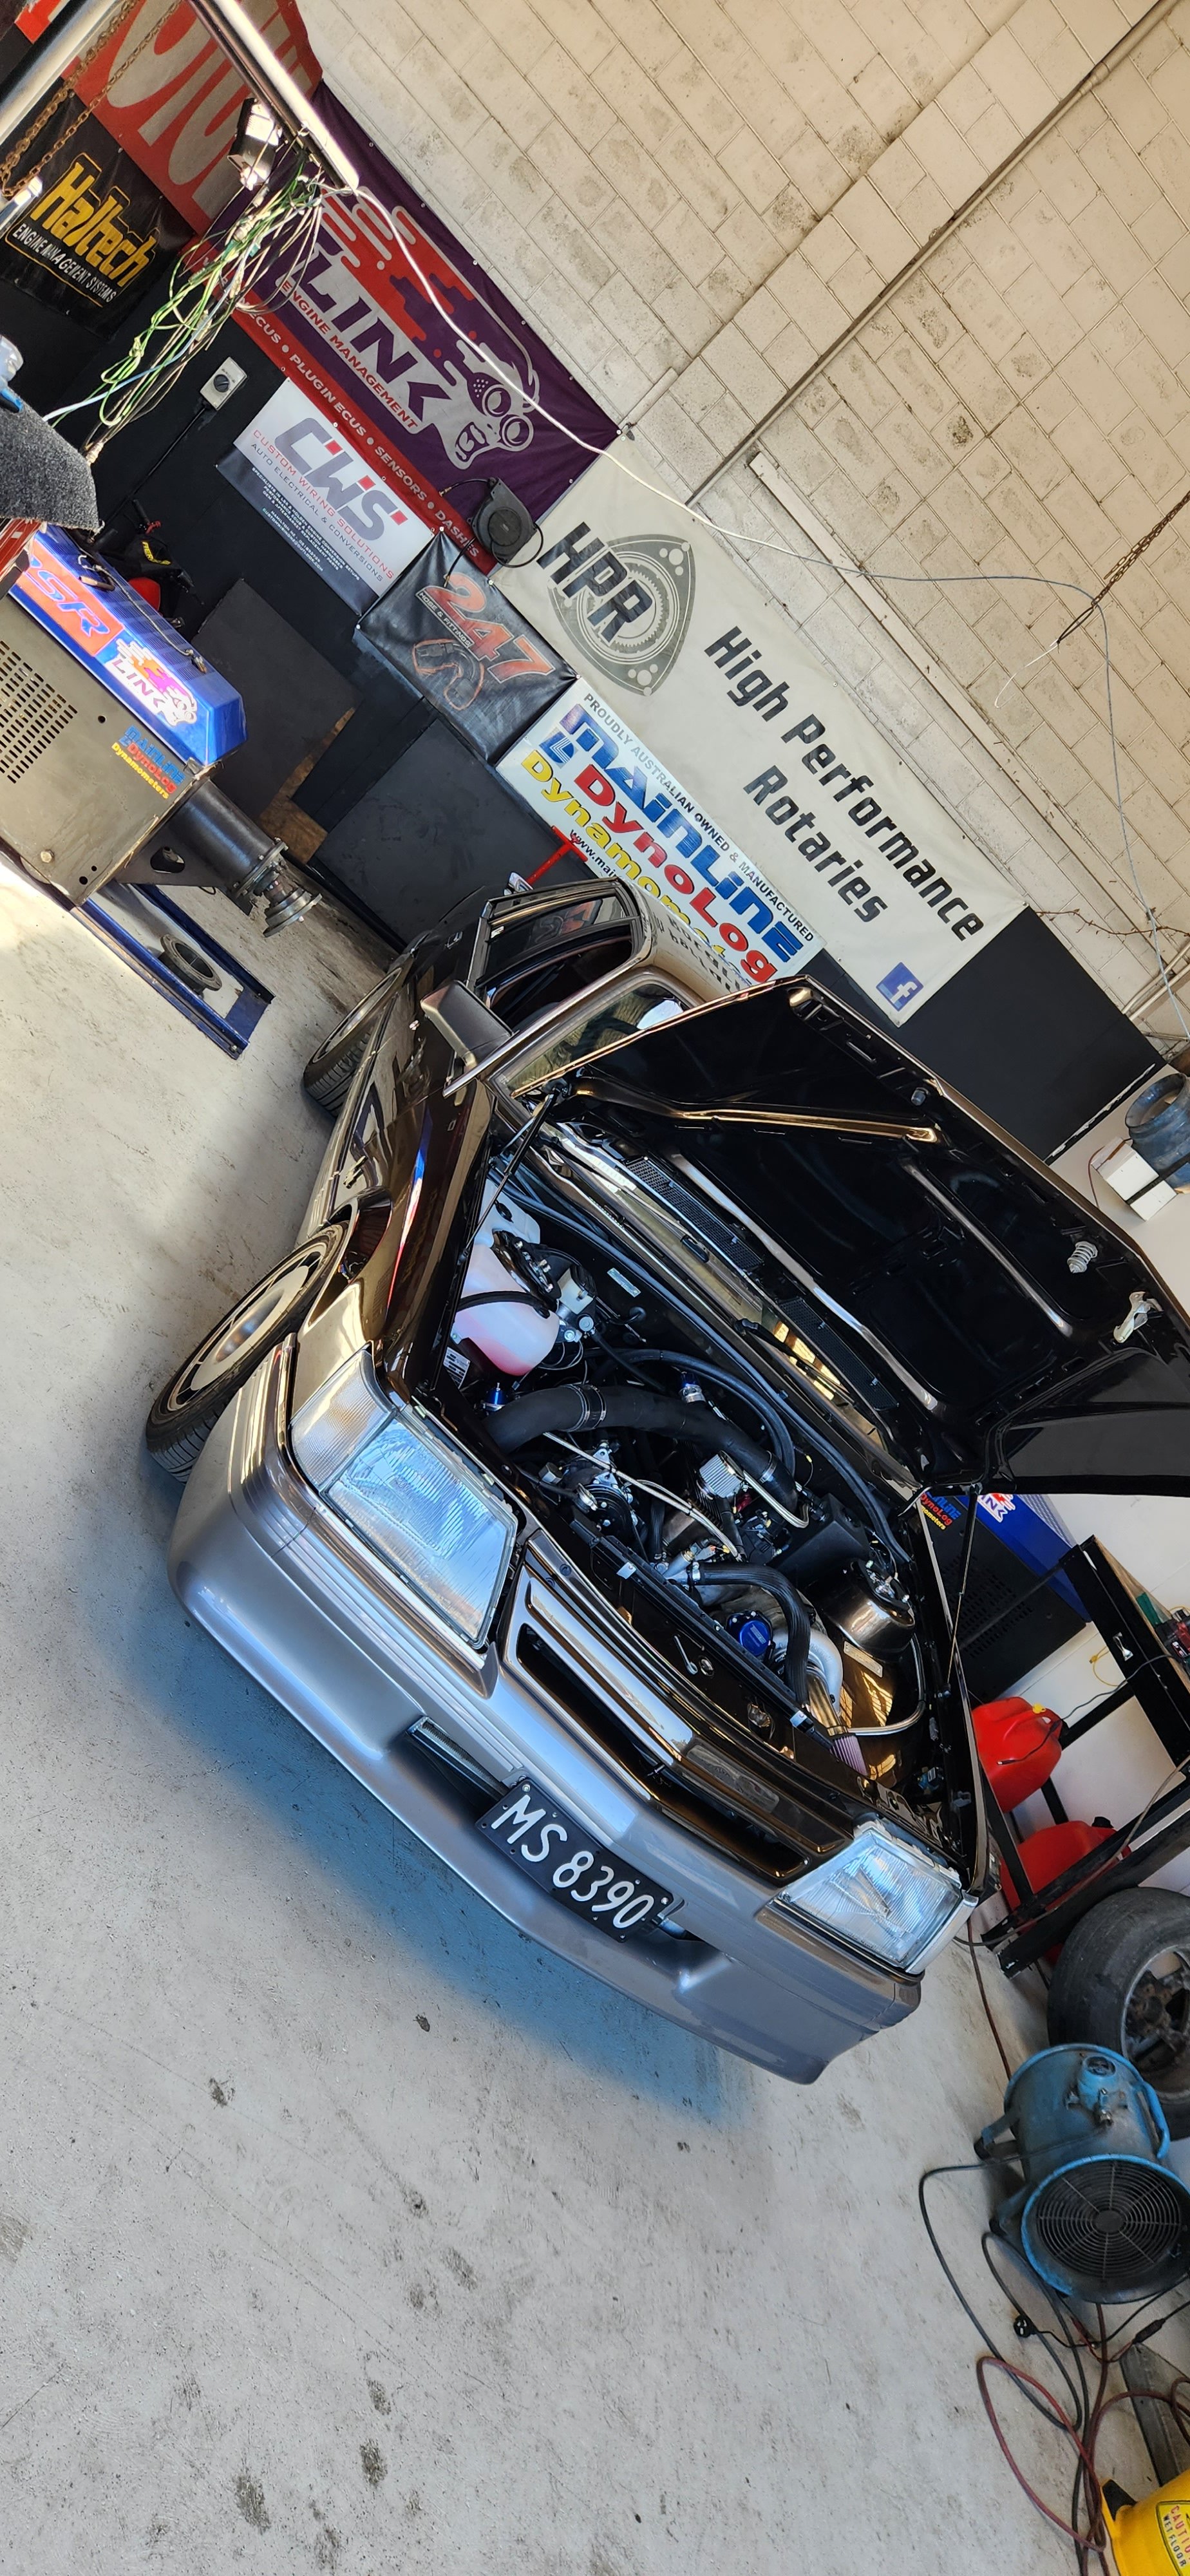
Good day on the dyno engine run in went well few teething issues with the e throttle PID control making 190rwkw just under 9psi of boost, running a bit of water meth up top rapidly dropped the intake temps from 35degrees down to 24. Will dial in some more boost later once clutch has bedded in properly. Time to get a wof tomorrow and enjoy it.
7 points
-
Our usual Friday night cruise followed by burgers at the beach.
6 points
-
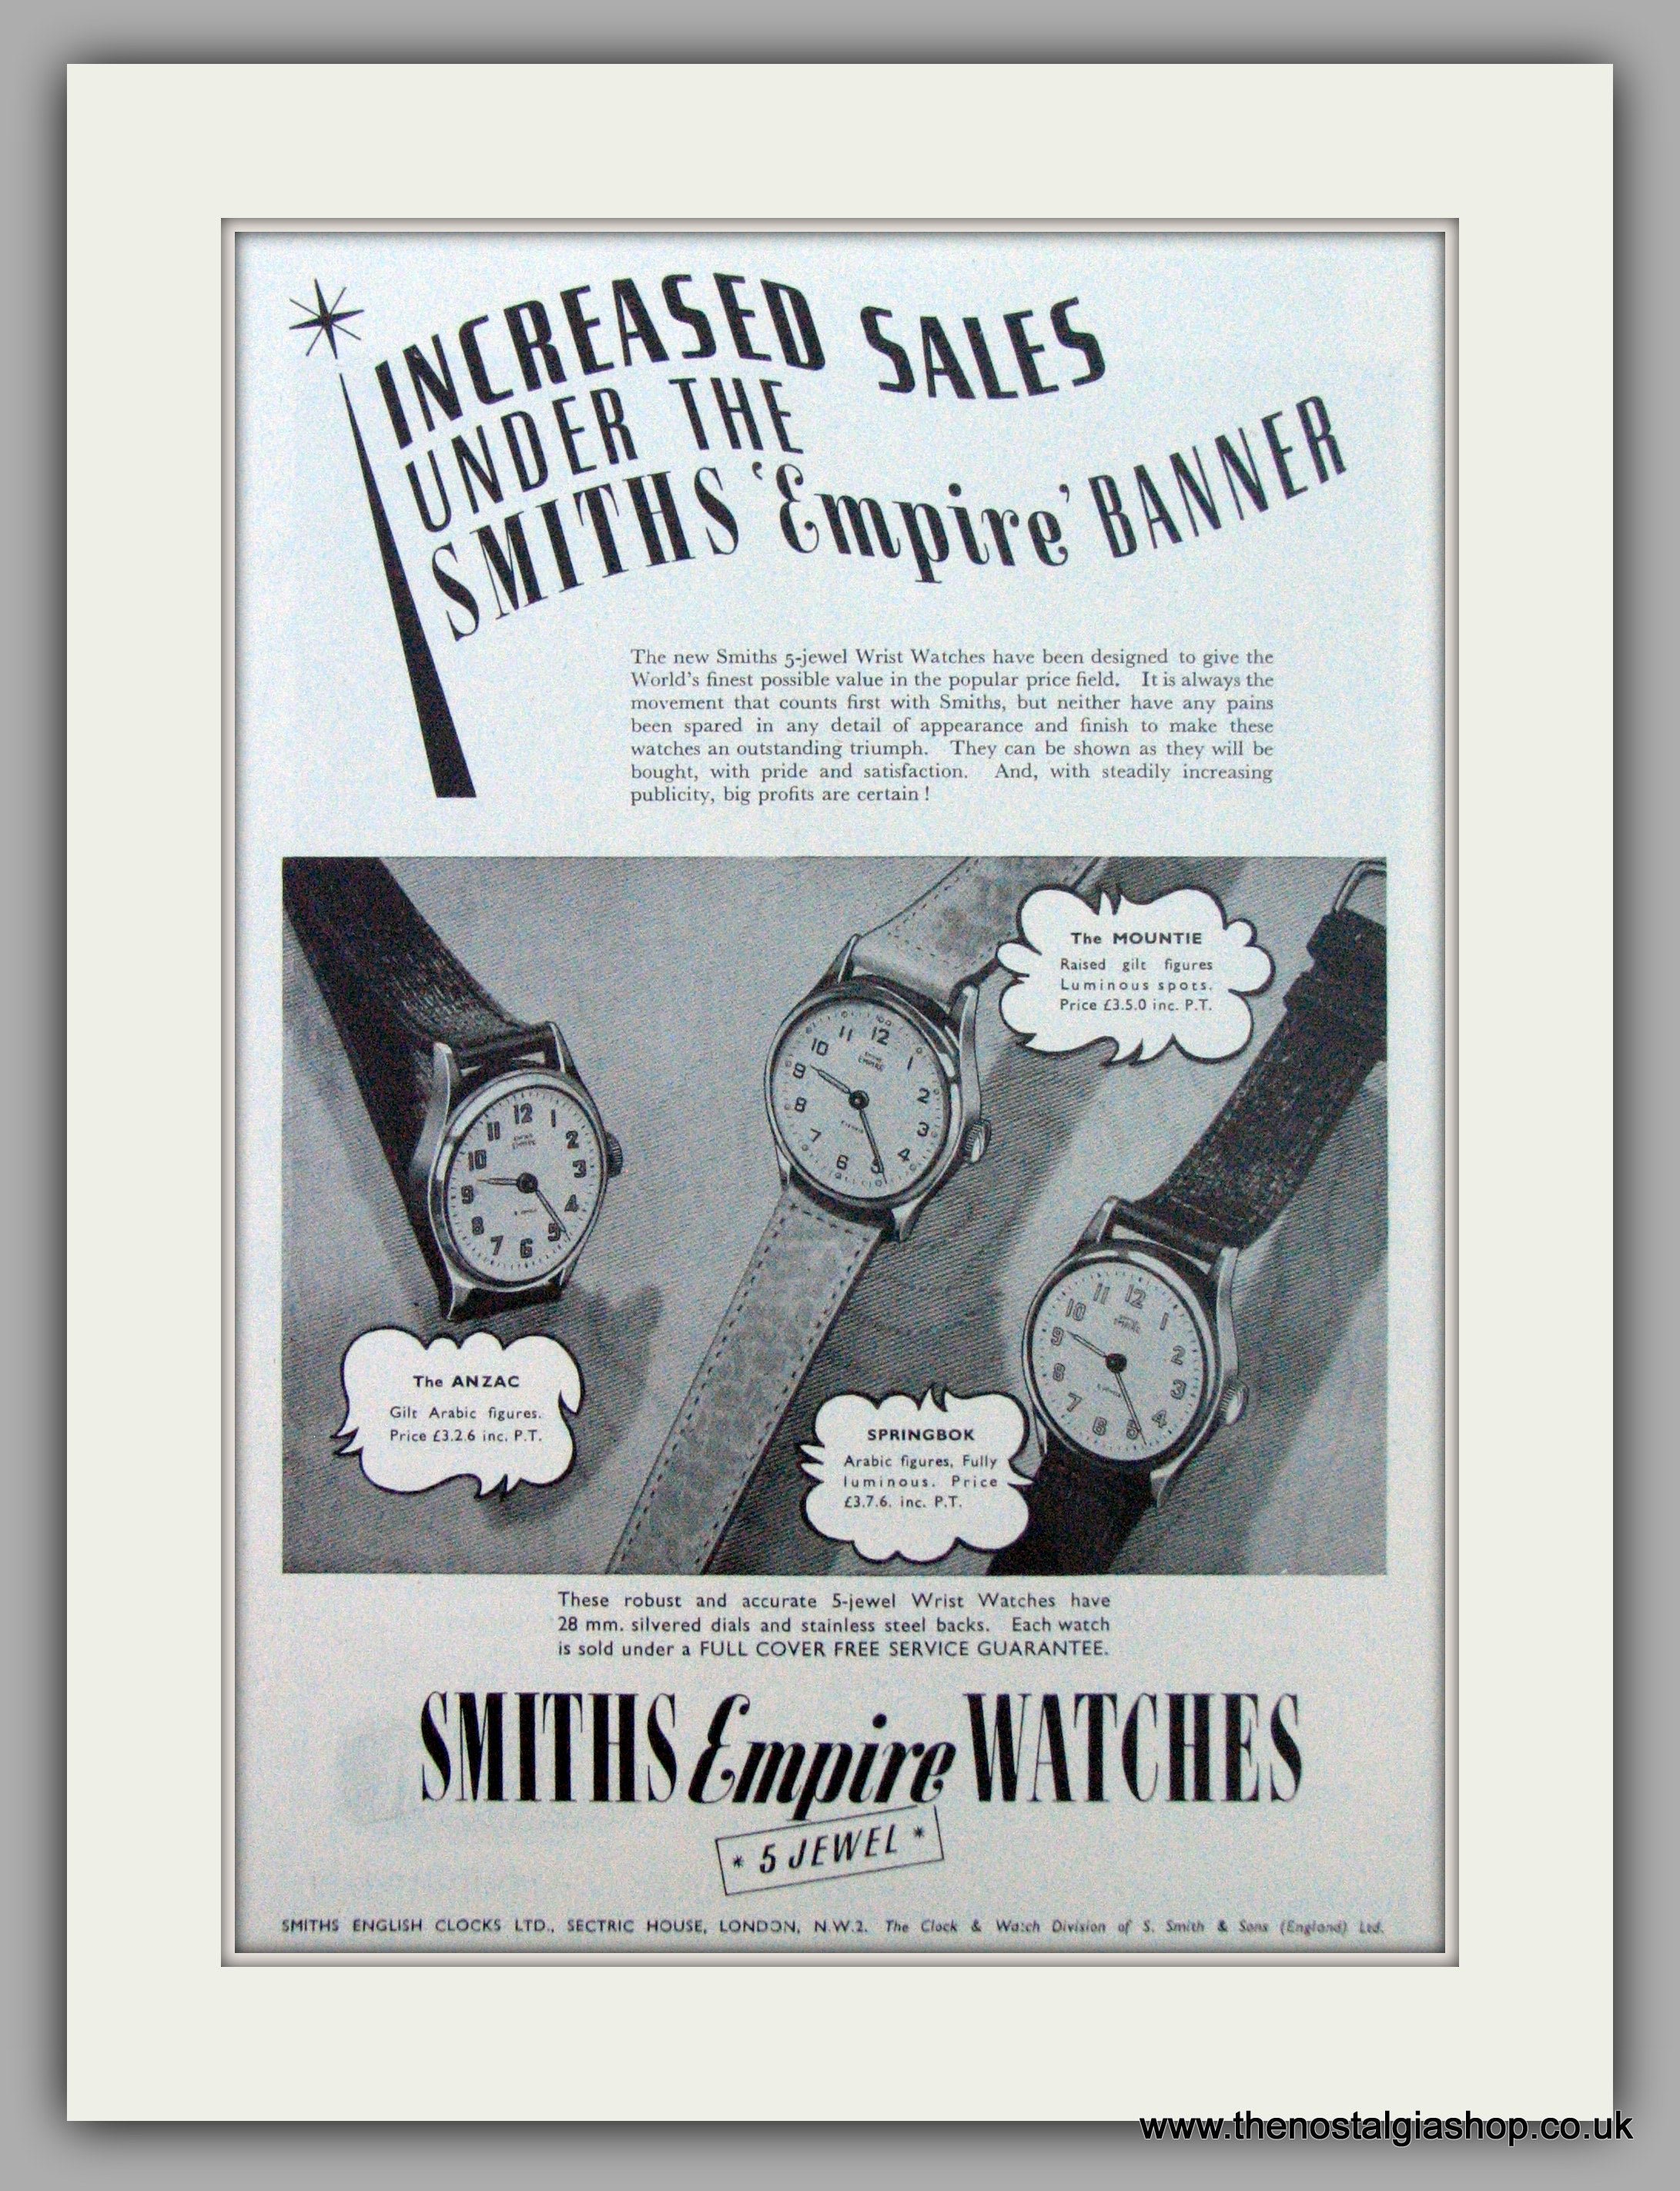
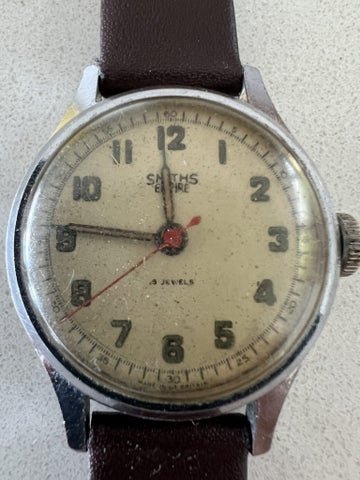
Jumping forward a war I just picked up an "anzac". Welsh built between 1947 and 1950, a cheap, reliable, and austere watch for the average man of the commonwealth. The Morris Minor of watches, who wouldn't love one. This one is a single owner, the gentleman's first watch in fact. They have a 5 jewel pin escapement, which is a fairly low cost but serviceable movement. Certainly there are many still running today with next to no maintenance (Morris minors) and still getting within a couple of minutes at the end of the day Also It matches my morrie too
4 points
-
Did ~800km over Waitangi weekend with @Geophy to represent commercial corner at Wagnats. Other than some underwhelming headlights and wipers making late night driving through torrential rain and gale winds rather difficult, it went without a hitch. Nabbed best non-wag, such an esteemed honour.
4 points
-
Wow this muffler is super quiet. Amazing how much it’s changed the sound and volume considering this muffler has only a 2” piece at the front that opens to baffle and the rest is straight through. Got quite a different Subaru growl to it now too. It’s a different car to drive at open road speeds now.4 points
-
Yes, 4.5mm is too close. It bangs the floor vigorously when traversing bumps. So I have undone everything again and extended the hook eyes I fabricated for the rubber straps and meddled with some angles and I now have about 10mm. Also, no leaks. Also also it might be a smidge loud. I know, I know but I’m closer to 50 than 40 nowadays and I have enough hearing loss from hundreds of hours in a Cessna 206. Don’t need to be more deaf.4 points
-
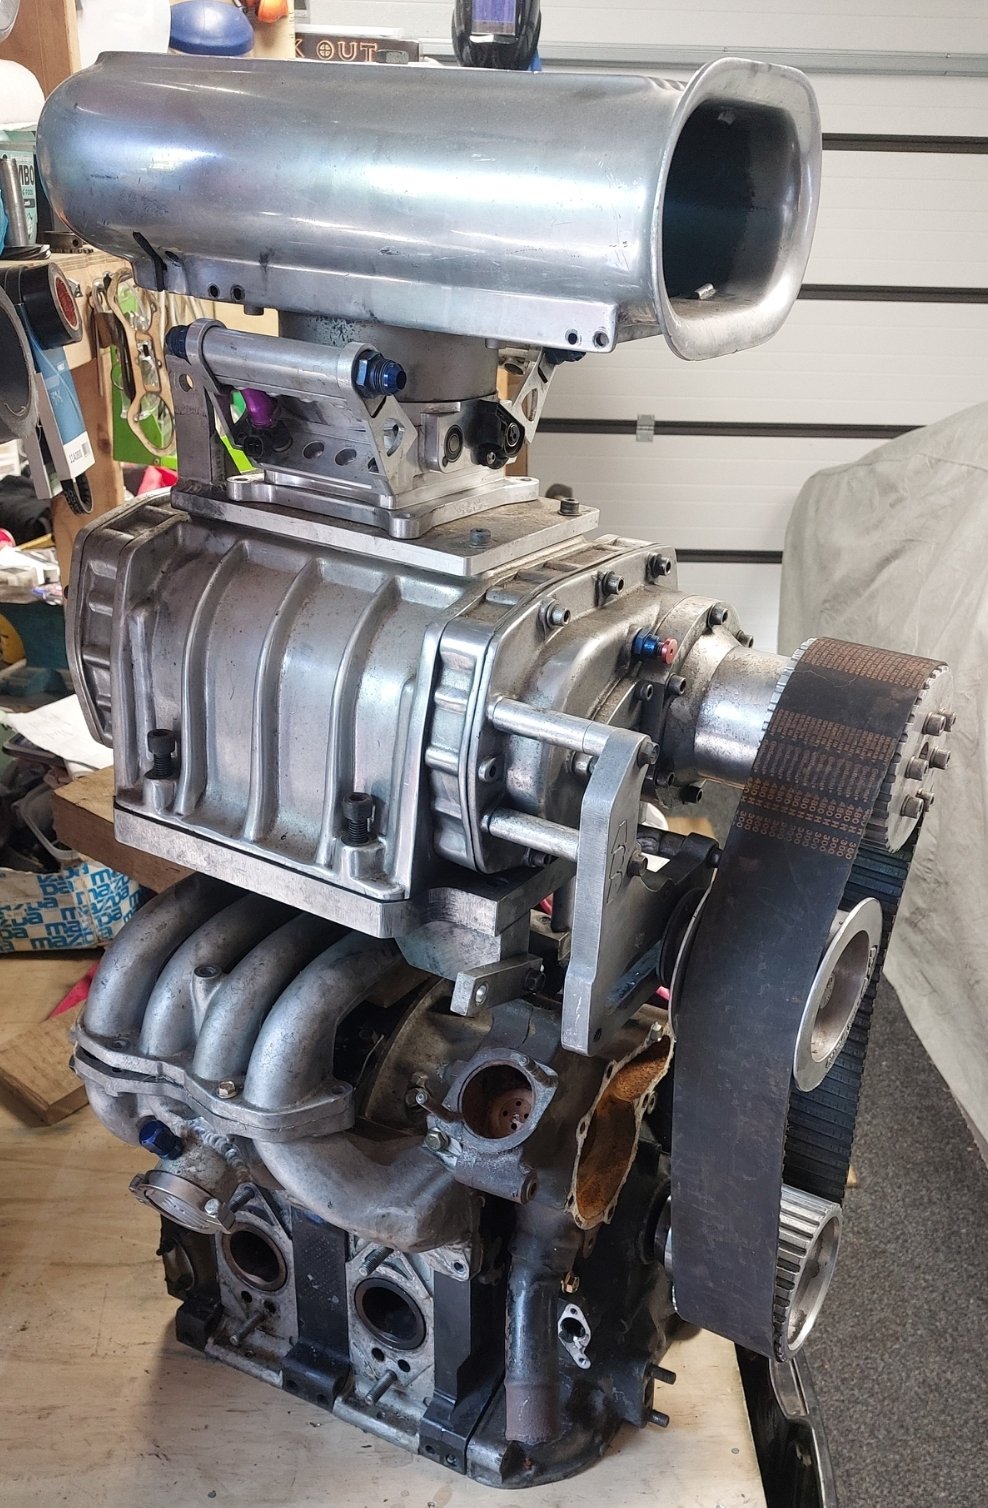
Been copping a lot of grief from many people lately about leveling up. So here it is! I dragged out the old 4/71 blower from the original RX4, and plans are being drawn up Been 20 years since I certed this on a car Stay tuned for a possible return....
4 points
-
Well I wanted 275's out back they fit around all the moving parts but poke out a lot I can get a bit of pull on guards to cover them. But might see if I can find narrower rear arms as there surprisingly is heaps of room on inside. Looks pretty hoony
3 points
-
My stupid wheel nuts I bought for drag day actually look alright because the wheels are so deep.
2 points
-
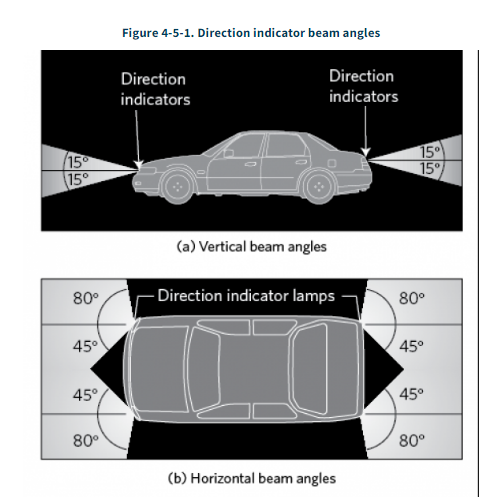
I'd replace them just so that people will be less likely to have an accident with me. Making it harder for people to know your intentions is just a bad idea to me. They won't give way if they don't notice your little side blinker going in full sunlight etc. People on the road are bad enough as it is. So making it obvious where you are heading is handy lol. No idea what your car is either, but if it's new enough to have frontal impact shit, then maybe that would be an issue too.2 points
-
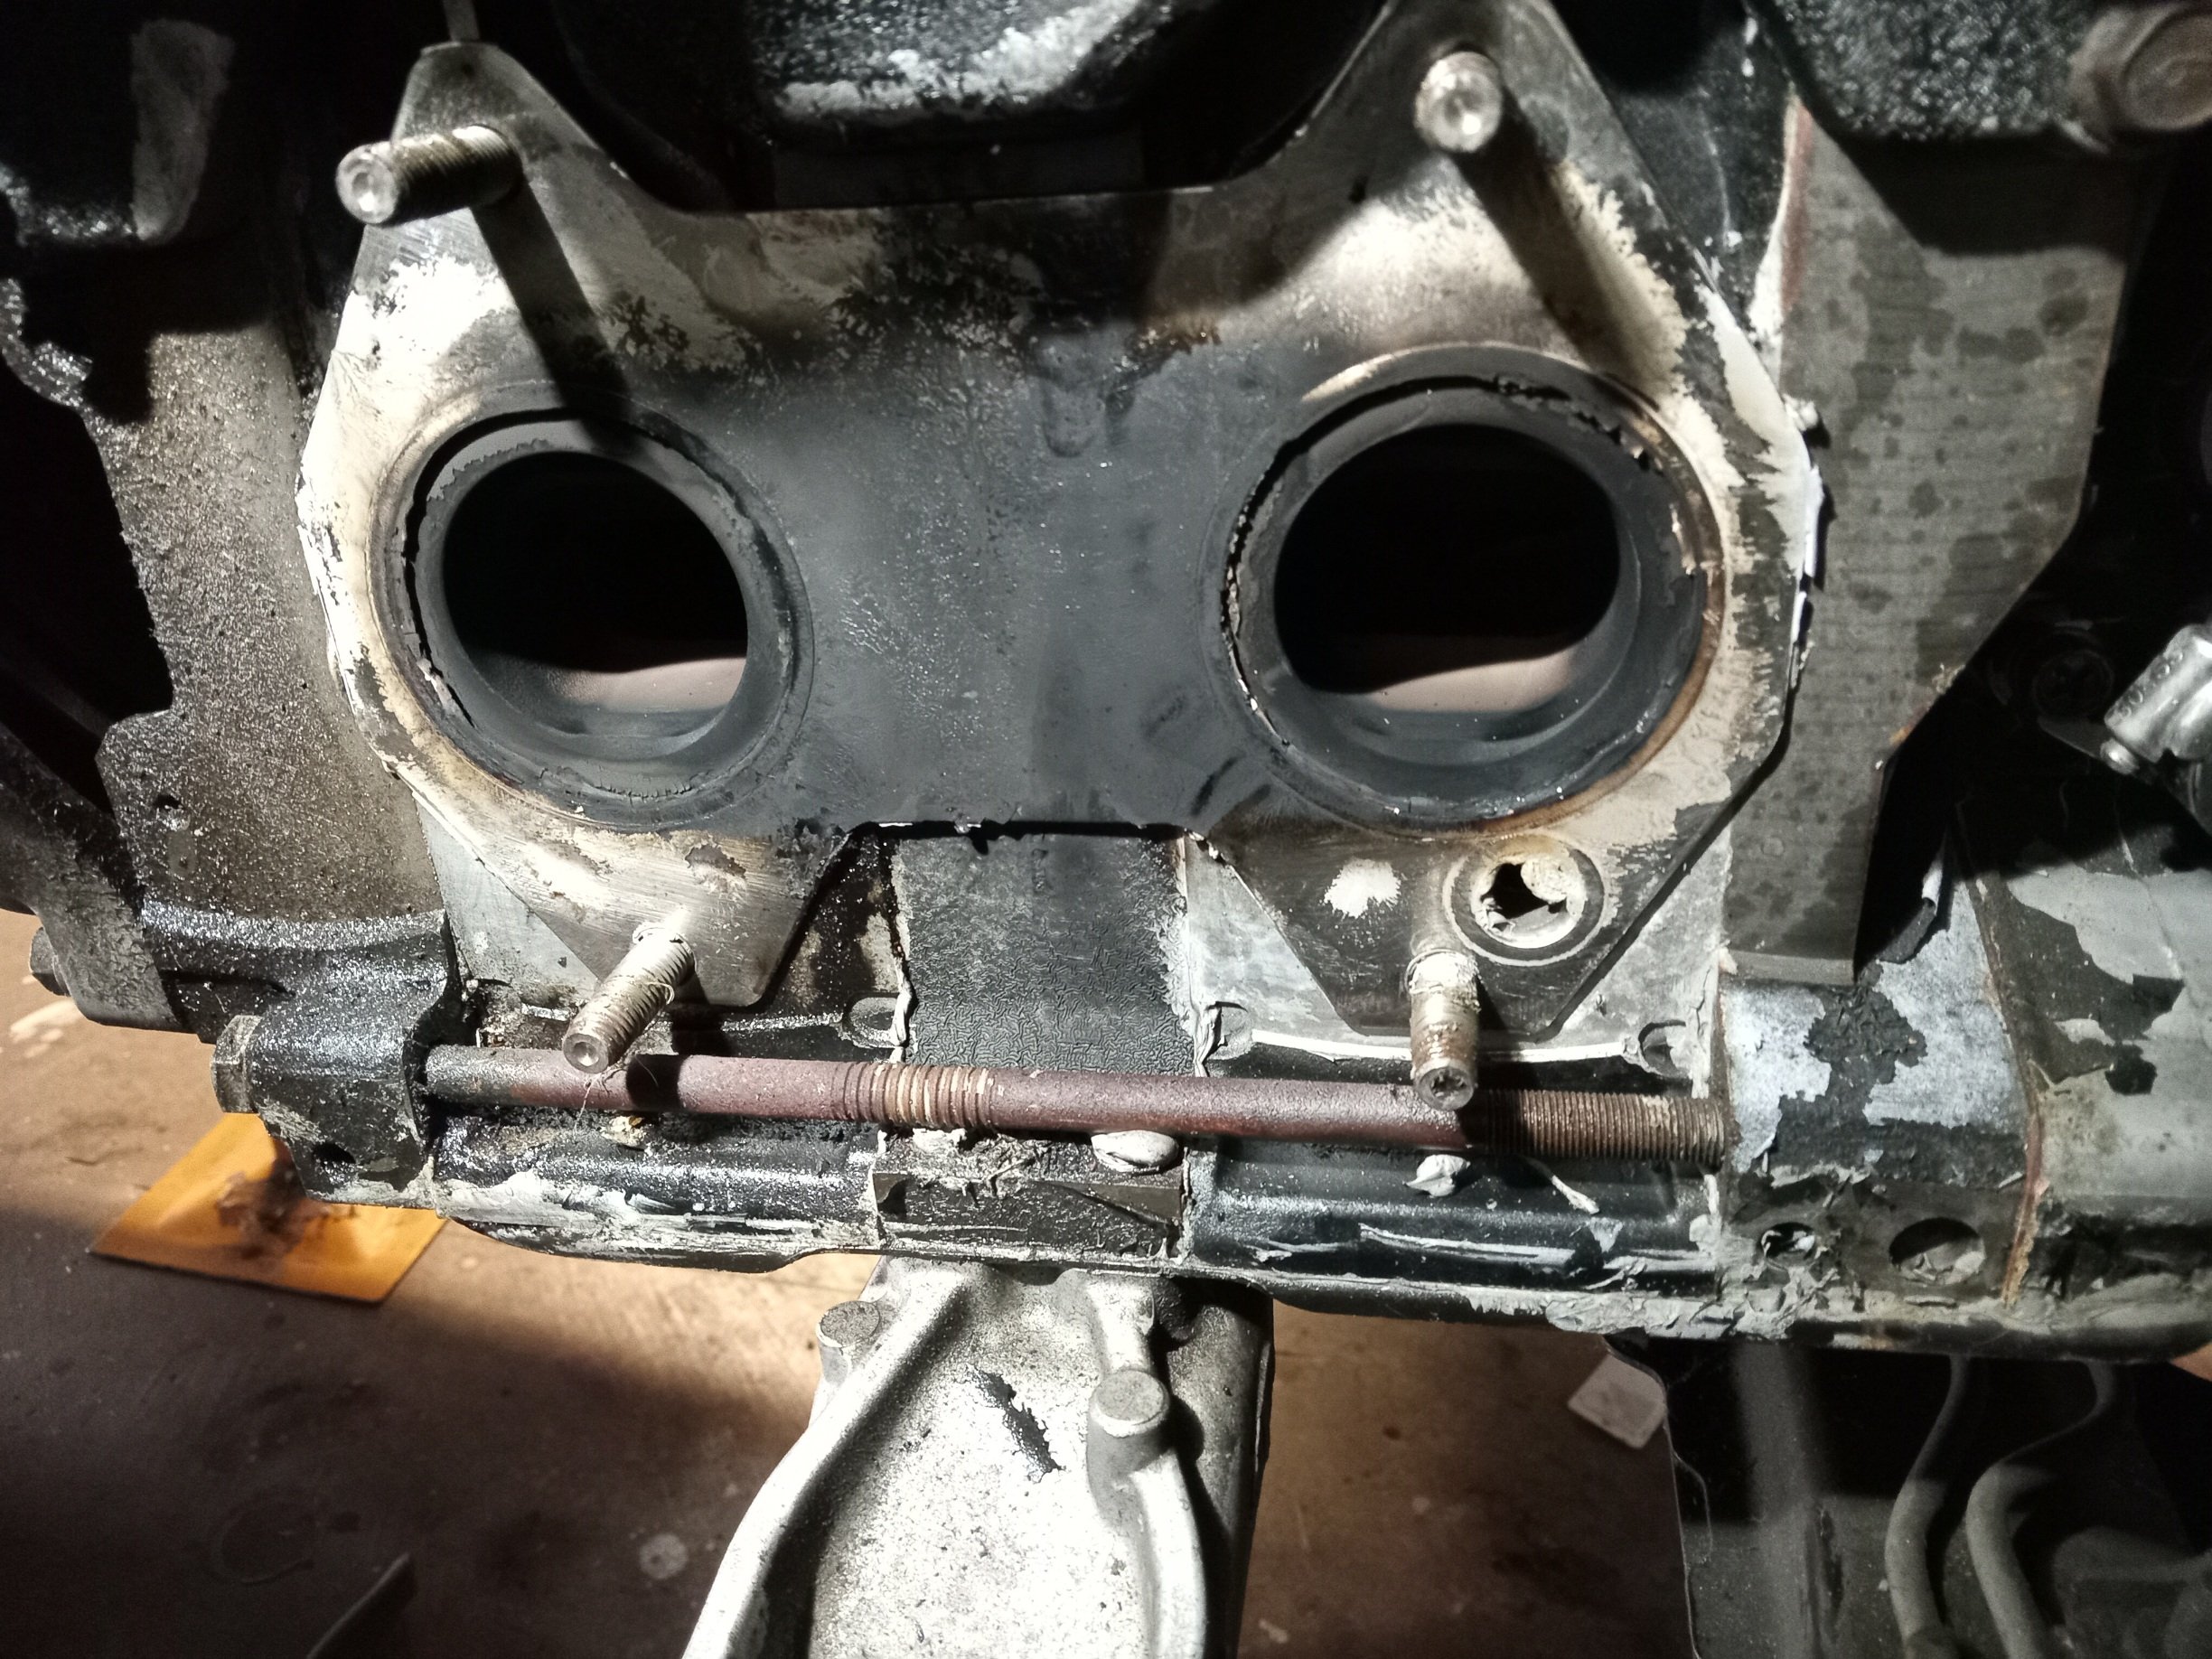
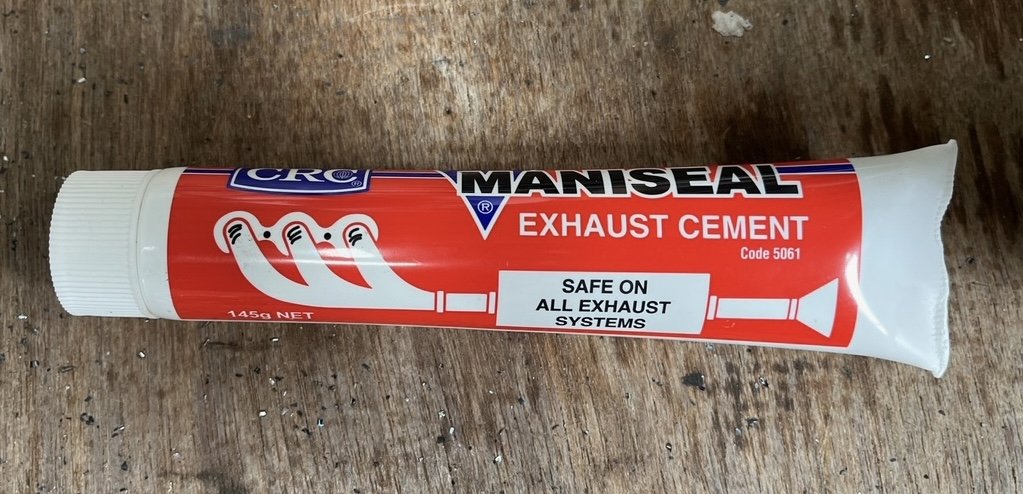
Been chasing what i thought was an exhaust leak from my down pipe/ turbo vband, turns out the manifold had a decent sized leak, pretty easy fix and should be all sealed up tomorrow, with a resonator and the muffler its still bloody loud though, have tried plugging the exhaust tip with increasingly small pipes for wof but no luck... So im looking at repacking or getting a bigger muffler now
2 points
-
The prep continues, I find more mistakes, and keep preppin there’s a photo of the aforementioned g6, lightly wet sanded Started with my LHF guard. I put the paint on too thin here and rubbed through. id have rather caught it at this stage, rather than be buffing/polishing super thin clear that won’t last against the UV rays I had runs of doom on this side, this would’ve worked had I put more coats on. Buzzed the doors and front guard down with 240, and remembered to get the door jambs this time Masked and taped up Unfortunately I added thinners when I was supposed to be adding hardener - i managed to save it by adding the right amount of hardener and a bit of primer until it was at the right consistency. Then when painting some numpty didn’t clean off the gun properly. Got there in the end though without too many runs I’m going to block the primed panels with 240 for a super flat finish and then go over with 320 DA and 400 wet. We actually used this method on a super stock purple S13 owned by an elderly gent at the shop I worked at and it came out mint. and so it begins! except my sandpaper sucks dry so I’m using 240 wet. It’s more laborious.2 points
-
I know exactly what you are talking about https://laidtex.com/collections/liquid-latex2 points
-
You can do it ! I hate painting tank tyres but practice makes perfect, or at least passable.2 points
-
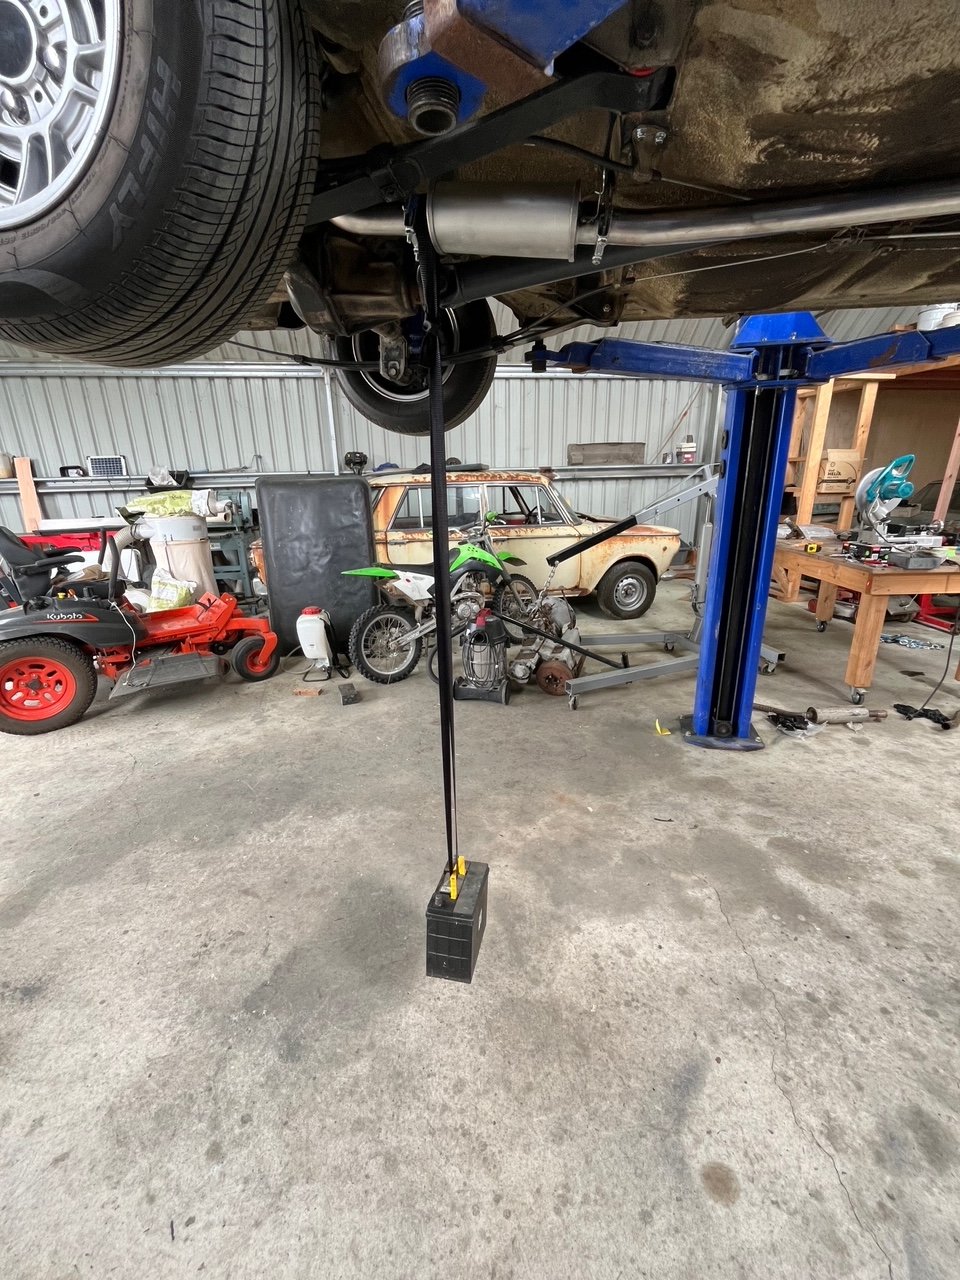
I personally don’t like doing this on slip joints but beggars can’t be choosers. Also I have new rubber hangers so I thought I’d accelerate the stretching process. Yes, that’s an old battery..
2 points
-
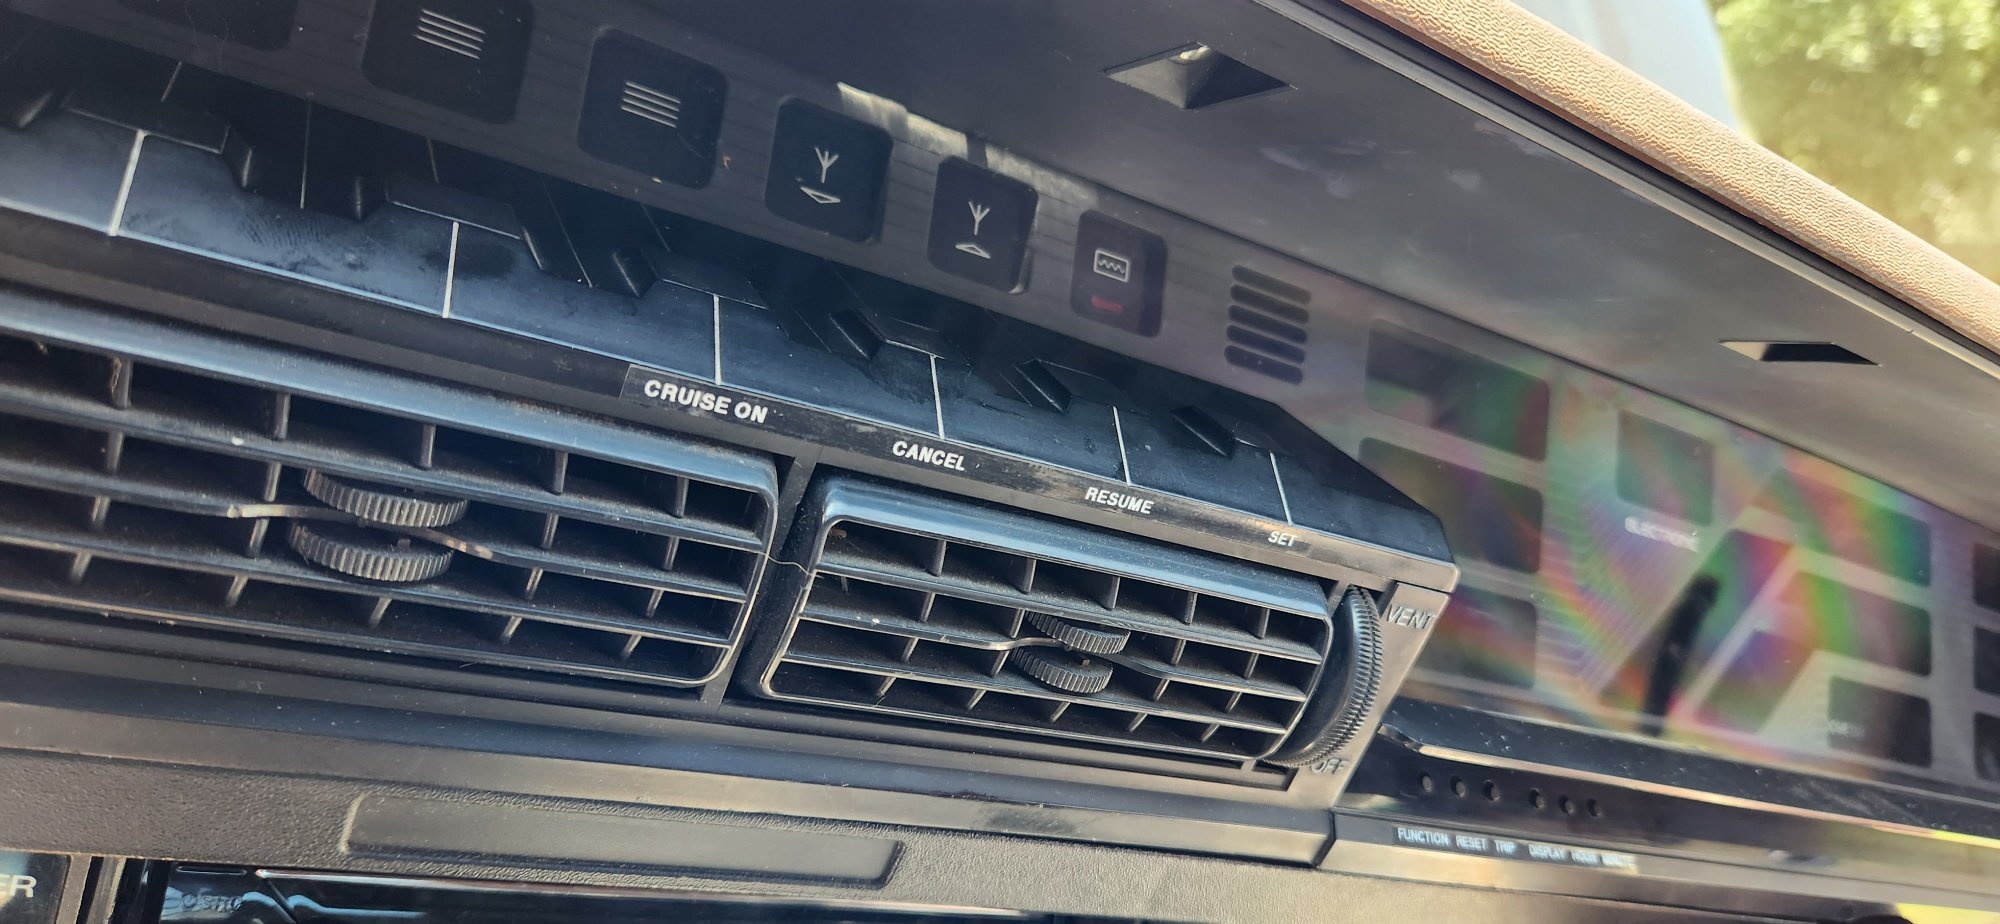
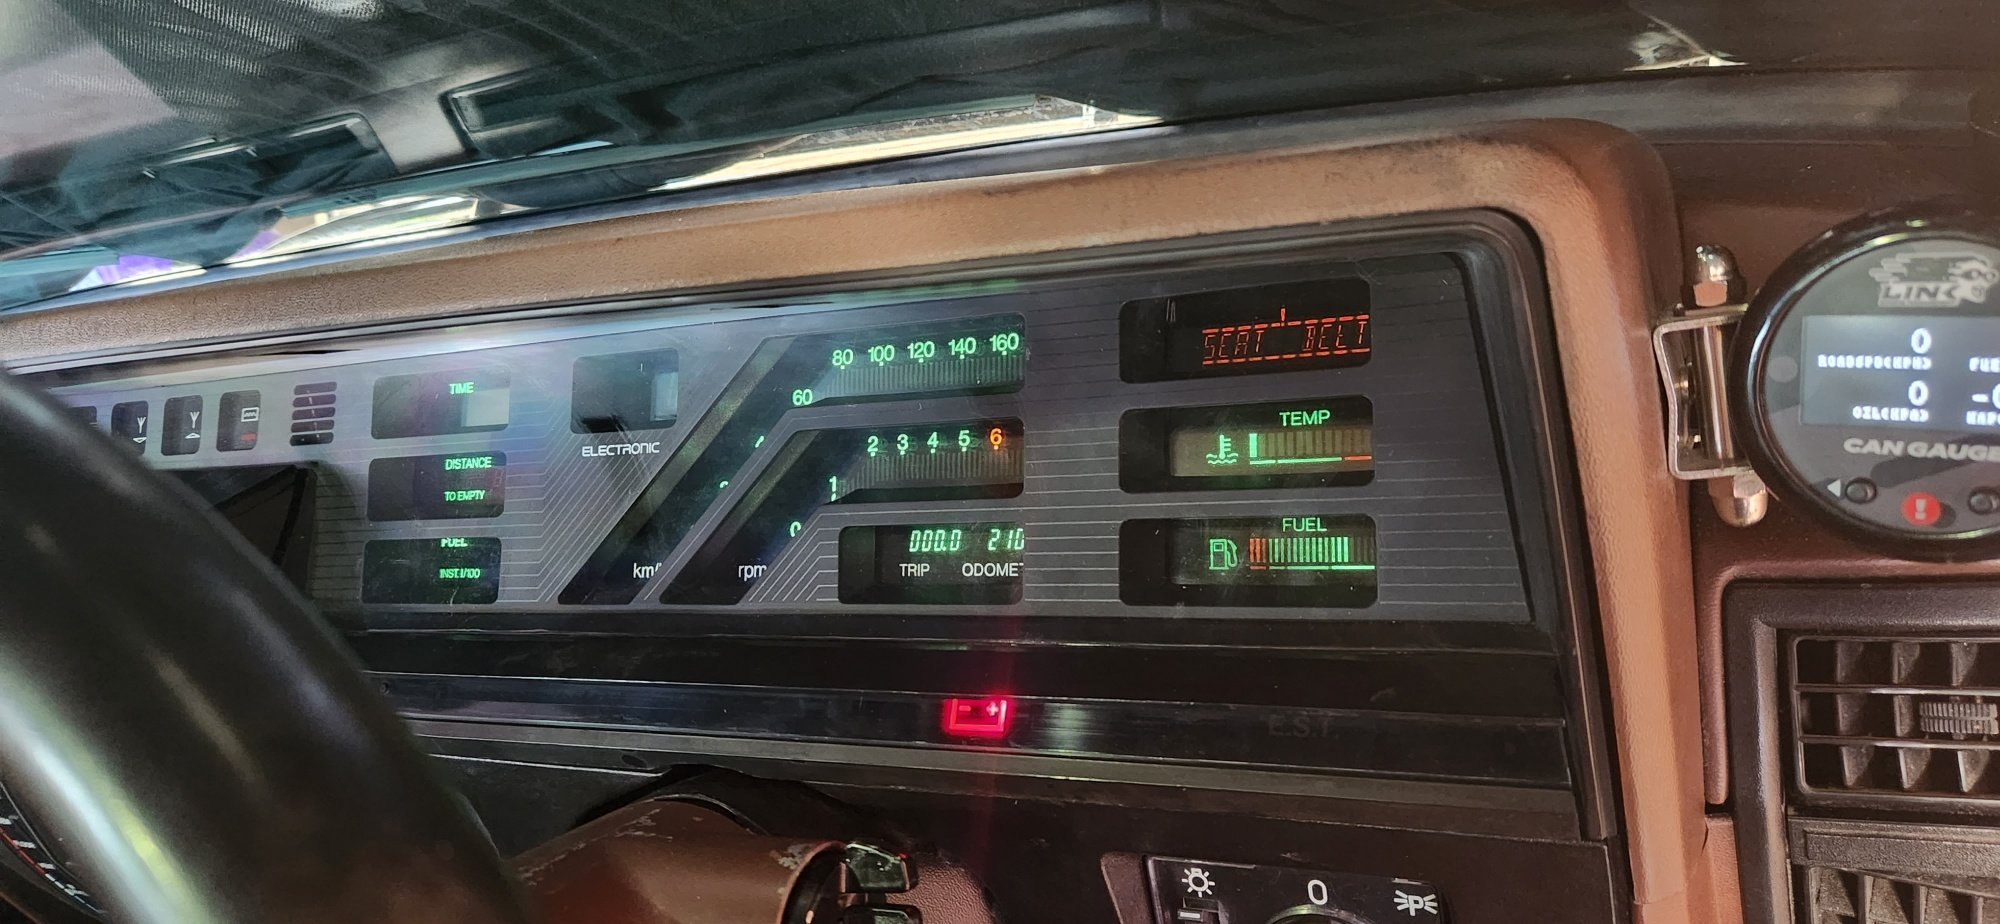
More progress photos, also got the calais dash in and working and modified the dash switches to a series parallel resistor ladder for cruise control inputs
2 points
-
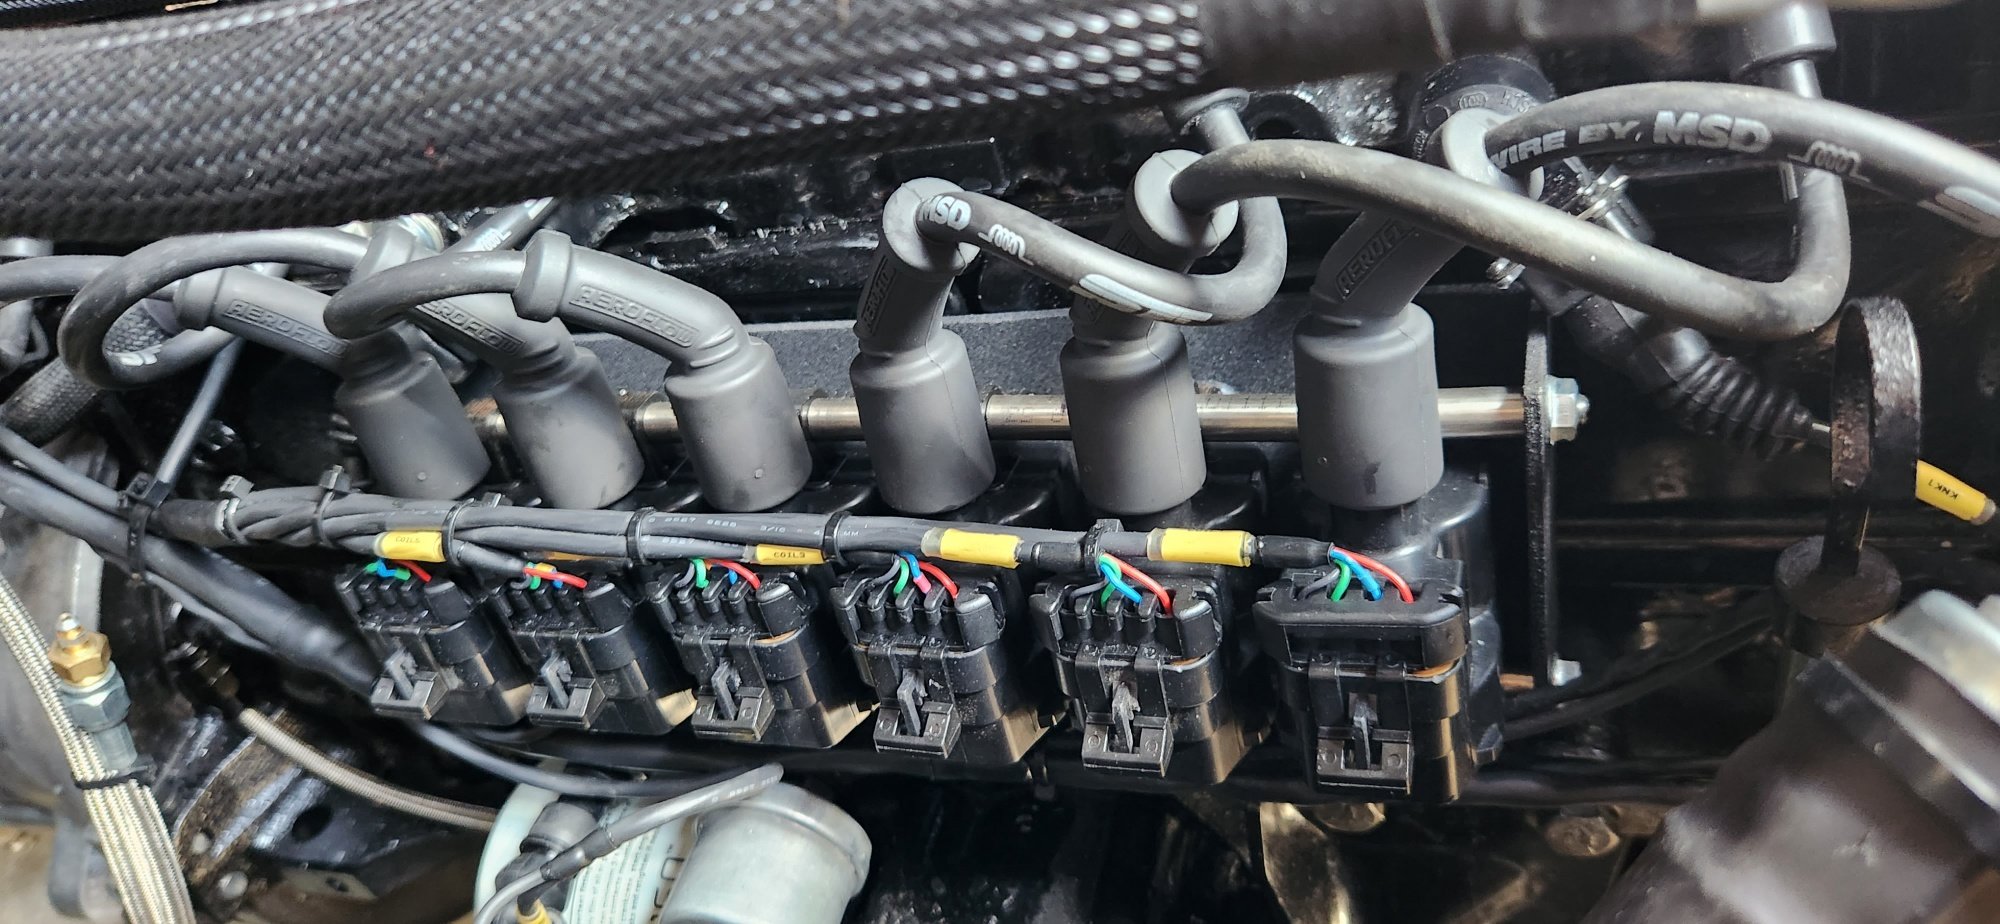
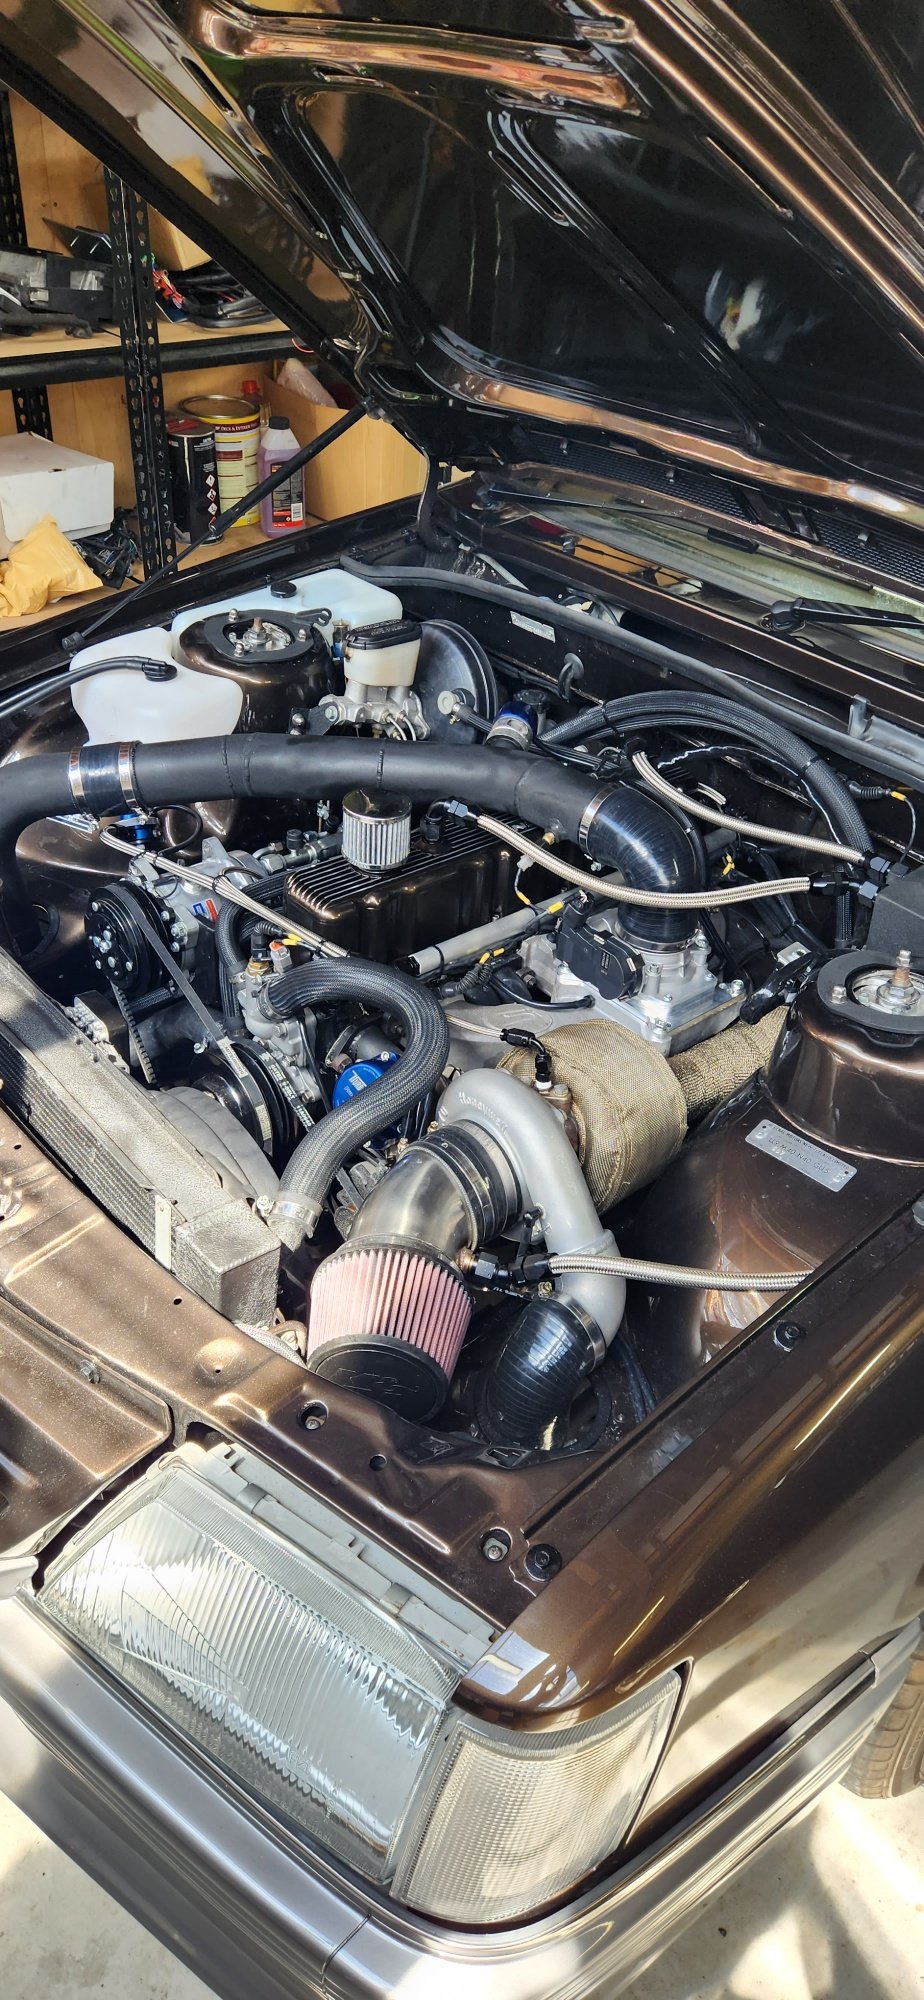
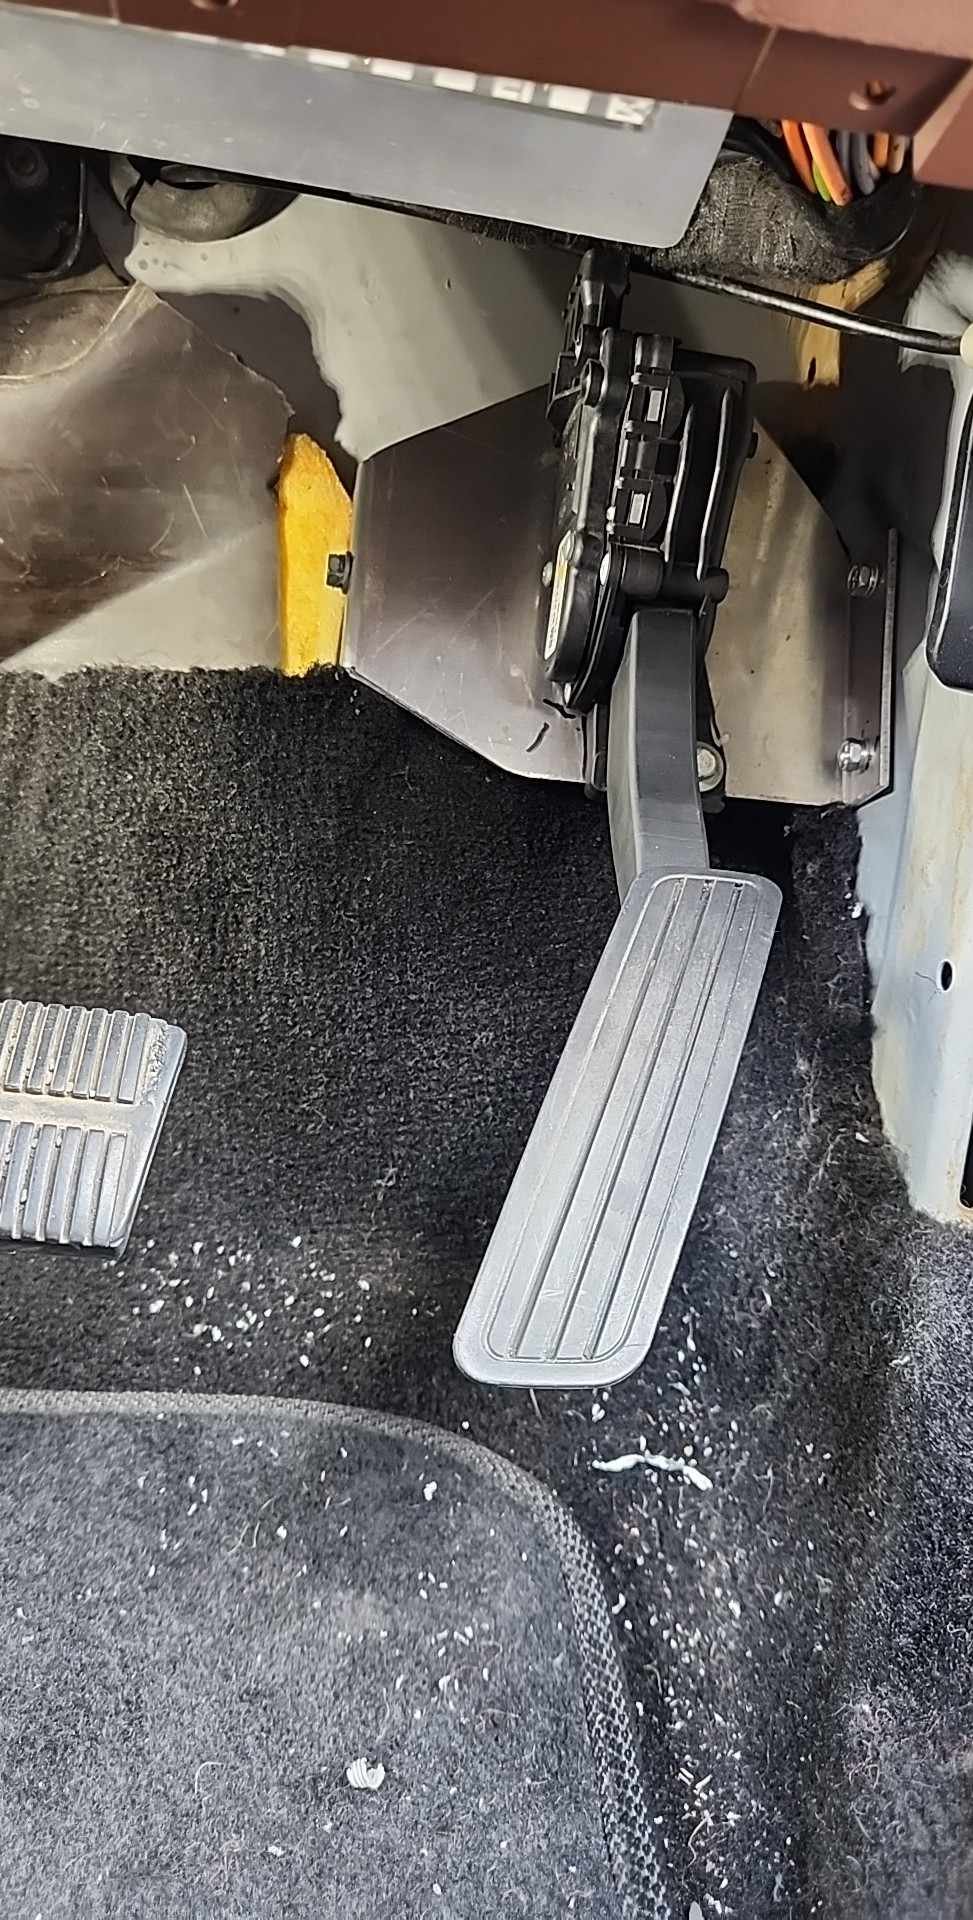
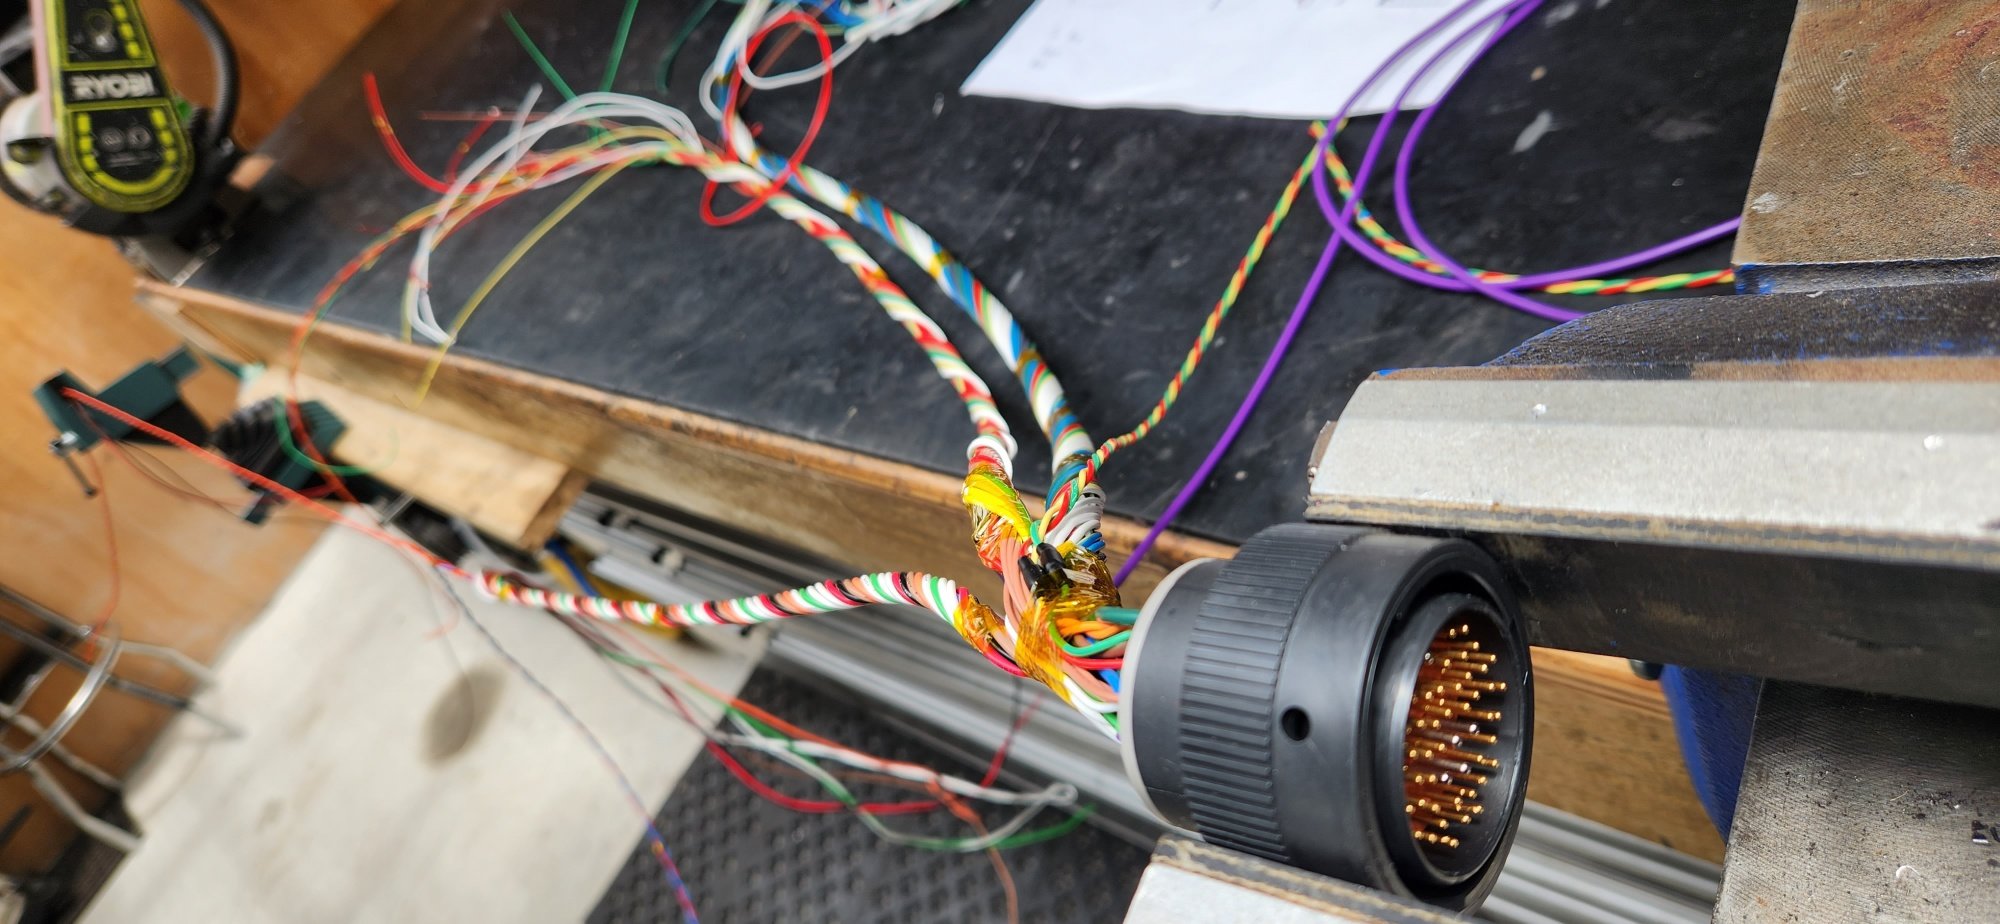
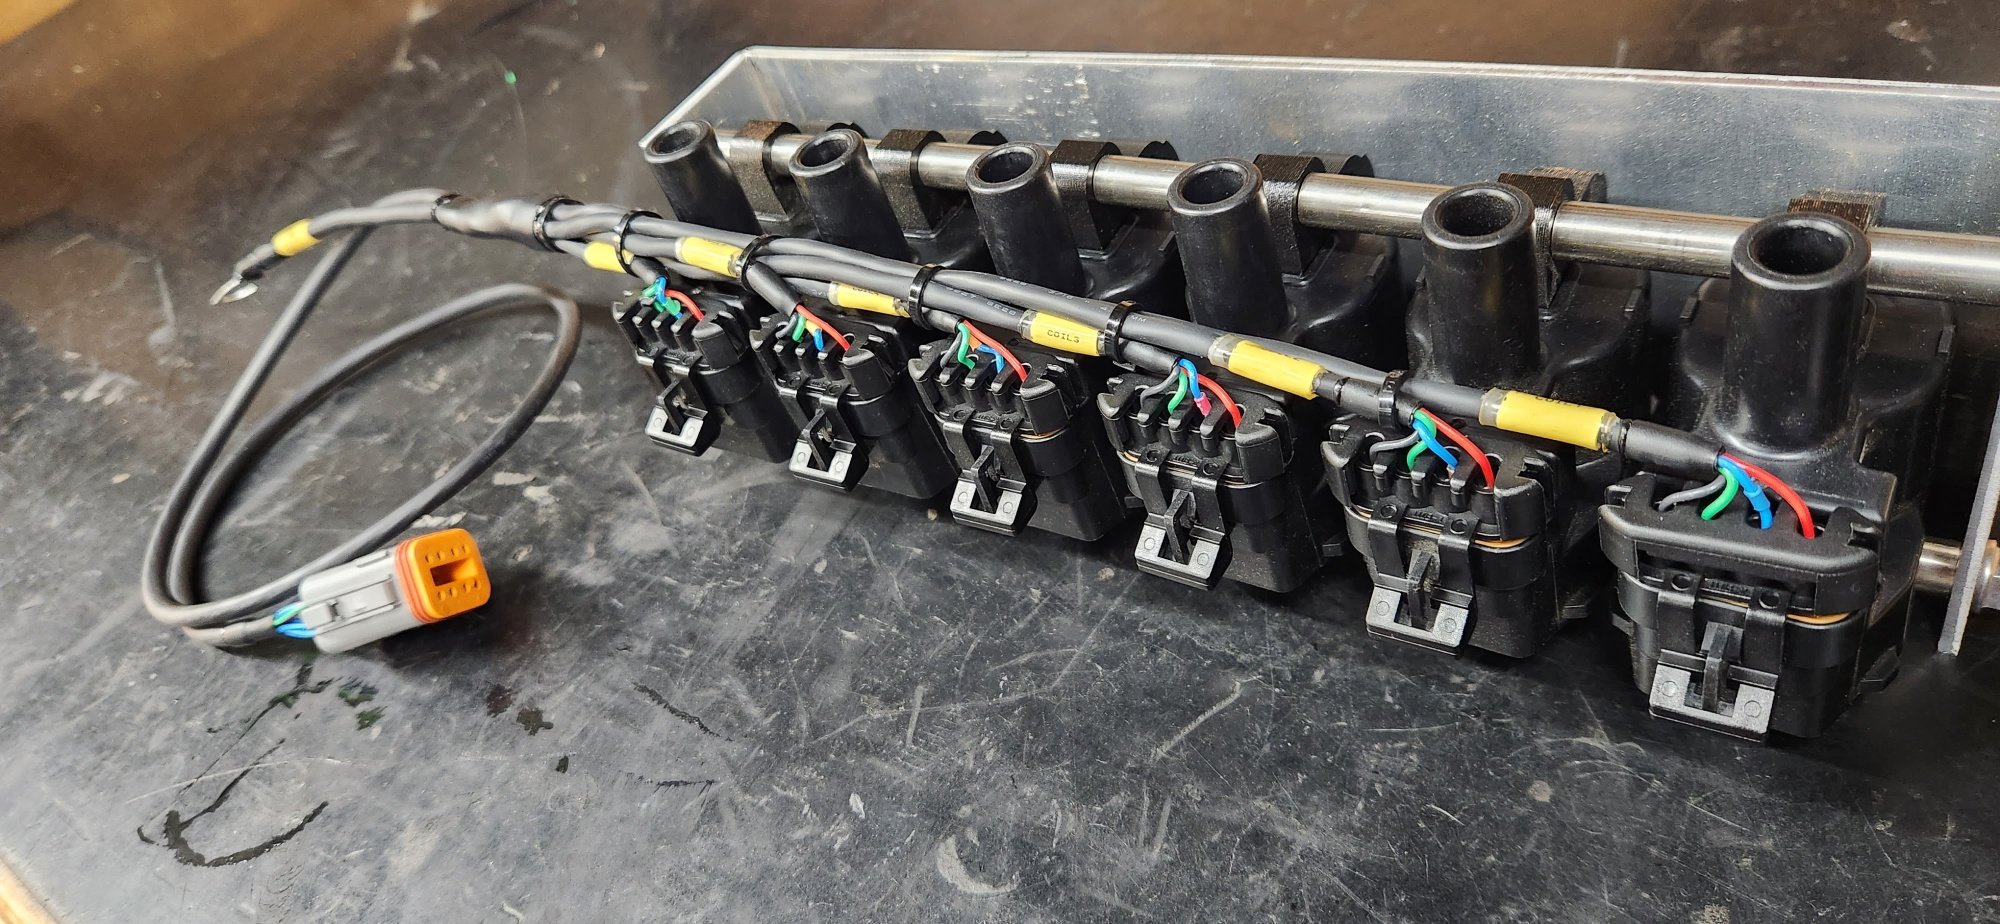
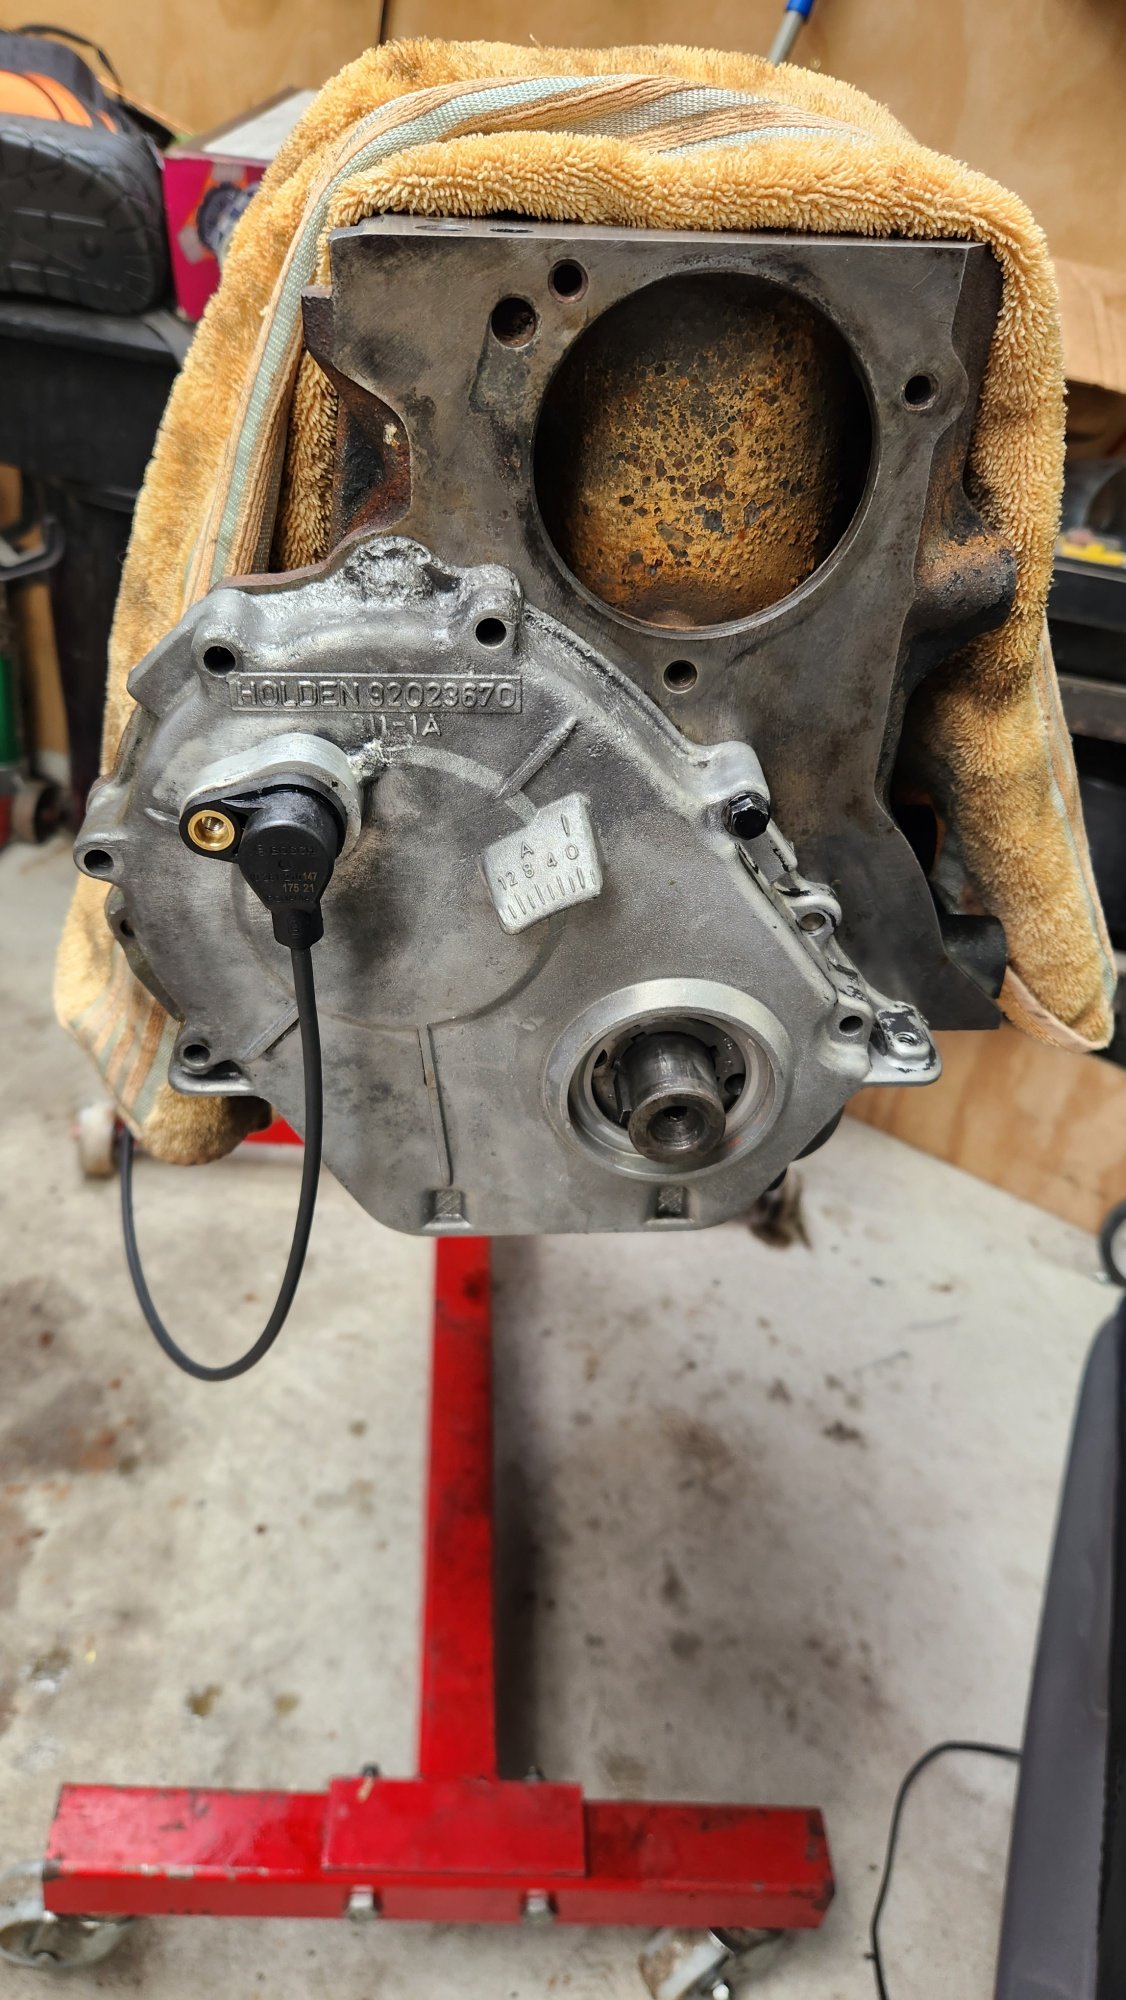
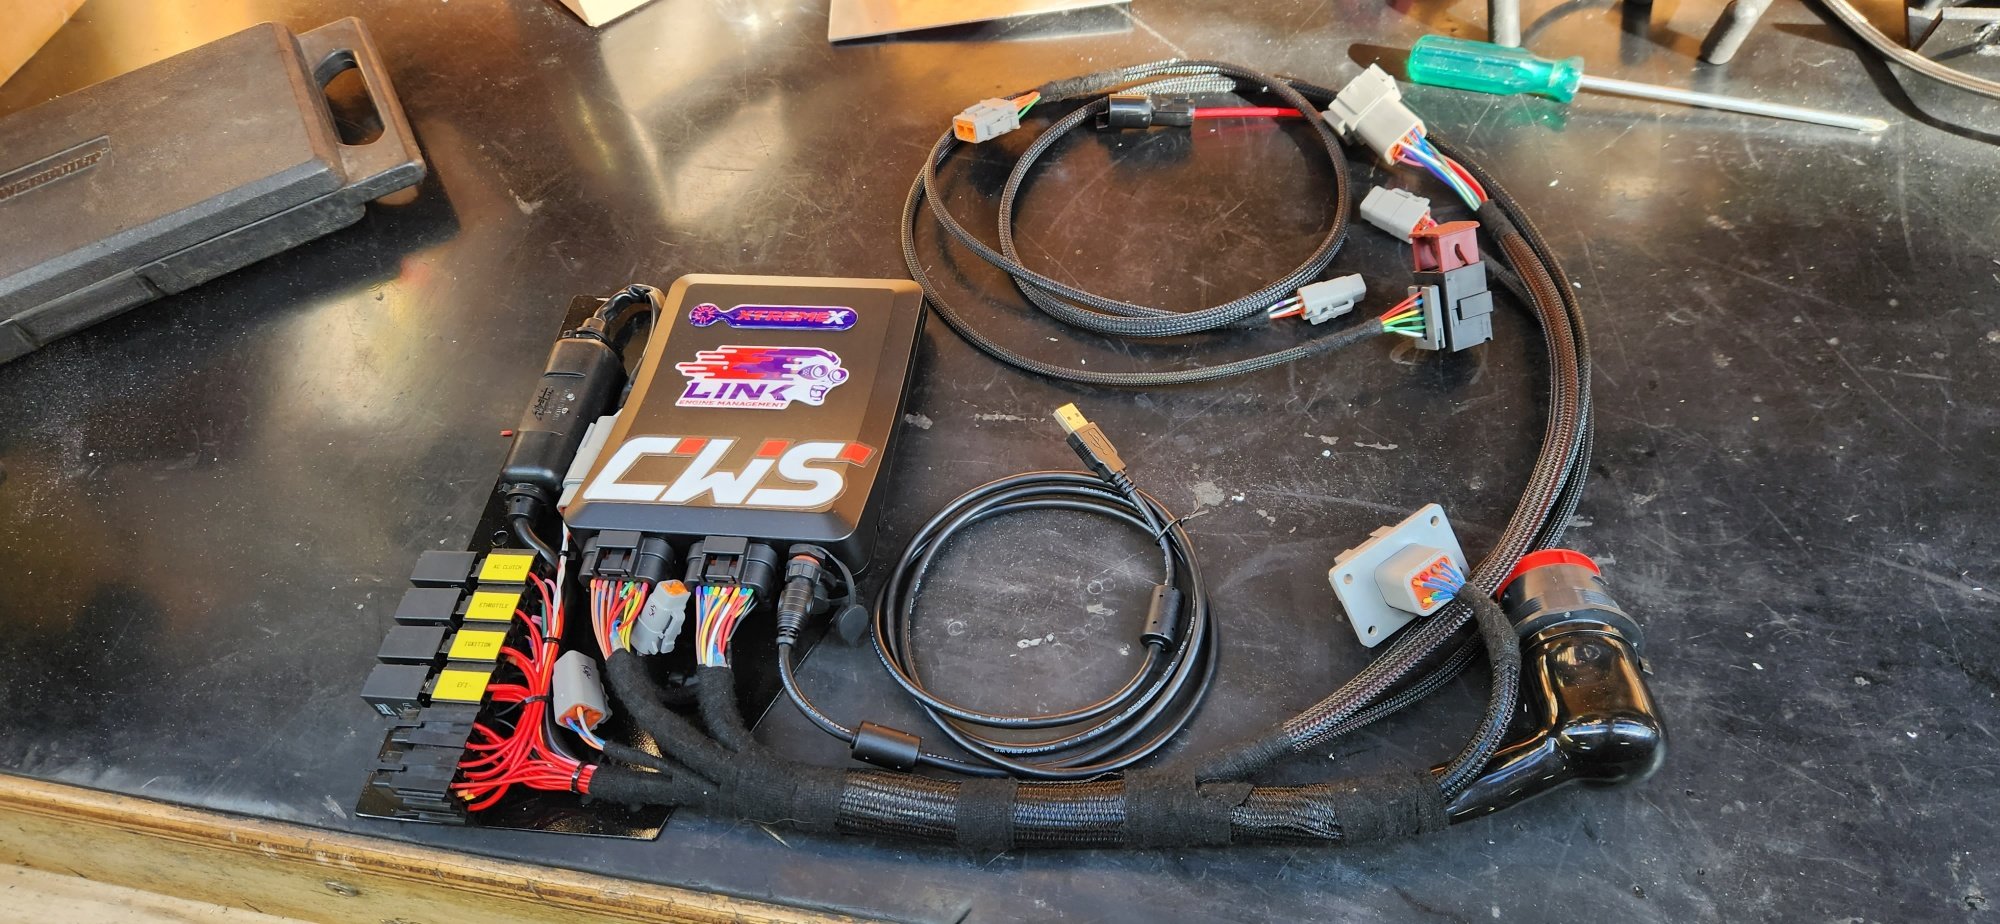
Been busy getting everything back together, got it all running again on the monsoon and run the cam in with new lifters after finding a cracked lifter face. Alot of work into building a custom cam pickup for sequential triggering built the new wiring loom for the xtreme and fitted it all up last week, made up mount for the LS coils, adaptor for the e-throttle and mount for the pedal. Off for dyno run in time and tune tomorrow
2 points
-
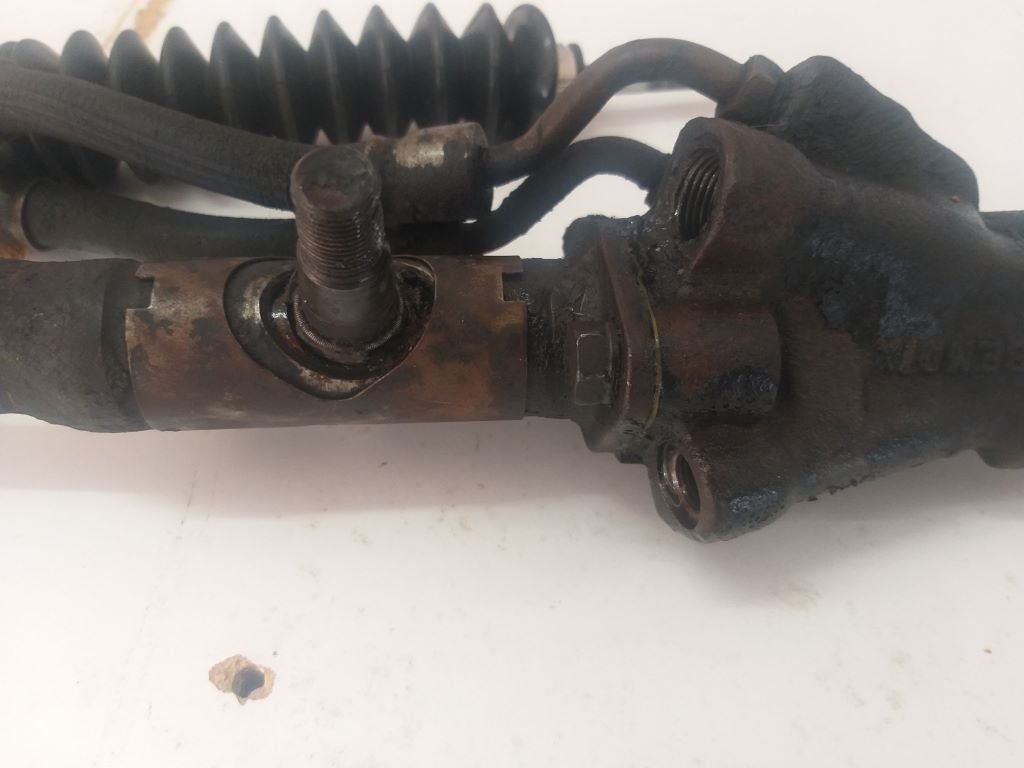
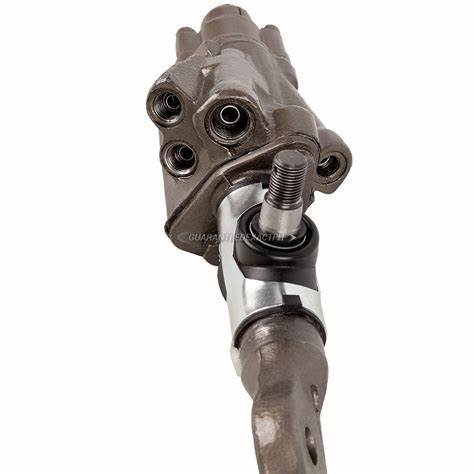
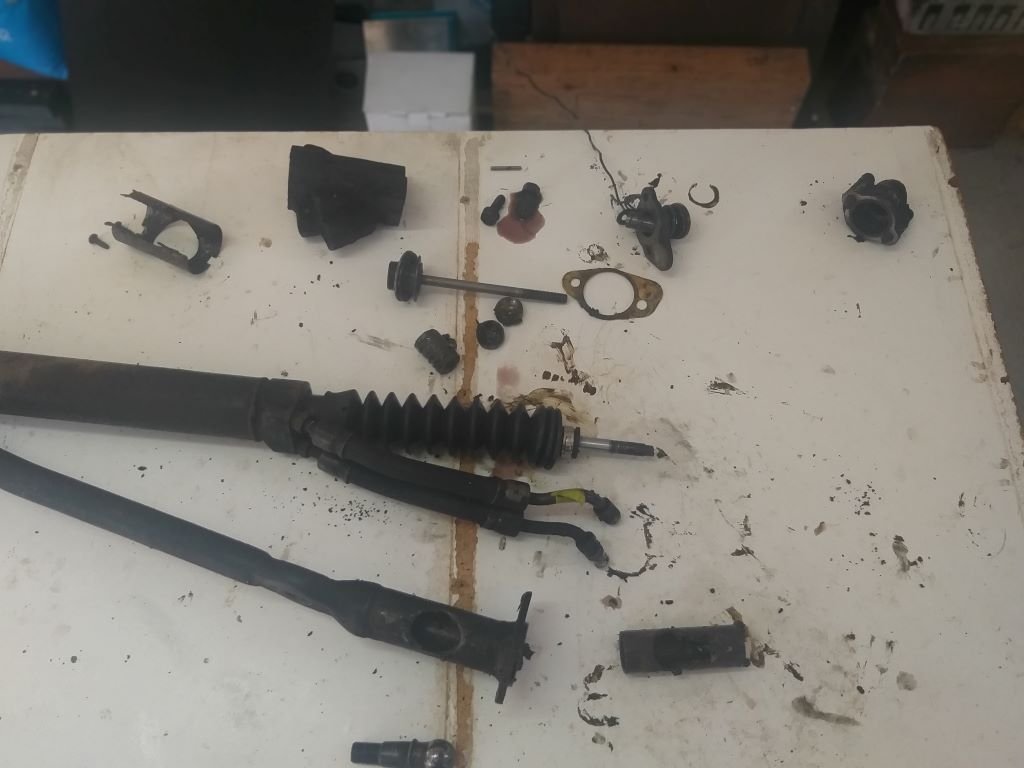
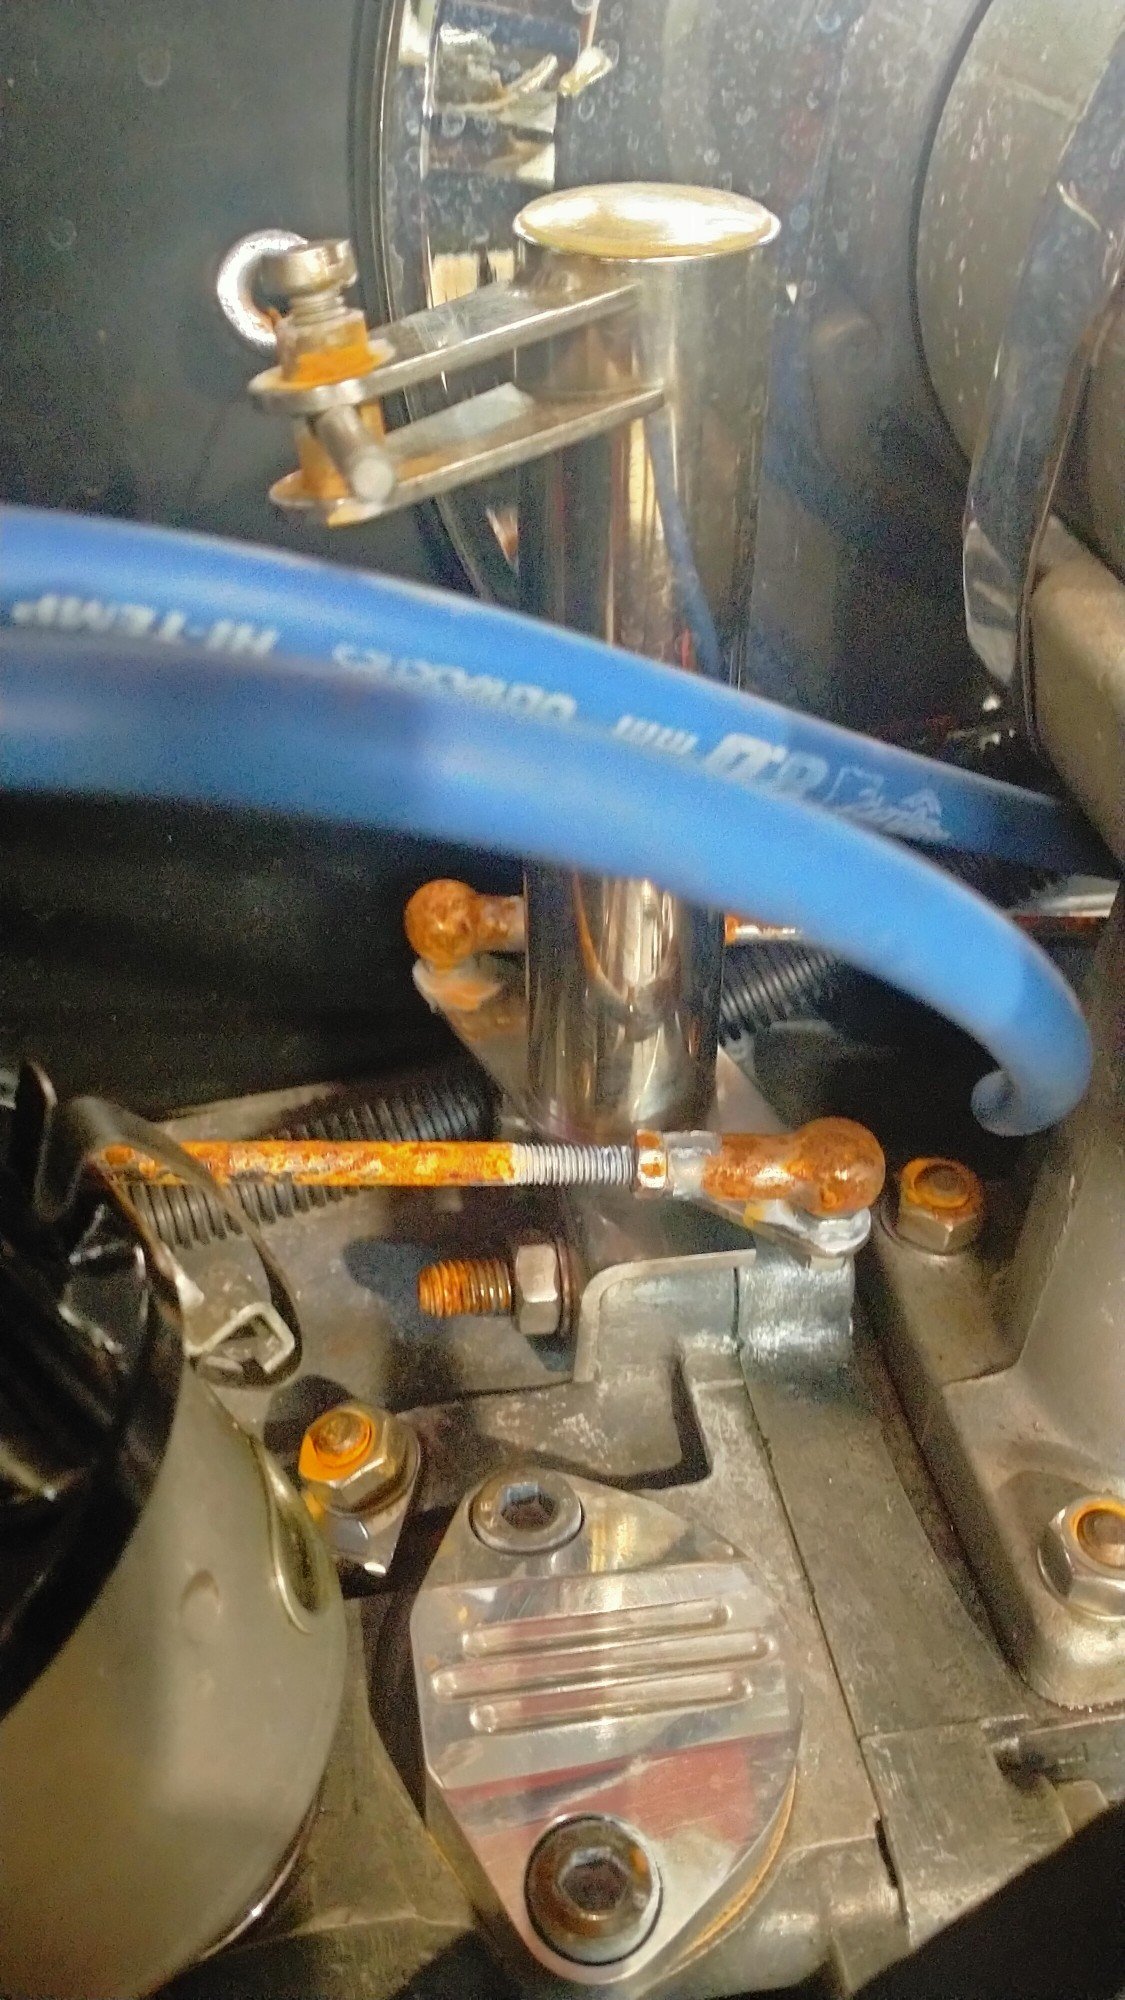
I've been trying to track down the source of an intermittent steering "clunk" for a while now and yesterday I finally got a chance to chuck the Muzzy up on my mate's hoist for a good look see. It didn't take us long to identify the source as a worn ball joint on the power steering valve -this being the only ball joint that I haven't replaced thus far. Using a photo off the web the offending ball joint looks like so: So first thing this morning I pulled out the centre link that incorporates the power steering valve and ... yep... my ball joint is well knackered: Ended up ordering a steering valve ball and stud rebuild kit from Sydney Mustang which is winging its way to me as we speak, but I thought I'd get a head start by stripping the nasty thing down. Gave everything a good clean and now I just need the new bits to arrive.
2 points
-
Bit of an update as requested. See Discussion thread for a 'Life' update. My dad finished a second set of chassis rails (gotta both have a car right!) They were actually done close to a year ago now! Time flies! I came across some original Bugatti drum brake backings and pads. Not sure if theyll be useful but atleast theyre a cool to have. Finished a lot of proper detailed CAD on the front end. Wheels, hubs, axles, springs, hangers. The wheels are 8 main pieces, big radial spline onto the rim. They dont look easy to make!2 points
-
Chassis update: I managed to make it back to NZ for a bit, a couple of months ago, to have a go at this chassis building thing my Dads been raving about! Turns out it is actually hard work! Hes just finished both rails! I just got a bunch of machined parts done. Spring mounts and braces that go between the rails. Just have two sheetmetal braces to figure out then all of it can be bolted/riveted together (with a few more holes and some tweaking I'm sure!)2 points
-
Talked with Michael Anderson from the Bugatti Club Australia a few months back. Good guy to talk to. Heres a copy of the article for those interested. Originally published in The Bugatti Bulletin Vol 73, August 2021. Reproduced with the kind permission of Bugatti Club Australia Inc.2 points
-
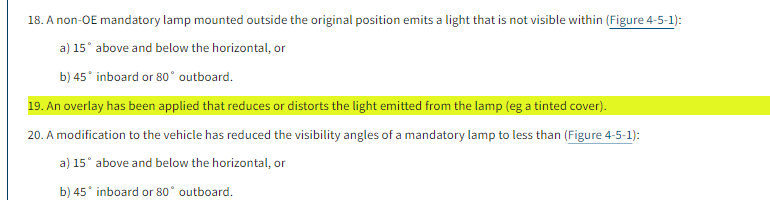
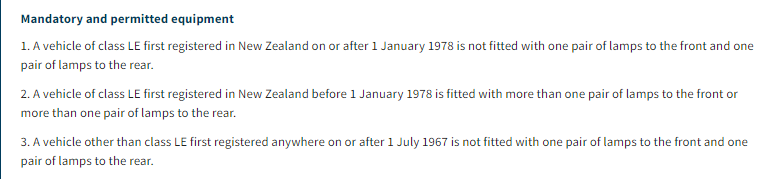
Lol, I didn't even think of that. I note that you know though. I suppose it would be this section then that would need to complied with.
1 point
-
Yeah nah, they don't need to be on the bumper but you need front facing lamps
1 point
-
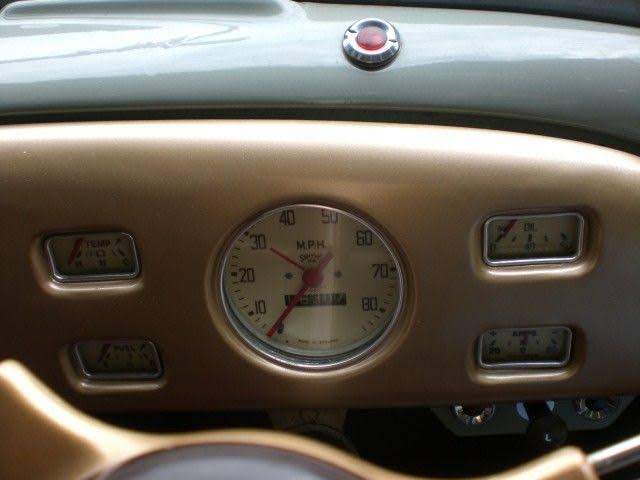
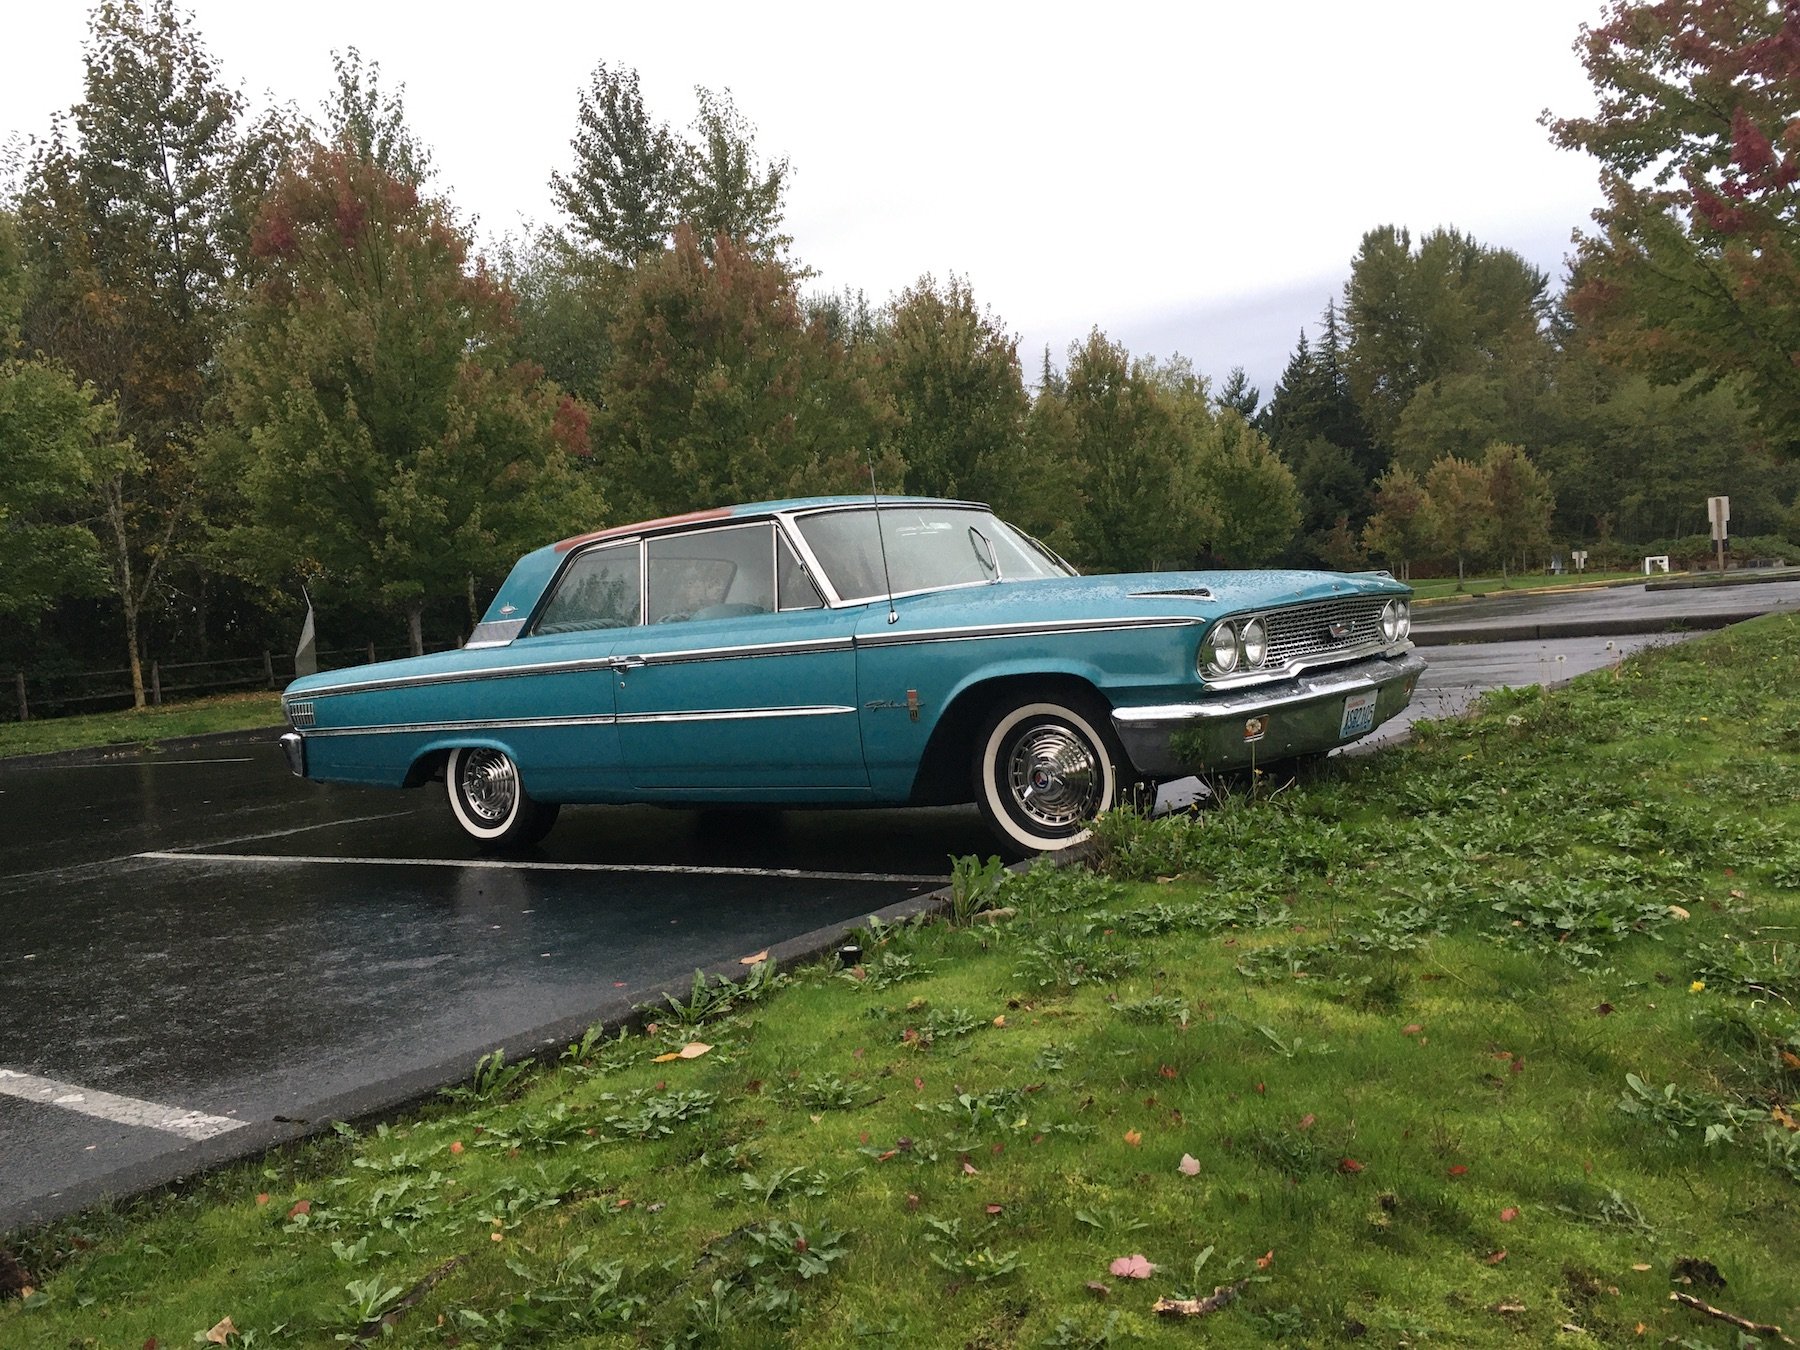
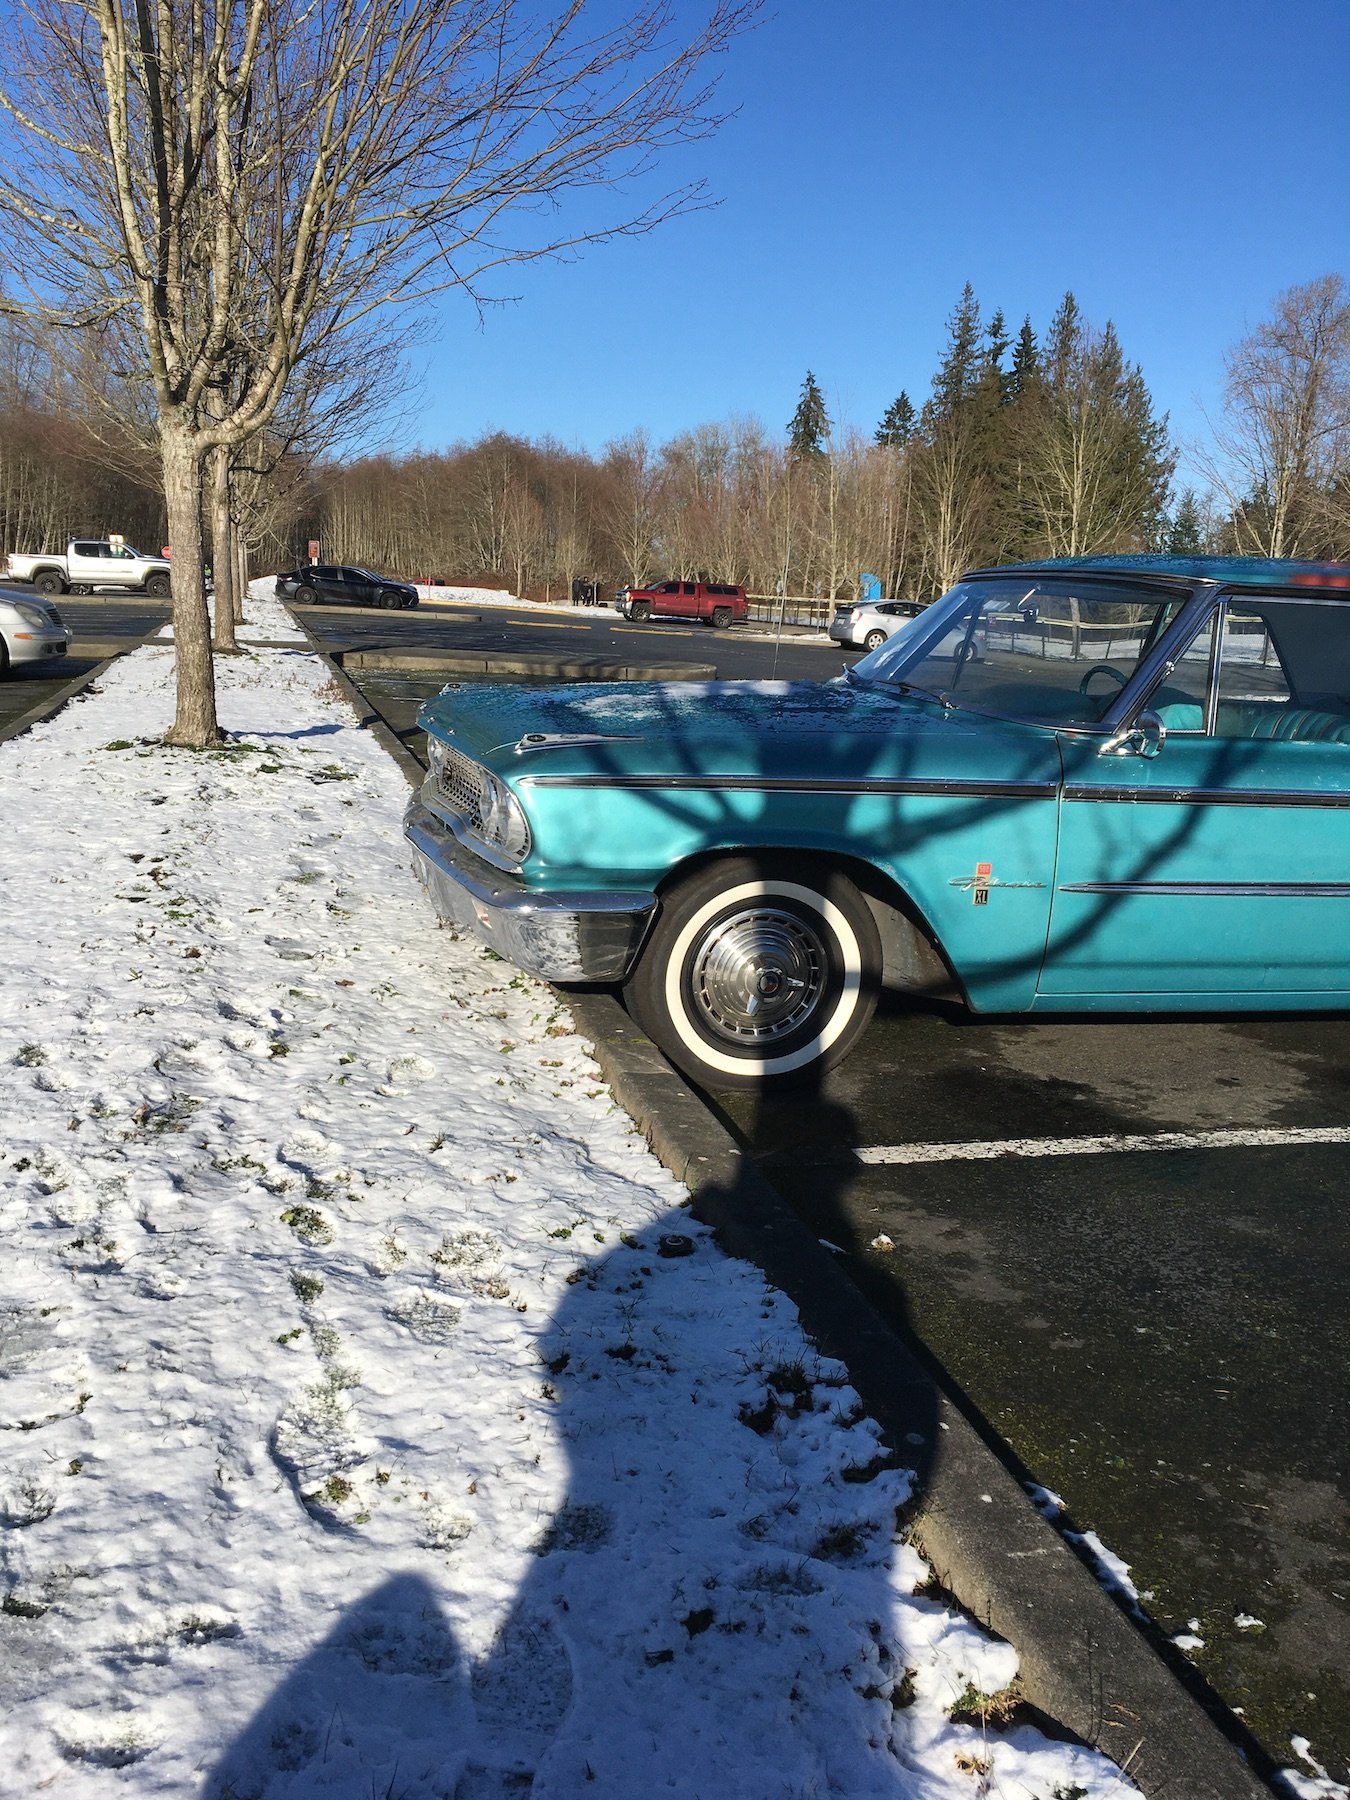
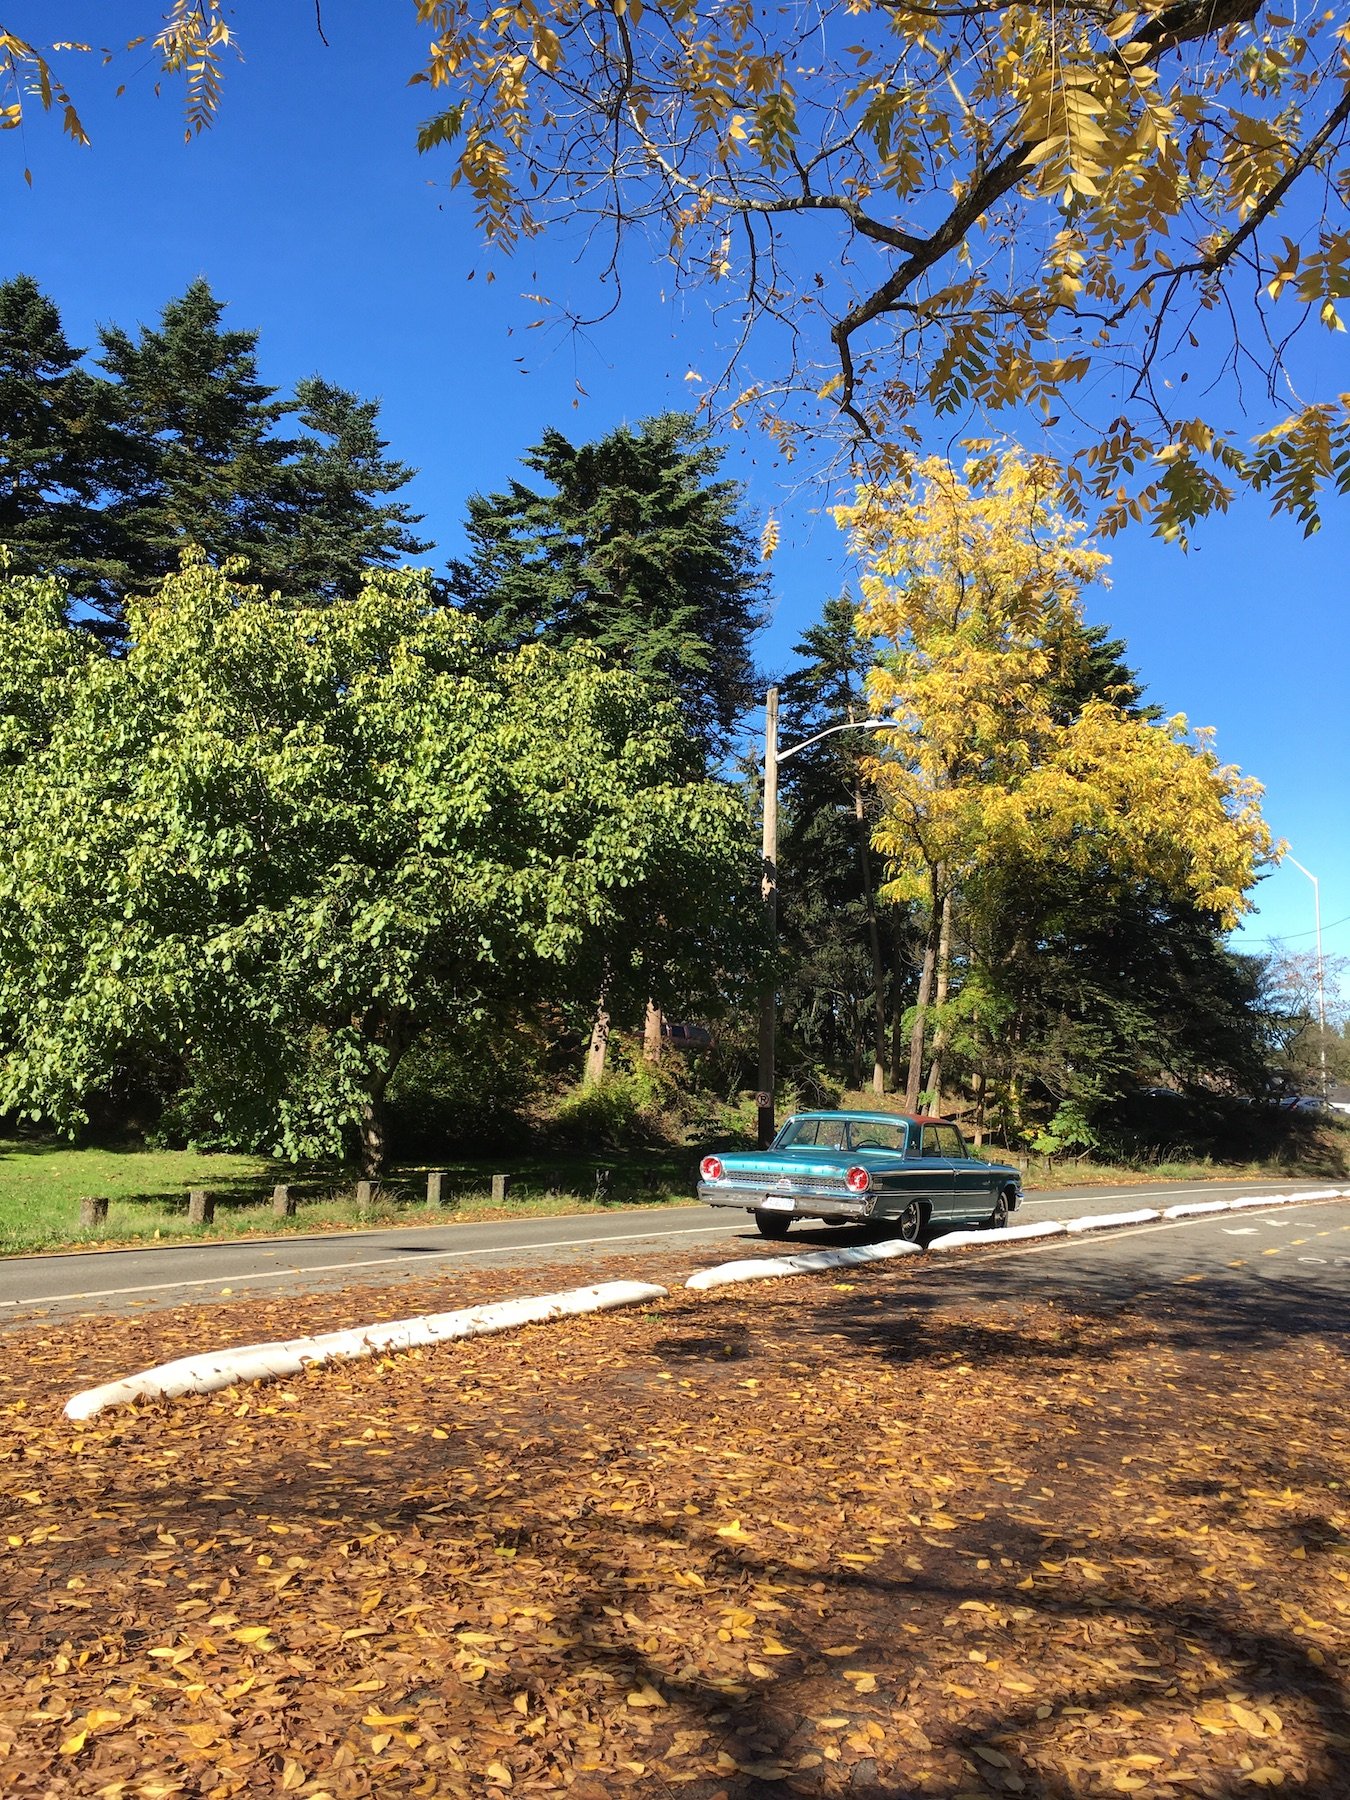
@j.e.d. Here's a few recent exterior pics of my 63 from over the last four months or so in the Seattle, Washington area. My dad bought it in 1967 and passed it on to me in 1999. Stock except for dual exhaust and aftermarket radio. Rain or shine it gets driven. Cruises smoothly at 70mph on the interstate. Guzzles at 14 mpg. Paint is original Ming Green metallic except for spot repairs years ago to lower rear quarters, sills and hood. Interior, not shown, is a bit shoddy and needs new front bucket seat covers (currently t-shirts wrapped around the seat backs, that sort of thing). Most recent work was the replacement of the cam bore plug on the back of the 352 FE engine after it had come out, got tangled up between the block, adapter plate and flywheel and punched out a chunk of the bell housing...
1 point
-
Battery balls hanging from your car.. guess that better than the other tryhards on the road with their fake ball sacks1 point
-
I'd recommend talking to a shock specialist like Autolign or even a good staff member at BNT. Take the car in with you so they can get all the relevant info and order the right struts.1 point
-
The power steering looks familiar. My lines looked older than yours but were in really good condition apart from being burnt on the header. My new lines look exactly the same as yours, standard aftermarket I guess. I am still a bit paranoid about burning and melting the lines so I added fire sleeve. Clearance for the lines is a prick. I also had to replace my power valve and ram as both were stuffed. I never did answer your question about the alternator. I think it was a single wire technically as the extra wires were for the electric choke not excitation or regulation. I have heard since that single wire alternators sometimes don't come online without a few revs. My current setup gives me the 'belts' light until blipped a few times.1 point
-
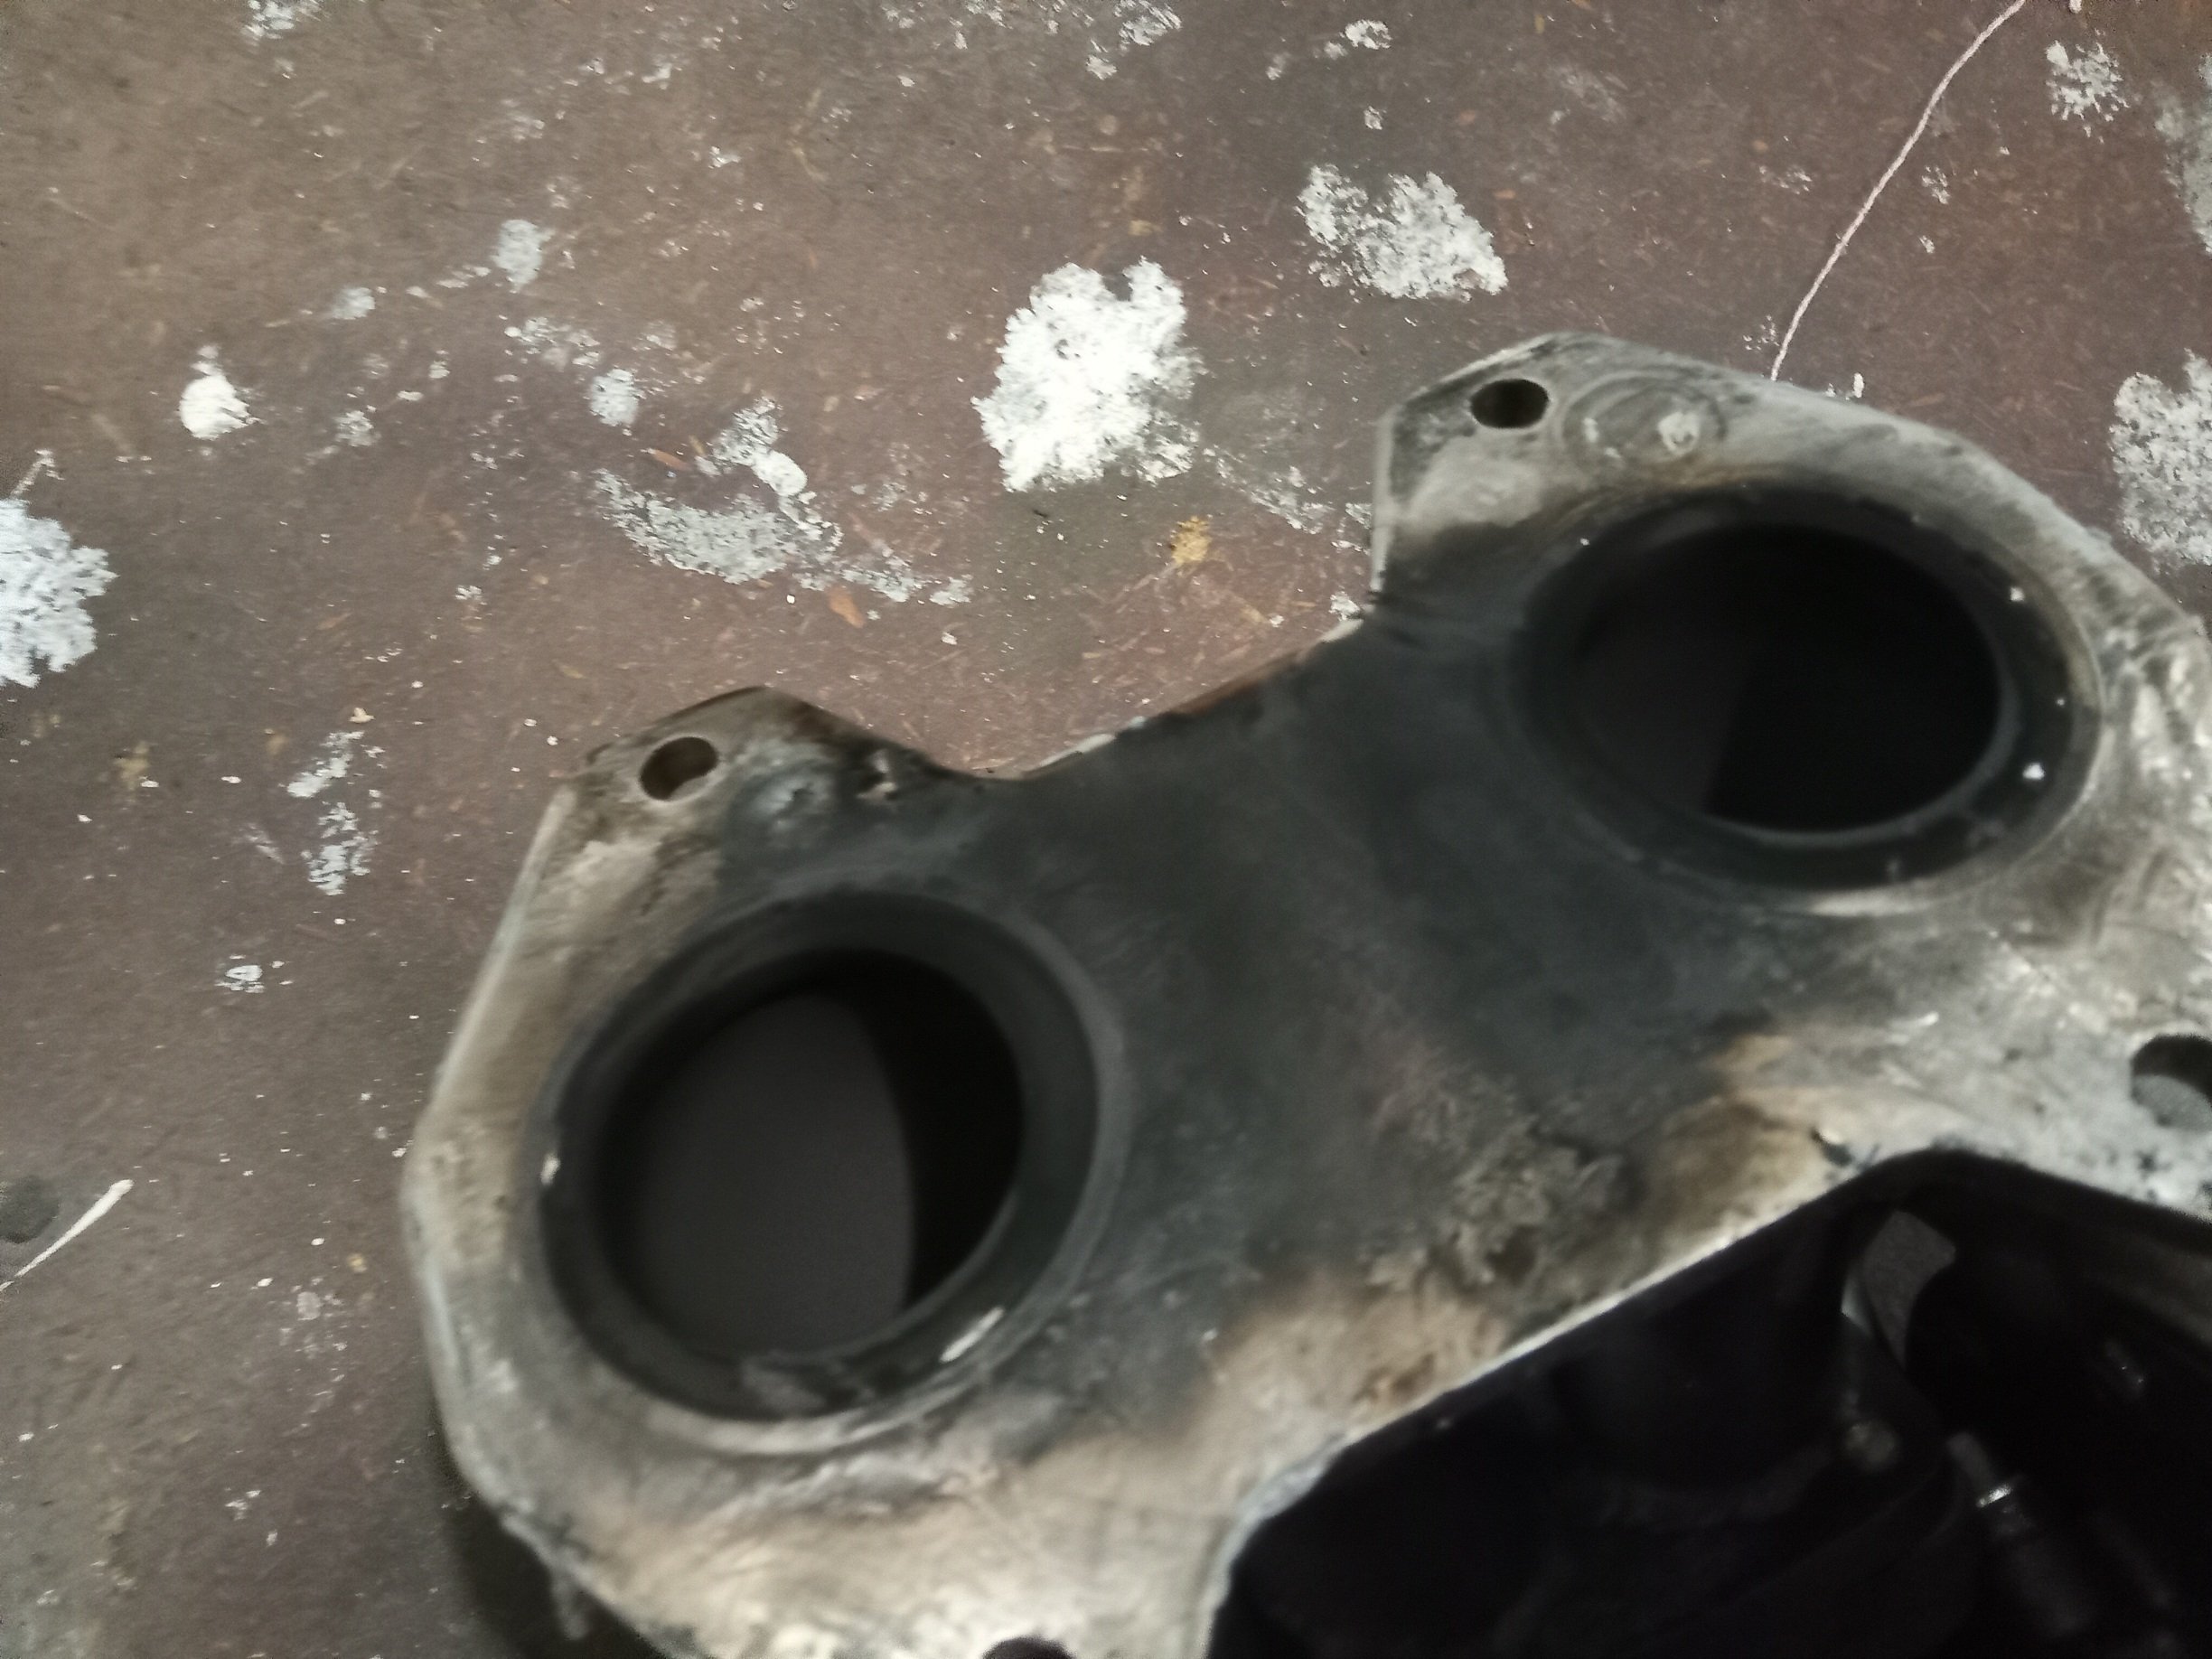
Ideally take it to the engine shop get them to do a clean and check for cracks, and once it's clean and the valves removed the seat can be checked. So these don't have seats originally but with different keepers it's had valve work before. On the pic of #4 combustion chamber between the valve and spark there's a line of rust dust that is possibly the valve seat moving but I can be wrong. If it is it's not much for a shop to cut/fit a larger seat. Block you can clean yourself but best results need to remove core plugs and water pump, and if was seized there maybe something else damaged that you have to disassemble the rest of the engine to find1 point
-
Looking good! I cut off the entire yuck bit around the rear brake switch and relocated the light switch onto the rear brake leaver with a little bracket1 point
-
This thread serves to illustrate how a community should work. Wonderful to see you guys helping out a mate in need.1 point
-
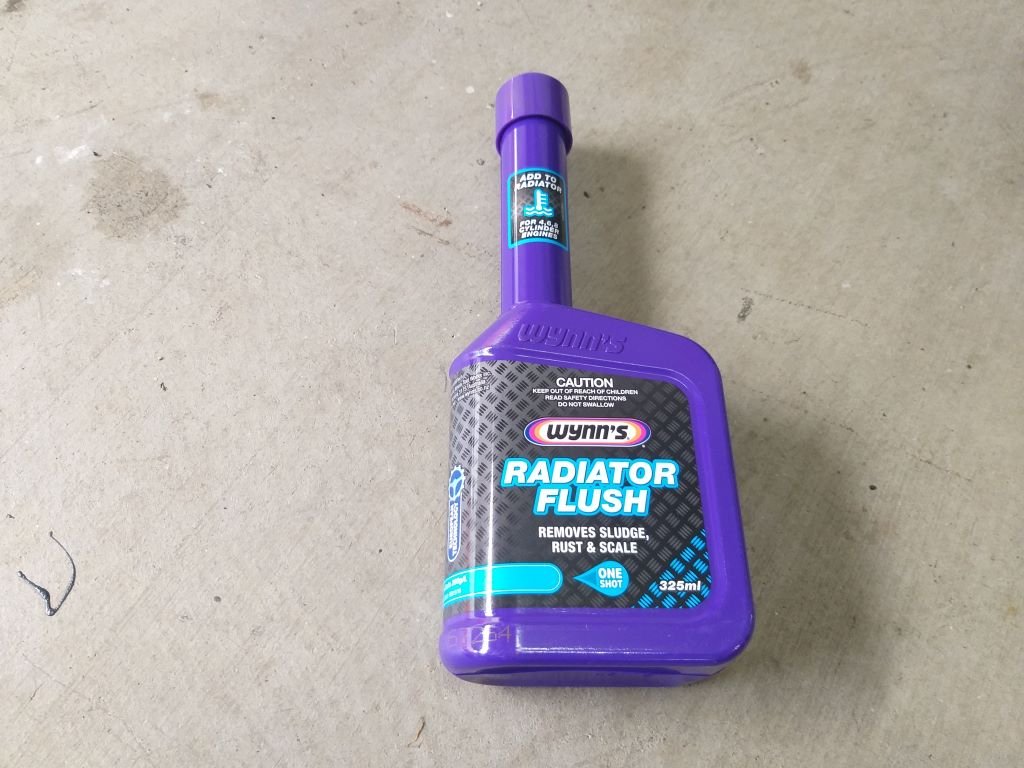
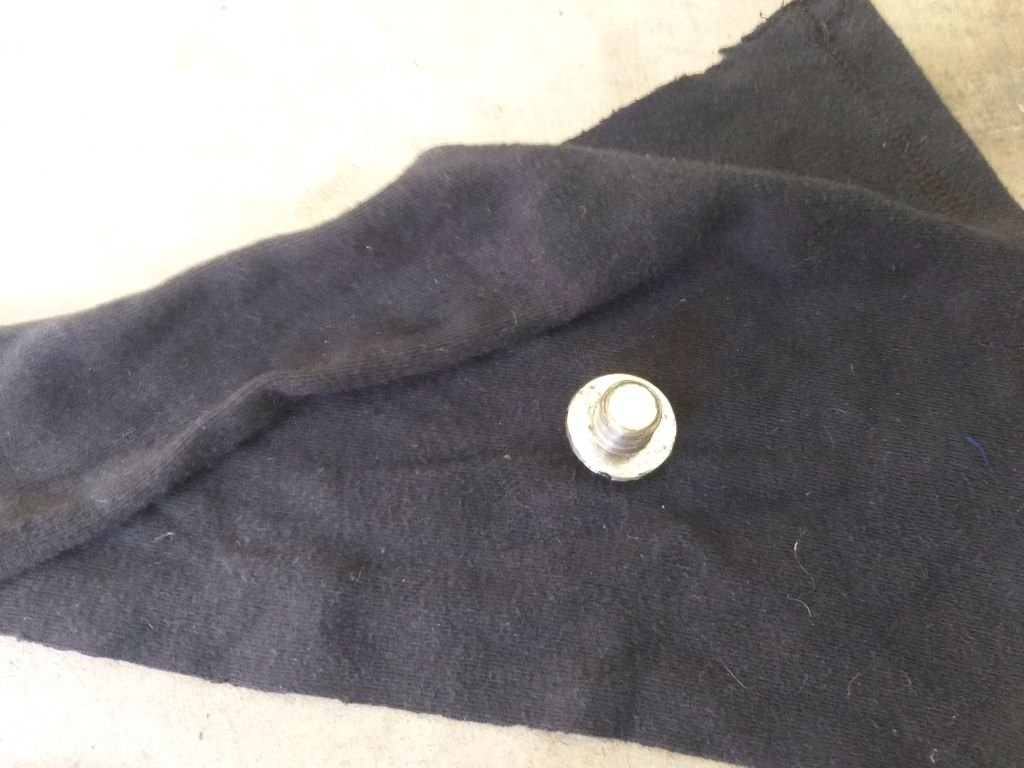
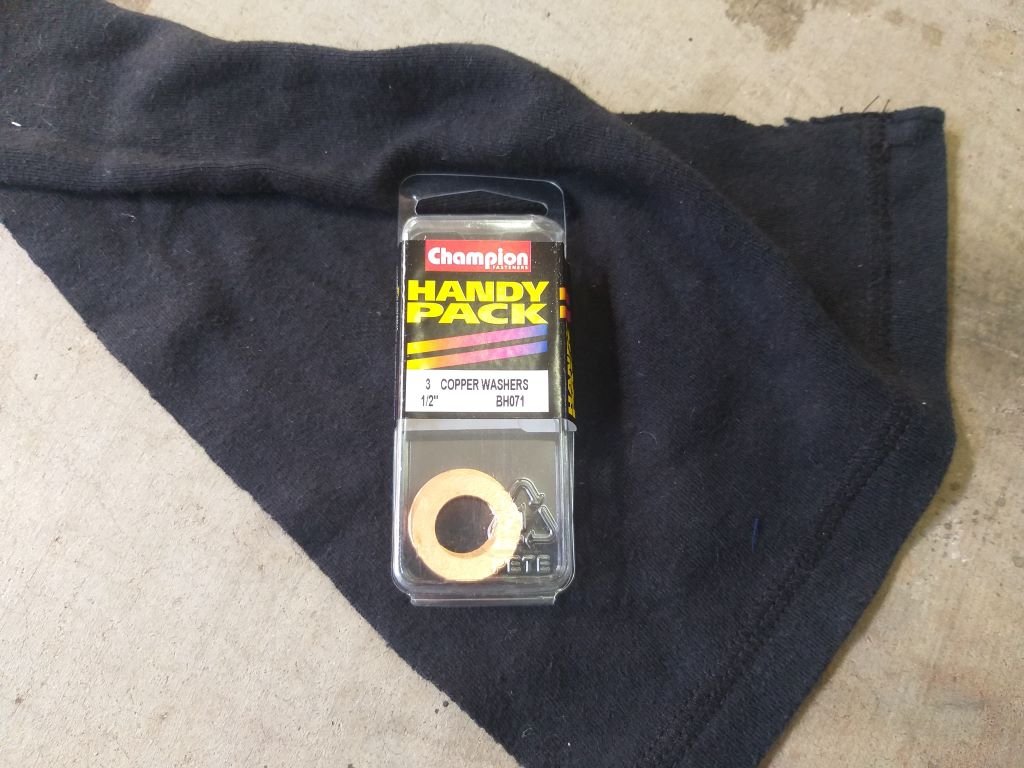
Put the Thames through a few more heat cycles this morning and still no coolant drip. Flushed with success I thought I'd give the system a spring clean: Hope you noticed what I did there. I'm just so funny ..... not. Anyway, after doing that I figured I'd tackle another little leak, but this time of the oil variety. Again, tell-tale signs of a little drip, nothing alarming, but enough to be annoying: On closer inspection it looked like it was coming from the sump drain plug and since I've now got 1000 km on the freshly rebuilt 3Y I figured I'd do an oil and filter refresh while I'm about it. Pulled the sump plug and yep: No sealing washer fitted. What a numpty I am. I've got this pack of appropriately sized copper washers in stock, so I'm going to give one of them a go: I'd also picked up a new filter and some oil on my last town trip, so everything was good to go. And that's another job jobbed.
1 point
-
Yeah, and he's cheap.. Did some pretty epic work on my kombi.1 point
-
Had my 1st drive of it tonight that where I'm currently upto wof is booked in for Friday so fingers crossed
1 point
-
How good!
1 point
-
New digs, same shit Getting a bit fatigued of the old girl. Being putting off certain jobs due to time constraints and possible skill issue. Decided best course of action is screw the rust, I need to drive this Acquired a second g200w off @CUL8R in much better condition. Need to spin some broken bolts out and give it a good clean down, after I'll buy the needed gaskets and assemble then drop in the hole. Can atleast start the motor in the car before sorting the gearbox. Speaking of gearbox have one lined up ready to be pulled just outside of Amberley, just waiting on the right time to go out and grab it plus find some pocket change in the couch cushions. Anyway here's some photos for the thread
1 point
-
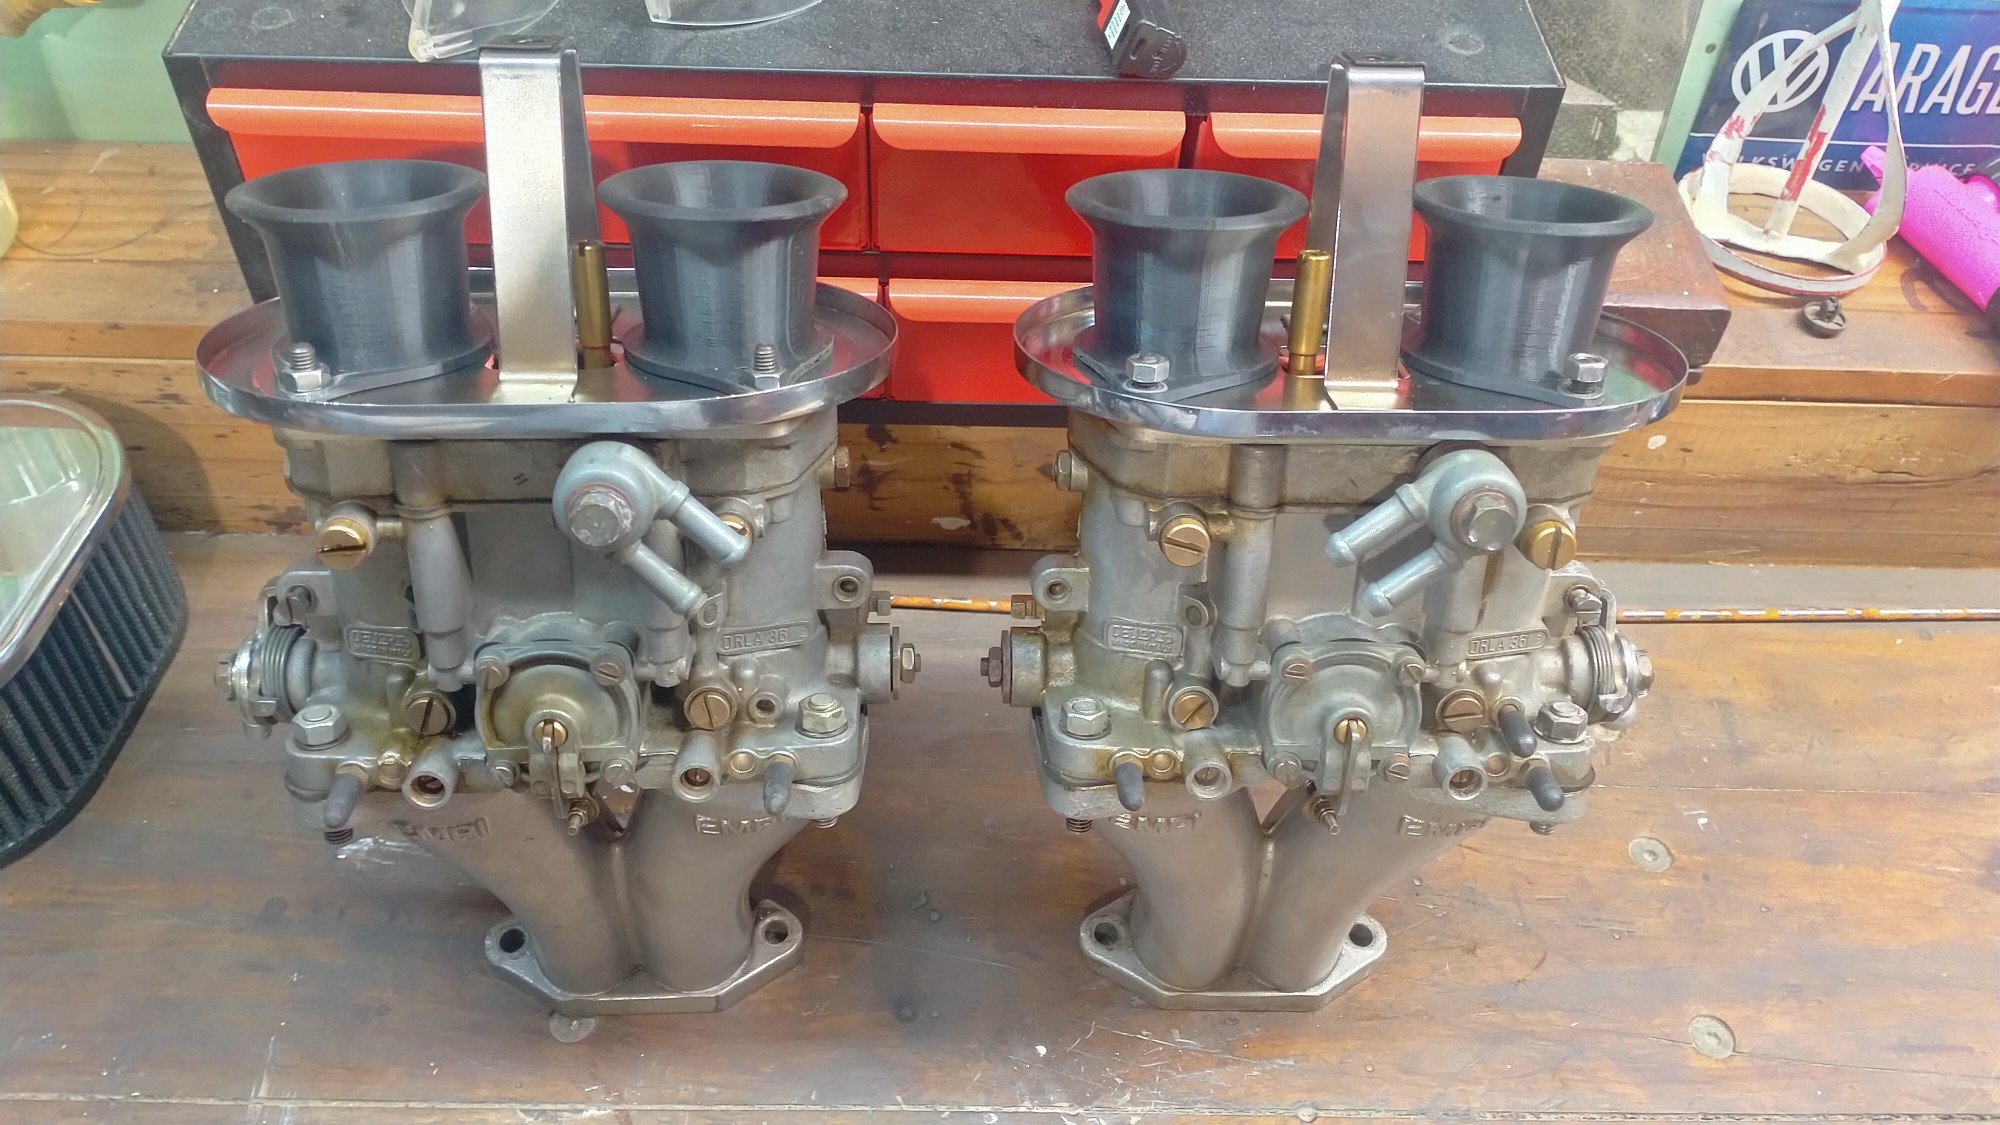
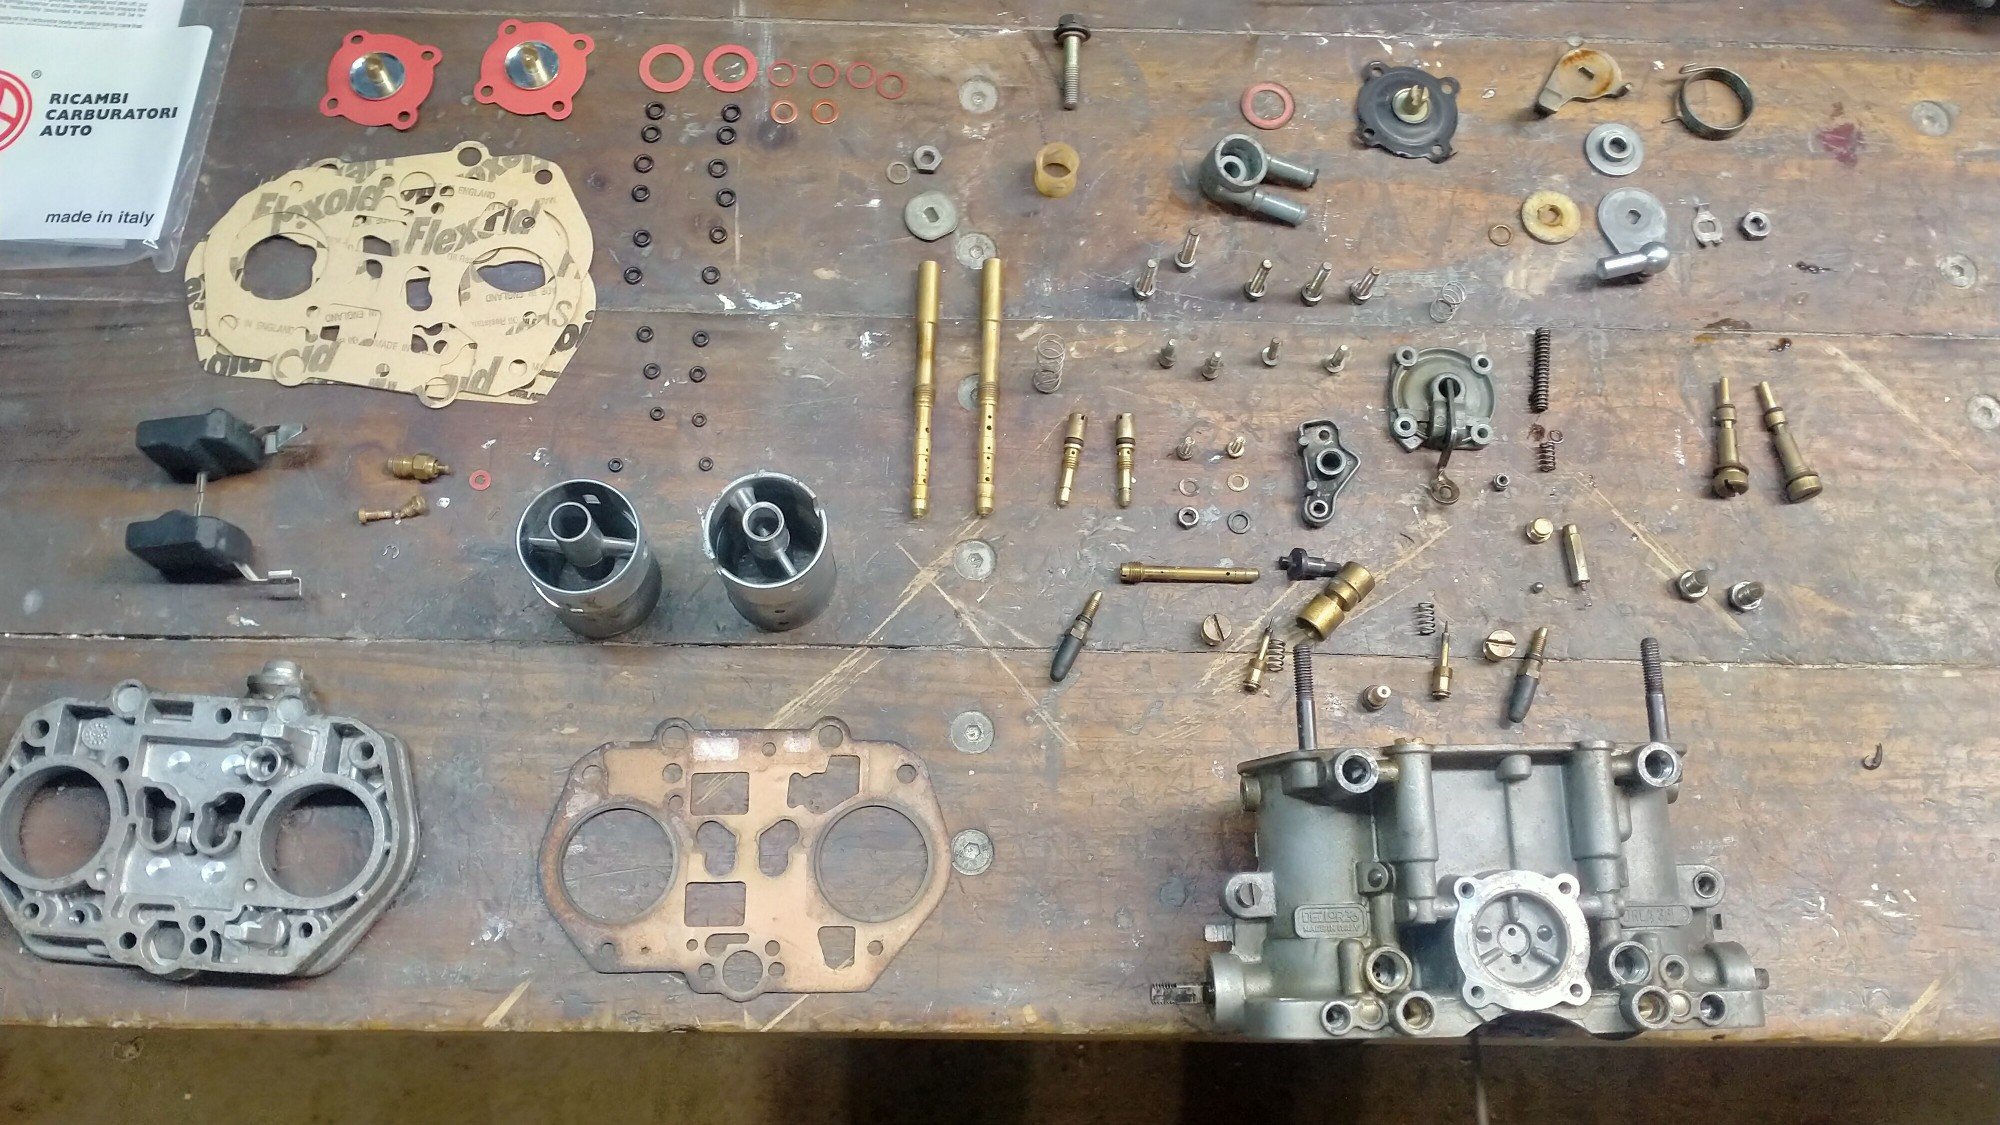
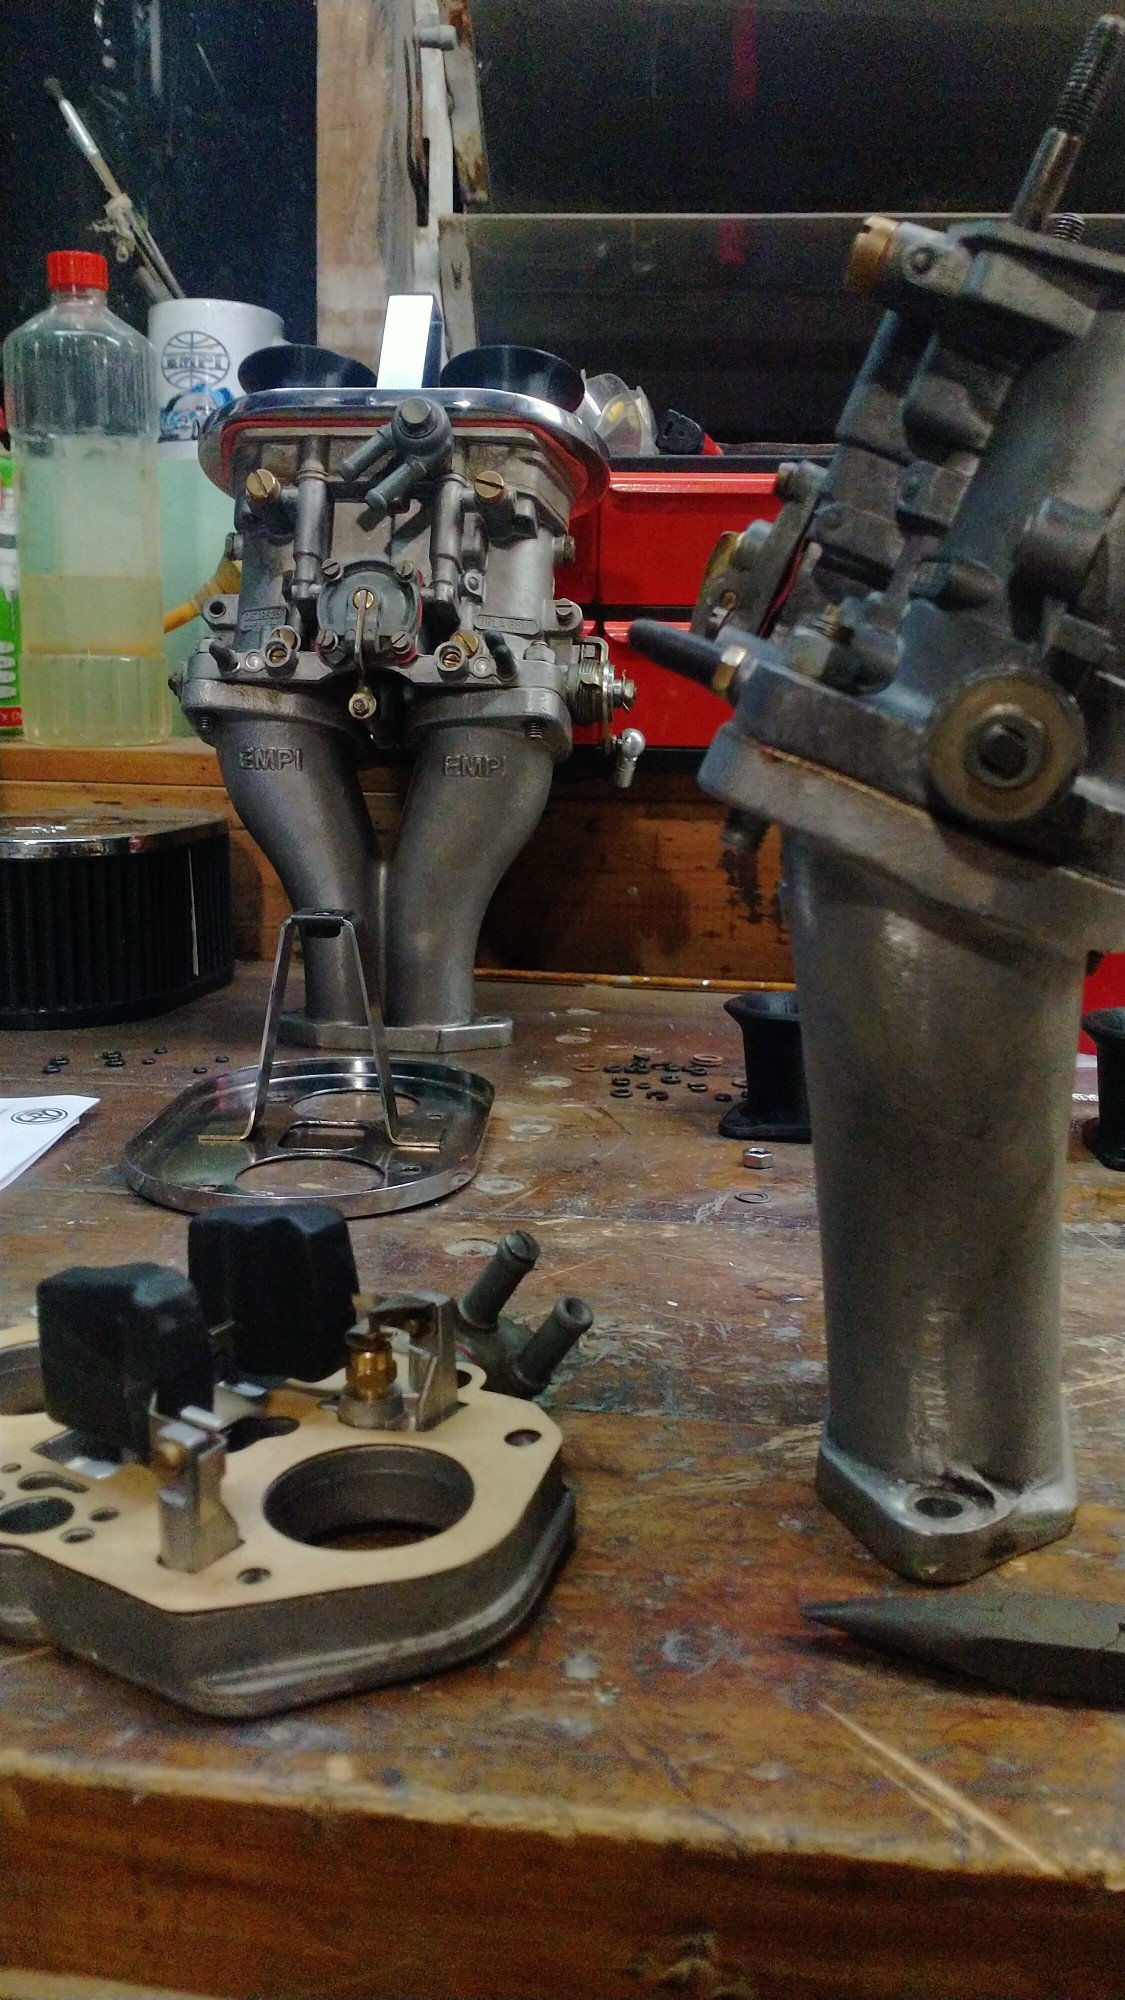
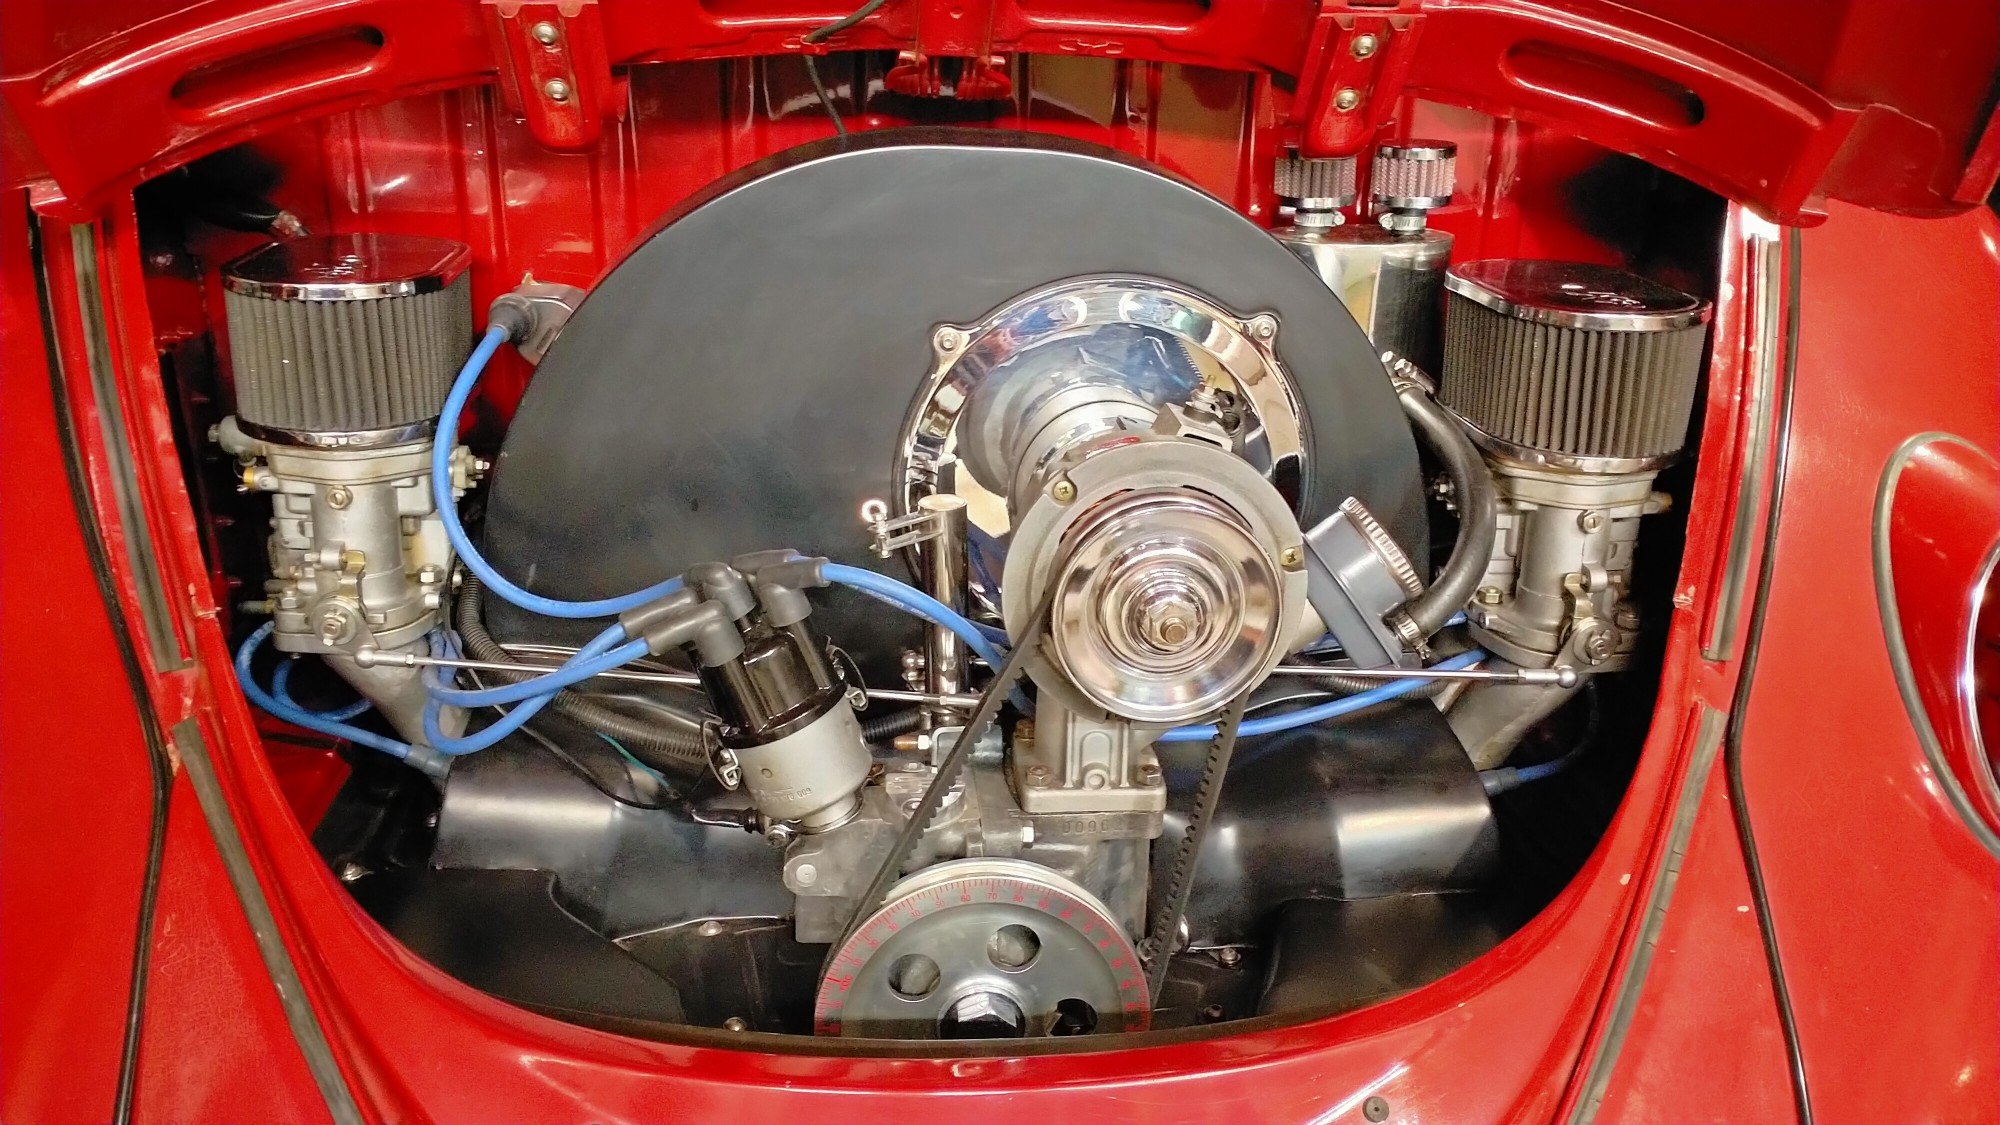
Gentlemen, after a good six months of neglect, general wear and tear I finally had time to service the VW. Living outside had not been kind to some of the so called stainless steel. Was to embarrassed to pop the hoop open at Kumeu. It been driving okay, it runs hard but it's that traffic speed, just puttering along off idle, it just didn't sound right, but fine when accelerating, something was a miss. One of the projects at work is up Silverdale so popped in the see the carb Barrys at Weber specialist, got a complete rebuild kit for the Dells. Alfa Romeo, very fancy, much racing cars. Having been through everything else the carbs are the last thing needing sorted, I don't think sitting for nearly two years on a shelf whilst I built the motor and various other life admin got in the way, helped. Borrowed the ultrasonic cleaner from work and cracked into it about 8:30, Friday night. Fuck there are a lot of very small parts in a 36mm DRLA Dellorto, and I've got two. many hours later and into the early morning I was nearly finished, didn't want to stop half way and forget where something went or lose a tiny jet. Had to stop drinking so I could concentrate! In a very rare occurrence I got to spend nearly all weekend just working on the car and not the house or the yard or visit relatives or anyone. After forgetting to tighten half the screws on the right hand carb, it started and ran pretty good. So took the time to sand back all the rust and polished it all back to a mirror finish, cleaned and wiped everything. No excuse for a ugly engine bay. Carried on adjusting the brakes, always amazes me how much a badly adjusted handbrake affects the overall performance of the old drums, seems to take up a lot of slack in the system. Popped the valve covers and set the rockers and checked the headstuds were tight still. Just need to grease and adjust the front end and actually change the engine oil and the maintenance will be up to date. Continued playing with the carbs, the access windows I put in the rear wheel wells make this easy and actually possible. I'm pretty happy with how's it's running now, so much nicer to drive, smoother, quieter better performance, more responsive. Maybe the tiniest flat spot just off idle, but nothing like the spluttering bullshit I've been driving around. Much nicer at motorway speed, just cruises.
1 point
-
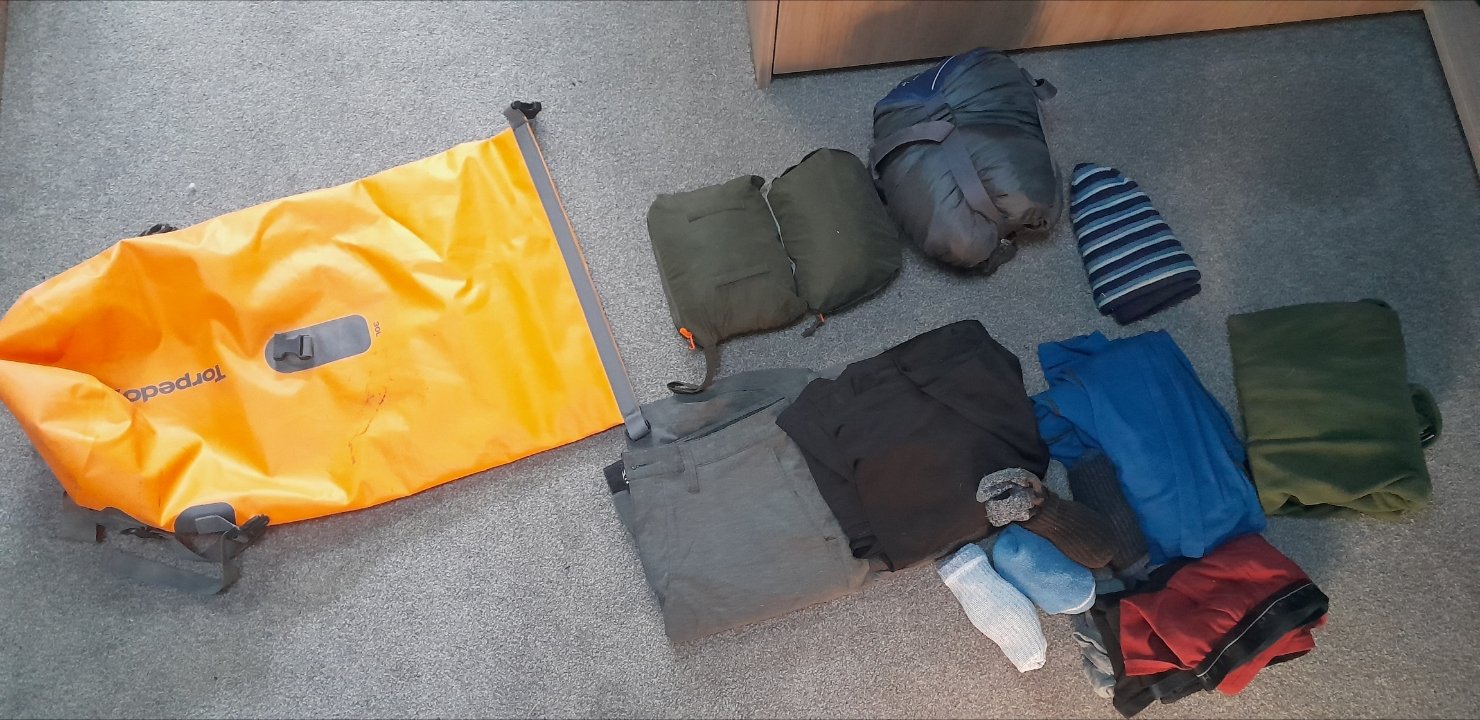
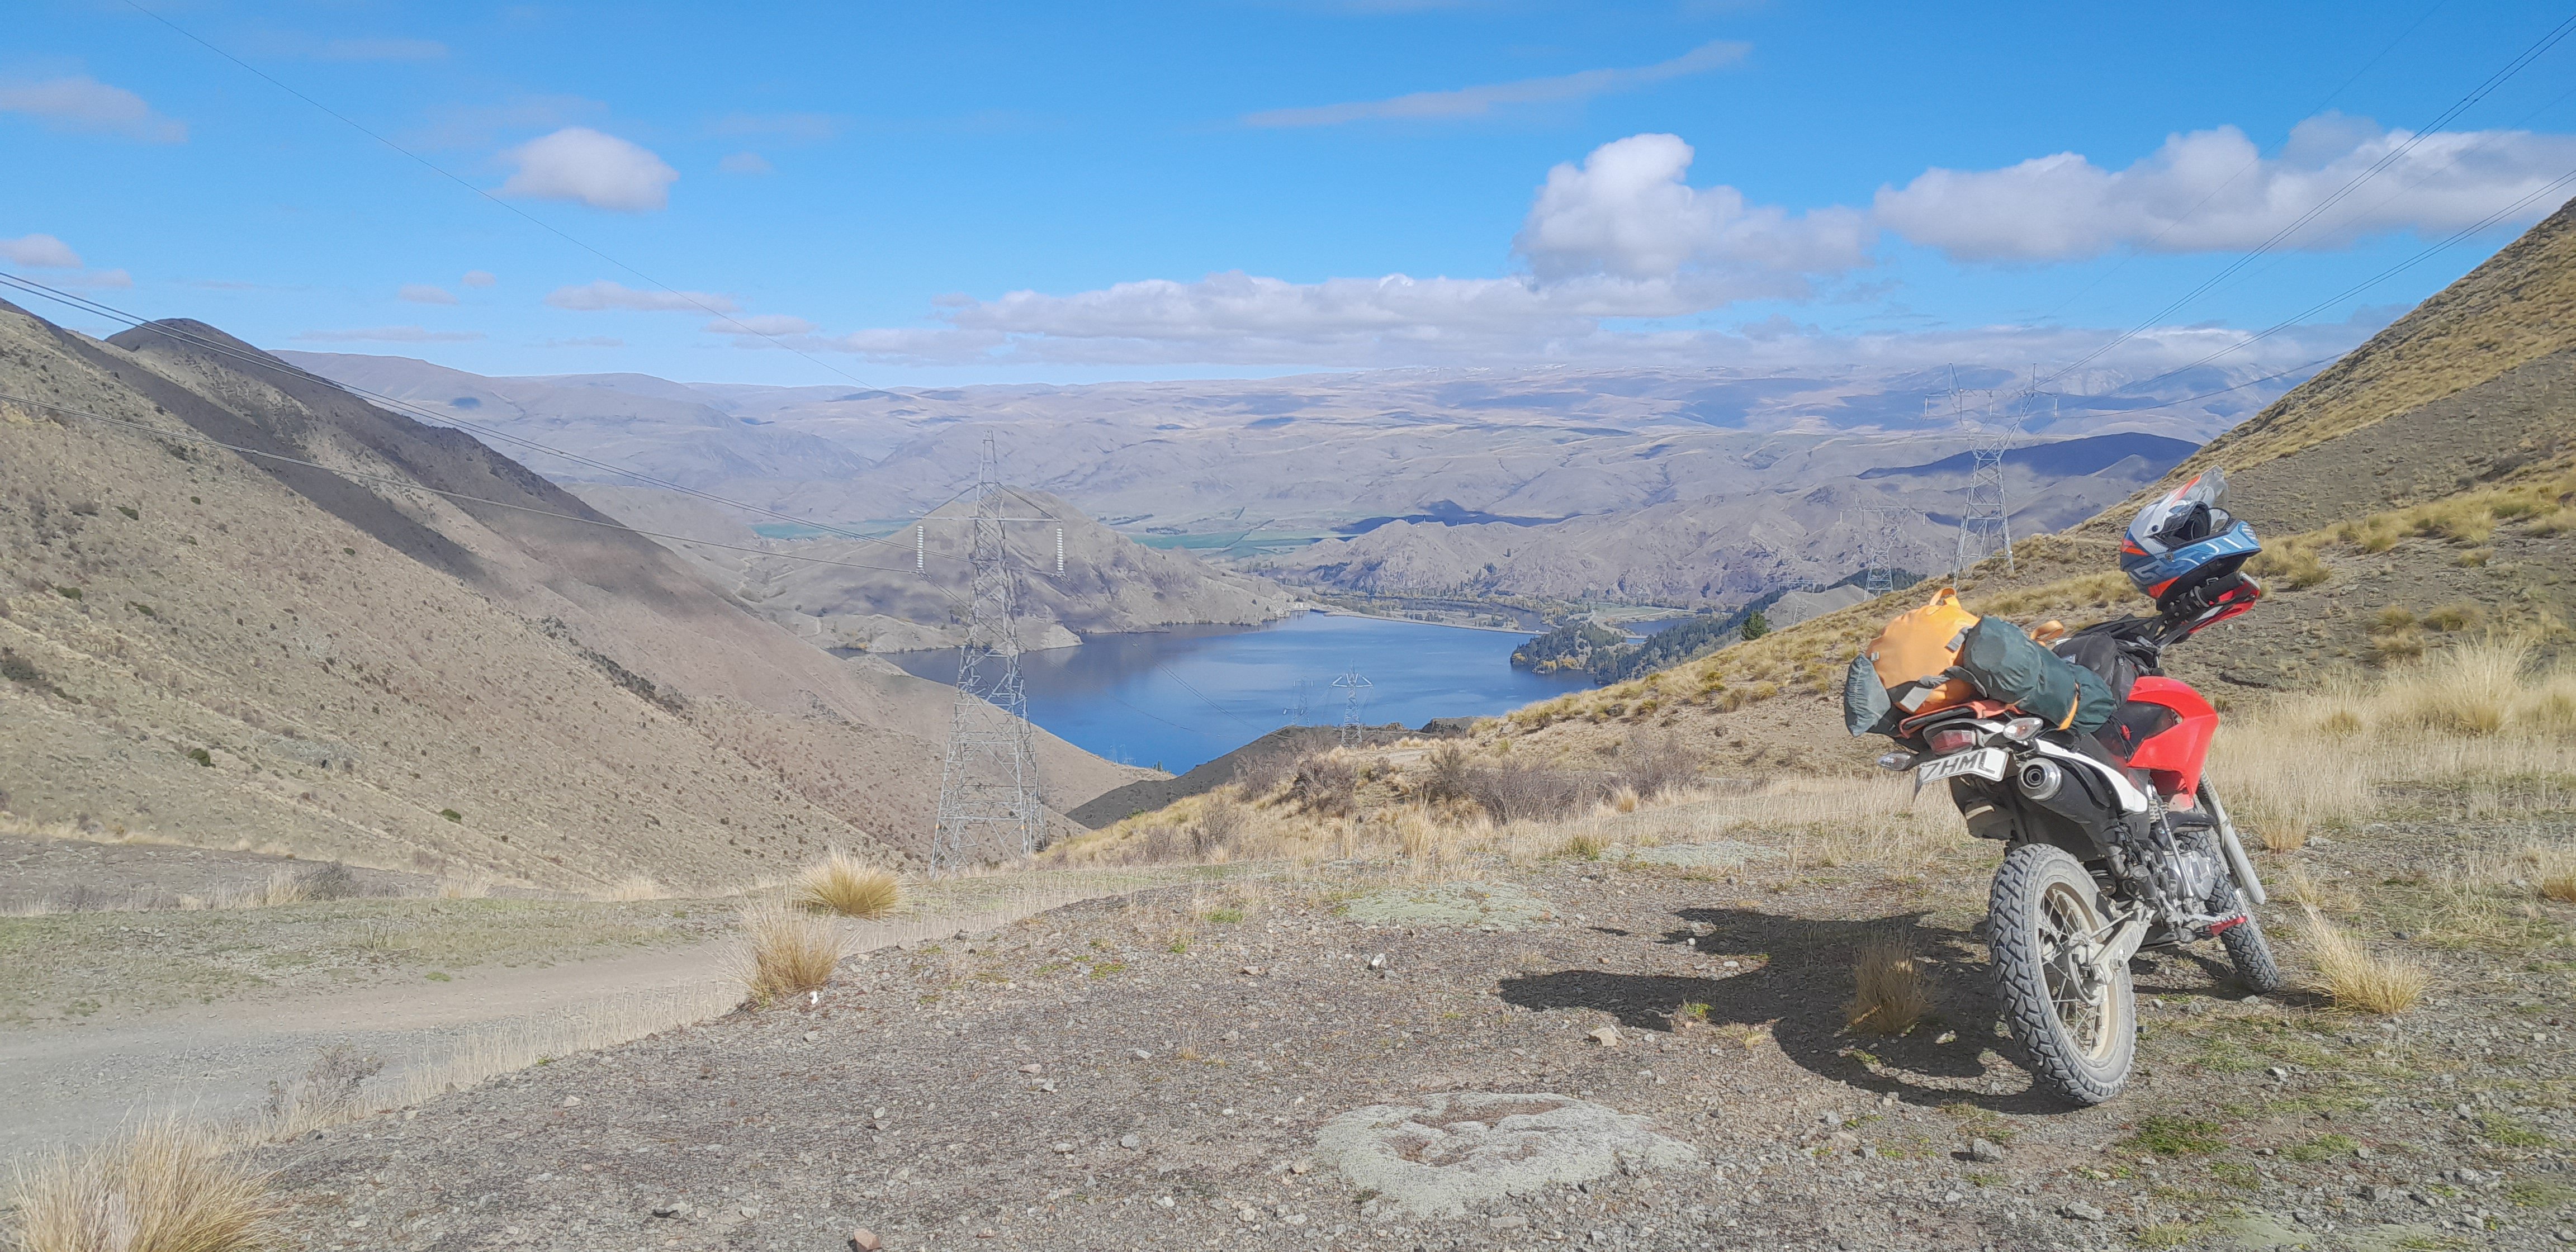
This year guys can we try and be more self sufficient, carry all your own gear. Last year we ended up with so much gear in the support vehicles they were stacked to the roof! This year we just can't be doing that, they're going to need to travel light just to try and keep up with us. Plus I reckon it's more of an adventure if you can do it on your own. The support vehicles are there for breakdowns and bbqs, and imo we're very grateful to have them. Just to give you an idea, if you're not sure, this is the gear I took on the recce in April. That's 3 pairs undies, 4 pairs socks, thermal top and leggings, 2x long sleeve sports type shirts, 2x sports type t-shirts (one has some merino in it), Polar fleece jersey, jacket and pants rain gear, and a beanie. (Toothbrush not pictured)(also towel, I just remembered) And that all fits in a 30l dry bag easy (Last year I also had small cooker, gas canister, small pot, and freeze dry meals in there too) I'm obviously not including motorbike jacket and pants because I'll be wearing them, and some of those clothes ^ So that and 2 person tent and bedroll looks like this Backpack has camelback and snacks. I did have a tank bag but that was mostly tools, phone charger, and lunch but you won't be needing that. It can be warm in the valleys and cold up top on the ridges. I ended up wearing the thermals, long and short shirts, Polar fleece under bike gear, and rain pants over bike pants. (The bike pants I took were a cotton Kevlar cargo pants so not warm to begin with. And it was April, I don't know if that made a difference) I try avoid cotton t-shirts, they soak up sweat and will make you cold.
1 point
-
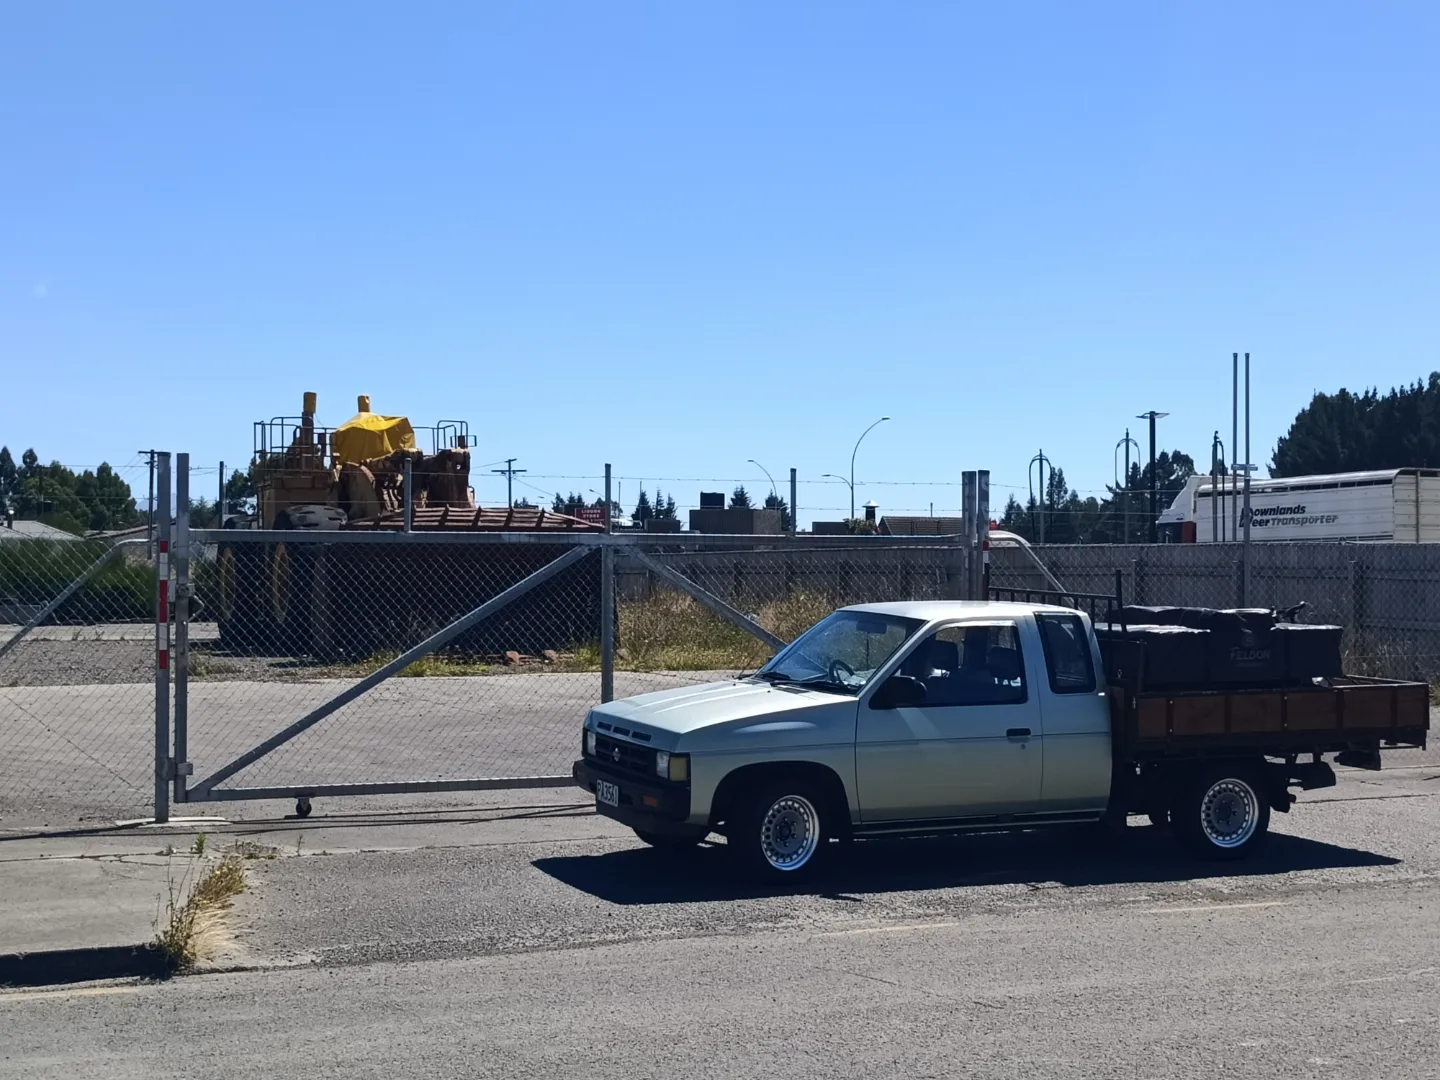
Removed the tow hook the other day and fitted the blanking panel. The towhook will remain in the boot once I have the insert to store it. It tidies the front up a bit, but i do kinda miss how it looked. On a side note, now that the auction results have dropped off the system, the rusty 4WD Alto I bought in Japan has resurfaced at a dealer in Japan for a shade over a million Yen (more than I paid). Looks like they gave the underside another coating of underseal, and fitted the white "summer" wheels, which were missing from the car when it was inspected after I bought it...1 point
-
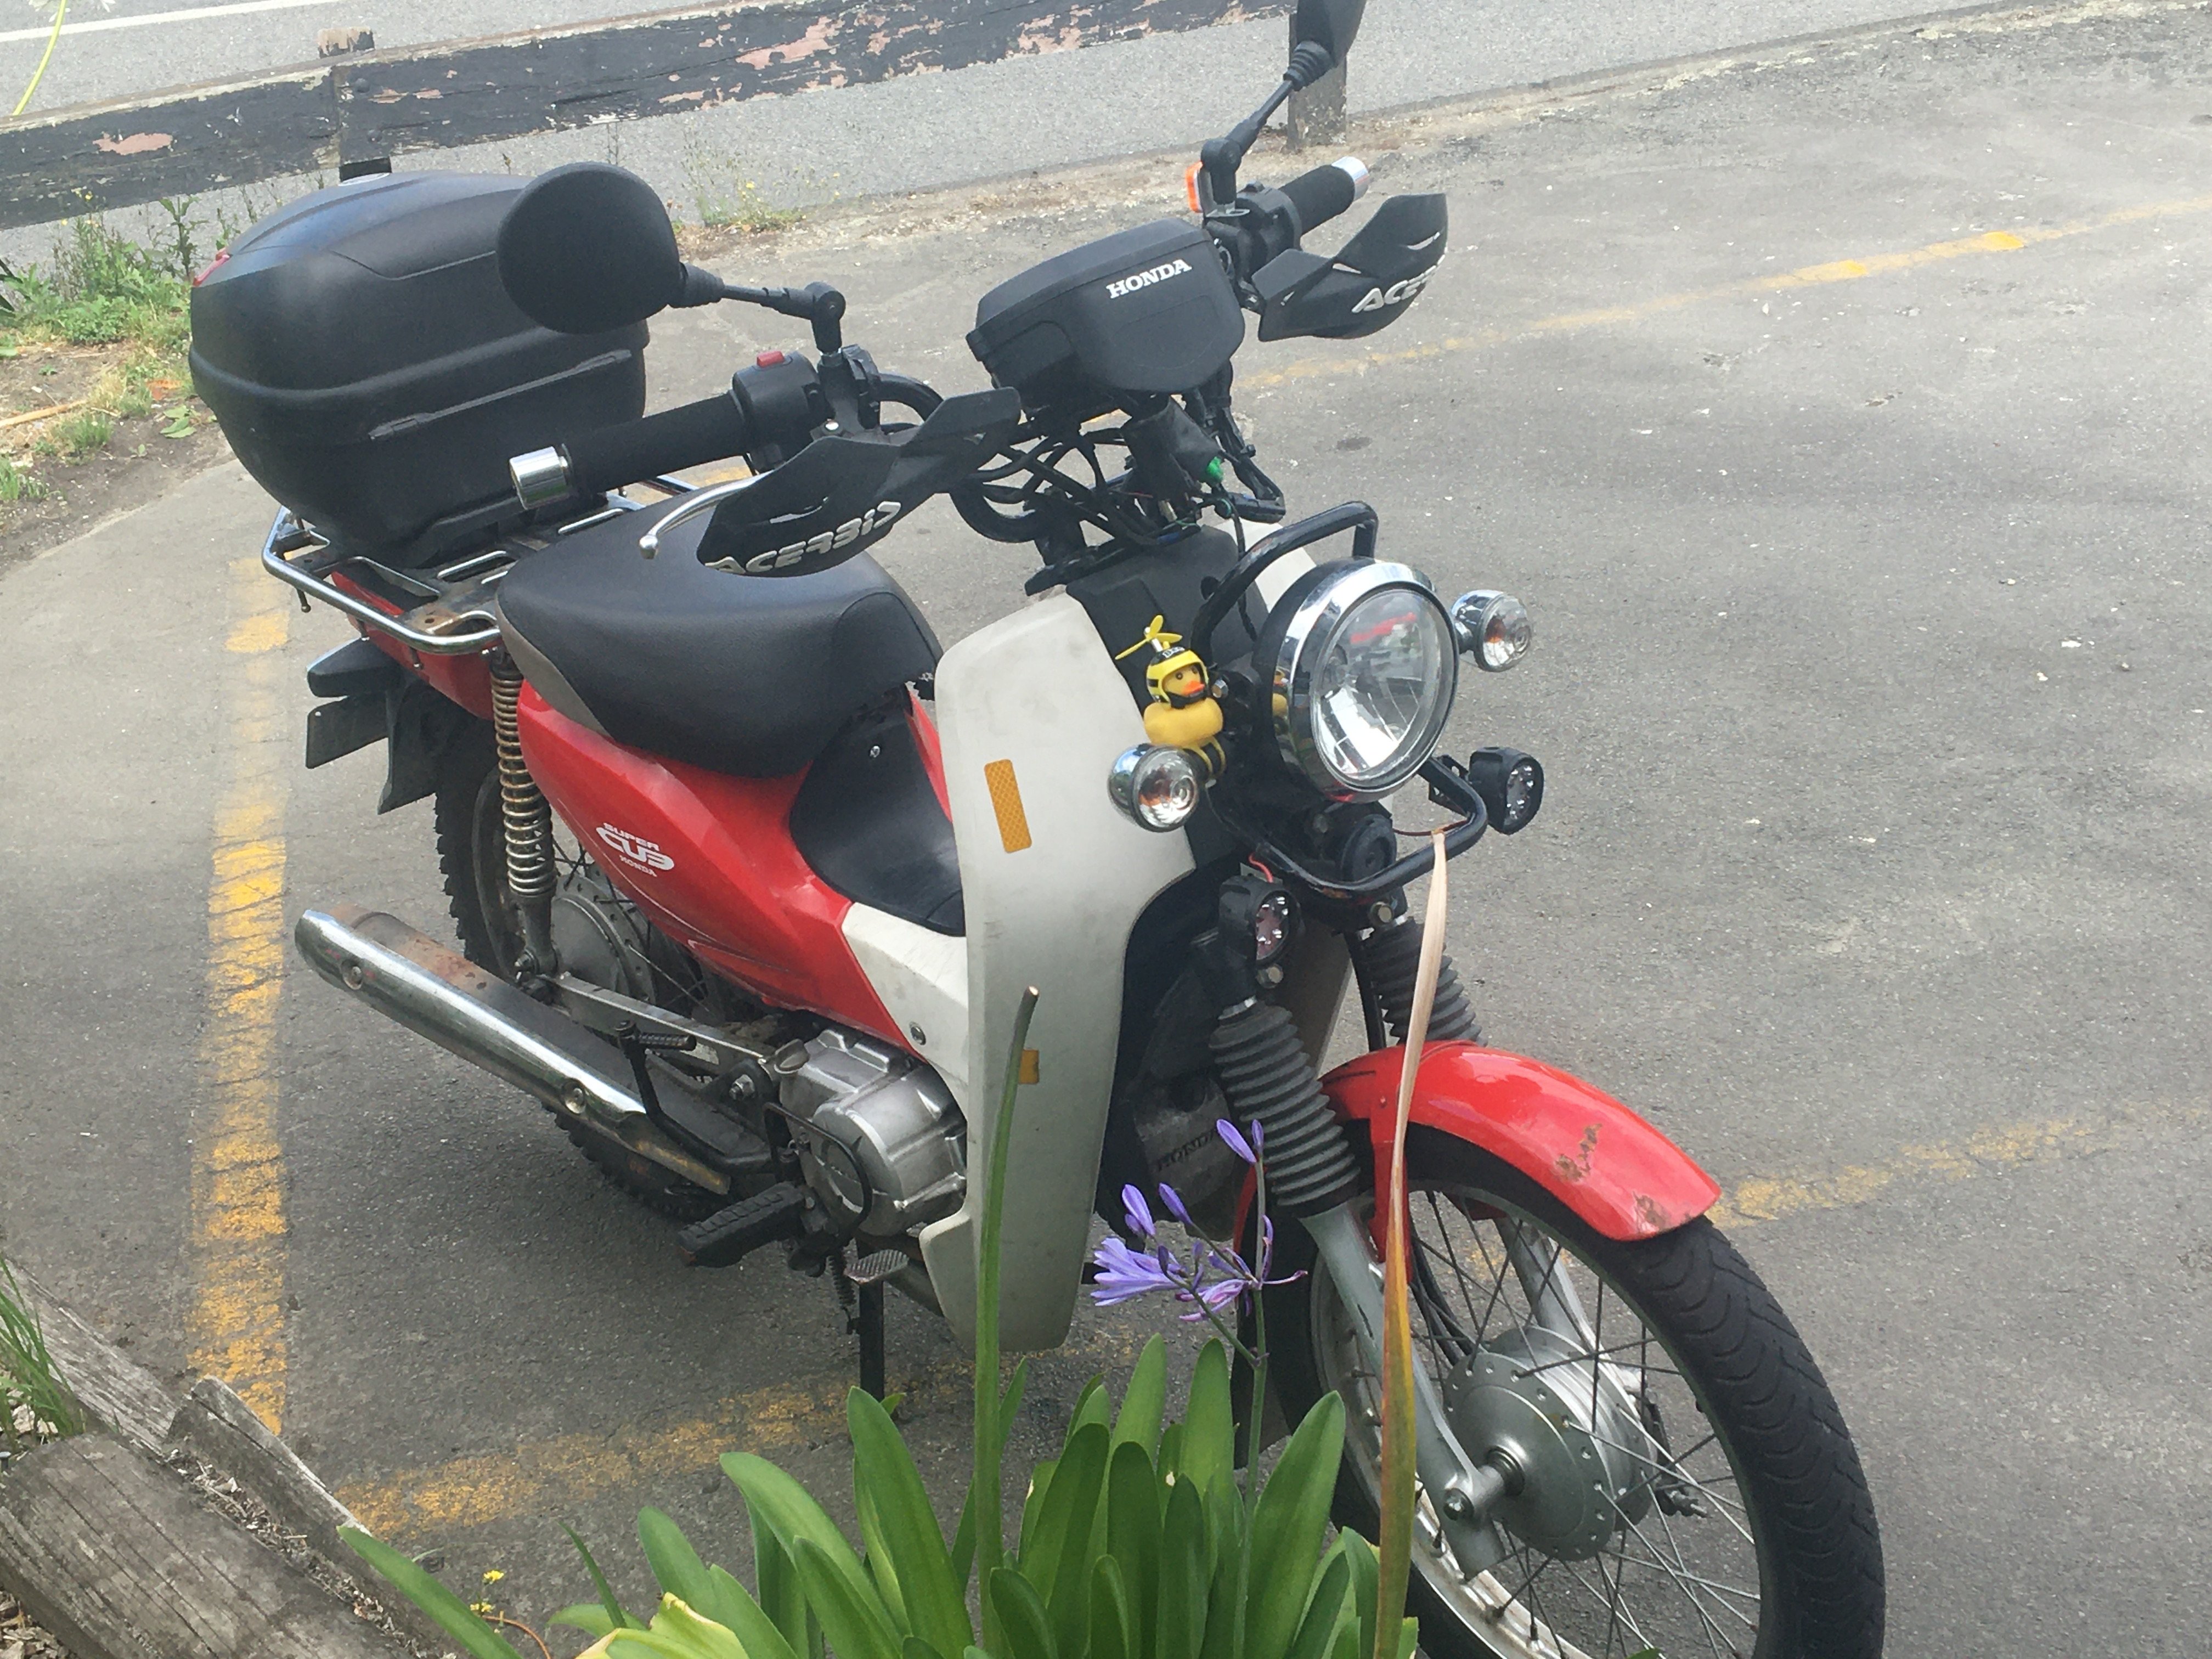
Have fitted spot lights, heated grips, USB port and foldable mirrors. and safety duck. new tyres should be here next week
1 point
-
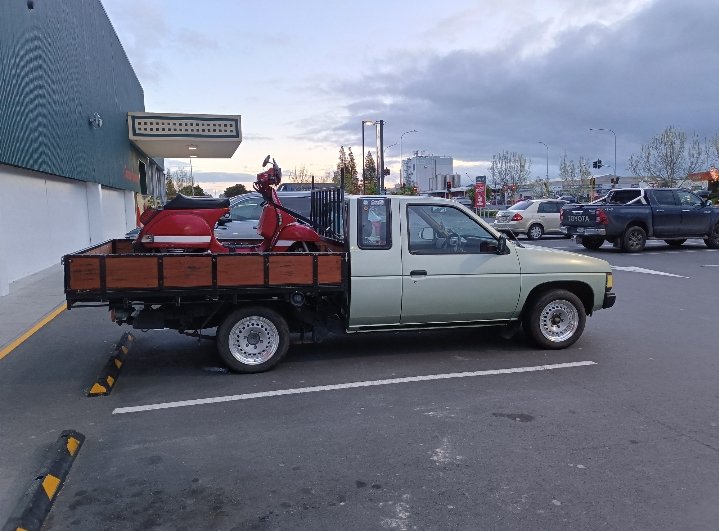
Oh and hauled some more bikes. Didn't get any pics of all 3 loaded up
1 point
-
1 point
-
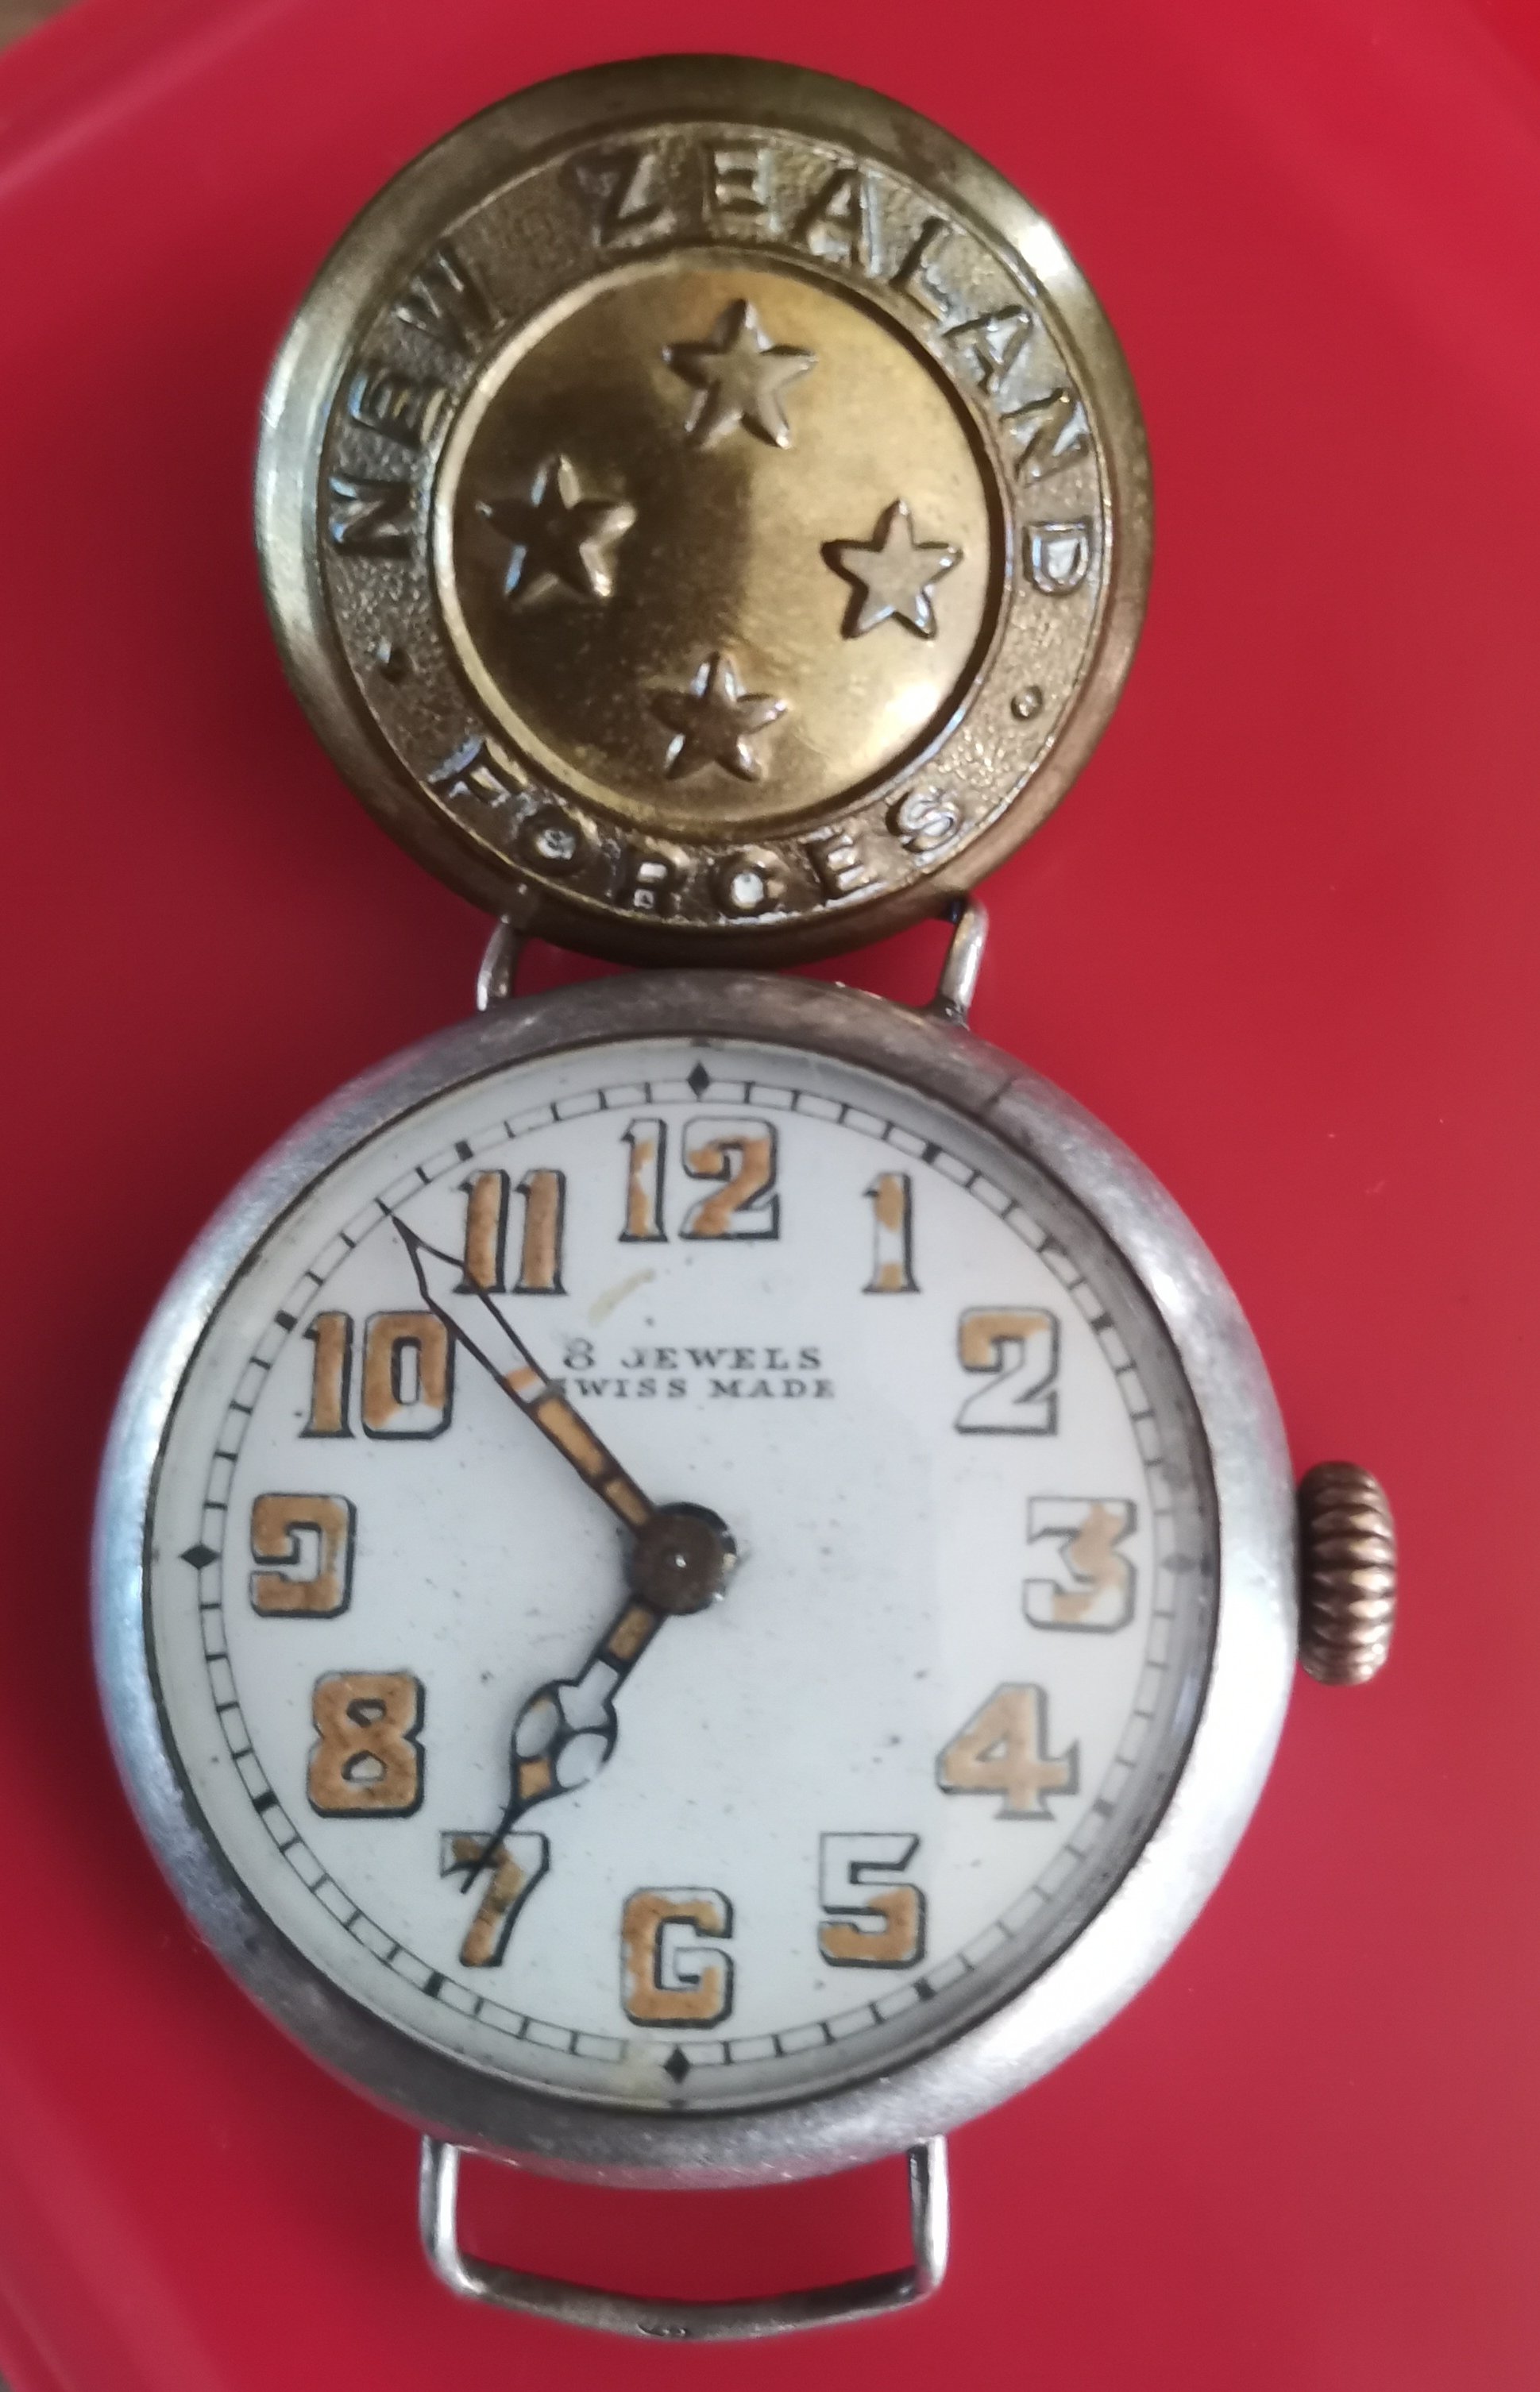
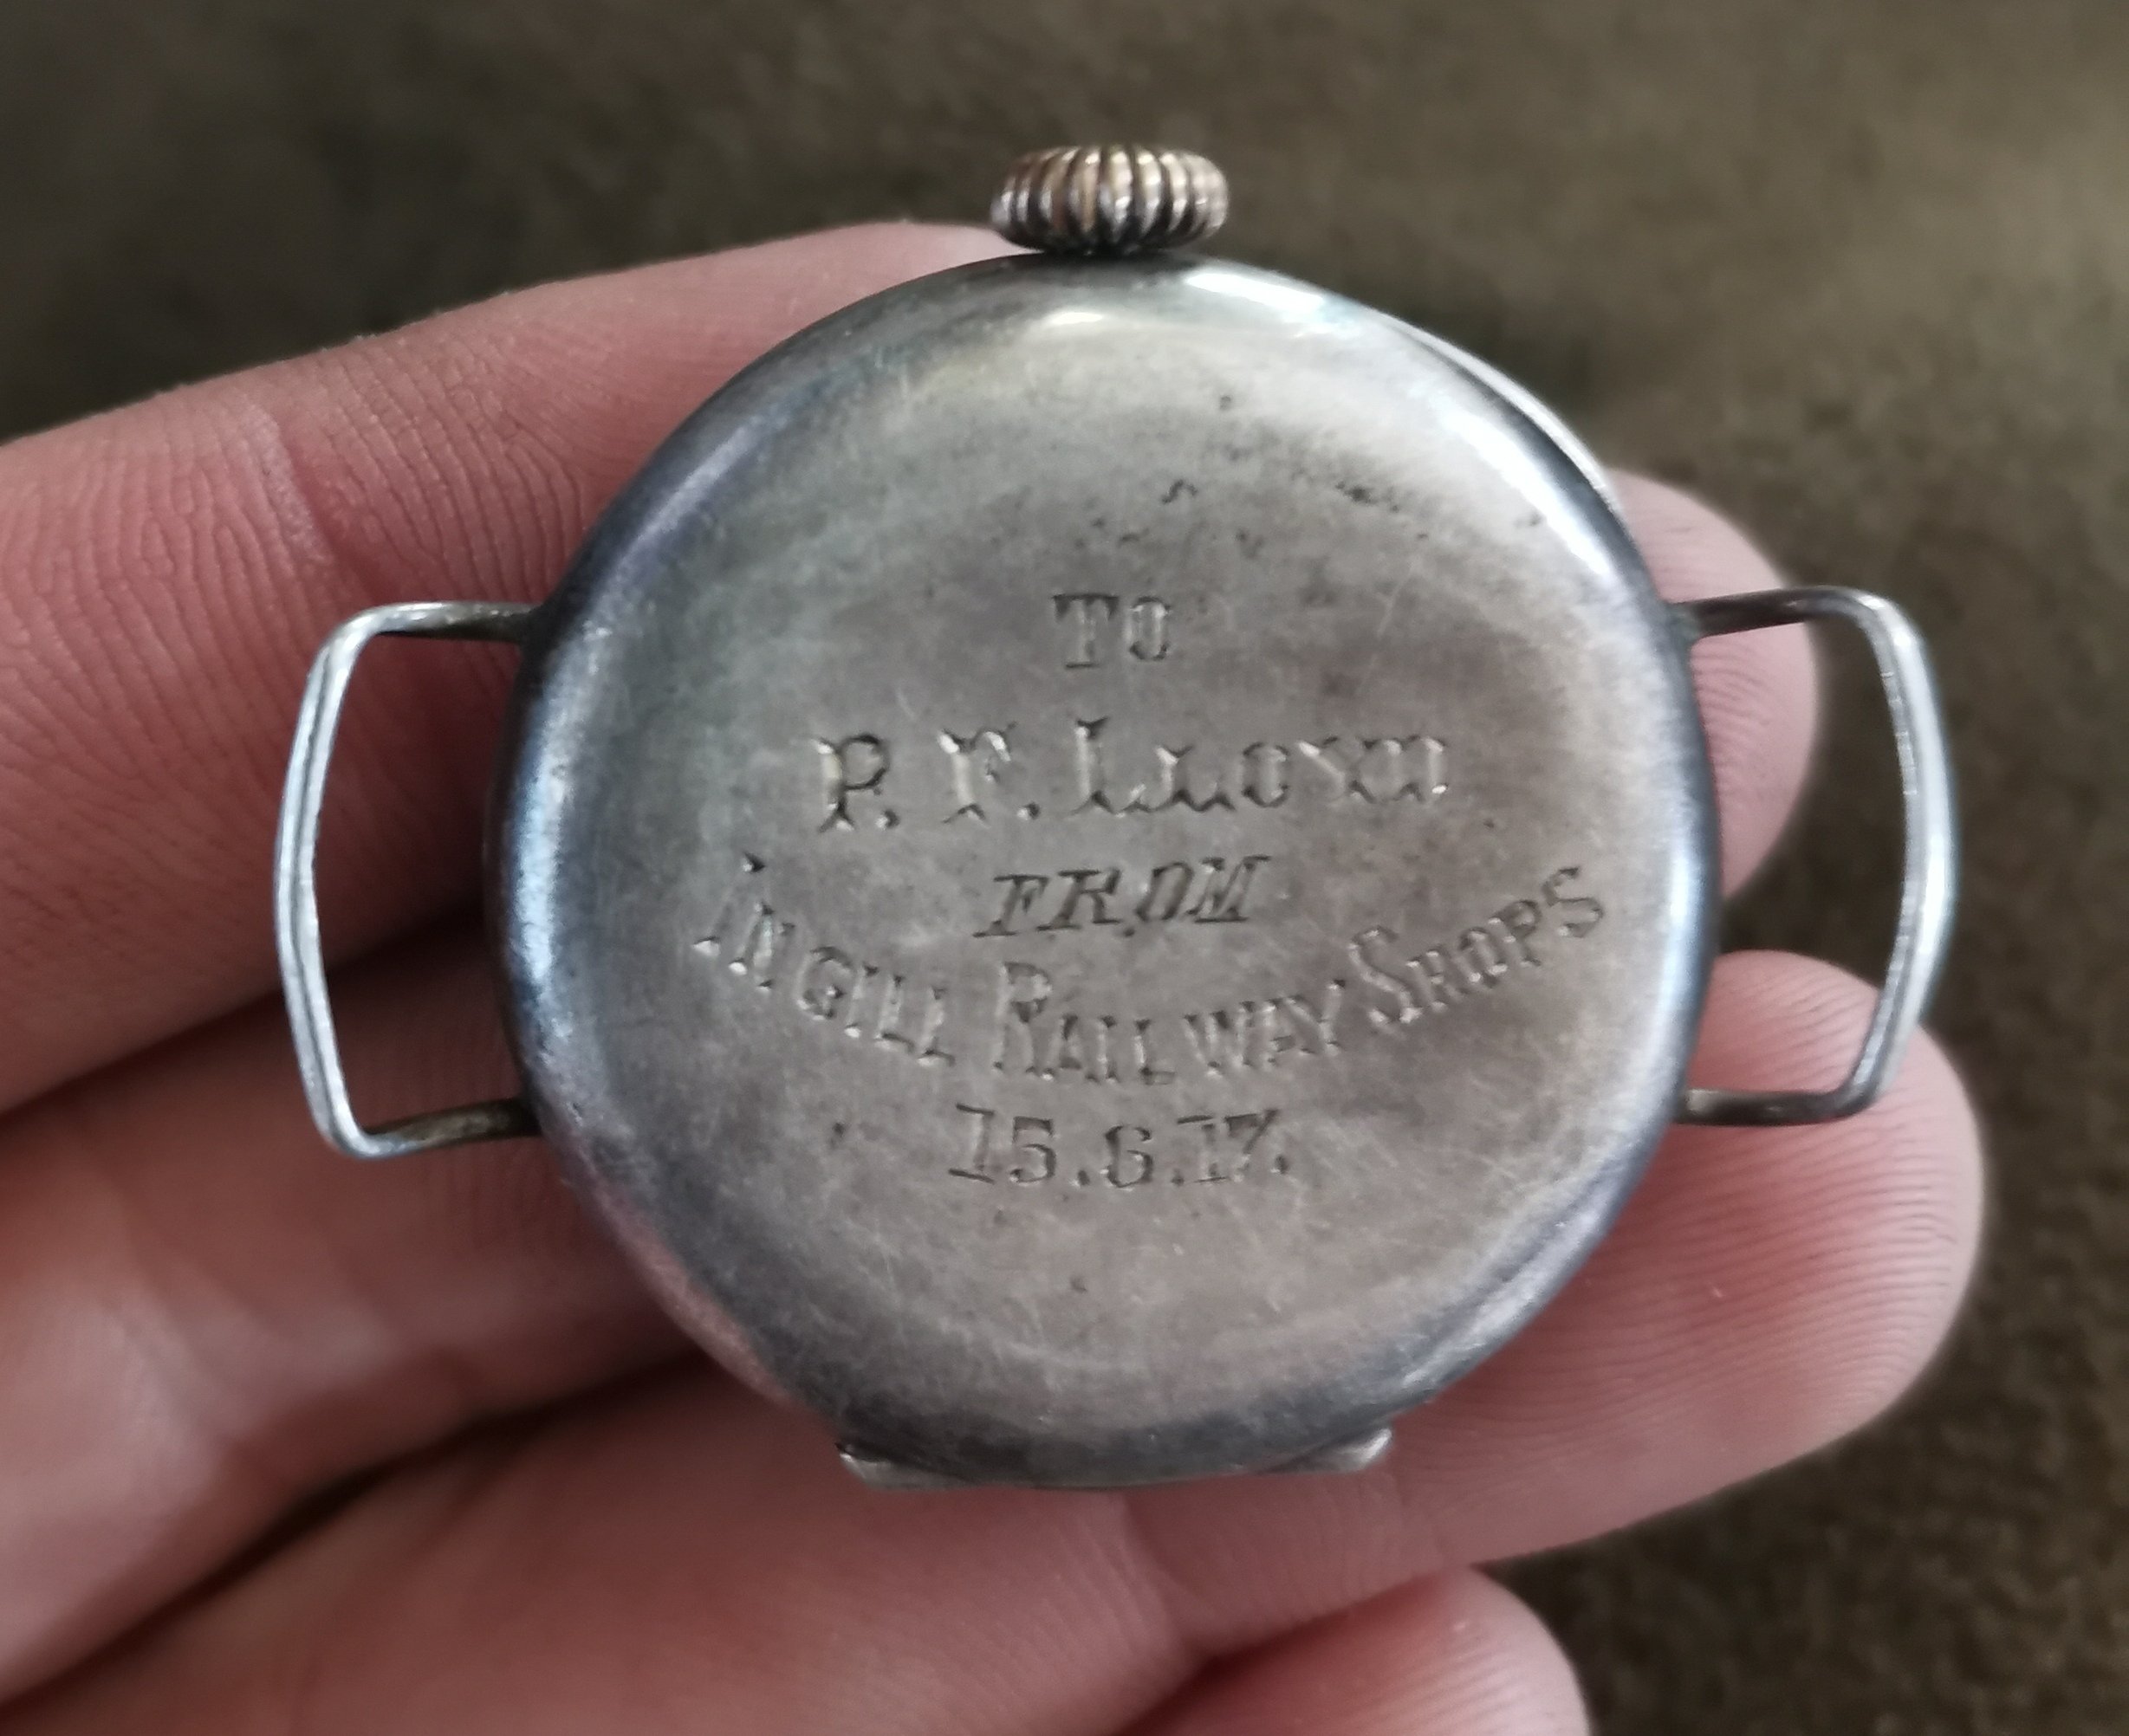
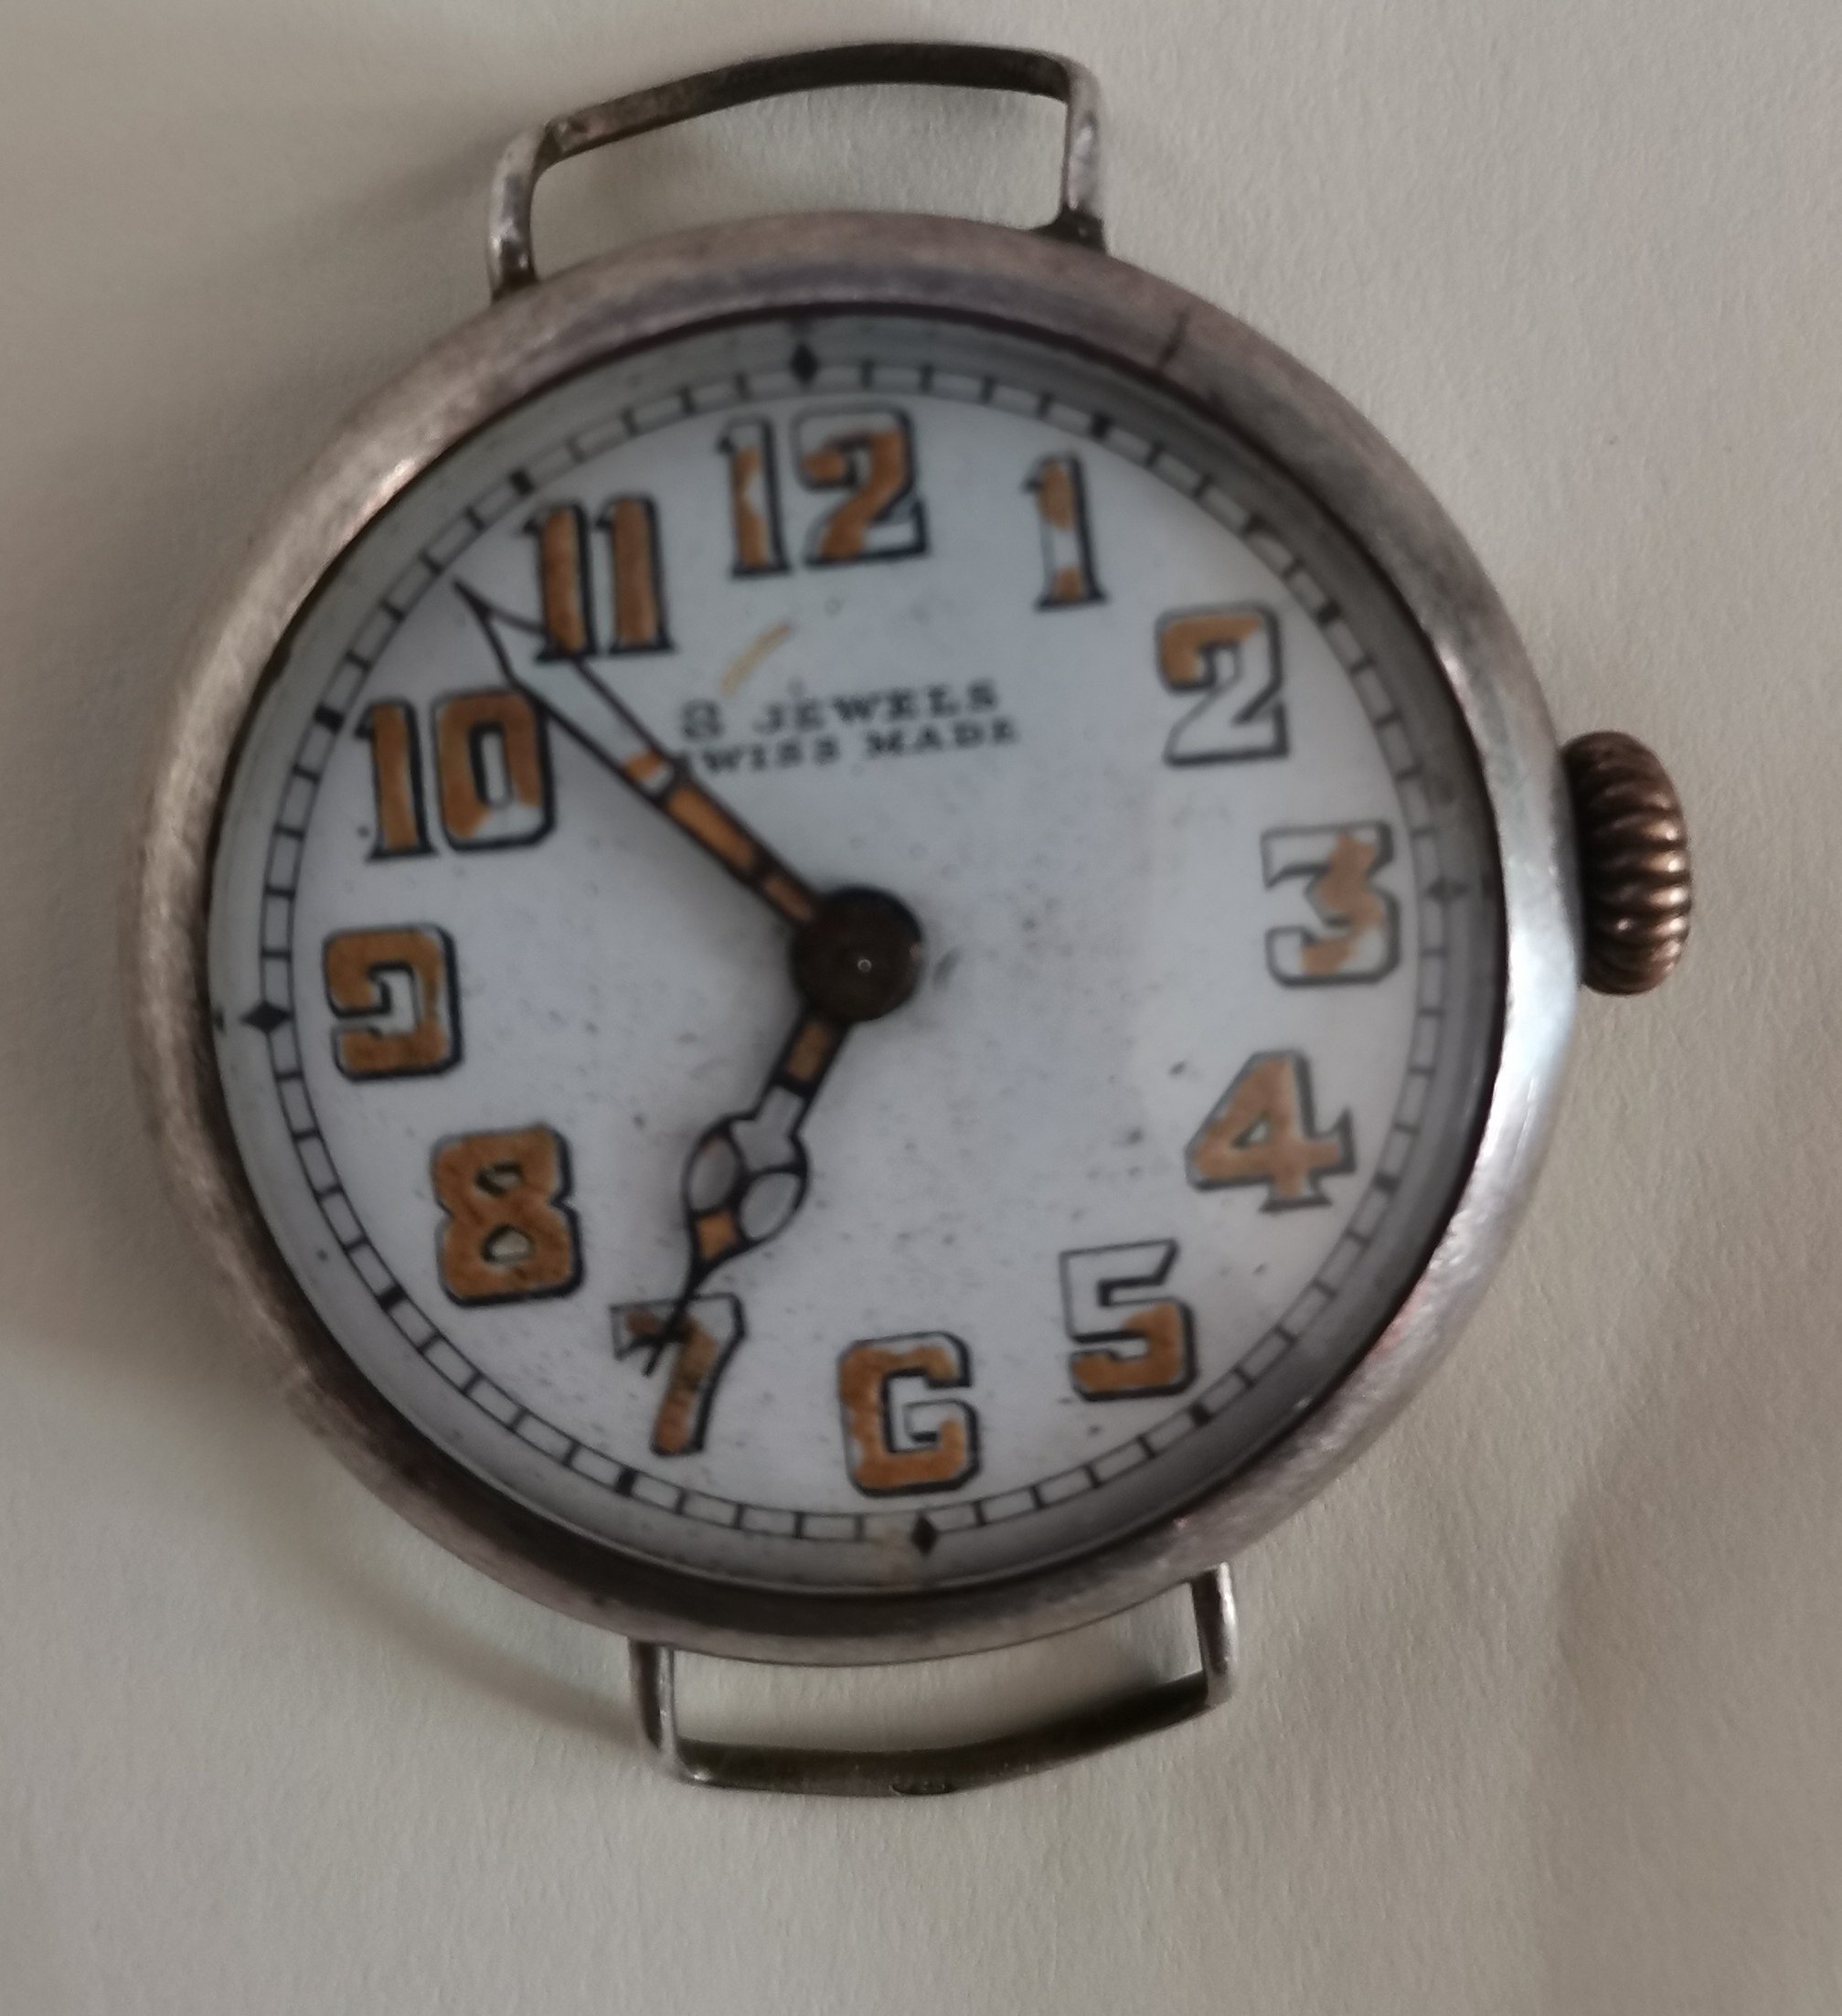
And heres a genuine trench watch Belonging to Percy Lloyd, a grocer's assistant of Hokitika Given to him by the invercargill railway shops There's only 1 Percy Lloyd that shipped out after 1917, and one in 1916. He went to France as a rifleman. He slipped on some ice on a trench duck board near "la butte" (Which could be several places, I'm trying to decipher 100 year old cursive and shorthand, it says he was taken back to "la butte, so i dont think its the hill full of germans) while carrying rations, and sprained his ankle bad enough to get sent back to London. Died 1985 Very neat, there's plenty of trench watches out there, but having one that you can place in a specific trench at a specific date is a bit special
1 point
.jpeg.f99ff6af90e2ec96b10ab810ade3160b.jpeg)


This leaderboard is set to Auckland/GMT+12:00