
Gee
-
Posts
115 -
Joined
-
Last visited
-
Days Won
1
Gee's Achievements
Advanced Member (3/5)
665
Reputation
-
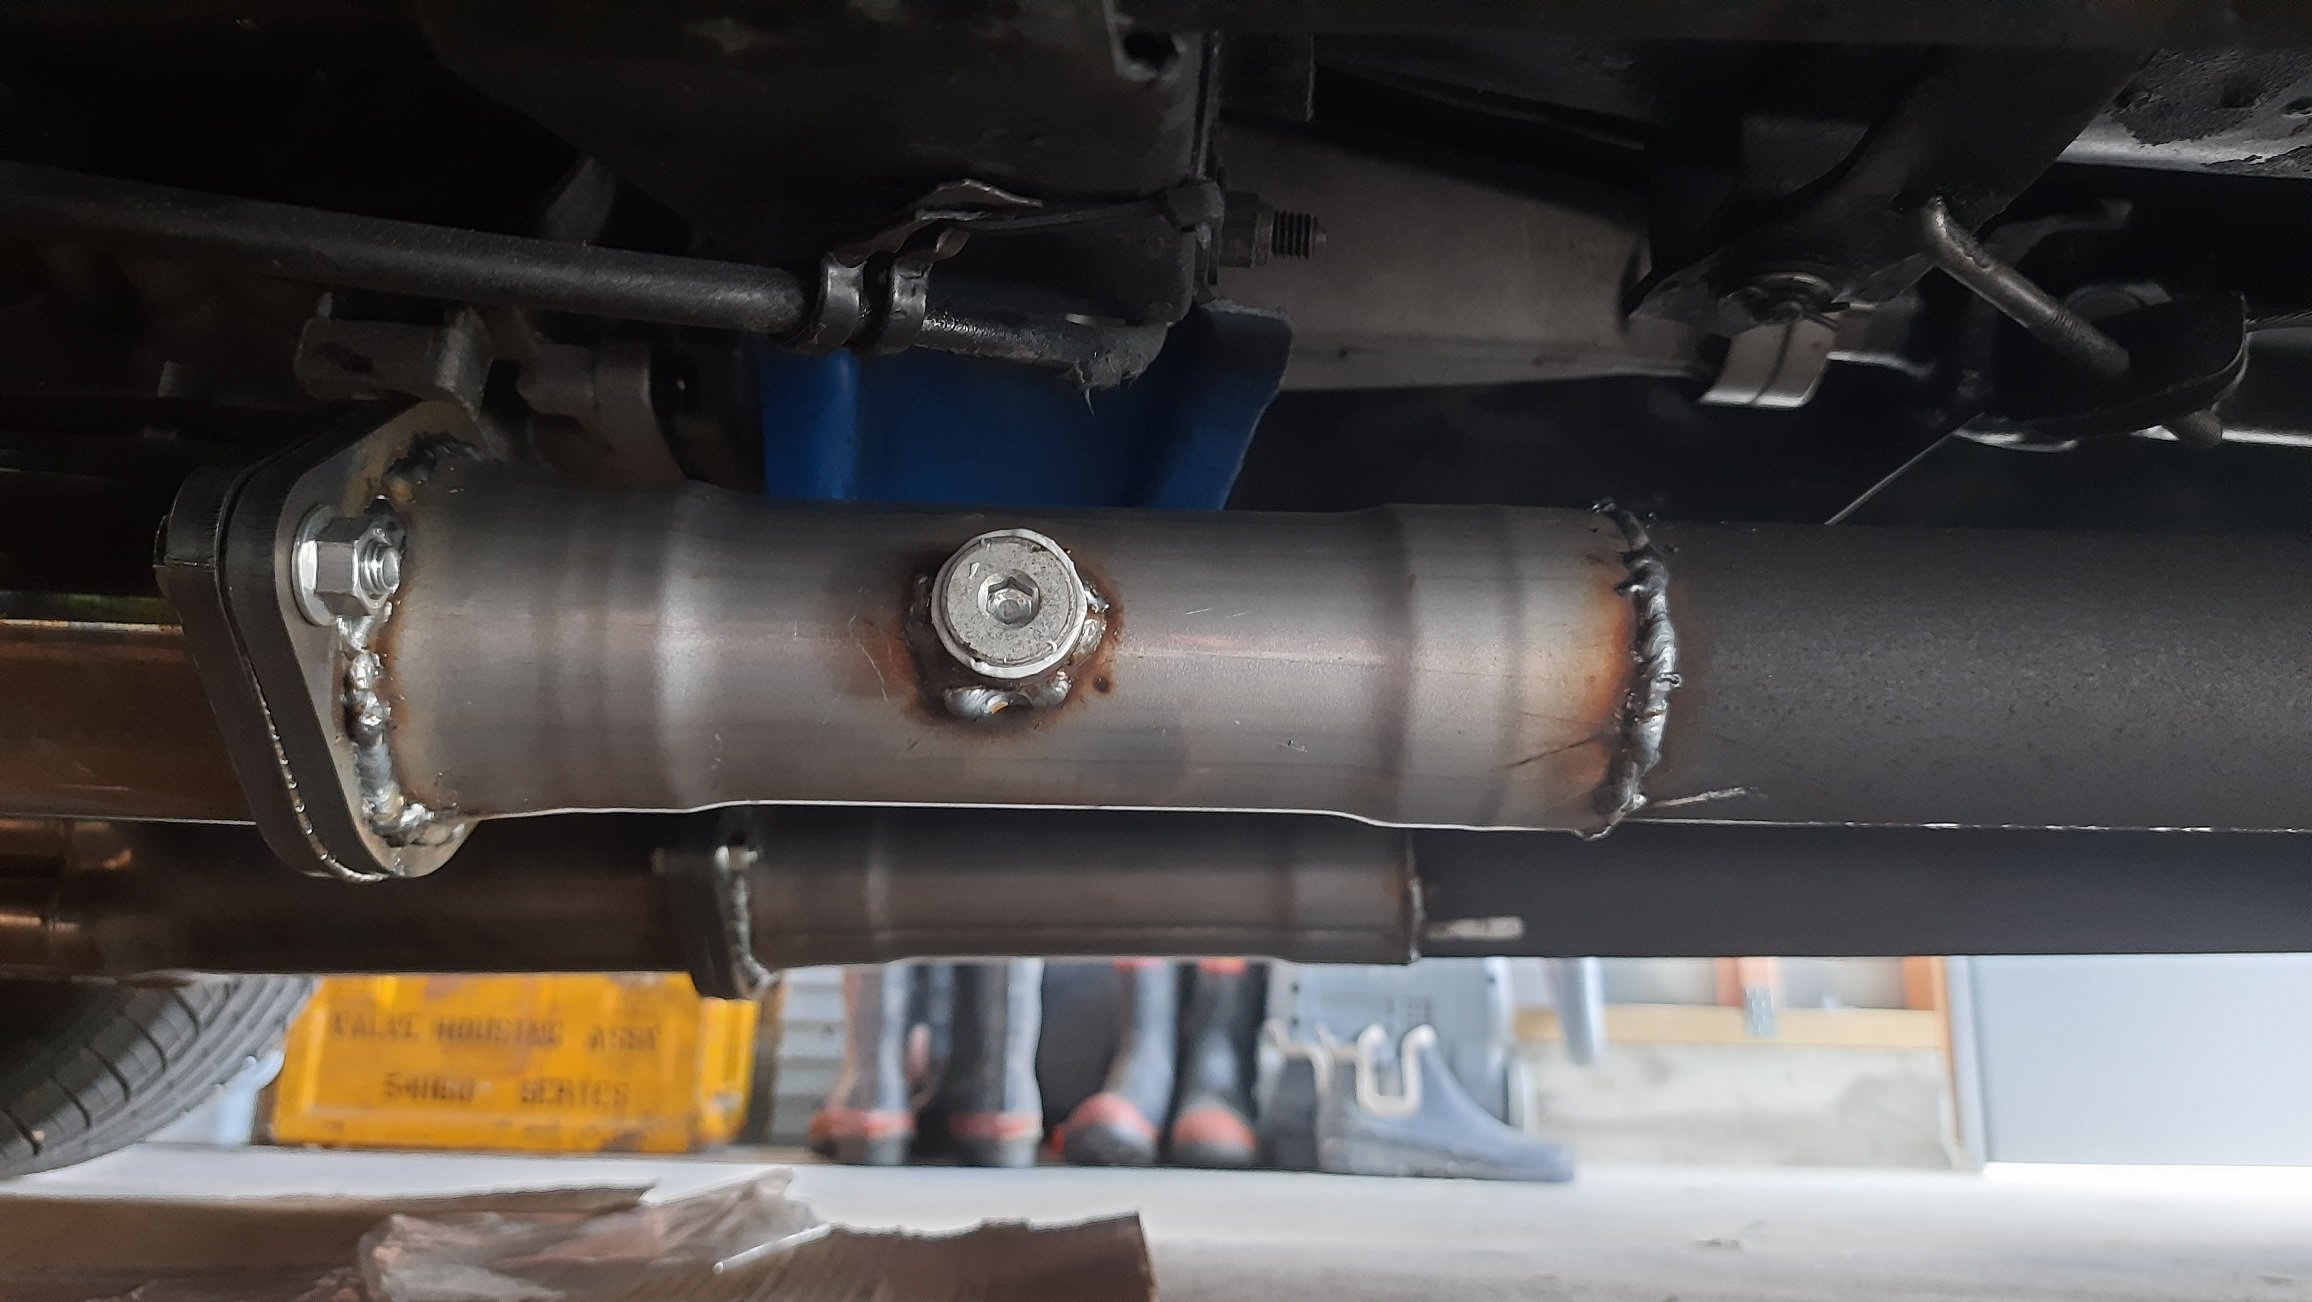
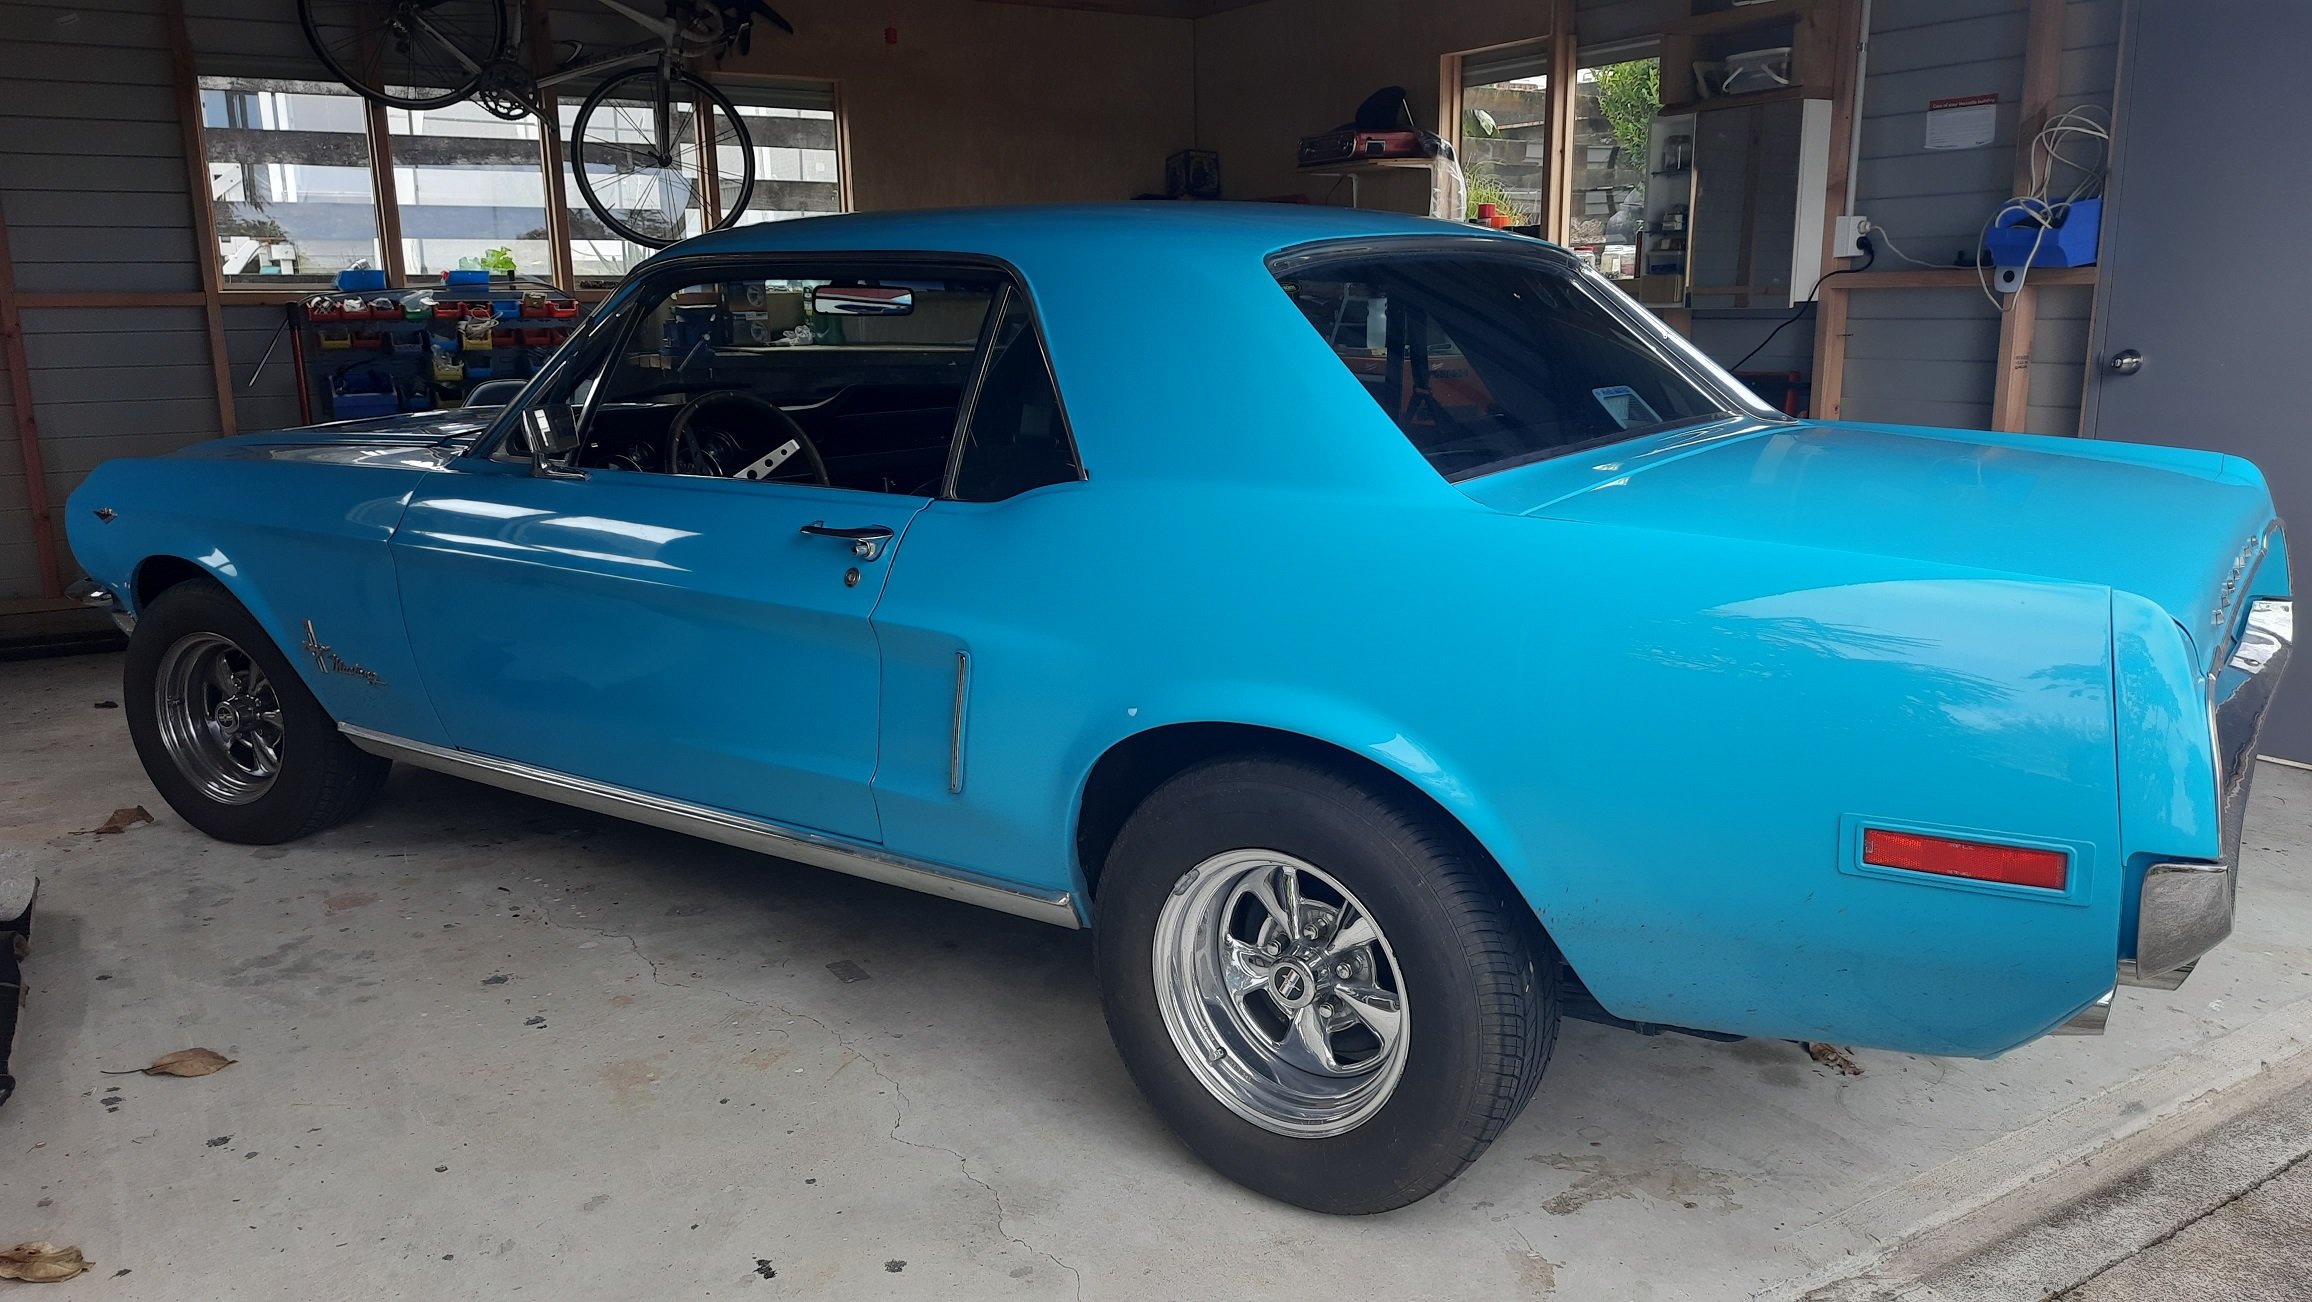
Got The brakes and exhaust leak fixed. As suggested by someone wise in such matters there was not much wrong with the brakes. They swapped drums left to right and checked everything then got it retested and it passed. They fixed the leak like this That will be a bit more secure and has upgrade potential.

-
Handbrake imbalance was probably 50% of my WOF fails on my Fairmont. That and steering play. It did have disc brakes in the rear but the same cable system. I assume they used rollers, it was the Moselle ave testing station. Annoyingly I didn't document what I did to fix it last time. I'm pretty sure they found an issue with the wheel cylinders and purged the whole system so in theory the brake system should be fine which should mean cables this time but who knows. I'll probably look at some other connection for the zorst but I'll have to see what options they have.
-
I could splooge something on but not familiar with the products. I don't like slip joints as a rule though. I haven't been able to to jack it up and have a look yet apart from a quick pic. Ford handbrakes are fairly chronic for needing adjustment. the cable can slip left and right on occasion. The last time though was sticky wheel cylinders though I think.
-
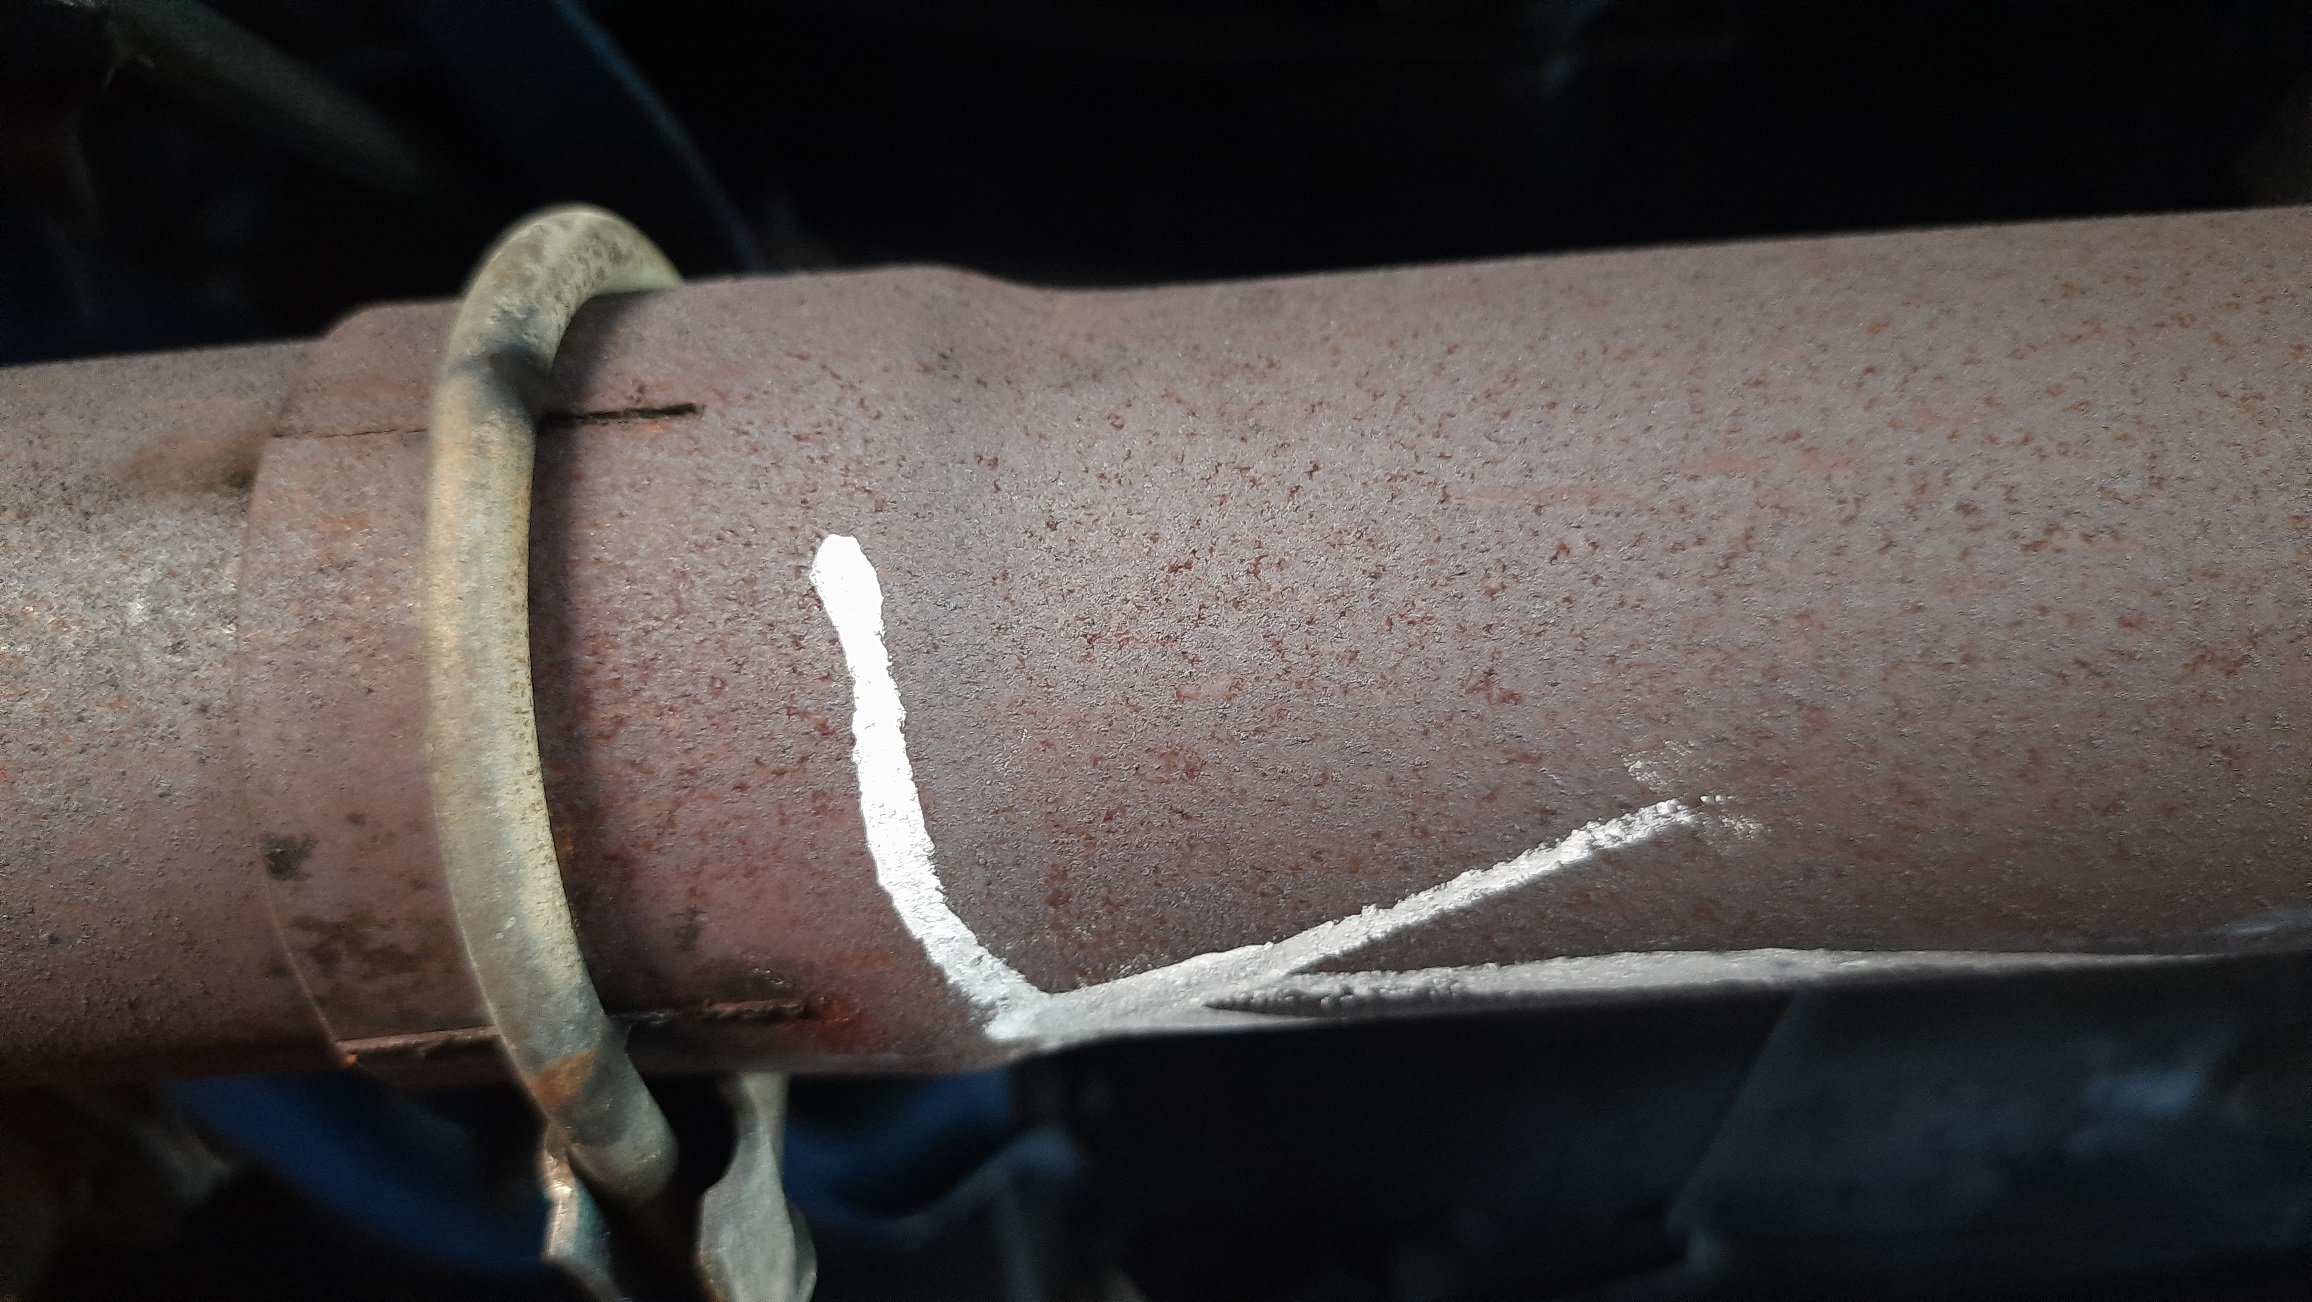
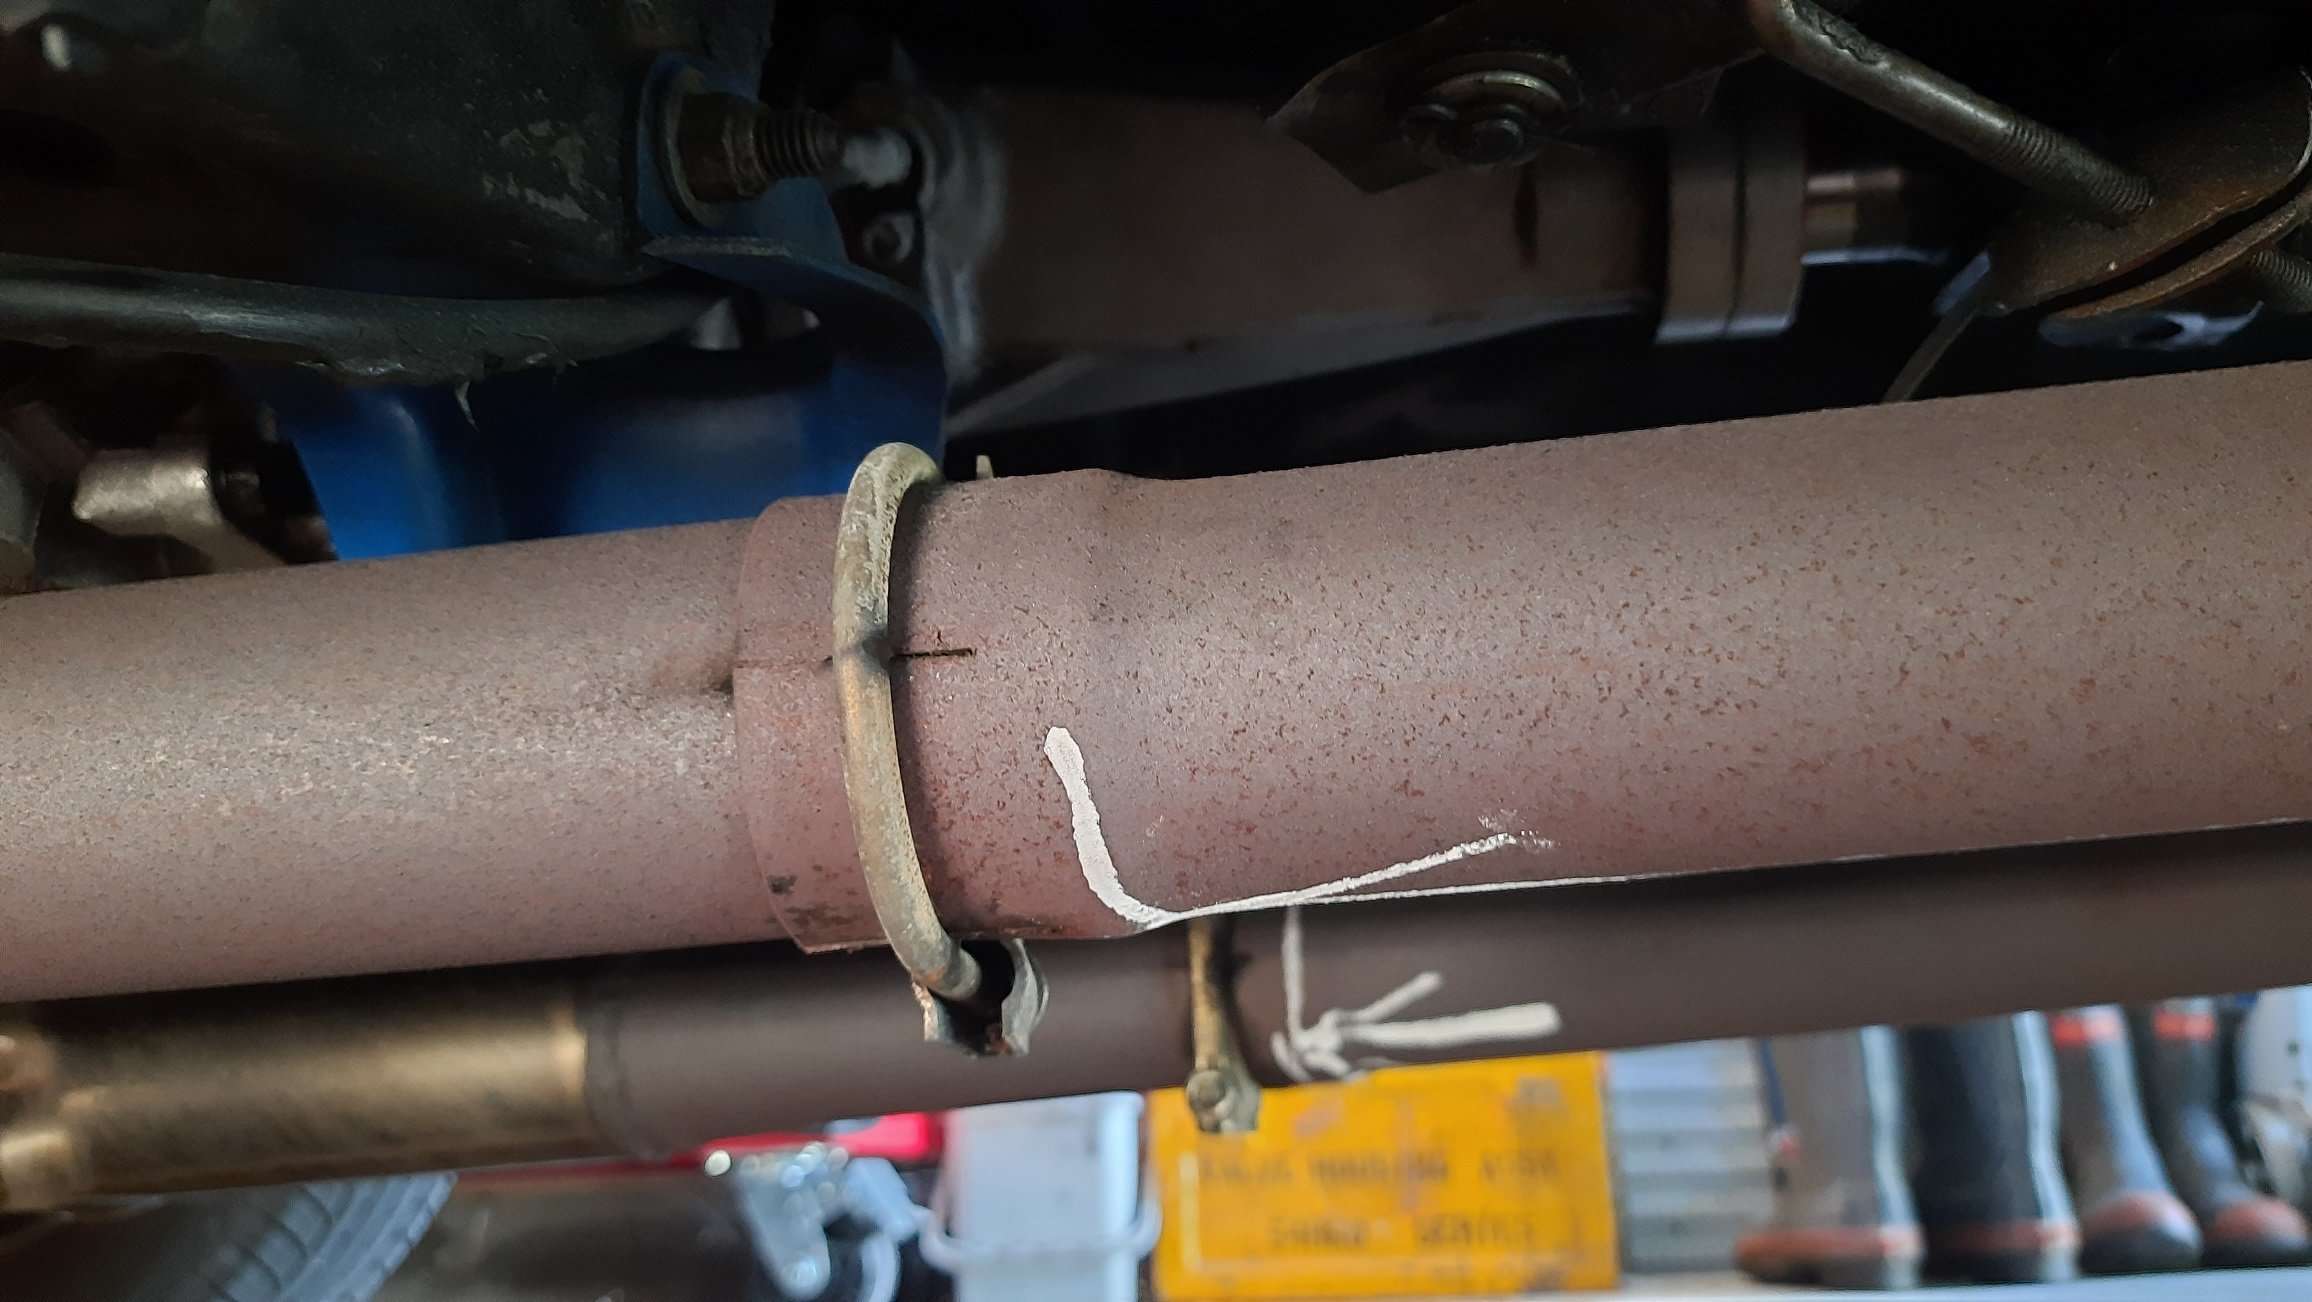
Failed my warrant again. Hand brake balance (as usual) and also exhaust leaking from the slip joints. I can just get these replaced but what to replace them with? There is no flex in the system which won't help and slip joints leak sometimes anyway so I need a better way to join the pipes.
-
Wouldn't lowering it just give more clearance underneath?
-
Gidday @DRREMN, the Cougar looks cool. The clearance around the exhaust is not going to be fixed by moving the ram as far as I can tell, it is an issue with hitting the headers or frame as it moves lock to lock. The way the power valve works is the issue. If I was to mod it I'd chuck in a Borgeson Pwr steer kit. I've not heard great things about the Flaming River racks and I don't want to change the geometry in case I mess things up. The belts were fitted in 1998 according to the label but there is no cert. I'm not sure if it is required as the mounting points are stock but someone might know the regs better. There are some good kits and the 67 and later Mustangs (and I assume Cougars) have mounts in the roof for the belts so are much safer than retro fitting to 66 or earlier cars. I used a business called Auckland Seatbelts and he seemed to know his stuff. I asked about the rears as they are not inertial reel but the reels look a bit ugly sitting on the parcel shelf. The belts are great though. They do kinda ruin the pillarless look but I like having an inertia reel as I can take the wife and the dog for a cruise and everyone is belted in safely.
-
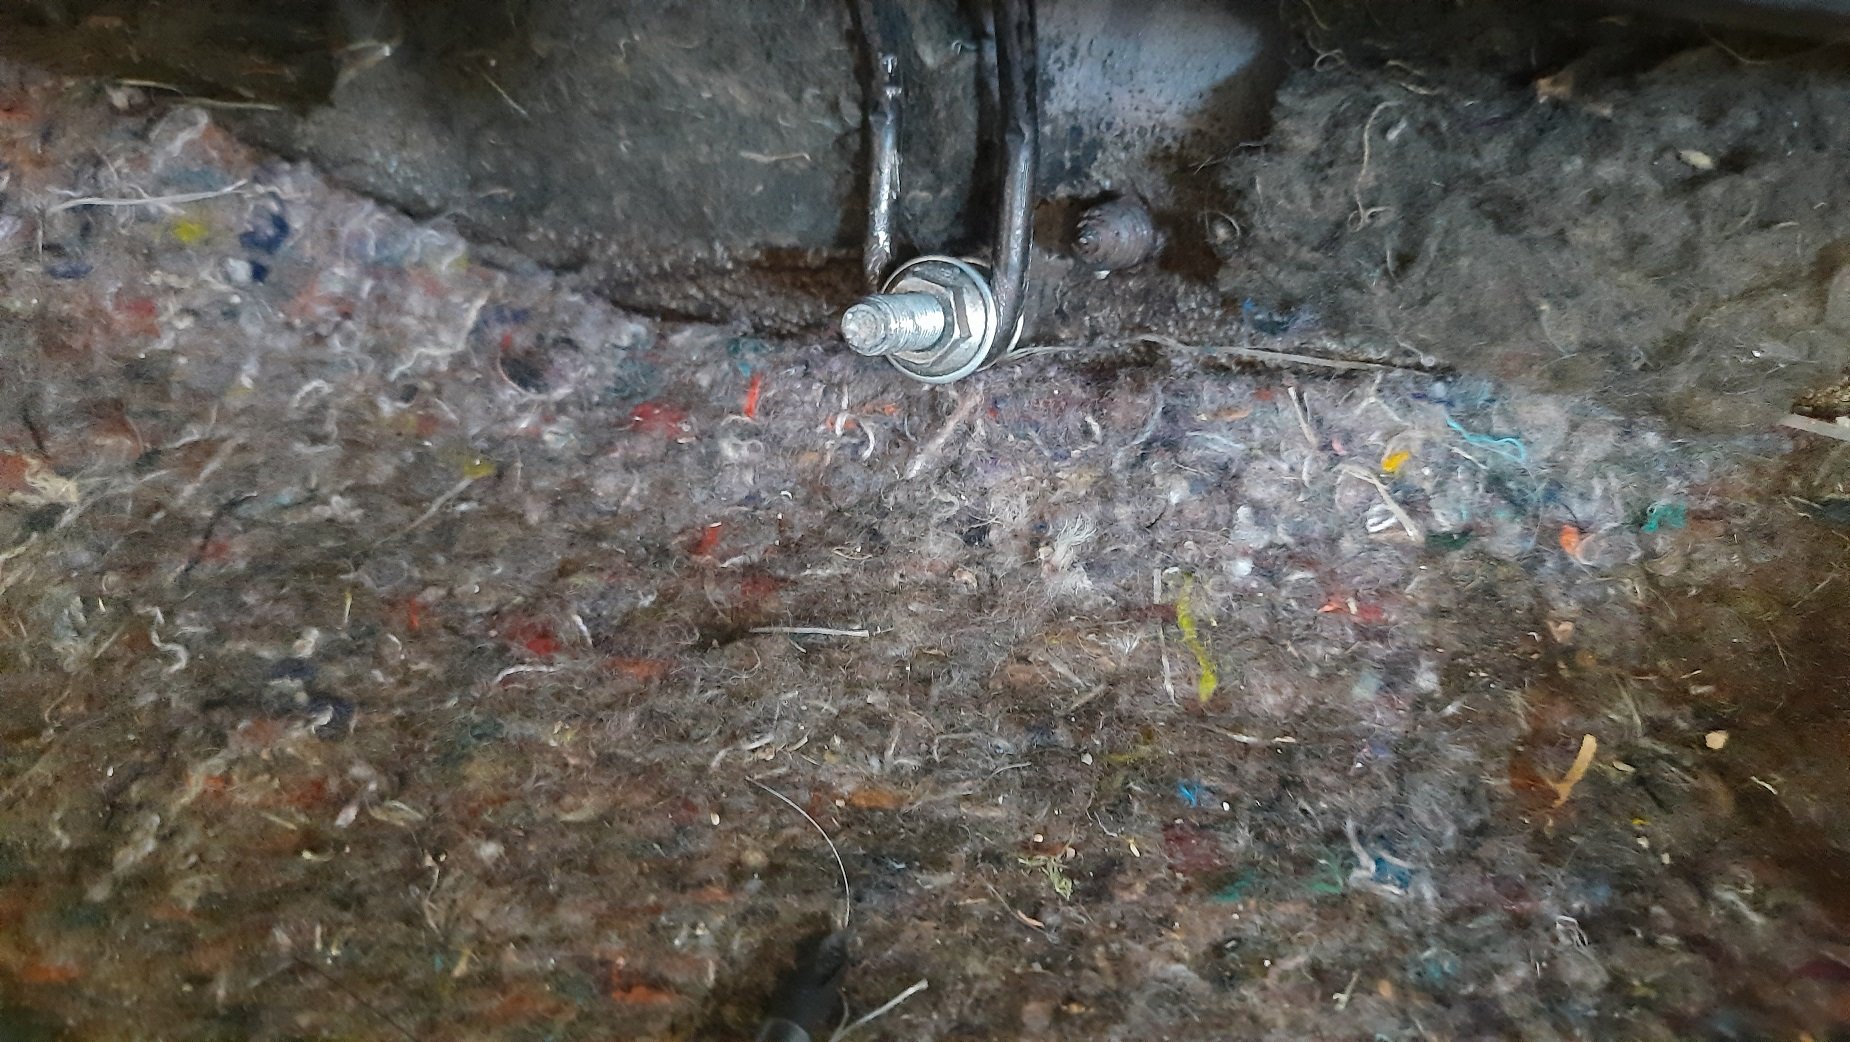
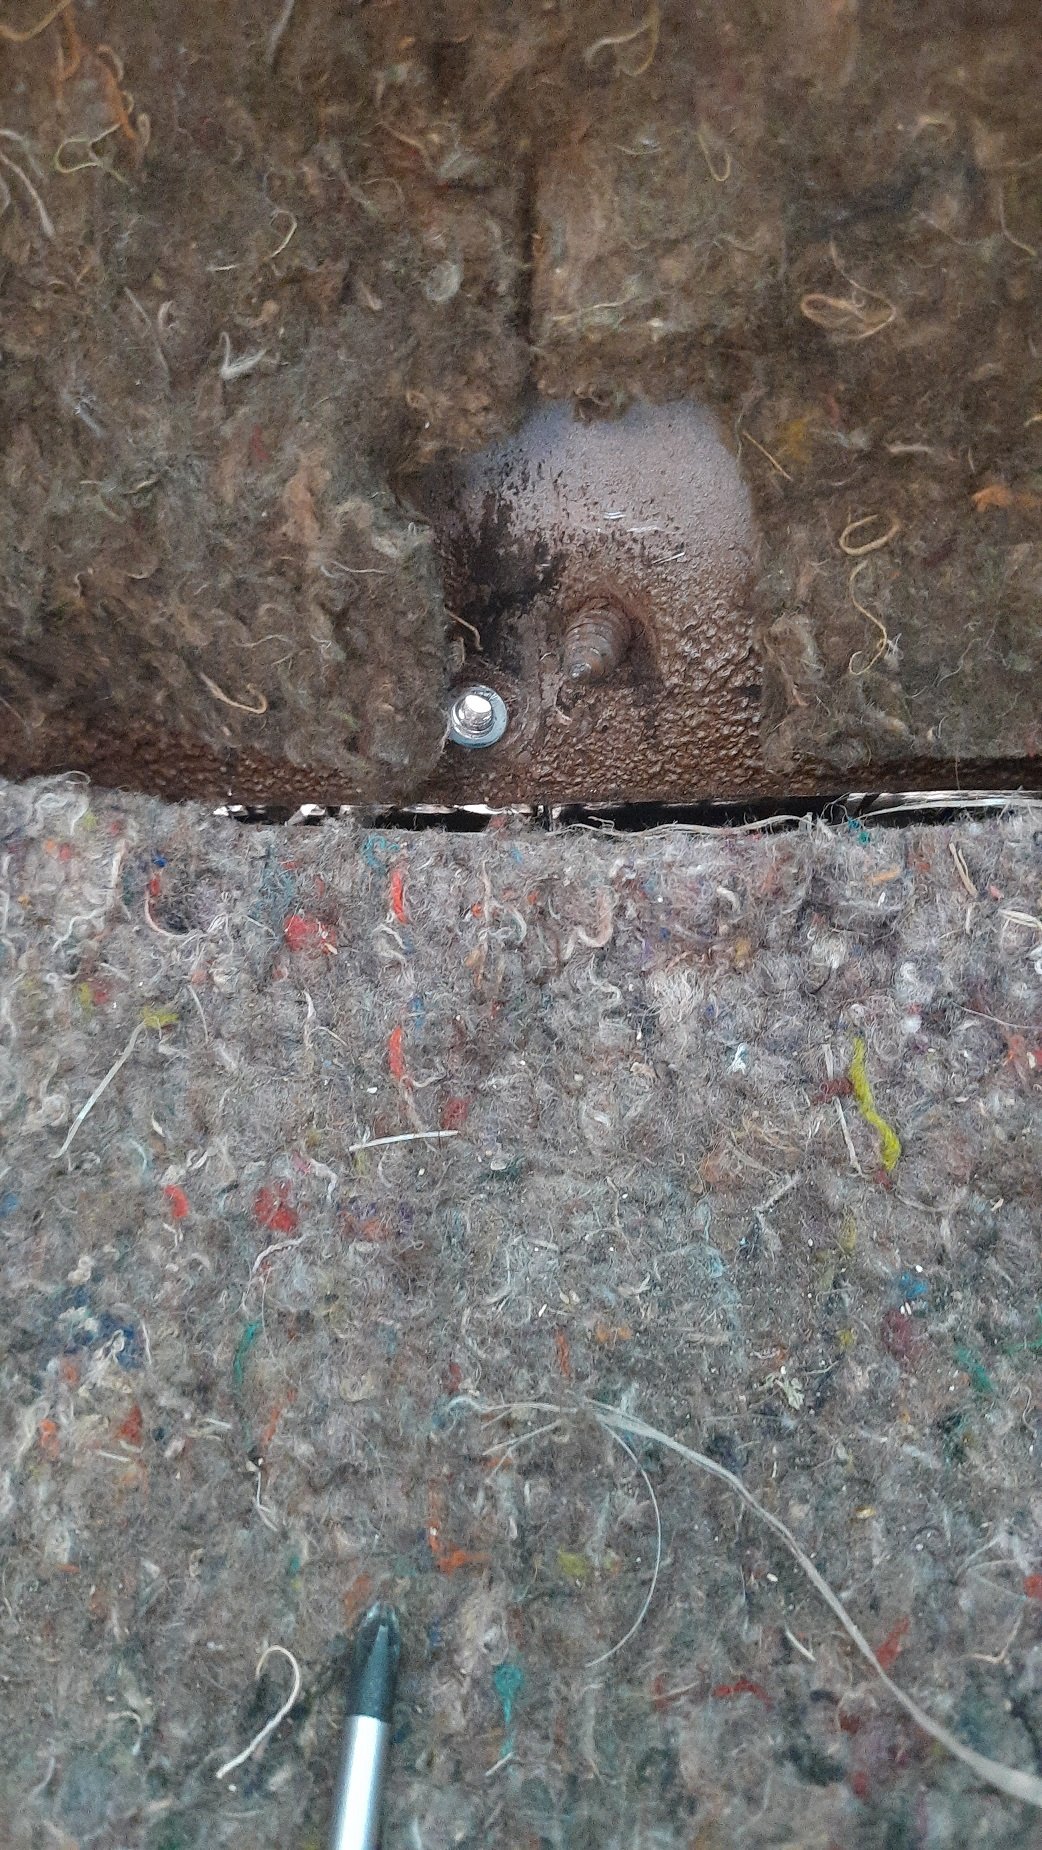
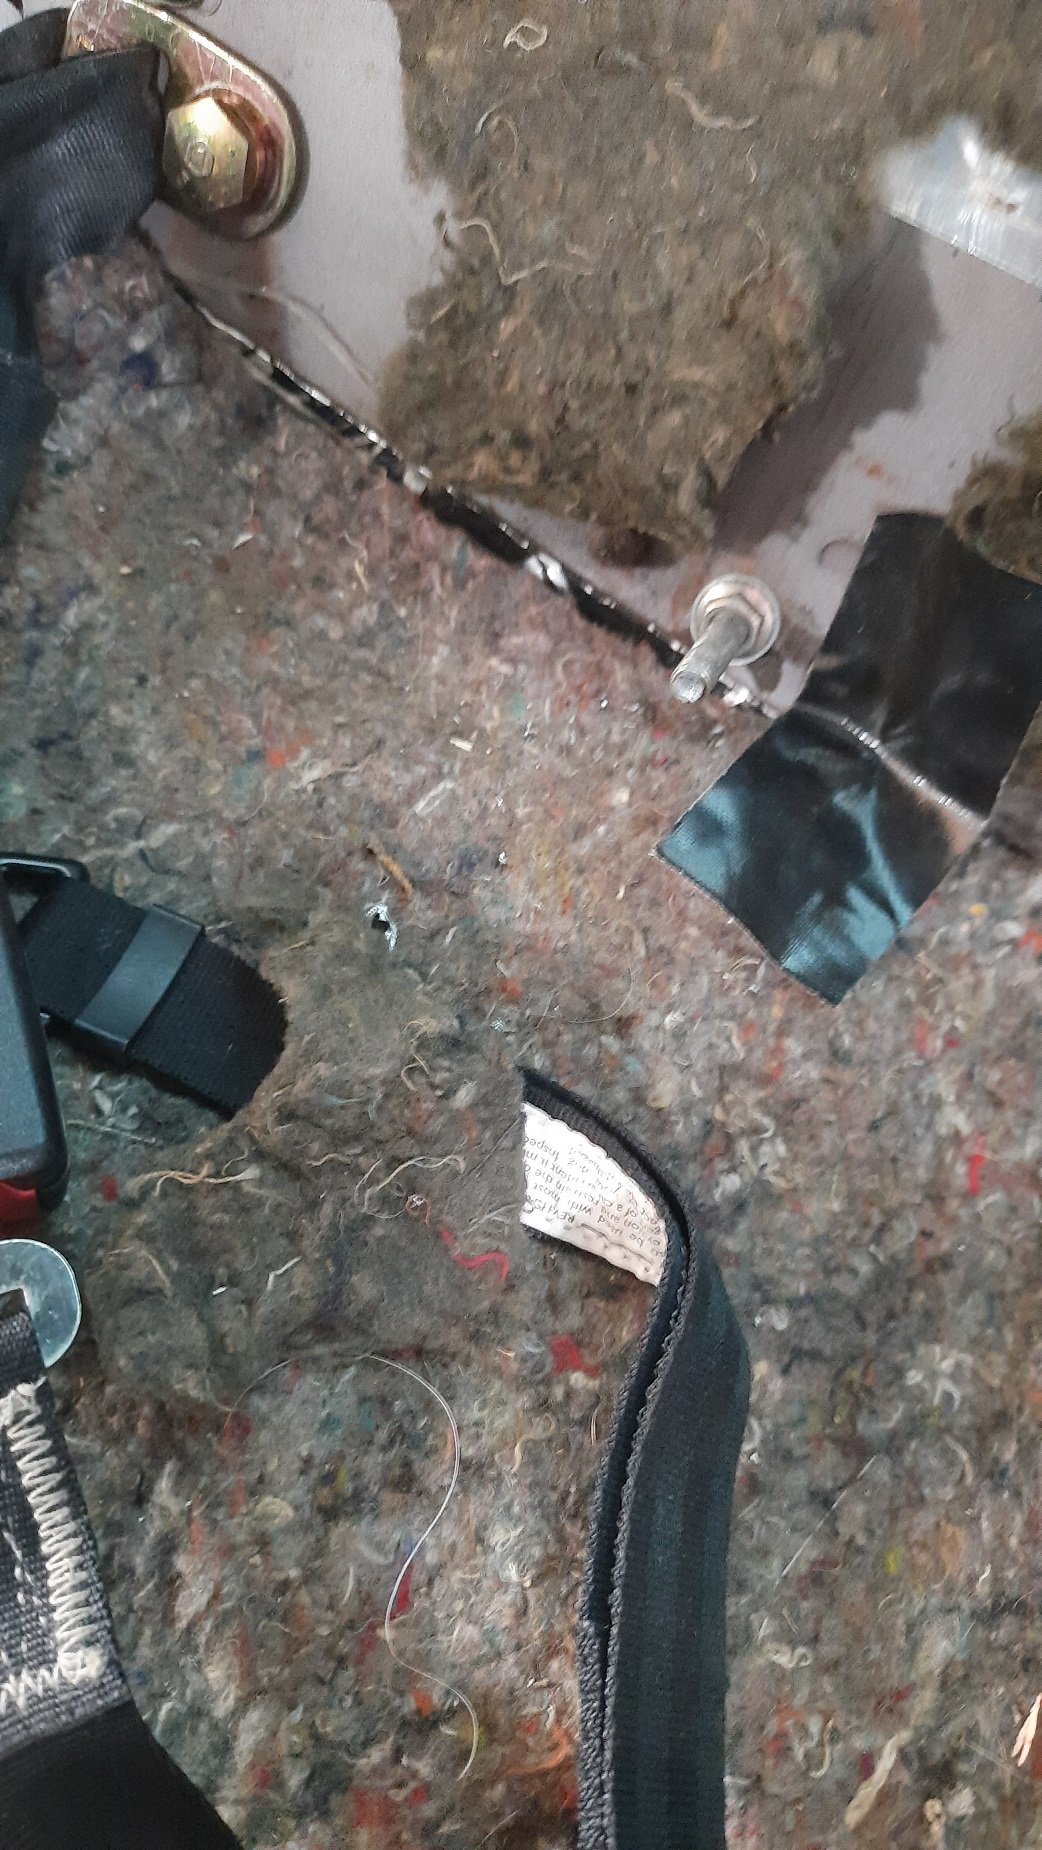
The seatbelt guy turned up today. I actually freed up the belt by moving it 5deg but I replaced it anyway. Fitted in 1998 incase anyone was interested. Put the car in on a jaunty angle to make it easier to work on... Didn't take any photos of the install but it turned out better than my butchery. He had proper spacers and set it at a proper 60deg angle so it works without locking when it shouldn't. Mucked around to ensure it didn't interfere with the windows and all sorted. Before refitting the seat I decided to rip out my failed rivnuts holding in the bottom of the seat back. They didn't line up and cross threaded. I fitted a bigger 13mm bolt with a nut holding it in place as per photo Before after Chucked the seat back in and wound the nut on to hold it. The sheet metal is so thin I can realign the bolt with my hands. Works a treat. Just need to work out why the seat base rocks now. Not clicking in place and seems to be held up on the trans tunnel.
-
The spanner is a good idea. I'll try that if I can't get the extension on.
-
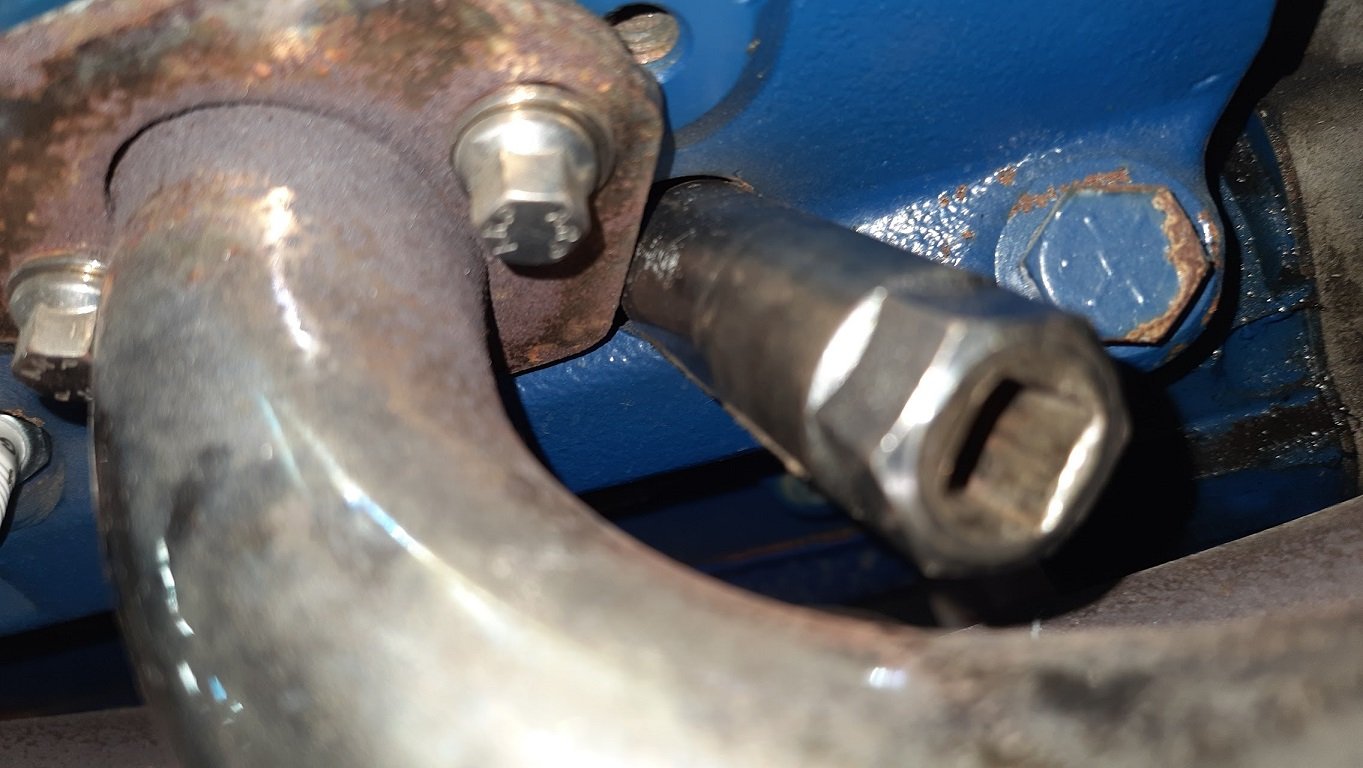
I think I can get the socket in the hole just not on the plug. I tried to sand the crap off it but a bit hard to access. The access is easy enough although the windsor plug point down compared to a clevo which the side of the head are upright. Tiny engine though so that makes it a bit easier. I used anti seize which will make them much easier next time. And not waiting 15 years.
-
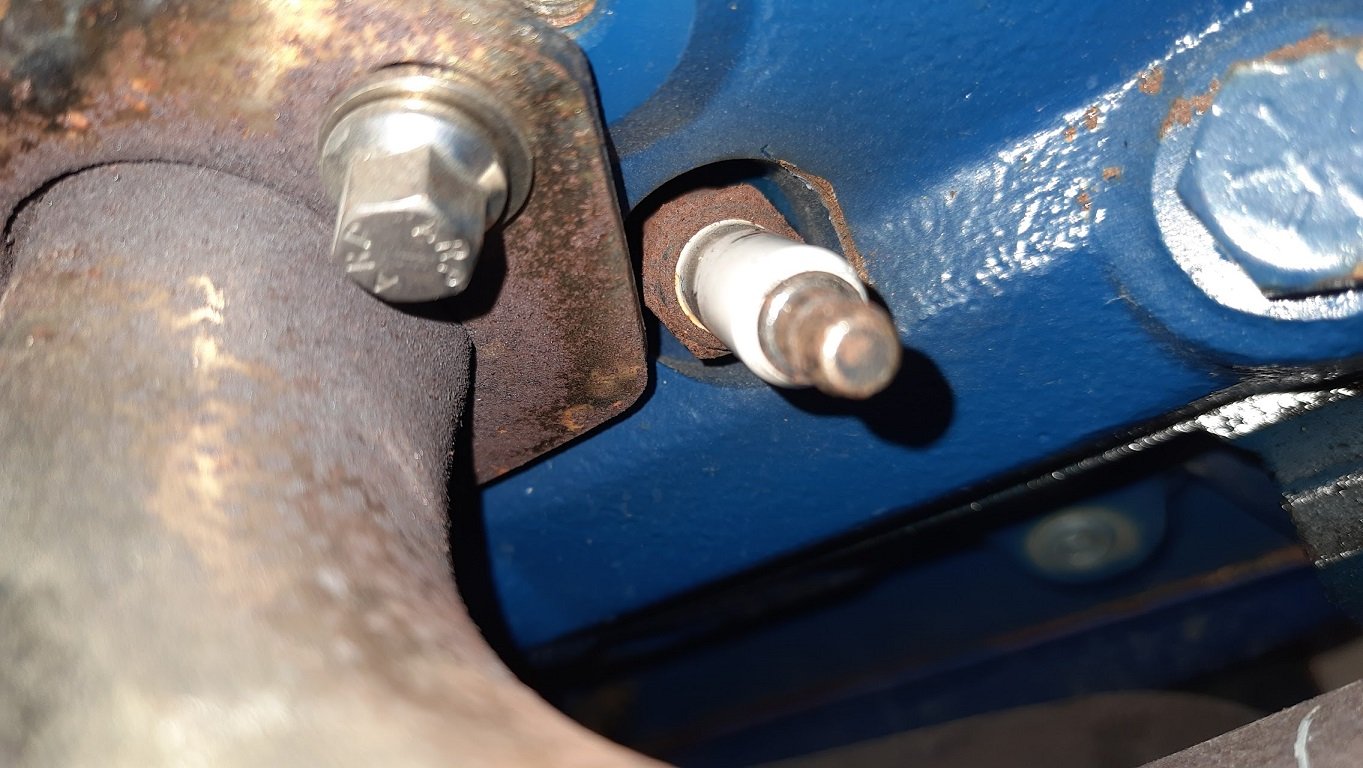
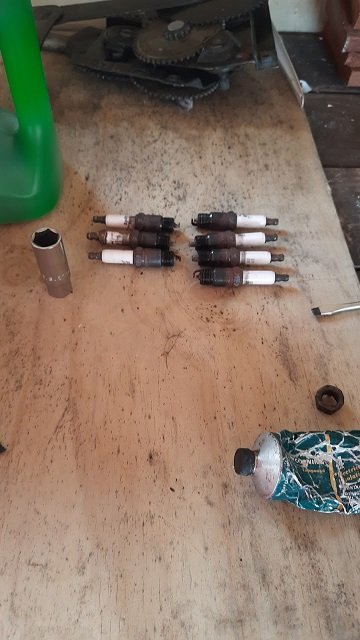
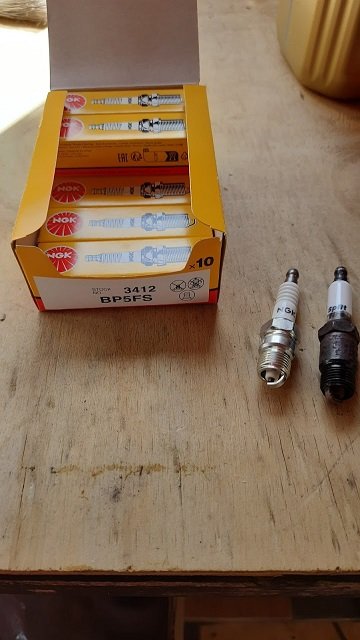
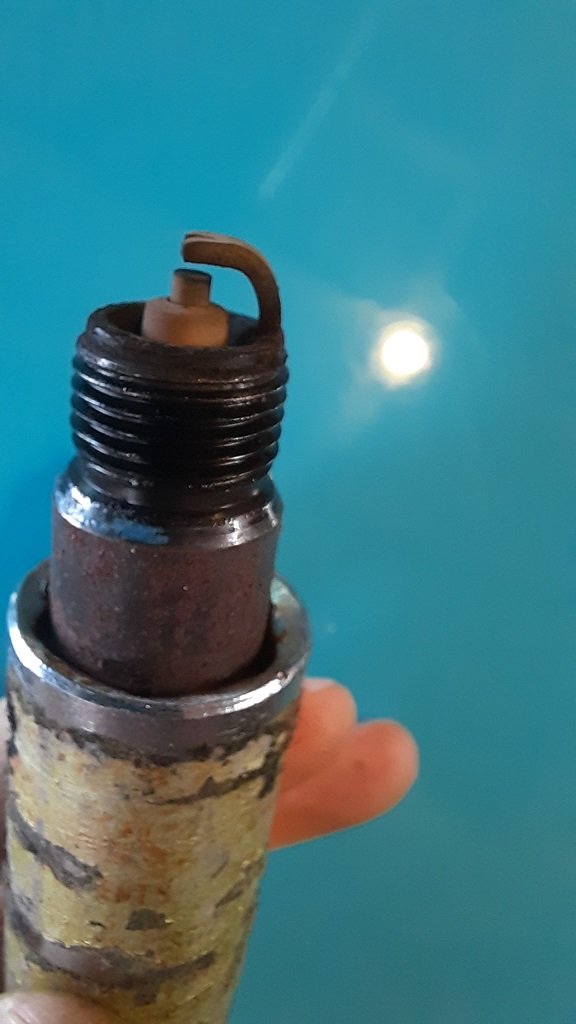
I got some new plugs and have to give Repco a bit of a pass on the parts. My engine takes an NGK BP5FS but they have only listed an AP5FS which is a direct replacement for the Autolite 45 that is recommended online by some people. Some engines take the little one though and mine seems to be one. There will be some guys here who know more than me so feel free to comment but at least I have the correct parts now. I had a hell of a time getting them out. I thought it would be a 20min job but 2hrs later... These clearly have not been replaced for a long time. They were pretty tight and the hex face very corroded. No massive fouling so that was a good sign but I'm not a plug whisperer. The last one proved too hard to get out. You can see how badly corroded the nut is and the hole is a bit tight. The header is also a bit close but that is not the real problem. I can get the socket on but I can't get it far enough engaged to work. It also get too close to the header pipe to get an extension on properly. If engaged I'd be able to do it but it is close. I may have to pass on this one for now. The leads were a pain as well. I haven't gotten a new set yet but they need to go. It gives a lot more confidence of a good connection when the boots stay in their proper location and the contacts click on and off nicely. I also decided to whip out the RH rear window regulator. I didn't get any pics of the job but the regulator was buggered. This was a brand new regulator which failed due to poor alignment by me. You can see the bent arm. The curves are too complex to try ans straighten out so I have a replacement. I got it fitted ok but then the RH front seat belt tensioner locked. Bloody deja vous. I thought I had freed it up and got the panel back together in time to head off and pick up the wifey from a friends place. She wanted me to take their kids for a drive so they piled in and the first thing one did was try and wind down the window, nooooo! Luckily I stopped that and then the front seatbelt locked again and won't free up. Fuckit. I'll need to swap it out. If I free it up again I can't trust it to work in future and I don't fancy having passengers with no belts.
-
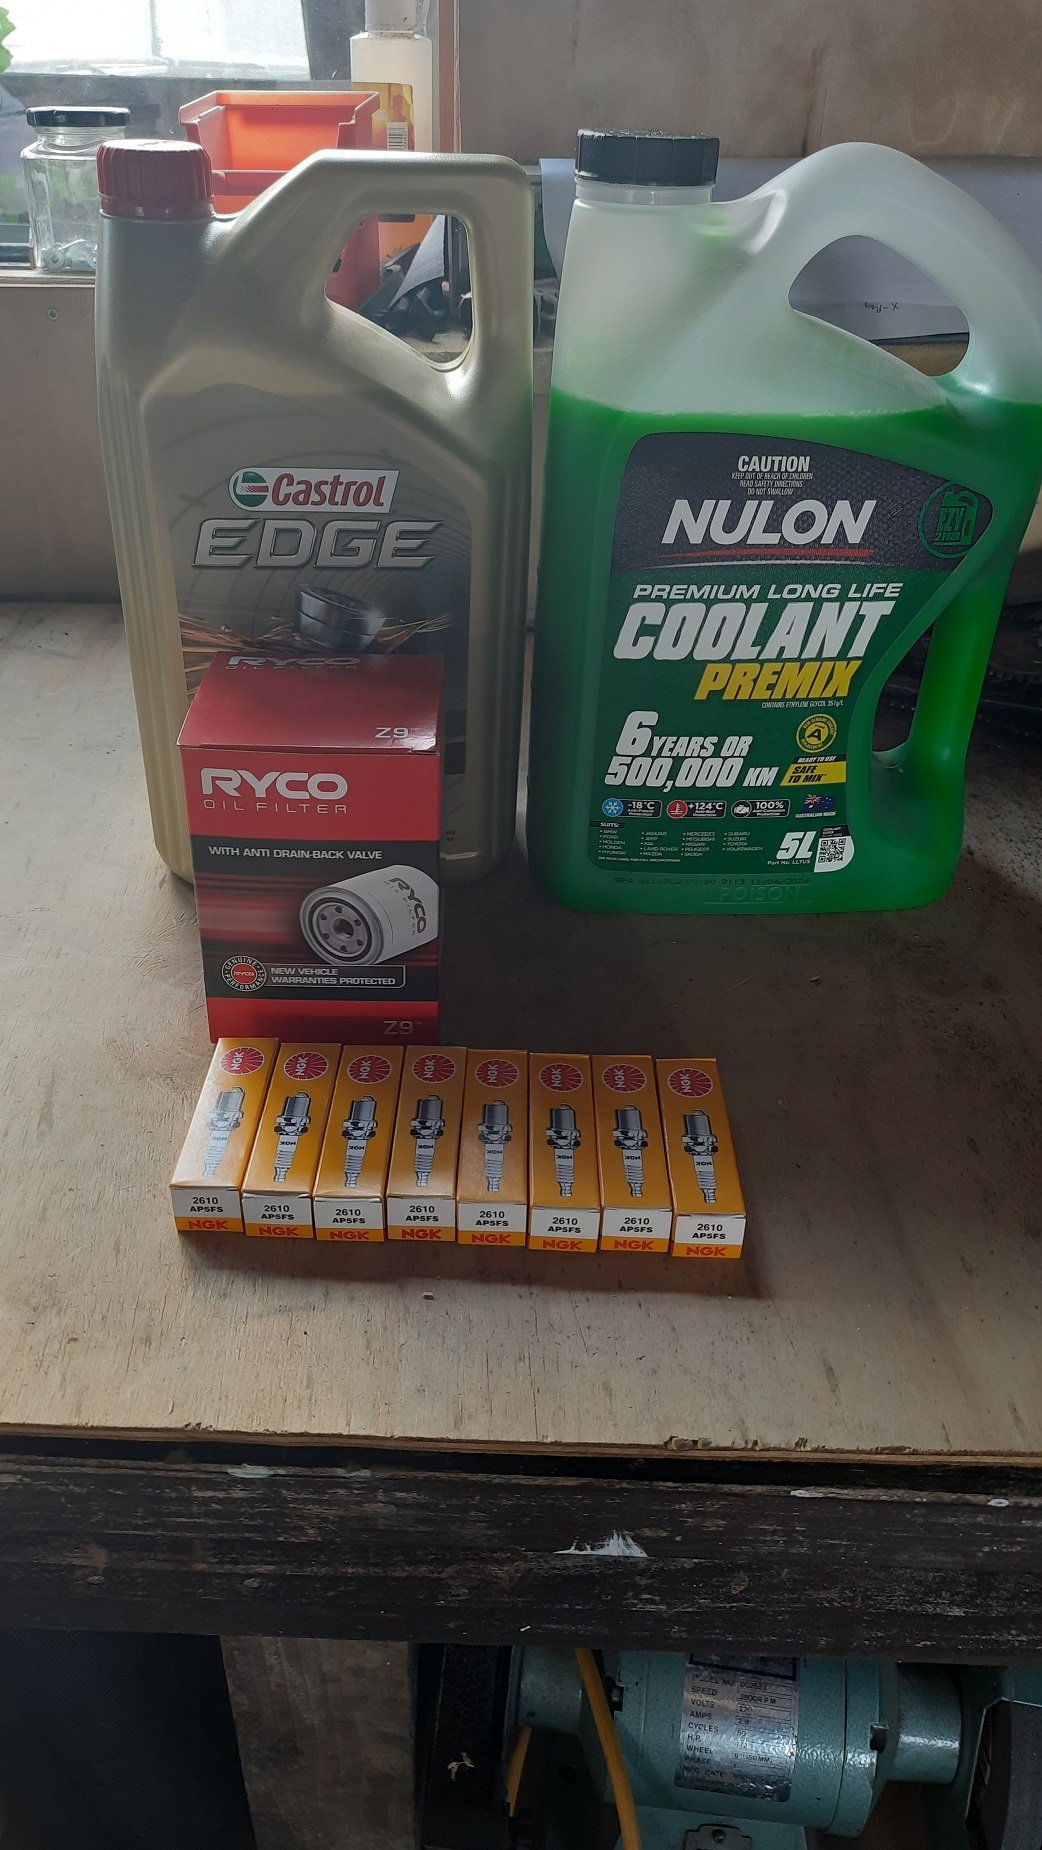
Got some supplies: Puled a plug Not terrible but not good either. Been there a while I reckon. I would replace it with the new plug I got but... Went to pull a plug based on the size of the new ones and wondered why my plug socket wouldn't go on. Got my smallest and it fit perfectly. Small v8, small plugs. Makes sense, not a lot of real estate in there. Big ass plugs don't fit. Bloody Repco.
-
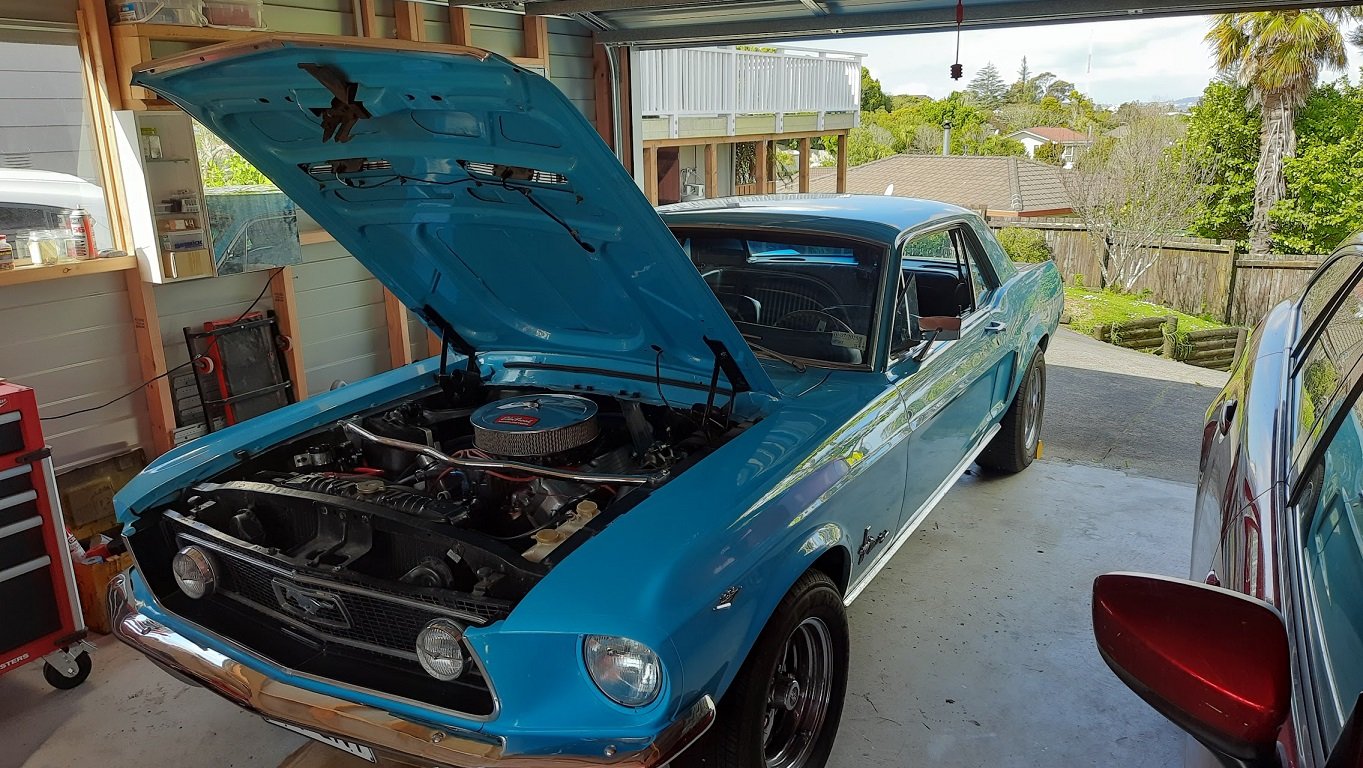
Took the Mustang for a drive to Raglan with some mates, all went pretty smooth but was very fumey again. A mate in another car complained about it although his is a 2014 Challenger so maybe he is not used to the smell of a carby V8. I did think it was a bit excessive though. Might have to do a bit of a check of a few things Tune. Never checked so it could be a bit rich plugs and leads vacuum PCV Headers. I notice the shop said I had a header leak around 18 months ago but I forgot about it and it has passed a warrant. Worth a look though. Windows. Don't at all and the RH rear quarter need a new regulator as it slides down. boot seal. First noticed it at Americarna just after the paint so it might have been fitted incorrectly. other leaks around the boot and luggage divider tail pipe length. Ideally they would protrude beyond the bumper. Don't think this is the reason as I didn't notice it when we bought it. I also still have a slight shimmy so I might check the trans output bush for play as I've replaced the other main culprits. Will have a go at a few things this weekend maybe.
-
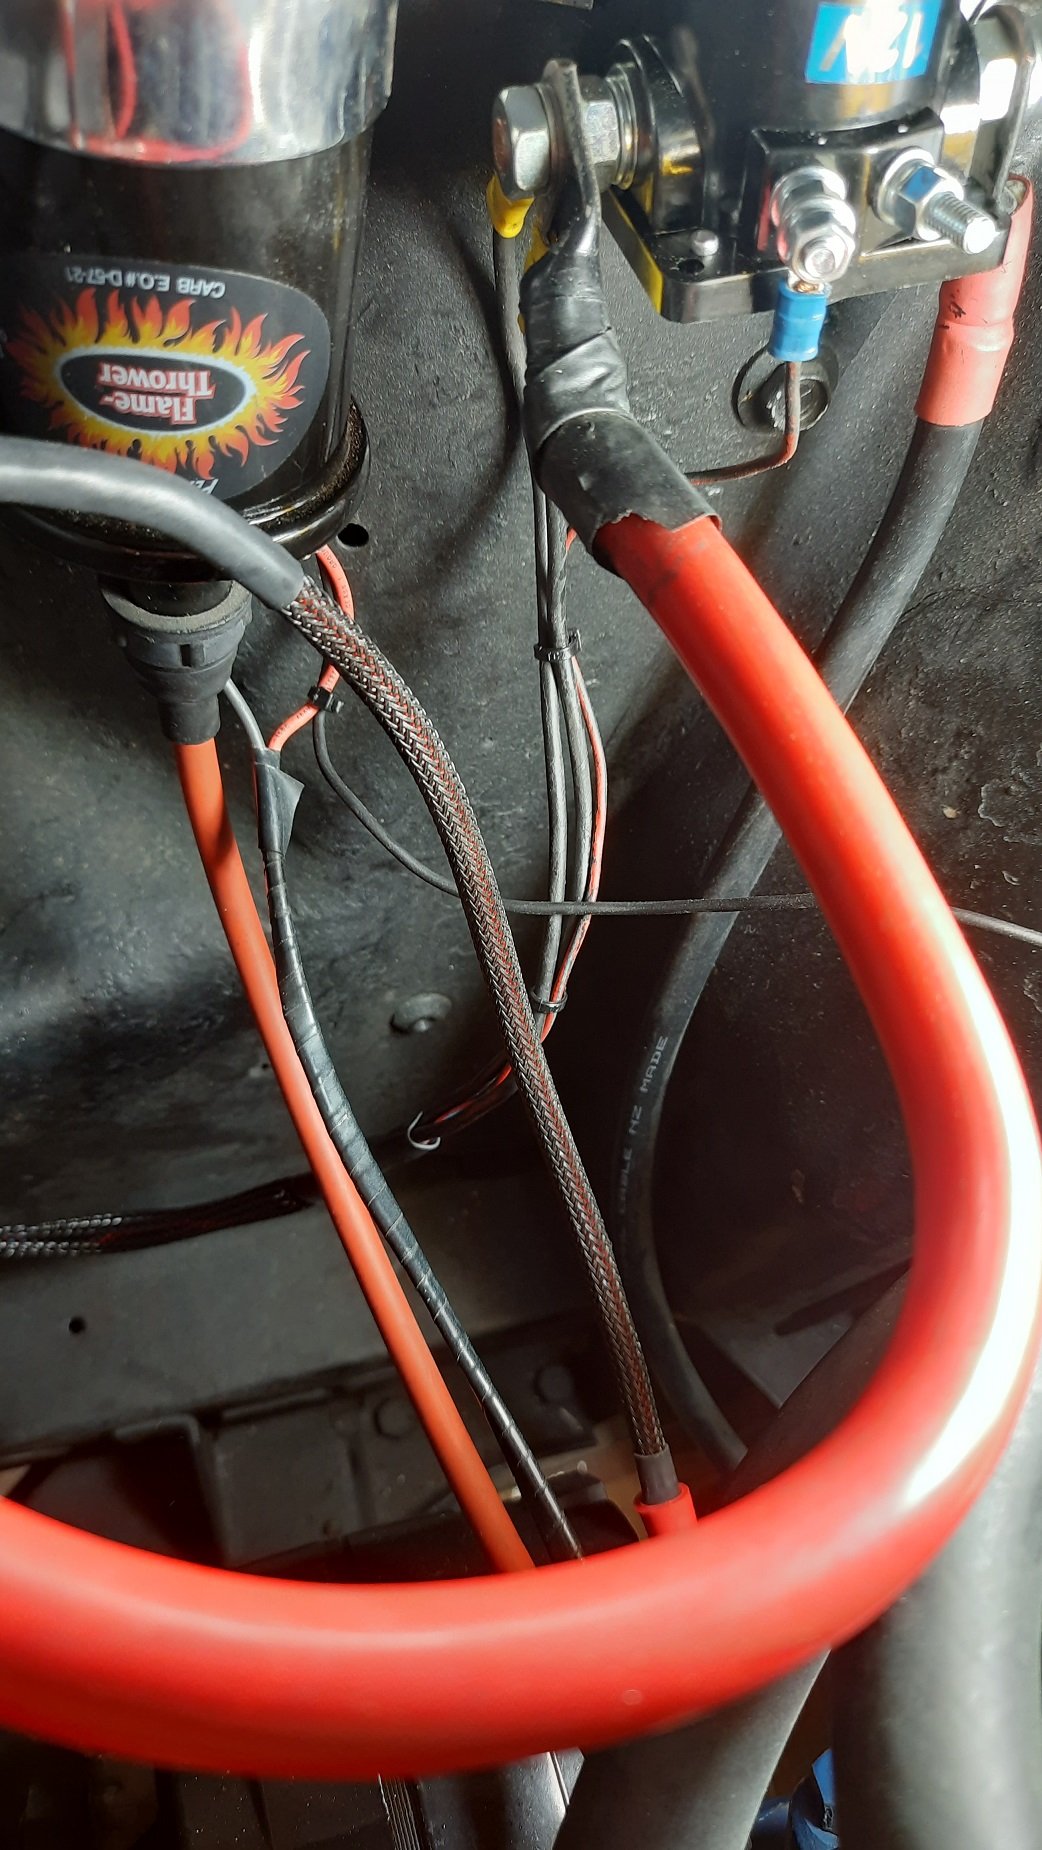
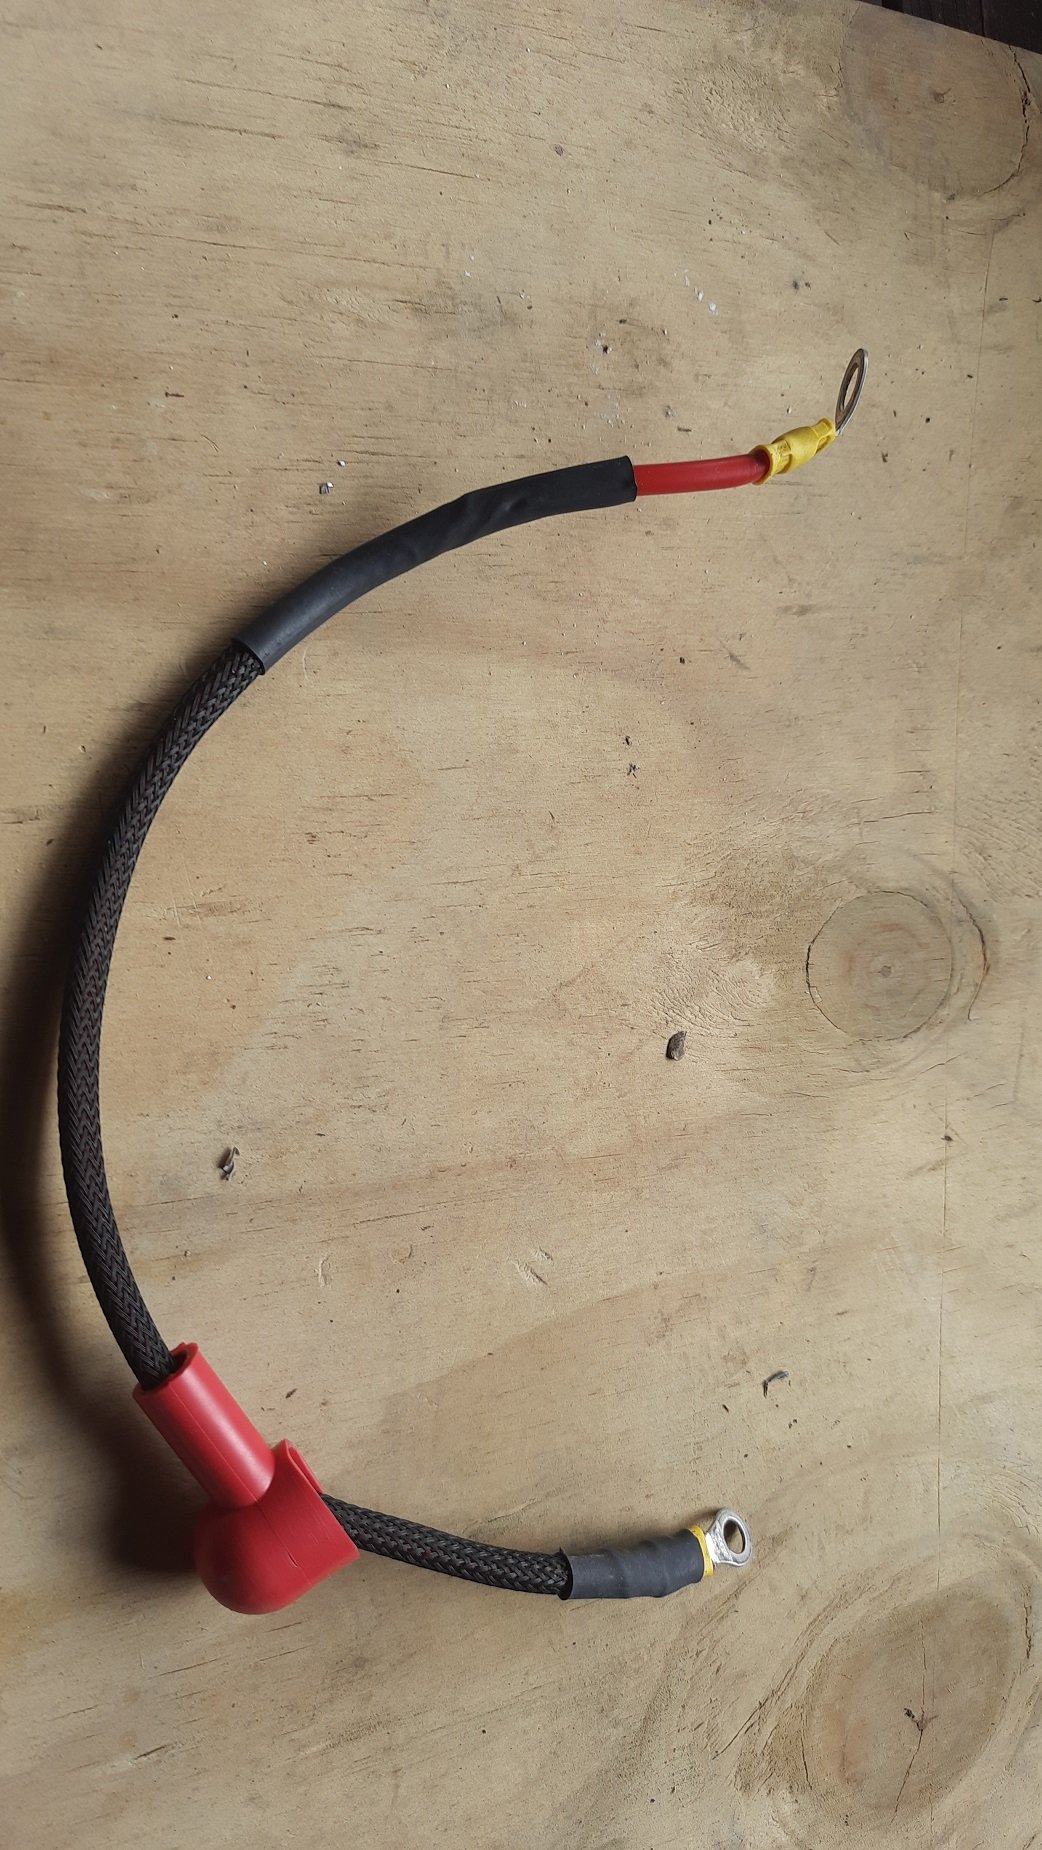
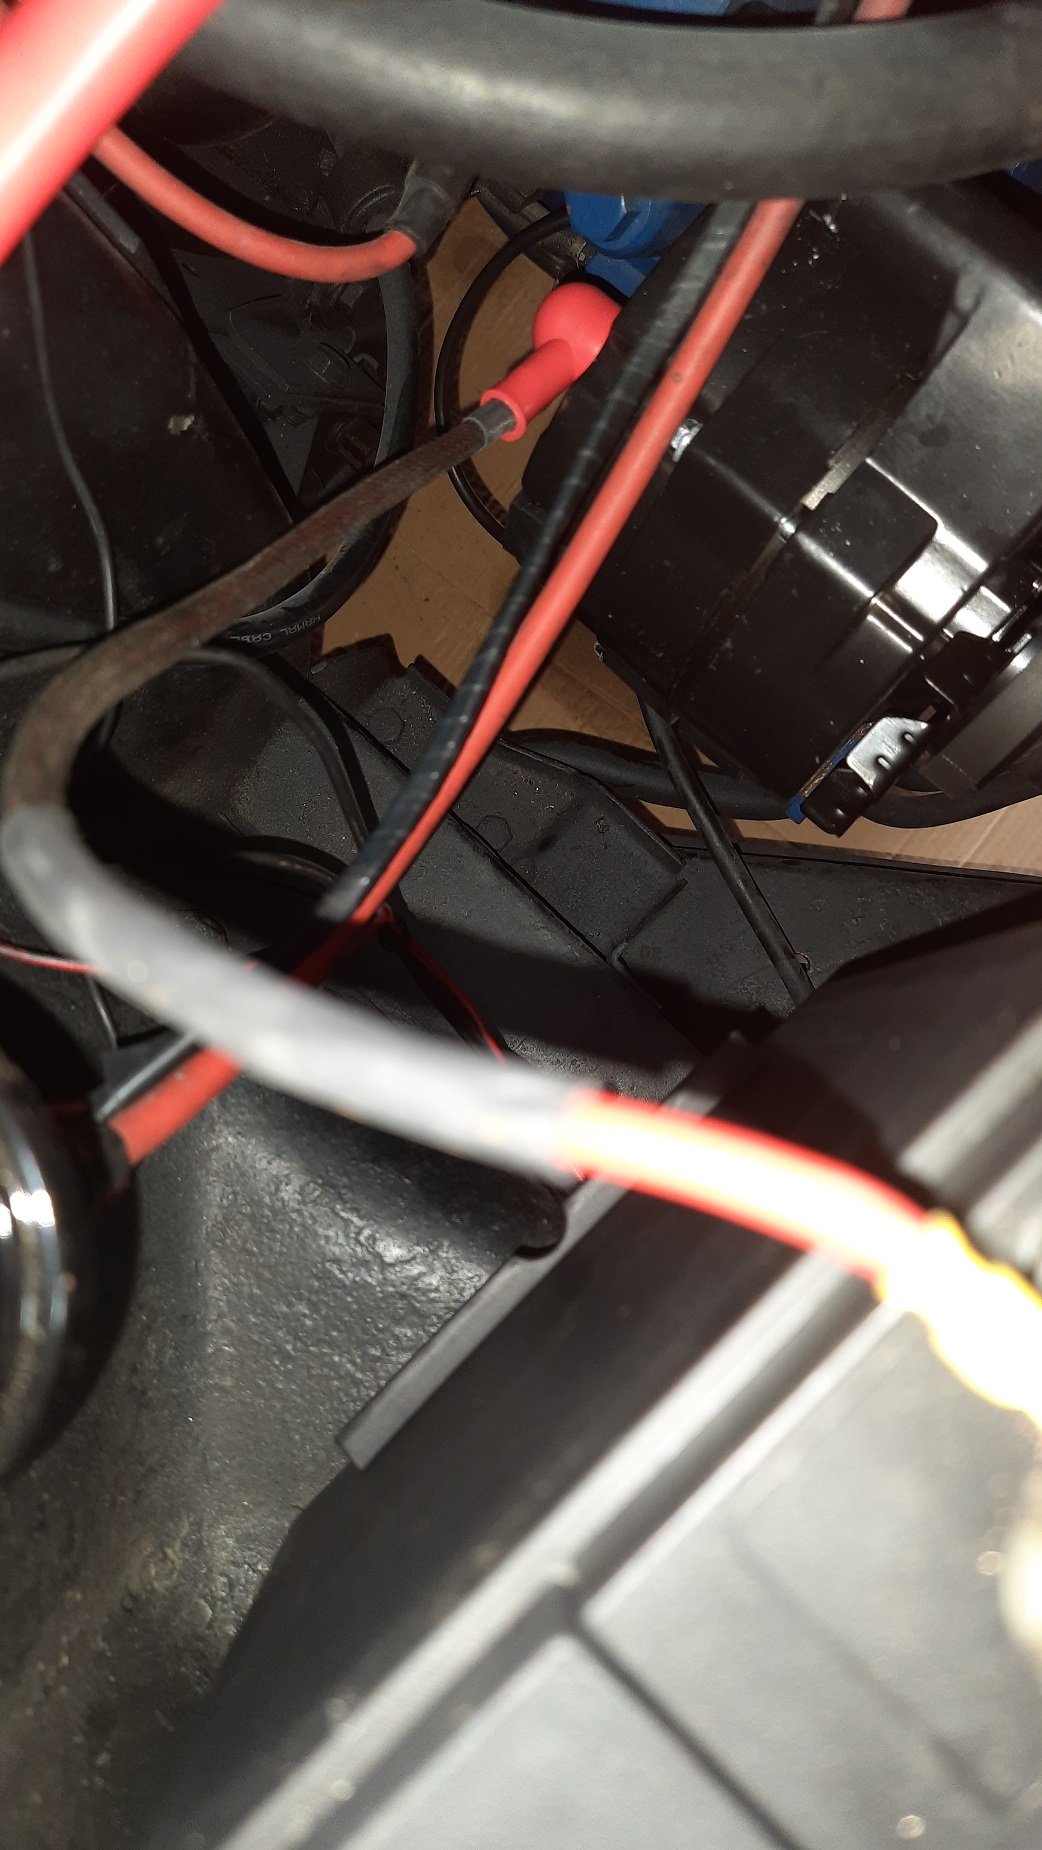
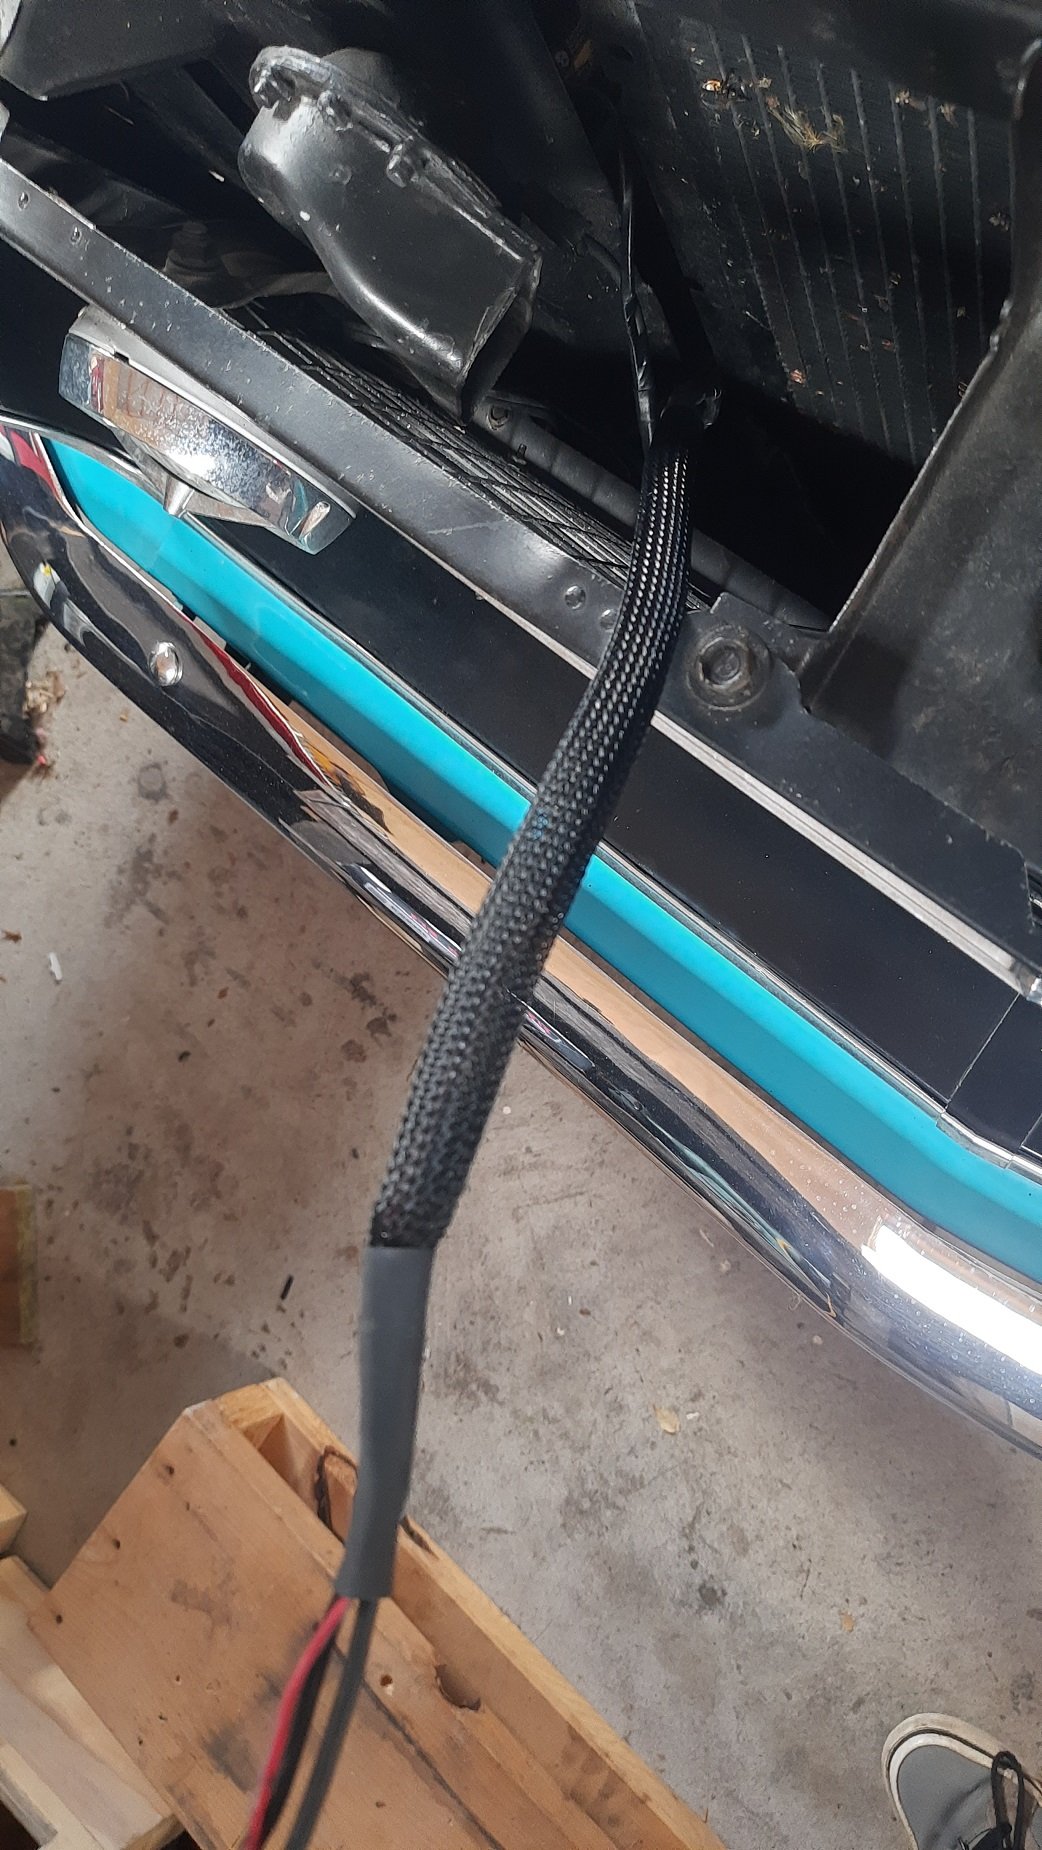
Got a bit of time to do a bit of wiring tidy up. I had left the alternator wiring a mess and ordered some fancy Painless Wiring split loom from Summit but I needed to get the light fixed for a warrant and ran out of time so I got the auto sparky to do it. they fixed an earth and another connector on the drivers side and i now have tow good lights. They also tidied up the loom without being asked. It looks ok but I'd prefer split loom to tape. When my gear turned up I didn't want to waste the good stuff for the 40cm to the solenoid so I just used some other junk I had lying around Put a boot on the alternator wire and a cover Probably should put a boot on the exposed +ve terminal on the solenoid as that pretty much runs the car. It does look a lot tidier. I also binned a random spade terminal and 3" wire off the coil. Not sure why that was there, I just removed it and put a ring terminal on the black wire. Not sure where it goes or why it follows a random route on the right hand side of the car. Maybe it broke years ago and was shortened. Took it for a test drive to Bombay and it ran mint. I'm not sure (of a lot of things apparently) what caused the fuminess when we drove to Americarna earlier in the year as we have done two big drives recently and had no issues. Runs mint and no abnormal smells, although that is relative in a 50 year old car.
-
Thousand Dollar Supercar's 1988 Jaguar XJ-S 3.6
Gee replied to Thousand Dollar Supercar's topic in Project Discussion
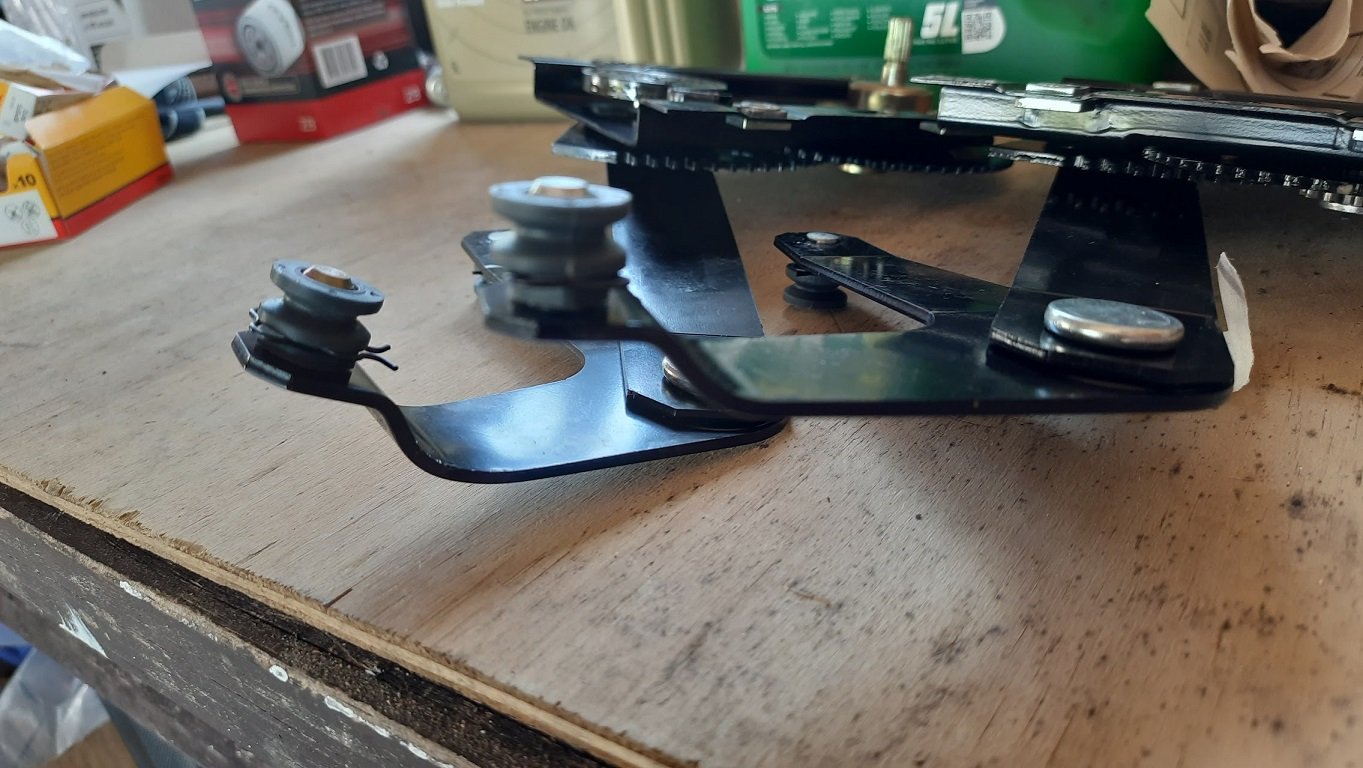
Nice work on the diagnostics, not often old school guys dig out an O-scope. Cleaning up corrosion might not do much but dry joints or leaky capacitors might be a problem. There are a ton of discrete components on that board. Not sure what the component '21' is as I can't see the prefix but it looks like it has leaked so I'd replace that and probably D50 which is a diode. Since you know how to use an o-scope you probably know all this. Good luck. -
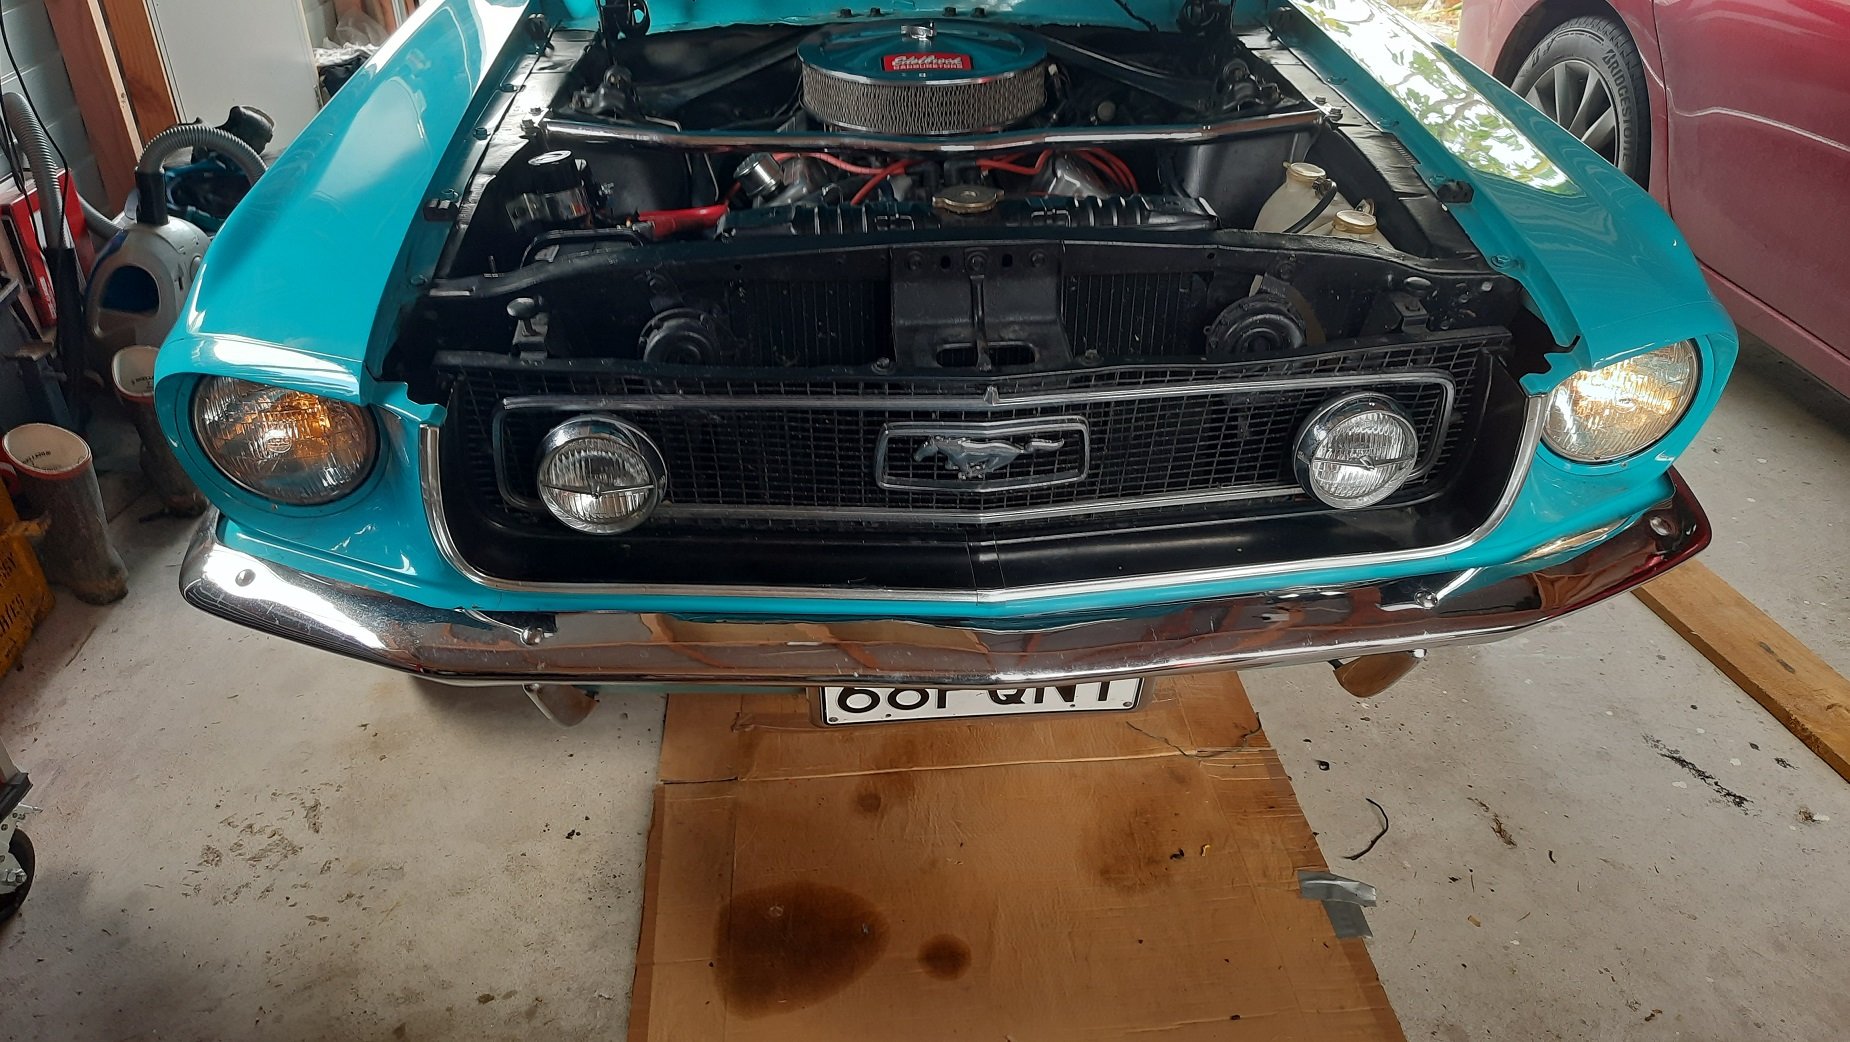
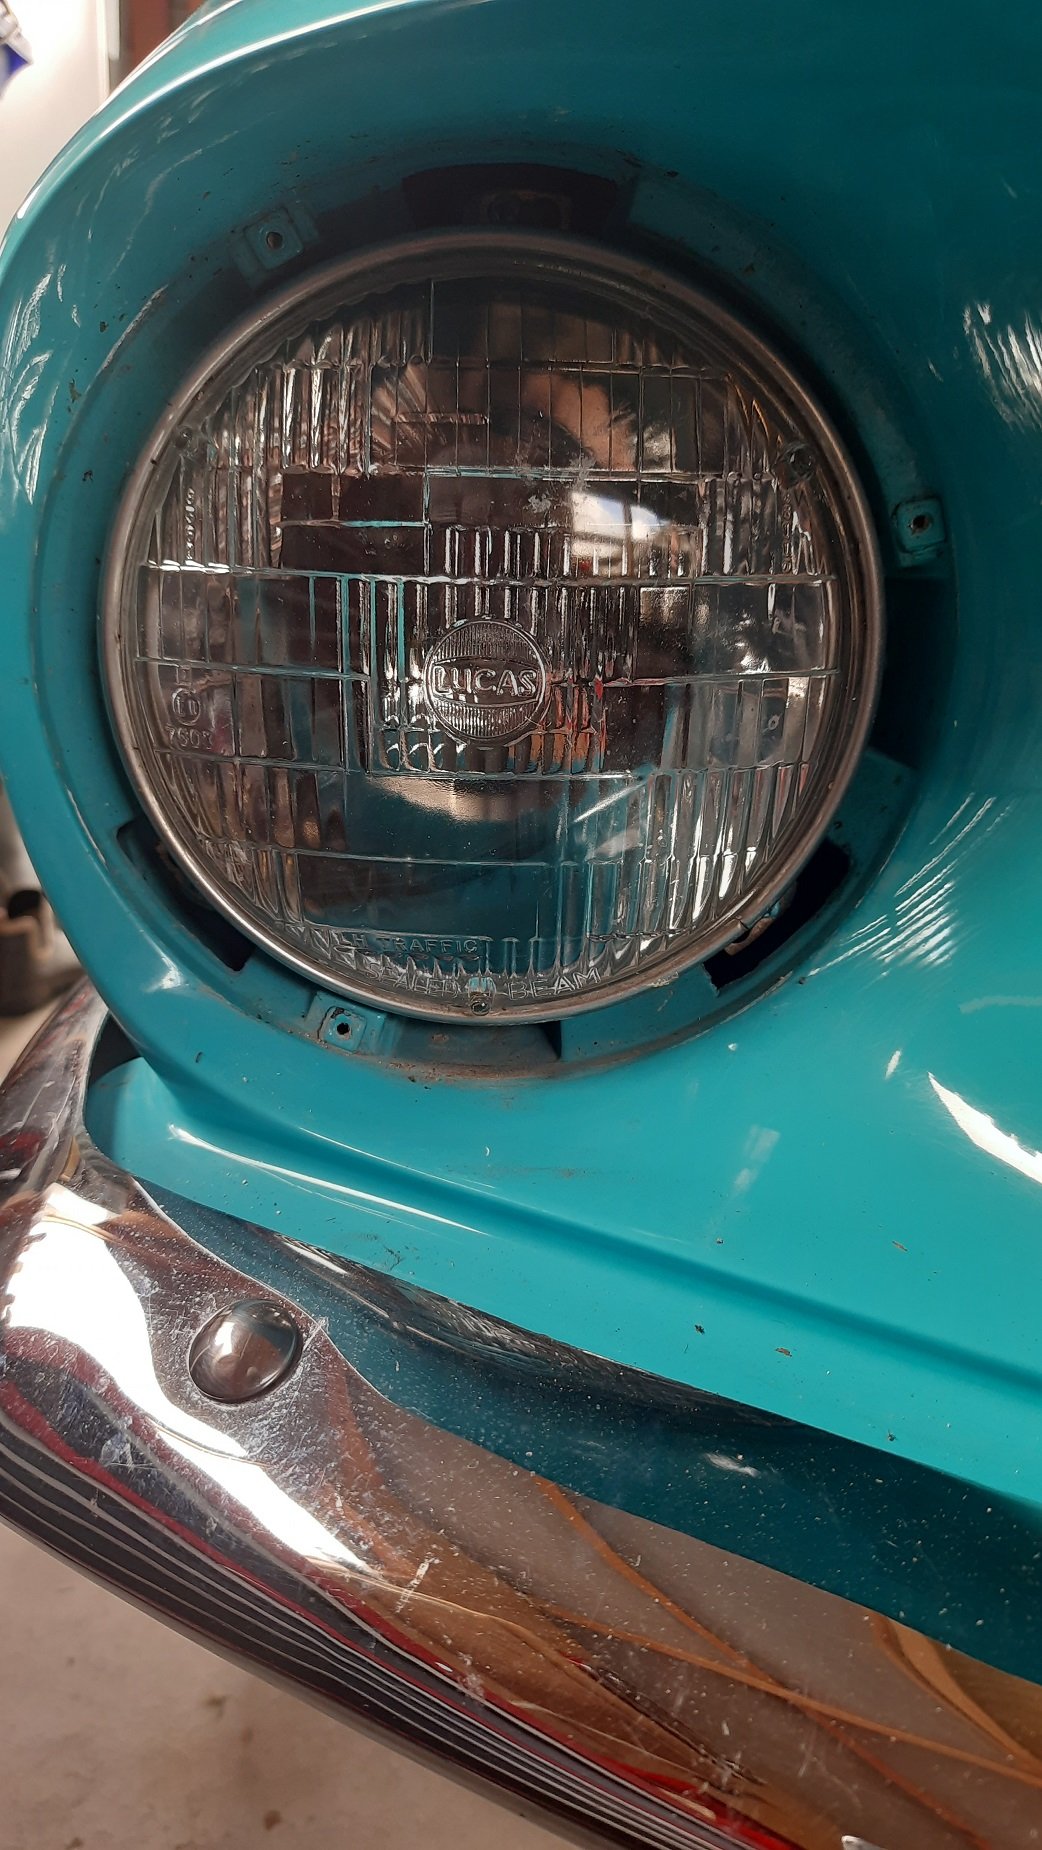
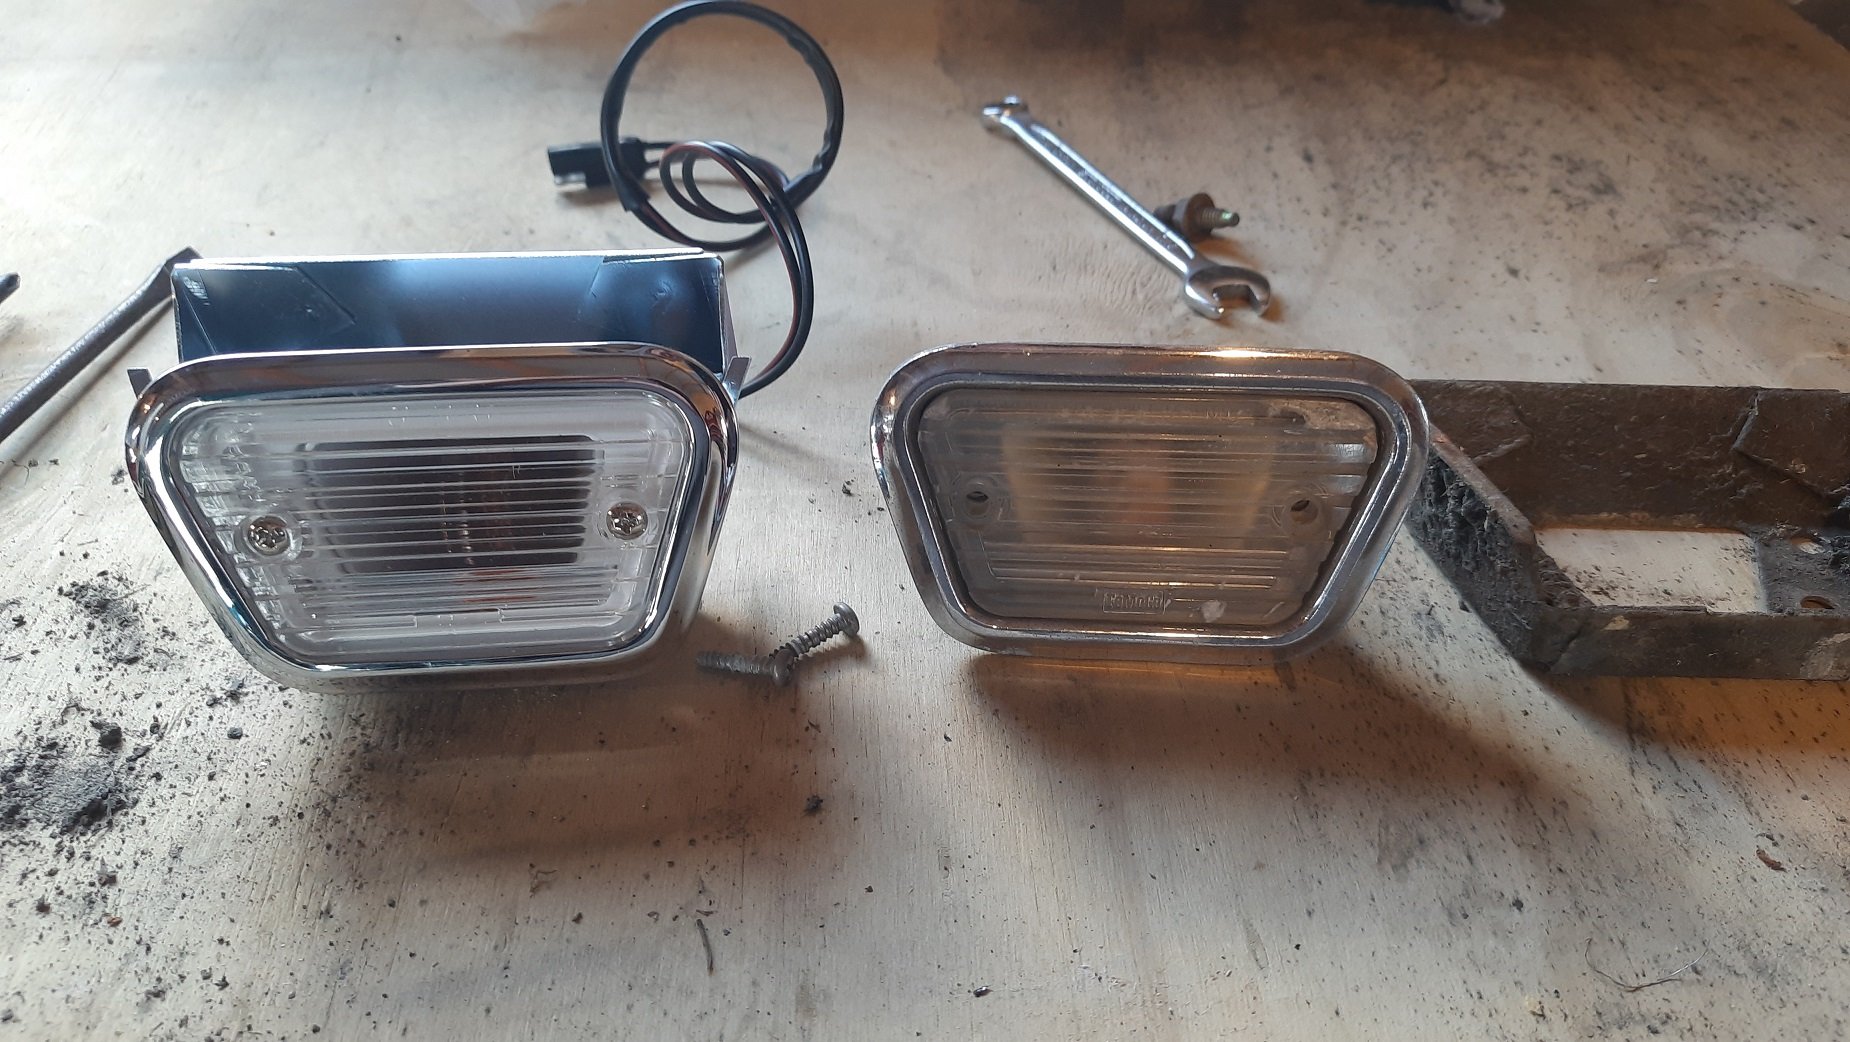
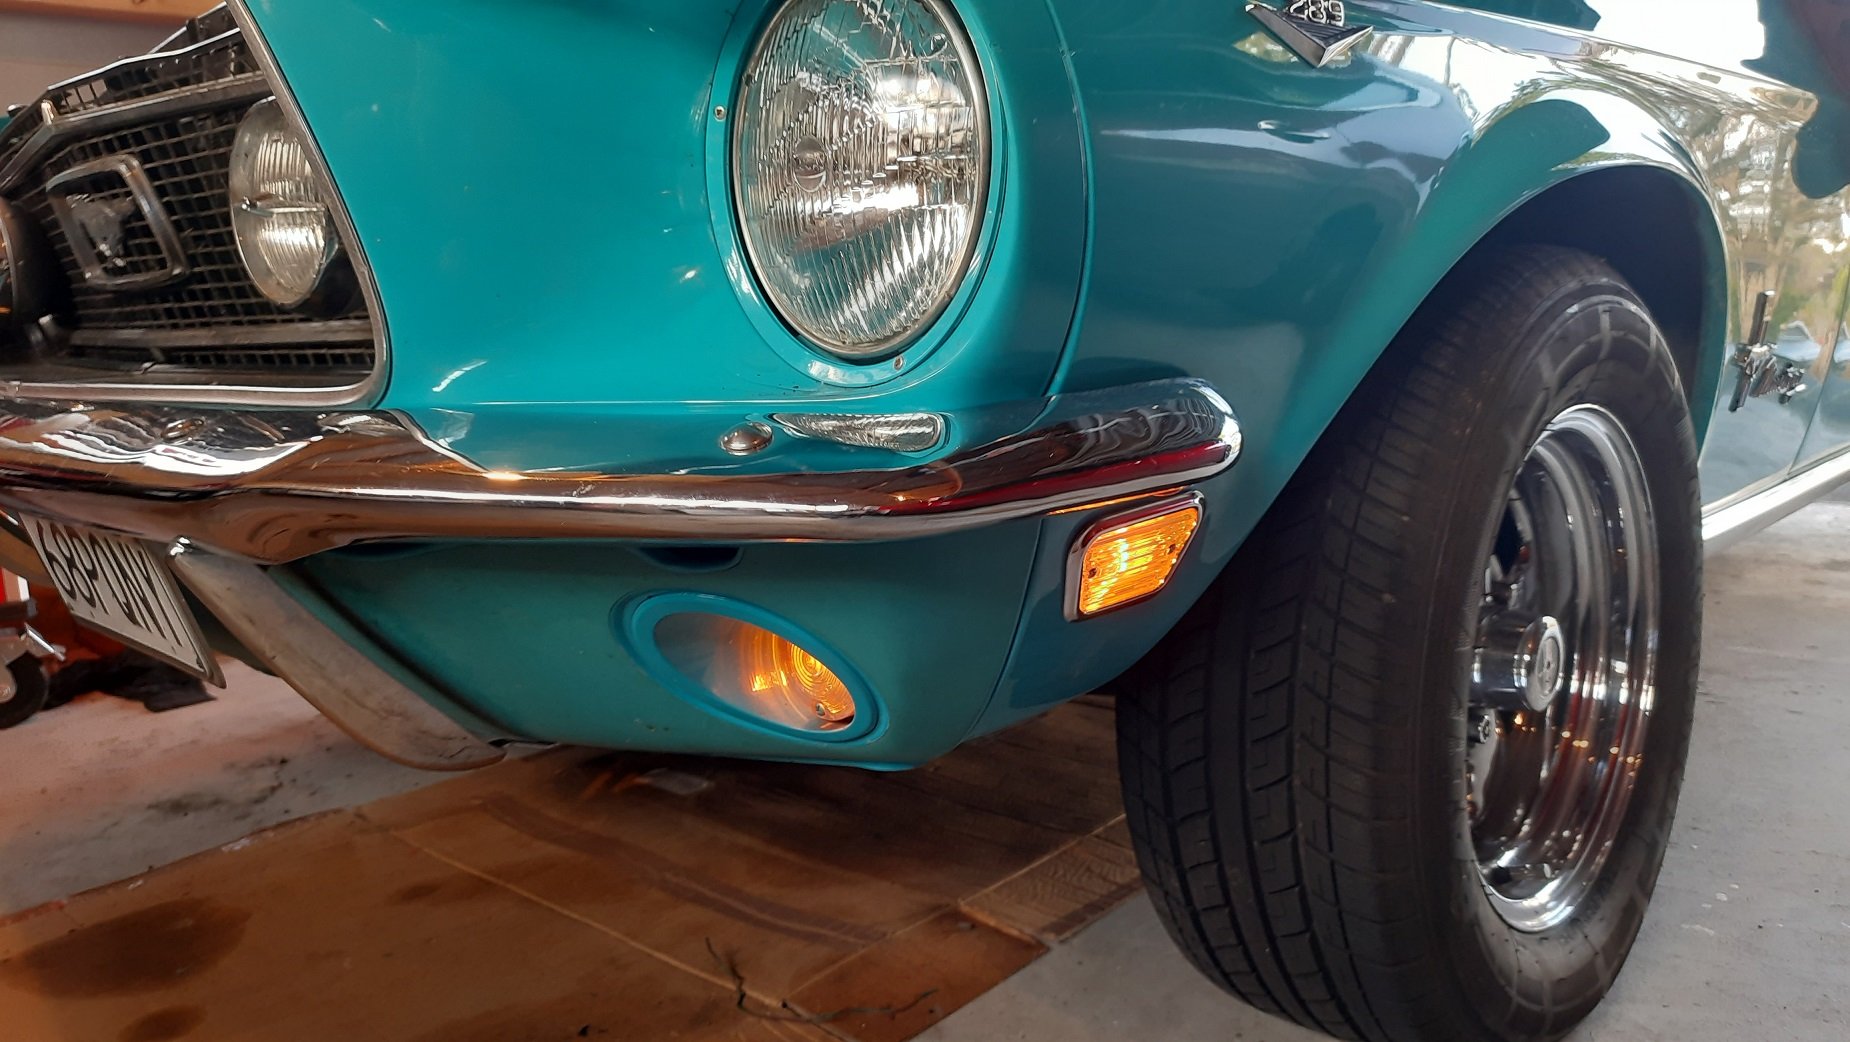
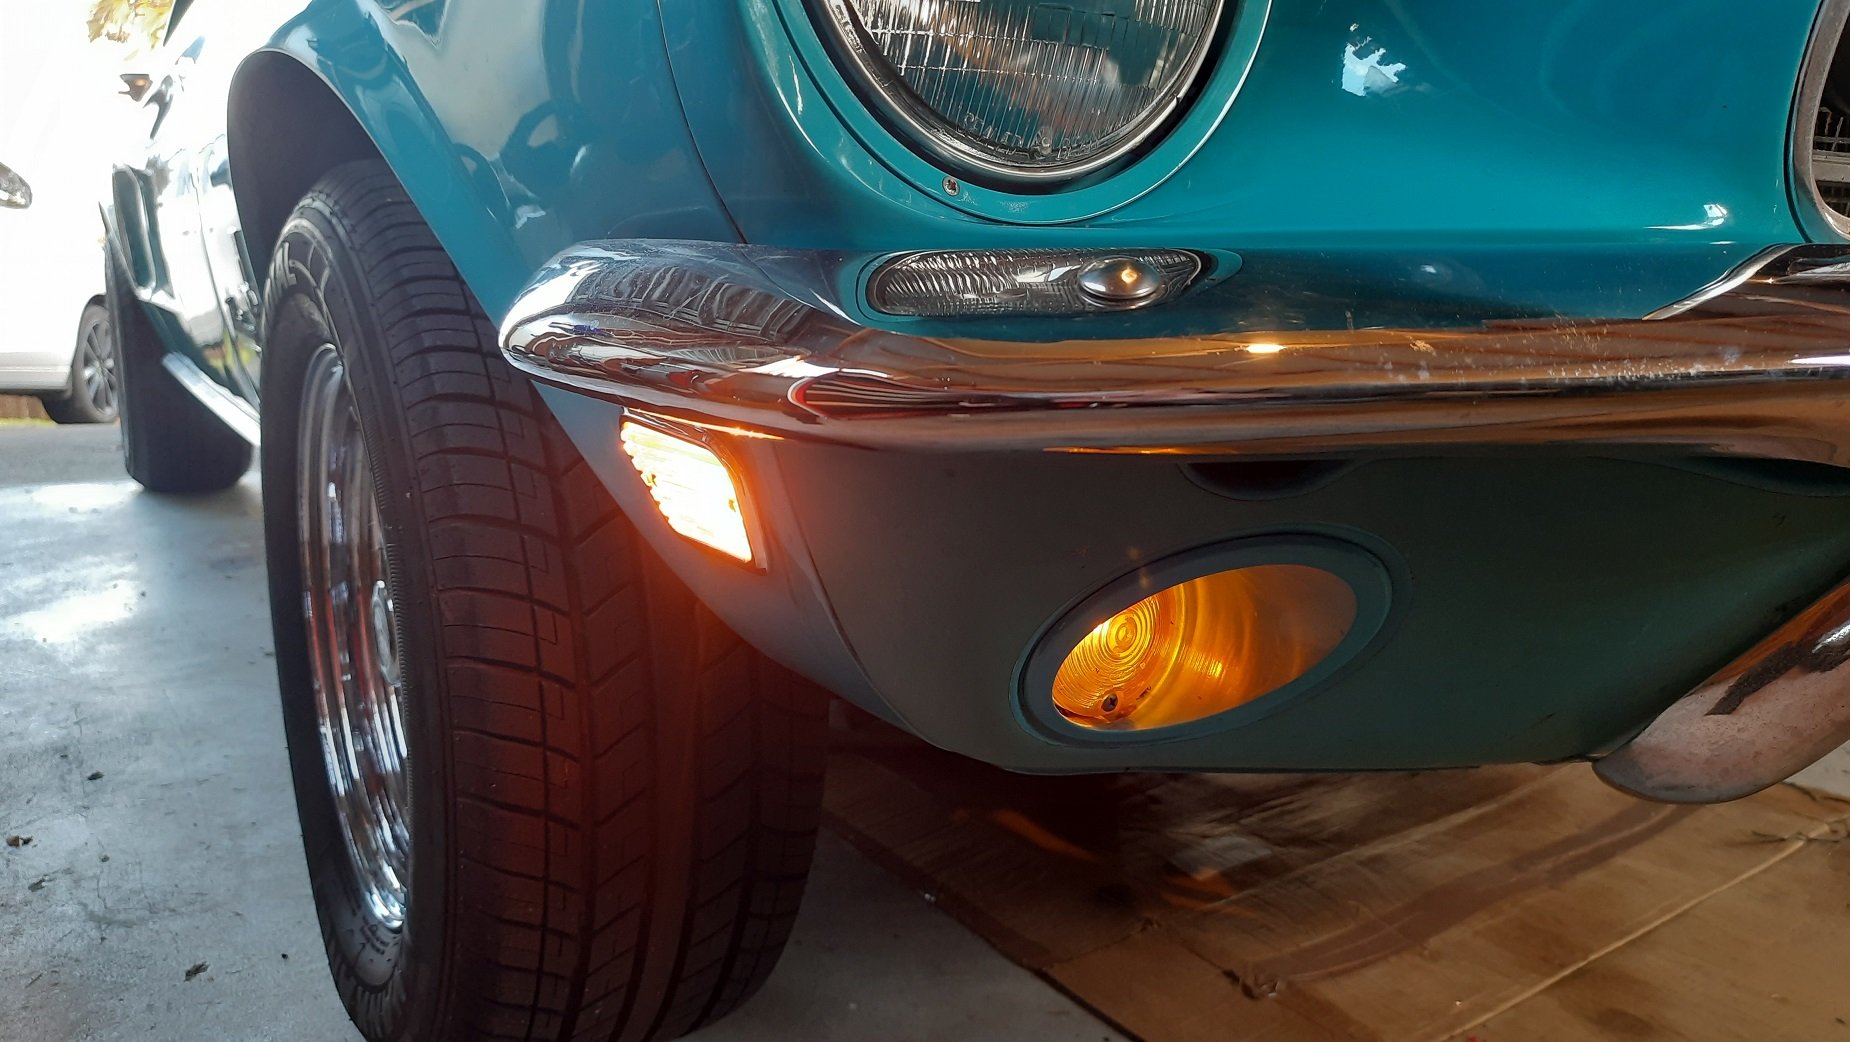
Warrant day and another fail, old car normal. The park brake is unbalanced which is common with these cars but I'm not sure if it is a cable or just brake drum imbalance. It also failed on the RH headlight. It works but is really dim. I got a new bulb but should have tested the voltage input first. Fitted the new bulb but no change. Turns out it is only getting 10Vdc where I assume the LHS is getting the full 12V. Must be a dodgy connection somewhere. I also got some side marker lights as the LH one was not working and actually had no wiring. I got both so they would look the same. Old vs new And good as with new lights fitted. So as usual, made some progress and didn't fix other things. Old school car tax.