
Gee
-
Posts
96 -
Joined
-
Last visited
-
Days Won
1
Everything posted by Gee
-
Having some figures to compare would be great, thanks. Looking back through your Mustang thread it looks like you had fumes before you fitted the FiTech. Have you checked for vacuum leaks and ignition timing? I'm no expert on tuning so I'm just plucking from the internet. I probably need to check the same in mine. Like everything else I look at on my car it is old and probably not maintained unless it proper broke so I'm playing catch up. i also just looked at your alternator as I need a new one. Any issues with it coming online when you start up? Does your charge (belts) light still work correctly? The last time I fitted a bigger alternator I replaced a factory Bosch 55A with an almost identical Bosch 120A. The only issue I had (which seems common with 1-wire alternators) was it needed a blip on the throttle to come online initially. My ammeter doesn't work anyway or it would have picked up the overcharging or shown charging when I first jumped it so I may as well disconnect it.
-
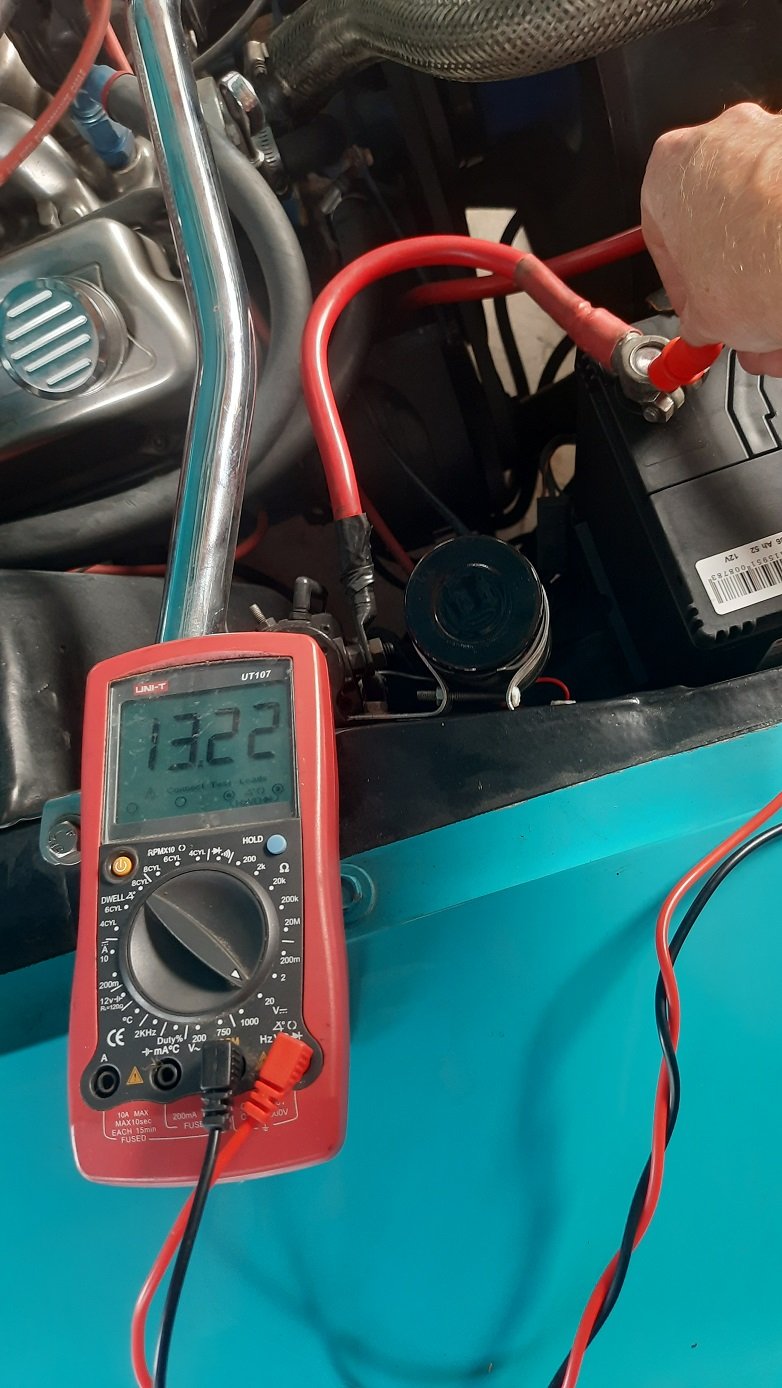
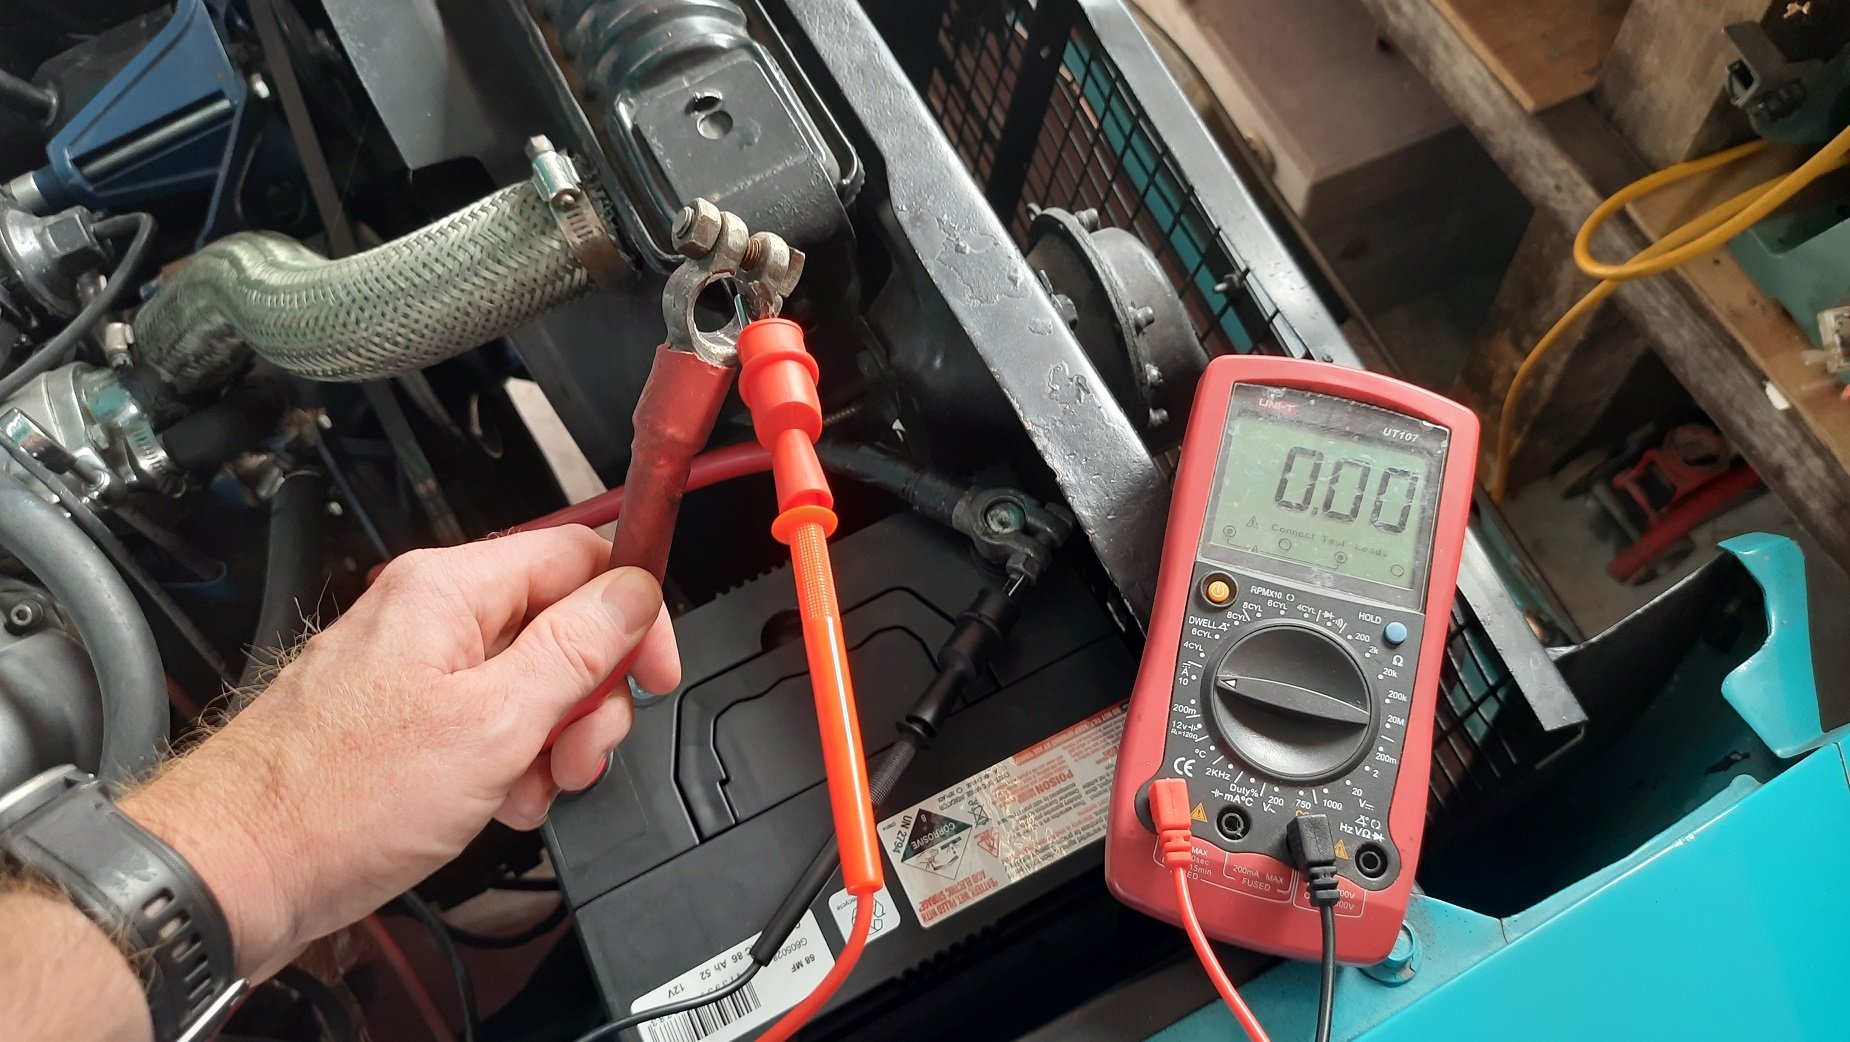
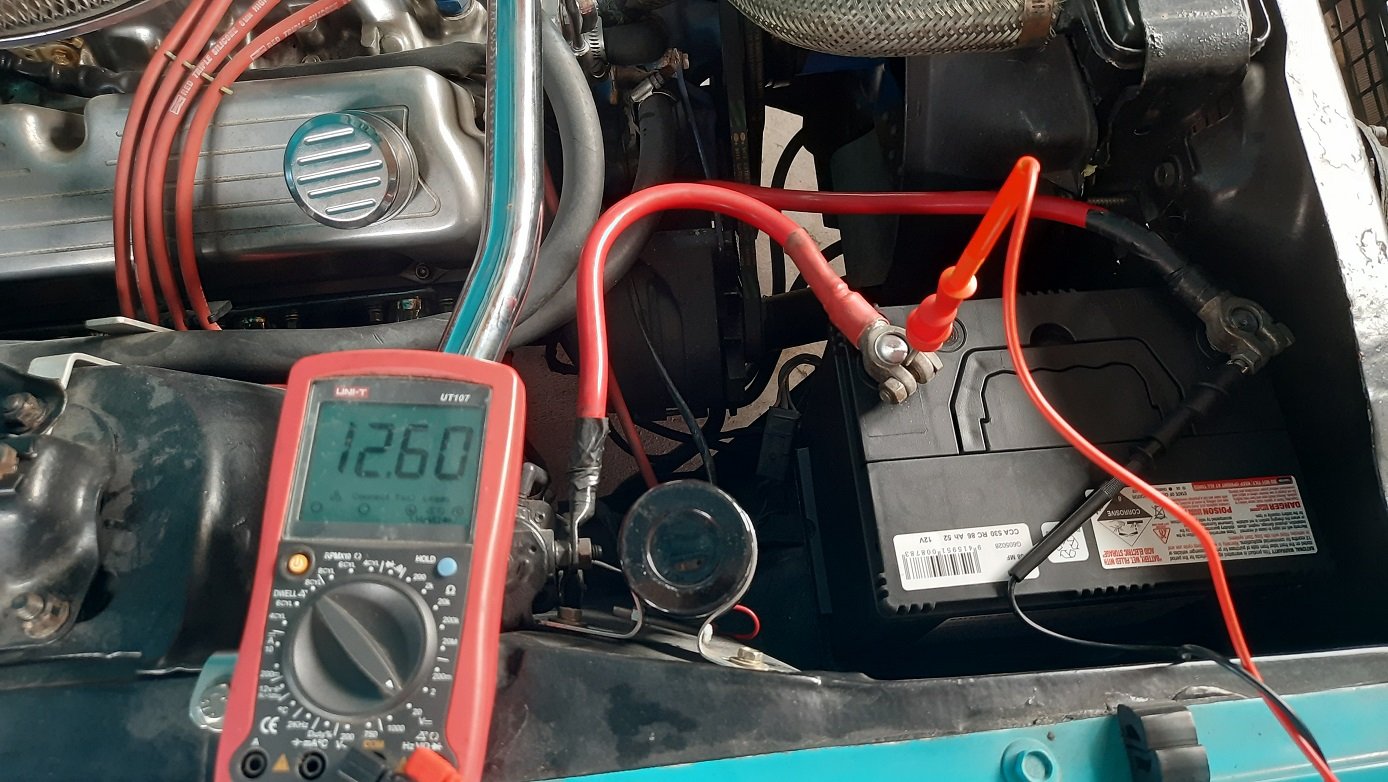
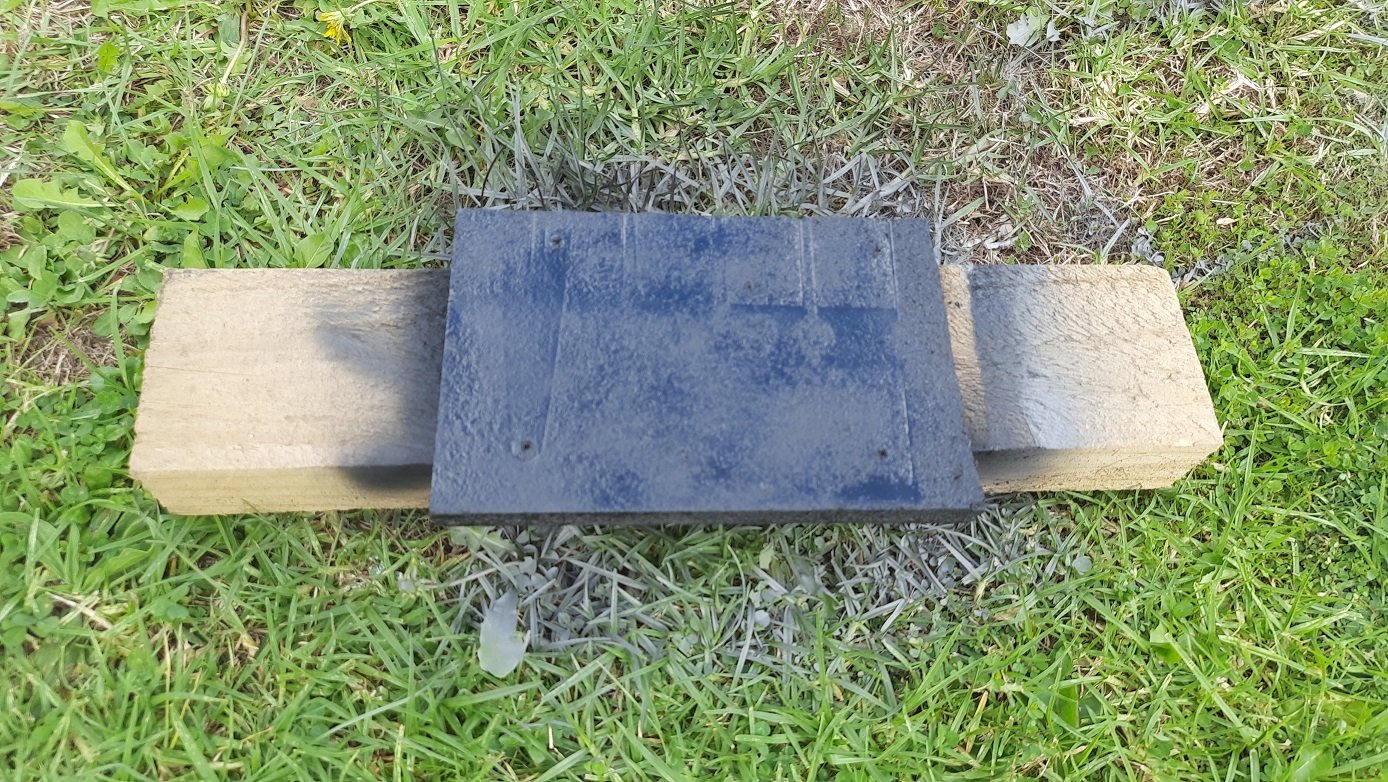
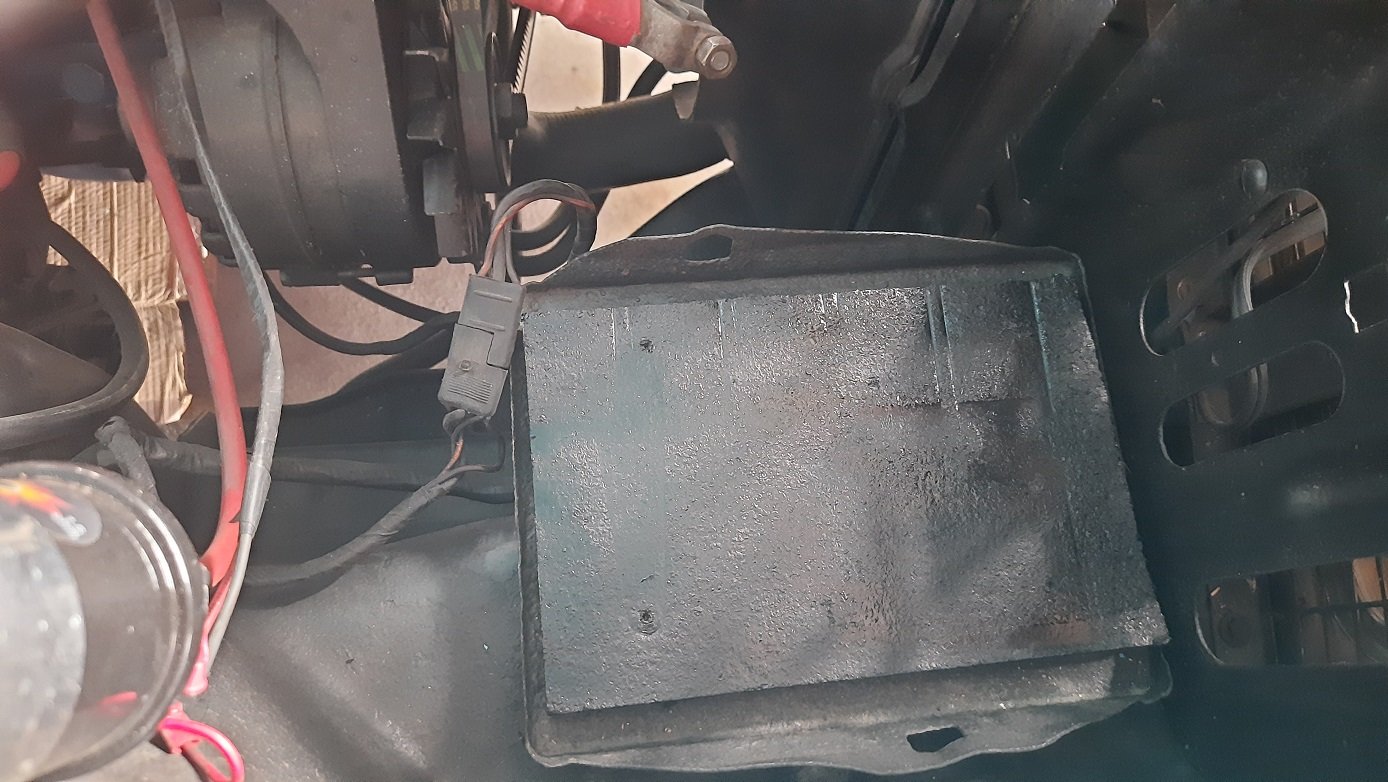
Went to Repco and got a new battery. Then went back to Repco to get the correct battery, (Repco branded) Century 68MF if anyone is interested. Threw it in and checked current draw. None. All good. Hooked it up and checked the voltage again, 12.6VDC, still good. thought it was sitting a little low and then remembered the battery spacer that was in it. High tech piece of particle board. Thought it could use a coat of paint. Looks like it was meant to be there. Last check was to fire it up and check the charge voltage. If it wasn't leakage current running it flat I needed to make sure the charge was within limits 13.2VDC at idle just after start, not too bad, needed a bit of a rev to see if it would come up to 14Vish. Got to 14V, then 15V then nearly 16V. Guess I know why the battery was toast. Guess I'll look at a new (internally regulated) alternator.

-
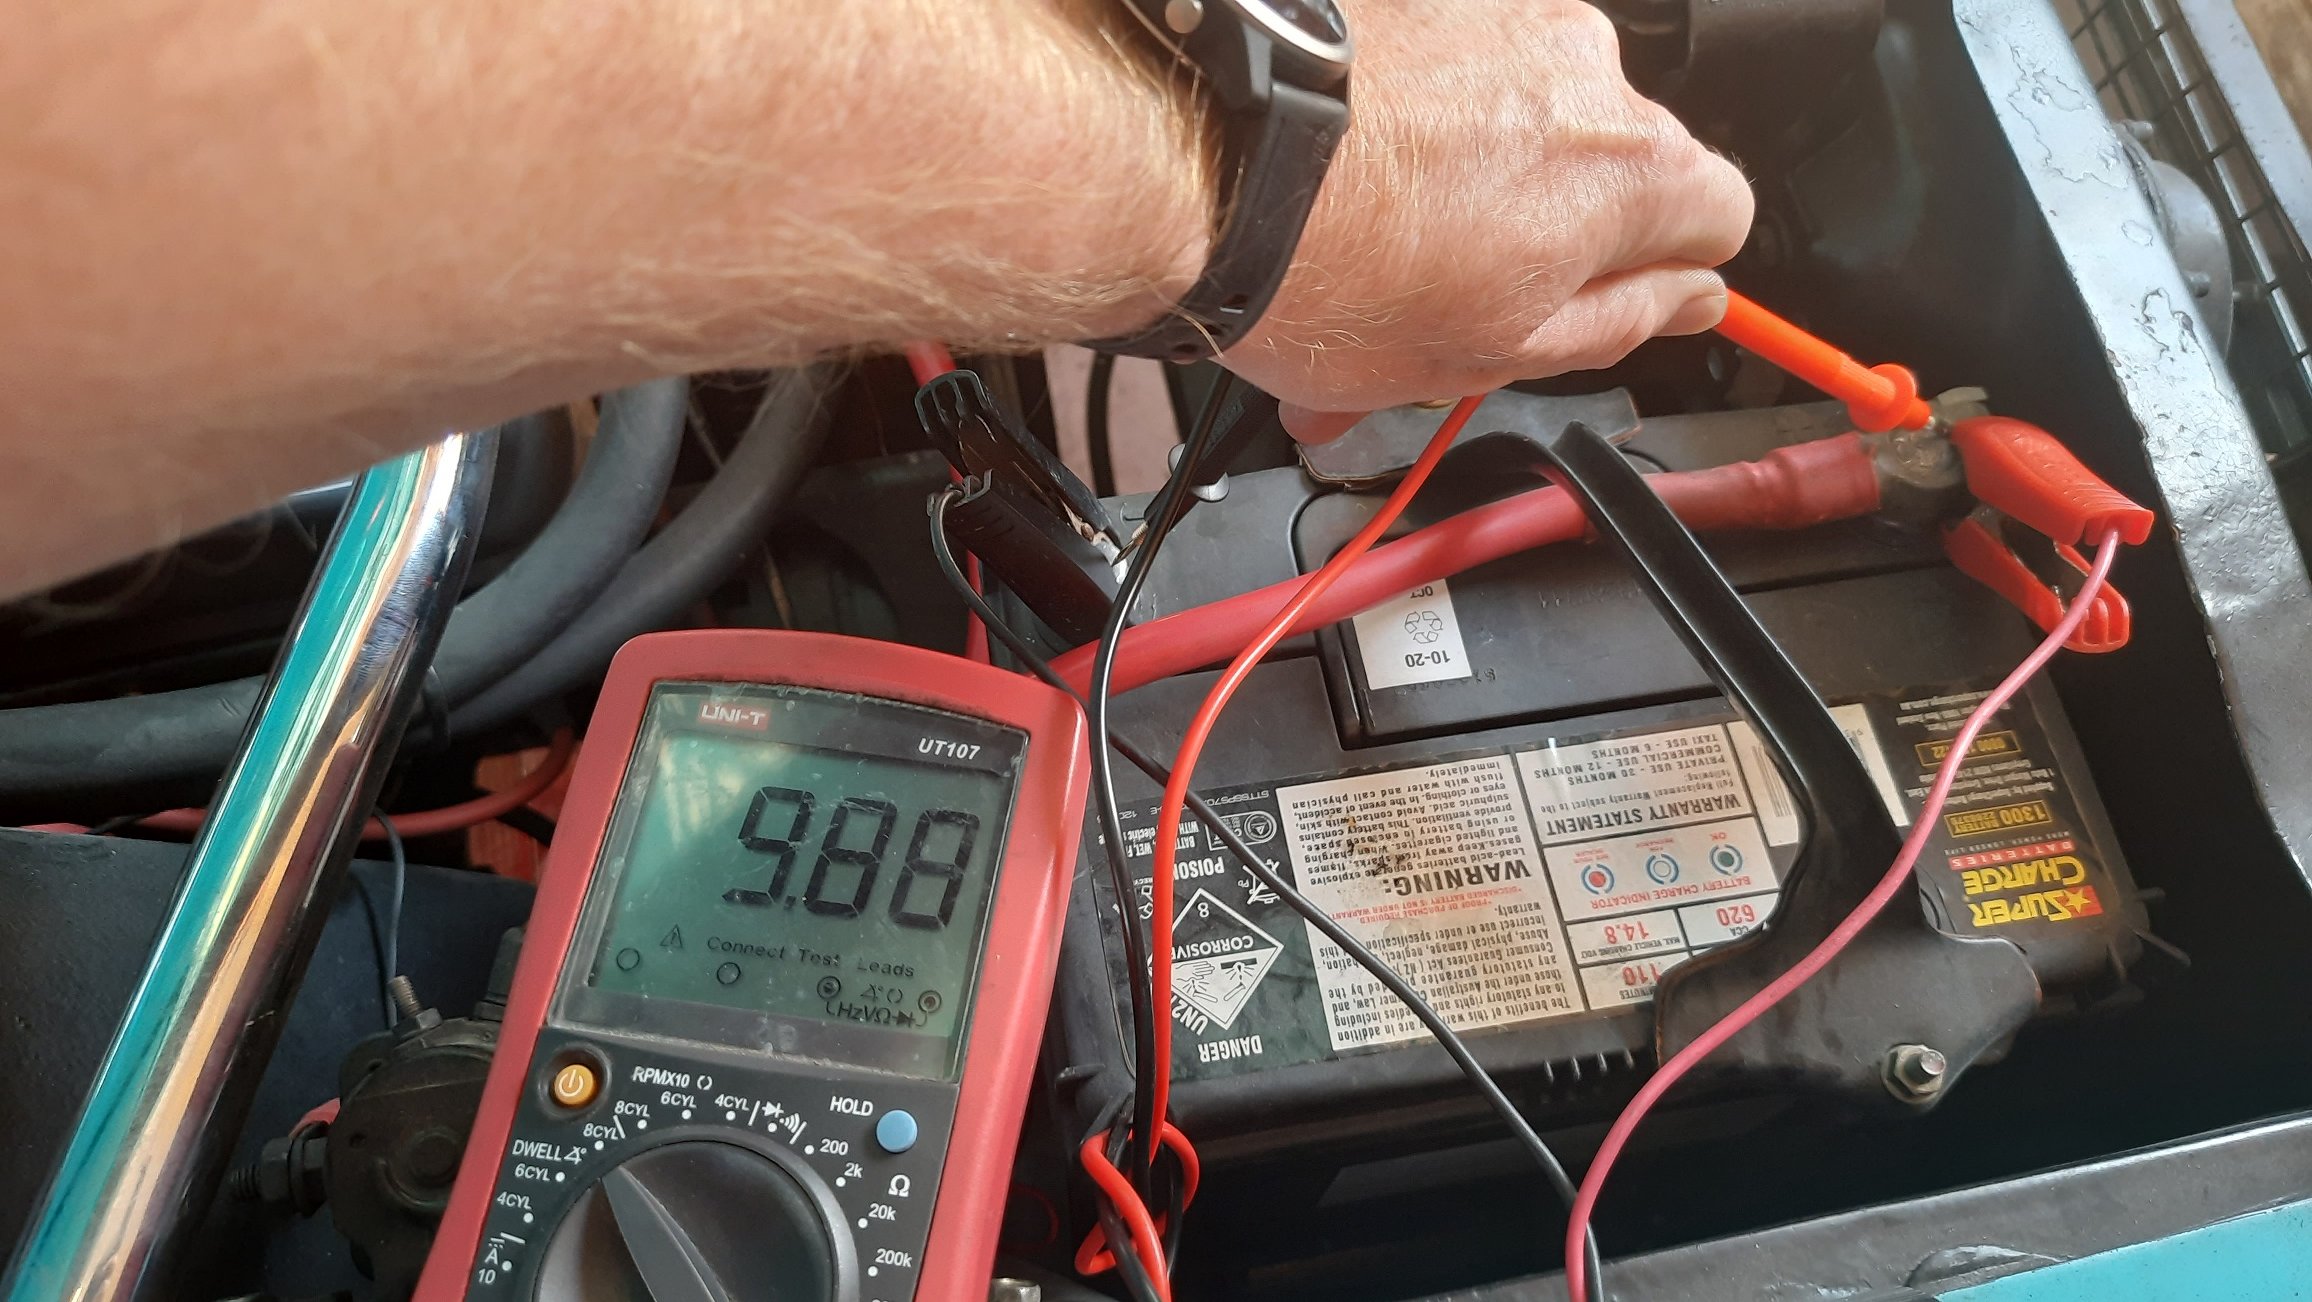
I think I might know what the starting problem is... Pretty sure that should be something over 12VDC. Charged it for another 24hrs with it disconnected from the car and still 9.8V. This has dropped at least one cell, probably shorted since it had none volts before I charged it. I haven't checked the alternator voltage but I'll get a new battery and check it then. The car could still have a short draining the battery but easy enough to check if there is current draw when I fit the new one.
-
I'm not sure what my settings were but I didn't think it was that stable. I'm used to my Fairmont which was a mile muncher. It was really easy to drive and quite stable at speed. The Mustang sits fine on the motorway but I found it a bit twitchy on the back roads to New Plymouth. That was probably why I was wanting to look at the steering again as it did require a bit of correction. They said they deviated from normal Mustang settings due to having wide radial tyres. I think that is just a camber thing but castor and toe will hold is straight, but I'm just guessing there. They did say to come back after 1000 km to get the settings checked. What tuning did you do on the EFI? Mine ran really well from first start but I got a dyno (no tune) and it picked up 10kw after the first pull. It tuned itself from running through the RPM range. The Mustang doesn't have that yet but it is better than the Fairmont with a blown power valve.
-
Just play. It feels like a notch where it moves and you feel a little clunk in the hand before it moves. It does make sense that the shaft will need to move slightly before the power valve is engaged. It does not feel like an issue with ball joints or normal steering play.
-
Hi Flash, did you fix your steering clunk? I have basically done the same fix on my steering as the hydraulic stuff was all shagged. There is no play in mine at low speed and smooth lock to lock but at 60mph on the motorway it clunks back and forth in the centre. It will do this in high speed corners too which is slightly unnerving but as the power valve has to move 5mm before the hydraulics assist I'm not sure if this is normal. I don't have another one to compare. I have the opposite issue to you with fumes. Stopped at idle it is pretty good, just normal carby stuff. At high speed with the main windows cracked it get a bit fumey but just using the front quarter windows it is ok. I think for mine I just need to check the tune to clean up the tailpipe.
-
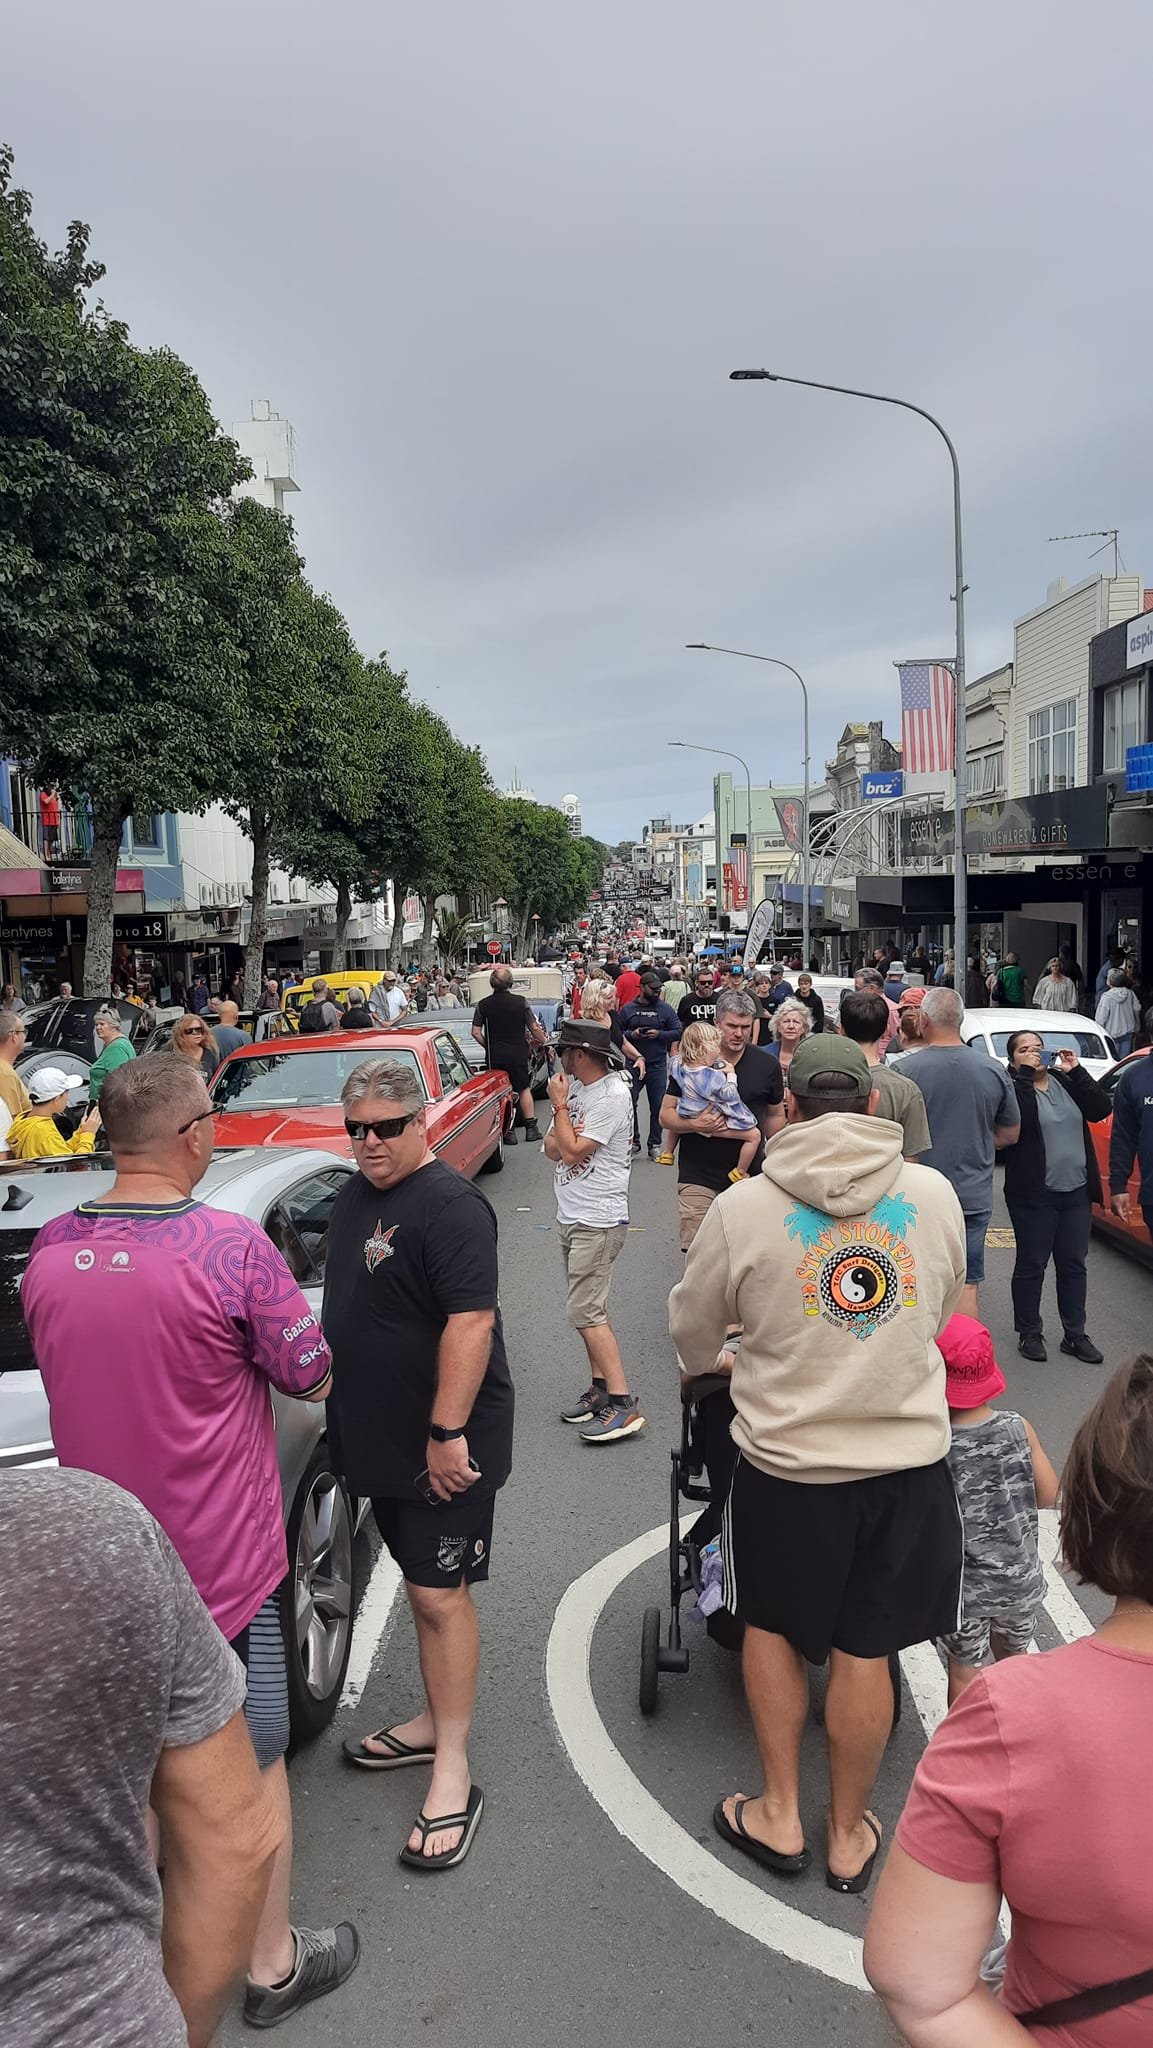
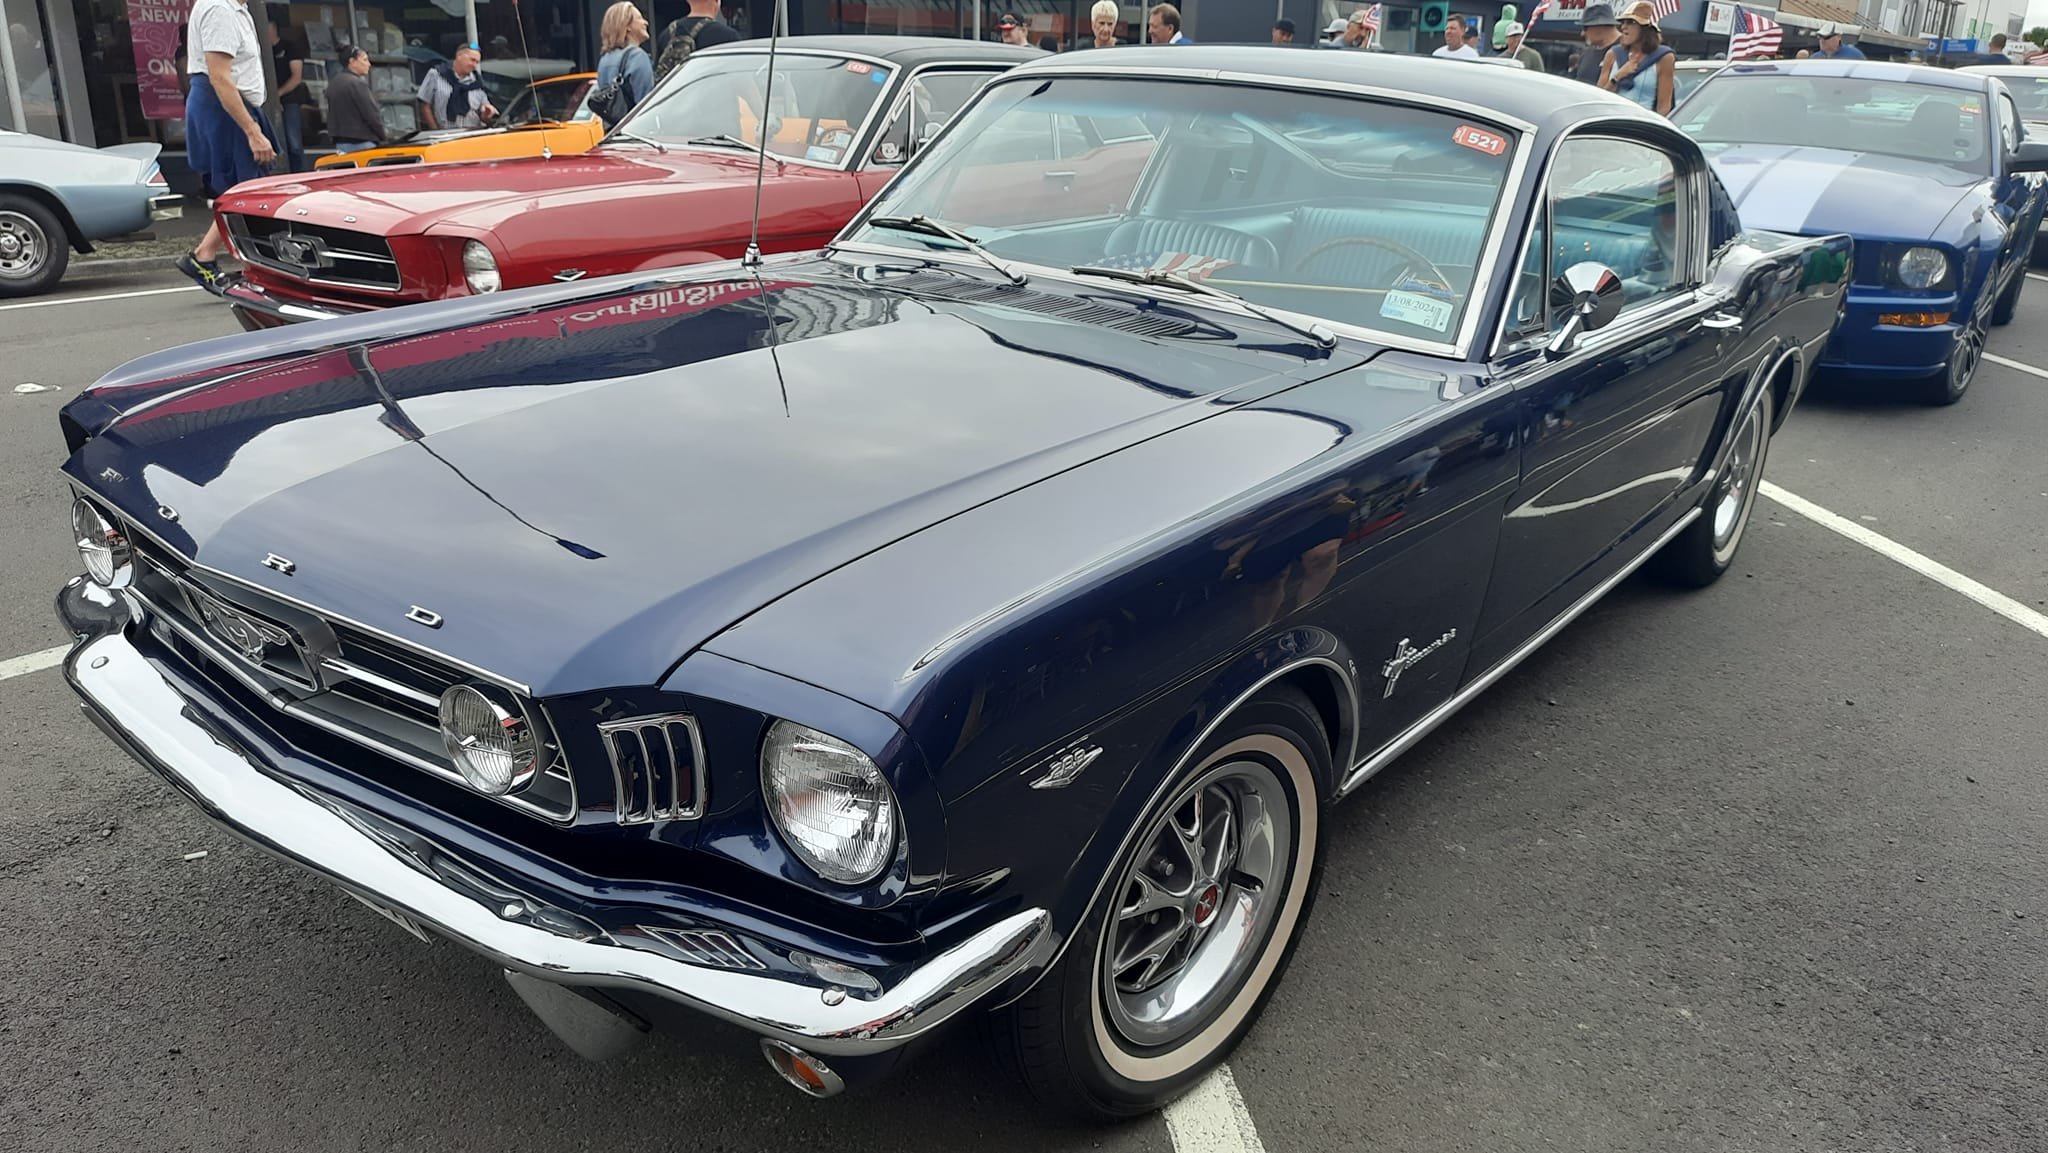
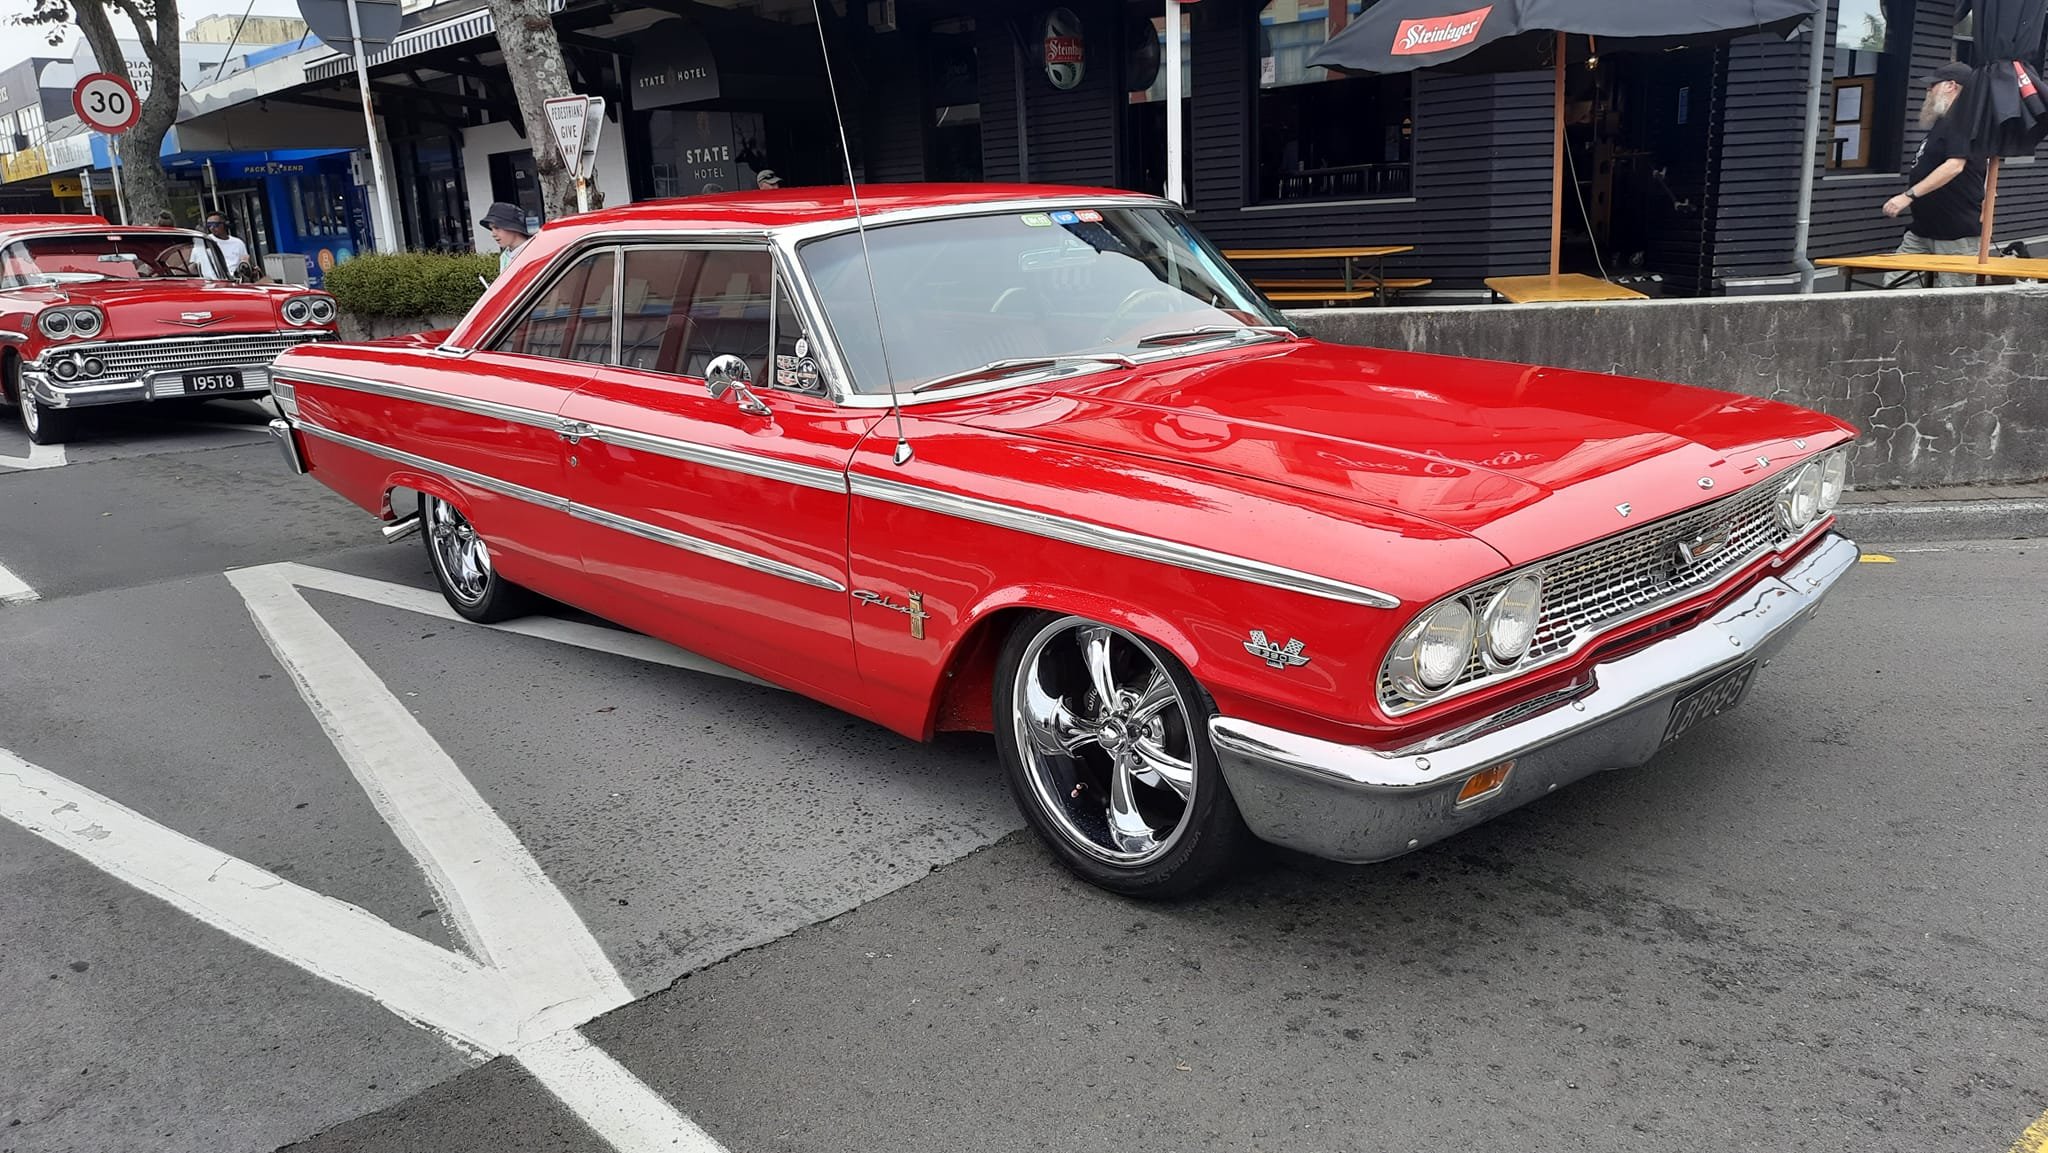
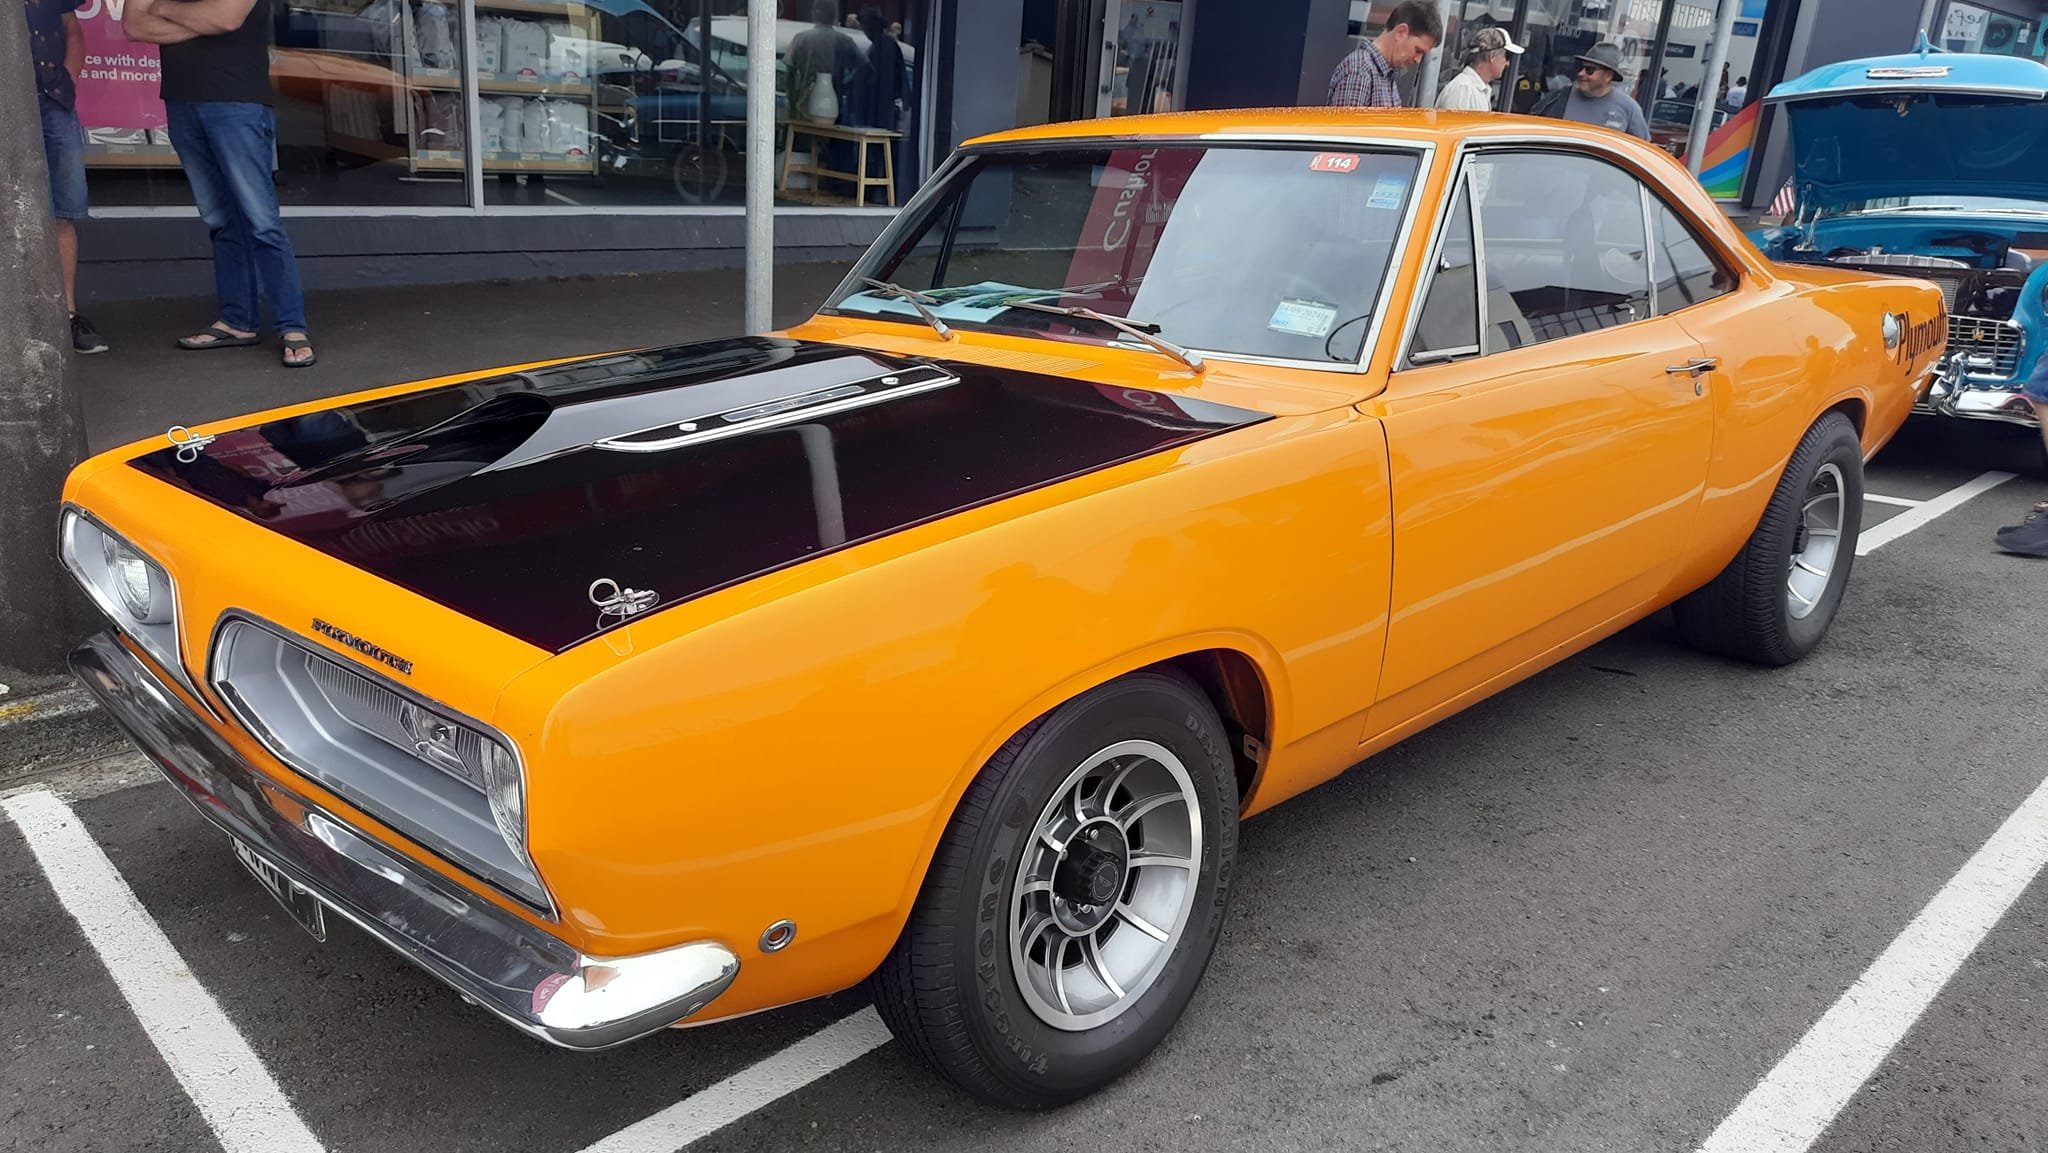
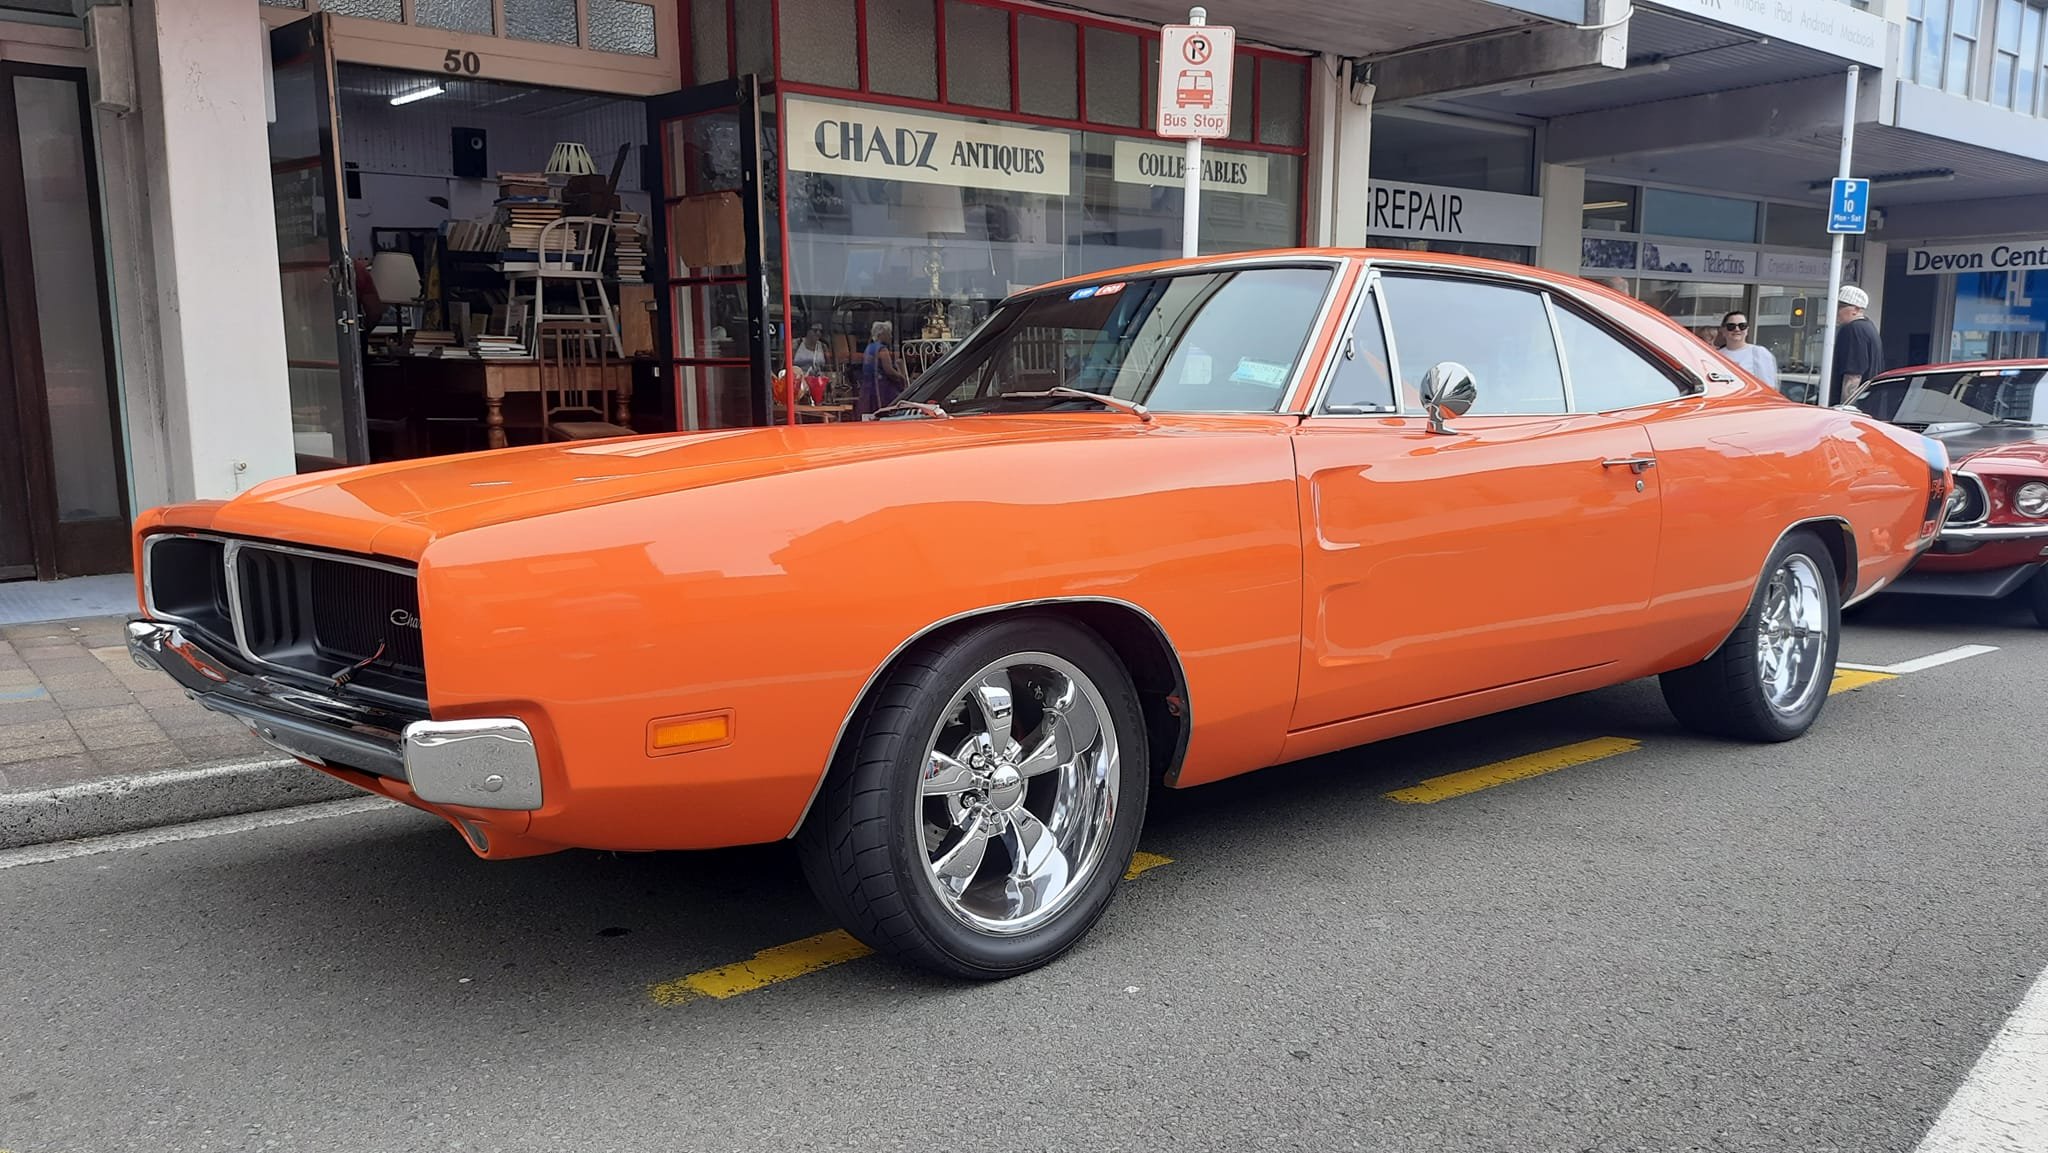
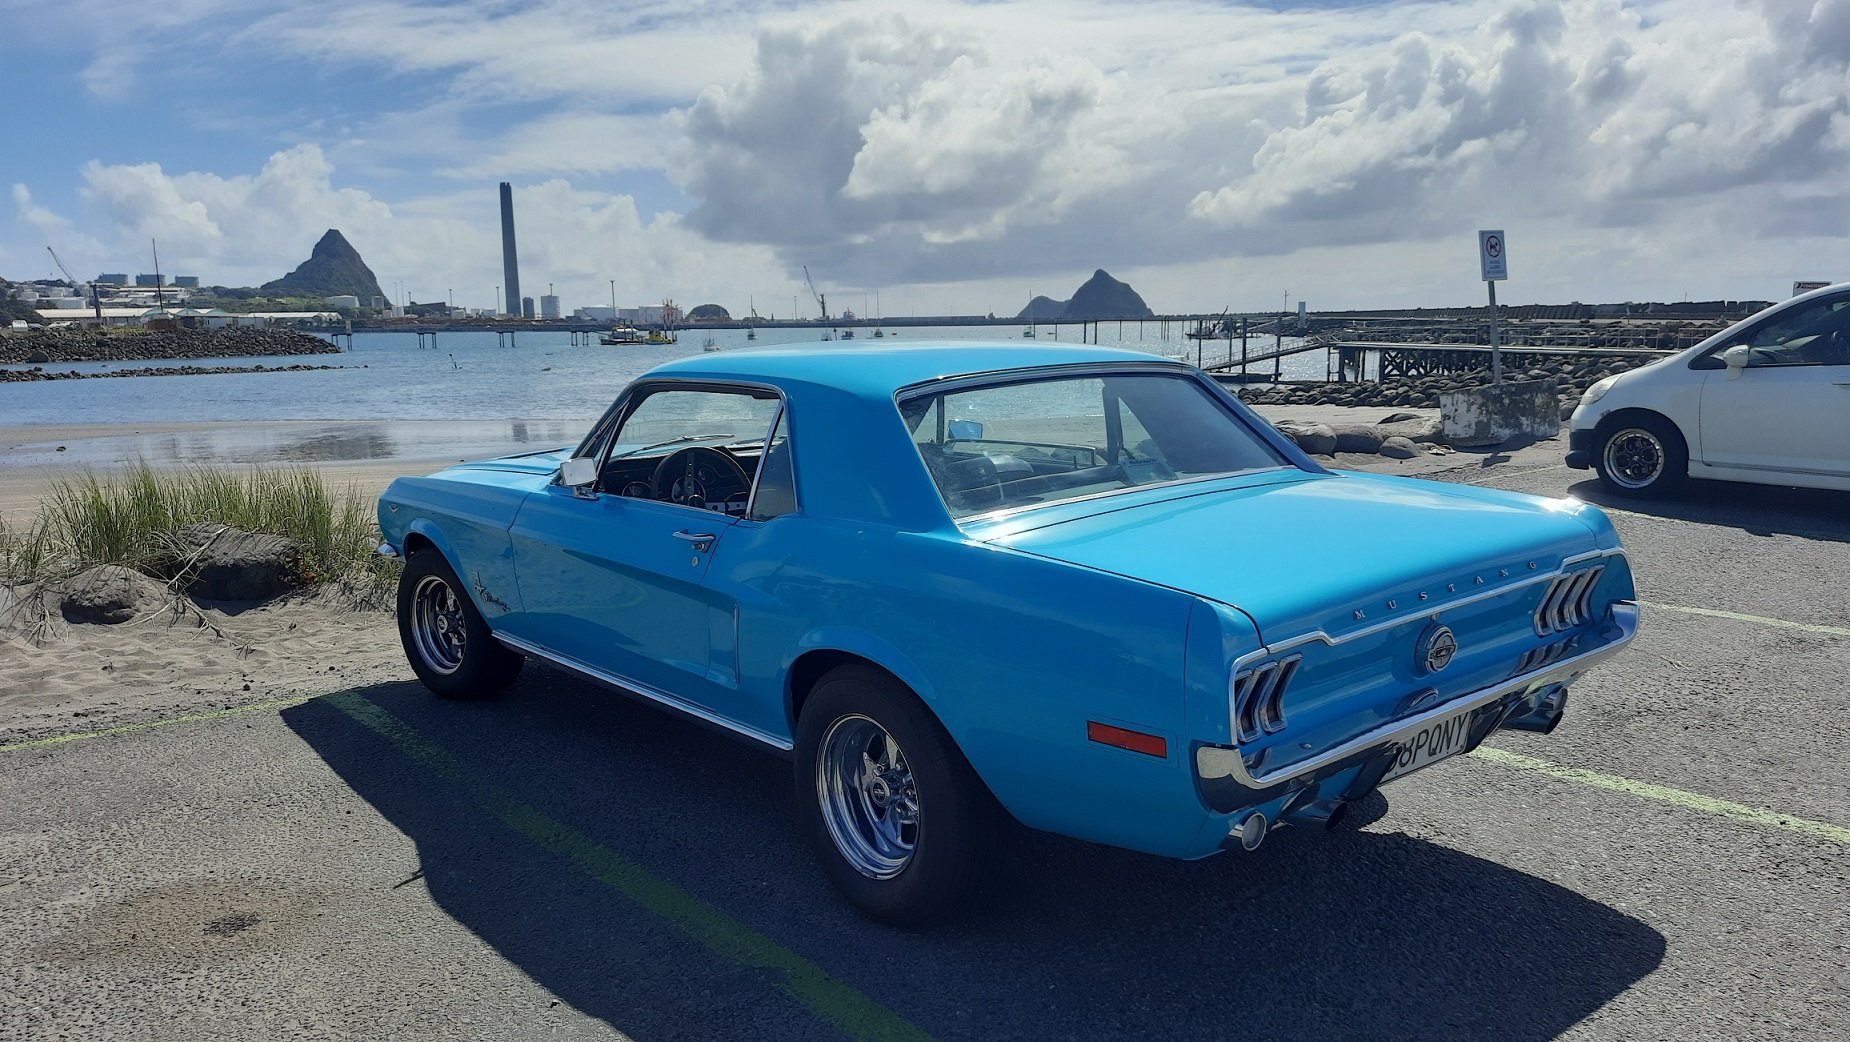
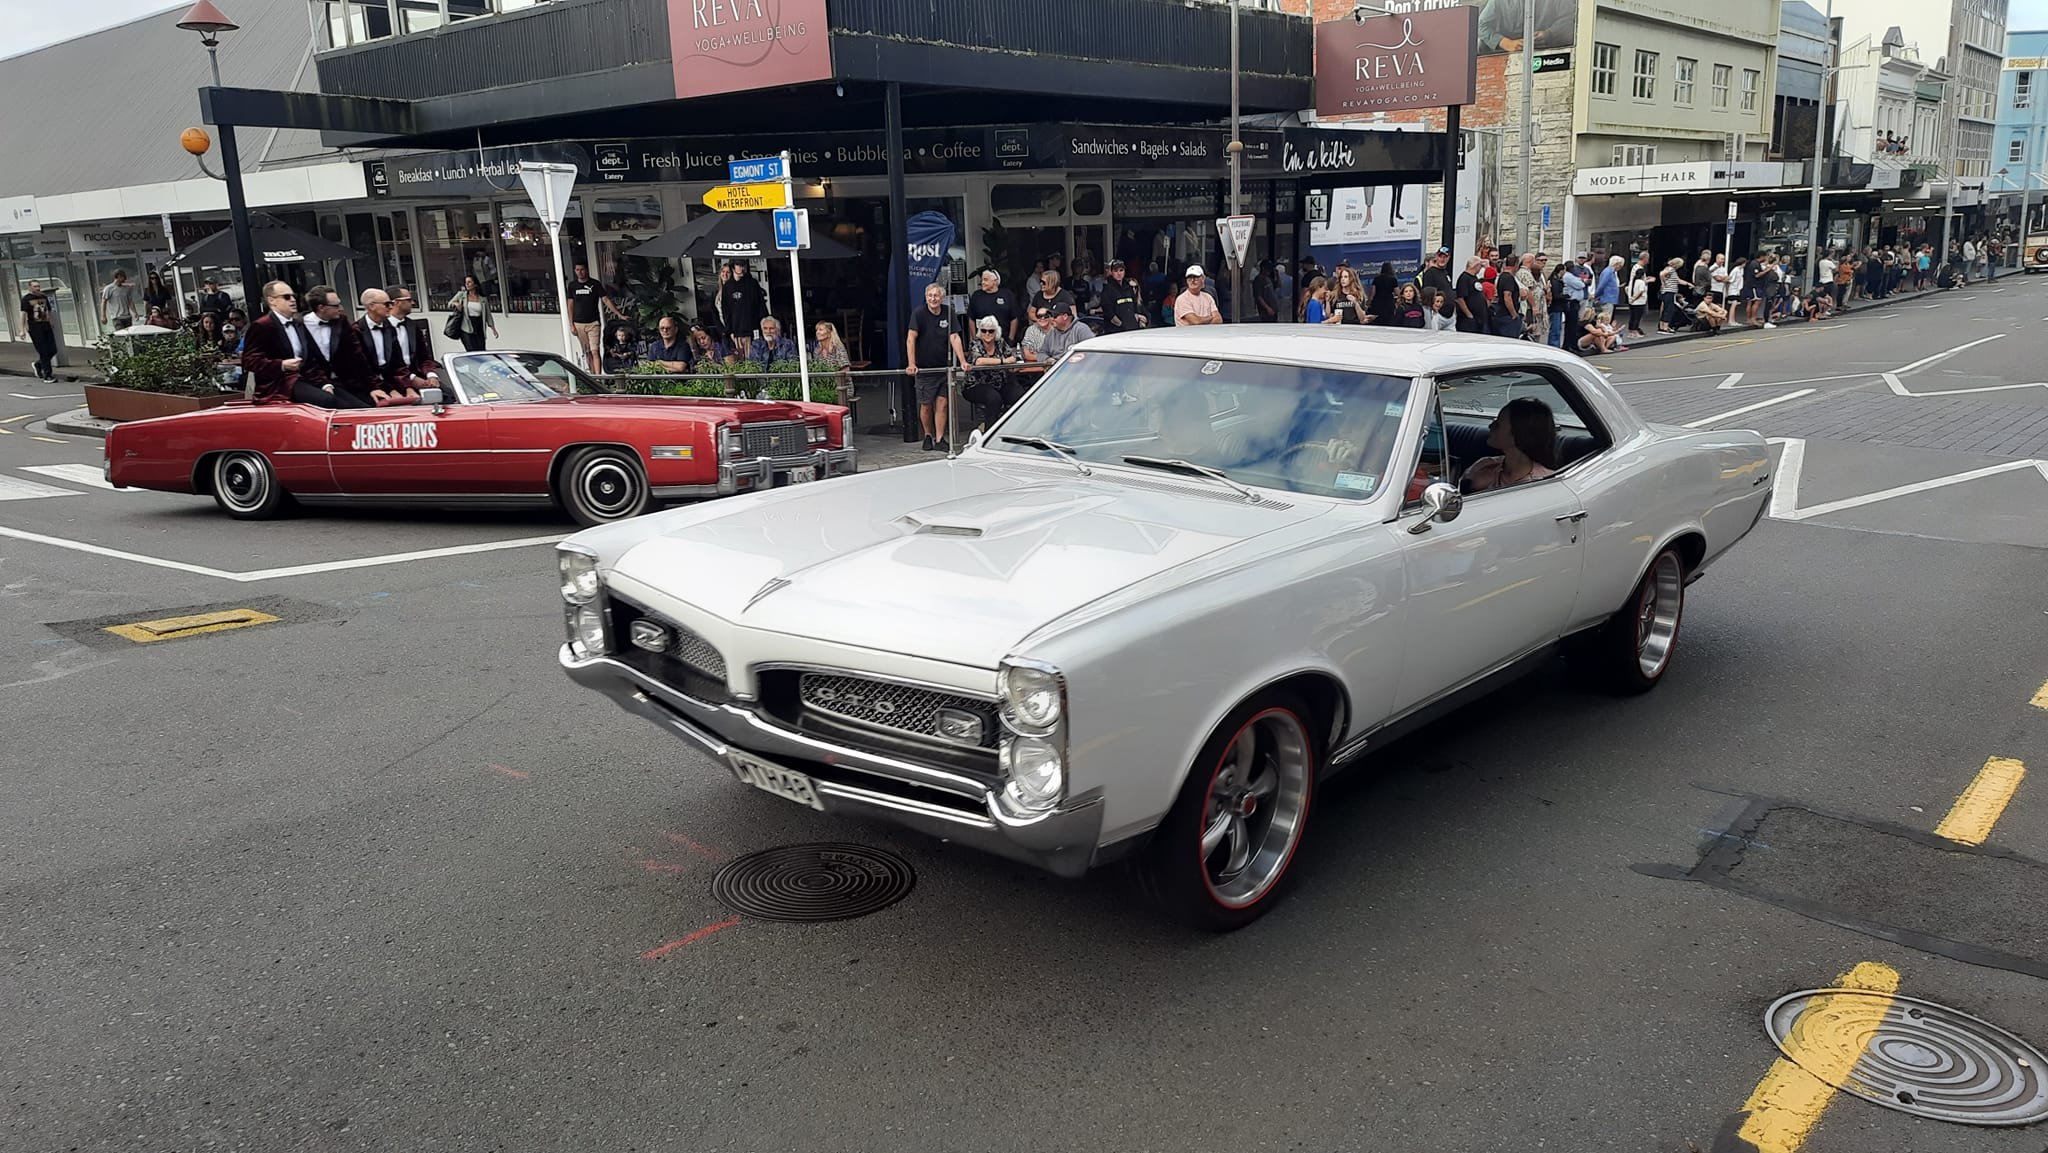
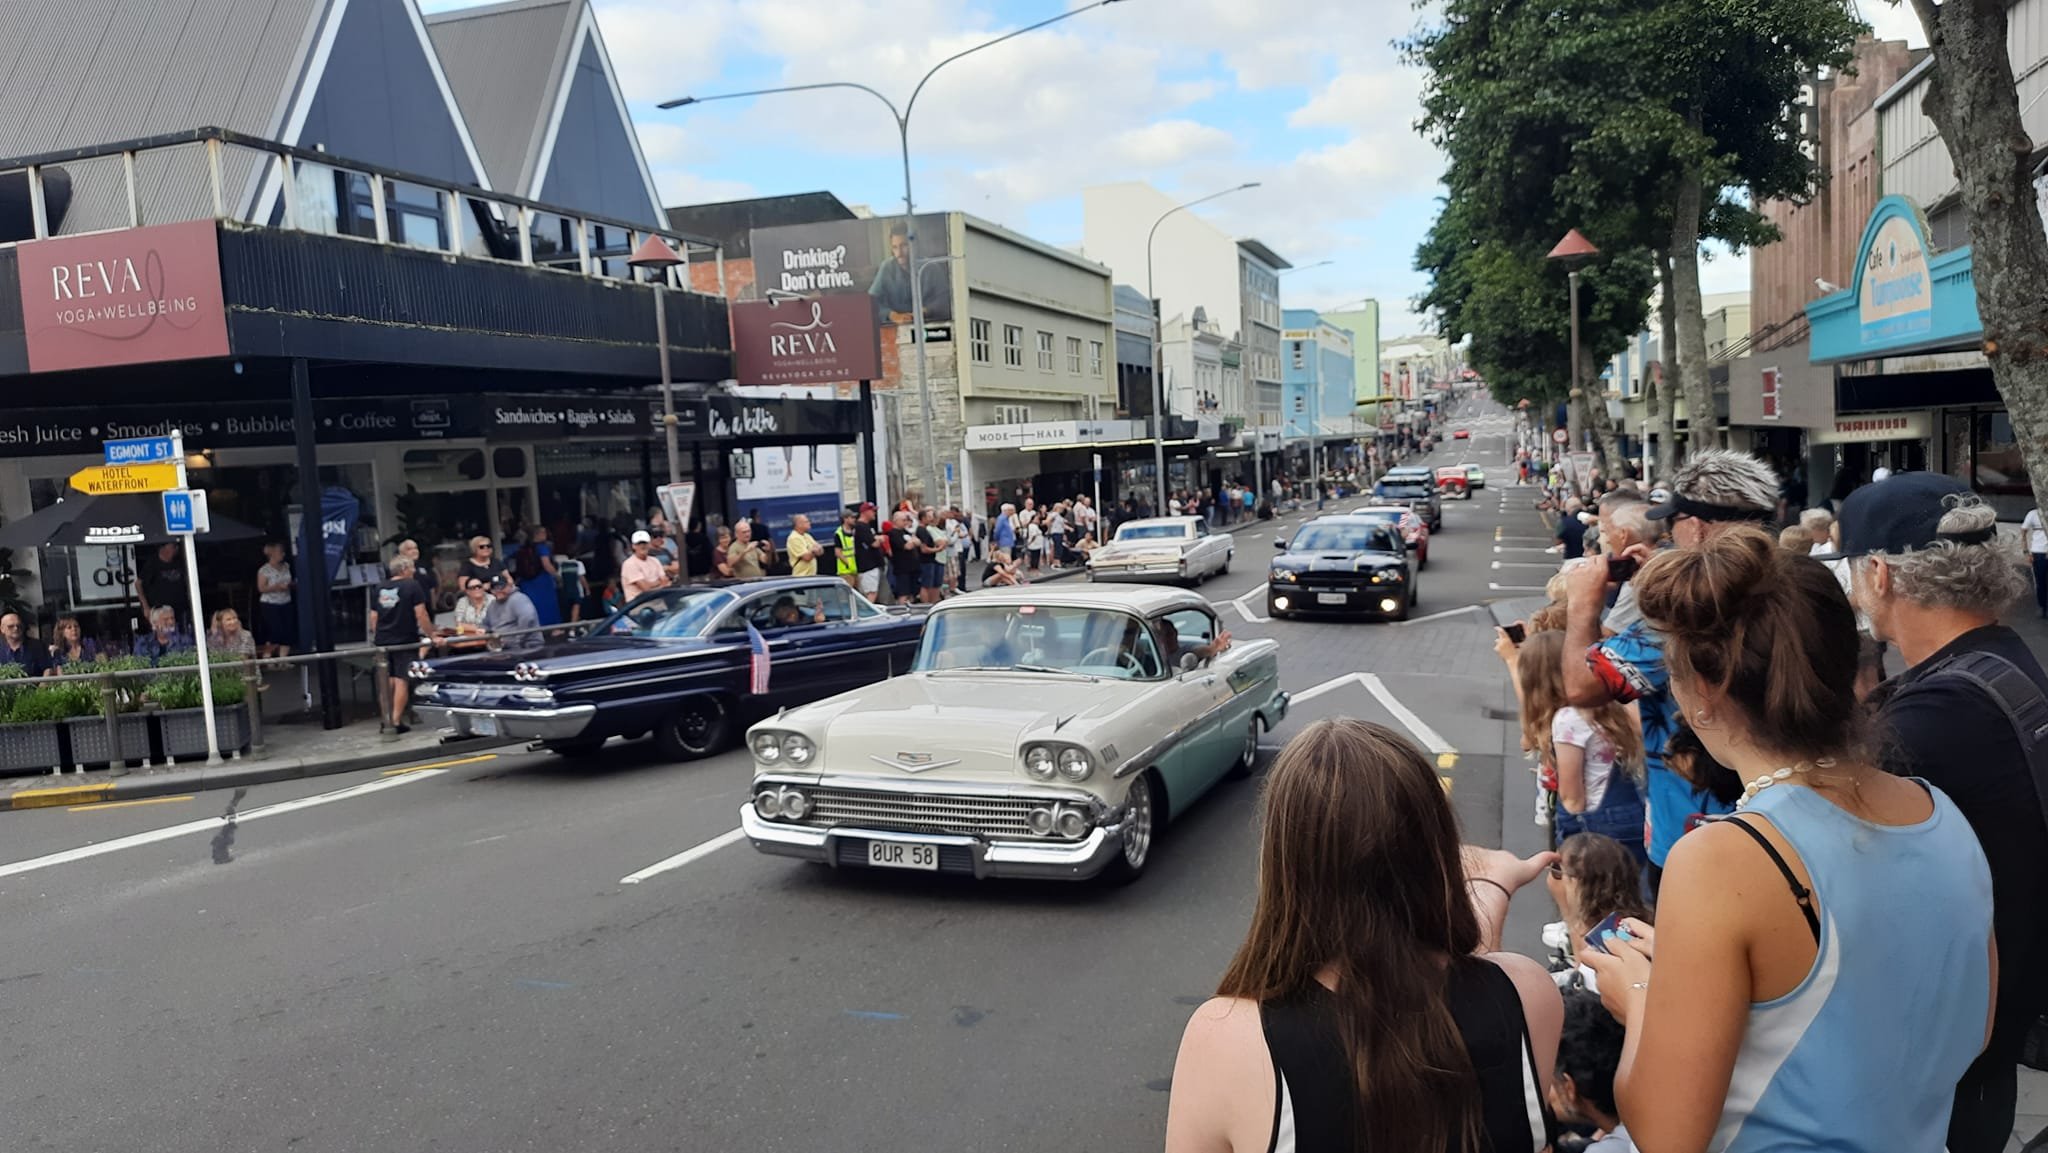
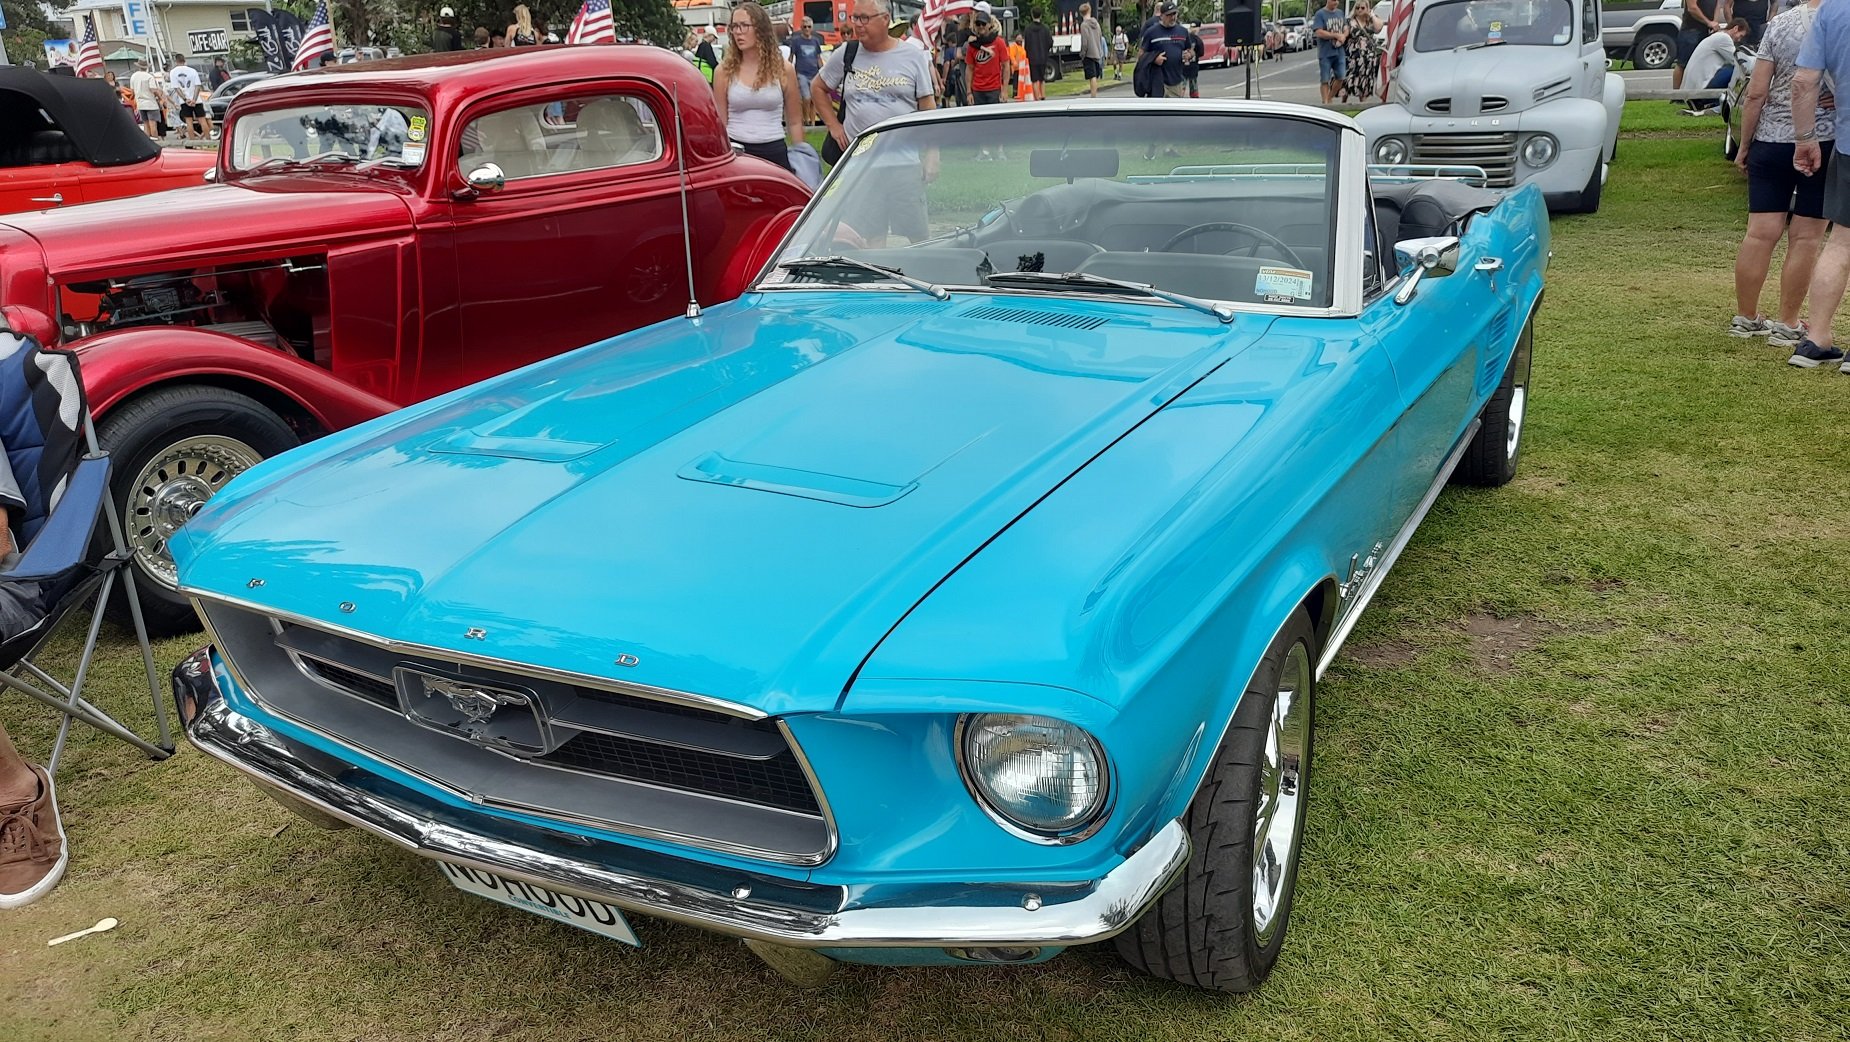
Americarna day 2 (for us at least) and the cars were all parked up on the main street. Heaps more people around but still plenty of room to move and look at cars I'm pretty sure this on is an original GT Nice galaxy. I should have taken a picture of the chev in the background, turned out to be a mate. Imaculate everything and 600hp 510. I quite like the notch back Barracudas We headed home on the Sunday after a false (non)start. Not sure what drained the battery but I didn't even get a click. To make it worse I had spent 3 days trying to charge my jump kit to no avail so it was worthless as well. Luckily a local had some leads just up the road so he drove home to get them and came back to give us a jump. Good bugger. I was a bit nervous stopping at the servo a few minutes up the road but it started first pull. Lucky. Enjoyed the scenery on the way home and used the quarter windows for ventilation rather than the main ones. Quite a bit better on the fumes front. Still some work to do but when is there not? I might give it a rest for a while but I think the steering will need to be sorted before the next big road trip.
-
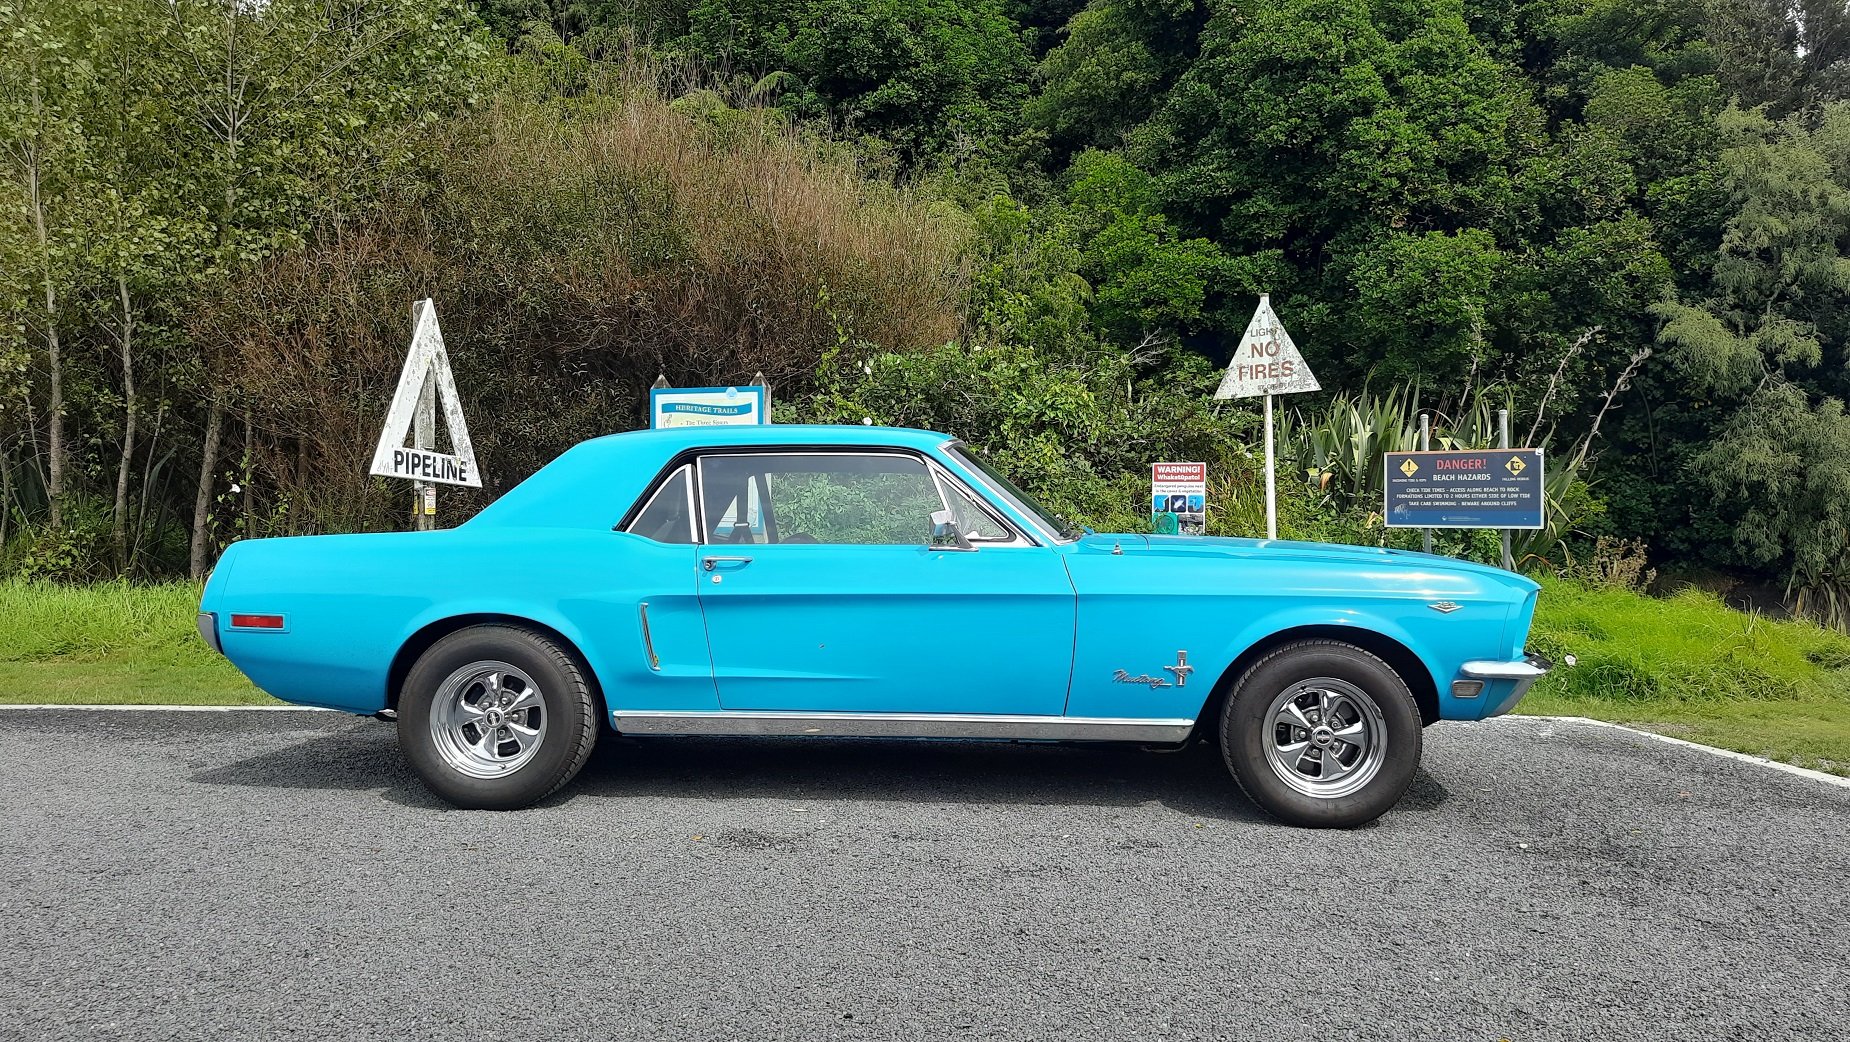
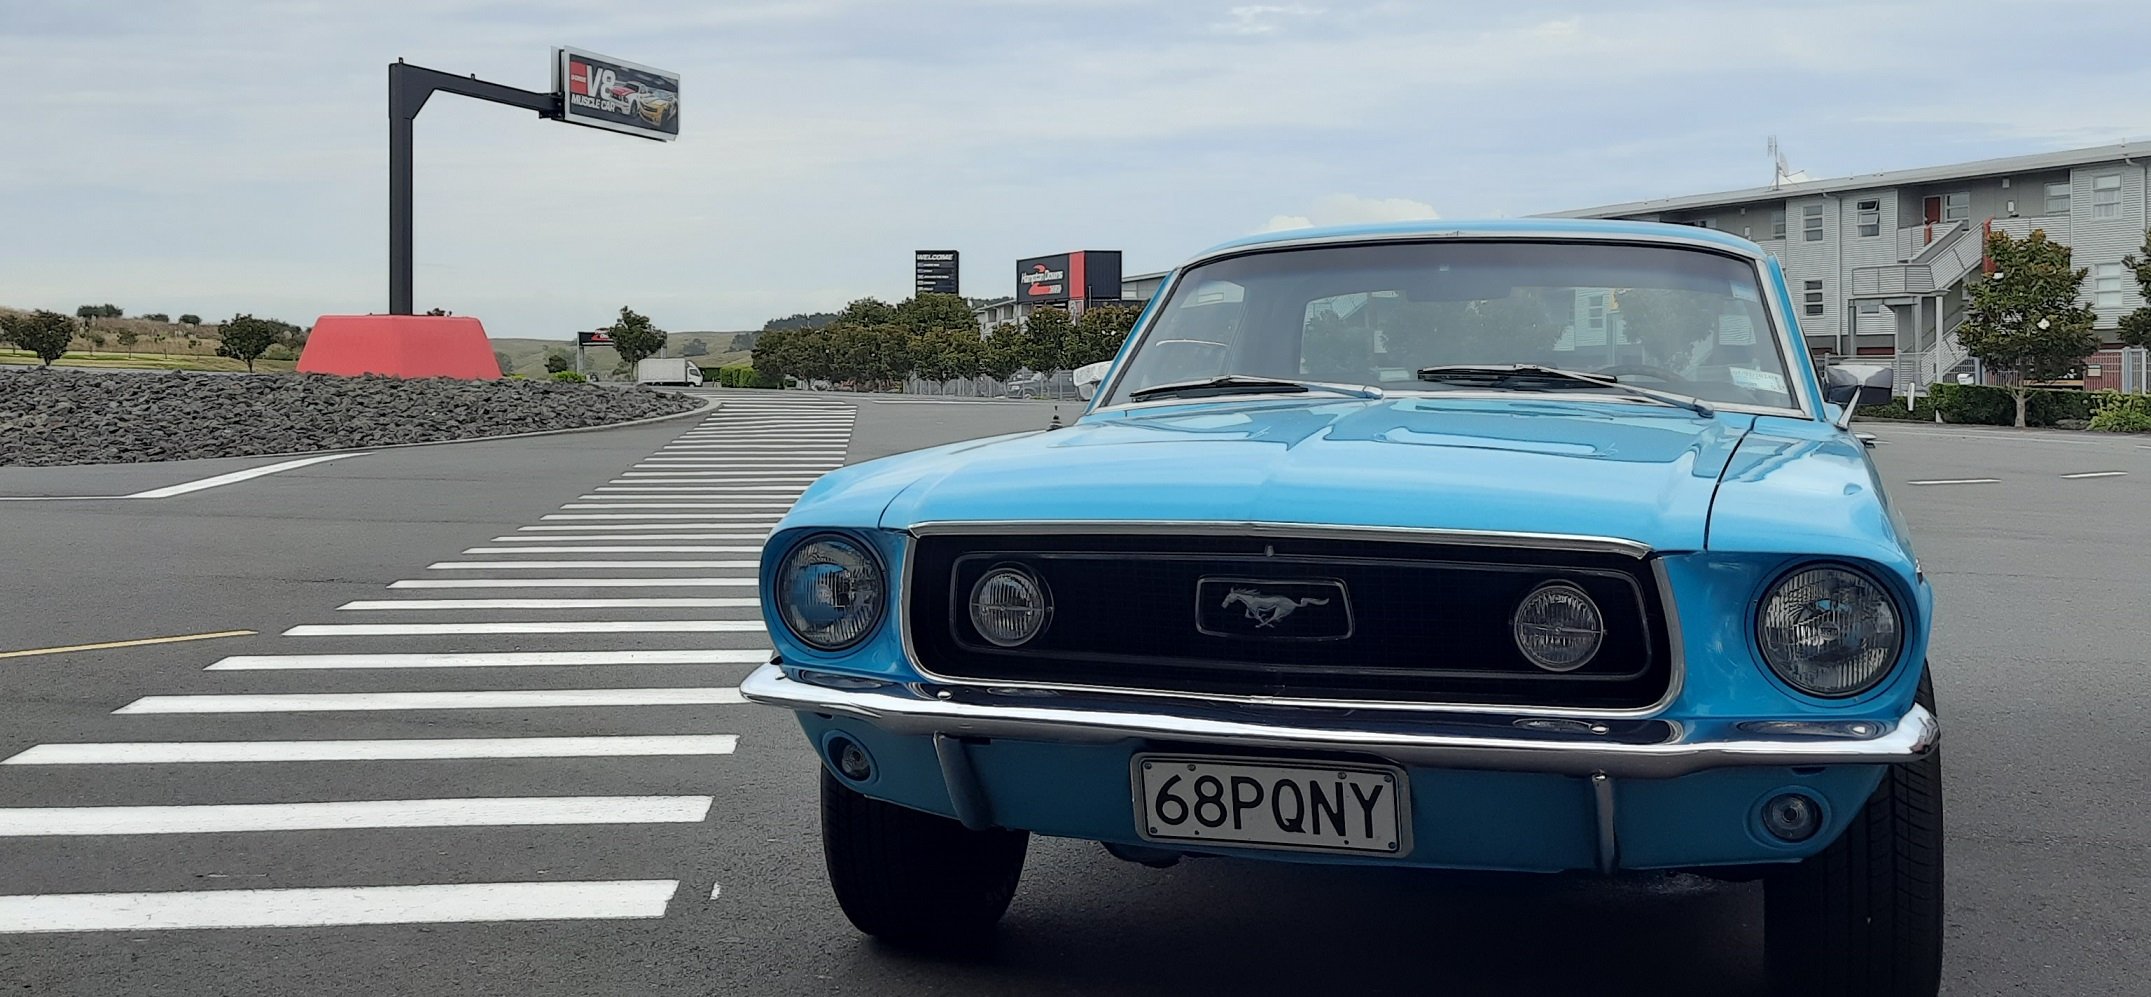
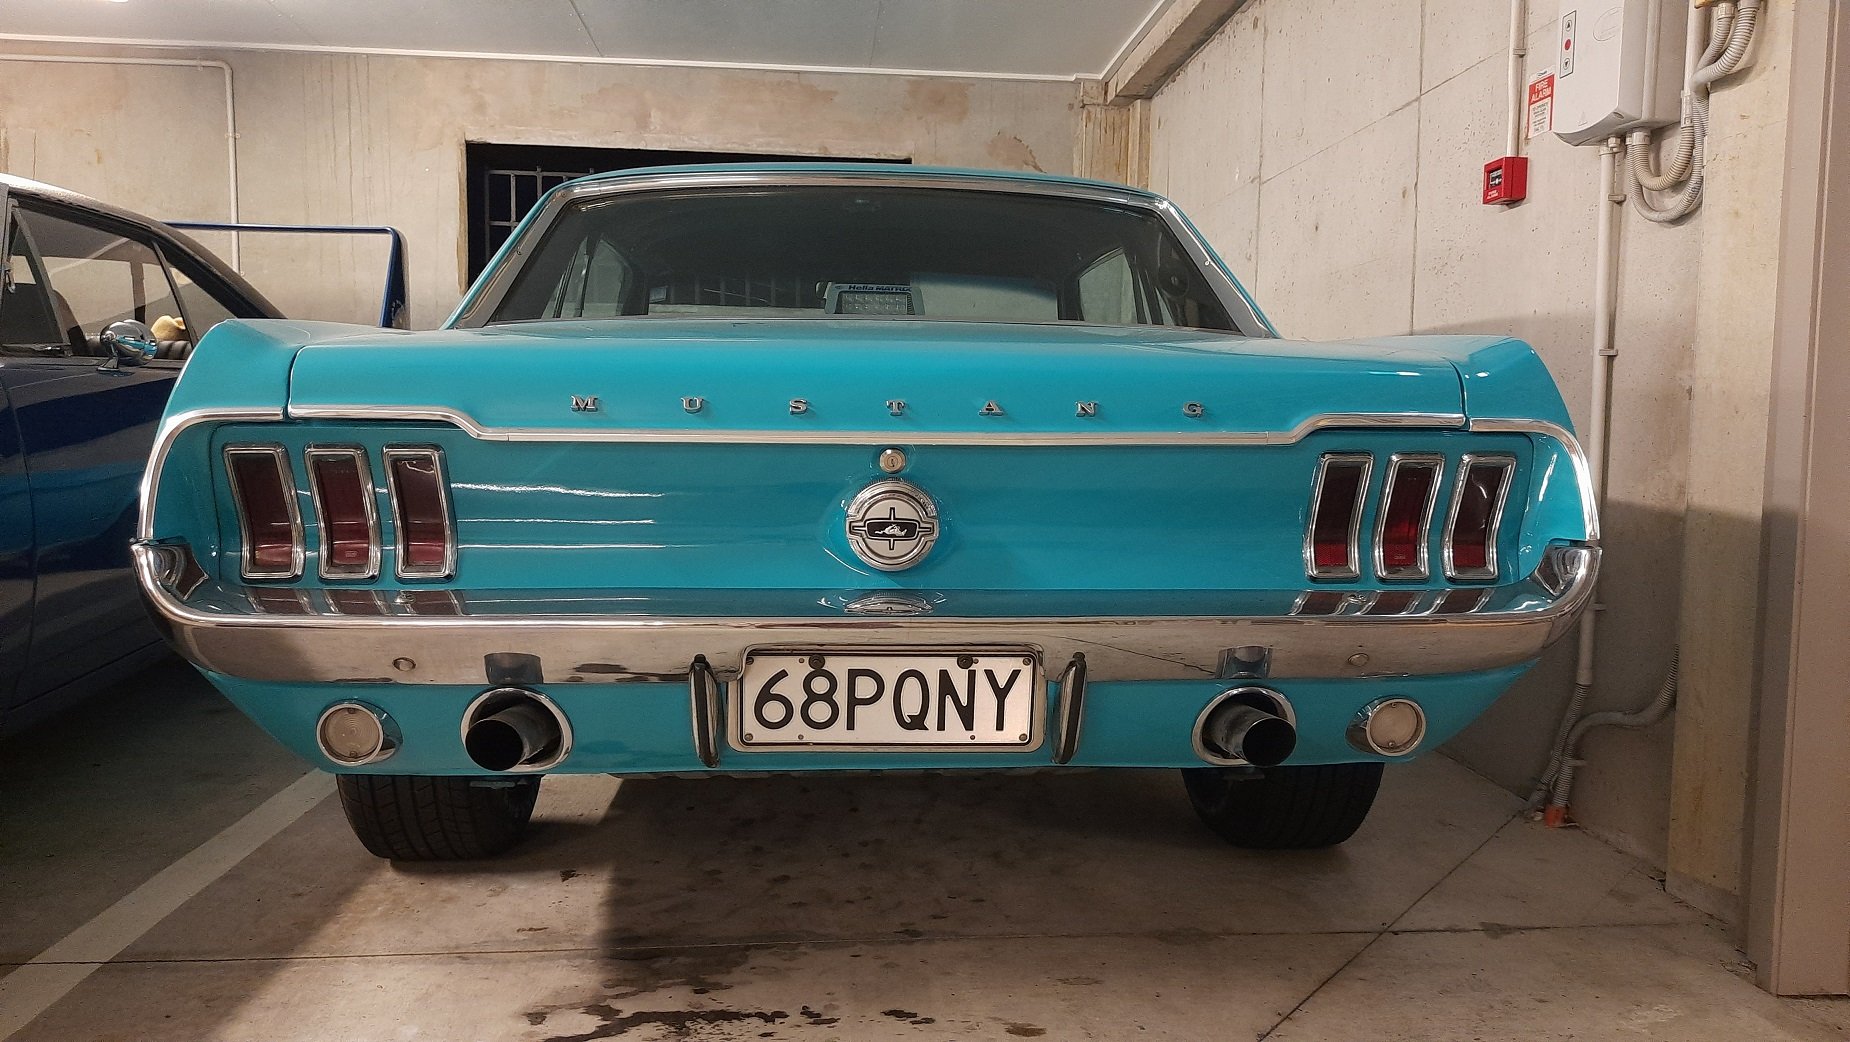
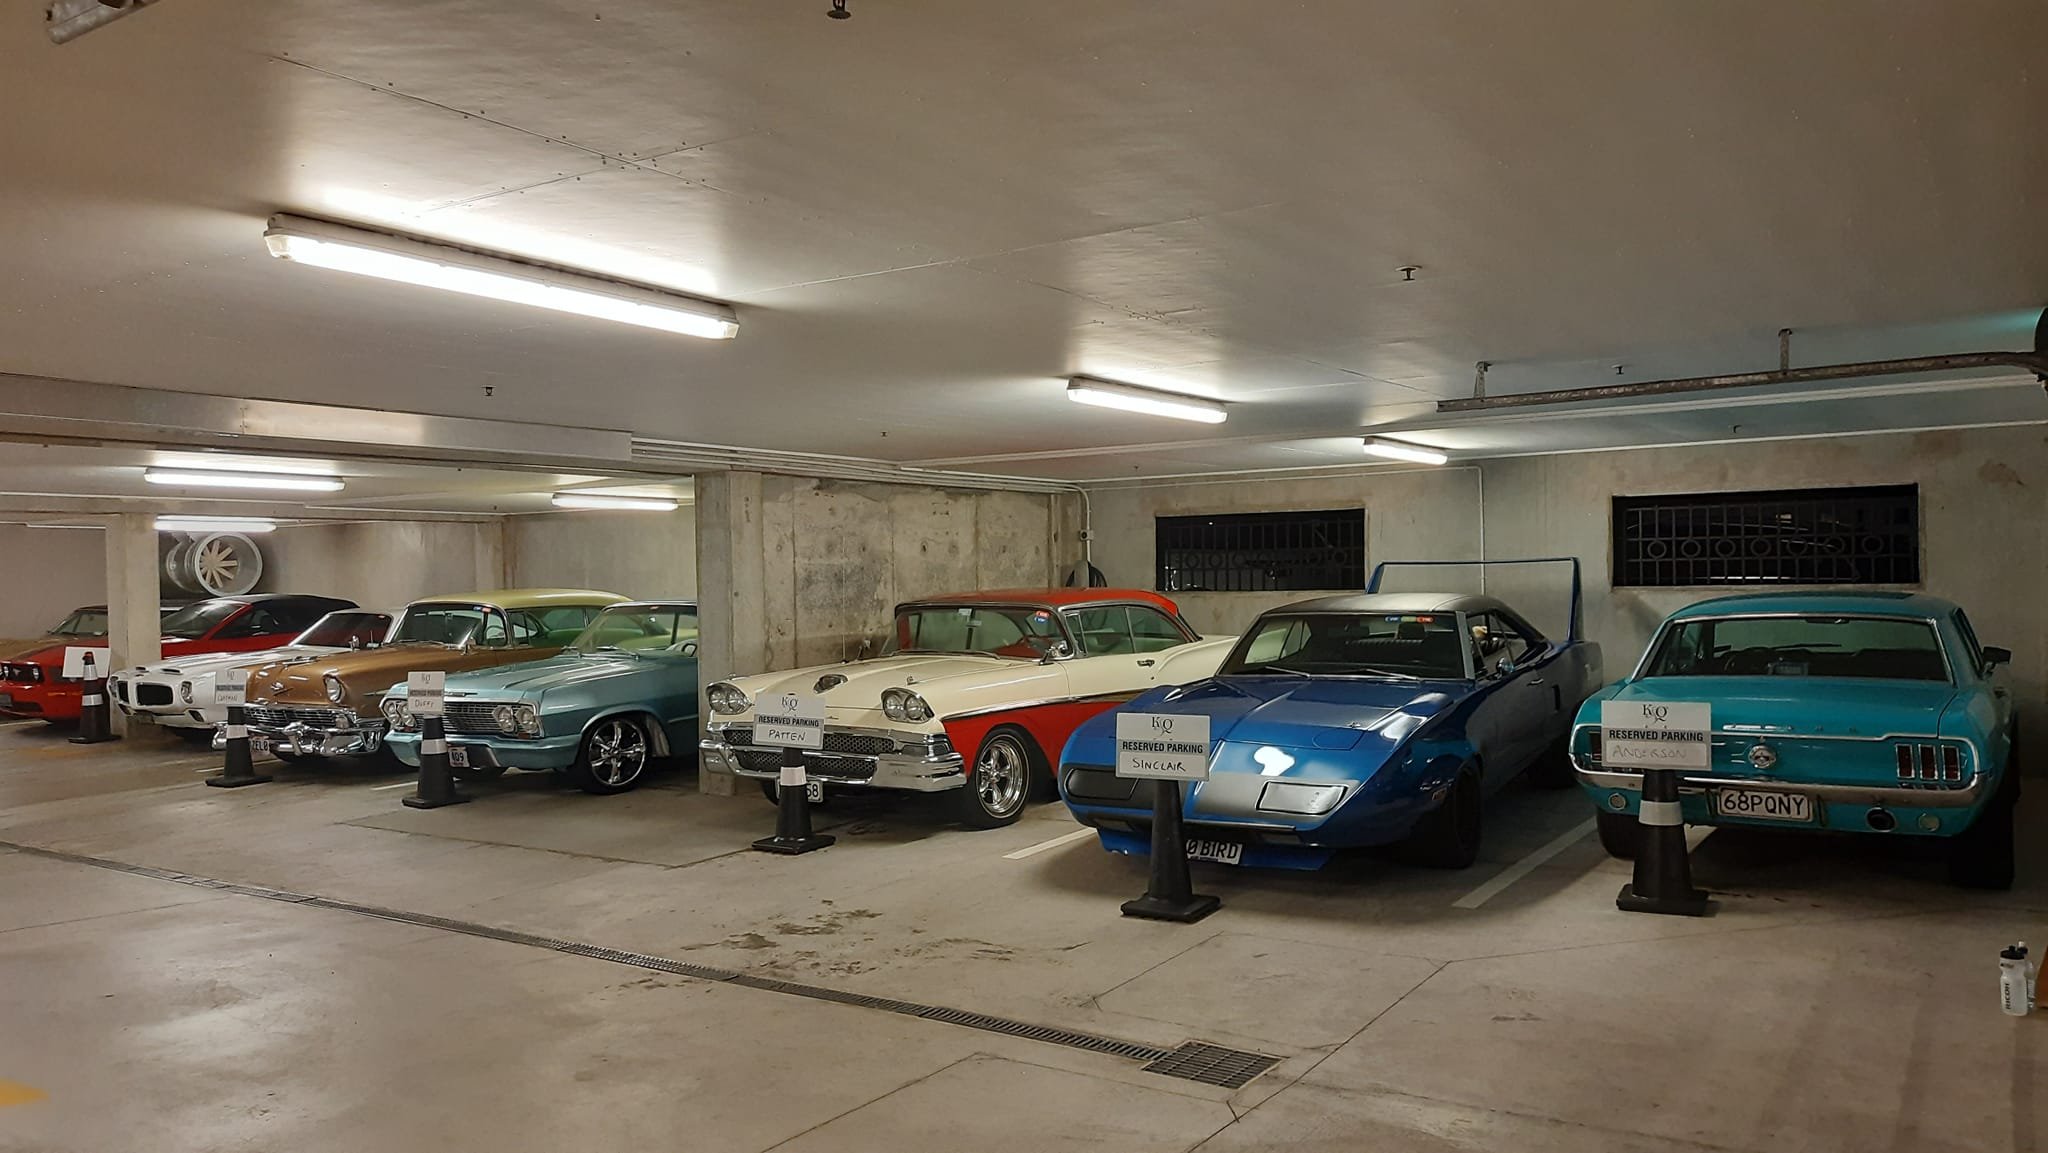
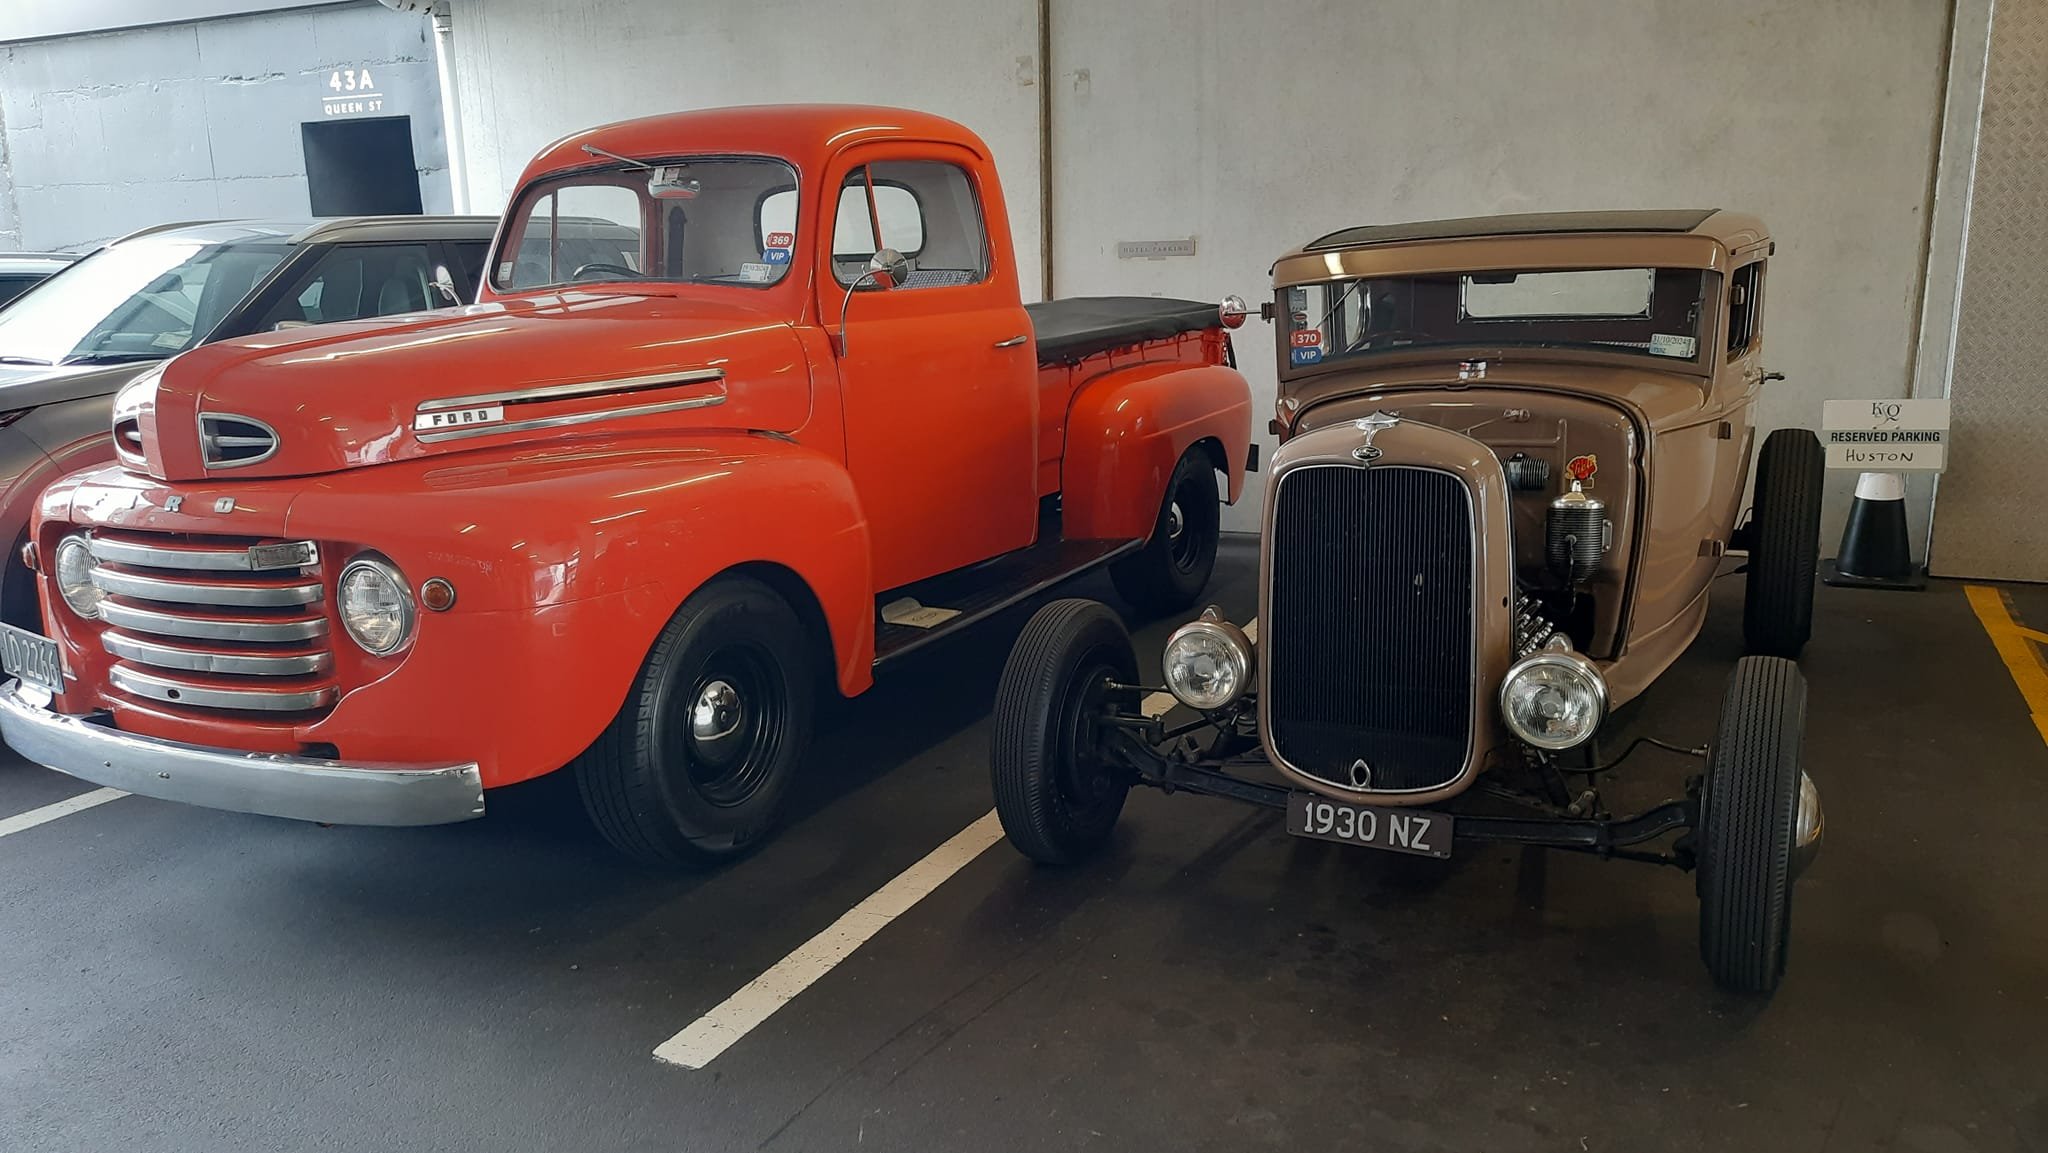
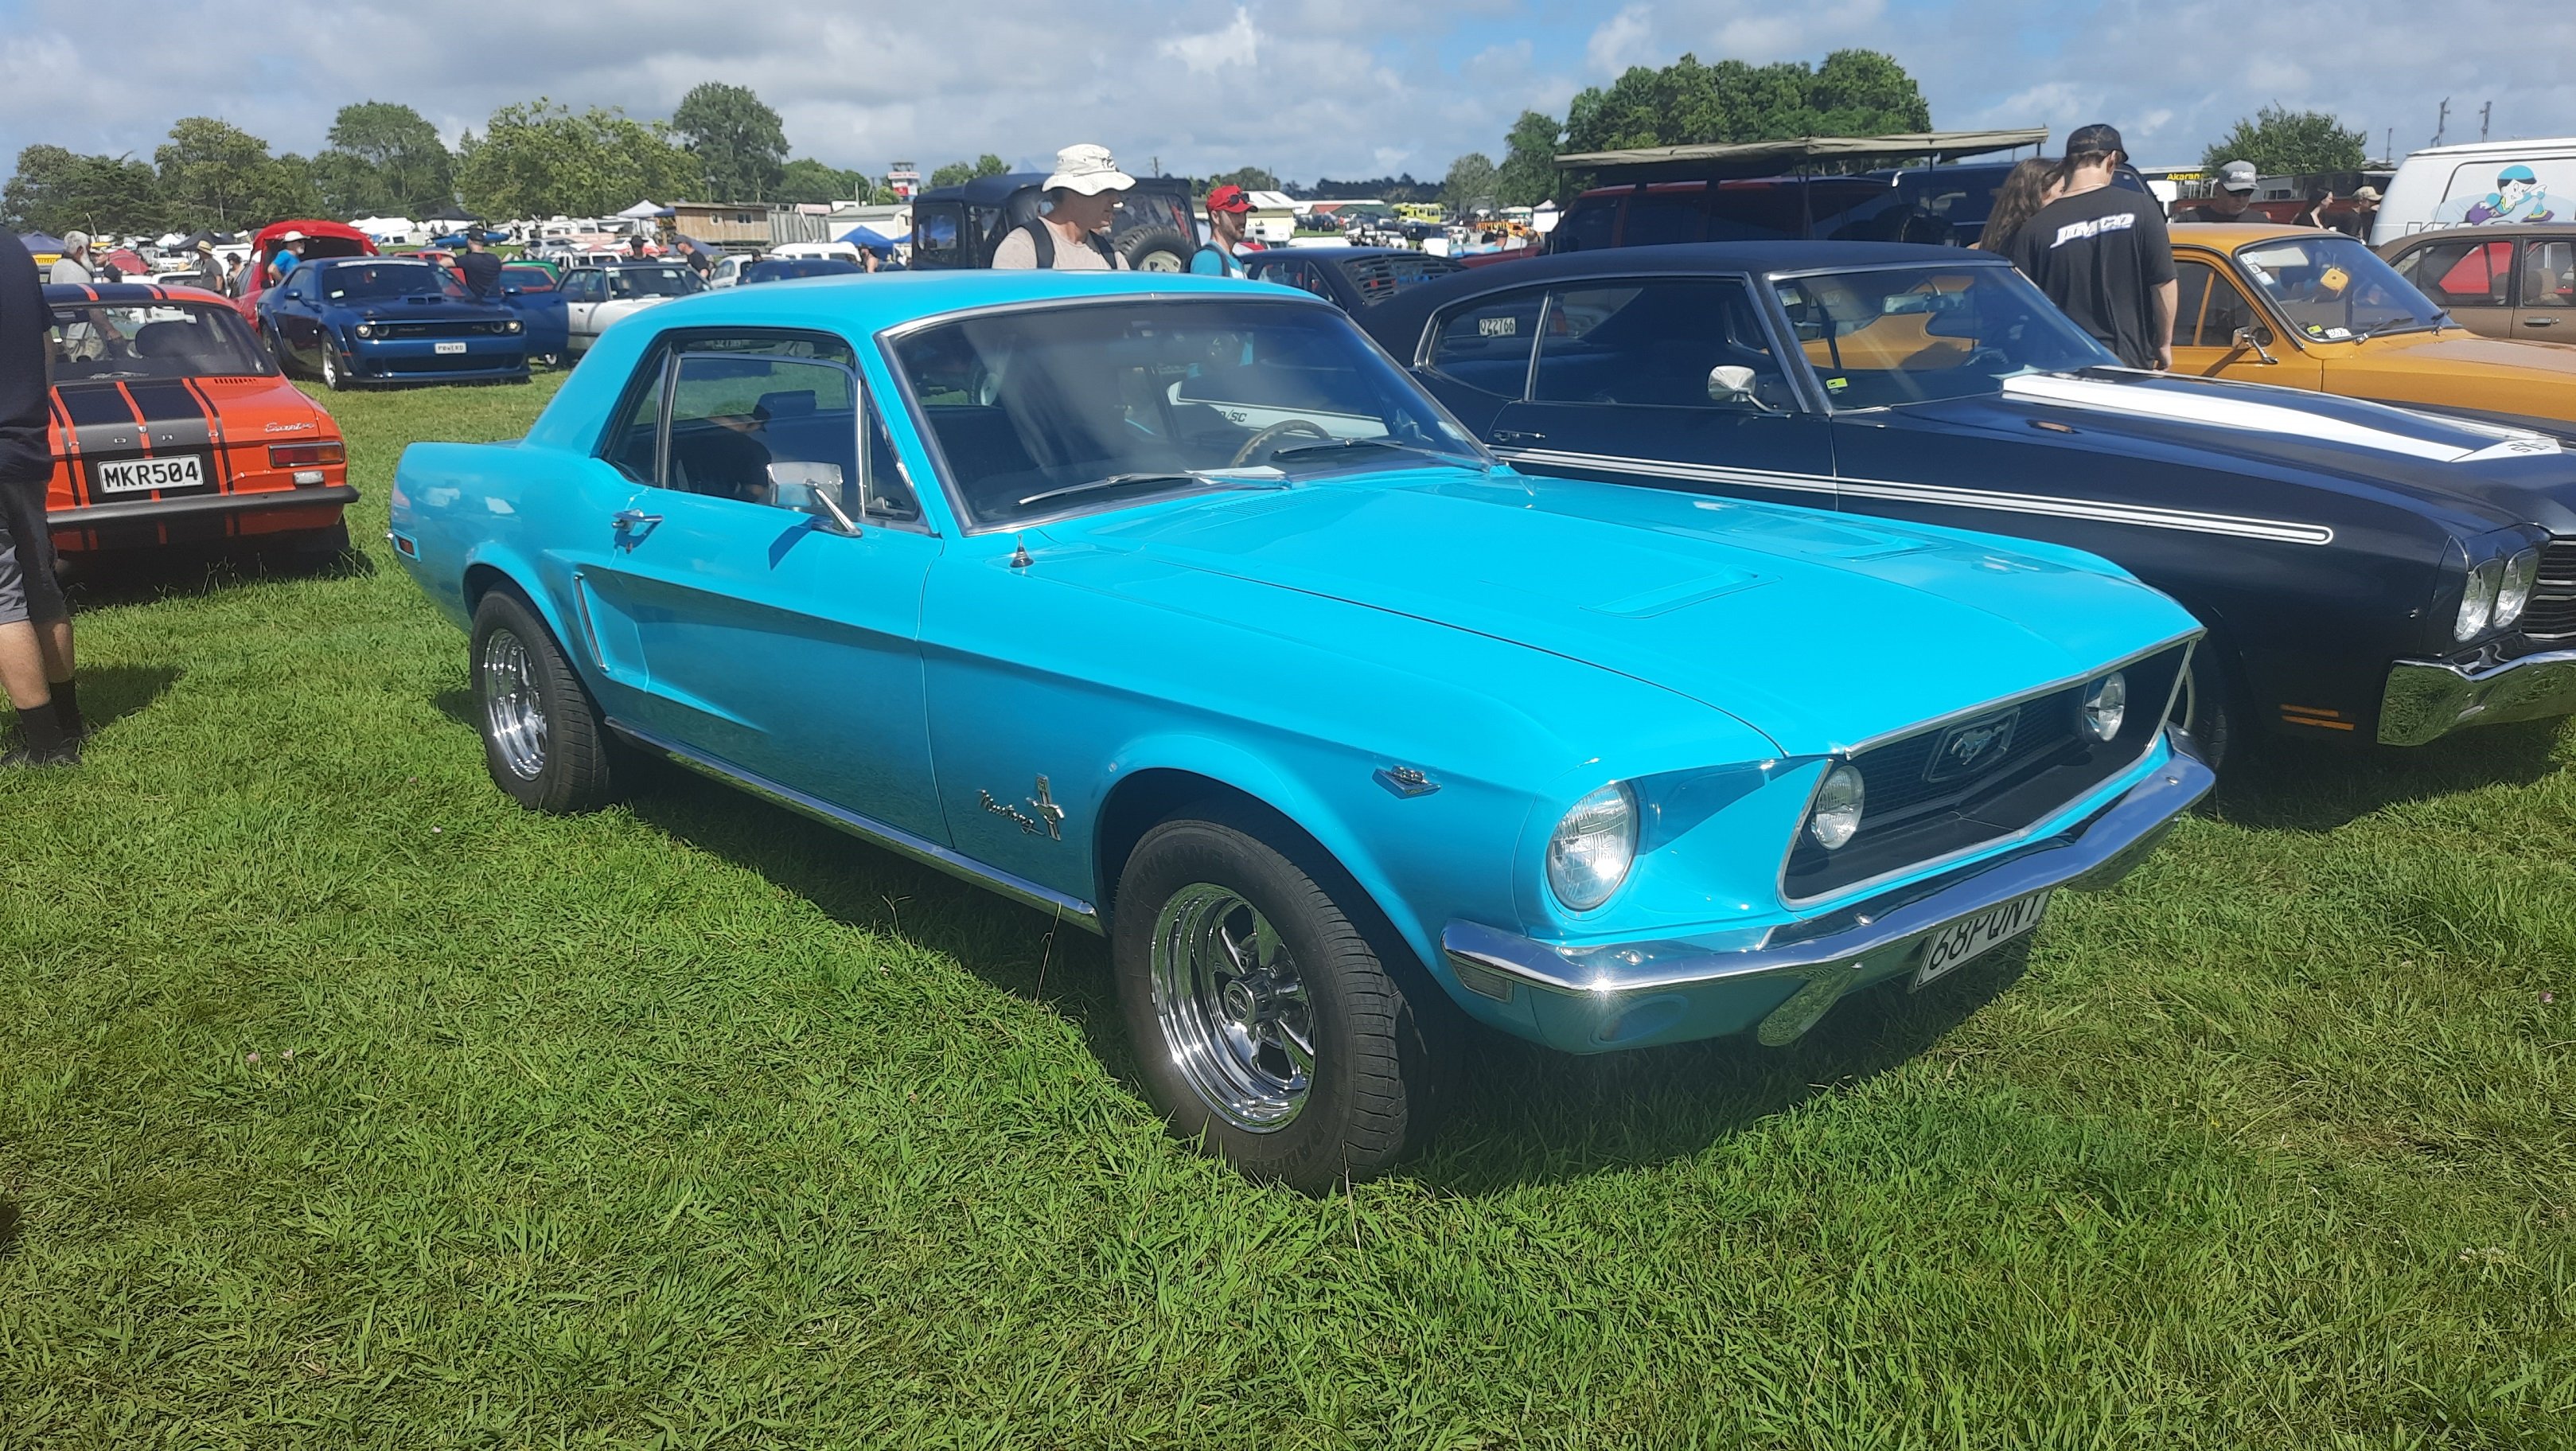
We made it down to Americarna after months of mucking around. We headed down to Puke on the Thursday afternoon and headed off to New Plymouth from there. First stop, gas and coffee at Hampton Downs The Mustang runs really nicely on the motorway and Waikato Expressway. No problems overheating in traffic and cruises at 60mph easily. No more vibes and it is nice having the steering wheel centered again. Without aircon we got a bit toasty ourselves so from Hampton Downs we had the windows cracked to let in some air. It's a bit noisy and the wind is almost as noisy as the (not subtle) exhaust. Also noticeable with the exhaust though were the fumes. You don't notice so much on a normal short cruise but after 4hrs we were smelling of burnt dinosaurs. The steering is still pretty notchy around centre at speed. Low speed it is not noticable and through the twisties on Mt Messenger it was great, apart from getting a bit sideways on a crappy pot holed corner. Made it in good time though. Got ourselves a hotel with a secure carpark too Put the muzzy to bed and off for a beer. I've only been to the Beach Hop but Americarna was great, didn't feel as busy but still heaps of cars. We got a beer from a local micro brewery and stood on the curb outside watching the cars go past in the Friday night parade. We did get fumed out for the second time in the day. 100 big v8s doing laps on a city street will do that. Came home after dinner and found the mustang had good company And some cool ones up stairs too. The truck is an original flathead from Rotorua.
-
have you tried going lock to lock? As the power valve moves the lines move as well. No different from you original setup but I hit the chassis rail on one side and the header on the other.
-
The power steering looks familiar. My lines looked older than yours but were in really good condition apart from being burnt on the header. My new lines look exactly the same as yours, standard aftermarket I guess. I am still a bit paranoid about burning and melting the lines so I added fire sleeve. Clearance for the lines is a prick. I also had to replace my power valve and ram as both were stuffed. I never did answer your question about the alternator. I think it was a single wire technically as the extra wires were for the electric choke not excitation or regulation. I have heard since that single wire alternators sometimes don't come online without a few revs. My current setup gives me the 'belts' light until blipped a few times.
-
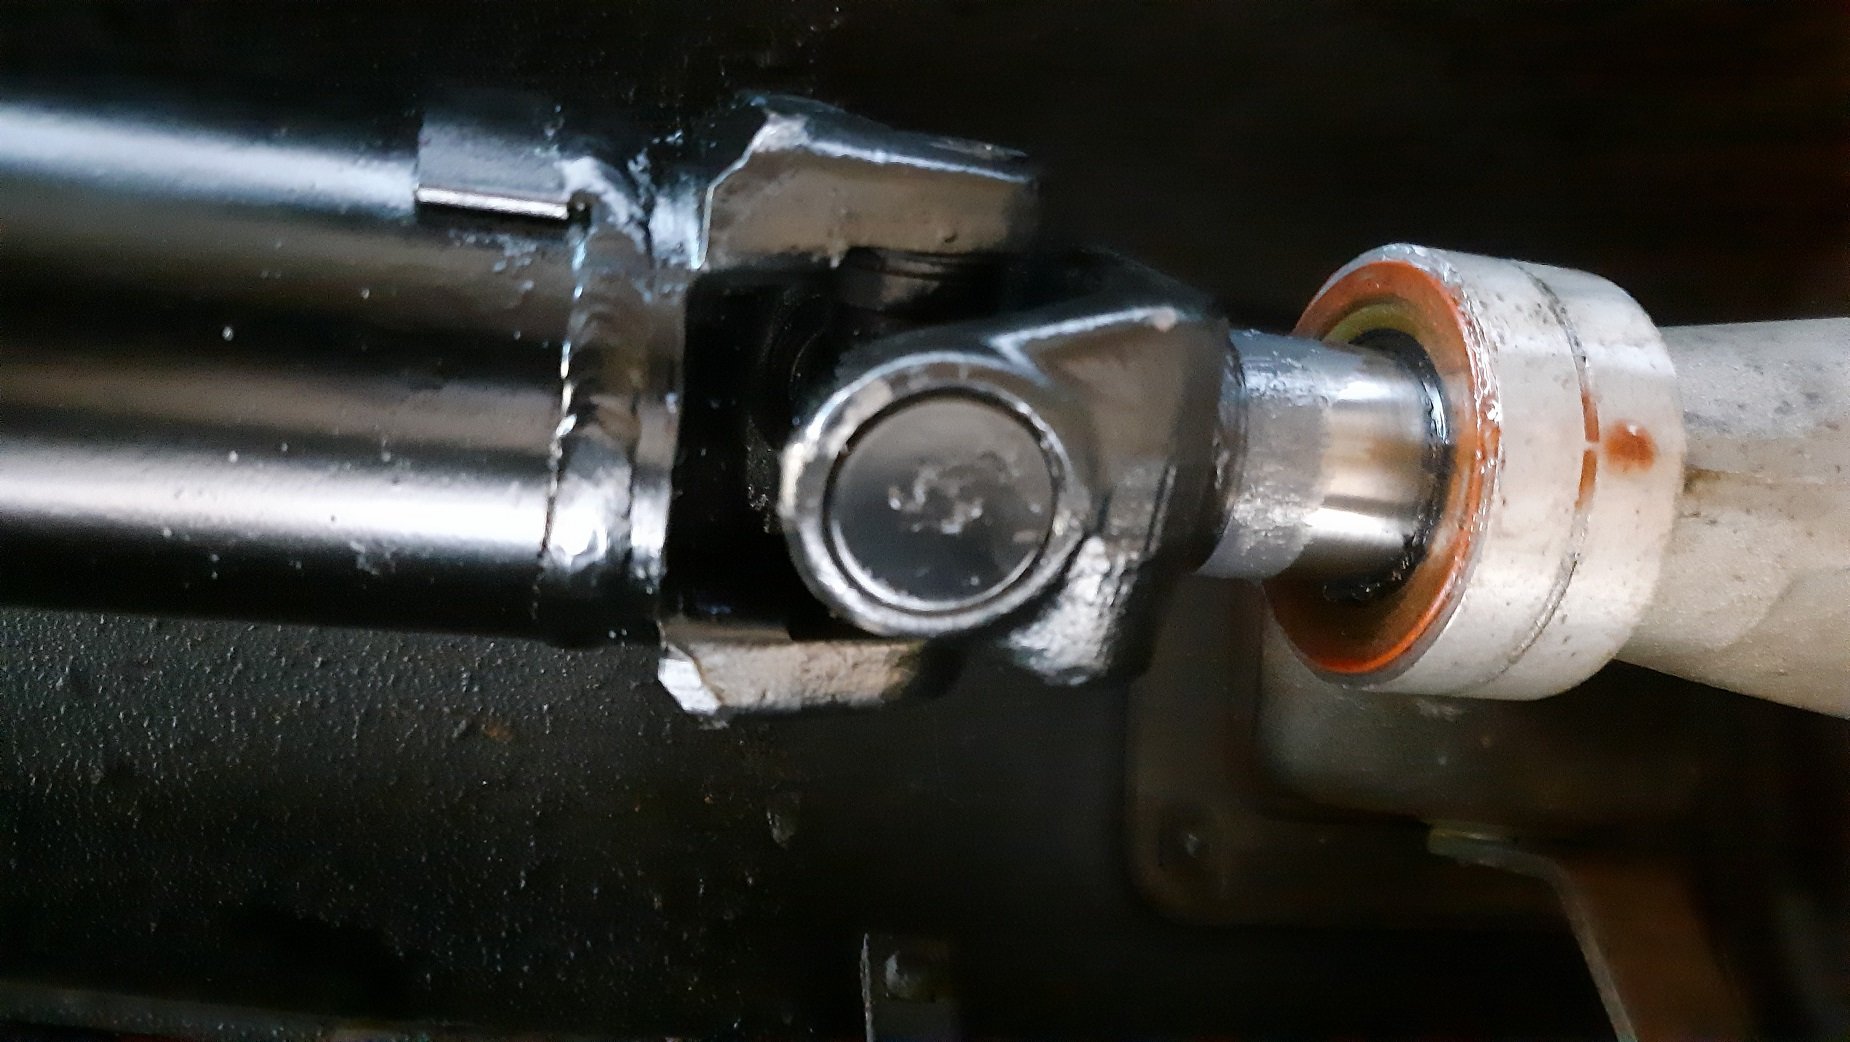
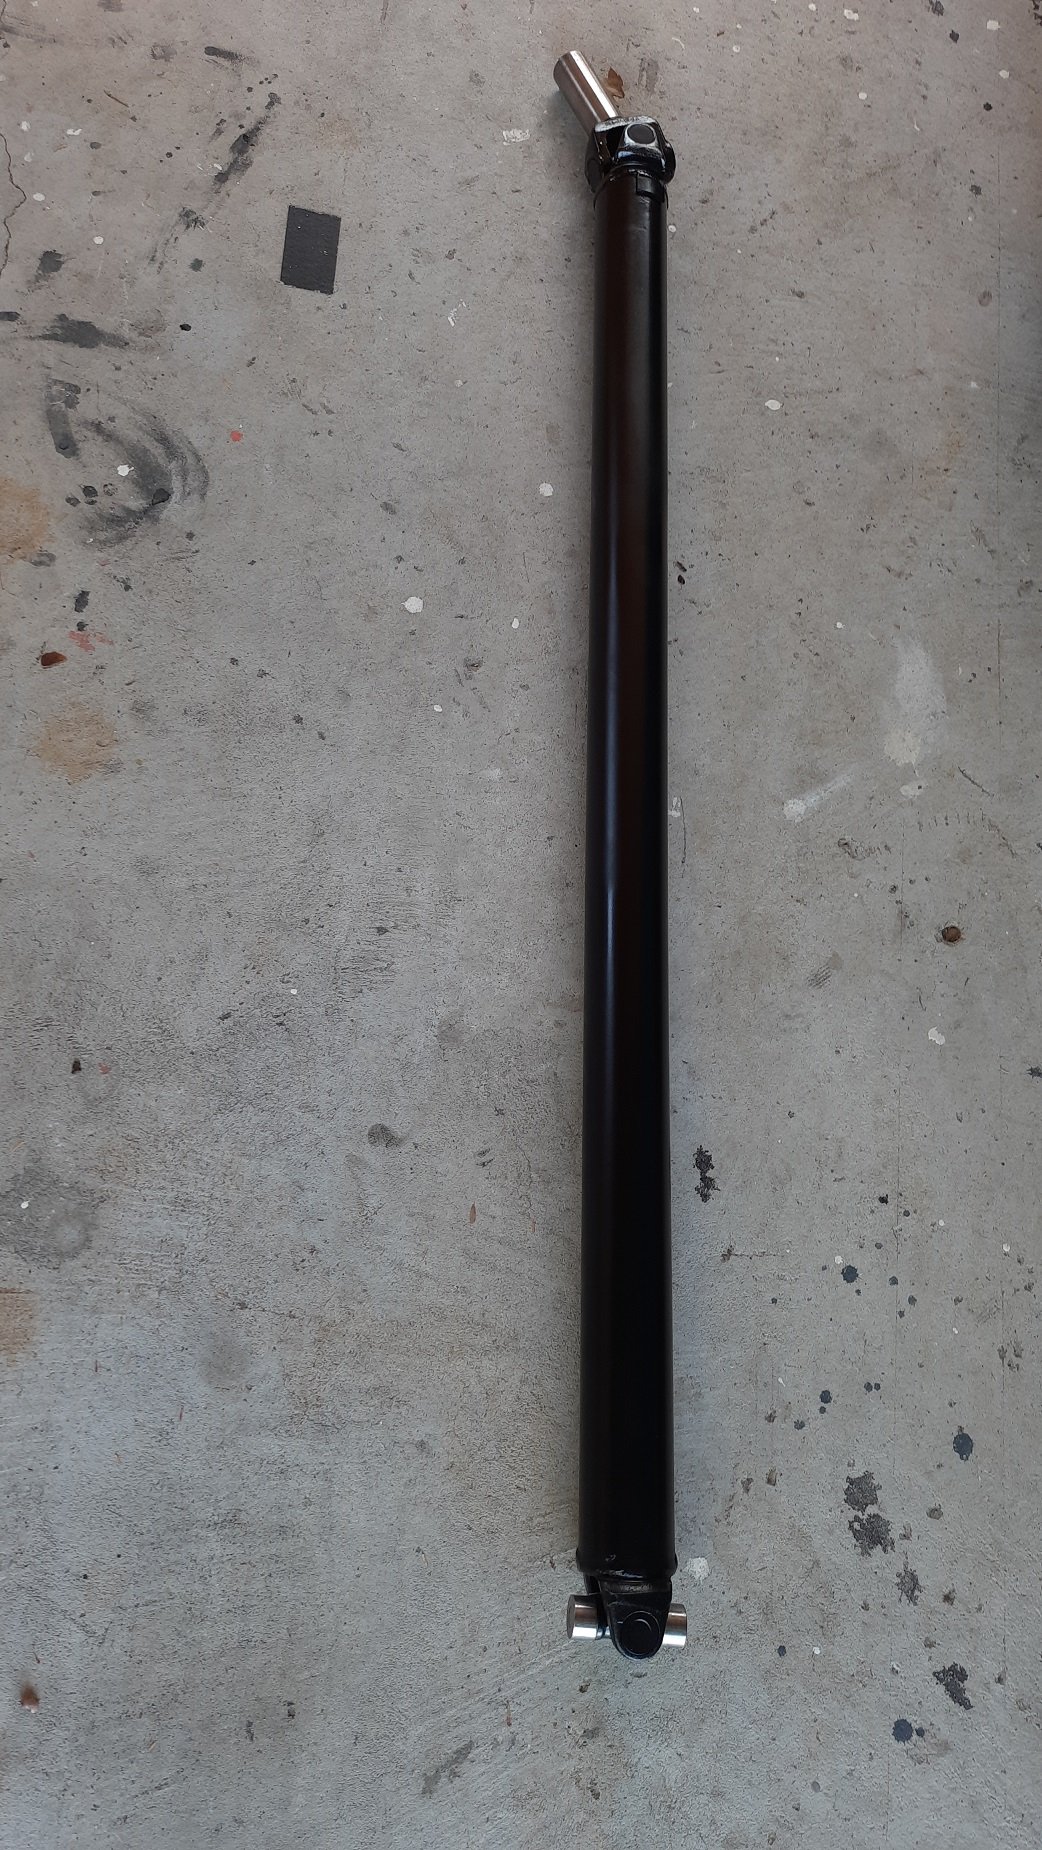
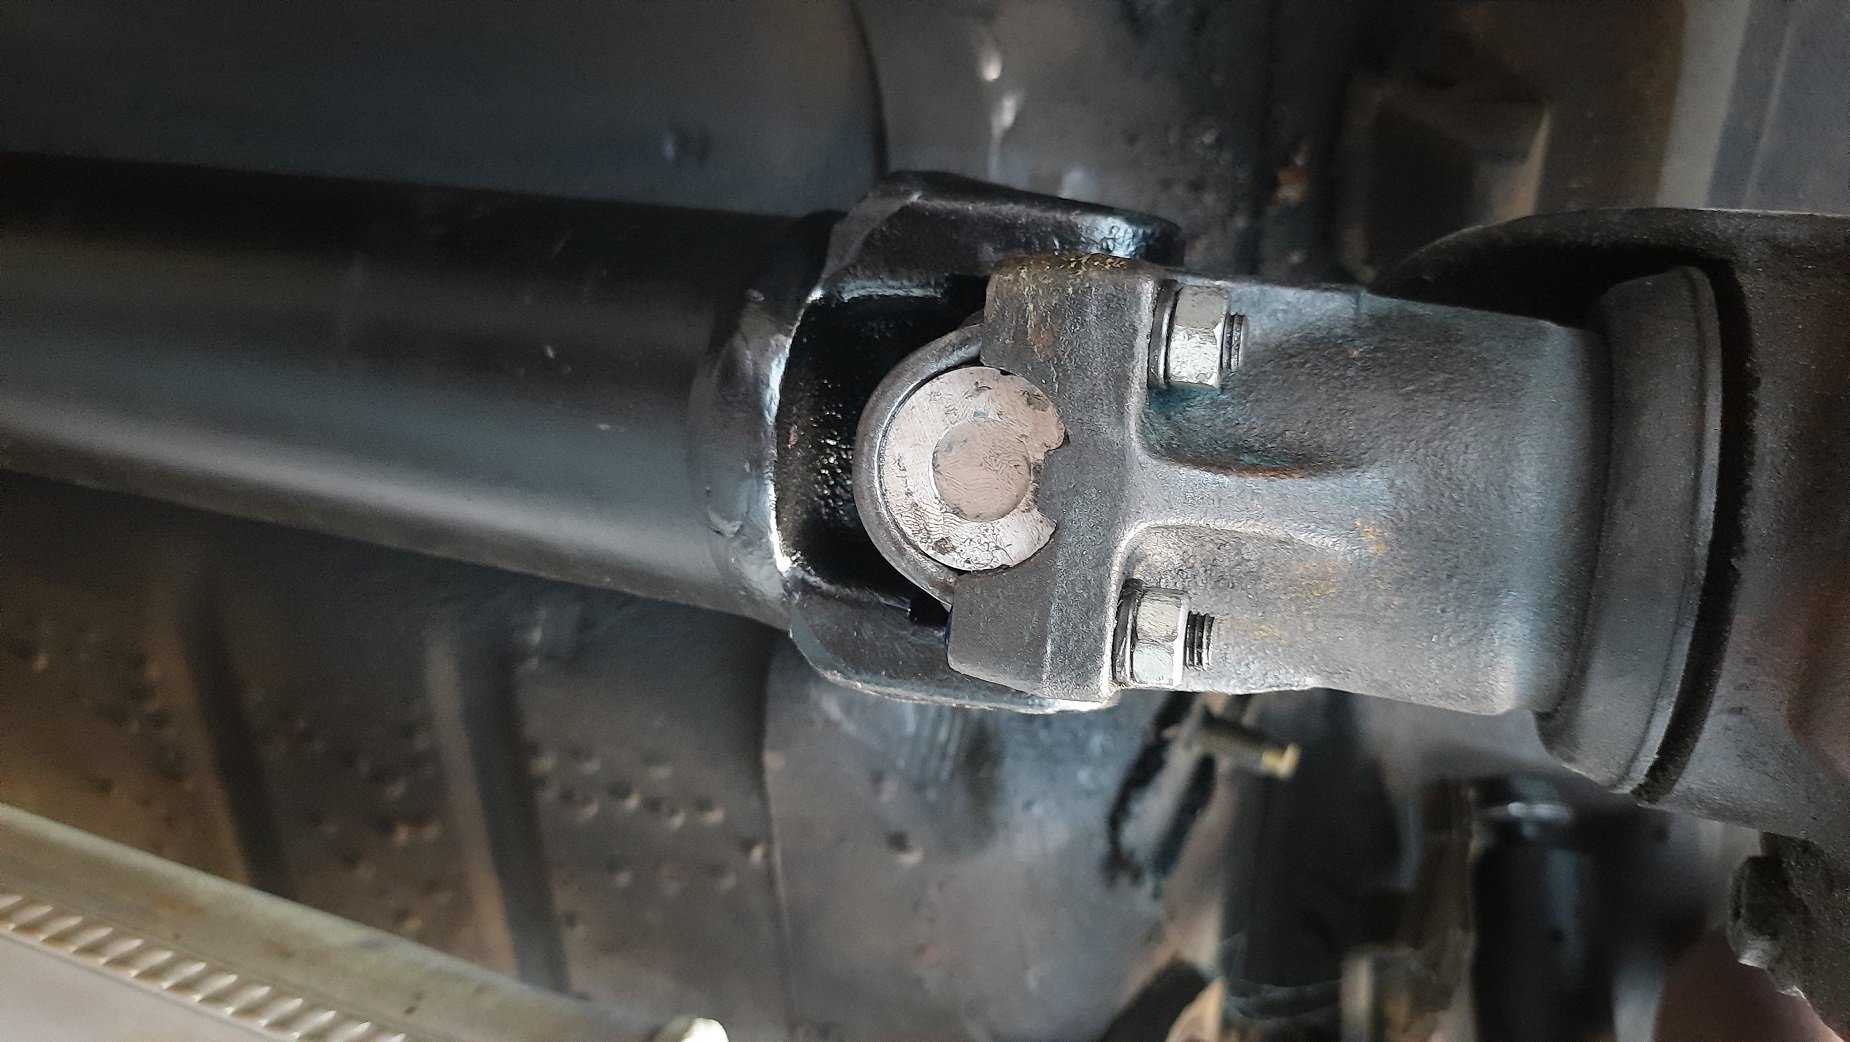
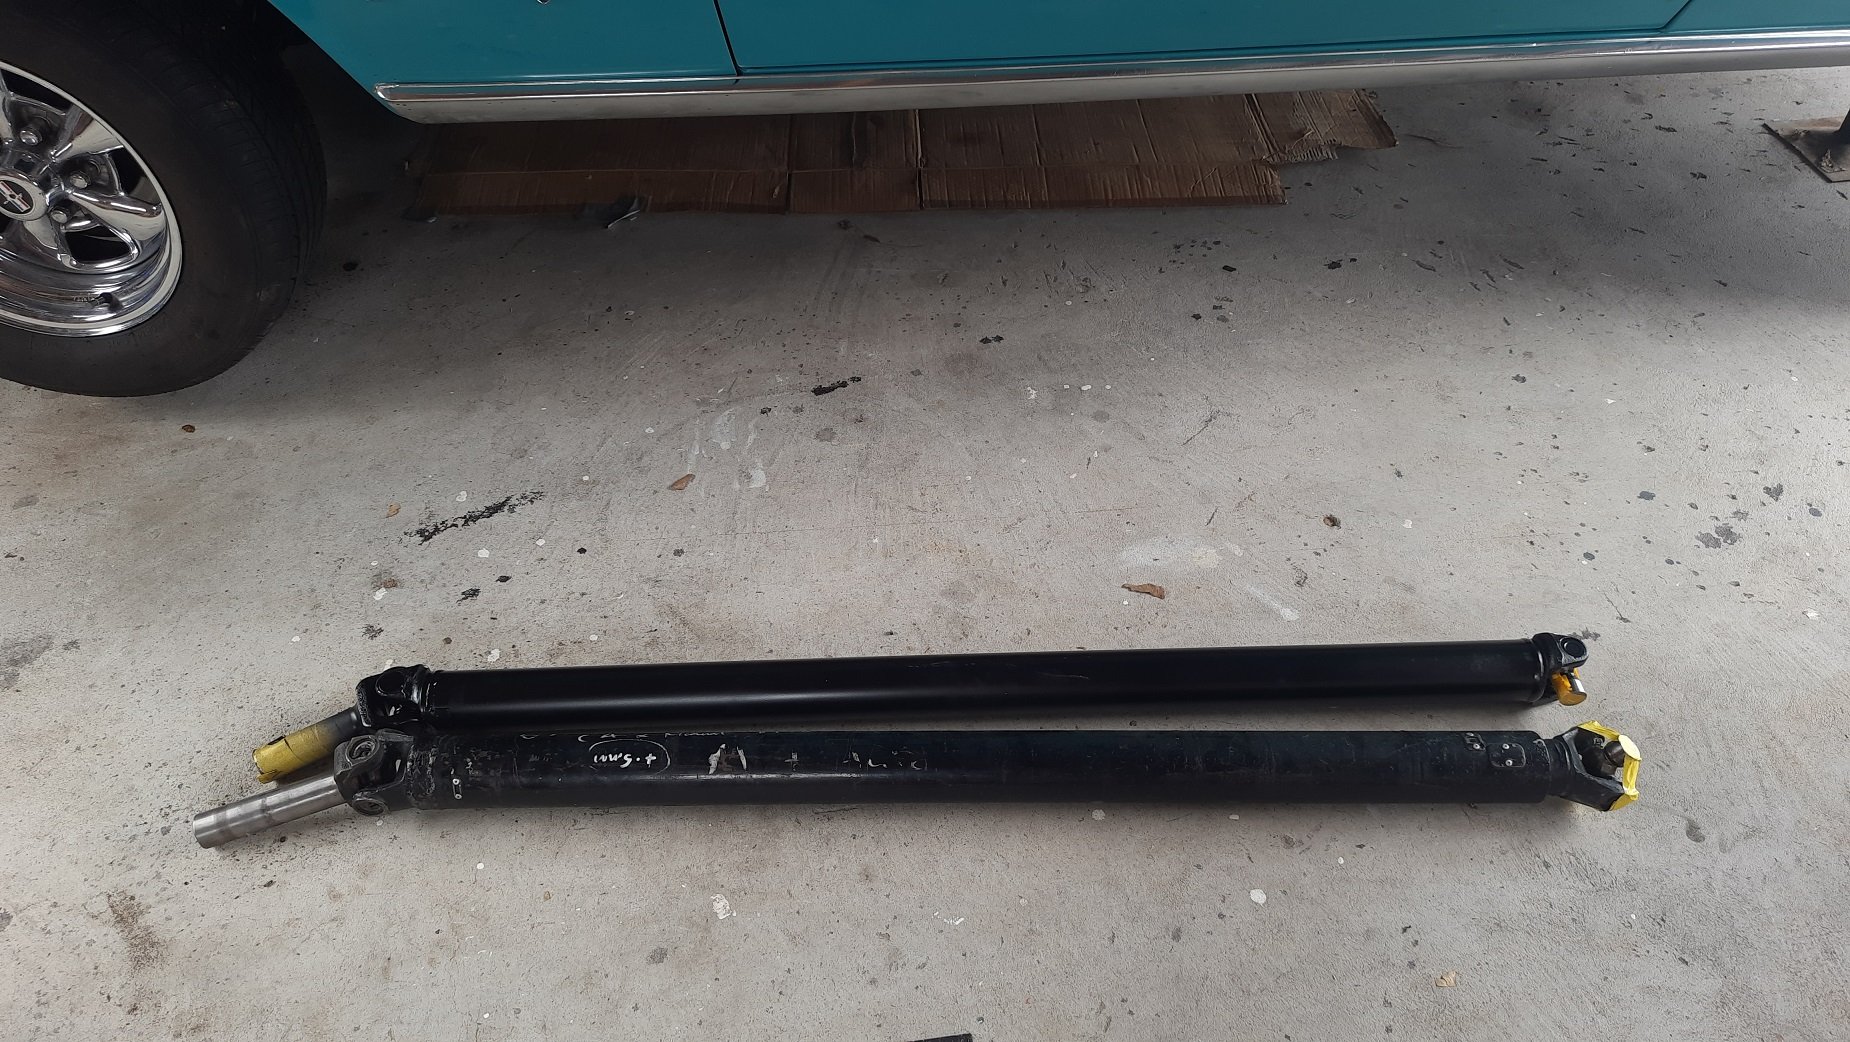
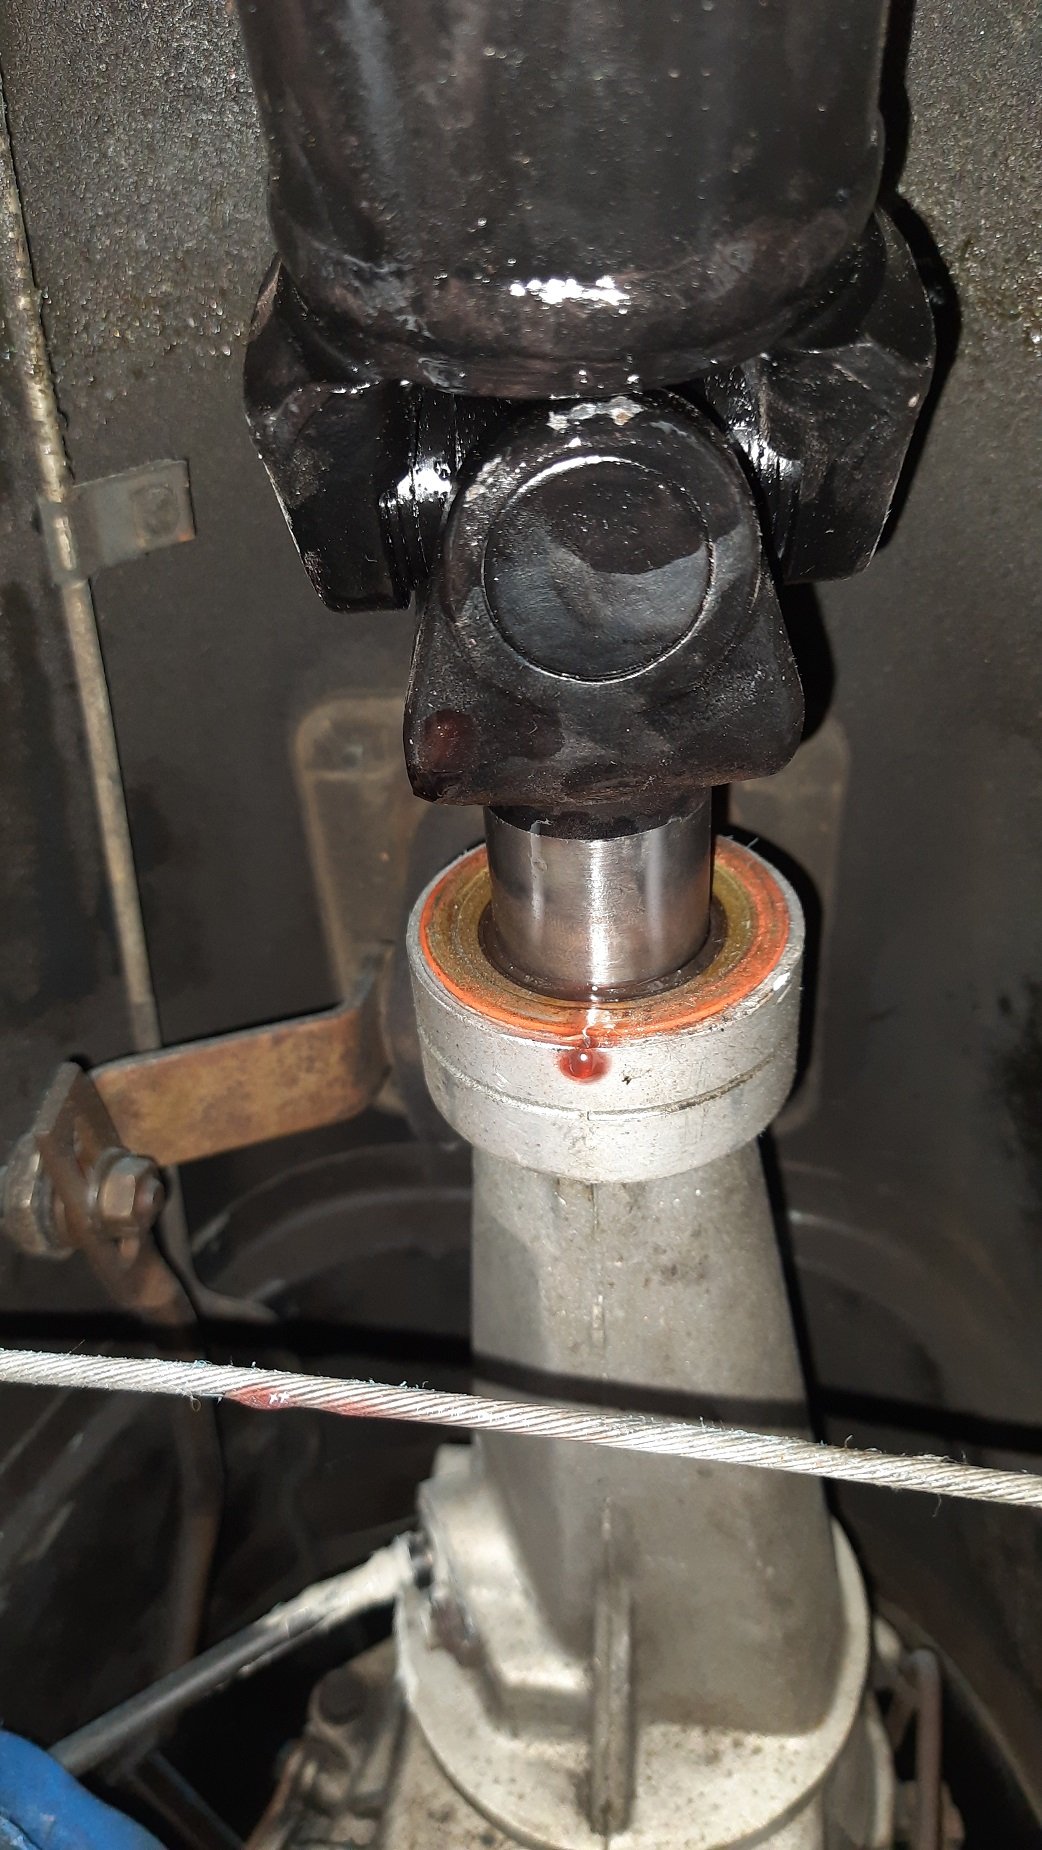
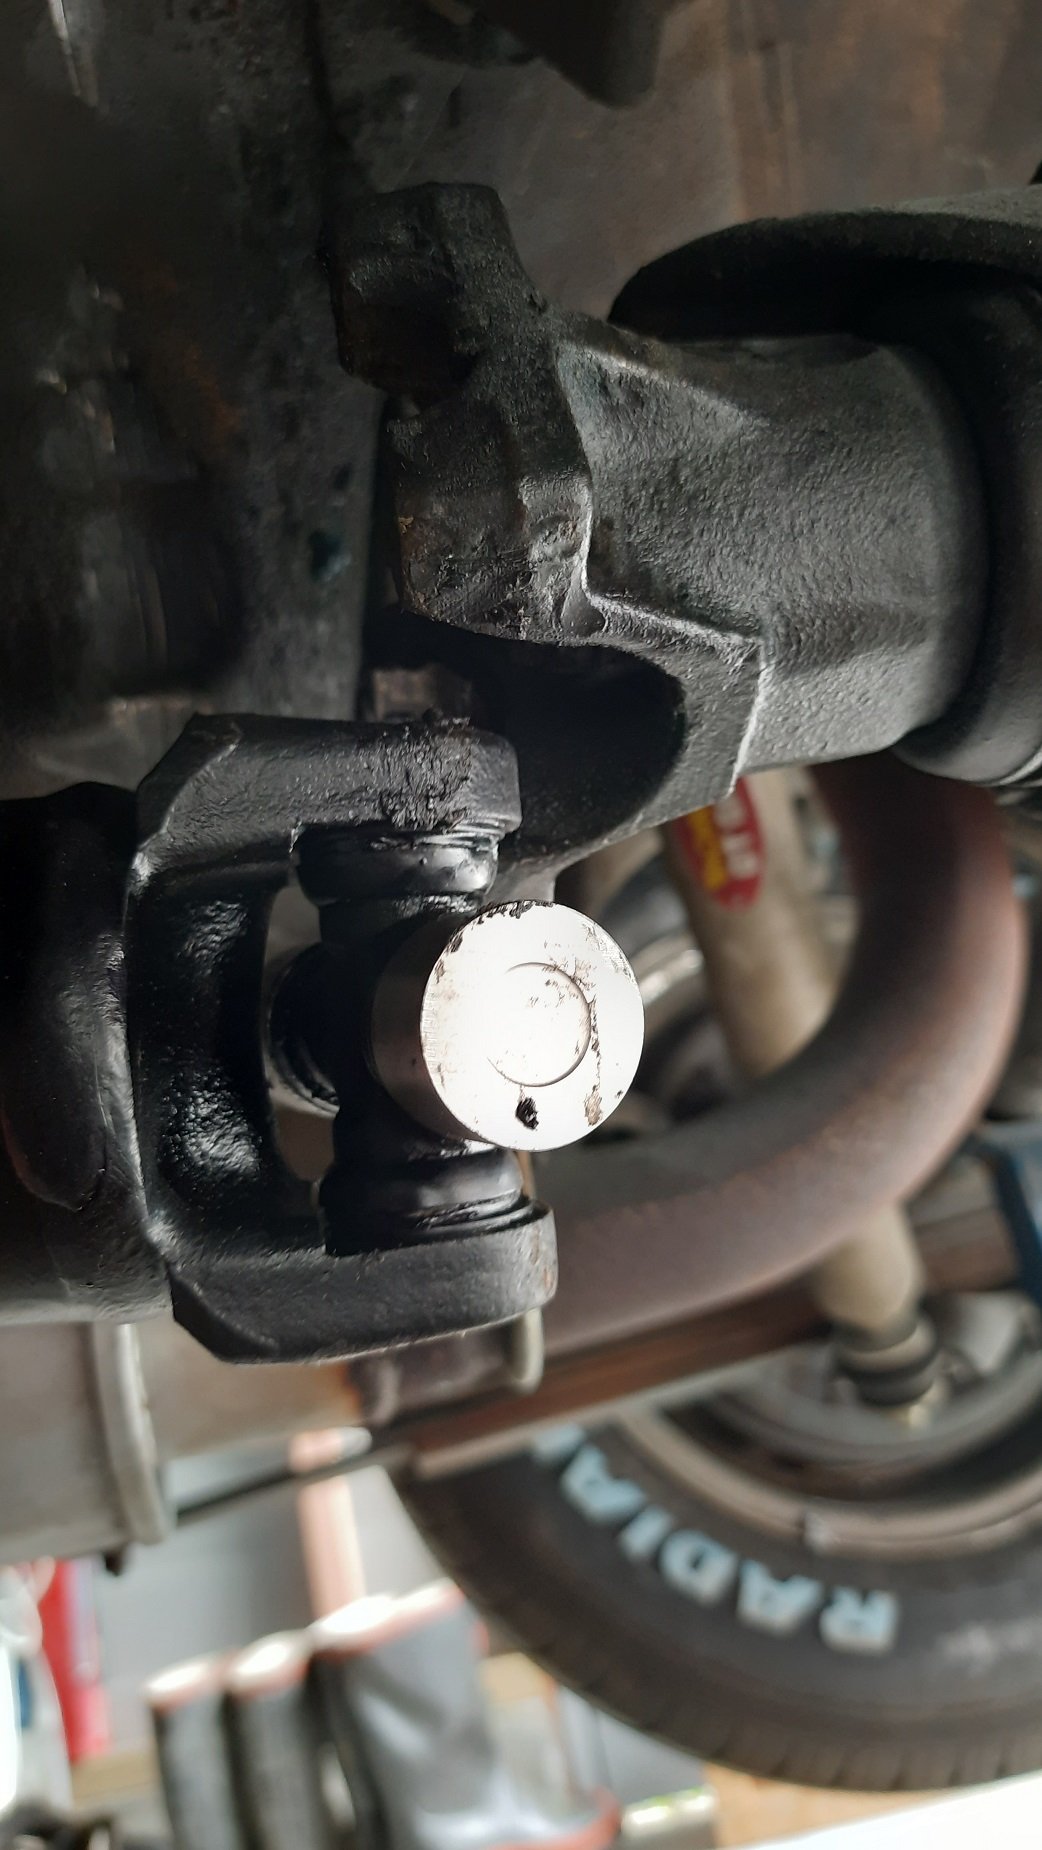
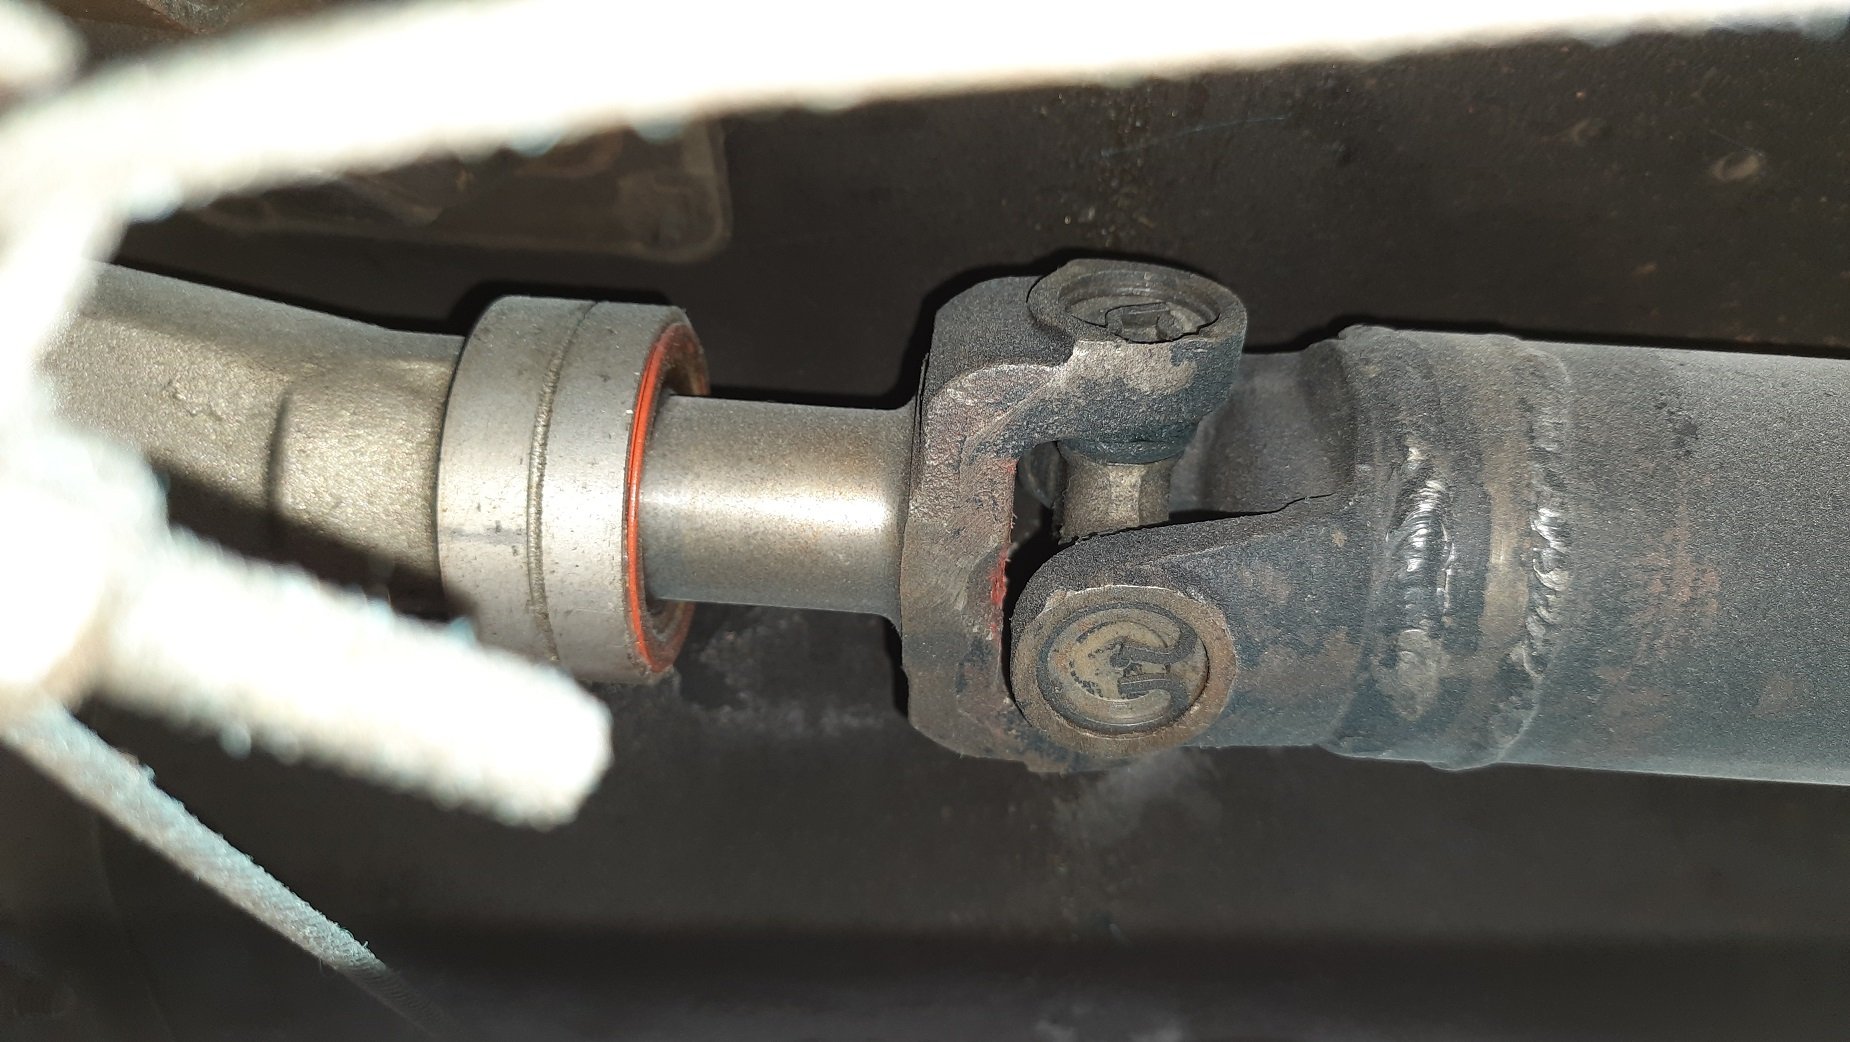
I finally got the new driveshaft back from the shop. It required a few trips back and forth as the first yoke was twisted and so I was given a second yoke to try which fitted and had to be returned. The shaft now has a new (second hand) yoke and is rebalanced. It is a 2.75" falcon shaft and yoke with a rear uni for the 8" diff. It has new bearings and is balanced. We could have used new parts but the driveshaft guy doesn't like the new ones as he thinks the old ones are made better and are cheaper so the whole thing cost just over $800 rather than over $1k if I needed more power or new yokes. The new one is a lot lighter than the original, due to smaller diameter I think The yoke slotted in nicely with not much fluid loss but I probably need to recheck my level anyway. The bearings look a lot better than the originals The rear was a bit fiddly. Ineeded to slack it off and wiggle it a bit to get it to line up but didn't take long. Put a bit of mid strength threadlocker on so hopefully this will be nice and secure. Now for a test drive...
-
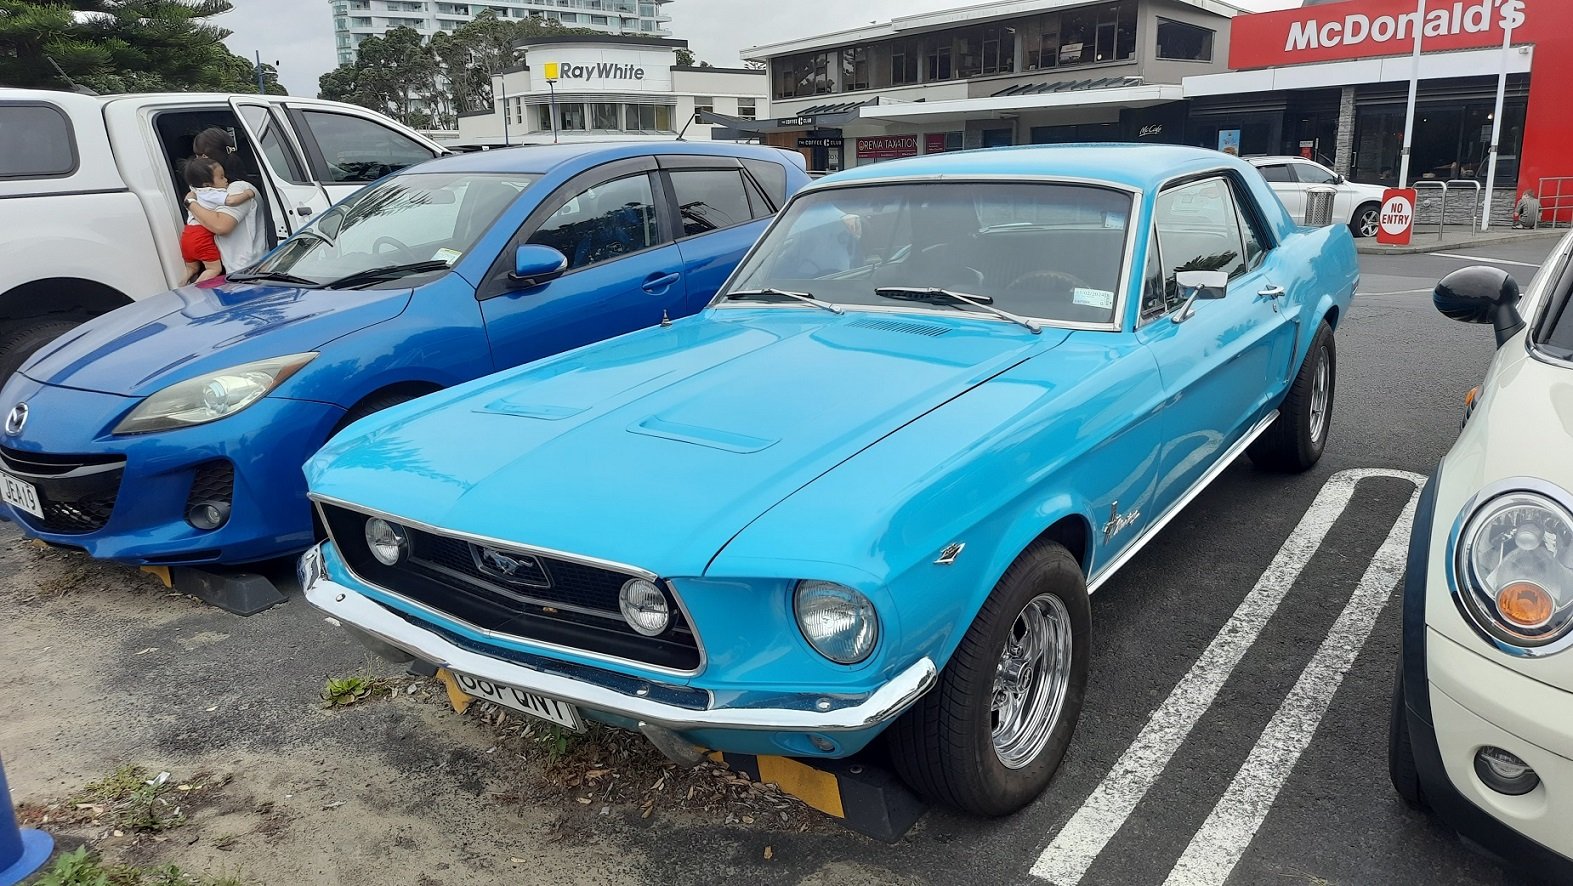
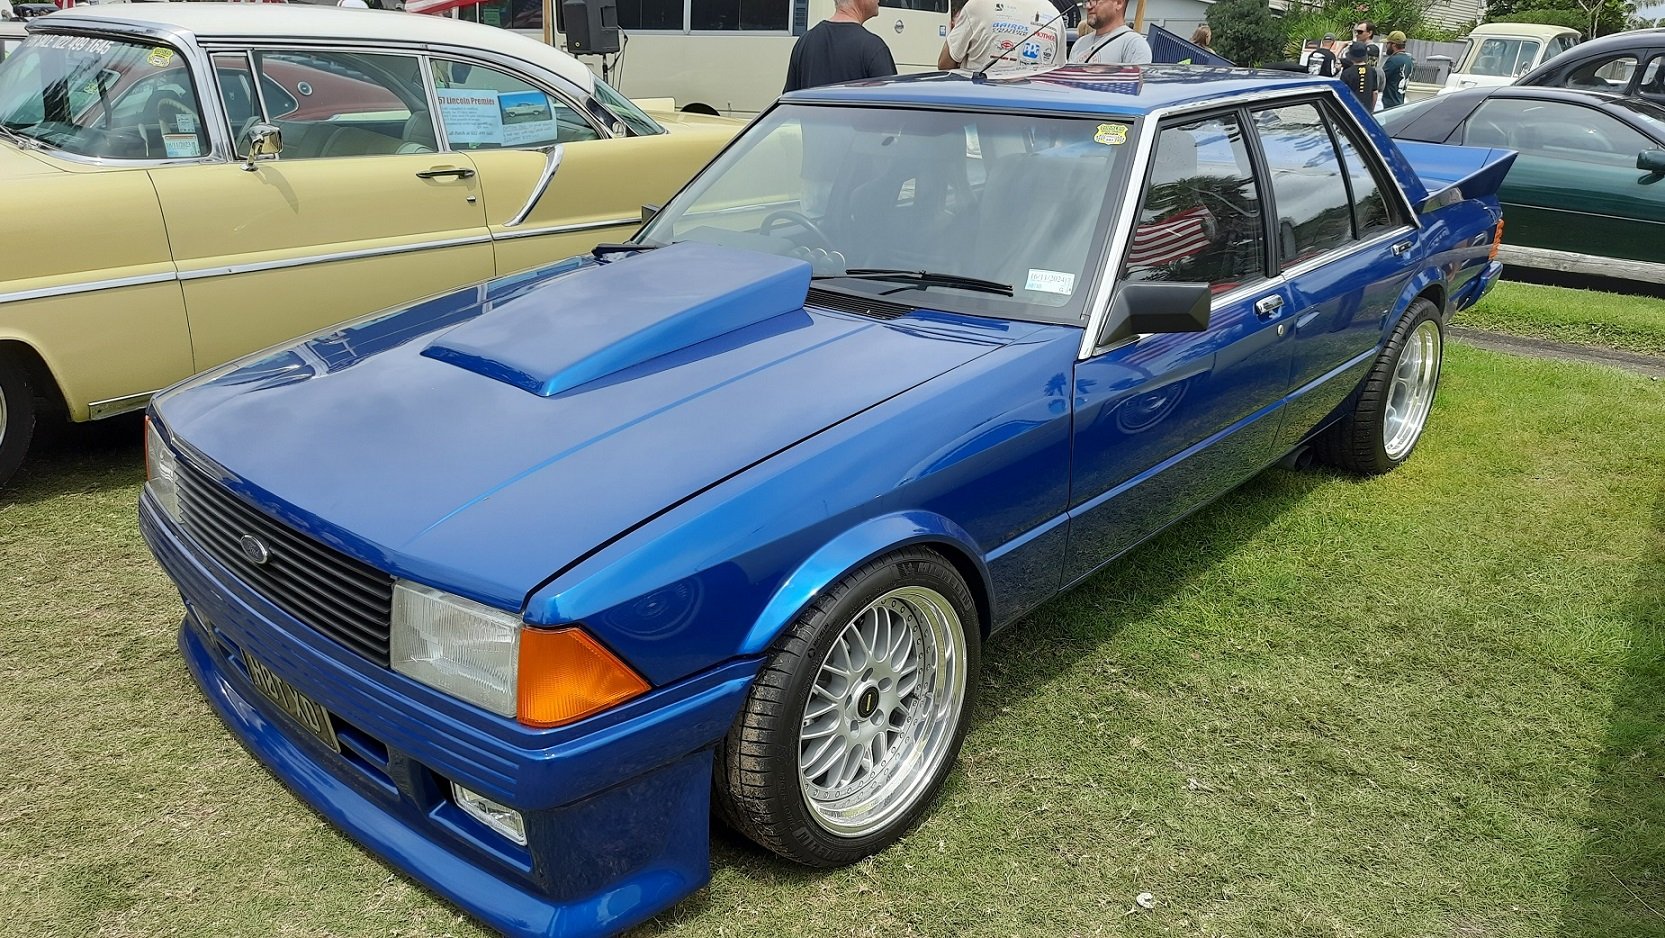
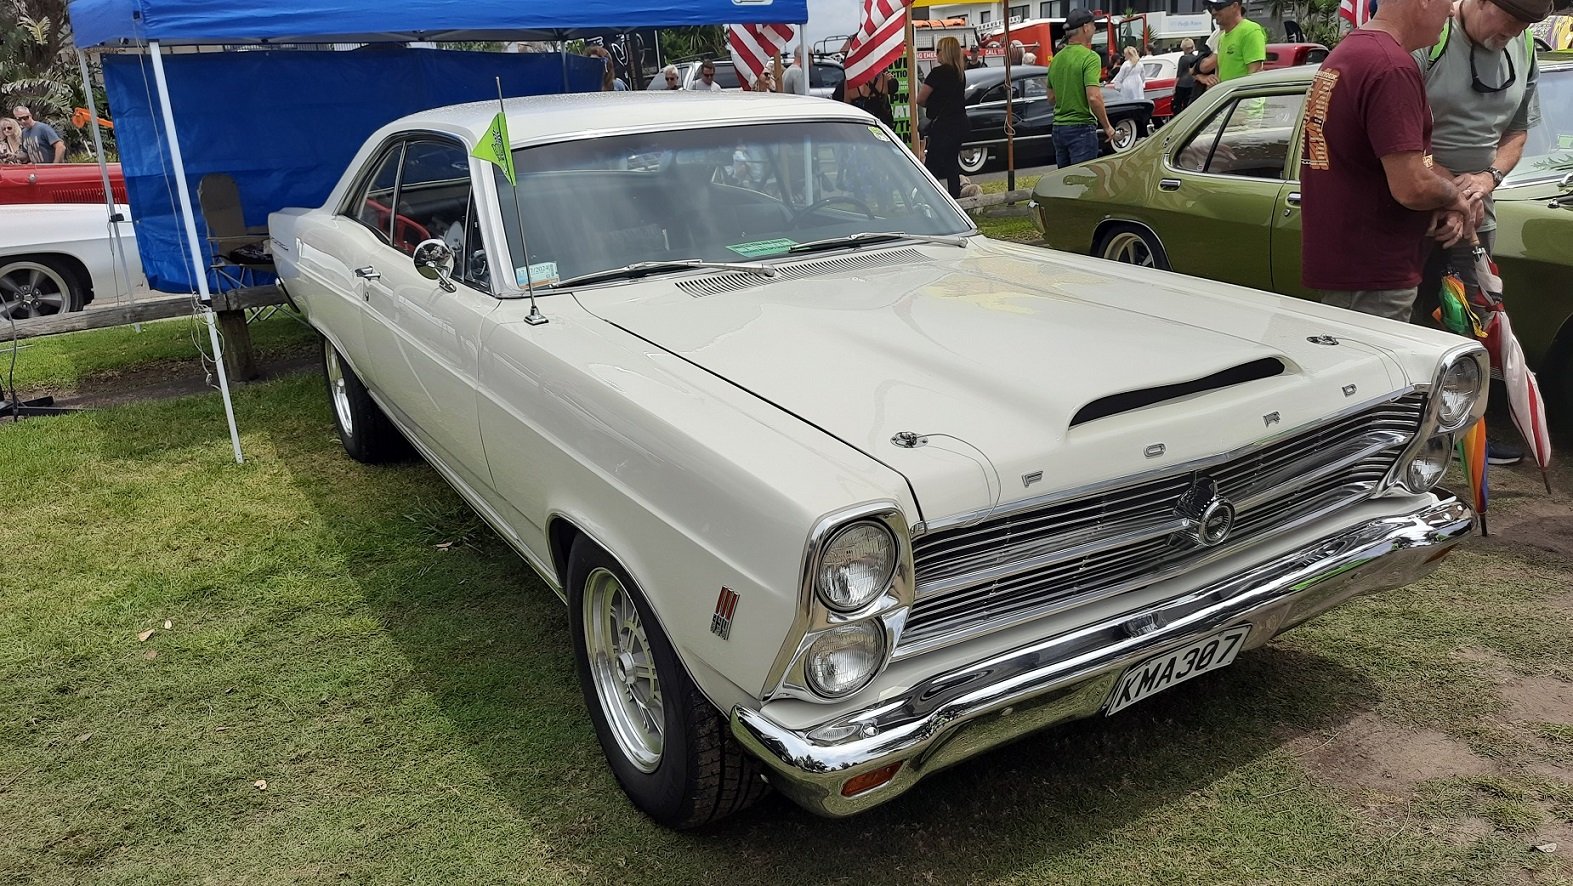
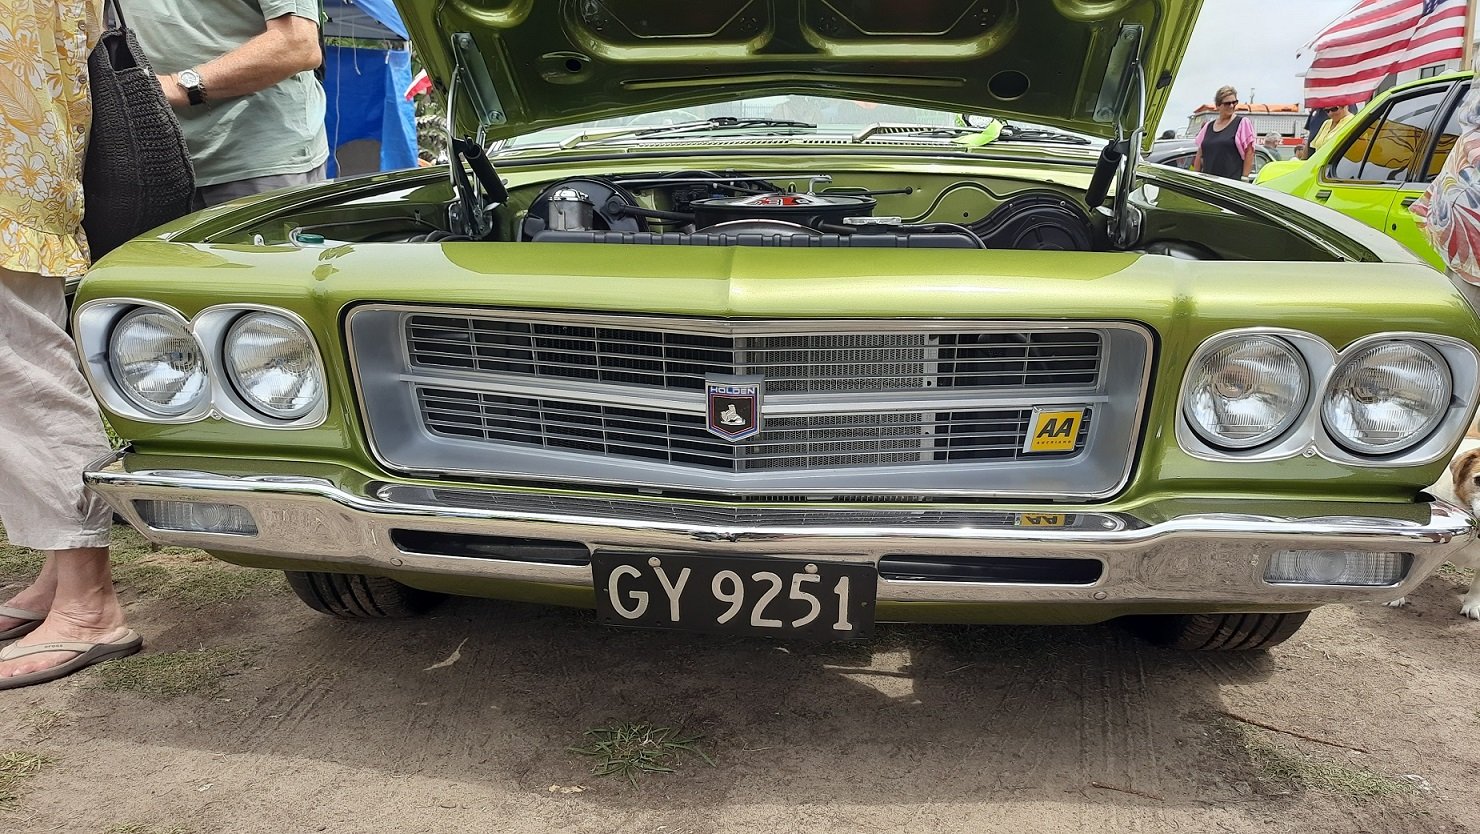
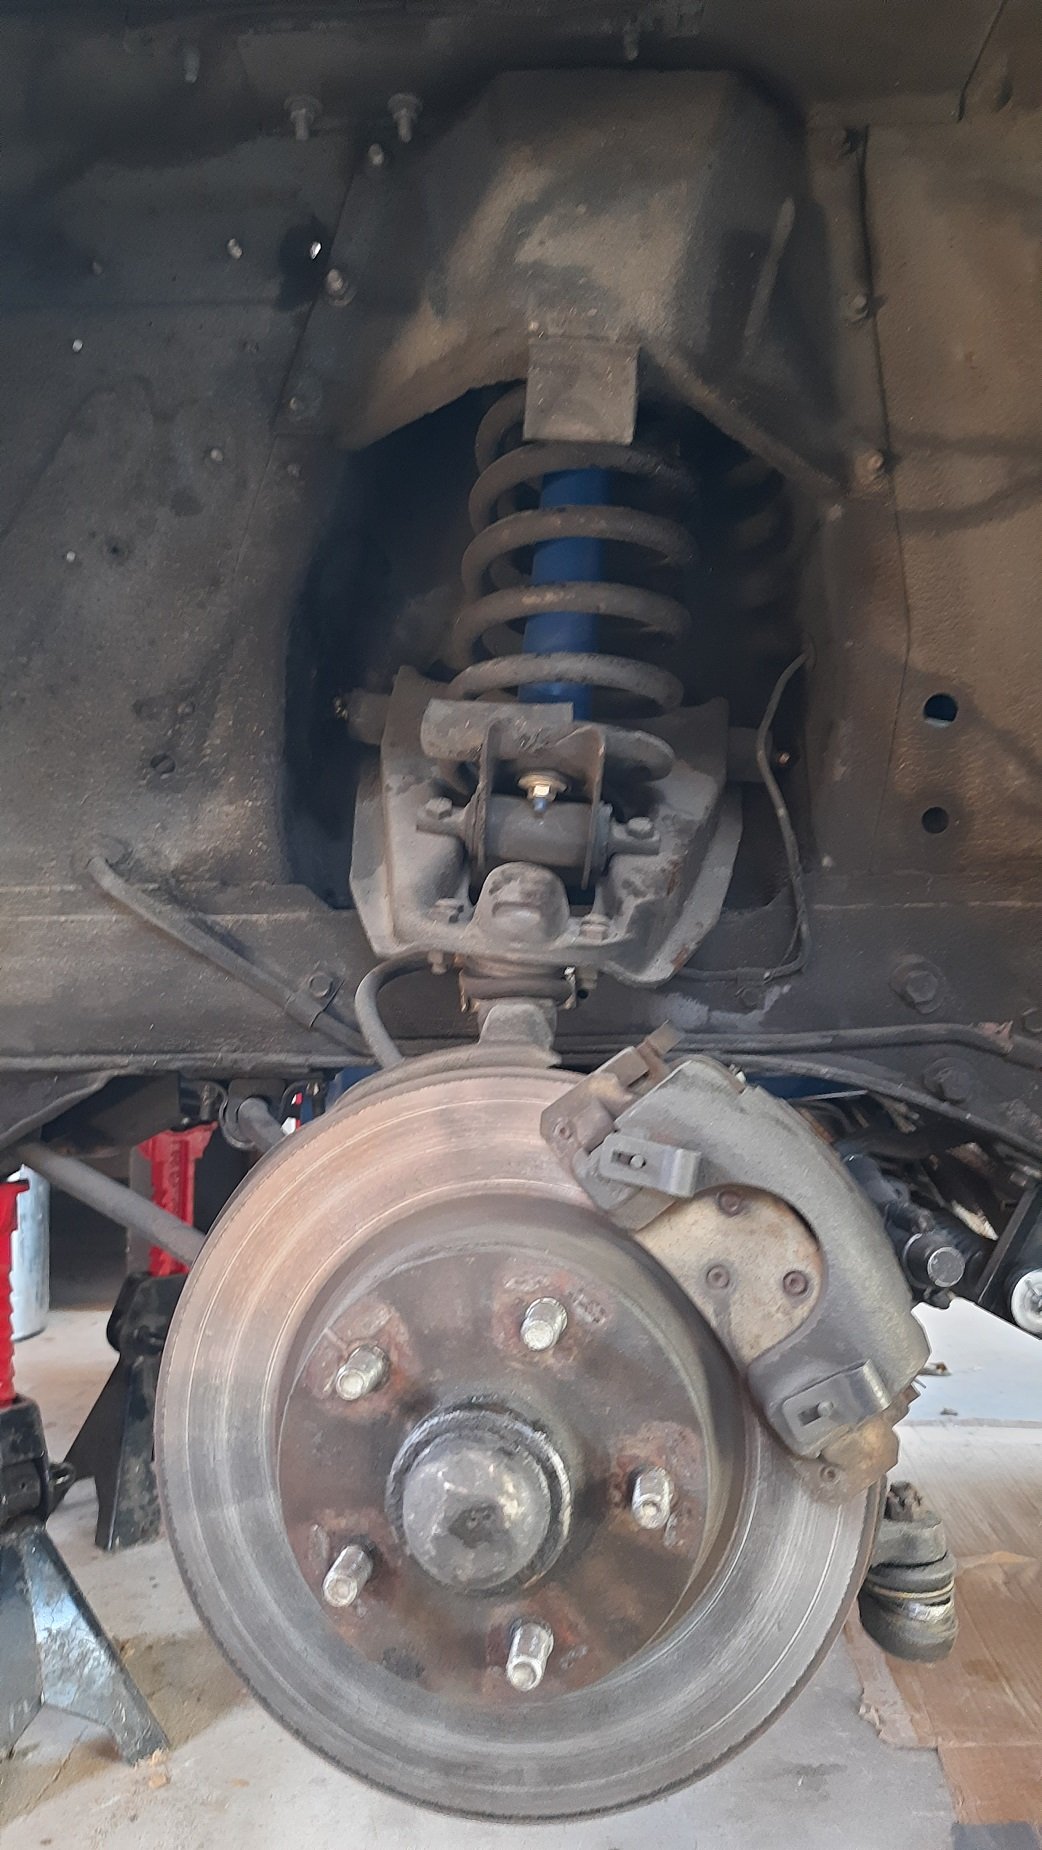
Got the wheel bearings replaced along with the rear shocks and bushes, and front brake pads. Apparently both bearings were toast so both should have failed a warrant so I'm glad I planned to do both sides anyway. Got The warrant and headed to Orewa for the Rodders Beach Fest. The bearings must have been FUBAR as it seemed to be a lot more steady around 60MPH, the rear suspension was much better as well. Didn't sound like an old trailer any more. Found the Mustangs older topless brother I asked about the colour and they said it was painted by a previous owner around 1992 in a Chevy colour that has been brightened up a bit. Ours was imported in 1991 so maybe some guy imported 2 cars and painted both to match. I'm always partial to an XD as well And I like a good fairlane. One of the few American classics that would get me out of the Mustang And I found this nice HQ Premier with a 253. I like the double lights but the nerd in me thinks the coolest part is the AA badge.
-
Went for a warrant and failed on the front left wheel bearing. Got a warning last time so fair call. It'll be fixed this week along with the rear suspension. A little wary about my new power steering lines. I had fitted some heat sheathing as the original lines were burnt and the new line is probably not fire proof but this seems to have some damage now. It only contacts at full lock so hopefully it won't be a problem but I have put some ally tape on the area for some extra protection. Ally tape fixed most problems. Took the Mustang to Kumeu, don tell the fuzz. I wanted to get it out a few times for 'testing/shakedown'. Bloody good event this year. Hotter than the face of the sun but the shady bar was good.
-
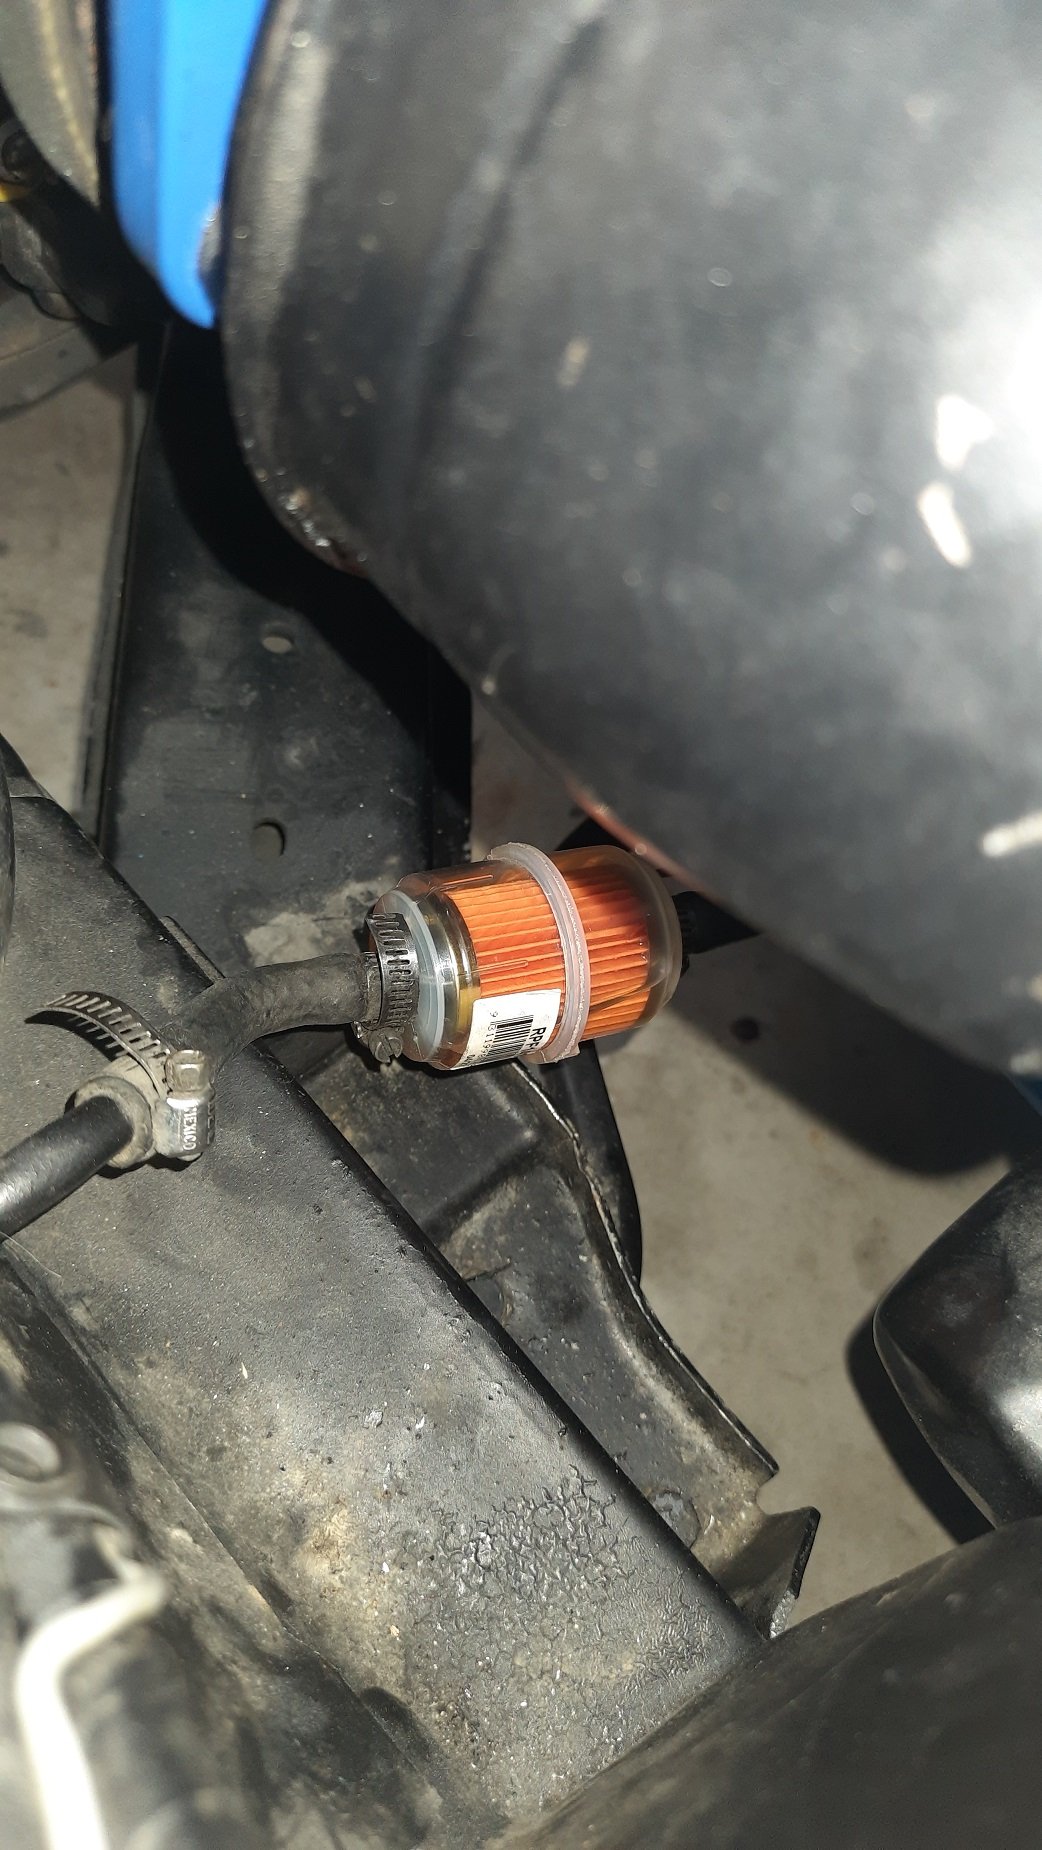
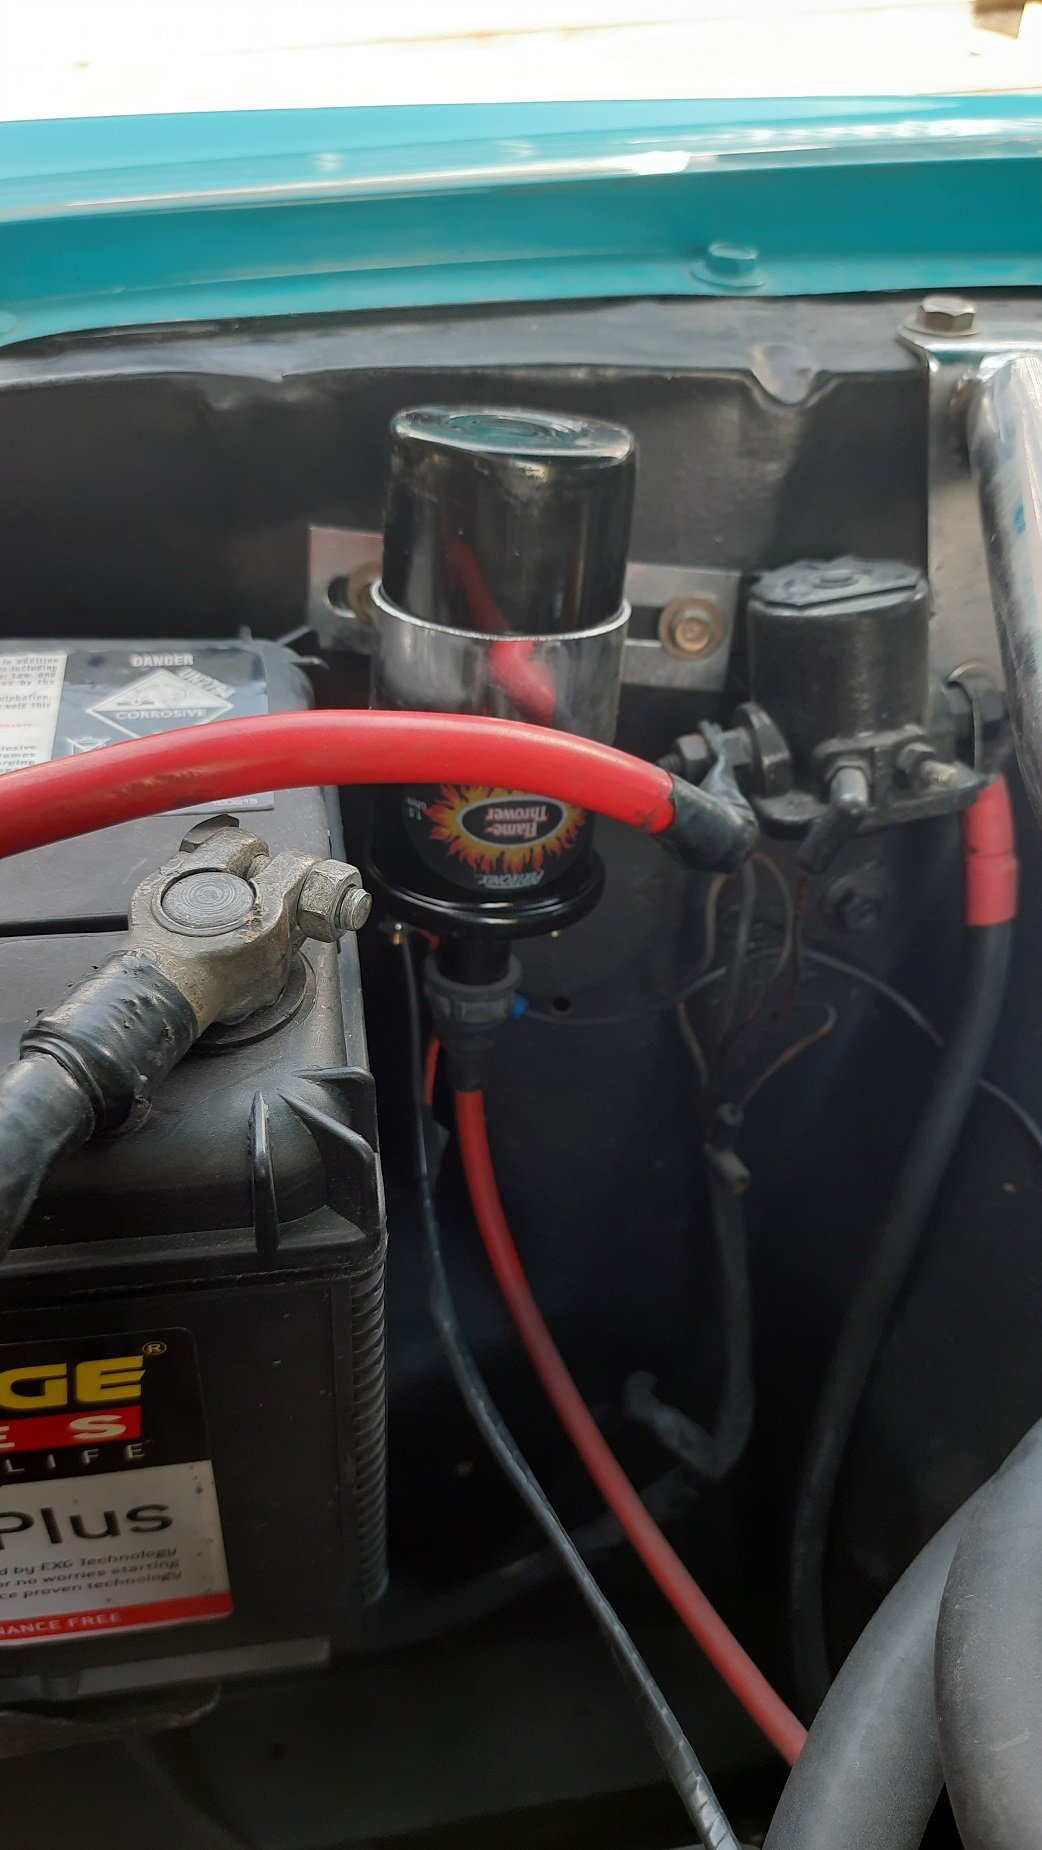
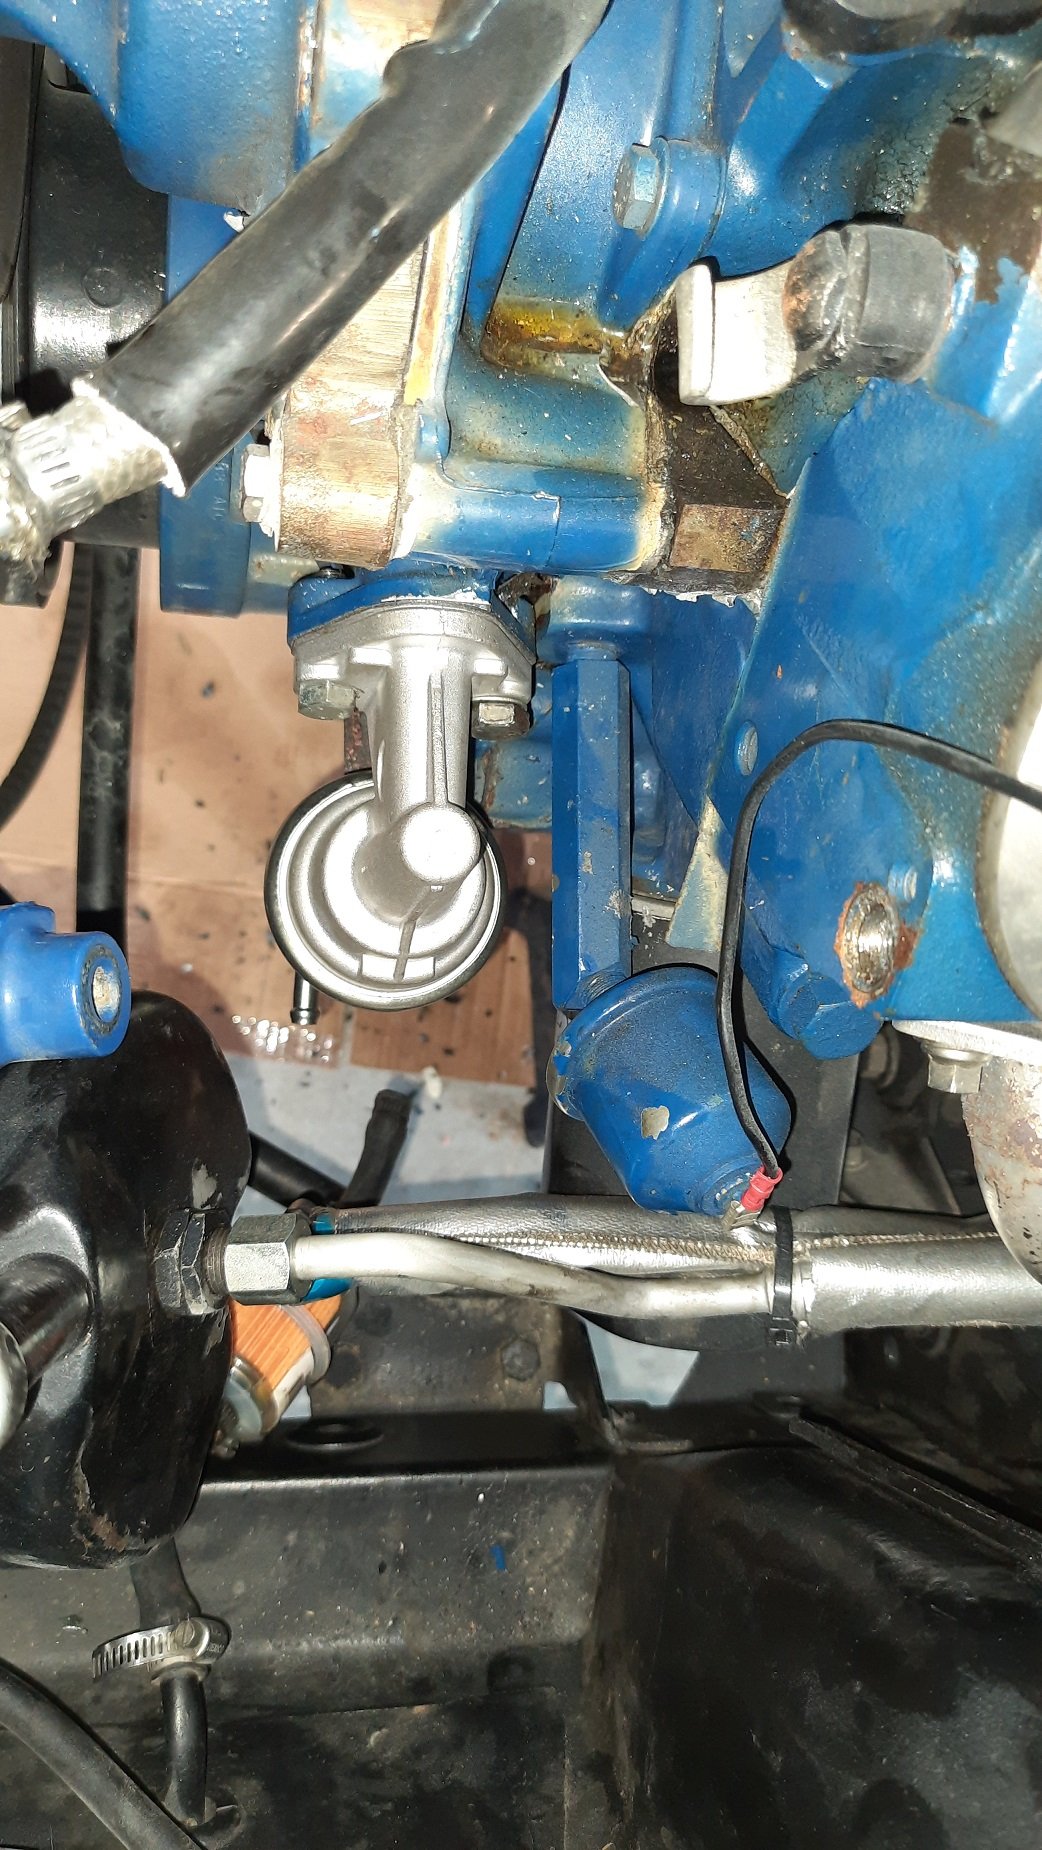
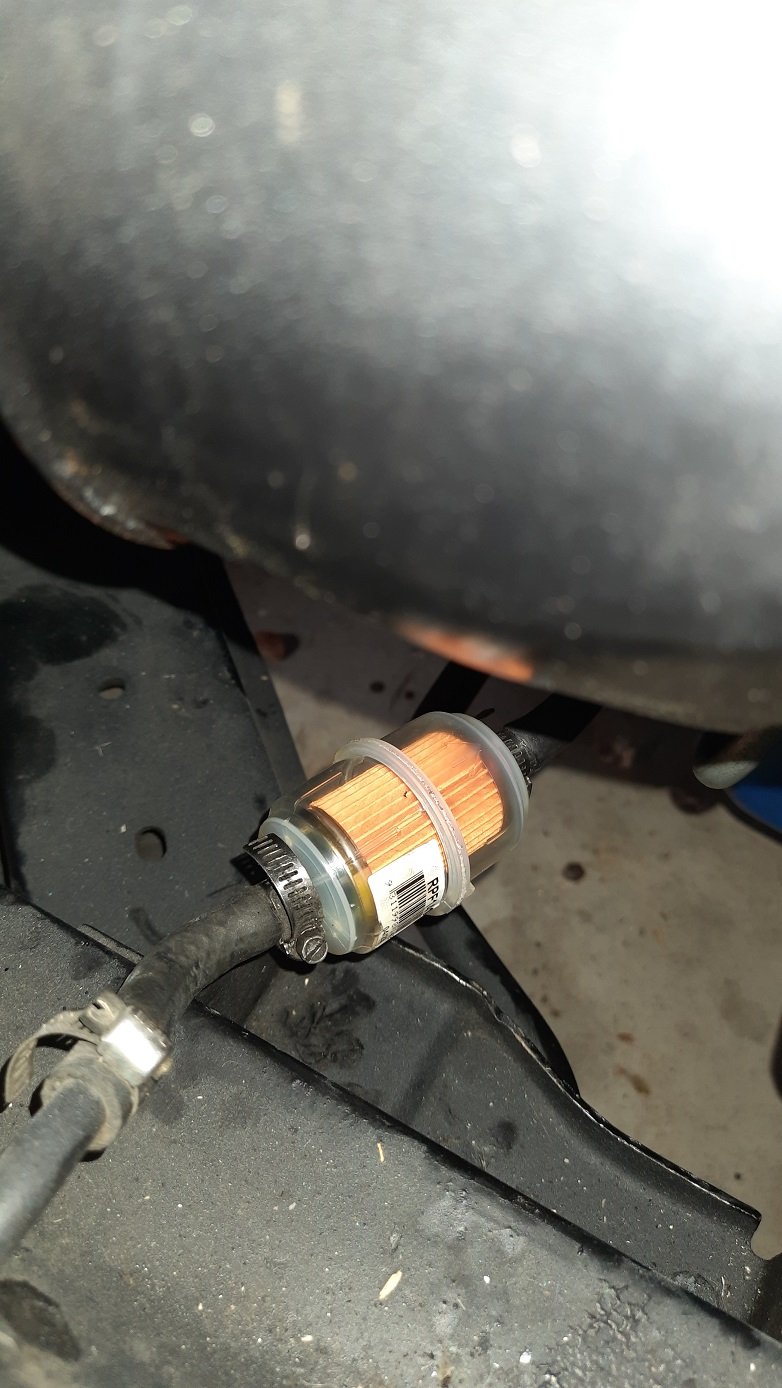
It's alive! Took a little bit to pump some gas through but started sweet as. Good seeing fuel in the filter. Good to confirm it was the pump and that I fitted it properly. Took it for a test drive and something tinkled and fell on the road. I went back to find it and it was some random clip. When I got home my wife thought the wheel nuts were loose and so I checked them and noticed something missing. This thing goes in there. Fixed. I had also noticed a clunk in the boot when going around corners. Turned out to be the wheel brace. It is still a pig to start hot but I had ordered a new Pertronix coil (to match the rest of the ignition) as that might have caused my non start. I figured I may as well throw it in, coils don't like being hot and the original chrome one is probably old. Started right up but the proof will be road tripping to Americarna. A few more things to do then we are off.
-
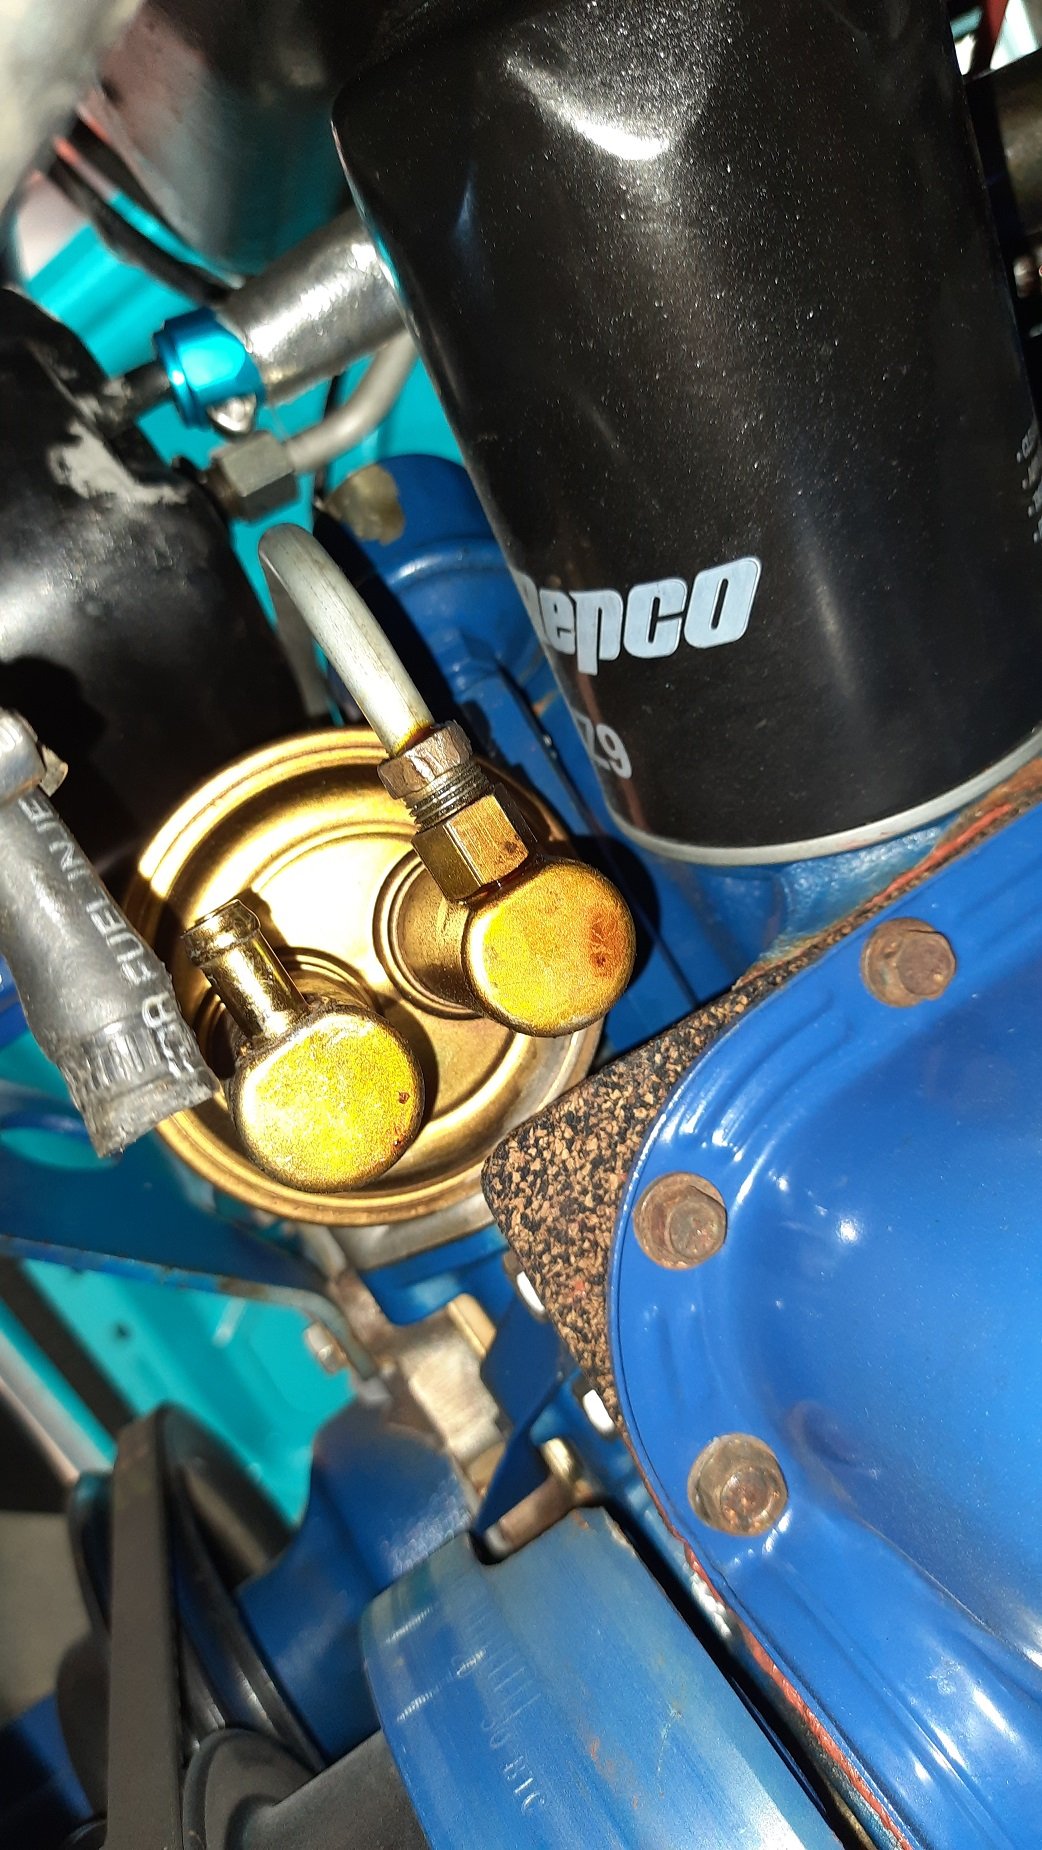
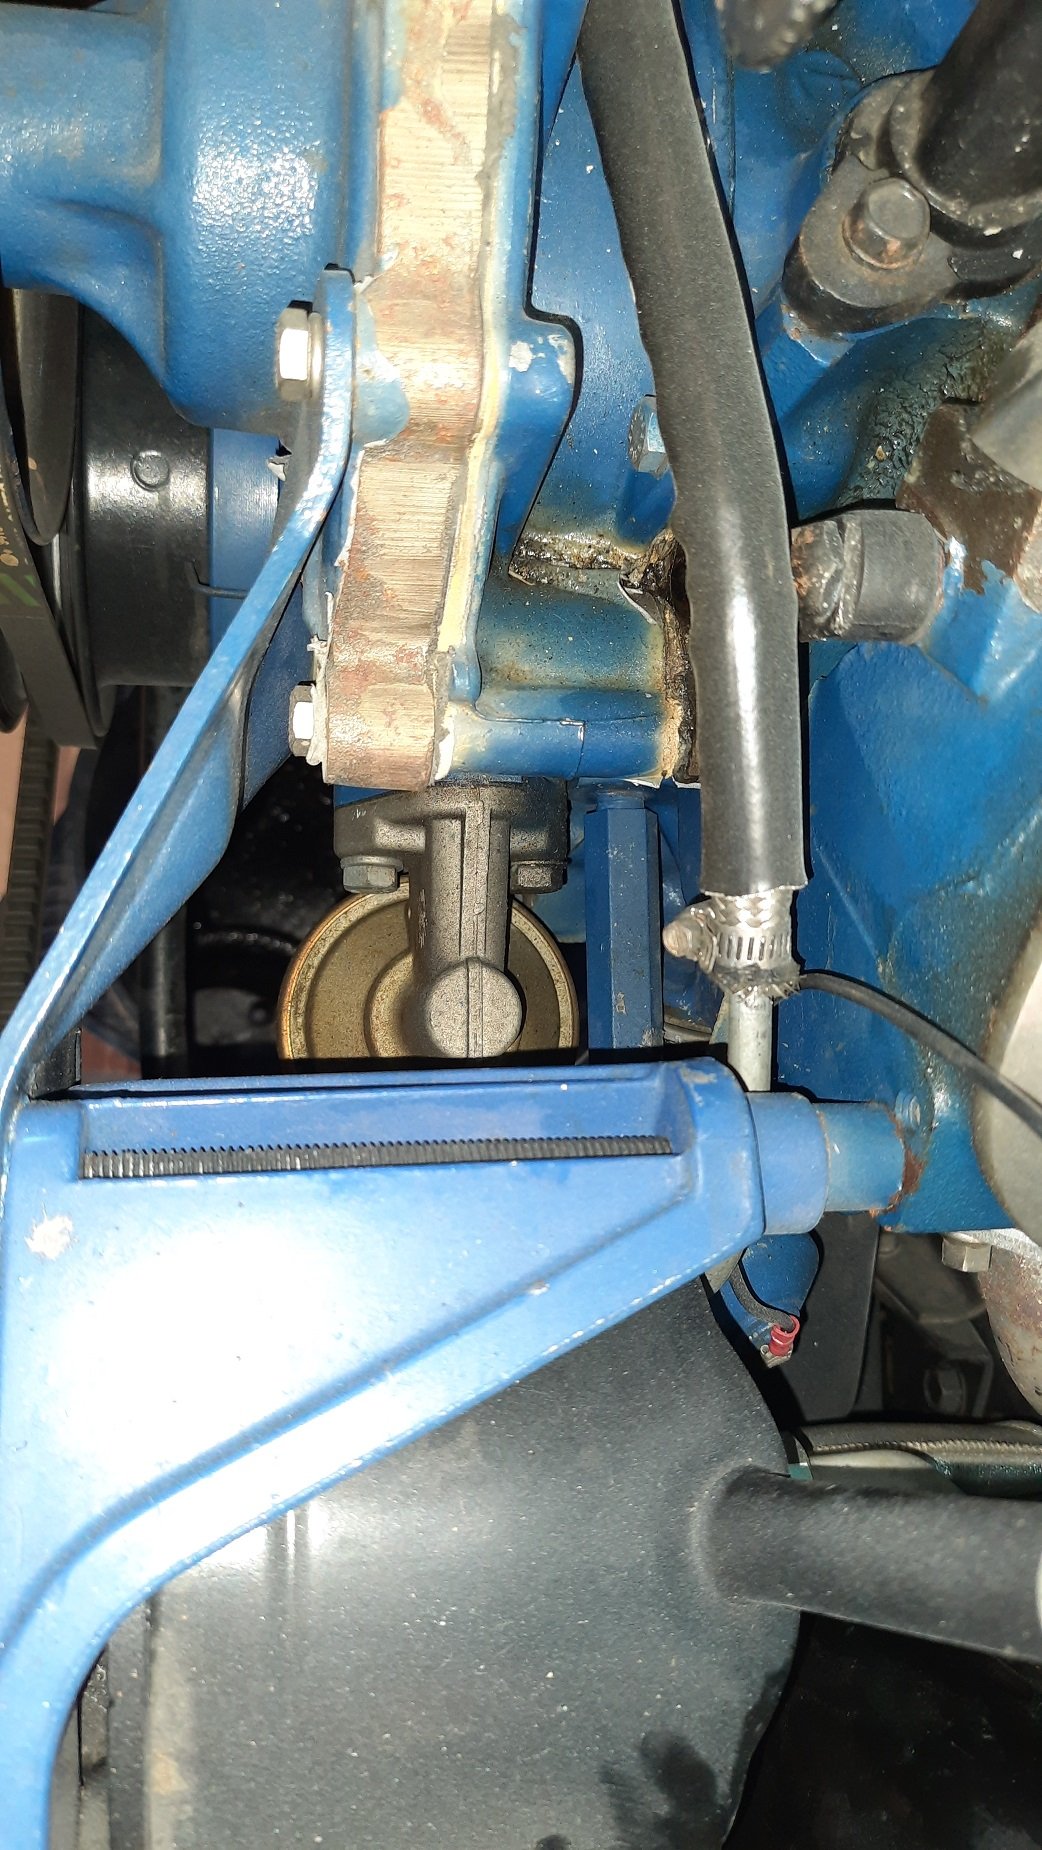
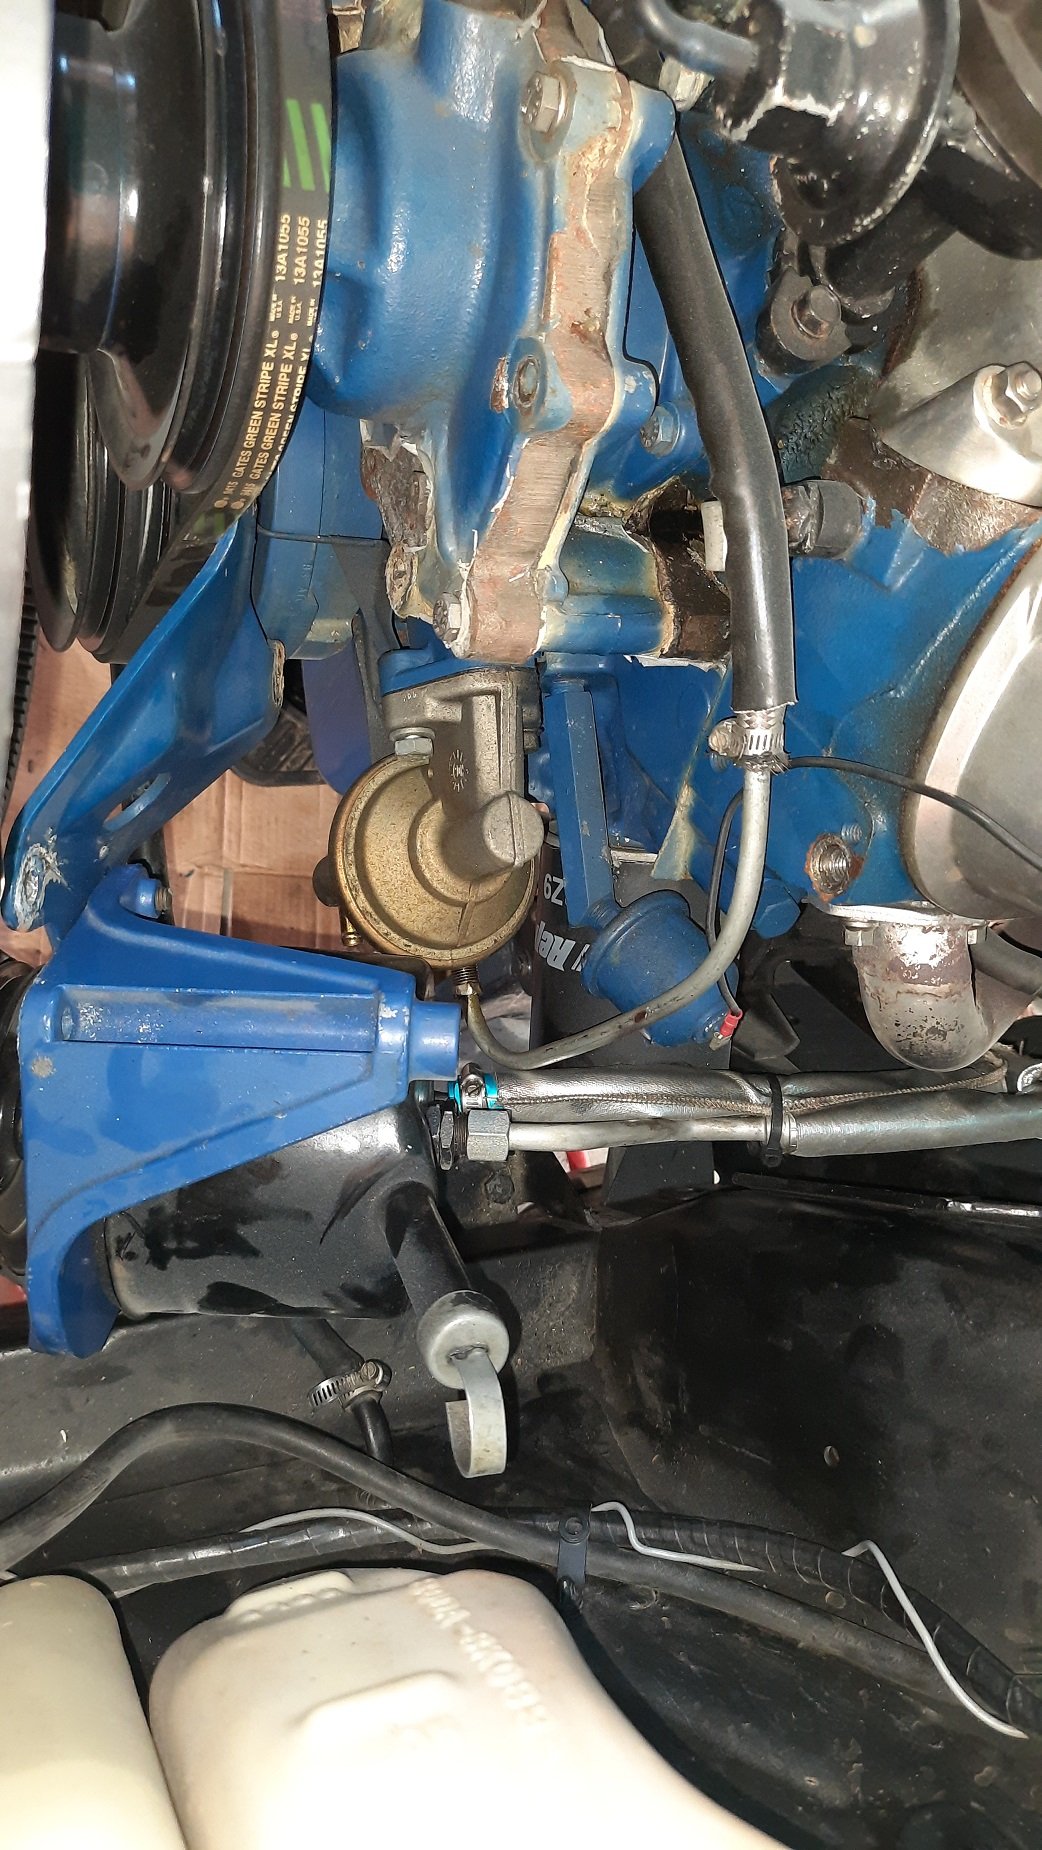
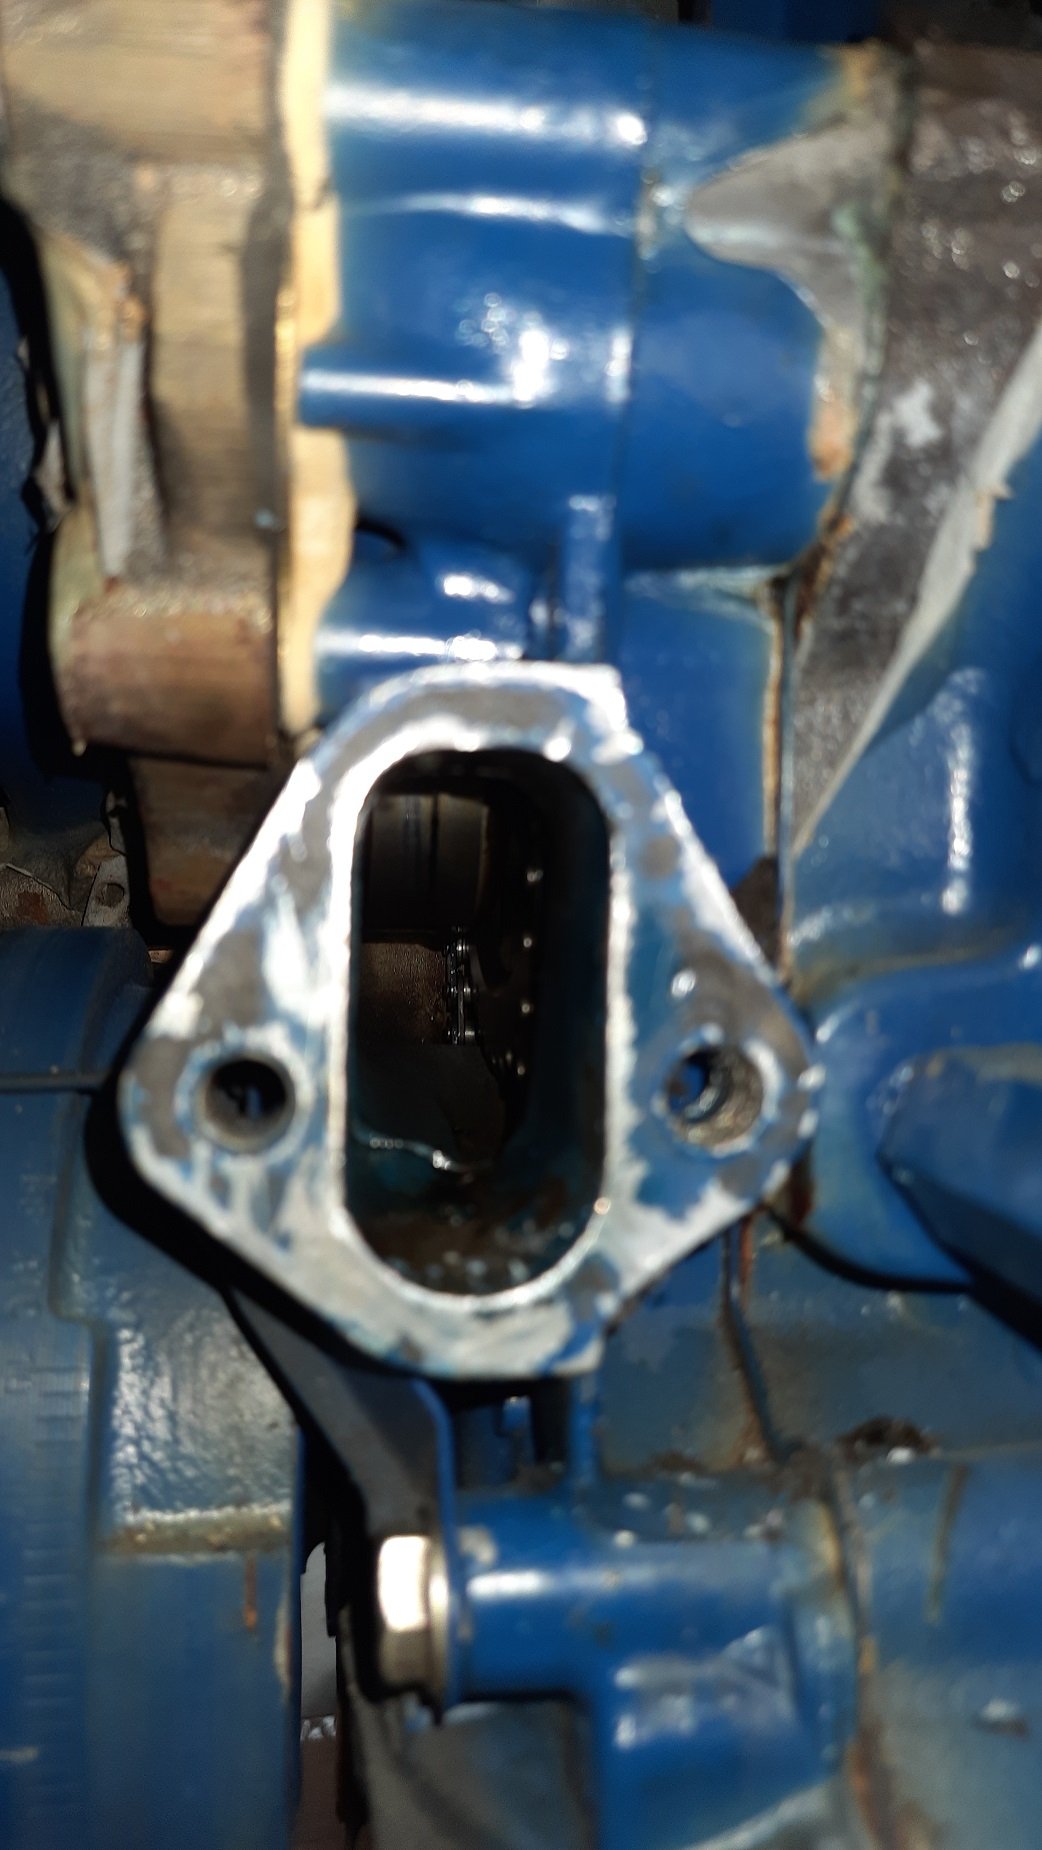
I disconnected the fuel tank line and got the expected run of fuel down my arm, in the eye, etc. Plenty coming out there. Disconnected the filter and blasted the line out with Contact Cleaner. Not sure if any gunk came out but plenty of fuel there too. If fuel was getting to the engine bay but not getting drawn in surely it is the pump. Got a new Carter mechanical pump for $54 and decided to throw it in. That is the view down. Bit of a prick to get at and can't swing a spanner in there so off came the power steering pump. As with everything this was also a bit of a prick. The top attachment is a threaded rod with a nylock nut. The whole rod came out so hopefully it would go back in. Later problem. Next came the fuel lines, easy enough from below. Then the pump itself. For some reason it had a 9/16" and a 5/8" bolt because of course it did. Cleaned up the mounting face as much as possible and had a look inside. Some v8's have a extra pushrod on the cam for the pump and it will drop out and end up in the oil pan if you don't secure it first. Hopefully mine does not. I did look up a few videos of 289/302 pump replacements and they didn't mention it so hopefully I'm good. If not, engine out. New pump went in much easier than I thought. I got the lever under the cam and managed to get the bolts started then wound them in slowly to seat the pump. Again hope I haven't caused an issue but I'll find out. I managed the get the power steering pump back in ok but it is probably a bit loose, again later problem. The battery is on a regen cycle so once that is finished I'll give it a crank and see if it goes. I did notice when actuating the old pump that air seemed to be coming out the side so it could have a dud diaphragm. Hopefully that was the problem and I'm good to go now. I'm saying hopefully a lot in this post.
-
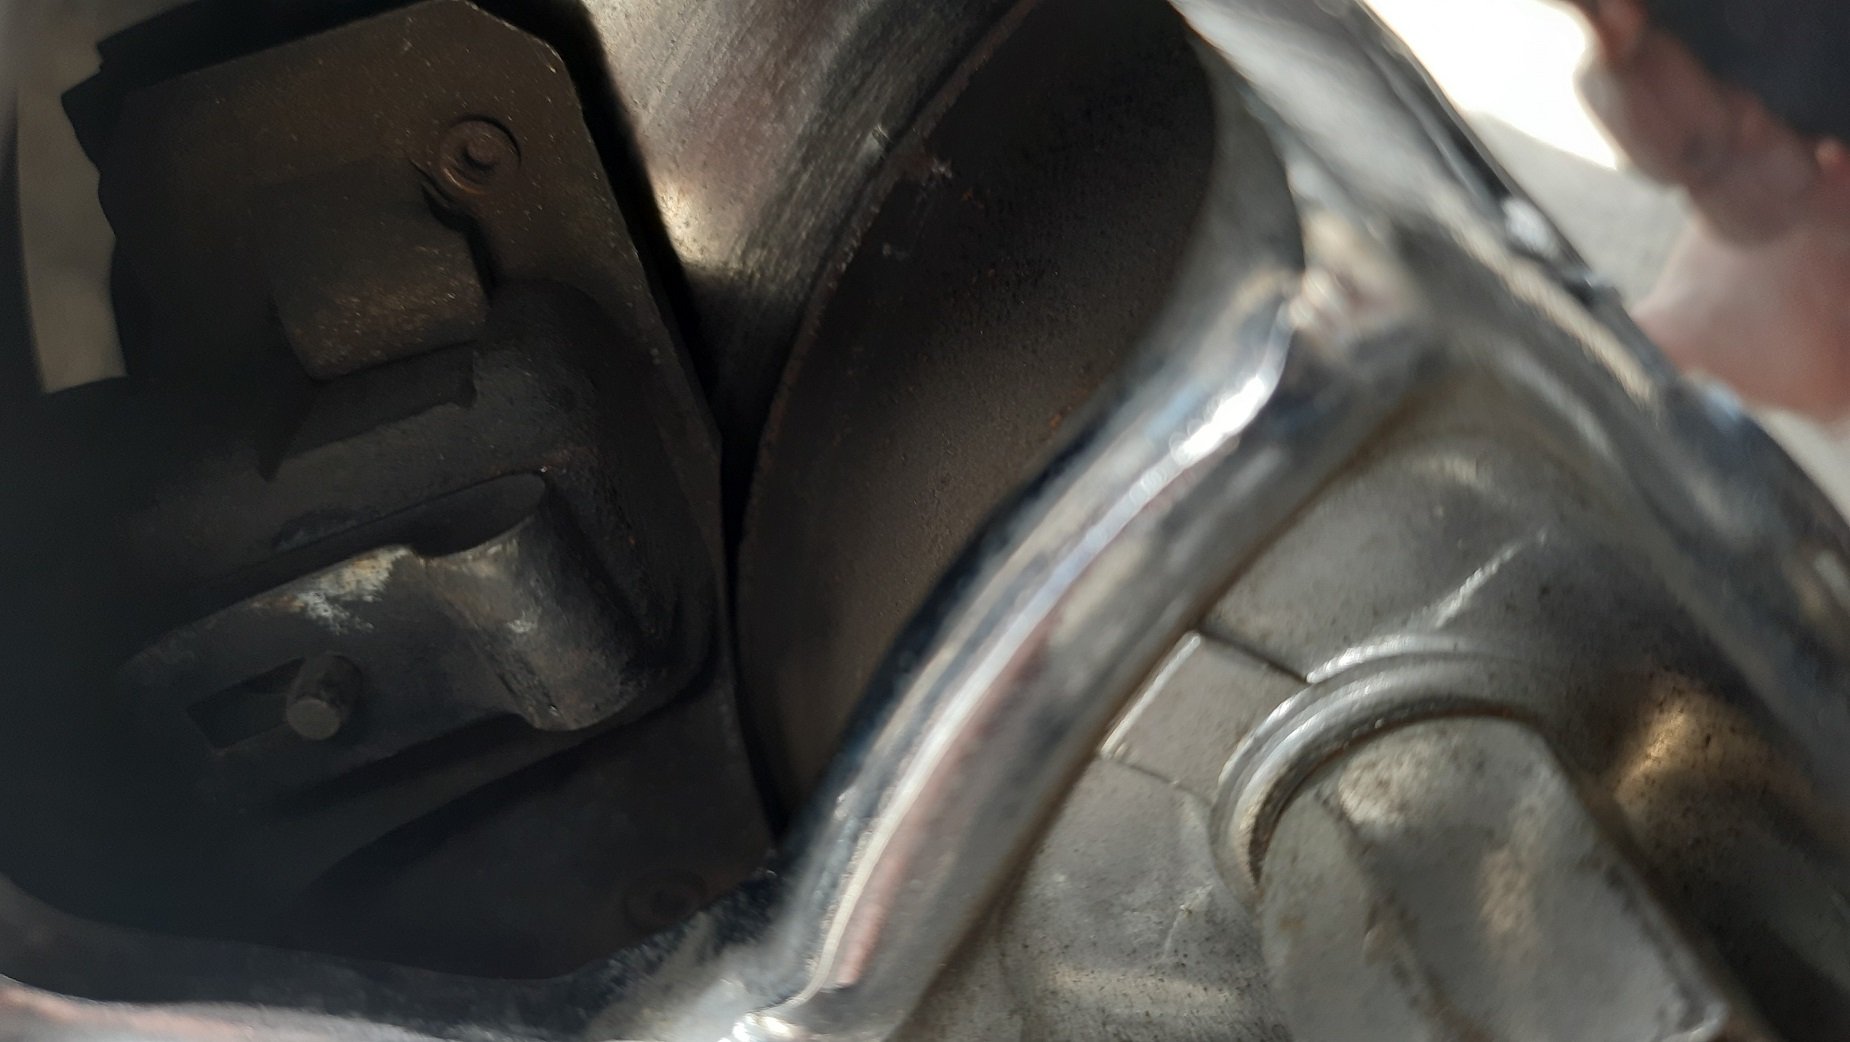
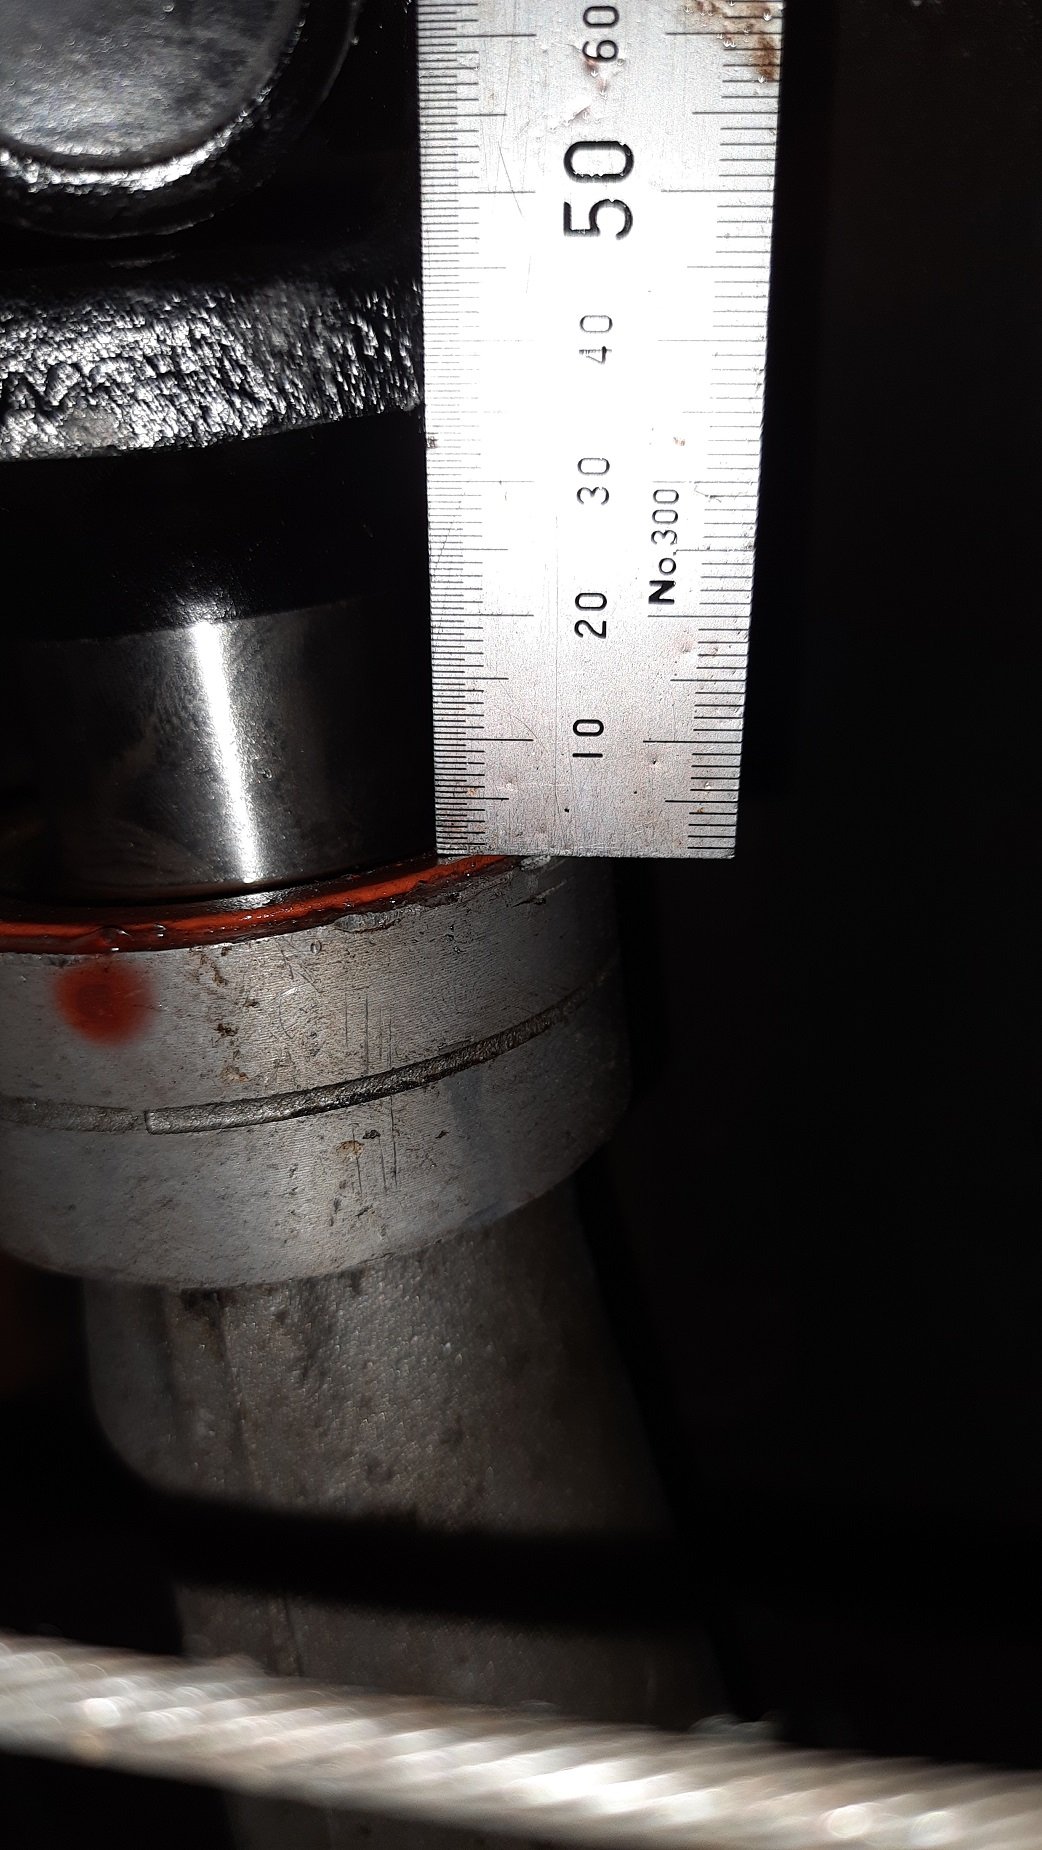
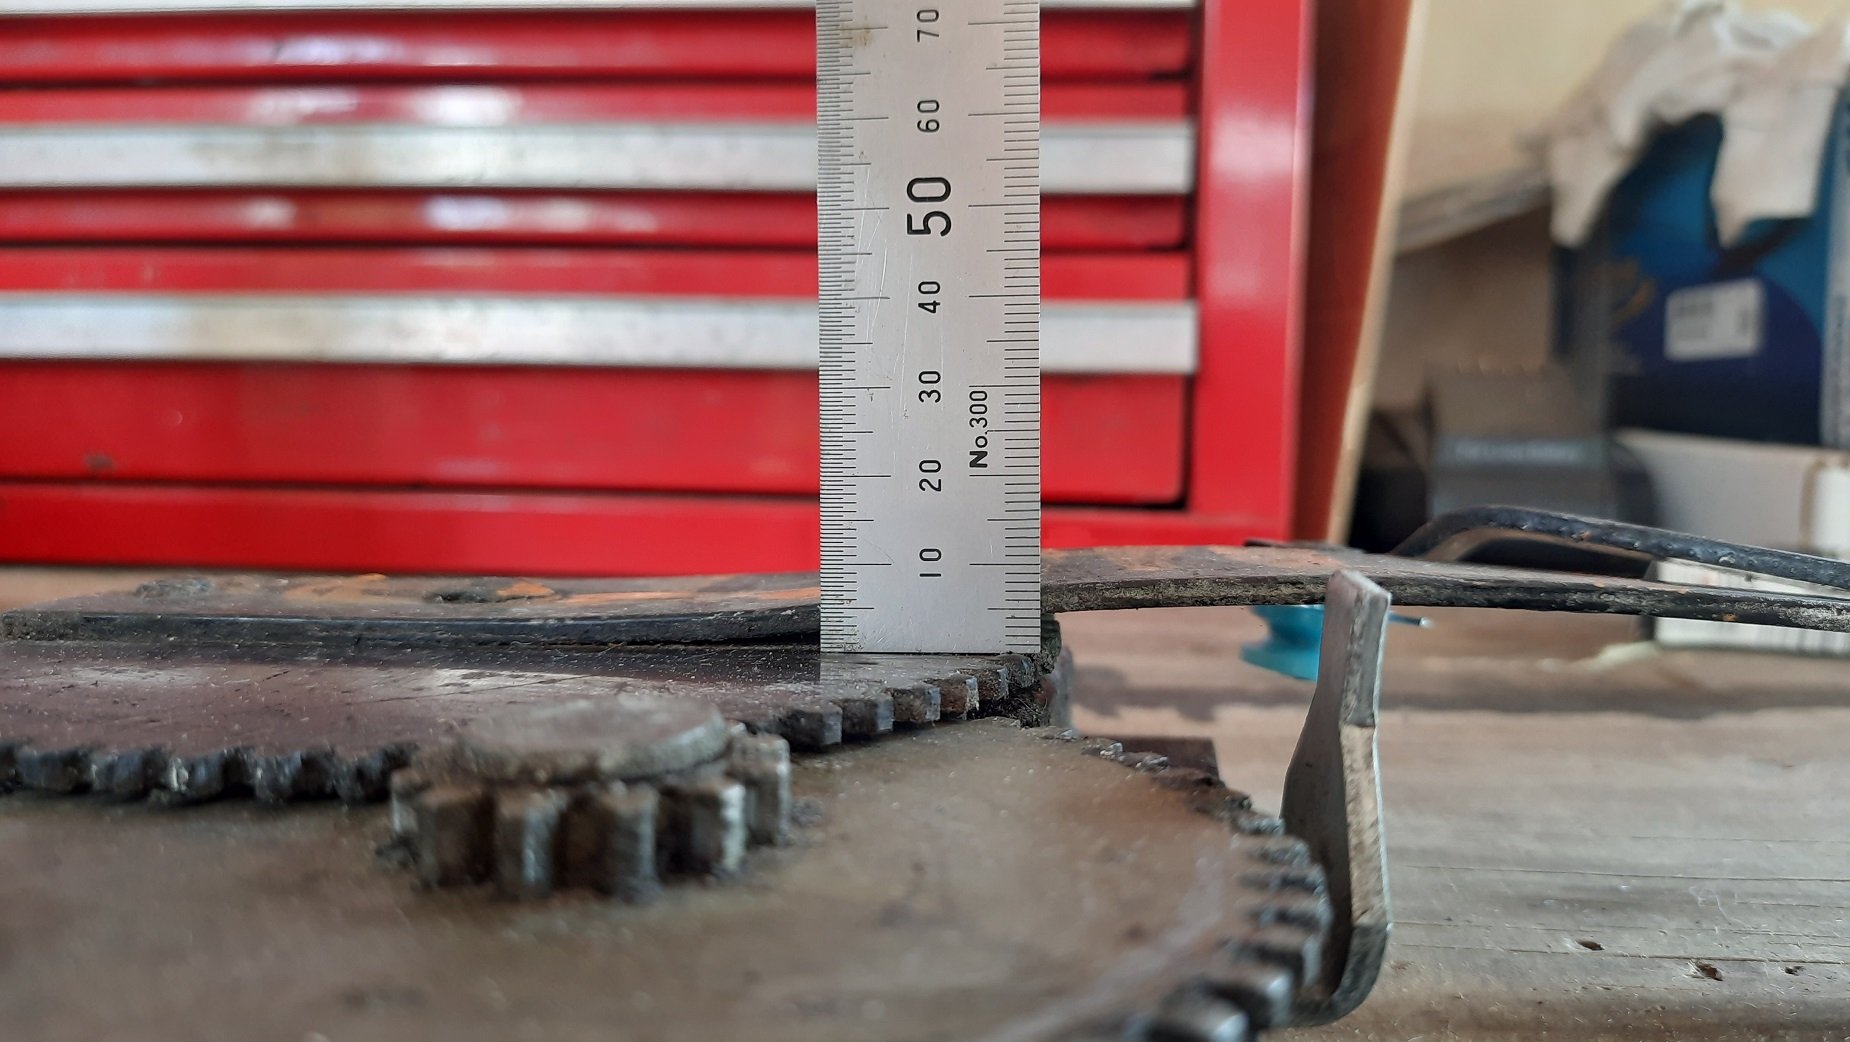
I got the tail shaft back from the shop so I thought that was a 5 min job and the car would be back on the ground and driveable. Wrong again. The 'new' shaft is made from a second hand Falcon drive shaft. 1.75" tube, second hand yoke and new unis and bearings. It is heaps lighter than the old one and pretty much everything was unusable on the old one. The new one is also about 25mm longer which it needs. I climbed under to slip it in and got this far... I tapped it back out to check it and the spline is exactly the same as the old one but without the extra 30mm or so of counterbored part. Basically it should fit better than the old one but does not. At the back I have this... I measured both ends and the 35mm gap shown is pretty much what I need to get it in. Once fitted it will have a good amount of back and forth. Talking to the shop he said the problem is likely due to the second hand yoke being twisted which is why it is hard to fit and remove. The old one slips right in. We'll either replace the yoke or counter bore it so it fits. It will depend on getting enough engagement. I refitted the old shaft and got it back on the ground so it was at least driveable. I went to start it to take it for a test drive aaand, nothing. Cranks but wont light off. I put my hand under the fuel filter and it came away covered in varnish so I thought a new filter was a way to go. I got a nice new filter from Repco, cheap and see through so I could see if there was gas. Looks nice and clean. I'd prefer full of gas but. So I either have a blockage or dud pump. Either could happen as the car sat for ages before I bought it so the tank will be full of crap. It runs well normally though.
-
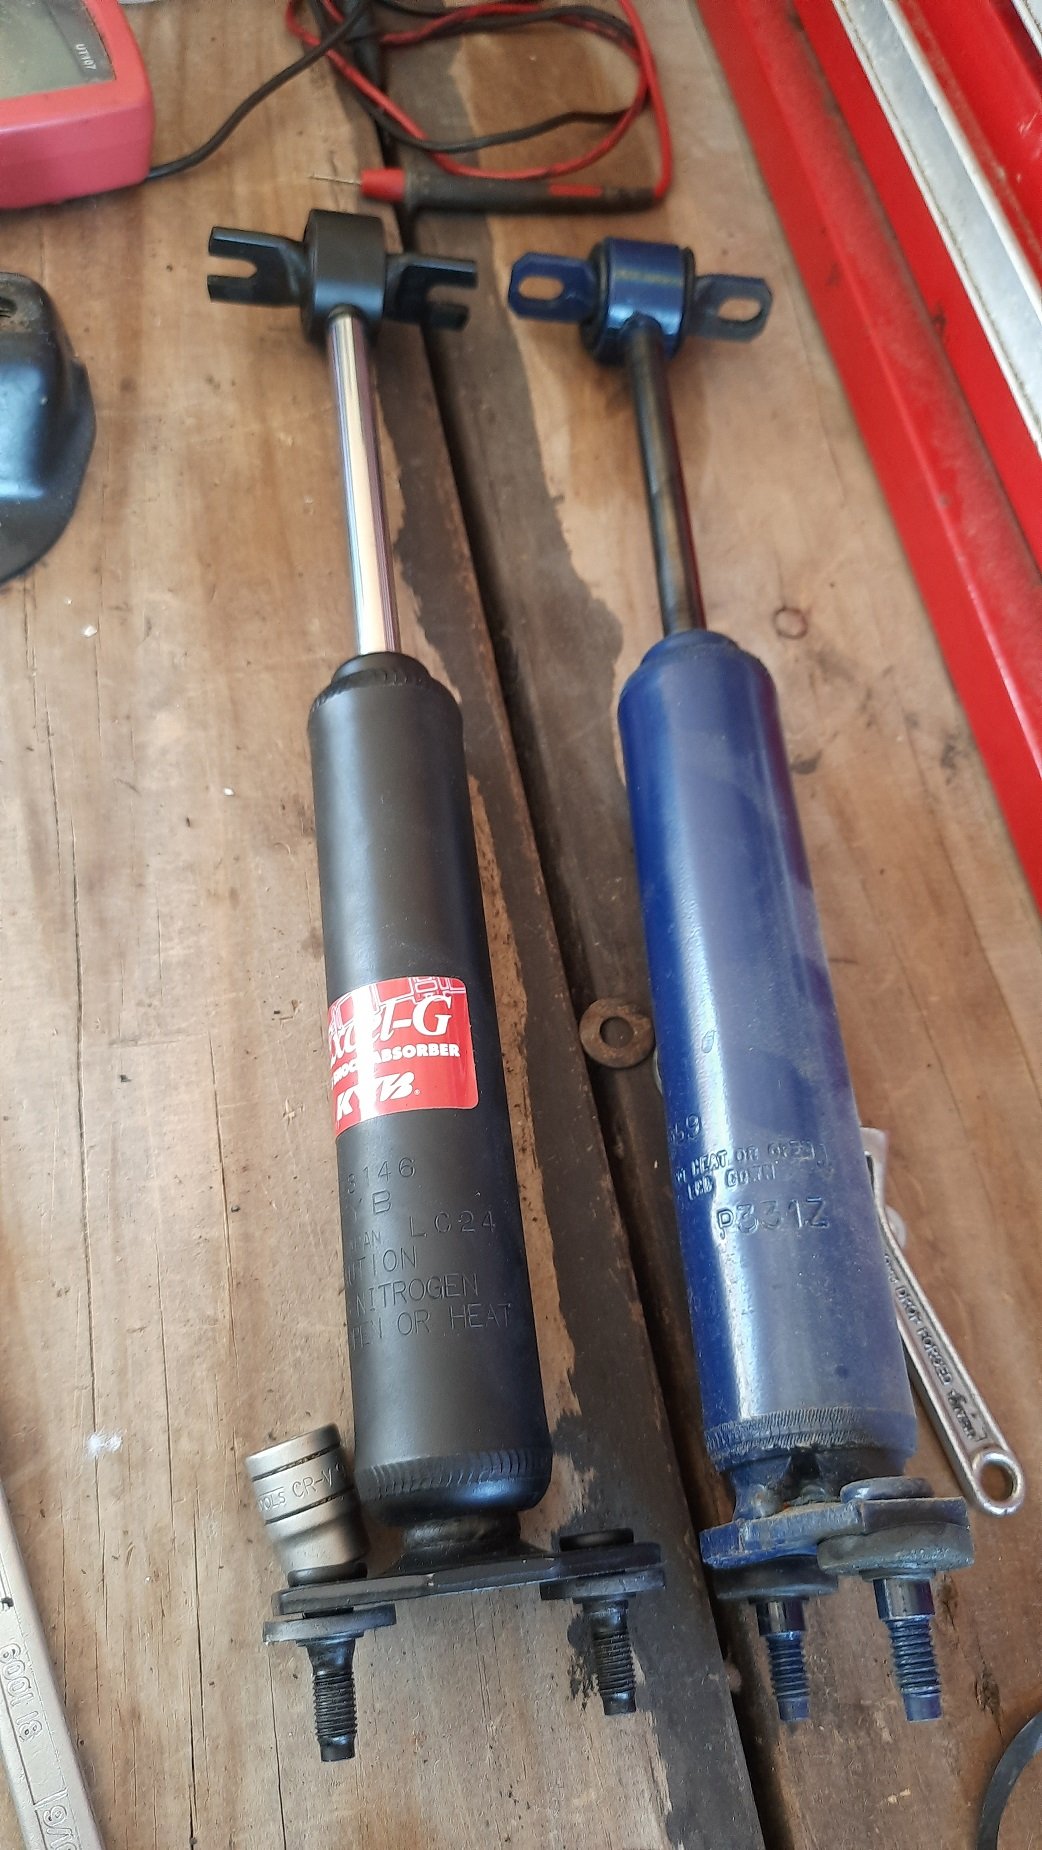
Decided to use some spare time to replace the shocks. Should be easy I thought. Car was on axle stands anyway and I had front spring perches and top bushes so I thought I'd remove the springs and do them at the same time. Spent ages trying to compress the spring to get it out. Tried jacking the car to compress it so I could just hold it with the compressors but that just jacked the whole car. One hour of swearing and frustration and I was knackered, so I gave up on the springs and just did the shocks. 30min later both were done. I then went to try the rear but I need a 1/2" long reach socket which I don't have so I gave up on that too. All the rear bushes need doing so I'll just get a pro for that.
-
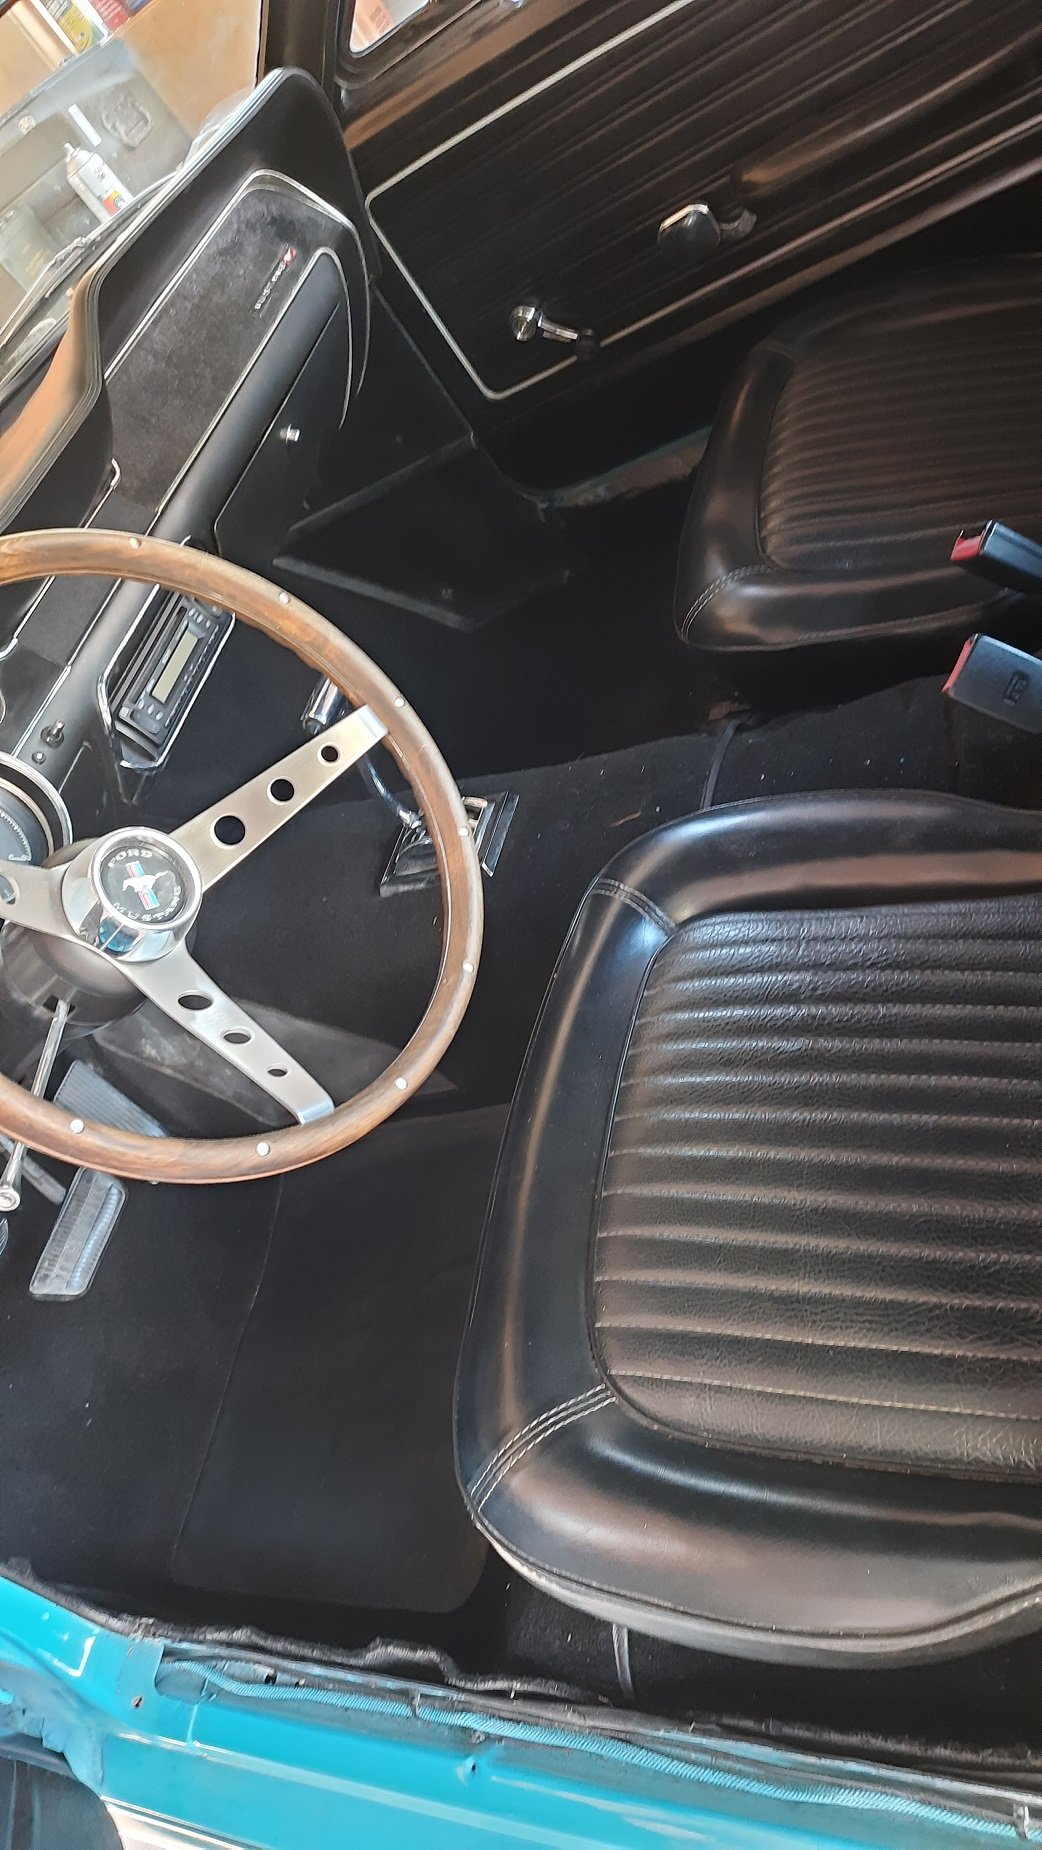
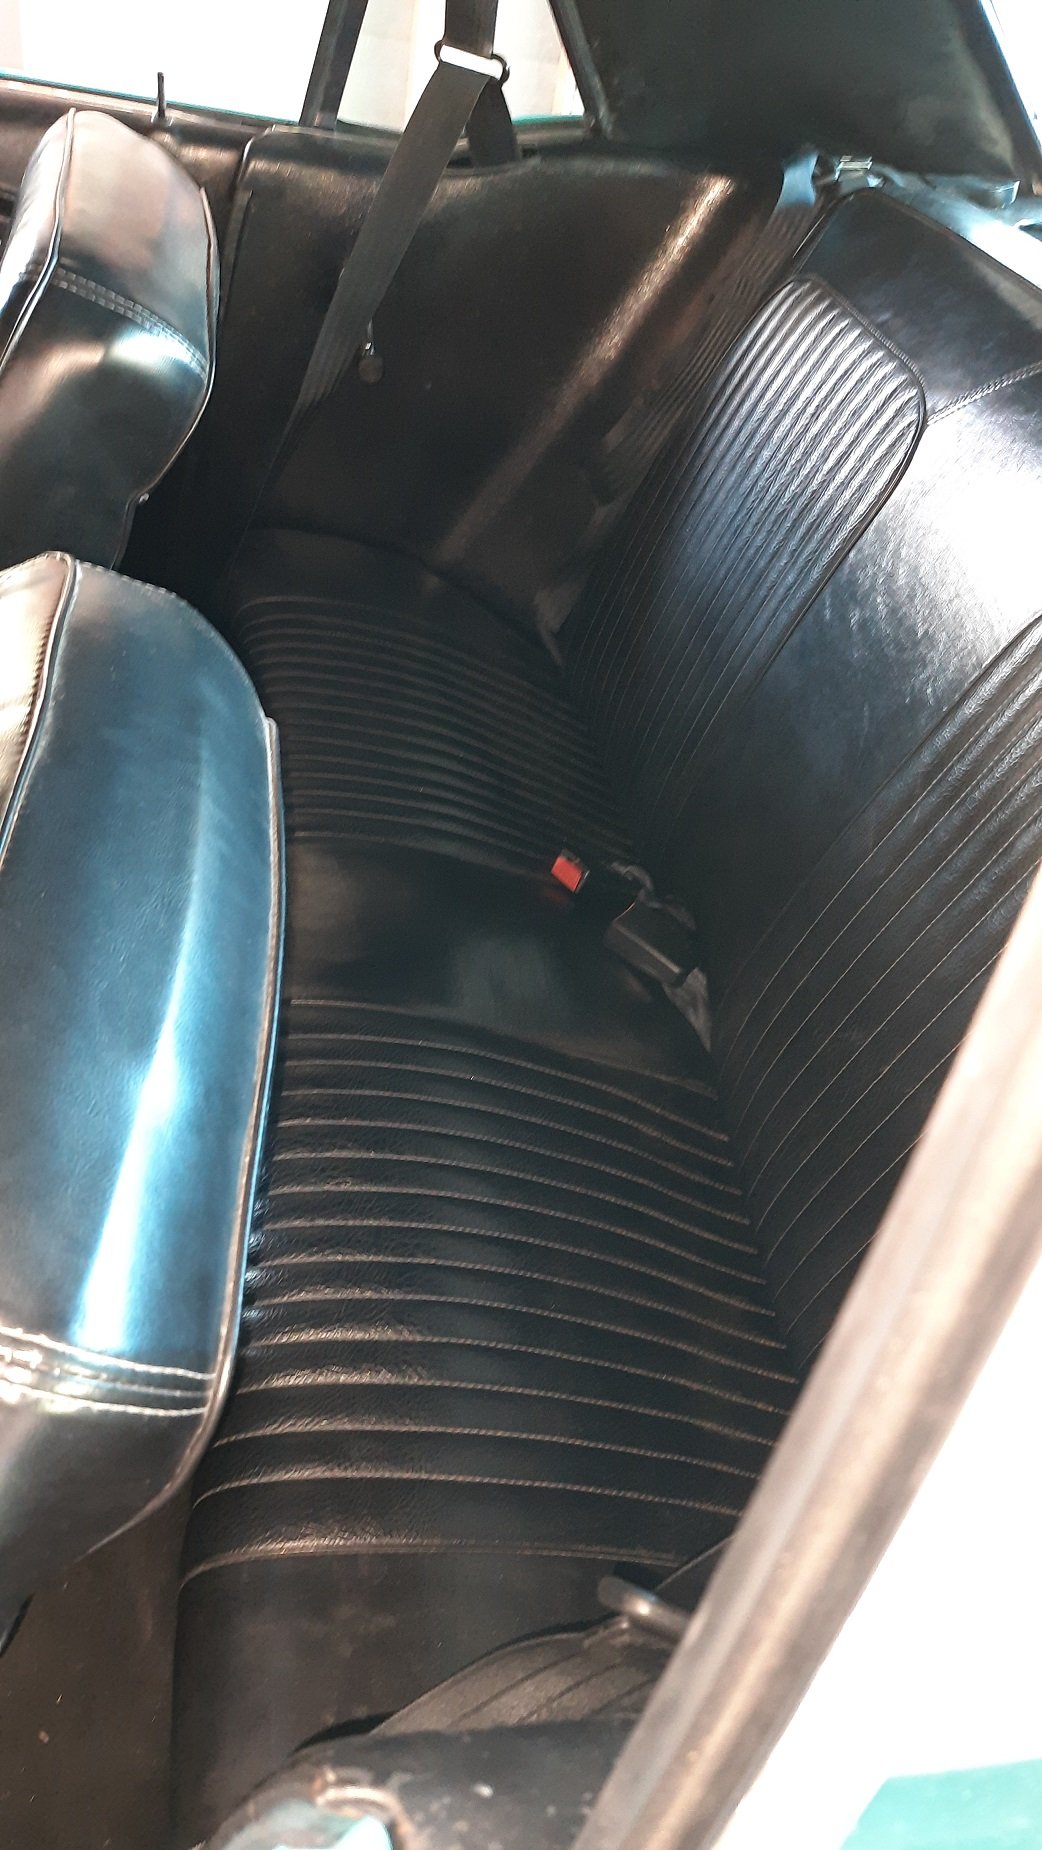
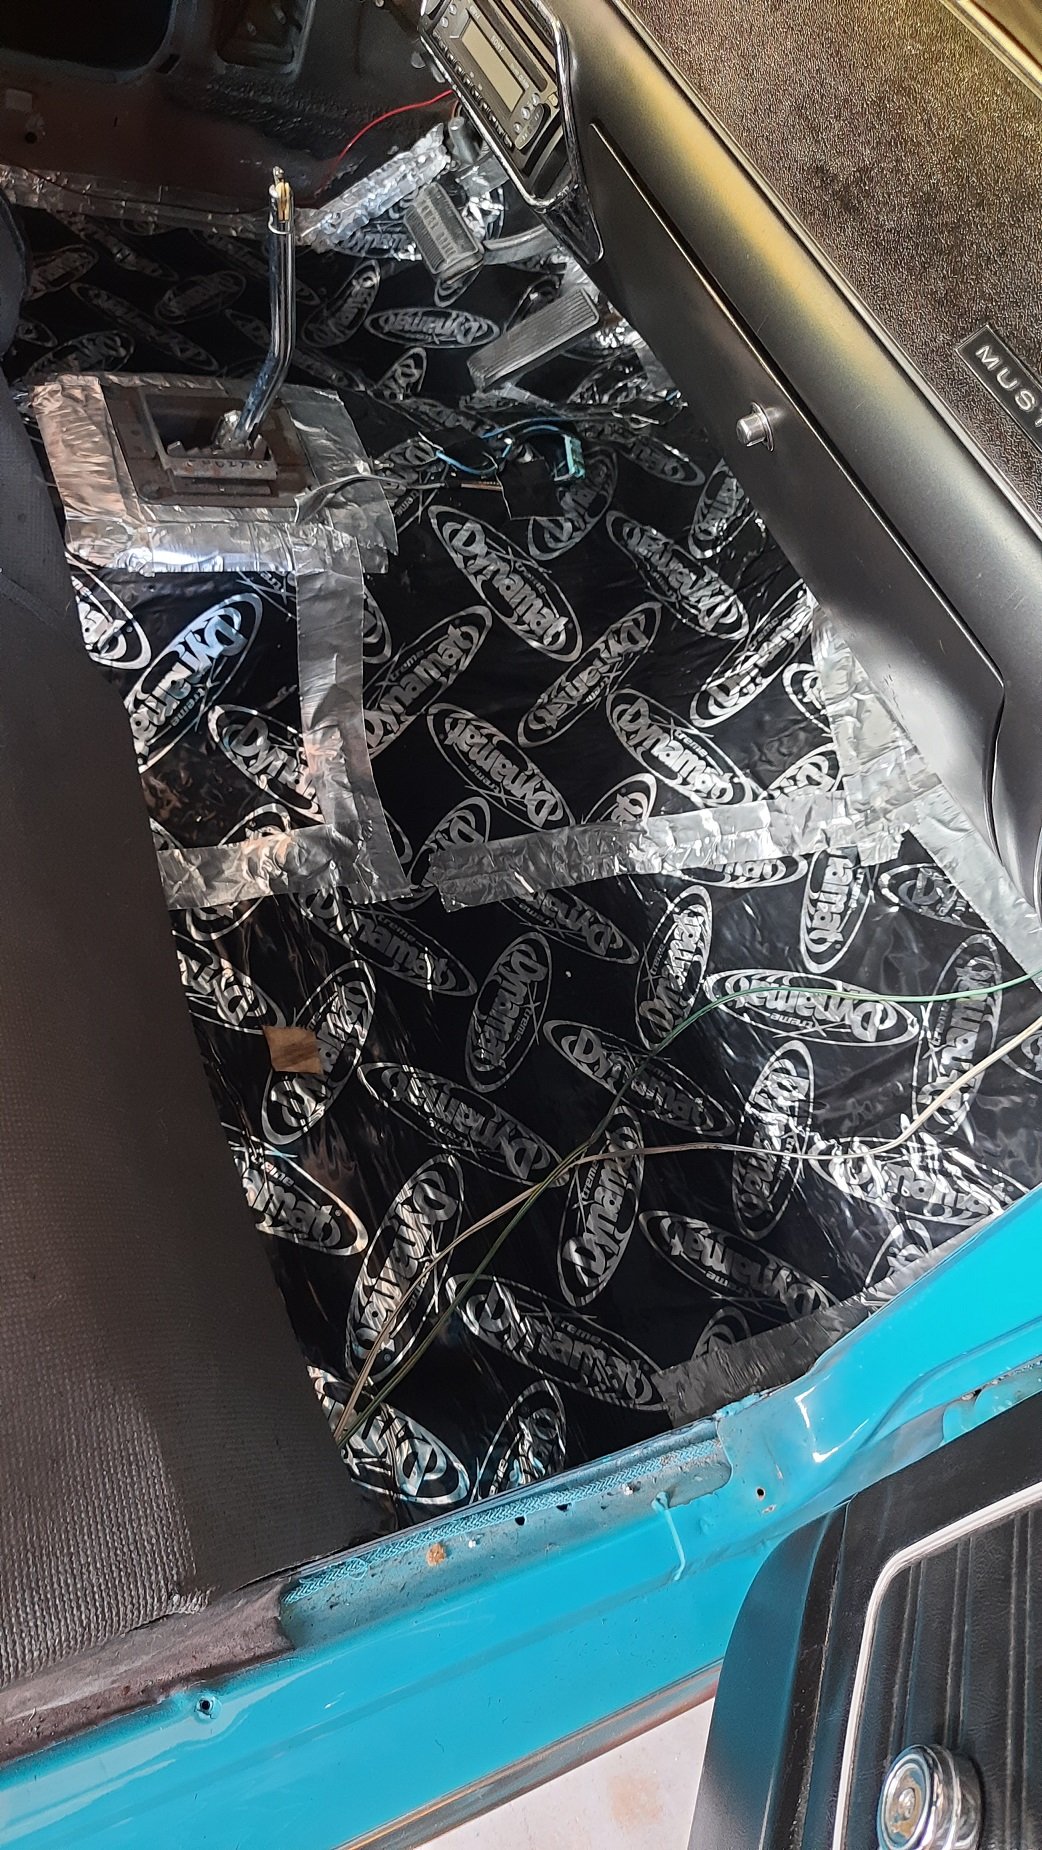
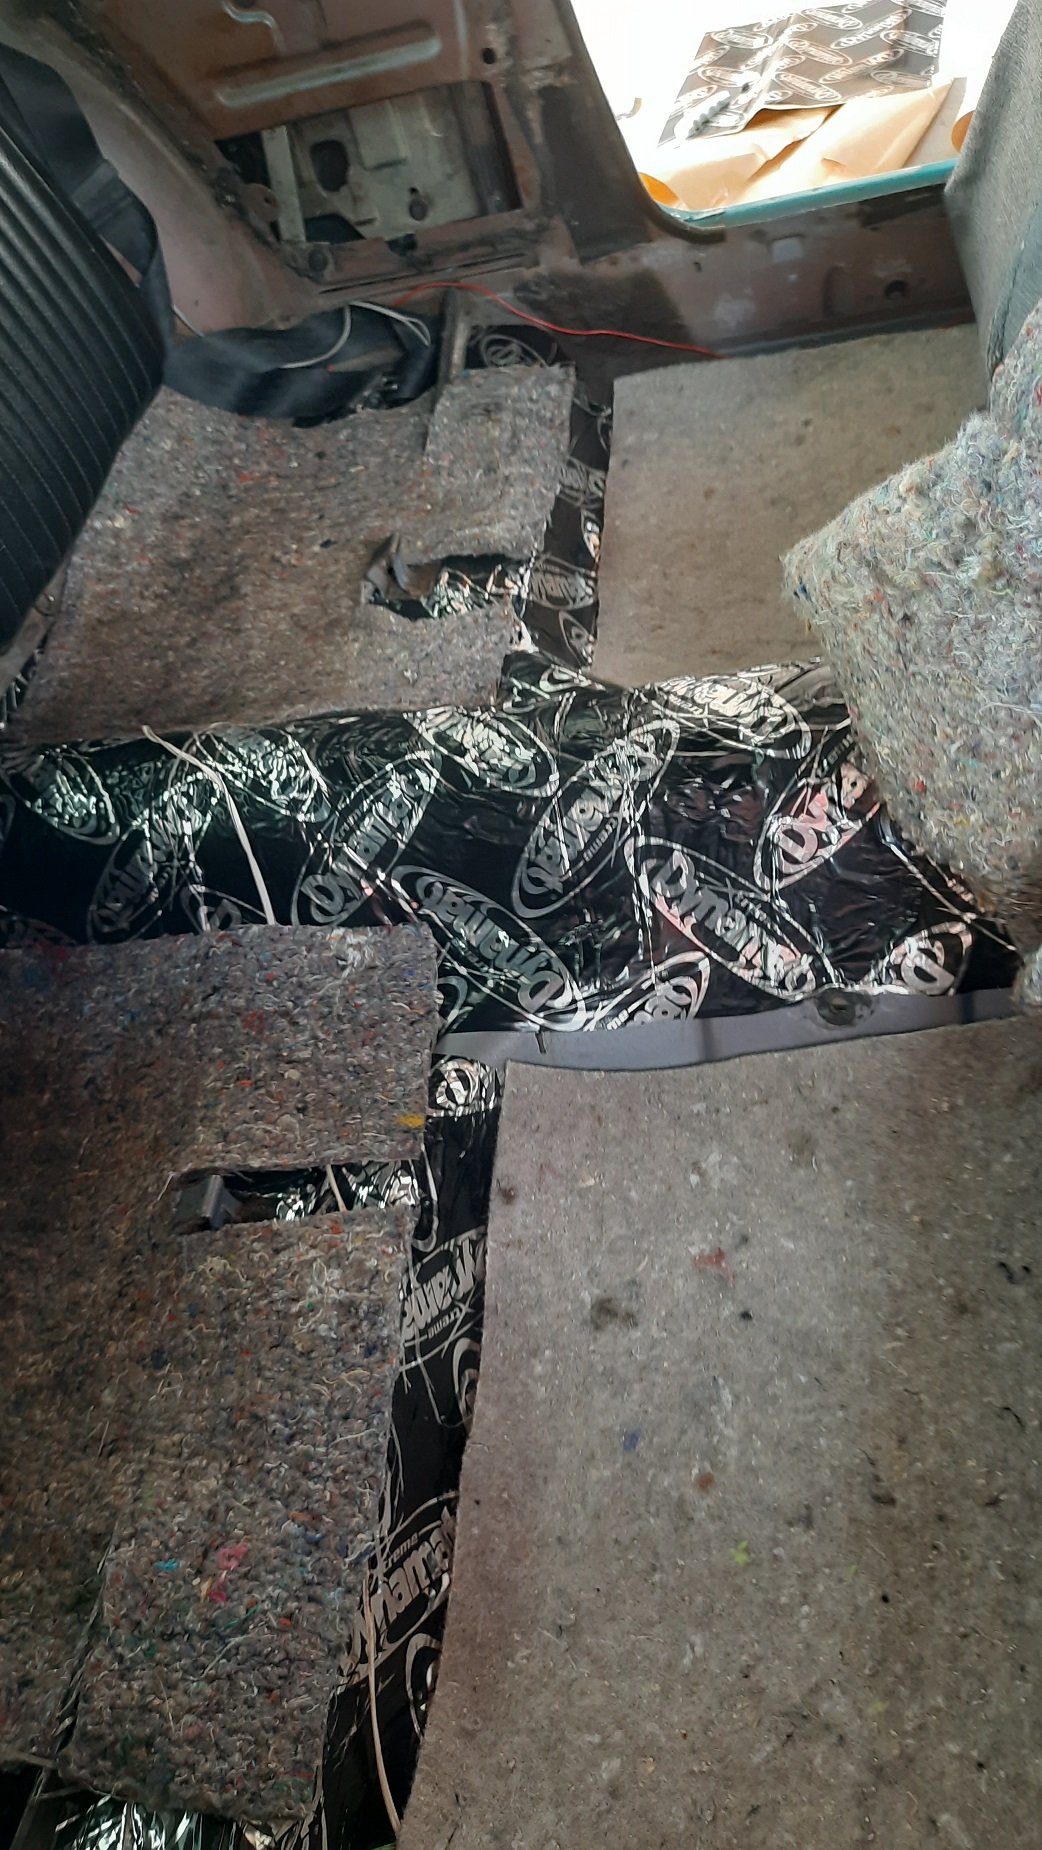
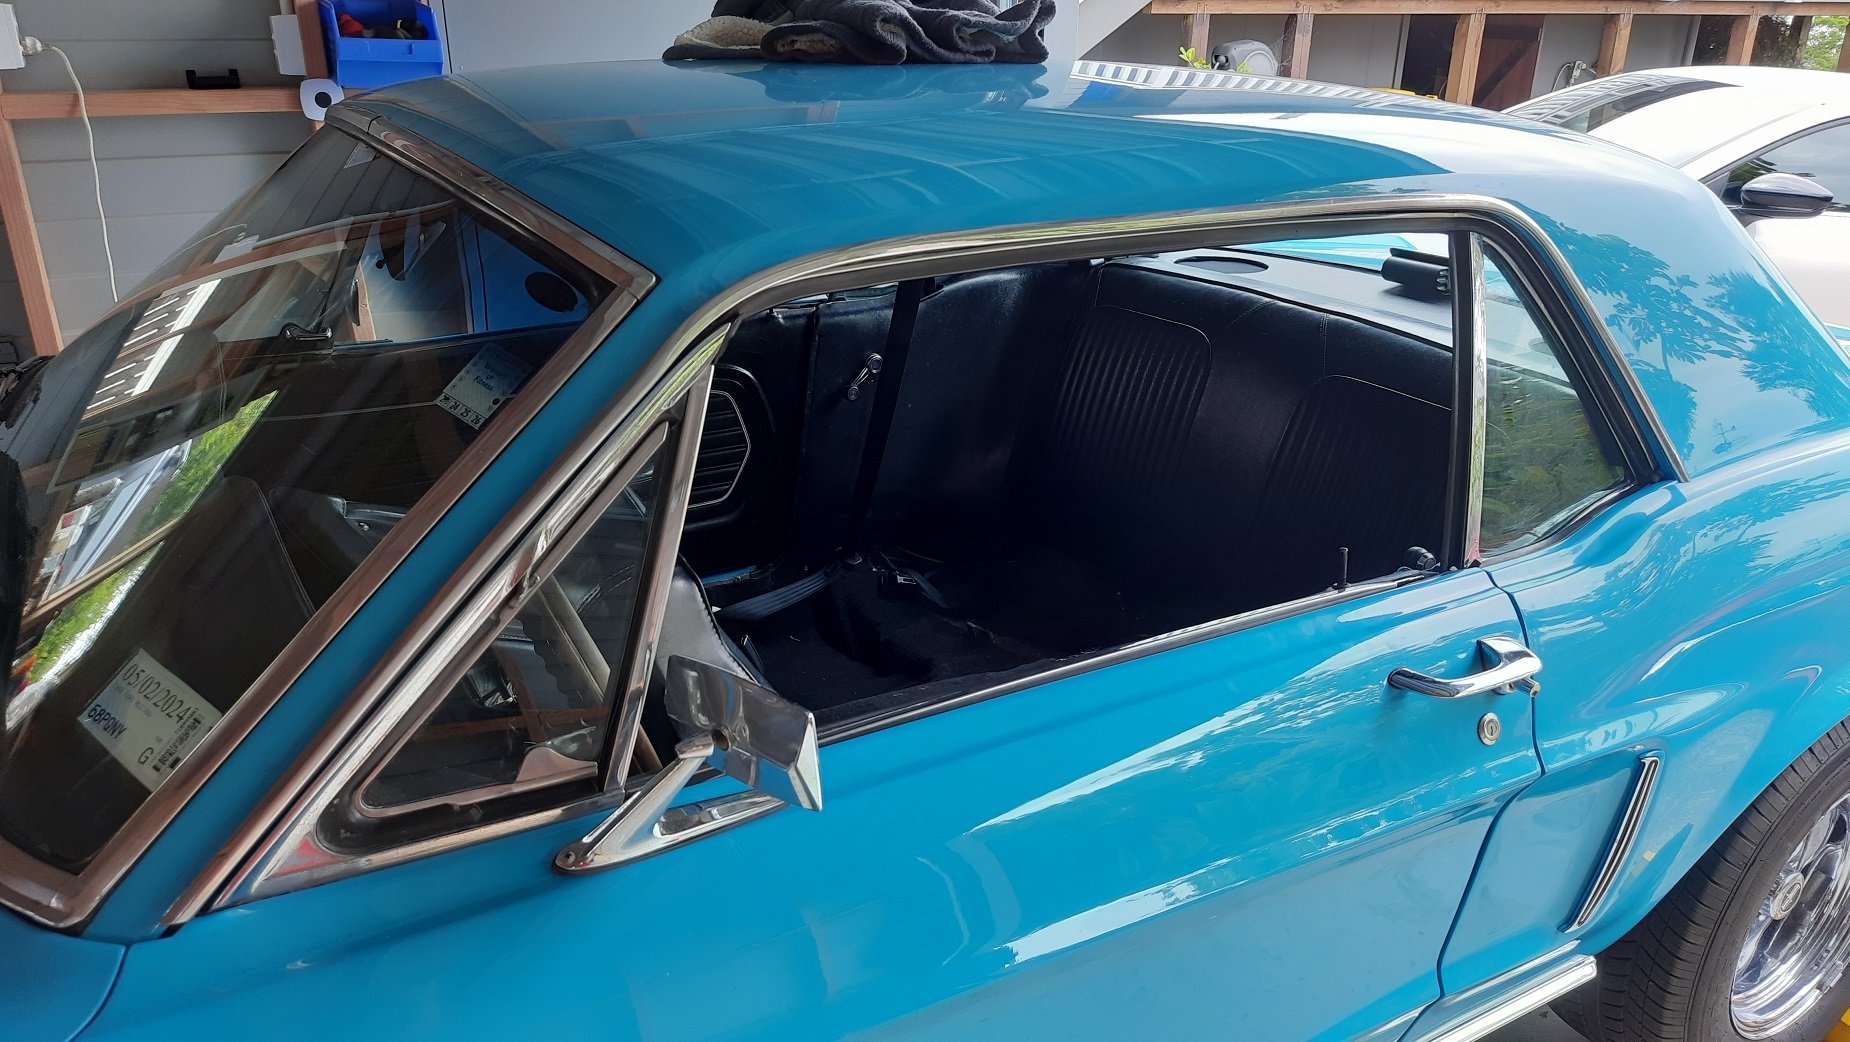
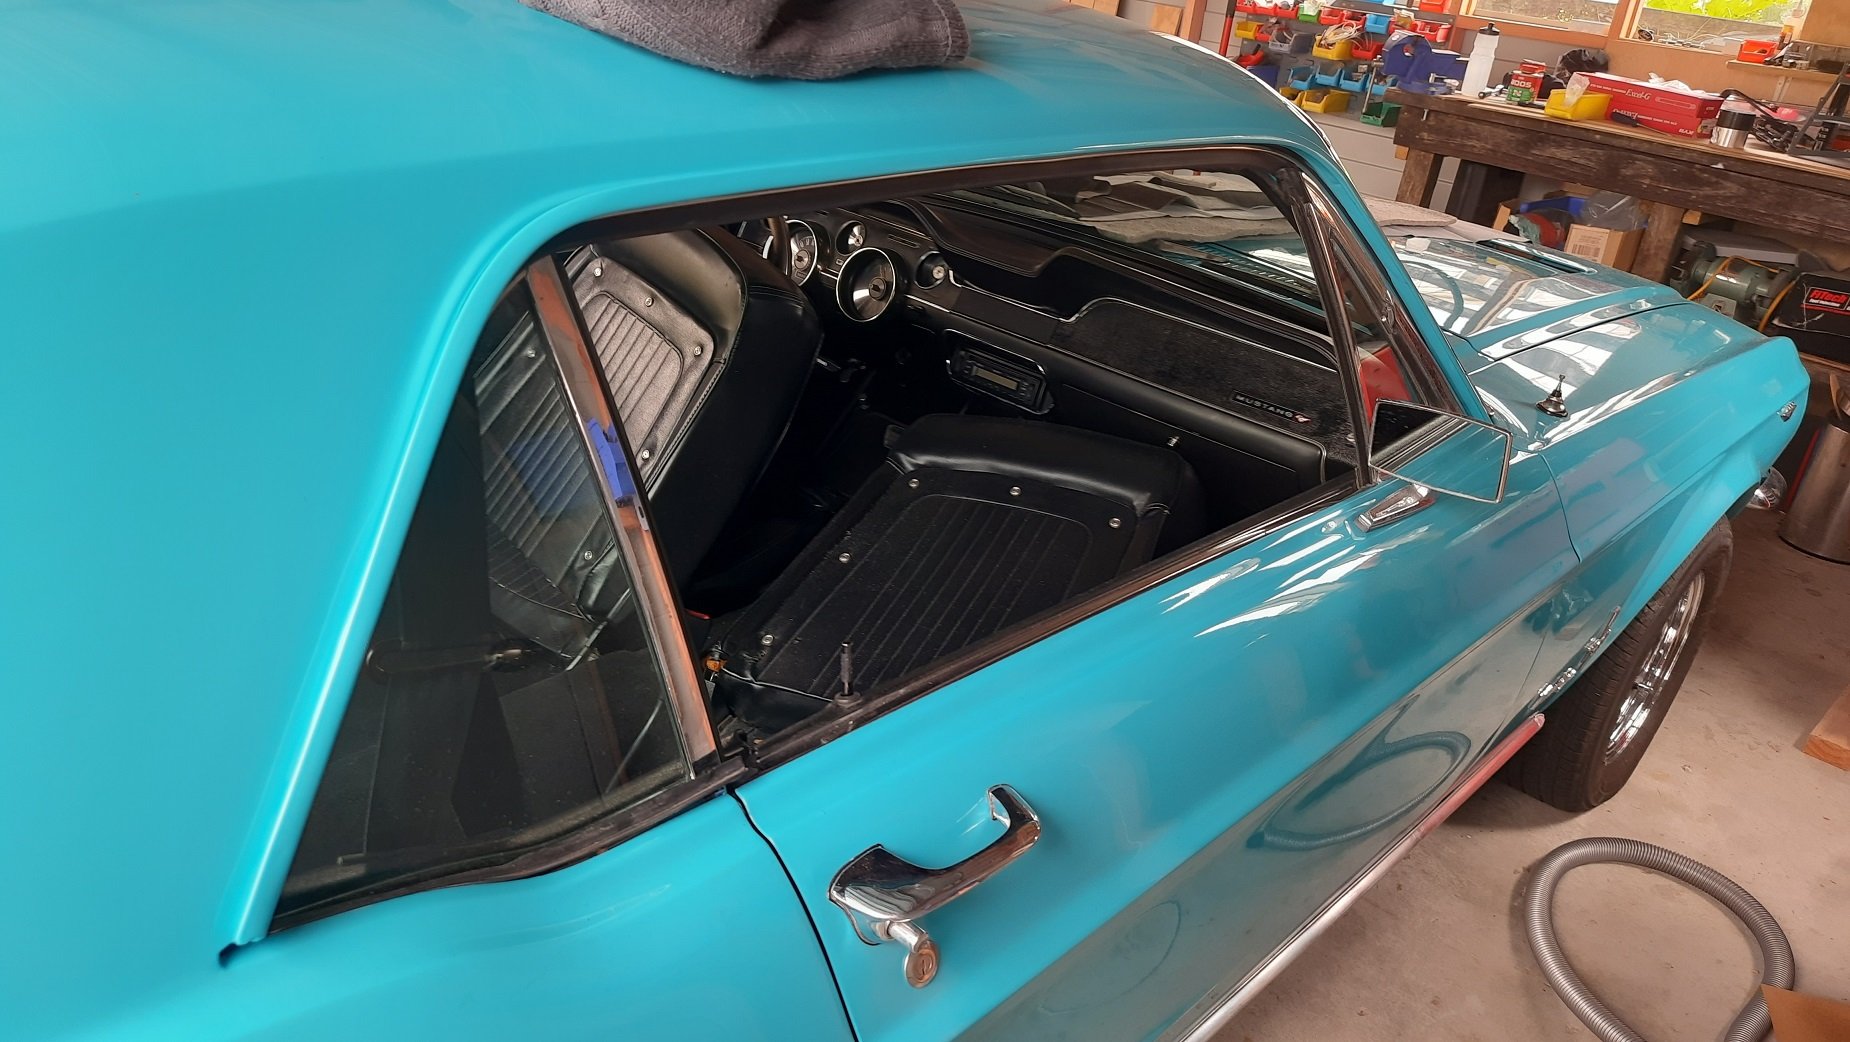
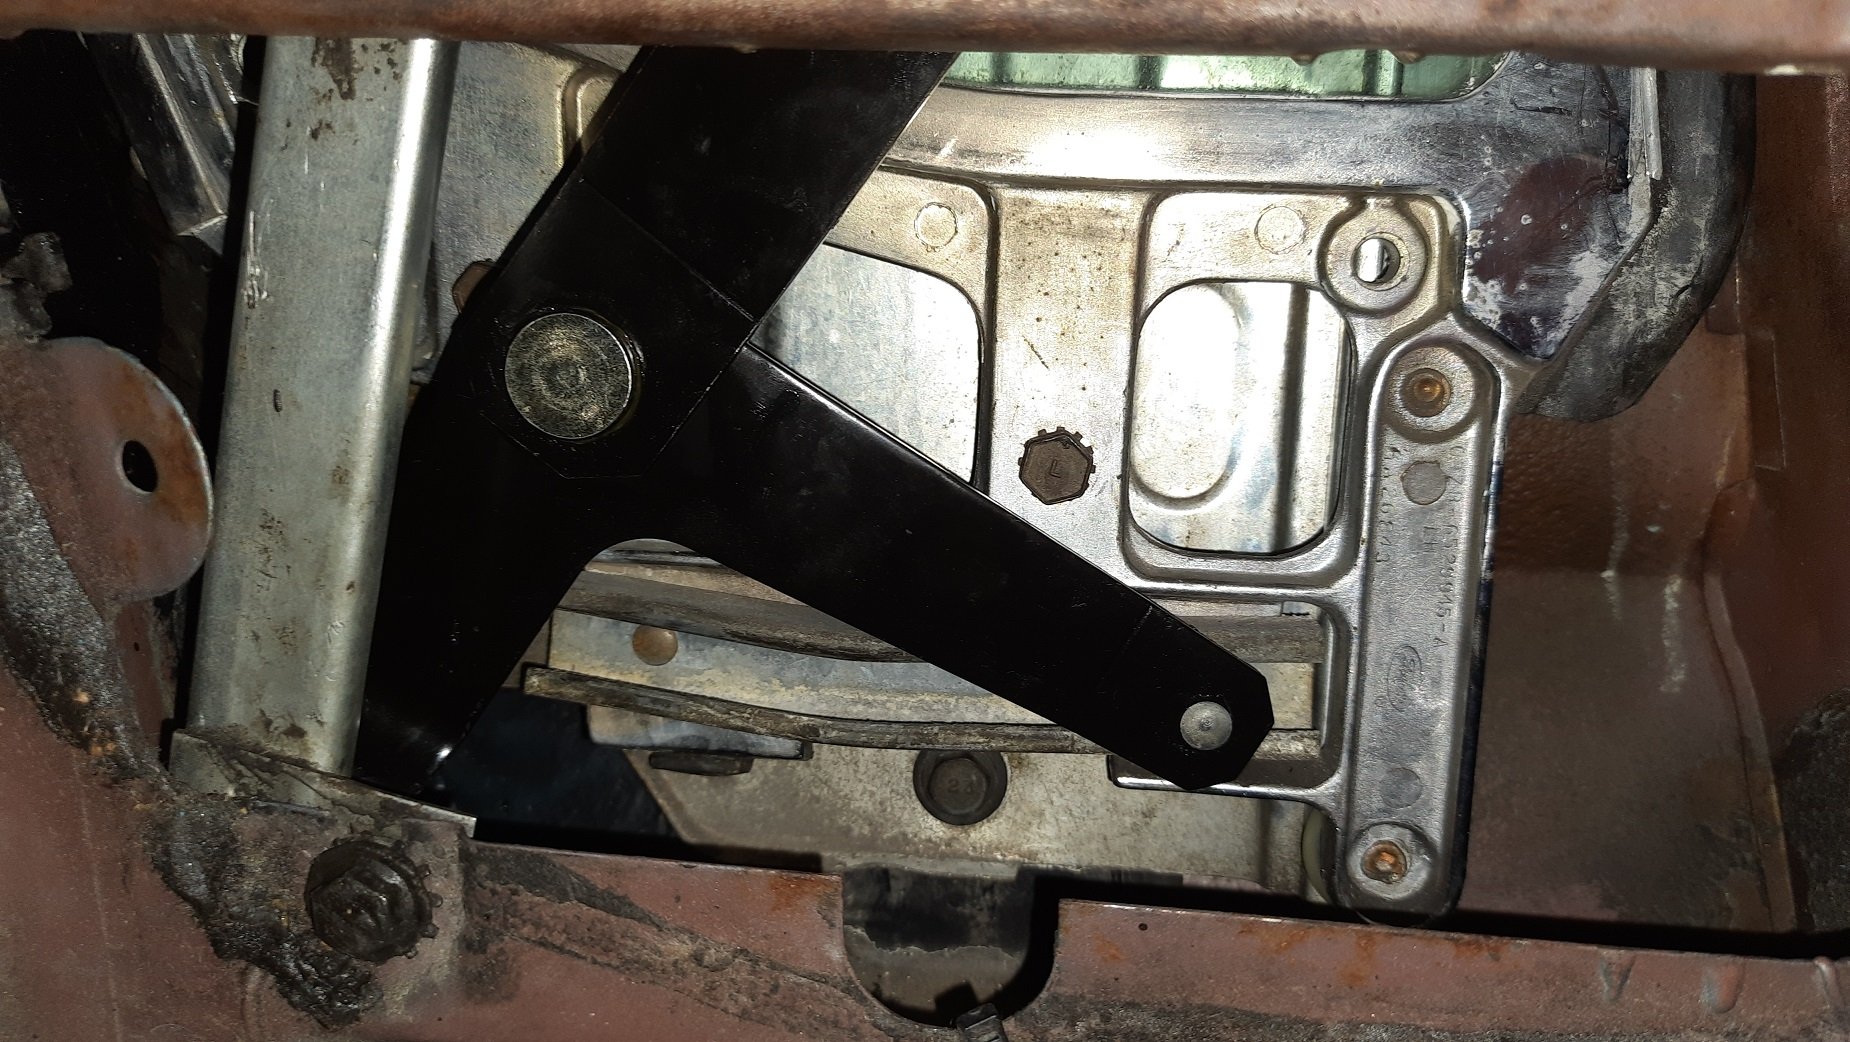
Post sound insulation I reinstalled the underlay and carpet. Looks like new... or just like it did before I mucked with it. Seats and trim panels back in. I also got a guy in to replace the drivers seatbelt so once the driveshaft is back in it is good to go. Then I tried the rear windows again as they are a bit tight. The passenger side went up then slightly down before binding and going bang. The new regulator is now bent along with the vertical guide. Obviously it was not properly aligned and bound up. Fuckit. I'll deal with that later. Running out of cash to spend and fucks to give on windows for a while. I'll get it running, warranted, maybe do the shocks and bushes and then bother with windows again.
-
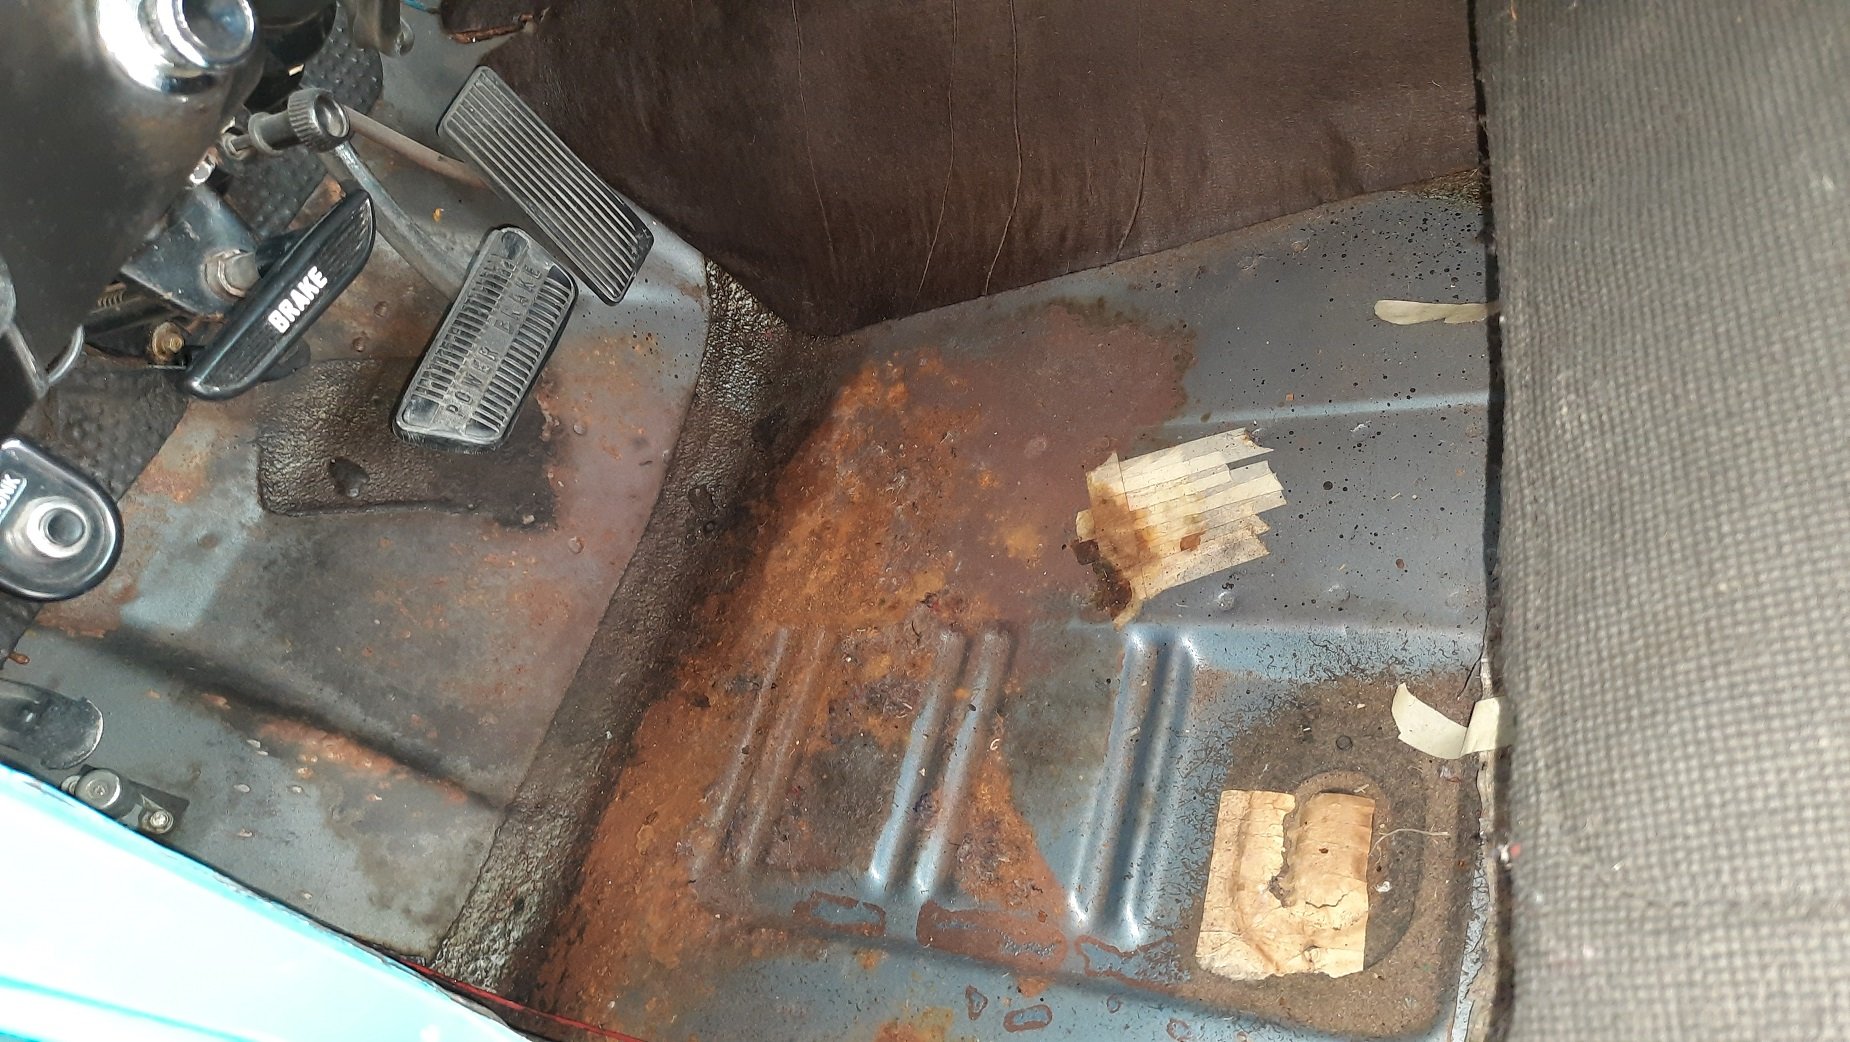
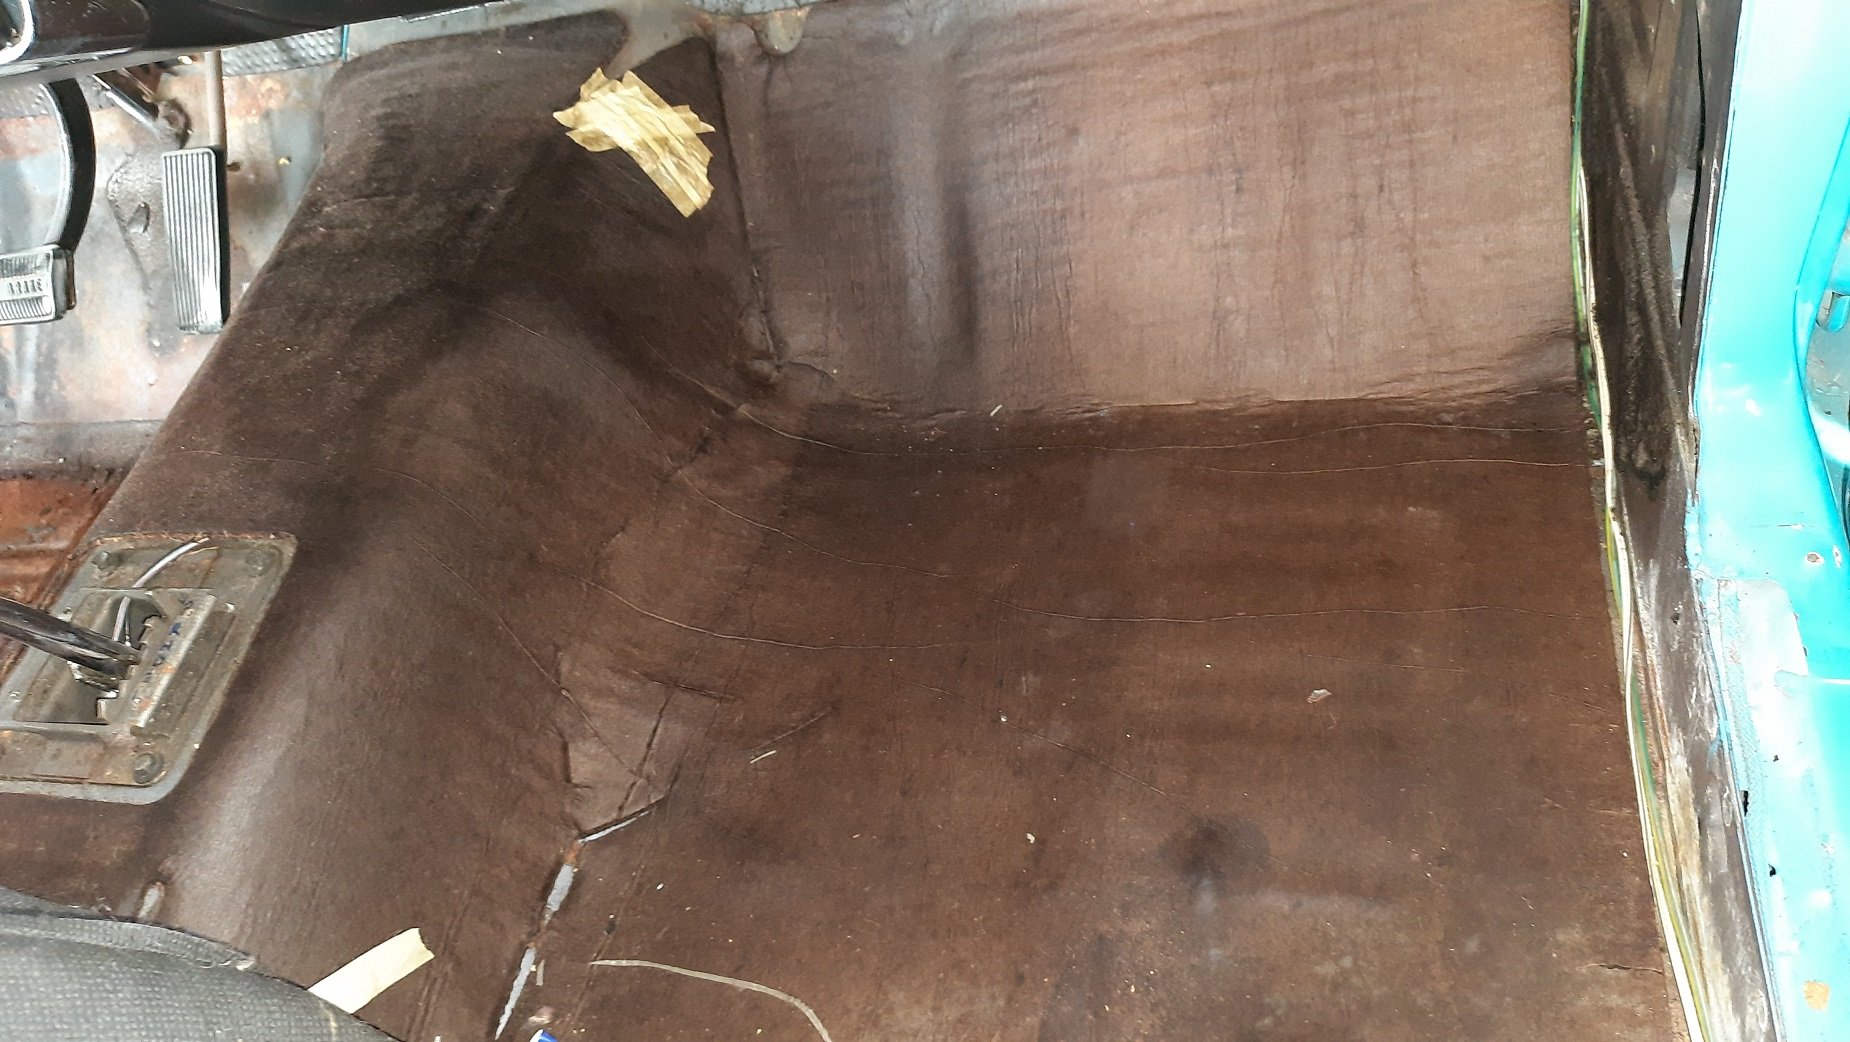
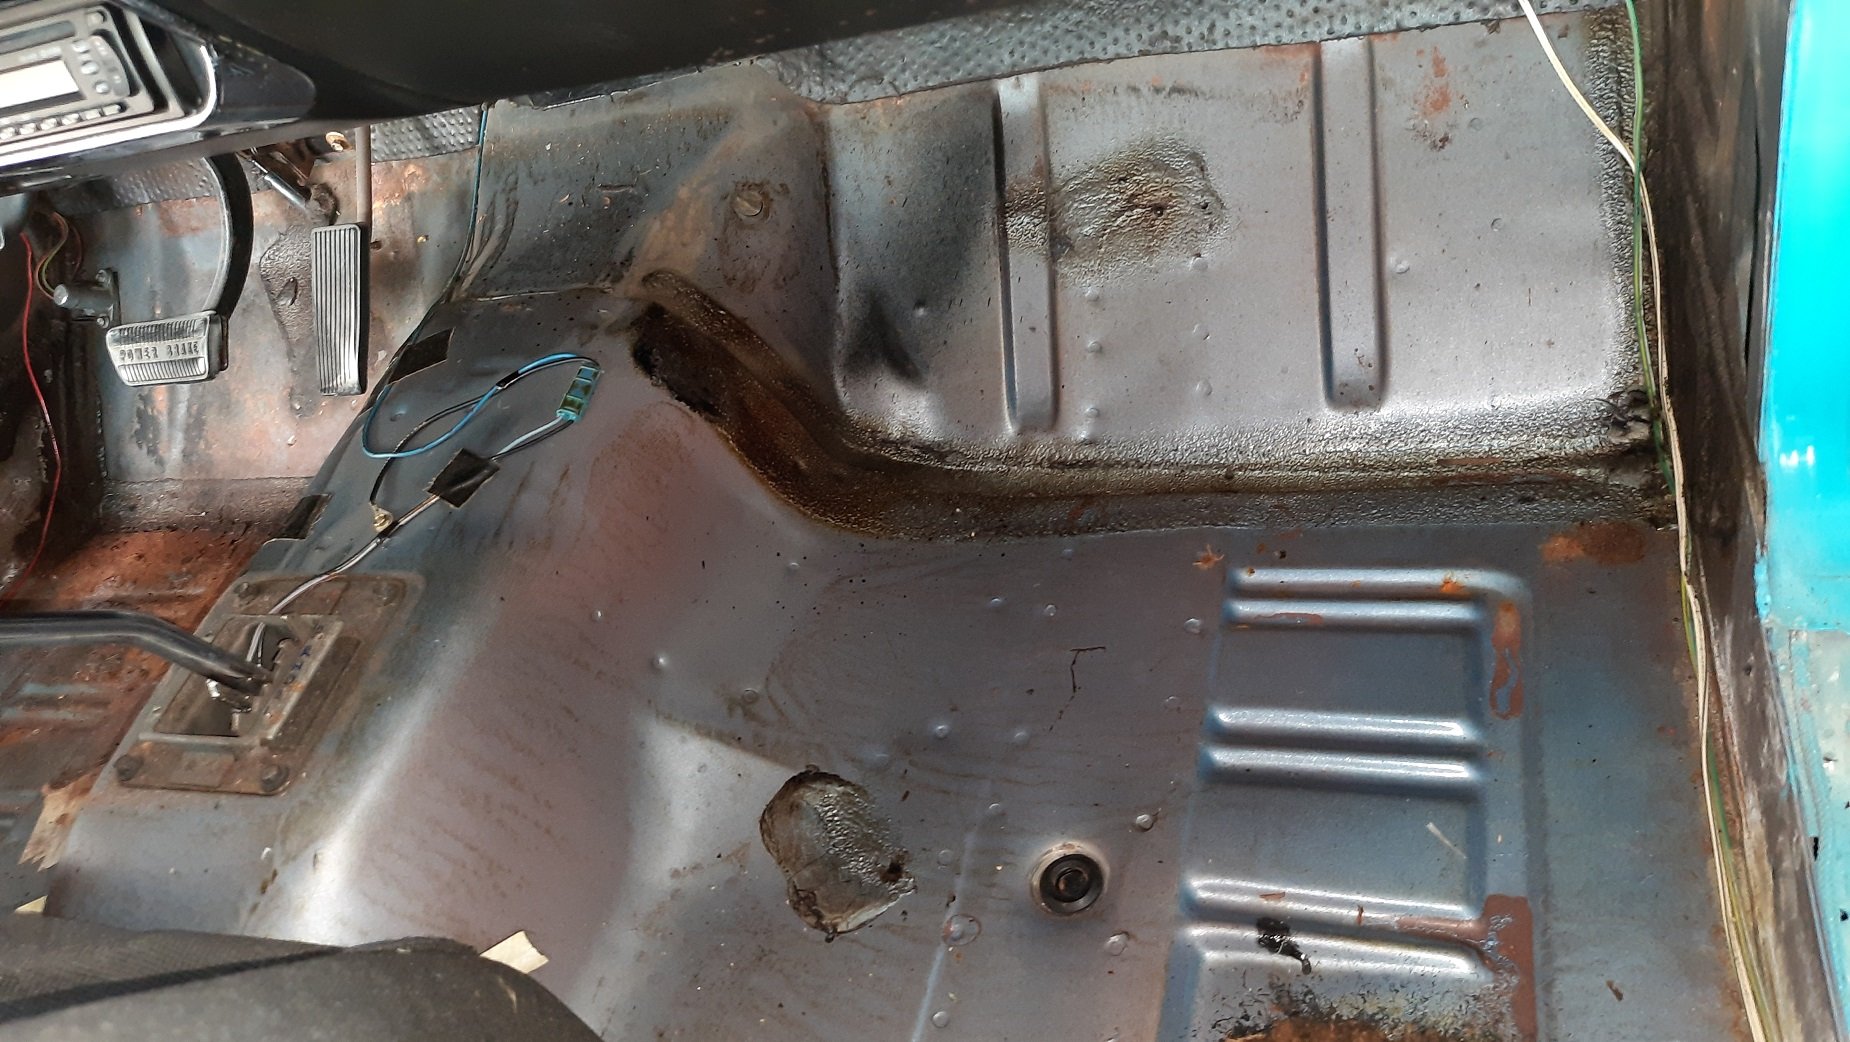
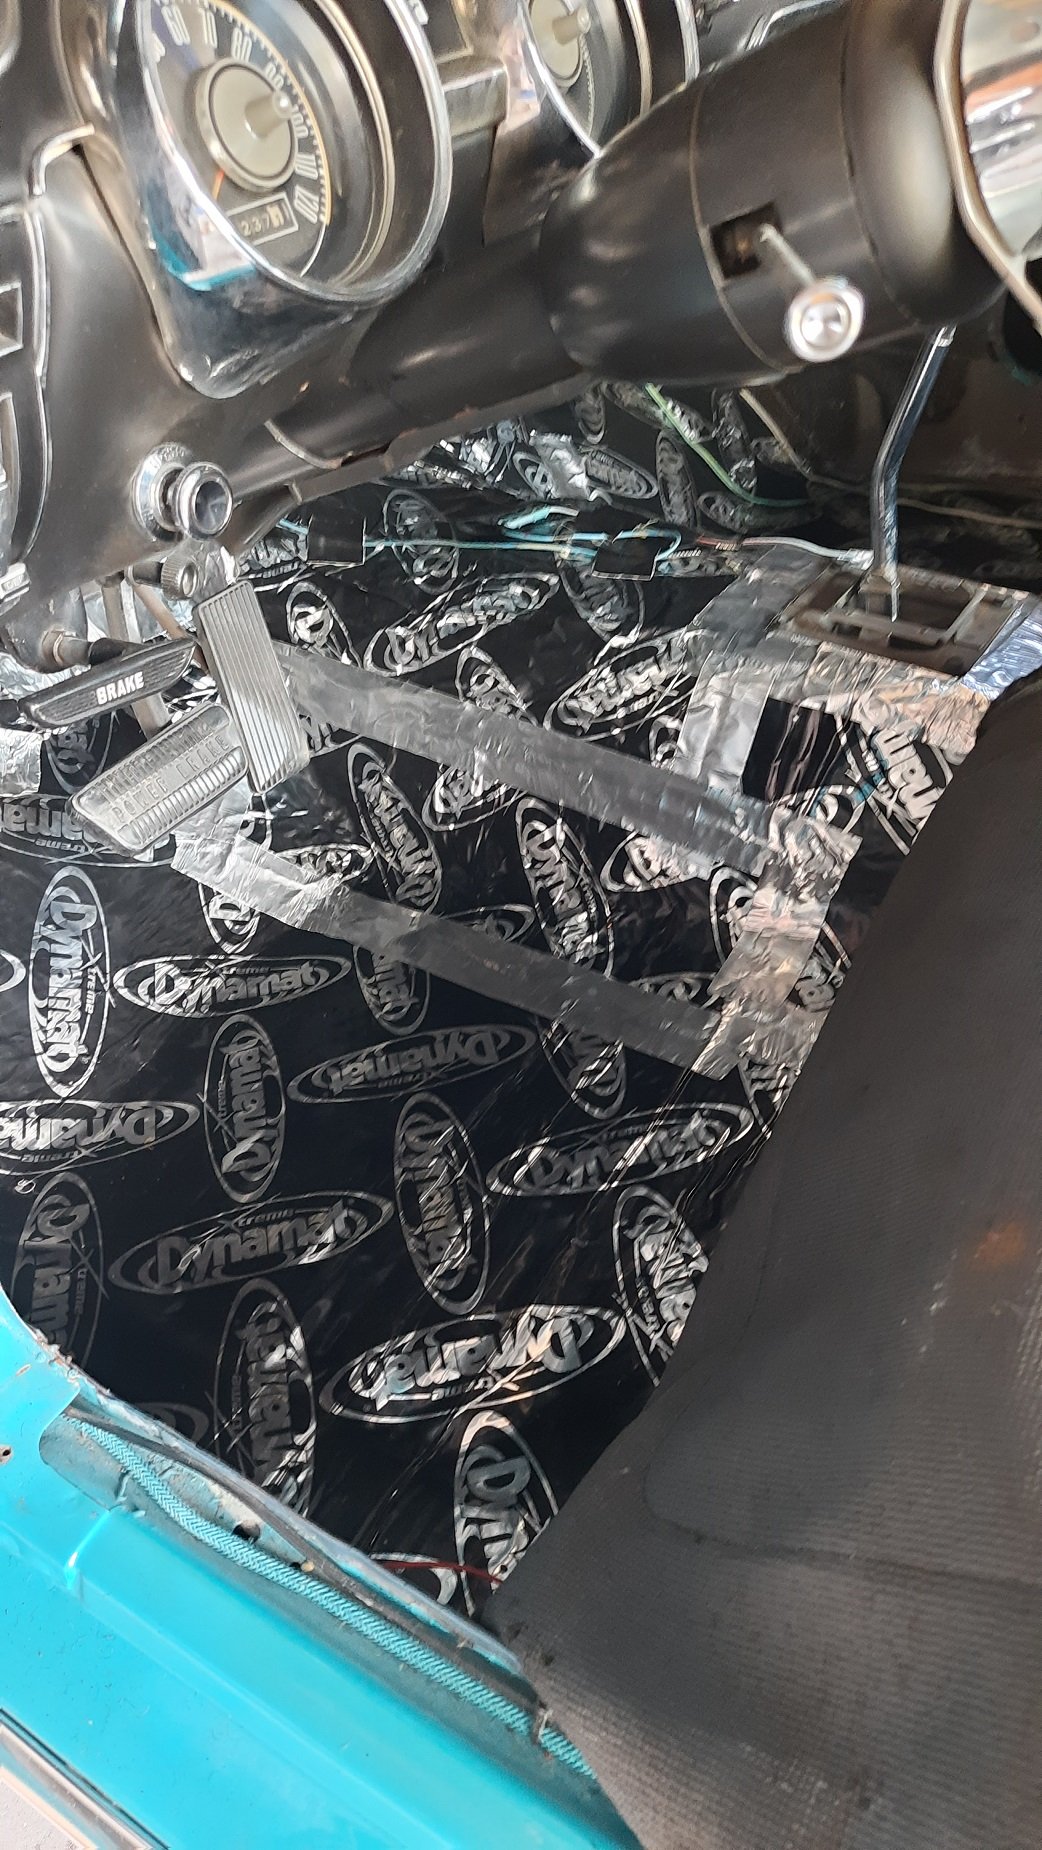
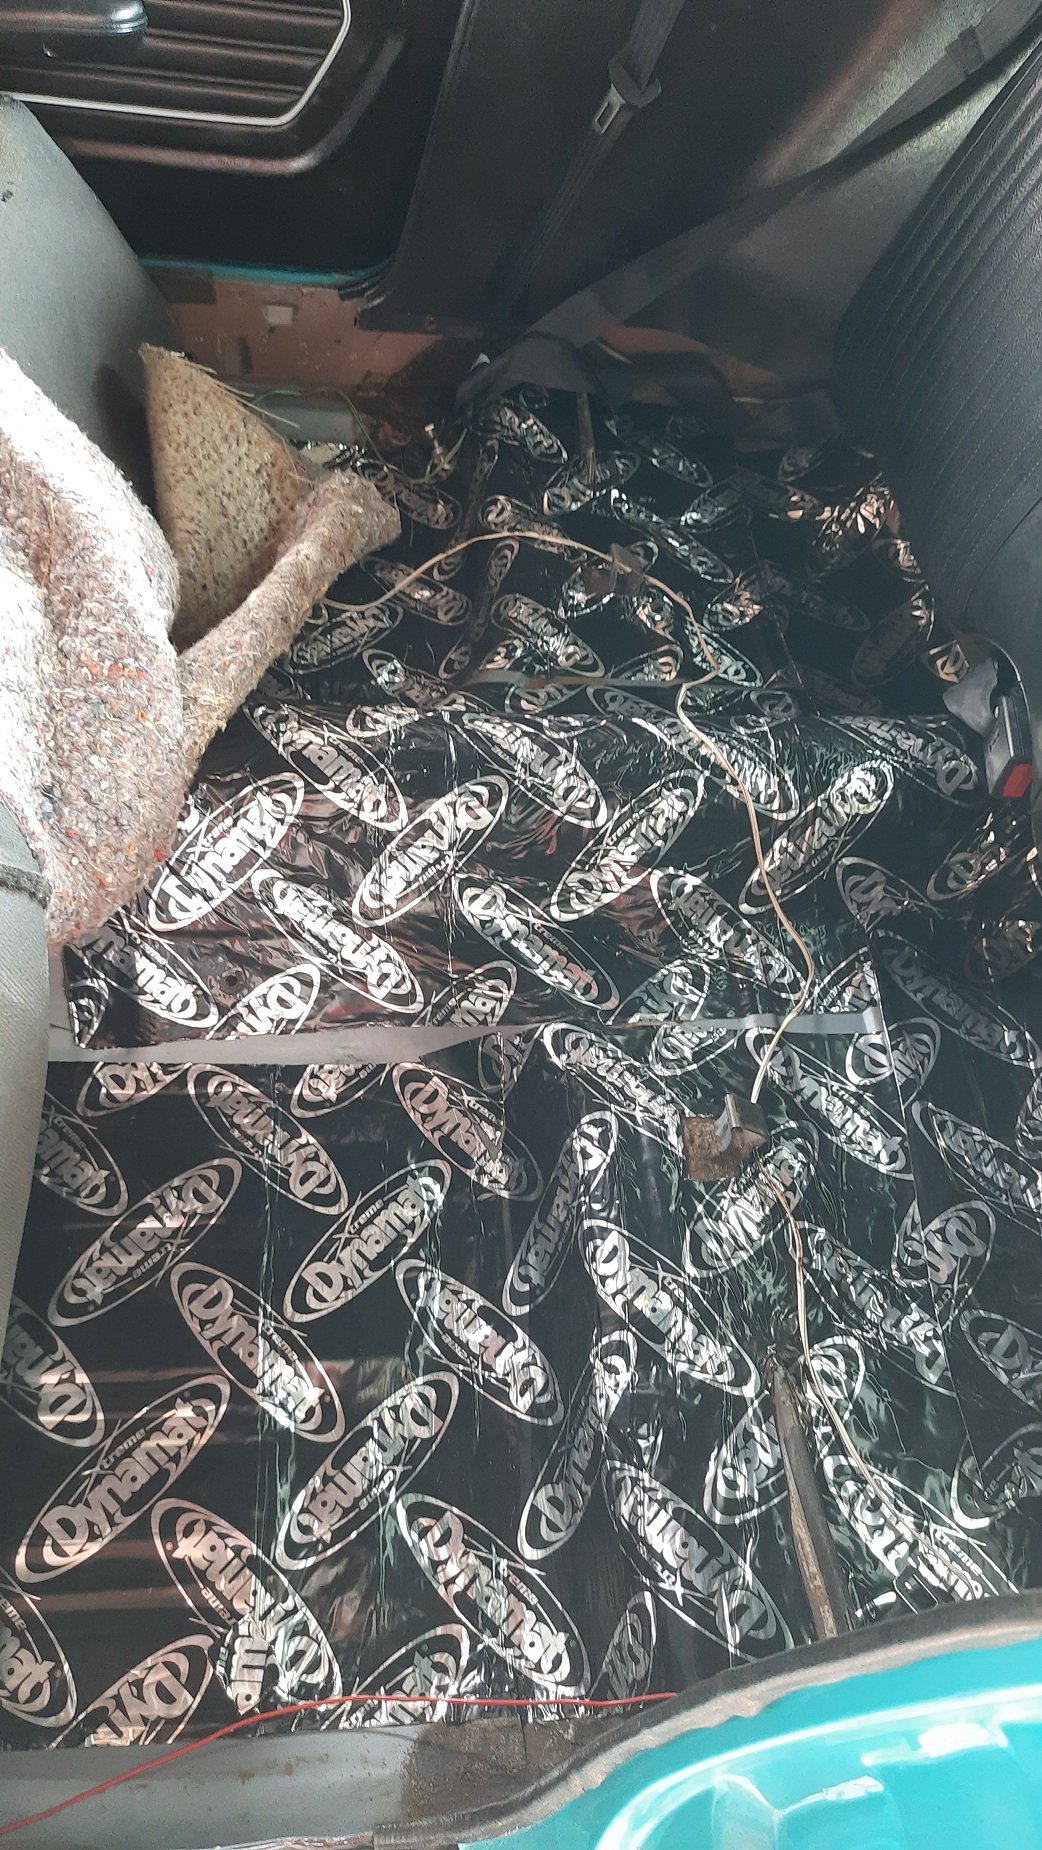
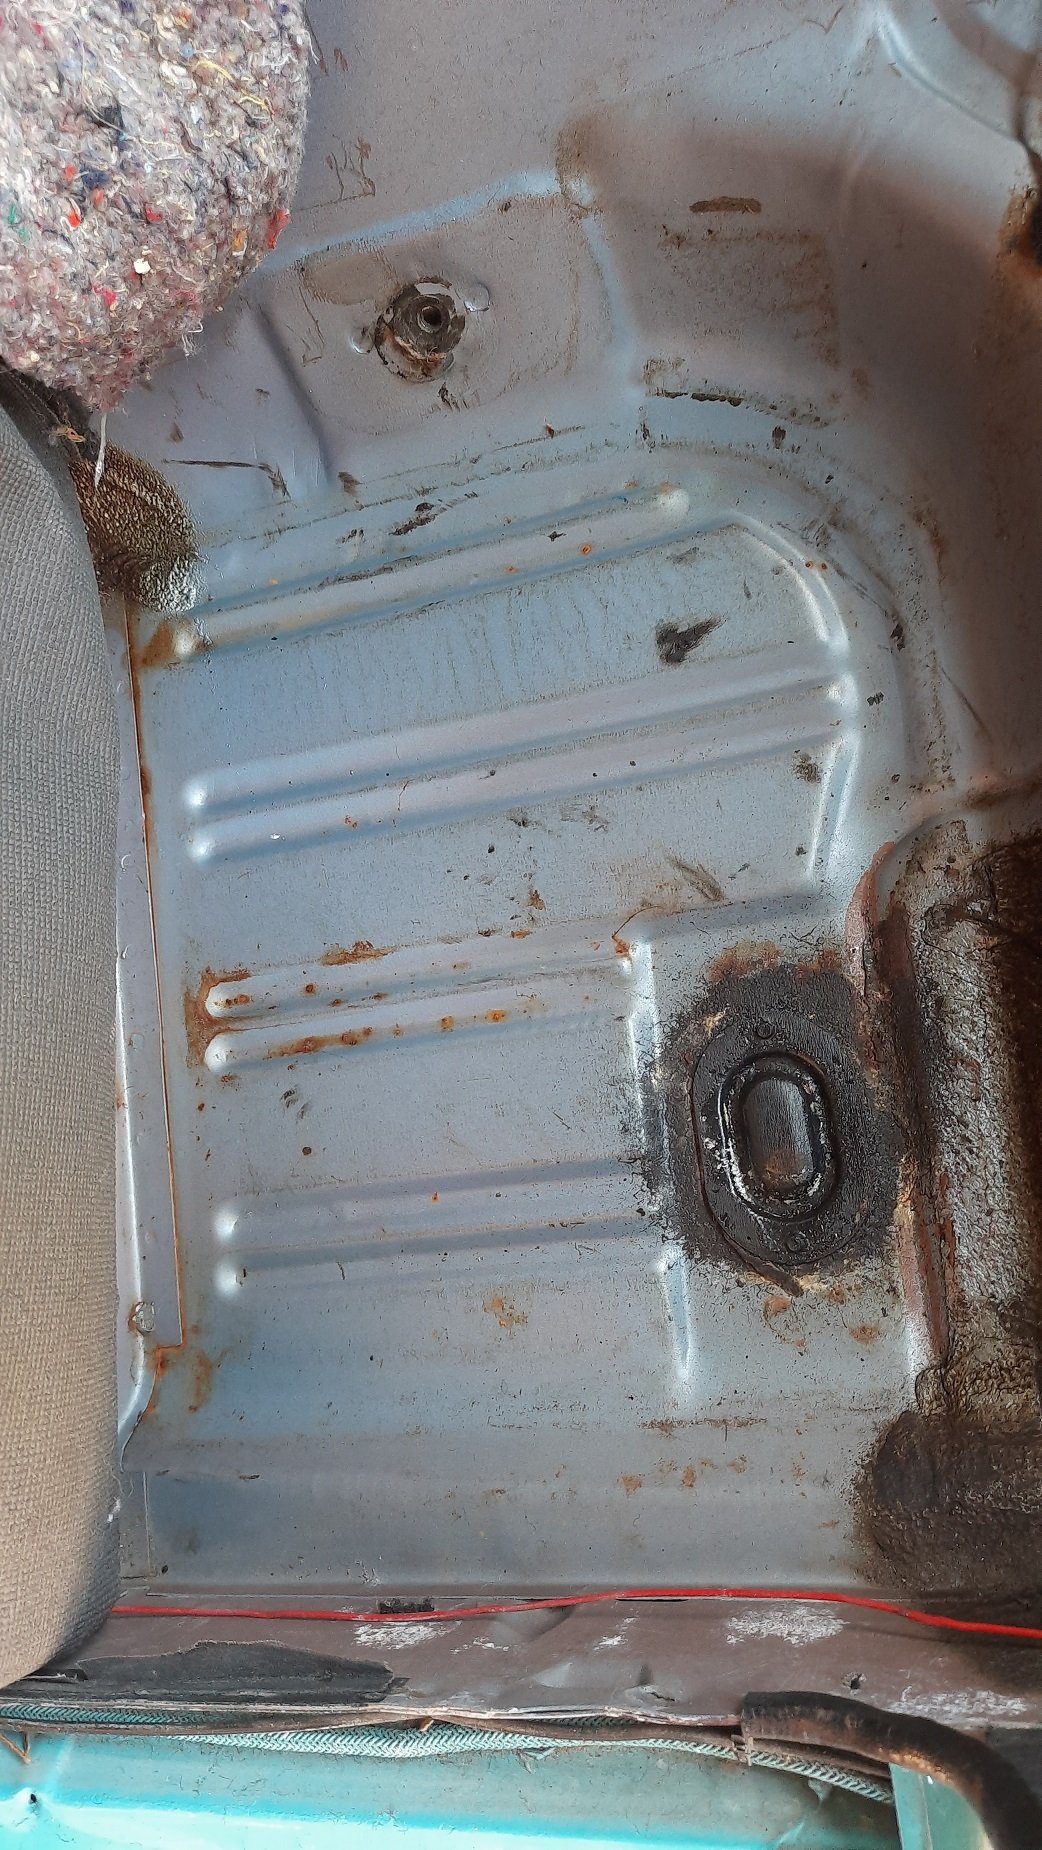
Finished the sound deadening. There was a bit of red stuff under the drivers feet, and no original sound insulation. I'm picking there was a bit of a leak so they removed the insulation but didn't treat anything. I gave this a wire brush and sprayed some rust converter. I didn't have any POR or Brunox so I just sprayed some primer and flat black. Didn't take a photo. The passenger side still had the original sound insulation Ripped it out again and this side was much cleaner than the drivers side A couple of mats and tape and it is now all covered except under the front seats.
-
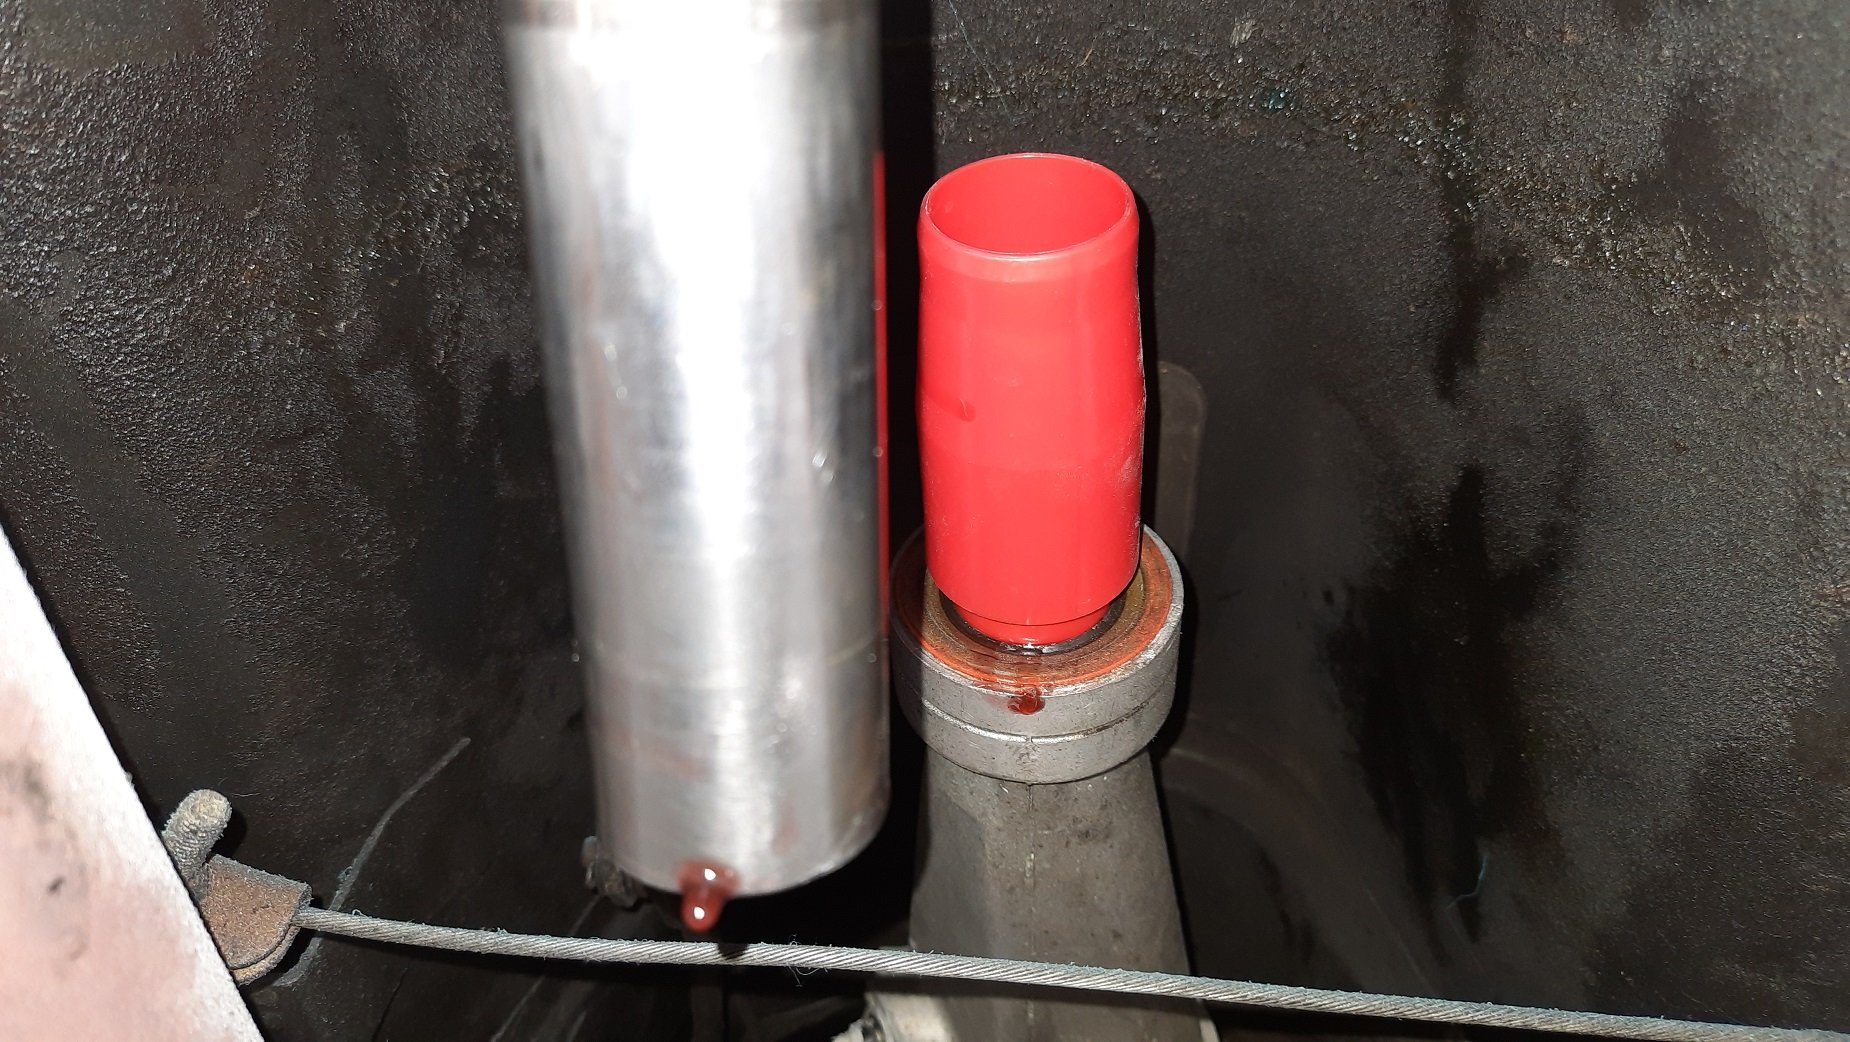
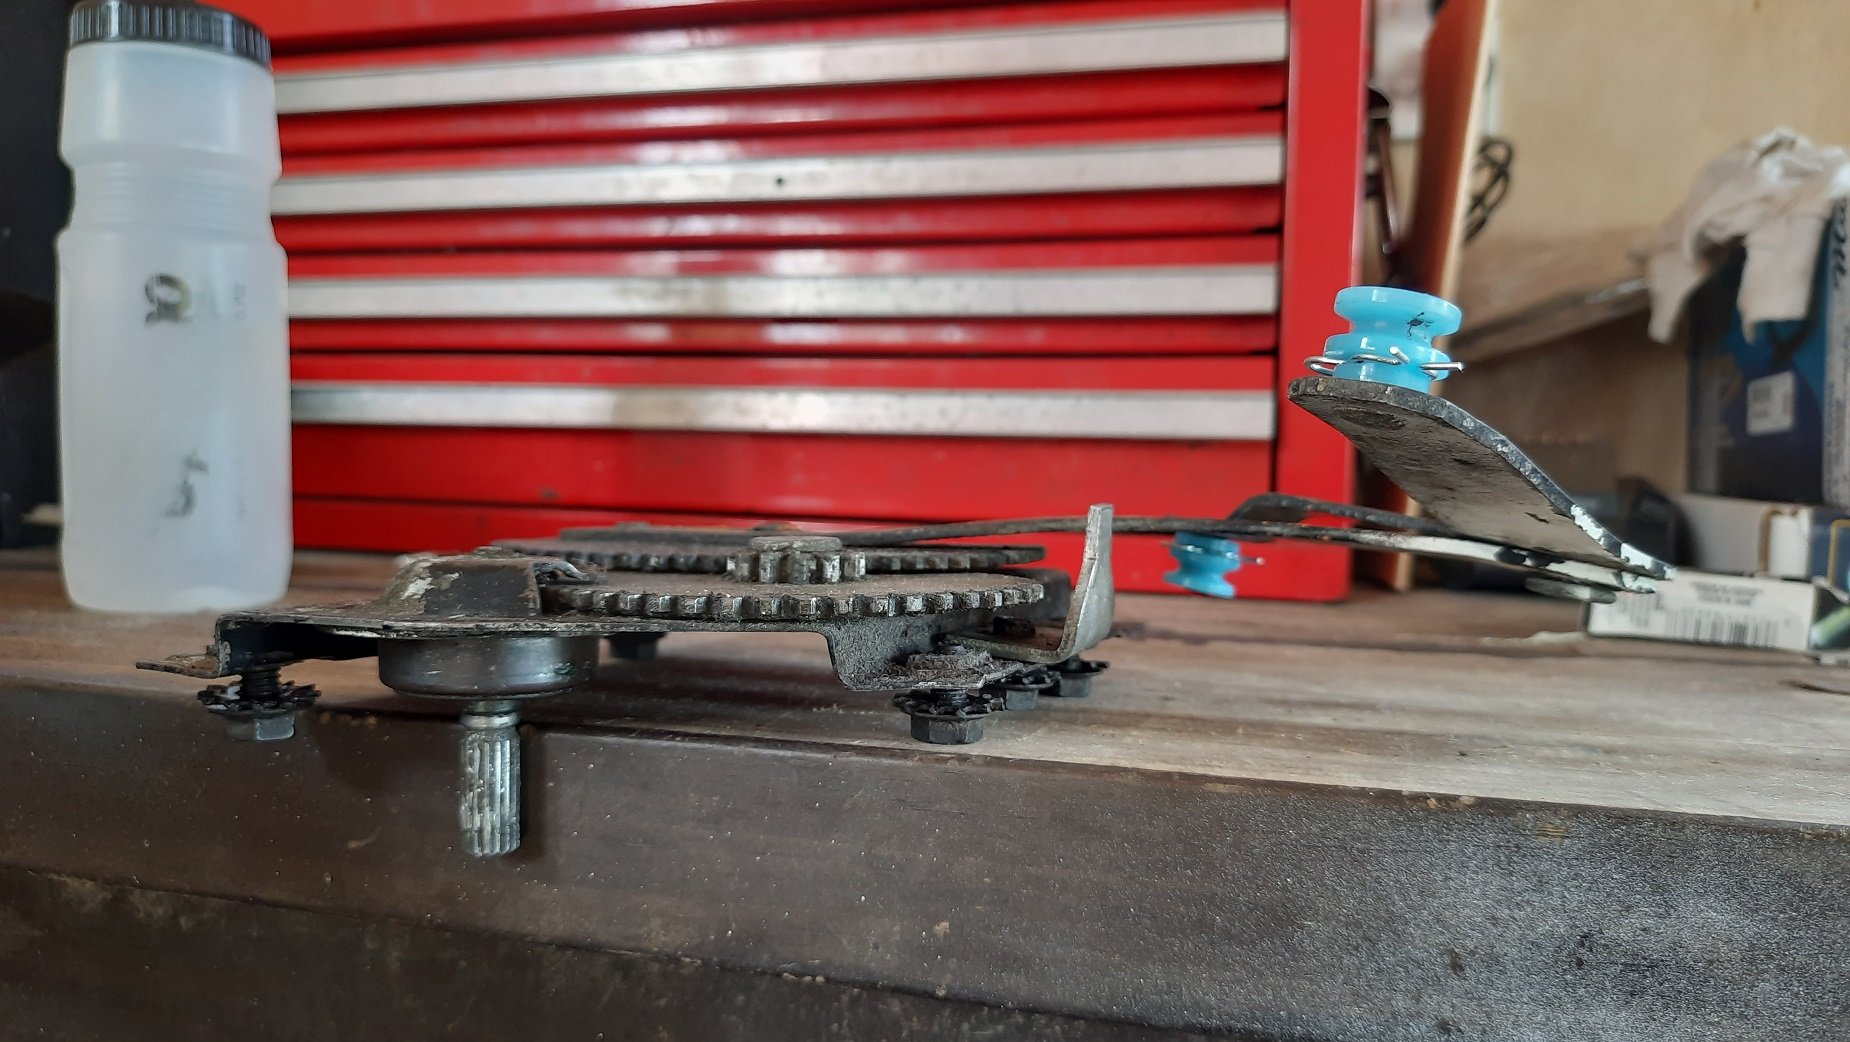
Whipped the tailshaft out and got it to the drive shaft shop. Below is the front yoke (with dodgy extra section welded in) I can't remember whether this is drooped or ride height. The drive shaft is probably second hand and was probably fitted and possibly lengthened after the the car was un-lowered. It is a 3" tube with a 2 1/4" section at the rear yoke connected in via a rubber joint. I hadn't noticed it so didn't take a photo but the driveshaft guy pointed it out. Chucked in a bung to stop loosing the fluid, thanks whoever made that suggestion. Not sure what I'll end up with. It will need to be MASSIVE to take all the TORQUE from the 289 though. It will likely depend on what yokes and tubes the driveshaft shop can get. It was also suggested that we lengthen it by 15-20mm as he likes to only have 25mm extra gap at ride height. Hopefully I can drop down to 2.75" tube to save a bit of weight since I don't need 3" tube which is a bit chunky.
-
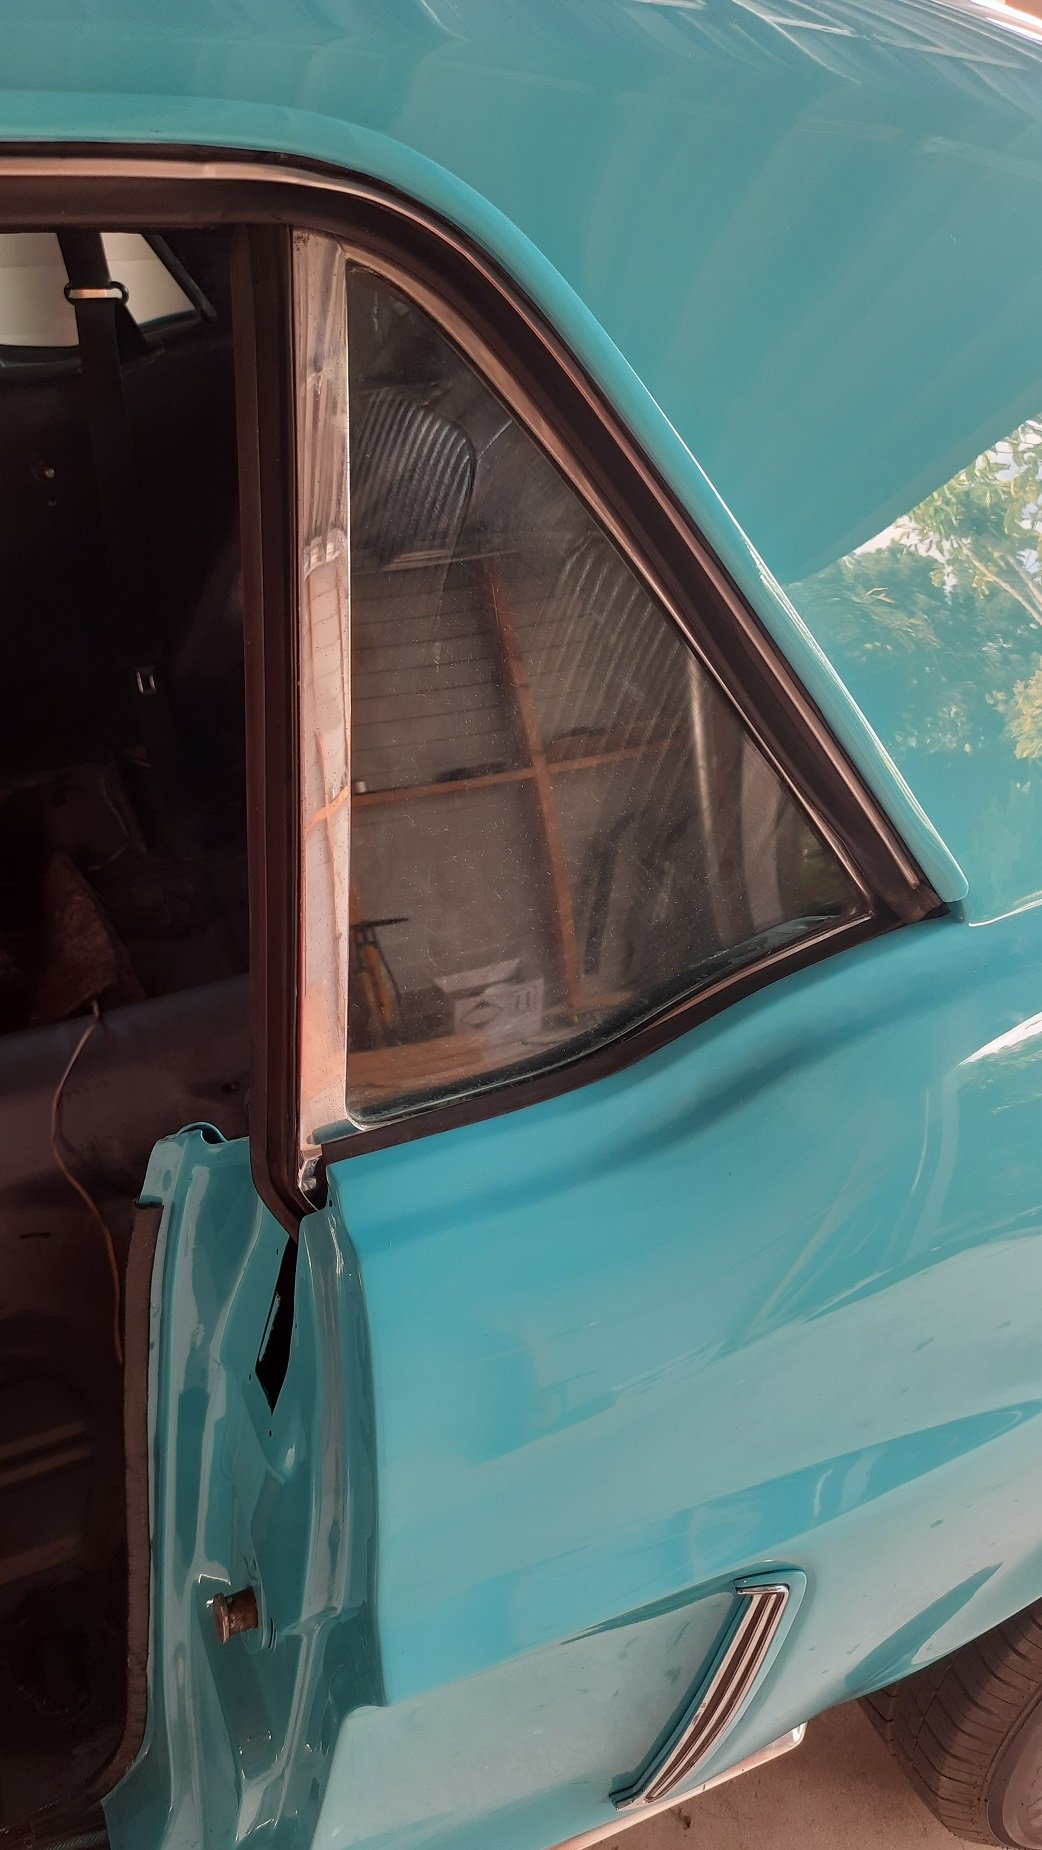
Finished up on the sound deadening in the rear. Just worked with the carpet pulled back. Dynamat is much easier to use than I thought. Got it all laid nicely and then put the underlay back on top. I then had a go at refitting the chrome trim around the drip rail. I used a bit of Dow Corning 4 silicon grease on the rail and it slipped on reasonably easily. The right hand side did not play the game nicely though. I could get it on in places but not all the way and didn't want to smash it on. I think the thickness of the paint makes a bit of a difference I may try again later or just get my panel guy to give me a hand for 5 min. (or 30s probably) Side with no chrome: I also jacked up the car and measured the driveshaft. It is about 35-40mm between the spider and the diff yoke once disconnected and pushed fully forward (at ride height) which I think is about right. I just need to check if the driveshaft guy can make a new one minus the extra welds and dodgyness. With it up in the air it is less than 5min to get it out so easy job.
-
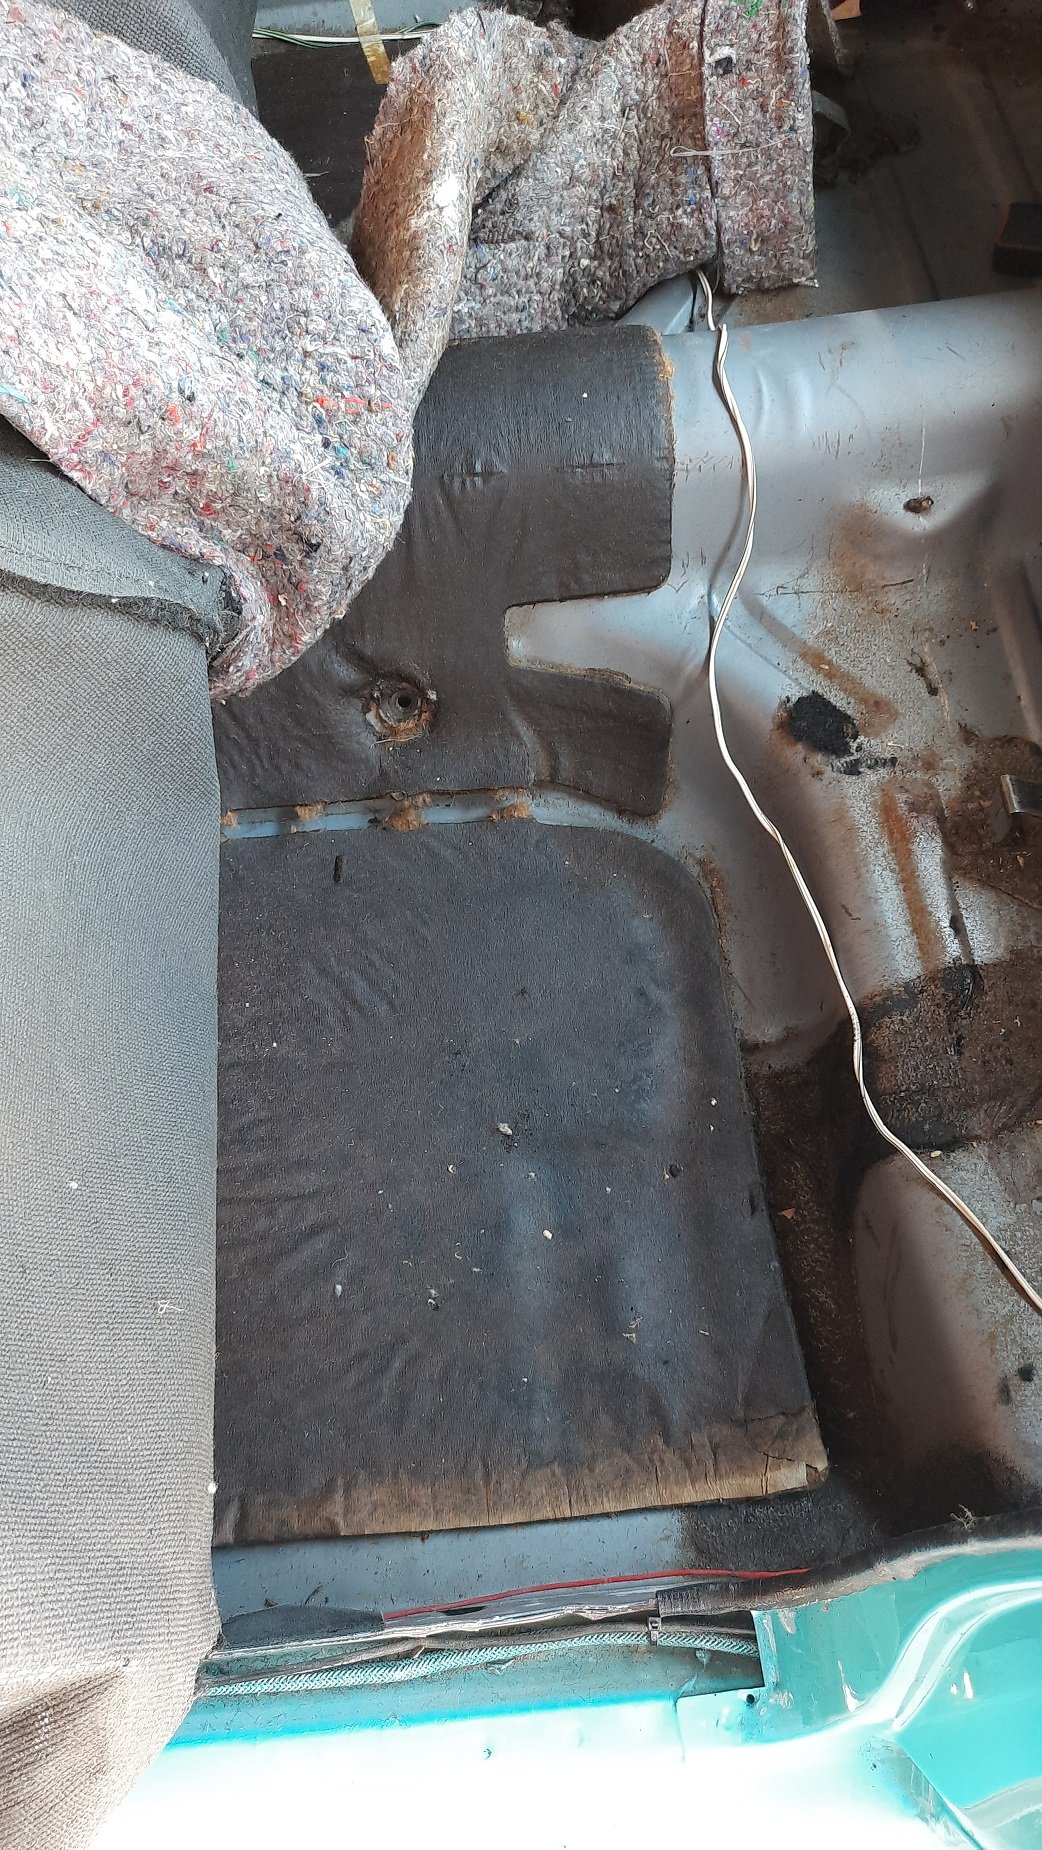
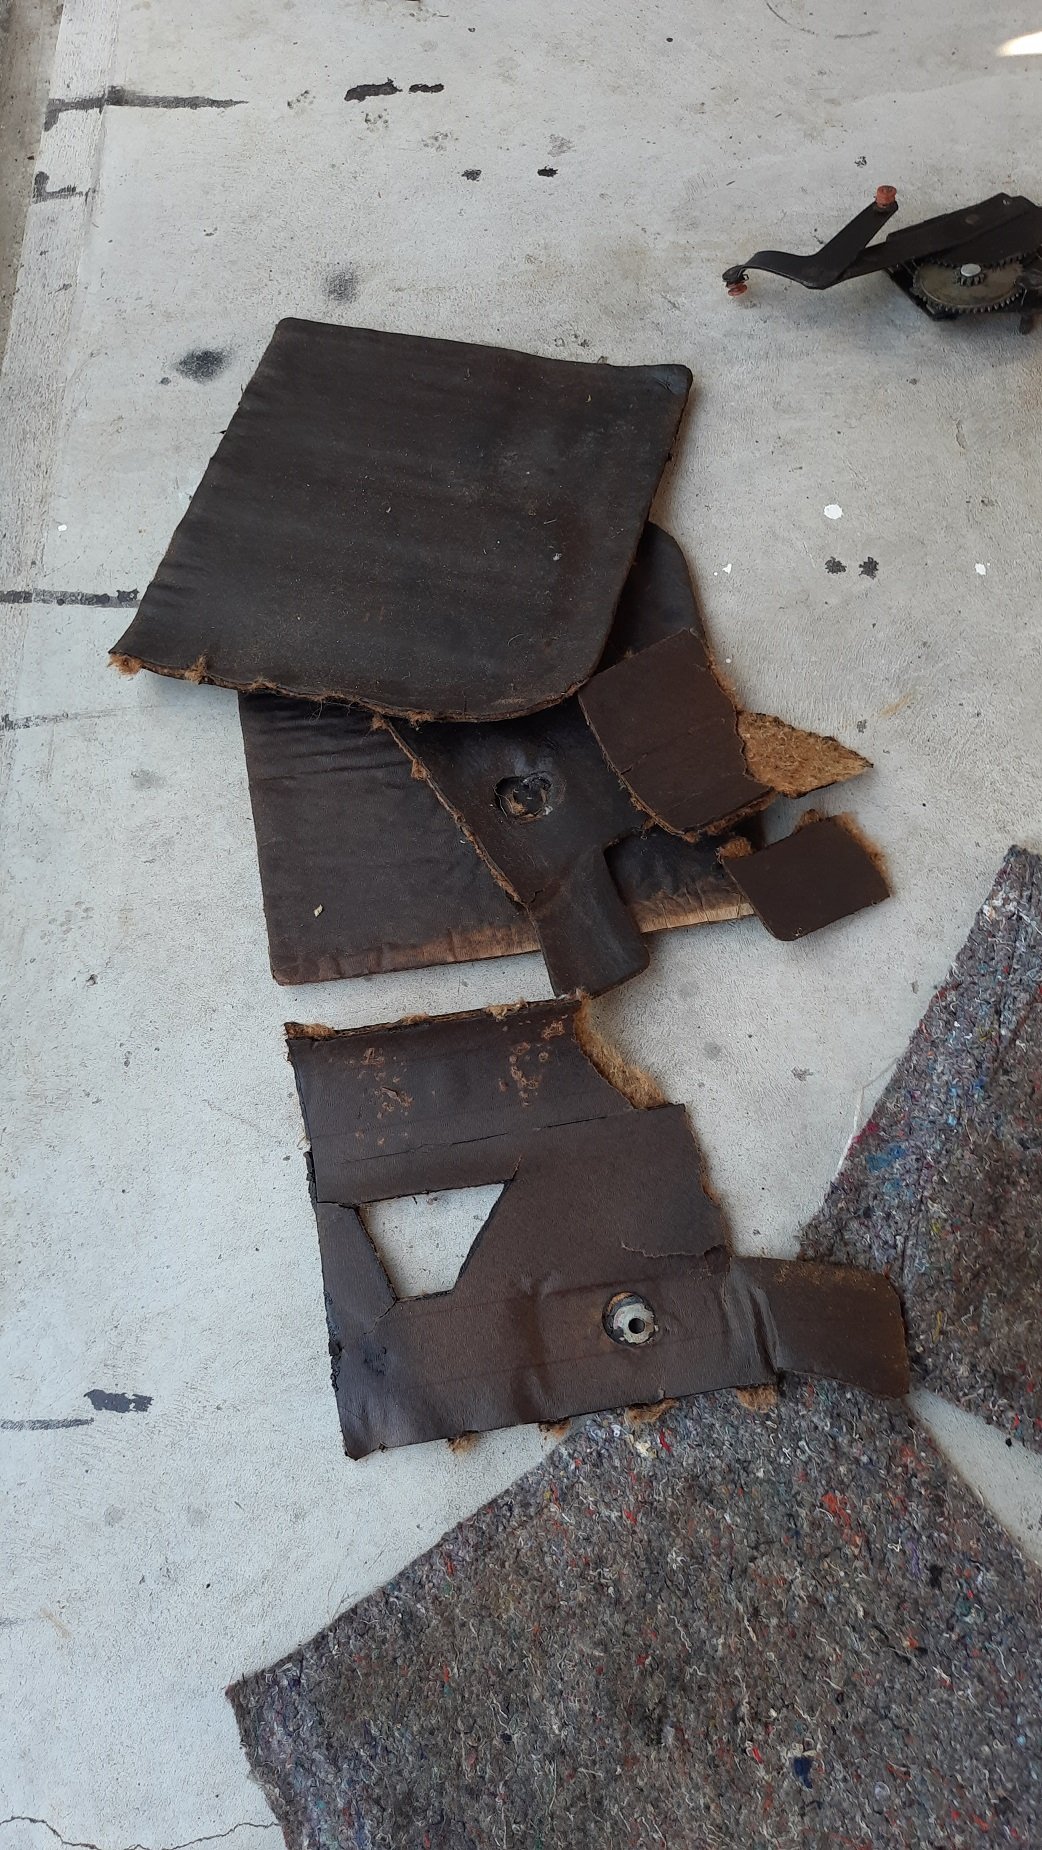
Next step is the underlay and sound deadening. I took out the rear underlay and it has what looks like the factory sound deadening. Sort of a rubbery mat with hessian type insulation. The underlay felt a bit damp from being there a while so is airing. I ripped out the sound deadener as I have new dynamat to use and the old stuff is degraded. I also wanted to check on the condition of the floor so up it came. Peeled out really easy so it would have been doing something but not as effective as it should have been. The floors though are mint Bit of brown in the seams but for what is probably 55 year old paint and no real rust in the floor. Sweet. Ideally I need the seats out to fully remove the carpet but I may just work around them as there is actually a double floor in that area, I assume that is the seam you can see left of the above pic. The nuts are in the upper skin through a small hole in the main shell but with long bolts so I need a really long reach socket to get over the bolt and get the nut off. A standard short socket like mine will never get them off.
-
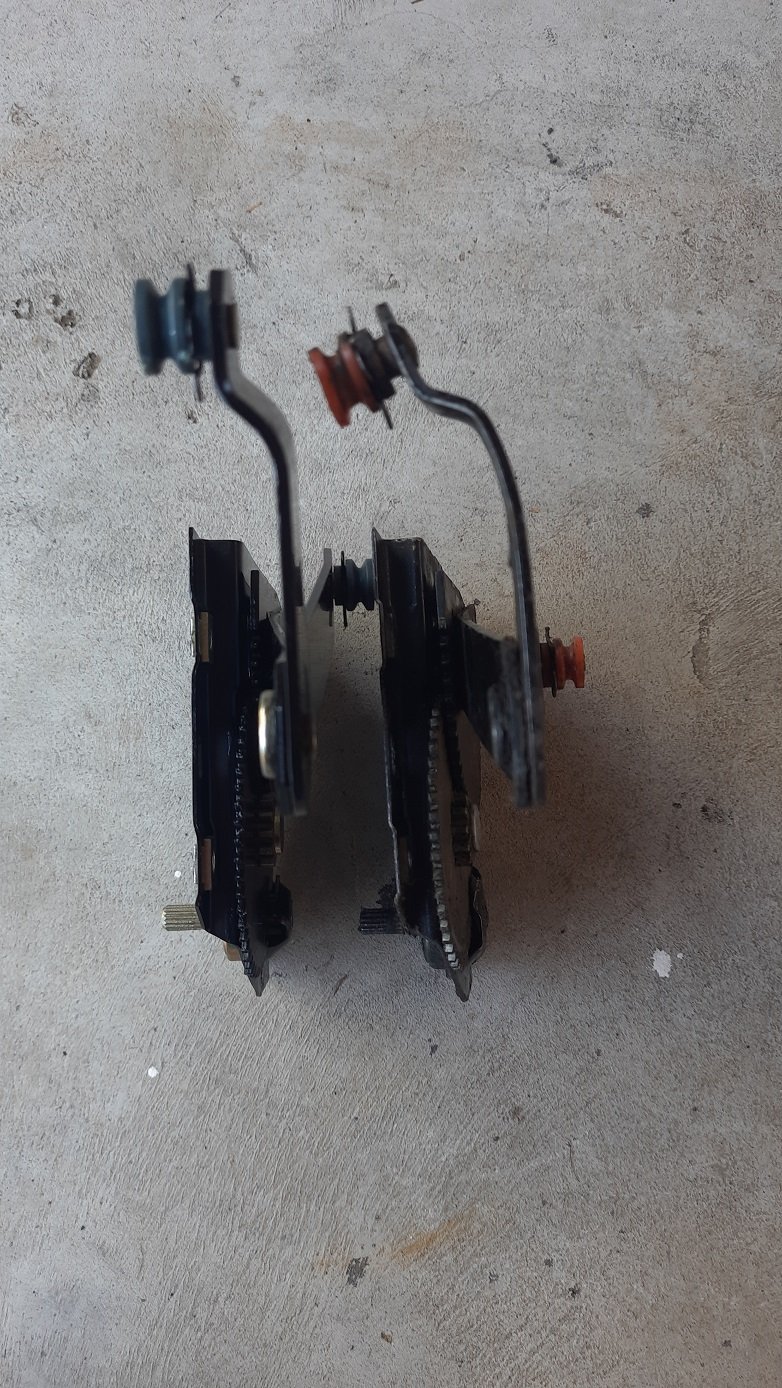
Got the new regulator for the rear windows and I initially thought the originals were not too bad until I sat them side by side. One of these things is not like the other one. The regulator on the other side was missing its rollers so easy to see why they didn't work. Fitted the new regulators and gave them a test. Windows go up, windows go down. Annoyingly but hand is that they don't interfere with the inertia reels at all. Tons of room. Handy as I can have windows and belts. Annoying as I pissed about for ages trying to gain more room for them and now have a locked LH (drivers side) inertia reel that is unusable when I could have left it alone, done nothing but fit new regulators and no problem bro. Fuckit.
-
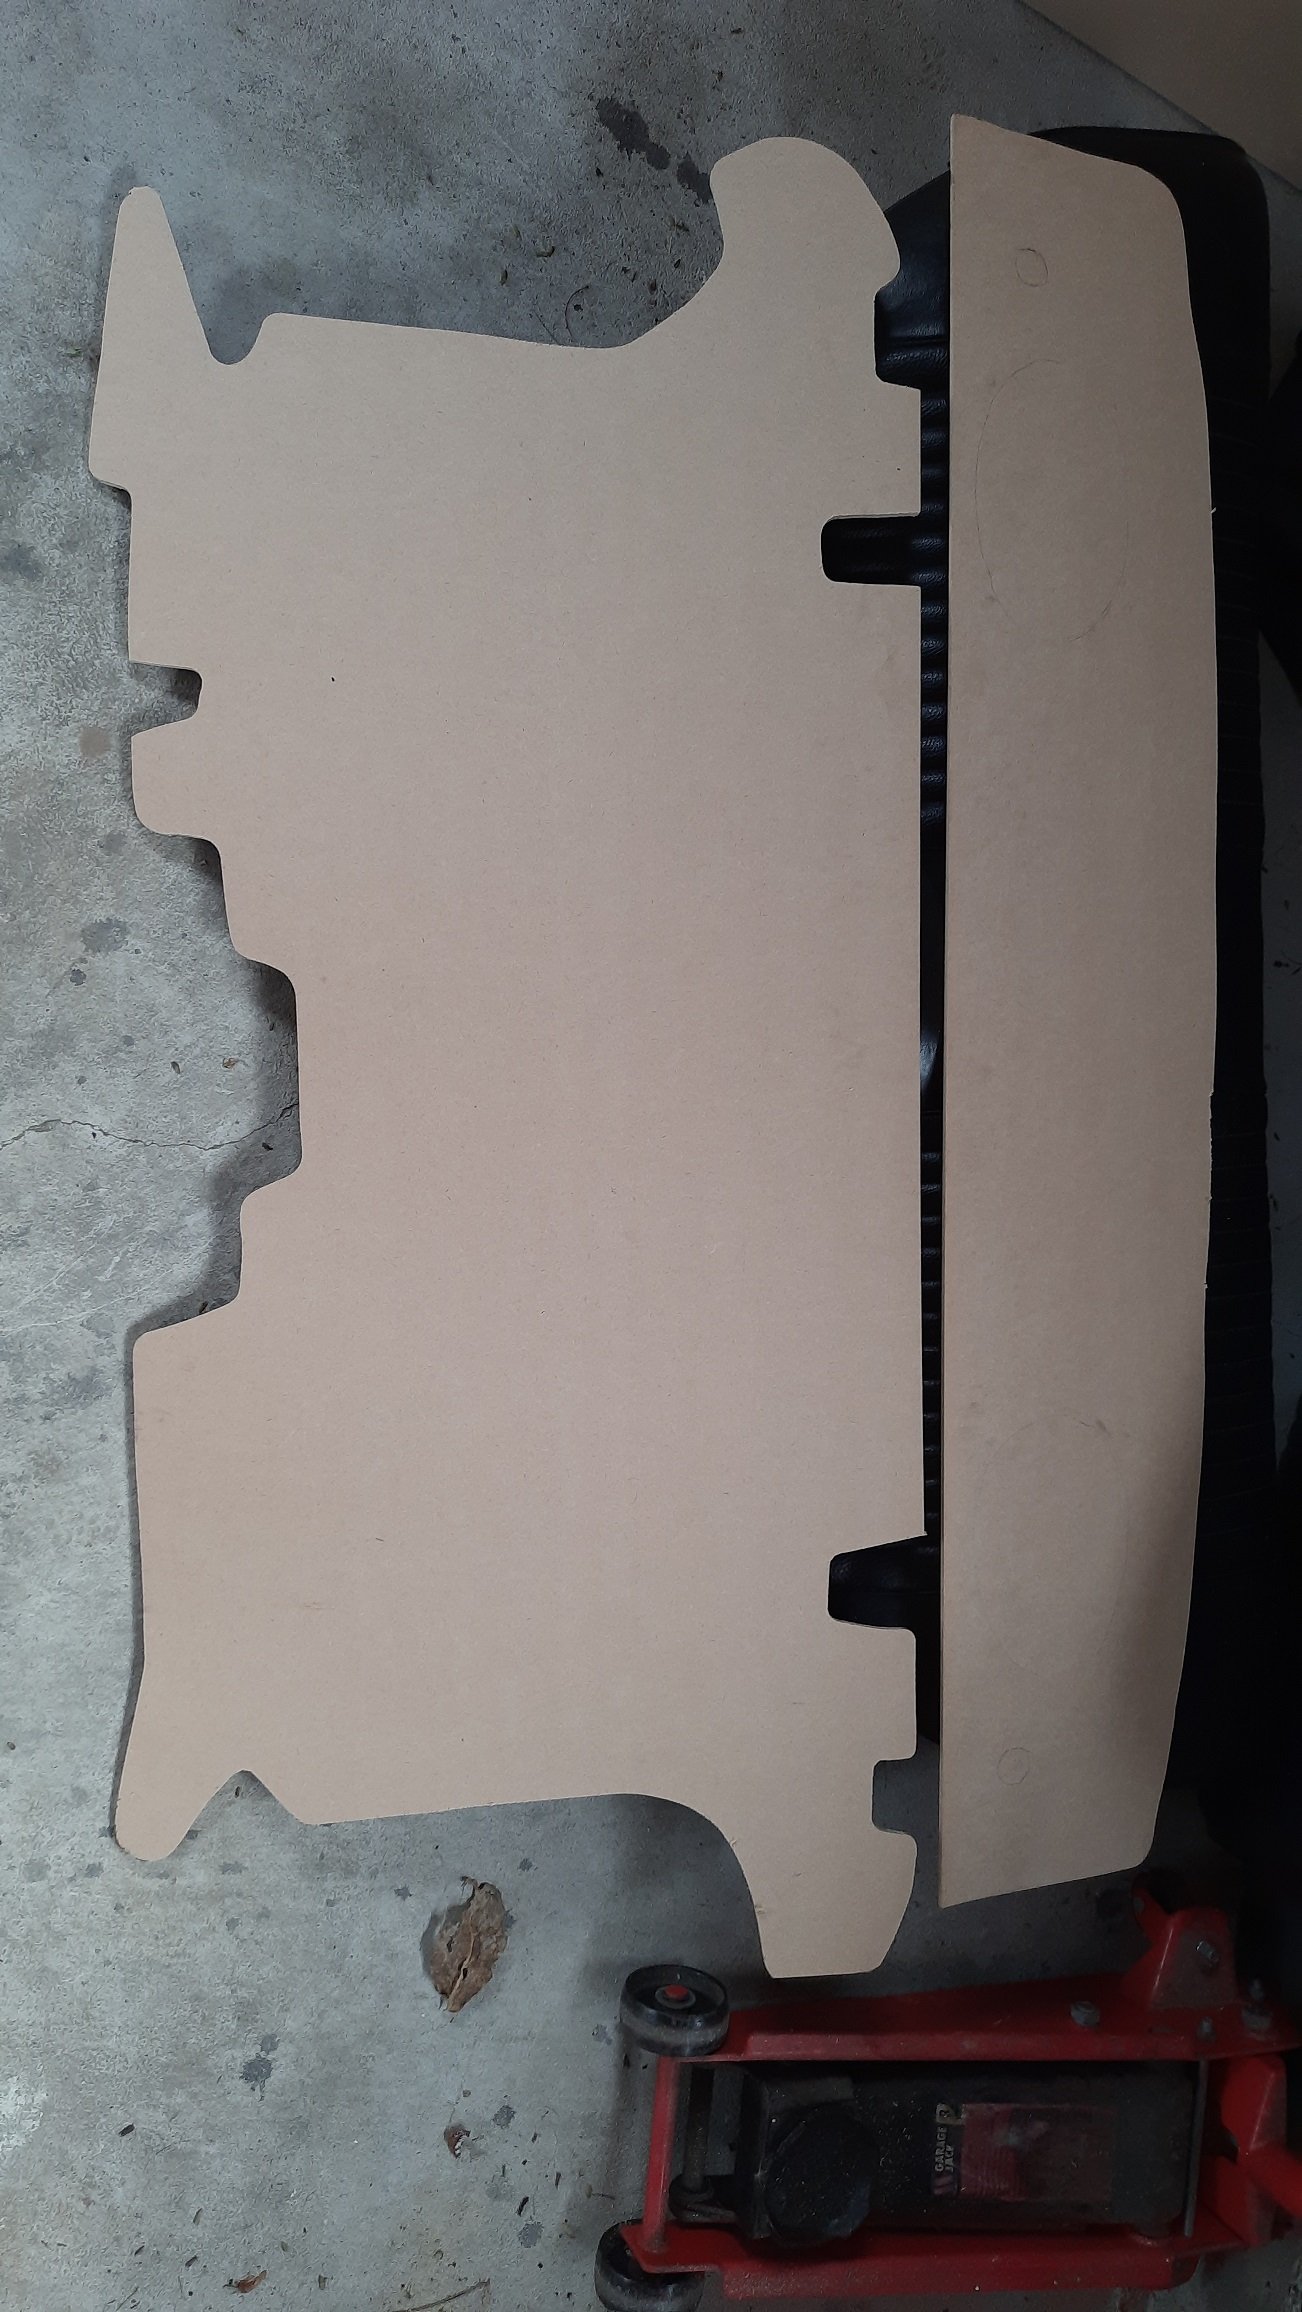
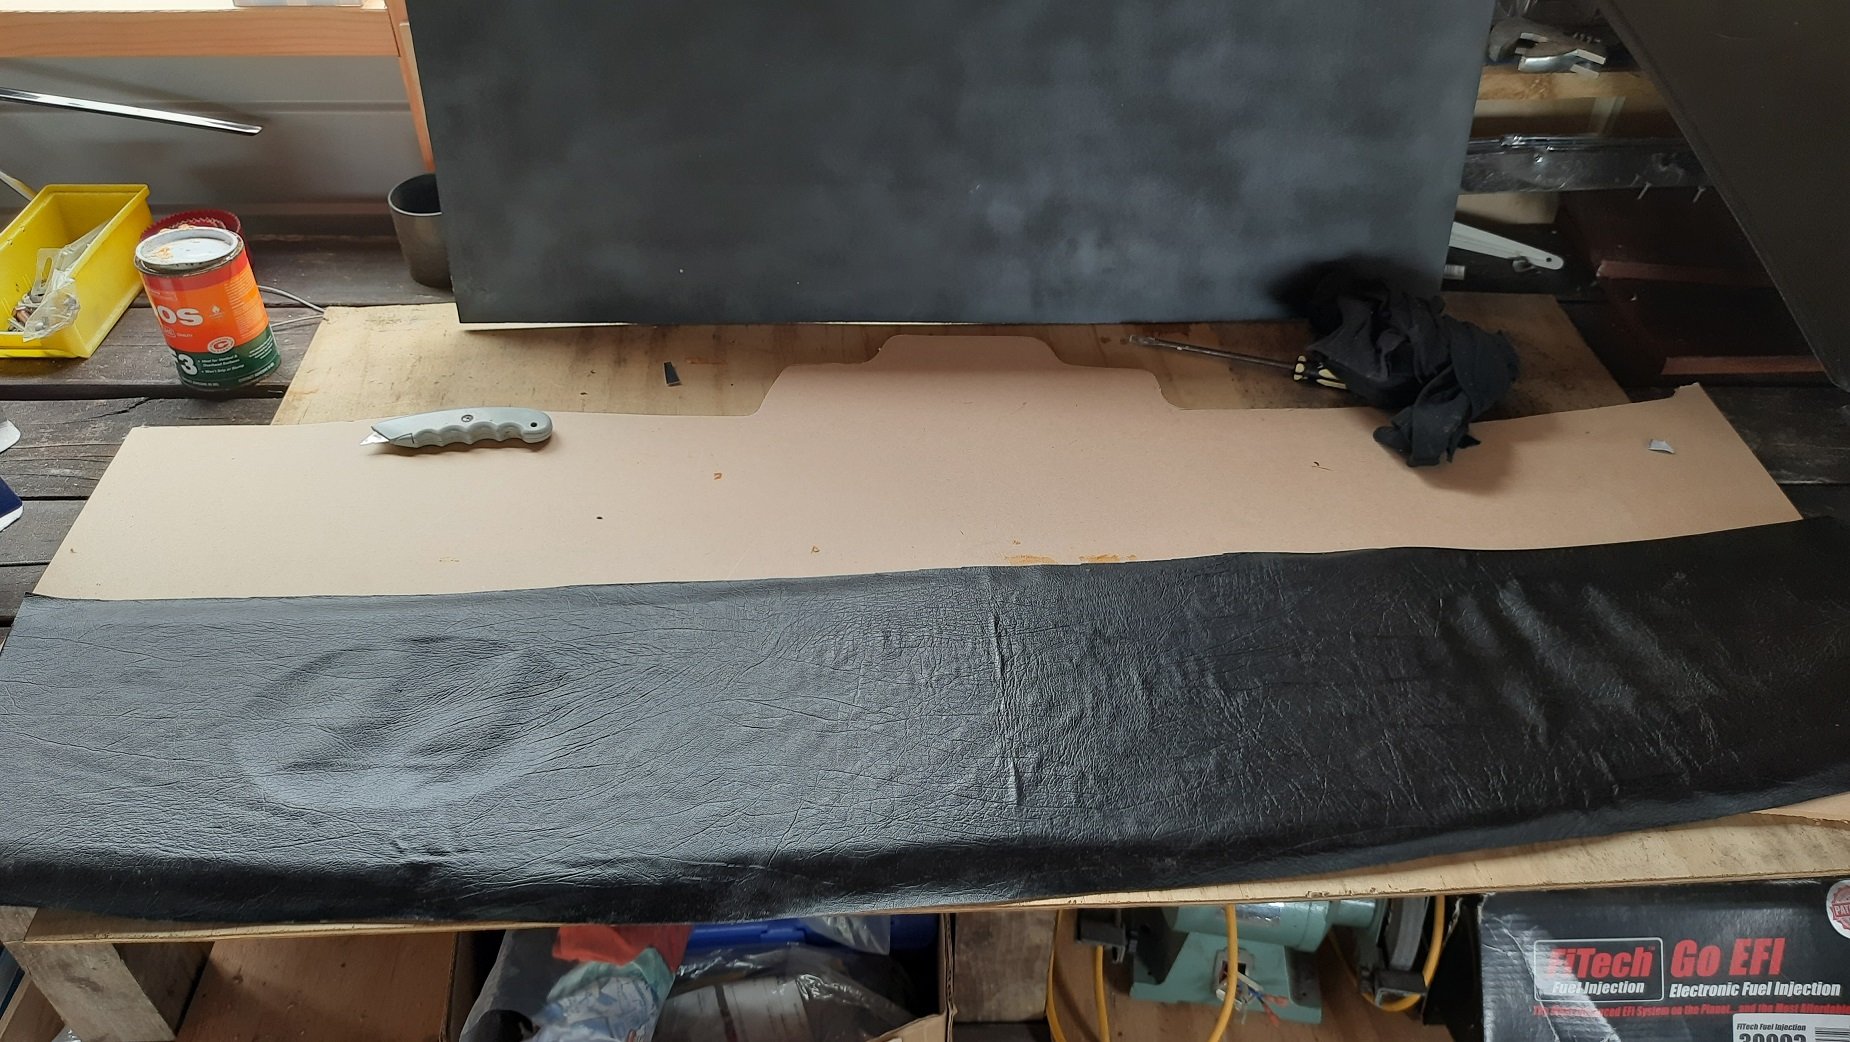
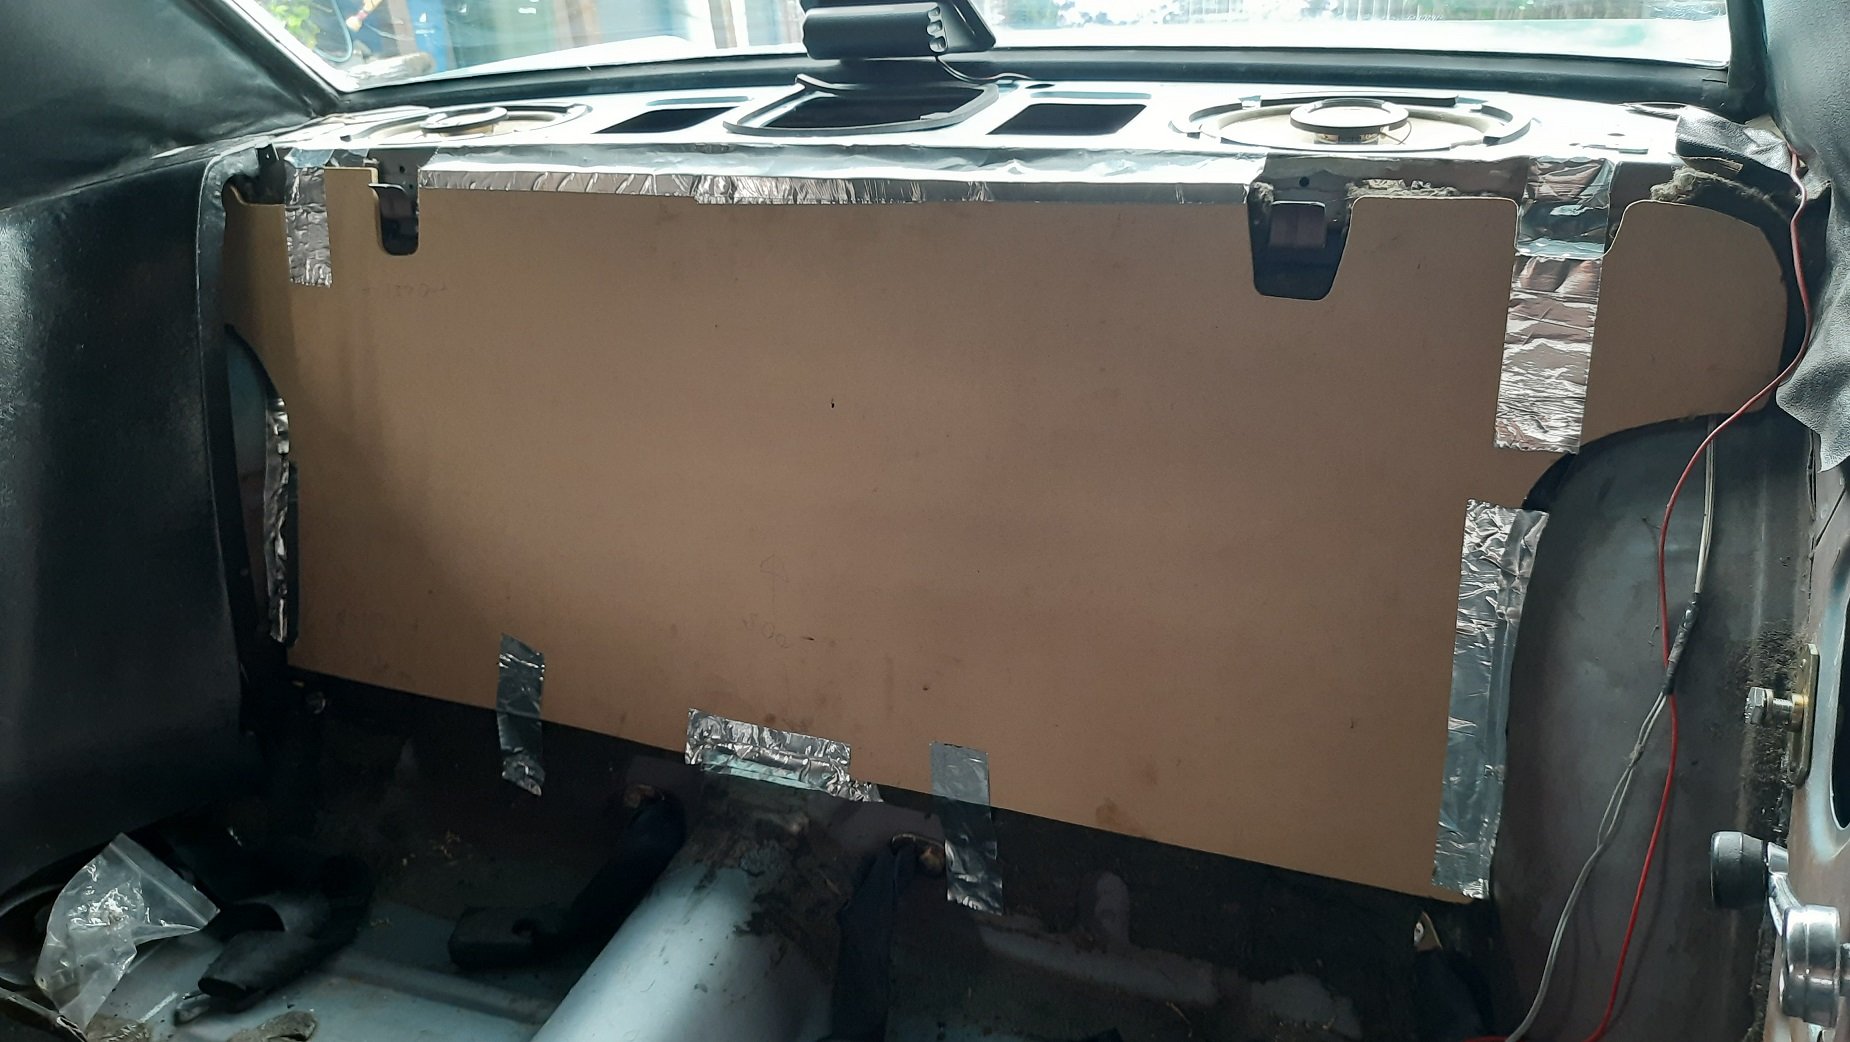
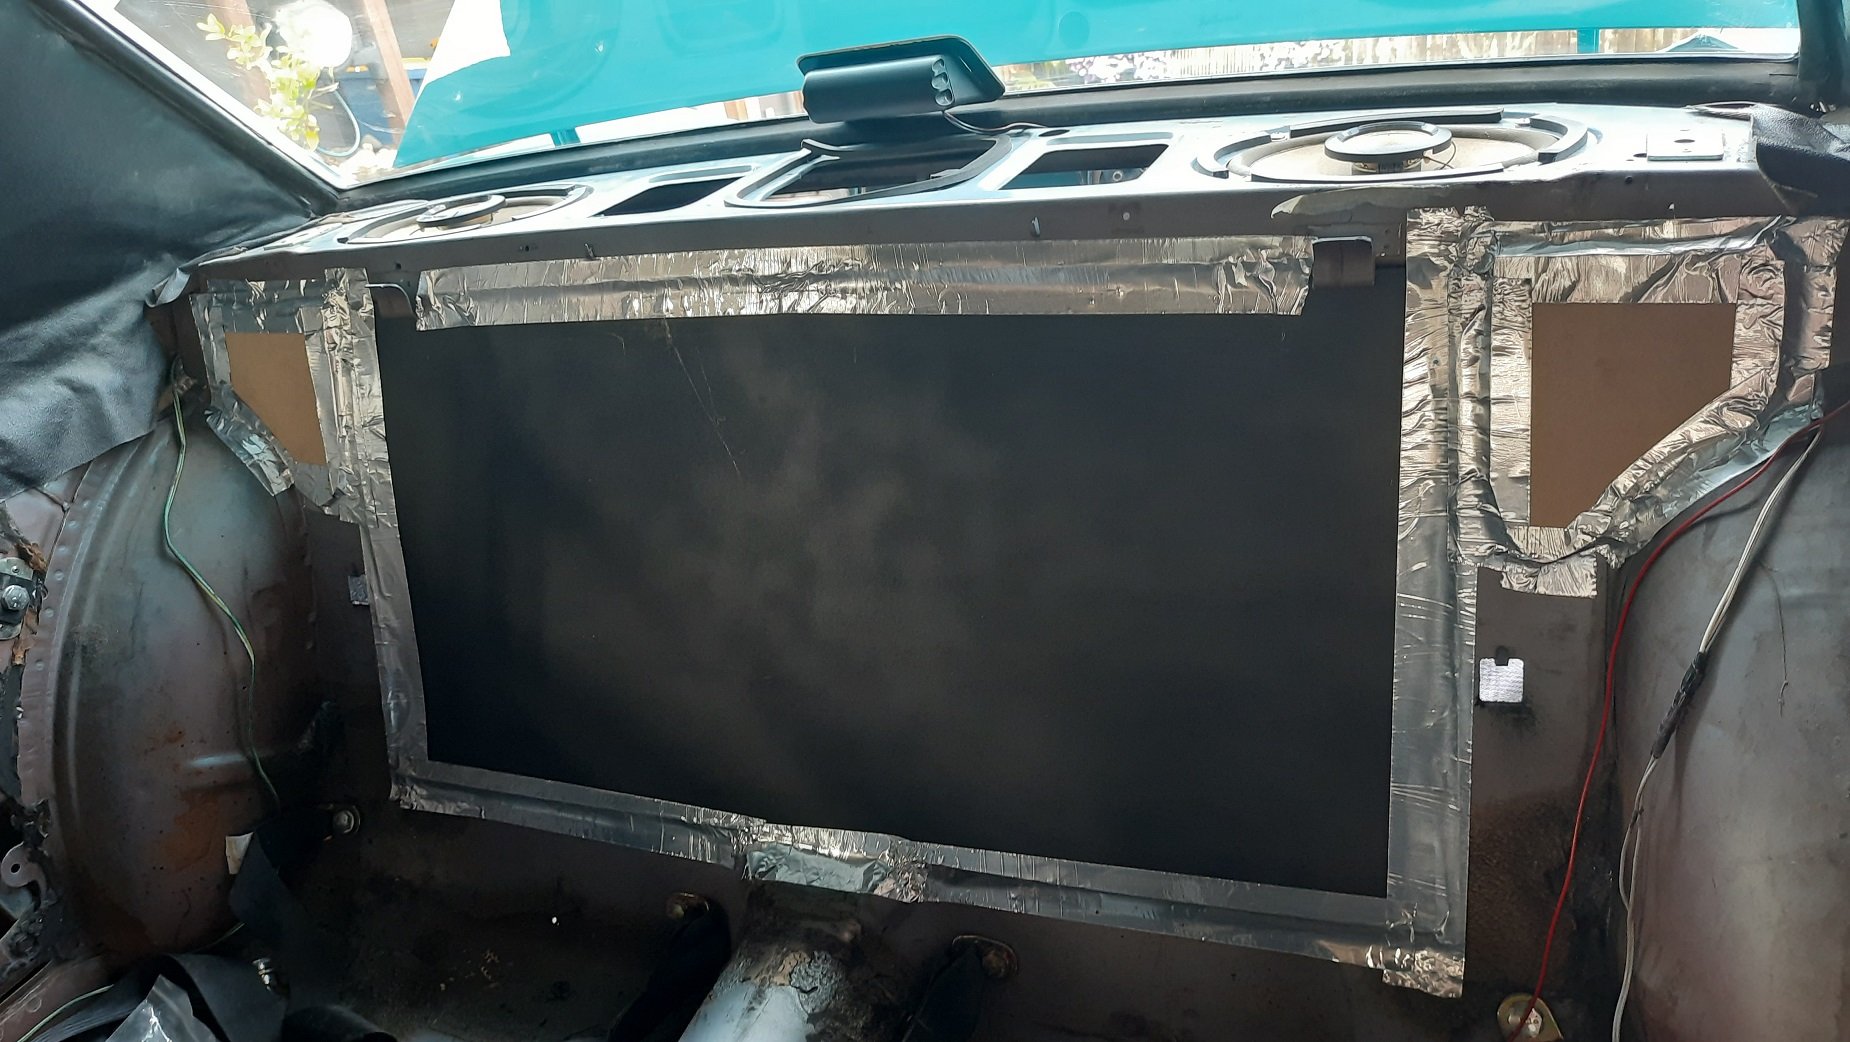
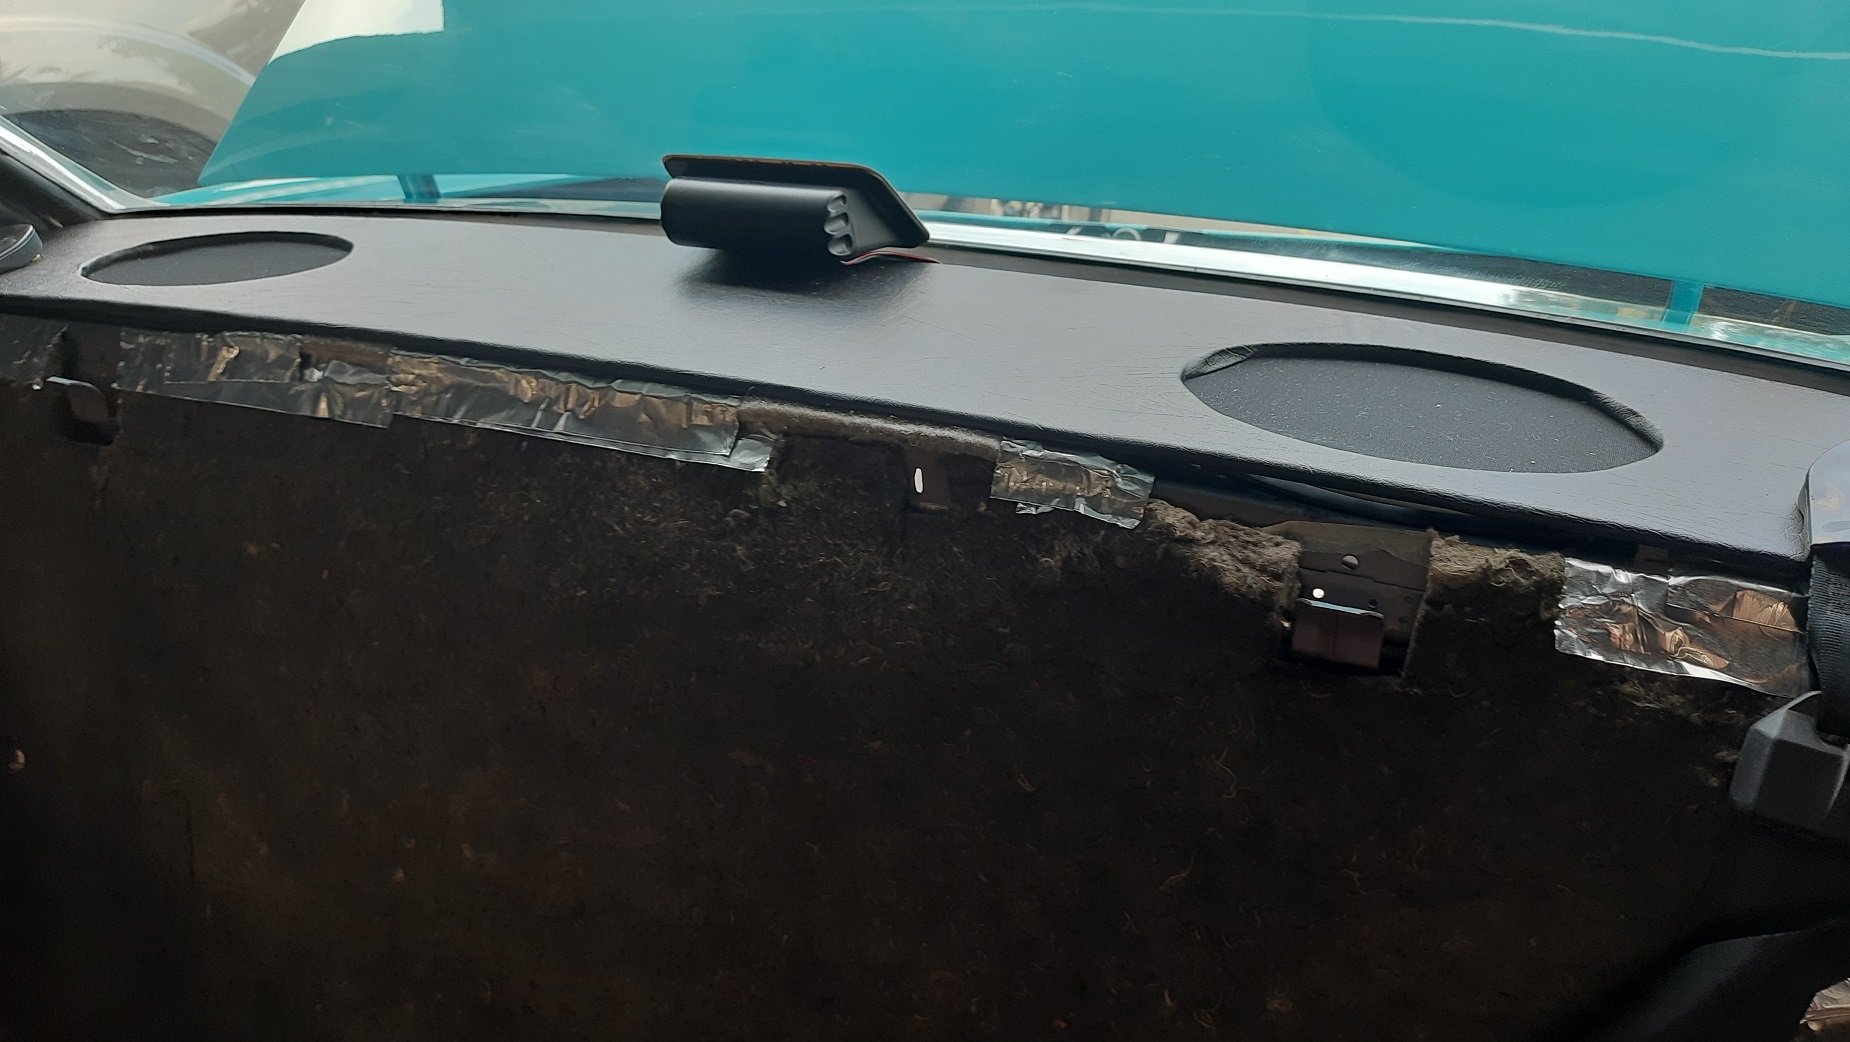
I ordered some new regulators and decided to work on the trunk divider and parcel tray while I waited. Cut some shape out of 9mm (I think) MDF. Some trial and error was required. Covered the parcel tray in vinyl, Ados F3 and staples to hold it. Not my best work but not terrible. The bracking and area behind the rear seat is not flat in so a flat piece of MDF would not work but slotted a rectangular part in with some glue, screws and ally tape. Cut the edges into smaller patches which are just taped in to place. Work on an aircraft skin at 400kts so should work here. Lots of tape. Another issue with the larger divider was it stuck out too far and the seat would not slot back in but this works. Finished the parcel tray with some holes for the speakers and speaker cloth. The corners look a bit average but I'll leave it till it annoys me too much and I'll just make another one. Looks good with the seat fitted.
-
Bent, fuckit. I think someone might have been trying to make room for the belts or they might have just bent when being wound while stuck on the belts. I'd persuade it back into shape but it is bent in so many planes that it is not really worth it.