
Leaderboard


Popular Content
Showing content with the highest reputation on 11/25/21 in Posts
-
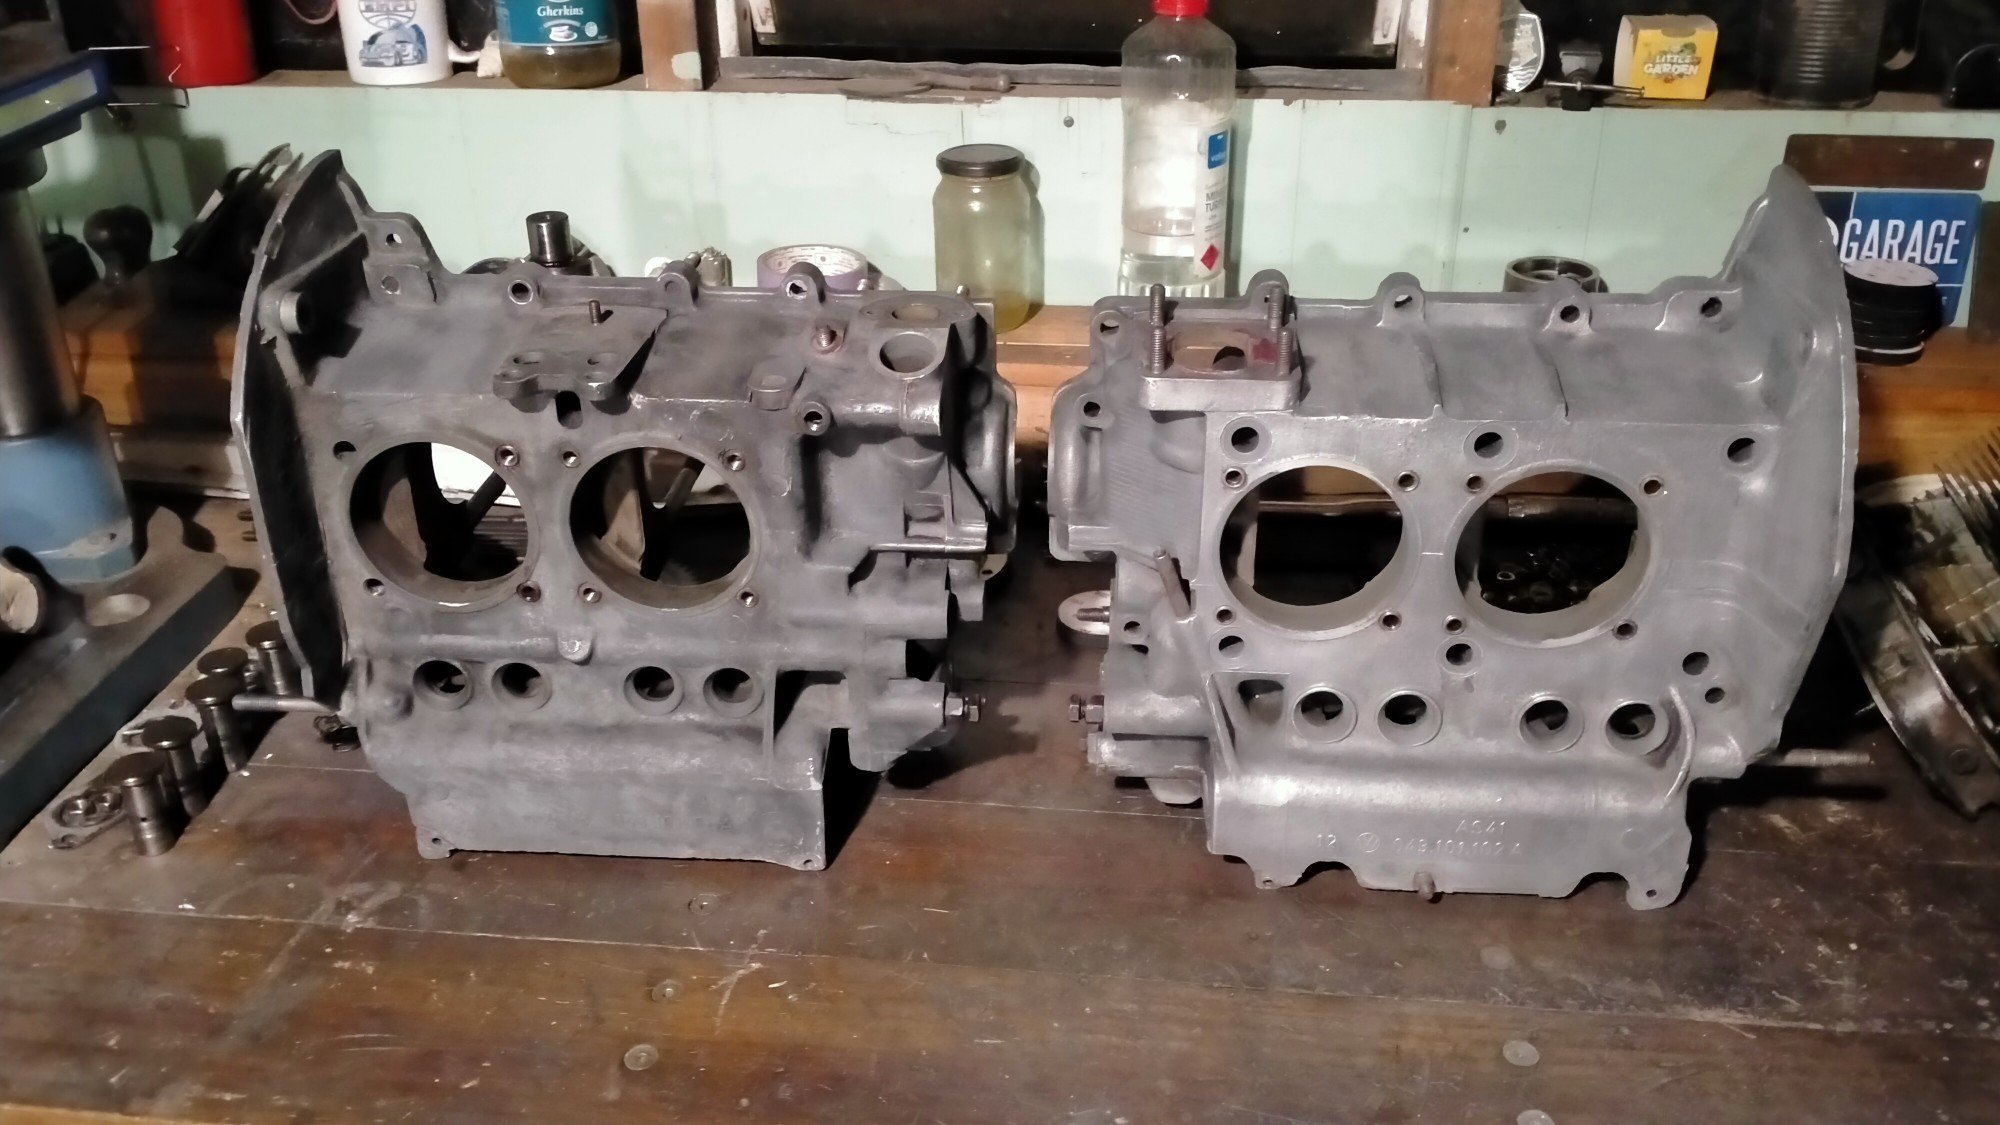
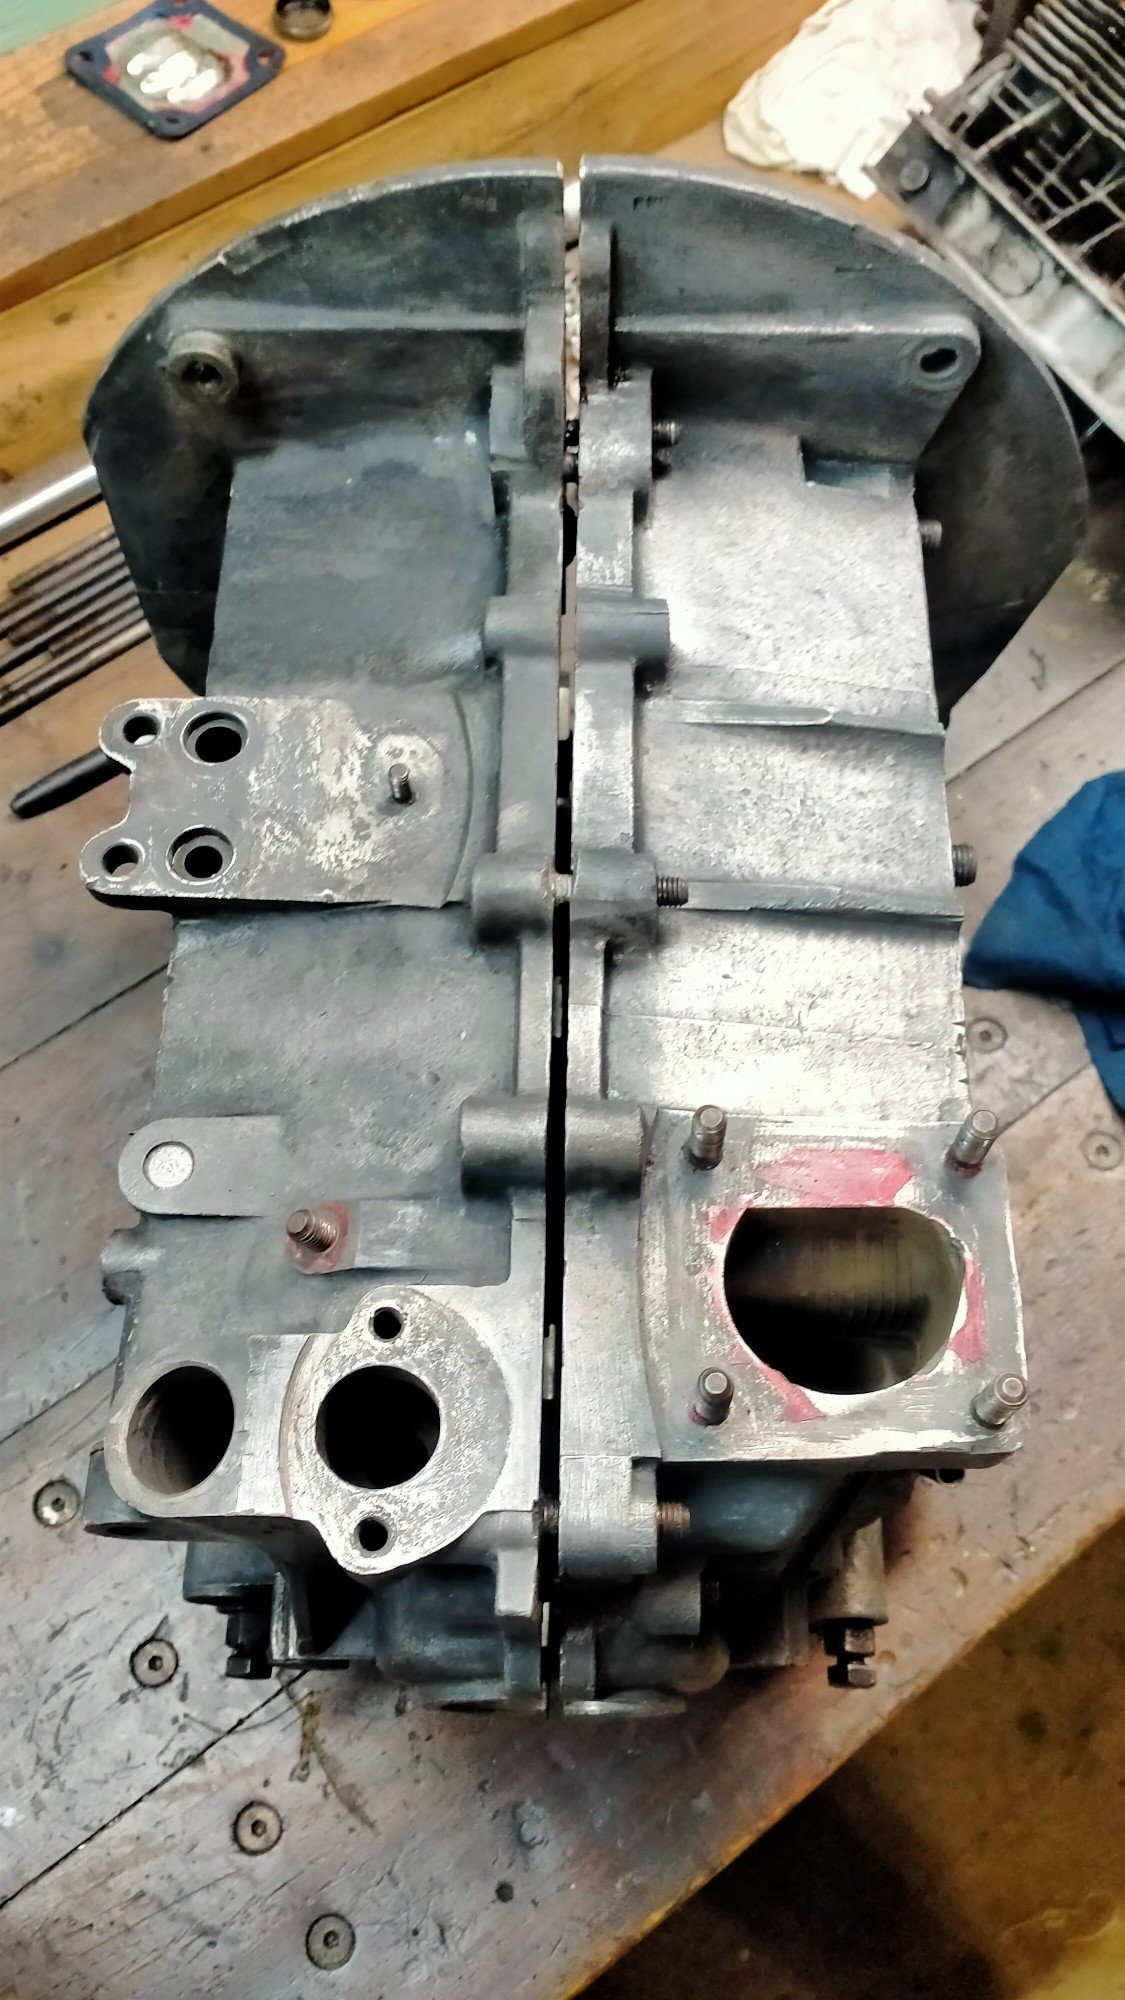
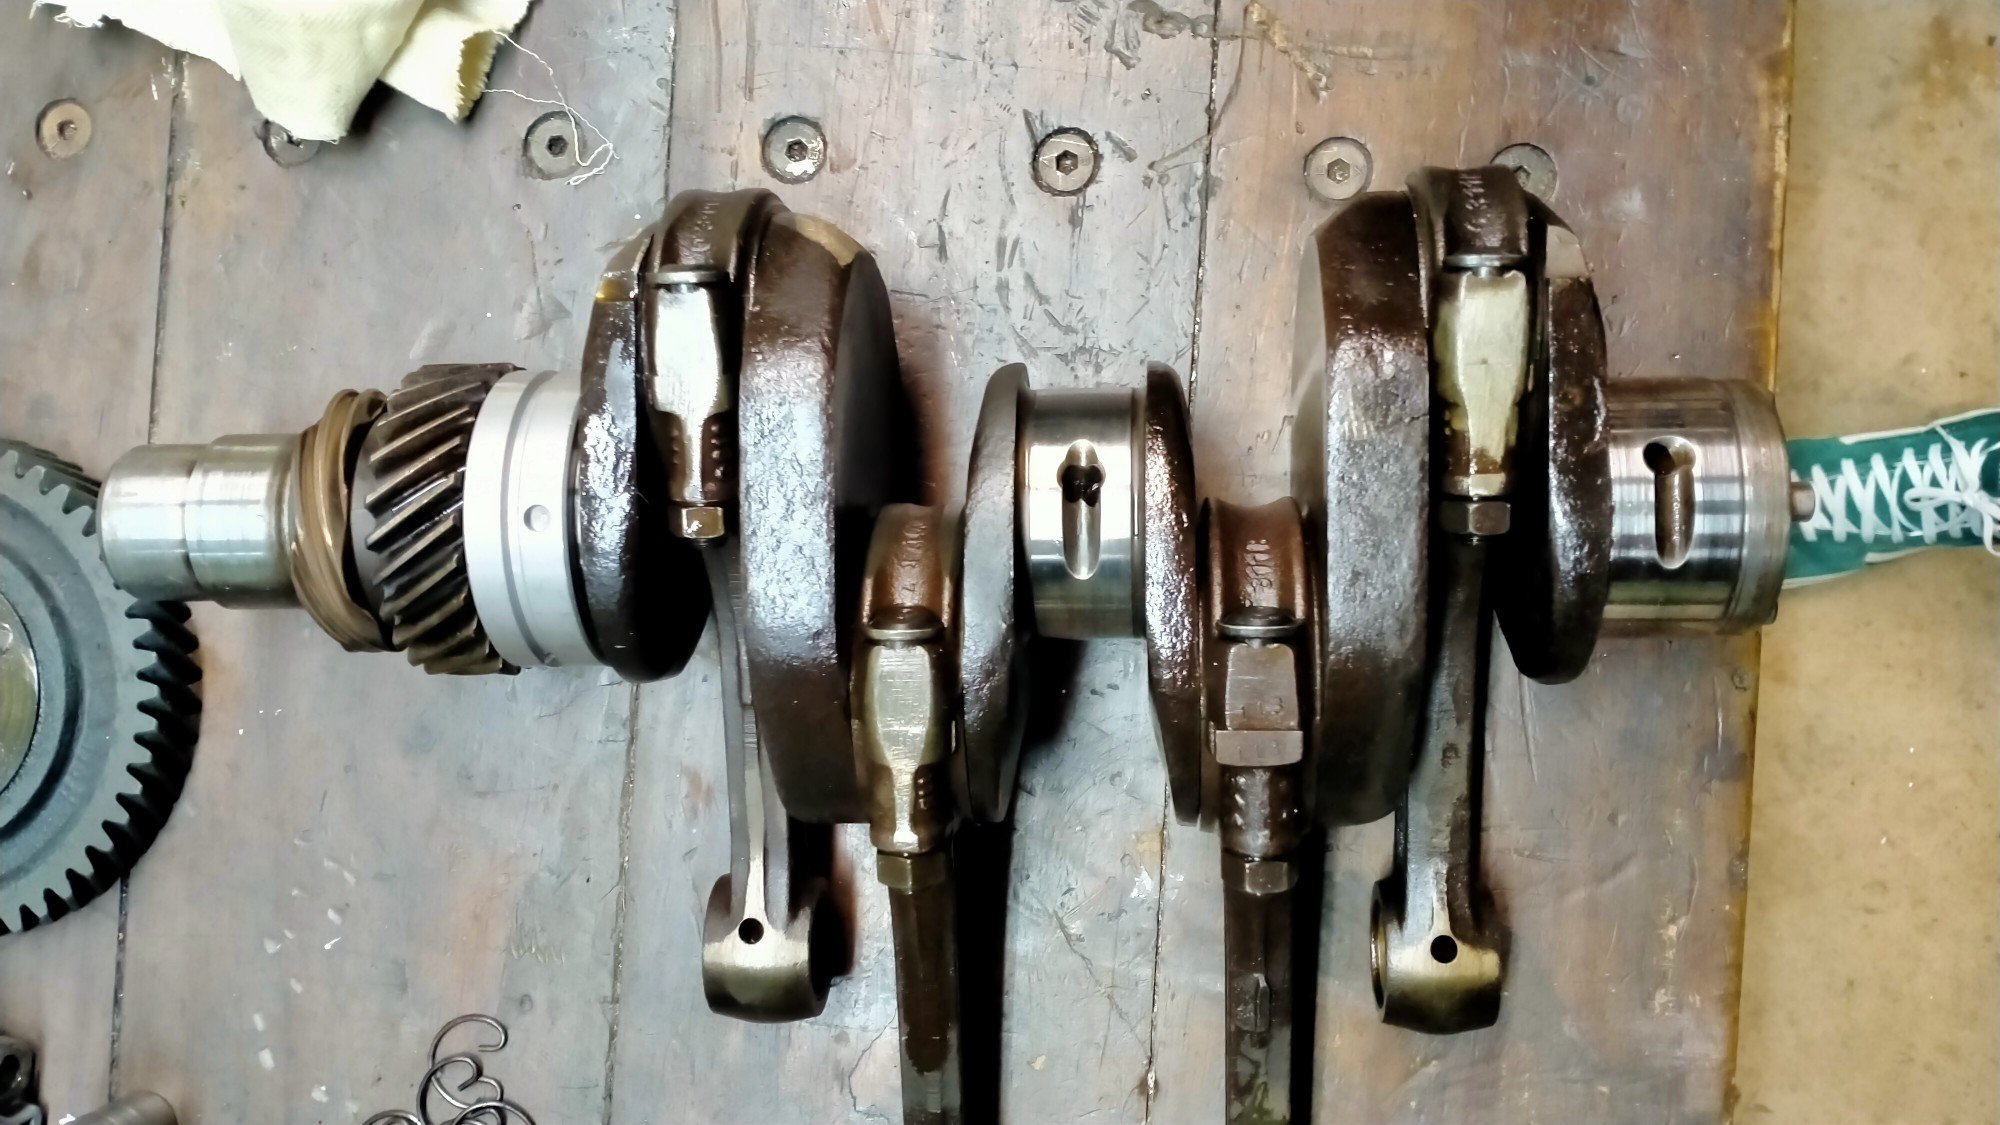
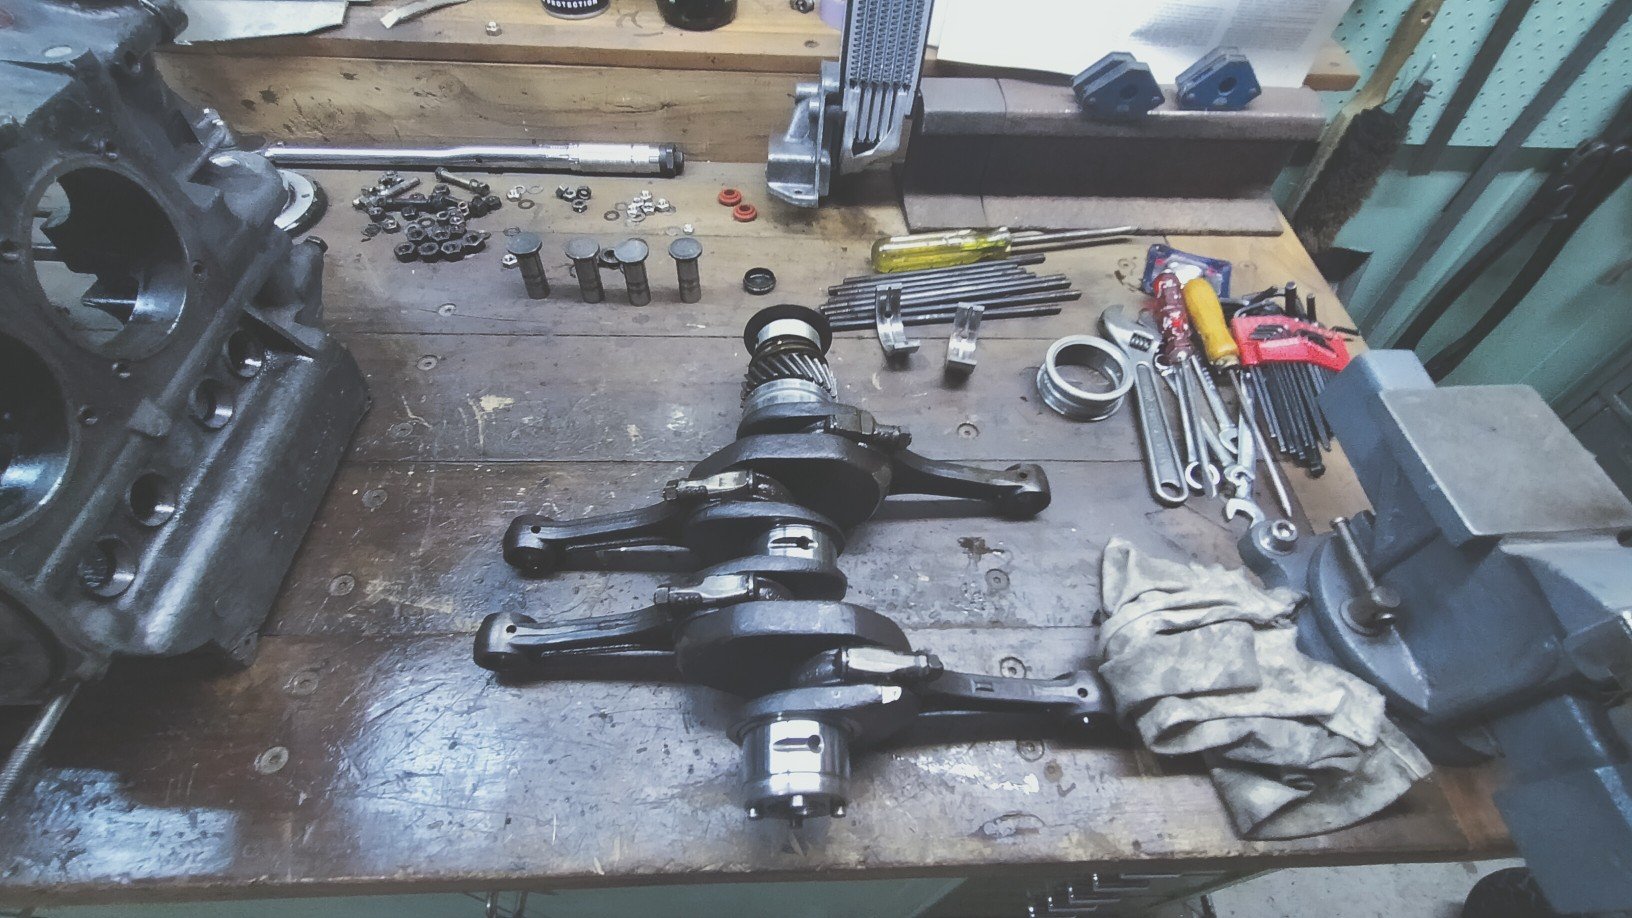
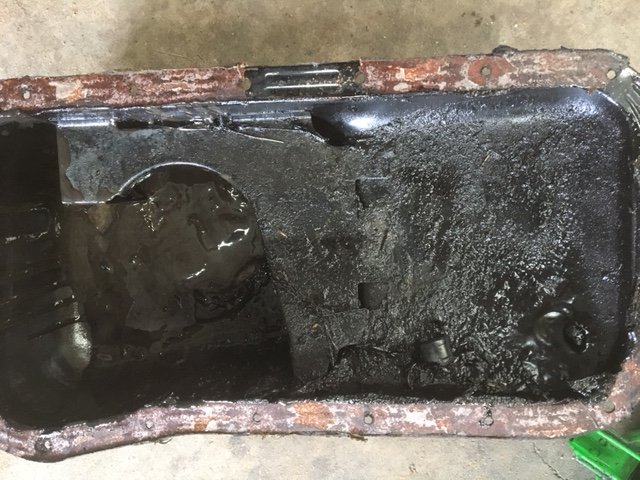
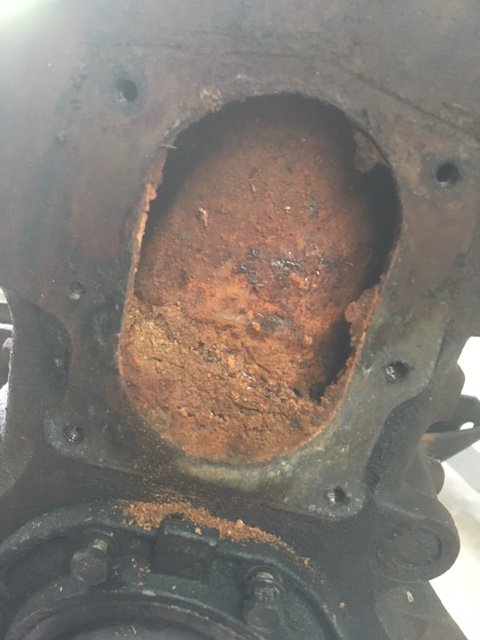
Two weeks I waited to hear the verdict on the case. Before I took the car off the road for the rust and paint mission, the oil leaks had pissed me off enough to pull the engine out and take it to a local mechanic for new pushrod tubes and any other seal he could bung up. I remember him telling me the case was cracked behind number 3, the thinnest part and hottest running cylinder, and the heads were toast. We he was fuckin wrong about the case! Unbelievably it's only on its second over size now, so happy as finding a good base to build is getting hard these days. Even more amazingly, the crank is still within standard spec and even the center journal with the munted bearing only needed a light polish. The dude even said " he can't remember the last time a crank came in,that didn't need machining" guessing lucky! But I do always change my oil regularly, every 3000miles or six months as you should on these old clankers. I set about cleaning up the case. Using a small brass wire brush and turps. Will need to make sure all the galleries and shit are clean before it goes back together. Also go as well as the crank bearings, which are machined to fit, new big end bearing in the rods, new cam bearings and a full engine seal kit. These however, have been quietly waiting their turn under the bench for a long time. Soon my pretty, soon.
 13 points
 -
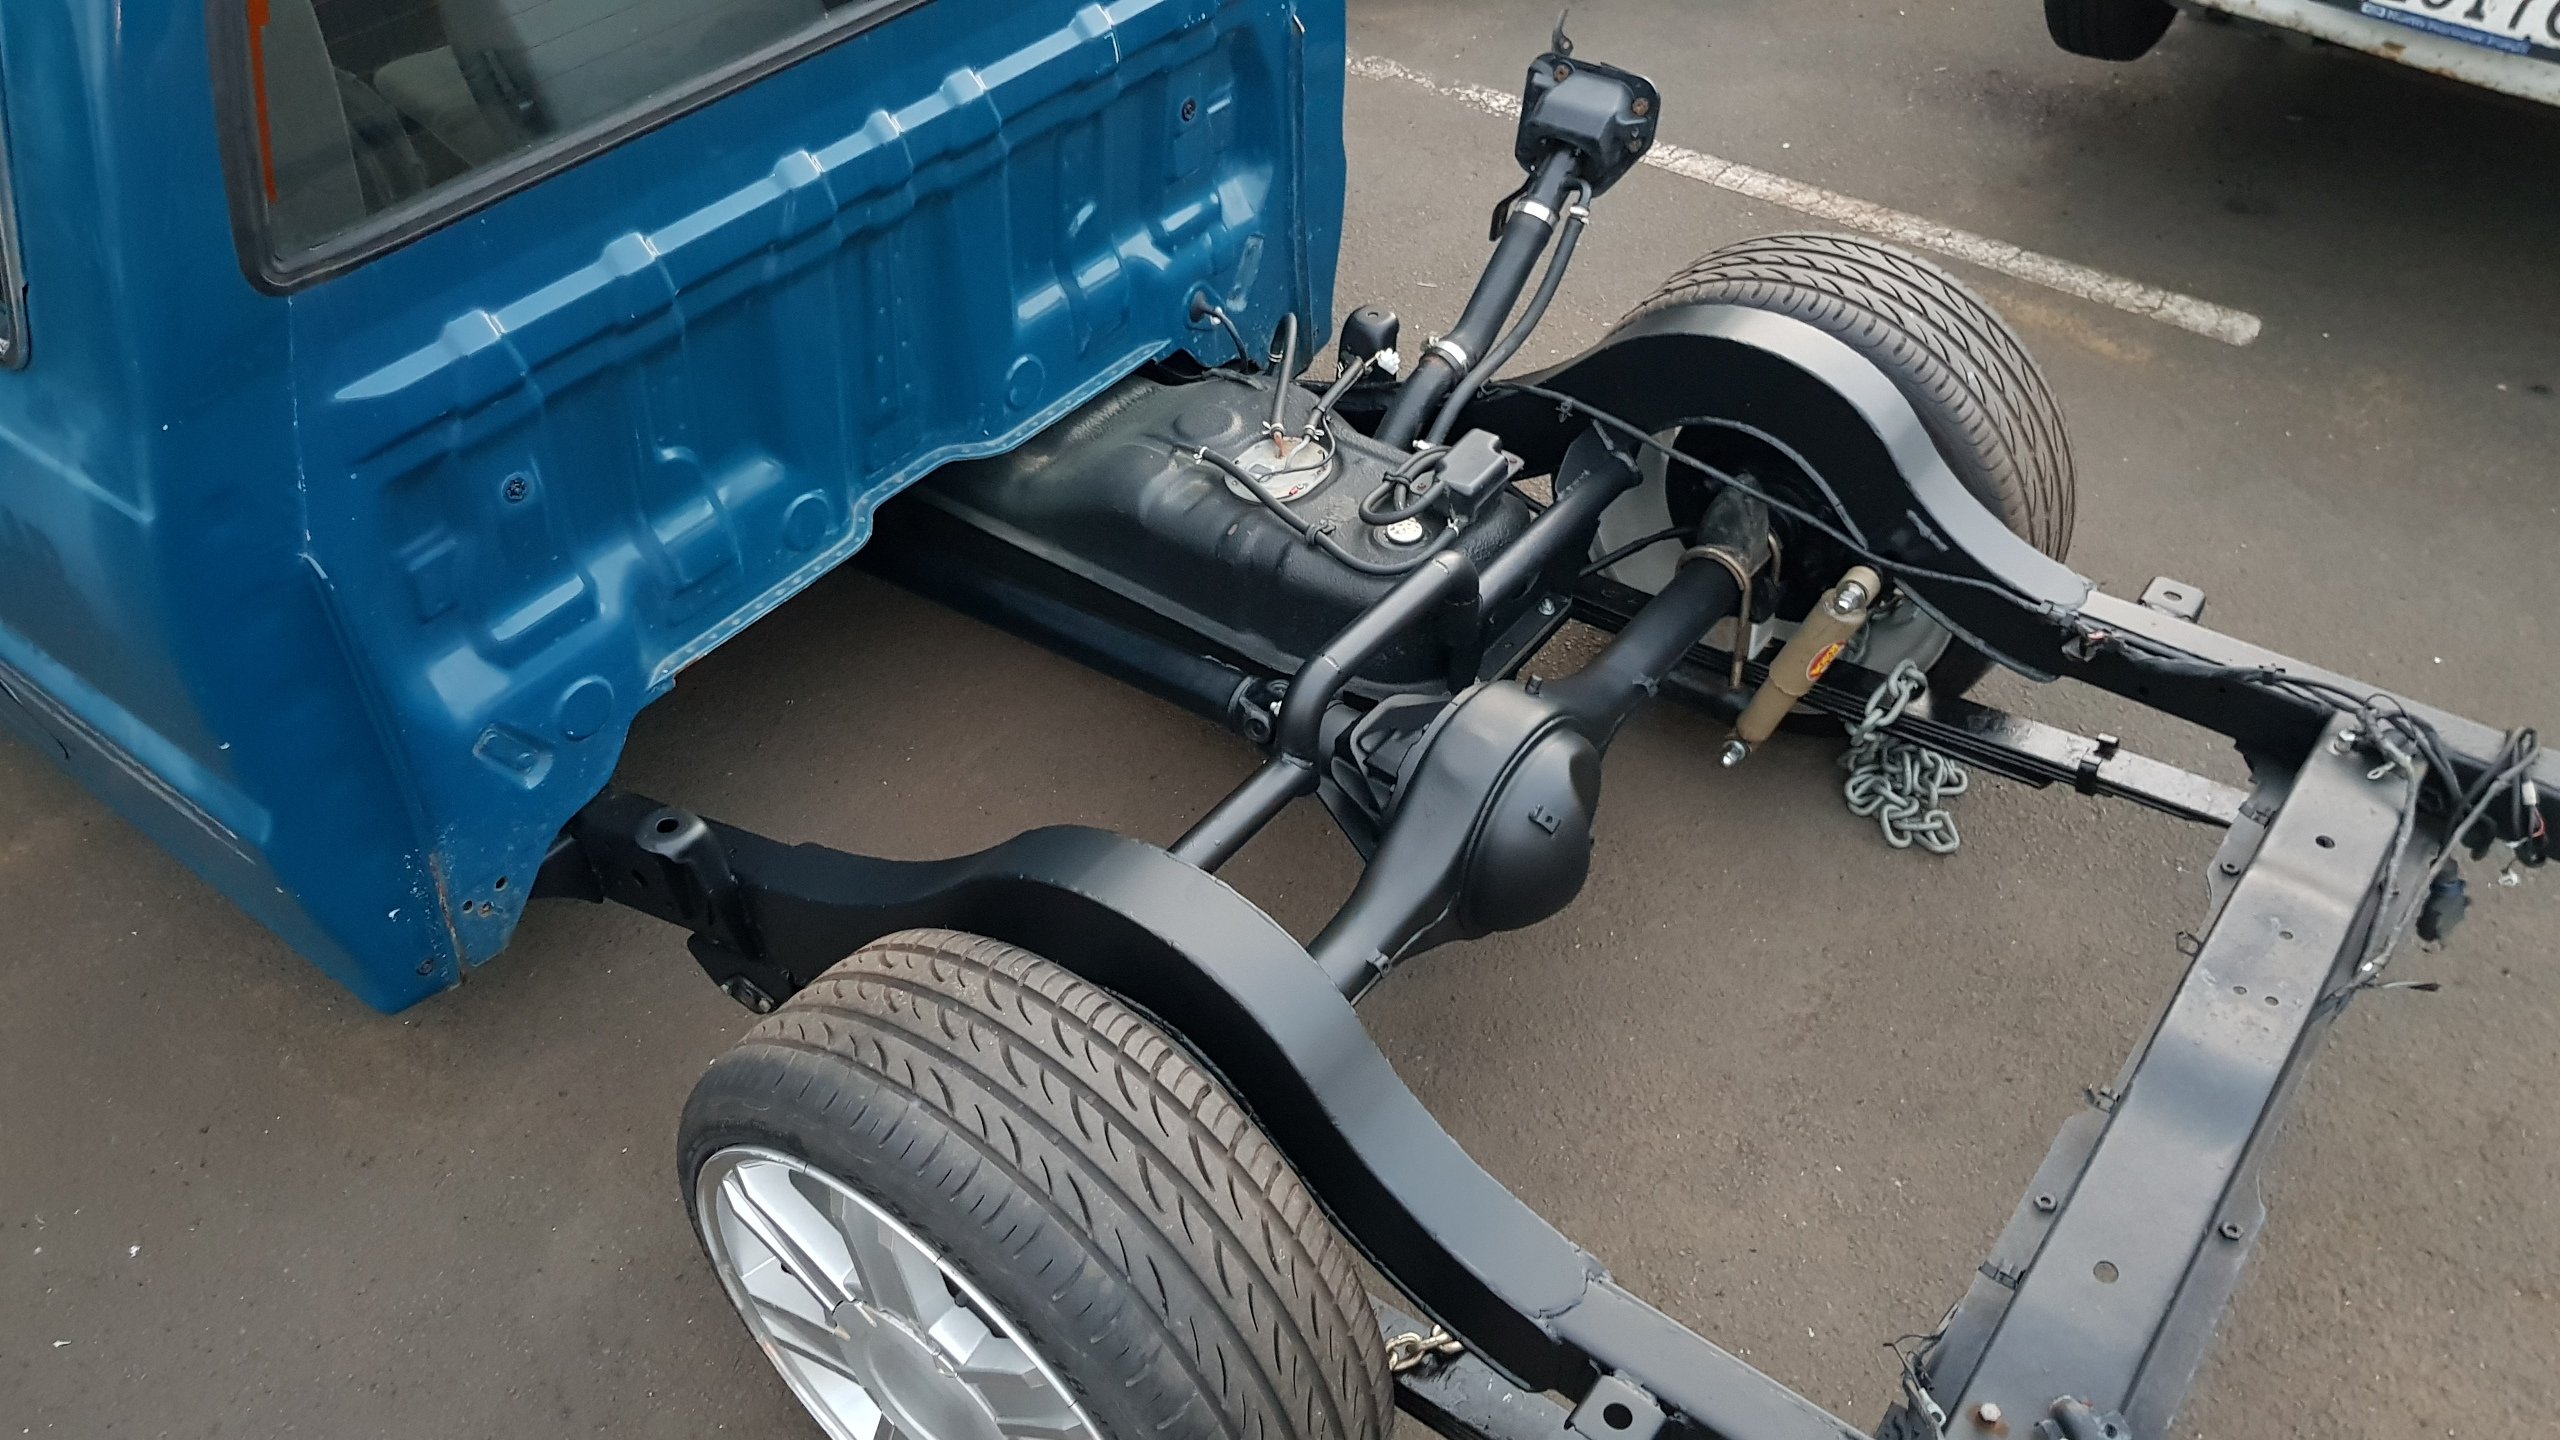
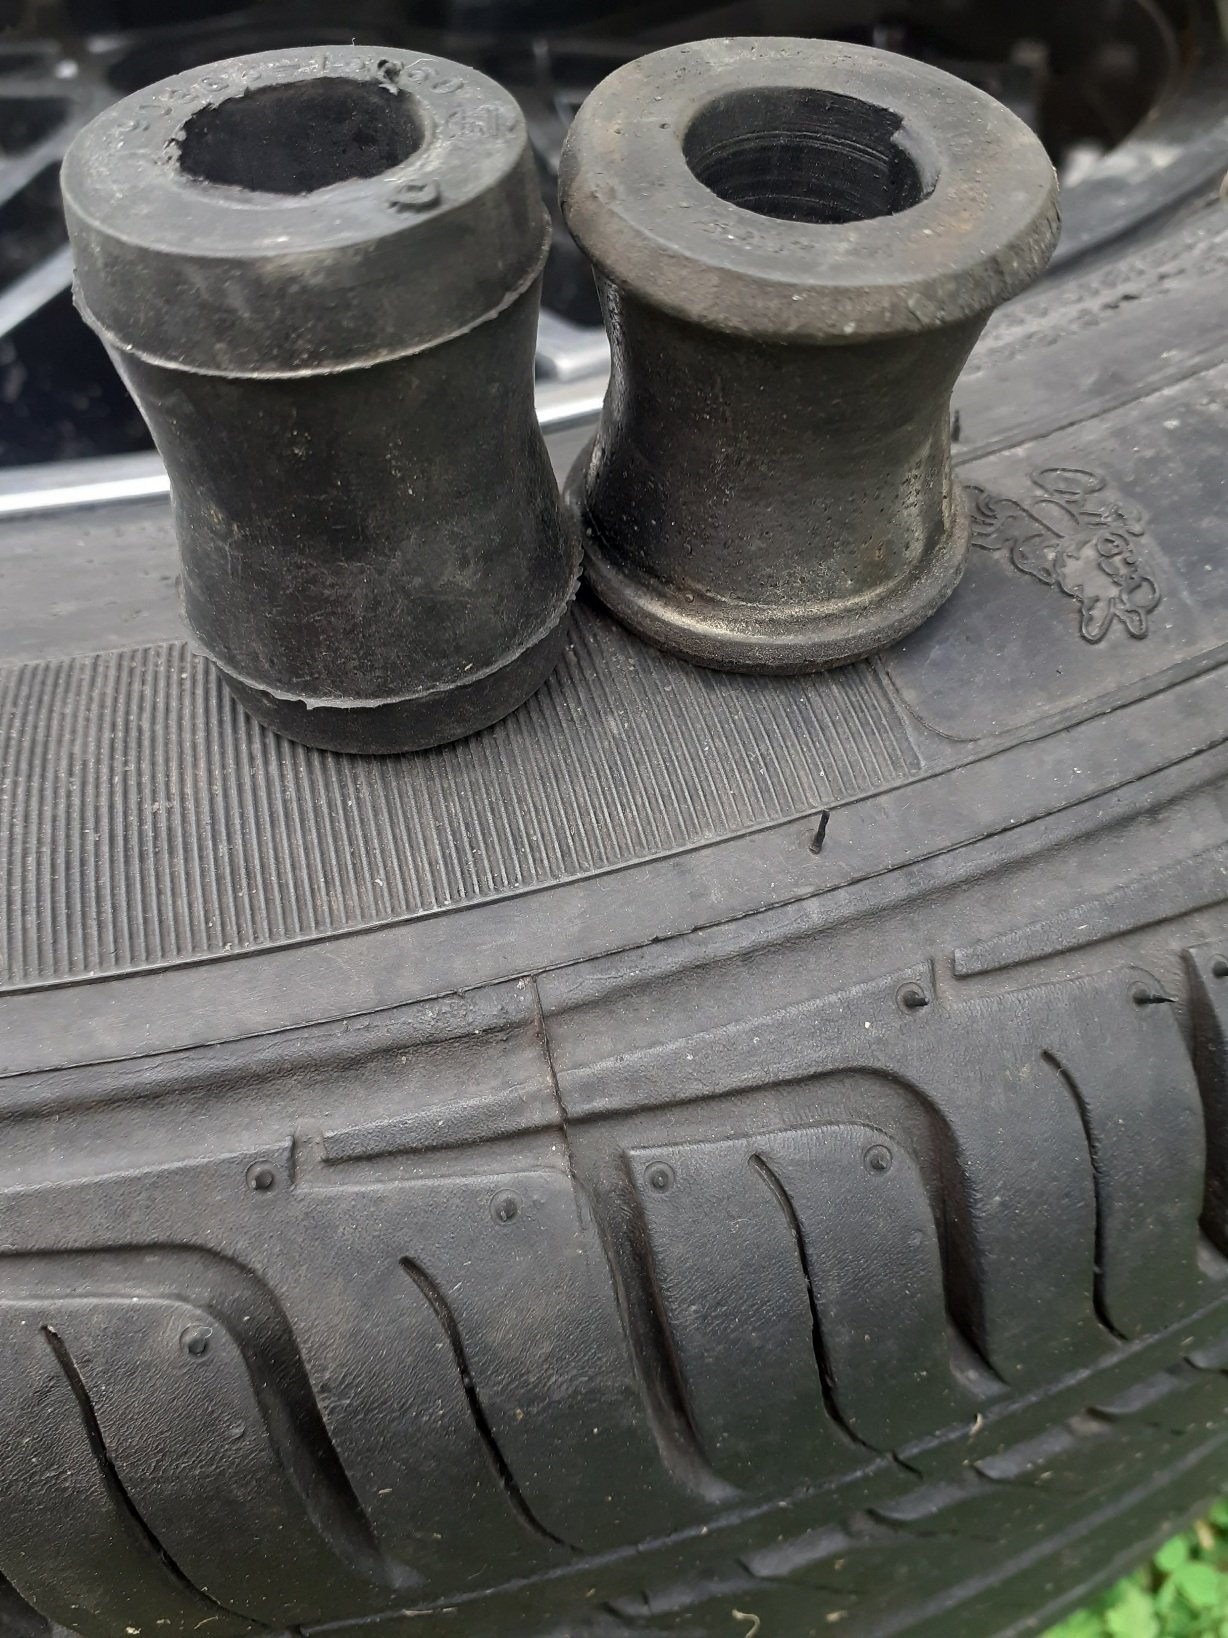
And laid down some black. Gave all the bushes, which I replaced earlier in the year, a clean and fitted with fresh grease. Also spent some time cleaning up the threads on the shackles and lower shock mounts plus the fasteners to suit. Some of them were pretty manky. Got it all back togethor and threw the has tank back in too. Good way to finish up a nice evening. Excuse the wheel nuts on the shock mounts, I had no m12x1.5 nylocs at the time.
12 points
-
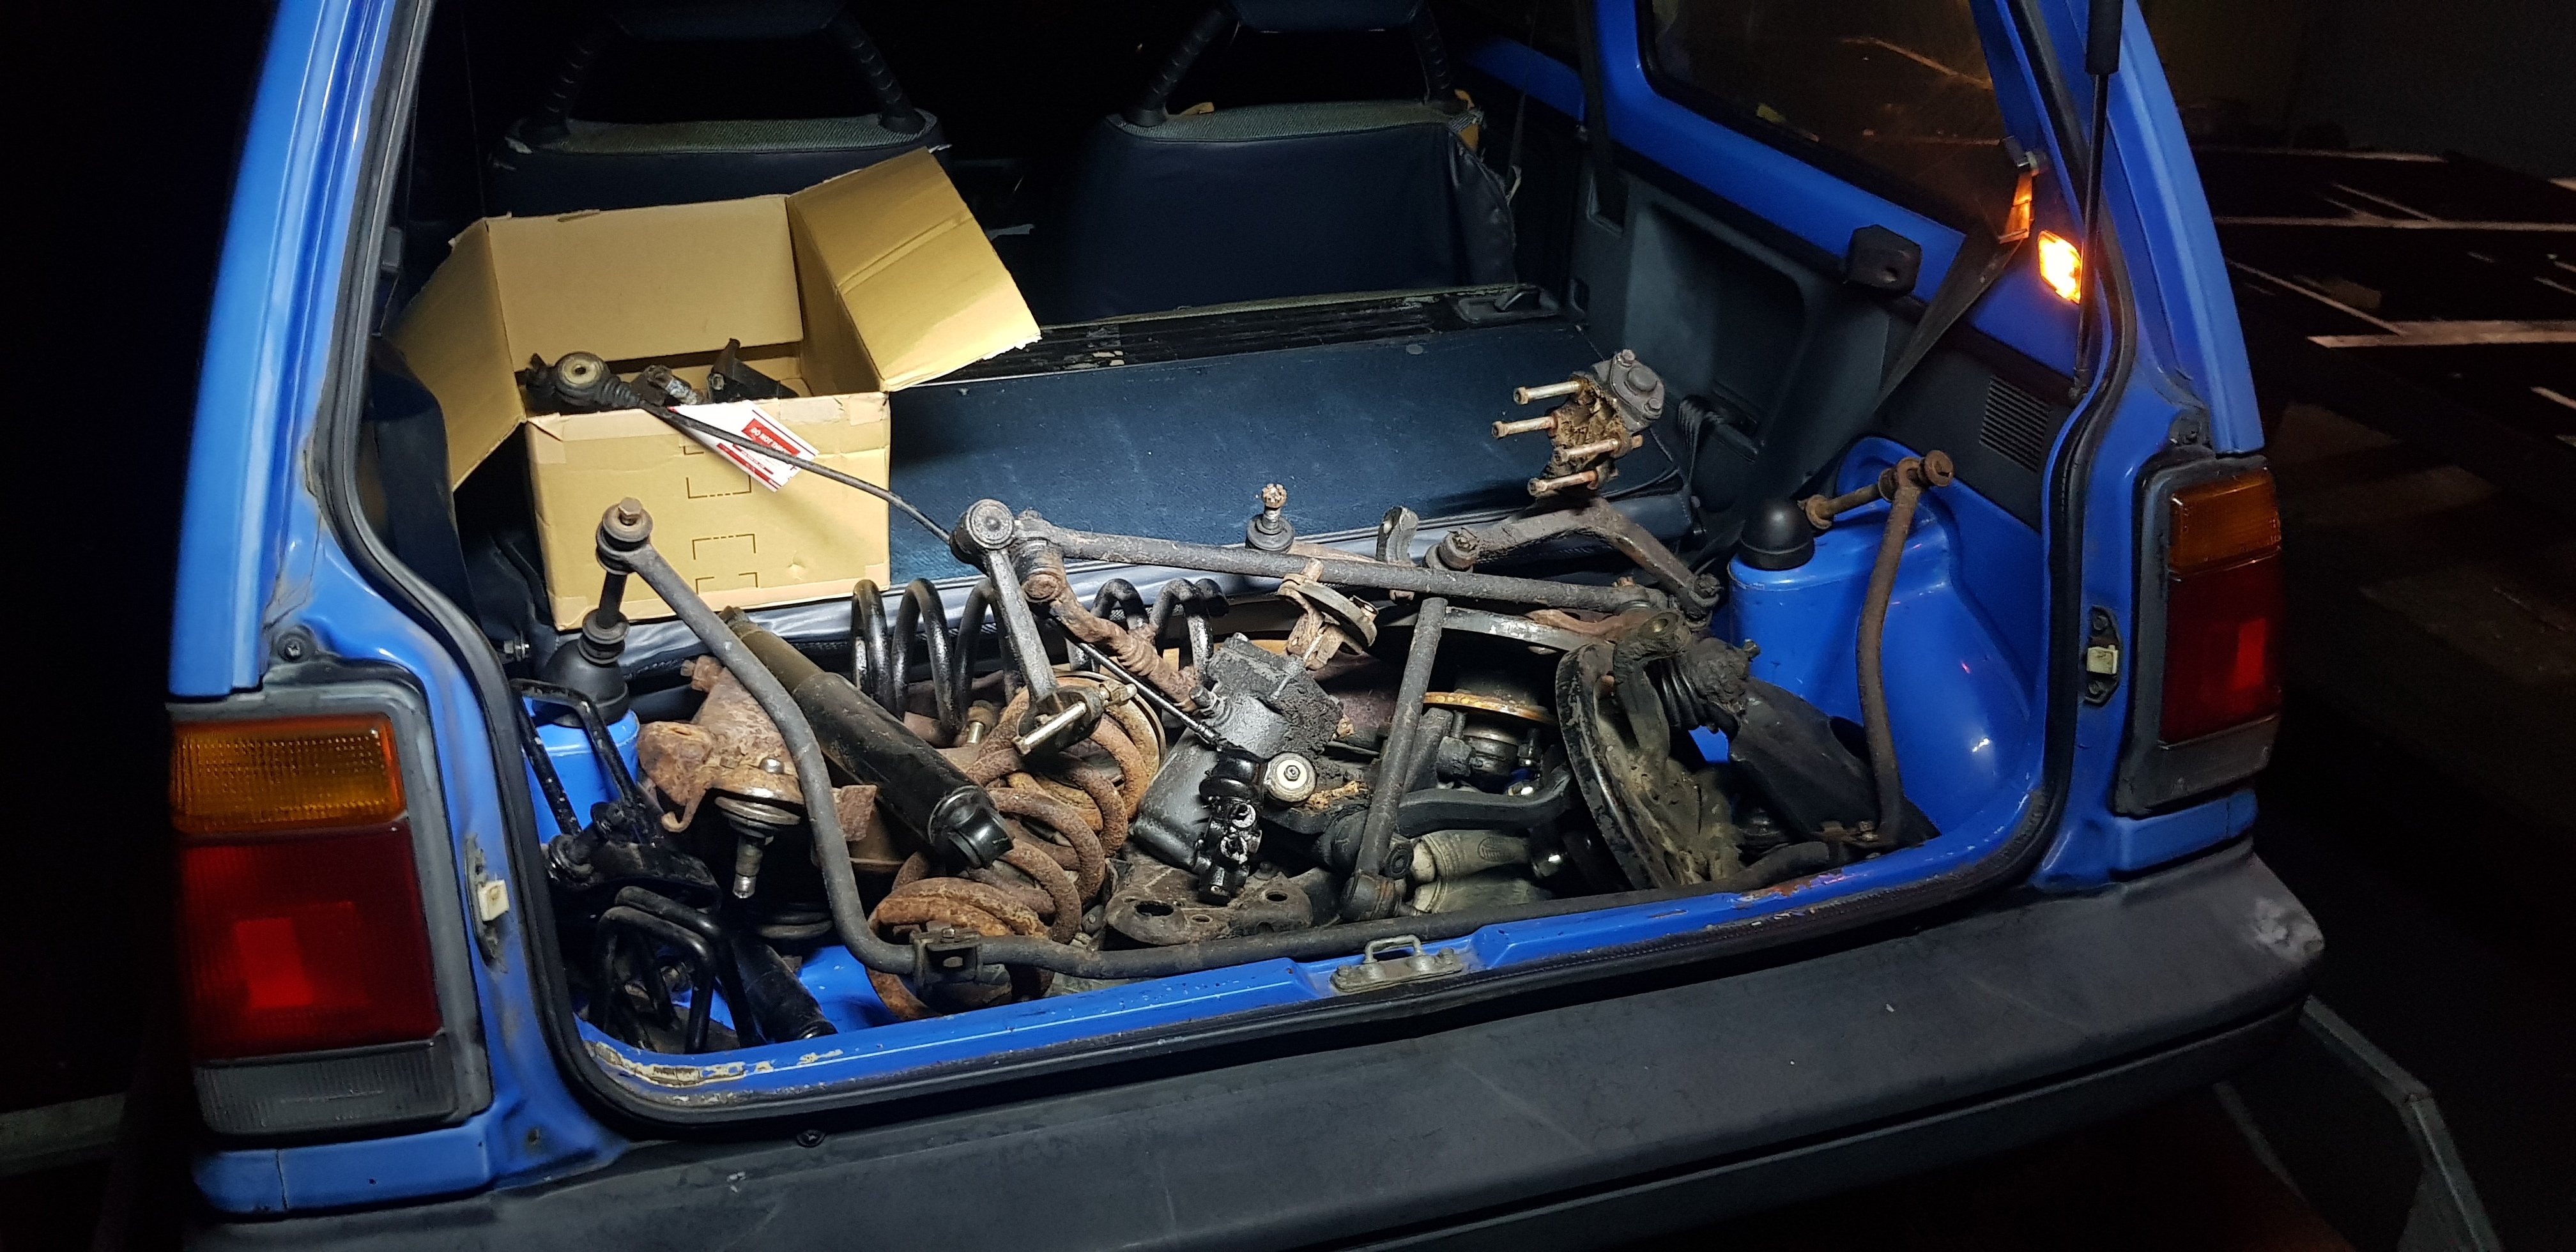
Here’s what a weeks wages before tax looks like. At least I’ll never have to touch it again I guess10 points
-
Massive thanks to @fletch who came up with the goods. Trip to NP this weekend to pick it up!6 points
-
thats done, now gotta figure out how to get it shifting off column, as it now doesnt have linkages and such on the ps box
6 points
-
Anyone else see this?
5 points
-
I forgot to readdress this. I did speak to the individual last week, and from what he'd explained, was that he was residing outside of the Waikato boundary, but had travelled to his personal property inside the Waikato boundary to tend to it, adhering to whatever rules or permits applied at that time (I don't know). Probably redundant now regardless, as I understand there is no Waikato boundary any longer? I'm unsure if anyone was particularly concerned by this whole thing or not, but there it is, as I know it anyway.5 points
-
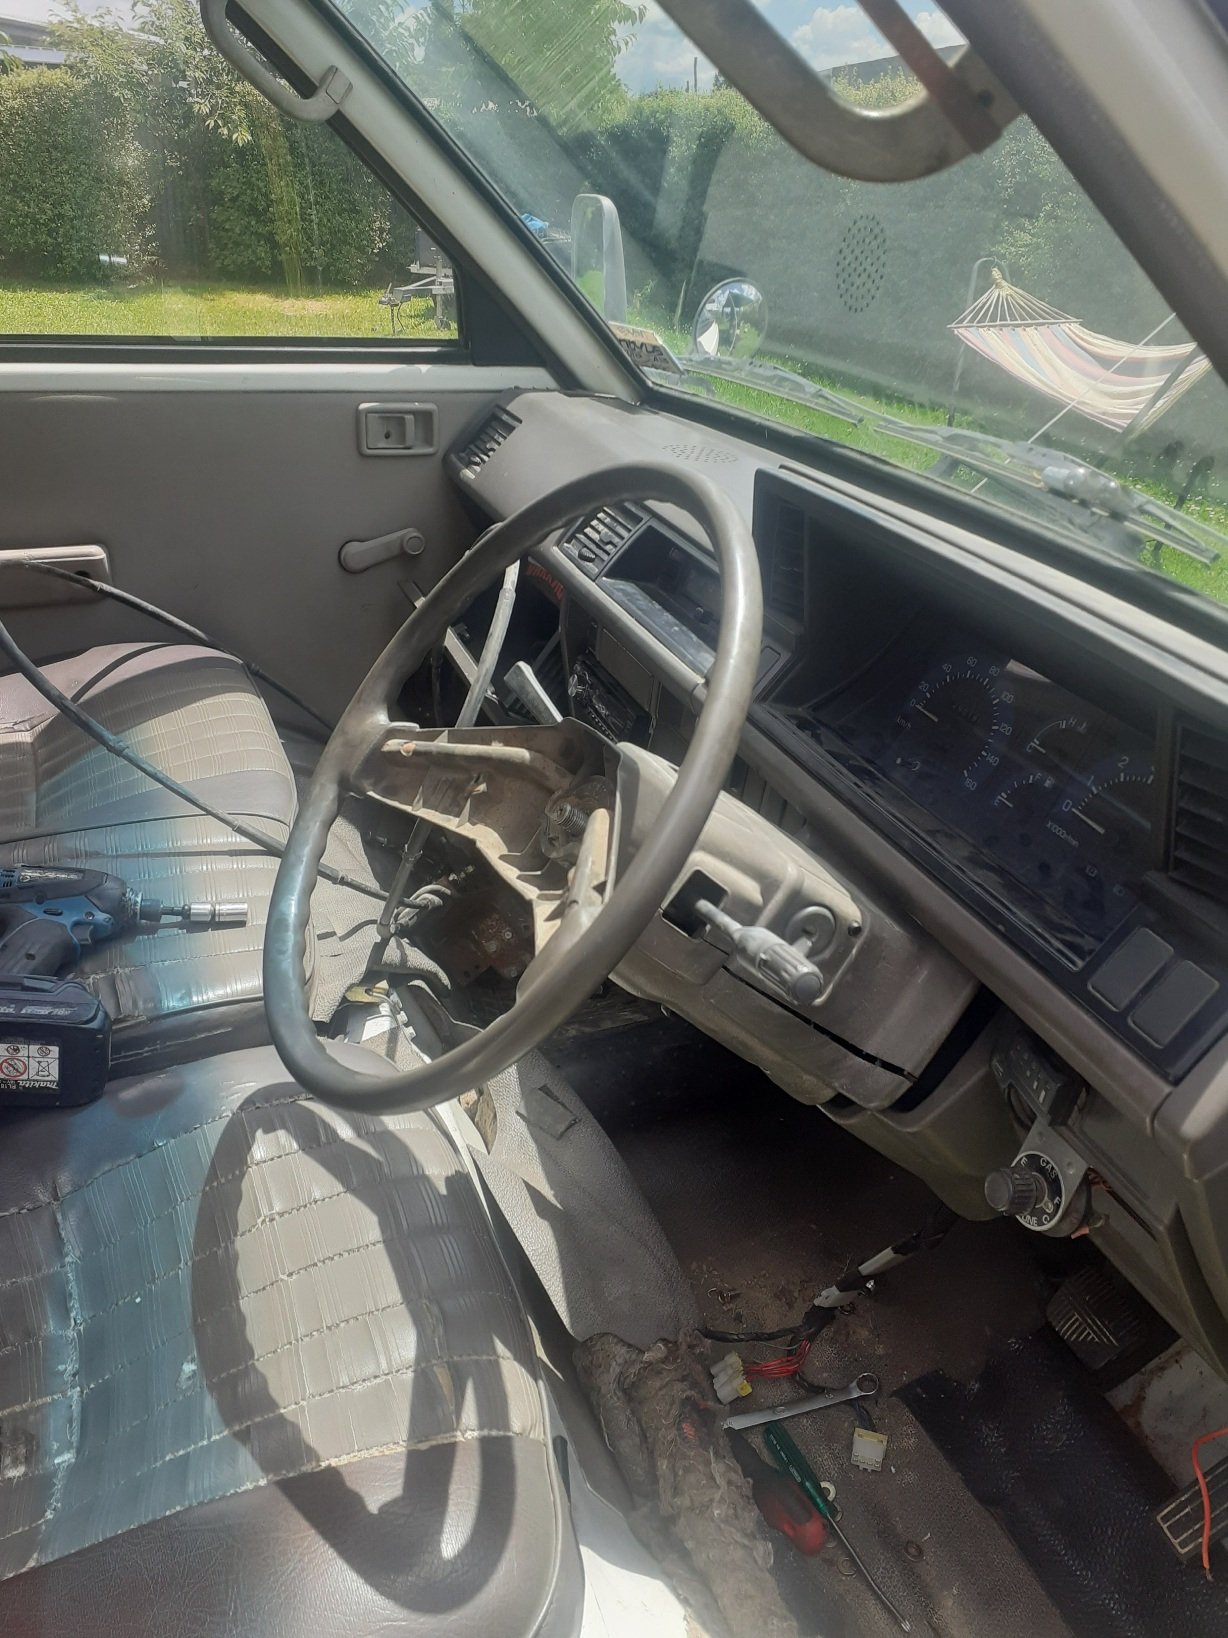
Put the ps box in, it bolts up just fine, just needs some panel work done in the cabin to bolt column housing onit is now adjustable got me a rivnut gun and some steel rivnuts, this van diddnt have a swaybar from factory, but it had the holes in the chassis and it so happened they were the perfect size for m8 rivnuts, so i put them in and it bolted right in, bushings are new too so thats an upgrade. Also went through and swapped out bad ball joints with good ones, and greased everything up..
3 points
-
Smashed some epoxy down and probably covered my shitbox daily laser in overspray
3 points
-
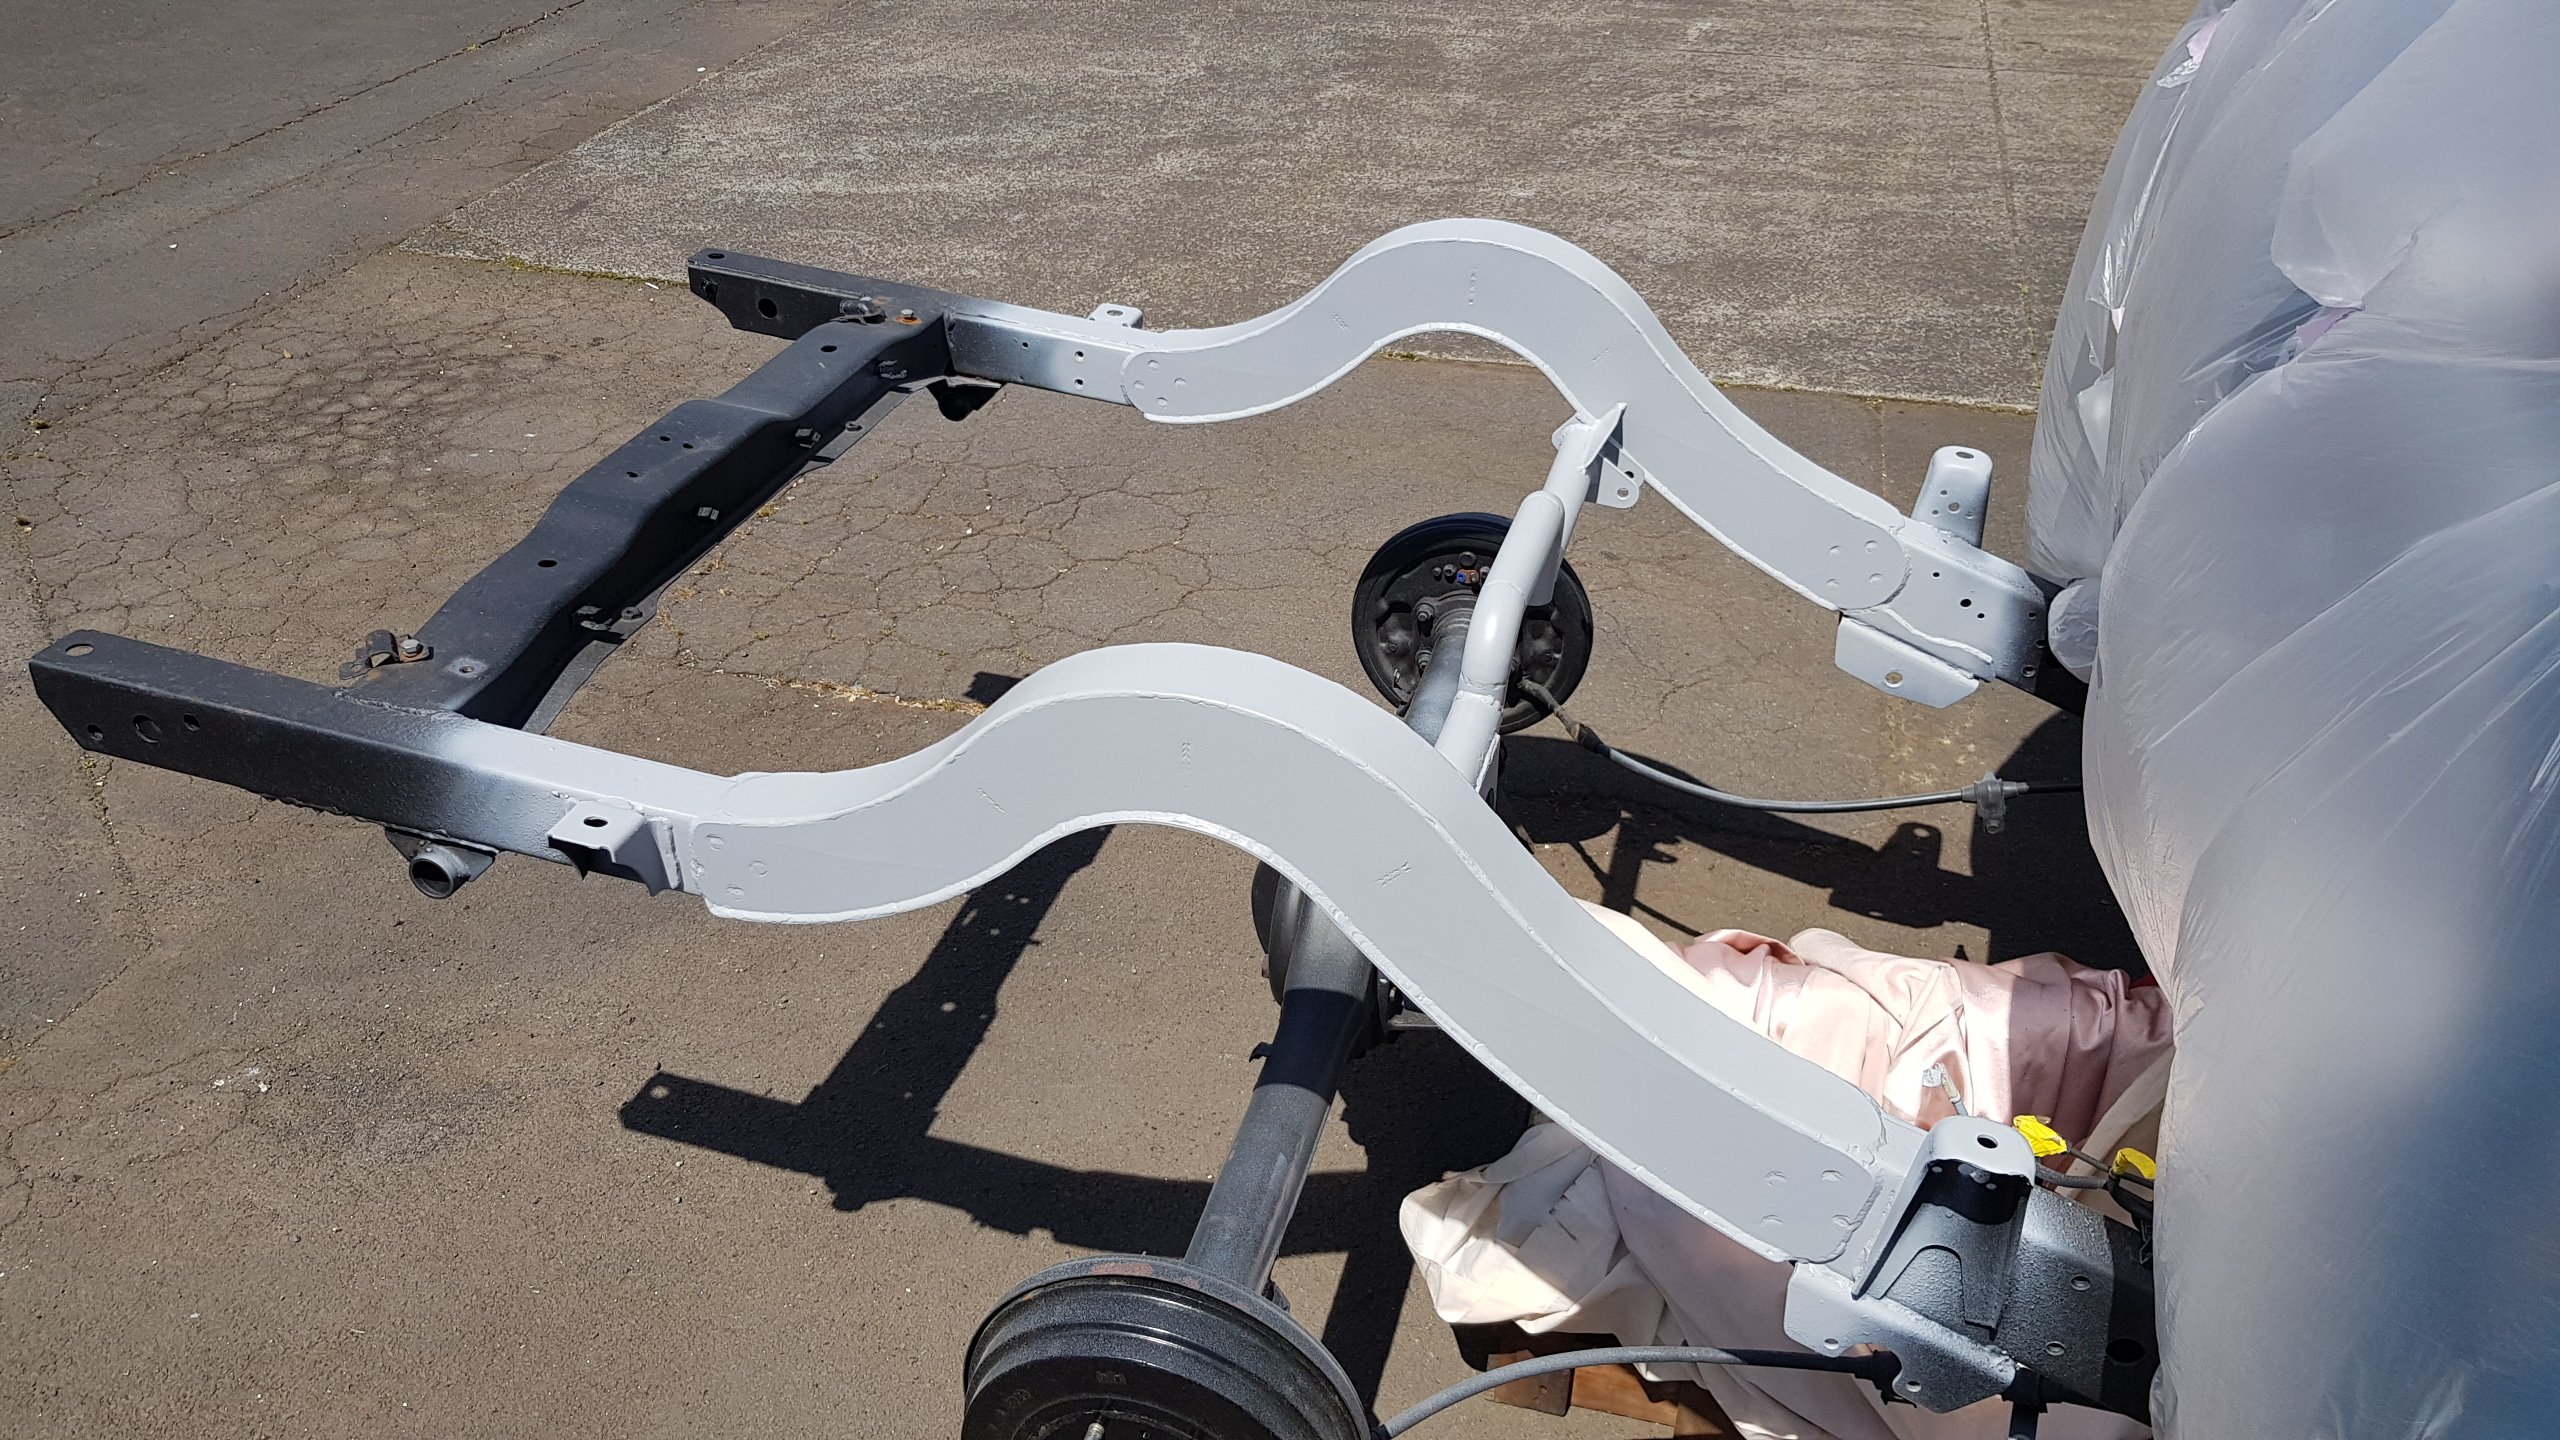
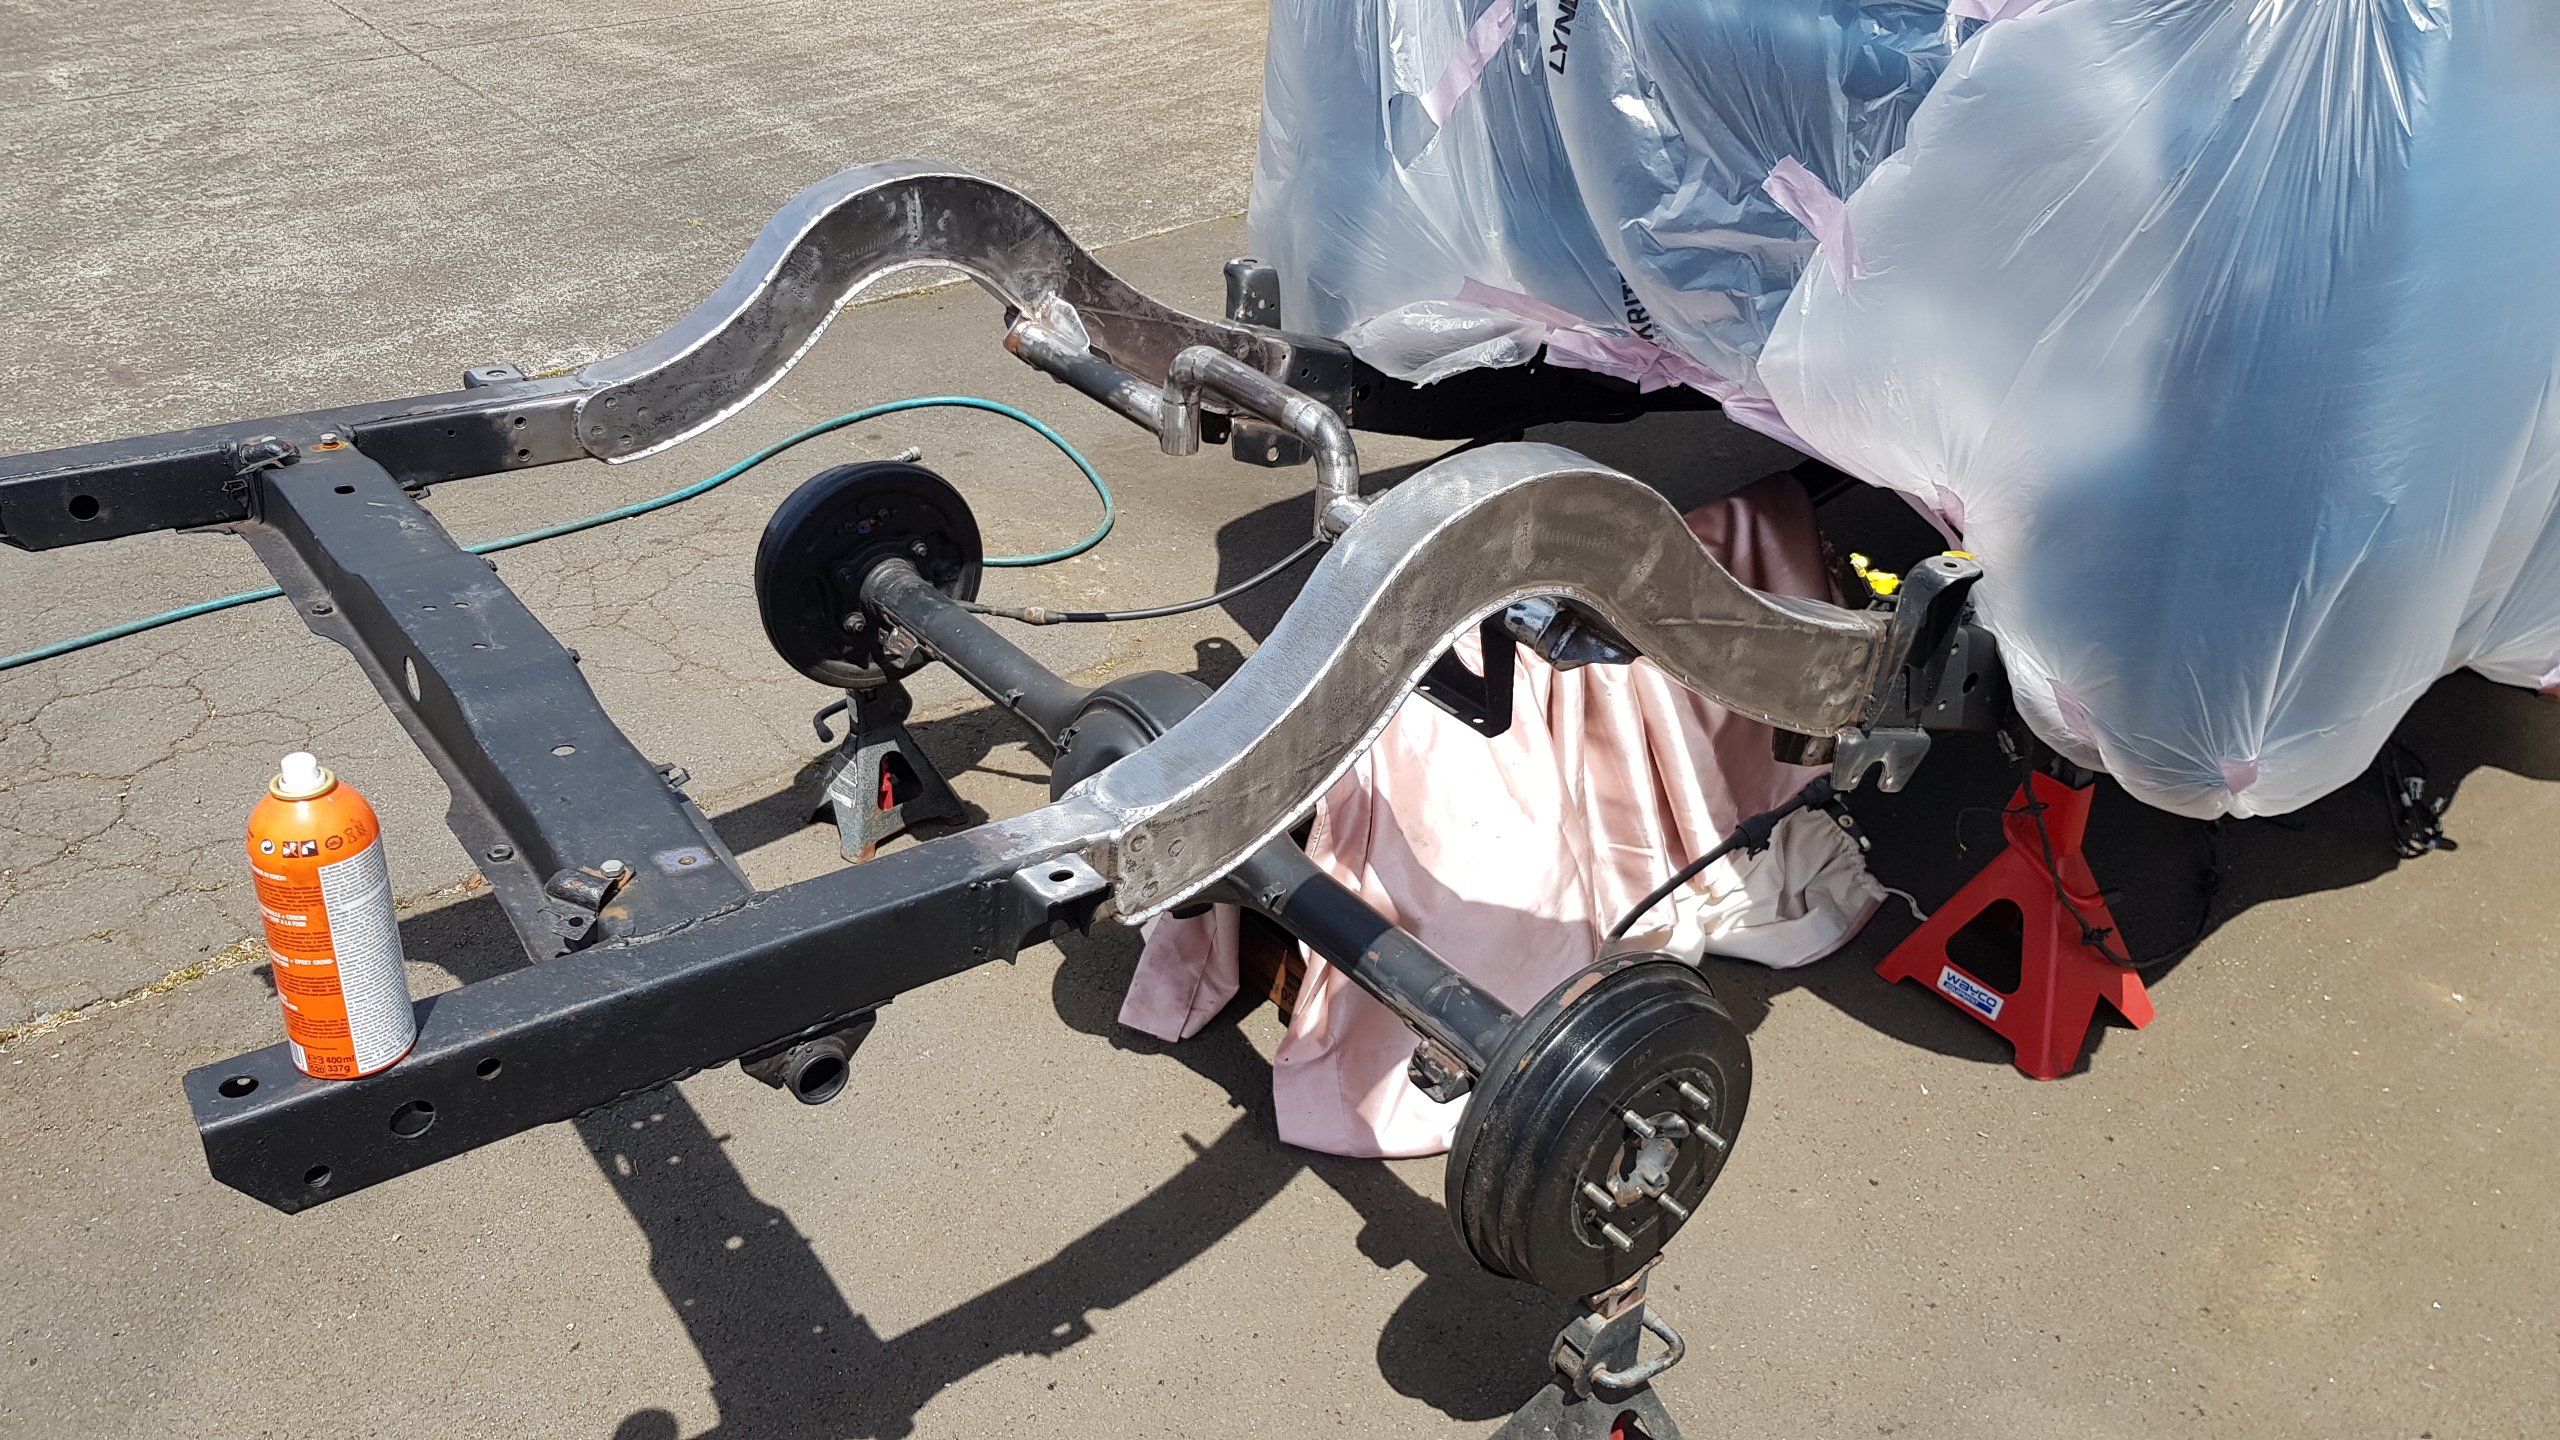
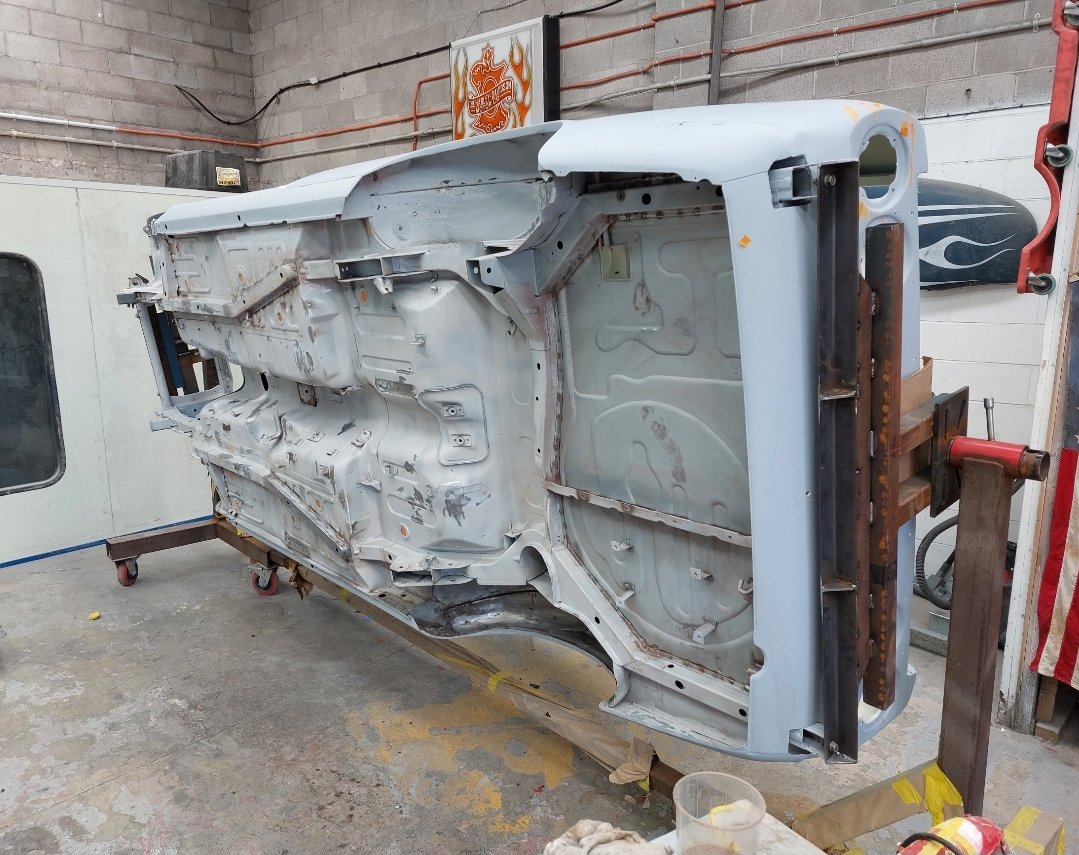
Still have a few brackets to weld on, but needed to get some paint on the rear end. It was a nice day Saturday just been, so got it stripped and prepped.
3 points
-
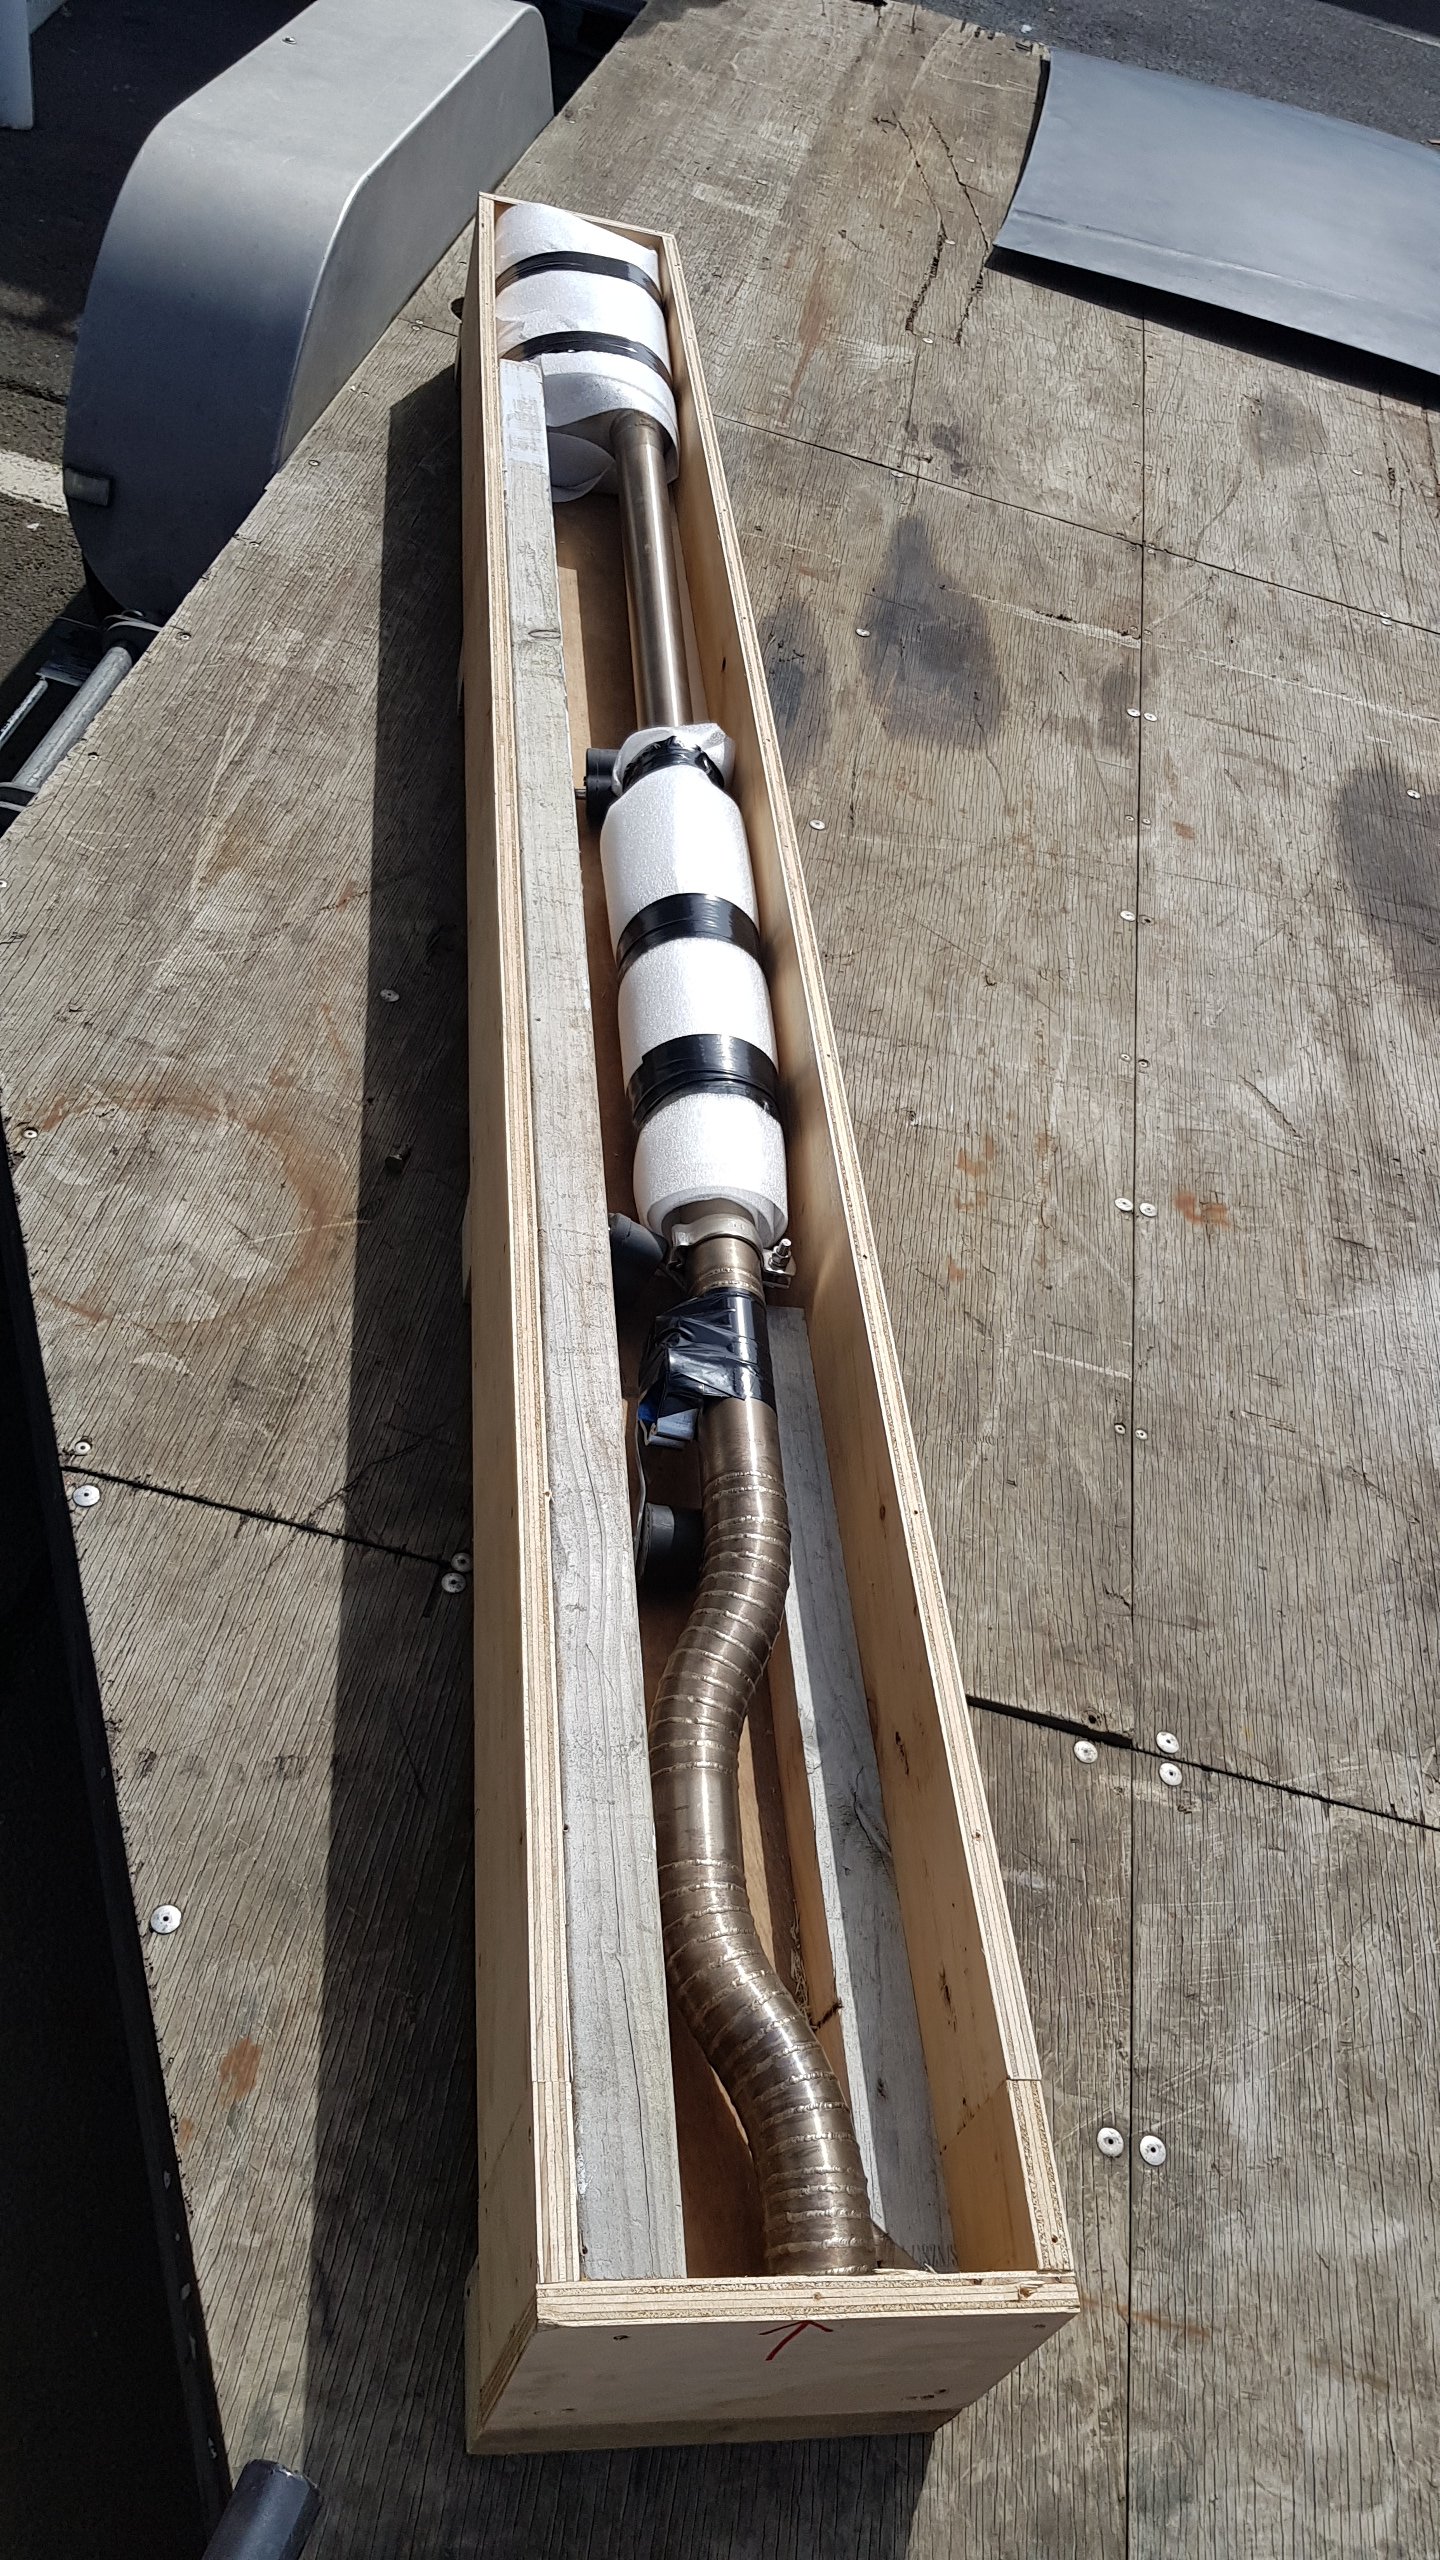
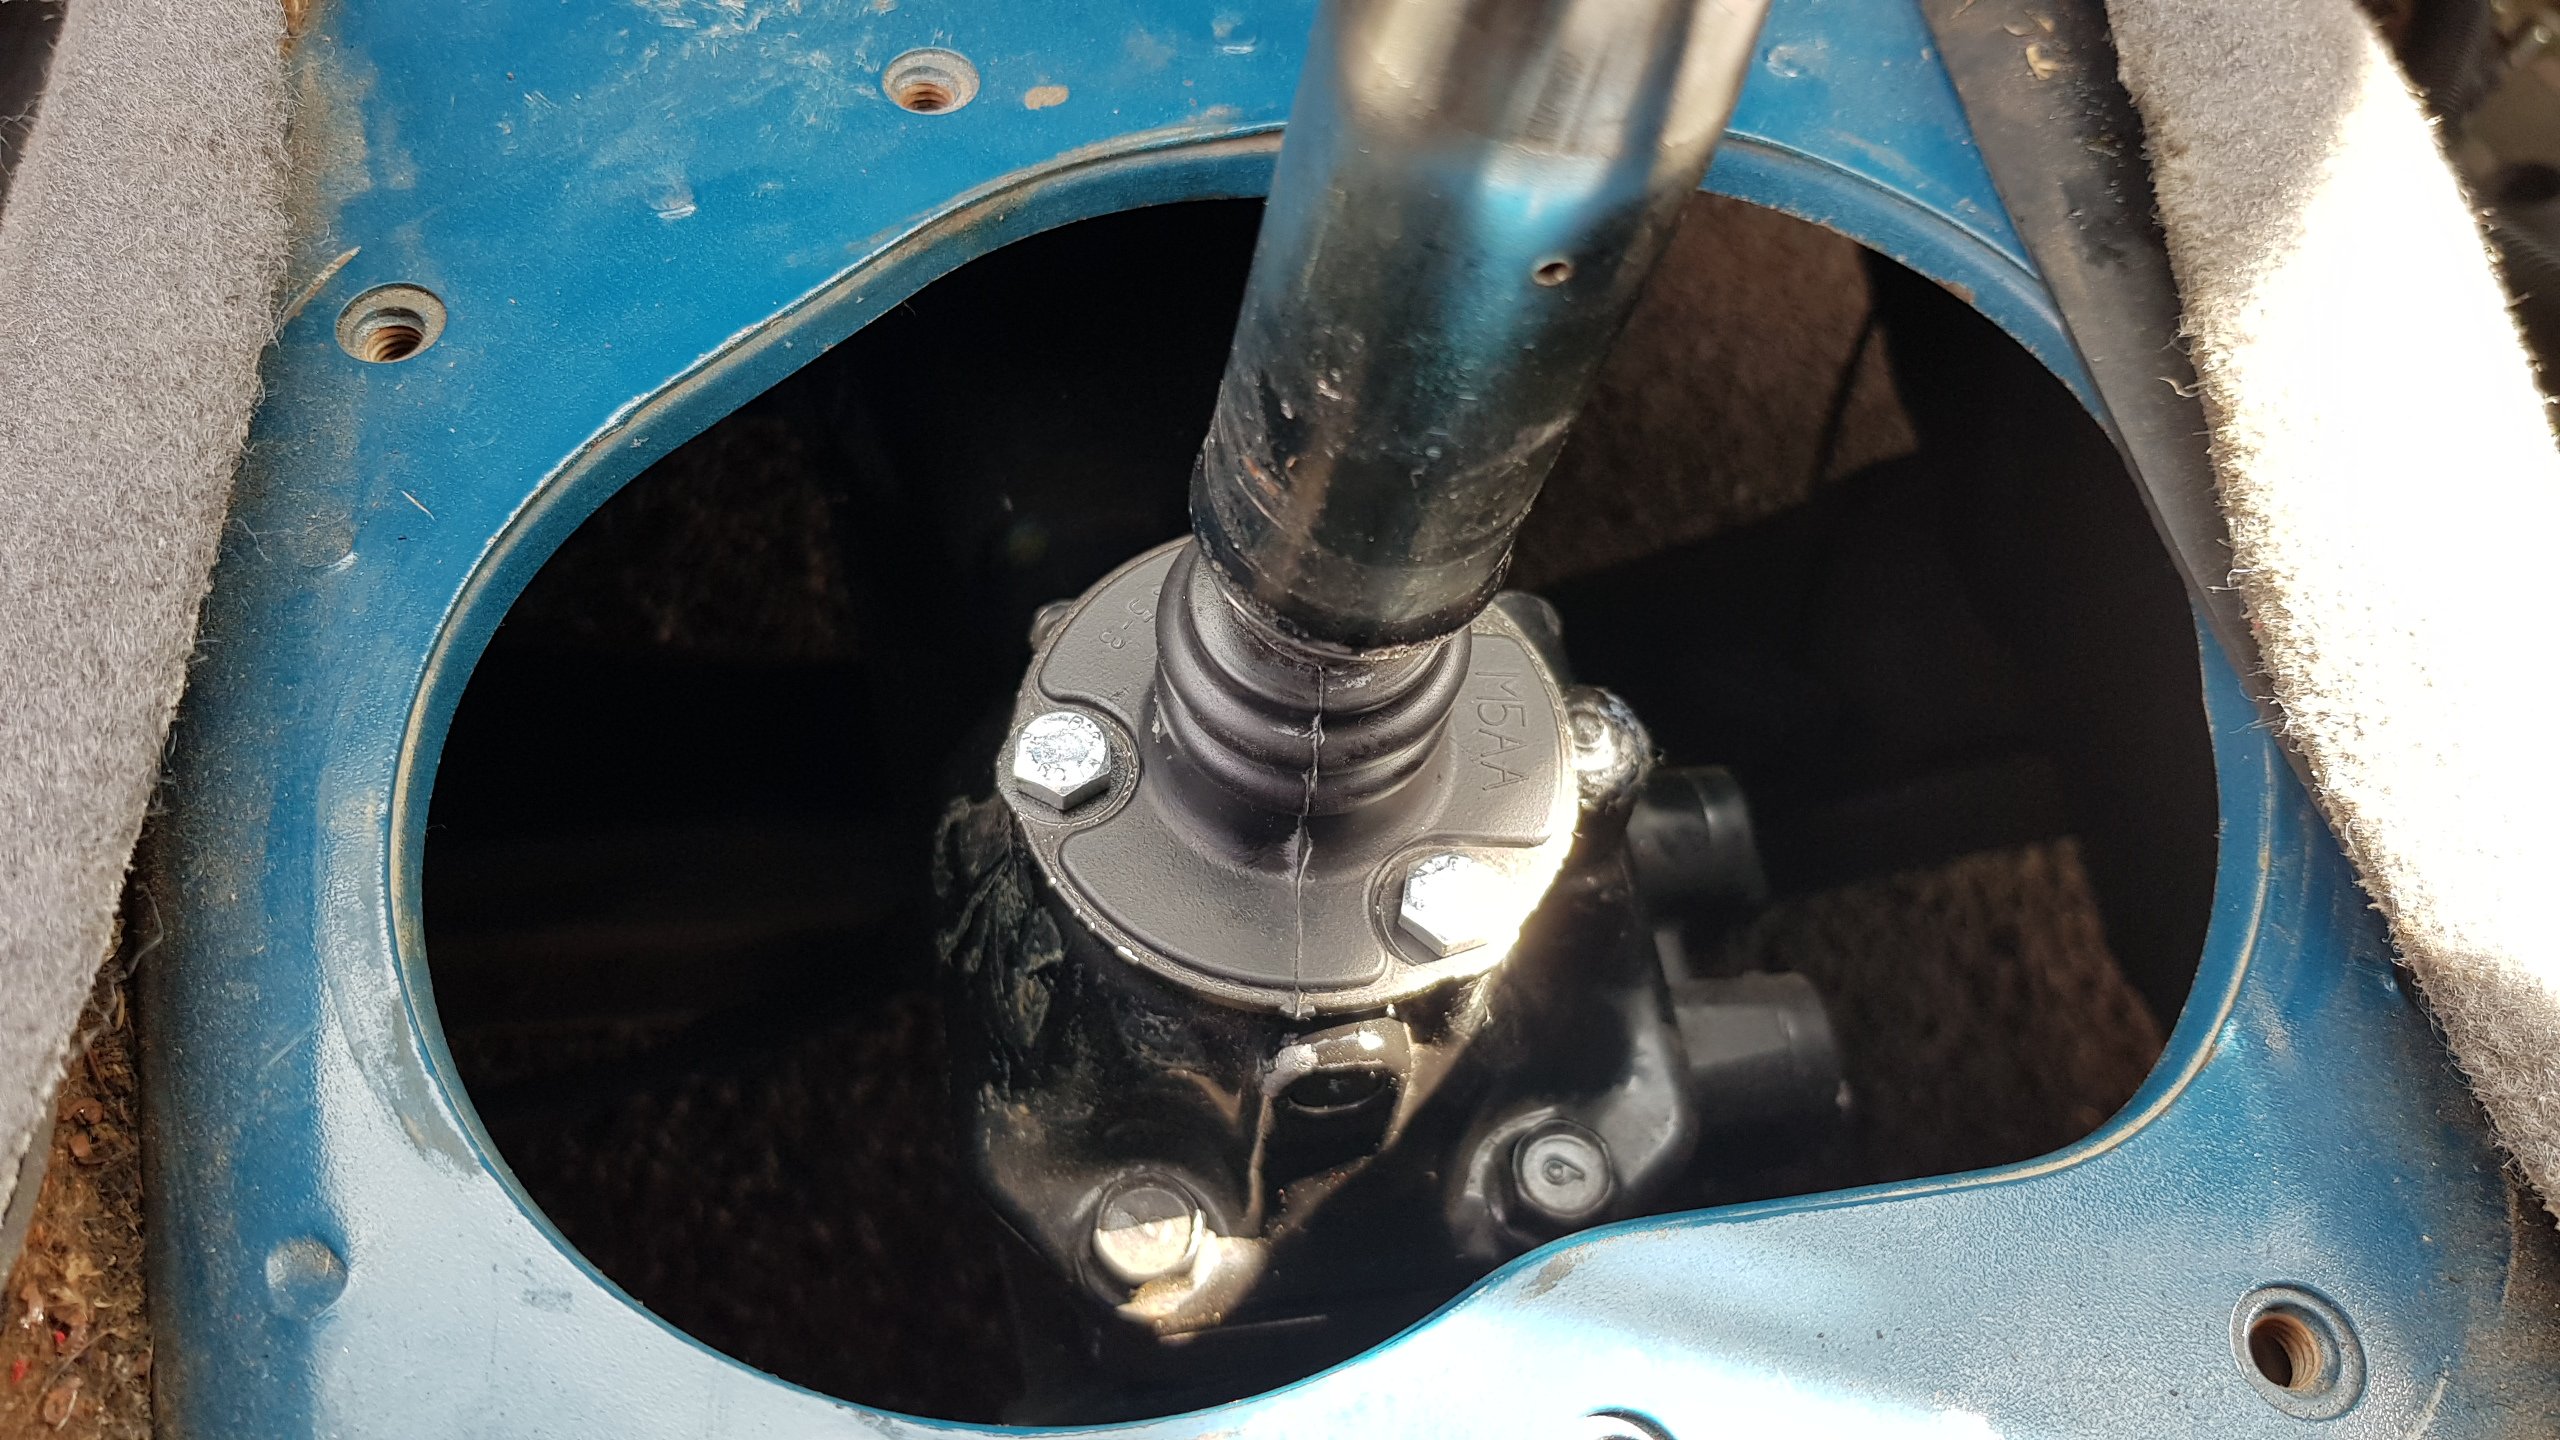
Bit more progress on the B2000 over the past few weeks. I had a bunch of stainless tube and bends lying around, but havn't had the hoist free or the time to make a system, so when I spotted this setup that a guy was selling I thought I'd better jump on it. He was parting out his bagged truck for some reason which never actually made in on the road. He had the system made to tuck up above the chassis rails but still fit the stock chassis mounting points. Has an AdrenelinR muffler and reasonator fitted so wouldn't have been a cheap setup to get made. Can't complain for $425 shipped from Timaru to Akl... He even made this sweet crate to send it up in. My shifter bush kit finally showed up from Aussie, so I swapped out all the worn shit and fitted a new non-split boot then got it installed. Tight boxes are gooooood.
3 points
-
For reeling in dem hoez3 points
-
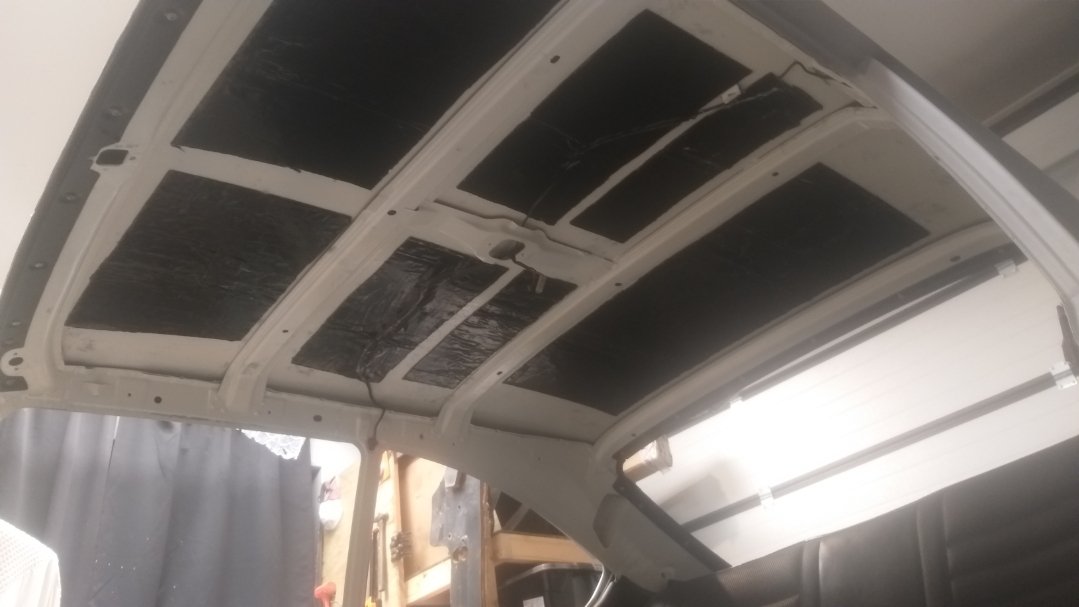
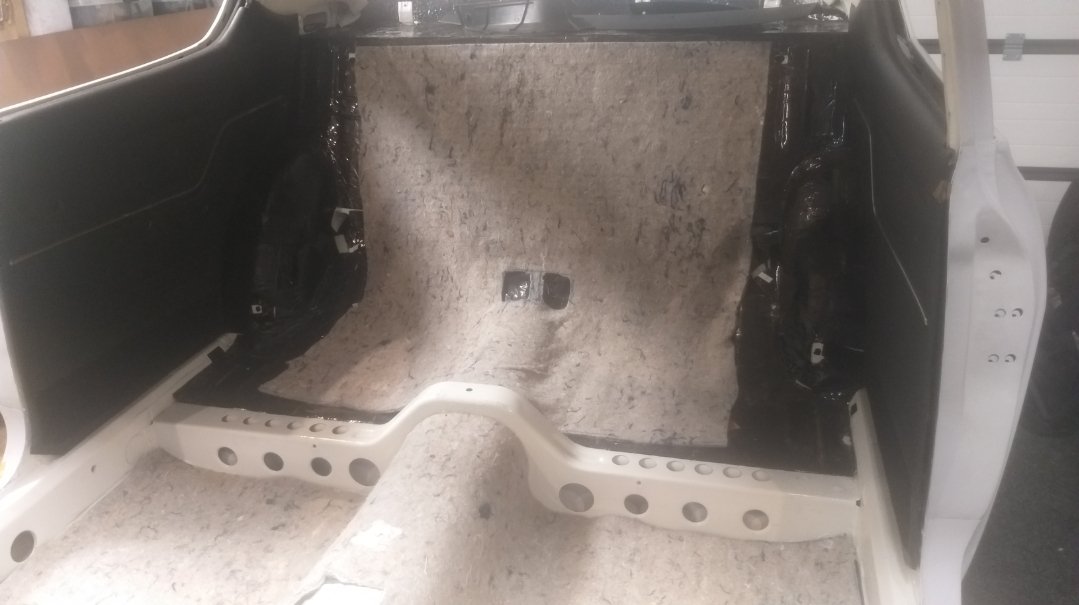
Have been prepping smaller jobs inside underfelt cut for floor and hoodlining, plus foams, spent ridiculous amount of time trying to get seat mechs to work correctly(still not 100%). Major part is its now finally at the painters, spent a day yesterday helping prep underside, good things to come
3 points
-
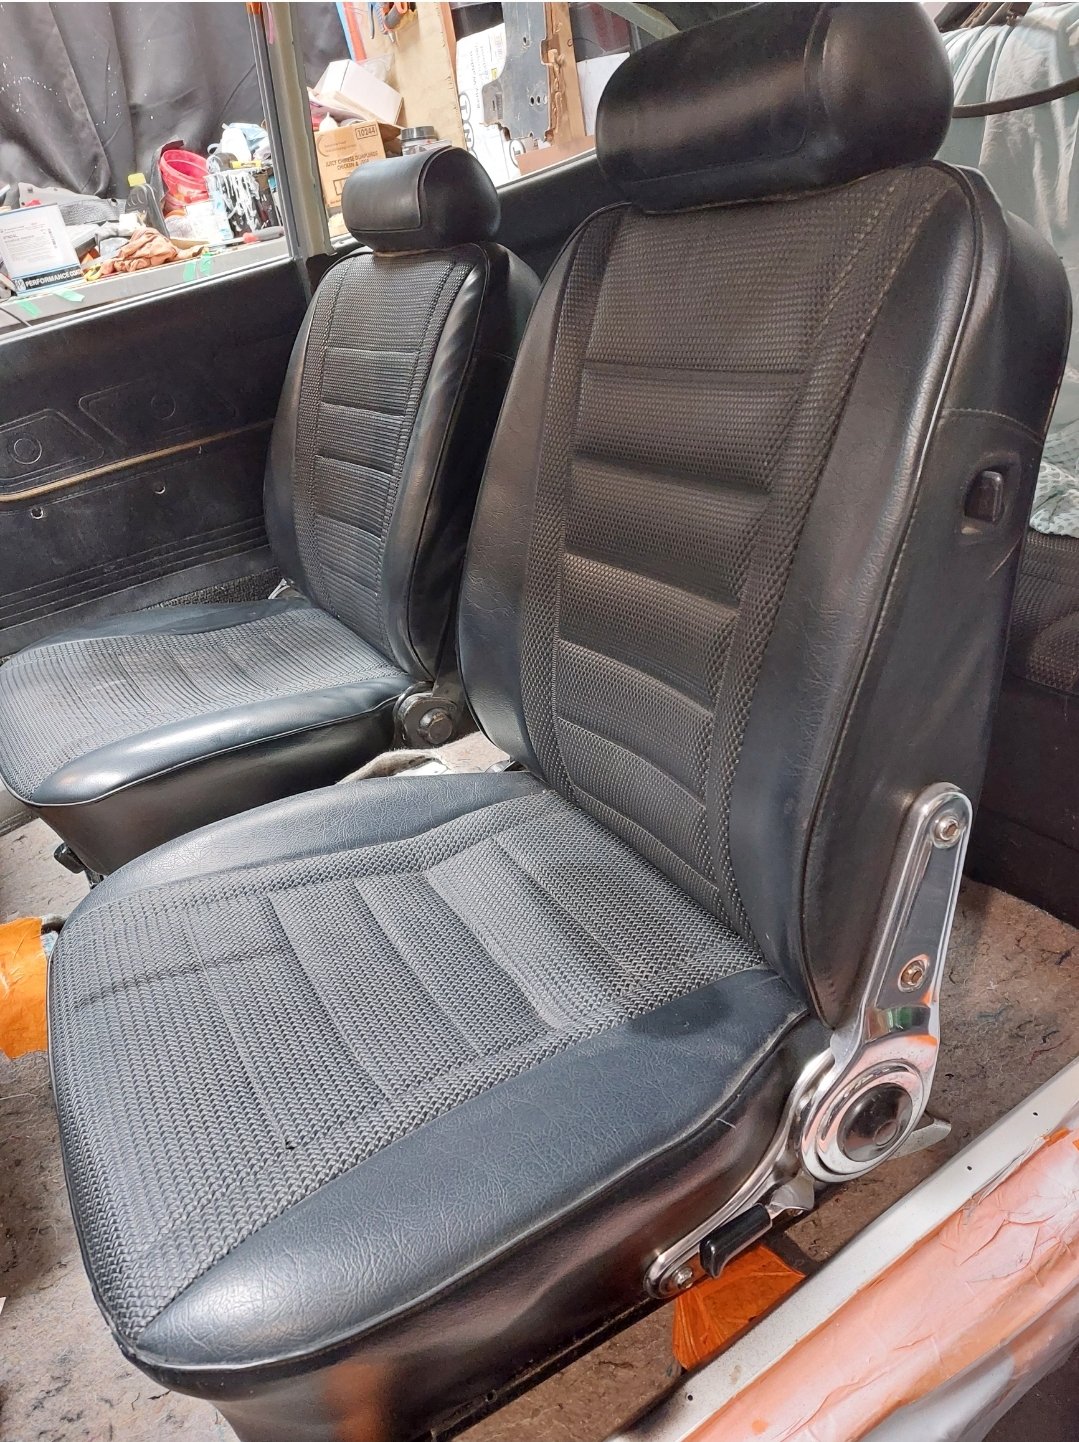
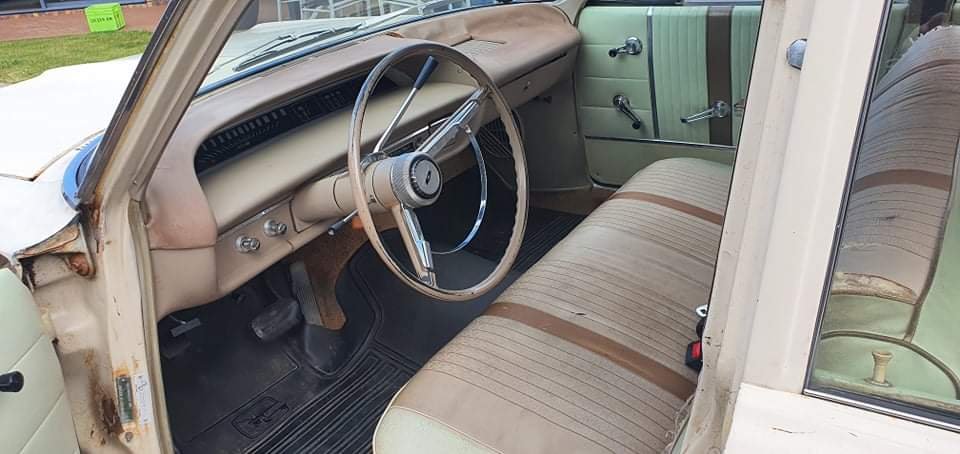
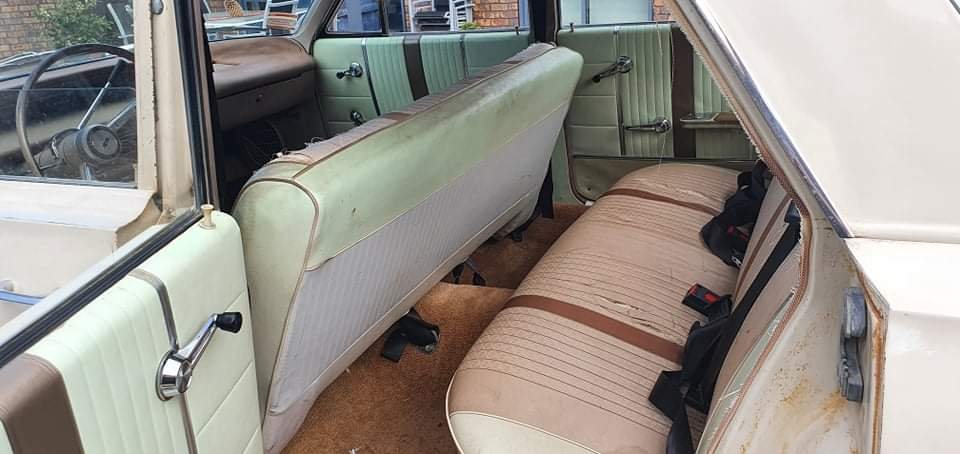
I'm a big fan of the fawn and green interior
3 points
-
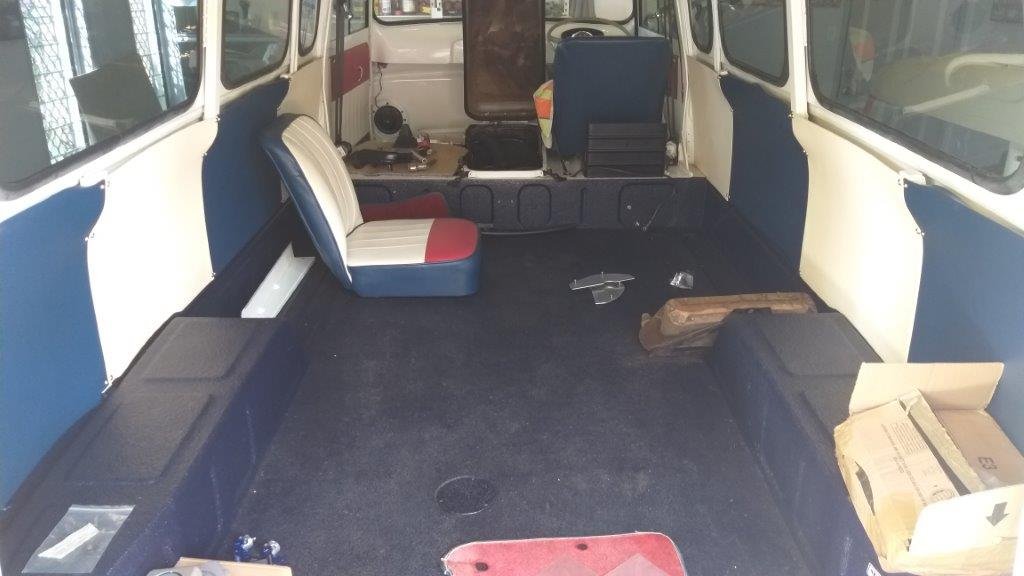
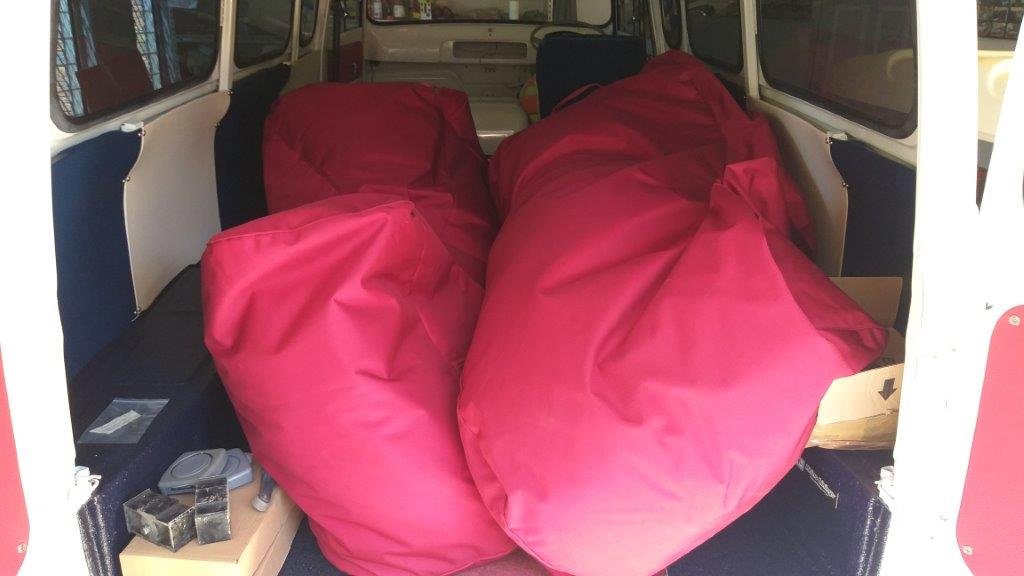
Now the back of the van looks decidedly spacious. And that's my excuse for not having worked on the Thames for the last few weeks.
3 points
-
Buy a Land Rover. All your troubles will melt away.2 points
-
If I can get it registered and get out of Auckland yes.2 points
-
Priced up supremes today. It came into the country on some but they were long gone.
2 points
-
so... Wagnats....2 points
-
Well I got back into this and finally finished building the box and have now filled it with tools. Very happy with the finished product. Continuing on from my first post I added a few more bits. First off was a lid that covered the stainless tray. This was 18mm plywood left over from the shed build. I hinged it off from one side and made a swing out support to hold it up when its opened. Then I build a lift up section along the back to hang spanners and screwdrivers off. I added a lid to this bit. I ripped down some bits of eucalypt timber left over from the coffee cart we recently built for a customer ( that's another thing I must put some pics up of because it was a cool project!) These bits of timber were then profiled into corner cappings. With them attached Hannah then oiled it all and varnished the flip back lid. I made some handles. One main one for shifting it about the workshop and then a swing up one with more leverage that is for moving it offroad. I found a little handle we have had for yonks. Ideal for the lift up section... Finally a little box on the side for a few often used cans- wd40, spraygrease, zinc it black etc. I took no photos of all this because I was just absorbed with the build. Now complete I filled it with all the tools I use on car jobs etc. This was super fun because it meant I could shuffle loads of stuff about and off the walls. I could also move my old toolbox that took plenty of useful 'Flat six' sized space and put it under the bench. The bench area became a bomb site with stuff all over the place as I did a workshop bench spring clean. Got rid of lots of crap and re-organised a load of stuff into new trays I'd bought from Bunnings. This satisfies me no end. Anyway- back to the toolbox. Which now has a very catchy name. The 'Wheelybox 2000' pics. Closed up and ready to move... and opened up (a pic sort of like a toolbox equivalent of 80's Lambo poster with all the doors/boot/engine covers open).. In action... on the move.. detail shots... ( should have done a narrow depth of field shot of the cans through an open window...) the tray.. and for your amusement - this is what happens when I do a spring clean... So happy with it. It going to be a bloody useful asset to the business and save a lot of walking back and forth to the bench, especially when doing jobs on cars, trucks and tractors etc outside. Should have done it ages ago! My next plans for the bench area are to paint the plywood walls a bright colour and probably add a window over the bench - especially as we have chopped down loads of trees and we would now be able to watch the sunset through it as I tinker with Goldwing engines. I'll update the bushblock thread with that sort of workshop tinkering though. Better get back onto the Micras and the Imp 911 first eh....2 points
-
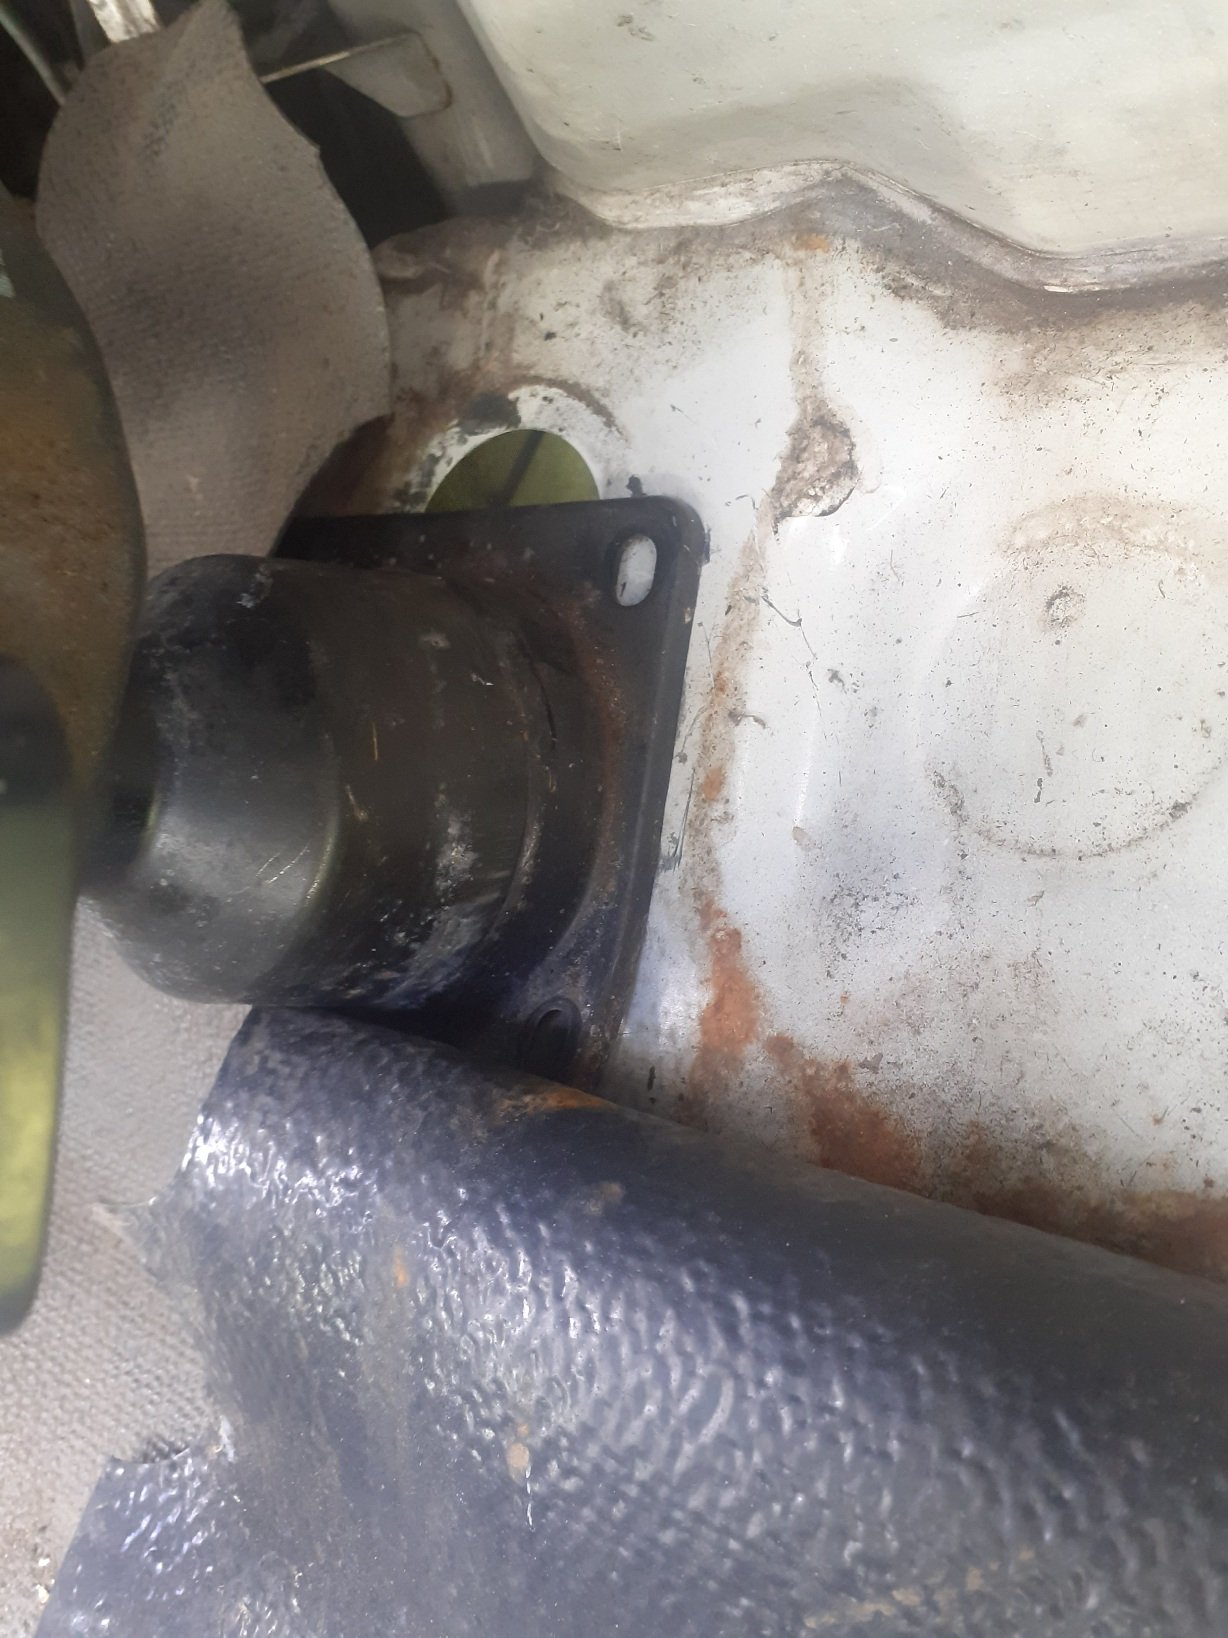
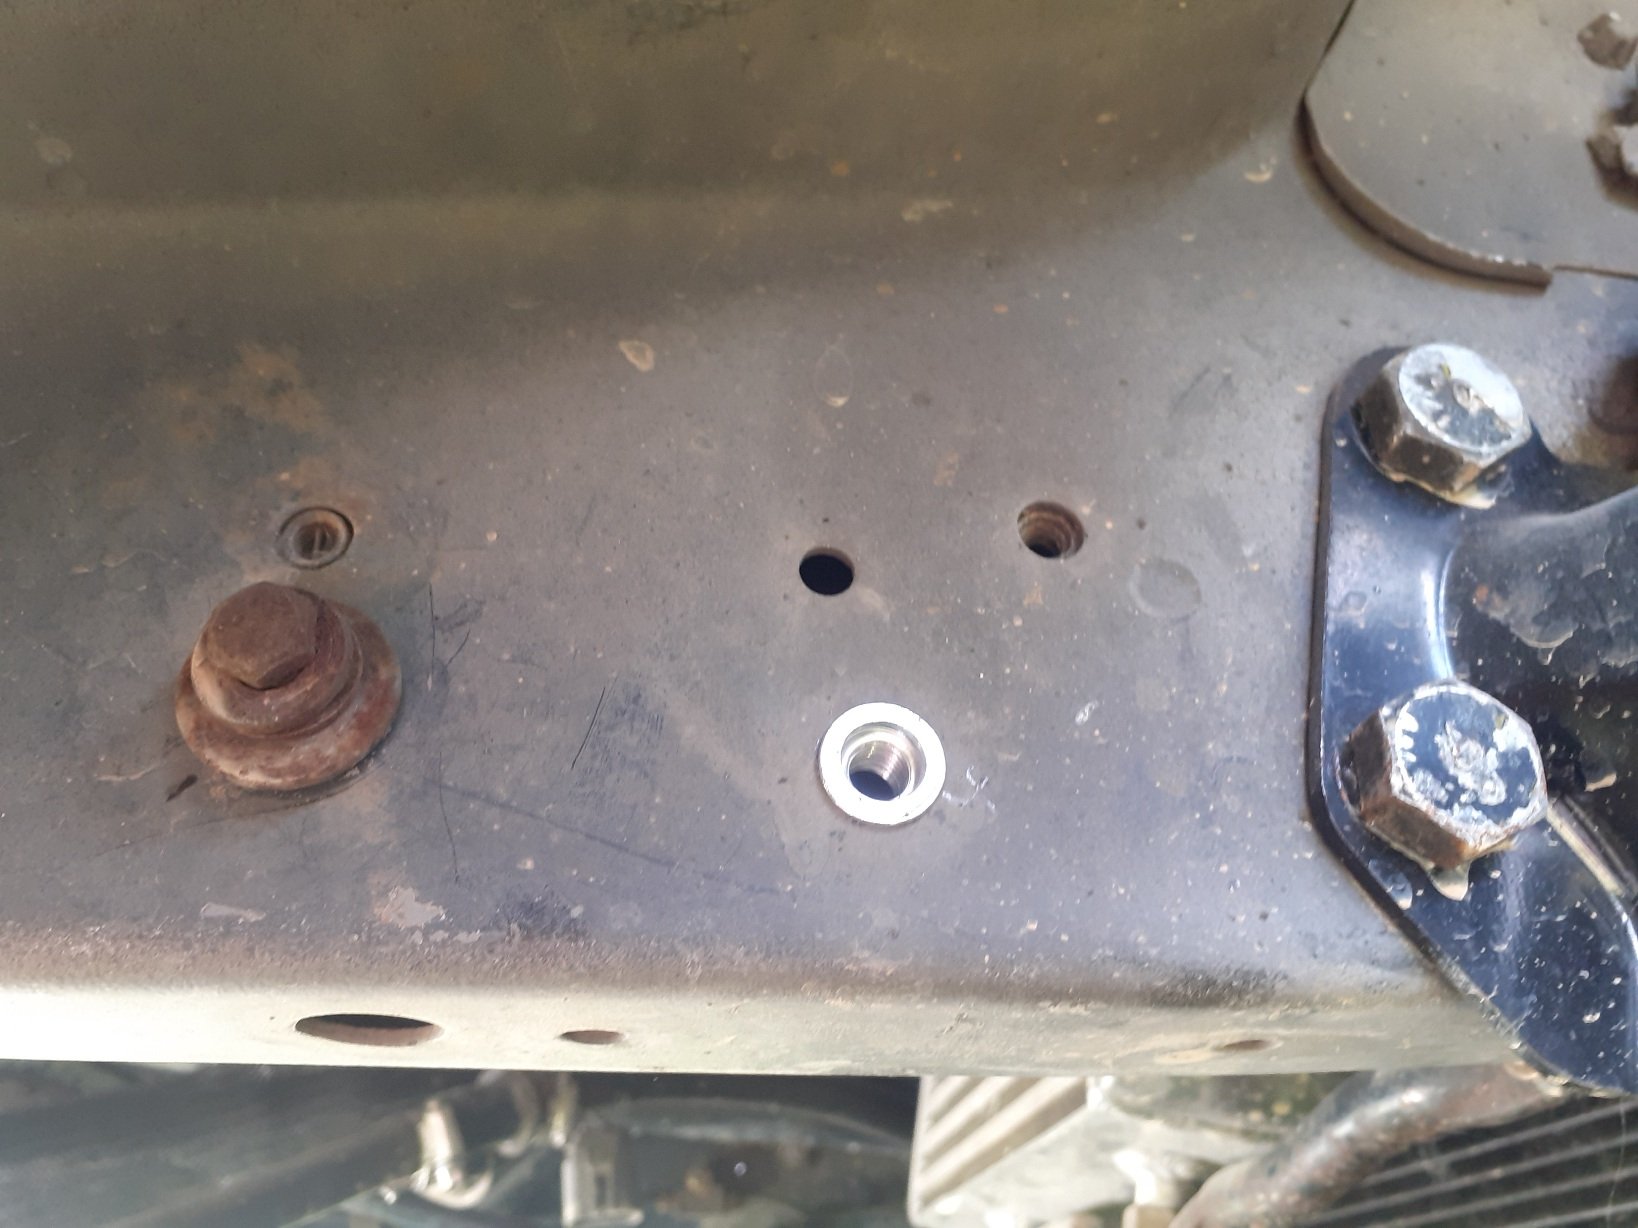
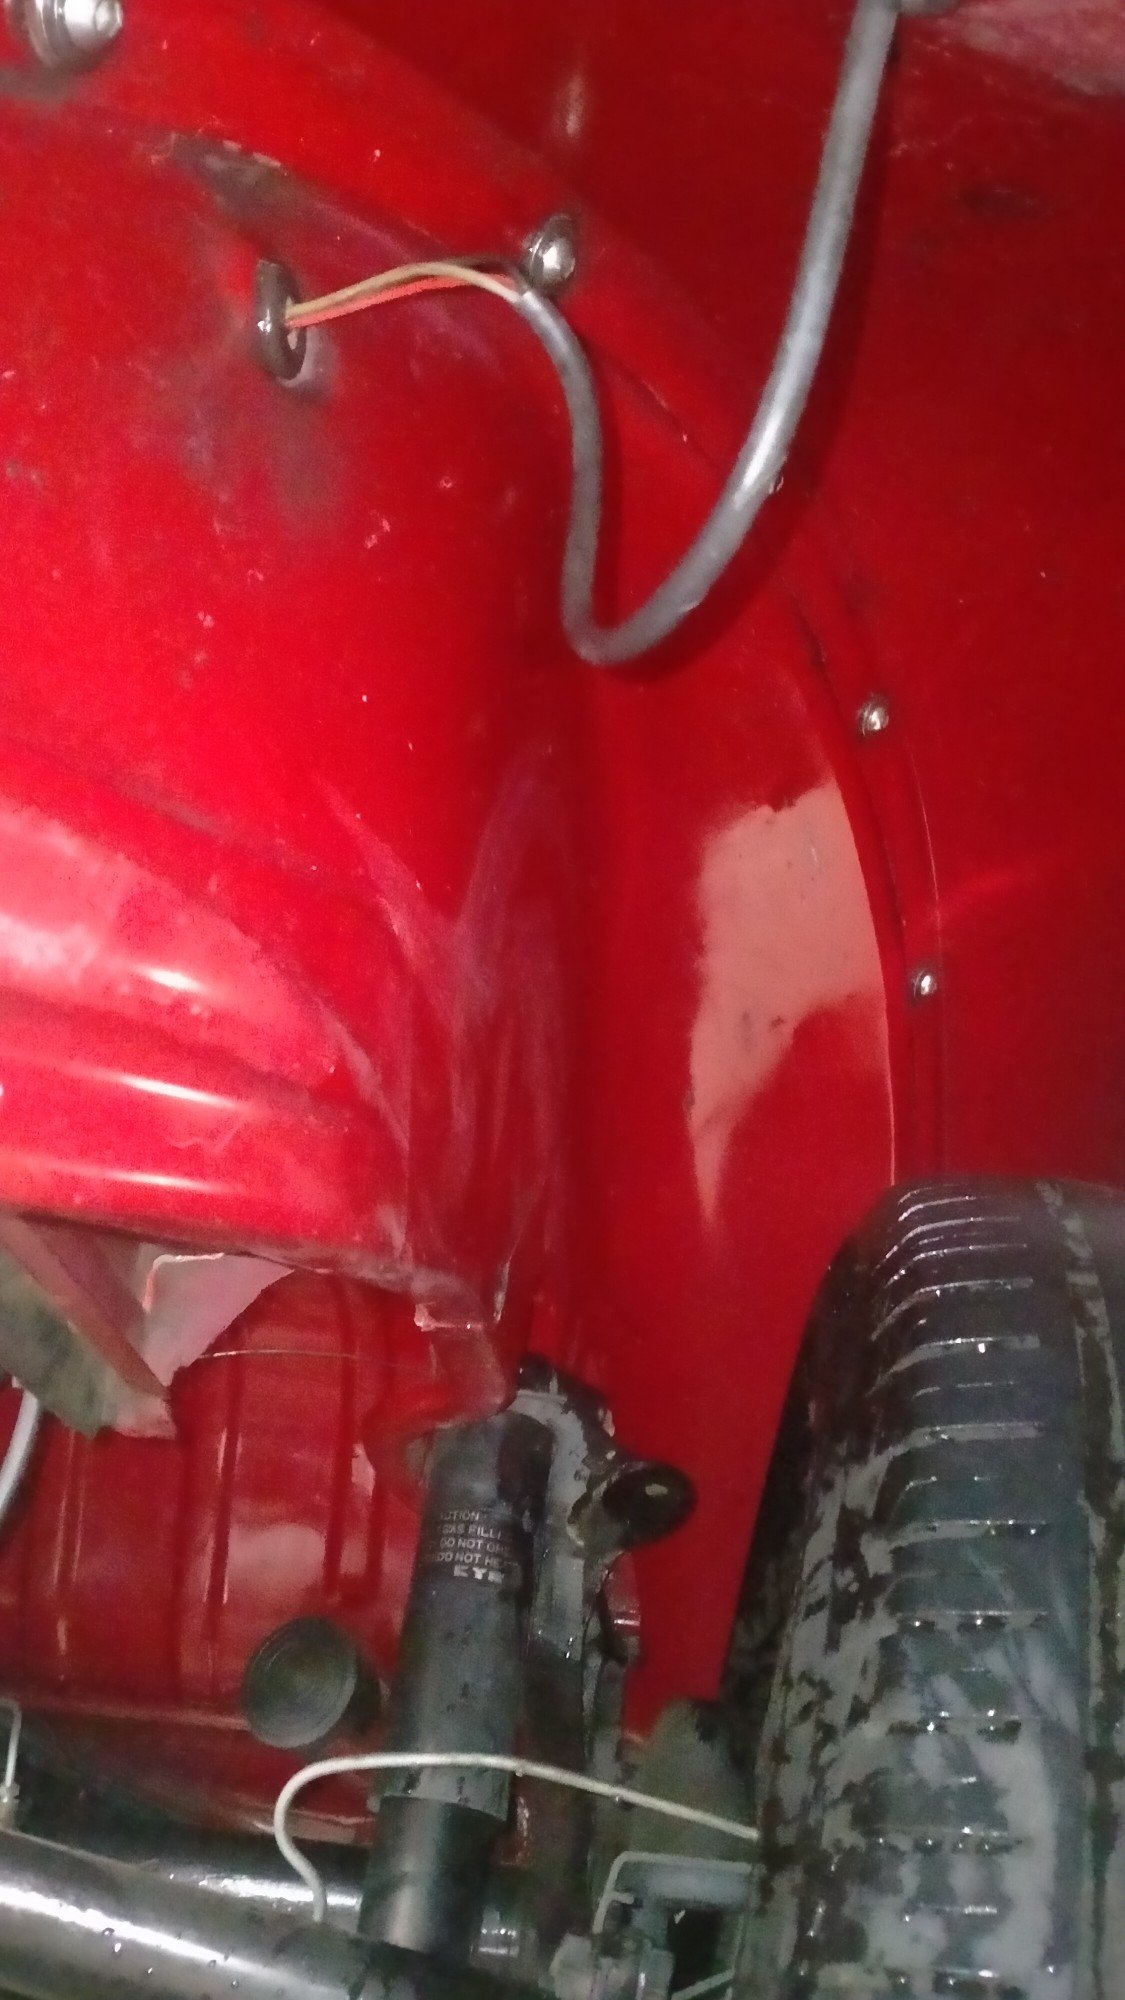
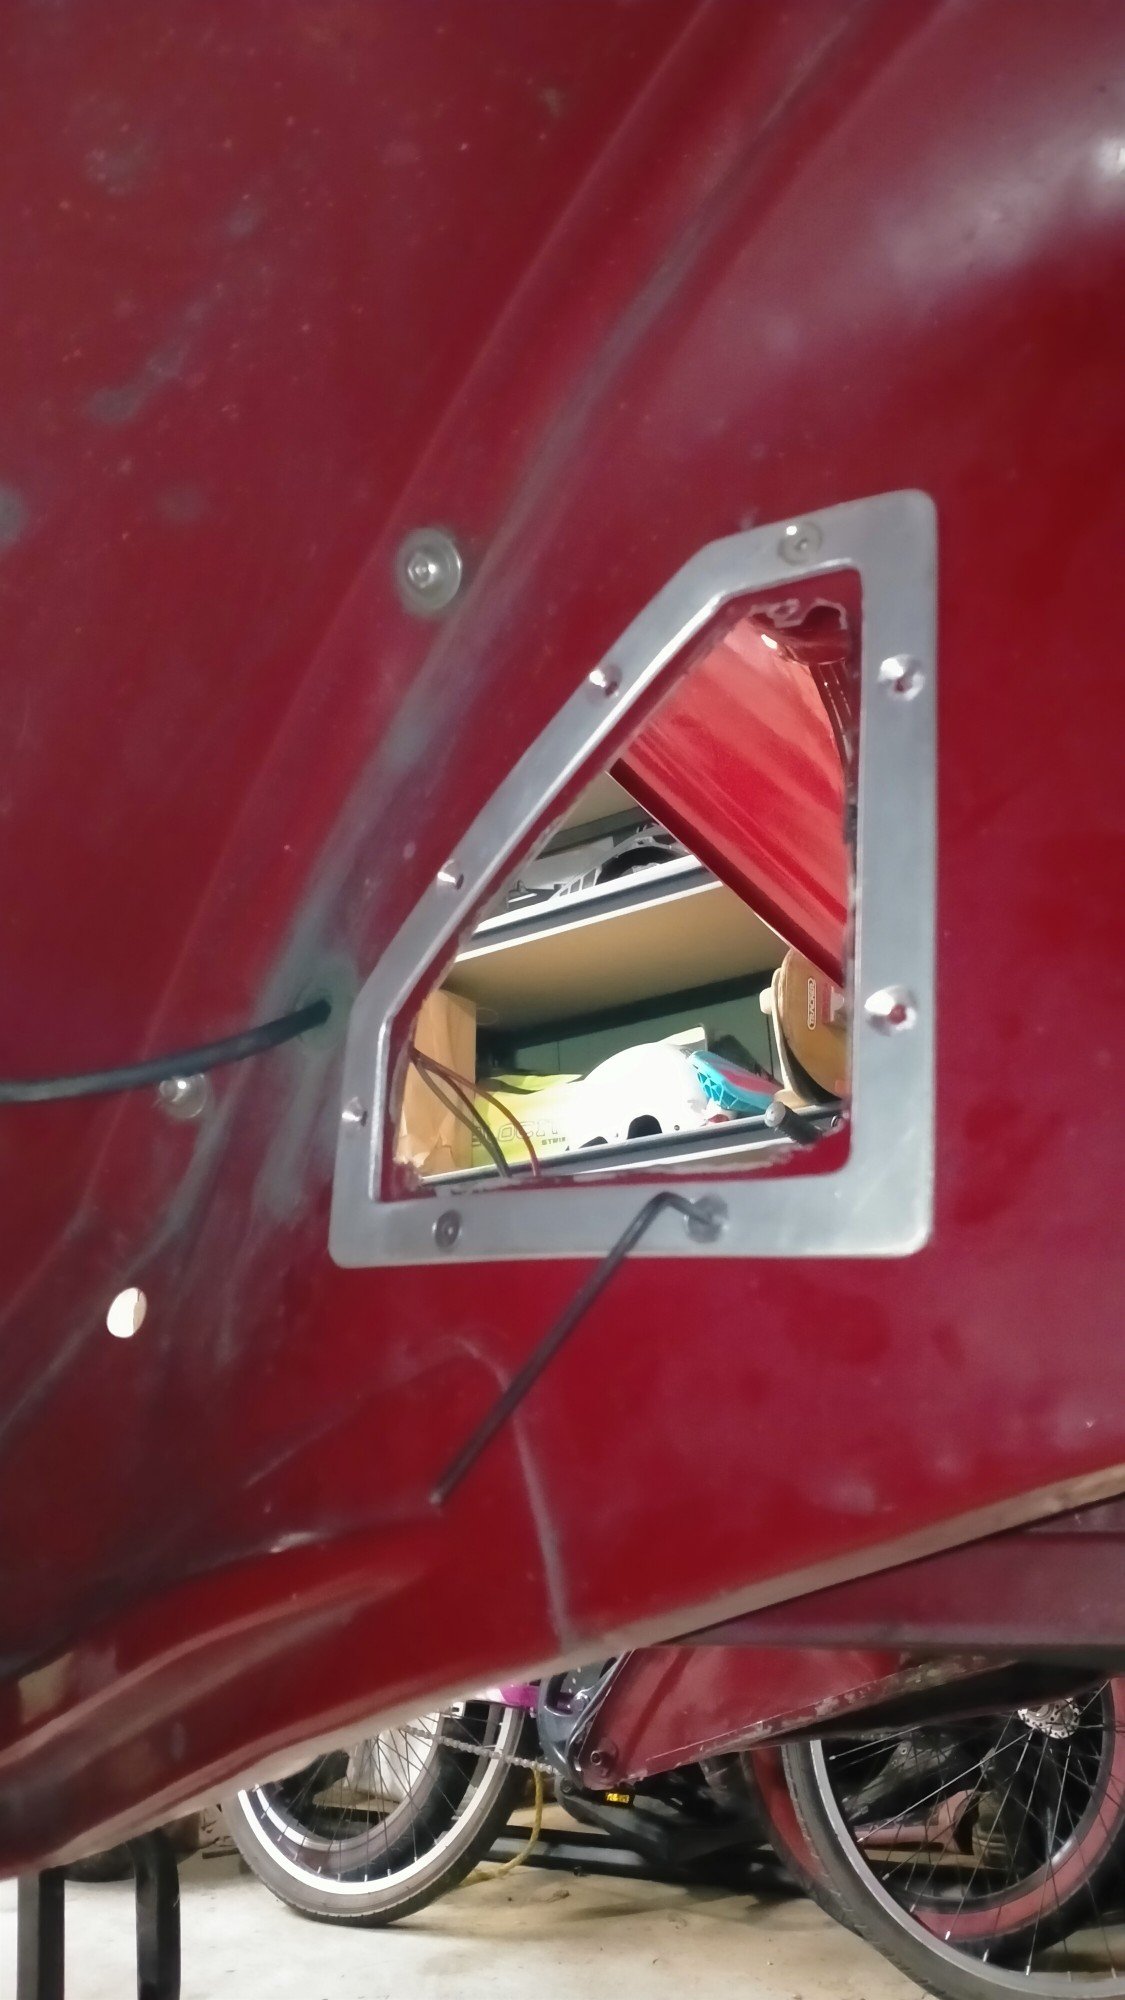
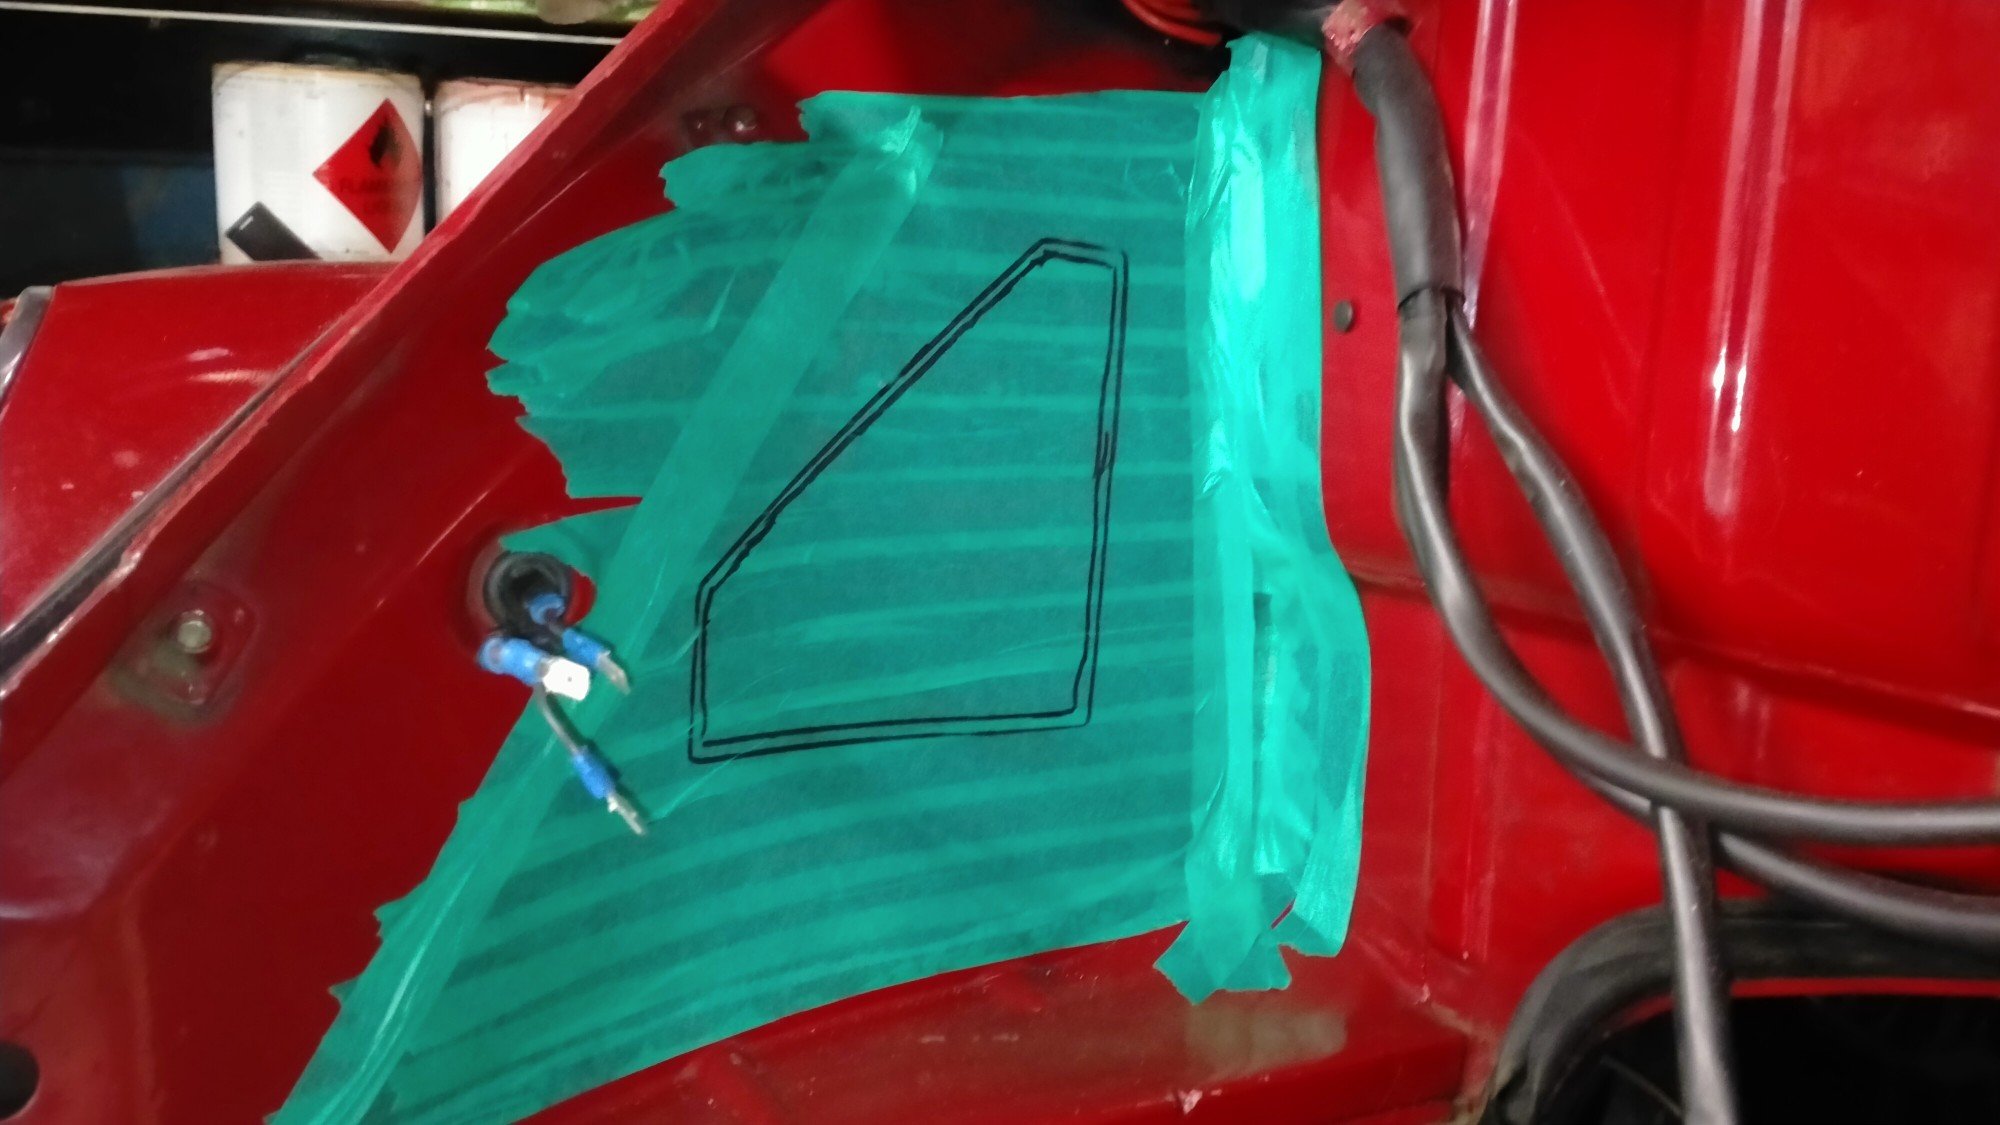
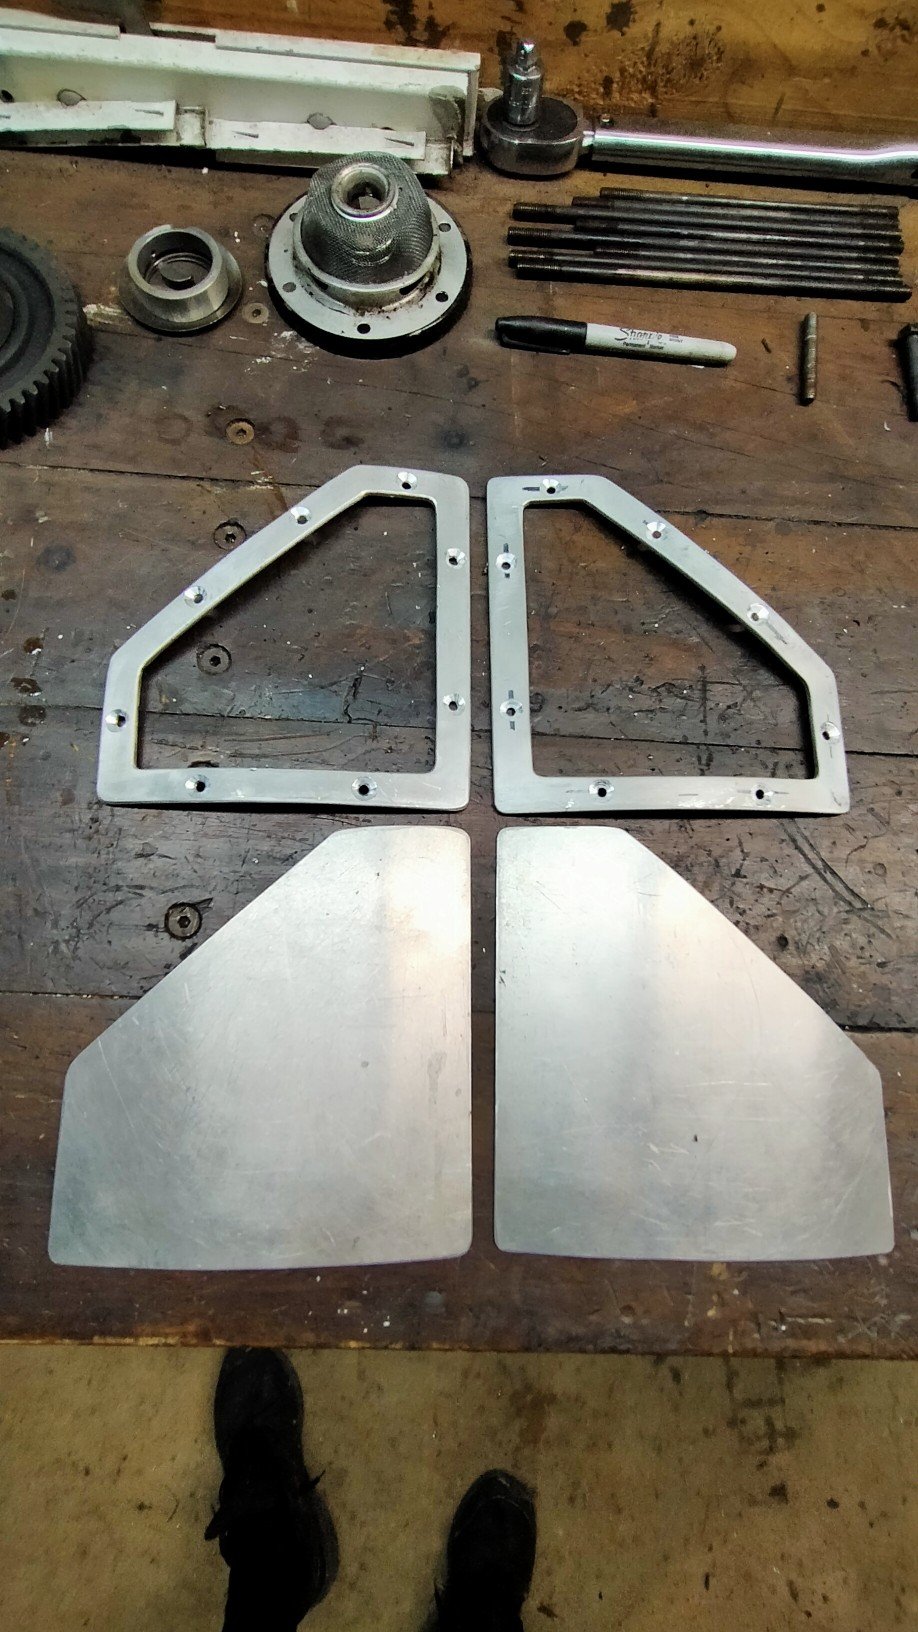
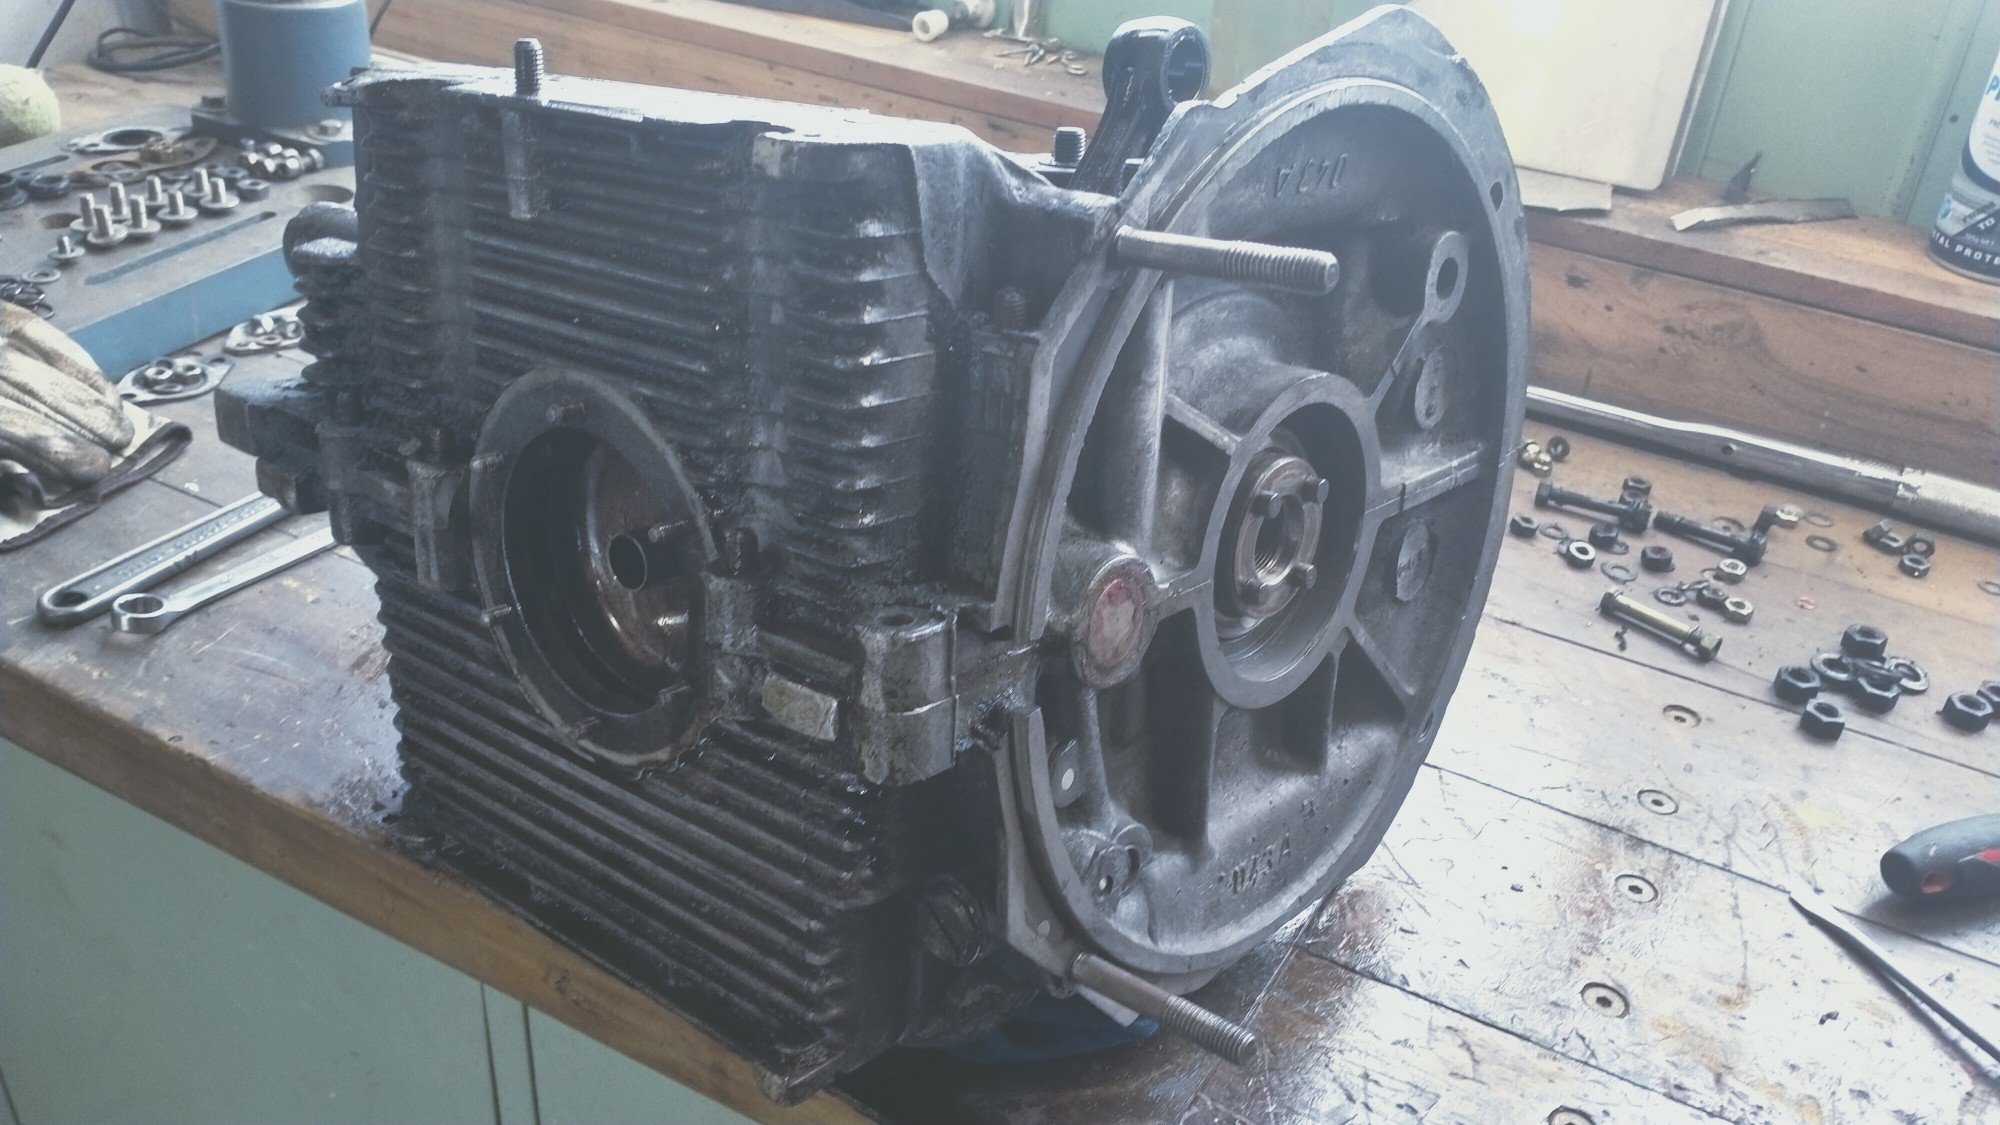
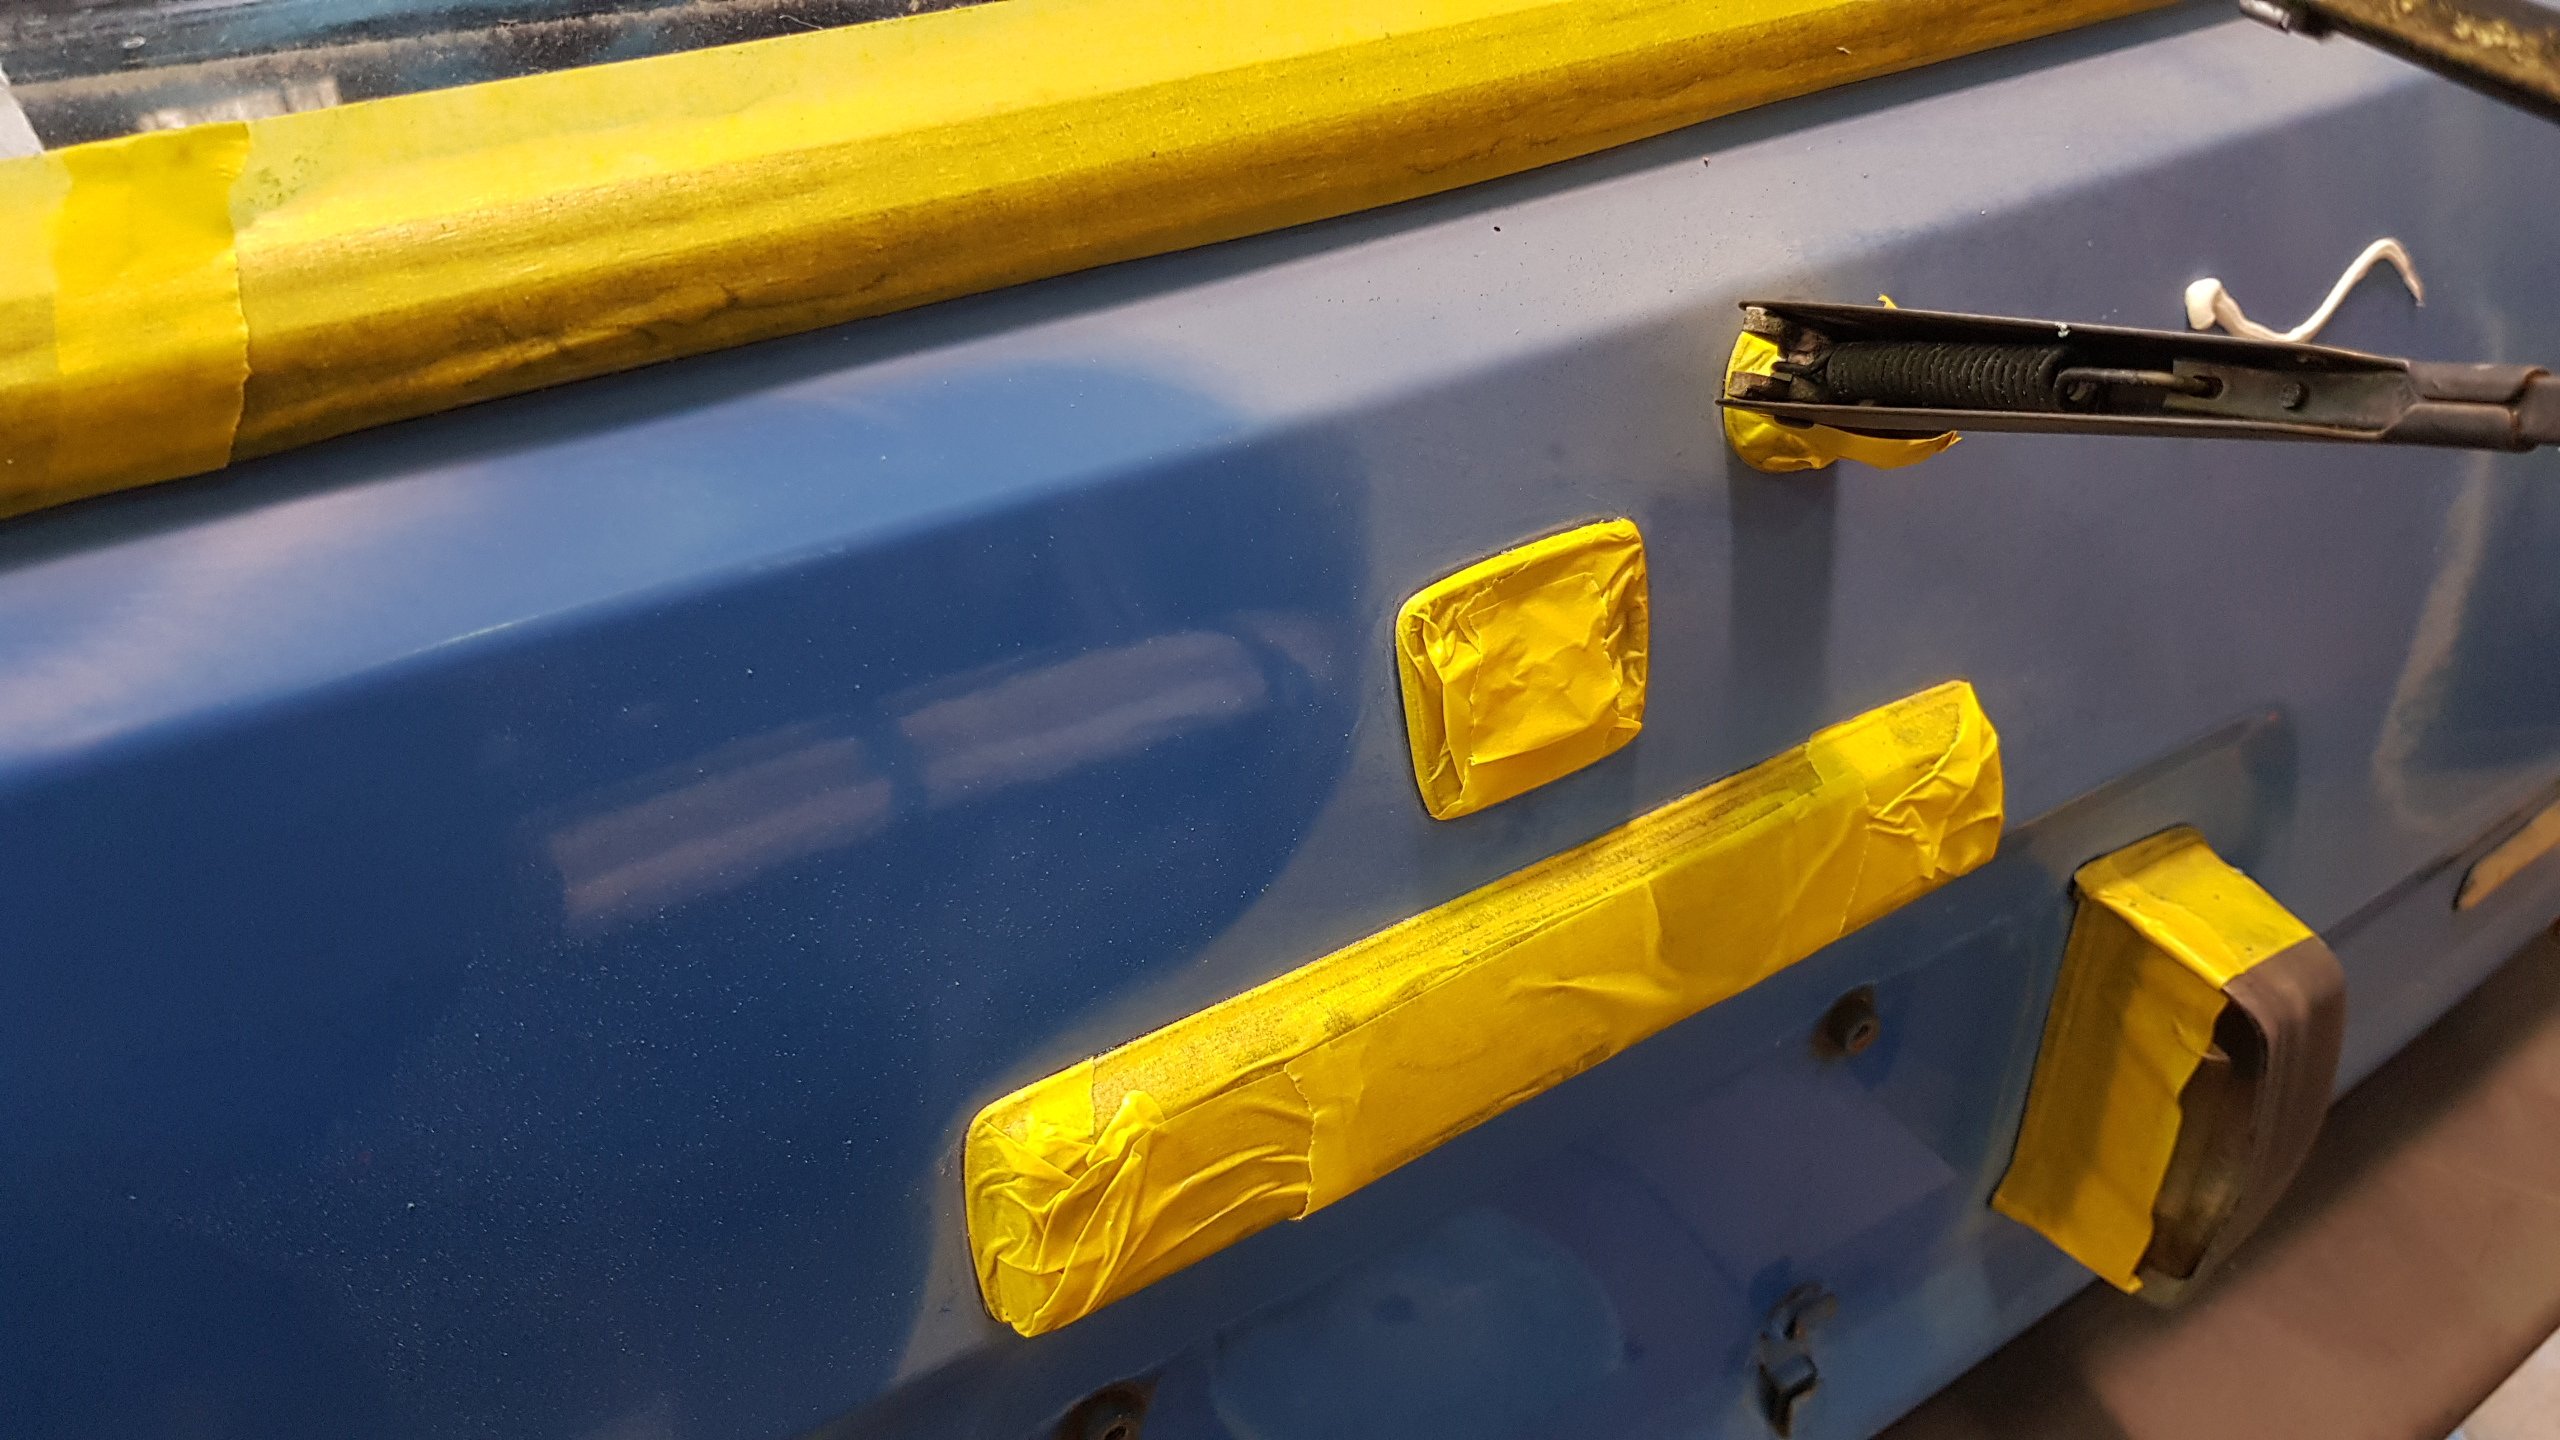
So I took the case and crank over to Qualitat for their air-cooled guy to check if the it was viable to rebuild. Wasn't holding out much hope as this is 40-50 year old chunk of alloy that I abused on a daily basis. Took the opportunity to clean up the rear wheel well. Made these from some scrap alloy I had. Marked up a that's about right spot. And cut some massive triangles out of my nicely painted engine bay. Drilled hole and popped rivnuts in. Left the edge rough to hammer over the frame to strengthen the panel up. Both bent to shape and countersunk for mounting, the plan was to drill and tap the frame for the covers to attach with but was thinking about using VHB tape. All this work is to make installing the carbs and manifolds easier, it to about 10 minutes to put the engine in last time, and two hours to tighten the four nuts that hold the manifolds on.
2 points
-
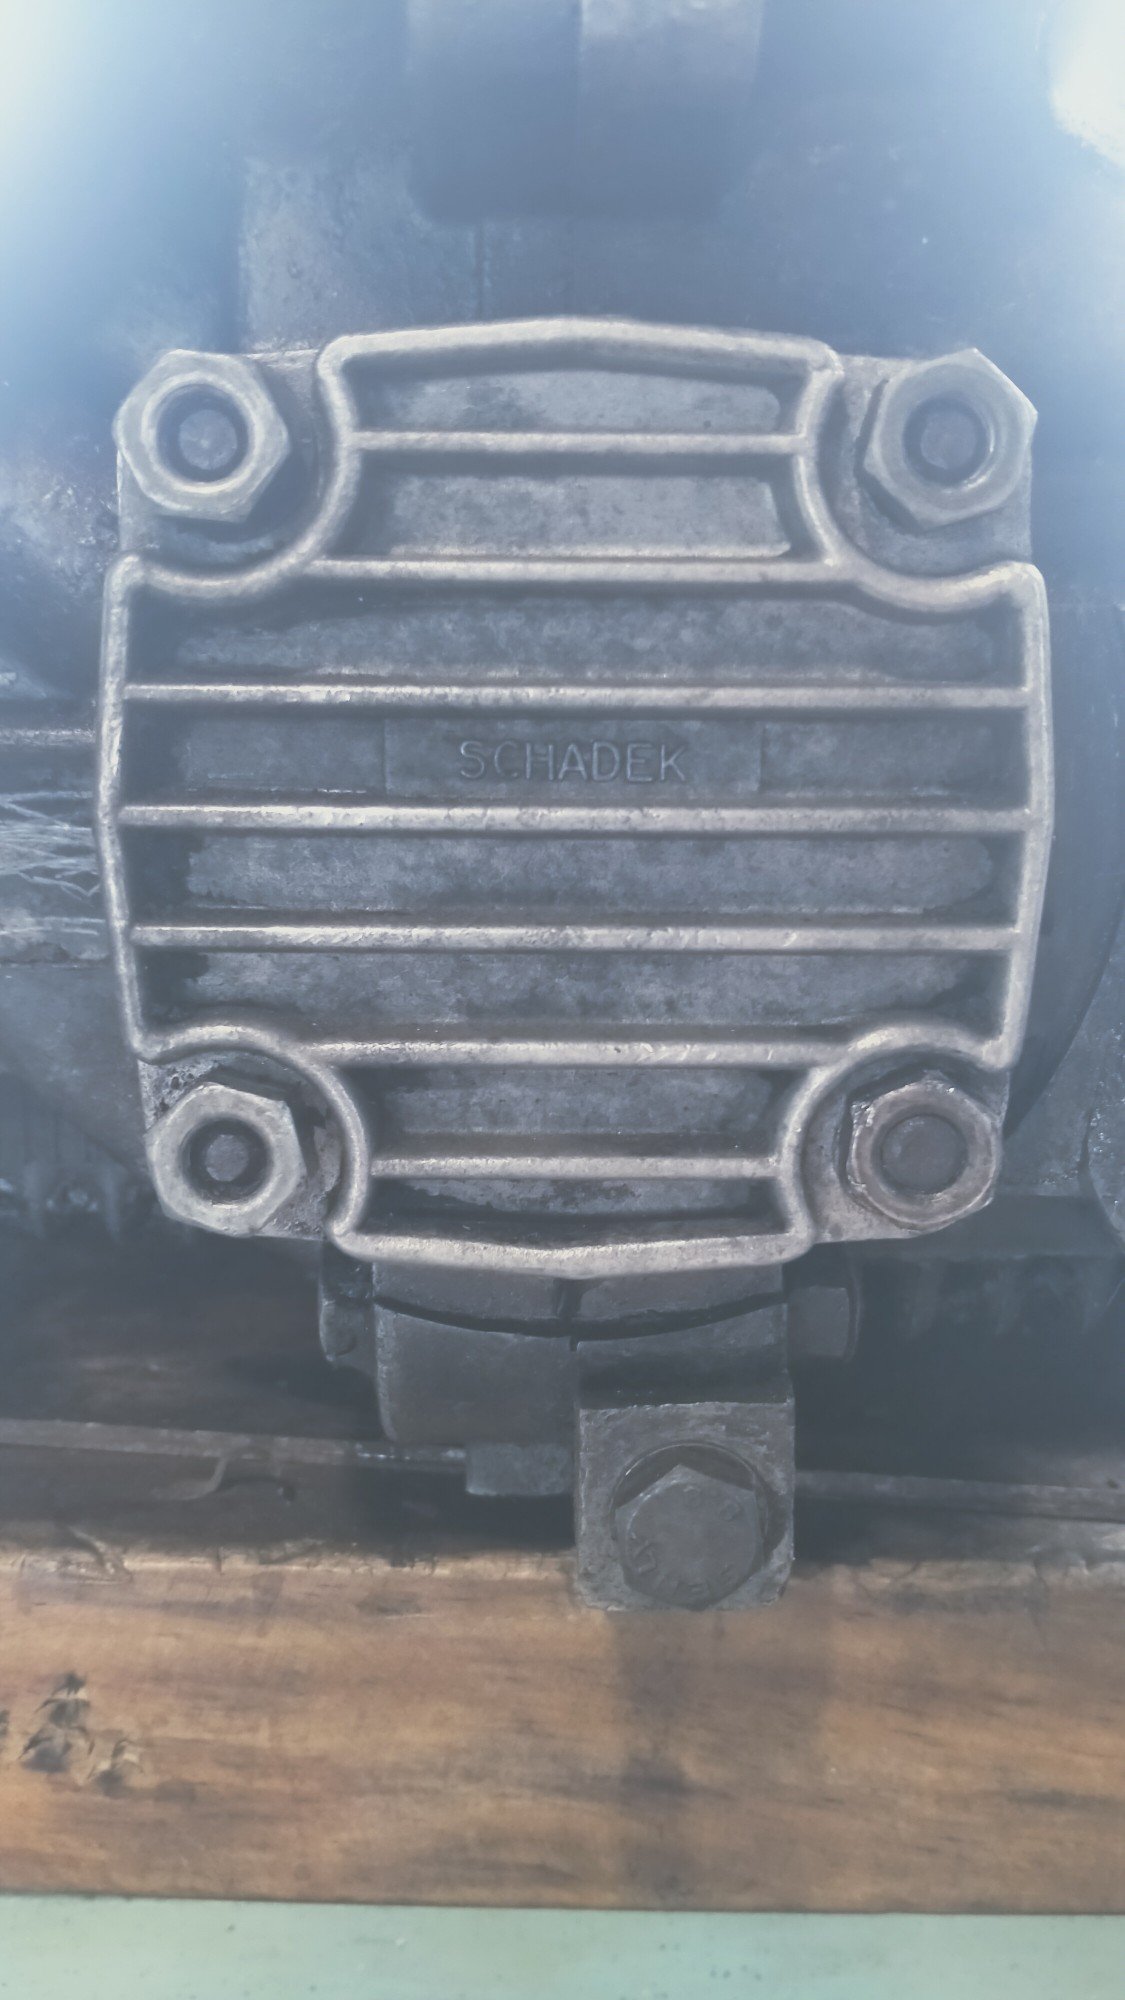
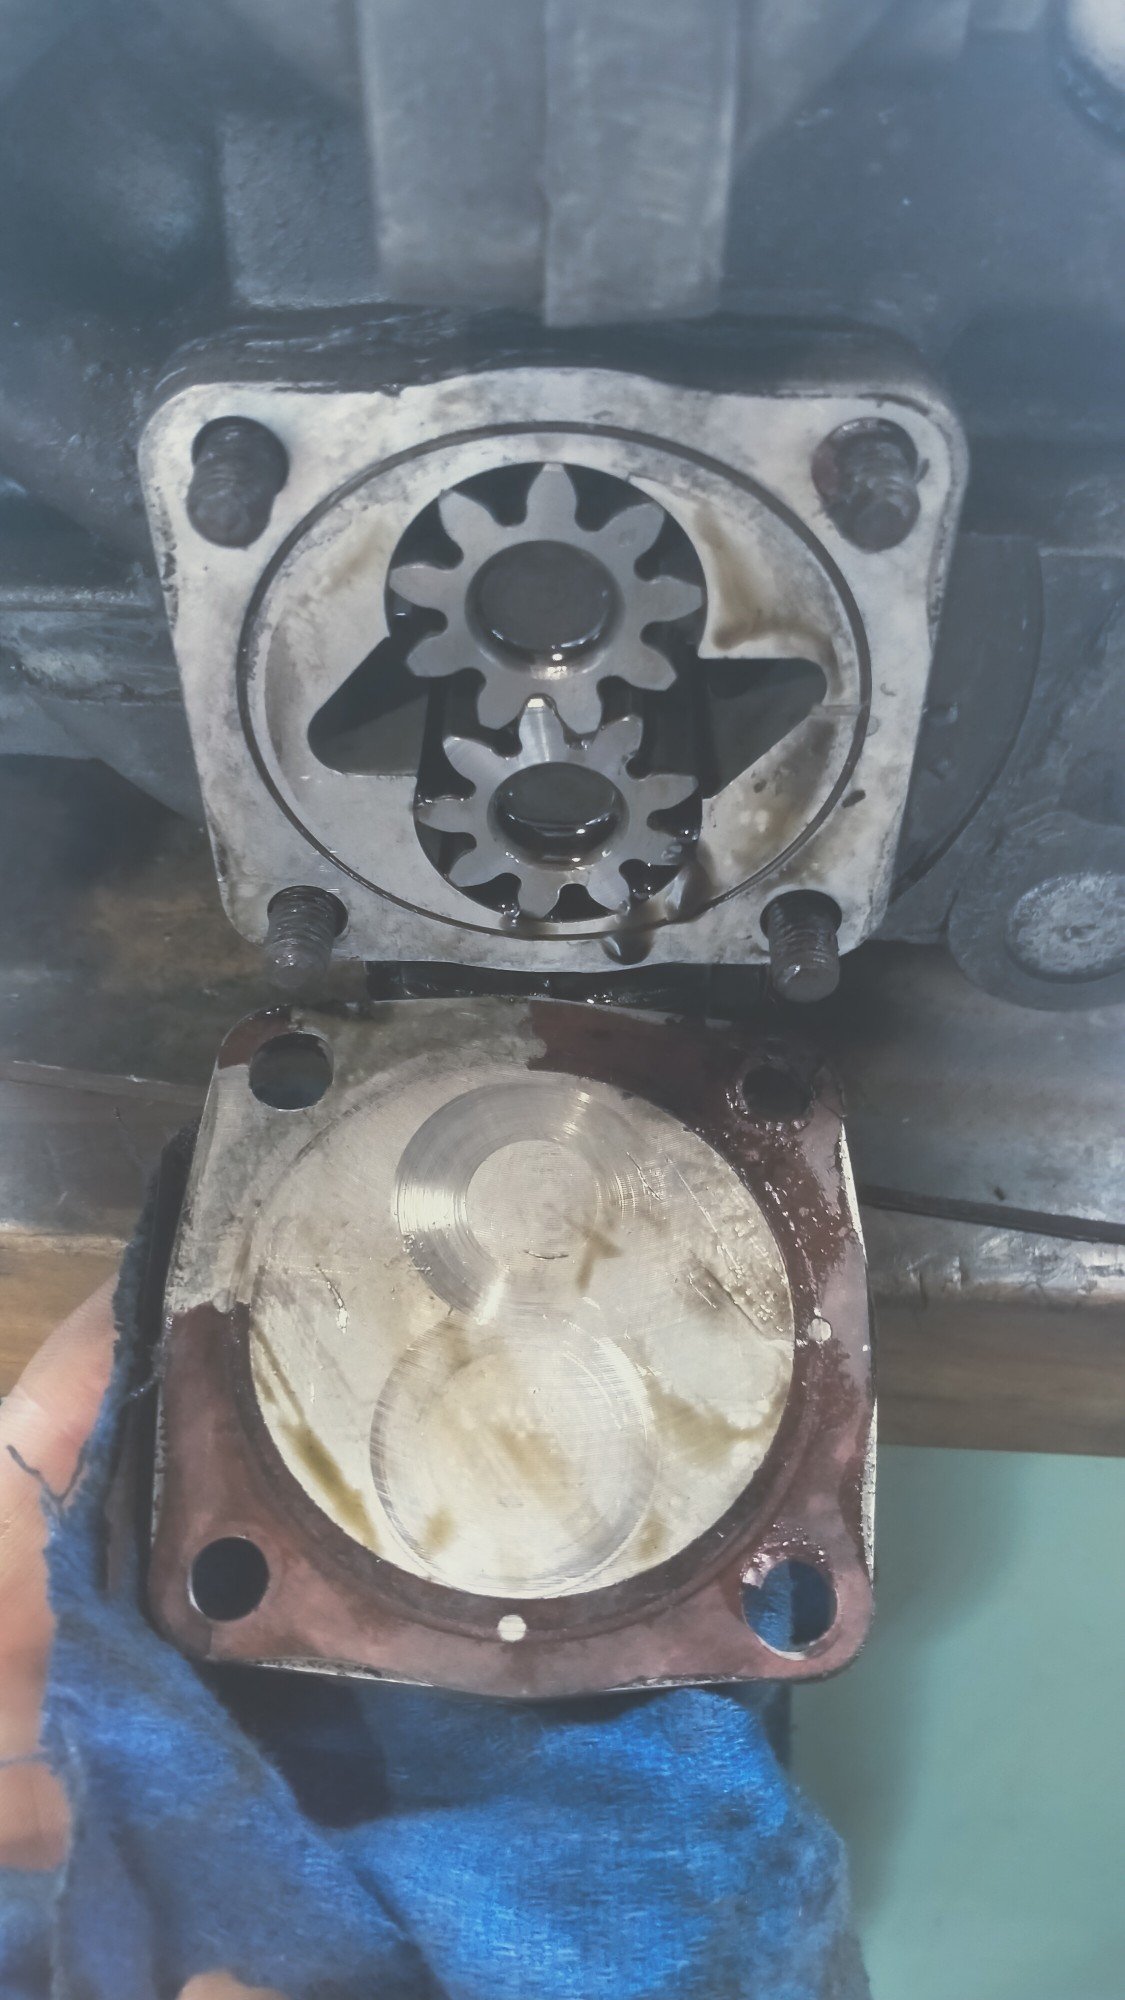
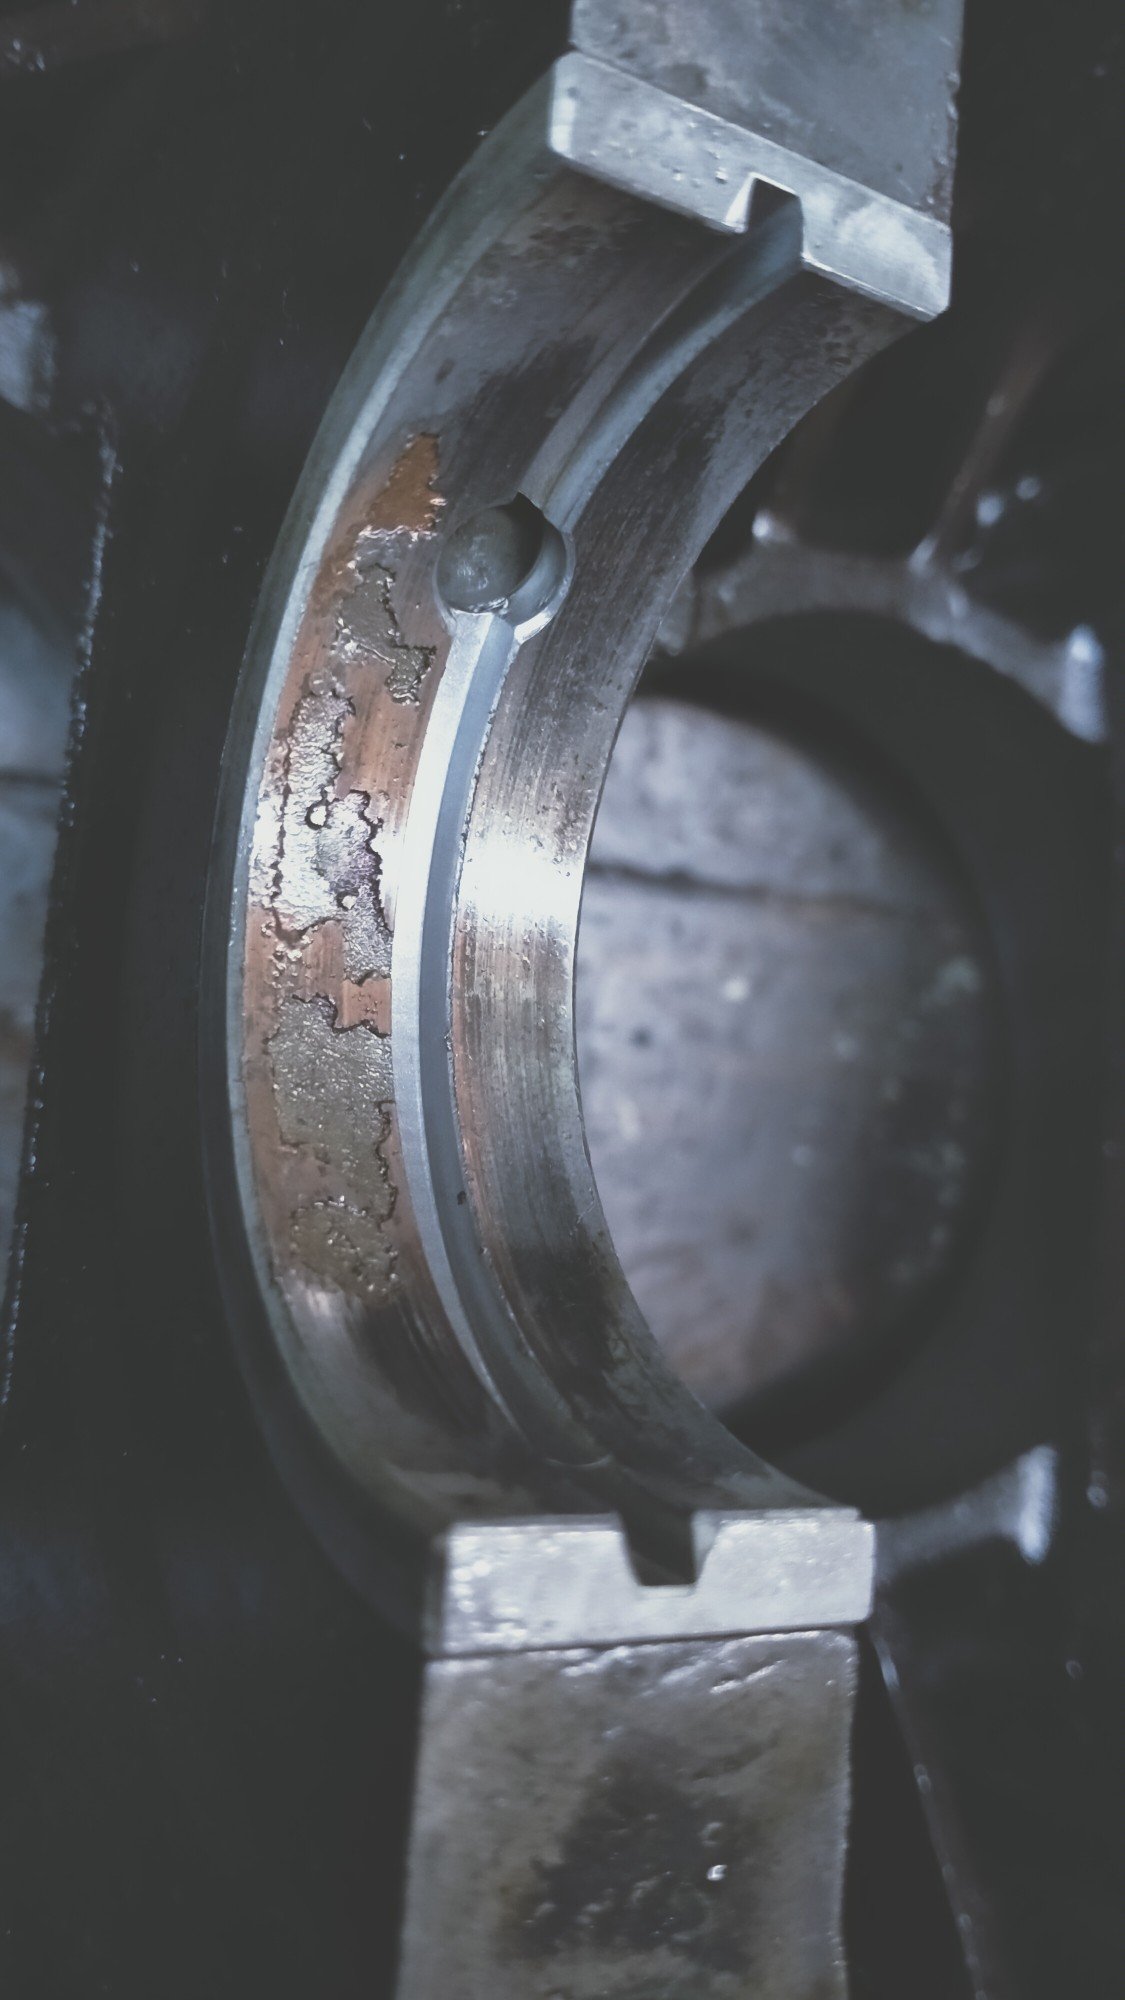
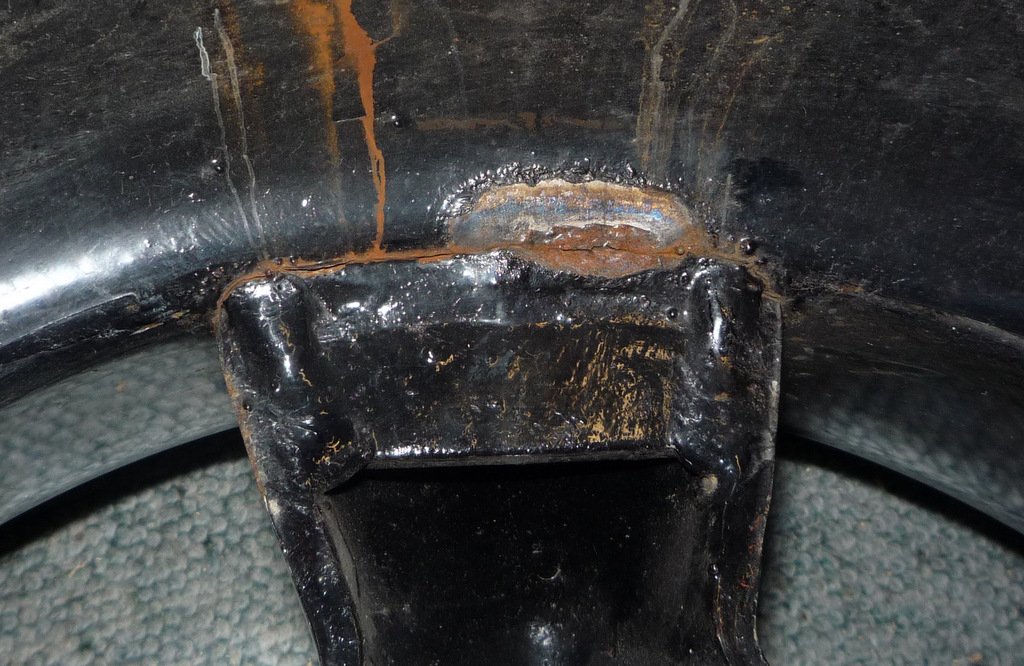
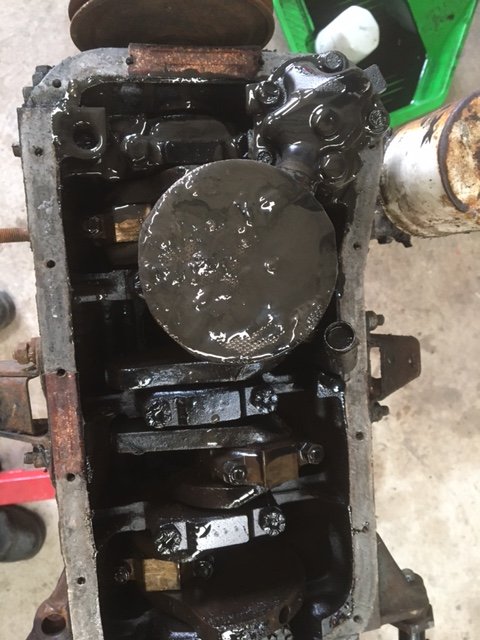
Having never done this before, I took it easy and did my best not to damage any mating surfaces. My vintage schadek oil pump cover. And 26mm heavy duty pump, which needs to be pulled out as it bolts to both half's of the case. All the bolts, nuts, seals removed. Amazing there isn't a rubber seal of anything between the half's or even any sealant I could see. The middle bearing has seen better days. Crank it.
2 points
-
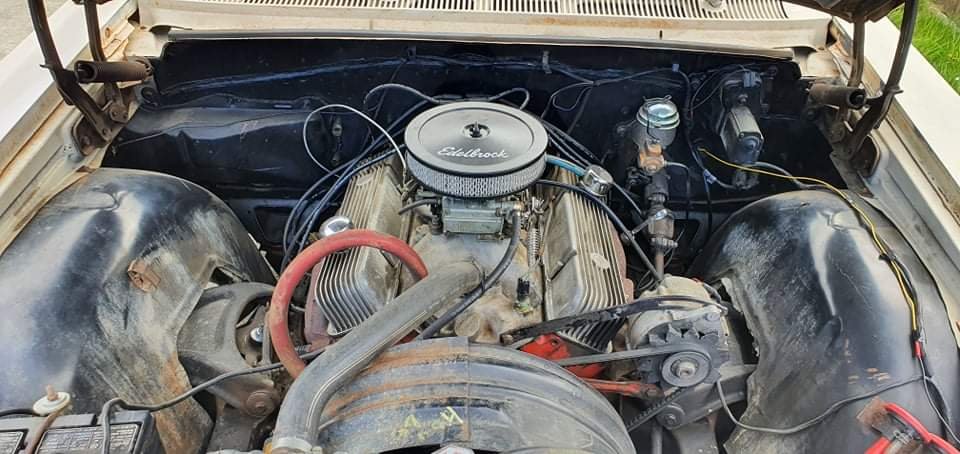
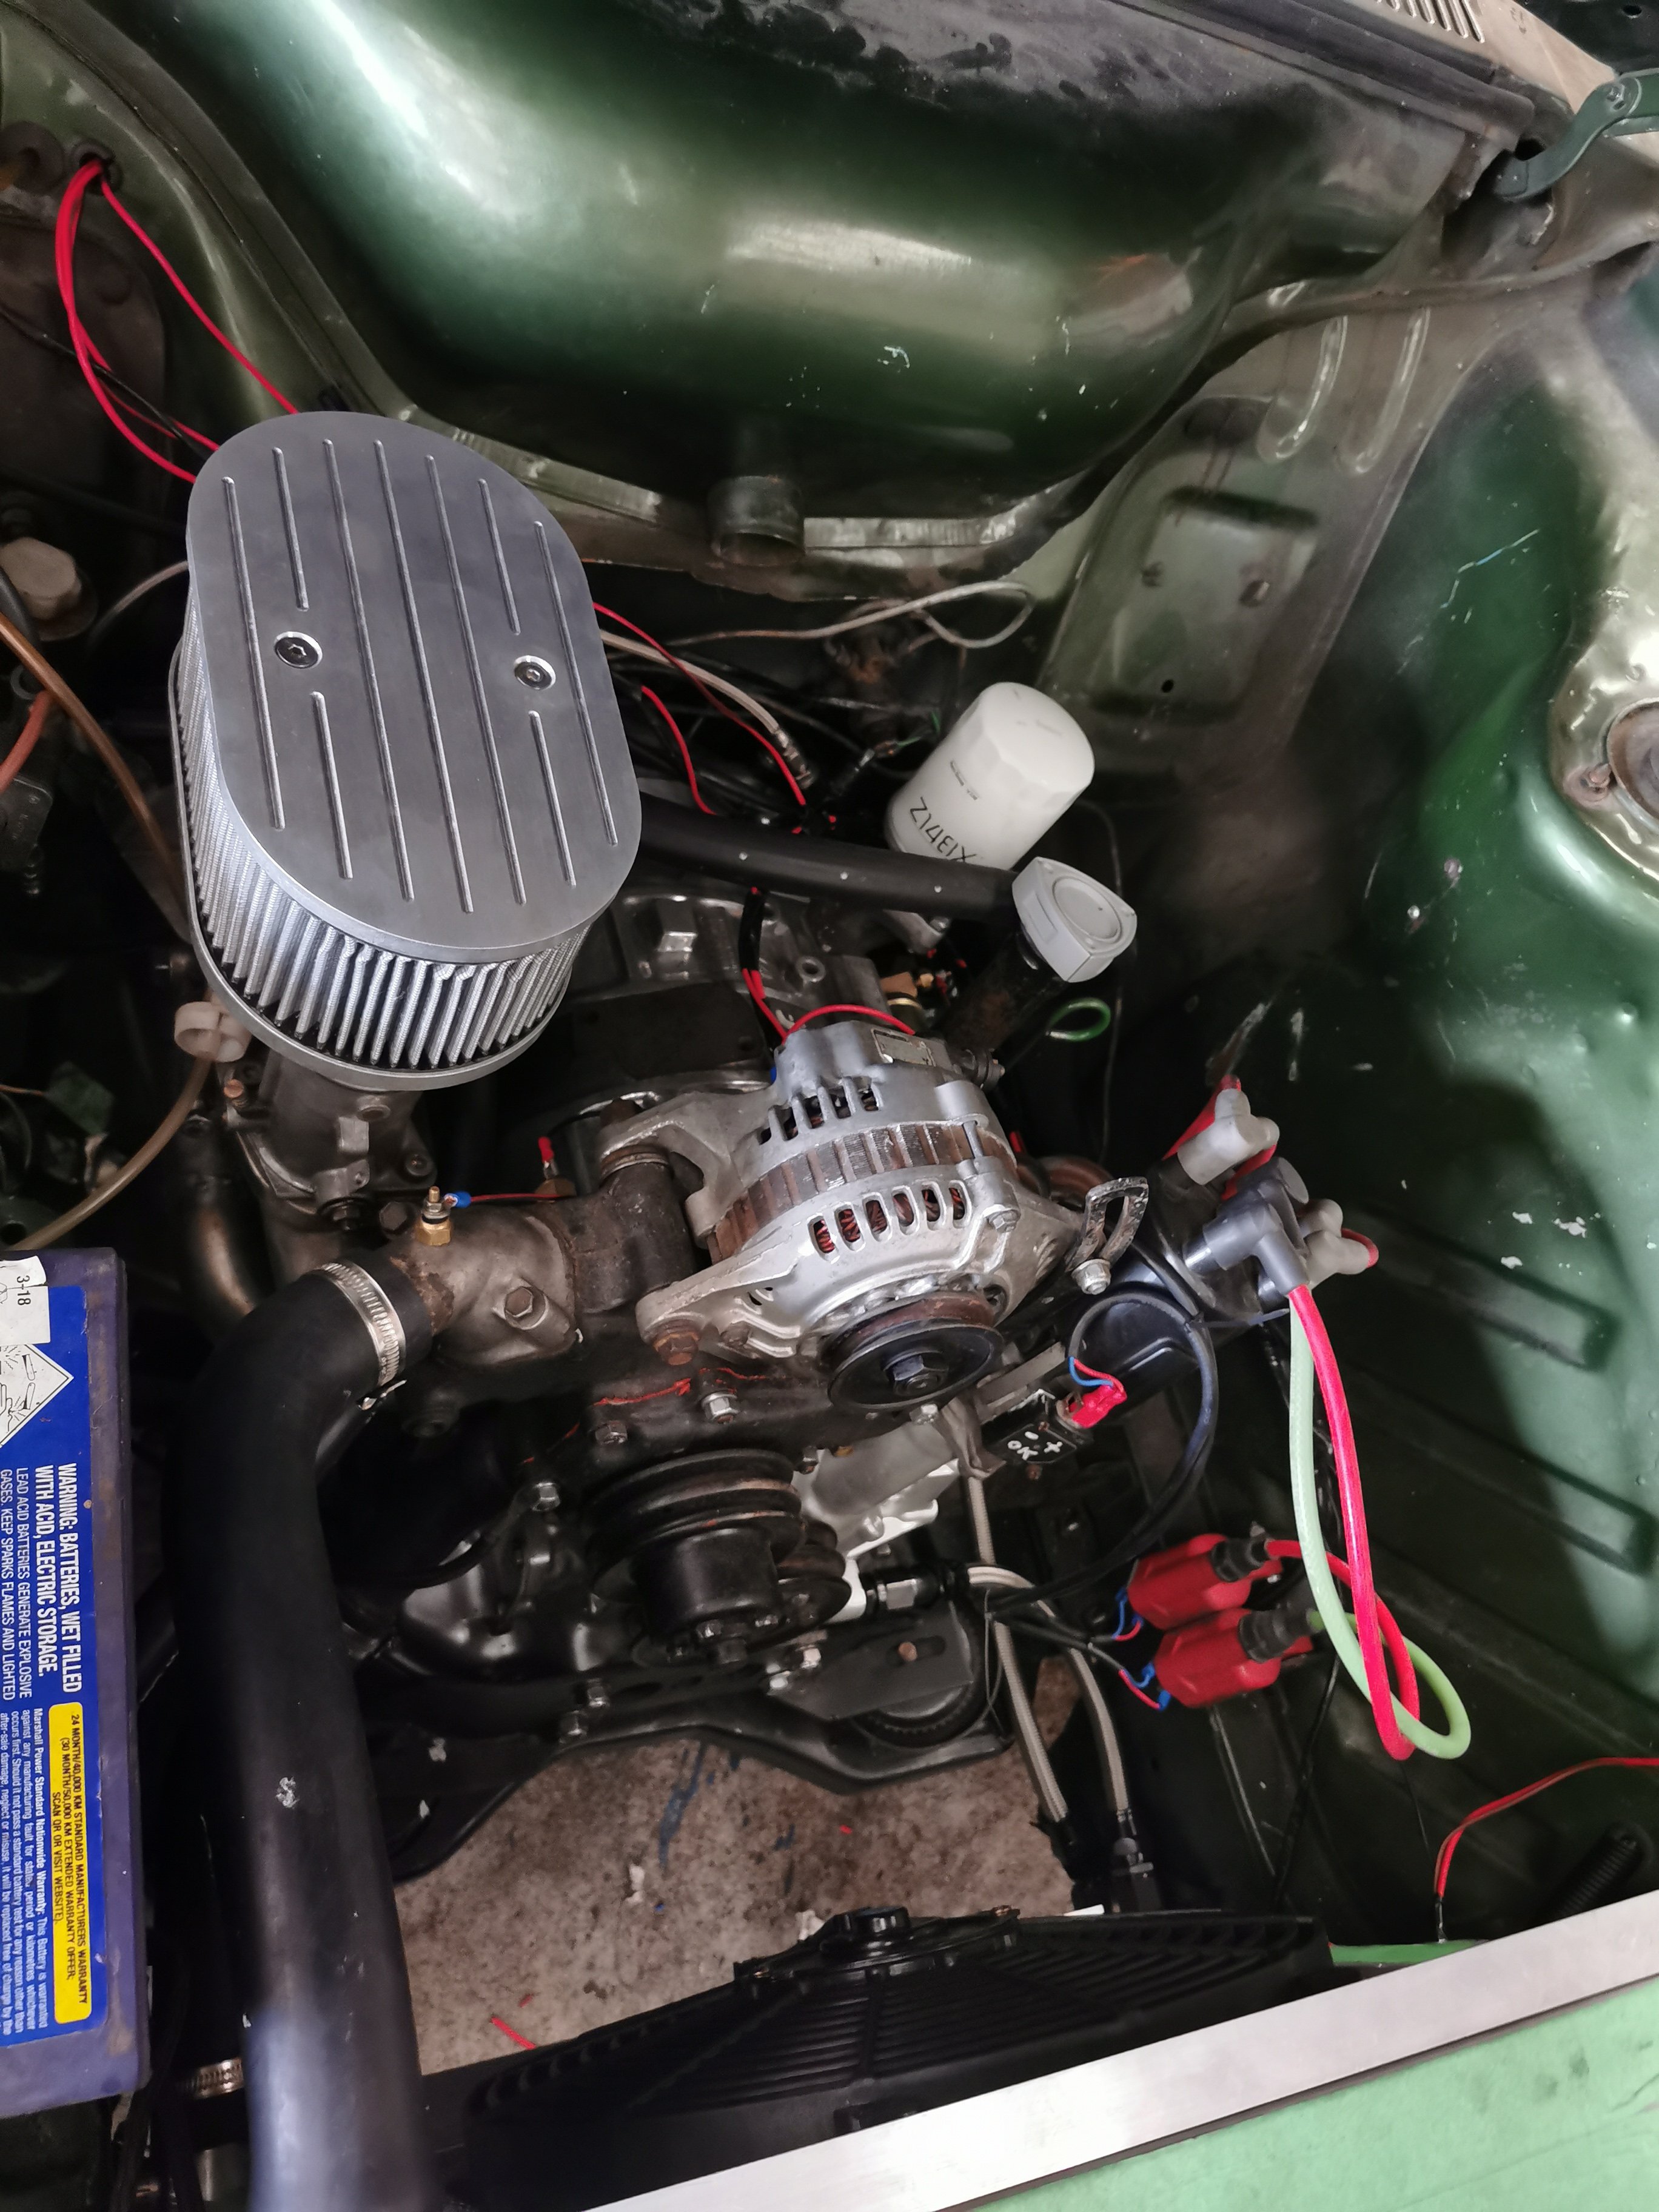
Decided I should allow some time to have fun with the car before considering Webers. So I got a new Holley Double Pumper. Looks the business. Went with an old 50s Cadillac air cleaner. Not a fan of the normal round ones. Its quite dangerous having Summit Racing, Original Parts Group, Classic Industries etc on your door step! Next day delivery on anything!2 points
-
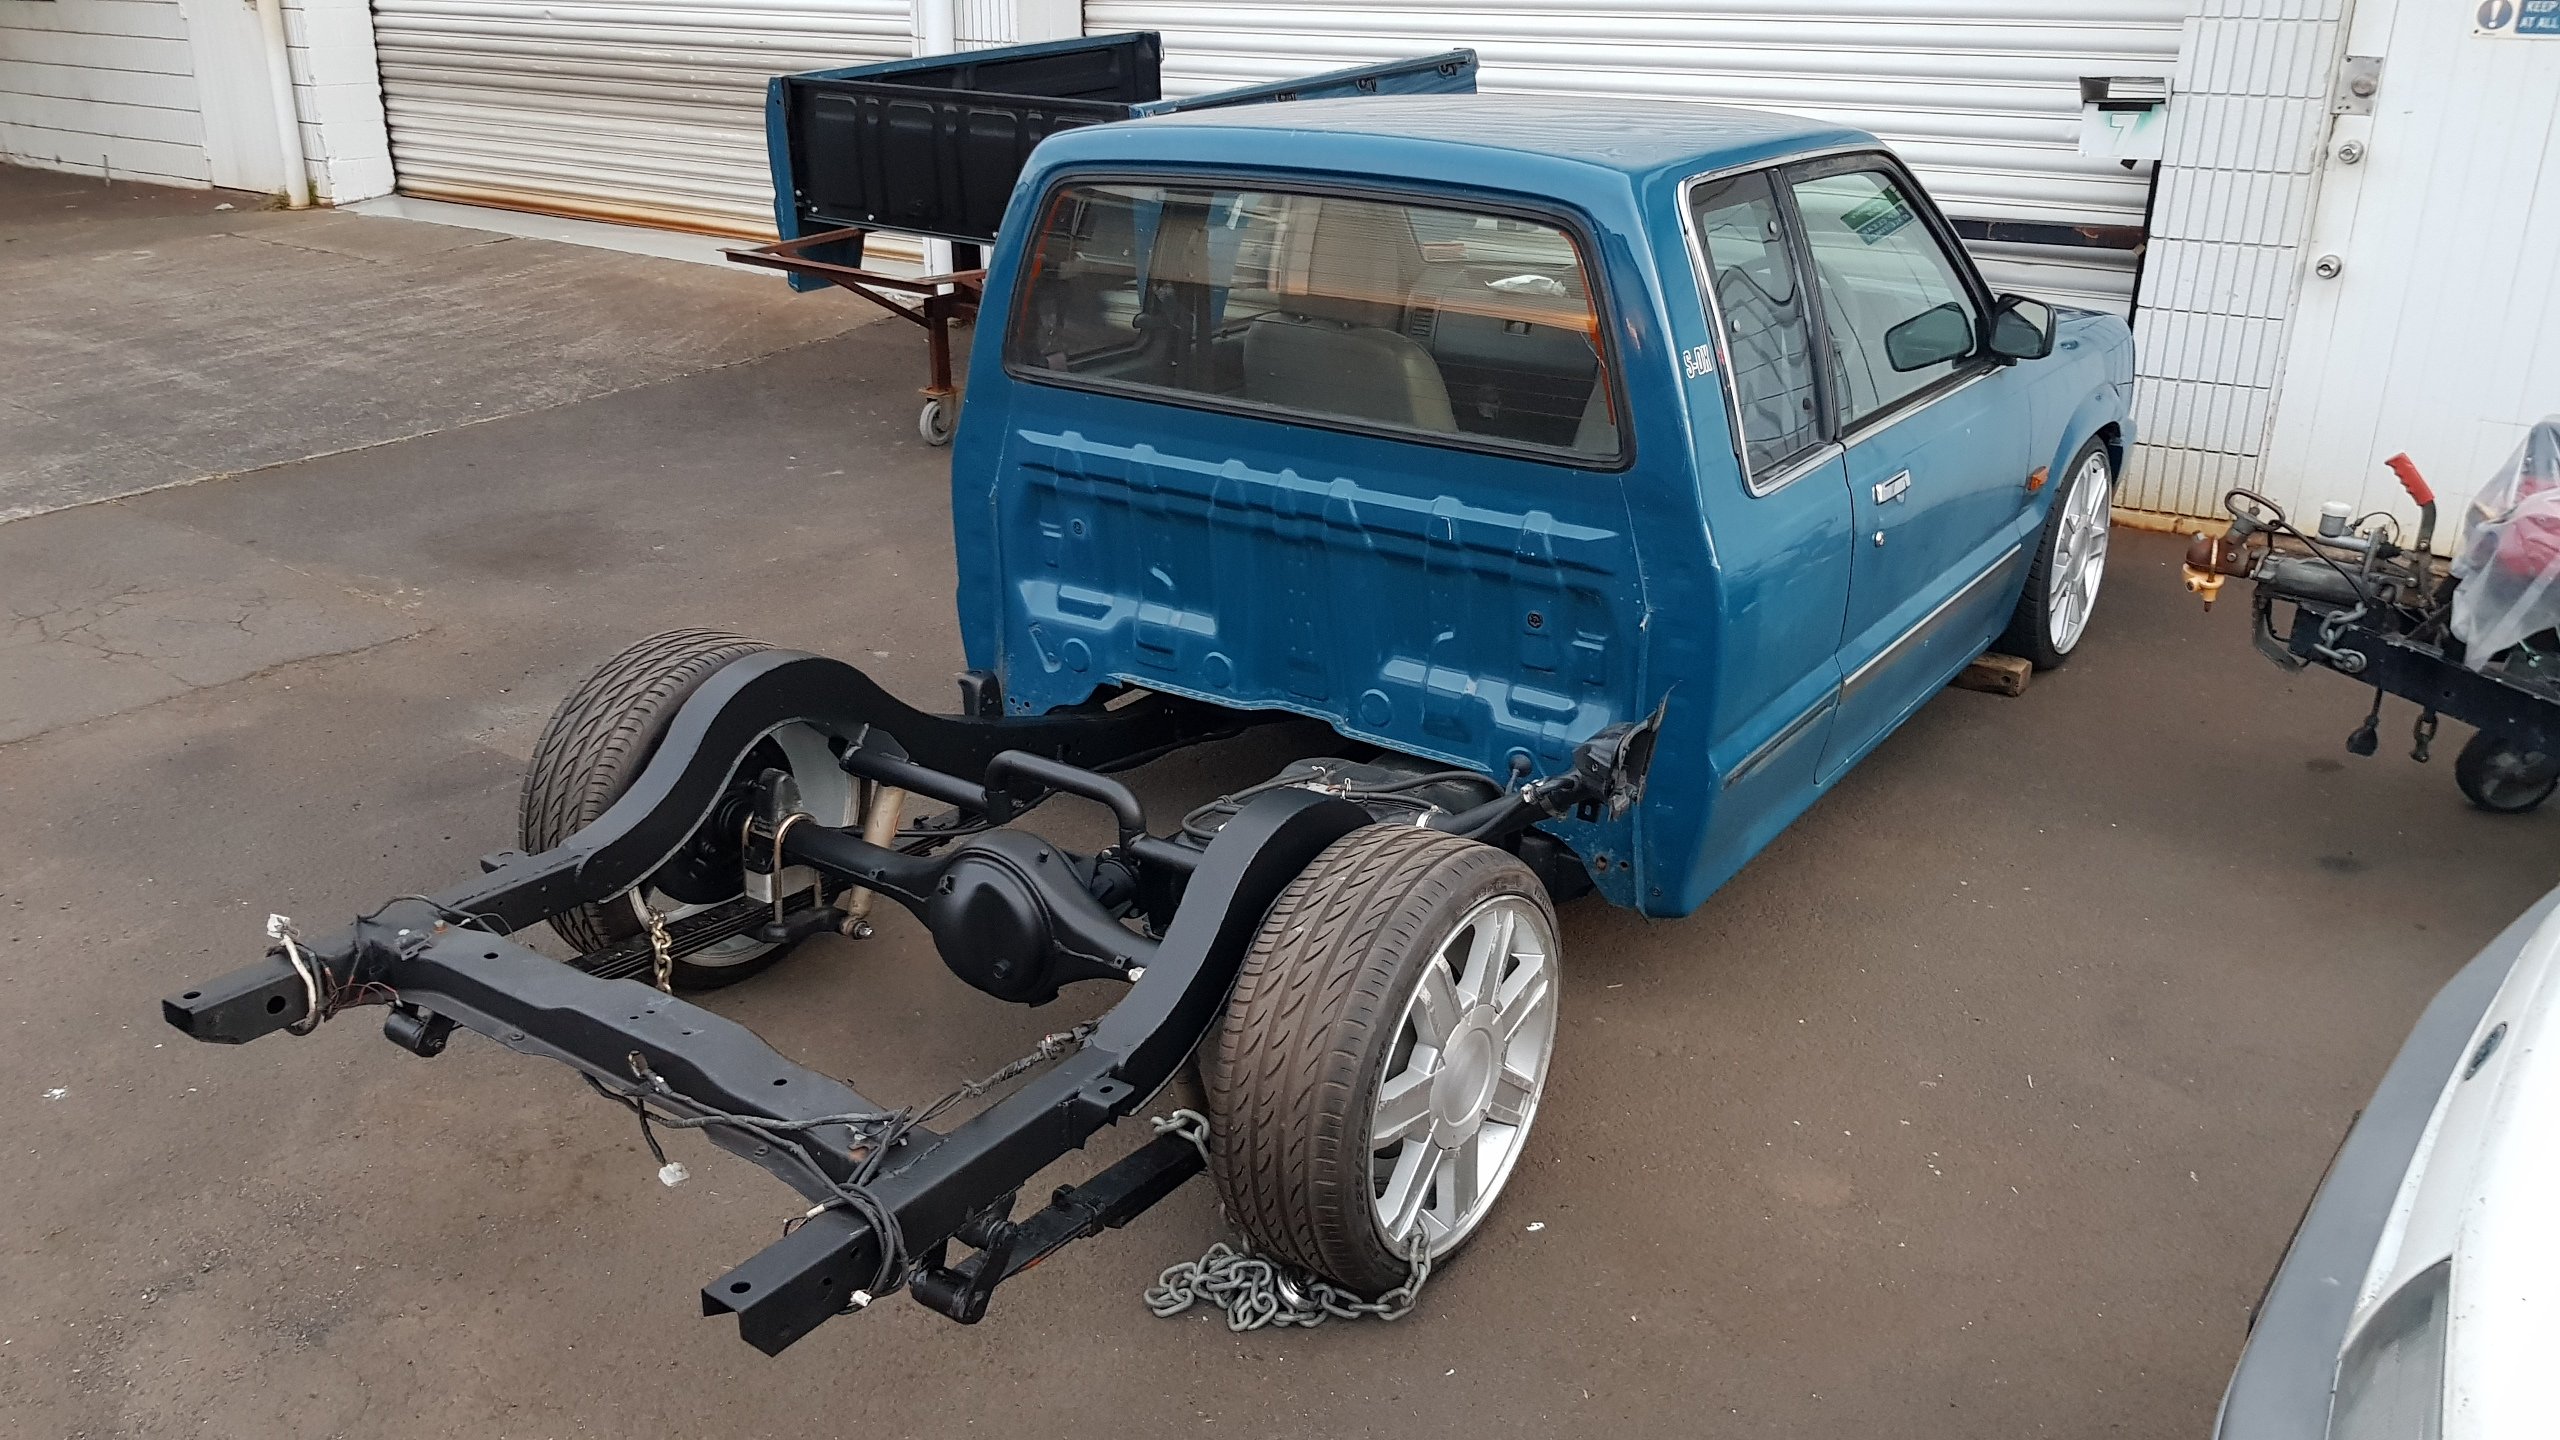
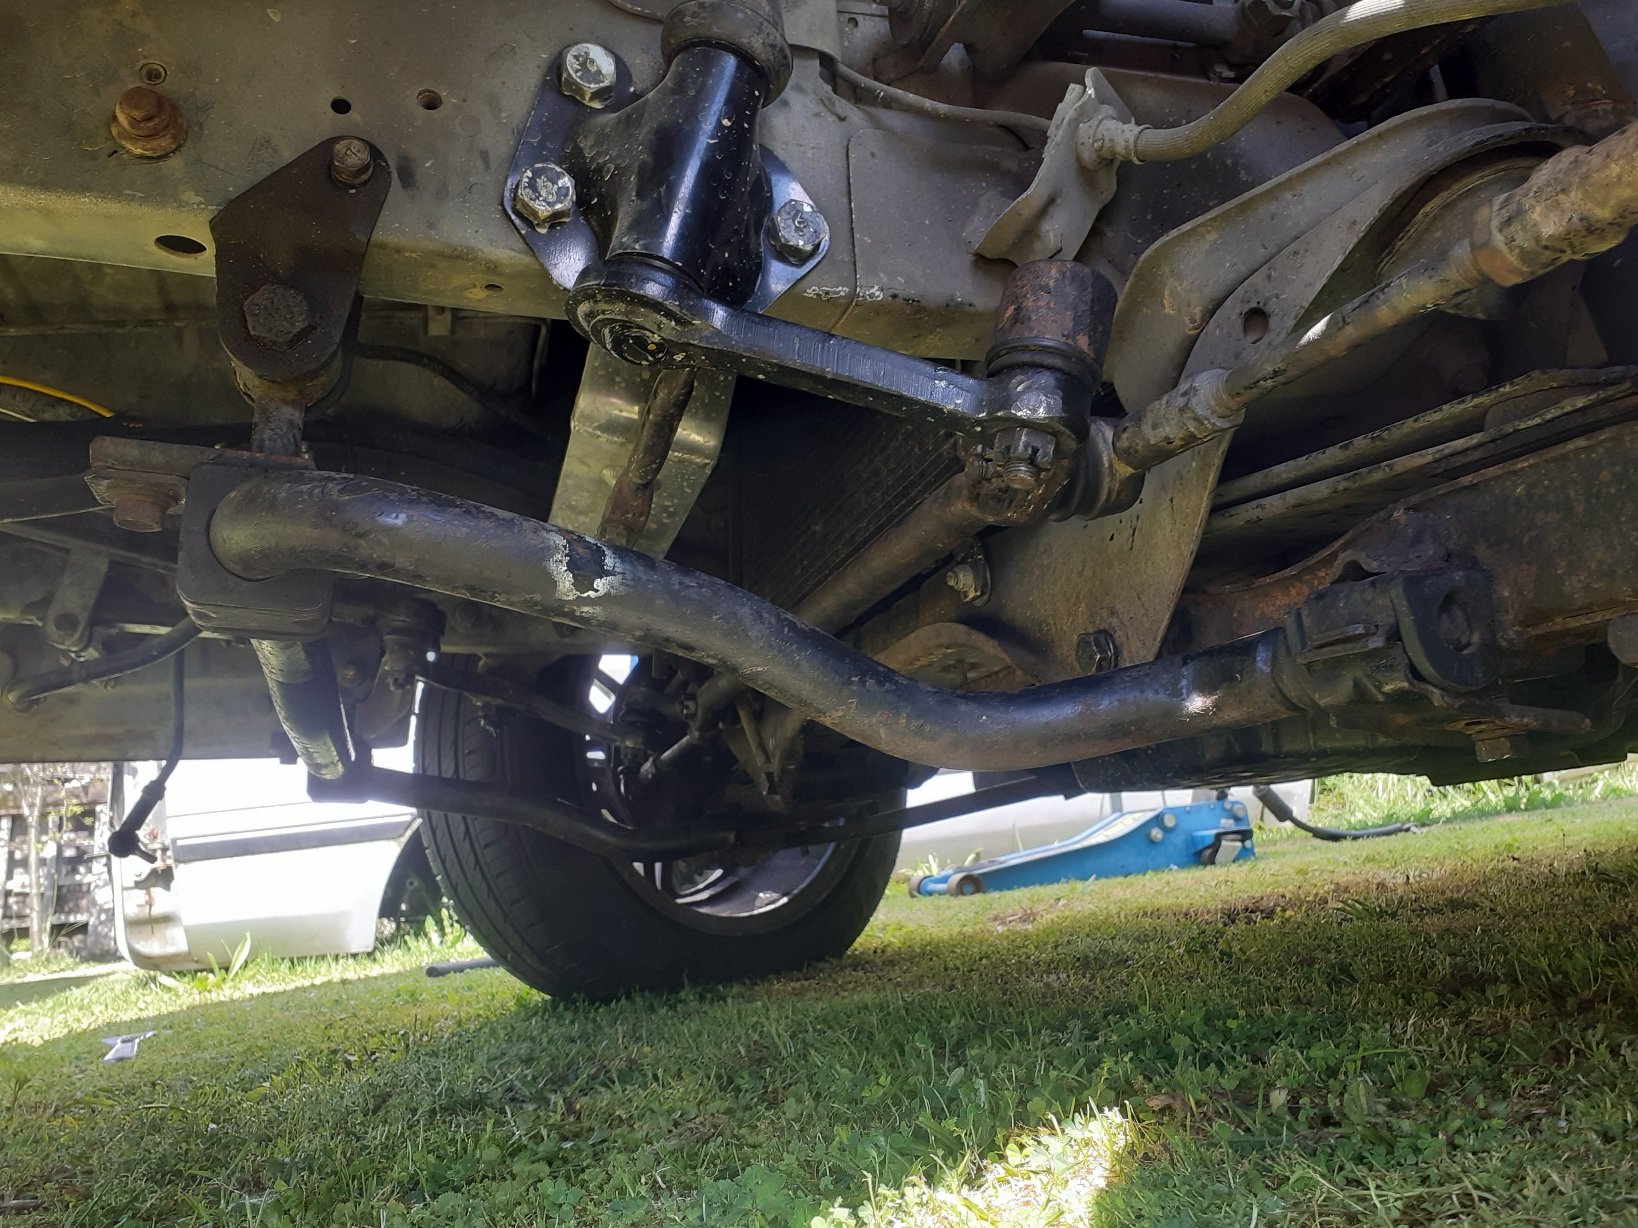
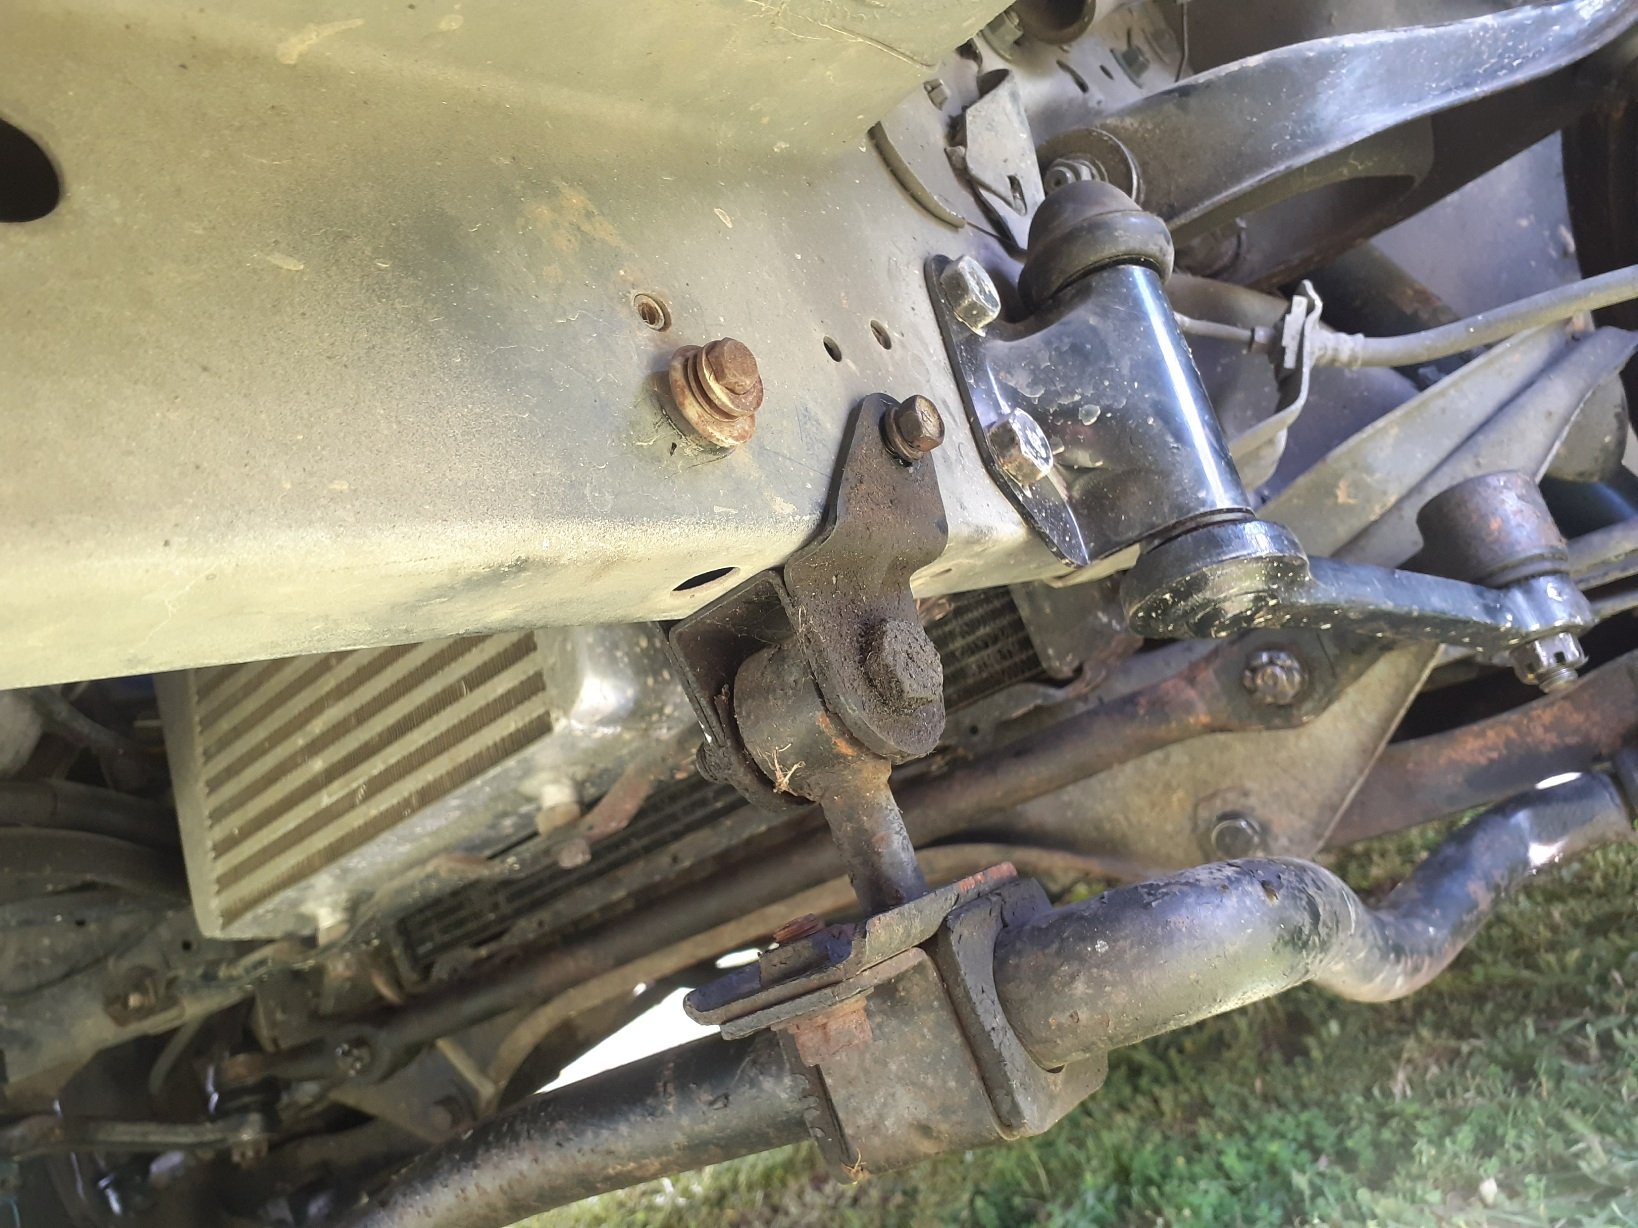
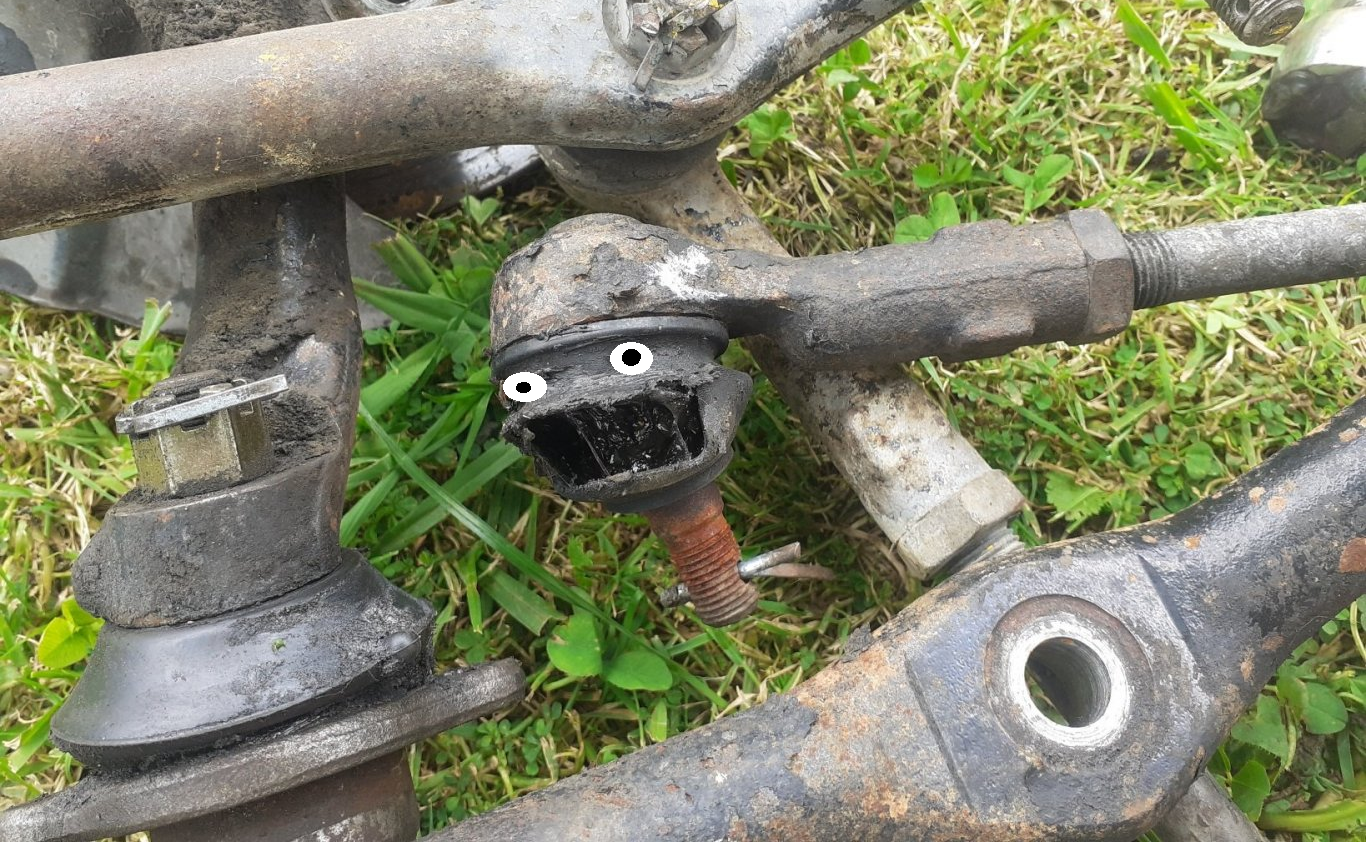
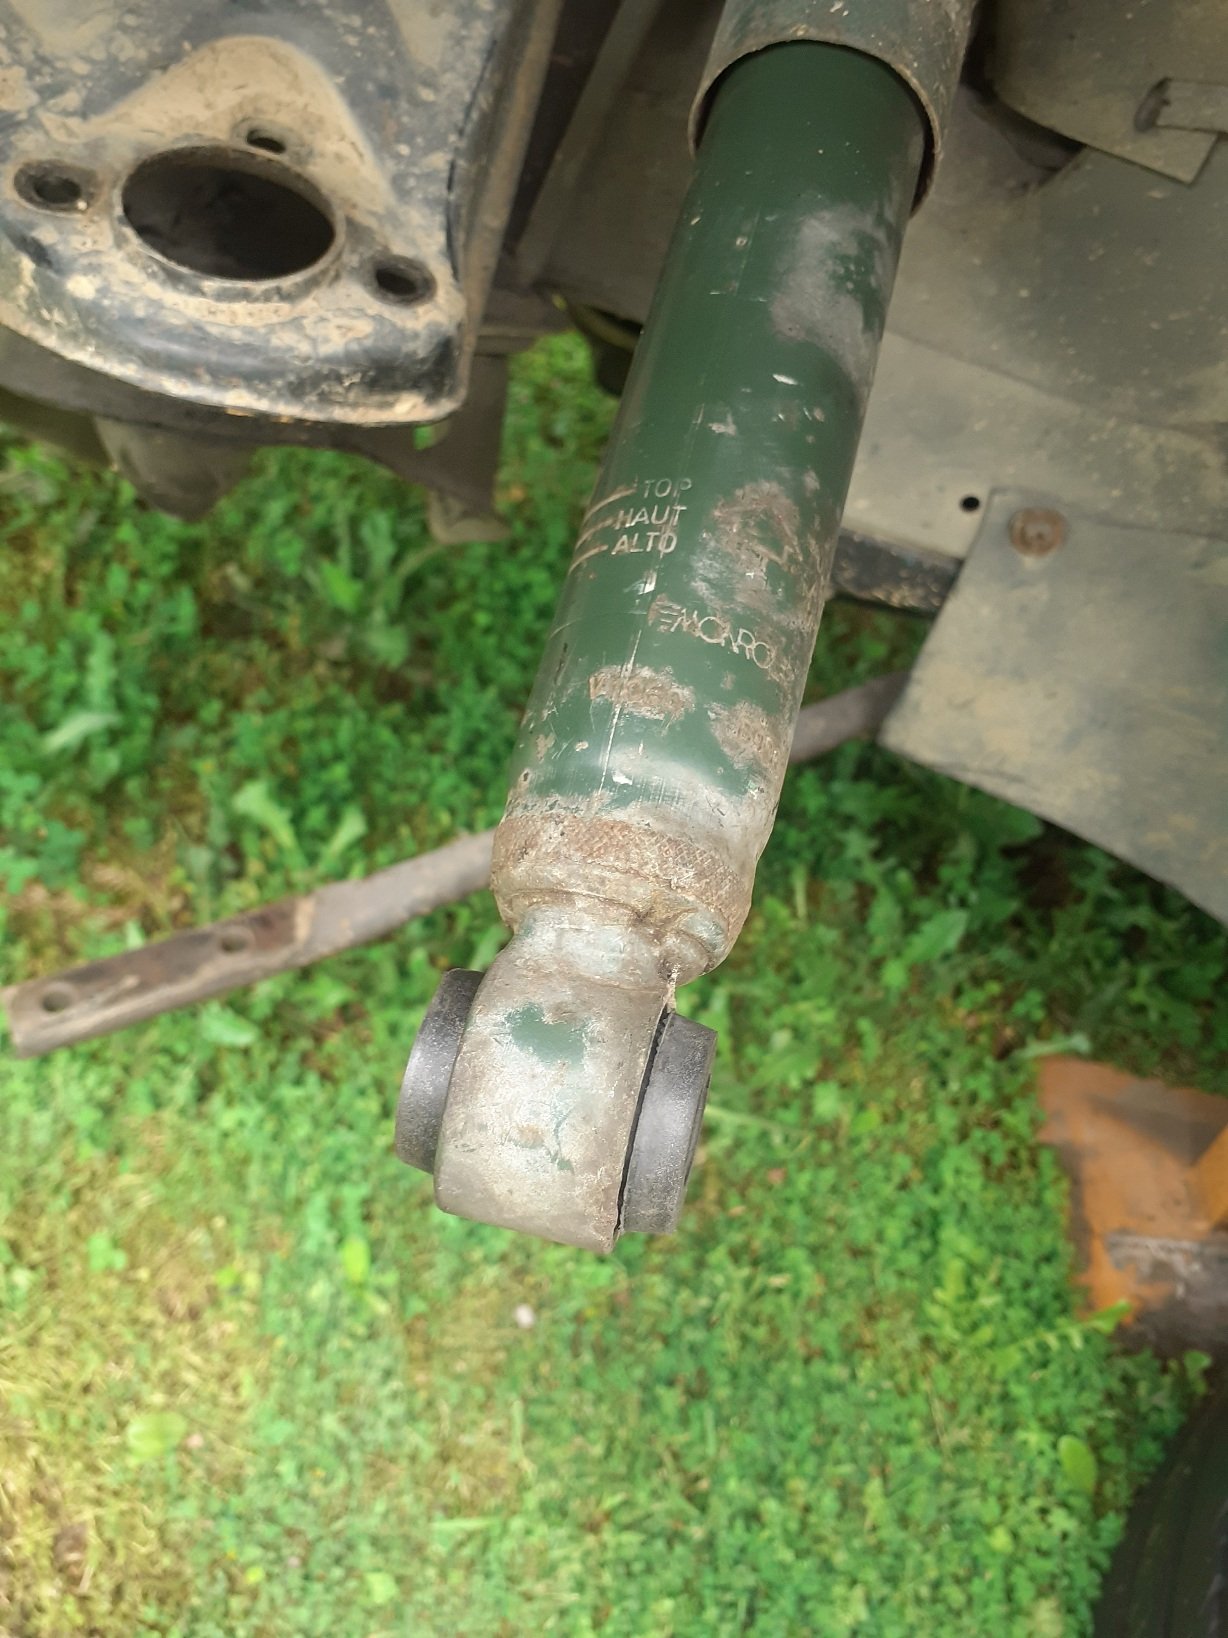
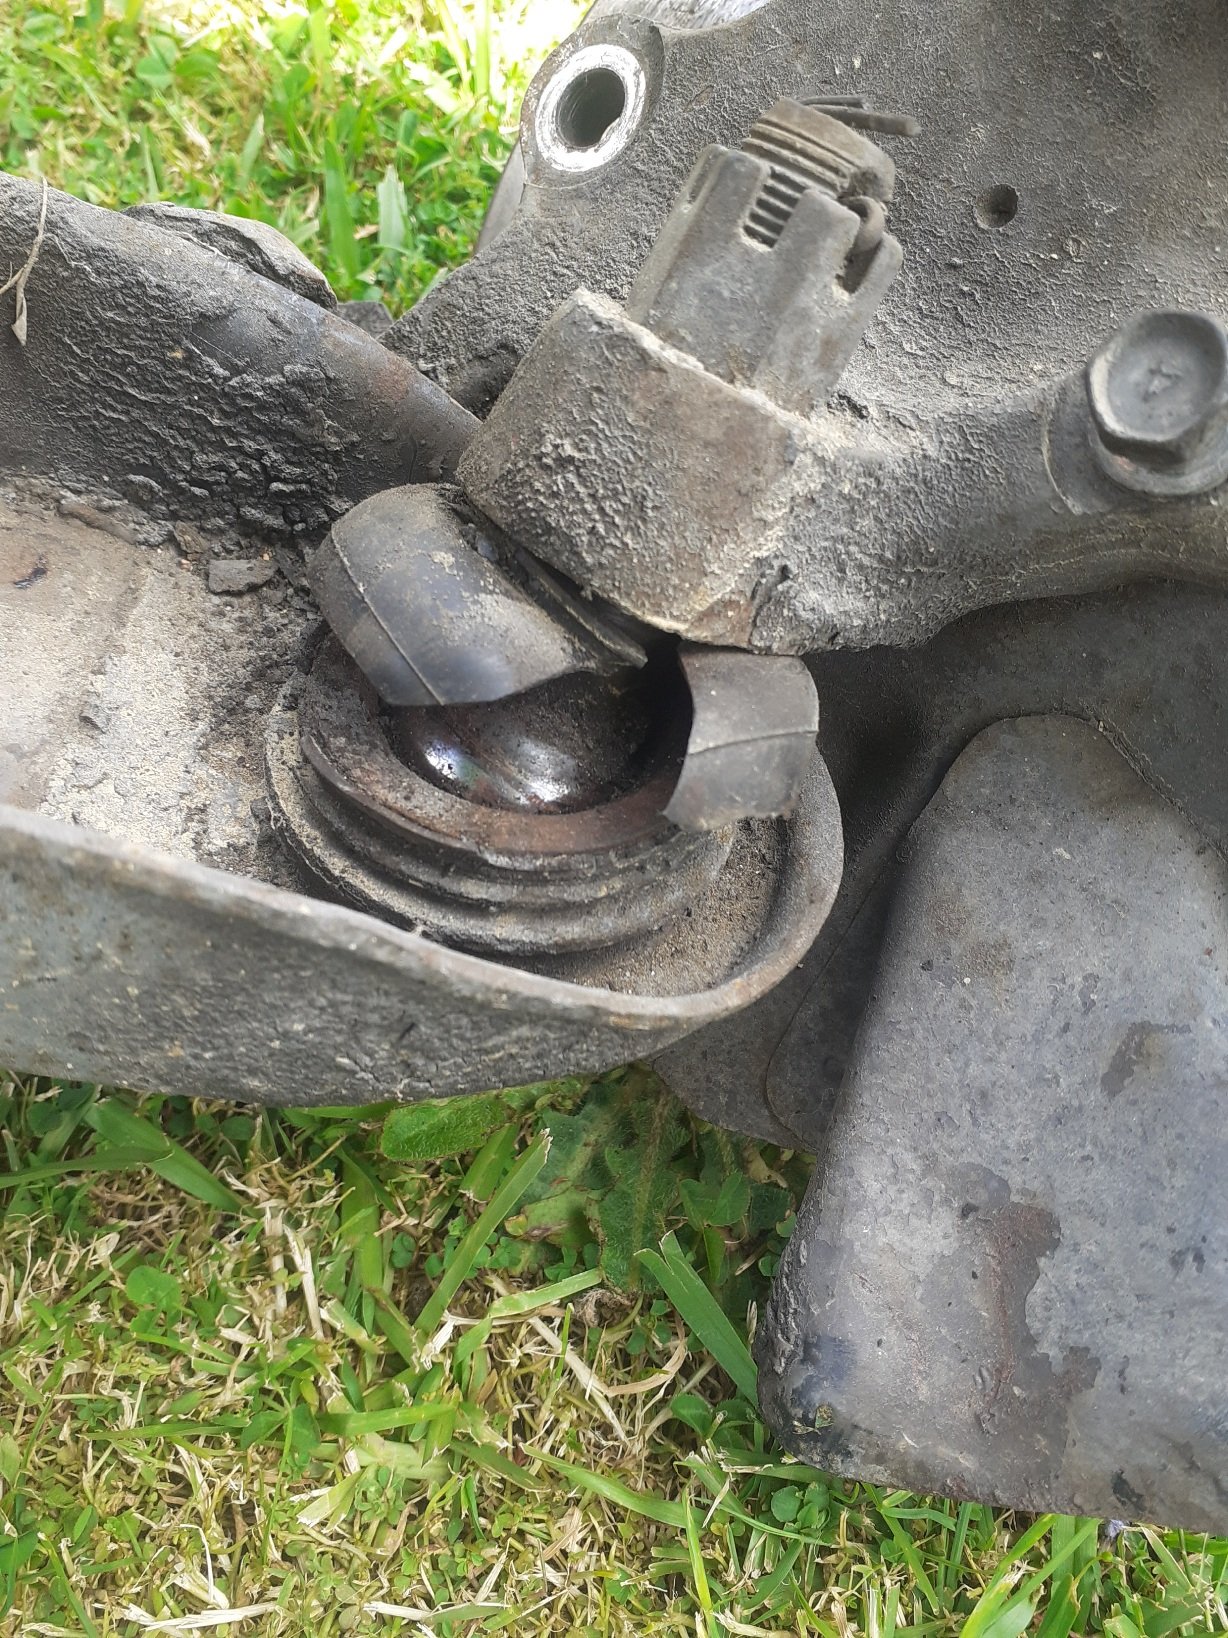
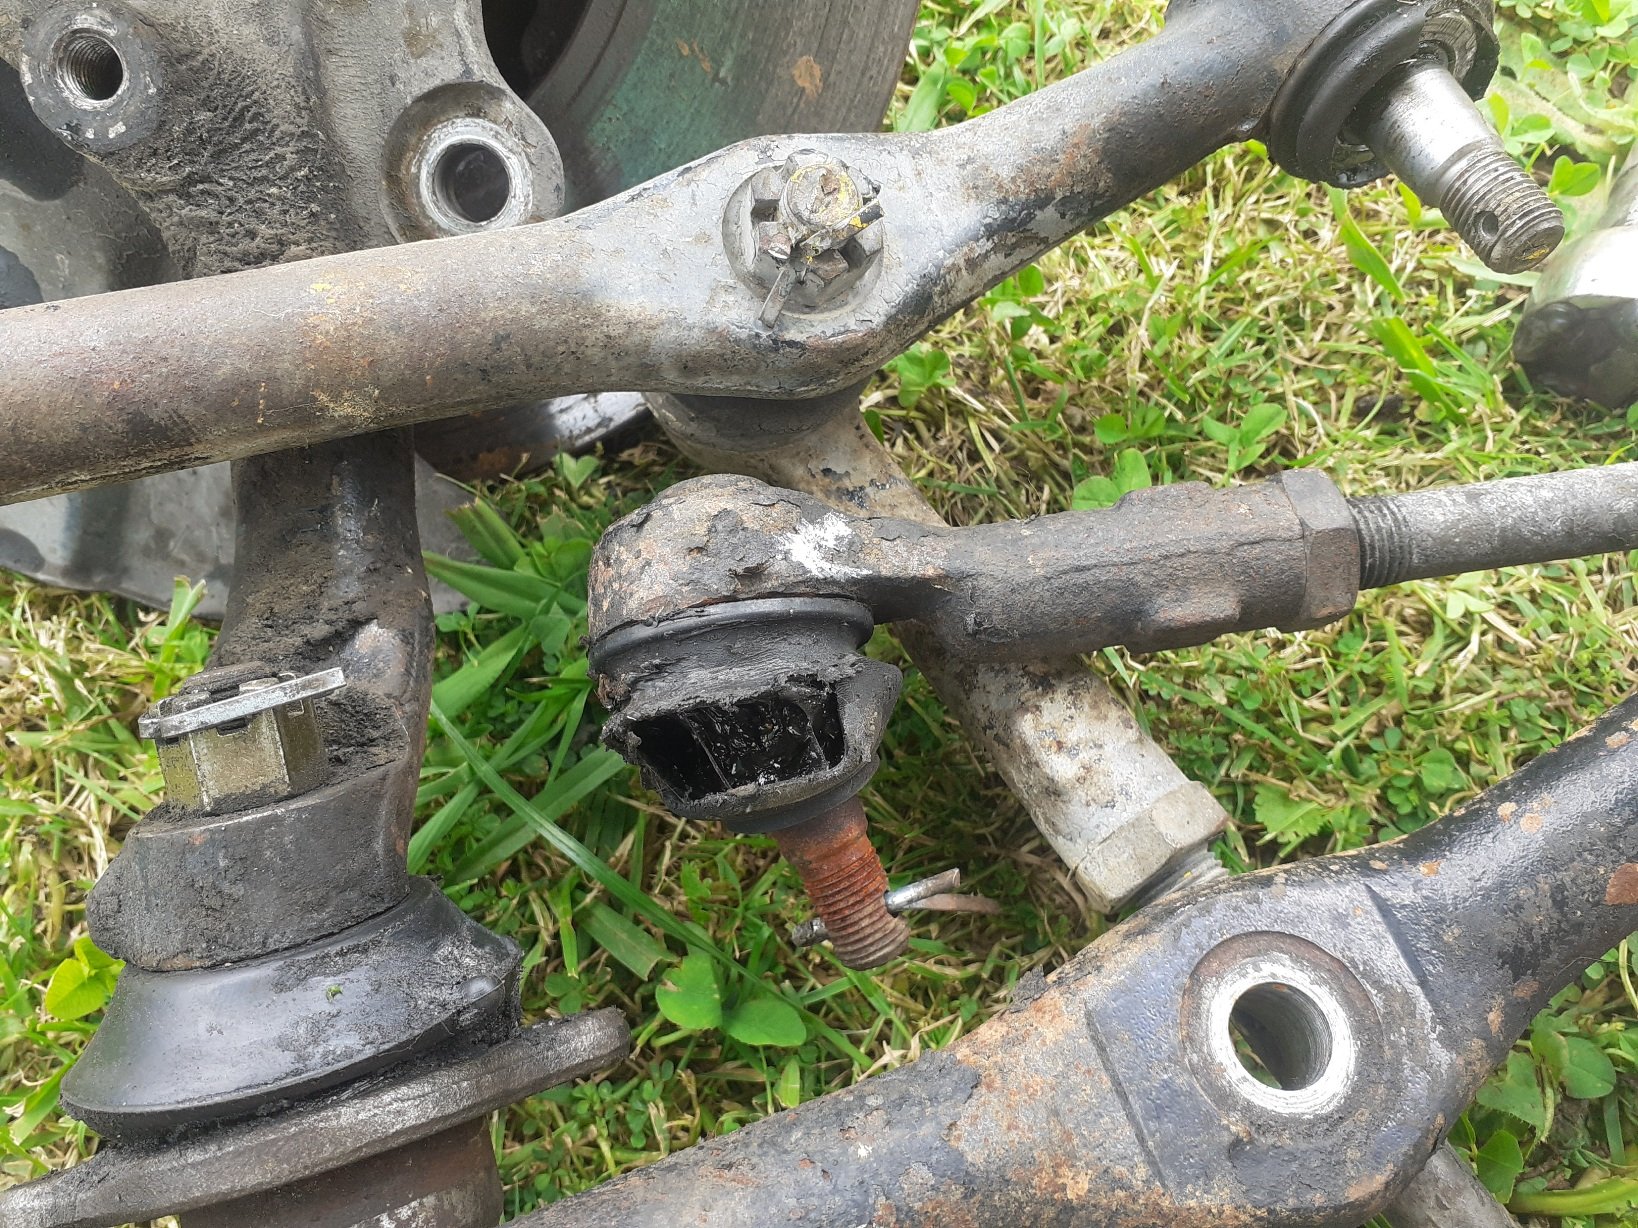
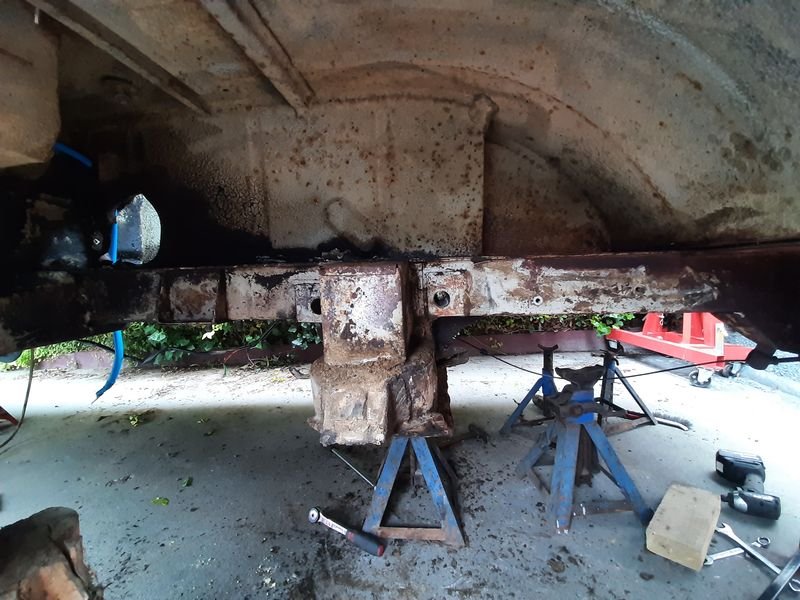
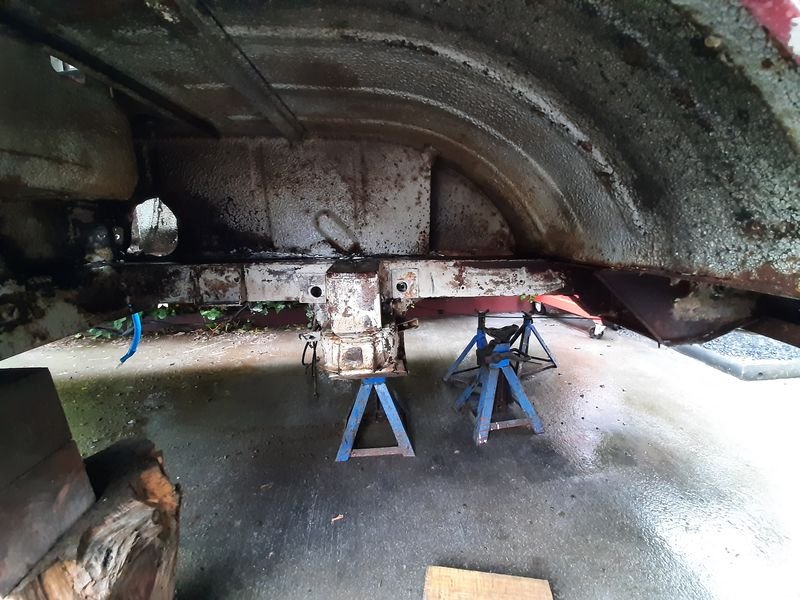
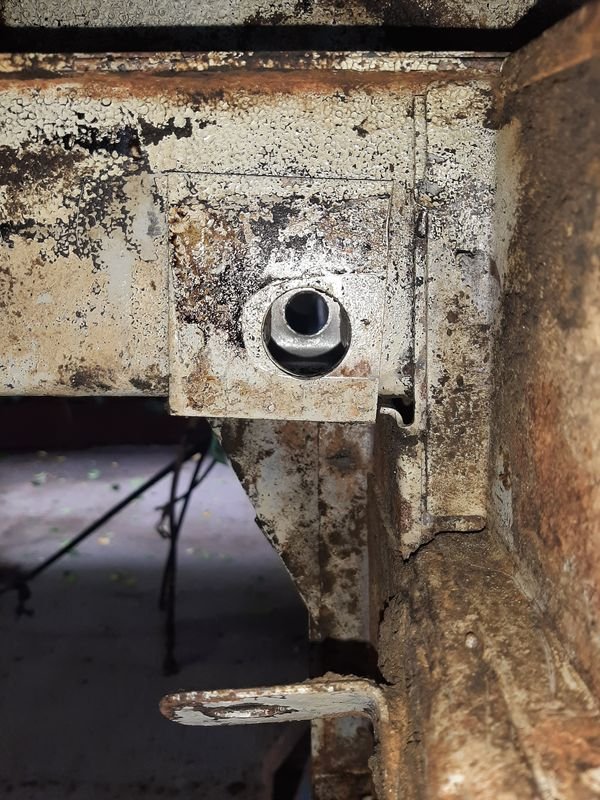
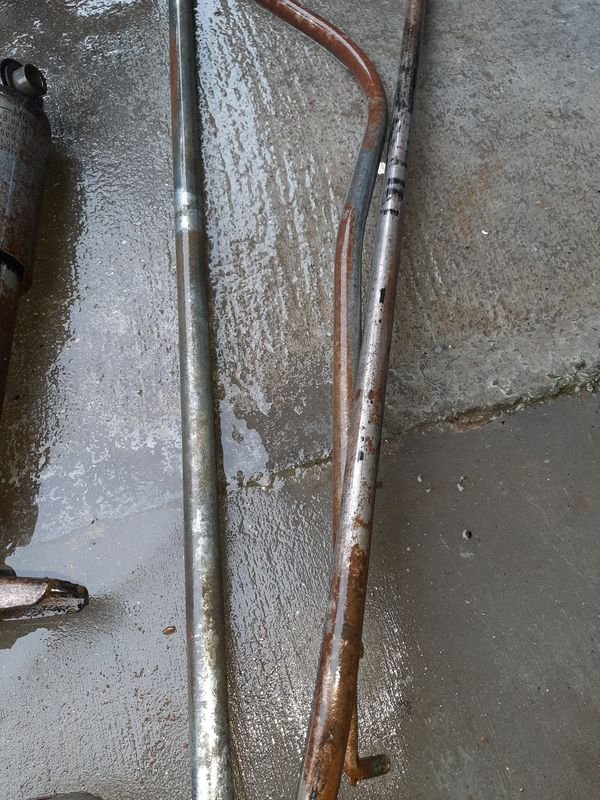
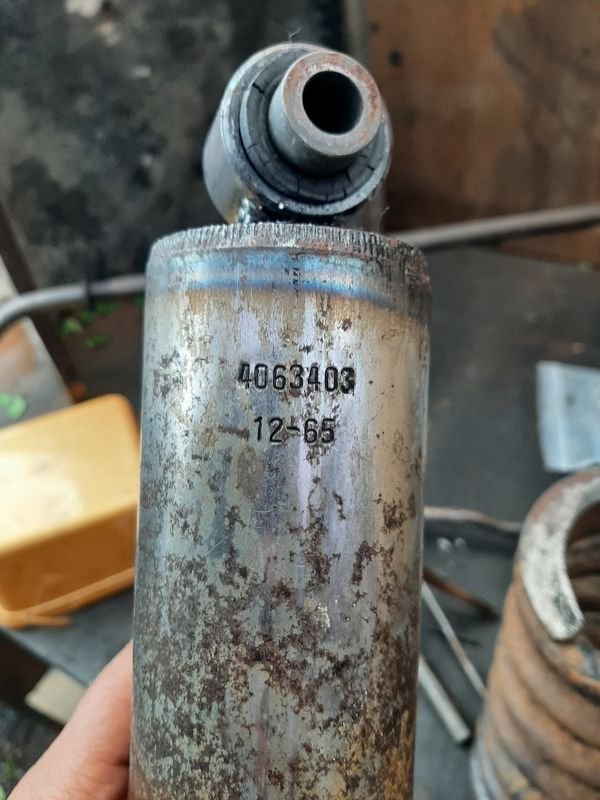
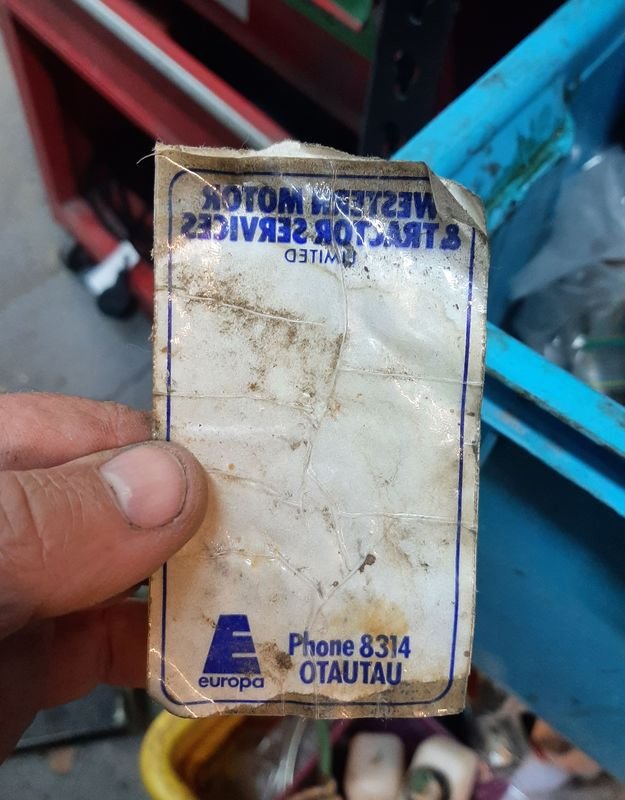
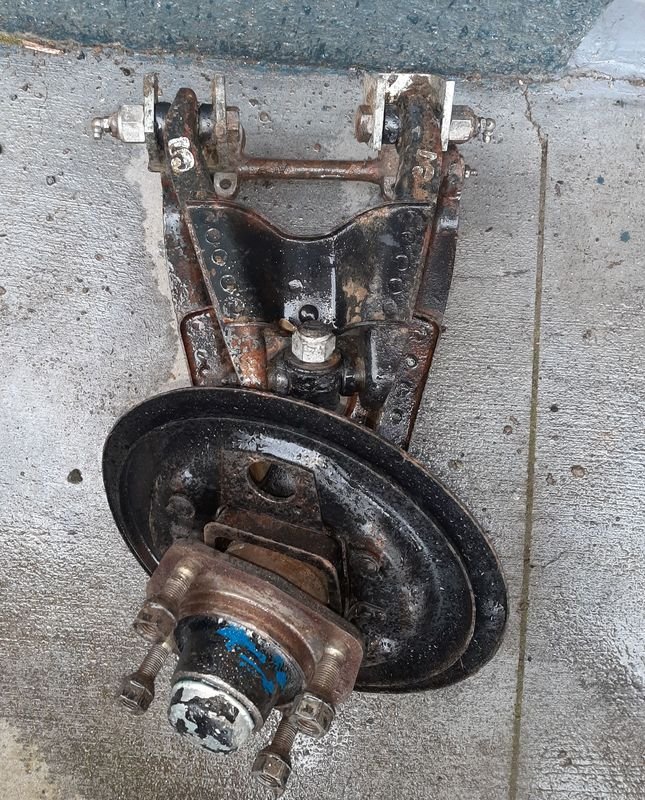
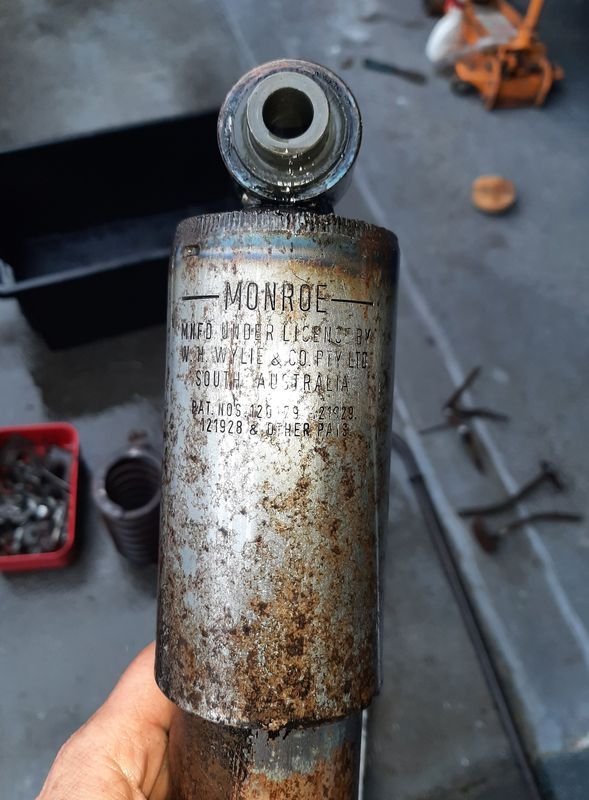
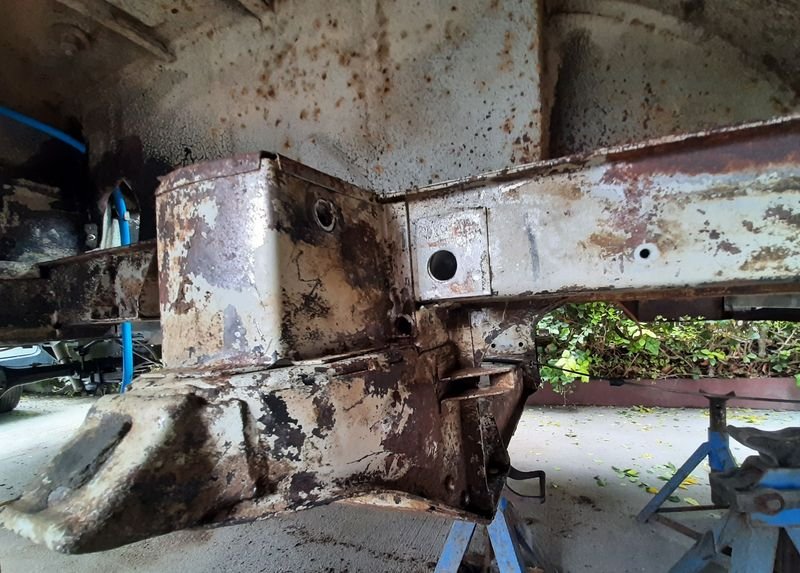
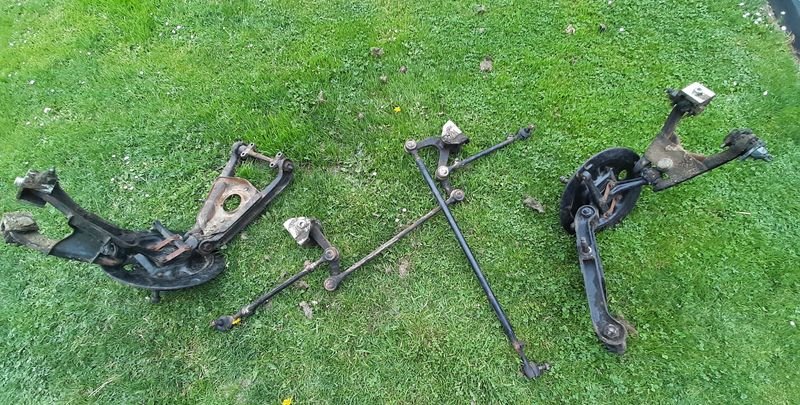
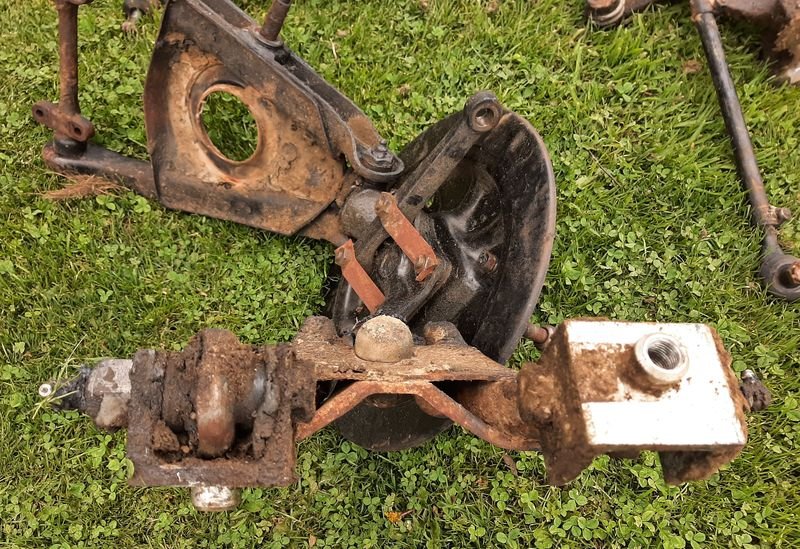
With the rear suspension done, and reinstalled the handbrake cable, i started to unpick the front end. I want to clean all the greasy dirt that is still caked on everything (and has actually done pretty well at preserving stuff) and then i can clean, paint, regrease and reassemble. Im very pleased to say, the rust is all on the 'outside' of the van in the panels, and not the chassis structure. Took all the brakelines off first, including the lines from the reservoirs (they are up behind the drivers seat) to make later, they all unscrewed easy. I didnt have the right spring compressor so just used the jack under the lower control arm but i think ill need one for putting it back together! Some before and afters Drivers side after dropping the wishbones out, and then after a scrape and waterblast Same area immediately after dropping the suspension and after a scrape and a waterblast. The light brown is a mix of oil, grease and road dust that is anything from 1mm to 20mm thick. Usually clean paint or metal under it, so could be worse! Only surface rust really is where the greasy smeg wasnt - a lot of cleany shiny metal where the paint came off with the waterblaster. This pic show where one of the main bolts comes thought, the inside of the rail is minty mint mint The two wishbone assemblies and the steering rack. ALL of the tie rod ends! One of the suspension assemblies, give a good idea of the crust on everything. Ive water blasted under the van about 10 times. After a clean, still has factory (?) shim count stamps . I got some new CRC degreaser for the parts washer, stuff is magic, seems to have a slight derusting action too. The gear change linkages came lovely, and have no discernable wear which is another sign of low milage Pretty sure these would have been factory fitted (CKD built by Torino Motors in Otahuhu), but cant believe how clean they came up! Pretty sure thats a manufacturing date stamp, which also makes me think this van is also a later (66 on) one. I re-found this service sticker that was in the cubby in the van that i thought id lost put somewhere for safekeeping . Along with the Kelso address painted on the Hubcaps, I reckon she is a Southland Van Place is still going Im going to get some paint made up soon (i have lost my paint swatch) so i can make a start respraying the shock mounts and engine bay etc before bolting everything back in. Still a lot of cleaning and stuff to do first. Head is off at the machine shop getting looked at, and i have the rims in the back of the daily to get the tyres stripped and then off to the sandblaster, so progress is continuing.
2 points
-
Rubbish update: I plucked the exhaust out of the garden and gave it a quick flick of paint. The can was naffed so i pierced it and brushed it on.. It’s purely to keep them uniform. I’d love to do headers one day so wasn’t mad keen to detail these manifolds. The pipe work is practically new, like I’d be surprised if it had 100km. Can read the part numbers stamped into it. Mufflers I think are on their second life but I have some spares.2 points
-
2 points
-
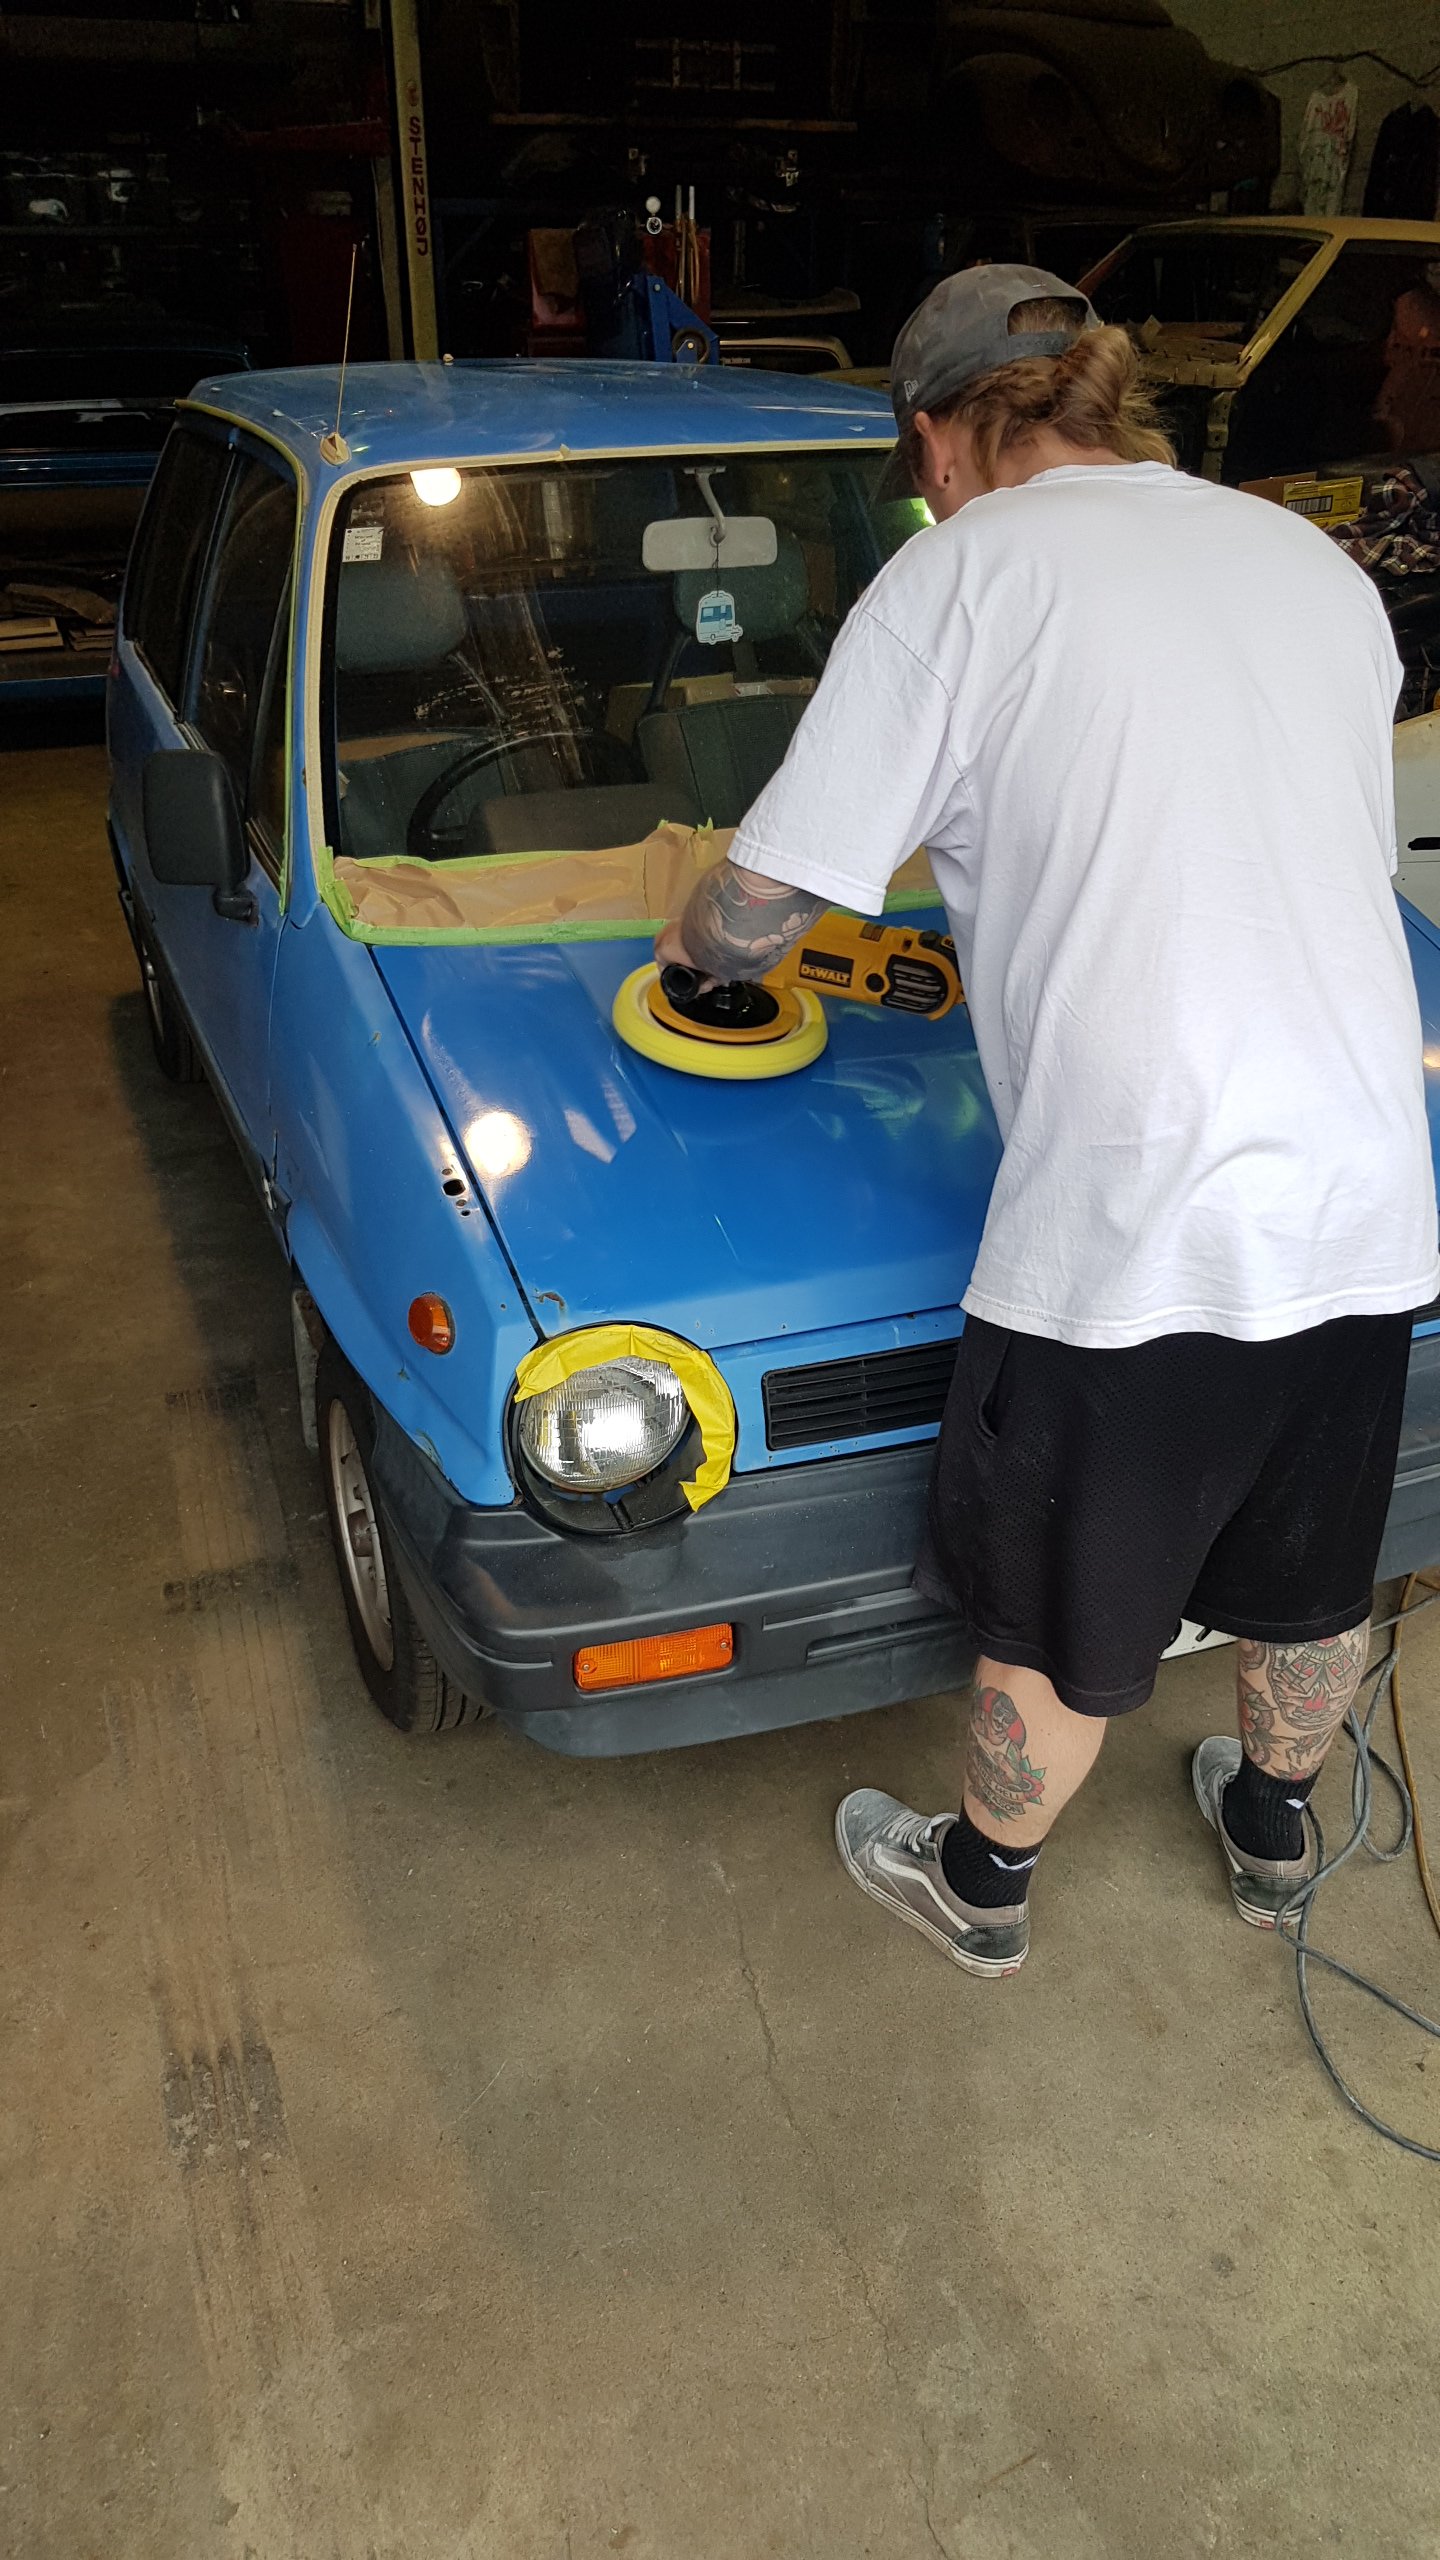
My buddy Adam came over on Sunday and finished off the buffing on the blue waffle. Safe to say he brought that paint back to life! I hit the bumpers with the butane torch too and Adam put some fancy Auto-glym bumper treatment cream on it to hopefully stop the black from fading off in a hurry.
2 points
-
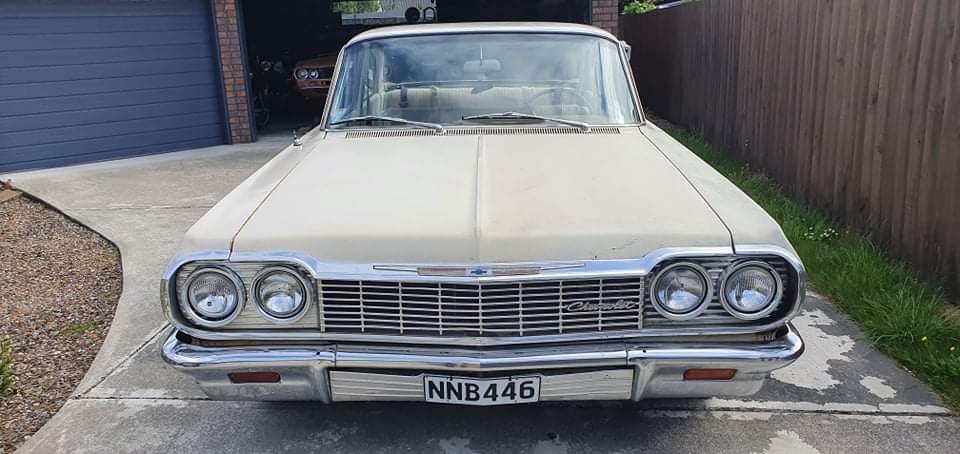
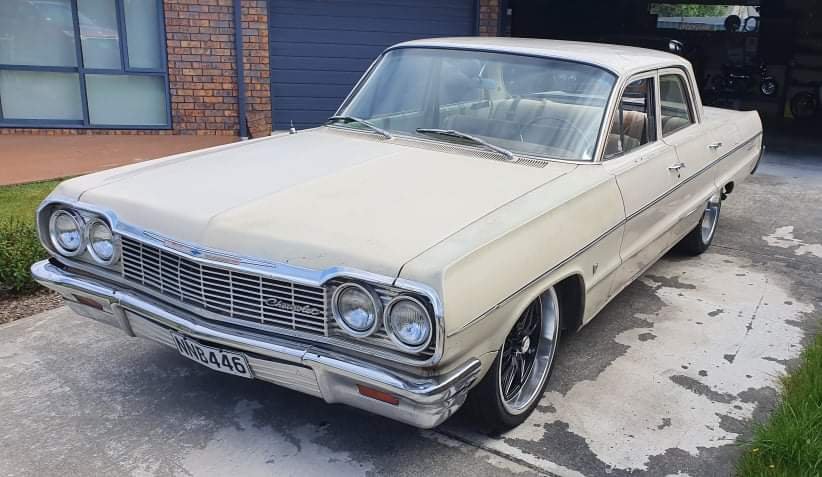
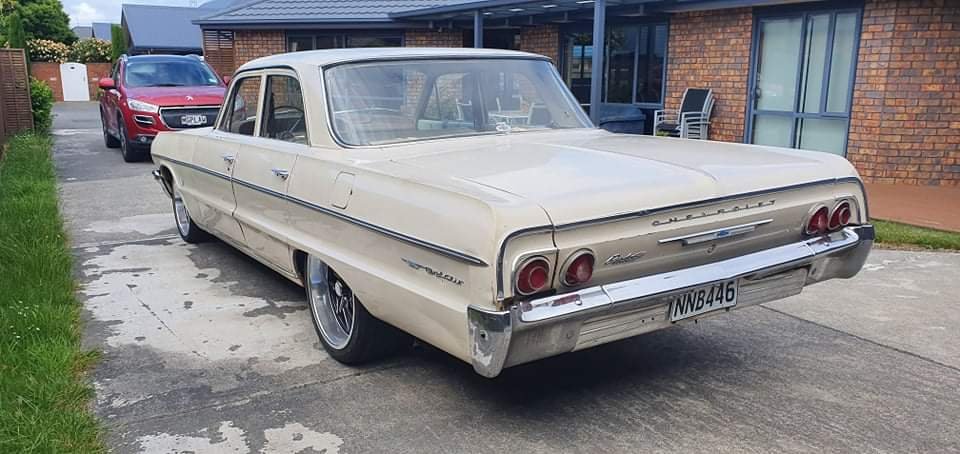
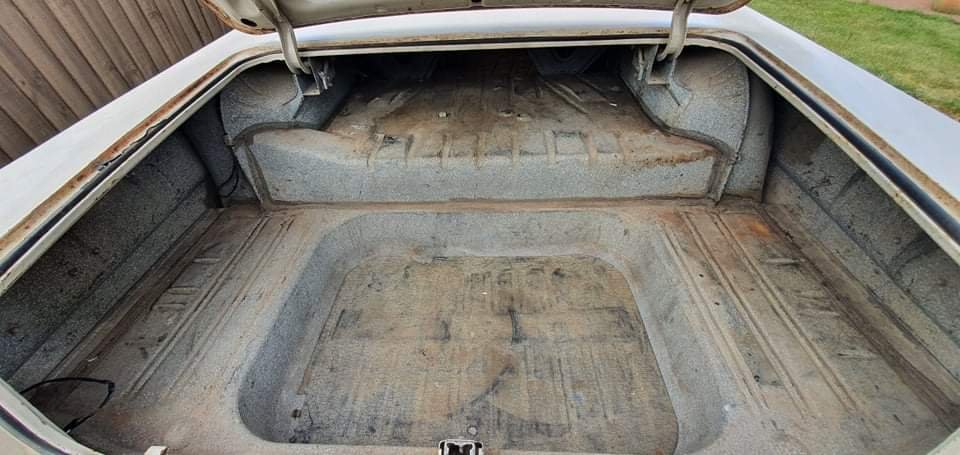
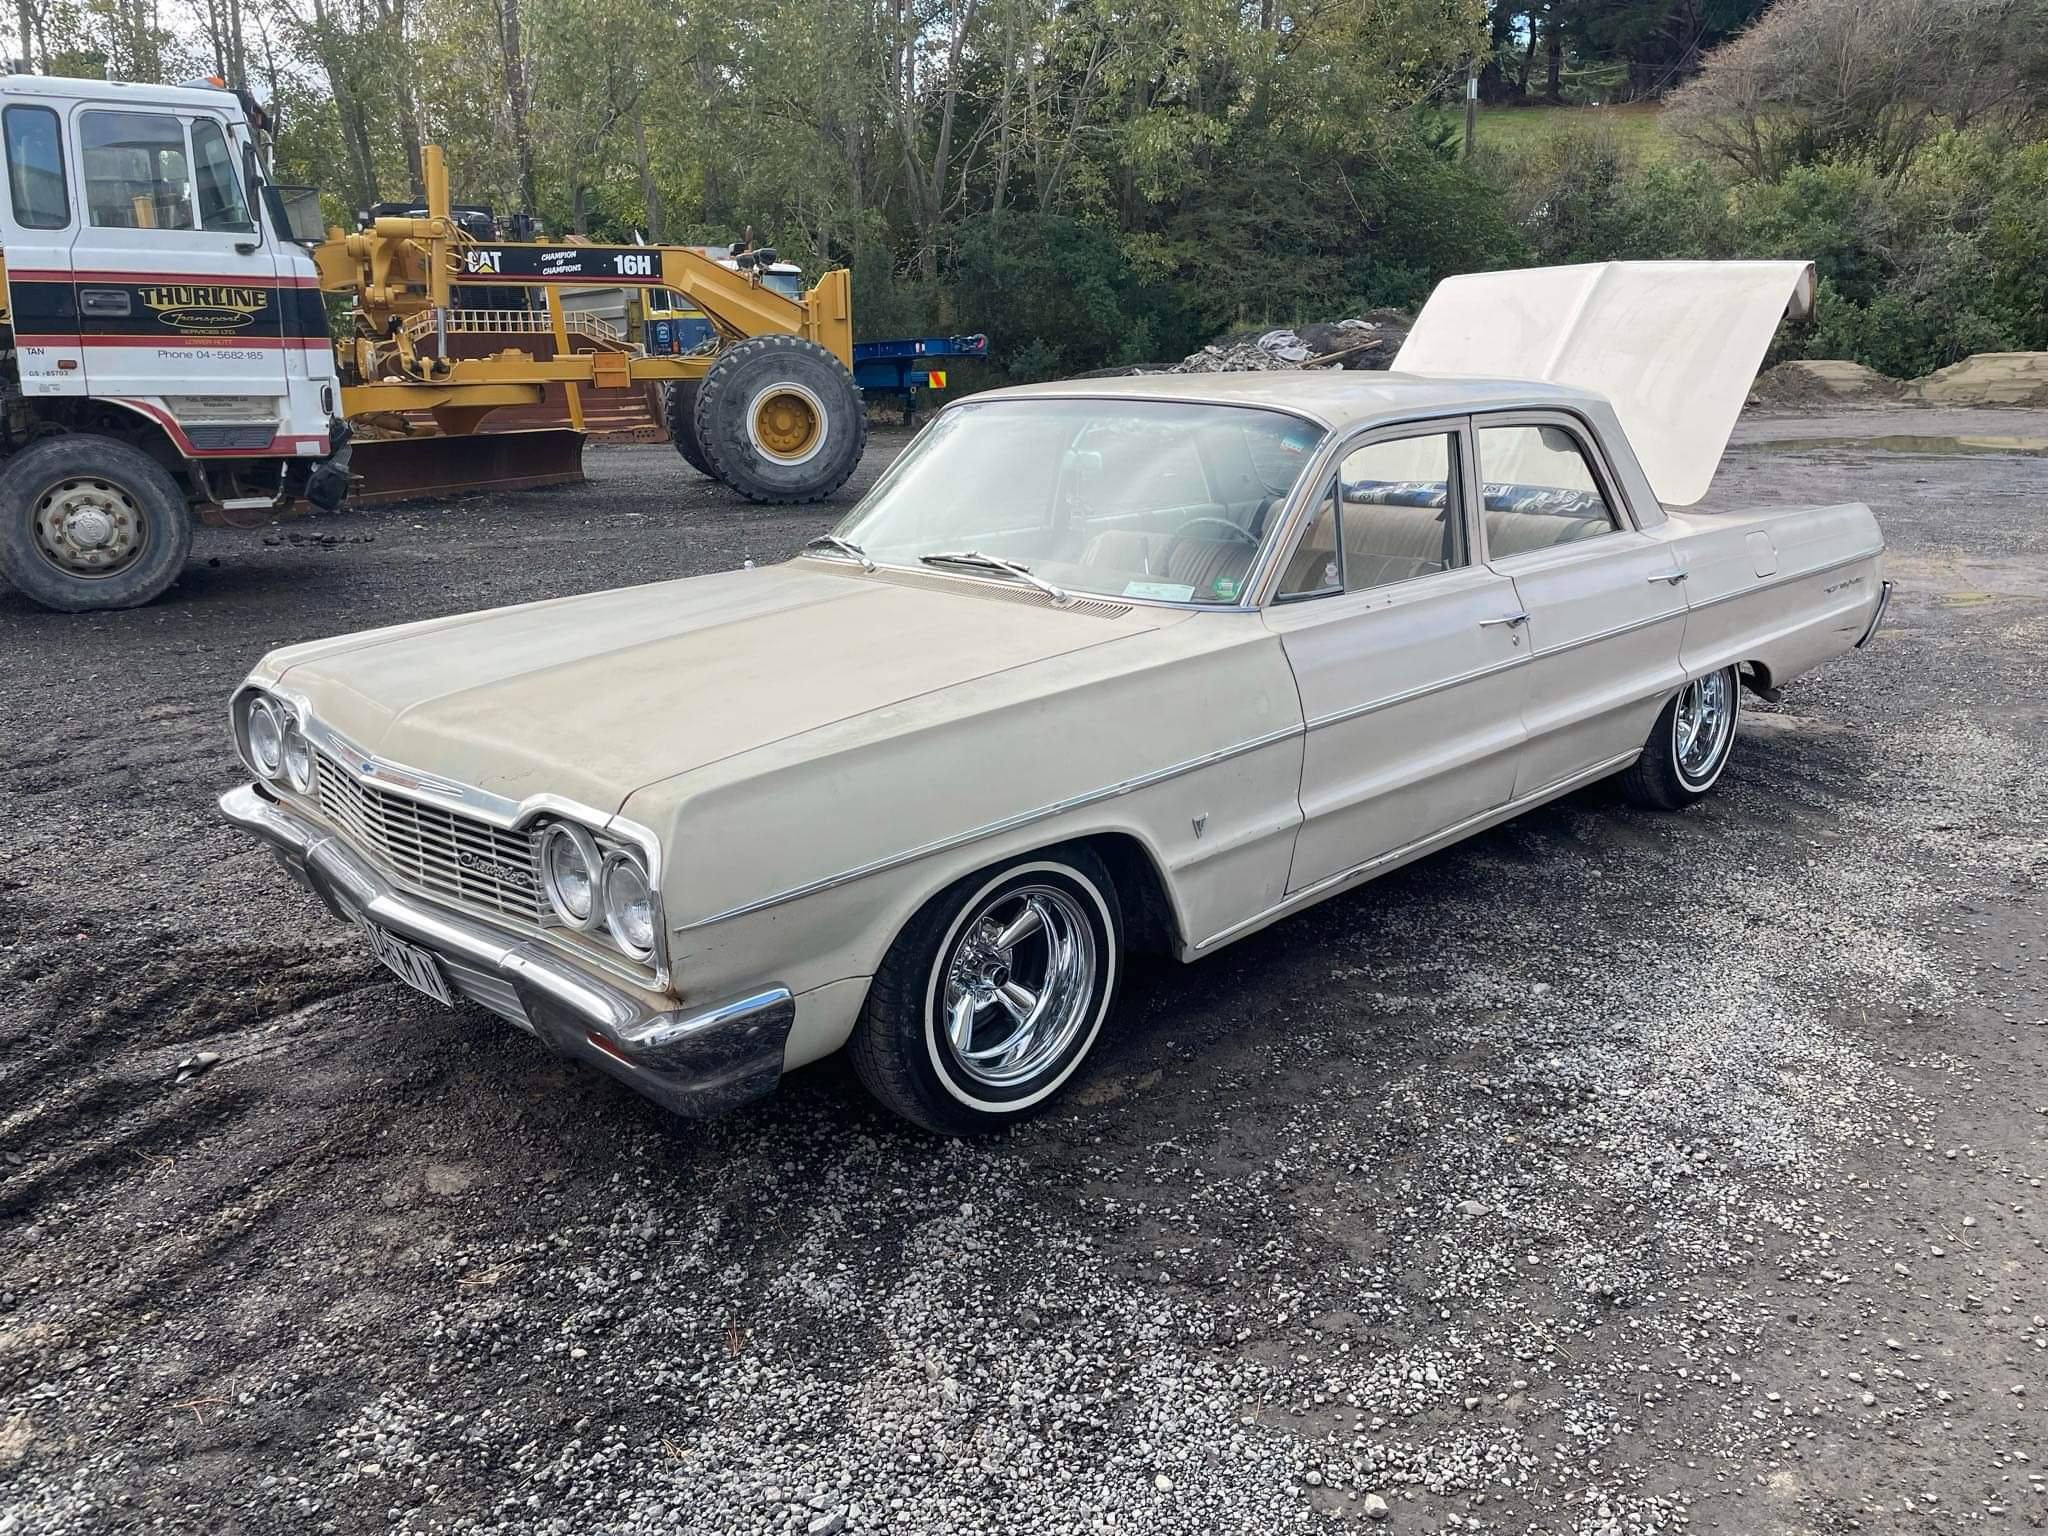
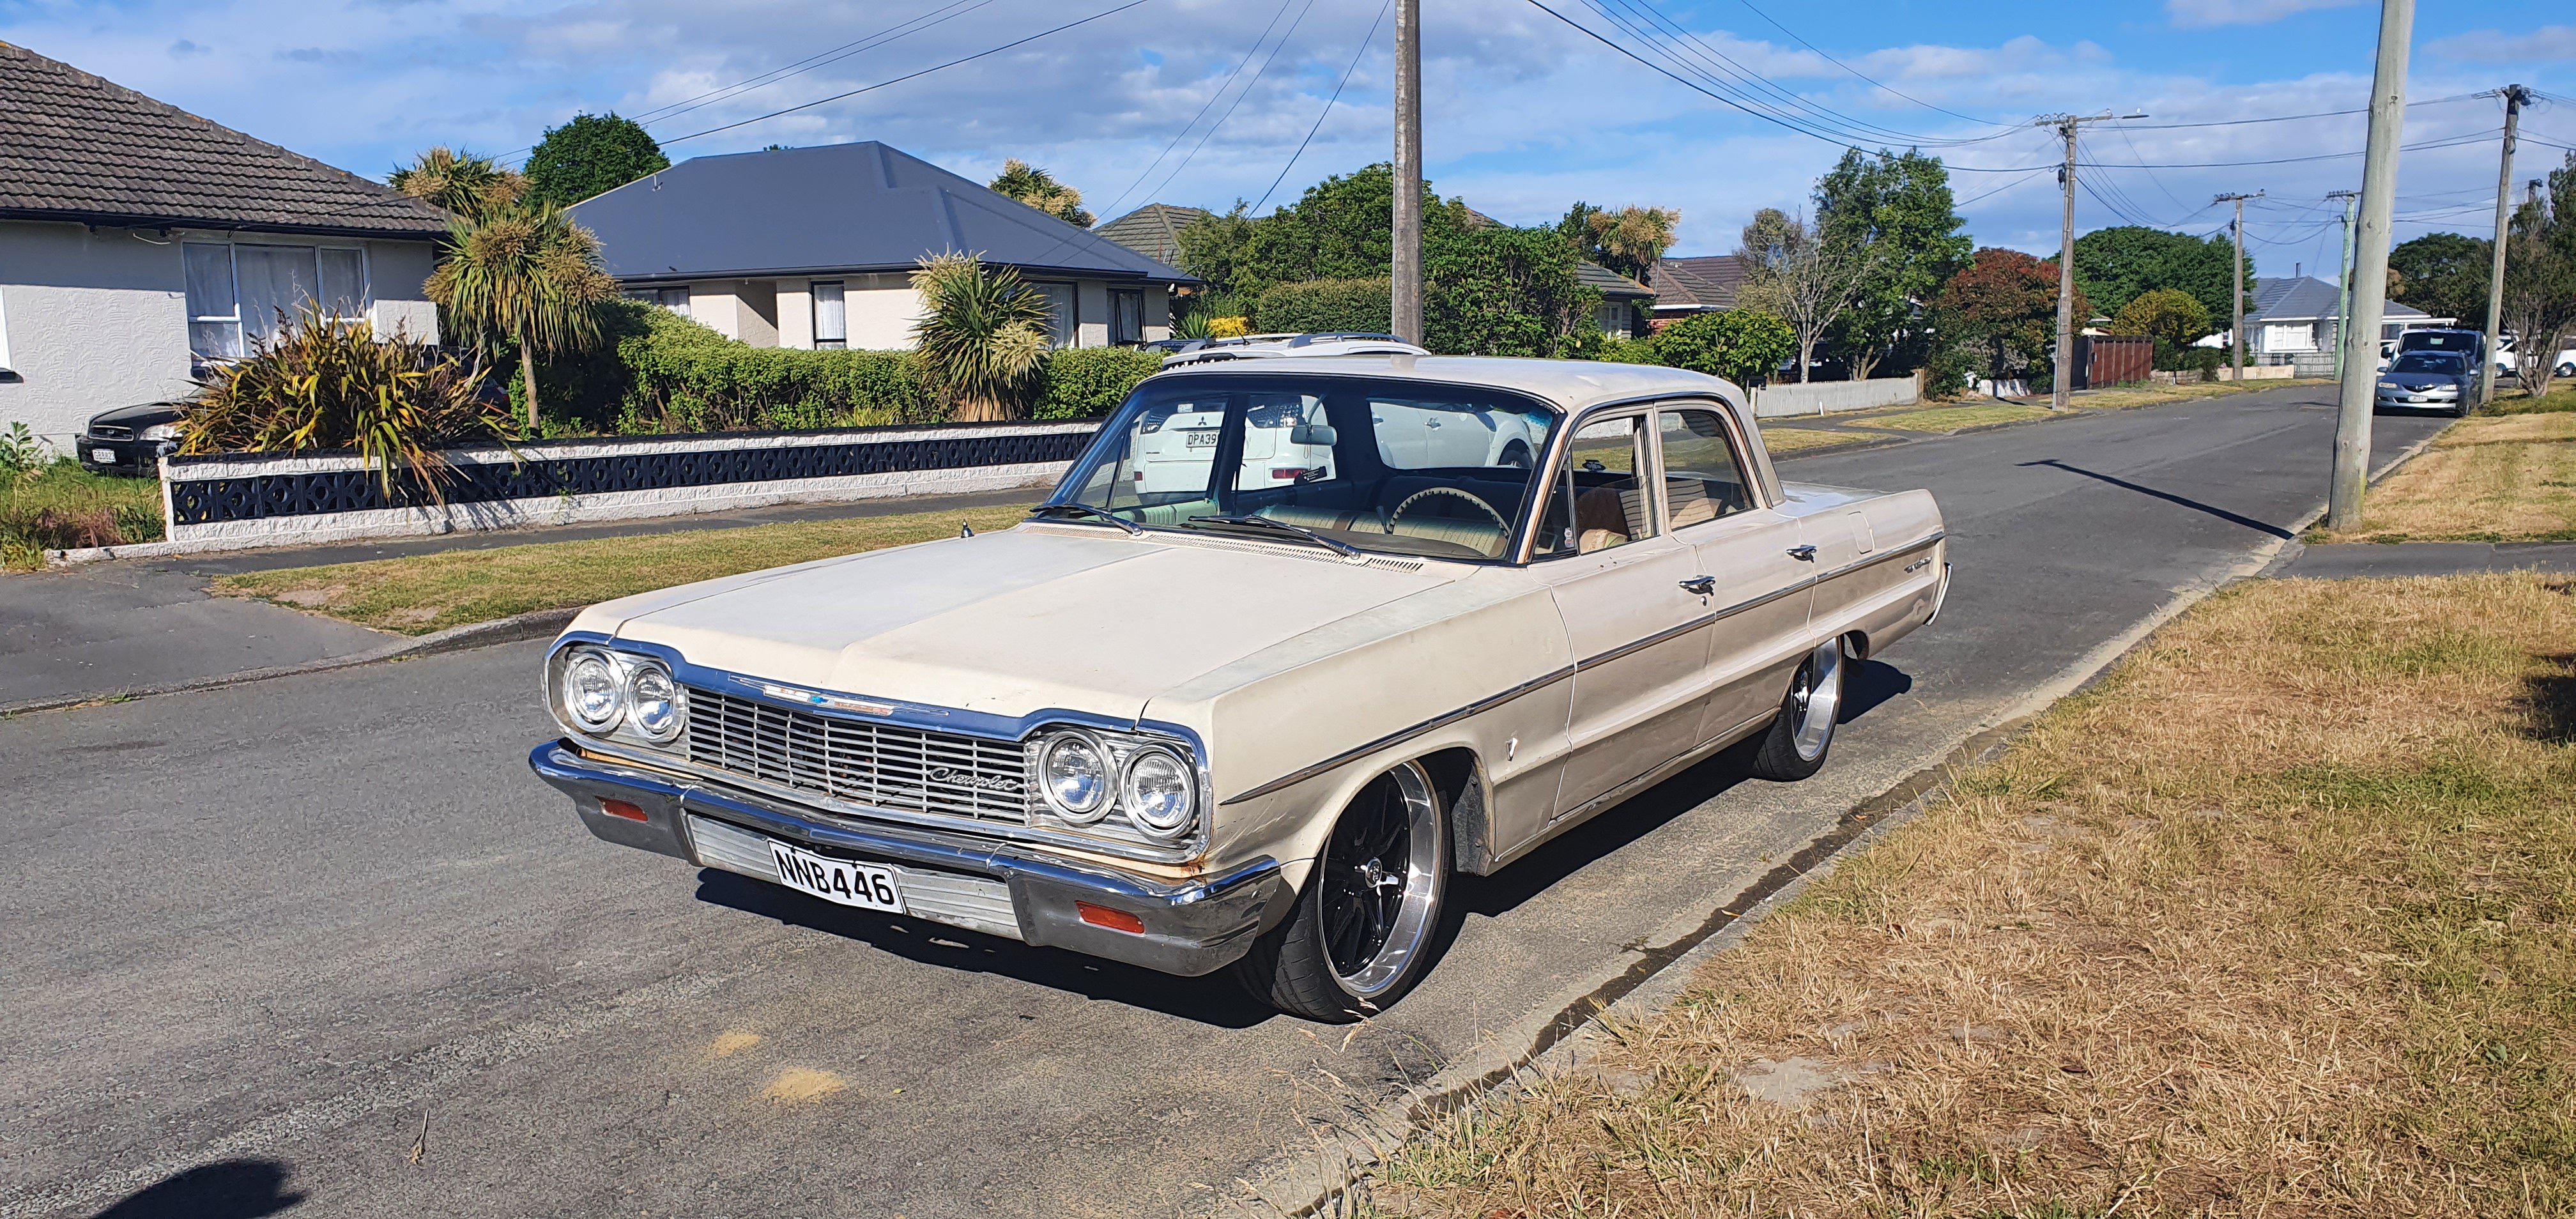
Discuss here Sharn incoming. Lots of words not many photos (yet). So, I'd been wanting to buy an Impala for a while and when the datsun popped up I thought it could be a good opportunity to make some money to put towards owning one. Unfortunately prices went crazy this year so it still seemed out of reach. As soon as it sold I put an ad up on one of the Facebook pages and I think I only got two responses. One was for a car way out of my budget and the other was a Bel Air in Wellington that looked rough. Anyway as time went on the Bel Air started to look like it could be worth looking at. I messaged @crustywhip and he was in the UK. Oh. No worries, if the guy still has it when Kane gets home we'll go from there. Thankfully the car wasn't actually advertised for sale so when it came time to revisit the idea it was still available. Kane had a look for me last week and determined that yes the body and interior is beat up but it is original and mechanicals are good. That was enough for me. Flight booked. "Hey m8. Have a 64 Belair if u interested? Have just put brand new mags on it also. Has NO RUST and has been through compliance etc when my m8 I brought it off had it. New body mounts and vtnz checked and wof also. Awesome tidy car and drives mint as! All original paint, carpets , seats etc etc so been untouched part from the wheels haha. It’s got a good 307 in it at the moment. My m8 had the bottom end checked by his mechanic and all tidy as. Only looking at selling to by a new vehicle for my new business otherwise I’d keep it 100% send u some pics" So anyway. Picked it up on Saturday and drove it home yesterday. It was tidier than I thought it would be and it drove well so I'm pretty stoked. I'll add some photos when I next drive it. Plans are to get rid of the 20"s asap and go to 14"s. Get some of the body tidied up (There's a gark down the right side and some dents in the roof I wouldn't mind disappearing). A new hoodlining, probably a stereo, and all going well hydros.
1 point
-
As I was reading I was dreading that it was going to get to, 'I sold the rotary and the datsun'. Sweet ride! Look forward to more pics1 point
-
I had a hilux in a few weeks back that stopped and wouldn't start again. The fuel gauge had stopped working and was stuck on half, but the tank was empty. Had just enough in the tank to make it seem like it had fuel when you prime it with a hose off1 point
-
Shouldn't be ecu. As @h4nd only recently replaced all the caps. I will check in the weekend though. There was talk from one of the mechanics at work about a shared Input shaft on the pump. Maybe more common now they are aging Spill valve is operating. I can feel it click if I hold it when they key is turned on. If it's not ecu I'll be talking to Hayden at mds and might get them to diagnose it Getting over this sack and its unreliability recently aye1 point
-
https://hiluxsurf.co.uk/forum/hilux-surf-forums-technical/-3-0-turbo-diesel/86611-1kz-te-starting-problem End of page 1, start of page 2. Just a quick Google guess. ^that's spill valve relay. Maybe also check the condition of the capacitors in the ecu, make sure none have leaked out onto the board. Ecu is under the dash behind the glove box box. According to that link relay is in there too for a surf, probably the same.1 point
-
Don't worry, a wimpy SB Chev won't break the wheels. A BB Ford however... Just check them occasionally.
1 point
-
Surprisingly wasn't too much difference between Datsun sale price and Chev purchase price thankfully so the mazda is safe.1 point
-
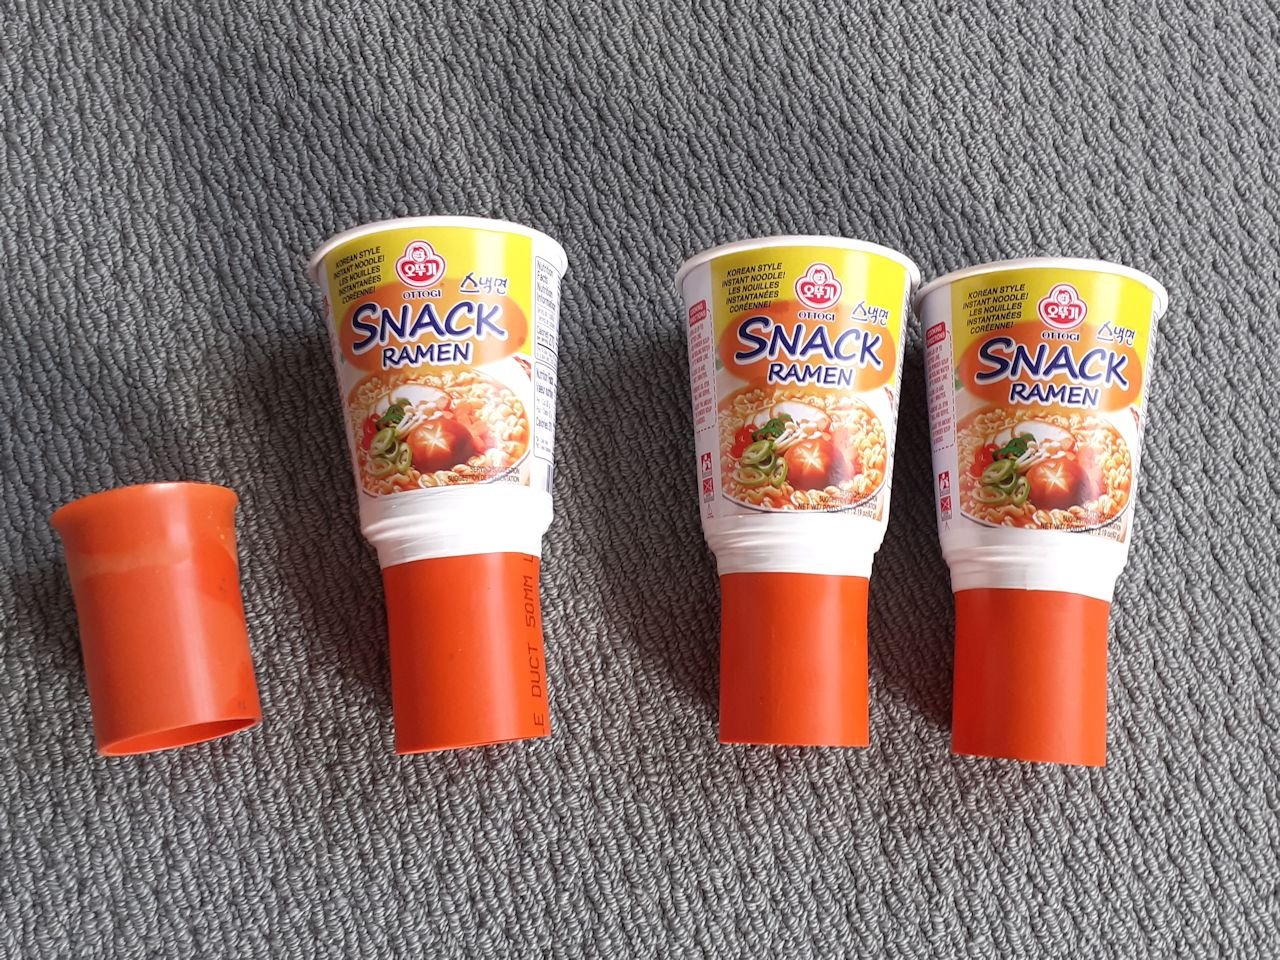
was going for the ramen / pad thai combo. but old mate pad thai made his cup the wrong size. so looks like its ramen noodles for lunch, to get that 4th cup They even have the full rolled bellmouth everyone likes
1 point
-
Shizer it's been a while and cringe at my old posts. Anyways, I chucked a blanket over this and shut the garage while I did other things for a couple of years. Lockdowns meant pulling the blankets off, I got it running on the factory intake so was motivated again. Rear screen rubber in, stainless trims fresh and polished, random clips from russia and its now airbagged using accuair control with airlift struts. It drives well around the hood and I'm slowly getting more confident on going further. I never drove this car so was a big moment. Next on the list is sorting my rear wheels as they are a bit wide for frame laying and then a bespoke itb manifold from Mr Whitley tune. Pic courtesy of Simon when it was picked up a few weeks ago. Il take some when I get the trims back on.
1 point
-
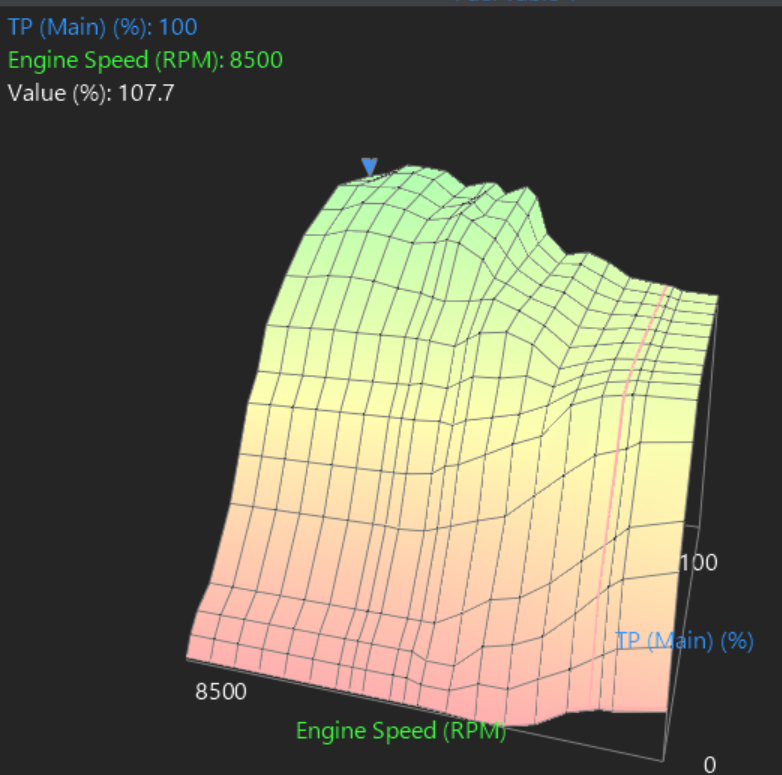
Going through results from this, gains super arent huge, but it's something. However I'm now happy that the VVTI situation is as good as resolved, as I've got a good working range while still keeping the full high comp. Now I will be able to see full benefits from a good exhaust. So that's next on the list. Coilovers and some slam would be cool, but out of budget for the next long while. EDIT: I refined the tune a bit, and yeah its picked up some midrange, can pretty easily see the difference compared to last! Feels great, I'm happy with it. Glad to have this bit ticked off the list. Based on some of the stuff that KPR has done, it would be interesting to see if that big steep increase at 4k rpm improves with a better exhaust. There's drags on at Meremere this sunday, if the stars align I might get there.
1 point
-
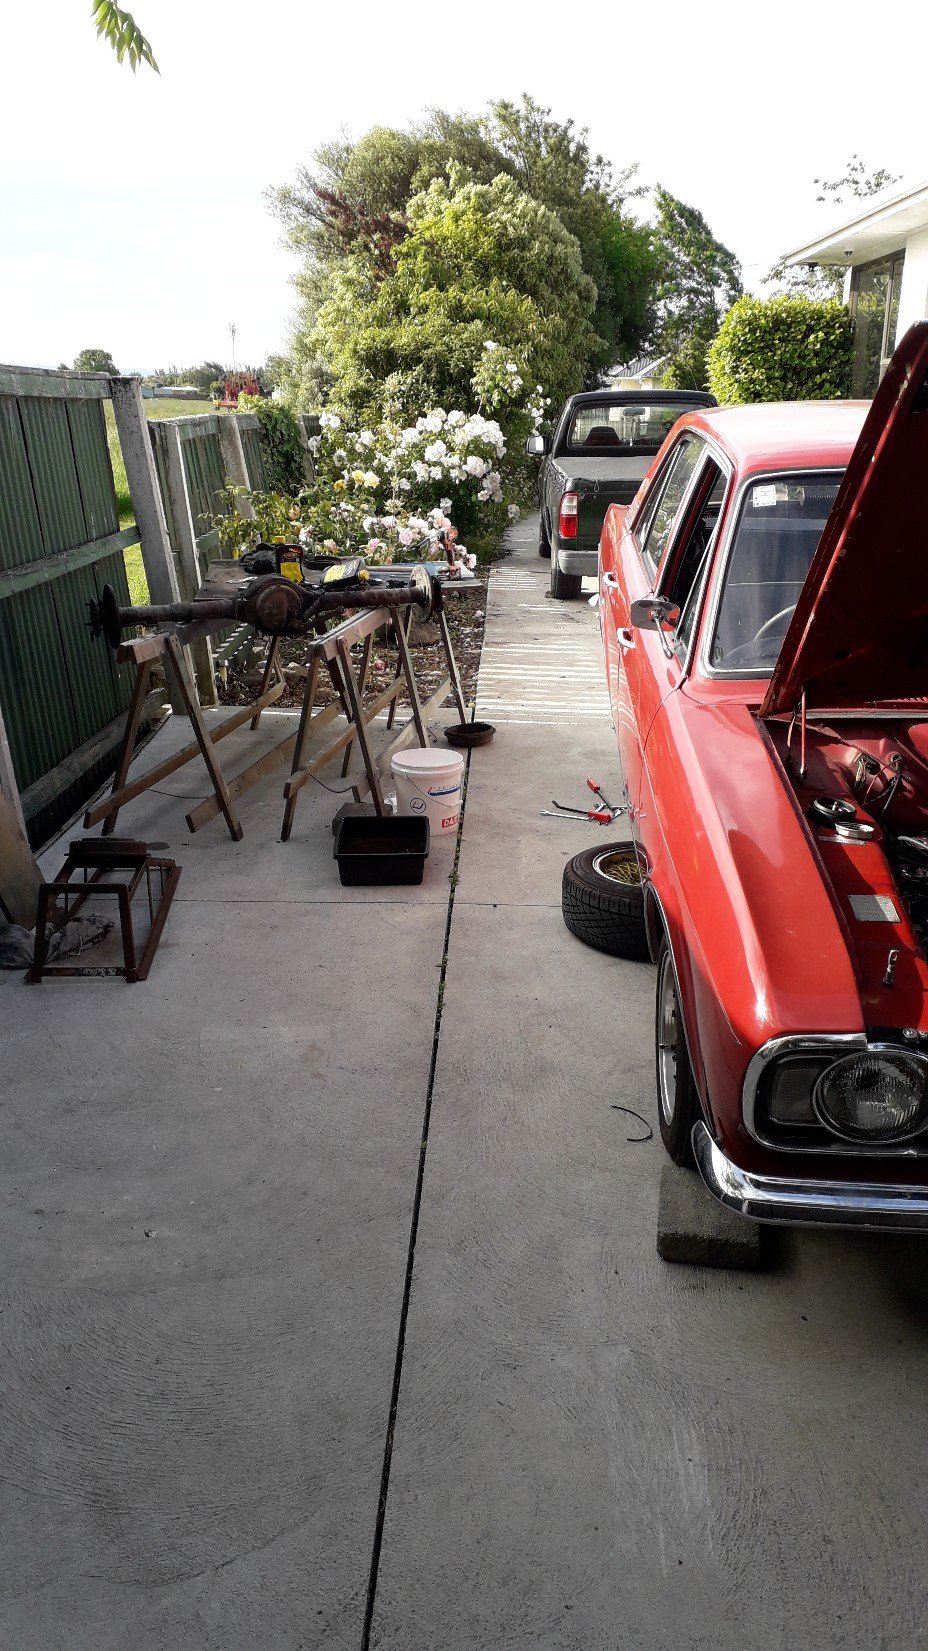
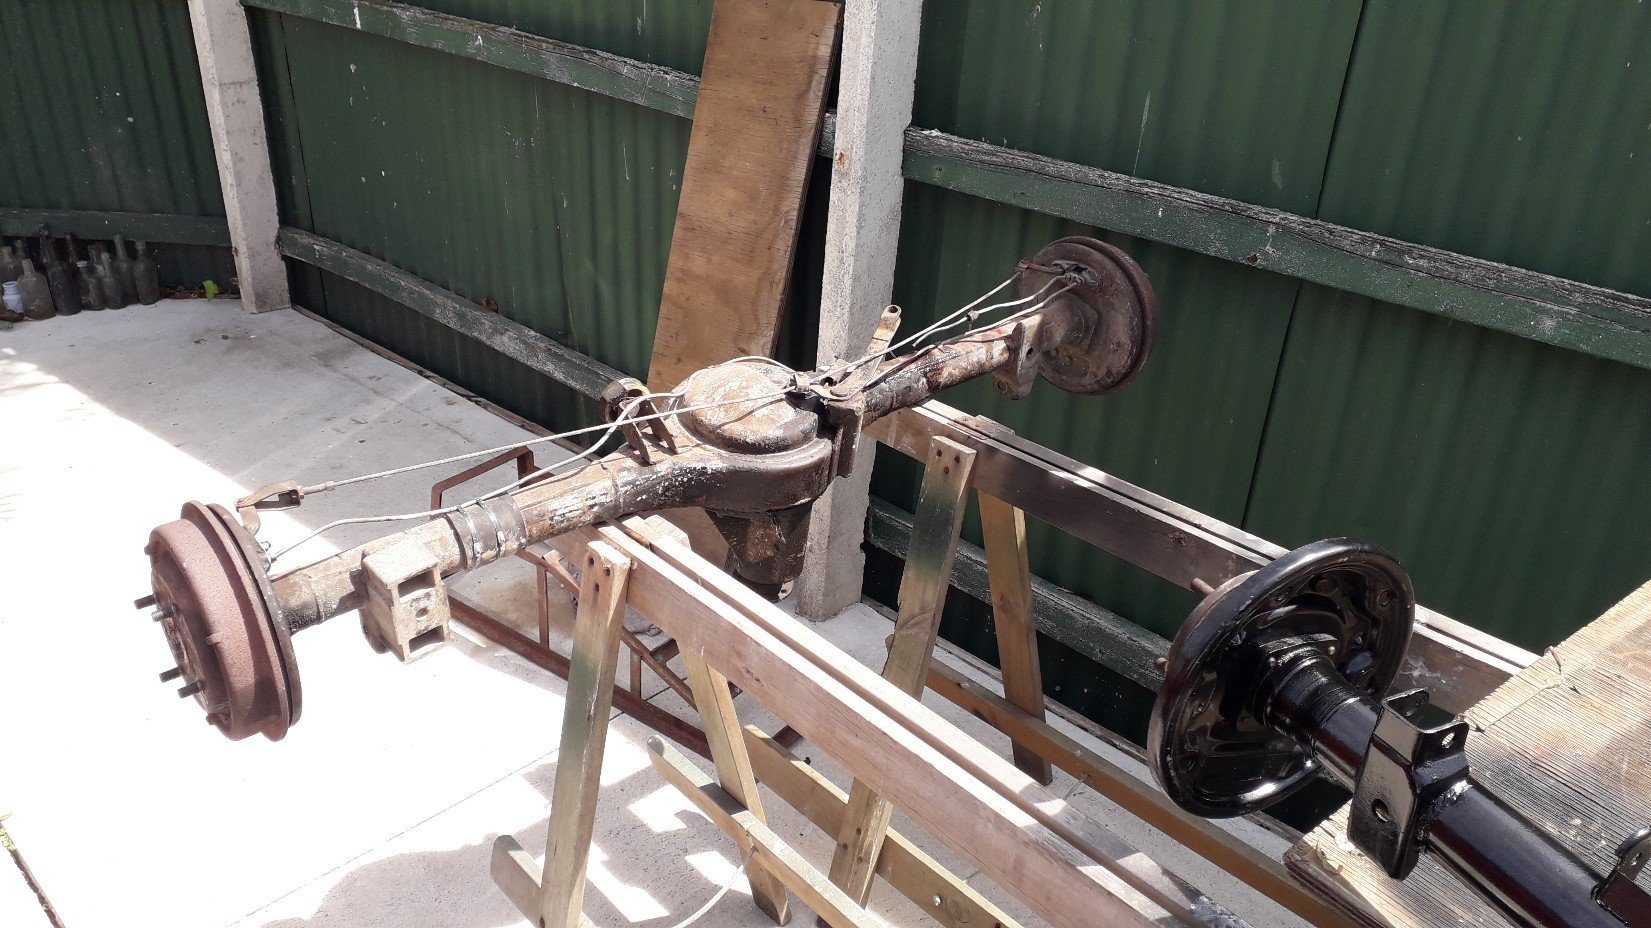
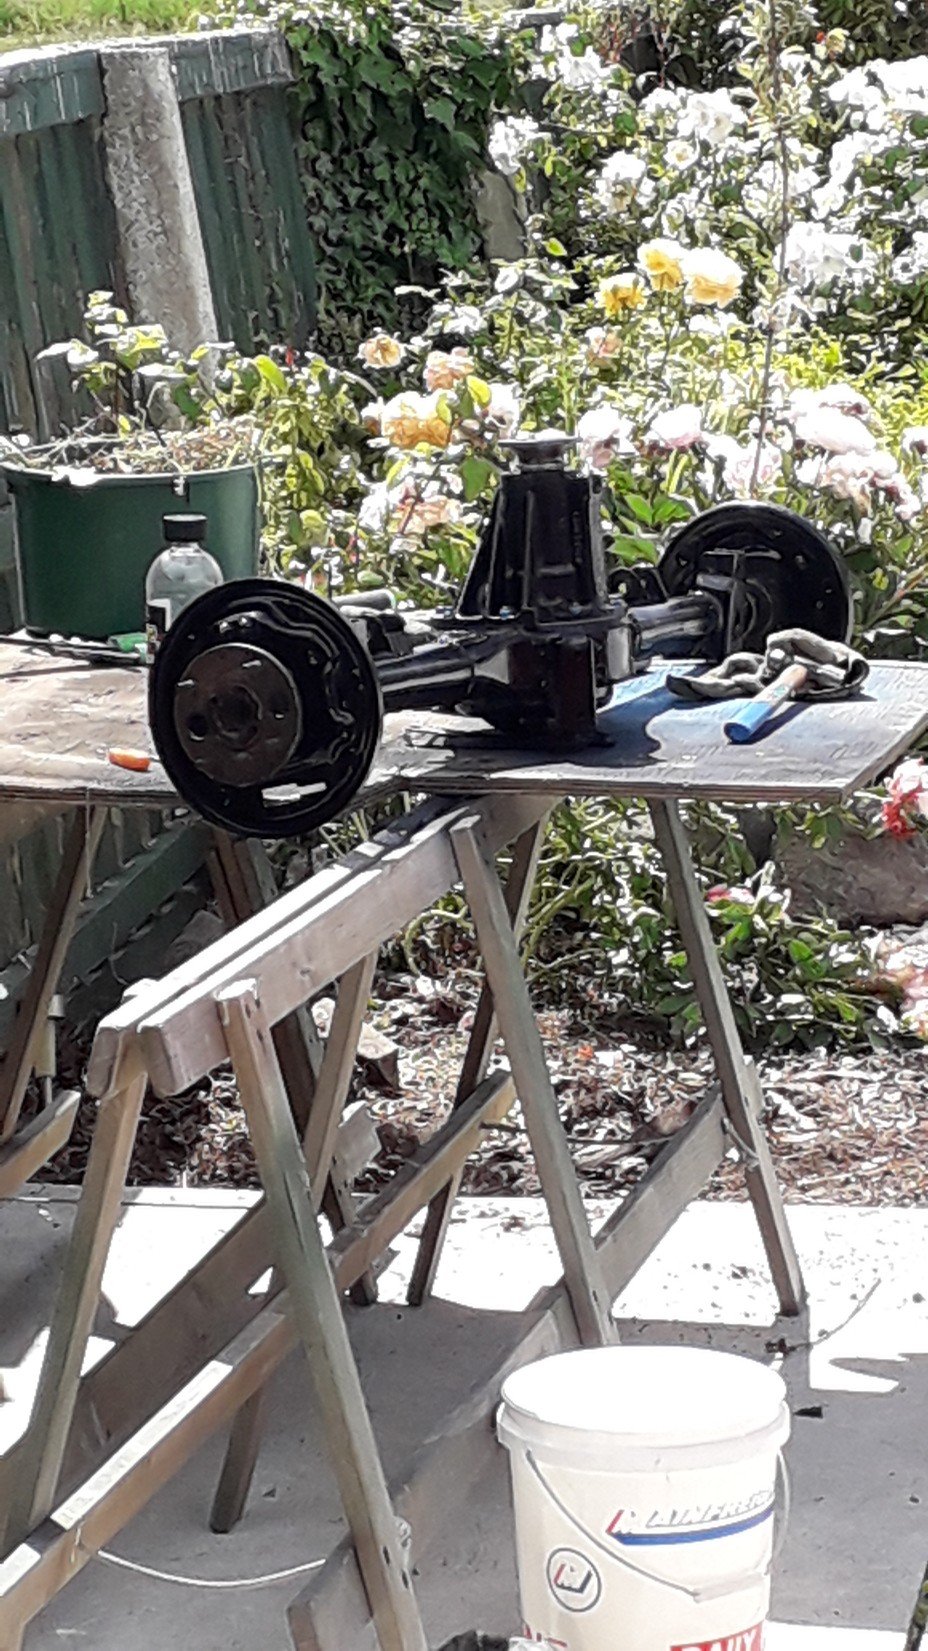
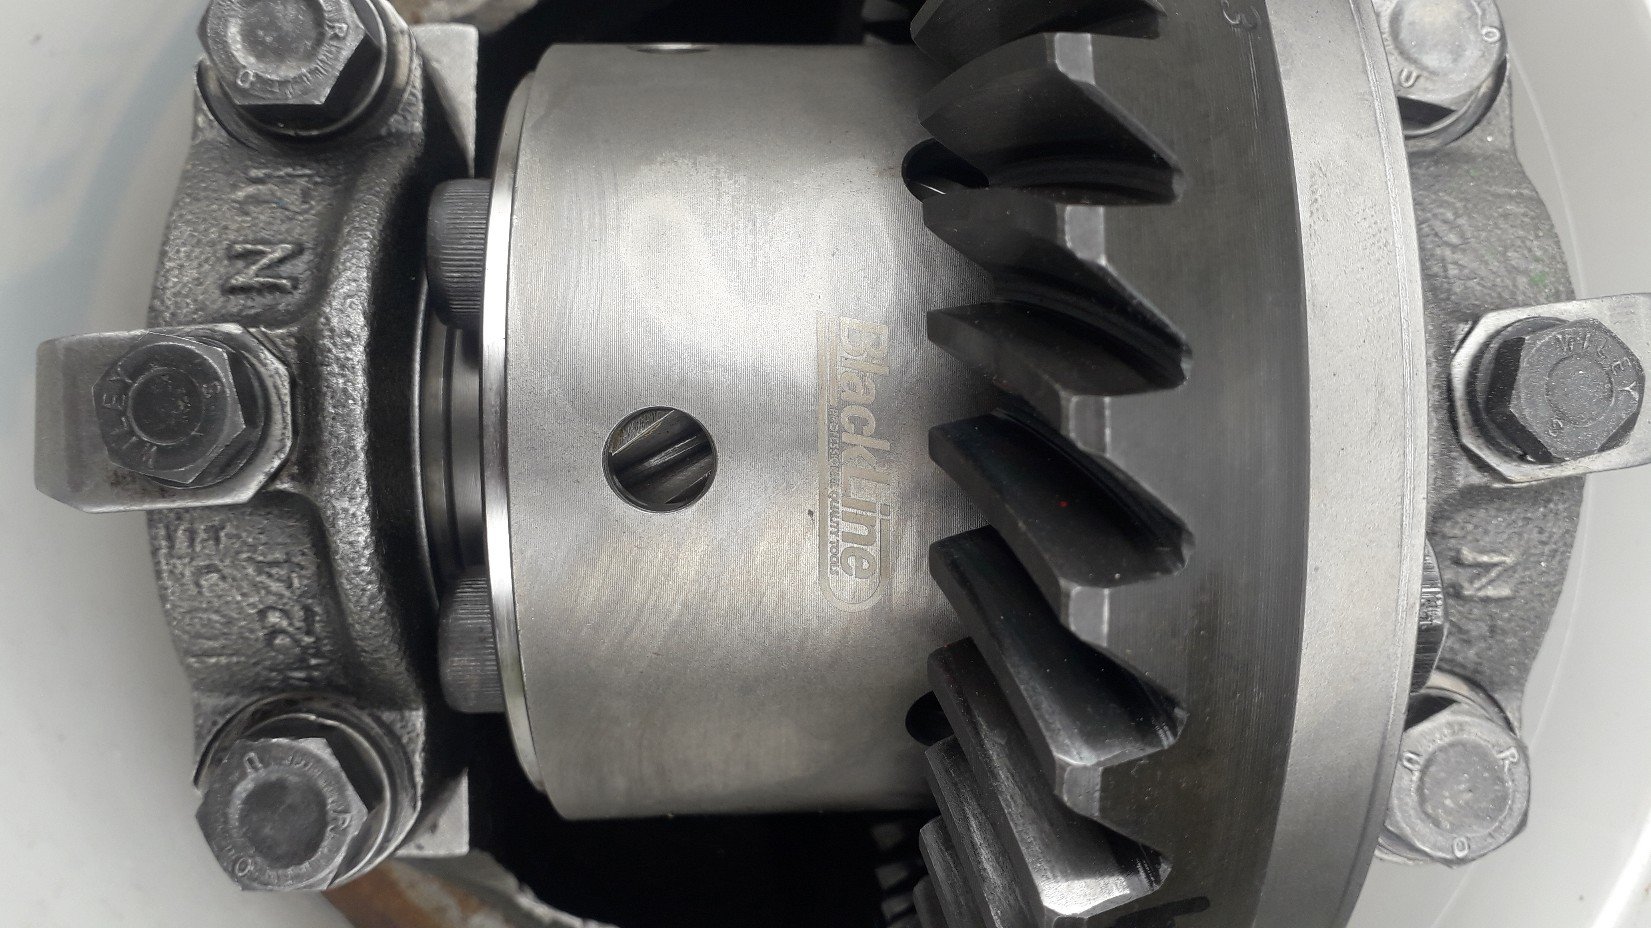
A huge update for the car, but a shitty update when I try and write about it. theres only so many pictures you can take of an axle. I had the 3.54 gears and blackline Lsd sitting in the house since august. the supply chain is wrecked as we all know. so I had brake shoes, springs and wheel cylinders brand new ordered but they never arrived. got all the way to Auckland, sat there for 3 weeks then got sent back to the uk. go figure. so I fitted the old shoes, used a mixture of the best springs and clips I could make of the 2 sets and bought wheel cylinders again. I pressed new bearings onto the axles and bolted it all together. I just needed to get it done the old diff was knackered. I took the car out today to a motorkhana with a mate with the MG club today. had great fun and it was also a great test of the car, suspension and diff etc and I got a few hrs cruising to tweak the carbs and keep an eye on the wideband. I need to do more research. when the car runs best it reads about 12.8 cruising and 12.2 on full throttle. from what I've read so far that's too lean but I need way more reading up on it. anyway.. few pics. old new.
1 point
-
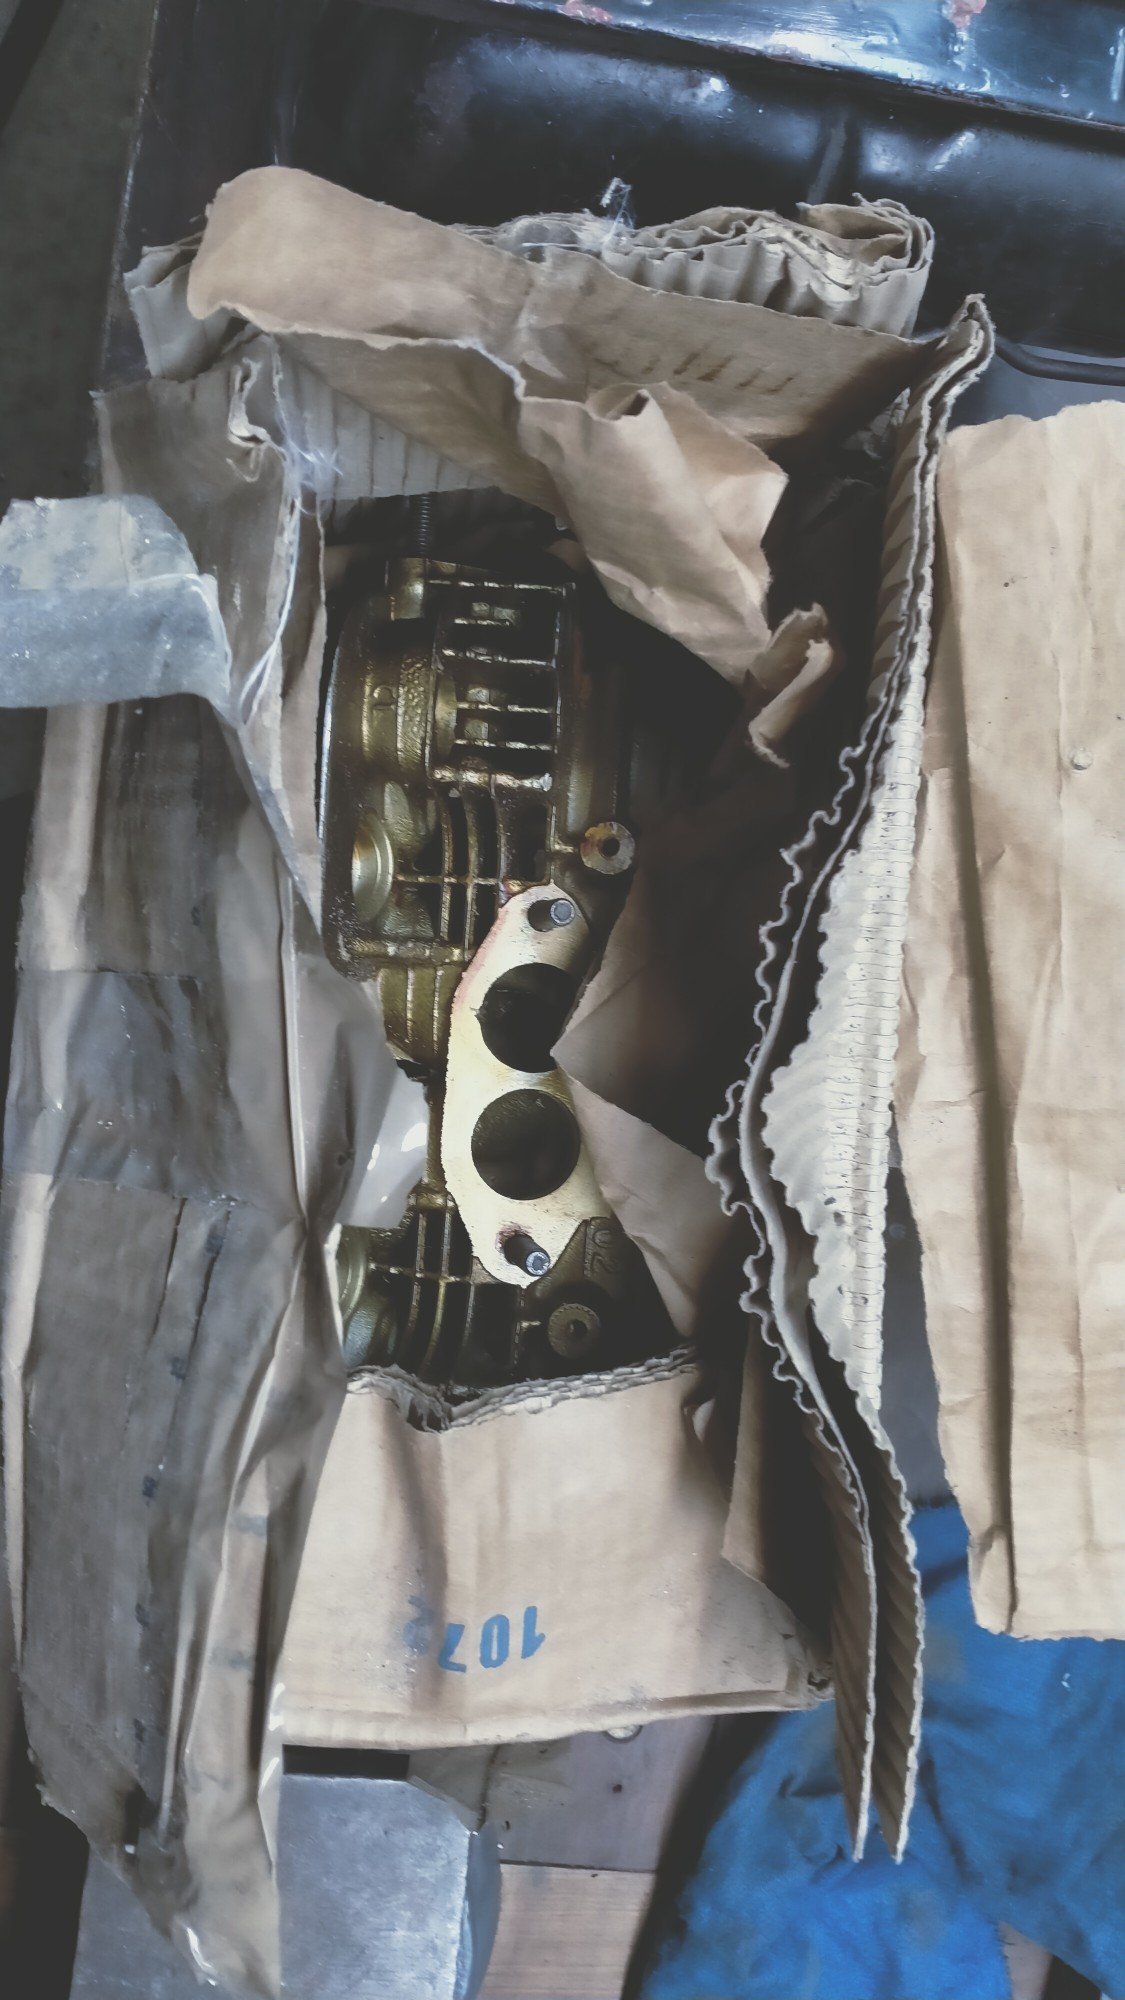
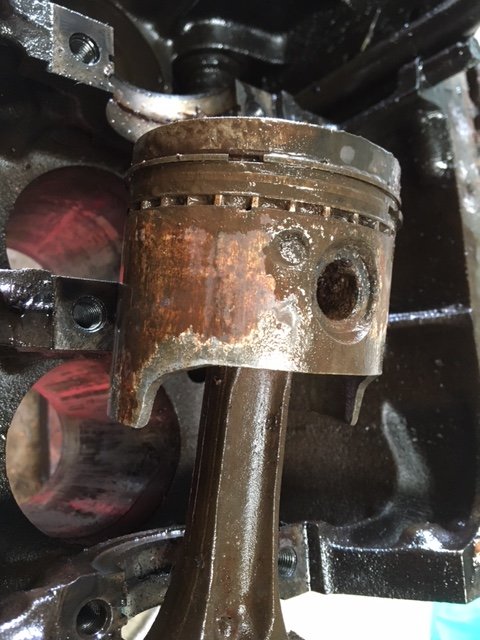
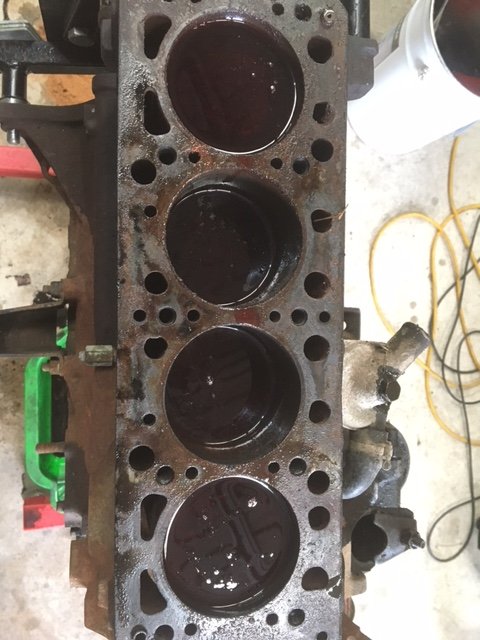
Rewinding a little, I stripped the spare engine. Remember how I had written earlier that the vendor had stated it had “good bores”? It seems my scepticism was well founded! mhmm.. Ooh, nice. Clearly well maintained. Won’t turn, so soak them pistons Three days later, 3 pistons out, one still firmly in. I tried all sorts of brews, heat etc. Hammering with a wooden drift did not work at all, the drift was absorbing too much force. In the end I smashed it out with a steel drift. During this pounding, the head flew off my big ball pein hammer and of course it landed on the CAR!! Bounced twice, and luckily missed the boy, Anyway, check out the mint bore And piston I will scrap this piston due to the loads I imposed on it during extraction. So I have a usable crank, head and some pistons and rods and of course the block could be used if bored out, but since pistons are unobtainium that’s academic. The cam lobes are rusted to buggery and the intake cam is rusted into the cam box and I’ve been unable to extract it.
1 point
-
Over time the poor old Thames has turned into a bit of a storage shed the biggest items being our pool loungers which is a pain in the arse. Being red there is just no way that we can leave them out in the elements, so muggins here has to lug them out and back in every time we feel like lying by the pool.
1 point
-
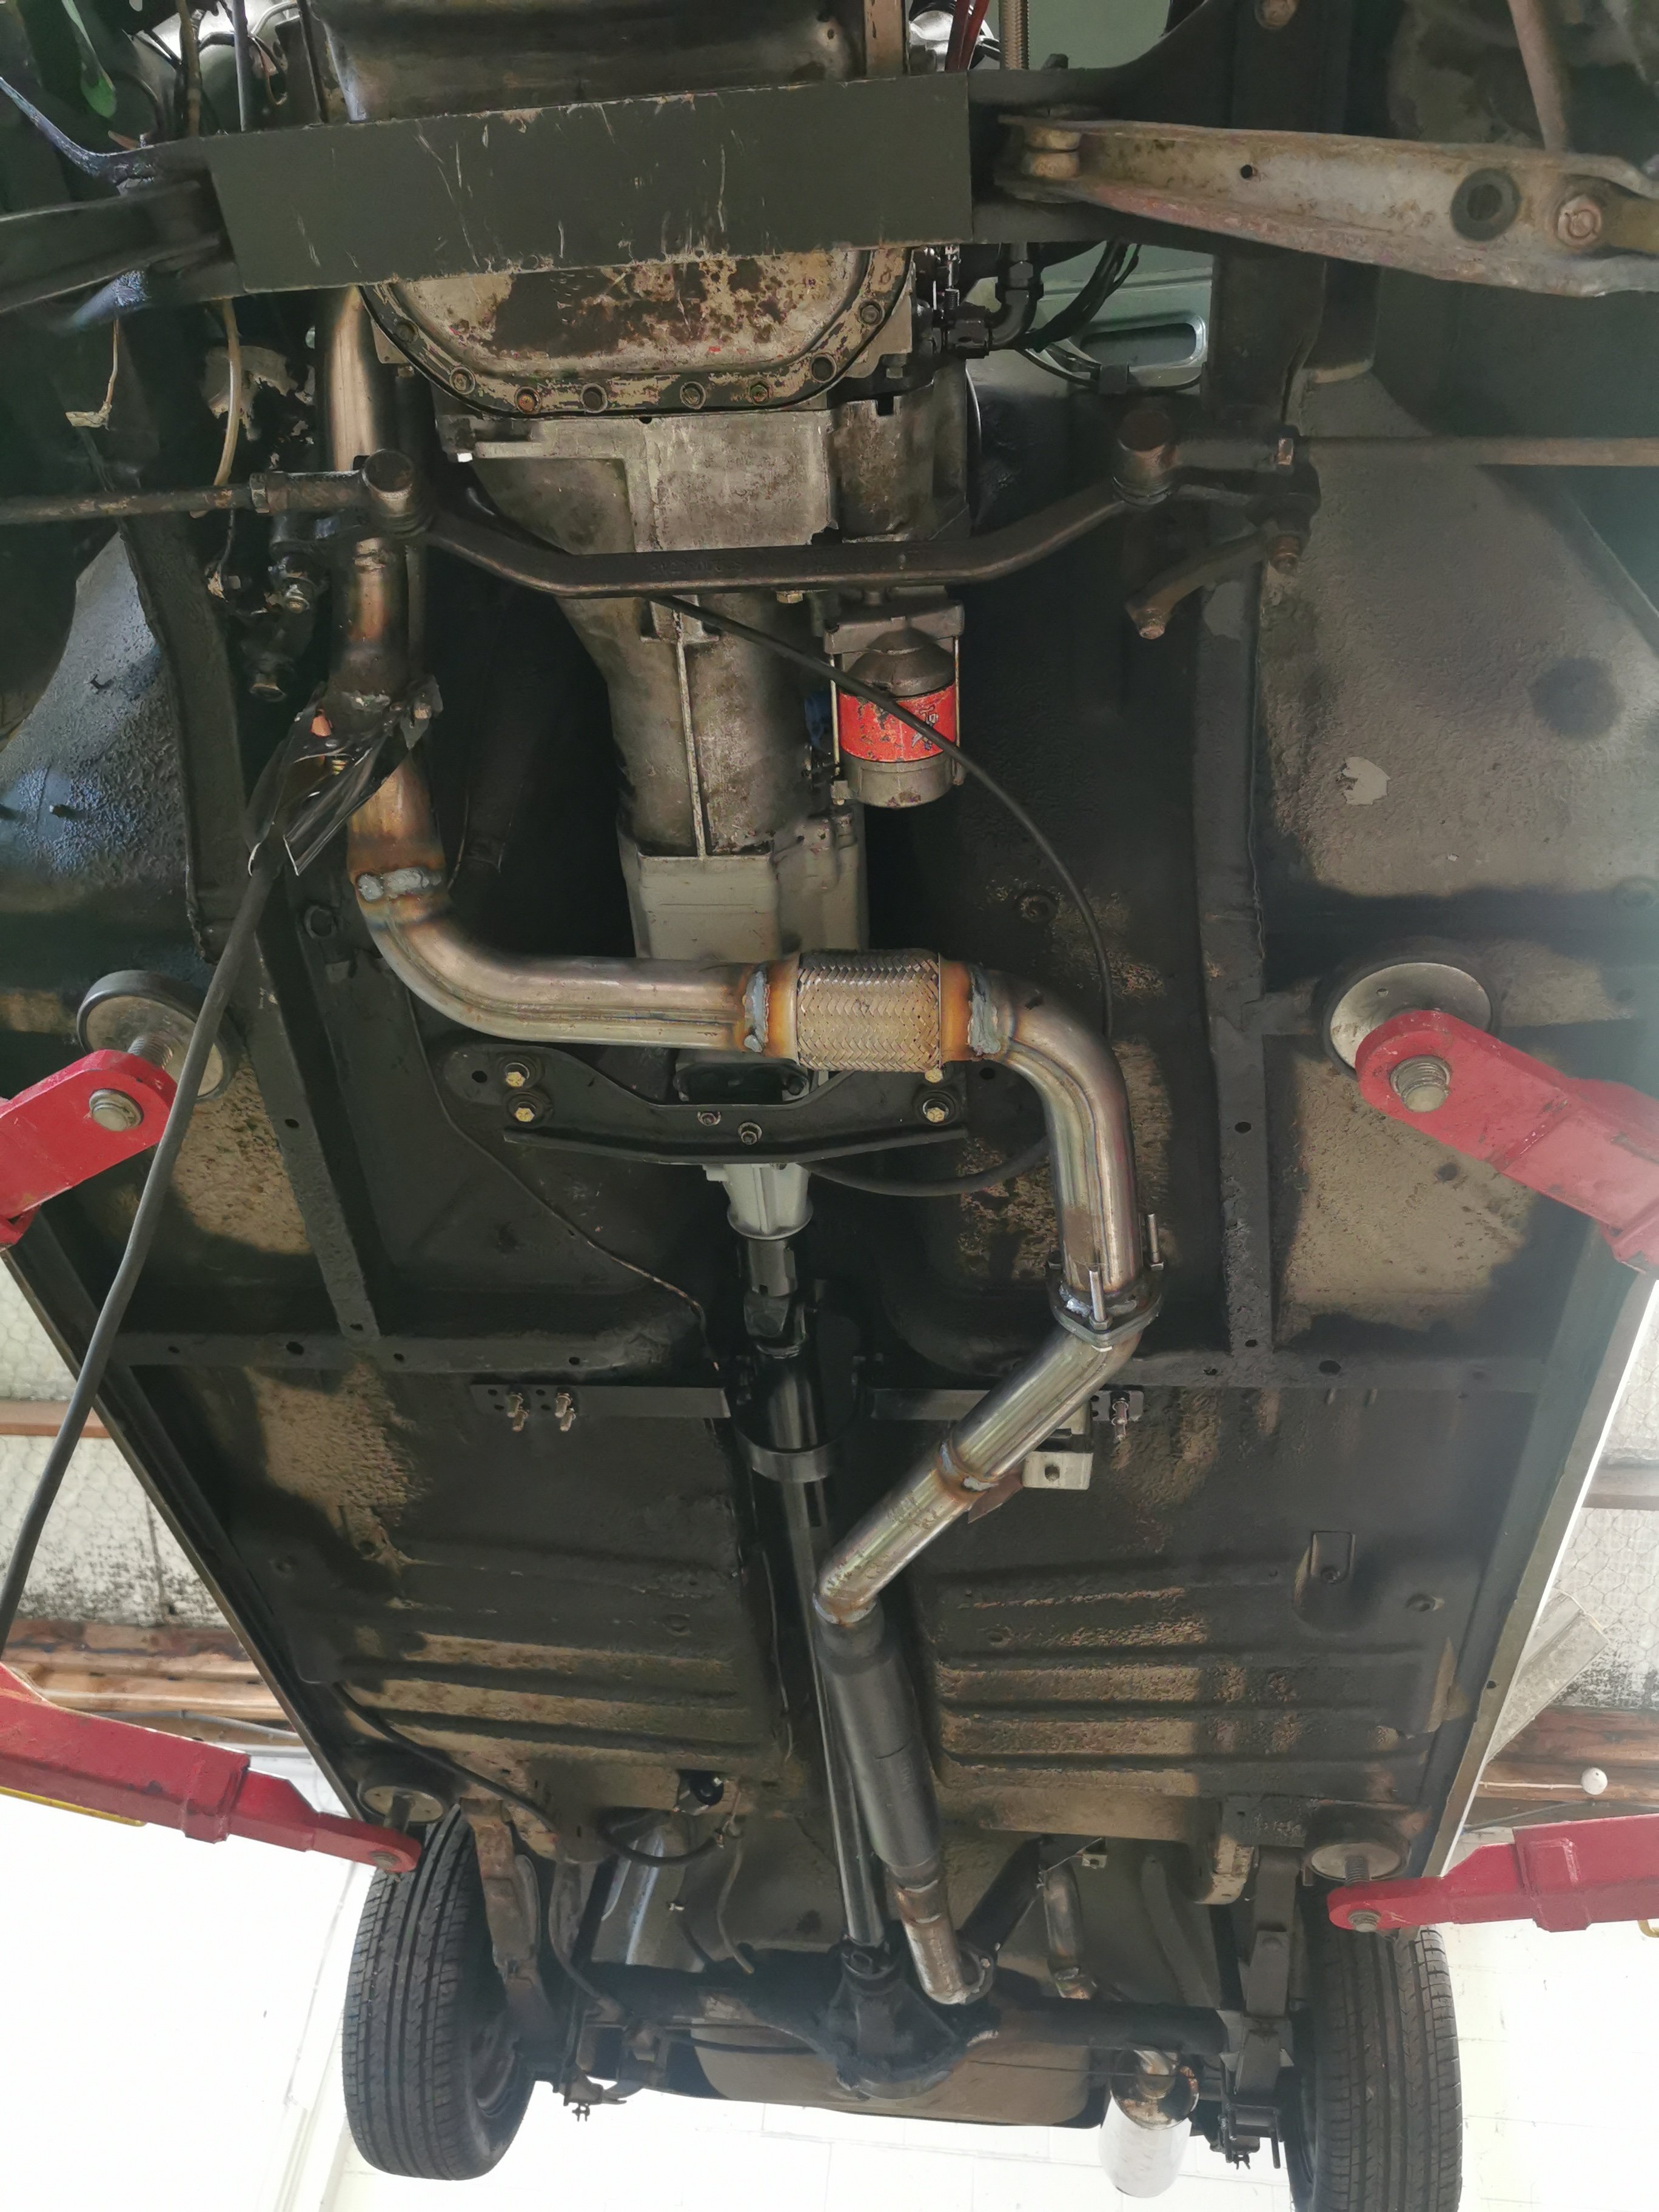
Working on Sundays. It's exhausting work. So I decided to pull the headers and make them tuck in a bit more. This has given the steering arm an extra 15mm clearance. I wasn't happy with 10mm clearance. Then set about making the rest, to include a flexi and 2 three bolt flanges. I have 2 cotton reel mounts in there at the moment and a hanger on the dumpy. About to make a 3rd cotton reel mount for just behind the resonator/flange to carry that load. Then I'll drop it all, finish the top welds and then spray it in high temp paint. I'm pretty chuffed with it so far, will also check for knocking and clearence issues, but so far it all looks good.
1 point
-
1 point
-
Cert achieved! Next step is to make the exhaust a little quieter and then get a wof
1 point
-
Porn, swanky wanky filter unit... Not cheap, but it does do the job. Just need some k&n spray for it
1 point
-
IT RUNS!! The timing was out by 320° and then it started right up. Need to take it out to the dyno at some stage now and get it run in and a decent tune on it. https://www.instagram.com/p/CVw9xp3lLJu/ Got the dash all back in. Repinned the dash cluster plugs to suit the tacho dash (thanks to Paul for doing me a pin-out!). Fuel level warning light and the cat warning light are the only things that don't work because the car doesn't have them. Had to change the tacho signal resistor to get the gauge working from the Link ecu signal. Stoked it all works and even does the full sweep on ign! Bought some new door seals and lower window seals from Thailand and fitted them to the doors, so they could finally go back on. Made an oil catch can that tucks away under the intake. Drew up a front timing cover plug for where the original fwd engine mount use to stick out. Blocks up the hole nicely. Thanks to @Brennan for 3d printing it. Had the cam cover painted black (thanks Justin!). Looks good, but strange because I'm so used to the raw aluminium one.1 point
-
Loaded the front up a little too to compensate for it settling etc. Set the pinion and fizzed the perches back on after a bunch of measuring.
1 point
-
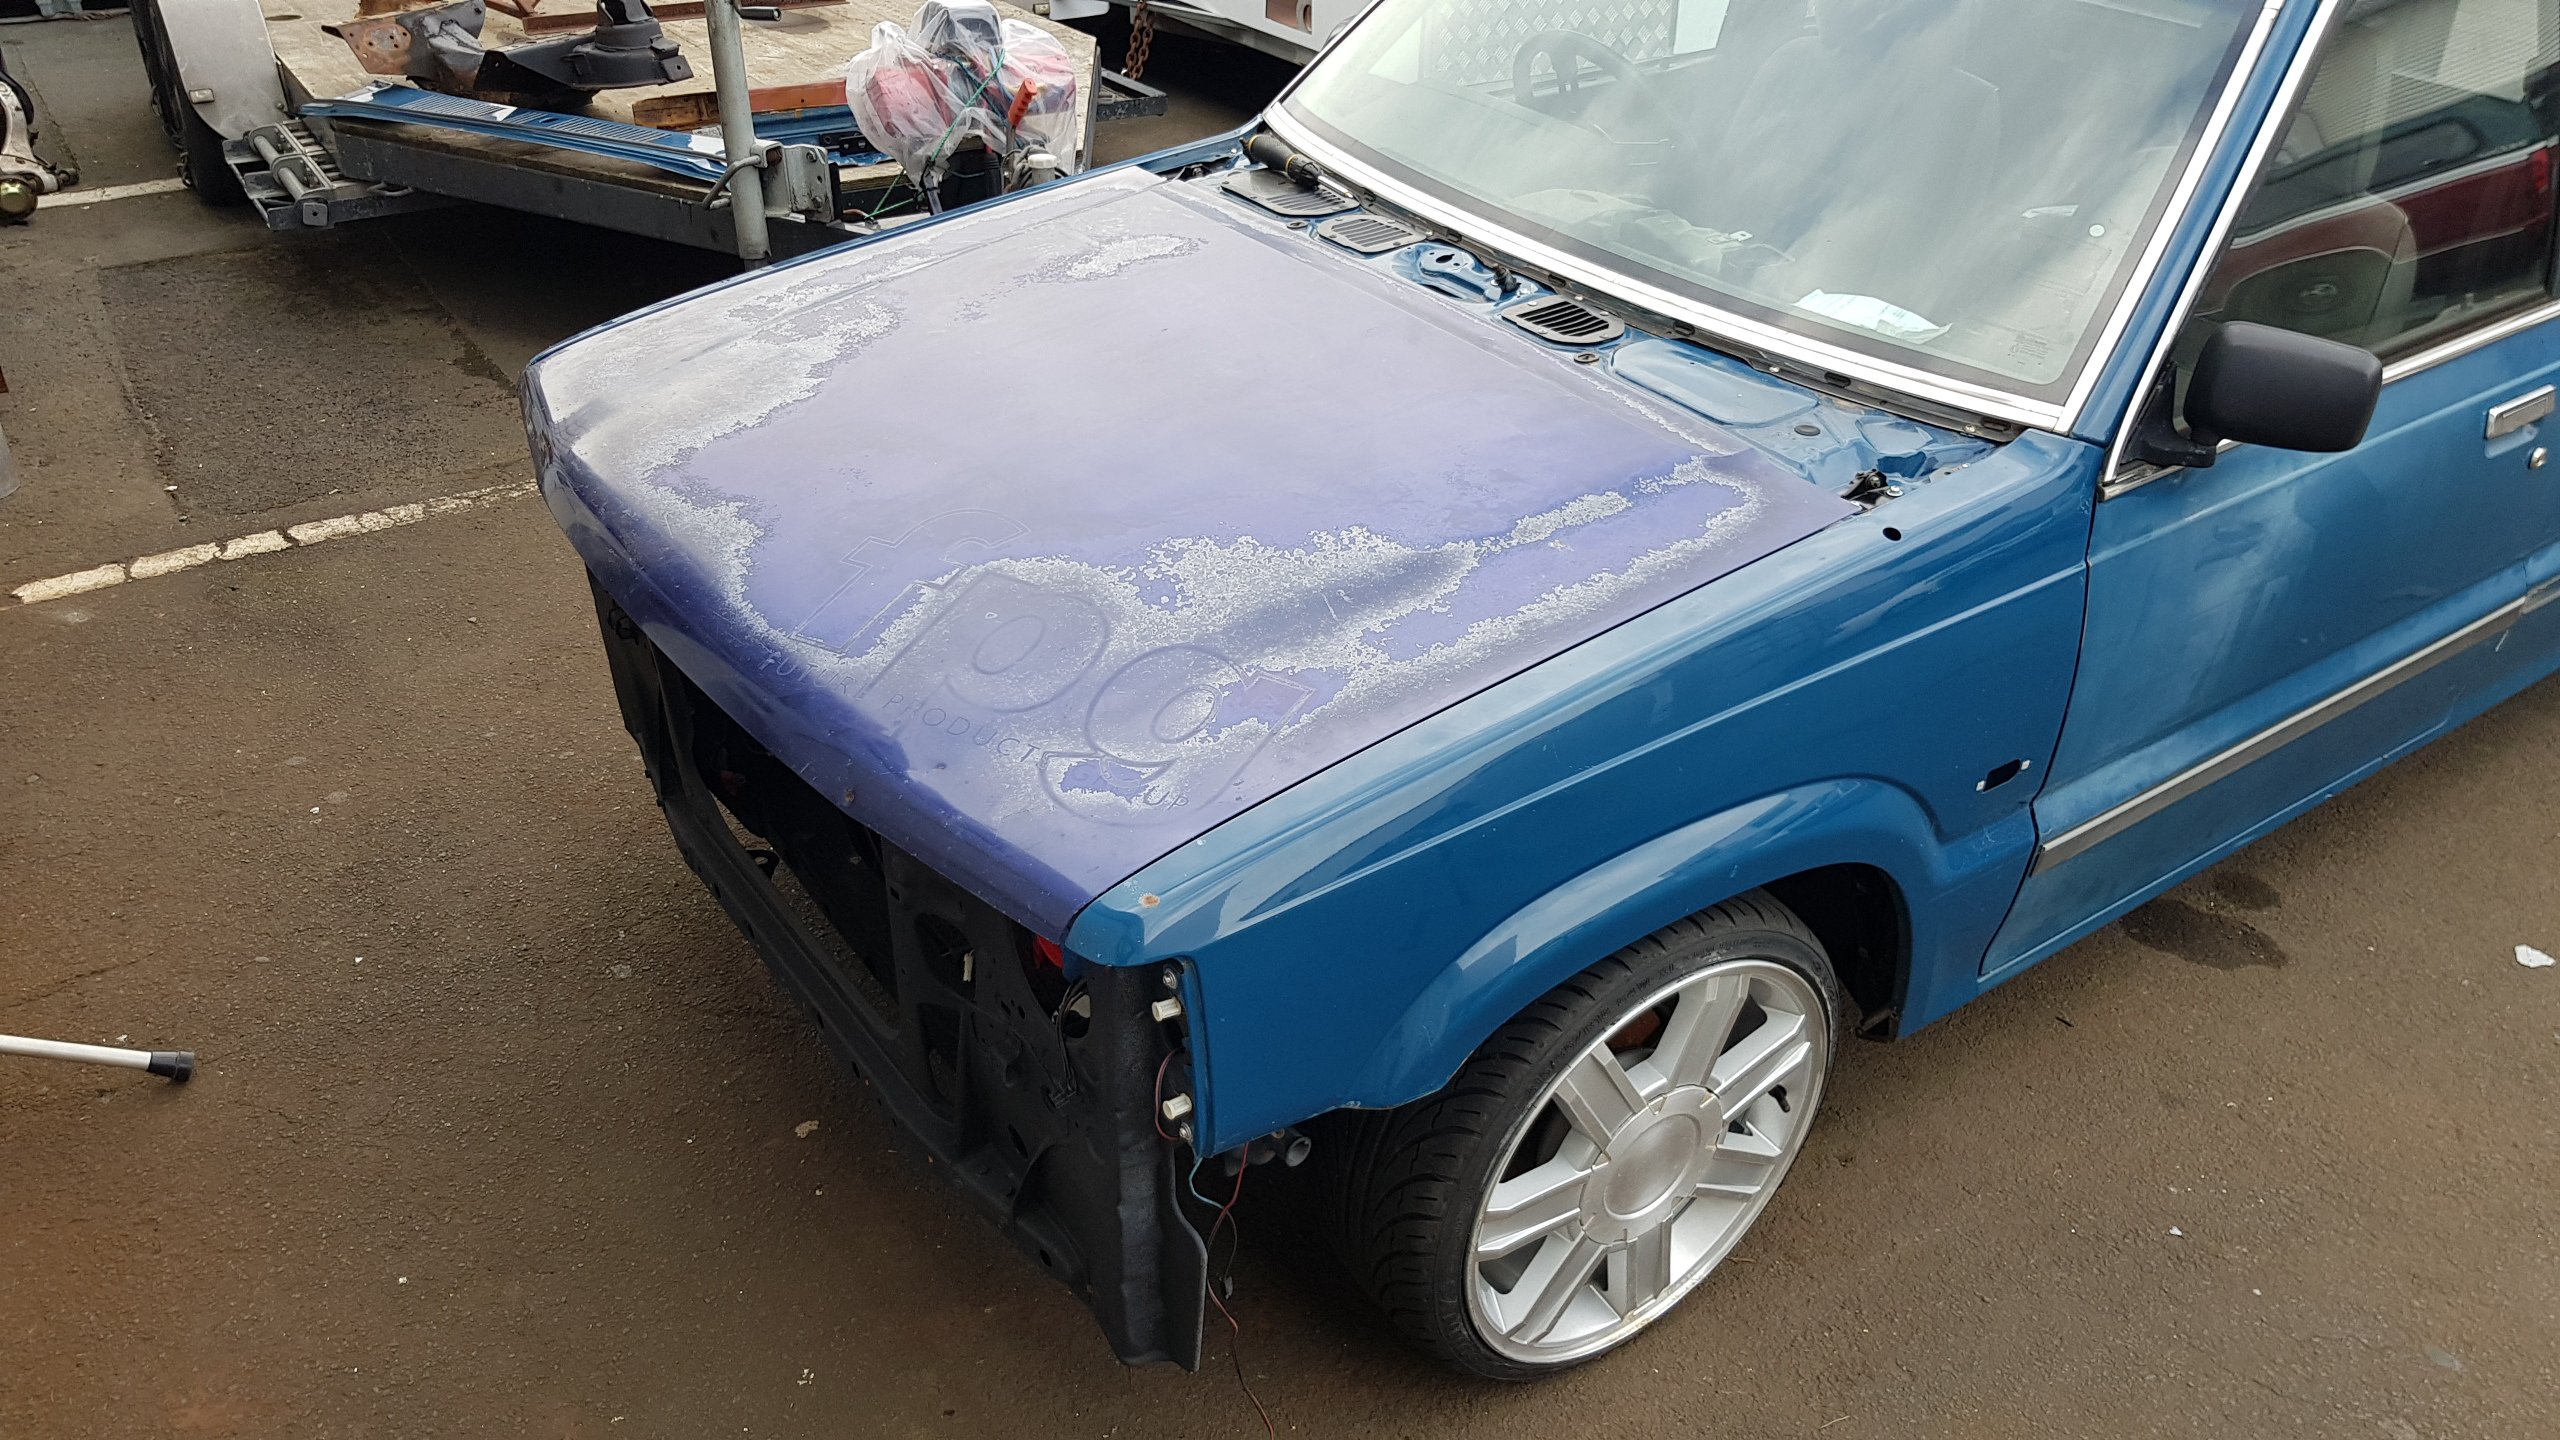
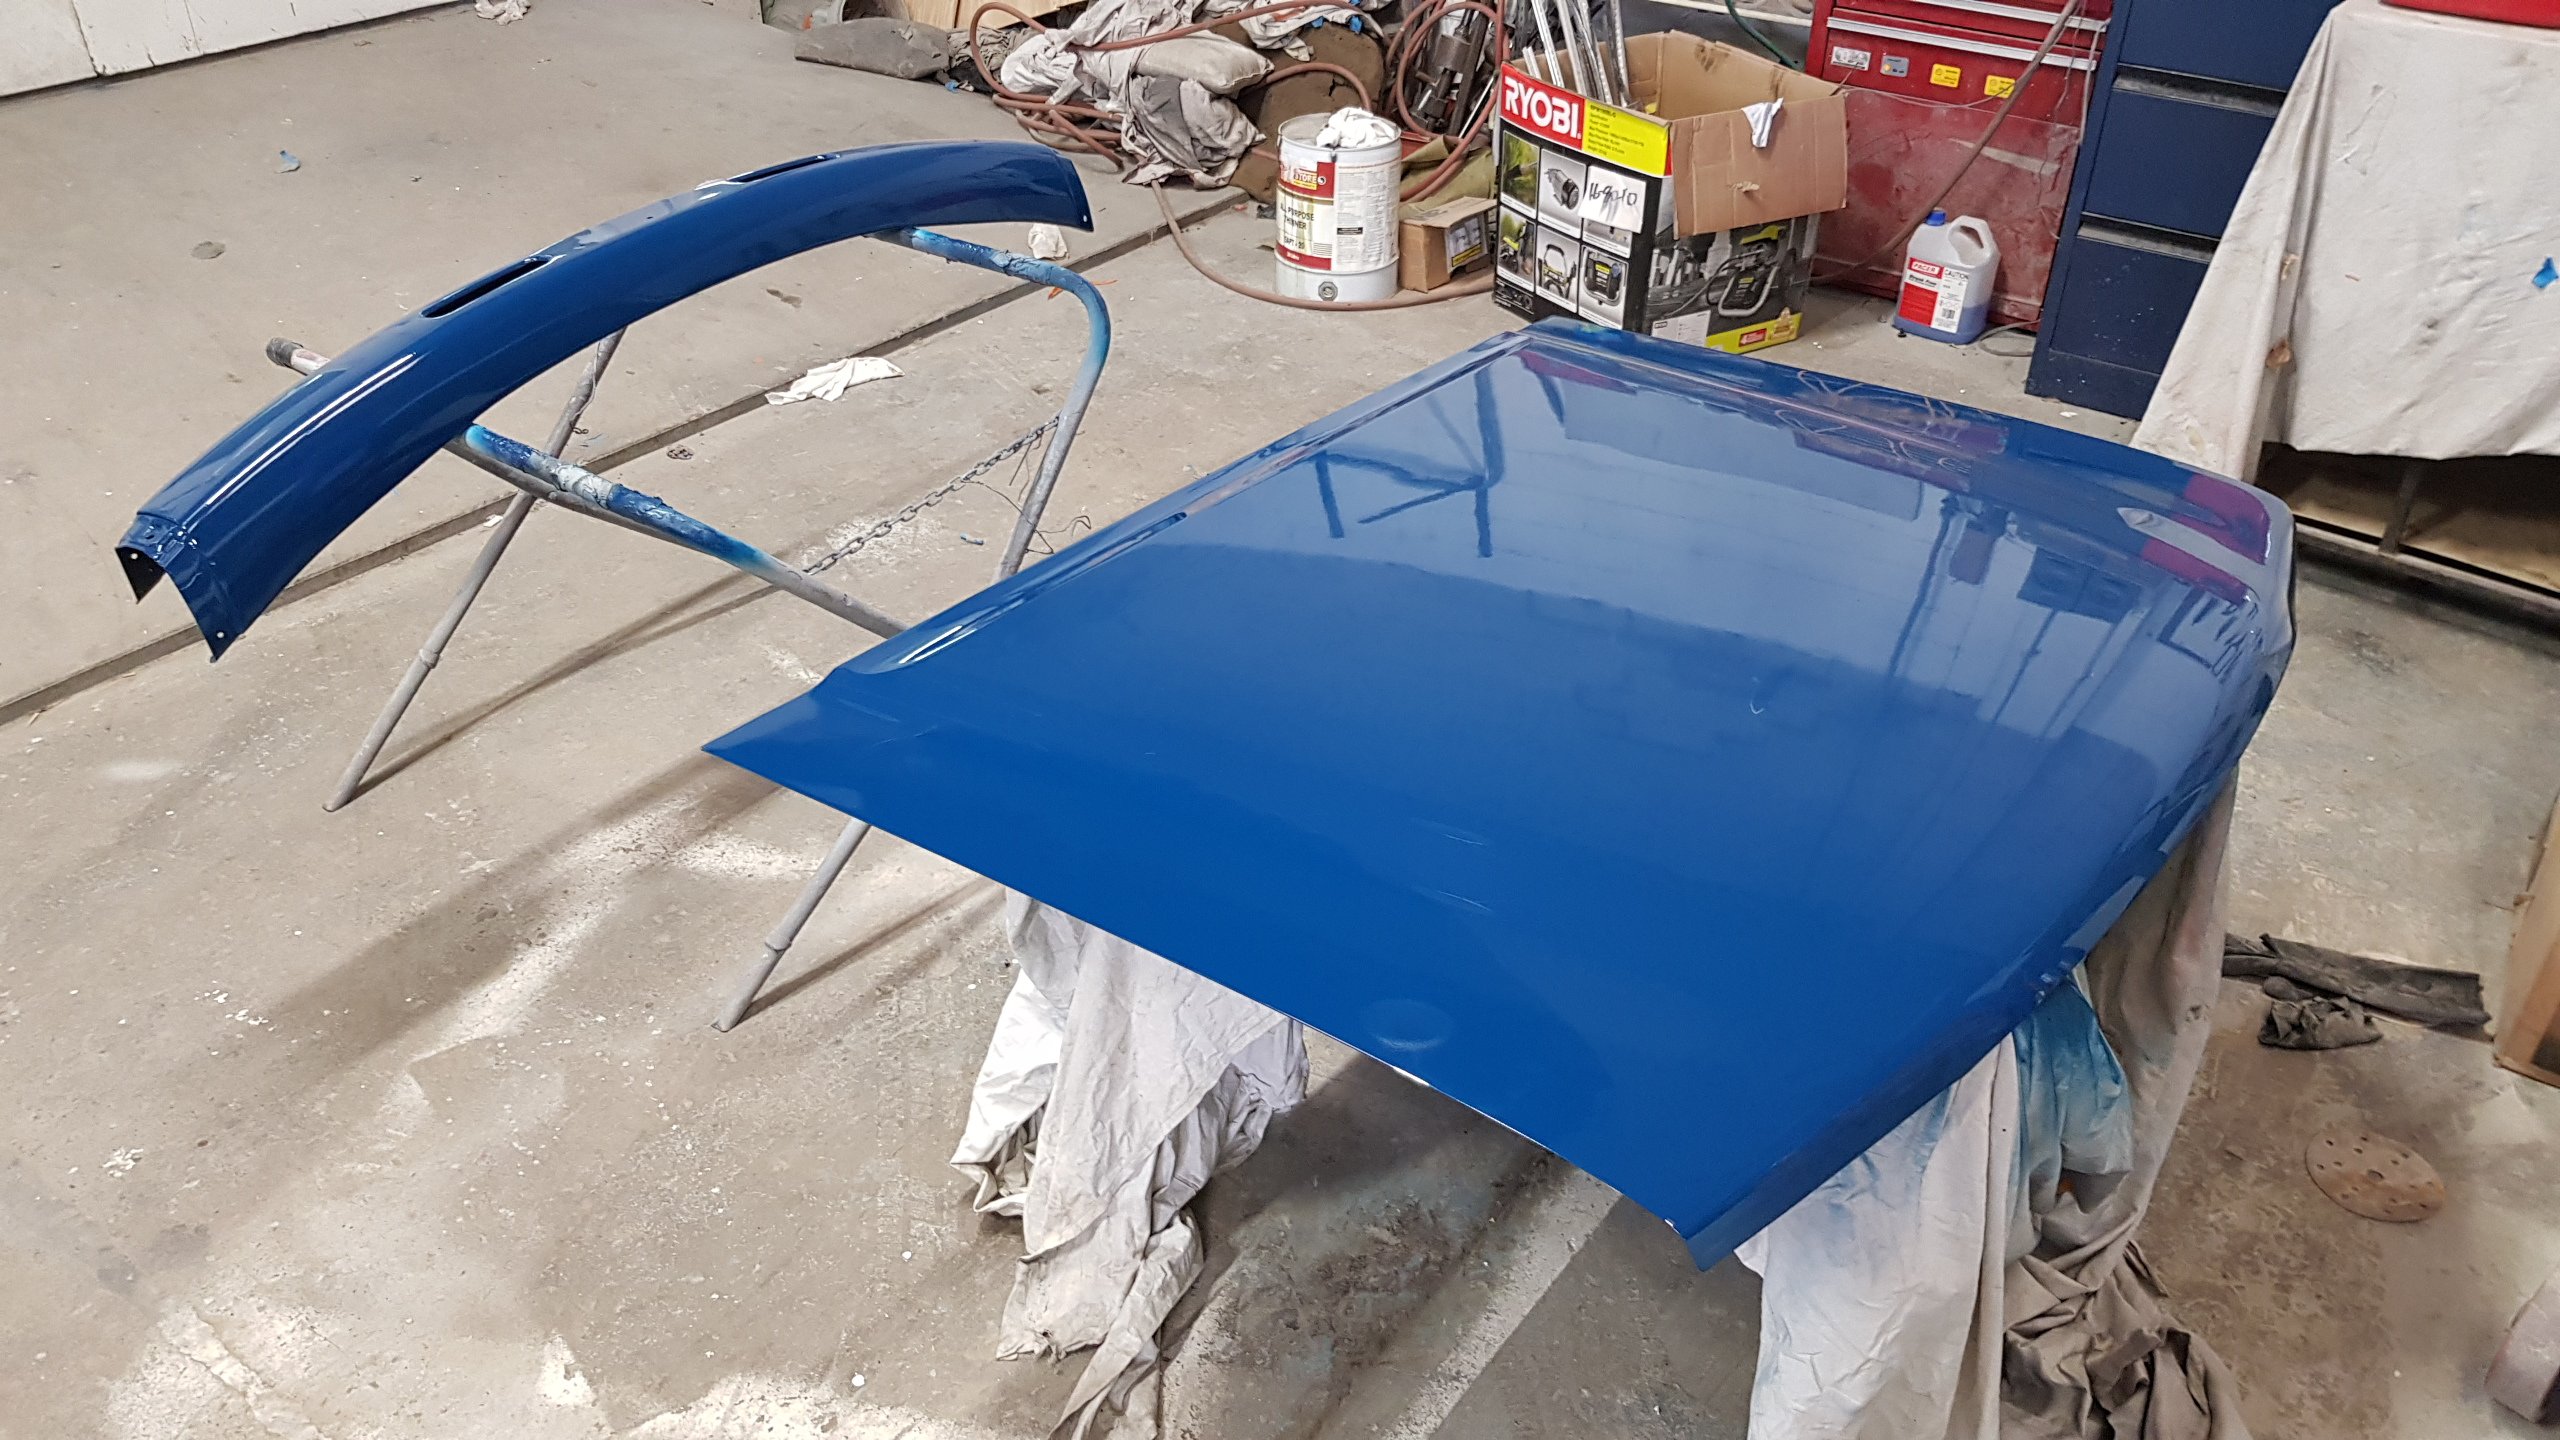
Finally managed to find all the facelift swap front end bits for the b2000. A buddy in Upper Hutt hooked me up a bonnet, grill and bumper, and a local mate managed to collect and bring up while we were in Lev4. Did a quick test fit of bonnet then as soon as Lev3 happened it was off with the bumper to the paintshop.
1 point
-
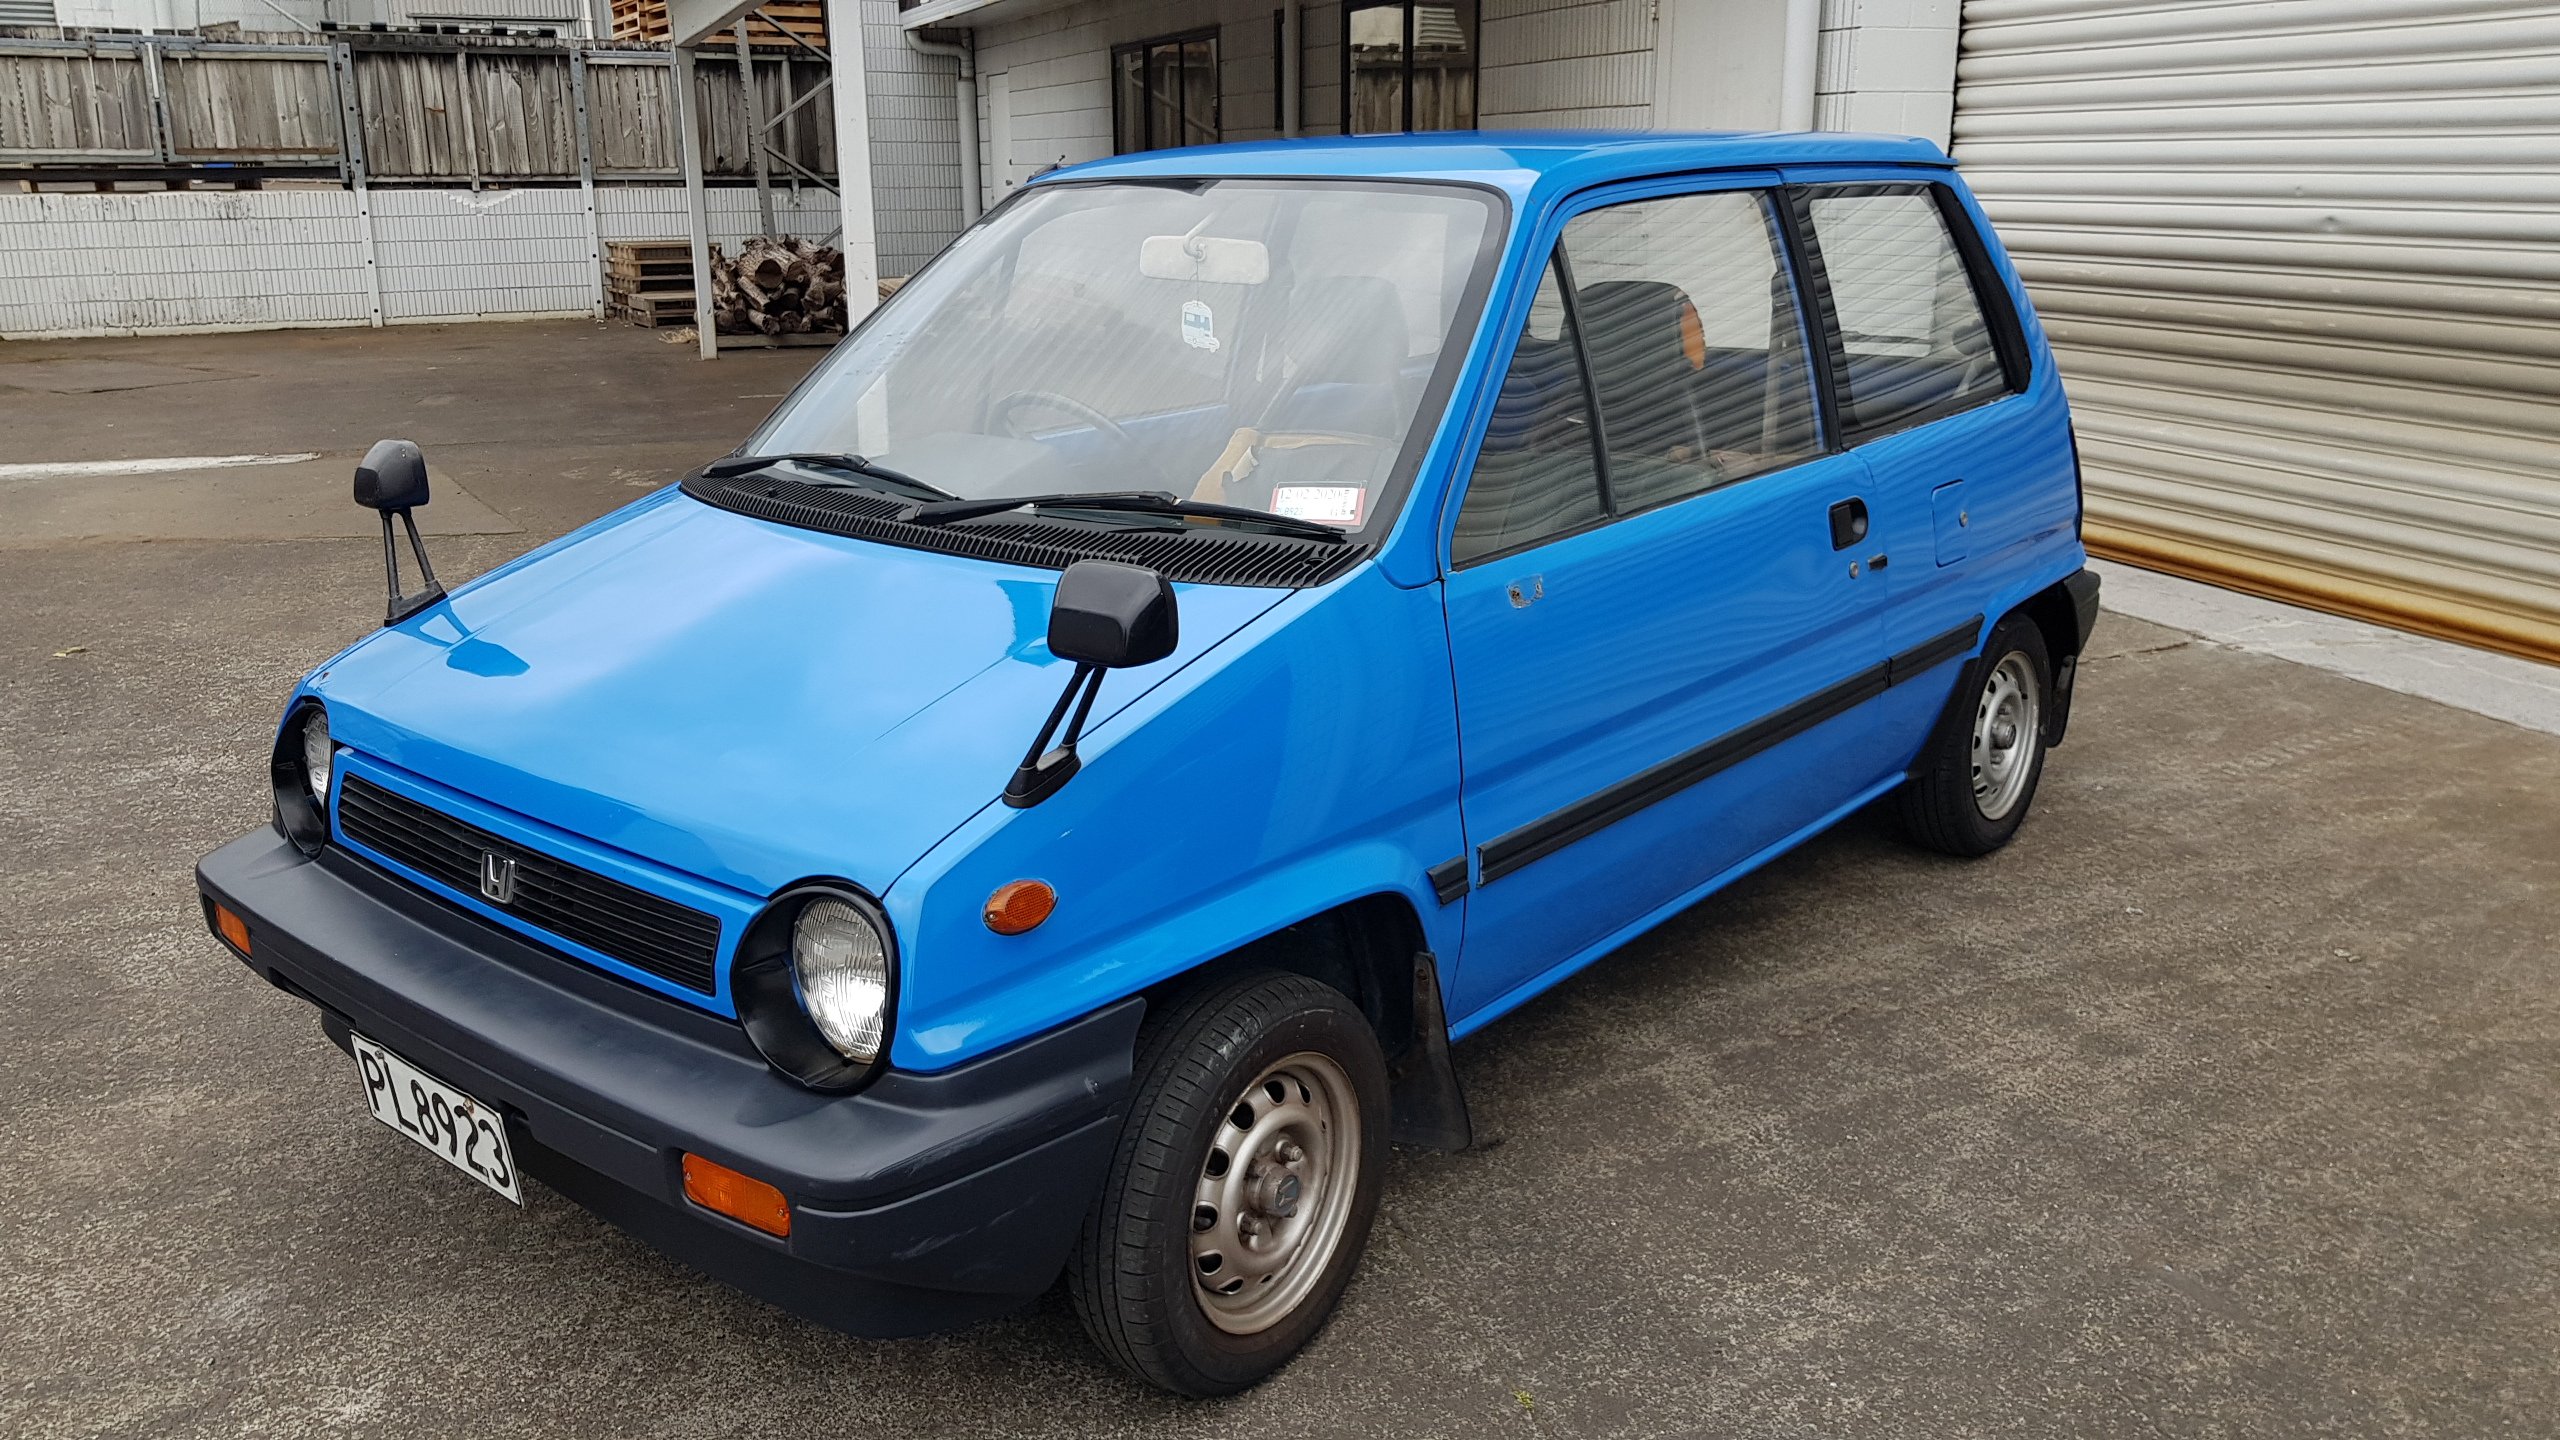
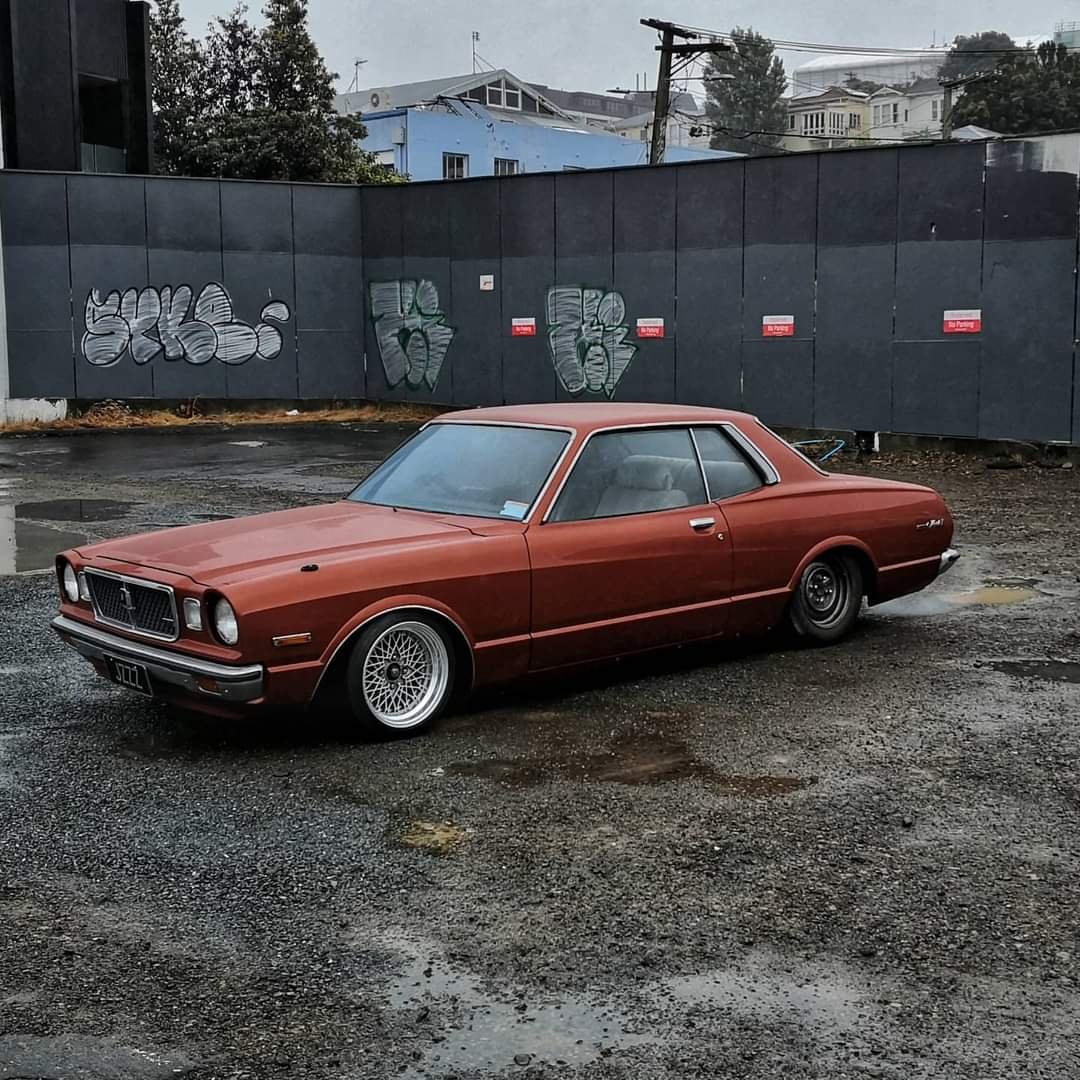
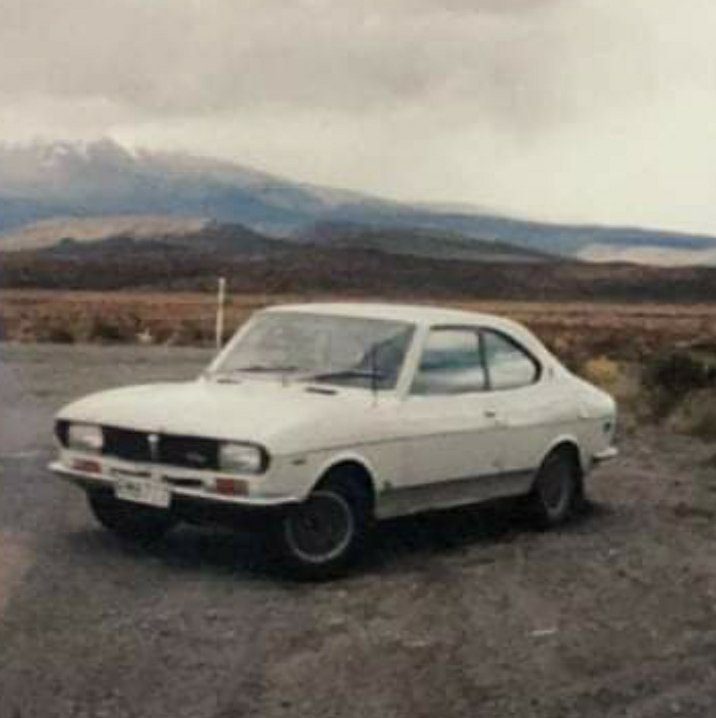
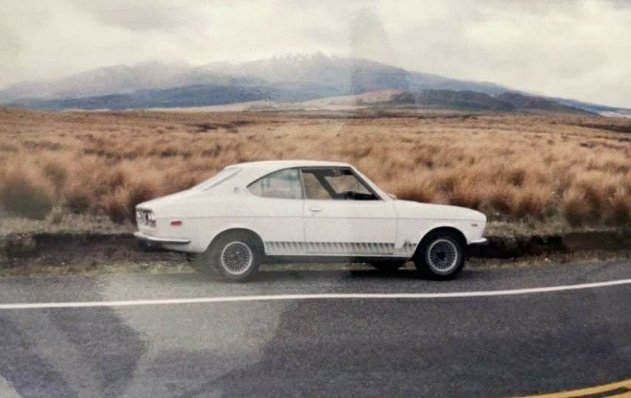
Just got sent these pics from the late 90s. Was bought in Chch and driven up to Auckland, pretty sure it had a piston motor in it by then, as the rotary had been replaced after it died. Probably one of the last drives it ever went on!
1 point
-
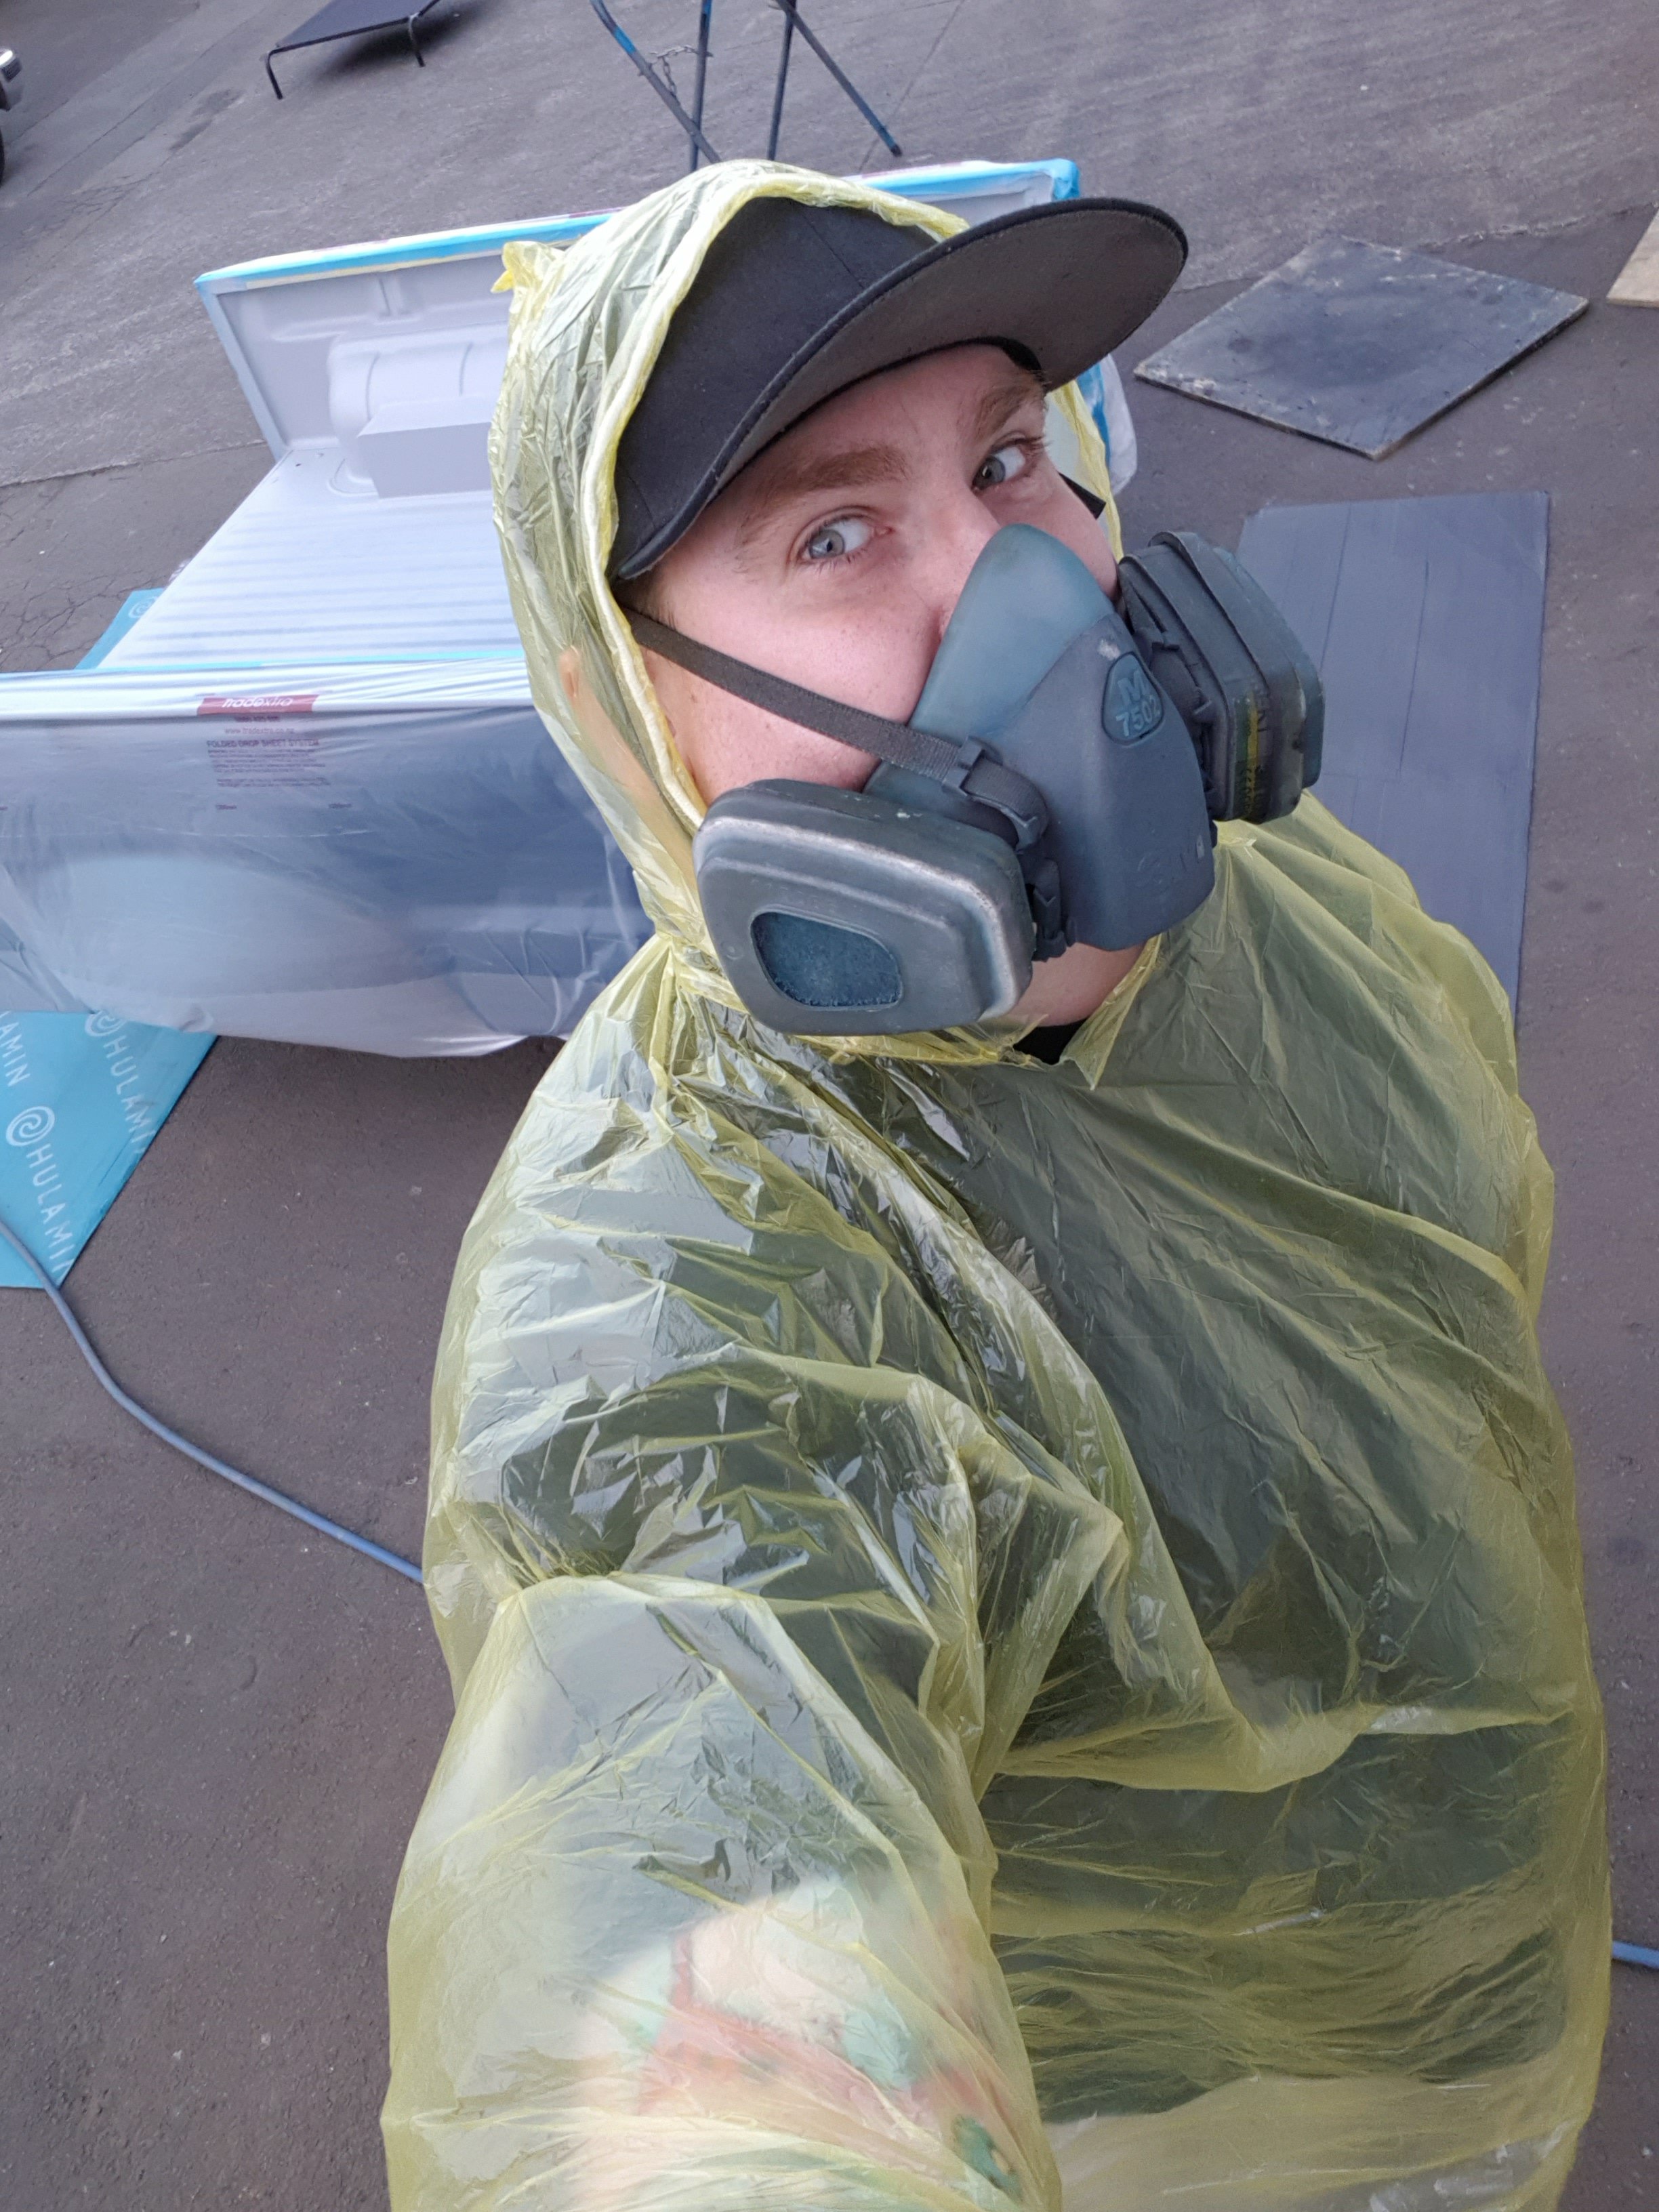
I've lined a fair few trays in my time, and one thing I have learned is that the hippo liner and underbody sealers make a horrible mess and make your clothes all sticky so I put my poncho on and got involved.
1 point
-
Stripped the hiace flatbed chassis on Monday arvo. Kinda choked up for space currently and the Honda boot was empty so it volunteered itself.
1 point


.thumb.jpeg.e0a4bff61111e0c8c7396950fcc94da1.jpeg)


This leaderboard is set to Auckland/GMT+12:00