
Leaderboard


Popular Content
Showing content with the highest reputation on 09/24/20 in Posts
-
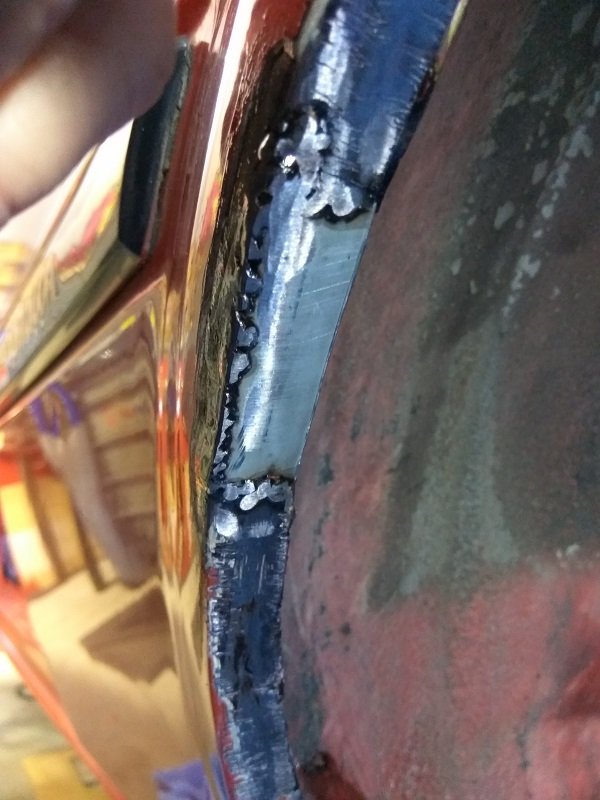
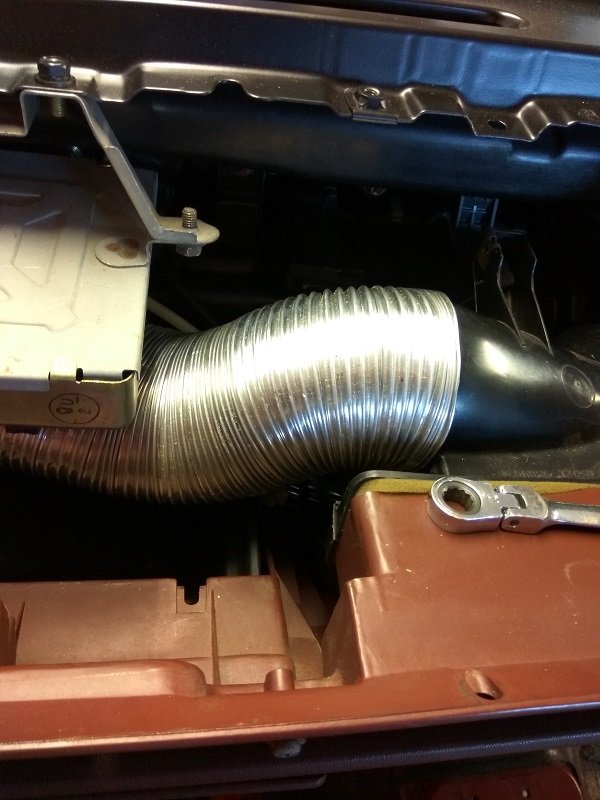
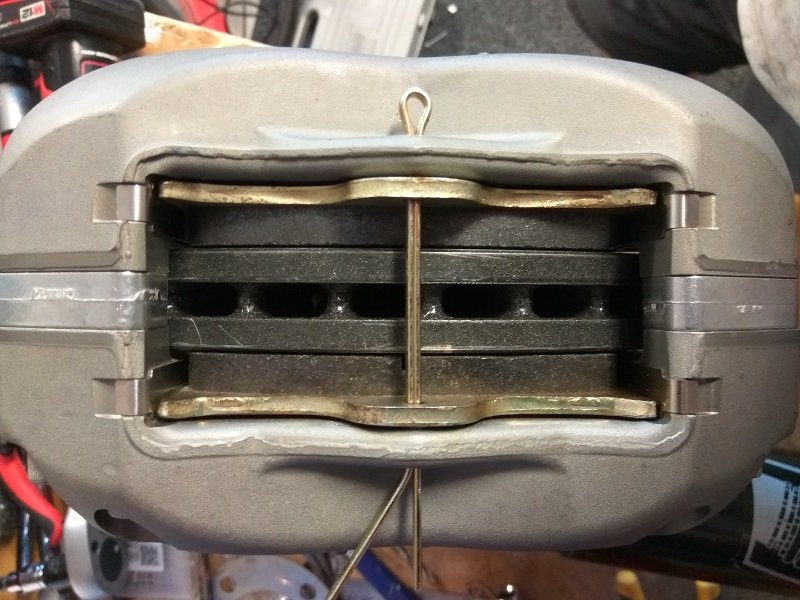
Have been chipping away slowly. Torqued all the the bolts on the front strut's up to cert specs. Then had to pull both struts apart as a ~0.5mm spacer wasn't needed. I had previously found it was needed as one pad didn't fit. This time I found it wasn't needed... so hopefully a drive around the block will sort the slight rub of one pad. Without the spacer plate, the pads have a gap sub 1mm, with one slightly touching, still easy enough to spin so I think that will sort itself after a drive. Installed the diff back into the car, nightmare one man job. Took a lot of pissing around as some of the arms are super tight. Got there in the end. I stripped the surface rust off all the arms and gave them a couple of coats of paint. No pics of this as I spent too long cursing and losing the will to live. Bolted an adjustable MRP panhard rod in for the first time, shocks bolted up. Still need to work out what i'll do for bump stops, not being able to chop some down is a bit of a ball ache. Have left handbrake cables flapping in the wind for now as I need to bleed the brakes first. Drums were completely rebuilt, so that side of things is done. Hoping to get the brakes up and working this week, then I can get it off the axle stands it's been on for months and get it outside. Boring update, but just trying to keep the momentum going. I've also installed the dash back into the car and hopefully plugged everything back in correctly. Brakes together for hopefully final time Heater ducting, couldn't find a duct in the parts pile for this section so made one up with some 75mm flexipipe stuff. Had to flatten it below the emissions ECU as it's a tight fit between that and the glovebox. Hub installed with bolts for brake upgrade kit. Ticked and torque written down so I know it's done. And wheel arch repair. Was the only part that needed replacing, due to a prang which caused it to rust out. The rest of the arch has some surface rust so I gave it a really good clean up and sanded off what I could. Then put some Brunox over it. Will epoxy prime the inside too so that any moisture can't get to the area. It was either that or replace the whole rear arch for the sake of some very light rust between the skins. A: that's above my paygrade B: seems a bit extreme as it won't get any worse. The repair I did took an hour to weld as it's so thin I could only do a couple of spot welds at a time, while letting it cool again. Relatively boring update done, if you made it this far, you've done well.
 10 points
 -
So, I've been busy with lots of little jobs during the reassembly. Refurbing badges and fitting them, along with a fair few NOS ones too Lots of NOS lenses and lights Had to make up seals for some of them I found a really good plastic restoration product for pieces like the louvers And fitted them up While de-orange peeling I managed to sand through the clearcoat on the passenger door, was fuming. So I had to repaint that. Then it was time to get everything running nicely again so I can get back to driving it! I've been starting the engine up pretty regularly, so it's still running quite well. However I was having a problem with the throttle sticking, which seemed to be caused by one of the carb mechanisms being quite gunked up. When I tried to clean it all up the bloody things fell off. Luckily I had these things lying around the garage and wouldn't you know it, they fit pretty well. So I got them on with the help of a mechanic friend and managed to learn enough about carbs to roughly tune them myself via YouTube tutorials. They sound awesome. Far from optimal but smooth enough to drive around the neighbourhood for the first time in a couple of years. Was feeling pretty fucking chuffed with myself, I don't mind telling you. So, WOF tomorrow, fix any issues that come up there, then a proper dyno tune. I'm interested to see how much difference there is compared to the factory set up. Then drive the shit out of it. Also need to clean it properly before I take some decent photos of the new paintjob in the sun…9 points
-
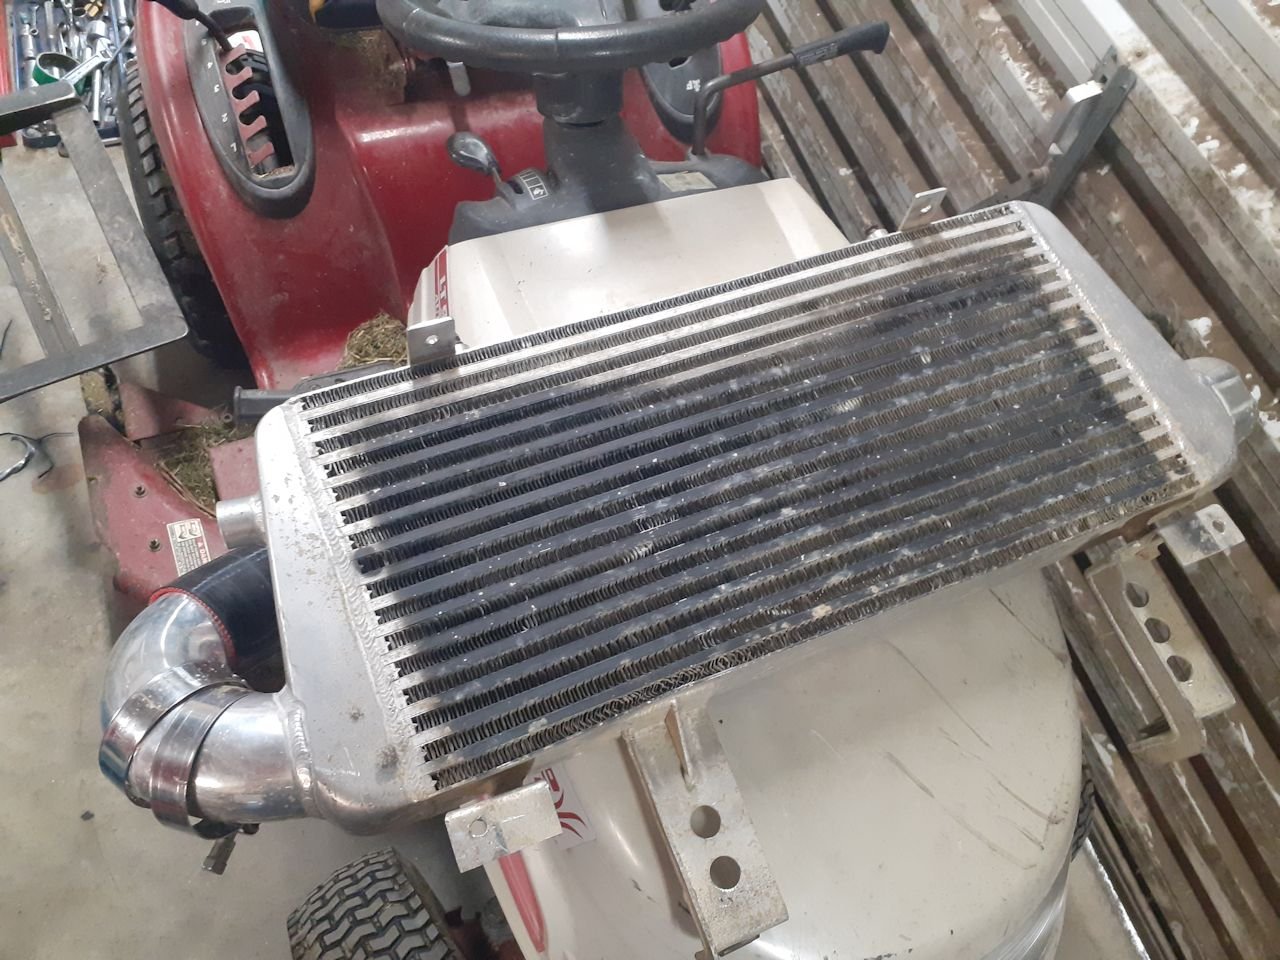
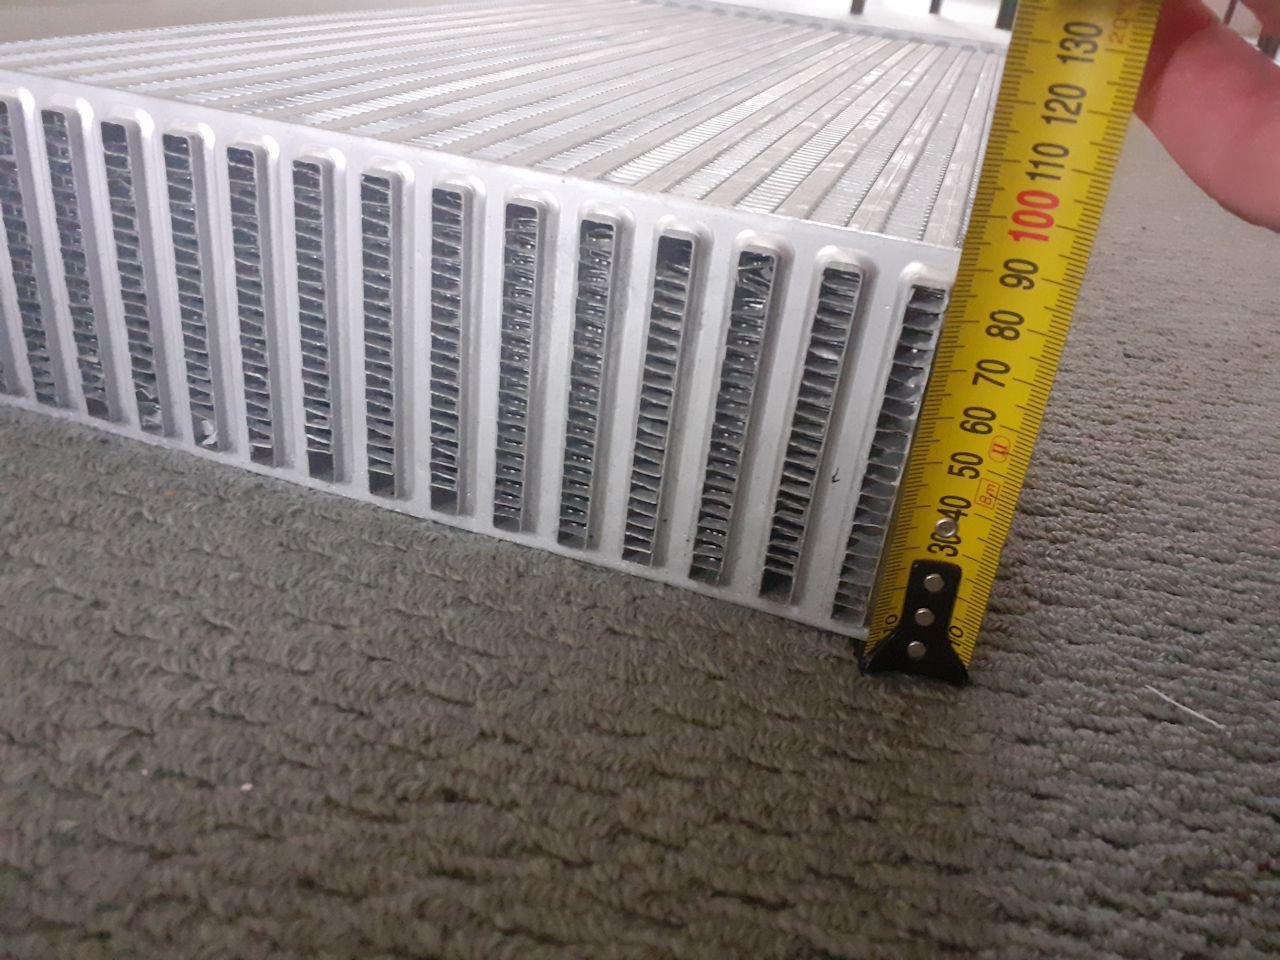
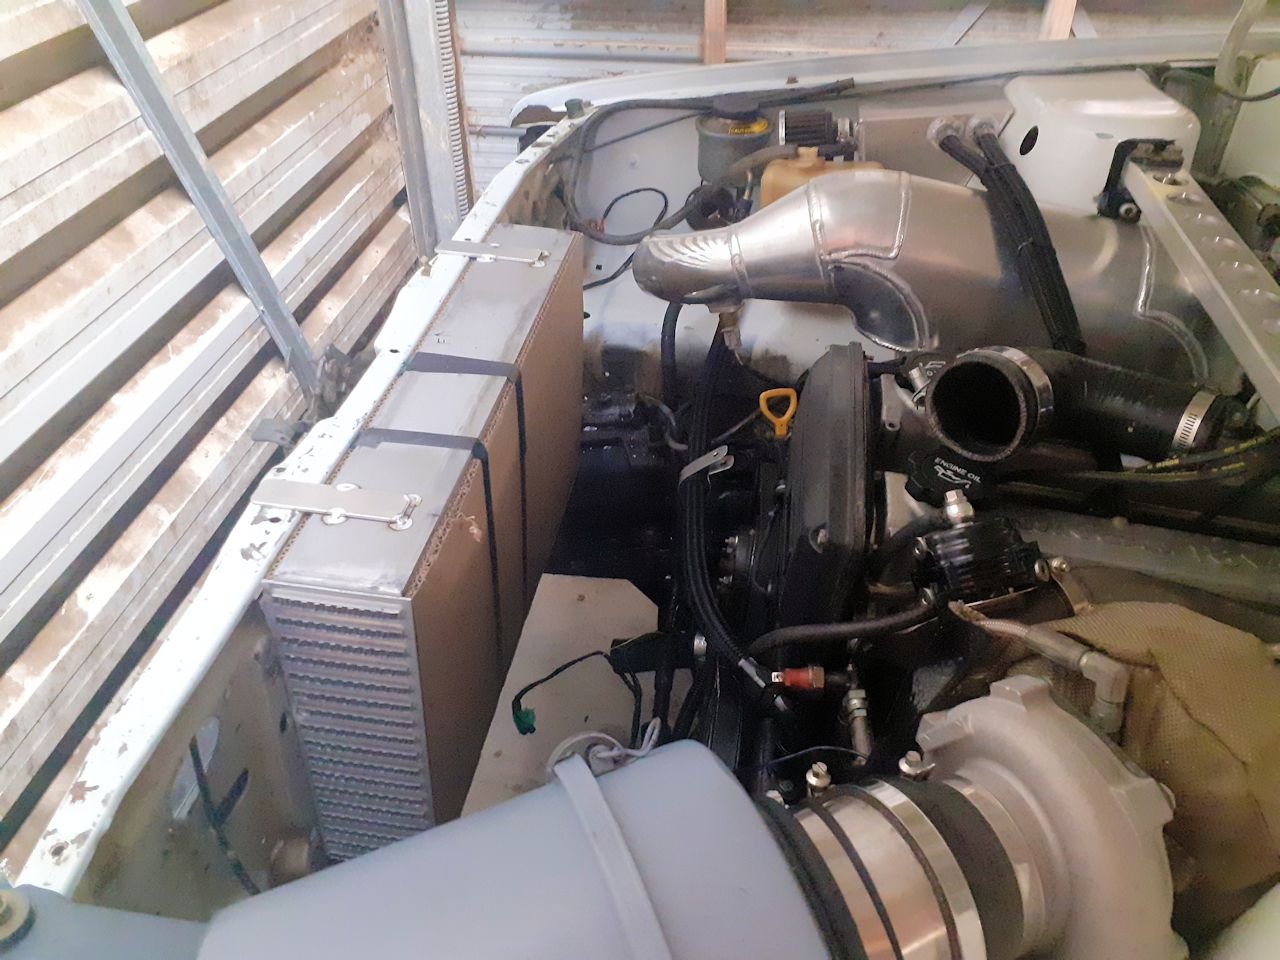
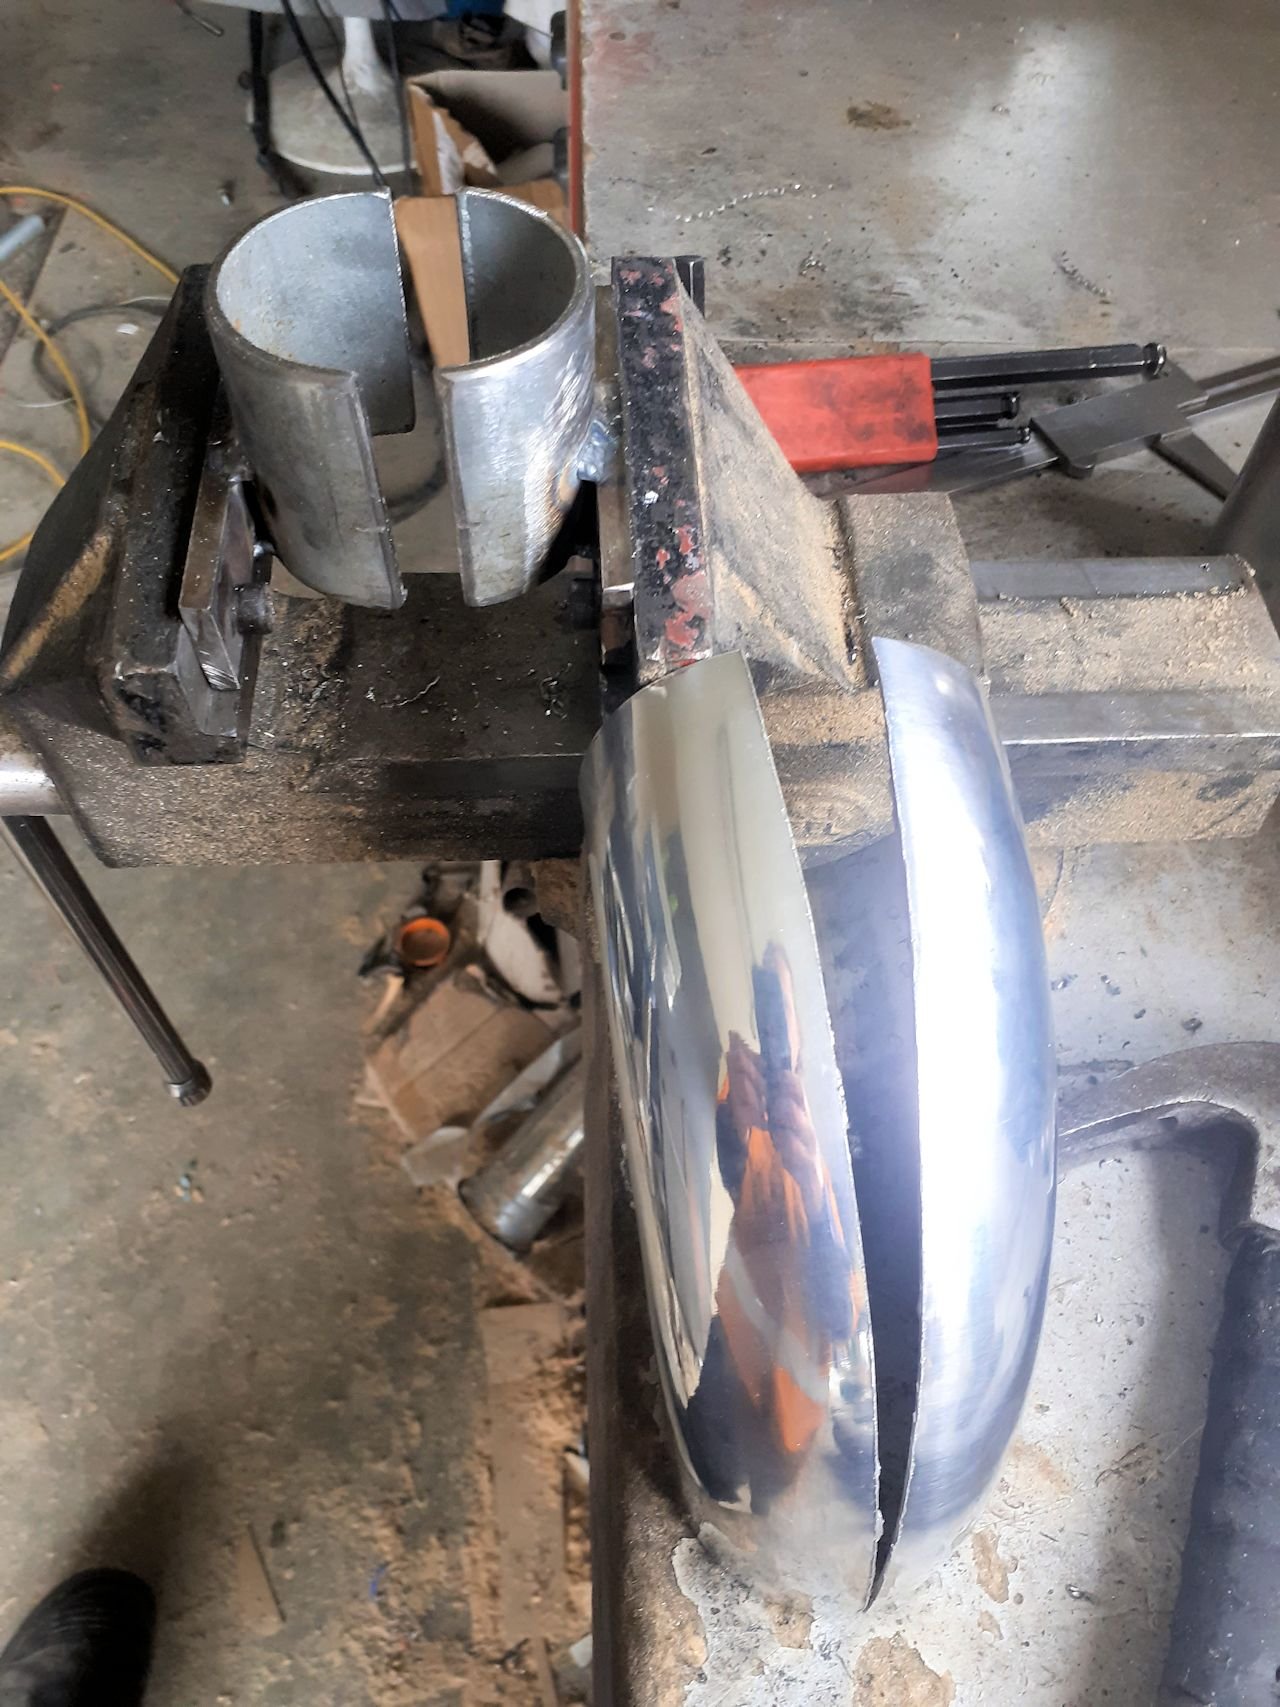
So somewhere way back up there was having a whinge about the intercooler being shit this one. it was the cheapest china special i could buy when first built truck. 600x280x75 core Got a new hypertune core, was meant to be 550x300x76, so had purchased some 3" tube which is also 76mm, to make some fancy end tanks. but turns out i got more than what i paid for... id of the cores are about 79mm So attempting to make it work anyway, I made this thing that bolts in place of the vice jaws to open up the tube. surprisingly it works since that looks like its going to work. back to mounting the cooler. radiator will need to be remounted also, since was hung off the old cooler.
8 points
-
Rememeber to change your sump gasket before installing motor into your ms65 because the cross member is so fucking big its impossible to do on the car. Yes I tried.. 1st attempt I lifted motor enough to undo sump bolts, drop steering and remove sump - I used a new cork gasket and re fitted without any luck. This time round I'm moving the whole motor to seal it up good and while motor out tidy up a few bits in engine bay Now the engines stone cold the choke is at this position, I'm going to mark the casing and use this as a reference point to rotate the eletric choke housing a couple clicks until I get it right. I will need to play around with the cold idle speed screw but once i put motor back in and all going well no leaks with sump I should be able to get it pretty right. Getting closer.8 points
-
So knocked up these: And run draft stop strips underneath, boom, no more leaks.
4 points
-
4 points
-
Looks the part. I haven't got the bill yet4 points
-
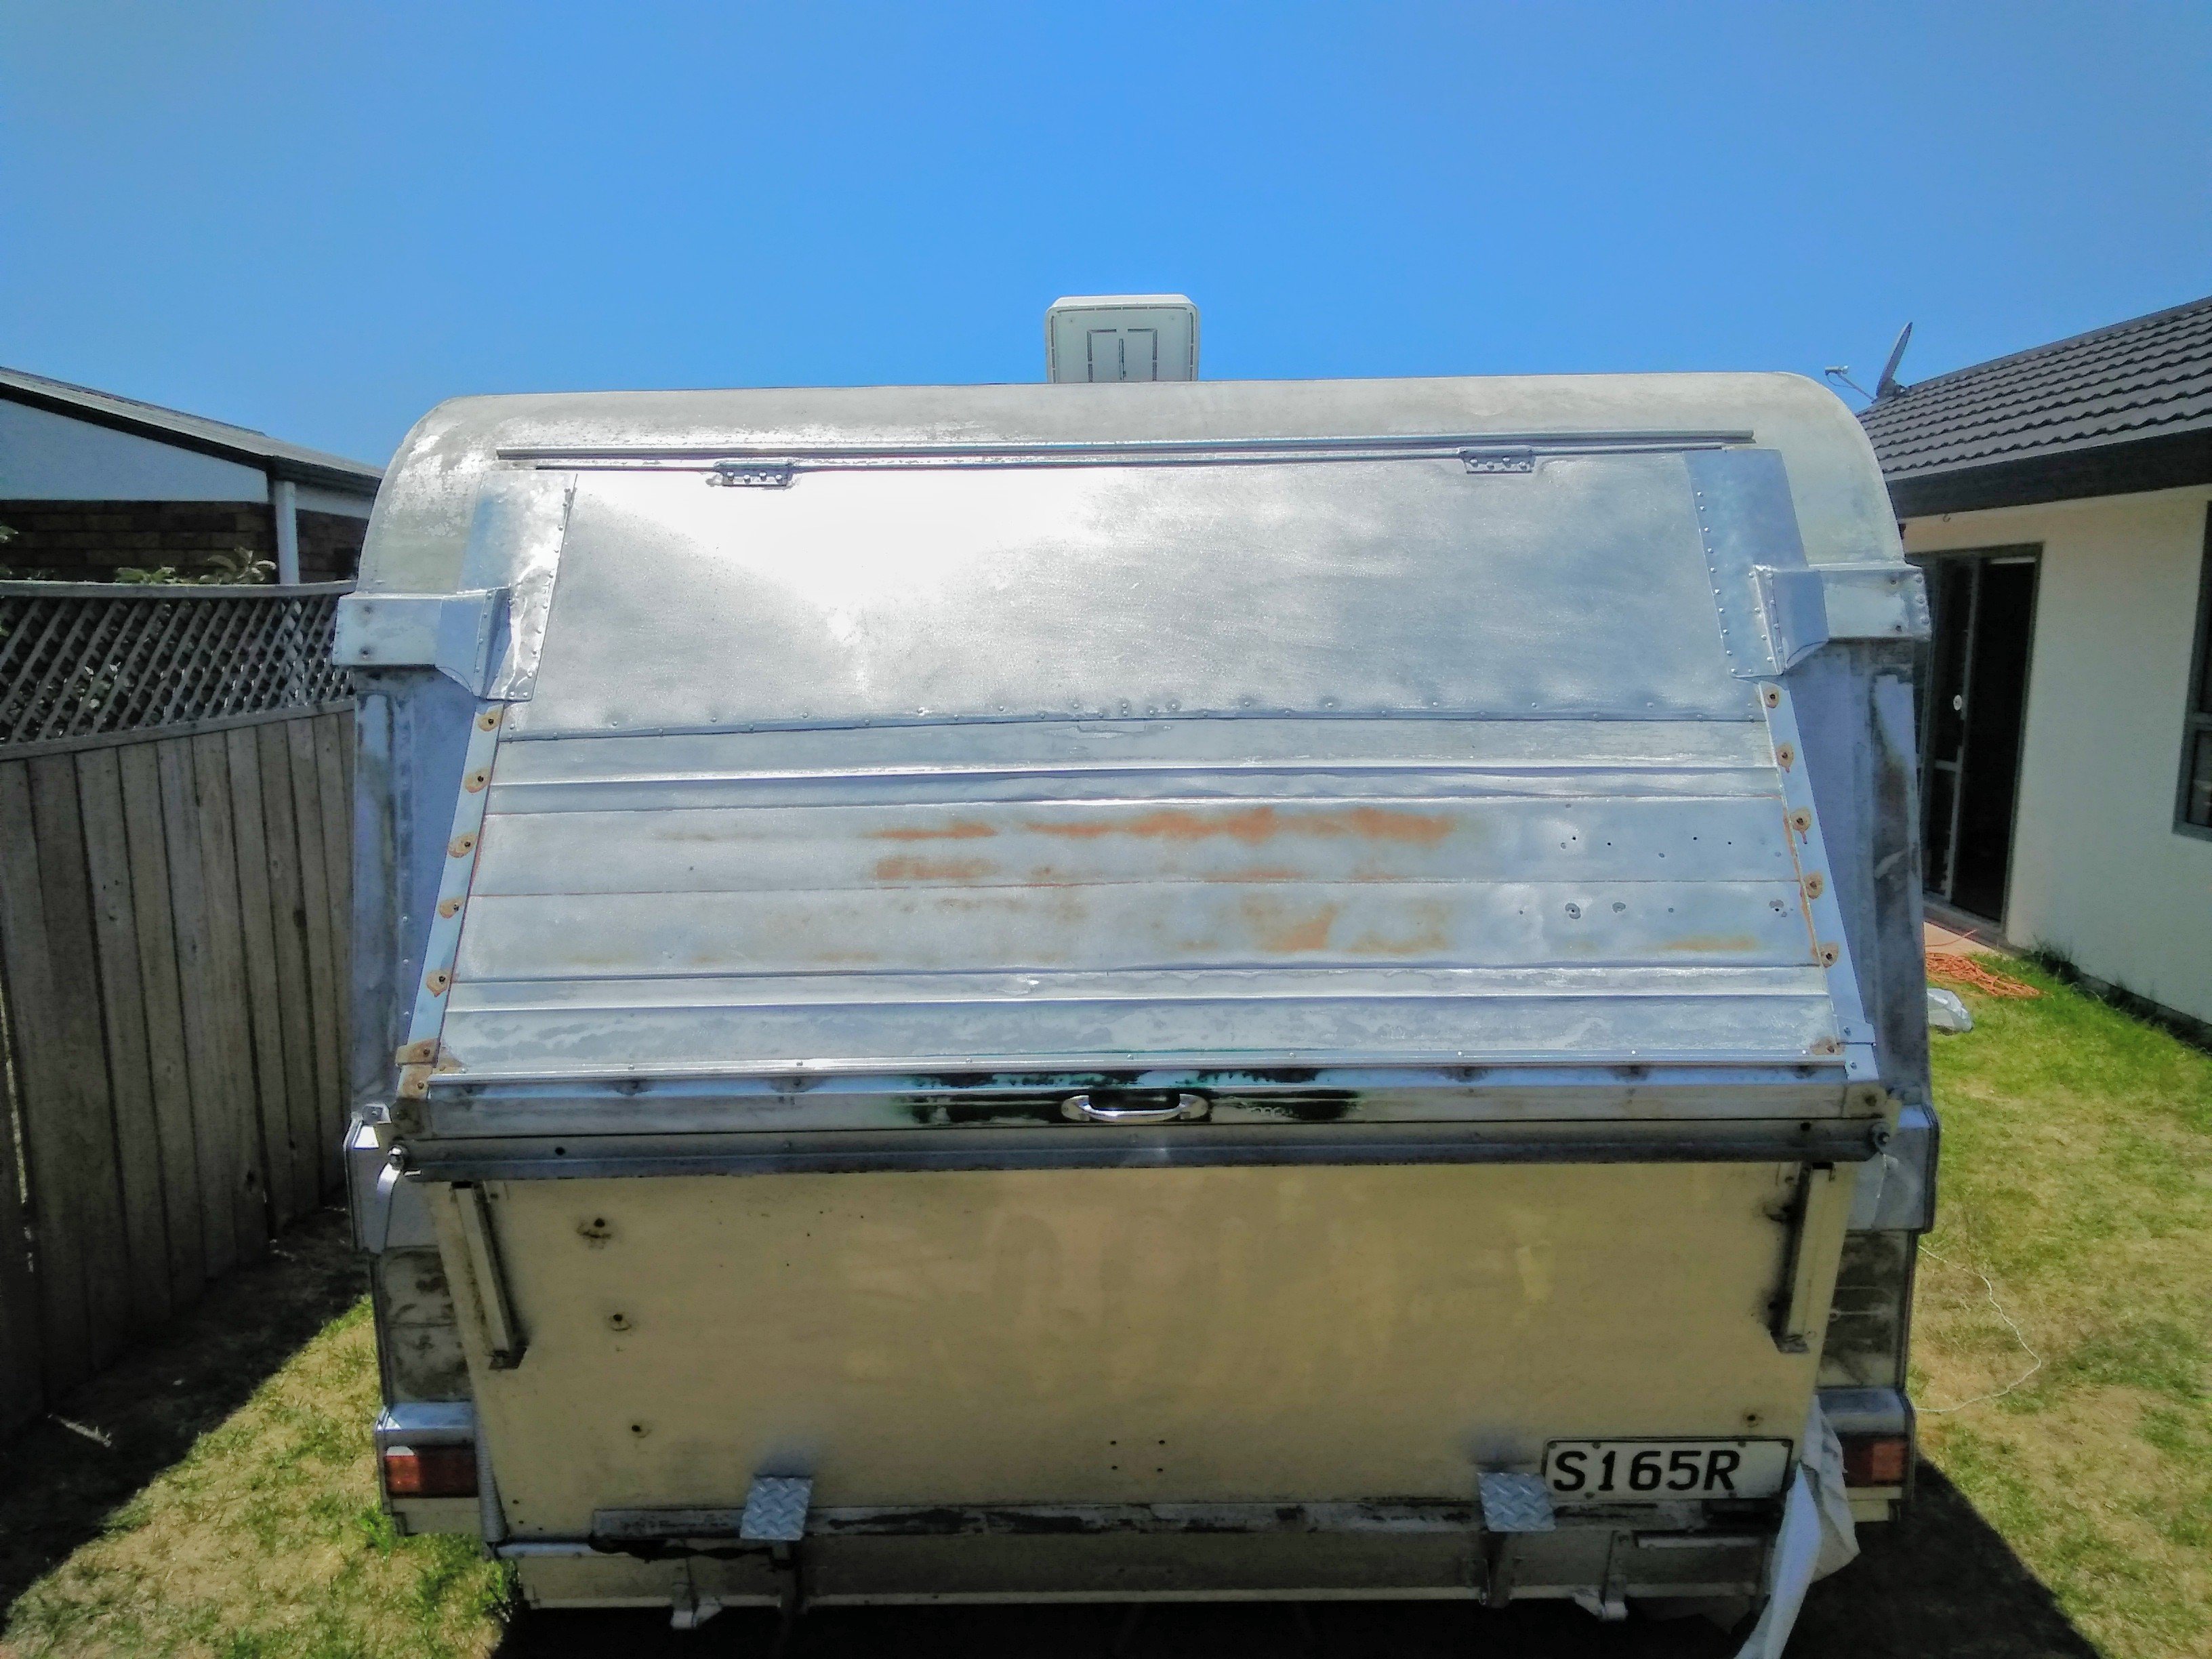
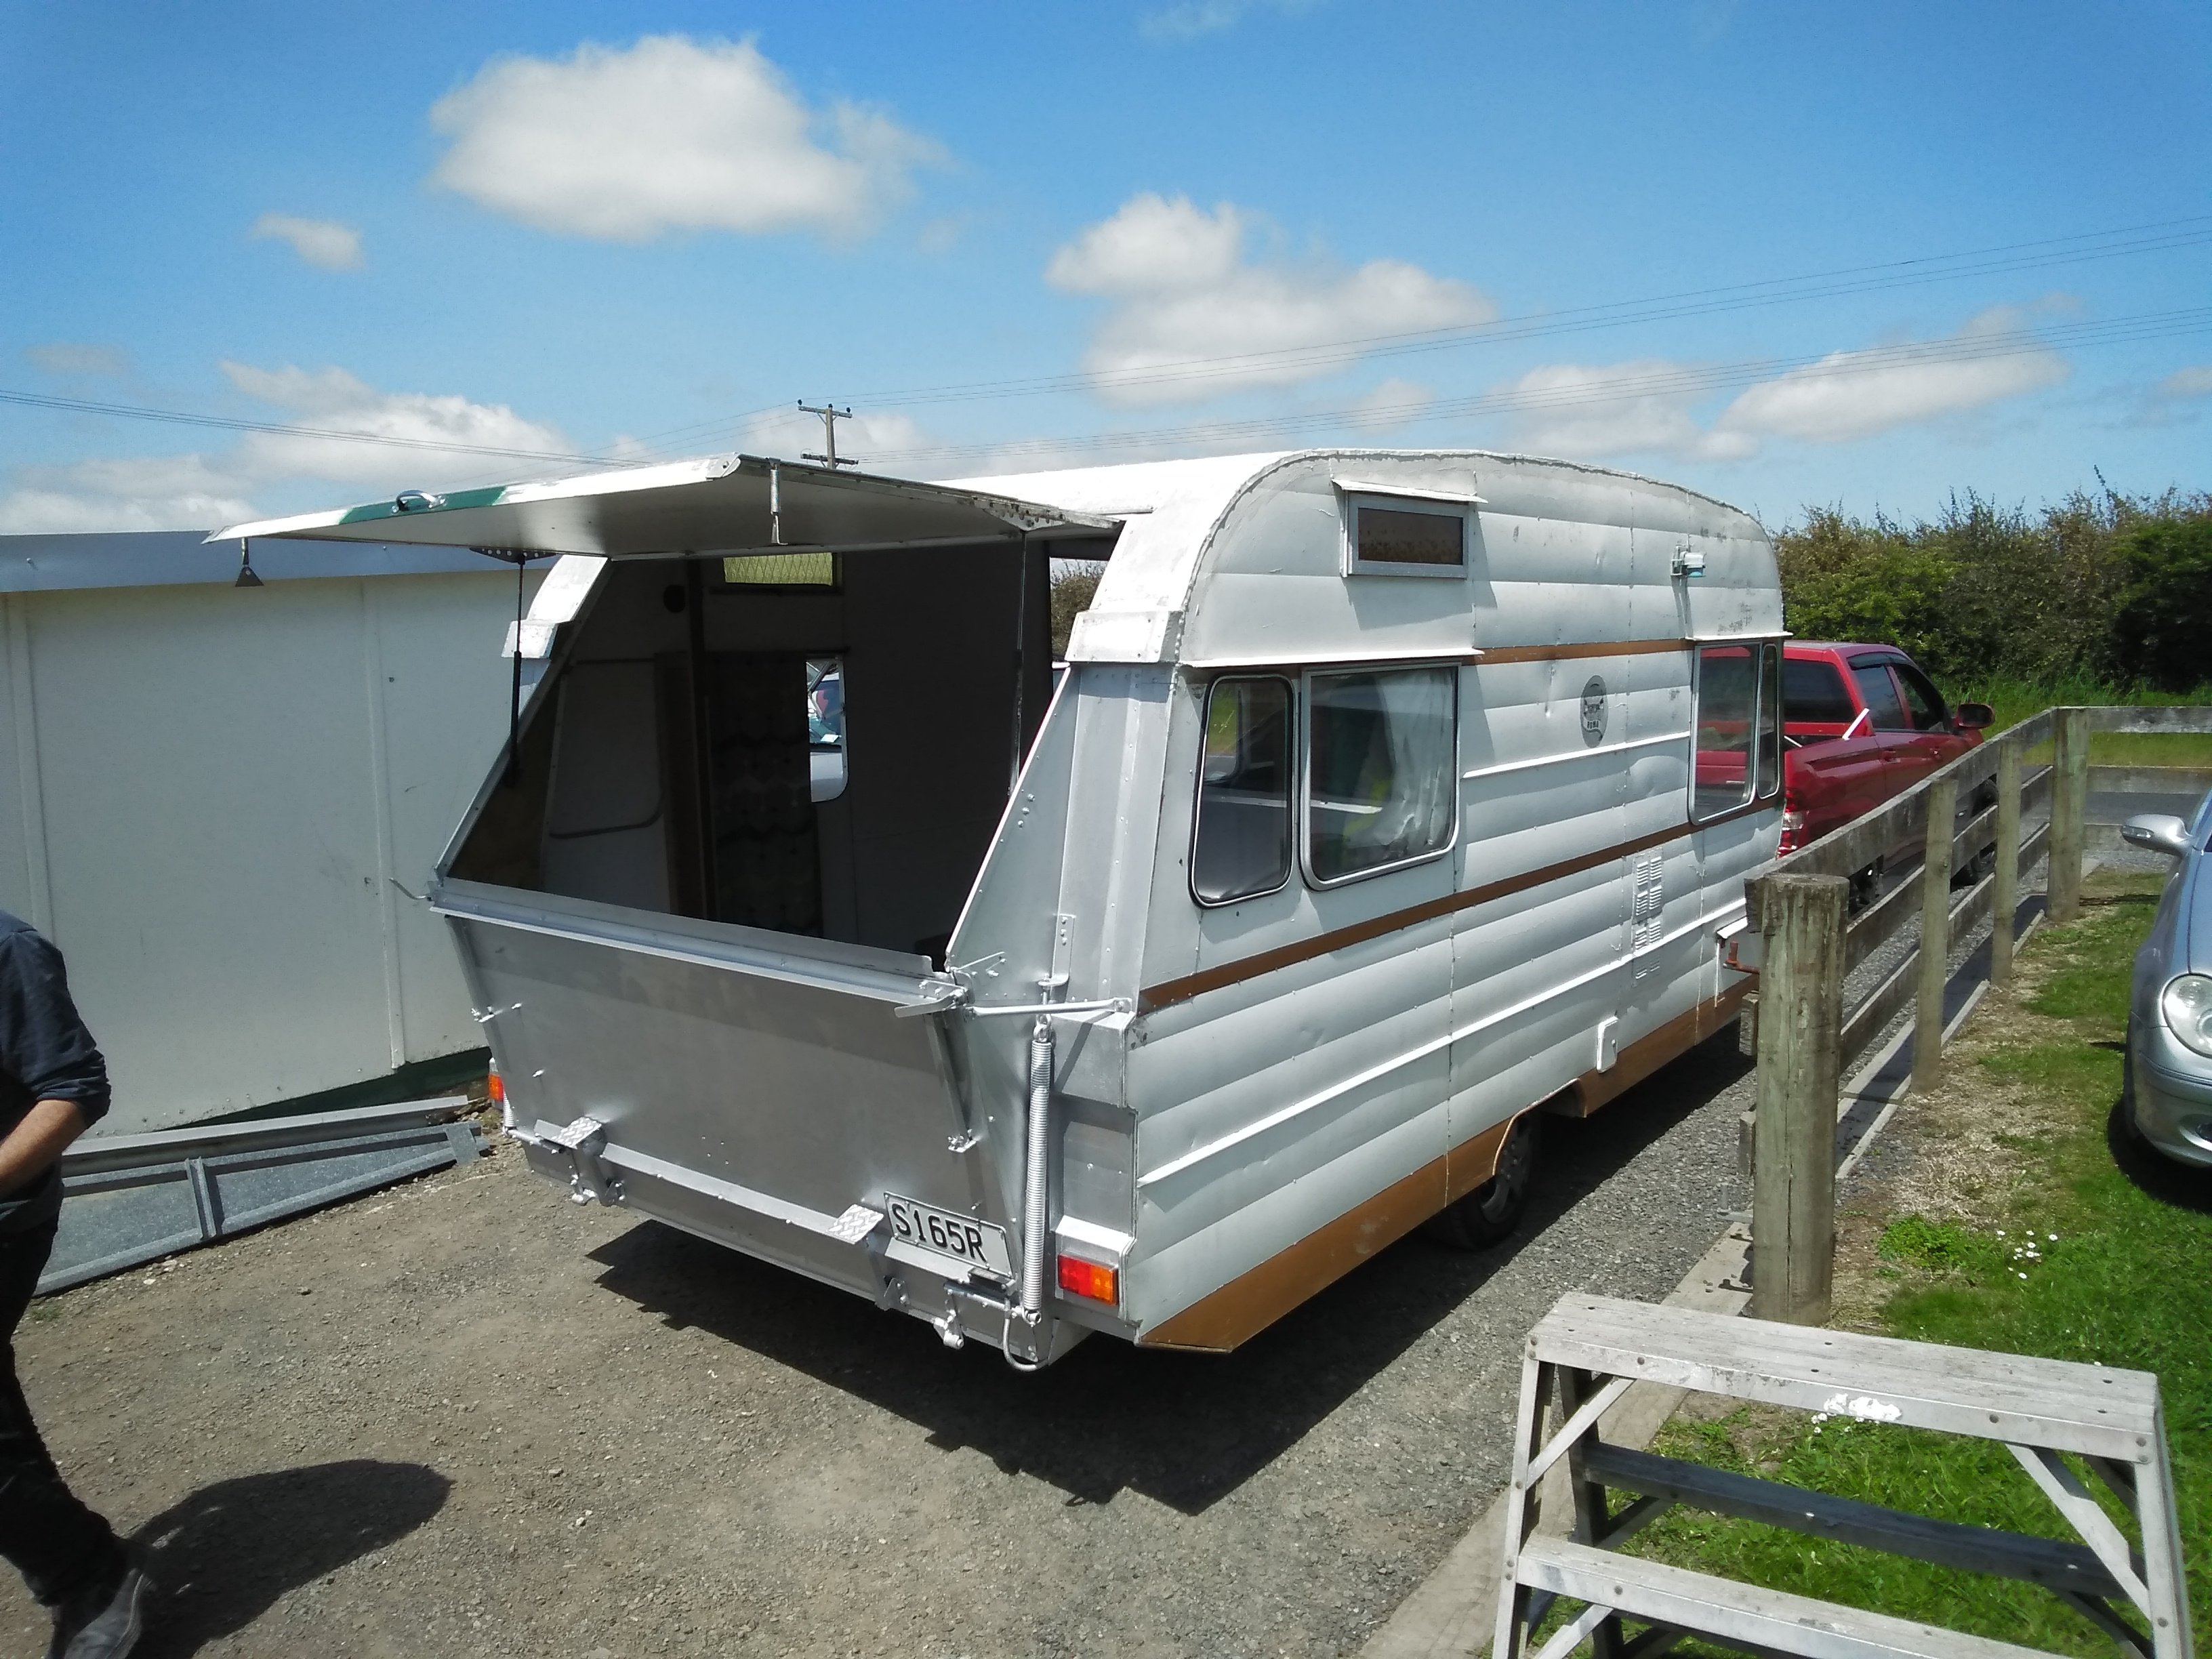
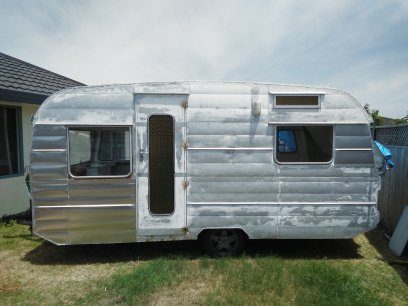
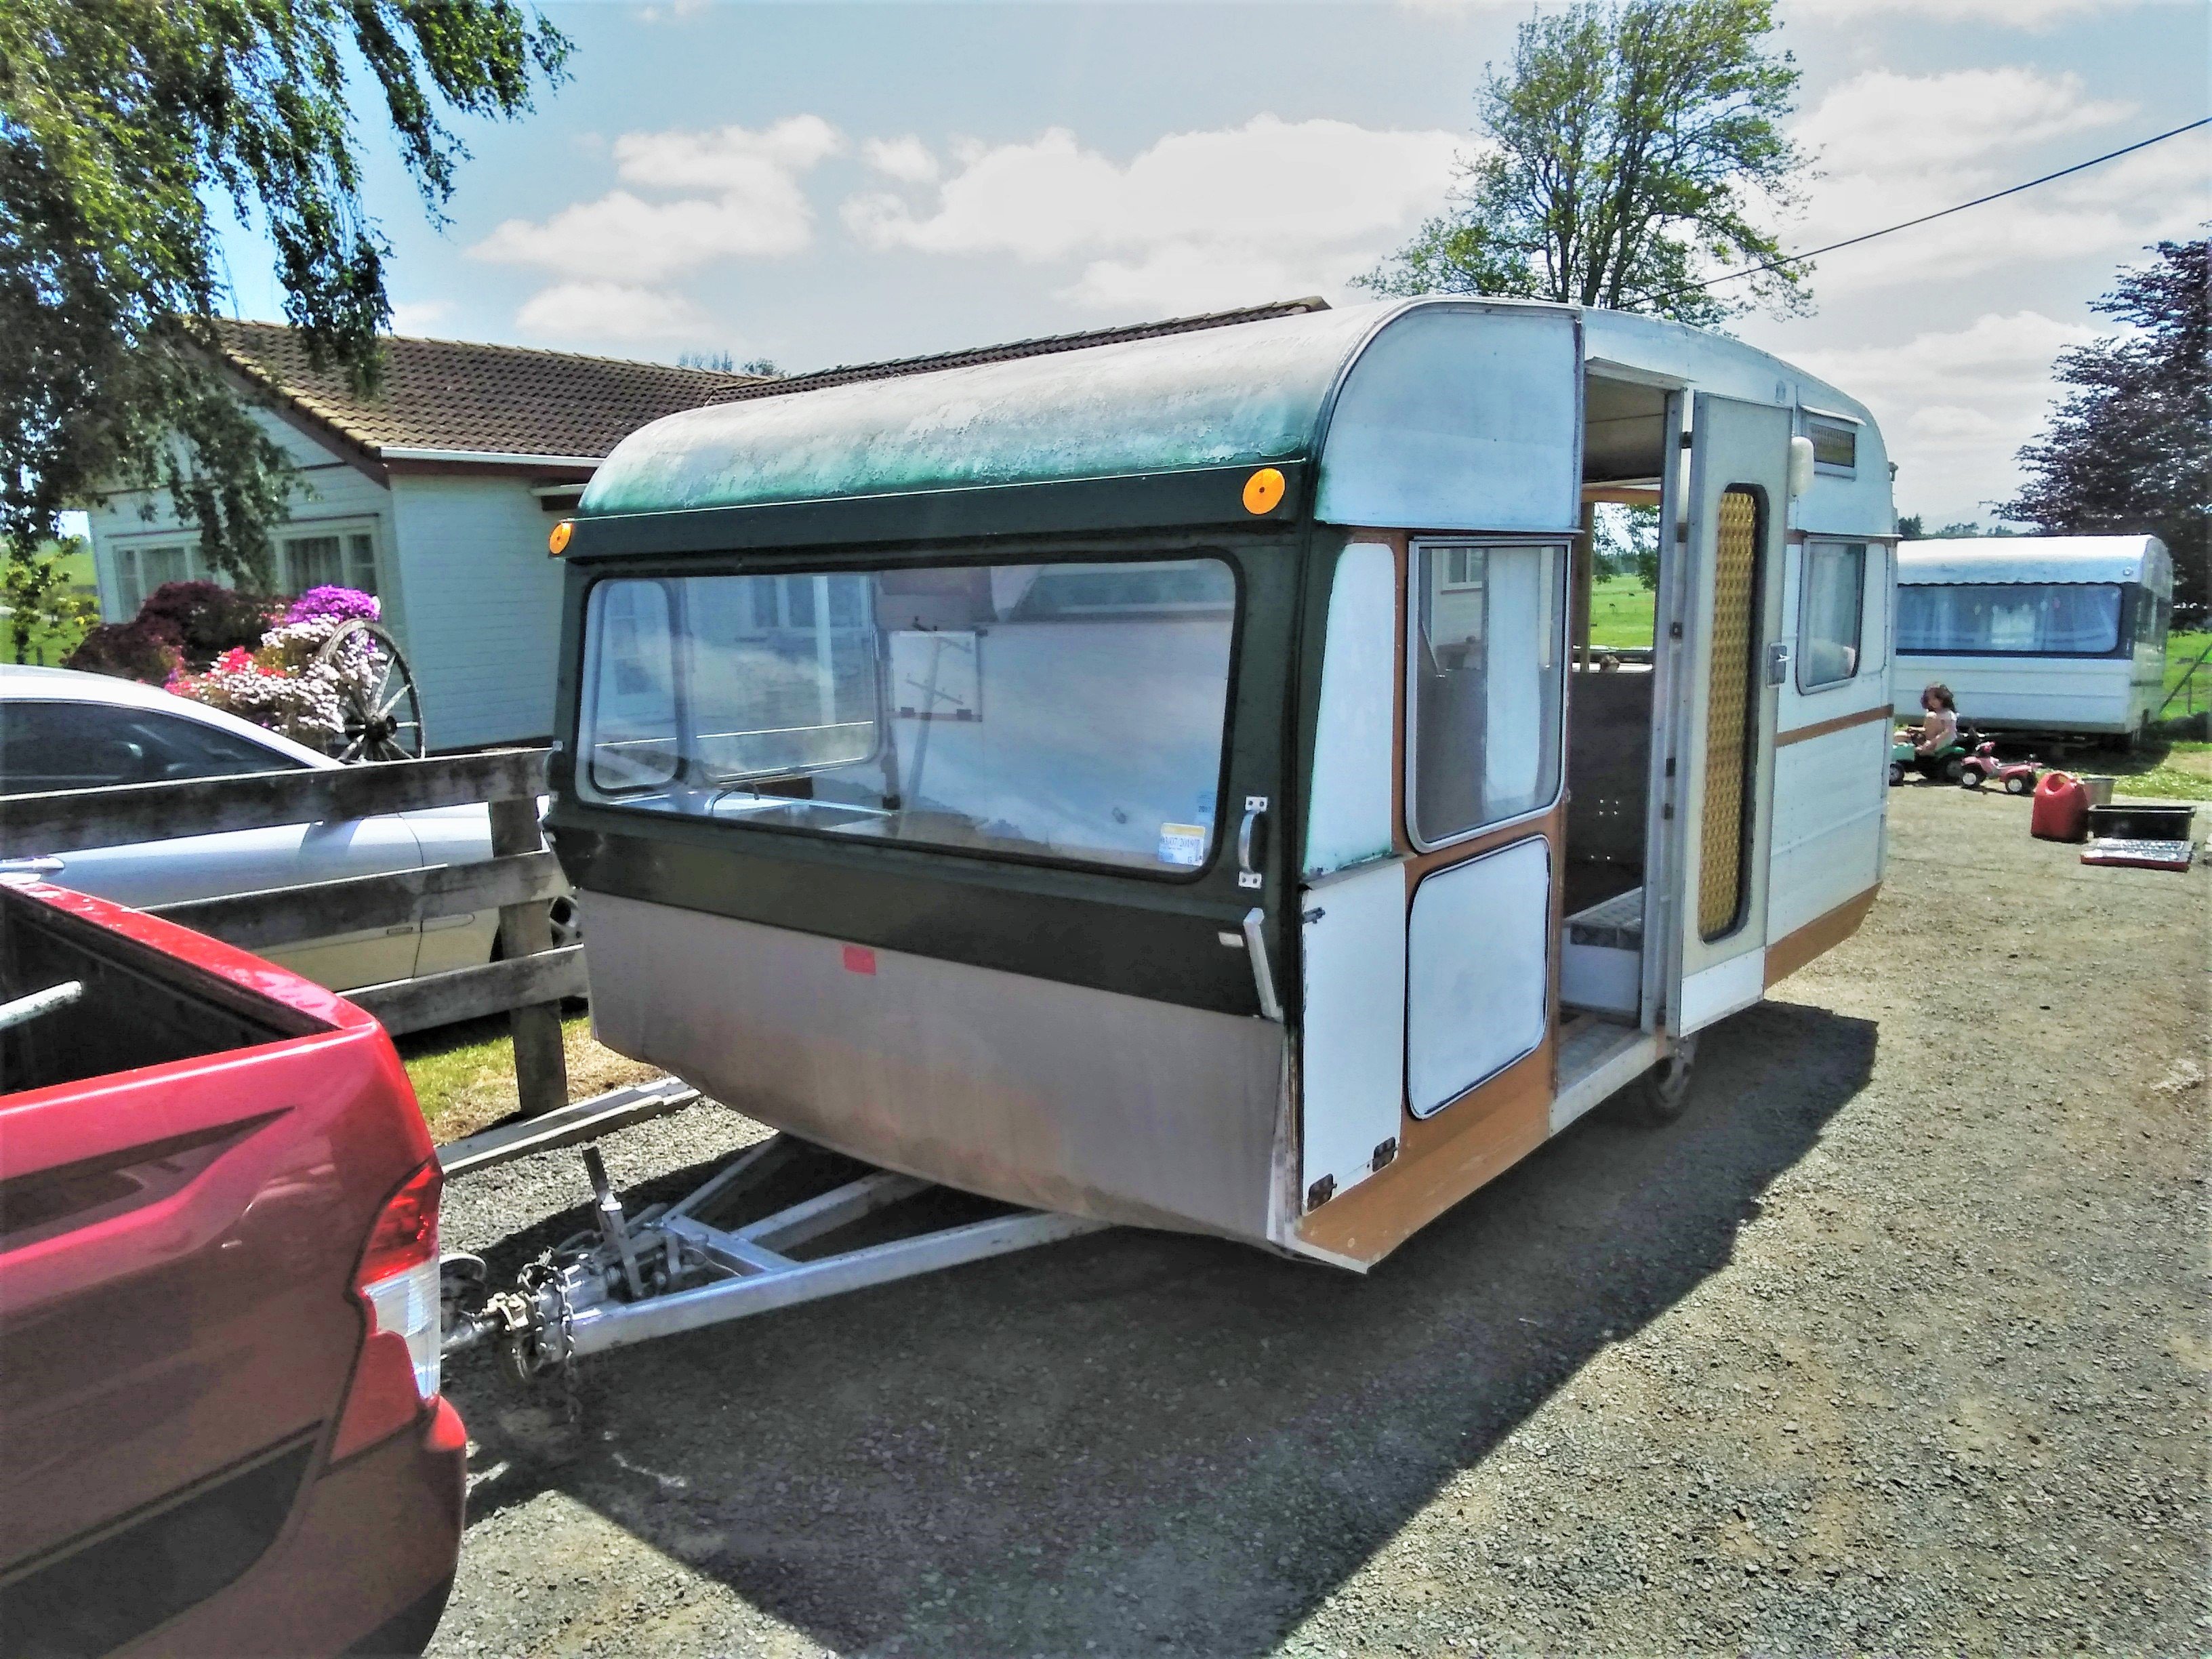
Don't know if peeps are into caravans on here? Anyone else got any threads? I've seen motorhomes. Anyway, got this sweet '80 Roma caravan that is a bit different. The story goes that it was owned by an old engineer that wanted to get his Ford Model A (or T) to Ford meets, but it wasn't exactly easy to drive it to each meet, so he cut the back off his caravan, strengthened the chassis and turned it into a O/S toy hauler. He had a single fold up bed and a little kitchen up front and modified the back to use as a ramp/deck and could drive his car in, cart it around, then when he got there, drive it out and fold his bed down to stay. Primo! However, it was pretty beat up and in need of some love when we got it:
3 points
-
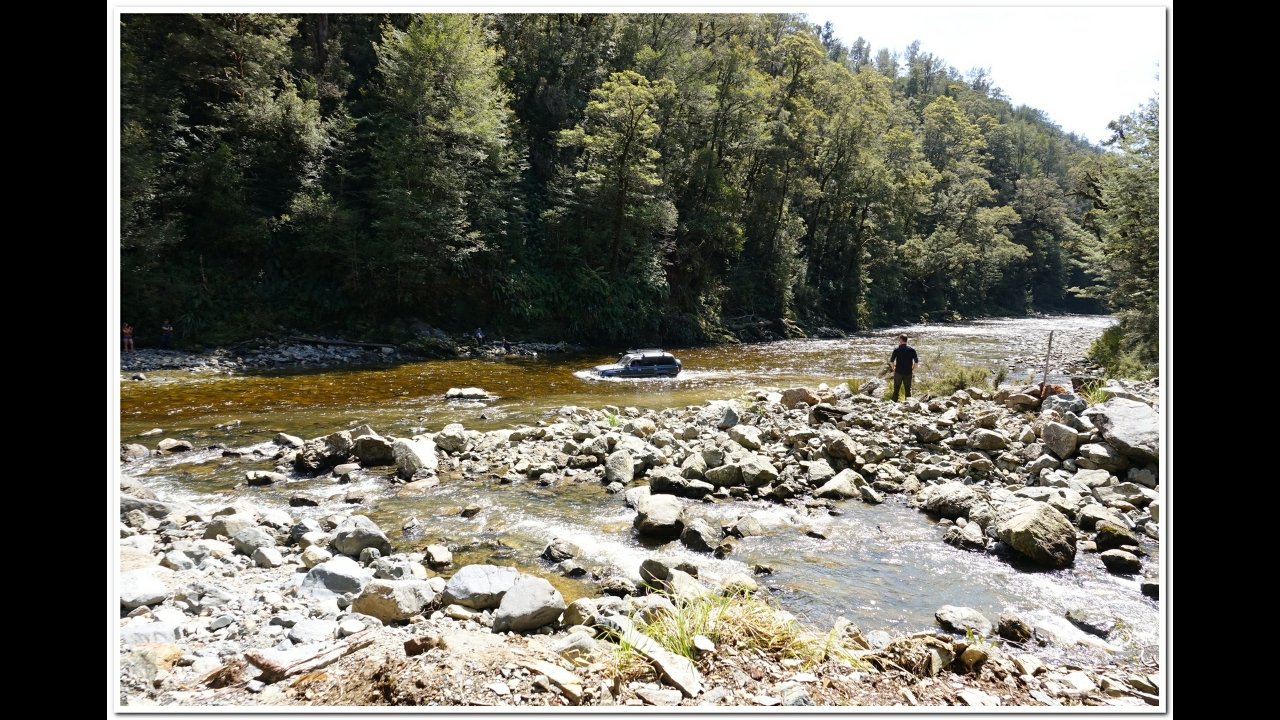
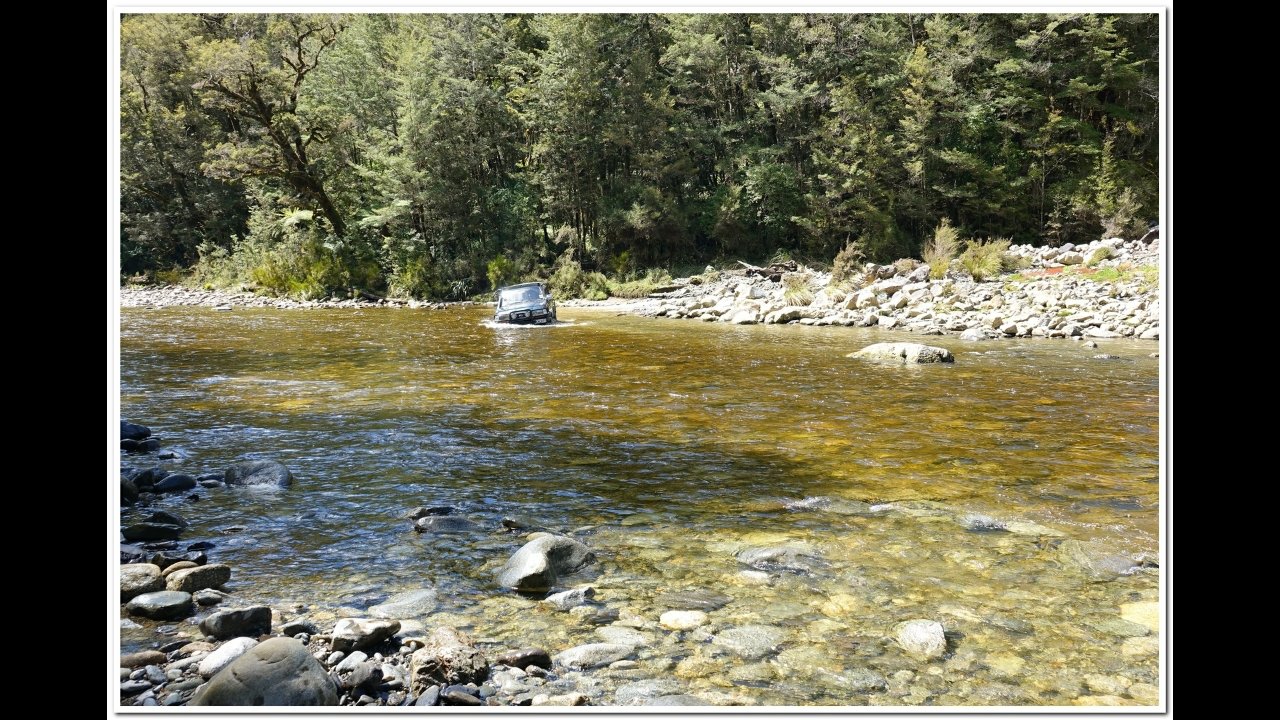
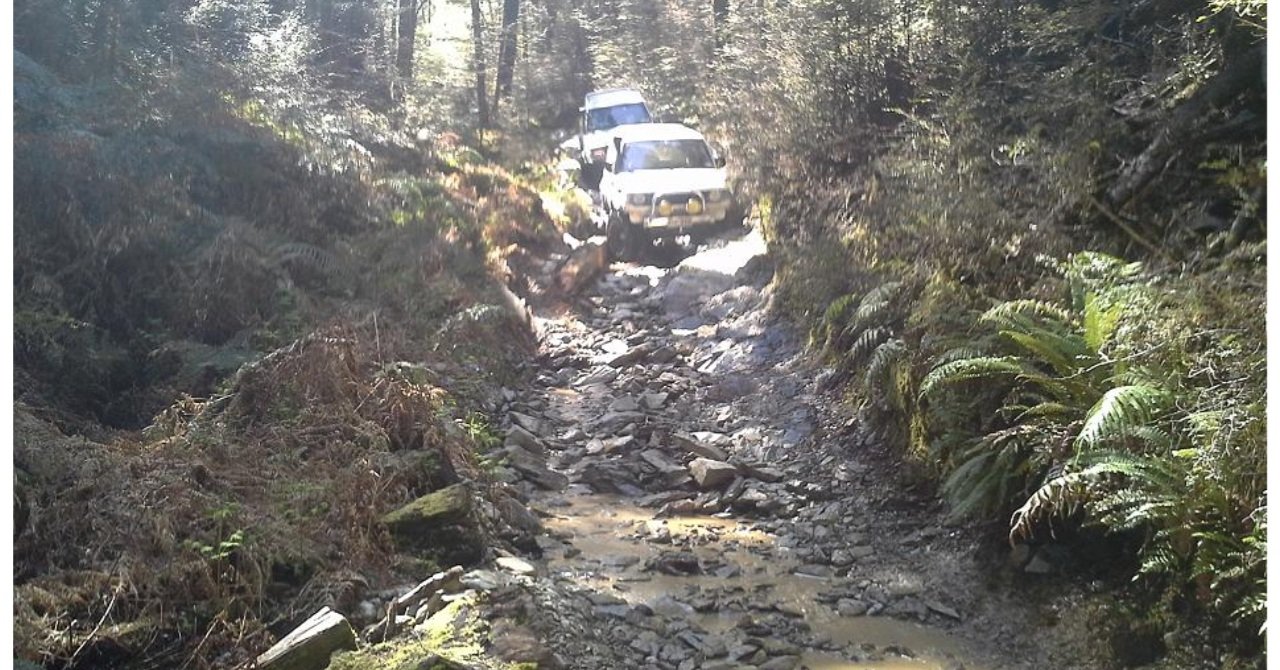
Mackley river Nobles creek (caves) There's some rivers I couldn't find pics for. Waipuna river before the caves to Napoleon hill is more like a large creek. The Greenstone river at the end of Noname road is much better since the local landowner changed the exit position. Not deep. This all depends on rainfall of course
3 points
-
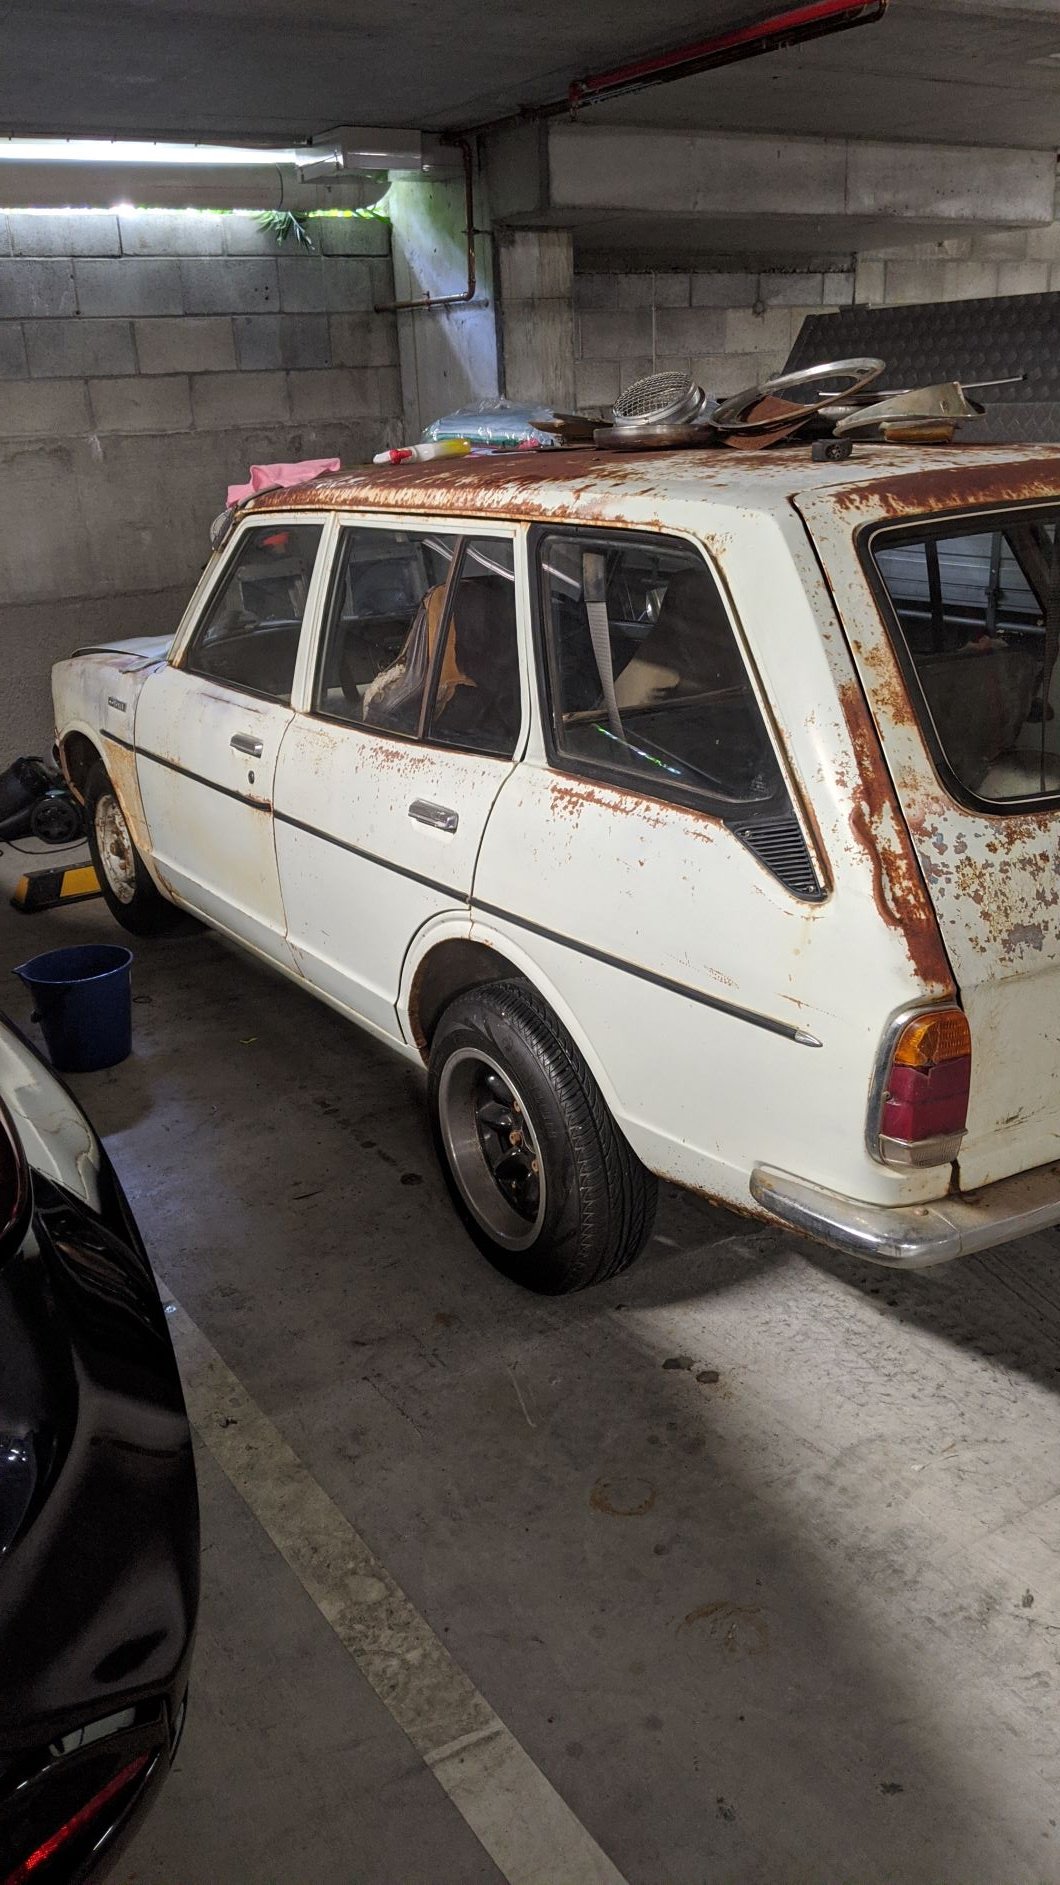
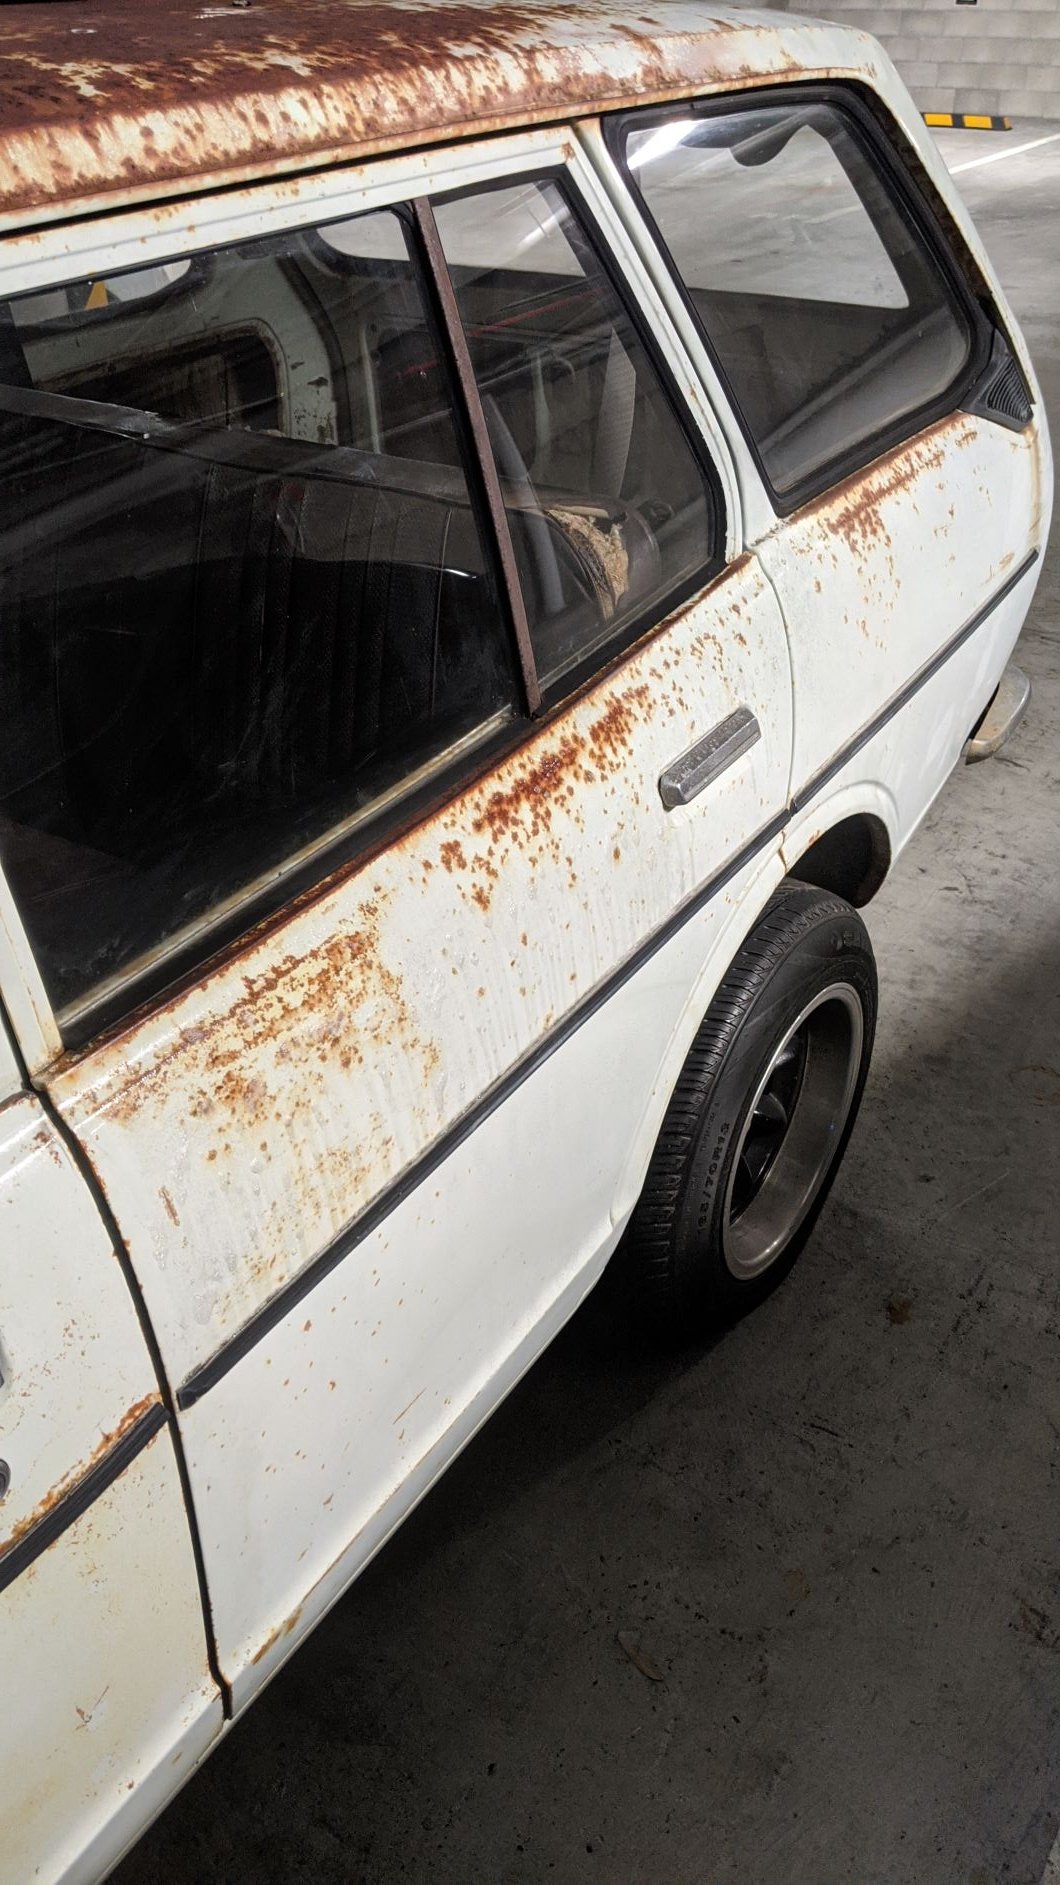
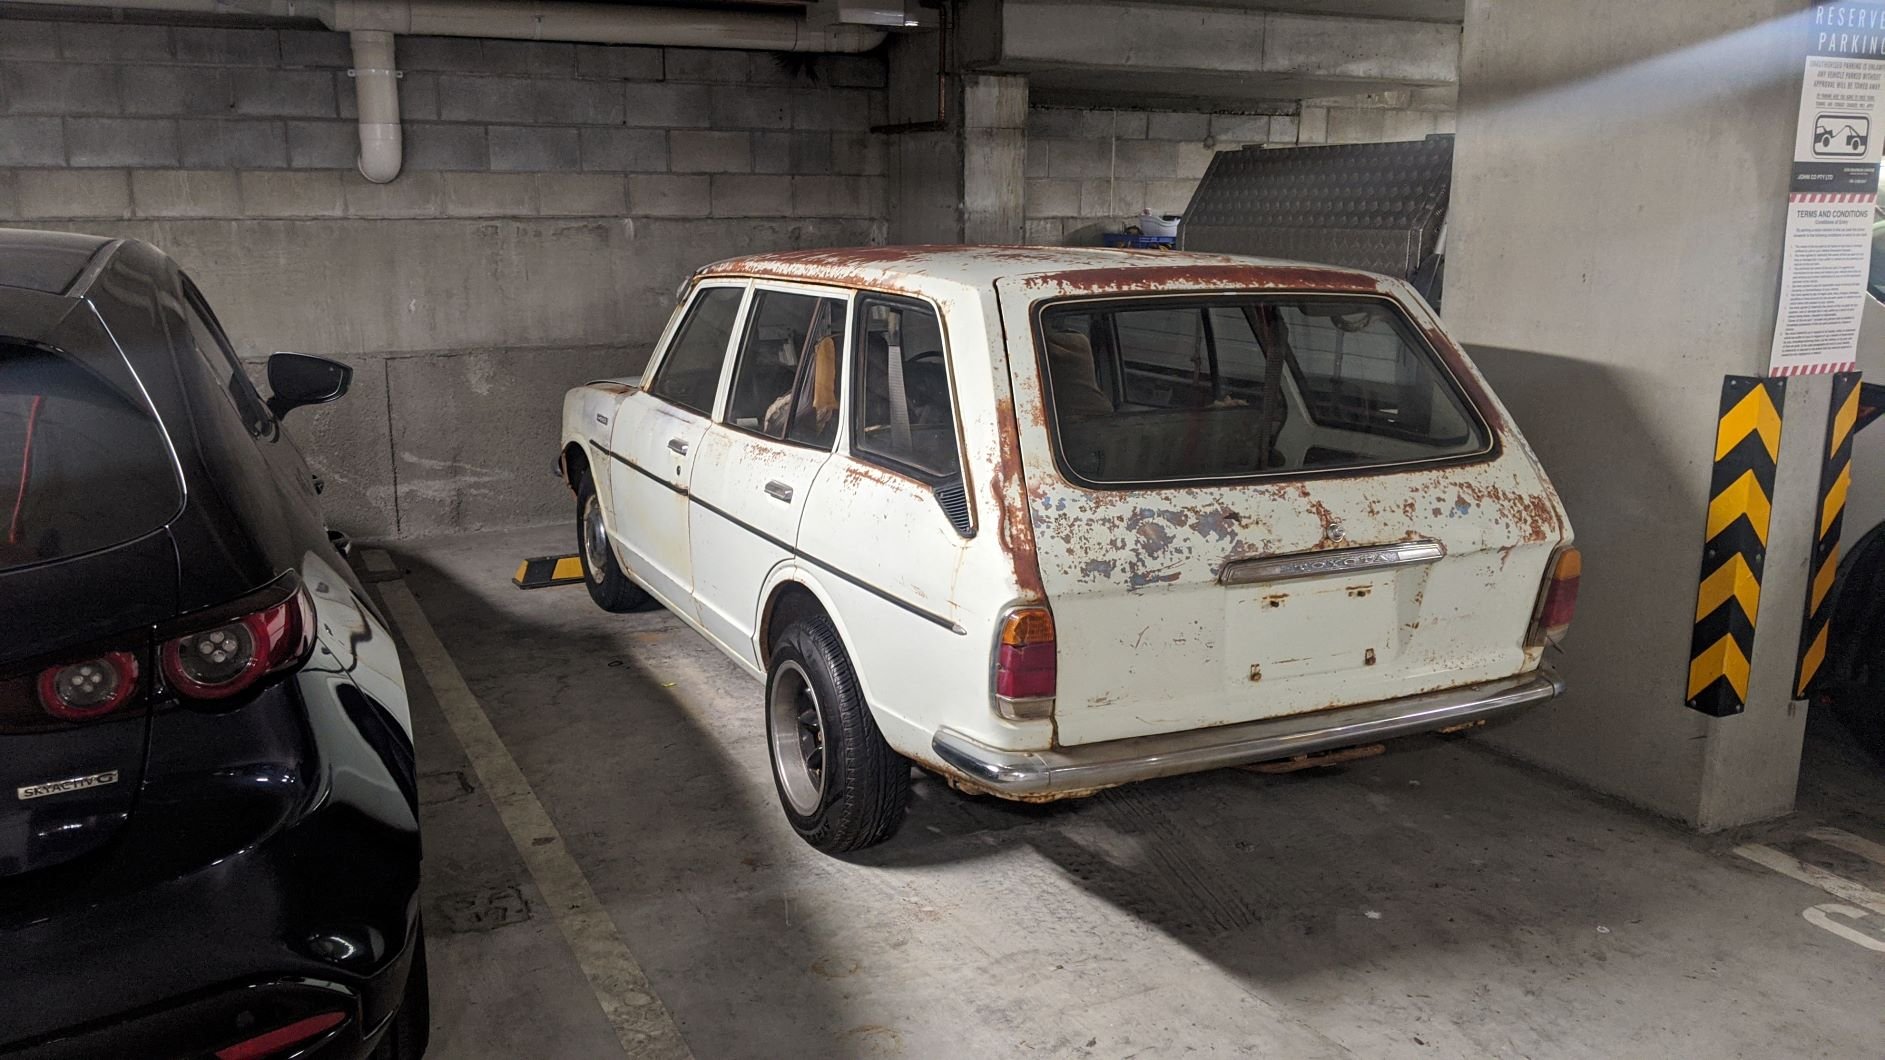
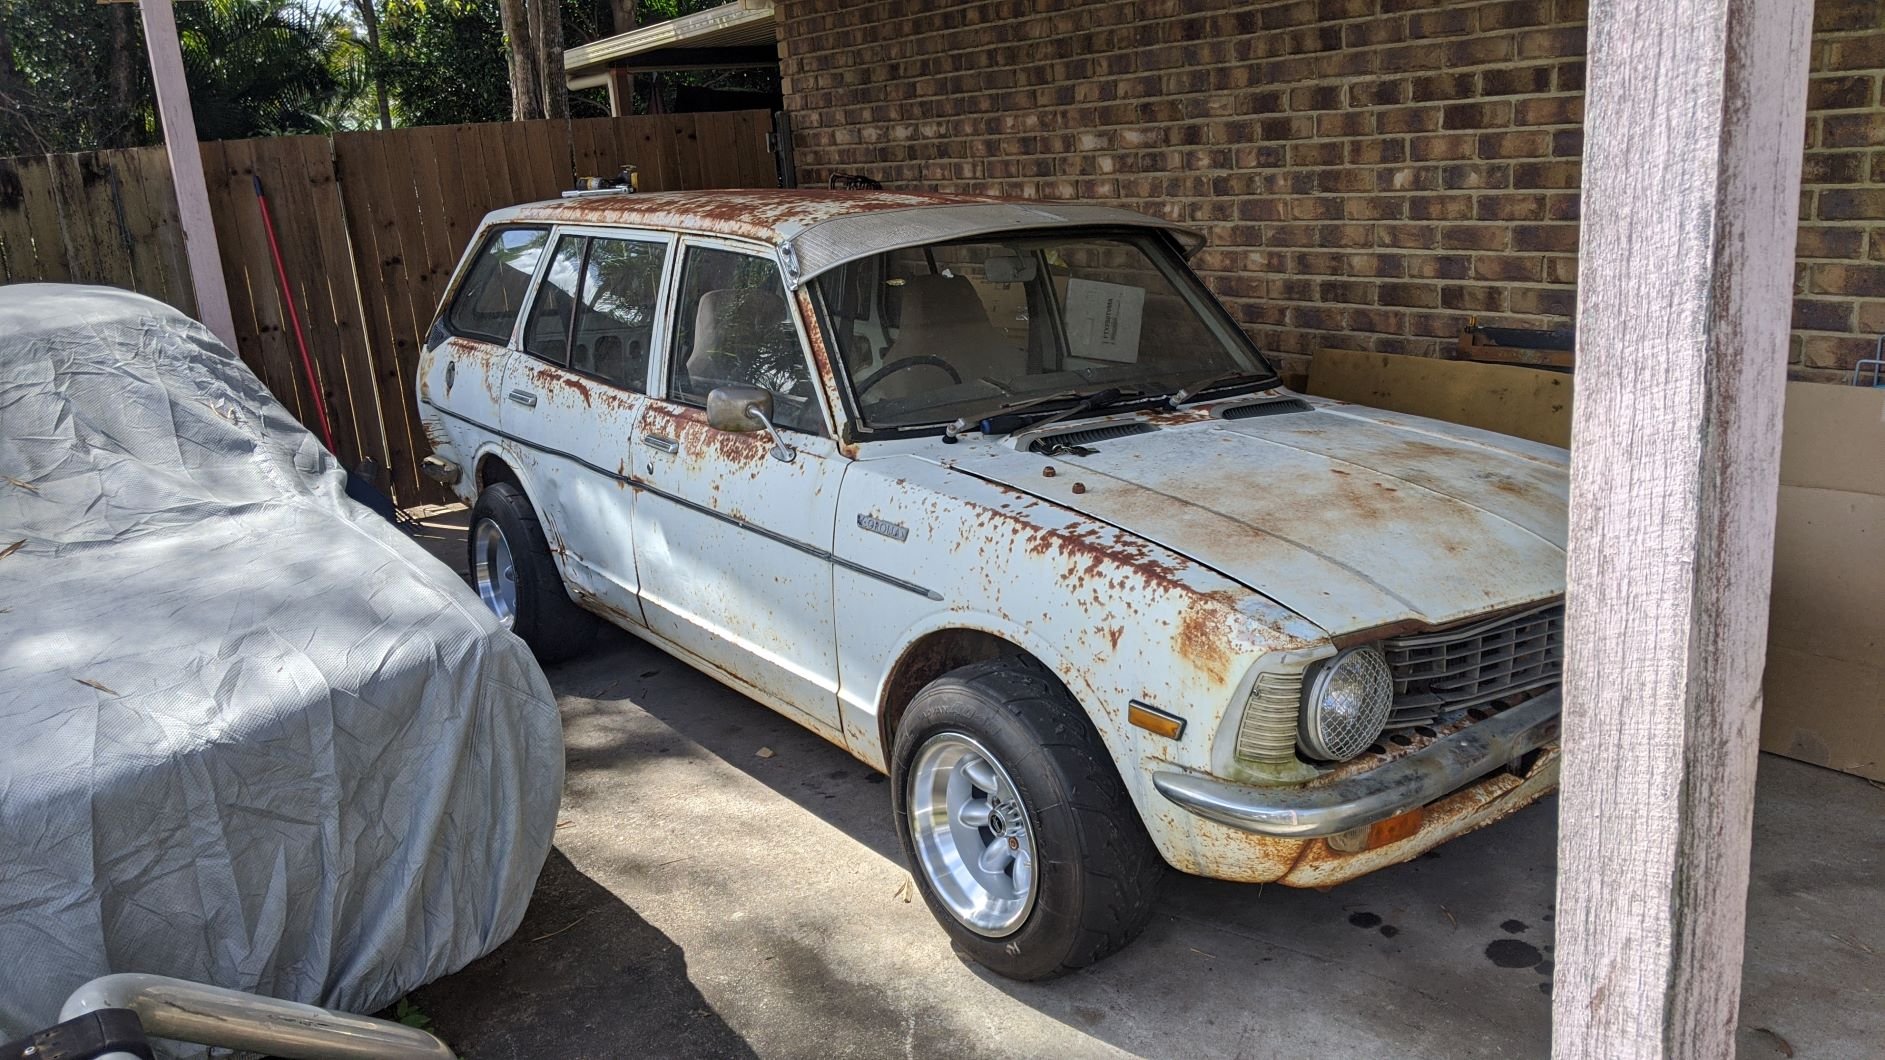
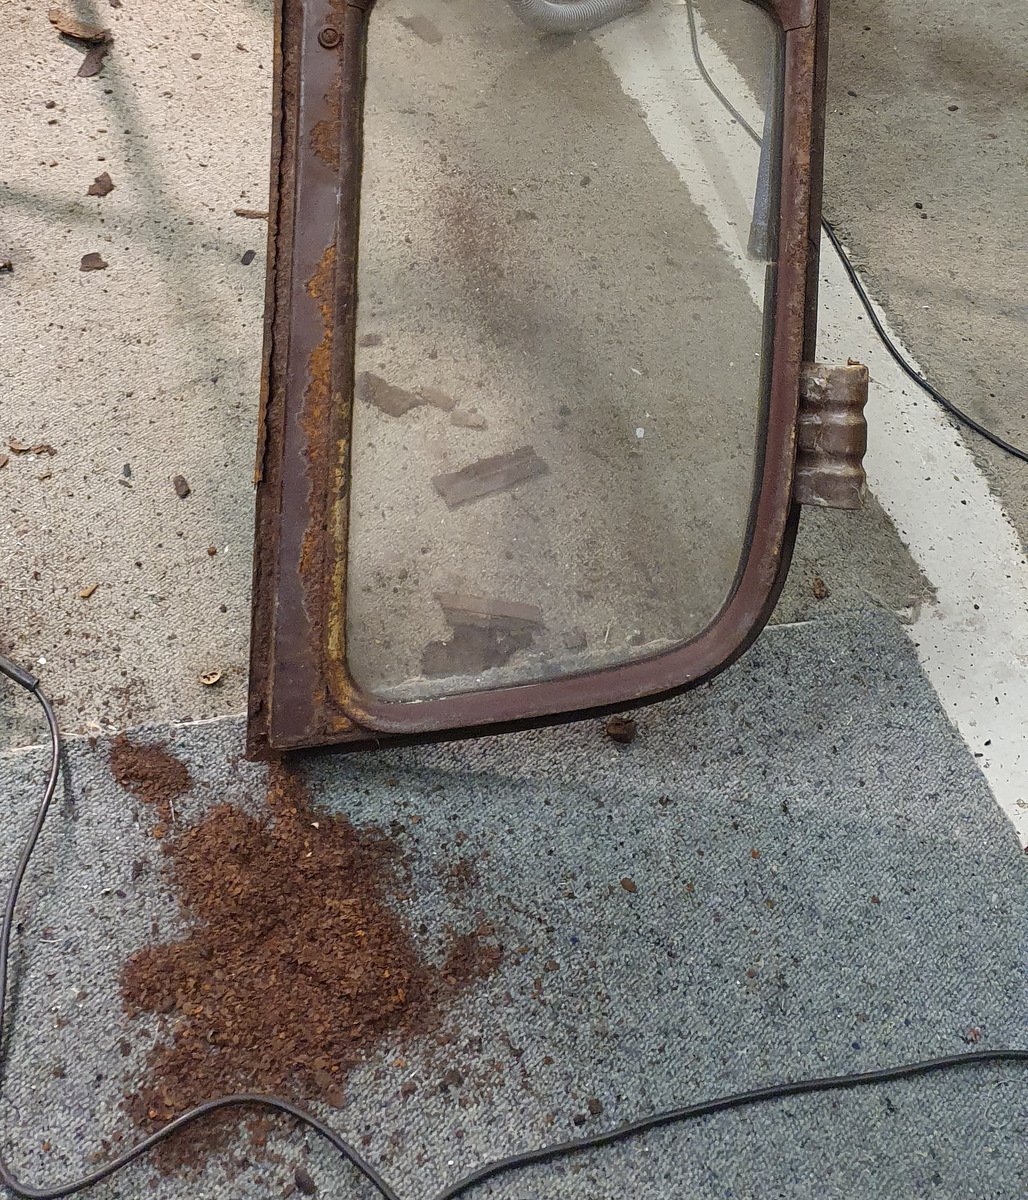
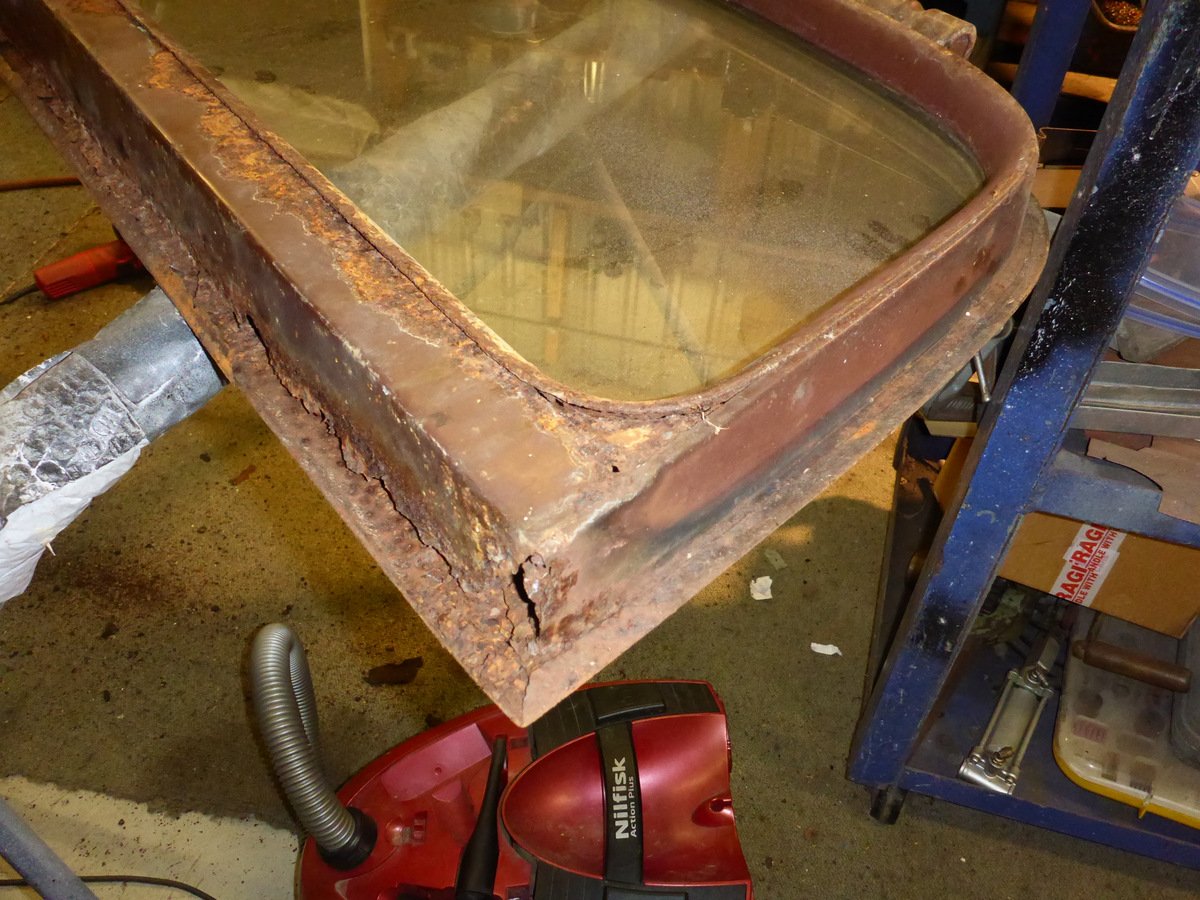
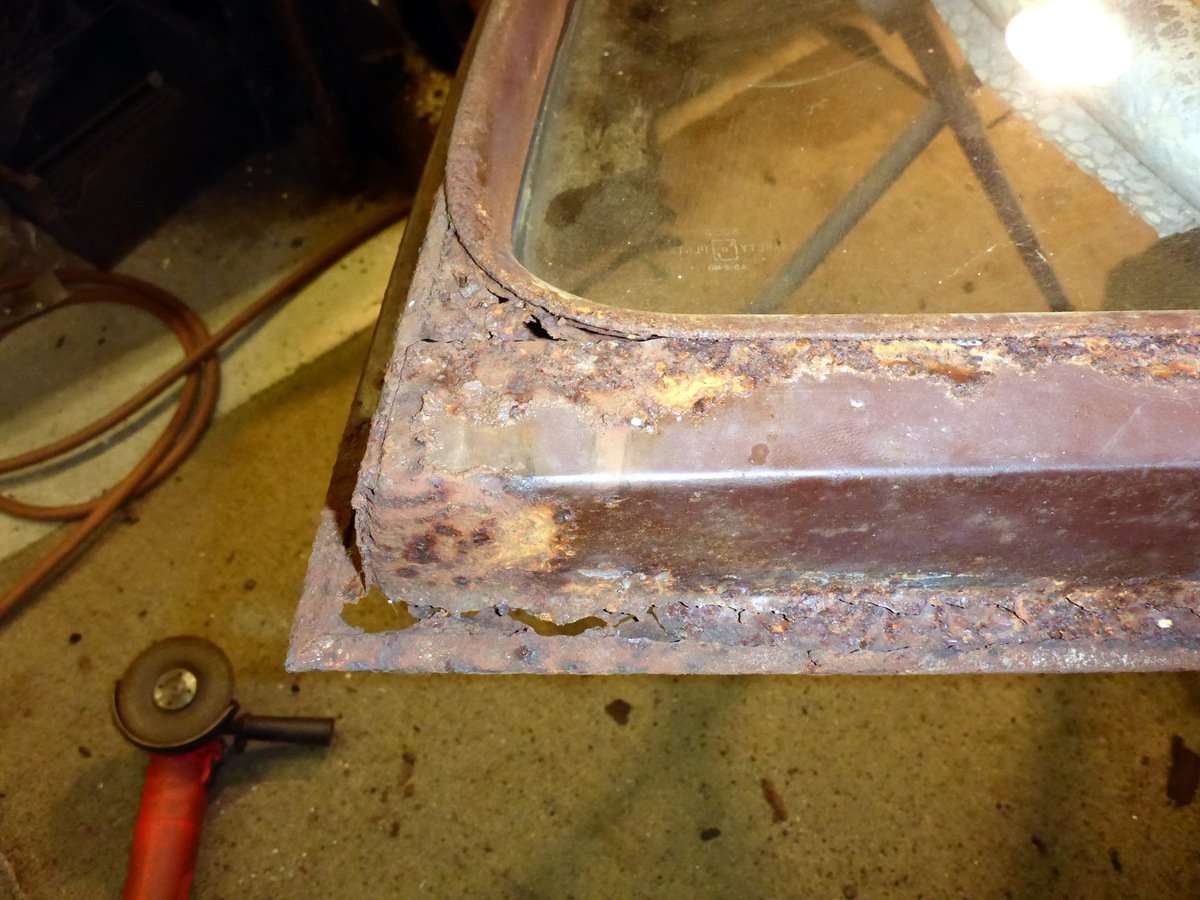
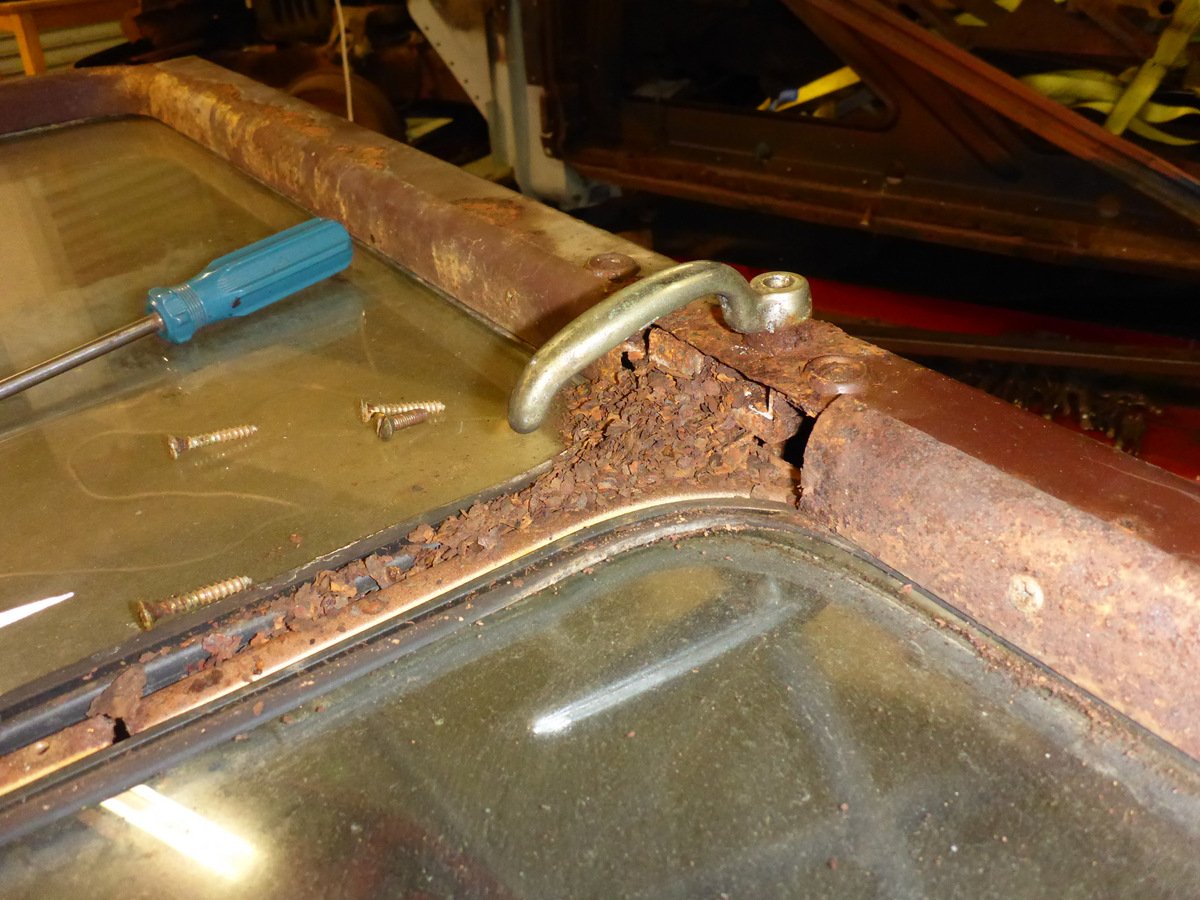
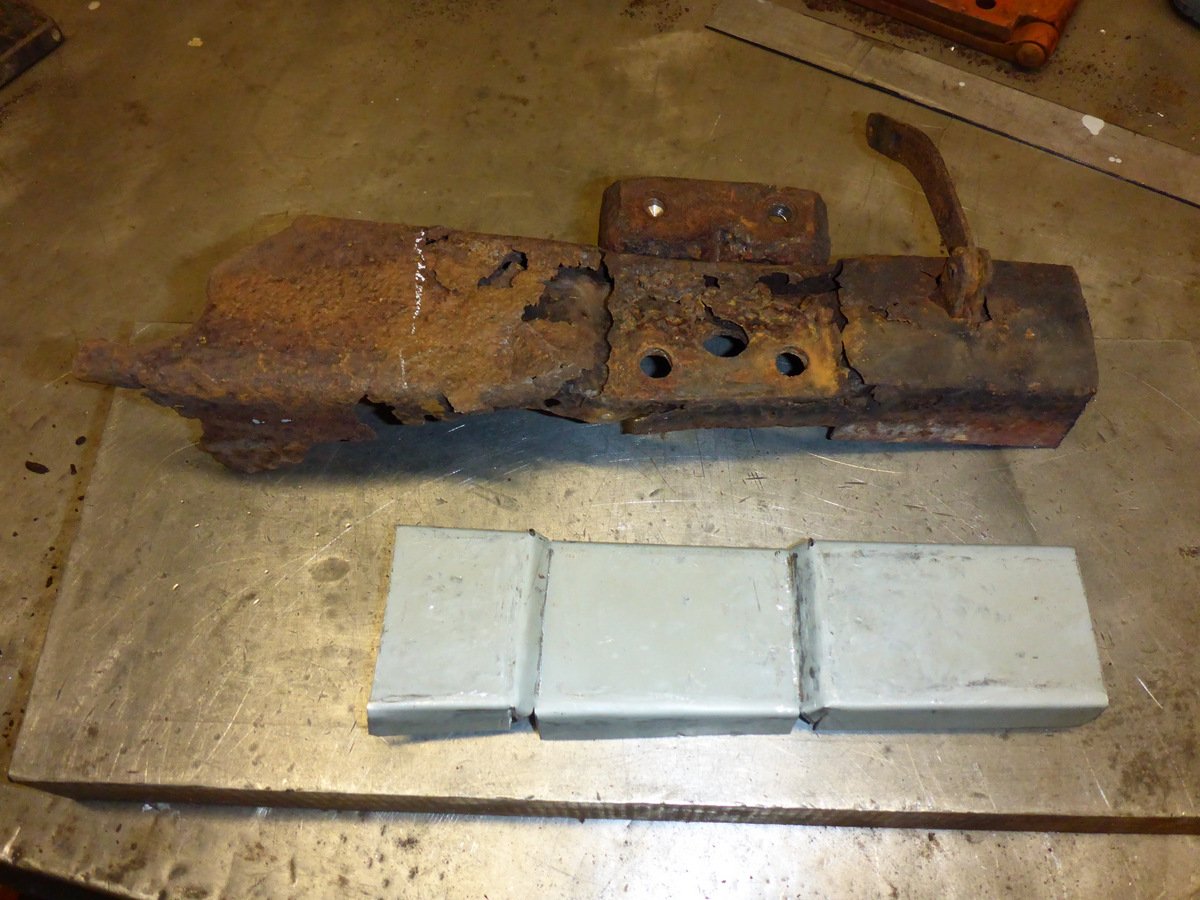
The upper tailgate unbolted easily, but contained a disturbing amount of rust flakes I stripped the garnish mouldings and glass out. Looked pretty manky.
3 points
-
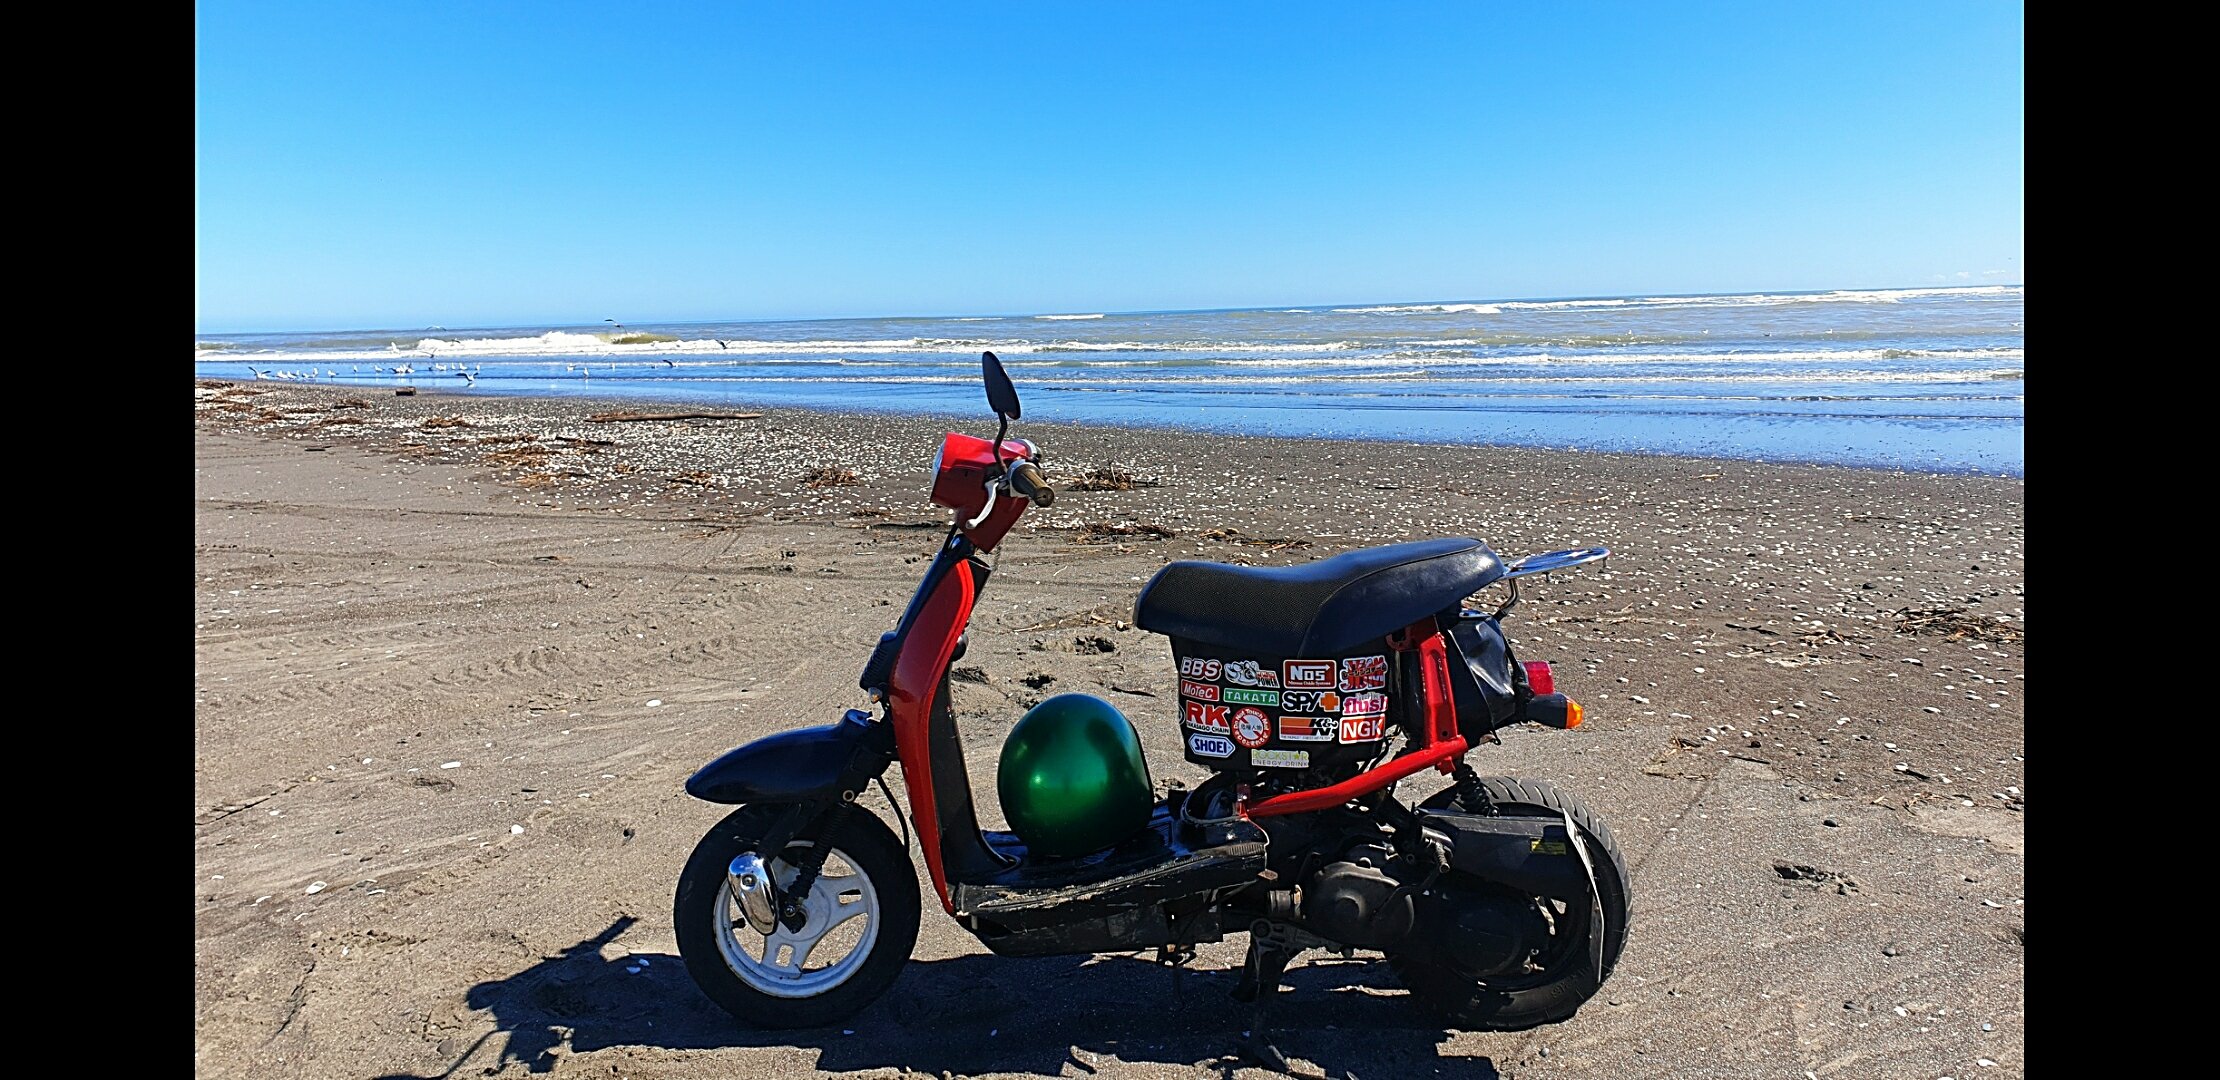
It runs but things need shimming the chain isnt quite right either. Quickly fashioned pipes look cool but are deafening so will add some muffling.... later maybe a bozusoku sytle supertrapp. Will get a sack of 8mm washers and make some clearance happen over weekend.
3 points
-
Pick apart for some 10$ supercats m93 points
-
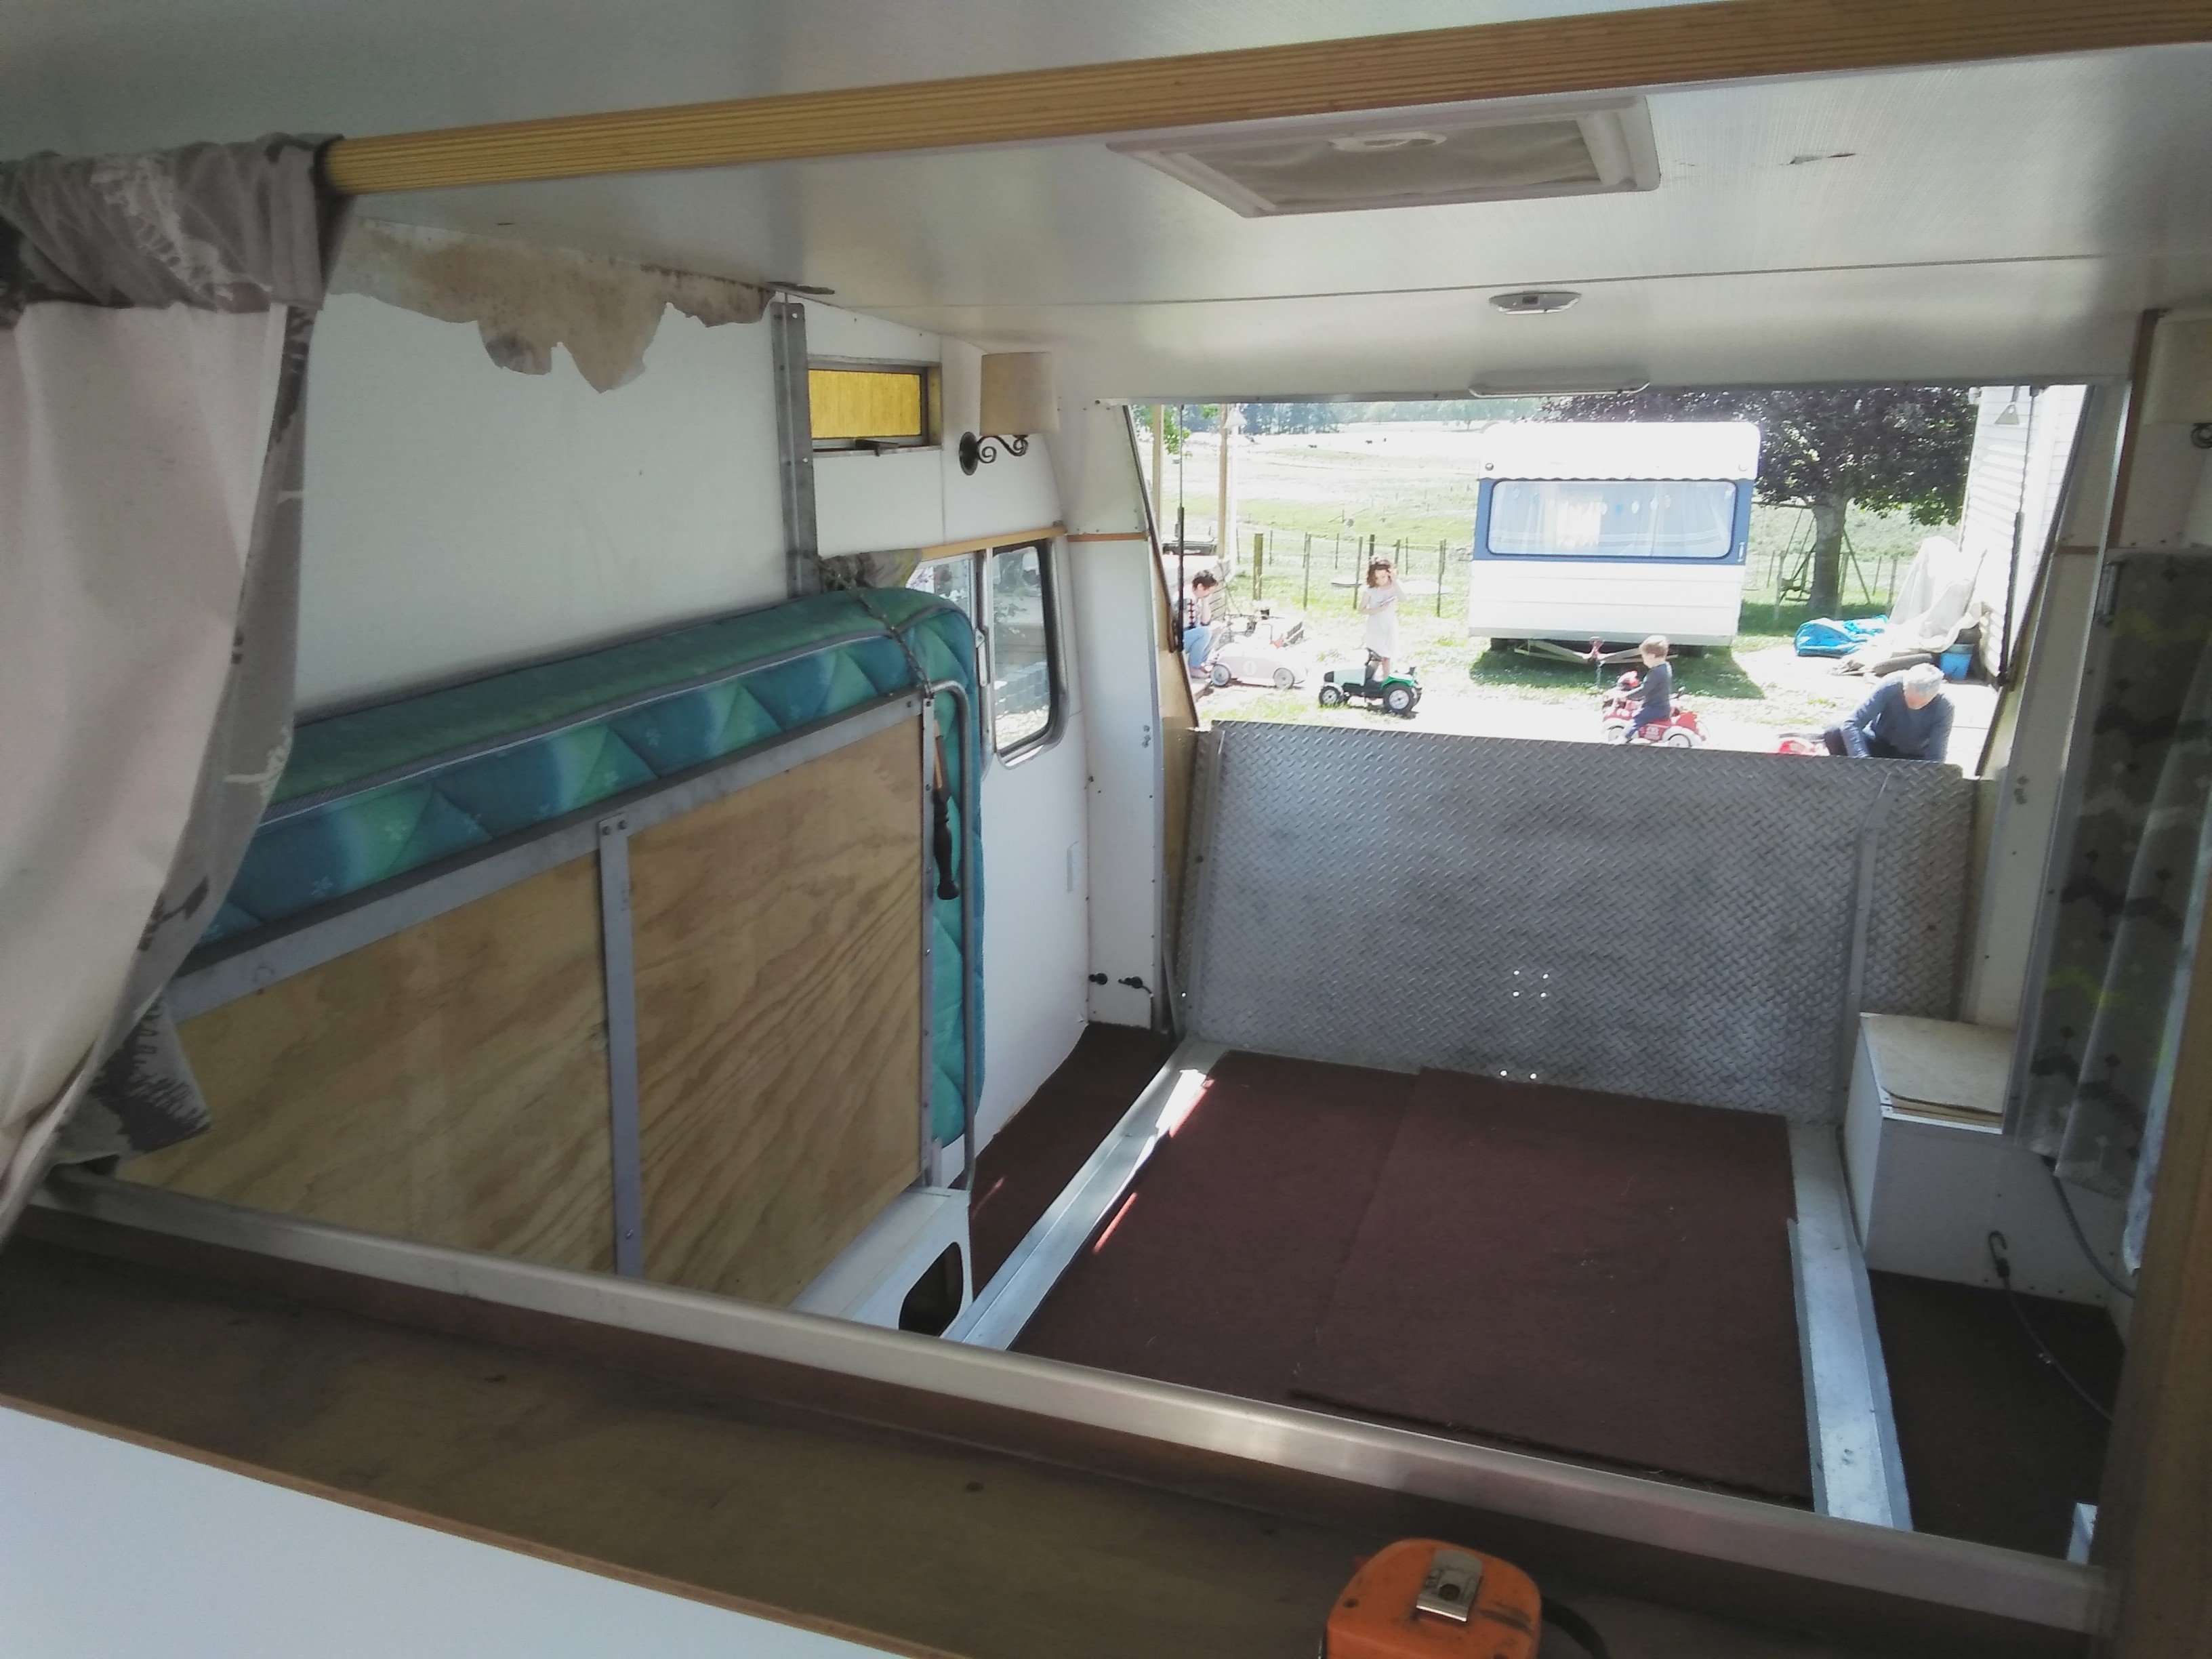
Pretty cool, So much room for activities.3 points
-
And the rear door can still open fully:
3 points
-
Whats a cv boot?3 points
-
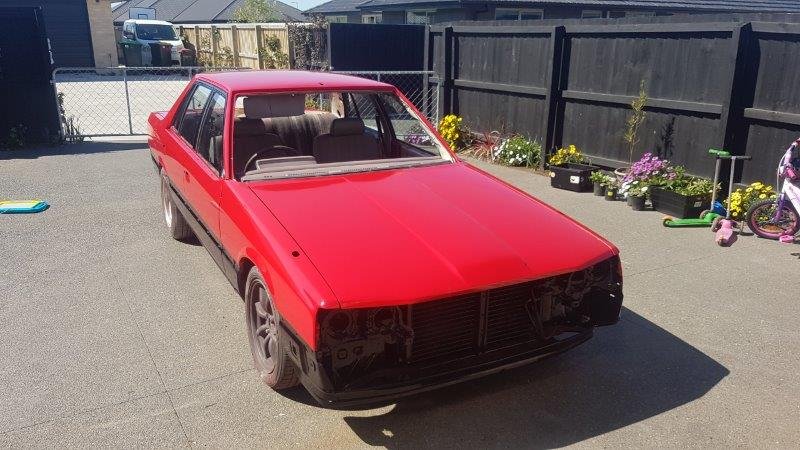
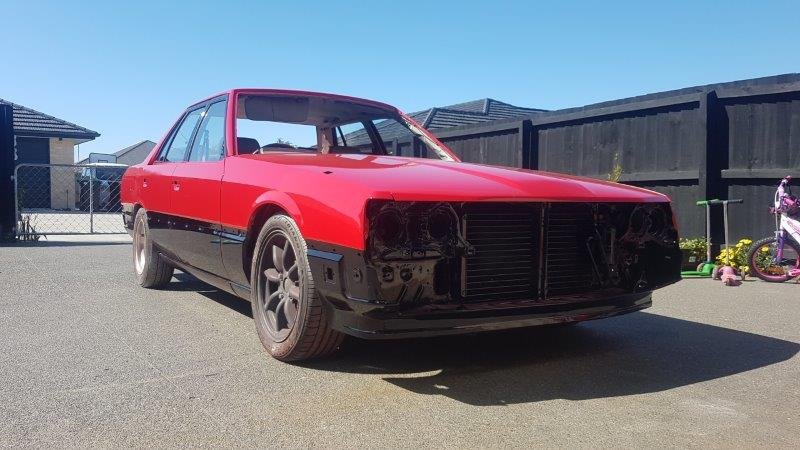
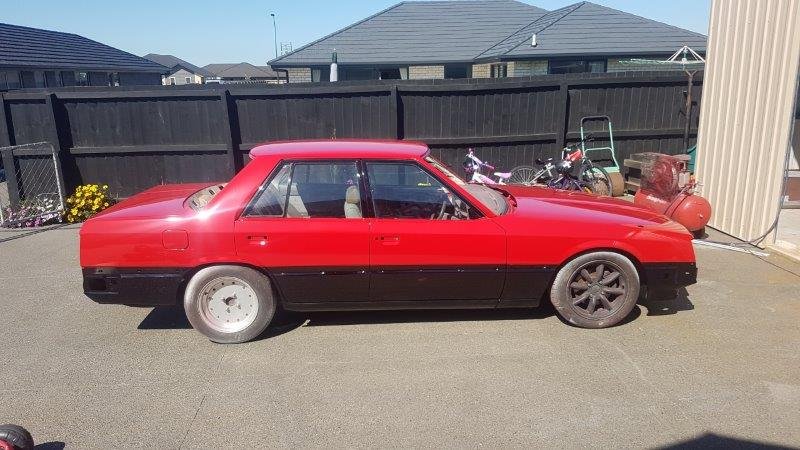
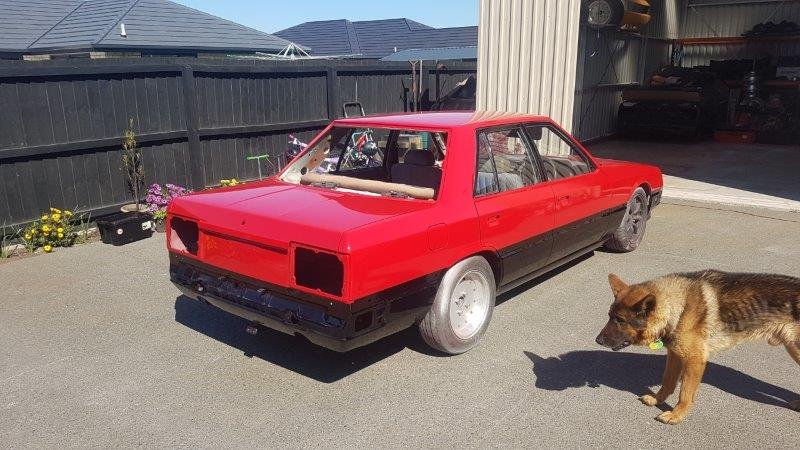
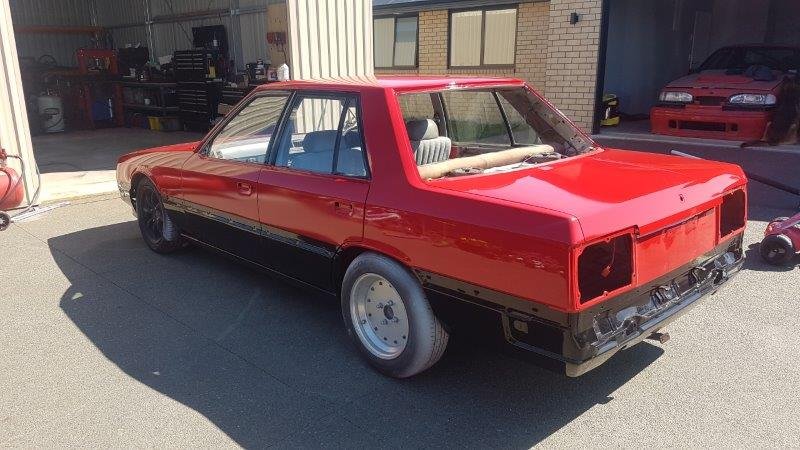
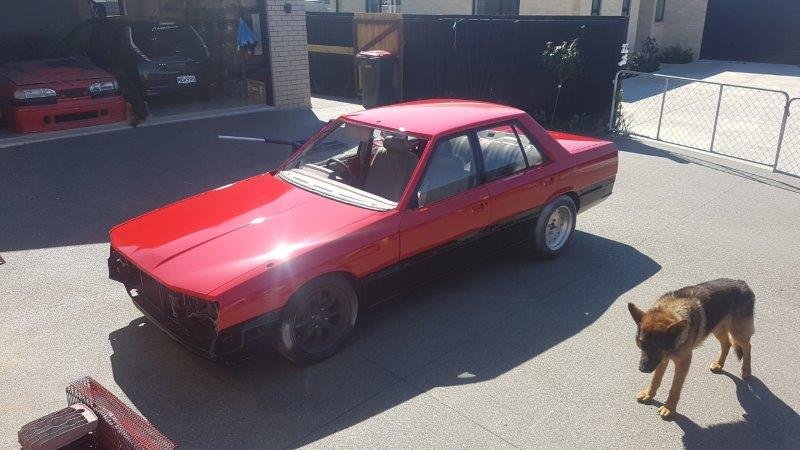
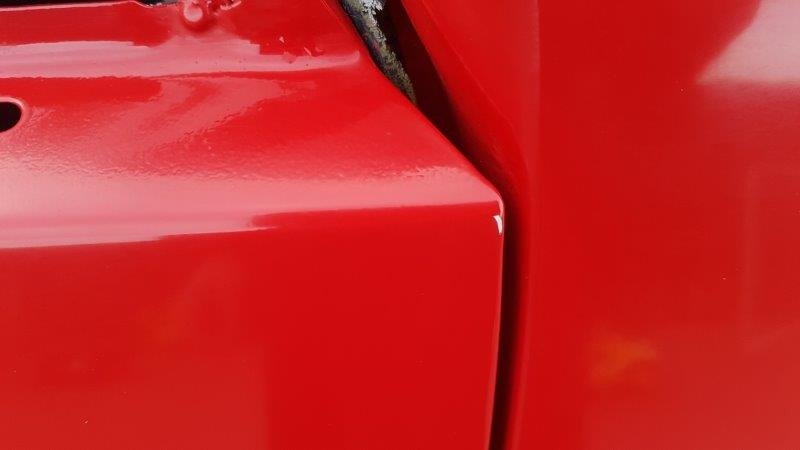
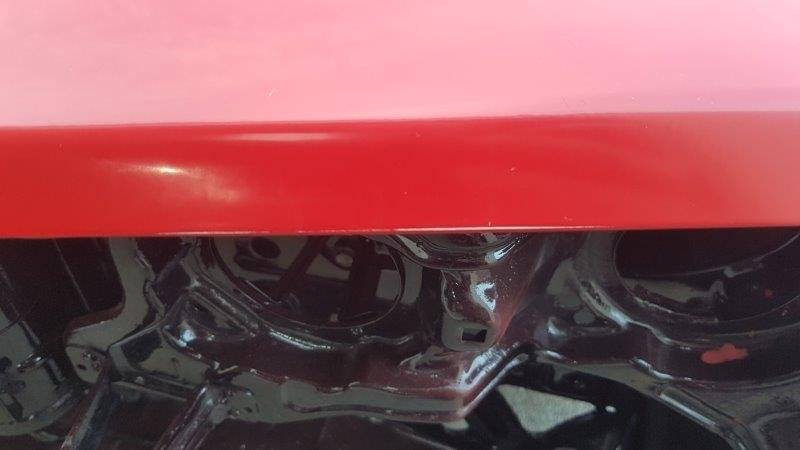
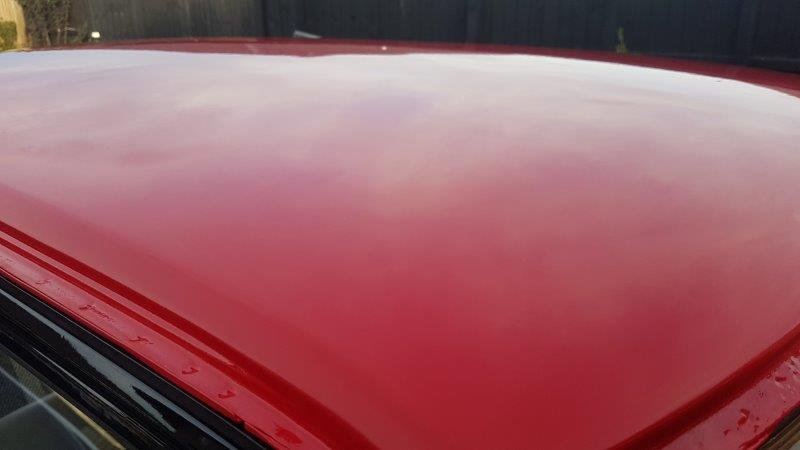
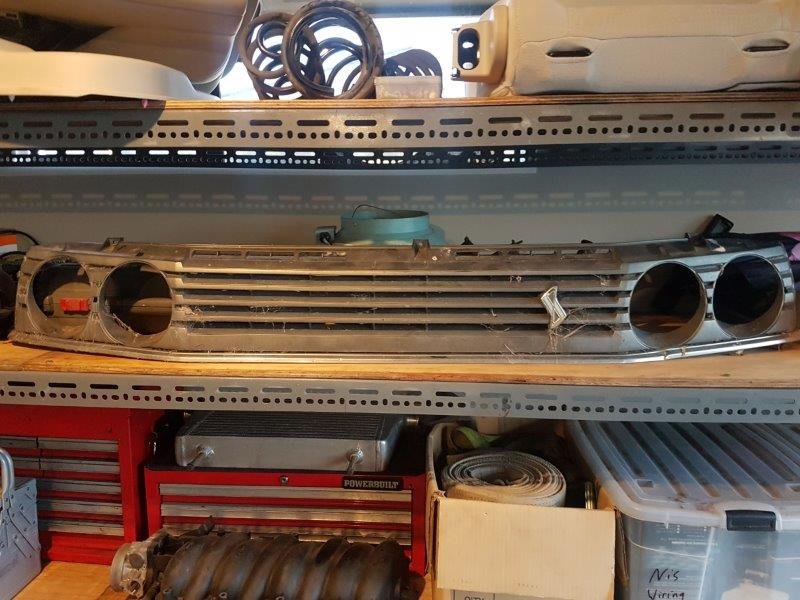
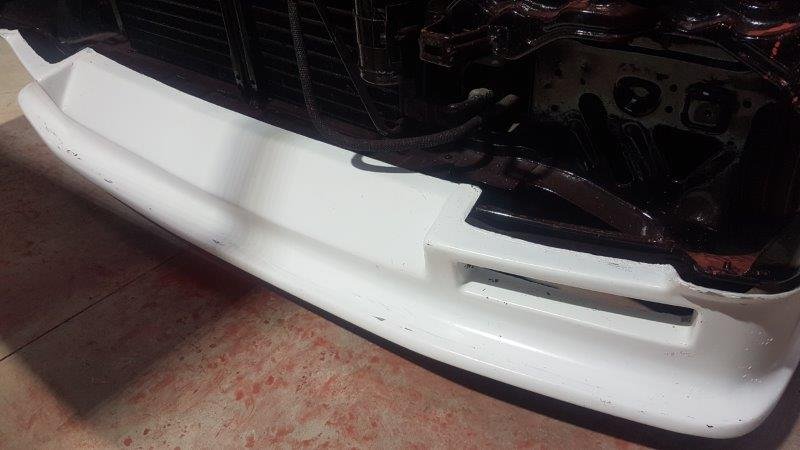
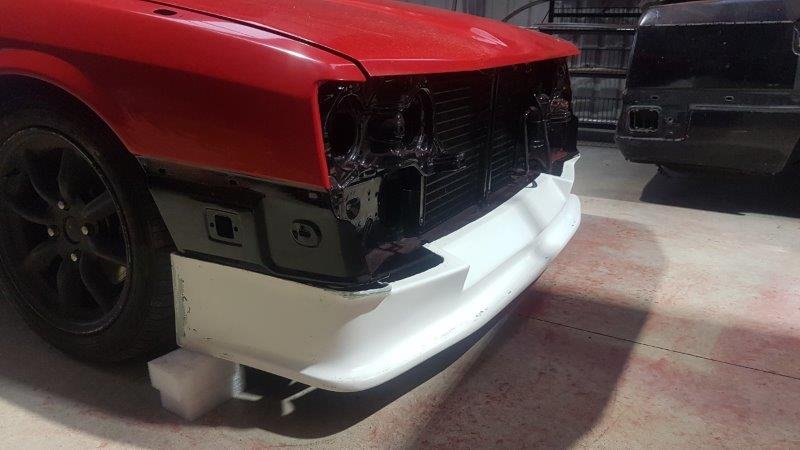
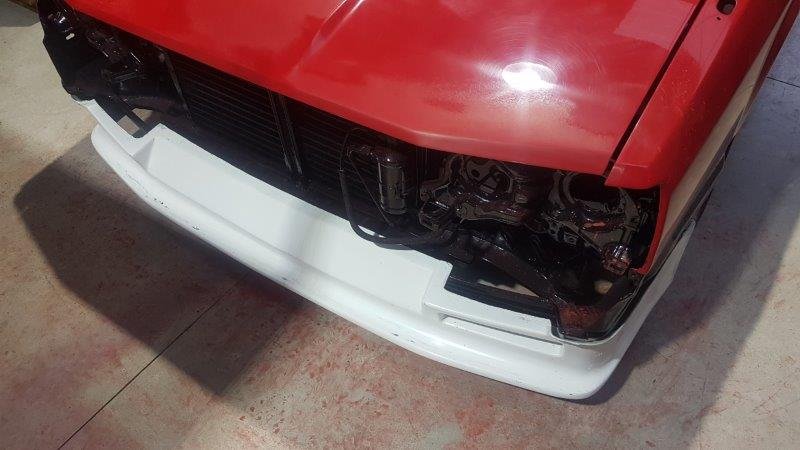
Now the caveat here is that I'm a mechanic, not a body work or paint guy but I think I done gone did alright if I do say so myself Flat sanding and buffing the car didn't quite go so smoothly, I managed to buff through a few spots with the woolen pad(my old man later informs me that he shouldv'e given me the foam (pleb) version instead And from this point is where it all went a little pear shaped (and I stopped taking photos) Because I'd run out of red I needed Dad to get me some more for the touch ups, now I sent him a photo of the label on the paint he had originally got me. He brought out a 250ml tin, took the lid off and checked it against the car "yep thats it" (he was originally an autopainter by trade, so I made the mistake of believing he could still see colour) I prepped all the touch up spots and gave them a lick of colour. Now somehow I managed to pull off spraying all the touch ups perfectly, no runs, no dusting, good coverage, excellent! buuuut after the paint dried I had a some very orangey red spots on an otherwise red car..... Out came the D/A and off came the paint. Now on my second attempt with the correct Red I think the rag I was using to wipe down the car must have had some sort of contamination because nearly all the repairs fish eyed in spots. I've sanded and buffed most of them good now but my motivation at the time was quickly waning. I ended up repainting the entire boot lid twice because the first attempt fish eyed badly and that is pretty much where motivation cease. The bootlid still needs to be rebuffed when I find some CBFs. In binning the Ironmask front from this car I decided to try out the Wagon quad light set up. I had to trim the chrome off the bottom for it to work with the kouki bumper I have since painted the front bar, grill and all the side trims in black as well, I need to find a better facelift rear bar as mines pretty out of shape (anyone?) Oh and @Brdflu lent me his front lip, of which I repaired and made a mould This Is also now black. Anywho, thats enough spamming from me, hopefully I summon some motivation and get back into it, otherwise I'll see you all in 2 years Discussion, advice and suggestions welcomed: https://oldschool.co.nz/index.php?/topic/57362-beaubots-1982-er30-skyline-sedan/
3 points
-
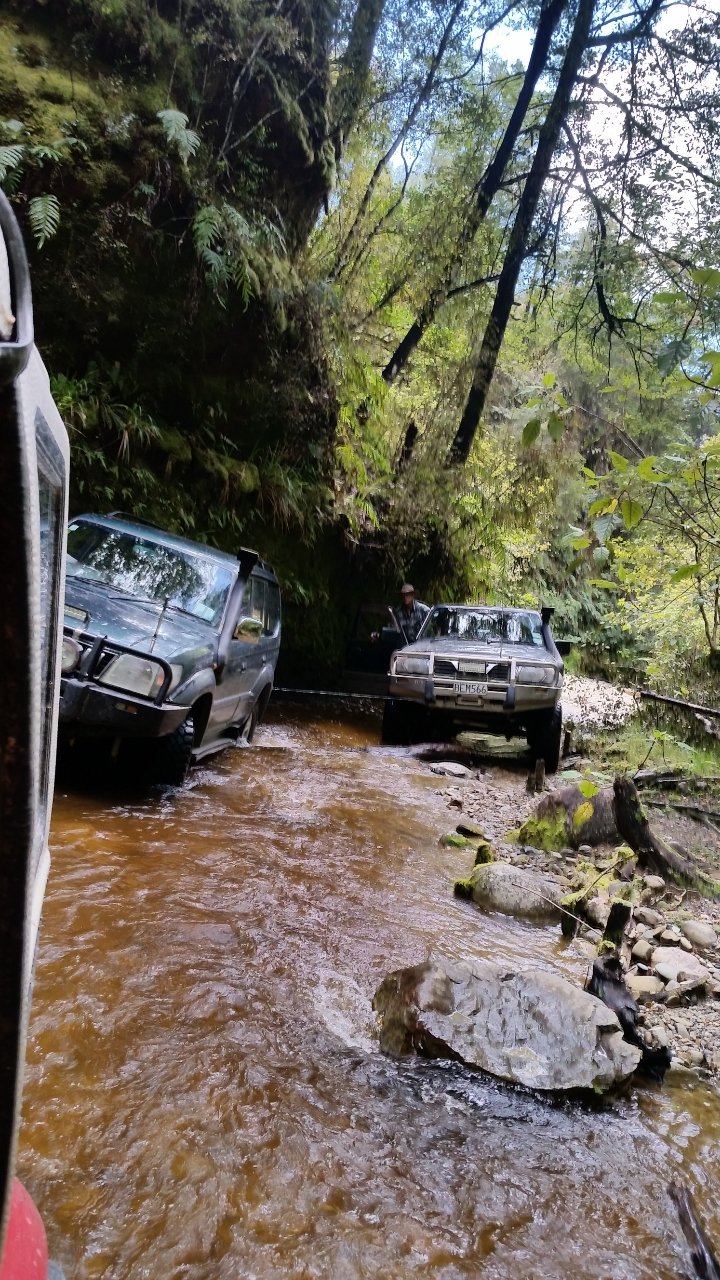
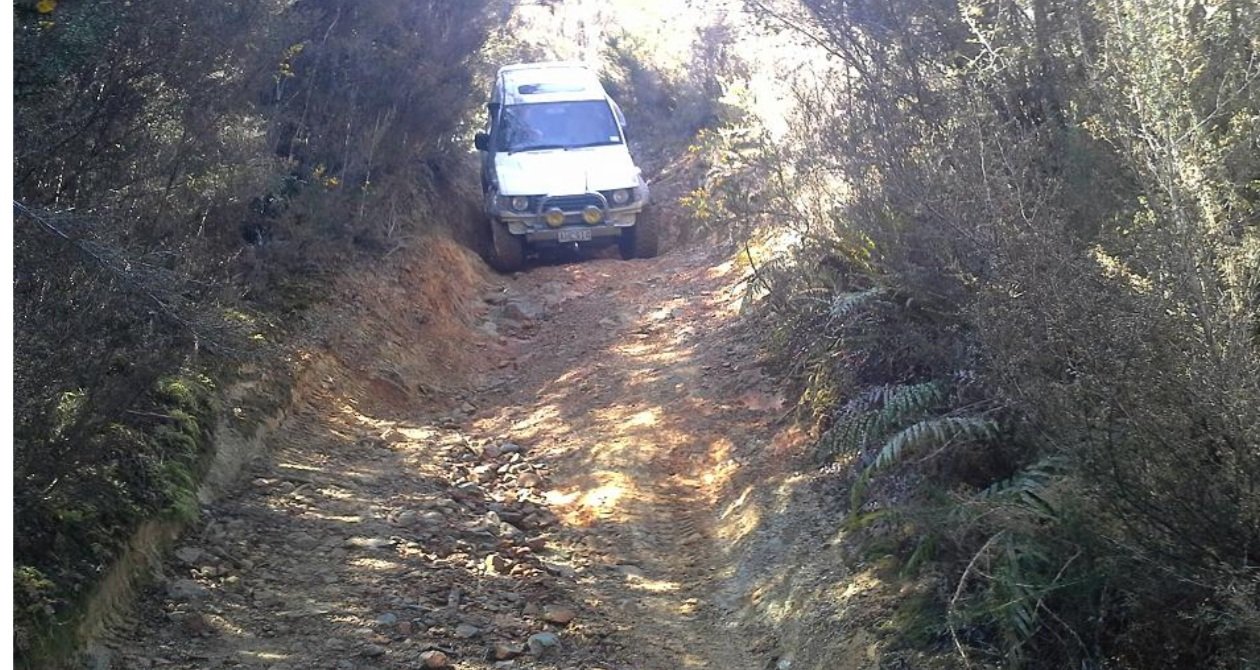
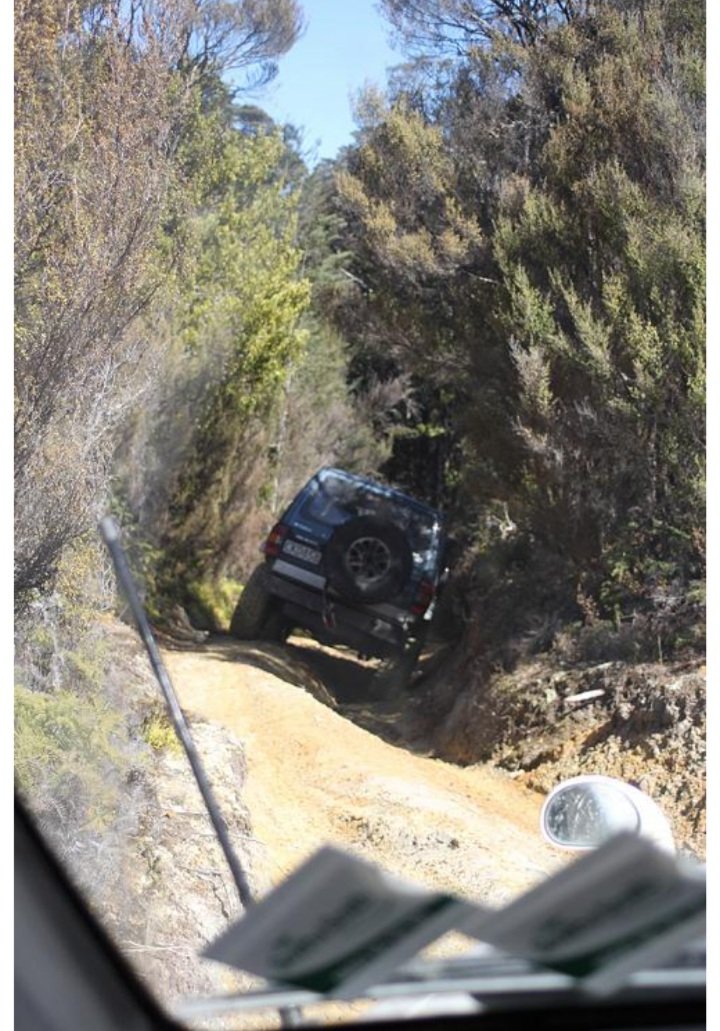
Fancy some bonus non-river pics? Green hut track Full of blardy Pajeros m8
2 points
-
Sorry - I'm a little late to this thread I'd be wary of not having the compensation port at the highest point of the master-cylinder. In the years I spent in the industry I can only remember one OEM setup where this did not not apply - the very early vertically mounted 'tin type' mini was a dog in more ways than one, it was quickly replaced with a conventional setup. Yes if you bench bleed before installation (as you always should) there's every chance you'll get away with it but don't forget the compensation port is open to the atmosphere when the pedal is at rest effectively leaving leaving the system not only partially exposed to the atmosphere but also at atmospheric pressure. Relying on fluid being held in an 'inverted' syphon is OK in theory but if in practice it's not something I'd be comfortable with. If with a little extra fabrication you could mount conventionally I'd recommend it. I'd be interested in knowing what brakes you're running and if you've considered a booster?2 points
-
It's a proven fact that supercats and rain add 500hp to any eninge. Otherwise how else would my ms65 with a 5m be able to do skids ?2 points
-
I've got a pair of 2W Handheld jobbies which should suffice.2 points
-
I heard Cromwell is closed due to covid... Reefton is still open though.2 points
-
Made a dust shroud tonight; Might need some longer brushy stuff but that was what Mitre 10 had last Saturday. We'll see how it goes. Also I hand modified some g code to adjust the speeds after checking the vac slot program, I am a software engineer as well now bitches.2 points
-
So pre covid crap I'd ordered some nos tubes from Russia. Tracking for the past few months has just said shipment prepared for export2 points
-
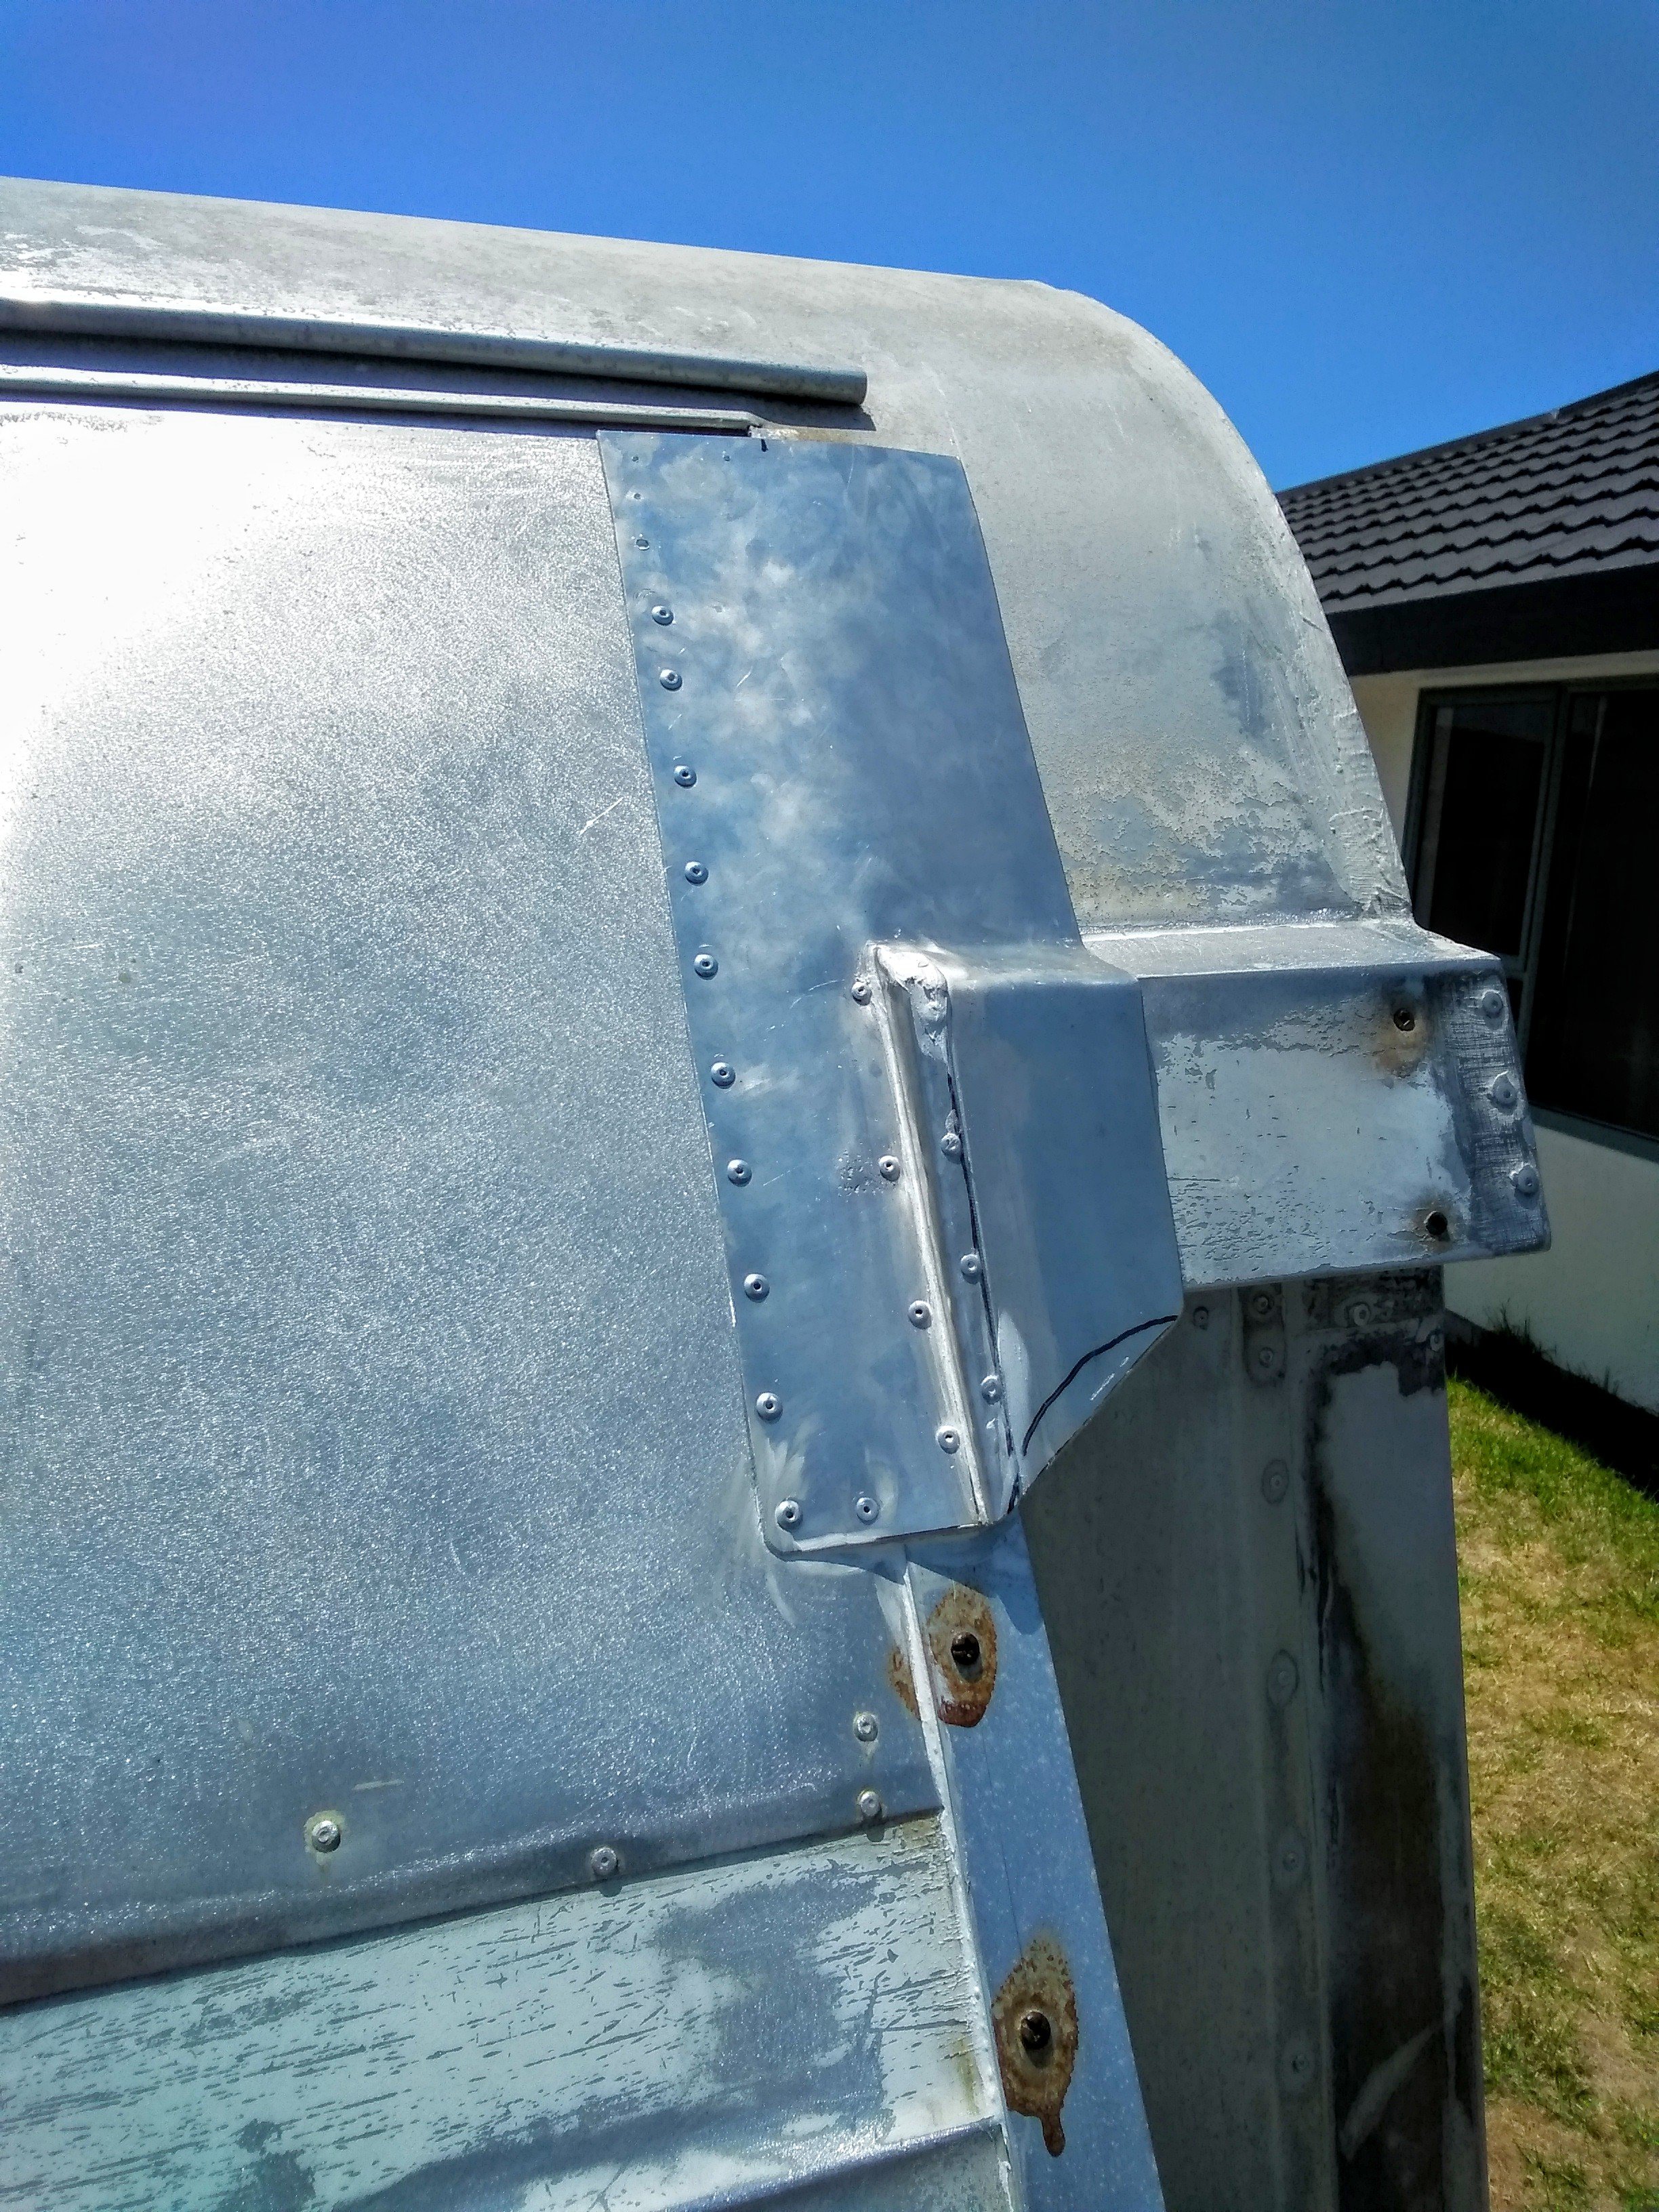
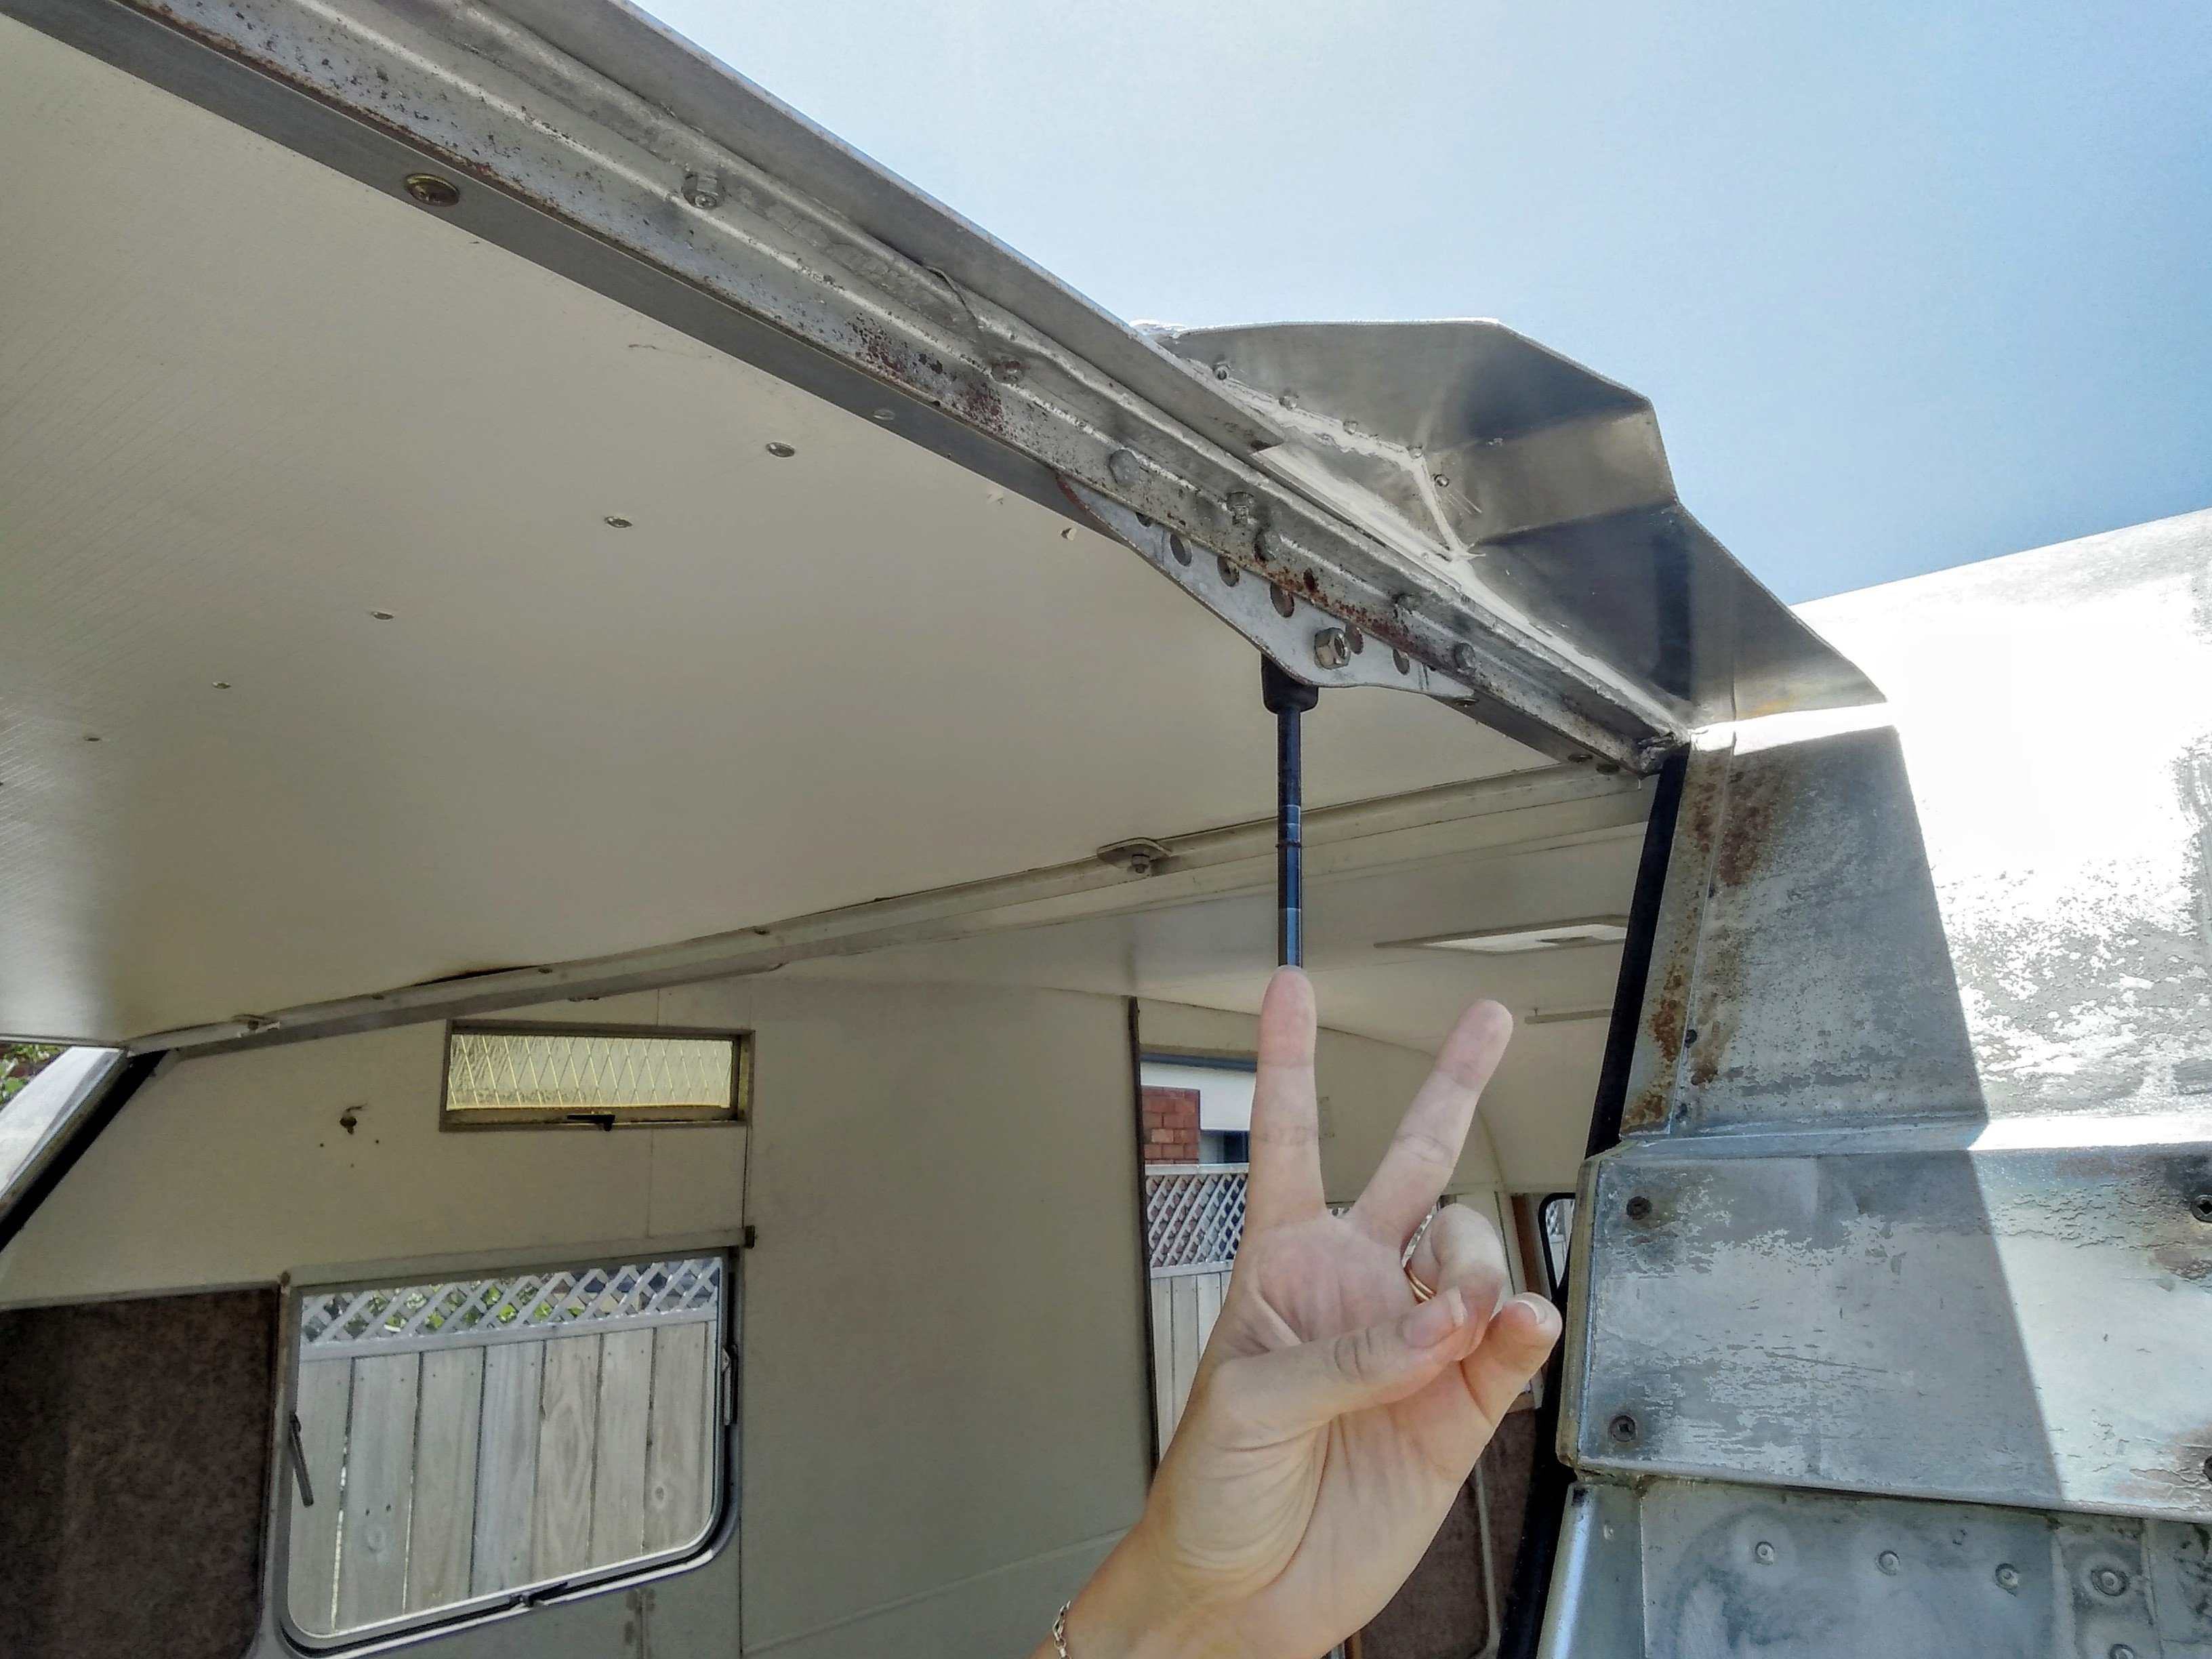
Swage lines! That sounds so much better than "logs" hahaha... Where about's did you work Chris? It was a bit of a mish trying to find cladding or even a wreck to take some off so ended up just making it ourselves. Measured once but it didn't feel right and realized I had to offset the measurements a bit to allow for the shrinkage from folding. Thankfully came out pretty good for a first try. All sorts of toys! Hopefully by the time it's done it will have space to fit at least 3 - 4 motorbikes, or a kei car (anything up to 3m long or so depending on the bumper set up) and/or a dingy and still sleep our family of 4 and be self-contained. AND still work as a functioning office too! Bring on the working holidays... haha2 points
-
If anyone else needs this type of cladding, back fold about 10 degrees for the "log" type joints and then fold 90 degree for the angled body lines. They should be kind of curled up on themselves, but then once laid flat and rivited on, the "logs" will buldge out giving that typical caravan cladding look. Also, don't go bigger than 1mm in thickness with the ali as it gets hard to bend, is more expensive and unnecessary. The stuff that's on there is probably around 0.5mm? You can see the new stuff as it's shiny in the photo below. Seal the joints with MS marine sealant (not the black stuff as it gets everywhere!!). Oh, and hammer the ends of the angled body lines down once in place so its all flush and matches what's there.
2 points
-
He had used random ply over windows that had been removed and it had some leaks but the structure was sound.
2 points
-
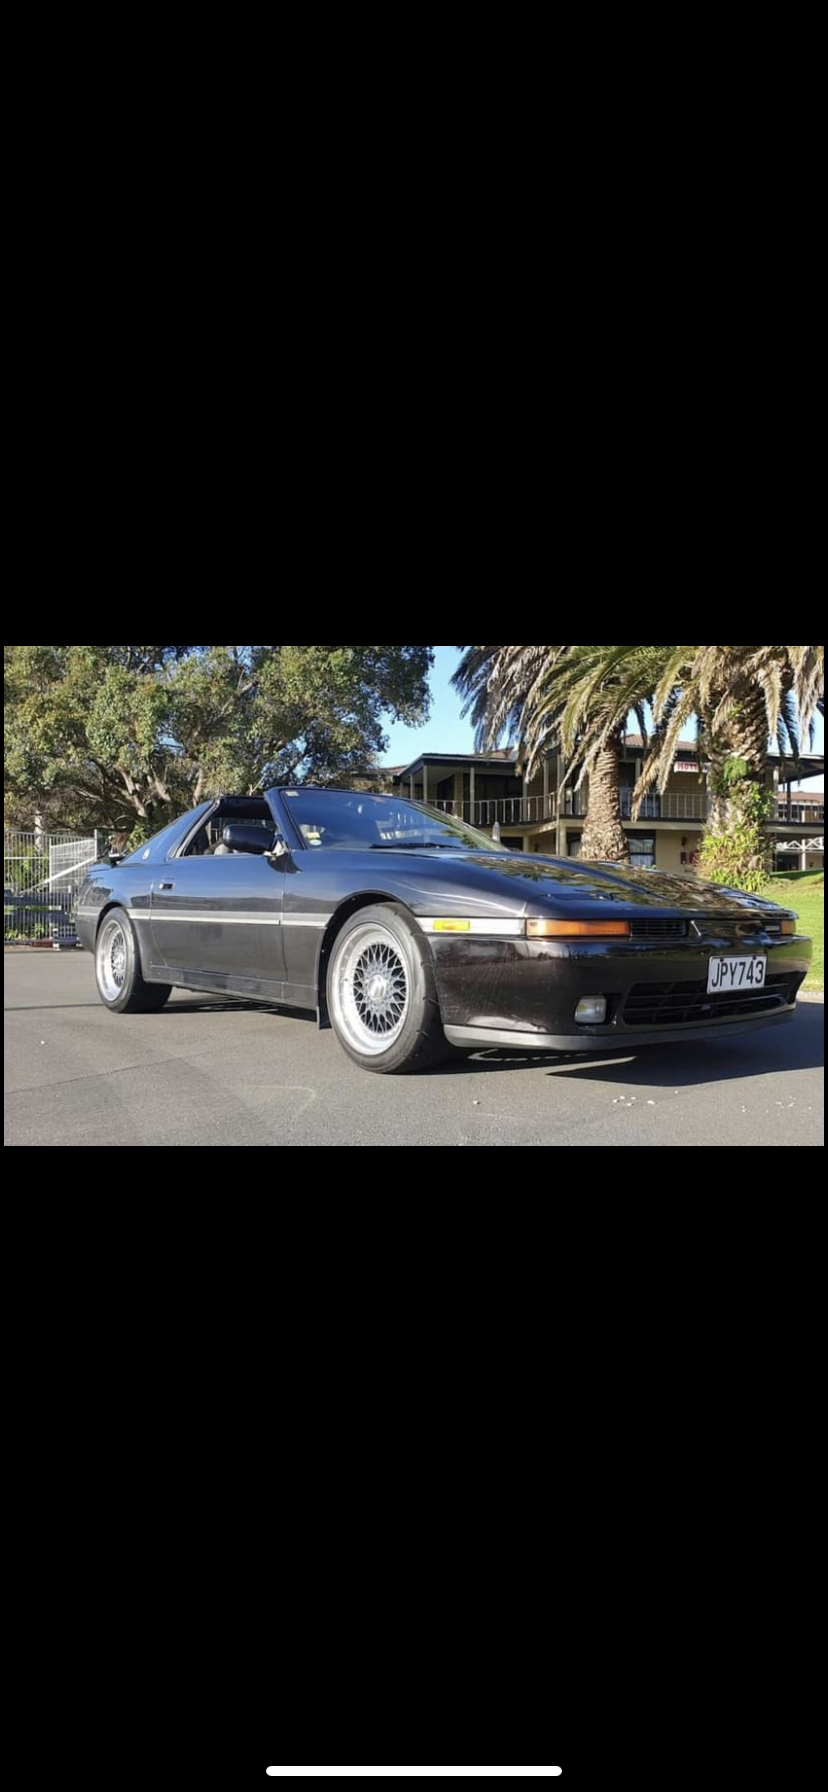
Since last update i've just been driving it and enjoying it. well, as much as you can enjoy and automatic 4M but whatever.... its fast approaching time to paint this car. and with that in mind its time for some new wheels. rear wheels that have a neg 15 offset so they wont fit on the back. only one thing for it, narrow the diff. ive had this disk brake diff lying around for ages and its time to use it. to do so i need to remove about 15-17mm per side. this small amount means i dont have to do anything to the axels save trim about 10mm off the end. ansd as far as the housing goes, all i need to do is move the spring perches. everything else can move in with the ends. the lower control arms will just need to have a bit of flex in the bushes and ill make a shorter panhard rod for it and everything is gravey. pictures of things, checking i could push the axels 15mm further into the spiders. 2020-09-22_08-44-55 by sheepers, on Flickr 2020-09-22_08-45-05 by sheepers, on Flickr 15mm cutting guide, 2020-09-22_08-45-17 by sheepers, on Flickr 2020-09-22_08-45-24 by sheepers, on Flickr 2020-09-22_08-45-32 by sheepers, on Flickr 2020-09-22_08-45-40 by sheepers, on Flickr2 points
-
Another 2 done. Worked well. I think 4 paper weights is enough for now. Time to move on to something big! For reference of where it goes. Houses cam gearing.2 points
-
Managed to stick it together ok ish with the old mitech. have done worse have done better.. Lost count how many days spent on it, but here it goes compressed into 10 mins :2 points
-
Looks like it's all go @Mourning Cupcake
1 point
-
Tedious yes, but totally understand how mesmerising it is in person when you get a computer to do something useful! We found the hood visually got in the way when working on 3d stuff, eventually replacing the brushes with clear vinyl, even then you'd be pulling the suction hose off and manually cleaning up to check on cut quality etc. Keep throwing up the updates, keen to see what you'll get it carving!1 point
-
wrong thread yo. but close enough. only got post iat sensor. The temps were never really an issue, china intercooler cooled good. just doesn't flow enough1 point
-
More vac table action. I had to drop the spindle a bit so it was working within its limits which is why the dust shroud is so high. Also some dust extraction happened. I imagine this is all pretty tedious for everyone, but I am loving it.1 point
-
The Mackley river on the way to Denniston should be the deepest, I posted a picture on page 1. But every track has a river or creek to navigate1 point
-
I know @NickJ has got one so he'll be ok on this trip1 point
-
Look at all this floor space! You could do aerobics in here1 point
-
Oh man, i've thrown so much cash at the truck in the last month, seals/bushes/fluids its more than ready for an actual adventure, not towing the Datto down to Cromwell, but thats the bed i've made myself.1 point
-
Paint change looks good, even for a mechanic.1 point
-
That's so awesome....1 point
-
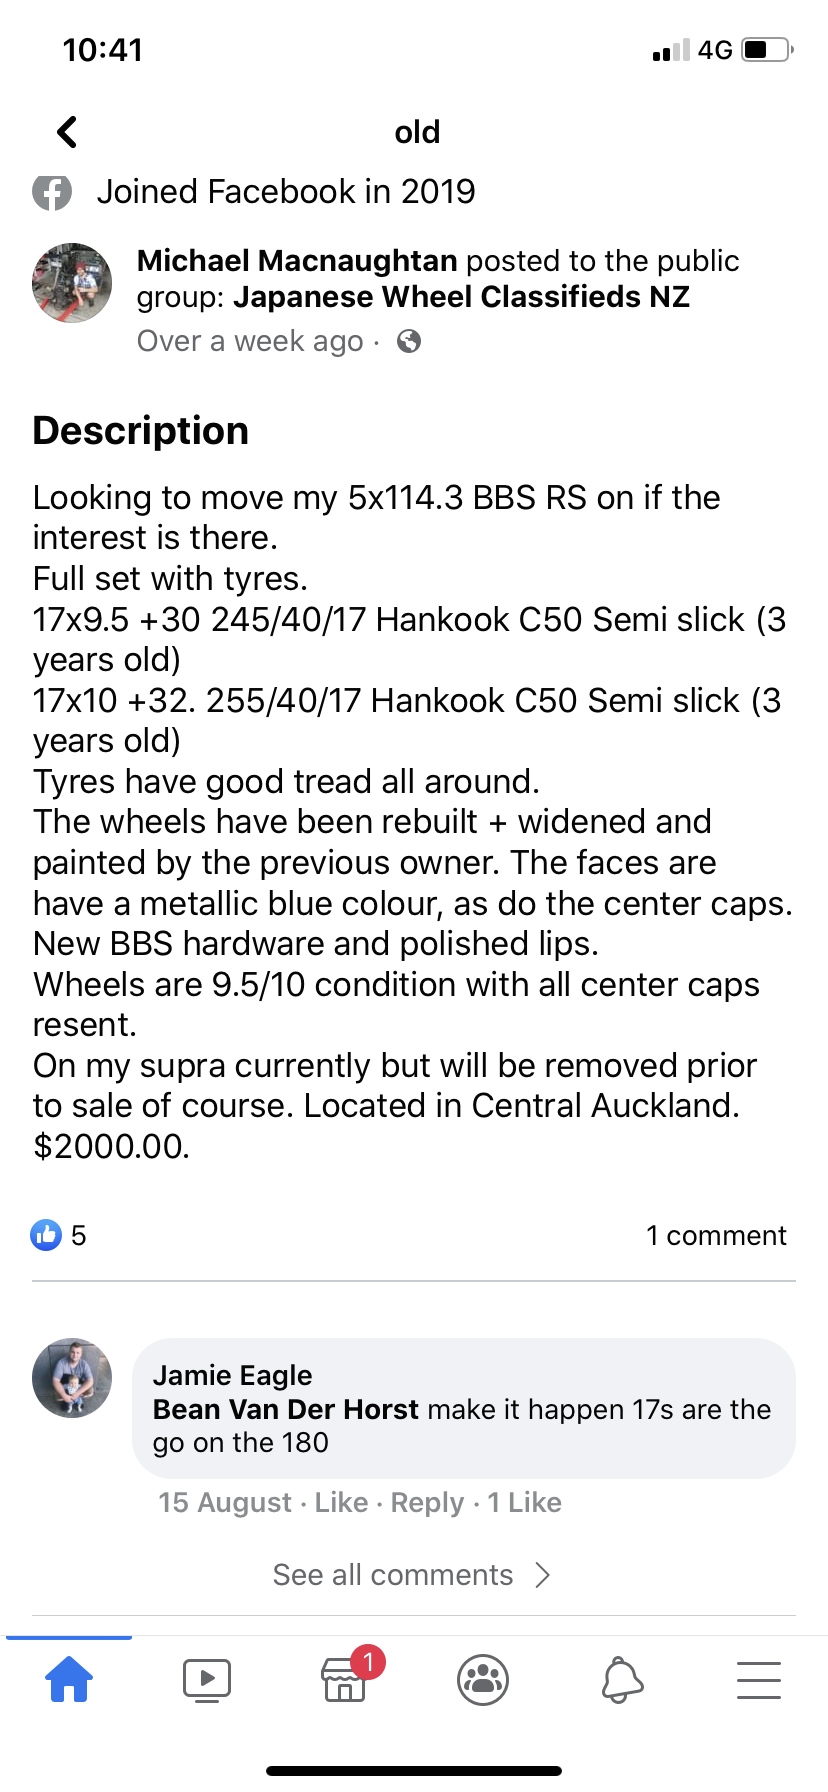
Found some BBS rims that I look tidy as 9.5 wide up front might rub on steering arm at full lock?
1 point
-
Yup you are hearing different thing because there is different systems and methods. For the home DIY guy using 2k urethane primer, you would have done all your block work and happy with it. Then a thin coat of primer on that and let it dry, wait to dry then sand back wet with say 6/800 clean it all down and you are good to top coat. Other systems are wet coat, you done the bog and block work and you bang a "sealer" coat of primer on and then once it flashes you paint the top coat. You have to be good enough to lay the primer on nice and flat though for wet coating IMO but its a big time saver in some body shop scenarios. Then there are others where the primer has a window to coat it without sanding, the primer stays chemically "sticky" for say 24 hours where you have a window to coat it without sanding. Option 1 for most of us though, sand before top coat we are not in the business of speed and production efficiency. Wet coating works great for engine bays, under the car, interior and all that shit where a bit of peel or dust in the finish doesn't matter.1 point
-
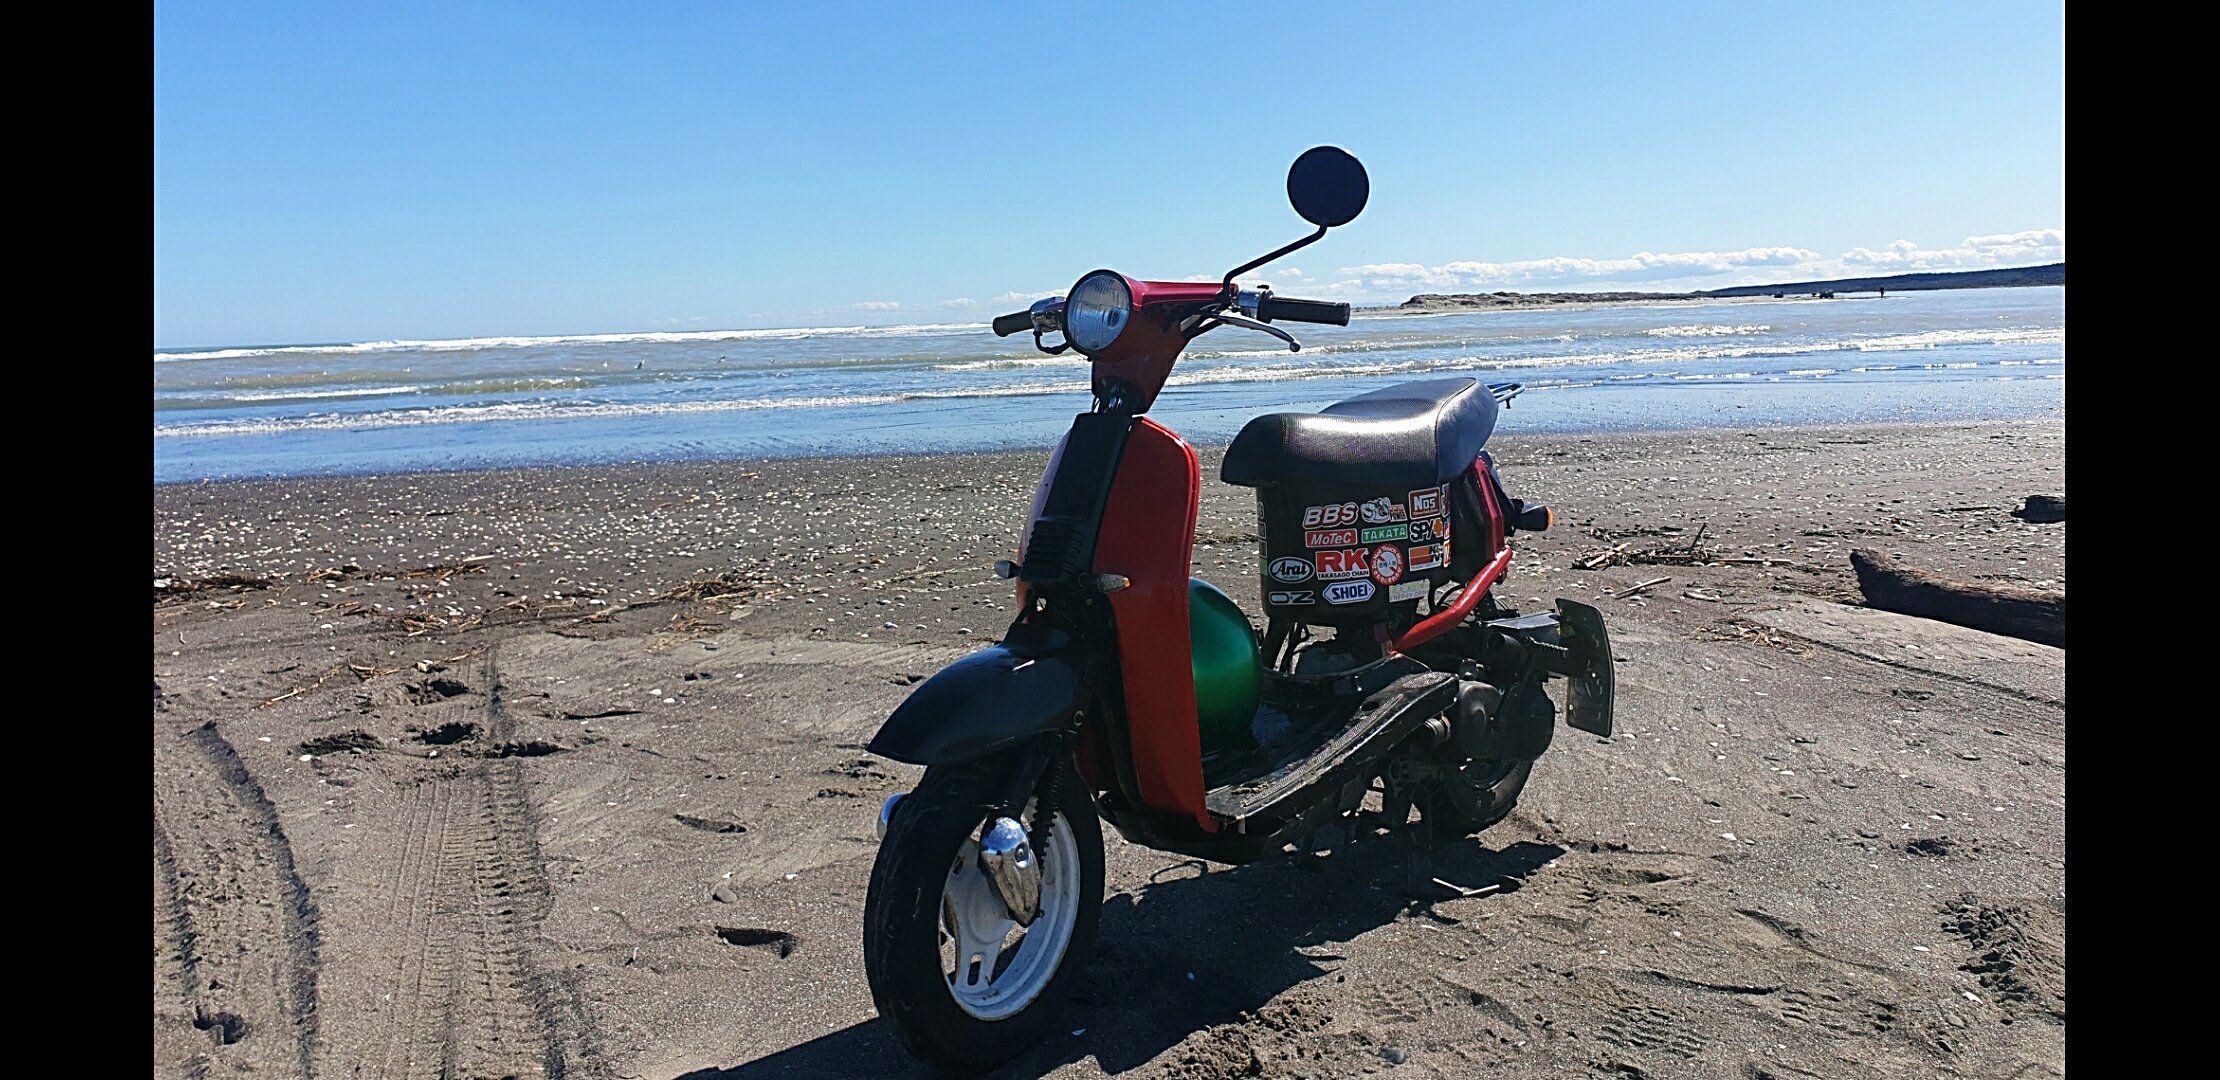
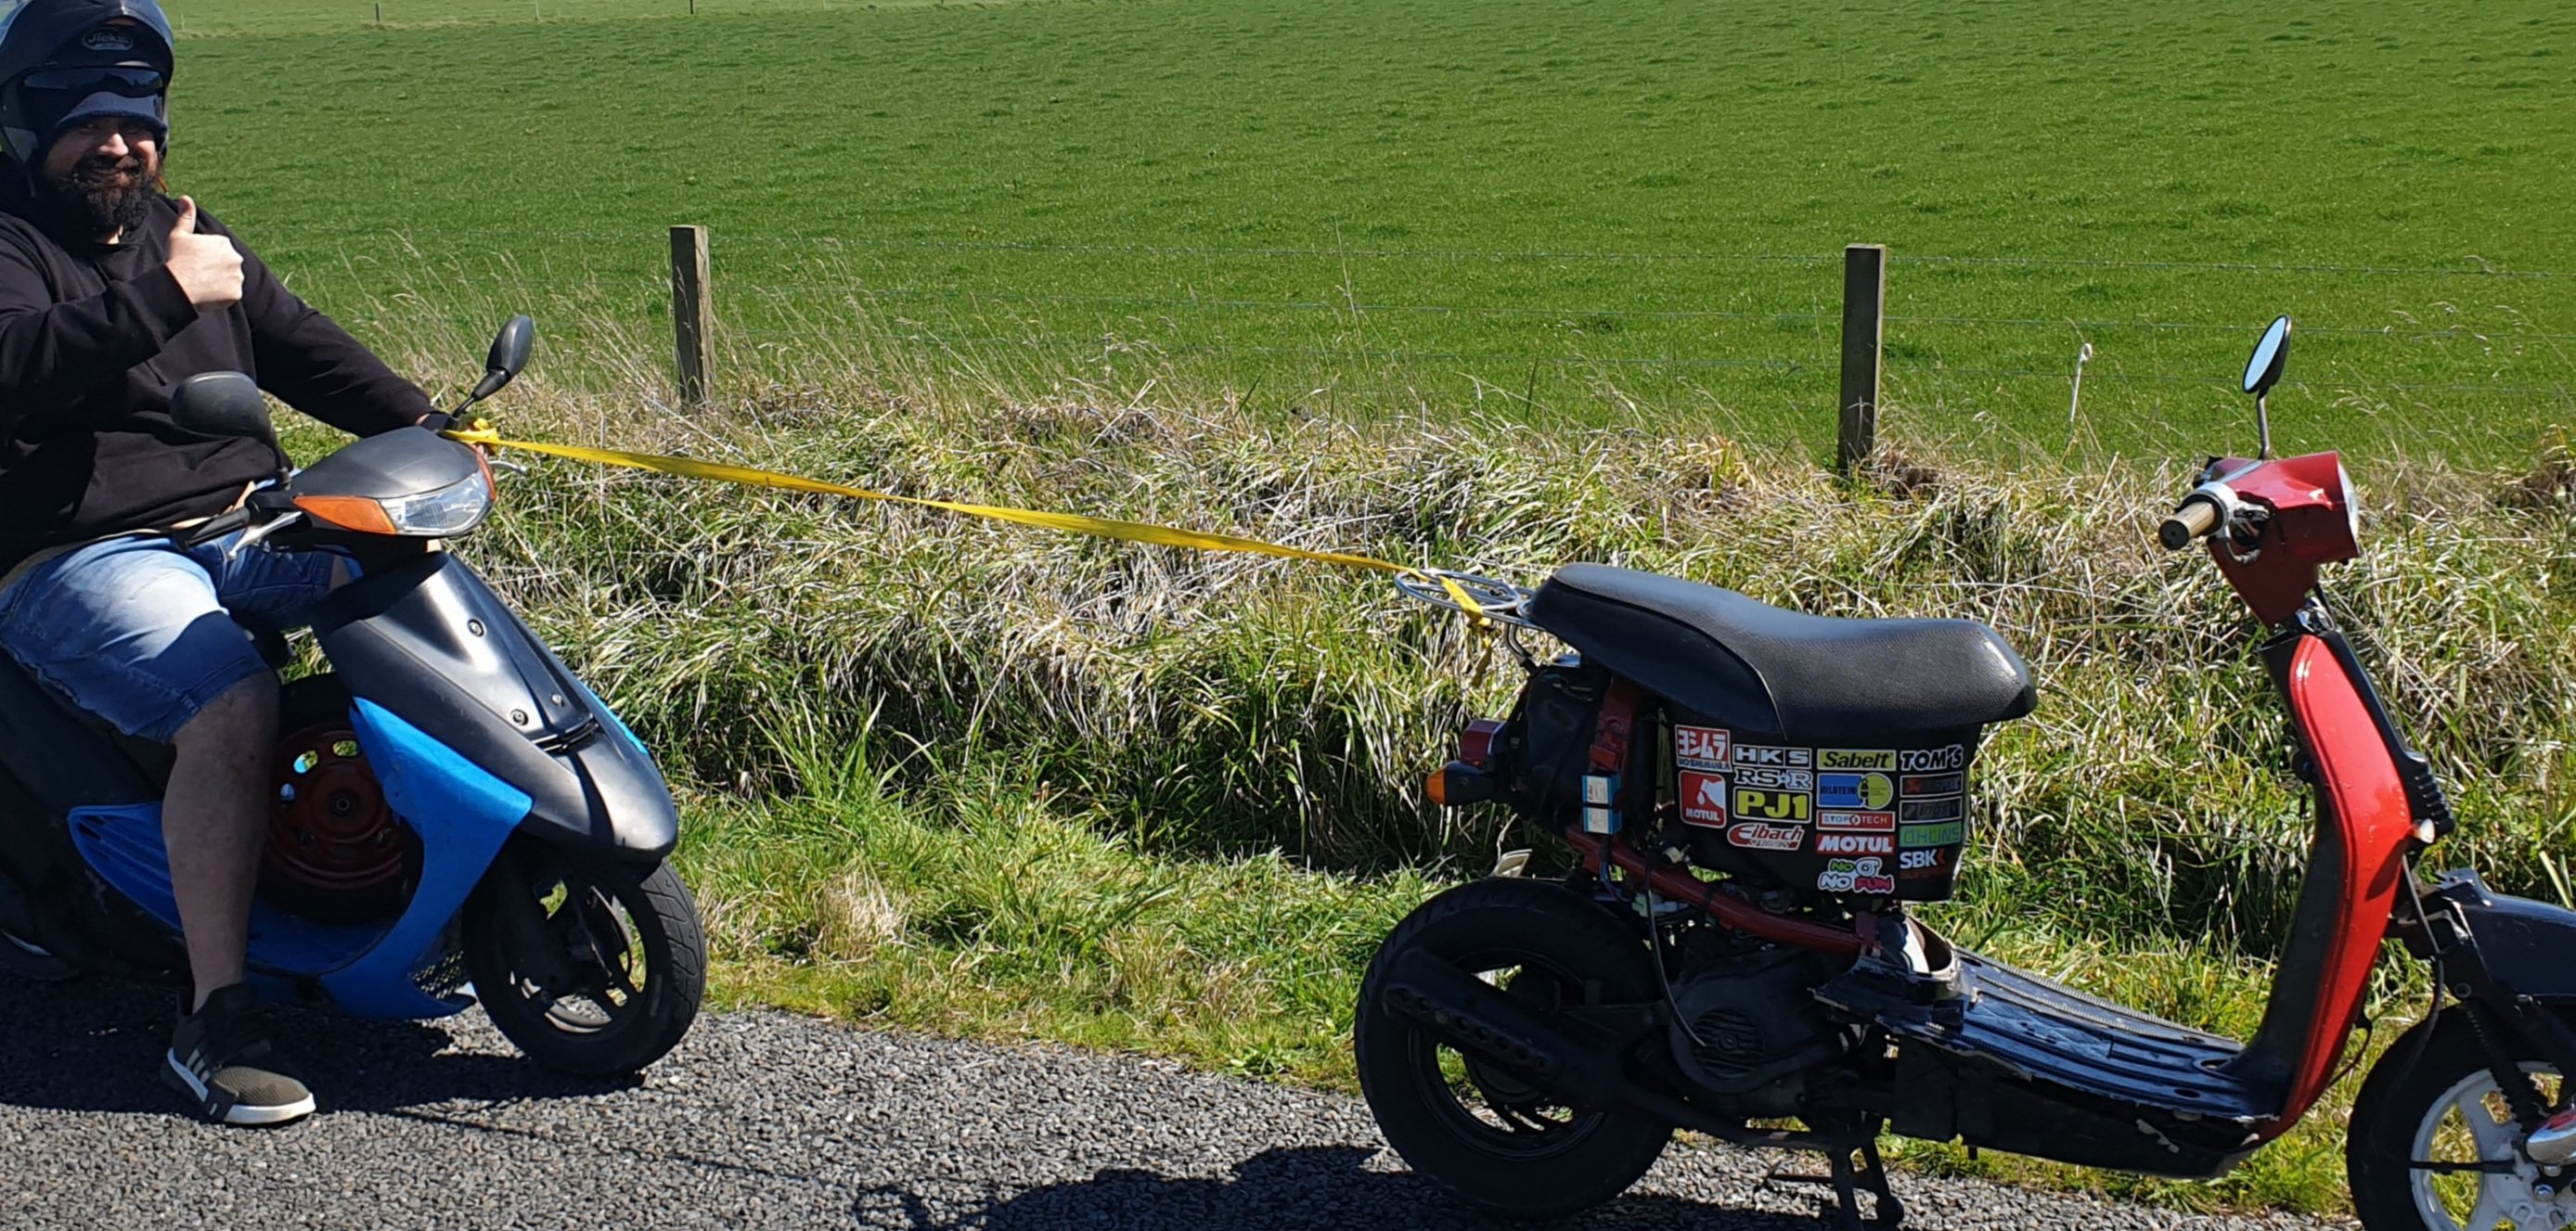
Palmerston north to himatangi beach. Ol girl ran like a charm. Even towed my mate after he broke down
1 point
-
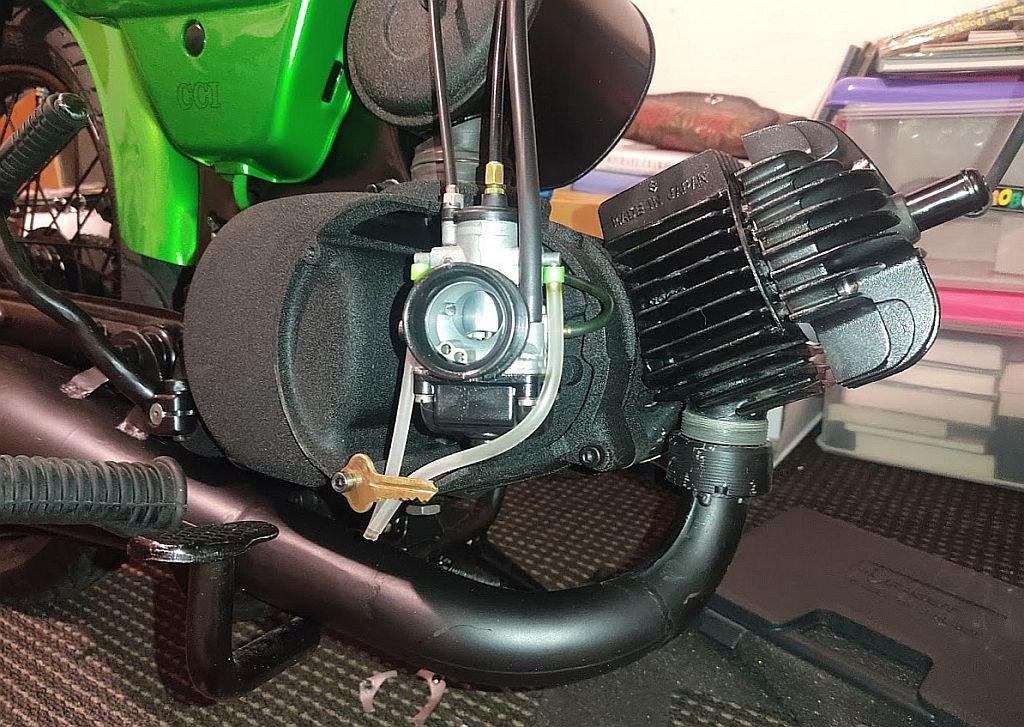
Fucking thing is still rattling/tapping, WTF. Wondering if something is makes the clearances close up when it's running or something. Also felt like it's starting to either nip up or something, actually sounded and felt more like it was running out of gas rather than seizing but will pull the cylinder again and check for any damage just in case and pull the carb + fuel tap filter and have a looksy while I'm at it. Goes fucking well when it wants to though haha.
1 point
-
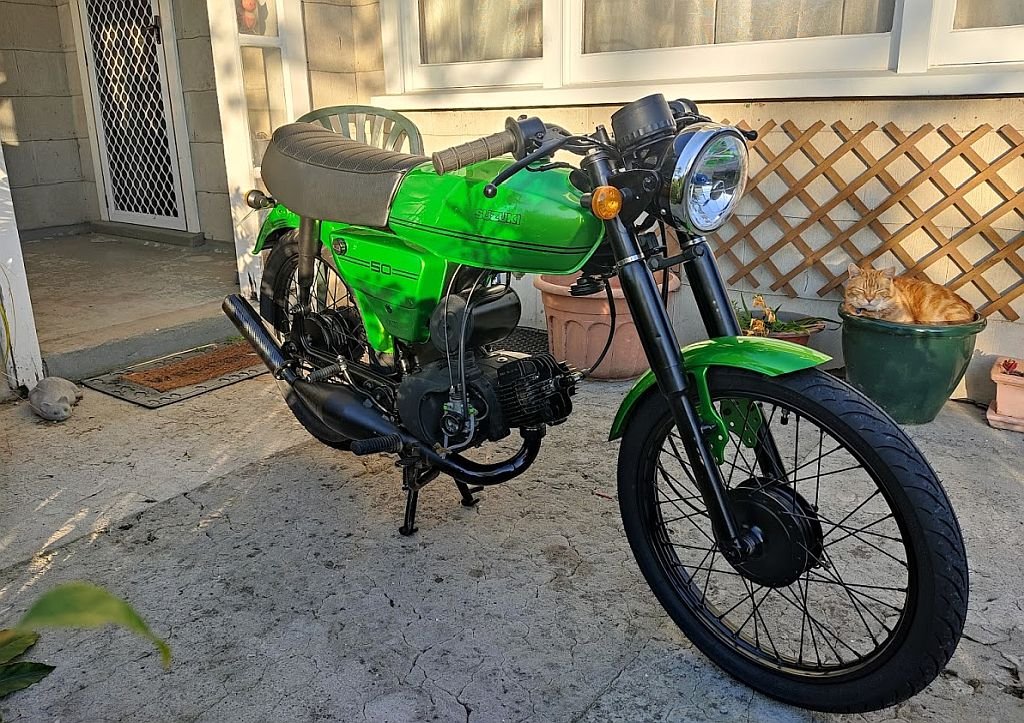
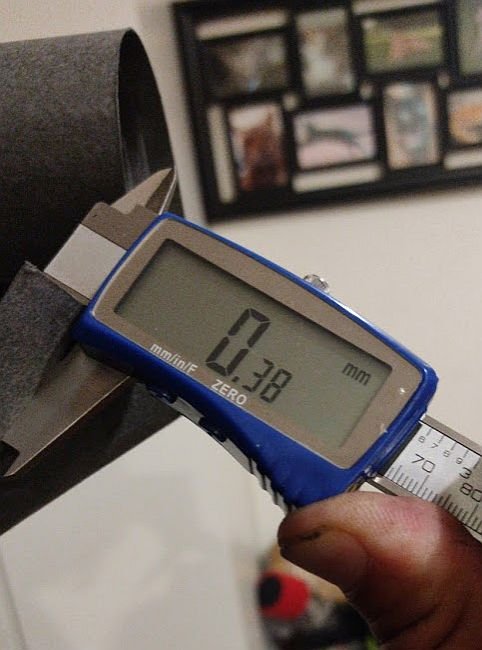
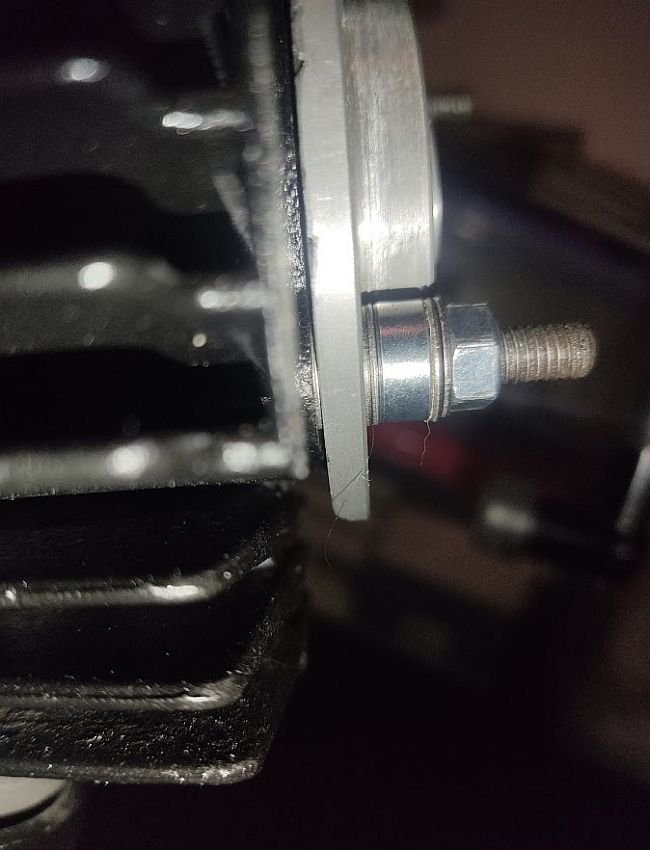
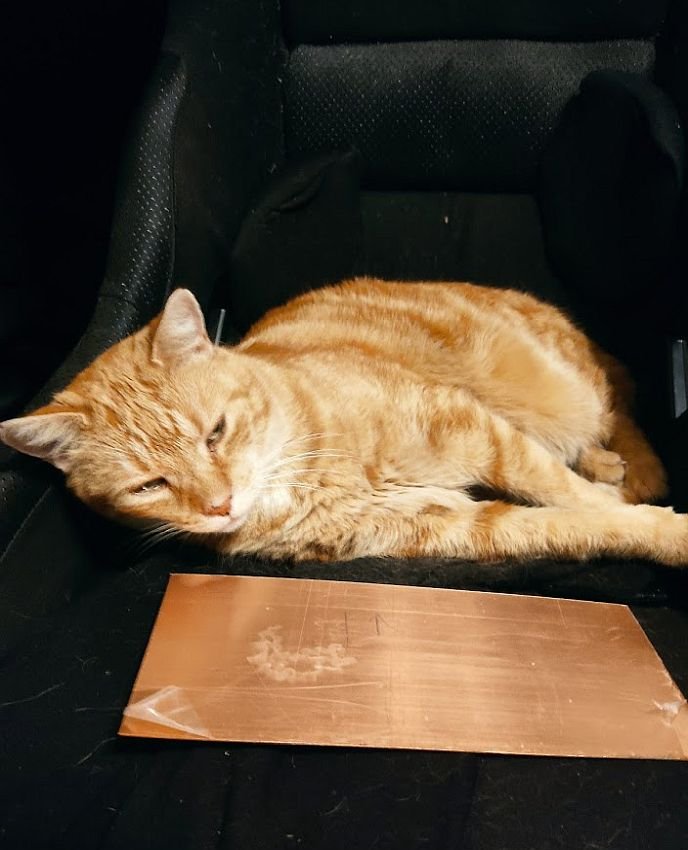
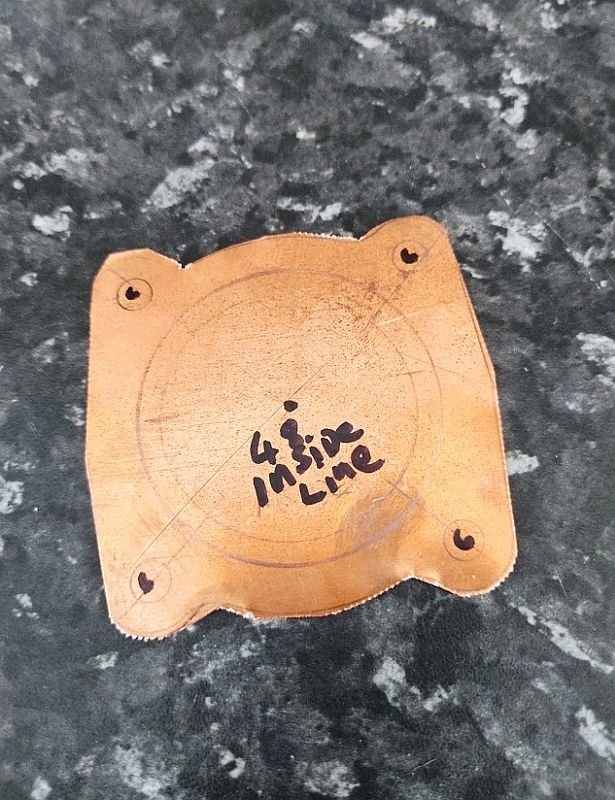
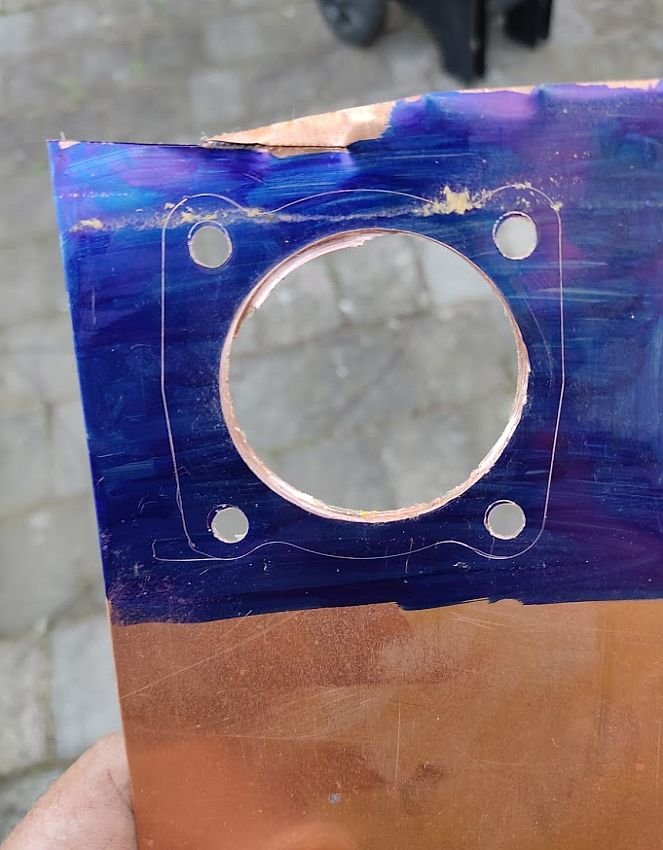
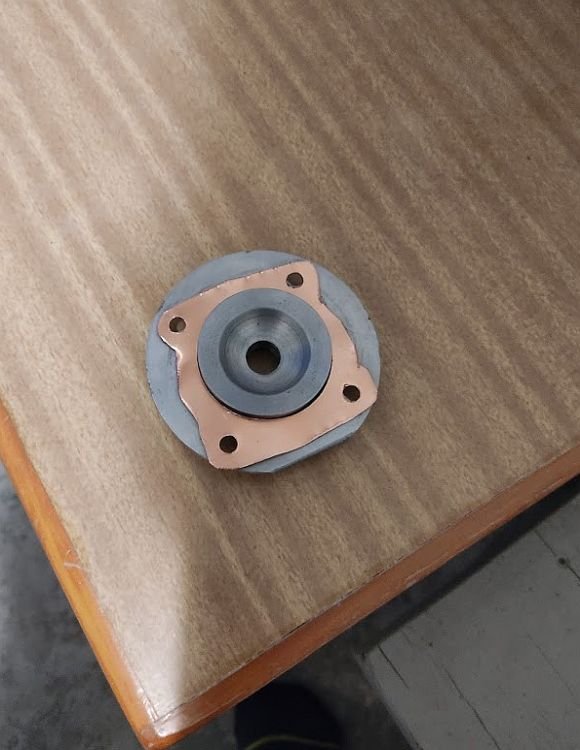
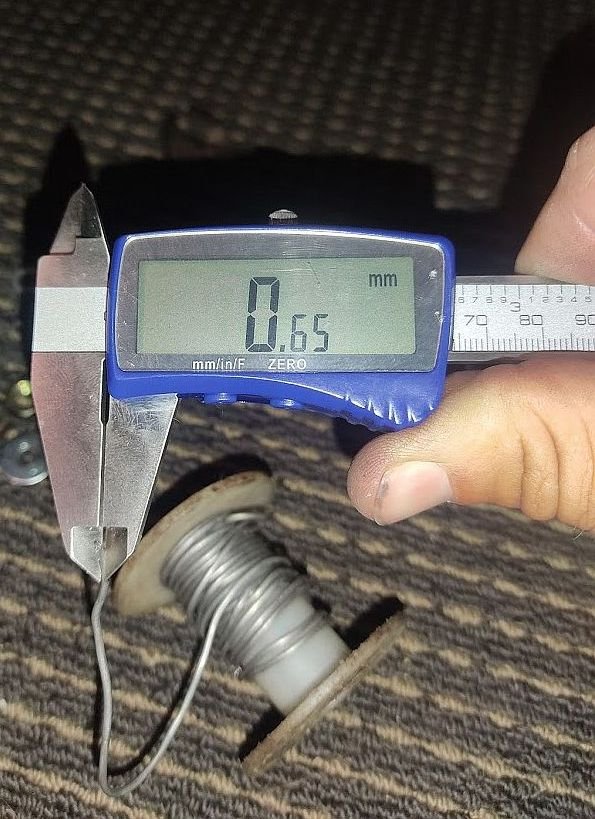
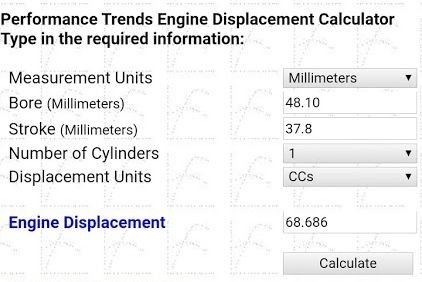
Genuine Suzuki base gasket I removed measured up at bang on .50, found a roll of .40 paper I had kicking about and squashed a bit and got this .50 - .12 = .38, couldn't have gone better if I'd planned it! Cut a gasket, then played with shimming the head to find exactly what thickness I needed gasket wise .75 was indeed about right giving a squish of bang on .65 Scrounged up an off-cut of copper, measures at .76 Spent a while marking out a gasket, took my time trimming it the best I could with snips Then promptly fucked it cutting the inside, attempt 2 or 3 went a lot better, not great but good enough for now. Next time I think I'll just bite the bullet and get one waterjet cut!! Test fit gave a squish of .67, I annealed the gasket with a MAPP torch, wanged it back on and torqued it up, checked squish and got .64, mint! Not so mint was dropping a nut while the head was off and it falling into the cylinder, the piston was at BDC so it went right down the exhaust port and is now in the expansion chamber ha. Oh yeah, and I finally measured up and ran the numbers 68.68cc of fury!
1 point
-
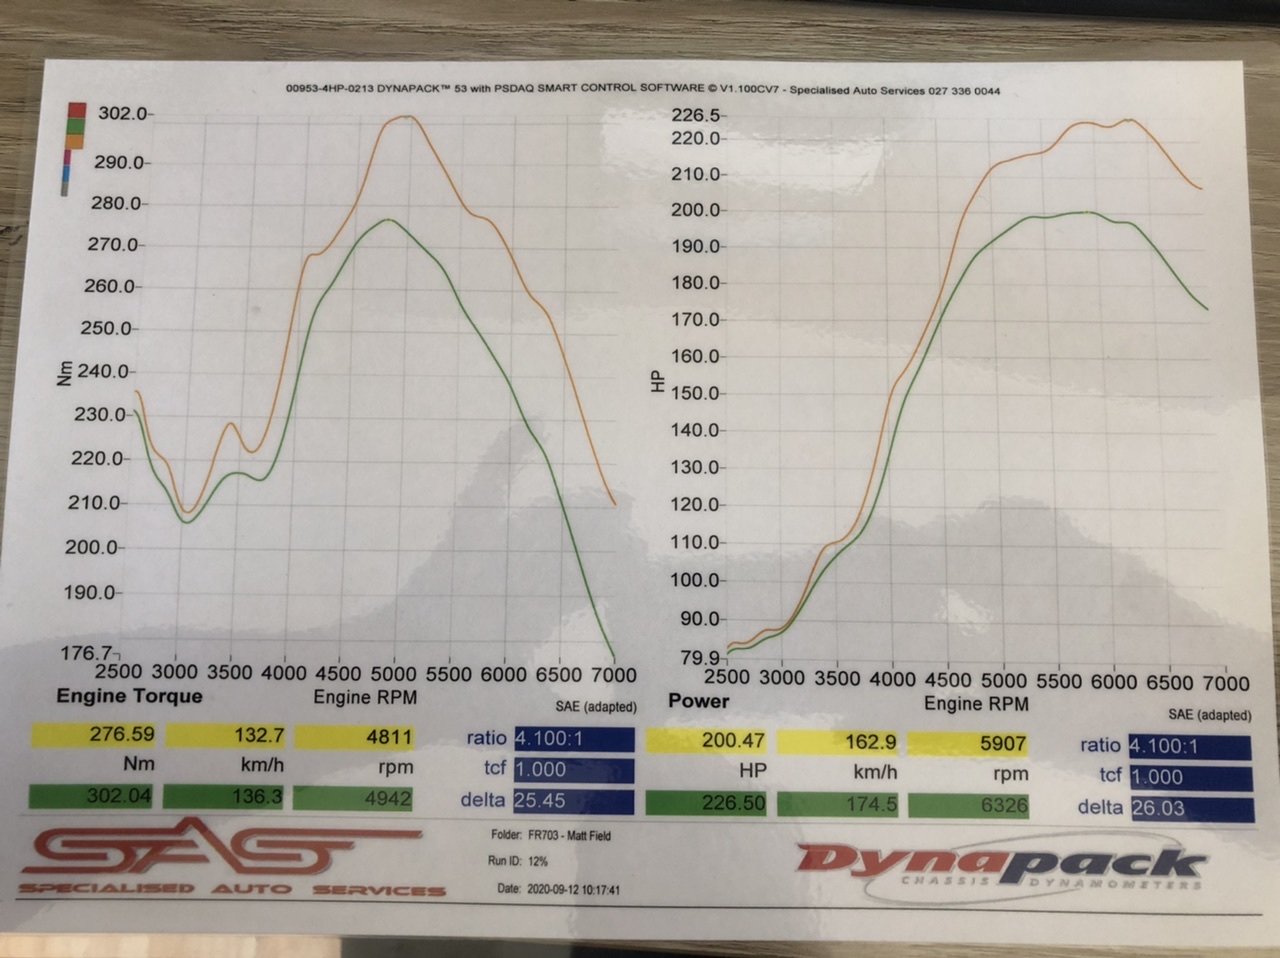
I put the crown on the dyno at SAS here in chch . To get the motor running right as it was only road tuned . 2 hours on the hub dyno and i got this... 200hp aircleaner on 226hp aircleaner off im happy with it, i wasnt chasing HP , its just a big jap cruiser with abit of power and noise vid below https://youtu.be/cMzoZRc_0OM
1 point
-
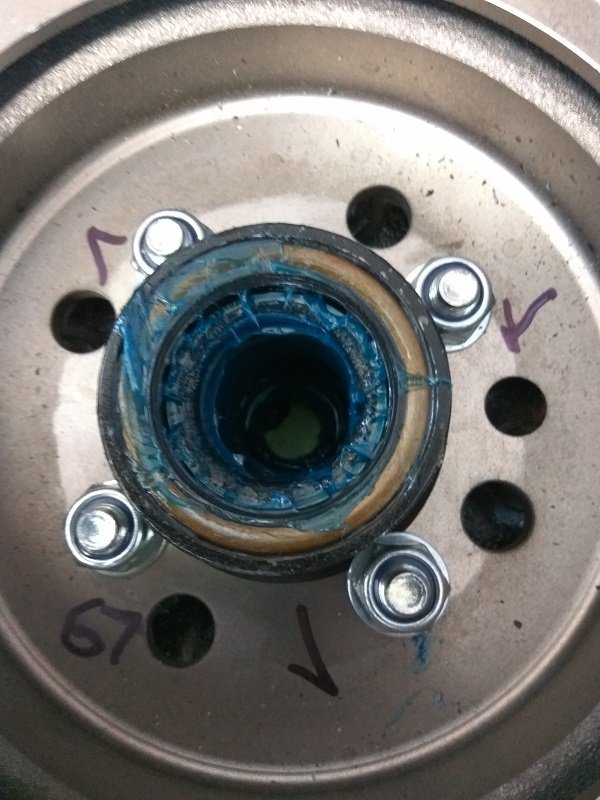
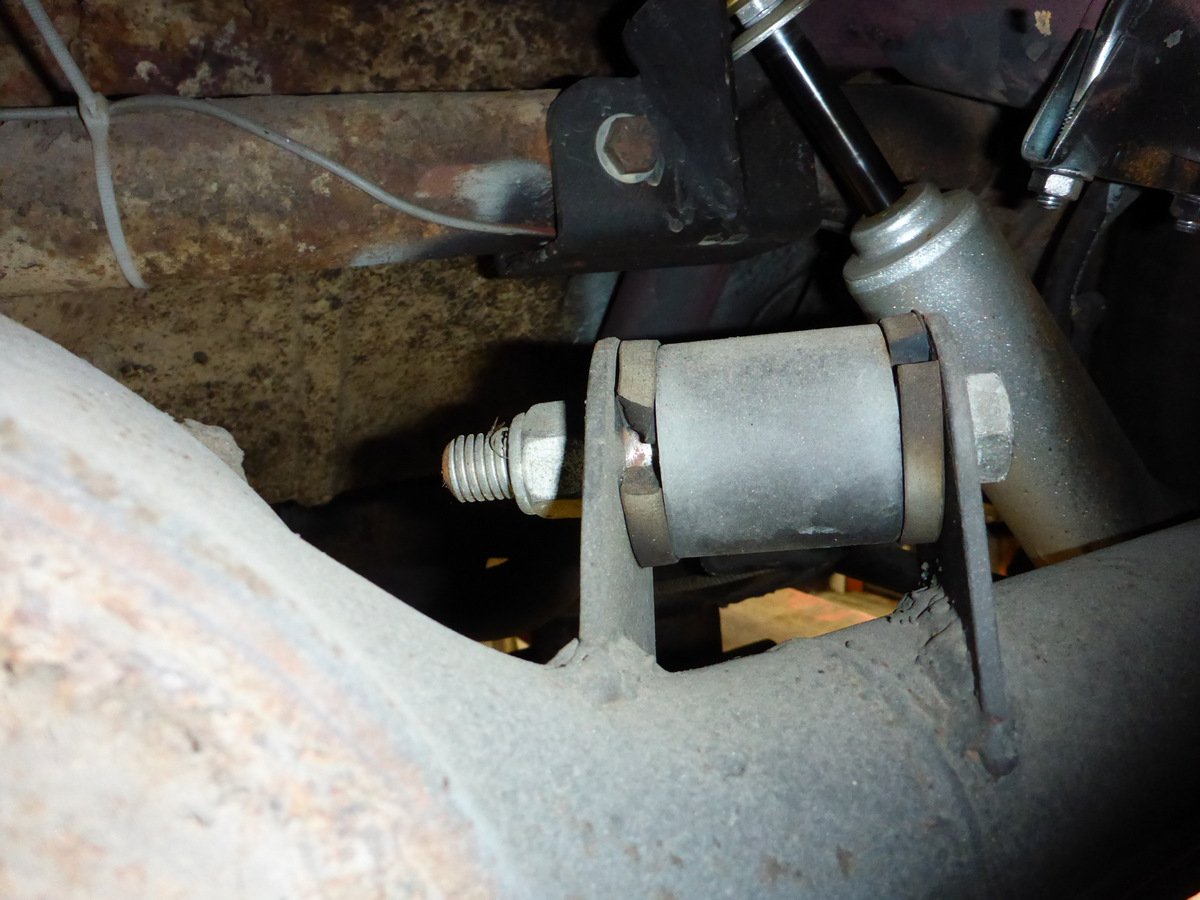
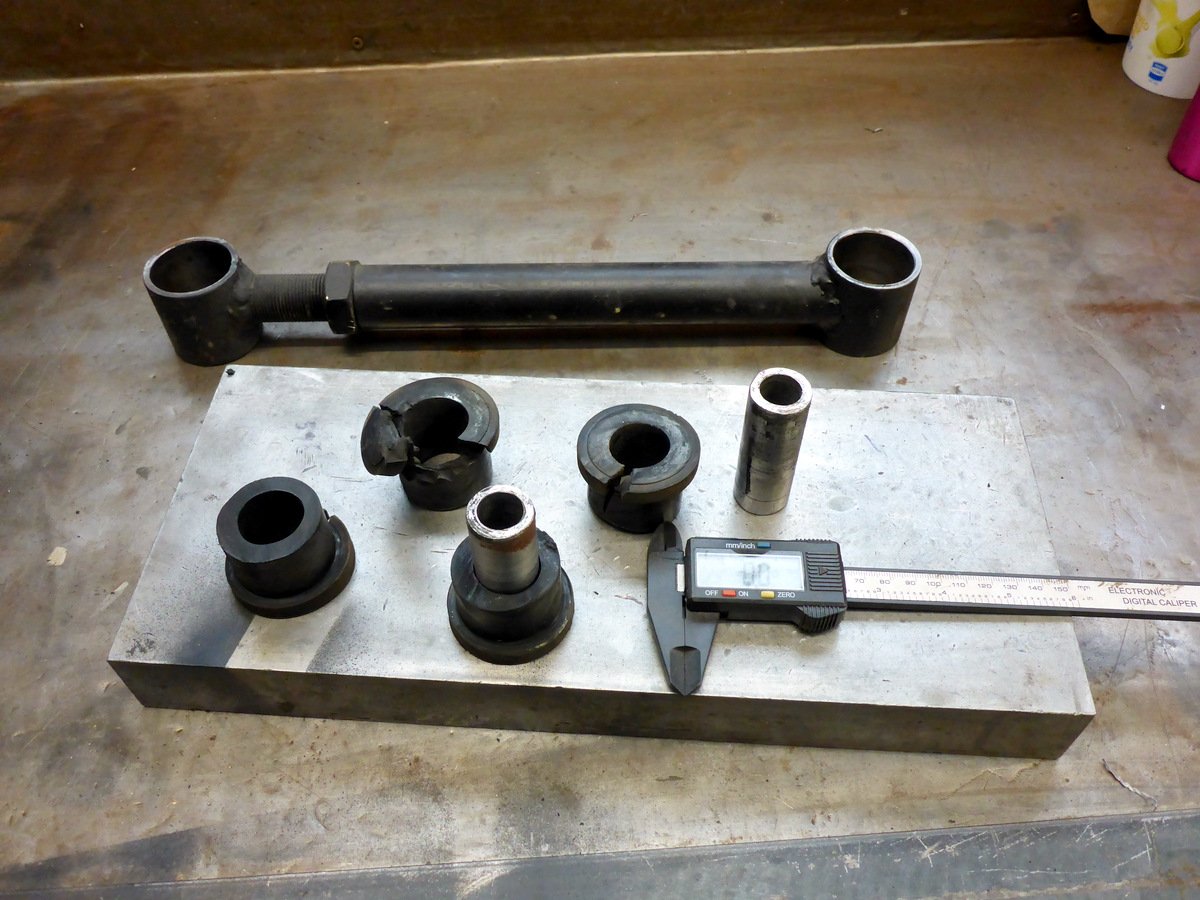
This split bush has been noted on the last couple of WOF checks, thought it was time I replaced it (while the Woodie is off the lift) Yep, pretty toasted, the ones on the other 4-link bars look OK. Might smear some rubber grease around the new ones. Luckily I kept the receipt for what they are from, dang Mitsi parts!
1 point
-
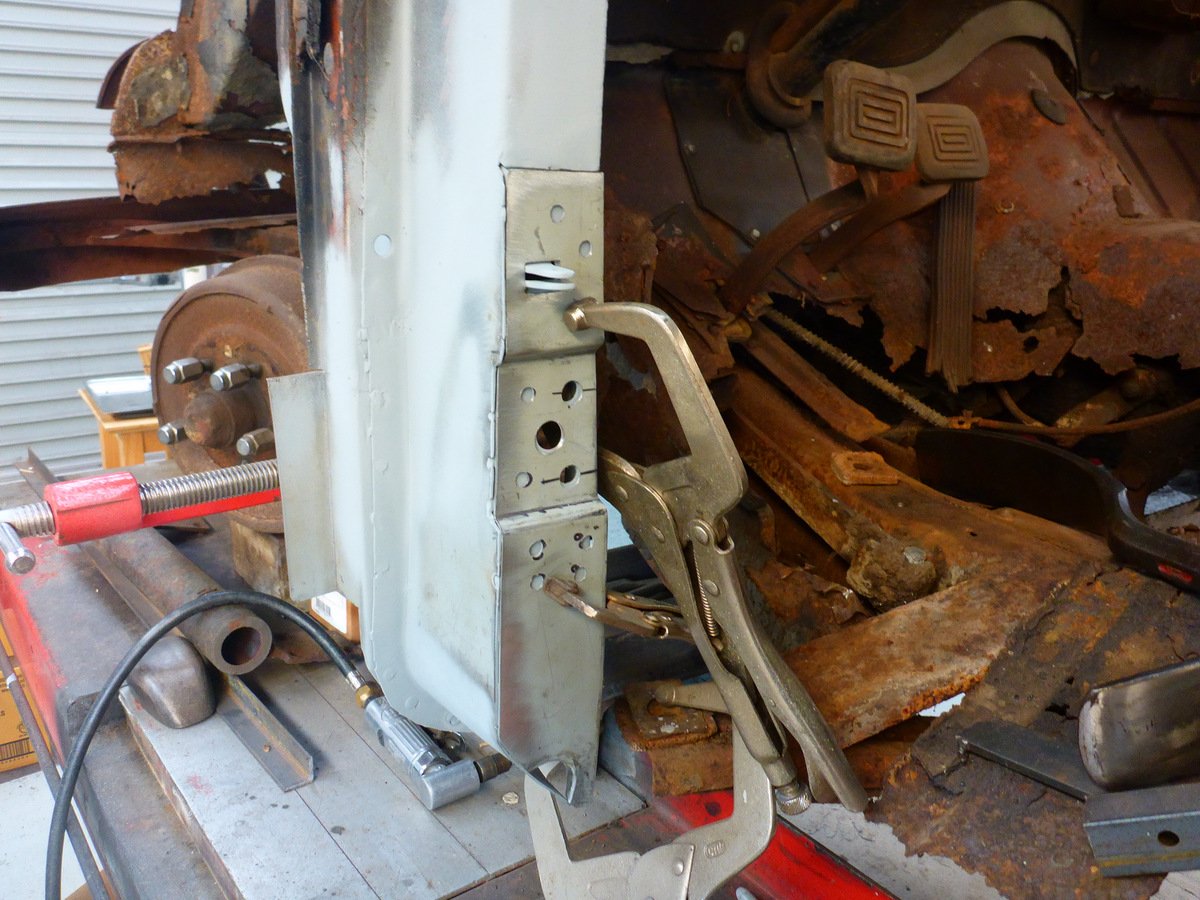
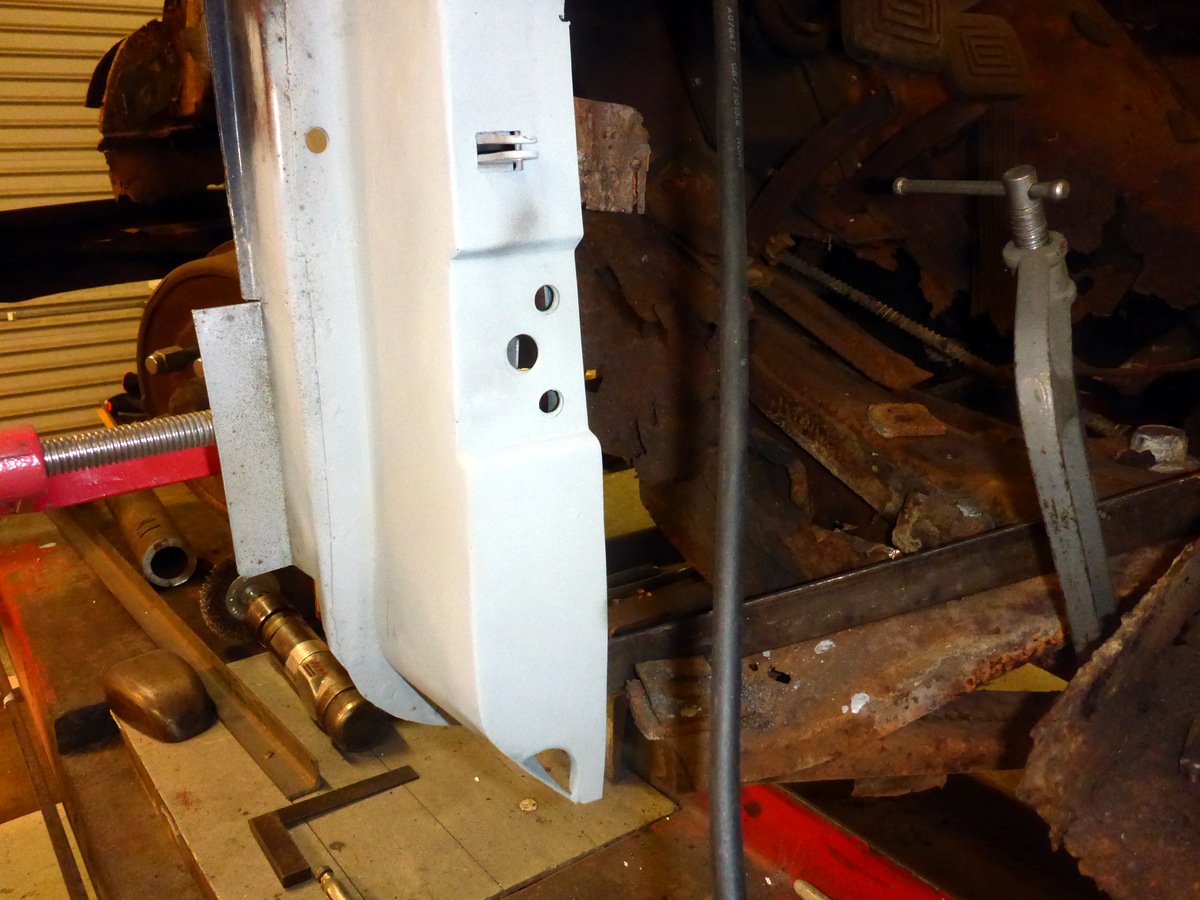
Lower hinge area is a double skinned piece Inner reinforcing section first Then the outer part
1 point
-
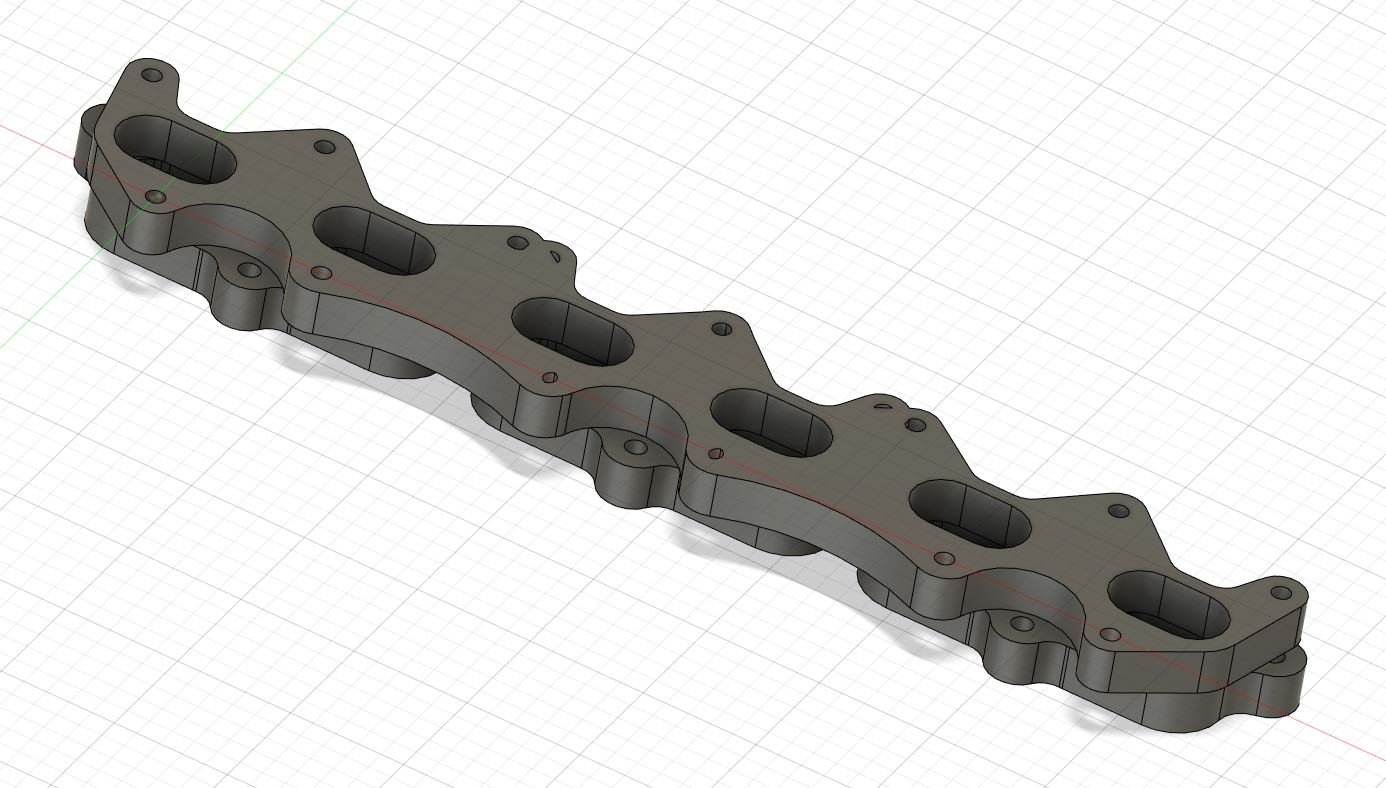
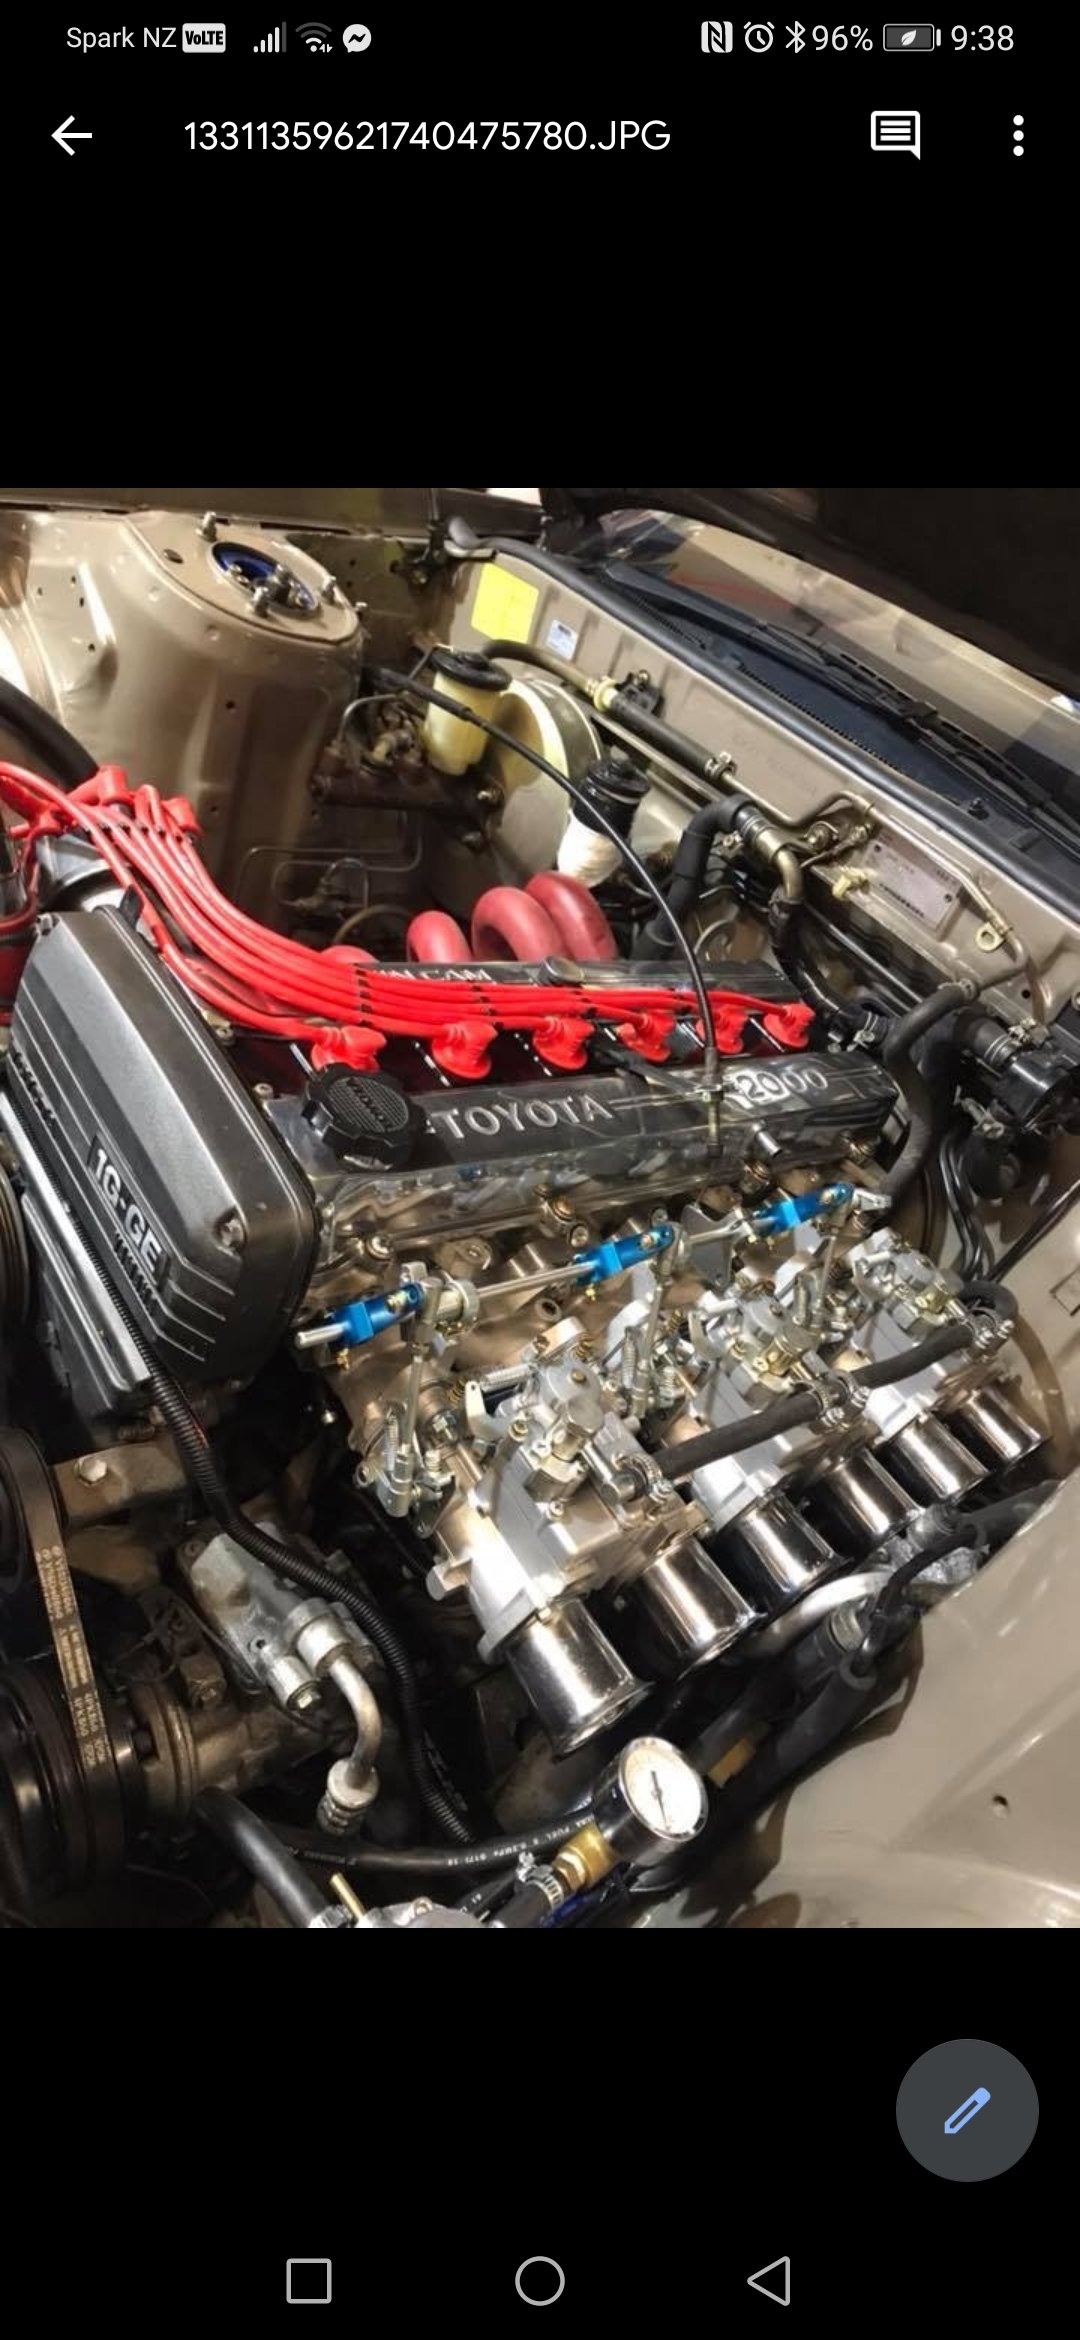
Spent much of the last week measuring and thinking about the manifold for the Carb Conversion. Think I have that sorted, so will try to get some more progress this week on getting one made. I have a spare 1ggte head that turned up this week which has been useful to just look over. Had a manifold flange quickly drawn up so I could figure some small details out. This was for my original plan which was to use two 4age Weber manifolds (easy to buy) and have a conversion flange on the head. Am leaning away from this at the moment. Also attached is the one picture that kicked off the carb idea.
1 point
-
Since runners would be already entering the plenum on a weird angle, decided to aim them forward a bit as well, for firewall clearance. That meant could run a full bellmouth on each runner also. So build up the sides with welder and linished them back nice plenum just needs a little trimming to fit base plate. then try make a mess of it with some janky welding Awaiting a 5 to 3" reducer to stick on the front to change to intercooler pipe size1 point


.thumb.jpeg.e0a4bff61111e0c8c7396950fcc94da1.jpeg)


This leaderboard is set to Auckland/GMT+12:00