
Leaderboard


Popular Content
Showing content with the highest reputation on 02/18/20 in Posts
-
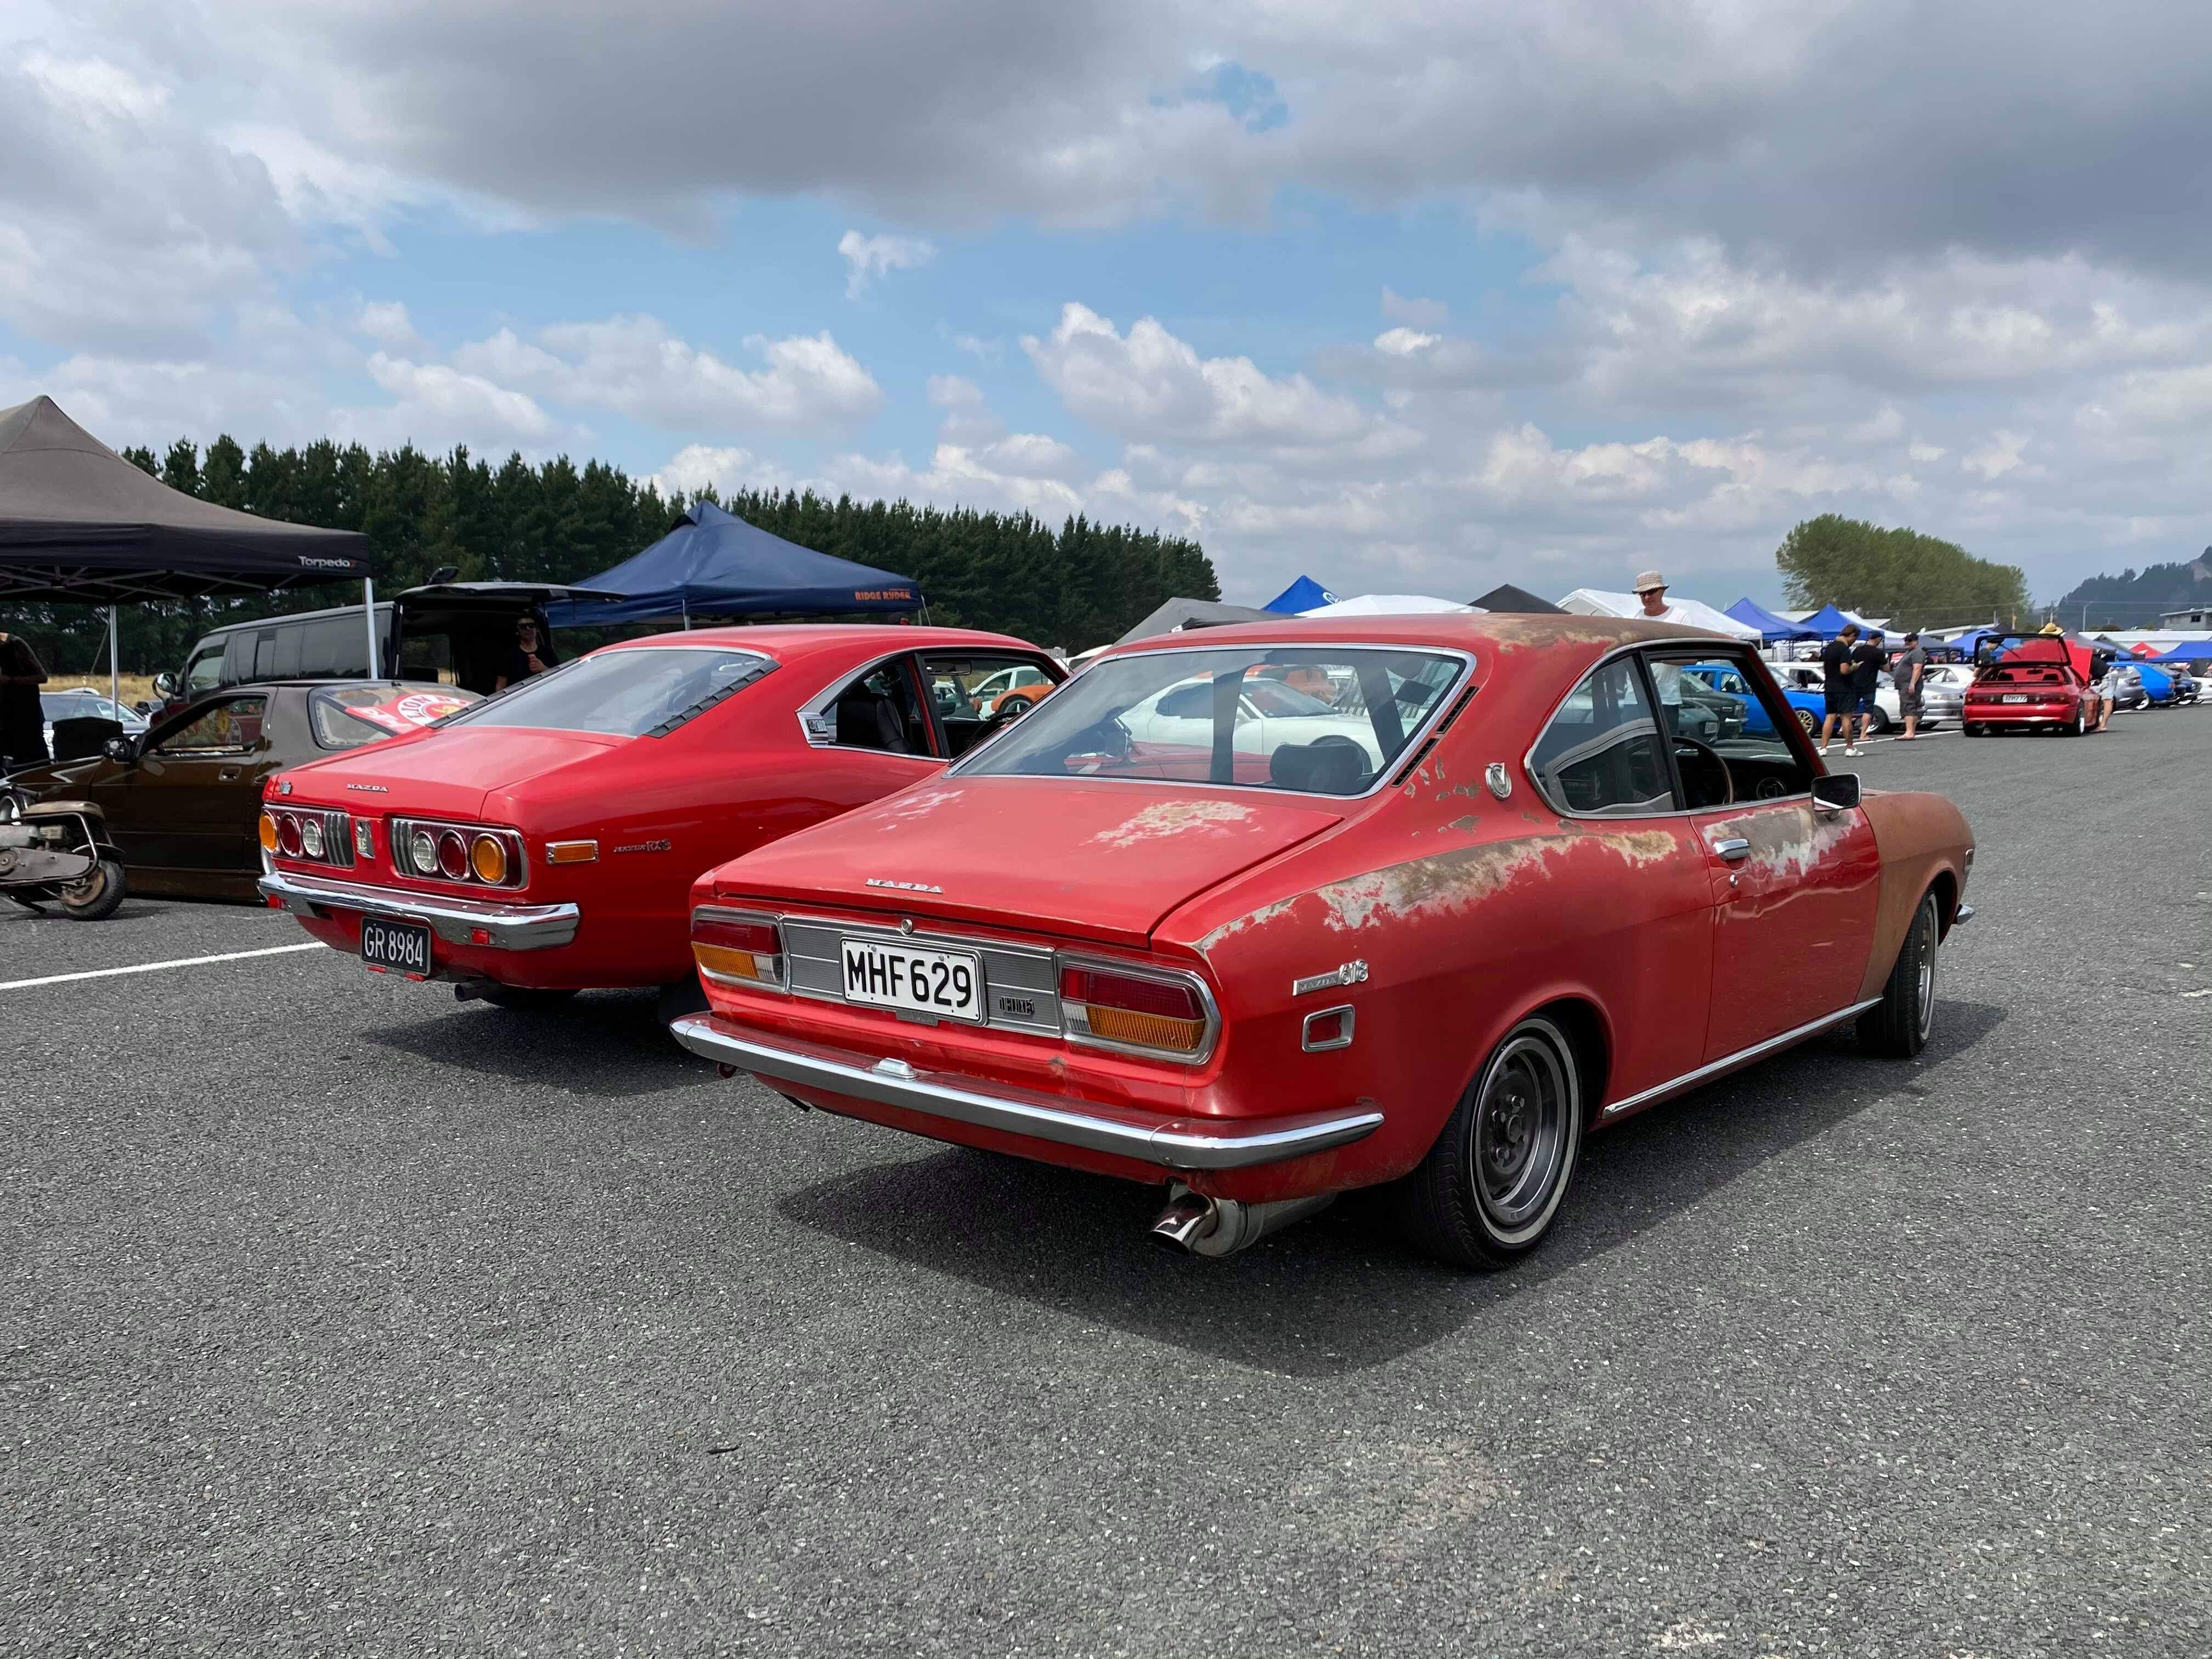
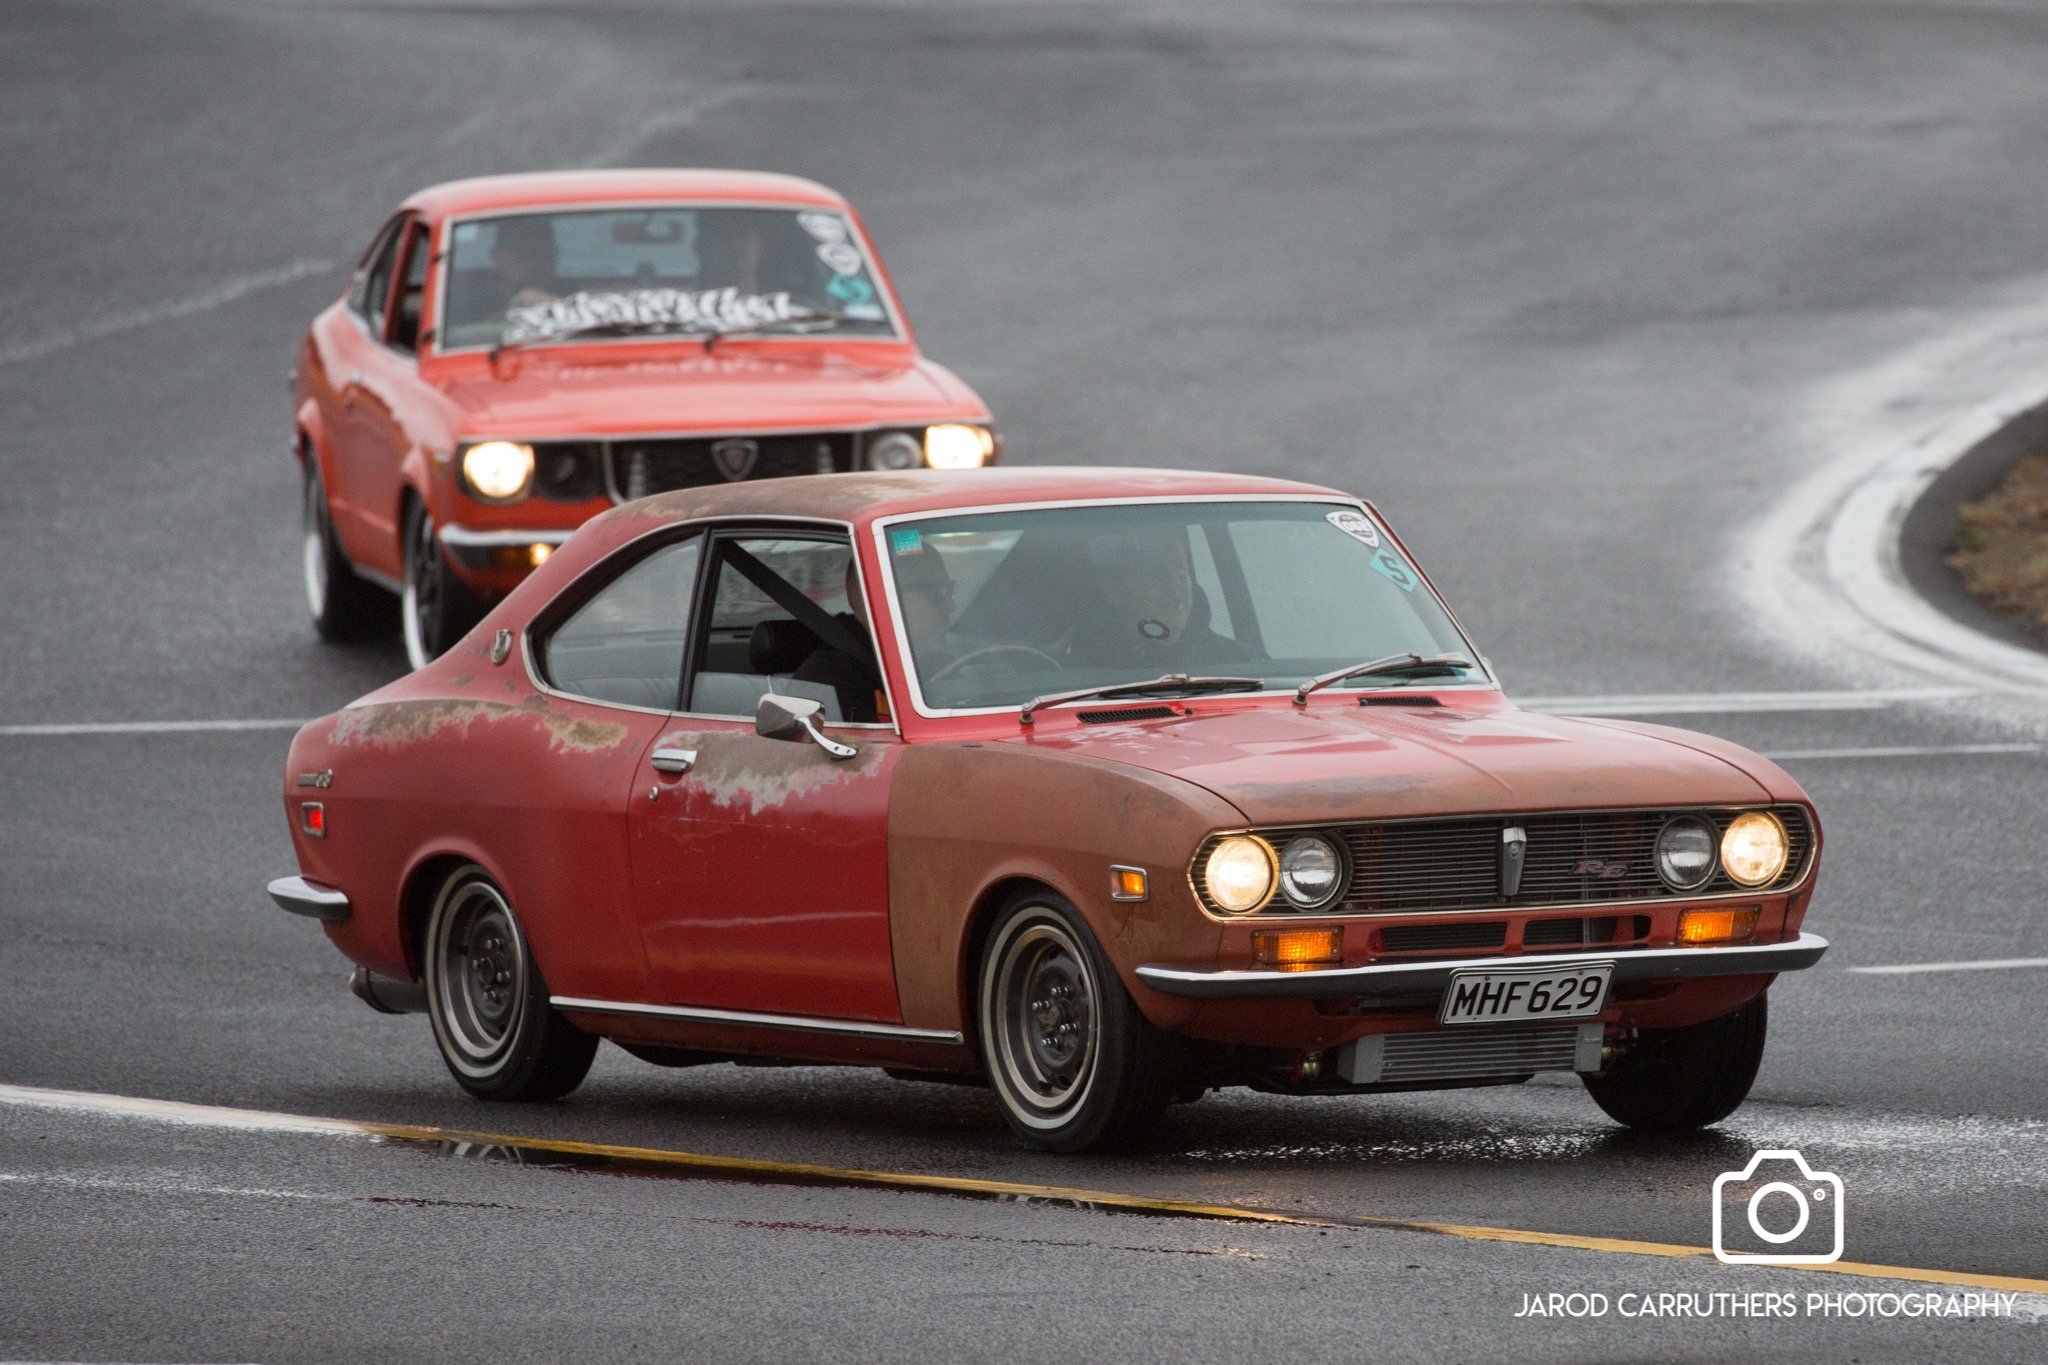
Still on daily duties. The datsun club had a meet at Levels in Timaru last weekend and we did a few laps of the track during lunch break. Didnt miss a beat. then on Saturday night I was thinking of excuses to avoid this respray, and essentially had nothing so on Sunday I stripped it and started undrilling the roof. Not too many nasties, really stoked the side rails are mint considering. It has bust out on both front corners, prefect time to slice this out! The new roof skin weighs 8kg. The red one was 15kg. The amount of bog truely is astounding, and I gave it a layer of rhino-liner on the inside to assist in strength.. and a full size piece of dense underlay because I didn’t know if it would drum. Gonna be so good to not have to drag that around! Won’t be running the towbar next time, so minus another 12kg easy. the bootlid is from the old nickM race car, it’s really really fucking tidy. No rust, one small ‘depression’ near the lock, and came with nice bolts and a nicer-than-my-current lock mechanism. Big thanks again to nick for that, the red one had a lot of time, rust repair and bog in it, and wasn’t in nice shape. I have a fair few areas I’m going to re-do but I’m not going to let this drag out. Will be done before the weather cools down again10 points
-
8 points
-
Photo props to Jarrod Carruthers
 6 points
 -
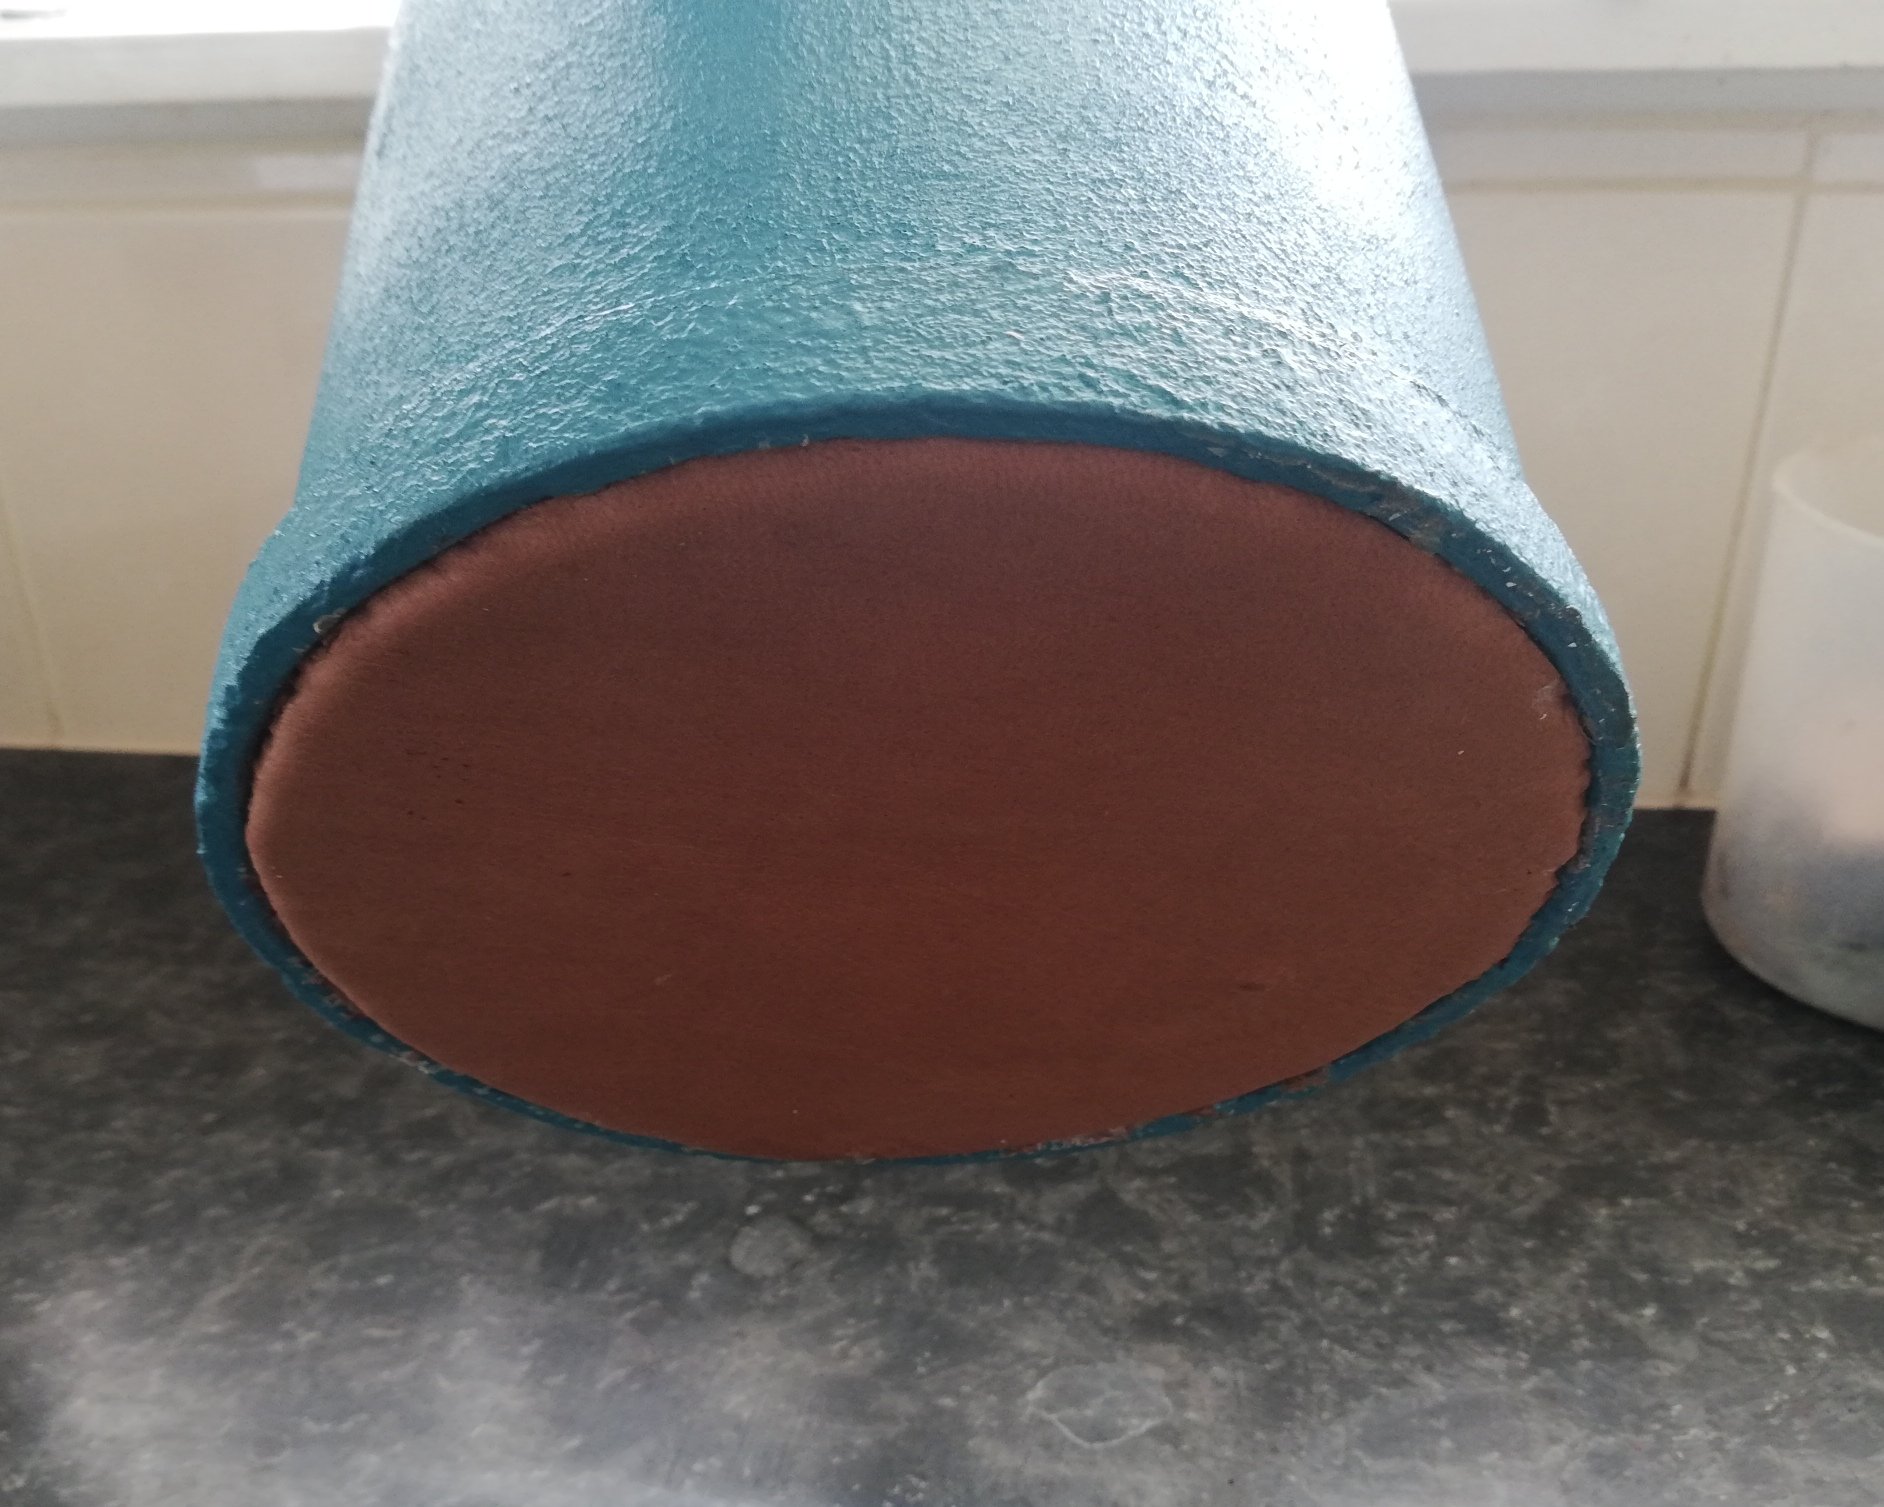
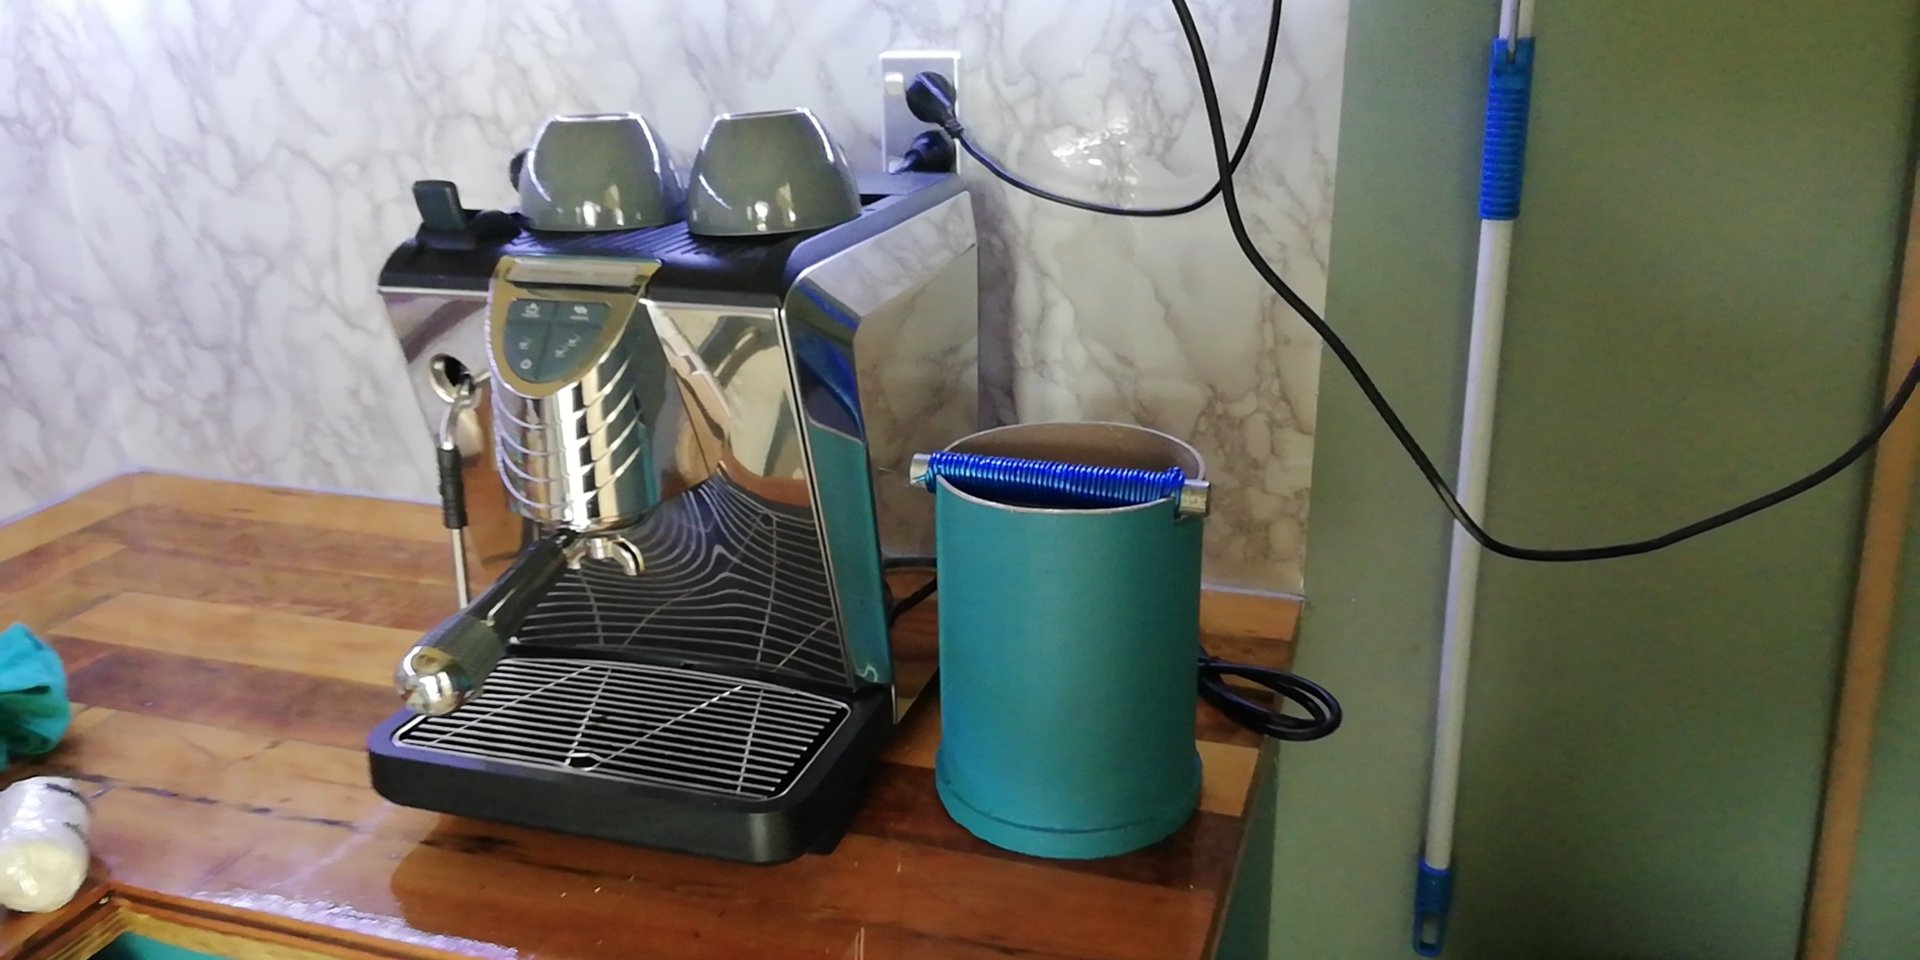
Knocked up a knock box for coffee grounds Scraps of steel pipe, plywood, leather and washing line
6 points
-
Huh.. This car never ceases to amaze me..
5 points
-
I have finally managed to get most of the shaping/repairs done, a few wavy bits and a couple of dings here and there, sorted now. I was also having some problems with leftovers from the old respray reacting with the primer and wrinkling on the roof. I solved the problem by bare metalling the whole roof and starting again, to be sure there was nothing underneath. All good now. So now it's all painted up in filler primer, ready for blocking. It's looking quite good already, pretty crisp and straight. Bonnet and guards not attached properly here, which is why the alignment of the front end is all off. Not bad for a noob effort, I think. There's a tiny bit of fine tuning needed, shapewise, a couple of things which weren't easily visible until it was all light grey. But in general looking pretty good, will block it back and get it as straight as poss, then time for colour, at long last.5 points
-
Took the sled to Reunion last weekend. The weather fri sat was awesome and there sure were some nice cars there. no issues and it ran like a dream all weekend
4 points
-
IF you can get more TGA people than WHK people to come, i'm sure some of us might come over again?3 points
-
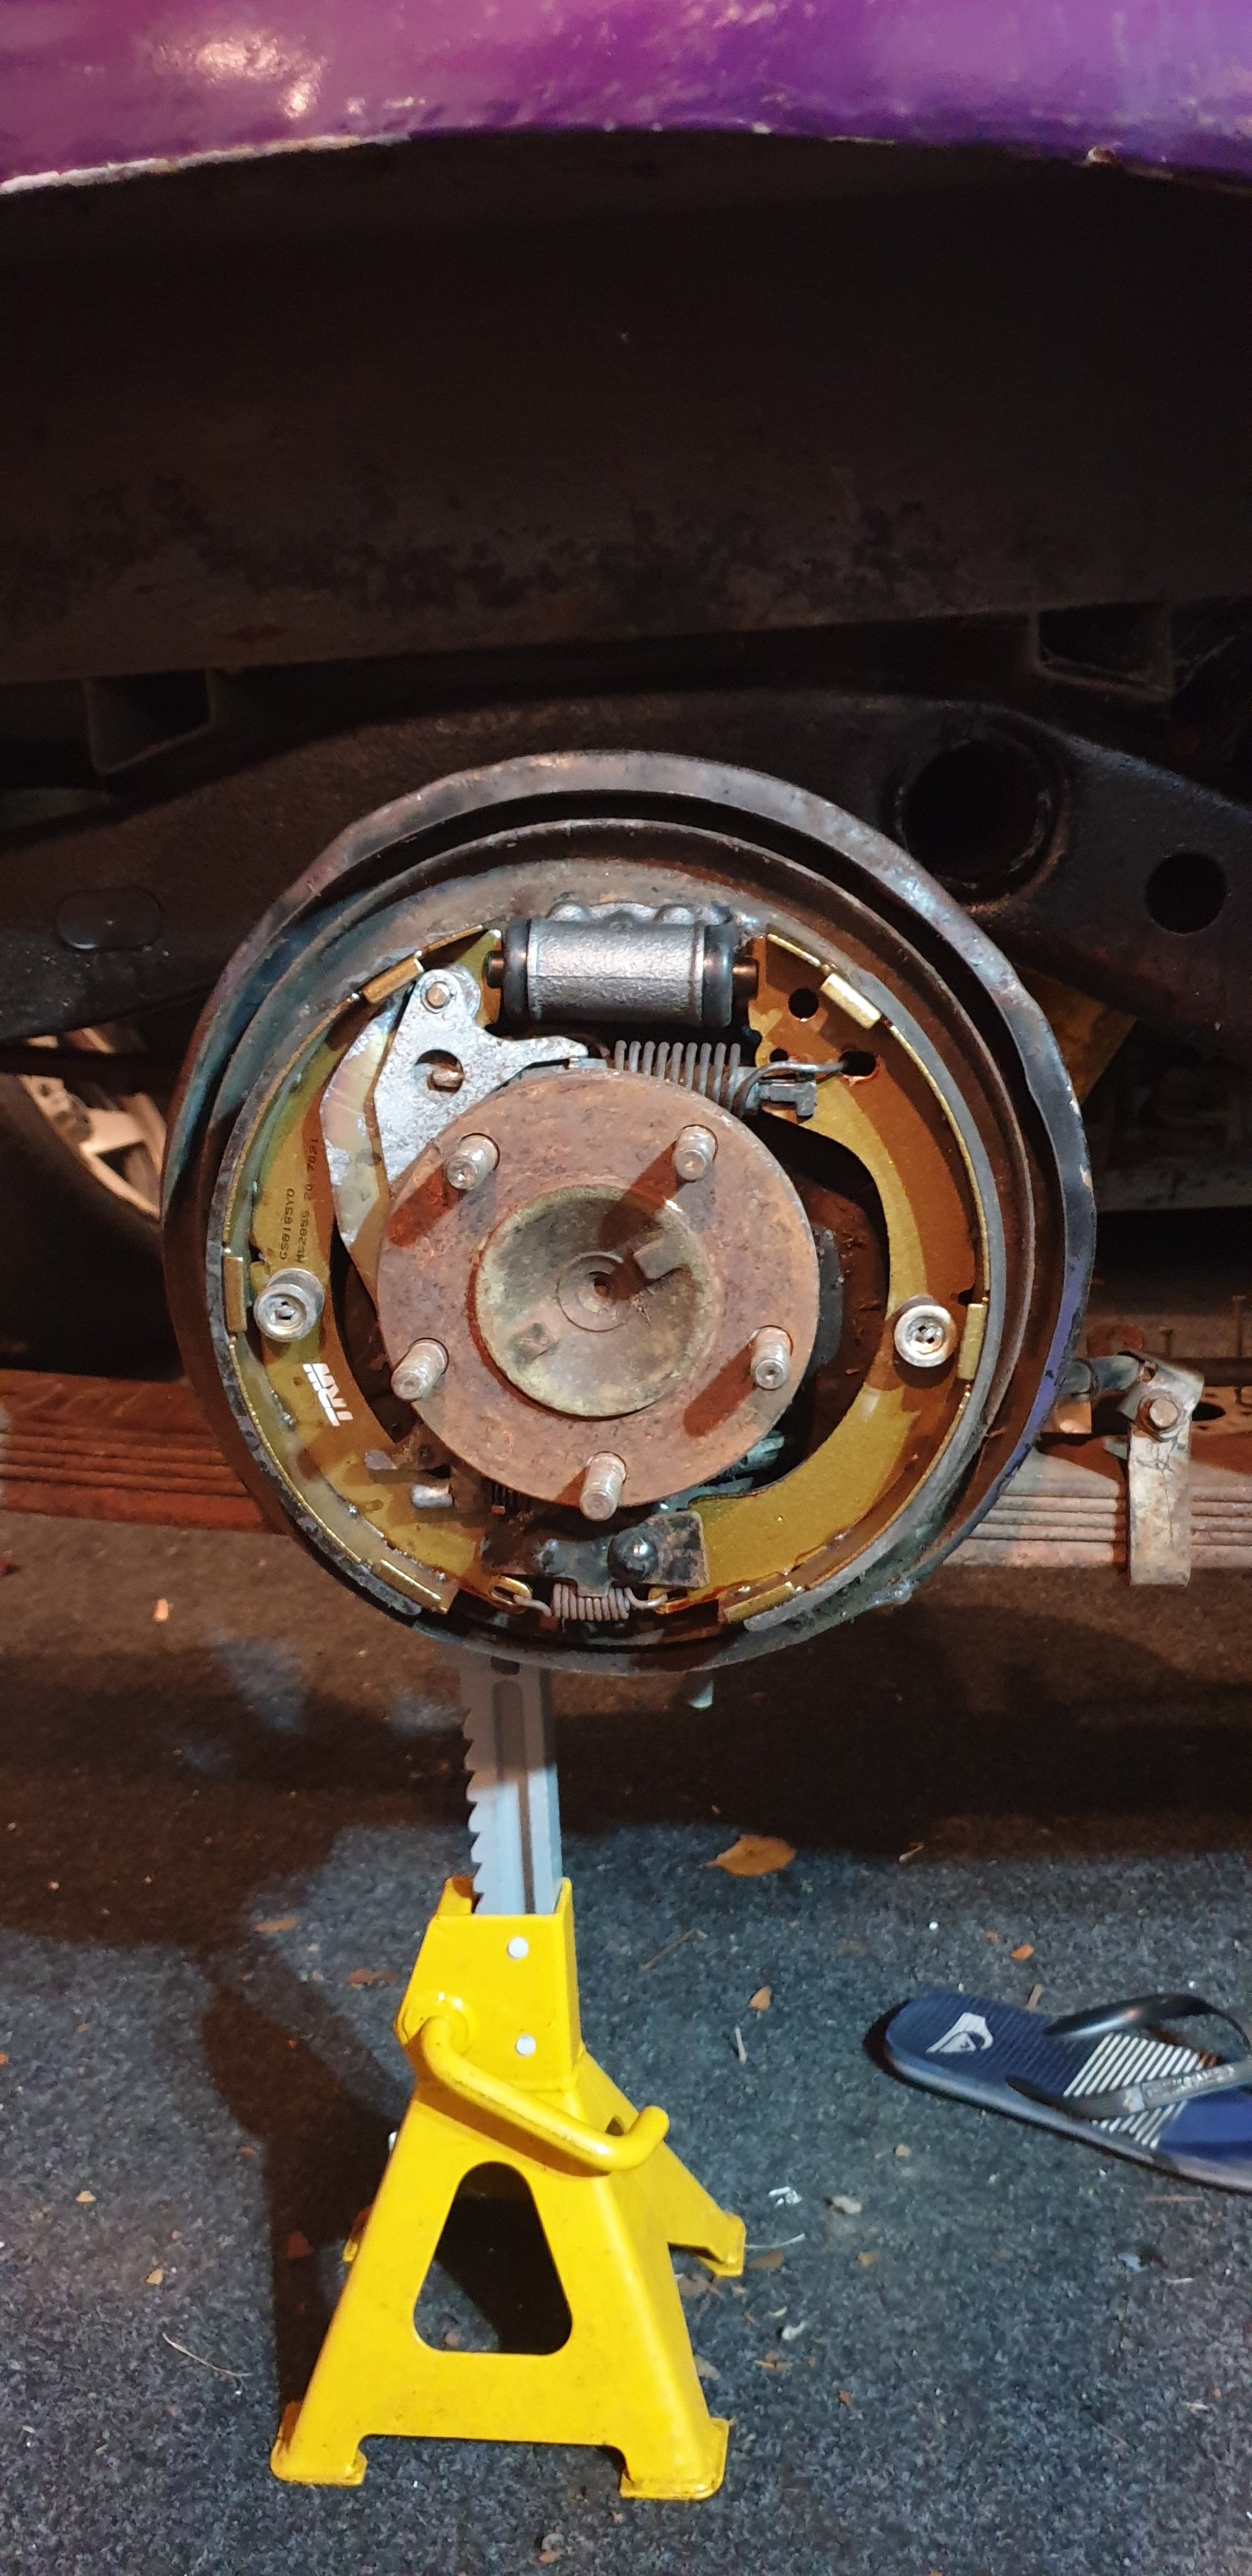
Stayed up way past my bedtime to get some rear brakes sorted. New shoes and cylinders, drums are still mint but will paint them just because.... Also installed the brake lines on diff, realised I'll need a longer rubber hose for chassis to diff being L300 diff in a L200 theres slight difference. And forgot to get a new bleed screw so will sort that asap
3 points
-
Finally decided to have a look at the cub again Tried a carb of a xl185 (fits straight in!) went good but still what I thought was a clutch rattle figured I’d check the valve clearances as that’s a common issue apparently pulled of side cover to get timing marks lined up and hello a very loose flywheel/magneto bolt and a naffed Key/woodruff Will source a new woodruff and file the rest and see what it looks like can buy a new flywheel/magneto for a couple hundred but hopefully not required vtec lyf!3 points
-
A few people have asked how im going to fuel this..... An aircraft mechanic at work drew me up a sketch on a paper towel and i think its worth a nudge, essentially my fire extinguisher fuel tank is becoming a "rising rate fuel tank" ive got a -8 fitting on my compressor housing which will pressurize the tank and feed the fuel pump at boost pressure. The fuel pump will then add 1.5 -2psi to it keeping fuel from being blown back up the jet in the carb the float bowl will also need to be pressurized as well to make it work. Going to be Braided speedflow lines everywhere but im going for an Extreme! theme on this thing. I get the speed flow lines and fittings from the bin at work no good for the sky anymore but plenty of life in them for this kind of stuff.2 points
-
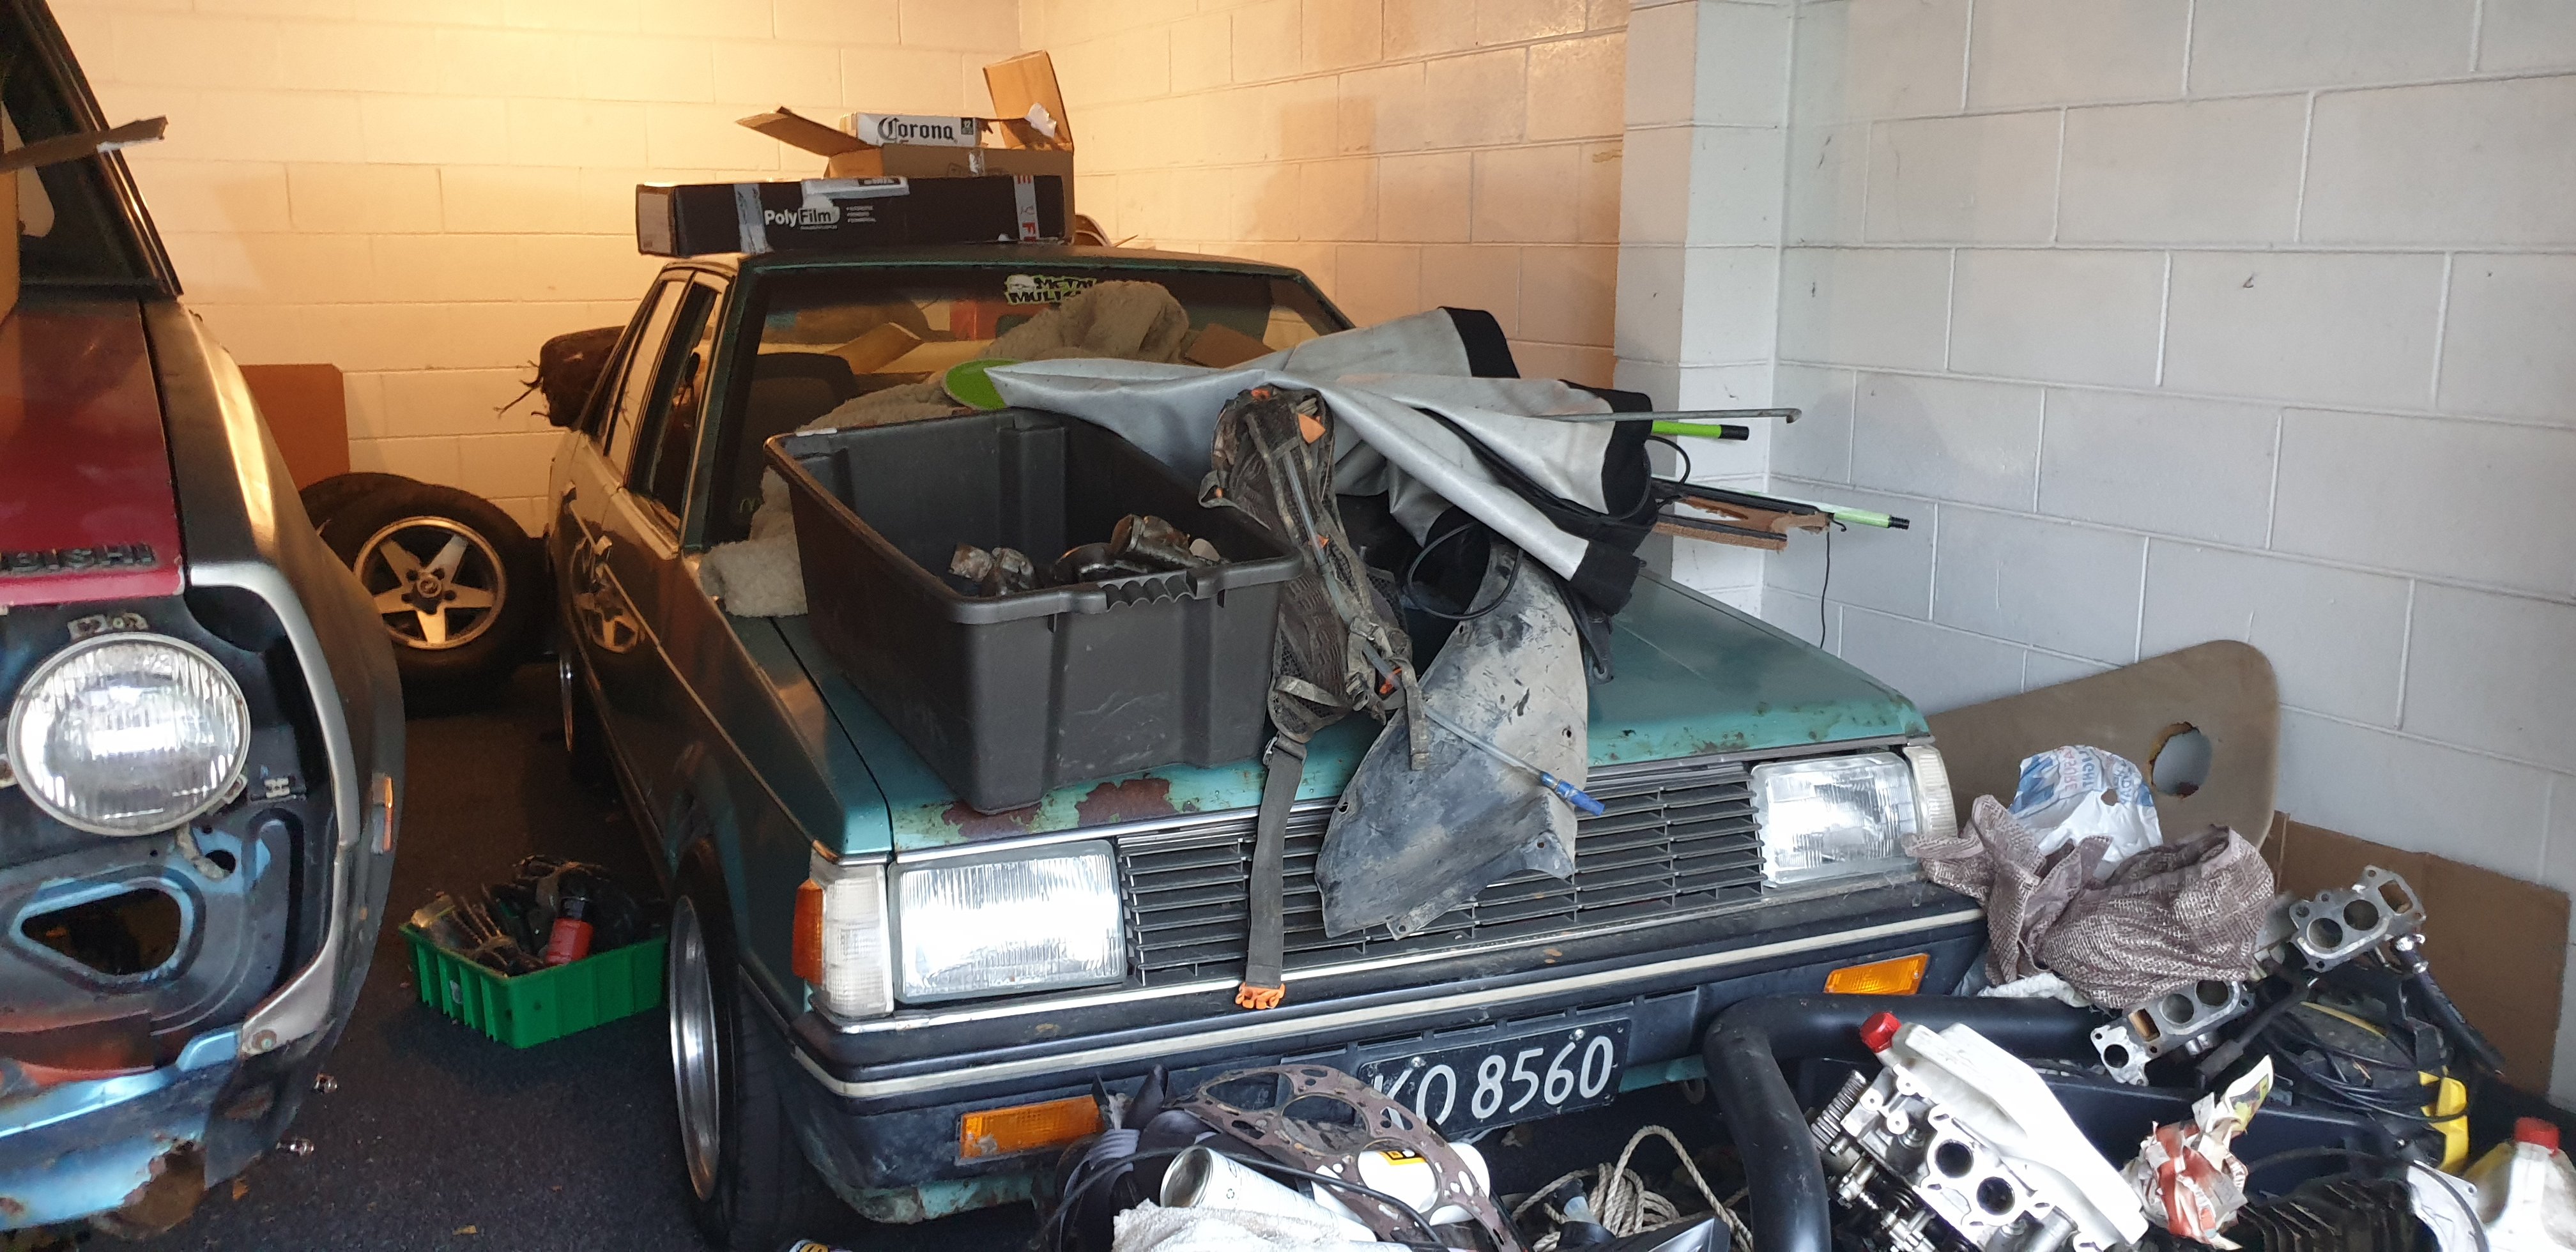
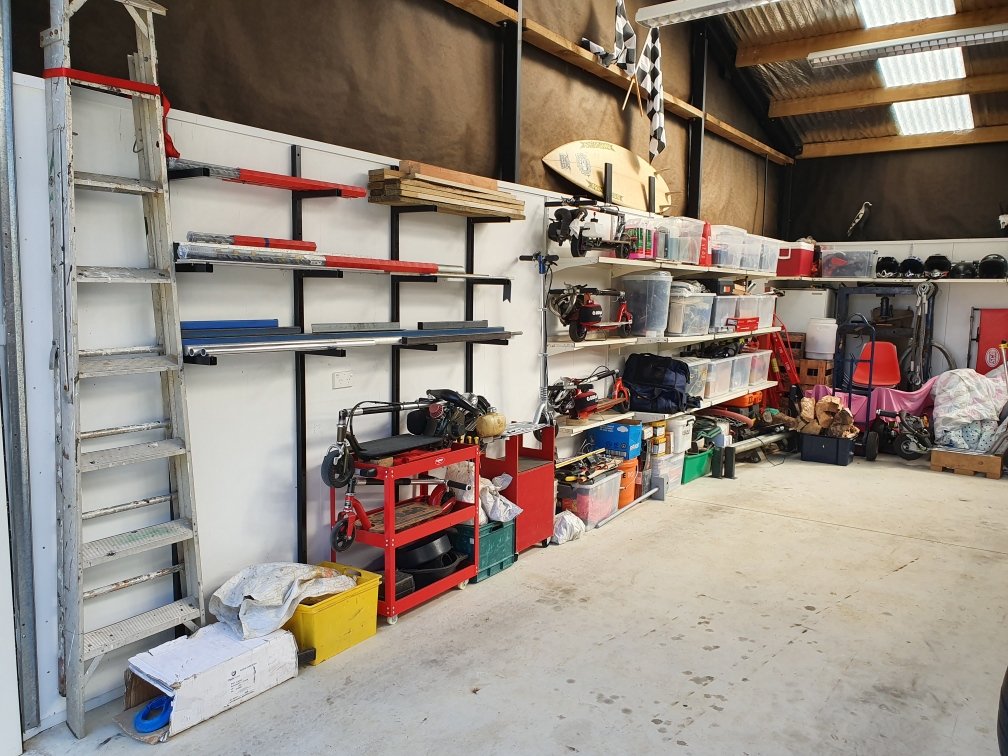
Bit off topic but this is what narrows down my workspace in the shed, currently used as storage it's my 82 lancer gsl that I've owned since I was 18. It's the car that's waiting for me to get this ute legal so it can have some attention.... Used to have a project thread for it but it's gone these days. Has currently donated some engine parts etc to getting this ute done which is how it has sneaked into this thread
2 points
-
just a thought mate but the SC manifold inst blocking a water gallery off ?2 points
-
If I was to do it again I would notch the frame and get the engine sitting a bit further back, and then just drill the frame to pick up the front engine mount2 points
-
That's a good point, now i'm old and have responsibilities I can pretty much only do Tuesdays, lols.2 points
-
Hey Chaps and Chappettes! Well this has certainly rolled around fast! Lets congregate out Eastbourney ways this coming Thursday (20th) from 6.45pmish. Map The weather is suppose to clear up by then, but will make a call on the day if it's still looking shifty. Hope to see people there!2 points
-
If anyone gives you any trouble for efi you can always visit good engineering ltd and I'll write up a report for you2 points
-
Popped a egt probe in the manifold for the l300 (4d56t) while it was off, I was going to leave it standard but 86hp is a tad punishing in an auto 4wd van. Have some 2.5" exhaust piping and bends left over so will make a new exhaust too as its super simple on the vans. Getting an intercooler on it is going to be a bit more tricky though but im thinking of mounting a water to air behind the drivers seat2 points
-
Hey guys Thank you for those who responded to this post and have private messaged me about possible in Chch. Ive now got one a new job Wayne.2 points
-
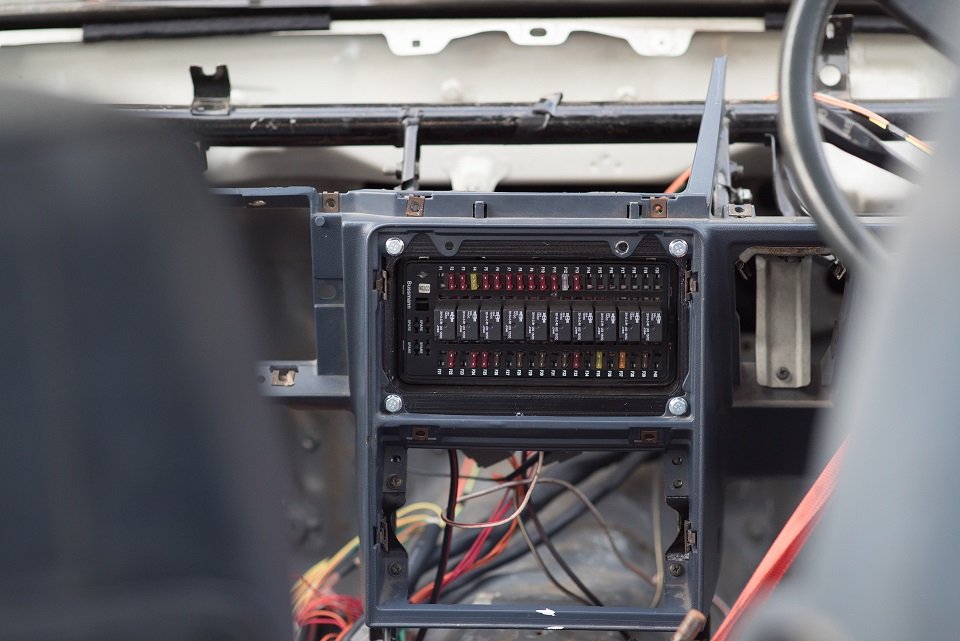
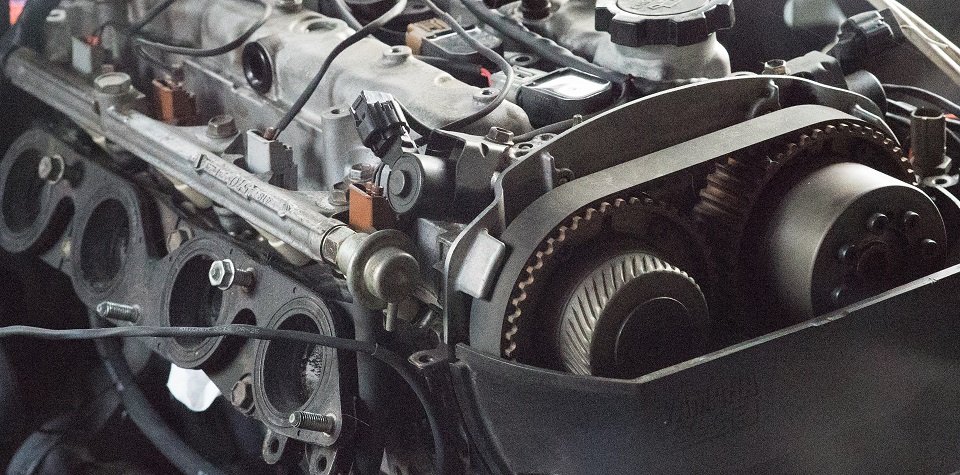
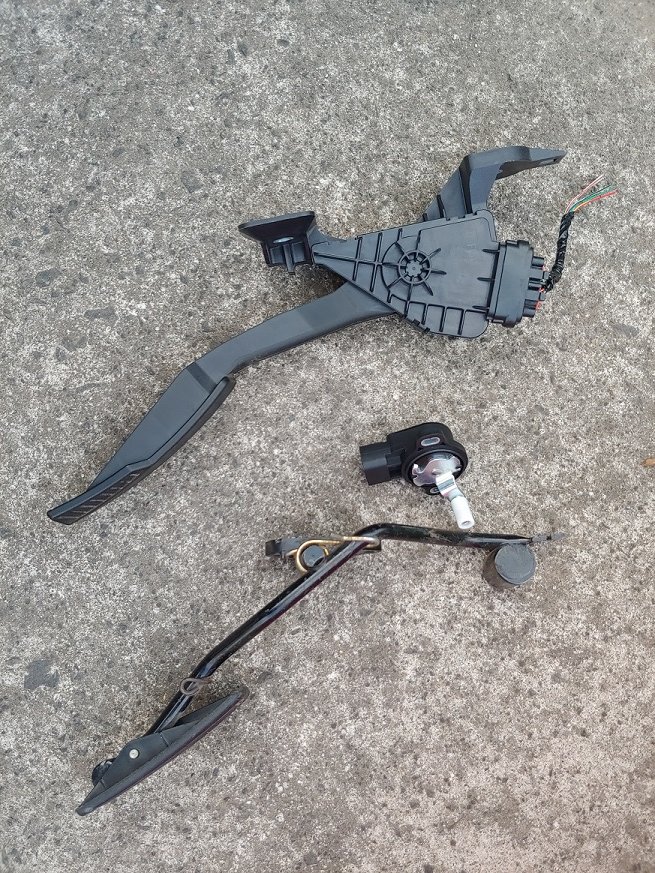
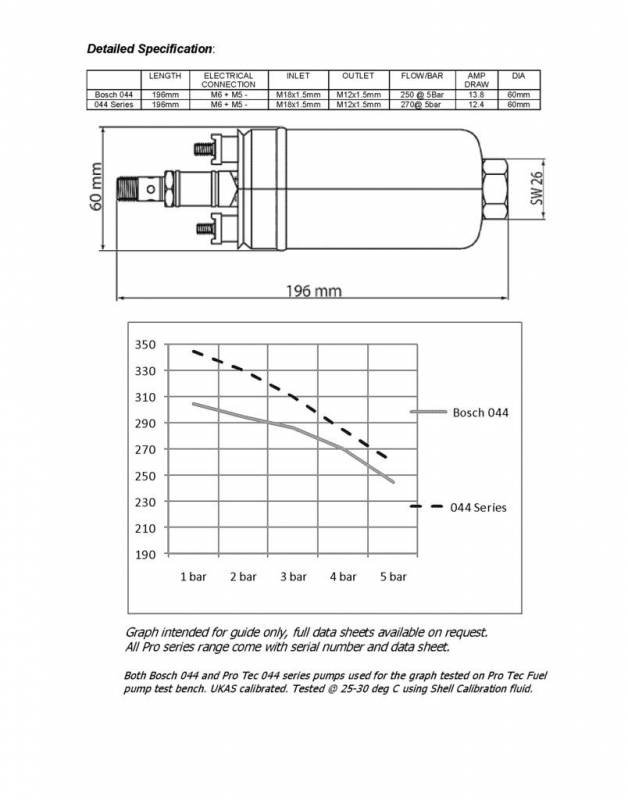
Fusebox all working. But not before I realized I'd wired 9 out of 10 relays backwards. Woops. Lucky was easy to fix. Also, I've always hated the idea of an external FPR, its just so big and shit looking compared to the OEM ones direct on the rail. Since I'm making an effort to keep things tidier though, and this will sneak in behind the cam cover and look discrete. Pinched from the Redtop engine's factory setup. Think I'll give it a hoon. Has the secondary benefit of that I can just run a smaller EFI spec rubber return line hose back to the firewall tucked under the inlet. Rather than a full sized AN-6 line from the rail to the FPR. These FPRs all only regulate to 300kpa (43psi) down from the 60psi I've been using. I havent managed to find a 60psi factory FPR, funnily enough because the only cars that run 60psi or higher are returnless systems. So let me tell you a punishing story about why that is. Traditionally, EFI systems have run at around 43psi. If you're wondering why the weird number, 43.5 psi is 300kpa, and no one in their right mind uses imperial units to design things. Anyway, this pressure range is a good trade off between how hard the pump has to work/reliability, how much fuel it can deliver, and good atomization. As you raise the fuel pressure the l/min rating of the pump decreases. So keeping the base pressure lower effectively gives you a higher flowing pump for same hardware = cheap. Look how much flow rate a Bosch 044 loses when pressure goes up. It also means that as you add boost, and the fuel pressure needs to go up to suit. Spec sheets for electric fuel pumps show that most start to creak and lose heaps of flow after 65psi or so, and with reduced lifespan. With 43psi base pressure and 20 pounds boost only means 63psi required at the pump. Which is considerably better than trying to achieve 80psi. So, why do modern cars run 60psi base fuel pressure instead? When emissions rules are really tight, Fuel vapour emissions are a big problem. When you heat up fuel at the fuel rail and send it back to the tank, it creates heaps of vapour. As well as that when you open the gas cap, this pressurized hot fuel vapour rushes out which is also an issue they need to minimize. A secondary problem here is that fuel isnt just made of 1 thing, it's made of lots of different chemicals which have different boiling points. My understanding is that the additives that turn 95 octane into 98 octane, are the first to flash off into vapour. So minimizing the fuel heating reduces your octane level loss over time. The fix for these problems is to make sure fuel that goes to the rail, never gets back to the tank. Hence returnless. But now the problem is that at 43psi, if it sits long enough in a hot fuel rail it reaches its boiling point. So 60+ psi raises the boiling point above where this is an issue. Which is also why they dont vacuum reference the FPR in the gask tank on returnless, because you never want to drop the fuel pressure below 60psi absolute. And a modern ECU can just deal with a varying differential fuel pressure a lot better than old shitters can. So in my case, going back to 43psi will be fine but with lower pressure the injector duty cycle will need to creep up a bit. As at 60psi Altezza injectors are 450cc/min Injector, at 43psi it's only 370cc. So I'll need 21% more injector opening time. Currently I only get to around 63% duty cycle at lots of RPM so that'll end up around 76% duty cycle instead. No drama. I will just need to be mindful of when controlling the fuel pump with PWM, that I'm not setting the flow rate too low that it'll have time to boil the fuel. Although these engines have a fairly well insulated fuel rail compared to some other engines where they are stuck in a valley or whatever. The other problem is that my fuel pressure sensor now has nowhere to go, as previously went into the FPR. I managed to find an AN fitting that has a pressure port on the side, so I'll mount this with the sensor whacked in somewhere after the fuel filter on the inlet hose when it turns up. I got the Bosch E-throttle all working nicely, it's very snappy testing via ECU. It looks like I'll need to ramp down the PID settings a bit compared to Altezza one. Will take some 100hz logs and try fine tune it. Speaking of which, this PID tuning explanation is bloody amazing So now I've gotta sort an E-throttle pedal. I've got two options so far to try, but isnt looking as easy as I'd hoped. First is RX-8 pedal, on the left. Convenient option but it doesnt really fit nicely in the available space. The other issue is that the APS sensors are built into the entire pedal assembly. So if it shits itself, you have to rebuy the whole thing which seems stupid. The other option I've been looking at is a 350Z APS sensor, which looks like a normal TPS but has a little bar on it to be moved by a pedal somehow. This doesnt particularly look like it wants to cooperate with the factory pedal, so need to figure out something else there as well. However it does make it a lot easier to keep a spare and replace if it packs up. But I like the idea of keeping the factory pedal, so if I end up using a cable again to test something I've still got the option. Although I guess I could just refit the factory pedal anyway in that case haha.
2 points
-
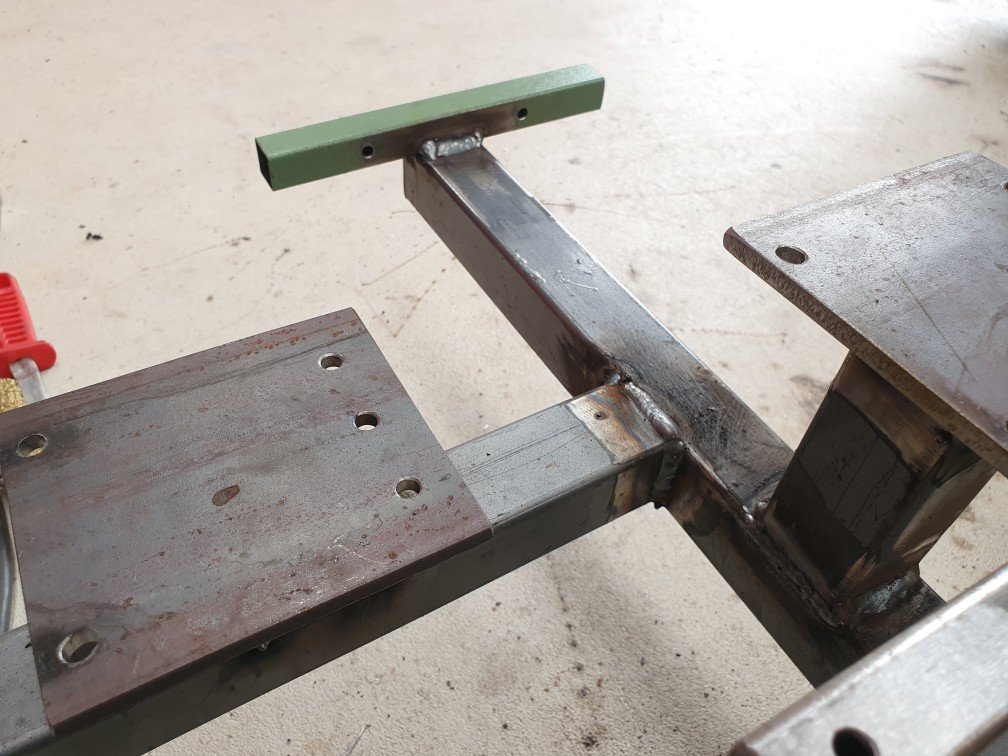
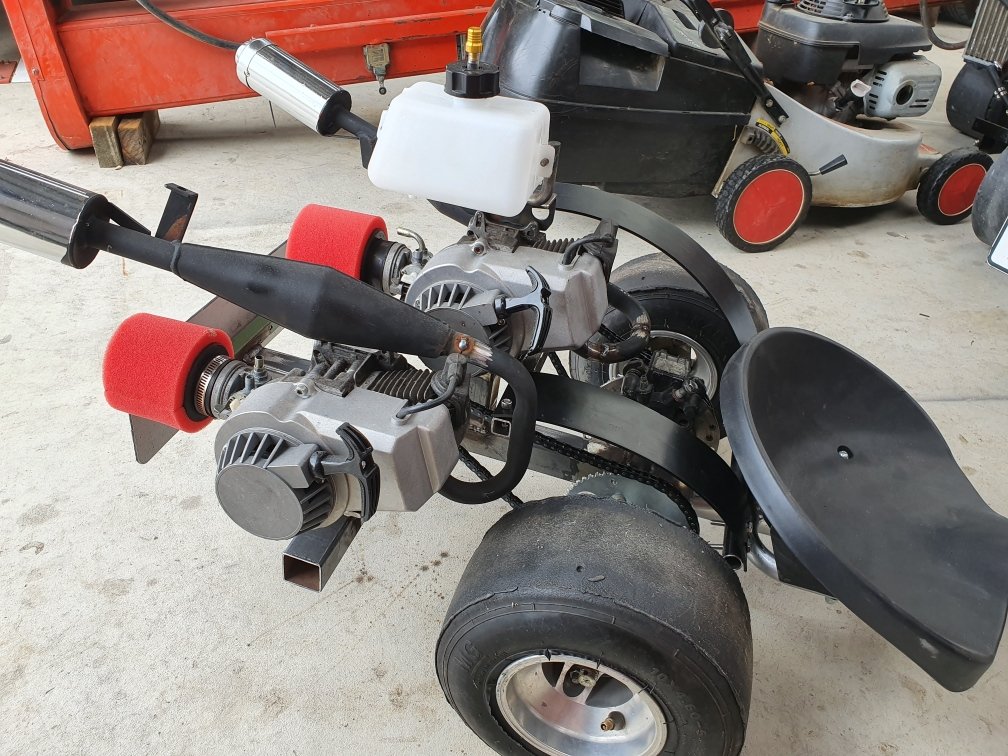
Did more work on this very neglected and long forgotten project Finally finished welding all of the various frame parts. Fitted chain guards to protect the rider from a flailing chain blow to the kidneys! Two motors....mmmmmmm....tasty!
2 points
-
my mate Adam who is a link tuning wizard gave me a hand to get the e throttle sorted and get it idling and running ok. its getting hot fast which is concerning. the radiator is 11 years old so maybe needs a clean/re-core. ill keep fucking around with it. but anyway today i drove it. it goes mint and makes the whurry noises. tune is rough as fuck at the mo but its good enough to do a couple of Ks and see how it behaves, if i can keep it cool. 2020-02-14_07-18-56 by sheepers, on Flickr 2020-02-14_07-19-05 by sheepers, on Flickr 2020-02-14_07-19-12 by sheepers, on Flickr2 points
-
I think you're looking for the word "niche". I was confused about what this had to do with female children of your siblings.2 points
-
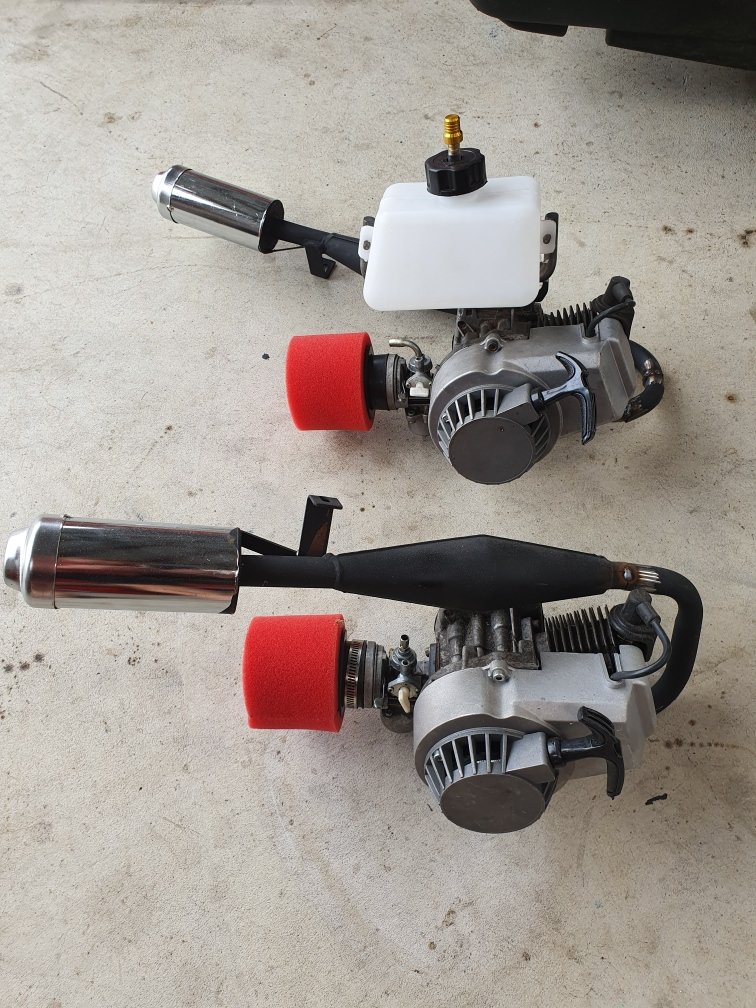
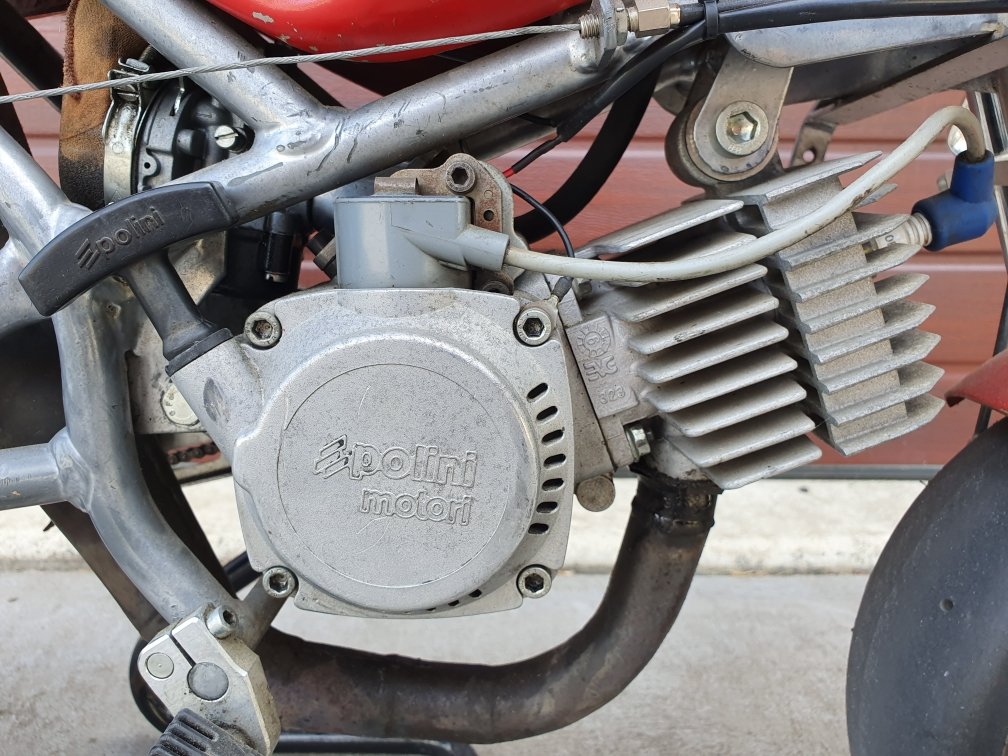
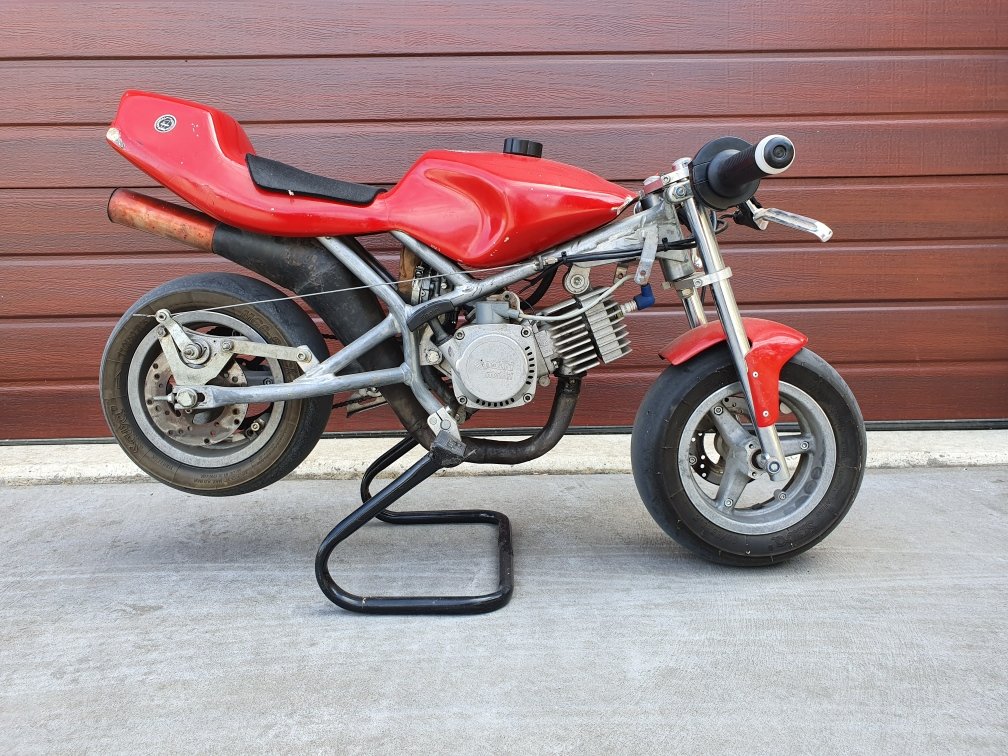
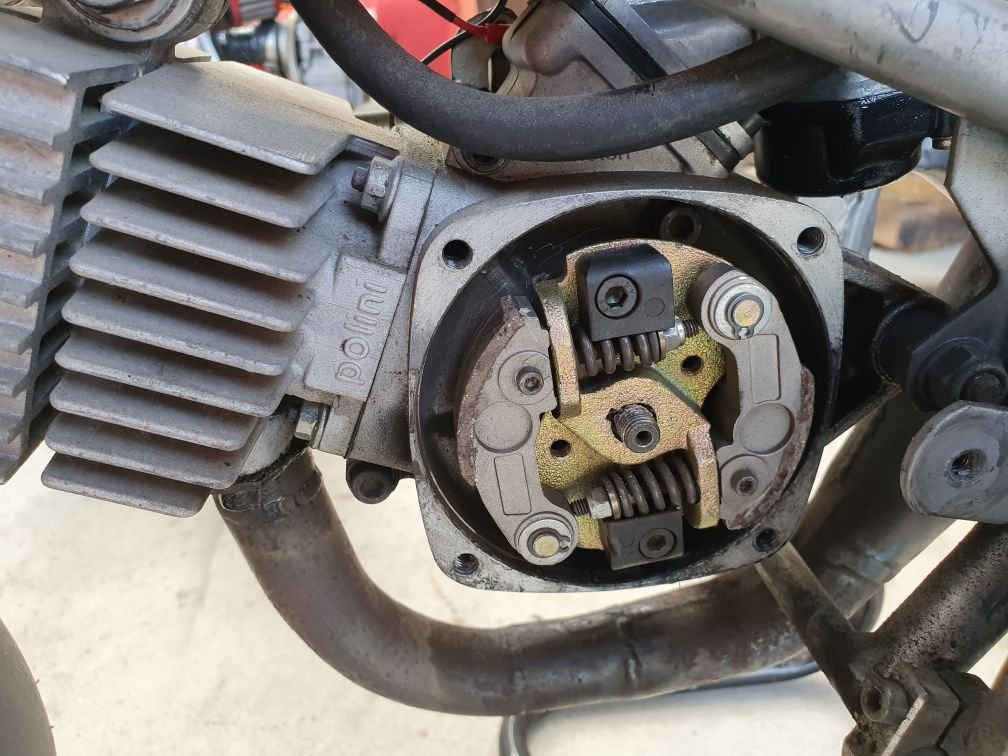
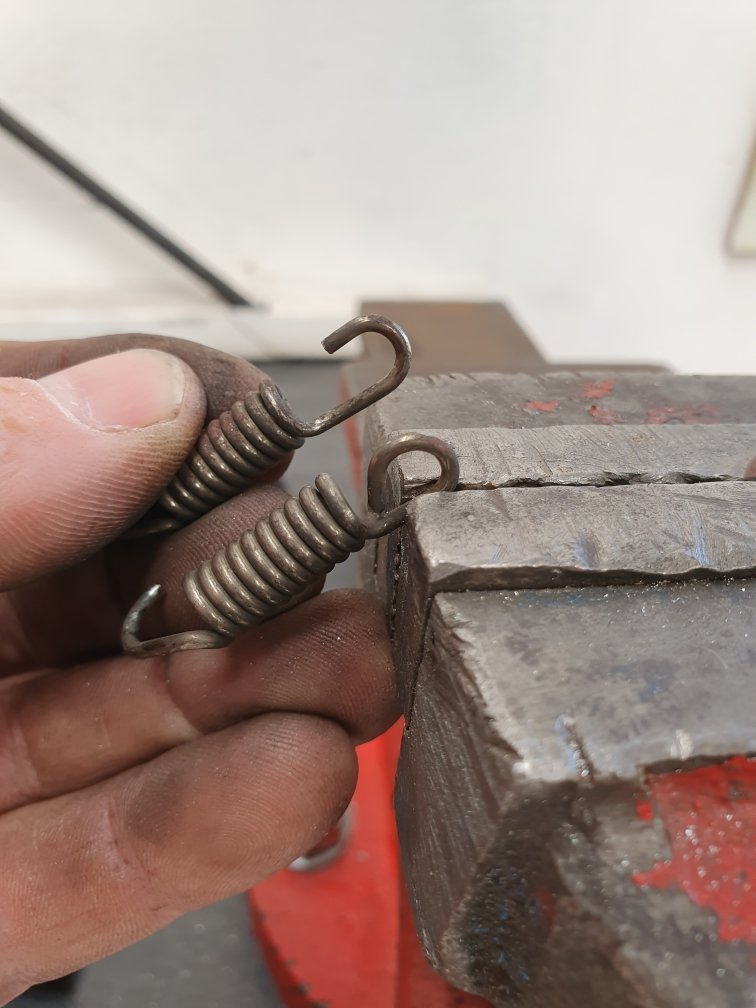
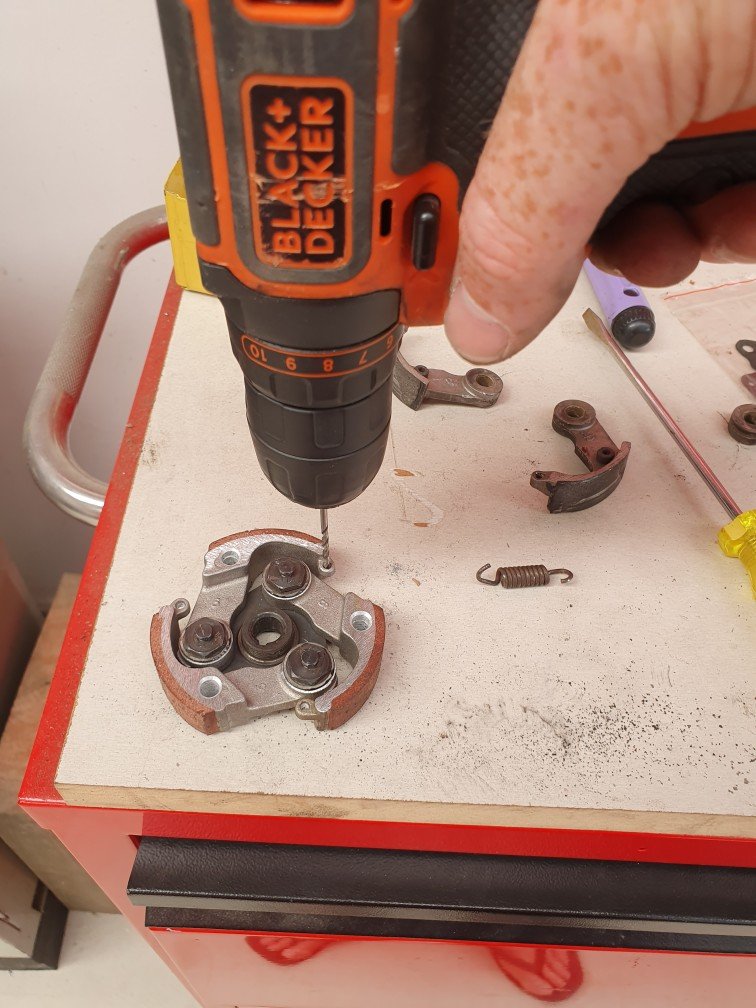
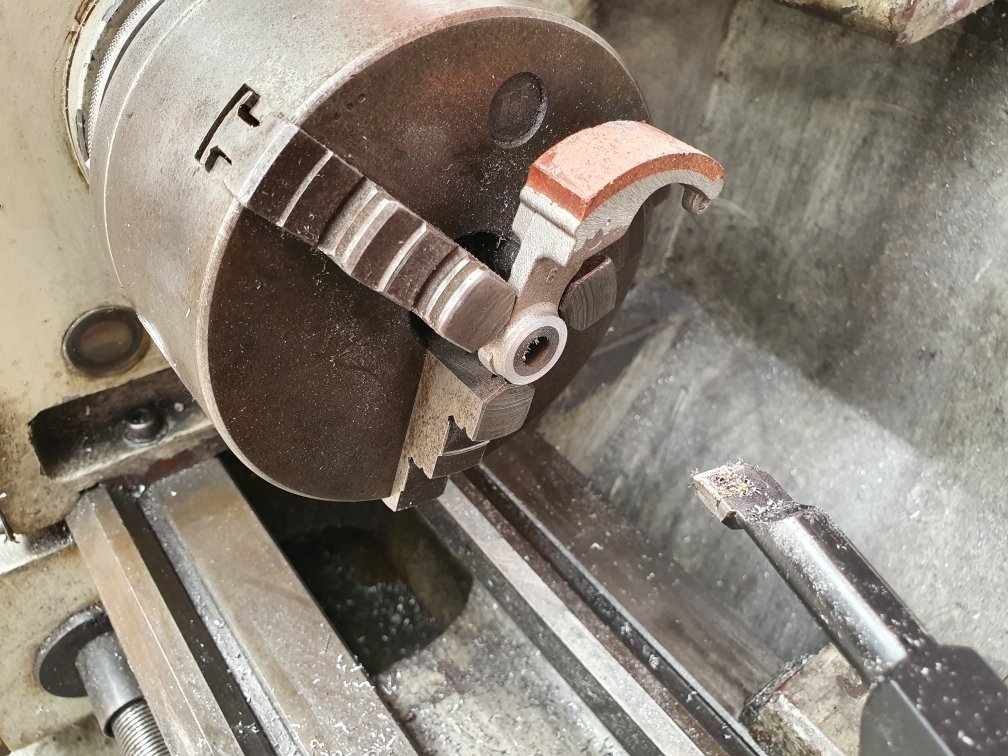
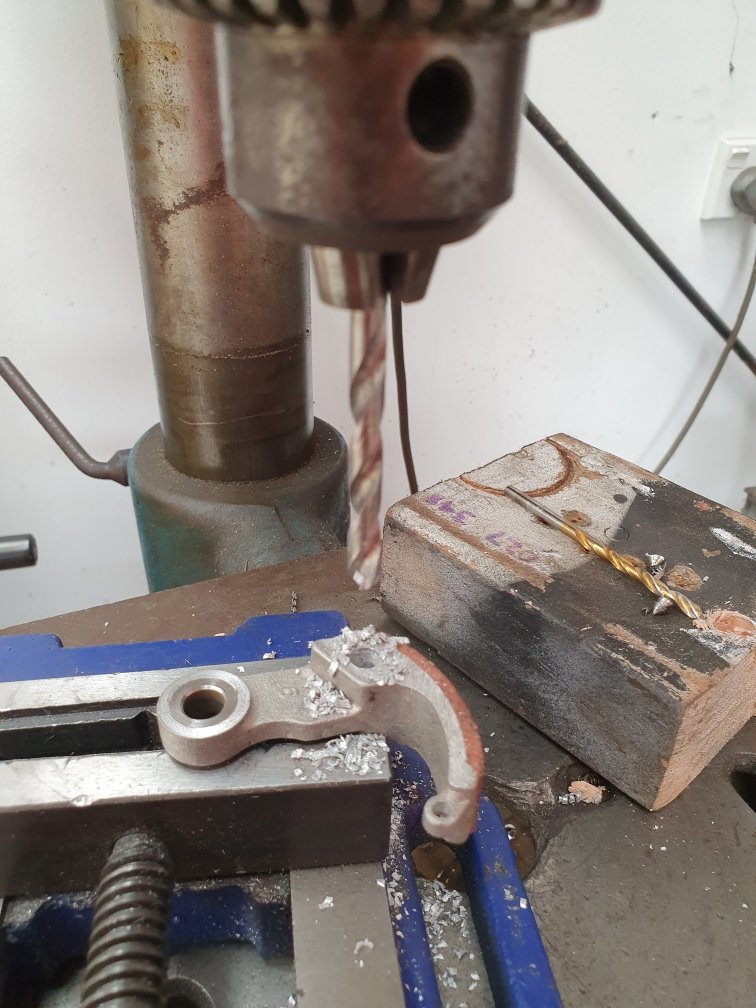
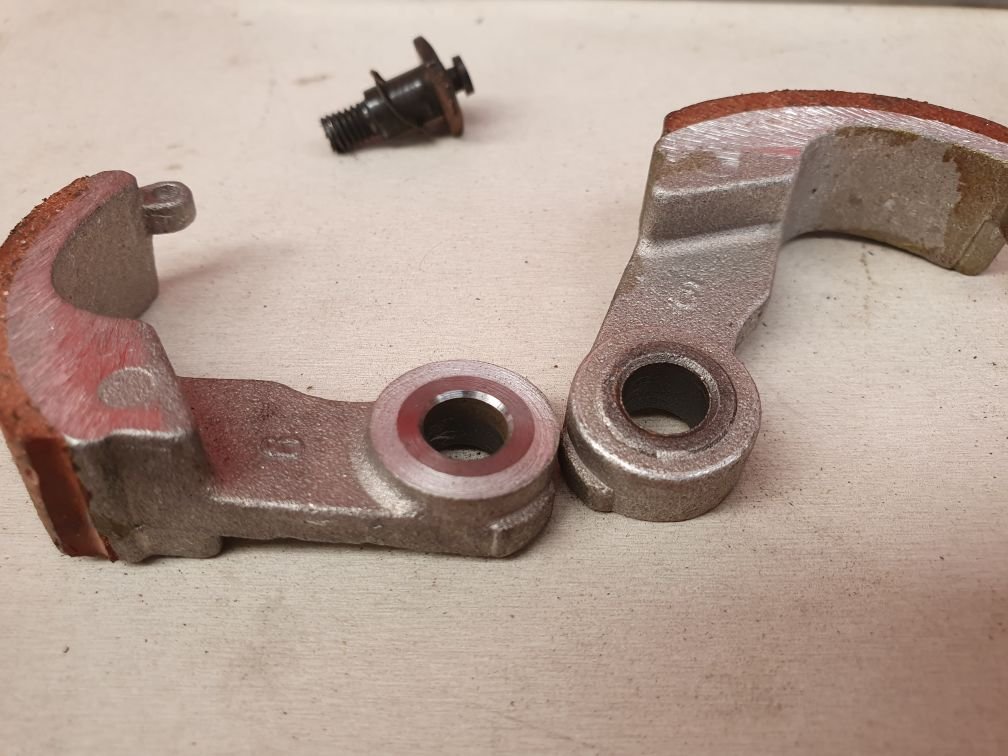
Okay, it's no secret I'm into some pretty niche things. Gopeds, drift trikes, lowrider bikes, skateboarding, gokarts, tallbikes, etc...etc... none of them are popular in NZ by any stretch of the imagination. Now this is about as niche as it gets. 39cc of polini awesomeness! It puts out 6.5hp and sounds like an angry beehive!!! Pops wheelies when the powerband kicks in...its mental. I picked it up a few years ago, with the goal of cutting it up and putting the motor on a goped. As it turns out, its basically the grandfather to the pocket bike craze and is highly collectible in Europe, some selling for over €2500. So needless to say, I won't be cutting it up anytime soon. The clutch fucked out, so I brought this "high performance" clutch. Well if the goal is to add excess weight to the rotating assembly, shift the engagement rpm down low where it's not making power and decrease speed, fun, your will to live as much as possible...then yes, this clutch excels in all those areas. I had other goals, like simply returning it to being awesome like it once was. So, I brought a Chinese clutch for a 49cc kids motorbike, that didn't fit either, then modified it to fit the polini by adapting the new clutch arms to fit the polini hub center. I cut the arms down in the lathe, to fit the polini bolts. Drilling to lighten the arms, this raises engagement rpm. Shortening the springs to put more tension on the arms, this further raises the rpm. Drilling the arm spring pockets to remove the shit casting marks to allow smoother operation, and allow the much fatter polini springs to fit. Back in and running like a dream! I know its ridiculous...I know. However its definitely one of those things that fits the saying "don't knock it until you try it". Not in the way someone may say having sex with men feels awesome "don't knock it until you try it"... no, nothing like that. This is more in the have you ever driven a rotary category... it's only purpose is to make you smile.
2 points
-
Signed up this evening. Cheers gents. Well written T’s & C’s.1 point
-
Maybe the pitbike loom just has the engine earth straight to the cdi and coil cause they don’t need no lights, so try earthing that to the frame but yeah I also have one of the yellows to earth cause none of my lights have a return wire so like this
1 point
-
We should do some meets again but they kinda died off If you wanna take over the reigns organising stz @GuyWithAviators then its all yours1 point
-
1 point
-
This is indeed that car. Although it wasn't overheating then.1 point
-
This looks like neatest solution for fitting the fuel pressure sensor without an external FPR. https://www.trademe.co.nz/motors/car-parts-accessories/performance/gauges/listing-2529565372.htm Could have it just off the outlet of the fuel filter.1 point
-
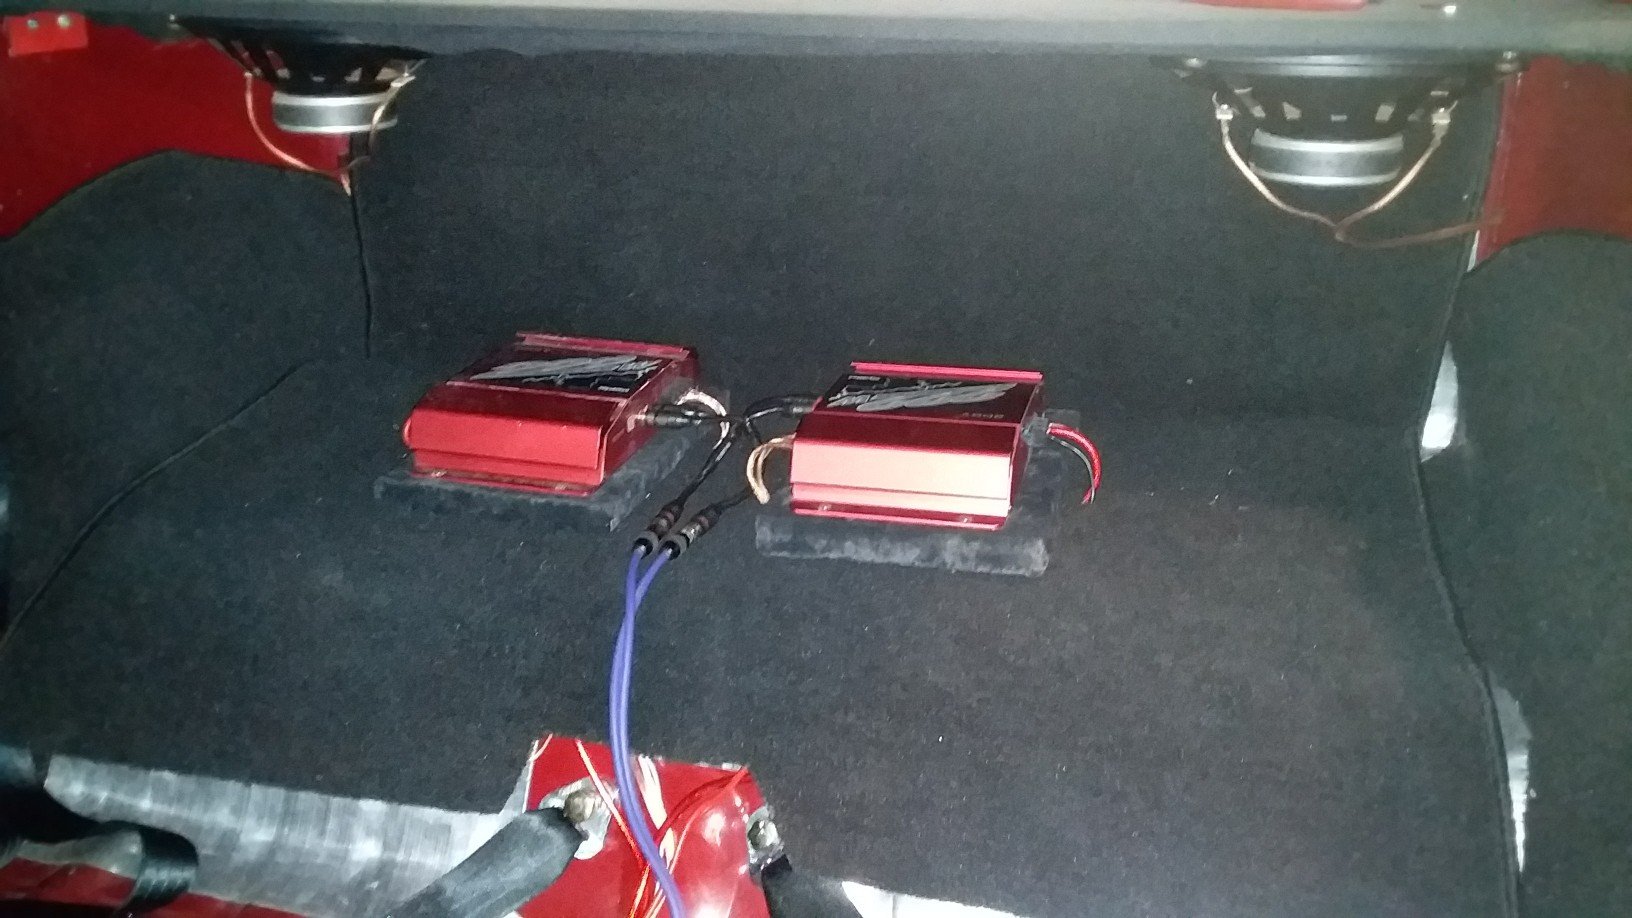
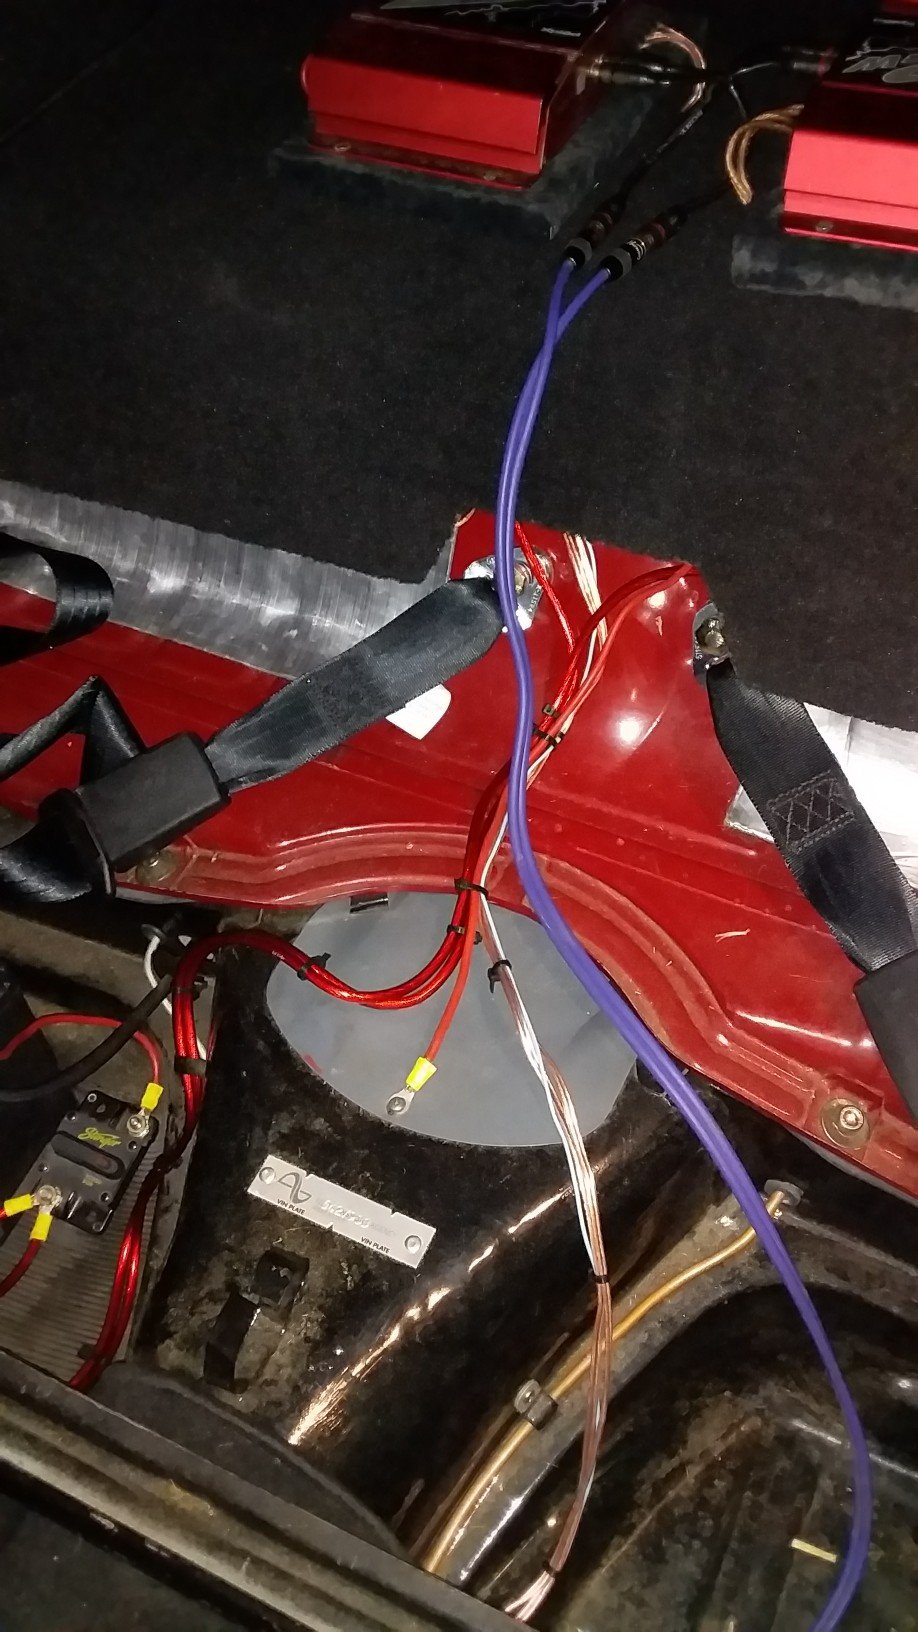
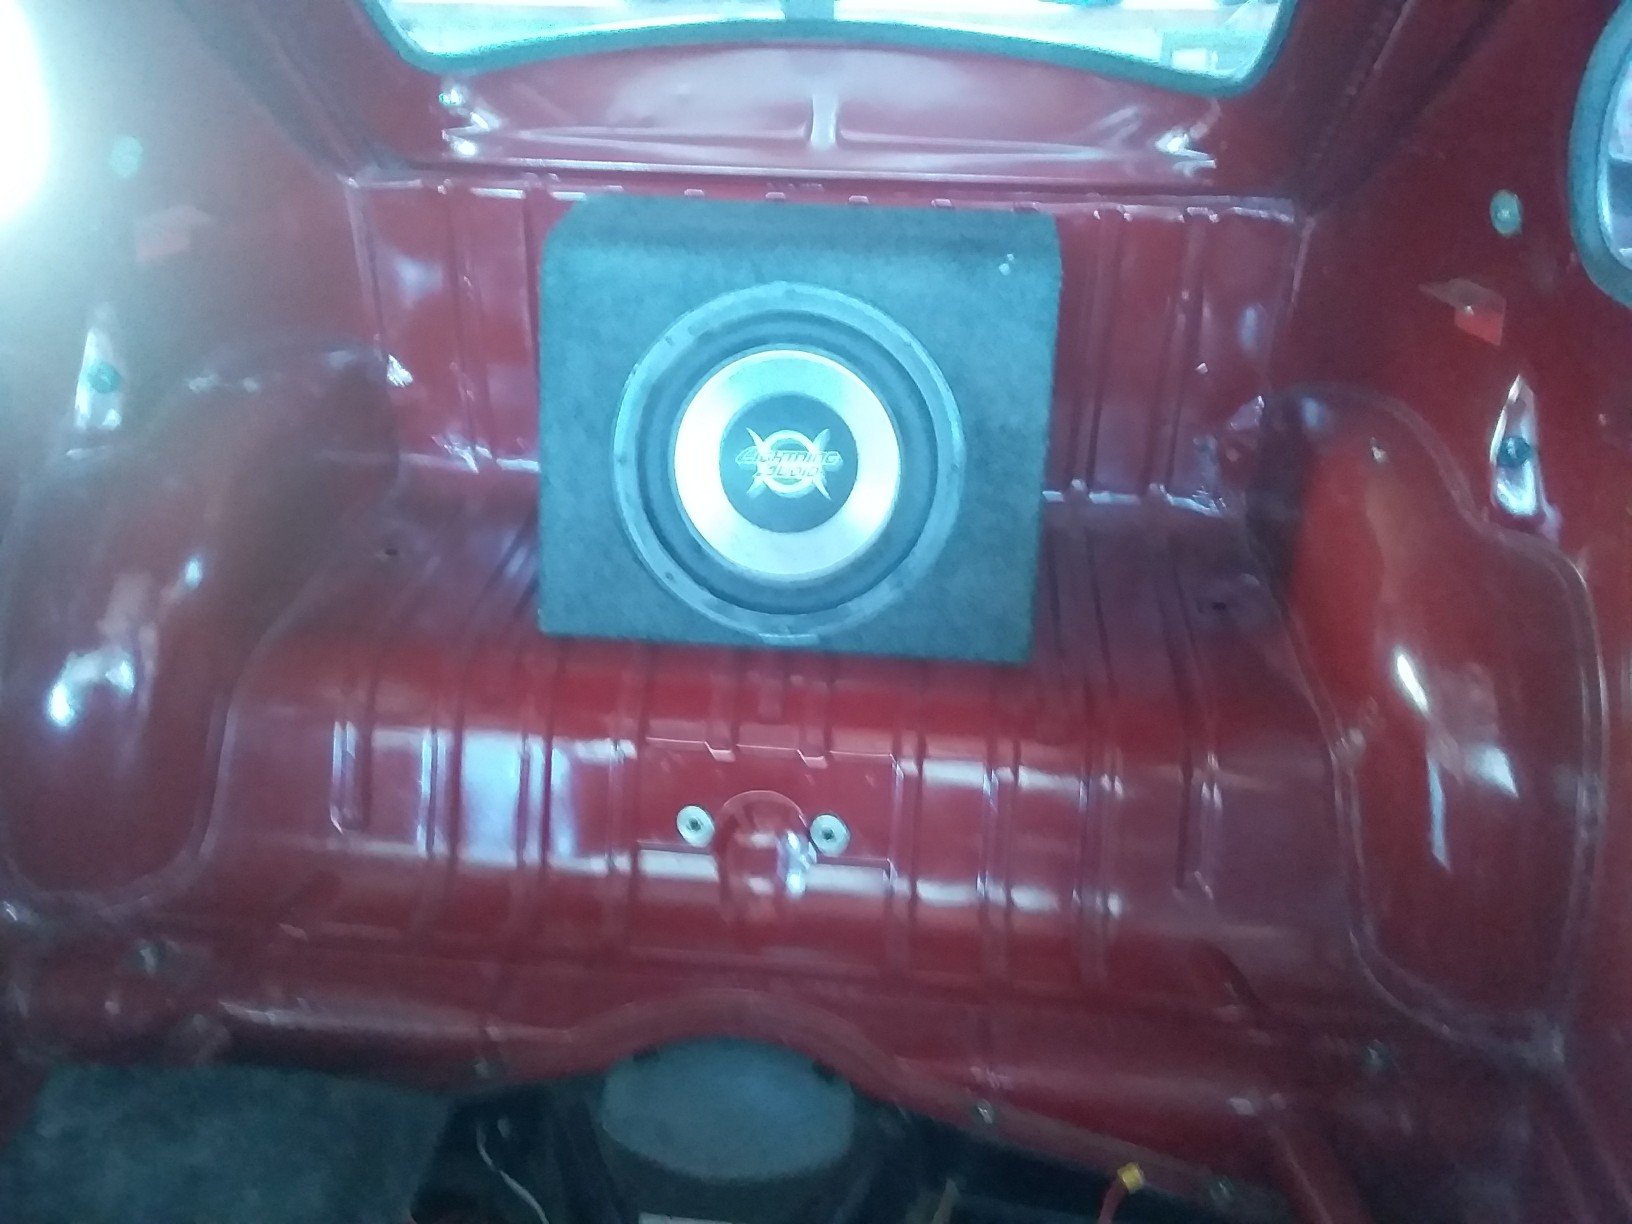
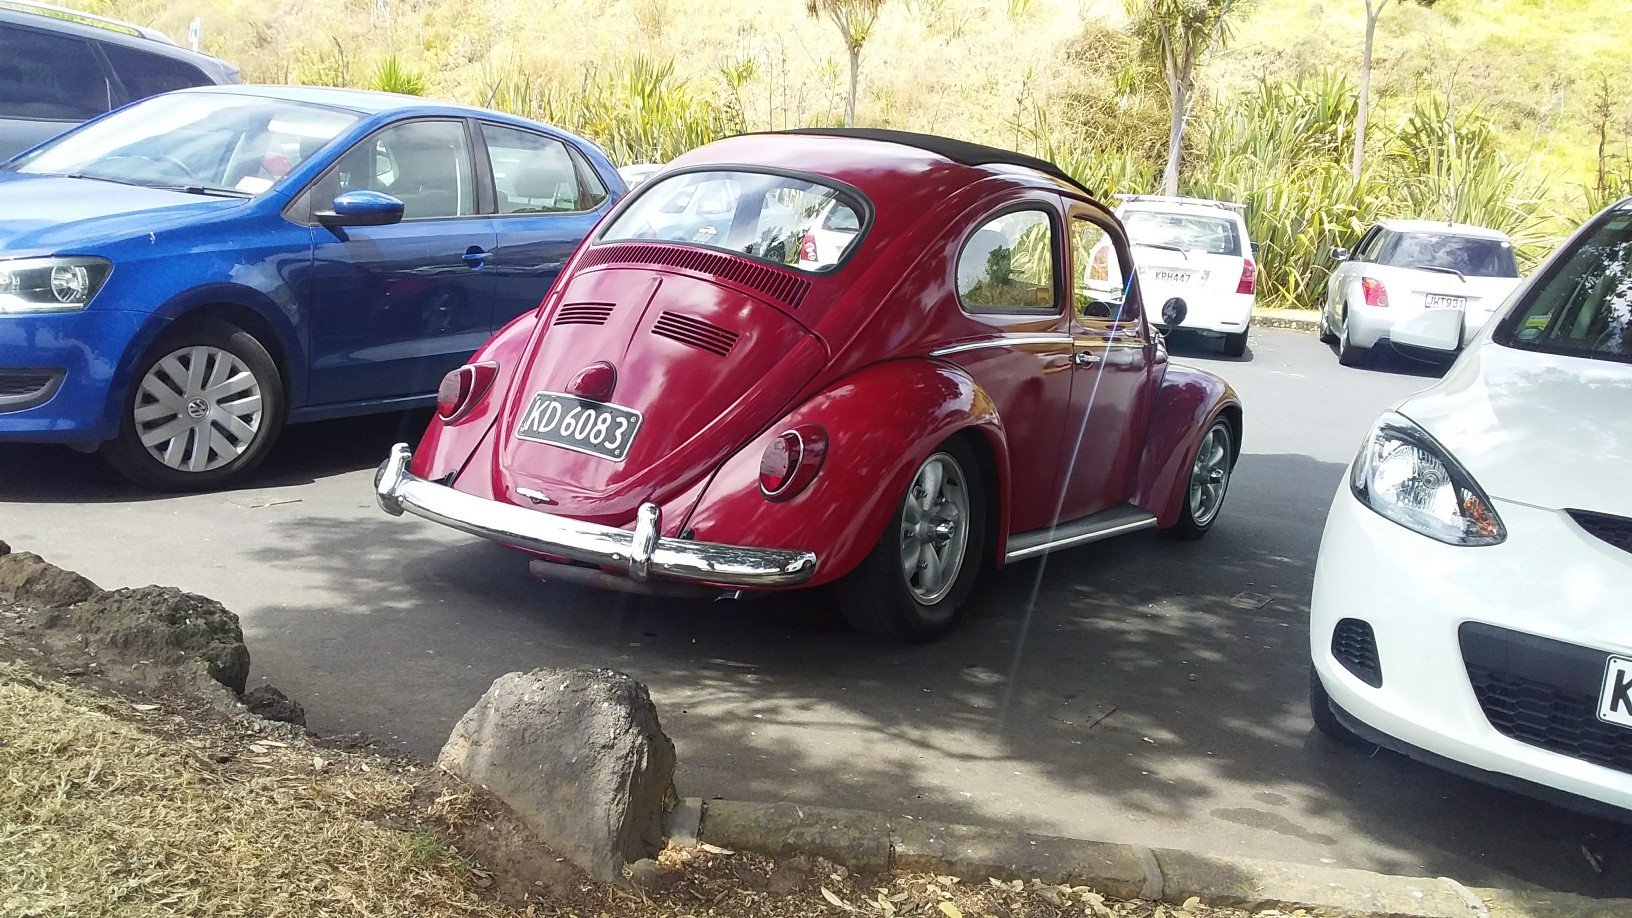
But first, more important things! As I don't have radio, I've just been plugging my phone into this 222Wattts of retro power! With speakers in the front now, I was keen to get them going, luckily I have two 222Wattts amps. After way to much time trying to somehow fit them both under the back seat, I realize there's heaps of room behind the back seat, I was going to but this behind the back seat. But, without drilling holes in my floor there's nothing to anchor it's considerably weight to. So. Ye ol 6x9th, shall suffice. Tidied up the wiring. Been fiddling with settings, running the low pass on the 6x9, not bad. Had a stupid idea of just mounting the sub like the 6x9s as that rear area is pretty good box. Took the family out for a drive over to Devonport, they weren't that thrilled about not taking mums limo. Well not limo, but a 04 Odyssey is infinitely more comfortable that this tiny smelly noisy little car. Started off great, got on the motorway, had gone about 2kms and the engine stuttered and we're outta gas! Fortunately I always carry spare gas. Are we making memories yet! Had a swim and drove home our wet toggs with an ice cream, i always have to turn the car off a drivethu, cant hear the little man in the box! By the end of the day we all a most excellent day out.
1 point
-
Edited for PC correctness1 point
-
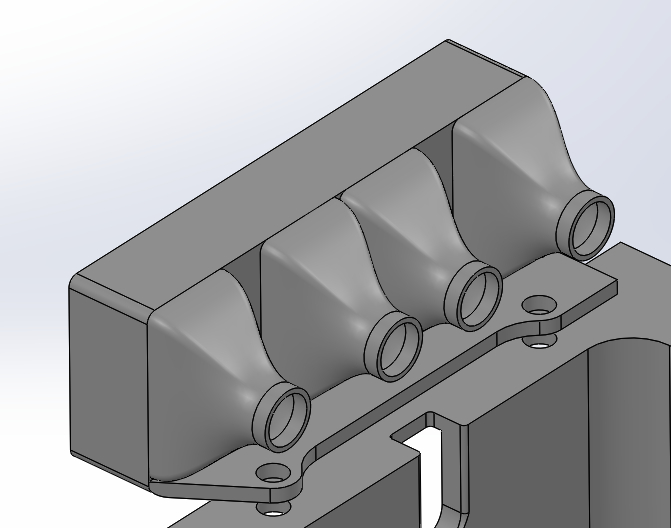
Alrighty, bit of an update lull as it has been way too fucking hot to do anything serious, plus I am broke so cannot fund much stuff that needs to happen. I have been picking away at a a few jobs tho; I added some deck lights. Nothing super bright, but then they don't draw a shit load of amps either. I took it for a stealthy drive down to the weighbridge, it has ended up at 2450kg with a full tank of diesel, not as light as I thought but still lighter than a Safari, pretty happy with that really as the deck is a chunk bit of work. That was the first time at road speed and it feels fucking great. The drive did highlight the need for a bit more airflow to the rad, it was a super hot day but at road speed the fan was still cycling which isn't ideal. Thus I built a pretty serious bit of ducting/shrouding underneath which I don't have a great pic of but which seems to do the trick; This was actually a bit of an effort as I needed it to clear the diff, which meant relocating the brake T block, which meant redoing the front brake lines etc etc. Cool cool. It also got pretty hot in that cab, so I have ordered some heat shield material, I will see how that goes. As an added precaution I created a bit of bodgy HVAC to pull hot air out when things got too much like an oven; This was because I had a 24v 150mm fan that has been in my stash for 10 years - see you should never throw things out but hoard them always. This runs off a bi metallic switch set for some random temperature. I have had a couple of previous comments about my choice of thermofan switch which I chose to cut in at 102deg. I talked to my radiator man about it who said what a cunt I was and that mid 80 degs was where I should be so the cooling system has a bit of headroom to work before boiling. Ok, I am abashed. The cheap easy switches were all M16 thread though and the fitting in the thermostat housing is M12, so I pulled it off and retapped it to suit. This has made the cooling situation feel a bit happier, plus it doesn't get so hot in the cab. This is probably good all round. Being broke and discovering that I had 4x 24v relays from the donor truck I decided to create a trailer plug 24-12v drop down converter; I will get a trailer plug and wire this shit in. There is 12v available at the back of the truck from the dc-dc converter set up for the air pump. Sweet. Lastly there is a leak from the exhaust manifold somewhere, and this will be difficult to sort because of the stupid little adapter I made to go from the OEM manifold to the TD05 inlet. So I drew these up the other day and got them cut. I will purchase some bends when I have some spare casharoonies... Then brace yourselves for some header lovins bitches. Also I made some spares to potentially pay for the cutting, let me know if you need some.... At ease.1 point
-
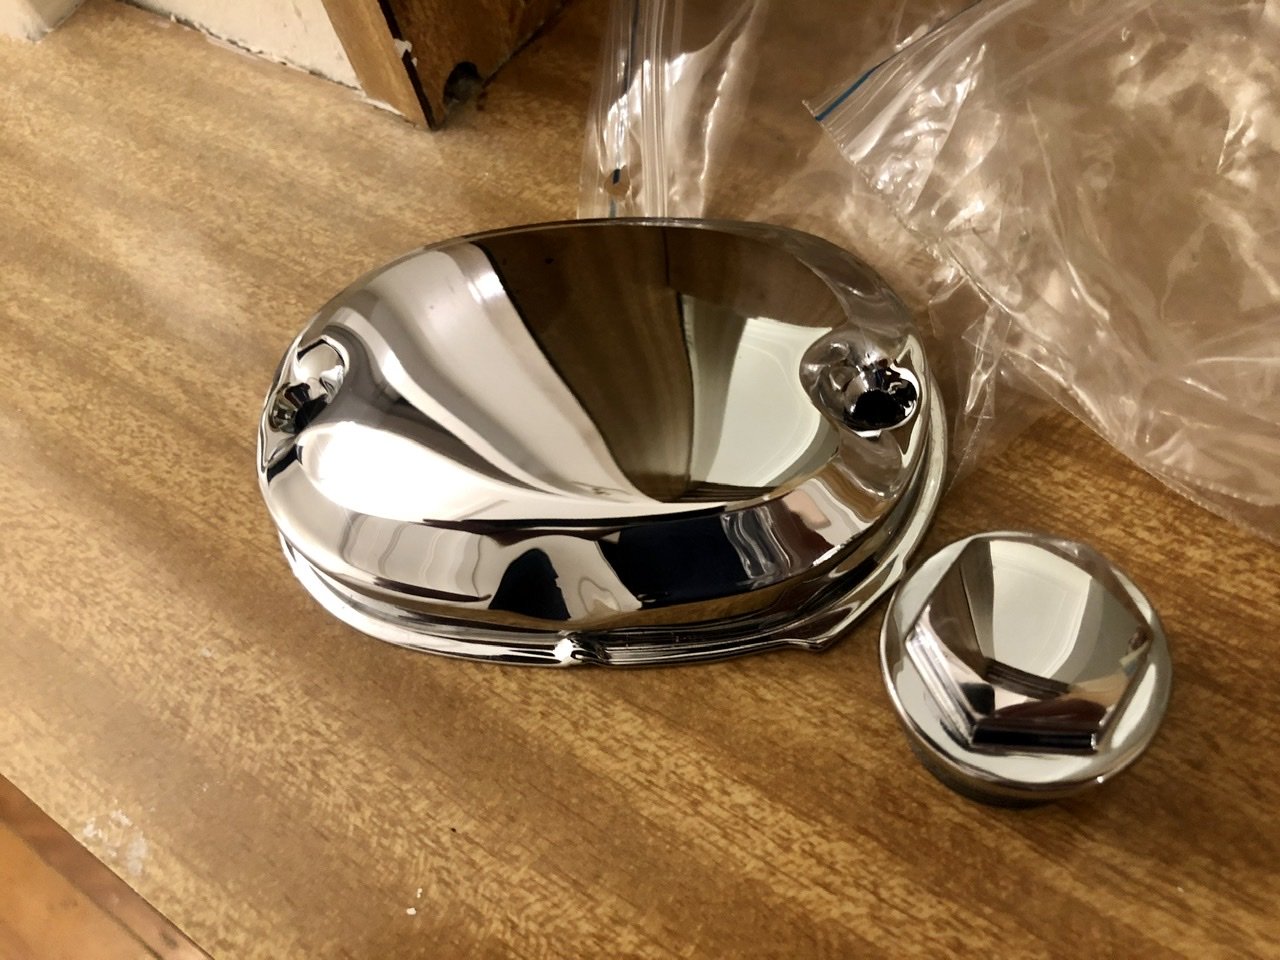
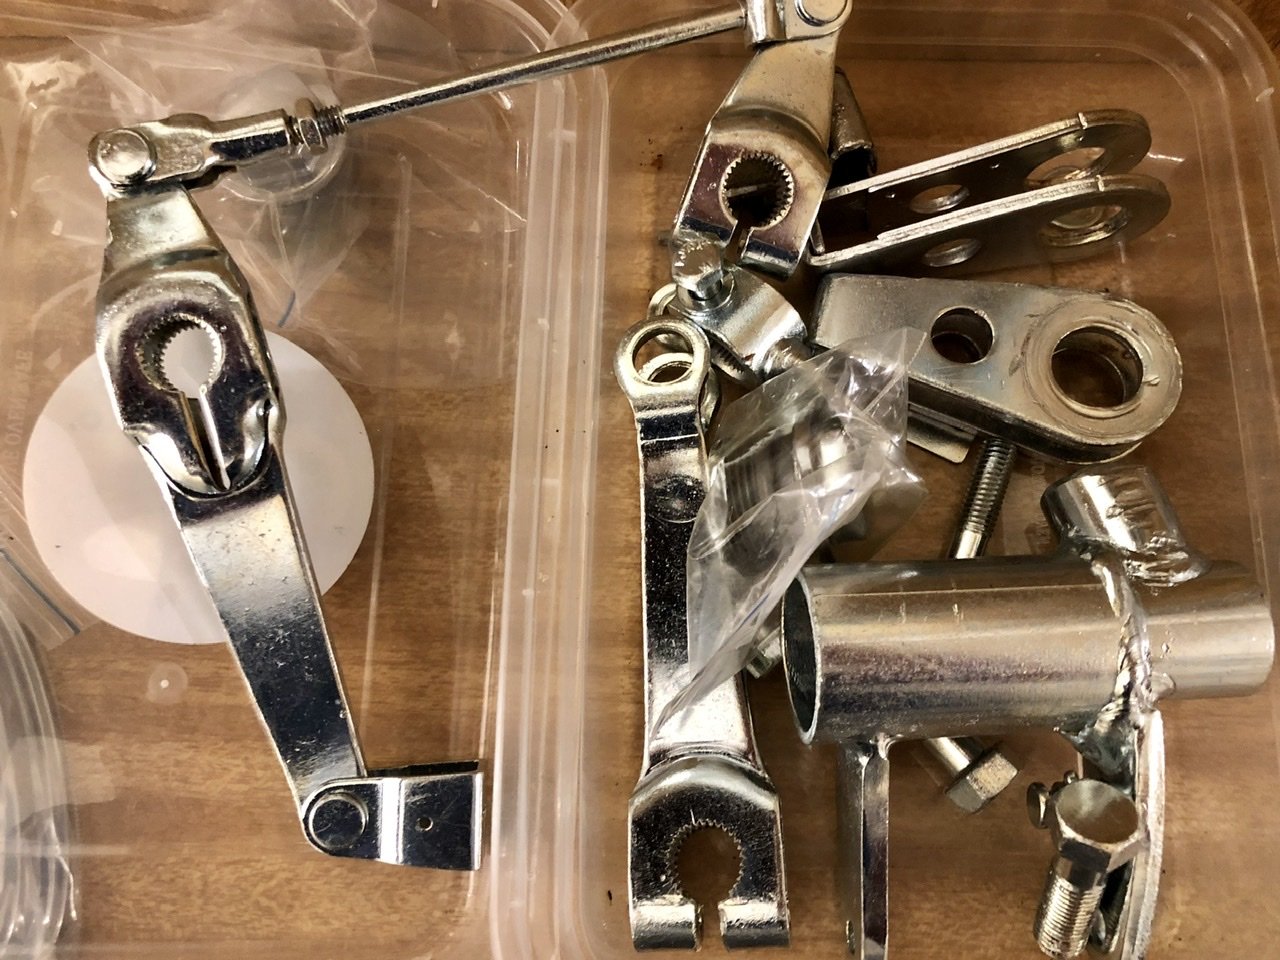
Send some bits away to get chromed and bright zinc plated. Fresh chrome looks amazing, points cover and the suspension fork bolts are now perfect. Wasn’t cheap but those parts aren’t available new anymore. To be fair they were pitted badly and most of the time was probably spent tidying up the parts before chroming. The bright zinc was super cheap to get plated, like $20. However no prep is done. If I’d known I’d have polished out the pitting marks more but for 20 bucks it look a million times better than it did.
1 point
-
Thanks...auto correct strikes again. Fixed it...1 point
-
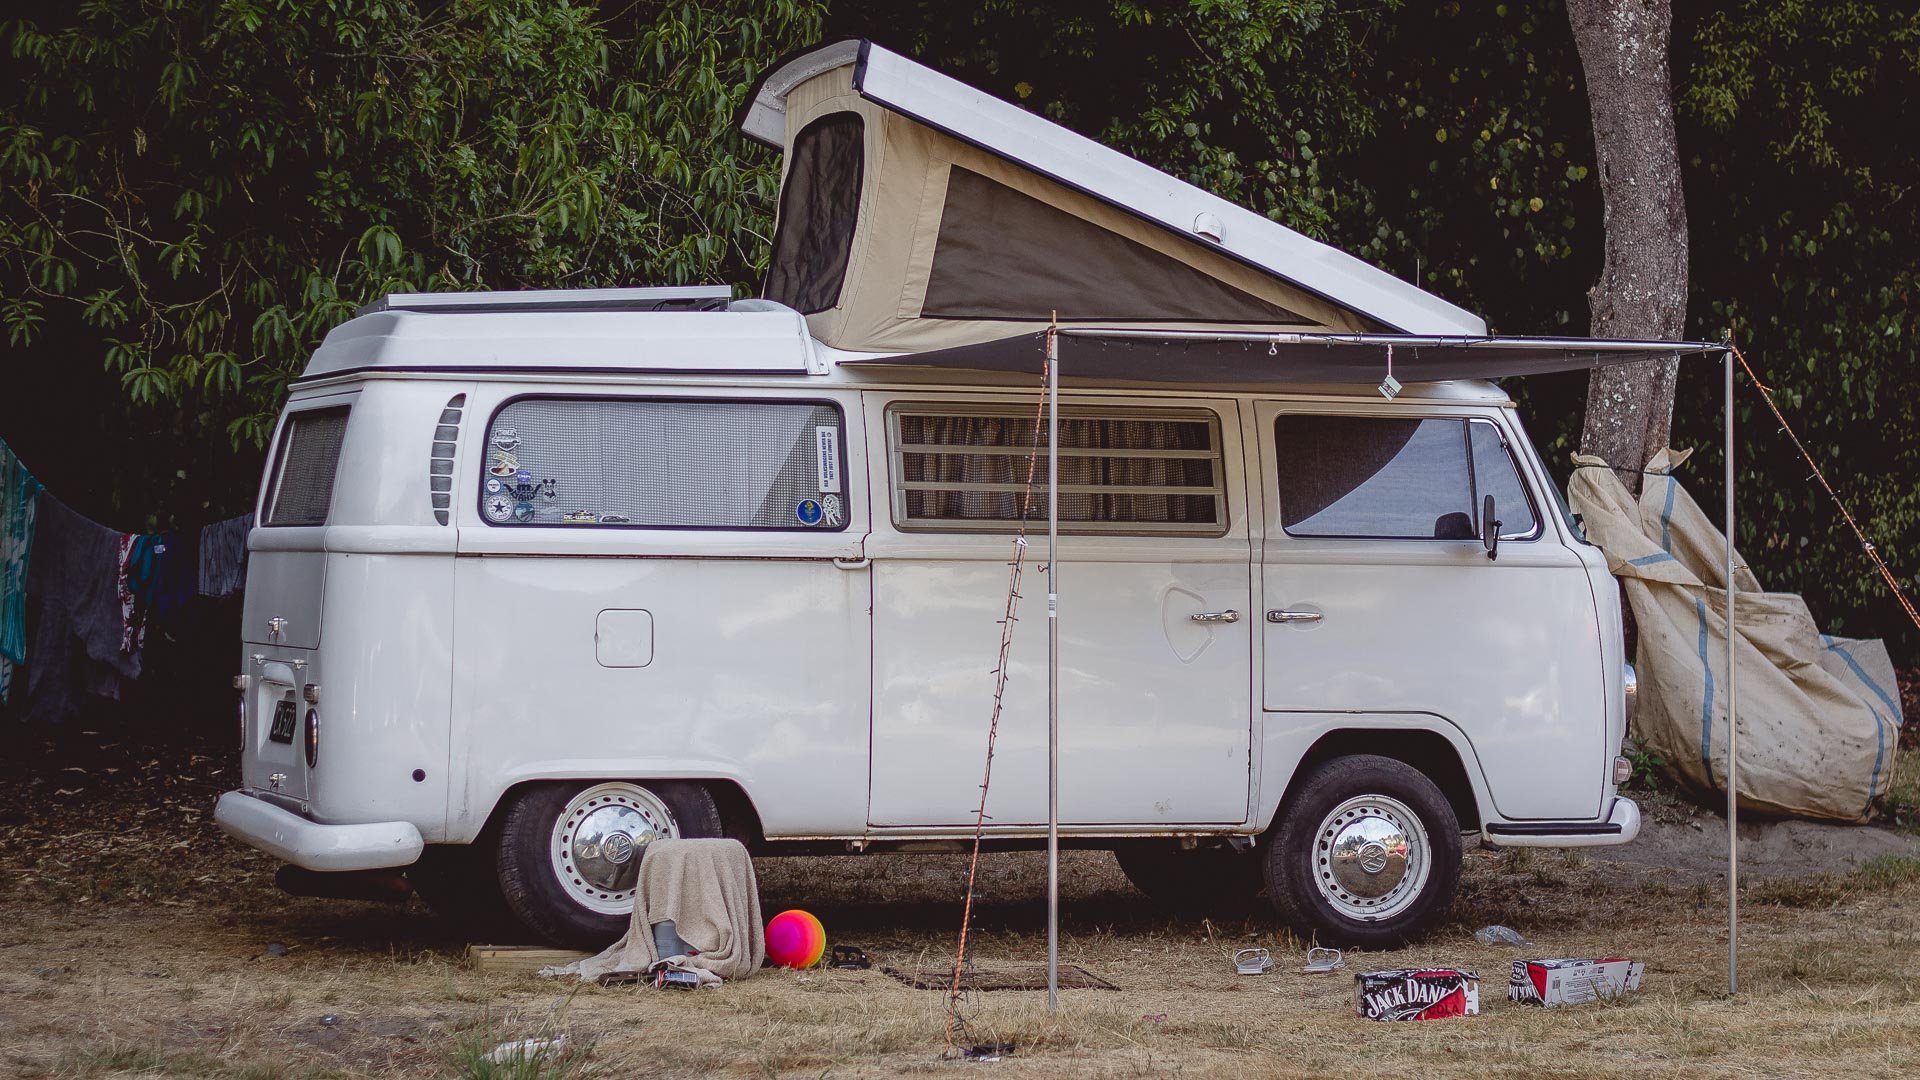
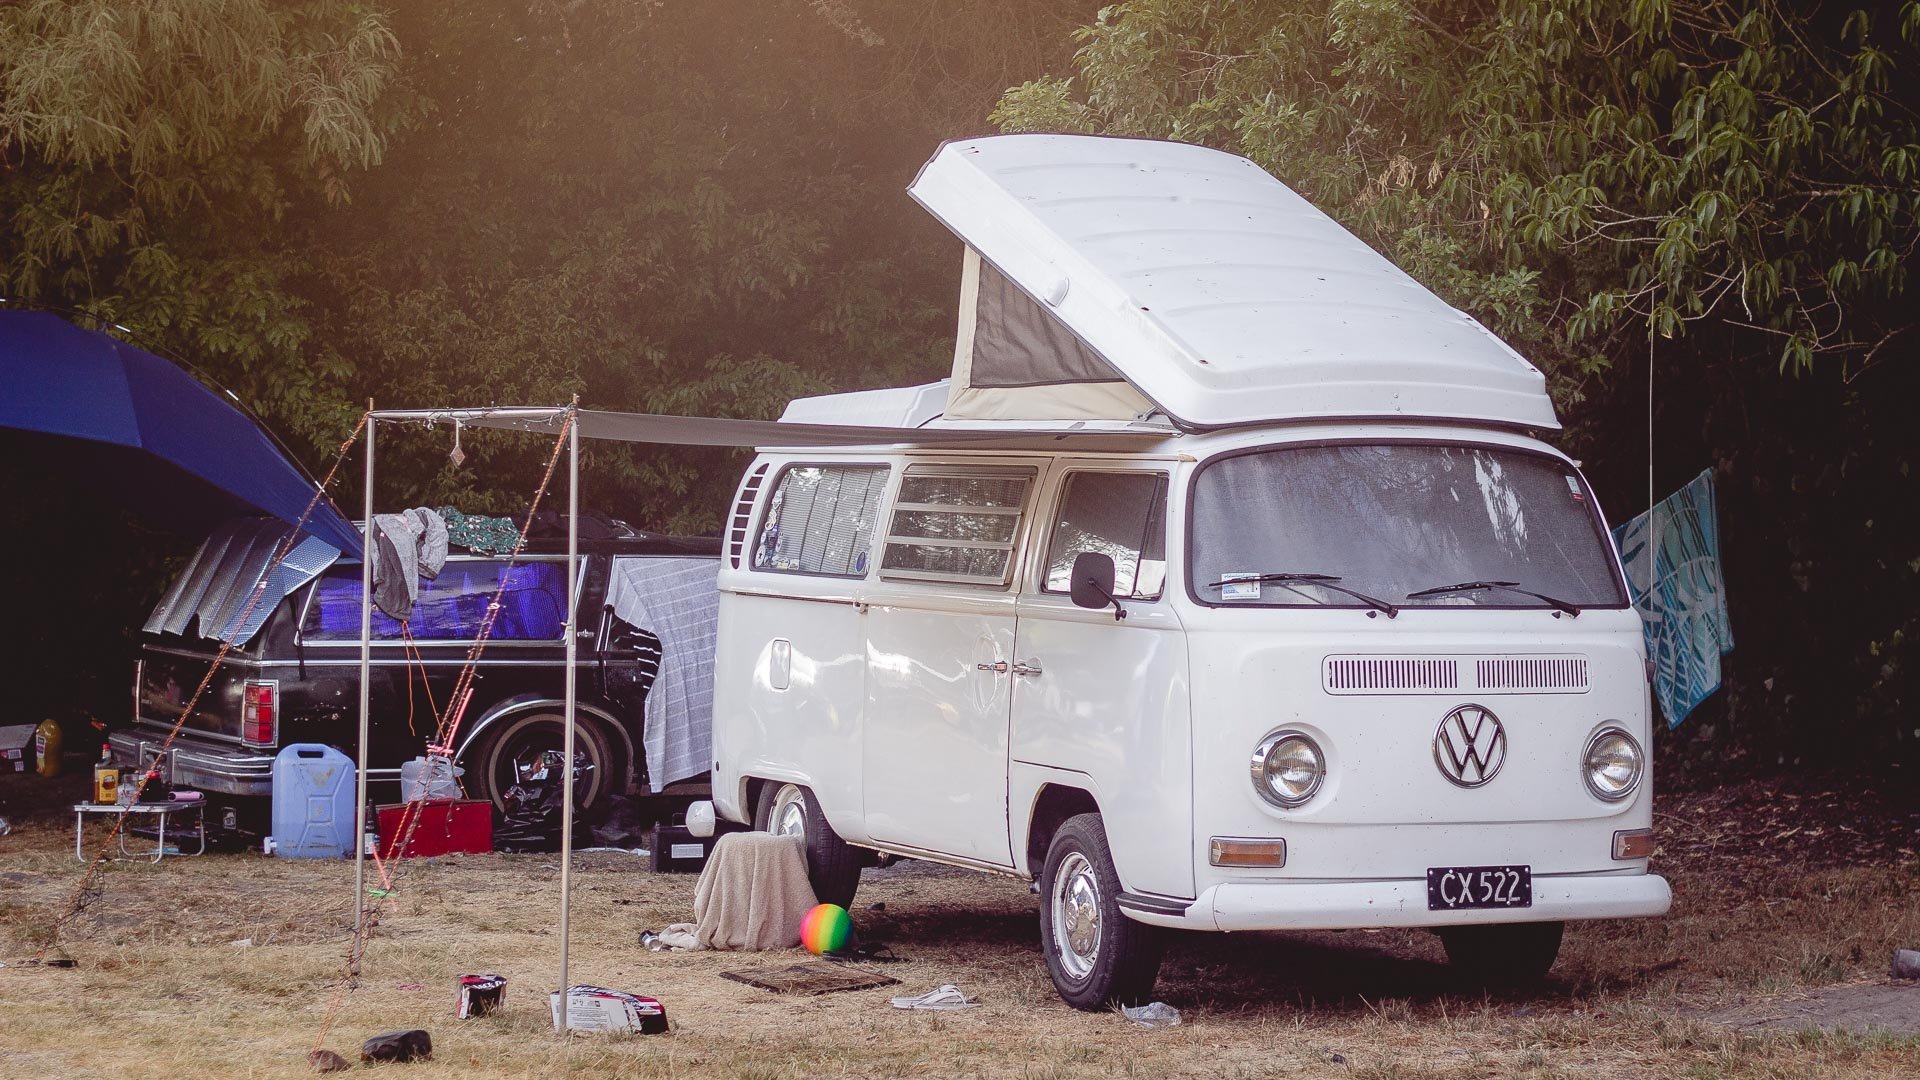
Hi team. me again. So we left it with i brought a solar panel for the bus. Well i wasn't to sure on how to mount it up so i called in for assents of @Geophy and @mark105. we all got busy and made some stuff work. kombi roof racks do not hold a greg that well, but it was the only way to get up and put the rivnuts in. all mounted and ready to go. we ran the wires down and through the roof and popped out under the back seat to the unit that sends the power to the battery. for some reason i dont really have any pictures of this but ill post some next time. the following day i parked it out side and thought id see what the solar panel would actually do, in over cast weather it was still pulling current and you could see the current change from different light. if you cant tell i was excited and had to share my news with @Ned as soon as the sun came out to play you could watch the voltage go up. this app im using is from a ABM2 Bluetooth Battery Voltage Monitor. which i needed to tell @UTERUS about. so that was all done and it was pretty much time to go to wagnats. so i thought with 20 hours before my little holiday i should really remove the engine. i had been meaning to do this for a long time to put the correct tin wear on the back of the engine so it would seal the engine bay. see how the current one is tapered, we yeah it was letting air in. so three hours later and replaced a rubber seal she was back in and running ready to go. the following day we got up and headed to wag nats. 1st stop was in te kuiti to drop off some seats to a friend. Leaving te kuiti there was some road works and everyone decided to pass me around 80-110kmph and showered me in stones managing to put 2 large chips and one crack into my windscreen and another into a fucken headlight. all for me to fucken follow all the assholes for the next 2 hours....... can you tell how happy i am about this situation. any who made it to wagnats wagnats was the best note, good old Jack Daniels boxes floating around haha Shout out to @Brimmy for those last two great photos and the solid amount of even better photos in the wagnats thread. we are off camping again this weekend and maybe to a vw gathering in tauranaga. we will see how we get on. till next time.
1 point
-
Sorted! I put little 5/16 cap head screws at the end of each shelf, to stop any round materials from rolling off, though I doubt its really needed (better safe than sorry I guess).
1 point
-
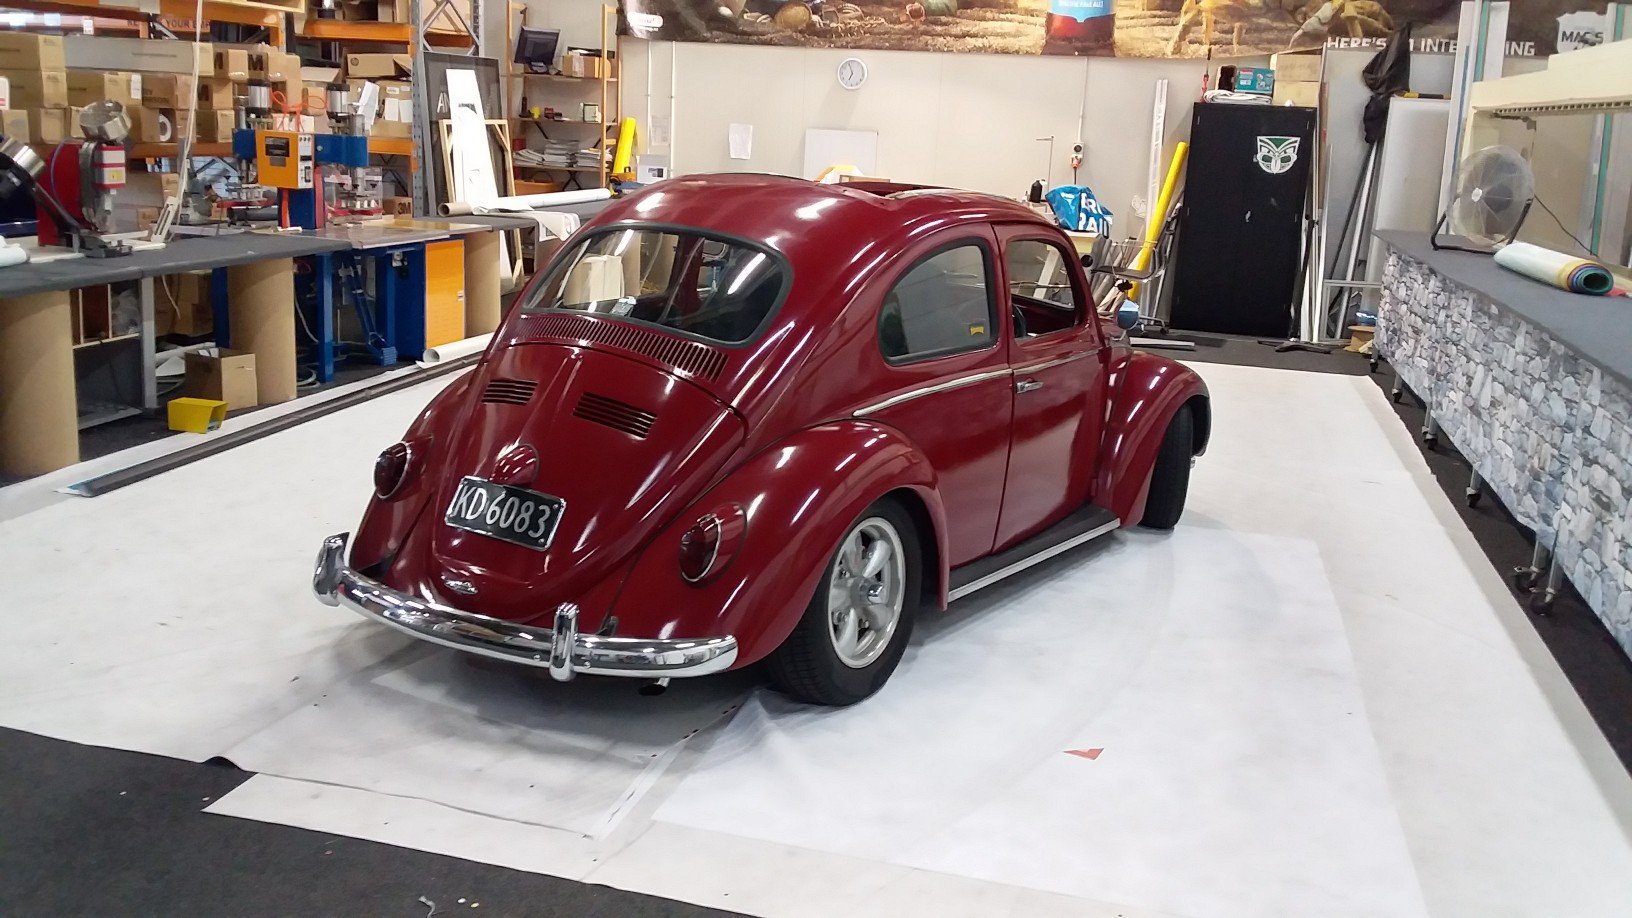
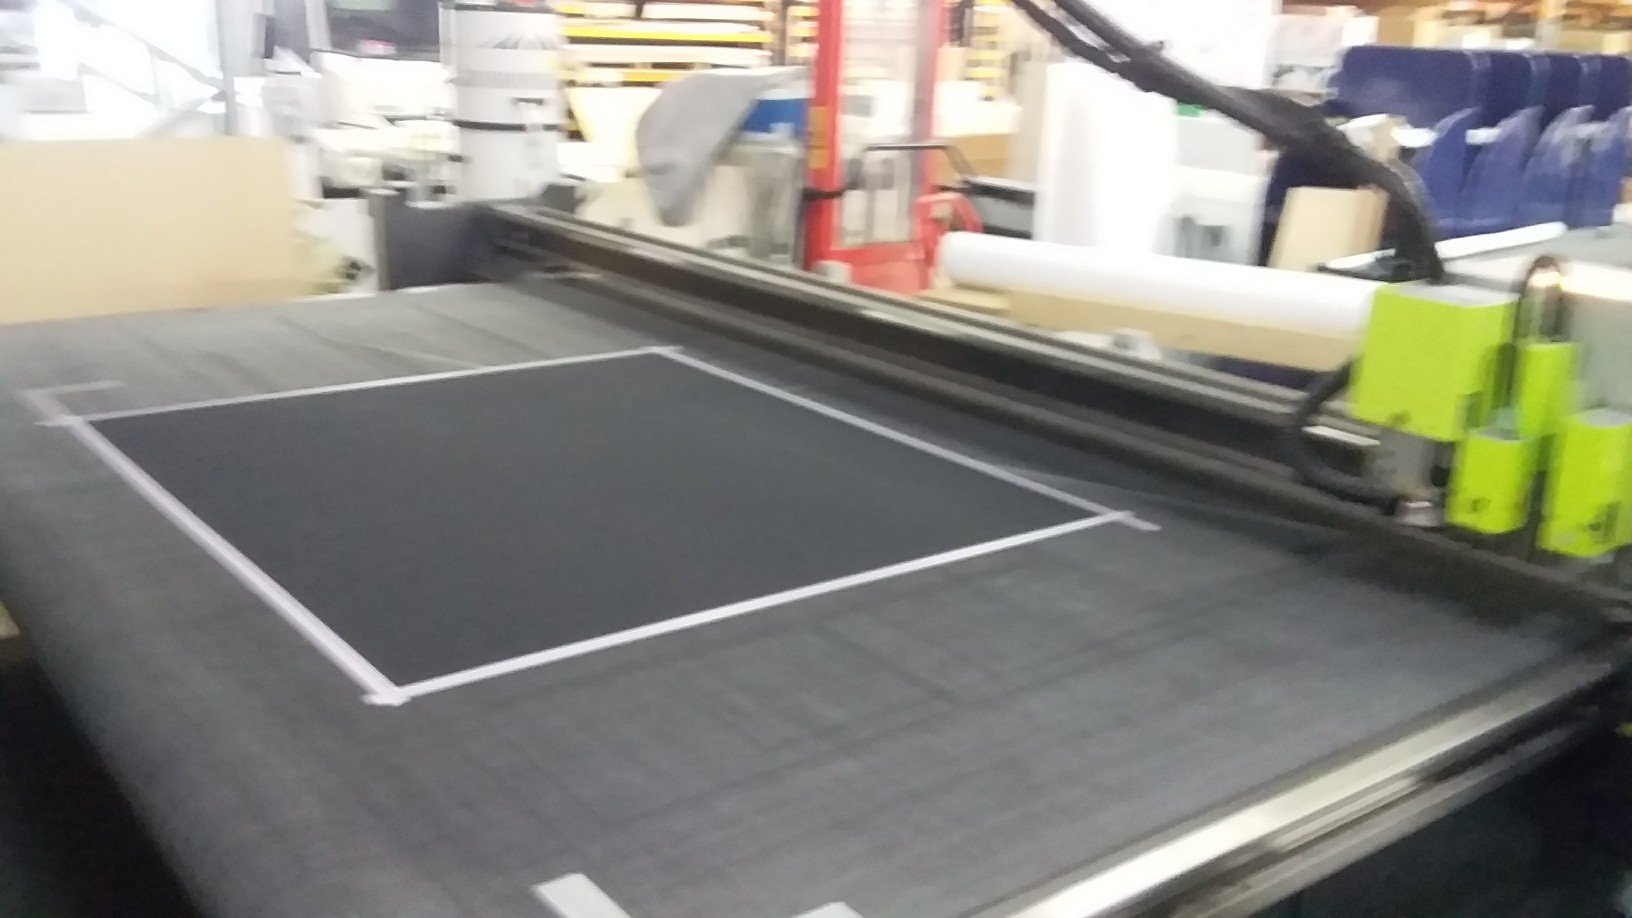
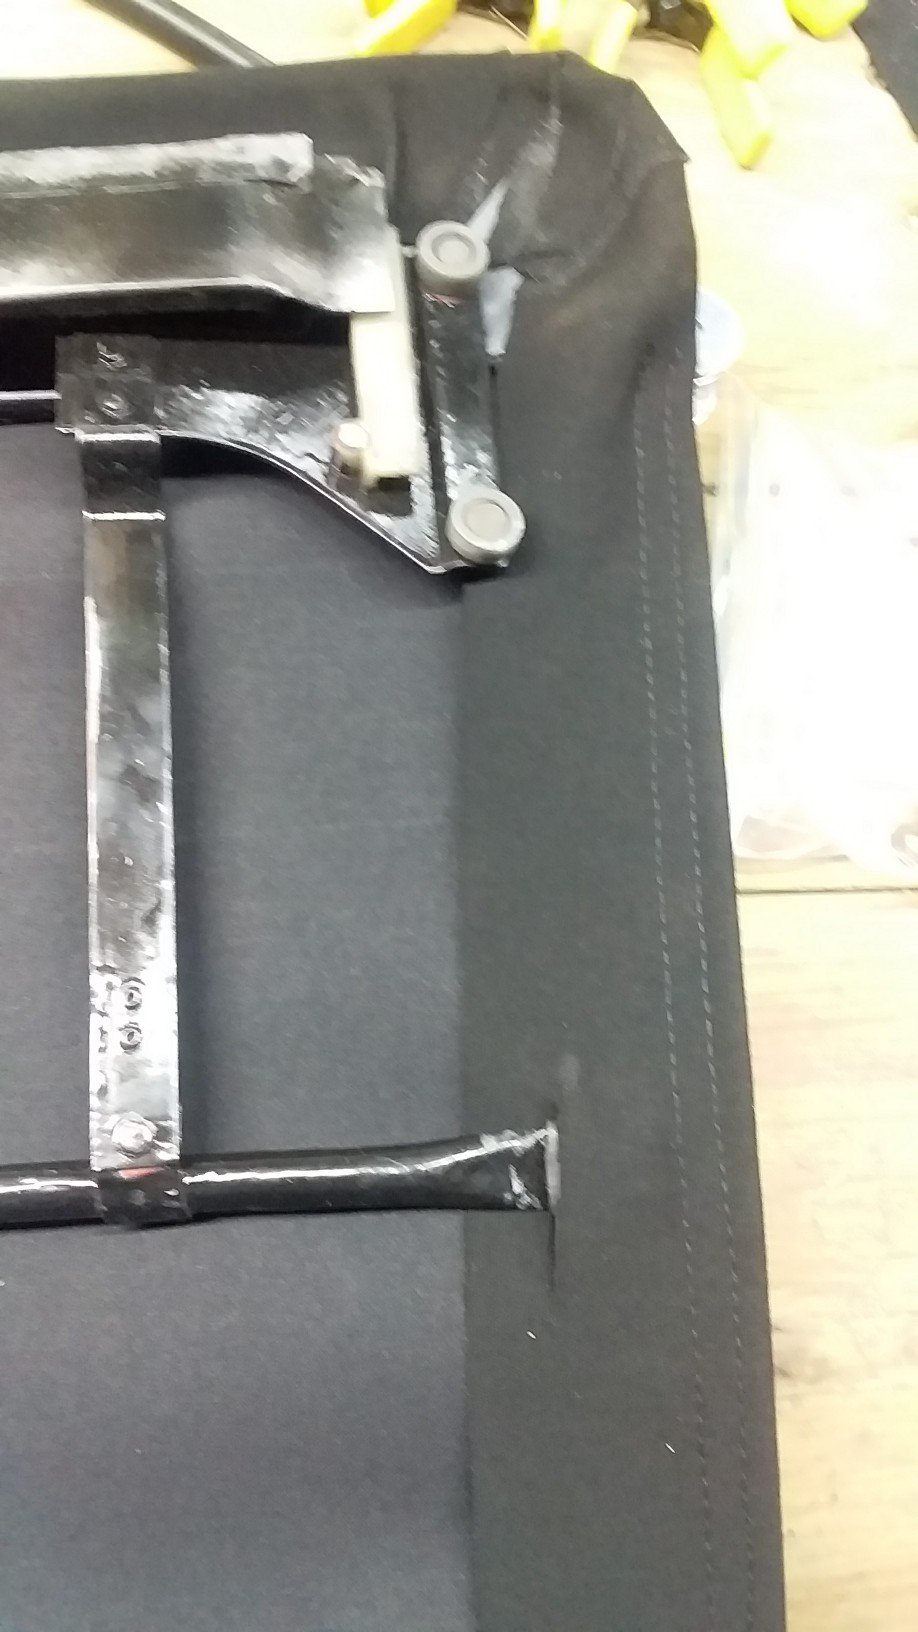
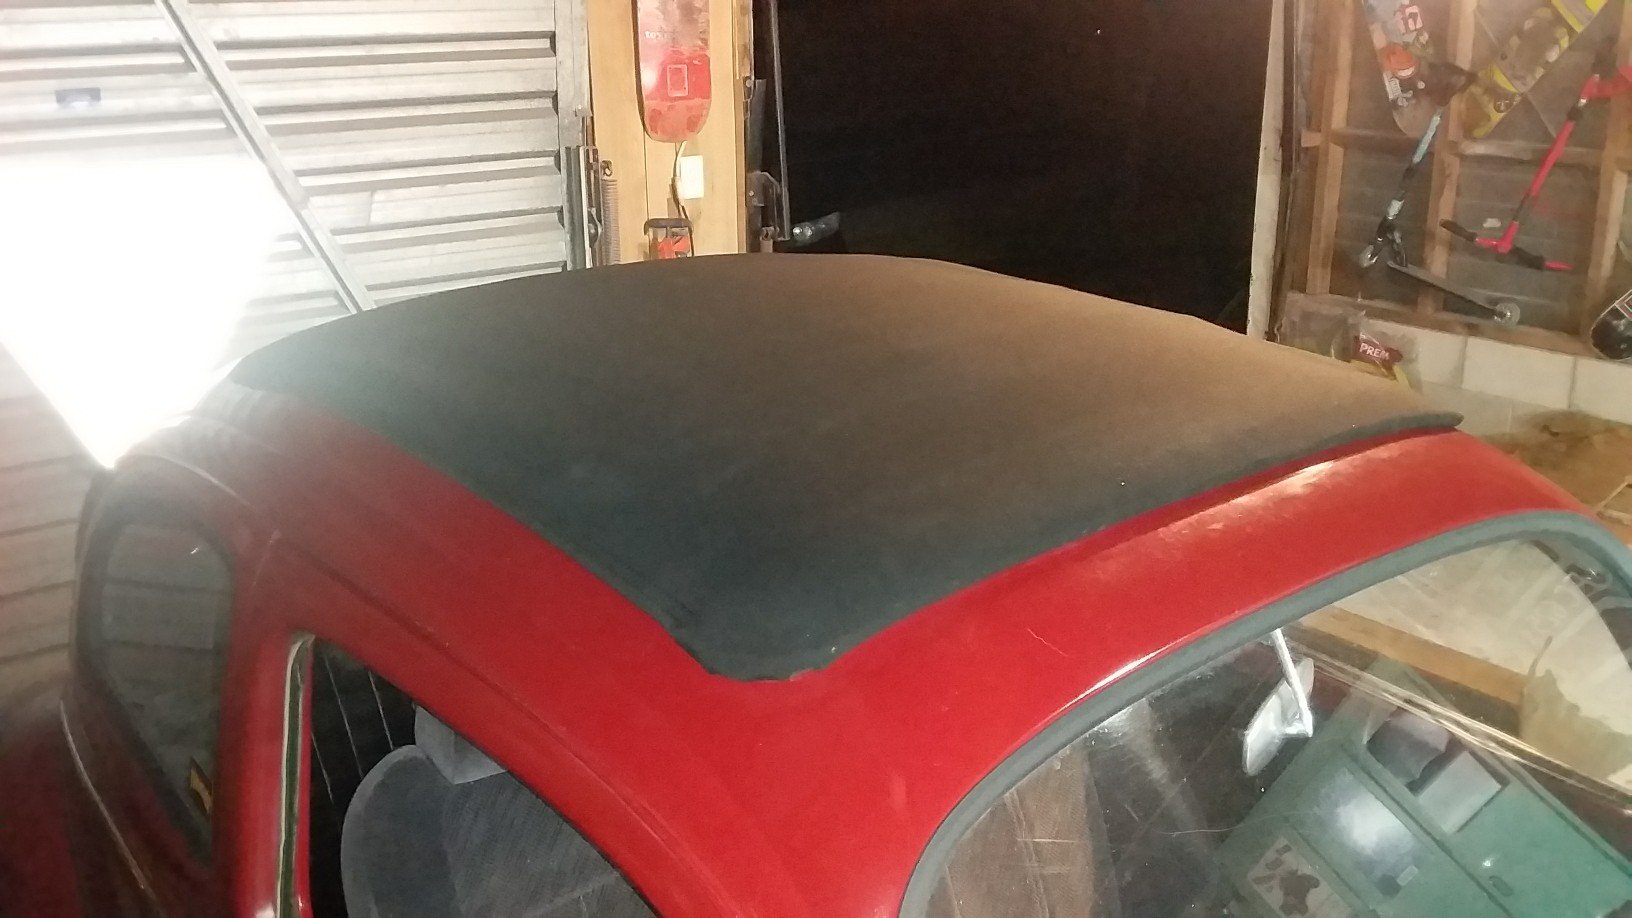
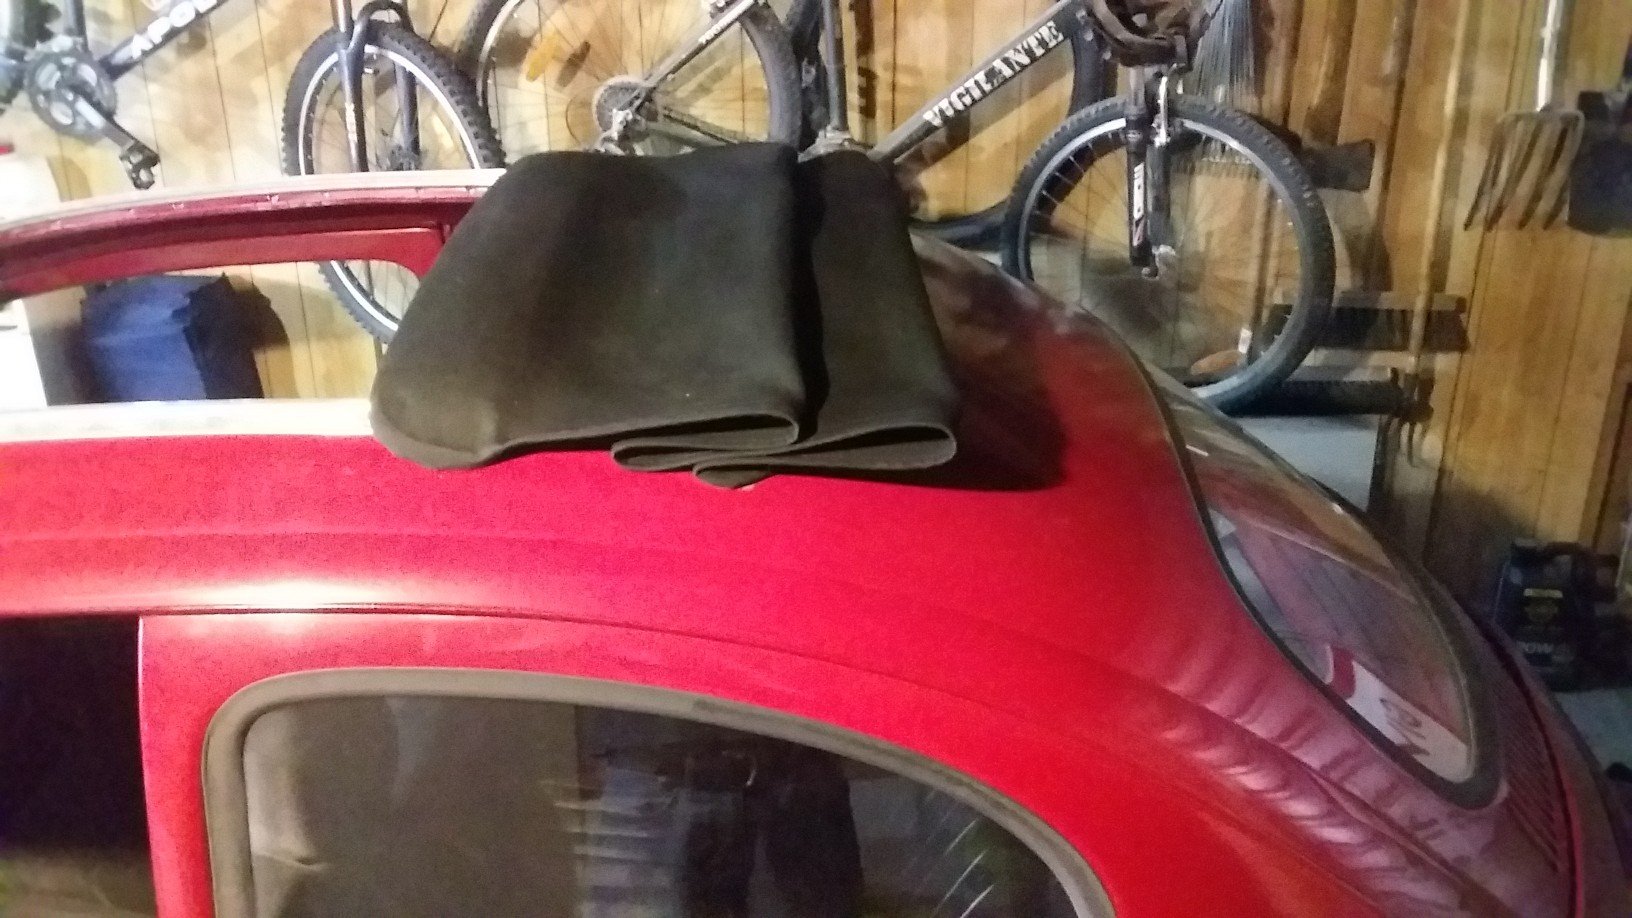
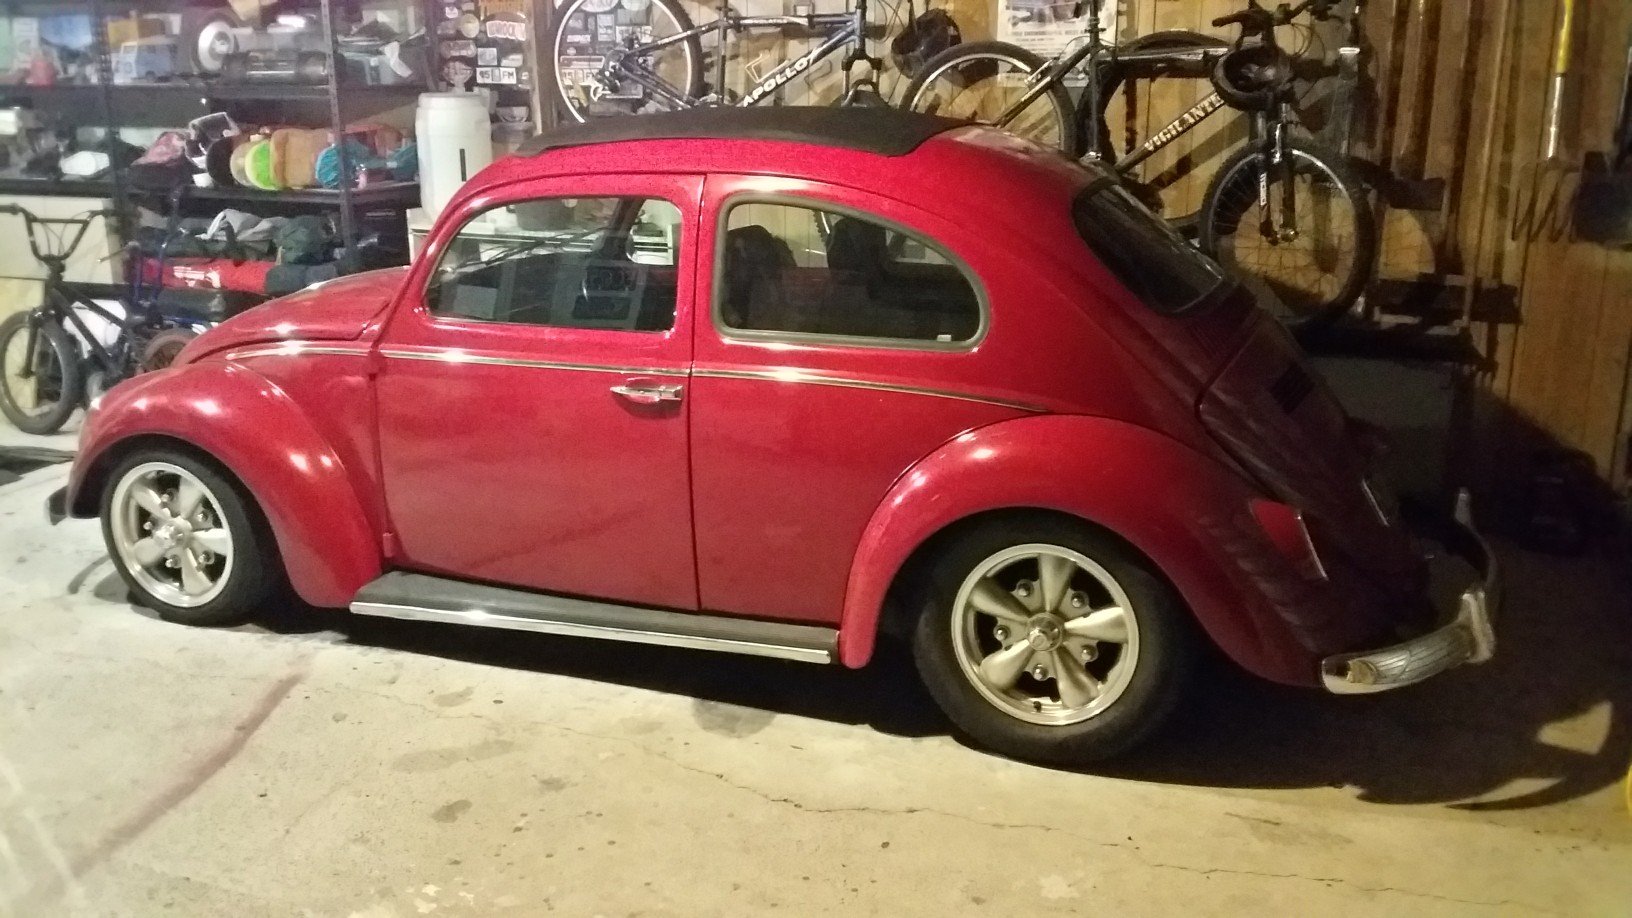
New ragtop cover for the ragtop time. Brought the bug inside work, took the old cover off and had fun removing all the sticky duct tape glue, fuck that stuff. All the parts layed out. Cut the new cover on the esko, perfectly square cad cut. Sewed the hems over and added slits for the bow to sit inside as factory, the old cover didn't do this so you had to be careful not to end up with a parachute attached to the roof. All mounted, I added some thick felt to the front bow, not sure I like it, if it doesn't pack down I might remove it, looks to chunky. Looks sweet folded back. Will now start thinking about the inside headlining.
1 point
-
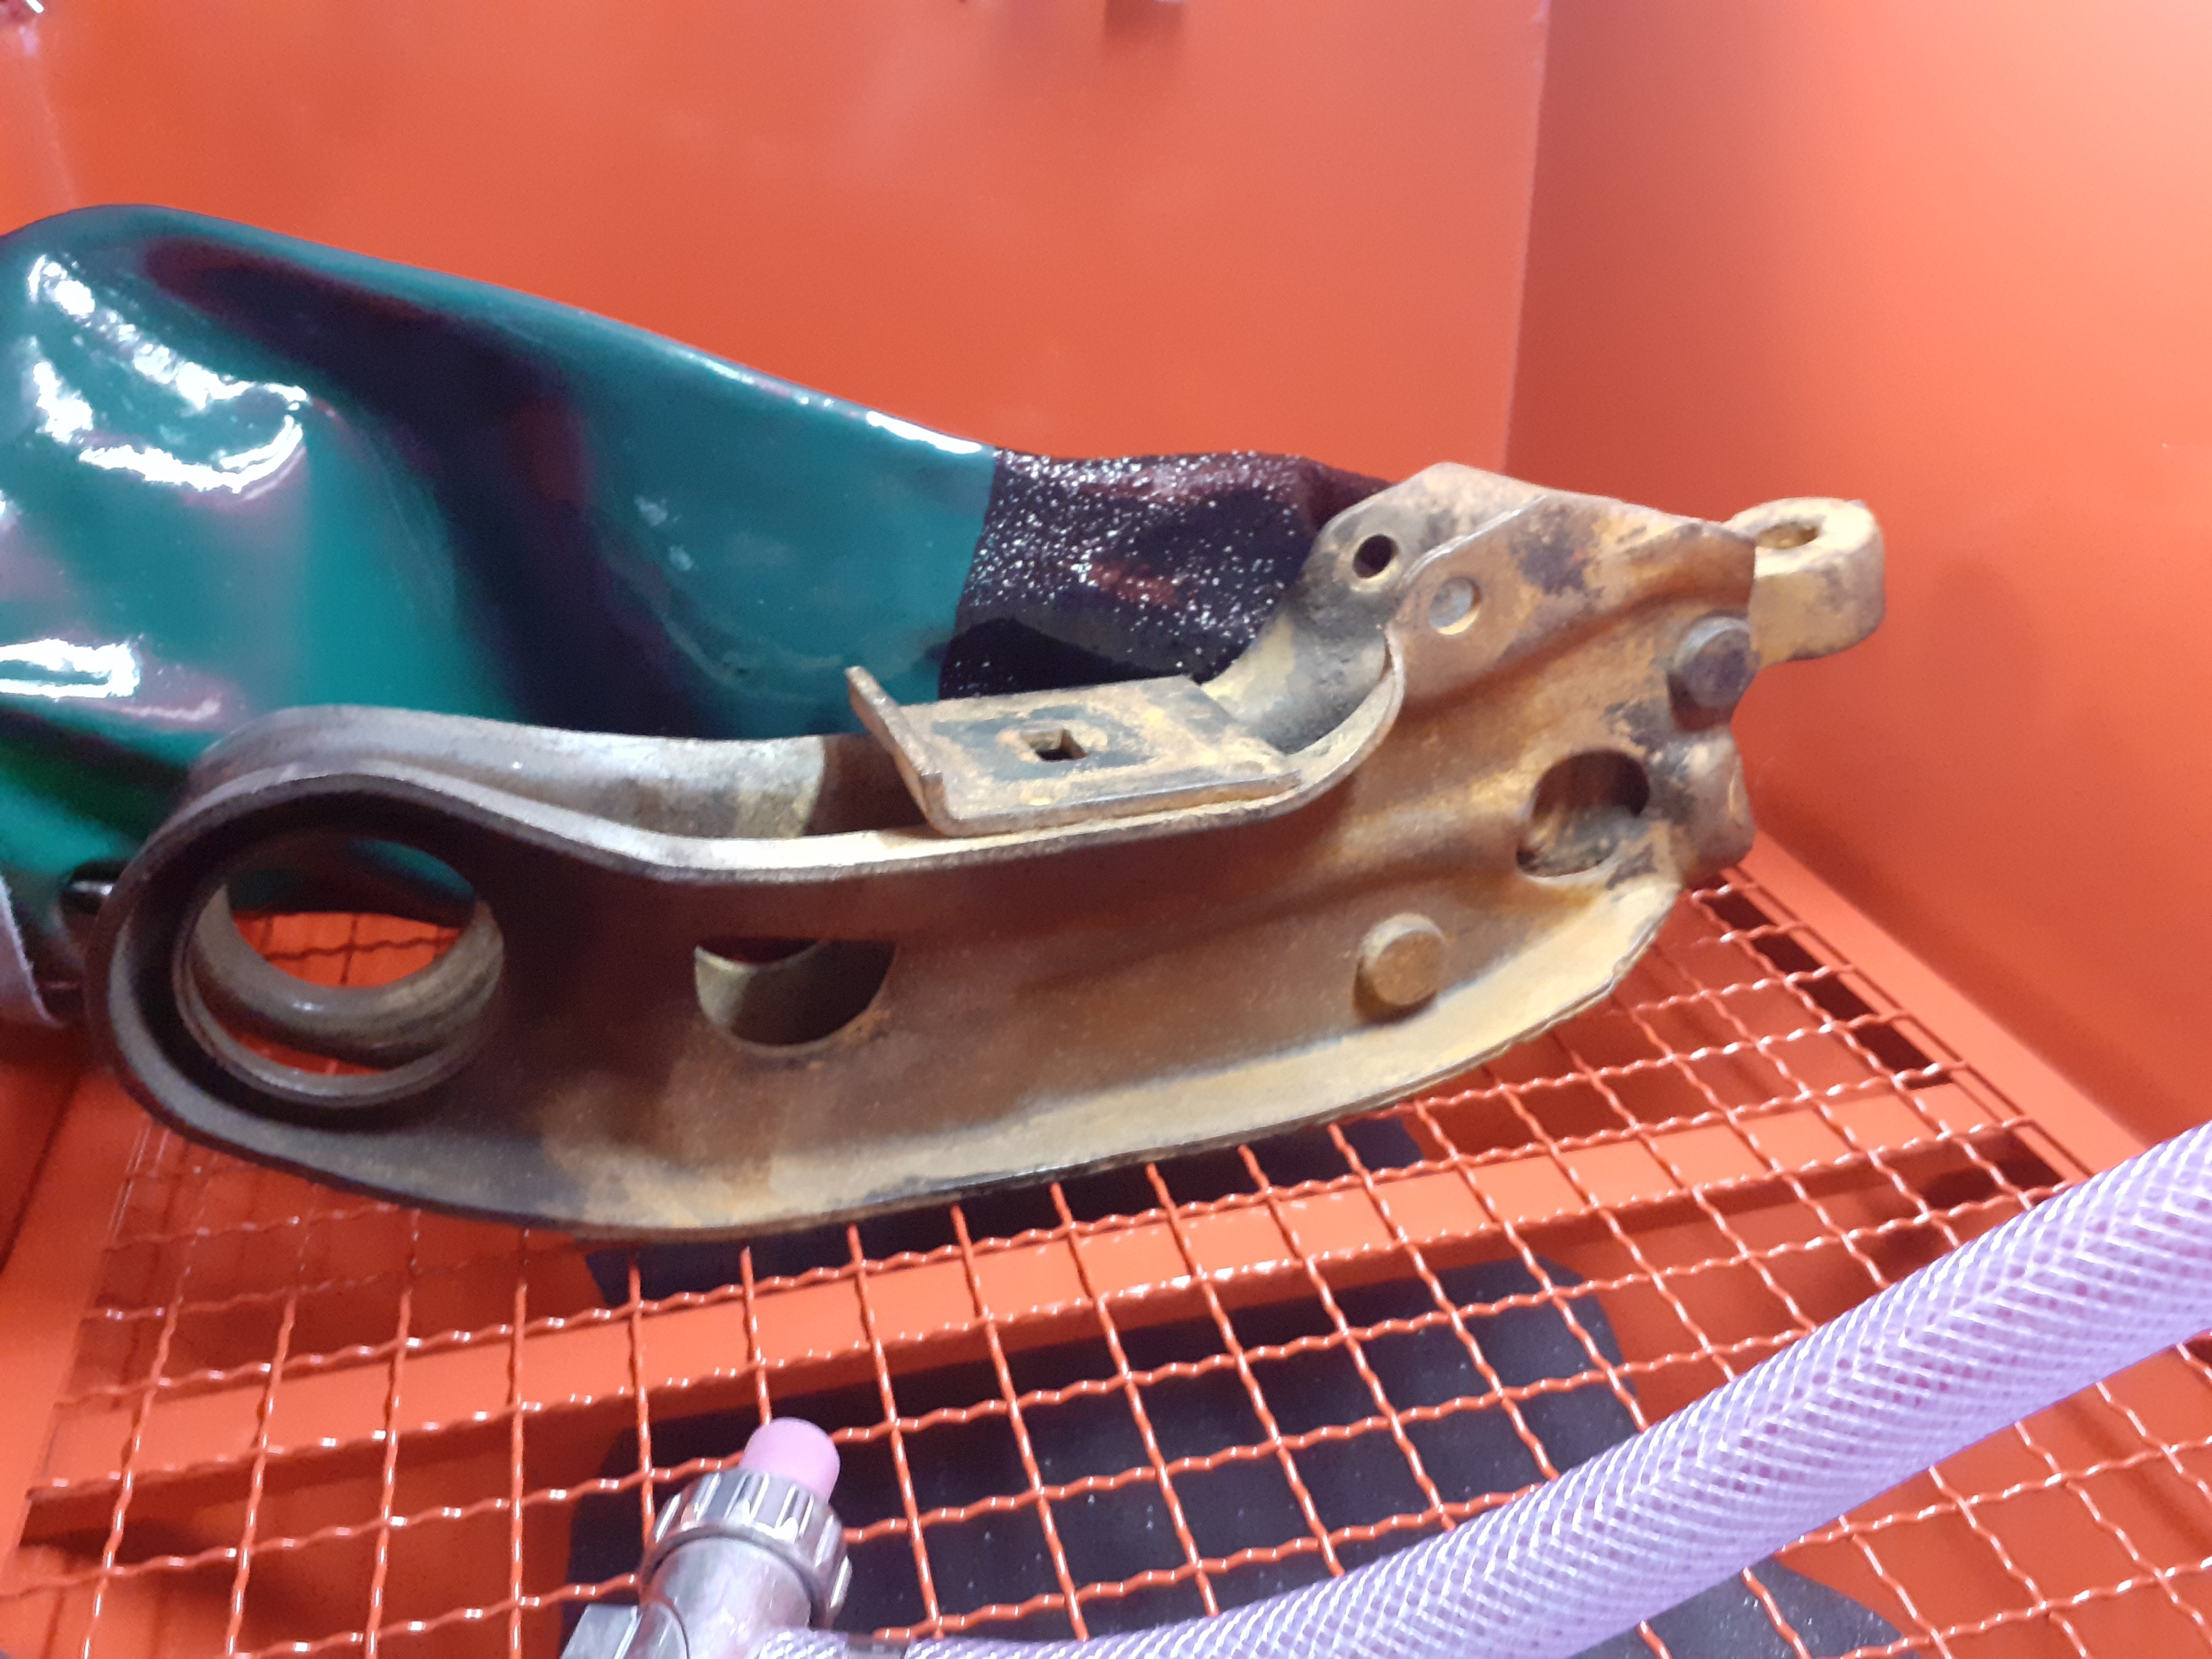
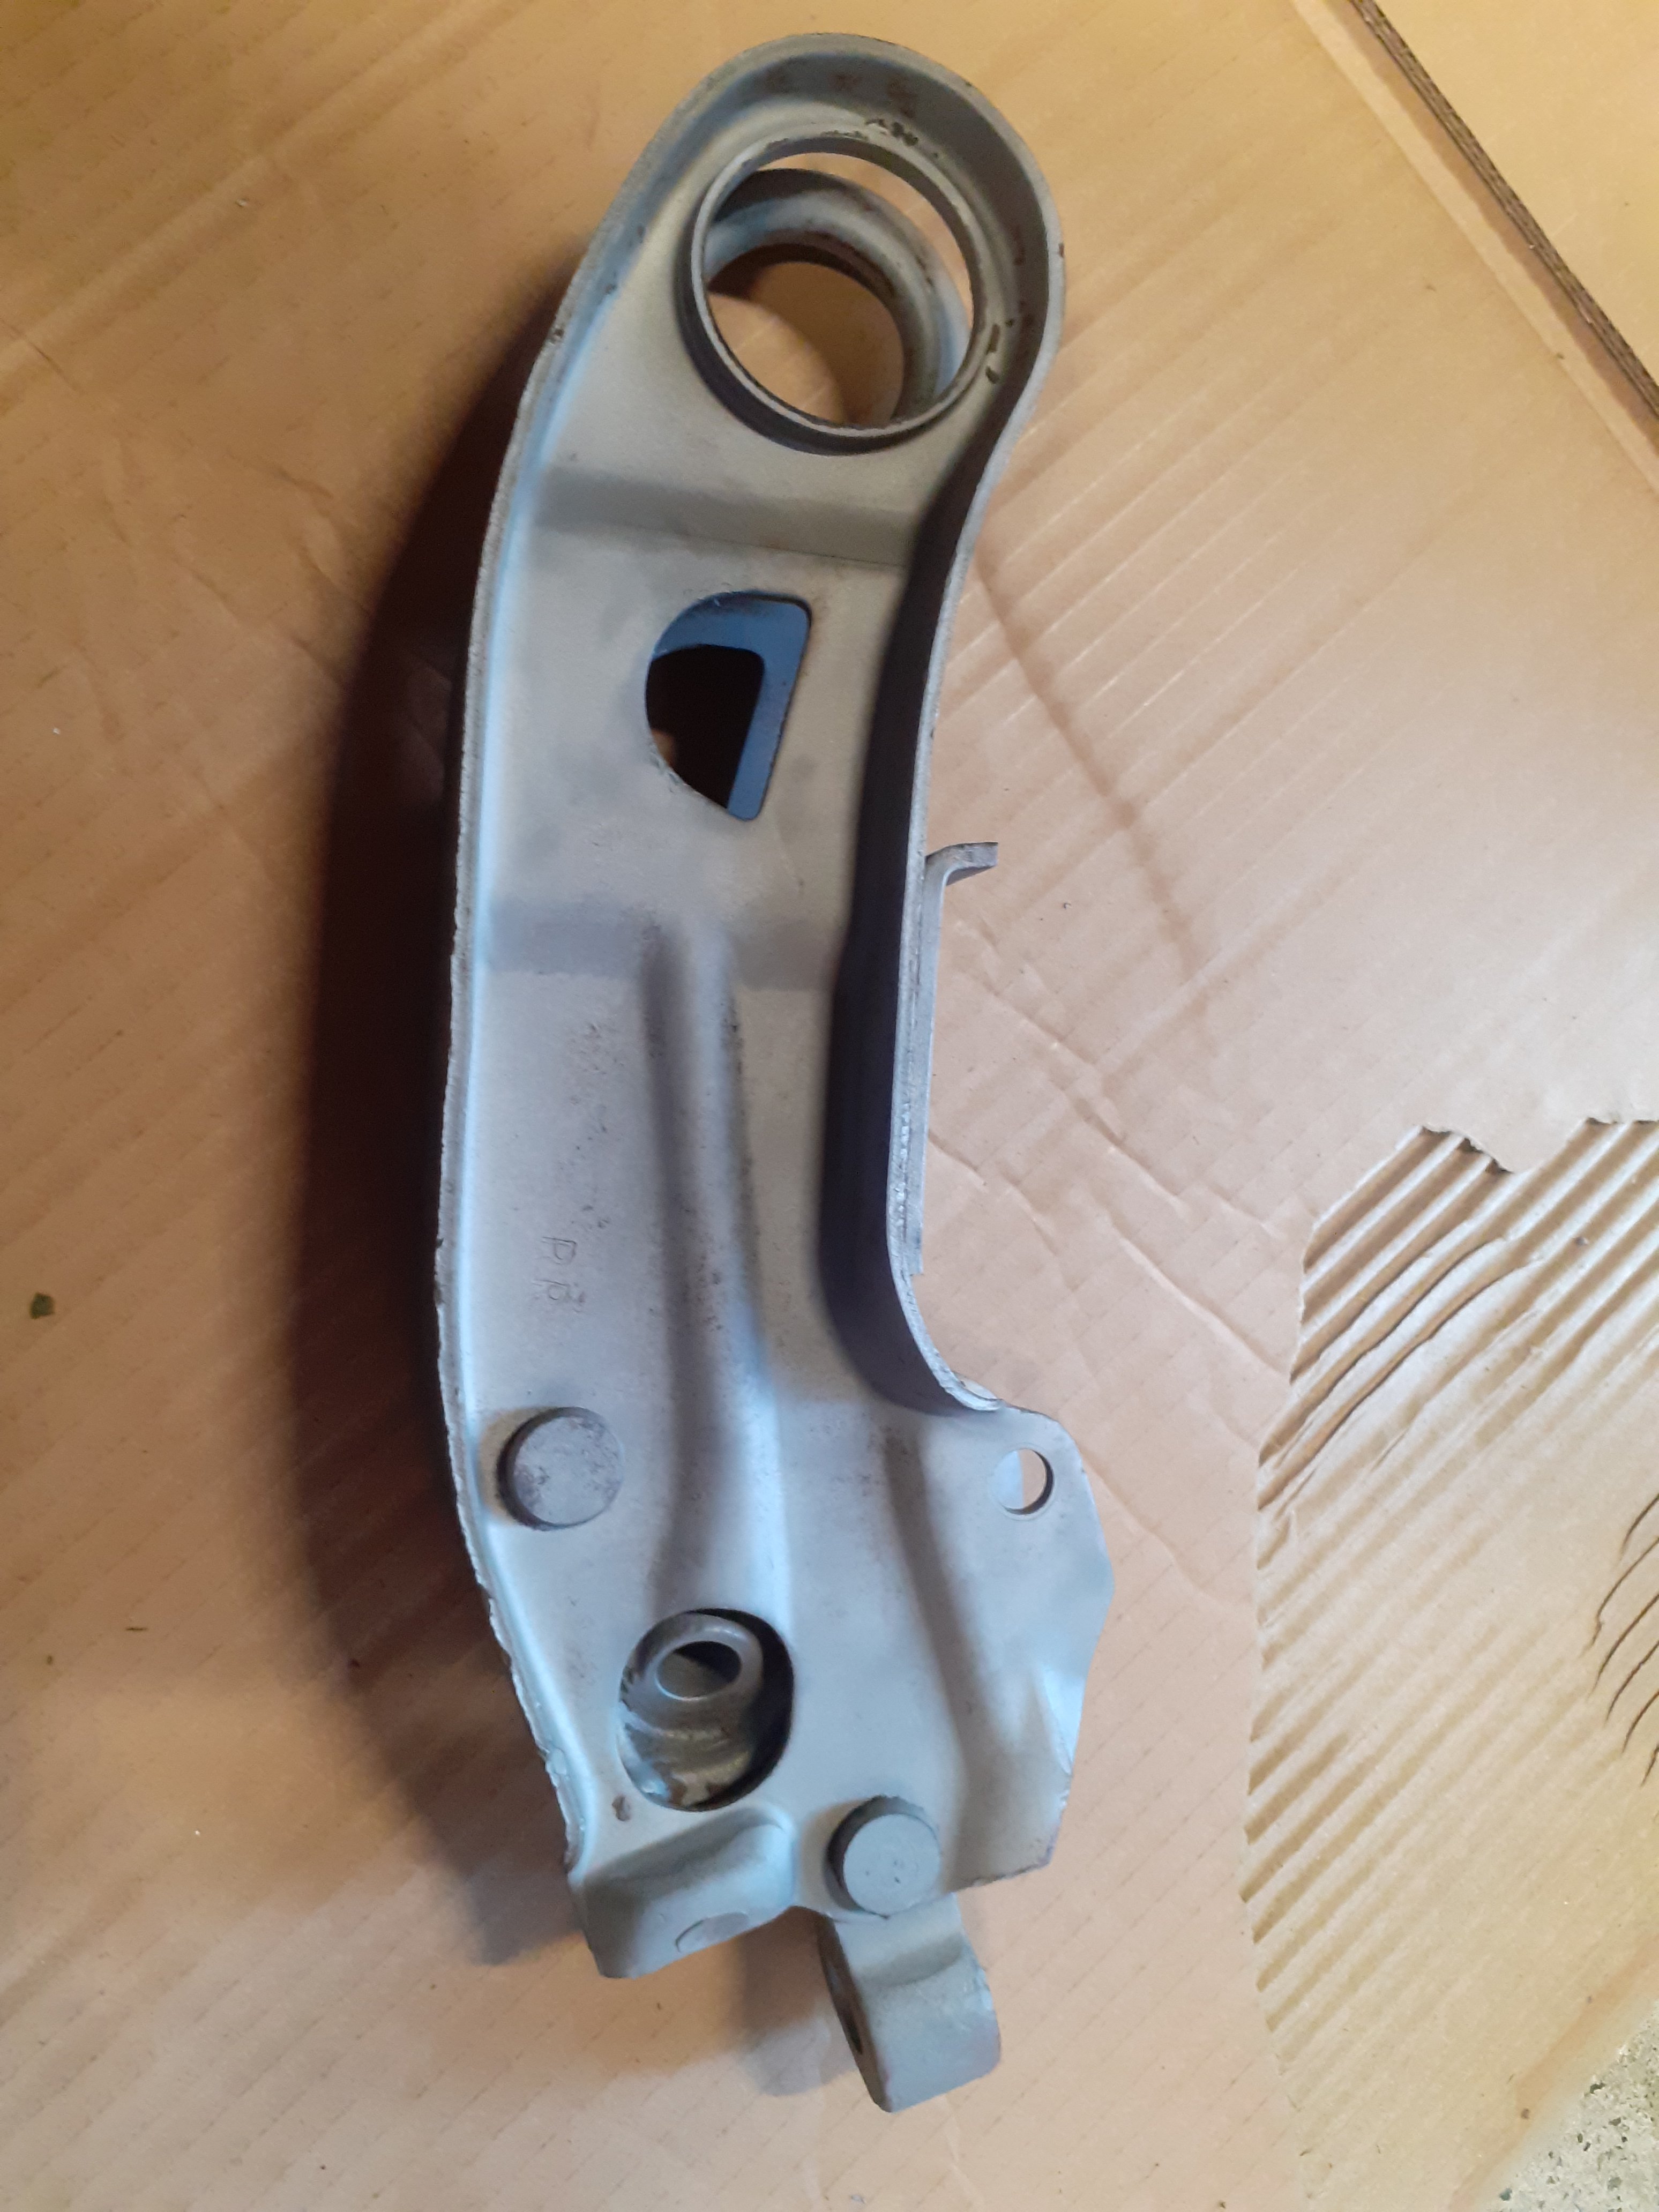
Thanks to @Raizer 's tip on sandblaster cabinets being cheap at the moment I went and got one today. Makes cleaning up crappy old parts easy I had to get a bigger compressor as well, supercheap has a special going on those at the moment too, $550 including an air hose
1 point
-
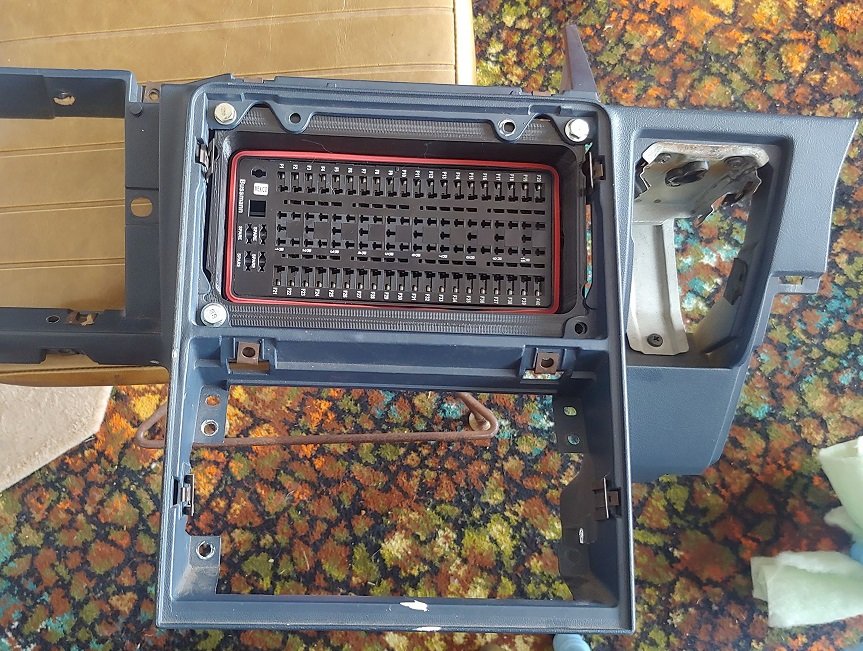
Ok been feeling a bit better, feels like making some meaningful progress again. I've been working on the fuse box situation. Working towards the milestone of getting power to ECU and sensors etc - Think that'll help push along towards first engine start. cool. Been looking at a bunch of different places to mount the fusebox, but I reckon in the center console with a cover over it is going to be best option that's easiest to access. So printed a little holder thingy (will have a cover hiding the bolts and edges etc) Then I've been working out on an Excel spreadsheet where all of the ins and outs of the fusebox will need to go. I've decided I'll run an SSR for the fuel pump and engine fan, so these will need to be seperate. As you cant get SSRs in the form factor of those micro relays. But it looks like I'll need at least 3 12 pin plugs for in/out, so will go for four to leave some space for future stuff / important things I've forgotten about. So for sake of tidiness and making it easy to wire up on the bench / unplug in the car. I am printing a 4 way backshell type thing for Deutsch DT 12 way plugs, that will bolt to back of the fuse box. As per usual with 3d printing it took a few iterations to get the clearances nice. But consistent once you get it right so worth the effort. Fingers crossed works out okay and wiring it up is straight forward. Documentation definitely helps, even just looking at Excel sheet you can see how to group things better so the wiring will be tidier.
1 point
-
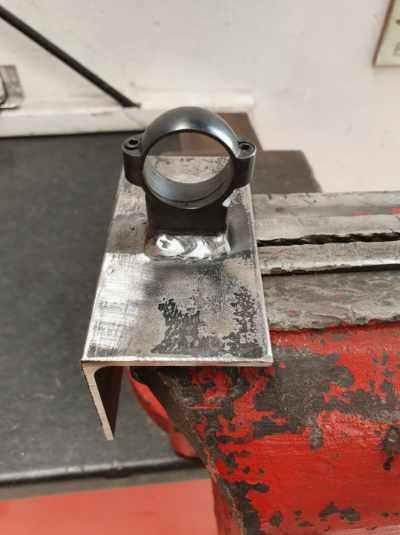
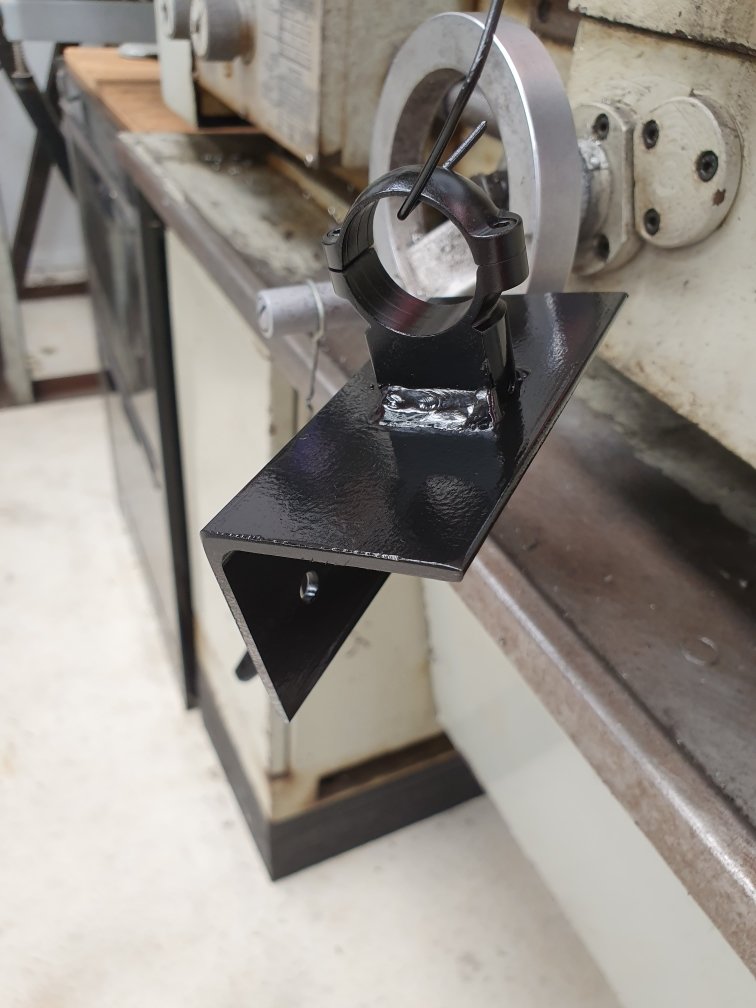
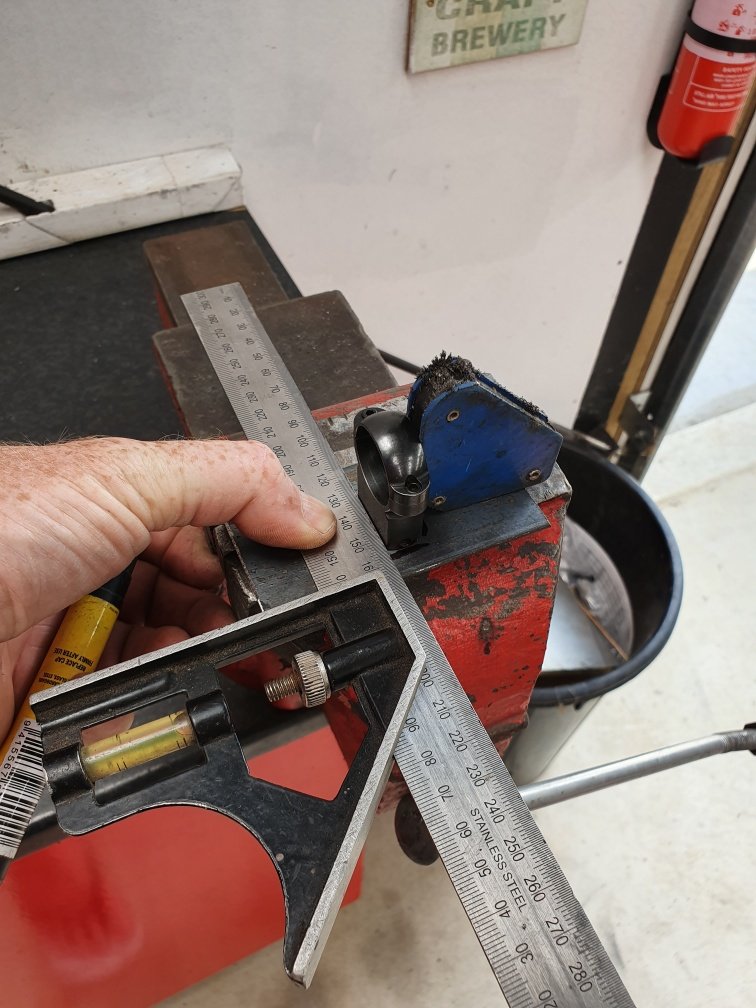
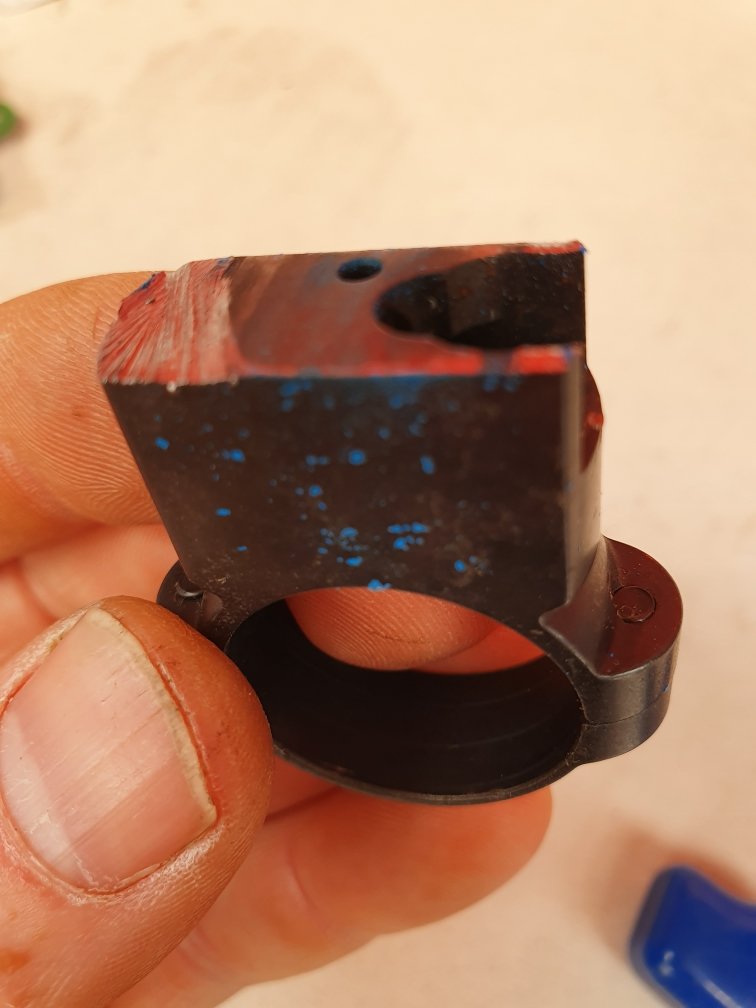
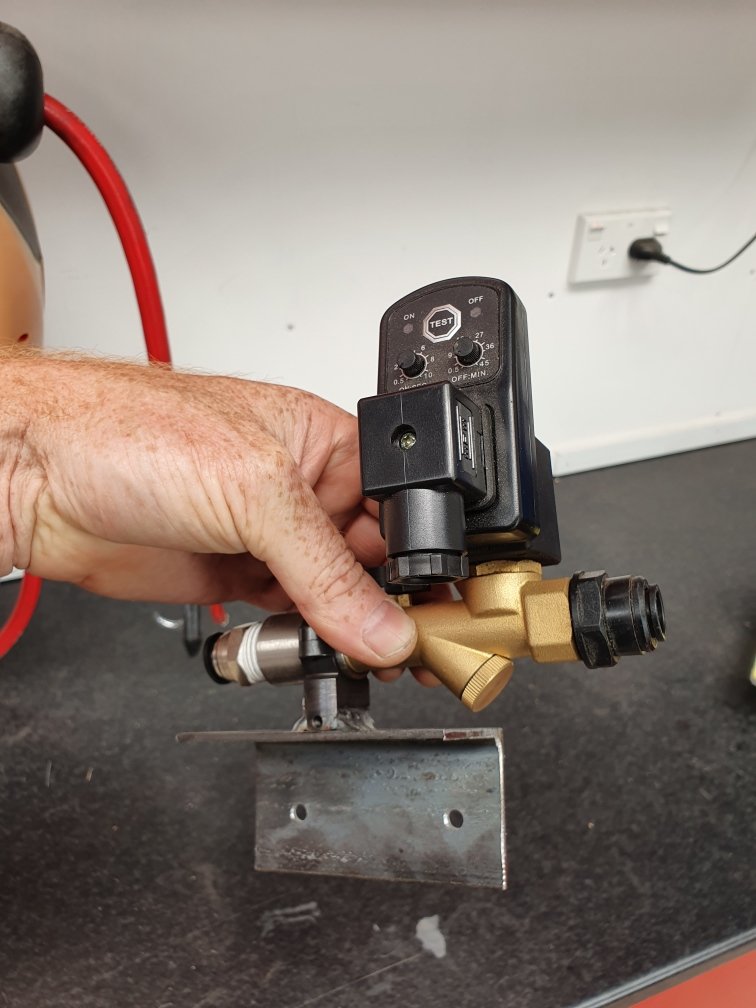
On a mission today. Rifle scope mount welded to angle iron. This will hold a solenoid valve, that in turn is connected to a timer switch. This will automatically drain the water out of my compressor... Test fit Yup, nice! This will work, so paint it and install it tomorrow. Small things...but makes life easy if you never need to think about it again.
1 point
-
So we did a shuffle on the weekend Yeah I acquired a Blue one that's been shed stored since 1997, figured it was the second Best one I have so deserved a shed spot and OFC the Wifes Datsun too now to start piling boxes on all of them!1 point
-
PPSC just shoved mircrowave pizzas between the barrel and carb on their weapons. Such a great Kiwi idea. Approx 2 hours riding and your pizza is nice and dusty for road side consumption with either a super fancy craft beer or a lion brown. No in between,1 point
-
Sorted tyres, was running fine but had a rattle then started missing/carb troubles luckily my new longer/firmer shocks arrived for the *cm50t, should of got a sticker made up.... i like how my rego just says honda motorcycle 10L tank + 5l should hopefully get me through a day?!1 point
-
Was only getting 3-9V, messaged @Raizer and he figured out I needed to earth the stator, now it’s 6-13v A+messenger fault finding Took the cub round the block, melted the fairing pretty good (need to bolt it in I guess) wants to pop wheelies in first A+ half way round it started chocking and I saw the filter wasn’t on right, tried to mcgyver it with the key as had no tools, until I remembered the factory tool set! idled it home and took a few attempts of carb cleaning and swearing to sort it made it all legit with a speedo.... great idea @Truenotch still didn’t sort any tyres-might try and same day some tomorrow1 point
-
New rear Tyre sure does feel clunky/notchy when it’s rubbing my butt did some hitting and bending got a longer chain and thinking I’ll order some longer shocks (325mm firm vs current 300mm floppy boys) 5 days to go (and I’m working 4 of them....)1 point
-
Got enthused this arvo and did a bit more matty b the tank as it’s bare steel (can’t decide what/how to paint it properly ) fitted chain and a sr244 golden boy to the rear as they’d run out of matching 700 that’s on the front big boy tyres are a ball ache to change Went to roll it of the bench only to discover that the centre stand locks up on the knobs ditched that, got it on the ground and it now has the mean gangster lean on the side stand have found a longer xl125 one that I’ll mod and fit1 point
-
I had to do a wheel bearing for my warrant. Otherwise good!1 point
-
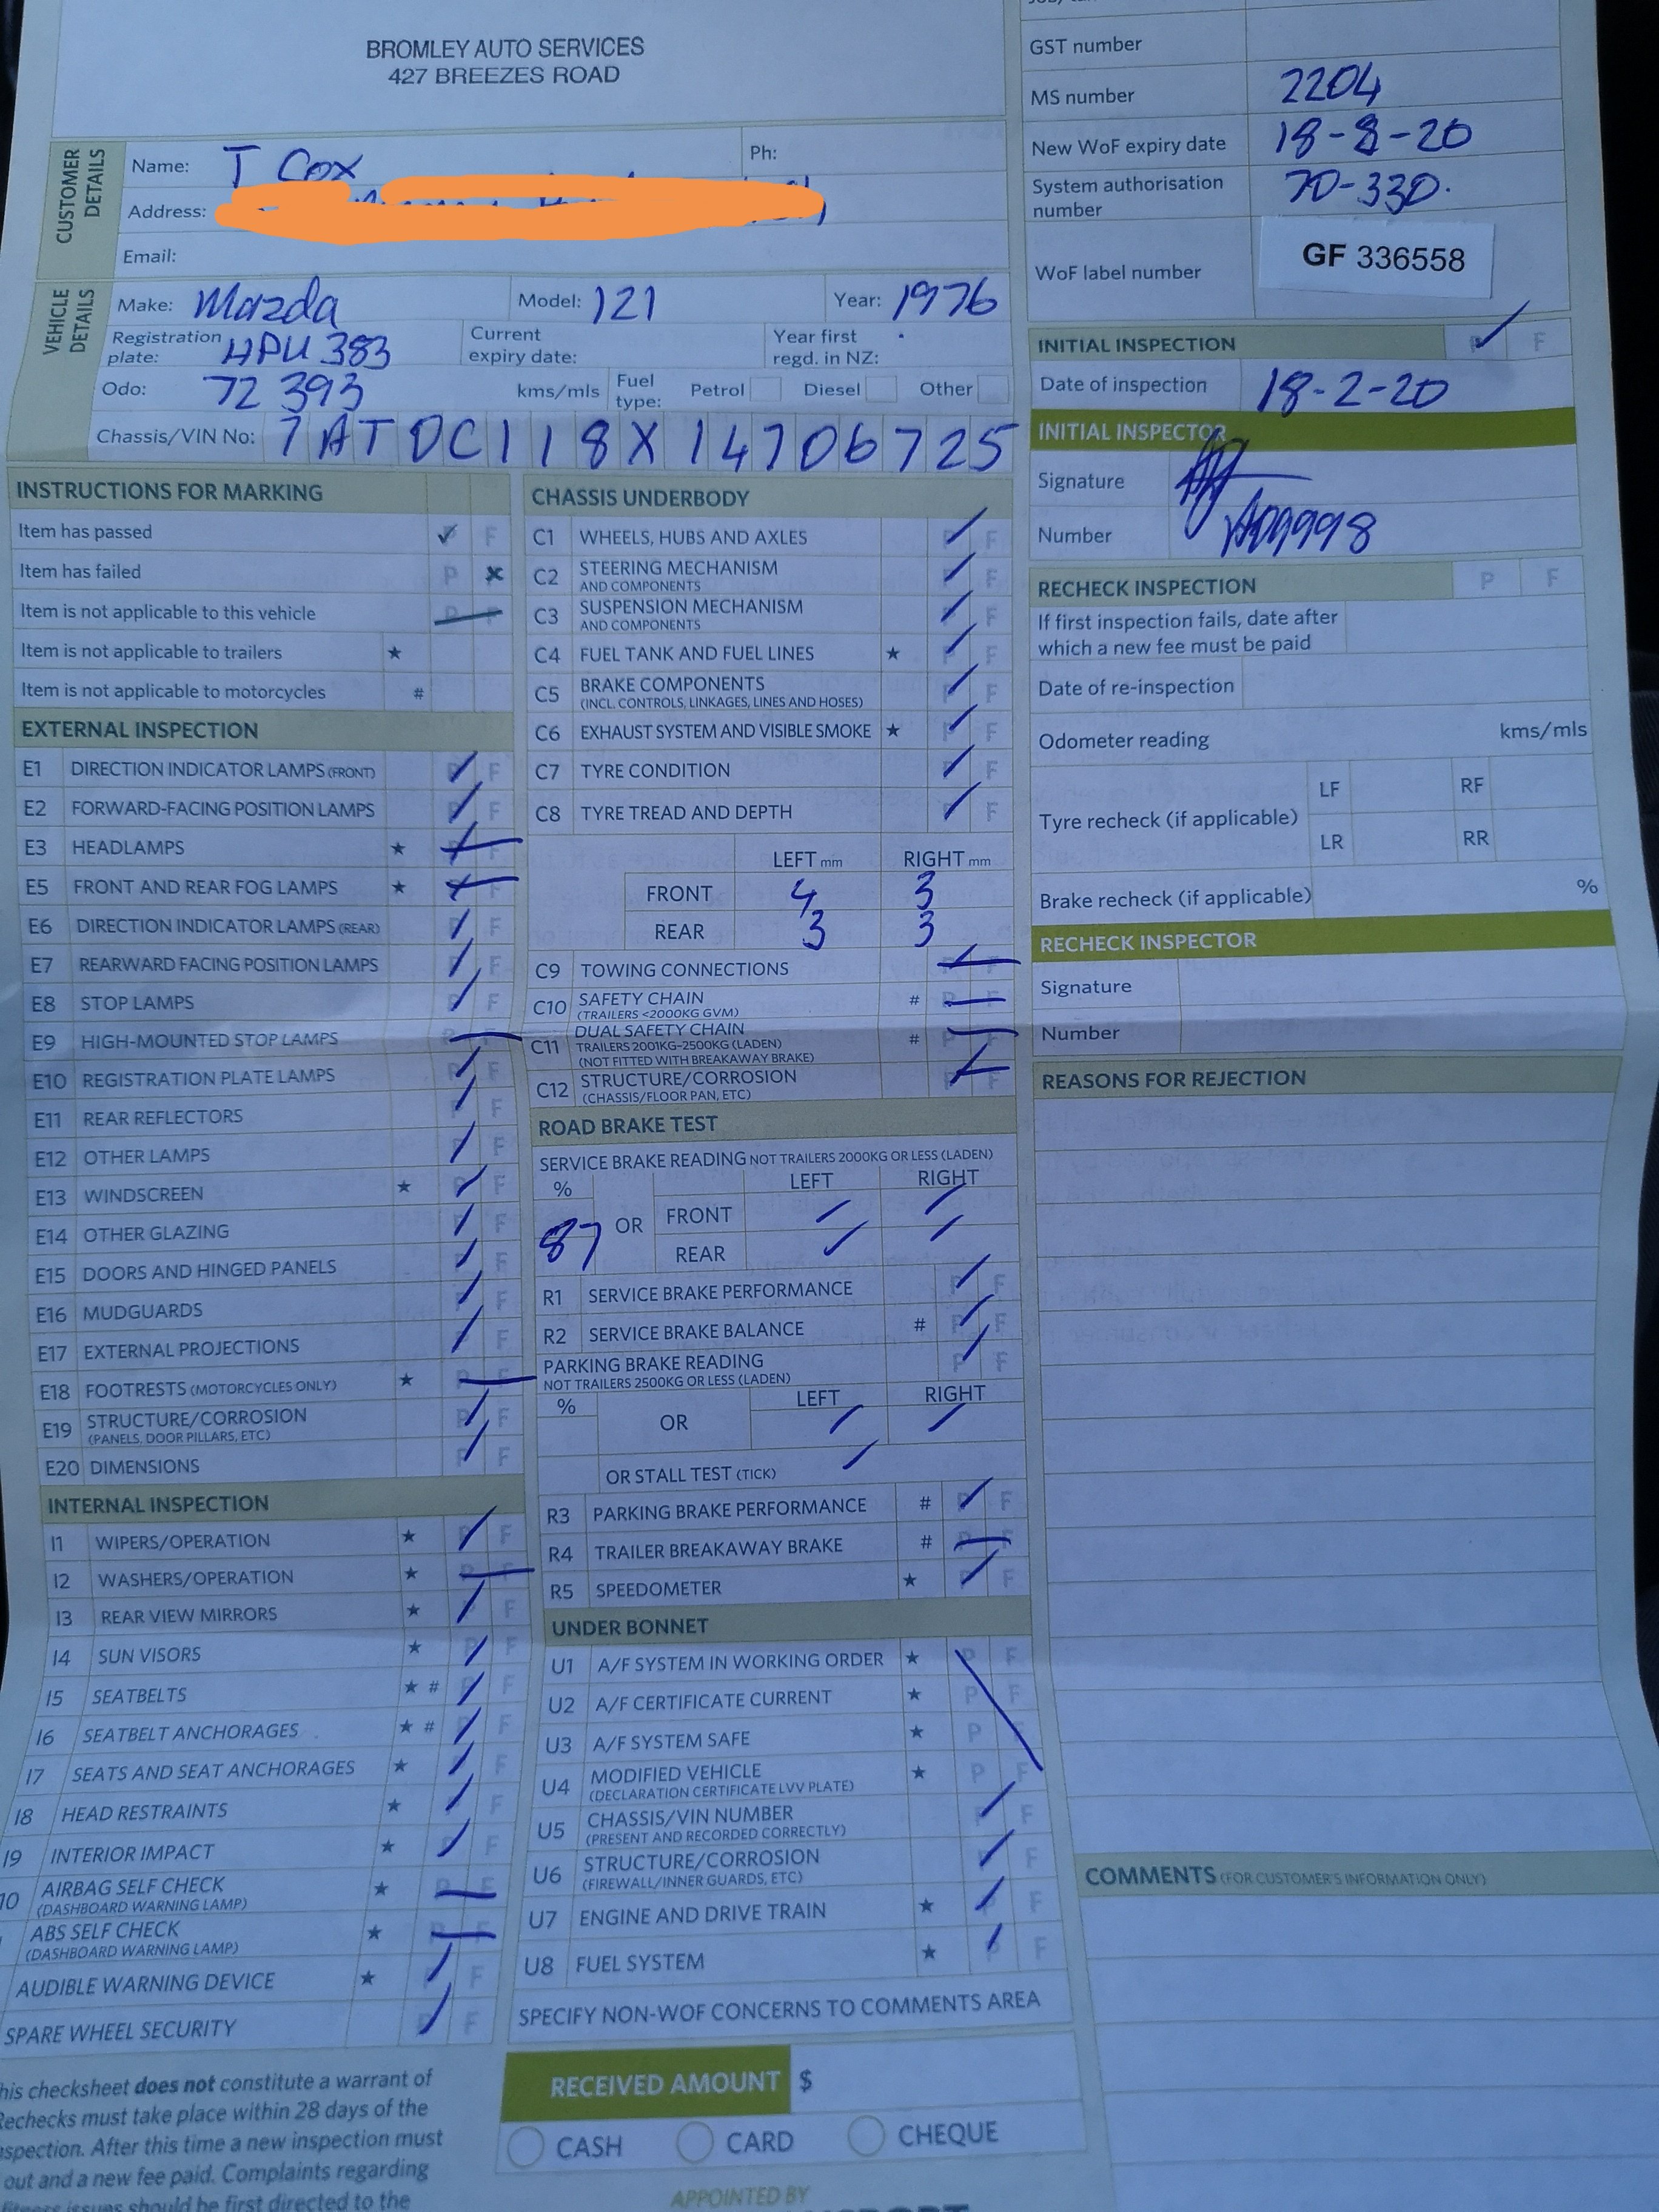
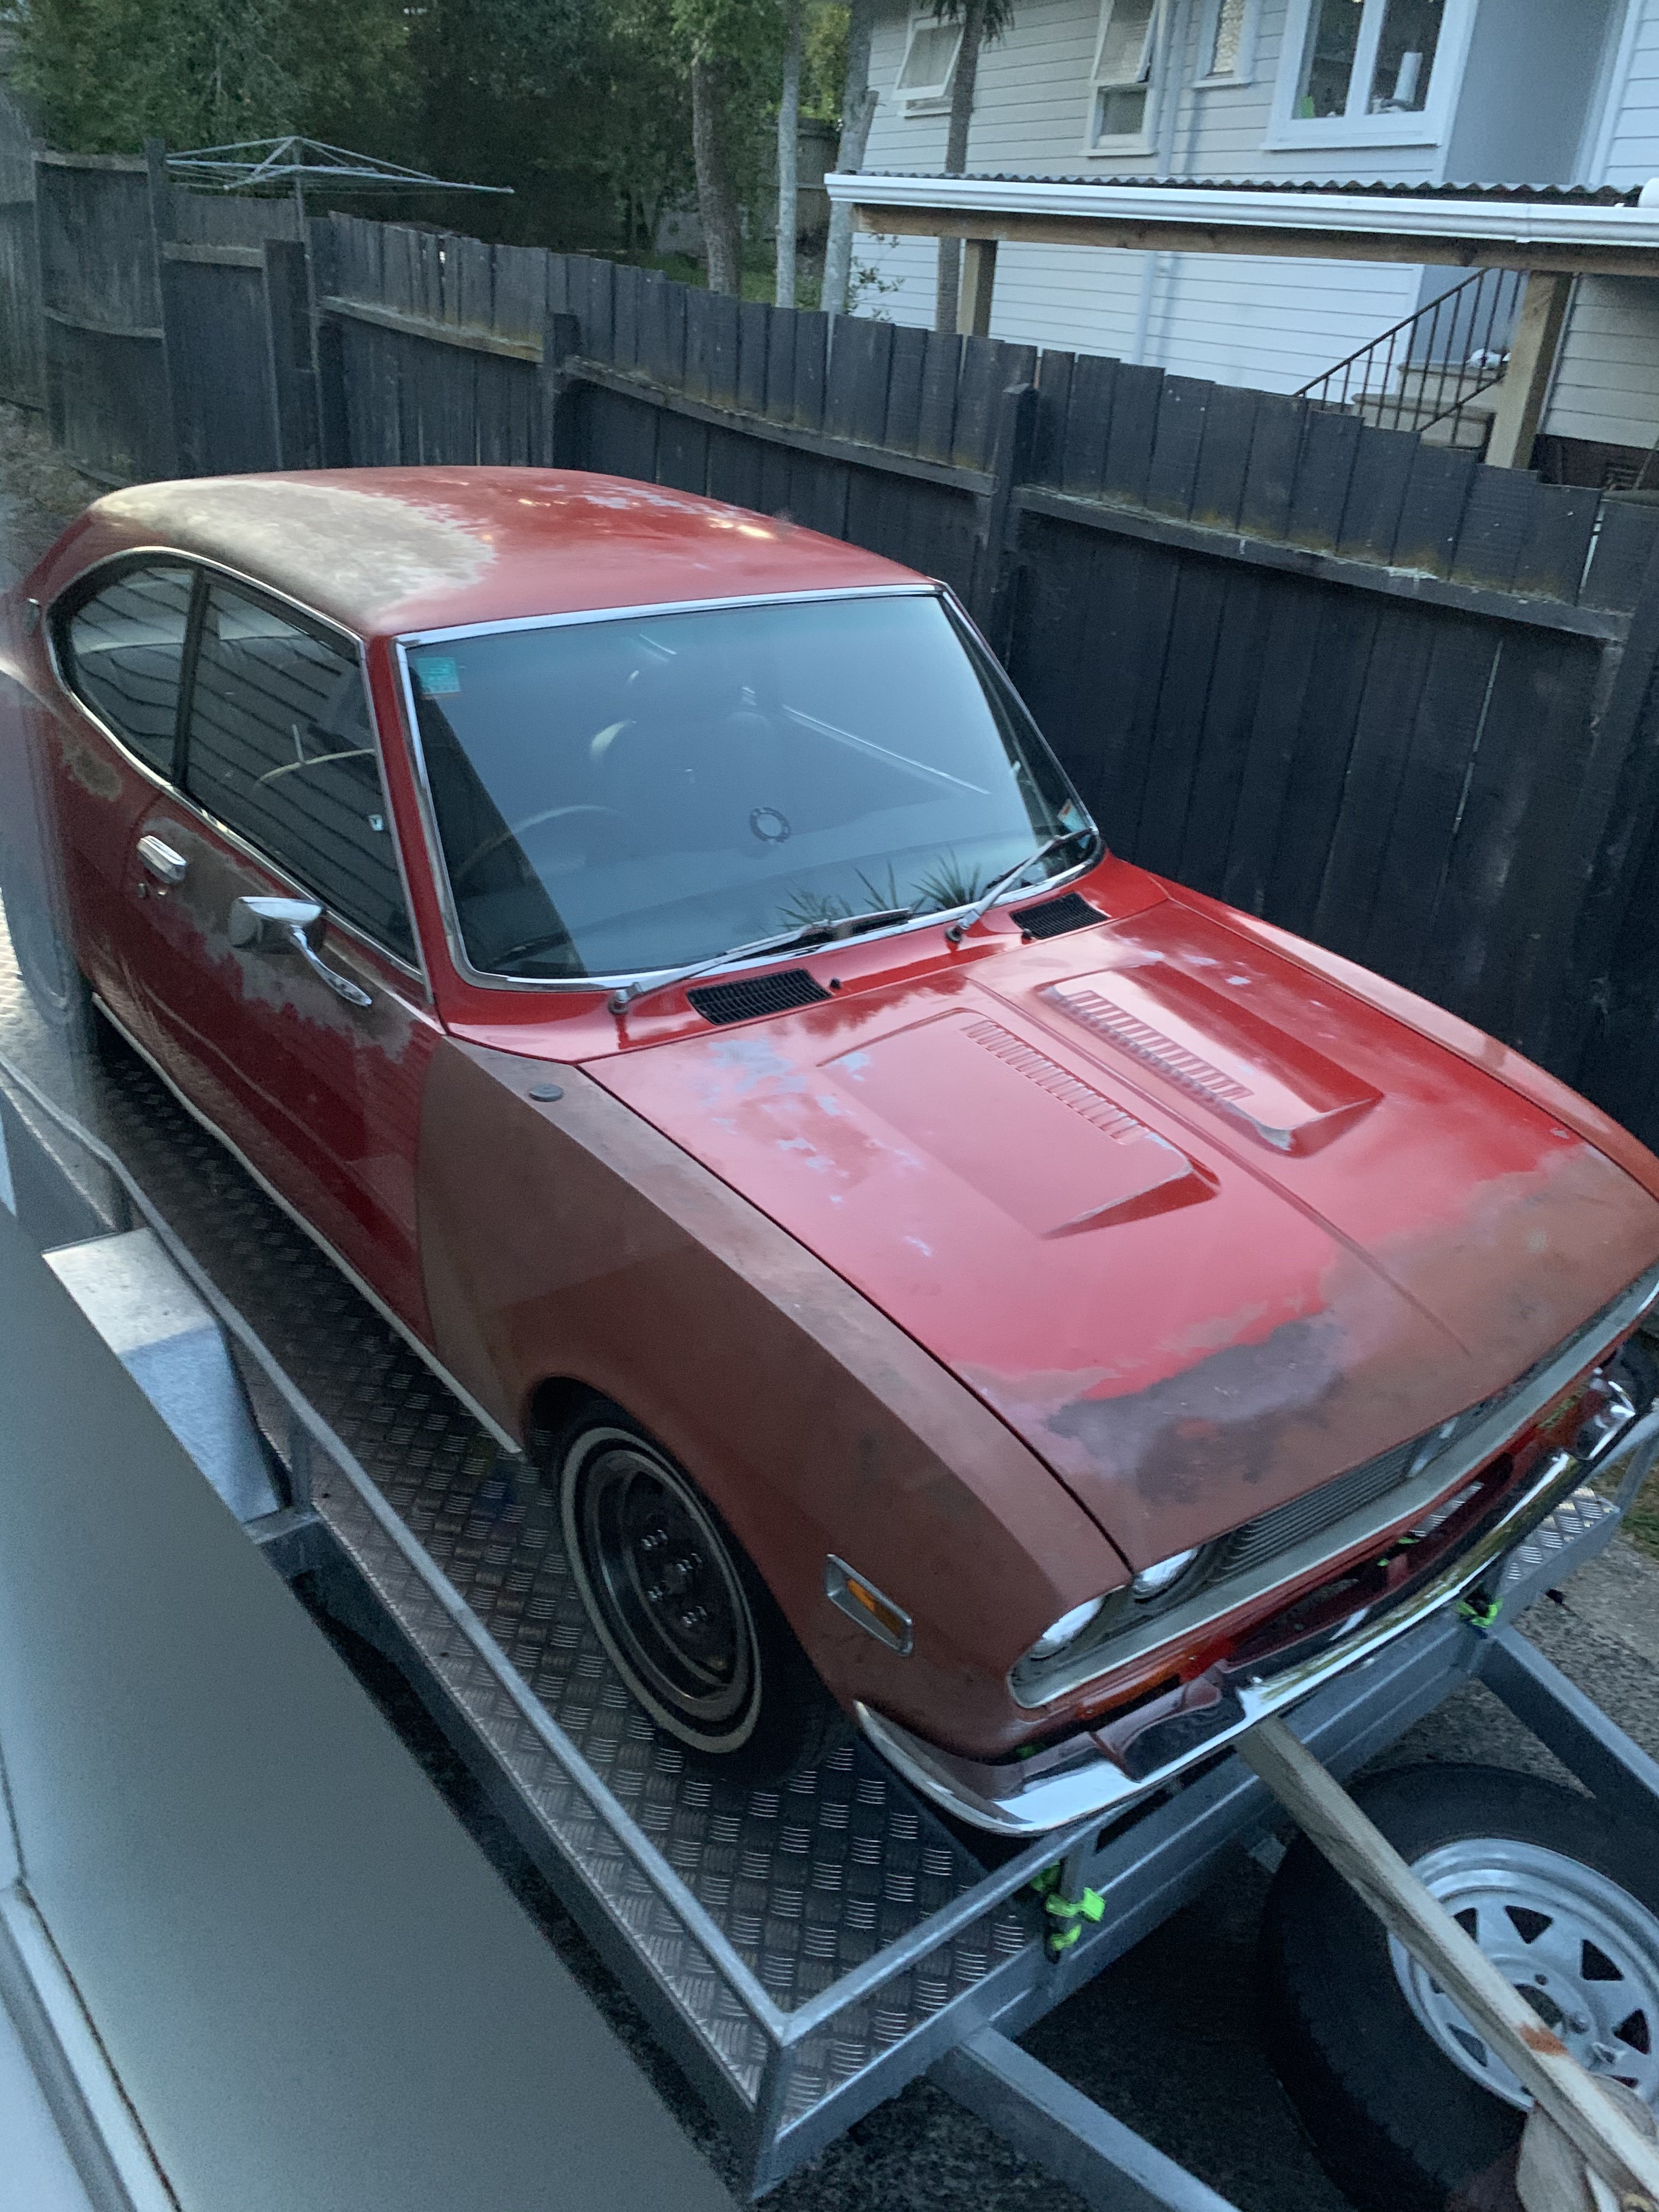
I “accidentally” bid on this whoops, on the upside I now have a working bike turners description stated frontal damage once I got it OS Gc freighted from Auckland I put the handle bars back to the correct position soldered/plastic melted the damaged fairing took it for a hoon (started first pop! Pretty good for 69 thousand kms on the clock) took for wof and surprisingly got a clean sheet! Stoked
1 point


.thumb.jpeg.384ff72c8d2b0ee0d34a7bdedb55bdcf.jpeg)


_sedan_(23230030334)(1).thumb.jpg.34d765361d66c78db614bae6ea2c156a.jpg)


This leaderboard is set to Auckland/GMT+12:00