
Leaderboard


Popular Content
Showing content with the highest reputation on 02/17/20 in all areas
-
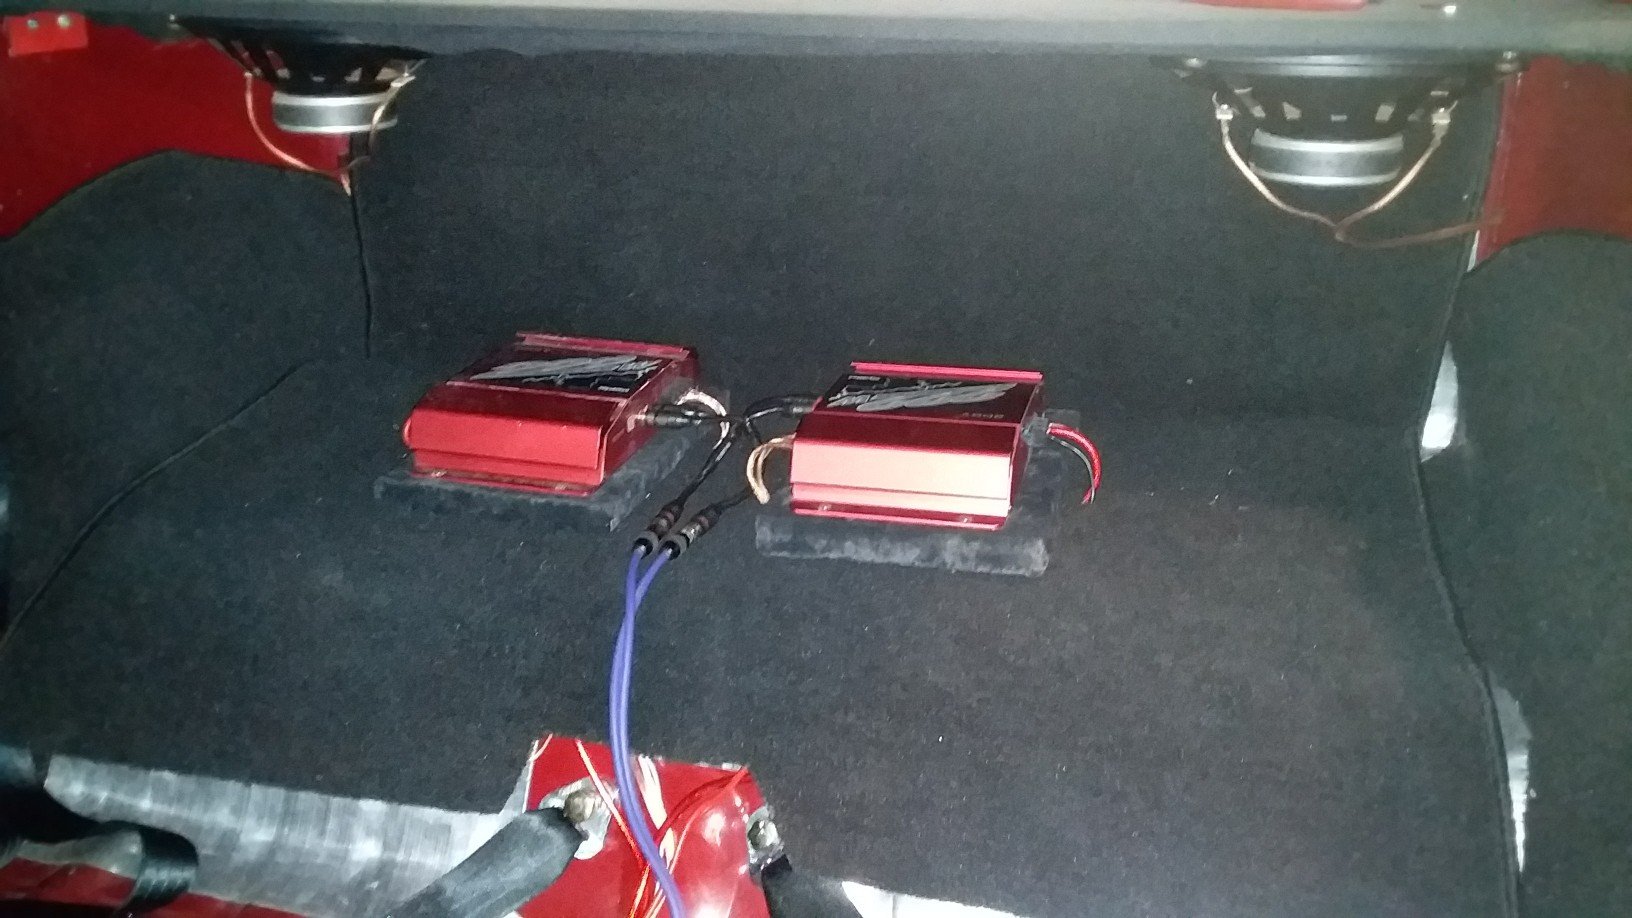
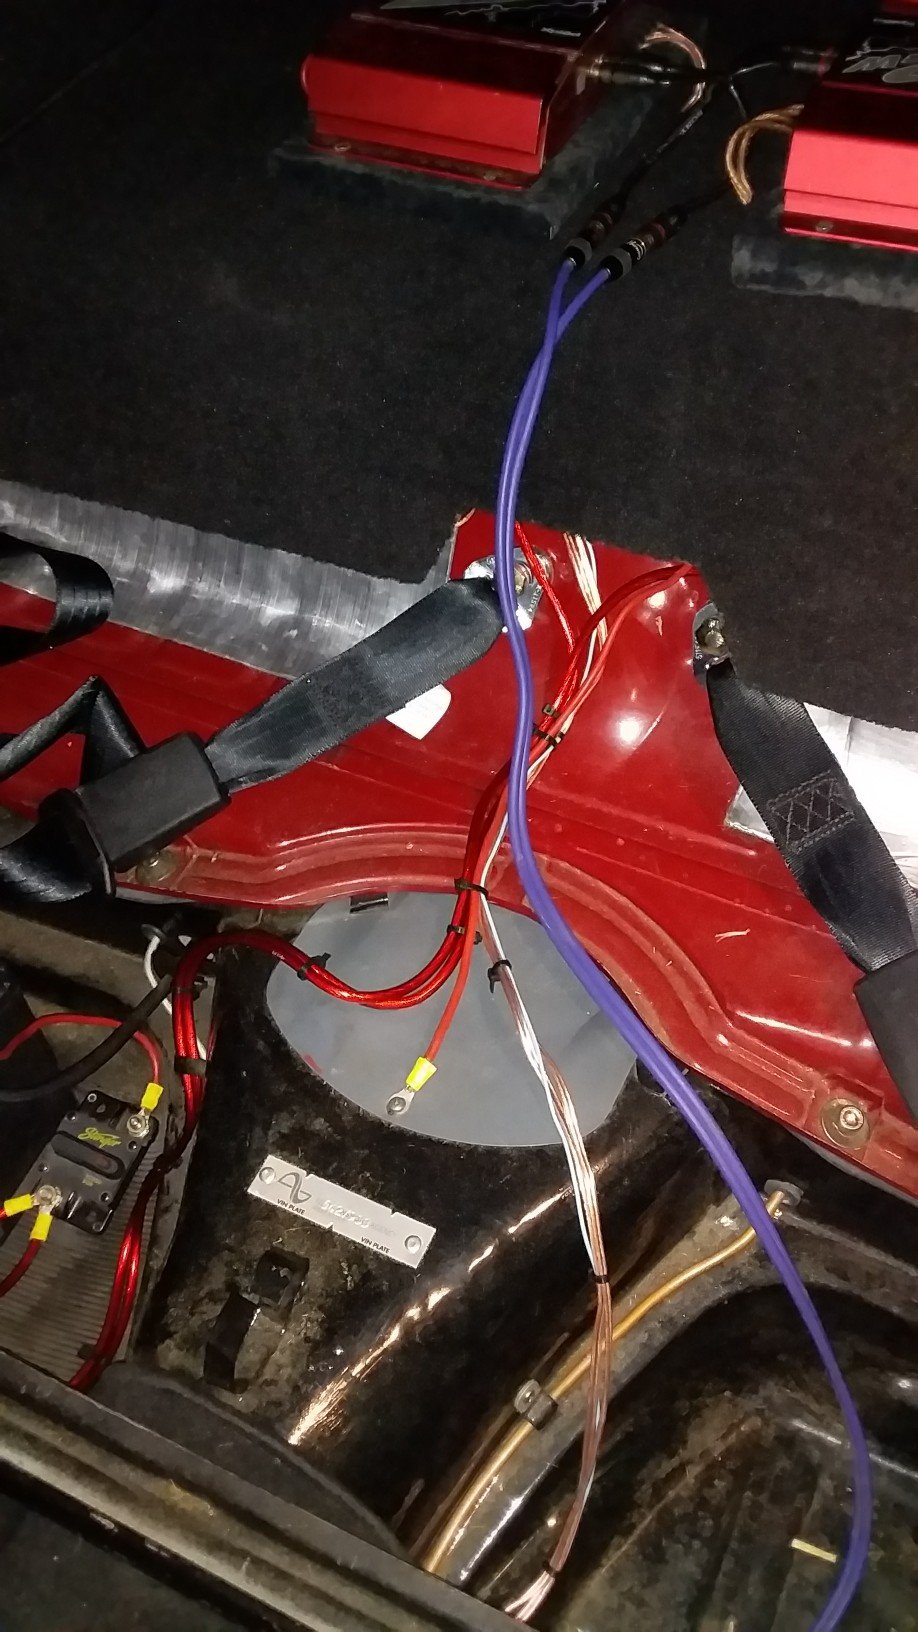
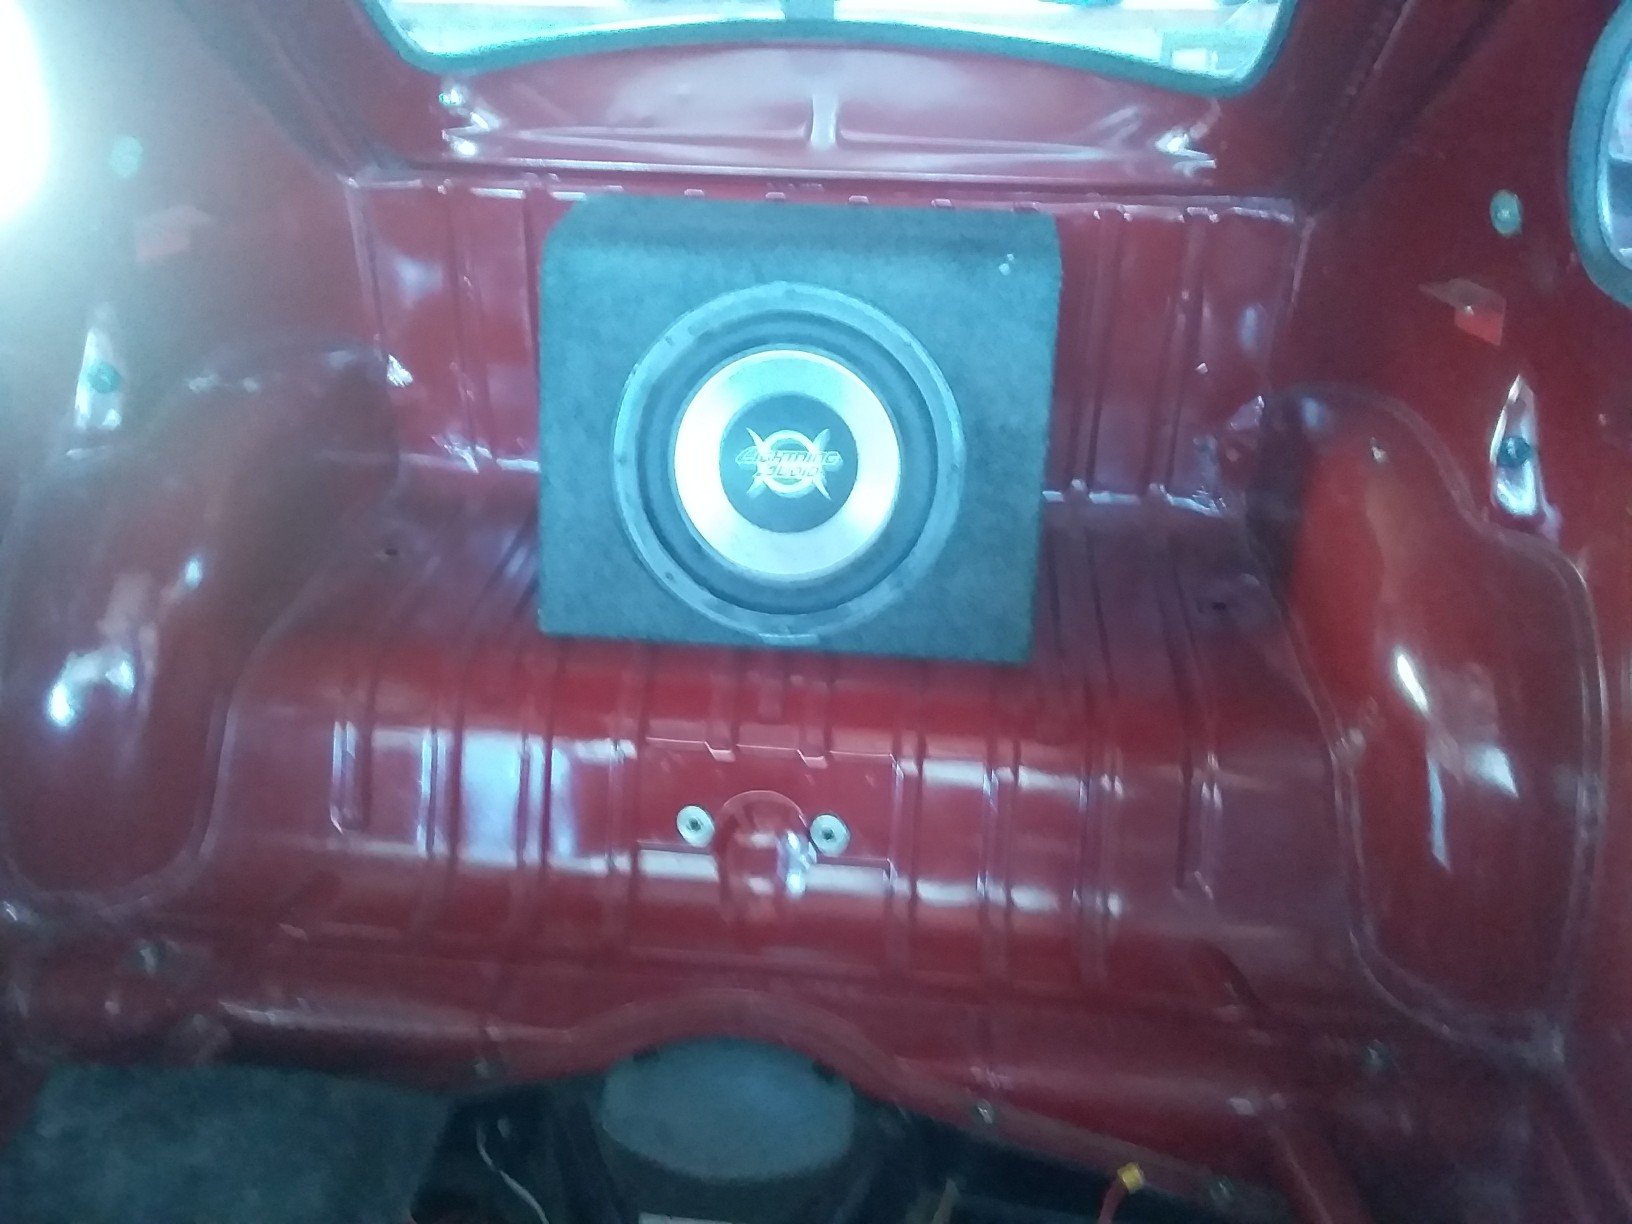
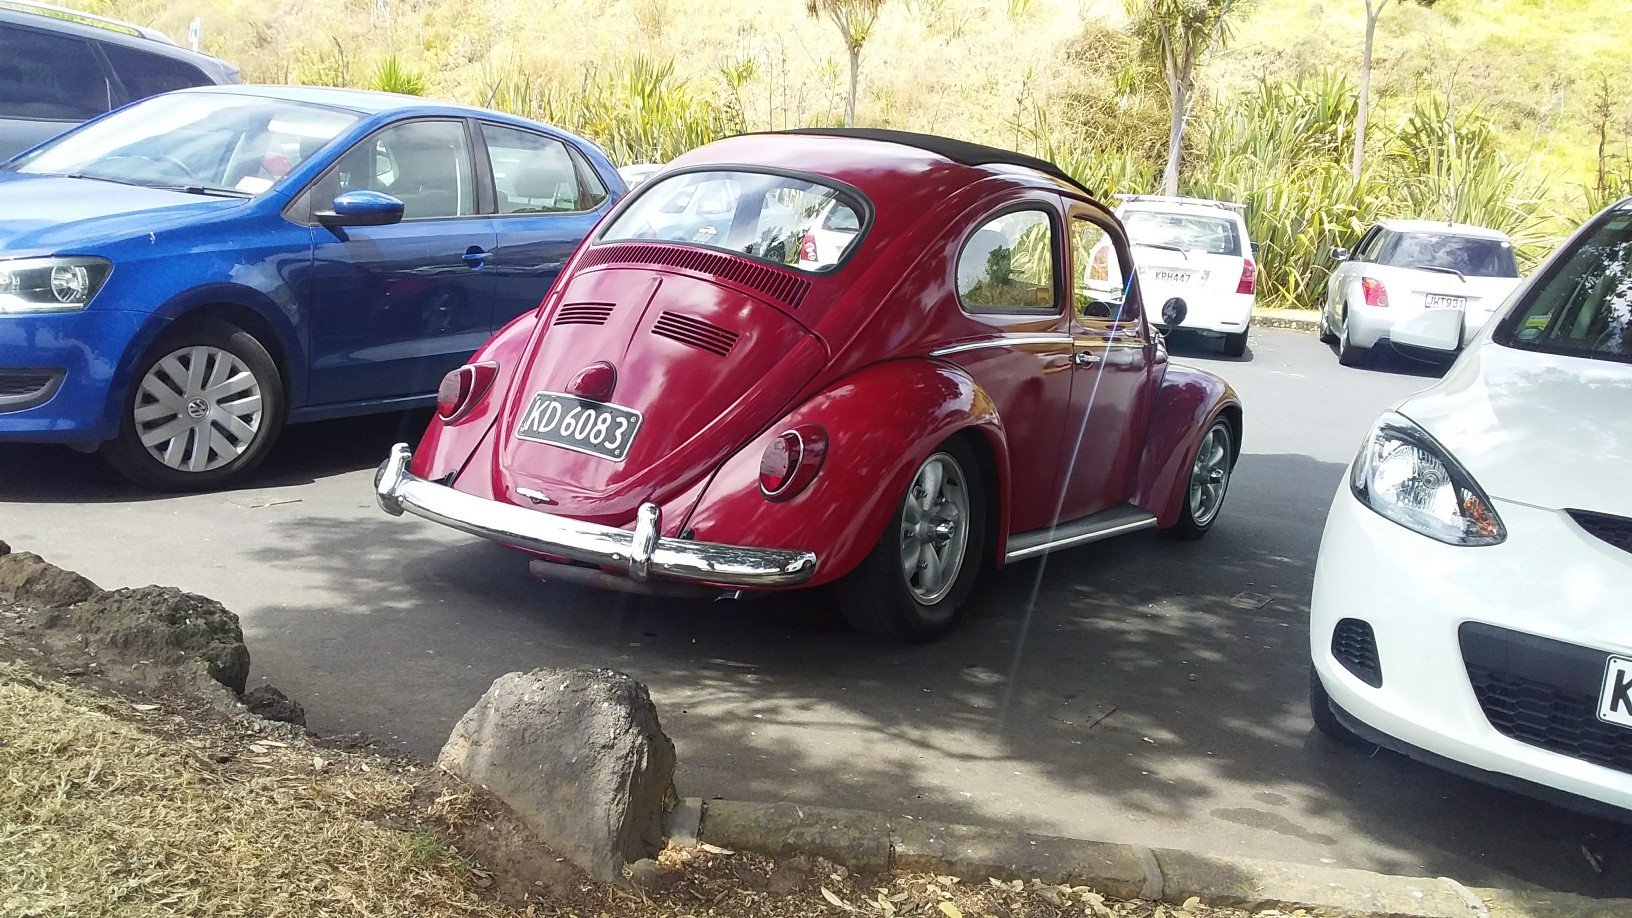
But first, more important things! As I don't have radio, I've just been plugging my phone into this 222Wattts of retro power! With speakers in the front now, I was keen to get them going, luckily I have two 222Wattts amps. After way to much time trying to somehow fit them both under the back seat, I realize there's heaps of room behind the back seat, I was going to but this behind the back seat. But, without drilling holes in my floor there's nothing to anchor it's considerably weight to. So. Ye ol 6x9th, shall suffice. Tidied up the wiring. Been fiddling with settings, running the low pass on the 6x9, not bad. Had a stupid idea of just mounting the sub like the 6x9s as that rear area is pretty good box. Took the family out for a drive over to Devonport, they weren't that thrilled about not taking mums limo. Well not limo, but a 04 Odyssey is infinitely more comfortable that this tiny smelly noisy little car. Started off great, got on the motorway, had gone about 2kms and the engine stuttered and we're outta gas! Fortunately I always carry spare gas. Are we making memories yet! Had a swim and drove home our wet toggs with an ice cream, i always have to turn the car off a drivethu, cant hear the little man in the box! By the end of the day we all a most excellent day out.
 9 points
 -
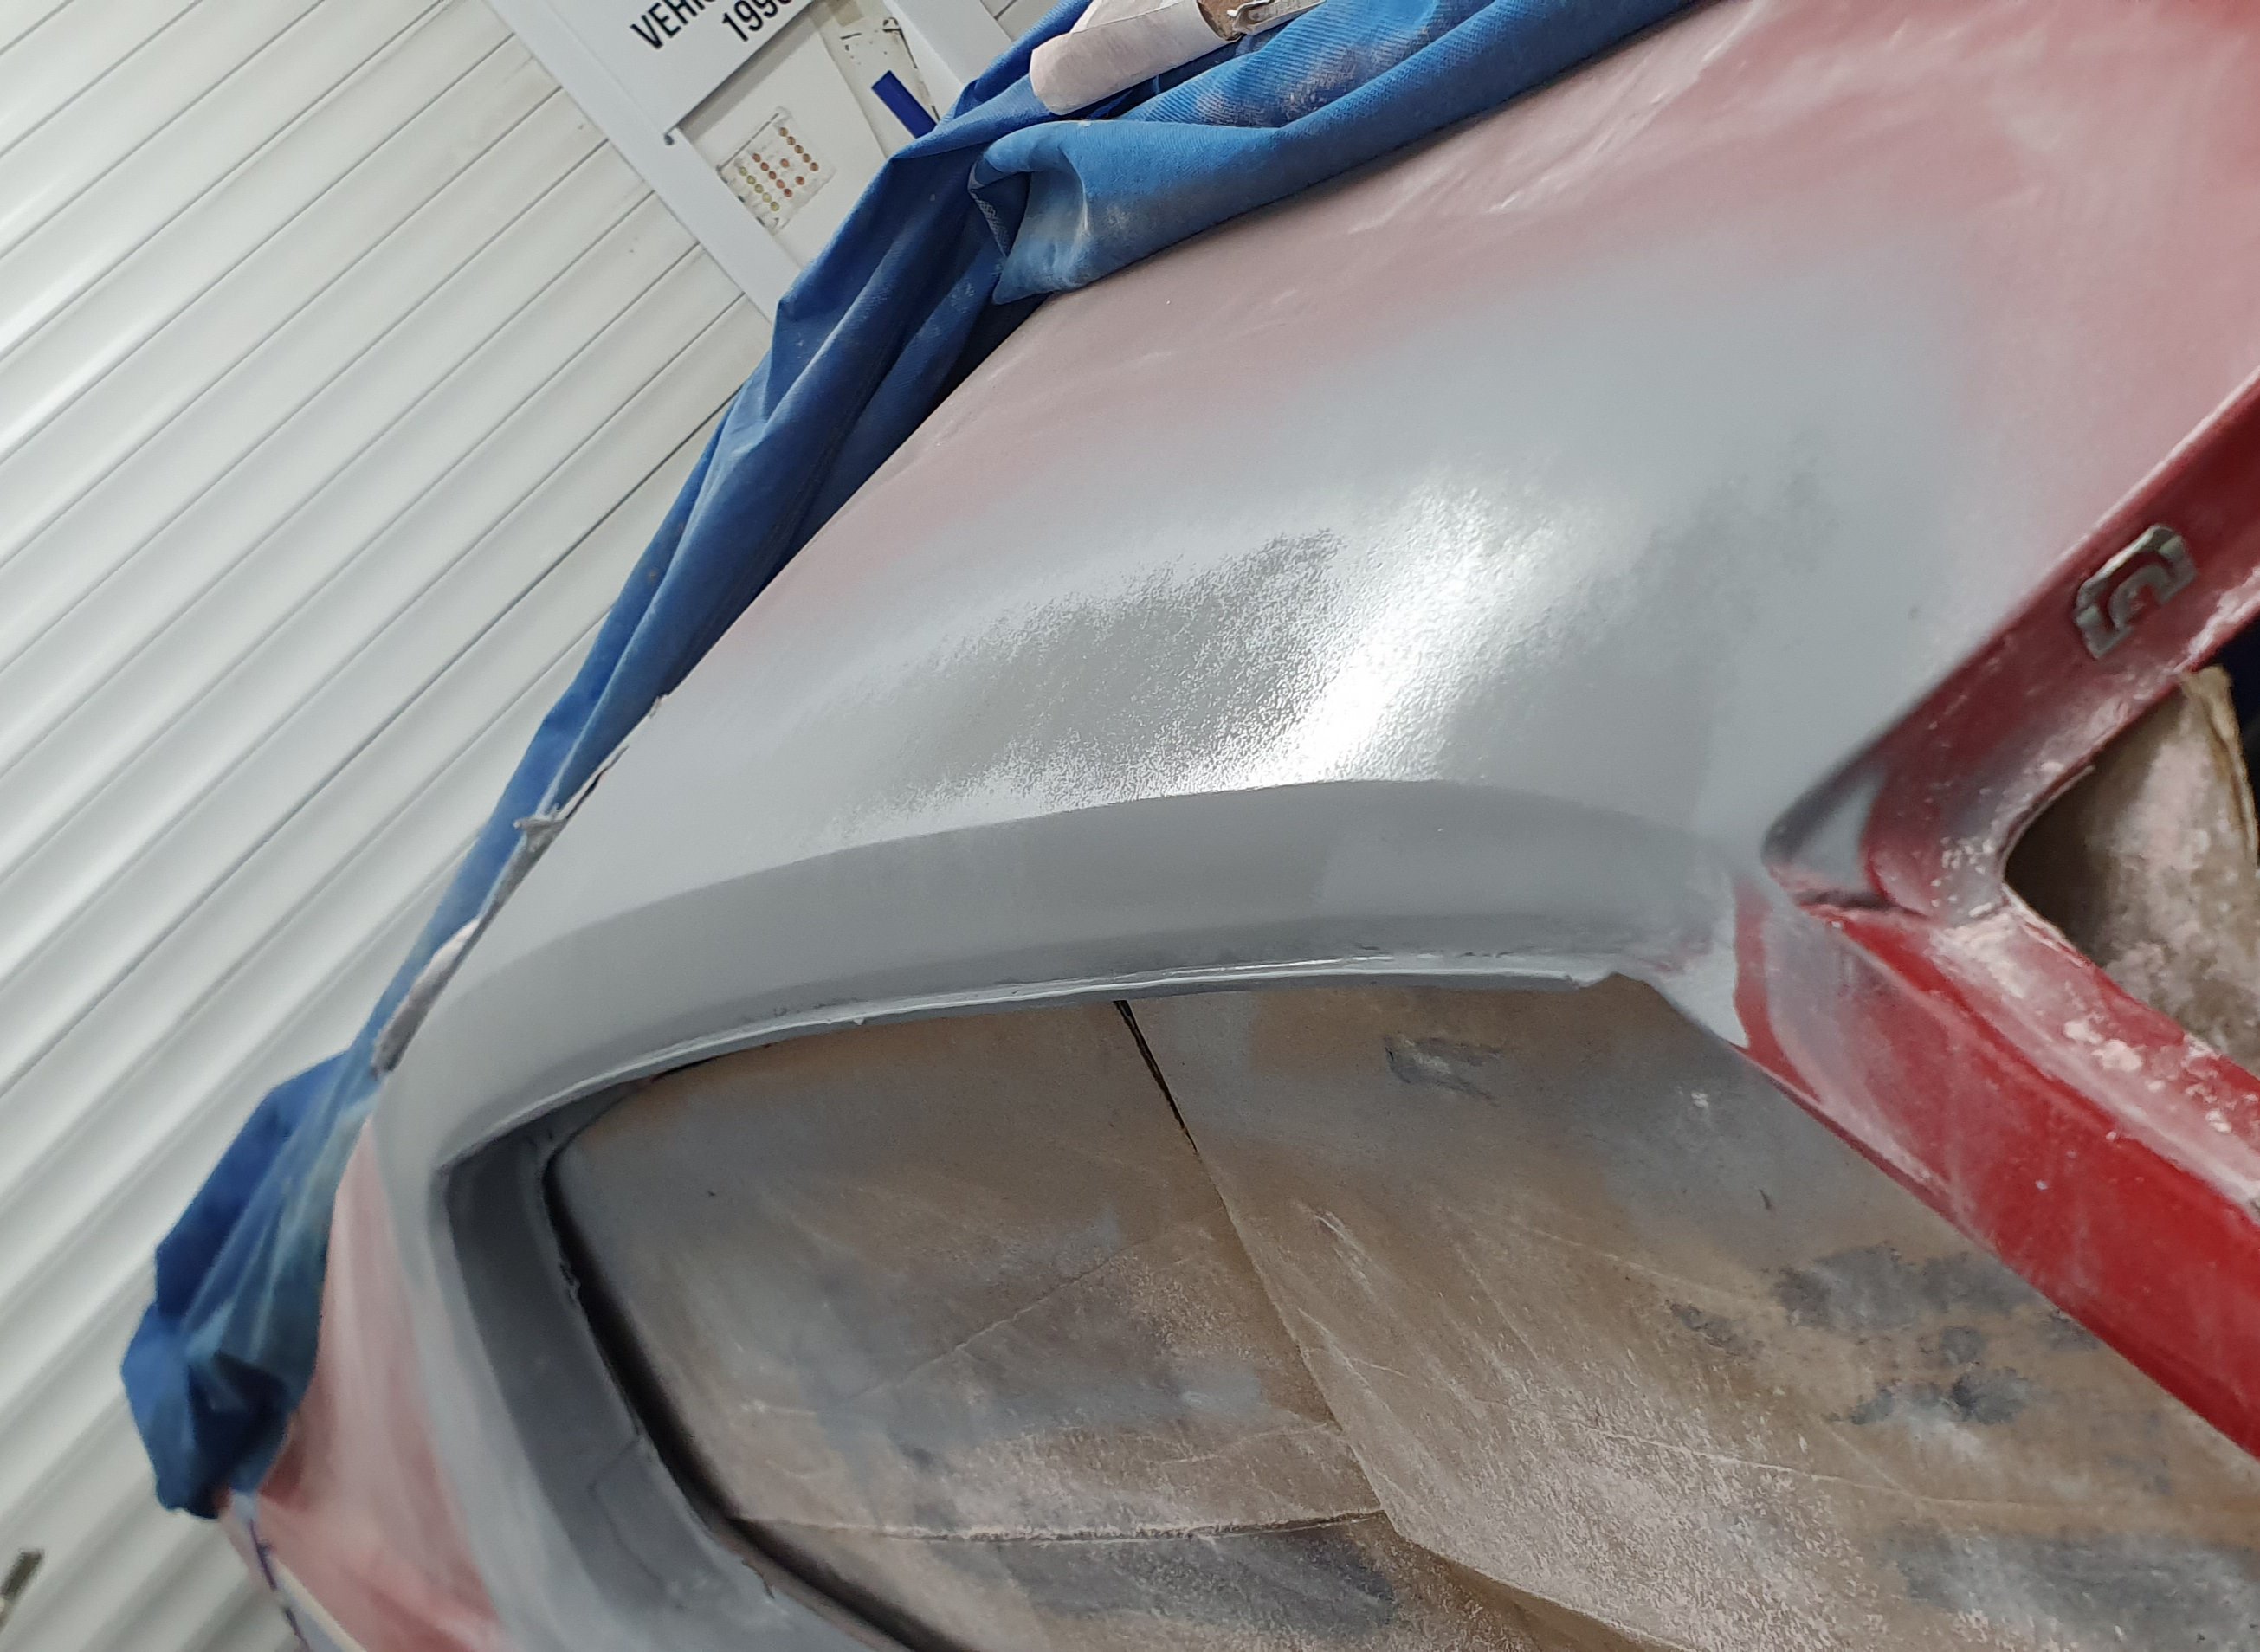
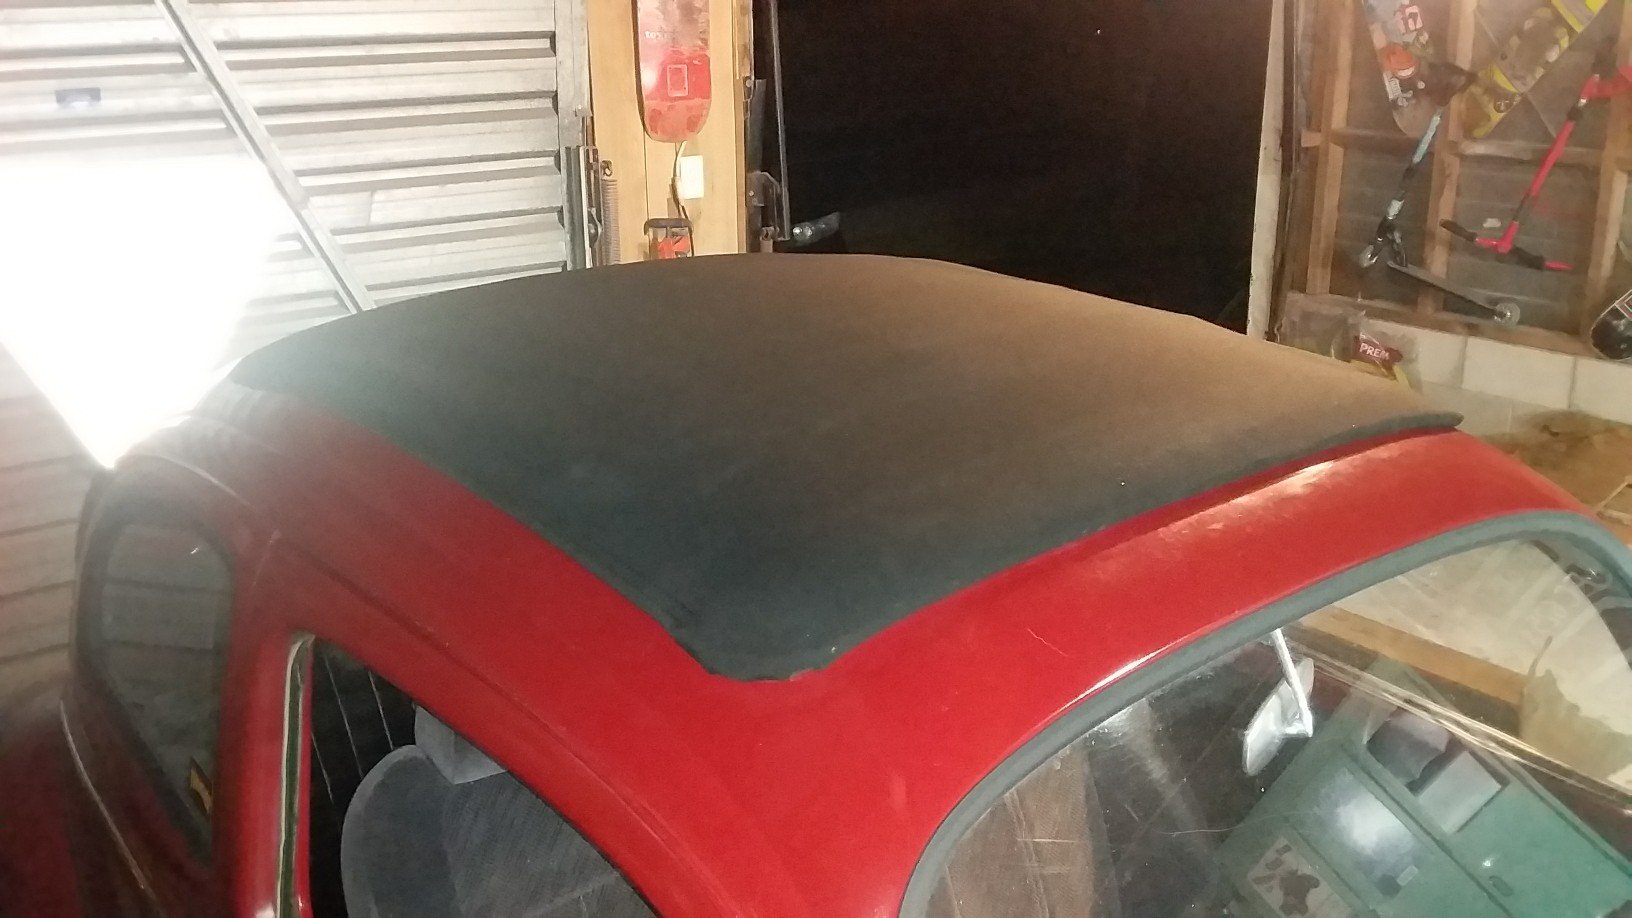
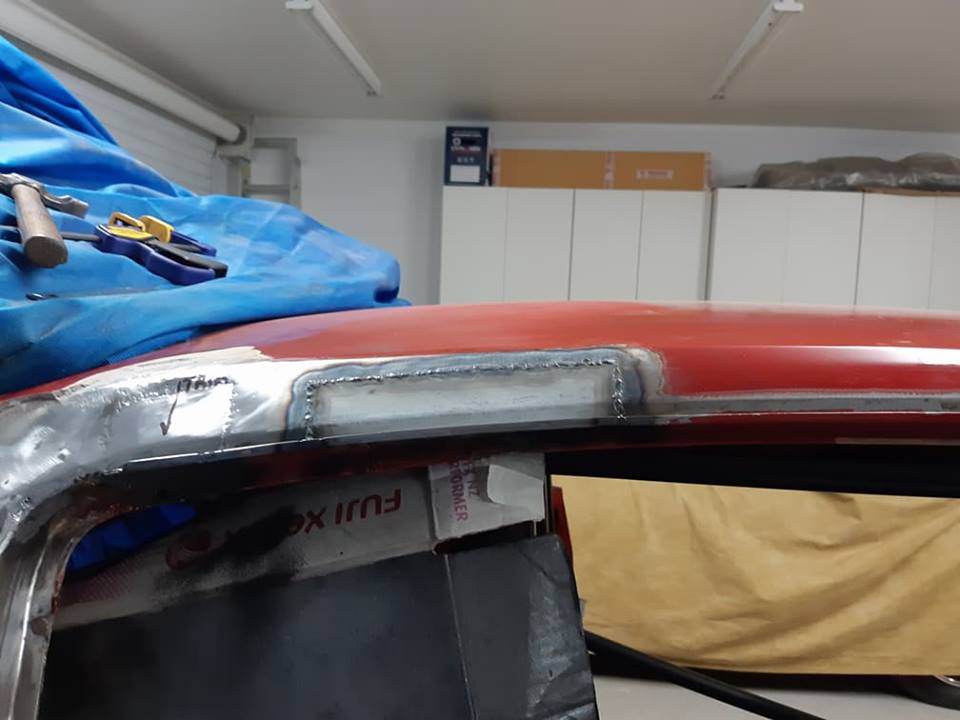
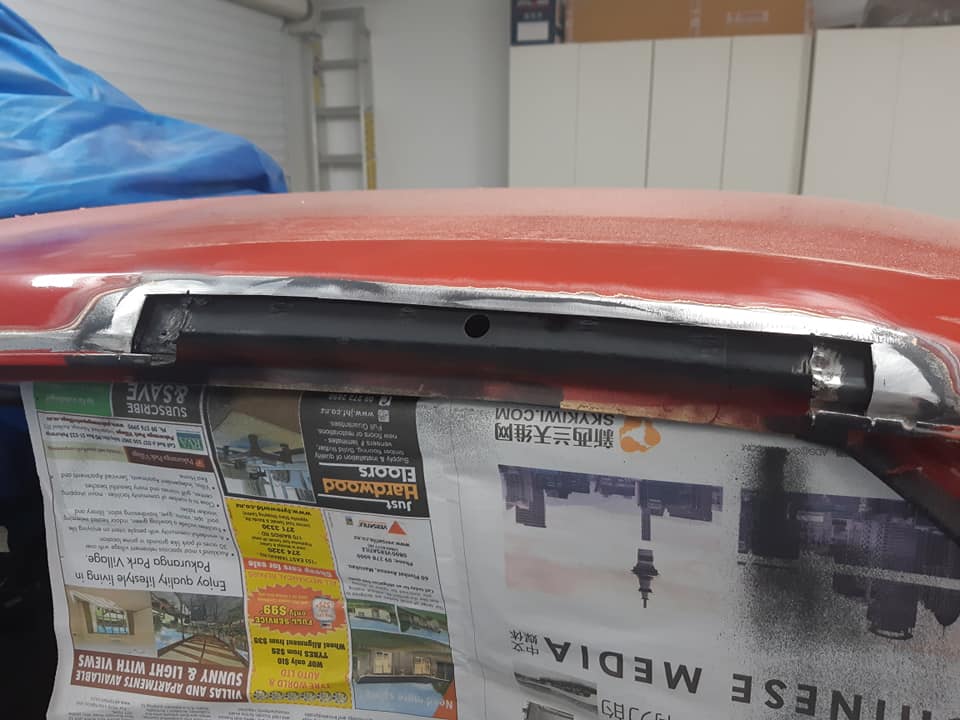
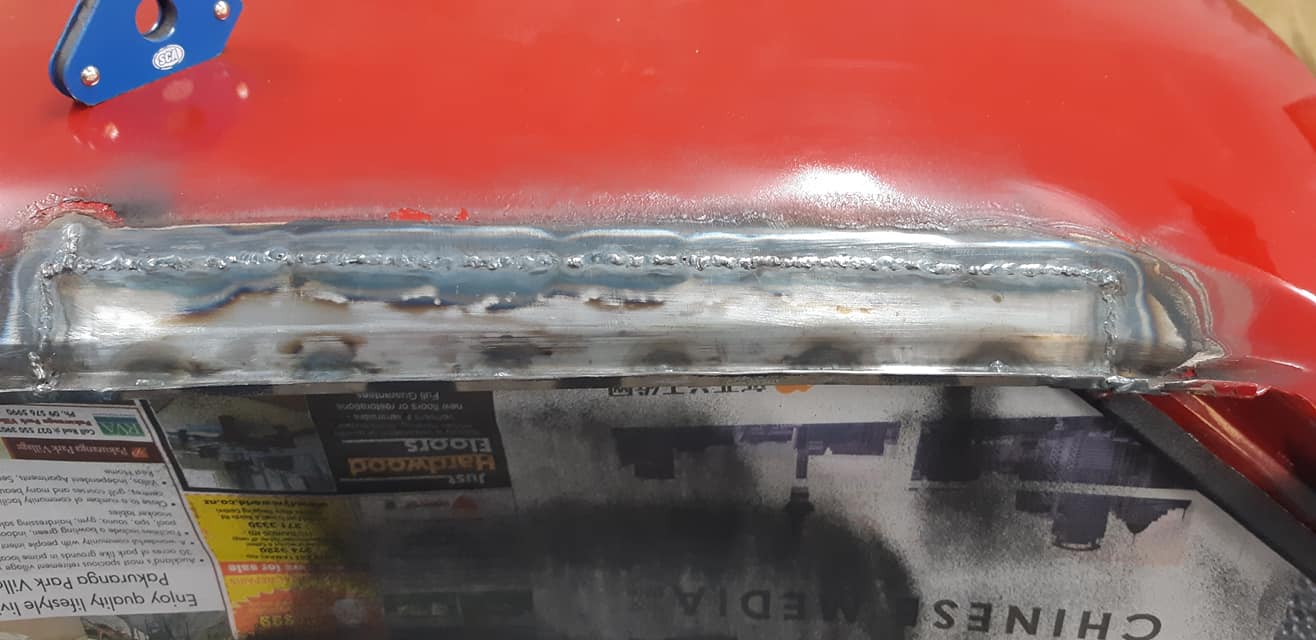
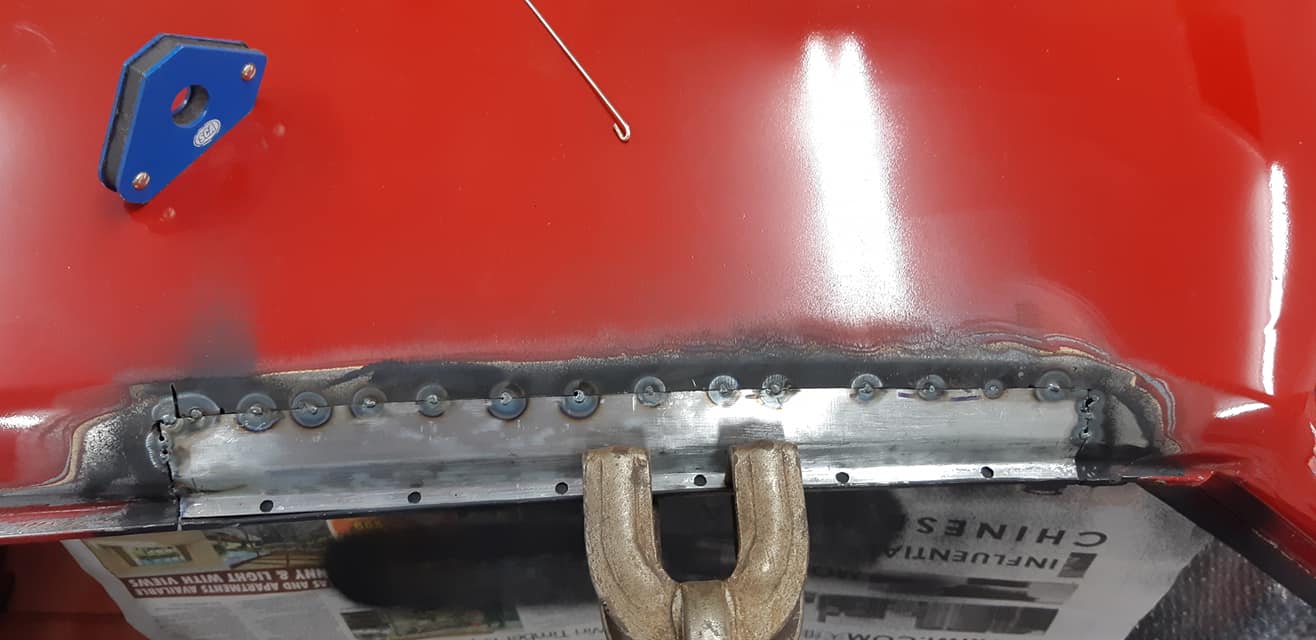
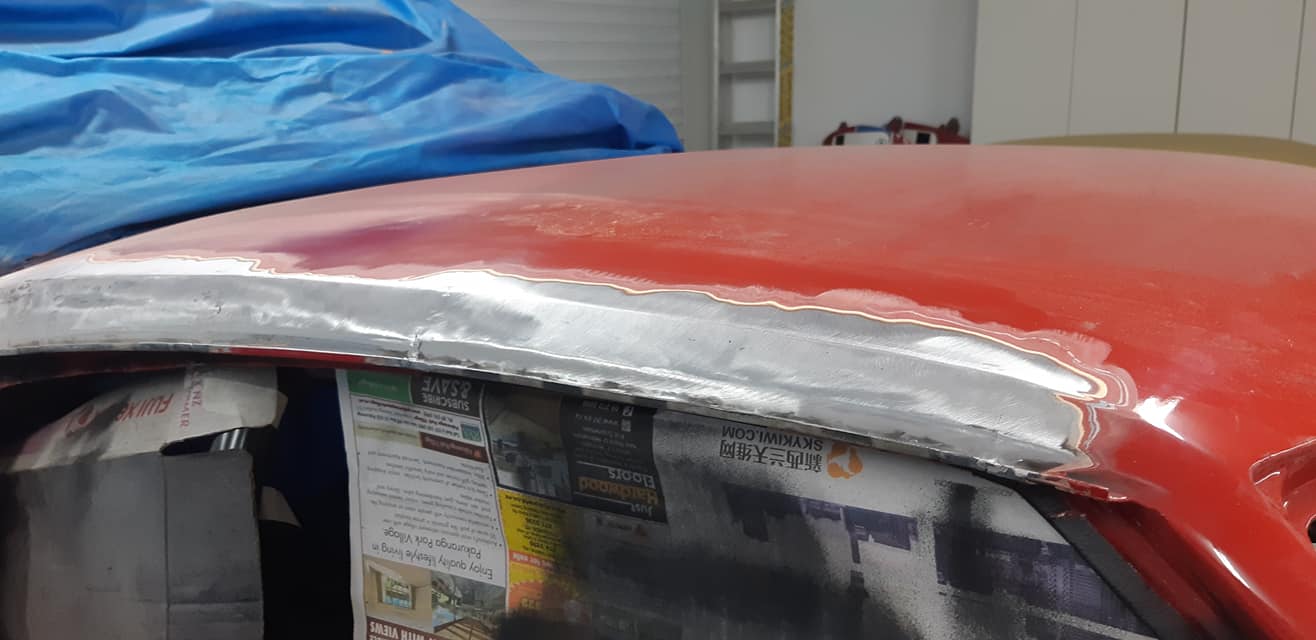
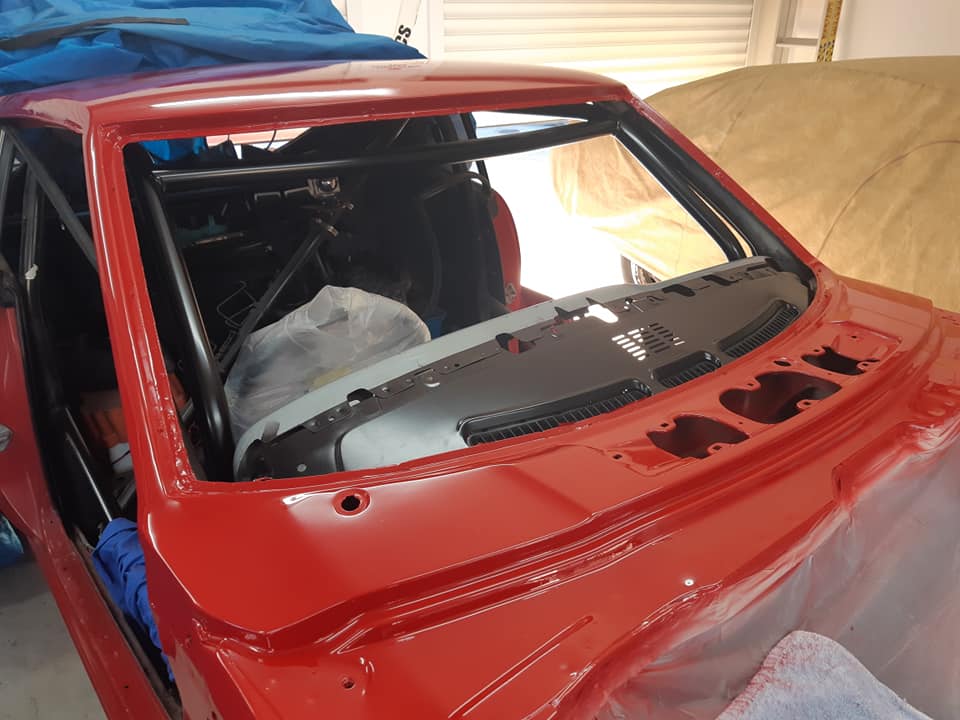
Well I finally found some time and got my ass into gear and finished straightening up the roof today. Came out pretty good i recon.
9 points
-
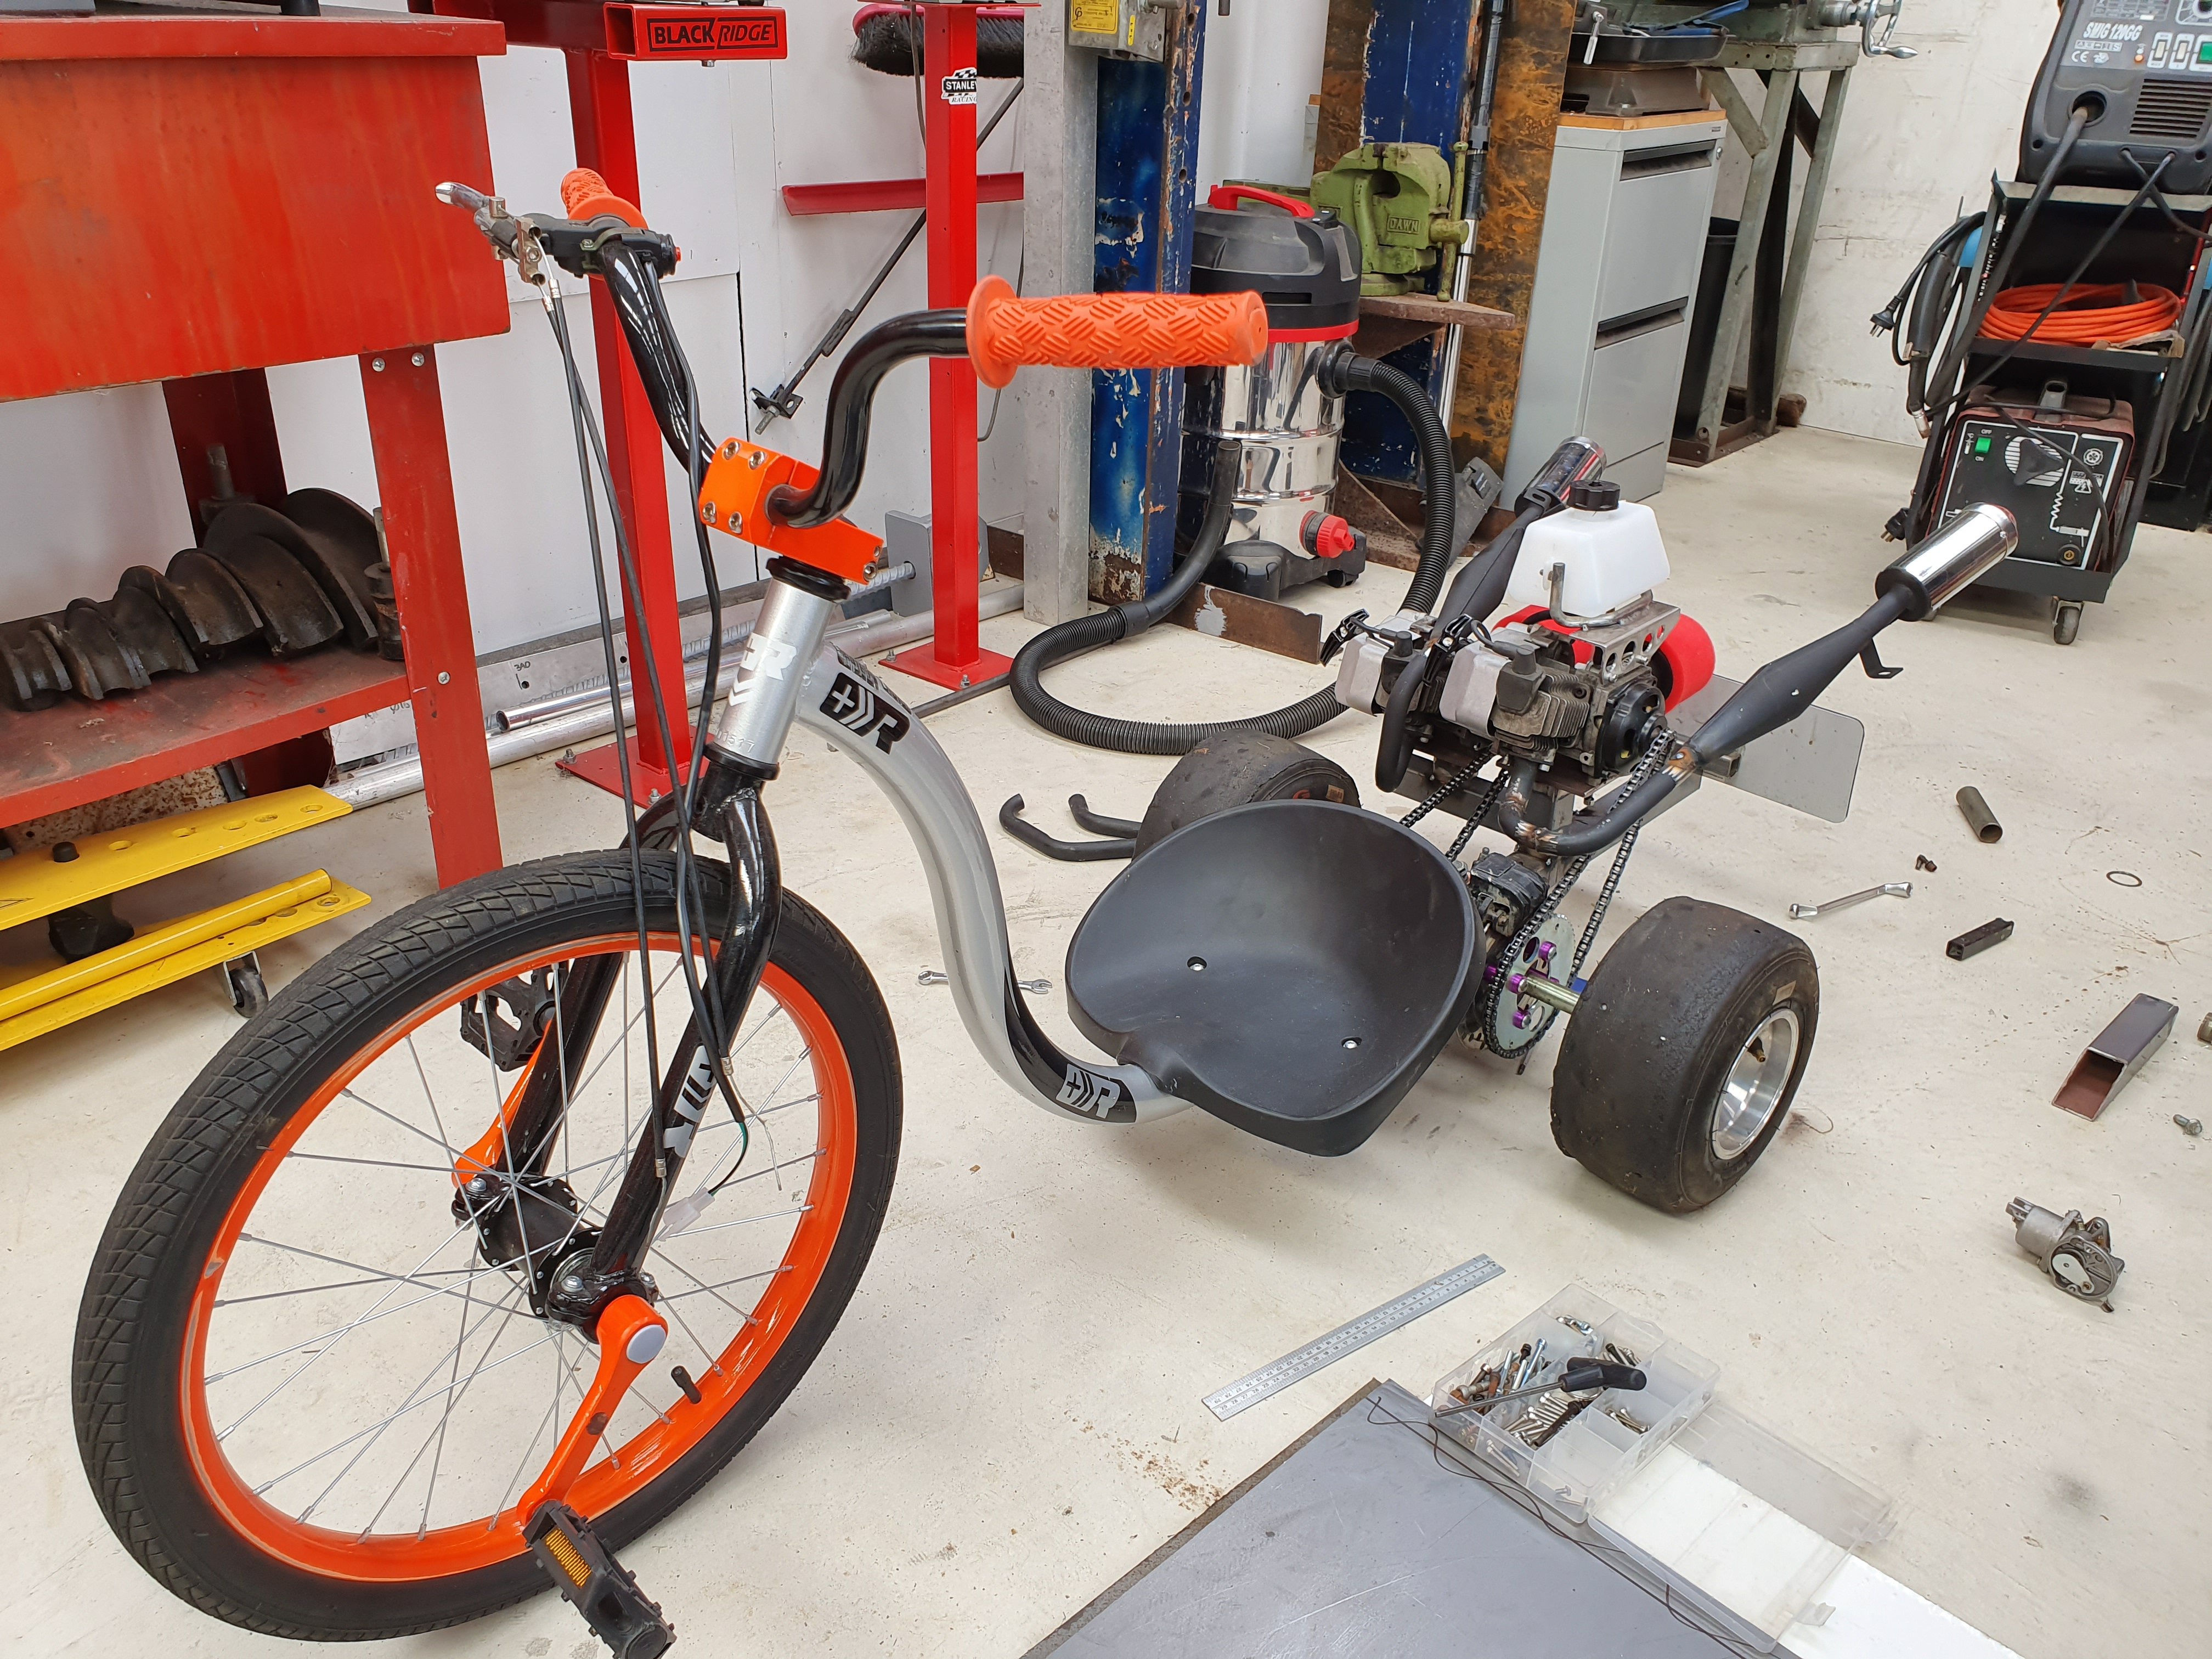
my son and i have got another little project pick it up yesterday
6 points
-
Hey guys Thank you for those who responded to this post and have private messaged me about possible in Chch. Ive now got one a new job Wayne.5 points
-
5 points
-
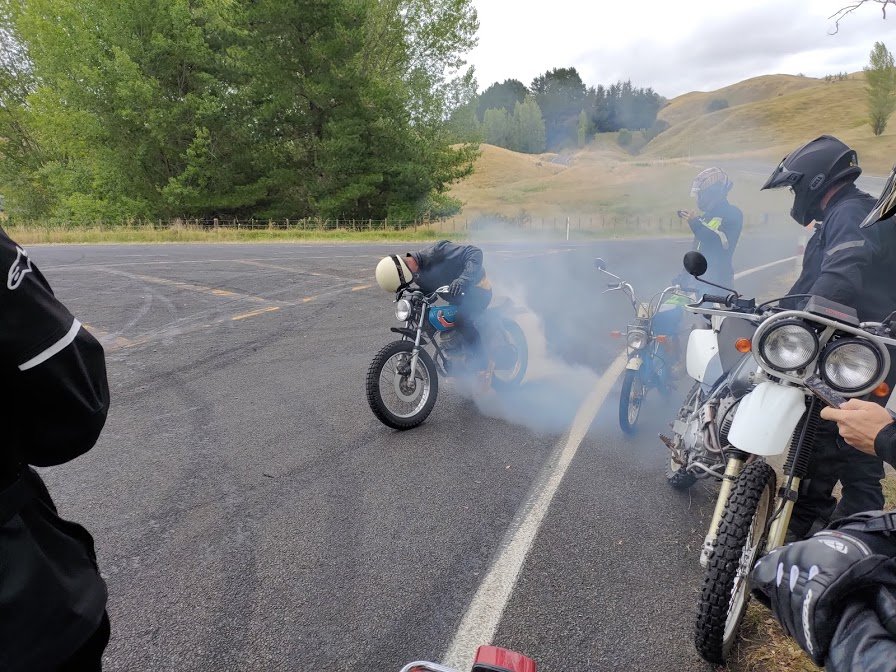
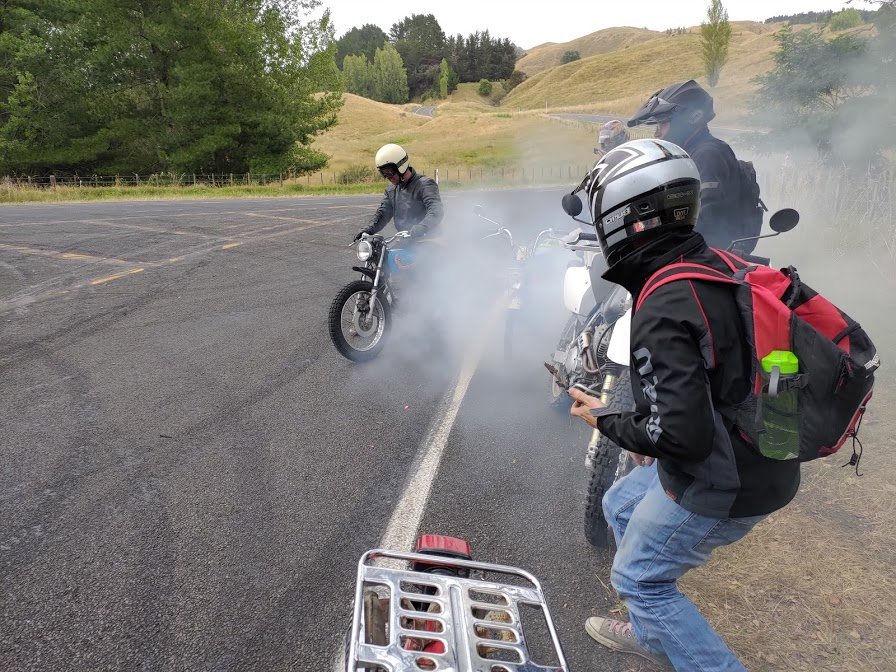
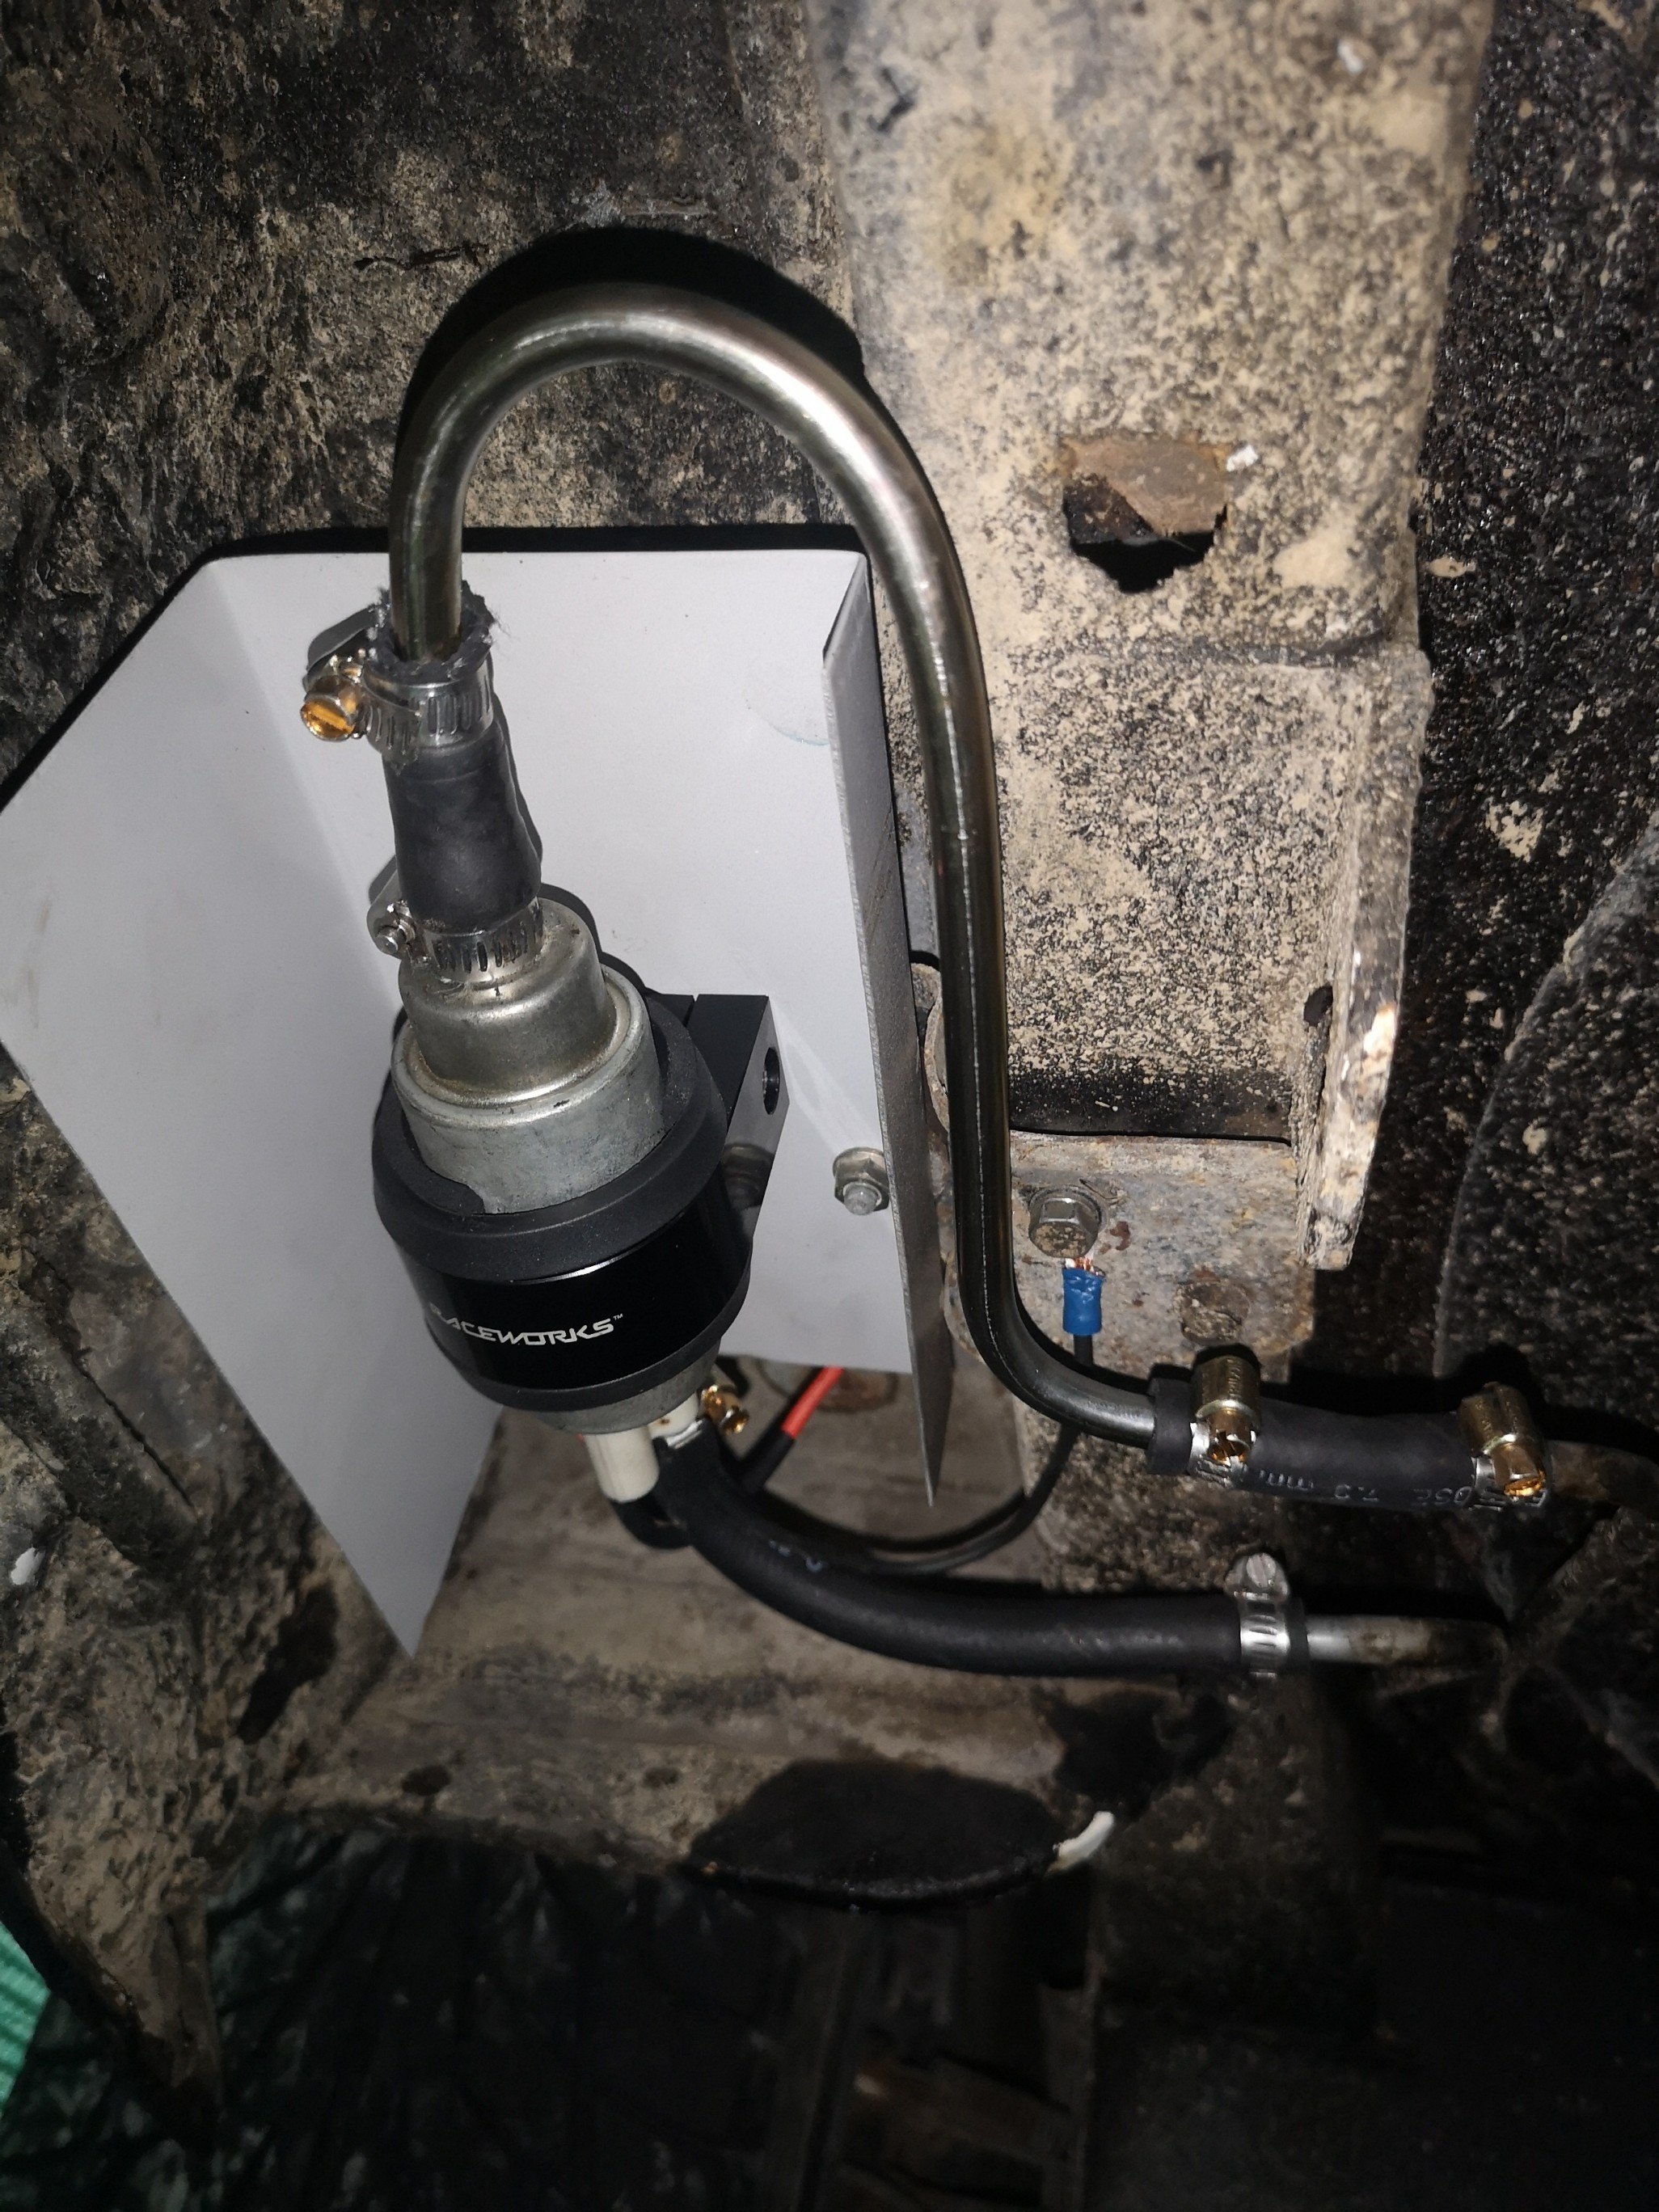
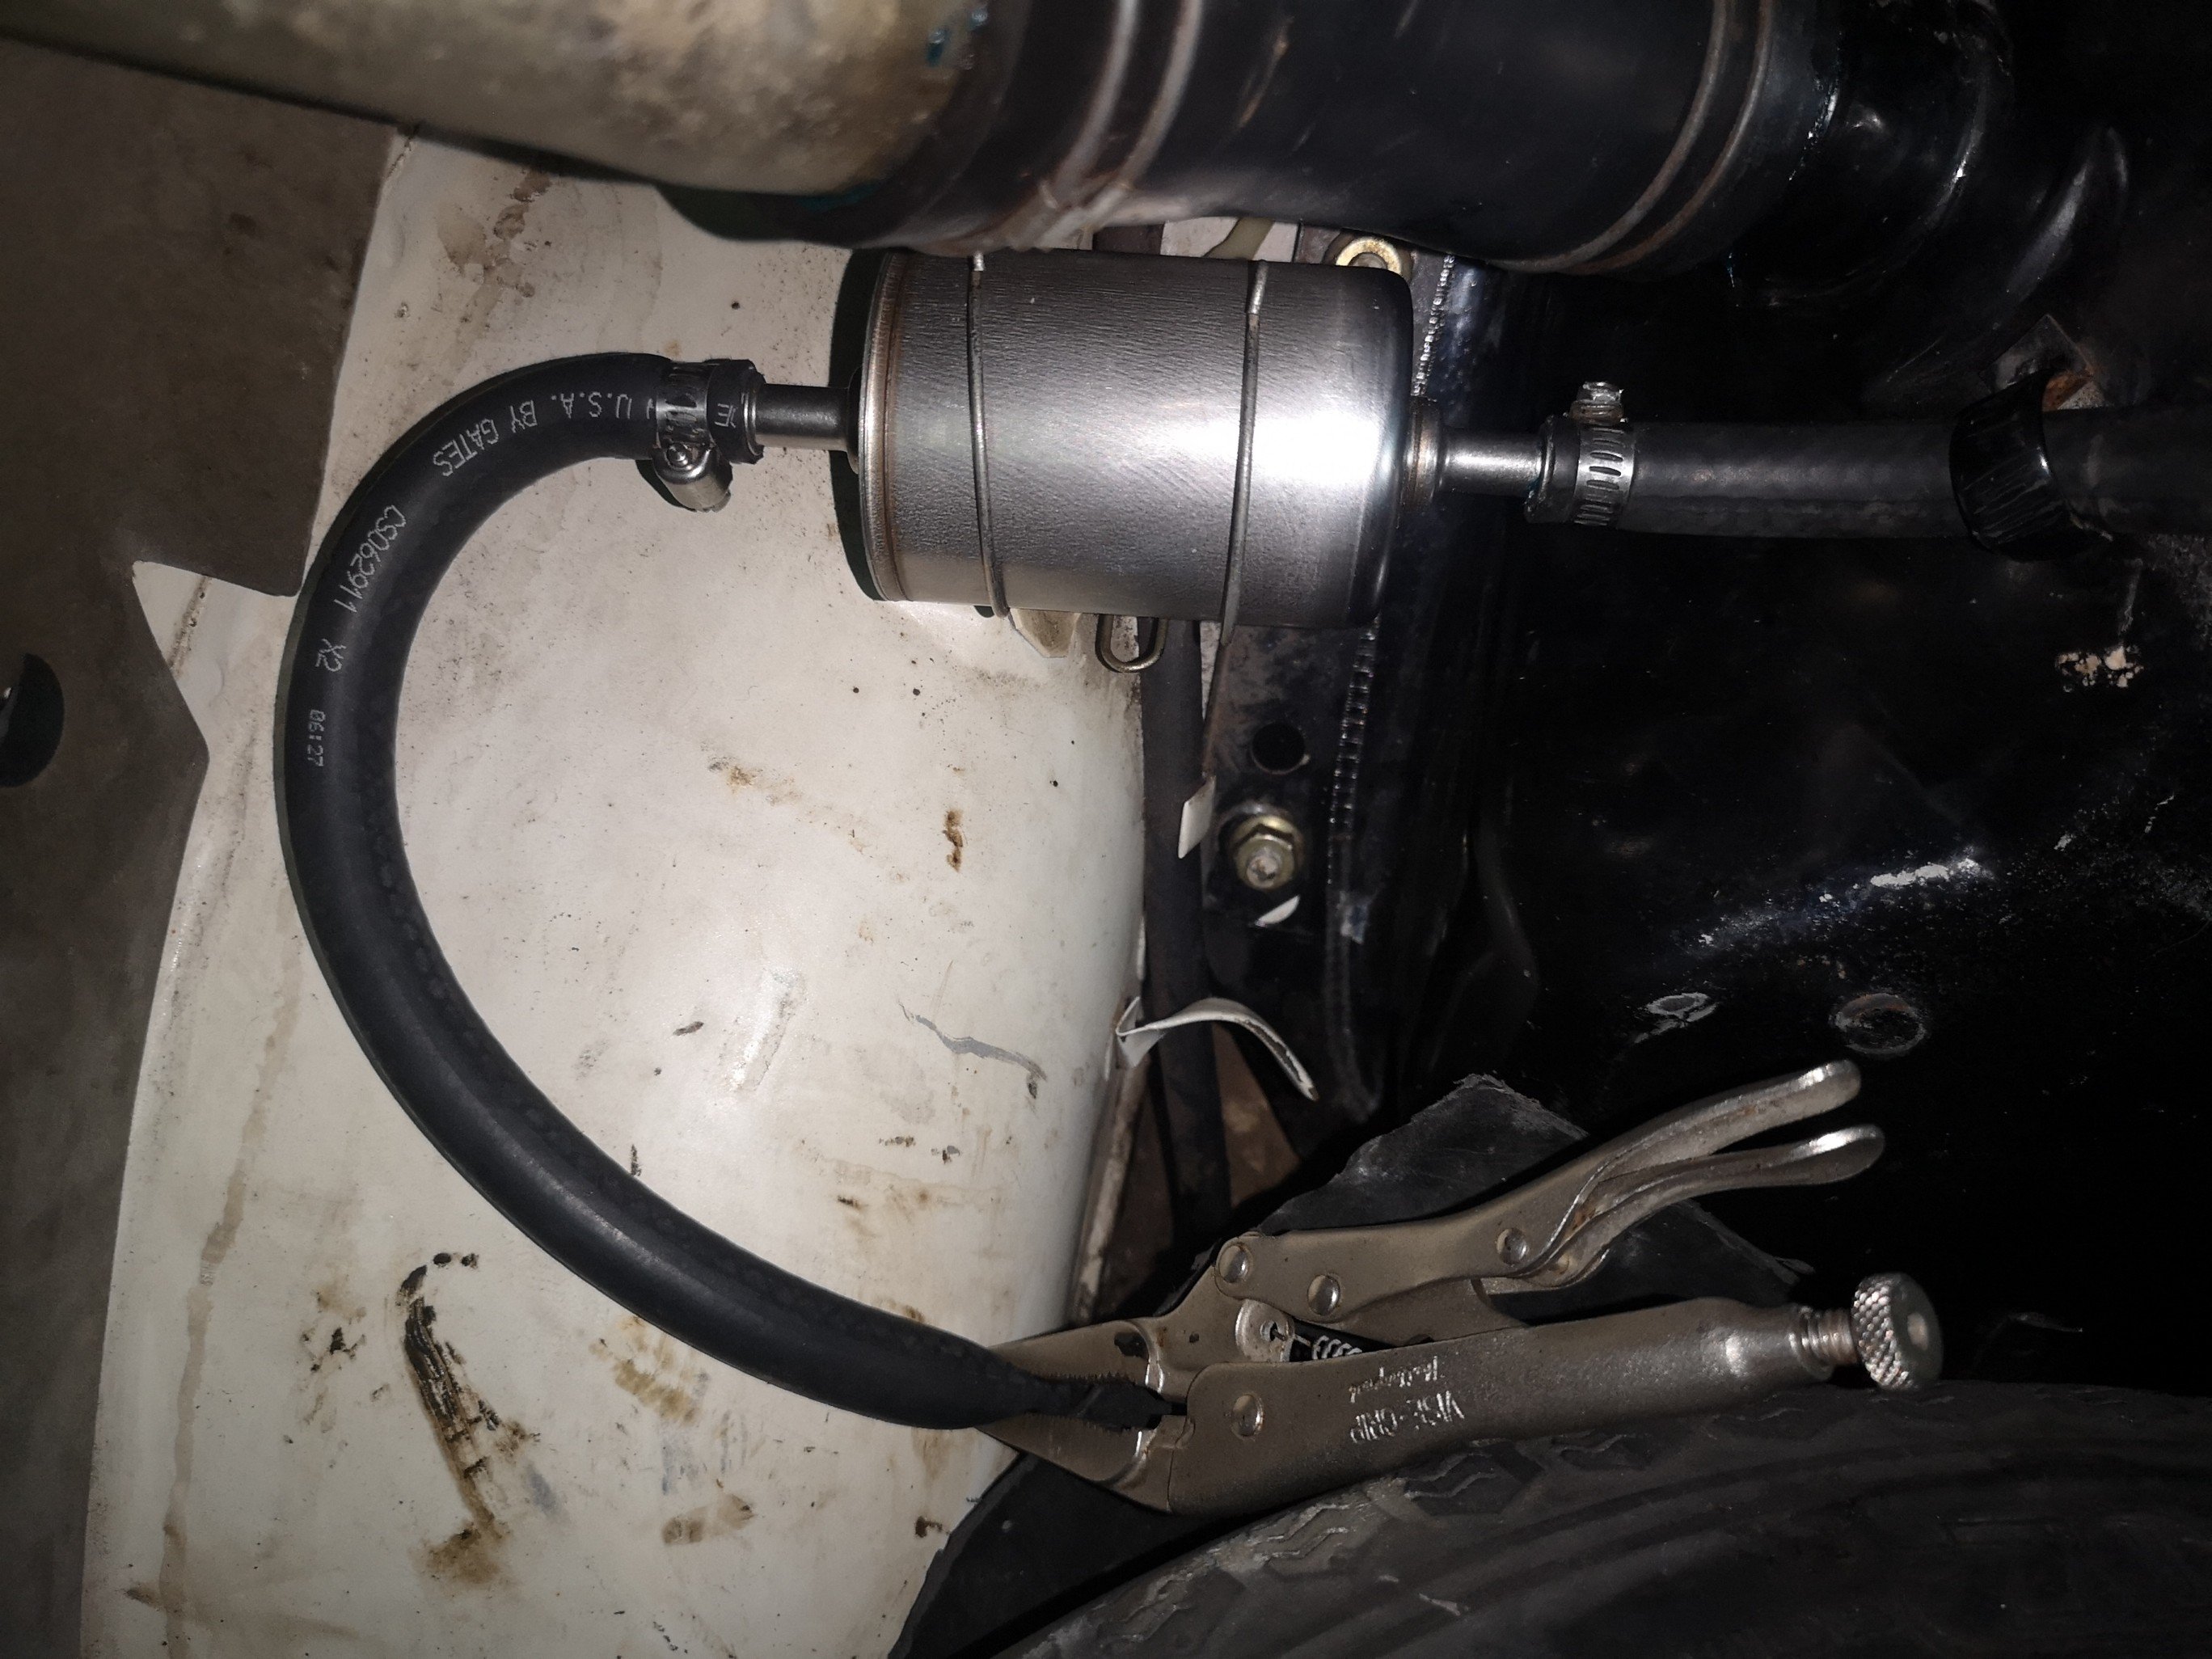
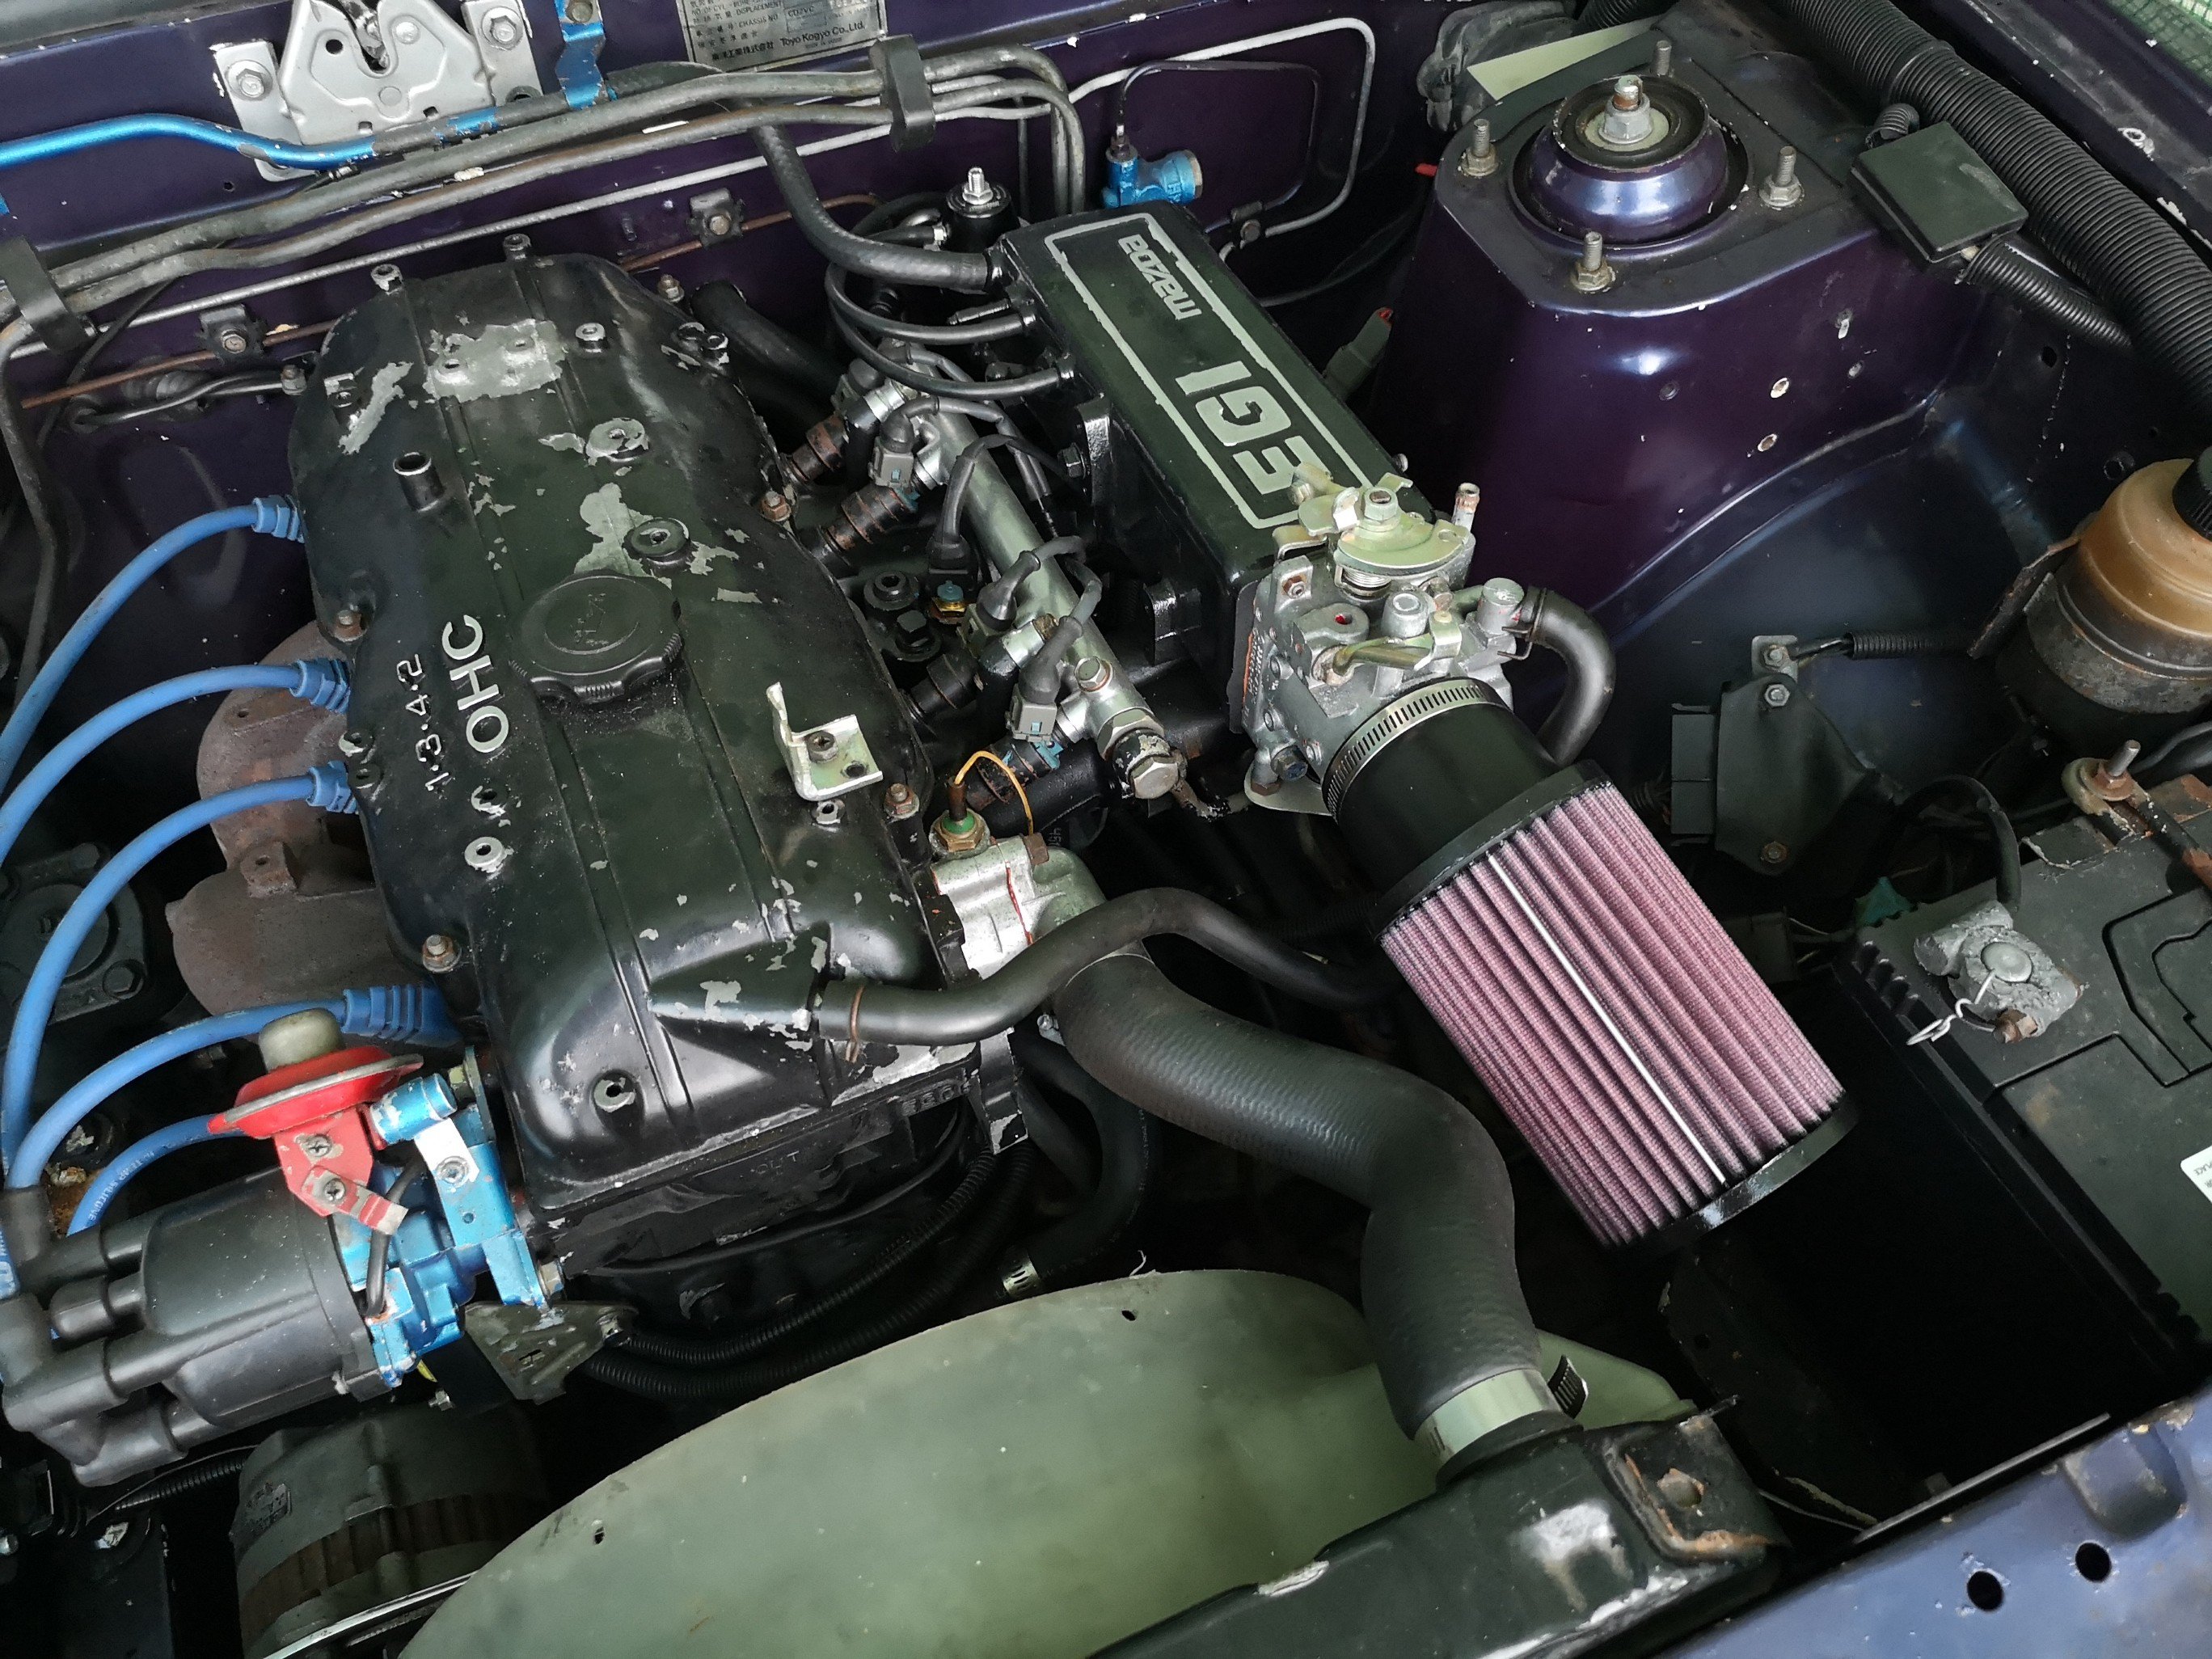
Fuck, totally just overheated it.. Was taking it out for a smash after just getting rid of a big flat spot off idle, was just cruising after the fact when I smelt a bit of hot oil. Having just done a skid (and giving it an oil and filter yesterday) didn't think to much of it. Gave it the boot out of a round about and it stumbled a bit.. bit odd. Got home it was really smelling and the tappets were noisy, smoking from the breather and the hoses were soft. Fucken blew a small bypass hose off the water pump, it was only held on with a wire clip and I never thought much of it since its been there for god knows how long.. Anyway put a new clamp on it and slowly dribbled water in while it was idling and the temps came back, noises also stopped.. Hope I haven't warped the head. Its o-ringed for boost so it shouldn't blow gasses, just oil and water.... Typical. Haven't had a lot of time to work on this, but have done a couple of minors.. Like extending the accel cable so it's in a nice wide curve. Don't get the vibration much now except for it'll randomly kind of buzz around 4-5k I think it's where it comes through the firewall and connects to the pedal somehow. Plumbed the fuel pump better, previously was just lots of hoses.. Then it wouldn't run... Ahhh, what now? Whoops.. Forgot about that bit. Bought a k&n filter so I don't suck some small dog in while I'm ironing out the bugs, By the way you can see the offending hose just under the thermostat housing above. Fixed the broken stud on the bonnet, not sure if I trust its strength.. I then trimmed and tapped the thread back on it.. Gonna take it in for a wof this week and if it passes I'll then stick the wideband on it and getting it running at its best. Reason being is I don't want to weld the bung on this exhaust only for it to be failed.. Might just get a no weld bung as eventually I'll bin this exhaust. Was gonna turbo it for nats but I decided without cert insurance is void so I'll do it when I get back.. Good times..
5 points
-
Edited for PC correctness5 points
-
Alrighty, bit of an update lull as it has been way too fucking hot to do anything serious, plus I am broke so cannot fund much stuff that needs to happen. I have been picking away at a a few jobs tho; I added some deck lights. Nothing super bright, but then they don't draw a shit load of amps either. I took it for a stealthy drive down to the weighbridge, it has ended up at 2450kg with a full tank of diesel, not as light as I thought but still lighter than a Safari, pretty happy with that really as the deck is a chunk bit of work. That was the first time at road speed and it feels fucking great. The drive did highlight the need for a bit more airflow to the rad, it was a super hot day but at road speed the fan was still cycling which isn't ideal. Thus I built a pretty serious bit of ducting/shrouding underneath which I don't have a great pic of but which seems to do the trick; This was actually a bit of an effort as I needed it to clear the diff, which meant relocating the brake T block, which meant redoing the front brake lines etc etc. Cool cool. It also got pretty hot in that cab, so I have ordered some heat shield material, I will see how that goes. As an added precaution I created a bit of bodgy HVAC to pull hot air out when things got too much like an oven; This was because I had a 24v 150mm fan that has been in my stash for 10 years - see you should never throw things out but hoard them always. This runs off a bi metallic switch set for some random temperature. I have had a couple of previous comments about my choice of thermofan switch which I chose to cut in at 102deg. I talked to my radiator man about it who said what a cunt I was and that mid 80 degs was where I should be so the cooling system has a bit of headroom to work before boiling. Ok, I am abashed. The cheap easy switches were all M16 thread though and the fitting in the thermostat housing is M12, so I pulled it off and retapped it to suit. This has made the cooling situation feel a bit happier, plus it doesn't get so hot in the cab. This is probably good all round. Being broke and discovering that I had 4x 24v relays from the donor truck I decided to create a trailer plug 24-12v drop down converter; I will get a trailer plug and wire this shit in. There is 12v available at the back of the truck from the dc-dc converter set up for the air pump. Sweet. Lastly there is a leak from the exhaust manifold somewhere, and this will be difficult to sort because of the stupid little adapter I made to go from the OEM manifold to the TD05 inlet. So I drew these up the other day and got them cut. I will purchase some bends when I have some spare casharoonies... Then brace yourselves for some header lovins bitches. Also I made some spares to potentially pay for the cutting, let me know if you need some.... At ease.4 points
-
my mate Adam who is a link tuning wizard gave me a hand to get the e throttle sorted and get it idling and running ok. its getting hot fast which is concerning. the radiator is 11 years old so maybe needs a clean/re-core. ill keep fucking around with it. but anyway today i drove it. it goes mint and makes the whurry noises. tune is rough as fuck at the mo but its good enough to do a couple of Ks and see how it behaves, if i can keep it cool. 2020-02-14_07-18-56 by sheepers, on Flickr 2020-02-14_07-19-05 by sheepers, on Flickr 2020-02-14_07-19-12 by sheepers, on Flickr4 points
-
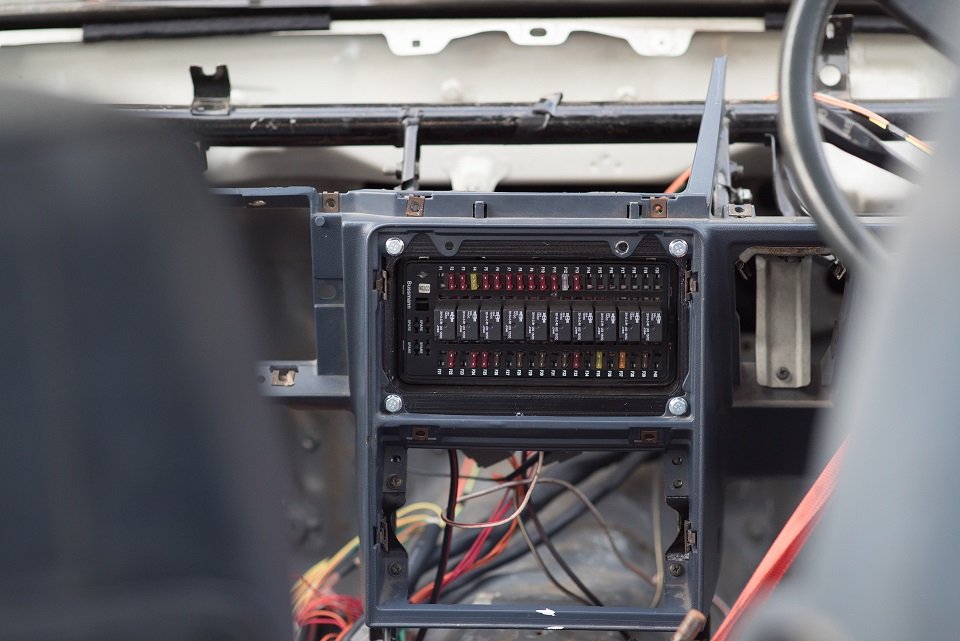
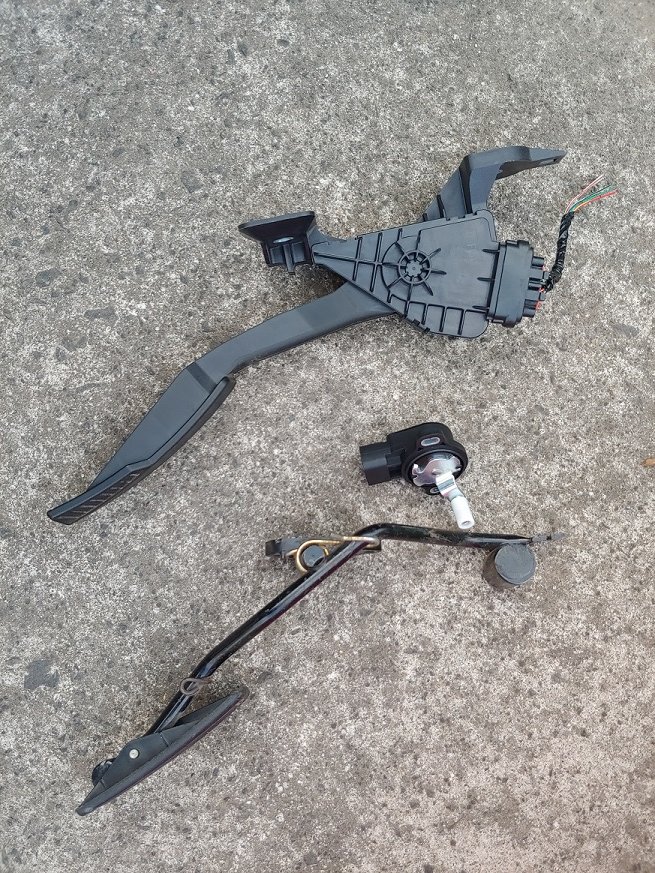
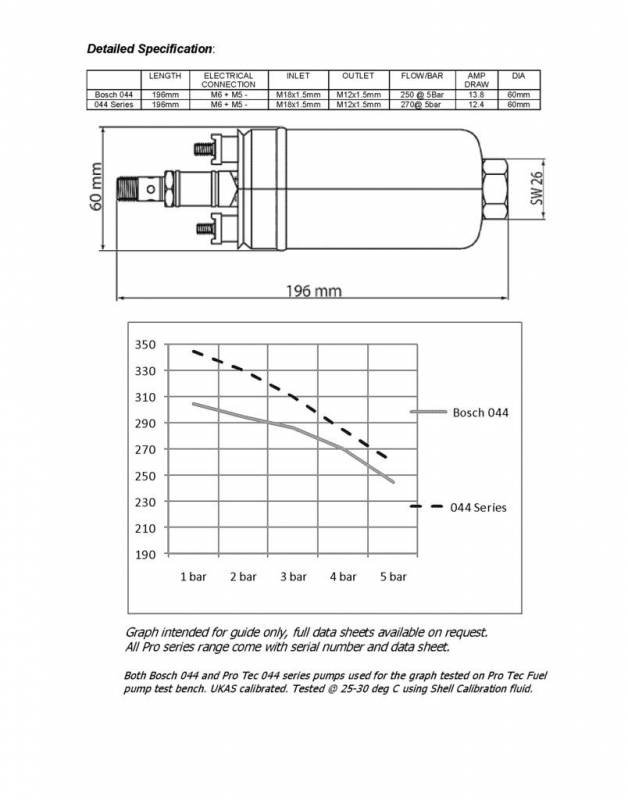
Fusebox all working. But not before I realized I'd wired 9 out of 10 relays backwards. Woops. Lucky was easy to fix. Also, I've always hated the idea of an external FPR, its just so big and shit looking compared to the OEM ones direct on the rail. Since I'm making an effort to keep things tidier though, and this will sneak in behind the cam cover and look discrete. Pinched from the Redtop engine's factory setup. Think I'll give it a hoon. Has the secondary benefit of that I can just run a smaller EFI spec rubber return line hose back to the firewall tucked under the inlet. Rather than a full sized AN-6 line from the rail to the FPR. These FPRs all only regulate to 300kpa (43psi) down from the 60psi I've been using. I havent managed to find a 60psi factory FPR, funnily enough because the only cars that run 60psi or higher are returnless systems. So let me tell you a punishing story about why that is. Traditionally, EFI systems have run at around 43psi. If you're wondering why the weird number, 43.5 psi is 300kpa, and no one in their right mind uses imperial units to design things. Anyway, this pressure range is a good trade off between how hard the pump has to work/reliability, how much fuel it can deliver, and good atomization. As you raise the fuel pressure the l/min rating of the pump decreases. So keeping the base pressure lower effectively gives you a higher flowing pump for same hardware = cheap. Look how much flow rate a Bosch 044 loses when pressure goes up. It also means that as you add boost, and the fuel pressure needs to go up to suit. Spec sheets for electric fuel pumps show that most start to creak and lose heaps of flow after 65psi or so, and with reduced lifespan. With 43psi base pressure and 20 pounds boost only means 63psi required at the pump. Which is considerably better than trying to achieve 80psi. So, why do modern cars run 60psi base fuel pressure instead? When emissions rules are really tight, Fuel vapour emissions are a big problem. When you heat up fuel at the fuel rail and send it back to the tank, it creates heaps of vapour. As well as that when you open the gas cap, this pressurized hot fuel vapour rushes out which is also an issue they need to minimize. A secondary problem here is that fuel isnt just made of 1 thing, it's made of lots of different chemicals which have different boiling points. My understanding is that the additives that turn 95 octane into 98 octane, are the first to flash off into vapour. So minimizing the fuel heating reduces your octane level loss over time. The fix for these problems is to make sure fuel that goes to the rail, never gets back to the tank. Hence returnless. But now the problem is that at 43psi, if it sits long enough in a hot fuel rail it reaches its boiling point. So 60+ psi raises the boiling point above where this is an issue. Which is also why they dont vacuum reference the FPR in the gask tank on returnless, because you never want to drop the fuel pressure below 60psi absolute. And a modern ECU can just deal with a varying differential fuel pressure a lot better than old shitters can. So in my case, going back to 43psi will be fine but with lower pressure the injector duty cycle will need to creep up a bit. As at 60psi Altezza injectors are 450cc/min Injector, at 43psi it's only 370cc. So I'll need 21% more injector opening time. Currently I only get to around 63% duty cycle at lots of RPM so that'll end up around 76% duty cycle instead. No drama. I will just need to be mindful of when controlling the fuel pump with PWM, that I'm not setting the flow rate too low that it'll have time to boil the fuel. Although these engines have a fairly well insulated fuel rail compared to some other engines where they are stuck in a valley or whatever. The other problem is that my fuel pressure sensor now has nowhere to go, as previously went into the FPR. I managed to find an AN fitting that has a pressure port on the side, so I'll mount this with the sensor whacked in somewhere after the fuel filter on the inlet hose when it turns up. I got the Bosch E-throttle all working nicely, it's very snappy testing via ECU. It looks like I'll need to ramp down the PID settings a bit compared to Altezza one. Will take some 100hz logs and try fine tune it. Speaking of which, this PID tuning explanation is bloody amazing So now I've gotta sort an E-throttle pedal. I've got two options so far to try, but isnt looking as easy as I'd hoped. First is RX-8 pedal, on the left. Convenient option but it doesnt really fit nicely in the available space. The other issue is that the APS sensors are built into the entire pedal assembly. So if it shits itself, you have to rebuy the whole thing which seems stupid. The other option I've been looking at is a 350Z APS sensor, which looks like a normal TPS but has a little bar on it to be moved by a pedal somehow. This doesnt particularly look like it wants to cooperate with the factory pedal, so need to figure out something else there as well. However it does make it a lot easier to keep a spare and replace if it packs up. But I like the idea of keeping the factory pedal, so if I end up using a cable again to test something I've still got the option. Although I guess I could just refit the factory pedal anyway in that case haha.
3 points
-
All back together3 points
-
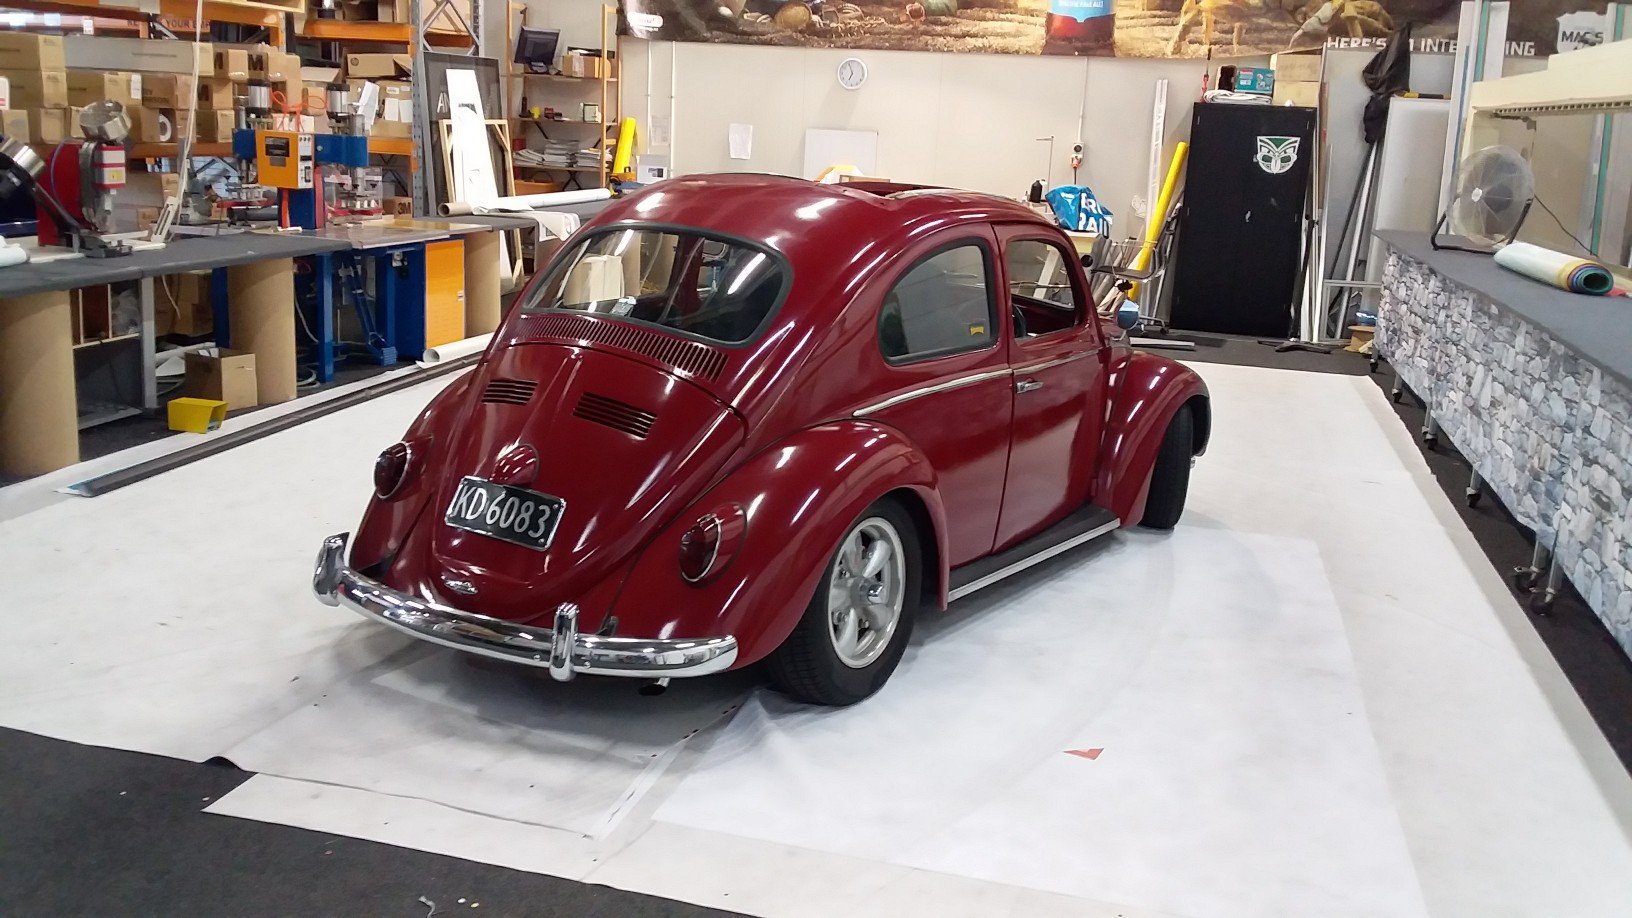
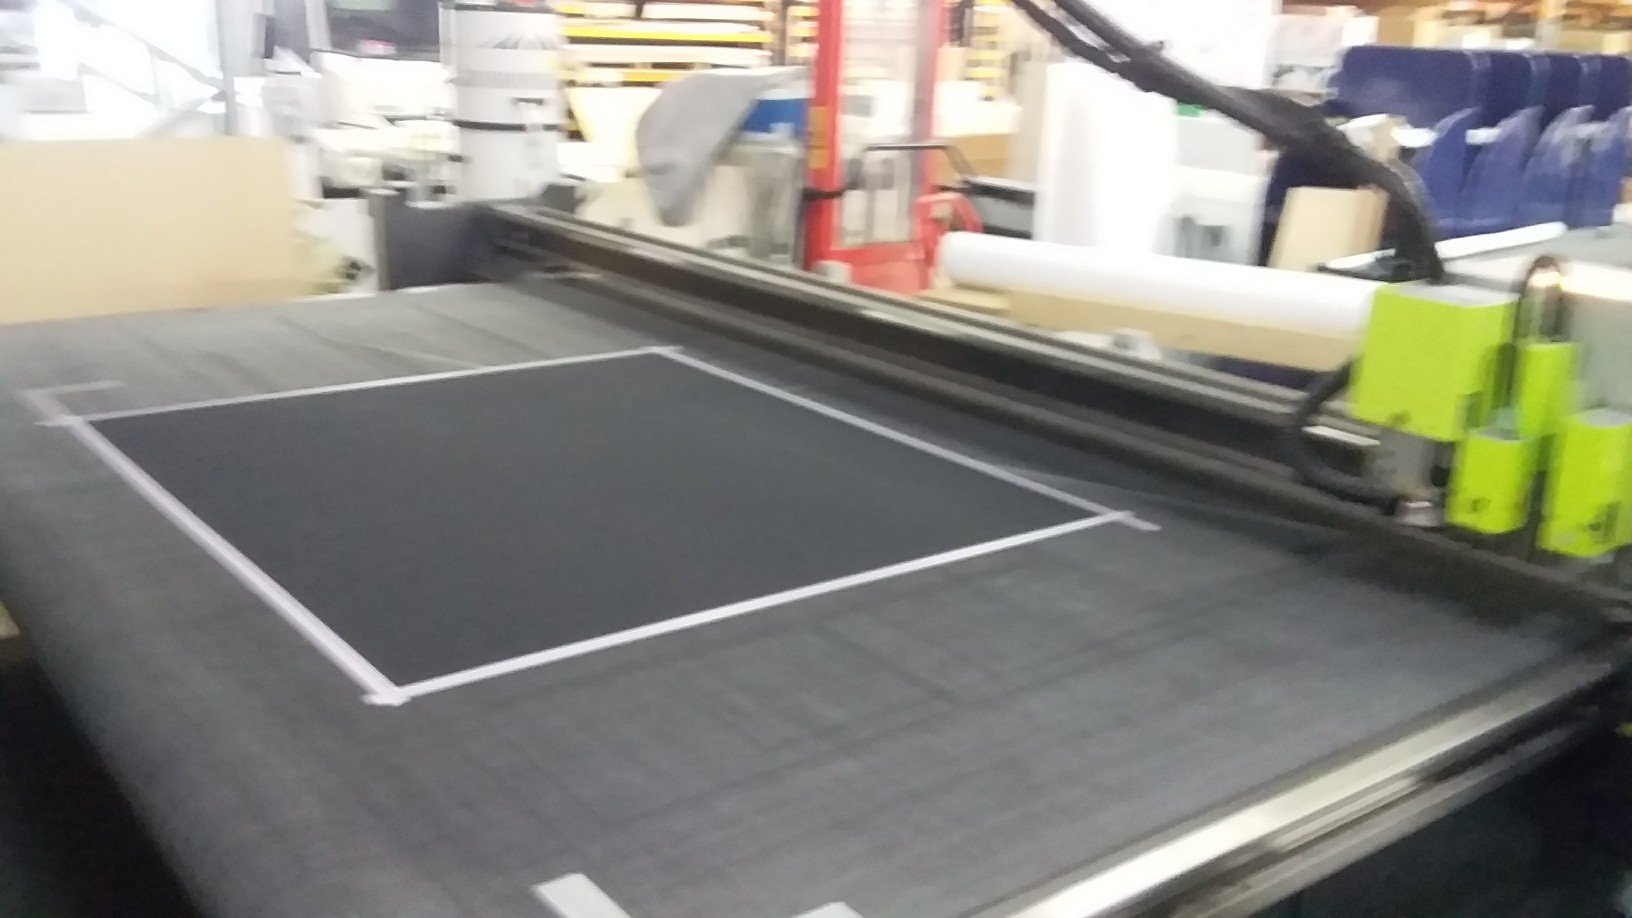
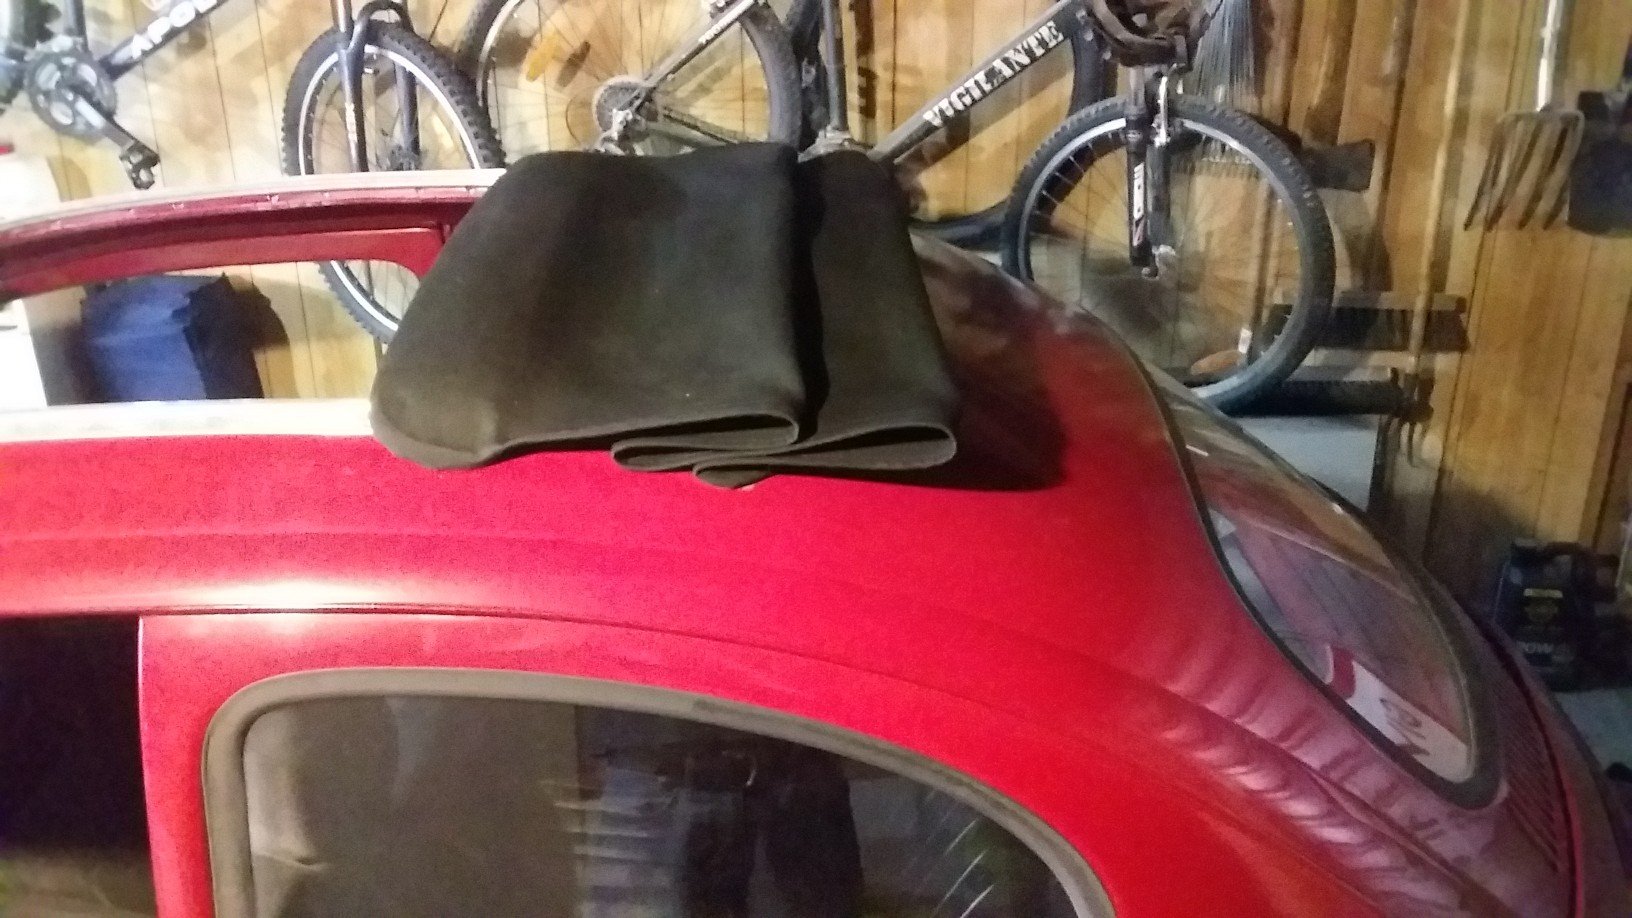
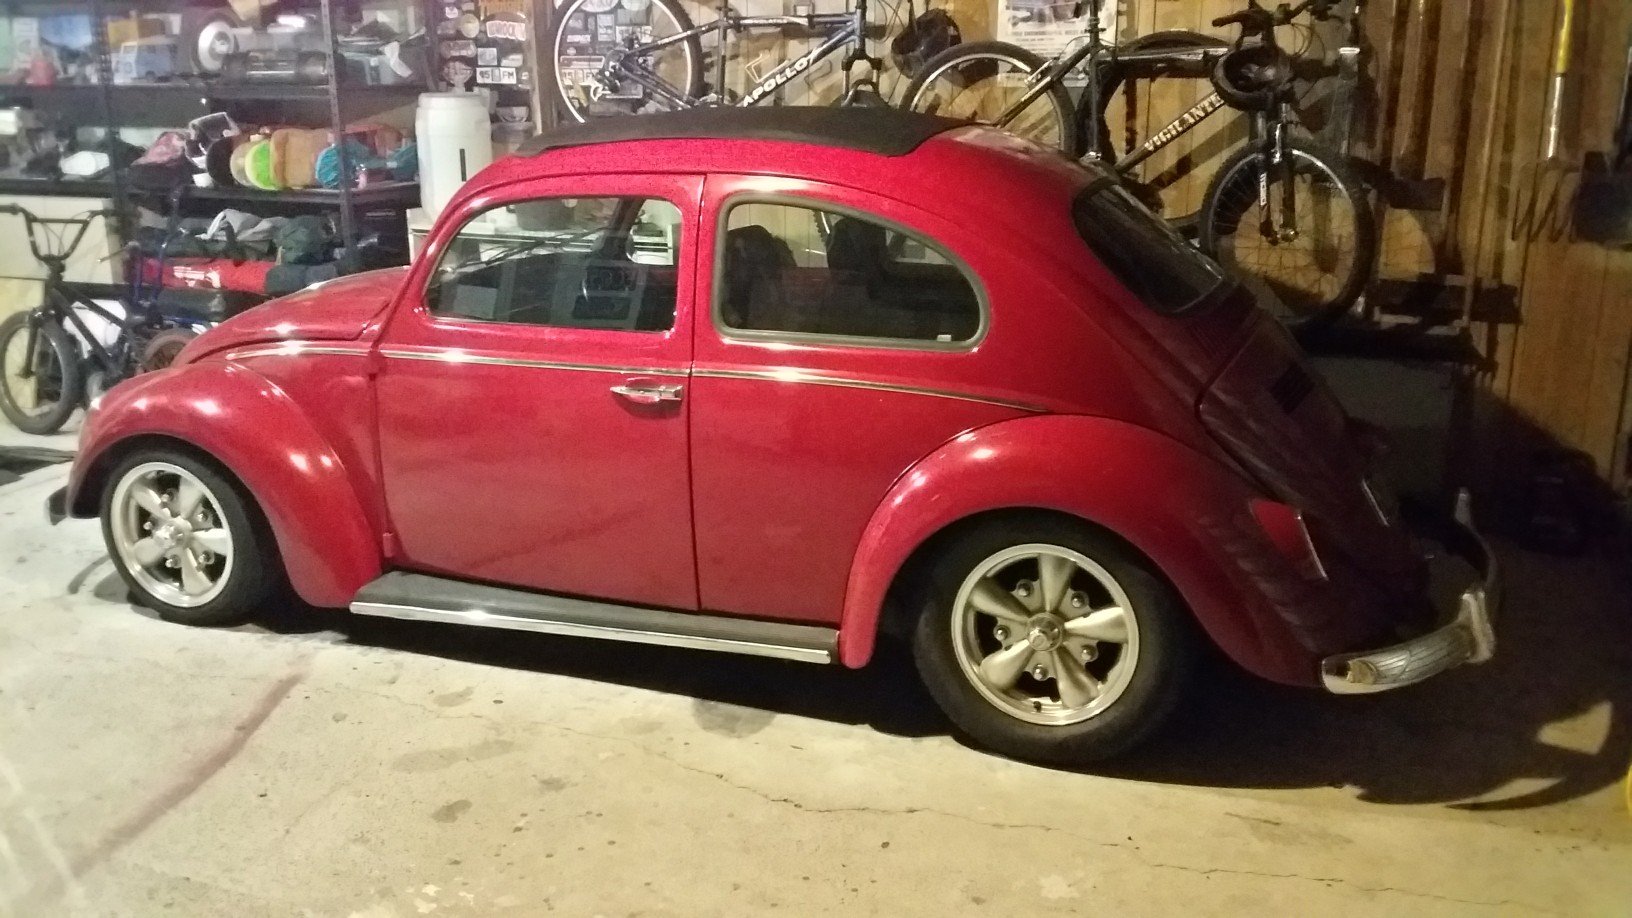
New ragtop cover for the ragtop time. Brought the bug inside work, took the old cover off and had fun removing all the sticky duct tape glue, fuck that stuff. All the parts layed out. Cut the new cover on the esko, perfectly square cad cut. Sewed the hems over and added slits for the bow to sit inside as factory, the old cover didn't do this so you had to be careful not to end up with a parachute attached to the roof. All mounted, I added some thick felt to the front bow, not sure I like it, if it doesn't pack down I might remove it, looks to chunky. Looks sweet folded back. Will now start thinking about the inside headlining.
3 points
-
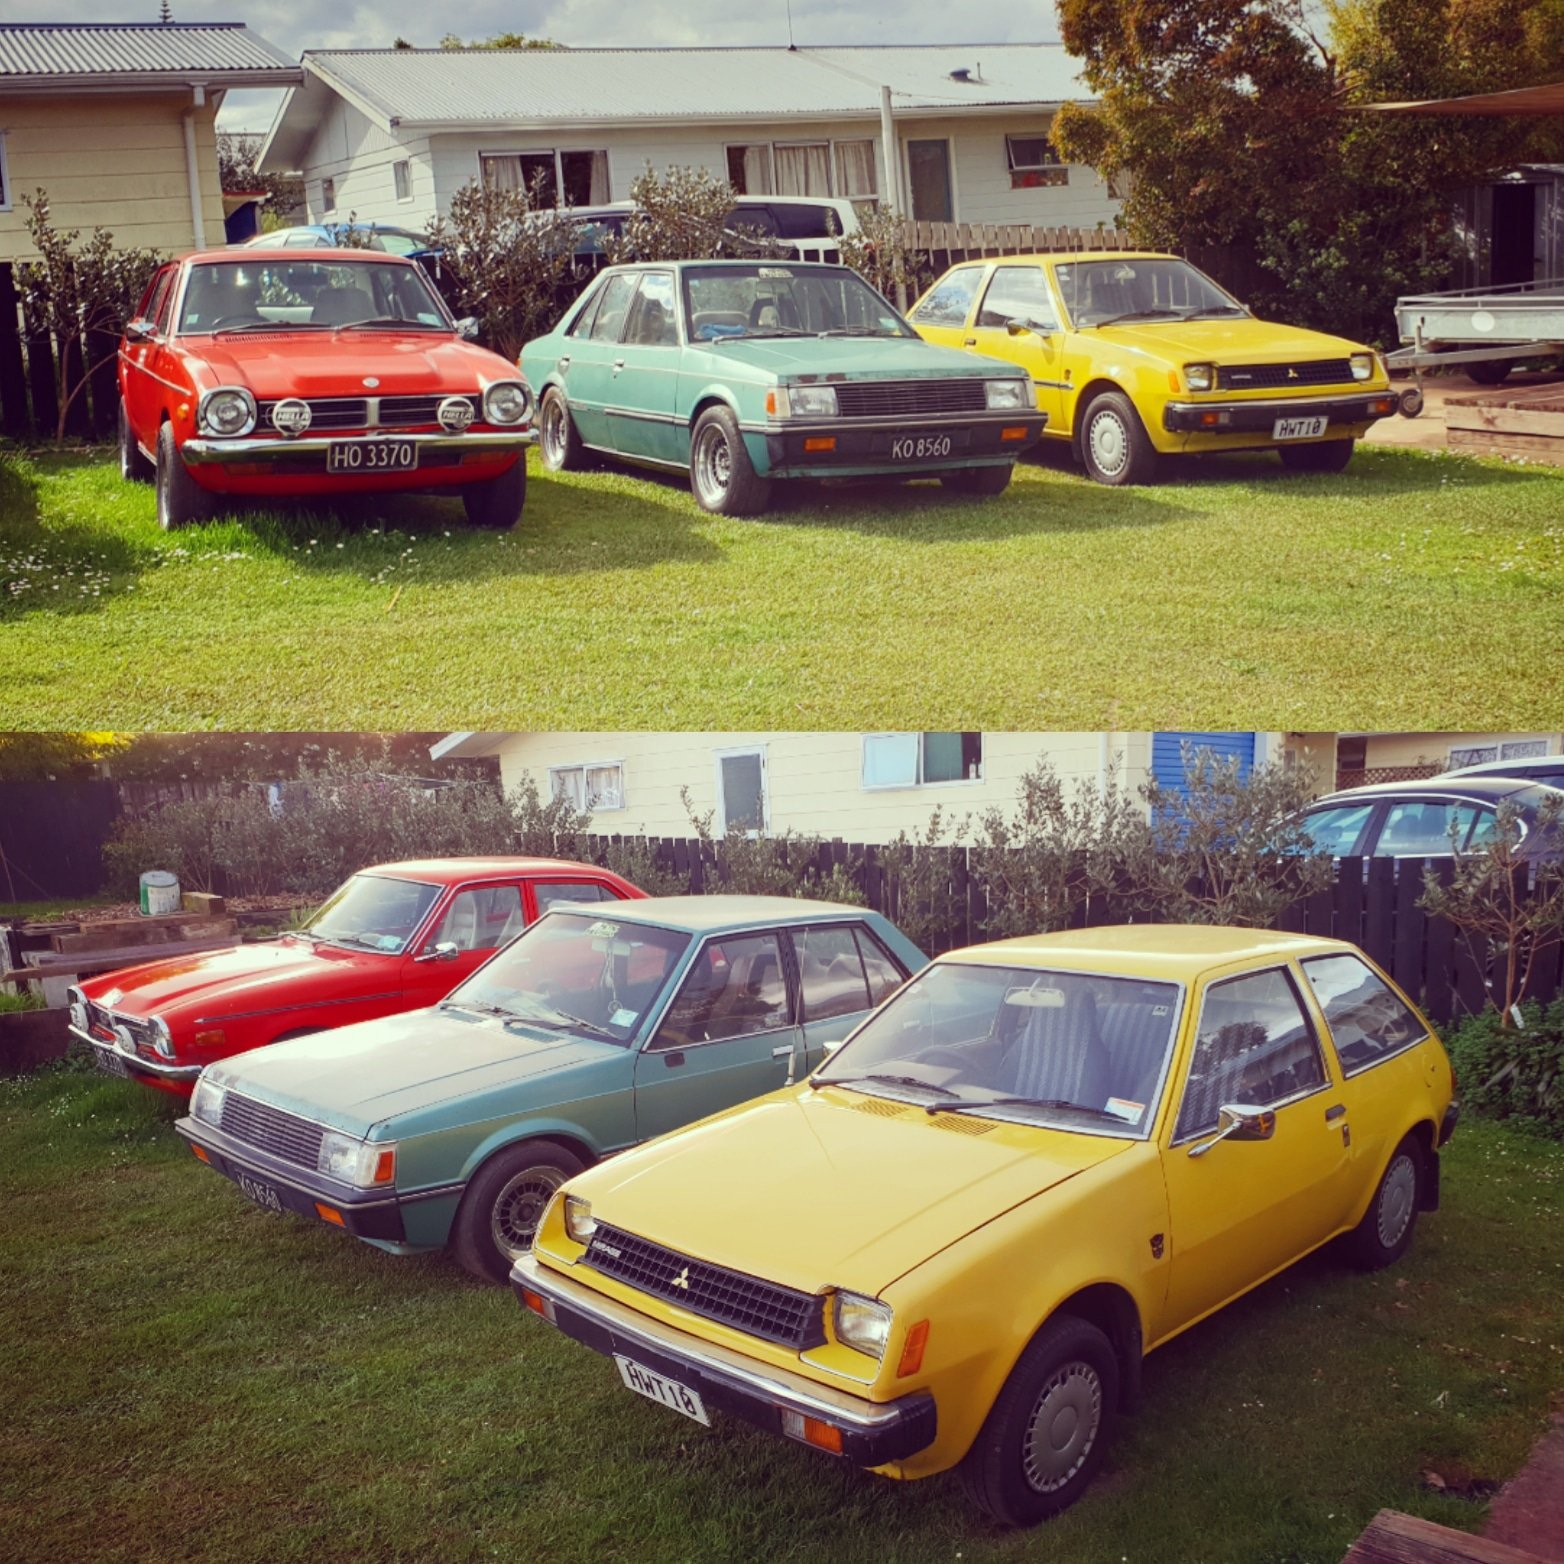
Okay so this is my nana spec mirage that I daily drive, only things not factory is the seat covers, stereo and window tints She runs the big block 1.2 liter power house with a race shift kitted 3 speed automatic transmission. Doesn't like going over 80kph but that's just a safety feature to keep your license Currently on the hunt for a steering rack if theres any around? Costs roughly $60 to fill from empty and that last me two weeks sometimes, cheaper than driving my bt50. Would look sweet lowered on some 13s or 14s but other than that I'll just drive the shit out of it discuss nana's skid hack here:
2 points
-
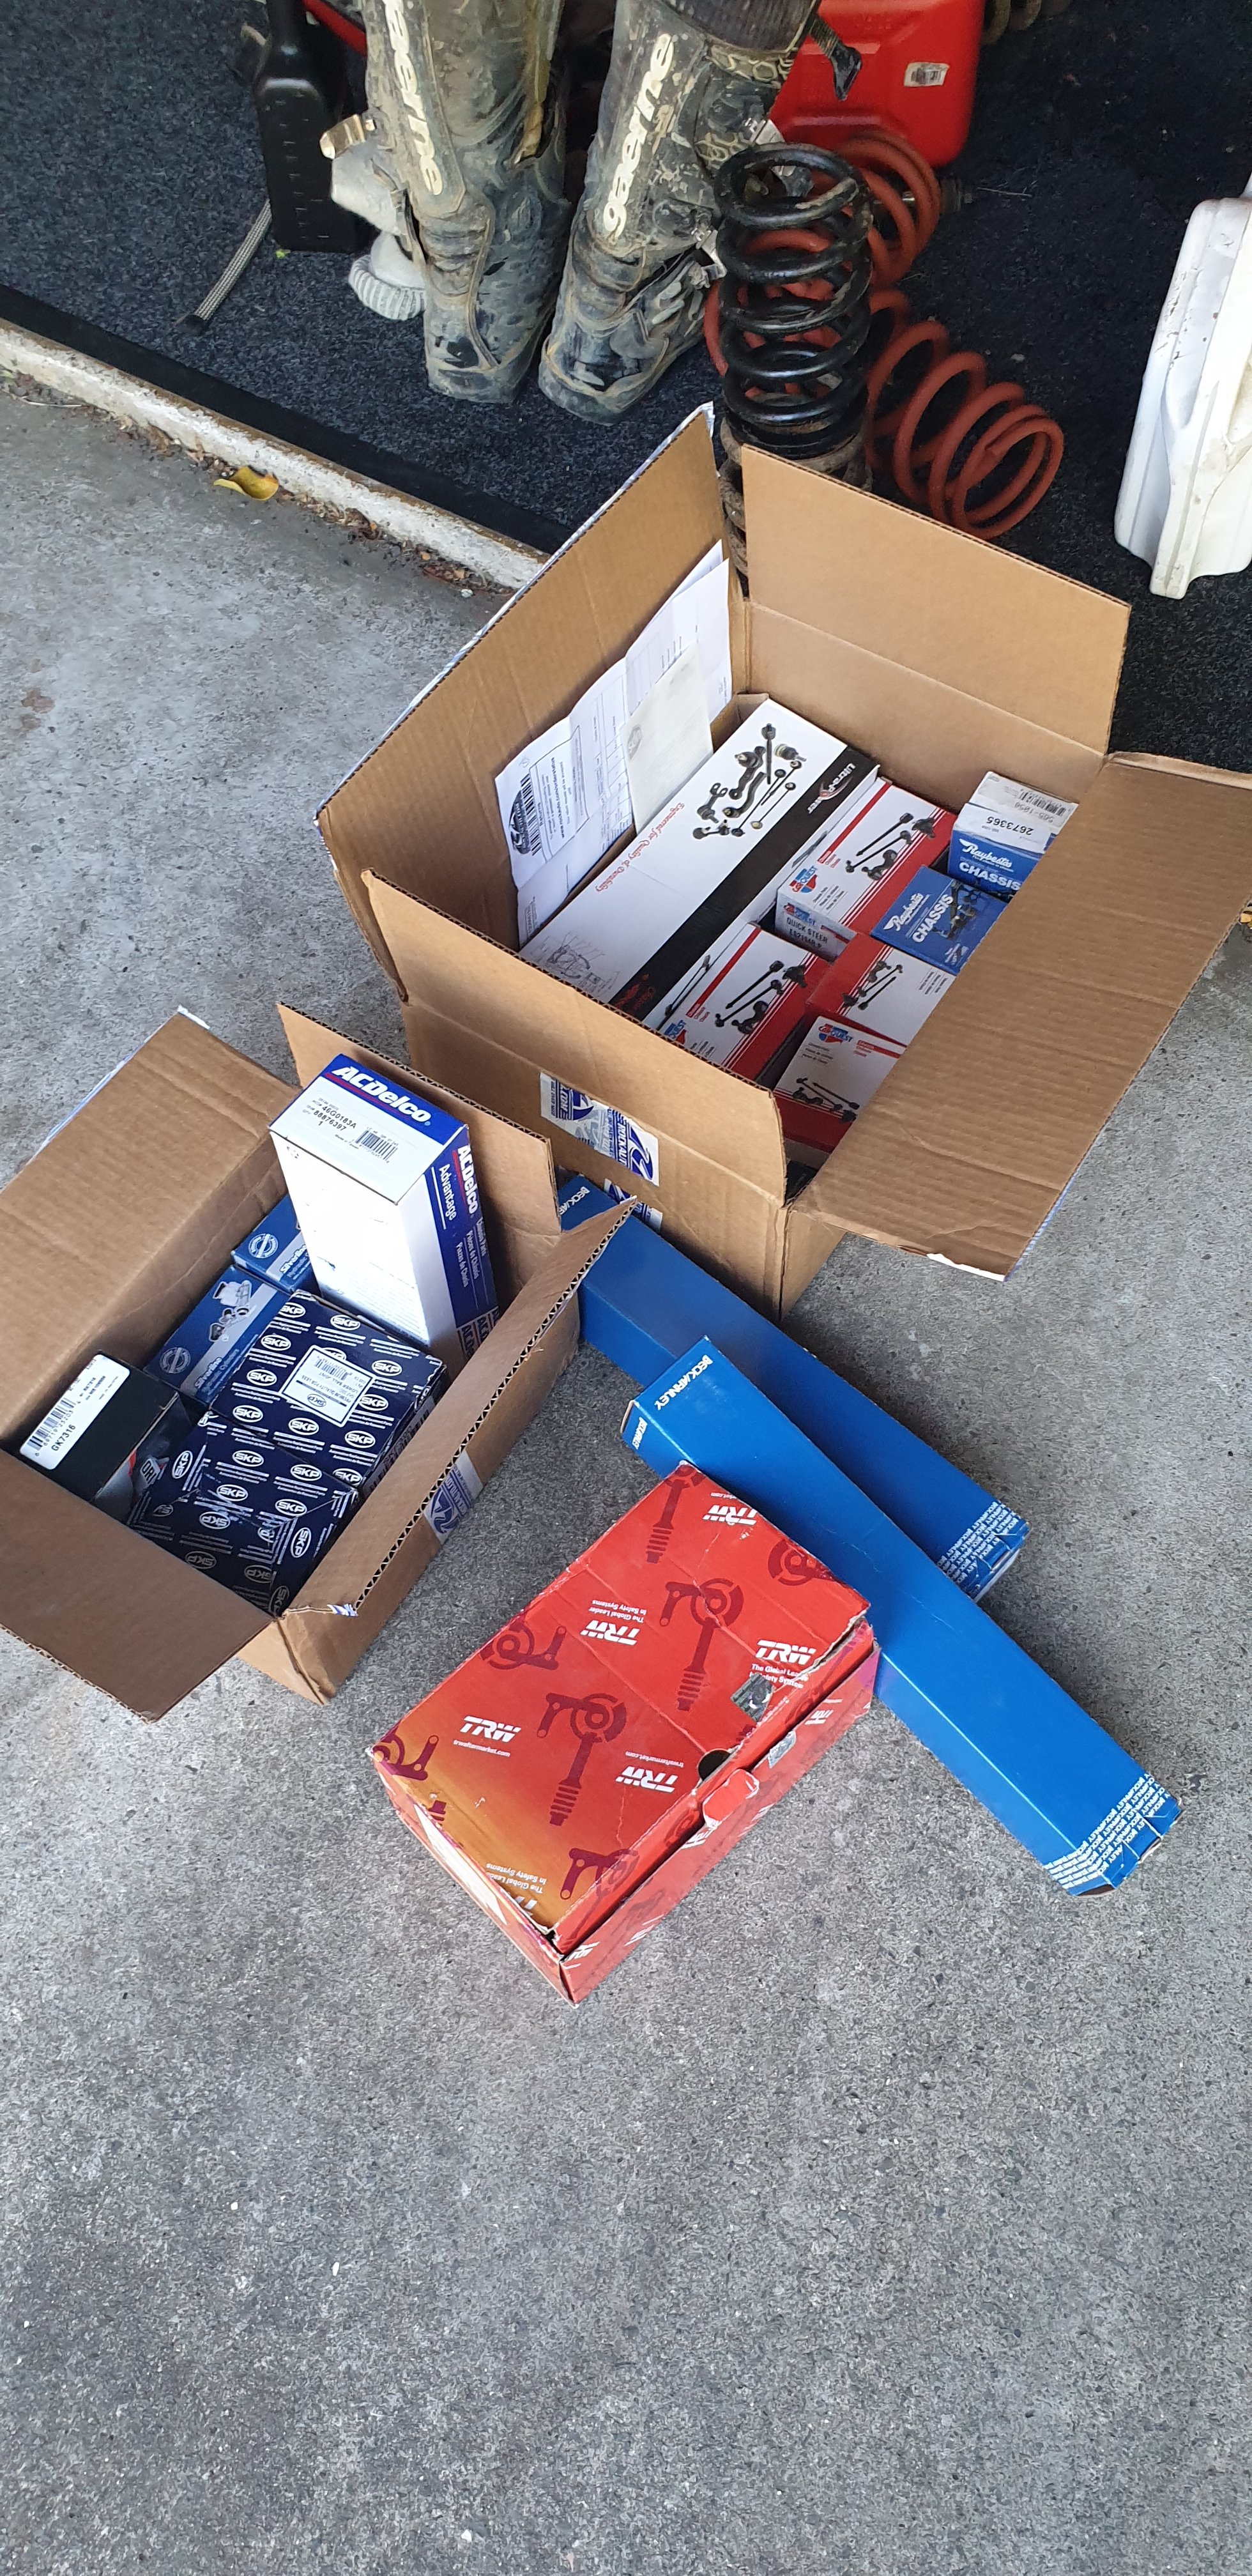
Have been struggling to find time to work on this project with work getting quite busy but good things have happened... My parts from rock auto have arrived Now just need to pull finger and get this doneburgers Only real progress I've made is purchasing steel brake line for diff and bumpstops from pick a part. One of my lower arms had a stripped nut for where the shock bolts on so removed and welded a new one on. And apart from that I've done bugger all
2 points
-
Really looking forward to the first run of this one.2 points
-
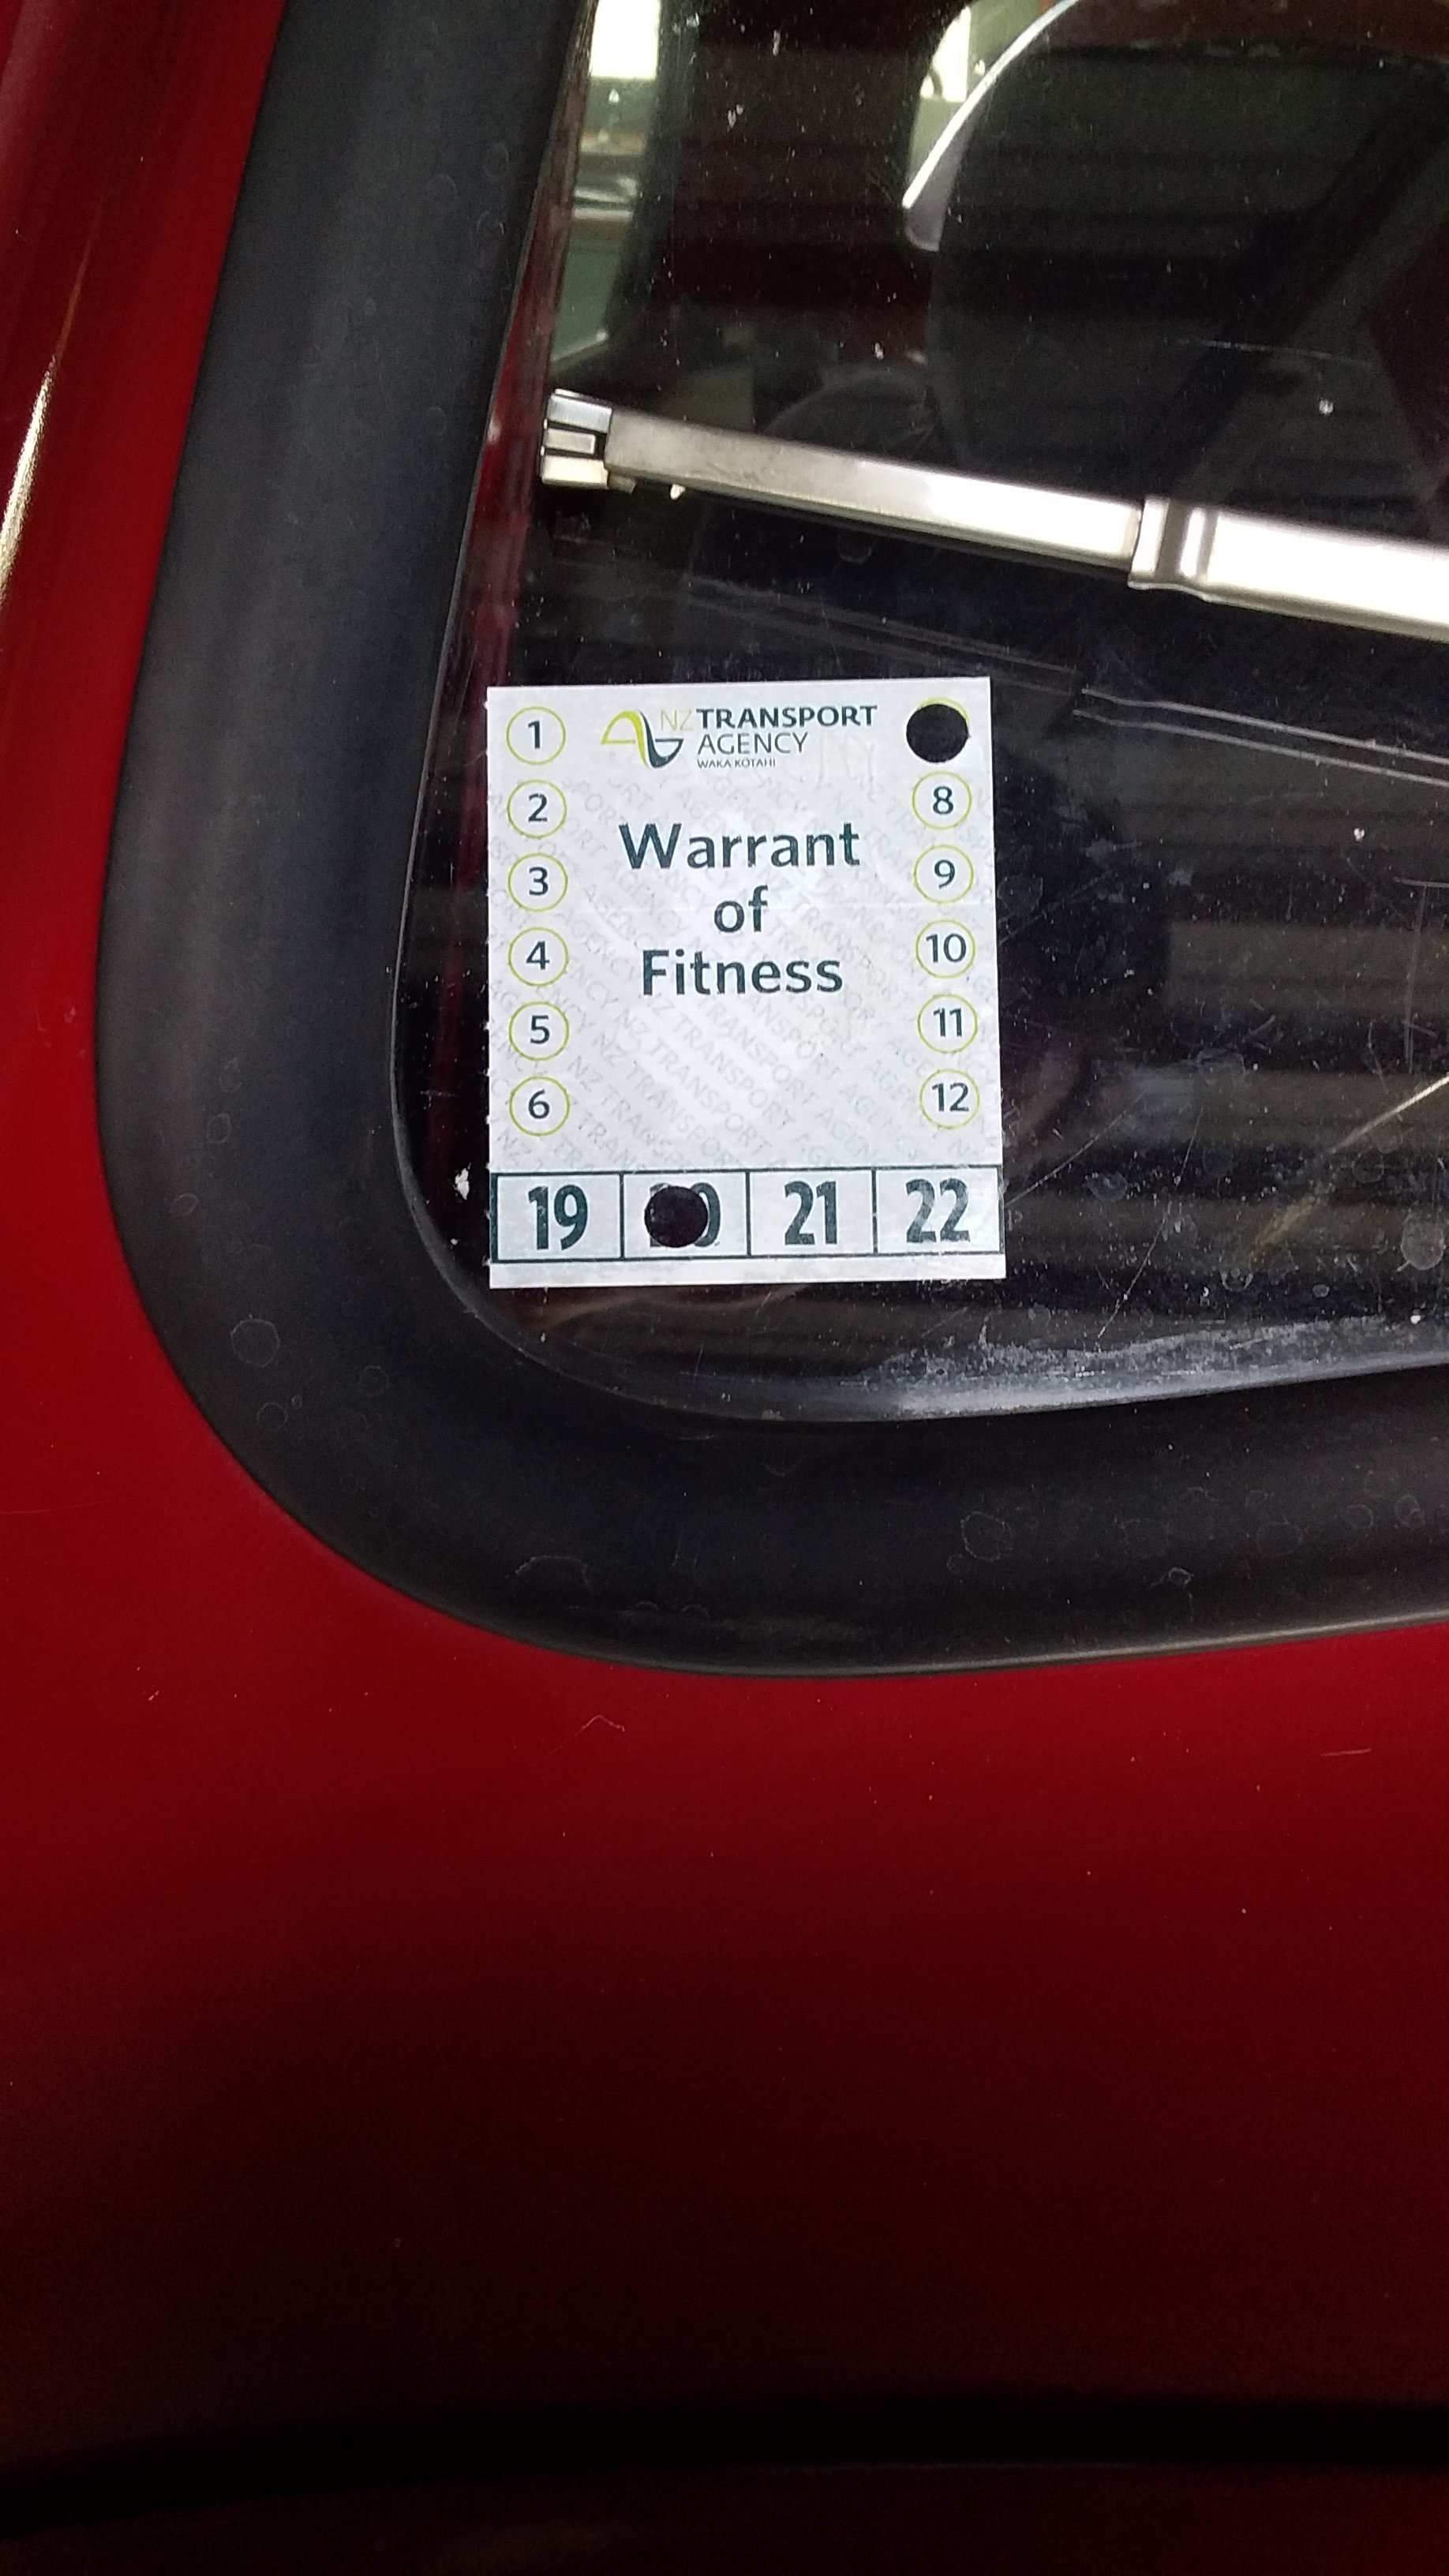
Some good things have happened to the Accord since the last installment! I gave it some CV boots, thankfully the inner and outer are the same size, because both boots on the L/H axle were split. Fun fact - pre-facelift Accords have CVs at both ends, but later ones like this one have tripod joints on the inner. Confused the hell out of the bloke at BNT, anyway. It passed another WOF last week without any hiccups, and we've taken it for decent number of road trips around the upper North Island. I even slept in it after Crate Day, which honestly turned out to be more cramped and uncomfortable than I thought it would be. Still working on tidying up the front end, there's a sedan at a wrecker down country who might be able to supply the grille bits. The passenger side carpet is pretty rotten and it got consistently damp in the rain, which was a pretty good indicator that there were holes somewhere that there shouldn't be holes. I broke the unwritten rule of old car ownership, that being "don't pick at that bathroom sealant, you won't like what's underneath it" and lo and behold after chiselling away the layers of Selley's Bathroom Adhesive in the windscreen plenum chamber there was a decent hole. After taking out the wiper motor I found another hole, so out came the cutoff disc and the welder. Just to be safe I pulled the dash out so nothing caught fire, to be honest this is probably the first time this car has seen the hot end of a MIG torch in its life. I made up a couple of patches, binned them after I found more scabby bits near where I was welding to, and then made up some bigger patches. Glued them in with the metal gluestick, and hit it all with some epoxy. Might spray some underseal in there yet, or I might just spray it all with fish oil and put up with the smell for a couple of weeks. Otherwise it's been plain sailing, the front seats need some more foam because as far as I can see they don't actually have springs in them, just a layer of heavy foam which has disintegrated over the past 39 years. Local content laws dictated that as much trim as possible had to be made here, which is why we didn't get the neat colour coded interior fabrics that everywhere else in the world got, we got beige or beige. I pulled out the amplifier that was tek-screwed through the floorpan underneath the passengers seat and the lil' Johnny spec head unit that was flopping around the dash and wired in with three core house cable, and wired in a period '80s Clarion spindle mount unit - less doof, but more class! It needs a set of TS-Xs for the parcel shelf next time i'm near Buyee.com. Here's some pictures of it enjoying the scenery2 points
-
so yea, it goes. had to push the throttle by hand because i haven't got the e throttle working yet. pretty stoked tbh, it goes fucking mint. if i can figure out the e throttle setup i might be able to drive it tomorrow. sorry the video is a bit shit, i was trying to doort and film at the same time.2 points
-
ive been doing a bunch of wiring tidy up stuff which is pretty boring really. i did manage to wire 4 coils round the wrong way and fry them. 2020-02-11_11-24-07 by sheepers, on Flickr which meant i needed to buy some new ones. 2020-02-11_11-23-59 by sheepers, on Flickr coils are from a 1JZ-FSE direct injection engine, a couple of others too. they required modification via a sanding belt to fit but what doesn't need sanding. what now? well, most systems are go and ive been trying to start it. it almost went, gave that phut phut im trying noise but no actual running yet. i have some weird things to sort out regarding how it was set up vs how it should be set up (cam triggers are not making sense at this point, was only getting LH cam triggers but the computer was configured to RH cam trigger, its exactly the same as it was in this regard but it still dont make no sense) but ill keep plugging away and in theory it should go.2 points
-
This is glue, very strong stuff. And Hurrah! Interior is a much nice place to be now with all the carpet back in. Still loud as all hell inside, maybe a little better around town, so that's a win. Got a roll of canvas through work, so I'm going to make a new sunroof cover with the industrial sewing machine we have. Pretty easy to do, its just a big square shape with a douple hem on each side. Shit is spendy, lucky I only need 1.2mtrs.so nice, could have bought another vinyl cover for half the price, but this sewfine canvas is triple layered lushness. Then I'll reattach the inside headlining which actually helps the rag work properly. Good it have you back ol' girl.
2 points
-
motor in. pretty stoked tbh. its funny how quickly i forgot how little room there is around this thing when its back in the bay. also the bonnet fits. 2020-01-24_05-44-54 by sheepers, on Flickr 2020-01-24_05-45-02 by sheepers, on Flickr 2020-01-24_05-45-10 by sheepers, on Flickr2 points
-
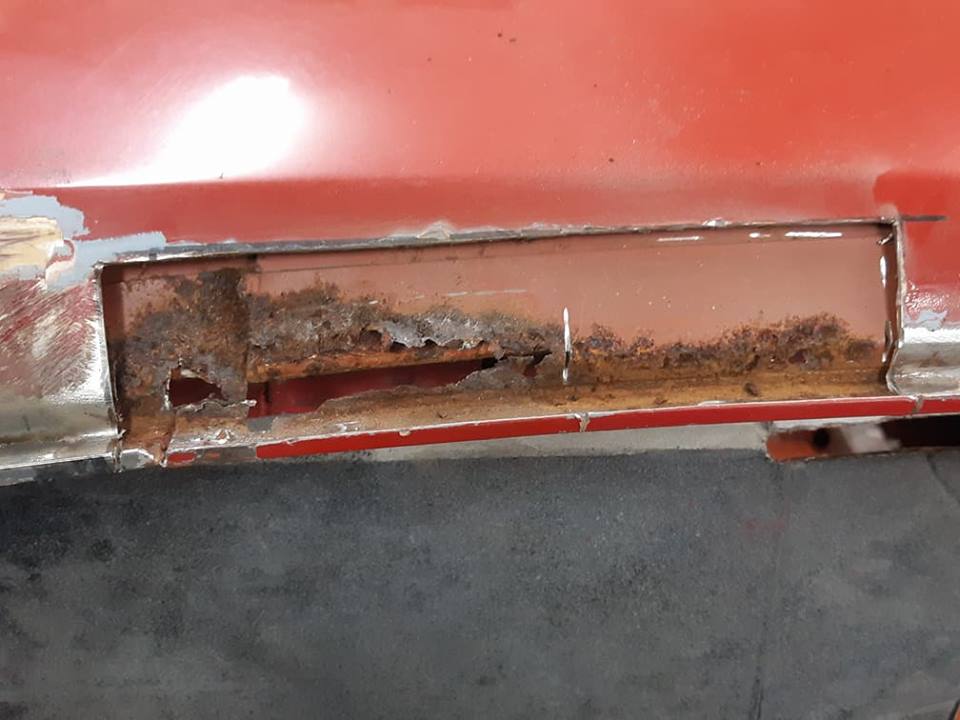
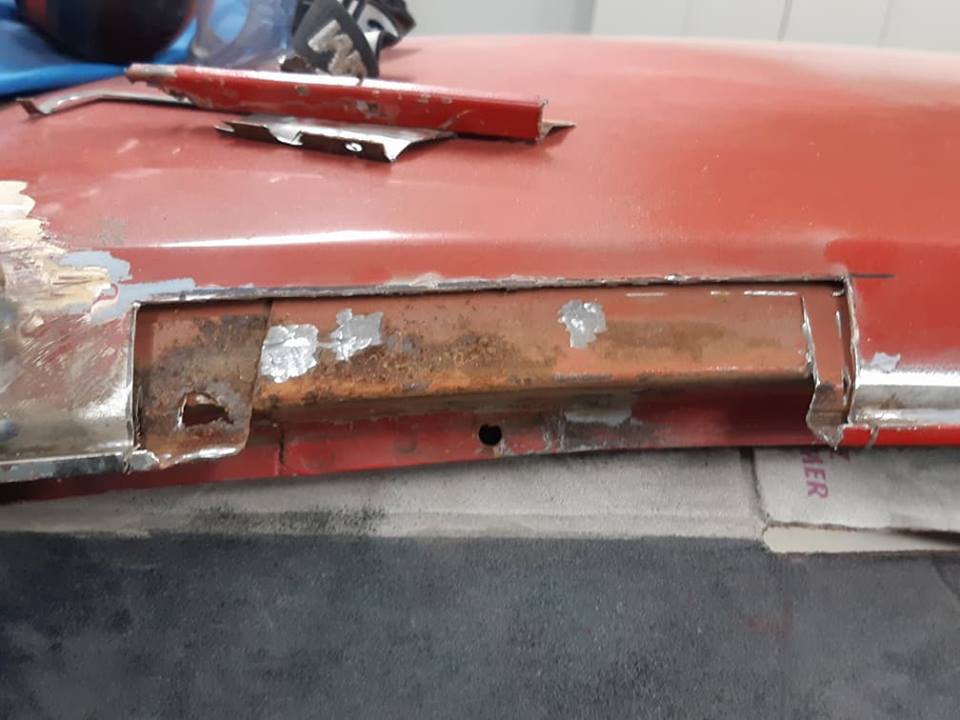
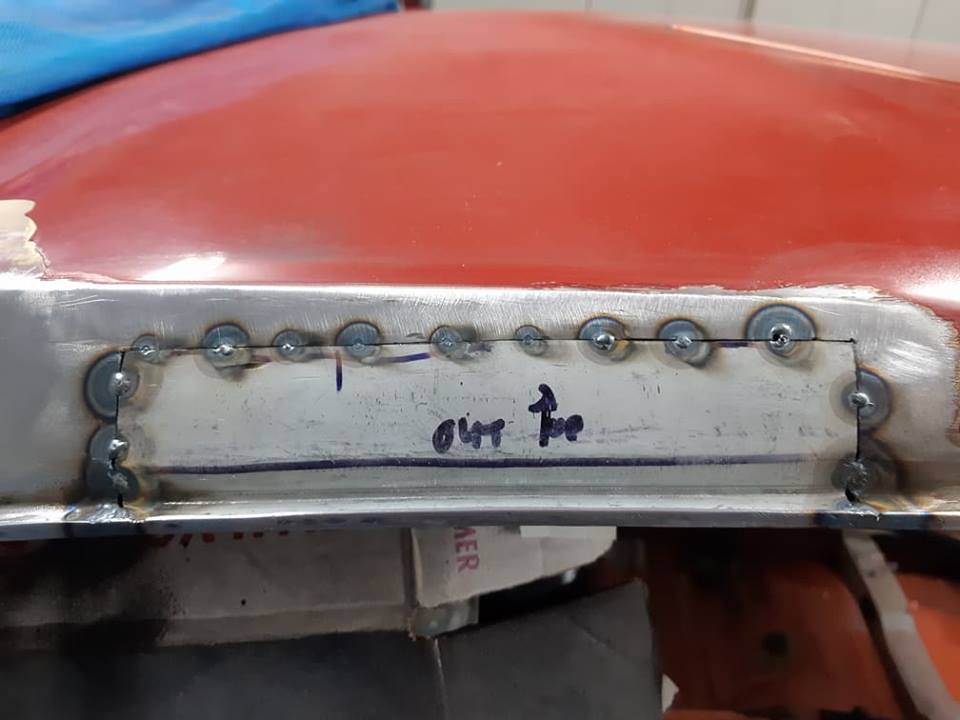
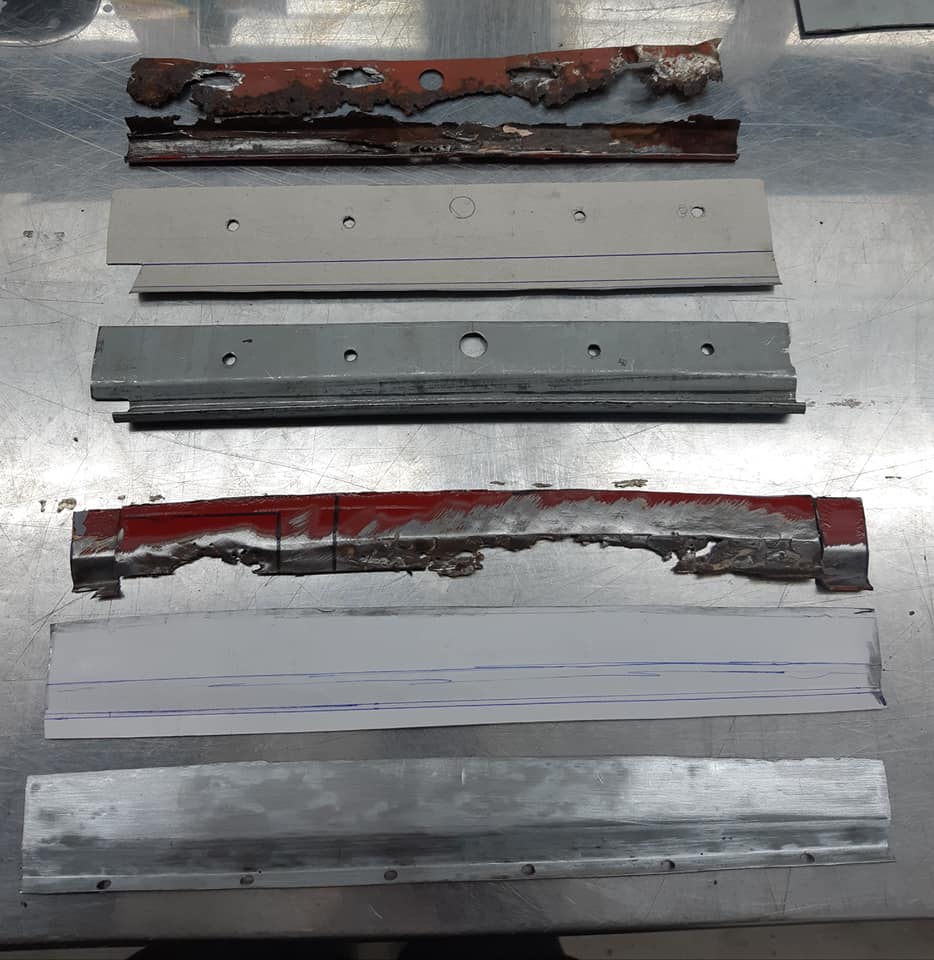
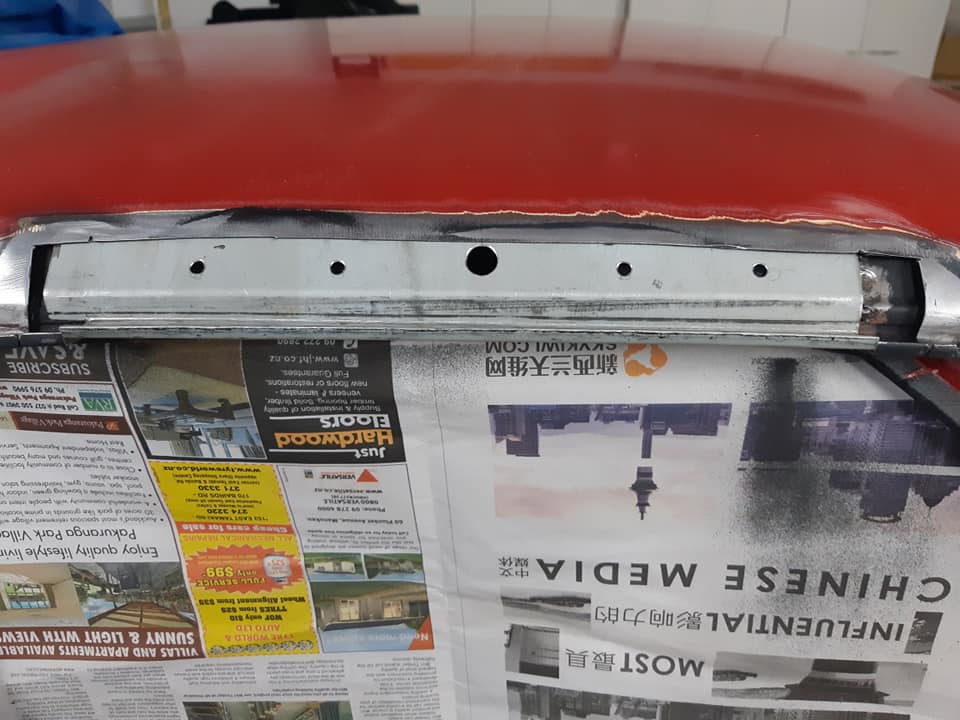
The Drivers side roof drip rail was a little bubbly so this was also investigated for rust. BOY oh BOY did I open a can of worms. The drip rail and outer roof has 3/4 been replaced Now for more paint/sand/paint/sand....
2 points
-
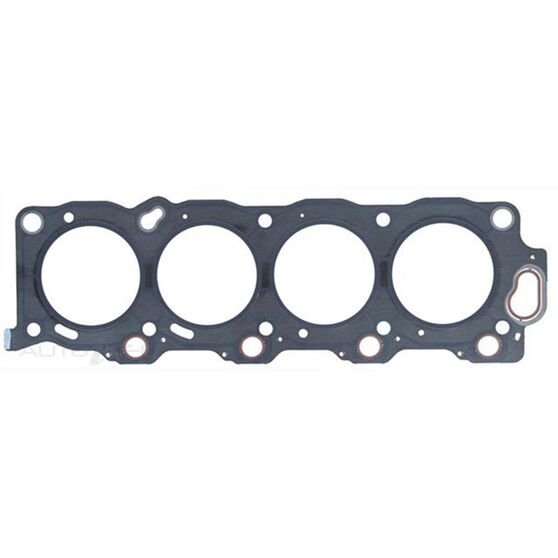
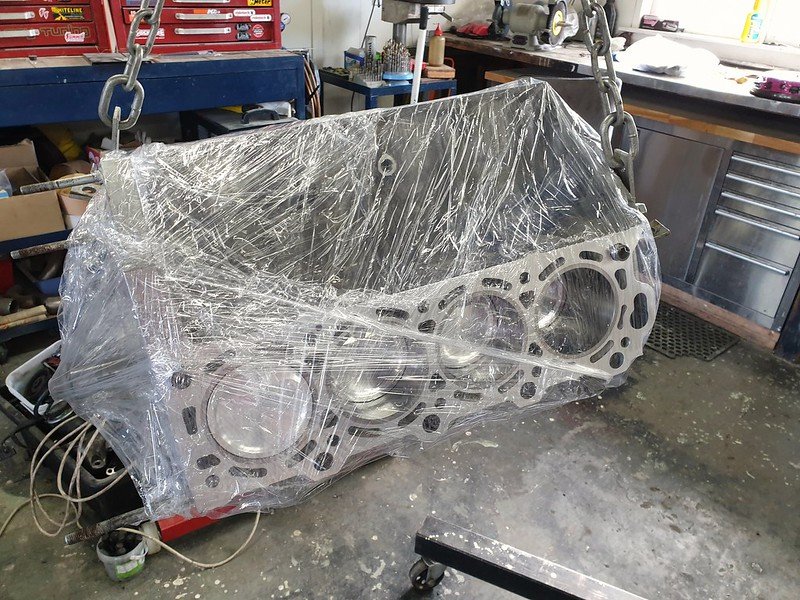
Head gasket isn't symmetrical? Oil drains? Wouldn't line up very well, and the water passage on the right here would be poking out the other end?
1 point
-
Hesitate to suggest it.... but could probably also make this work fuel rail wise, https://www.bosch-motorsport-shop.com.au/fuel-pressure-regulator-housing But the price is eye wateringly unafordable for what it is!!!! Radium offer a nice adapter which has a port for the FP sensor.1 point
-
Thanks for setting out the FP versus injector duty cycle considerations. That was an interesting read. The external AFR option, usually mounted remotely to the fuel rail is also a space hog. Prefer something neat and OEM like the Bosch 4 Bar FPR. Might work for you if your current direction of travel with more injector duty time etc etc doesn't play out https://www.bosch-motorsport-shop.com.au/fuel-pressure-regulator-4bar Probably wont work in your application but this site offers a Bosch Regulator housing adapter that is designed for the Bosch FPR. There are probably similar offerings out there. https://www.kainjection.com/product-page/bosch-regulator-housing-adapter1 point
-
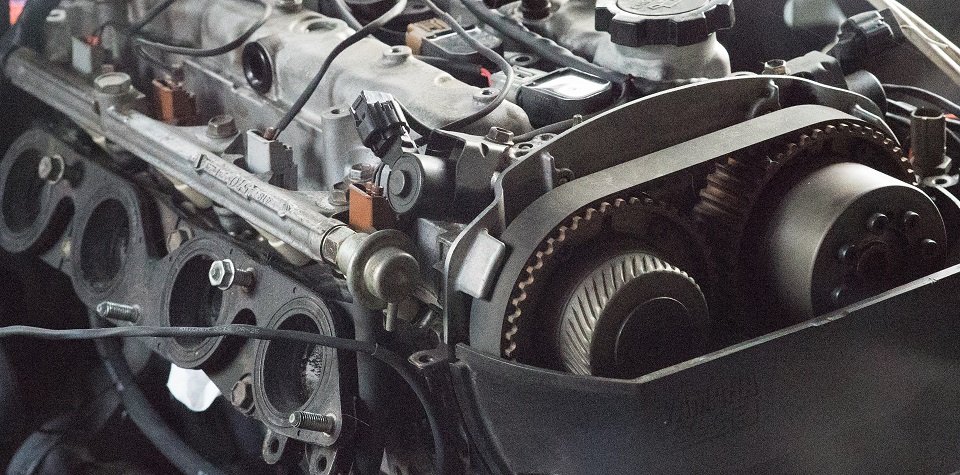
so, ive removed the serpentine belt and run the moor without the supercharger running and it made no difference. the rate at which it gets hot is quite alarming. the water bridges are hot within a minute. it takes no time at all to get up to 88deg. Adam went over the fuel map and the ignition map and couldn't find anything that would cause it undue heat. i will get someone else to check that ive set the base timing correctly but im fairly sure its right. ill take the radiator to be flow tested then cleaned and re tested tomorrow but i really dont think the radiator is the problem. the motor gets hot way to fast for it to have anything to do with the radiator. i wonder if i put the headgaskets on backwards or something? do you think that would do it?1 point
-
The second option is running right across engine to other side but the path is pretty much flat.....
1 point
-
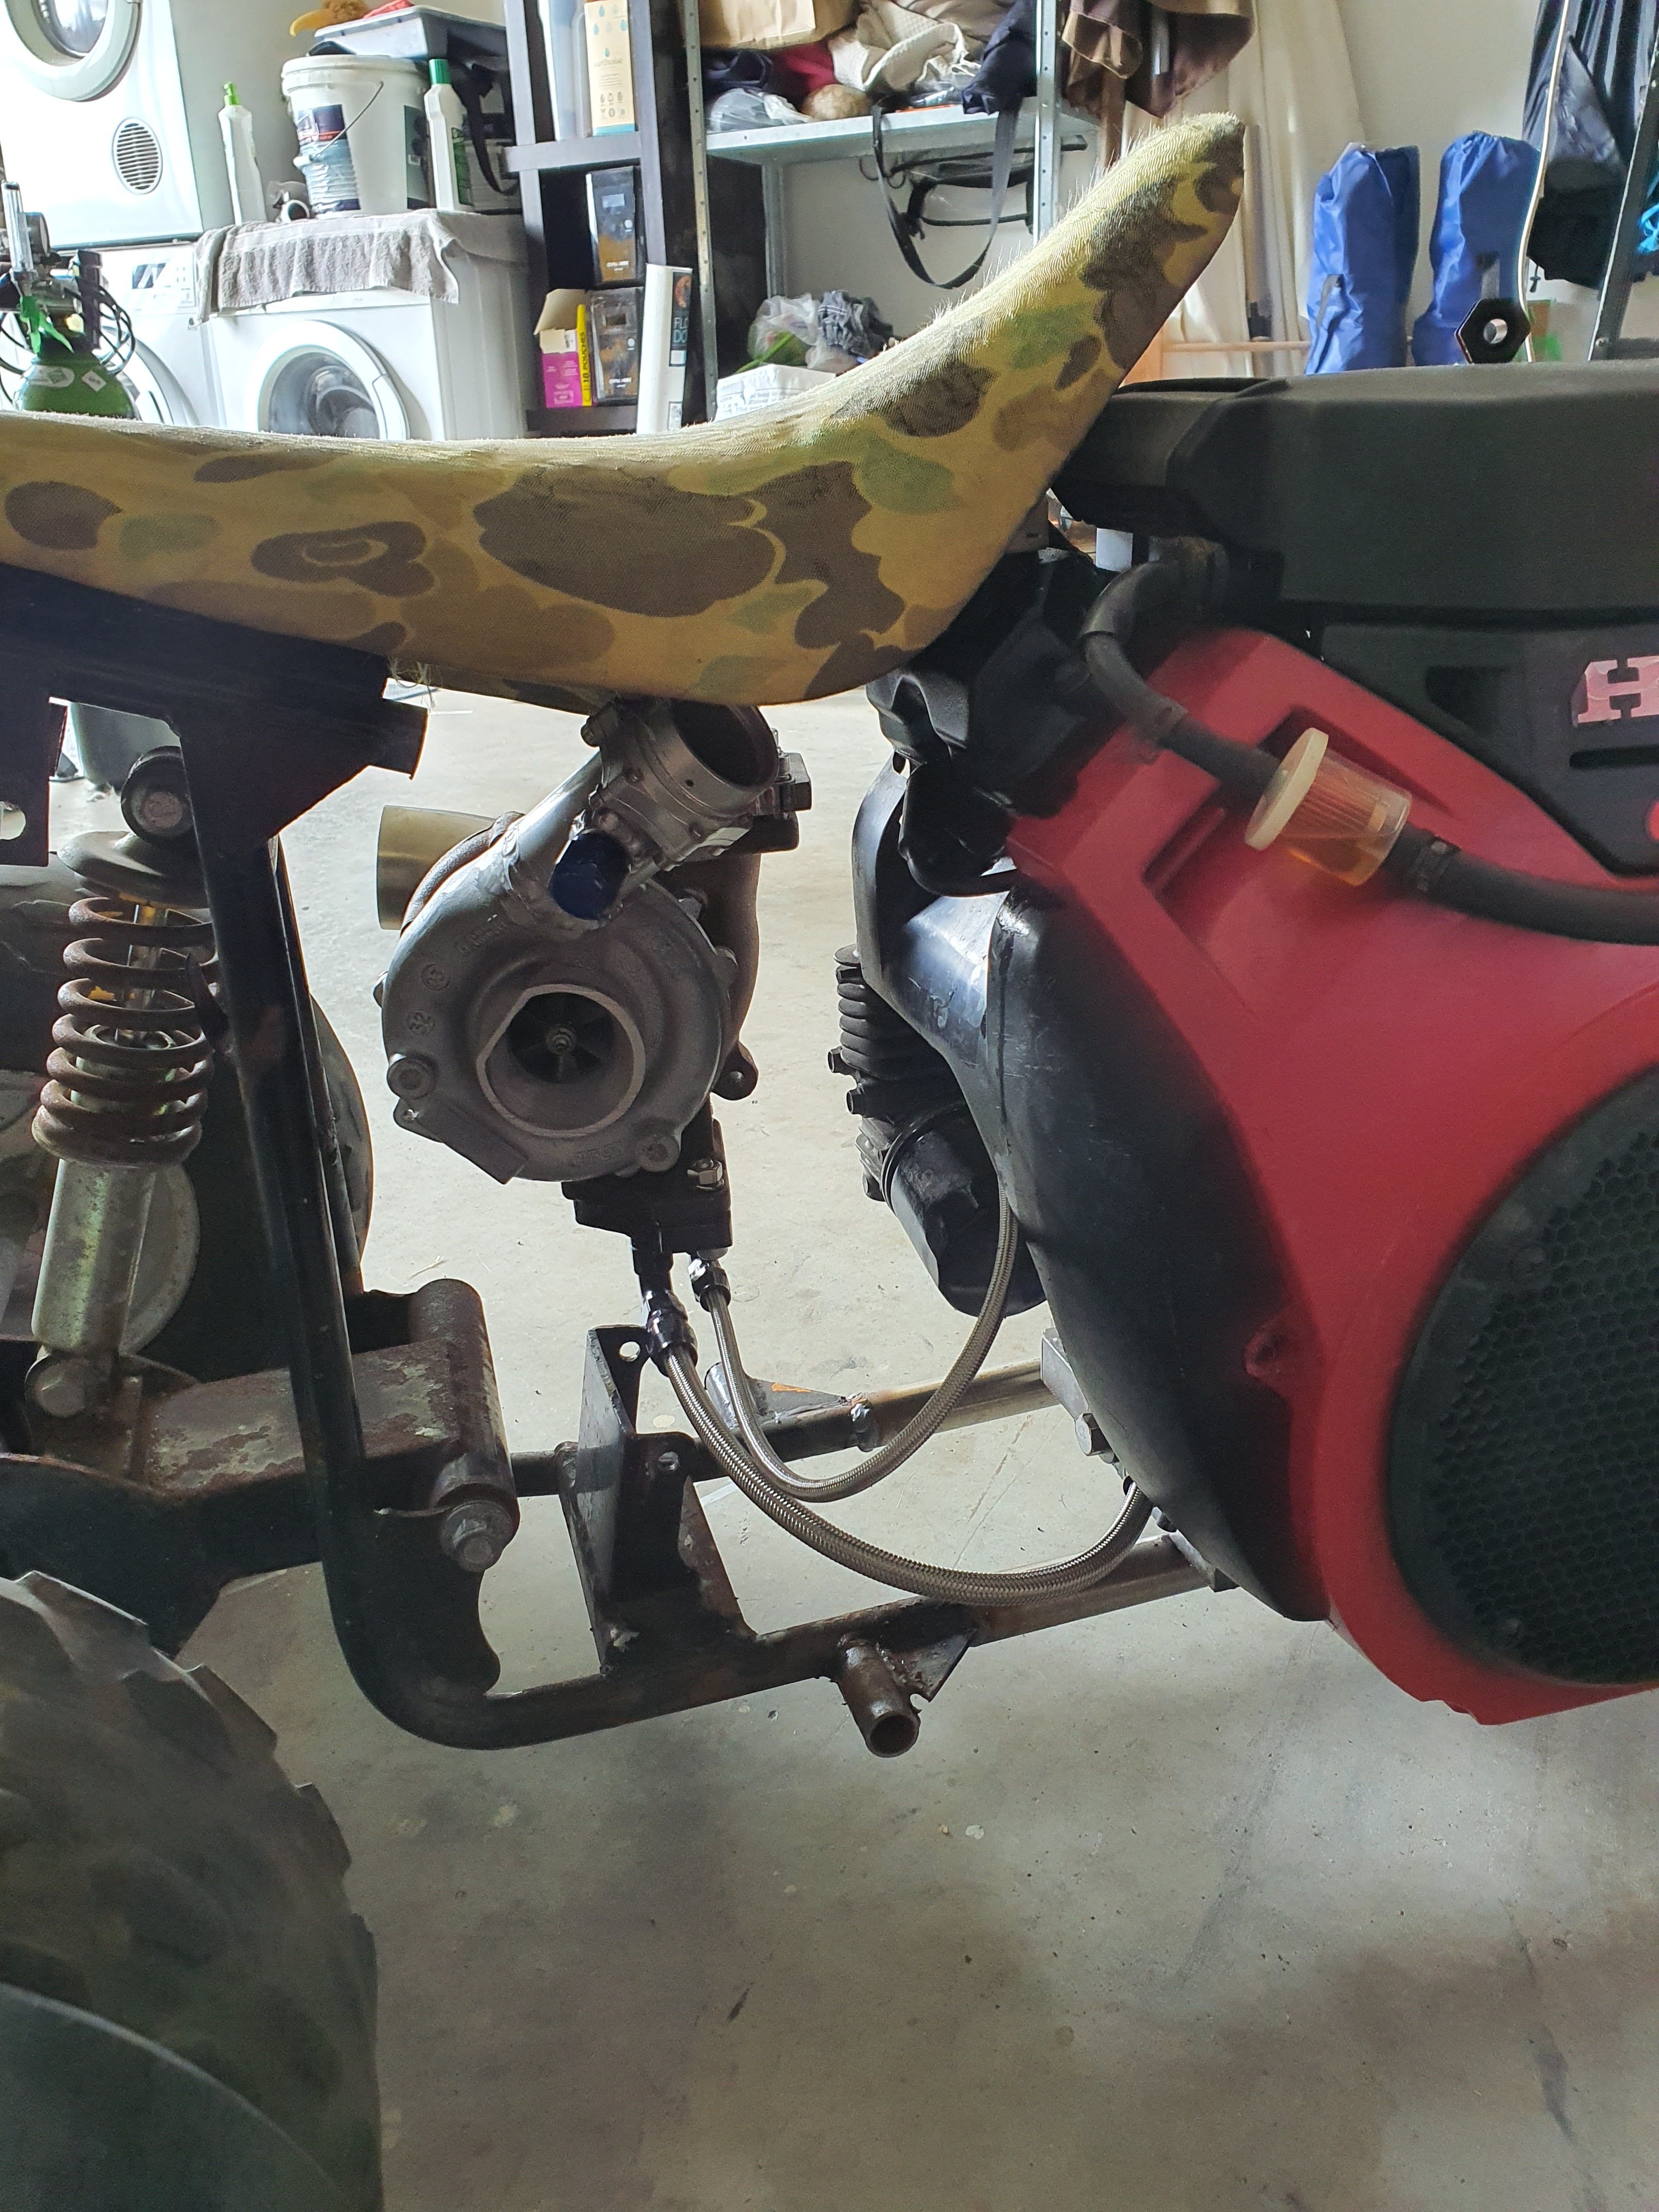
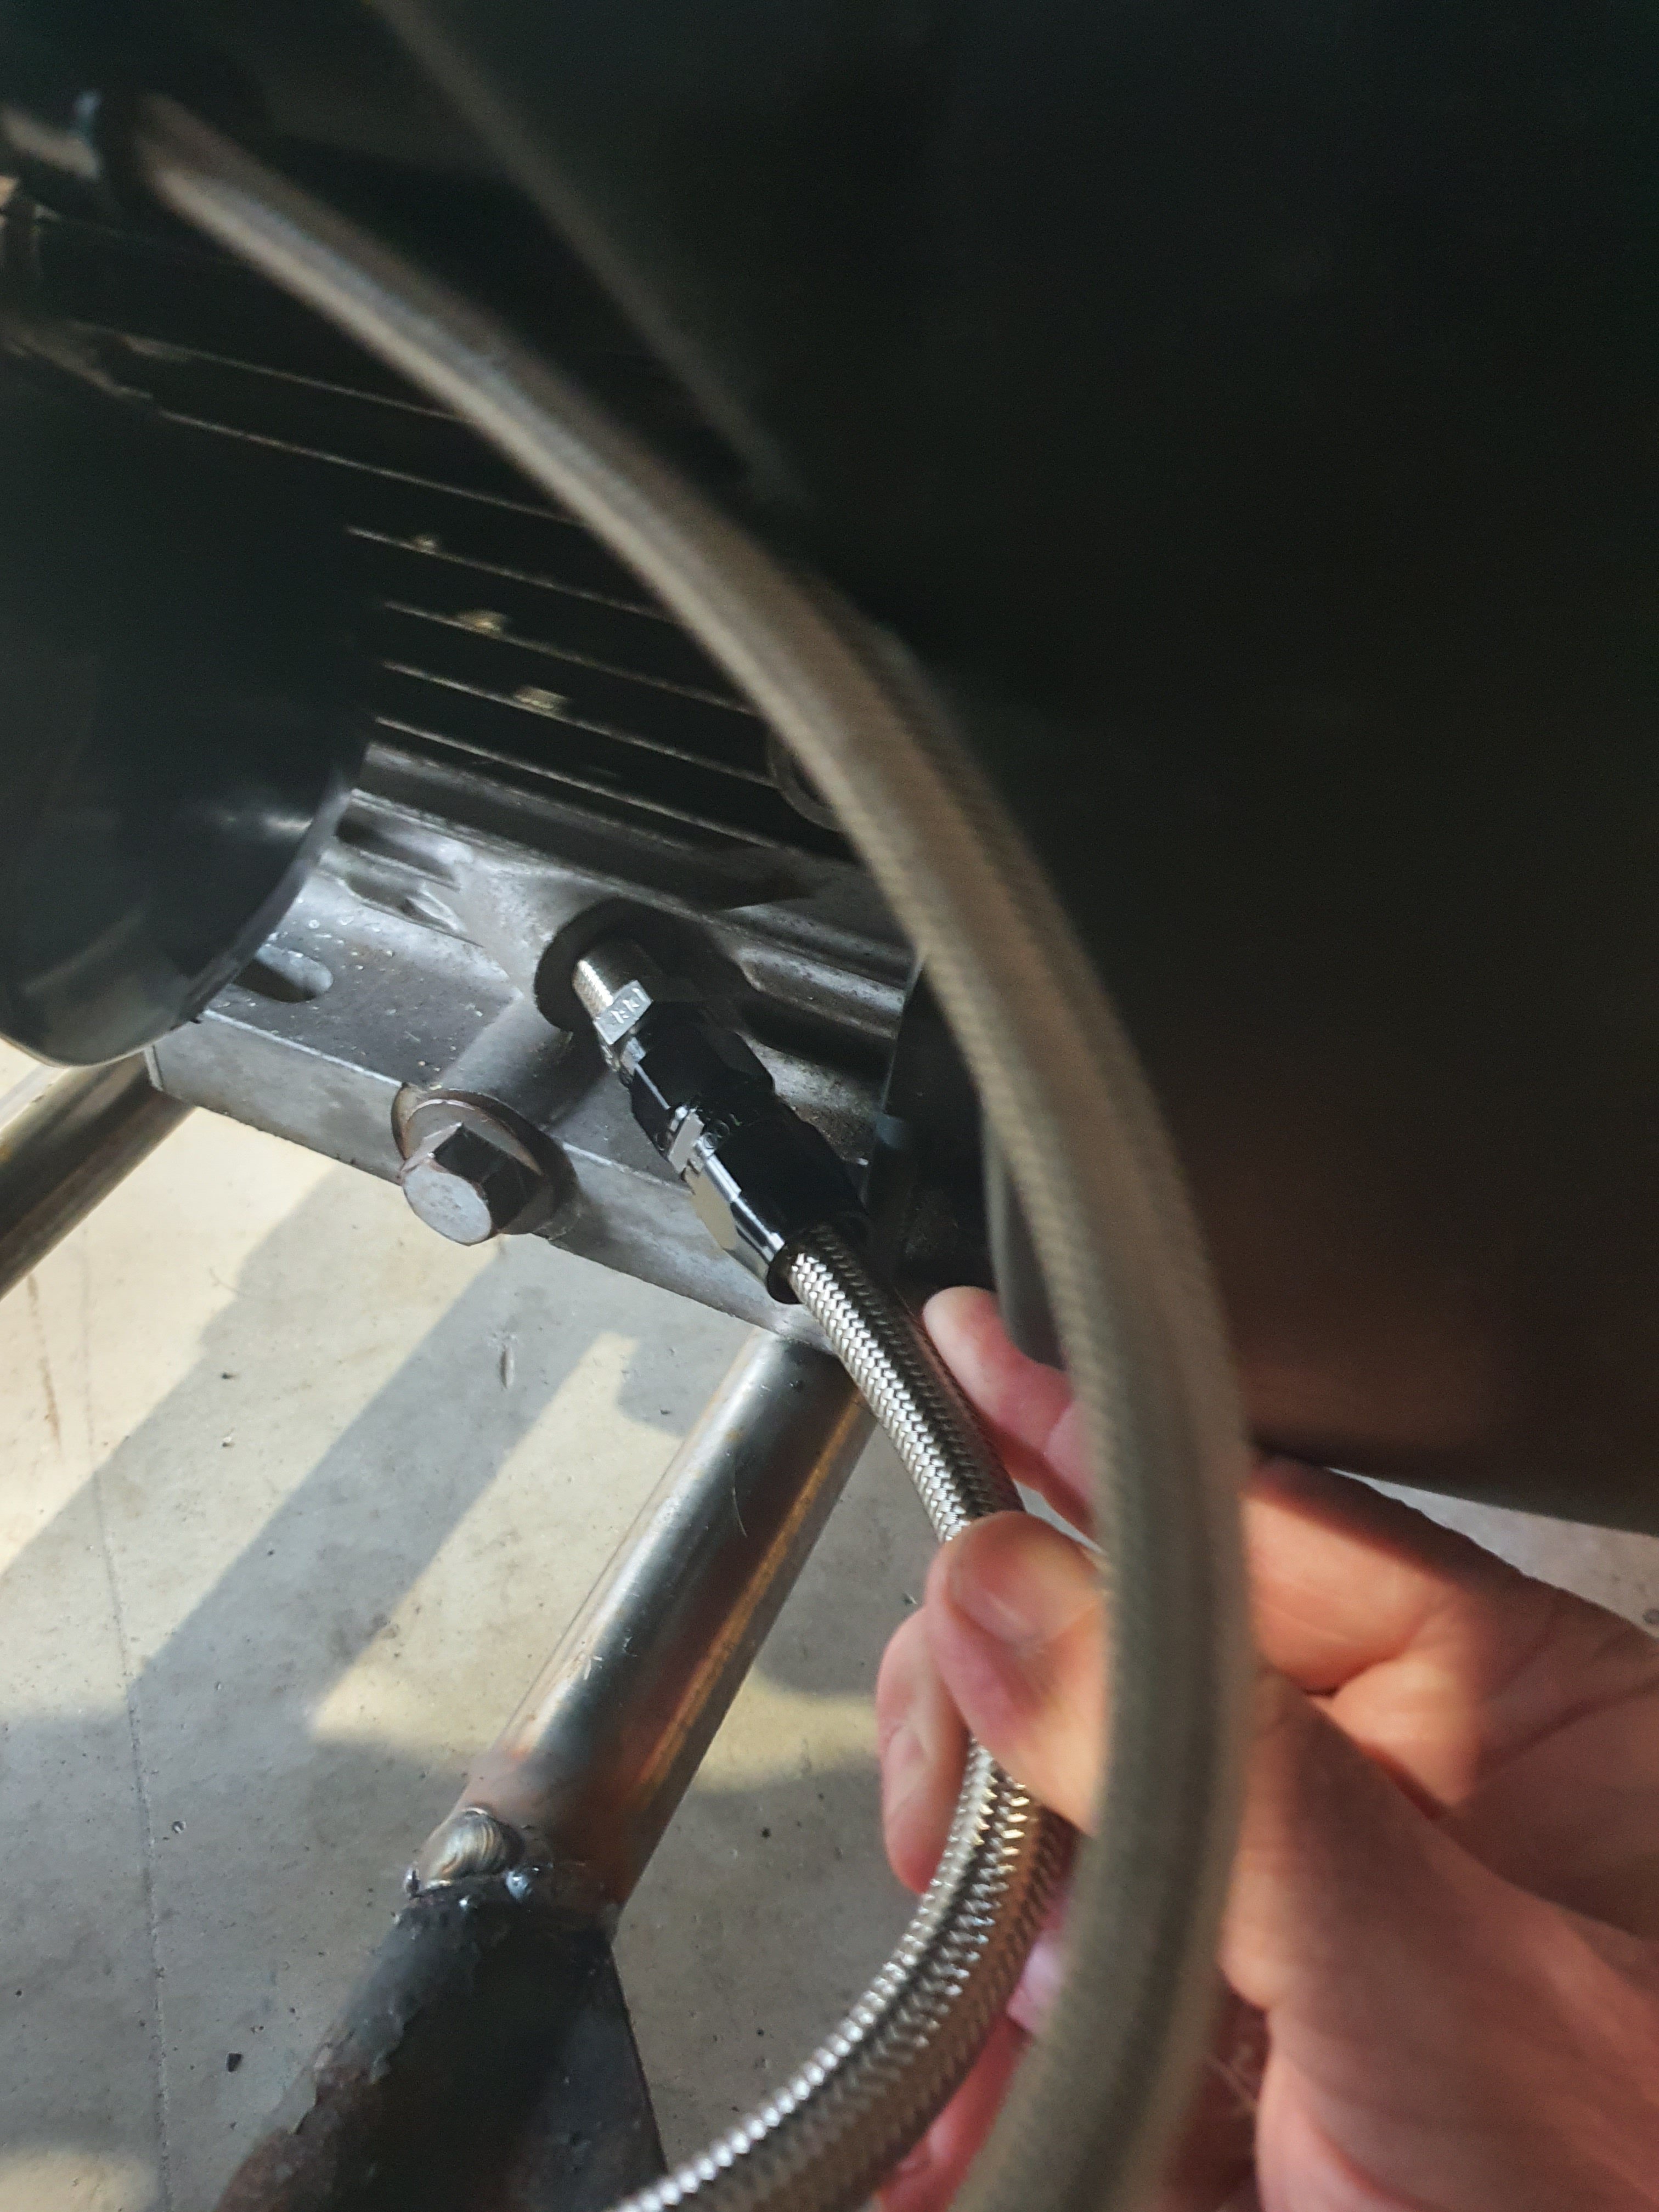
Better look at these oil lines. I sparked her up with some fuel line and hose tails on pressure side of turbo just to flush the core out, ive had this turbo for bloody ages! I just let the drain dribble on the garage floor to purge any shit out. Now ive got a choice to make both of which require a hole in block there is a perfect oil drain at front of engine but the turbo is now at the back for packaging reasons a line would be to long and flat to run all the way to it i think. This seems like the logical choice but is probably below the sump level will this give me any issues?
1 point
-
If I turbo it it'll need a cert for insurance, efi should be ok1 point
-
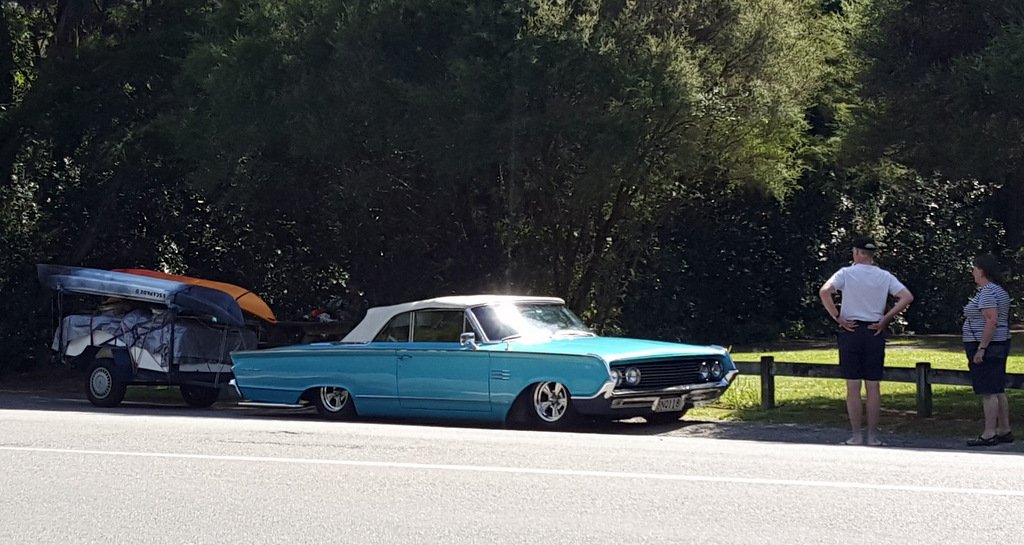
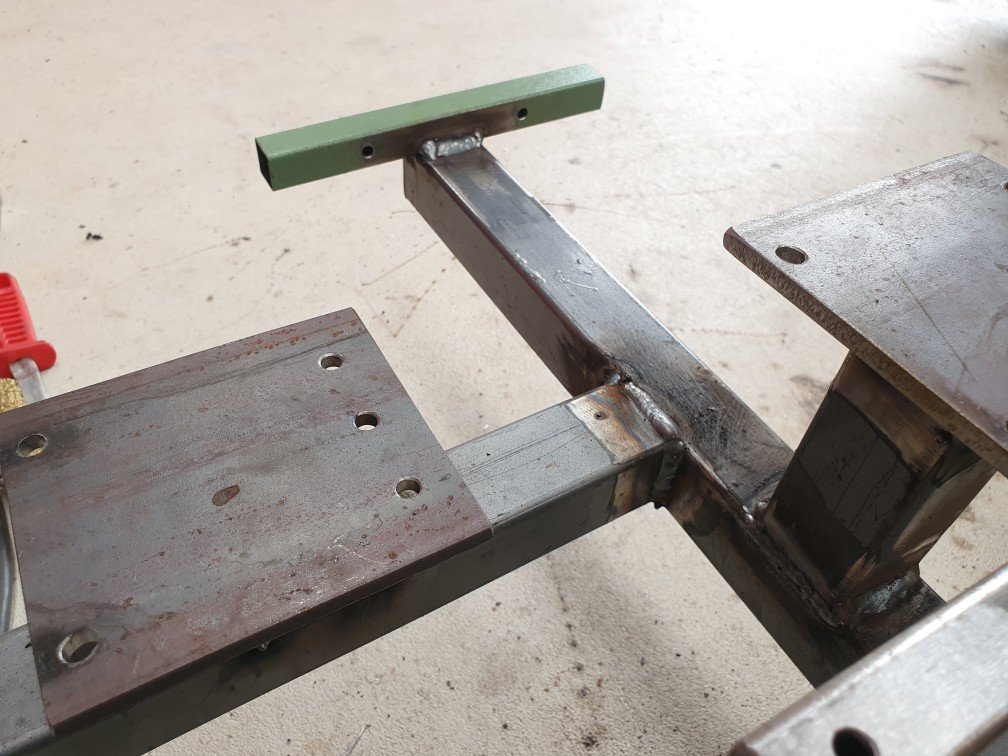
DIY Removable towbar kit. I think the tongue was from a Hiace or something?. Anyway, a bit of welding, grinding and bolting and it's worked fine for a few years, even with some fair loads.
1 point
-
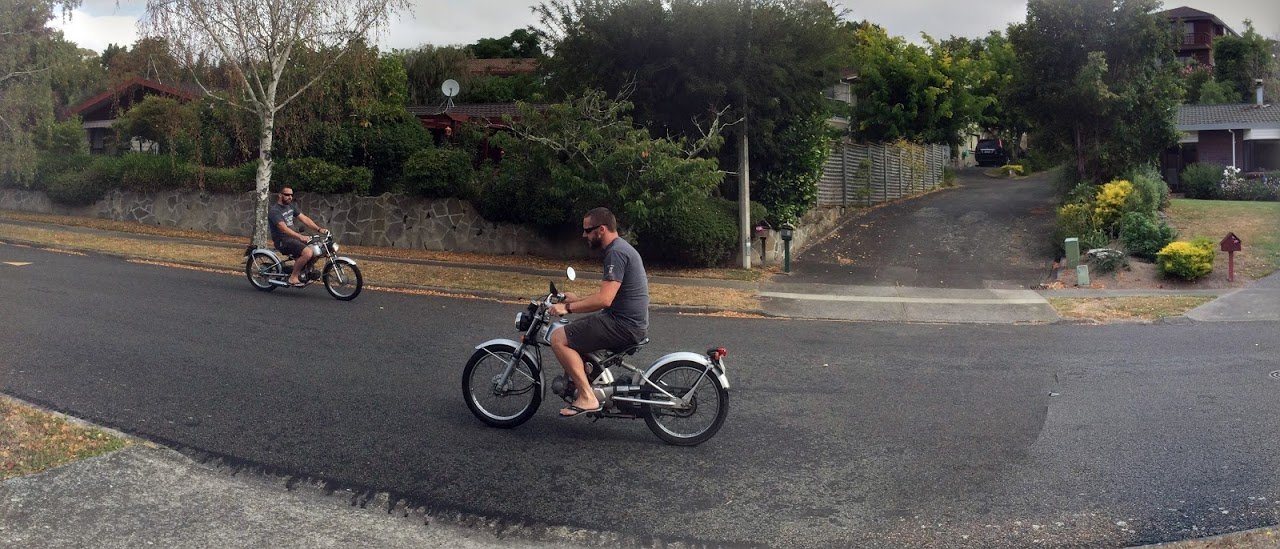
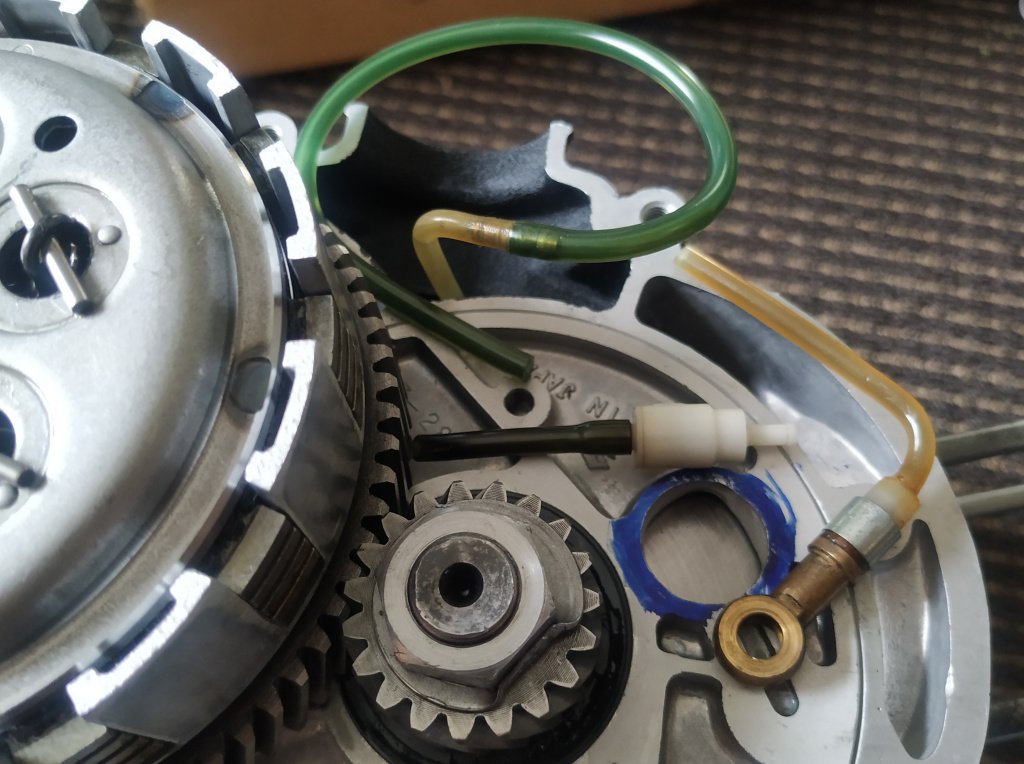
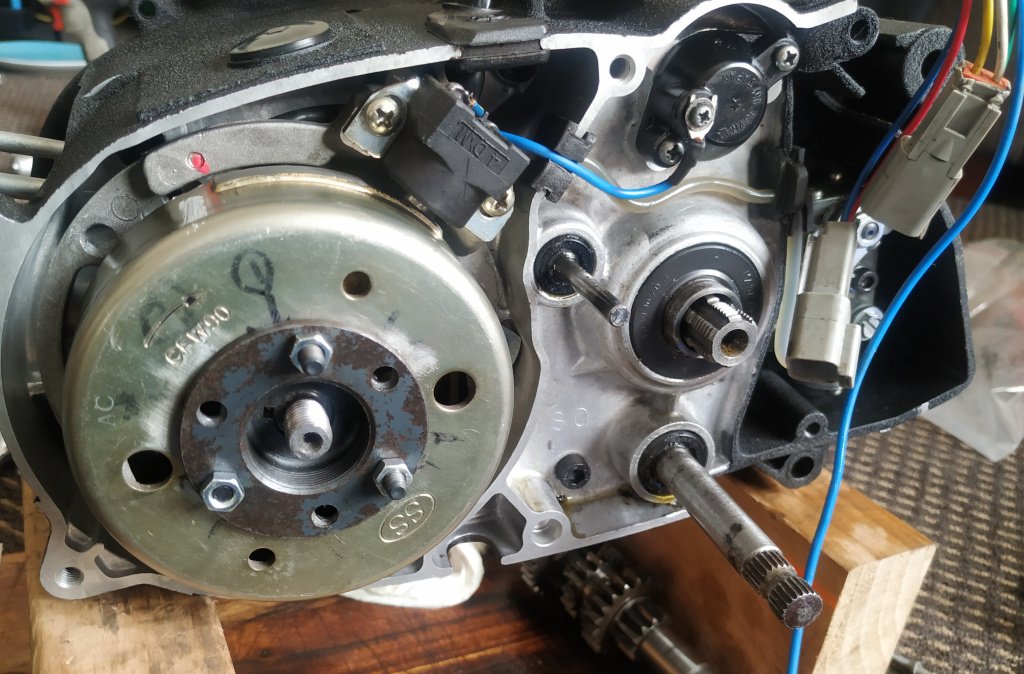
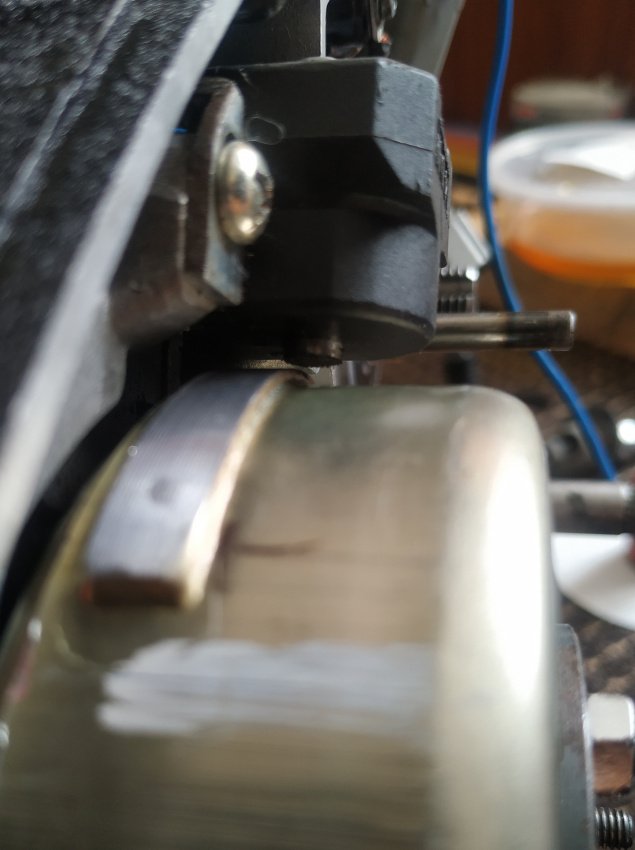
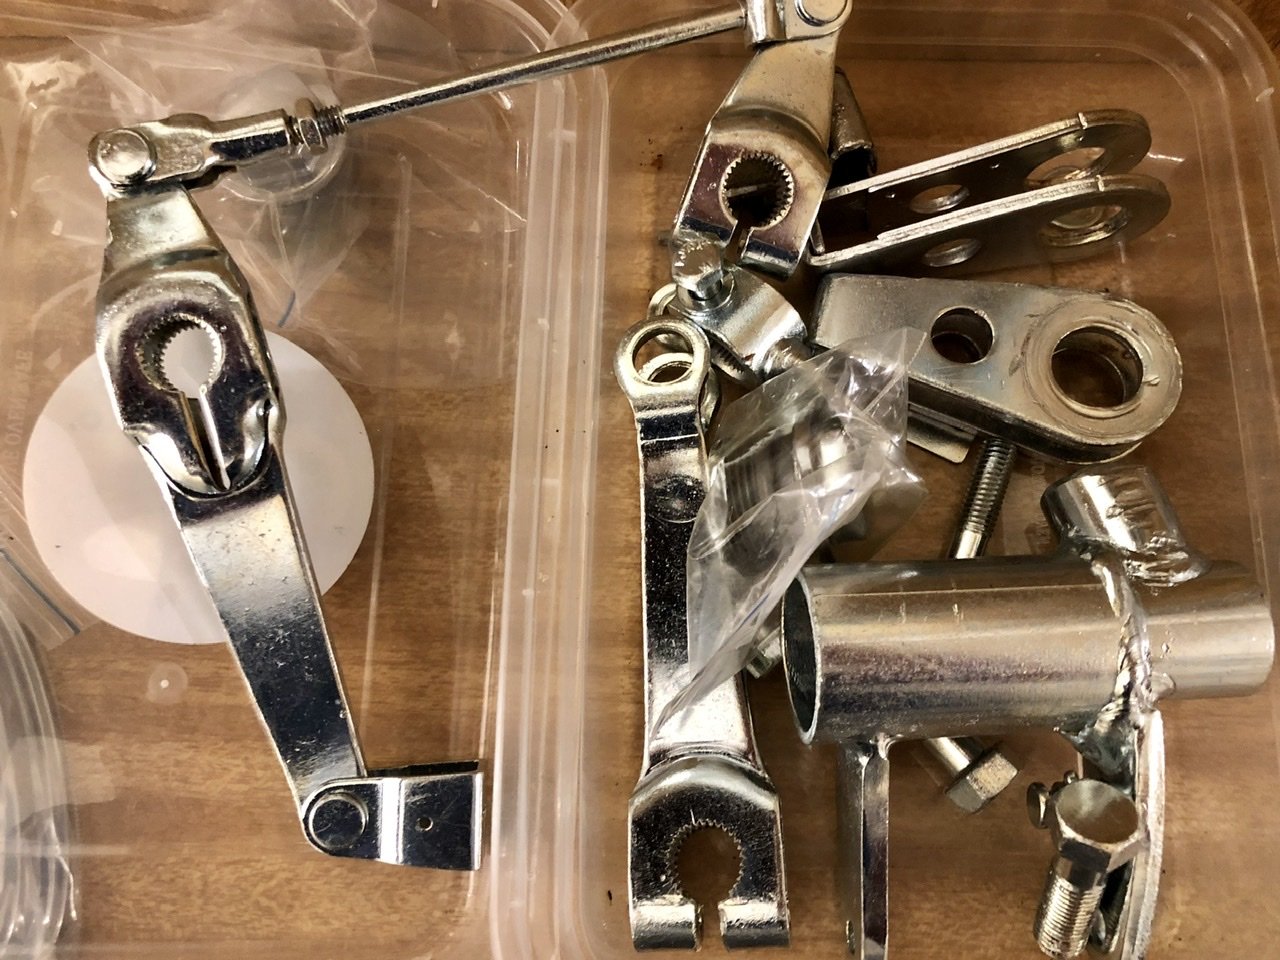
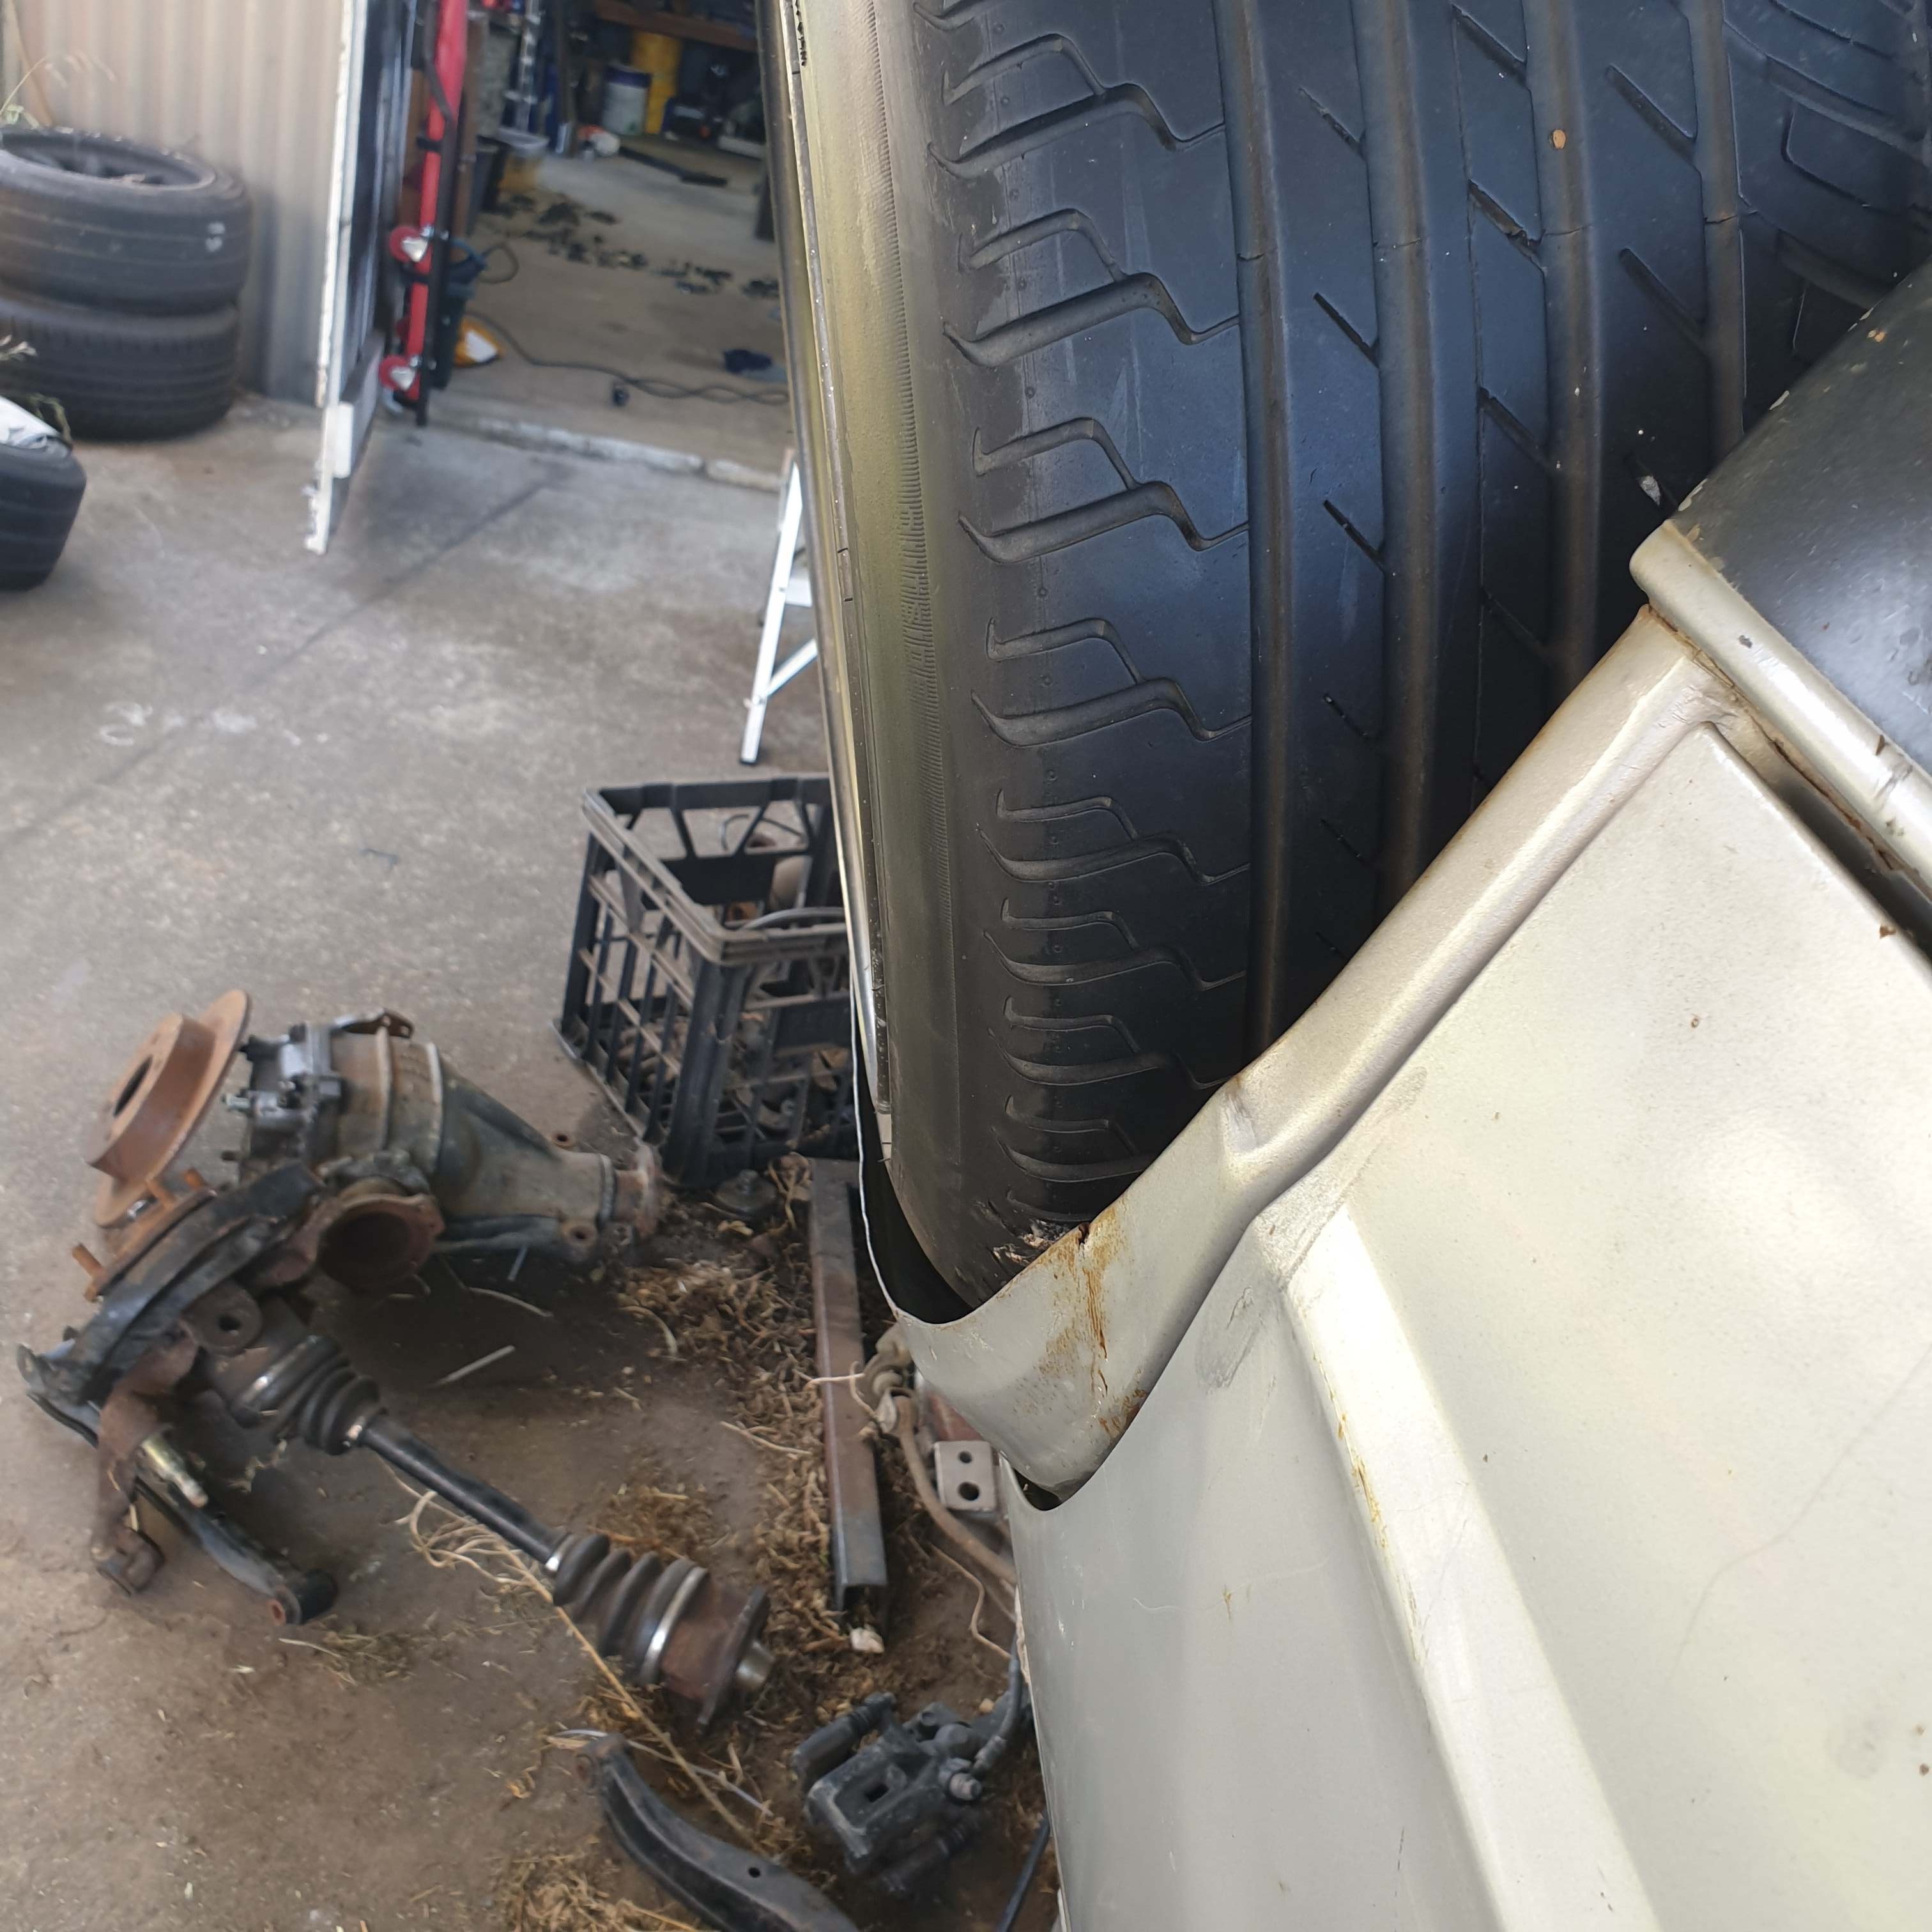
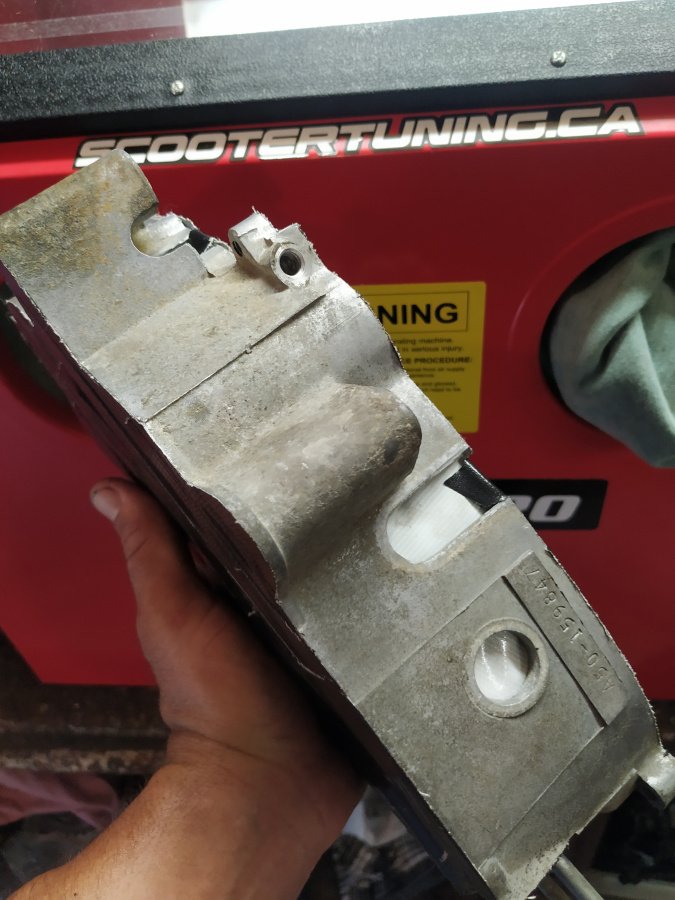
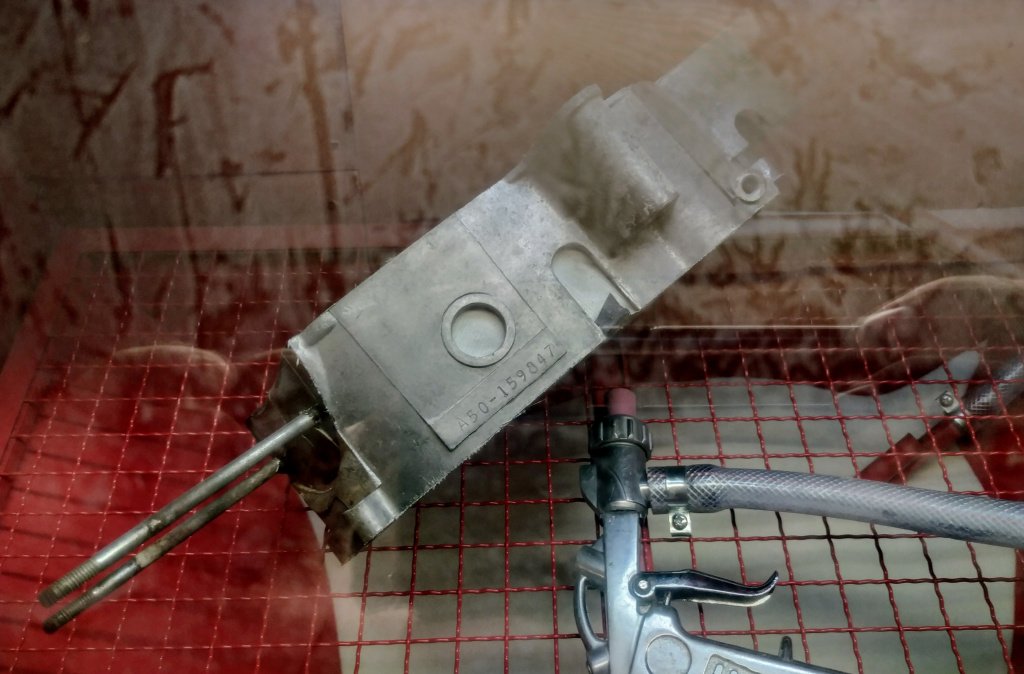
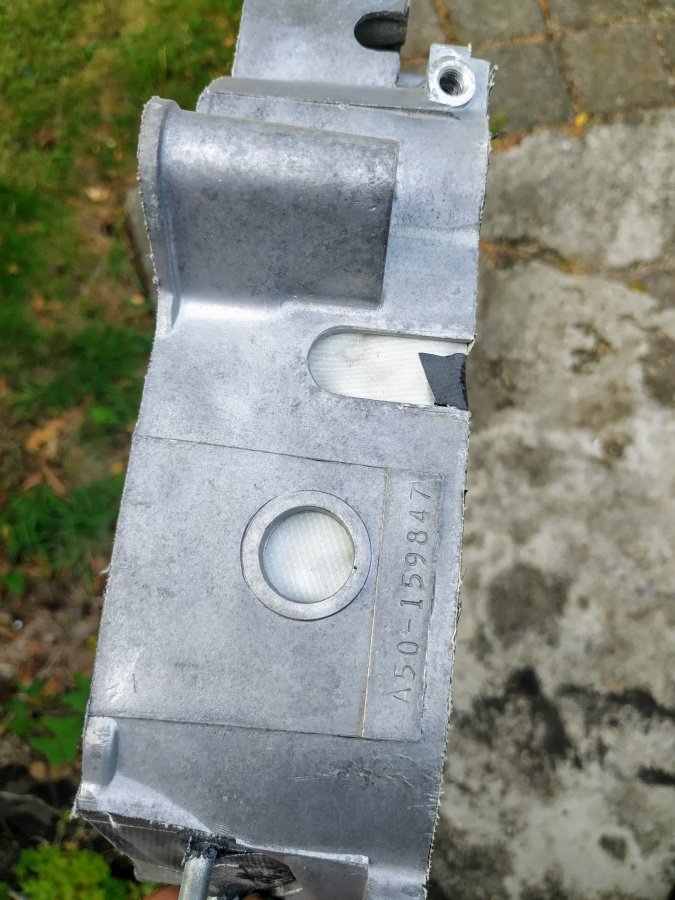
Oil feed into the engine was blocked by the sleeve for the new intake but the new Dellorto carb has an inlet for 2t oil, so I cut the factory one way valve/banjo fitting off the factory hard plastic oil line and managed to adapt a fitting off a Zip oil pump into a hose joiner. Took a fair bit of mucking about to get it into the old Suzuki line, but I got there. That white fitting is a one way valve from a late model Suzuki, going to run it inline same as on a Let's 2/Yamaha Jog etc. Finally got the flywheel sorted, drilled out the rivets from the factory A50 flywheel, bored out the new one to fit over the back of the A50 hub and got it timed up perfect. Not planning on running those 3 M5 bolts, either going to go with 6x m6 + loctite + hope or I think there's a Vespa shop in Auckland with 6mm rivets in stock. Just need to mill/grind 3mm off the pick up mount and it'll be perfect
1 point
-
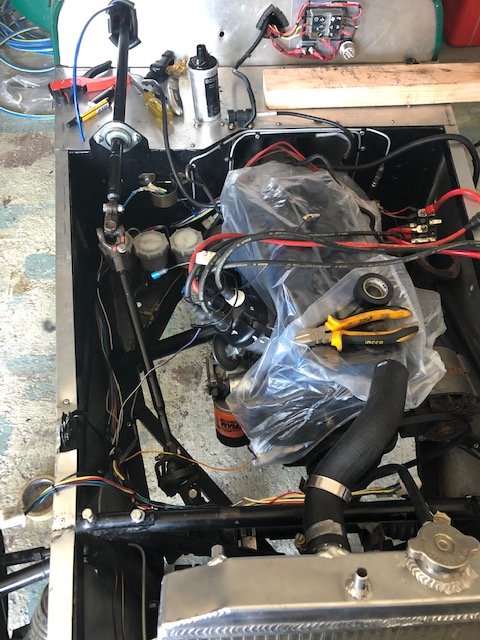
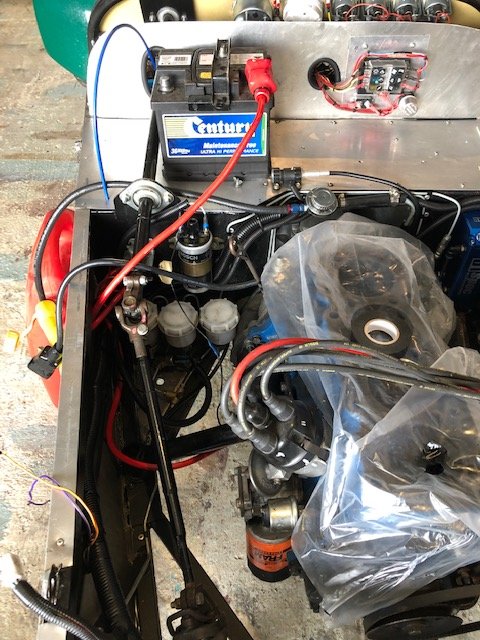
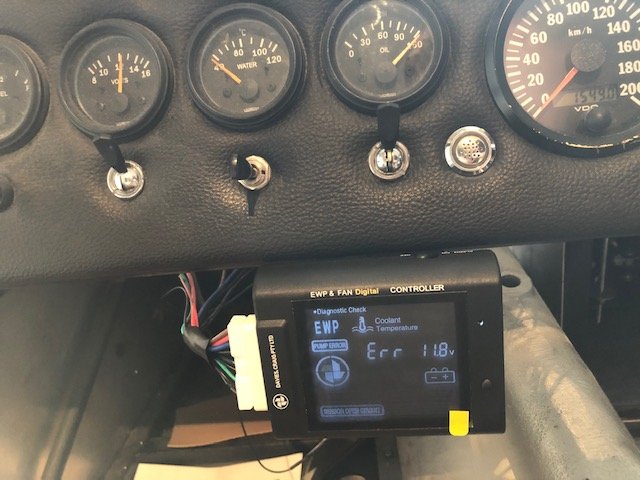
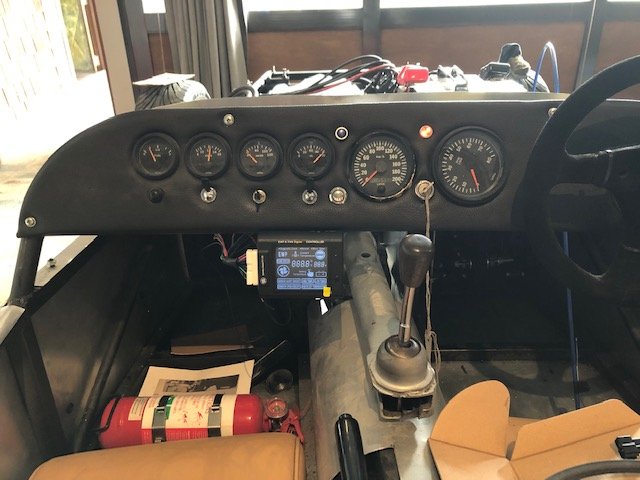
Have rediscovered a bit of love for this the past few weeks. It's odd revisiting your previous work, I guess I was in a rush to get it running but there have always been numerous untidy things that have annoyed me about the car, so it's quite nice to make some improvement. The main source of annoyance was the wiring and the way it was run/cable tied all over the place, so I recovered the whole loom and rerouted most of it. This turned out to be a good move as there is still a lot of oil coating everything after the filter explosion disaster. The cable routing is better, will never be perfect but it is a lot more tidy. Before And after I also decided to follow some good advice from the discussion thread and got a Davies Craig EWP and controller. It may be slightly overkill for this application but I will be happy if the car runs at a reasonable temperature and I can eliminate the mechanical pump - this will probably require some fabrication as you cannot remove the impeller from the factory pump but I think I can get that sorted. Also wired the controller up and made a hinged bracket so the display can be folded up under the dash. Simple but does the job. Sensors aren't plugged in obviously, as I have no cylinder head. Will tidy the rest of the wiring once the pump and radiator are back in. Have been saving up for a new cylinder head, will probably source one from the UK. Going to be an expensive day but likely cheaper than buying a second hand head here then having it crack tested and built up etc. Time for a beer one thinks.... Cheers
1 point
-
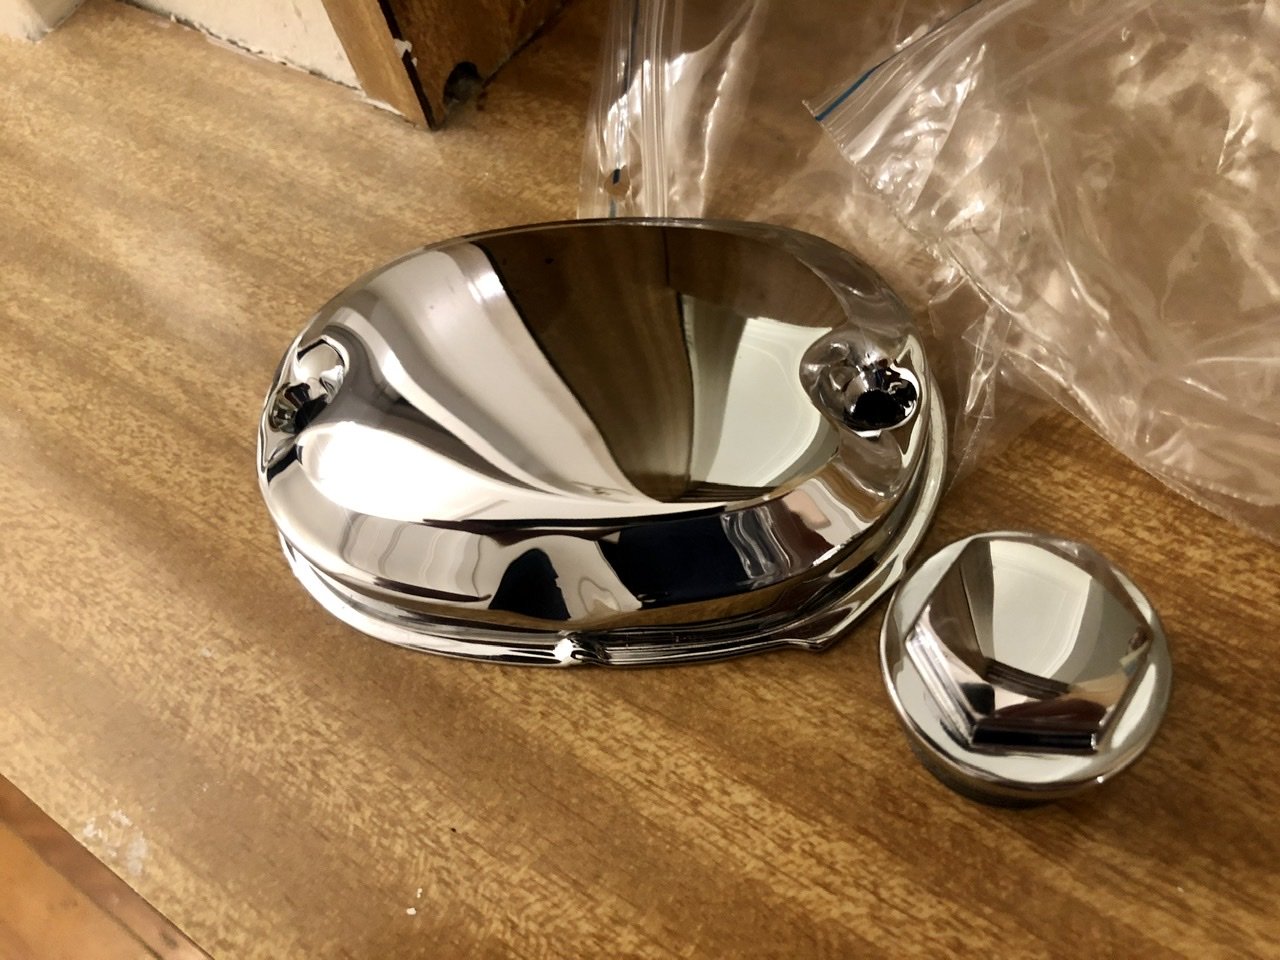
Send some bits away to get chromed and bright zinc plated. Fresh chrome looks amazing, points cover and the suspension fork bolts are now perfect. Wasn’t cheap but those parts aren’t available new anymore. To be fair they were pitted badly and most of the time was probably spent tidying up the parts before chroming. The bright zinc was super cheap to get plated, like $20. However no prep is done. If I’d known I’d have polished out the pitting marks more but for 20 bucks it look a million times better than it did.
1 point
-
Started to make a new plenum. 5" donut chop, butchered the old plenum to harvest the bellmouths. so yeh hopefully this works.. Done some more butchery, to the suspension tower cover this time. I did buy some cast elbows, but didn't like them. diameter was slightly too small and real sharp bend. managed to "reshape" the tower cover to gain enough clearance so could use the ali bends i used for testing. They have a id slightly bigger than the throttles, should be good. Still pretty close to the tower, but looks like it will all fit in there. the runners will enter the plenum on a bit of an angle, and same deal with bellmouths, they wont sit parallel with the base of plenum. Seems like a better compromise than using sharp bends1 point
-
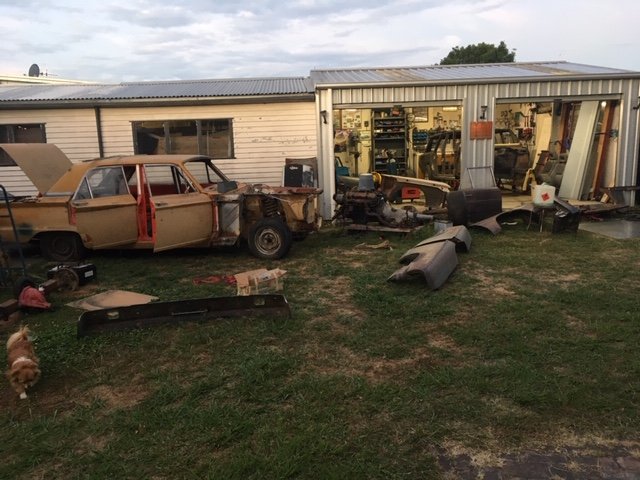
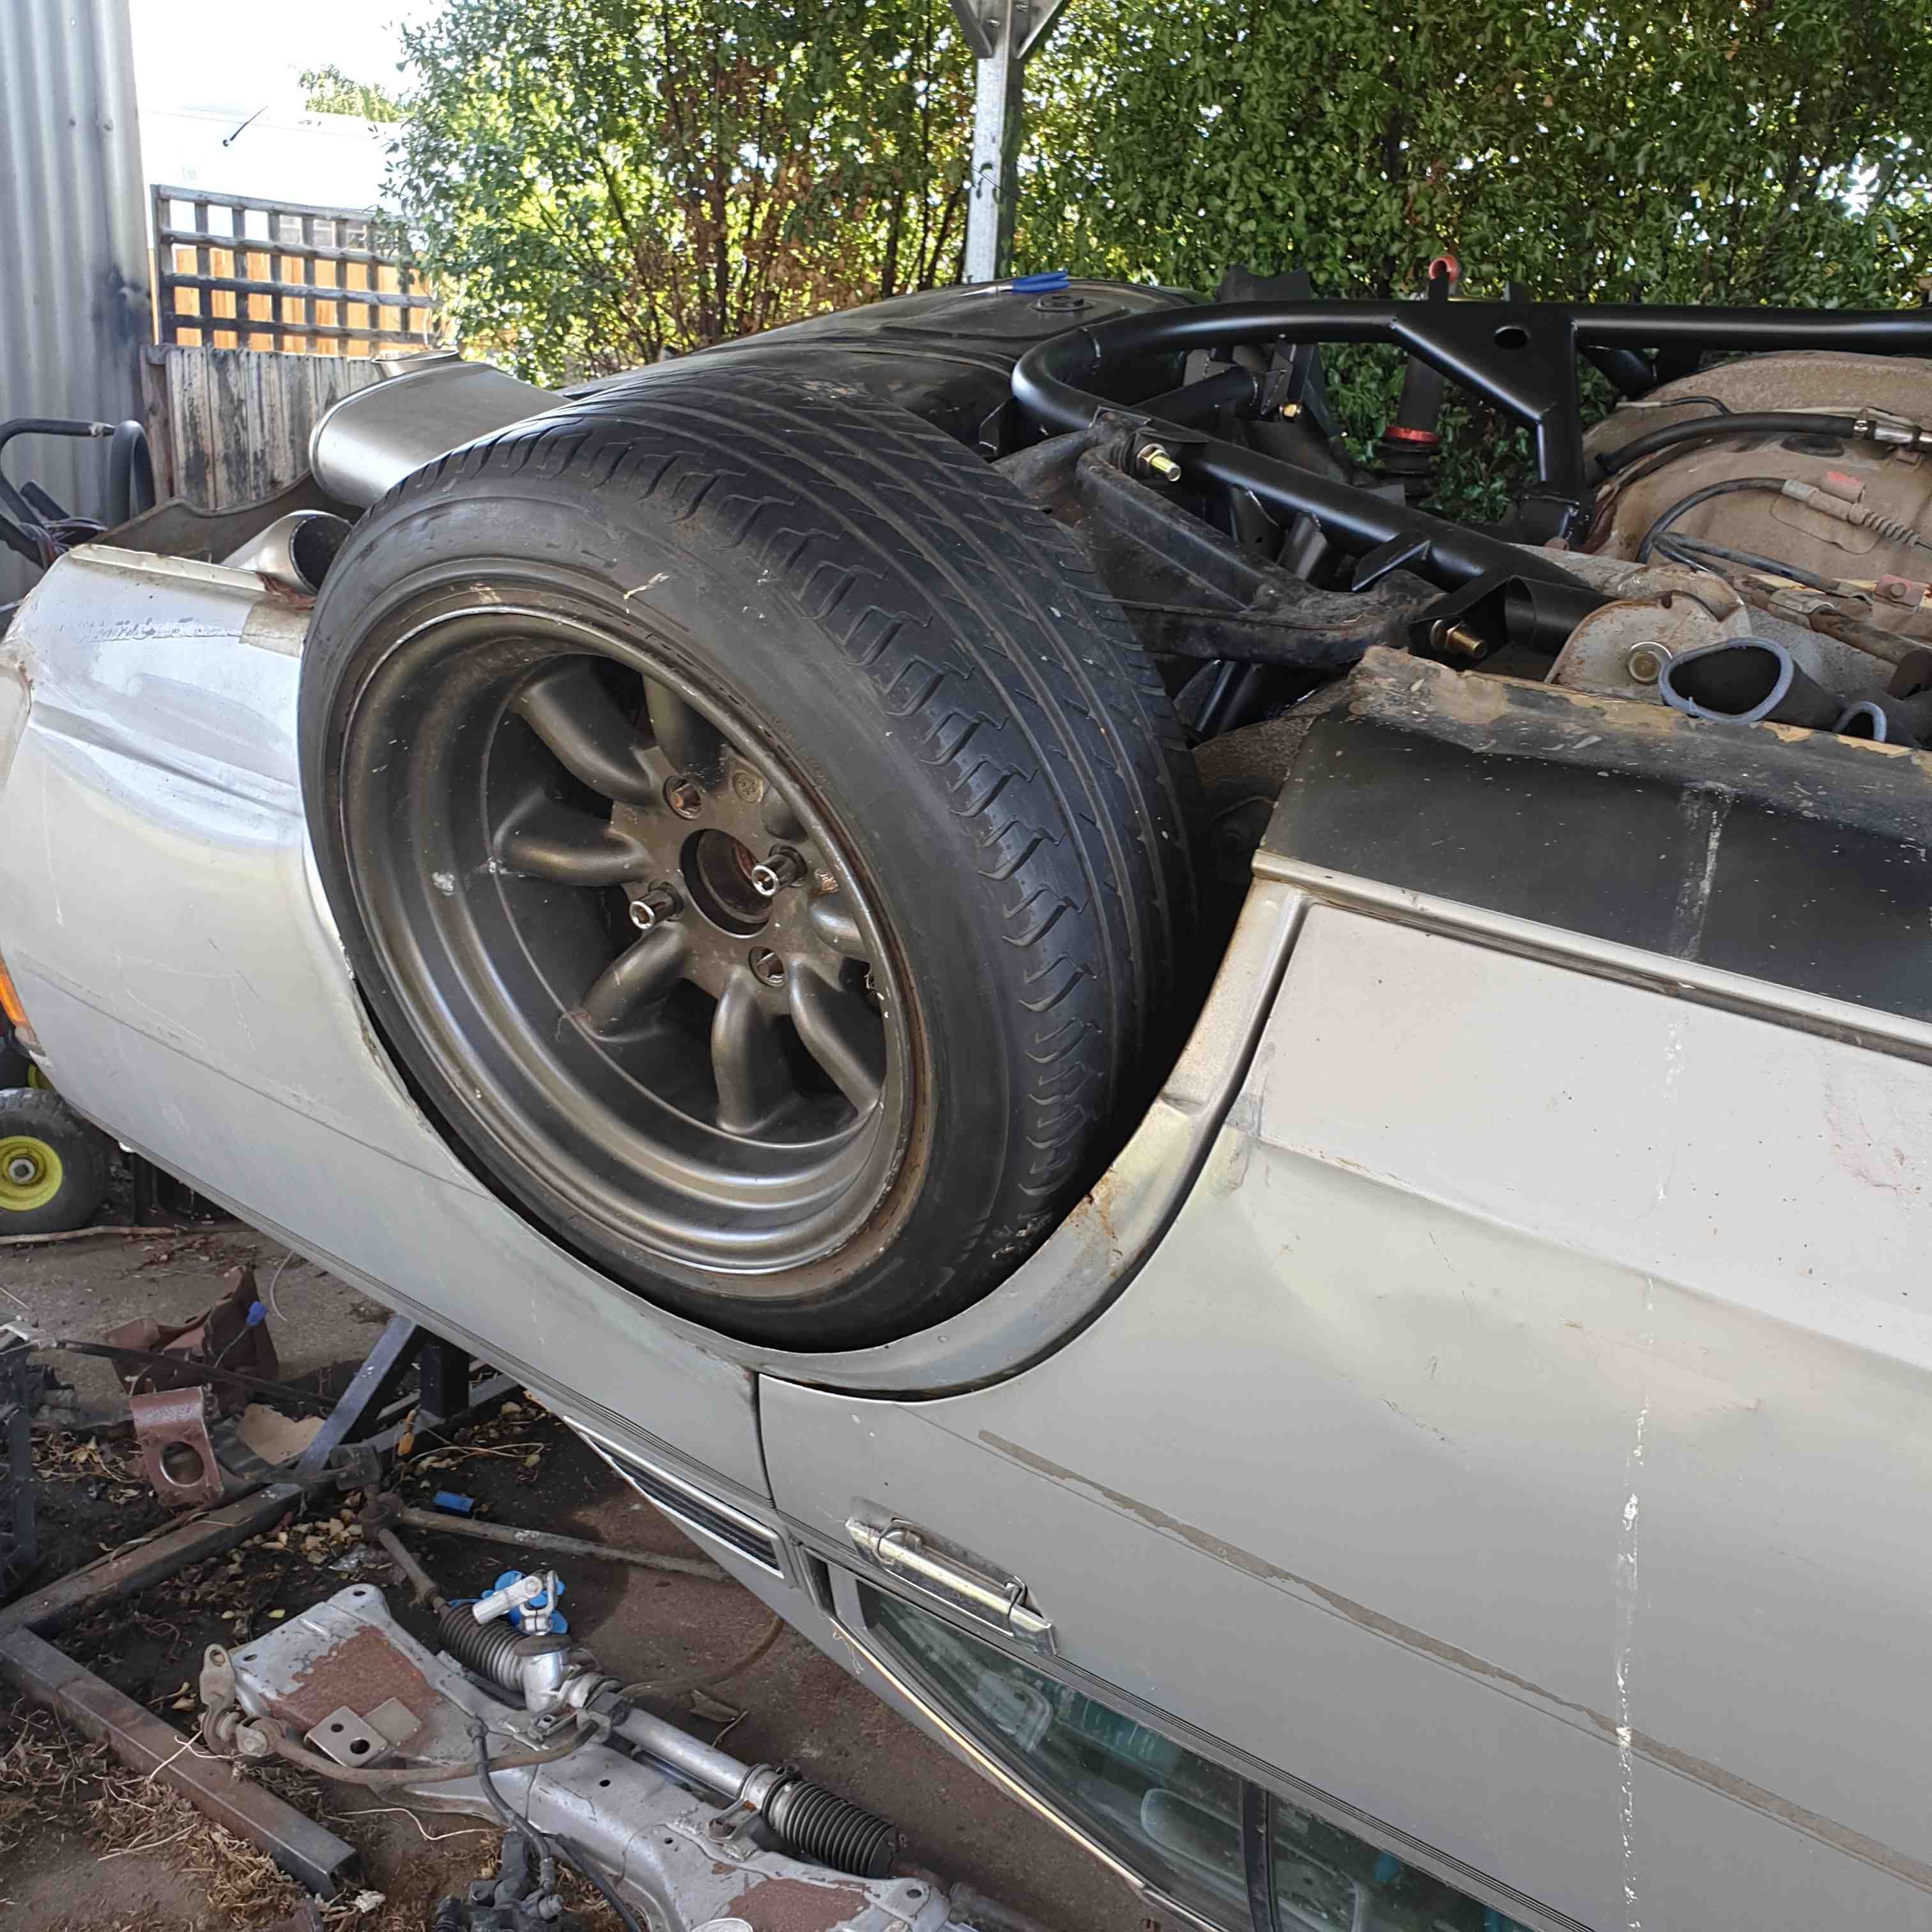
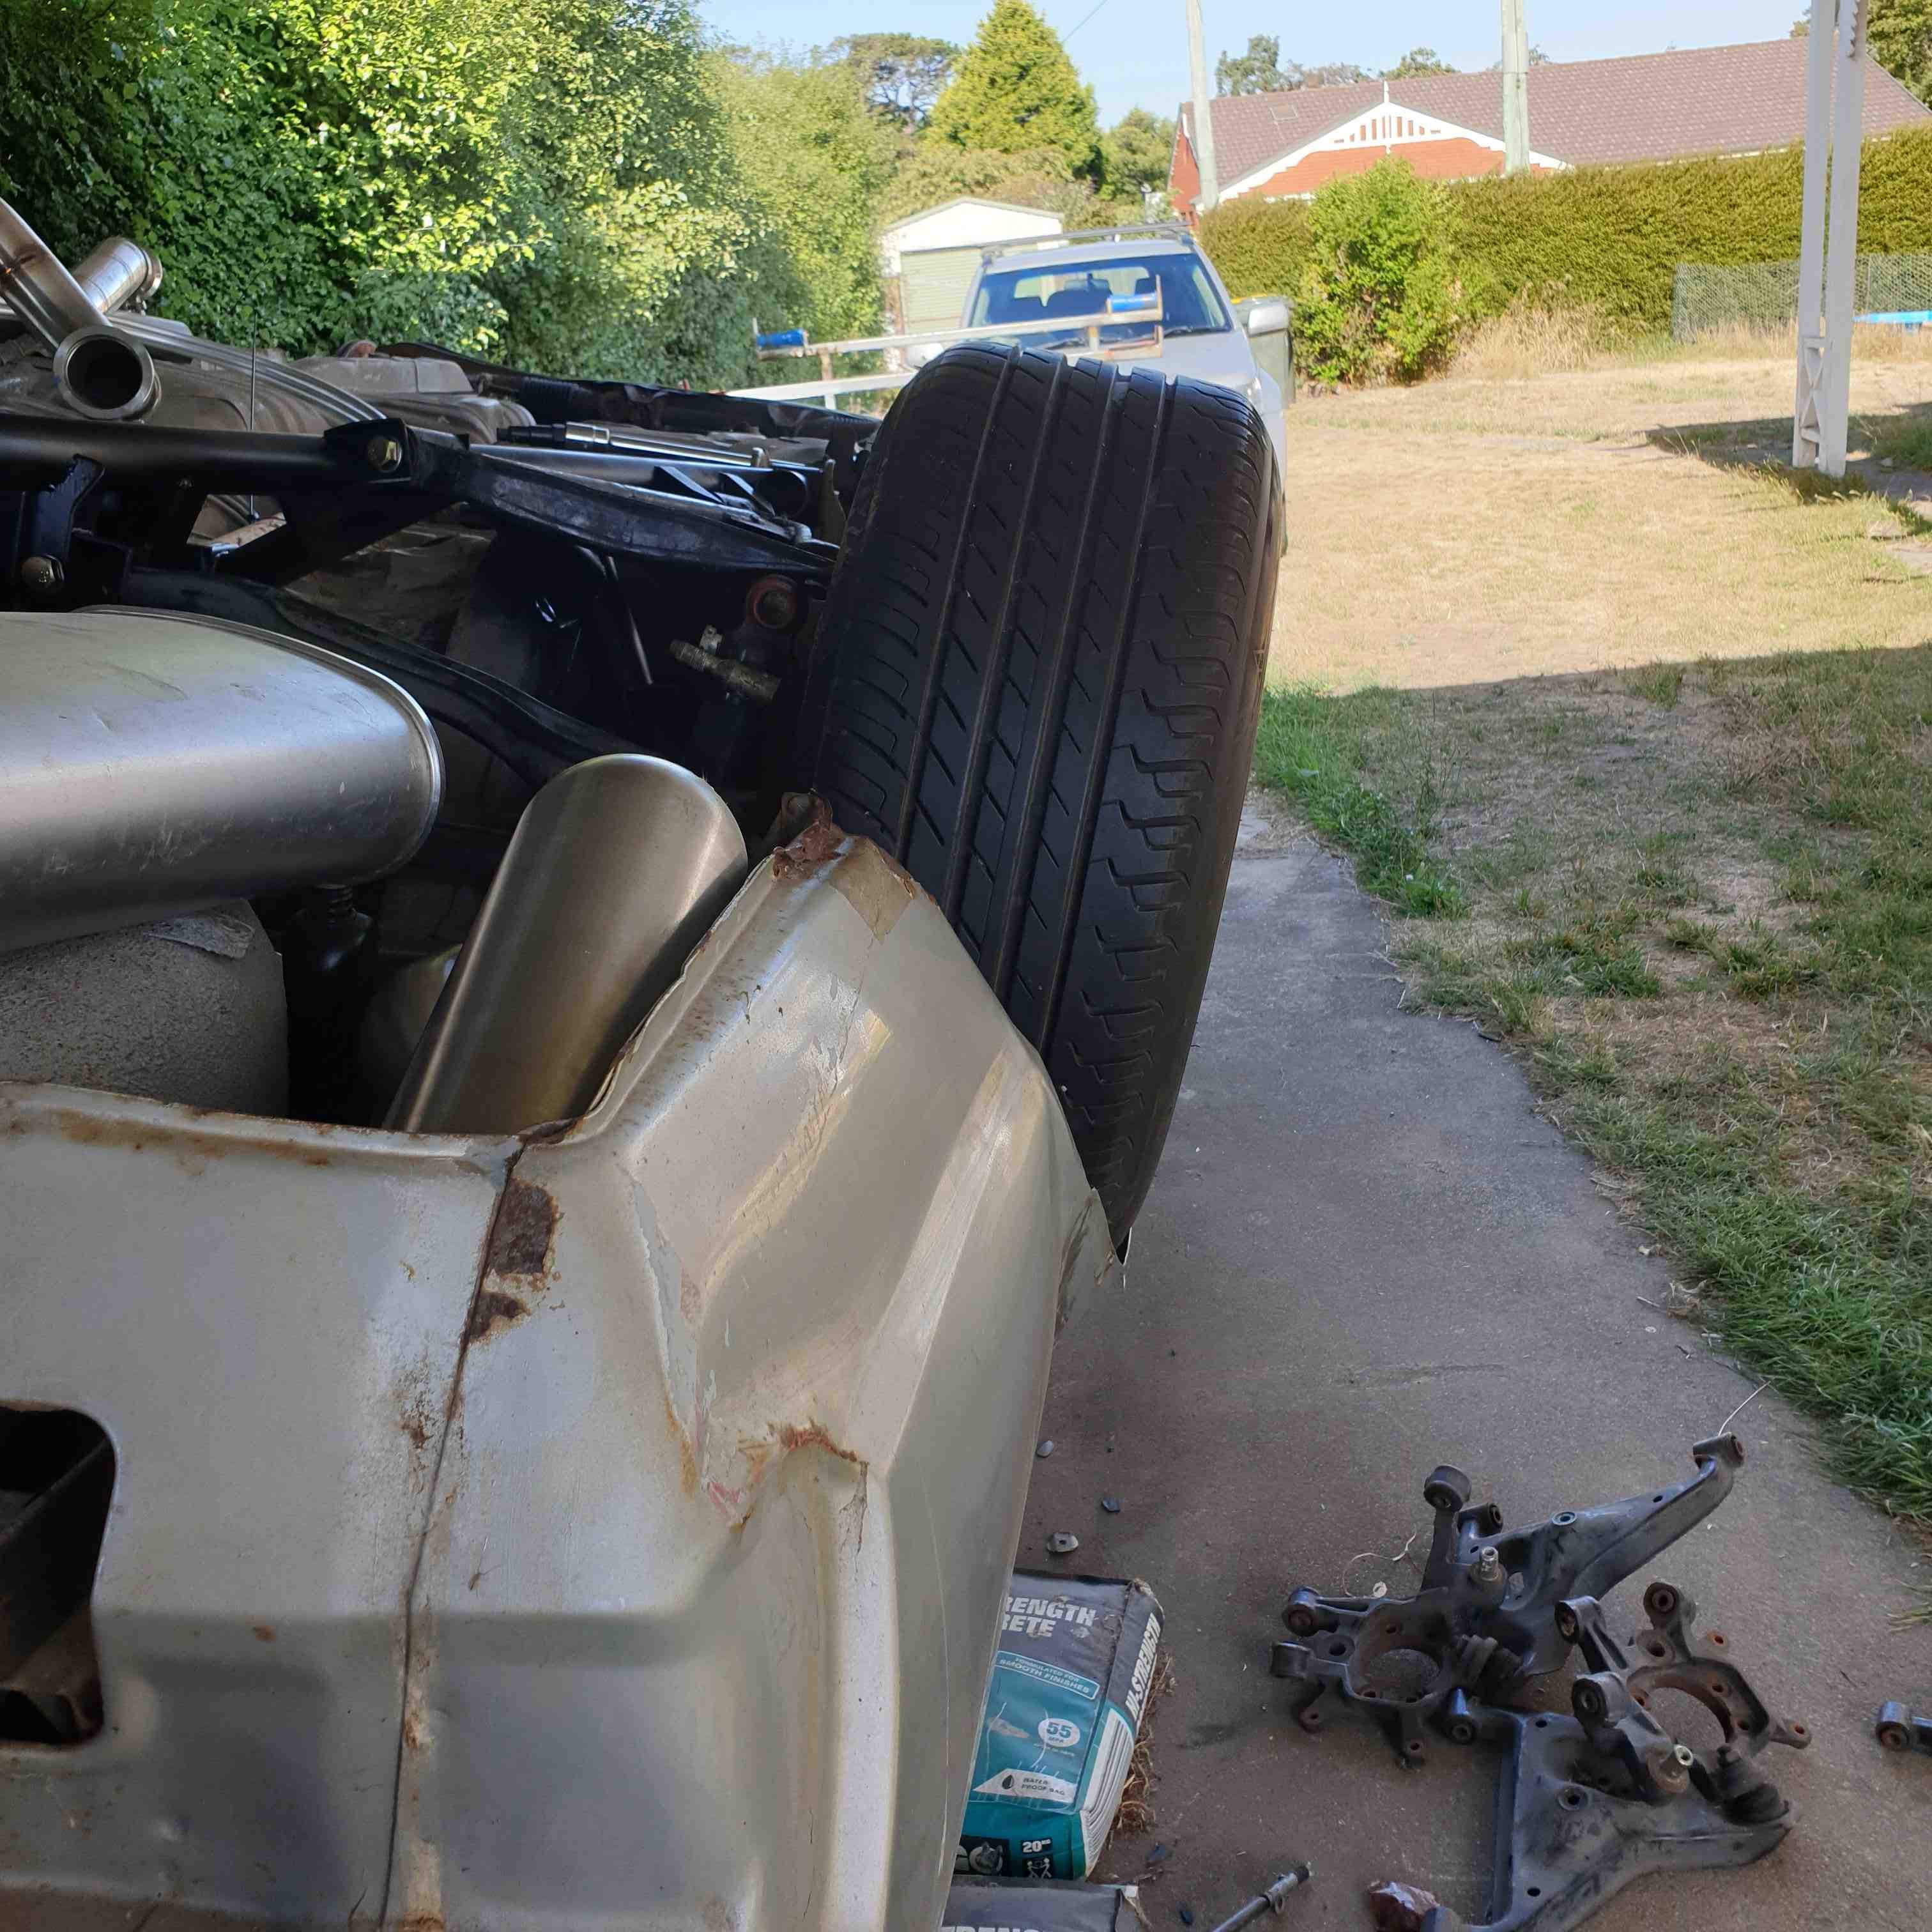
Surprisingly I still own this. I figured i'd better update the build thread now, it has more metal in it now than it did 2.5 years ago. With a year of a long distance relationship, moving house, changing jobs, other cars and a fairly sizeable task ahead to fix all the rot, progress kind of came to a halt not long after the last update. In the last year or so though I have been chipping away at it, so far I have cut and welded the l/h inner guard, heater bubble, l/h floor pan, inner and outer sill section, rebuilt the bottom of the l/h A pillar, l/r wheel arch inner and outer, outer sill section, and probably some other small bits I can't remember. I also cut the front valance off, and I am very thankful for the abundance of pressed panels available new for old Fords in that I got a new valance, front guards, and a myriad of repair sections to stitch in, without these I probably wouldn't have taken this on tbh. Here it is on its way to its new garage: Some repairs to the firewall where every Escort rots - under the heater bubble. I've made an indent in the new heater bubble so water can actually drain away, rather than collecting in the bottom of the bowl and rotting through the seam that joins it. It mightn't look tidy, but it's solid and there's good penetration through to the other side, so I'm reasonably happy. The l/h side floor section was probably the most daunting repair in terms of size, I ended up cutting the floorpan back almost to the seat mount before I found decent metal, but after I zapped in the floor section the outer sill and pillar fitted up pretty nicely. This was the most recent repair - the rear wheel arch - which someone in the past has had a go at, not rust proofed behind the repair, and it's rusted again. There was a patch welded into the outer arch, which someone had beaten in with a ballpein hammer and shaped with bog, and a large patch on the inner which had gone rotten. It all had to go, I ended up cutting away the inner half and remaking it, and welding in a pressed section into the outer. All that's left now is the l/h C pillar and vent, probably the r/h C pillar too, the bottom of the r/h A pillar, a random little hole in the rear apron, make some new front guard supports and attach the front. I have a full set of factory bronze tinted glass and chrome trim mouldings for the windows, which will probably end up on the car too. And this is pretty much how it sits today!1 point
-
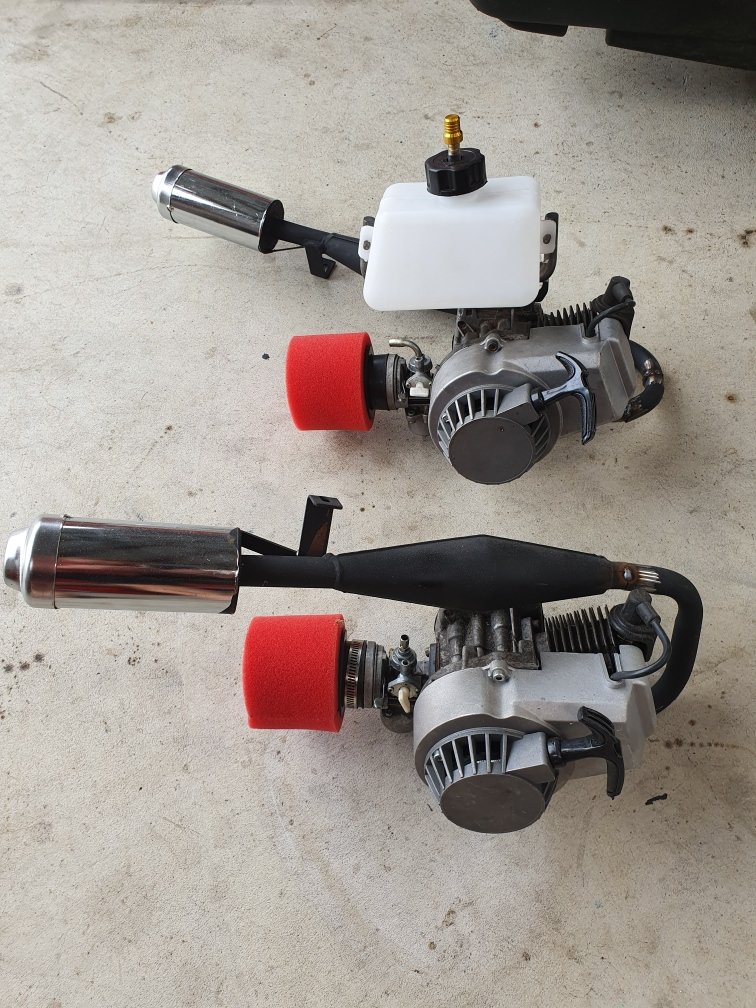
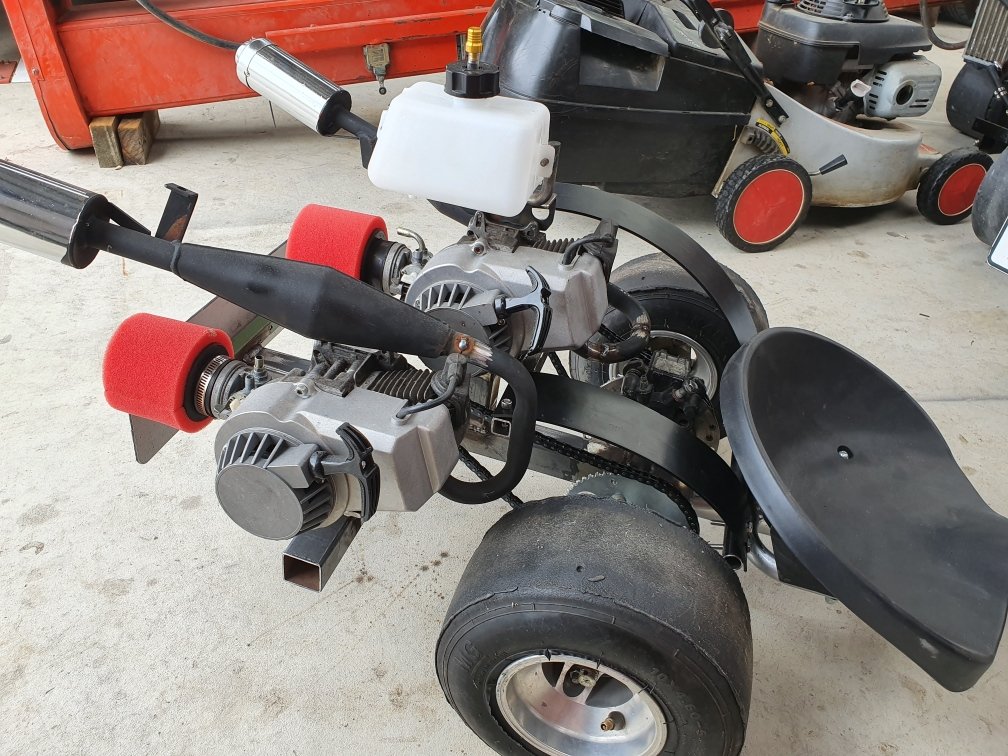
Did more work on this very neglected and long forgotten project Finally finished welding all of the various frame parts. Fitted chain guards to protect the rider from a flailing chain blow to the kidneys! Two motors....mmmmmmm....tasty!
1 point
-
I got the cover off amazon I think. I also have a rear canopy that I am never going to use, it does look a bit pedo spec, and has a broken window, but i dont want much for it !!1 point
-
So been slowly plodding away at this still. Chrissy is hard to keep some steam up. But the back of the car is nearly finished. Fuel tank is all done and fuel lines sorted to the front of the car. Had to modify some top arms, but the wheels are on and everything kinda basically works lol
1 point
-
Kerry Buchanan is a certifier in Auckland who specializes in bikes, and can cert an EV conversion as well, so he would be perfect for your project @djotter1 point
-
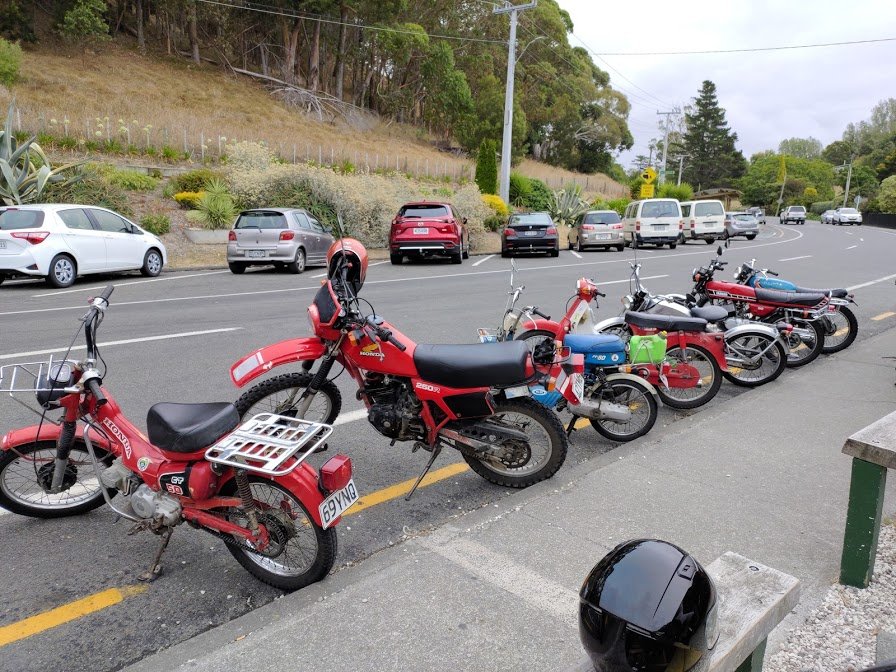
Due to it not running well last outing, I whipped the carbs off, and they were full of sand. Turns out the drain/vent tubes on the carbs must be able to suck? I assume on the motorbike they went to the air box? I think I'll put some pneumatic spec air filter/exhaust/silencer things on there, just to keep shit out. Like this, After cleaning the carbs it was running tumeke again. We took it up to some paddocks in the whops and had a hoon. At the end of the day I drove it back out to the main road (about a 10 min drive at 90kmh) to see what it's like as a daily. Its doing about 7g rpms at 90, which is quite loud, and also my whole left leg went numb/dead, and I couldn't feel the clutch pedal, so not great as a daily. The only issue we had was bashing a bit of a hole in the exhaust (lowest point) which will be an easy fix. Usual shitty vid:1 point
-
Got it all fully stripped over the weekend Finally got around to getting the blast cab into the shed tonight Before: During: After* That was at only 40psi, works very well! Bit higher pressure gives a shinier result, but I'm painting it after anyway so this is fine. *By after I mean as far as it's going to get as the angry pixies were escaping the starter cap in my compressor lol
1 point
-
Headlight with LED running lights was todays arrival. Fits good and looks like it should be there. Even had mounting points for the front indicators1 point
-
put a headlight relay in to take the load off the wiring in the headlight switch. Toyotas switch the negative at full current through the headlight switch and after a while they like to set themselves on fire. so Nick the sparkey wired in the relay. put the front back on and did more tidying of the wiring inside the car. which was such a mess that im to embarrassed to show a picture of how it was. ill put the headlight back in the drivers side too. so its better now, still not finished but there's not much left to do then the wiring is finished and i can have a go at starting it. oh, its got oil pressure and fuel pressure without leaking anywhere. 2020-02-02_01-43-52 by sheepers, on Flickr 2020-02-02_01-44-14 by sheepers, on Flickr1 point
-
more stuff. exhaust is all back in. all the plumbing is done, it has a clutch, oil in the motor, power steering fluid all over the floor and save one radiator hose that i cut the wrong end off it would have water in it too. all the wiring forward of the fire wall is finished as well. i had to notch the chin spoiler to accommodate the oil coolers and hopefully it doesn't look to stupid when its all back together. tomorrow i should be able to crank it and get oil pressure up and also test the fuel system at pressure. good. 2020-01-31_06-25-47 by sheepers, on Flickr 2020-01-31_06-25-28 by sheepers, on Flickr art. 2020-01-31_06-49-13 by sheepers, on Flickr1 point
-
To do list: Radiator hoses 34mm 16571-70040 top 16572-70040 bottom ordered Igniter wiring Install water bypass/ lower outlet Clutch slave install and bleed Bleed brakes Wheel alignment -1.5° camber max 4mm vacuum hose 1m intake to charcoal canister. A few things will be revisited once going/legal. The block I used had been sitting for about 15 years so had quite bad corrosion in water galleries which even after being acid dipped and blown out is still present. For this reason I've chosen not to rebuild radiator untill ivd run it hot and flushed it as many times as possible. You'll also see a horrid top radiator hose made from two with a shoddy joiner. This came in parts bin with one of the three engines I had and after trying about 10 places to match one up I'm not suprised. Have ordered new genuine top and bottom hoses from a tc24 gx61 via amayama but there is 18 day wait time - if they dont come back as NLA. Getting pretty close to start up!
1 point
-
The only option.1 point
-
this arrived today + a 120 amp sine wave controller + bits. Heavier than I imagined @13.5KG1 point
-
Nearly there. Out of time this weekend...but so close!
1 point
-
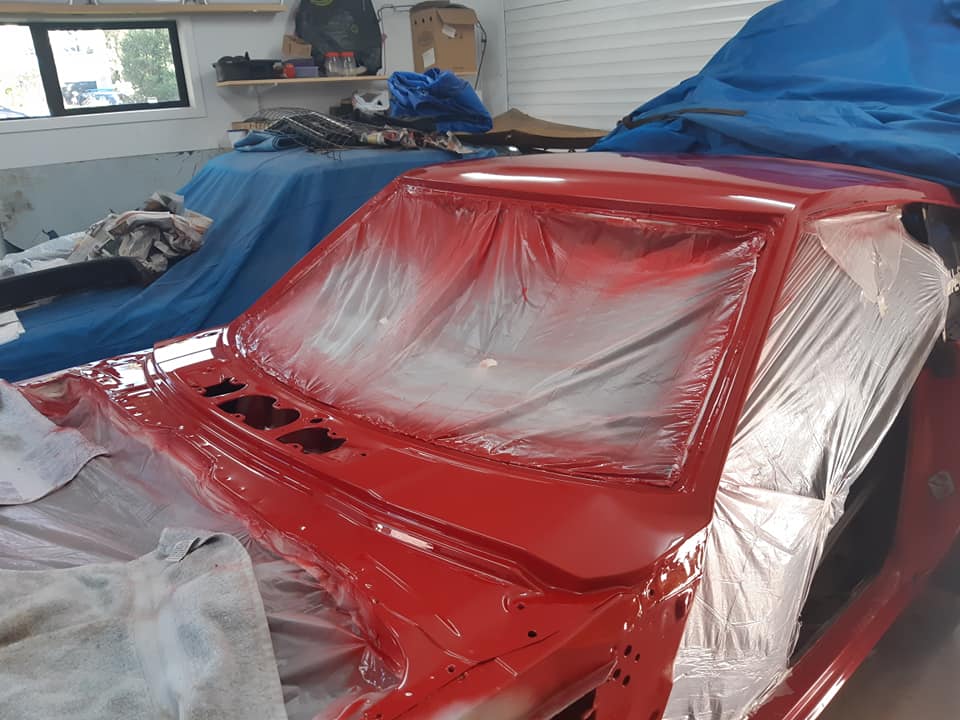
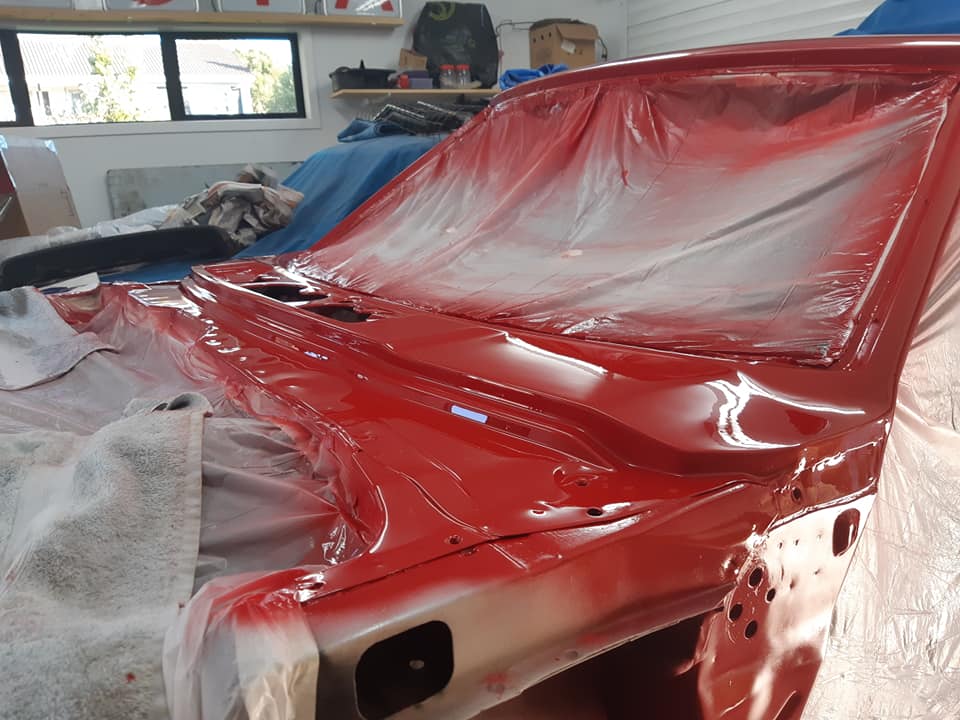
Wasn't really happy with the paint and I cut through in one spot so the decision was made to repaint and clear coat it. Also repainted the dash top and cage given the easy access with the windscreen out
1 point
-
Ok well i now own the liteace that SloNLo owned (liteace of spades) I wasnt planning on doing anything to it but u know how the story goes.......... So since the i have young kids i was thinking about painting it black and creating a Bratmobile Or i had also been told i should paint it like the scooby doo van (this could be fun) So other than a paint job what else should i do (that aint gona cost me to much) to the old 5k? And how strong is a liteace box ,diff and driveshalft and so on? im asuming its just the same as my old ke35???? Have been thinging hmmmmmm 4age??????????? Any thoughts greatly appreciated.1 point
-
Anyone know if a boss kit from a 85/87 corolla will fit on the liteace?1 point


.thumb.jpeg.384ff72c8d2b0ee0d34a7bdedb55bdcf.jpeg)


This leaderboard is set to Auckland/GMT+12:00