
Leaderboard


Popular Content
Showing content with the highest reputation on 08/31/19 in all areas
-
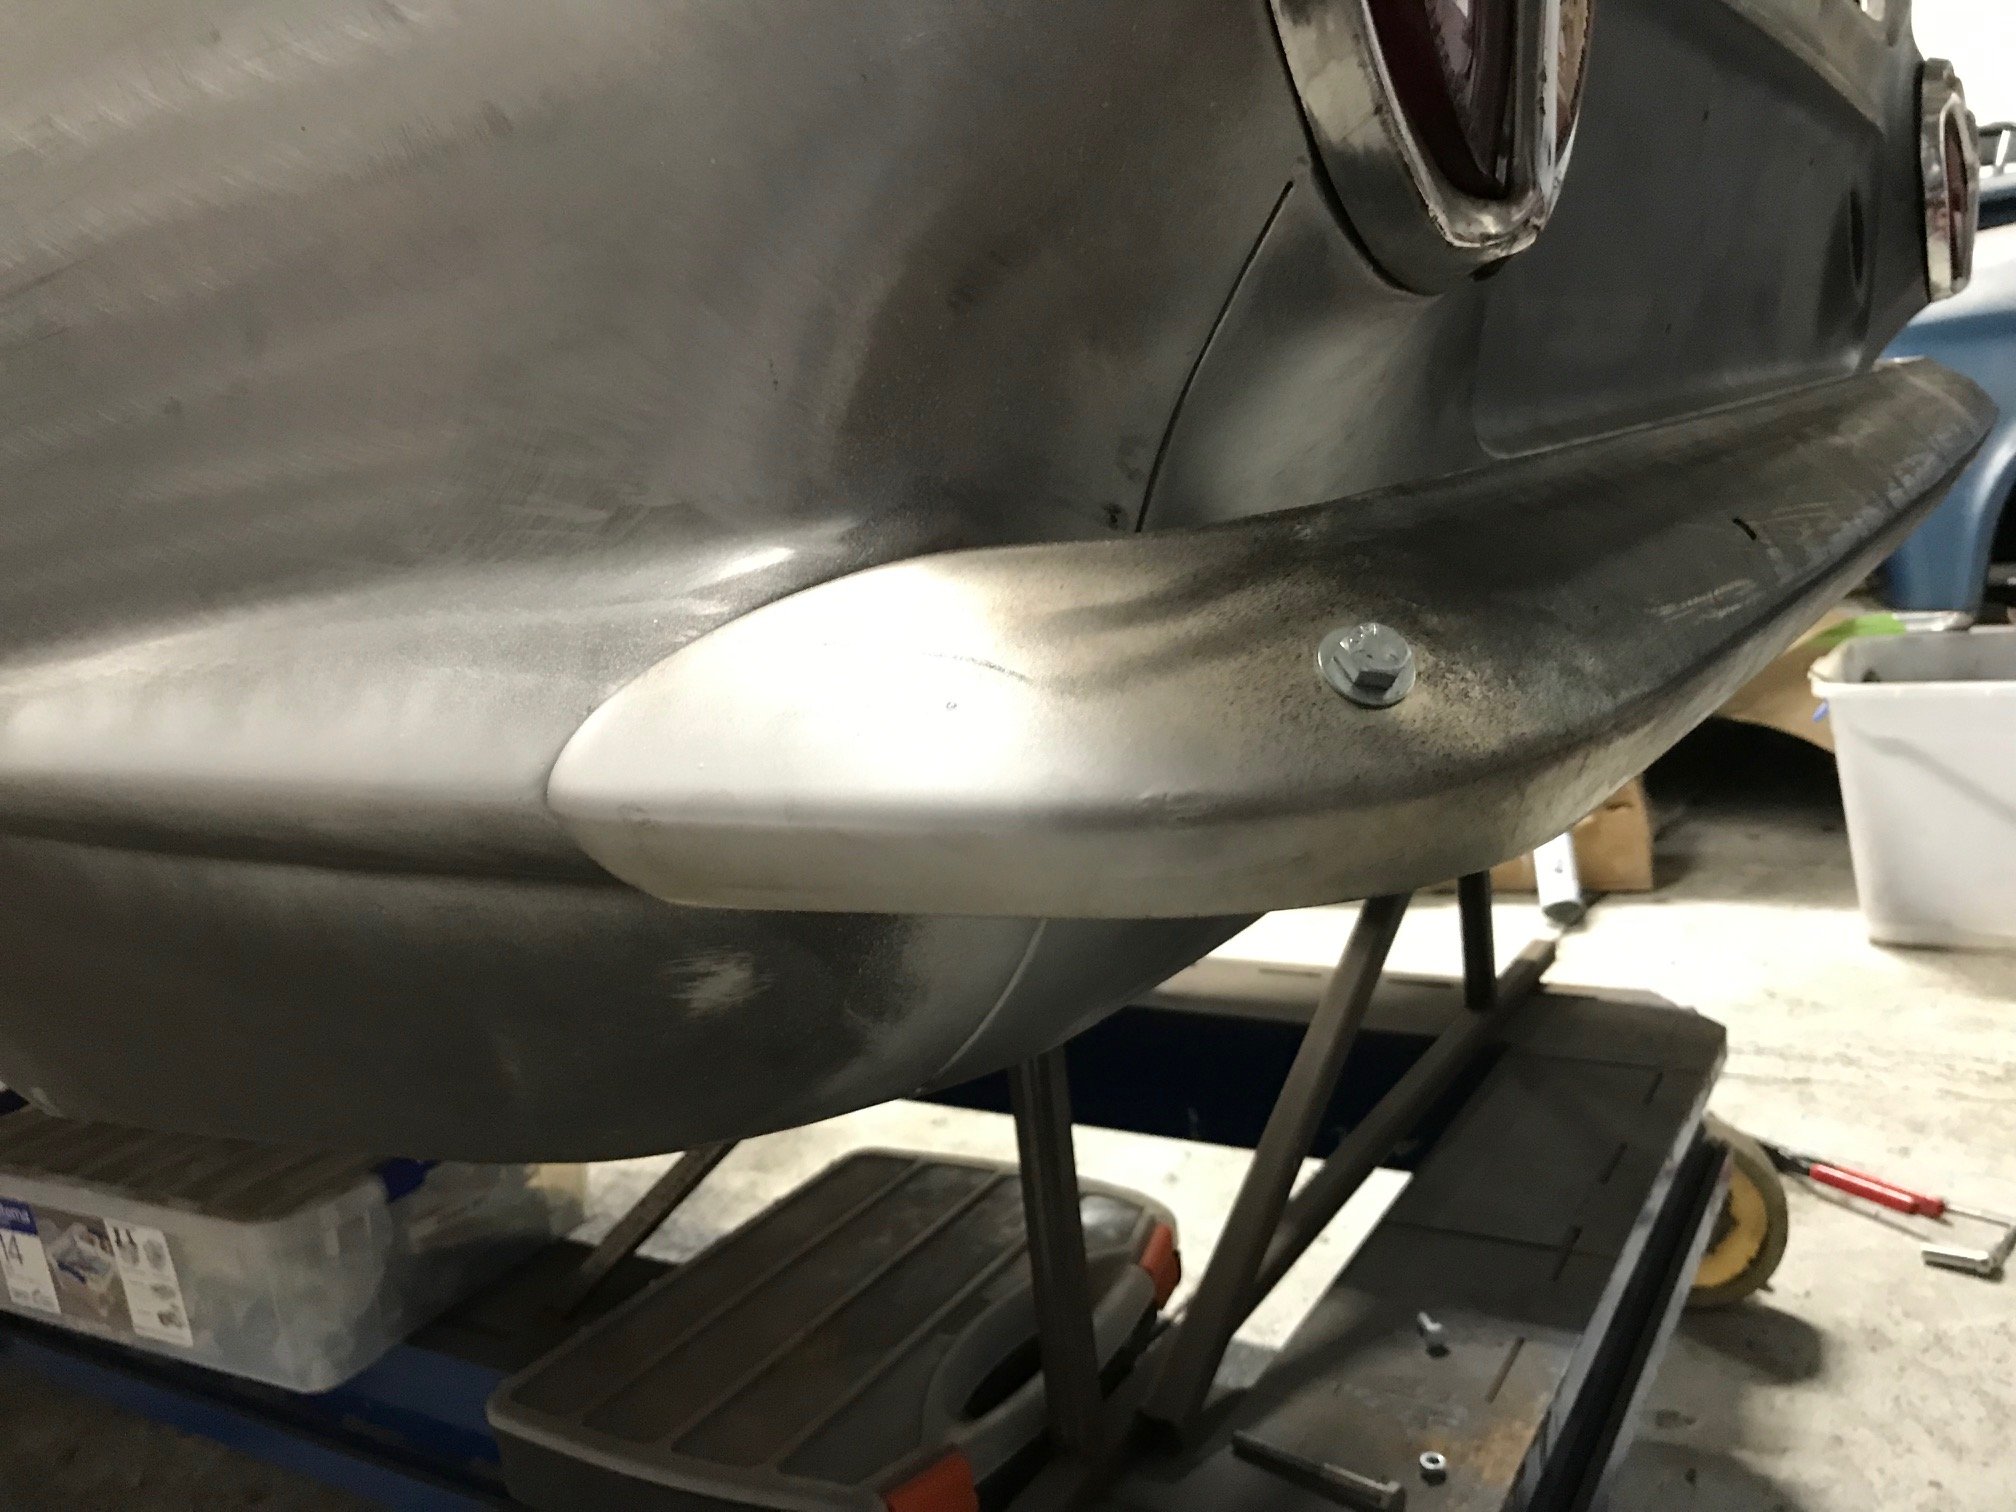
Rear bumper has been straightened up and trial fitted. Looking mint. Just needs a file up and off to the chrome players again. Down to the last few small jobs and off for the final blast.
 10 points
 -
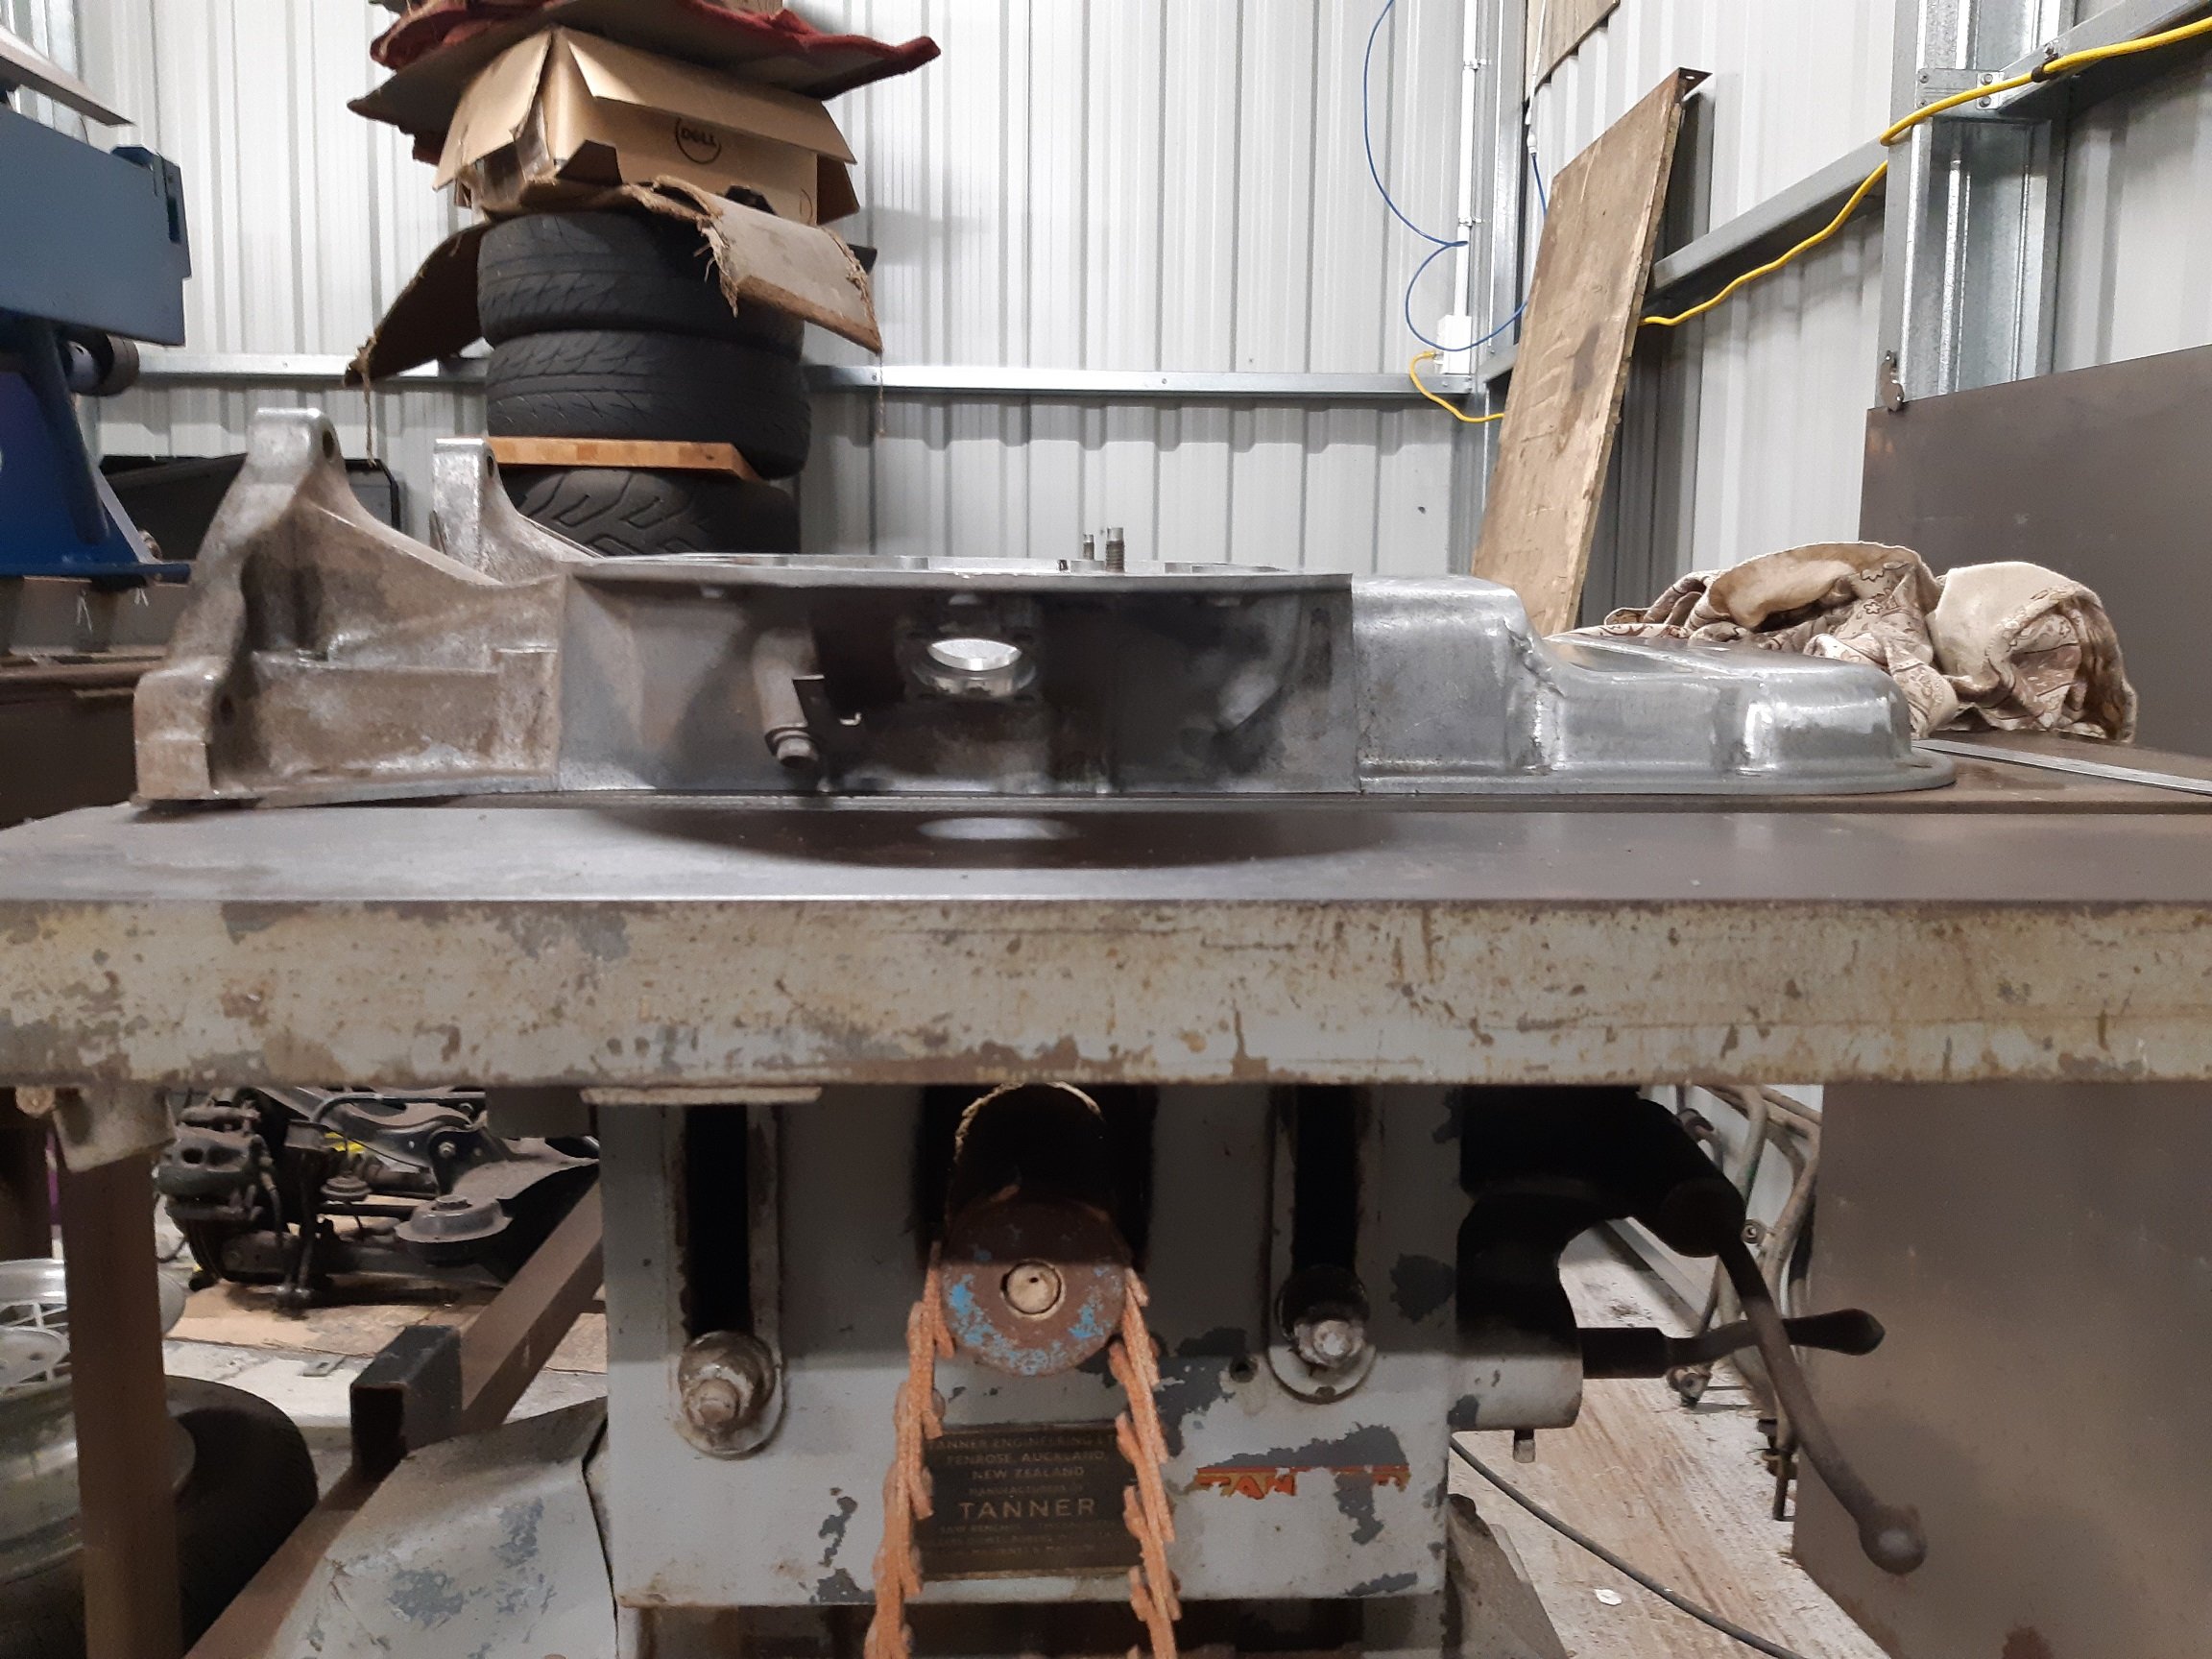
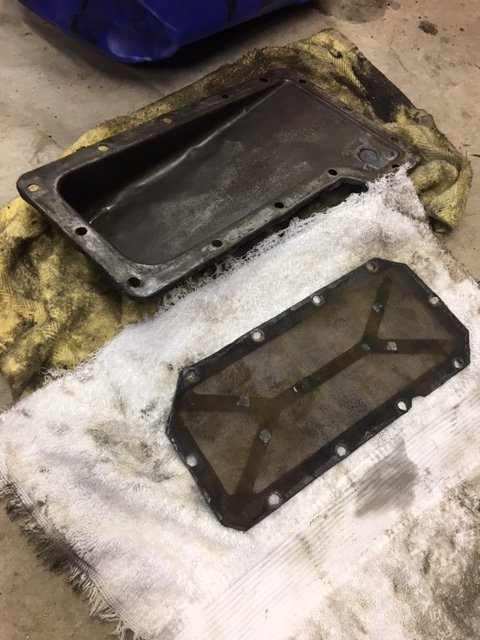
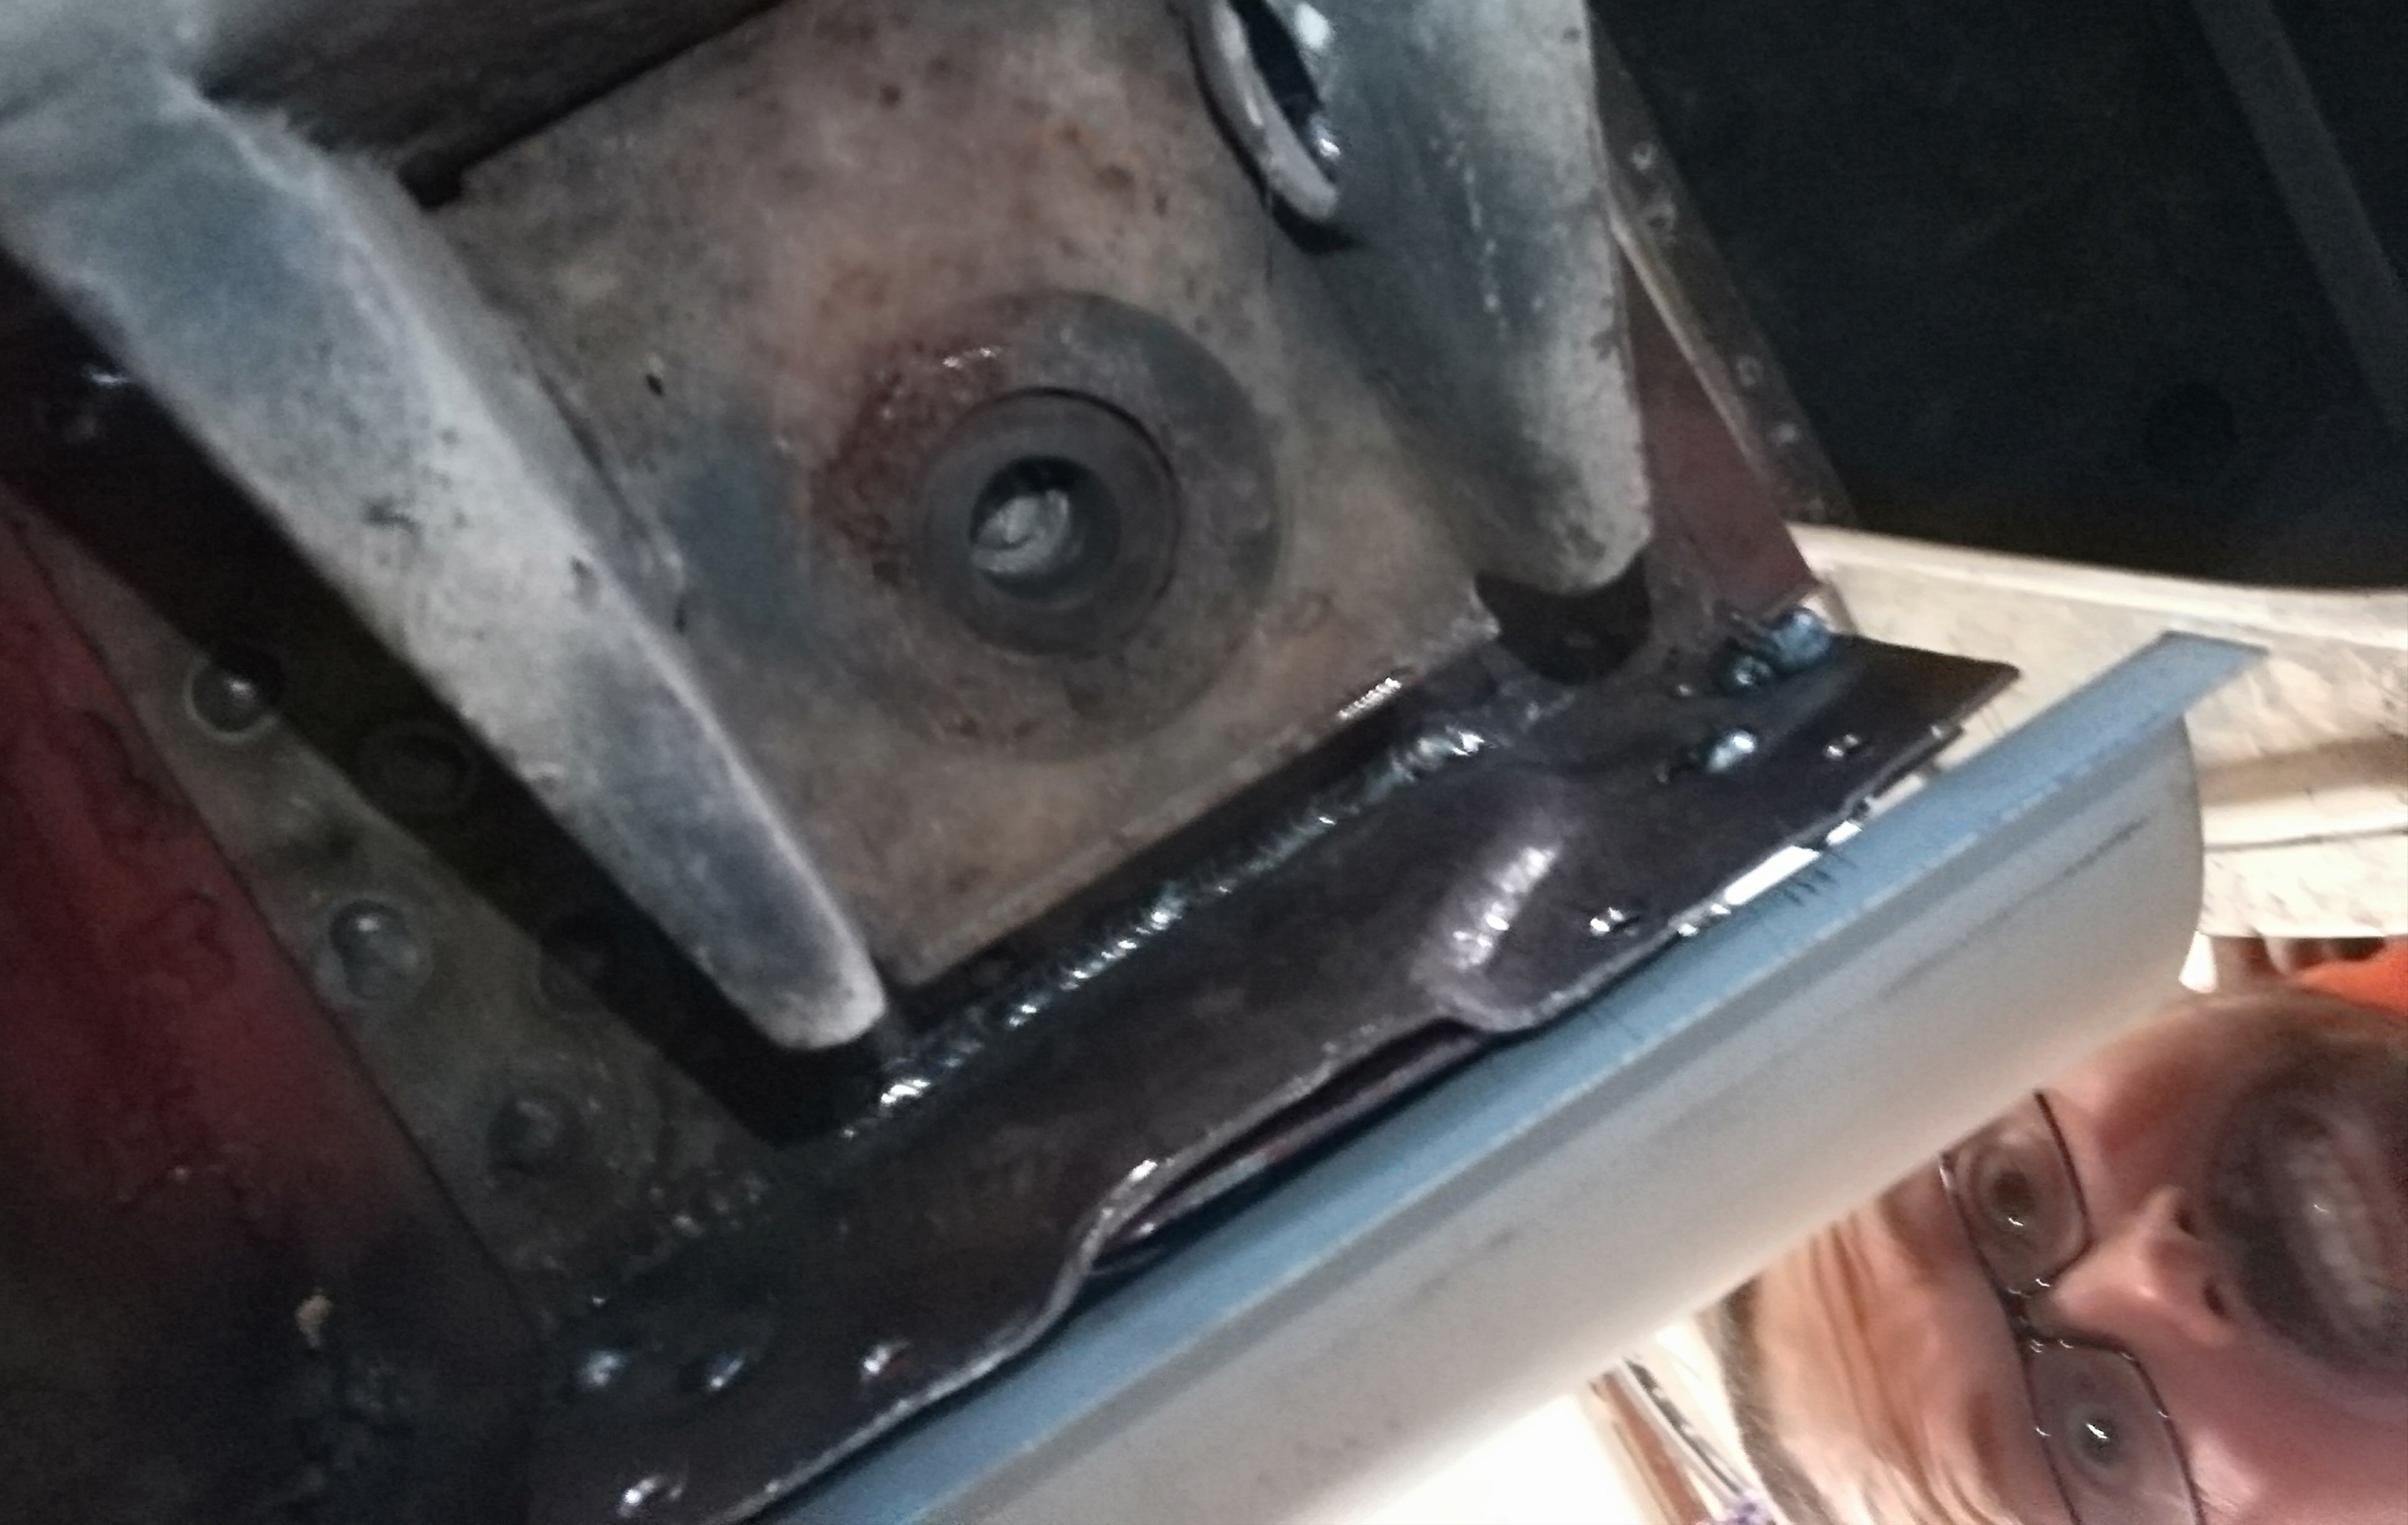
So I found a local place that could anneal my sump which would allow me to pull it flat. Dymo Manufacturing in Wingate. They put it in their kiln with it bolted to the jig. It was heated up to.... hot, then allowed to cool down slowly over many hours. ~10 I think. $70. The heat seems to have baked out any oils and cooked the sealer that was still in the grooves on the mounting face. The sealer just crumbles and turns to powder when I scrape at it. Only down side was it caused some of the small M6 bolts to seize in the jig which I wasn't expecting, so I broke one and stripped at least two more. So I'll have to find some suitable bolts to bolt it back to the engine. Oops. But it's more or less flat already. So I am happy to bolt it back to the engine, the sealer will sort out any tiny gaps. Cast iron table saw top is the flattest thing I have. I did try move it around a bit, just in case the table saw top was bent. It's the same which ever way I put it. There is still a tiny gap at the front of the sump, but it's no bigger than 0.5mm and if I put some weight on it, it closes up. Yay.
7 points
-
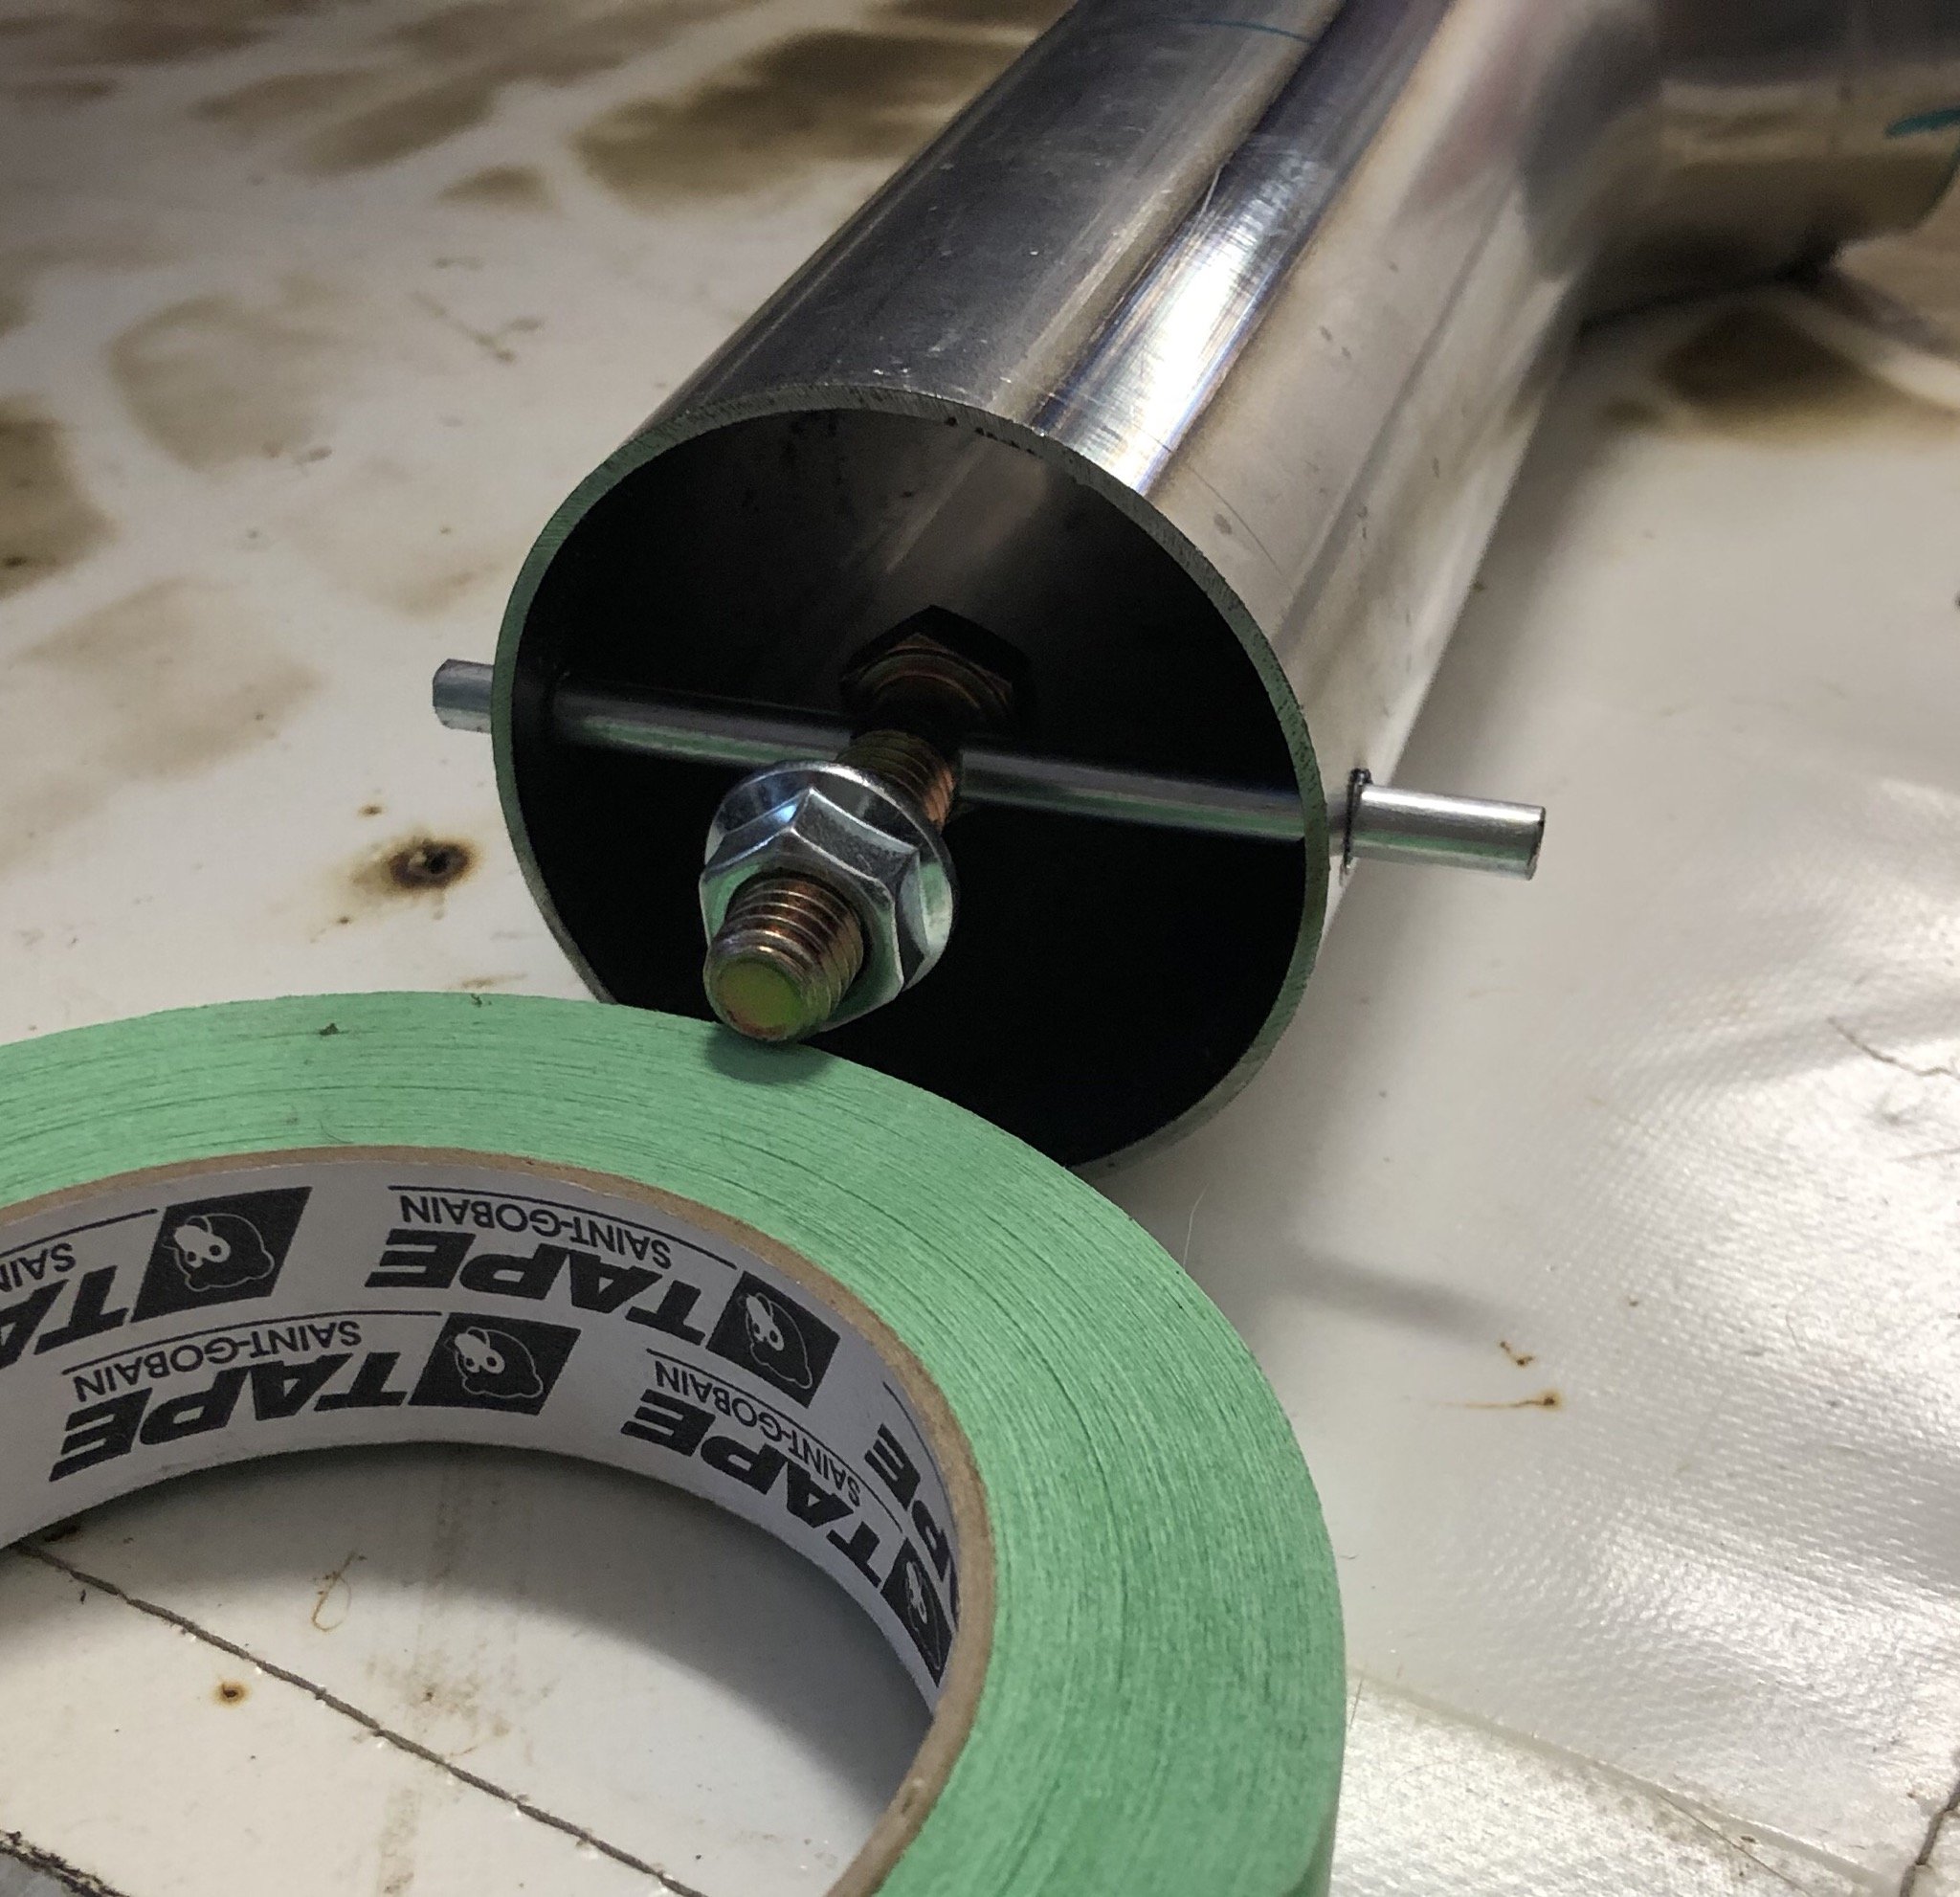
Here is my cheap version of header cut offs. old school idea..weld the bolt to the rod and weld the end of the rods..cut off excess. make up 5 mill thick circle blank off with bolt hole. undo one nut and it’s full noise.
4 points
-
After you told me about this thread when we met in Blighty 2 weeks ago, I've finally sat down and read it. I wish I'd found it earlier. So cool. Top work on the sympathetic rebuild. It looks great. Also-So neat that Dennis went along to leadfoot with you. I could picture him having a great old time. Presuming he's still able to drive it is there any plan to find a location where he can do so? Fuck I love small cars, especially sports cars that handle well. This car is all that. Thanks for sharing.4 points
-
O yeah great idea let's try get the mb to cold kiwi. Nek minnit.
4 points
-
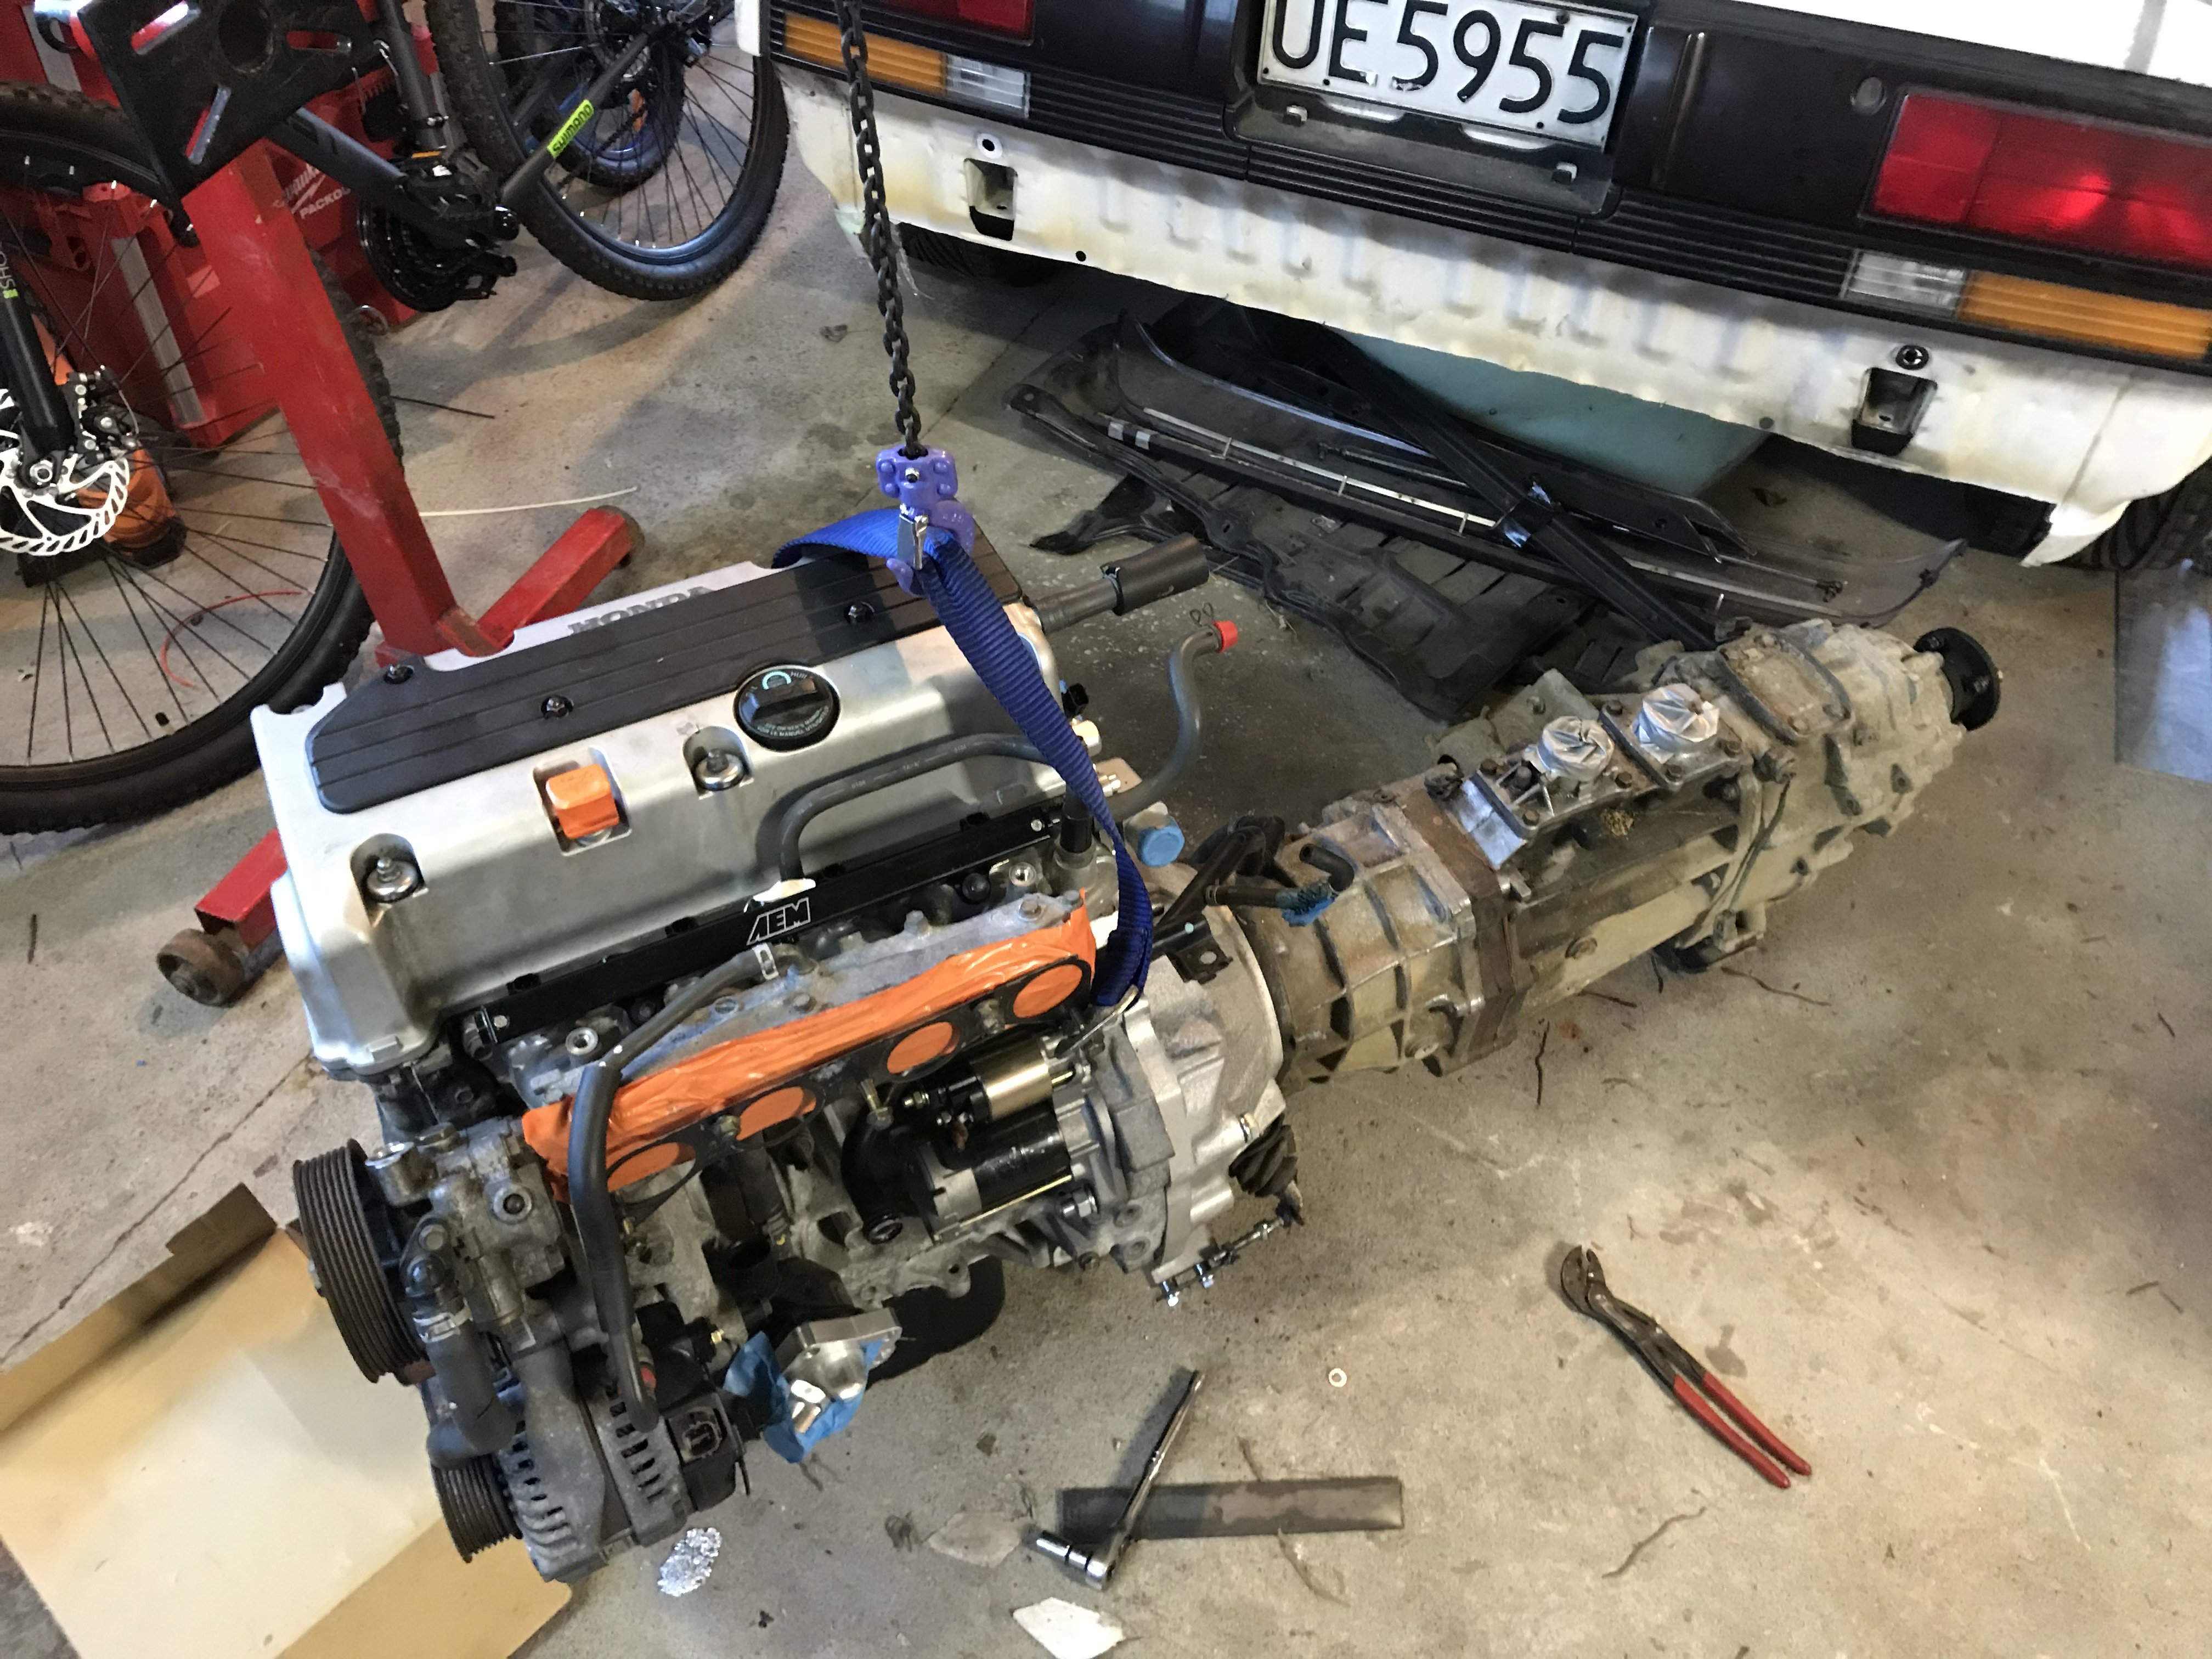
Tested plenum on kp, looses power with side panel on. after cutting stuff up, seems taper tubes or slot aren't a restriction, as does the same with them removed. have come to conclusion kp engine doesn't like a plenum, or at least one this size. possibly the bellmouths need more space to the roof of plenum. either way cant do much about it. so going to weld it up and see what it does on hilux got bit more done on throttles, bosses welded on vac rail. Throttle plates etc modified and back in. linkage rail re-drilled. pretty much everything needs modifying / butchering to get the throttles close enough together. Found a plug on aliepress that vaguely sounded like the right one for the tps. after a few dollars and the usual wait it actually fits Dug out this smaller 55amp alternator, fits on current lower bracket, will fit up close to block once have added more adjustment to top bracket. Was pretty toasted, so chucked some new parts at it. Never really attempted to rebuild an alternator before, was pretty easy Even found a sightly bigger pulley in my pile of junk alternators,2 points
-
Injectors and rail in clutch back on welded a nut to some plate to check the clutch is disengaging and it’s all working mint! So stoked with that need to change one of a heater hard lines. Then spend some time doing the loom and changing injection plugs
2 points
-
Thats the exact brake setup and rear wheel ive got my eye on. (Actually on my watch list) Ive come up with 3 options 1 fit the 10" pit bike wheel hope it works 2 fit the pit bike wheel shunt the engine forward and fit a seat. 3 fit another pocket bike wheel swap the engines from this and my sons mobility scooter and do huge skids on that. I have a 4th option of a golf cart im working real hard to get my hands on.2 points
-
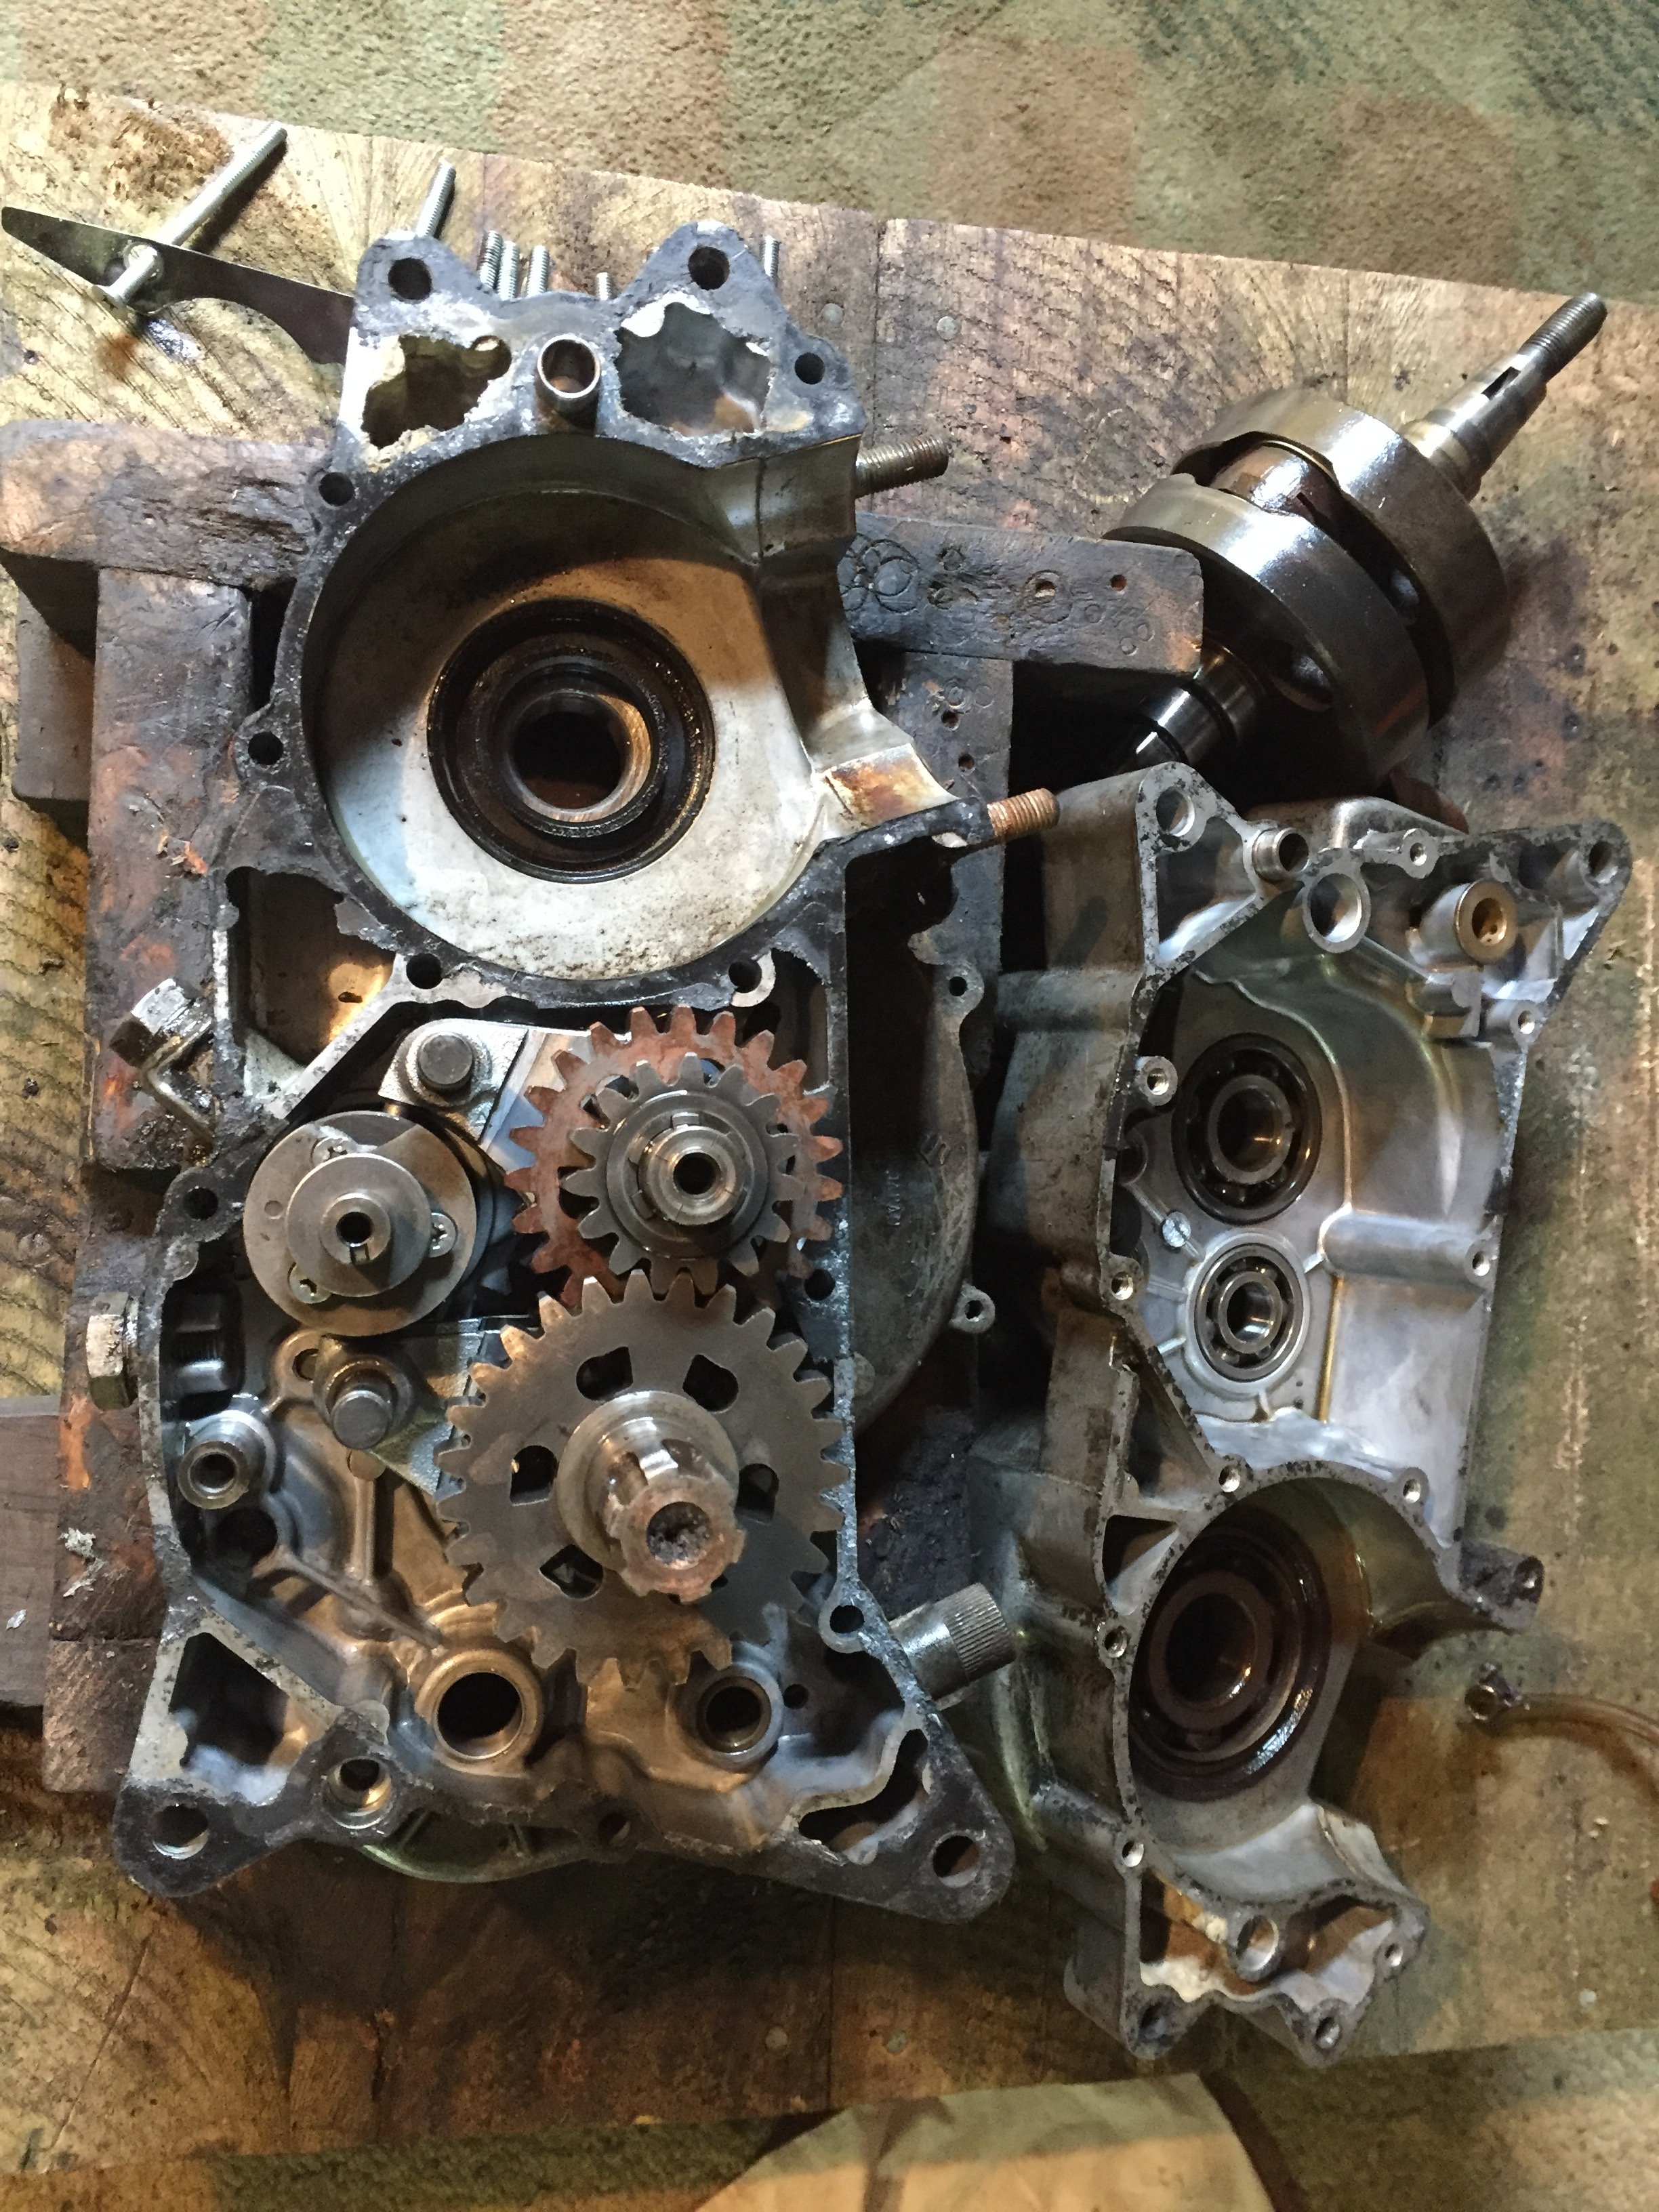
It’s not bad inside, big end is still really good but it has been exposed to moisture and that makes it suspect. and gears look ok, outer clutch pushrod is fucked, I found one of those things I broke to, Suzuki had 2 of them.
2 points
-
Supercheap sell new complete keys (put in your blade) and the programming tool if you wanted to avoid $$$ from Holden. https://www.supercheapauto.co.nz/p/map-map-key-programming-tool---suits-holden-commodore-vs-vz-kf200/370798.html https://www.supercheapauto.co.nz/p/map-map-key-remote-complete-replacement---suits-holden-commodore-vs-vz-2-button-kf205/370800.html#q=Map&start=22 points
-
Have you seen this? https://trademe.nz/marketplace/toys-models/ride-on-toys/scooters/listing/2293747834 Looks a nicely set up unit. Pretty clean and well thought out ideas. Perhaps adopting some of these design elements could advance your build?2 points
-
Its taken me 3 shed nights but I've finally finished changing the oil. I had to make a new sump gasket that I forgot to take a photo of. There was nothing particularly nasty to report in the oil. I now know that to clean the oil filter I have to remove the hood, grille, number plate, radiator & undo the front engine mount bolts... Happy days.
2 points
-
So it took longer than expected to sort the wiring, which still isn't finished, as I need to make a dash plate and get some new switches n shiz, before I can finish the wiring off. I've been having problems with my trailtech dash giving weird rpm values, and I was darned if I could figure out why. Turns out Dave, being the Barry he is, installed solid copper leads on the motor, so I get an rpm signal even when the wirings not connected to the trailtech, so much zap, lewlz. I might have to put standard leads on it, as I kinda need the rpms to read correctly. Anyways, this evening I halfassedly finished the wiring and put cable ties all over the place, and decided it was a good idea to take it for a quick test drive. In the dark. With no lights. Up my residential street. It was quite exciting. All the controls work well, which is nice, but the motor is not running correctly. I think it's leaning out up in the revs, not that I know how many revs it's doing, so I will have to play with the tune. The gearing seems good, it's definitely not over geared now. After a couple of rips around the neighborhood, I had a quick look over it, and noticed one of the rear sprocket grub screws had stripped out, so I had to pull the rear end to bits so I can drill the 8mm grubs out, and upgrade to 10mm. I'll loctite the piss out of them too. I'll try sort a few issues out, and hopefully take it somewhere this weekend for a second test drive, to see if things are better. But yeh, not too bad, but still lots to do. At least it's now moved under its own power for the first time in nearly two decades, so that's a win. Regards, VG. xoxox2 points
-
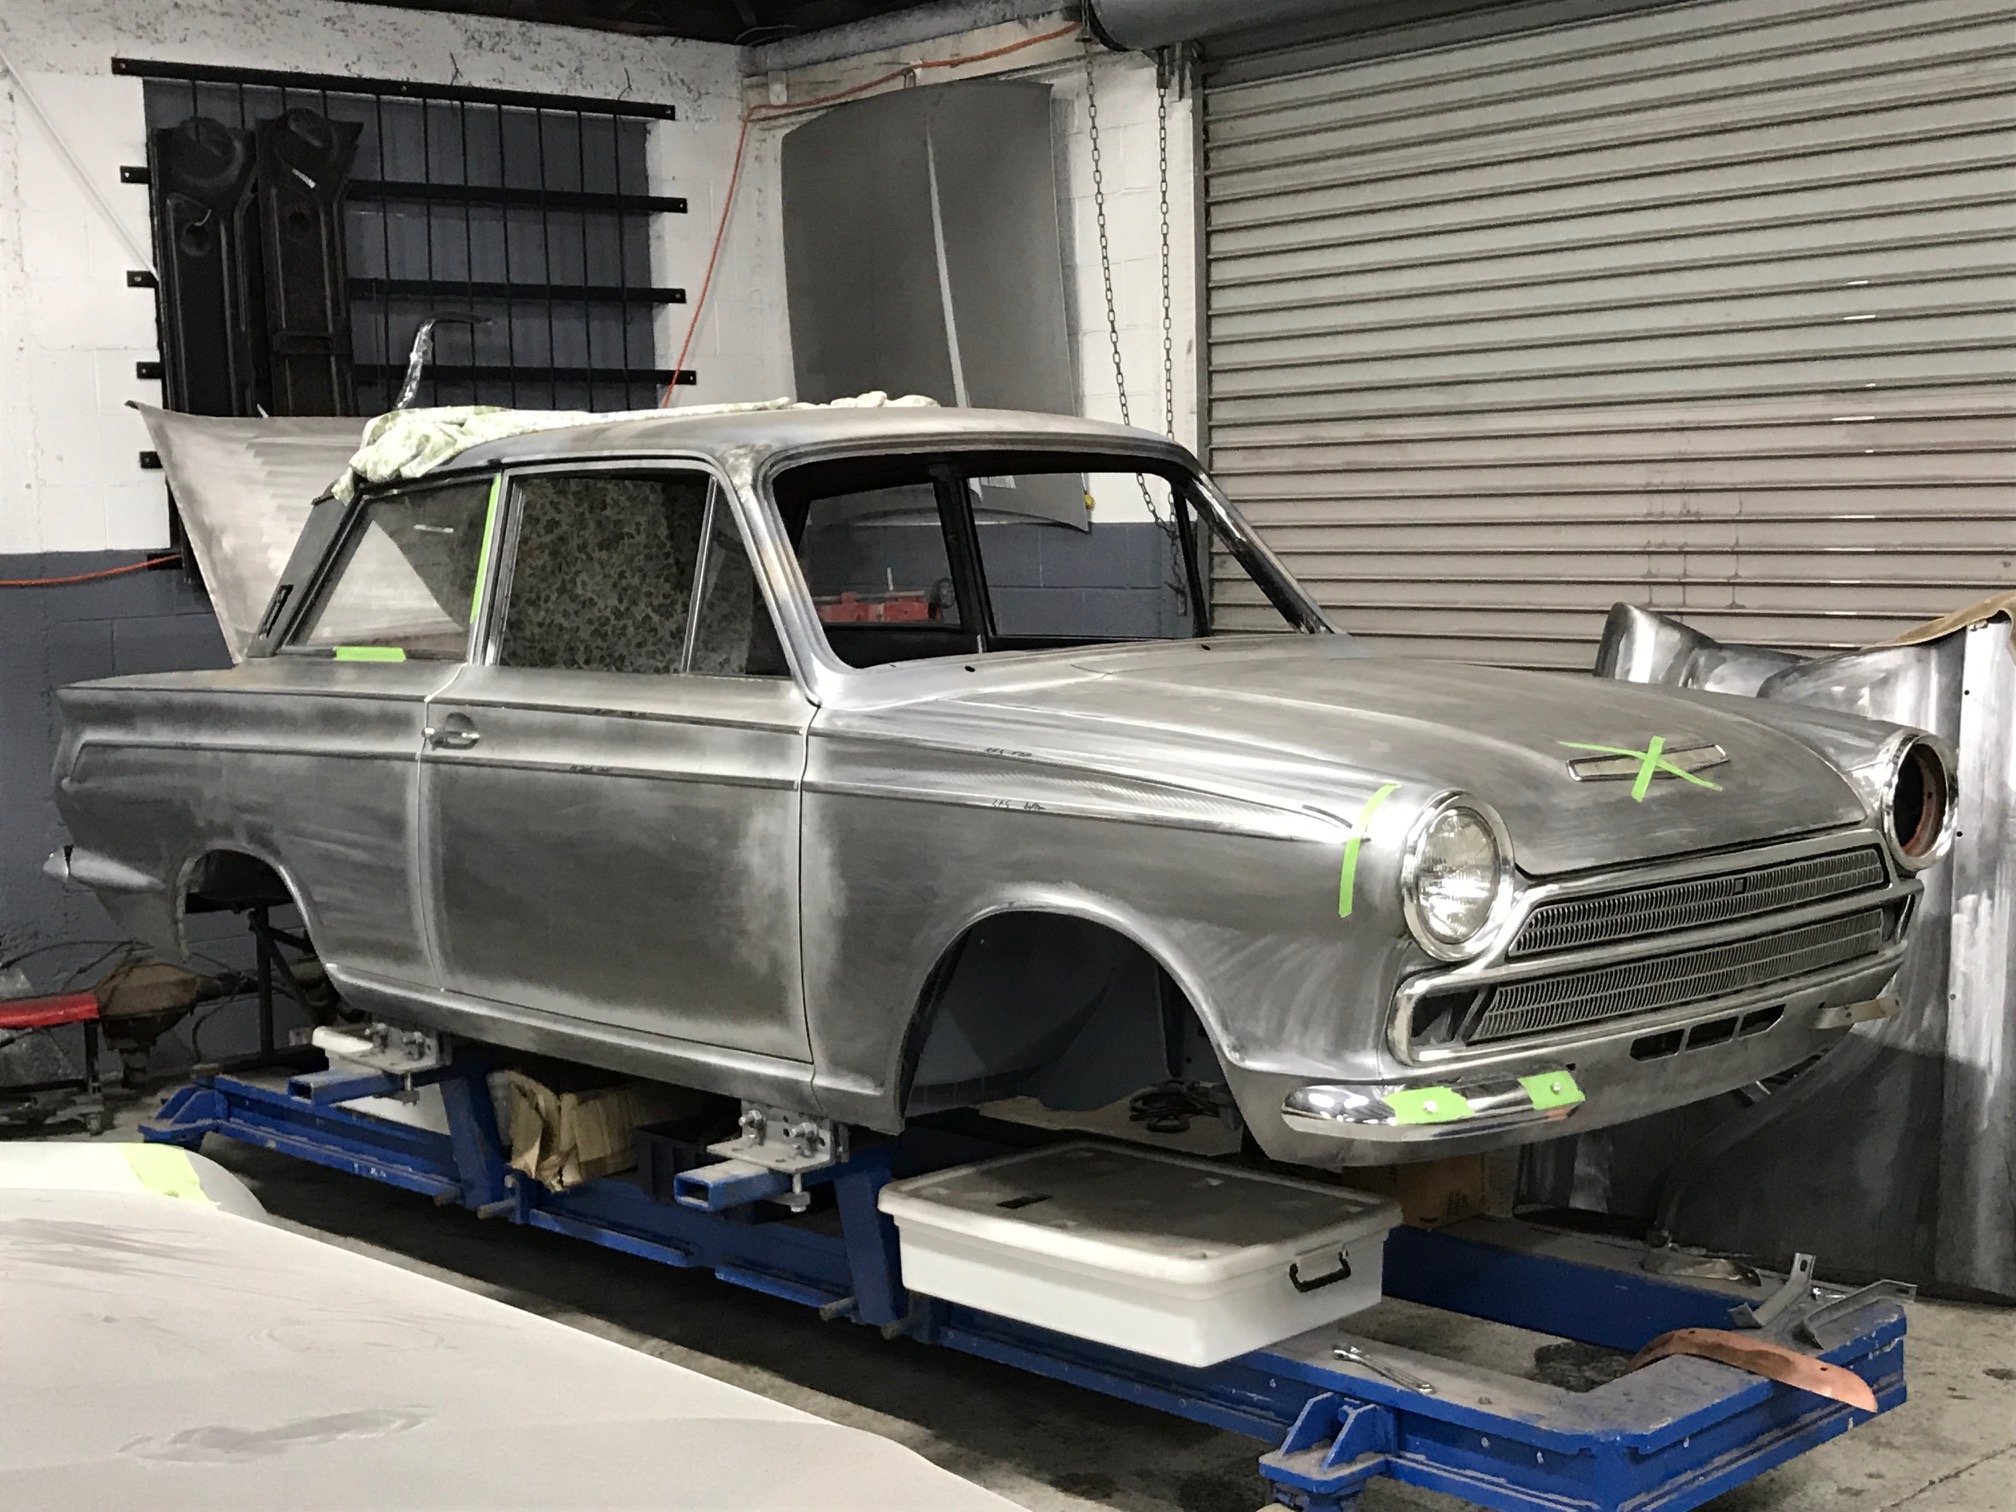
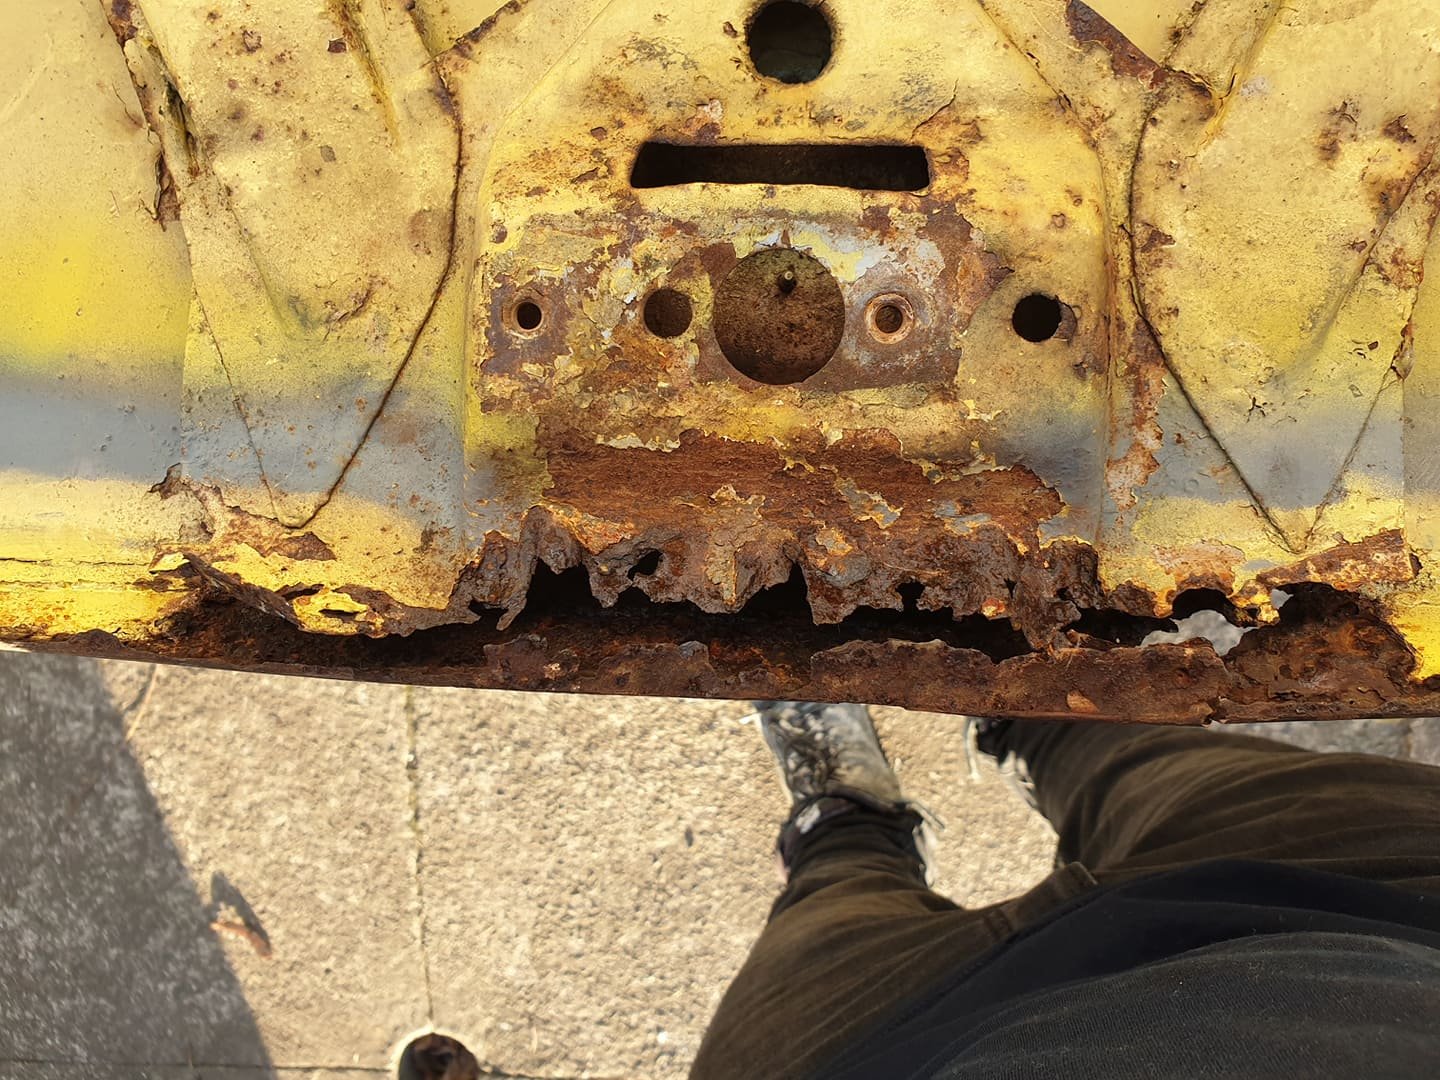
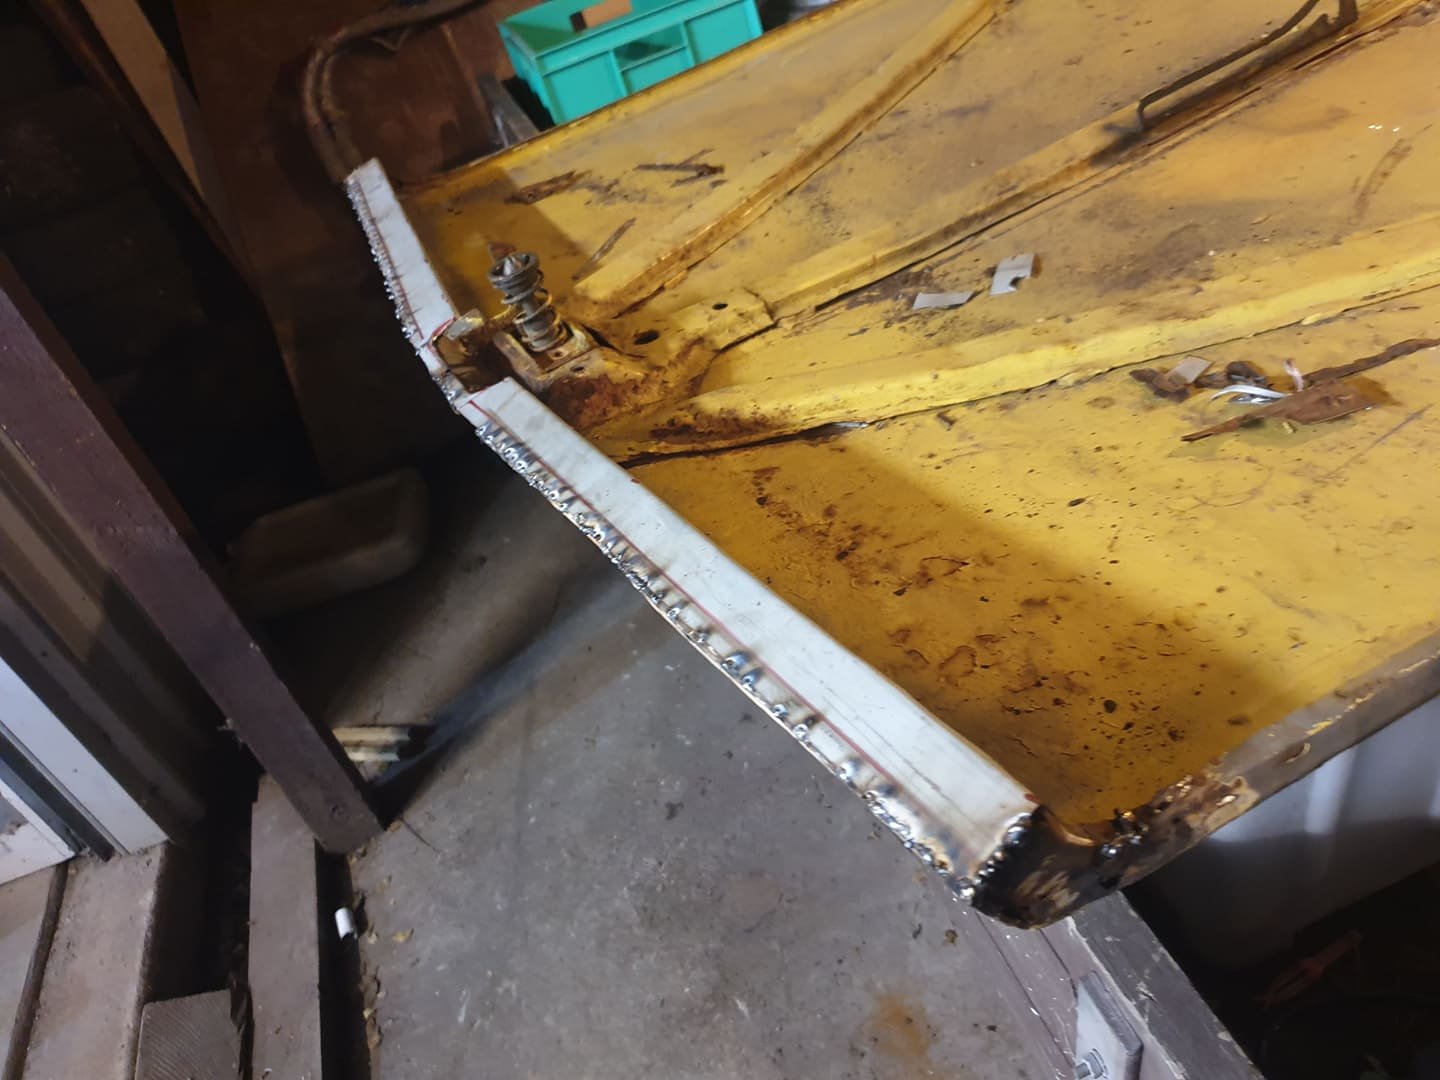
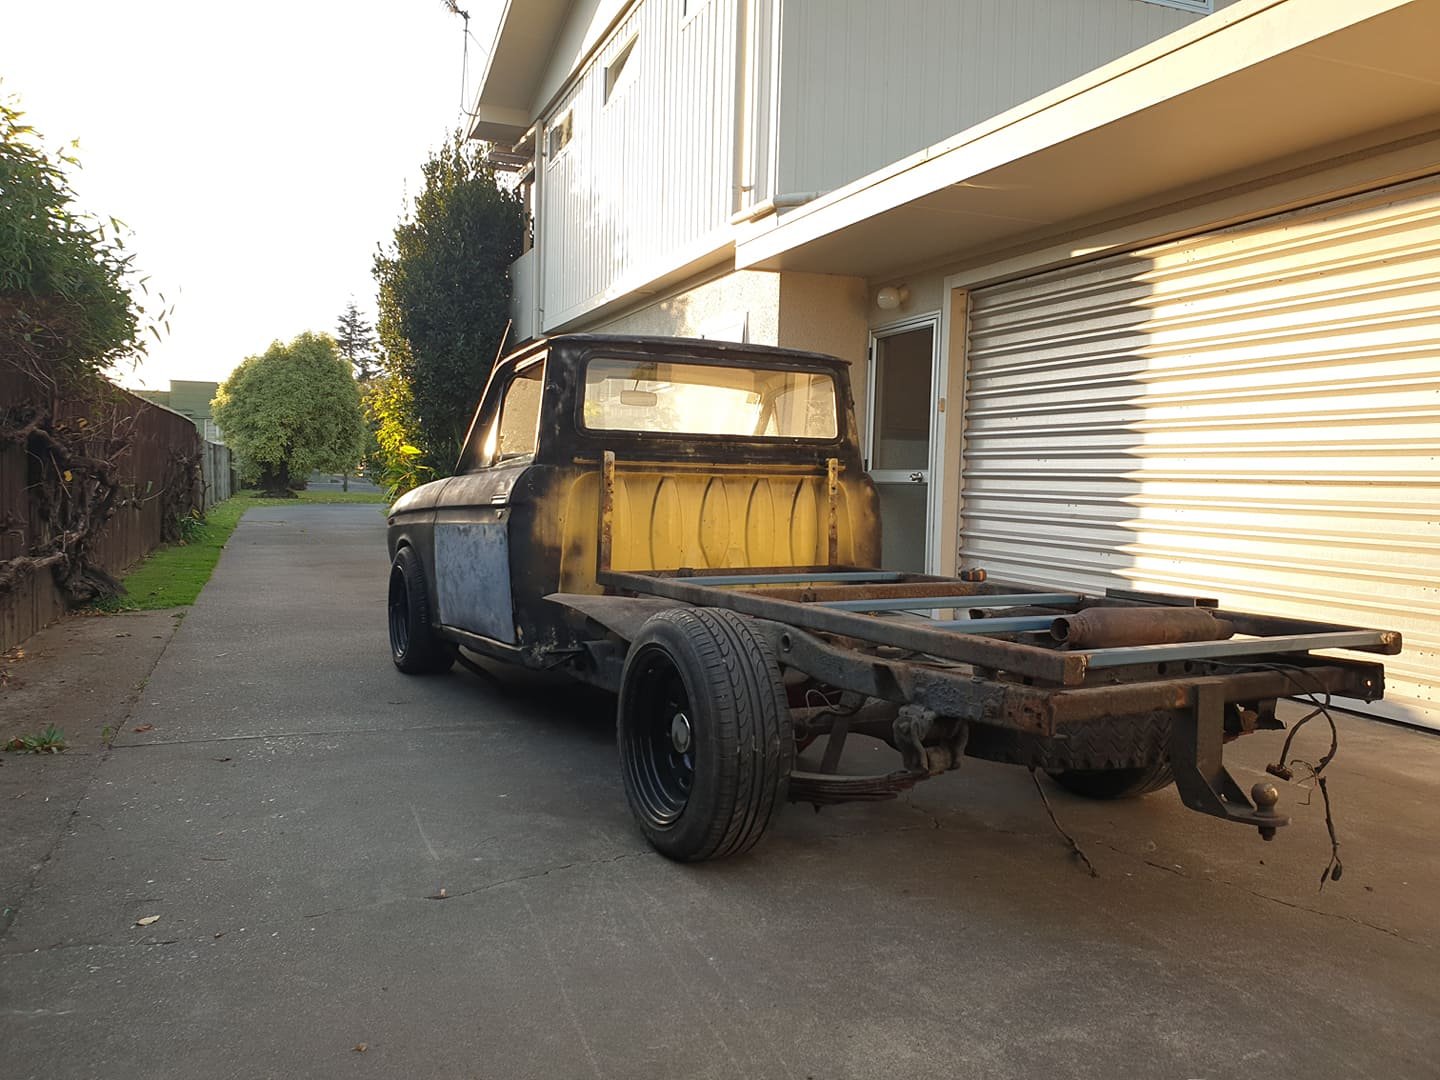
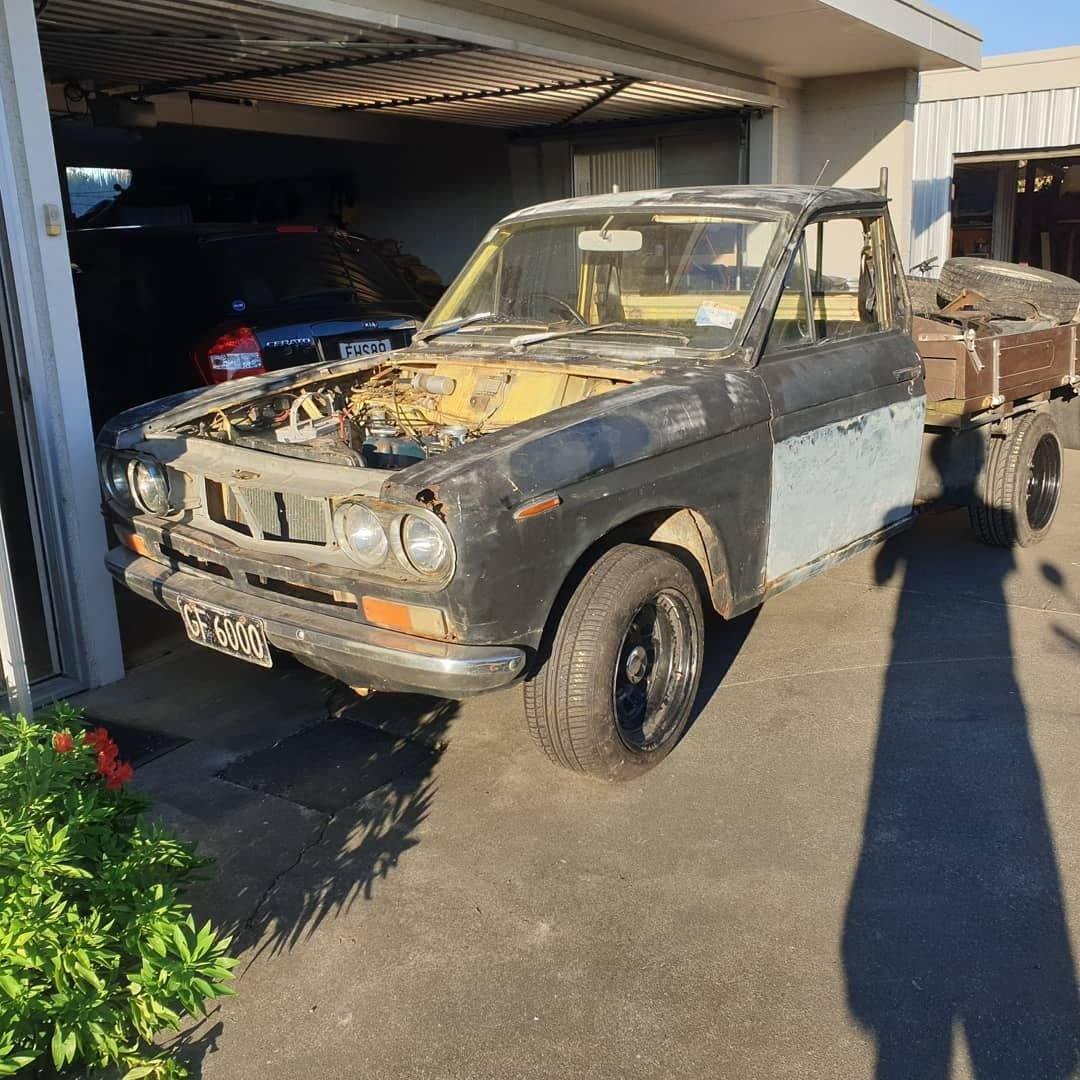
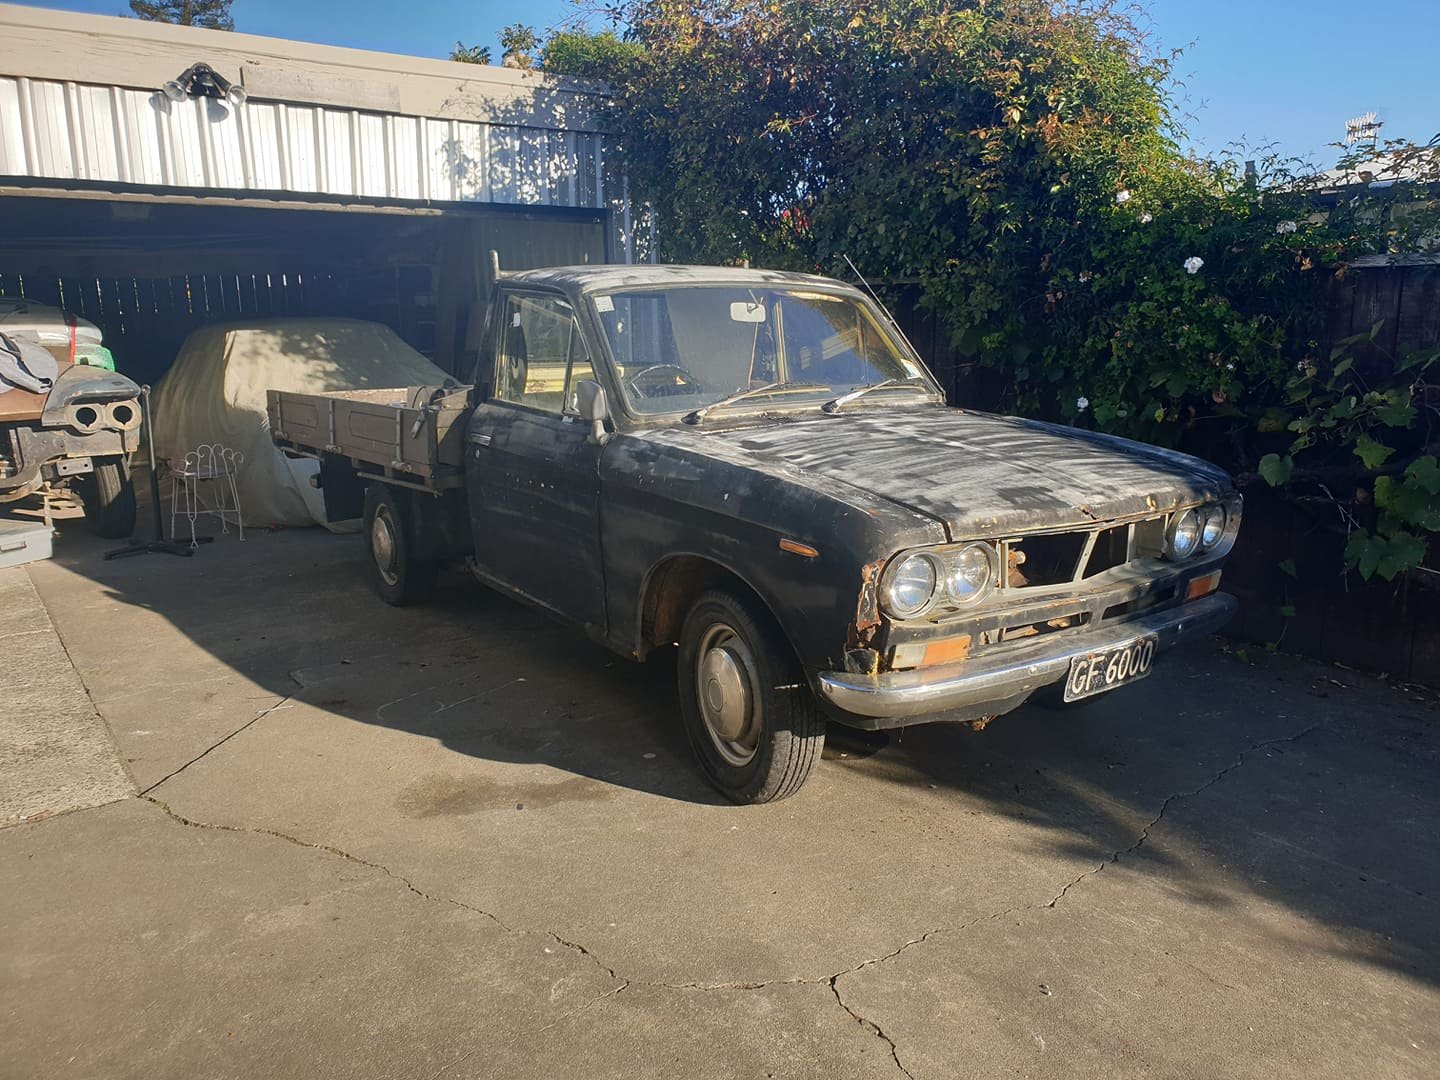
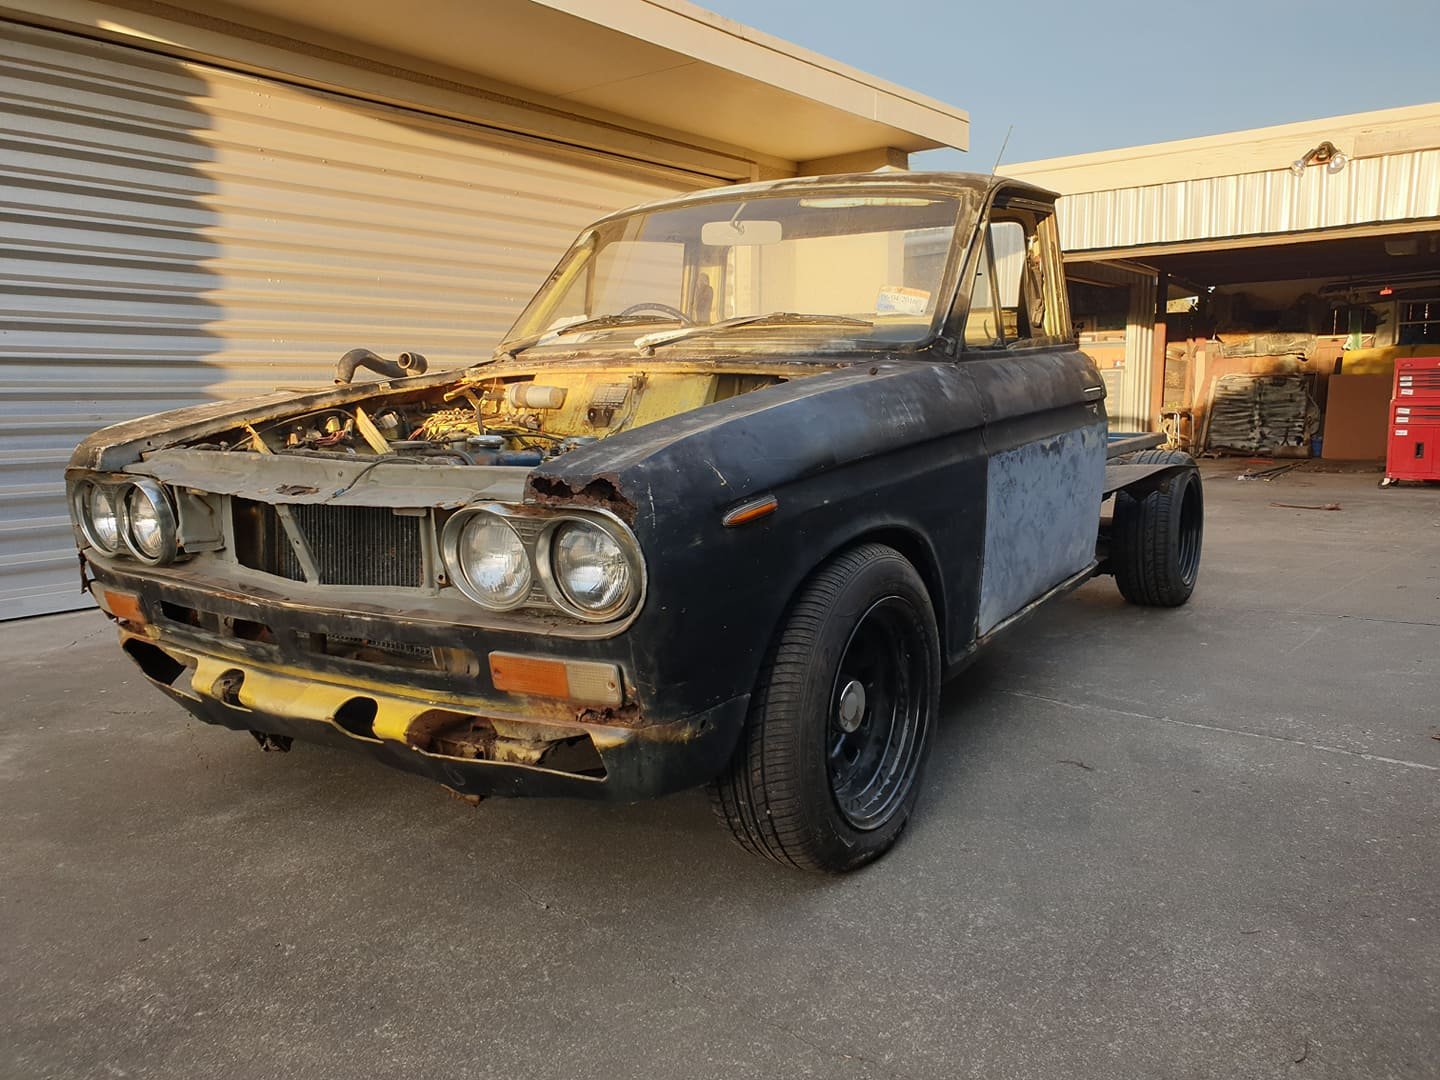
Brought this old girl earlier this year, done small things to it but she runs and has rego on hold. have lowered it and put new wheels on and currently making a new flat deck for her While waiting for my rear guards to be rolled been doing some rust on the bonnet with help from my old man
2 points
-
I'm trying to stay interested in doing 1:24 scale models, but the end result seems to be much more appealing than the actual building, but I have several kits to build, so must keep going. Here's a couple pics of my latest build: And here's what I'm currently working on and I cannot wait to have it finished!2 points
-
2 points
-
@KKtrips Do this?2 points
-
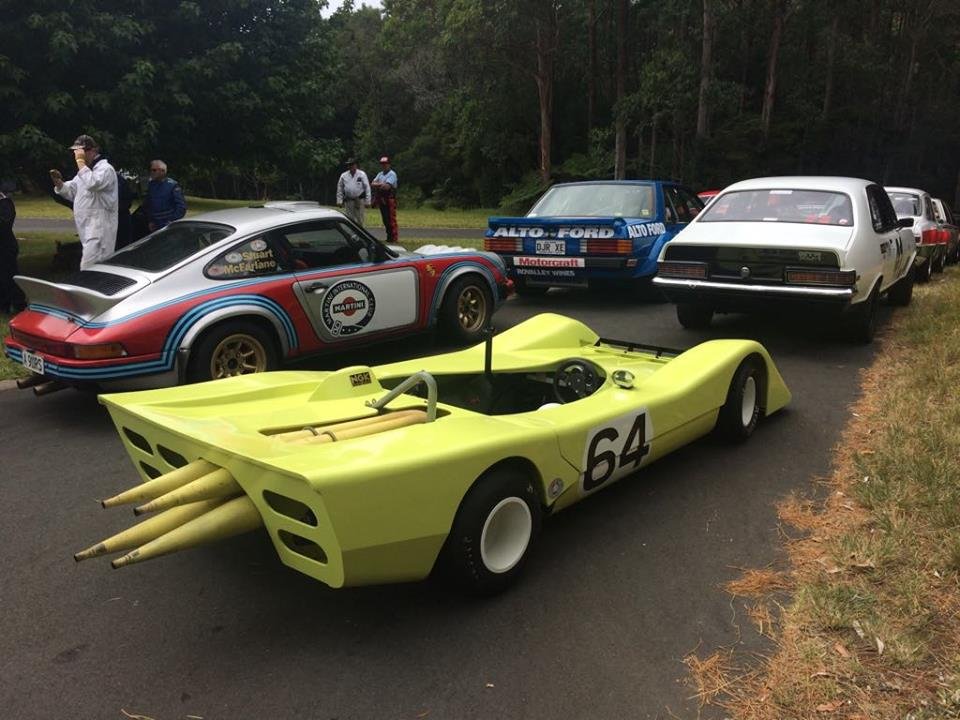
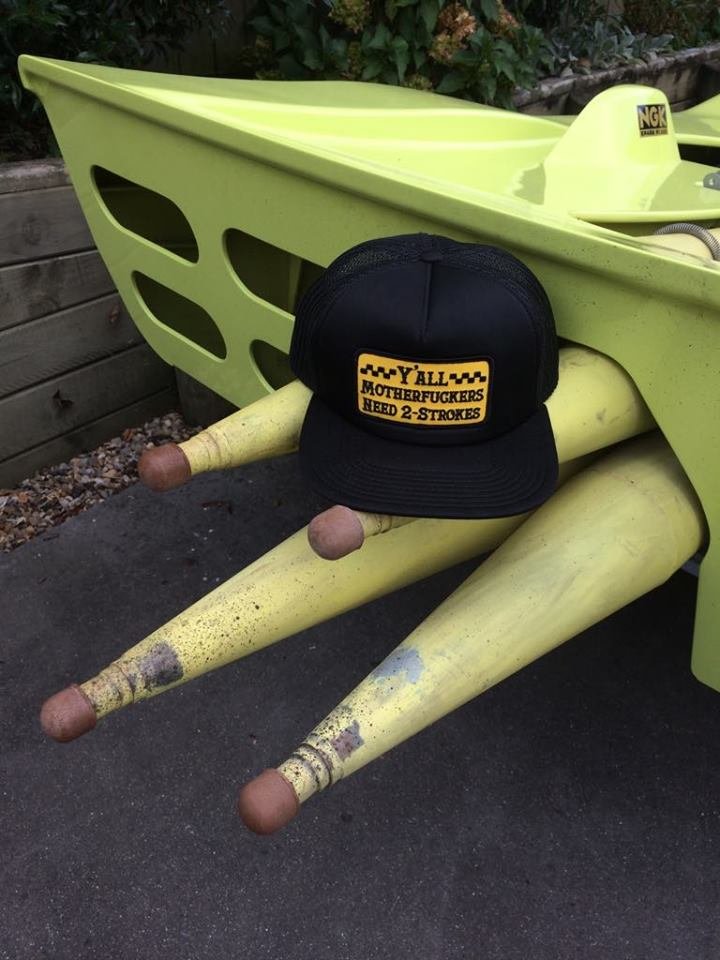
Cheers Truenotch. Had a great time at Leadfoot, so good to get the car to a motorsport event again. A few teething issues including the problem that i thought i fixed with the new diaphragms. I think the crankcase seals are toast and its lacking in crankcase compression. There was a lot of oily mess around the engine and i think the seals are the only place it could be coming from. Also missed one run after i failed to make it out to the start. Fired up the motor on the dummy grid ready to drive out to the start line, selected first gear let the clutch out and oh shit i'm going backwards........ Bit odd as it has no reverse gear. It was making some bad noises in the gearbox and i thought it had done some major damage somehow. Pushed it back to the pits, had a think about it and started it up again. Turns out it somehow backfired on startup and started running backwards, all of the noises from the gearbox was just the gear set spinning in reverse..... 2 strokes eh, Dennis had never had that happen to him. Yeah a few people made that comment about it not being as loud as they though it would of been. One of the theory's is that it was quite loud but nowhere near the level of some of the other cars going up the hill. A couple of those rotary's were extremely loud. Cheers man, Yeah i brought Dennis along for the event. He had an amazing time and was awesome for him to see it going up the hill, was probably the first motorsport event hes been to in 20 years. Yeah its miniature, all done to keep the weight down. Oh yeah got it on the scales, only 330kgs!!!!! I see a camera on the fire wall, you better post some videos young man! Also, where did you get that hat? I must have one. Unfortunately the camera didn't work VG so no hill vids. I was yarning to this young american dude at the event about the car and he was wearing the hat. Turns out hes super into 2 stroke dirt bikes in the states. Asked him where i could get myself of those epic hats and he took it off and gave it to me. Complete GC, said he had got it at a motorcross event somewhere along the line. Wise words to live by.
2 points
-
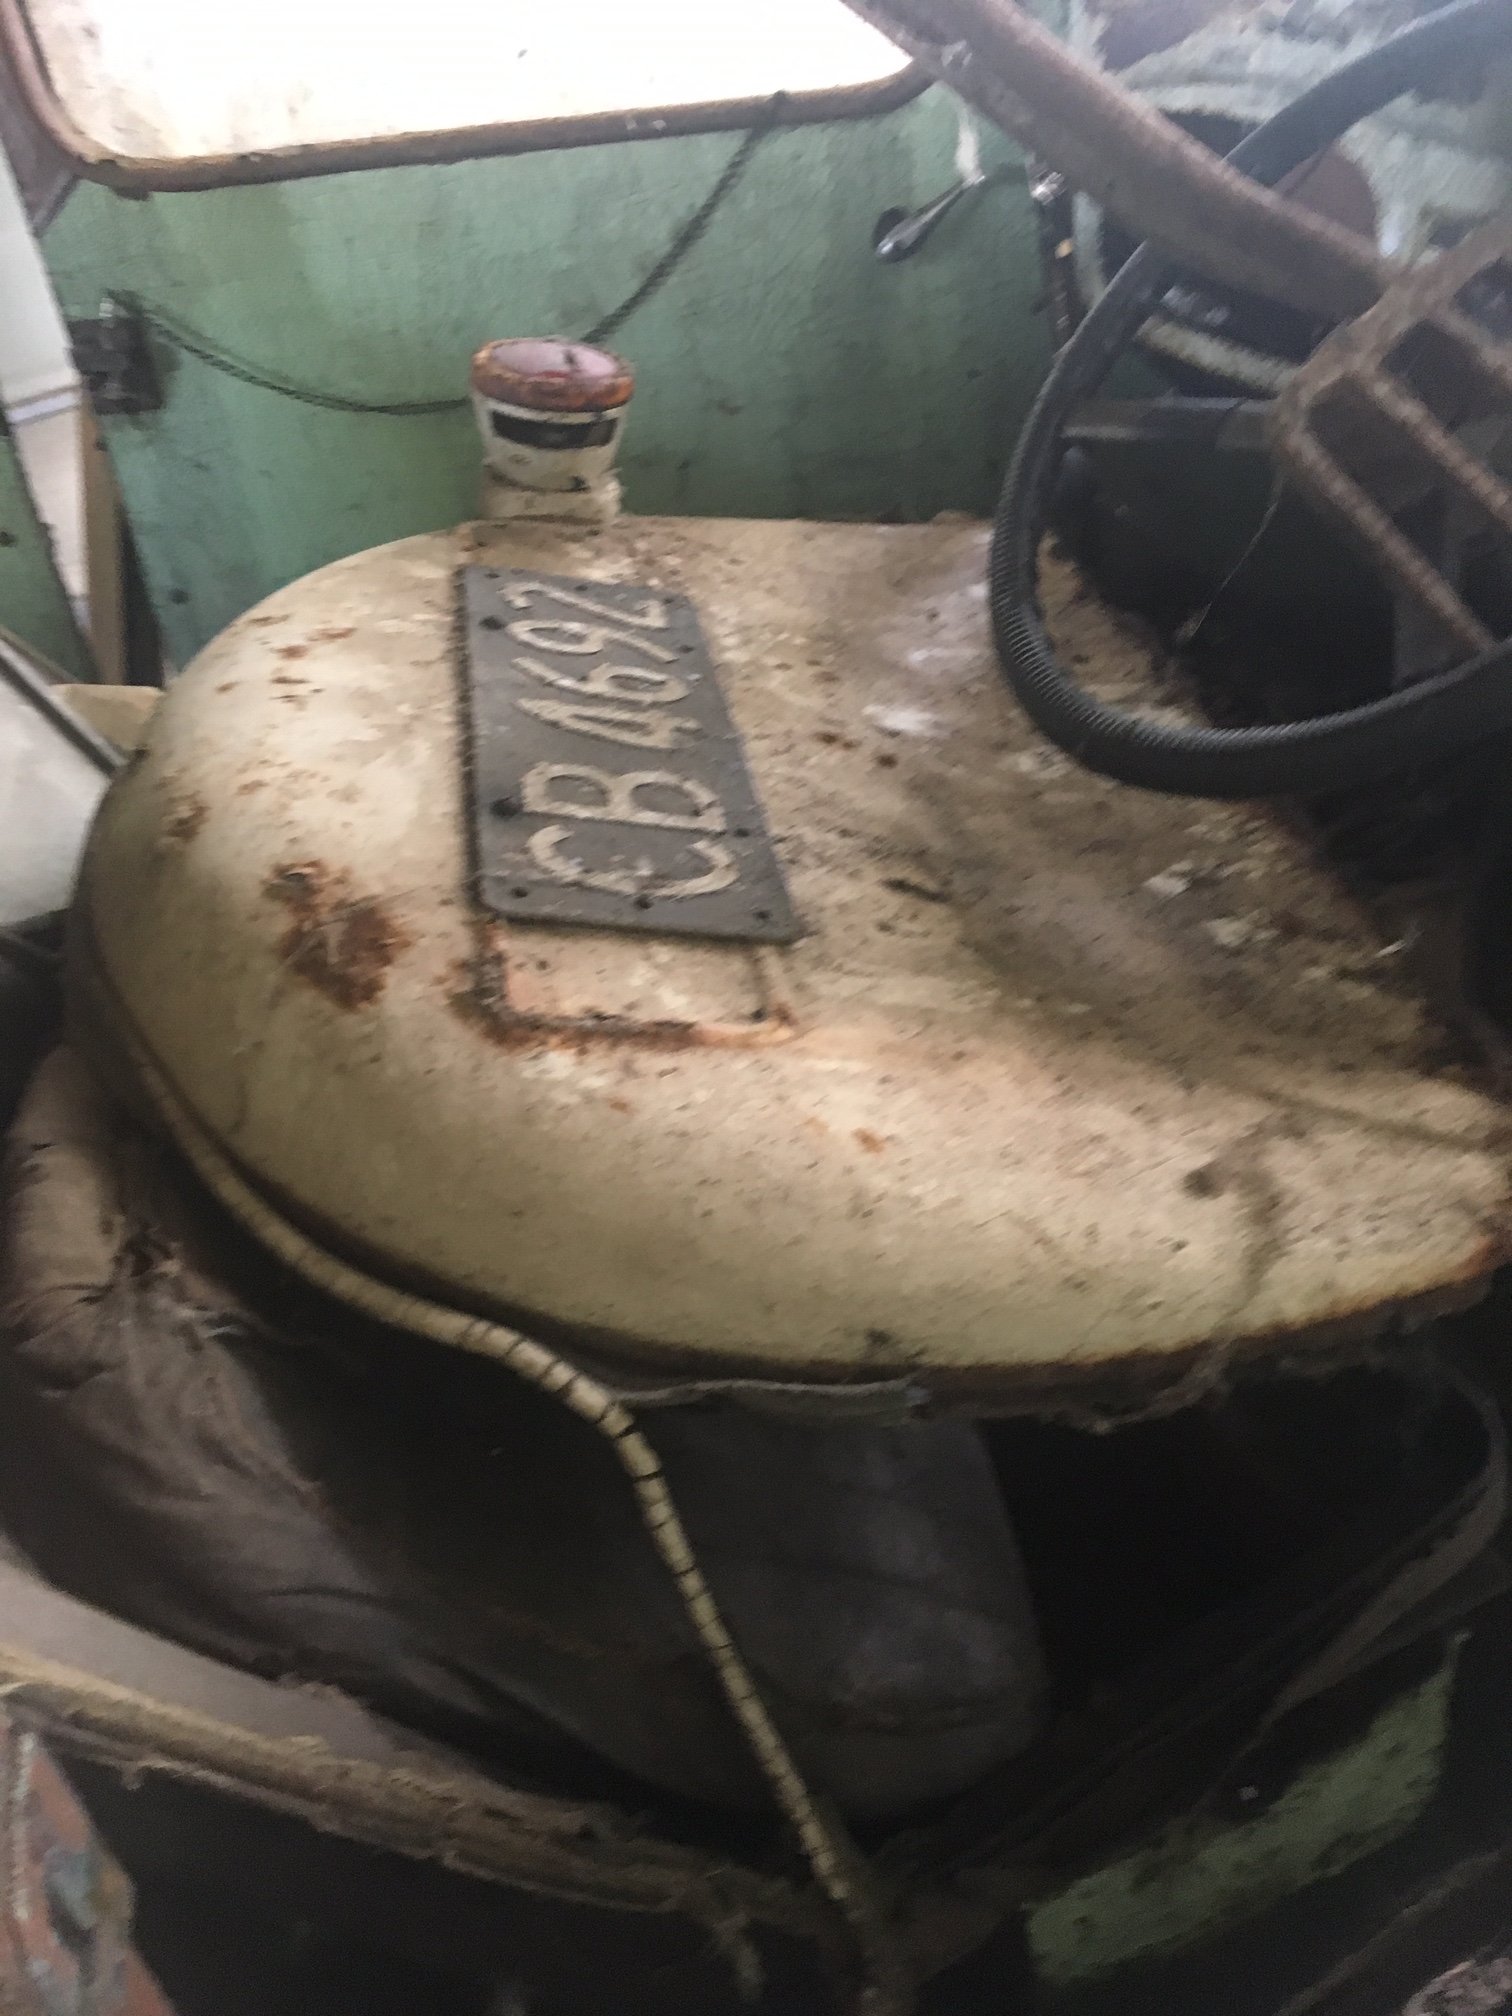
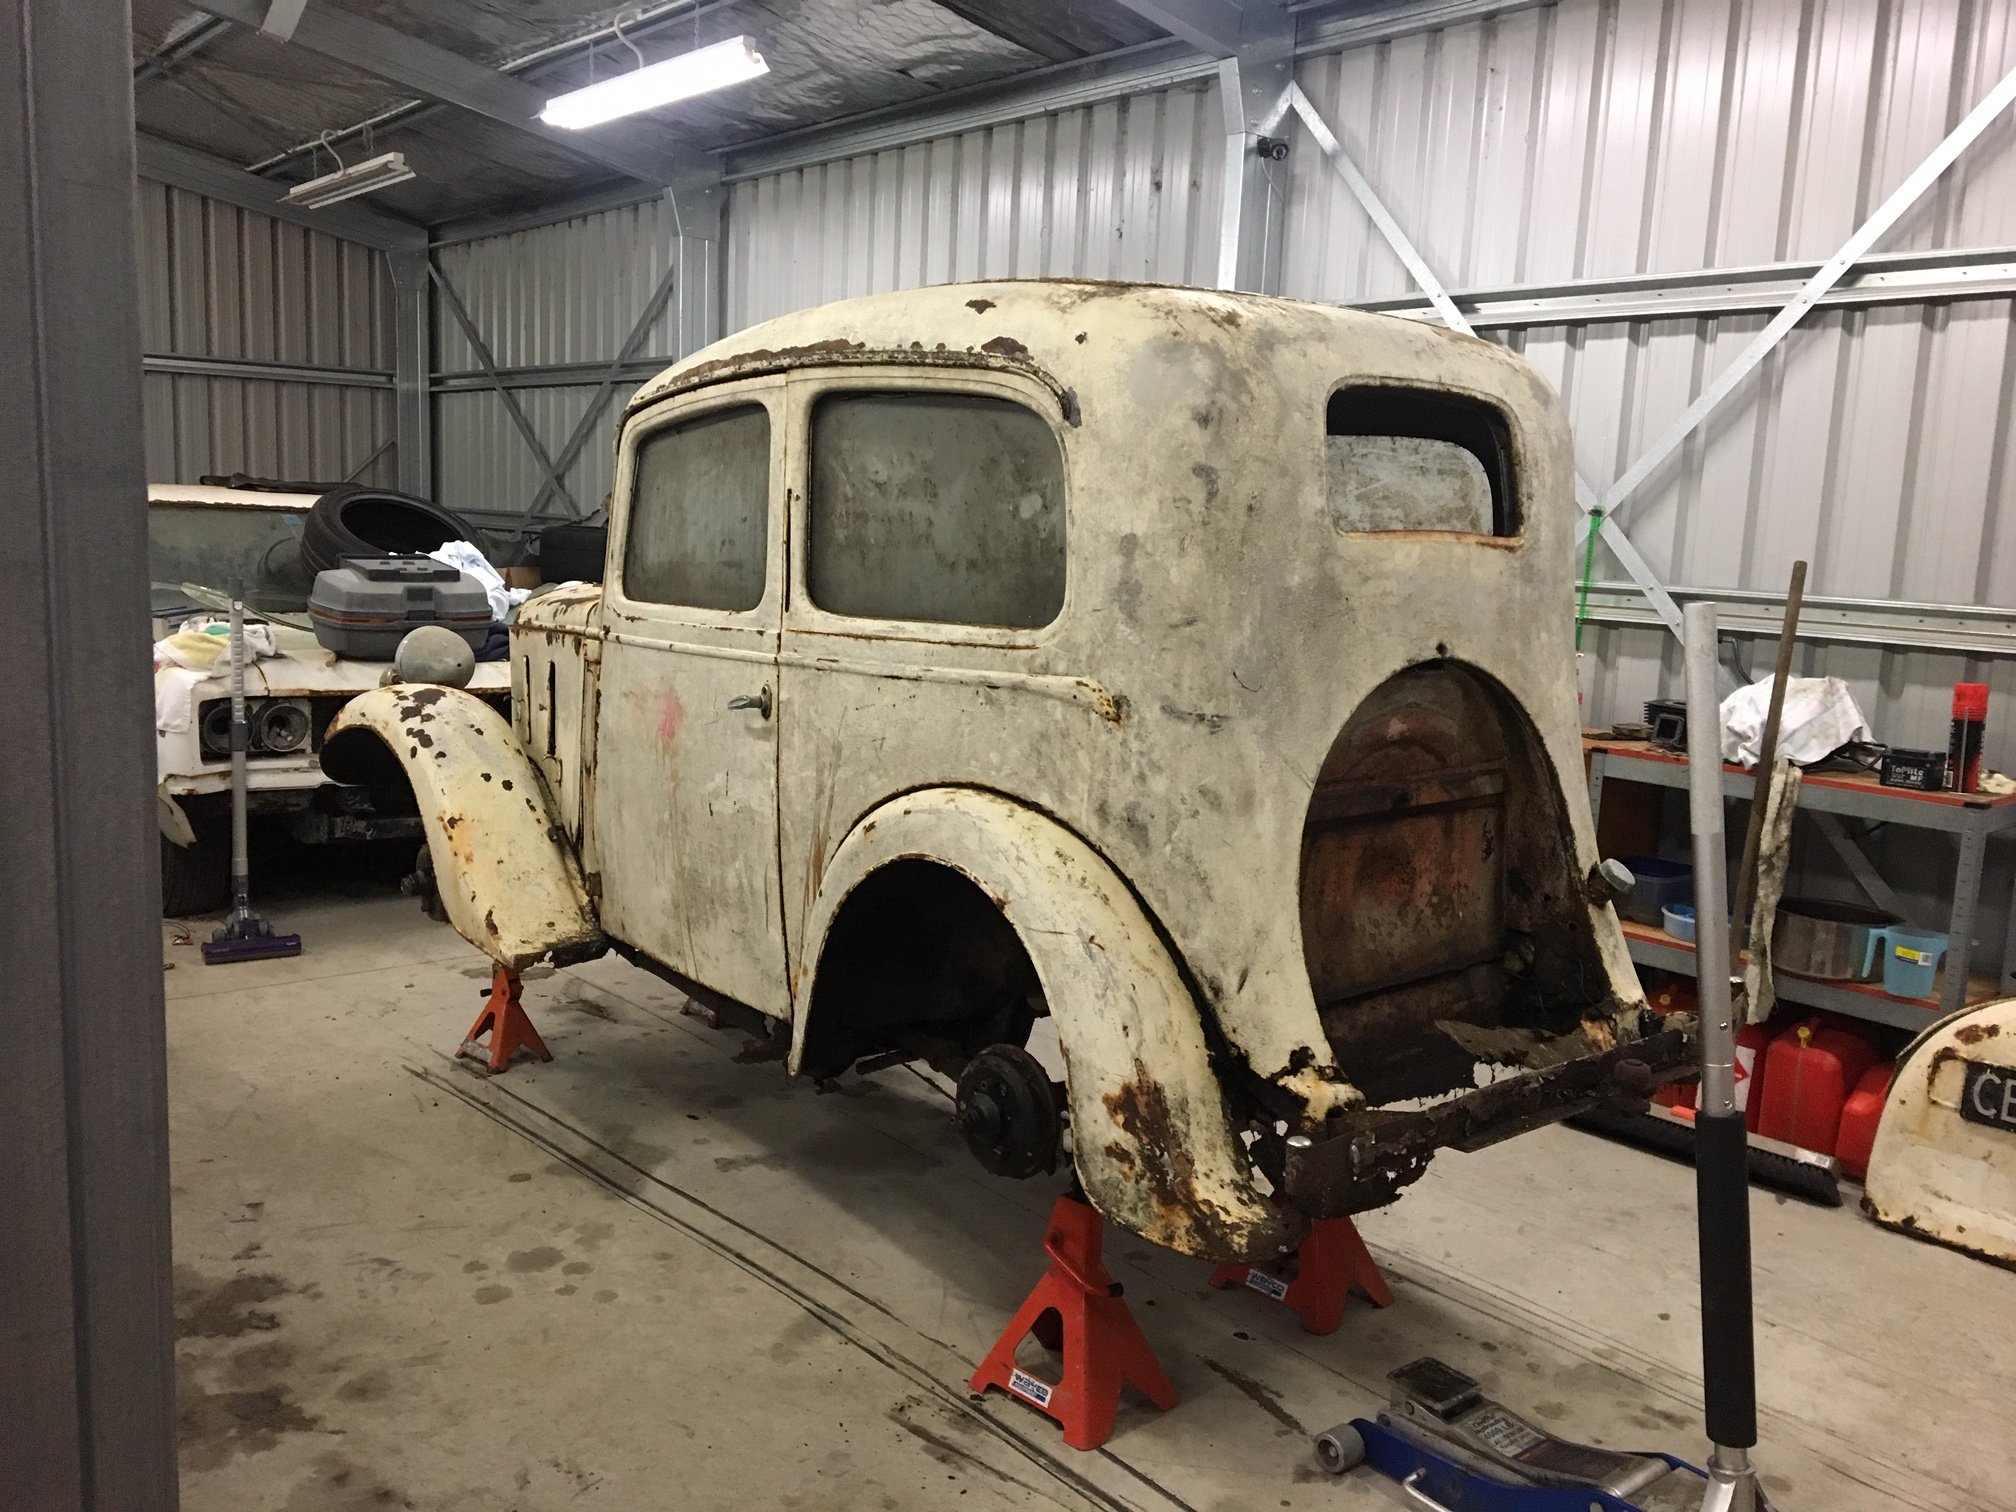
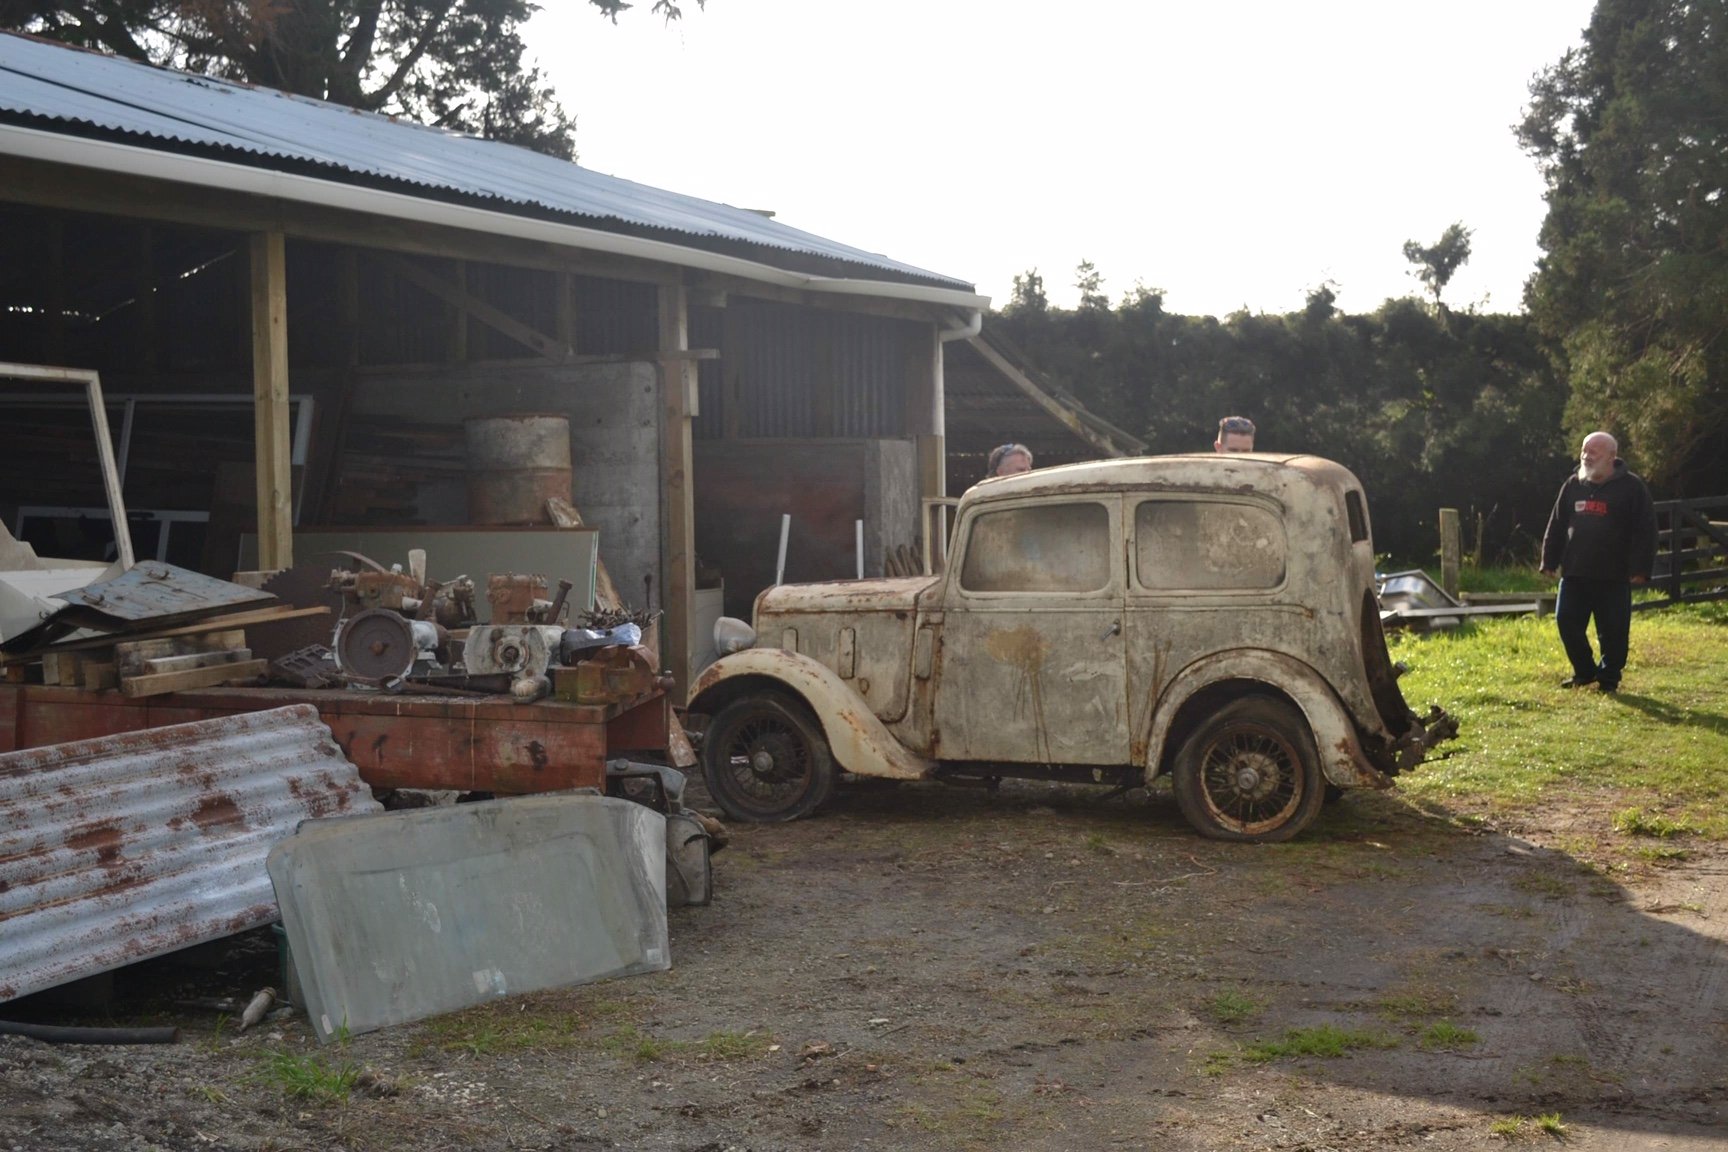
Discussion: Lurking in the back shed at my grandads farm for all of eternity has been an old Austin 7. There was a bunch of old cars there that as kids we used to play in, but the Austin had been there for so long that it was completely buried under hoarded shit and was far too scary to play in, but was always interesting to see if you peered past the old L300, Fergie 19 & piles of old timber. As a 10 year old kid, I was smart enough to know that this one was well beyond rescue... Fast forward 20 years: Grandad has passed on and the sheds have been mostly cleaned out for the next generation of hoarding, revealing this little Austin. Now 30 year old Jeff is not half as smart as his 10 year old self... So now I look at it and think "I reckon I can save that... maybe..."
1 point
-
I'd be wary of a vacuum leak too, but one you don't see until vacuum is up to a certain range. If it's ignition you'll be able to see the problem on a scope (even under no load) as you'll see the spark trail off at 4k RPM Another culprit could be a cam chain tensioner... and perhaps it's even worth trying the engine under load with the gas cap off (to eliminate a fuel tank vacuum problem)1 point
-
Have you checked fuel pressure?1 point
-
I use those Aerocatch bonnet pins on both of my Avengers. I painted them body Colour so you can’t hardly see them. The bonnet pins are listed on the cert plate on both of my cars, but I’m not sure if the cert is needed or not.1 point
-
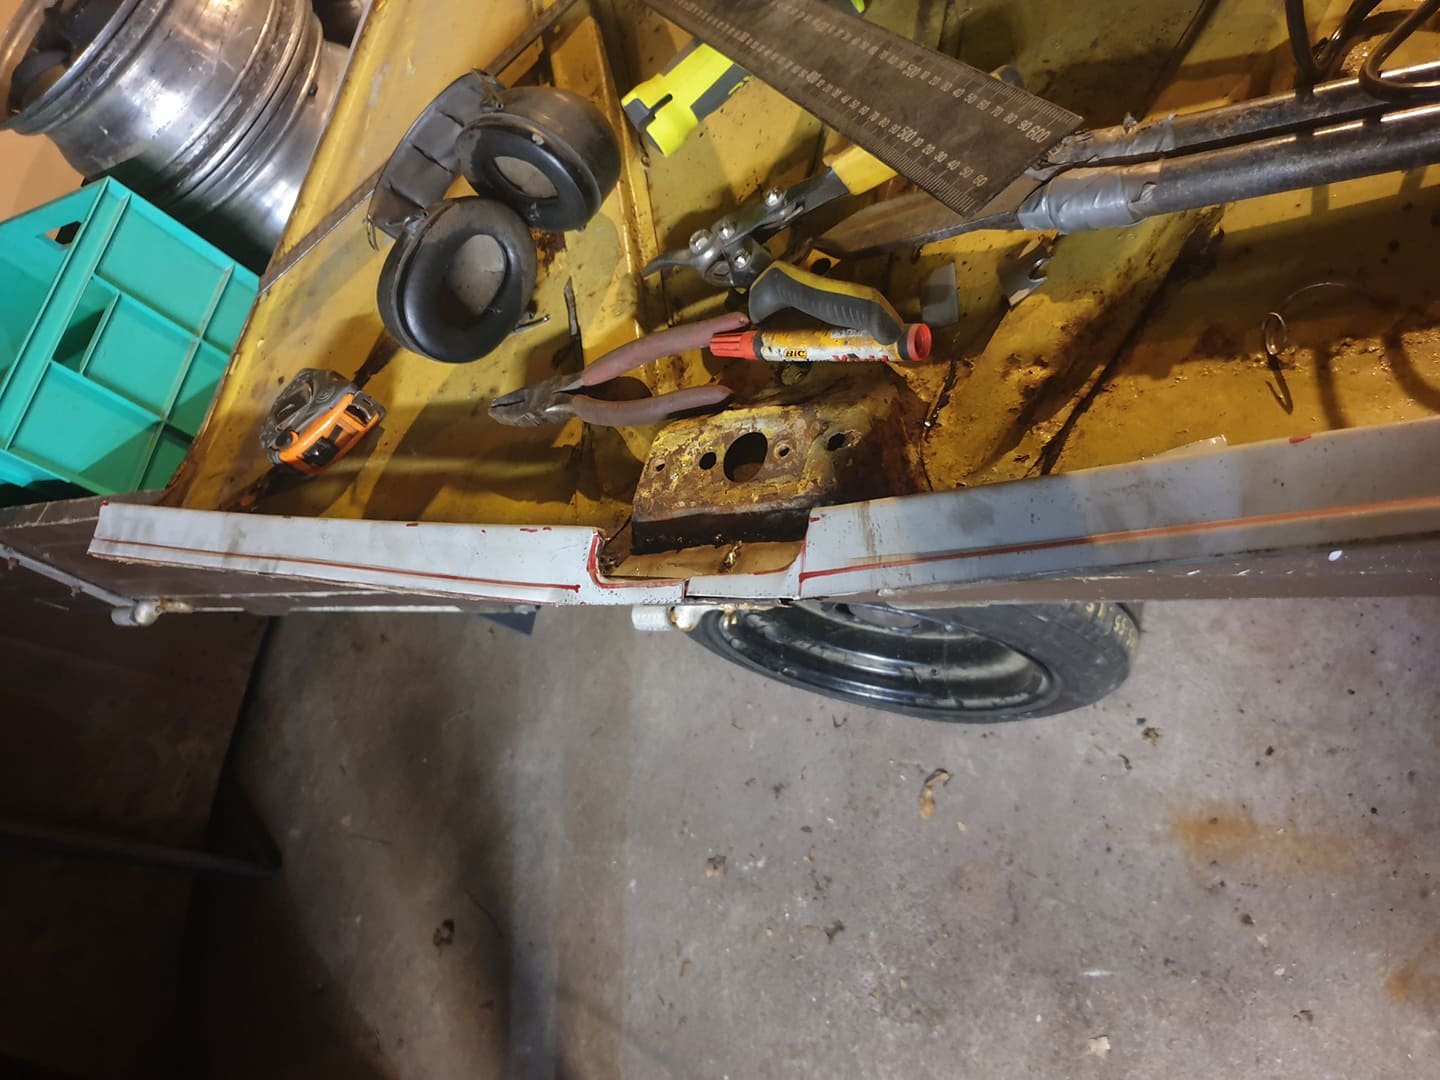
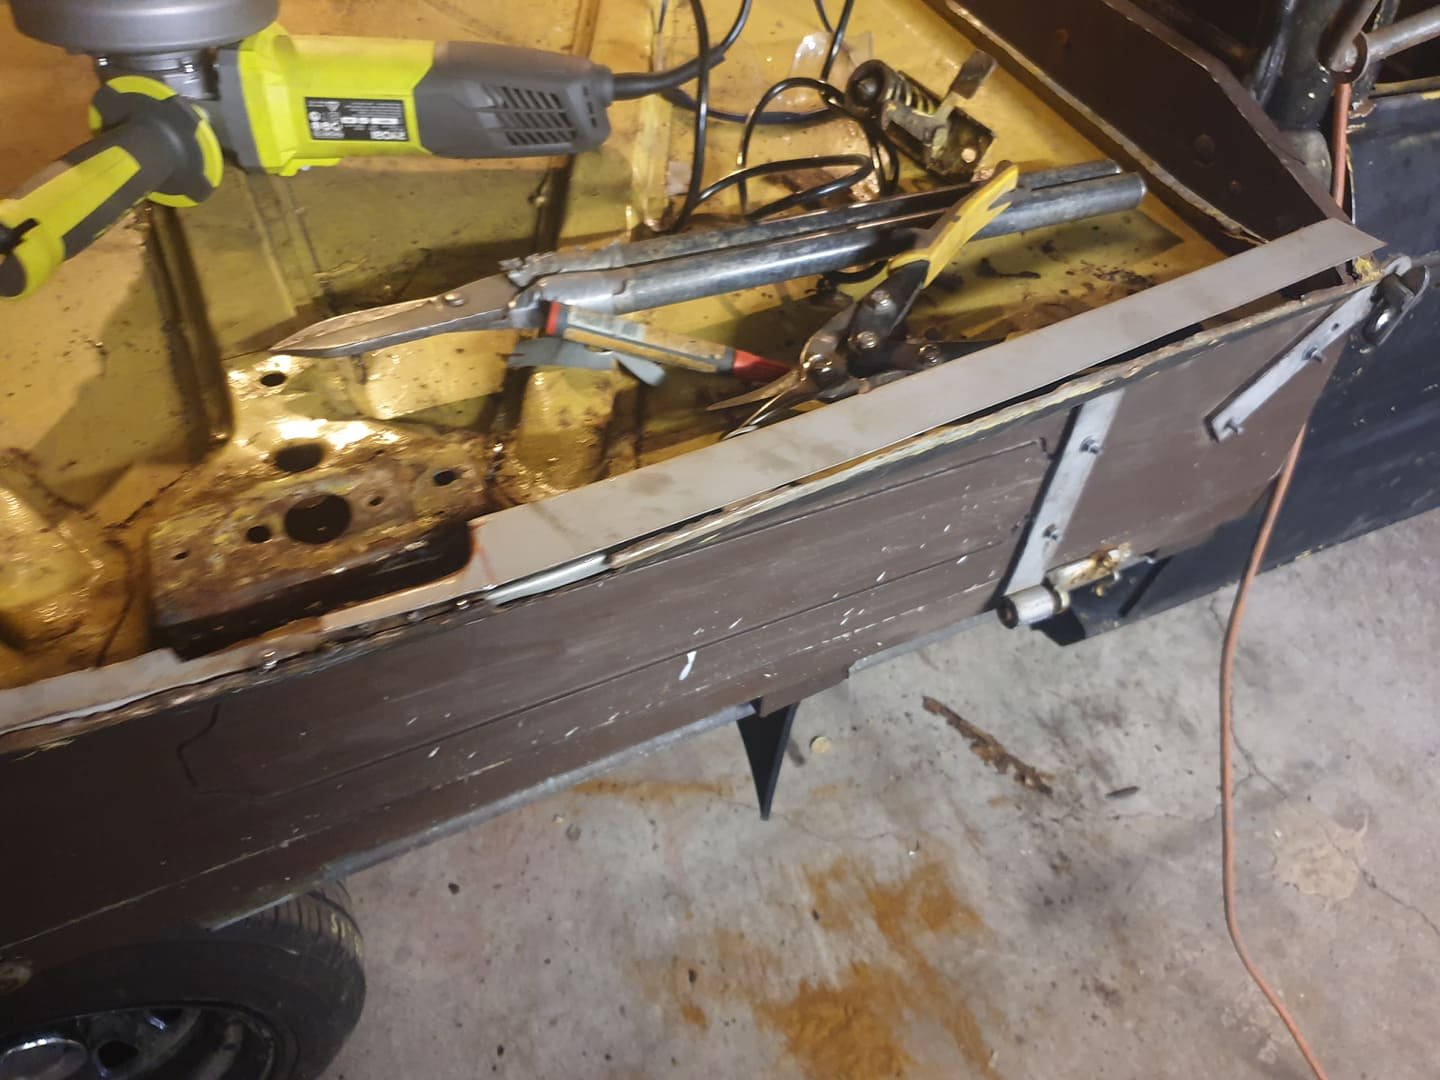
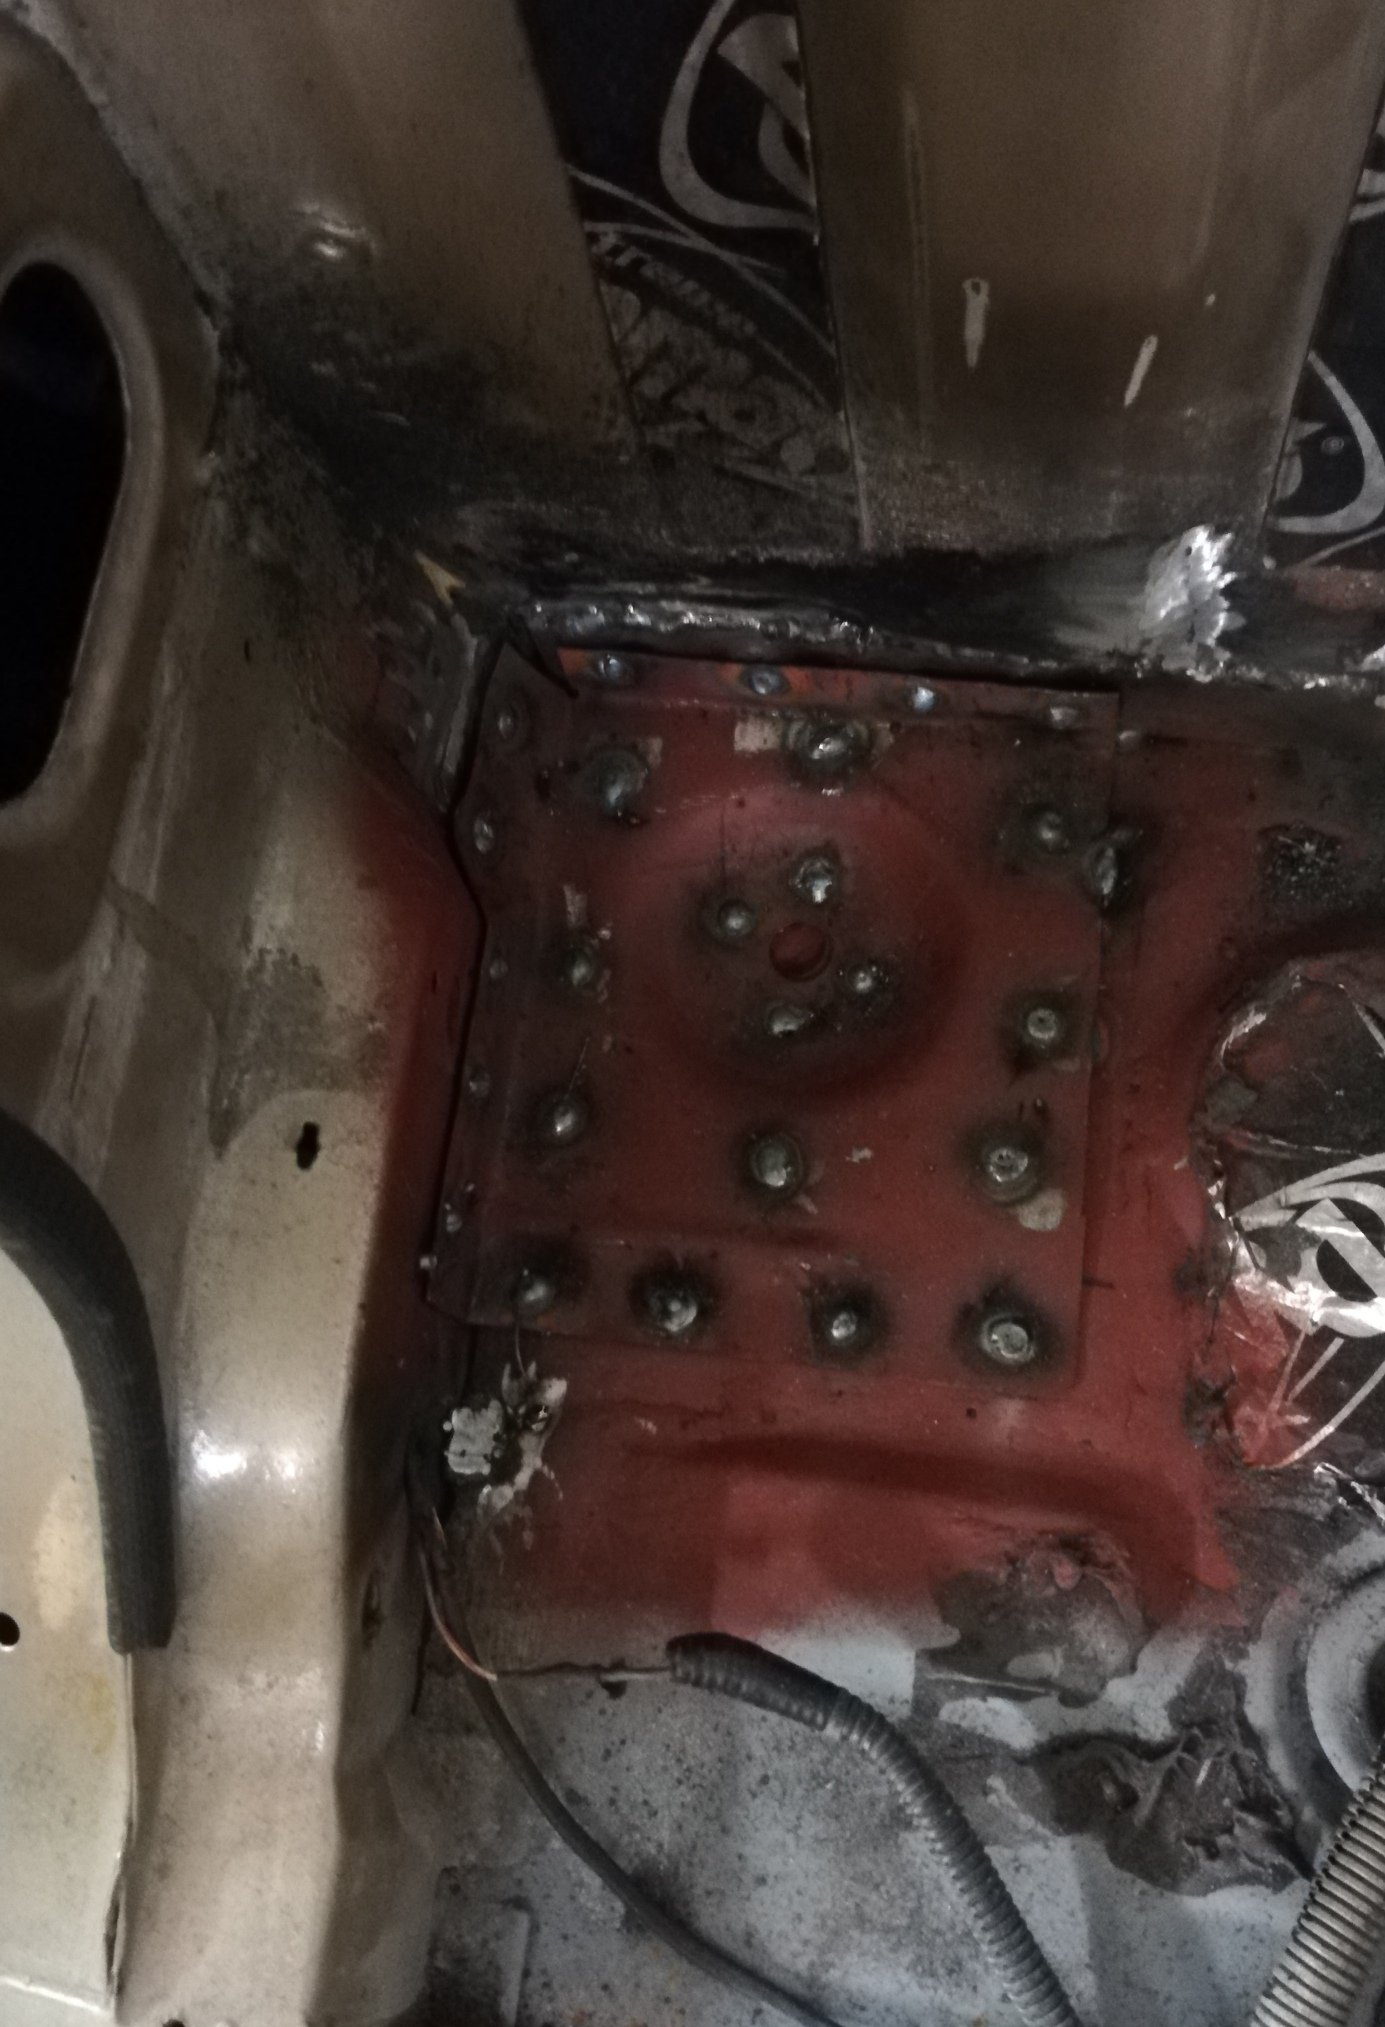
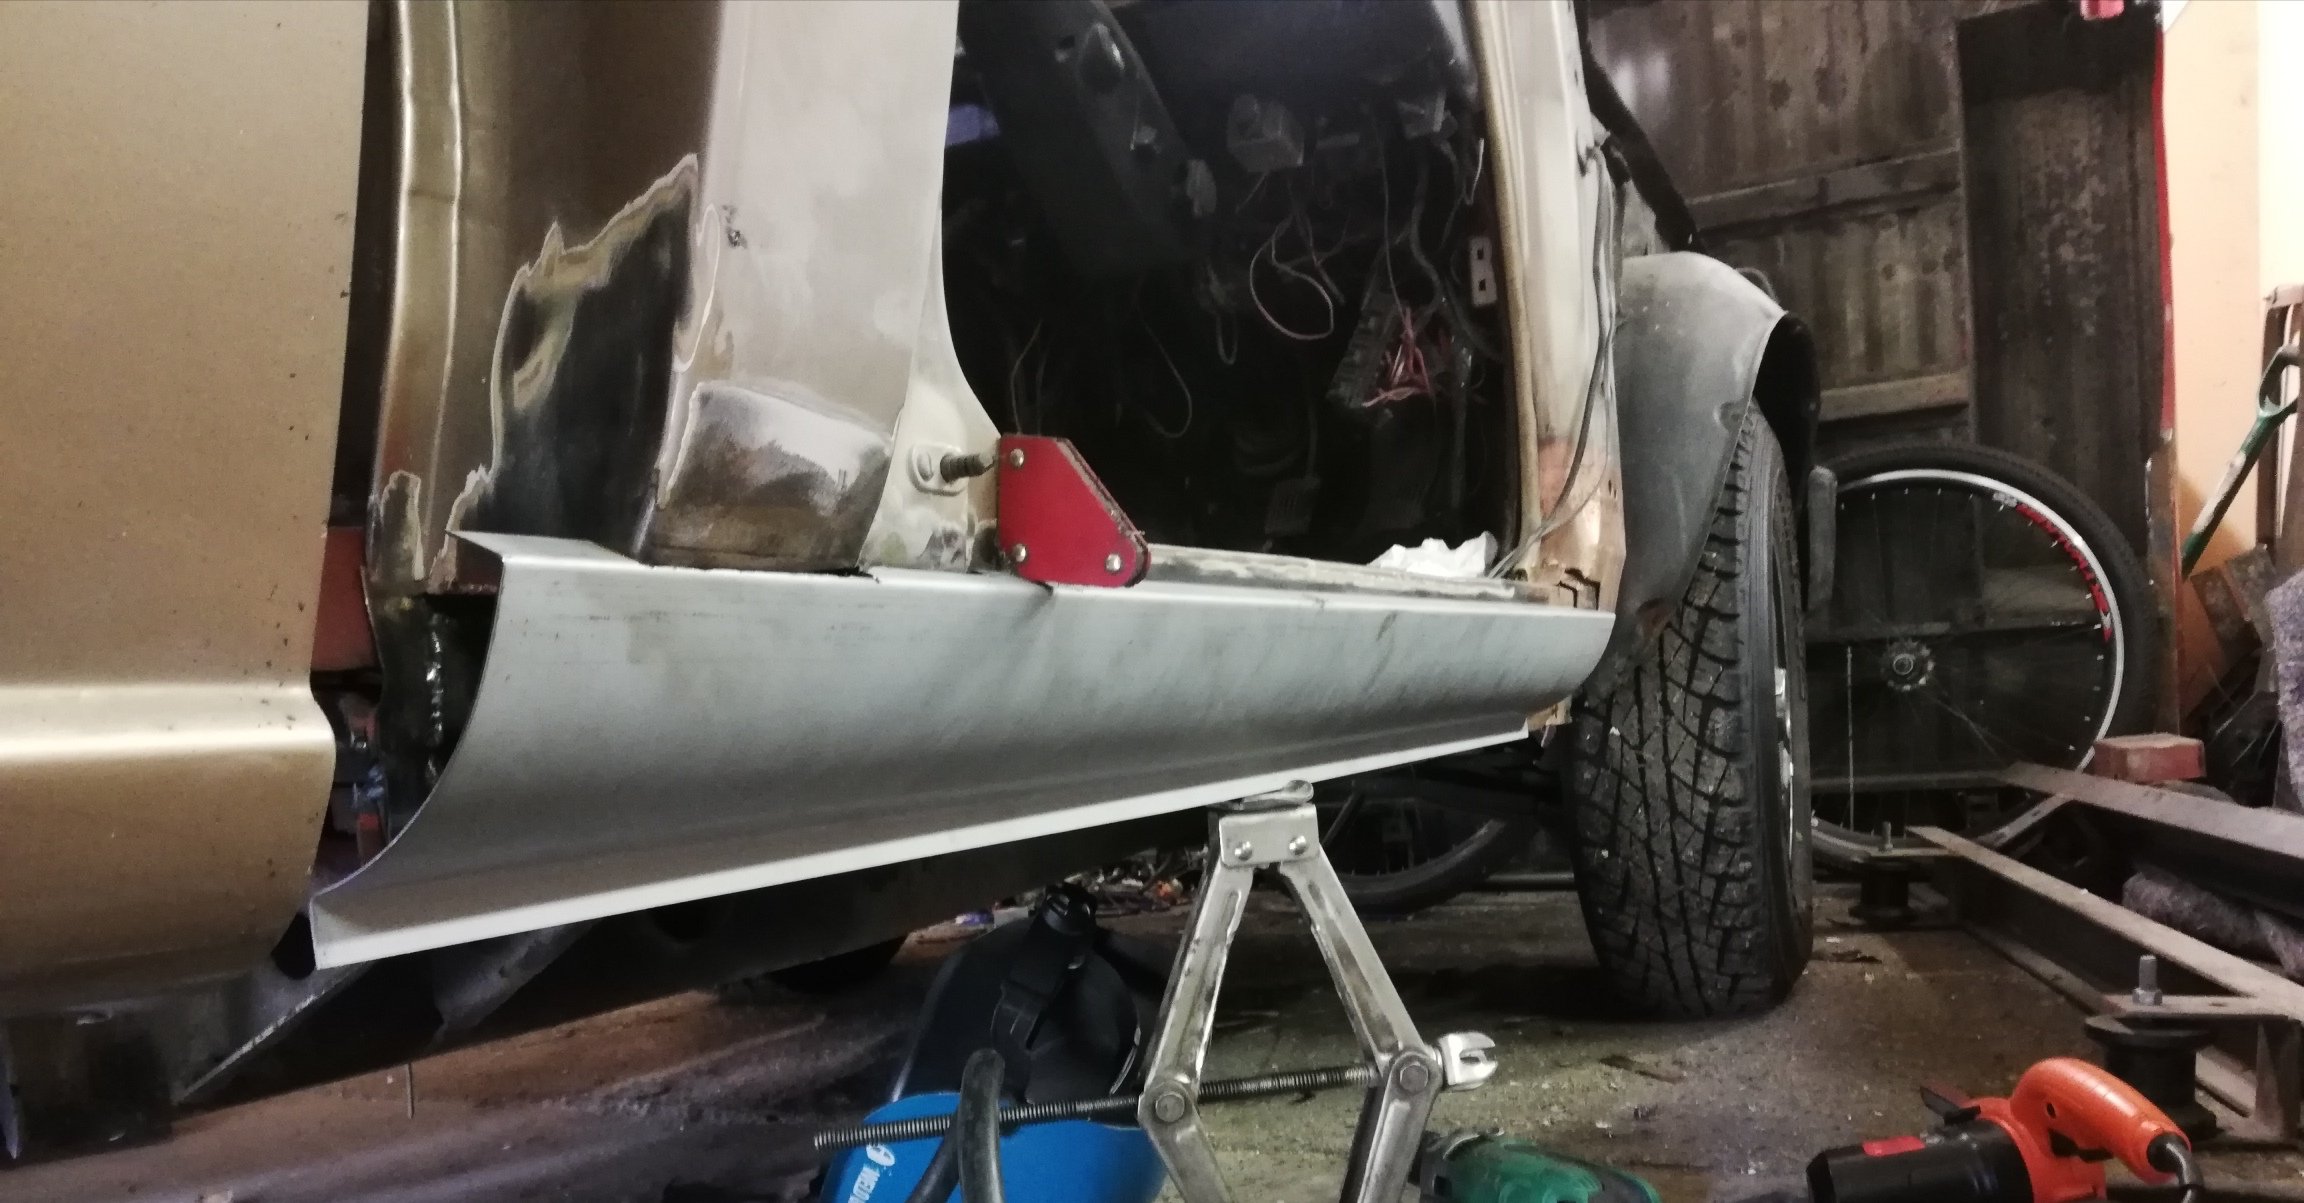
Ok ok What a balls of a job Floor is in Inner sill is in Cab back patch is in Inner cab mount plate is in Outer cab mount is in New sill getting trimmed to fit Not sure if I need an inside sill bracket like what was shown gas axed above, doesn't exist in my parts book.
1 point
-
HAPPY 4AGE FRIDAY!! Well not really. I discovered this morning that the little pesky bit of rust on the edge of my windscreen, has caused my windscreen to crack. Looks like its time for some more rust work and a new screen. I'll also get the bonnet resprayed as its never been the correct shade of blue (due to being painted off the car) and it got a huge stone chip months after I had it painted. I am also, super, suuuppppeeeerrr close to sending my meshies away to be re-banded, lolololols. Regards, VG.1 point
-
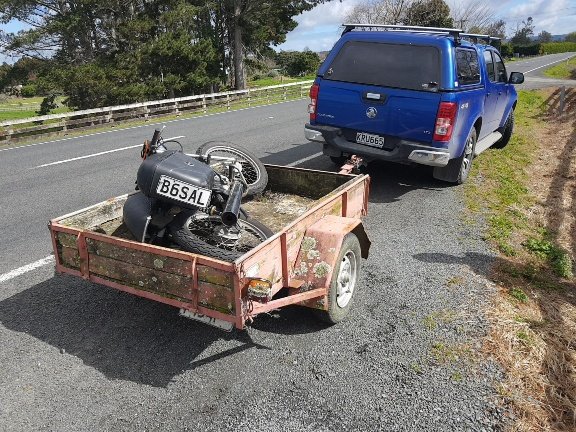
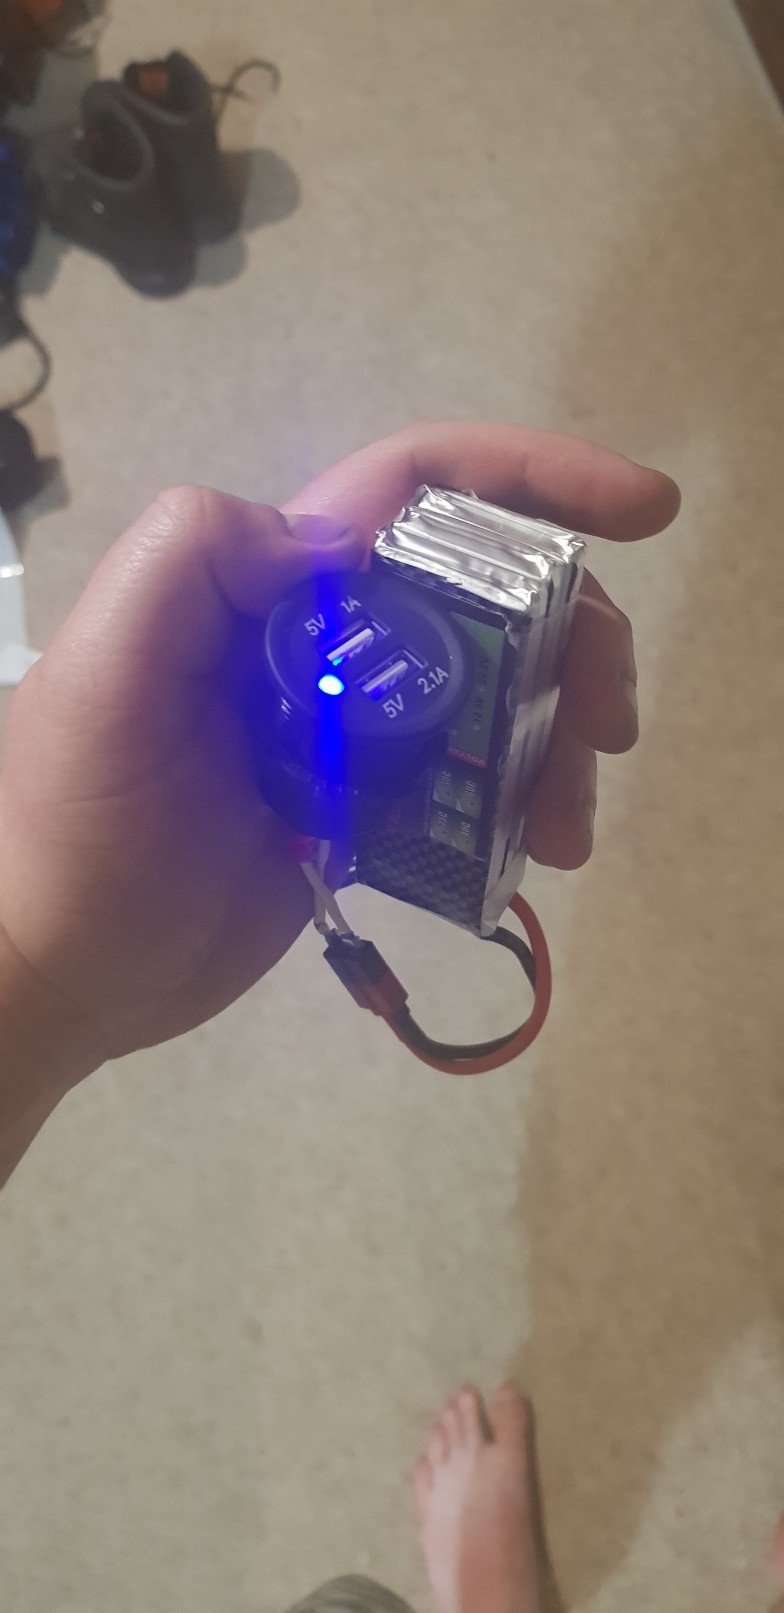
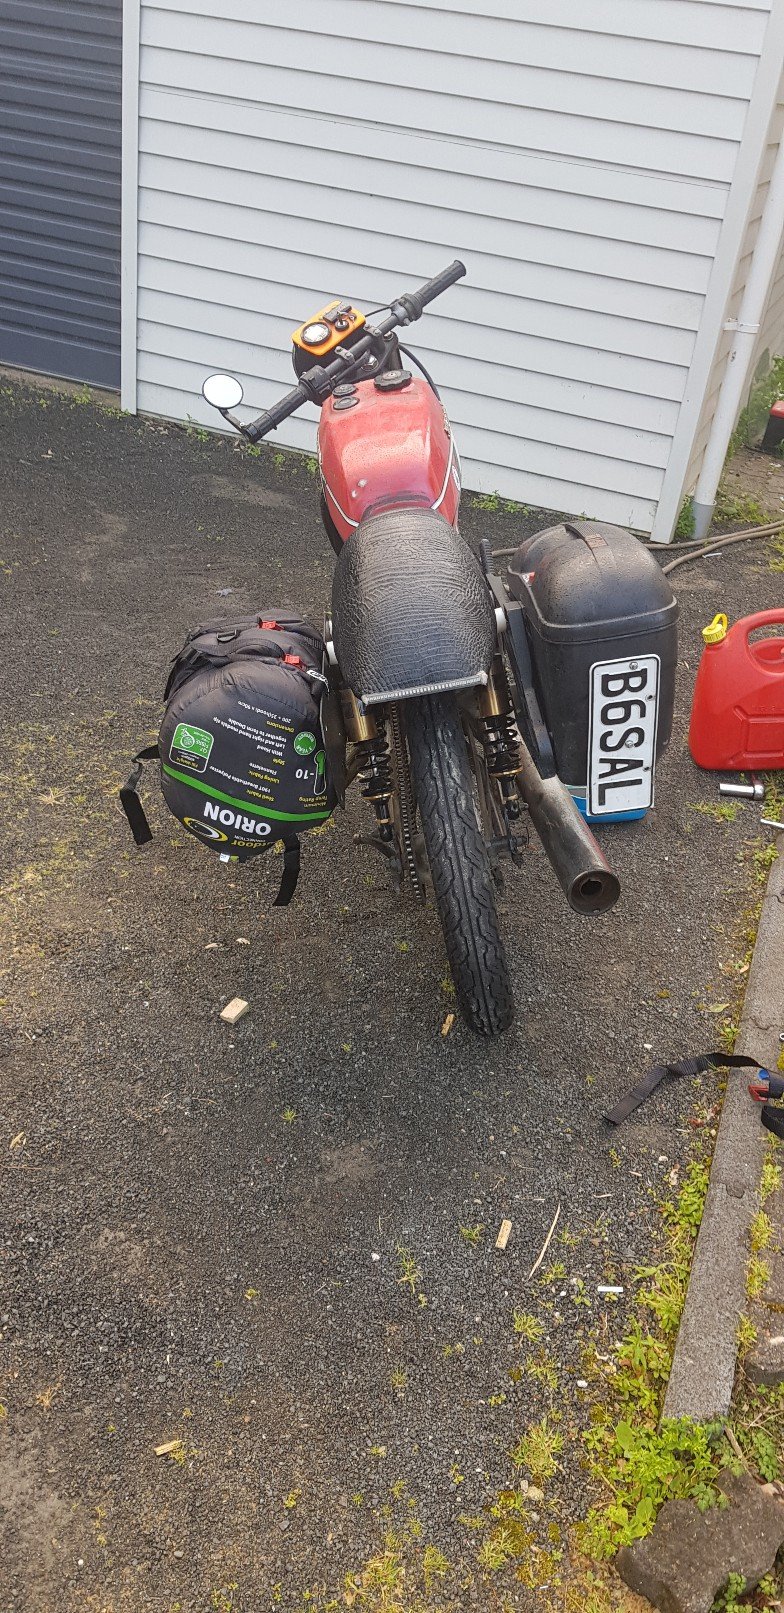
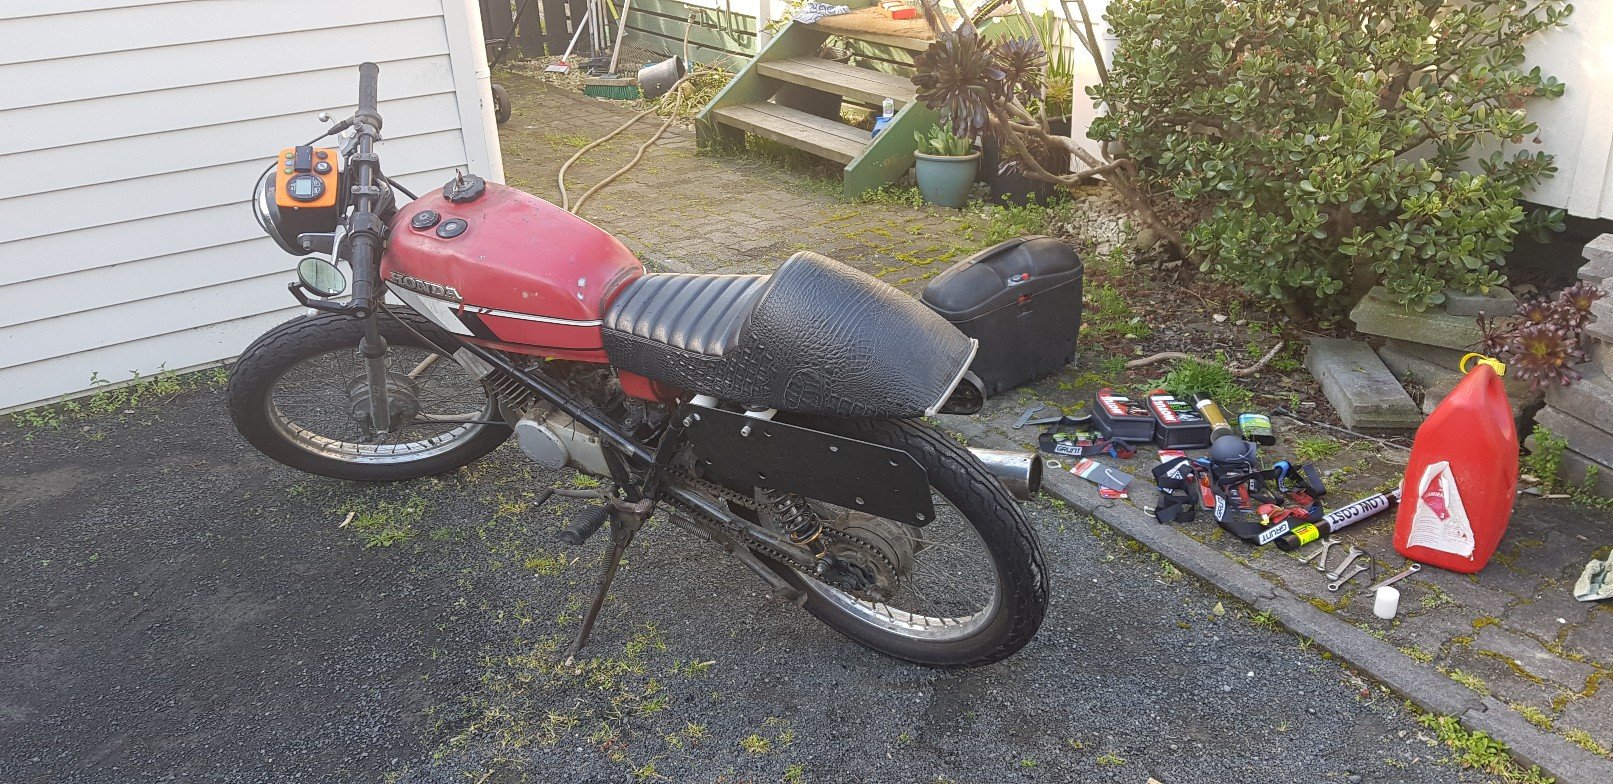
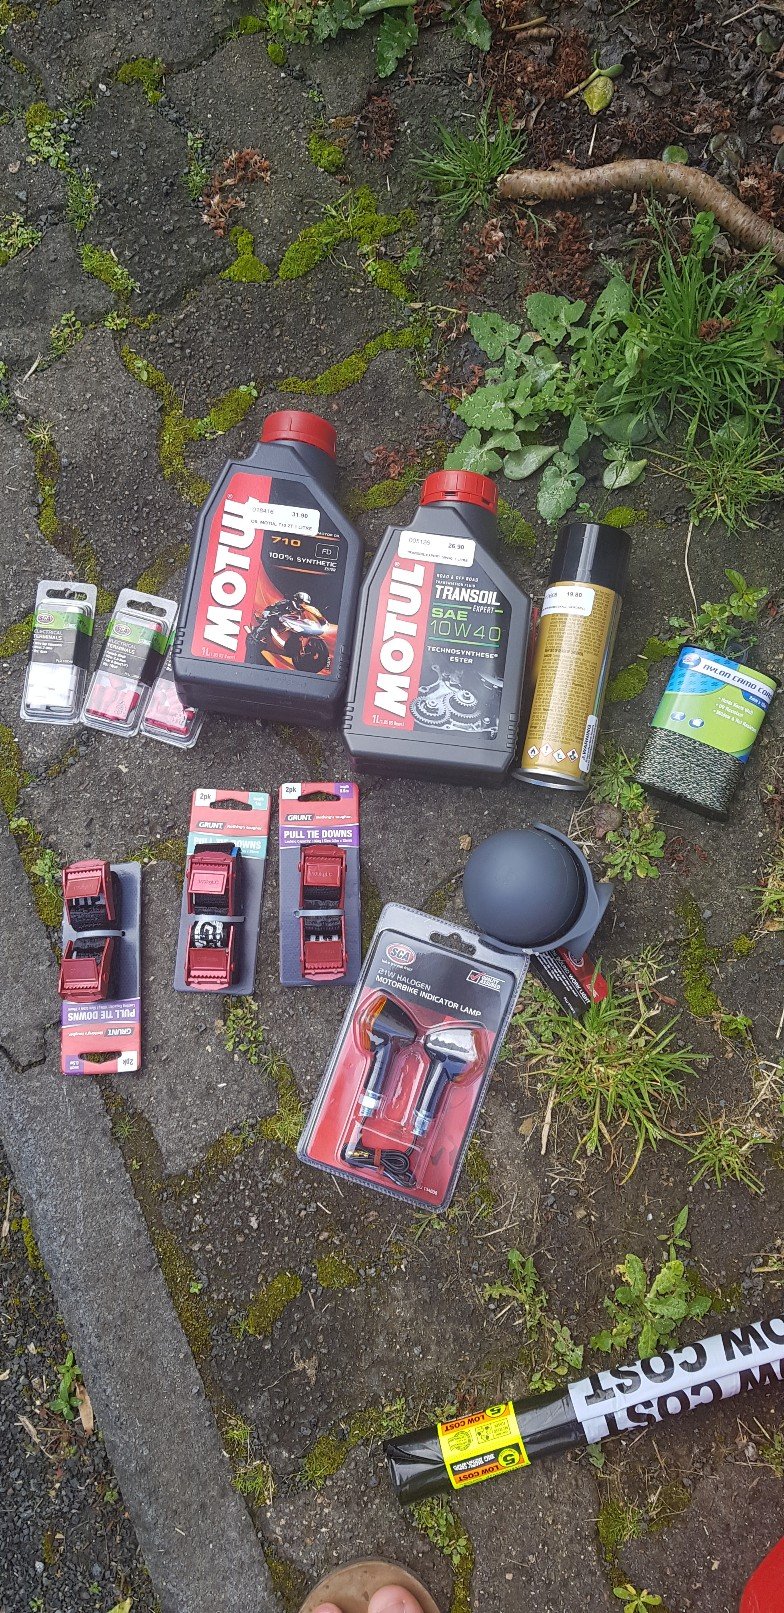
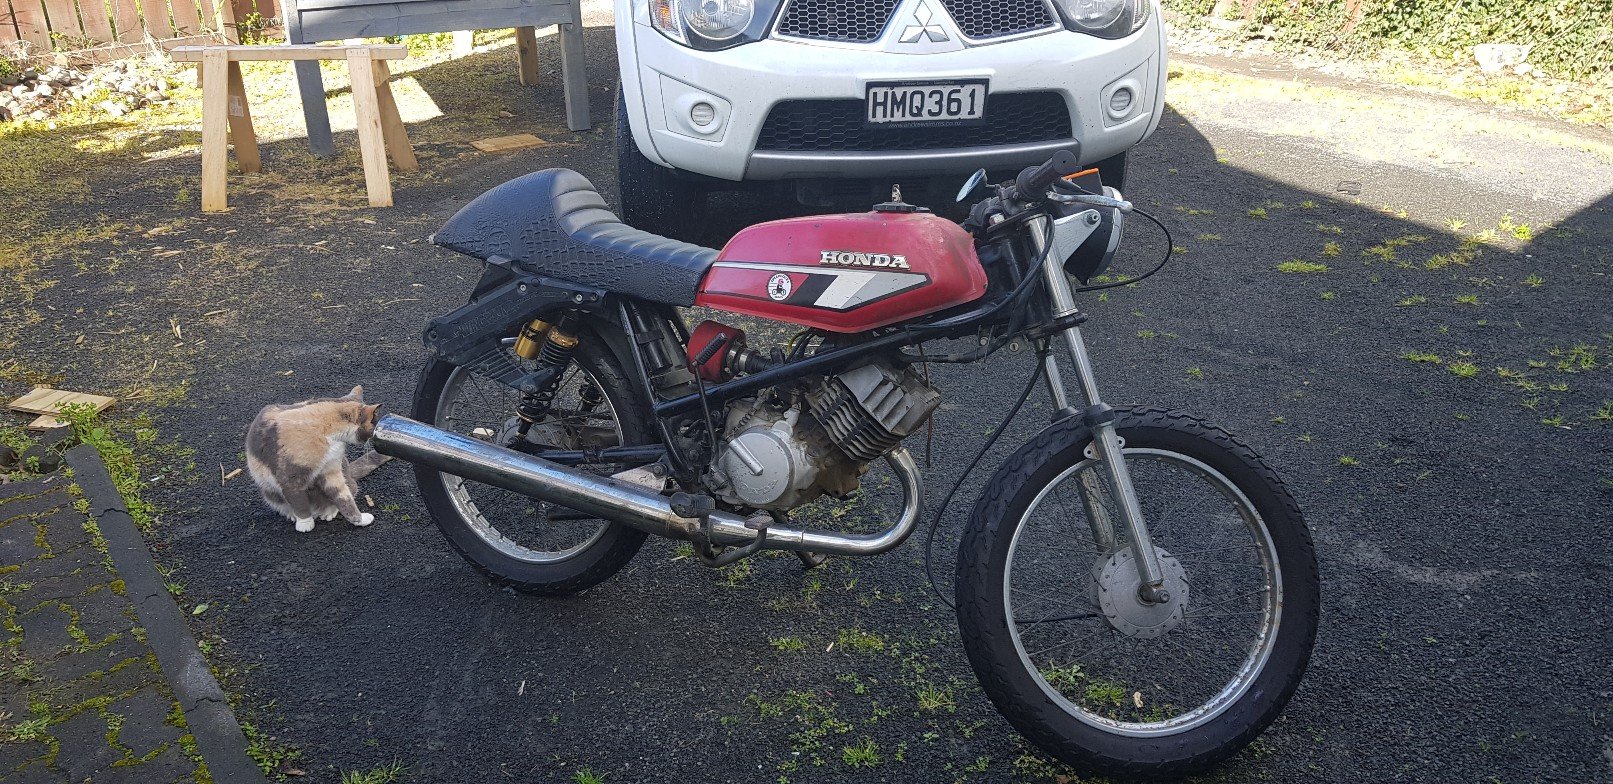
Right so this thing is going to (im going optimistic here) get me from hamilton to waiuru for the cold kiwi. Leaving tomorrow morning. In preparation it got some tlc..most of them things that id never bothered to do (or check) .Some expensive t2 oil (iv had it running on chainsaw oil and outboard boat oil for some time lol), new trans fluid, chain lube, some front indicators, a pannier box thing (got a pair of them for 50$ from a bike wrecker) and the other side got a steel rack to hold my tent, sleeping bag and bed roll. Of course i left this until the last minute so took today off work, slept in, then finished things about an hr ago. Pics fully loaded tomorrow, should be a laugh. Also, got some ear plugs so that i can hear people talking once we arrive. Oh and look at my budget power supply for charging phone. Edit. Yes its ugly as fuck.. but functional. Thats all that matters, right???????!!??!?!
1 point
-
Just a waiting game while the painting guy does stuff. I decided to take the side trim off so the guards needed a bit more work but are all in primer again now. Body is coming along very slowly. Front bumper is off to get fixed as theres a few cracks in it. Painting is boring so just one photo for now. In other news these arrived... finally. I run FA stuff in the EP and its pretty good, so thought Id have a stab at it for the AE too. Spenny, but hopefully worth it. Went with 8kg and 6kg and the shortest possible rear shocks. Will order some new bearings and maybe rotors sometime soon. No rush without the car here.1 point
-
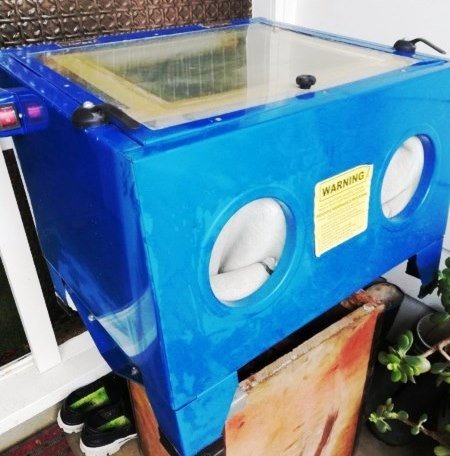
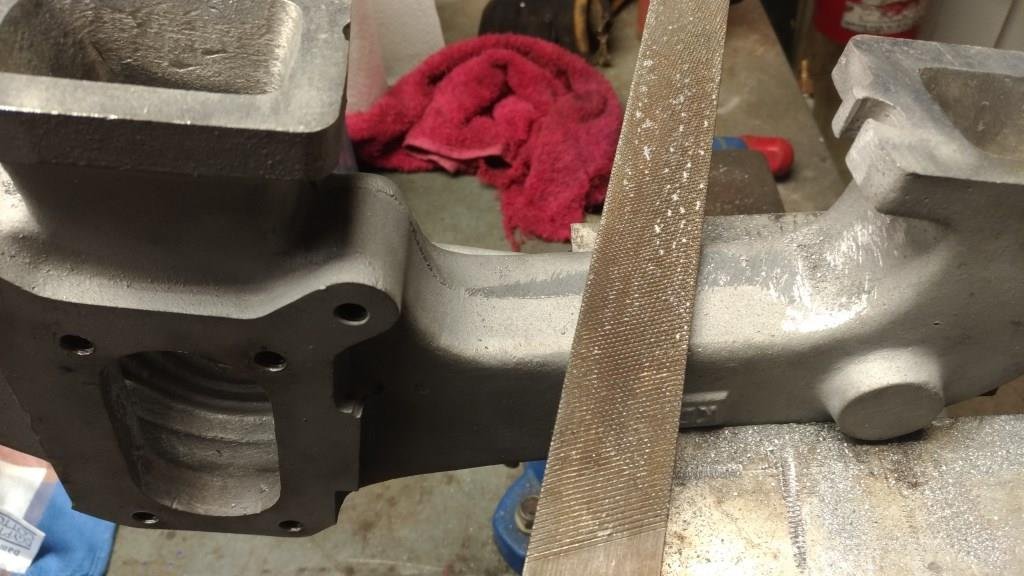
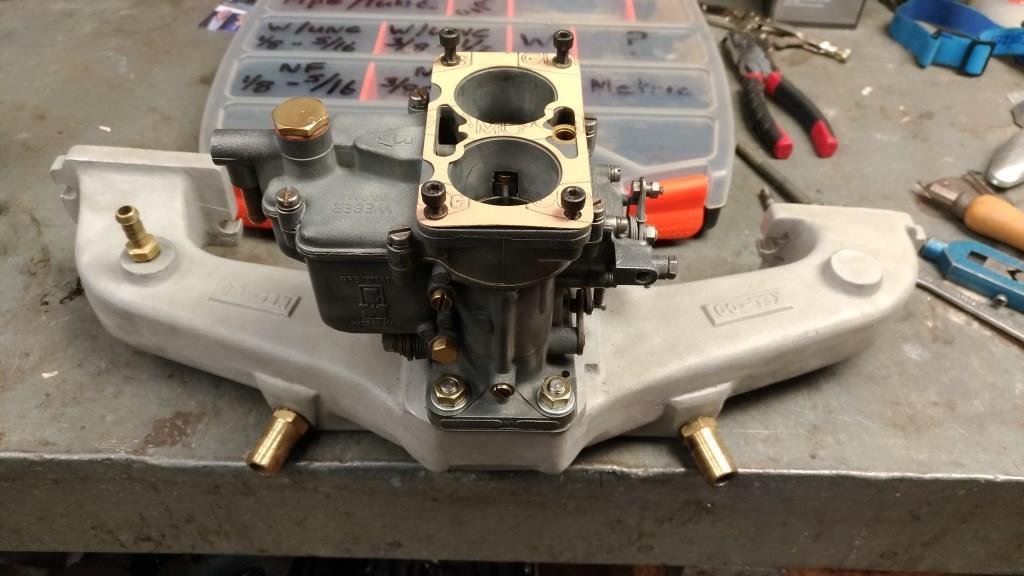
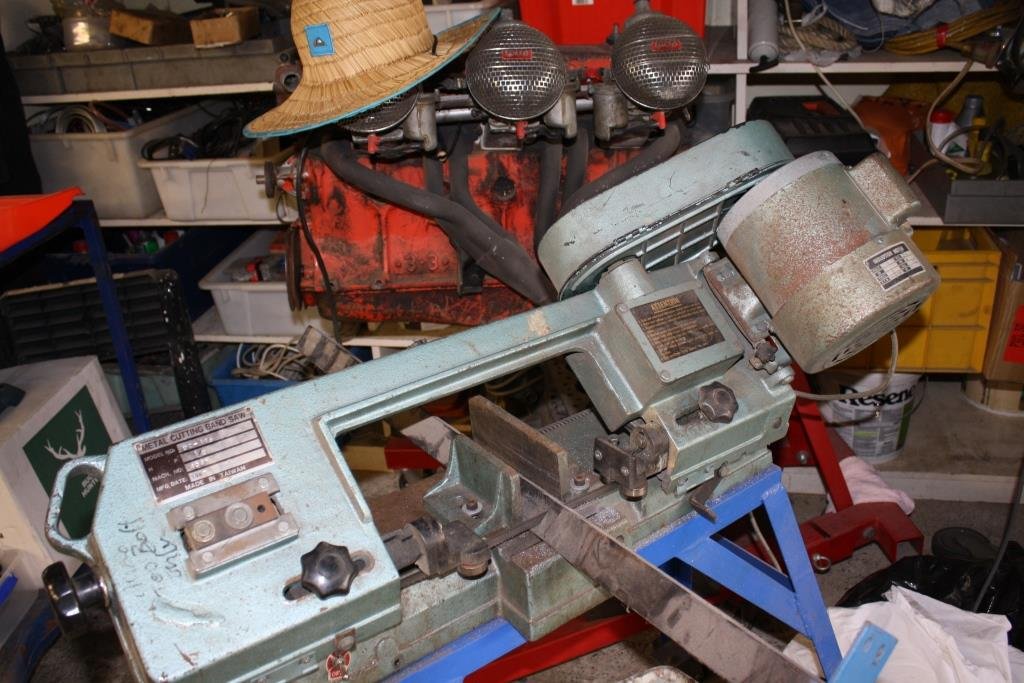
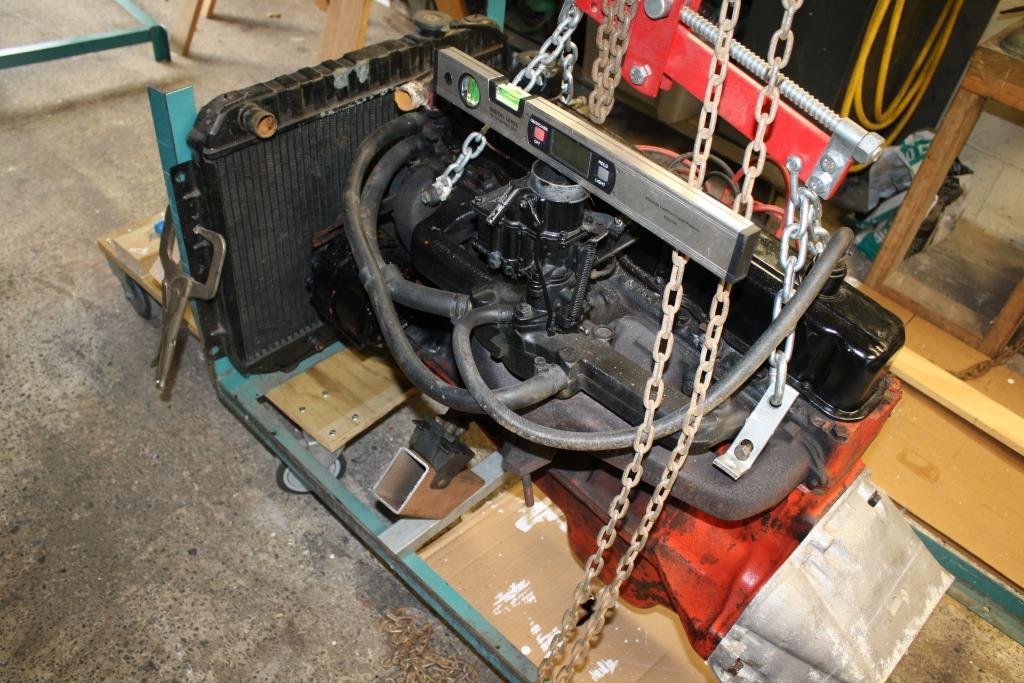
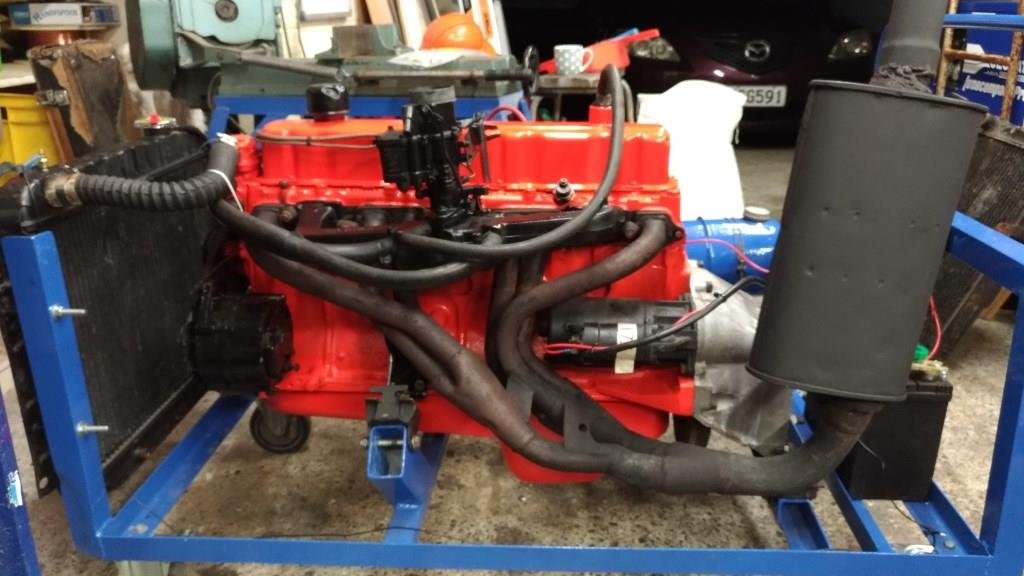
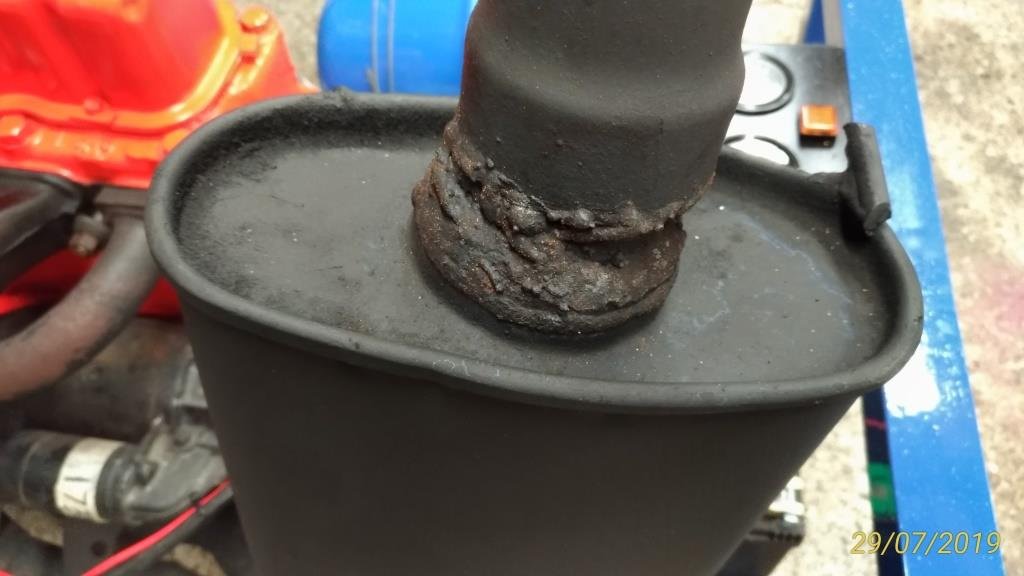
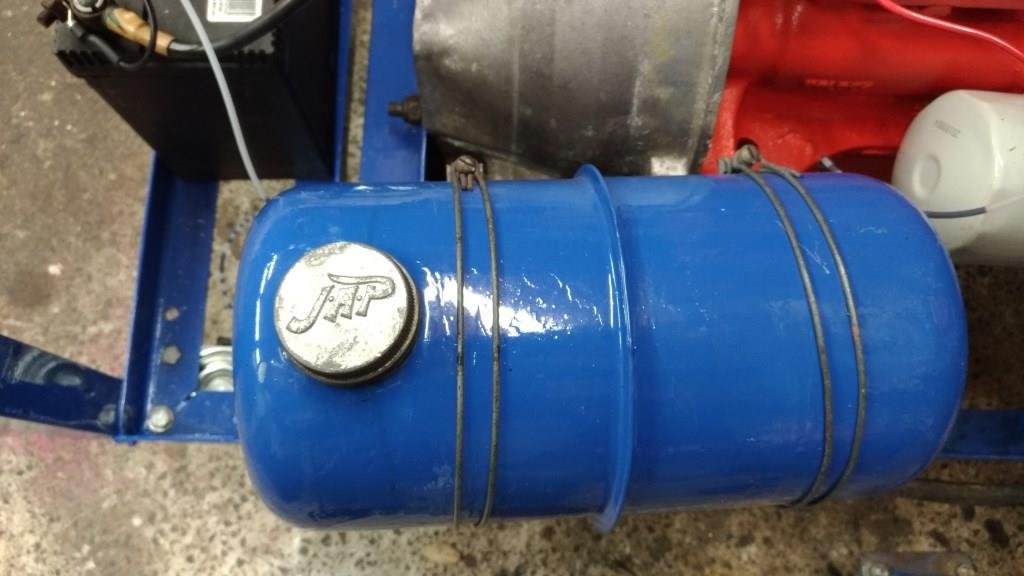
Thought it was time to clean up Rigamortice’s vintage Kel-Co manifold to get the DCD Weber back where it belongs. Couldn’t resist the temptation to cut off unwanted bits, file off casting marks and give it a blast in the new blasting cabinet (only a baby one but all I have is 12 cfm). Have to say I was pleased with the results. I’d been thinking about building an engine start-up cradle for a while, found some old castors, raided the obligatory under bench scrap steel pile and started cutting and welding,……… and cutting and welding,……. Once again happy with the end result, particularly the “Hillbilly headers” fabricated from parts saved from the rubbish bin. I just had to incorporate the “inglorious welding” I found on an old muffler! And how could you not love the 1950’s JAP fuel tank. As an added bonus you can even run motors up on it! (My favourite Torana 2850cc 9 port, stock standard but what little rever – Brock discovered them before anyone else). First 2850 start-up on the new cradle
1 point
-
Flush ones?
1 point
-
This is the last one I did a couple of years ago (Pic of rally Mini at the bottom of the post). The one before was the SAS Land Rover that was sort of painted pink, aka the Pink Panther: Working on a Revell 1/24 Routemaster Bus, which has stalled for a couple of weeks as I have to make all the seats...
1 point
-
I think bonnet pins are fine. Some look better than others but if it fixes an issue then I saw go nuts. You could also visit a local sports store and purchase an item of cricketing attire that could be useful against dick punches.1 point
-
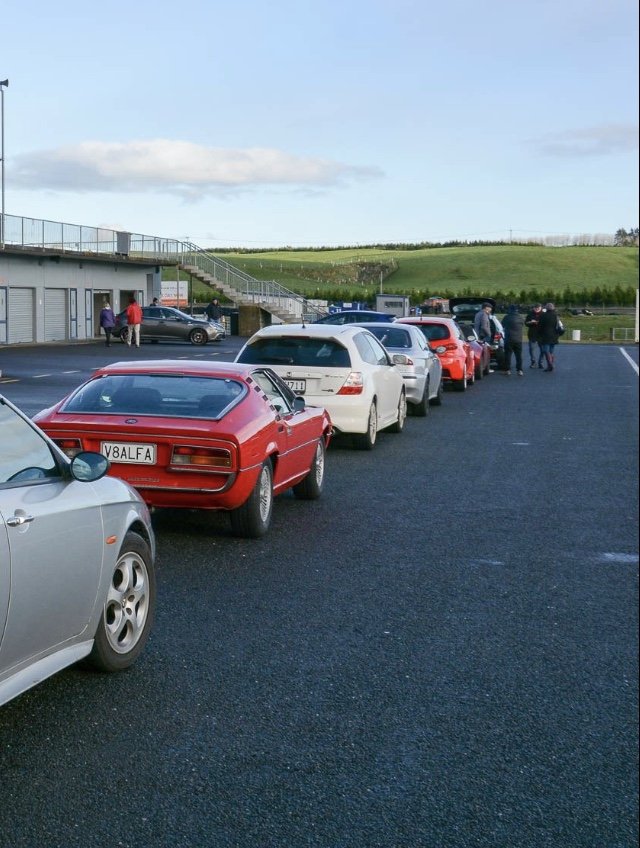
Update installed full “road/race” suspension package from classicalfa.com, incl bushes, shocks and springs. along with braided front brake lines, 4pot fronts and new rears. that sorted we hit a practice day at Taupo over the weekend run by the AROCNZ on Saturday. The result, far better handling and braking! The top trailing arm bushes were toast and now has no side to side knock and body roll is far less. Still has a bit of roll but it’s a classic car and it isn’t intended as a race car so we think it’s pretty well balanced now. new ride height has eliminated the rear tire gap and it looks far better. i drove it down from Auckland, on the track, and back again with very little issues. Now being slight exhaust knock due to ride height, a clutch that is on its way out (all though we knew this prior), and a small knock at take off and low speed. granted it’s had all new bushes, we’ll check the U joints and diff play. that, aside from much needed head room with a helmet on it ran really well! the LSD really hooks up, and even with the softish suspension you can throttle and stear it out to the outer boundary quite predictably, and ride 2nd gear out just passed 7k past the flag box. great day all round, and some small things to add to the white board ill add some track photos when the event photographers put them up
1 point
-
hey also, here's a technical tip for those of you interested in the finer details of auto trans setup, if you want it to not leak fluid out the bottom, do up the drain plug. you got that?1 point
-
I will when I get back. Its been carefully placed in a show box for many years. I'd also scratch built a Volvo f10 cab out of cardboard when I was about 12-13 or so. Working interior lights, proper cloth upholstered seats etc. It even had a opening fridge with a teeny model of a can of coke in it. I'll look for photos when I'm back. Looking back at that, building such things at that age.. Hmmm. Maybe I was on the spectrum or whatever the trendy thing is.... Or just a young truck loving nerd1 point
-
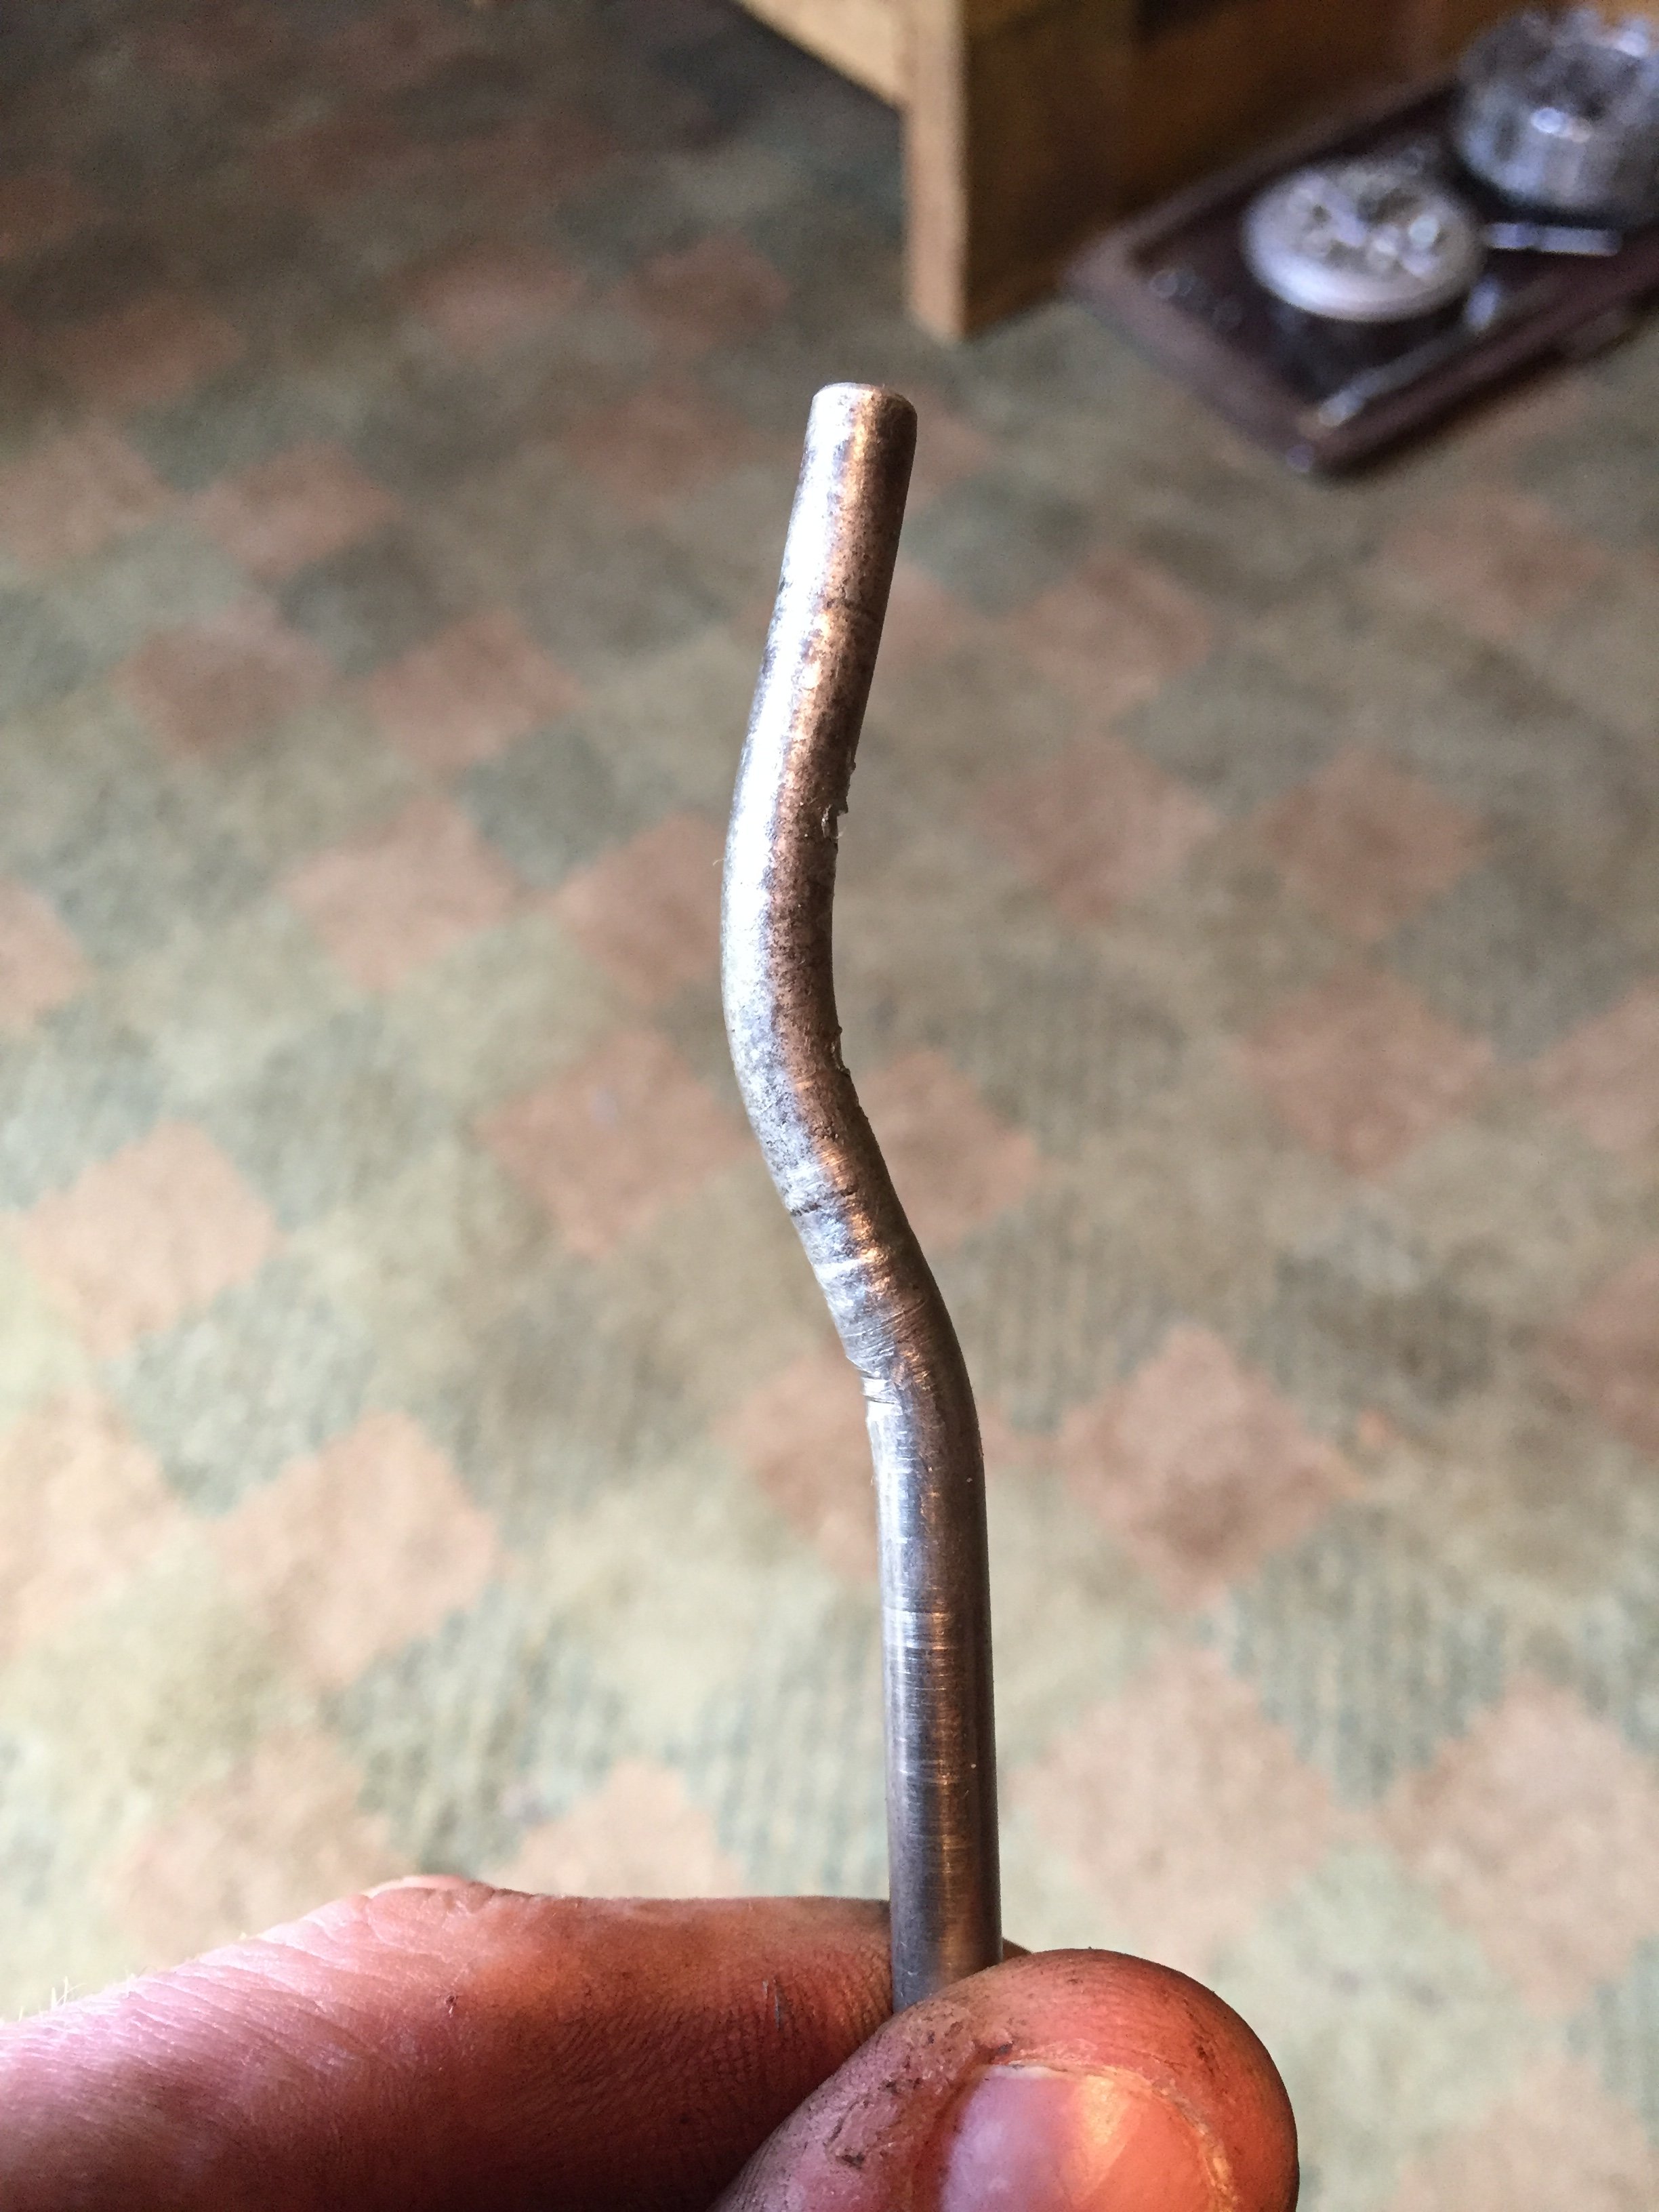
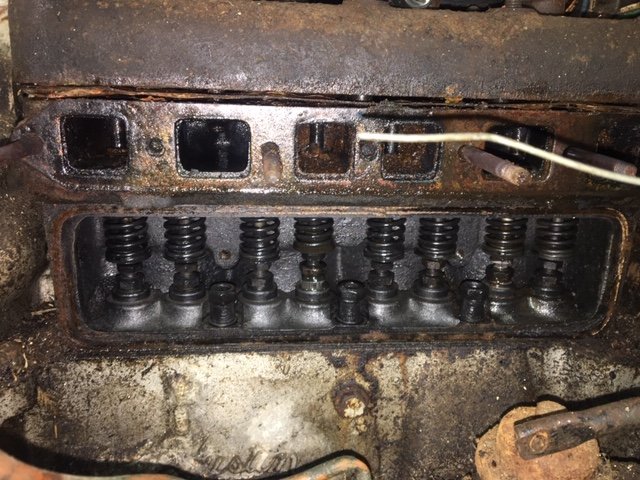
I did a wee bit more tinkering with the Ruby last night. I made a start on an oil change, have drained the old oil out and undone all the bolts on the sump to get at the filter gauze. Annoyingly it looks like I might have to lift the engine off its mounts to get the sump past the front two studs. I might see if I can get the studs out first. Either way, its annoying. The oil that came out, aside from being old and a little sludgy, is in much better nic than I would have expected after being sat for so long. I sprayed a bit of CRC around the front windscreen latch and hinges and veeeery gently pushed it open. Unfortunately the latch mount on the window frame appears to have been made from die-cast cheddar cheese and crumbled away in front of me. So I'll need to manufacture a new one of those... I'm sure (I know) it isn't the only thing like this I also found this funky spanner on the floor under the car. Not sure where its fallen out of, I think maybe its for adjusting the valve clearances.
1 point
-
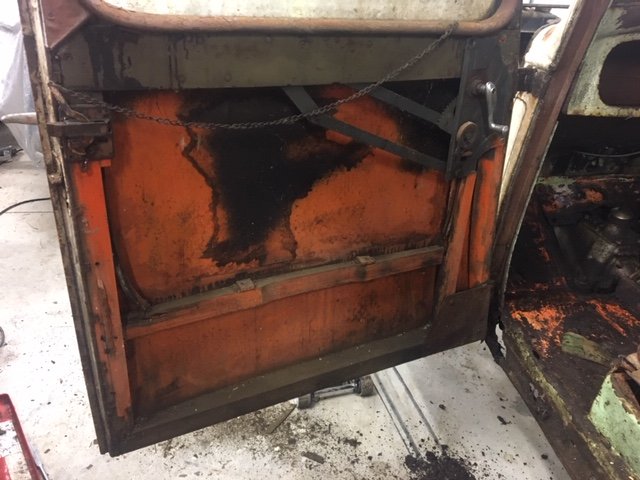
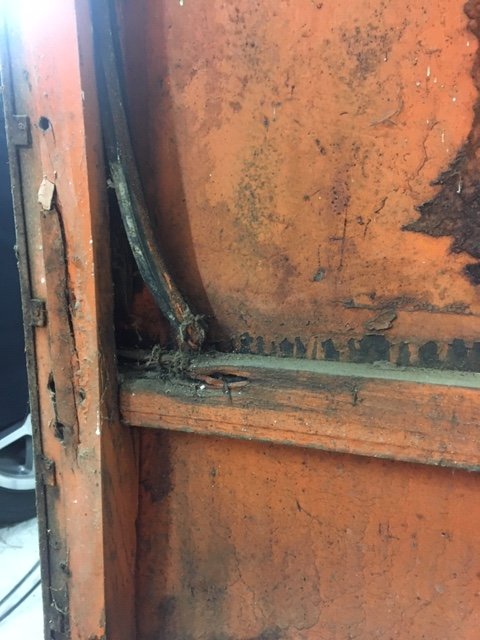
AMAZING AUSTIN FACT #1: The Austin 7 was the first production car to have the controls as we know them today. I.e Clutch -> Brake -> Accelerator etc. AMAZING AUSTIN FACT #2: I learnt this one the other night while pulling apart one of the doors to have a look at its rust... Austin 7's have a wooden frame! The wooden frame thing was a bit of a shock. Here I was one minute looking at the door thinking it should be a pretty easy rust fix, then pulling off the door card off the next minute and finding that it was actually going to be a very challenging rot fix... My skills at steam forming ash timber are fairly limited, and while there are companies in the UK that manufacture the parts, I'm too tight to spend that kind of money. So my loose plan at this stage is to replicate the ash wood parts by cutting and laminating ply. Worth a try anyway.
1 point
-
Last night I had been in the shed working on one of my bikes, finished and packed up but still had half a bottle of beer left before I could leave. So I wandered over to the little 7, which has been sitting with the pistons soaking in CRC for a couple of weeks now, and as expected, I lifted it off the stands by the crank handle Had a couple more mouthfuls of my beer, lifted the head back off and gave the pistons a fairly gentle tap with a hammer and block of wood. nek minit NO FUCKING WAY! i’m chuffed to bits, it turns over beautifully smooth, and has no real marks in the bores that I’ve seen yet. We pulled the dipstick and it’s full of oil that looks better than the stuff in my daily. The original goal of “get the wheels to turn” has crept now into “let’s see if we can drive it out of the shed”1 point
-
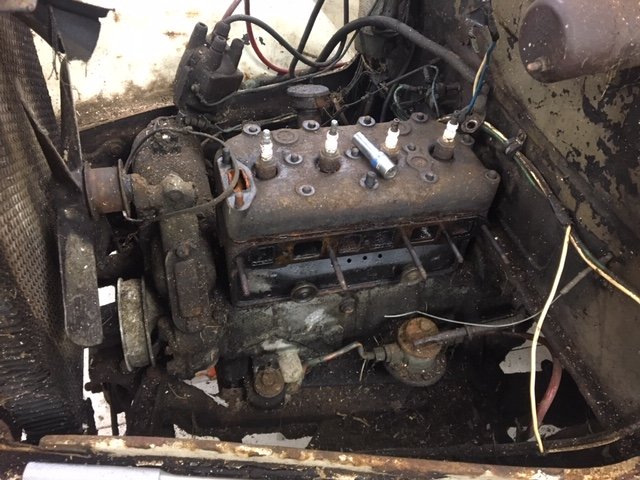
At this point the efforts to try and get the engine free'd up had been to grab the crank handle and lift the car off the axle stands while seeing if it will turn... some 2 stroke oil and CRC down the spark plug holes didn't help, so I pulled the head to see what the state of things was. I was worried that the valves might be stuck in the guides and didn't want to damage them trying to force the crank around, so I took off the manifolds and exposed the valve springs to see if they were free. All but one moved nicely so I fed the one some CRC and left it for a week or so.
1 point
-
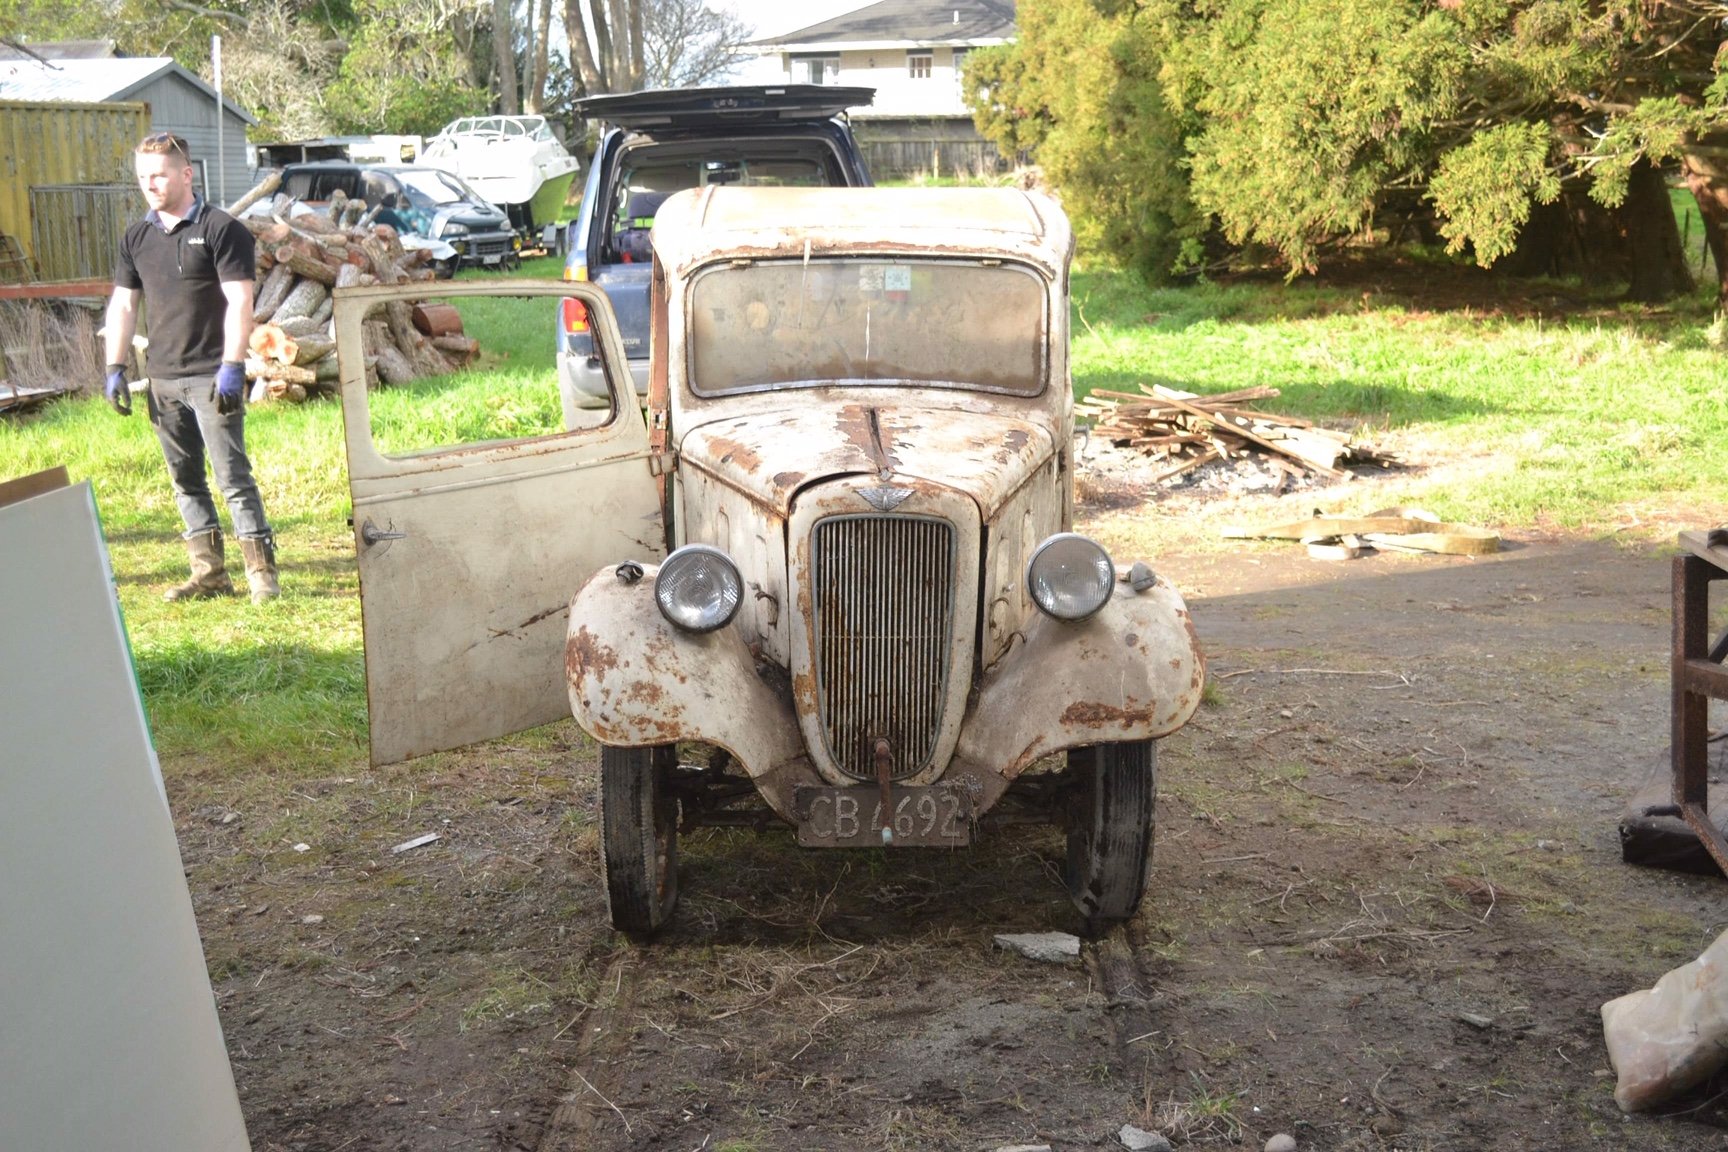
We took the car to my dads workshop as he has a bit more gear than me for getting things free'd up, the initial goal being to get it to a state where it could be pushed around and easily moved about the limited space of my own workshop. We got it into the shed, jacked it up, squirted some CRC at the wheel studs and left it overnight. I came back the next day to start the mammoth task I was expecting to get the wheels off. Armed with a range of metric and imperial sockets, I found the nearest I had to the BSW (*shudder*) wheel nuts and gave an exploratory lean on the breaker bar for the first nut. It turned easily and then came off by hand... NO FUCKING WAY... I repeated this for all 12 nuts, yes it has 3 stud wheels! What I had set aside an afternoon for, took me less than 5 minutes. I later went to take the bonnet off it, it wasn't attached properly and only had one bolt in it. No tools required here, I undid this 82 year old bolt with my bare fingers... As I said earlier, this thing has given me a few surprises about how easy it is coming apart. This is probably a good point for an explanation... When grandad parked up a car for what he thought might be quite a lengthy period of storage, he had a habit of pouring a few gallons of waste oil over them. Makes a hell of a mess and collects every spec of dust and dirt, but it does an impressive job of keeping everything working. The 68 Rambler Rebel in the background was in the shed next to this, and everything on it moves and functions and it has minimal rust due to the oil protection. The floor pans in the austin look as though they have had a tube of grease smeared over them, but zero rust there. The only real rust on the Austin is around the spare wheel, and in the sills, where the oil didn't really get. I've been having a tinker to try and get the engine free'd up. So far I have managed to remove the head, exhaust manifold etc, all without any broken studs. Thanks grandad! In fact the only thing I have found seized up on the entire car so far is the lever for the folding front windscreen (and the engine...)
1 point
-
So given this complete bombshell of how easy this was looking like being, we put a strop around the diff. Put the VX landcruiser in low ratio, and gently towed it out of the shed. To blow my mind even more, I think I jokingly said, "wouldn't it be easy to steer if I could wind the window down" at which point I grabbed the window winder and wound down the bloody window! This little car blowing my mind with how much of it still works is kind of becoming a theme.
1 point
-
1 point
-
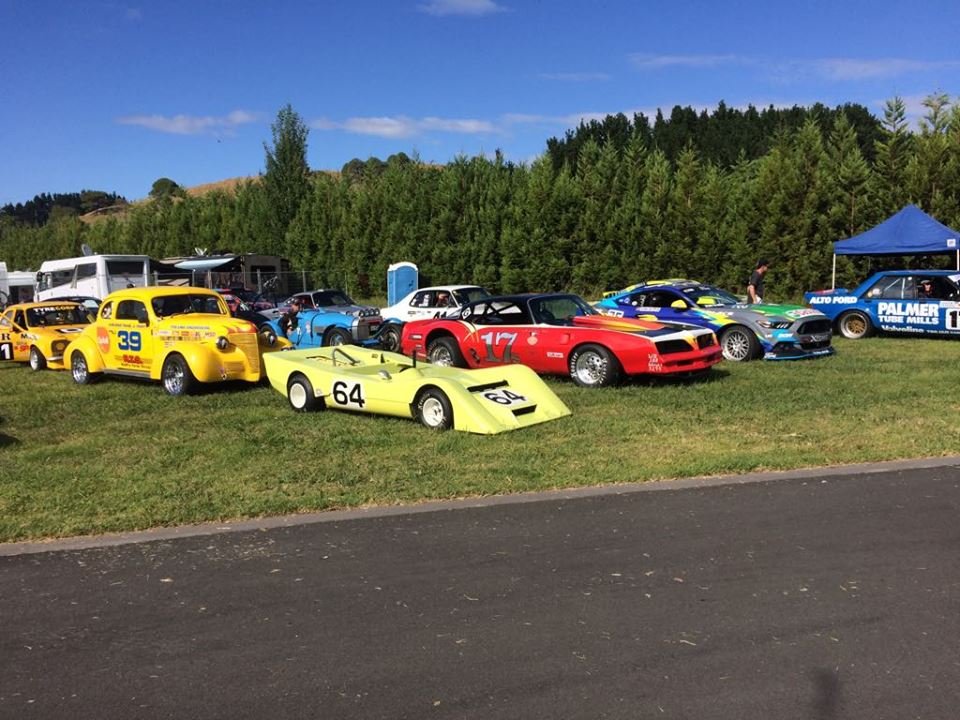
So I had this at Hampton downs a couple of months ago for a race car track day. It went very well and is awesome to drive. Really good to get it on the open track and stretch its legs a bit, The sound it makes opened up in 4th gear is amazing. Towards the end of the day it started not running right, very much like it was lean so we packed up and went home. I pulled the fuel injection unit off to learn about it and try figure out what the problem was. It’s quite a neat unit that Dennis has come up with. It’s very simple in operation, with all the workings of a mechanical injection unit but the fuel doesn’t actually get injected in under pressure, it is sucked through the fuel nozzles by crankcase vacuum. The problem with it was with the diaphragms in fuel regulator units that are part of the injection system. After replacing those and putting it all back together it ran perfectly again. I’m driving this at Leadfoot next month, have a few more final jobs to do and then it’s good to go.1 point
-
The Spider has been resurrected! I'm extremely pleased with how its turned out and very exited for the future of racing it. The last few weeks I have been through the mechanical's. Pulled the brake system apart for new seals (apart from Dennis's homemade brake piston seals, they are ok luckily!) Only one master cylinder needed re sleving. After a new fuel filter and battery the motor fired up, was quite smokey to start with as you can imagine but with a bit of running it cleaned right up. It makes is an extremely loud, crisp, angry, un-muffled, expansion chambered 2 stoke sort of noise. Had a bit of a drive, could only get it into 2nd gear in the space available but acceleration is spectacular. Brakes work well, the clutch and gearbox is very nice but might be slipping a bit so will have a look at that. I also got the front wheels painted, one of the jobs Dennis never got around to doing. Allport Motorsport brought me in a fresh pair of Hoosier slicks. The compound is R25b which is the softest Hoosier do, the only compound available in this size. Their extremely sticky, even cold! This is going to go round corners like its on rails. If anyone knew of deals to get these slicks cheaper in the future i'd love to hear from you! One thing I need to sort out before racing is a new harness, Again if anyone knows where i can get a new blue Simpson like the one it has that would be awesome.1 point
-
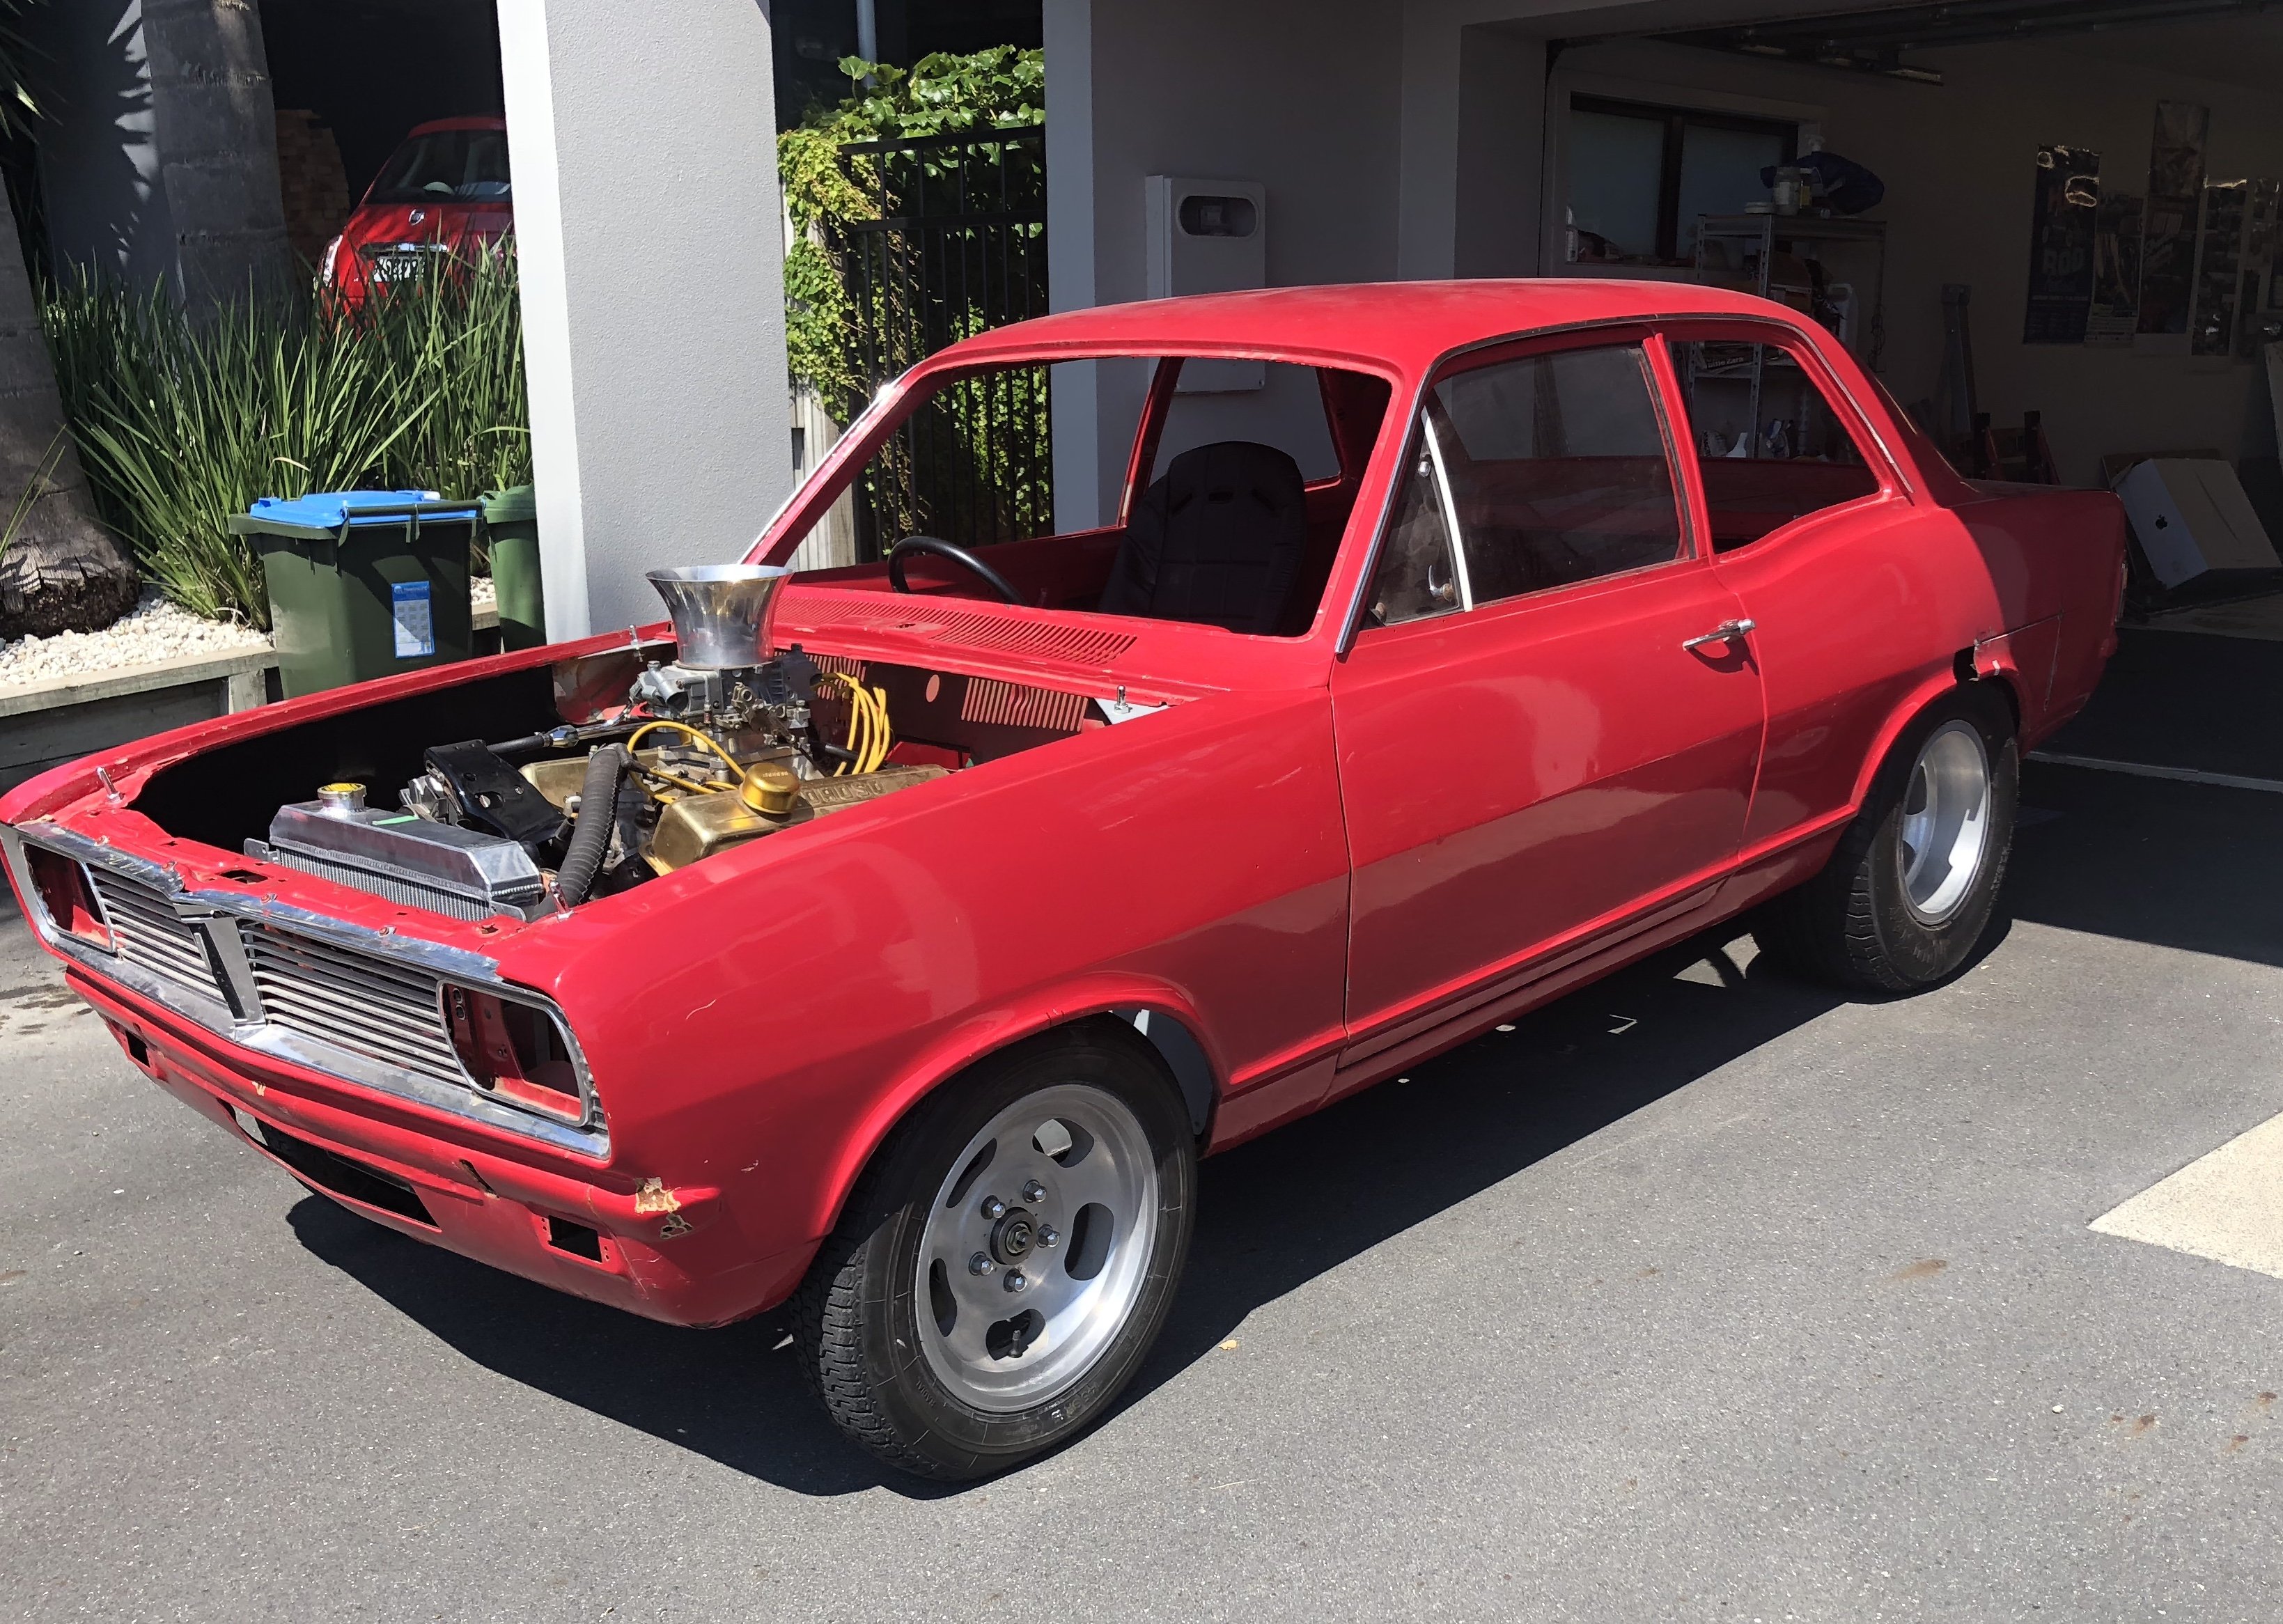
After much sanding and painting the body repair is finally finished! The original number came up great with a cut and polish I hope to never have to piece this jigsaw puzzle back together again..... I will get a some pics of it with the body on shortly. Next job is to get the mechanicals sorted out. Every thing is in very good condition so it shouldn't take much.1 point
-
@Threeonthetree can you organise a winter shed raid with 98cc garage as the main attraction???!!!1 point
-
omg this is blending two of my most favorite things.... a good story and cars. So so so so so good. Was there a practical reason for casting his own wheels? sizes not available here or something? These days virtually nobody would consider casting their own wheels for a race car!!!!1 point
-
All shaped up. I made some formers from the other side to get the shape exactly right. Used 80 grit builders paper to shape the foam, very easy to do but jeez it's messy! And the first layer of glass on Next up is another layer of glass over the whole front and then flip it over and do the inner guards1 point
-
Right hand side going back together This guard was very broken but after a bit of cutting i was left with just the arch. This had 2 fairly clean breaks and glued back together and fitted back onto the body well. The front was very munched so needed a new foam block. It was good to be able to reuse the arch as this defines the rest of the guard shape. I didn't get any pics but i rebuilt the inner structure so it looked just like this, a handy picture to have! And glued on the foam sheets. There is one more sheet to glue in and then its ready for shaping1 point
-
Yes VG it has an open diff, as Raizer says with one axle effectively broken the wheels wont drive. As the gearbox is bolted directly to the engine the main shaft is always spinning. This means that there is no need to double clutch but the clutch is used for all gear changes. Dennis made a new gearset for the gearbox which is dog drive and added an extra gear to turn it into a 4 speed instead of 3. The last wof it had was 1994..... Dennis cant remember the weight but he thinks its about 400kgs, i will have to get it on the scales sometime. He also thinks that the engine is putting out about 150hp and there are still some things to be done to it, raising the compression being the main one. Yep spot on, he still has this in his garage! Posts without pictures etc etc... The rest of the structure glued into the front box And gluing the base piece on, various weights from around the shed helped with this task! Next job will be fitting this to the body1 point
-
The only way it could be any cooler is if he drove it to work on Fridays.1 point
-
Sound sample will be coming shortly.... Yes Dennis managed to get the styling exactly right. Probably a bit of influence from the Mclaren Can Am cars of the period I imagine. After piecing this jigsaw puzzle together I was able to make an accurate pattern to cut out the new top piece for the front structure plywood box Marked out Cut out And the first bits of internal structure in. The air scoop box on top was able to be glued back together, this has the original number on it so i have masked it out to protect it until the painting stage1 point


.thumb.jpeg.384ff72c8d2b0ee0d34a7bdedb55bdcf.jpeg)


_sedan_(23230030334)(1).thumb.jpg.34d765361d66c78db614bae6ea2c156a.jpg)


.jpeg.2ff3bfe28334b0c9135accf0009742c7.jpeg)


This leaderboard is set to Auckland/GMT+12:00