
Leaderboard


Popular Content
Showing content with the highest reputation on 07/30/19 in all areas
-
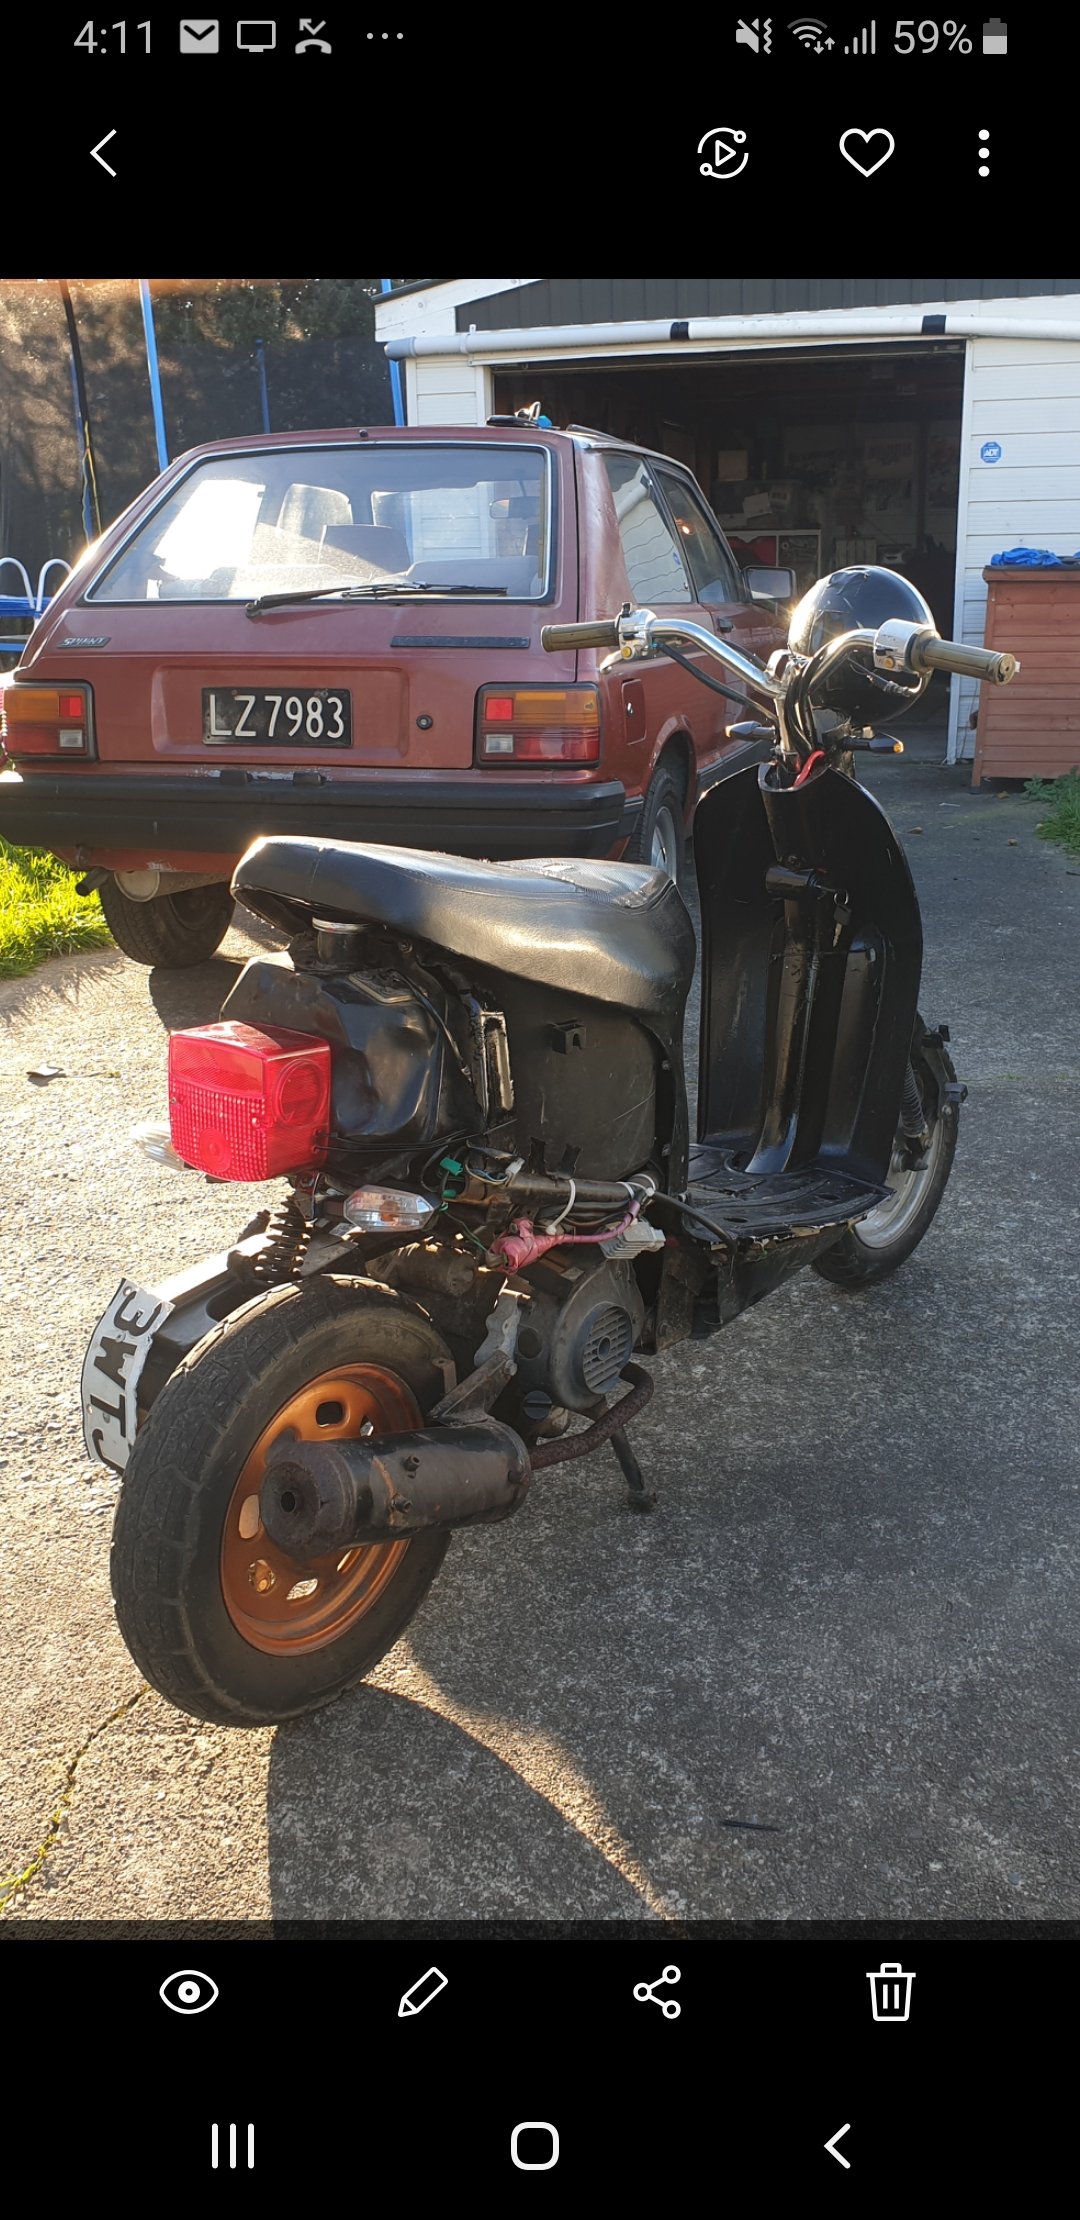
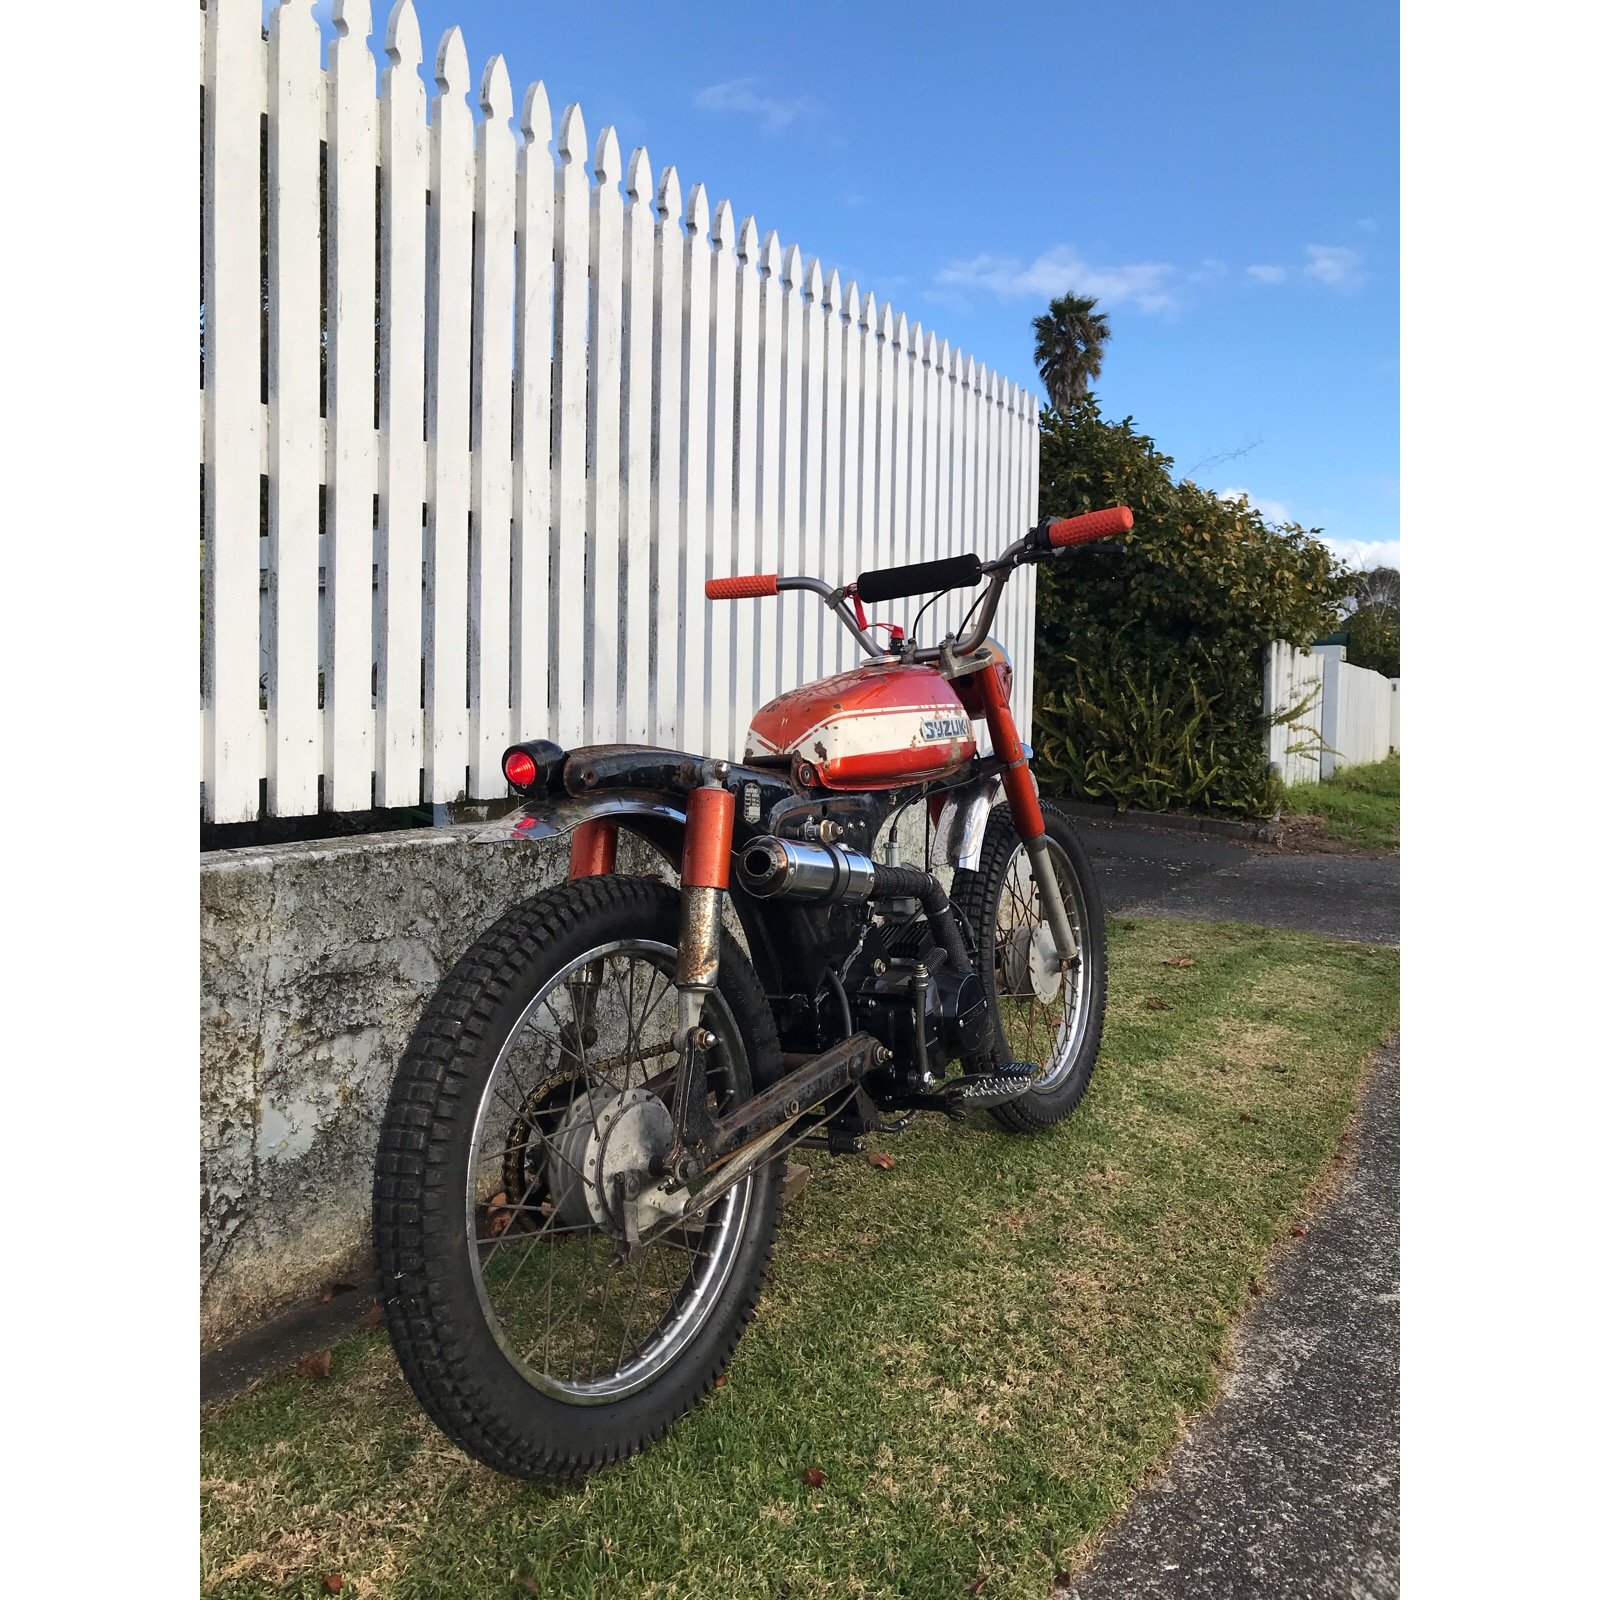
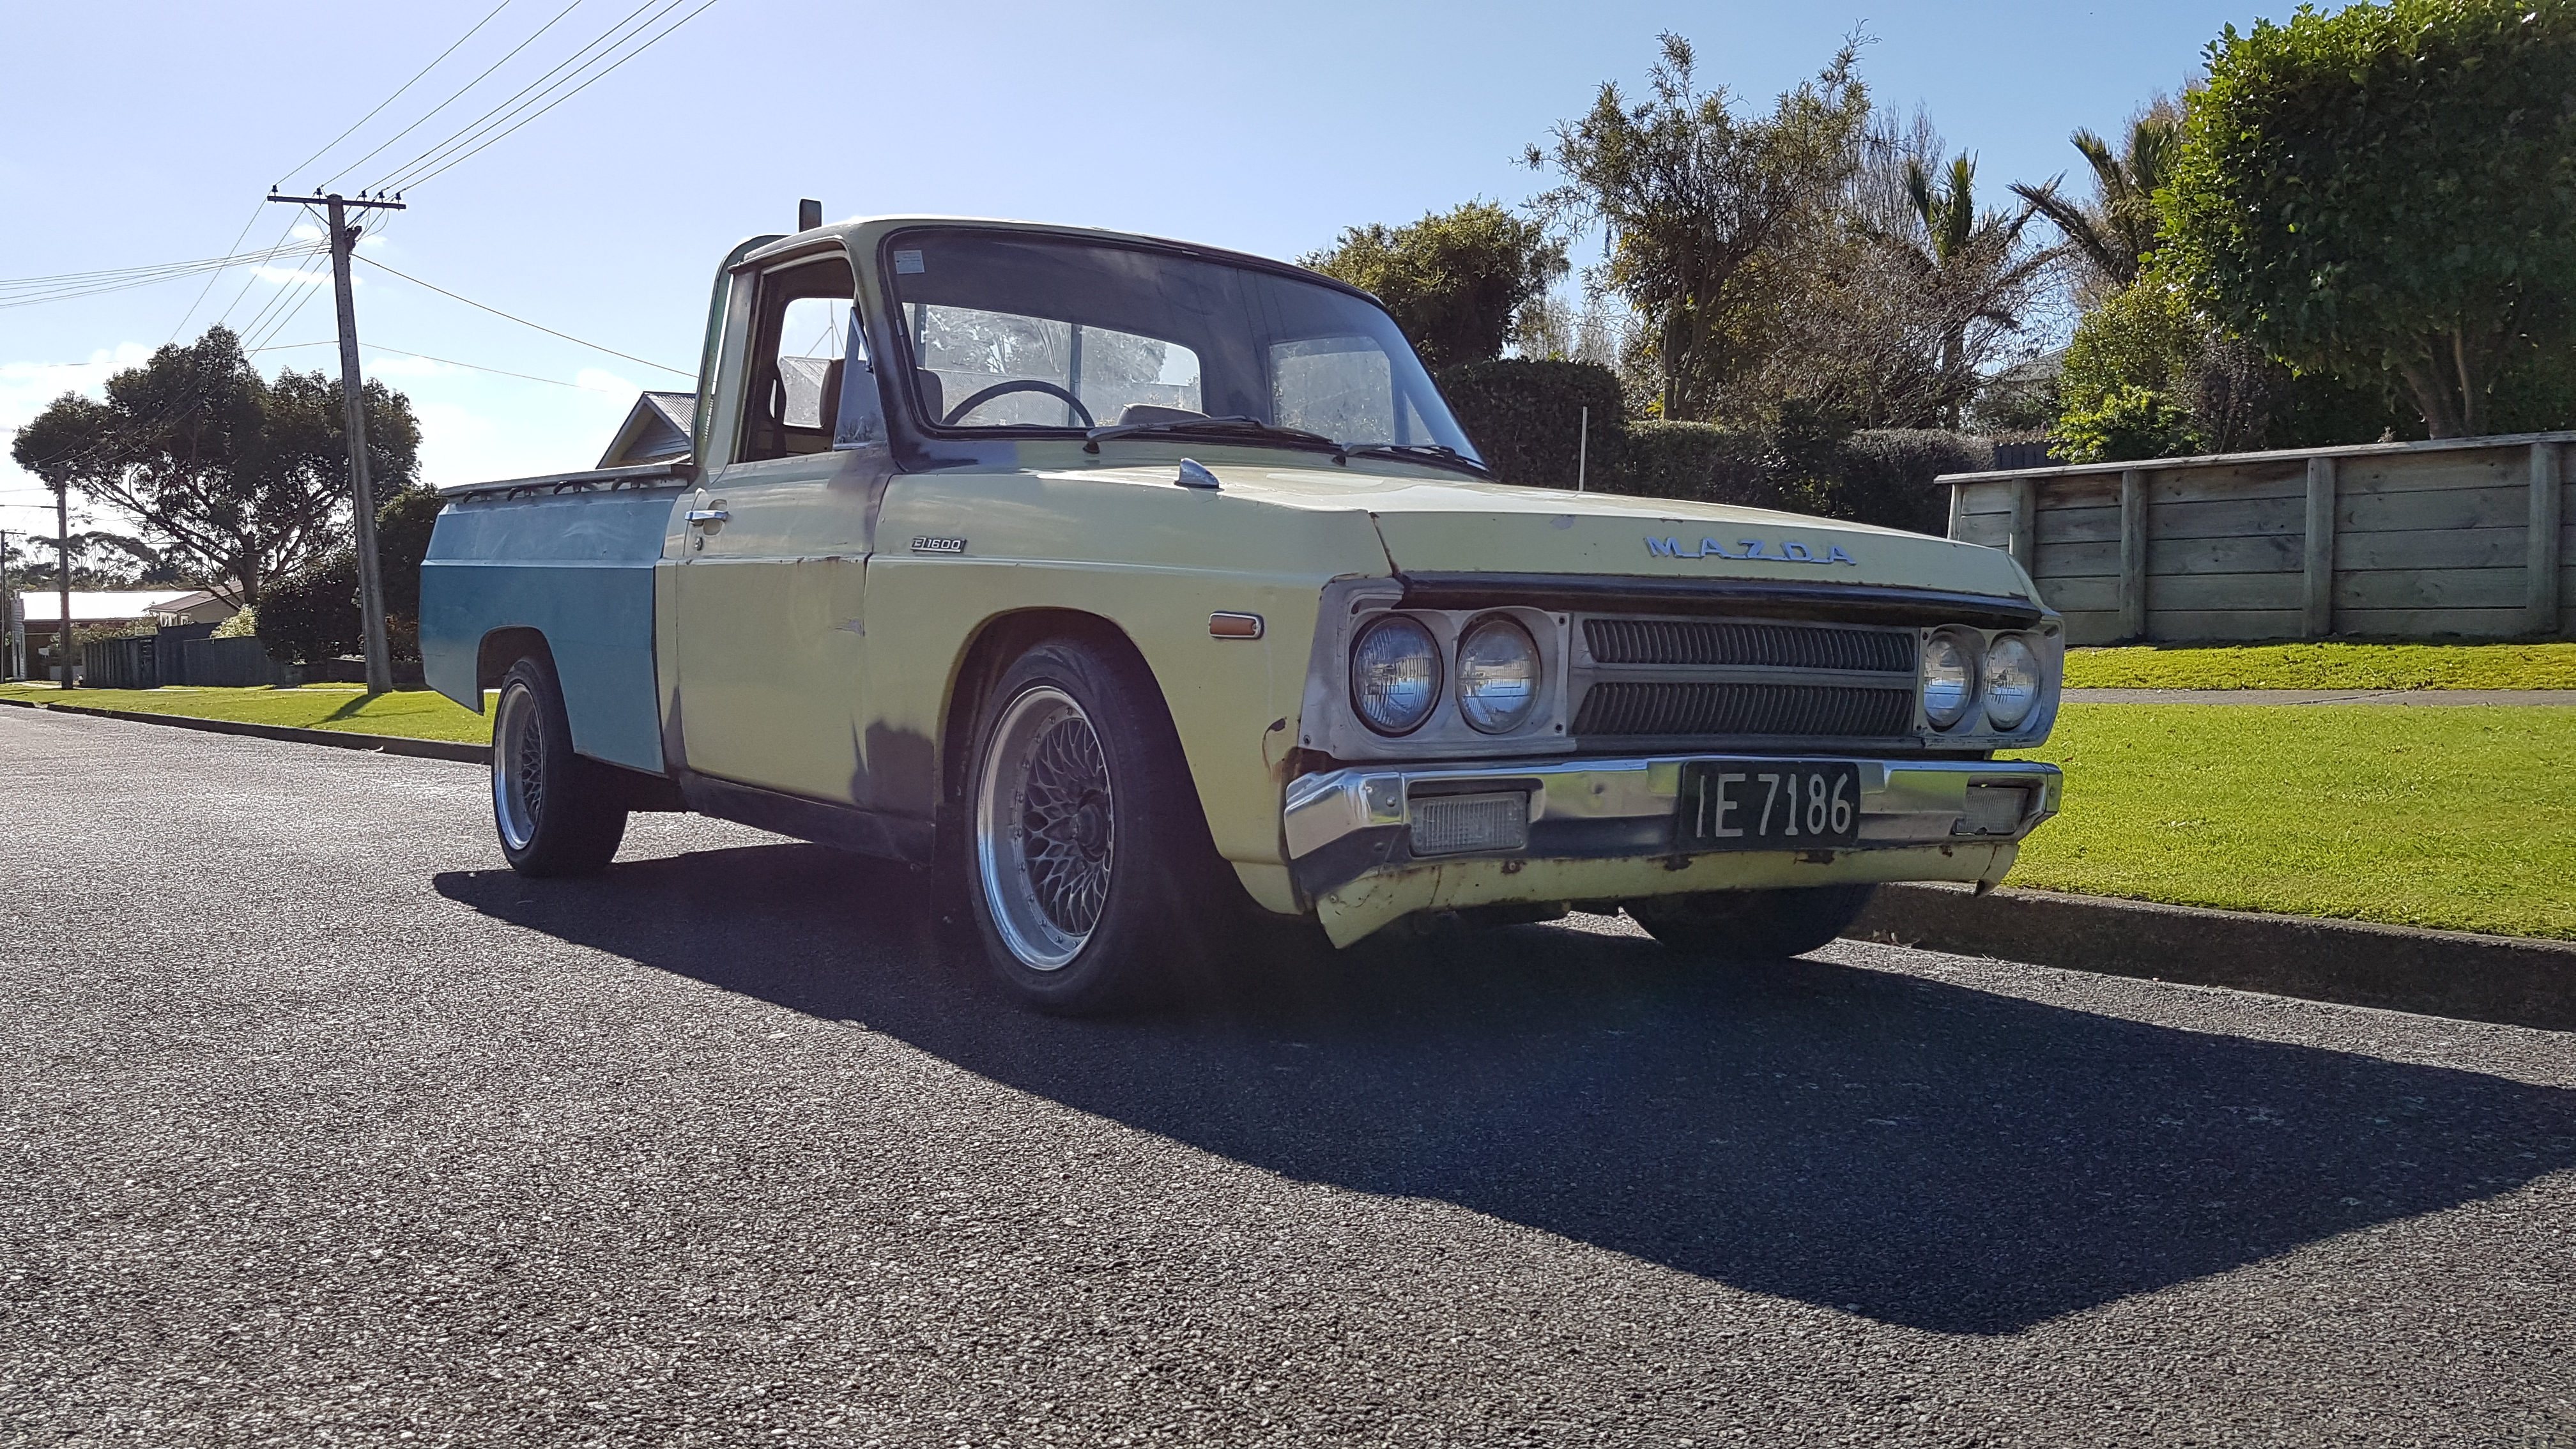
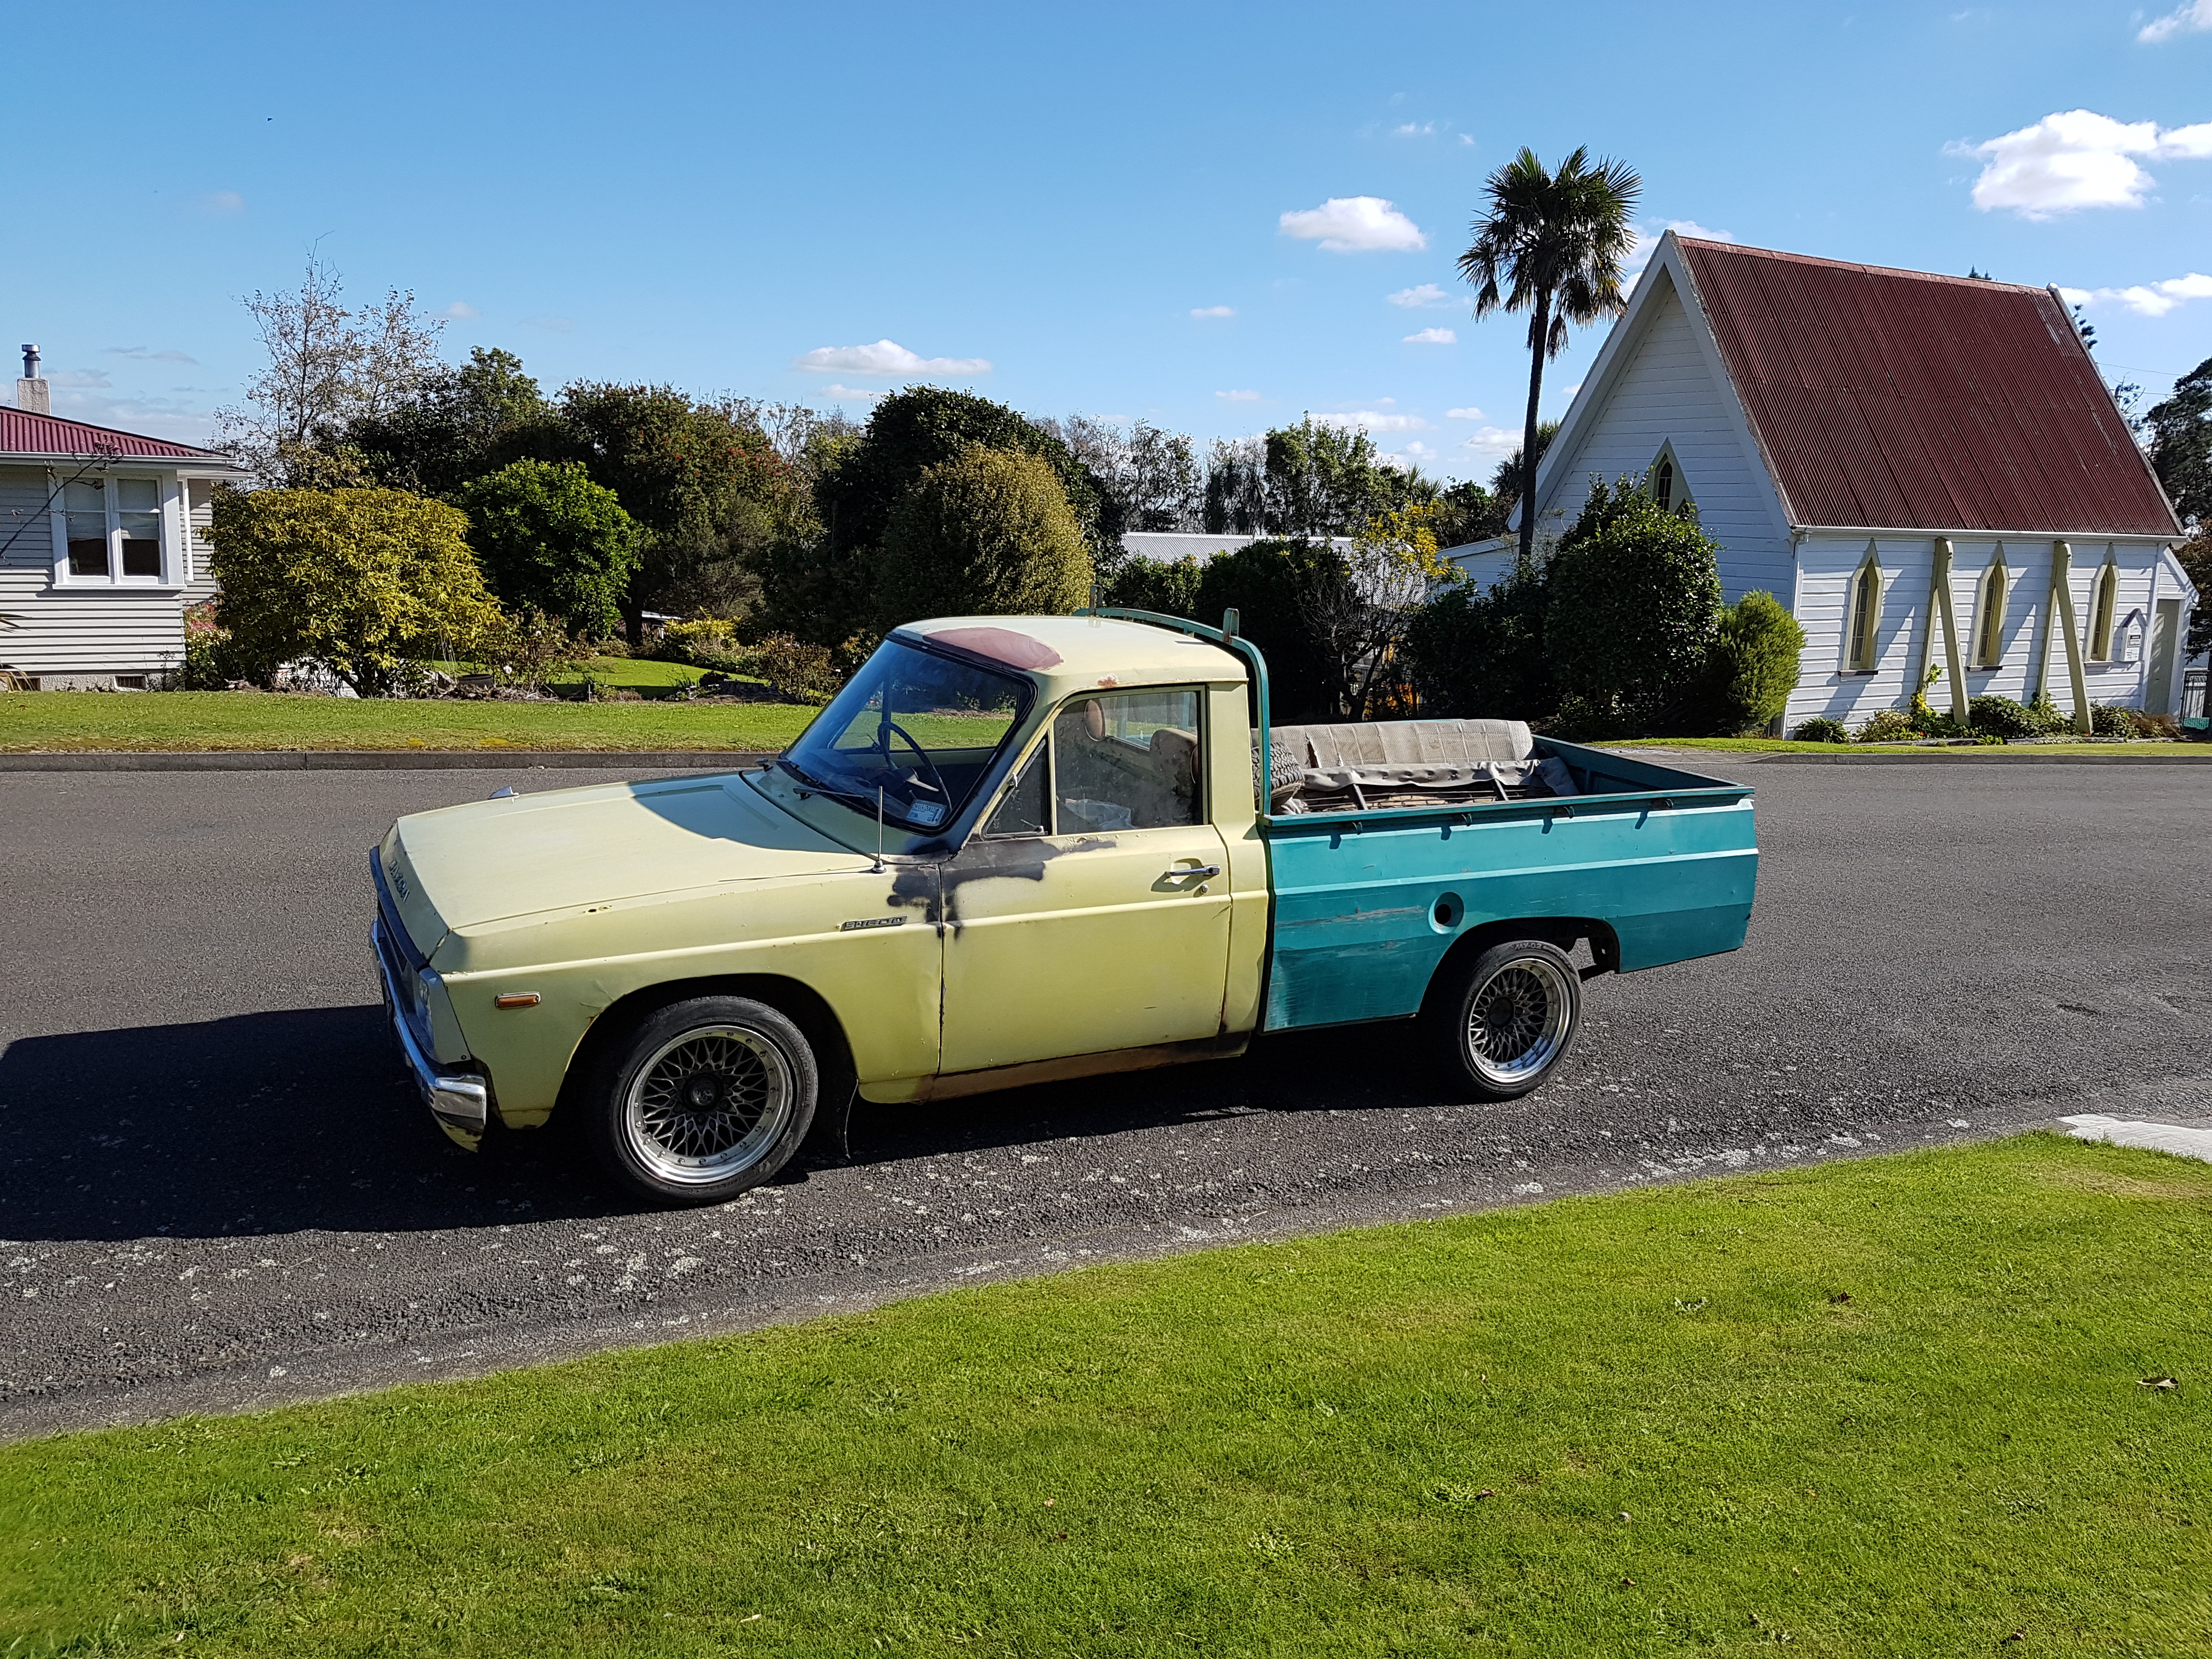
Just about ready for adventures. Fitted up some golden boys (tires), rather close fitment but seems to be all good....dreams of a front guard are gone haha. Tidied up the wiring etc as well so looks a lot cleaner now.
 7 points
 -
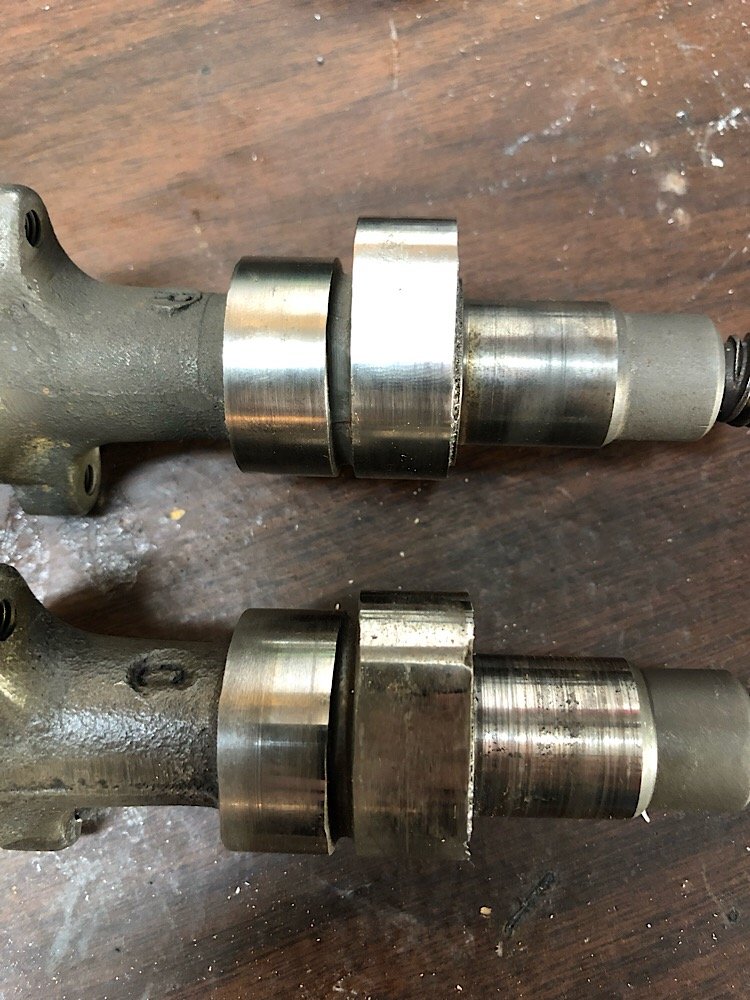
Engine build has been a bit more of a mission than expected. Found a replacement for the cam, new second hand one is mint compared to the old one. Can see the old cam on the bottom with chunks missing from the lobe and grooves ground into the surfaces. Also found some good replacement rockers as those surfaces were equally as worn. Pretty much all the internals are either new or as new in the engine, pistons, gudgeon pins, rings, cam chain, tensioner, cam, rockers, etc... hopefully this thing isn’t rattley when it fires up.
7 points
-
6 points
-
5 points
-
Cam shouldn't be coming onto any valves at tdc compression. I say timing 180 out.5 points
-
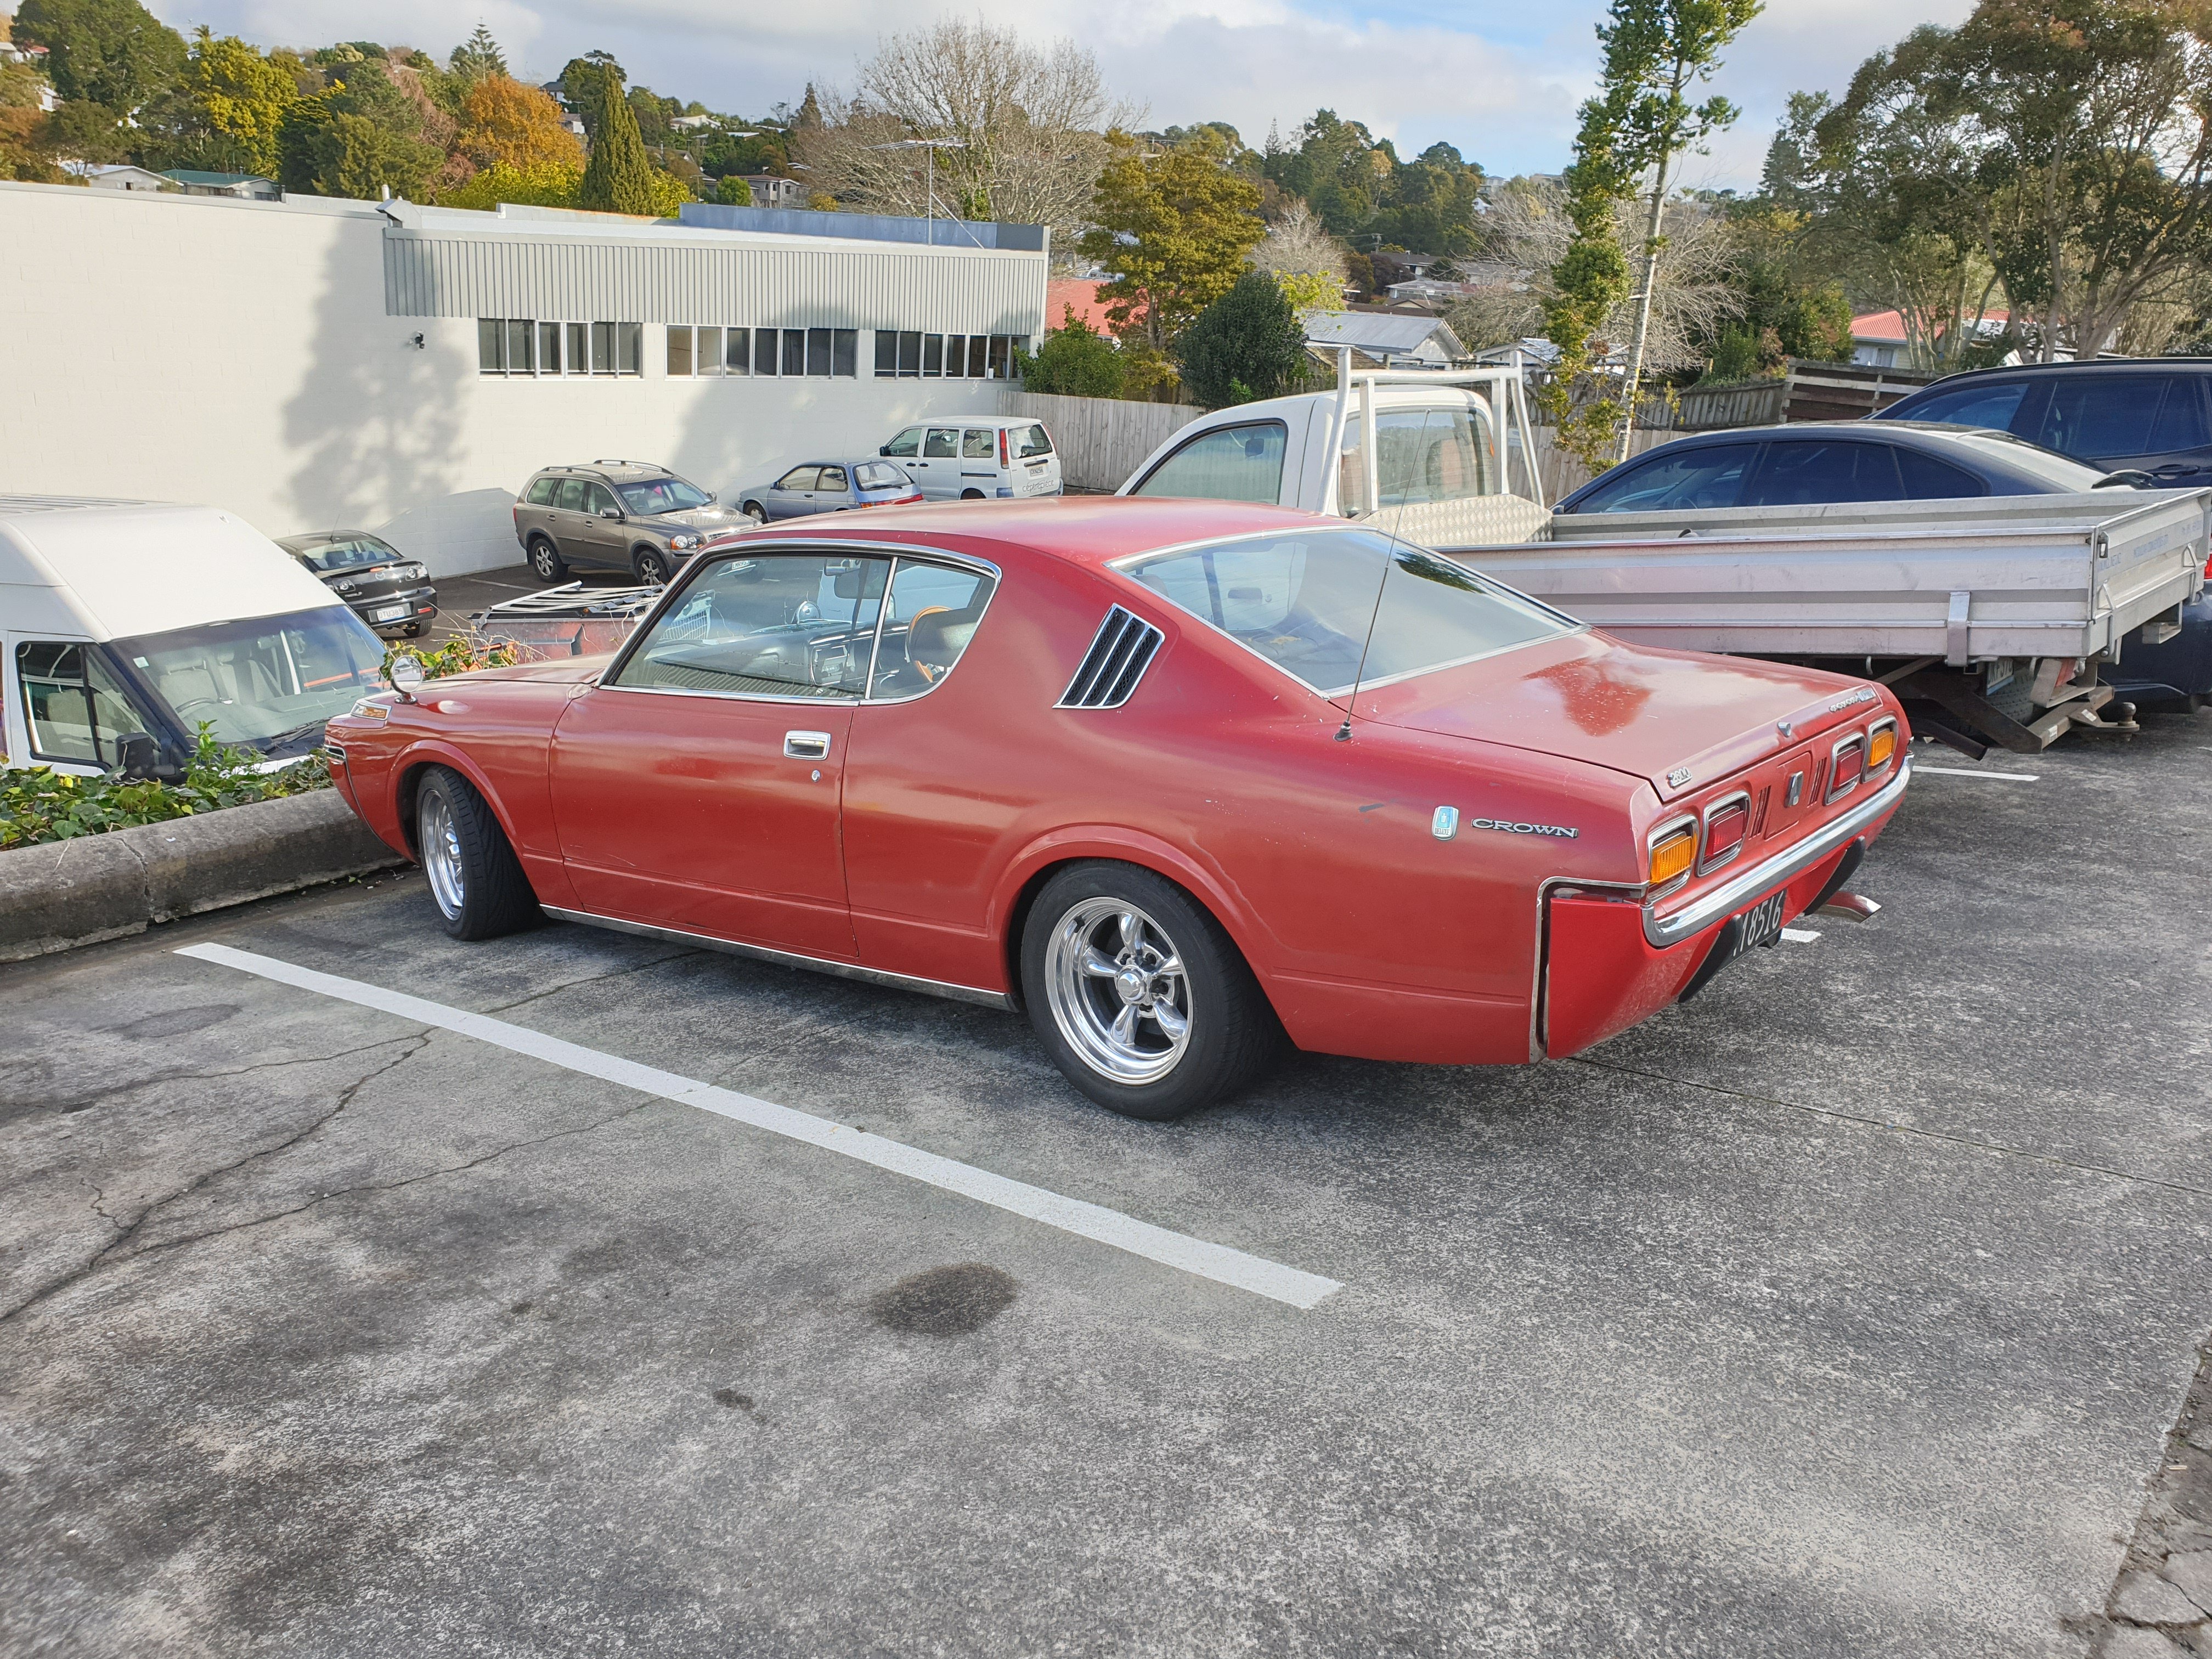
Well today the car passed the compliance recheck and I now have 12 months REG and 6 months WOF. Thanks to those that have helped me during the build. Now it’s time to relax and enjoy the old sled. Beer o’clock for me I will be parked up at chrome this weekend weather permitting. Come say hi.
4 points
-
Hello OS, long time no see. So I'm finally trying to get this thing running after ignoring it for far too long. So many moons ago I got this thing running after buying it. Ran/idled well but the head was really noisy which ended up being tappets. Pulled the head off (6mge BTW) and replaced tappets, head gasket etc all that good stuff. Assembled head and reinstalled with new cambelt, and it sat for another long break after that, while I spent money on important things such as wheels. Had an attempt or two at getting it running after that but had no real success, would turn over but not fire. Now on the weekend me and @Hachi-ichi had a crack at getting it going. Checked spark, all good. Checked compression, all good, around 145-150 across all 6. Fuel seems to be getting pumped as you can definitely smell it when turning over, as well as plugs being covered in fuel. Also chucked some new gas as the old stuff had been in there for a fair while. Timing seems to be OK. At TDC with dizzy coming onto no.1 cylinder, intake cam is also coming onto no.1. But it just won't fire. It had a couple of little pops and bangs but nothing enough to keep it running under its own steam. Have a few more things to check/do such as new fuel filter and some other stuff but was wondering if there is something simple I can check or may have missed, as it seems like it should want to start at this point. Ta
3 points
-
The old Huntly east mine access roads now its all cleaned out would make an amazing hill climb. Would take a few minutes to ascend it.3 points
-
All legal. What a roller coaster.3 points
-
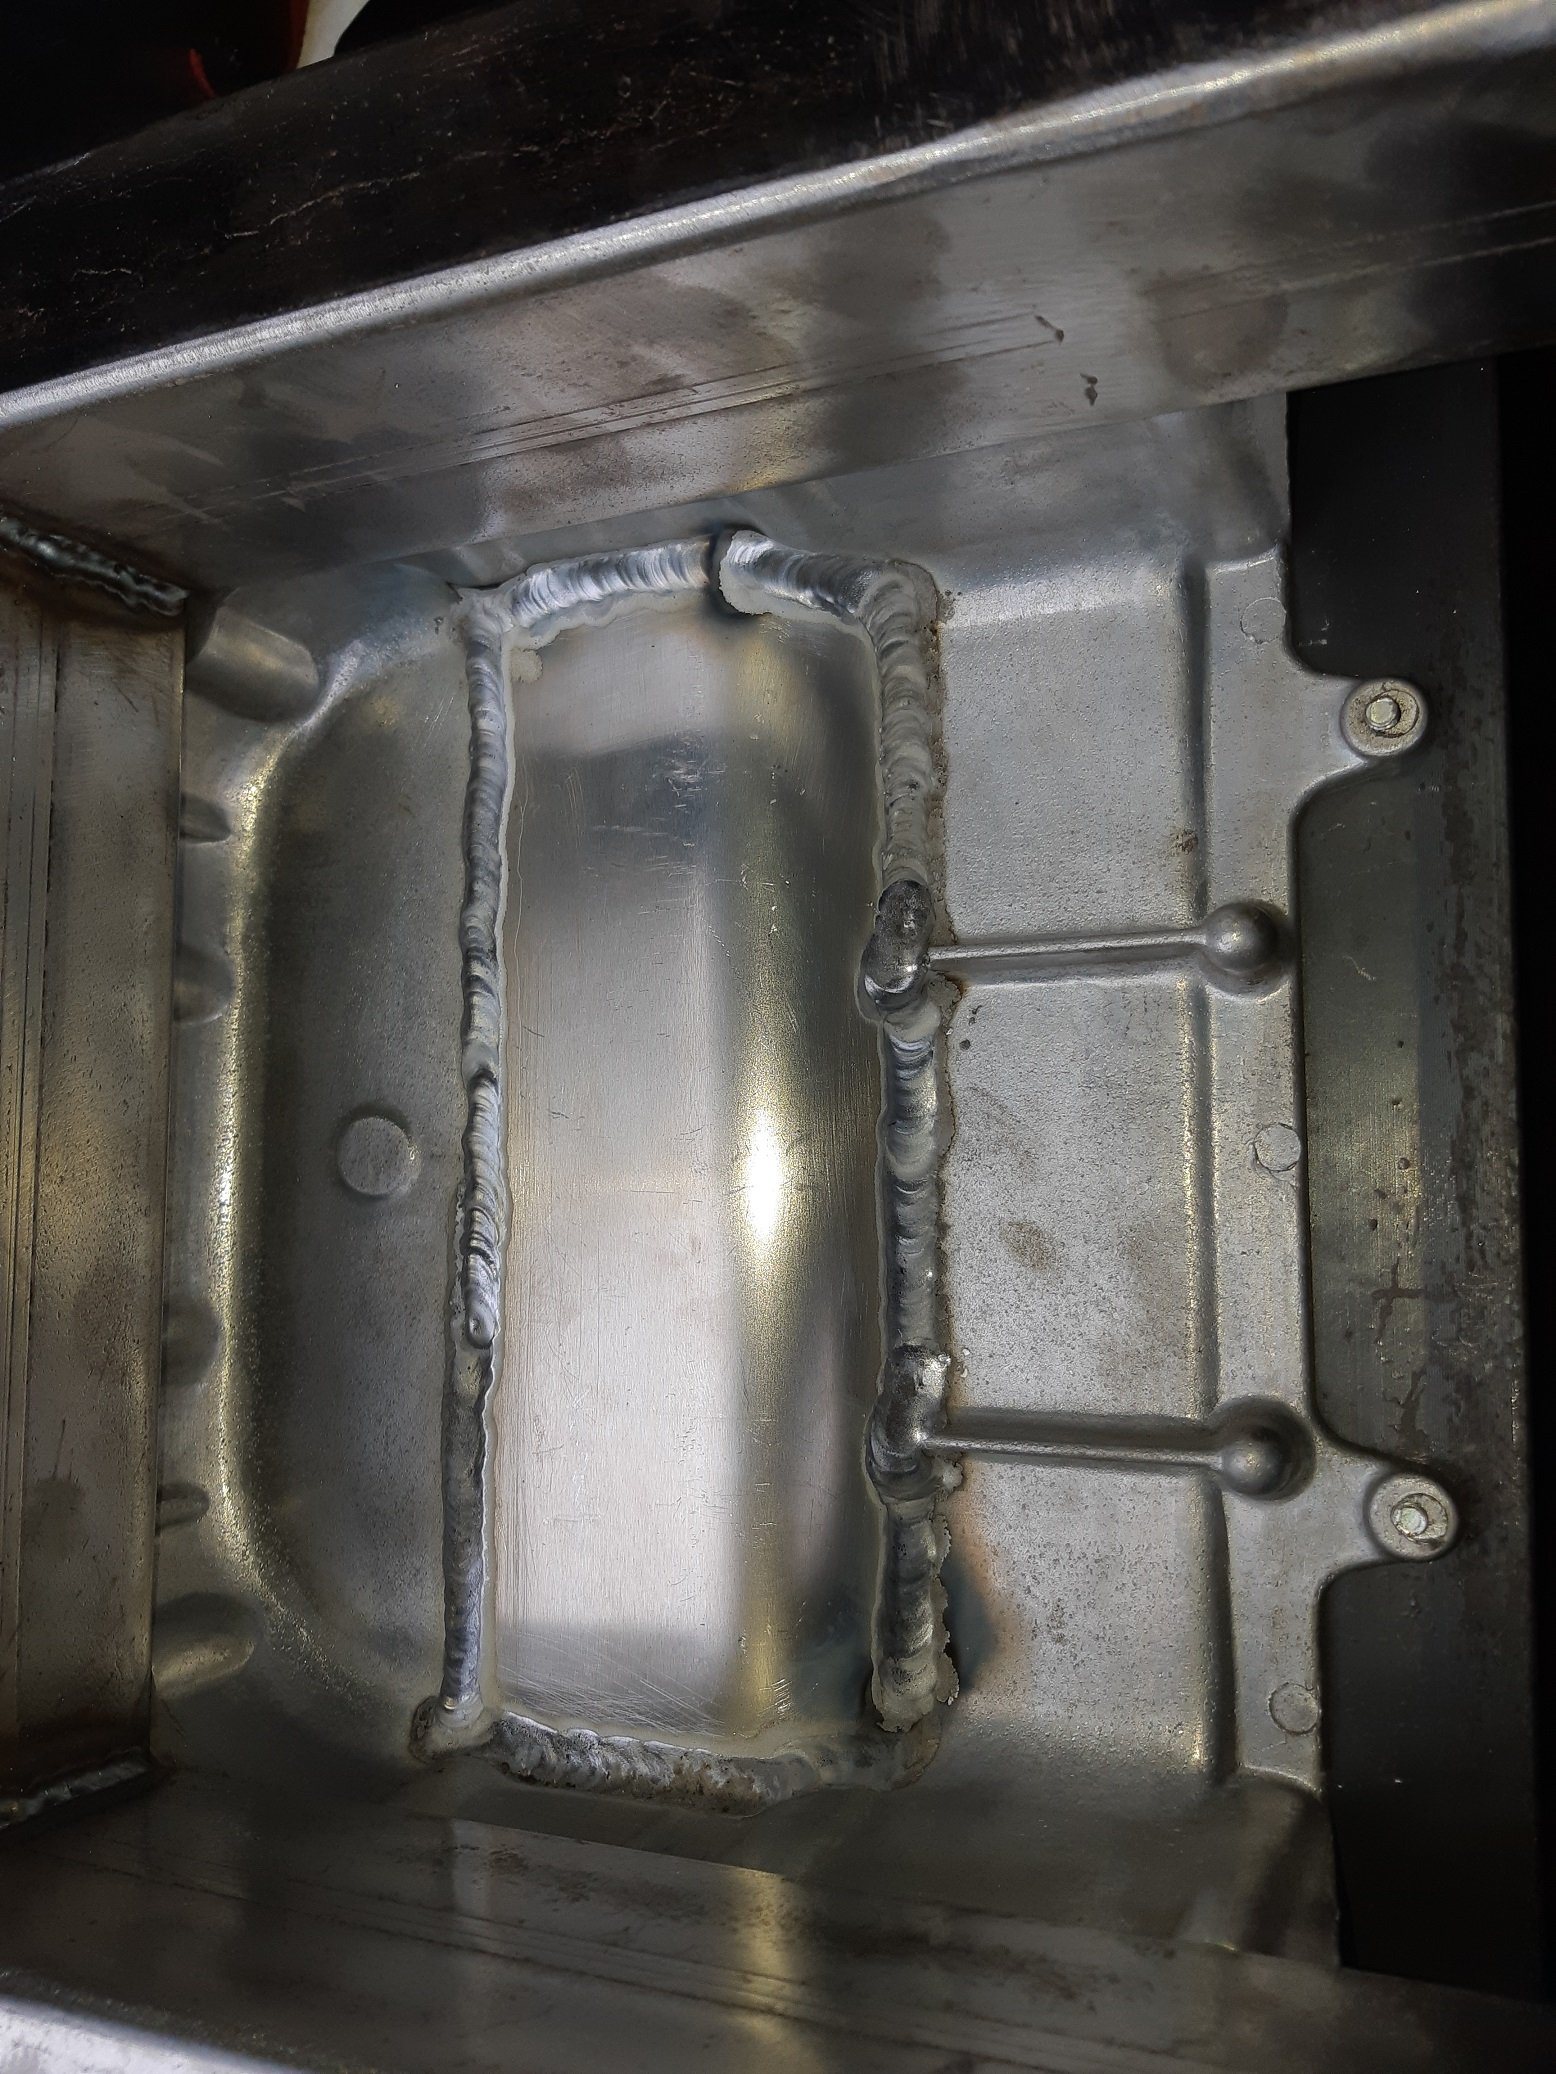
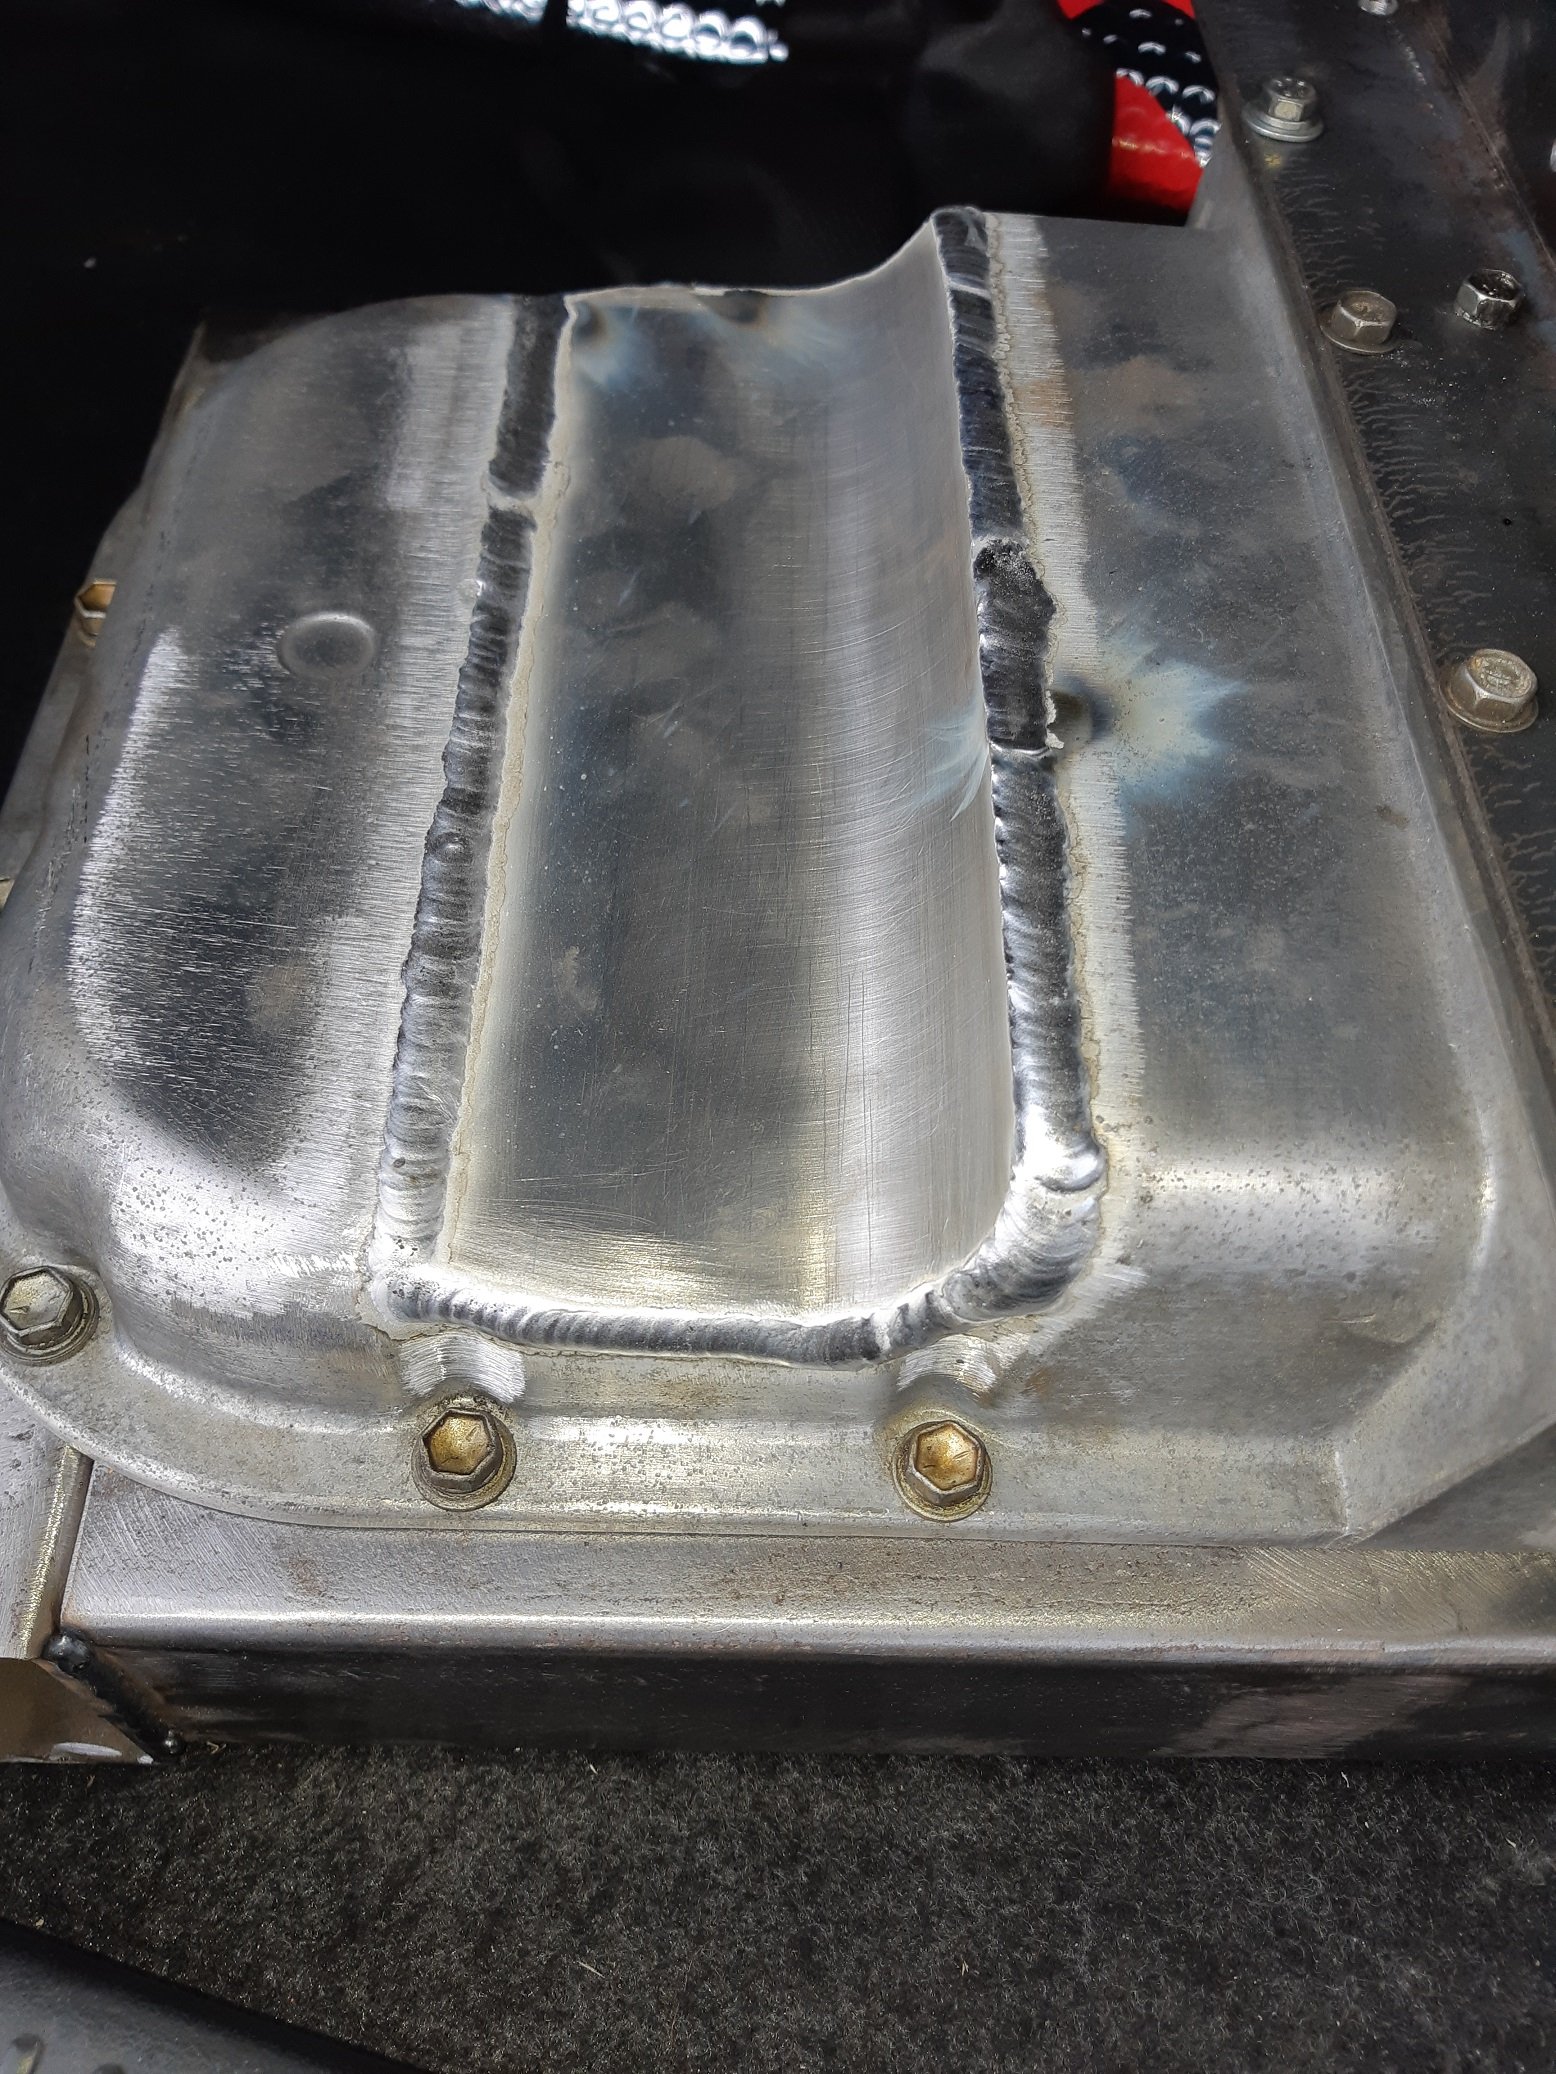
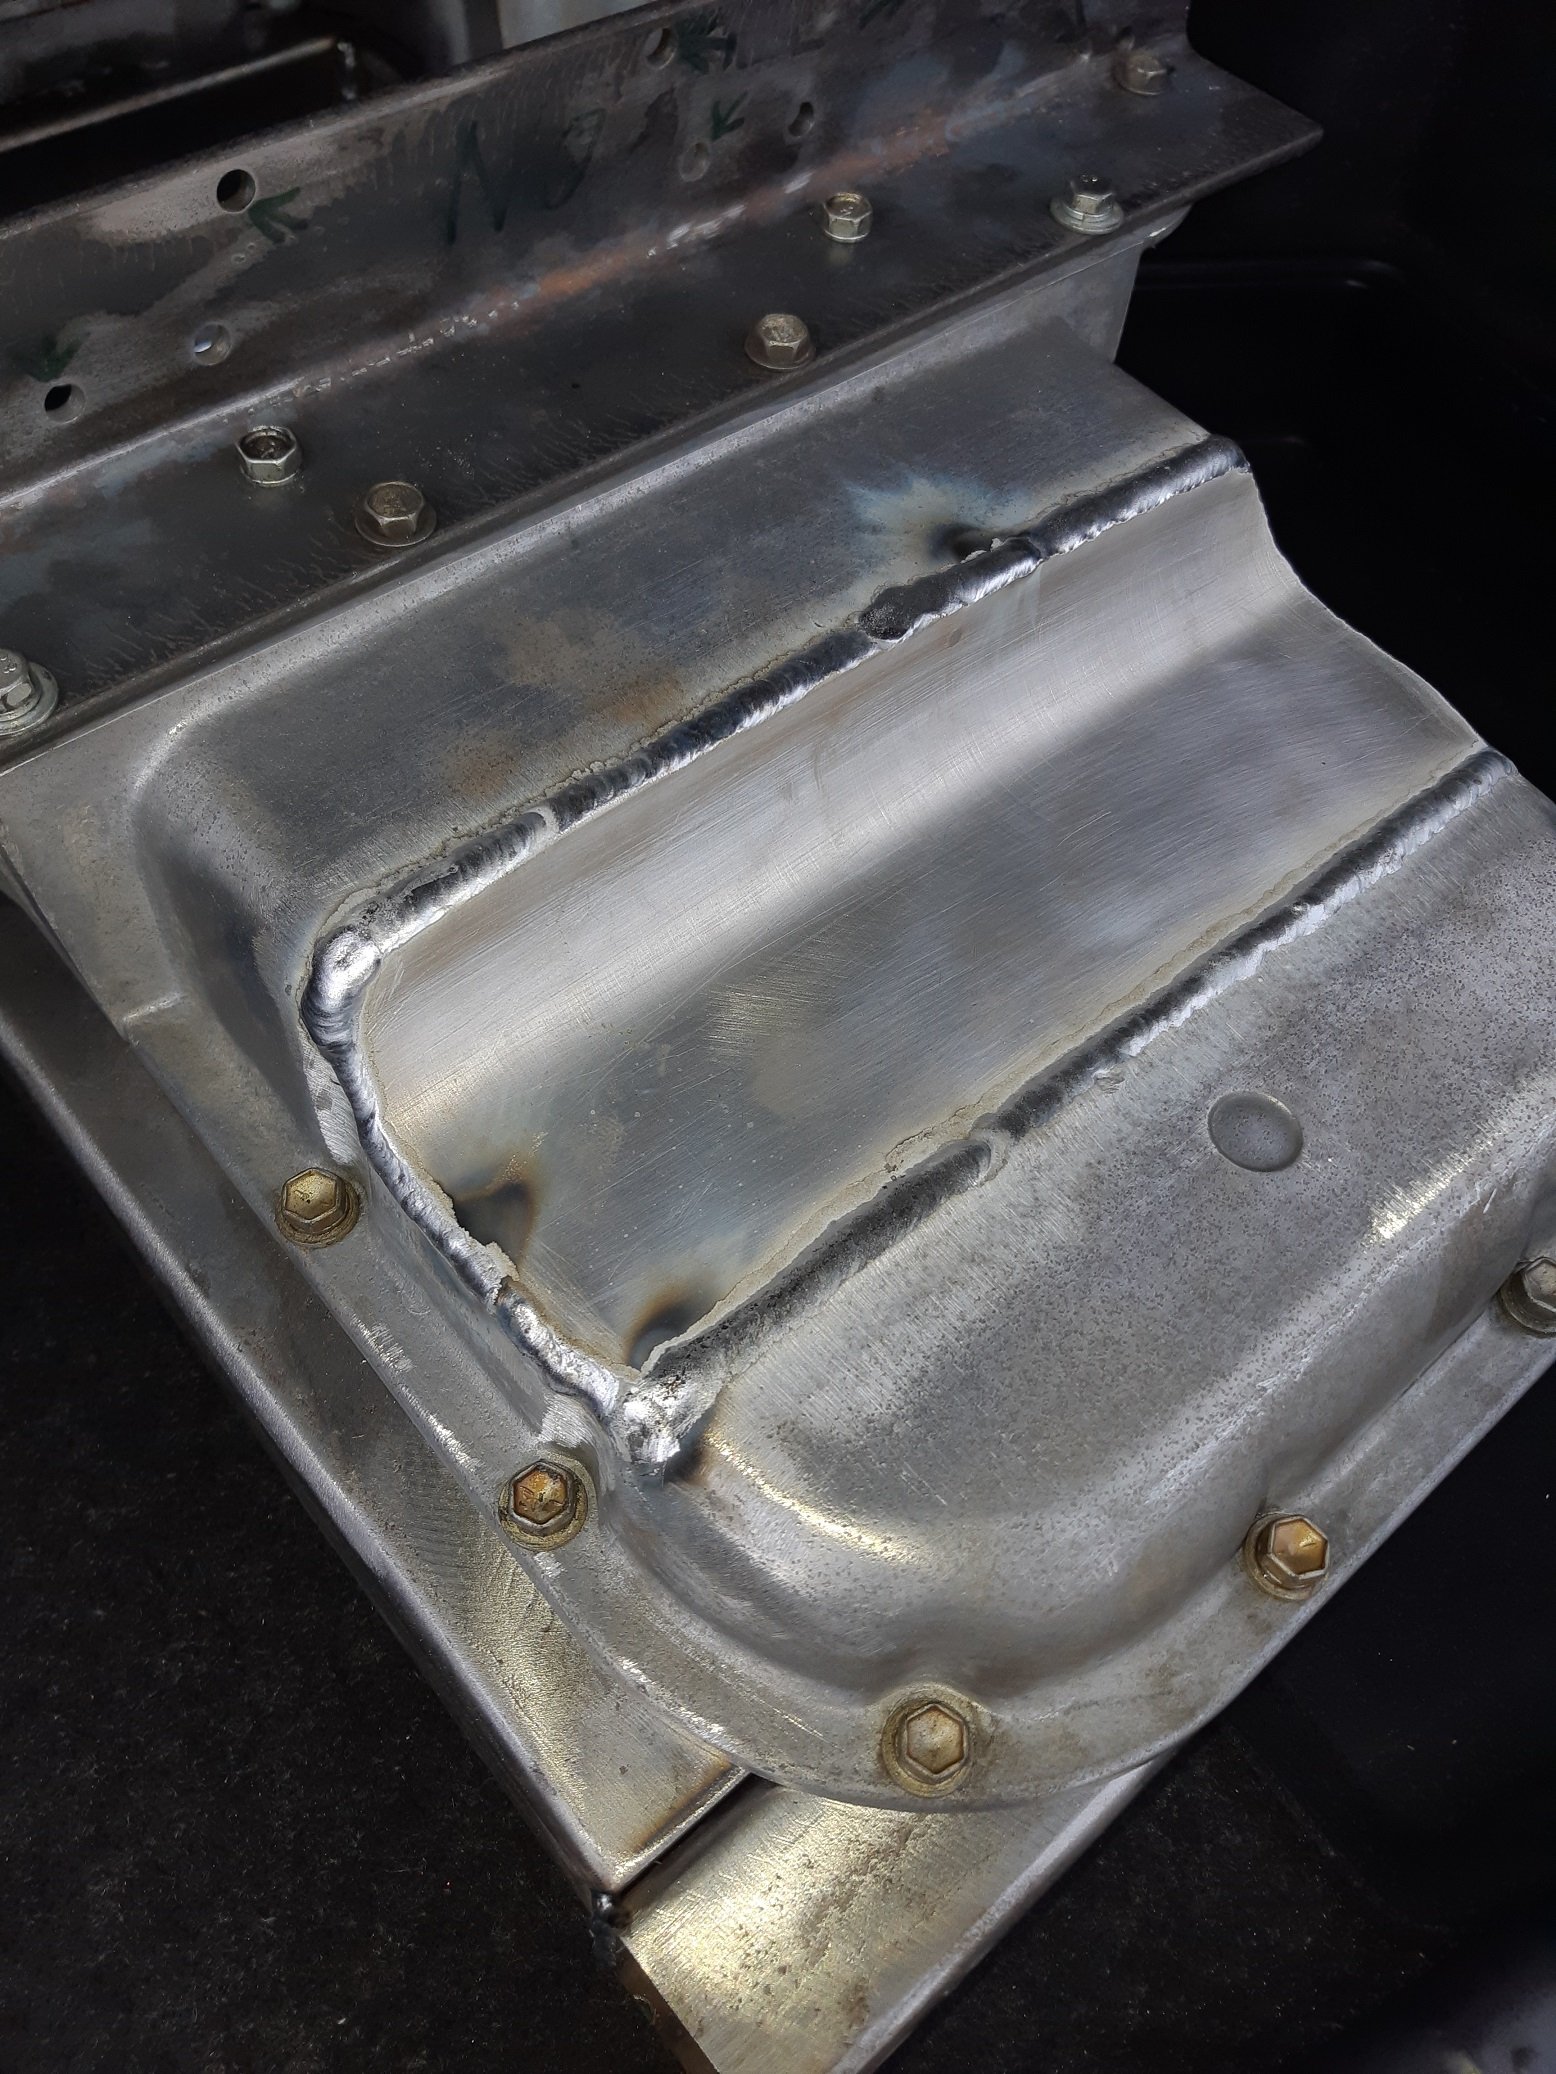
I modified my 1uz sump a while back. I welded it bolted to the block and it still warped. I found bolting it back to the block and putting feller blades between the block and sump in strategic places and tightening it down to try and bend it back, then using a gas torch to heat the sump to relieve the tension. It took a few attempts to get it back close. Then I machined the last mm or so out.3 points
-
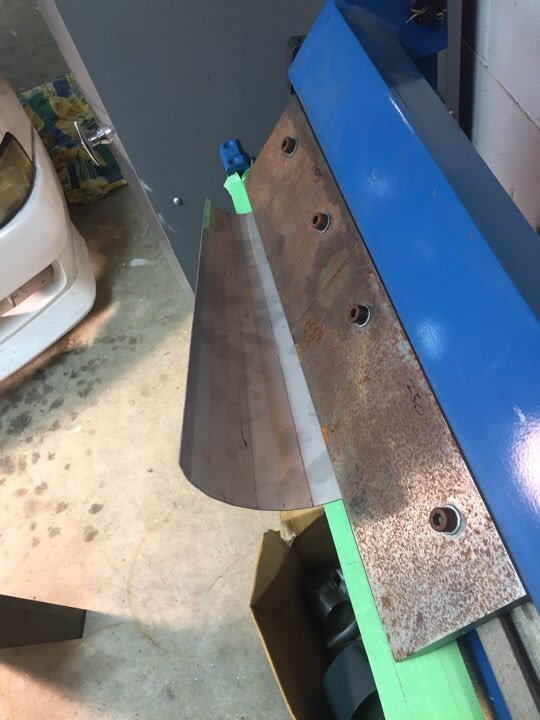
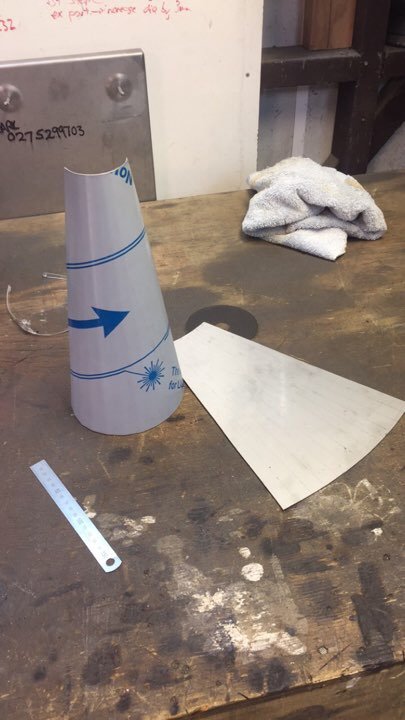
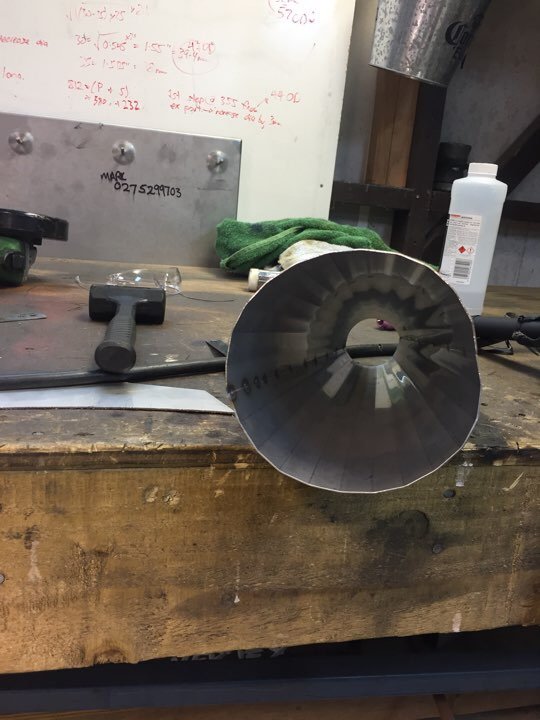
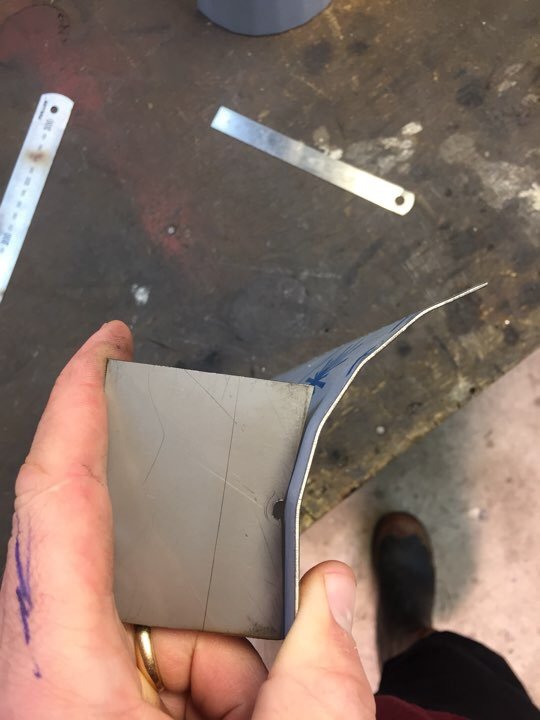
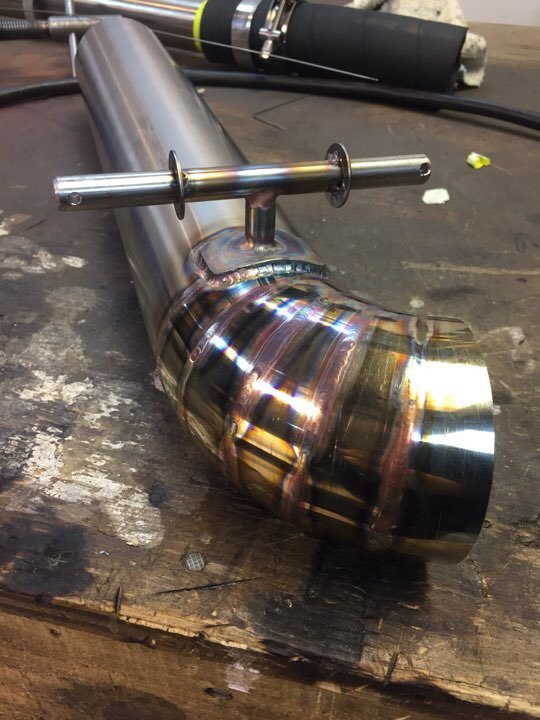
I have a bit of a tight spot at the end of my tunnel/fuel tank that required a tight bend. And I was being cheap so I bought some pie cuts from nzpiecuts on Facebook. showed up the next day A+ service! Turned out awesome no purging and bugger all penetration. Oh yeah and I over engineered the shit outa another exhaust mount.. I’ll post a pic of the finished product a bit later in the week! Full disclaimer I’ve got very limited fabrication skills I am a project manager who sits at a desk all day long. But I’ve been super enjoying making cool stuff so I thought I’d give an expansion chamber a go to test a few theories. Patterned it with the help of youtube I don’t have any rollers so just decided to use my small folder. due to there being 12 folds per half each fold is 180/12 = 15deg which is bloody hard at the best of times so I made a gauge so I could check on my progress as I went.. turned out not too bad got a bit of beating to do to get the seams to line up and make it round but not a bad start!
3 points
-
Slowly slowly getting there3 points
-
This morning, we fanged across to Caffeine and Classics, then rolled straight back home, where I had intentions of mowing lawns and doing general yard work. Anyway I started cleaning something in the engine bay. Next thing you know it was 6:30pm and I'd just finished cleaning up - after giving the whole engine bay a bit of a tickle with some cleaning products and a range of brushes and micro fibre cloths. Shit I used included - diluted Simple Green (beware, some people have had this stain alloy), Armor All Multi-Purpose cleaner (this shit is amazing on damn near anything) and Interflon Foam Cleaner (beyond incredible cleaner, kind to plastics and electronics, also a weapon on upholstery). Brushes ranged from a toothbrush, up to a soft dish brush. Start - this is in the battery tray corner, the general filth on the firewall is indicative of all the painted surfaces in the engine bay when I kicked off. DC2R Phone (18)-Edit by Richard Opie, on Flickr No real in-progress shots. I did snap a wee comparison of the old cam cover and the NEW HOTNESS just prior to fitting it up with new seals/gaskets etc. DC2R Phone (19)-Edit by Richard Opie, on Flickr It looked good before right? But how much is the difference when you line it up against a brand newie! DC2R Phone (21)-Edit by Richard Opie, on Flickr Basically the end result. I am aware I need to remove a few painted brackets etc and get them recoated. I've also put wheels in motion to buy a whole swag of OEM fasteners to replace anything a bit tarnished/rusty etc. Mainly M6x16 factory ones in the grey zinc finish. DC2R Phone (22)-Edit by Richard Opie, on Flickr This thing positively glows. It's a thing of beauty. DC2R Phone (23)-Edit by Richard Opie, on Flickr Even the letters have a shine and crispness beyond anything I've ever seen on a B-series. Machined OEM finish! DC2R Phone (26)-Edit by Richard Opie, on Flickr Likely the most boring photo I've ever snapped. But it illustrates the finish on the firewall/paint at the end of the proceedings. Turned out pretty good. It's not perfect, no, but it's definitely up there as far as 20-year old engine bays go. DC2R Phone (27)-Edit by Richard Opie, on Flickr And a parting shot. Pretty chuffed with it all, will carry on with a few more jobs to sort in the bay, and also clean the underside of the bonnet which is quite grubby. Toodle-oo.3 points
-
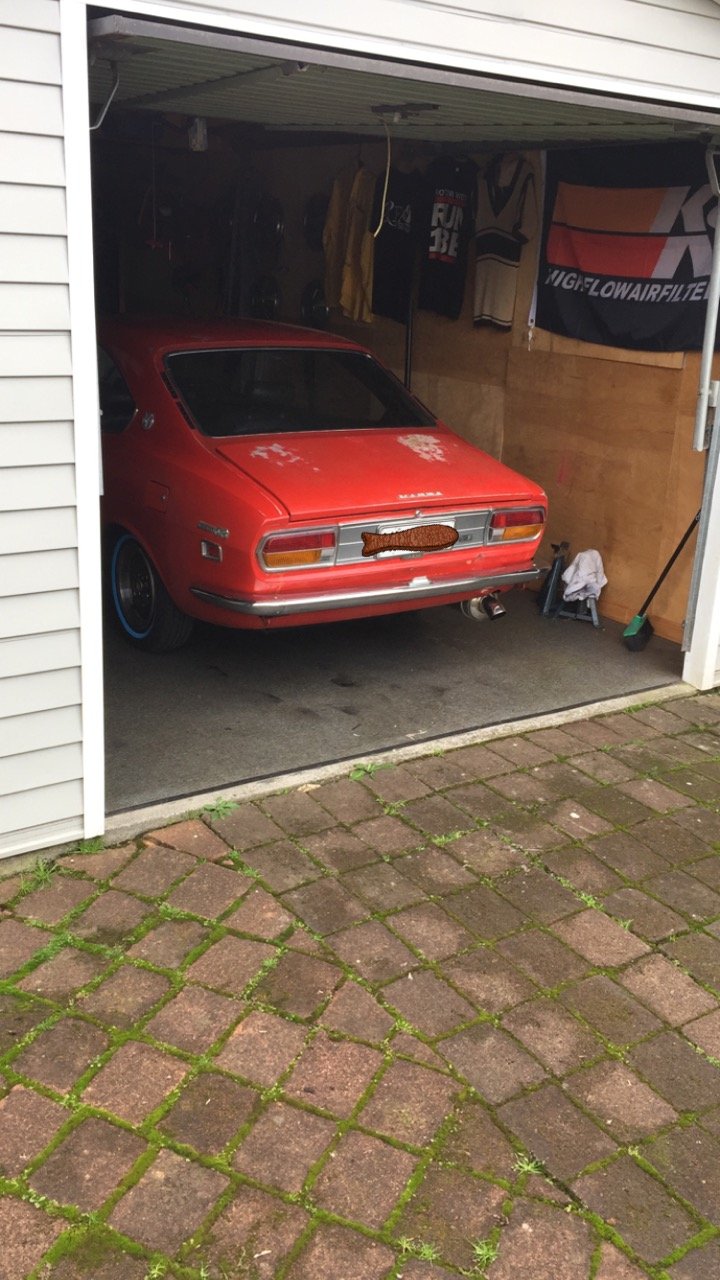
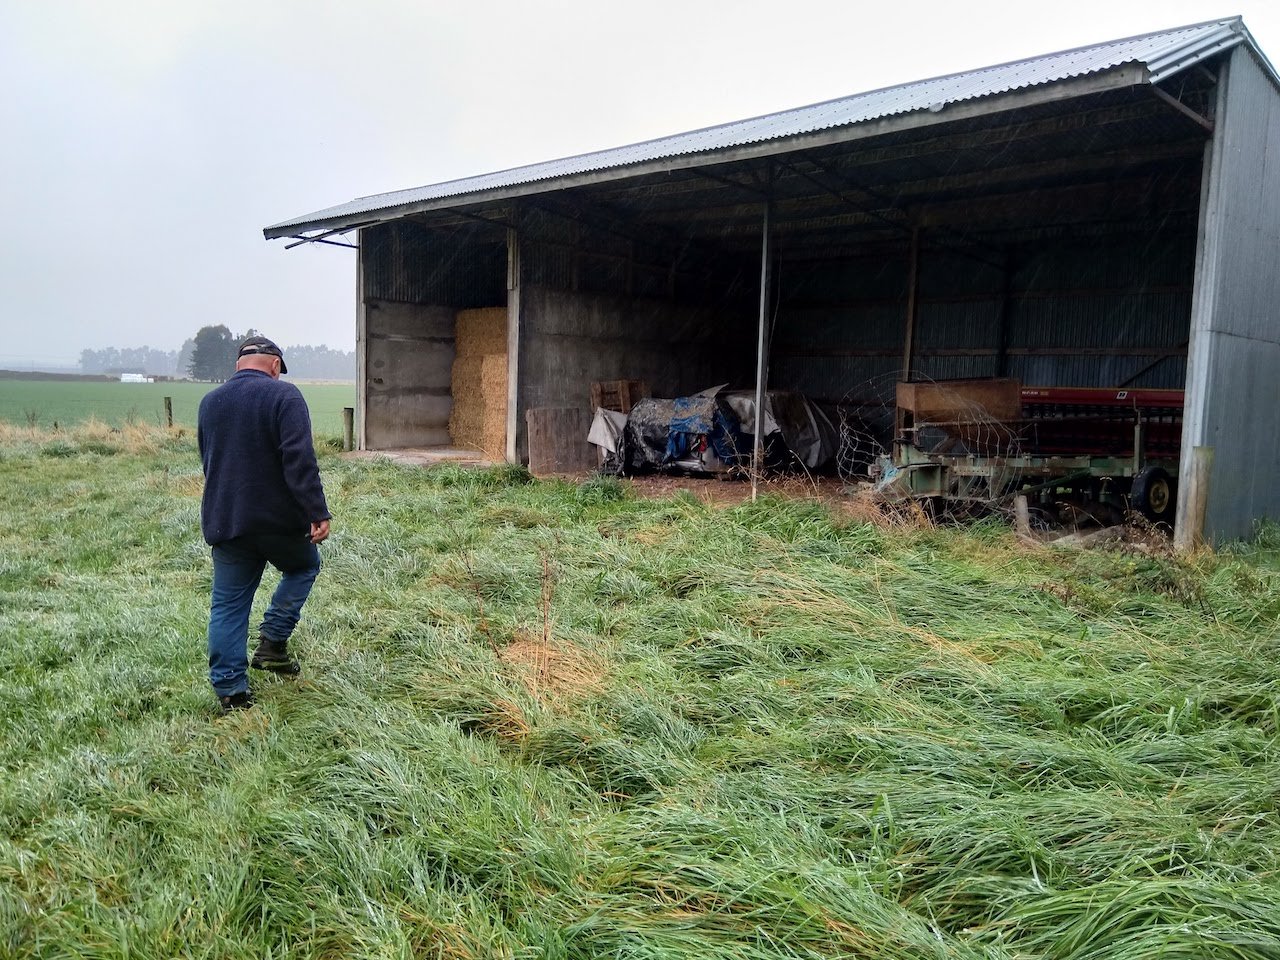
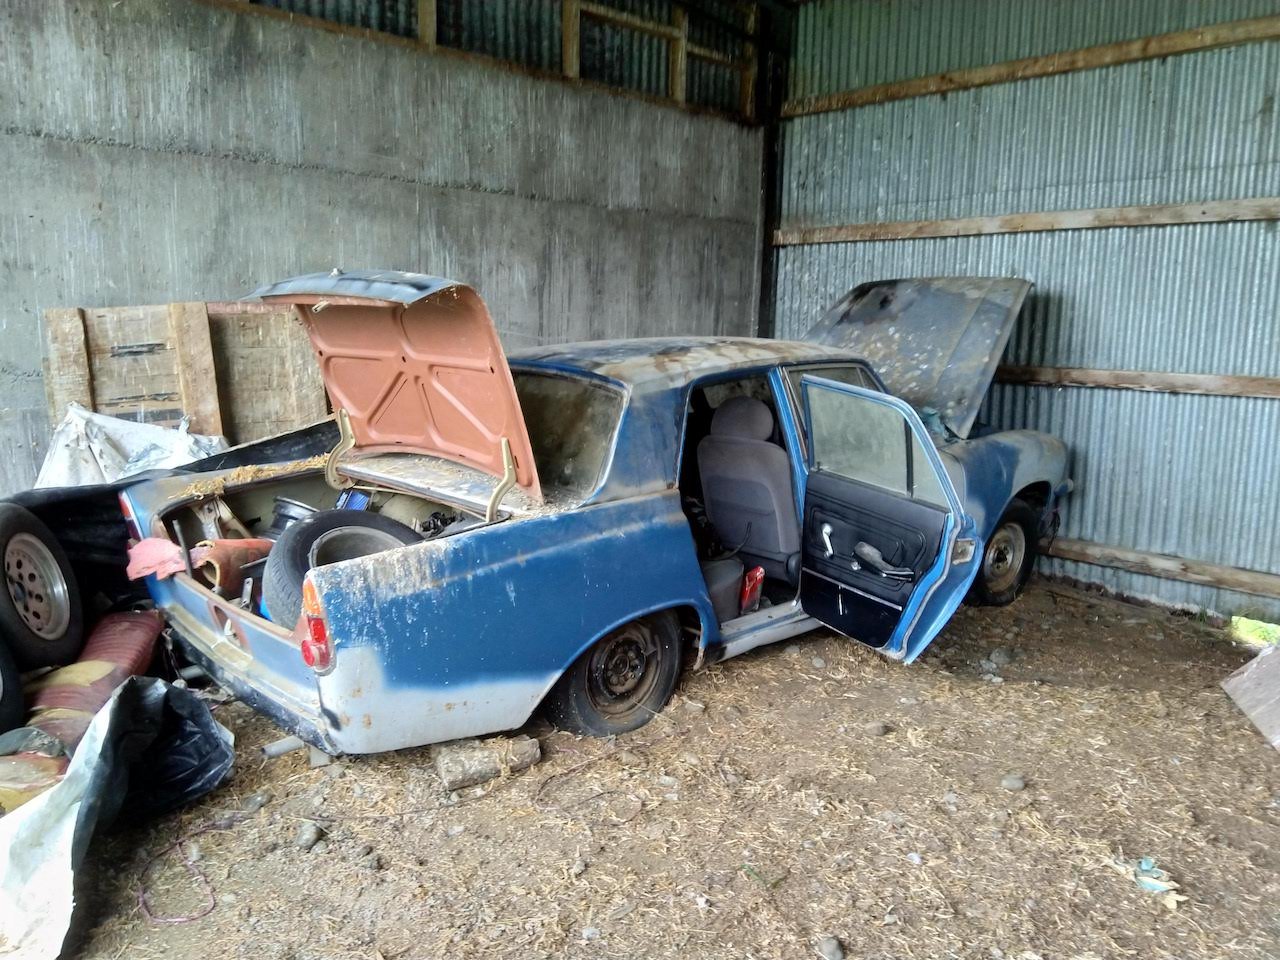
Found myself a new project. Car was last on the road in 1993, then the registration went dead but the rego is still in the system. Previous owner bought the car around '98 with plans of putting a 302 into it. A few years later he took the car to a panelbeater to get some rust fixed and bodywork done. The bill came back a lot more then expected so the car got mothballed to a hay shed. A mk4 zodiac came up a few years later that had already had a certified V8 conversion so he snapped that up and the mk3 stayed in the shed. The car only had minor rust (guards, doors, boot etc) to begin with, there was no damage to the chassis or sills. A bit of minor rust has come back since then, but a sweet barn find. The car was in Methven and had a heap of spares with it. It was pretty heavy towing back. It came with the engine pulled apart and a heap of heads, manifolds and bits. The guy that sold it to me knows someone with a mk2 motor that ran when pulled out, so I will snap that up. Long term plans for it once revinned will be some slam, wide steels and eventually an engine swap to a V8 or a barra. Am I best to get a repair certifier to come and look at it so I can get the rust signed off before I strip it back and paint? I'm thinking that might be easier while everything is pulled apart rather than taking through revin in primer, then pulling everything back apart to paint. Any ideas on how hard this would be and cost? Discuss here:
2 points
-
Not on the DGV. But correct me if I'm wrong. The idle jets on the side of the carb should be seated and the idle mixture is set by the idle mixture screw which is at the base of the carb.2 points
-
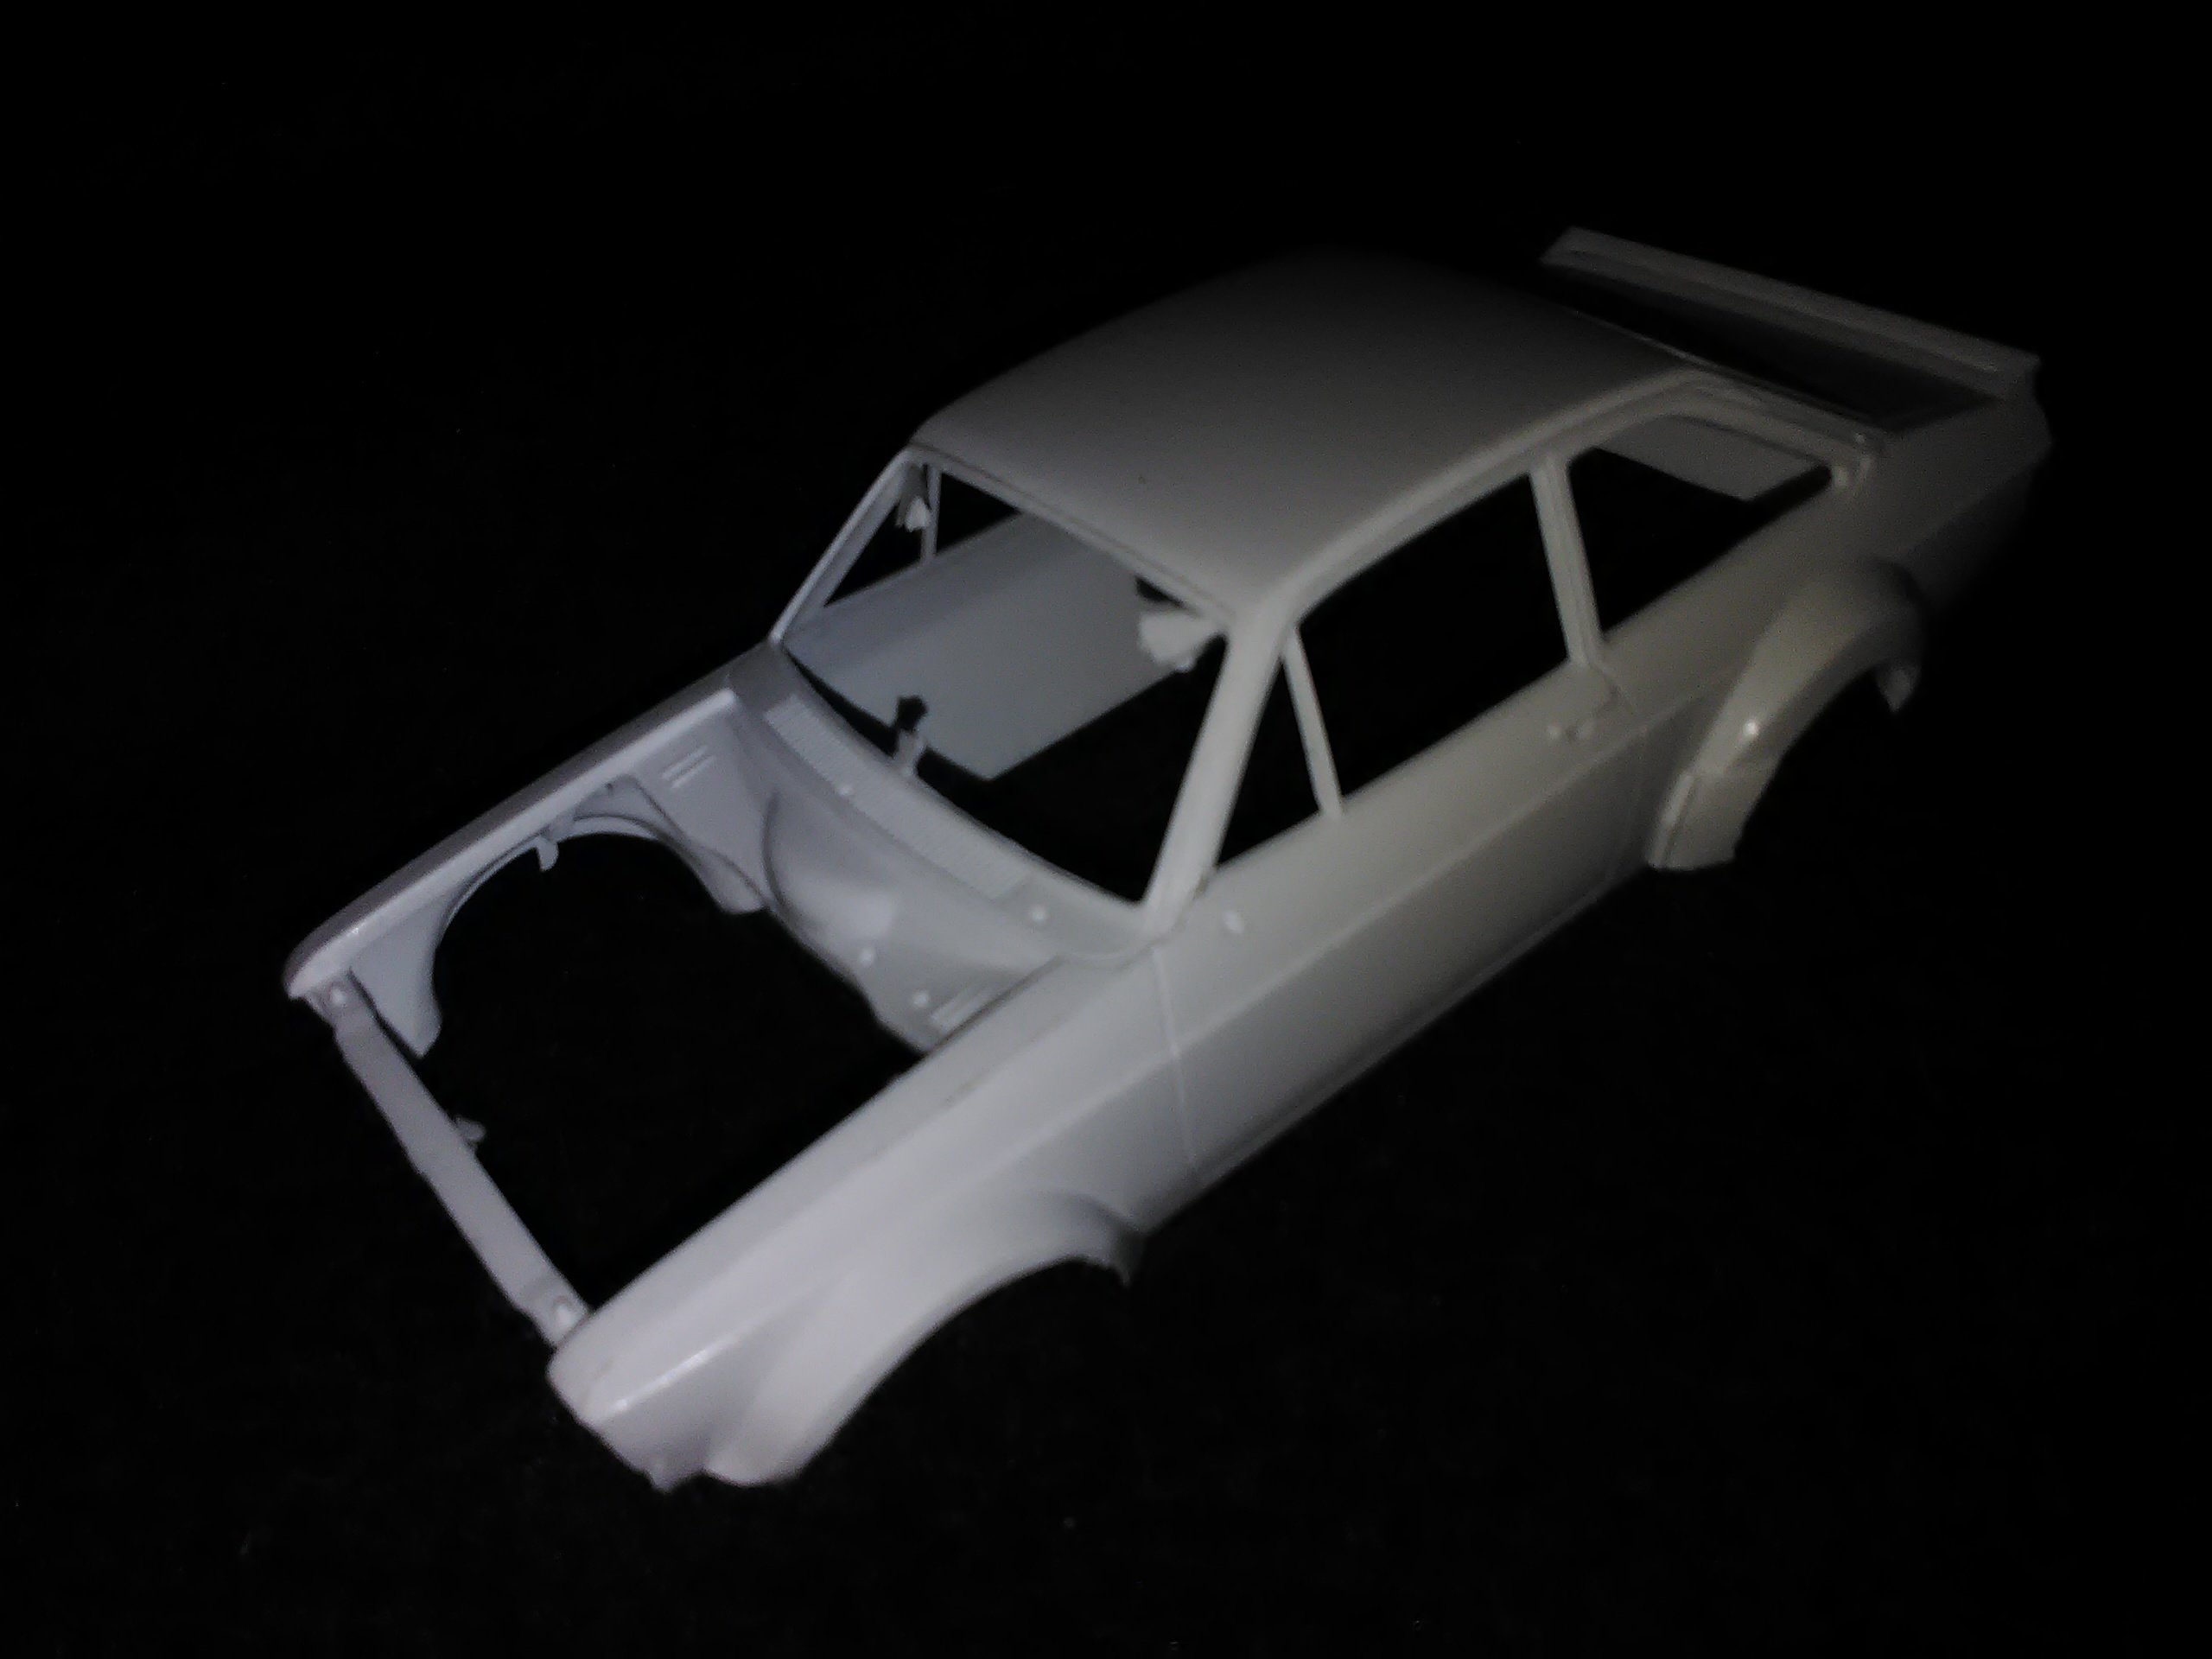
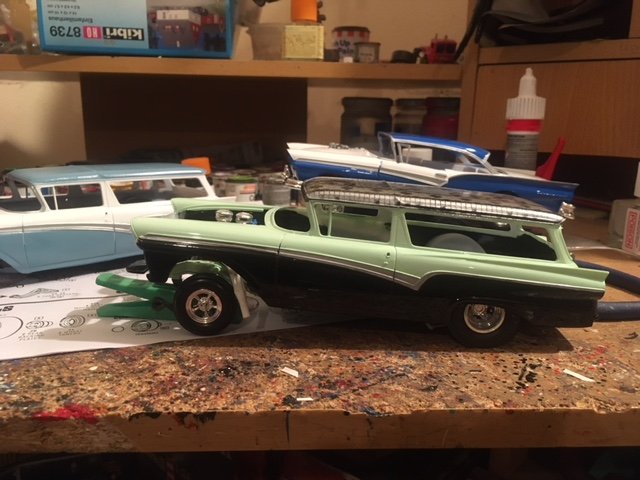
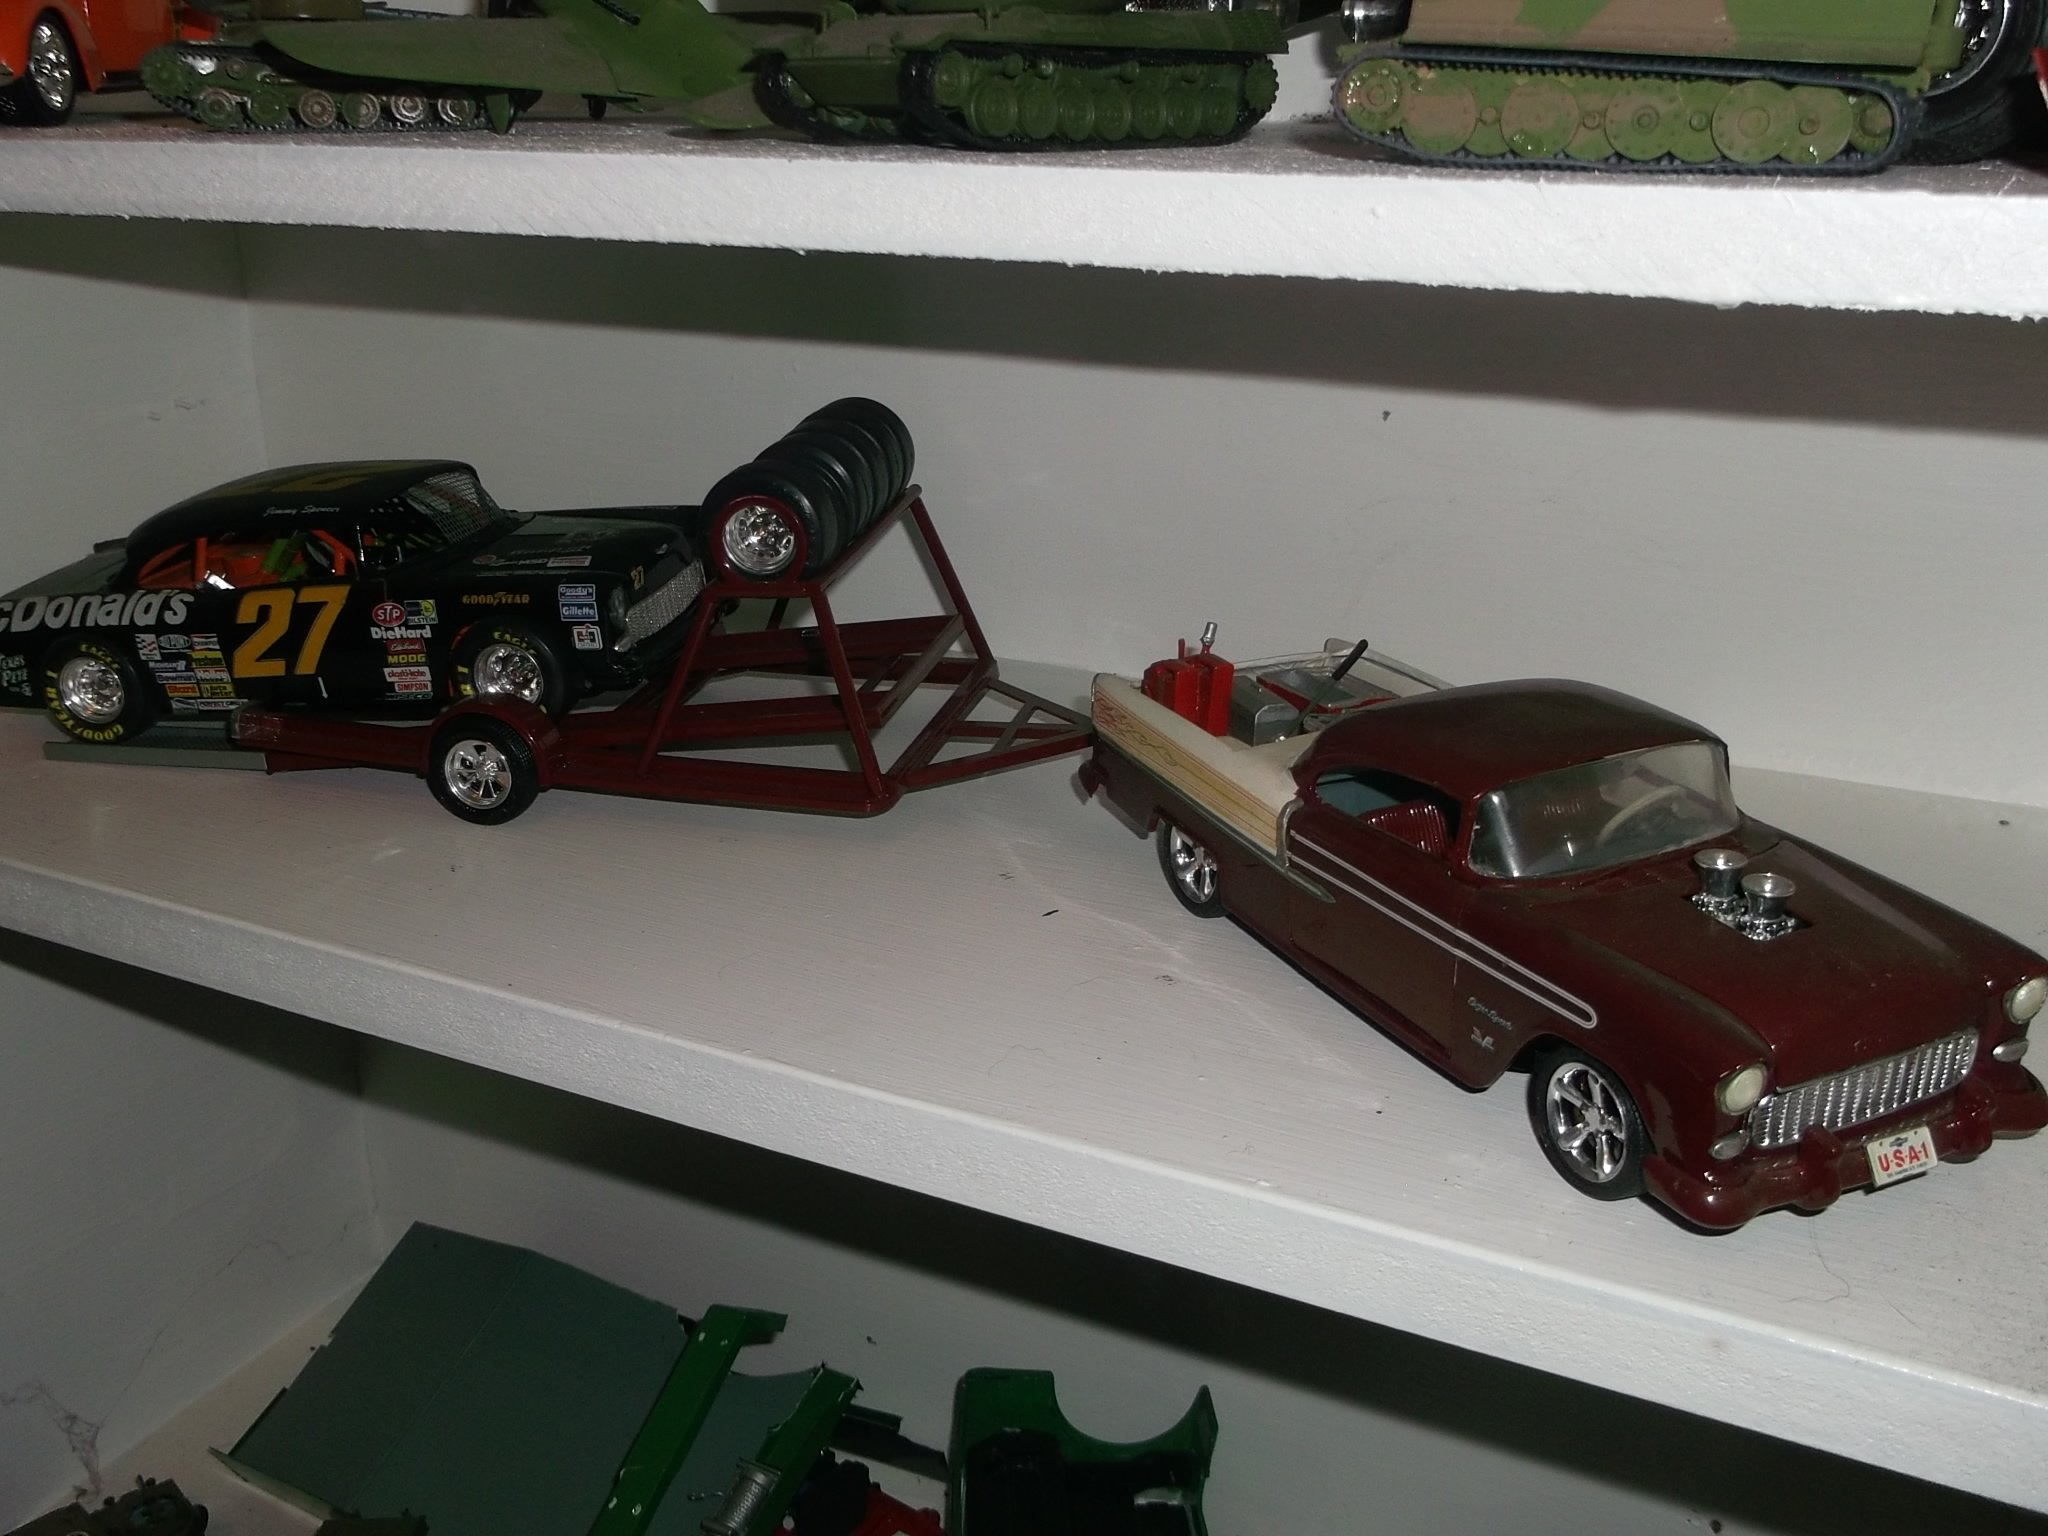
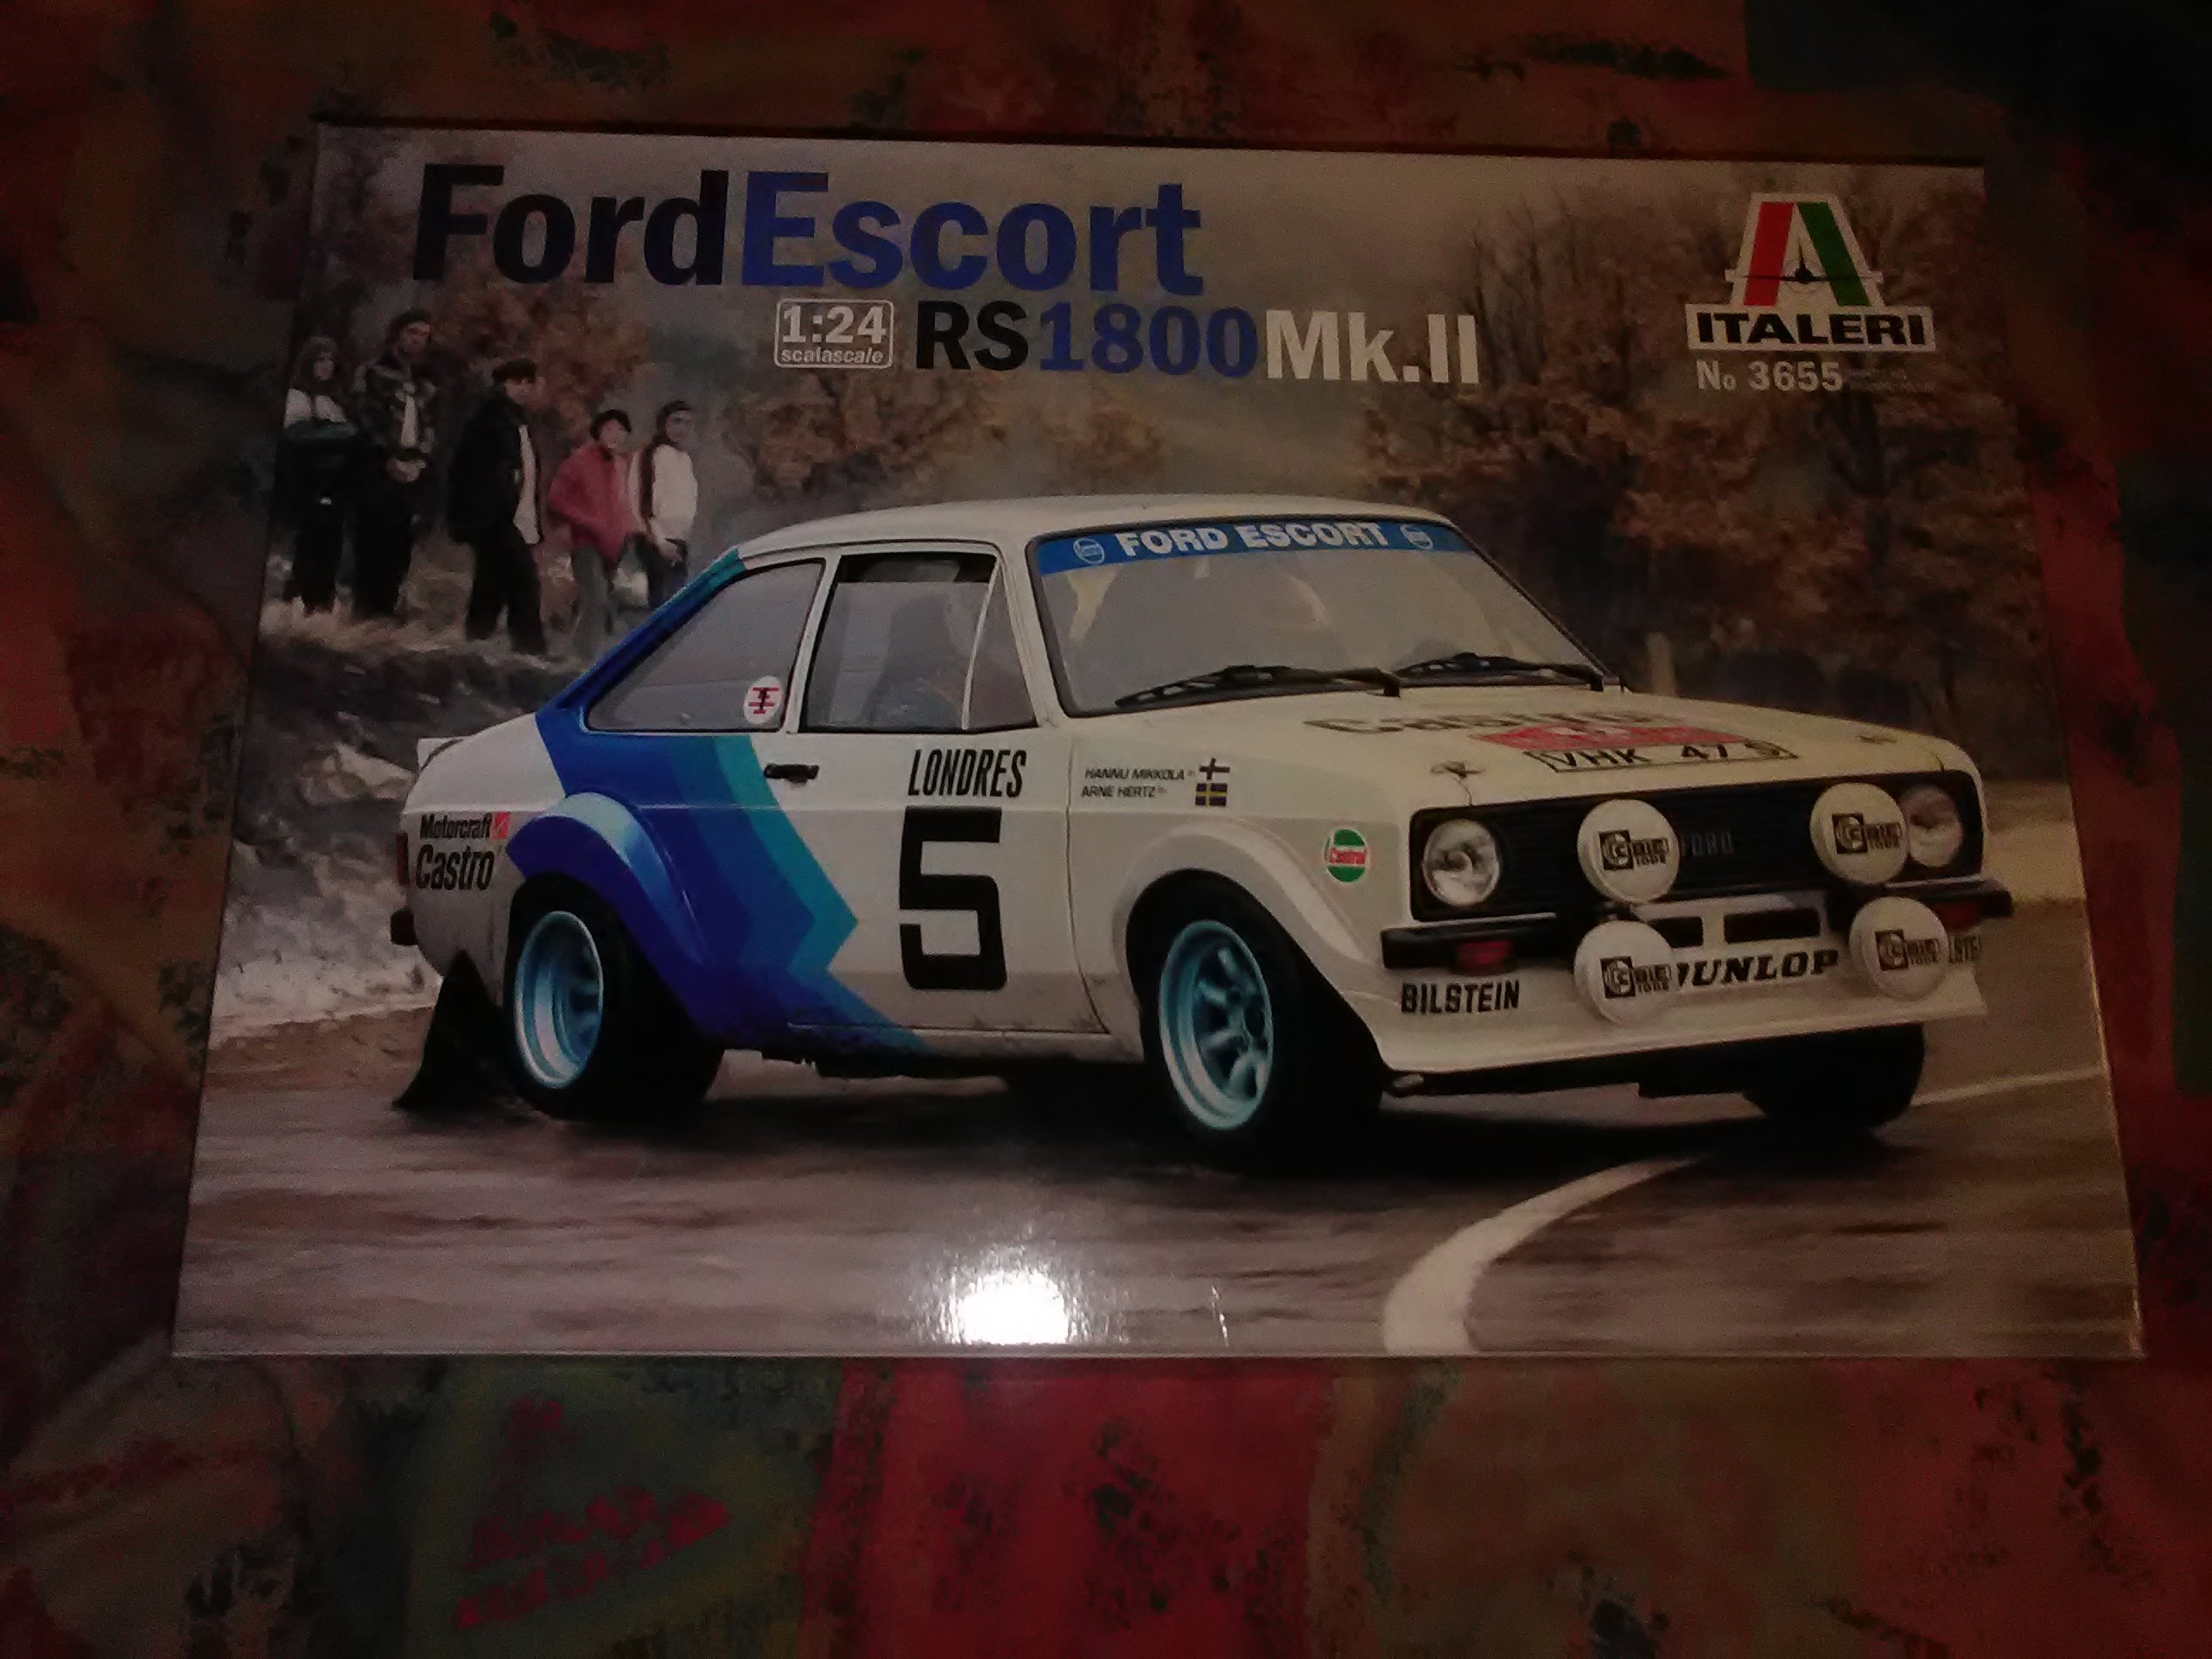
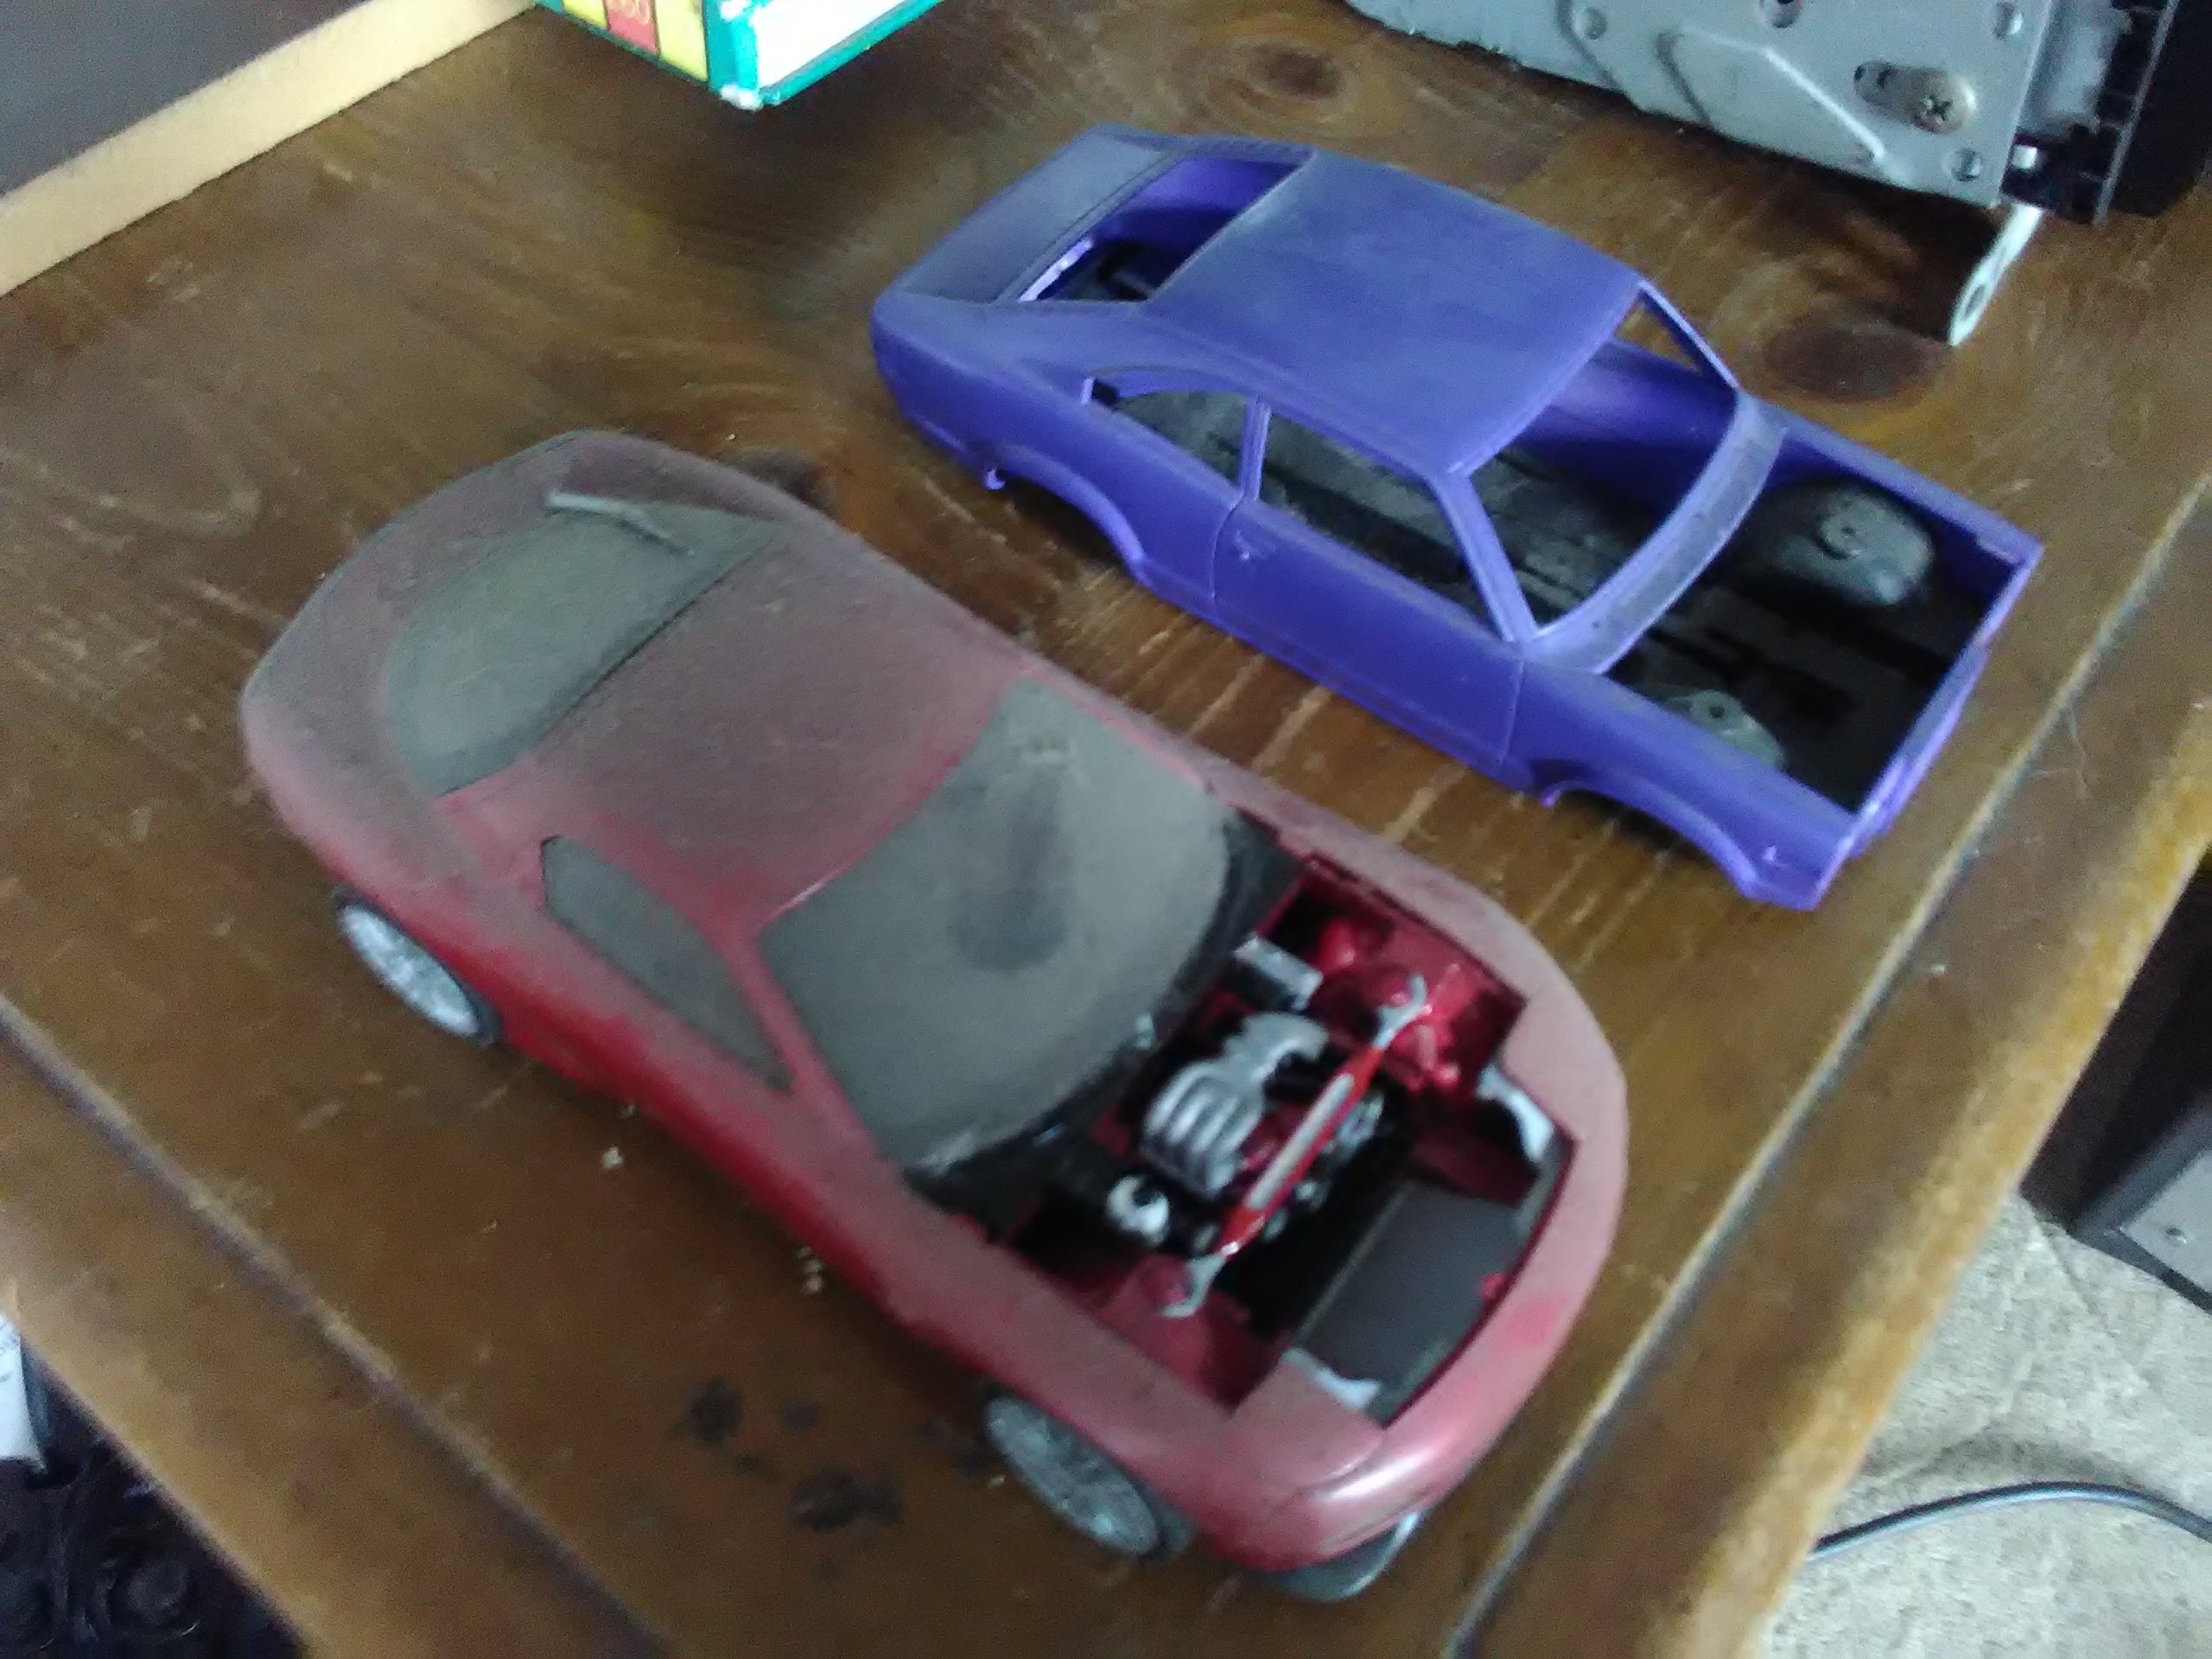
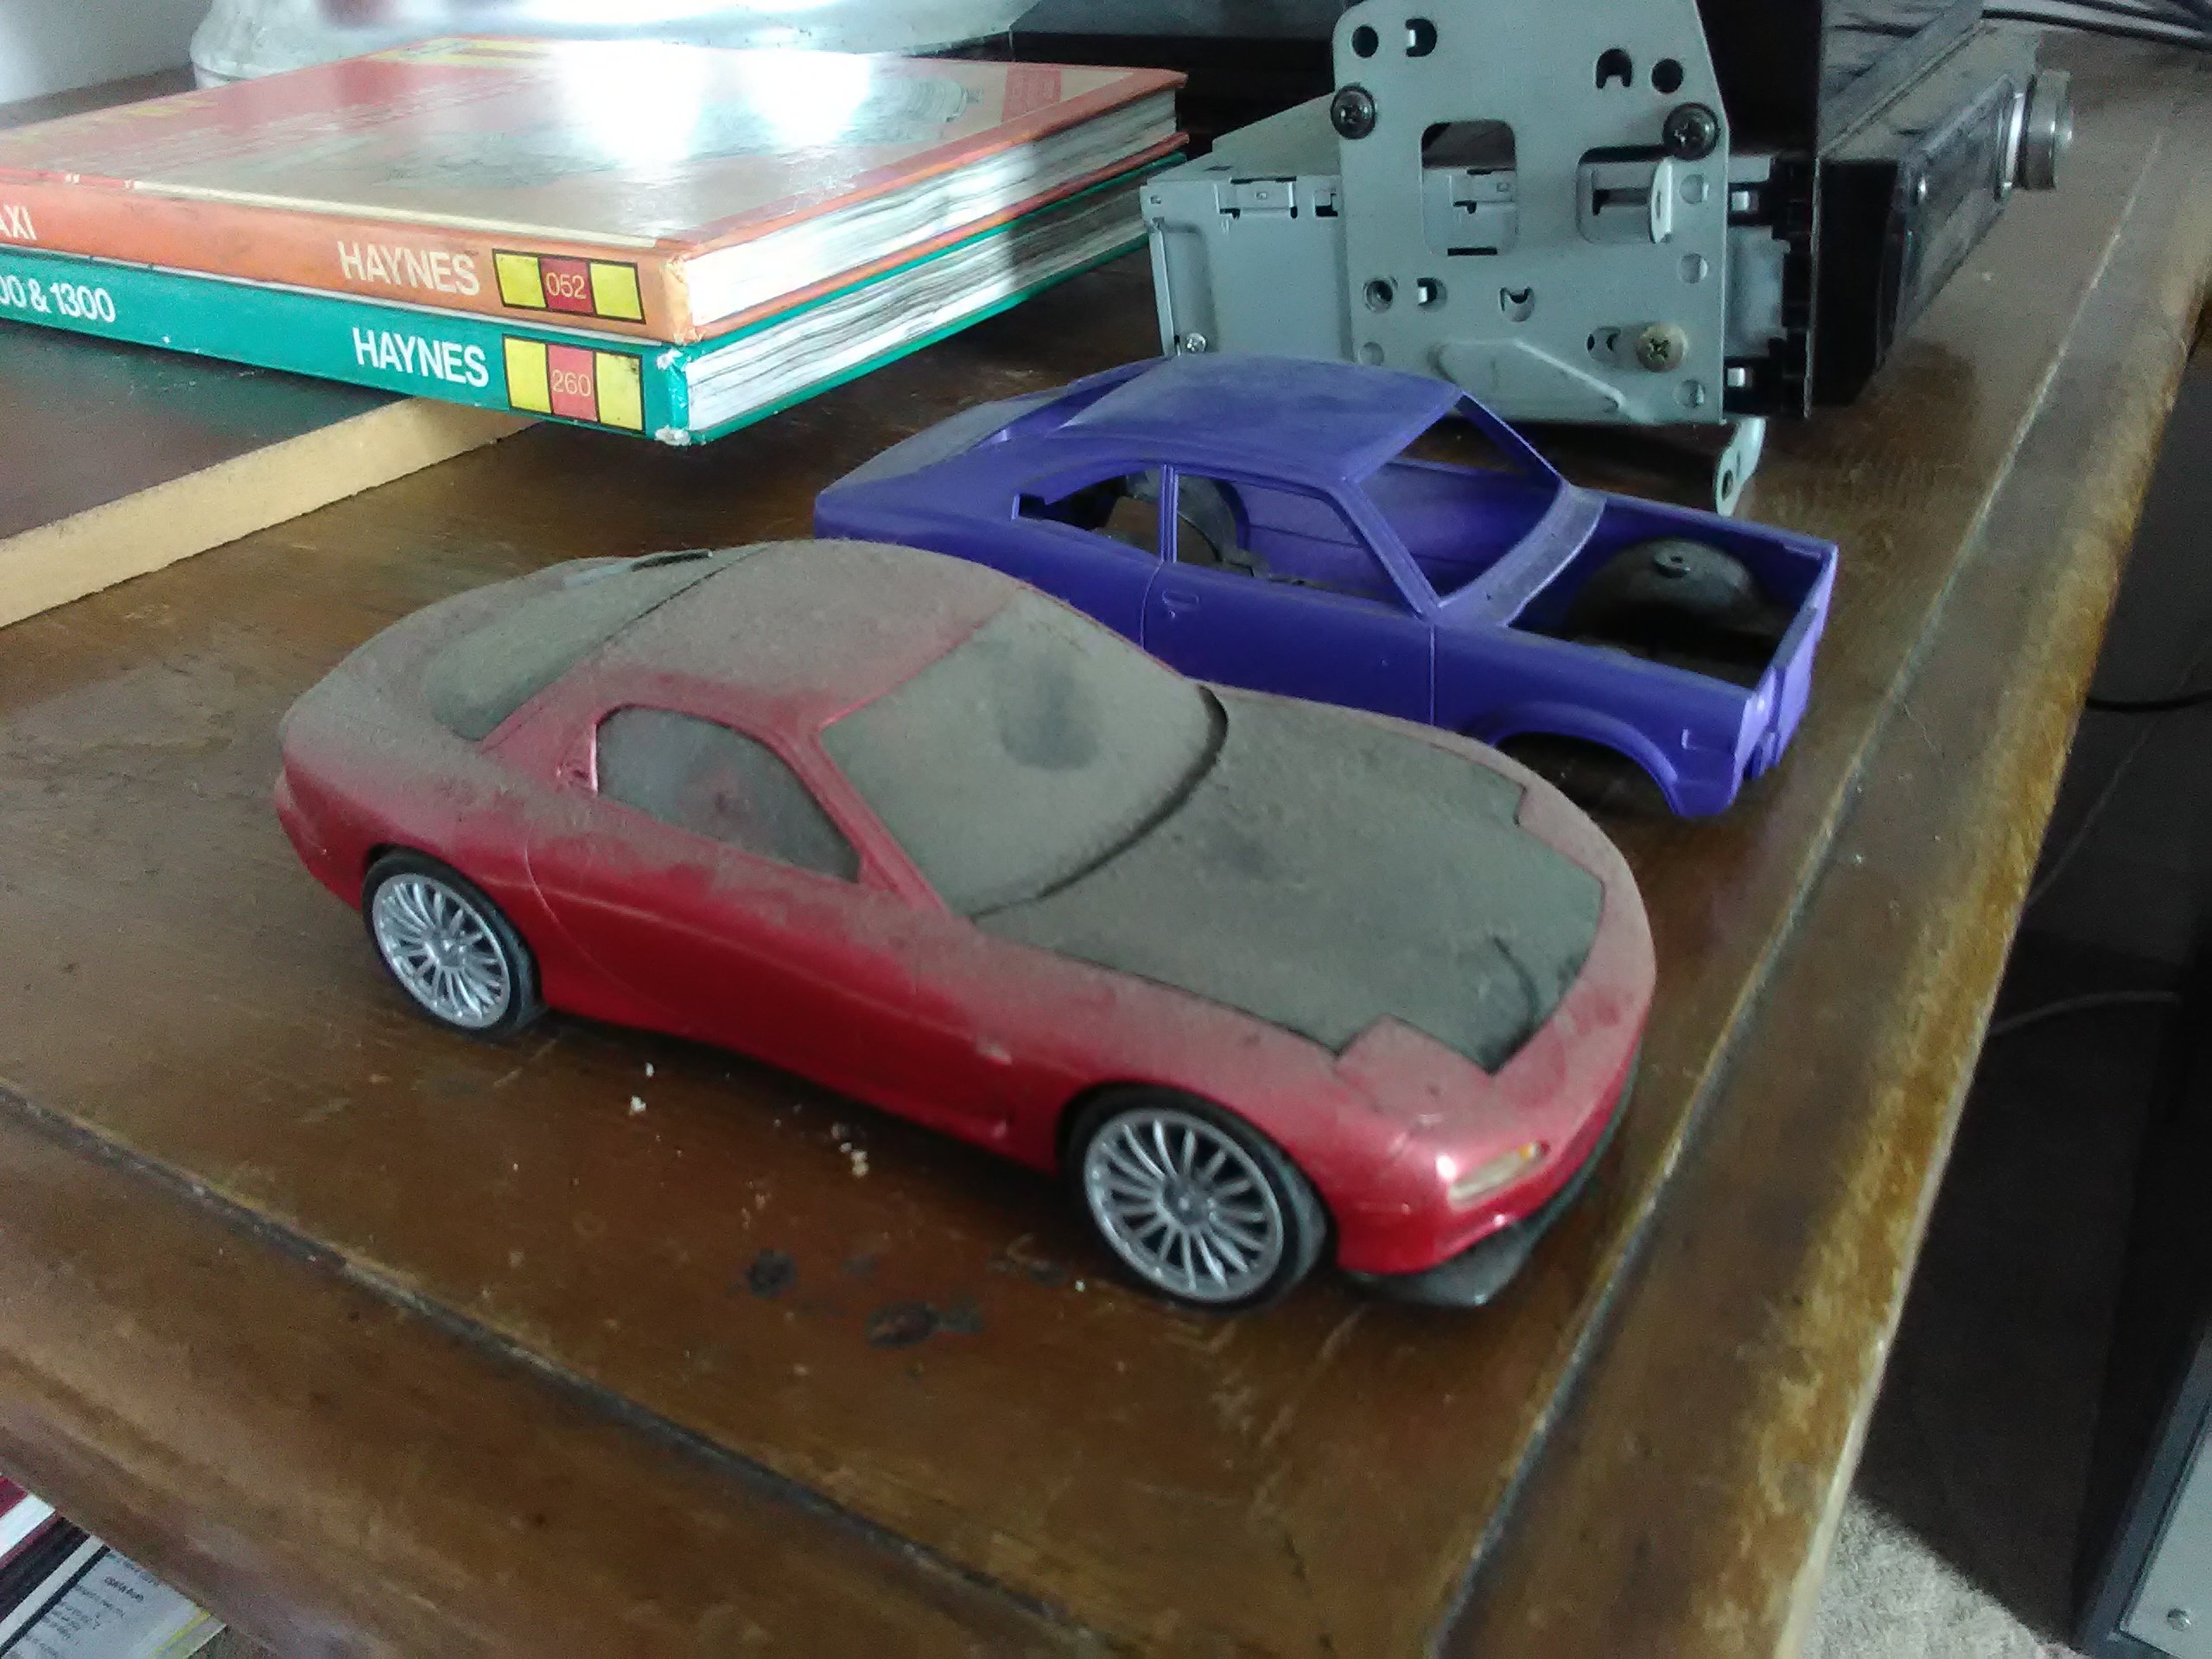
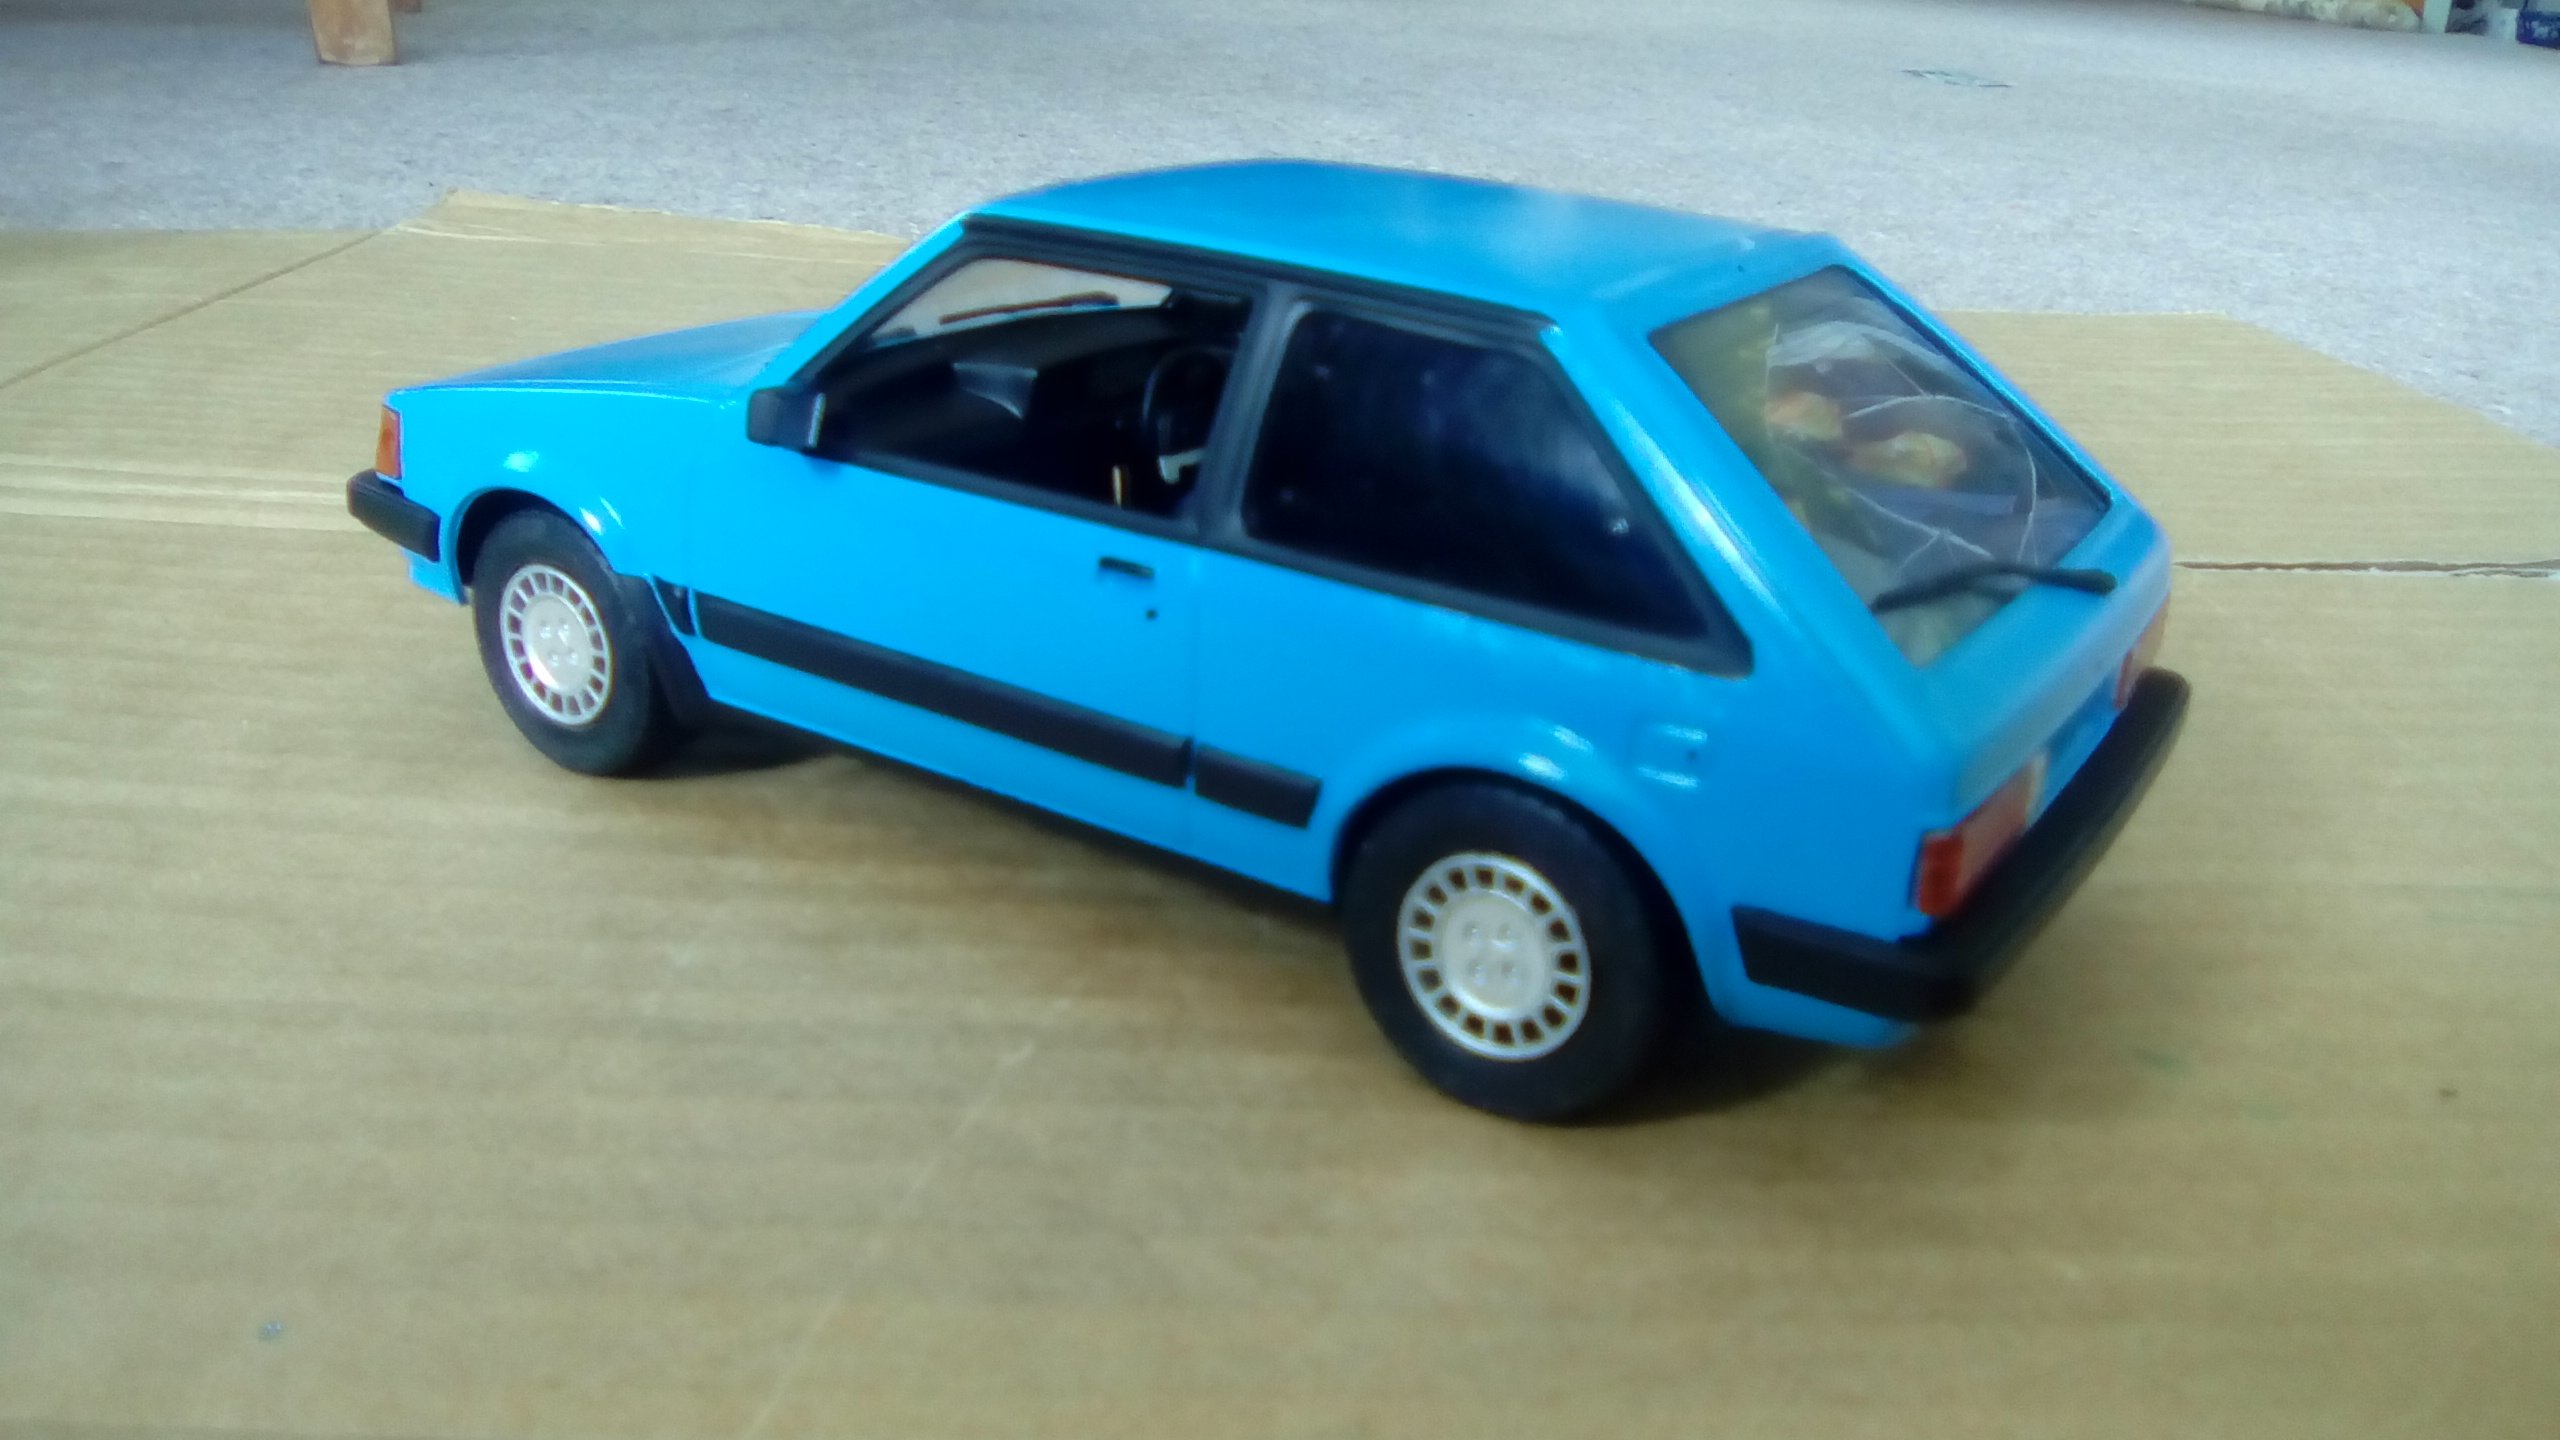
White plastic body but seems to need a bit of body filling and straightening bro, not as smooth as your typical model kits.
2 points
-
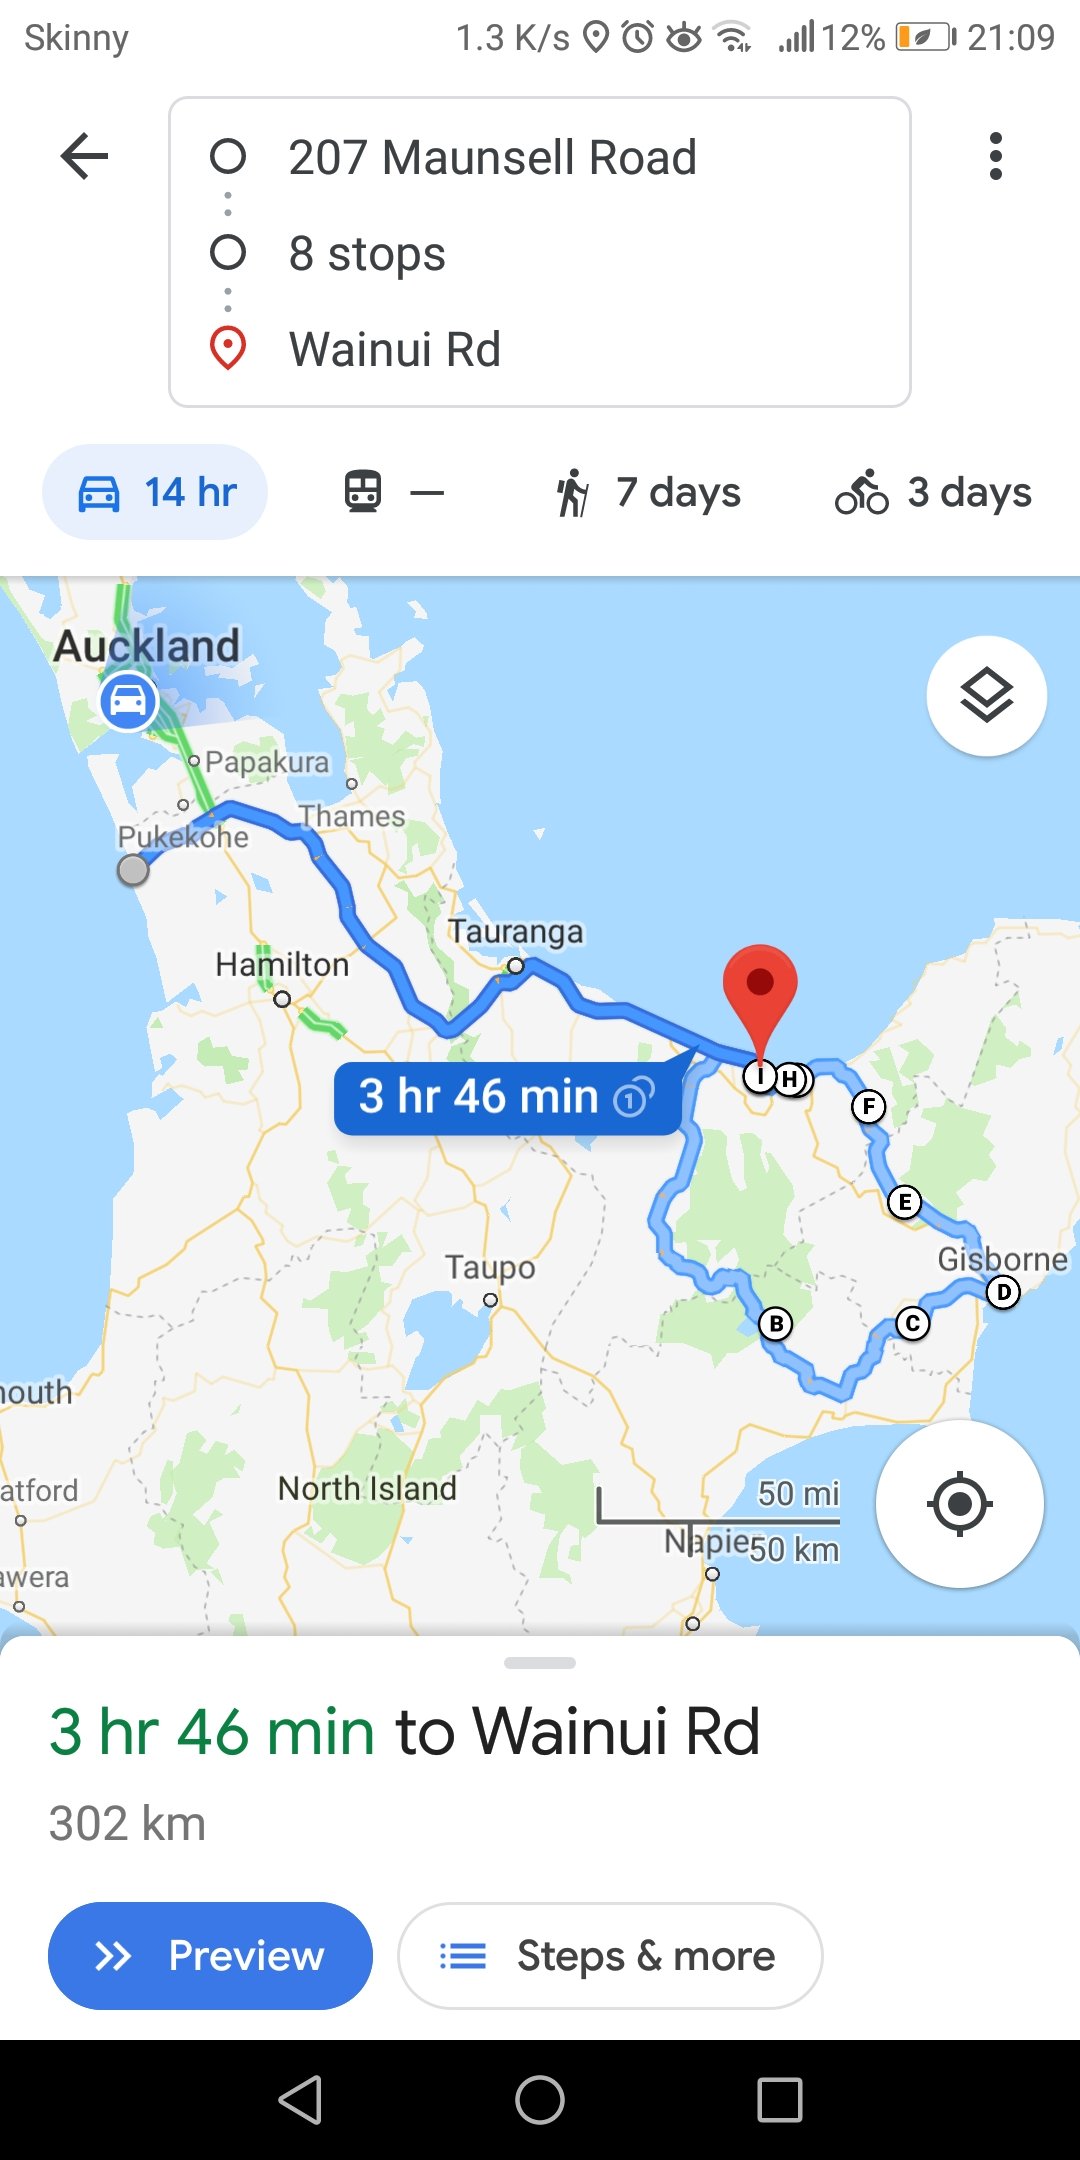
Anyone want to join me on a little coast to coast ride?
2 points
-
thats better. also it works. 2019-07-29_05-40-57 by sheepers, on Flickr 2019-07-29_05-41-07 by sheepers, on Flickr2 points
-
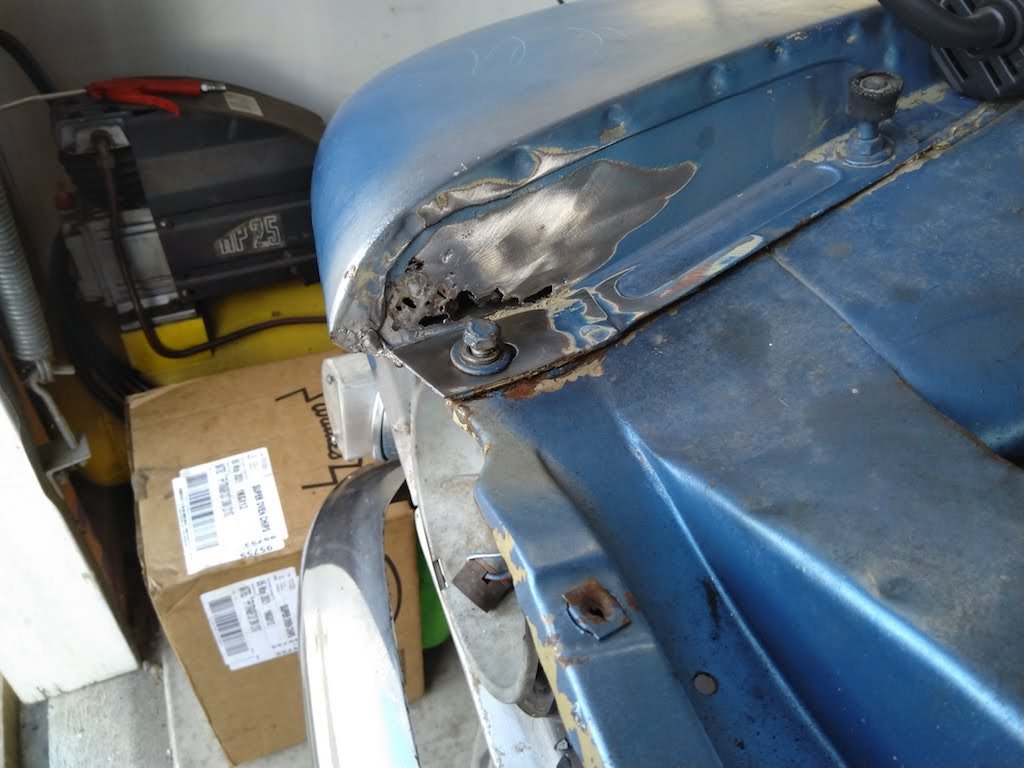
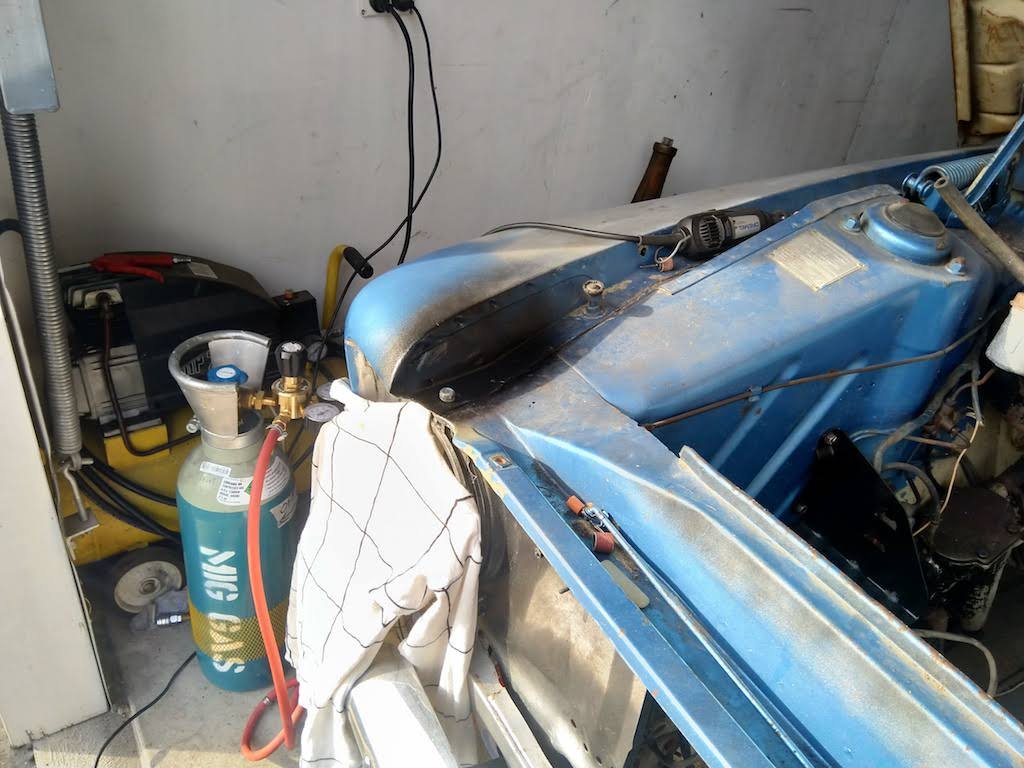
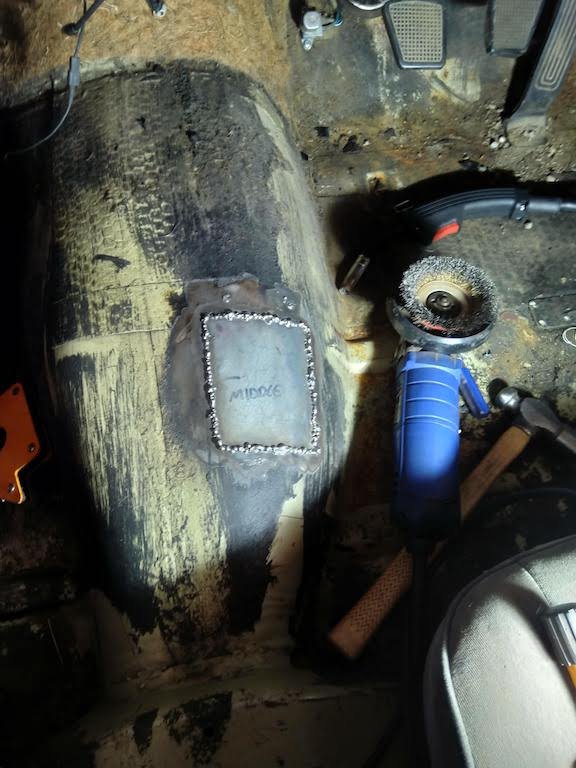
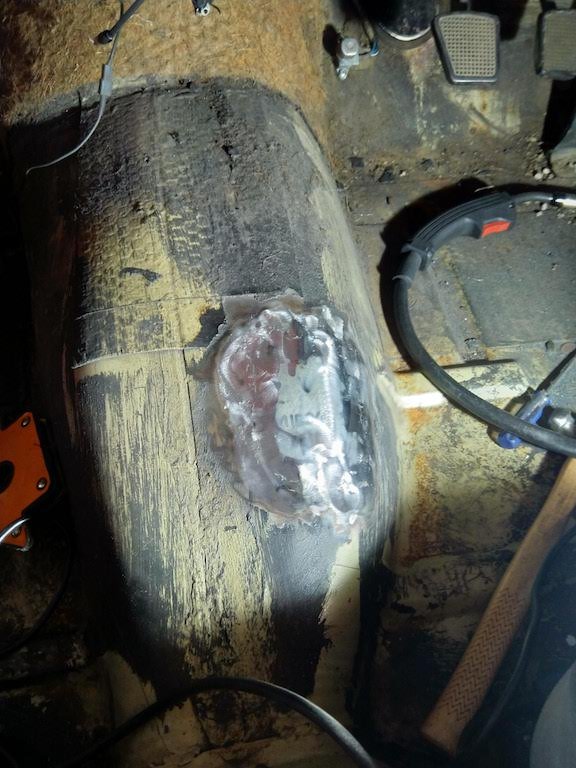
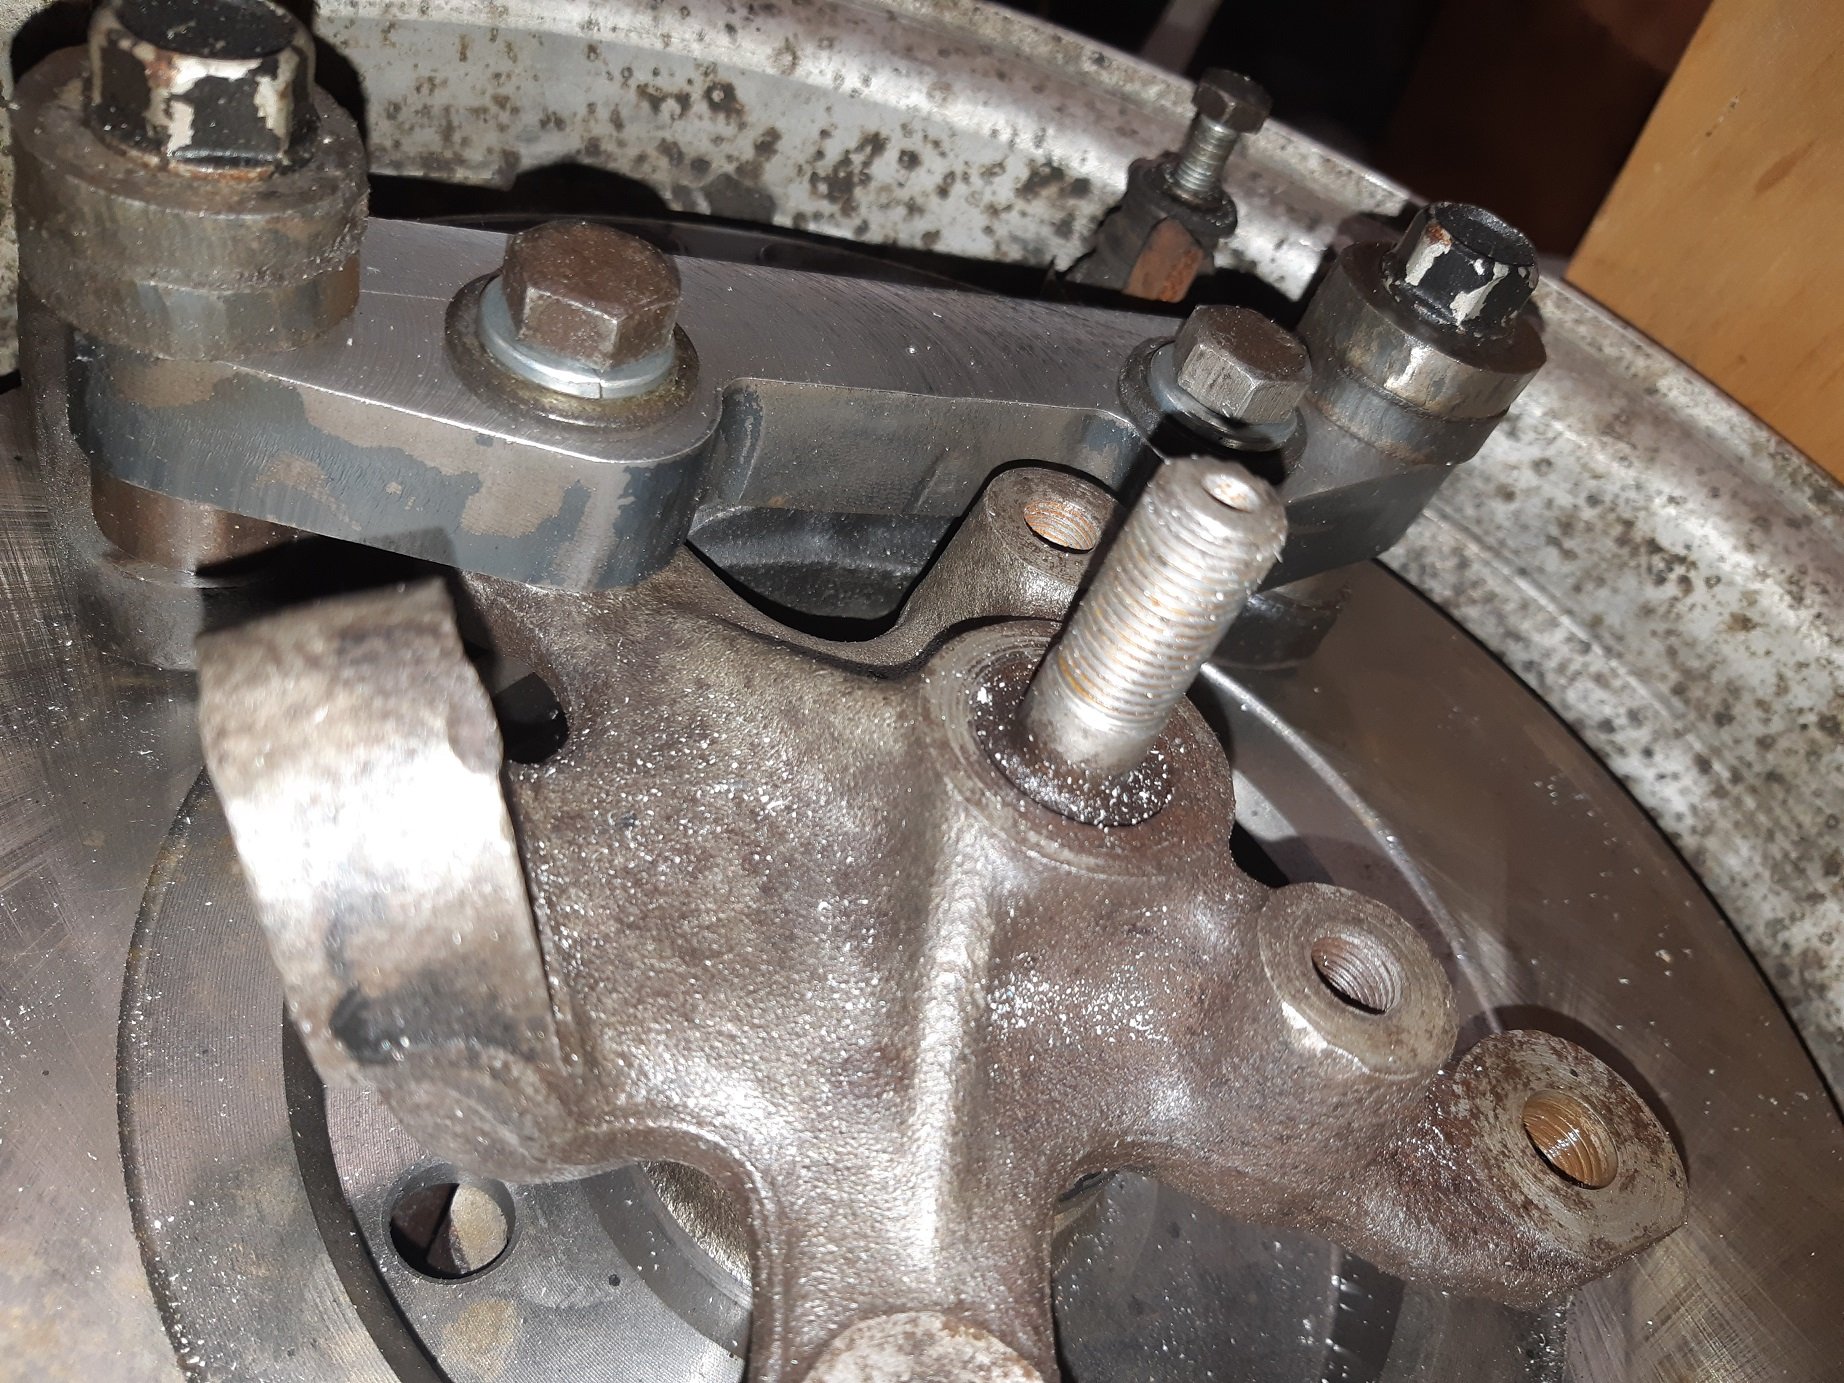
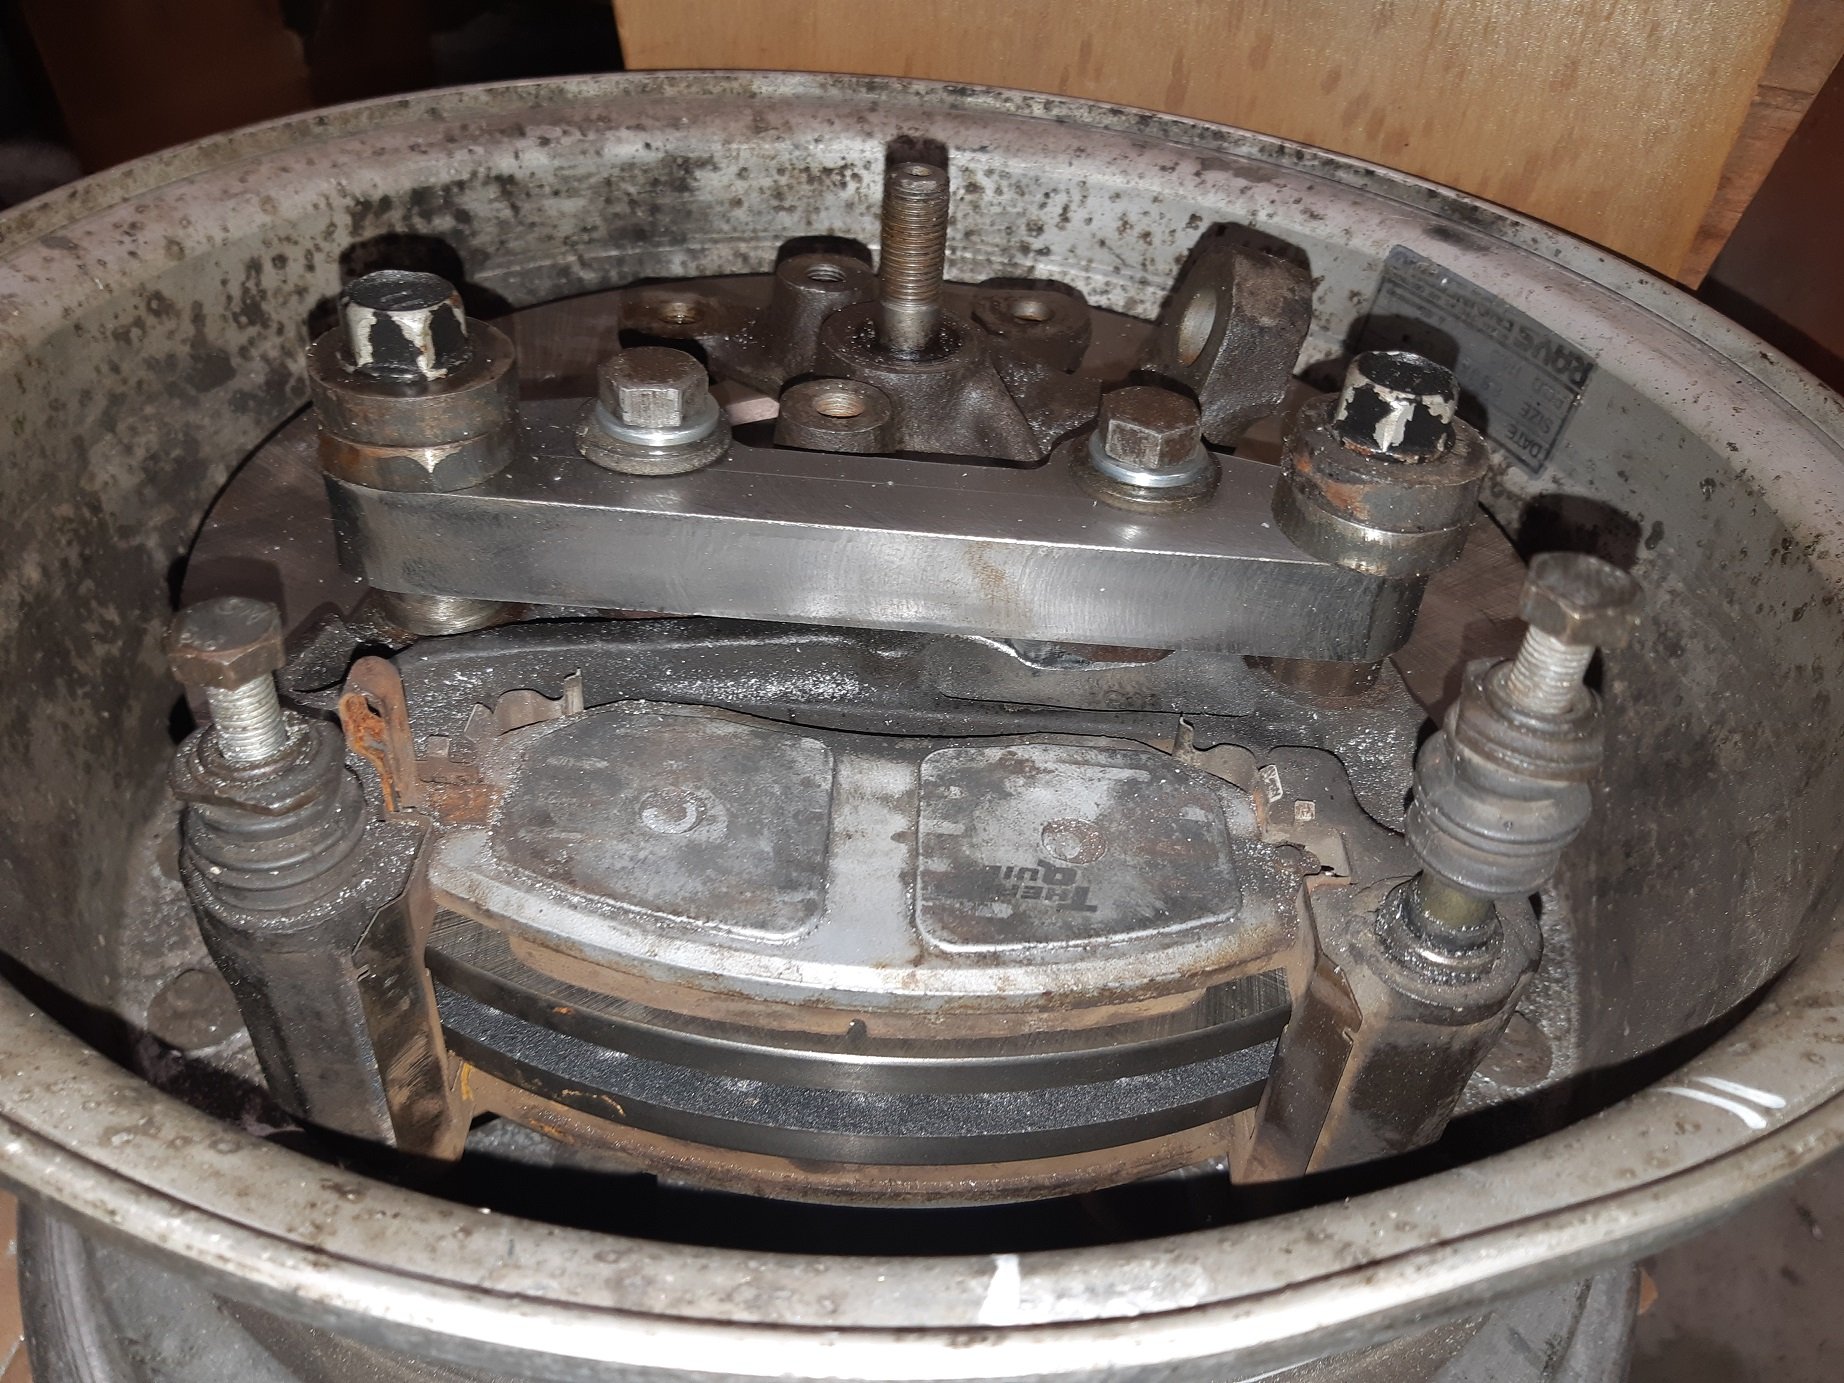
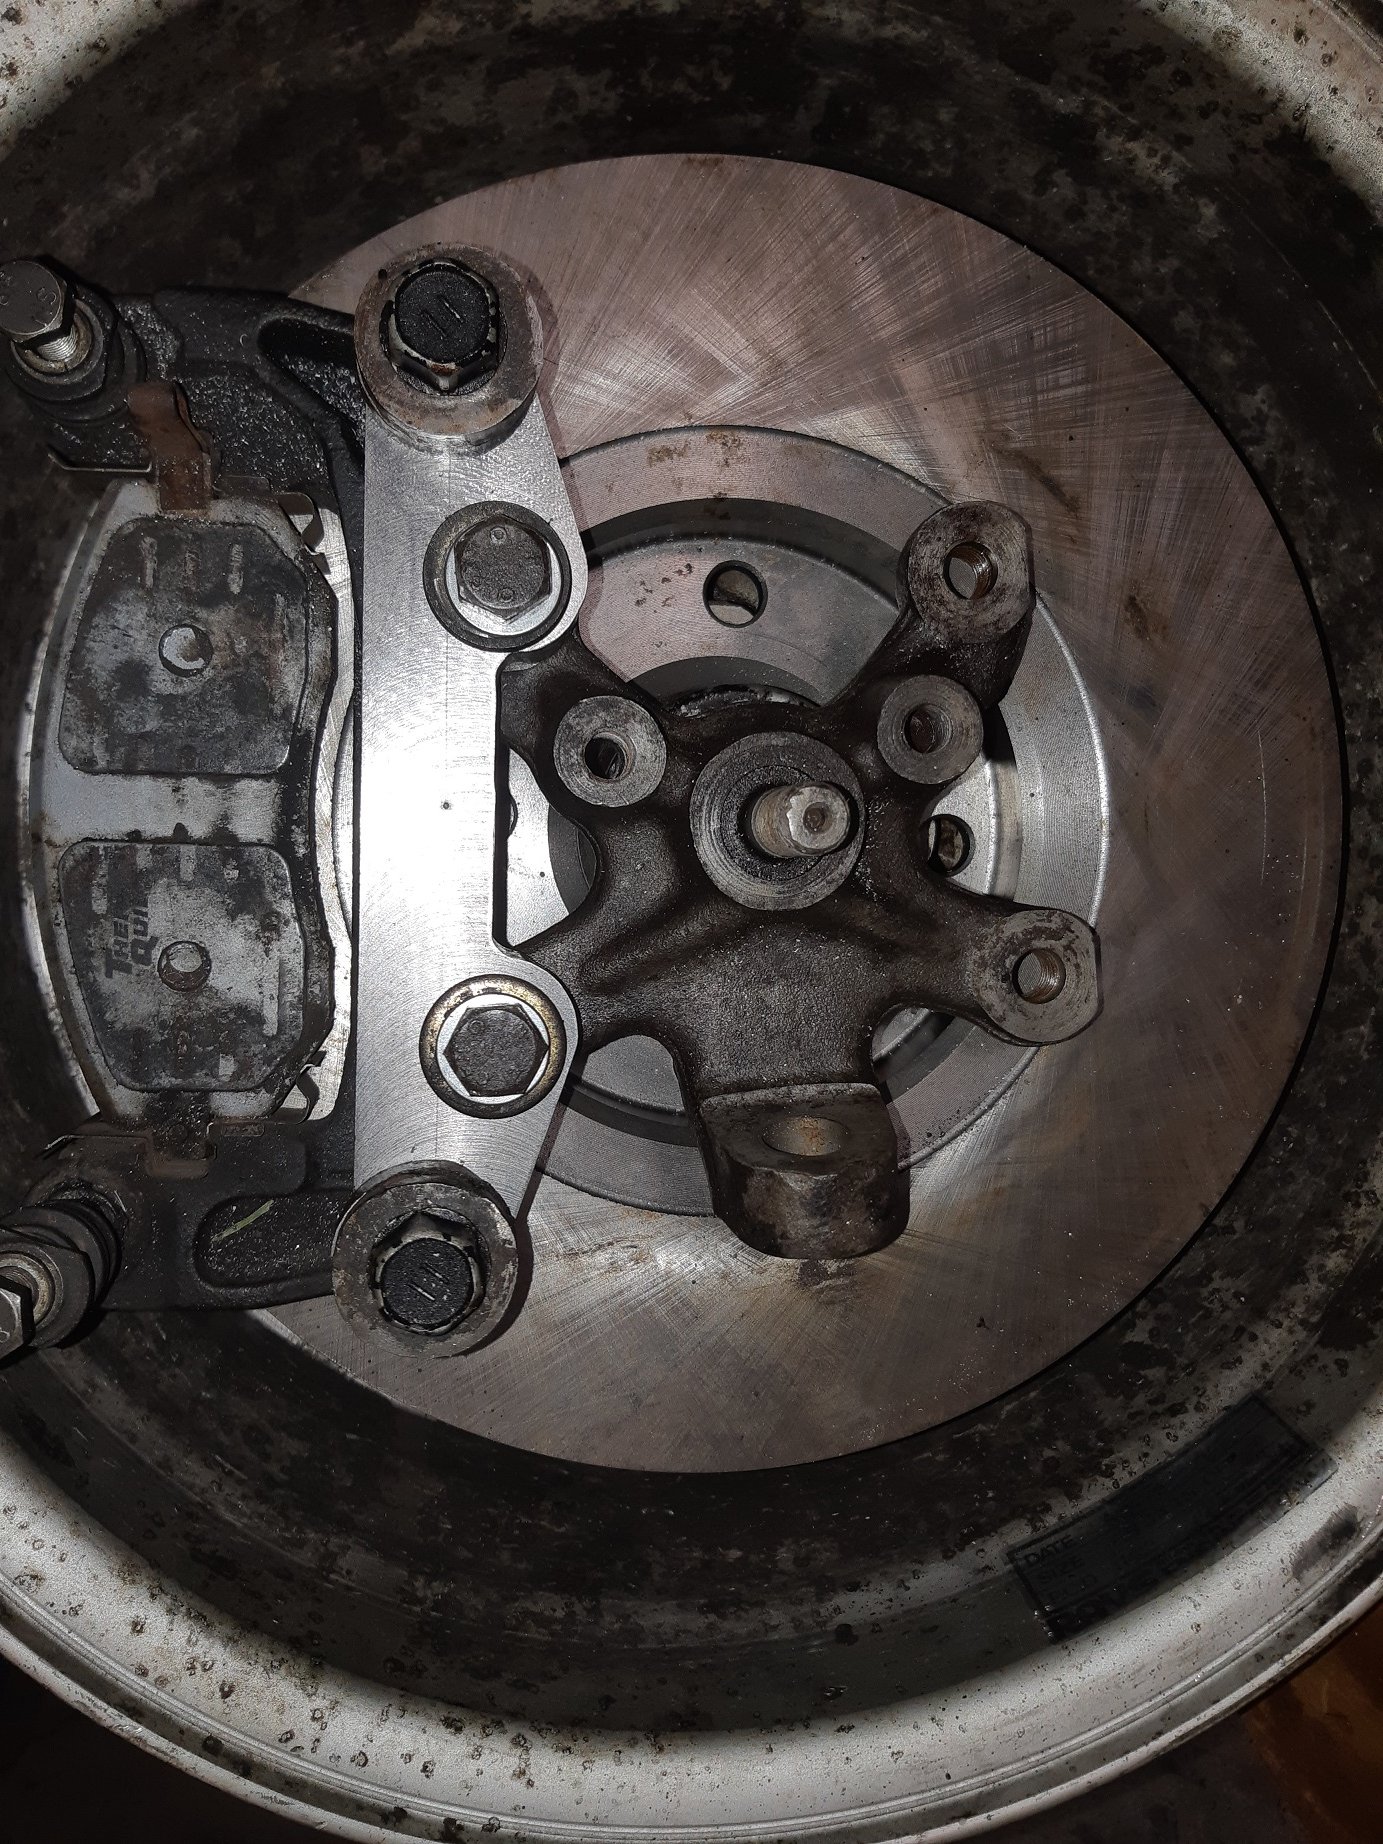
Connected the battery and the spark plug leads that i had removed to test something on the ute with, and it fired right up! Hopefully a good sign. Video below is the second start and first drive out of the shed for two years. Went well, but the rear brakes are binding which suuuuuuuuux as this was the last thing i did. Might just need a drive. No road drive due to the 2 of 4 doors missing or not closing and a loose bonnet Good opportunity to hose out the shed too! Somehow it looks even smaller with nothing in it! Made a new metal board rack for the back wall from the old clothesline bars that came in the back of the van, much stronger and can now easily fit 12 instead of 9ish max All the primer spots are areas that i have picked scabs or chopped out rust. None of them look like they have blown out again, so thats nice. Still a few to sort out, including the front passenger door. Front just needs a paint. Both doors on this side need a lot of work or swapping. Engine bay still looks nice (this is after a wash, blast with the air gun and lashings of WD40) Swapped the new welder over to 0.6mm wire (new roller came in - thanks AliExpress!) from the 0.8 i used on the exhaust and turned it right down to melt in a few patches on the front passenger door Goes pretty good, but its tricky to avoid the blow throughs on this old thin steel - i dont think the amps go quite as low as my old one even tho they both say 30A min, i think my old one was 'optimistic' even tho its actually more useful to be able to go lower on thin stuff. I have also (finally) replaced the liner and torch on the old one so i might fire it up and see - i probably should anyway to make sure its ok before selling it (or keeping it!) Happy this is making some progress again.2 points
-
2 points
-
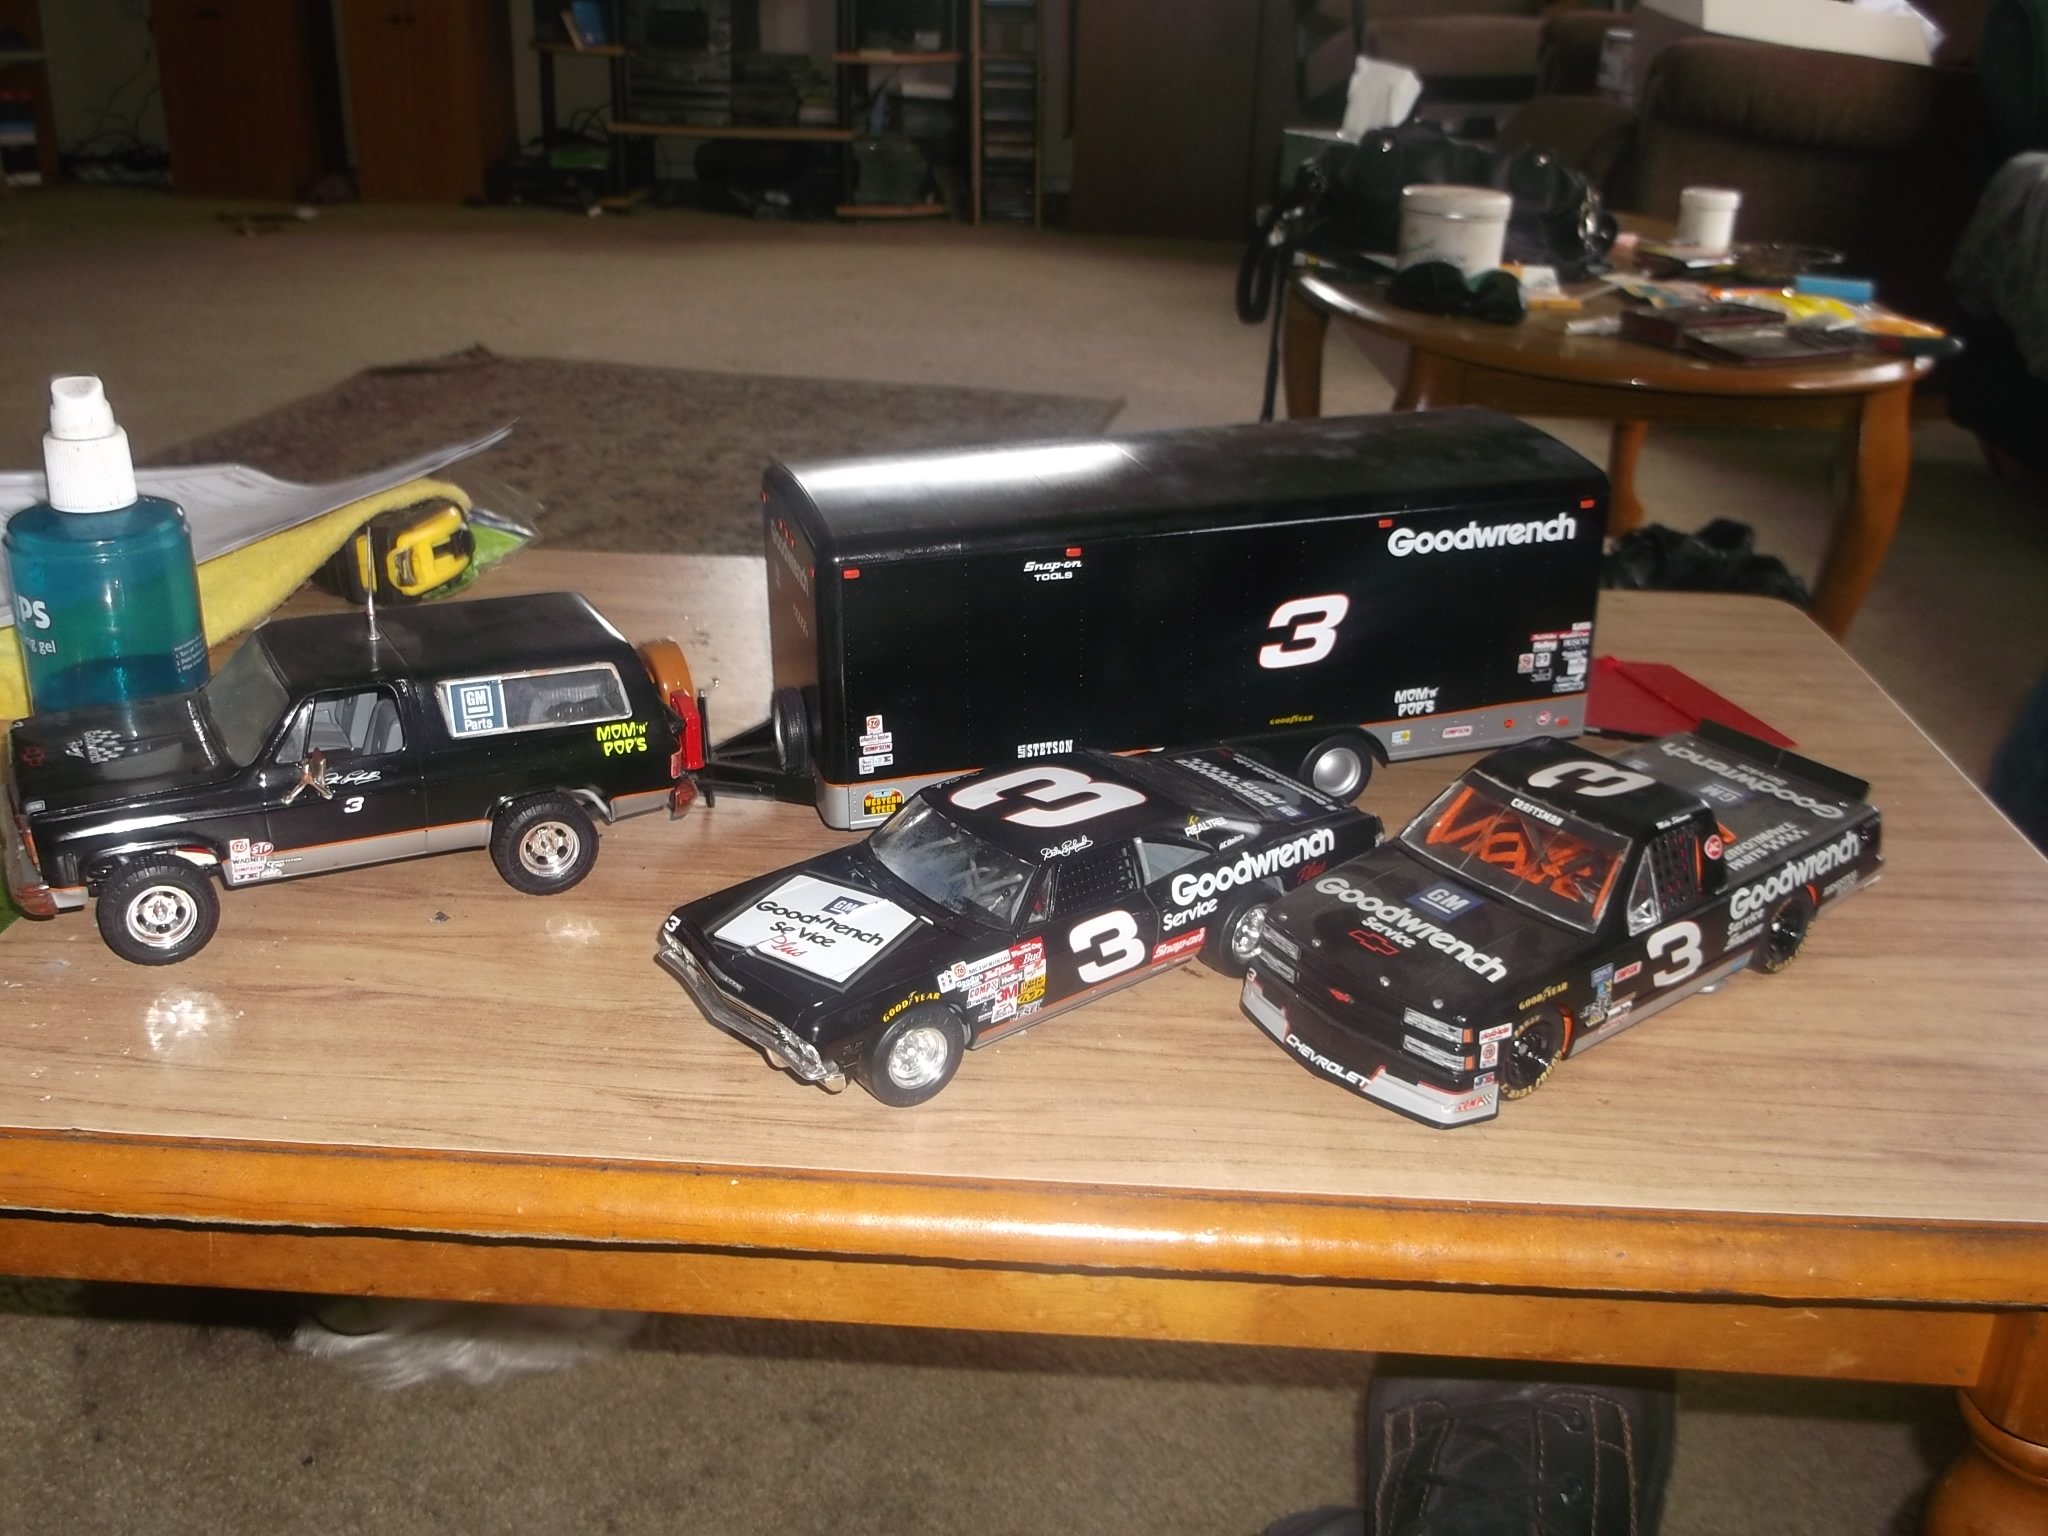
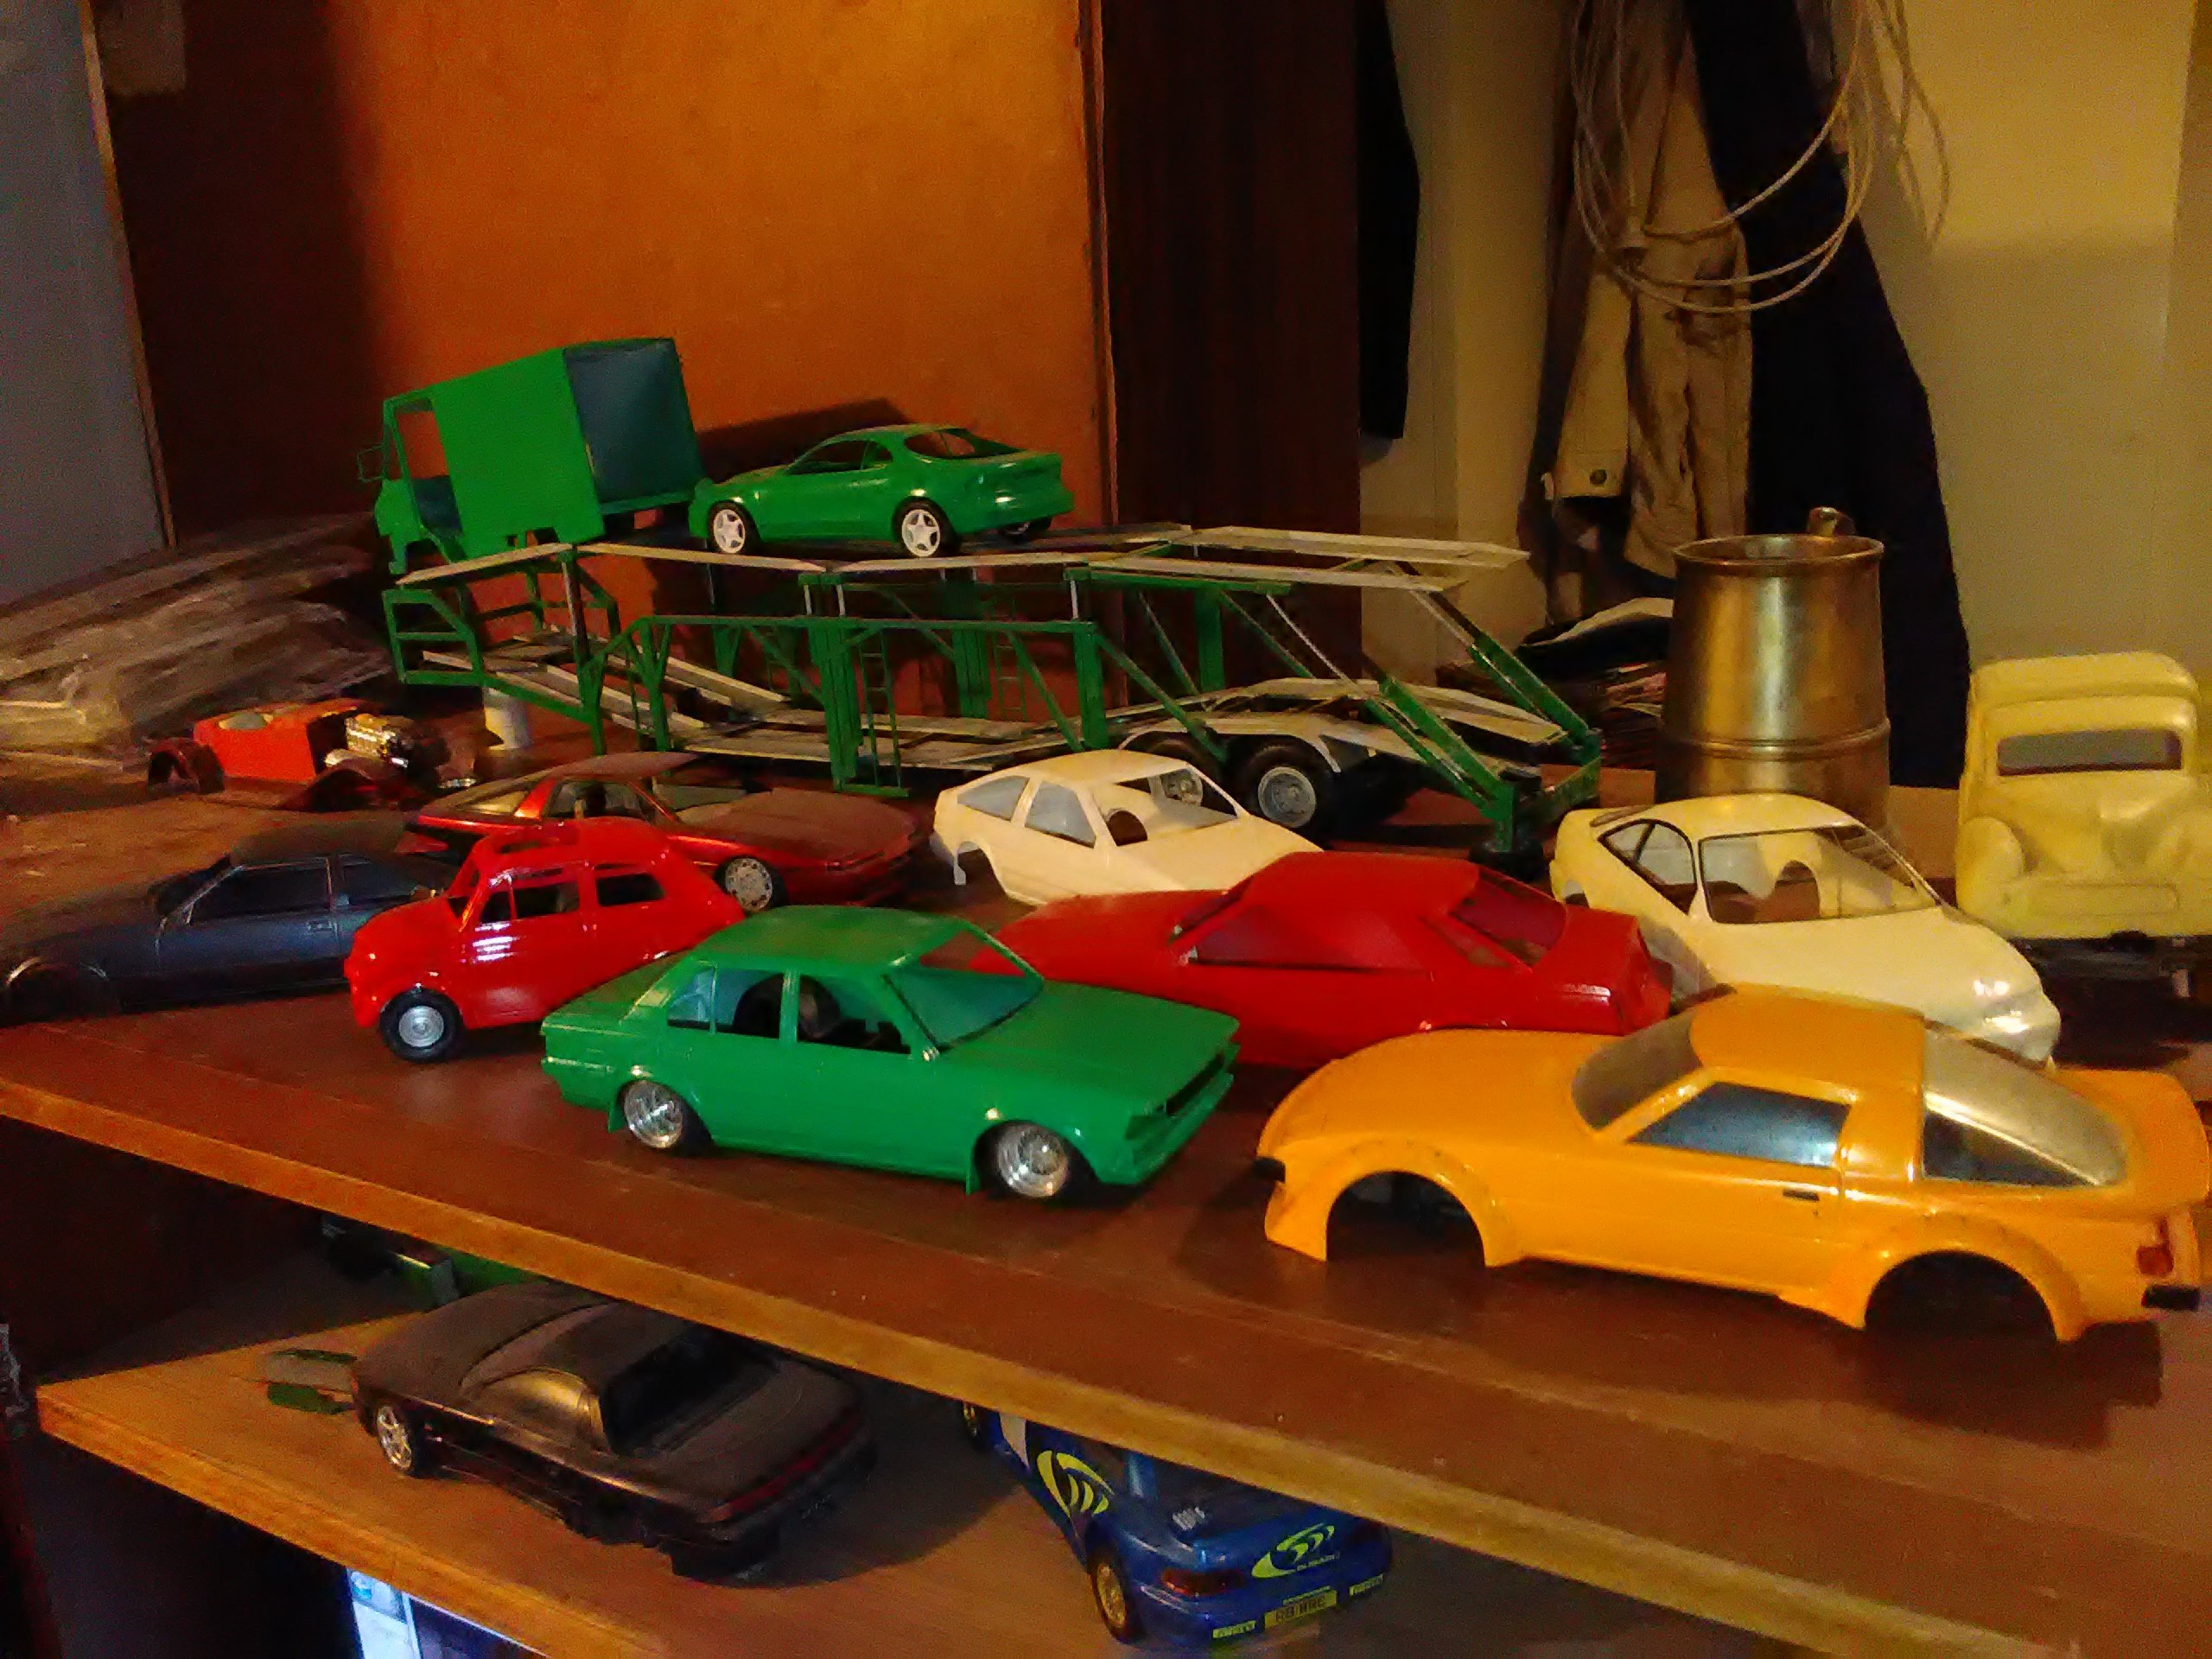
my son and i build a few
2 points
-
Possibly old moulds that Italeri have acquired from somewhere. Not car related, but I got my hands on an ancient Frog 1/72 Beaufighter kit a long time ago. The moulds were past their best by the time that kit rolled off the line, and it took a lot of work to bring it up to scratch... Fast forward 5 years and one of the no-name brands that popped up in the mid 2000s released a Beaufighter kit clearly made from the same moulds as the Frog kit had been nearly 50 years earlier - Same flaws in the same places, but magnified further by the extra age.1 point
-
I liked it because fuck these cars are cool, not because of your problems. Check the TPS?1 point
-
Chuck a model plane motor on it....... @Kimjon egg him on.
1 point
-
sweet man, not taking my car, but will be down there taking pics. wills stop by for a quick yarn and perv (at the car)1 point
-
Nice one! What time you heading down on Saturday?1 point
-
Well done on it seeing through mate nothing sweeter than being legal and on the open road with the weber opened up!1 point
-
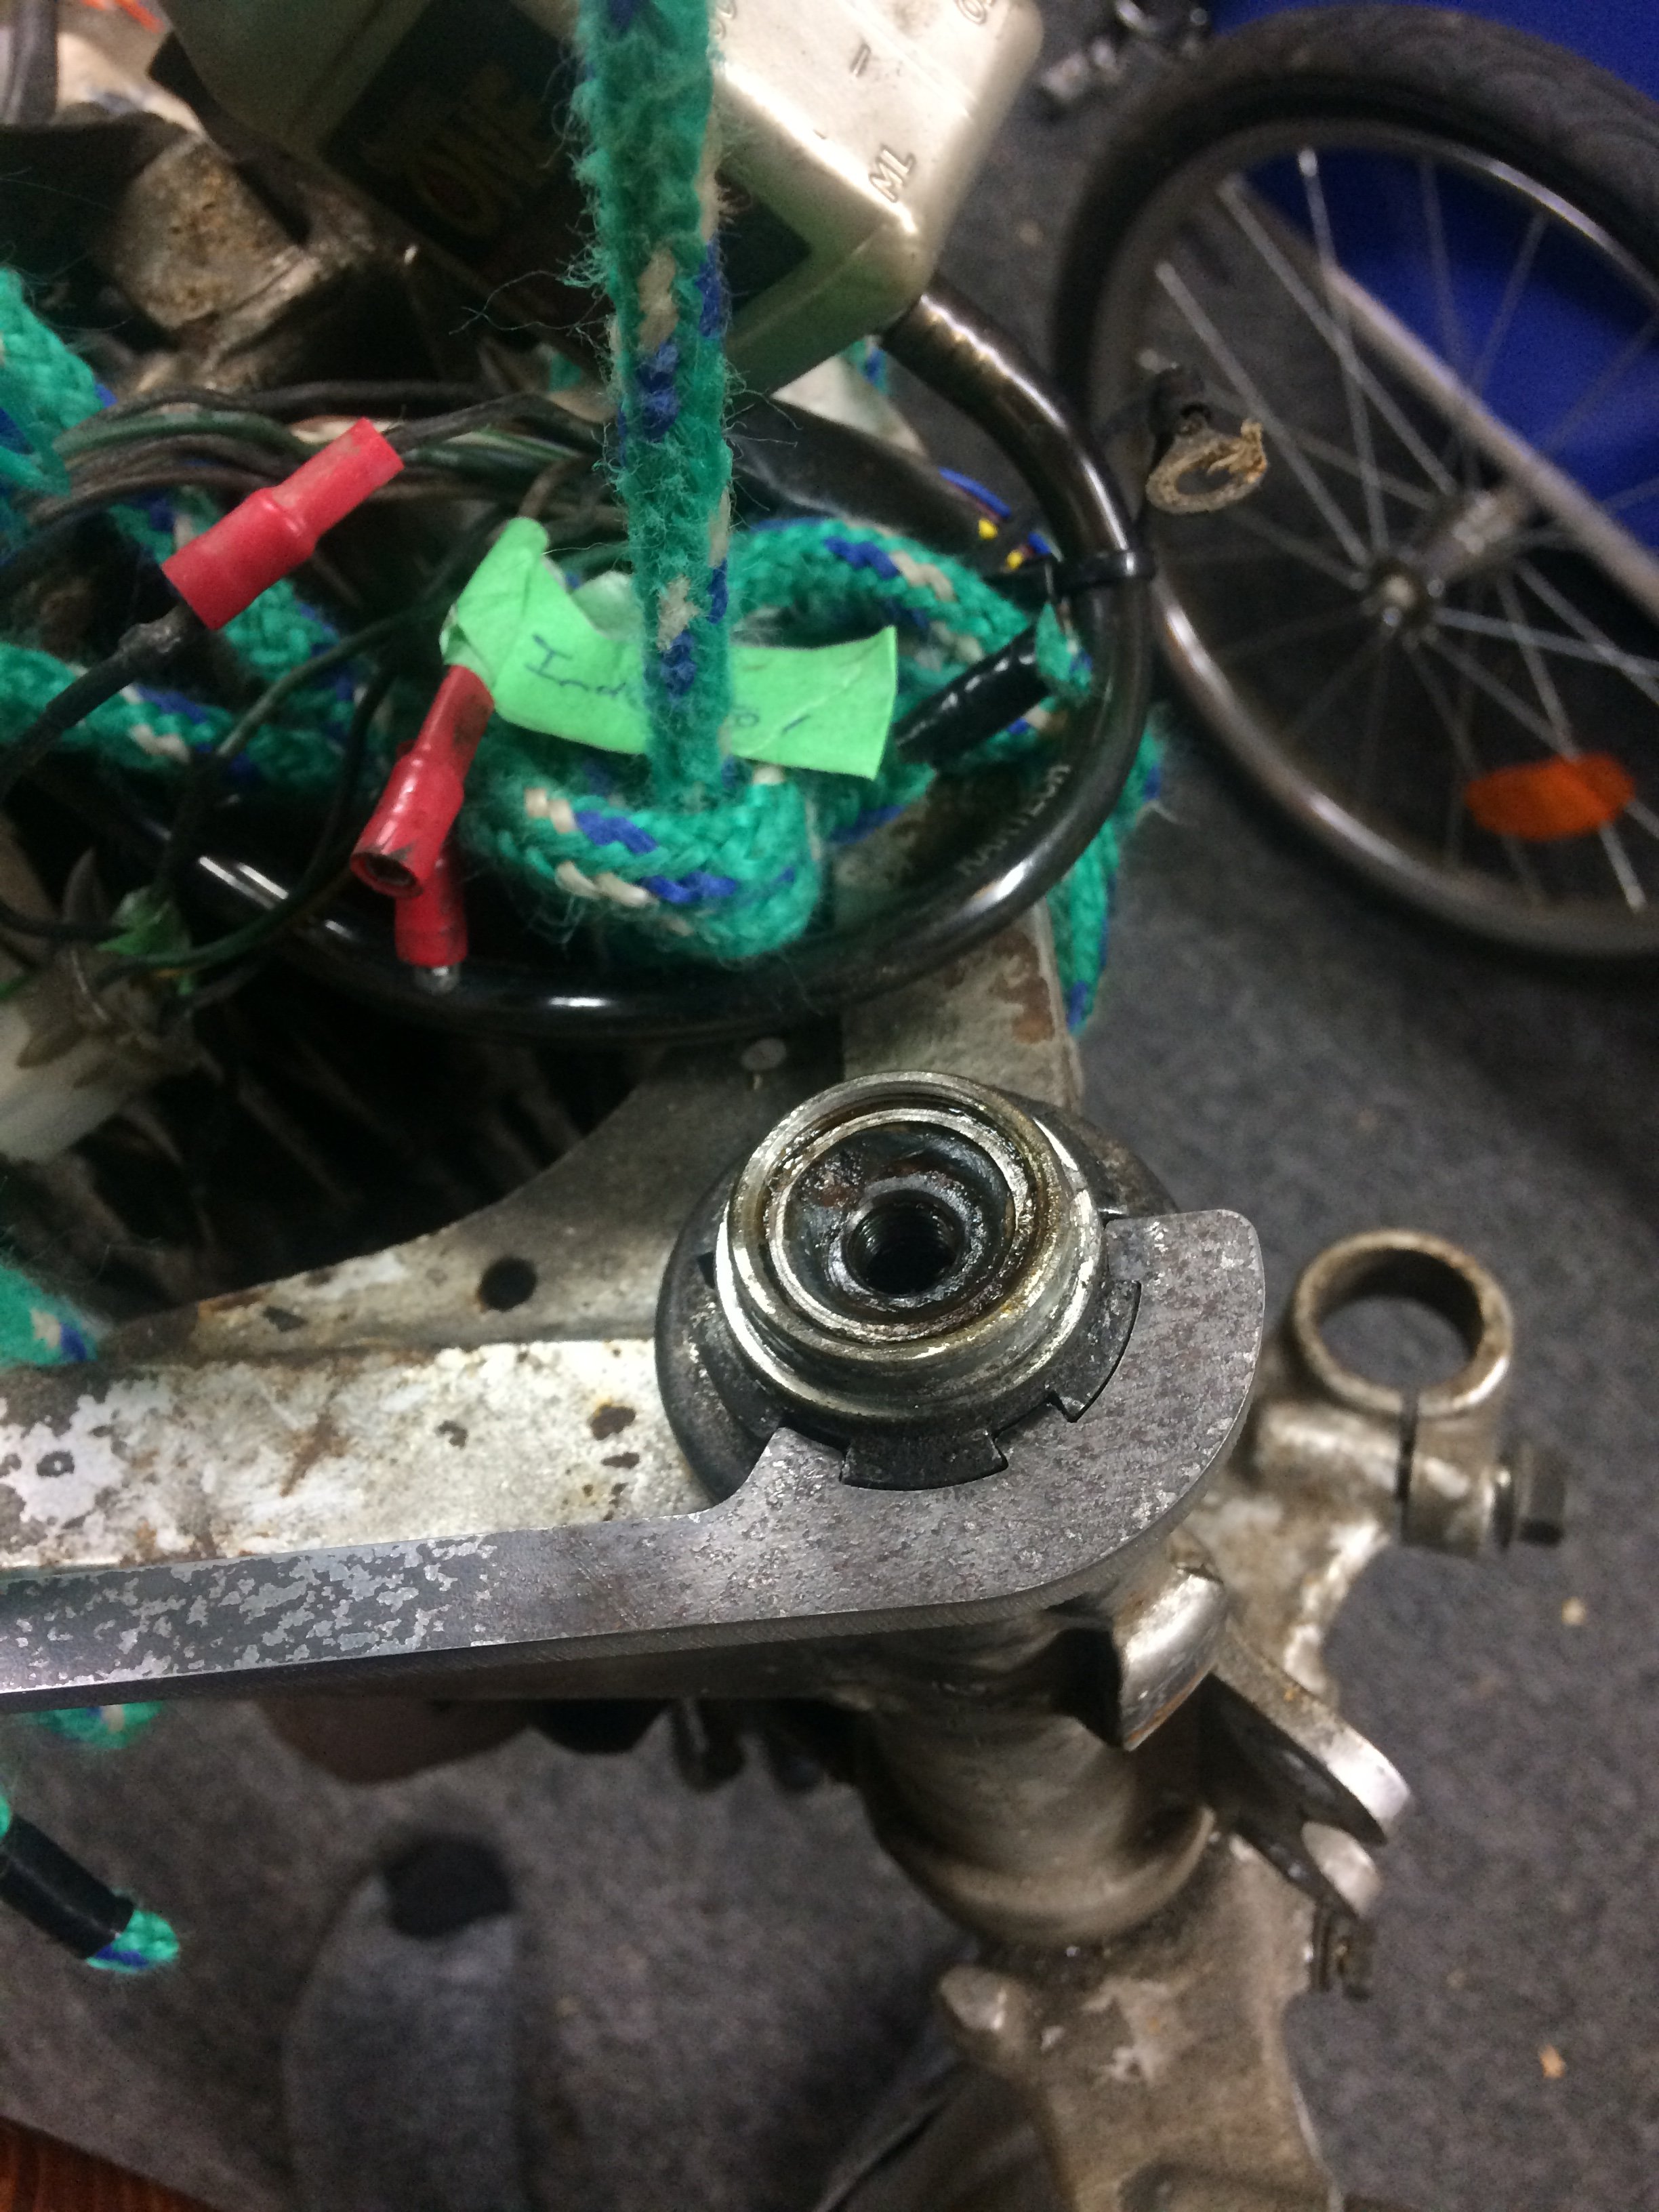
So wired up a igntion barrel so has a jey not just a switch. Put on and wired up indercators Moved plate
1 point
-
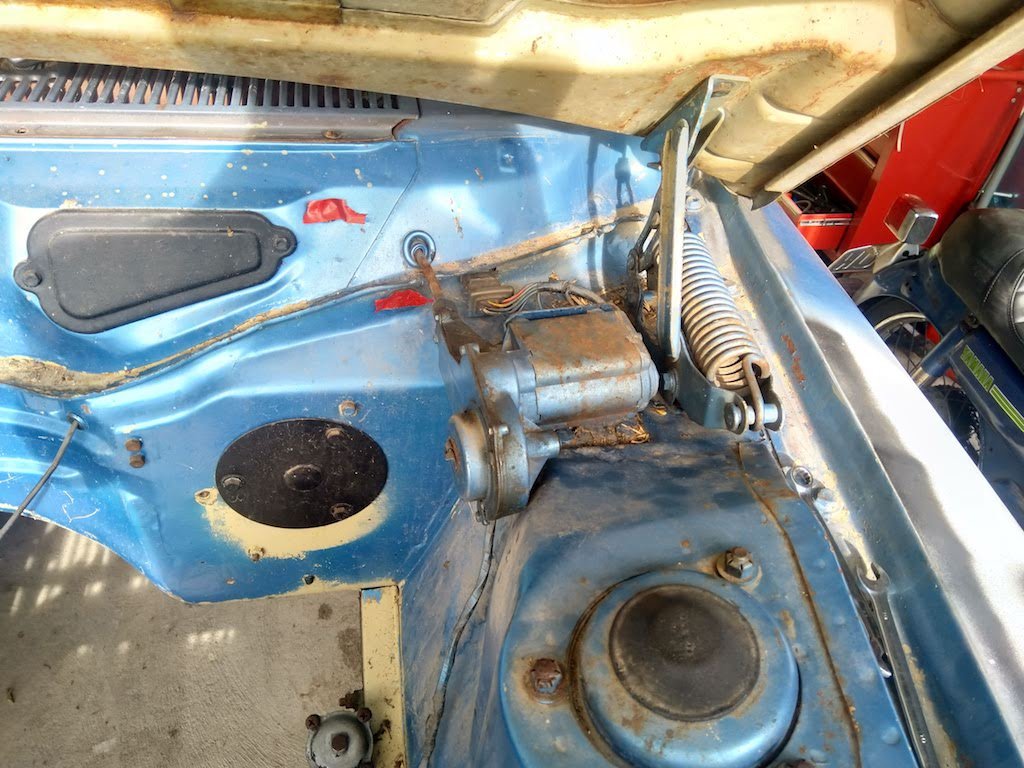
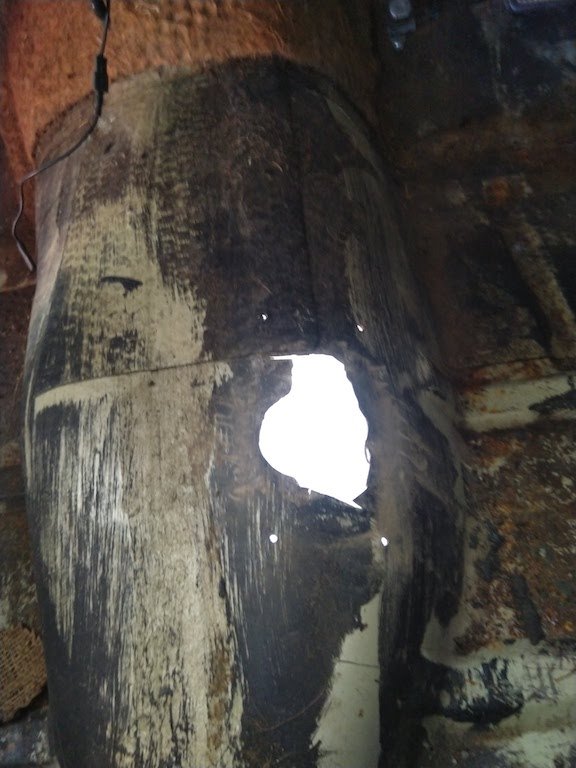
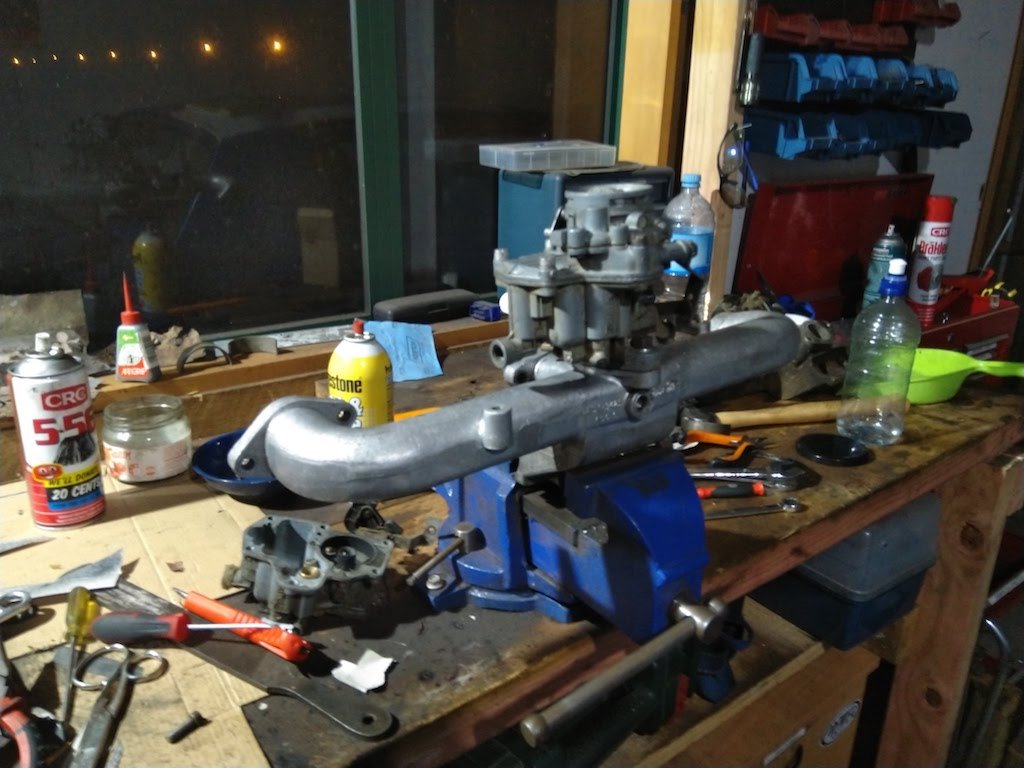
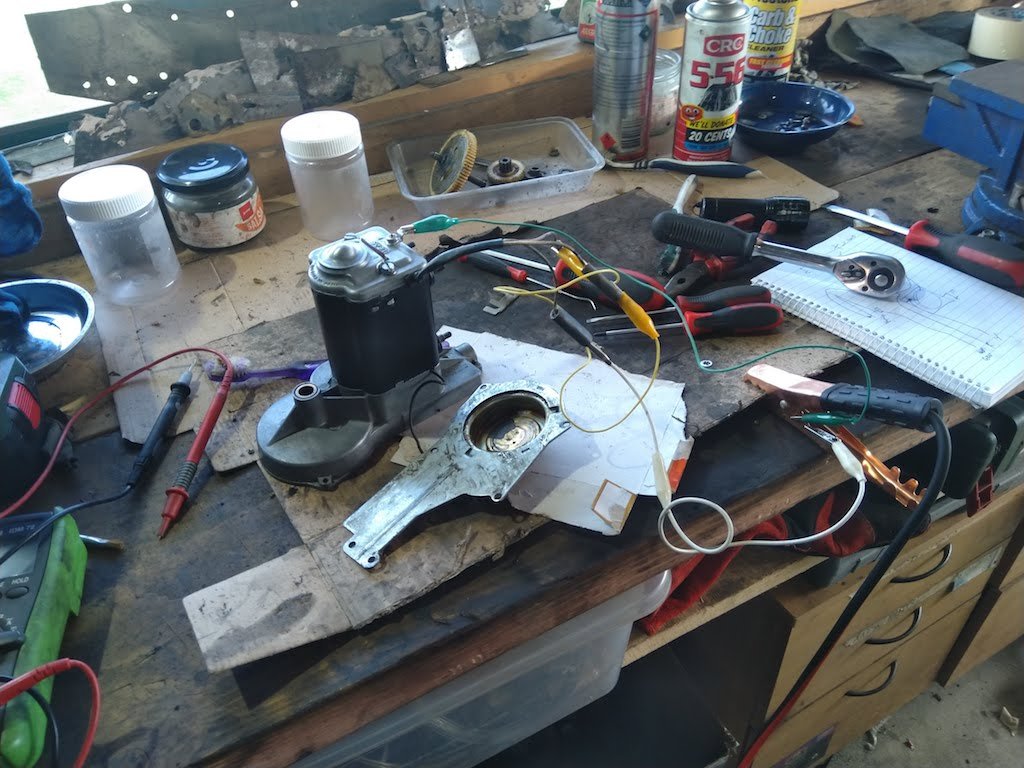
Just been doing little things on this. So far I've rebuild the starter motor, windscreen wiper motor and a carb with the best bits from several. Found a wee bit of rust on the guard, fixed that. Fixed the transmission tunnel, someone had cut it out for a floor shifter with what seemed to be an axe
1 point
-
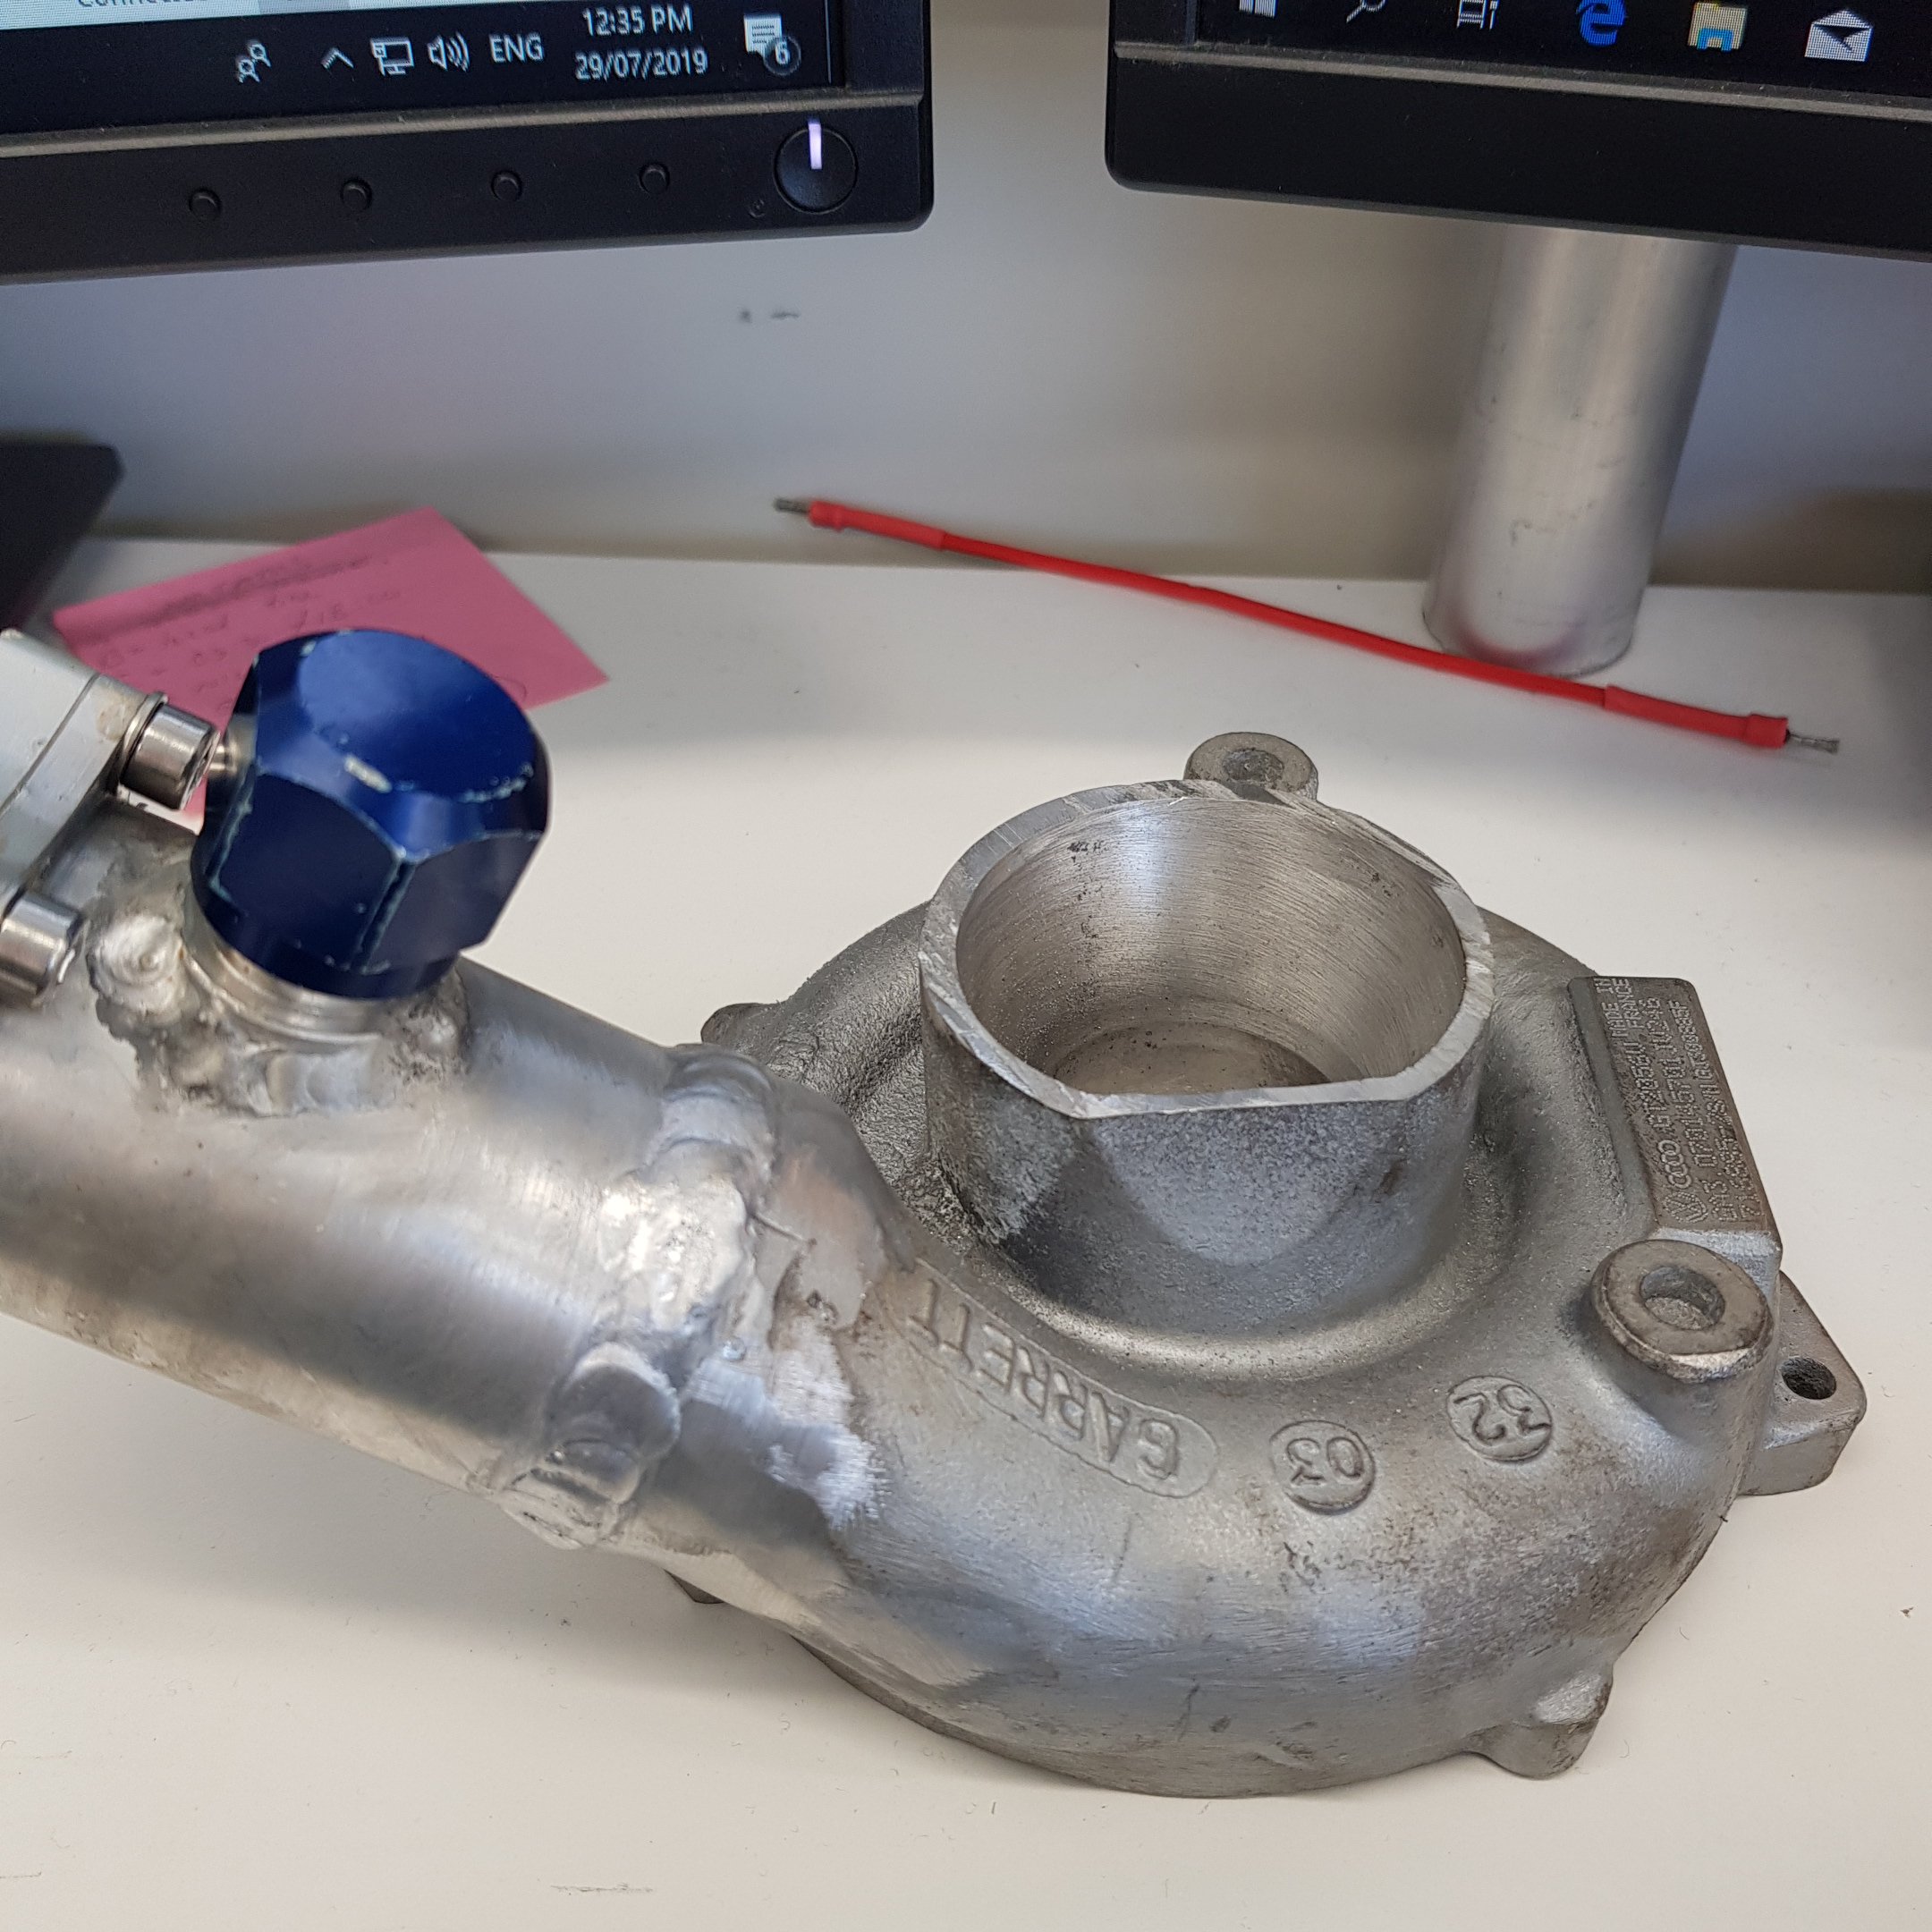
Got my fancy pants VW toureg turbo cold side housing modified (finally) and amassing more AN fittings for the oil lines. Got to drill a drain into side of block so engine coming off some time soon to be cracked open and the turbo manifold made. Does dromegedden have an open class yet?
1 point
-
All sorted as of yesterday!! For some reason, when my idle jet is screwed all the way in, it blocks fuel from passing. But only on the primary side. If I back the idle jet holder out 1/4 of a turn it runs perfectly. Not sure if that's how it's supposed to be, but it's running mint now *shrug*.1 point
-
Guy at hobbie store twisted my rubber arm..
1 point
-
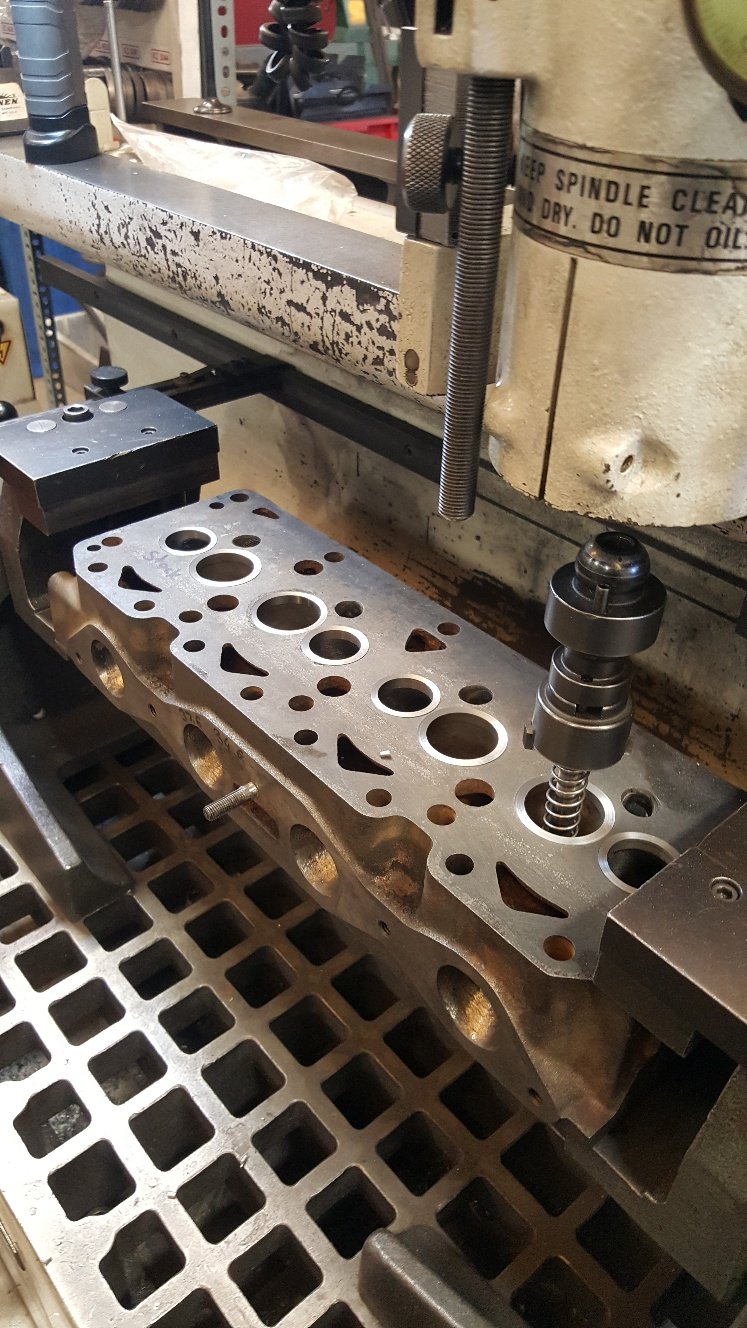
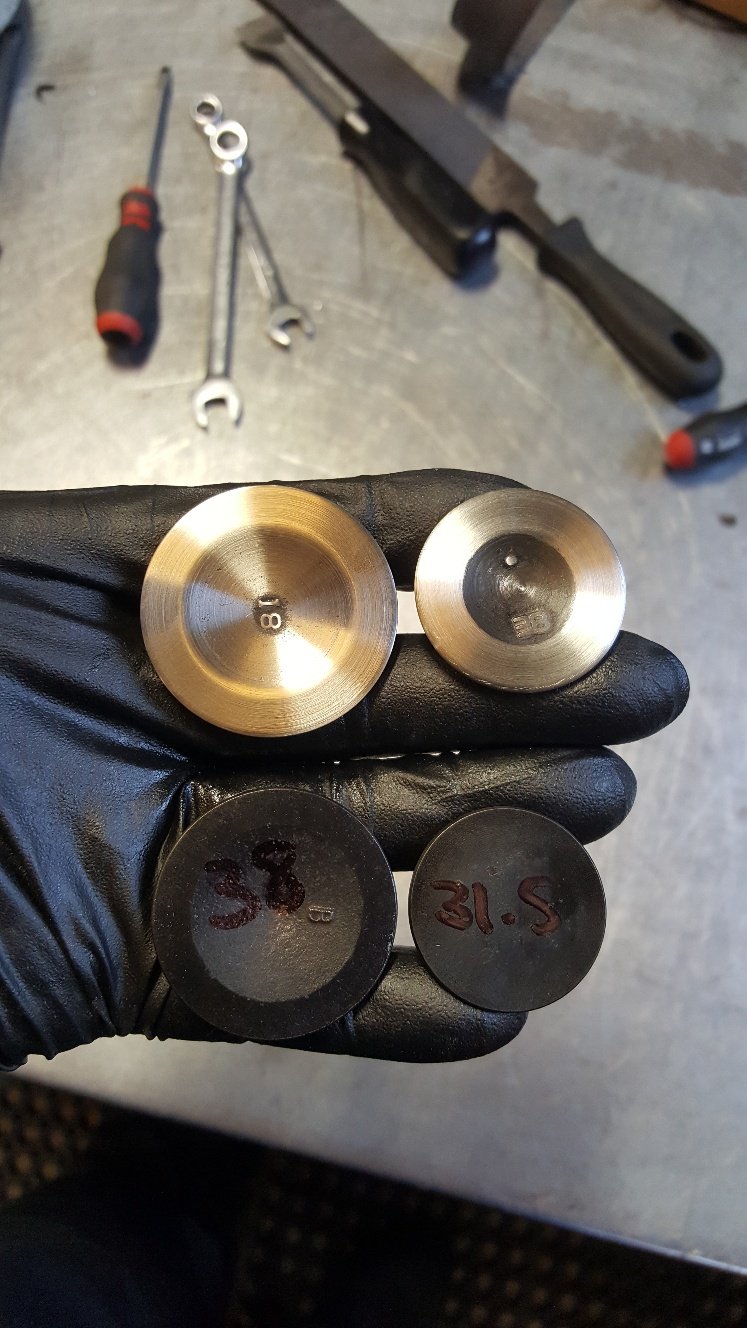
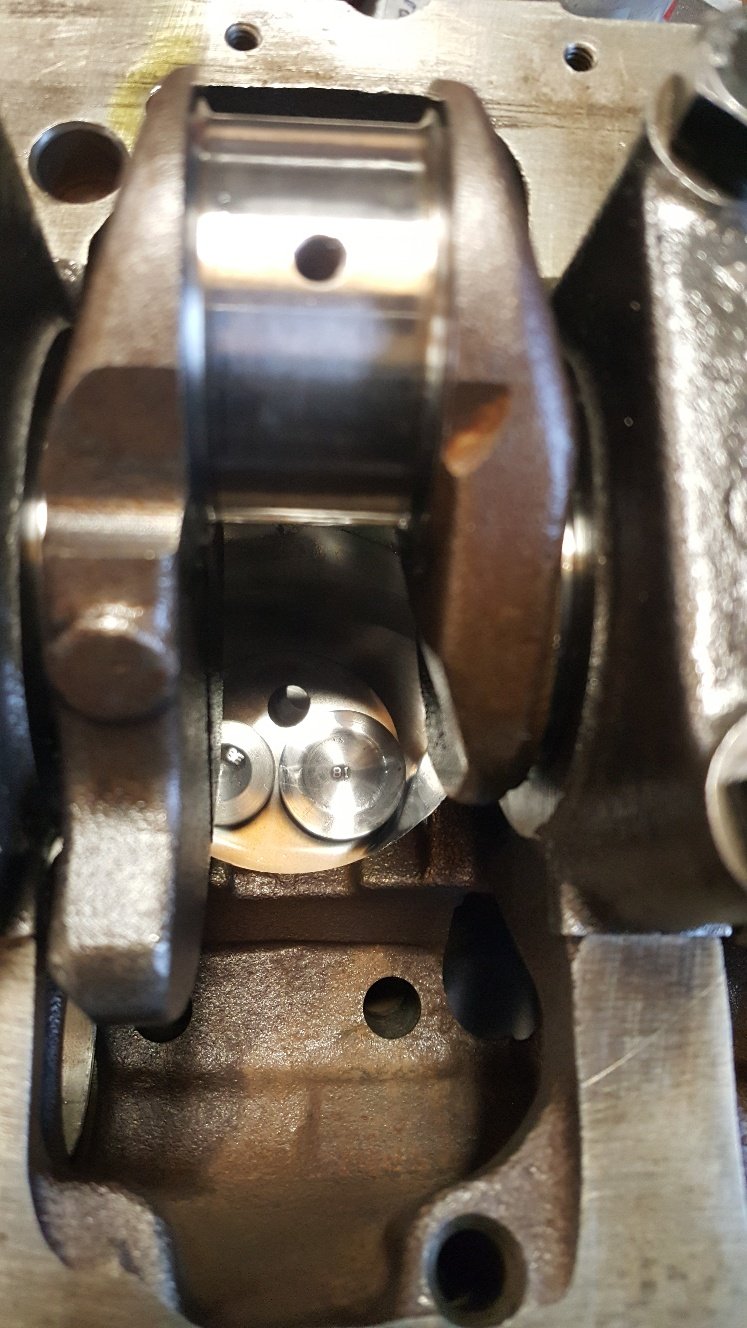
Time to cut some holes for valve seat inserts. We have a Sunnen VGS for all our head work. First picture is setting up the tool cutter to cut the hole. We are looking for between 3-5 tho crush. Once holes are cut just hammer the inserts in. Then turned down a intake valve and a exhaust so had something to check valve spacing and clearance of the side of the bore. I detopped the inserts in the VGS and then surfaced the head. I didn't get a picture of it in the surface grinder as there's pictures of that previously. Here's the valves. And a shot of the head bolted on to the block looking into the bore to see how much clearance the valves have off the side of the bore.
1 point
-
conclusion: bmw throttles make no more power. injectors in bmw throttle instead of head, no change. have revised throttle linkage setup. still not as good as the setup on the 20v throttles, but a whole lot better But have gone with this setup as it heat soaks less. both the throttles and the fuel rail are isolated from the head, with a thermal gasket and 25mm bit of plastic. should be bit more consistent, since hot air and fuel suck Also found that cylinder 1 was running a touch leaner than the rest, after checking afr per cylinder. so have added a fuel trim to add a bit more fuel on cyl 1,1 point
-
Got some 20mm plate plasma cut. I had a one spare cut in case I fuck it up. I started whittling at it with the mill. Managed to drill 4 holes in EXACTLY the right spots on the first one! I used the dial thingamies on the table adjuster wheels. I still need to machine it down to 15mm, make some 11mm spacers and get some bolts the right length.
1 point
-
Suzuki Adventure50 builds coming along well.
1 point
-
1 point
-
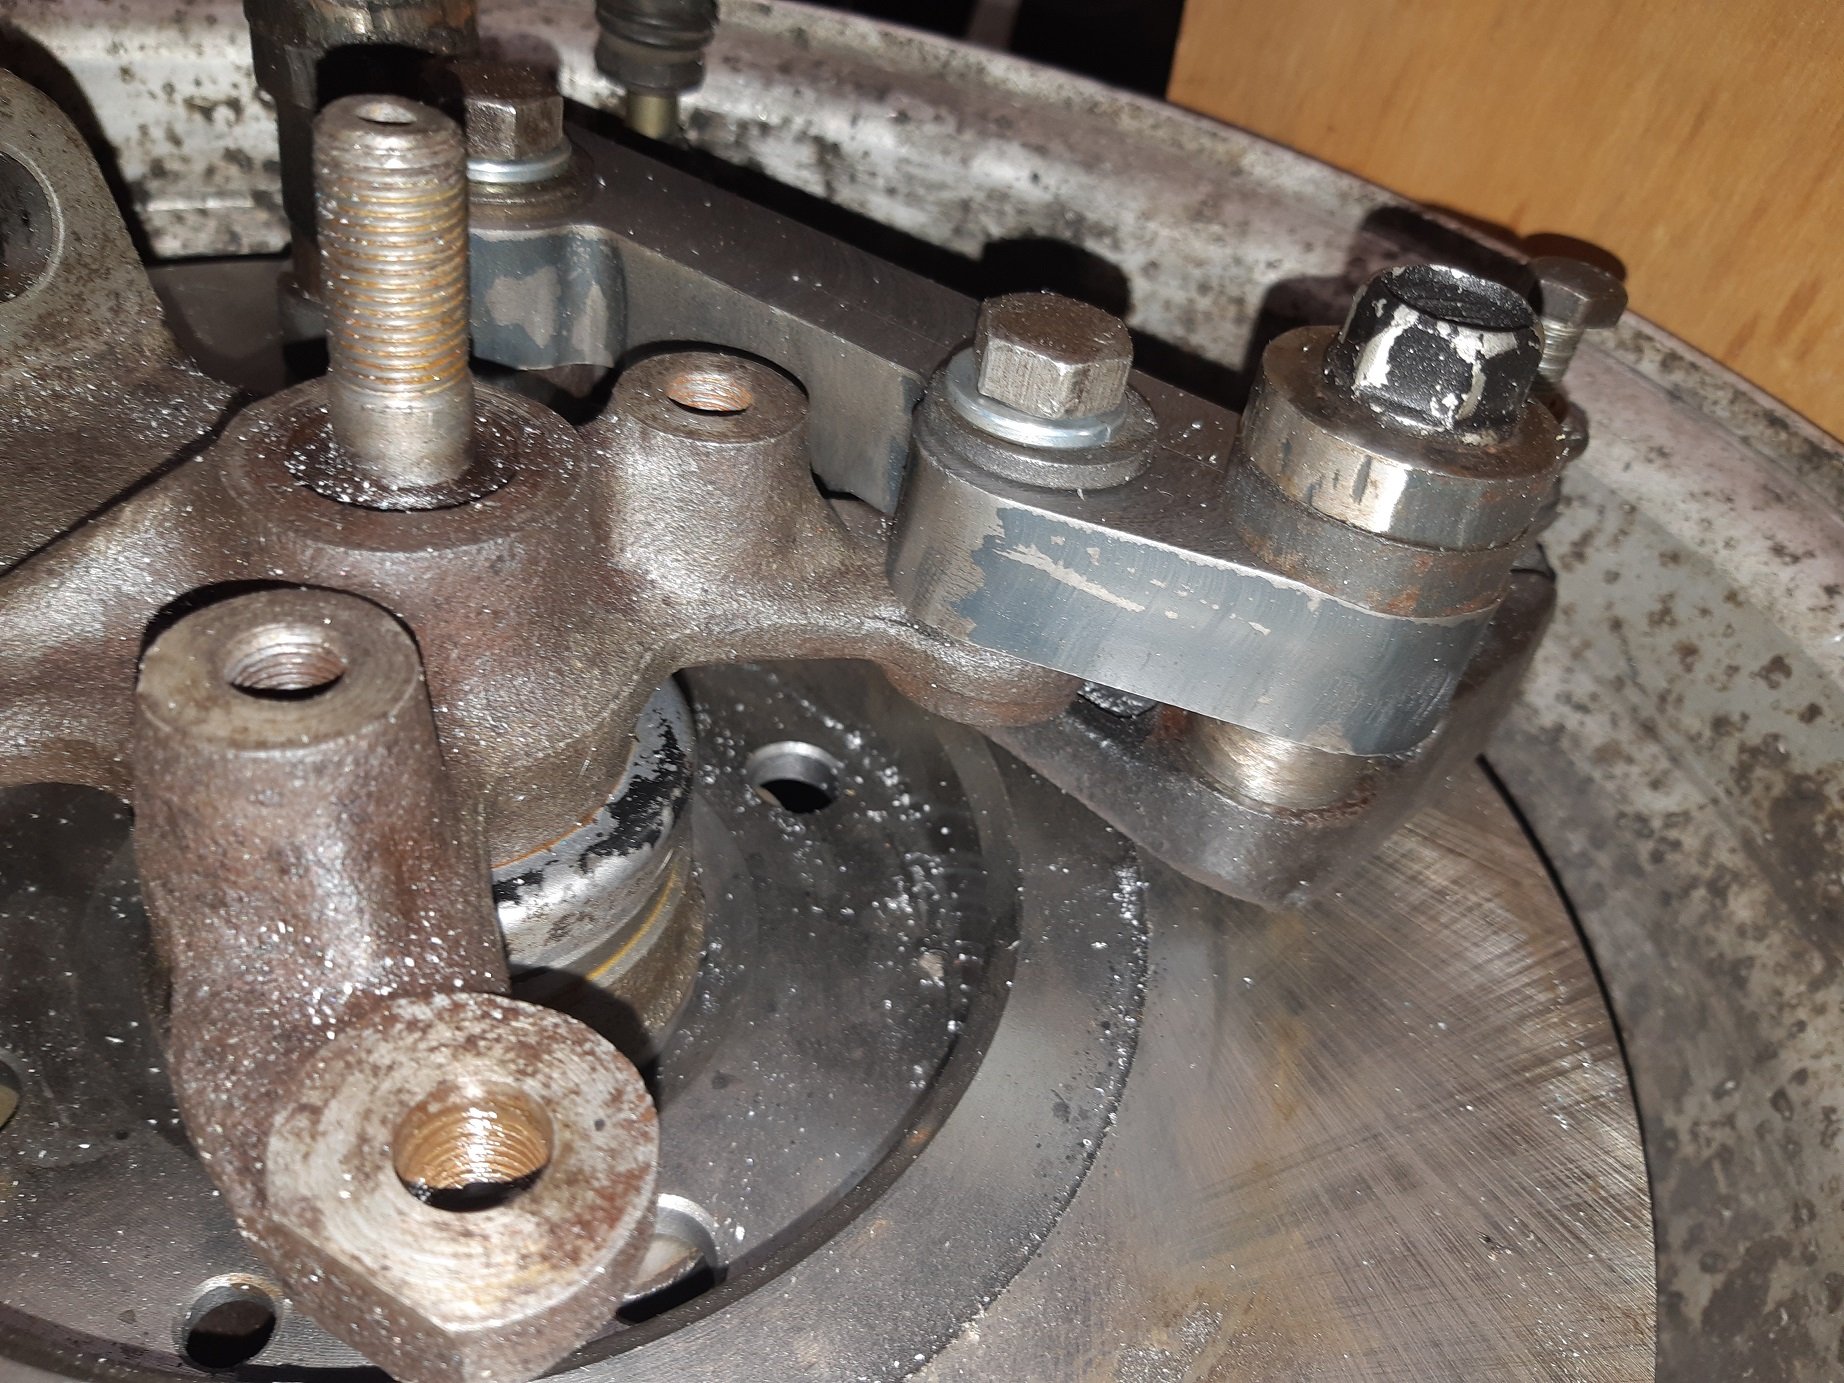
I did a wee bit more tinkering with the Ruby last night. I made a start on an oil change, have drained the old oil out and undone all the bolts on the sump to get at the filter gauze. Annoyingly it looks like I might have to lift the engine off its mounts to get the sump past the front two studs. I might see if I can get the studs out first. Either way, its annoying. The oil that came out, aside from being old and a little sludgy, is in much better nic than I would have expected after being sat for so long. I sprayed a bit of CRC around the front windscreen latch and hinges and veeeery gently pushed it open. Unfortunately the latch mount on the window frame appears to have been made from die-cast cheddar cheese and crumbled away in front of me. So I'll need to manufacture a new one of those... I'm sure (I know) it isn't the only thing like this I also found this funky spanner on the floor under the car. Not sure where its fallen out of, I think maybe its for adjusting the valve clearances.
1 point
-
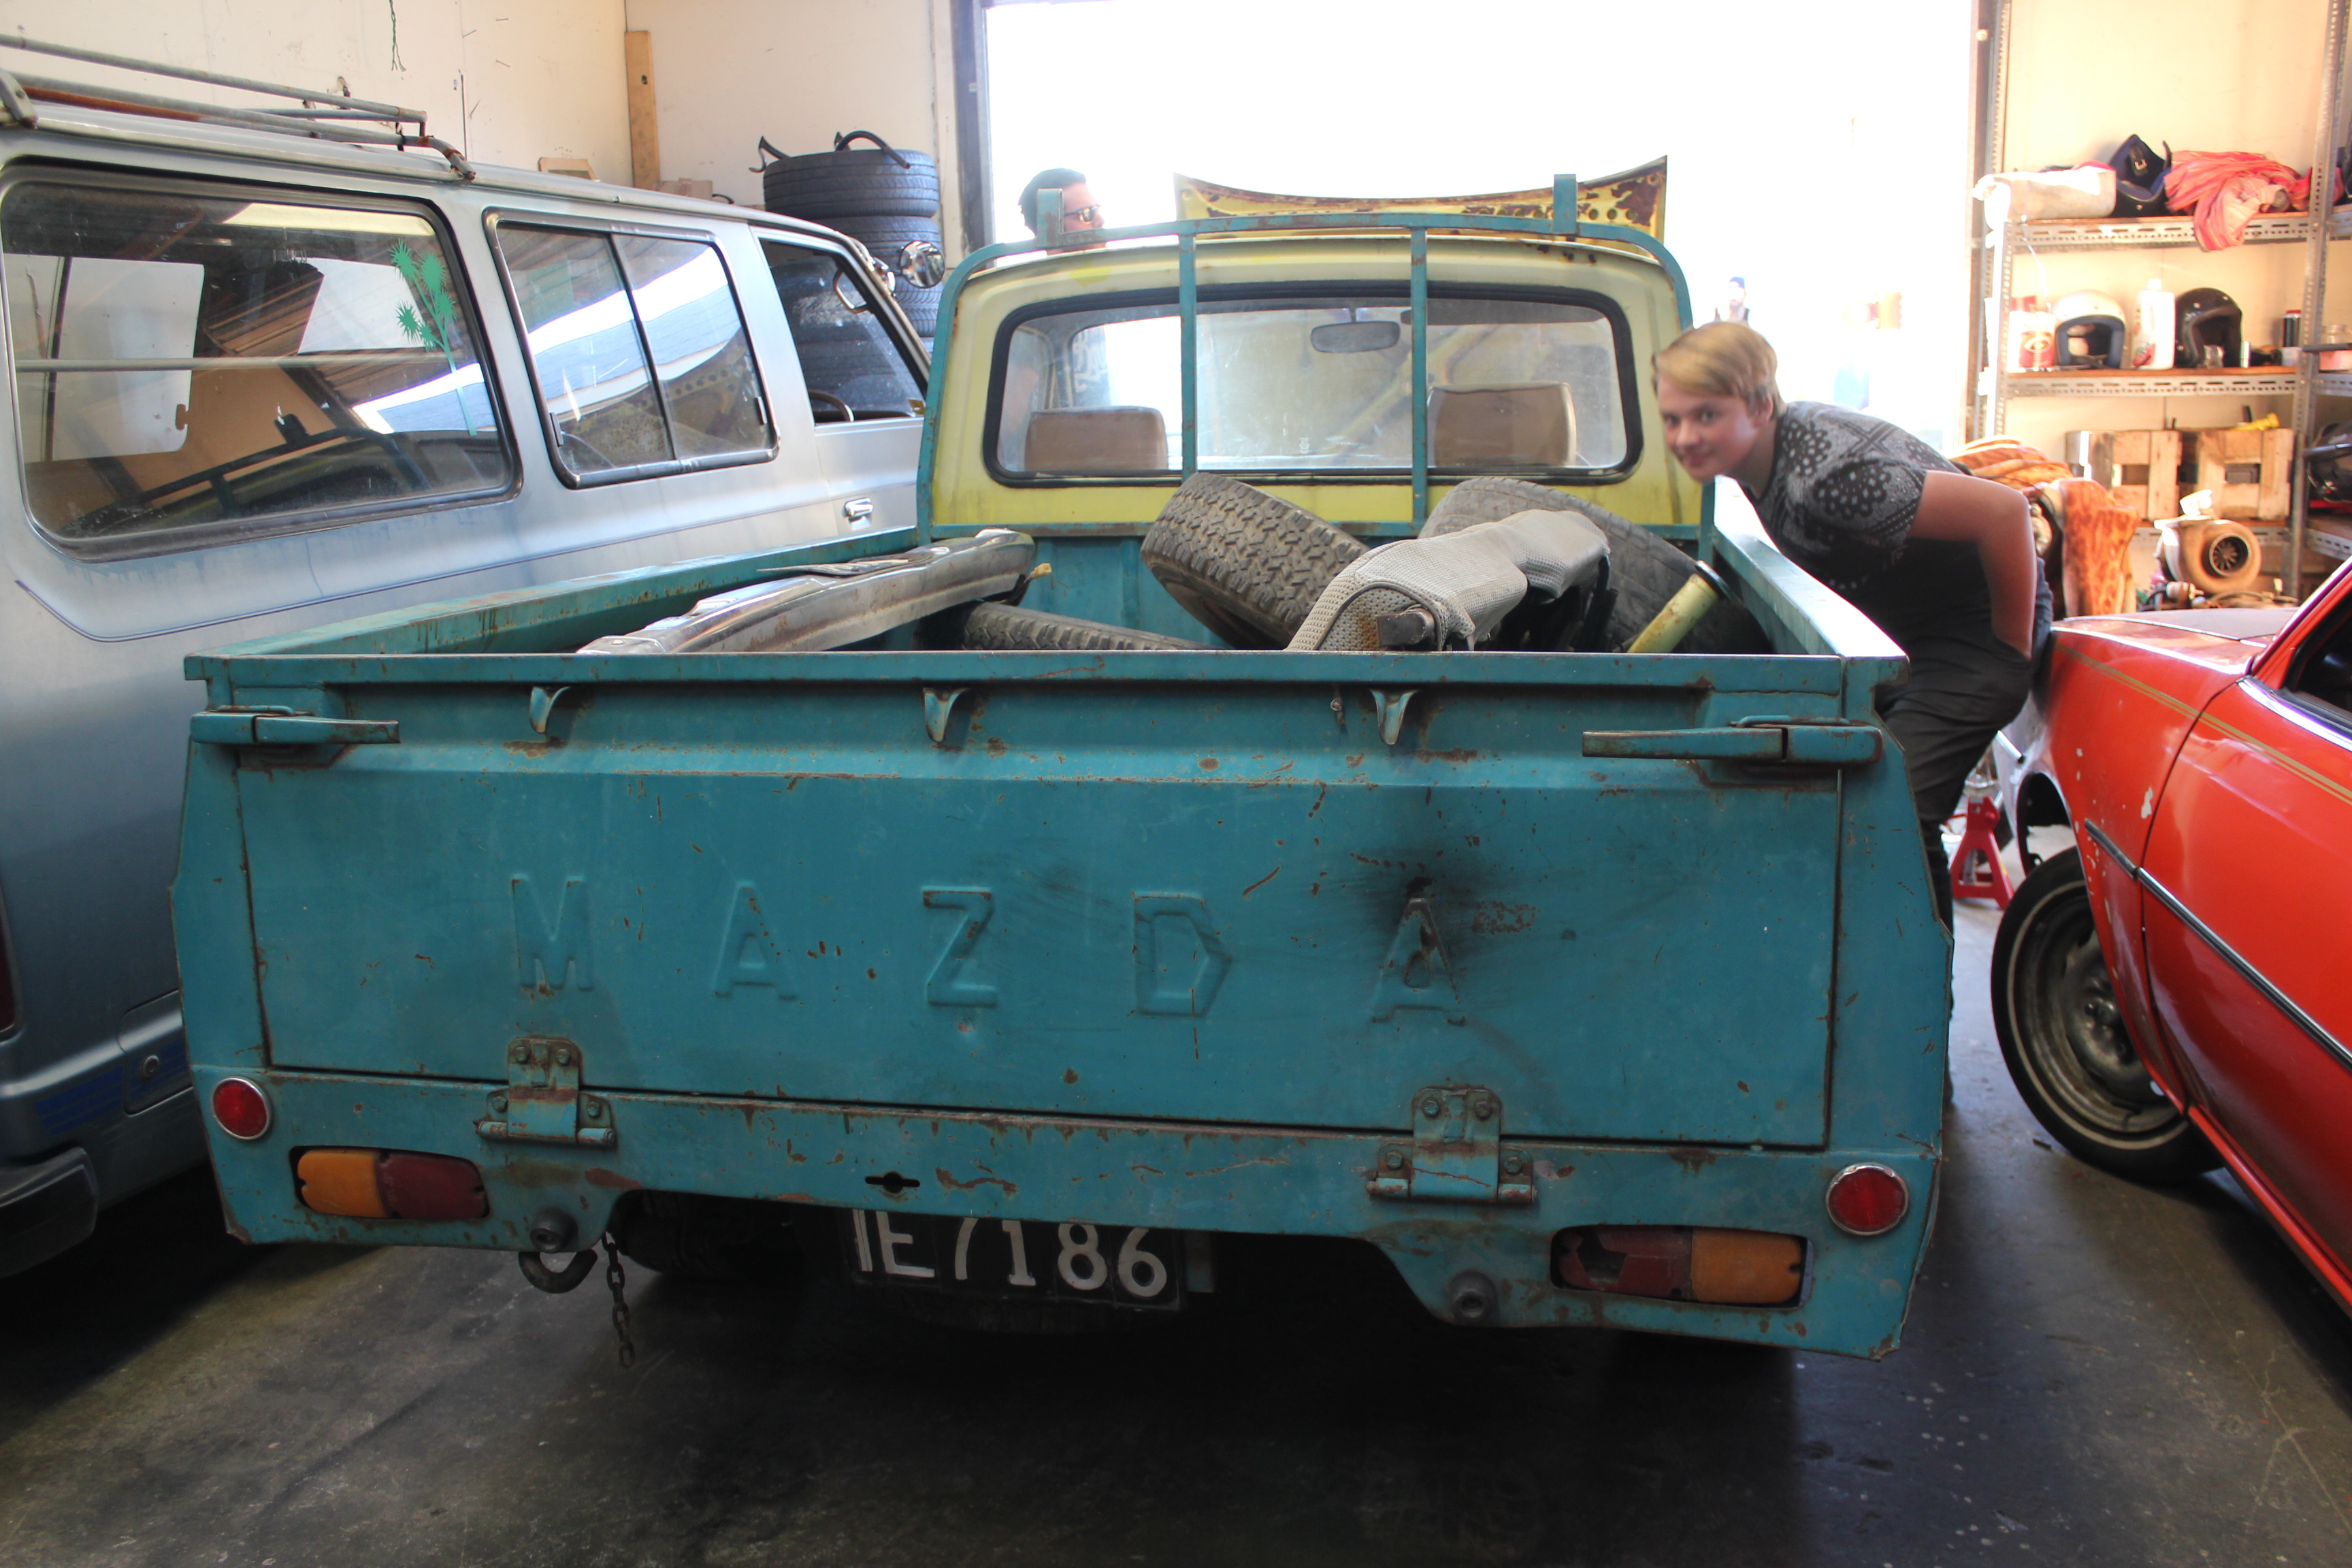
This beauty popped up on Facebook. I say I want it. Allan says (without even knowing what it is) buy it. Next thing you know Allan, Joe and I are sitting in traffic on our way up to Tokomaru to have a look at this magnificent beasty. Wellside is in pretty good condition, no concerns with that. The cab however is a different story... Swiss cheese floor pans and the passenger sill is a similar story. But no worries they said! So buy it I did. The bench seat that was in it looks to be out of an older model, but he had the original one, so plan to whack that back in. Also came with some more leaf springs to get the back sitting even with the front. First thing to do, learn how to weld! Discussion
1 point
-
Jut picked the sump up from Brian. Welds look good. He said it would be okay to linish the outside welds so it looks prettier.
1 point
-
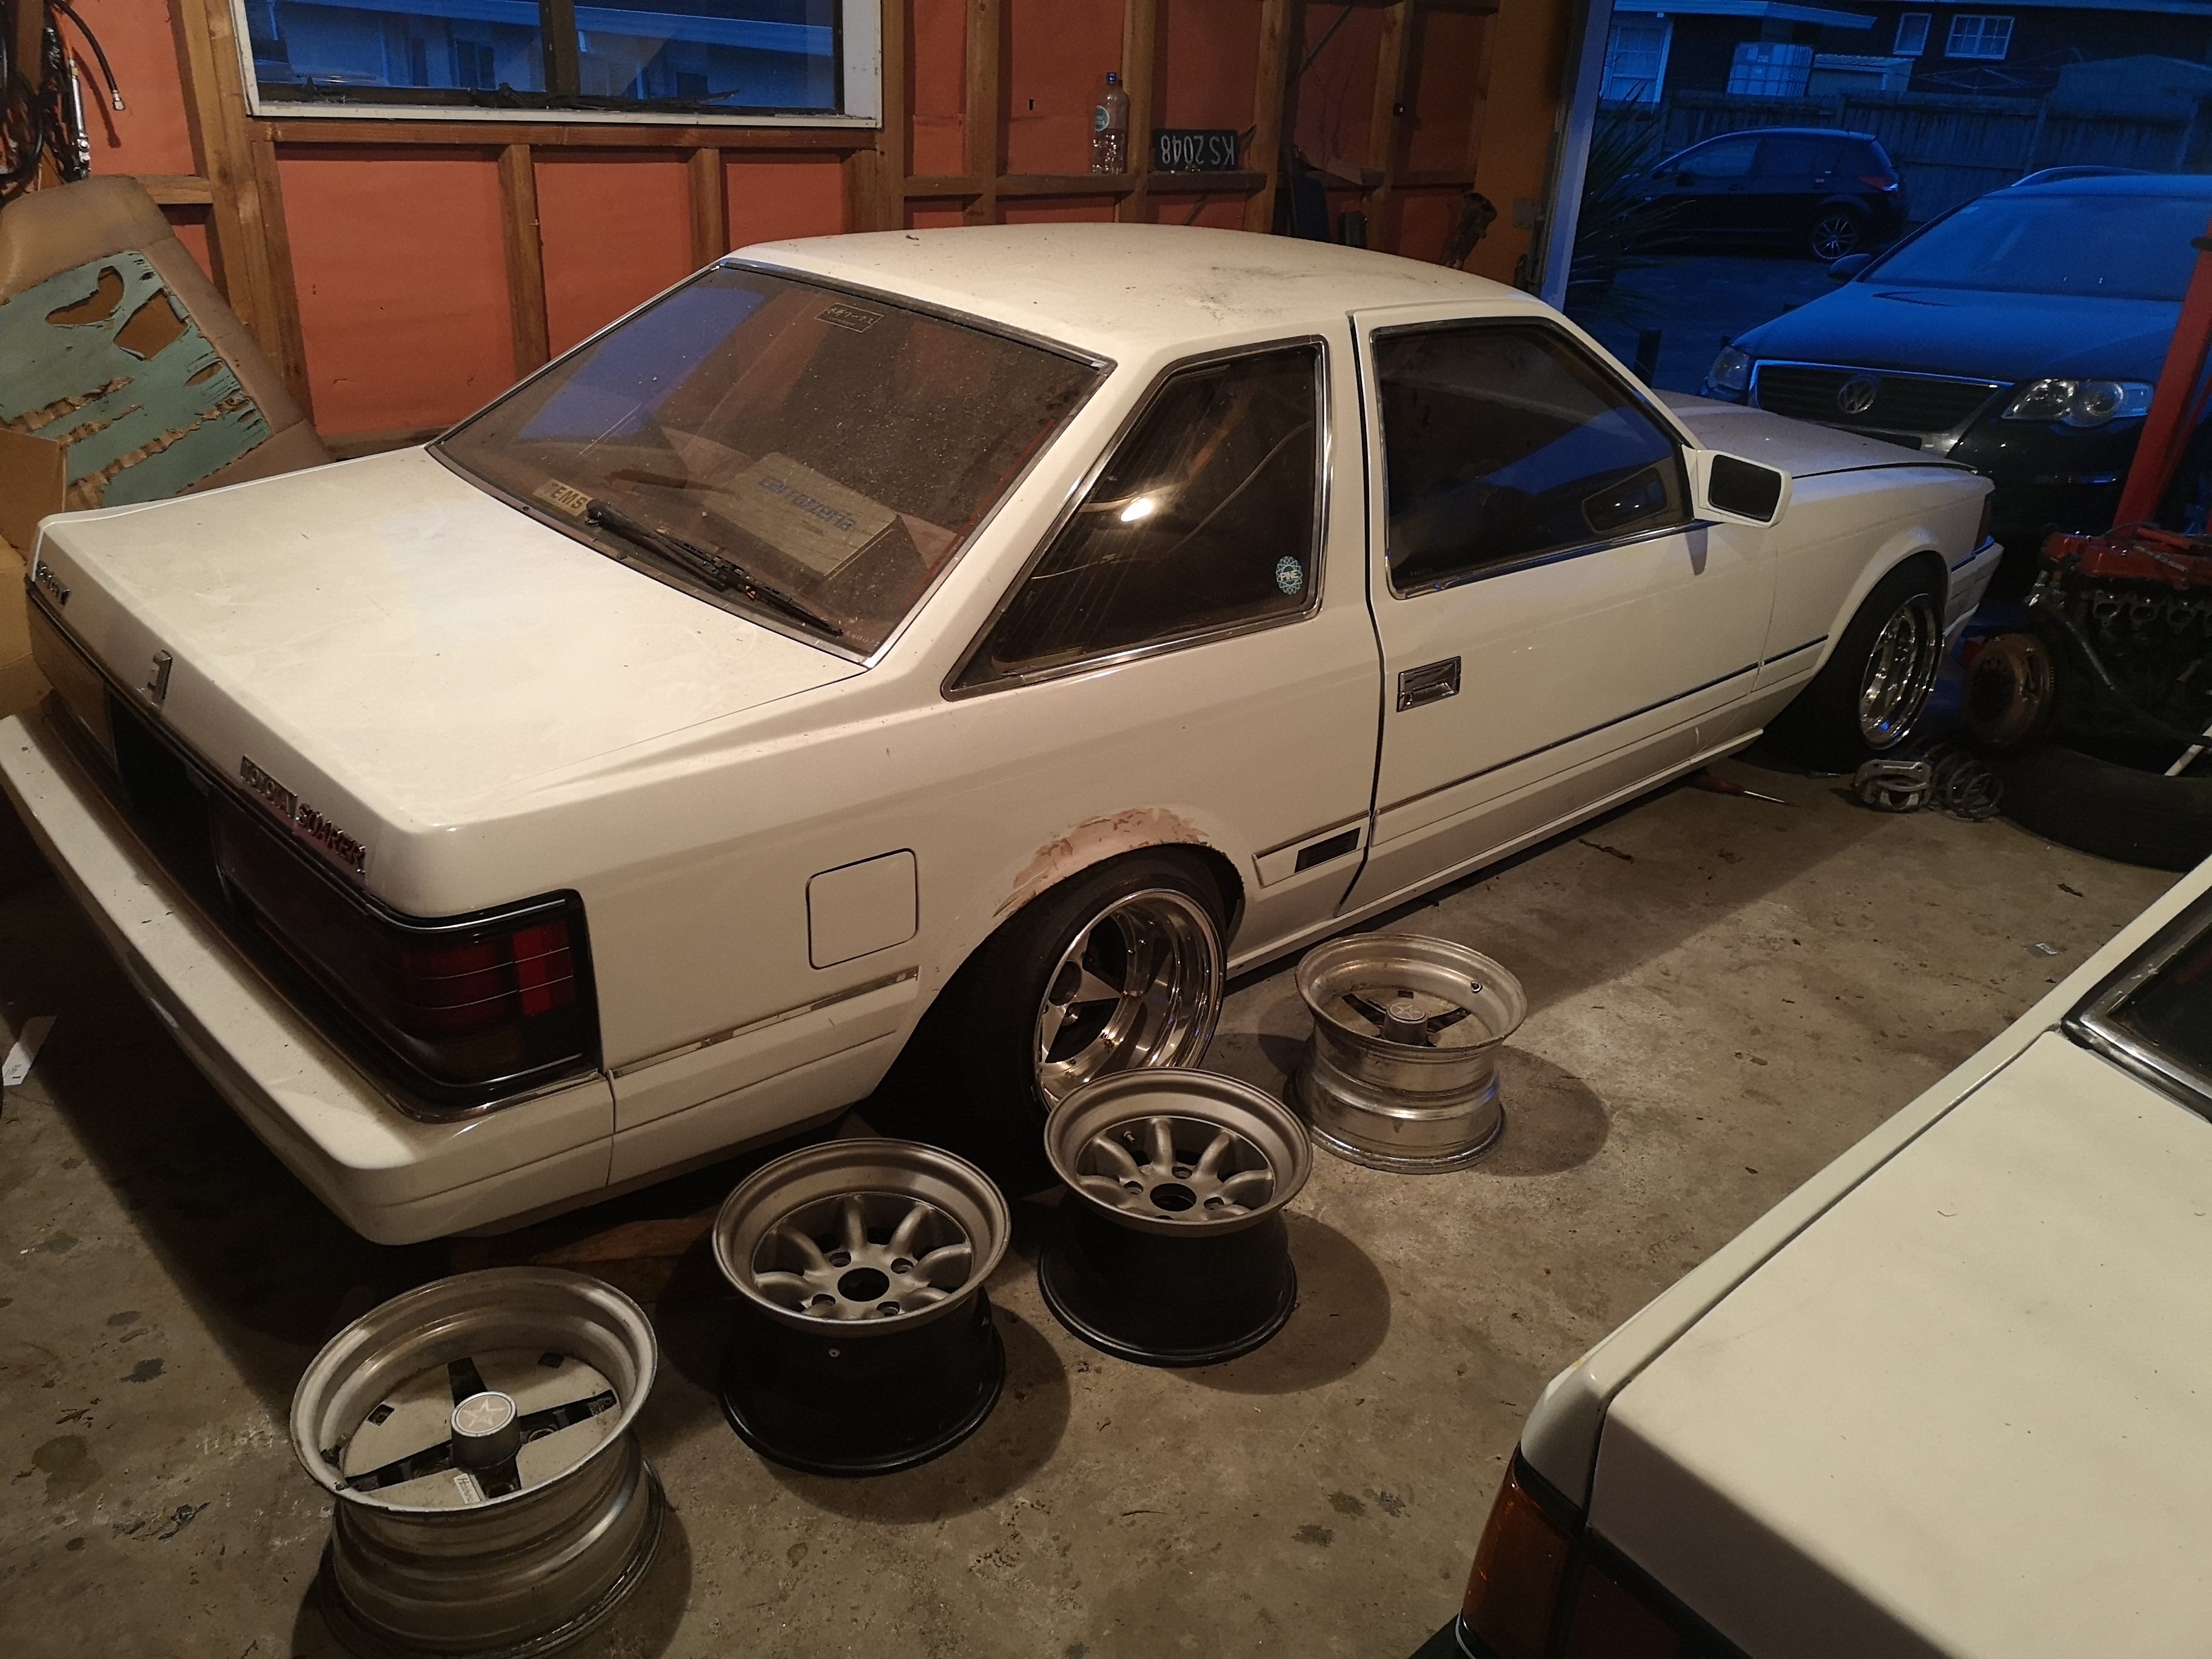
Apart from putting primer on those patches above, nothing has happened with this for nearly two years while ive been playing with the ute and wagon. Both are relatively sorted now, so I have tidied some crap out of the garage and peeked under the car cover and found this: This is after pumping up all the tyres and dropping off the axle stands. Looking forward to pushing it outside and seeing what still needs to be done (probably everything)1 point
-
Rota no motor.. If your familiar with the rx3 kit they don't have under hood detailing and no removable bonnet so mine is getting a custom built 20b lol
1 point
-
1 point
-
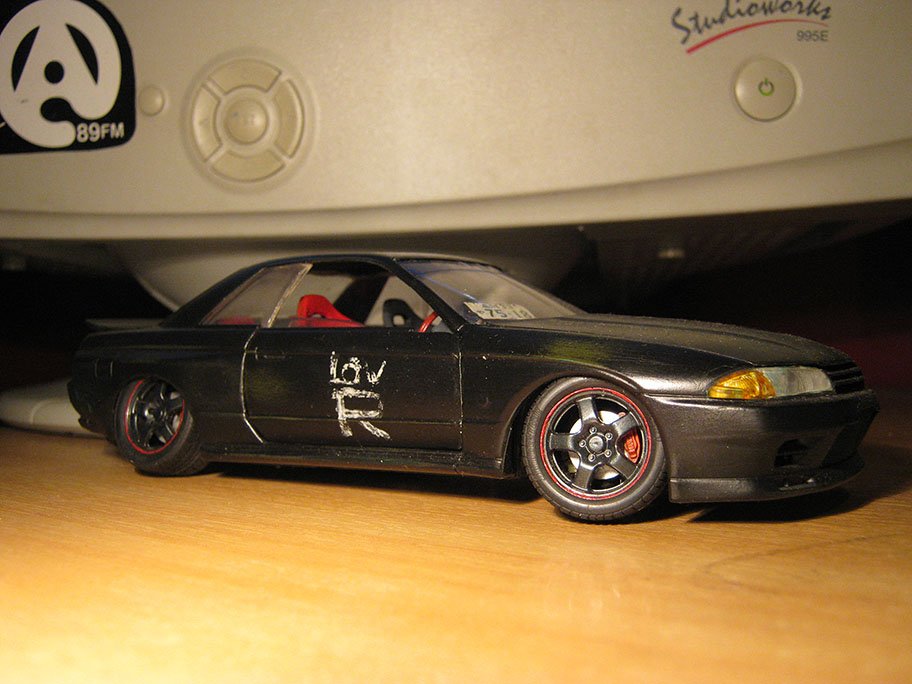
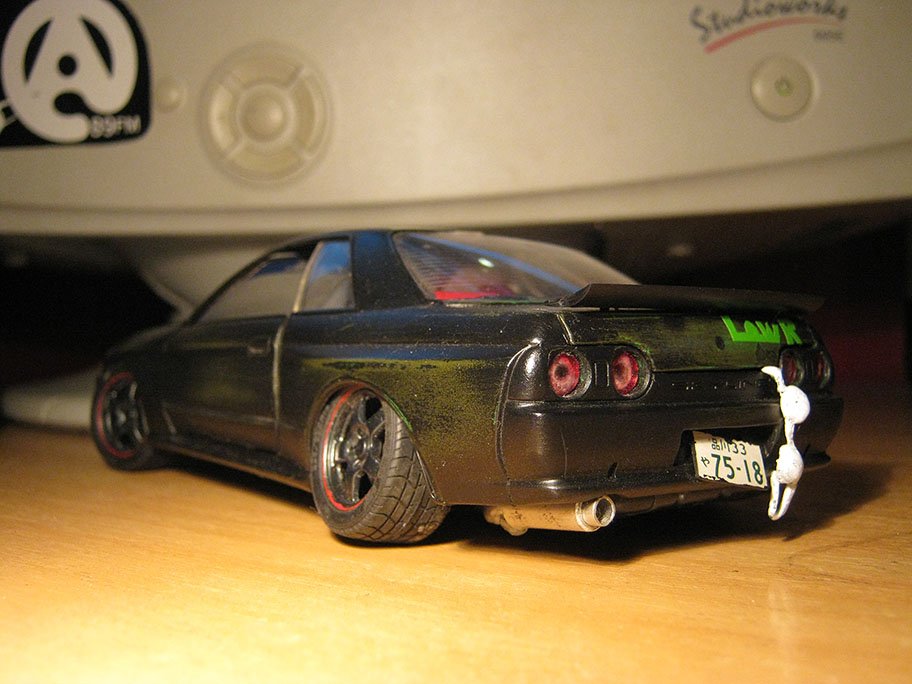
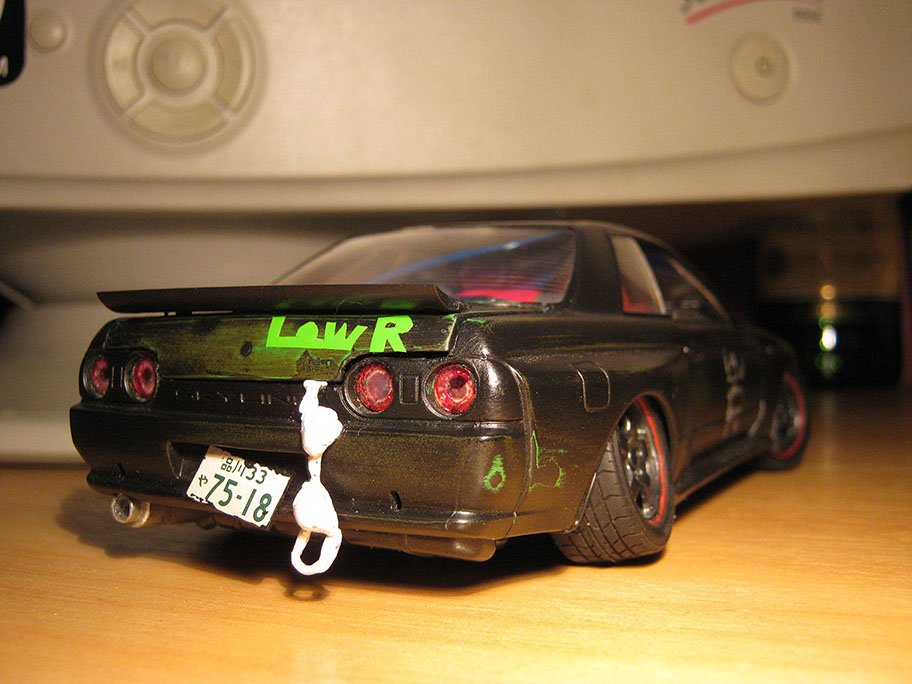
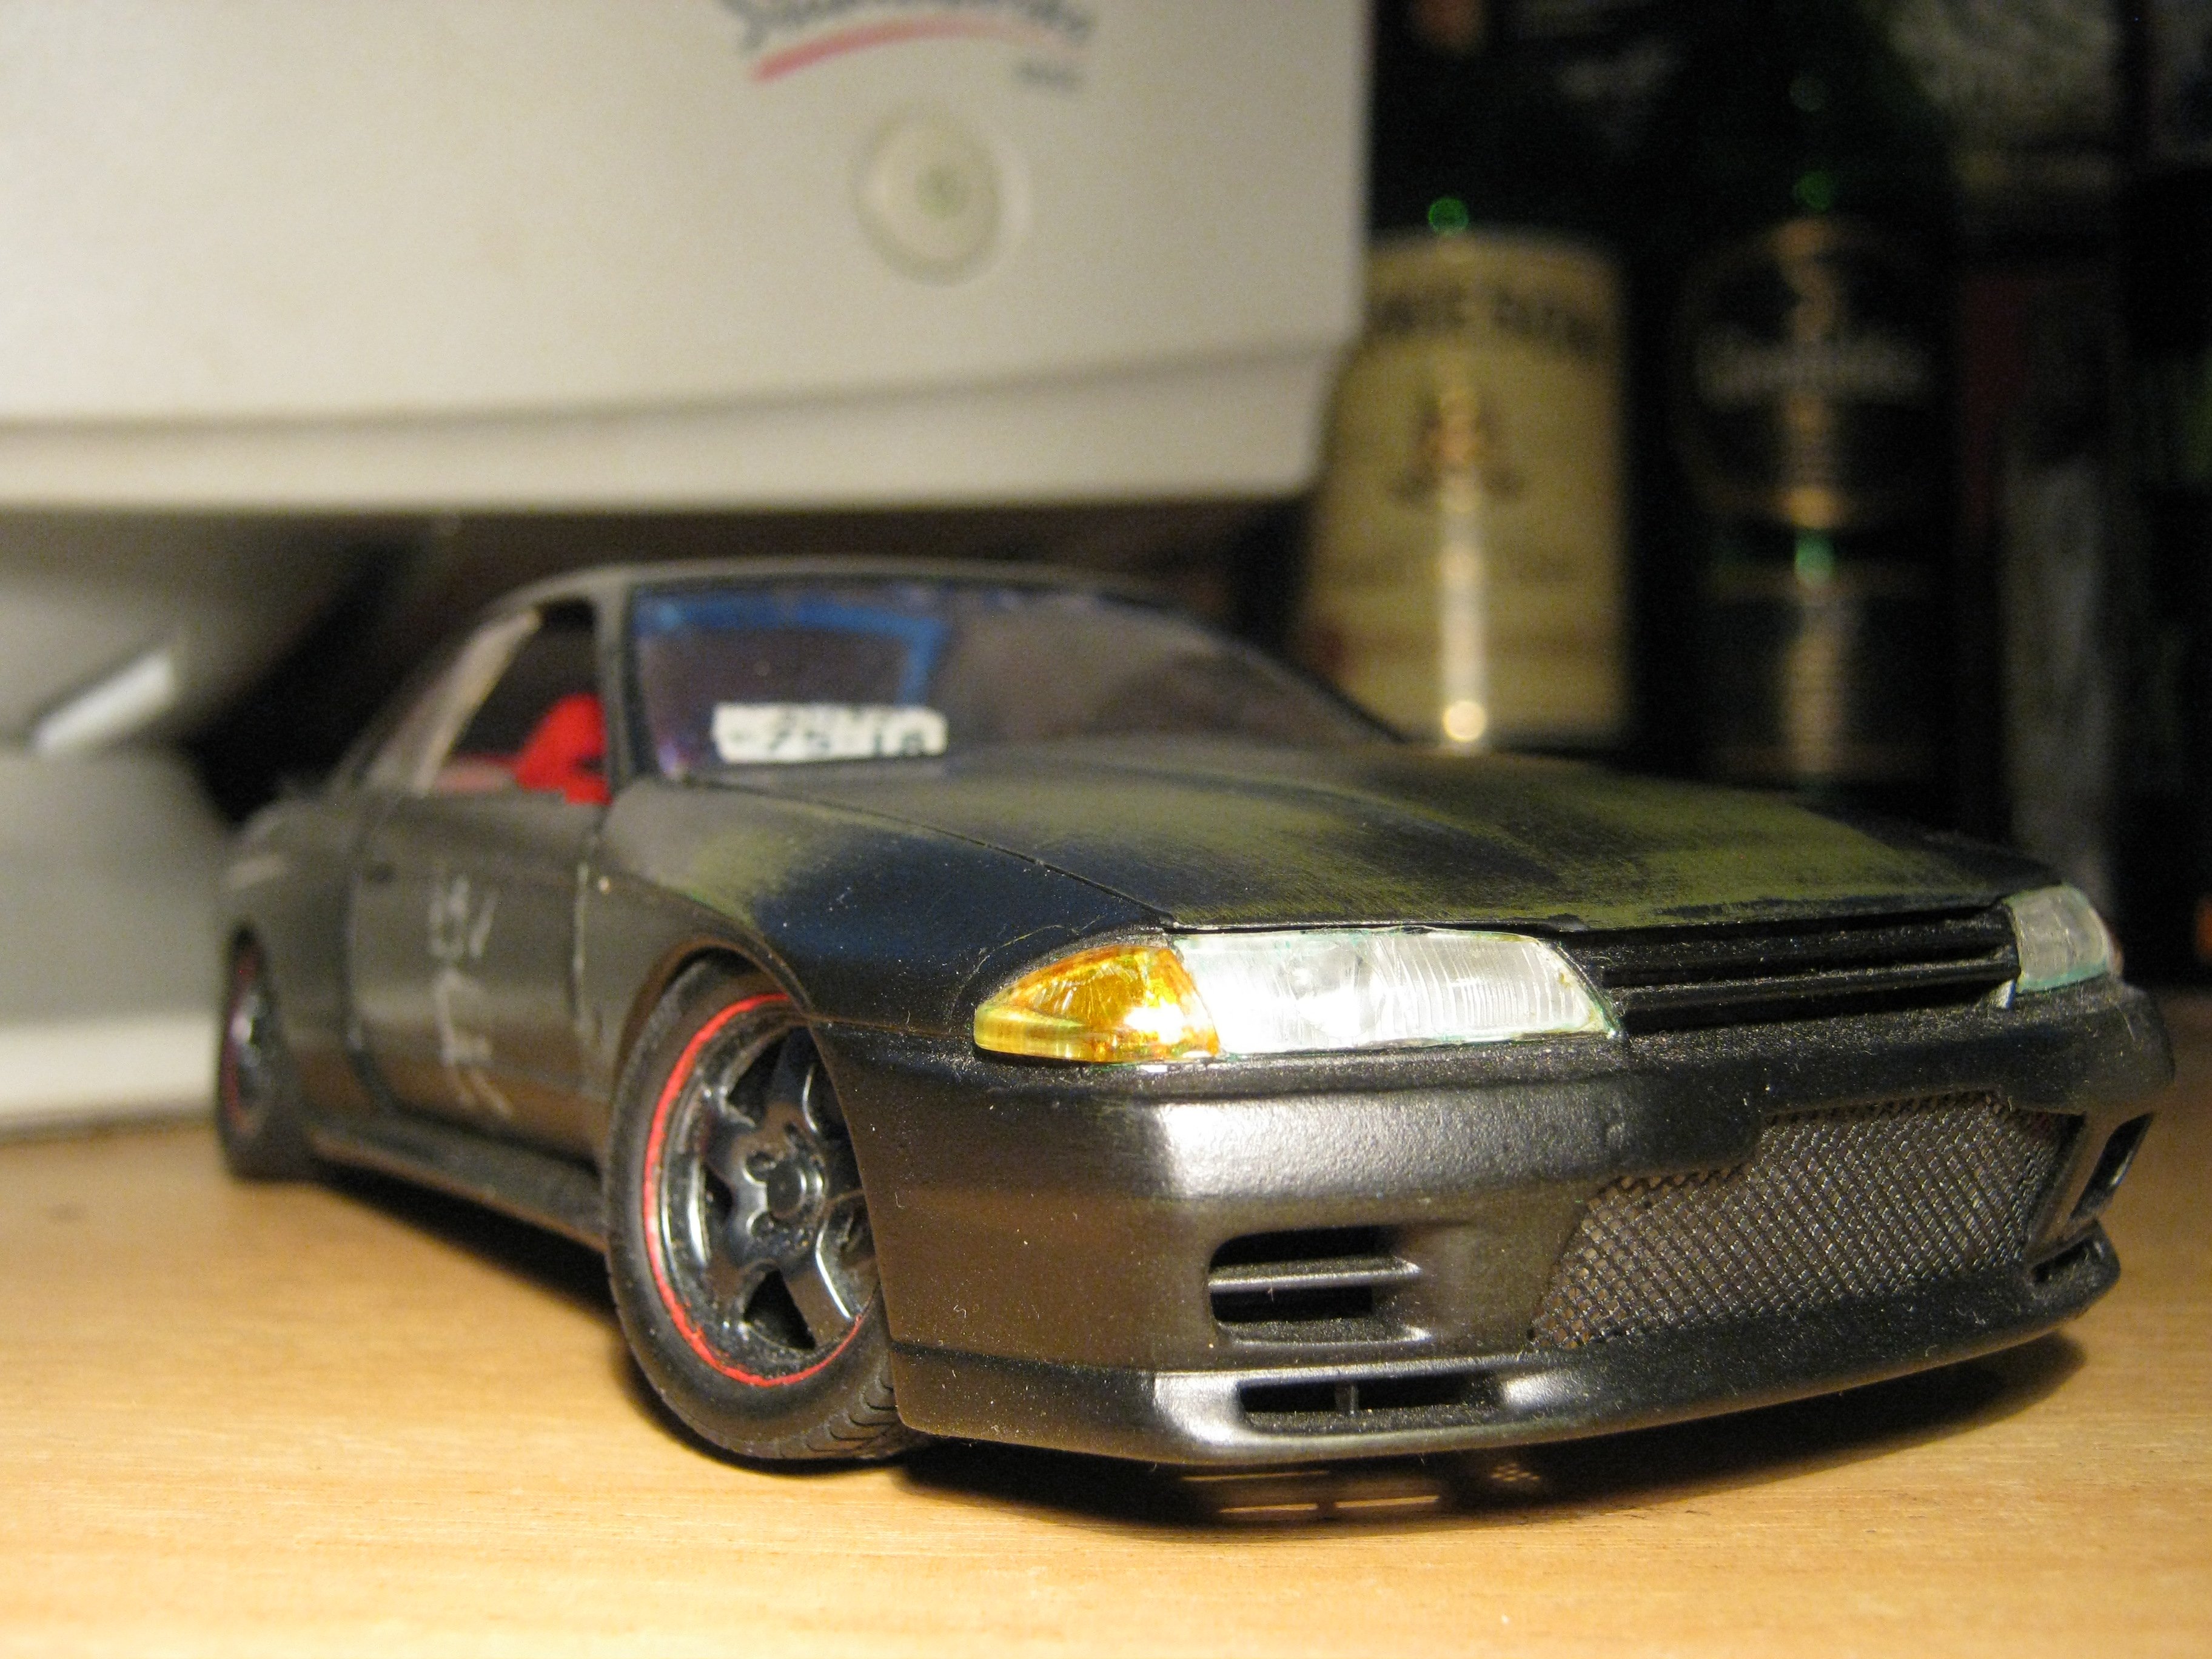
Tamiya R32 with engine detail. did some hack and chop mods including frontmount and piping, lowering. I also chopped the doors out of the body, and the doorcards out of the interior tub, then using modelling putty i created the skin to give it the correct thickness and also cut the windows out of the glass section, so that they could independently slide up and down inside the doors. had little tabs so they would click in at the right position to make them stay up... still cant believe i managed that, was about 10 years ago now. oh and bought some modelling alloy tubing in different diameters to create an actual dump pipe back exhaust with bigbore muffler... left it at a friends years ago and never went and got it back oh the boot opens too.. made a little scale bra to hang out the back like the cool kids used to do back then
1 point
-
Day two. No asplode
1 point
-
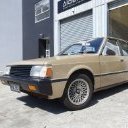
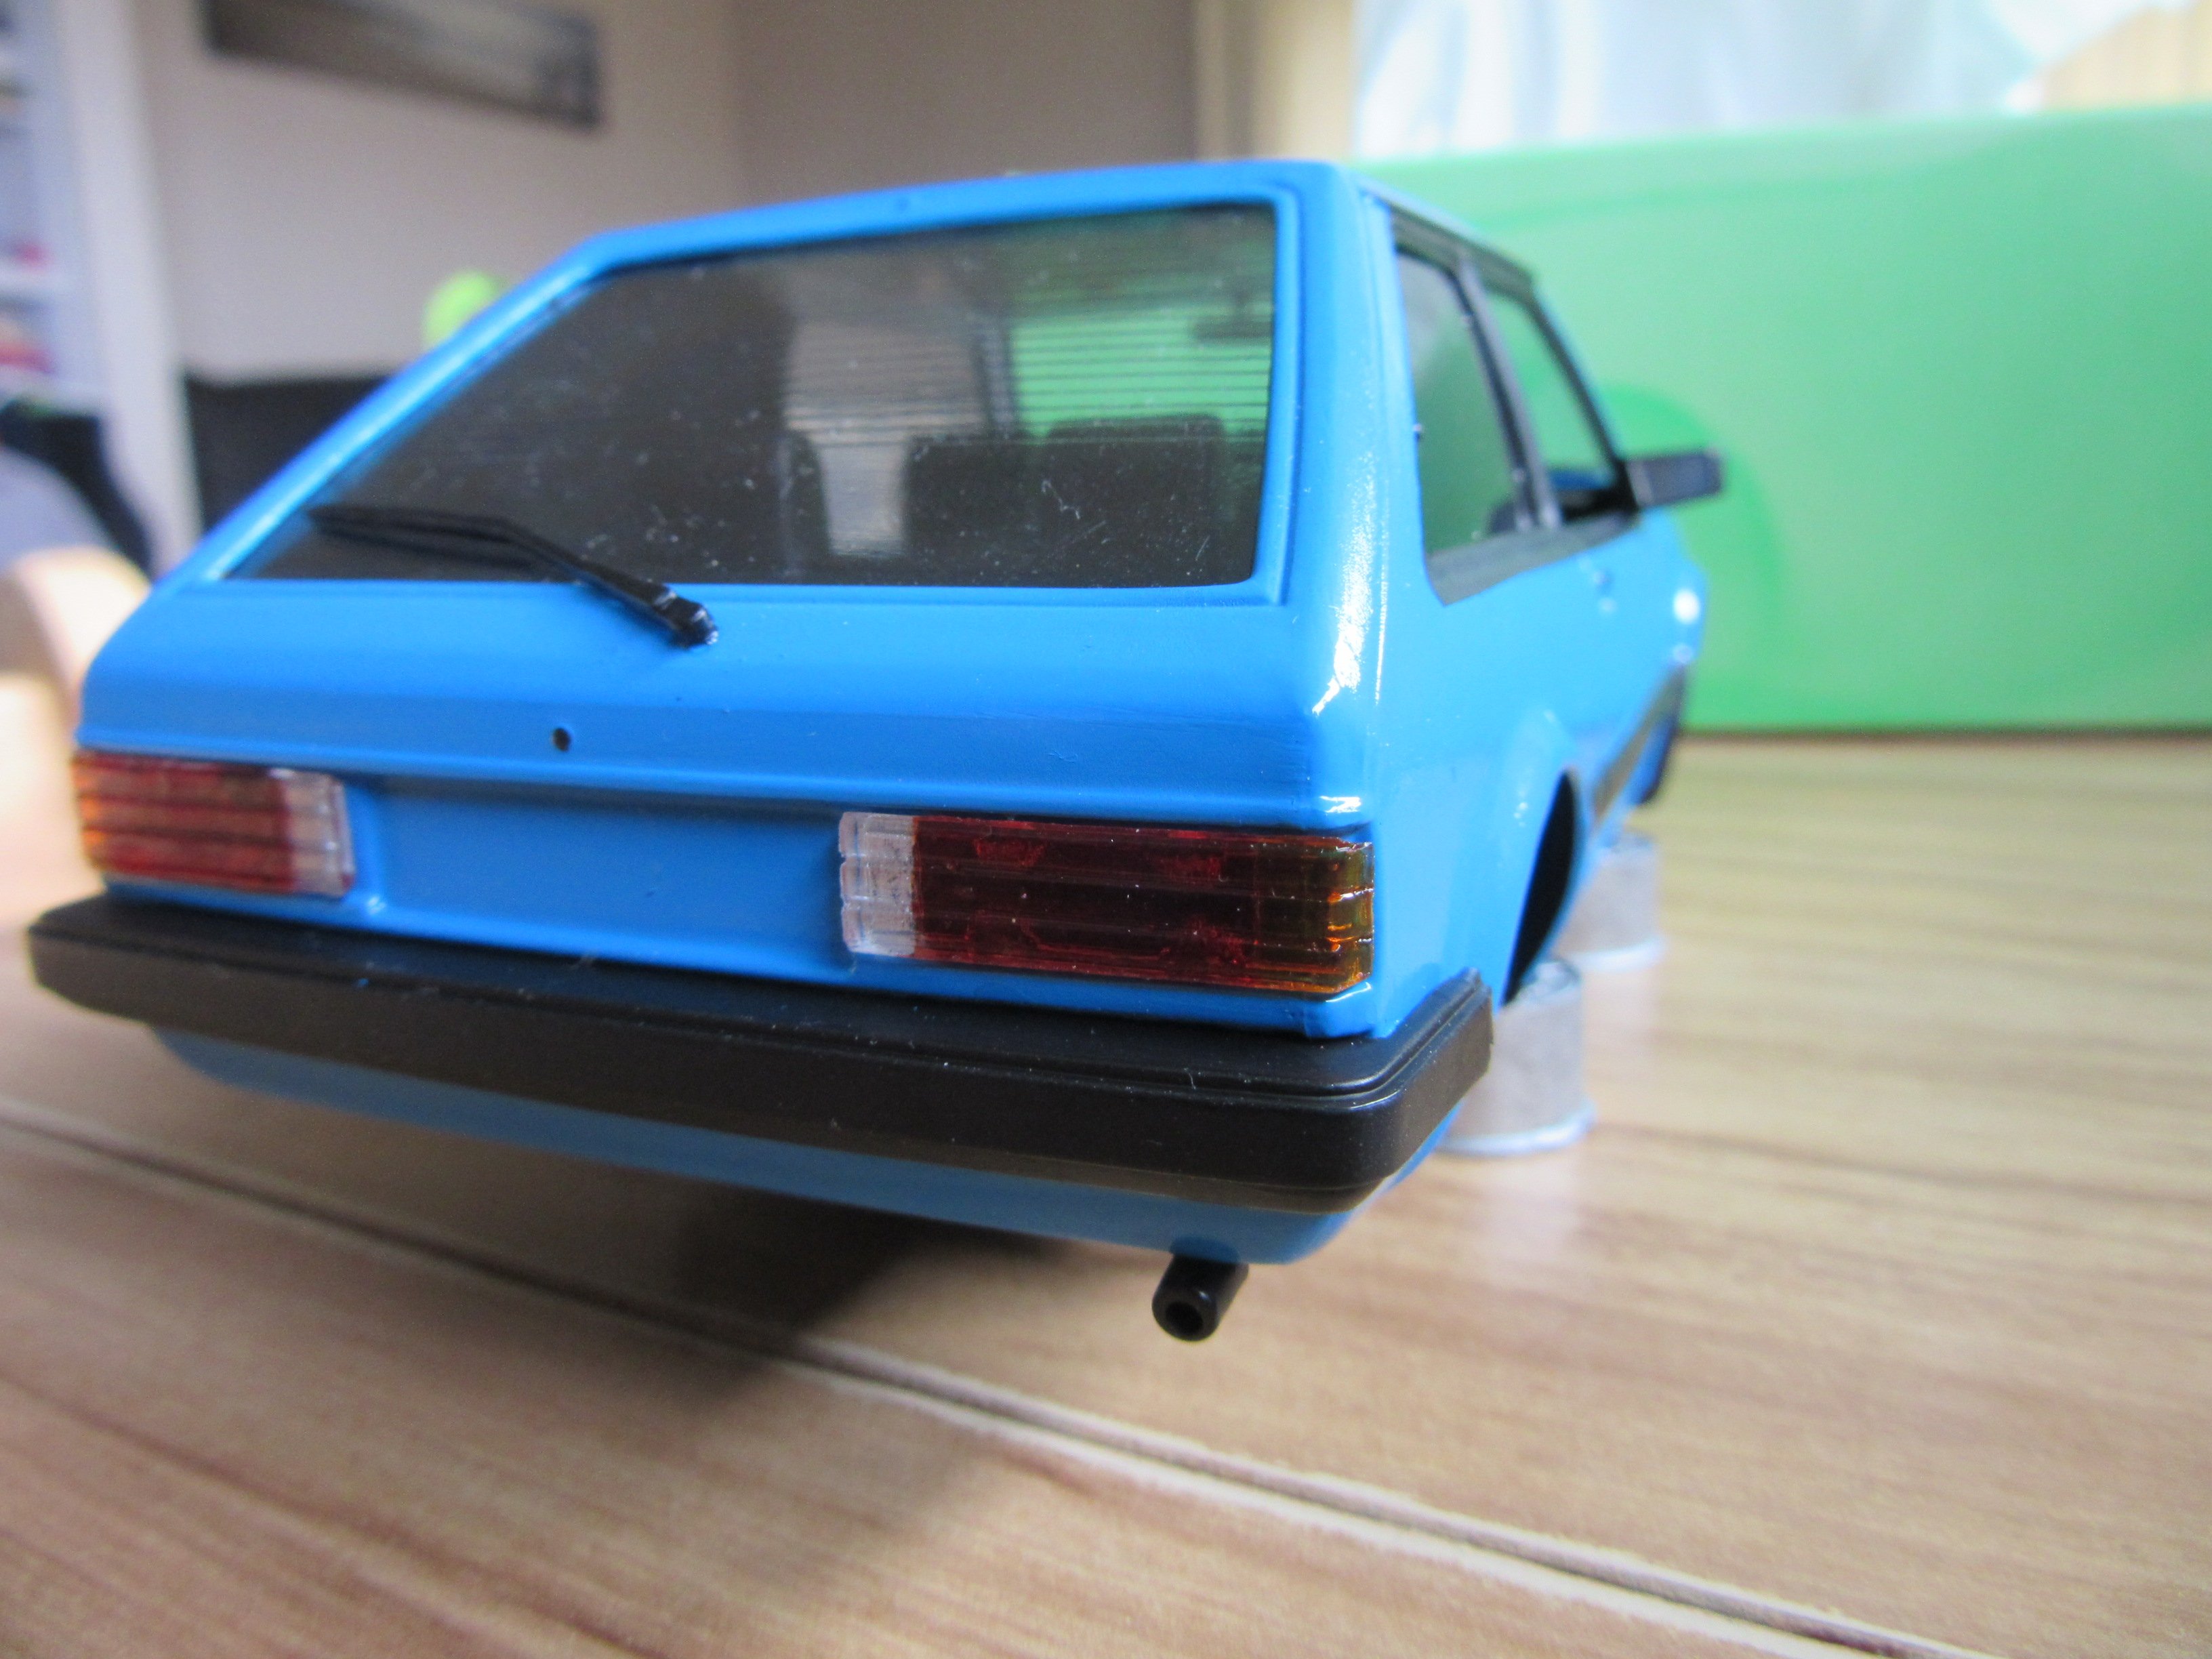
This is my first 1:24 car model I've just done recently. No mods, just a copy of the wife's first car.
1 point
-
Car passed cert today - awaiting Cert plate. You beauty1 point
-
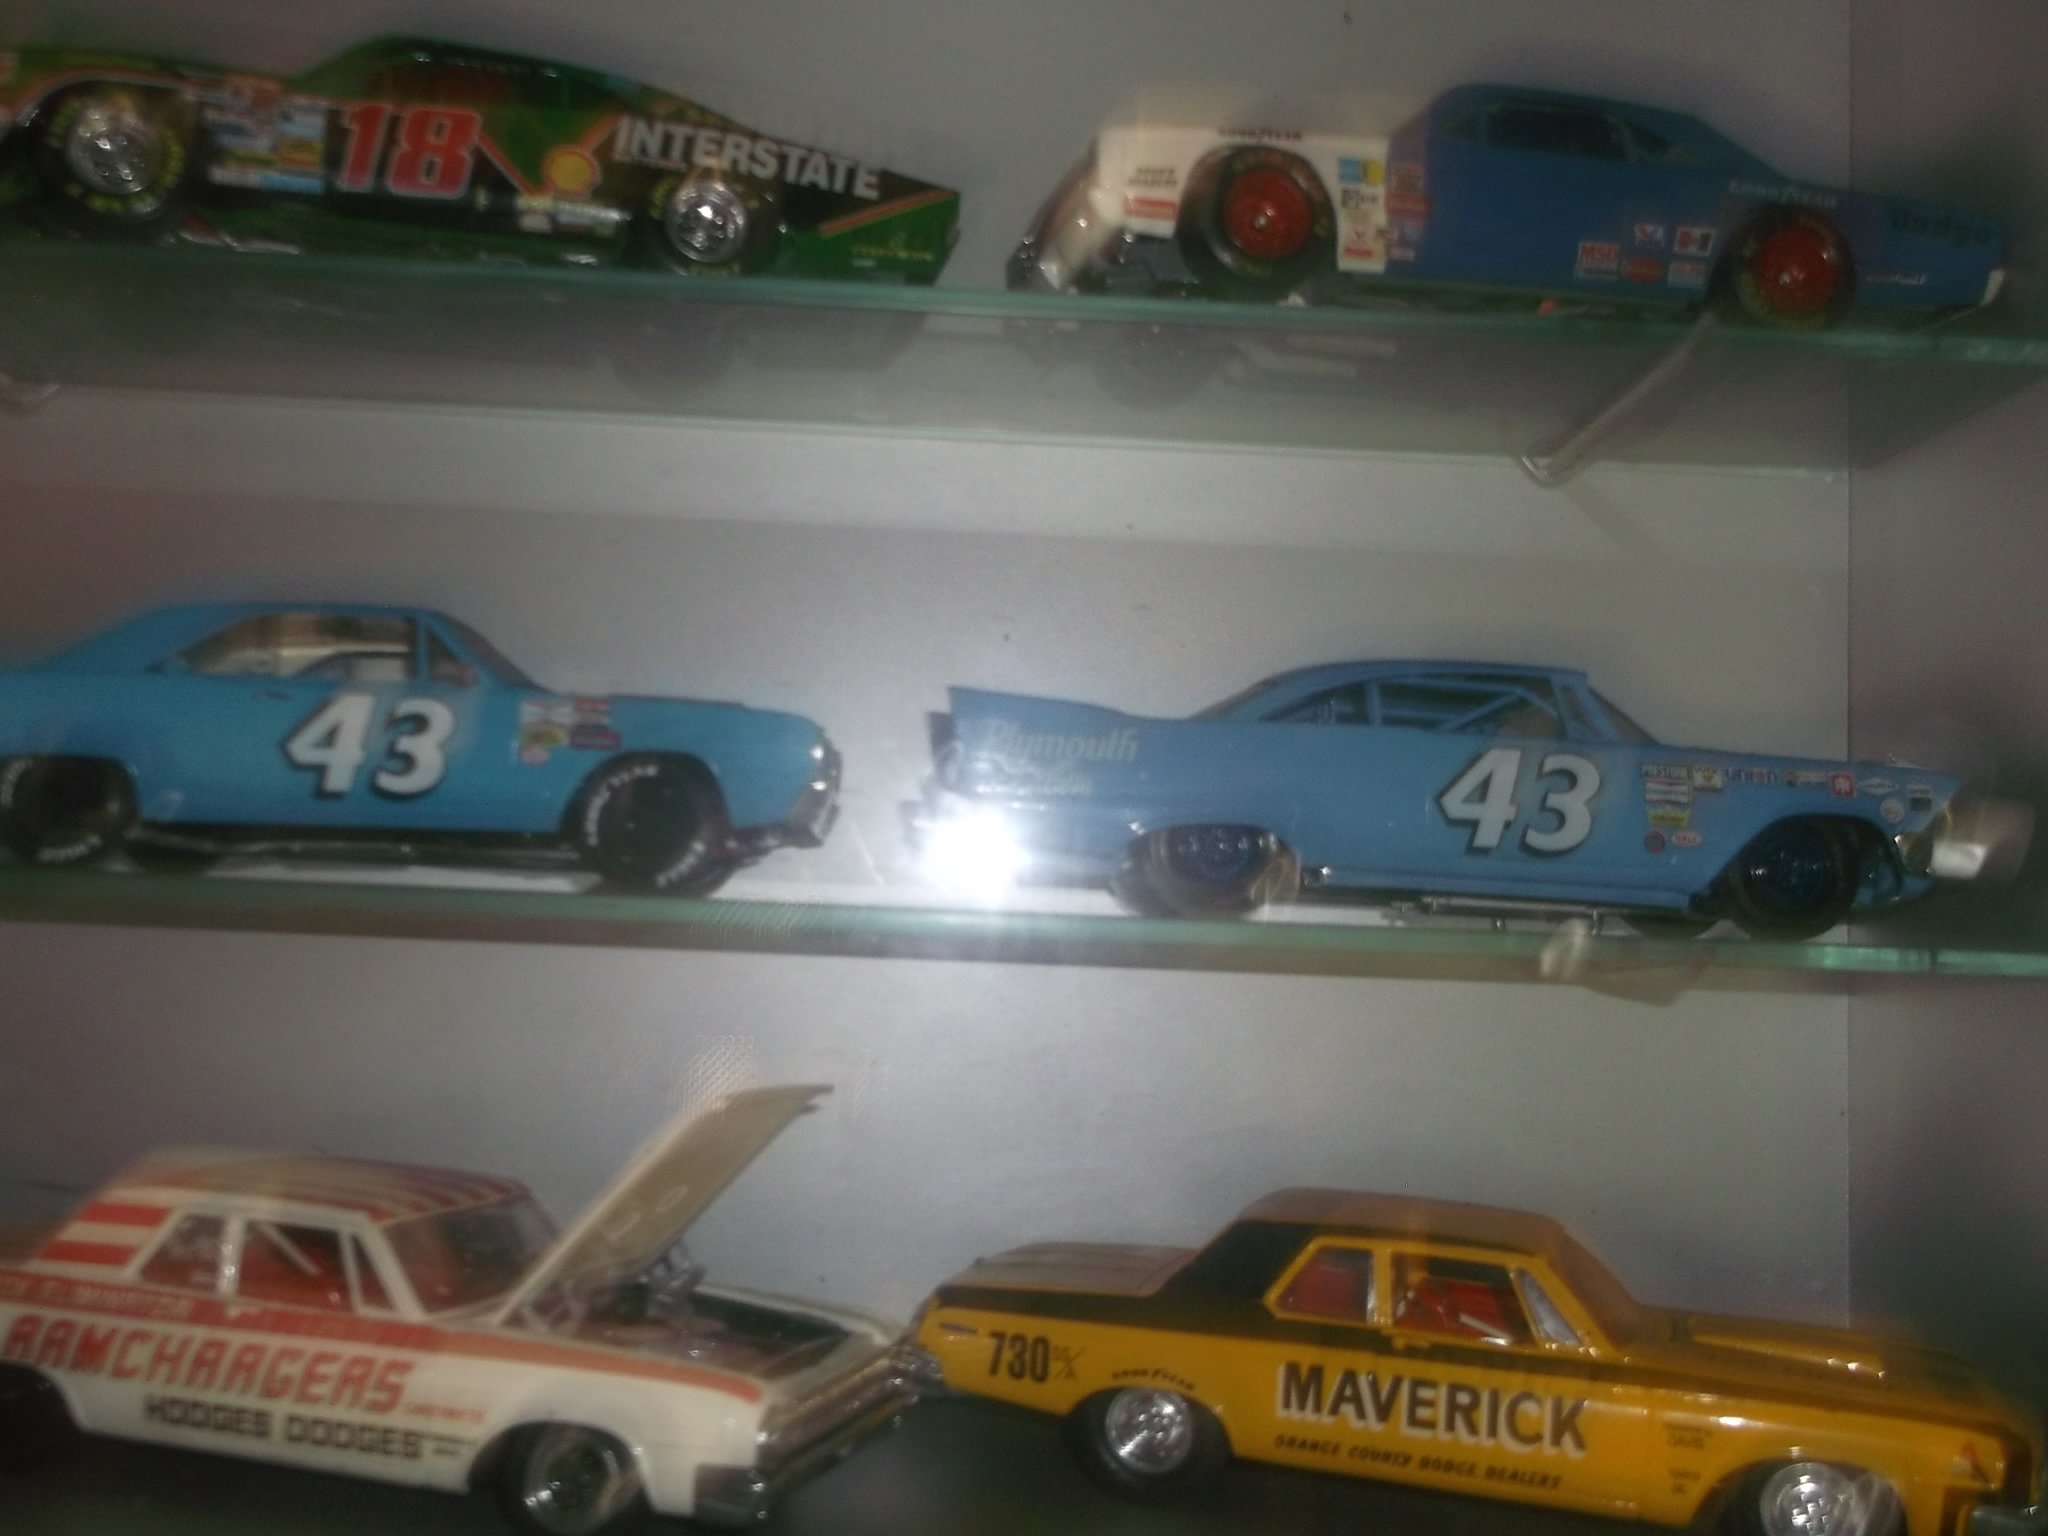
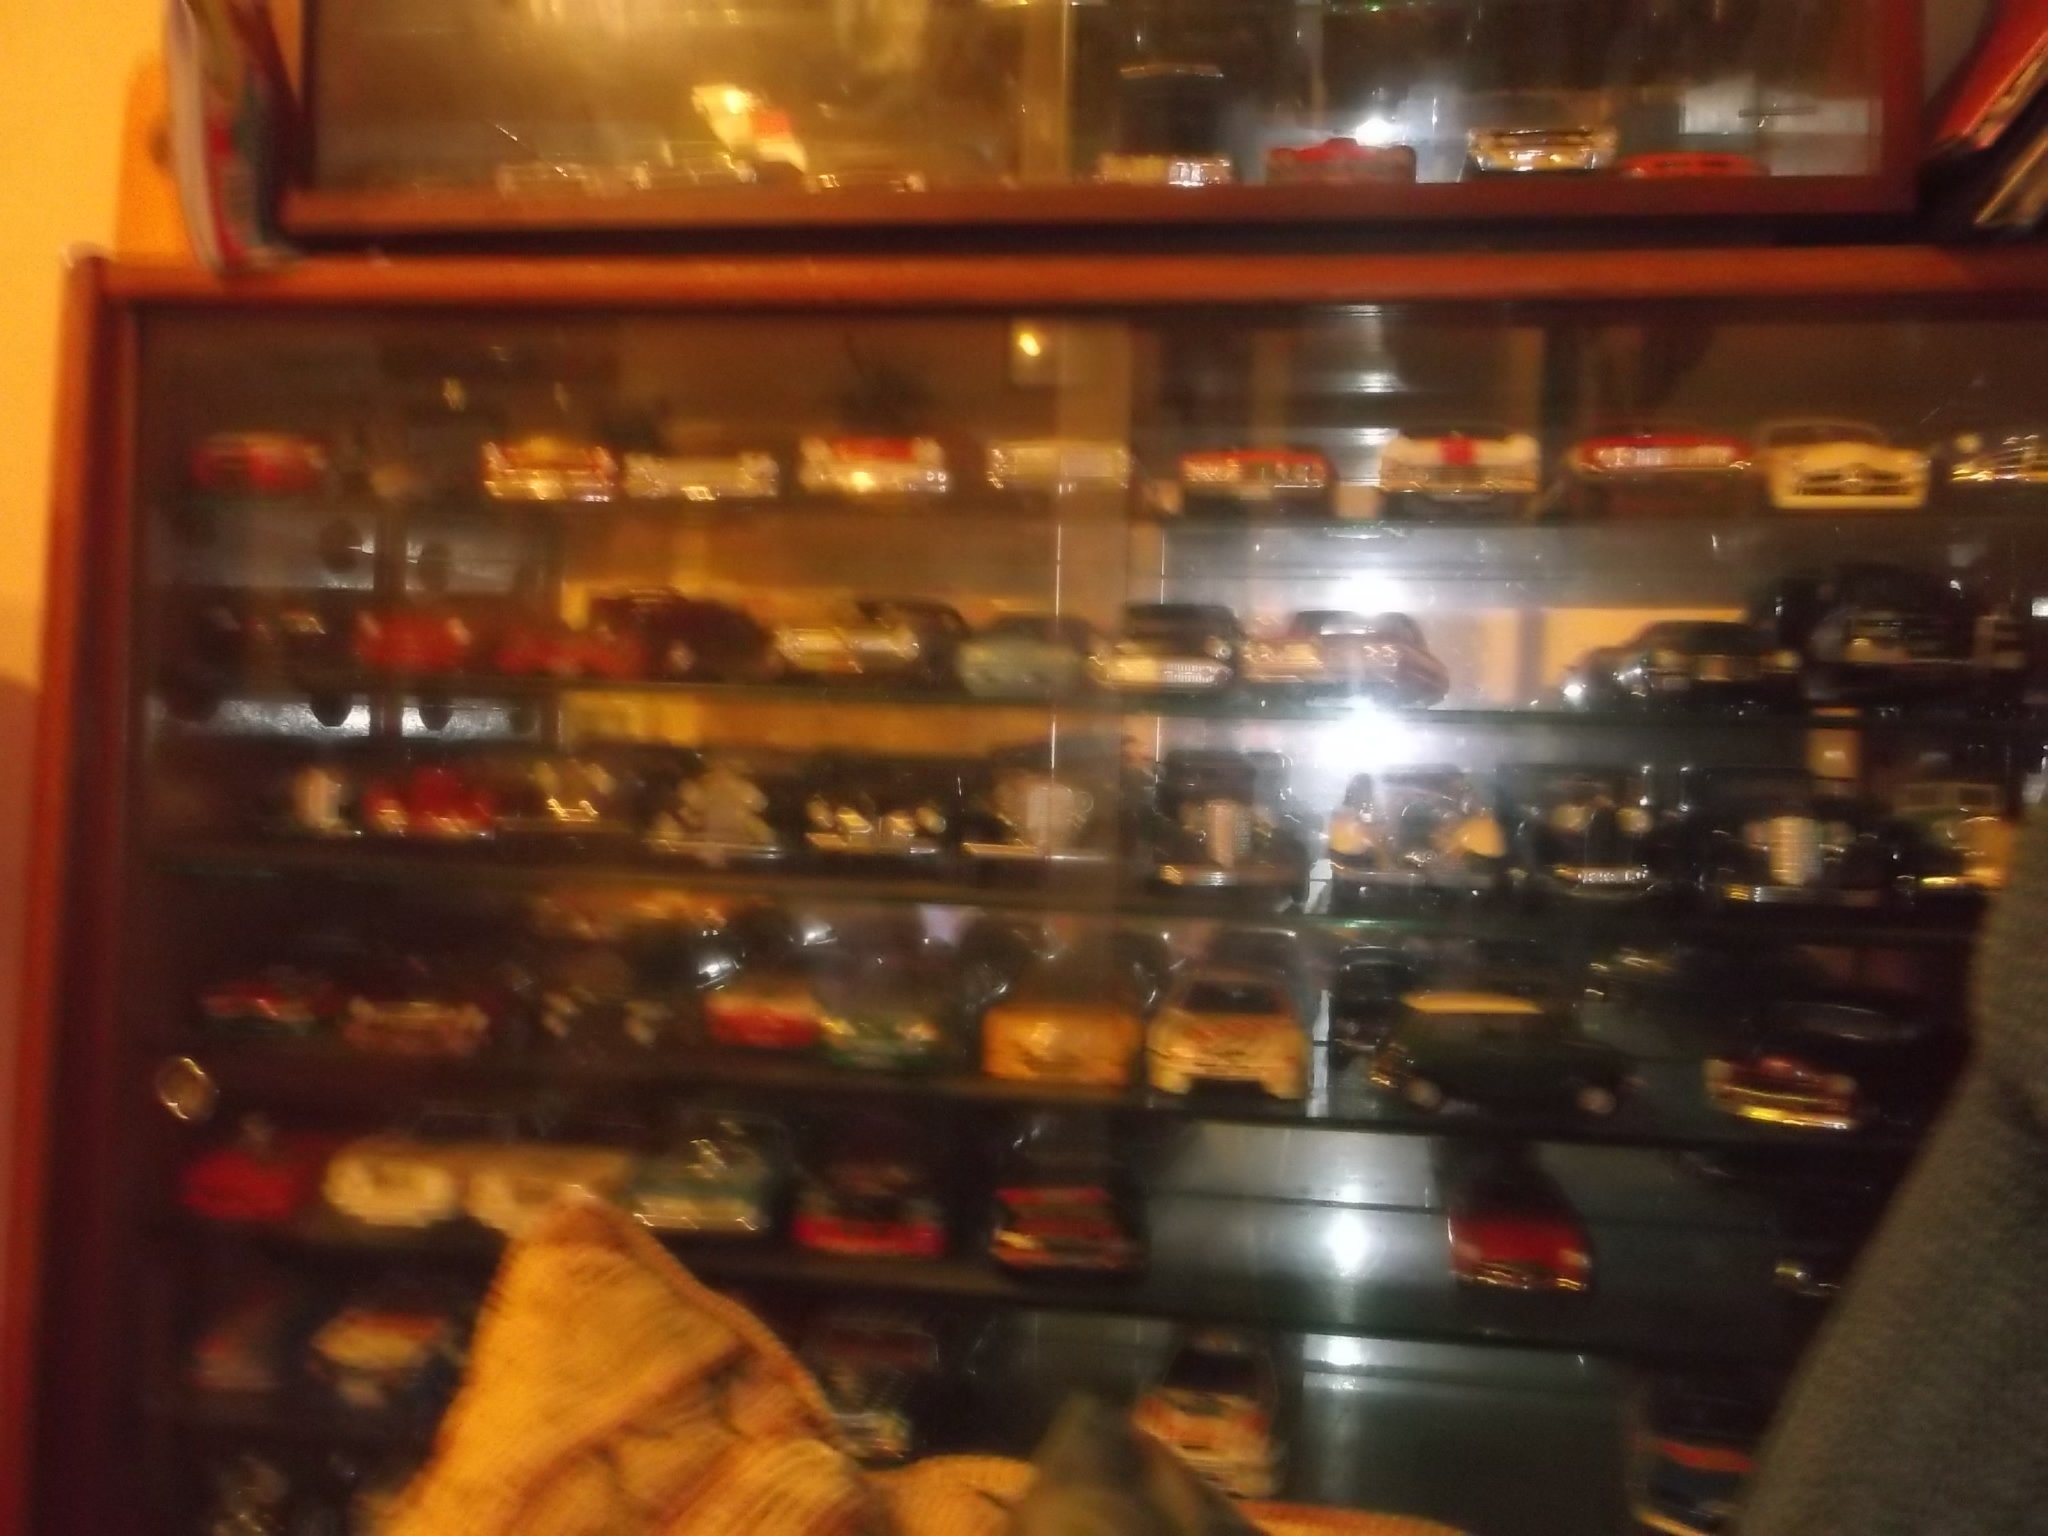
I have a problem with them... I don't have enough lol
1 point
-
2019-06-19_01-30-25 by sheepers, on Flickr 2019-06-19_12-40-53 by sheepers, on Flickr 2019-06-19_12-40-43 by sheepers, on Flickr1 point
-
Tumblr isn't performing so well, but you get the idea. I made some progress.1 point


.jpeg.2ad74eeb3757f4d97ba48c17cdcabbb6.jpeg)


.jpg.419fa298e2d0e54da445eec3b78f9c95.jpg)
.jpg.f29fb048178ff1065a621e7eea5277fd.jpg)
.jpg.fad084fe446608465f7c0af112e953ce.jpg)
.jpg.751d99e600c4bd5ff389dbe2554b0cb5.jpg)


This leaderboard is set to Auckland/GMT+12:00