
Leaderboard


Popular Content
Showing content with the highest reputation on 07/24/19 in all areas
-
So I've done a bit more on this dirty Berty. I flipped it over to finish off the frame extension, and cut off a few unneeded bits. Seeing as it wouldn't rev or idle with no choke, I cleaned the carbs out, they had sea weed growing on the float needle things. I also welded up the plenum, and played around with restricter sizing (had to go down to a 35mm opening) this resulted in it running waaaaay better, and revving out like it should. I also removed all the washers that had been put under the needles (they were trying to make up for them not lifting due to lack of vacuum) and it ran even betterer again! I needed some way of mounting the air filter, and remembered I still had some silicon left over from the hektik Hilux, it was perfect, and pretty! Little vid of it running betterer, the linkage was a bit sticky, hence the high idle then dieing out at the end. Then I took the wrap off the headers as it was fucked, and cleaned the headers up a bit. Then I changed the muffler out for a prettier one, it's from a GSX1200, so even though it has one chamber (the other was straight through) it has a larger outlet than the original, so should flow well. I had a sprocket that needed boring and keying, but decided to go with a plate wheel and bolt it to the original sprocket hub. Bit bigger than the OG one. I then put the back end together, and ran a brake line up to the slave cylinder. Got a few hoses from the wreckers, this female - female clutch line from an AE100 Corolla made life easy, used the mounts and all. Then I made a new gear shifter linkage, as the old one was fucking rank. I also moved it forward a bit to suit me. Next was sorting the steering wheel/shaft/rack. This was a bit of a mission, but it worked out well. Managed to mount the wheel on top of the bar it used to be below, and move it forward a bit, so I can pilot the vehicle, with the added bonus of being able to get in and out of it. Also put the front suspension back together, so I could work out the pedal position, and the position of the bar that mounts the steering bearing, clutch and gas cable mounts, and the brake master thing. The brake master has to be in this funny frame thing to miss your legs and still fit under the hood. Once all that was done, I crimped the cables, but they were too short due to me lengthening the frame, so I made little extension doofers out of D shackles. Now the back ends done, all the controls are pretty much done, and it's running better, I'm getting onto doing the front steering knuckles and tie rod ends. Still much to do, but progress is being made! Regards, VG.11 points
-
5 points
-
Should being the operative word. Most modern setups should be fine. However some old sheds and houses could have been slapped together with who knows what. It'll depend what draw the welder has, etc. All I'm saying is don't slap a different socket on and assume everything is good to go because it's only pin size that's the difference. Other factors are to be considered.4 points
-
Whilst this is true, the cabling and supply that leads to it also has to be of adequate gauge and capacity.3 points
-
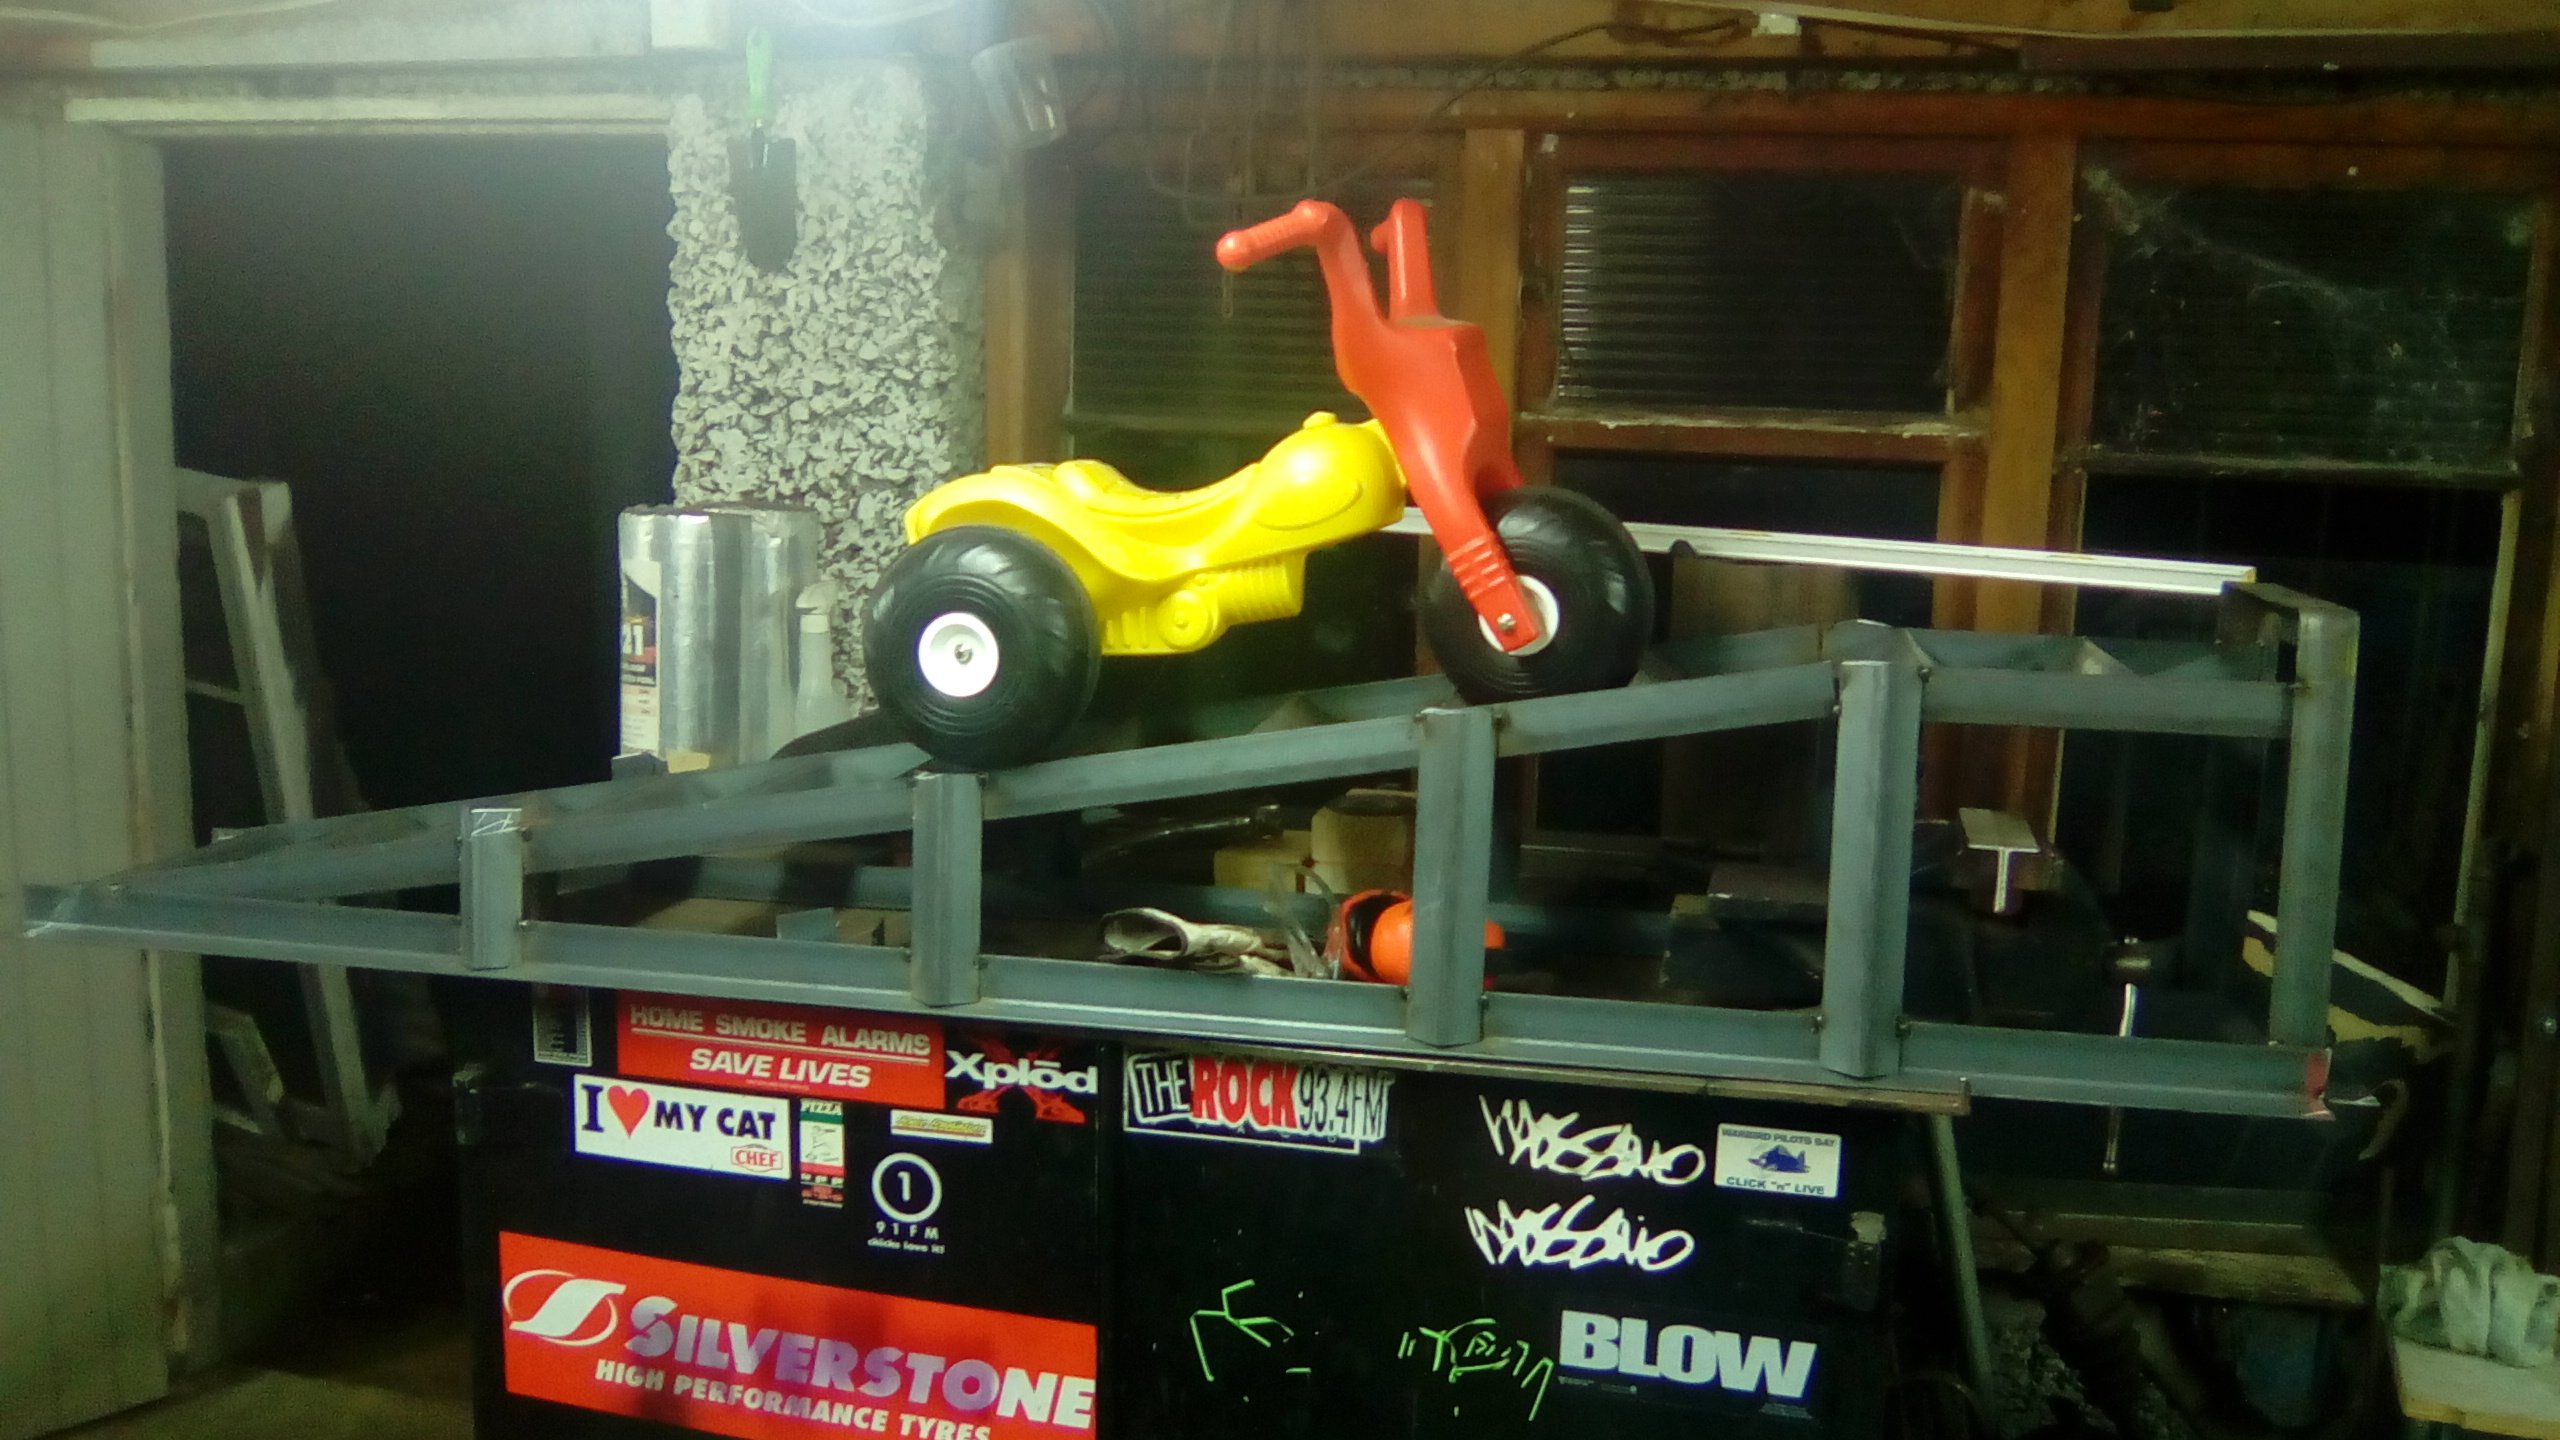
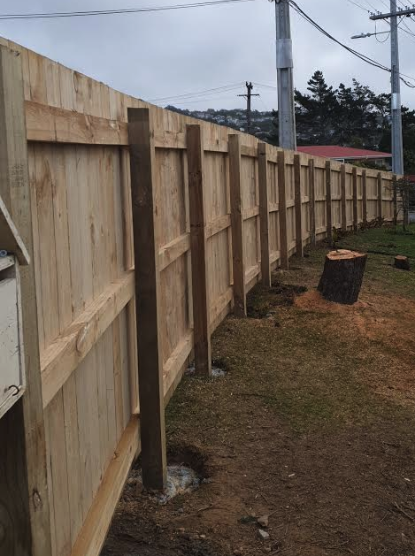
Currently ripping out a pair of these. Motorbike for scale. Measure in at 1900mm long, 300mm high. Should only need a block or 2 to get the silv onto them.
 3 points
 -
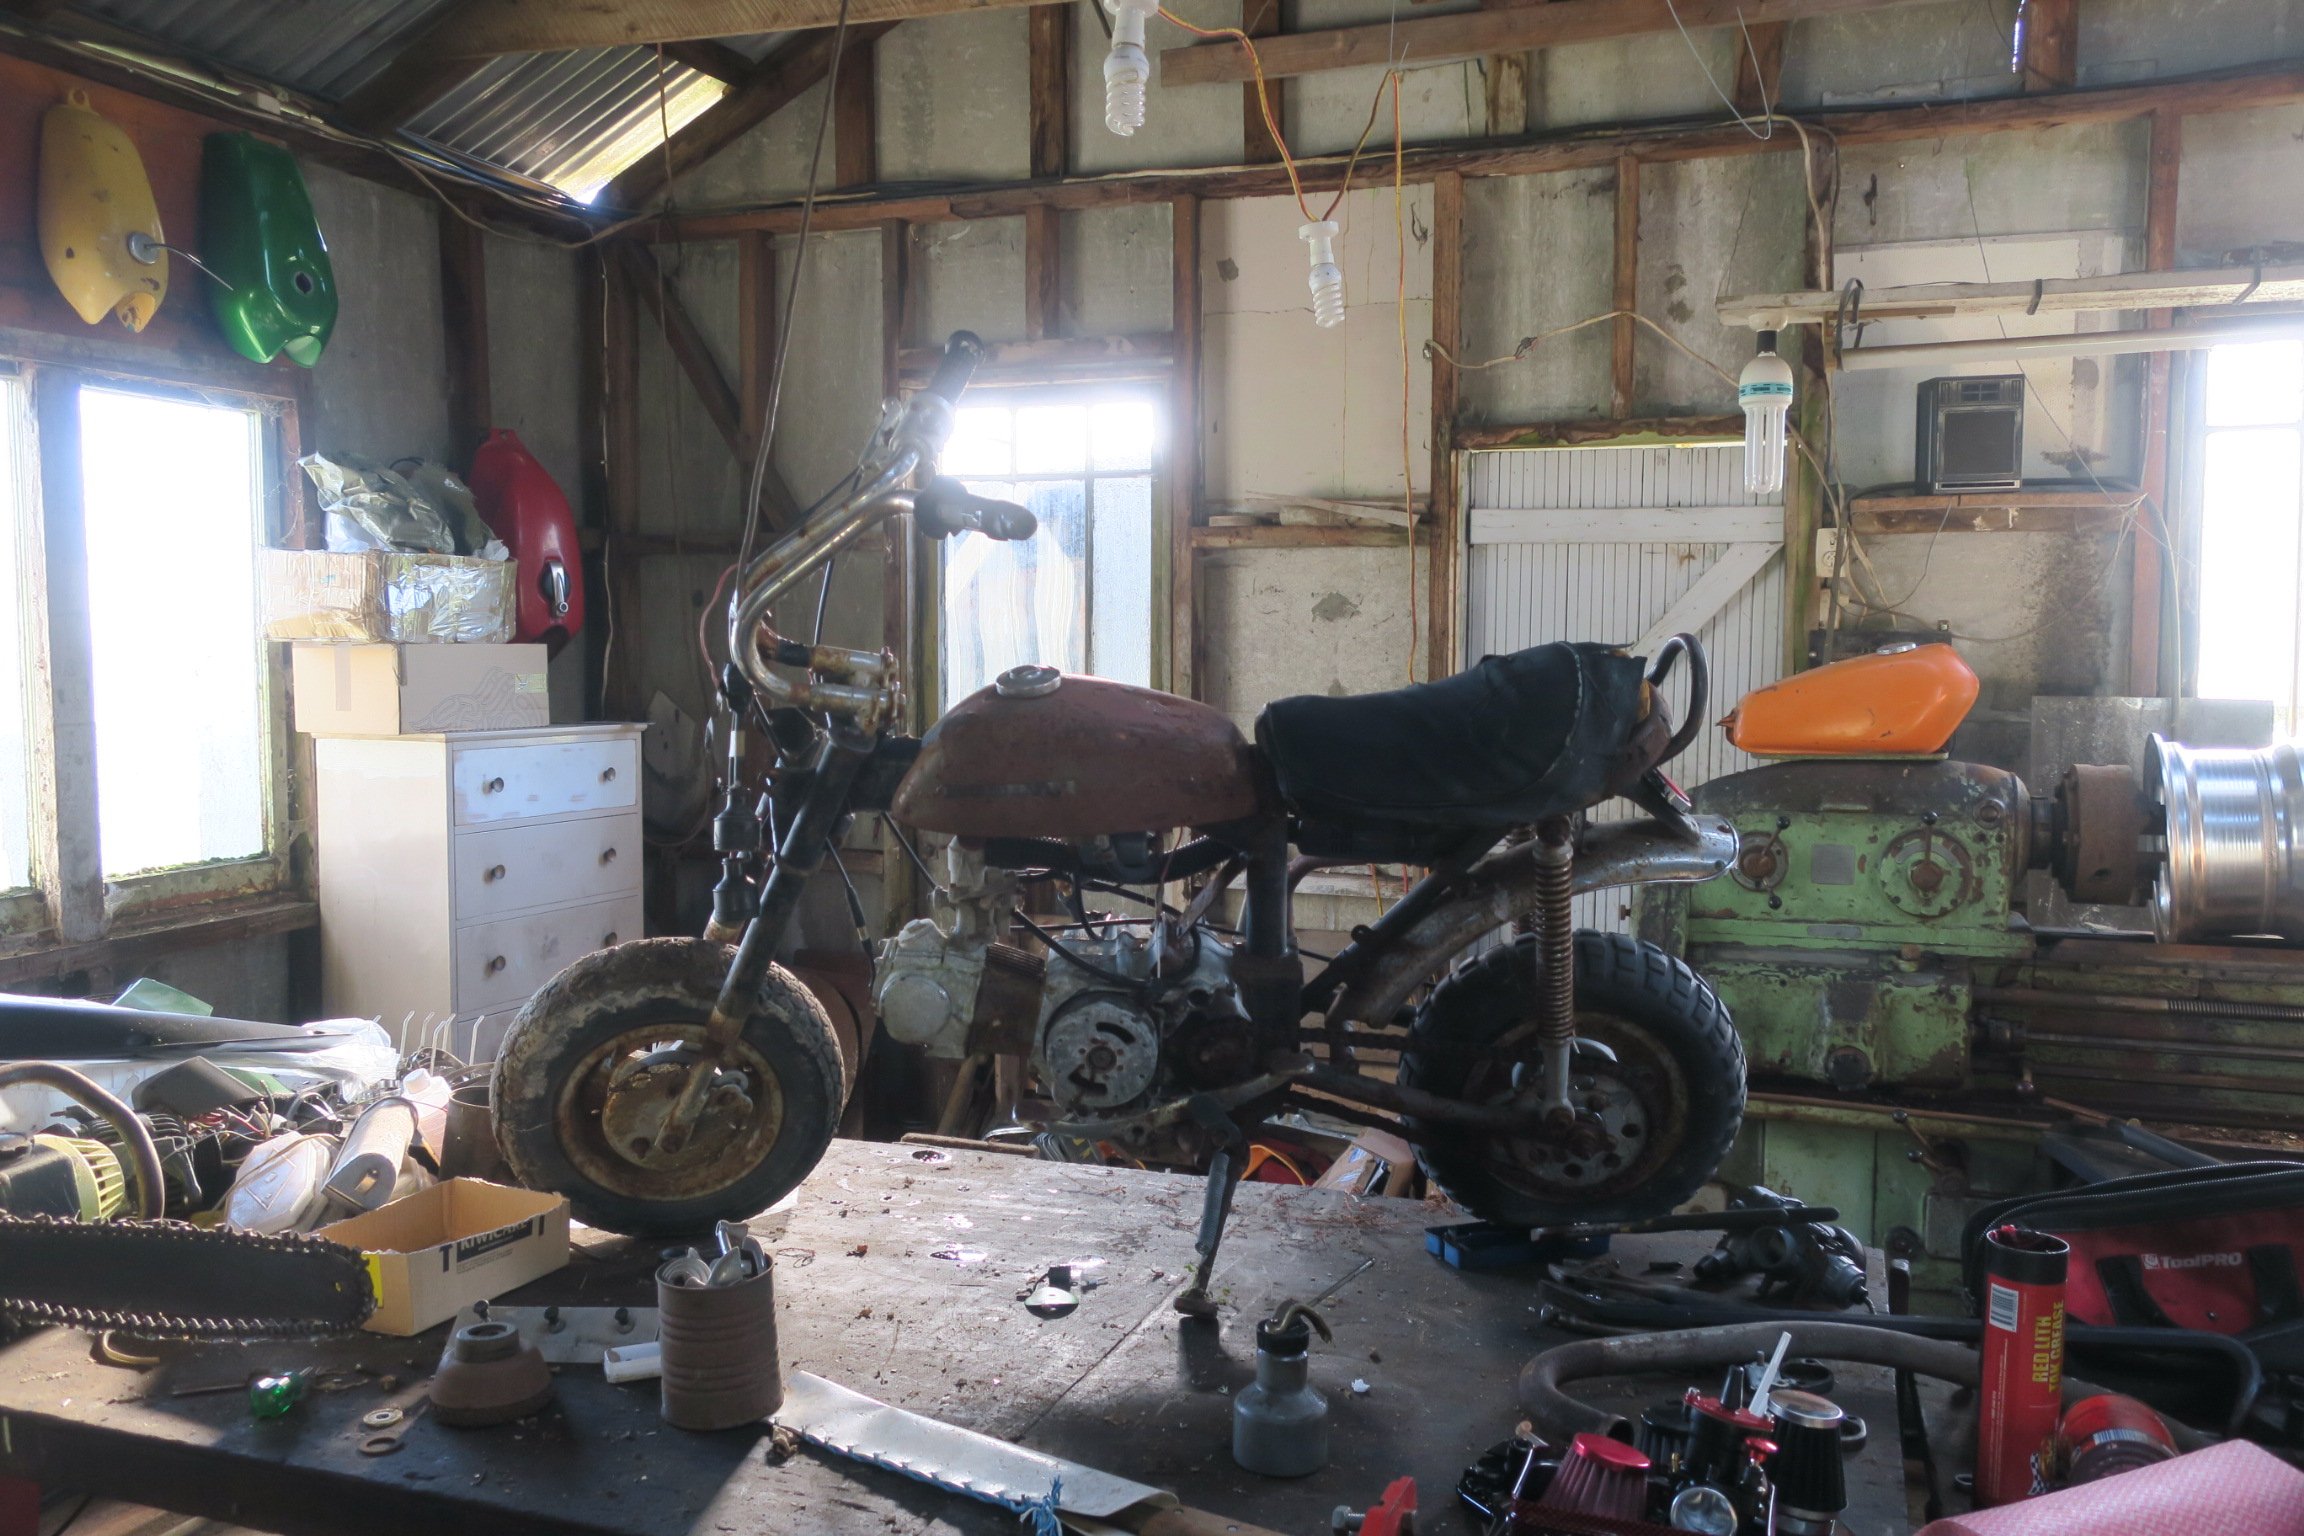
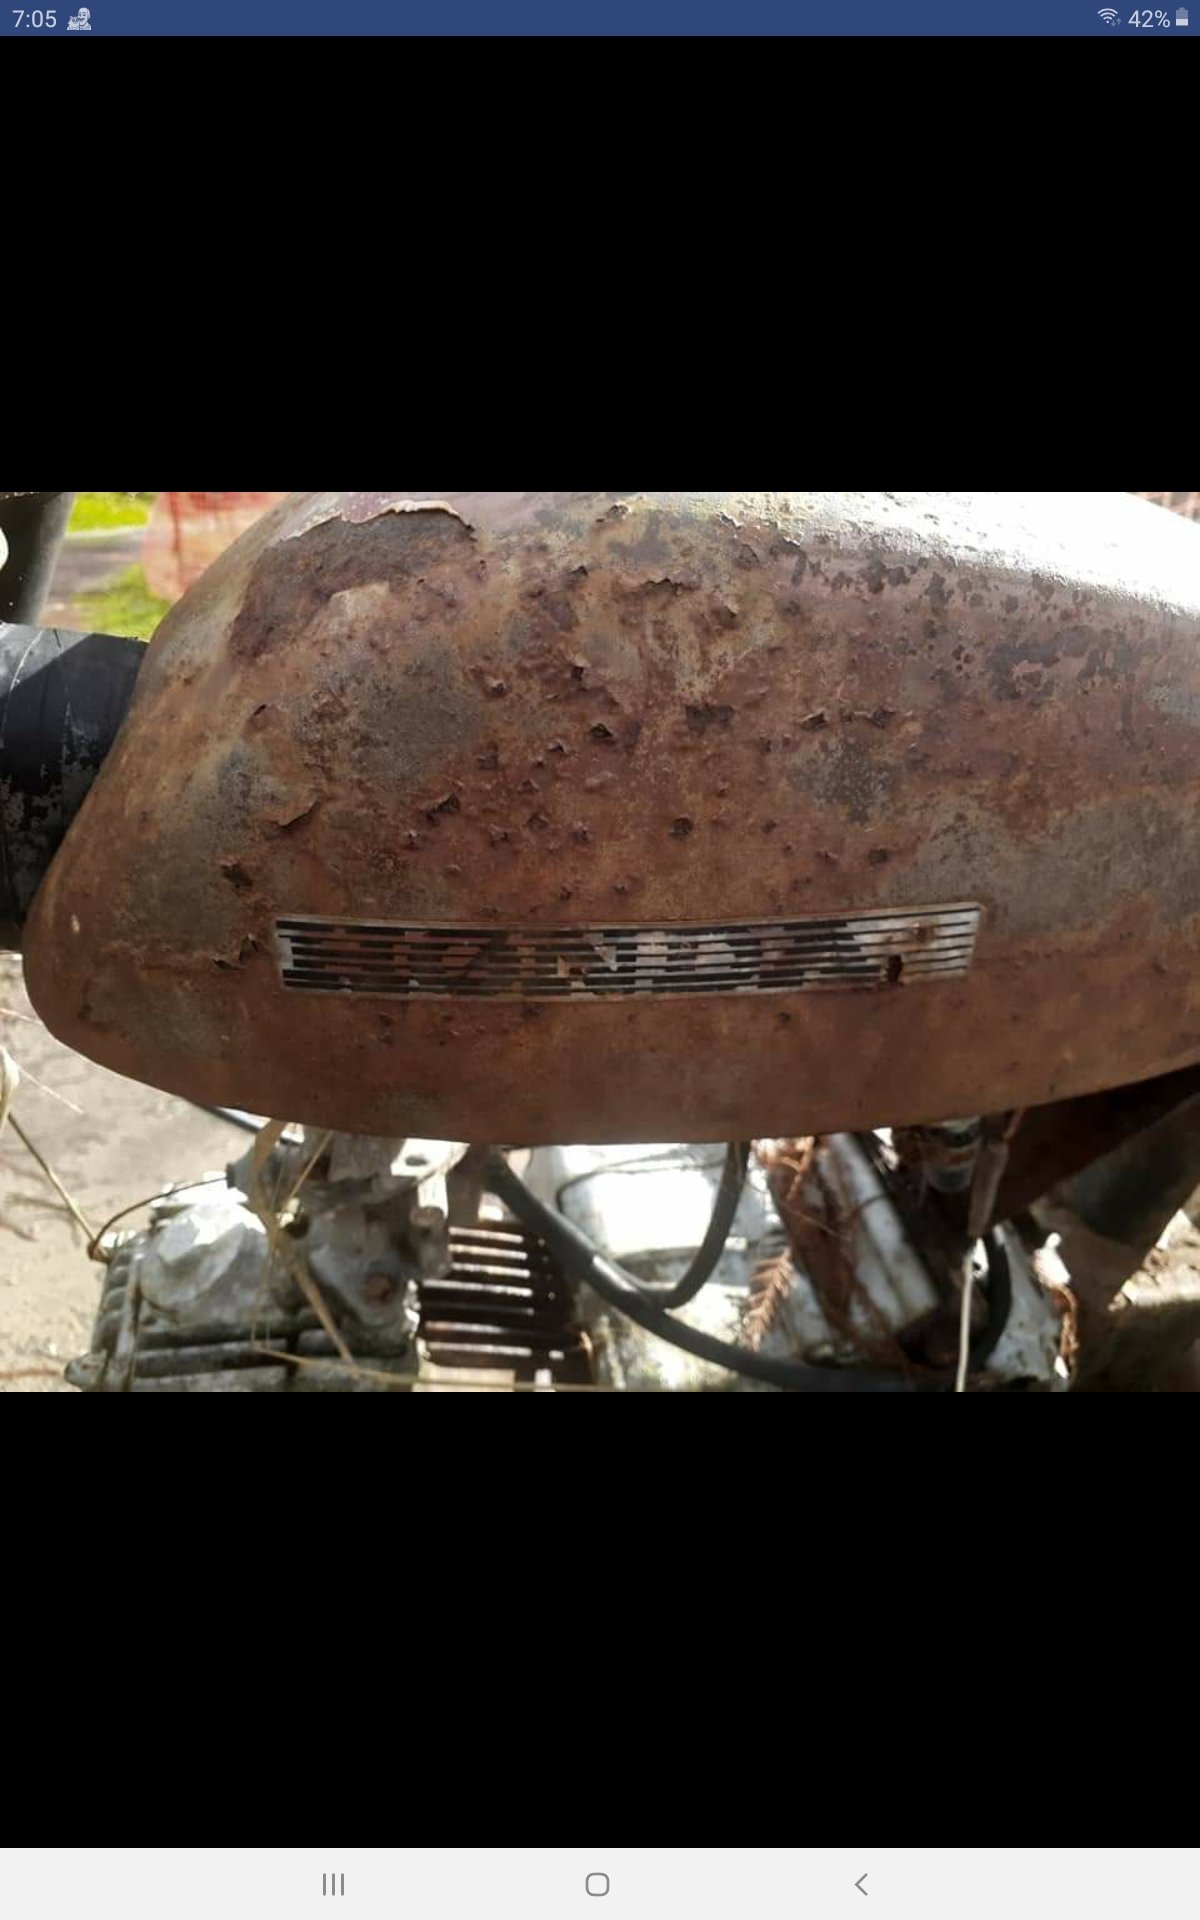
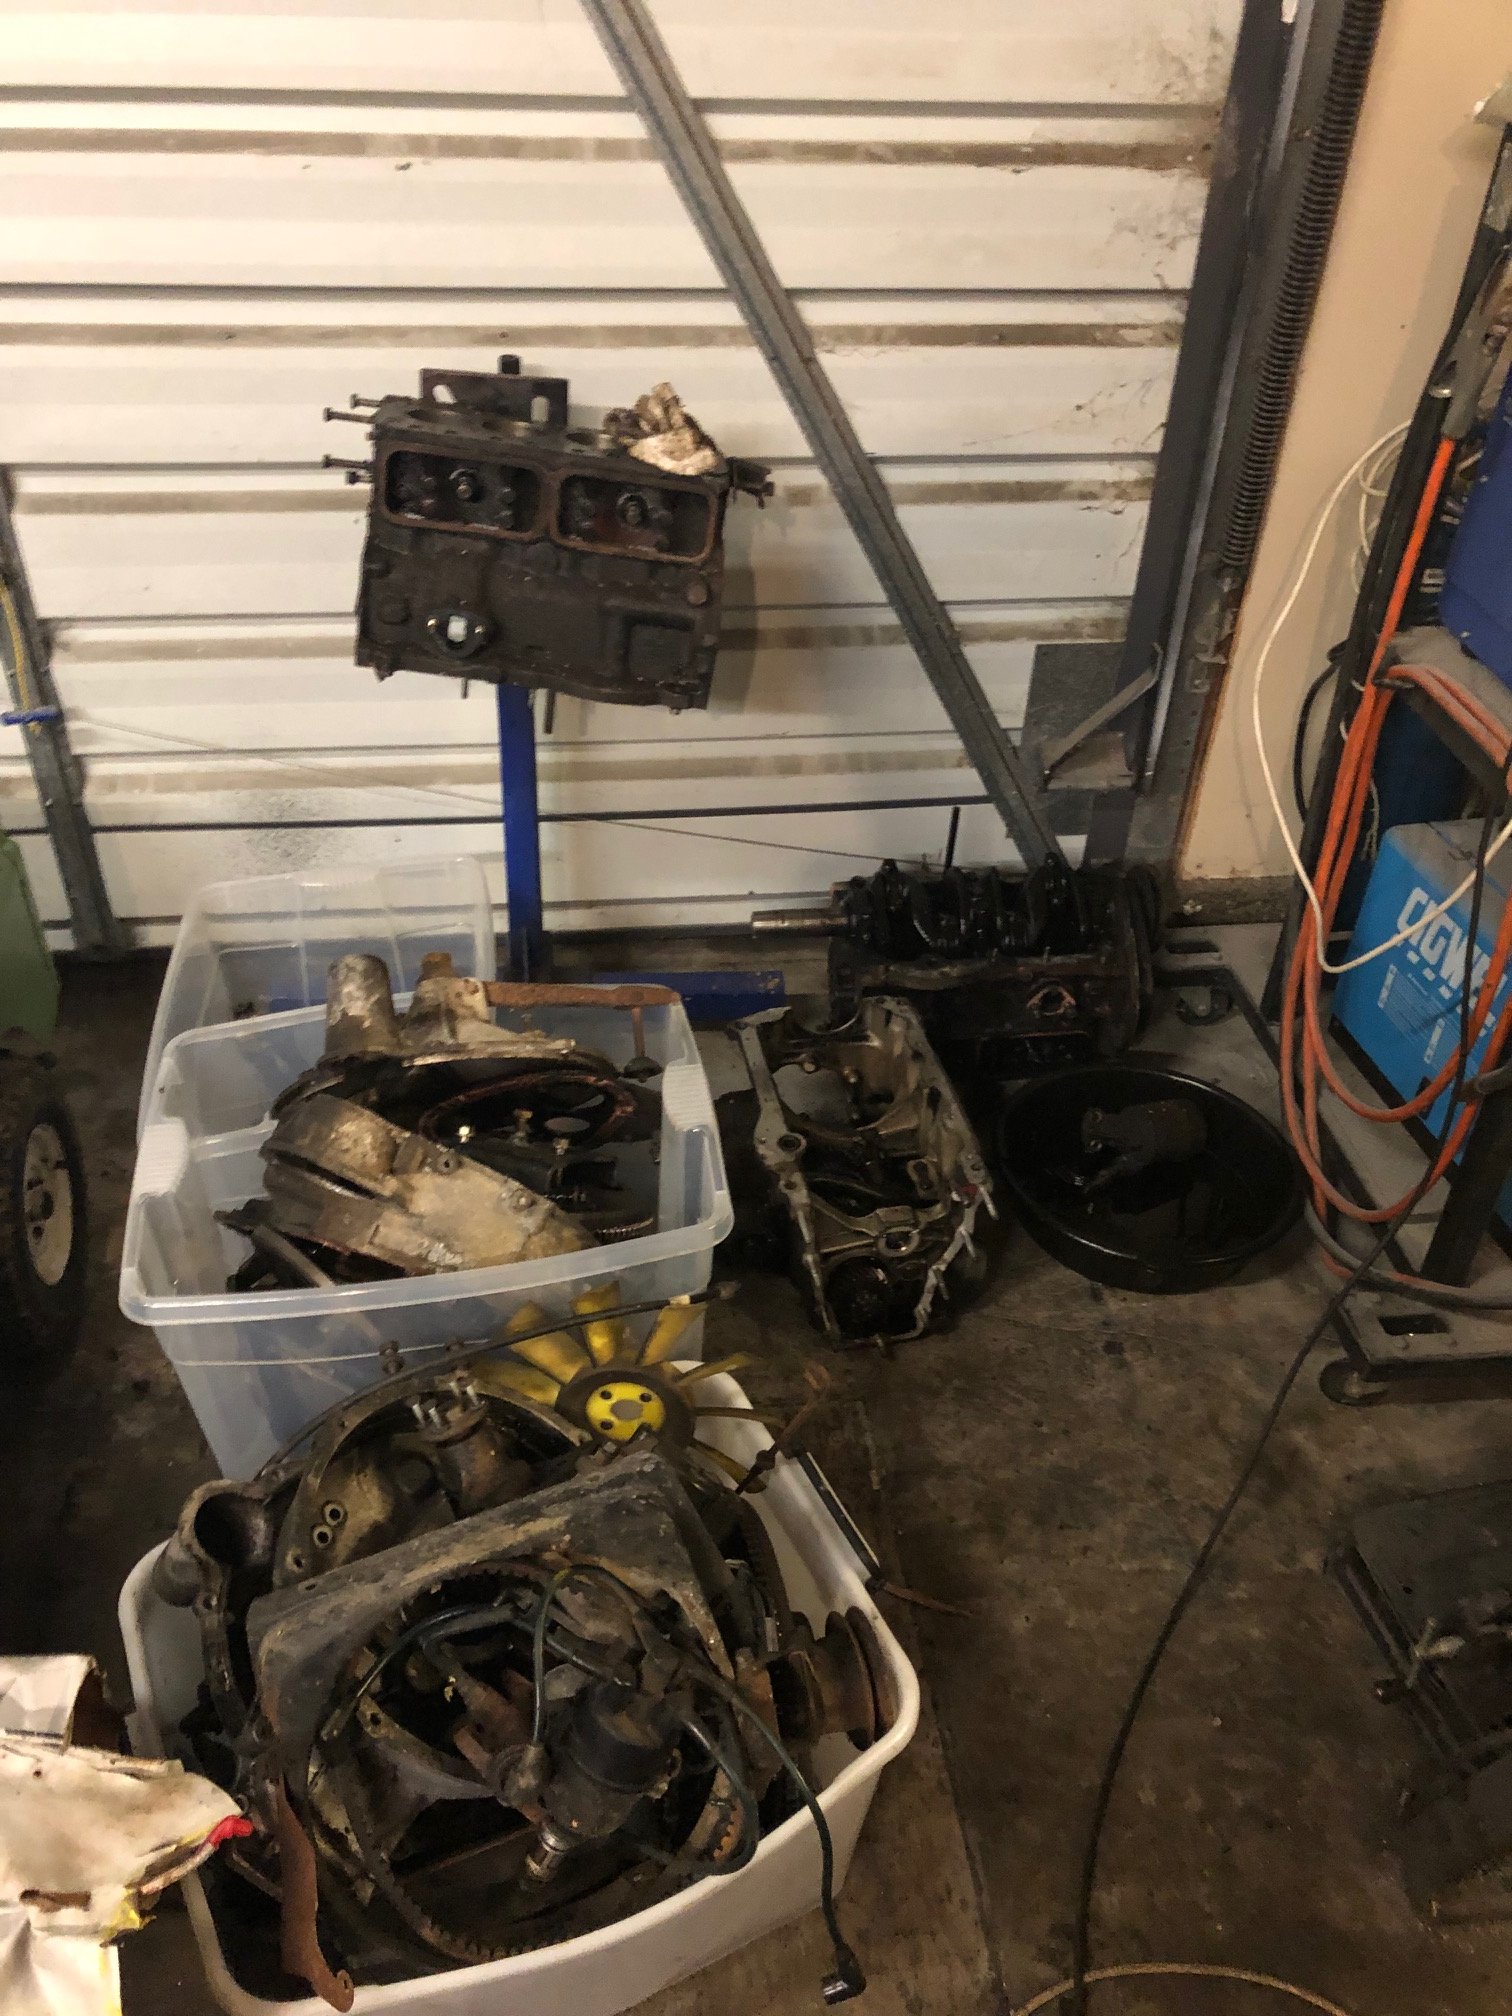
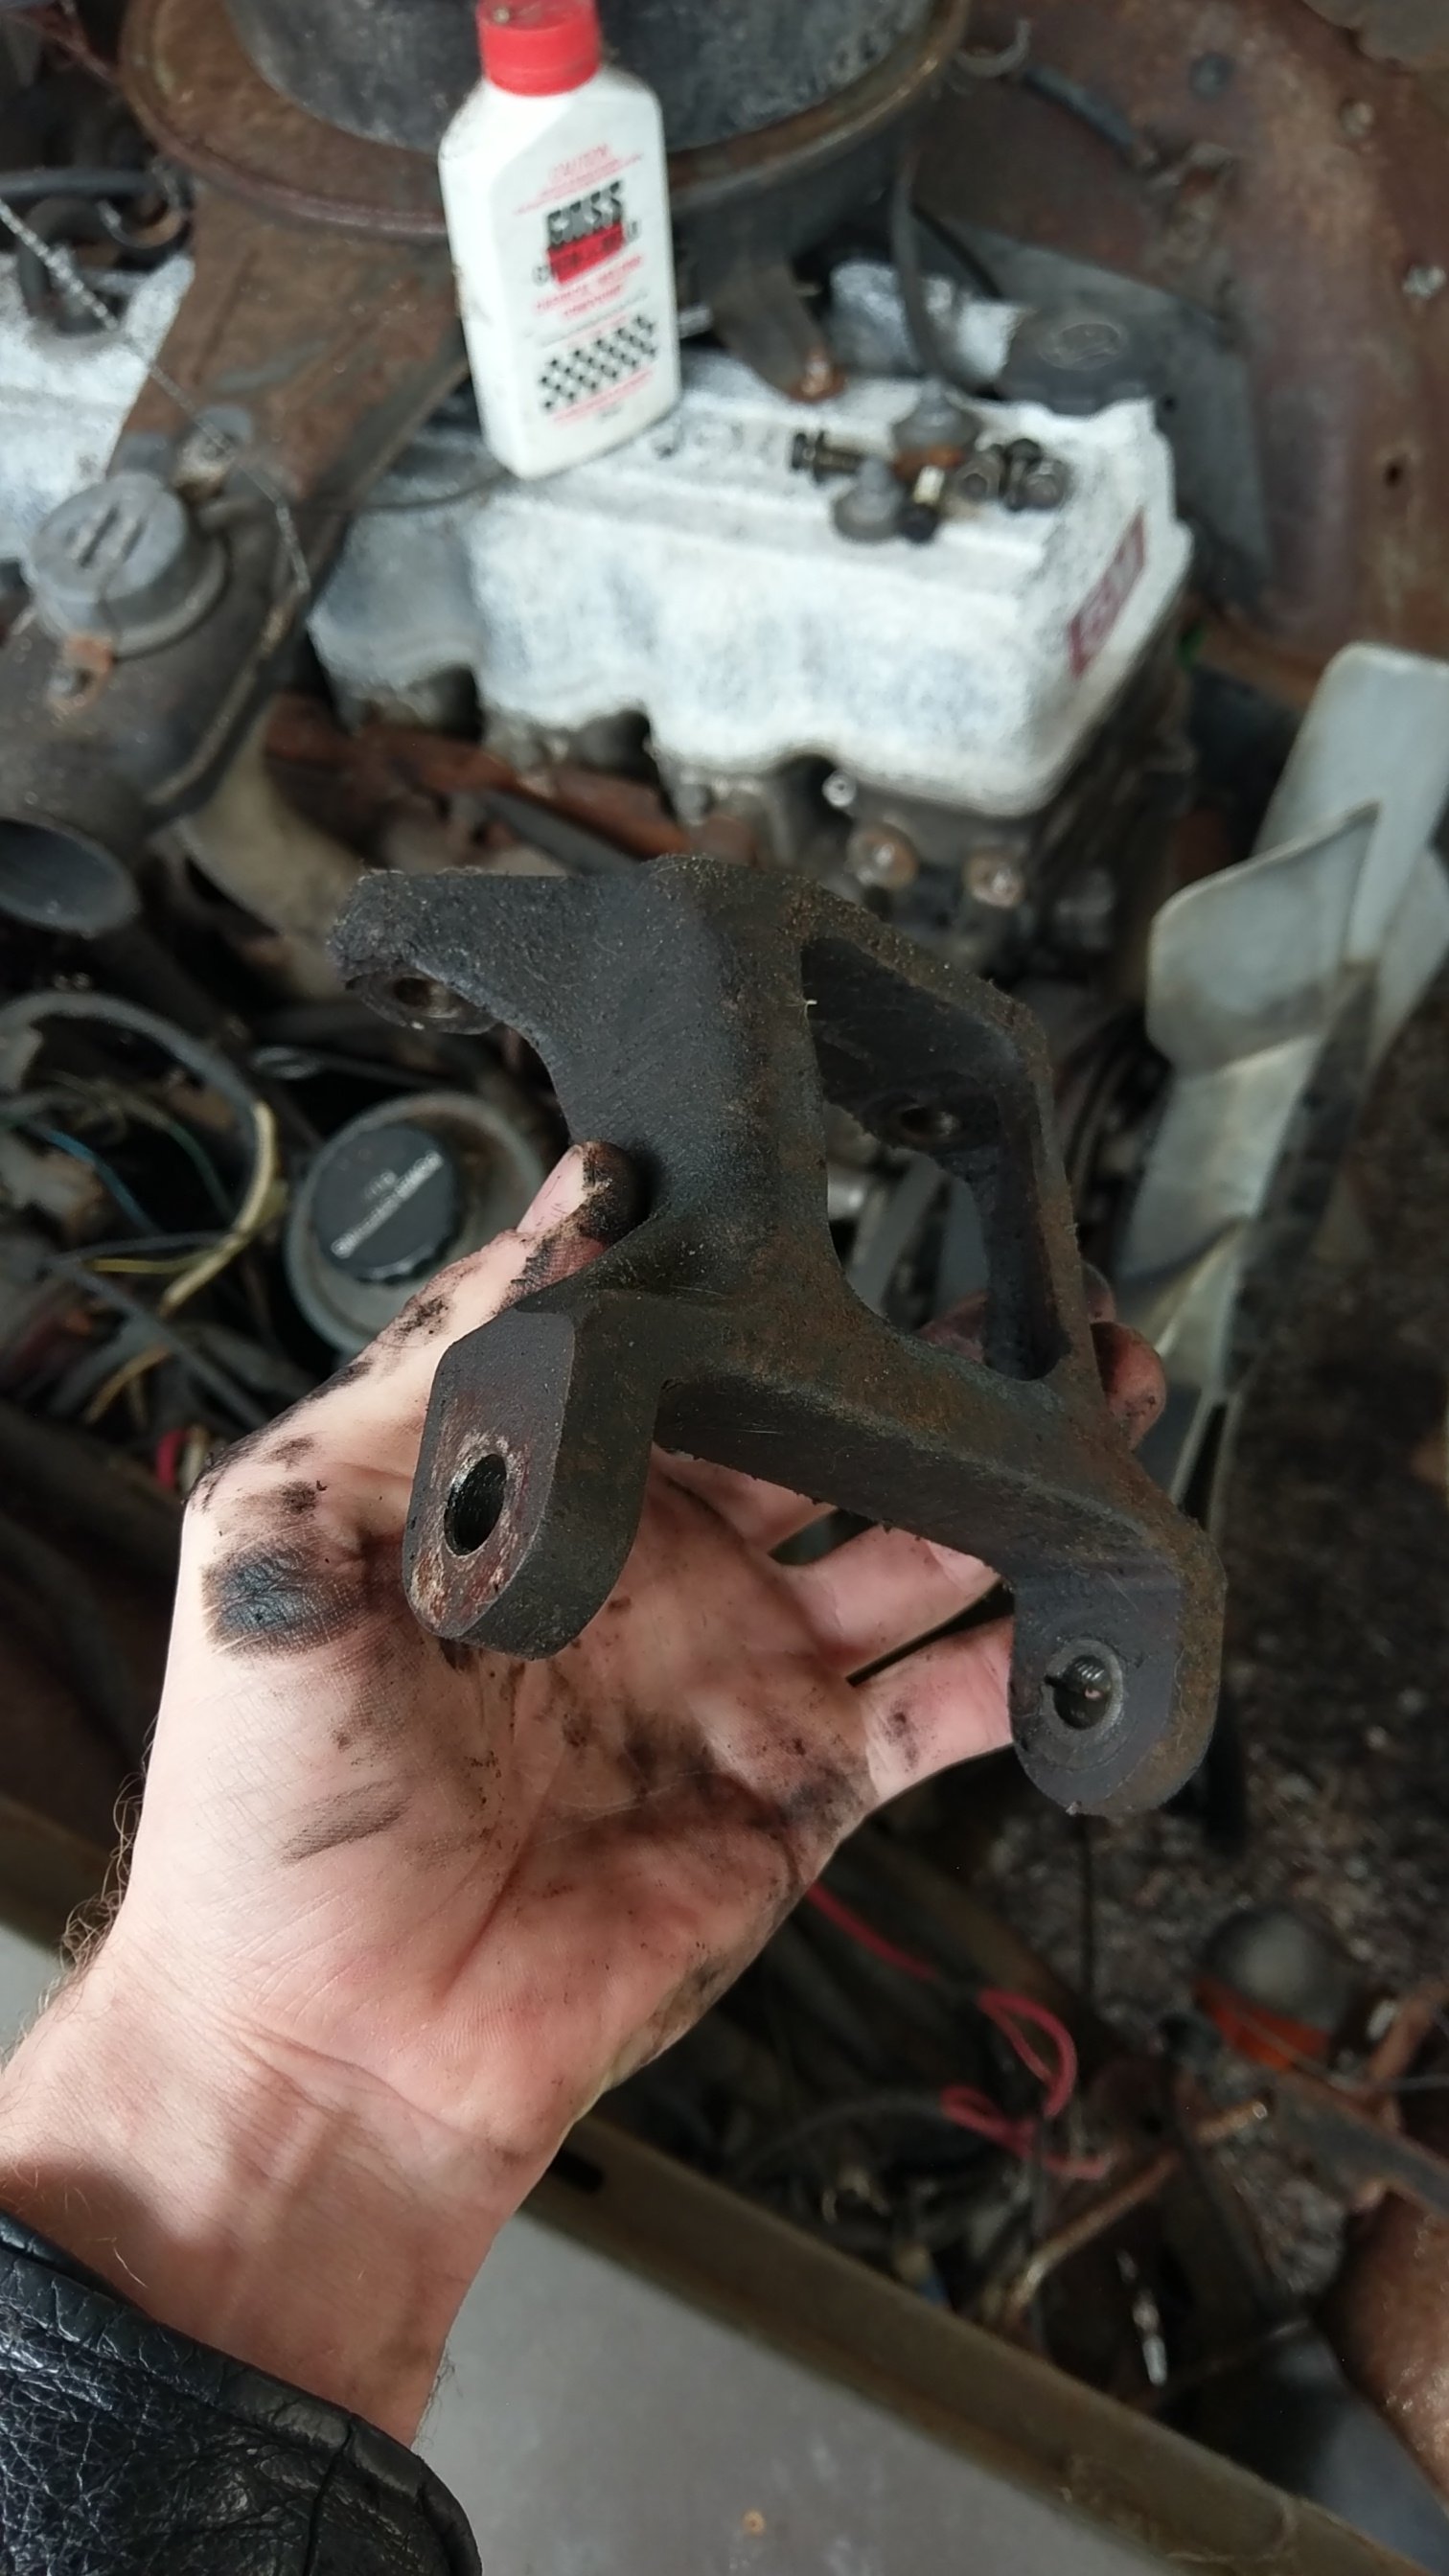
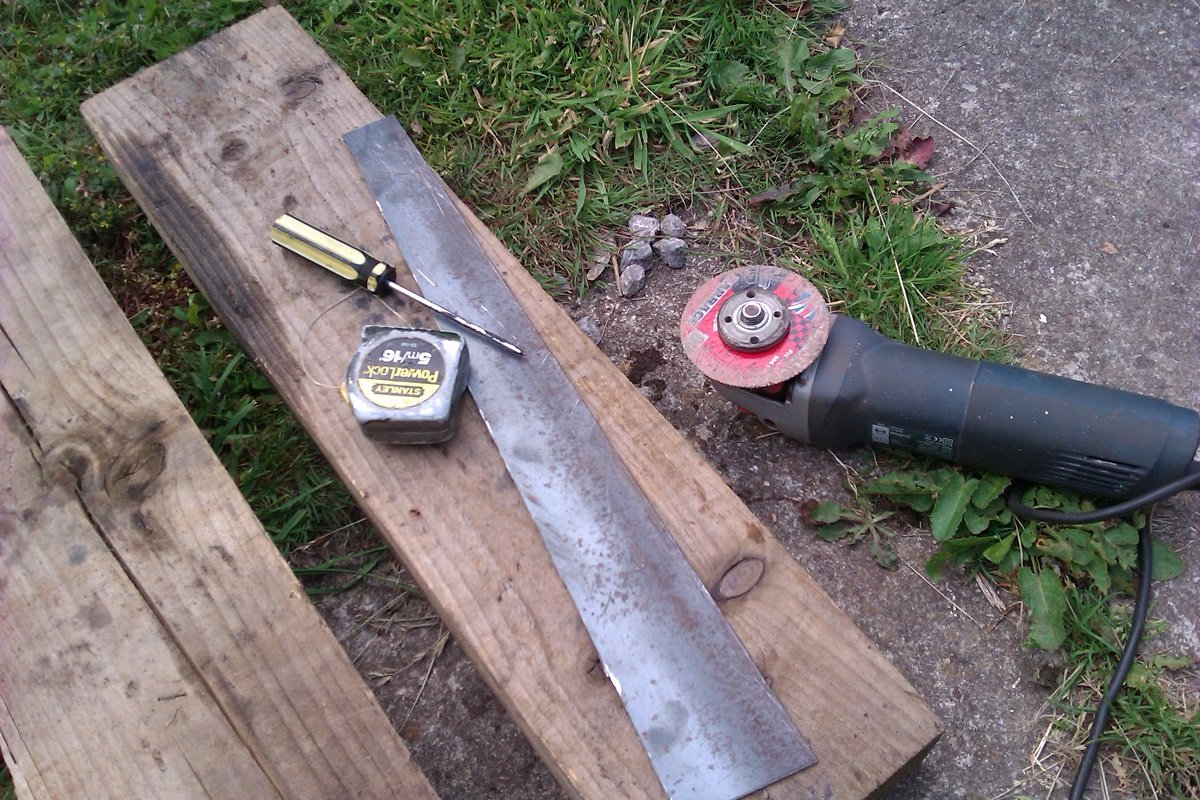
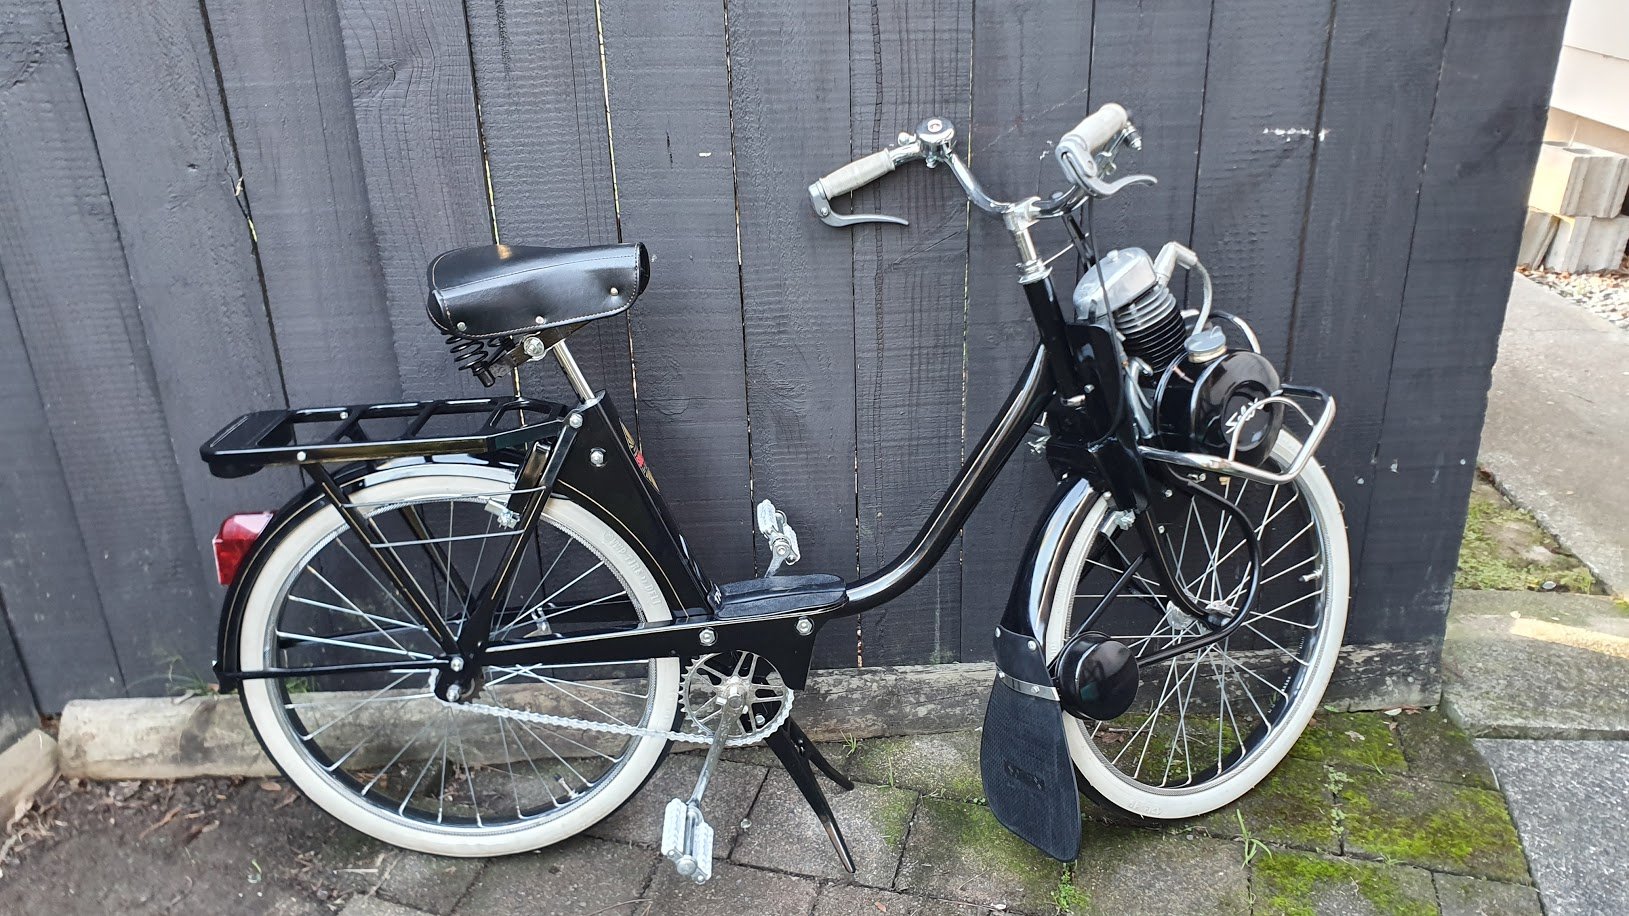
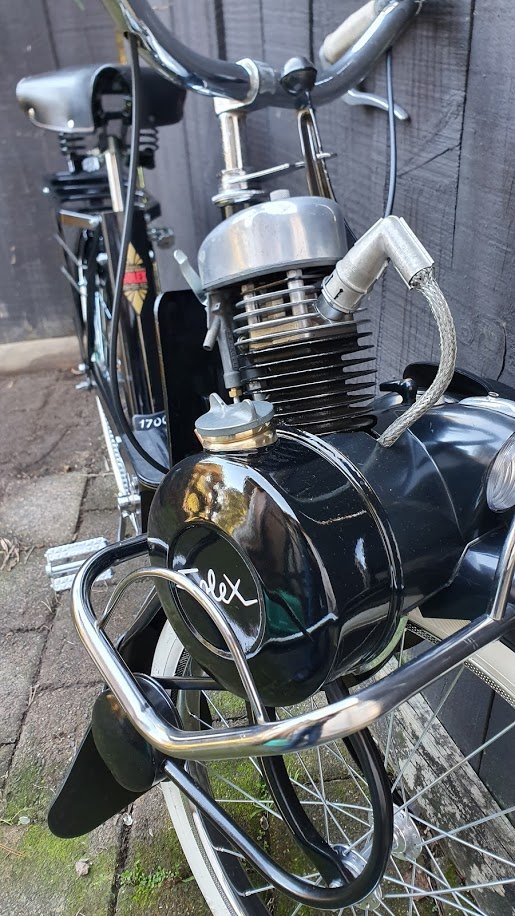
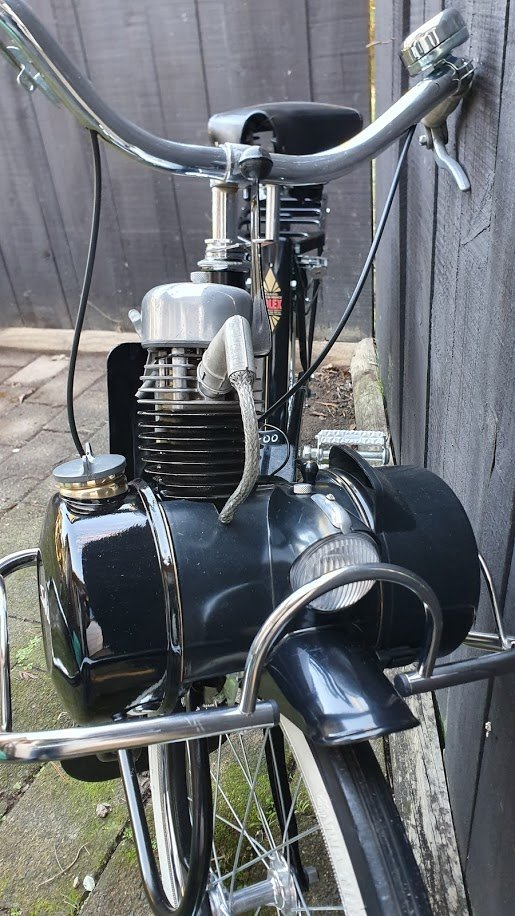
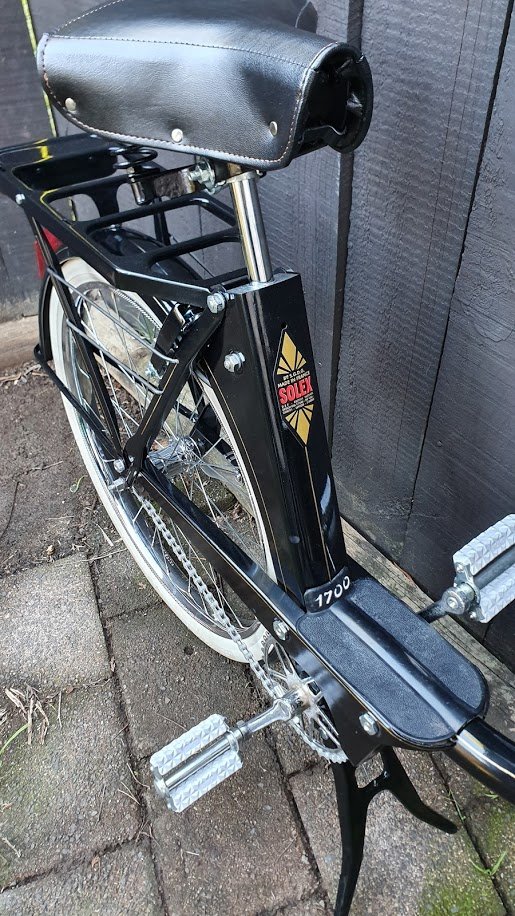
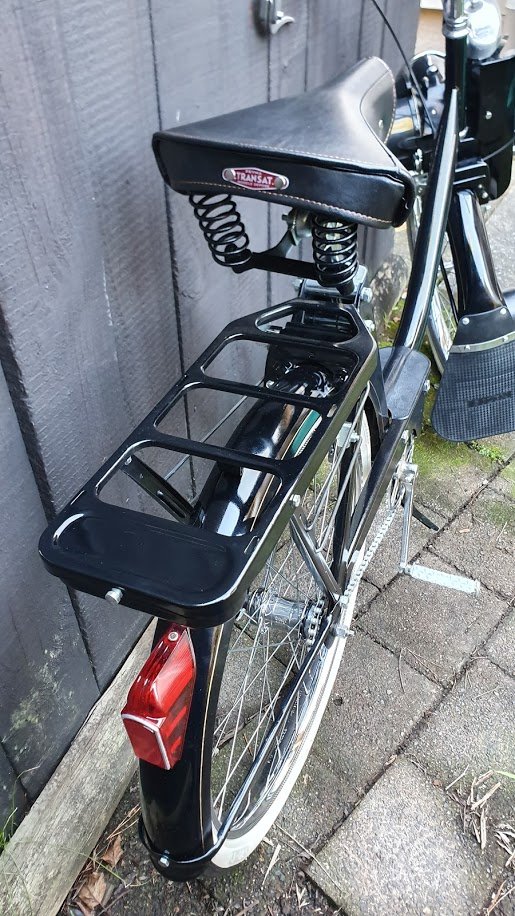
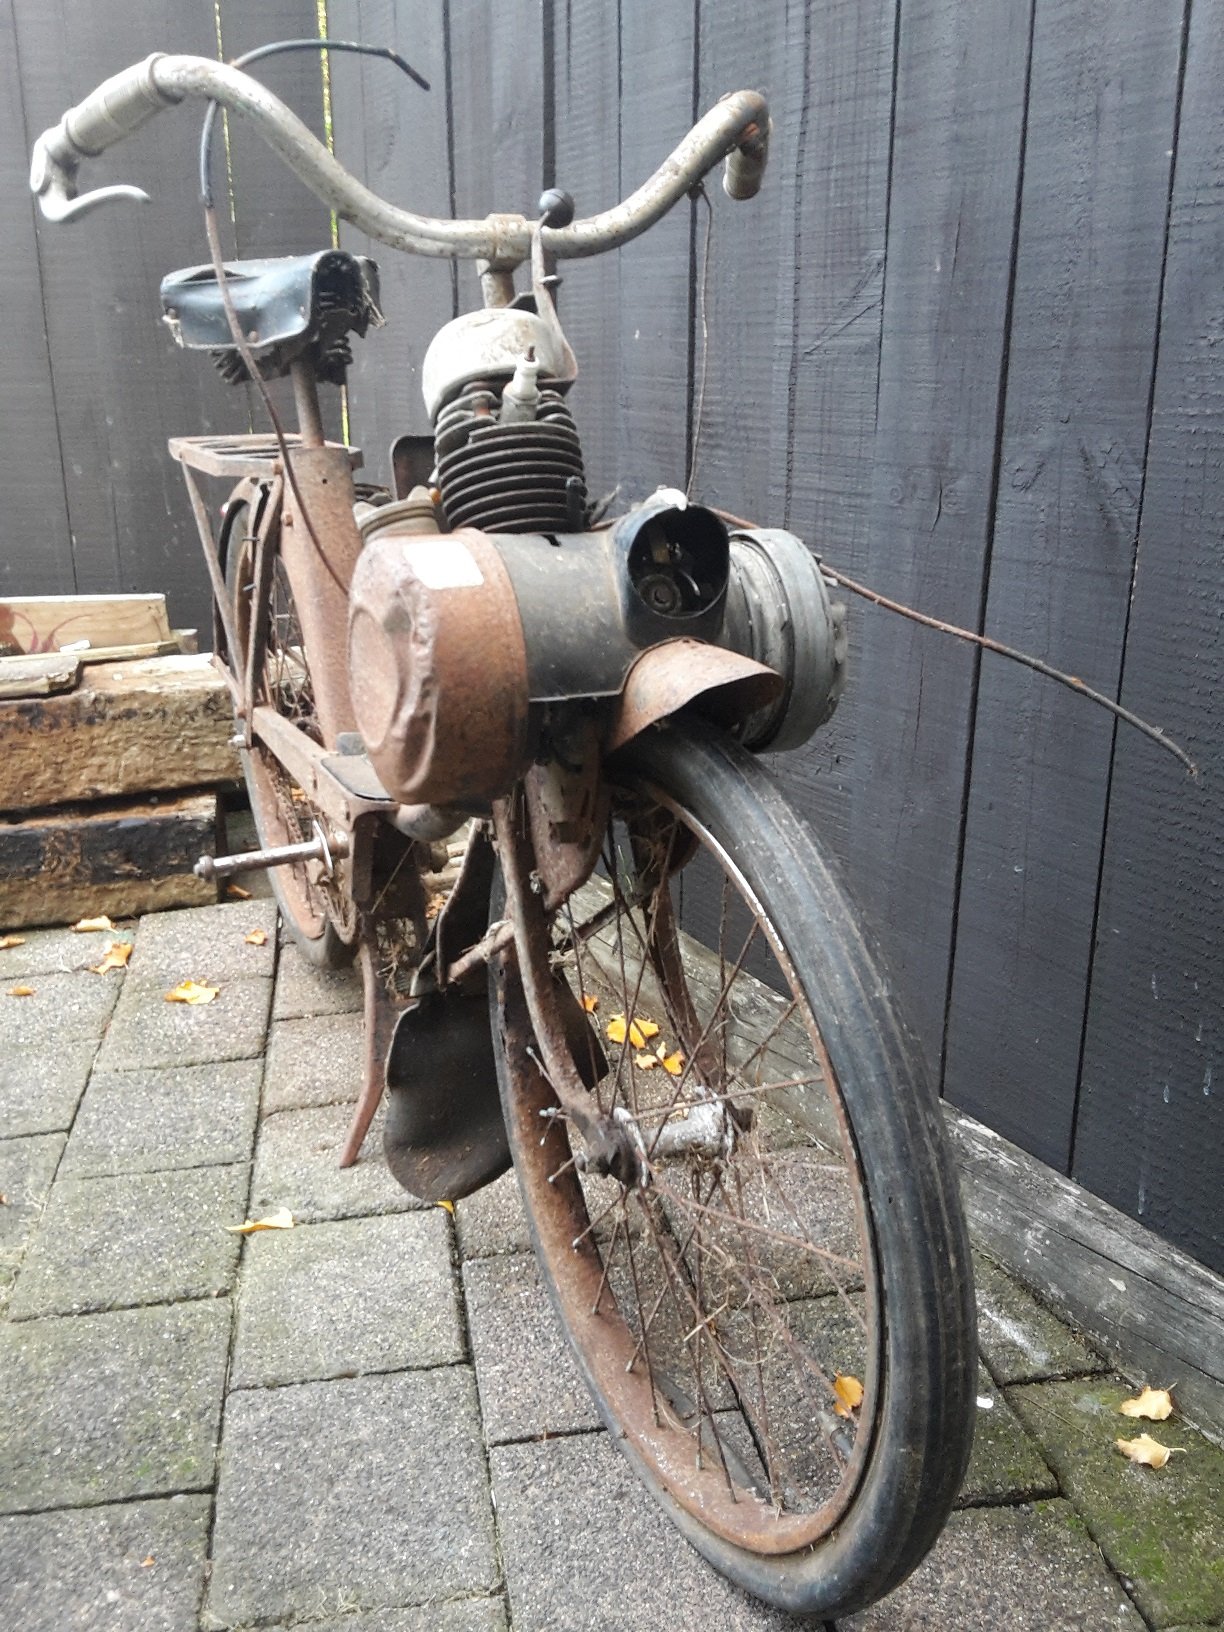
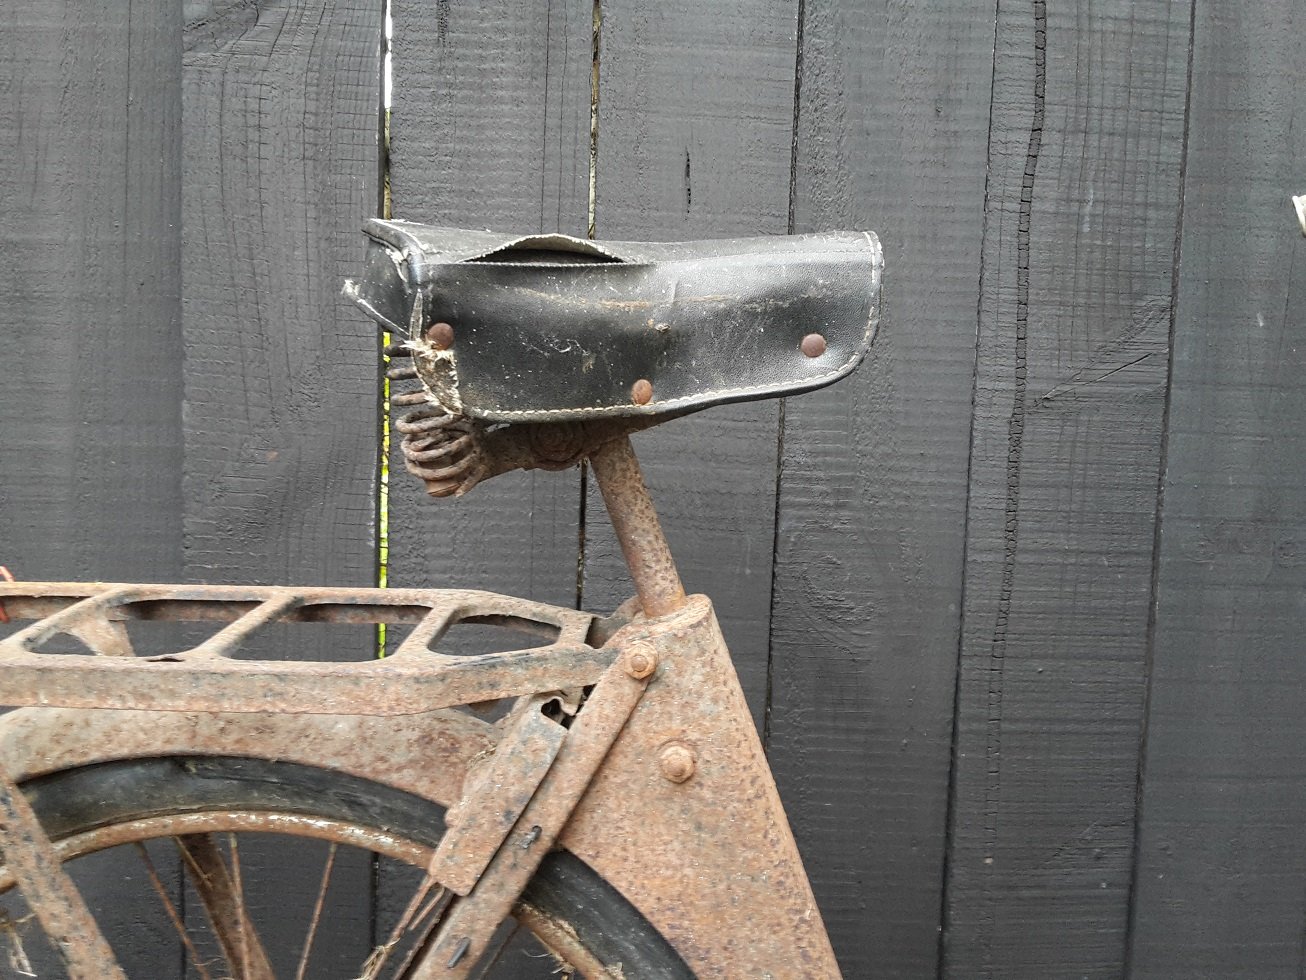
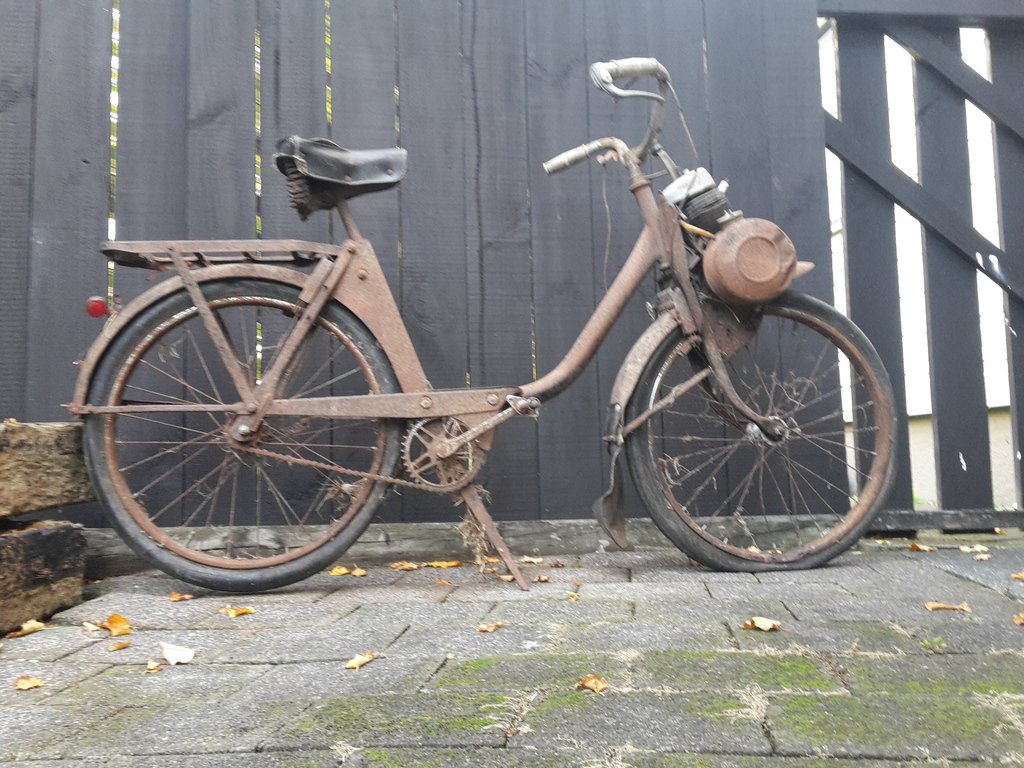
Must be a wall ornament? 70ish vintage, seized as. Rusted though. Any idea of the vintage? Thinking of either bolt it to the building or rebuild the engine and leave it ratty as.
2 points
-
I've always just had new circuits put in for my welder / compressor. You know what's what then, for not much (relative to welder price etc) cost.2 points
-
cdi over points anyday. No need to set gaps or anything. Also CT90 won’t bolt in unfortunately, they have a different bottom mount. Not hard to change but when a direct fit is available why bother The Lifans we buy from shore50s in NZ come with everything you need to start it.2 points
-
I’ve done a couple of things, sold some bikes and bought some more of course. Probably should update this. Stay tuned2 points
-
I've bought a couple of small bottles of CC recently... They're about the size of a large hip flask and are made of plastic. I'm going to have a few and fill them with my poison of choice before the ride. Having a 40oz in my backpack was hard work last year!2 points
-
the dude helping me seems to have a direct line to the dodge system where ever he works. i asume a dodge dealership, or an auto sparky. ill dump all the info he gives me in my build thread once ive got it all and hopefully any other people can find that info that simply wasn't freely available. although he called my project ambitious... i told him thats how we like it in NZ2 points
-
Rockauto delivers again. This time I ordered parts Monday. Received them Friday. just for the size comparison here is the later model dodge starter vs the factory one. Fairly sizeable difference still plodding away on cleaning and painting suspension parts and replacing the bushes. No pictures as I’ve not actually finished any this completely yet. And now I’ve run out of etch primer Got the bill from the machinist for the engine work which ended up being a reasonable amount more that planned (there was extra work done to justify it) which has completely drained the bank account. Also my headers are in the country now so just waiting for them to clear customs etc, all in all still chipping away at it.2 points
-
I was very tempted by this when I saw it advertised. A Lifan brand engine will bolt into this. They’re a Chinese copy of the Honda horizontal and go extremely well. Aliexpress and webike have almost every part you need to rebuild and upgrade this too. Longer swingarms, the whole works! Great project.2 points
-
2 points
-
2 points
-
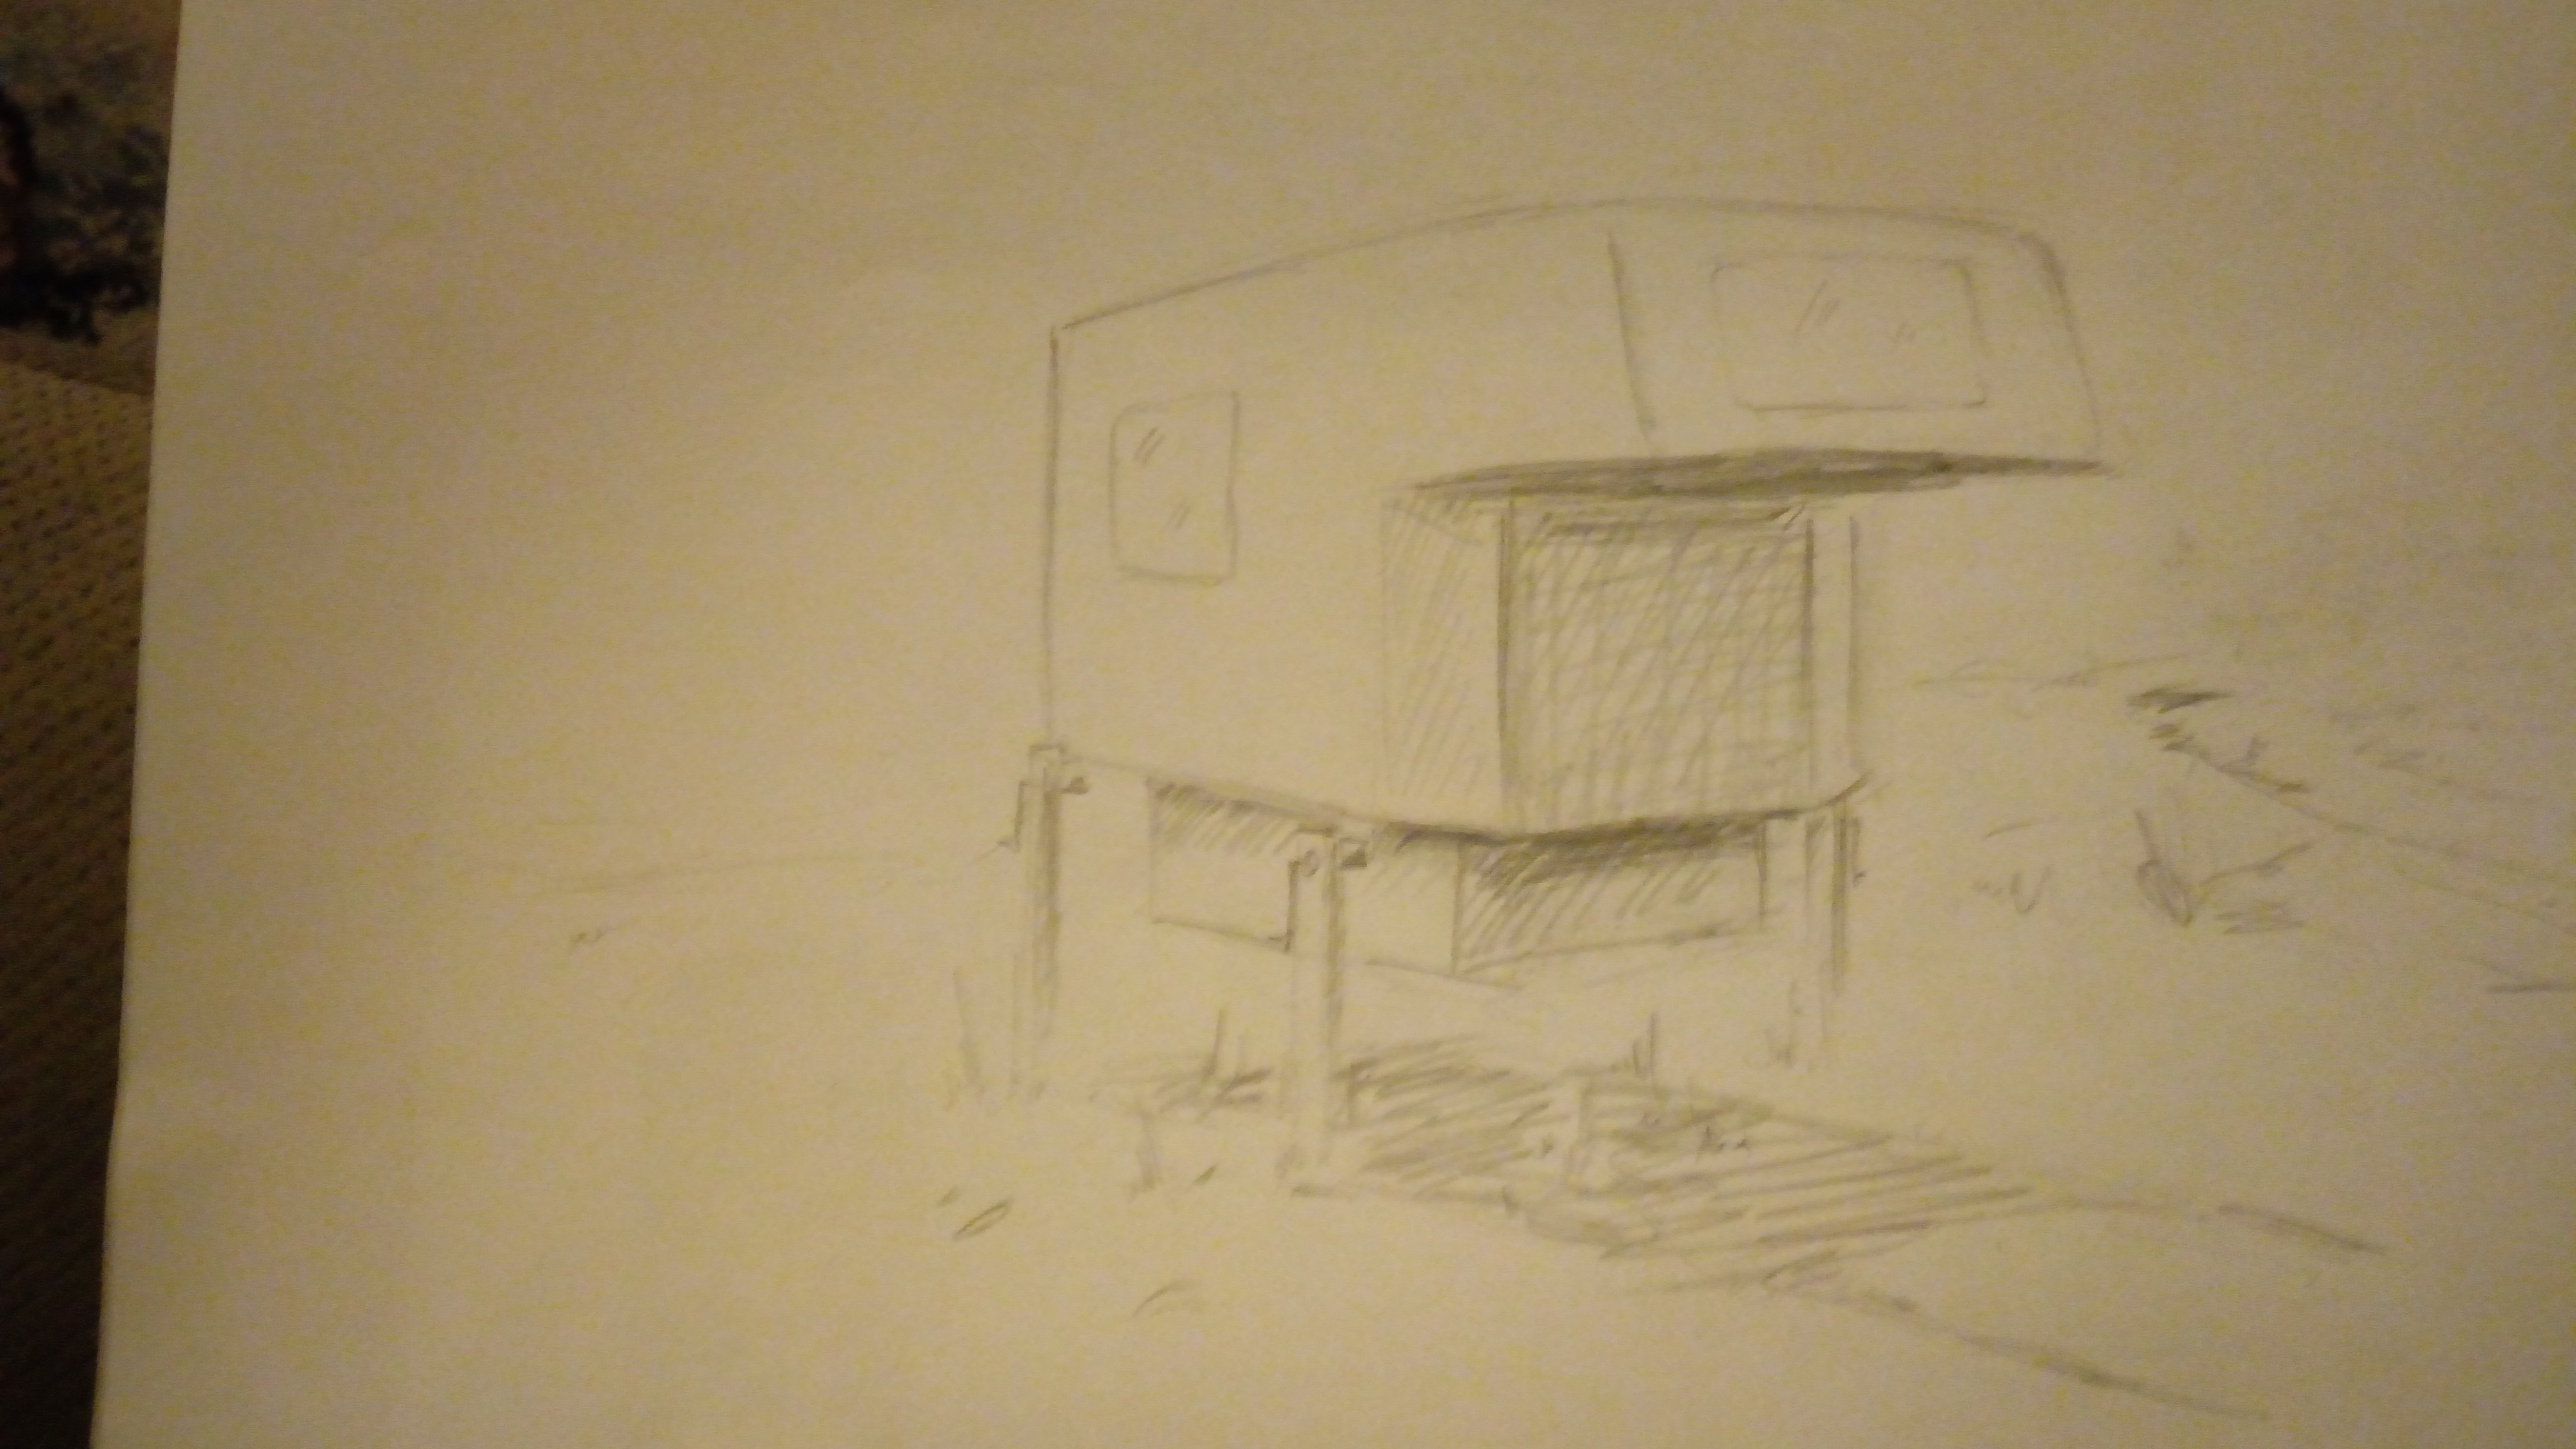
Discussion Thread //oldschool.co.nz/index.php?/topic/23741-filthy-ones-f1000-van-from-mrmk1/?hl=bongo Hey all and Welcome. This is ma Bongo van I picked up rather cheap on Wednesday. It was love at first sight and i couldnt leave it rotting away in the paddock so I snapped it up, if nothing else its cheap storage haha. Its Supposed to be a 1000cc rear engined beast Running through a 4speed box, has Independant Rear Suspension, Body over Chassis Setup, so ya can unbolt the body and take it off. The photos are as it was as soon as I got it, now ive cleaned it out and scraped the many species of lichen and moss off it, also got a Dr. Hibbert with an afro figurine hangin from the mirror. Im thinking it would suit a rotary conversion, Dirty old Bridgeport in a random as van like this would surely crack a few grins from onlookers. Going to straighten out the hubcaps and paint the rims, chuck a set of whitewalls on and slam the shit out of it. Will do a random as restitch of upholstery and some couch action in the back, mega sounds install, Disco ball, the usual Not entirely sure about the paint scheme, But id like to rock the two tone again. 2 tone brown? yellow and black bumblebee steez? Mystery Machine guise? Whatever I do, its going to be a while off as the Escort takes priority.2 points
-
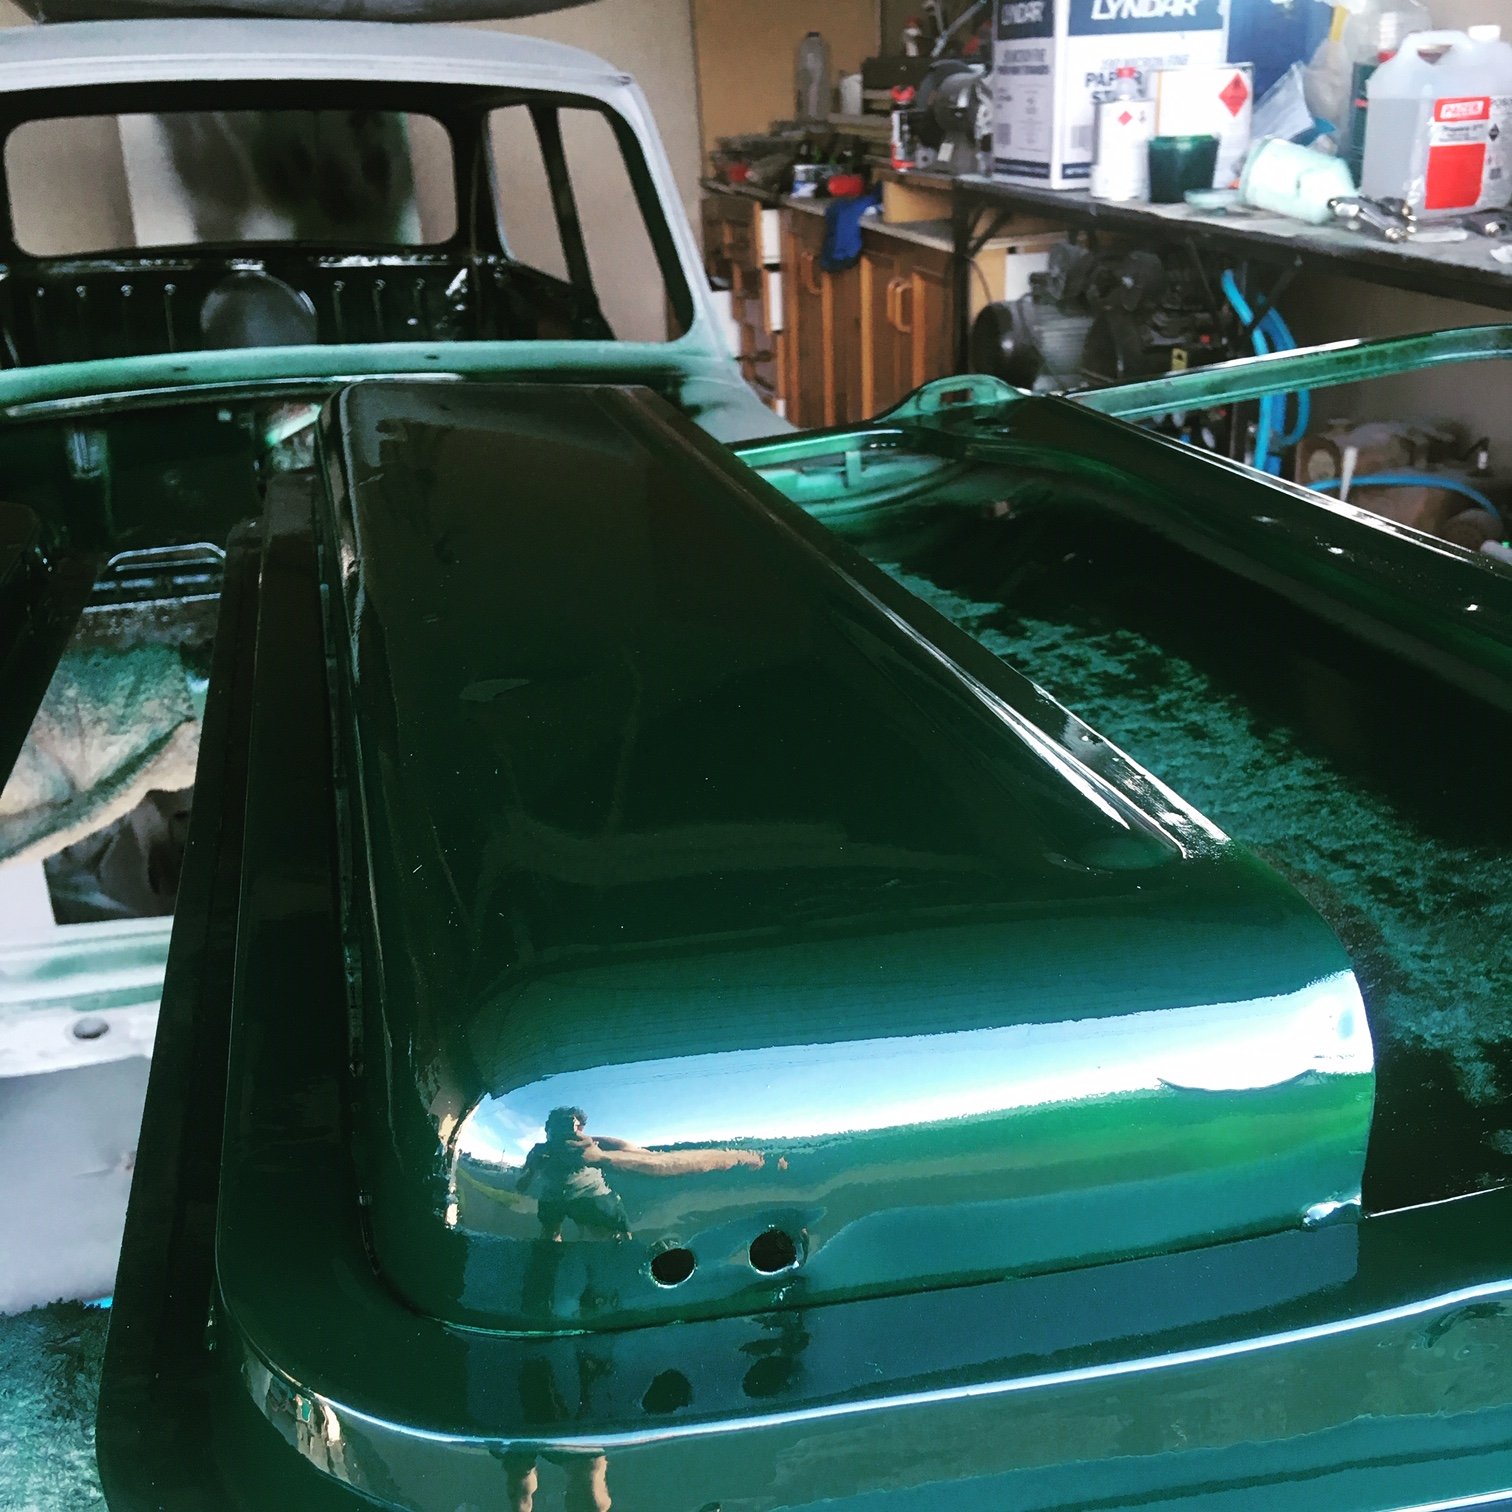
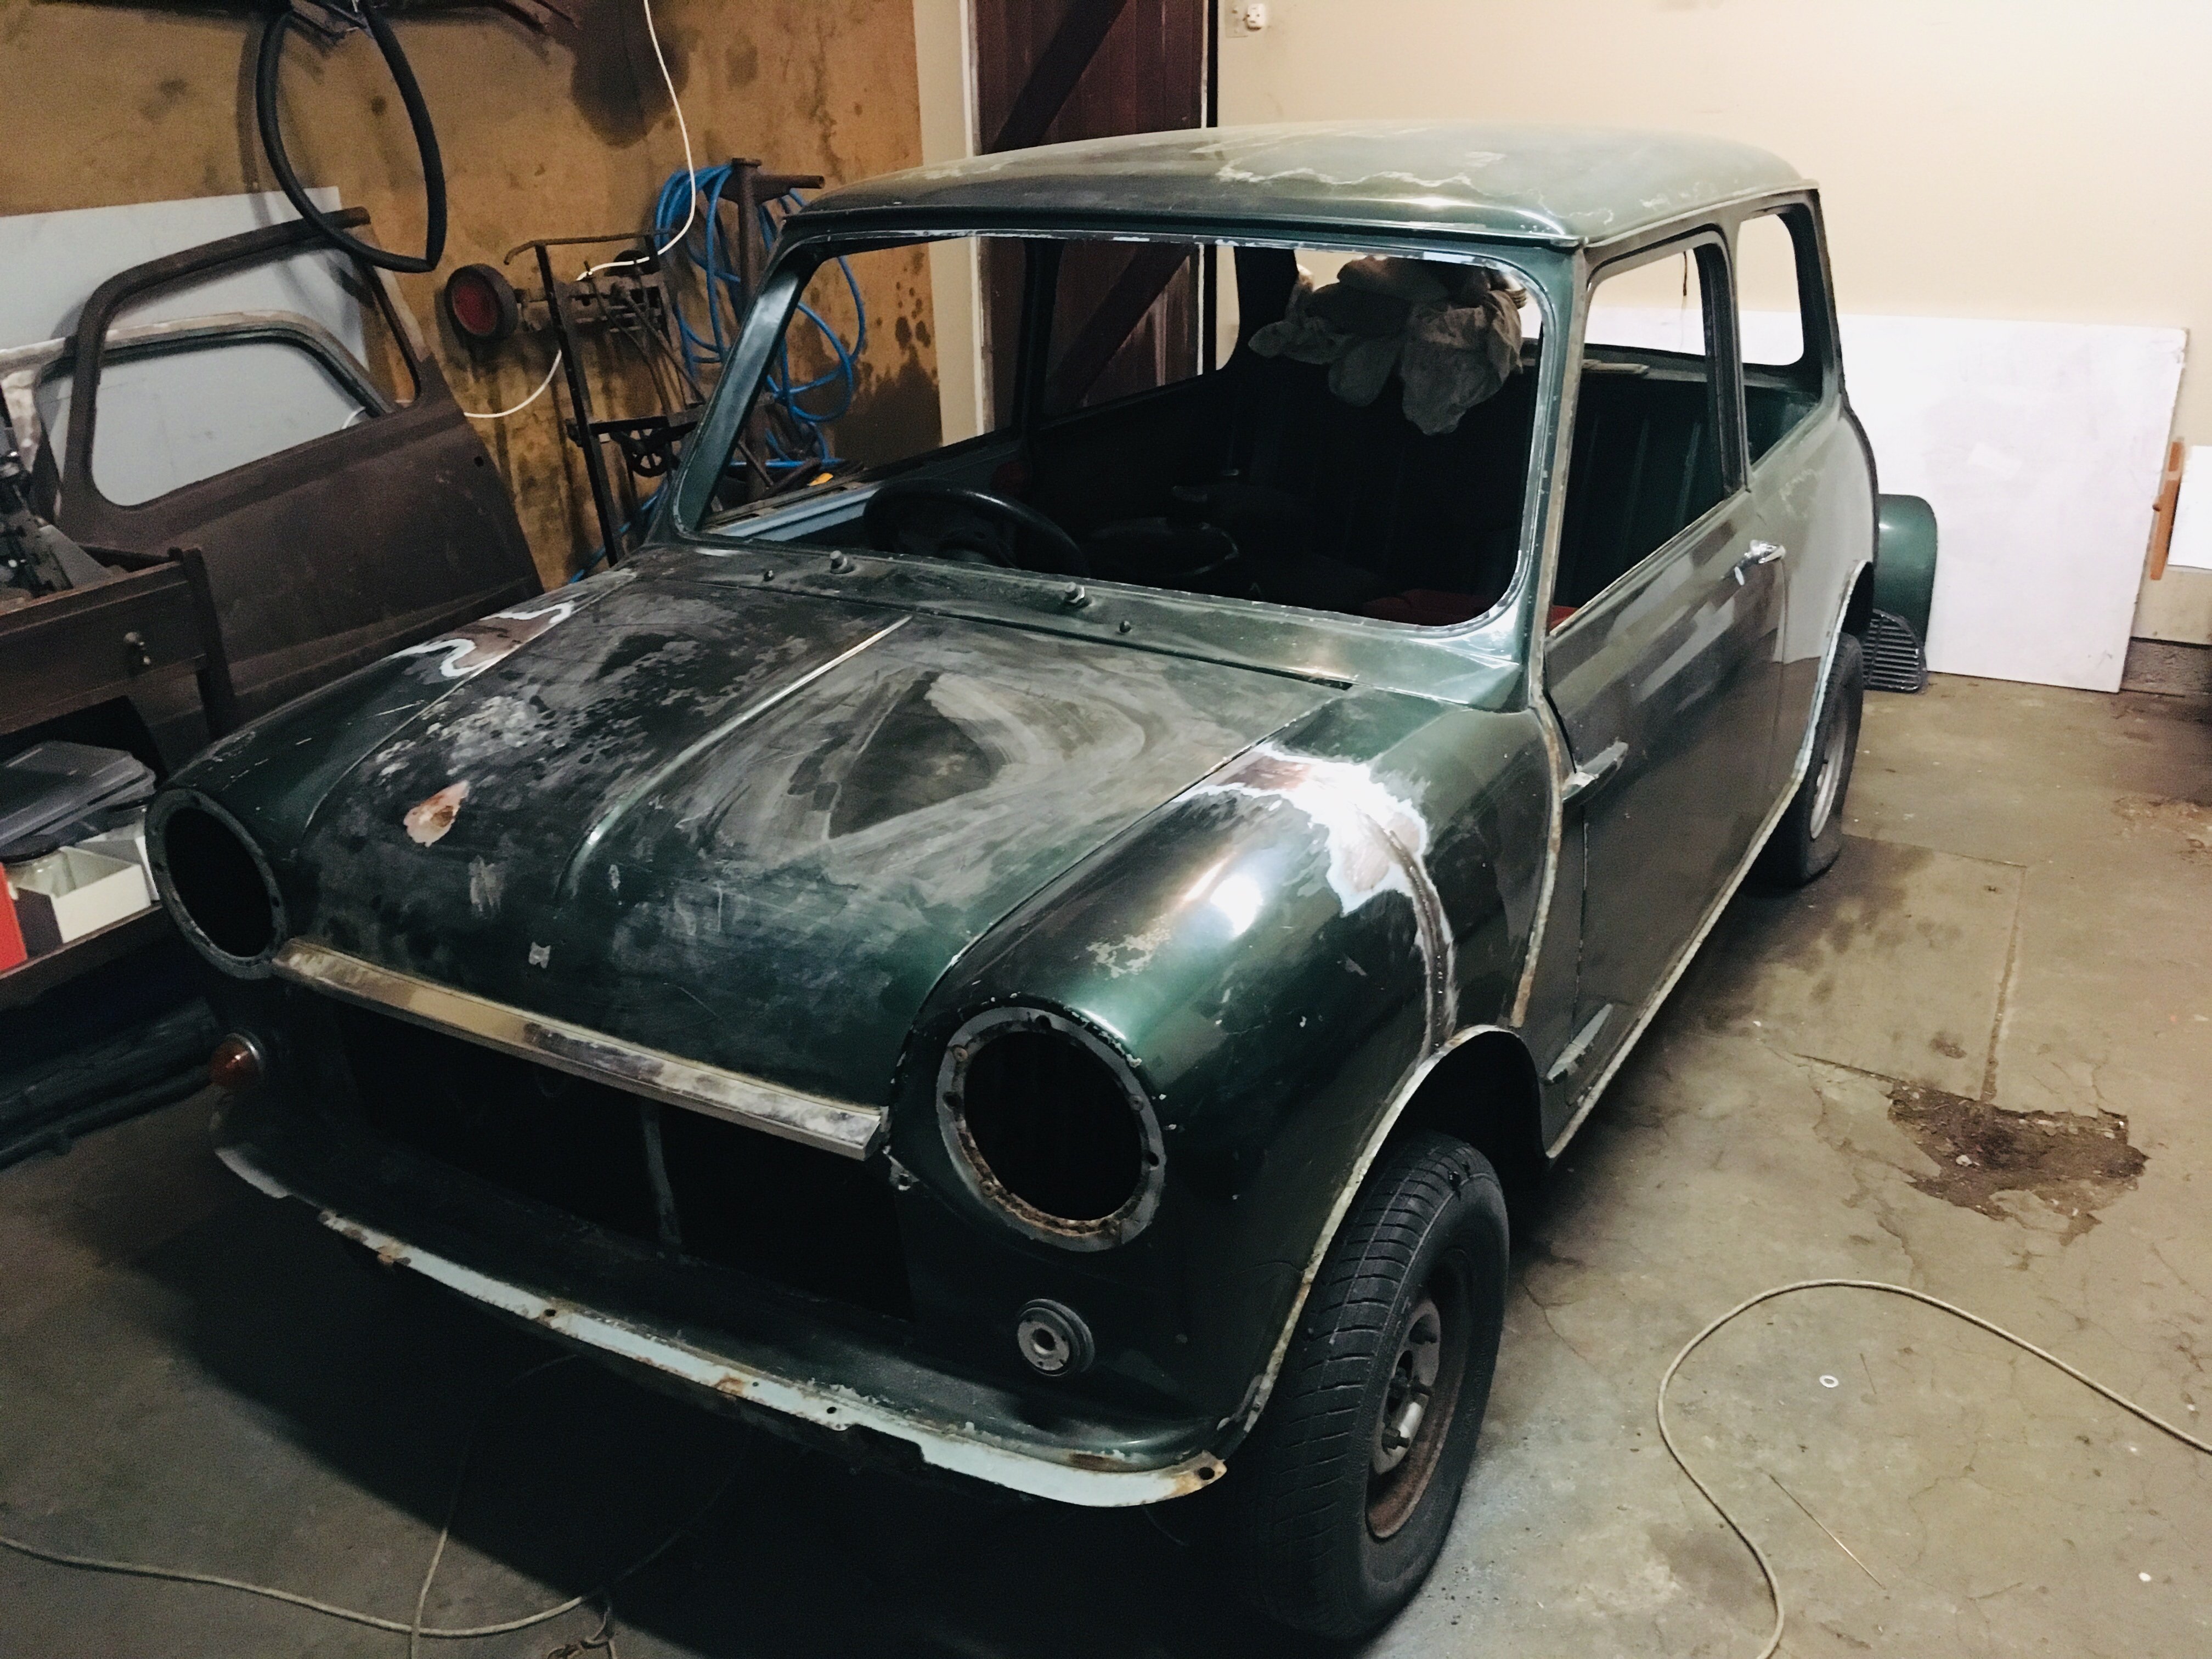
So I'm still rolling around here... I still have an A35 in the shed and my AE92 GT which needs work one day (plus other things, but really need a decent sized workshop to do it) but I was browsing TM one evening and saw a mini shell for CHEAP which I thought could be a good basis for a project. I've always liked the early minis, so it was chance more than anything as to why I ended up with this one. Now the reason it was cheap is that someone had cut the front of it off (very cleanly though) to make a flip front. Other than that the shell had virtually no rust, is very clean and has been dry stored since the early 90s.... A quick trip up to Cantebury and it was home.... It came with enough bits to make it a roller but very little else. Luck would have it that a very rusty (but mostly complete) one turned up locally on TM a week later, so I made it mine also. So I'm about halfway through aligning this front end to TIG back on..... Plan is to give it a quick scotch n' spray in the British Racing Green it has on it, then start transfering the bits from the yellow and rebuilding along the way. Should be fun, feels great to get into another project like this one.1 point
-
pencil me in plz1 point
-
cheap insurance . many 15A appliances will run on 10A (if it actually is 10A), but ensuring you have at least 15A spare, after lights/stereo/compressor etc is where heavier circuits come into their own . have run some pretty decent loads on 10A, but wrecked a few motor windings on it too furthermore, ensure the supply cabling to the workshop submain is adequate.1 point
-
Also worth keeping in mind your whole shed might be run off the one circuit. So if you plan on running lamps, radio etc while laying down phat 10mm beads, it could be worthwhile having a dedicated 15A plug on it's own circuit. No worries then. If people want things welded, they just have to bring them to you. A good idea to make up a short 15A extension lead, so you can move the welder anywhere in shed. I think mine is about 4m, means my welder can be at the garage door if need be. I wouldn't buy a welder from overseas, false economy if buying purely on price. How much is shipping going to be if you need it repaired, lots. Handy if your local shop can repair the unit / get spares. If you don't have any welder shops in town though that won't be an option.1 point
-
I think you will find I'm fully self sufficient1 point
-
oh yeah theres a spare bed at waikaremoana if anyones keen (just have to put up with 4 others) ? $35 With sheets included1 point
-
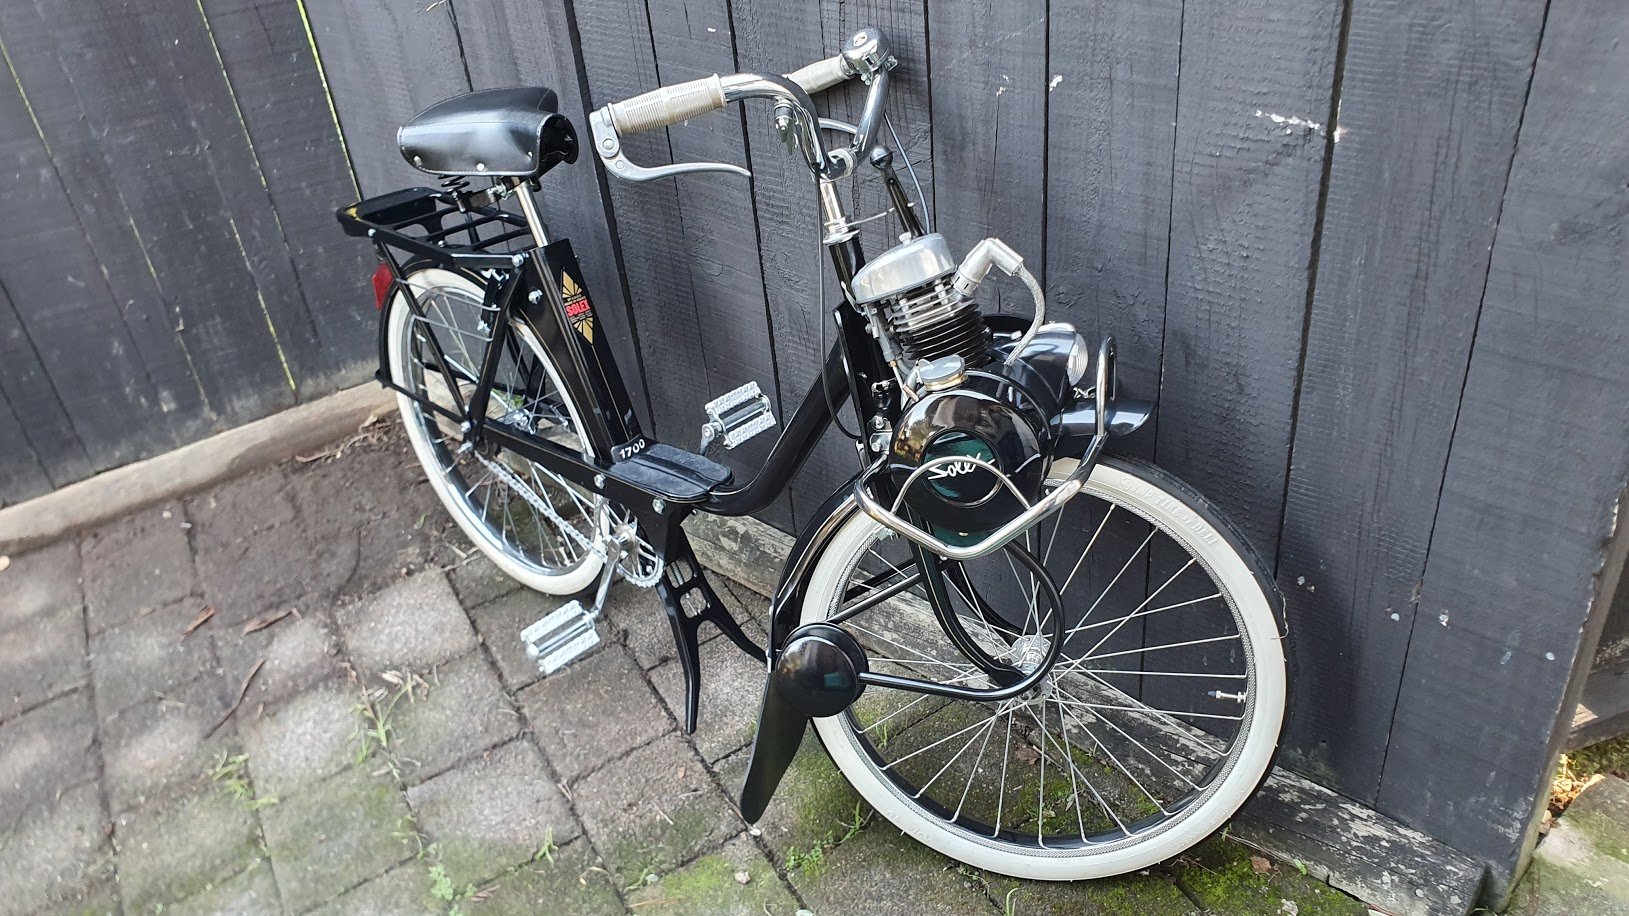
Hot damn, @GuyWithAviators showed me this too and if I hadn’t aqquired a monkey a week earlier would’ve given it more consideration. Such lush patina almost looks as if it’s had the tank swapped to a earlier rigid rear end tank. also lifans are the easiest engines to wire in. They come with cdi/coil etc. if your not wanting to run lights you don’t need the yellow or white wire. Plug rest into CDI and coil. Bolt coil to frame, cable tie CDI somewhere and careless first kick starting every time have lifan swapped 6? Bikes (with 3 on the go at the mo)1 point
-
Woo I wonder if they will have twister in their games selection.1 point
-
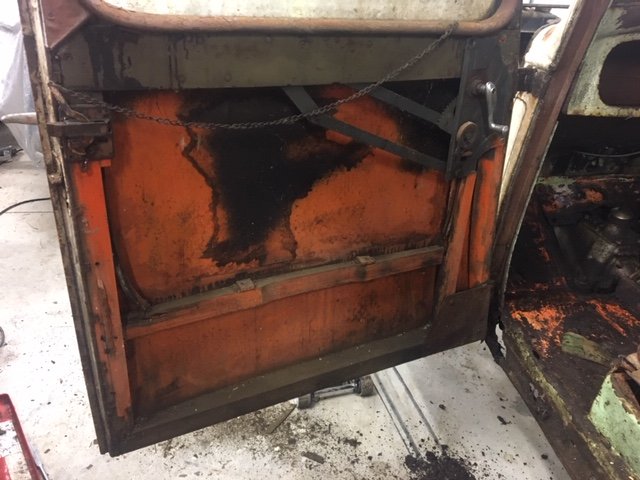
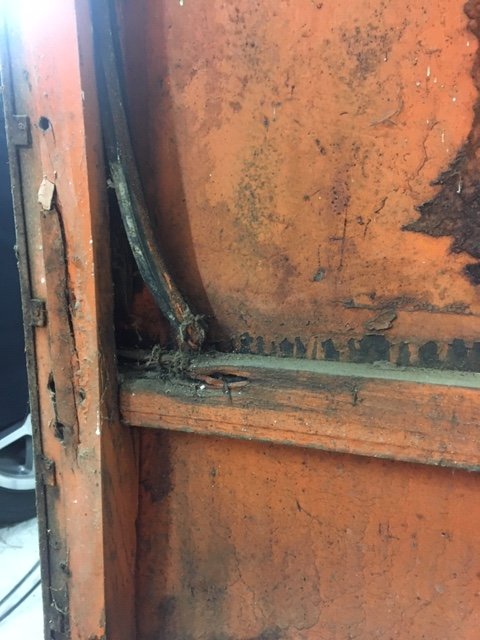
AMAZING AUSTIN FACT #1: The Austin 7 was the first production car to have the controls as we know them today. I.e Clutch -> Brake -> Accelerator etc. AMAZING AUSTIN FACT #2: I learnt this one the other night while pulling apart one of the doors to have a look at its rust... Austin 7's have a wooden frame! The wooden frame thing was a bit of a shock. Here I was one minute looking at the door thinking it should be a pretty easy rust fix, then pulling off the door card off the next minute and finding that it was actually going to be a very challenging rot fix... My skills at steam forming ash timber are fairly limited, and while there are companies in the UK that manufacture the parts, I'm too tight to spend that kind of money. So my loose plan at this stage is to replicate the ash wood parts by cutting and laminating ply. Worth a try anyway.
1 point
-
Last year I got a $40 kmart tent, and bed roll on the back of my twist and go. Knowing what I know now I could be 100% self sufficient if I had to be, and was camping. Fuck I'm beaming to not be tenting though!1 point
-
Hey, where ya been ? Holidays got in the way, and then sorting everything out that happened while we were away so no Skylining for me until today Brakes finished, had to remake one flare and grind some stuff (bits of caliper) to make it all work, but it all works and doesn't leak, which is nice No pics coz phone's broke but y'all know what brakes look like I would imagine. This post has been brought to you by "Shit Post Mondays" /you're welcome1 point
-
Formed! Shadbolt is my agent and attorney esp in regard to accom but I think I’m pitching a tent and also sleeping under a canvas fabric of some sort this is shall be mean. Will be great to meet people from the internet for the first time ever1 point
-
Ok so I'm still chipping away at this. Kinda slow... what have I done...? - Stripped the blue clubman for anything useable and took the shell for scrap (It practically folded in half from rust when they lifted it off the trailer). - Using the front subframe out of the clubman which is the one I need (earlier type), pulled apart that running gear but the bores are rusted out... - Pulled the drivetrain from the yellow mk3 and stripped that one, bores are ok and should come up with a hone. - Took the interior out of the mk3 and started fitting that to the mk2, kinda digging the brown/green combo. - Realised that the hoodlining is different between mk2/3 so am thinking of trying to mod the body to make the mk3 one fit (I 'think' it will)
1 point
-
The cert plate in riveted to the car. Now to finish the compliance and then enjoy1 point
-
A few photos were taken and then onto the trailer and off to the workshop. Yes it fits on a fairly standard size trailer!
1 point
-
1 point
-
this is one of OS's greatest threads. the four-wheeled equivalent would be to mod a Nissan Tiida with a 3" lift kit, muddys, lightbar and the latest Ranger running boards1 point
-
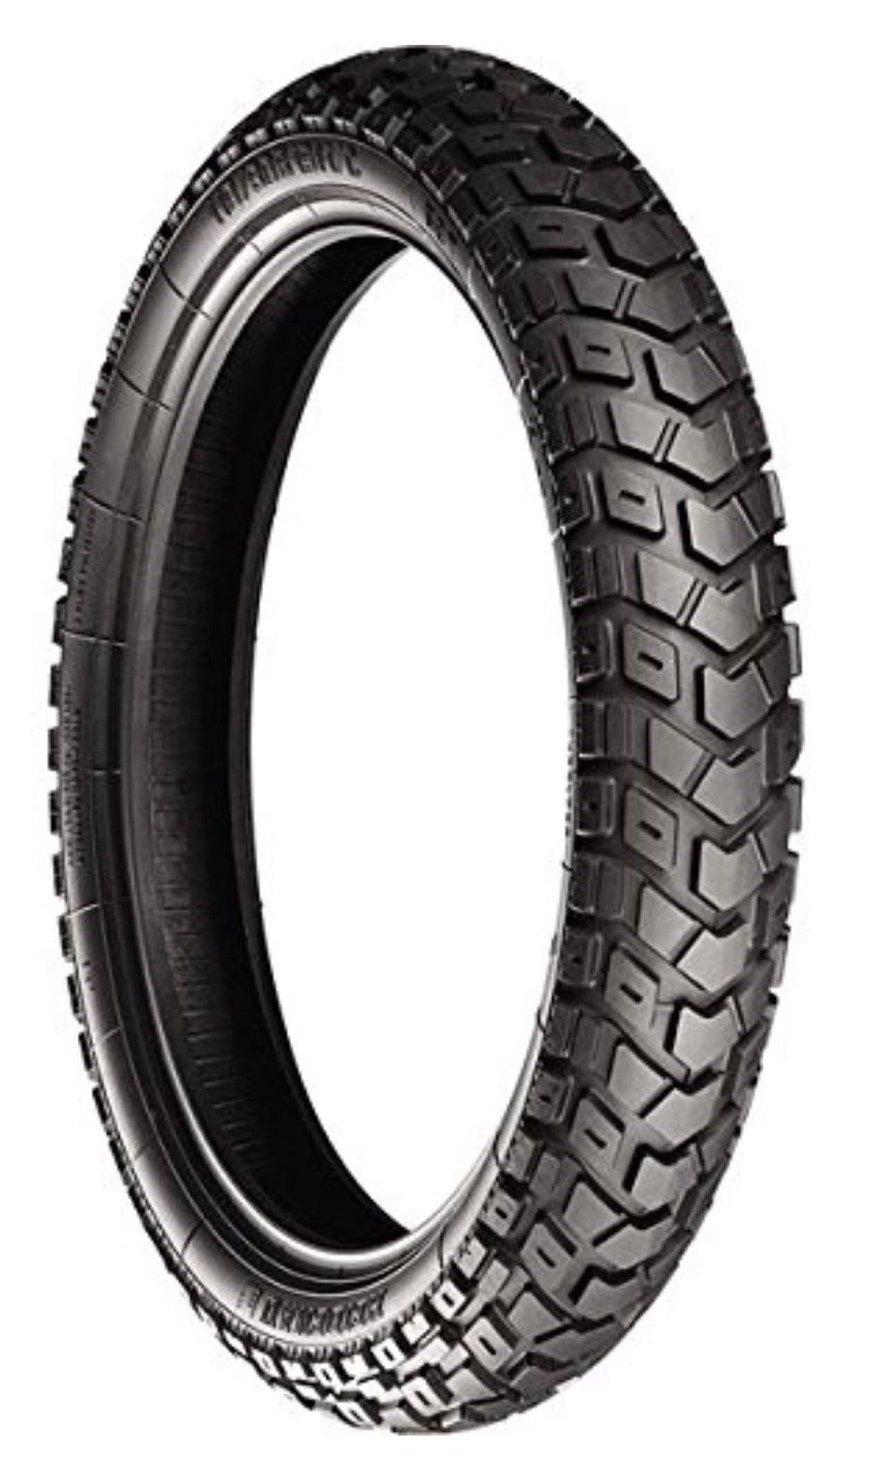
Standard Bort repellent A Heidenau K60 Scout, same size as original front tyre, but a 50/50 adventure tread. That's going on the front. Didn't see any 16's I want for the rear, but it has a kinda chunky tread anyways and I'm more concerned about the front washing out than losing the rear end
1 point
-
1 point
-
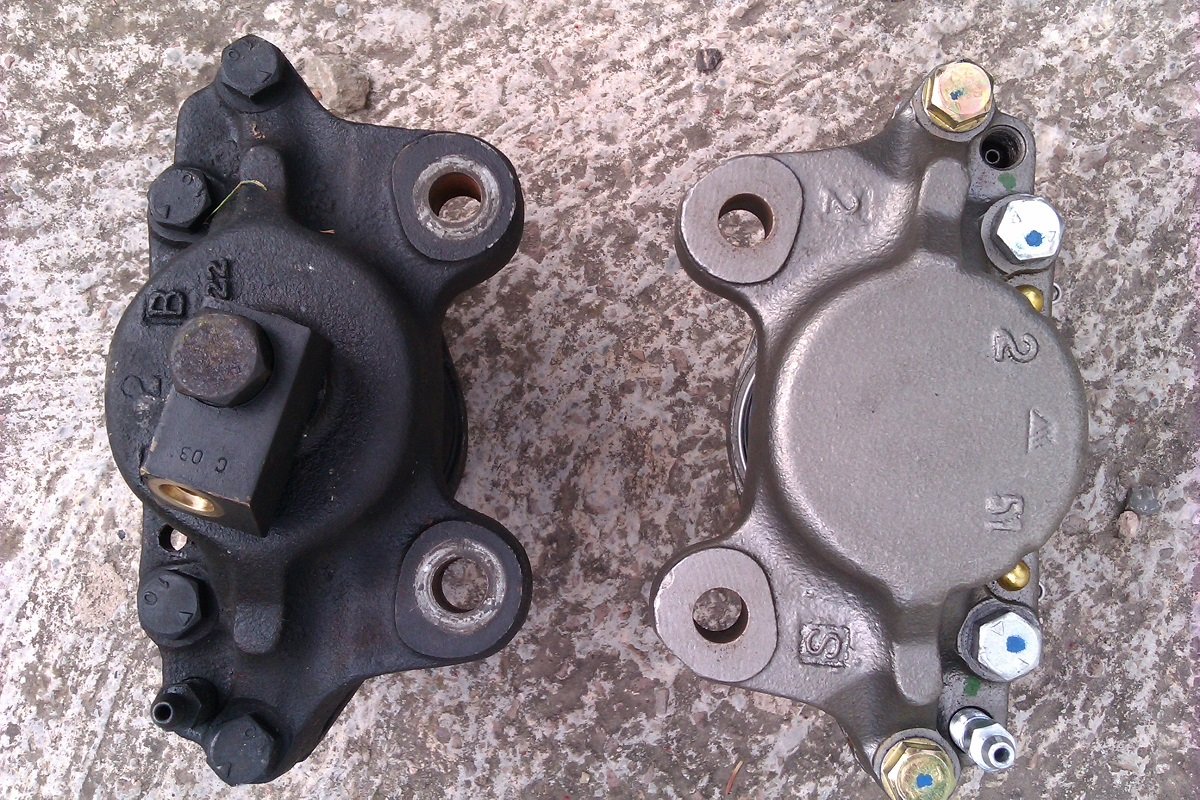
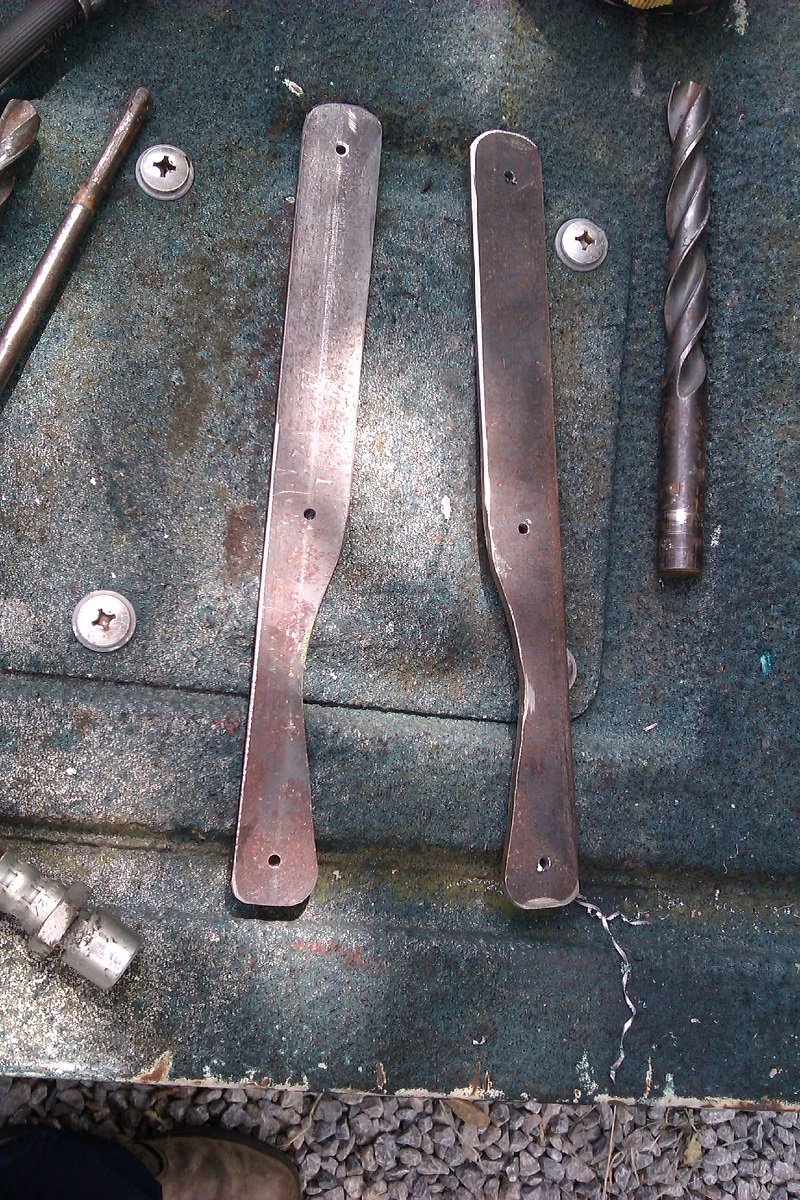
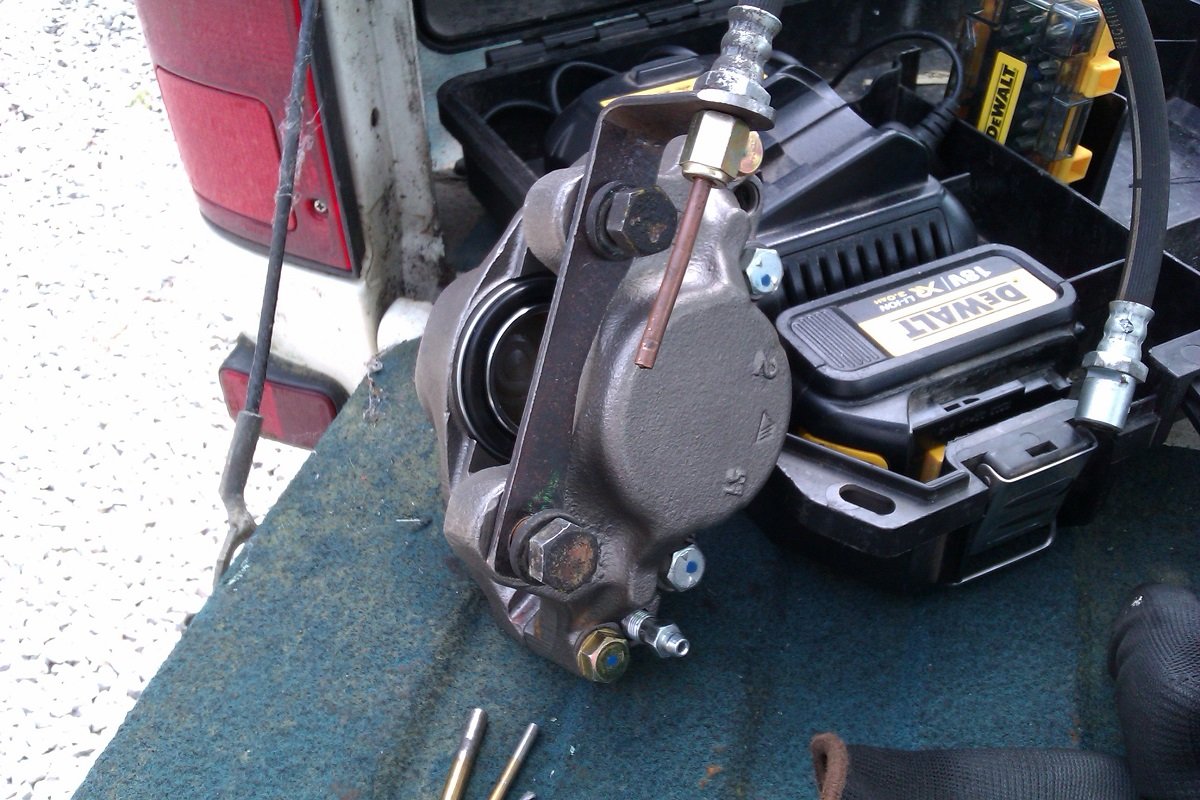
Monday afternoon shenanigans As mentioned the new calipers differ where the pipe goes in. Aftrer a bit of thinking I decided to stick with the standard flexi hoses but extend then using hard lines. This means I have to put a small taper into the end of the flexi hose and make upsome brackets to support the join. Given my usual level of bodgery, I'm quite glad how it looks so far. Pics... Same/not the same A bit of 3mm off-cut I had kicking around. Cut and cleaned up. Trimmed to clear the calipers. This was plan "A" on the length, I cut them back to clear the bumpstop mount. Measuring up for the hard lines. Finished off with a coat of "Sump disaster" red, hopefully the curse won't follow it... Making up the pipes later so hopefully all back together by the end of tomorrow. Woo-Hoo
1 point
-
and DONE (almost)
1 point
-
Firstly thanks for removing the rogue @dave from my thread. ban that guy Couldn't be bothered getting off the couch the other day so made a video. Kinda looks like a 12 year olds school project and if you've been following this thread, would have seen most of it before. should be slightly amusing none the less1 point
-
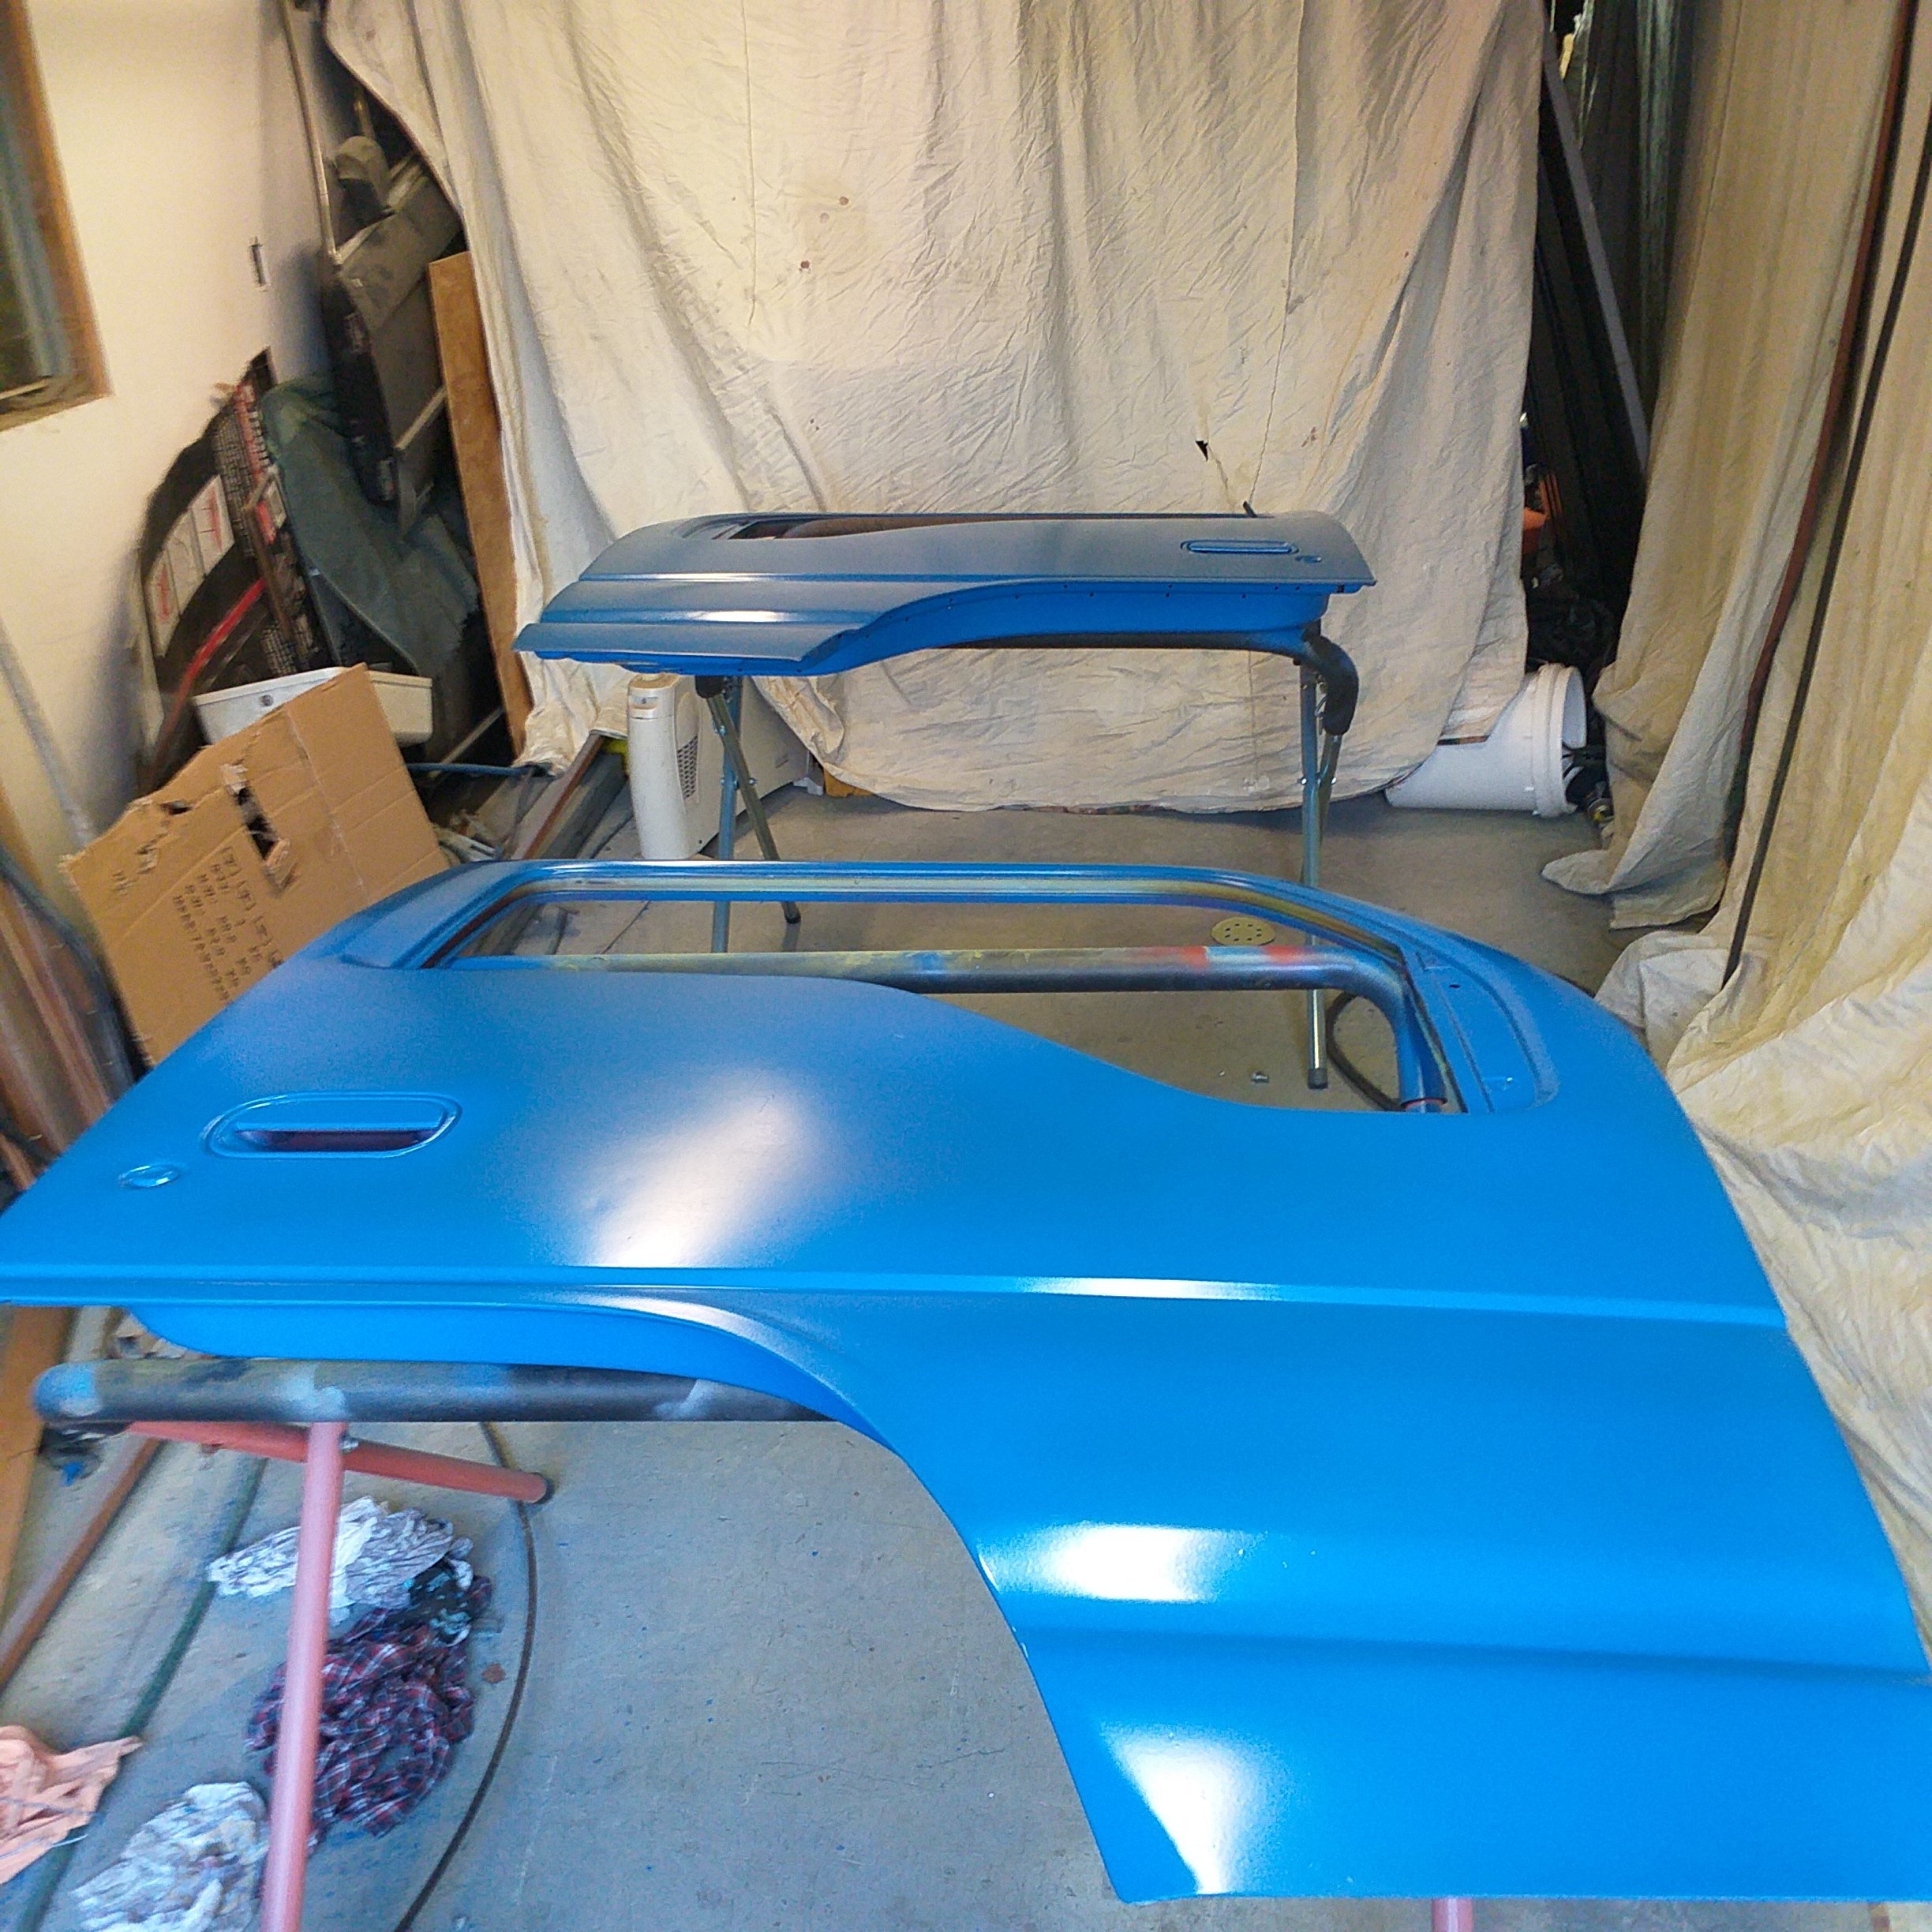
And we have colour...,
1 point
-
Finally some colour....
1 point
-
Still plodding on this, bodywork progress doesnt make exciting piccies. Everything rubbed down And our first coat of primer, alot of sanding to follow. Did I mention this is my first attempt at a full body respray, and first go using 2K? Its new to all of us1 point
-
And now the front is reconnected.... amazed I still know how to TIG There are a few minor spots to deal with the body but this is a big step
1 point
-
Tempted to sell it, with or without the rotary. Would be $2000 with tanga, around $500 without. Gah! what am i doing. I want a 68 impala. Always have, always will1 point
-
no coils in it no more, wont be much higher if at all when roadgoing. Sits good as. Bought a beetle convertable for 250 and ill take the trans axle out of it to mount to the bongo n rotary if its any stronger. Id like to keep the original bongo transaxle OG for future generations.1 point
.thumb.jpeg.384ff72c8d2b0ee0d34a7bdedb55bdcf.jpeg)


This leaderboard is set to Auckland/GMT+12:00