Sc@ Chi
-
Posts
4,112 -
Joined
-
Last visited
-
Days Won
4
Content Type
Forums
Downloads
Events
Gallery
Everything posted by Sc@ Chi
-
Thinking of getting a spool gun for aluminium. This is my welder: I love it, but not sure if I can just wang a spool gun on there. There seems to be 12V and 24V versions of spool guns. Anybody got any advice? I learnt to TIG aluminium but never got very good and ended up selling my TIG. I'm thinking of using it to make a camping trailer body from sheet ali, so as long as the welds look decent - I'm not looking to weld anything particularly 'structural'.

-
Looks like you've hit a hot topic, 'cause I doodle heaps during boring meetings at work for my next project, a camping trailer. My thoughts are for the roof to flip 180, like a roof top tent, so the 'roof' forms the sleeping platform but you also have decent standing room in the bed of the trailer. Current plan is for an aluminium tube frame with ali panel infill but I need to ask the OS hive mind about adding a spool gun to my welder. Anyway, following this like a hawk. Love the roof raising mech so far.
-
Link to discussion thread:
-
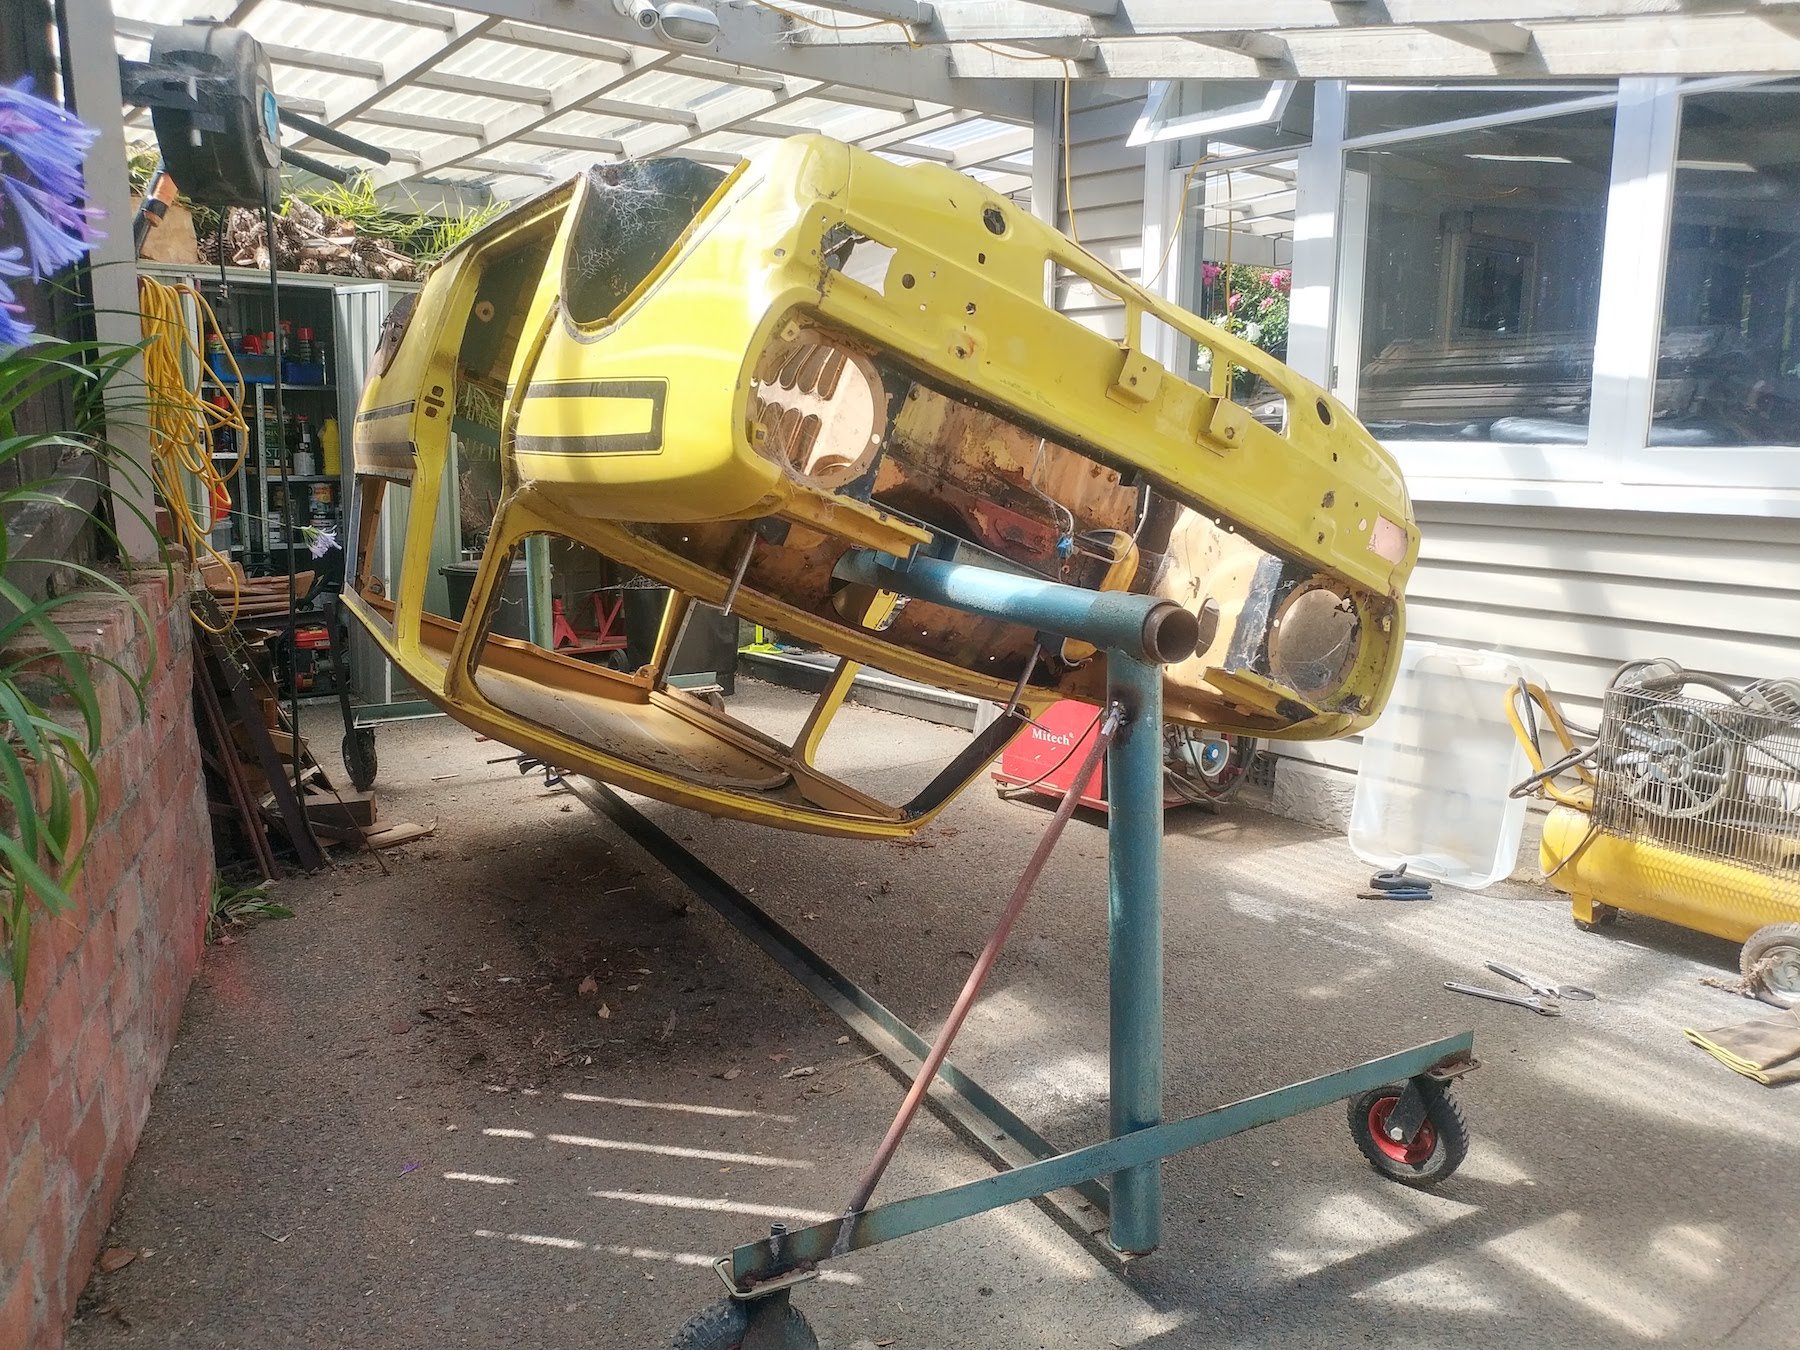
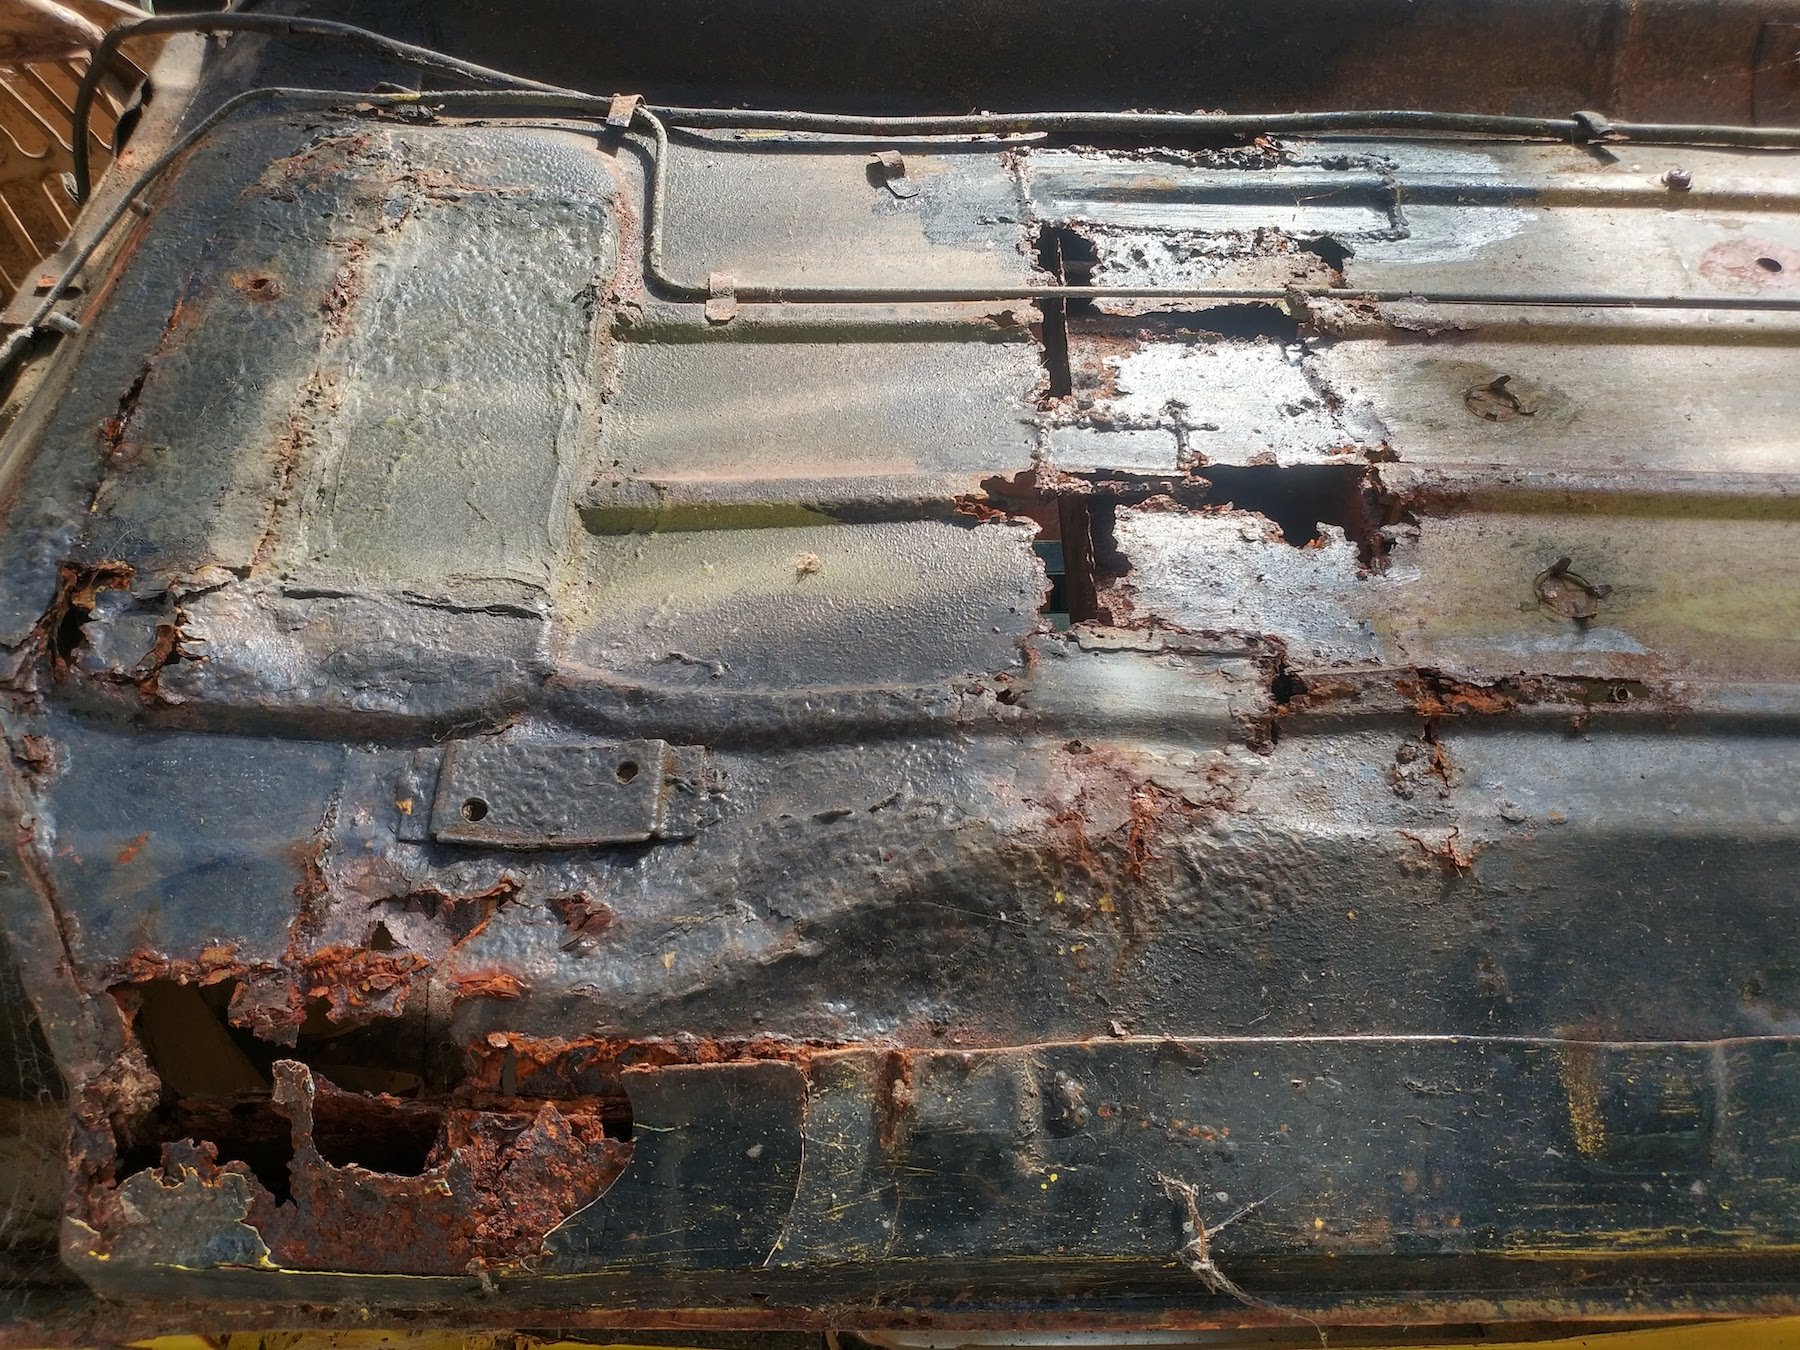
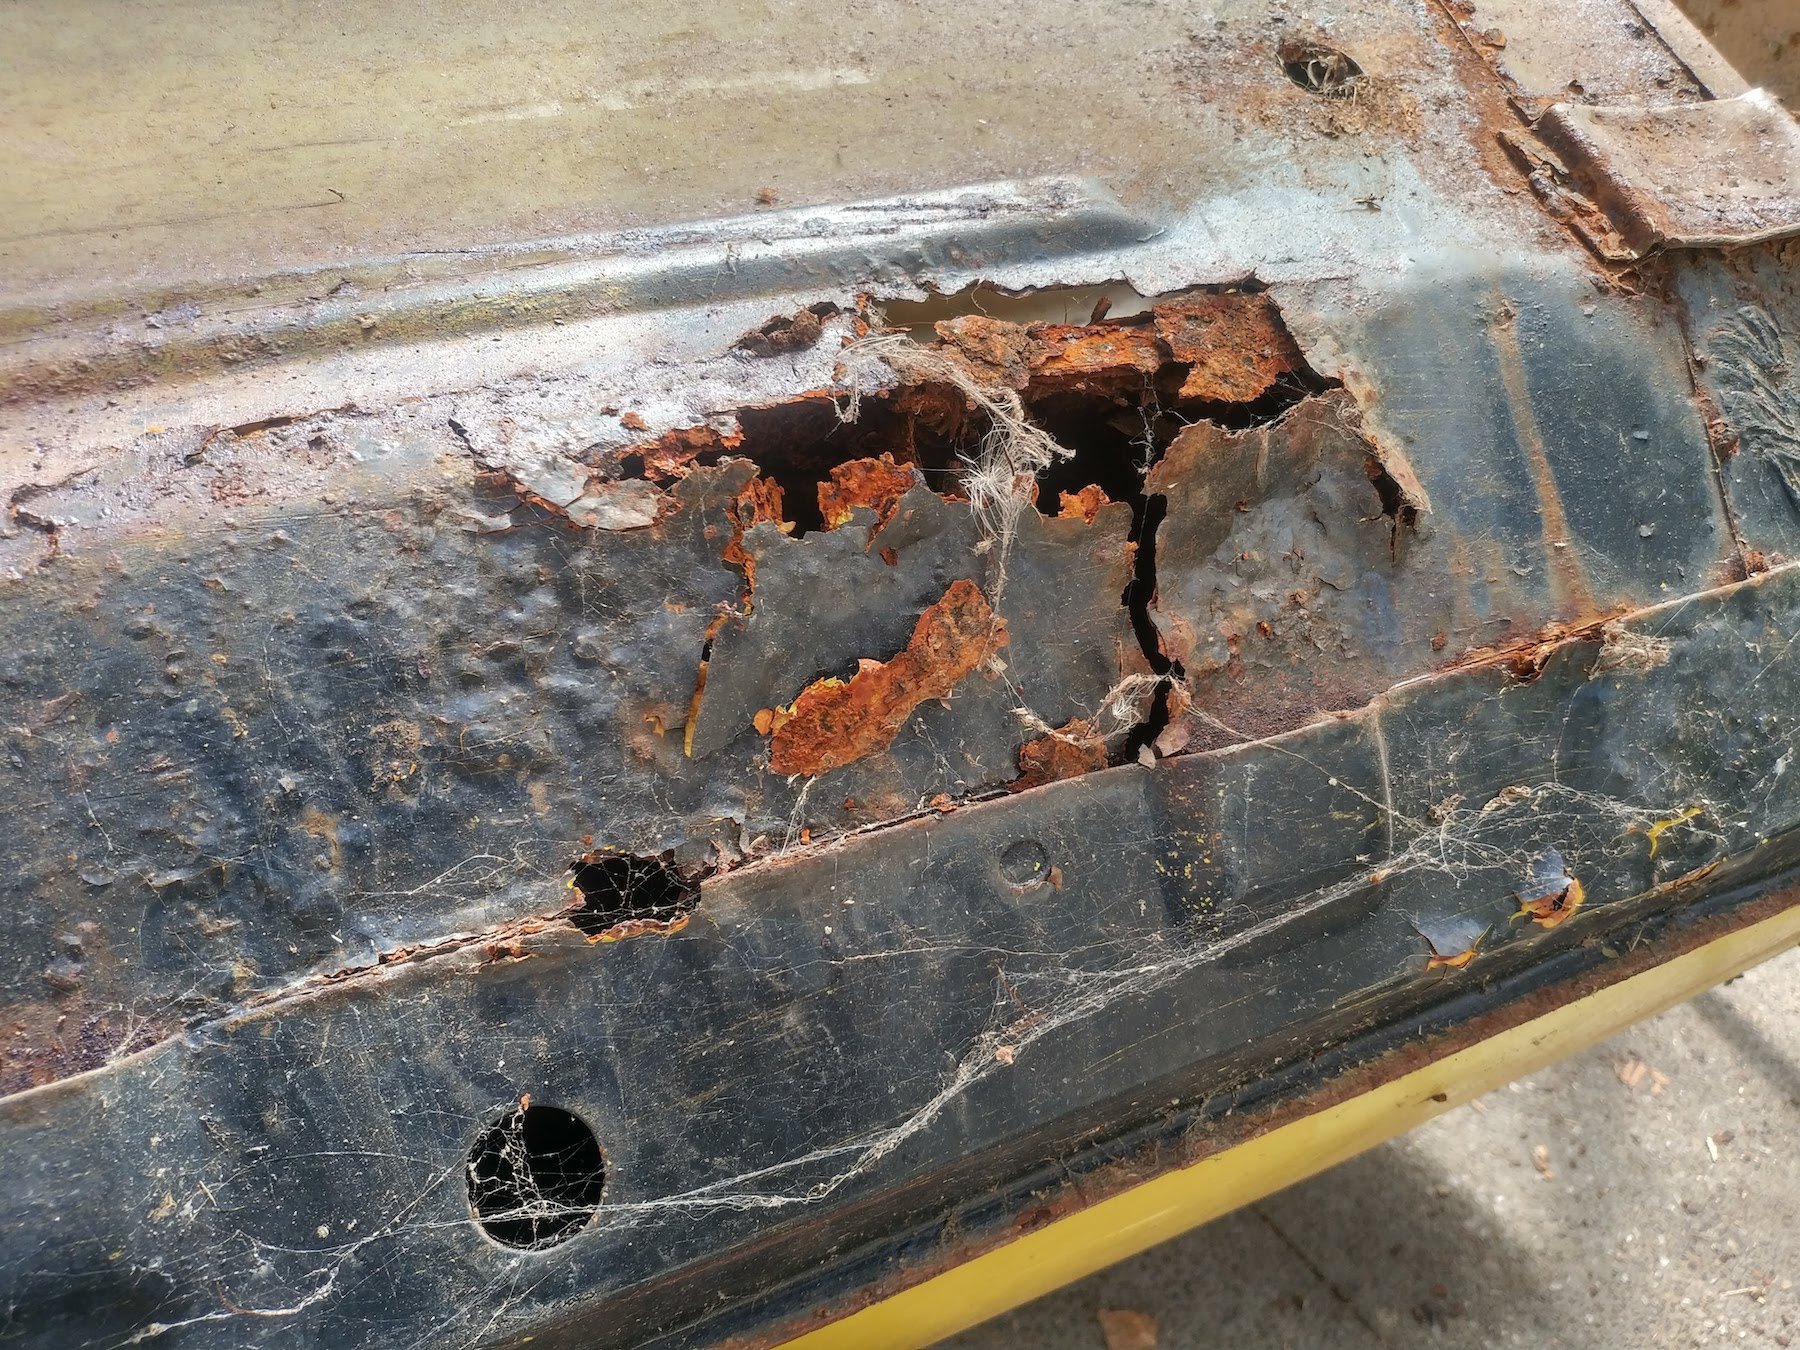
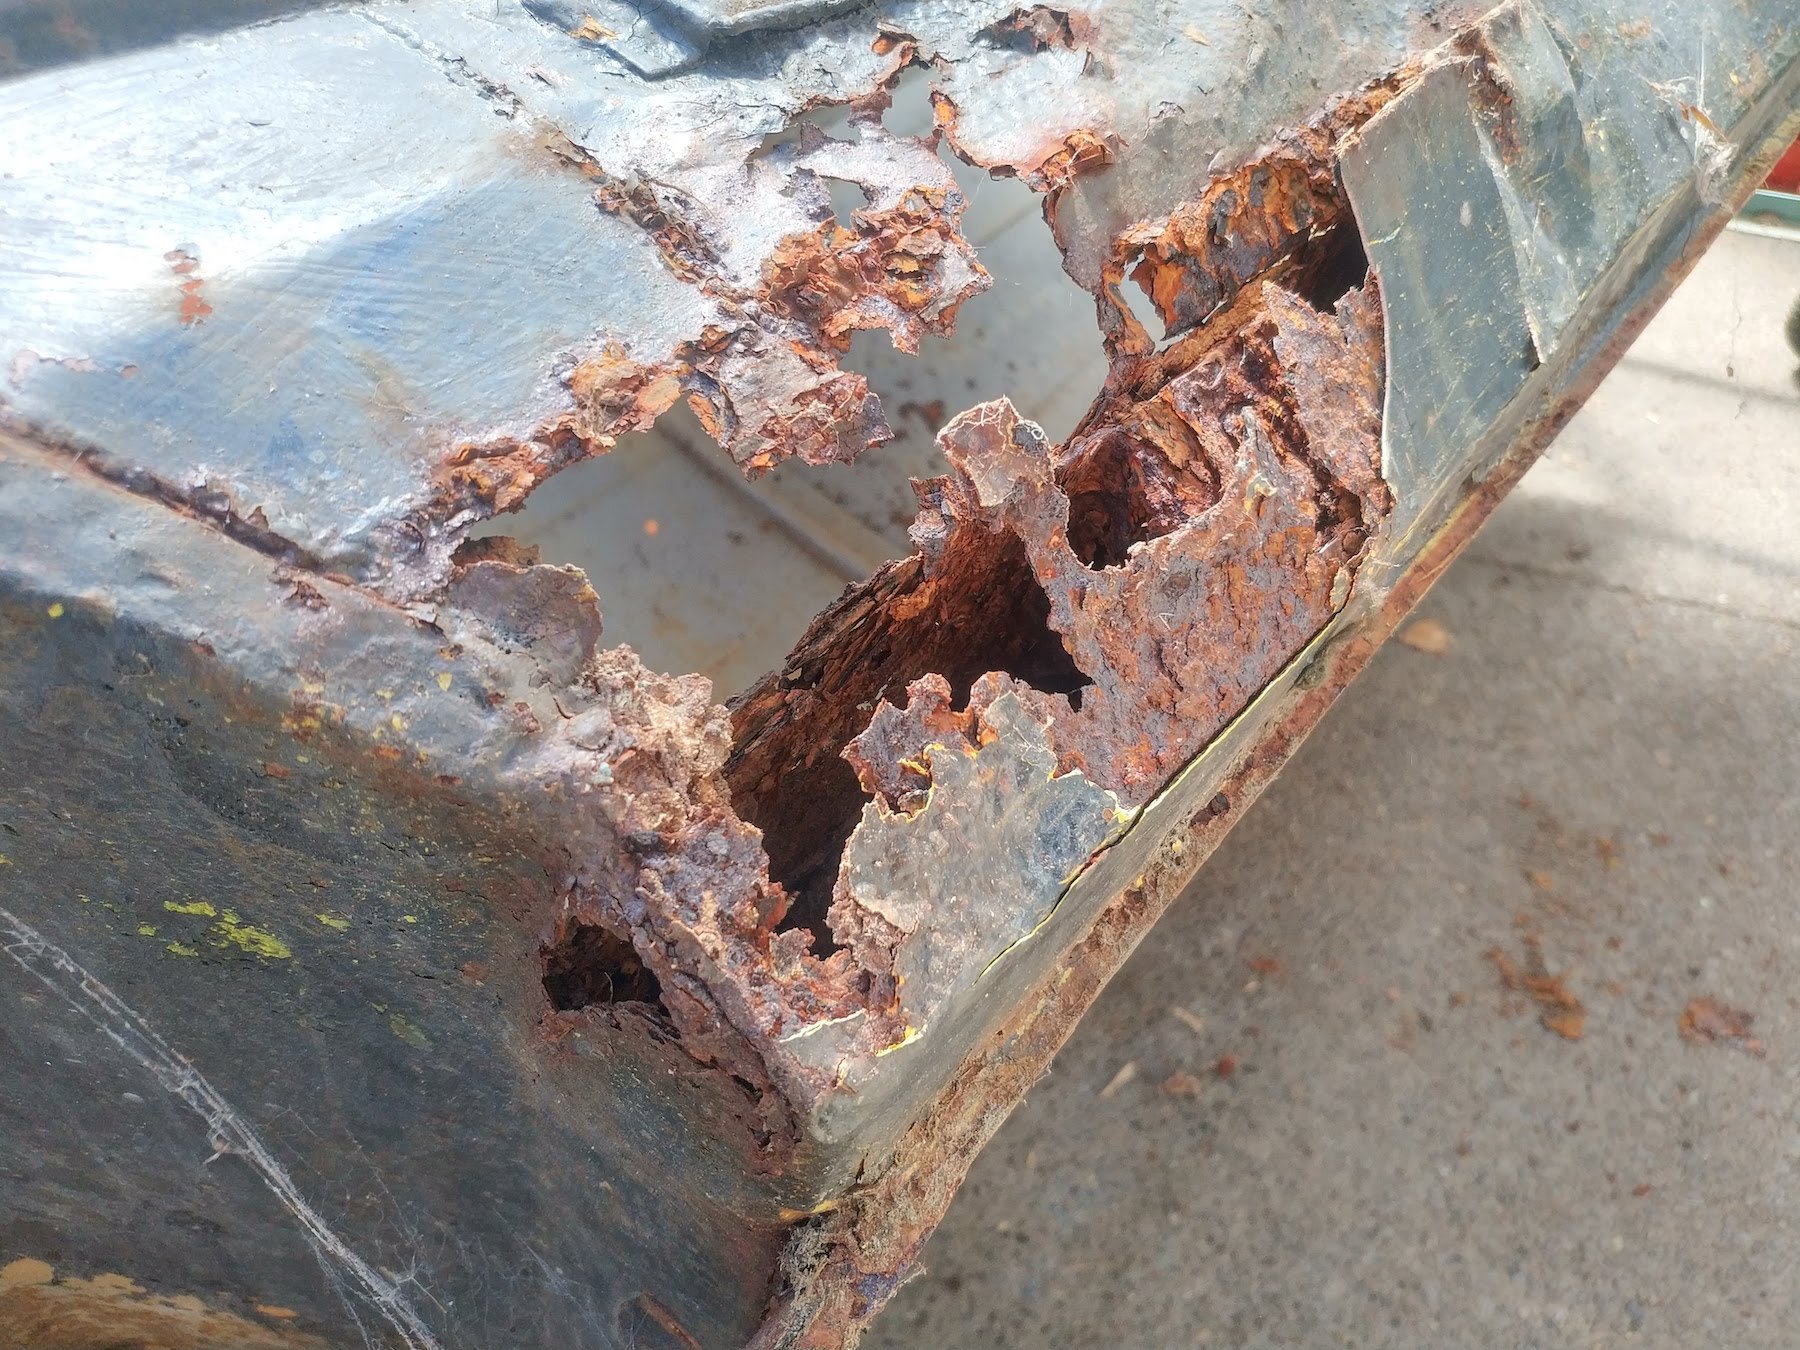
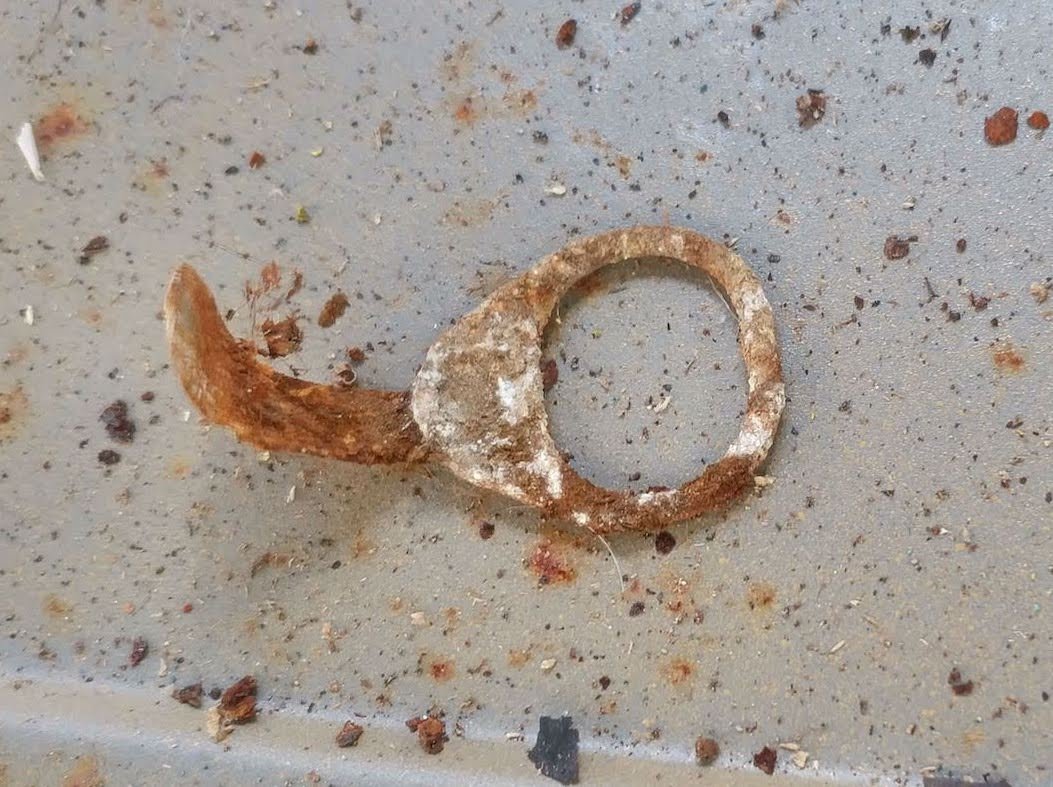
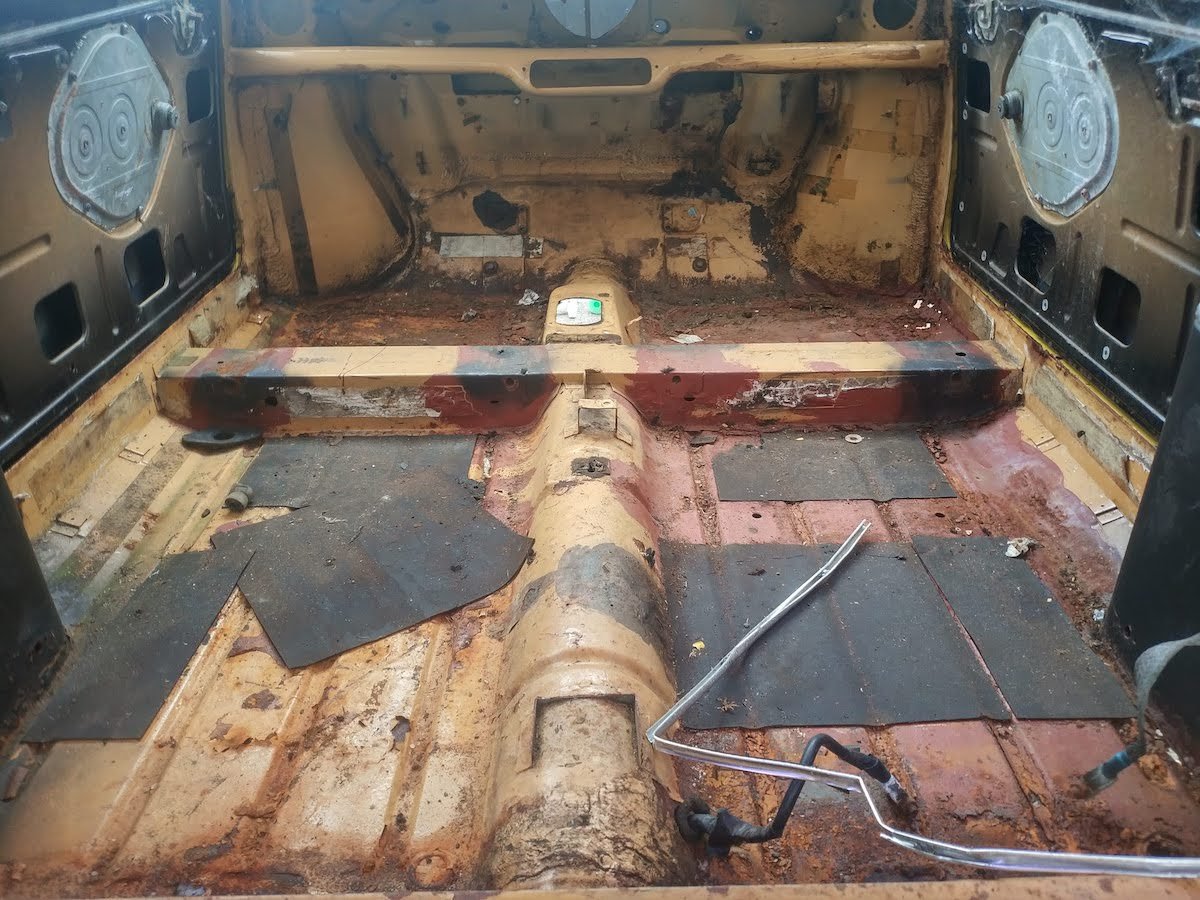
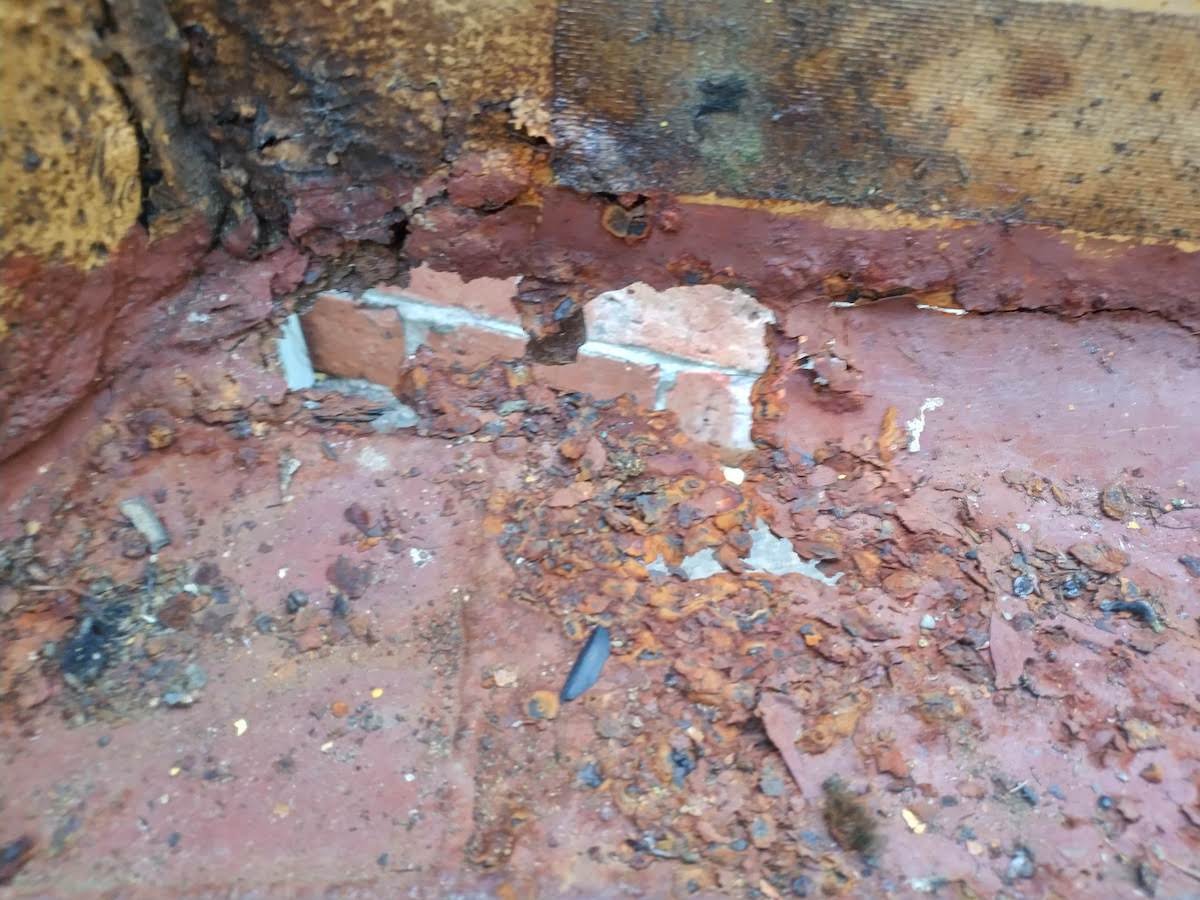
Crikey, 2 1/2 years between posts In my defence, there's been other stuff happening, but the main reason for the delay is my rotisserie was down the road (with a Mk II shell on it) in a neighbour's garage. In between me shifting it in there and now, she built a garden in front of the garage... So today I finally got my shit together and my son helped me get it out. I had to build a bridge out of pipe (the old gates from the Karori Sanctuary!) to slide it across her garden to the trailer. Anyway, got the rotisserie and the old shell into the driveway, and the Clubman shell onto the rotisserie. You'll note that I 'had' to cut the slam panel. Turns out Clubmen (Clubmans?) don't fit like round noses. First job is to brace the shell. Then the plan is to start on some easy to get to repairs, work my way around various bits, then if the planets align (i.e. I think it's justified continuing), ordering floors and sills. There is a bit of rust: When I rotated the shell, heaps of rust fell out, and: When did ring pulls like this stop being made? Sometime between '77 and now obviously. Anyway, there it is. The Mk II is listed on TradeMe for $200 to prove to wifey that it's not a money pit. Actually, she want me to build up the Mk II, but I said it's at least $20k to do that.
- 2 replies
-
- 14
-

-

-
Thanks for that recommendation - that's cheaper than the options I'd found. I'm quite constrained in terms of workshop space so don't know if I'll have room for the stand, but looks like a good Christmas present. I've been a bit inspired by Project Binky so keen to try doing something a bit different in the load space. I need to change the spare wheel well anyway as the standard one is too small for the spare wheel now it has 12" Revolutions.
-
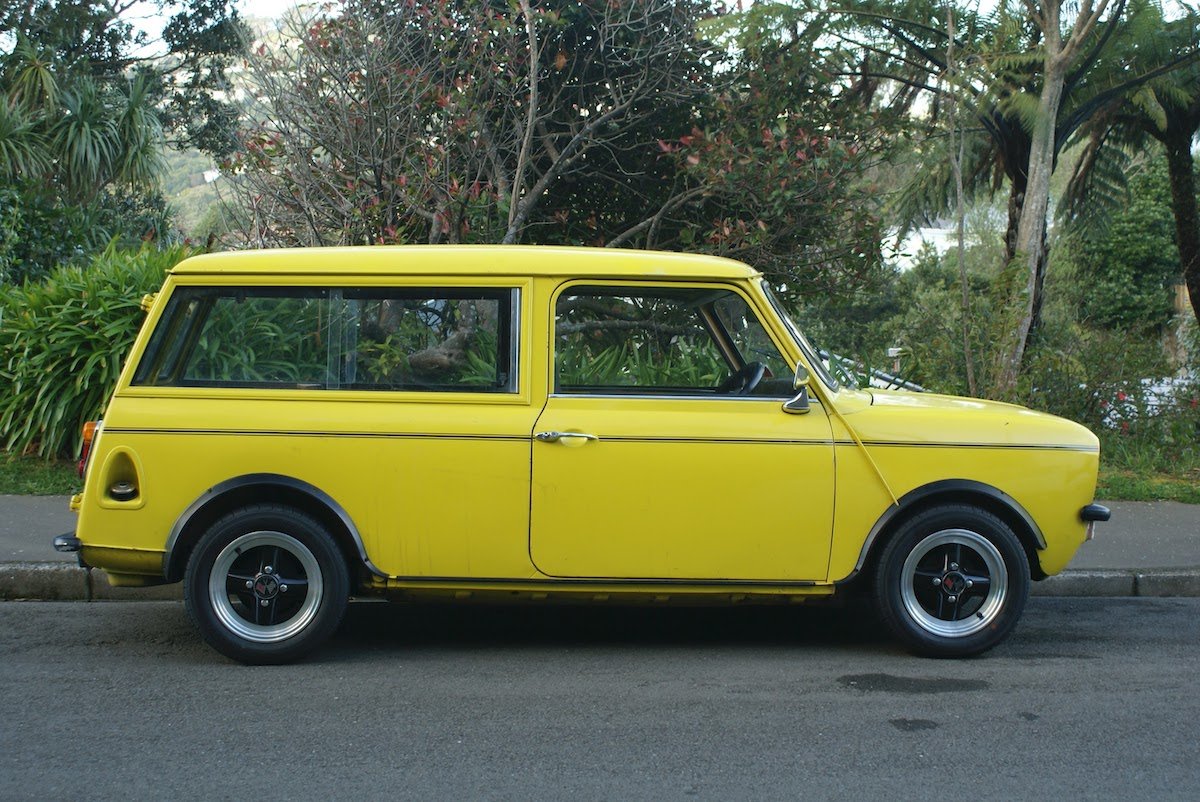
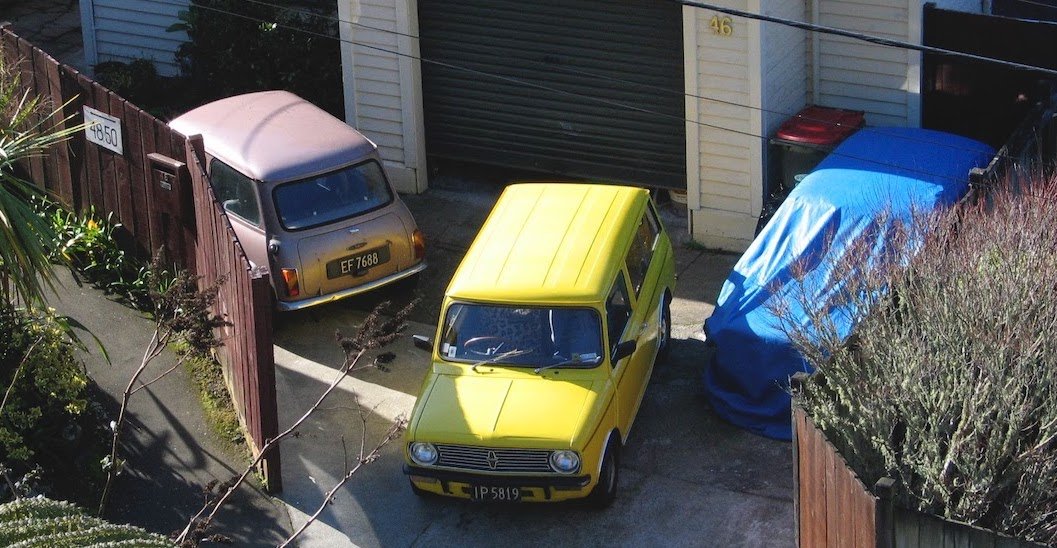
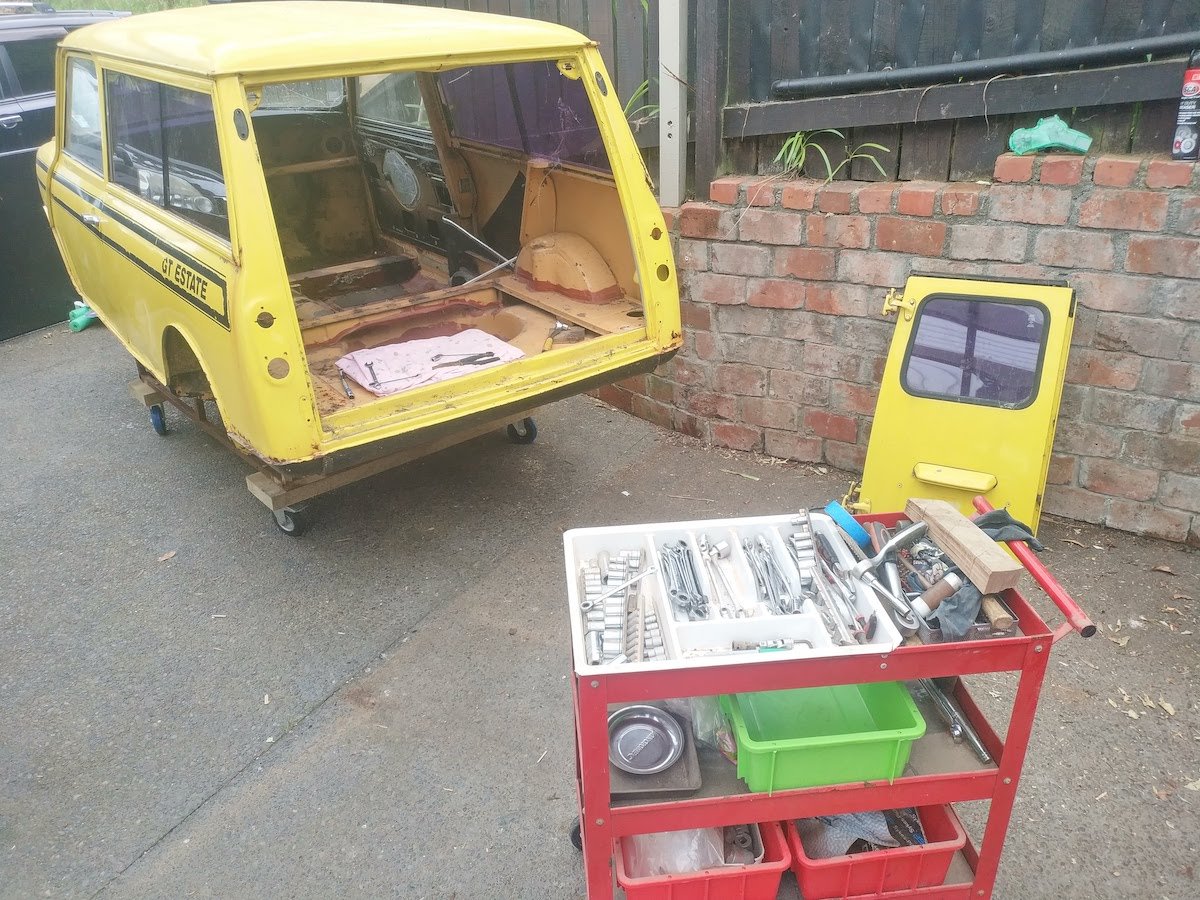
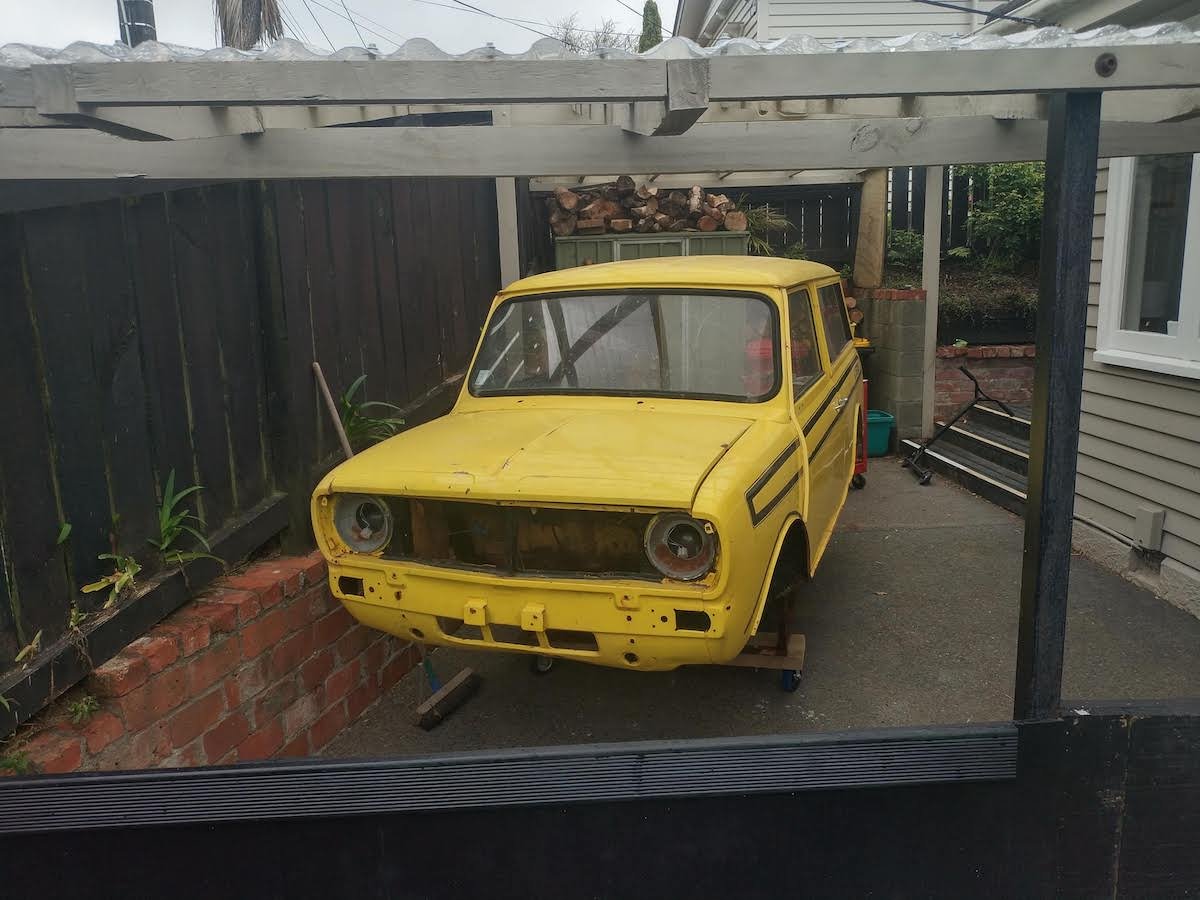
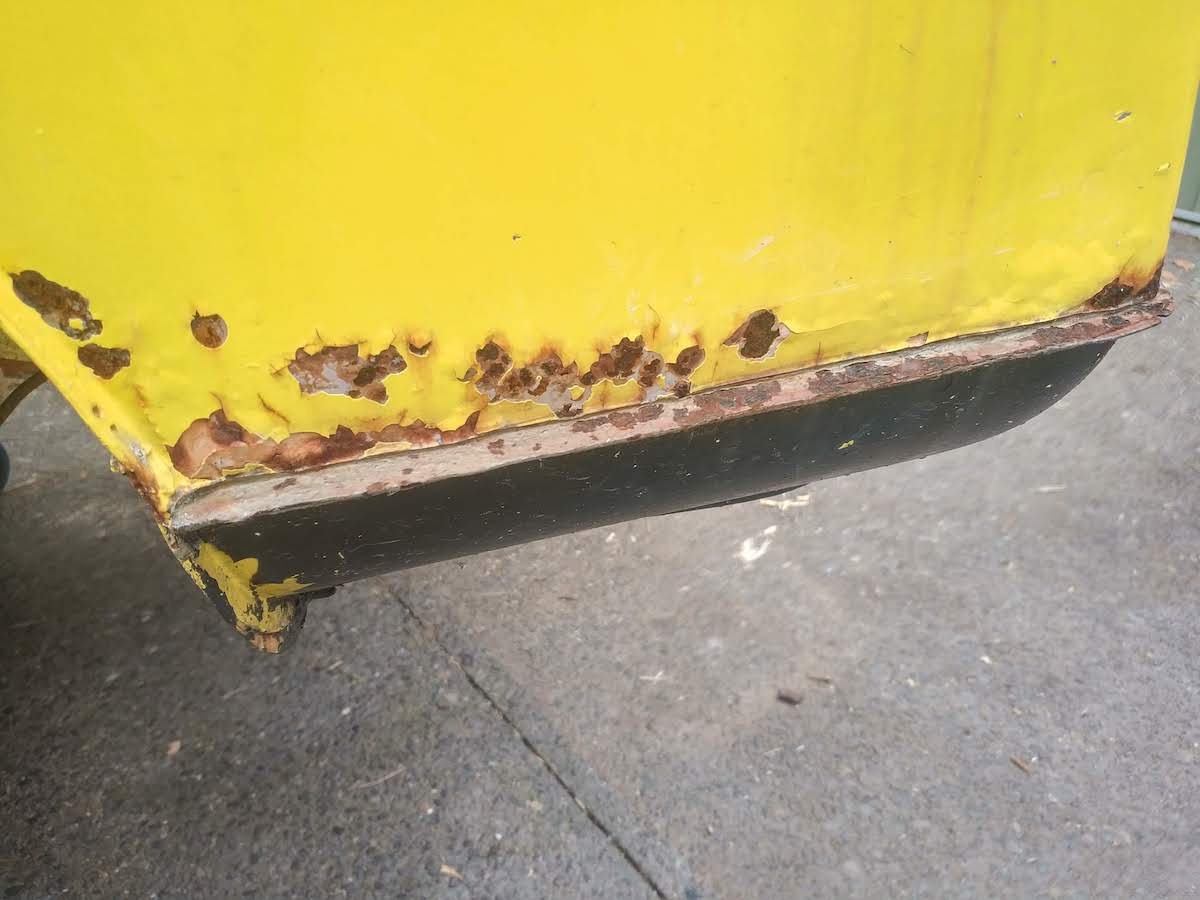
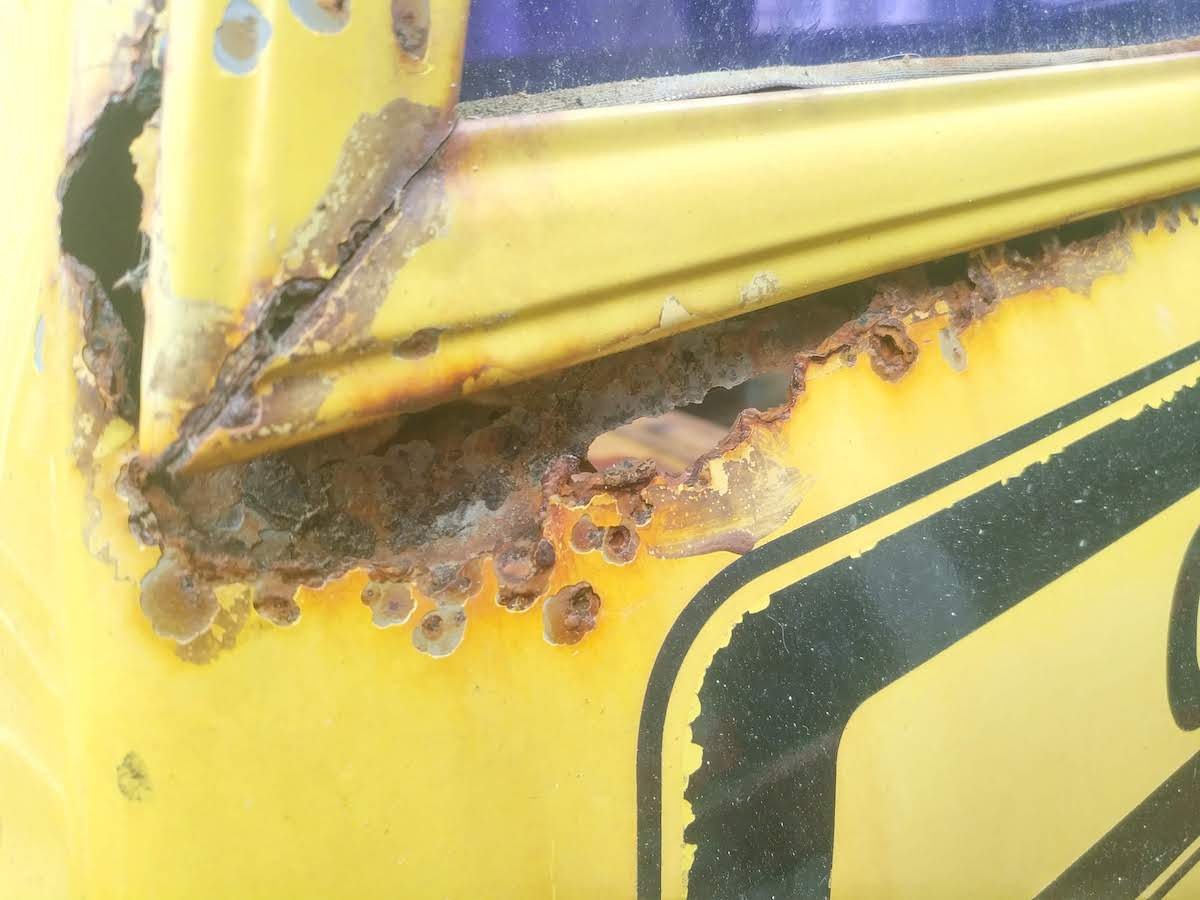
Right, enough lurking; here's my project thread. Finally. Here's the discussion thread for my build. So I bought this on TM from someone in the Hawkes Bay. It was originally mustard/baby poo brown but the PO had painted it yellow. So its always been known to us as The Banana Car, but it won't be yellow once I've finished with it. This is what it looked like in its prime: Later, I dropped in the obligatory 1275 from a Metro I bought just for the engine, and vented disks and quite neat grey leather seats from the same car. It's got a set of Phil Deane's extractors, a 2" exhaust and HIF44 carb. Plus a Smootharide suspension kit with adjustable everything. Certed. The arches are quite wide (wider than the ones in the pic above) as the wheels and disk combination means they stick out quite a bit and the steering is consequently quite heavy at low speeds. It was originally for my wife to use for running around doing deliveries etc for her cafe, but was taken off the road four years ago (to my eternal shame) for rust repairs. I'd previously painted it in acrylic lacquer but the paint's nowhere near durable enough, so I'm going to get it professionally painted this time. This photo's about eight years old and illustrates the adage "You know when you're a mini owner when people ask how many cars you have and the answer includes fractions". The shell of EF7688 is in a garage down the road, live plates, so I may see if anyone here wants it for free. I had a garage but that became the front room again, so I recently extended the Clearlite roofing to form a big carport where I can work out of the weather. Not much but probably will work out okay. I'd stripped most of it a couple of years ago, but set to today and removed the doors and windows. There's a bit of rust. I know I'm up for new floors and sills all round, and remedial work on the corners and arches. That doesn't bother me much. I'm a reasonable welder and have plenty of gear (wondering if I need a stretcher and shrinker... hmm, maybe a Christmas present to myself). I need to order some steel. I'll start by bracing the shell and working on the areas where I can start off reasonably slowly. If that goes well, I'll order the floors and sills, then get it sandblasted to see if there's anything else that needs patched. Then professional paint and reinstall everything. It's only a two seater (seats don't fold forward), so I'd like to do something in the back to get some strength into the shell, possibly a half height 'wall' behind the seats to tie the door frames together across the shell. The Estate and van shells can't be anywhere near as rigid/safe (!) as a saloon. One improvement I'm going to make is ditching the horrible metal & fabric channels the rear side windows slide in. They're the same as Land Rover ones and just the worst idea. They get wet, moss grows, the windows don't slide and they leave rust dribbles down the side of the car. I may 3D print something and seal it to prevent water ingress. Anyway, I hope to make reasonable progress over summer, although I've also just committed to getting a tandem axle box trailer roadworthy again for the scout group of which I'm a leader, so gonna be busy.
- 2 replies
-
- 27
-
-

-
More to follow, just wanted this link to put on my build thread.
-
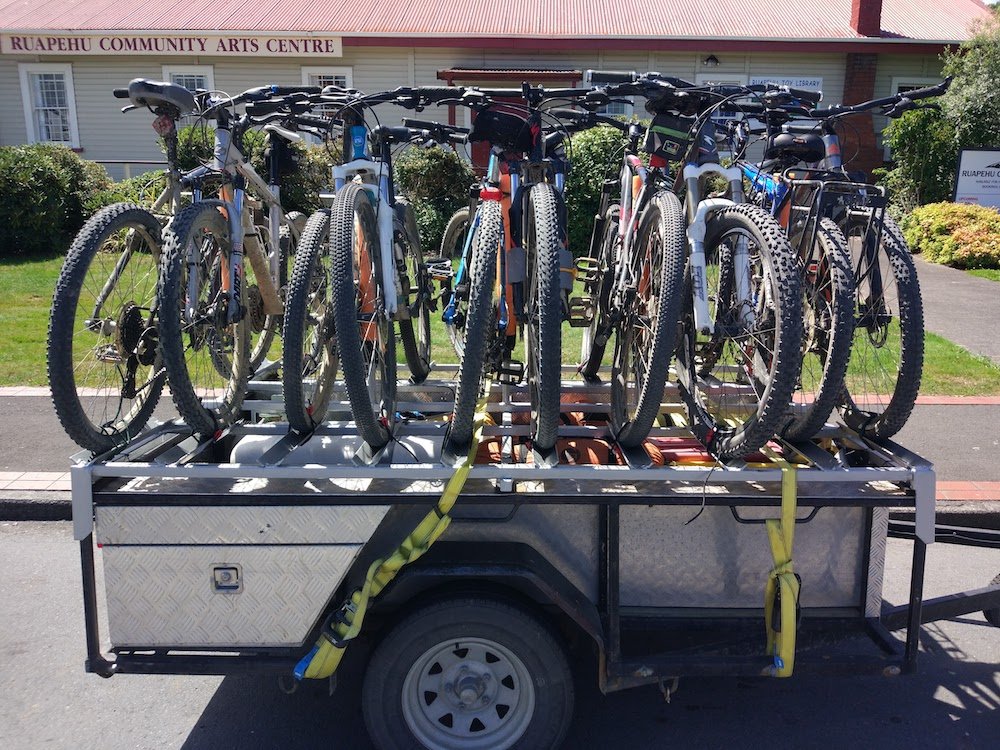
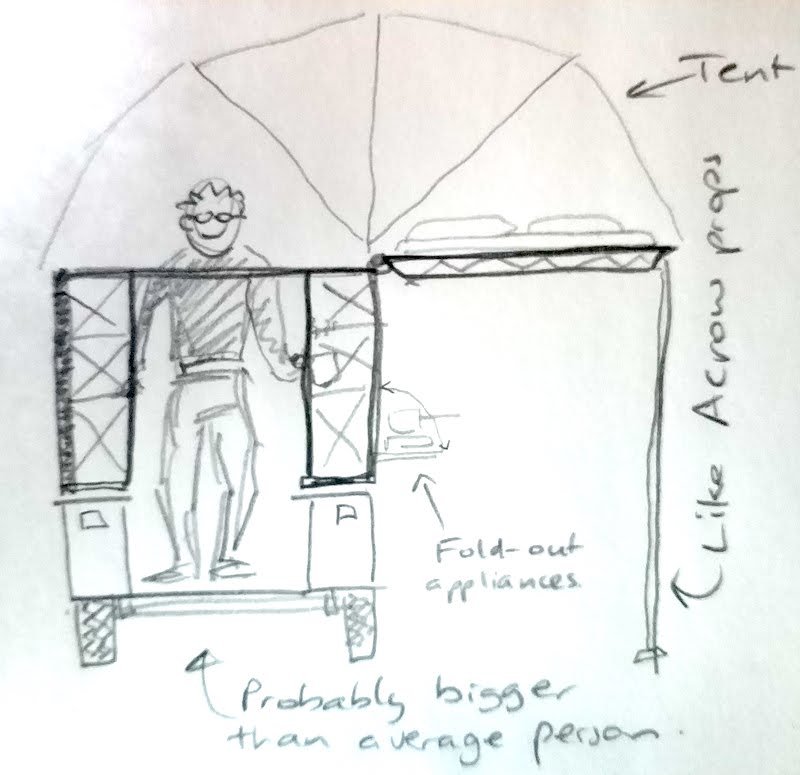
Dunno how I missed this thread for so long. This is exactly what my next project is going to be: an adaptable self-contained camping trailer. No loo though in my plans. Something like this: This above pic shows it half erect; the roof keeps folding to provide a sleeping surface. And a bit like this: I'll be basing it on the trailer I built a couple of years ago: My version's going to be different from the concepts above though. My idea is the roof folds over, opening the already attached tent and form the sleeping platform to the side, but the trailer is open underneath the tent. The idea is you can stand up in the trailer, out of the weather and the climb up a bit onto the platform for sleeping. This is a very rough concept: It'll be a little 'home away from home' but incorporate: - Solar panels charging a 12v battery system, including lights - Built-in air compressor for the inflatable mattress and MTB tyres - Pseudo-plumbed* in LPG for cooking with a fold-out cooker, both under the sleeping platform and inside The bit below the sleeping platform but above the trailer itself will have canvas sides (one bit bit that wraps around) so the entire thing is weathertight both for travelling and camping. My overall plan is to have the top half as a demountable unit that I can partially disassemble for storage for most of the year, leaving my trailer for general use and MTB shuttling missions, but a super convenient camping trailer for a couple of weeks of the year. The sleeping platform is likely to be aluminium to make flipping it over easier. The rest will be RHS steel. Fold out awnings for shade and storing bikes etc under when camping. Ideally, it wont look like much when travelling (It's not a big trailer), but once on site, a couple of minutes and she's good to go, with no need to climb outside and into the tent. This is my problem with pretty much the style of all camping trailers including teardrops - you struggle to shelter if the weather's inclement, but my version provides standing room. It's cosy but there's room for a couple of people to move around, cook, storage etc. My wife's a crafty type and awesome at sewing so she can make the tent unit including a fly for rain and warmth. BTW, the top camping trailer is AUS$32,000. It does have some techy features (built in solar with charge controller) so as usual I though "Bugger that; I'll make one" * I don't want to have to get an electrical or gas certificate, so the LPG won't be permanently mounted.
- 95 replies
-
- 15
-
-
This is the last one I did a couple of years ago (Pic of rally Mini at the bottom of the post). The one before was the SAS Land Rover that was sort of painted pink, aka the Pink Panther: Working on a Revell 1/24 Routemaster Bus, which has stalled for a couple of weeks as I have to make all the seats...
- 452 replies
-
- 12
-
-
If I remove my cert plate for sandblasting, can I just pop rivet it back on afterwards?
-
I've got a Mitech MIG and a Mitech TIG, both well supported by PMT Motorsport. FWIW...
-
Minibitz (Lee) is awesome, also Minispares.com - delivery can be as little as a week depending on time zones/ordering time/couriers etc. Windscreen: Can be a pain in the arse. Trade Me or Minibitz for new rubber and filler strip, but while the screen's out remove the dash and check everything behind there (electrics, heating) as you can't really remove the dash with the window in. Front subframe: May be better to get a new (to you) one. Headlights: Common to everything that came out of the UK post-war (WW1 that is). Upgrade to H4s but install relays so your wiring doesn't catch fire. Stop lights: Multimeter on the switch (front right of the subframe) first, the bulbs. PM me and I'll send you some new rear shocks.
-
To be honest, I'd throw some rust converter into the seams then the cavity wax. I wish Bilt Hamber products were available here. Their cavity wax is designed to cope with rusted surfaces. It might be worth importing some depending on your project's ultimate value.
-
FWIW, my MIG and TIG both came from PMT Motorsport. Both chinese (what isn't these days), but superb customer service and both work really well. I had some issues with the MIG so they said send it back. They checked it and thought it was the little spools of wire I was using, recommended I use the bigger rolls but send a new MIG up anyway - absolutely no complaints here and I have no other connection with PMT, just a happy customer. FWIW... Oh and my TIG is their 200A TIG/stick/plasma (I think they have a newer unit they sell now), but it works a treat.
-
A-series motor which is common as muck (Minis, Allegros, Morris 1100/1300, Metro and ministerial BMW limos). There are some dodgy head gaskets out there that are rubbish; chances are that's what your problem is. Ring around and find an old school mechanic and it will be cheap to fix. I'd recommend my guy but I doubt you want to cart it down to Wellington. Possibly call the local Mini club and see who they recommend. Not sure about Austin/Morris/Riley/Wolsley subframes, but in Minis, the auto motor has a slightly different subframe. But again, the parts should pop up cheap if you wanted to drop the auto and go to a manual. The only issue might be the gearlever - on those, don't they come out of the dash?
-
Do it. They are not that bad at all, once you get used to them and the manliness to onlookers is worth 20bhp easy. Mind you, my PE400 could kick back like a bitch and more than once I was hopping round the garage forecourt swearing into my (crash) helmet.
-
Whip the tank out. It's too dangerous, and because someone got away with it doesn't mean there aren't plenty of people who didn't. If it does go, it's you, your car and your garage gone. Plus, if your car's rusty the tank may be too so it's a great time to treat and repaint it.
-
I can highly recommend Ron Covell's MIG welding video. Magoos in Masterton sell them on Trade Me. $80 but you won't waste time and money trying stuff that just won't work. Or even better, do an evening class. I've done the MIG/TIG one at Weltec twice and it's $350 well spent. You also learn arc, gas, brazing etc. I'd also caution trying to weld thick stuff with a low powered welder. I've tried 5mm with my 160A welder (Telwin), and a 150A Lincoln and it is not safe. The weld might look okay, but with a 100A welder you won't get penetration which is what holds it together. You really do need to consider the consequences if it fails, i.e. your arse on the line.
-
You're right, you have the advantage of a separate chassis. Should make it much easier. You should draw up what you plan to do, making sure it's neither weaker than the original structure nor too strong, i.e. retains some of the original crumple zones. I know, it doesn't make sense with old cars but it's what I did with my plans for a Mini flip front (a crumple zone in a Mini? Well, it's what they said...). Then send your drawing to the LVVTA technical committee (costs $35 or something like that) and they'll approve your plans. Build it to the plans and you're sorted. Bear in mind that not all certifiers can sign off chassis modifications like this. You'll be needing a certifier anyway with the engine swap, so planning ahead and talking it through makes sense. They will be able to guide you as well, usually over the phone or email. The LVVTA forum is a great resource; Justin (the admin) seems to monitor it and answer questions accurately and quickly. I just wish I'd asked a question there before starting down a suspension upgrade on our Clubman Estate... I like Scimitars, or anything that is less likely to rust. They still look great even though the design must be 40 years old.
-
It's not rocket science and although you can buy kits, the basic chemicals are common and cheap. It's not like chrome plating, for example. This site has all you need to know and get started. With a bit of fine tuning of your set-up, it's more than feasible to do at home but not economic if you only want one part done.
-
^^^ True, but (a) spool guns are very expensive, and ( migging aluminium is tricky, as once you pull the trigger, you're committed to the weld at the settings you've chosen etc. The guy on MIG Welding.co.uk mentions this in regard to migging aluminium: Industrial fabricators use MIG for aluminium purely for speed, where time is money. For home/hobby use, it has to be TIG. Even then you need to back purge and take the heat treatment required into account if it's a stressed item. A 200A+ MIG with spool gun will be more than a decent AC/DC TIG, and the skillset to use it correctly requires training.
-
+1 for PMT Motorsport (sole trader of Mitech units in NZ) - knows what he's talking about. I bought the 200A 4-in-1 unit (AC/DC TIG, stick & plasma), foot control and helmet as a bundle. I can MIG okay, but like learning new skills. You'll also need to budget for tungstens, gloves (must be lightweight and clean, not oily), filler rod and building a neat little cart for your gas bottle and welder. Now here's the best bit of advice I can give: Do a welding course. Weltec do a MIG/TIG evening class, which I did a couple of years ago and teaches you MIG & TIG (obviously) but also gas cutting, gas welding, bronze welding, stick and more. It's about $330 for 12 weeks, one night a week, but worth every penny and more. Although it also caters for people who need to maintain their ticket, the tutors are great guys who can help with whatever discipline you want to specialise in. For example, the first time I did it, I practiced a lot on migging thin gauge steel (for bodywork). I've enrolled again as I need help to get the best from my new TIG unit, so I'll be seeing how schwing I can get with neat, tight 'stack o' dimes' welds on steel and aluminium. Other good resources are The TIG forum of mig-welding.co.uk, WeldingWeb.com and WeldingTipsandTricks.com. If you want to see some really hot welds, check out this thread on WeldingWeb.com. This is a guy building a cage for a 4x4 polaris, and it is unreal. The welds are so tight and neat, and they're migged, not tigged. In fact there's a thread on WeldingWeb.com about 'MIG like TIG', although almost everyone agrees it's more for aesthetics rather than any structural reason. Anyway, something to aspire to. Sample below: I will let you know how I get on with my welder at the course - hope to have some nice samples of welds for the mantlepiece
-
There's loads of info on the net about how to do it (various methods), but has anyone any experience in engineering a flip front for a mini? Specifically, can it be done in the same manner as most people do it overseas? Normally the flip front is one piece (either fiberglass or original steel panels) but running brace bars from the inner guards/scuttle to the front of the subframe. If so, were there any particular things the certifier wanted you to do? Just looking into the feasibility at the moment. TIA.
-
Yeah, for a lot of mods you might get by if pulled unless you had loads of them that added up AND you got pulled for being a twat. But, while we're on the subject of legality, check this: Say you're on the open road, and don't notice a school bus by the side of the road and go past it at the open road limit. What's the damage? Well, the limit past a school bus is 20kmph, so you're 80kmph over the limit. This is a huge fine. You also lose your licence for three months, mandatory. Your car is also instantly confiscated. You have to pay for it to be towed, and stored for 28 days. We are talking thousands of dollars, easily, for one offence. Plus the hassle of no car and no licence, and getting to and from work. I'm not a safety nazi or a policeman or anything like that, but don't you feel a bit more knowledgeable about slowing down for a school bus... better to know than not, I feel.
-
The certification scheme in NZ was instigated to stop people using universal joints out of socket sets to make steering columns (a example a certifier saw recently), dropping V8s into cars with drum brakes and basically making cars unsafe, but it was all put together by the hot rod and sports car guys themselves, not the LTSA or the Police or the government. The certifiers are just making a living - nothing really goes to the govt, unlike speeding fines. Although it's over $350 to get anything certified, a scratch built car can be done for about $1100 apparently. The limits are fairly reasonable and can be found at The LVVTA website. Things like the old chain link steering wheels: Banned not on taste reasons as I thought, but they don't deform at all, unlike your chest... The argument about subsidising is a valid one though - why do the government charge GST on safety items? Because everything under NZ law is treated equally, from anti-cancer meds to wheelchairs to crash helmets. It's just the cost of your sport (in this case, not cancer or wheelchairs...)