
Leaderboard


Popular Content
Showing content with the highest reputation on 07/22/19 in Posts
-
Ok so I'm still chipping away at this. Kinda slow... what have I done...? - Stripped the blue clubman for anything useable and took the shell for scrap (It practically folded in half from rust when they lifted it off the trailer). - Using the front subframe out of the clubman which is the one I need (earlier type), pulled apart that running gear but the bores are rusted out... - Pulled the drivetrain from the yellow mk3 and stripped that one, bores are ok and should come up with a hone. - Took the interior out of the mk3 and started fitting that to the mk2, kinda digging the brown/green combo. - Realised that the hoodlining is different between mk2/3 so am thinking of trying to mod the body to make the mk3 one fit (I 'think' it will)
 11 points
 -
Formed! Shadbolt is my agent and attorney esp in regard to accom but I think I’m pitching a tent and also sleeping under a canvas fabric of some sort this is shall be mean. Will be great to meet people from the internet for the first time ever6 points
-
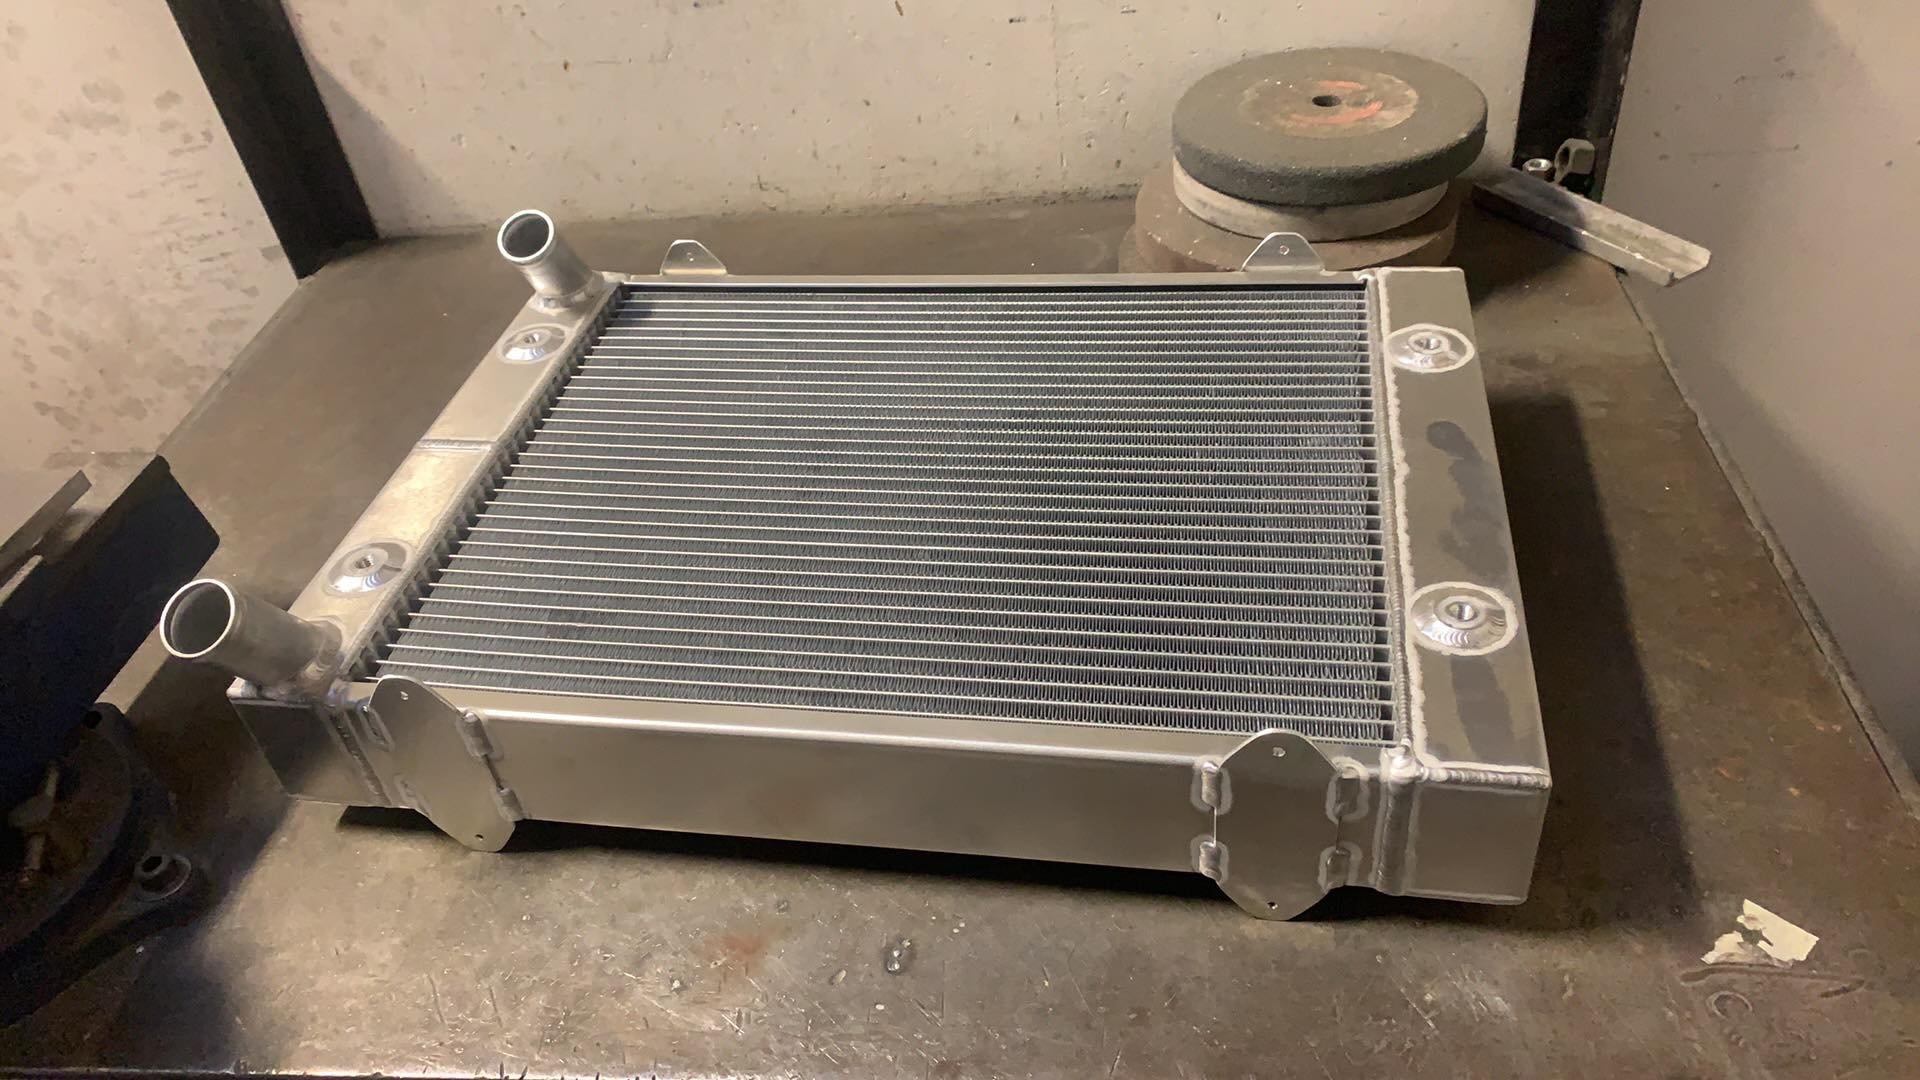
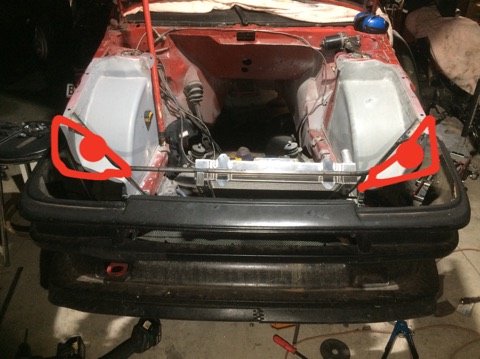
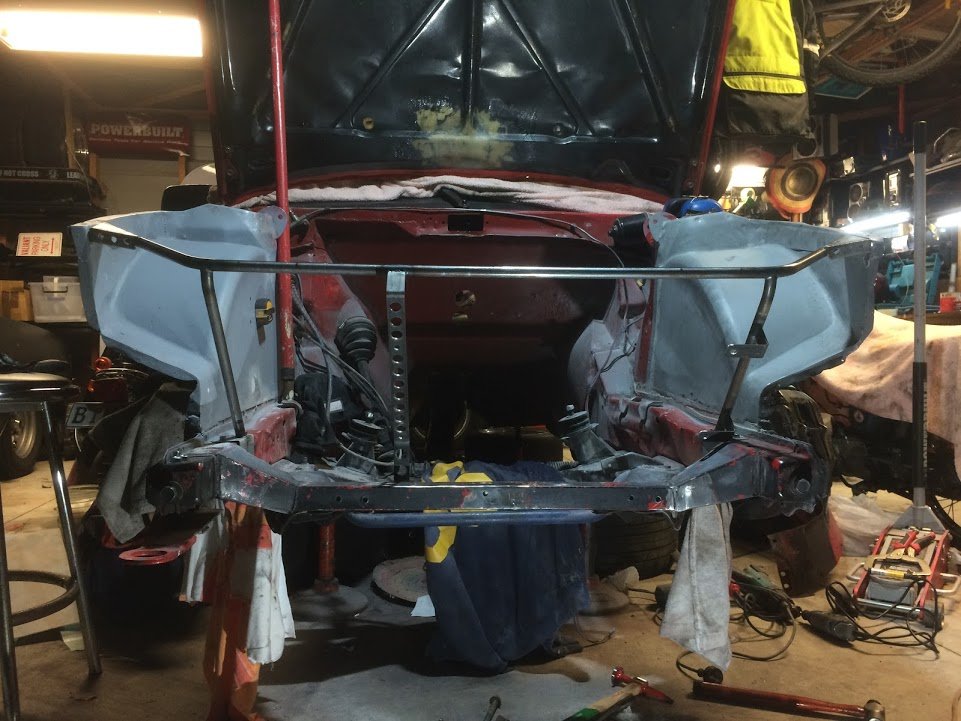
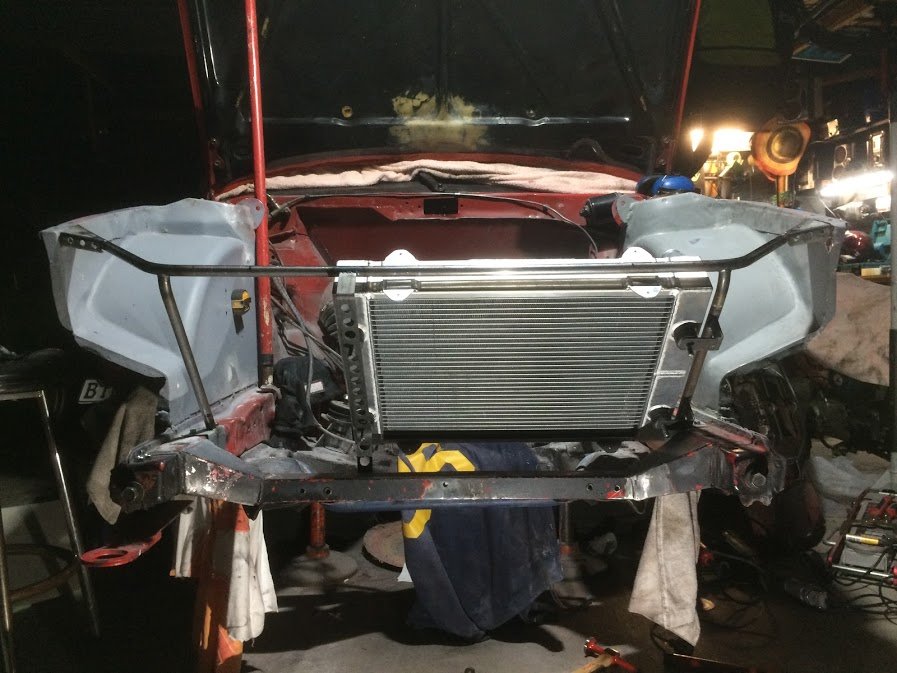
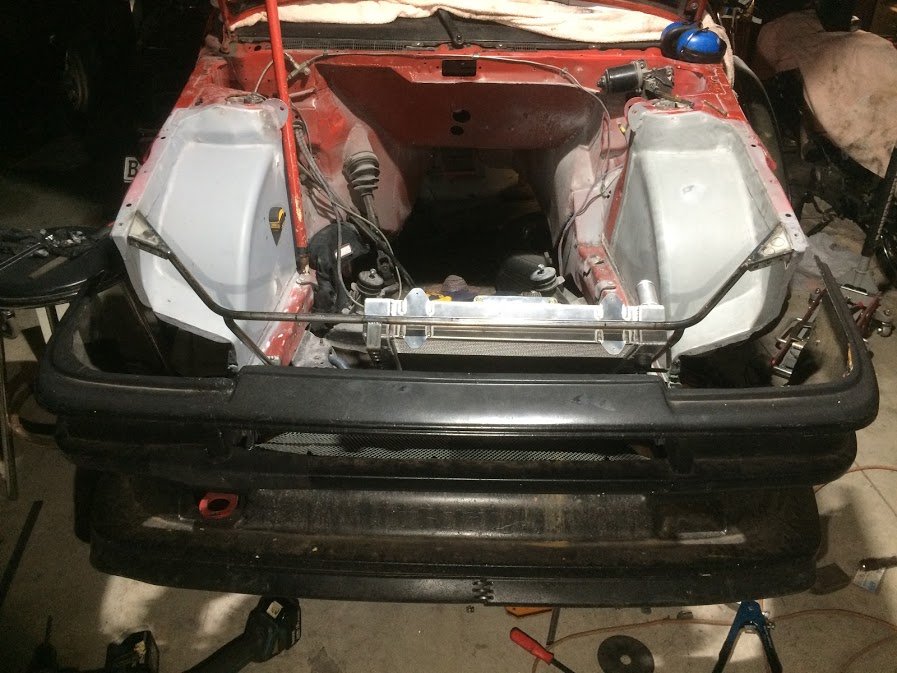
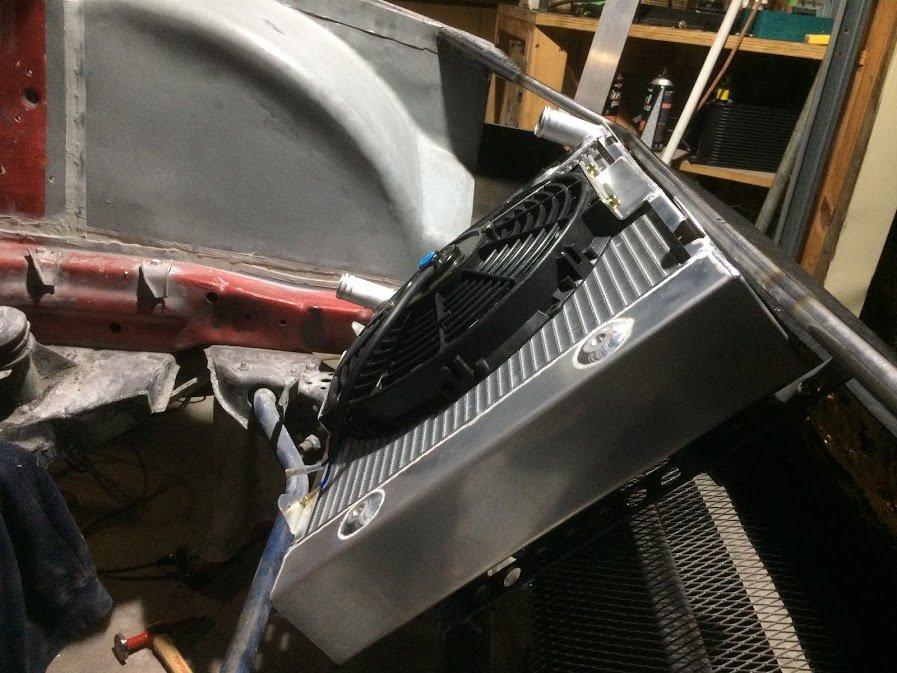
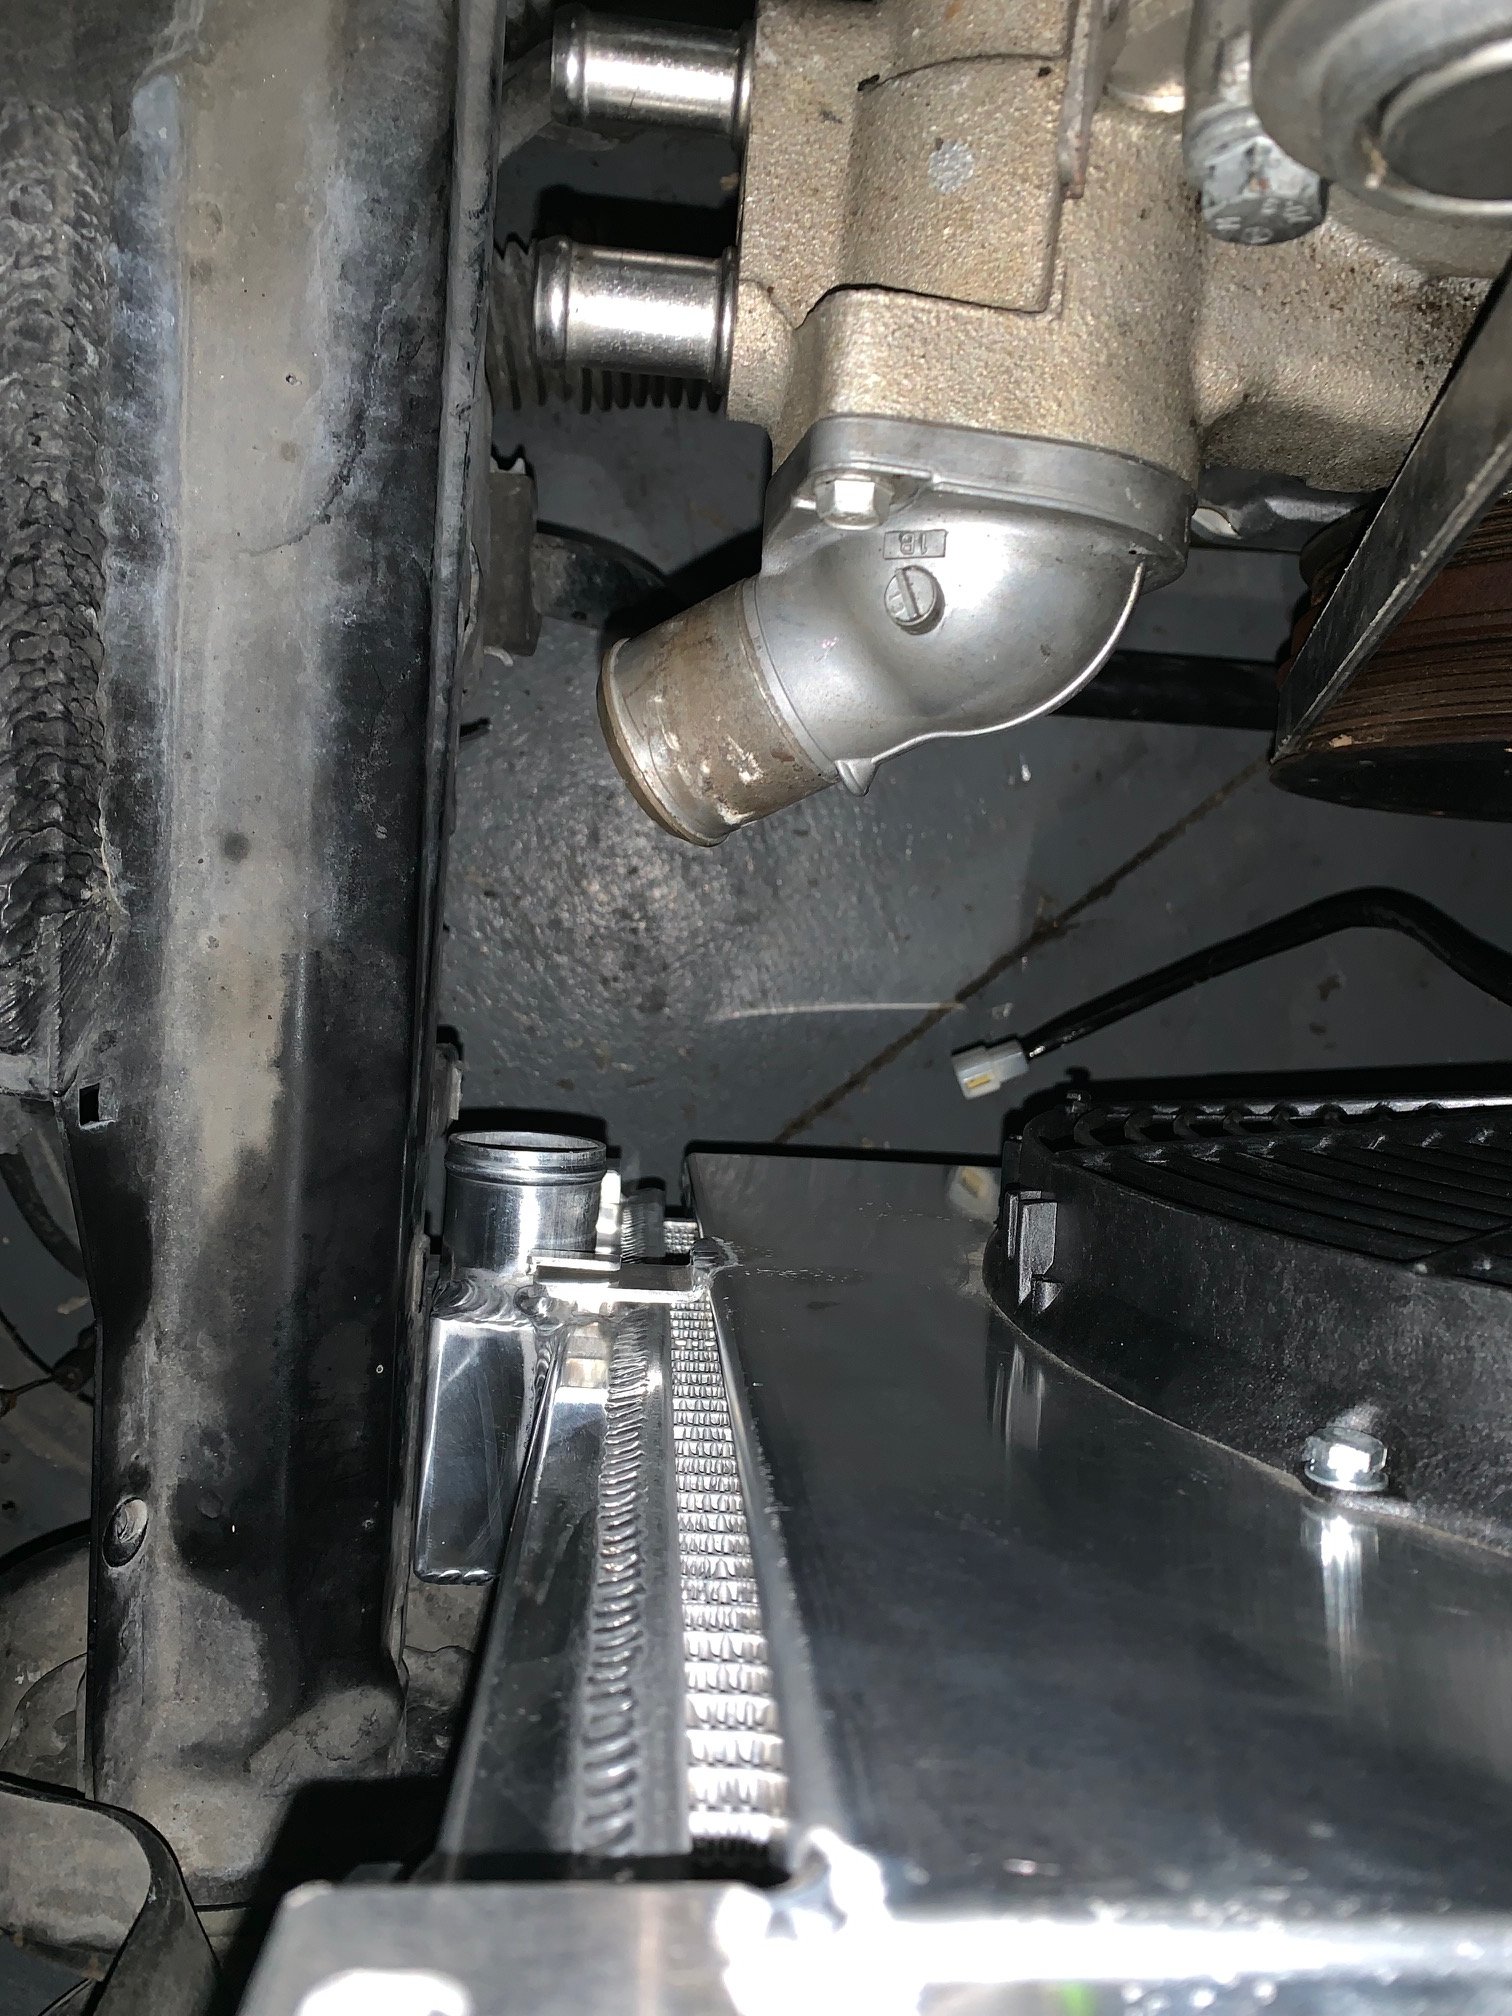
My new radiator turned up on friday from @nick_m at Motorsport Fabrication Services in Christchurch. He made this to custom measurements with custom mount bosses, tags to attach ducting, angled inlet/outlets and a 12" fan mounted in place (not pictured). It's a really nice bit of kit! I highly recommend MFS if you're in need of a radiator or intercooler. We got to work mounting it this weekend. This is what we came up with: And with the radiator in place: The angle of the outlets worked out almost perfect: I think it's starting to look pretty good: .... Hmm, looks like it has angry eyes? Again, huge thanks to @Rhyscar for the fab work and extra brain. I wouldn't have achieved much without him. Next up for fab work is to figure out how to mount the oil cooler and to start thinking about ducting.... But for now it's back to sanding .
5 points
-
Signed up to that forum and will ask the questions after a poke around. came accross a thread detailing how to megasquirt the genIII hemi, so that will be super useful when we hemi the merc SL600 at work!4 points
-
Rockauto delivers again. This time I ordered parts Monday. Received them Friday. just for the size comparison here is the later model dodge starter vs the factory one. Fairly sizeable difference still plodding away on cleaning and painting suspension parts and replacing the bushes. No pictures as I’ve not actually finished any this completely yet. And now I’ve run out of etch primer Got the bill from the machinist for the engine work which ended up being a reasonable amount more that planned (there was extra work done to justify it) which has completely drained the bank account. Also my headers are in the country now so just waiting for them to clear customs etc, all in all still chipping away at it.3 points
-
have begun the process of installing some sounds. got the head unit mounted. next will be figuring out how im going to mount some front speakers. 2019-07-22_08-52-56 by sheepers, on Flickr 2019-07-22_08-52-39 by sheepers, on Flickr3 points
-
That new spike looks like it could be a pain in the arse3 points
-
Mostly finished the engine cover. Not a heap of legroom, but not too bad. I then made a cover for all those electrical gubbins. I then debated about having that whole cover hinge up, but decided that some access holes to get to the important things was a better solution. I have since hinged and latched those. Do I win a prize? Then I fucked around with the surprisingly sweet little stereo that arrived from our Chinese friends. I fucked up but not realising that the Bluetooth on the stereo did not deal with phone calls, so I found a panel mount hands free kit from jaycar for $10 and used the amps aux input. It didn't work at first, then I realised the amp was still connecting to the tablet I use for shed sounds that I hooked up for testing, duh. I mounted it all on some ally, the switch is so I can turn it on without the key if needed. Up is normal acc power, down is always on power, and mid position is fully off. This will be useful for the times the bt does not connect properly and you usually have to turn the key off to restart the lil bitch. It needs some filtering though as a lot of noise from the electronic flasher units comes through, plus the amp has enough capacitance to keep the acc circuit going for 10 seconds after it has switched off. And it has a sweet clunk through the speakers. Cool.3 points
-
3 points
-
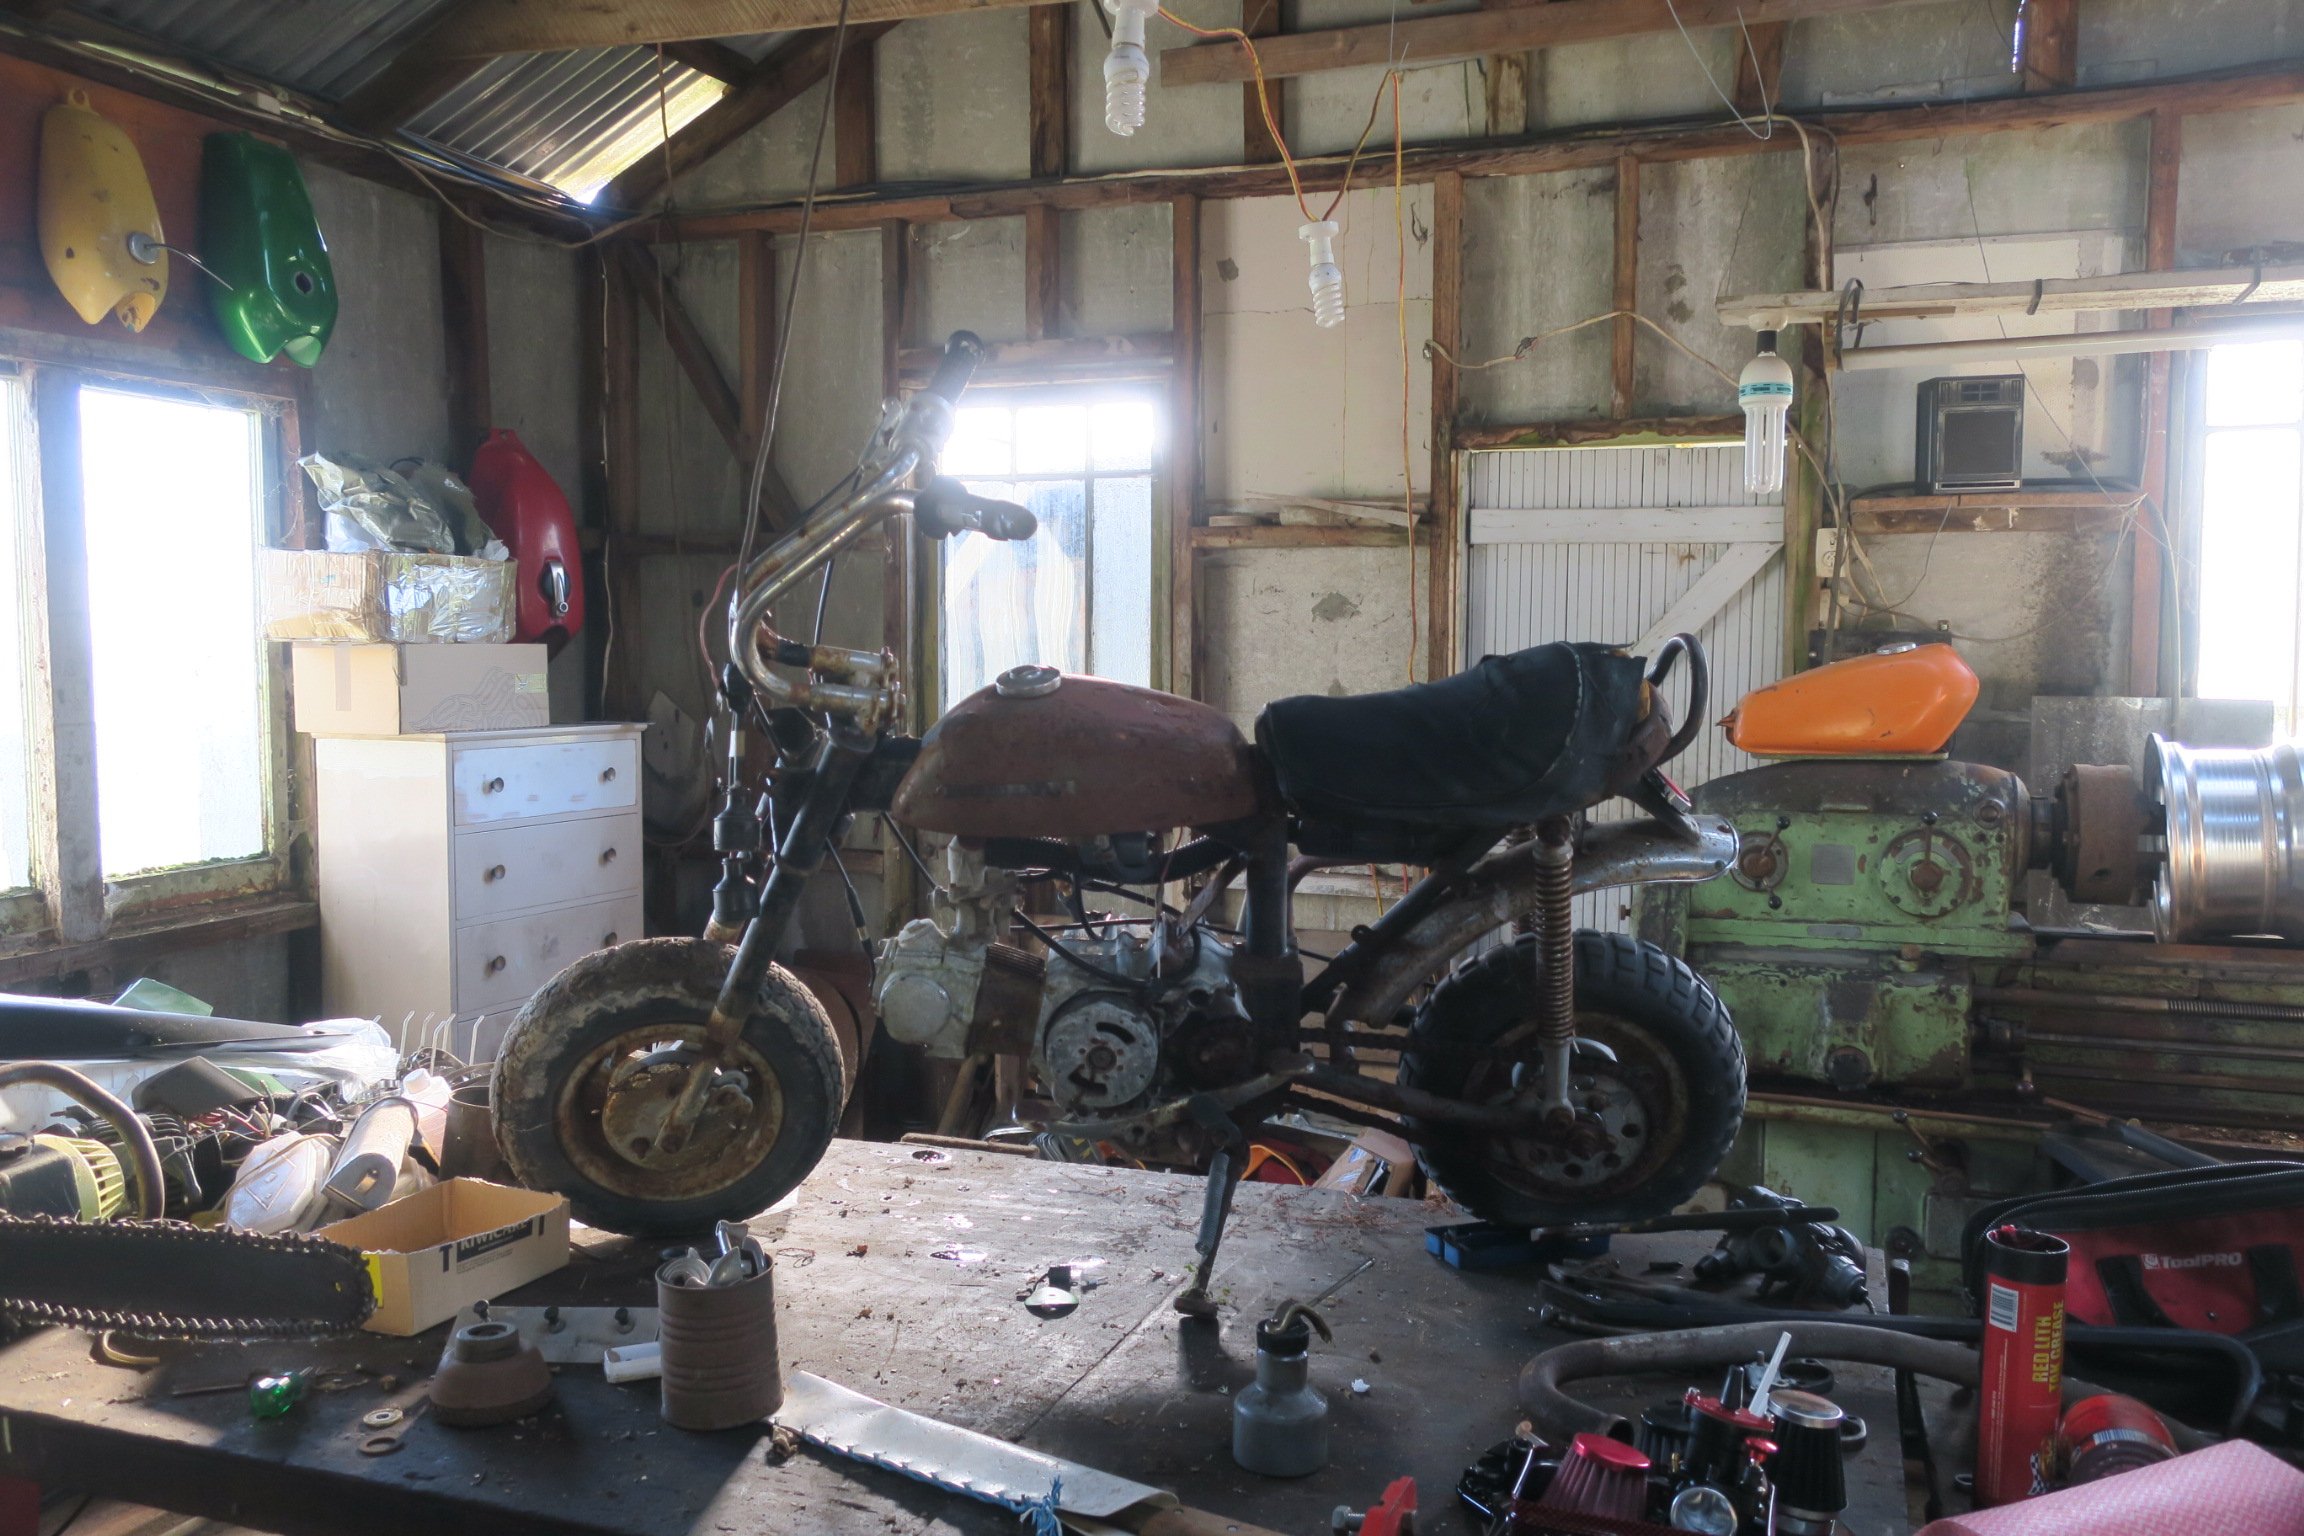
I was very tempted by this when I saw it advertised. A Lifan brand engine will bolt into this. They’re a Chinese copy of the Honda horizontal and go extremely well. Aliexpress and webike have almost every part you need to rebuild and upgrade this too. Longer swingarms, the whole works! Great project.2 points
-
Regarding the first nights accommodation. Even though most of the cabins are full I believe they have non powered camping sites for those who miss out. Give them a call and confirm; but after glancing at the map of the place it seems to be the case. Obviously don't wanna stack the support vehicle with just tents, but yeah. It's an option.2 points
-
Looks like euro gn125's are geared to do max 80kph. I guess that's why so many posts are about them being too slow This one does an indicated 110km at 9000rpm with a full tank of gas, 2 loaded panniers and a duffle bag on the back, and me. That's pretty legit tbh. Now that I have a 12v socket and a 300kg hanging scale I'll swing it off my engine crane to get a weight and do some gtech runs. Also have an O2 sensor I may put on the exhaust to see if I can squeeze a little more from it2 points
-
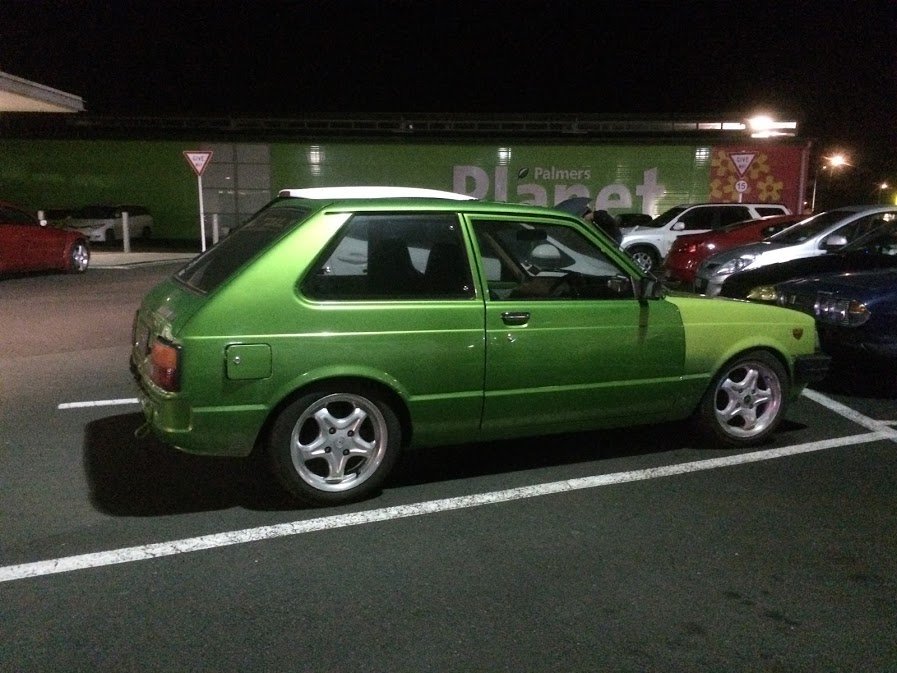
First mod on Gran Turismo 1 weight reduction! Theres is alot of surface rust as the old owner started to sand it back and was left outside Wire brash on a grinder should take care of most of it. the worst of the rust in the floor im hoping its not to bad .Ill get the car in the garage this week sometime and dry the car out. And the mighty 4K-EU.im sure theres room for a turbo.2 points
-
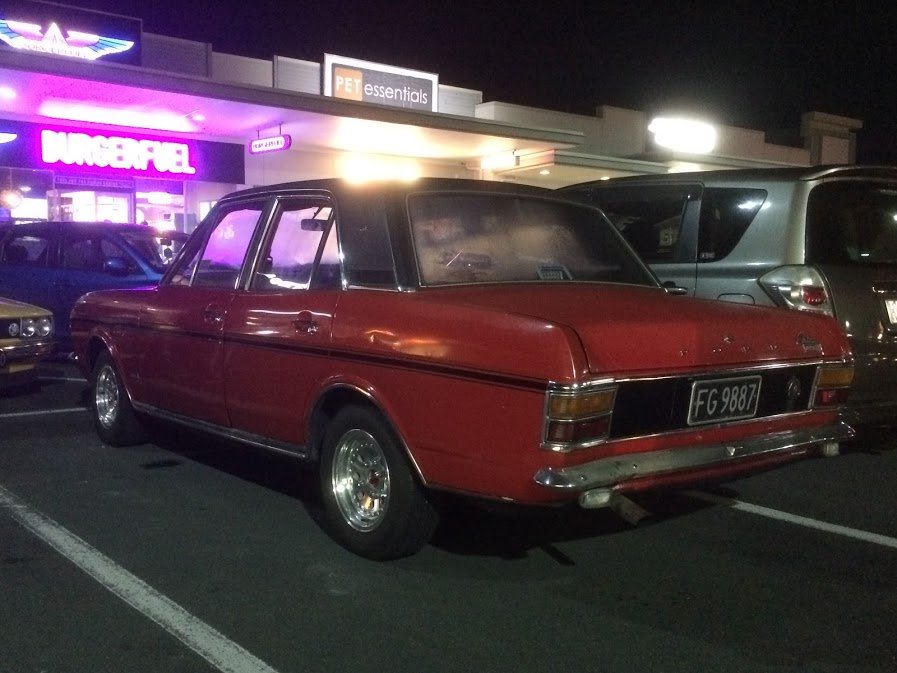
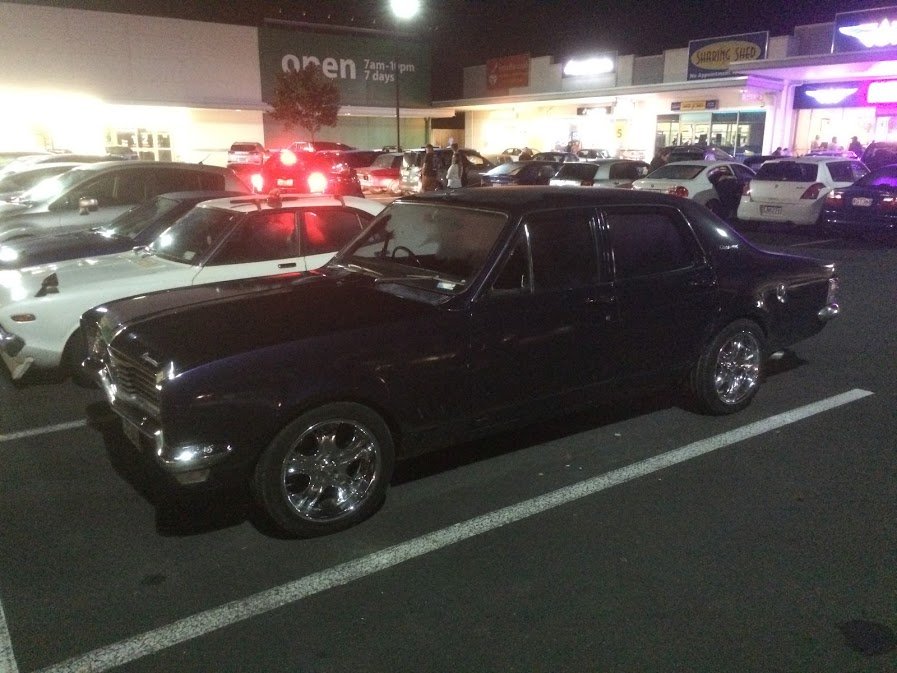
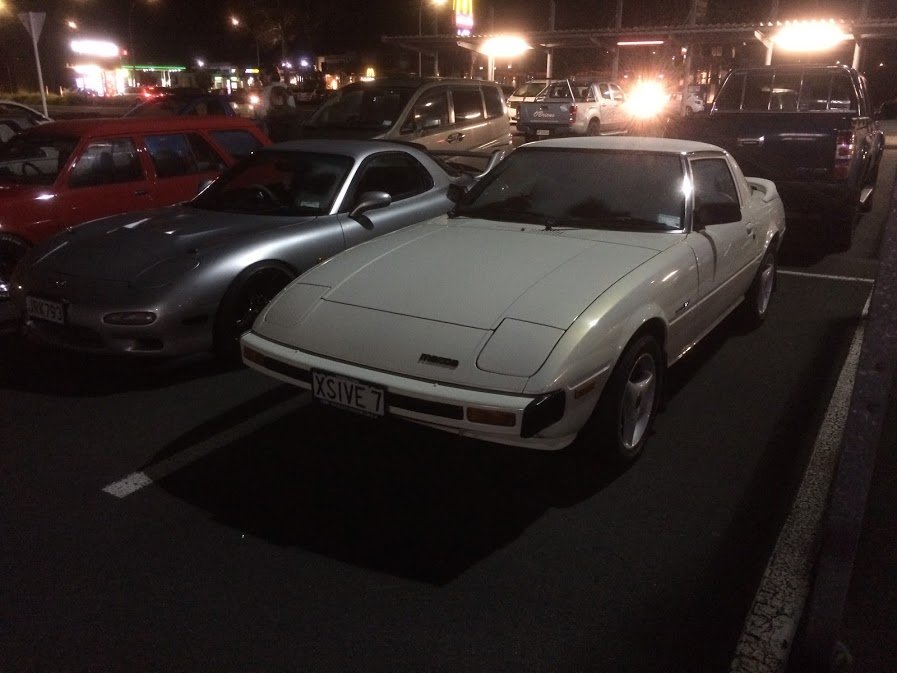
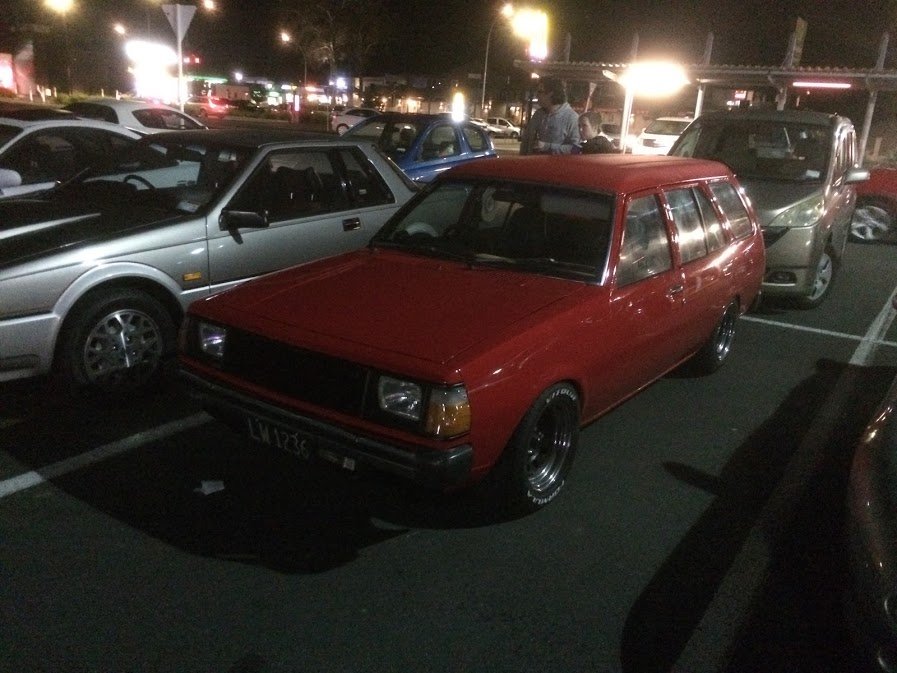
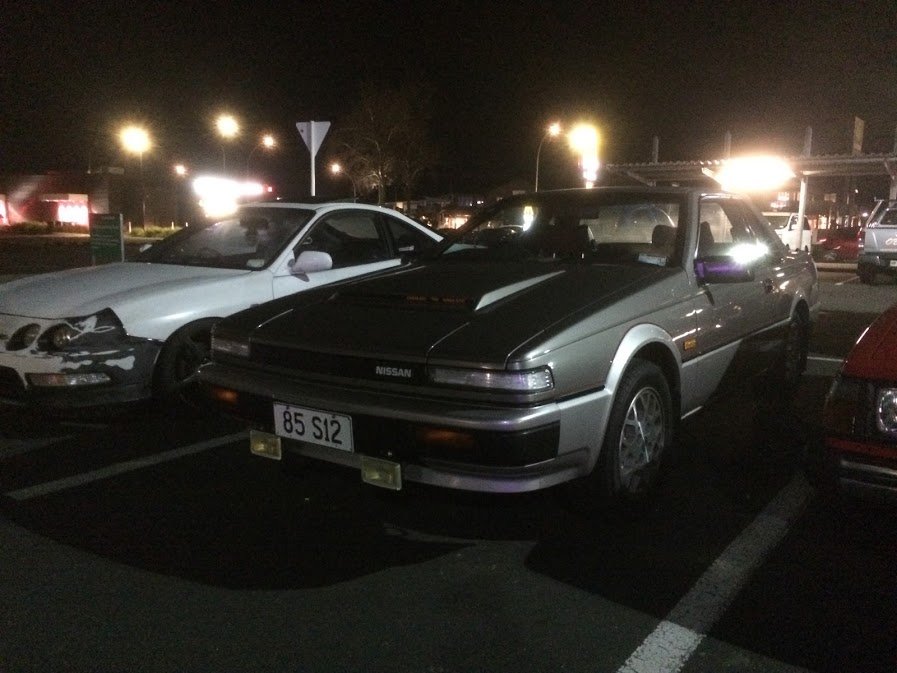
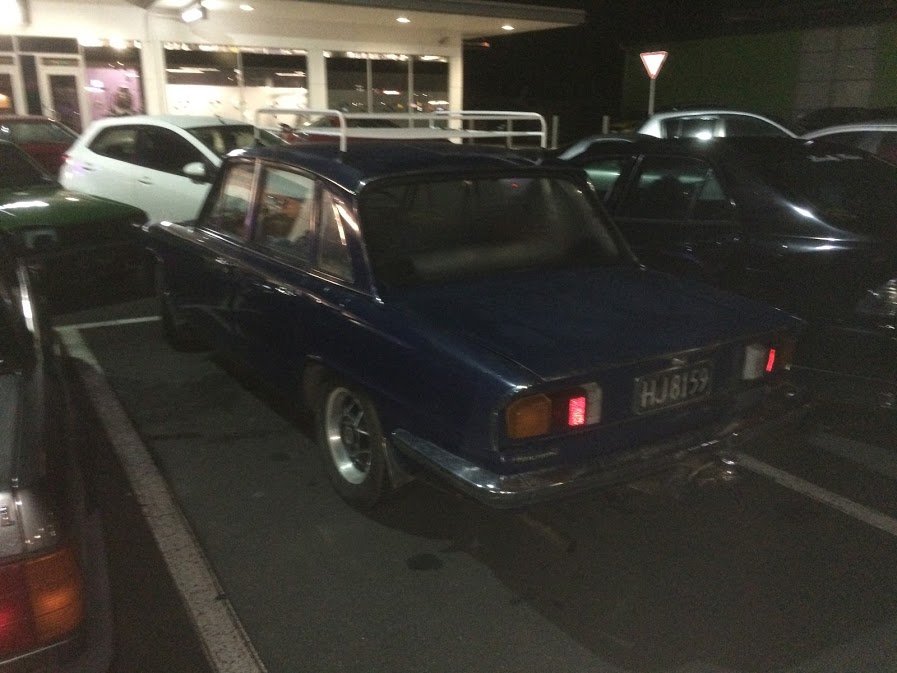
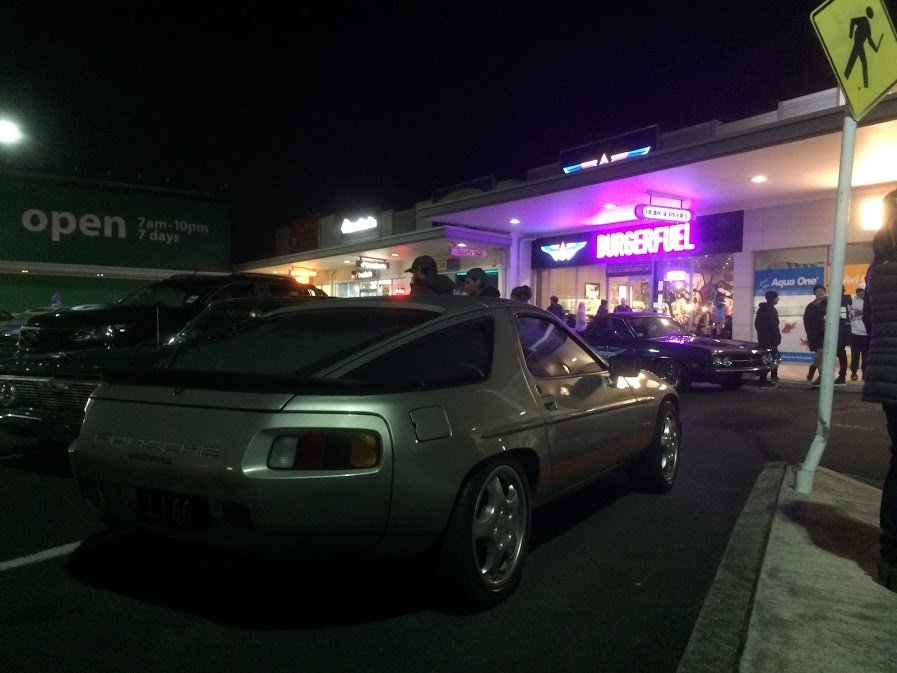
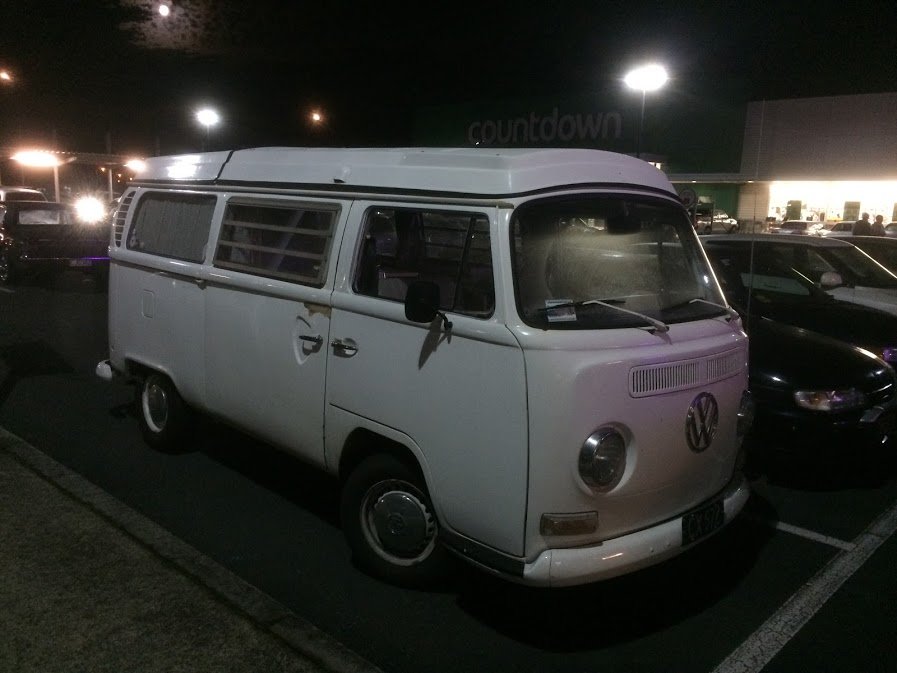
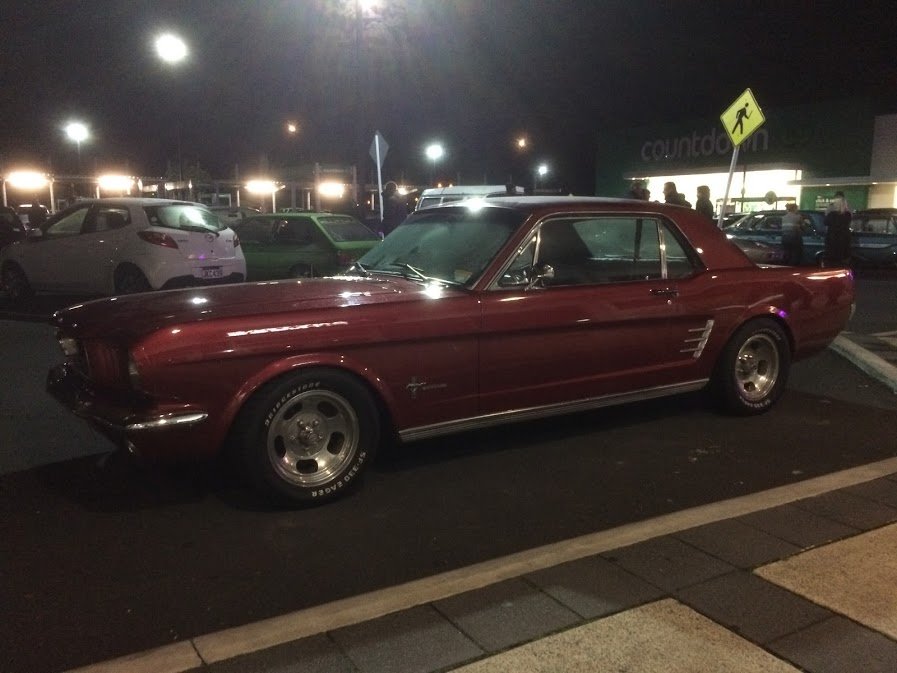
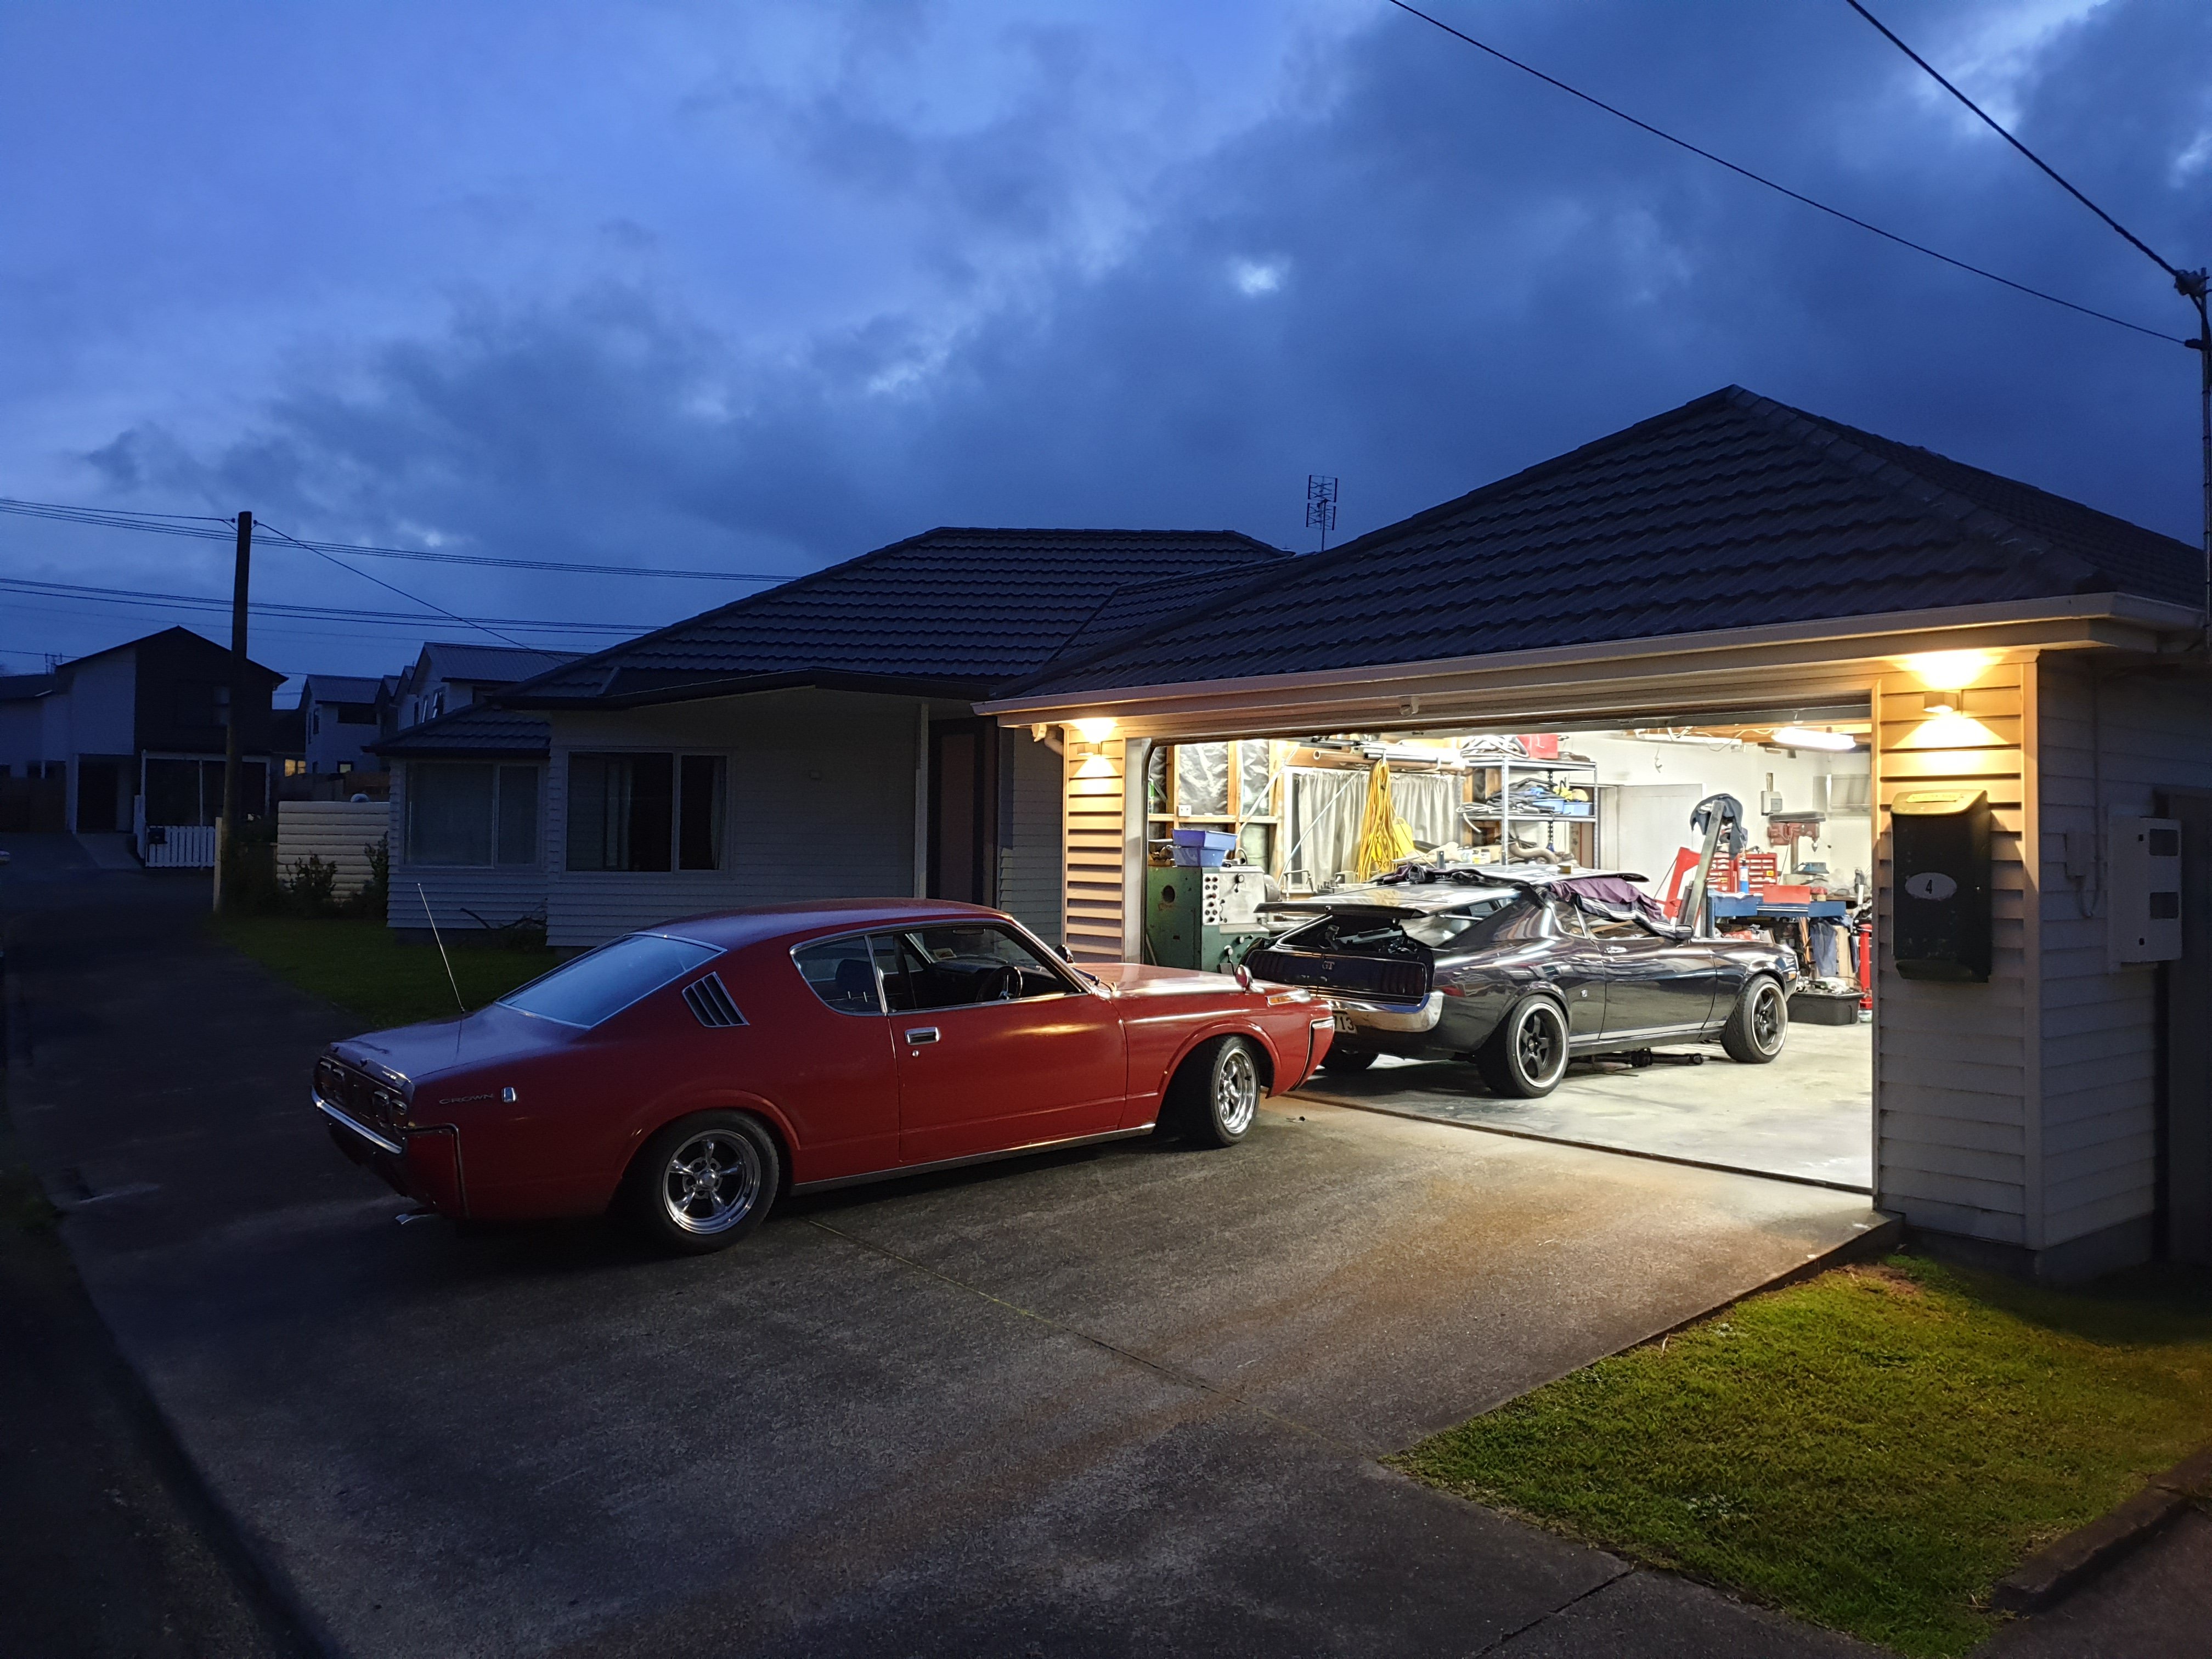
Good meet . Well done to @Archetype for winning 4 FREE BURGERS in the Jalapeno eating competition!! It's amazing what a man will do for free burgers. Well done to @Zeubin for a respectable third place. And cars:
2 points
-
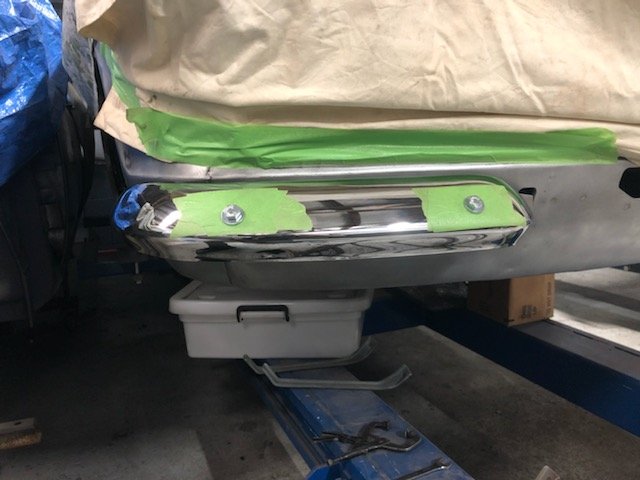
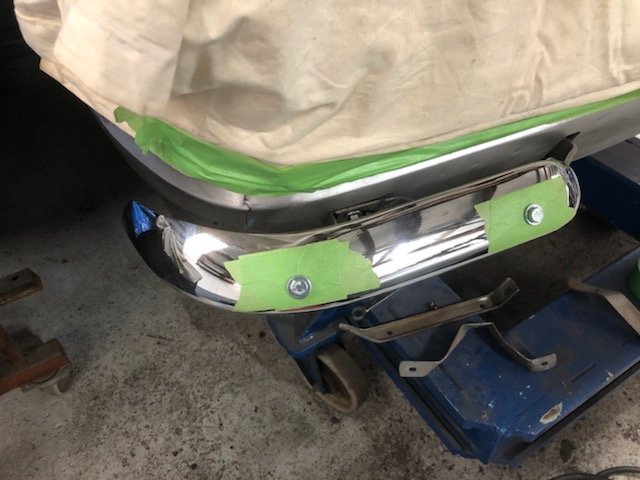
Been away lots lately so no progress on the rubbers. Back in NZ next week so need to get them sorted. Fitted off the front quarter bumpers and had to do a few adjustments to the brackets to get them sitting right. Unfortunately the left front one has had a crappy repair before caroming so it’s off to the strippers for that and the rear bumper and Greg will get them mint before getting chrome plated again.
2 points
-
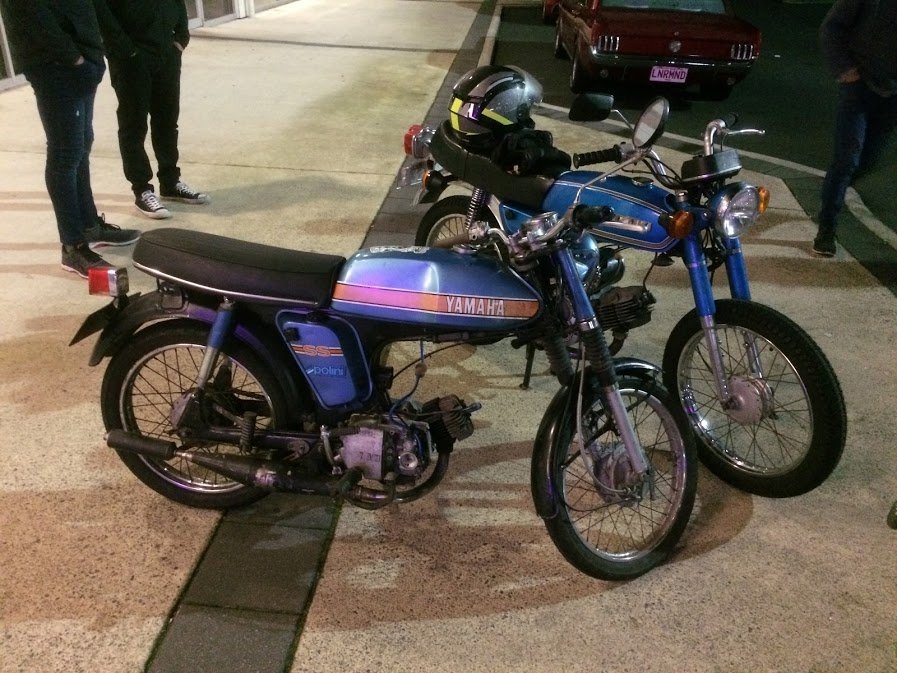
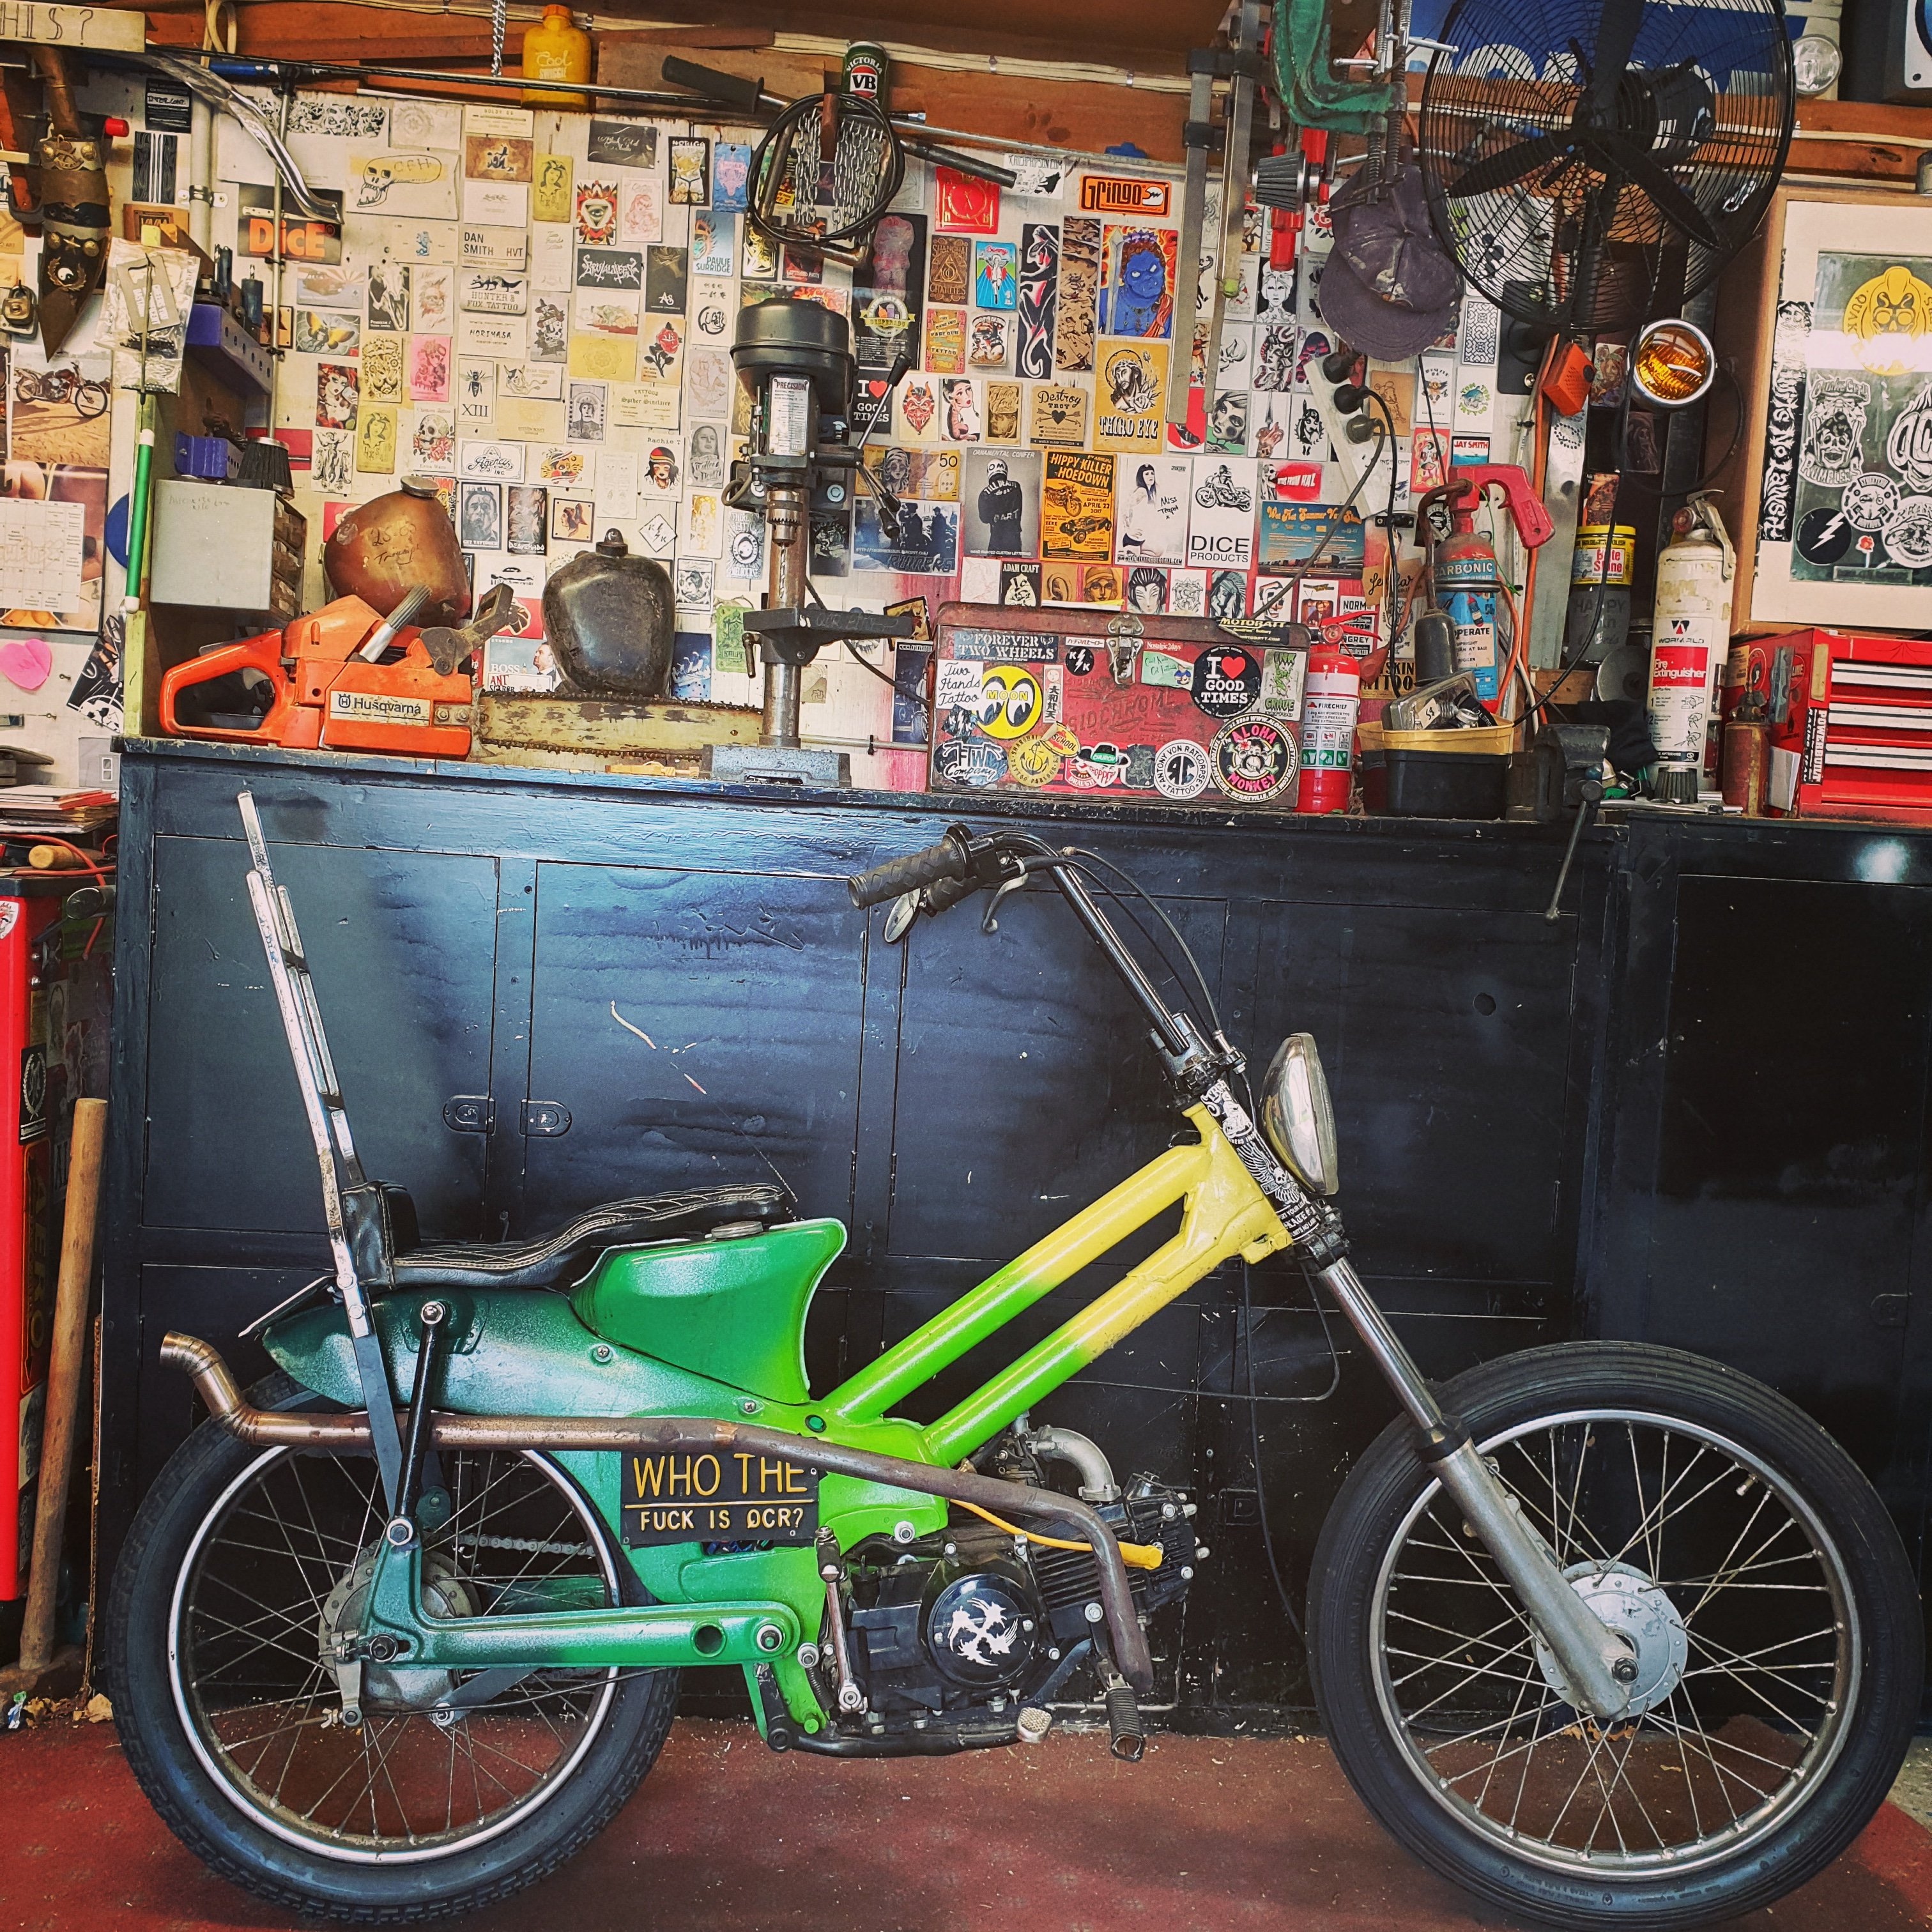
This thing has been reliable as fuck and still makes lots of noise and goes hard for what it is. Decided to add a vintage sissy bar ive had for awhile. Next up is a suicide shifter
2 points
-
Proof that I am now an auto sparky and fuck anyone who says otherwise; Should have cleaned the smeg off my lens for that last one. Then on to the engine cover, but first I had to build a bit of the intake to make sure I could get it all to clear. There is a sweet spot just behind the cab that will fit a 600x 300 intercooler, I am hoping I can get to that area without modifying my gear linkage too much. Made a rim for the cut sheet metal so the floor was stiffer and the cover had something to bolt to. The intake had to be low otherwise the folding rear seats would hit it. Welded and cleaned up. Looks kinda cool. Then some time honoured 'frame it up in solid round then smash sheet metal onto it' fabrication. It's tight. There was a wee bracket thing that hit the cover when the seat was down so I whipped it off with the grinder only to immediately realise it was the hook to keep the seats up. So now I need to replicate it. Like a cunt. I initially used some real thin galv sheet I had but it was clear I was never going to be able to fully weld it without chasing holes all over the place, plus it already sounded clangy and tinny, so I found some 1.5mm mild steel in the rack and used the thin shit as a template. This meant I could get a nice fold where I needed it using the finger bender. Still yet to do the other side and fill in those gaps, but good progress. Front driveshaft assembly is in getting shortened and balanced at considerable expense. Still yet to hear from engine man. I might have to spend that money on coating the chassis etc and hope I can find some more later on. Or find some more shit to sell. As you were.2 points
-
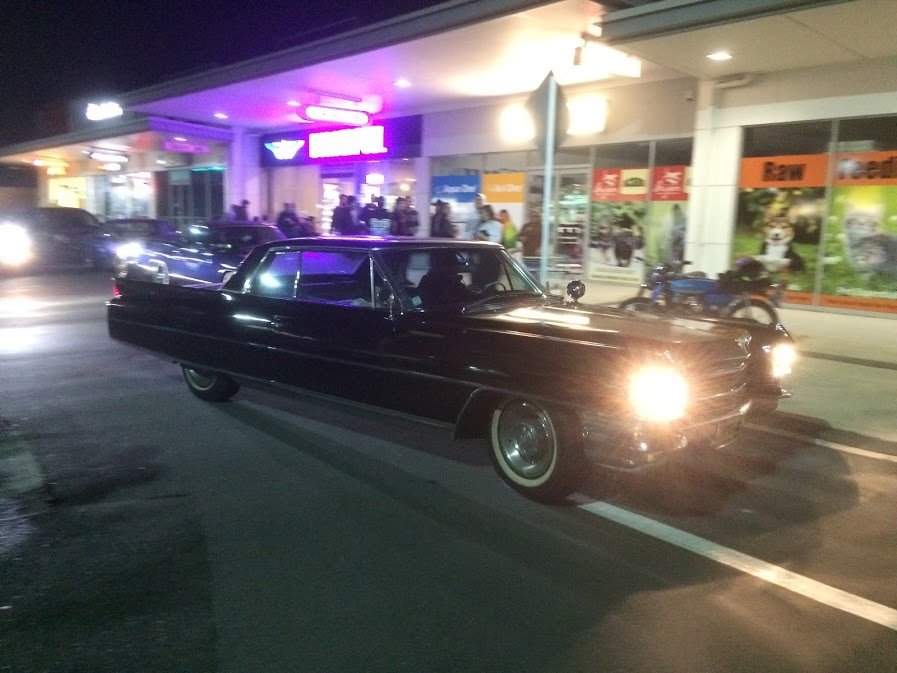
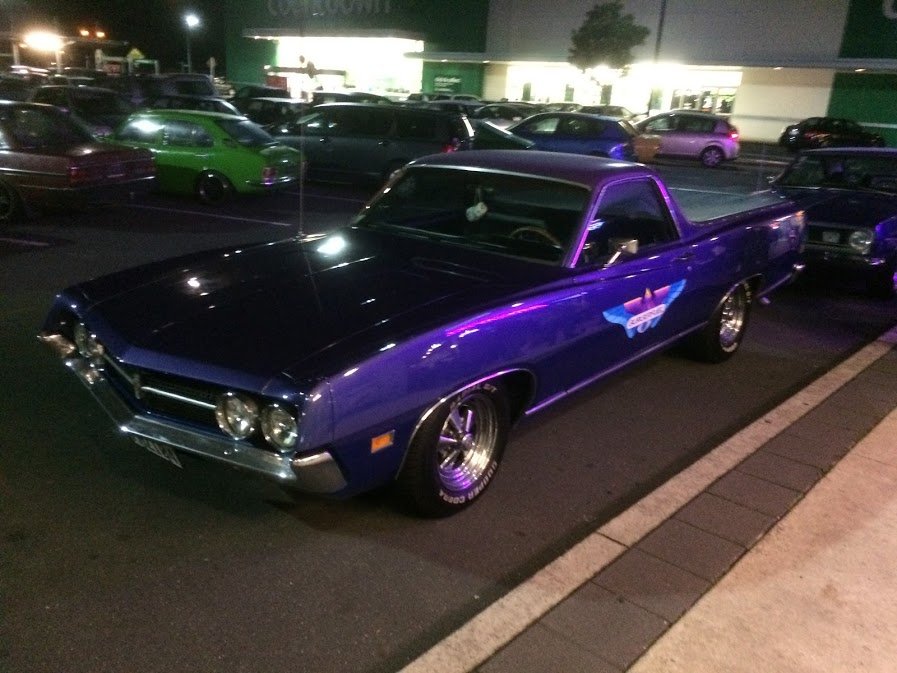
Just hanging out, being cool.
2 points
-
Been on hols, got back today and had a couple of hours in the shed tonight so I mounted the Safari cluster in the Dyna dash. I had mostly fitted the dash before we went away. Shit will fit ok I reckon, I had to trim the cluster hole quite a bit bigger. Factory looking eh. It's all 1992 So no stylistic clashes happening.2 points
-
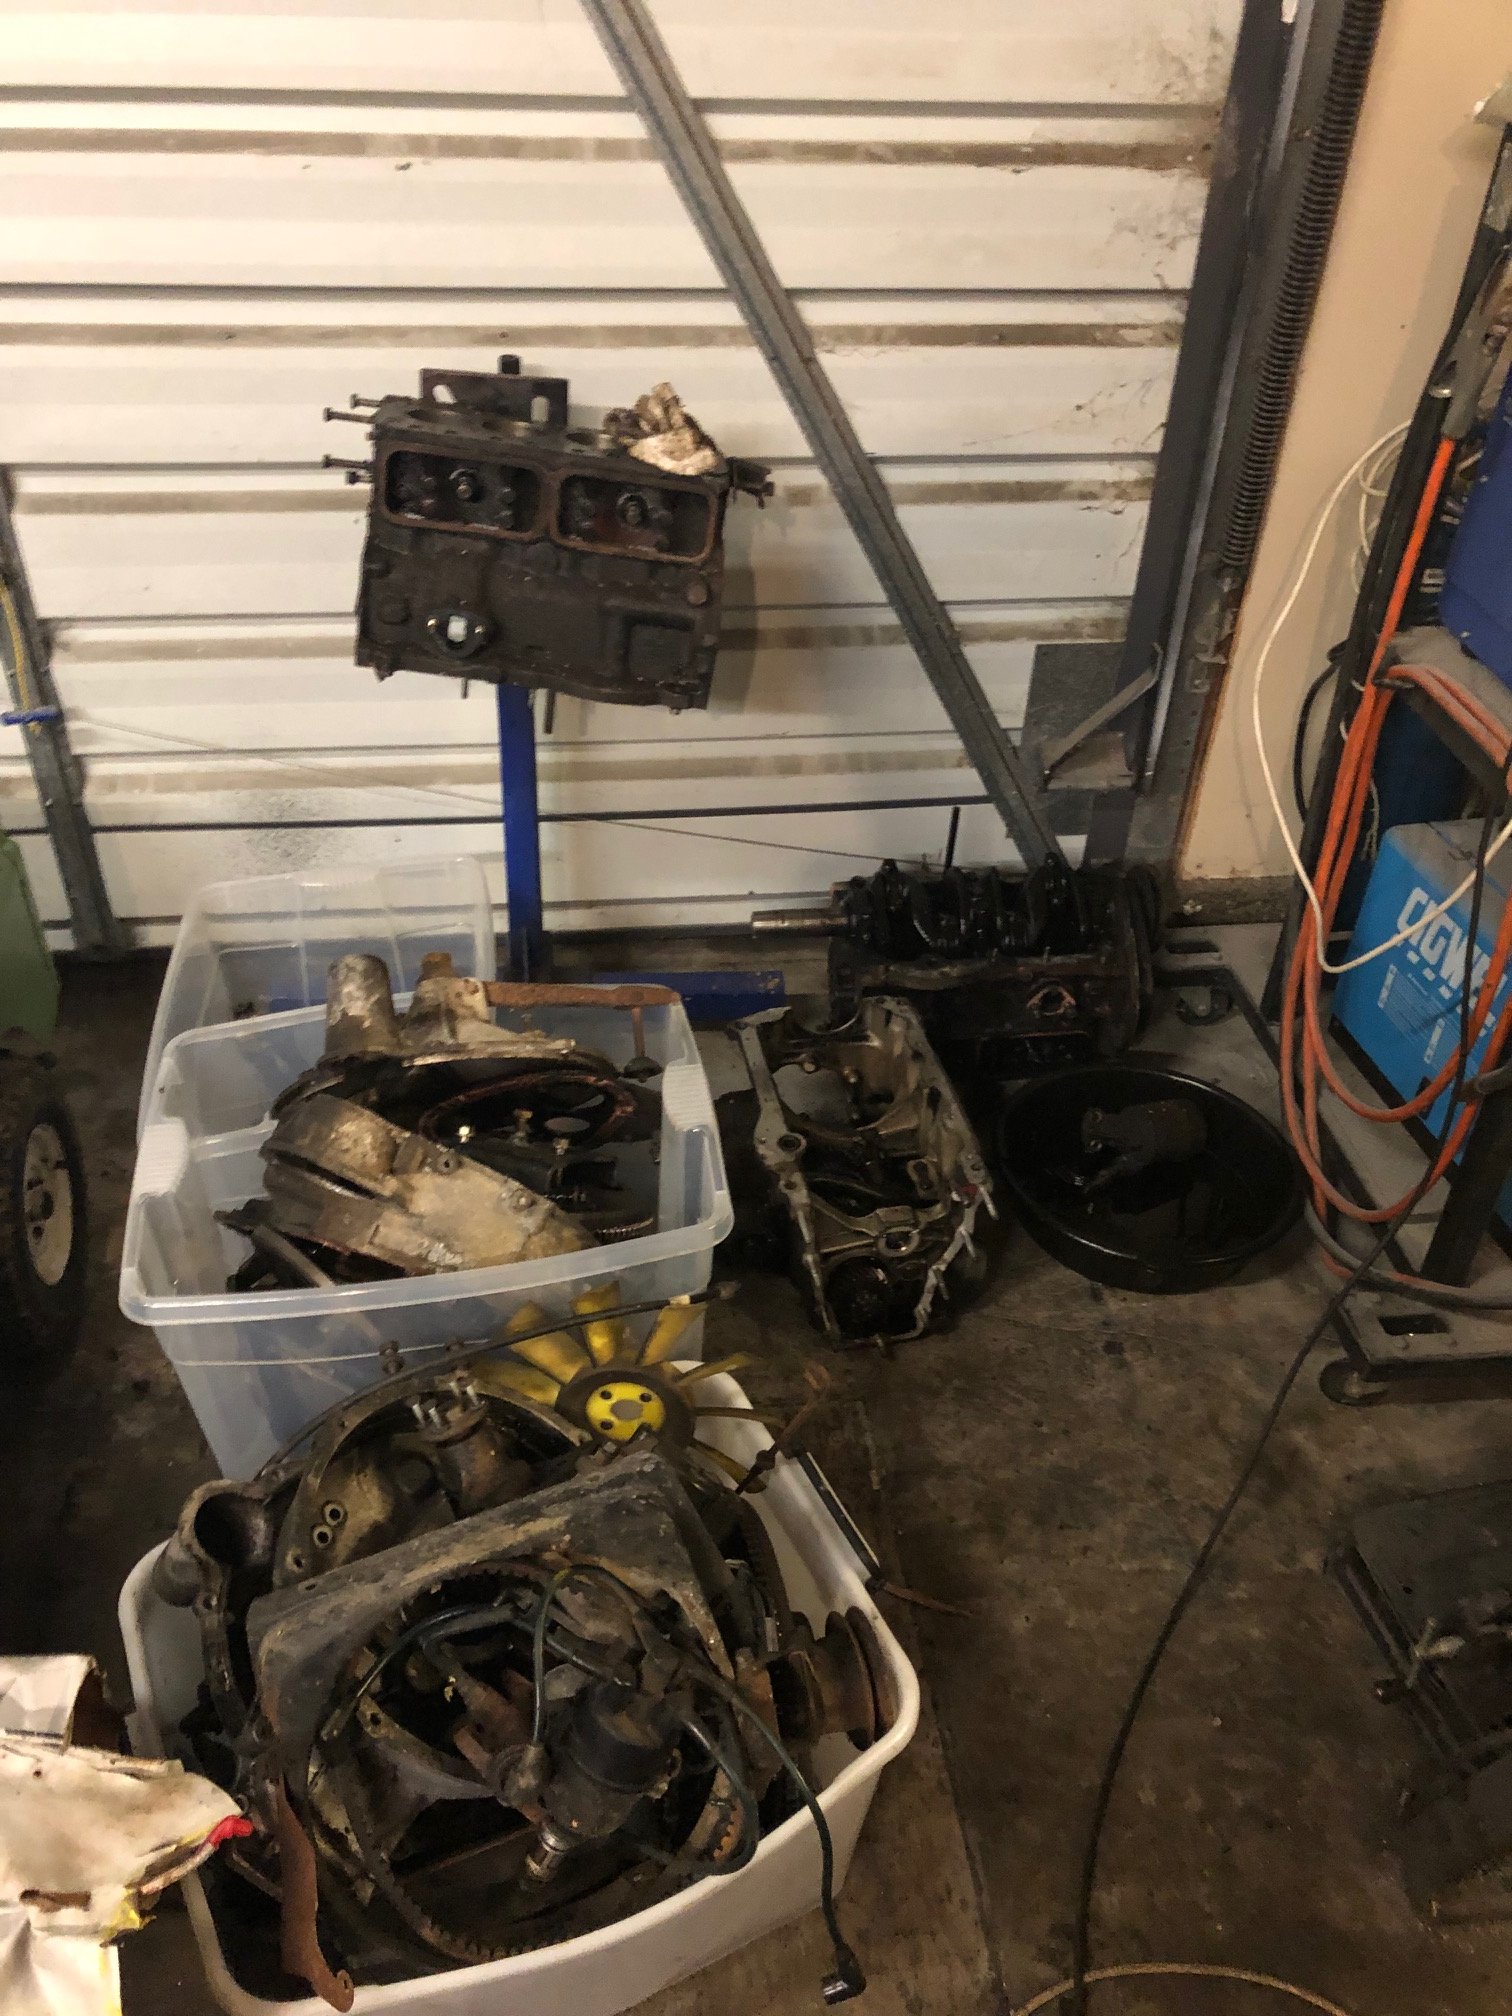
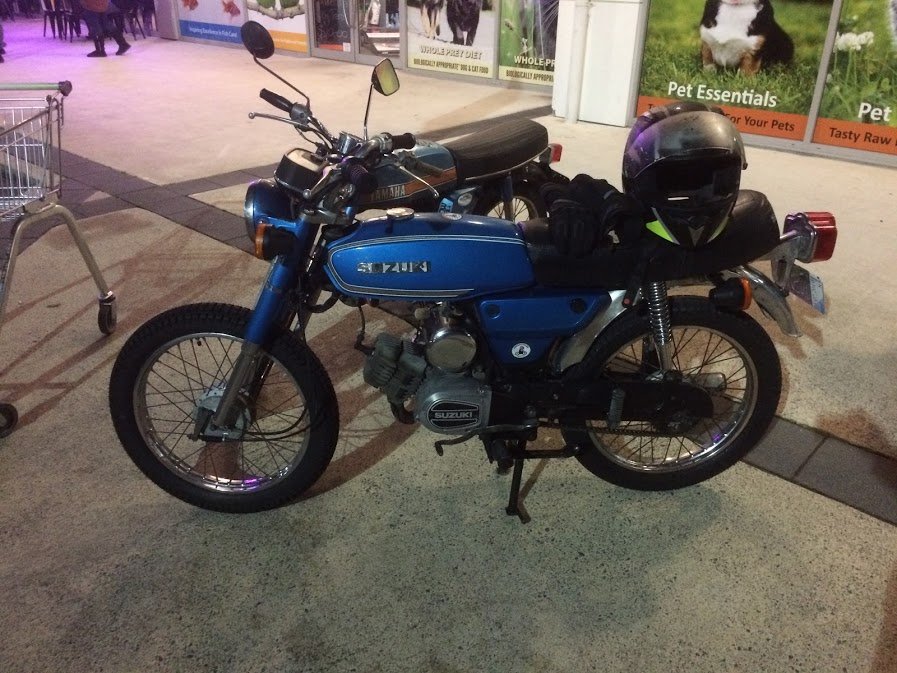
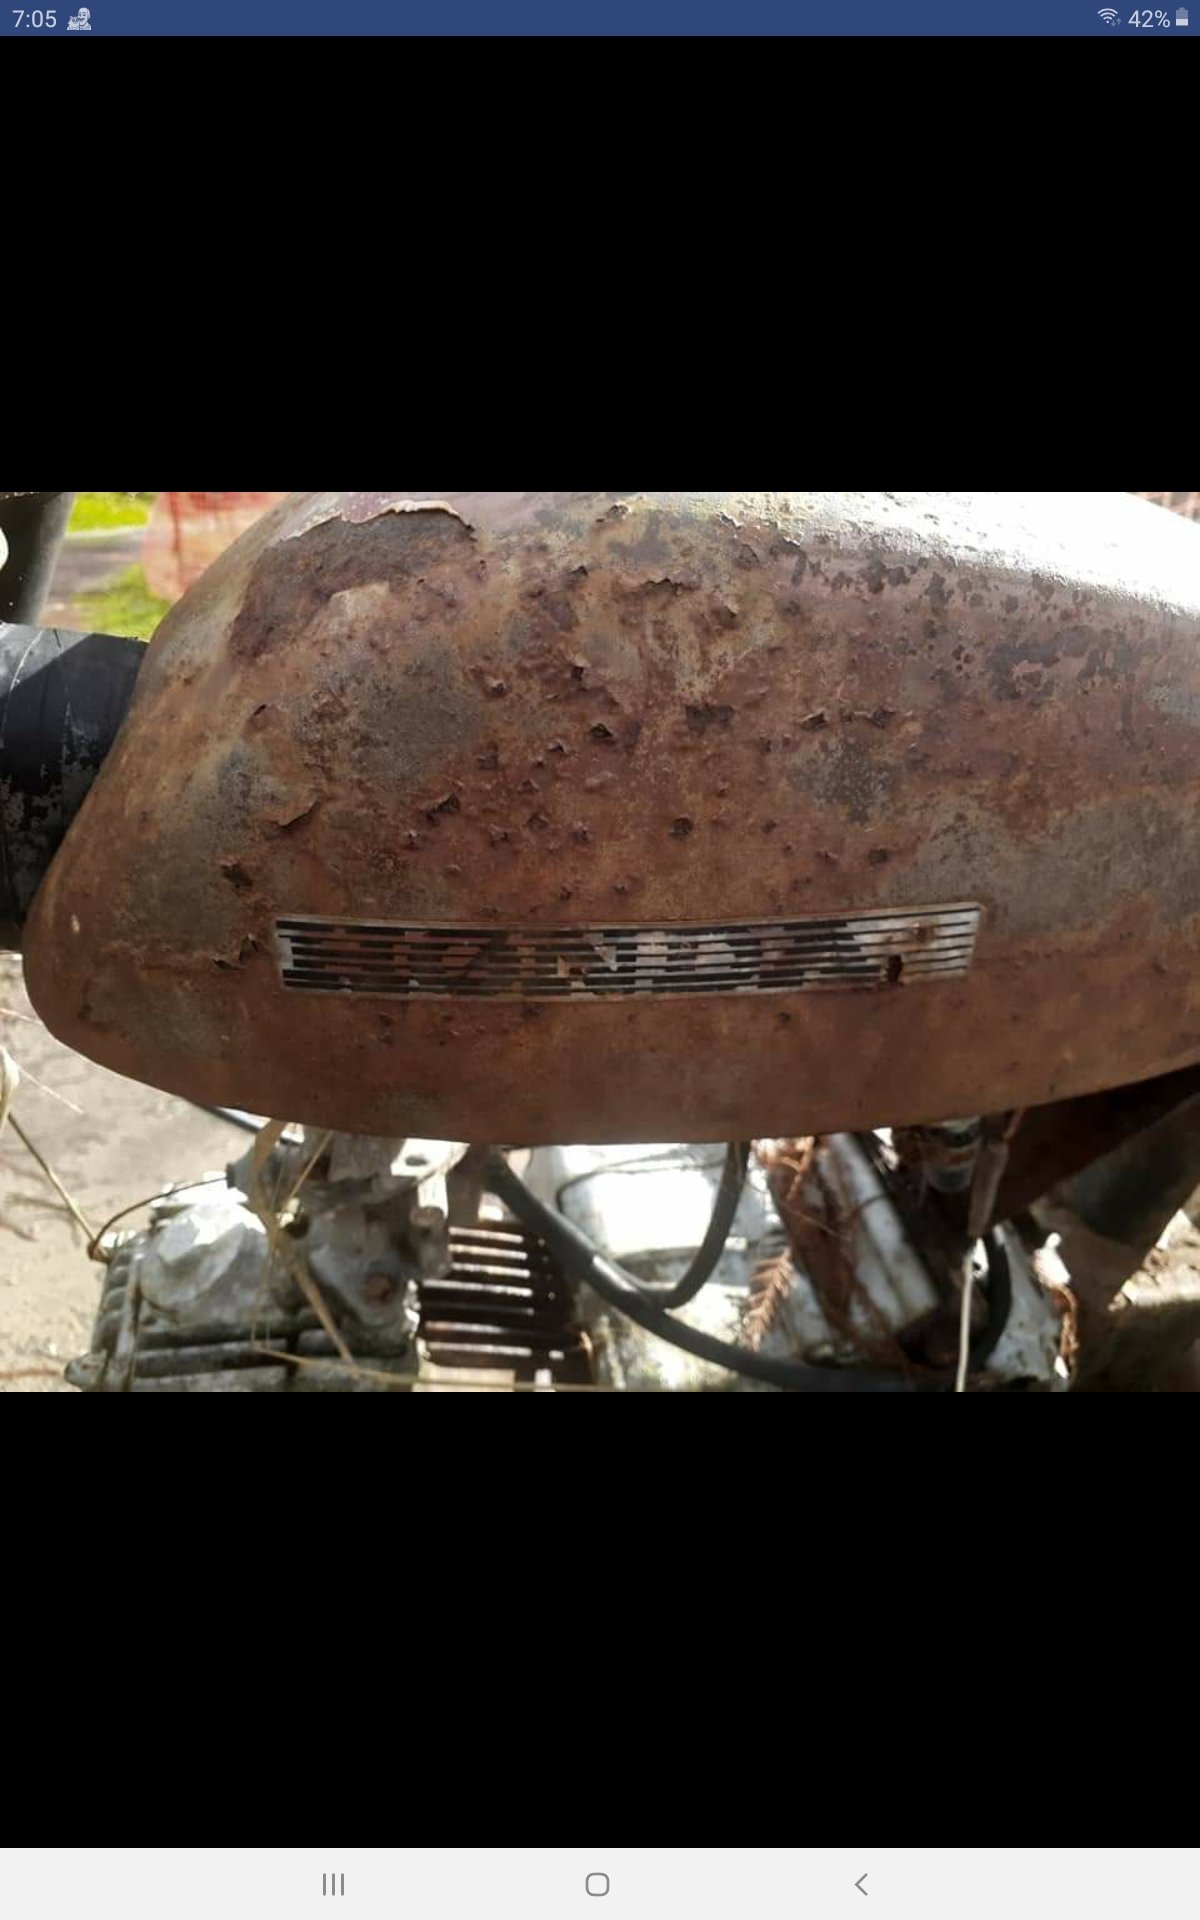
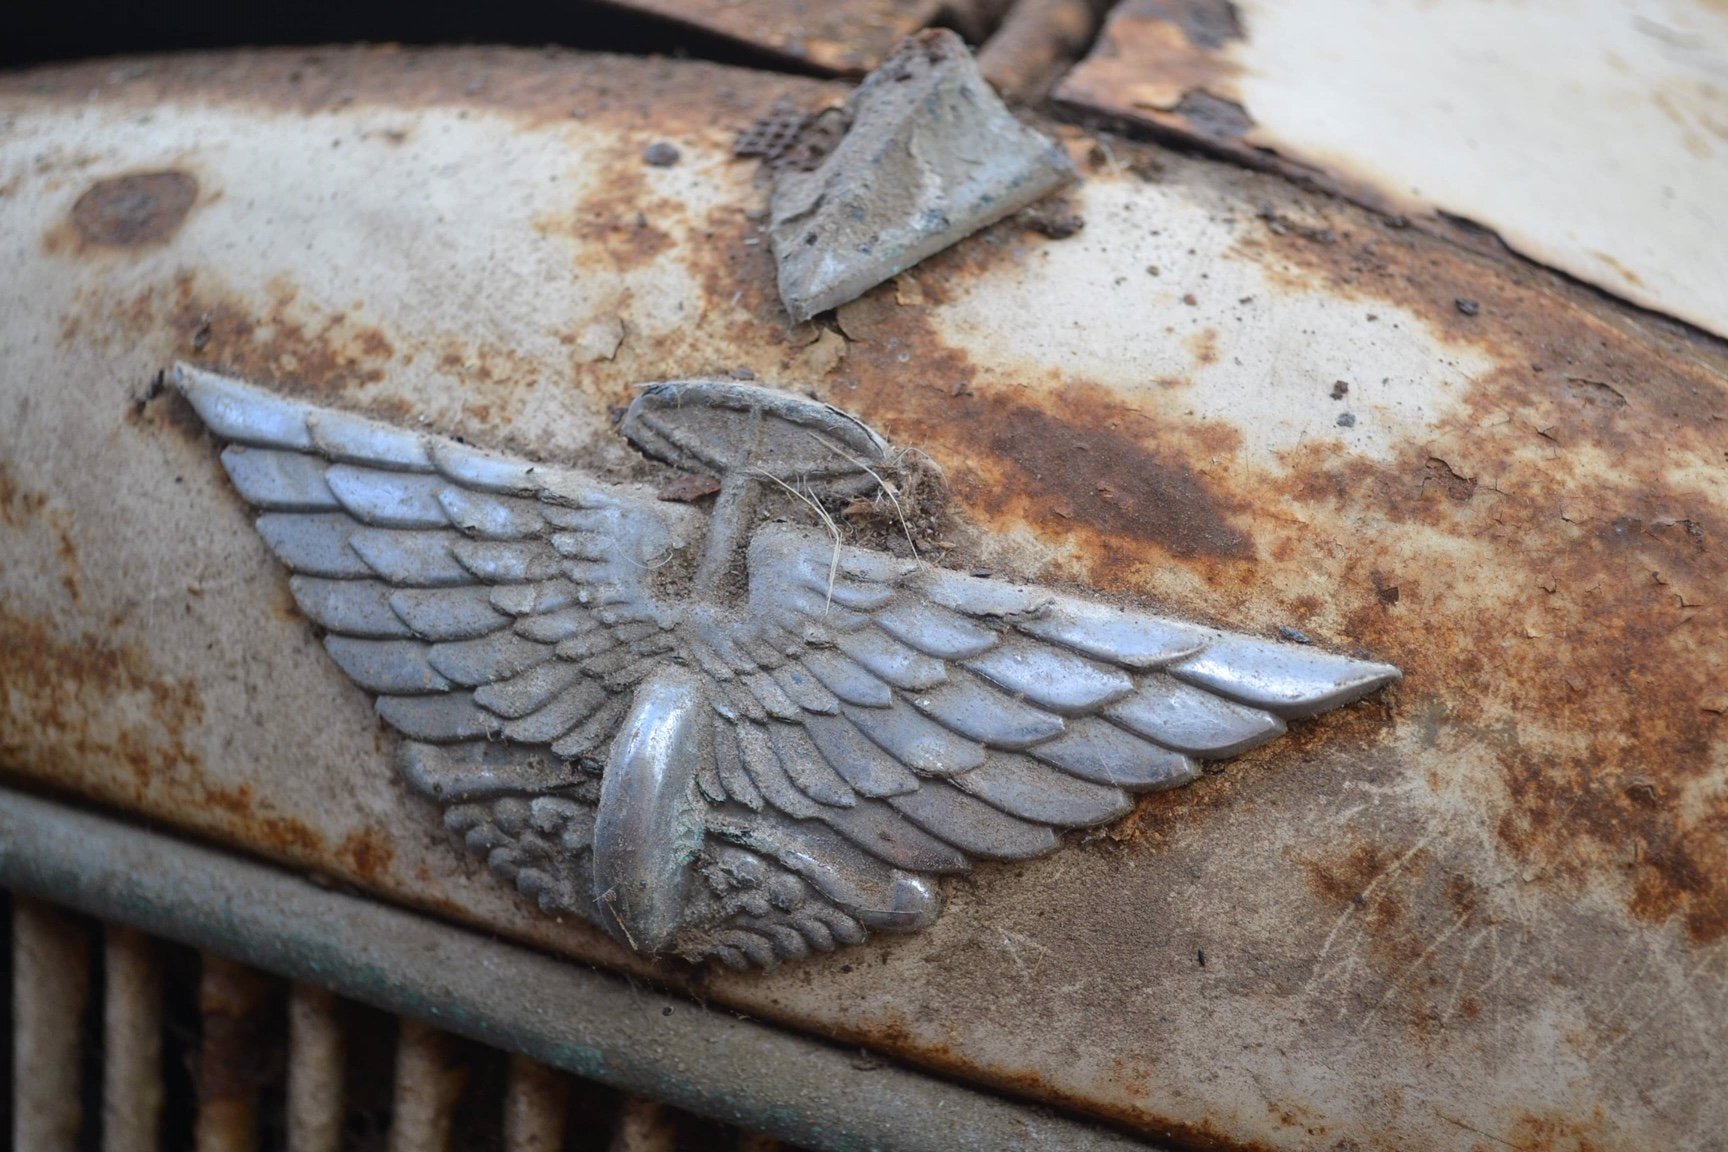
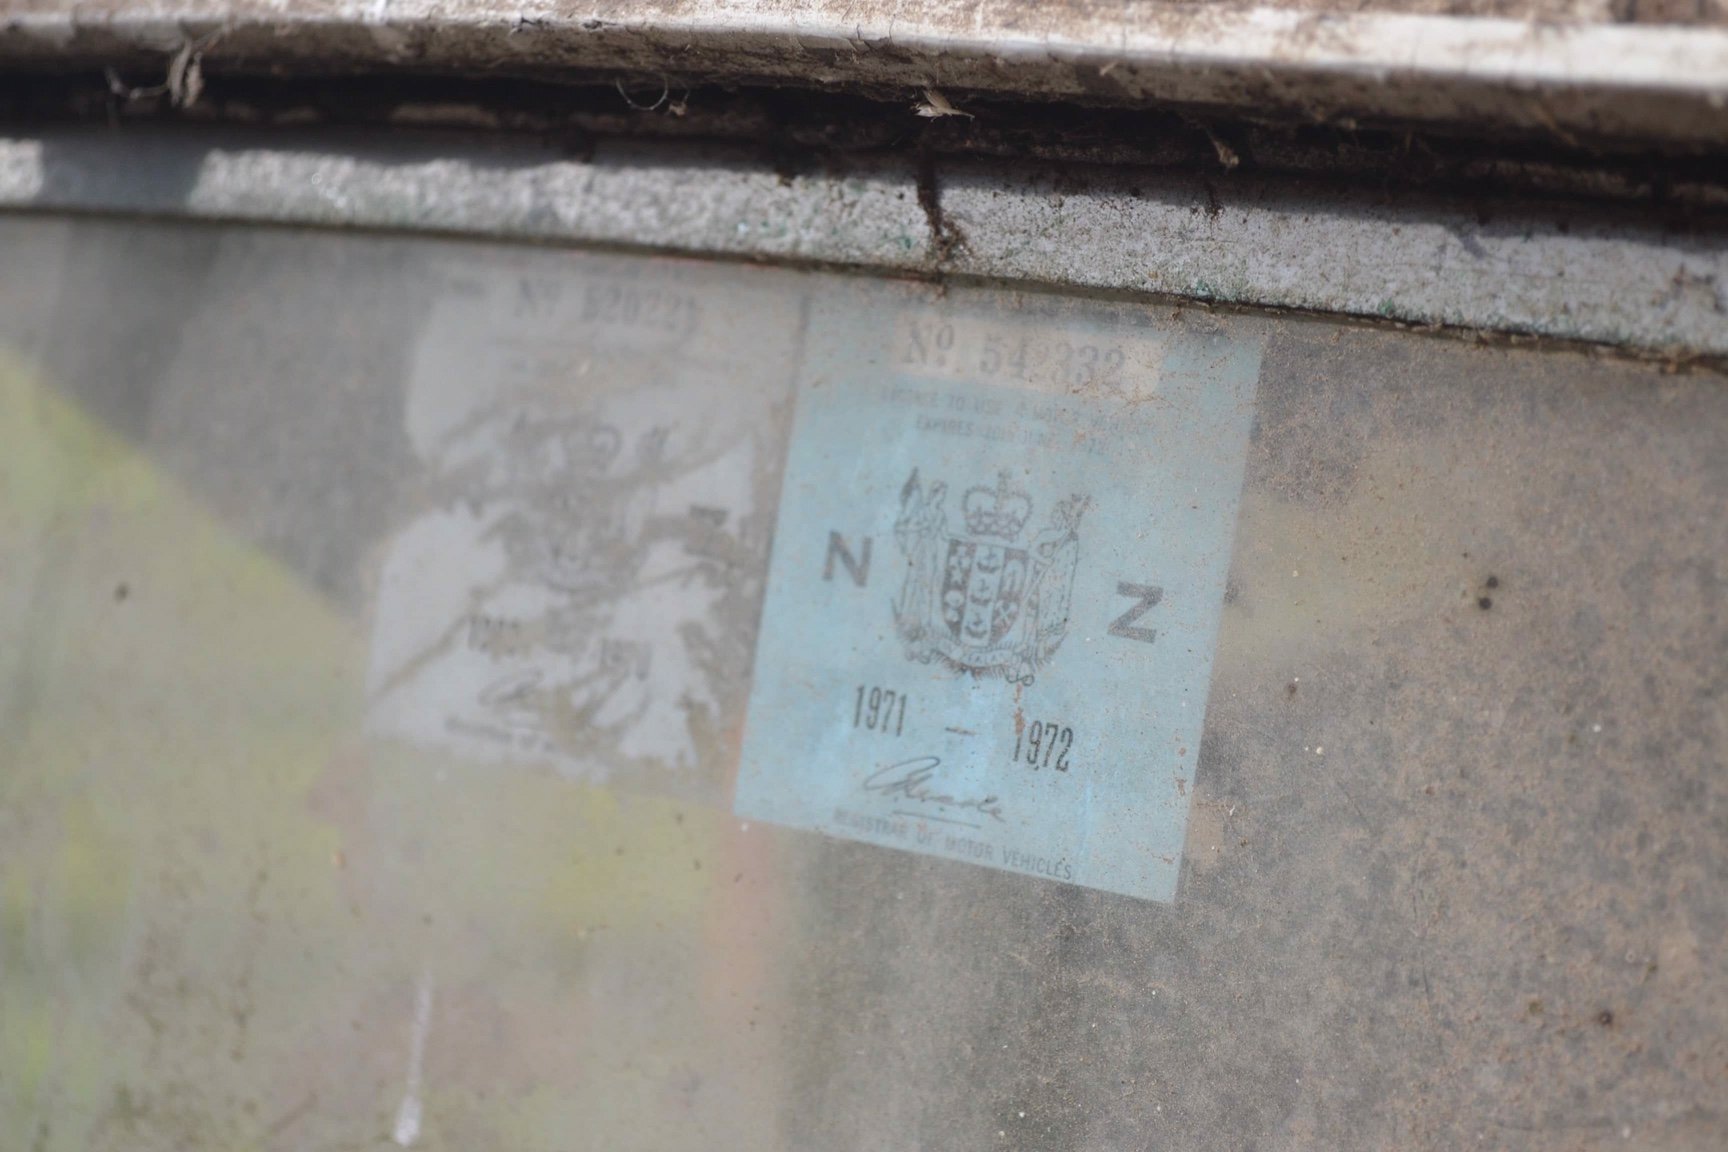
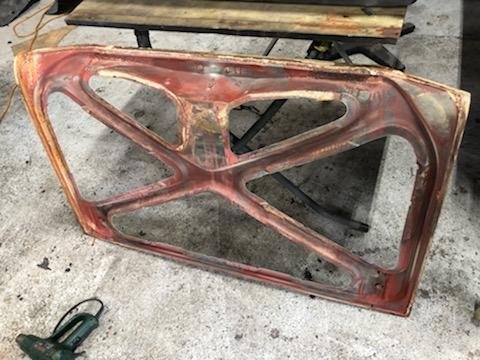
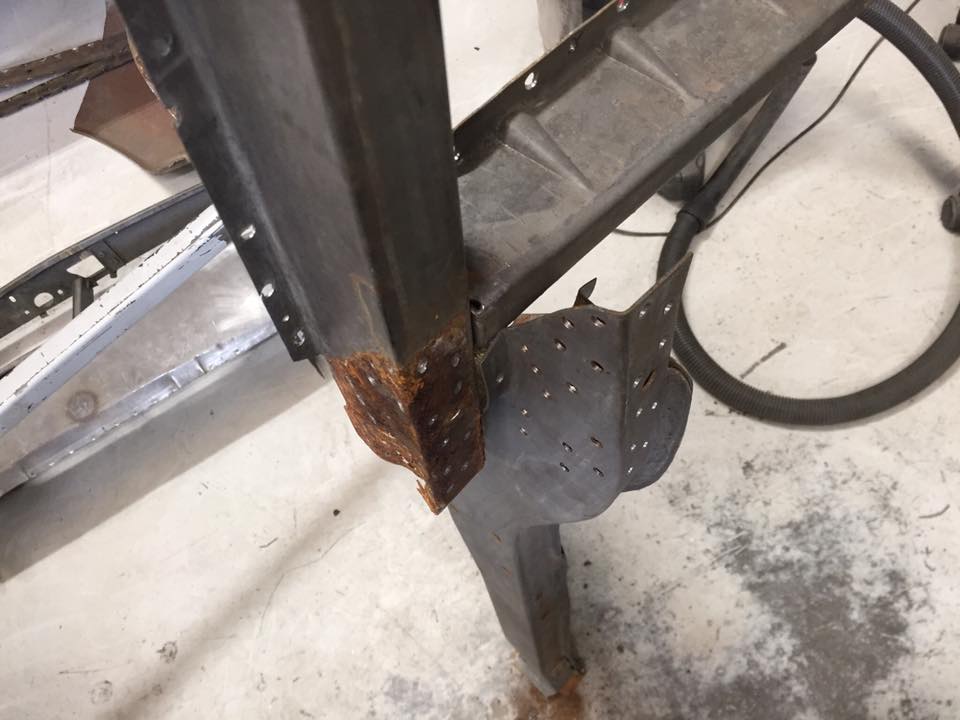
Must be a wall ornament? 70ish vintage, seized as. Rusted though. Any idea of the vintage? Thinking of either bolt it to the building or rebuild the engine and leave it ratty as.
1 point
-
Recently got my lancer on the road. but is still far from finished so heres what has been done so far. It started life as a stock 1200 as most do. kept it in this state for around a year and then decided i needed something a little quicker. i was on a very small budget at the time so my cheapest option was to put a starion engine and gearbox in as my brother had recently written his off so brought the wrecked car off him for $300. good start. put the engine and gearbox in and running and drove it around as it was until the wof expired. Two years later after allot of gathering dust i finally got a cert and a wof. Can't find any pics from before or during the conversion so will start from the start of the cert process. Discussion https://oldschool.co.nz/index.php?/topic/21812-palmystars-ex-lancer/& While deciding on what suspension to use it was left with no springs sitting on 14s with low profiles.1 point
-
Ive fixed a few small job on the starlet and took it for a hoon and goes bloody well for a 1300 with 300,000km on the clock.So i im going to keep it. The wee hoon that made me want to keep it It looks a bit ruff but almost rust free Frist get the wof sorted .Roll cage and as its efi maybe getting a turbo.1 point
-
Do you have it turned on when starting it? Apparently that's bad for the bulb1 point
-
Hard to get motivated when its winter and the shed is cold and wet. Did a bit of welding today though... Been eyeing up twin turbo intercoolers and the one that I wanted is only available out of the US, so was going to be spenny to buy and then get it here. Then miraculously one came up on trademe so snapped it up. Is 3.5" thick and fits well width wise, though most of it is gonna sit behind the bumper with only about 1/3rd of the core in direct airflow. Hopefully will still work OK given its supposed to flow up to 1300hp. Needed to change the outlet position to point directly at TB, bought a 3.5" cast elbrow (aliexpress special) and managed to get the old one cutoff and new outlet grafted on there. Anyone ever experimented with fans for intercoolers? Could potentially get a few small fans on the back side of the intercooler for the bit thats behind the bumper, wondering if itd make much difference tho1 point
-
I feel mislead, where is the lego themed fabric?1 point
-
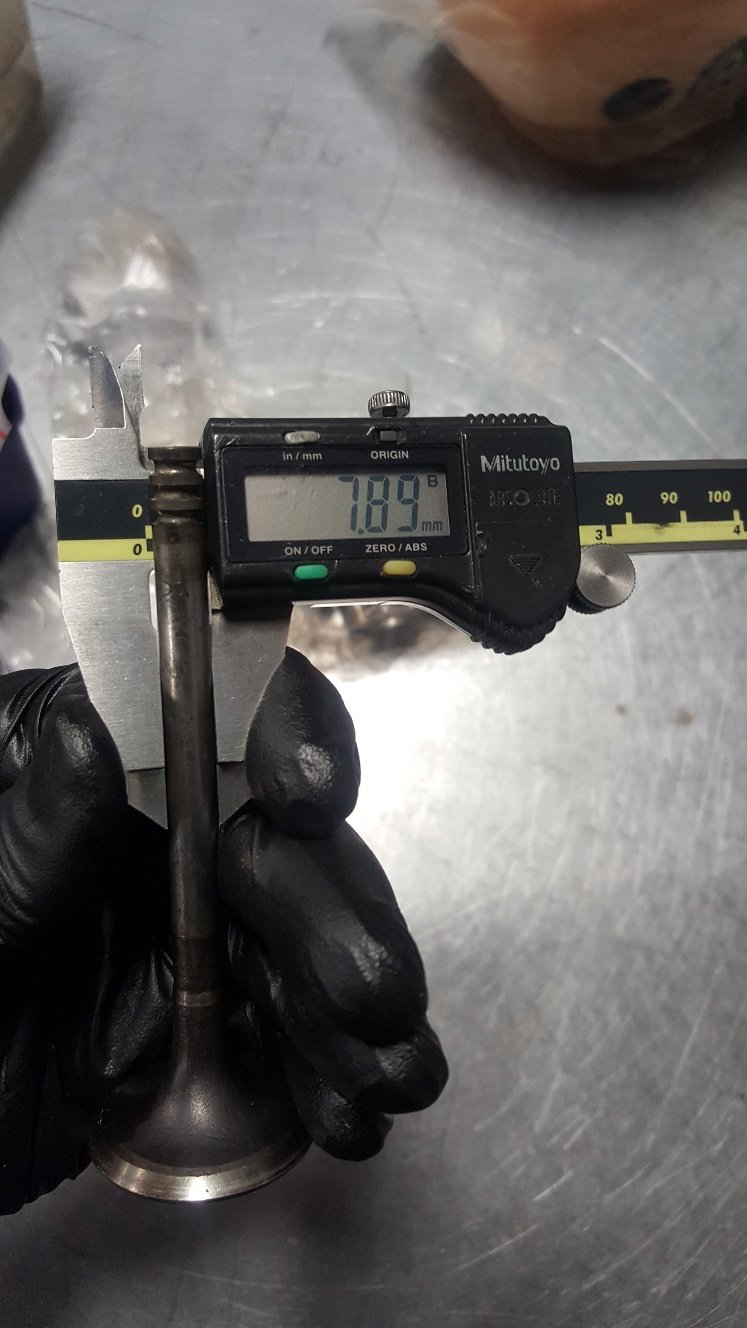
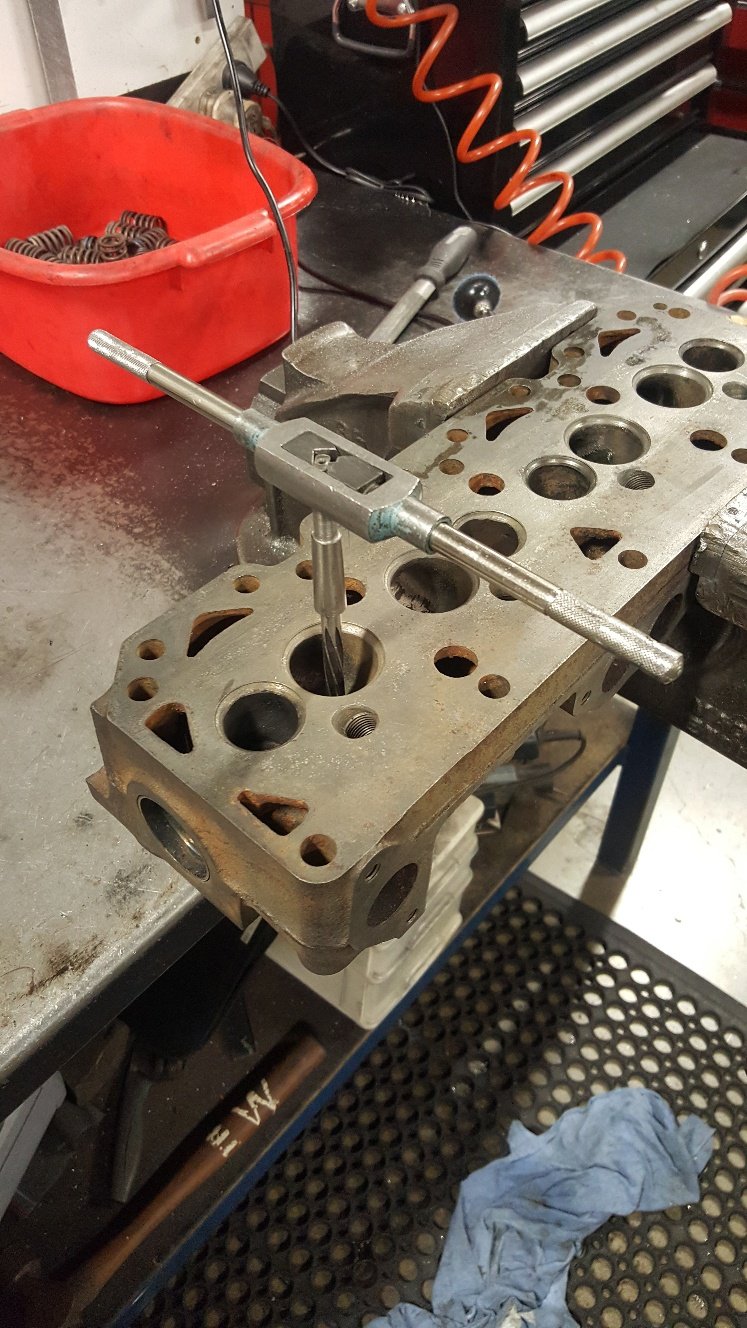
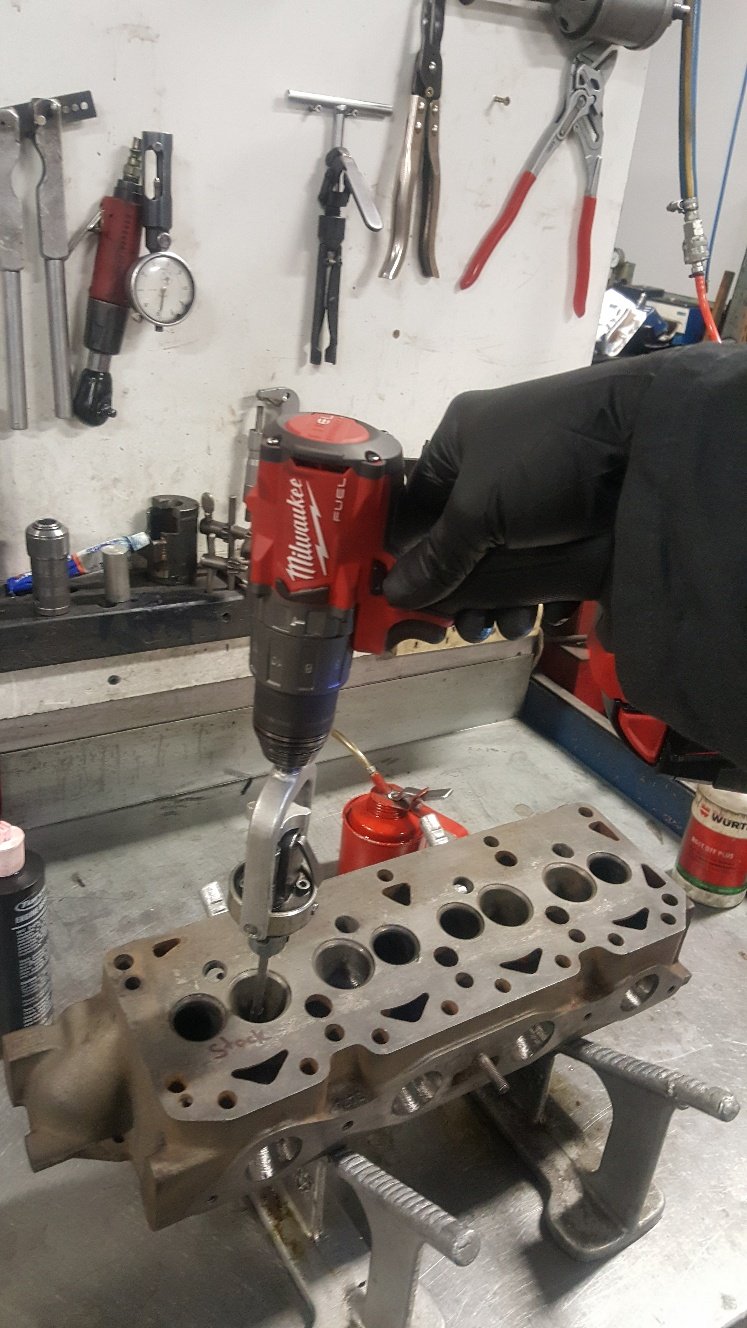
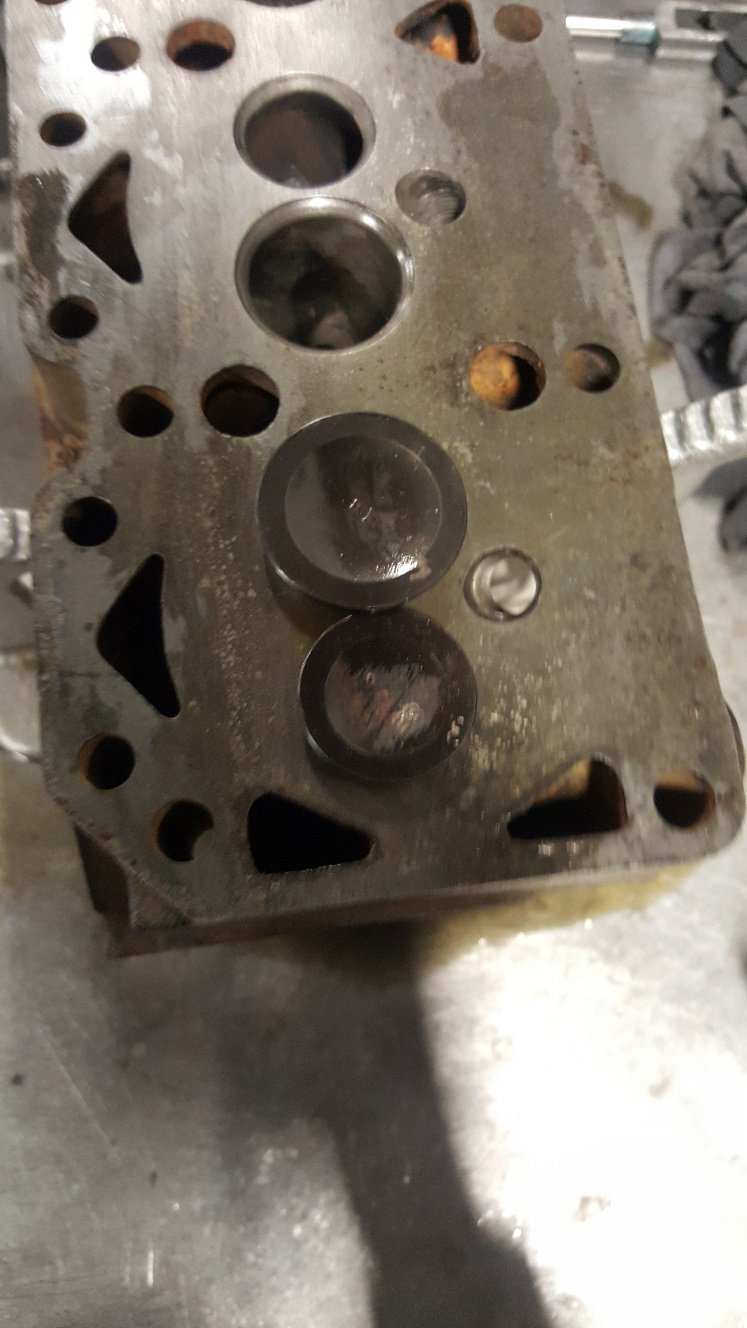
Here's a picture of the standard valve stem size Here's the Mazda FE valve stem size. So I need to open the guides up to accept the bigger stem size. This is also good because it means I don't need to fit a new valve guide. Its just a matter of reaming the guide hole the honing to finished size And now the guides are big enough to get the valves in. I will be machining these down to 42mm for the intake and 34.5mm for the exhaust.
1 point
-
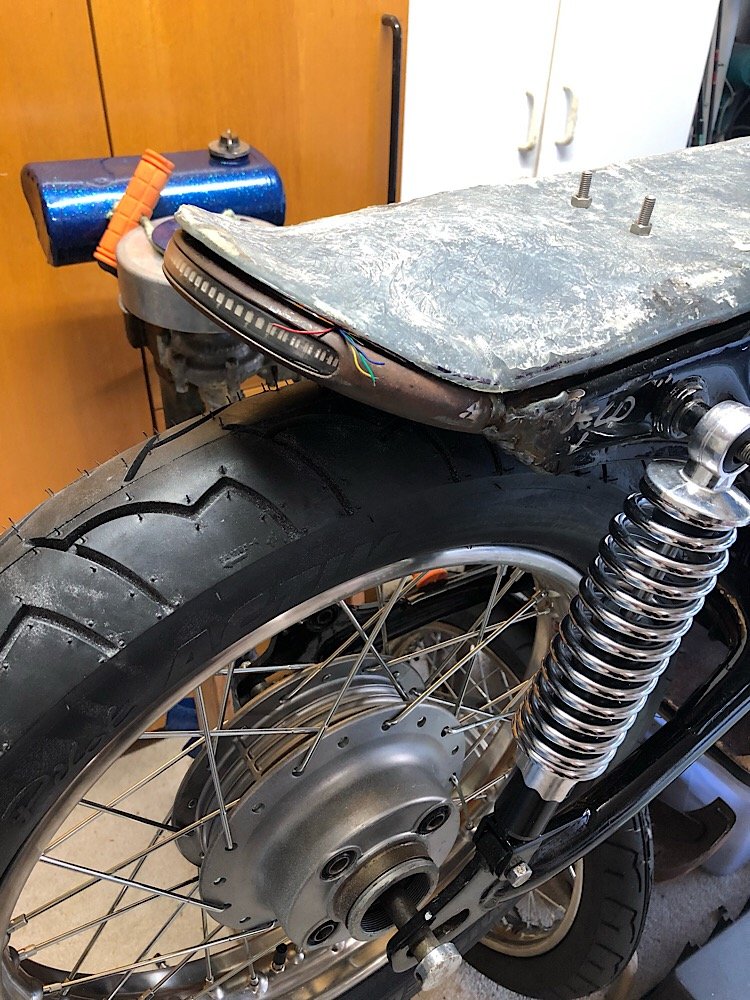
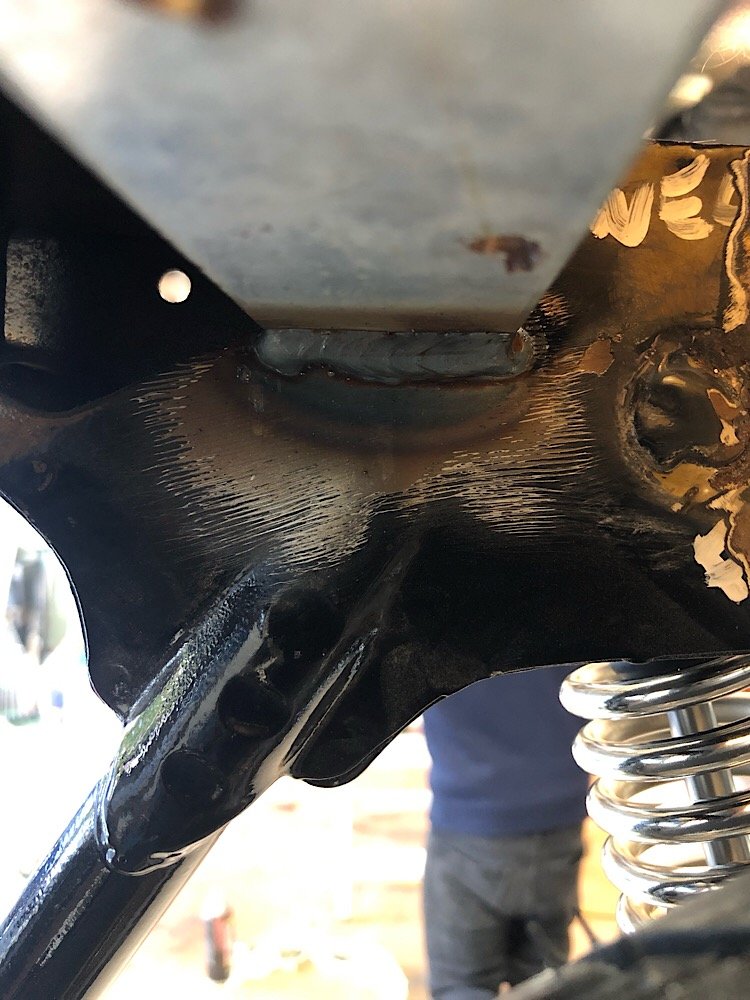
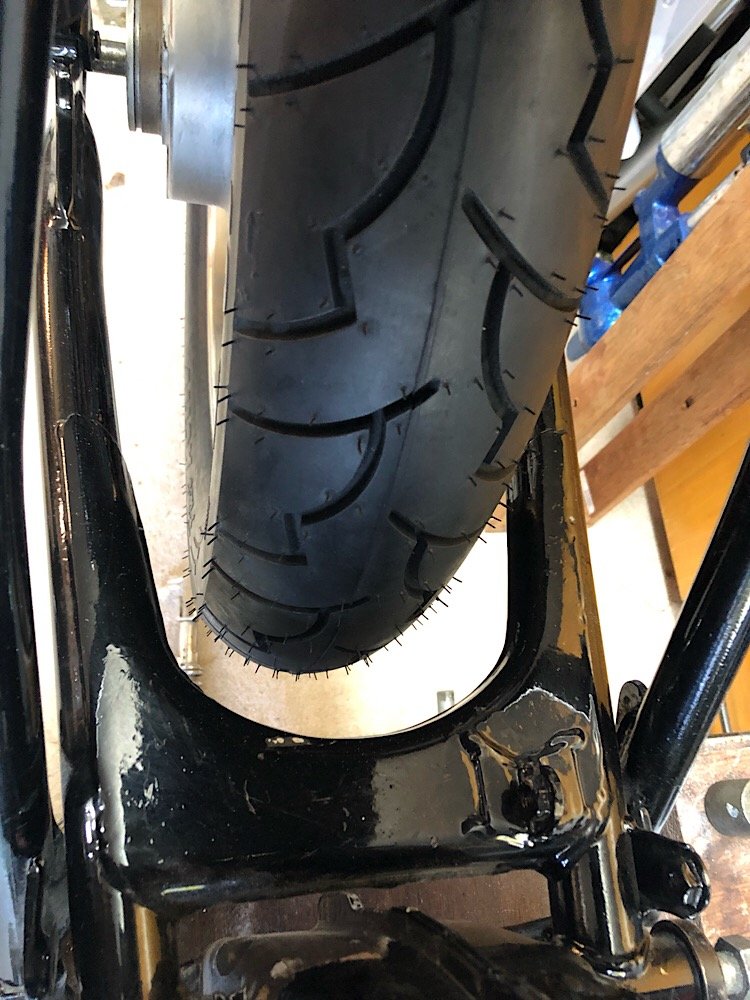
Thanks mate, I’ll get in contact Frame is back from the welders, stoked with how it’s turned out. Fitted the rear wheel and took some measurements, fitment clears the frame even with the big tyre. Added in a bracket to mount the seat latch mechanism too, also doubles as frame strength. Continued on with the engine build today, got the piston and rings in, everything was going great until we noticed small cracks on the camshaft where the timing chain cog fits on. Turned out to be cracked right through on both sides. Yip that’s game over for that cam.
1 point
-
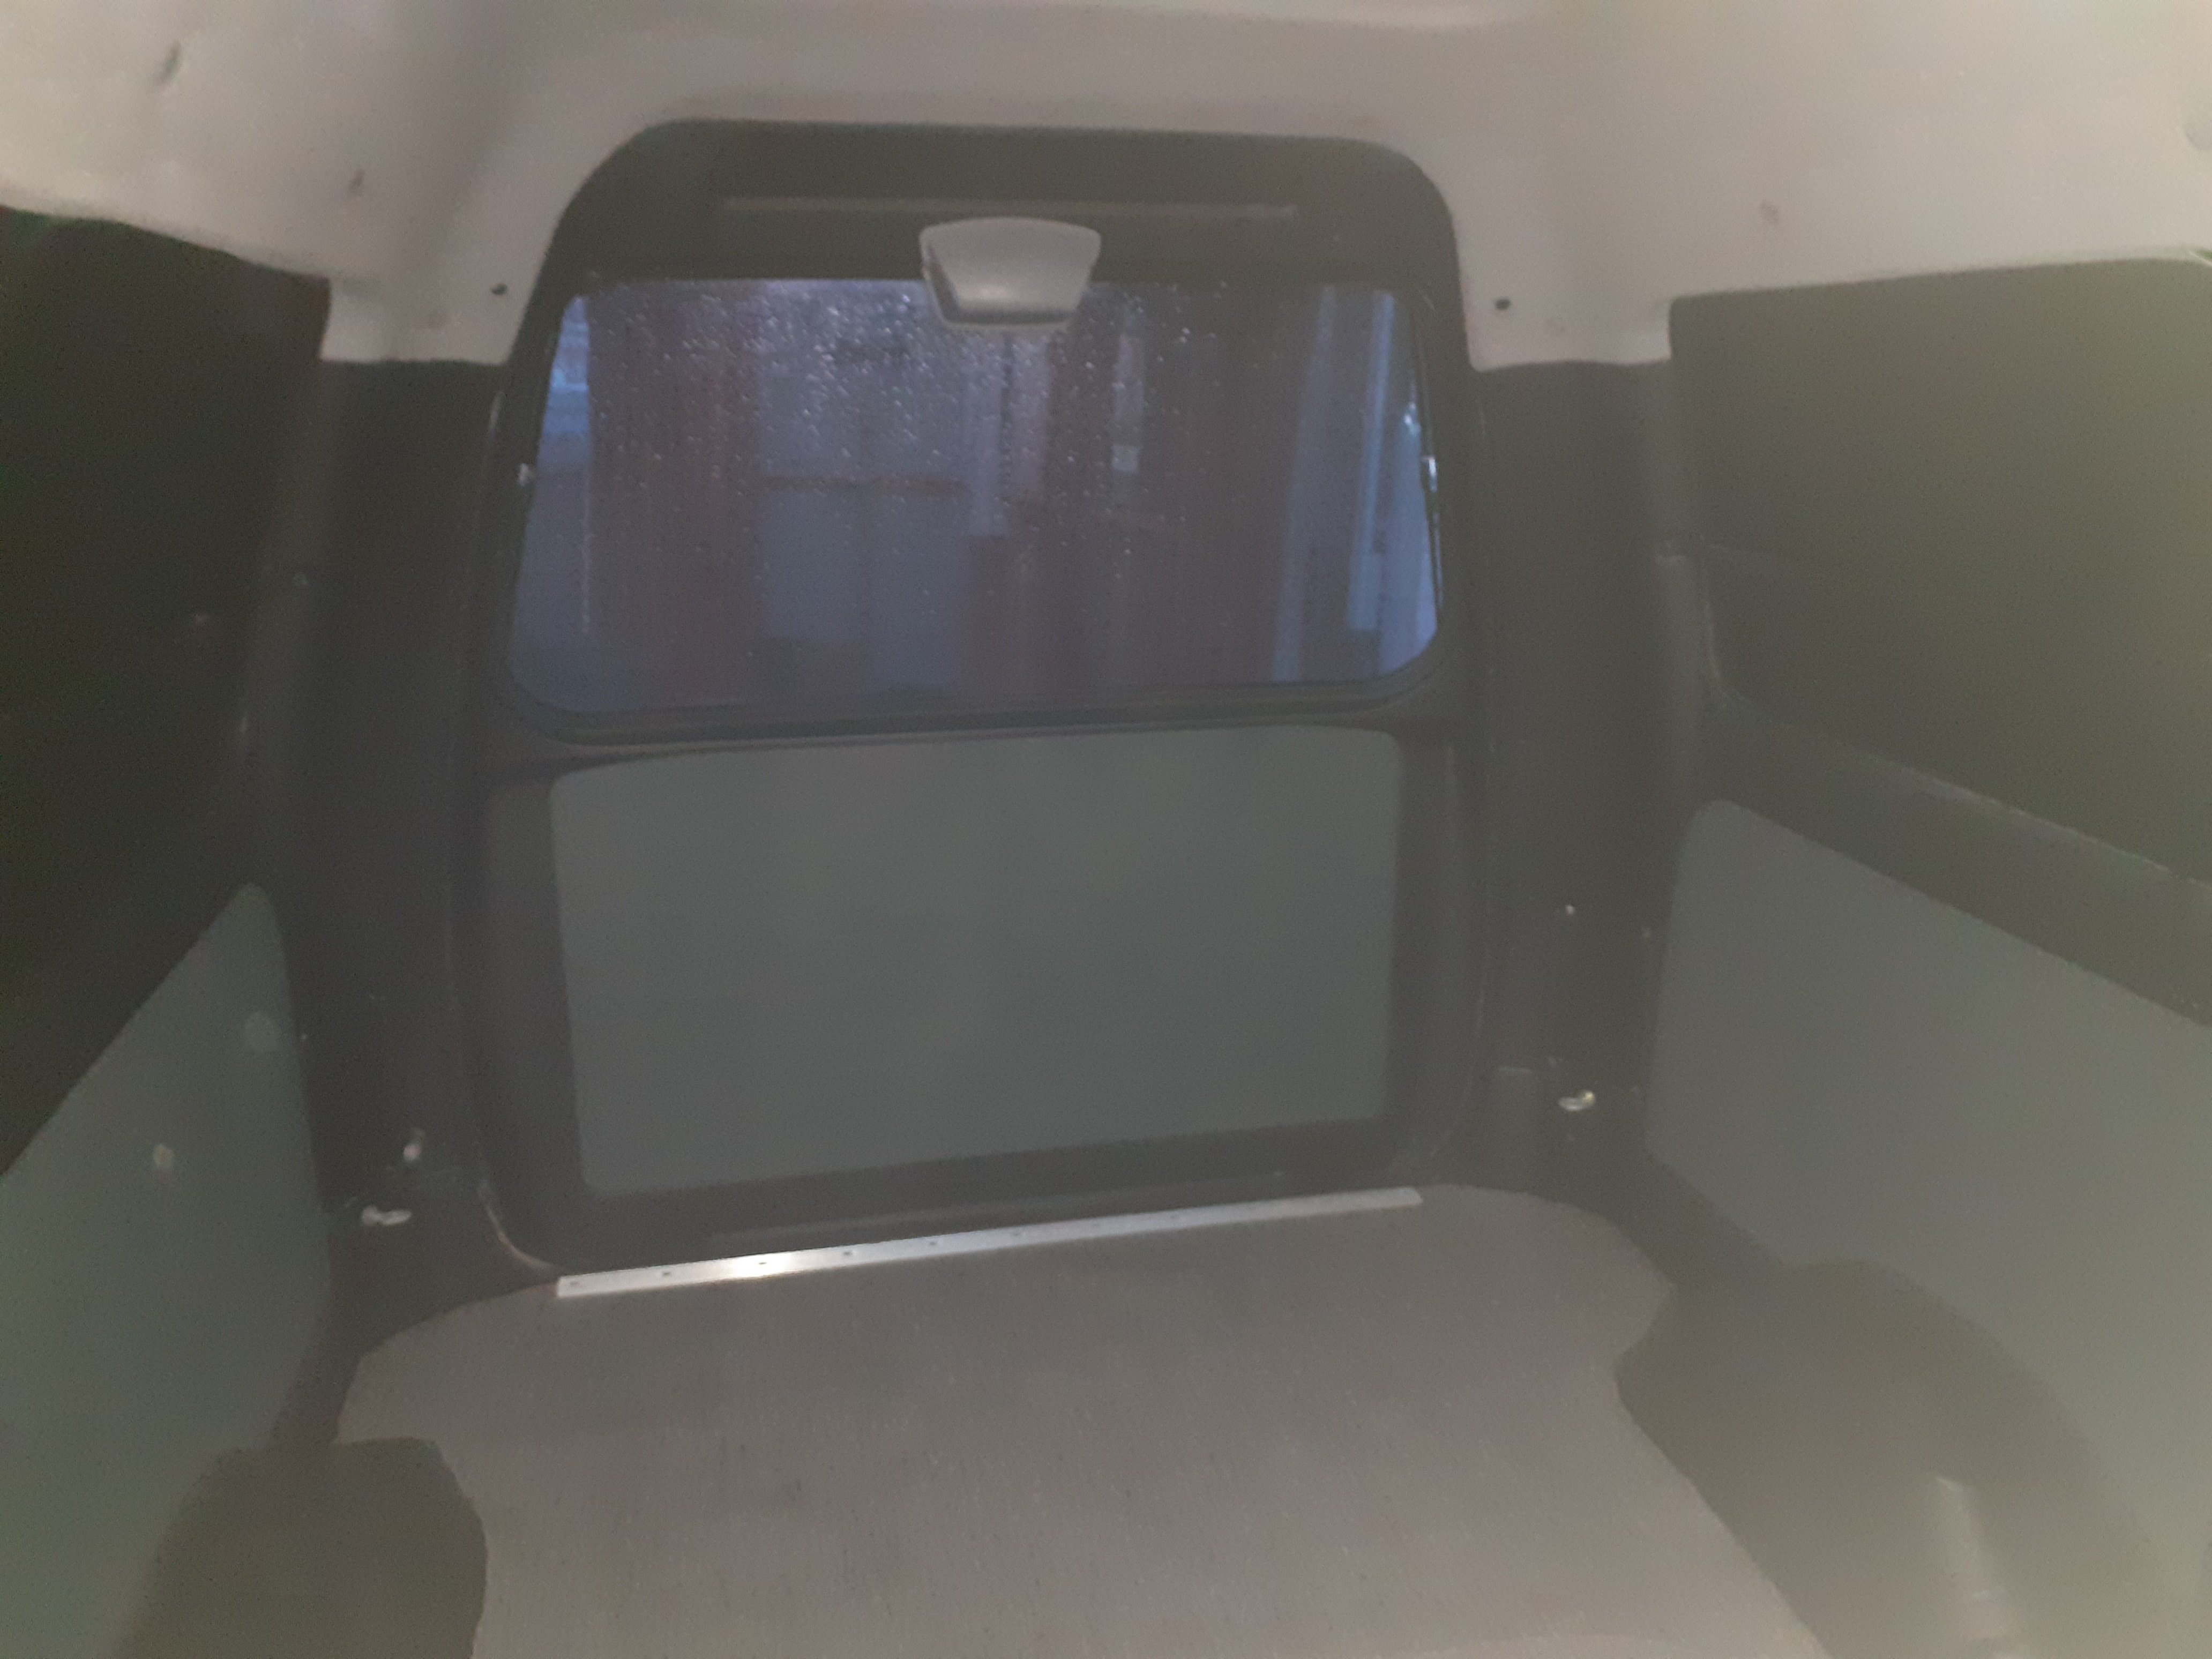
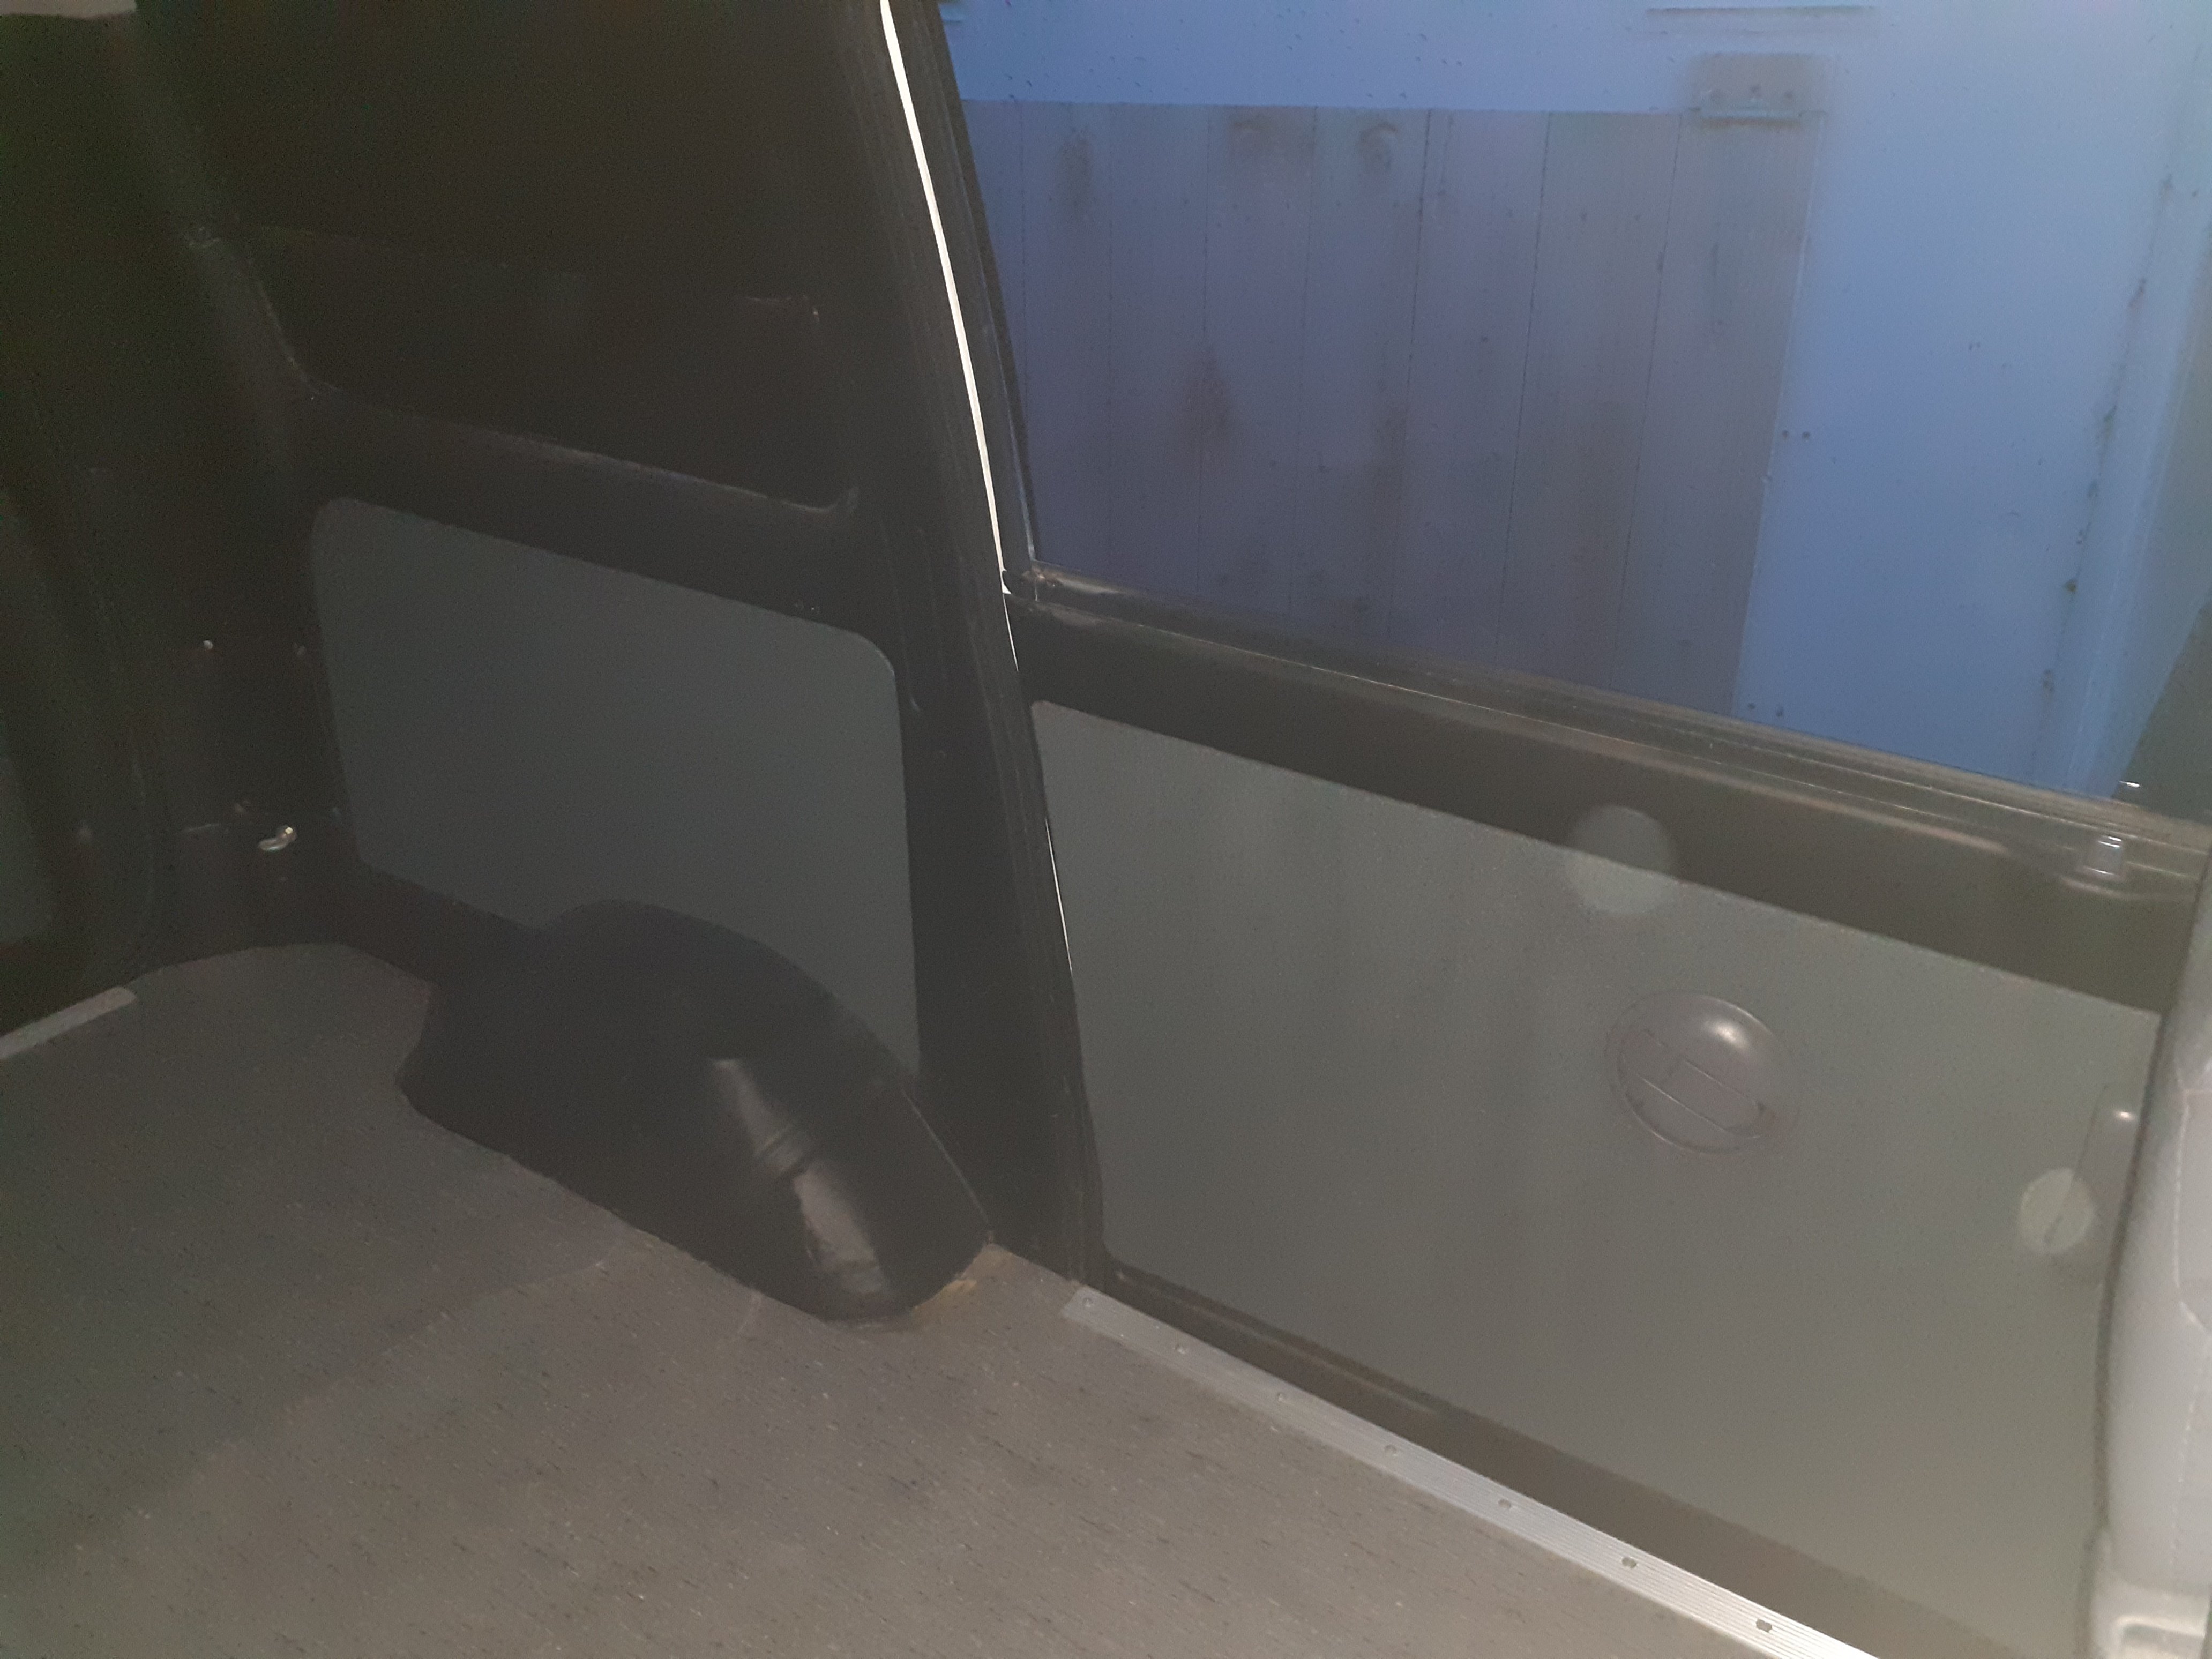
Nah they masked around it. If I did it again I'd strip more out I think Chur. I have a bit of a thing for povo spec Japanese cars with unpainted bumpers and door handles etc. I don't know why I covered the rear interior panels today, stole an idea from someone else's build thread. Went to the warehouse, got 2 $5 blankets and a can of ados, got glue all over my fingers, done.
1 point
-
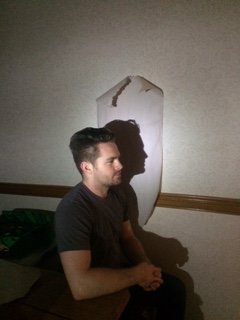
Just my vote for no painting, just make it run, fix the rust and drive it... Also so nice to catch a glimpse of the rock star hair again, so dishy.1 point
-
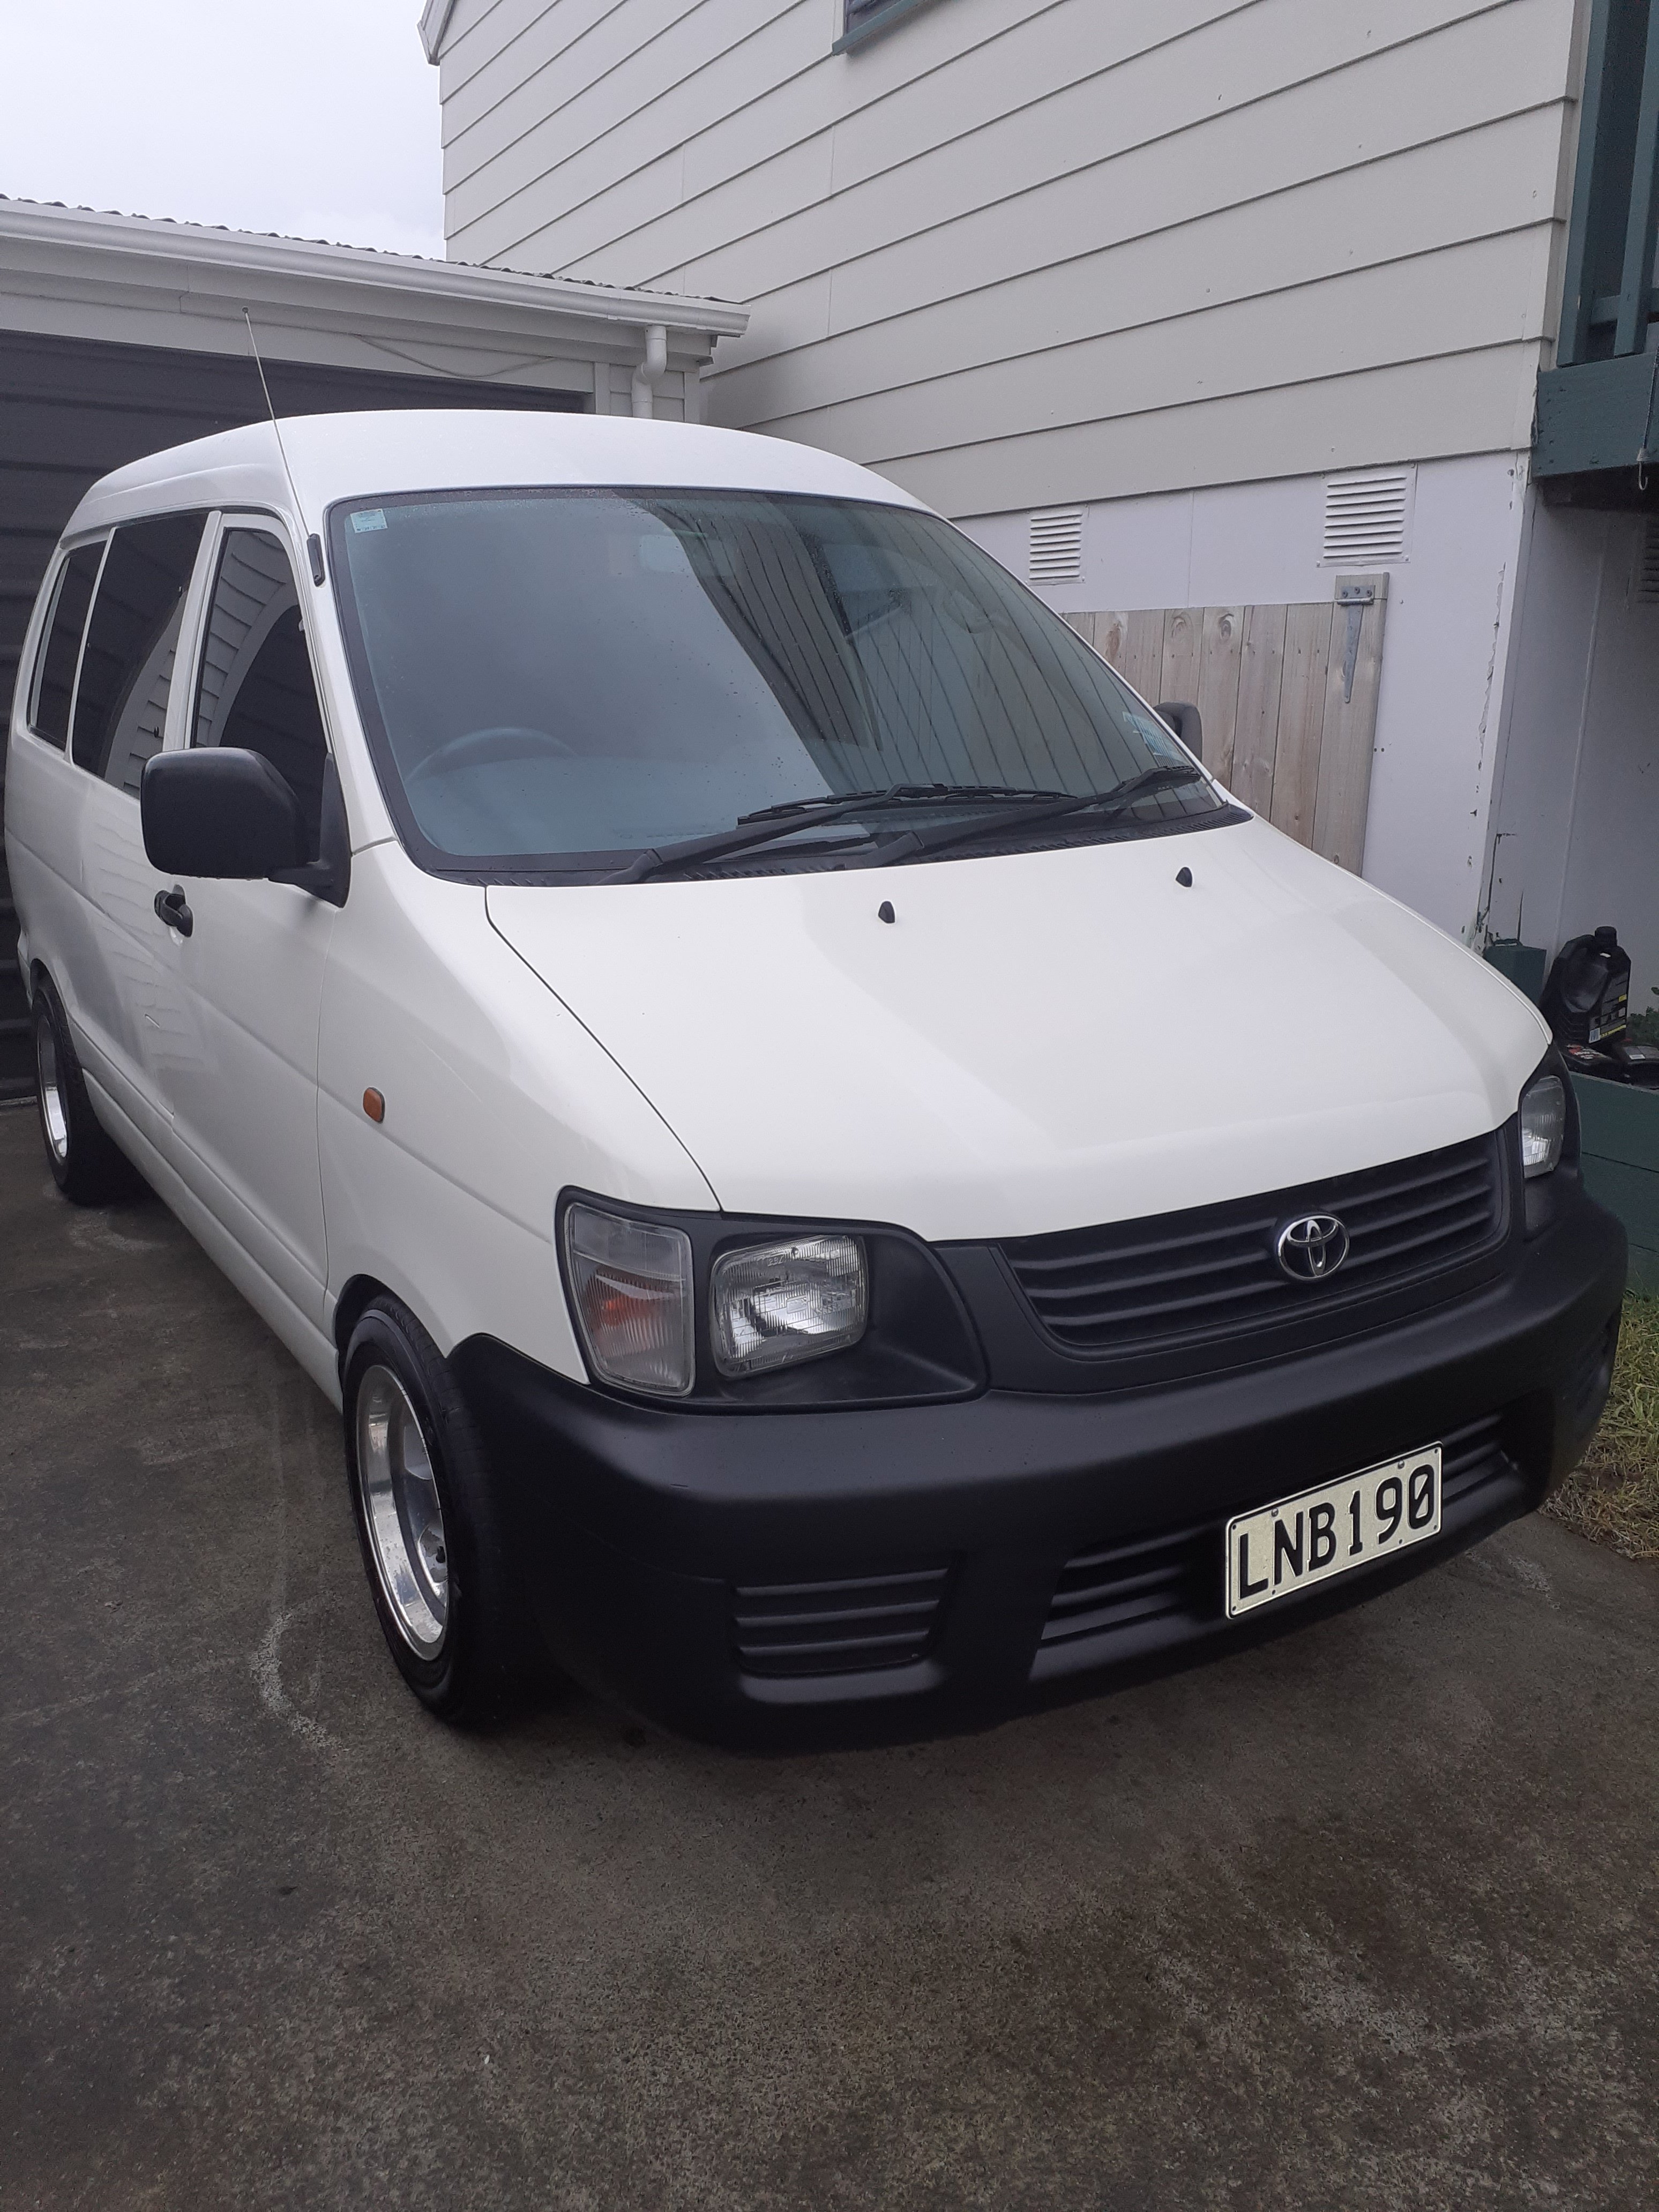
Got it back last Saturday and spent all weekend and a few nights this week cleaning parts and reassembling. I got a mystery pack of plastic trim clips off Ali which was very handy for replacing all the broken ones Paint is.... meh. It cost $1600 all up, that was to tidy up a couple of dents, do the outside, inside the rear door and touch up one of the front door shuts. There's a few runs and badly masked bits and all of the dust inside when I picked it up Realistically it's better than I could have been bothered to do though and it looks ok all back together I painted the bumpers with black plasti dip type paint which makes them look heaps better, I'll be interested to see how it lasts
1 point
-
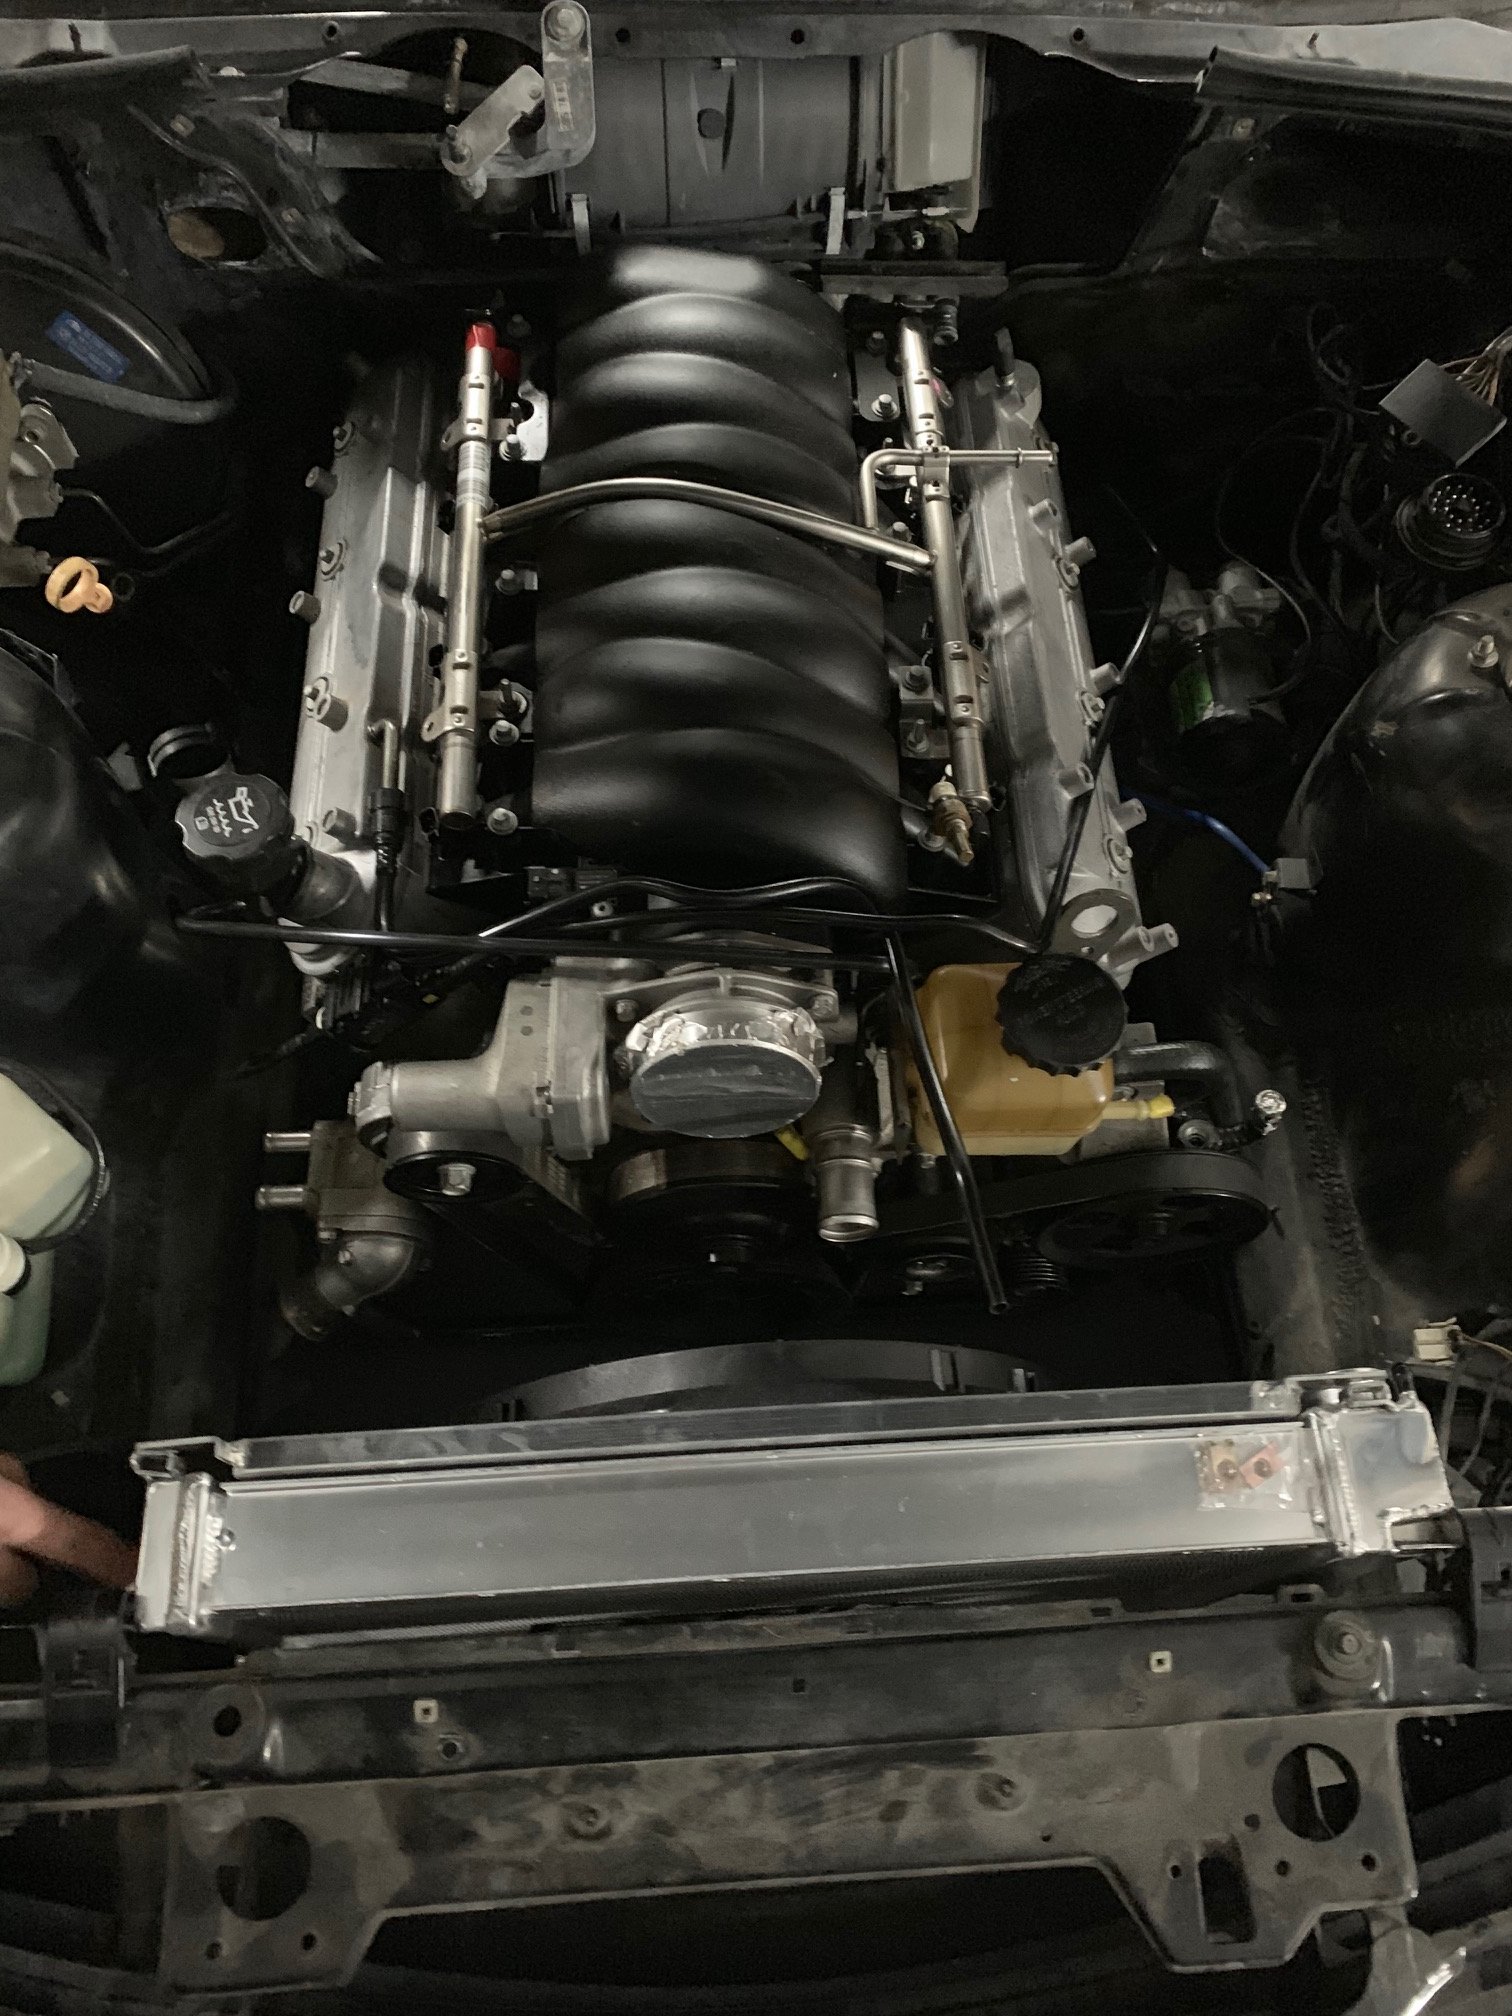
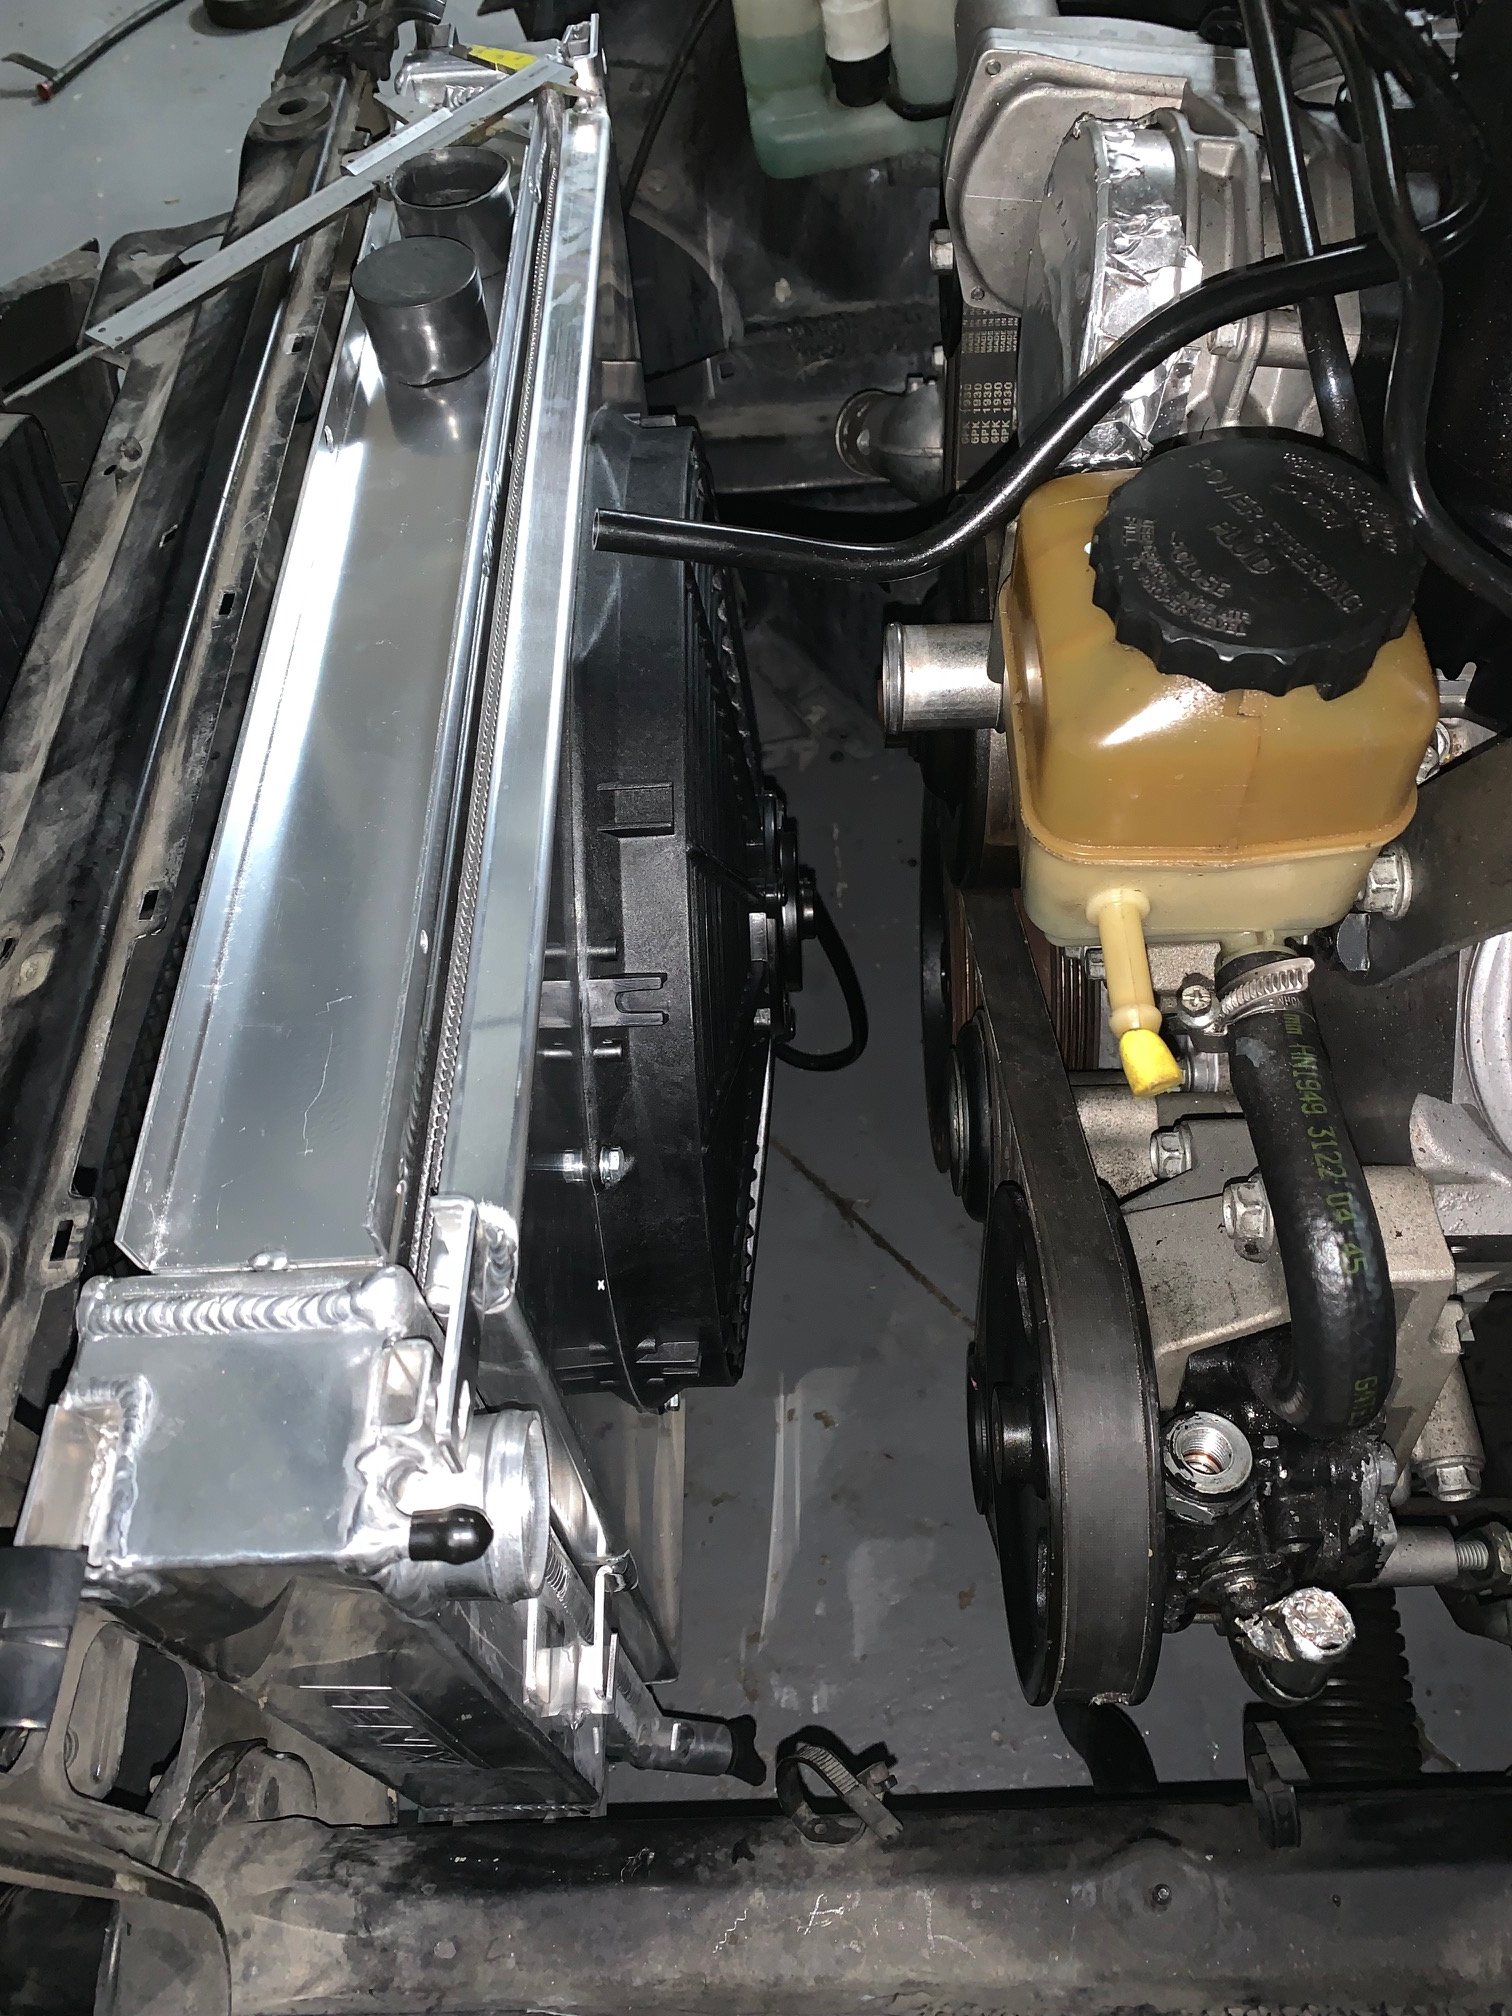
Got my high quality Fenix radiator and shroud today. I suspect they’ve never test fit one into a car but I can make it work. Didn’t come with a filler neck / cap which is a bit gay cos I need to weld one into the end tank. Looks good tho
1 point
-
I have made a private Facebook event for the next meet. I can invite anyone as long as they have a mutual friend and anyone invited can invite as well. If you want an invite send me a message and I’ll try and send you one. I think I can send them to your email or phone number.1 point
-
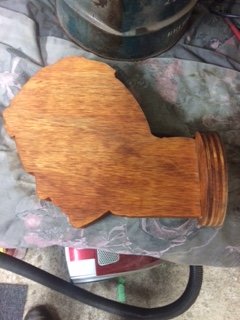
Hoping to setup a YouTube account soon and put up videos of me gapping Busa’s at the lights etc. In the meantime, here is my solution to a problem that plagues all of us: where to store all my damn helmets. On a damn handsome helmet rack.
1 point
-
Cheers to absolute legend @crustywhip for sorting me a whole box of interior trim, door rubbers, windows, regulators, and most importantly two mint front guards, one of which has already found it's way on the car. Cheers to @The Bronze for hauling the bits up the country for me. Now that the front is together, only minor things left for a warrant. Need to stop annoying exhaust rattle, put my new front calipers on, and get the headlights working again. Front guard will be painted at some stage but for now it's not too much bother. goes so hard. I get many "when is it getting a turbo" comments, but for what it is it definitely doesn't need one. till next time1 point
-
1 point
-
Lovely work. Im sure your old friend is looking forwards to many more roadies.1 point
-
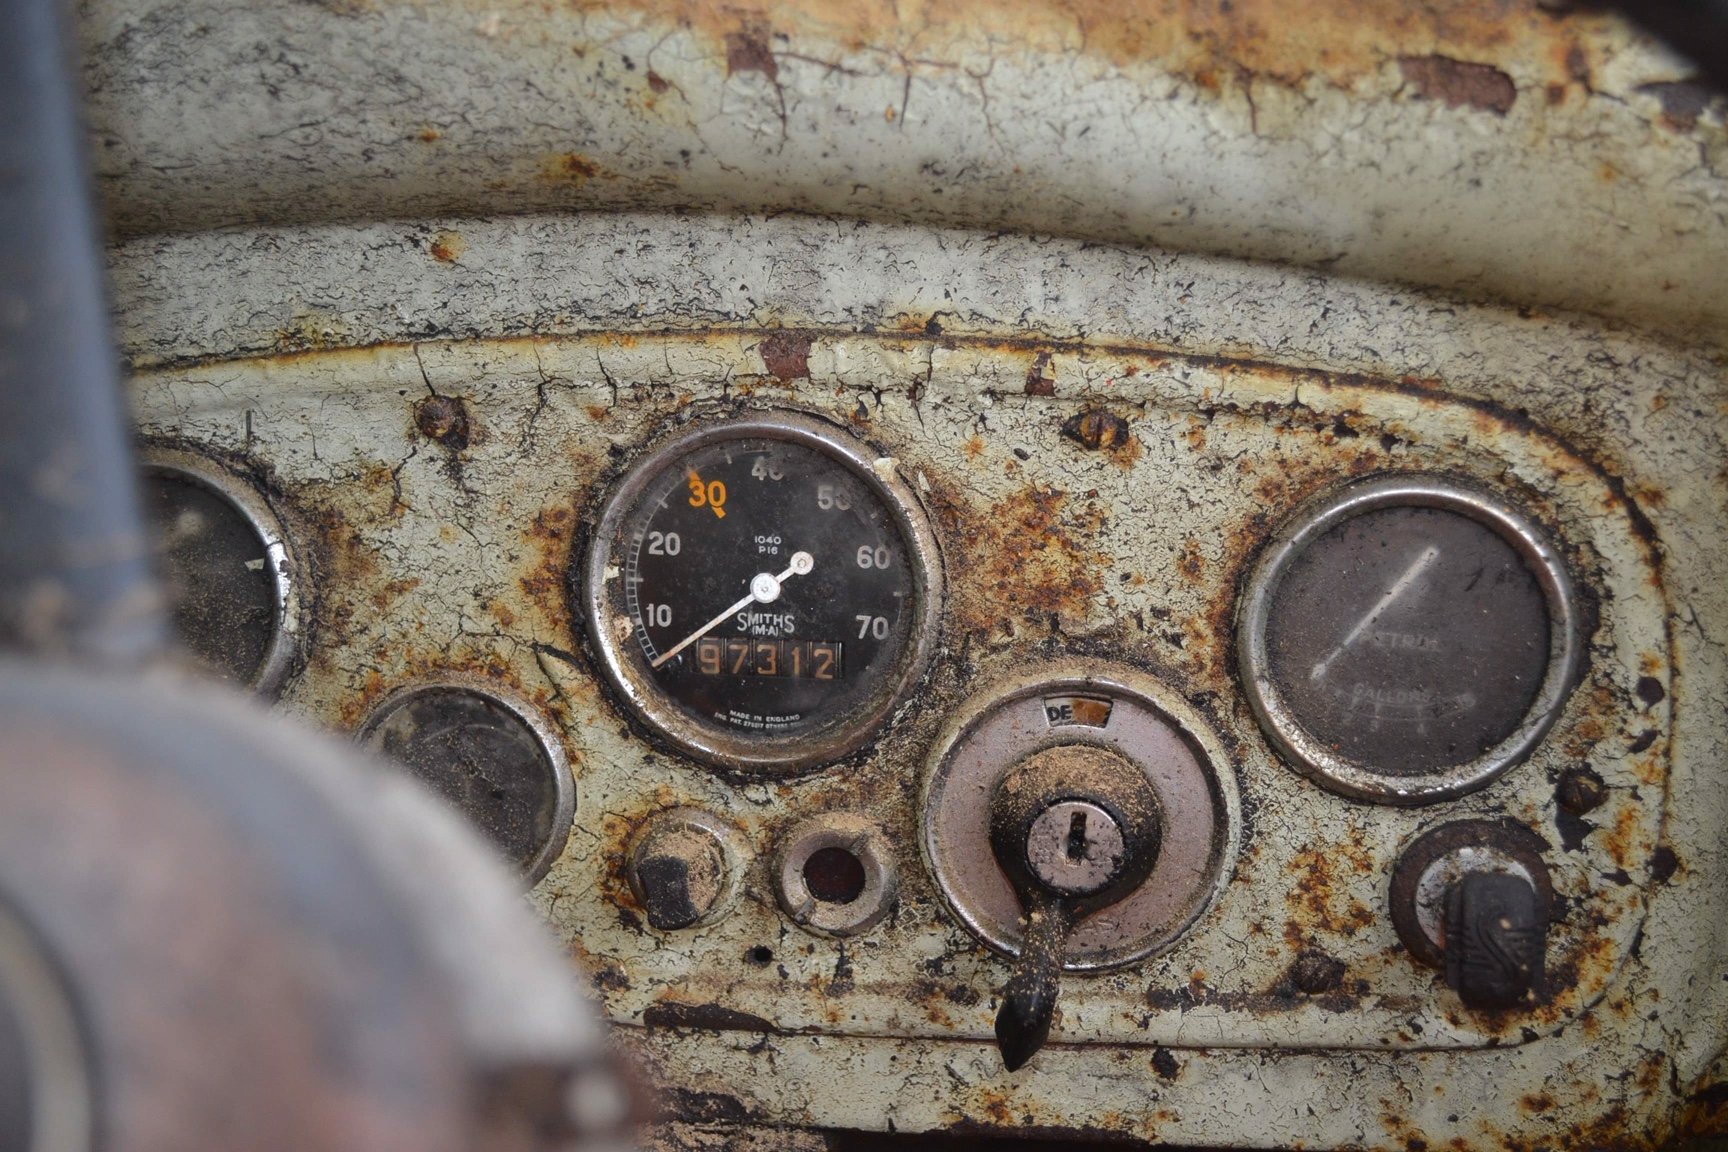
"What does the meter say?" "95 degrees Sir" "Not great; not terrible." "Sir... thats as far as the needle goes on the dash" "The digidash can read higher. Go get the one from yahoo auctions"1 point
-
I made this just for this thread. Some Highly enriched original content.. enjoy1 point
-
Workmate just brought a stack of chinesium AN fittings for an efi conversion, macaroni elbows would have been a superior material choice.....1 point
-
It's been a couple of weeks since an update, mostly because it has been endless wiring up, which it time consuming but has fuck all to show for the effort. Basically I have been chunking away at it endlessly, with tidying things up and soldering chocolate block connections being most of it. It is all running on 24v now, all the bulbs and relays swapped over and running 2x DC DC converters for the 12v stuff. So many relays... You can see the convertors. One runs the wipers/washer/blower motor, the other runs the stereo power. The terminations are the same so if the wiper one shits itself I can use the stereo one as a backup. Halfway through wiring the instrument cluster, have to study the Haynes manual a bit more I reckon. I made a box for the fusable links, starter relay and glow relays. It needs welding in place yet. And a lid. The hole is access to the fuel filter manual pump knob. Battery positions. I stripped the old rear seat down to the frame, this is because I went back to the wreckers and bought the escudo rear seats from the car I got the fronts out of, these look like they could be pretty good as a solution; Just need to weld some mounts to the frame and create something to hold things folded away. It is nice that all the seats match too..1 point
-
Ore progress on trial fit up, installed glass but not happy with the new rear quarter window rubbers so looking at another supplier. Quarter bumper brackets need so work as well as bumpers don’t sit quite right.
1 point
-
Holy shit. Front spaghetti. Engine spaghetti. Inside spaghetti. Fusebox spaghetti. Currently (ha!) I have; Headlights high and low Indicators Hazards Park lights Brake lights Wipers and washers Heater blower Acc, main and start off the key A glow plug timer I have the glow loom stuff hacked out of the Safari loom. Things going surprisingly well, I have only blown 7 protection fuses during engagements.1 point
-
Sunday night update time. For a start it continues to look fucking banging. I mounted some trad looking but actually LED tail lights. I added a mount spot for a Ute crane, pretty sure I have found one cheap. Then I sucked in my gut and pretended I wasn't scared and started laying out the loom. It took all weekend to get to this stage lol. Mostly it was separating things out to where they need to head to and figuring out what wires did what for the steering wheel controls. I also broke the heater blower and wiper stuff out of the Dyna loom so I can feed them from a DC DC converter. @moparmuppet kindly dropped a convertor off to me and had a perv the other day, although it might not be chunky enough, it is rated at 8a continuous. I also pulled a whole lot of important looking shit to do with glow plugs and such out of the Safari loom. Interestingly it doesn't look like the new loom has relays to run the main lights, but I have pilfered those from the Safari setup as well. I am feeling surprisingly comfortable with all this which I was not expecting. Maybe tomorrow I will apply power to it and let the smoke out. That will be halarious.1 point
-
I spent the last couple of weeks tidying things up in the front of the cab, there was a lot of little niggly little stuff. I just have to do a minor mod to the handbrake bracket and hook up the clutch booster vacuum now. Stuff like this patch below, finishing the underneath welding I couldn't do when I did the the seat mods, brace up the split engine cover so it seals properly, weld a rust hole in the floor where the throttle is, fit a boot to the low range lever, mount the steering wheel properly, mod the steering wheel floor cover so it clears the shaft UJ, etc etc I have left the engine cover in the back for now, this will get some loving after the induction system has been sorted. I built a driveshaft hoop for future potential turbo doorts. I then built some wheel arch extensions and new steps. I modded the steps after this as they looked a bit shit, I might still do a bit more to chunk them up as they still look a bit flimsy. The arches are bolted on with rivnuts set into the body, pretty rock solid. I somehow forgot to get a pic of the mostly finished article, you get the idea from this shot though.. Then I ordered some steel and got to thinking about the deck; The height is set from pulling the springs out and sitting it on the bump stops, it should clear by 10mm or so. The deck ended up about 1050mm high, a good workbench height for me. it is a bit shorter than I expected, 2.5m long x 1.85 wide, but it was looking a bit out of proportion at 2.8m, and frankly stupid at 3m. These is quite a lot more to do to that including side drawers in front and behind the wheels, finish the hoop, light mounts etc, that is the next few days effort I imagine. I also removed and stripped down the Dyna wiring loom, this gave me the heebie jeebies, the thought of trying to marry the 12v Dyna loom to the 24v Safari loom give me conniptions. With that in mind I ordered a 20 circuit hot rod kit, all the wires should be labelled so even a thicky like me should be able to get through most of it without too much drama. Shit I hope so.1 point
-
More progress with gapping the doors bonnet and boot. All welded back together again. Trial fitting allthe exterior body parts to check all good and also fitting the front and rear screens and rear quarter windows to check new rubbers all work.
1 point
-
And we have colour...,
1 point
-
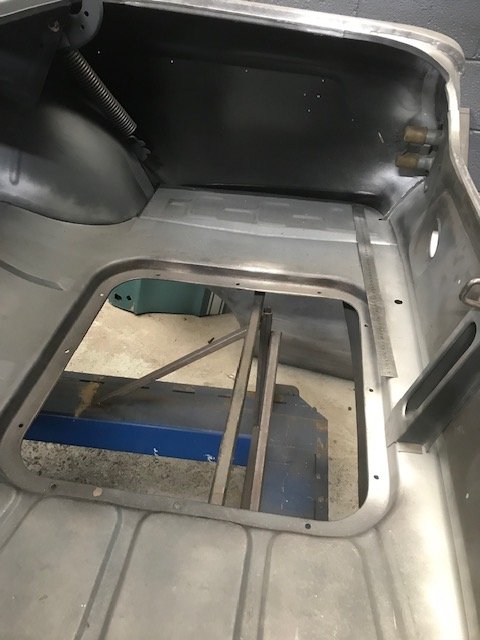
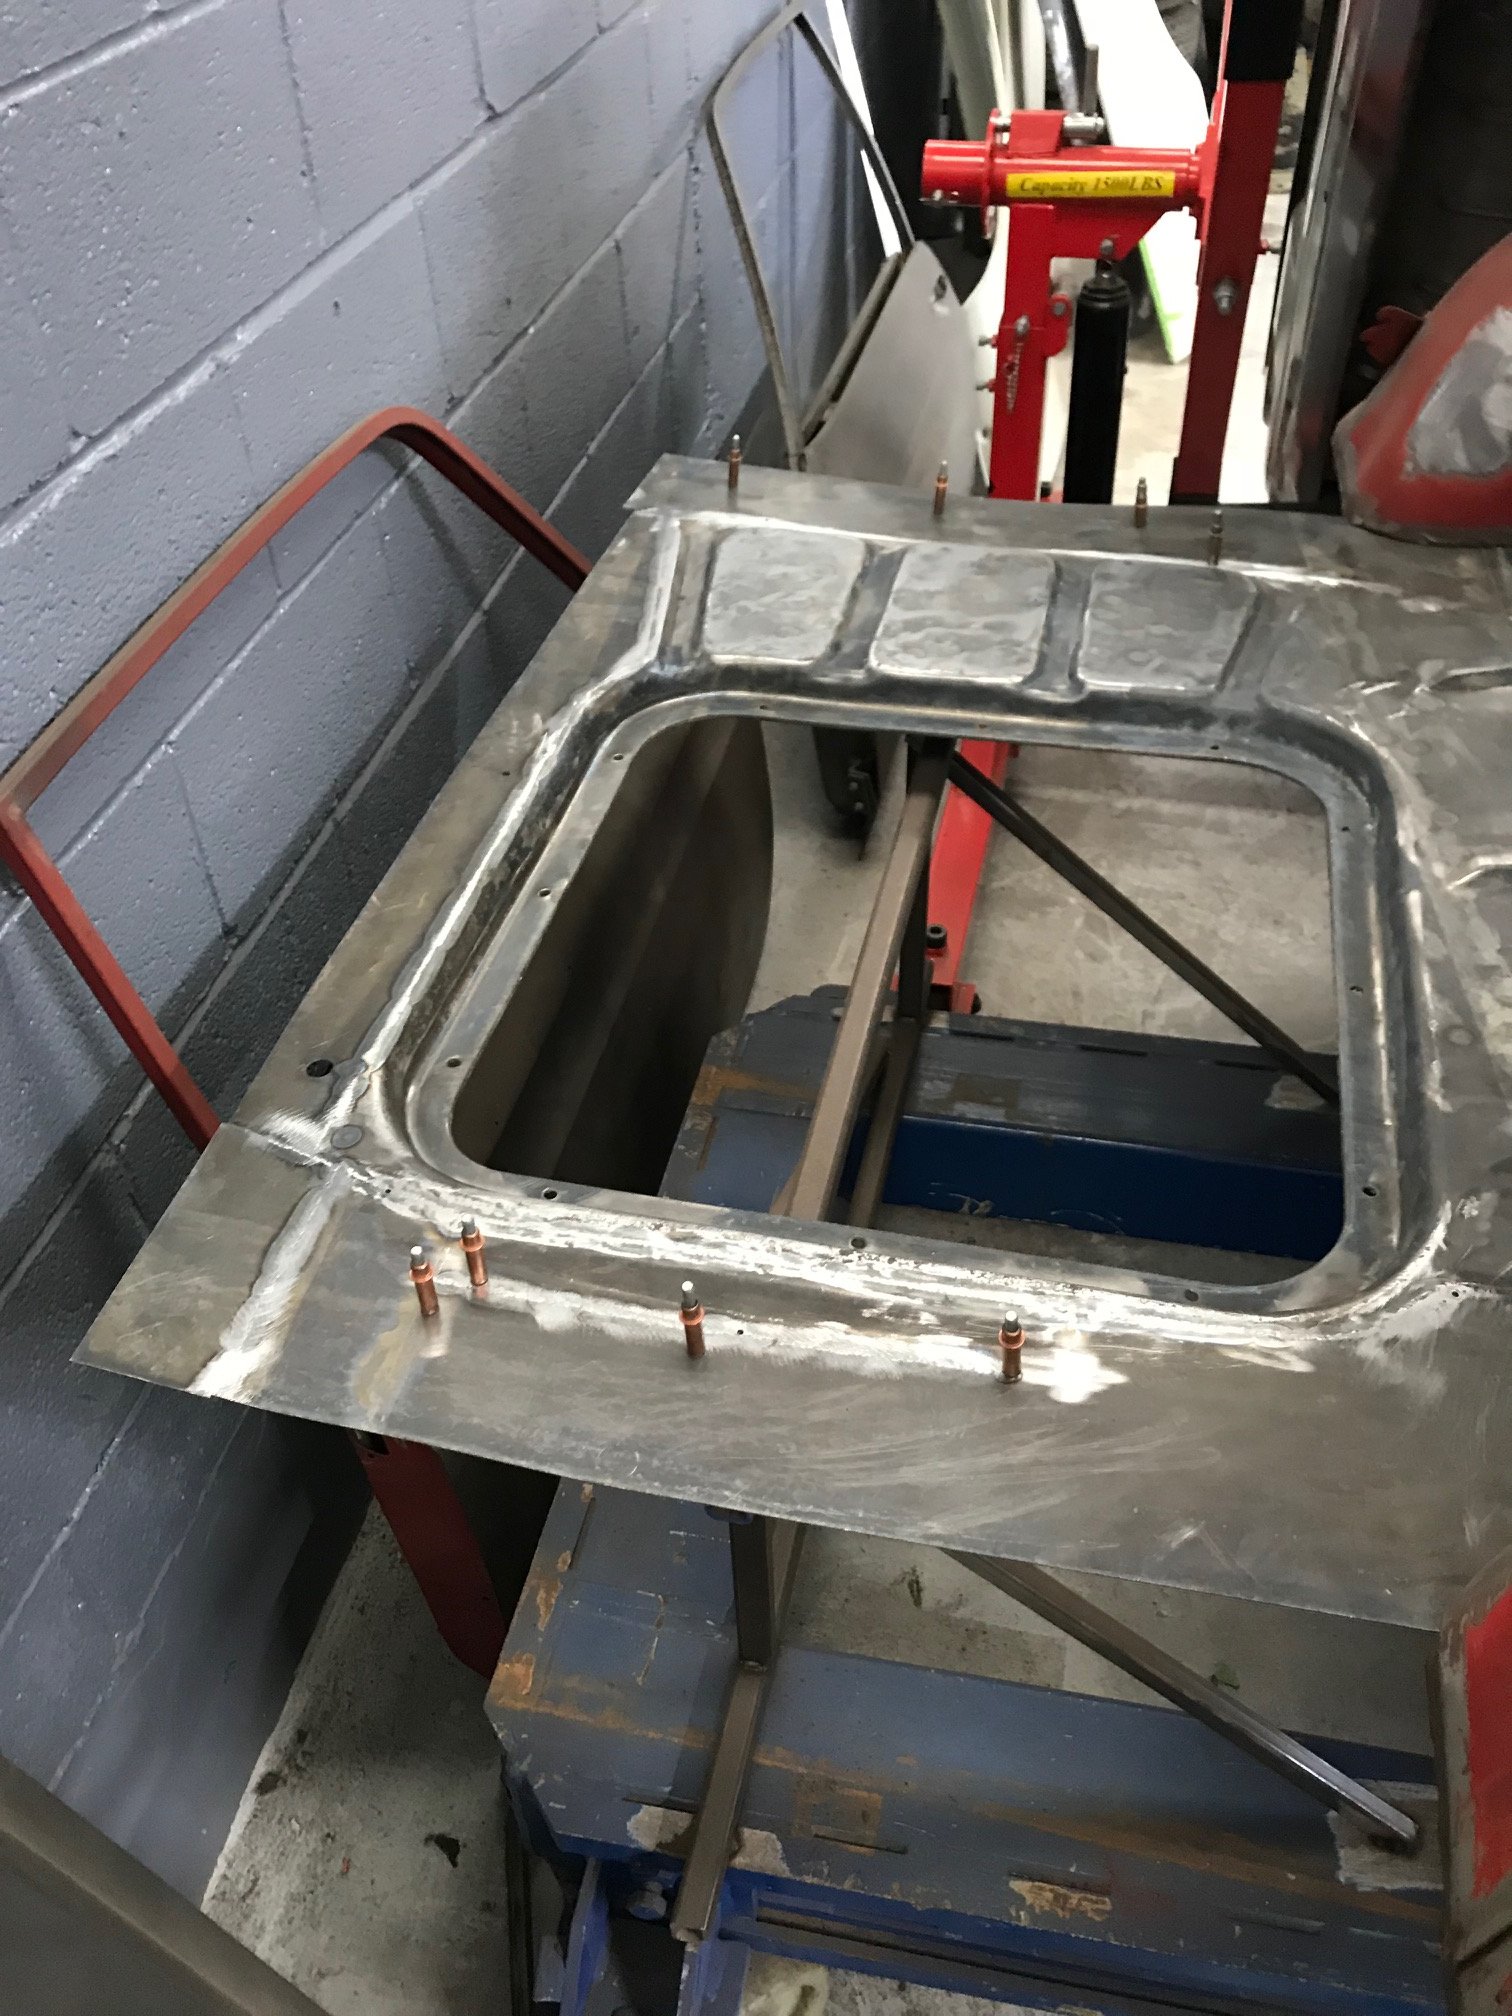
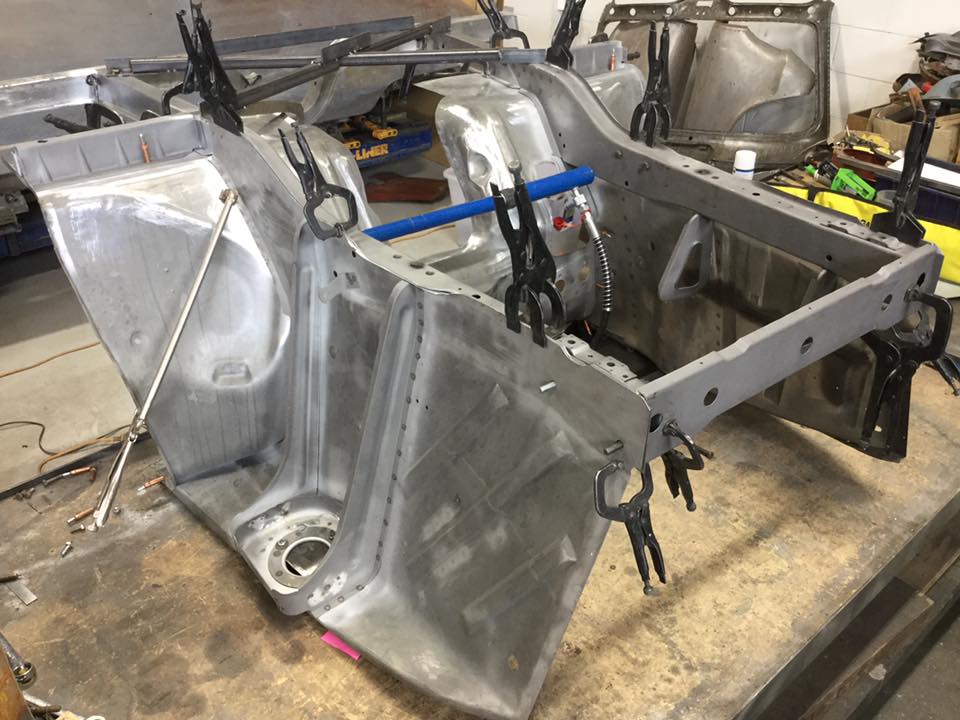
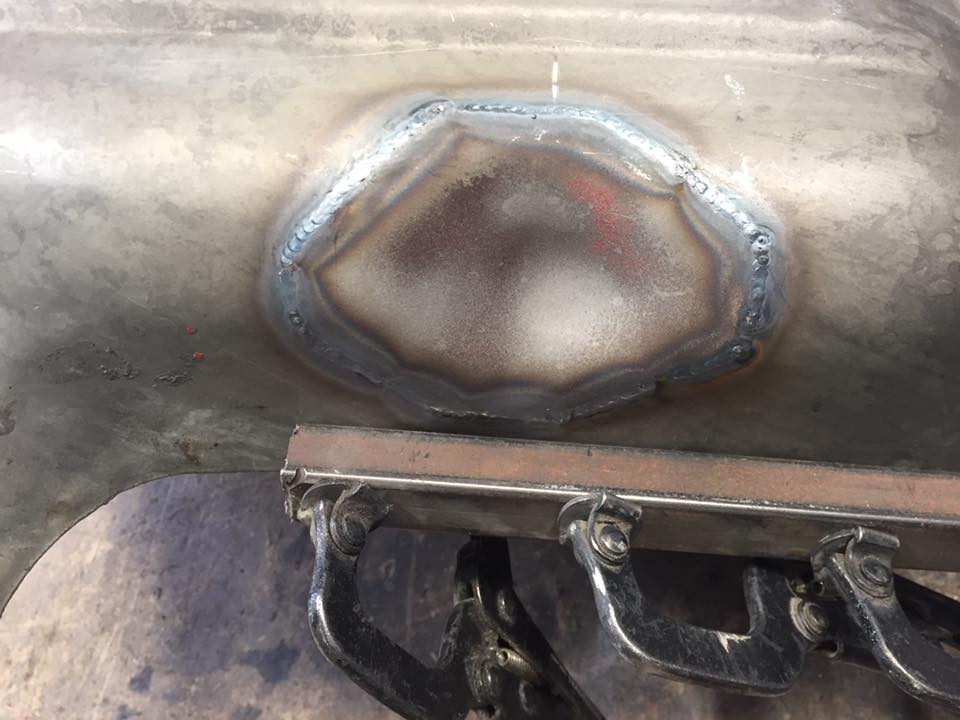
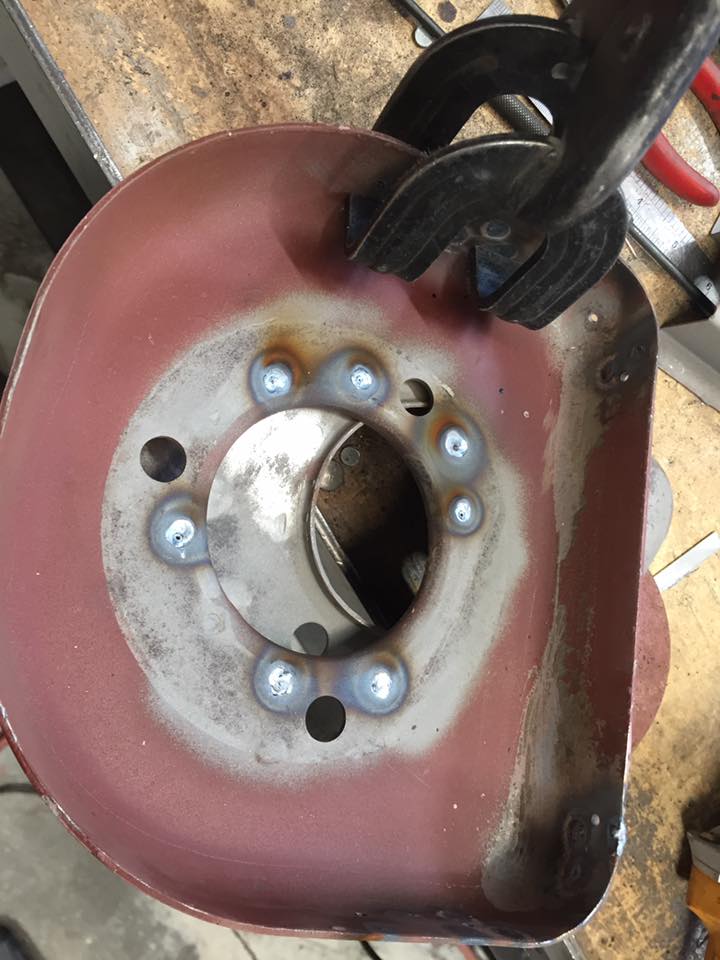
Boot floor going back in. Once finished off on to the rotisserie for blasting before final weld off. Both rear quarters have been file finished and loo superb.
1 point
-
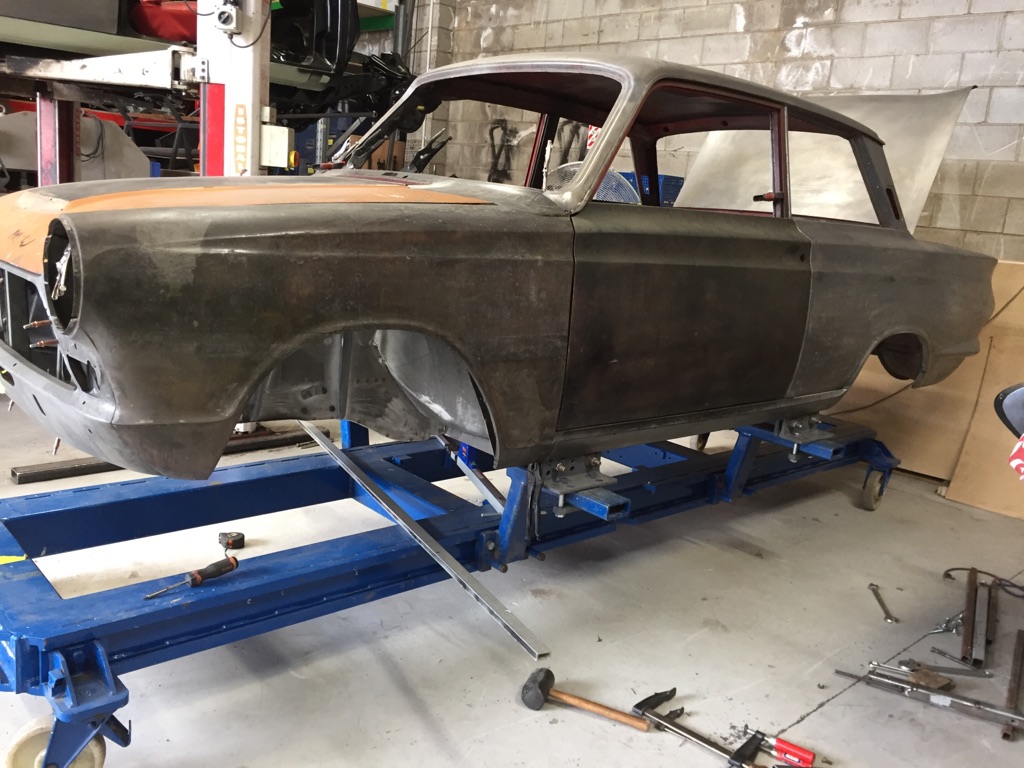
Off the jig amd next up is the doors and bonnet fitting before the rear end is tackled.
1 point
-
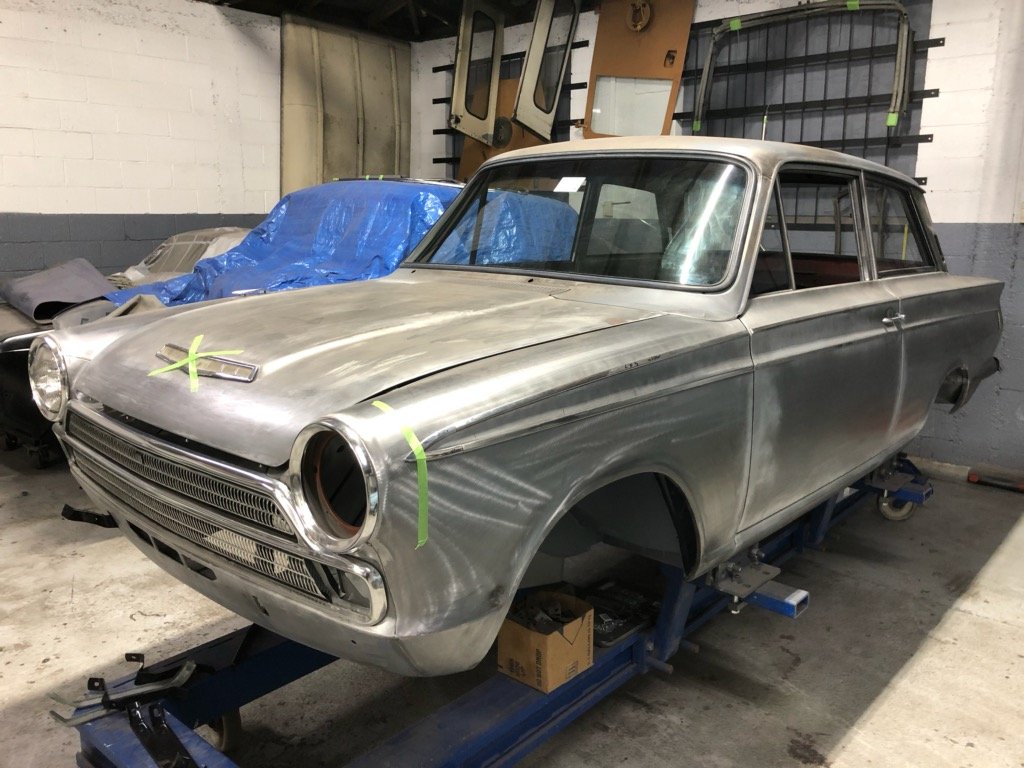
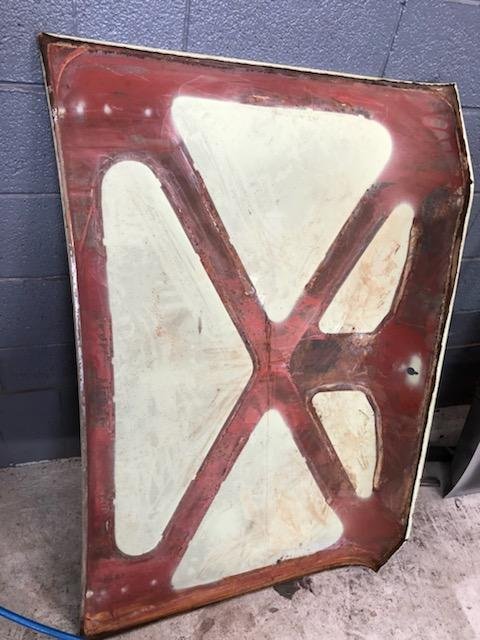
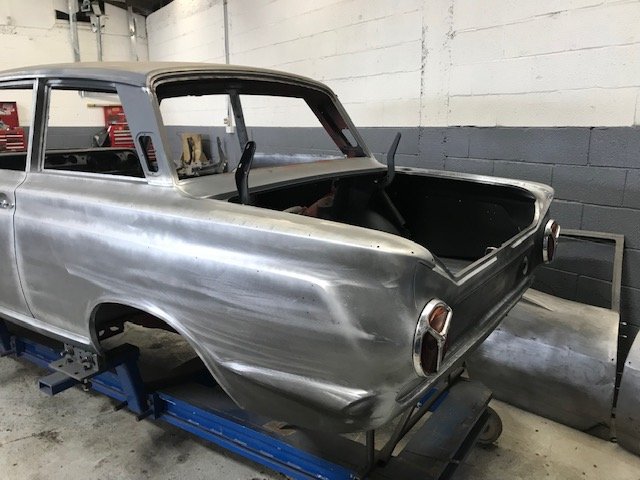
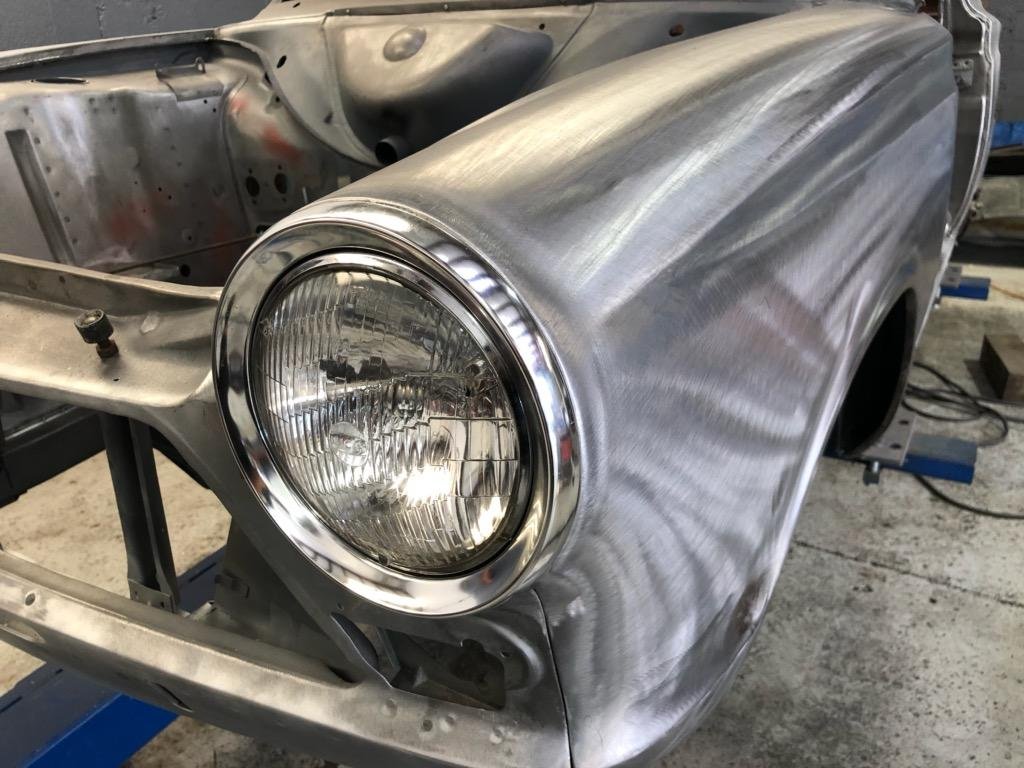
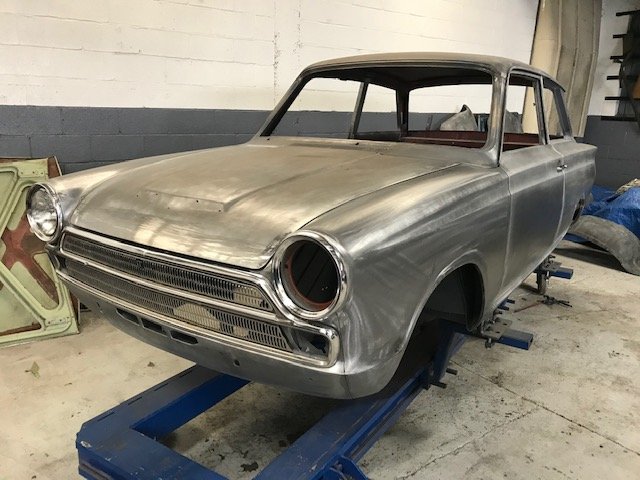
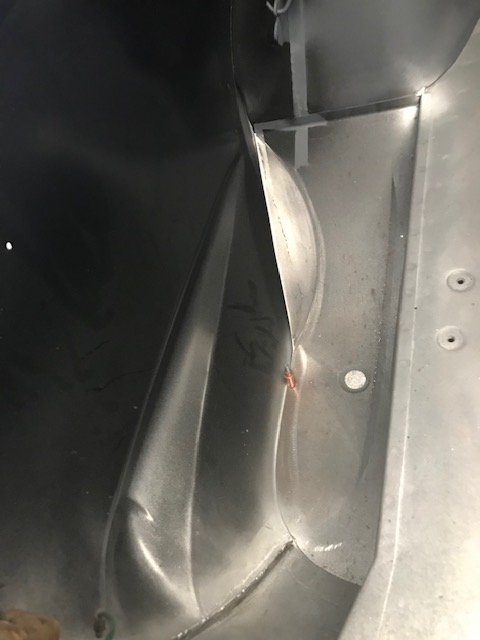
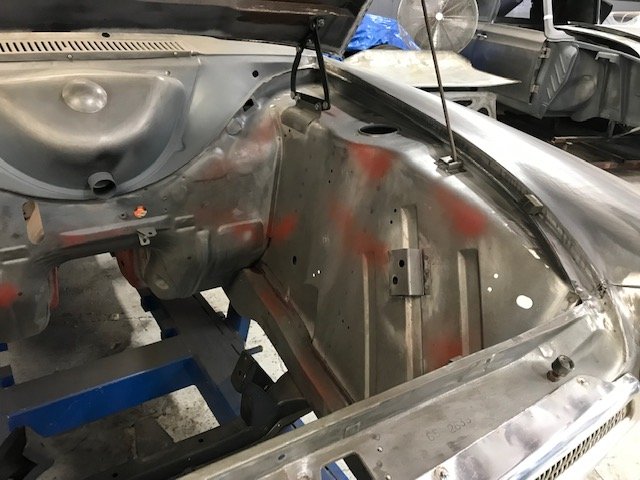
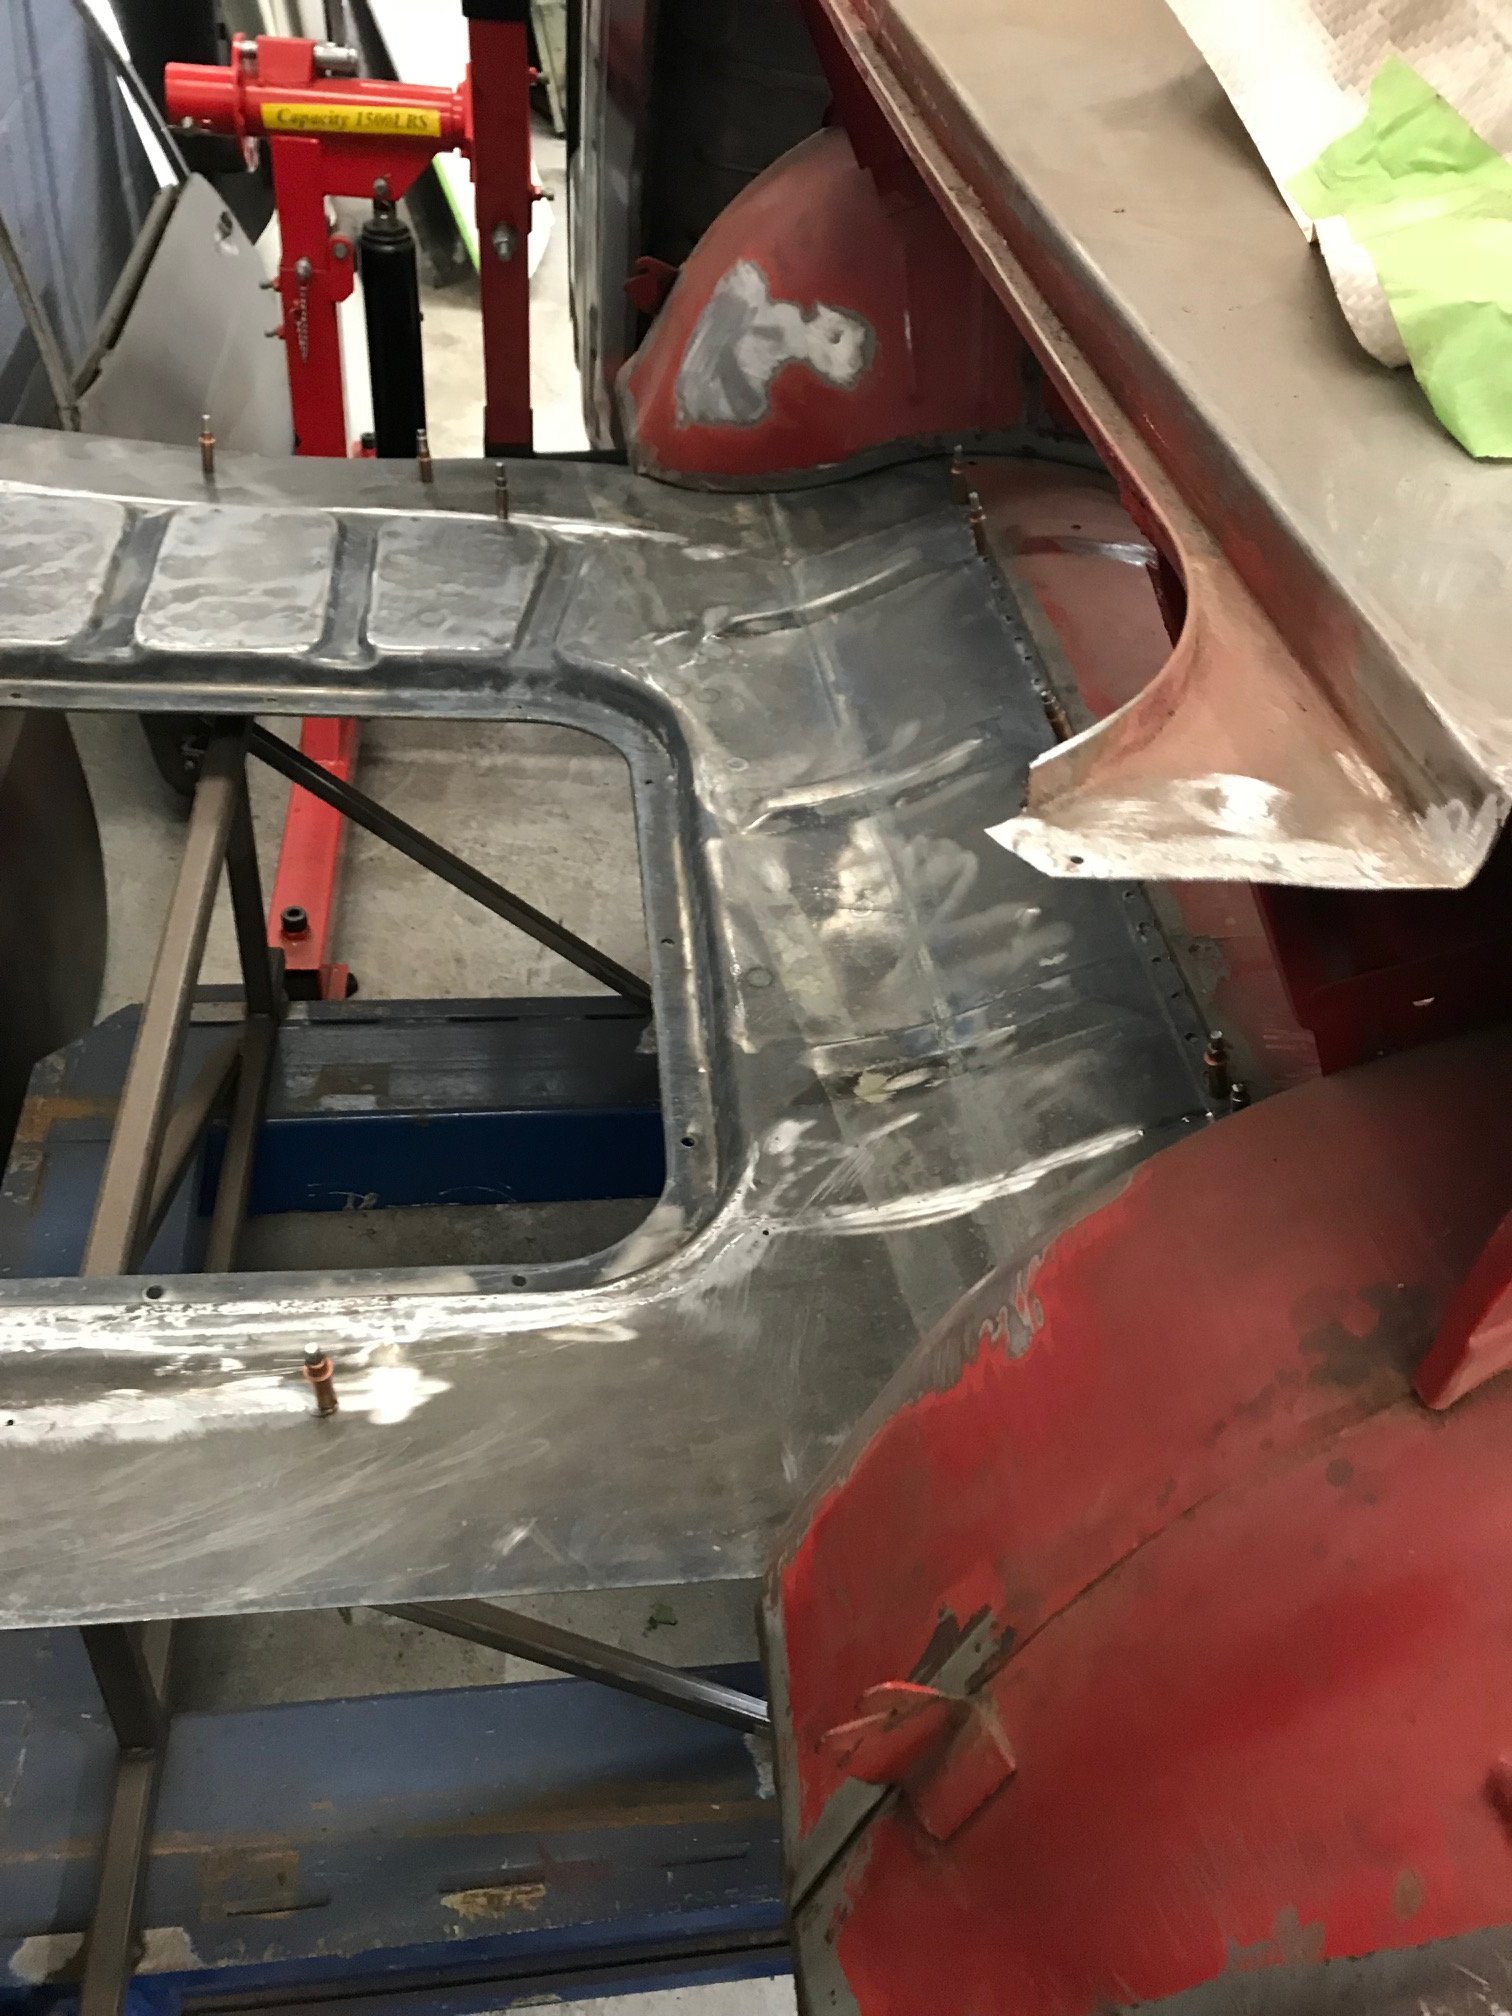
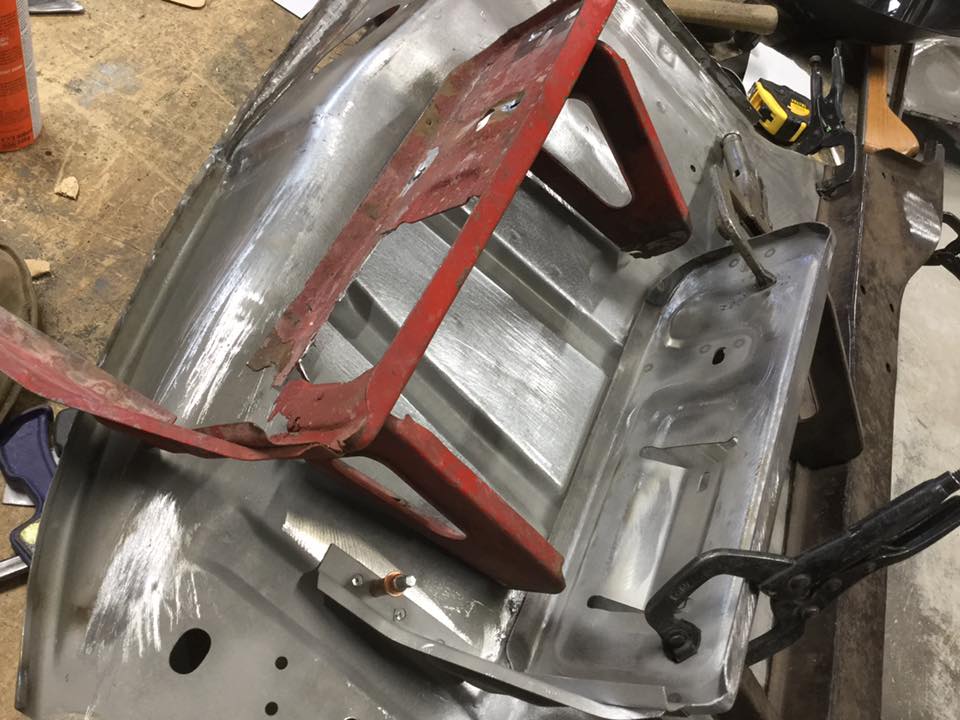
Great progress with front end coming together! The original firewall was creased so the recess,s on the red section needed to be transferred to the new fire wall section. It would appear these were introduced to late Mk 1 for Mk 2 production as my 65 GT doesn't have them. Front end back together after all separated parts repaired or fabricated new.All parts blasted and all inner box sections painted in 2k black and all flanges zinc primed.Will also be using panel bond on some of the areas prone to corrosion for extra protection and strength.Looking at moving on to windscreen panel repairs next and have complete front end mocked up, guards, bonnet etc.
1 point


This leaderboard is set to Auckland/GMT+12:00