
Leaderboard


.thumb.jpeg.384ff72c8d2b0ee0d34a7bdedb55bdcf.jpeg)

Popular Content
Showing content with the highest reputation on 04/26/19 in all areas
-
When we purchased this kombi i said to myself and to others I would ideally wanted to be able to drive it over the 10 day break of Easter and Anzac. We'll tonight was the 1st time it's probably driven since I can only guess 2000 when it was last registered. Its been such an achievement and I really happy with the goal. 54 days it took from purchase. It really shows if you put your mind to it you will make it happen. Thanks to those who have helped so far, you guys are the best.16 points
-
bit more carb tutuing, upped the main jet to 135, better on transition, but maybe too rich on WoT. diddled with the the idle mix, ok, but still a bit funny. Read and reread my various carb books. decided to tweaked the floats, as the carbs are on a 12* angle to horizontal, (max recommended is 5*), the lower or inside side float will tend to cut off the needle valve earlier than it should making the fuel level low, especially in the upper or outside fuel well: ...and as it is written, so it comes to pass... Bent the inside float up a bit, and left the outer as it was (factory 25mm). Average fuel level is probably still a bit low, but too high will be bad too. WAAAAAAAY better now, i think the idle jets were sucking a bit of air every know and again or something, and the progression flat spot is much improved as the ETs have a few more holes covered. Tweaked the timing a bit more advanced as well (12-15* at idle) and the whole thing is now much livelyer. Idle is smoother and i leaned it back to a 'steady' 13.5 AFR, at 800rpm, when before it wouldnt idle under 1000rpm or 12.5 AFR At WoT AFR is dipping into the low 10s sometimes even the 9s, so i will try the 125 mains again. Time for a few other things (there is always something!) REDUCING NOISE Steering tie rod vs exhaust downpipe interference caused a disconcerting rattle though the steering wheel on hard right (parking style) turns These pipes are 80's muffler shop specials and will be replaced eventually, meantime a wee tickle from Mr Grinder on the excess threads appears to have the desired effect INCREASING NOISE 'customised' some op shop $5 low impedance (6ohm) speakers using a skill saw, ply offcuts and builders adhesive that i really think have nailed the 'builders least favourite apprentice' aesthetic. They fit under the back of the seats where no one can see them, and are 11ty times better than the old 4inch pioneer box speakers, and were within my budget, I am not ashamed. Related, I also installed a switch so the head unit will run without the key in the ON position (dash lights on, fuel pump chunting away). This hack is needed because my 'cheapest on ebay' Ducato ignition switch doesn't have a flippin ACC position. Now that's austerity. Chucked on a new sticker holder sticker And piled the girls in for a hoon. For the first time it feels like its actually running well, which means i will be using it quite a bit more.9 points
-
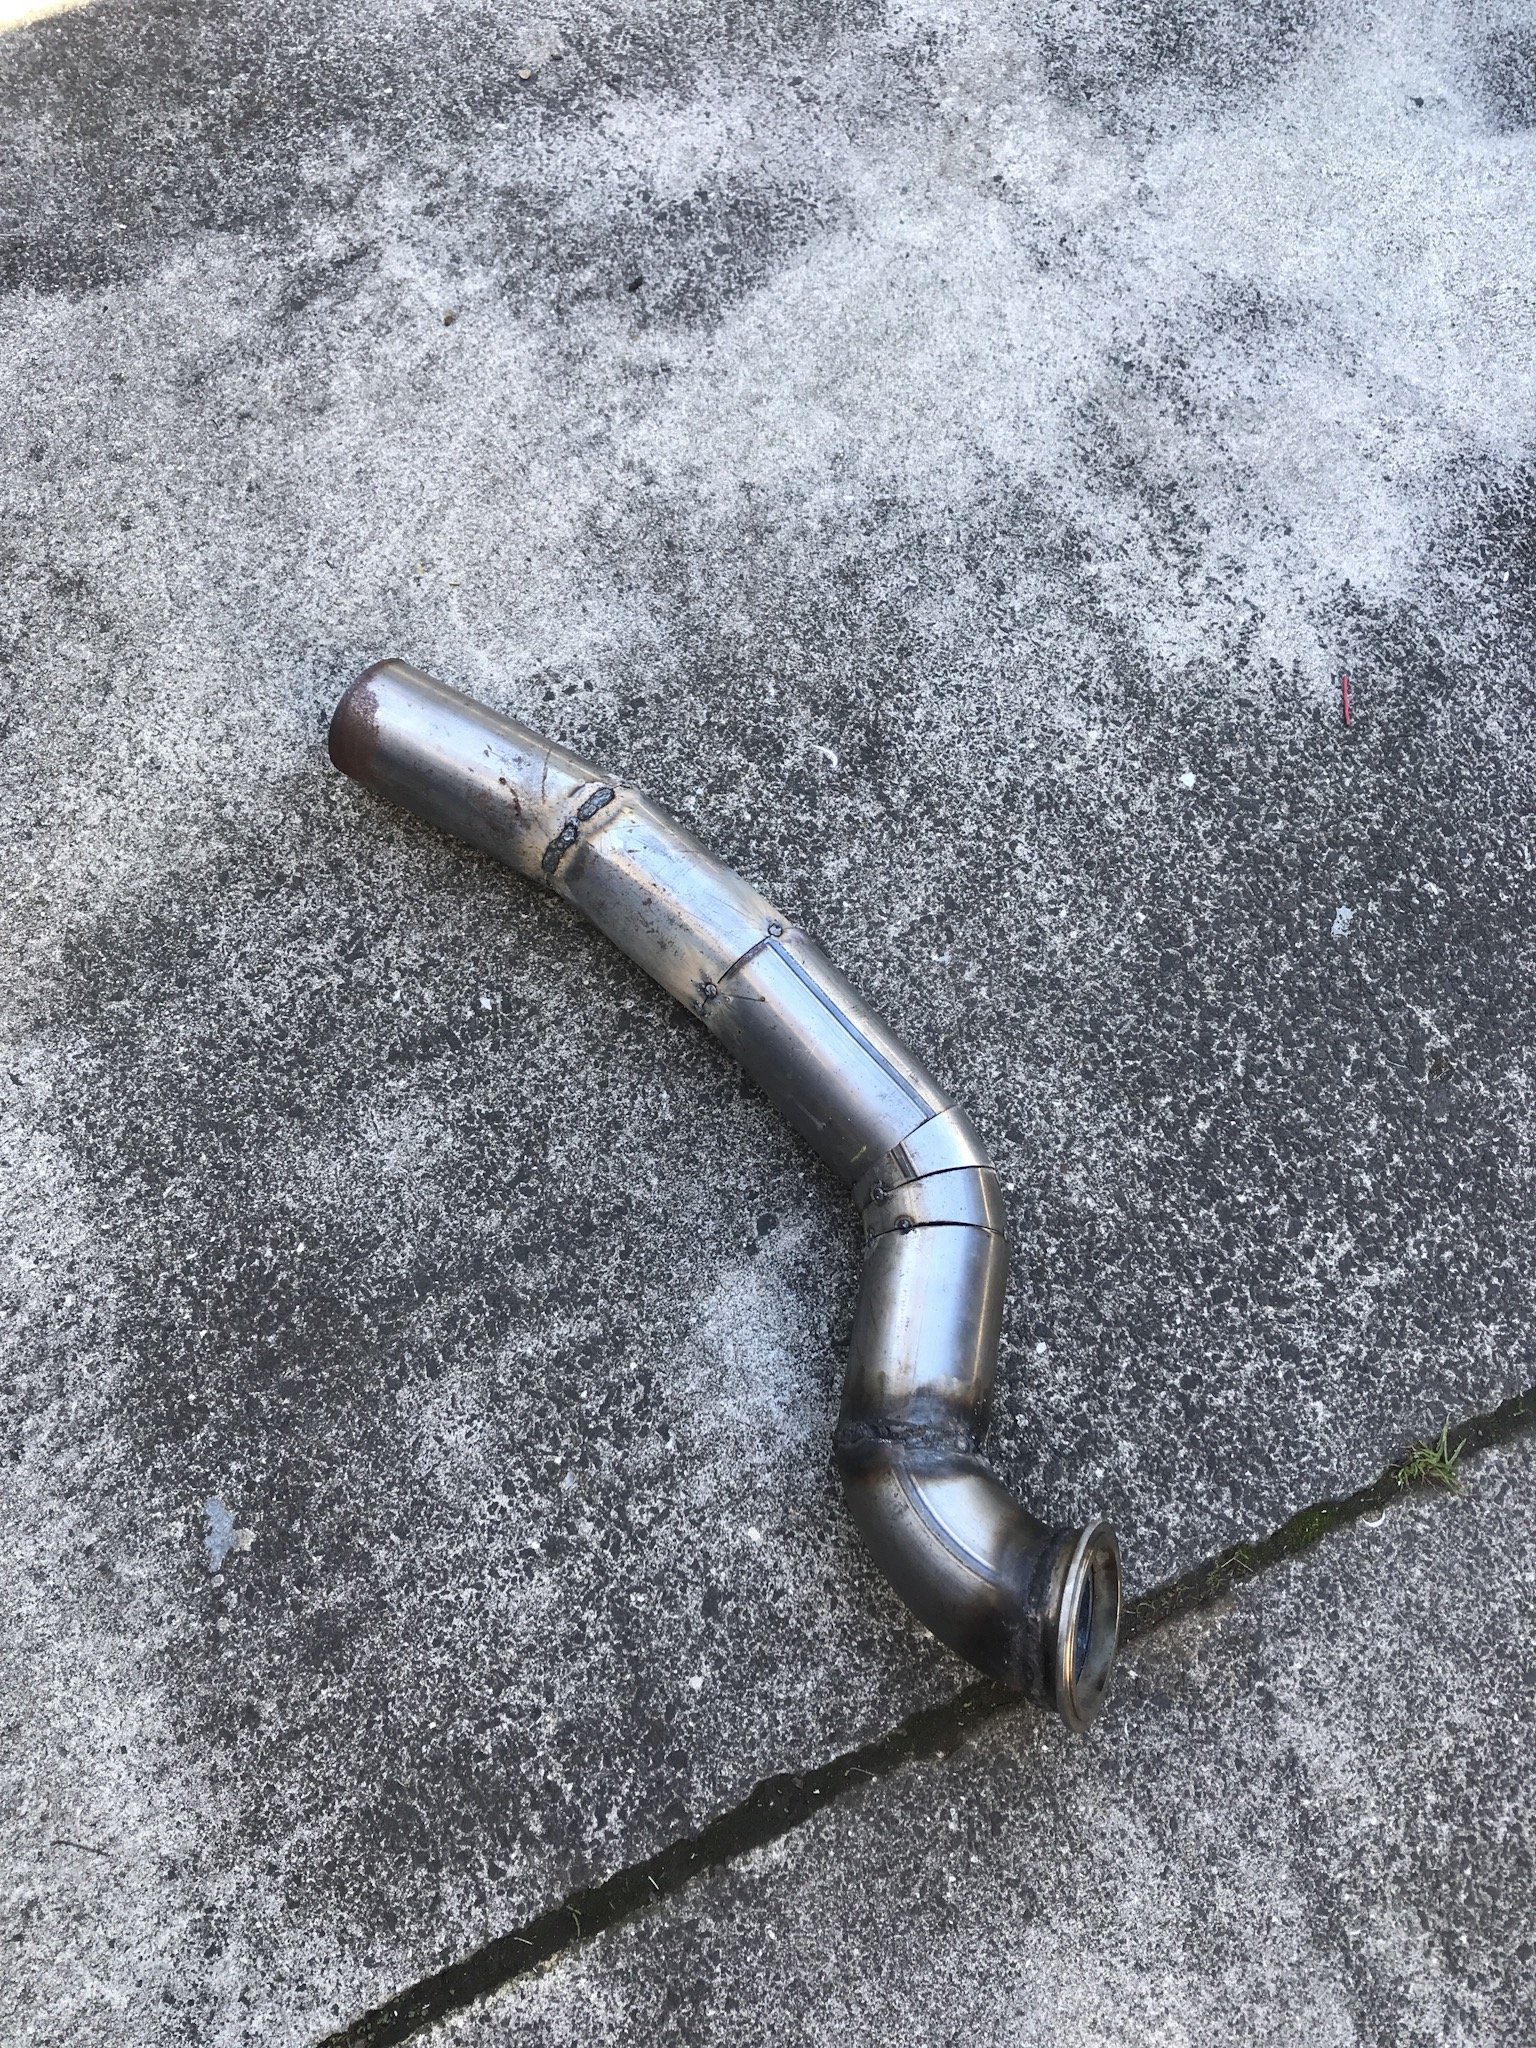
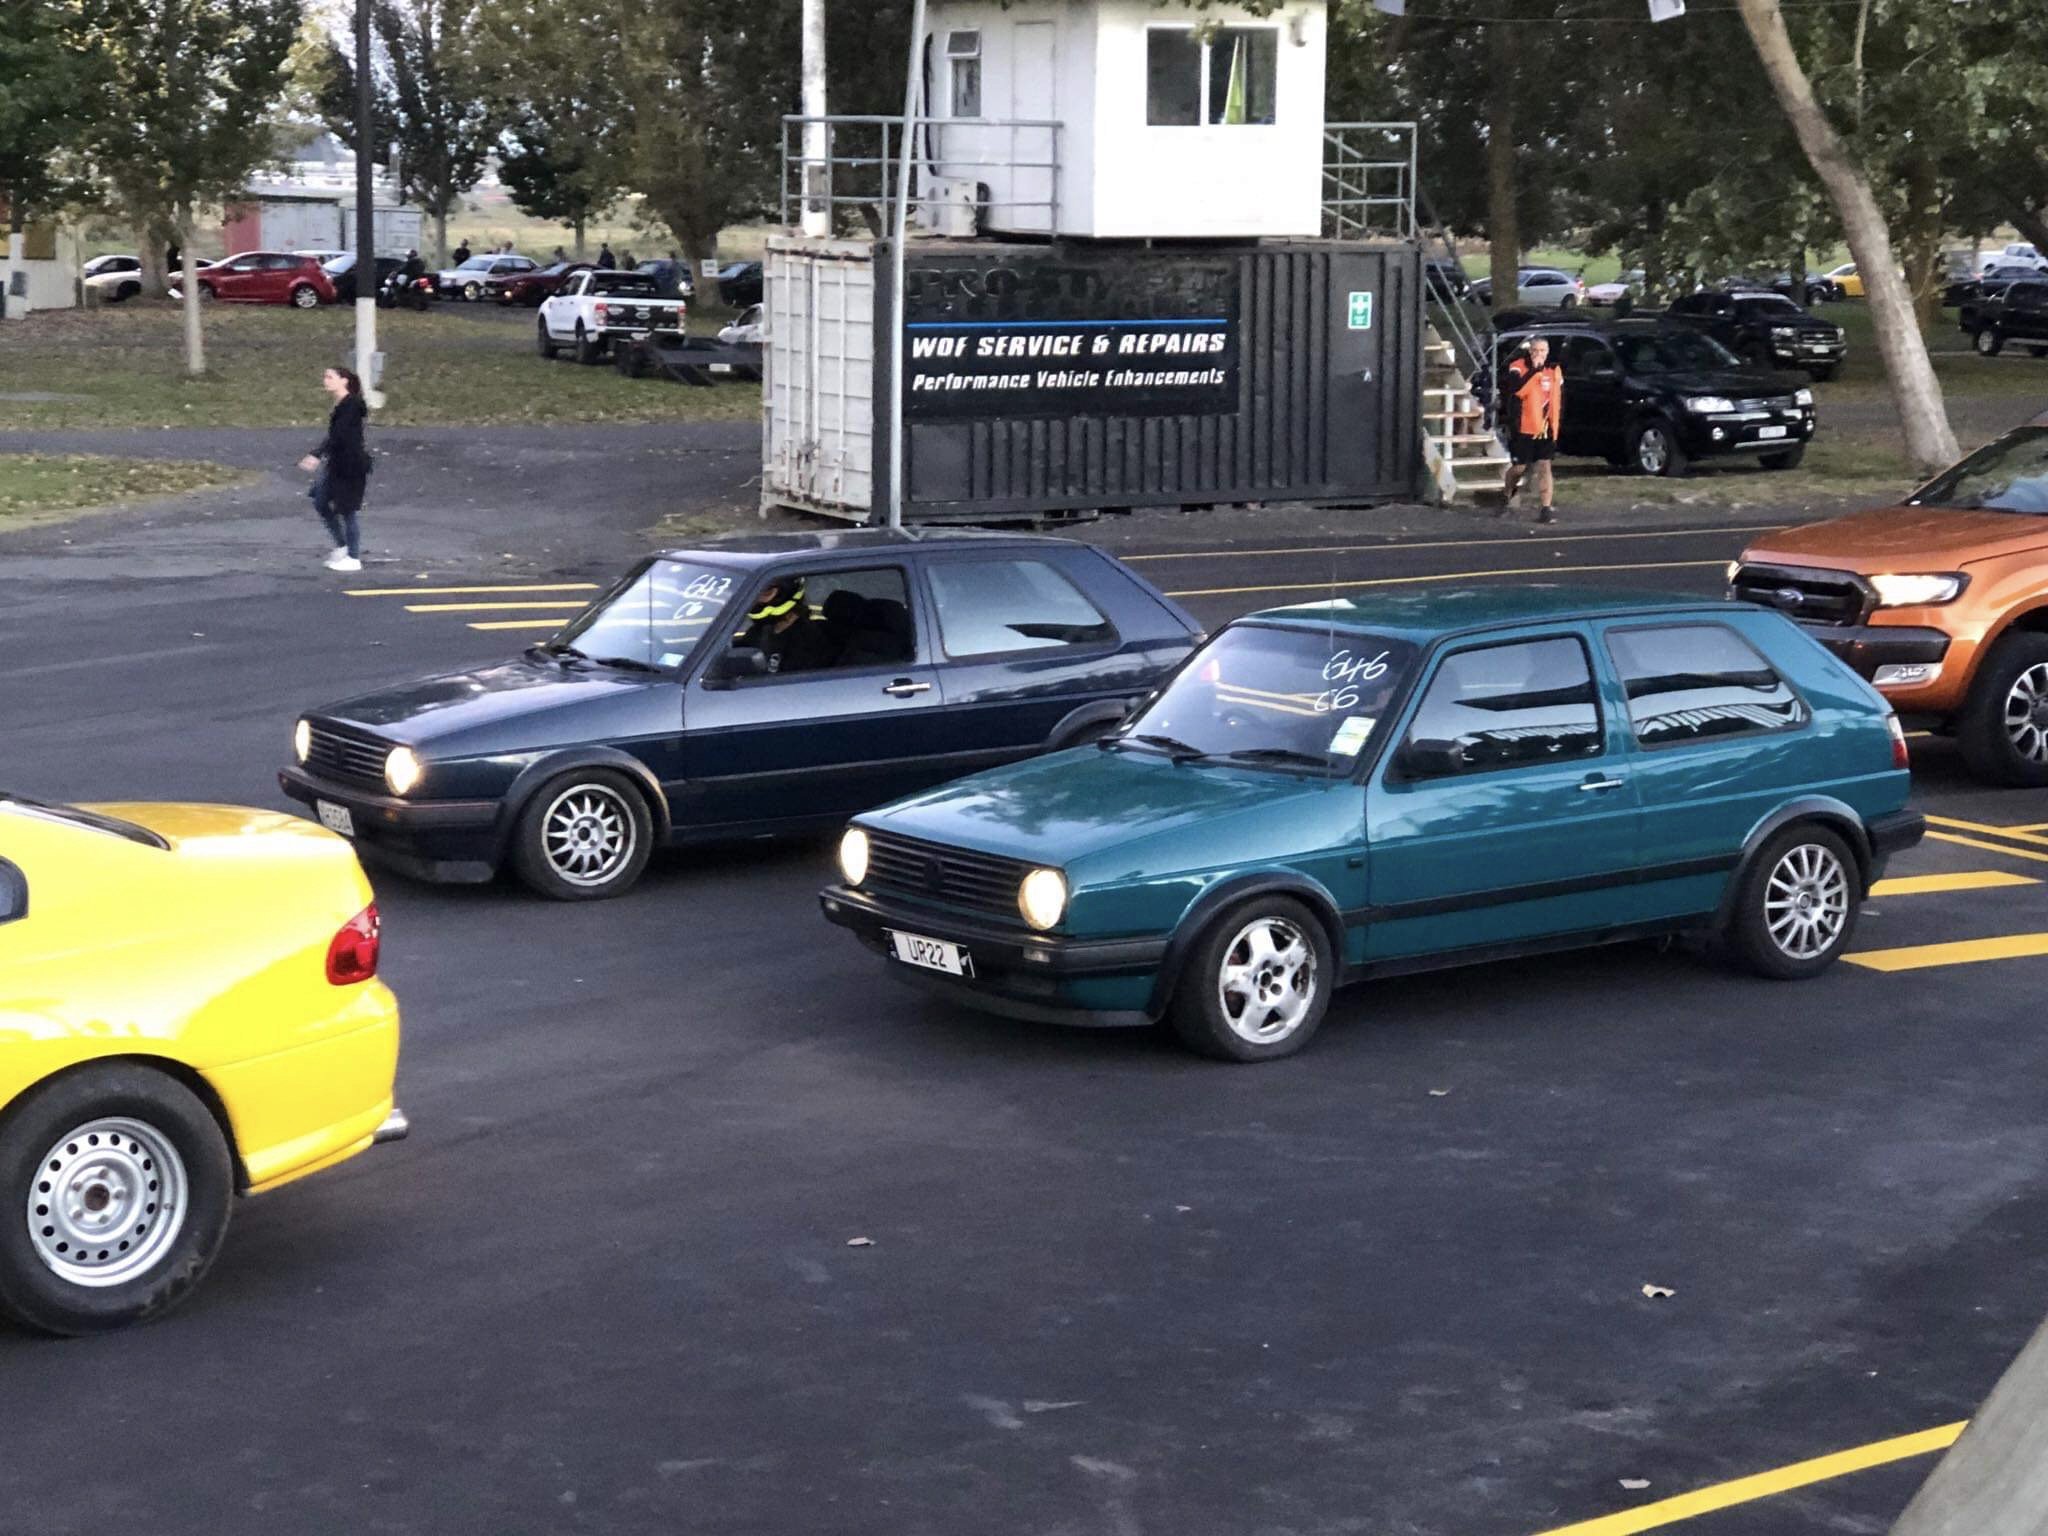
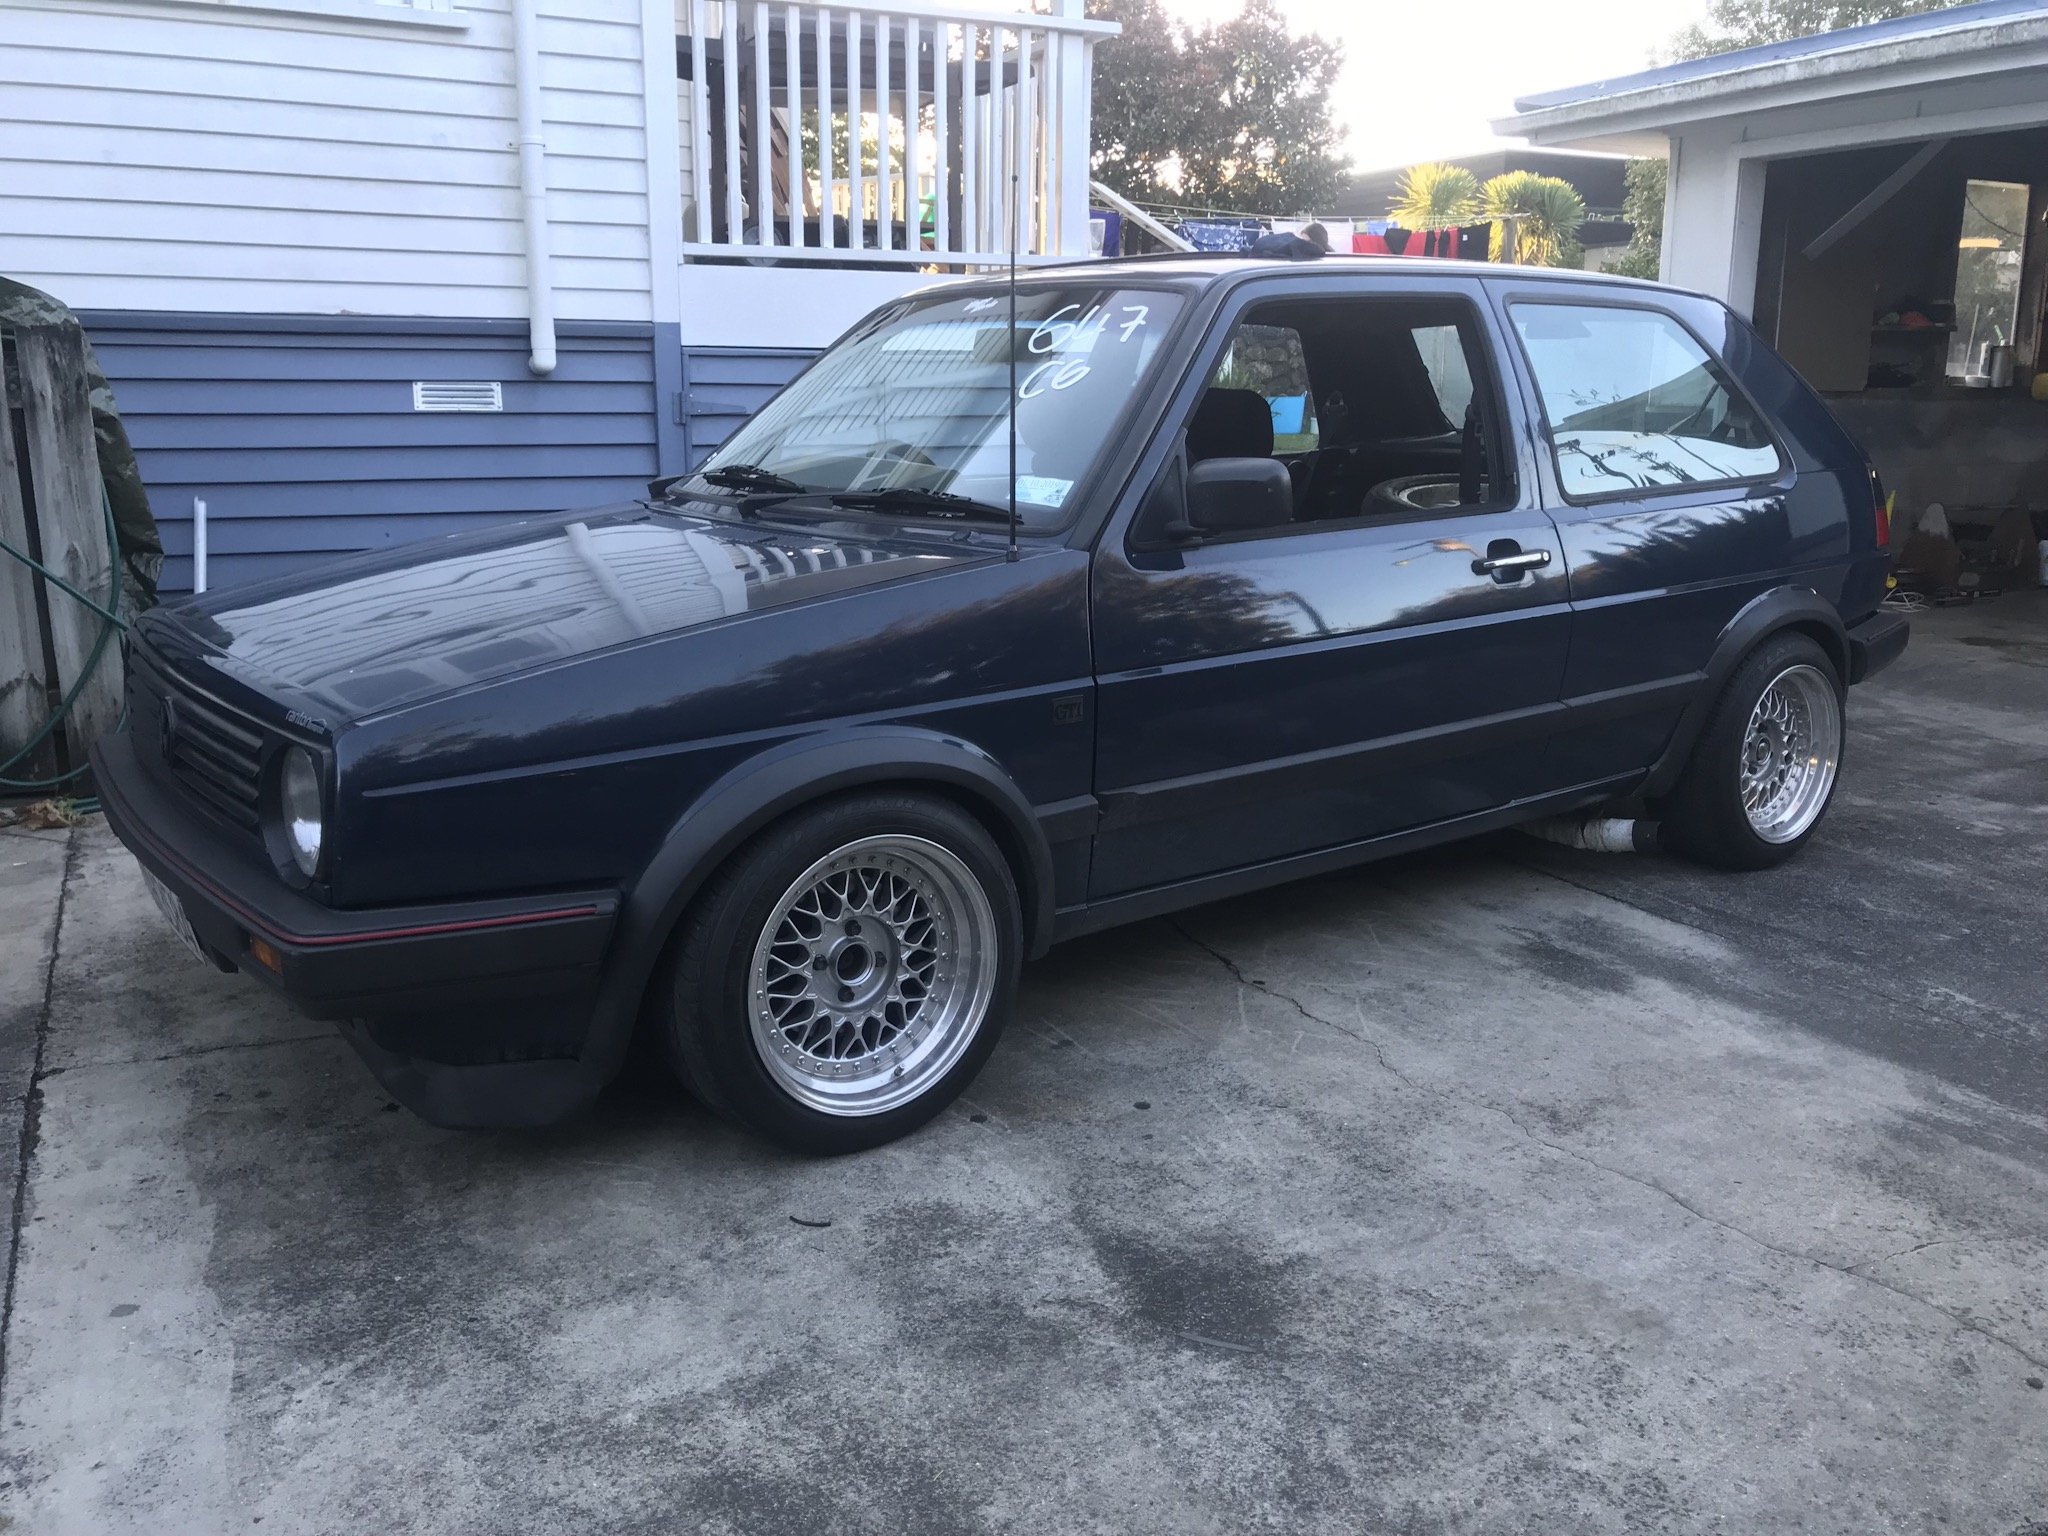
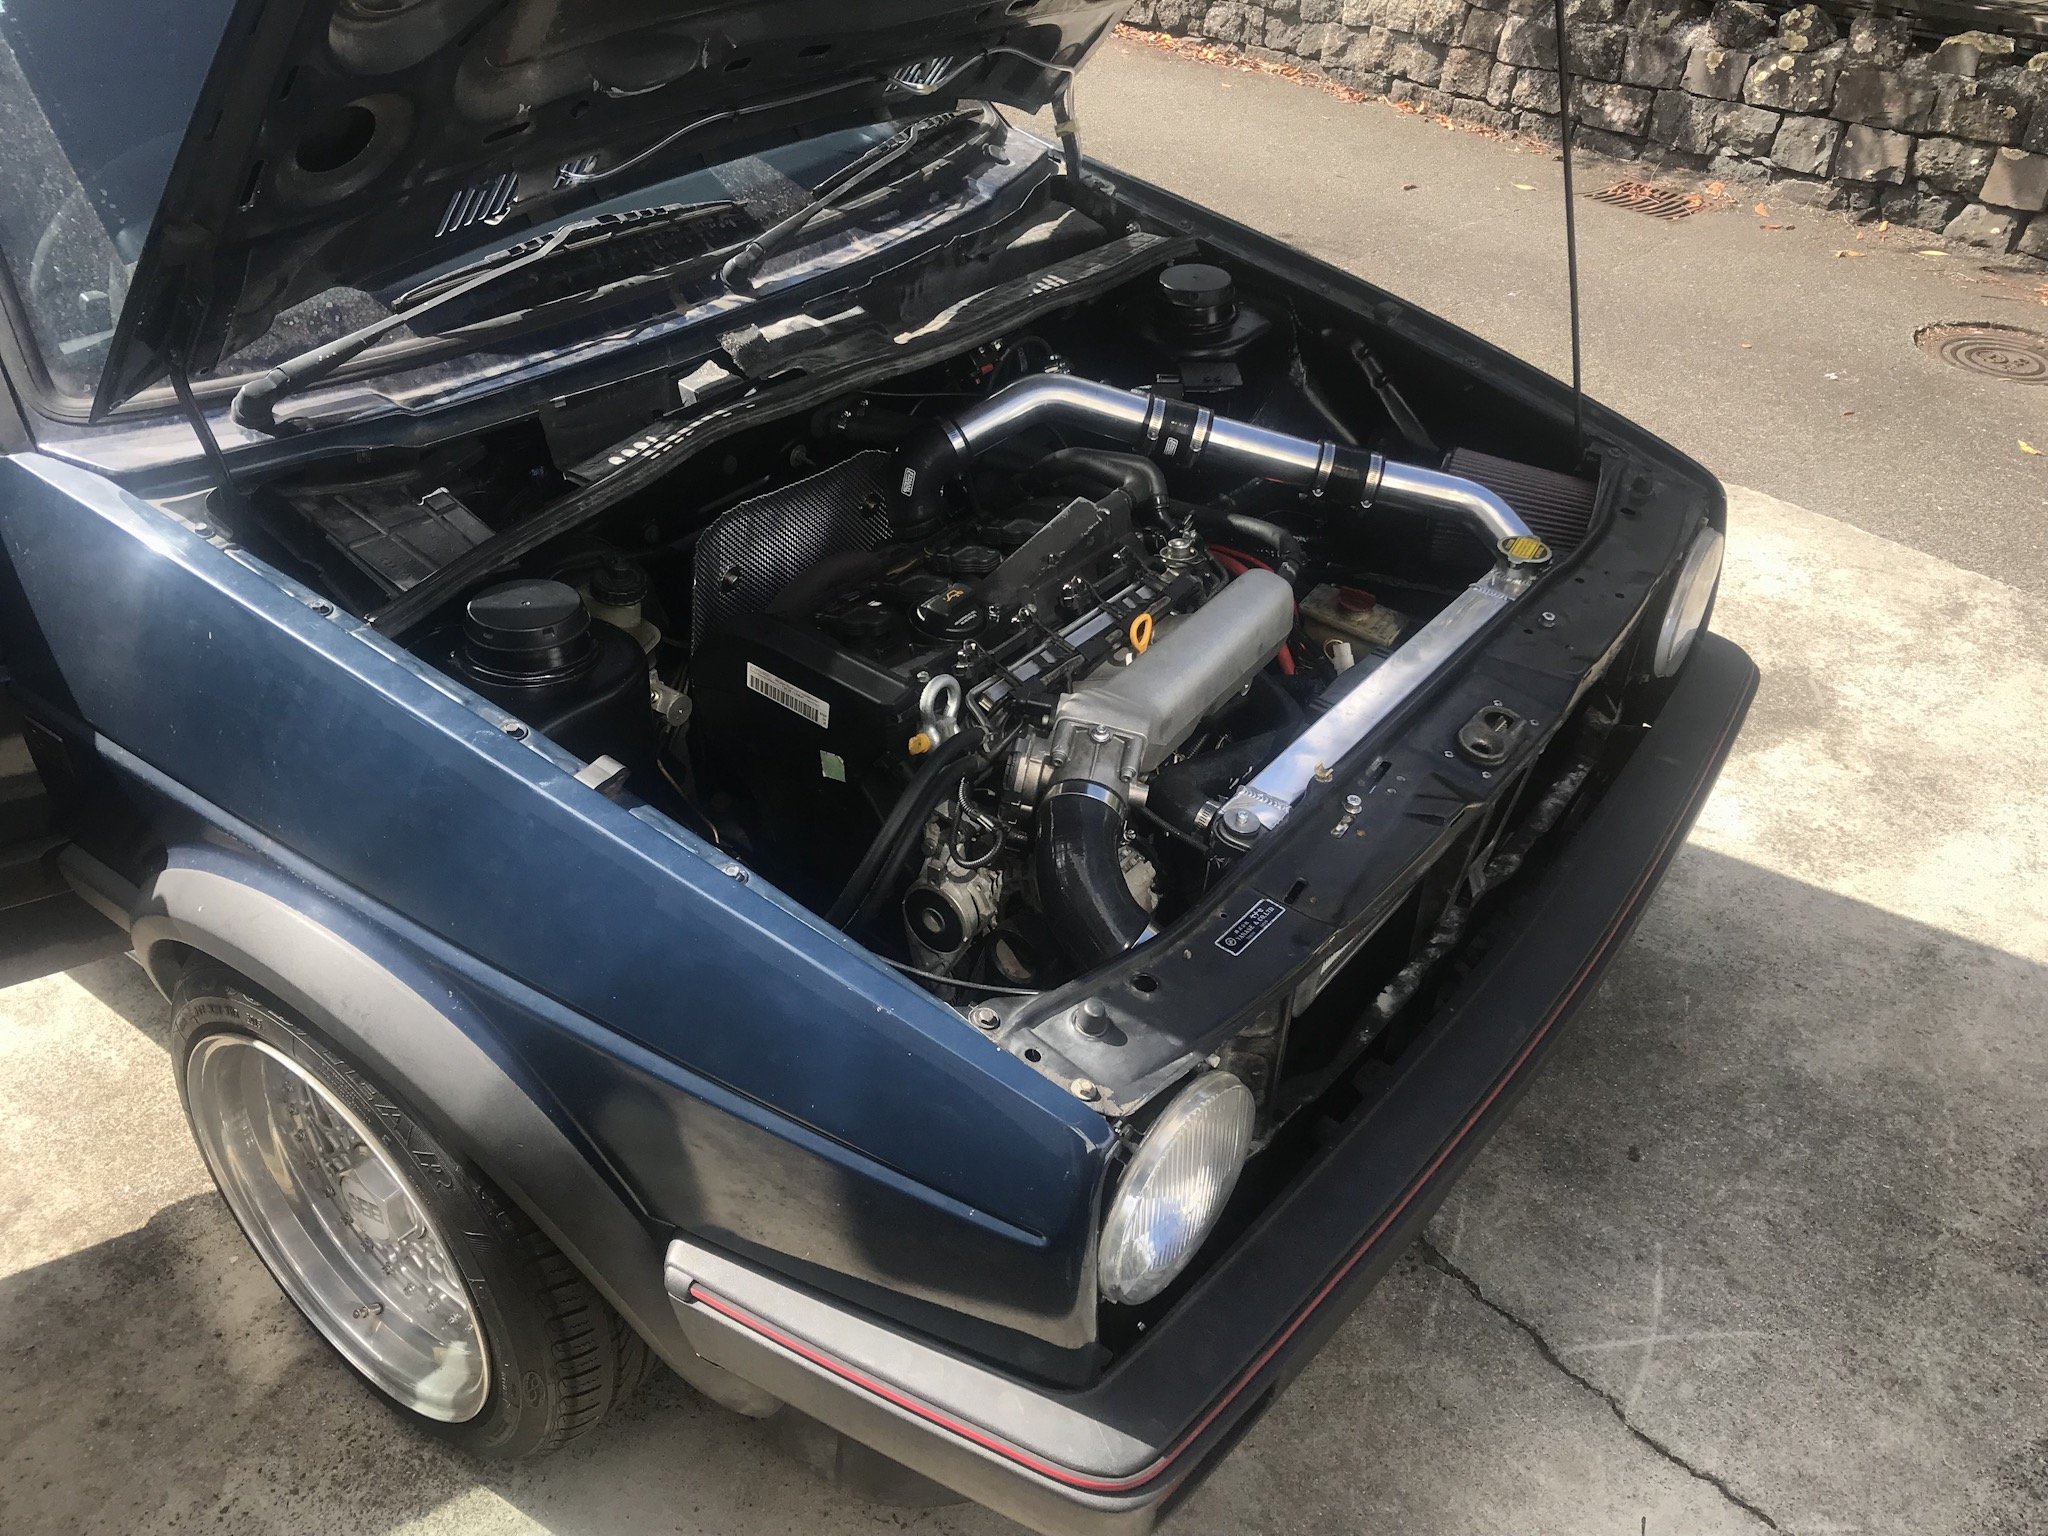
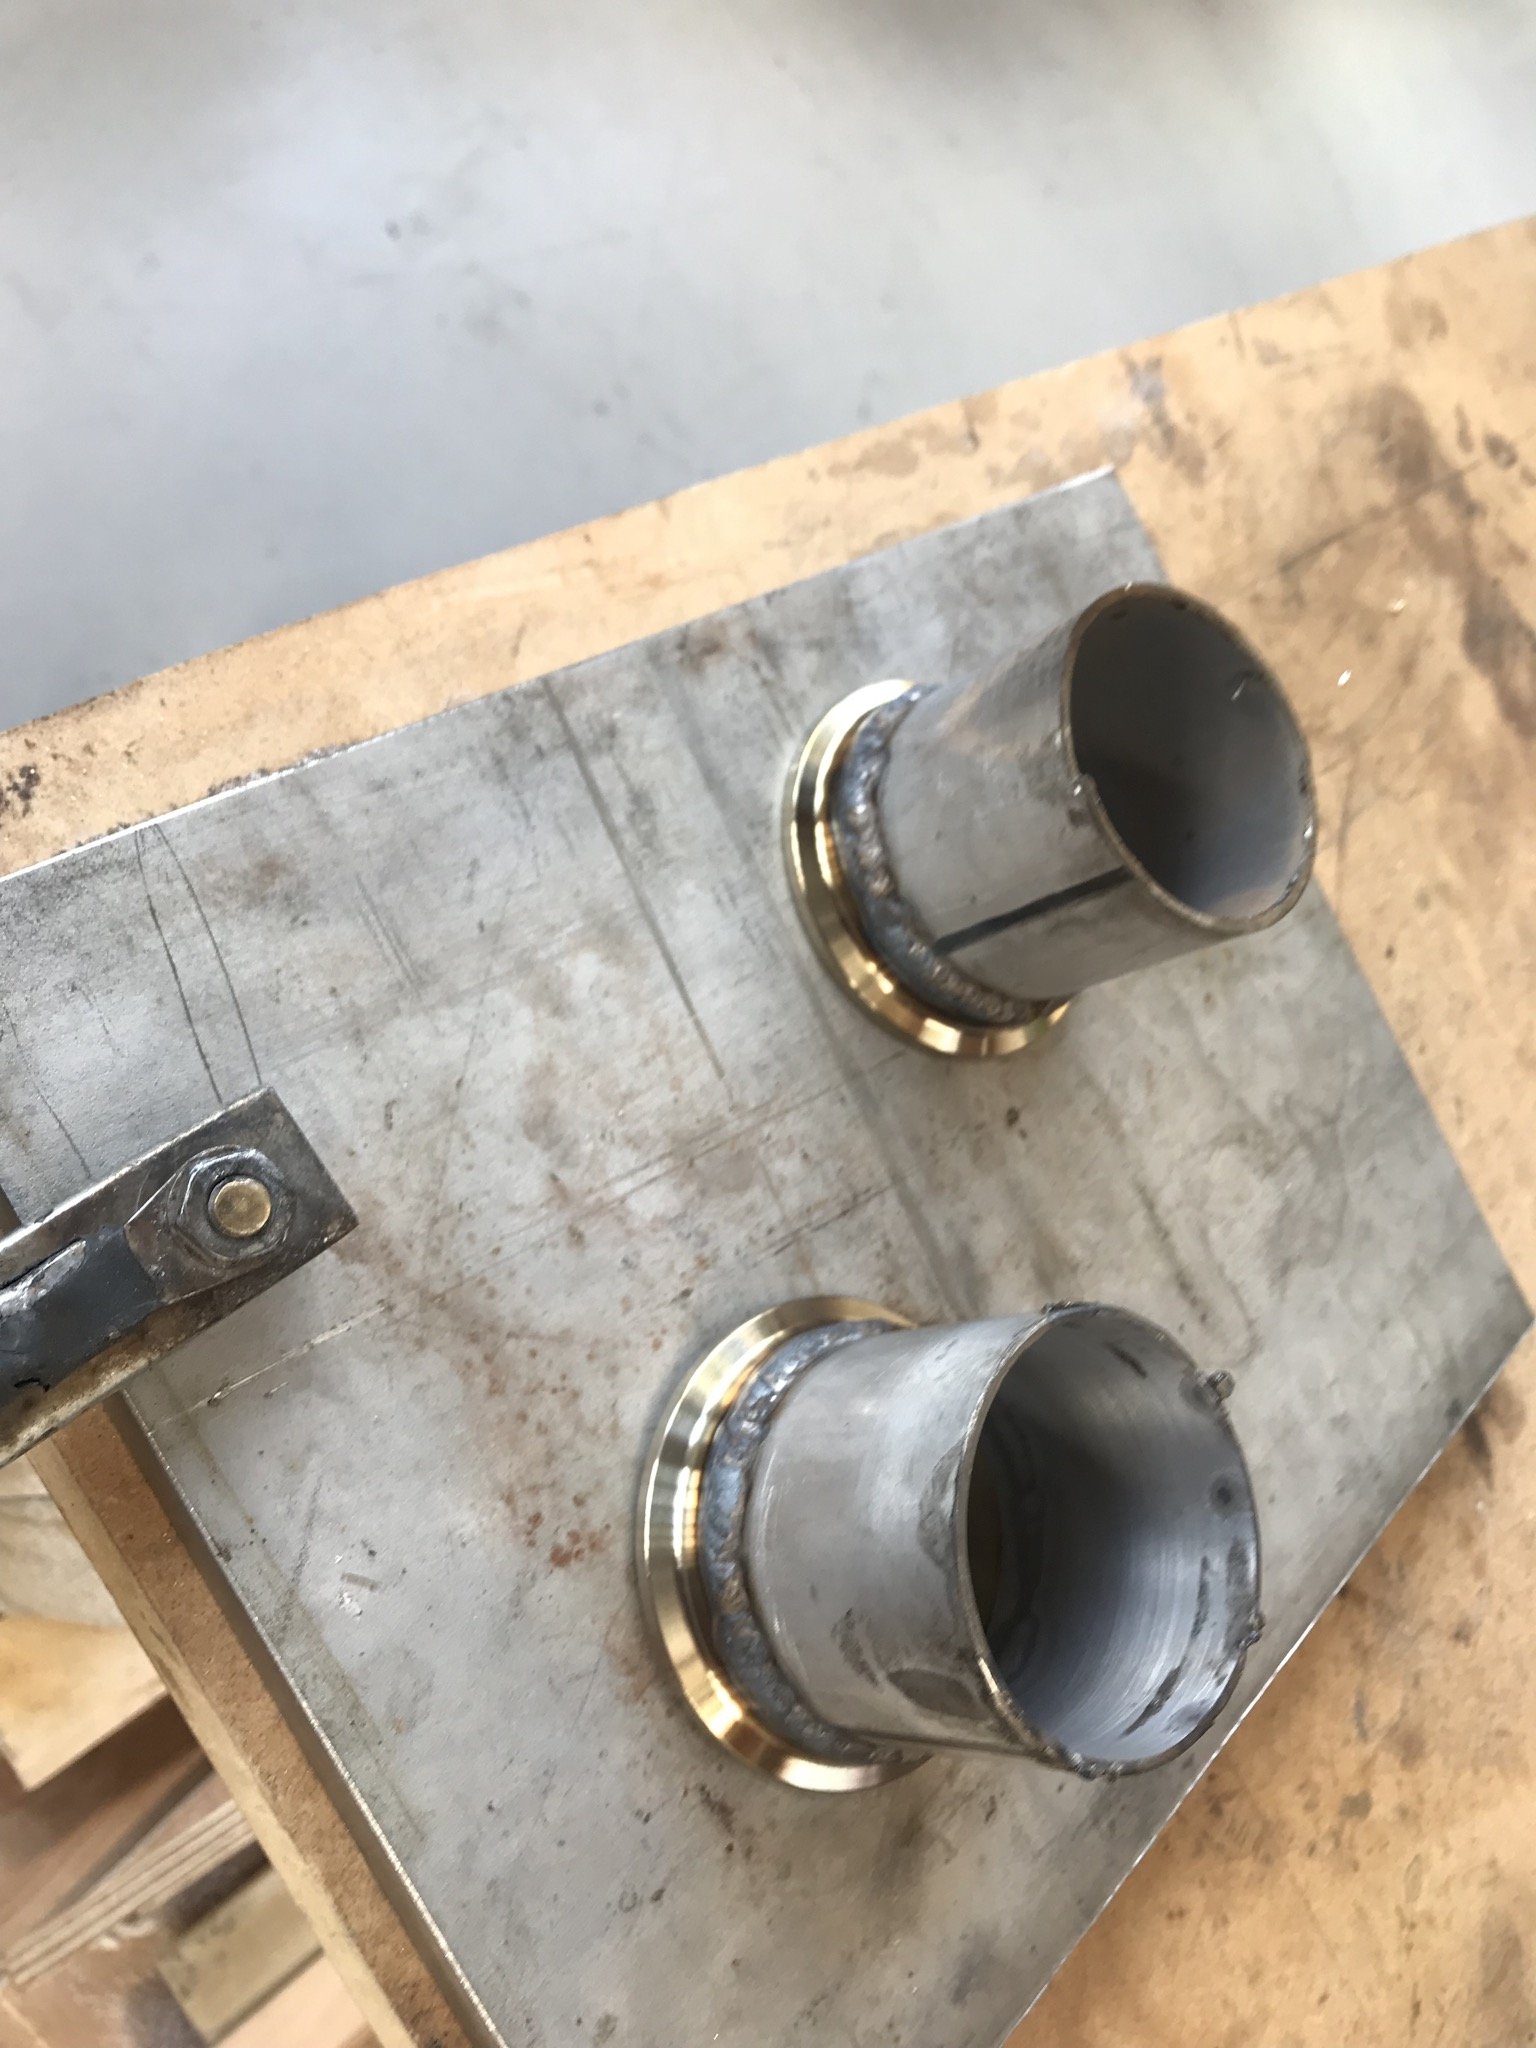
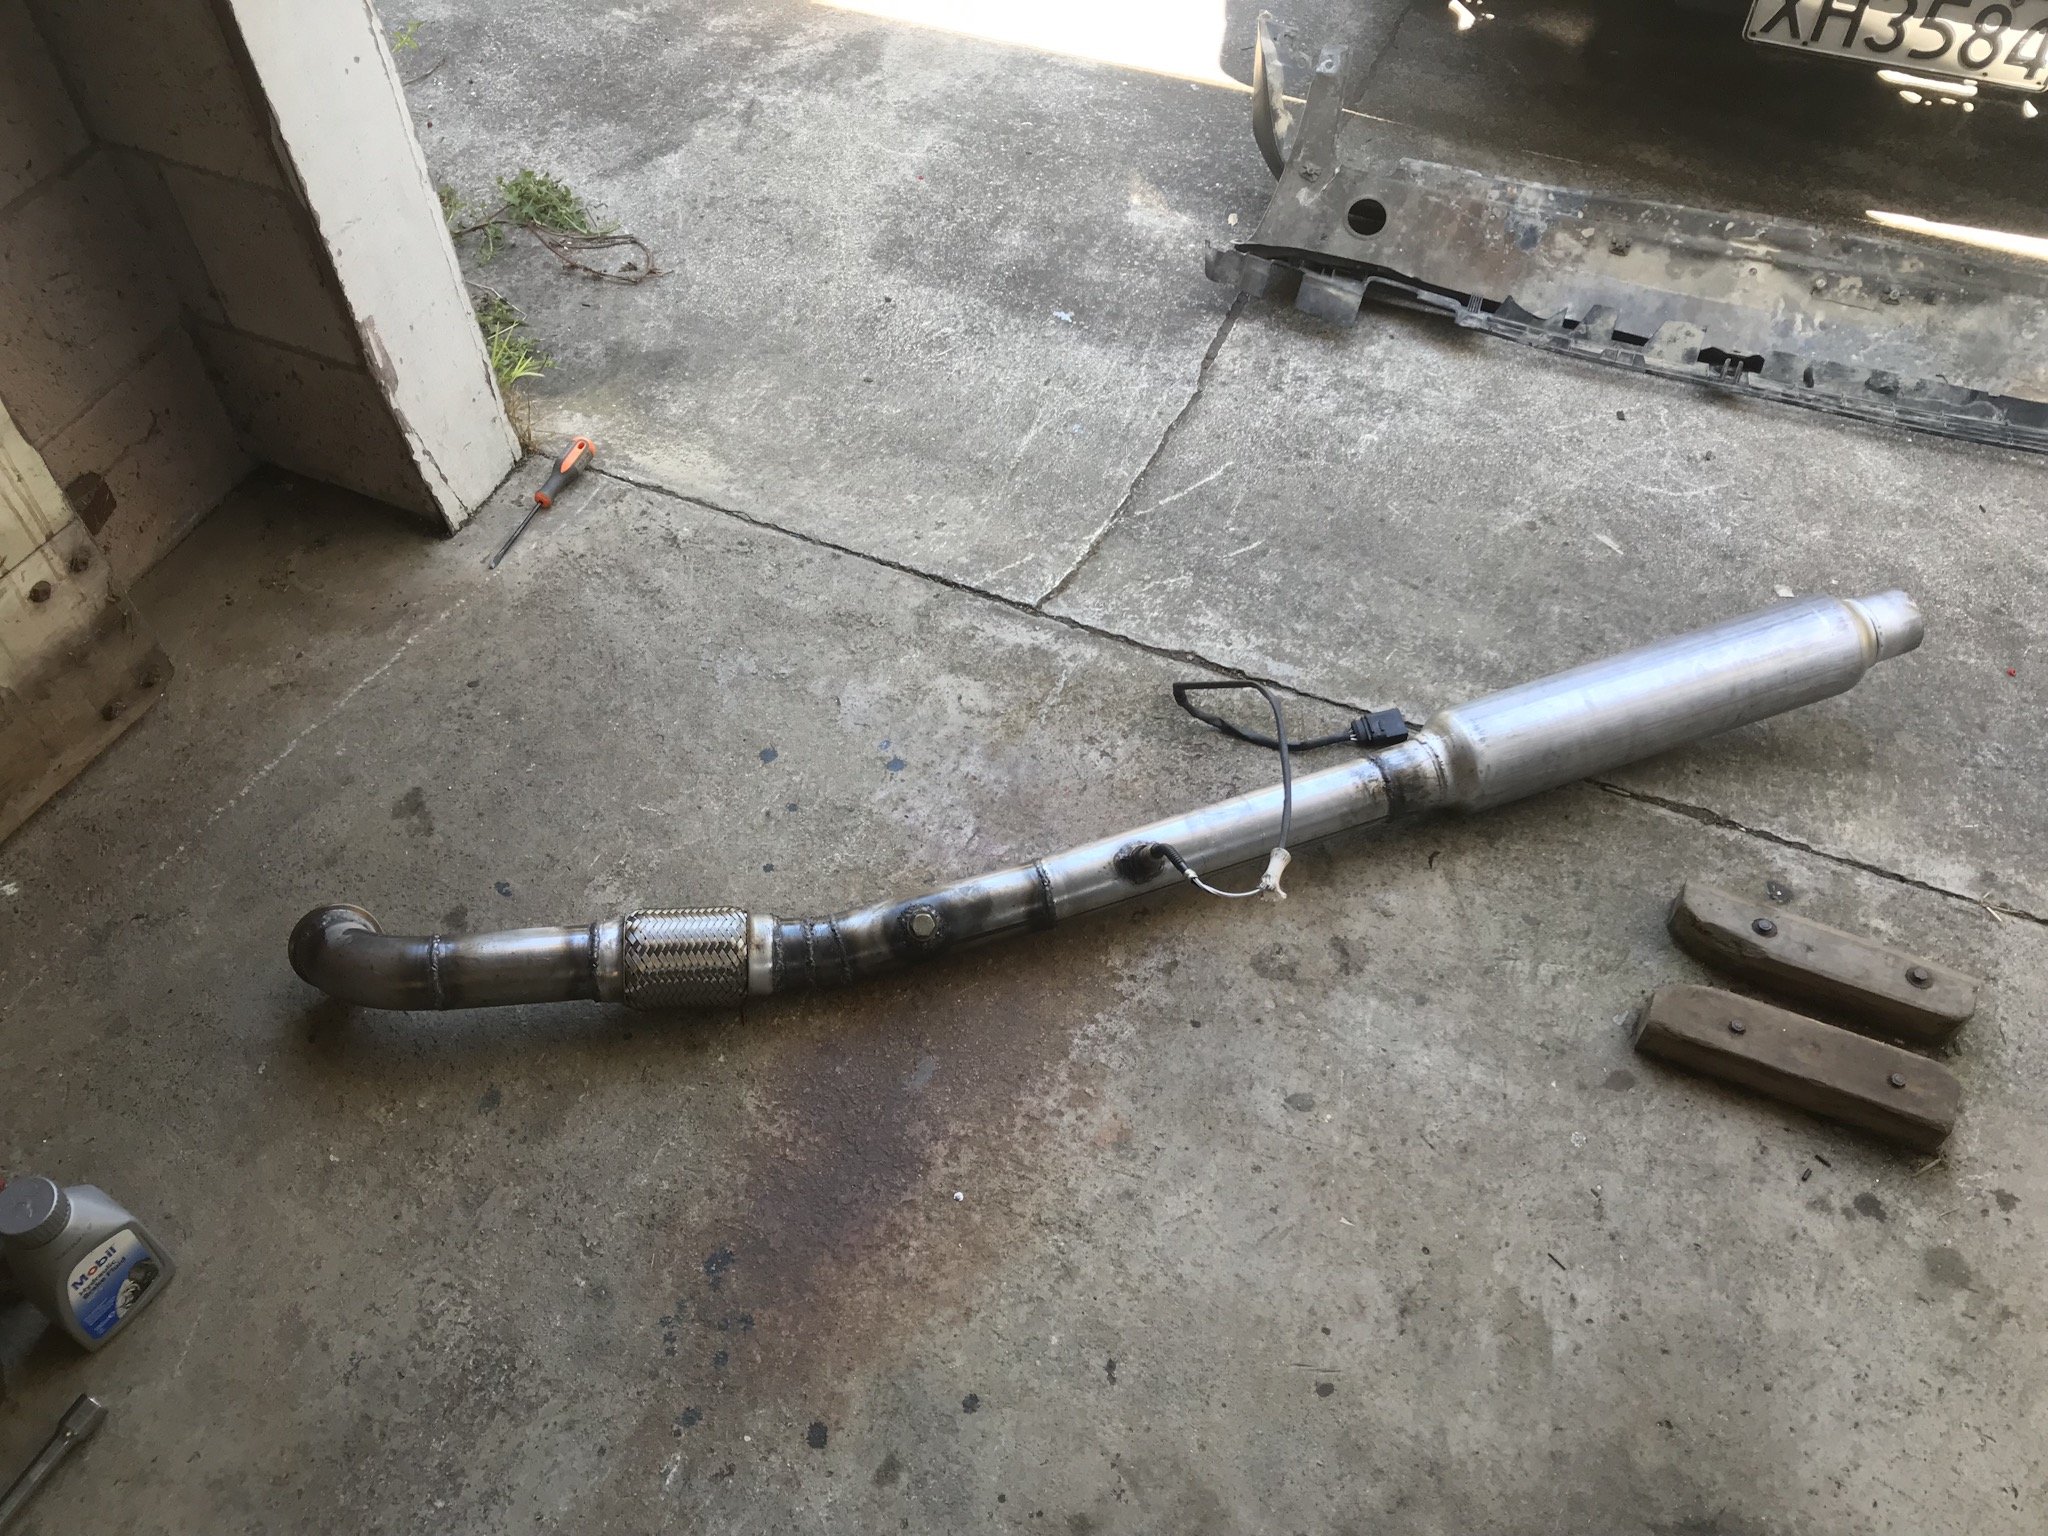
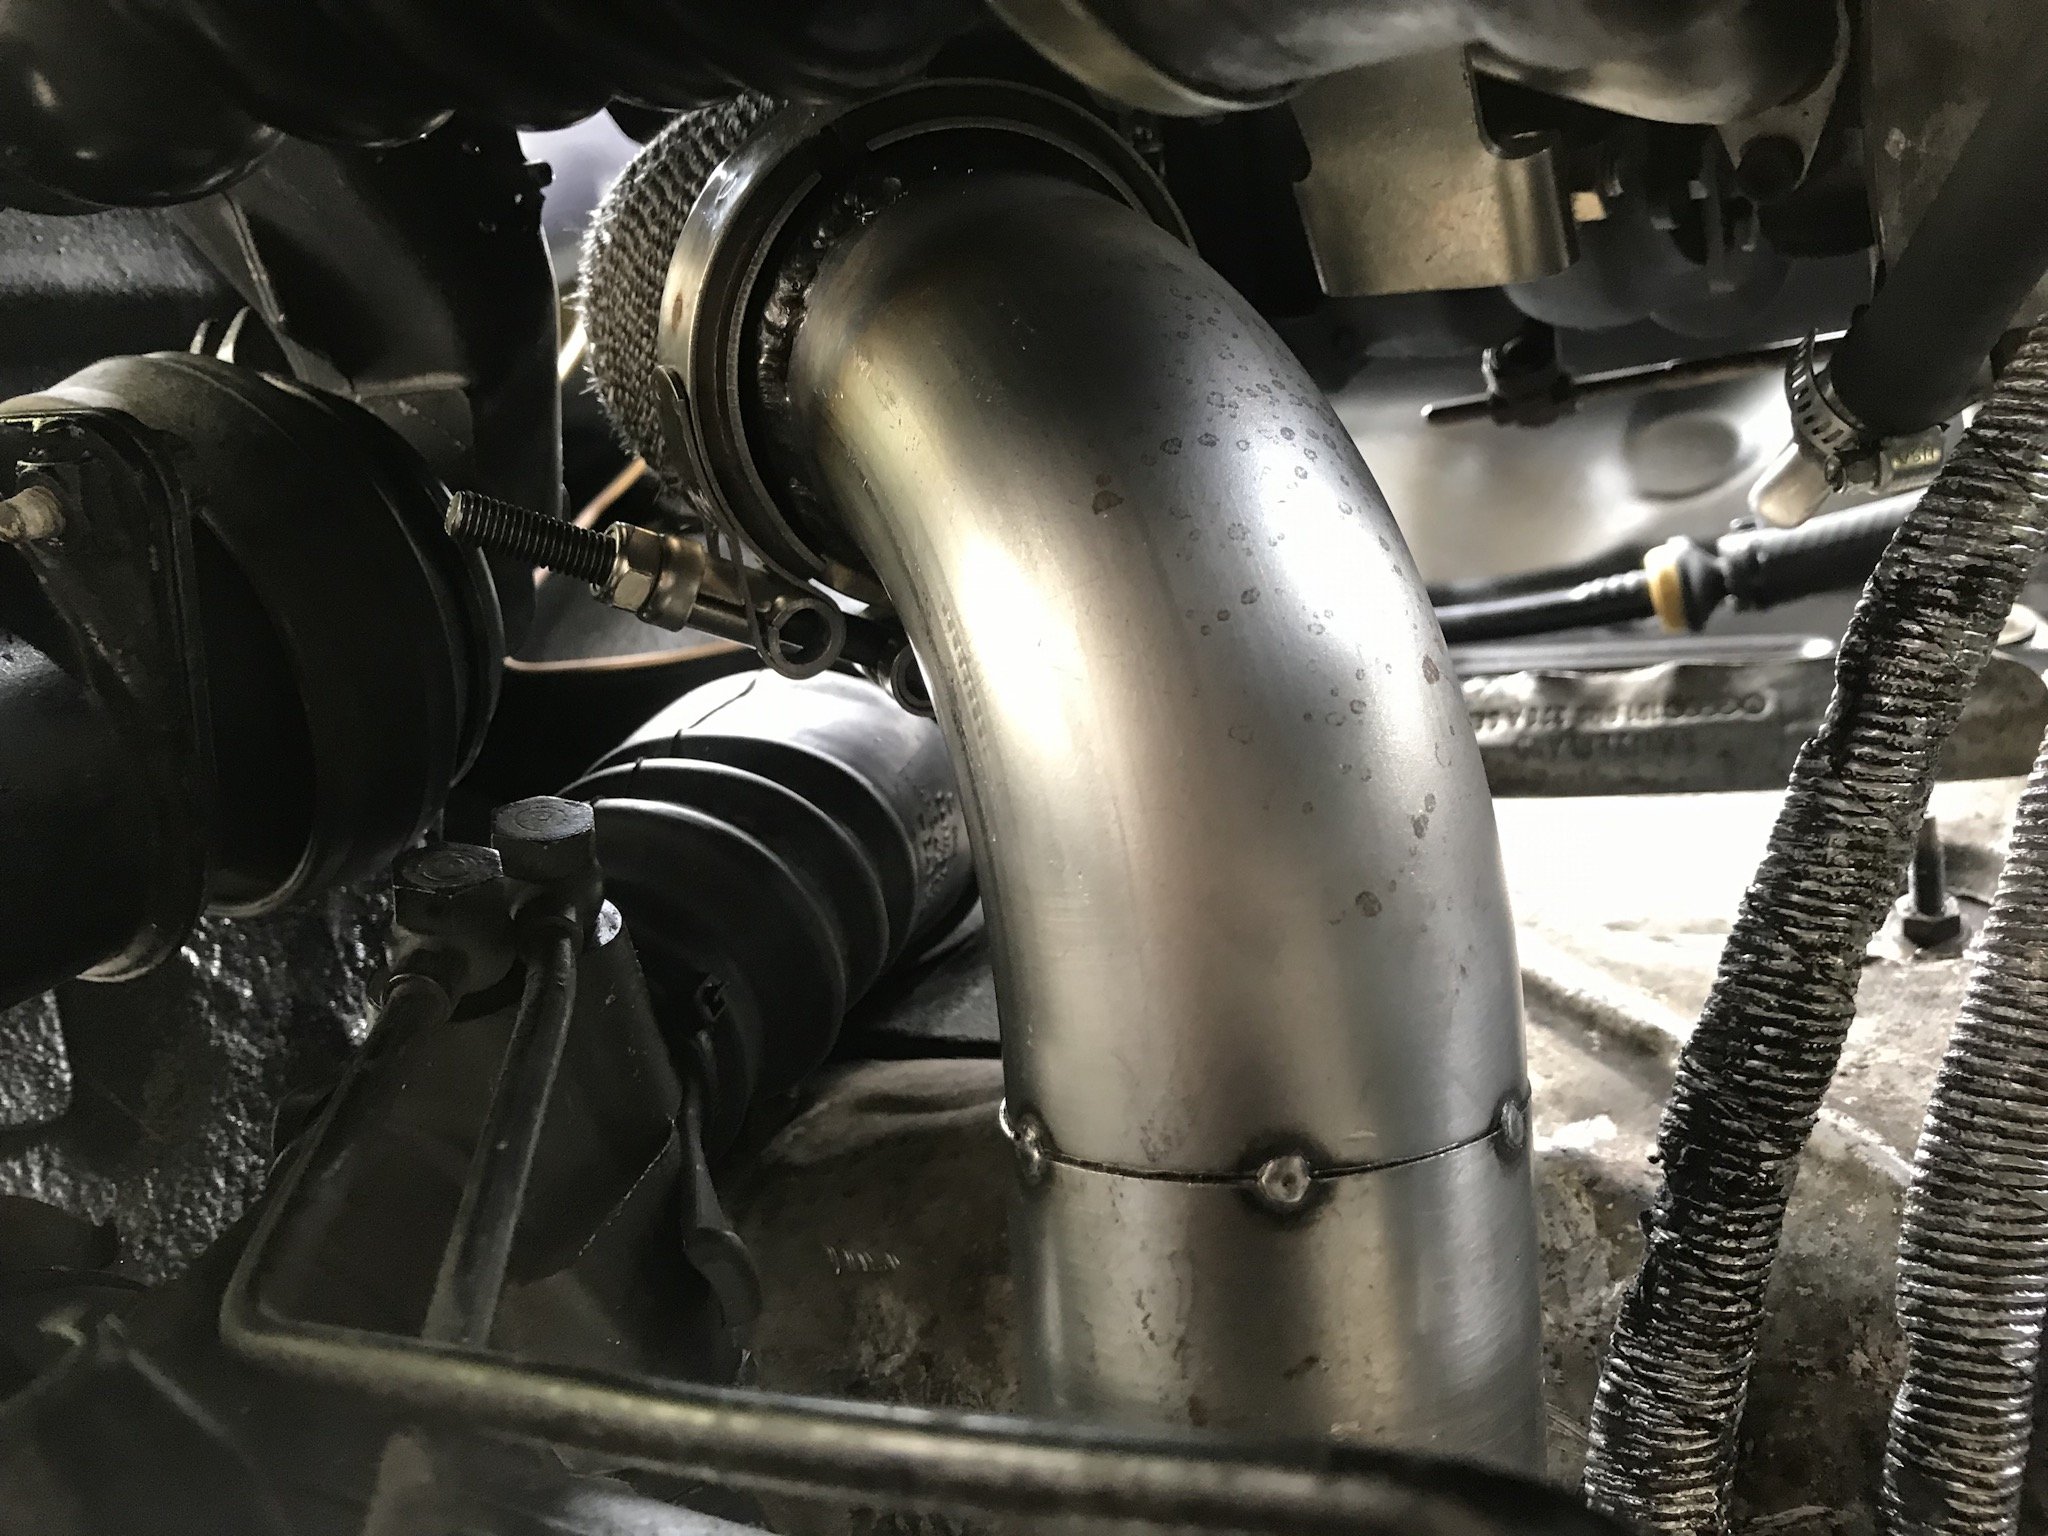
So first driving impressions were ‘who the hell thought it would be a good idea to put this much power to the front wheels’ but I’m very happy with not going any bigger of a turbo as it seems to have the power right where I want. It has great low end torque and a decent top end aswell. Anyhow, the car was running so good and even though I never really intended to build the car for it the last night speed drag was were coming up. There were import things to do like change the engine oil and get some semi slicks mounted up. But I did also have a bunch of left over exhaust pipe and a spare v band so it would be silly not to make a side pipe first? don’t worry I finished welding it and then gave it a bit of exhaust wrap and paint. installing it at the drags cause I didn’t need any attention from the police. had a tonne of fun, only managed 4 runs and blew a tire on the last run. First time ever drag racing so times were nothing special (14.6 was my best and I missed a gear) but I’m already looking forward to next season night speed wars.
 7 points
 -
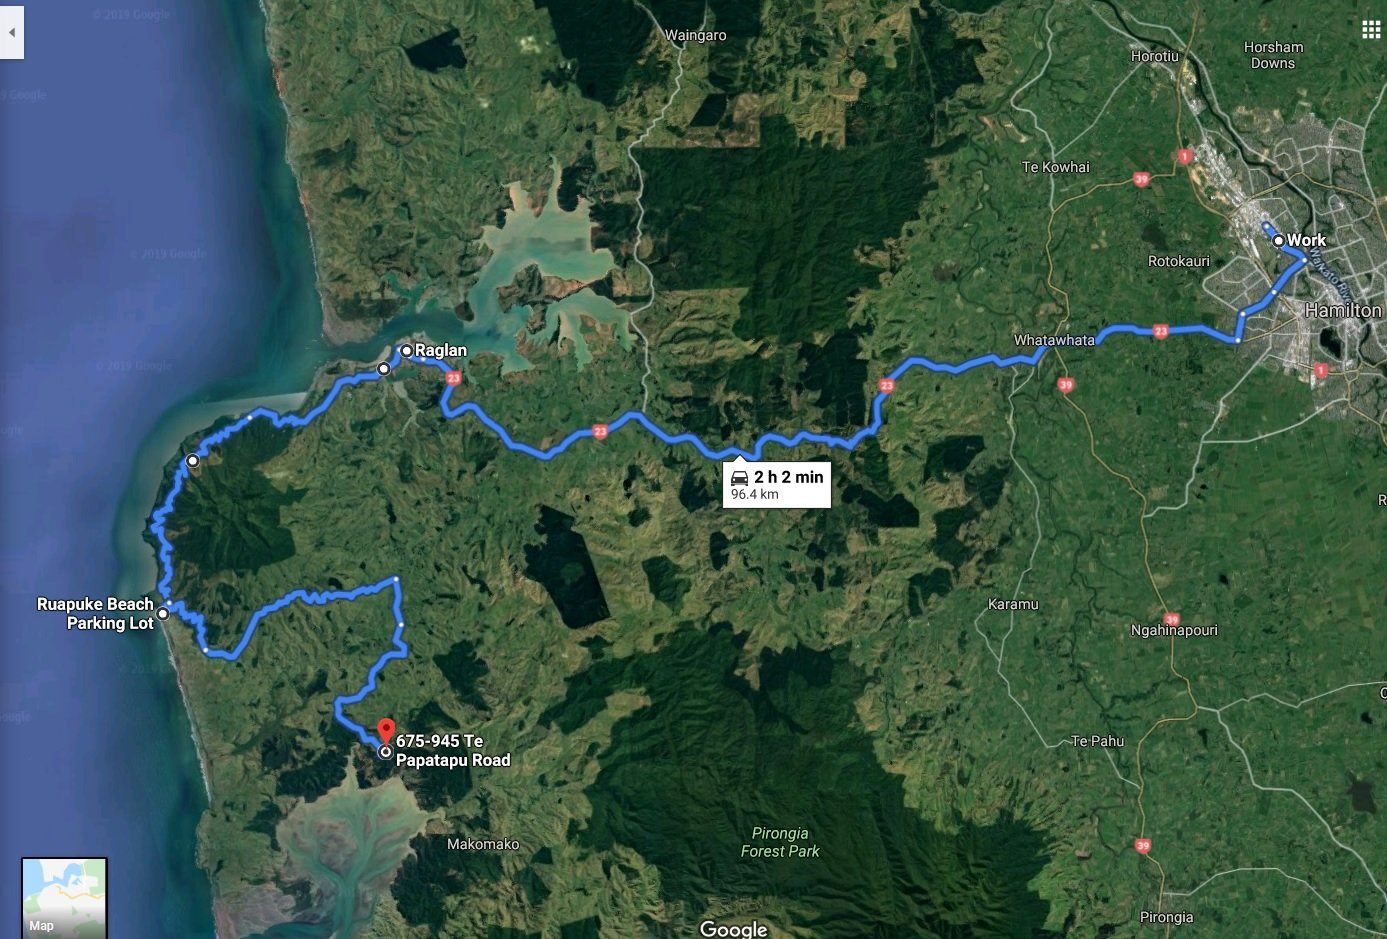
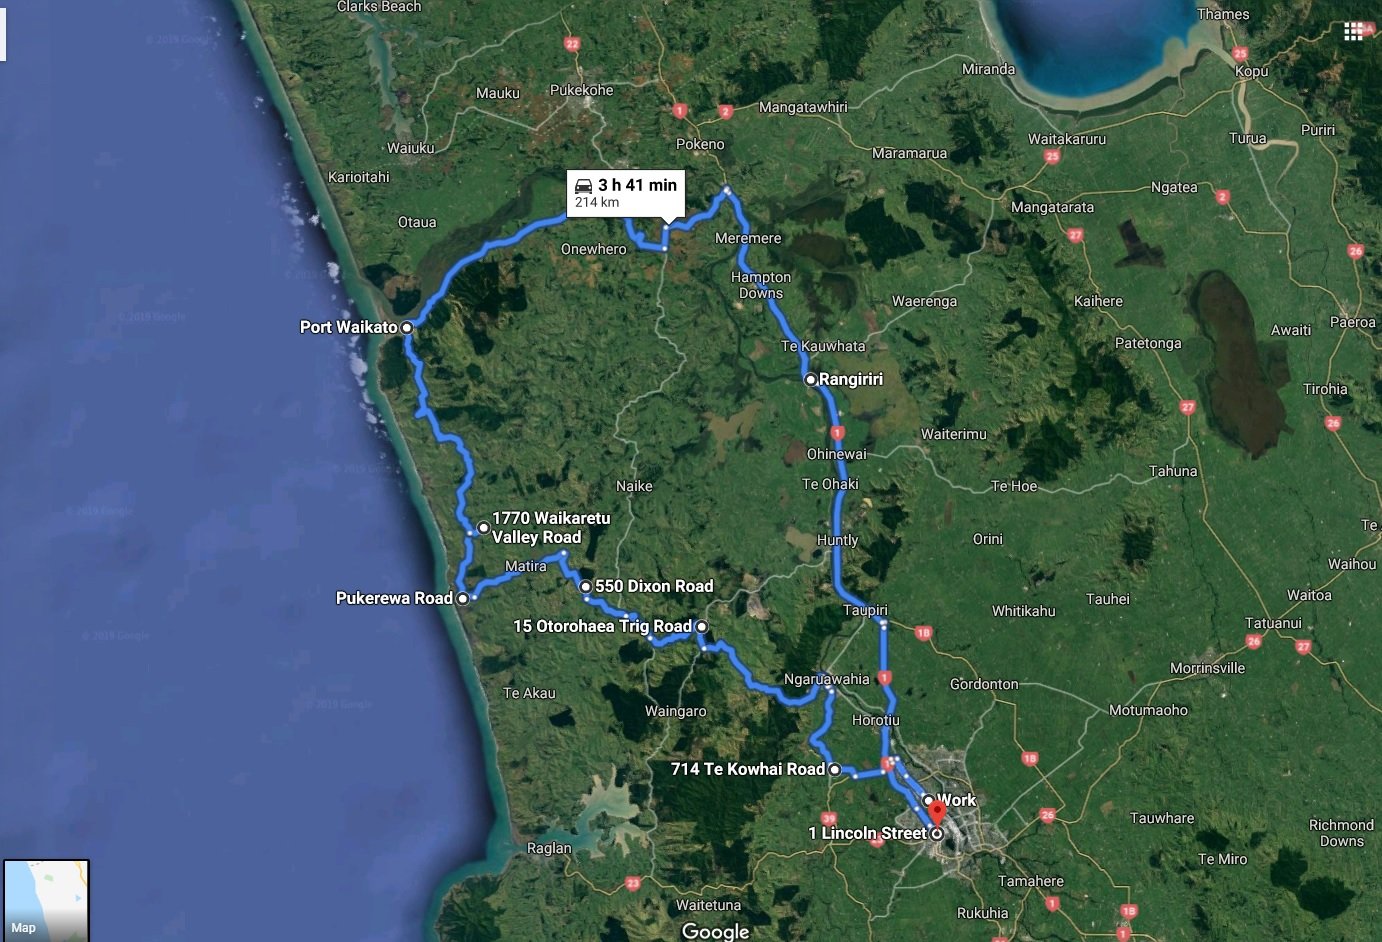
just came here to view what my last post was and all my east cape pics had gone, so back up now. have been riding this pretty much everywhere i get a chance to really. a few days ago i went for a ride with old mate @flyingbrick and this is how it kinda went. The earth is flat i tell ya! oh hello greg why have you stopped ohhhhh yeah got a flattie lets boost backwards to those guys see if we can get a hand, old guy that lived next to the boat ramp hand some tools and i was able to get the rim off and he offered to mow his lawns for us so we could pack my tire full of grass i ended up limping it back to cell phone reception and called the guys net to me at work (ntb motorcycles) and they came out and picked me up. they were about 20mins drive from my final resting point. ahhh this is also what happens when you cant be assed trying to find your tools or your spare tube you usually carry. it was a bloody good hoon thats for sure. our next stop was kawhia we also went for a hoon yesterday, out the back of mine and towards port waikato and back. some bloody beautiful country we have on our door step i tell ya! seems i took this photo with a potato but i took @Zeubins gas off him to give him less weight so he can go faster. wasnt long and we were on the gravel roads doing some sweet hoons old mate @Zeubin came off a little while after this, he got a little distracted by the bloody pheasant that flew in front of him. we then had to deal with a flooded bike that wasnt running well. few push starts here and there and alive it became. carried on out to the next stop which was Nikau Cave & Cafe had a quick bite there and avoided all the paper wasps. some more lovely gravel roads and a few shat pants from a giant tractor and we then done some vape clouds well richard did while reubin checked his bike cause well yeah still not running right.... few more gravel roads and what not, boom baby we got the coast. this section of gravel road was so god dam fun! but we kept on hooning and made it to the beach. old mate richard went for a hoon down the beach that we got to but yeah water was to high for my liking i did go for a hoon on the sand dunes though i also got a nice photo of @flyingbrick picking up his bike....... we continued to get our hoon on really good after this, some of us more than others. but as we got closer to tuakau reubins bike started to loose speed and not sound so great, we chucked more fuel in and we dropped some oil in it, seemed to have given it a bit more life, well not for long. he checked the spark plug that well wasnt happy at all. a phone call later and he had a car coming to pick him up and the bike. bit of a bummer, his dad recons the rings and broken, hopefully we see the modded small bike out again. all in all a great trip again. here is the map of this trip we done alos fun fact @GuyWithAviators got stuck in grass and a little bit of water in his 4x4 at the bottom of that trig road. (it may have been clay) but both maps great fun if your keen on some gravel road riding. i will be back to ride them again!
5 points
-
I guess I finally got enough courage to fix the rest of the rust. Had plenty of spare time over Easter so thought I'd better do something and was sick of having a puddle on the floor each time it rained heavily. The rust hole under the wiper motor was the worst of it, kept putting it off because of the location and how tight the space is to get at. Ground the mounting plate off, the rust was a little worse than I thought it was gonna be. Made a patch to fit and then cut a much bigger hole. Took a few attempts to get the patch the right shape. All welded in, didn't come out too bad. Got a rust cut from Olds Cool Autos as the wiper mount was a bit past it after I cut it off. Carefully removed the lower skin and gave it all a sandblast. Welded it in place after testing the wipers still worked properly. Had to pull out the mig welder for the first time in a few years since i couldn't get the rear plug welds with the tig. Mig does plug welds nicer any way. The drivers door had quite a few holes on the bottom. Also had some tiny holes on the outer skin in the front corner, was easier to just cut that whole piece out and make a new patch. Made a couple of patches for the inner skin and welded them in, then brushed on some paint. Next made up the outer skin patch, welded that up and then hammered the edge over. The outside has a little distortion since I couldn't get a dolly in there properly to stretch the weld out, but nothing a light skim of bog won't fix. Another few patches further down which finished off the rust in this door. Was a good time to fill up the original side mirror mount holes. Cutting out 6mm diameter circles wasn't that easy! Underneath the fuel cap was some more rust coming through. Sanded it back and just the top needed replacing with new steel. Rust killed it all after patching it and then seam sealed it back up. Both A-pillars had some rust coming through, no holes though, so rust killed them. Still need to fill the antenna holes.5 points
-
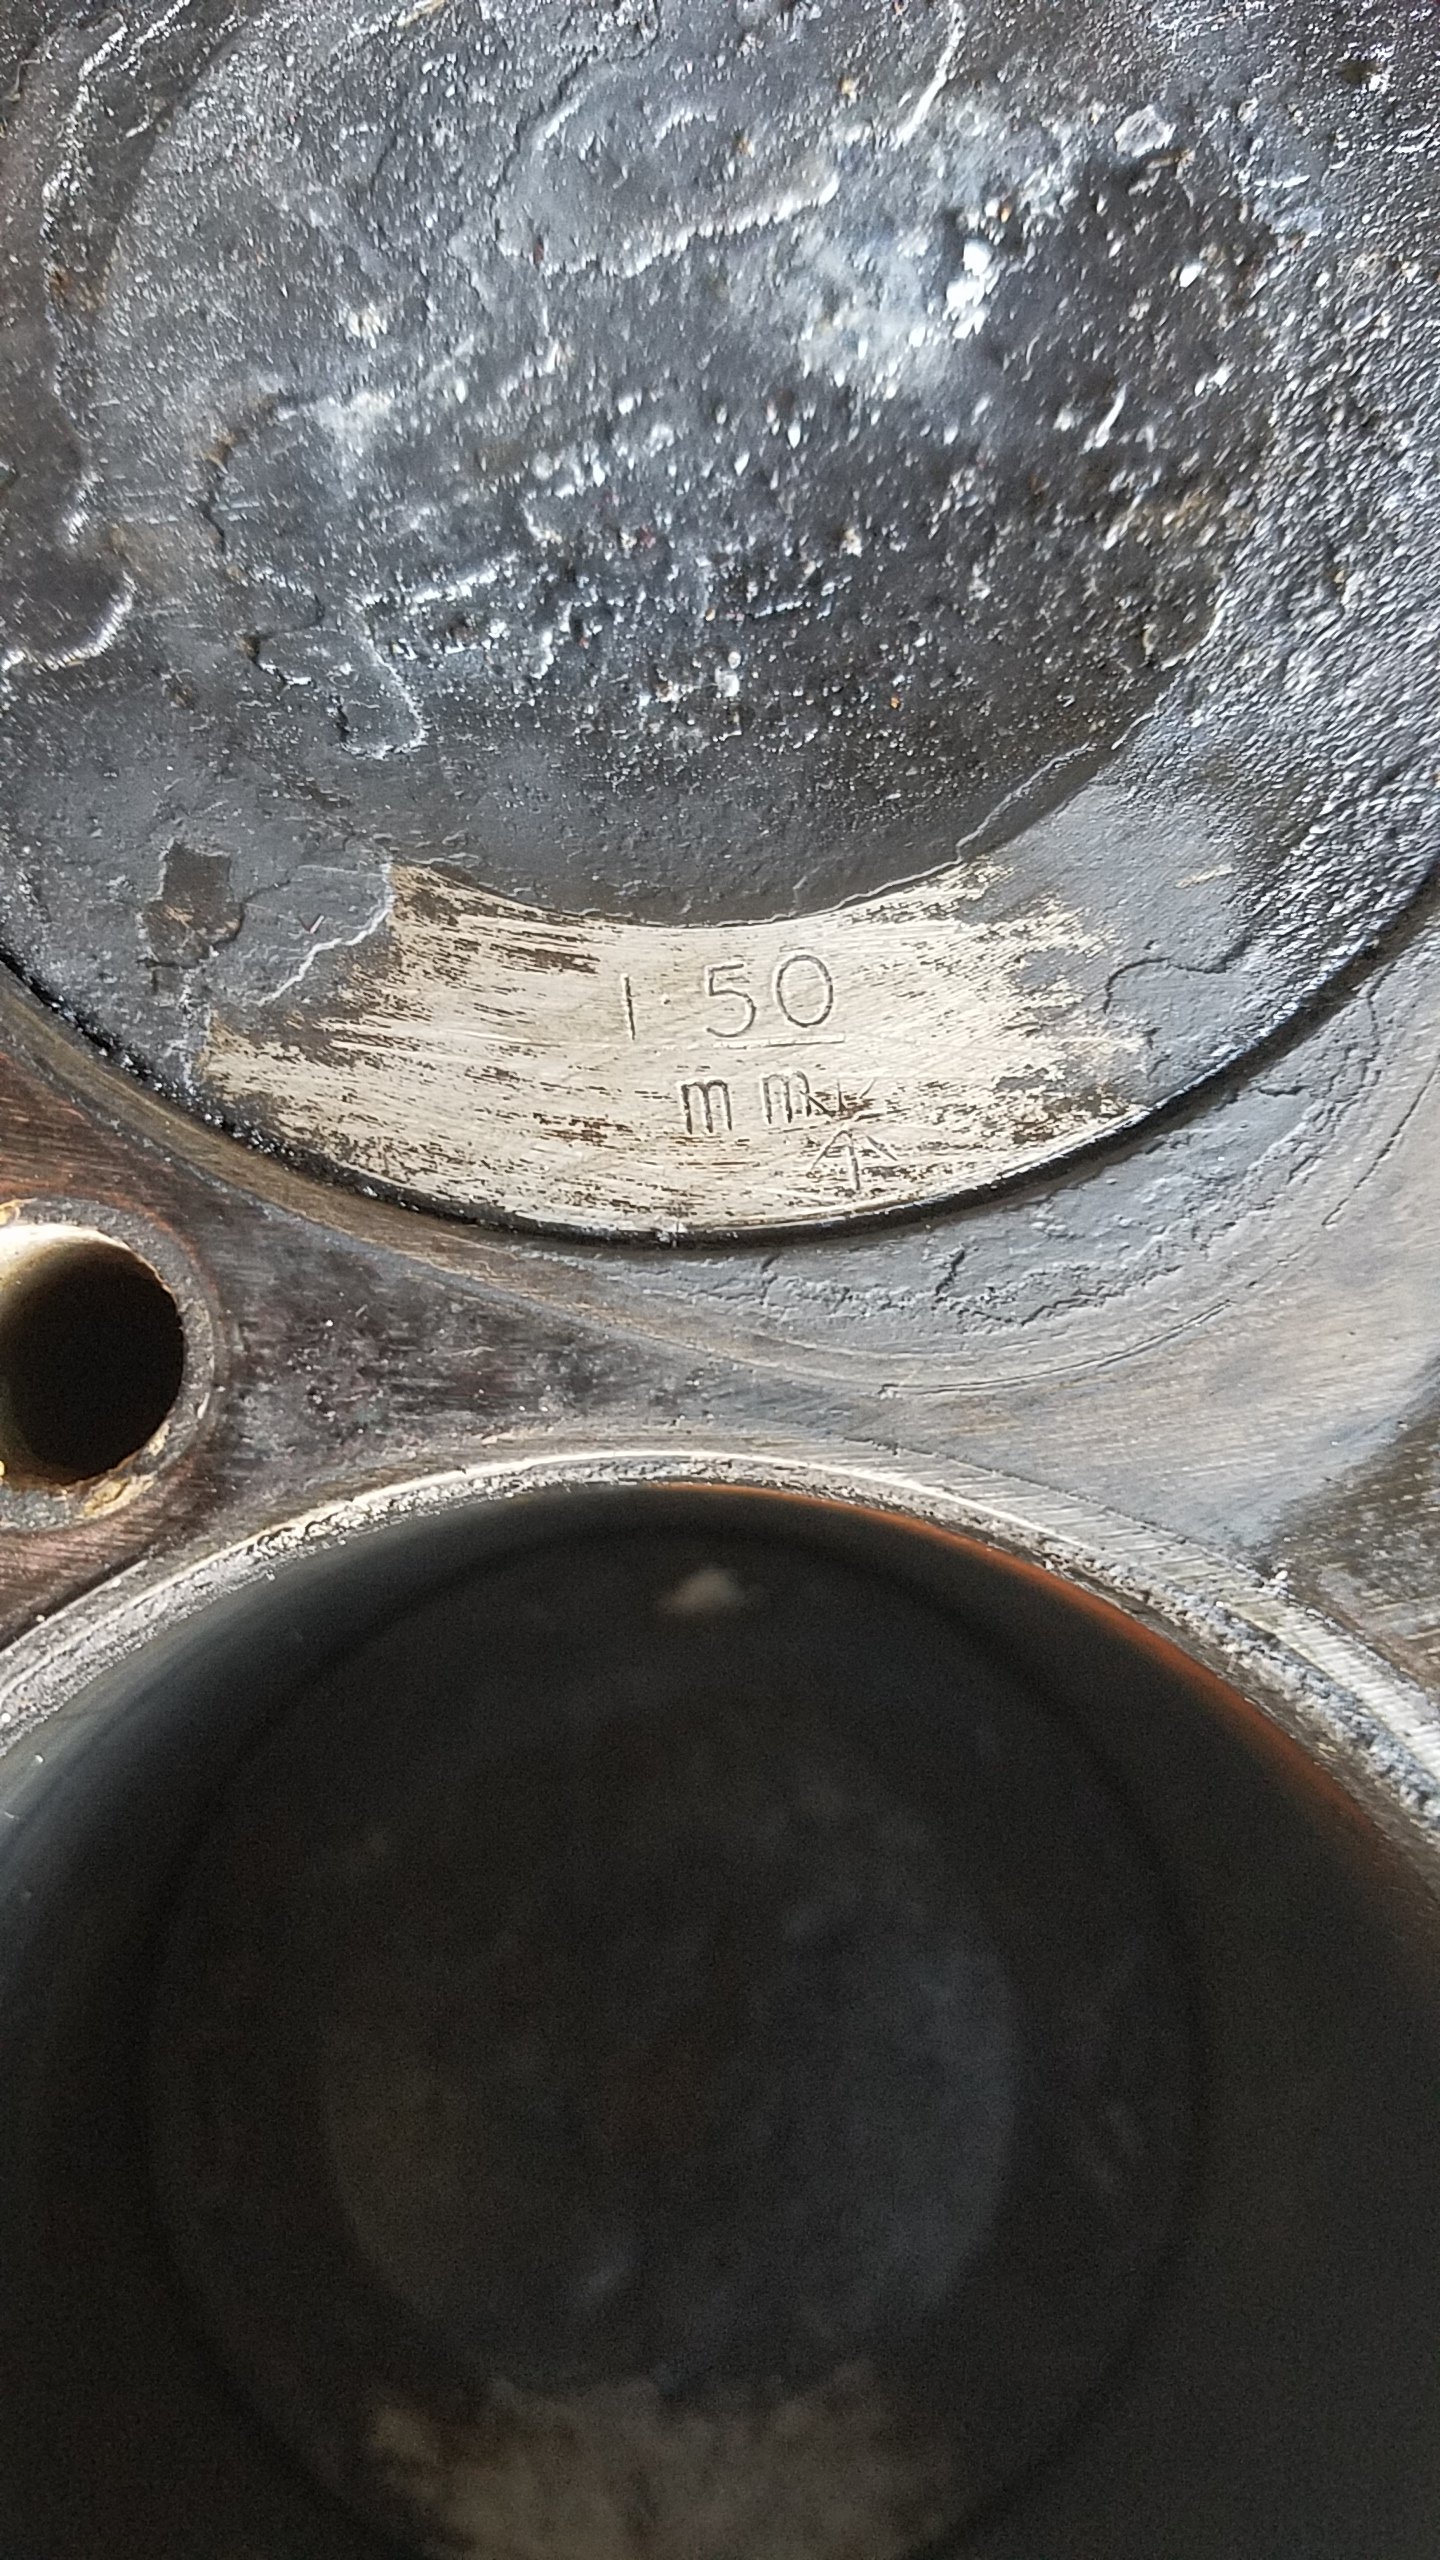
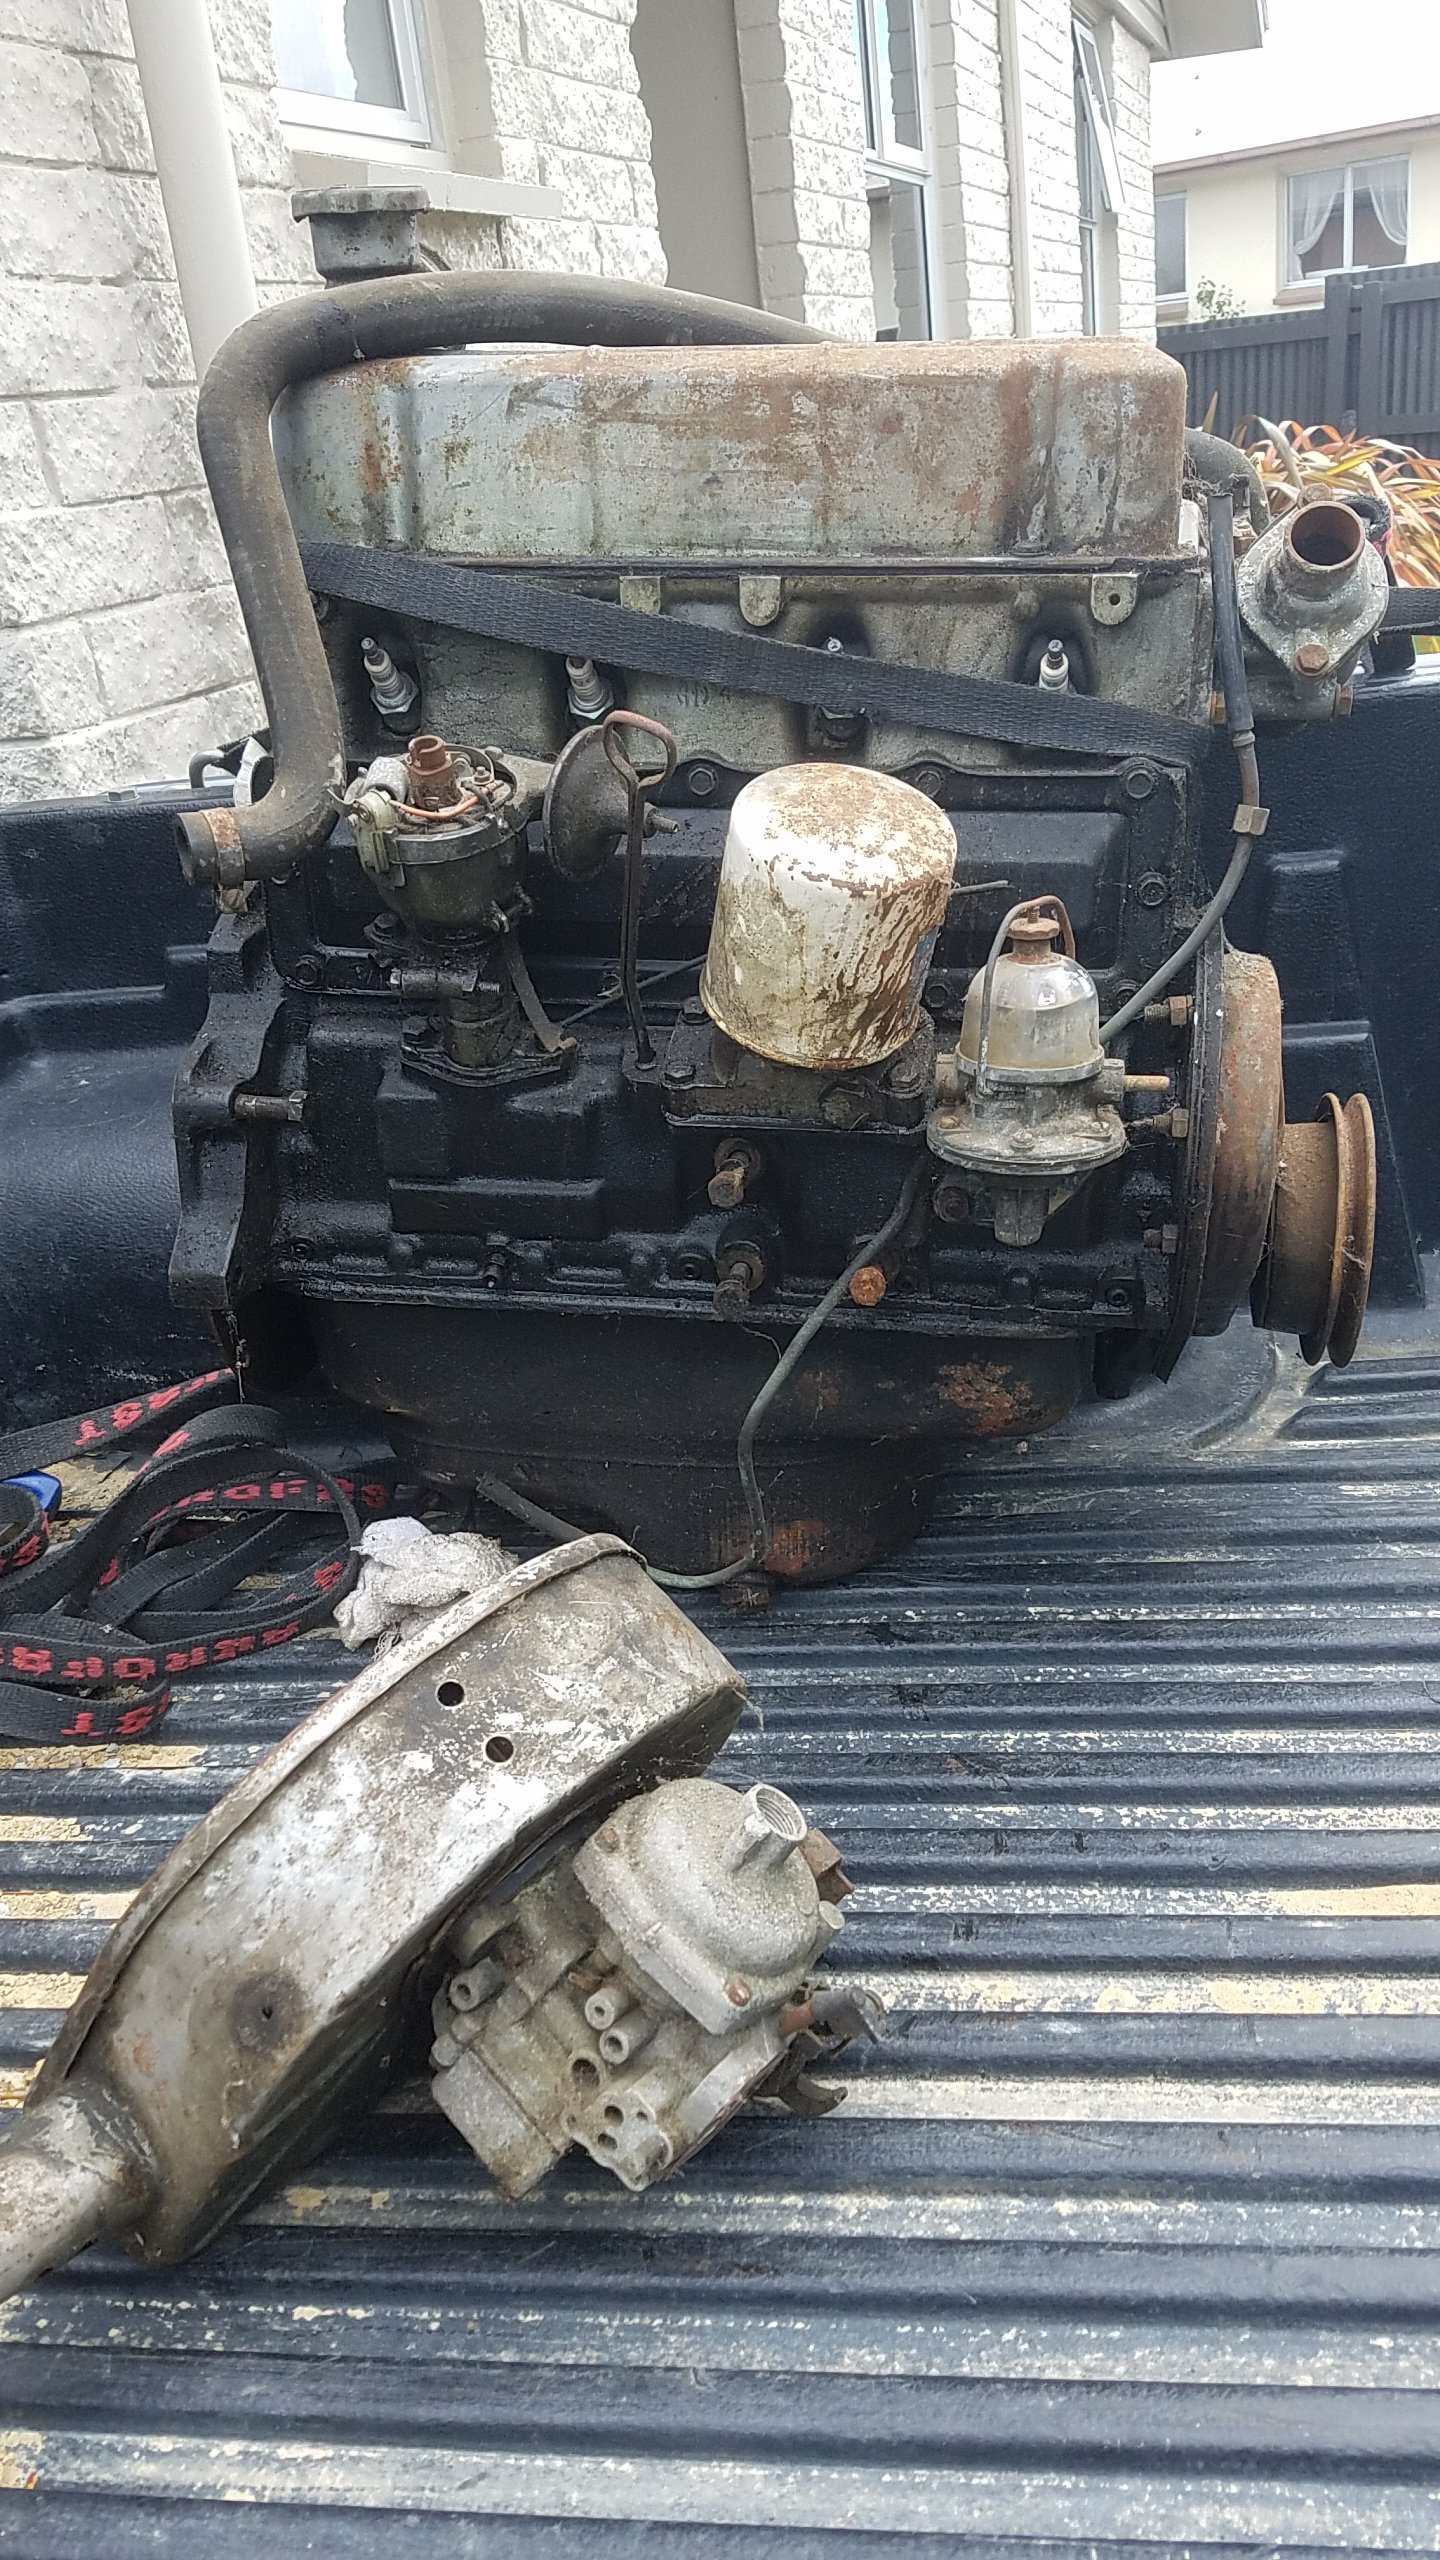
sorted...turns out it is a 32mm which I actually have.. block is completely stripped, the bores have very recent looking cross hatching in them/very low kms since the build.. cam looks brand new with no lobe wear, lifters have no marks on them.. the piston skirts look new although with some minor running marks as expected.. Im picking that this was fully rebuilt, run for a bit then pulled out.. I will most likely just get the block super clean and paint it, then clean and reassemble the bottom end. work out what the cam is if its stock or slightly tickled. then I will move onto the head, open up the combustion chamber similar to a Holbay or Marathon spec, then work out how much I will need to take off the head to get the comp ratio where it needs to be. will set the bike carbs up on this motor, and if it all goes to poop then not much loss at all4 points
-
Side sharn, back in 96 I had a KE30 I bought off a guy in my rugby team for two jugs. (It was a "bit rough". Removing the steeing wheel I tugged and wiggled it. It came off suddenly. And the wheel smacked me in the face hard af. I was sure my nose was broken. Lesson Learned. I've never forgot that.4 points
-
got round to completely stripping this bad boy, and is now a neat-ish pile of bits. got mildly overwhelmed looking at all the bits there wondering if i'll remember how it all goes back together. she'll be right jim so i have the frame bare, along with swing arm, brakestay, triple clamps and stands ready to be sandblasted and powdercoated. that will be next weeks mission. Then can finally begin the glorious task of putting it all back together! really going against the oldschool tradition and actually making progress on this. in other news, i have ordered a whole bunch of shit from Yambits, swingarm bushes, seals, sprockets and the likes, along with a carb kit. The arrival of these bits will coincide quite nicely with getting frame stz painted. i also spent today taking apart the front brake caliper and line. I thought at first that the master cylinder was good. but after trying to give it a bleed i realised it wasnt actually letting any fluid flow through. the inside looked like a Castle Street bathroom. Brown Jim put me onto one of these Aliexpress master cylinders, which could be had for a ridiculously good price. it arrived last week, i wanged it on and by gum she bled up and felt goooooood. Then i took apart the caliper and it too resembled a toilet in a student flat. But alas, a piston and seal kit are on their way. Lots of words! tldr? We're gittin 'er done4 points
-
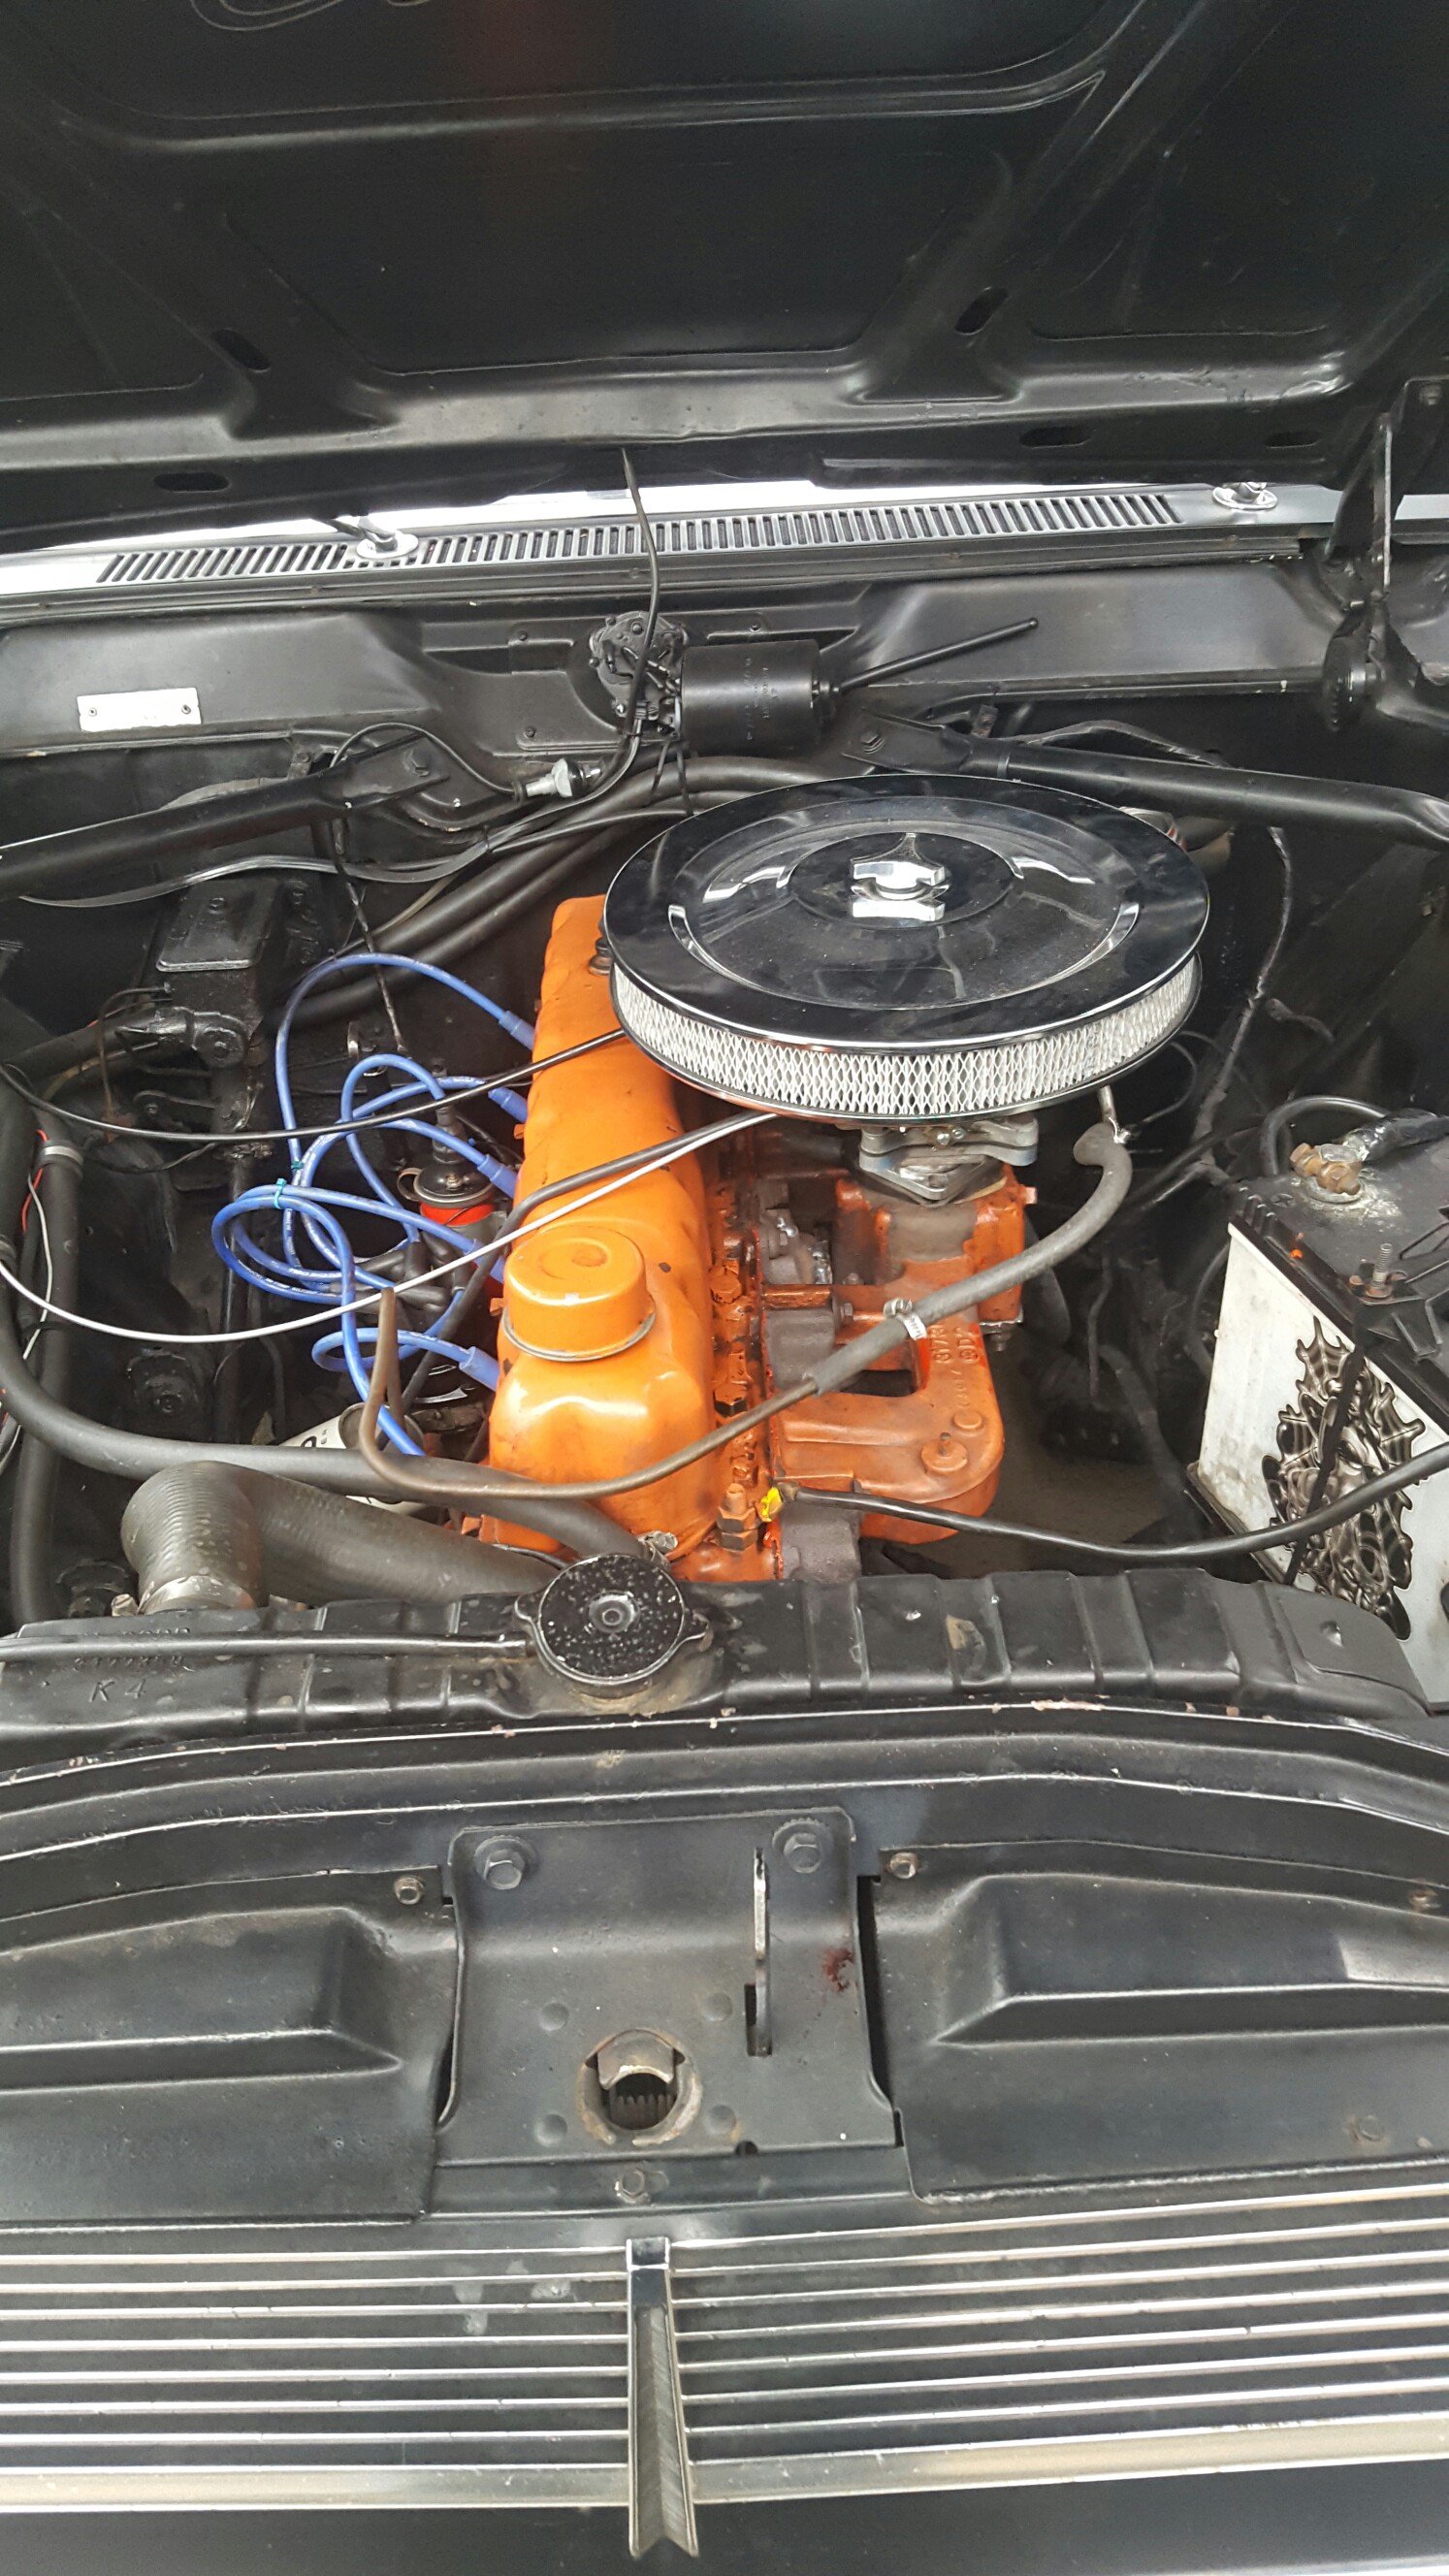
anzac day progress. been feeling pretty good lately with the old back, im down to half my pain killers (except for today where i took some after breakfast because leg was turbo sore) so with that in mind ive been doing a bit more on the coupe. today i installed new inner and outer tie rods, new upper and lower ball joints and a second hand but pretty good pitman arm. i also topped up the steering box with Molly grease which has made quite a big difference. lets be honest, the steering on these things is pretty hard but its slightly less shit now. i have a power steering box to put in this which ill do after compliance. i dont have a bracket for the pump if anyone has one for a square port 4M.... so with that done i decided to go for a drive. the longest drive ive ever done in it, about 5Ks around the neighborhood. went up to westmere then down to the beach. this thing goes so well. the suspension is fucking ace, it dosent rattle or vibrate, the auto is smooth and changes perfectly and the motor hasn't turned to shit yet. the radio works and the heater /fan all works mint too. its fucking ace. and your not gong to believe this but it did a skid turning right onto the main road! ive got a few little things to tidy up but then its on to compliance!!! 2019-04-25_04-50-20 by sheepers, on Flickr 2019-04-25_04-50-11 by sheepers, on Flickr 2019-04-25_04-50-03 by sheepers, on Flickr4 points
-
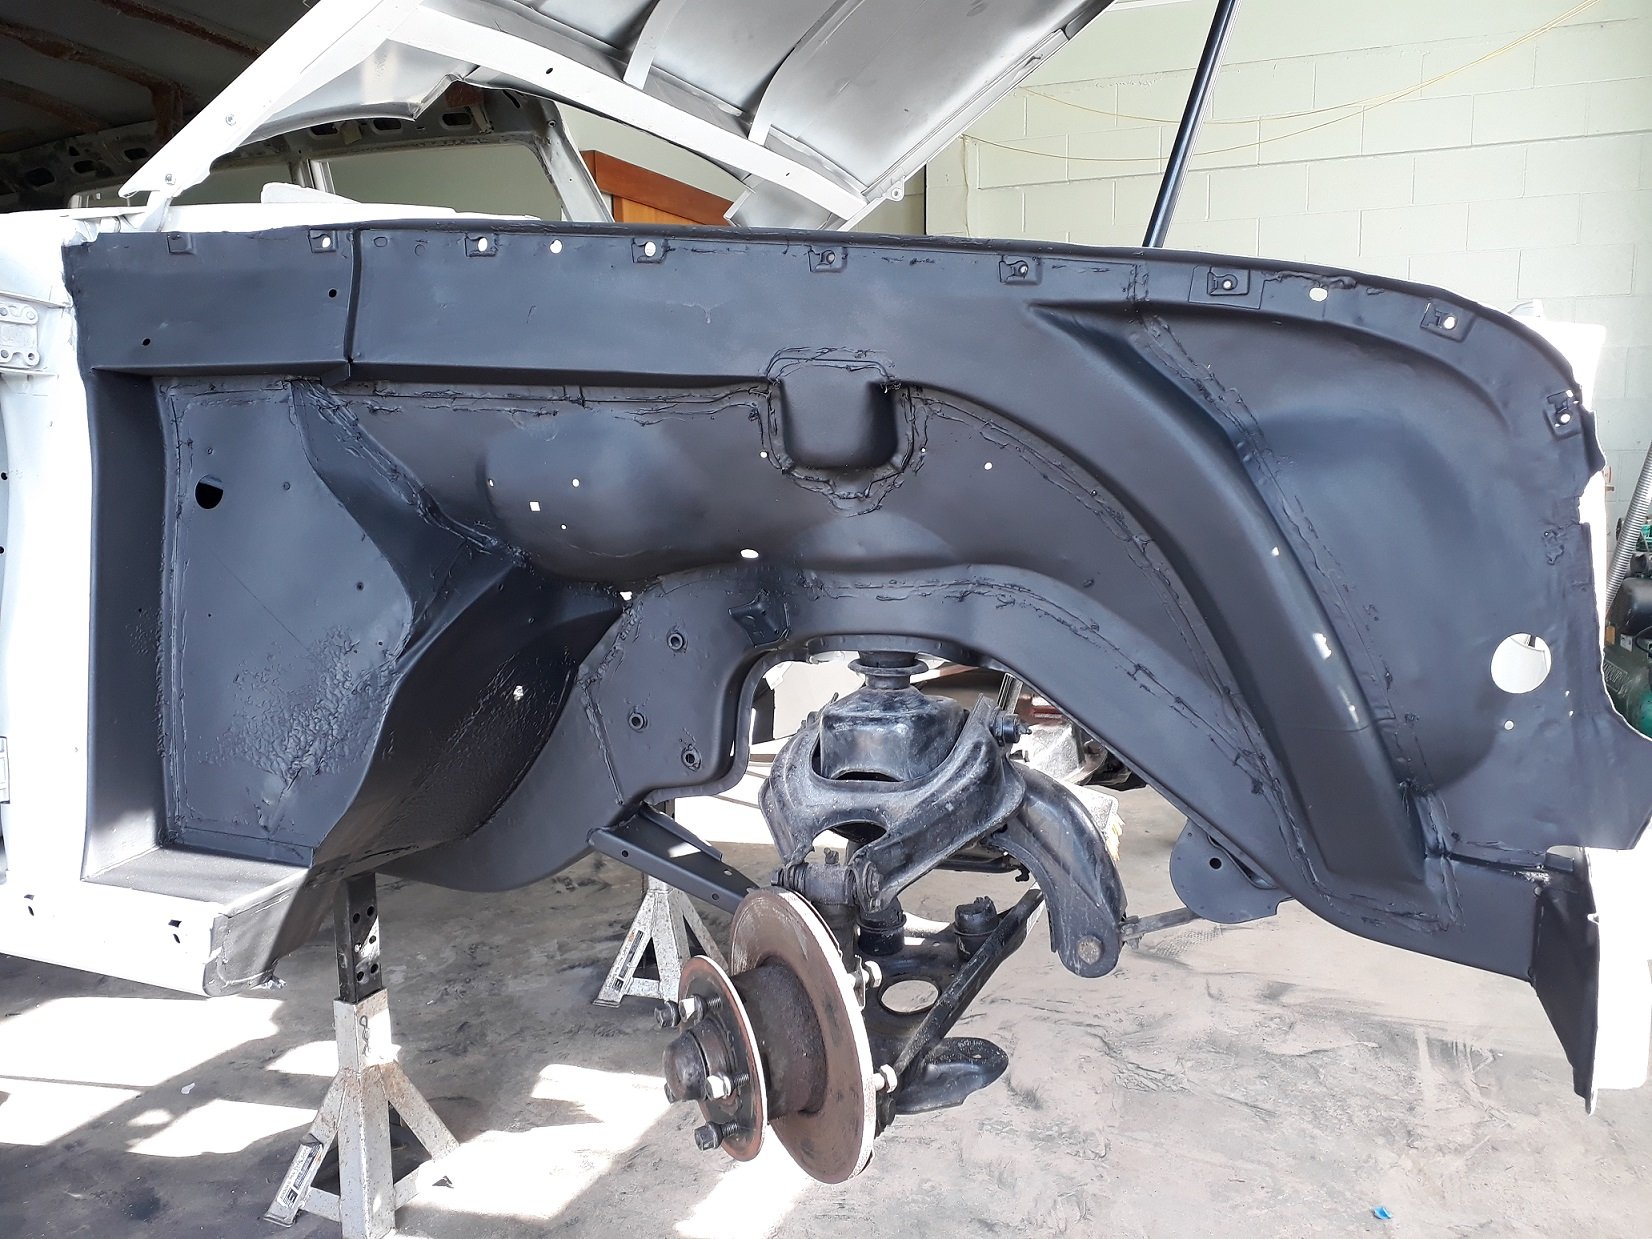
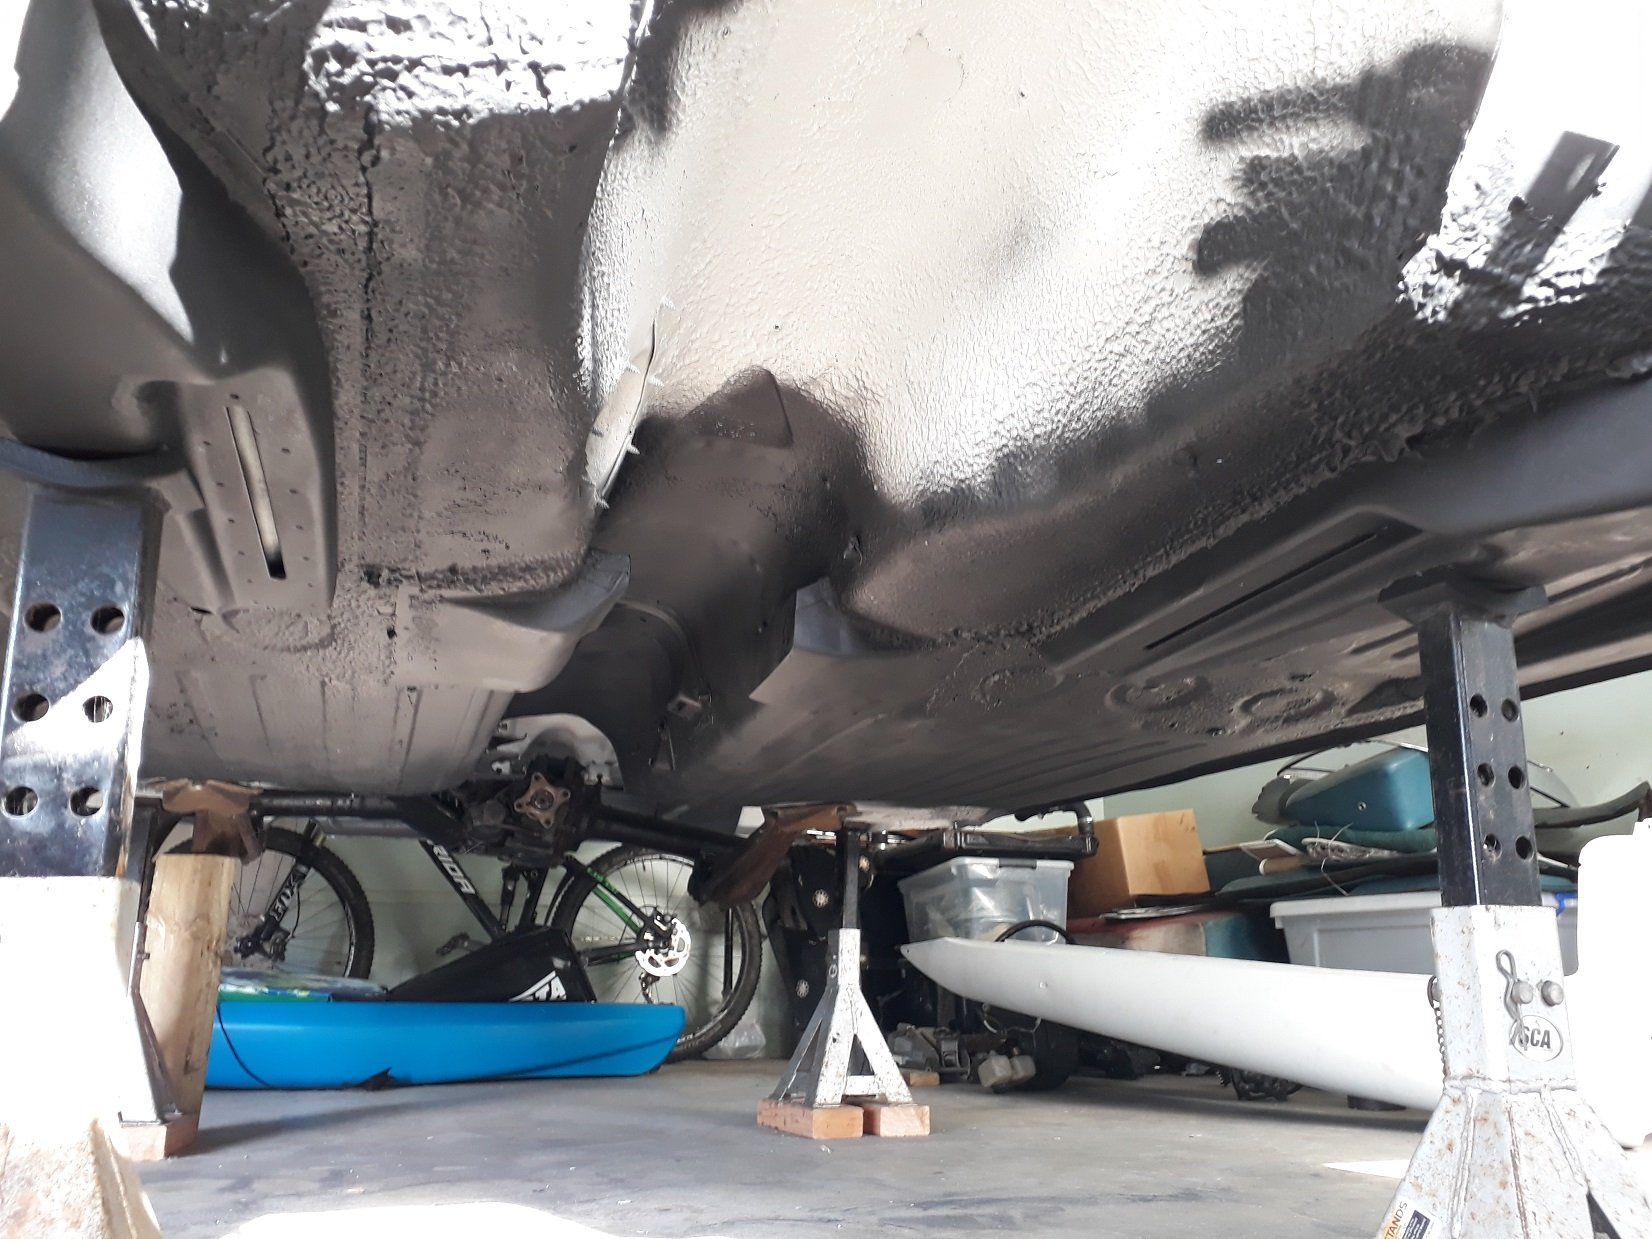
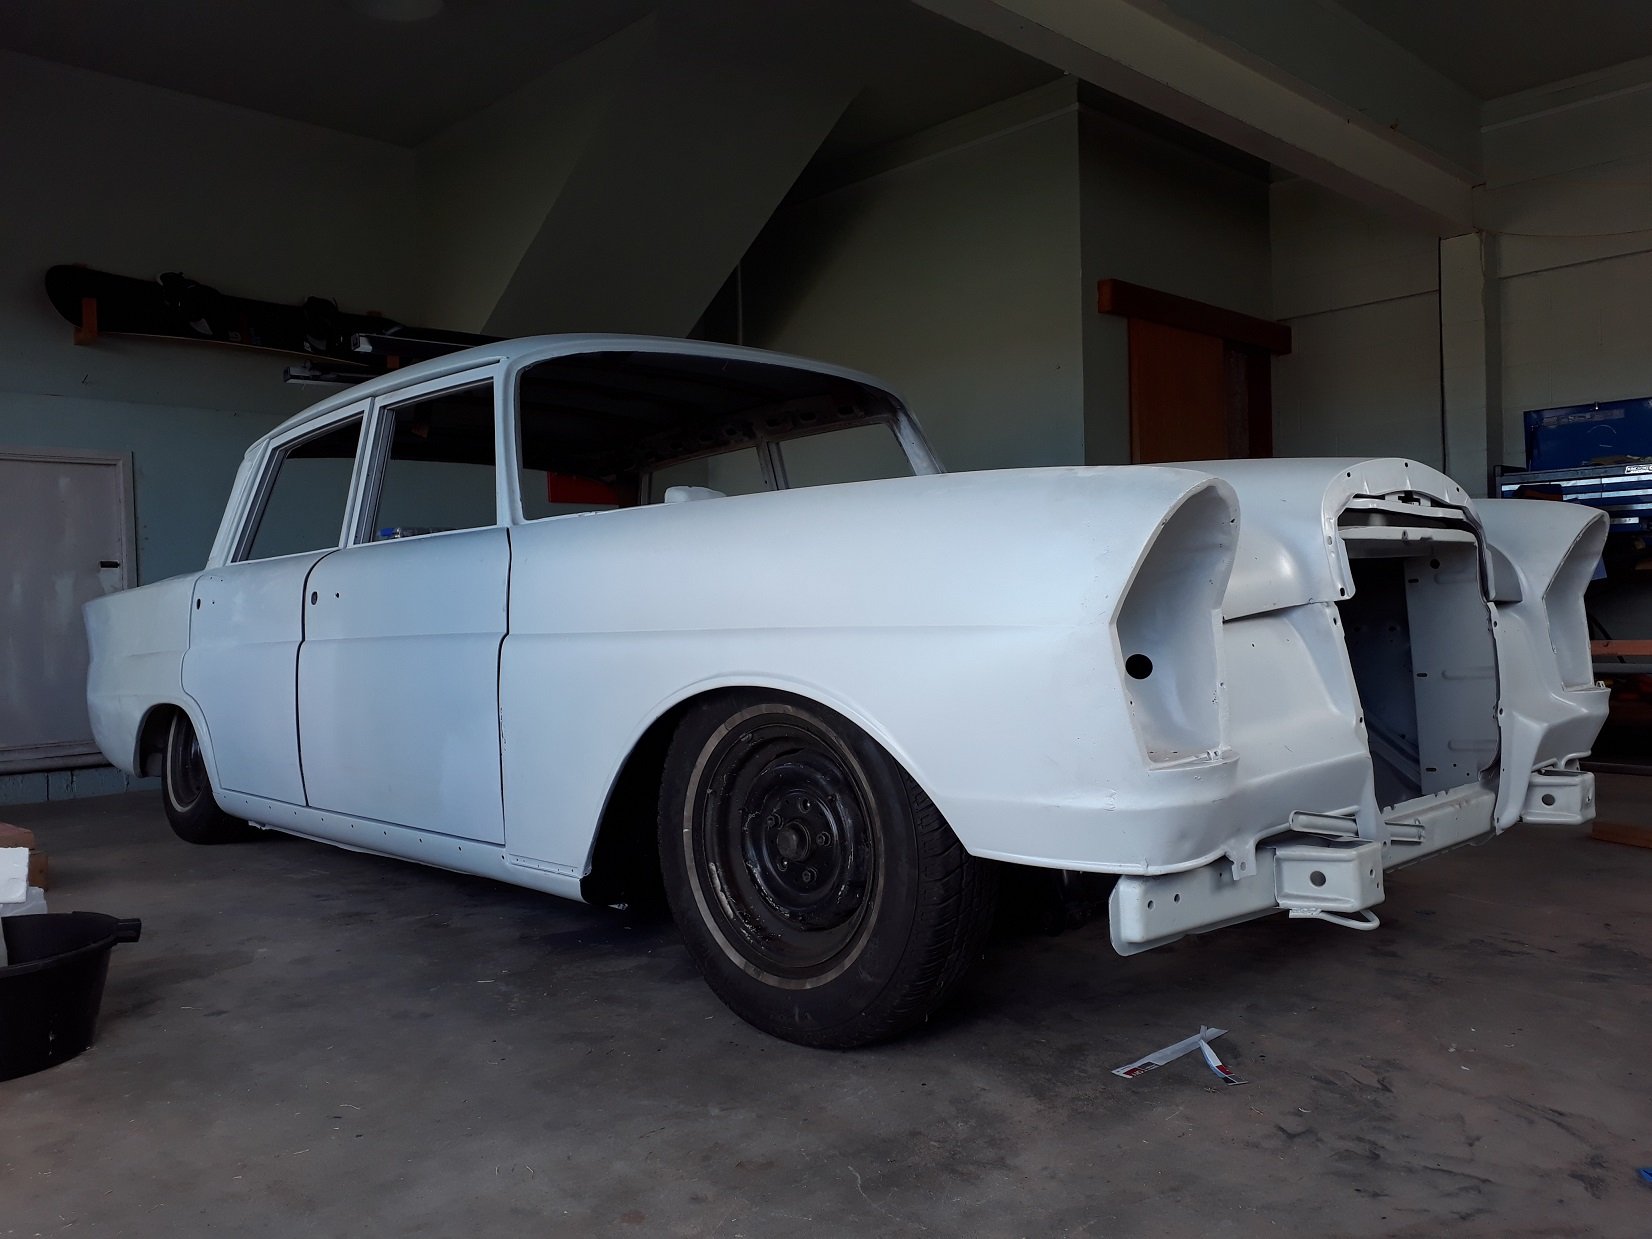
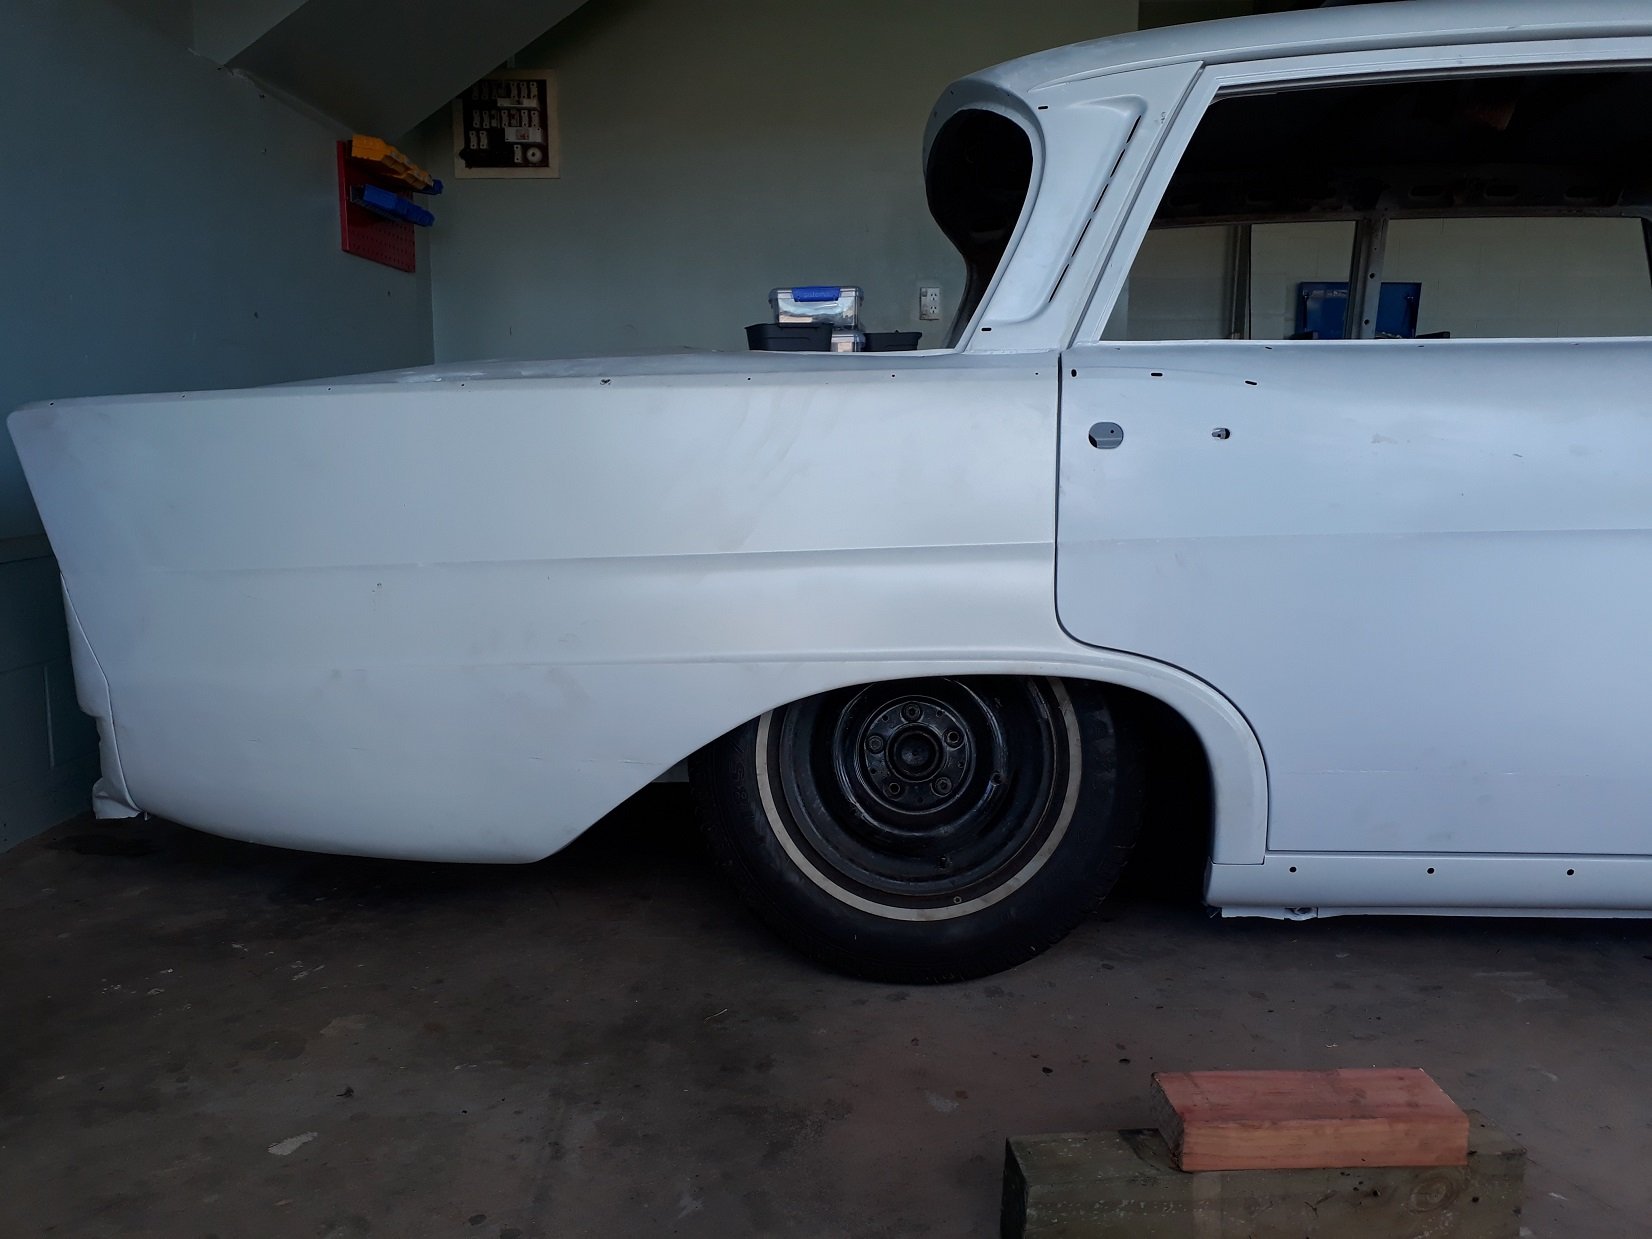
Masked up and sprayed the other side and the underside of the floors as far back as the rear seats (note all the OG underseal the blaster couldn't get off), left the trans tunnel in case it needs some clearancing for the trans I want to run (Mercedes 722.6) I need to drop the rear diff to do the underside of the boot, but before doing that I thought I should really install the bags and some wheels and put it on the ground to see how it looks, so I did. Managed to unlock the next level of sketch city in the process with mystery blocks of wood used in precarious manners to get it down off the axles stands. That's as low as you'll get one of these without taking an angle grinder to the body which I am unkeen to do, I also don't think the rear diff would enjoy any more articulation. sills are about 100mm, front cross member about 70mm and rear diff about 50mm from the ground respectfully. Now have the classic problem of the jack not fitting under it.
4 points
-
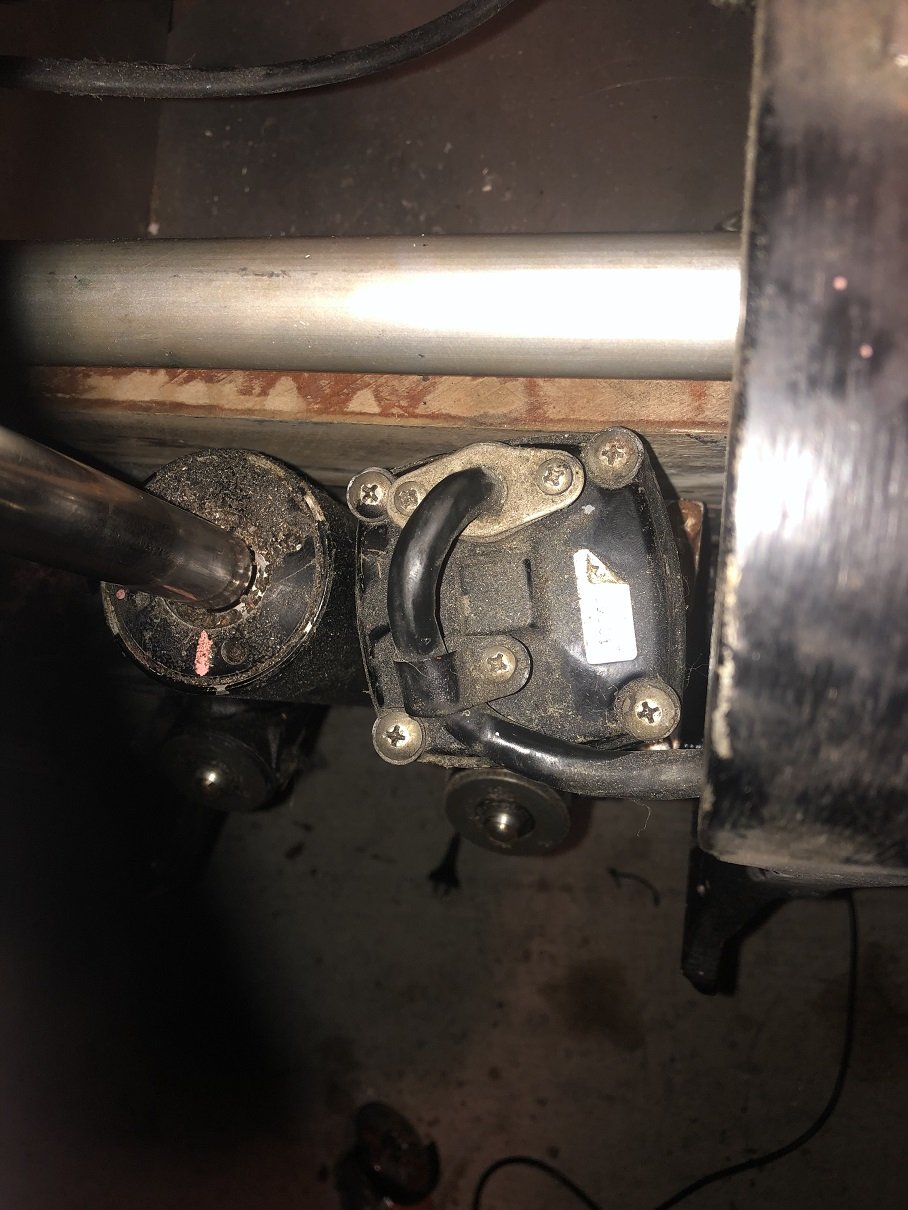
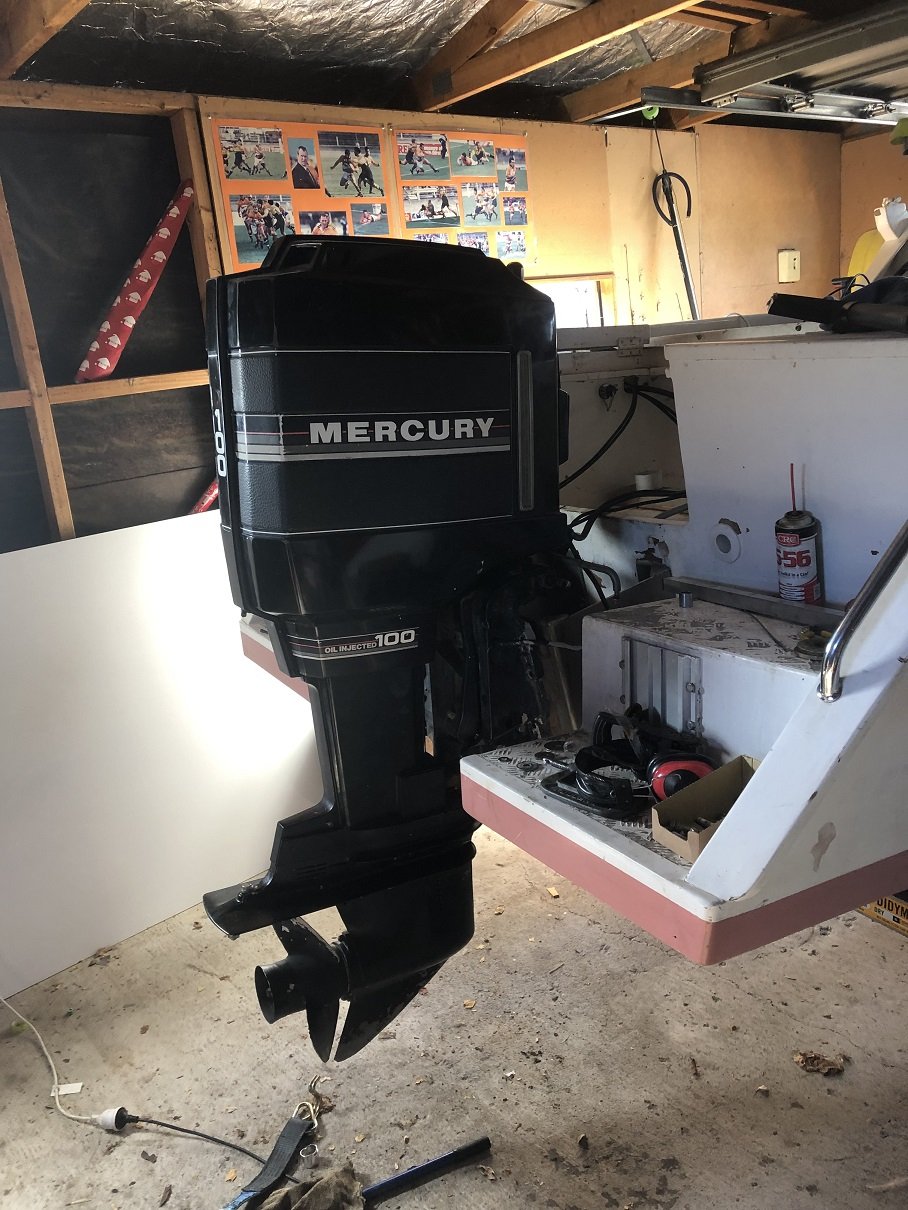
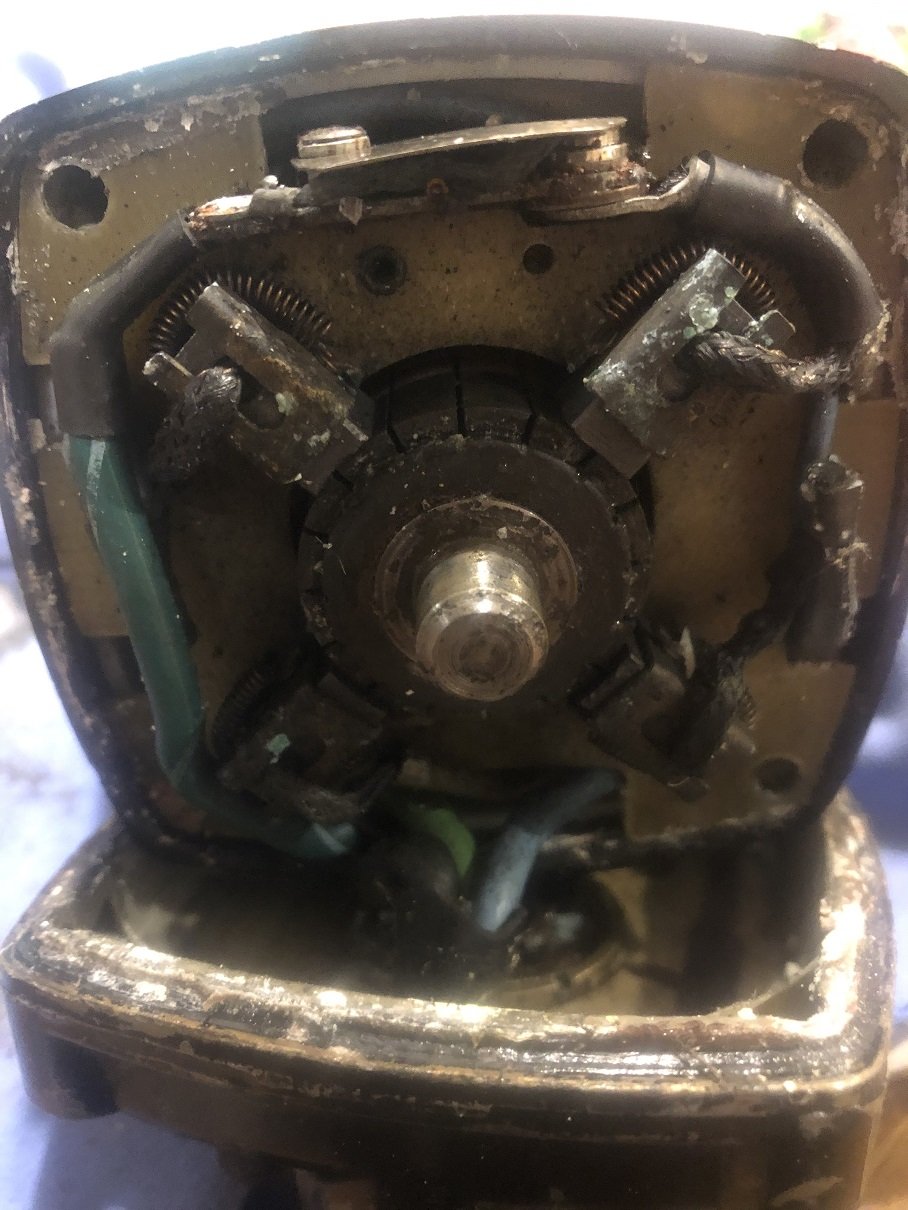
Took old motor off, put new motor on. Wired new motor, went to trim it up, solendoids clicking but no movement from pump motor. Bugger Had to remove one side of mounting bracket to get at this bugger. Cracked it open to find that the commutator and bushes were covered in oxide Sanded them back and hit it with a liberal amount of contact cleaner Put back together and is working ok, a little noisy and a little slow, will replace in future. Leaves me with this- Ready to start on a fine day with no kids.
3 points
-
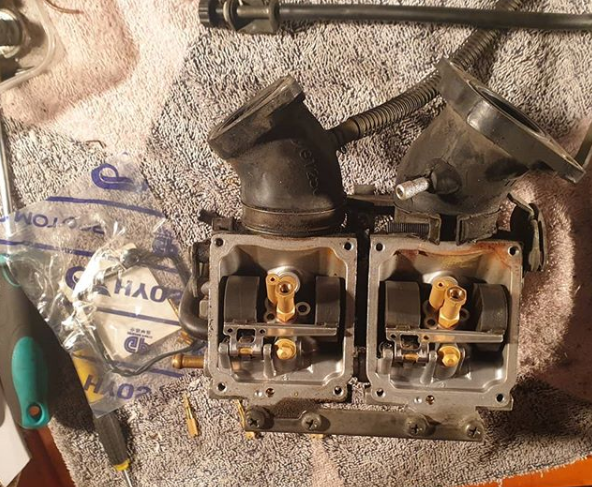
The Hyosung was beginning to take it's time to start, sometimes first click of the start button but sometimes a few goes.. My current house has a little hill on the driveway which would allow me to bump start it which worked every time but less than ideal.. Easter break meant I had some time to do some things which meant whipping off the carbs, giving a clean and replacing the jets During this process I also noticed two air leaks. Fixed those, replaced jets/seals and gave it a kick this morning and it was an instant start up. Job done, pic for thread
3 points
-
Got some more done. Painted the factory extractors and the air filter casing Picked up the new proportioning valve from mitsi this came in a pair so have a spare. And installed it conveniently in place of a female bracket on firewall Began to bleed the brakes but unfortunately the rear wheel cylinders started leaking argh.. It's over extending and leaking out of end of piston sleeve. I took one back and a replacement is doing the same thing now...the guy matched these up and no listing for orginials and these are off 70-81 I think Corolla and coronas.. Frustrated I'll leave it for time being and tackle it again in a day or 2. I had adjusted the auto adjuster so it was wiggly to get the drum on but still extends to far and leaks3 points
-
You mean drill out these things? Got a bit more done today. Have been looking at the driveshaft bearing hanger mounts and thinking they need some added strength. Not sure if they were just a bit misshapen outa the factory or the last engine moved them around but they were definitely a bit bent outa shape. If the latter then was gonna get a lot worse with the new engine setup, so straightened up anded some more steel. Before and after below, added a big piece of 5mm plate to the front side of the mounts which ties them together and boxes them in and also some 10mm bar either side to stop lateral movement. About 10x stronger now Id say, I dont have a hoist so this was confined upside down tig action so pretty tricky welding2 points
-
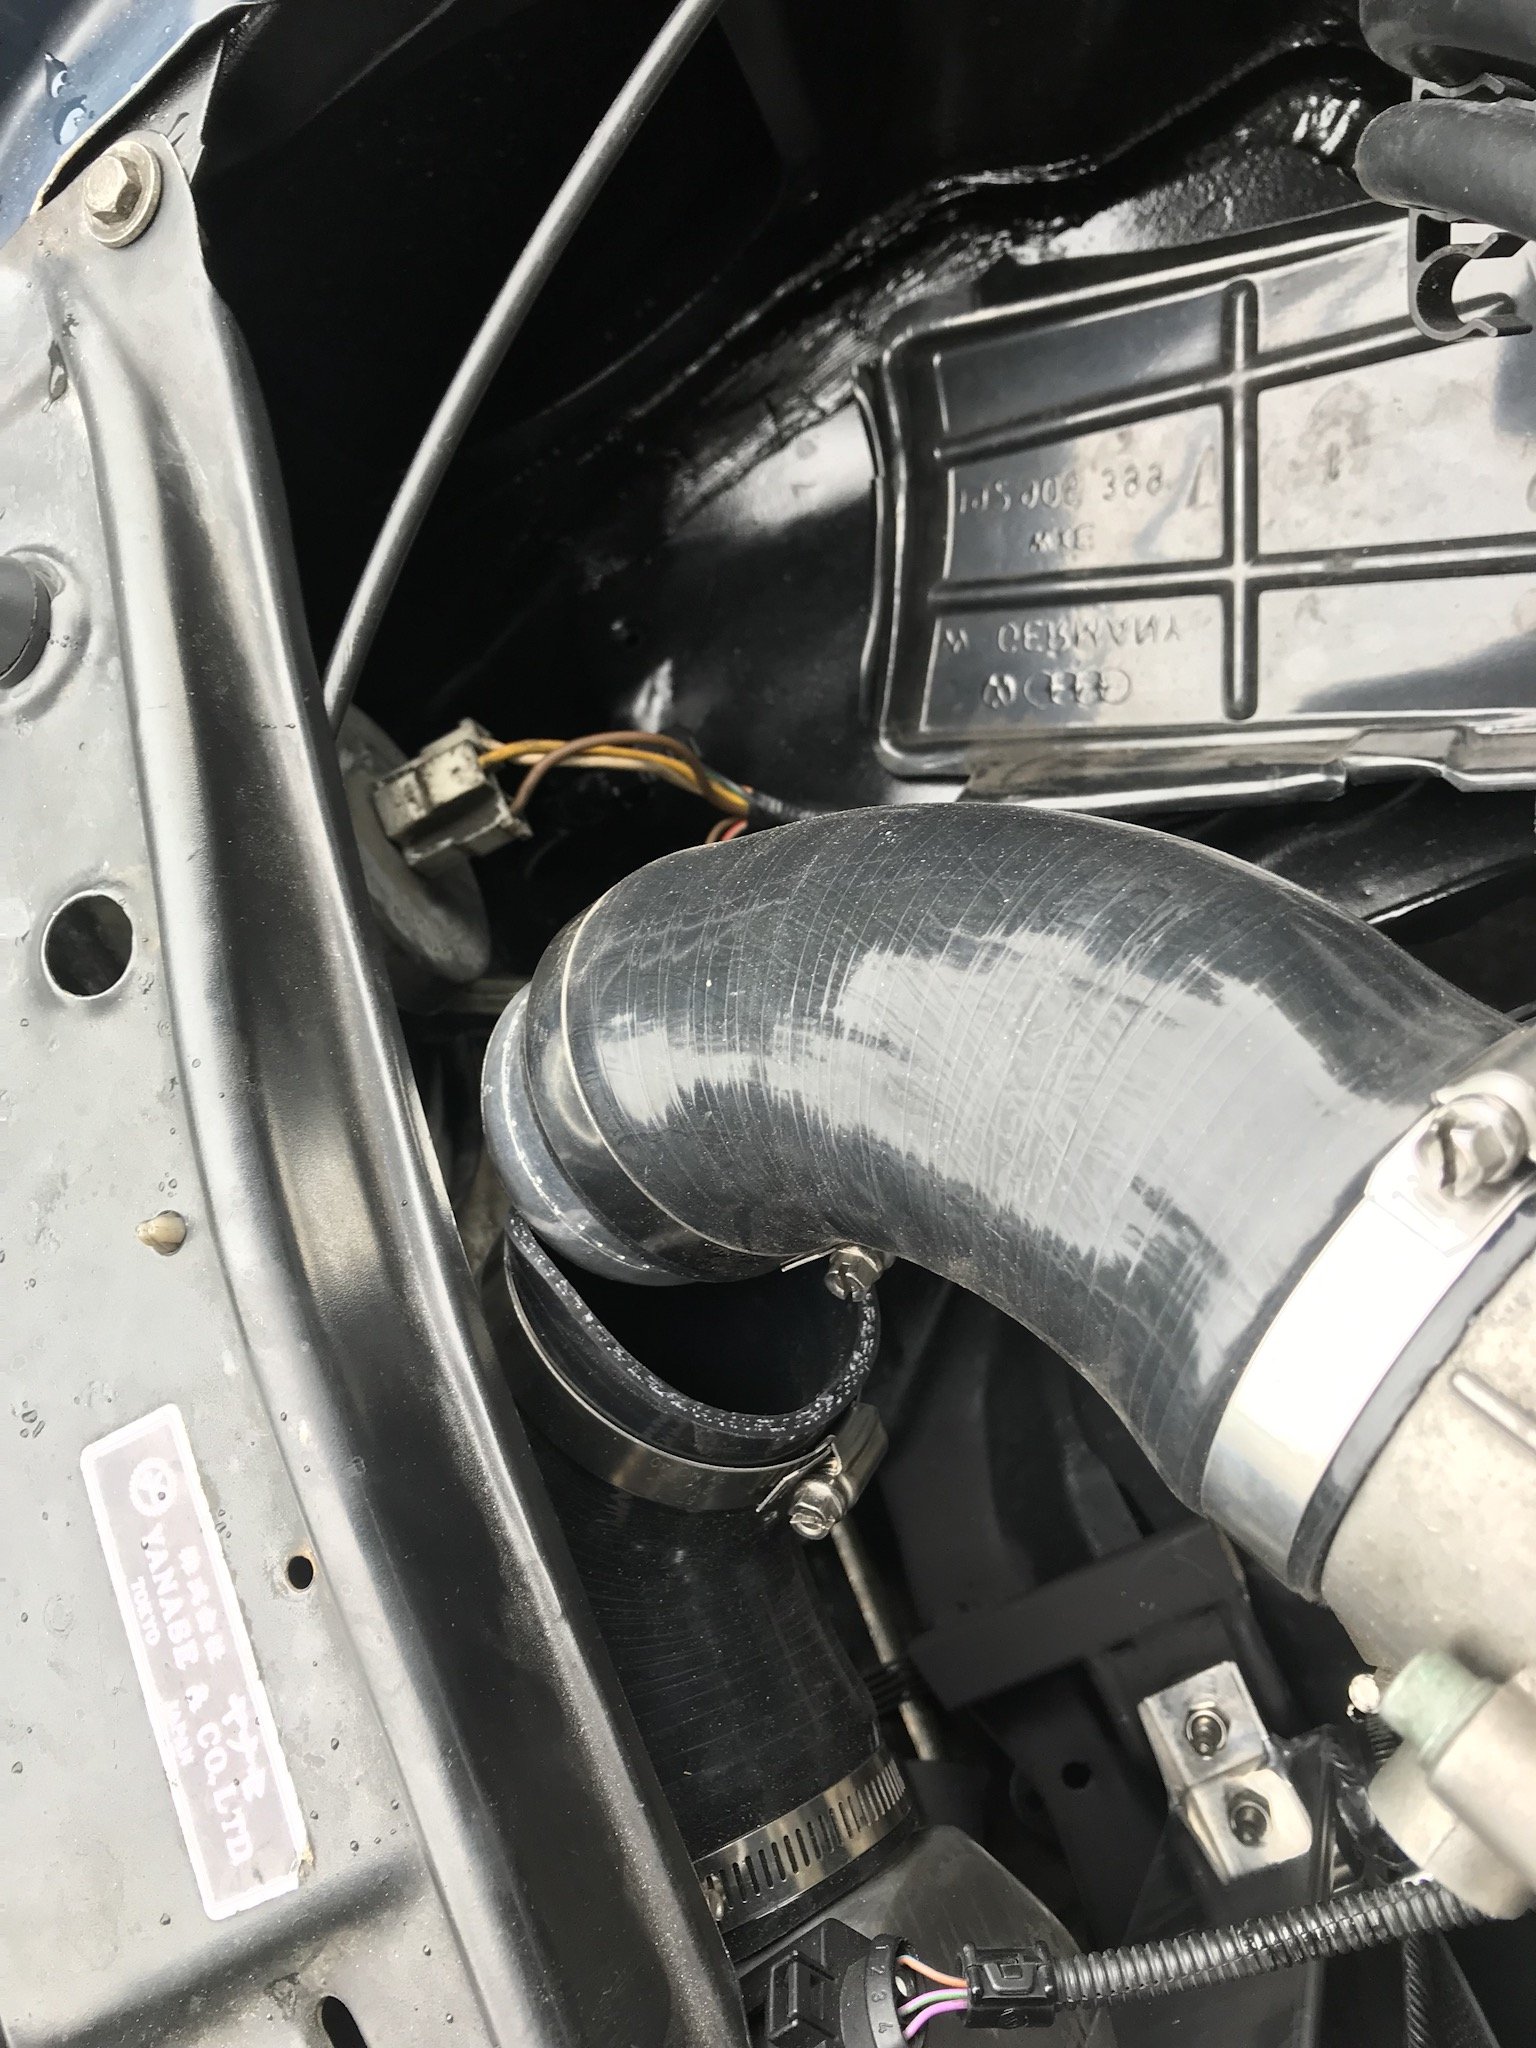
Car was closer to driveable, clutch feels great apart from it doesn’t go all the way to the floor but the tune was a bit of an issue the car would surge a bit from 3 - 4K rpm. Got a friend to log it as I drove around the block, did a little pull and lost power he said I was making 18psi then nothing almost like the map sensor had blown. Got back to the driveway thinking the worst, turns out I’m just a muppets and couldn’t do a hose clamp up tight enough. With this done we were able to send some of the logs off to some people overseas who did some wizardry and came back with the first solid tune that I am running and the car drives awesome! After this I did some of the usual spanner checks as well as changing the gearbox oil and checking fluids.
2 points
-
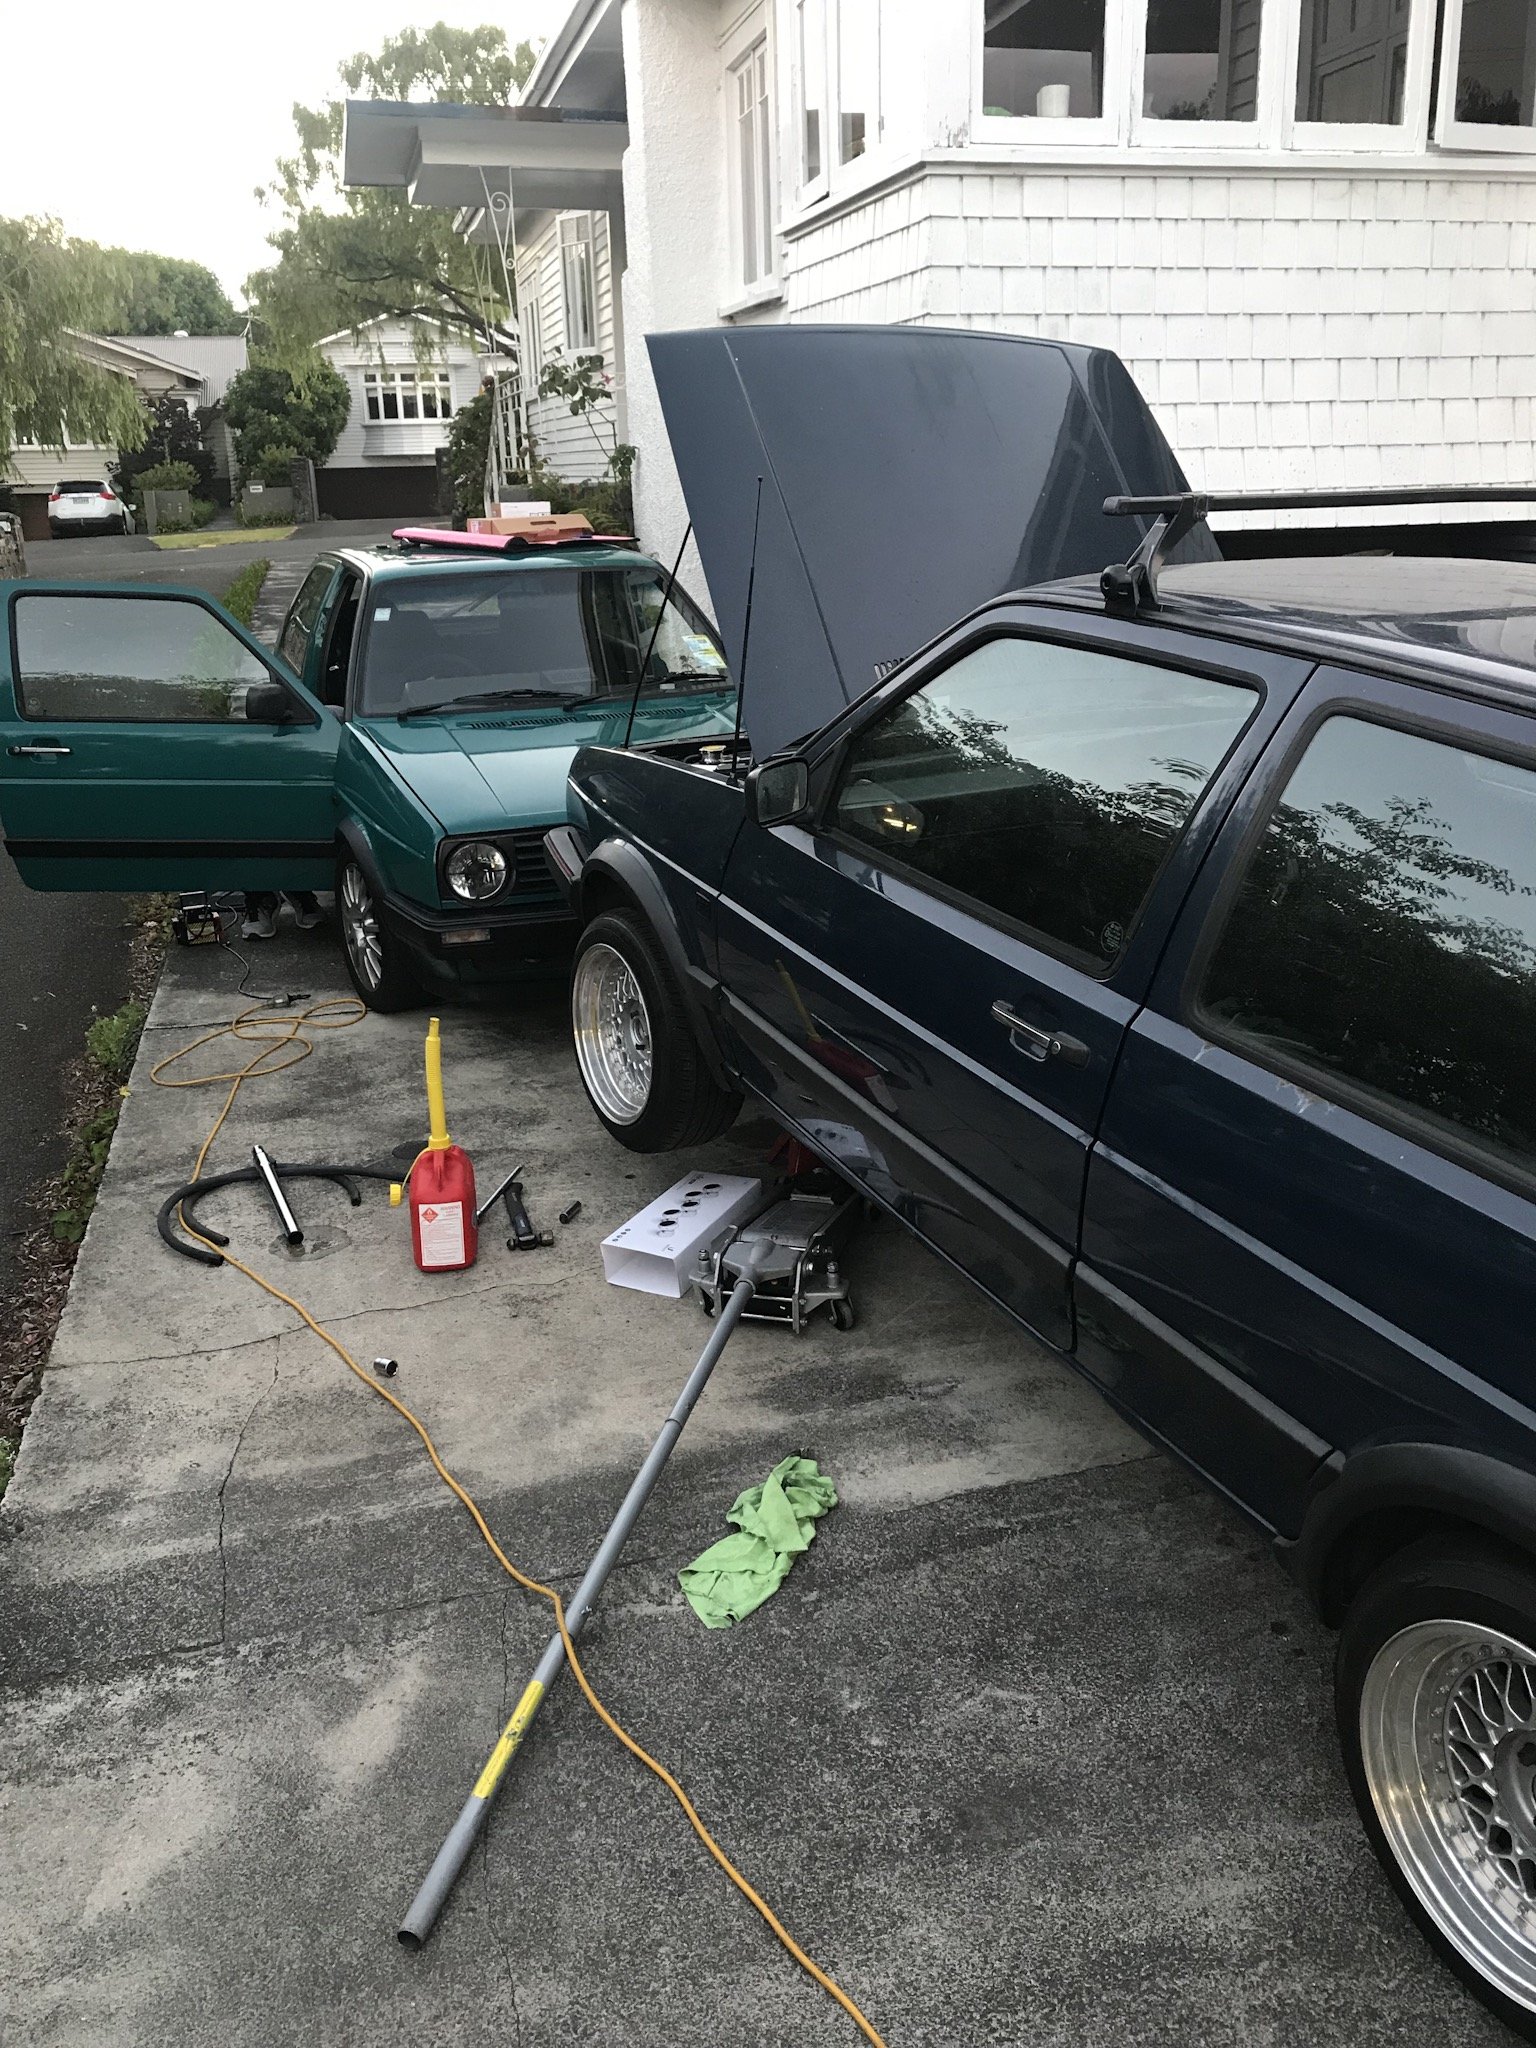
a care package from japan arrived. the no working on this quickly went out the window when i saw my new wheels yesterday. scored some 16x7.5 et4 Epsilon Ragunas out of japan, for not the cheapest in the world, but probably half their value in NZ. was also a set of 5. haven't decided if the 5th will get a tire mounted and act as a spare or if i mount it to the wall and hang my airline off it. also bought a cruise control spec HKB boss kit. i expected this to just include a wire pigtail for cruise buttons, but it actually has buttons built in. super clean. the lables are wrong, but it looks like i can just swap the buttons around. finally an uncracked stereo surround. i still need a bunch more plastics, but this parcel was getting worryingly big, as it was it got seperated into two parcels. which also meant it slipped in customs under the tax threshold. score. i also swapped back to the stock clutched supercharger pulley, very small performance drop, clearly the party pulley on there was only making heat and not power. plus fuel economy has improved, and thats more important on this car being my daily and much more of a cruiser than a performance car. cant wait for this to be panel and painted.2 points
-
Level up
2 points
-
I got this off Zac a few years ago, it's been sitting in storage but I'm getting the bits together so I can assemble it then it'll get sold. I bought some 0.5mm oversize NA (9:1) pistons and bearings from Rockauto. The block was bored by North Canterbury Engine Reconditioners to suit the pistons, he also decked the block and polished the crank for me. I'm converting an Evo 3 head to use the cam and crank trigger setups that some of the other 4G63s ran, I bought new sensors also from Rockauto. I've welded up the injector holes on an Evo 4 inlet manifold so I can use it with the Evo 3 head and have the throttle body facing the correct way. Still need to get lots of other bits, oil pump, sump, turbo and manifold, flywheel and clutch etc etc.1 point
-
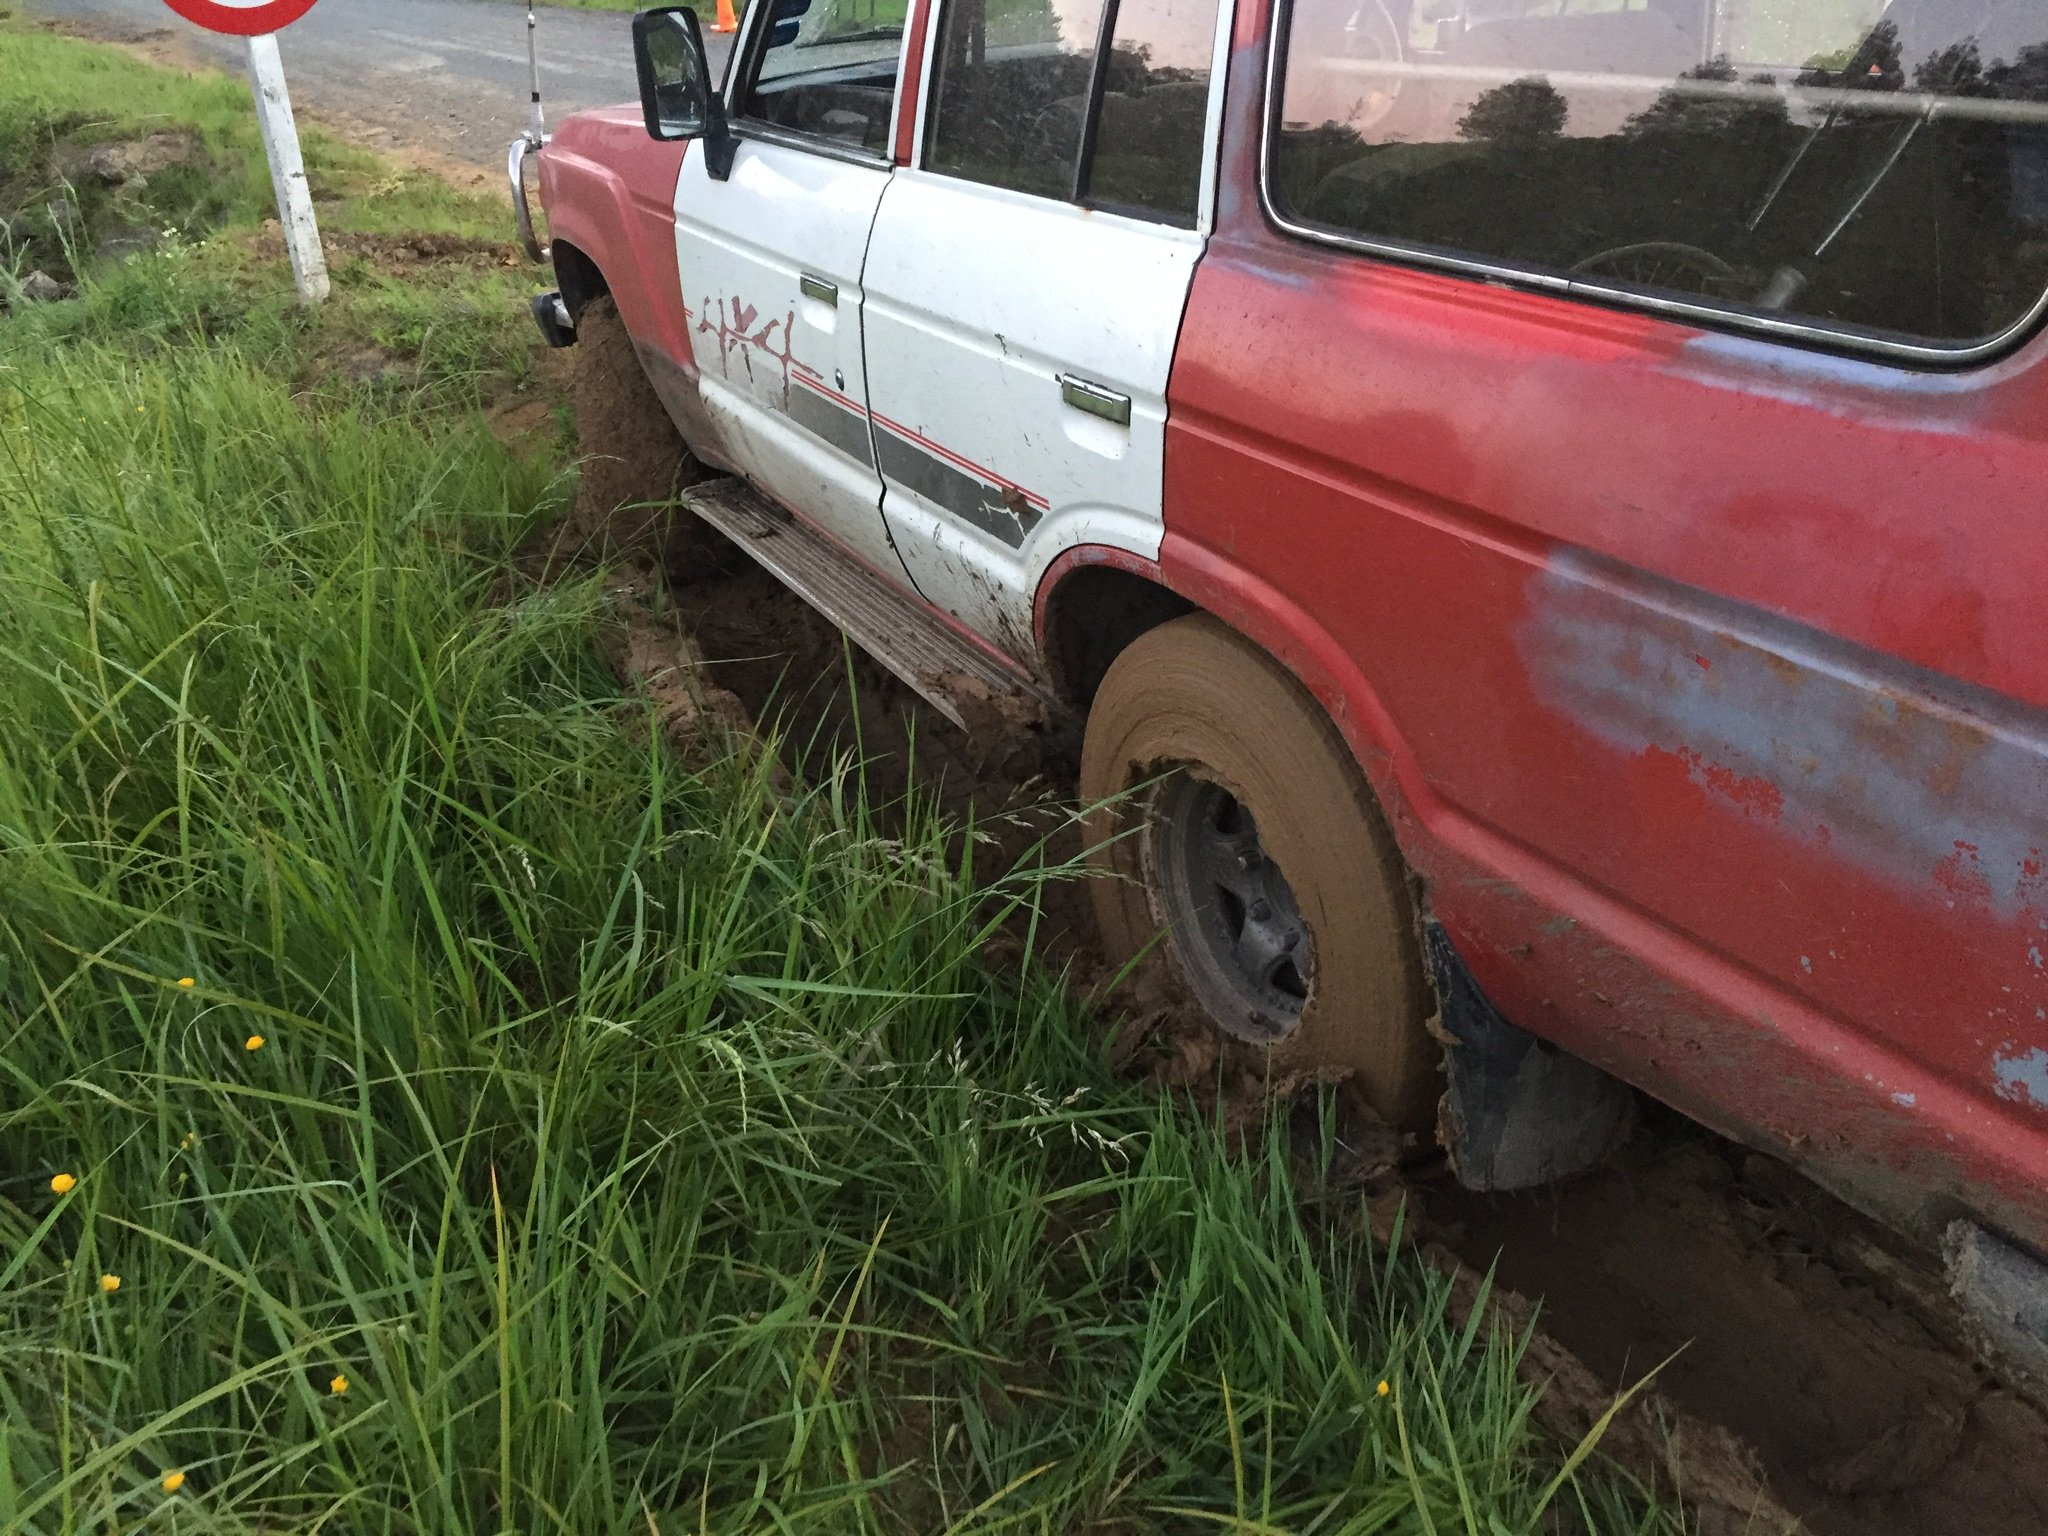
Port Waikato looks like a great ride. Keen when I gear my Yamaha up for highway cruising. Lol I’d forgotten about getting my truck stuck there. Since found out it only had 2wd then.
1 point
-
I’ve got an assortment of T F And G cyl I can measure if you need. Those cyl look pretty wide compared to the ones I just did on my hilux though. just weld tabs on the shoes lol1 point
-
Oh yeah I should get hold of me mate that’s building a twin spinner atm and see what parts he has/you can have a look at his shit if you want Terry.1 point
-
so according to an internet barry specialist what I have here is a 69 MKII engine with oversize pistons pushing it out to 1789cc, this block is a 5 bearing crank so is the better block to work. need a socket to get the crank bolt off, so I can access the cam to see if that is stock, and then send it away.. Free is good1 point
-
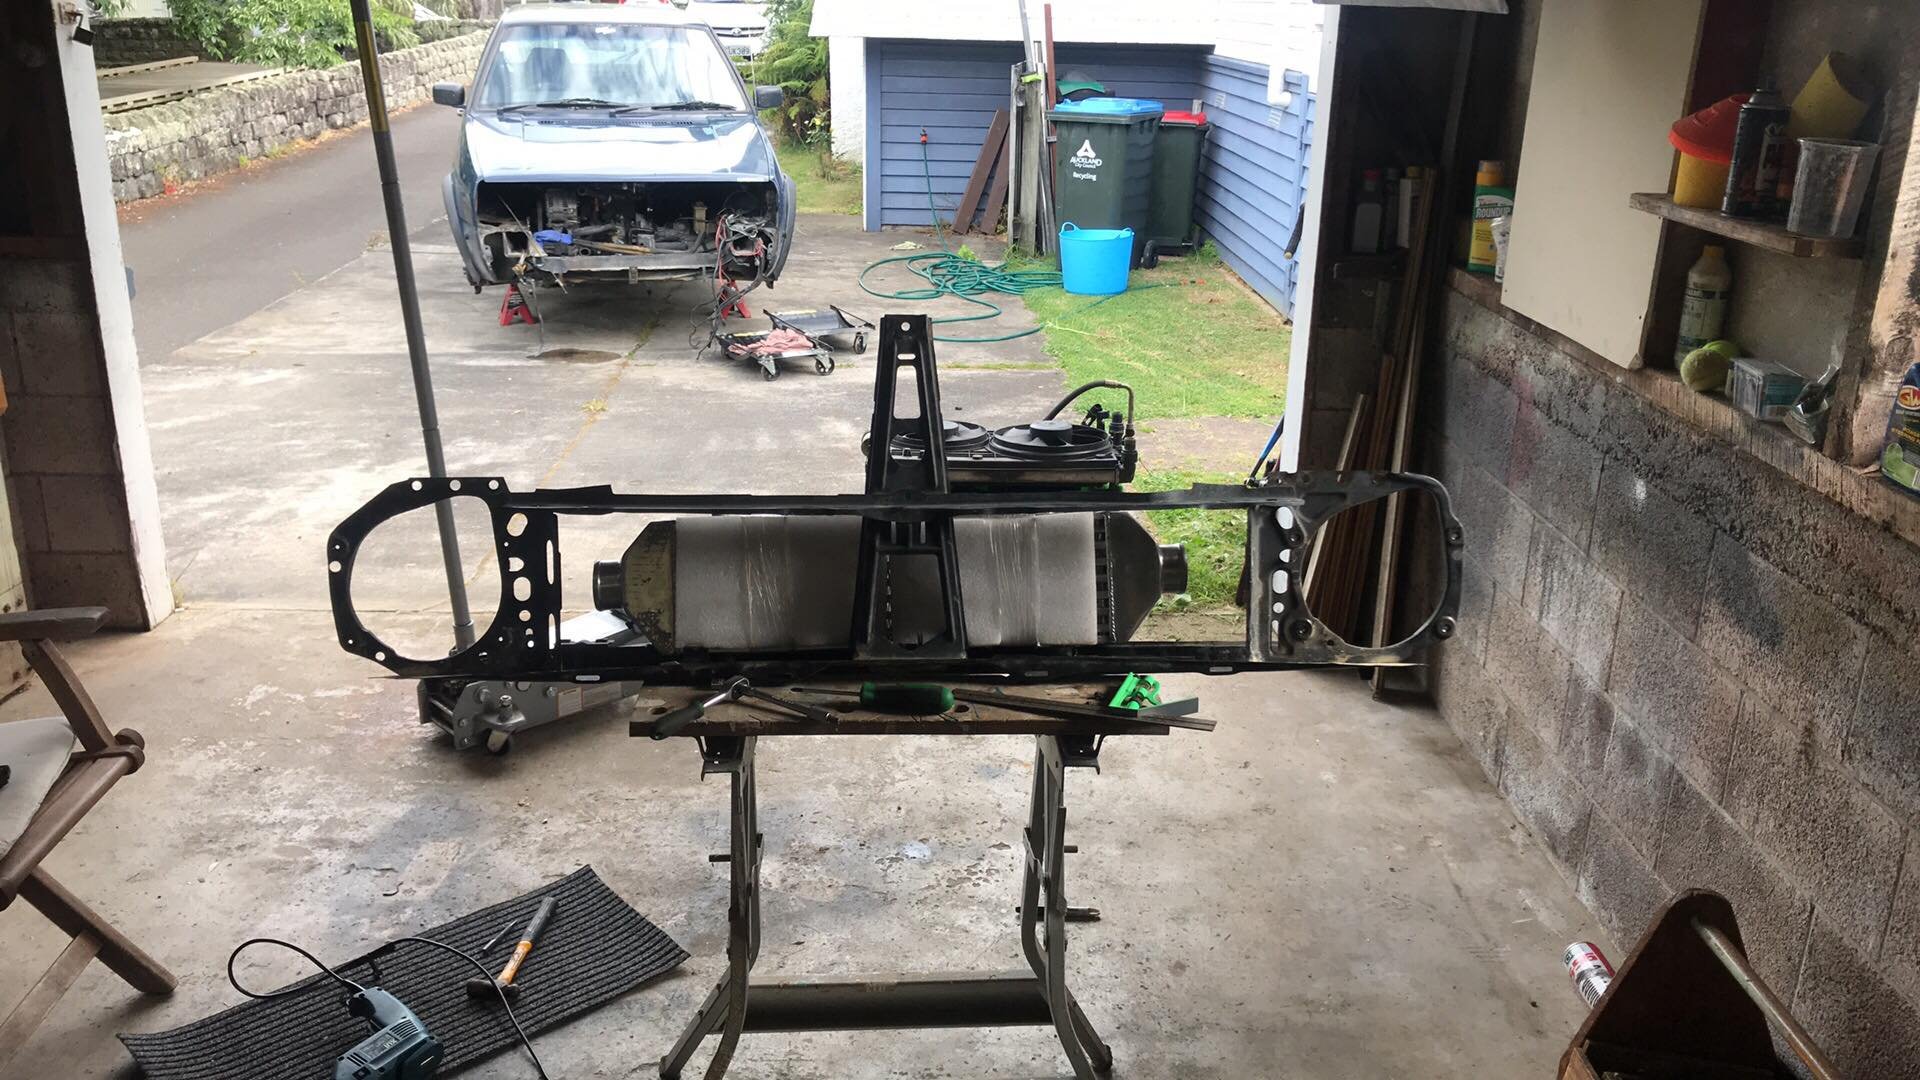
Bit more progress, have built the intake pipes and mounts to get the filters where I want them. The filters replace the fog lights and sit in the front bumper so should give nice cold air, but building the brackets to get them to sit in the right place was super fiddly, hope I never prang the front end as everything is just so... Being low to the ground I also wanted to shield the filters from dust/splash back from the front wheels so I picked up a couple of $10 mini rubbish bins and cut to suit, they made nice little cowls and there are decently strong with three anchorage points to the old fog light mounts. 3" intake pipes come directly off the turbos, are mild steel so will coat with something, maybe the same coating used for the headers (Cermakrome). I plastidipped the chrome ring of these filters but forgot to do the chrome button inside, may yet do that also as wanted these to only be noticeable to the trained eye... Mounted the pipes and rolled the ute outa the shed for the first time in a year to take some glamour pics, hoping it will help with motivation (which is pretty low). See what I mean re chrome 'button'? Whaddya reckon leave as contrast or black out? This pic shows there is progress at least, can also see the new rad I bought for it. Bought the radiator based on being the right width, and relatively short as will be using a dual in single centre out intercooler so the TB pipe will need to go over the top of the radiator. Rad is supposedly for JZ converted S13s so Im hoping its gonna cool OK, either way is definitely shiny enough... EDIT > Filter pic with BJ for more Oldschool love1 point
-
the car now also has the correct size tires on it, meaning the speedo is now accurate, and the warning bell doesnt drive me insane at 100kmh. the car is about 20mm higher off the ground, but looks lower due to much less guard gap, previously i probably could have fit my head in the rear arch.1 point
-
Not as much progress as I'd hoped but slowly getting there. Gave the engine a quick rattle can rebuild, swapped on a lightweight flywheel/clutch setup that KPR had lying around, and got the gearbox on and ready to go in the hole. Will fit that all next time and put on the new oil pump Ive got etc. The -3kw comment is a standing joke between KRP and I. Years ago he helped street tune my EP in preperation for a dyno day that I ran. His EP82 came out with 198kw , compared to the 195kw in my EP71 . So from that day forward I claim that everytime he touches or has parts that end up on one of my cars the power figure deliberately reduces by 3kw. I also made up some billet radiator brackets and a battery clamp at work, might make a few of these eventually. Anyway, its ready to go in the hole. Ive got a whole heaps of parts waiting to go into the car, just need to find the time to do it. ,1 point
-
So the car was running but the clutch felt horrible trying to get it in and out of the driveway, combine with a bunch of mods that hadn’t really been accounted for in any sort of tune the car was not drive able. I was pretty frustrated to say the least so I bit the bullet and ordered a kit online that is designed to mount a van style clutch Mc under the dash. I never really took any photos of it installed but it ran for a little (a couple laps of the block) then when I tried to bleed it some more the mc blew a seal, I ordered a new one but either it was different or possibly a different brand I have managed to make it work but it was binding up near the far end of the pedal travel so I put a stop in. As currently this is working but I’m tempted to fiddle with this again at a later date. Anyhow I needed to stop annoying the neighbors and I bought all the stuff to make an exhaust so long ago so I set to work.
1 point
-
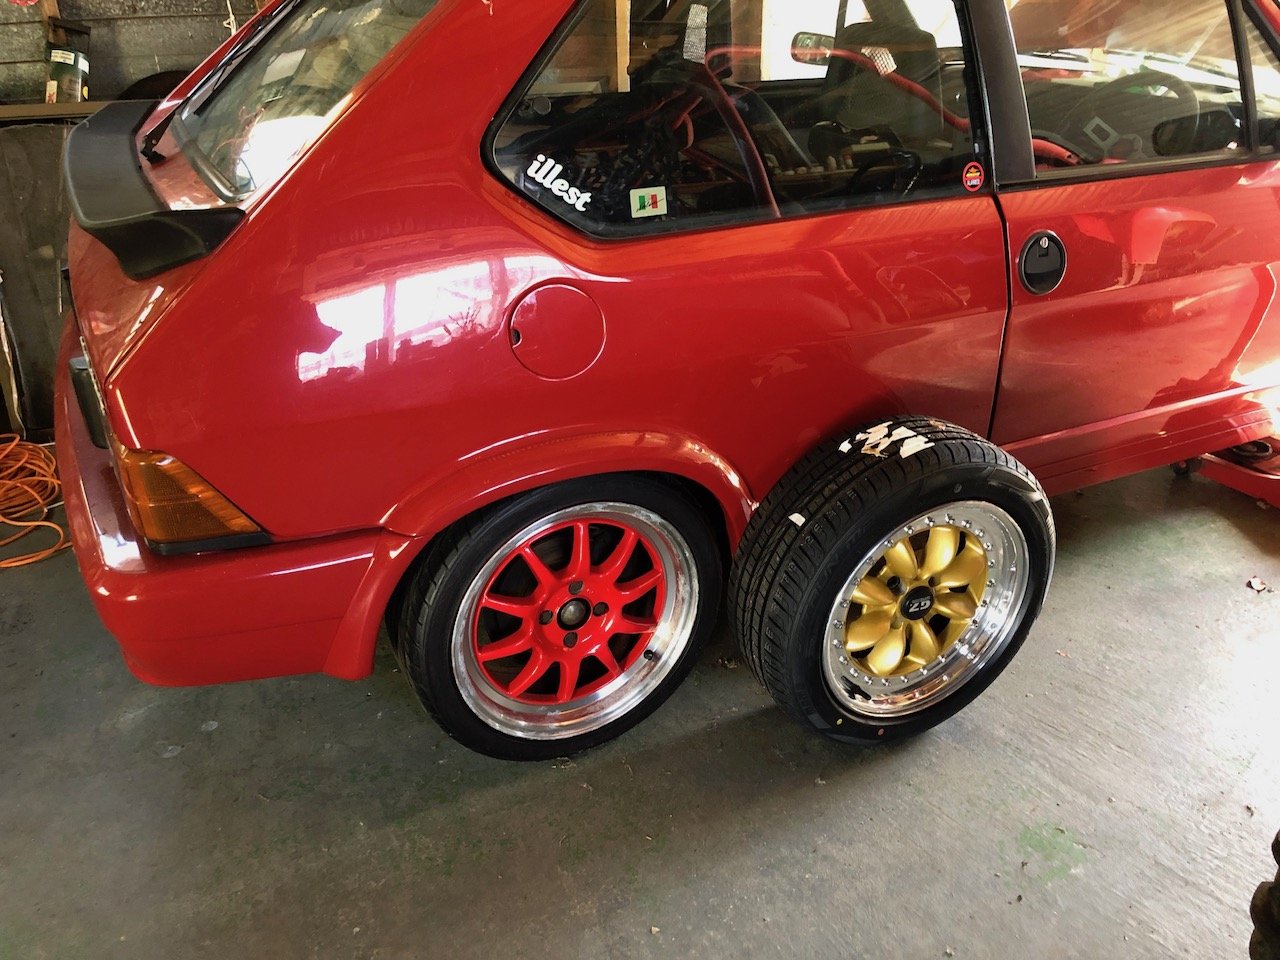
Jeeezzz, its been a while for this car!! Finally got time to work on this after 5 years of sitting in a garage. Did all the basics today, changed fluids, new hoses, new filters and got her running. Chucked some new rims on, thoughts? I think I'll like them more when I convert the bumpers and trim to black. Took it for a quick drive and fk me there a lot to fix on this car!!! Motor pulls strong however the car feels like its on skates, darting all over the road. A quick look at the suspension and literally the rubber bushings have dry rotted away. Pulled the rear arms and shocks out so I can get them rebuilt. Anyways heres a pic of its current guise
1 point
-
Took the aliexpress rip-off Renthal bar pad off and can now see the dash alot easier. Fixed the broken tacho wire so thats working again Rear brake was shithouse but having no fluid in it wasn’t helping, a flush and a bleed now its locking up nicely if you stomp on it. Just been for my 1st proper ride for about 50ks and man its good fun. Need proper gear and a decent helmet asap plus some ear plugs cause its pretty loud at any speed1 point
-
Its been a while since the last update but i have been chipping away at this project. I finished the weldathon on that bus and it was picked up the next day. The owner is really happy with my work and it turns out he has quite a collection of classics. He now wants to bring me some of the cars, including a mk1 mini cooper, for some rust work. Cool! While the bus was taking up space I had been sneaking in some work on the wee Imp. I fitted the engine up to the transaxle, weighing the engine first. 87kg with the flywheel in place. Not too bad at all. Not super light like the standard Imp all alloy unit however I have moved so much stuff to the front that it should still be well balanced. I do love the idea of an all alloy Nissan cg13 twink from a K11 Micra- however that would require a full re-certification. I prefer the idea of a Goldwing engine engine more! I digress. So anyway- I had slung the engine in place using a lump of timber and a ratchet strap. Worked fine. Then started making new engine mounts and cross member. I was not happy with the state or look of the old one and knew it could be far better. Not really a lot to say about making fabricating it all- the usual story of lining the engine up exactly central and building things to connect. I wanted to make sure that the exhaust manifold and starter could be easily removed without touching the cradle. I probably over built it with extra bracing (I even ended up adding extra gussets just before painting it, because ocd paranoia) but all up it still only weighed in at around 7-8kg. In photos. I didn't take many as work progressed on this bit really quickly.. Clearance under the car was still really good, considering how low the sump looks from the back. I think an optical illusion due to the rear panel not being in place. Then painted in black epoxy.. Next up was the exhaust. The manifold that came fitted was running really close to the drive shaft! Enough that it would contact when the car was lifted off the ground. There was quite a bit of damage, dents, poor welds and other bits that needed attention so I chopped it all back and carefully shortened the bottom pipes then systematically pieced it back together. I required quite a bit of forward thinking because the access to weld to pipes all the way round was really tight. No photos of work though as I was so immersed in the process I forgot to take some. Really happy with the result though. Fits perfectly, cleaner runs and still equal length (as if a Datsun A12 with a carb the size of a small cup would care. But hey, every little helps ) Later on I painted it and then wrapped the upper pipes to ward off heat from the inlet and coolant pipe. I know some dont like heat wrap but I think its great! Its worked well on my last several car builds. Luckily I live in a dry enough area to get away with it and not worry about potential corrosion. With that sorted I moved onto the rest of the system. I have always had a picture in my mind of what I wanted it to look like and I wanted it to be rear slung with a side exit to avoid the car filling with exhaust fumes. Apparantly these early Imps with the roof vents can suffer from fumes being pulled into the car by the vacuum. I also had a rough idea on how I would build my own silencer and there wasnt anything available that fitted my ideas with a price I liked. I had built one for the Mazda Rx3 and it worked well. Money is tight (I'm too tight..), time is plenty and I love making things so I started building. Using the pipe from the original straight through muffler.. Then fabricating my silencer using some ideas I nicked from Google along with extensive coffee fueled airflow thinking in my mind. I have no idea on what it will sound like but it was a fun process and looks neat. The stainless pads worked well in my last muffler along with some glass matting I got from the neighbour. I'll report back In photos... I had a pipe bent to 90 degrees and added mount points to the muffler so it slings up under the rear valance. I made a stainless heat shield to deflect heat away from paint and bottom pulley. You'll see that later. I have yet to decide on the length of the exhaust tip, cut it and then weld it on to finish. Then the inlet. Because the Datsun engine sits flat in this Imp, unlike the rear sloping angle in its usual Datsun 1200 home, the carb is not level. I chopped off the mounting face and milled the manifold at angle to suit. Then I welded it back in place. Carb is now level. I filled in an unused vac hole, cut off the extra unused lugs and gave the whole thing a clean up till it was nice and smooth. While I was playing with alloy I made a new alternator bracket... and had to rebuild a very corroded thermostat outlet. it was knackered... I was given a better spare by a nice fella with a Datsun 1200 ute but it pointed upwards. My outlet, most likely from a van, points down and suits the pipework routing I wanted to do. So I had to fix it. I found a suitable piece of alloy pipe on an old scooter handle I had rescued from the local scrap metal pile at the dump... Much better! Then onto the pipe work in the back... Just a case of sussing out a neat route to suit my tastes, remain easy to work on and remove and allowing for a potential Davies Craig electric water pump just in case the Datsun pump is not up to the task (and also because I do rather fancy the geekiness of the little display unit not to mention how much better it could work) With the pipes sorted I replaced the transaxle output seals because well, for $20 it made sense to do them now. I machined up a stepped tool to make sure they went in straight and to the correct depth. New seals.. Then mounted the brand new BMW couplings I bought from Rockauto. I had to make some spacers to suit as they are narrower then the stock Rotoflex couplings. With the car on the ground the driveshafts sit almost bang on parallel to the ground which is good for their longevity. I didn't fancy reusing the red Nolathane couplings that came with the race car because whilst strong in shear and rotation they didn't have much flex in and out which would impose quite large stress on the transaxle casing as the rear suspension went through its motion I felt. I then did some fun little jobs (but its all fun really..) like cleaning and painting the starter and alternator... I dug out my old art oil paints and mixed up a suitable orange to paint the inside of a very faded rear indicator lens. It'll do for now but I do look forward to locating and buying some better ones when I go to Blighty in July! Then began the wiring! Like all my other previous car projects, I enjoy this part immensely. I love the challenge of hiding as much of the wires away, re-configuring the circuits to suit add ons or just to make them better. In the case of the Imp, which has no fuses fitted at all (until the later mk3 Imps came along) this was an essential item to address. It also has a terrible dash wiring layout whereby you have to unplug everything to remove the instruments. Almost everything seems to run off just one piddly feed wire coming from the key. I'll sort that lot out with some plugs. Add in some relays for the lights, fan. Wires for a potential electric pump, sound system, high stop lamp (I have a neat idea floating about in my head for that) and making sure its future proof because later on I would like to inject this engine. I have also added in a tail to attach a trailer plug to. Because that will be a thing So I had two extra looms going spare which I pulled apart. I now had a large amount of extra wires for my project. Wiring isn't the most exciting thing to take photos of. I have now finished the engine bay wiring and I'm pretty happy with it. Now I've refitted the rear valance panel and exhaust and can lower the car down and start on the interior wiring. I'll be making a removable fuse box/relay unit and fit it under the dash if all goes well. Some photos of where I'm at now...log burner in use as the nights get colder. Sofa wheeled over to middle of workshop for max stereo imaging whilst I drink beer and play with wires... Wires hanging from engine bay.. Engine bay completed (missing hose clip noted..) but for an over flow tank from header tank to fit. I will build a better two part tank in the future I think. Exhaust tip length yet to be decided and cut. Note stainless heat shield. Bumper also to go back on, with bottom mounted rego plate.1 point
-
Rerouted the fuel line to how i planned it, with the fuel pressure gauge between the two carbs In a timely event, these turned up from @ul9601 and so after reading the relevant section i tuned my MAN-O-METER to 11 and made this very very boring and poorly shot video, which is pretty much the 2nd start after getting it to fire and idle and me tuning it by how tall the rod is on my MAN Engines really tappy! ill redo the shims soon. Next day i tuned it a bit more, 1. balancing the barrels on each carb to each other using the air bleed screws (bleed the highest reading to match the lowest) and idle (small adjsutments), then 2. then balancing the carbs to each other (bleed the highest to the lowest side), then 3. adjusting the idle mix (leanest smooth idle, turn 1/2 turn one way at a time until it slows, then back the other way until speed drops then keep halving the difference until you find the spot 1/4 turn above the lean speed drop point) and back around to step 1 again, etc Turned out the timing was pretty retarded too, but also found a better dizzy spot. Had a dig though the filters stash to see what would work. The big factory thing is the Strada Abarth manifold (fwd) and the blue line is wehre i would need to cut it Tuned out only the worlds greatest filter will fit. Even then the (K&N) bases needed a tweak to fit (My 125 Belina has socks over trumpets) RACE MODE (now i see it in the photo, I dont like the look of those trumpet retaining bolts just waiting to wiggle out and fall into the carb. NO SIR) However, small children and animals no longer in danger of ingestion. Check the clearance to the shock tower. Be a real faff to make the Strada filter thing fit unfortunately, would need a custom airbox and a cut and shut, but would also be better than the Ramflows Test drive soon1 point
-
A lazy, turd polishing afternoon. have some boring pics, bought to you by steel wool and wire brush and loads more i forgot to take photos of. the bike is slowly falling apart...1 point
-
.1 point
-
Slow progress, hopefully will jam the engine back in this coming week.1 point
-
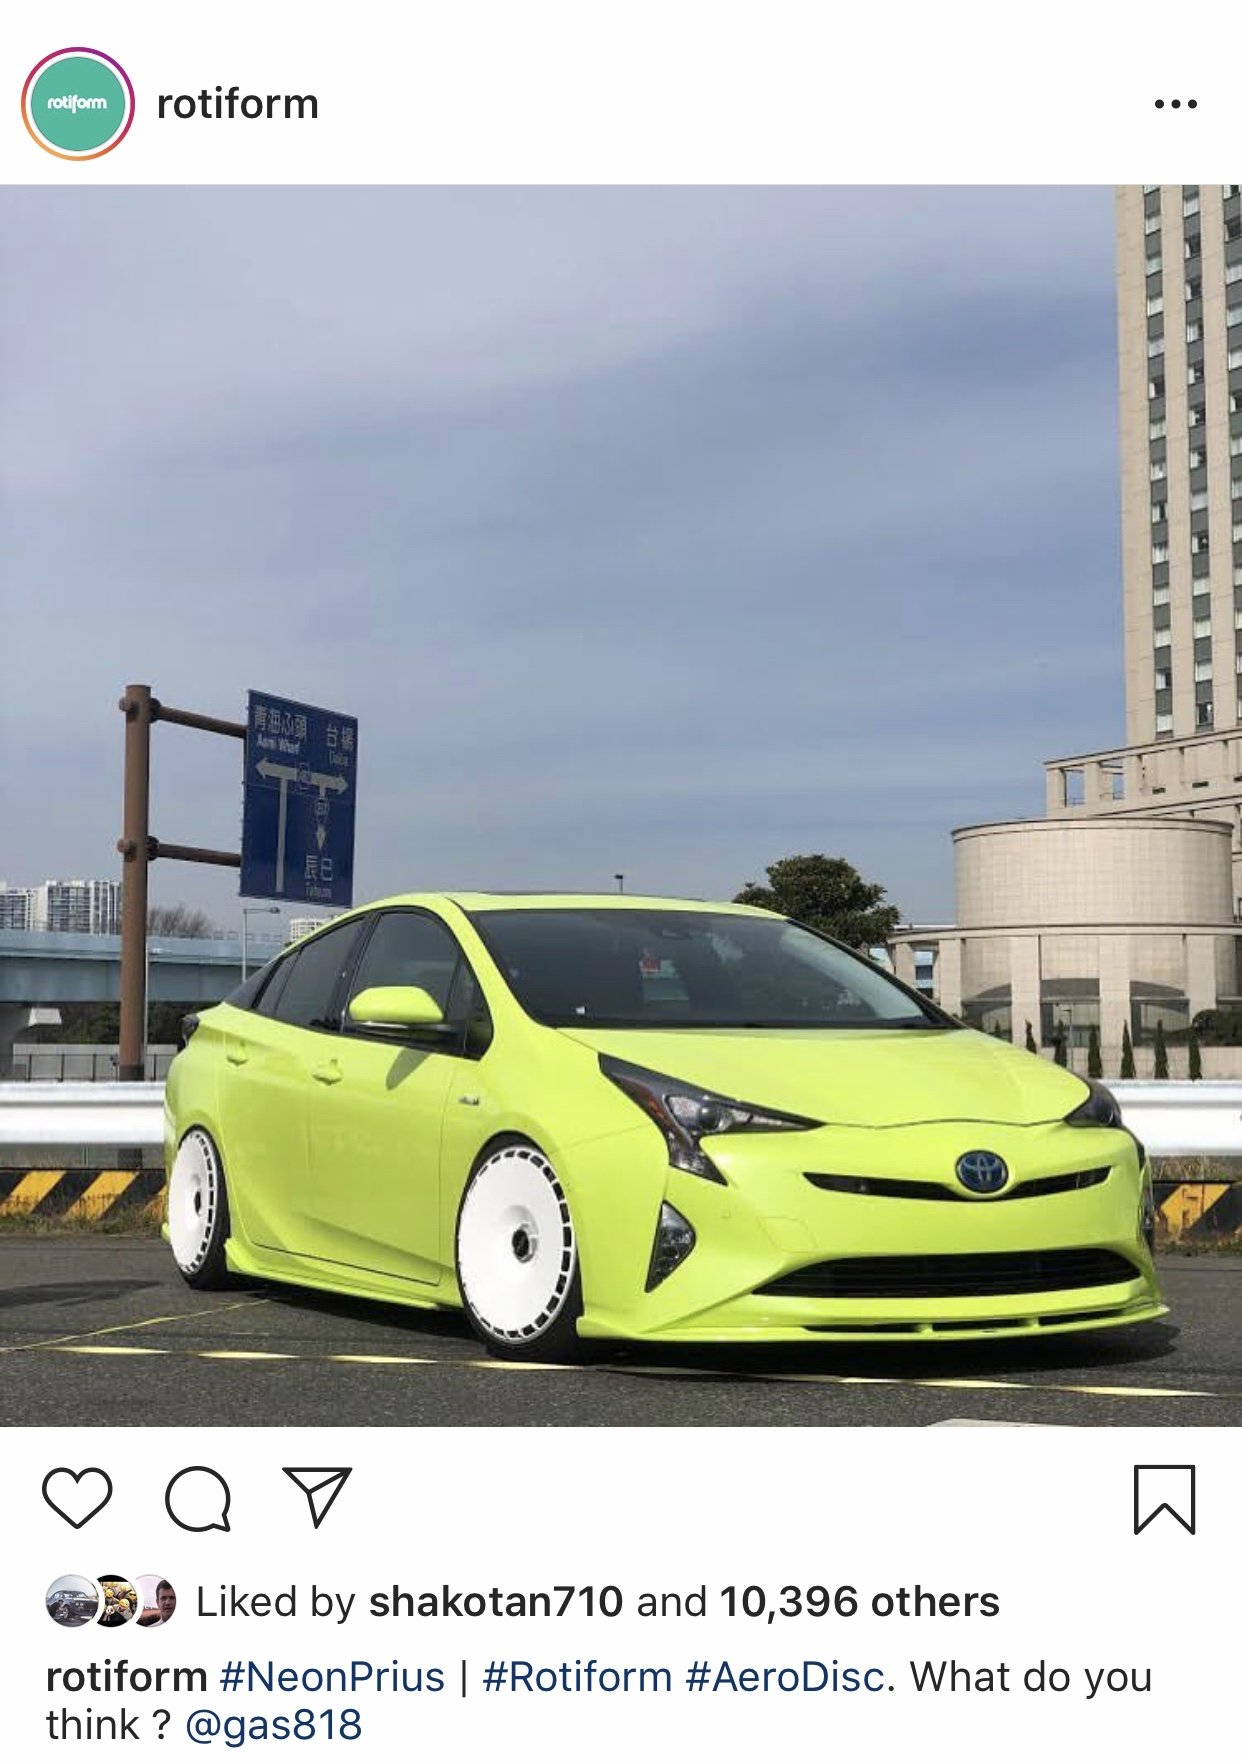
I’d be interested to see how wider tyres etc affect the economy, if at all. We’re about to go down the Leaf path coz lots of spare solar electrons at home.1 point
-
Decided I didn't like the stainless trim around the windows enough to keep it, so swapped in the standard one I had. Suits the style better anyway. Then I could put the inner windscreen surrounds in, as well as the sun visors and rear view mirror, but I don't seem to have a photo of them. Took the seat to the upholsterers and got some Mexican blankets put on. Will only be temporary until I can afford to get it done properly in leather or something. Had the center dash panel straightened and polished up, as it was a bit warped. Then I polished up the glove box to match. Cut up some black vinyl strips and put them in the low spots, still need to do the glove box. Got the engine back from being rebuilt. Was mint inside and no other damage other than the piston and conrod. Chucked it back in and assembled everything back together. Started first pop and ran very well! So bolted together the whole front end and put the bonnet back on after a long time it's been off. Made a new intake pipe to get in going in the opposite direction than the standard one. Made a coolant overflow and power steering reservoir, they both seem to work pretty well so far. Attached some peep mirrors onto the doors. I think they look good, although rubbish to see anything through. Bought some tyres, ended up with BF Goodrich's, 205/65/15 front and 225/70/15 rear. Apparently 15x8's with 225/60 tyres don't fit on the front of this without massively rubbing on the fenders. Managed to return the tyres and swap them for some 205/65's and got the wheels split and narrowed to 7" wide. Had it through the cert check the past week and everything was good! Had a wheel alignment and that also went well. Just waiting on the cert plate now and then can take it for a WOF! Drives really nice and smooth, although the transmission seems to be slipping. We think it has something to do with the secondary throttle sensor that doesn't seem to be working, so need to have a look at that.1 point
-
We had kind of got it started previous to this but were having problems with the immobilizer. The car would start for two secounds and just die so we leant the ecu to a friend who is a wiz with this stuff and he was able to de immobilize the ECU.1 point
-
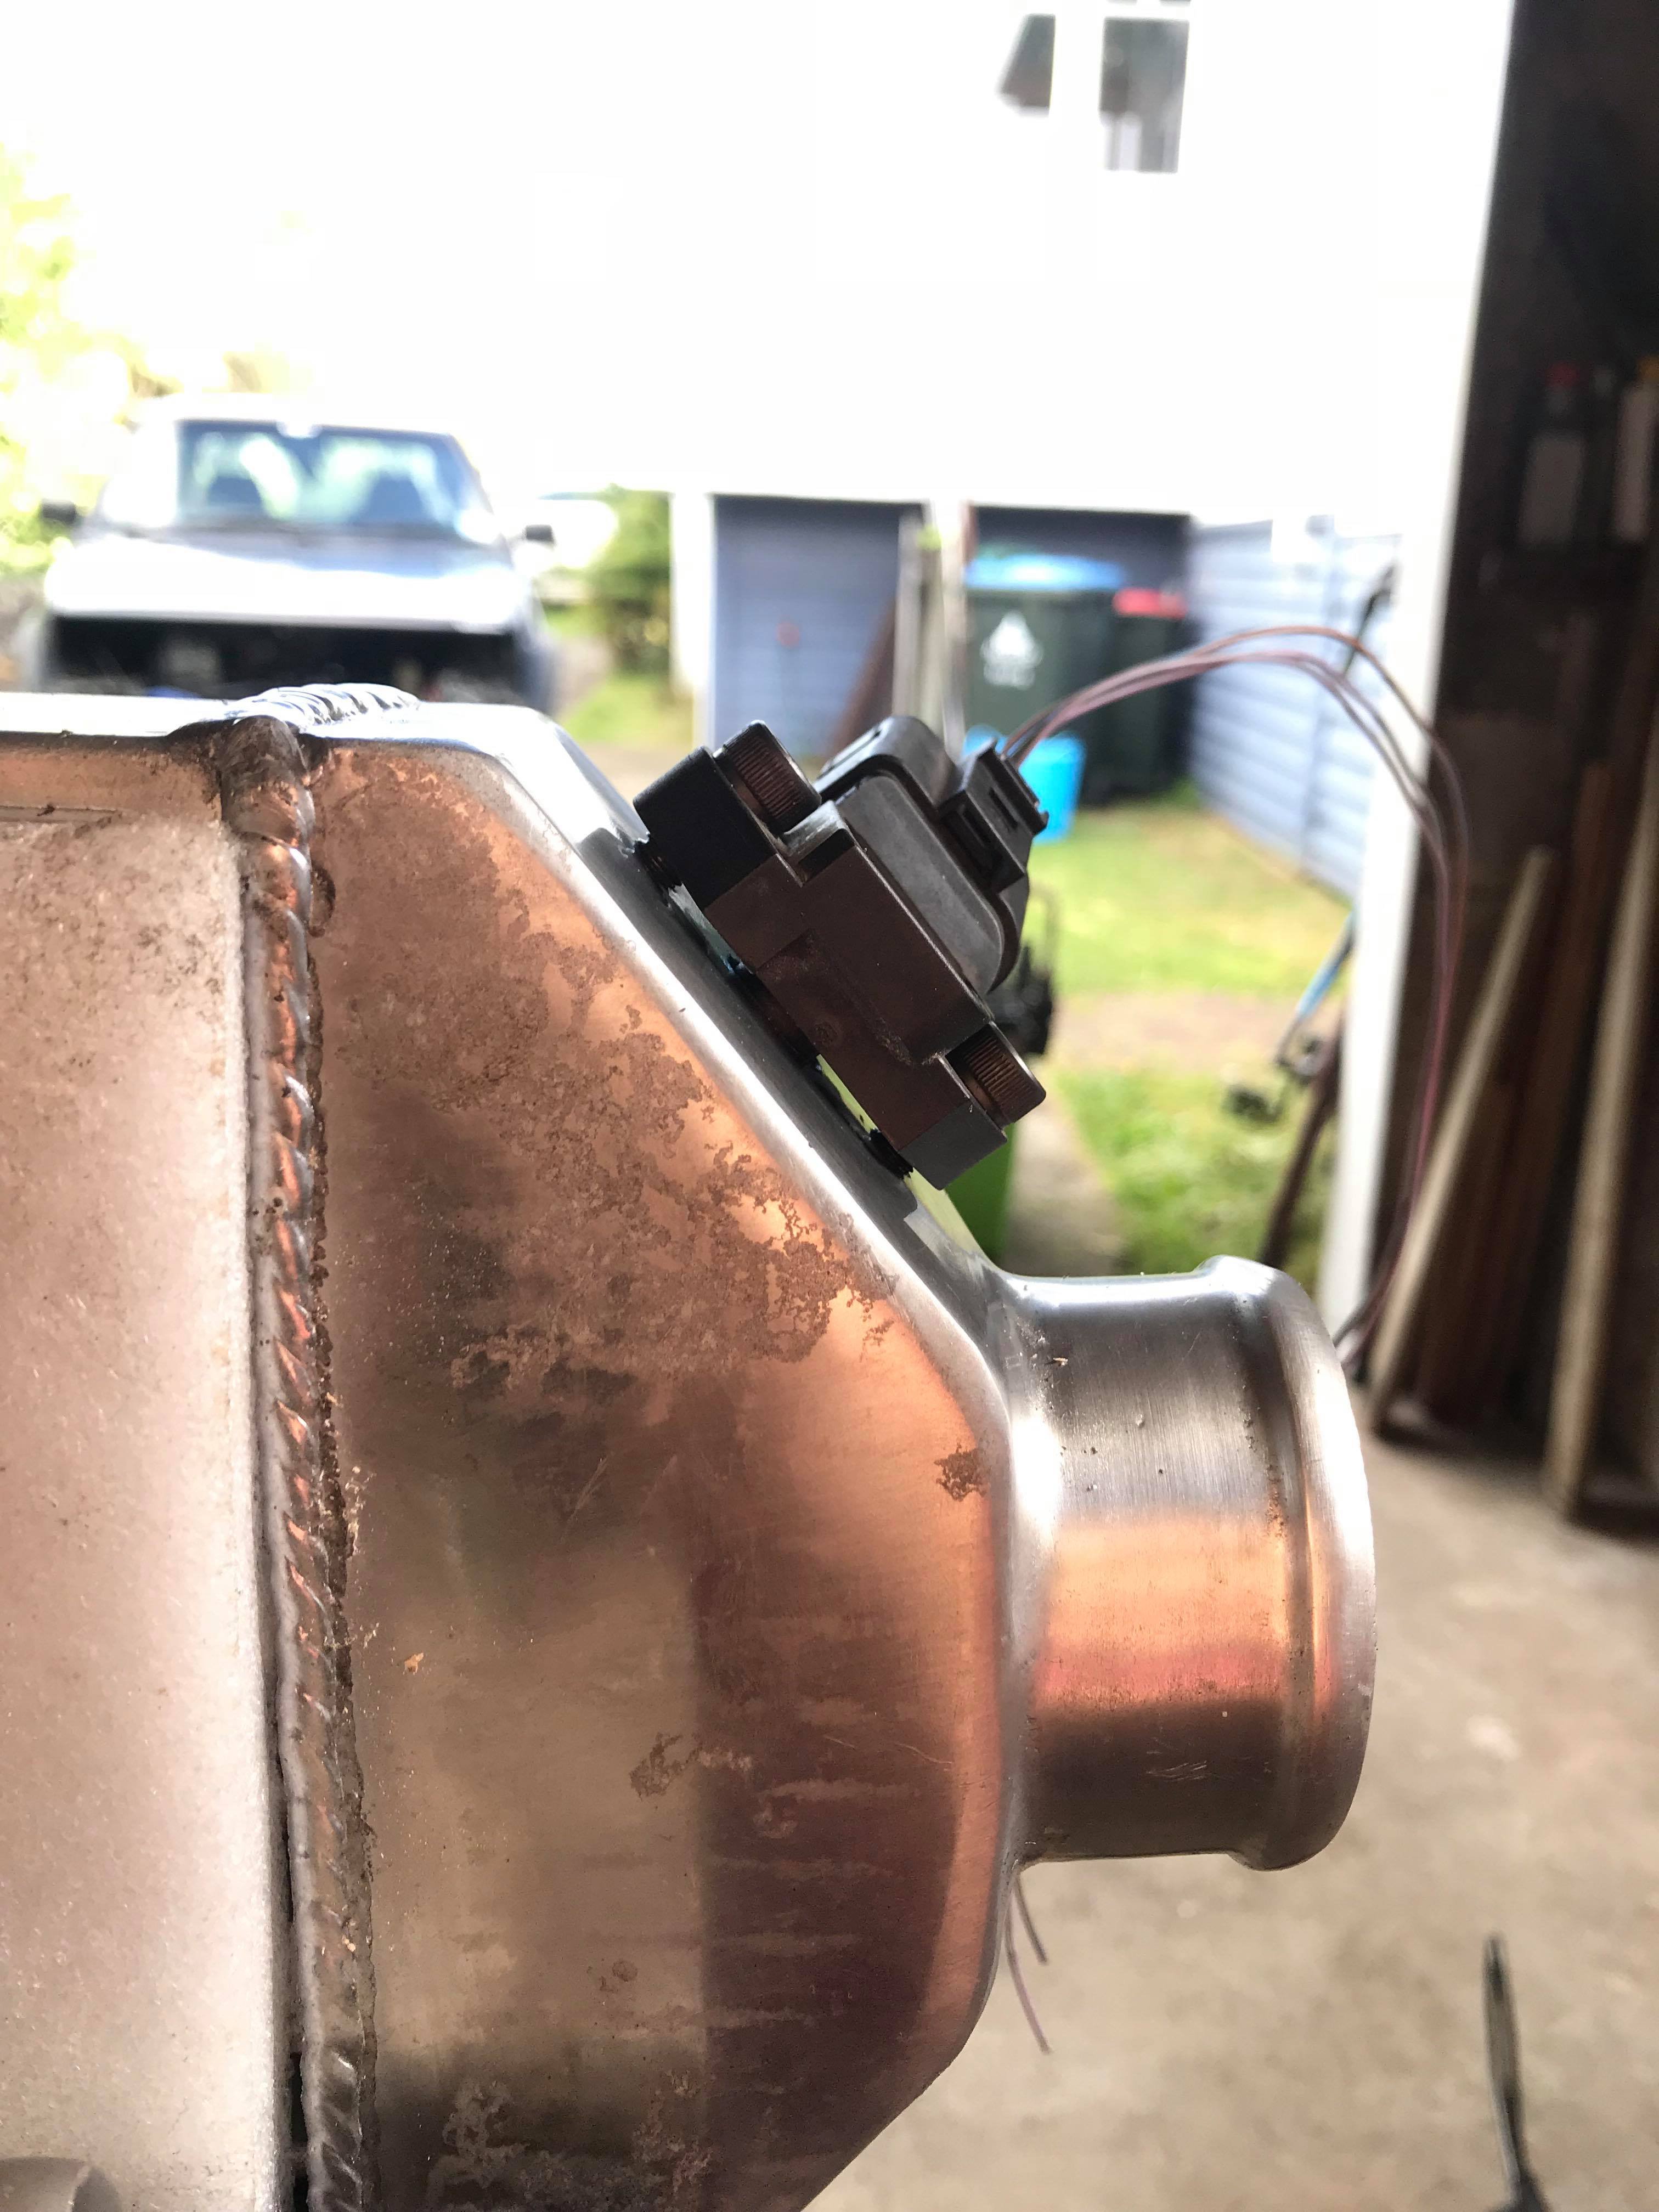
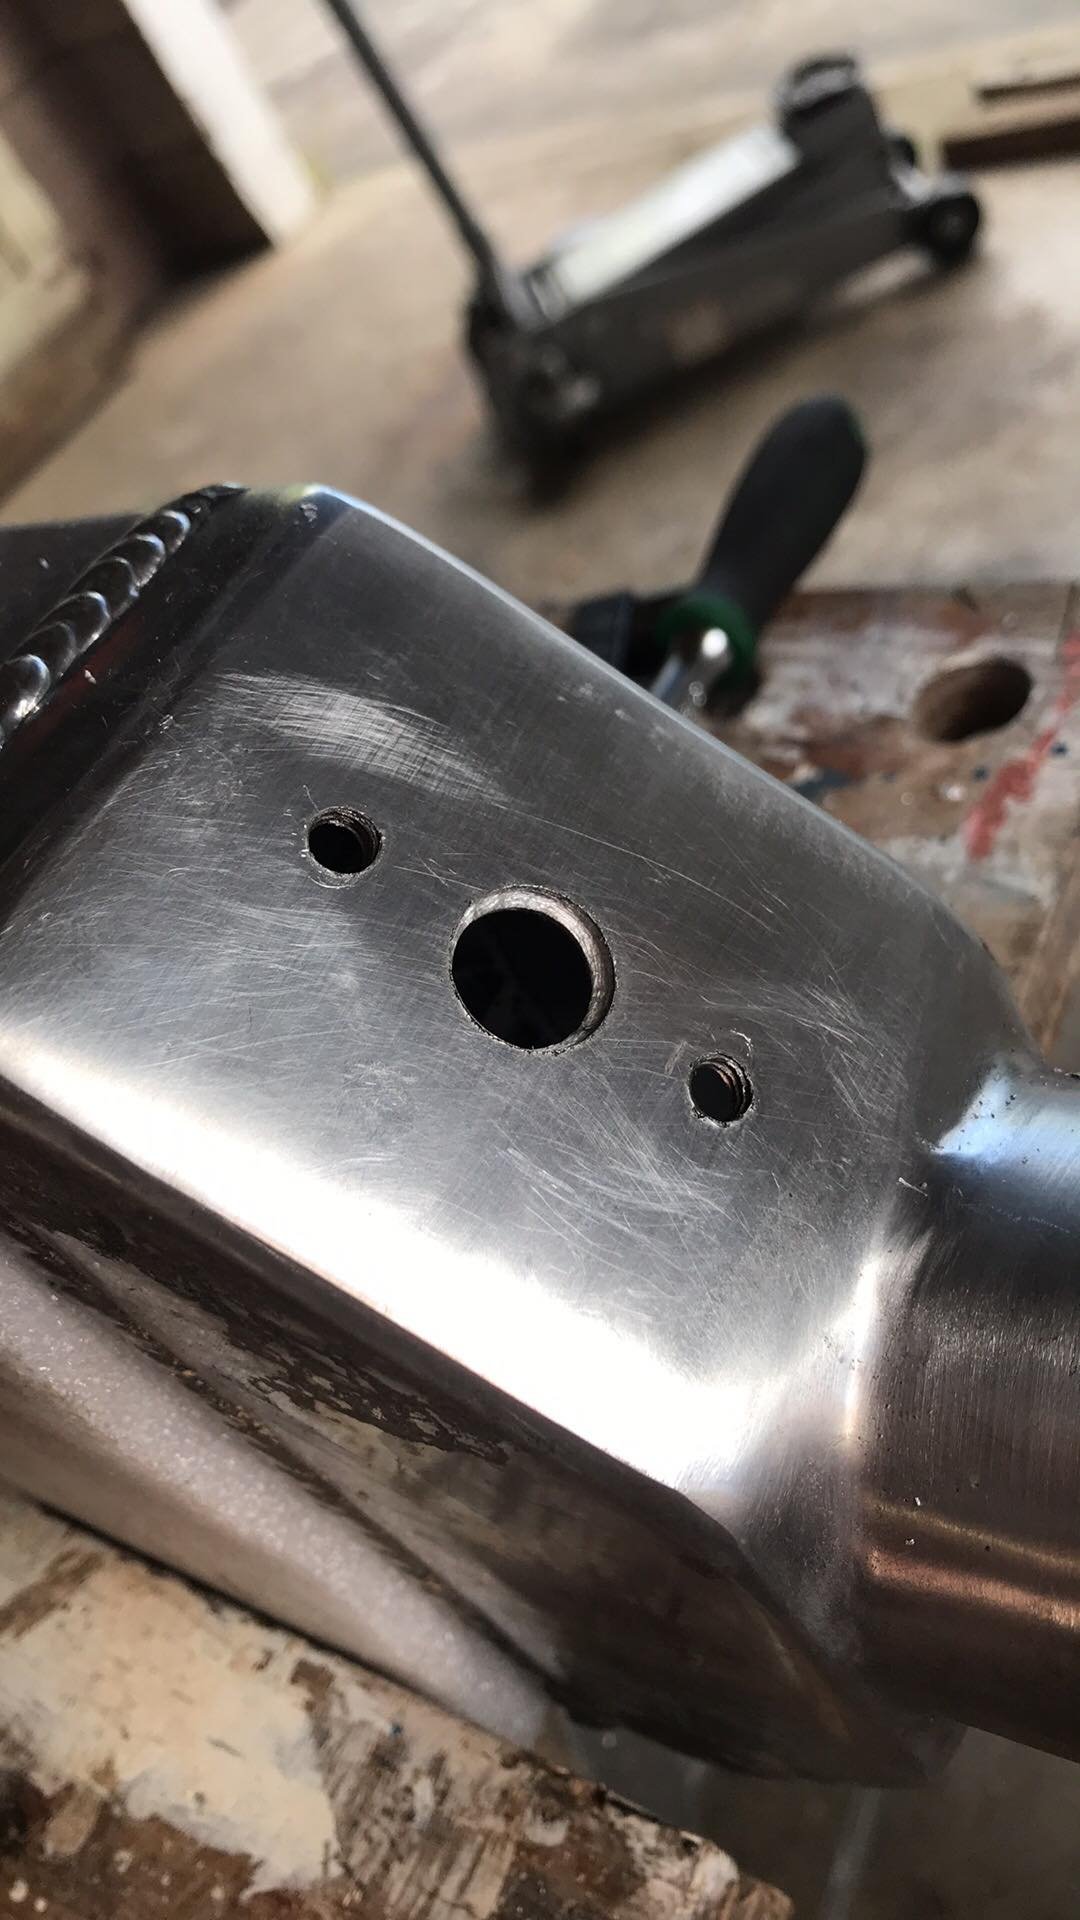
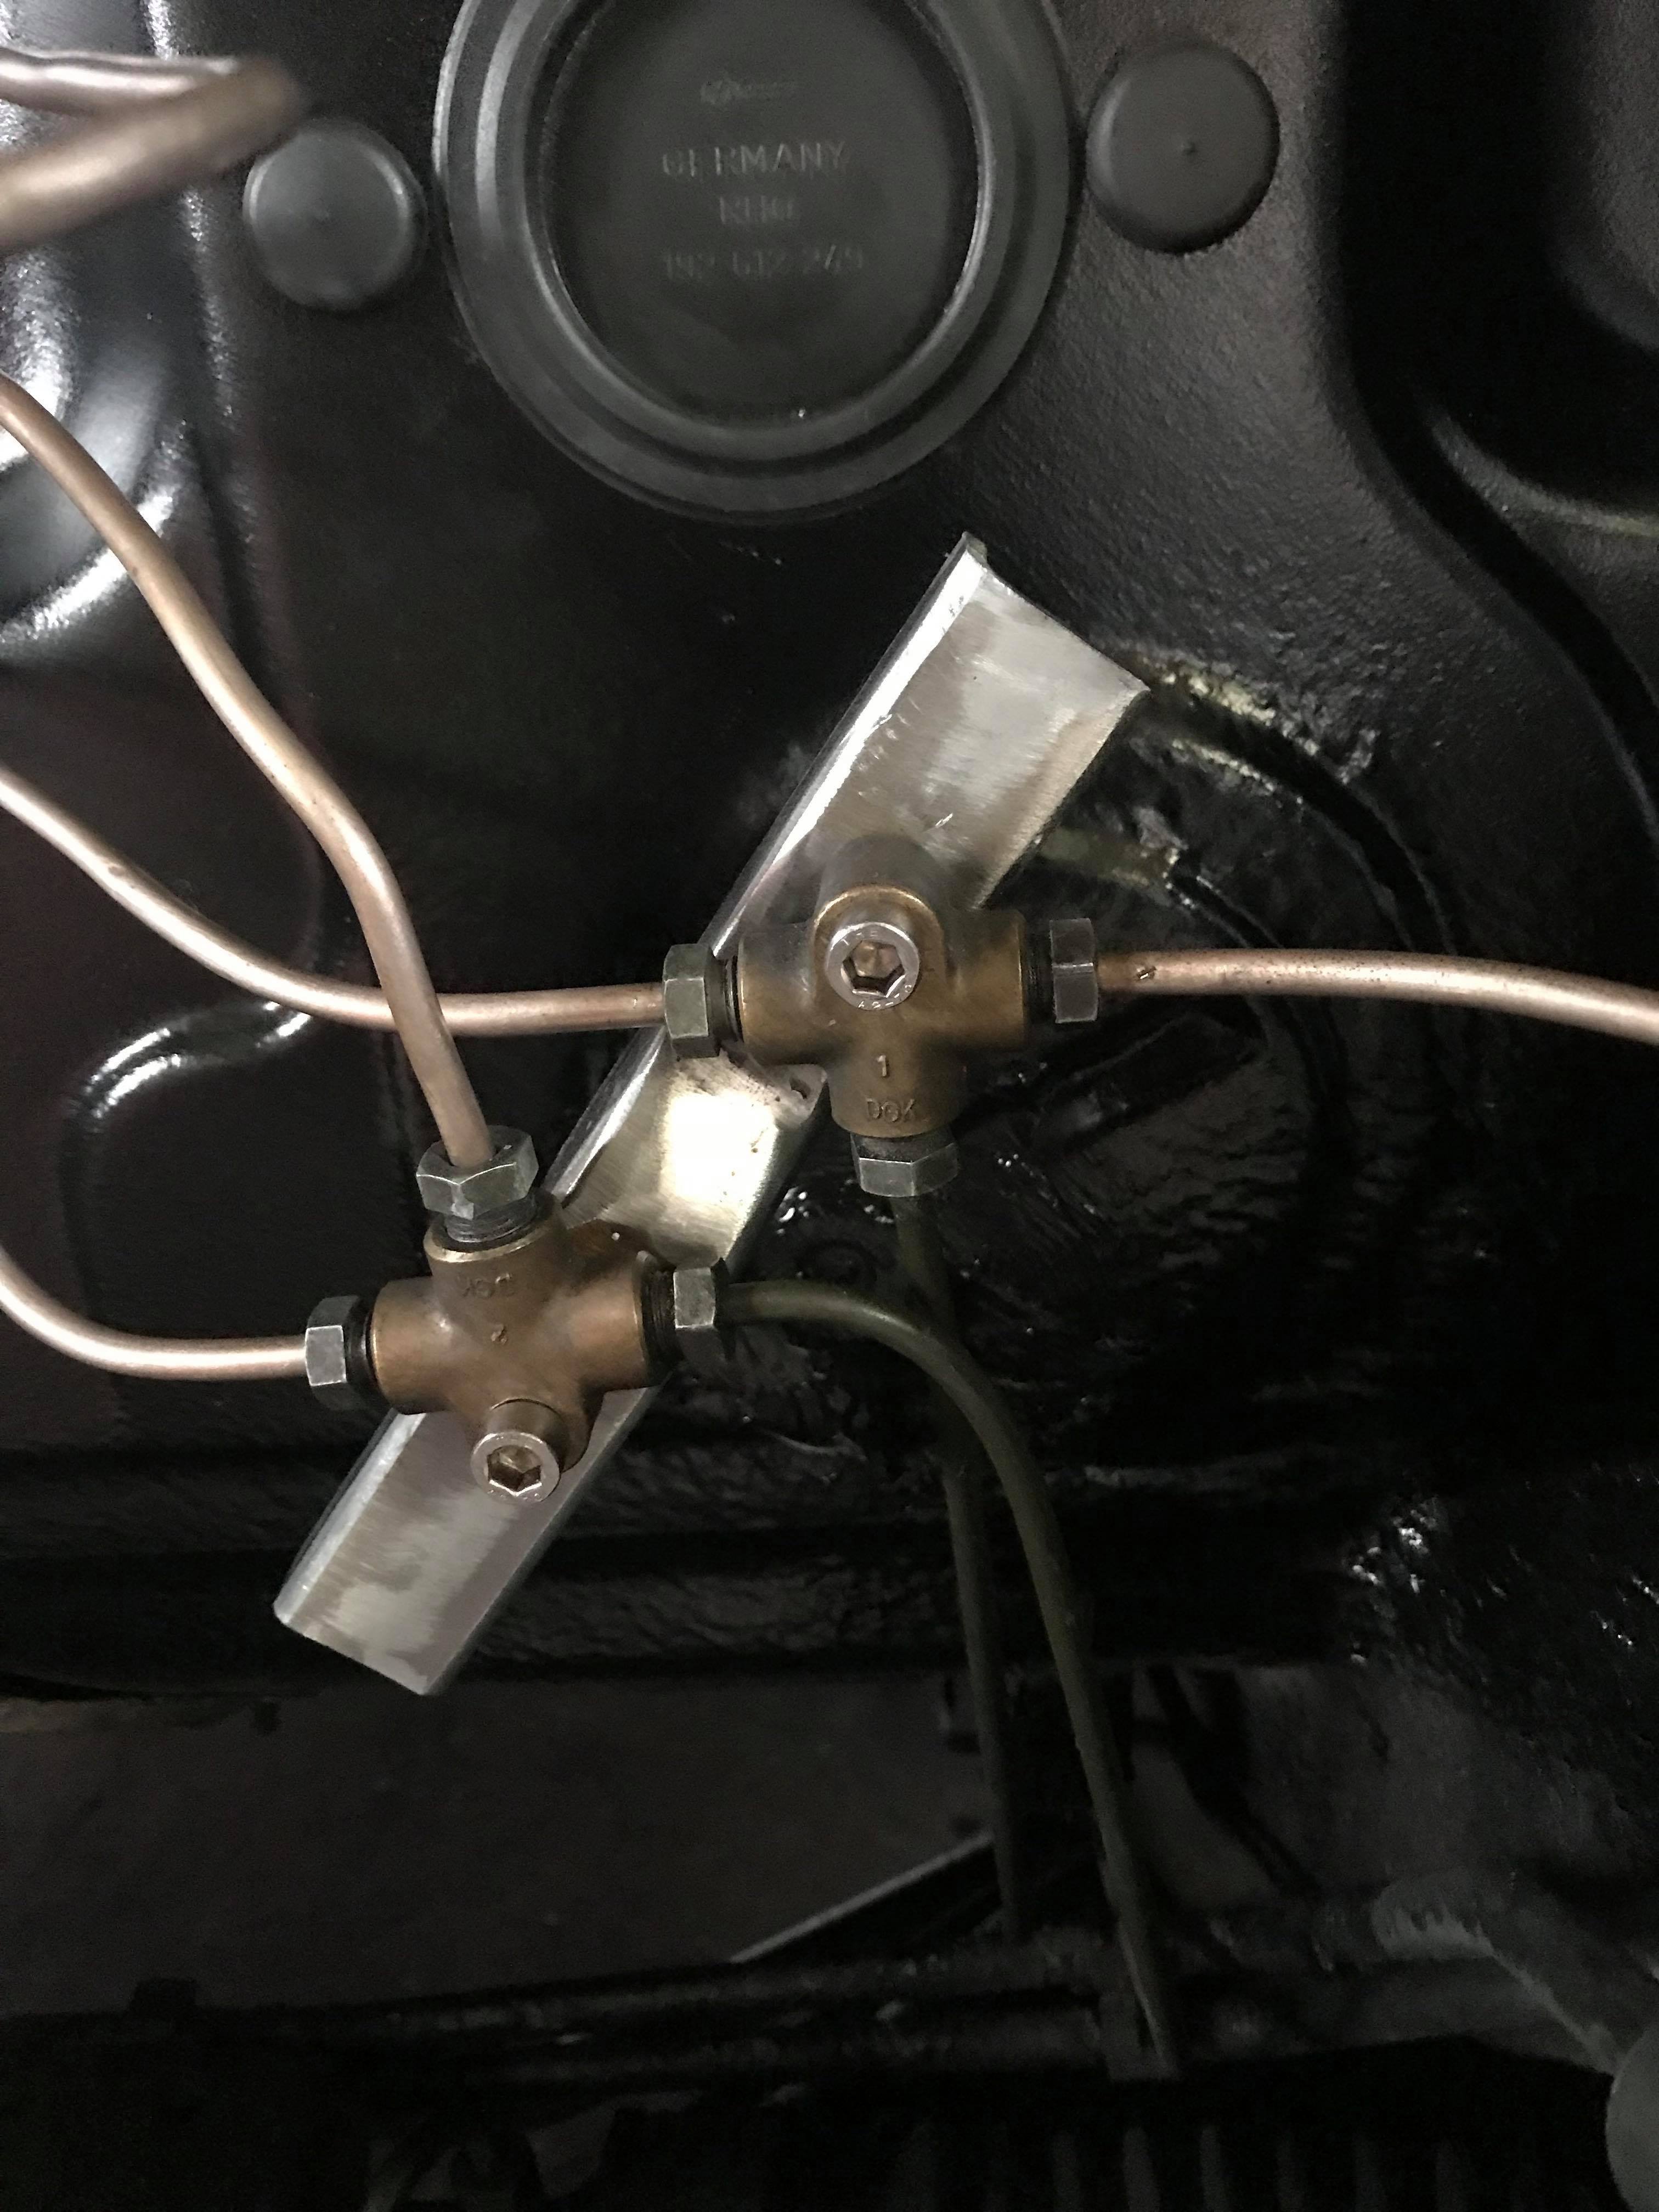
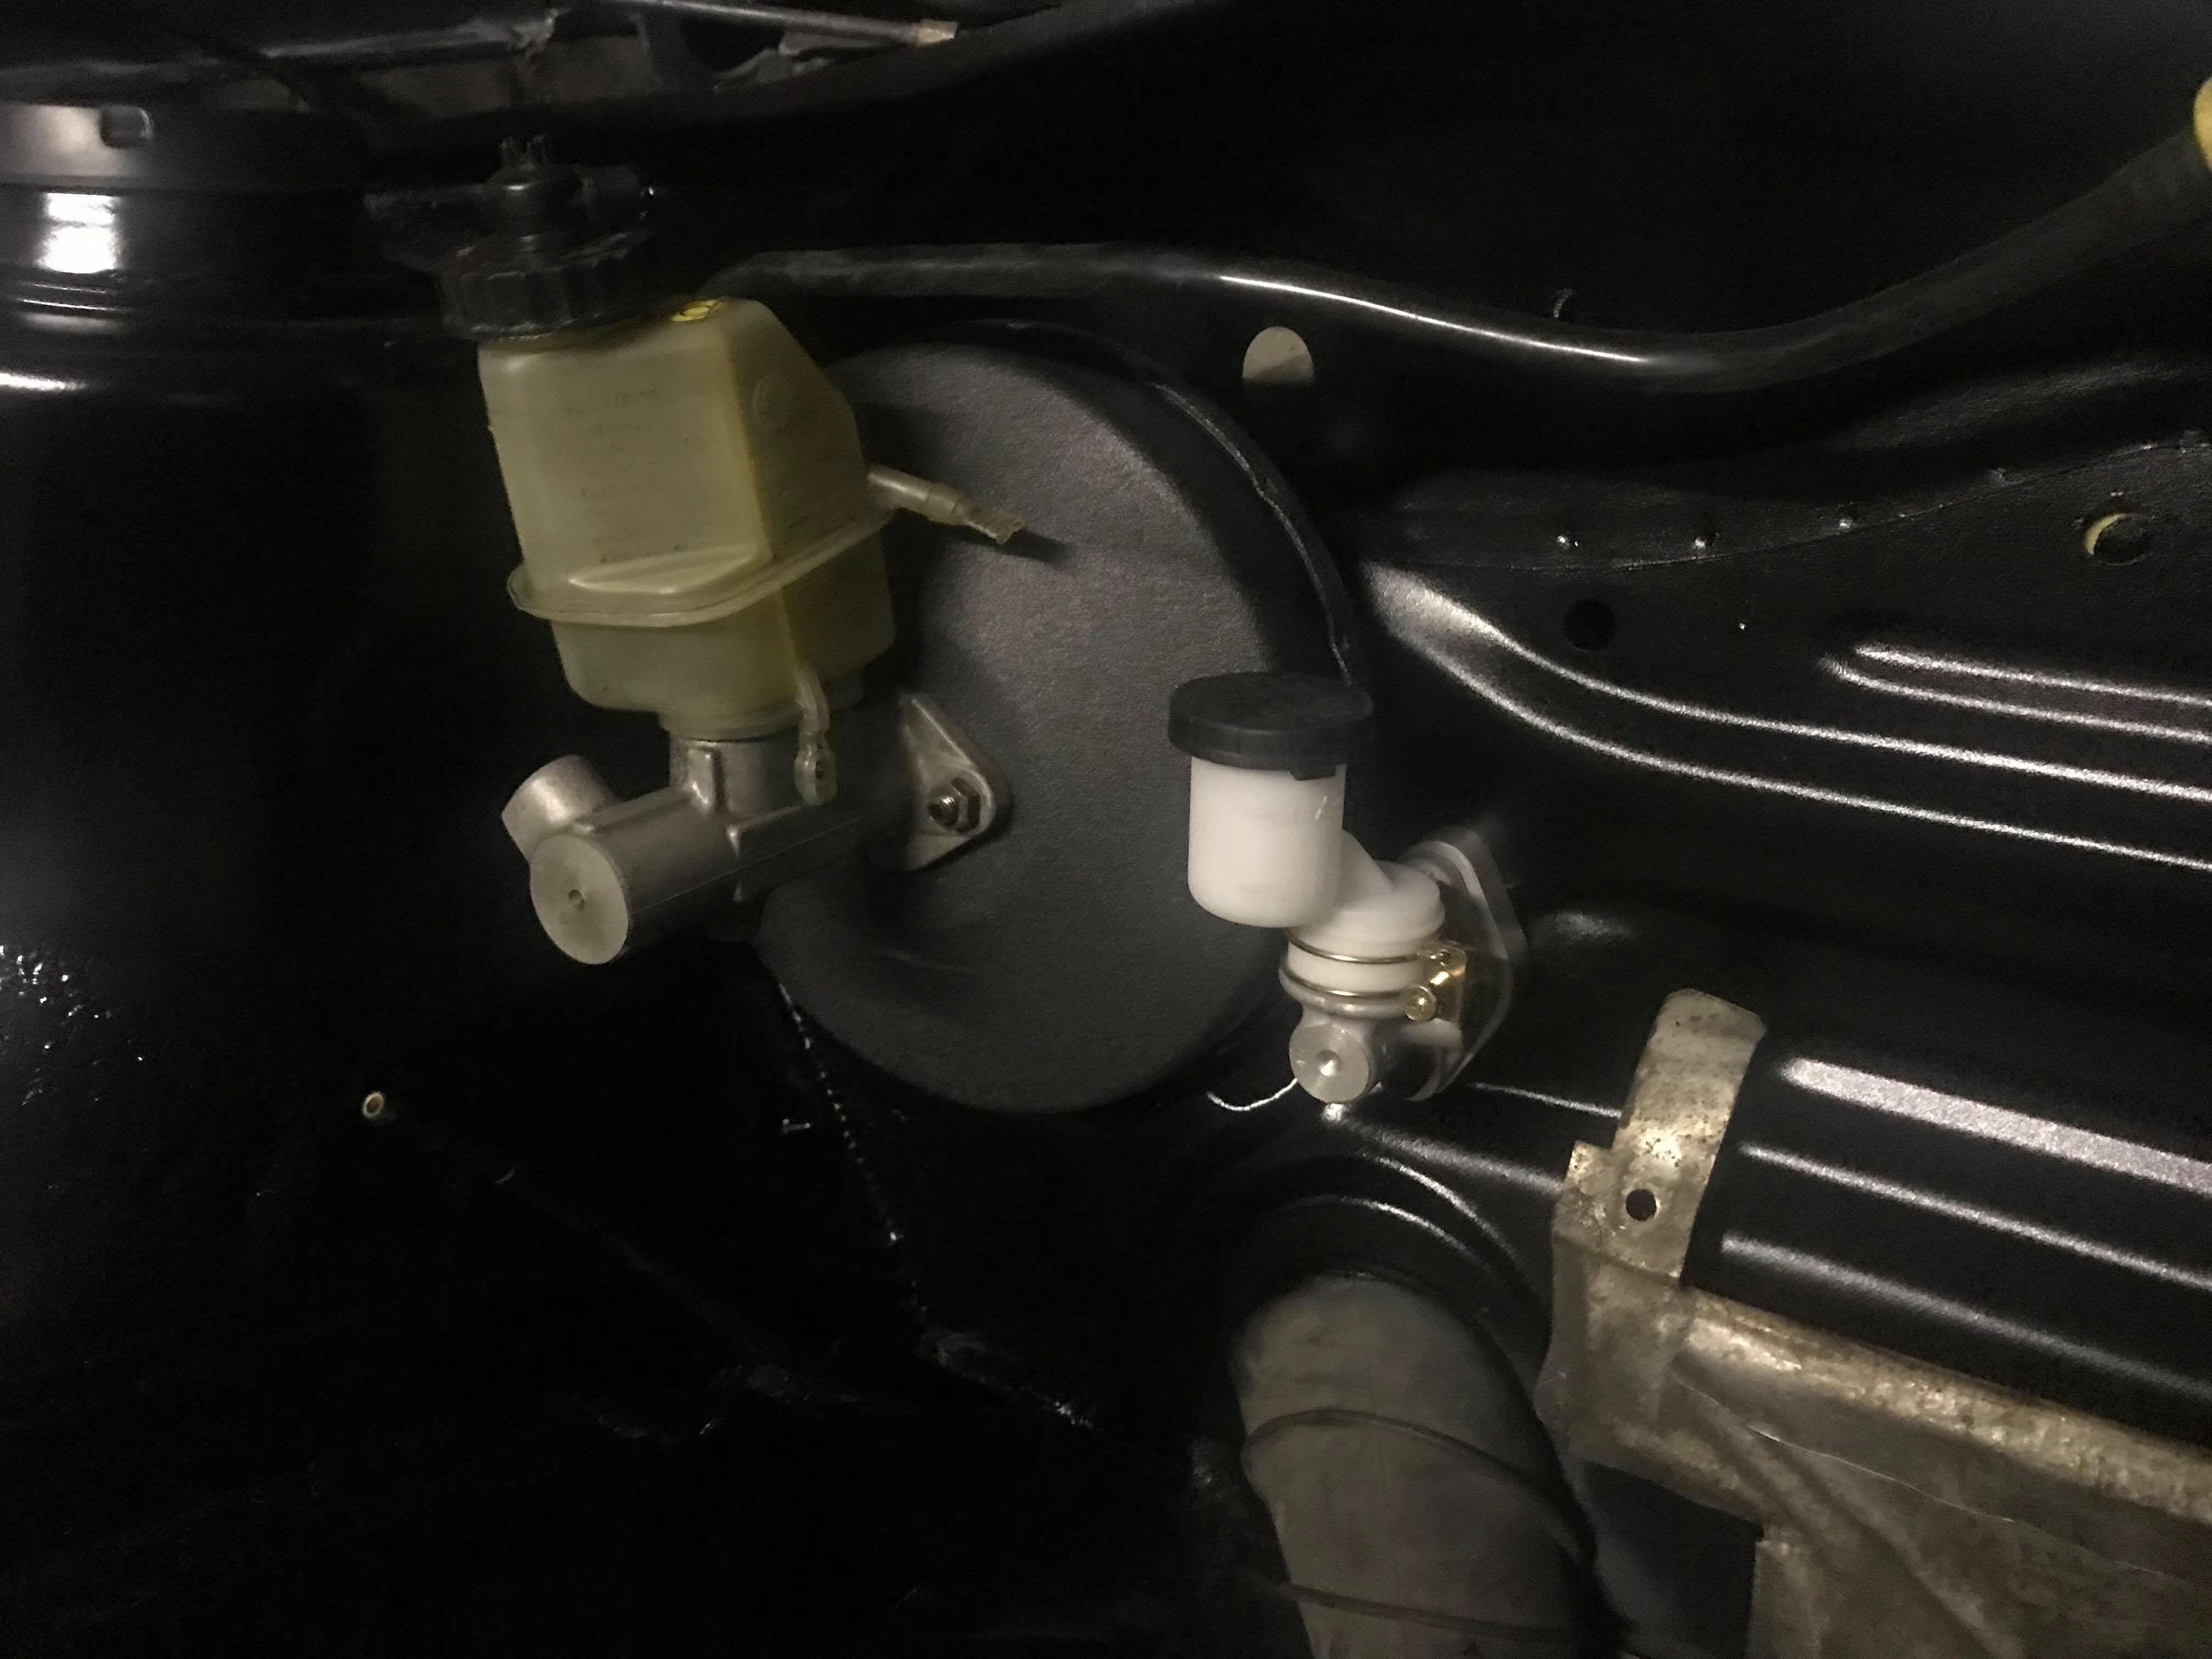
This might be a little bit of a hack job but i needed the O ring on the MAP sensor to sit nicely and one of the best spots I could find to use without to much work was directly into the intercooler. So armed with a stepper drill bit and a set of taps I managed to make something work. Fortunately it only required 3 washers either side to space the sensor nicely so that the o ring seated. Ideally i would have made a new aluminum part with the CNC and welded it on but I didn't really have the time and the skills for the aluminum welding so this was a nice simple solution. I installed a larger Brake MC for more brake feel as the standard one was so soft and you had to do a lot of work to make something happen. Ideally I would like this car to be able to be taken on track days and drag meets (drive ability is pretty key/vital as this is not some show car) so I need some effectiveness from the brakes. Also spent a lot of time position the electric throttle pedal for a good heel toe operation. I had spent a lot of time trying to make this Clutch MC work (its from a Pajero) as people spend a lot of money getting a specific pedal box just to make it work and getting one hard enough let alone paying for it to get to New Zealand. I was convinced that armed with a brake line flaring kit and a bit of thinking I could make something that would be effective. In hindsight this was really not the case and after a bit of research and failing miserably I found that i actually needed to do a lot more bench testing. I think that i mounted the MC inline with the pivot point of the pedal making the clutch have a incredibly light feel, it seemed to function but did not feel anything like how a clutch should. I also think I needed to spend a lot more time researching throw/movement lenghts of the MC vs the Slave. It might post something in a technical thread as i really would like to know what to do next time but I ended up buying a bolt on solution for the time being. (above picture is not it this is my pajero mc with a spacer made with the CNC at work. Meanwhile that fail was going on I was atleast able to work on my welding skills. If i can say anything as i come further through this project is that my mig welding is getting so much better even just with the flux core. This is a little brake line bracket i made and tapped with two pieces folded and welded together.
1 point
-
Or a crx1 point
-
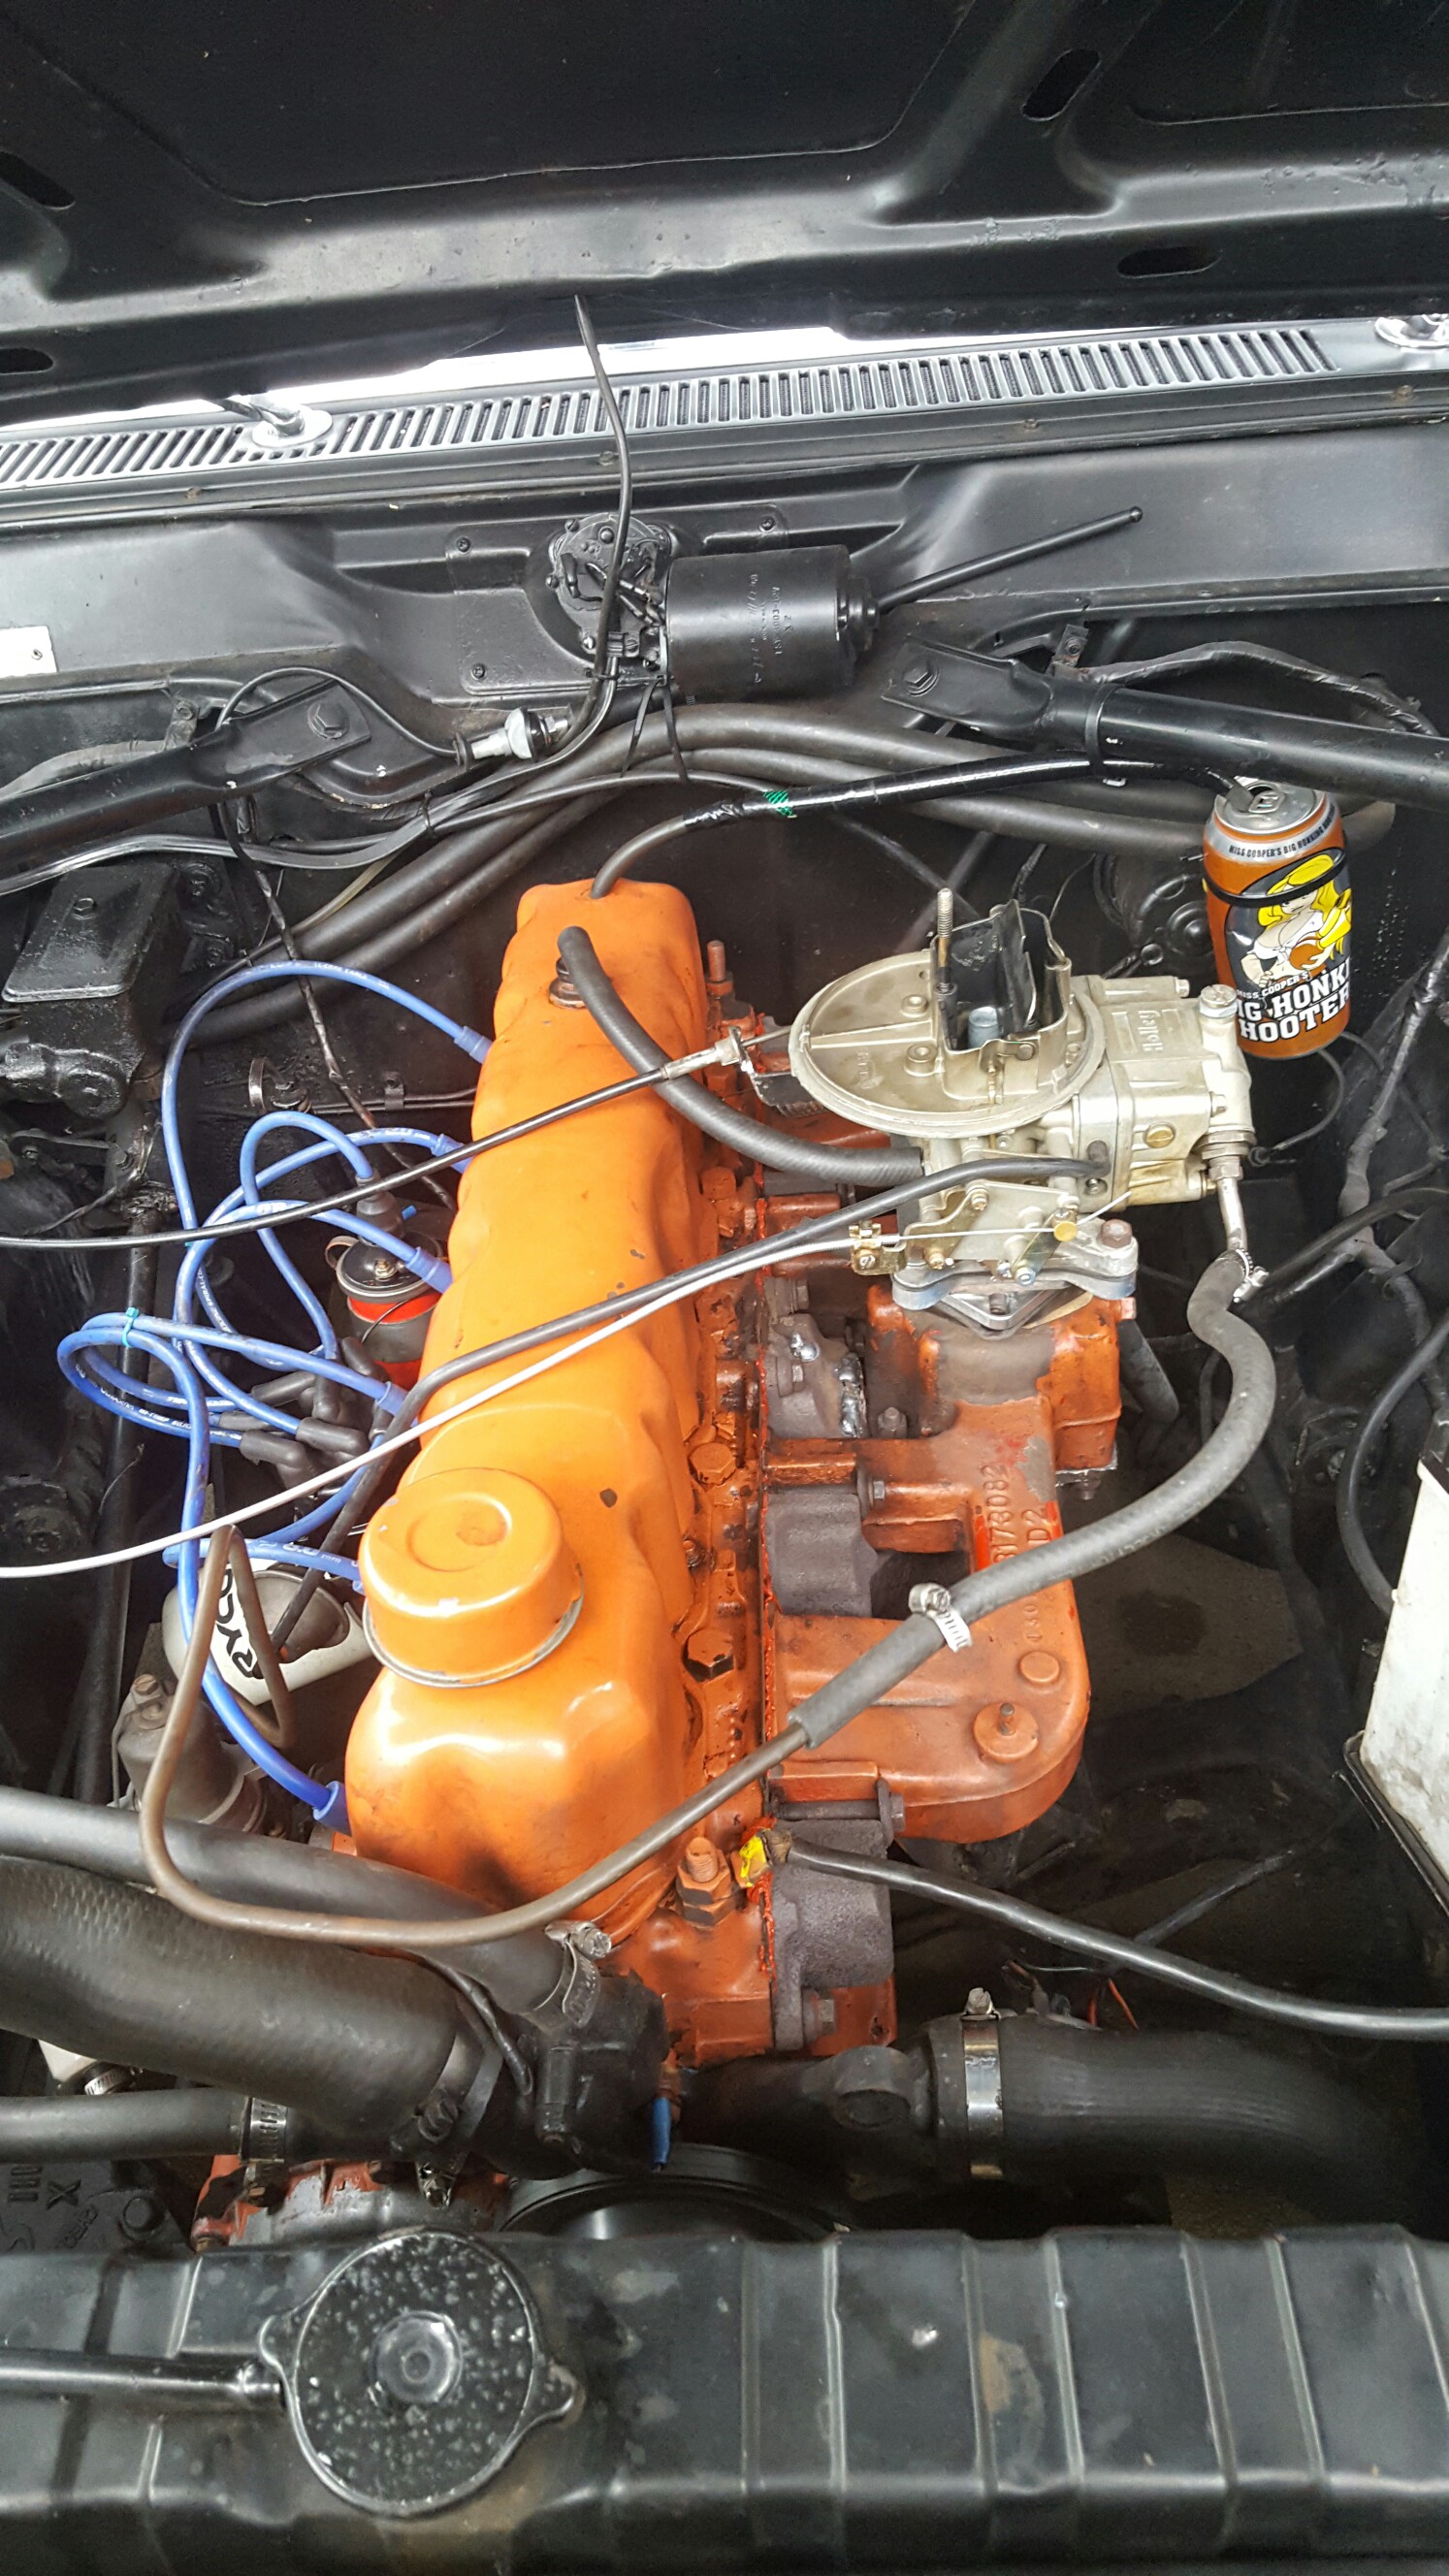
Carb on rough tune done linkages done test drive done Wown it's like a different car Runs so much better
1 point
-
Quick snapshot of my 2 year restoration of a 1981 Purvis Eureka Kitcar Manufactured in Australia by Allan Purvis Original design in England by Richard Oakes in 1971 called a Nova This car orignially had a ford V4 (approx 84HP) I bought the car less motor so it now has a Subaru 2L with Garrett turbo (286HP) now it goes as good as it looks. Link to the discussion thread: //oldschool.co.nz/index.php?/topic/54179-eureka-1981-purvis-eureka-f4/1 point
-
next meet: Spitfire Square out by the airport from 7pm see ya there Discussion Thread: //oldschool.co.nz/index.php?/topic/Chenery/1 point


This leaderboard is set to Auckland/GMT+12:00