
Leaderboard


Popular Content
Showing content with the highest reputation on 08/31/17 in all areas
-
I actually tried to fire it up last Friday night, but the second hand fuel pump out of Darrell's HZ Statesman, which I've had in a box for a few years, had died from natural causes.I wasn't keen on changing all the lines and installing the factory pump, so I googled up the brand of the old pump and found they are a NZ company manufacturing these pumps in a Waihi, 95bucks delivered to my work yesterday, 5 o'clock couldn't come soon enough! I rusted home and mounted it up.This is a 2psi low pressure pump for carbs, they do a 4psi 6si a 6volt version and 24 volts version.I like it as it's small, in line, no regulator needed, and very quite.So after battling to find a good earth I ended up using the screw that holds the left service cover thing on.By now it was nearly ten at night but I've waited to long to let that stop me!I took it for it's first wee drive up and down the street last night, woke up all the neighbours and stuck it back in the shed as no lights is a bit scary!Darrel came up and we quickly realized the "to do" list is getting bloody small!-lights-seat belts-4 wheel nuts-brakes still spongy-wipersplus non wof things like air filters, sunroof etc...so while we were on a roll we connected up the lights.still no front indicators, but I'm sorting that out today.moved the power for the fuel pump over to one of the only on when car is on fuses, indicators I think?and holy shit! everything works! the wipers! both speeds! the horn, everything!can't believe it!!even though it is technically running like a bag of shit, carbs need tuning/jetting/sync, brakes where scary bad and the steering felt heavy as(might have just gottin use to power/no tiny wheel) it was awesome!I even gave it a bit of welly in second up the road and man, it wants to go!15 points
-
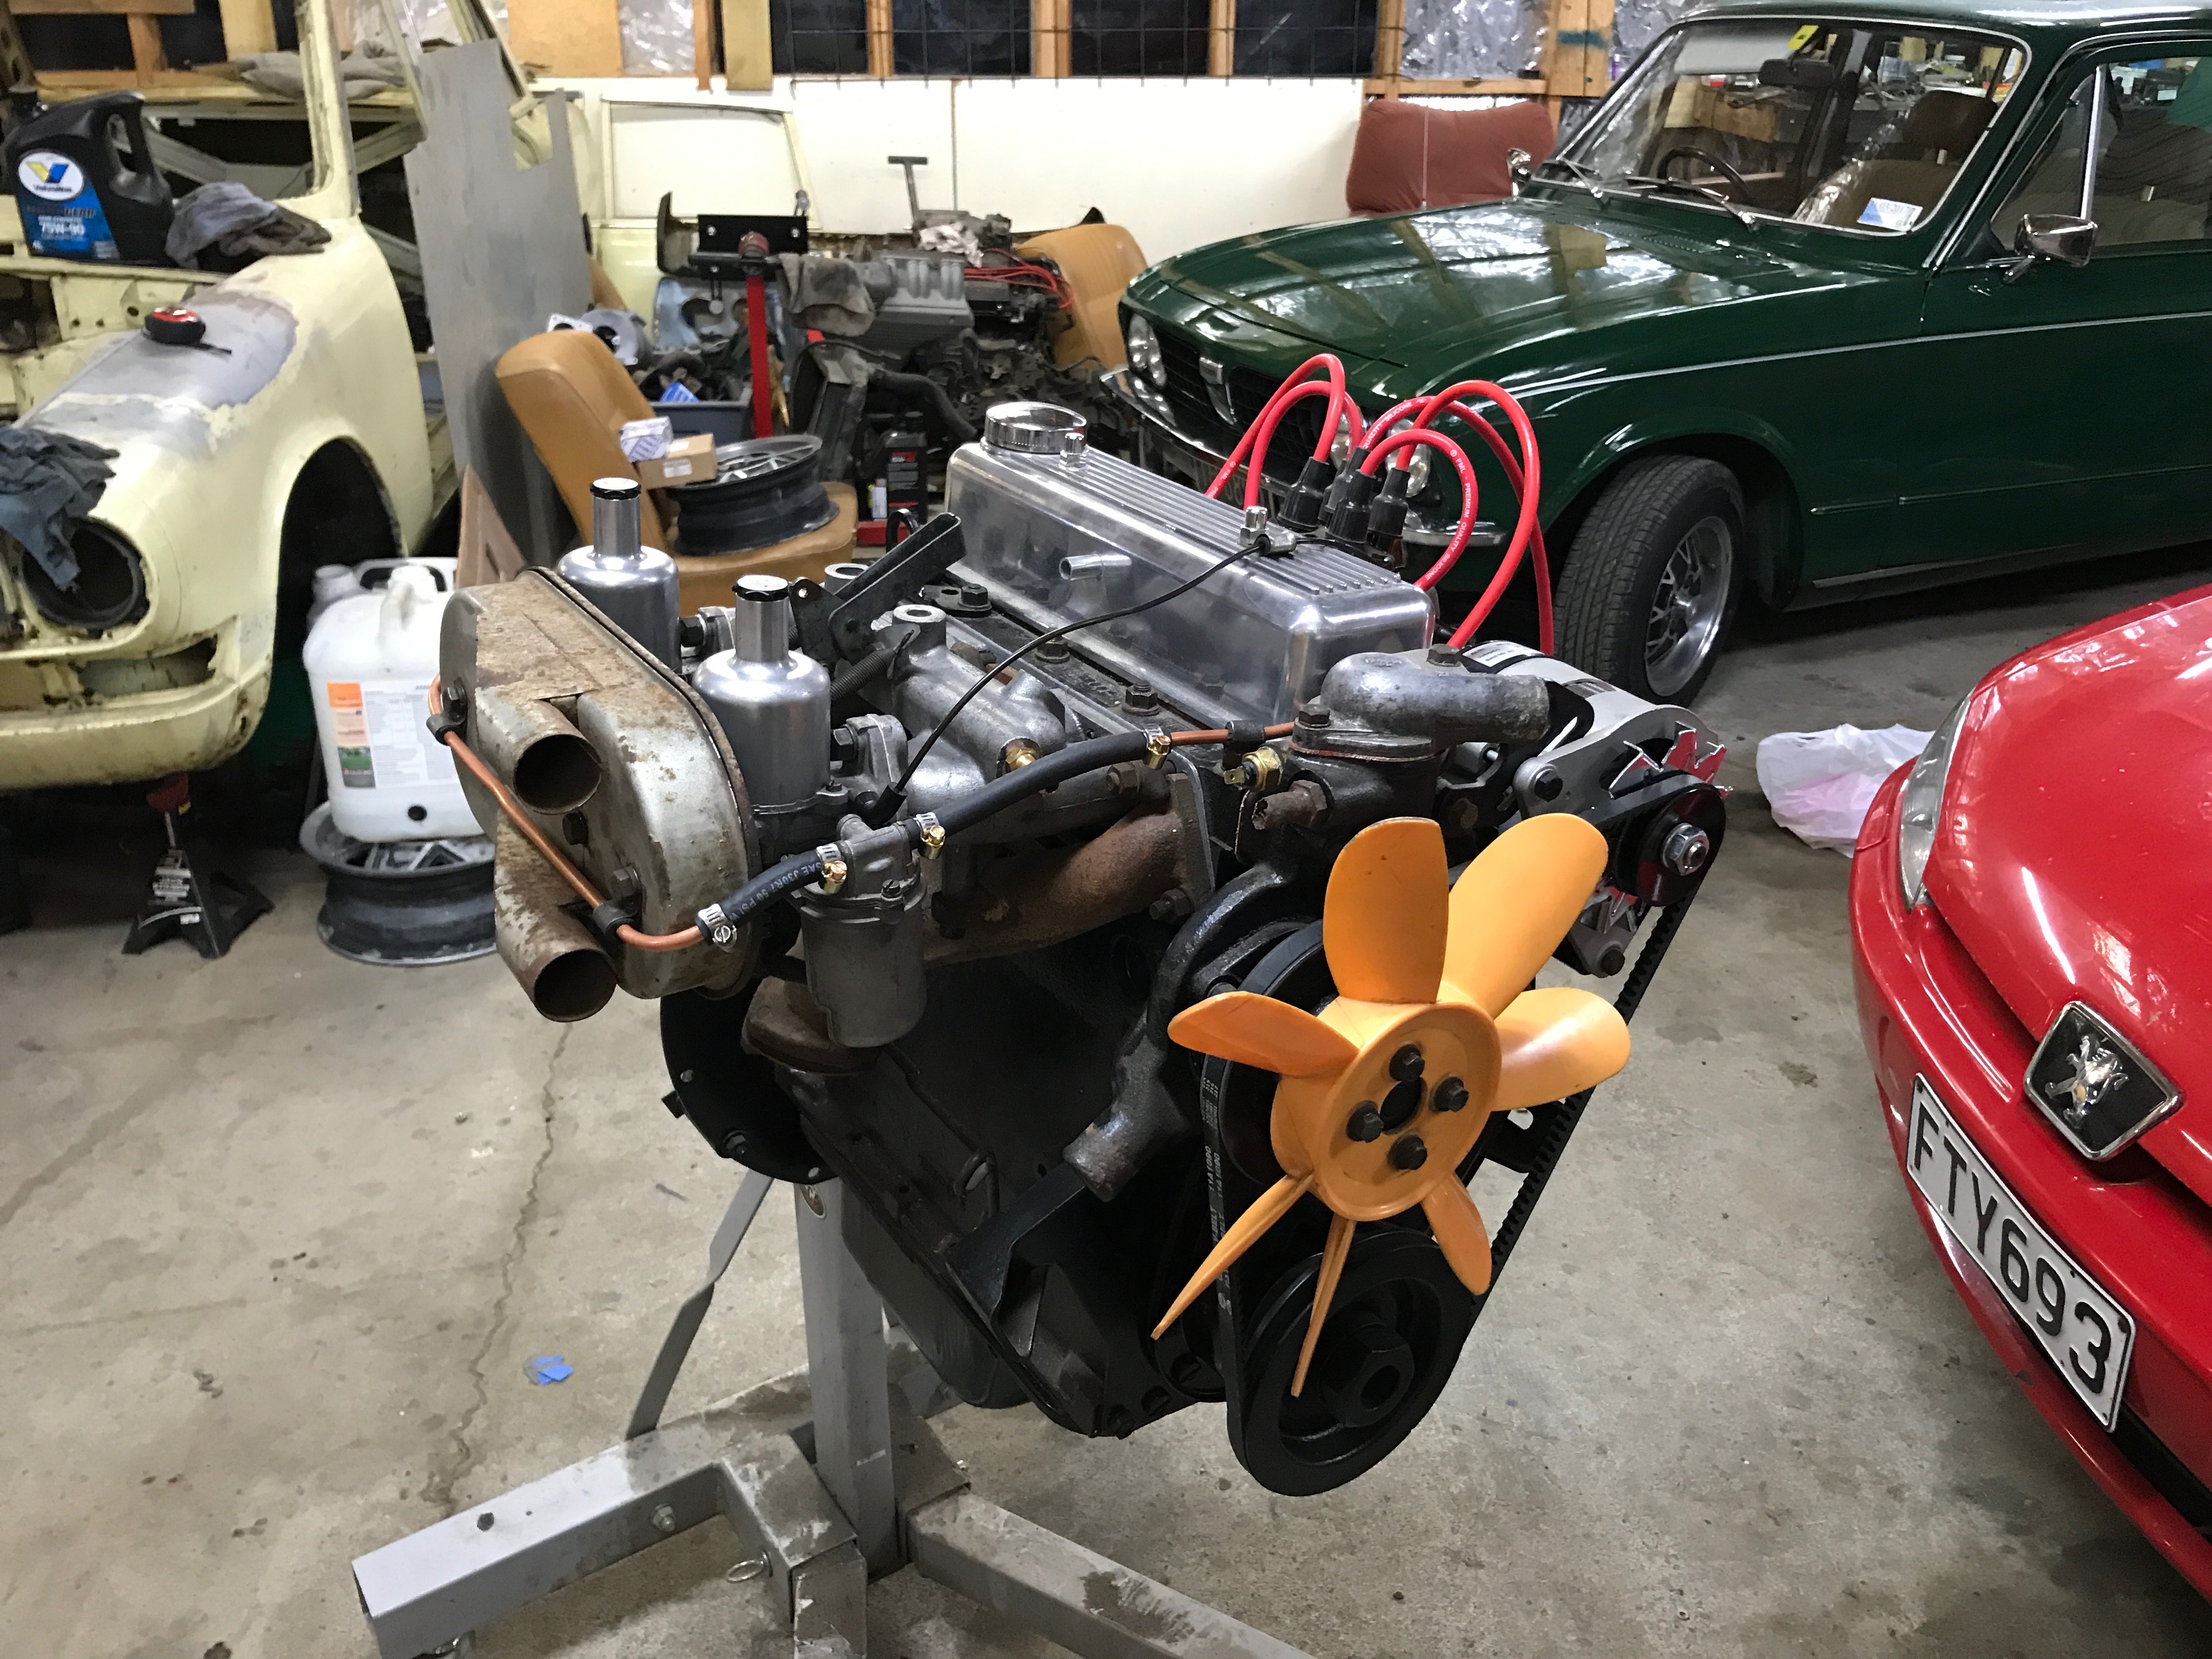
Updater. 1. Fuel pump. The one on the left is in the bin. The one on the right is in the boot. We now have reliable Bosch fuel pressure at 110psi at all throttle openings. New power supply and relay fitted also. I'm just finalising a mounting system and I'll take a pic for the next update. There are kits on the market but they are very spendy so have put something together myself. The original Lucas pump is actually a windscreen wiper motor. Needless to say it wasn't a great option from new. 2. Metering unit. After many many hours fettling, dicking about, trying things, trying other things I decided to rob a bank and buy this: Stuck it in, timed it. Available for sale for a limited time: Patented Tumeke injector bleed test bed © Also available Tumeke Remote Cranking / Gravity Weight System © Also reset and re-sprung throttle bodies, butchered a twin cable choke cable (if anyone has a spare I'd like it please), fixed the over-drive switch with some re-wiring and generally dicked about. Pretty close. Still needs a bit of timing / tuning but mobile and has been moved to home garage rather than storage garage so that I can begin cutting out rust for a WOF. The saga continues.14 points
-
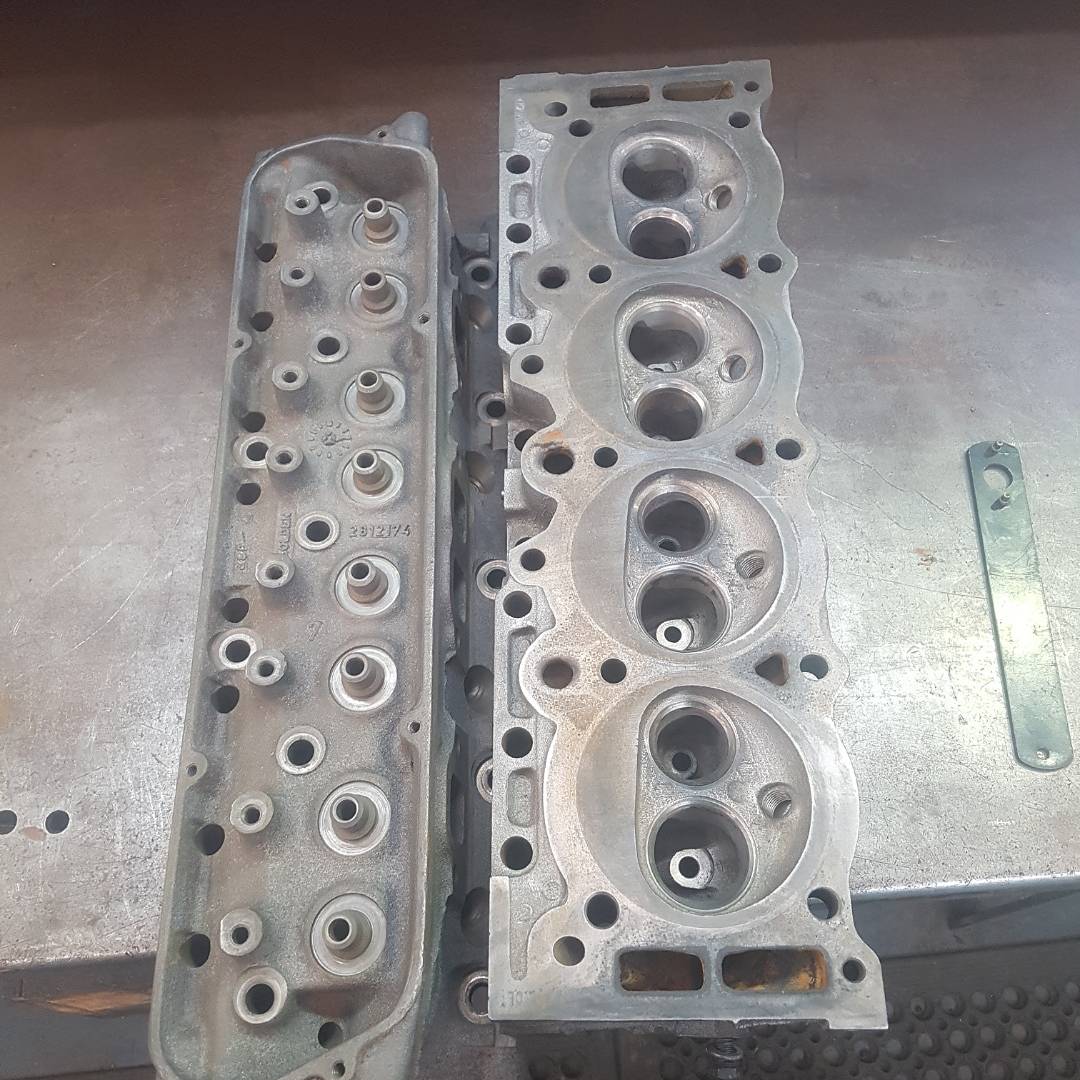
the engine has been rebuilt to .40" over size i just need to clean up the air filter housing and paint it a nice dark silver and it will look mint as
 8 points
 -
One of my claims to bogan fame is the fact that in the 90s, the local wrecker ran out of stock of escort diffs because of me. 2 in my escort van and 7 in my mk2 cortina. Skid-axle tramp- bang. Learn? No. Repeat8 points
-
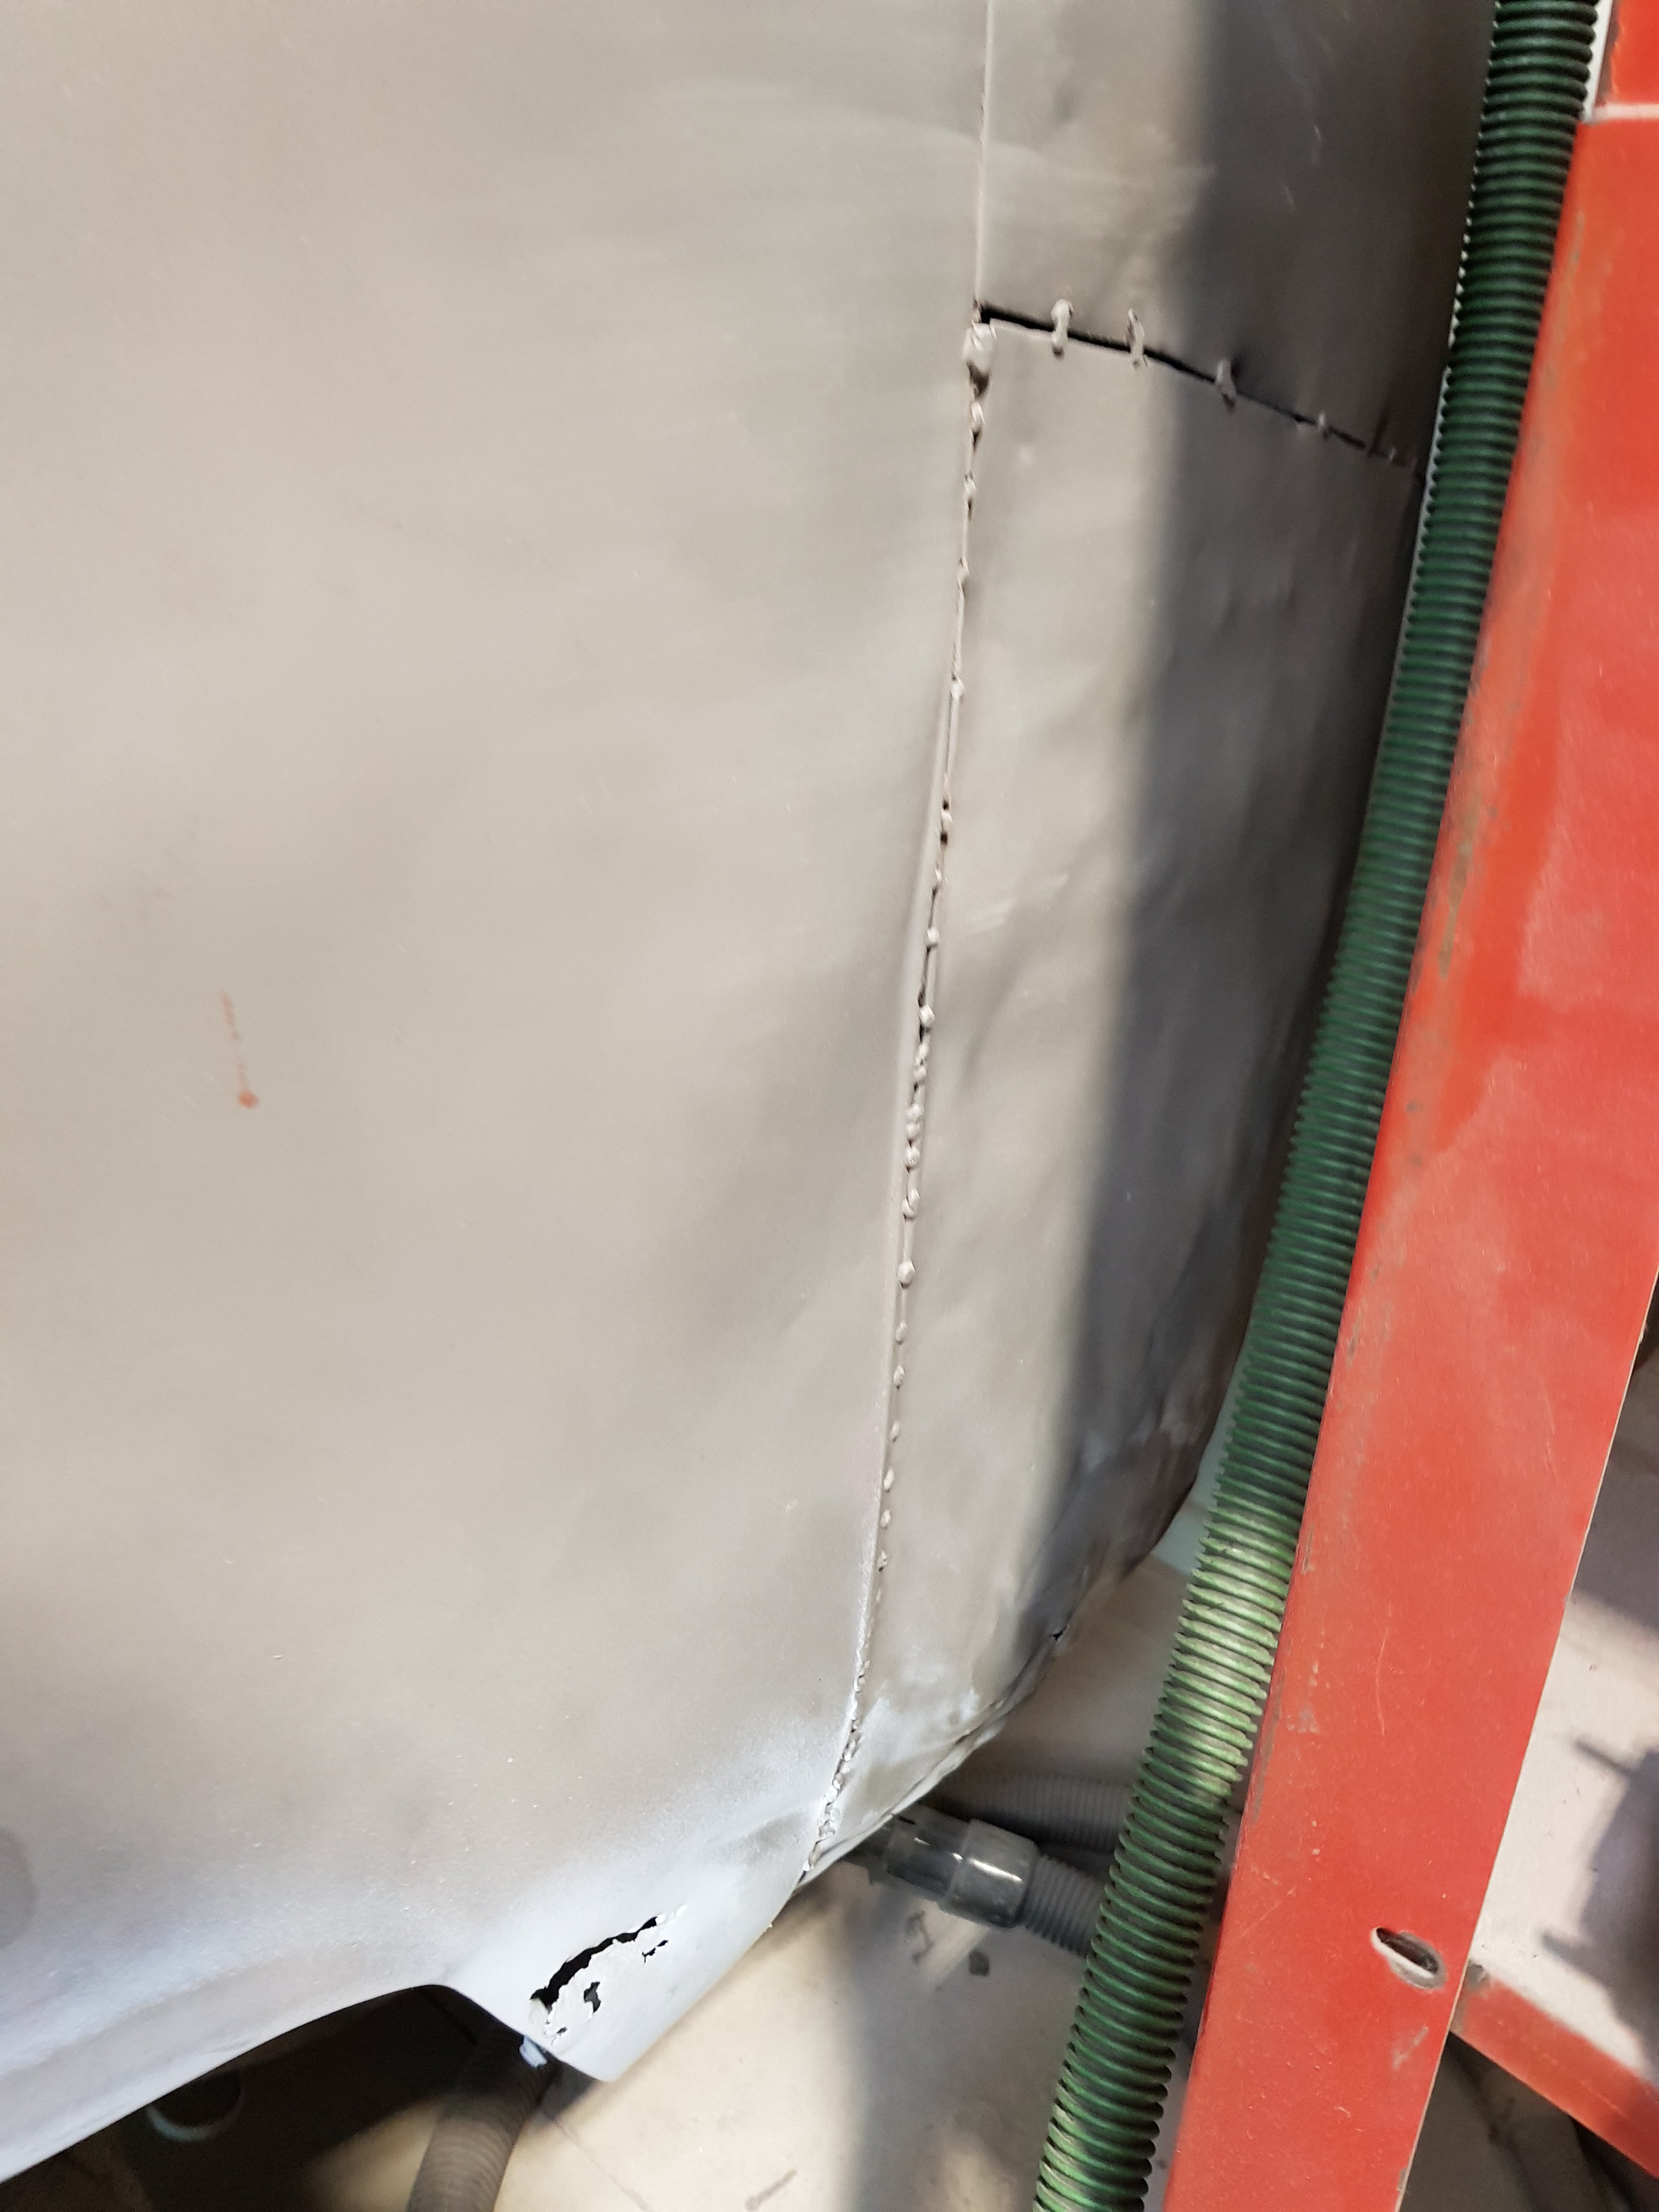
I feel like I'm saying this every update but not too much done today. Lots of balls in the air so to speak. I started with putting a bunch of holes in the outer rail skin with a step drill to plug weld it to the inner channel. Here it is all clamped in place. I gave both inner faces a couple of coats of weld through primer to help to keep the corrosion at bay. You can also see the ARB mount bolts in position to make sure they'll be able to easily slide in and out once it is all welded up. Then I welded the lot up with the MIG. It's much faster for these sort of jobs and far less involved than the TIG. While I had the MIG out I also went and spotted the butt joint together as well. I was originally planning to use the TIG for this part but I've only got the one gas regulator between the two machines and I couldn't be bothered swapping it over. No matter, the MIG will work just as gooder. It's not very in focus but such is life. You can see I've started to grind back the plug welds too. Finally I got the whole lot ground back and gave it a lick of paint. Not too bad. I reckon if you didn't know, you'd never know it'd been touched. That's all for today. I won't be working on it tomorrow because I have exams all day but I should be back into it on Friday. That is all.5 points
-
@Beaver
4 points
-
So iv had a week off, but have sat inside bored out of my mind because I did a half assed job at removing my fingers last weekend Sun came out and I can sort of use the hand as long as I don't reach for anything or lift with the thumb so this was pretty difficult removed seats not as bad as it could be Front corners and back of cab are all rough patches New floor covering I picked up. not sure who made it it was just wrapped in a plastic sack with L200 80-85 single cab written on it. No cut out for the shifter so probably aftermarket bit of sound deadening on the back Its a poor fit tbh, theres no cut out for the steering column, yet the edge is all bound and it doesn't like the corners. I stuck it roughly where I thought it should go and screwed all the edges down, cut the shifter hole, the went at it with the heat gun and blocks of wood to contour the sills. It needs a lot more of that action but it fits in now. Vacuumed off the speaker box material that was in the back and put the seats back in. The loom from the tunnel is too short to go up behind the carpet and underneath so I had to de pin a plug and run it over the top for now. so bad, also fixed the folding forward passenger seat so it locks back in place ADEQUATE4 points
-
Ld28t that fairlady.4 points
-
Pinto. Then when you reach you fishing spot you throw it over the side to stop you drifting awsy.4 points
-
Do this! Used to drive a boat we converted from 496 chev to FG barra and it pissed all over the chev. Gotta be one of the best jet boat engines ive driven with hands down! The barra was pretty much standard apart from alittle more boooooost.
4 points
-
Clutch activated rpm limit might be kinda useful I thought, leave the throttle pinned and it automatically drops rpm when you shift3 points
-
They wouldn't notice if a work bike did a few extra km one weekend I'm sure?3 points
-
one cool thing is it has some cool cheviot hot-wires I cleaned up now they look amazing lol
3 points
-
3 points
-
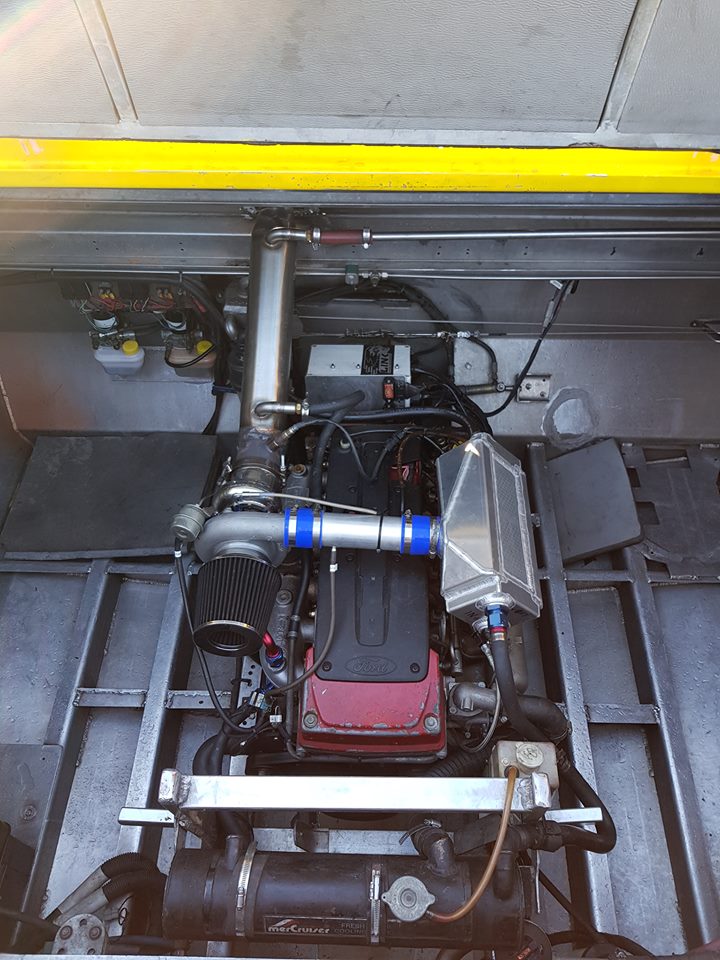
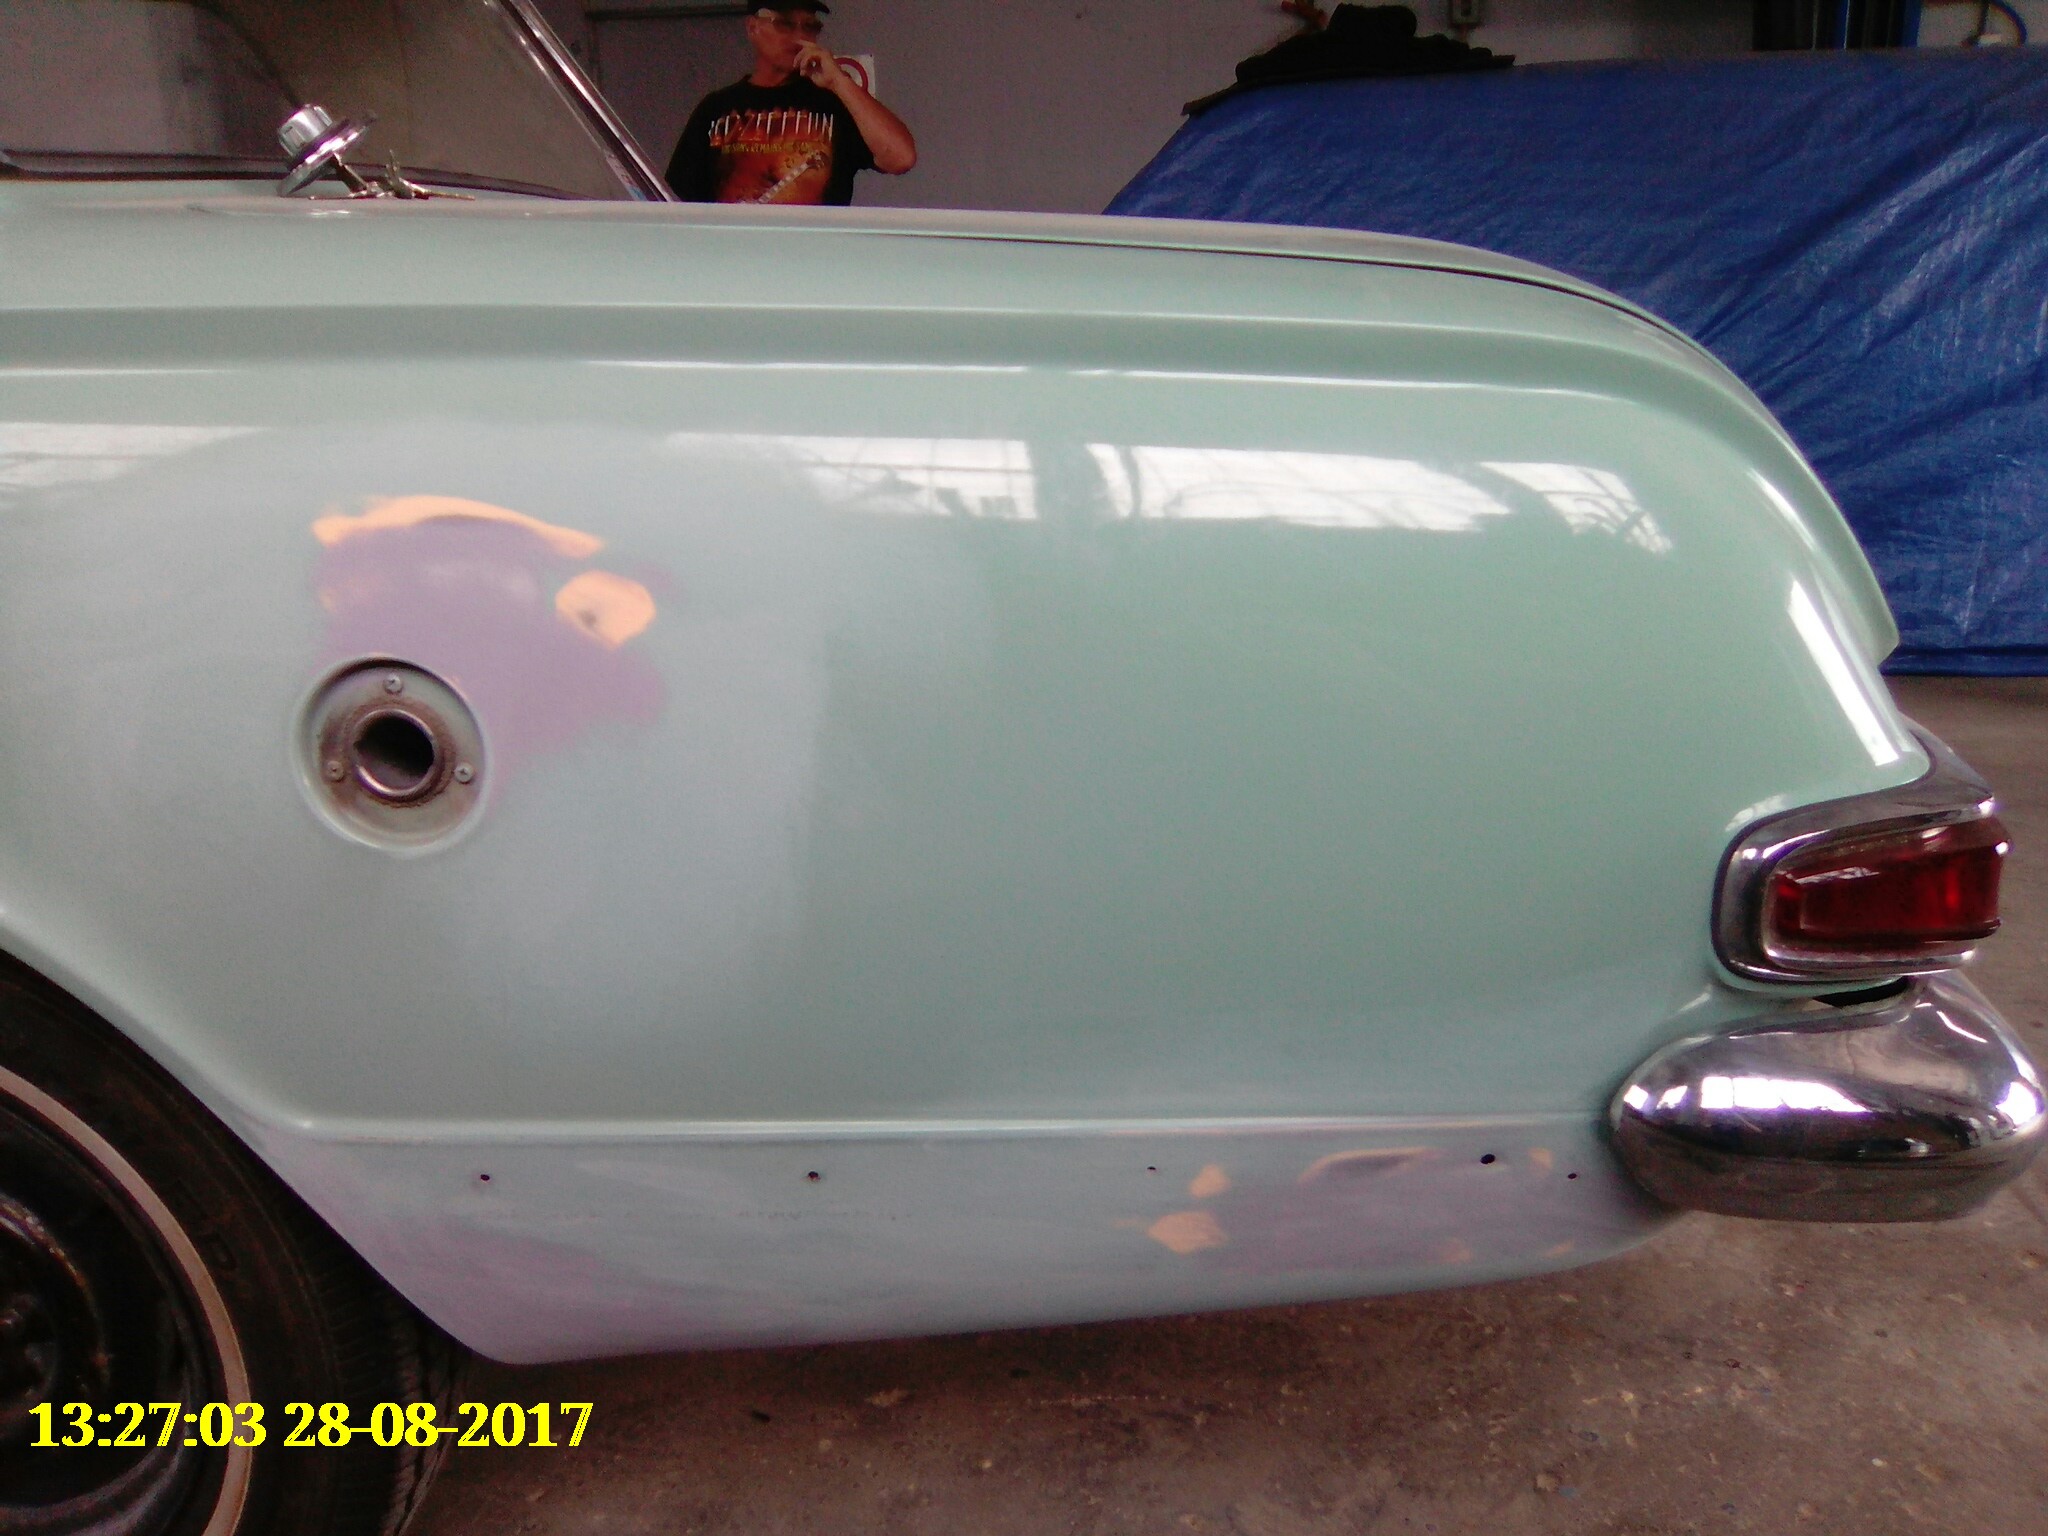
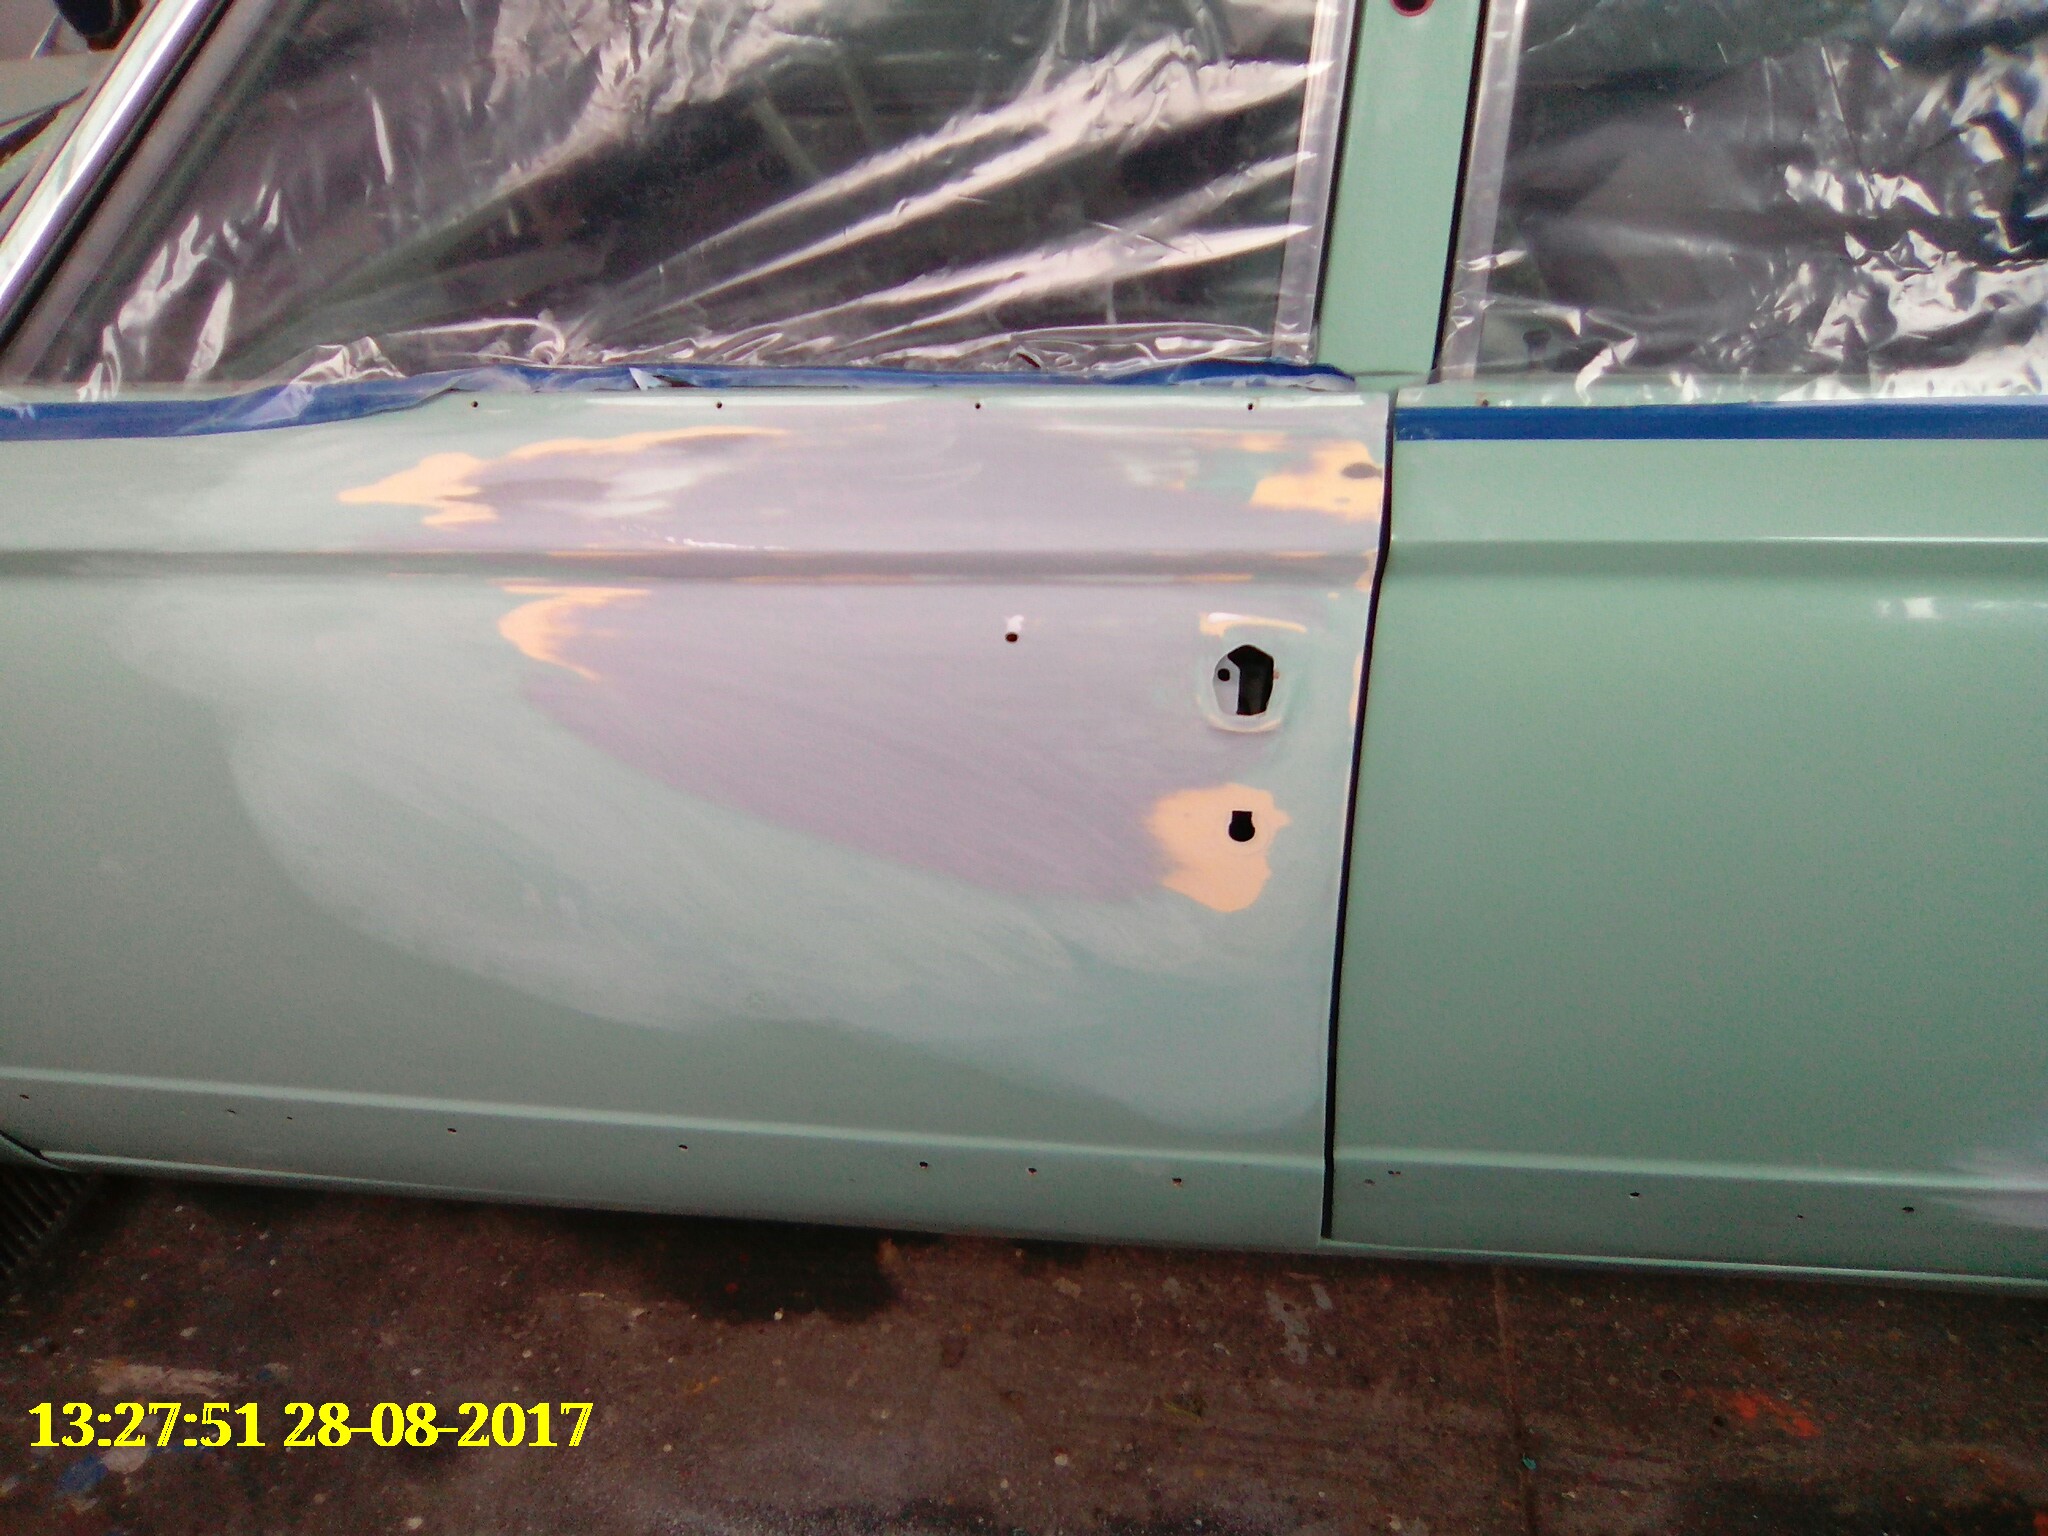
Answer to question #1- yes, postive and negative to coil, wire were red and black, not red and blue. I forgot about the compufire points replacement I've got in the 009.Answer to Question #2 - yes I have the big red wires in the correct places, has thats the only place they could go, just had to crimp a connection on the end of the wire between the starter and the Alternator.Still no idea about the fuse box clip thing!!!meanwhile....it's off the stands, ass starting to squat down.lost that sweet rake it had, just need to drop the front another inch or two!popped the muffler and rear valance on, easy.looking good.Darrell to the rescue again with his tiny little 1/4 inch socket set.sorted those pesky manifolds out! wired up the coil, oil pressure sender, Alternator and spark plugs.Should fire up nowspend a couple nights sorting out the fuel system at the front end, looped the line around to the front, through to the old washer bottle spot, which is now the fuel filter and pump spot, and back to the hard line under the tank.I have had this set up in my head for a while now, I had even drilled the holes for the fuel lines, but no hole to mount the pump, drilling into my nice new paint fun! but at least gives a good earth, the power for the pump is for the moment hooked up to the spare radio fuse circuit, which is always live, which is not ideal.Anywho.rear bumper and mutherfucking number plate bitches! legal beagle.bumper rubbers not fitting all that great, will fit rubber first, then bumper when I next remove the muffler as the bumper mounts are a pig to get to with that big ass muffler in the way. So the correct process is Valance-Bumper-Muffler. reverse of the way I just did it.time to fire it up.3 points
-
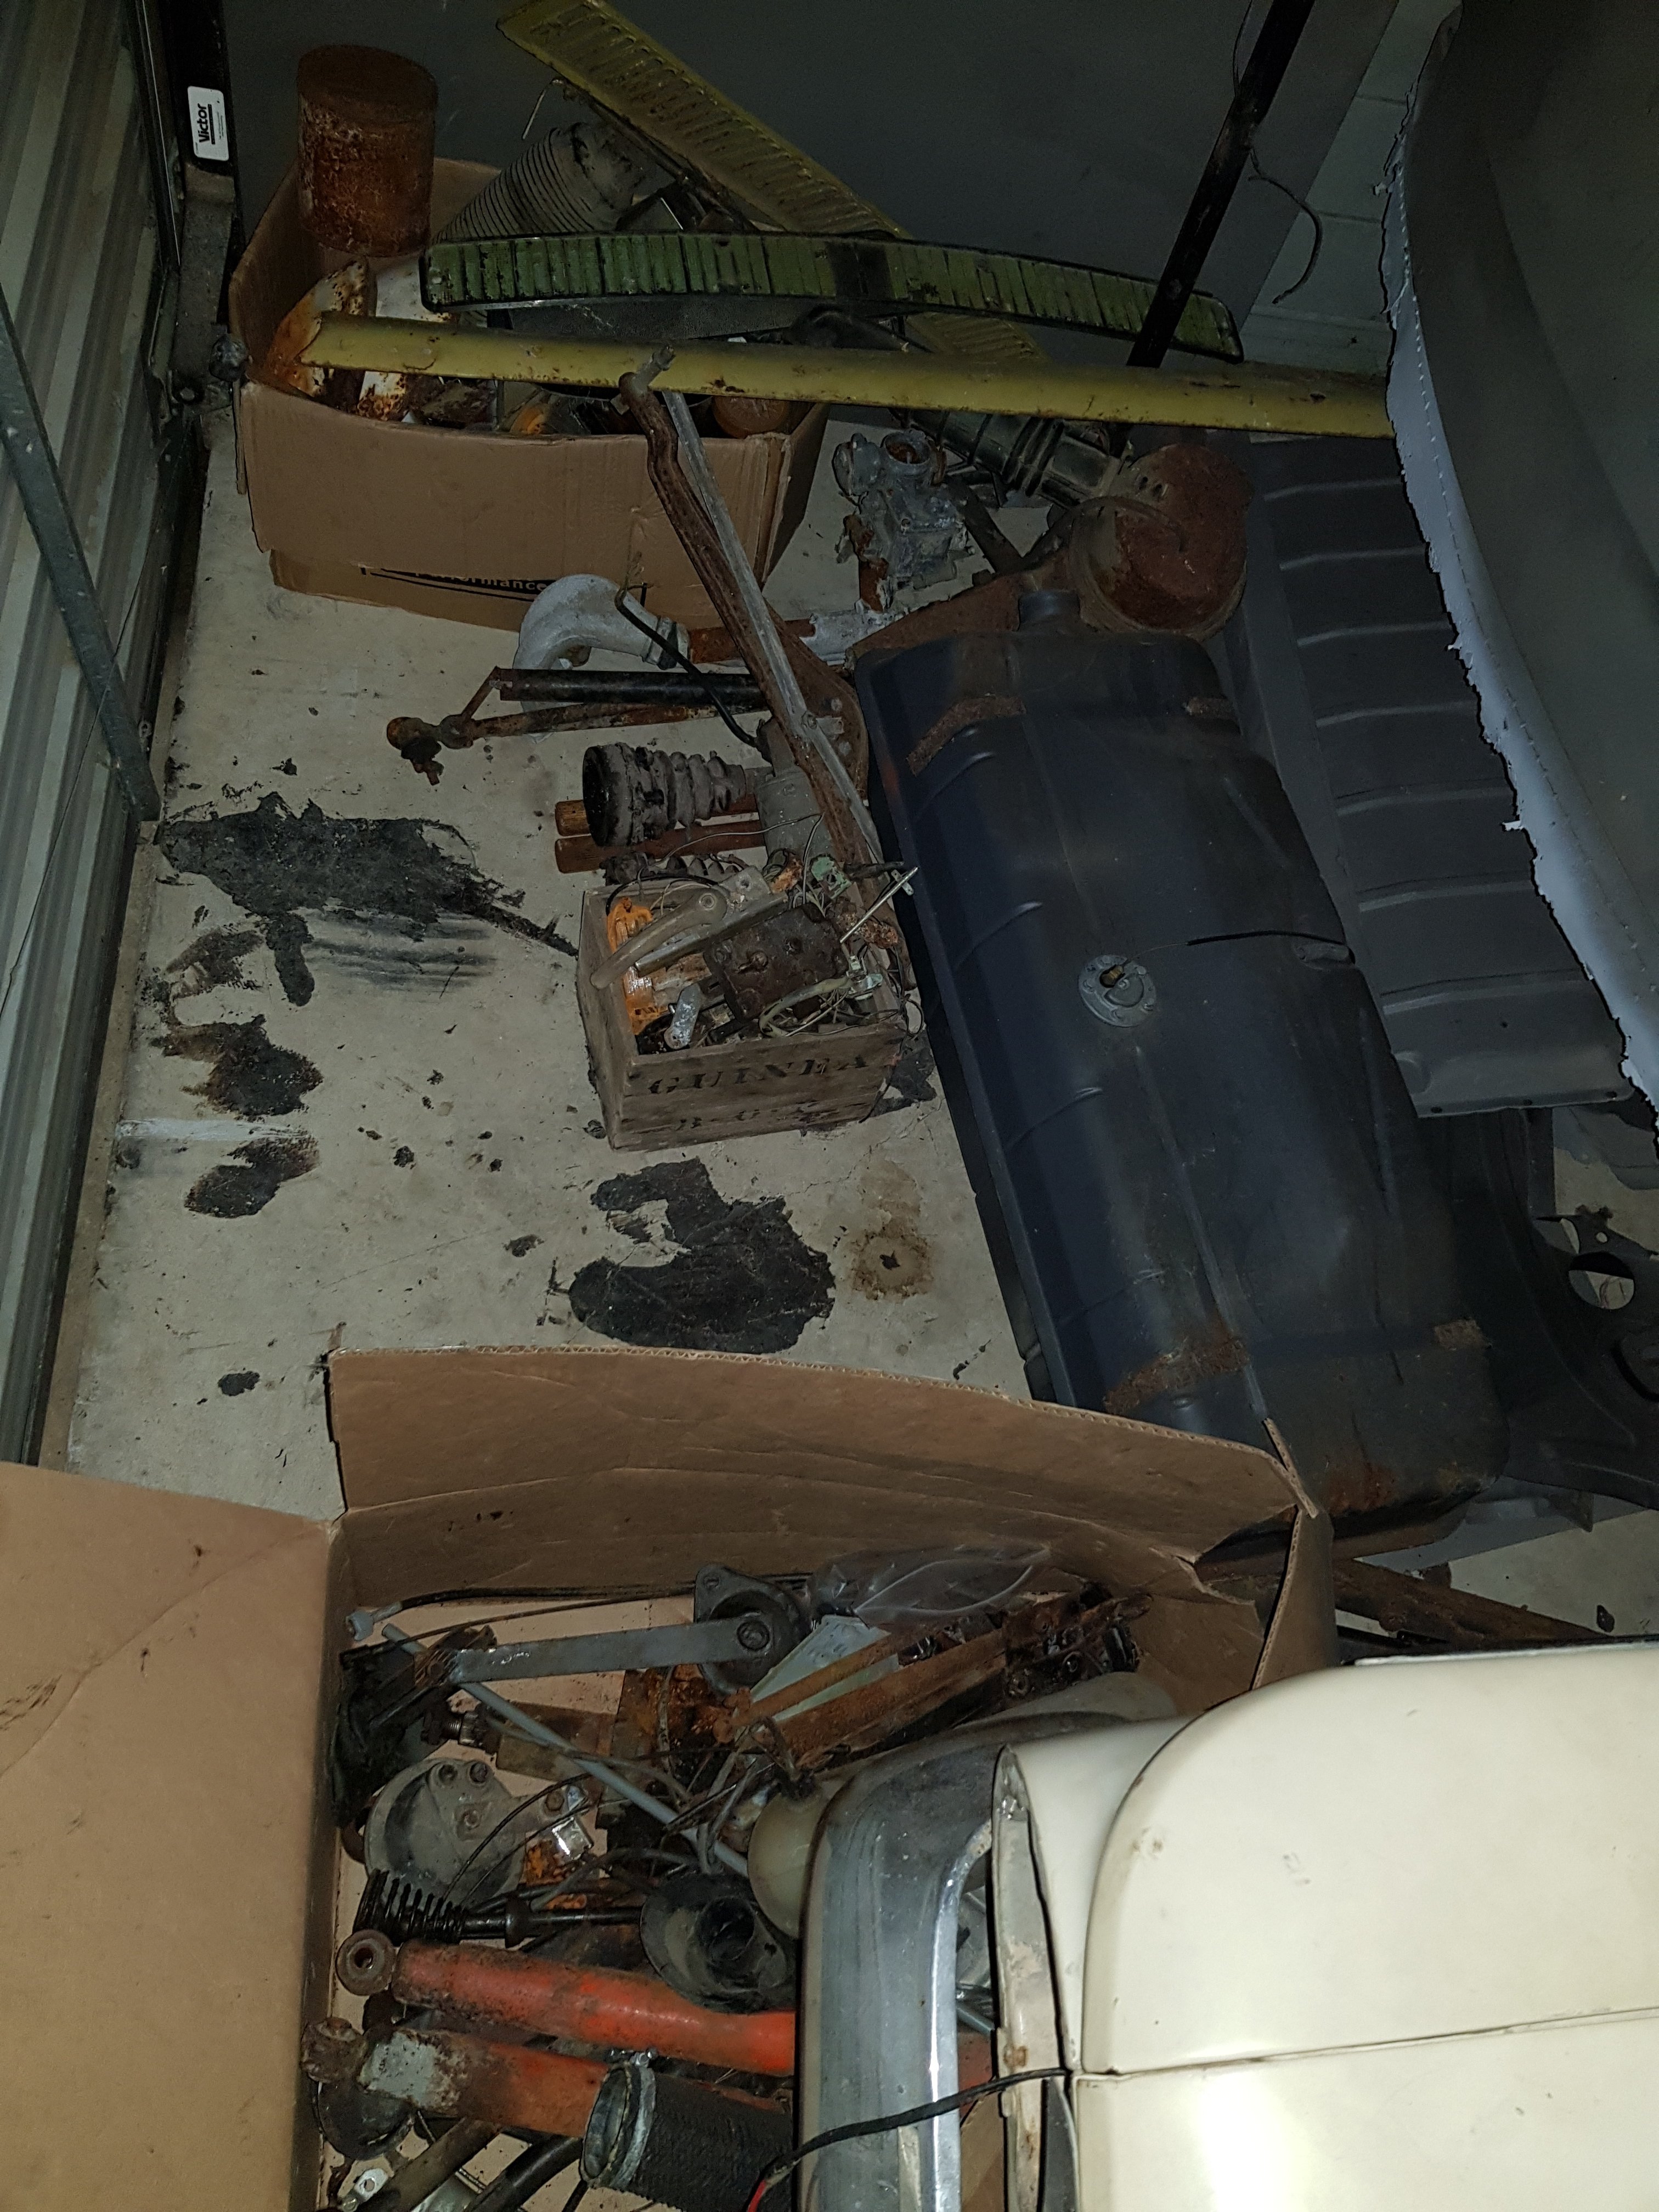
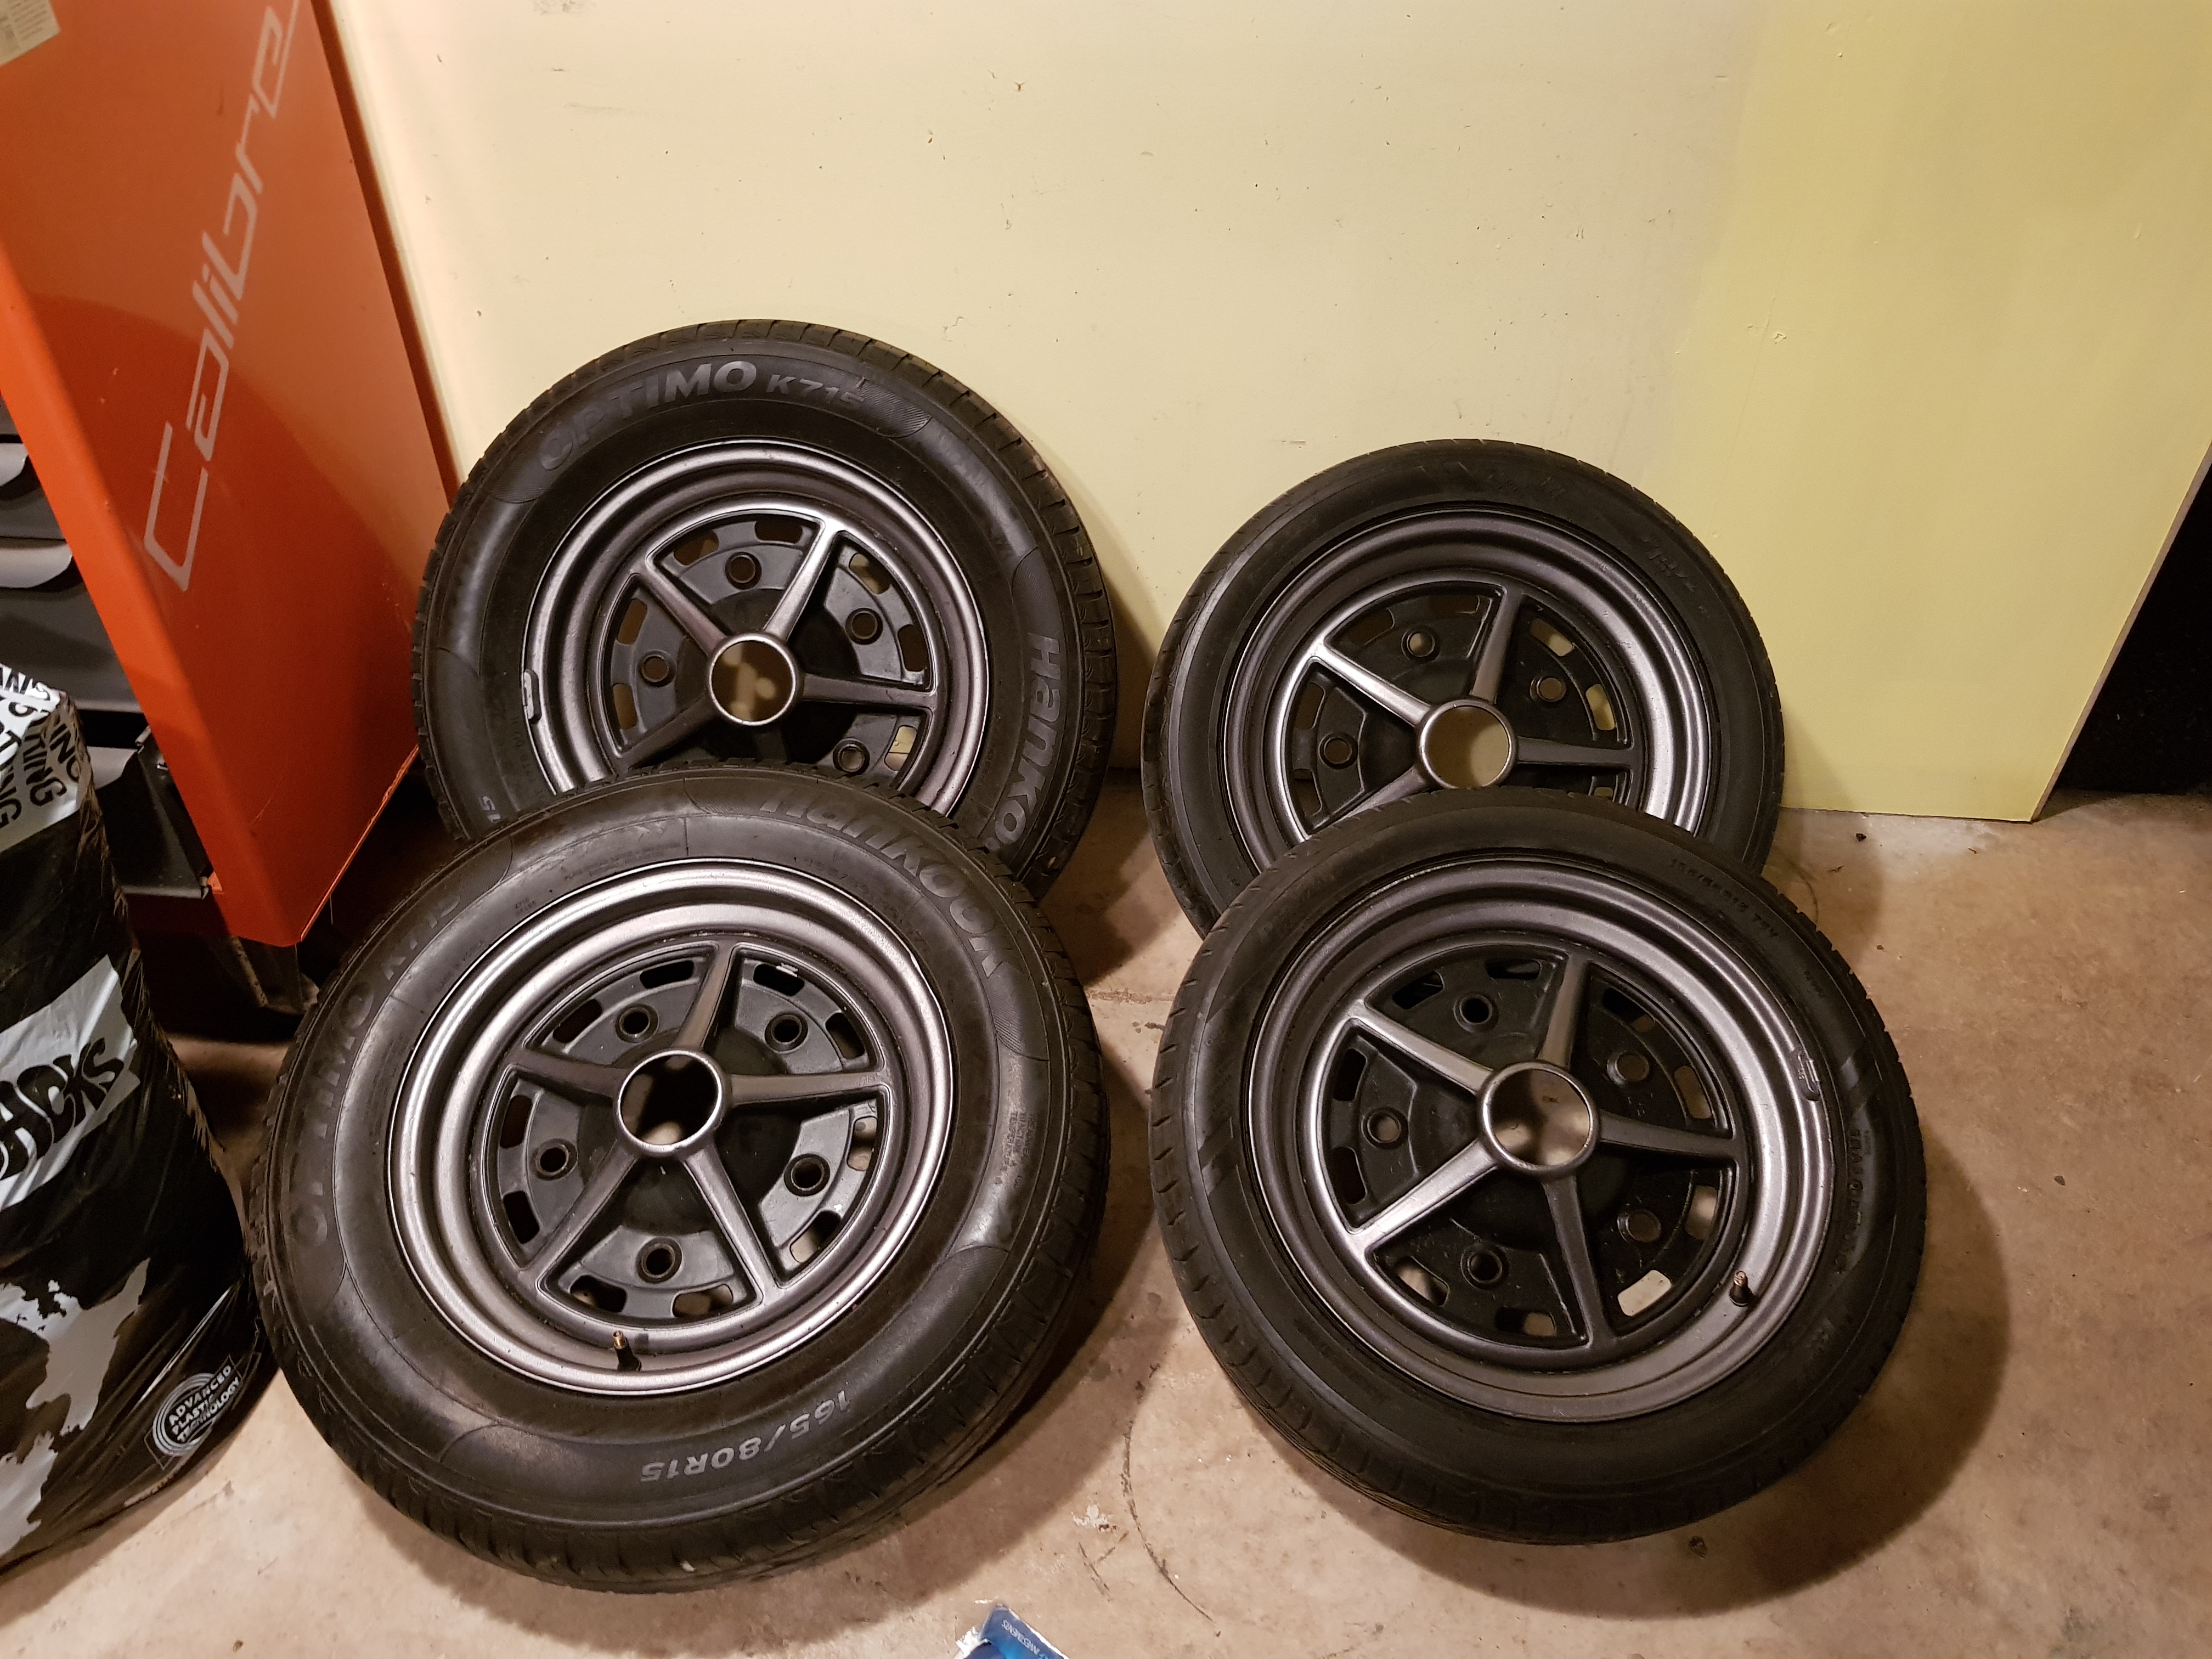
So I thought I'd go pick up some more of the crap for the kombi. Thought I had a couple more things left. Turns out I had a bit of crap. Just heaps of little things that I thought I was going to have to buy off another wrecked buss, window mechanisms and random stuff like that. Several boxes of goodies and a petrol tank also. Even got a bit of the old buss. Nice peace of bog that was out if the left rear quarter...... Covering that dodgy repair. Also shit upto the north shore and picked up these sprint stars. Pretty wrapped with them. And the size tyres I'd like to run also.
3 points
-
Wait..... wat2 points
-
personally I would take the radiator out and get a fitting put in it, and get it rodded at the same time2 points
-
Fixed! Fixed even more2 points
-
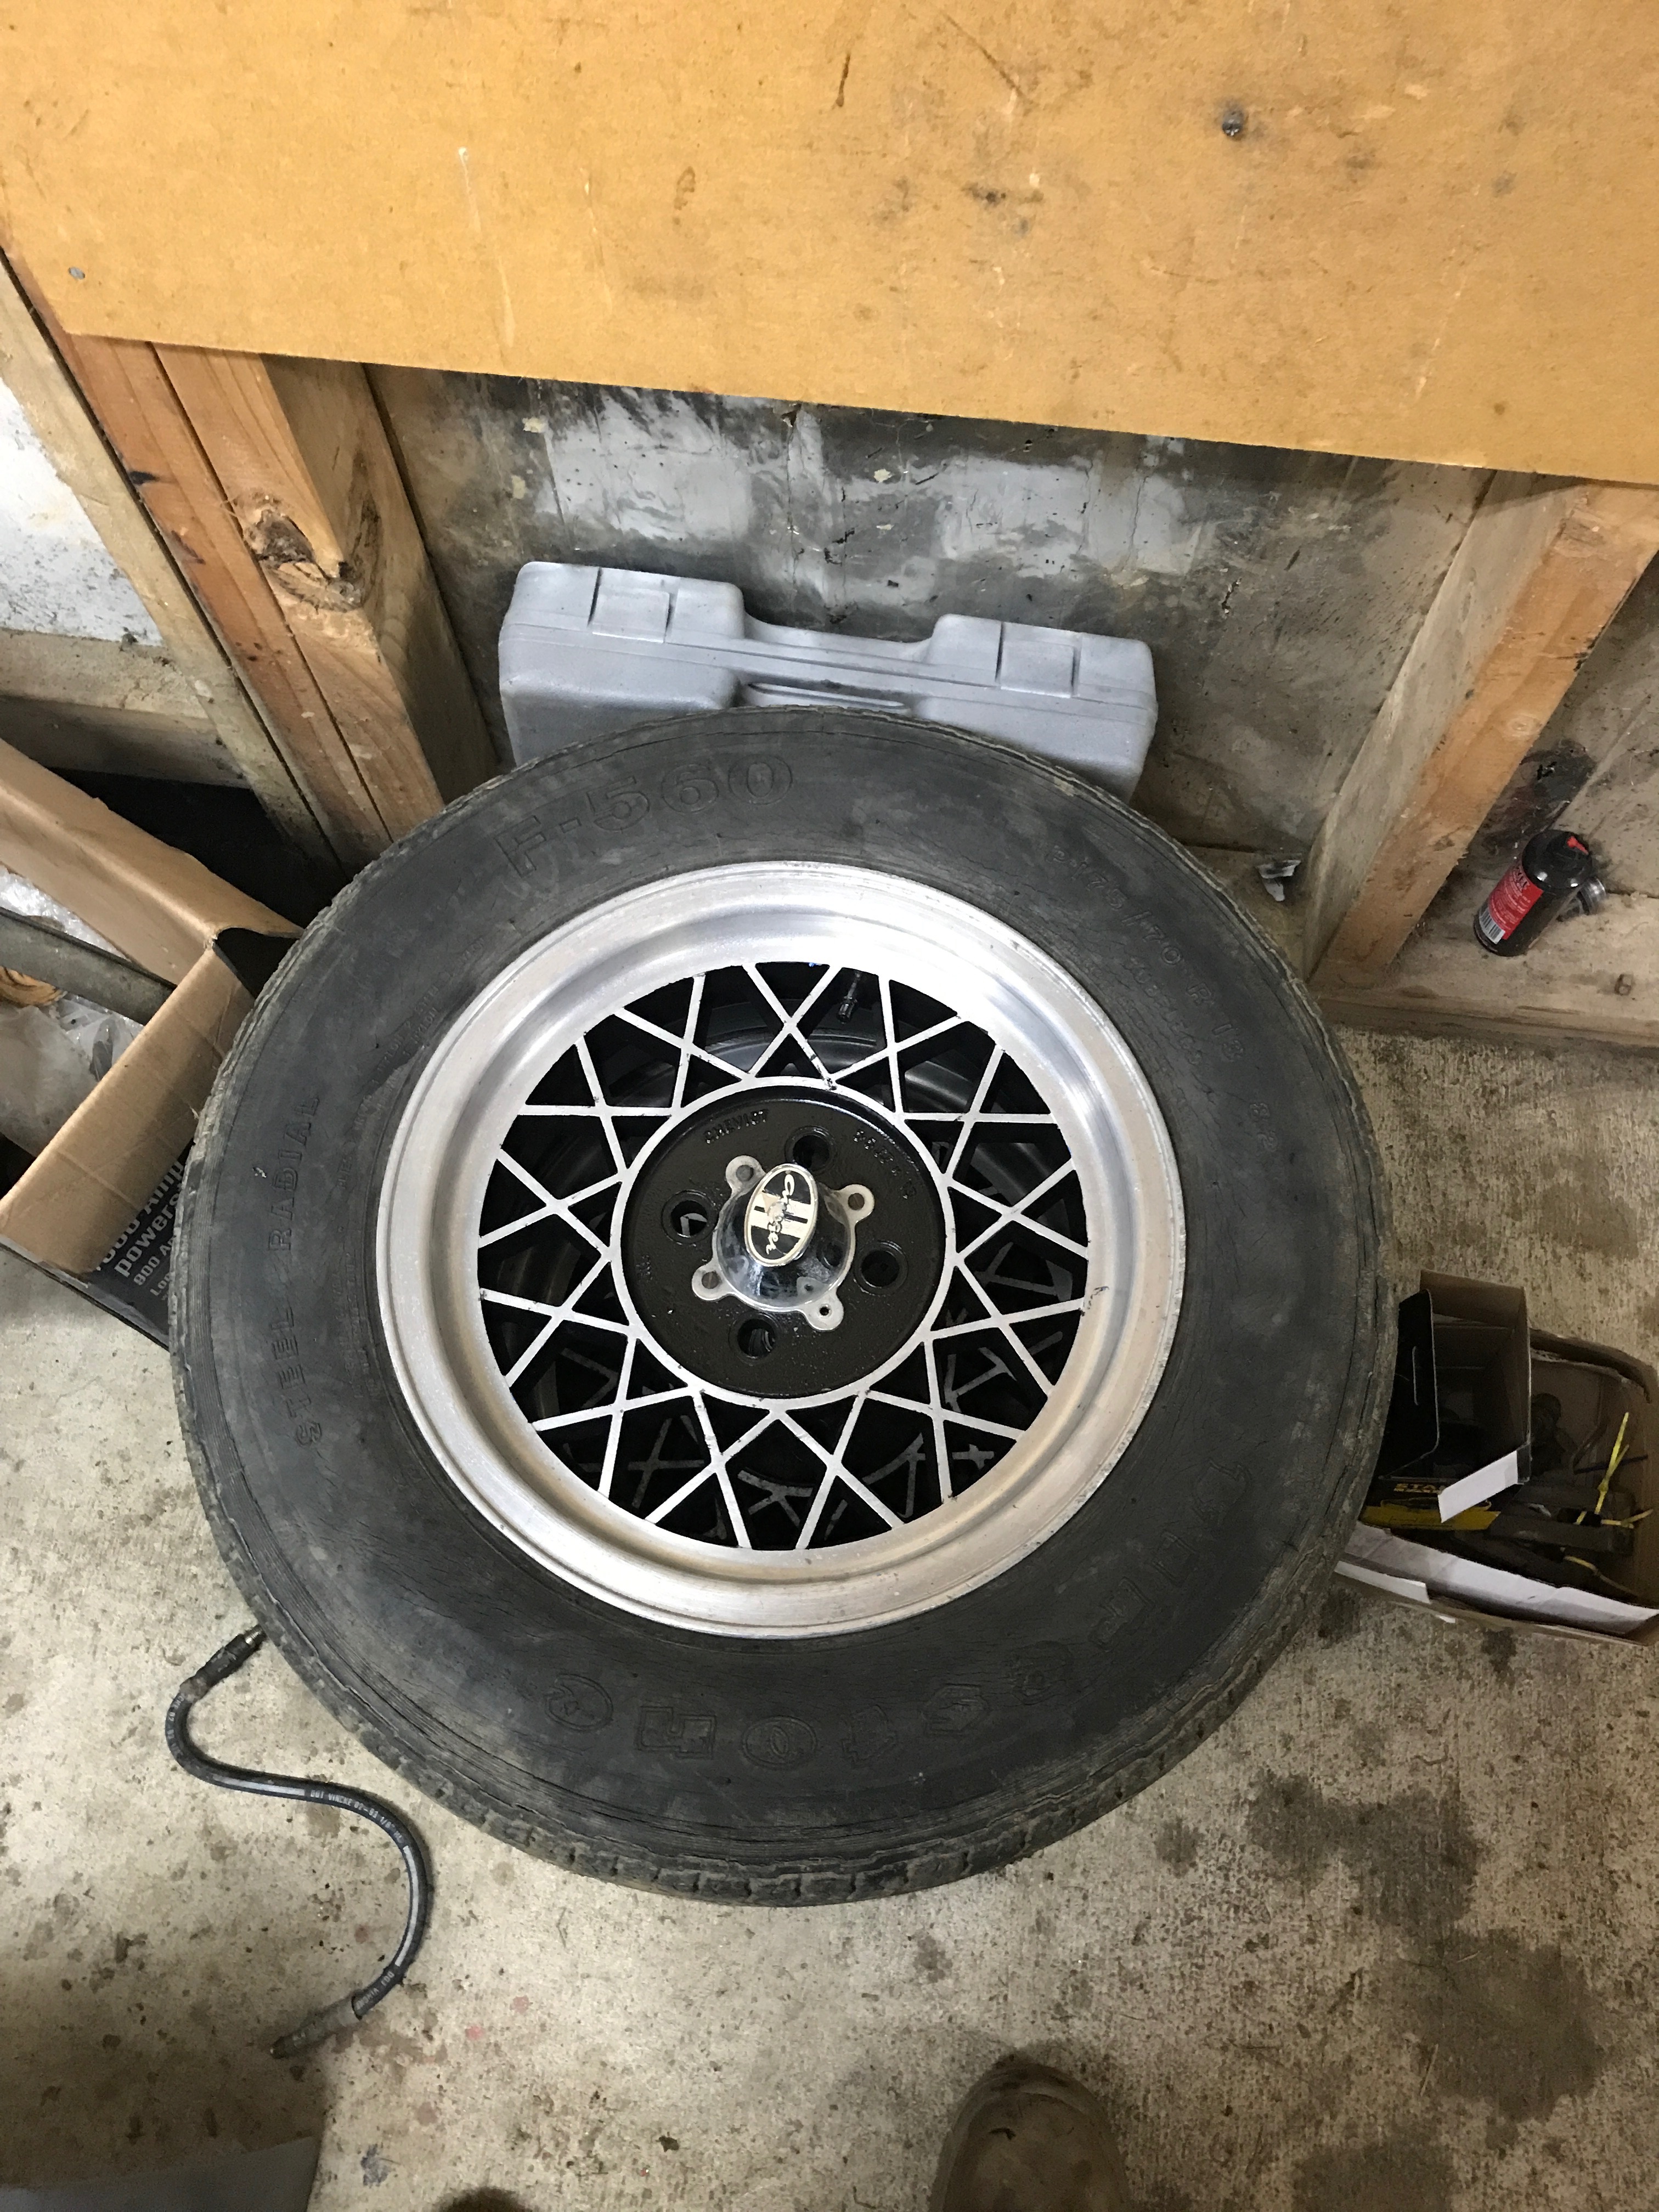
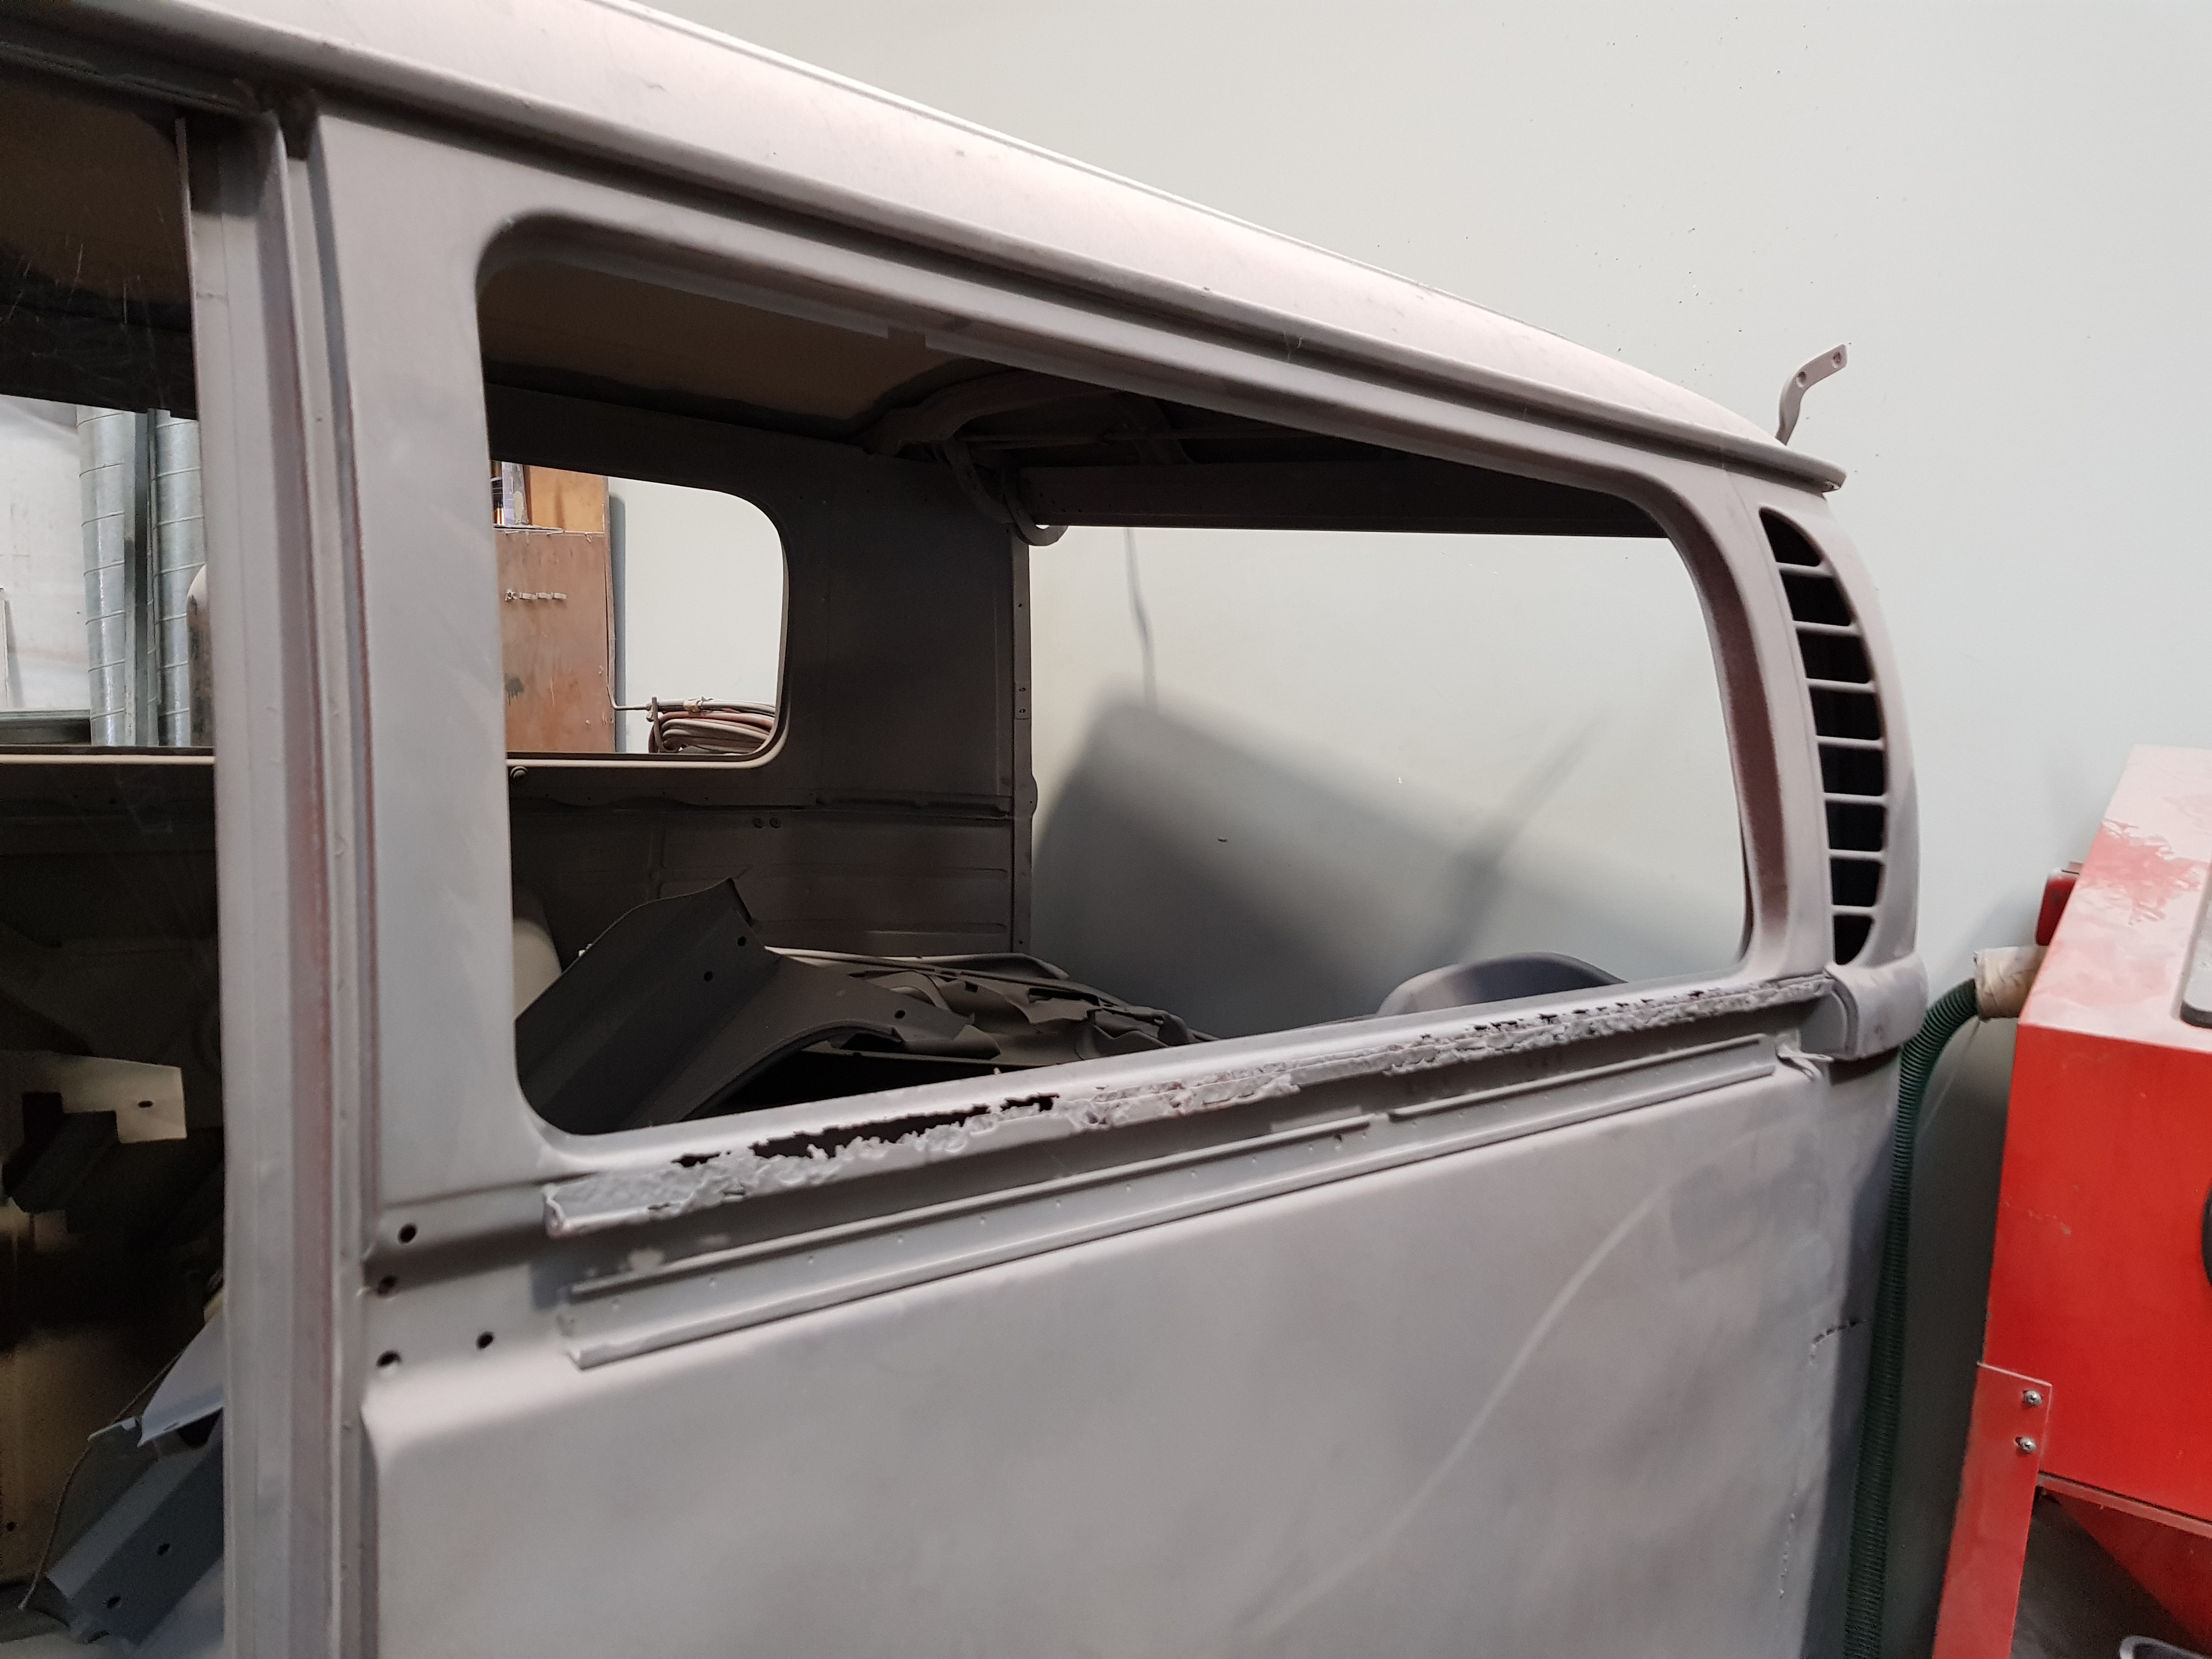
Now I did say I'd sort the indicators today didn't I.got these off trademe for 20bucka, it did say mini LED indicators(mouse for scale) The plan is to drill a hole in the headlight inner bucket thing.Artsy reflection shot because art school drop out.2 points
-
Unfortunately I never got a chance to go for a hoon in this. But my god every one who did was blown away lol. Good job karl. You did goooooood.2 points
-
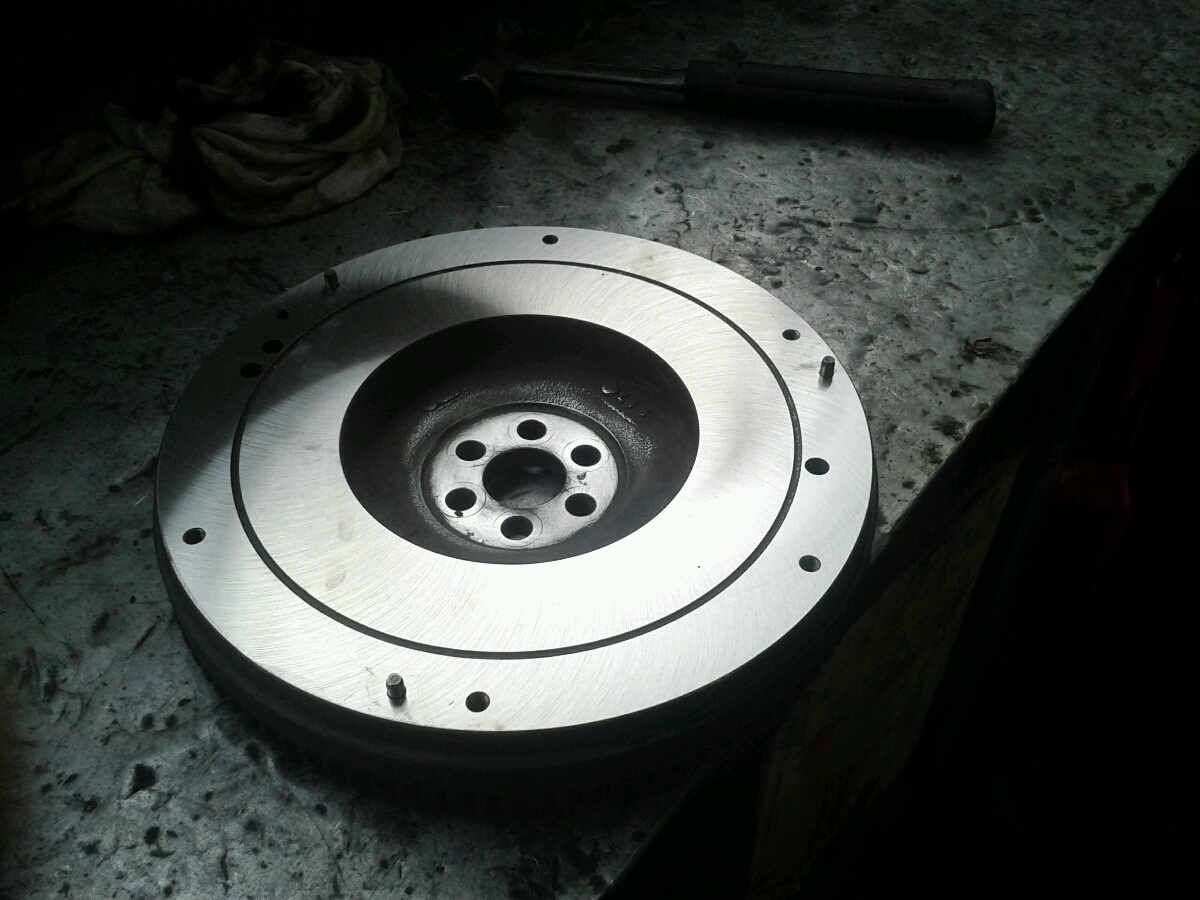
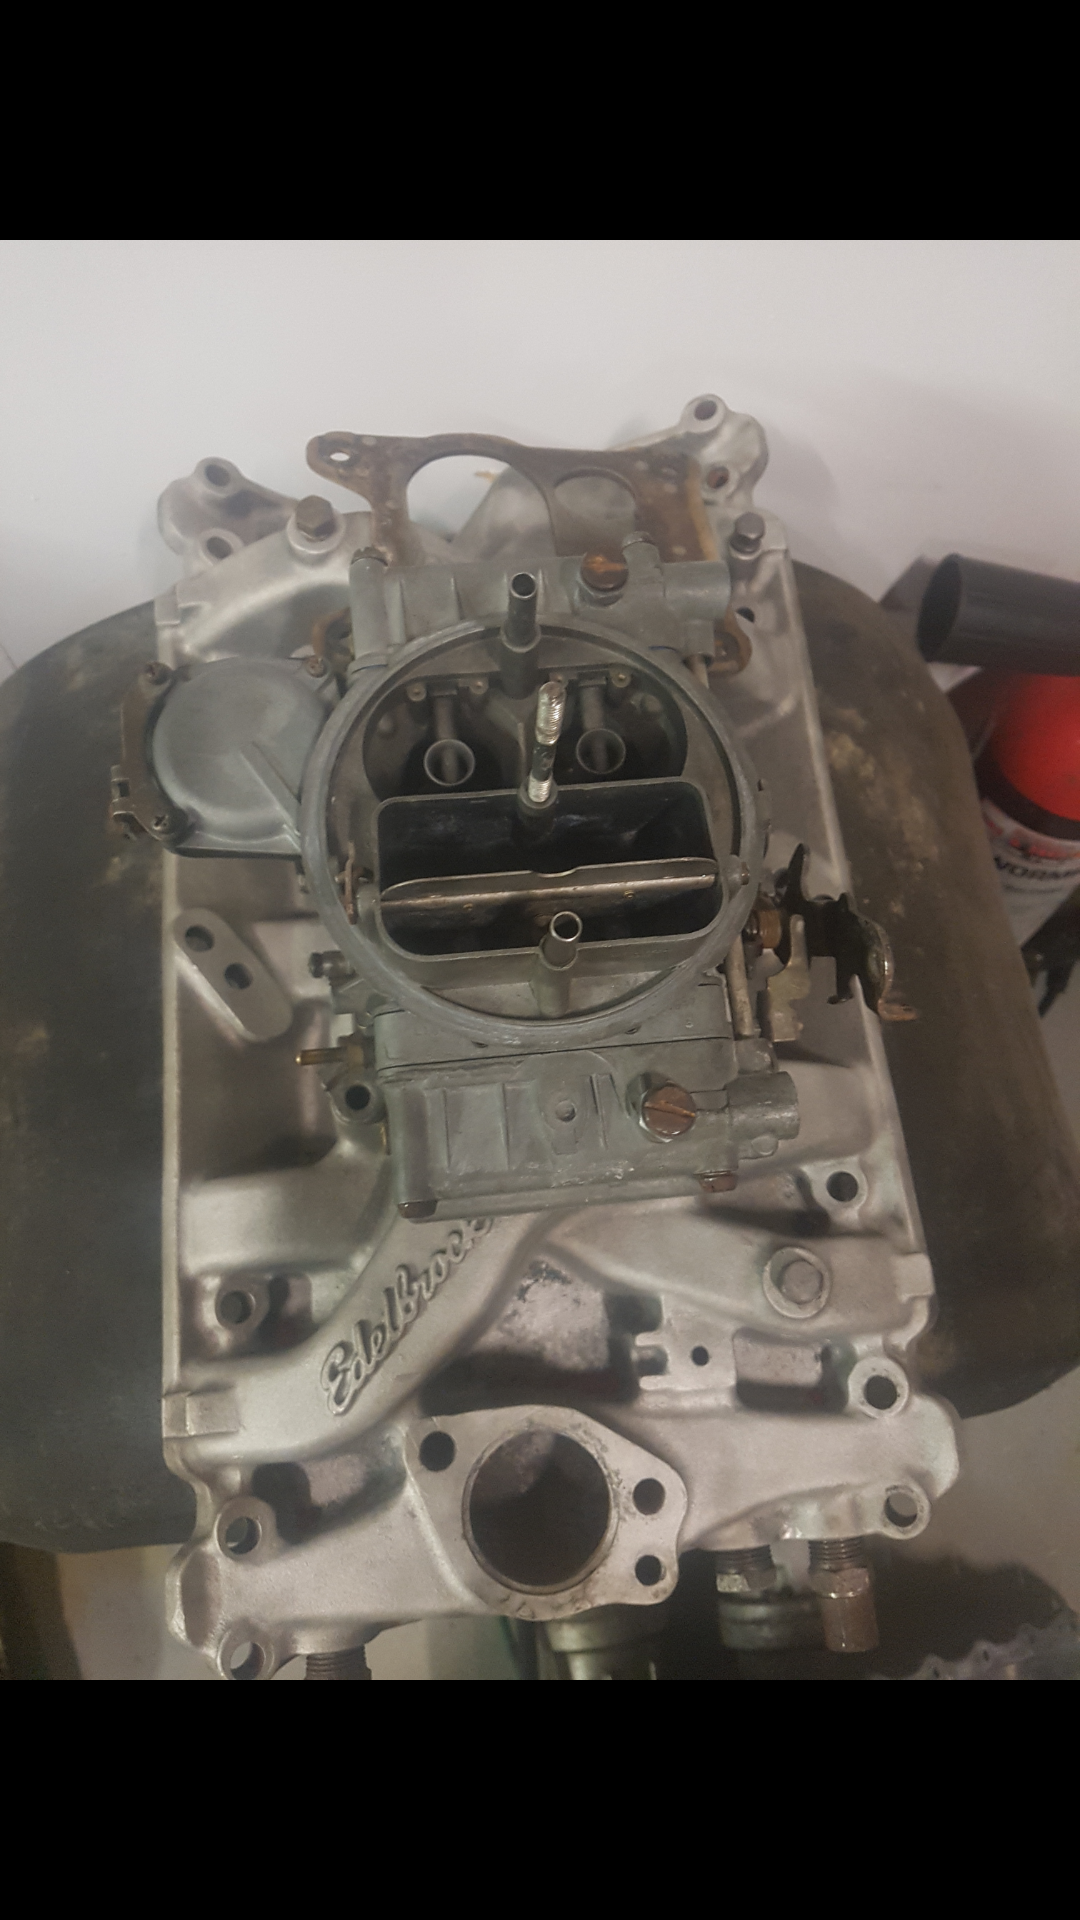
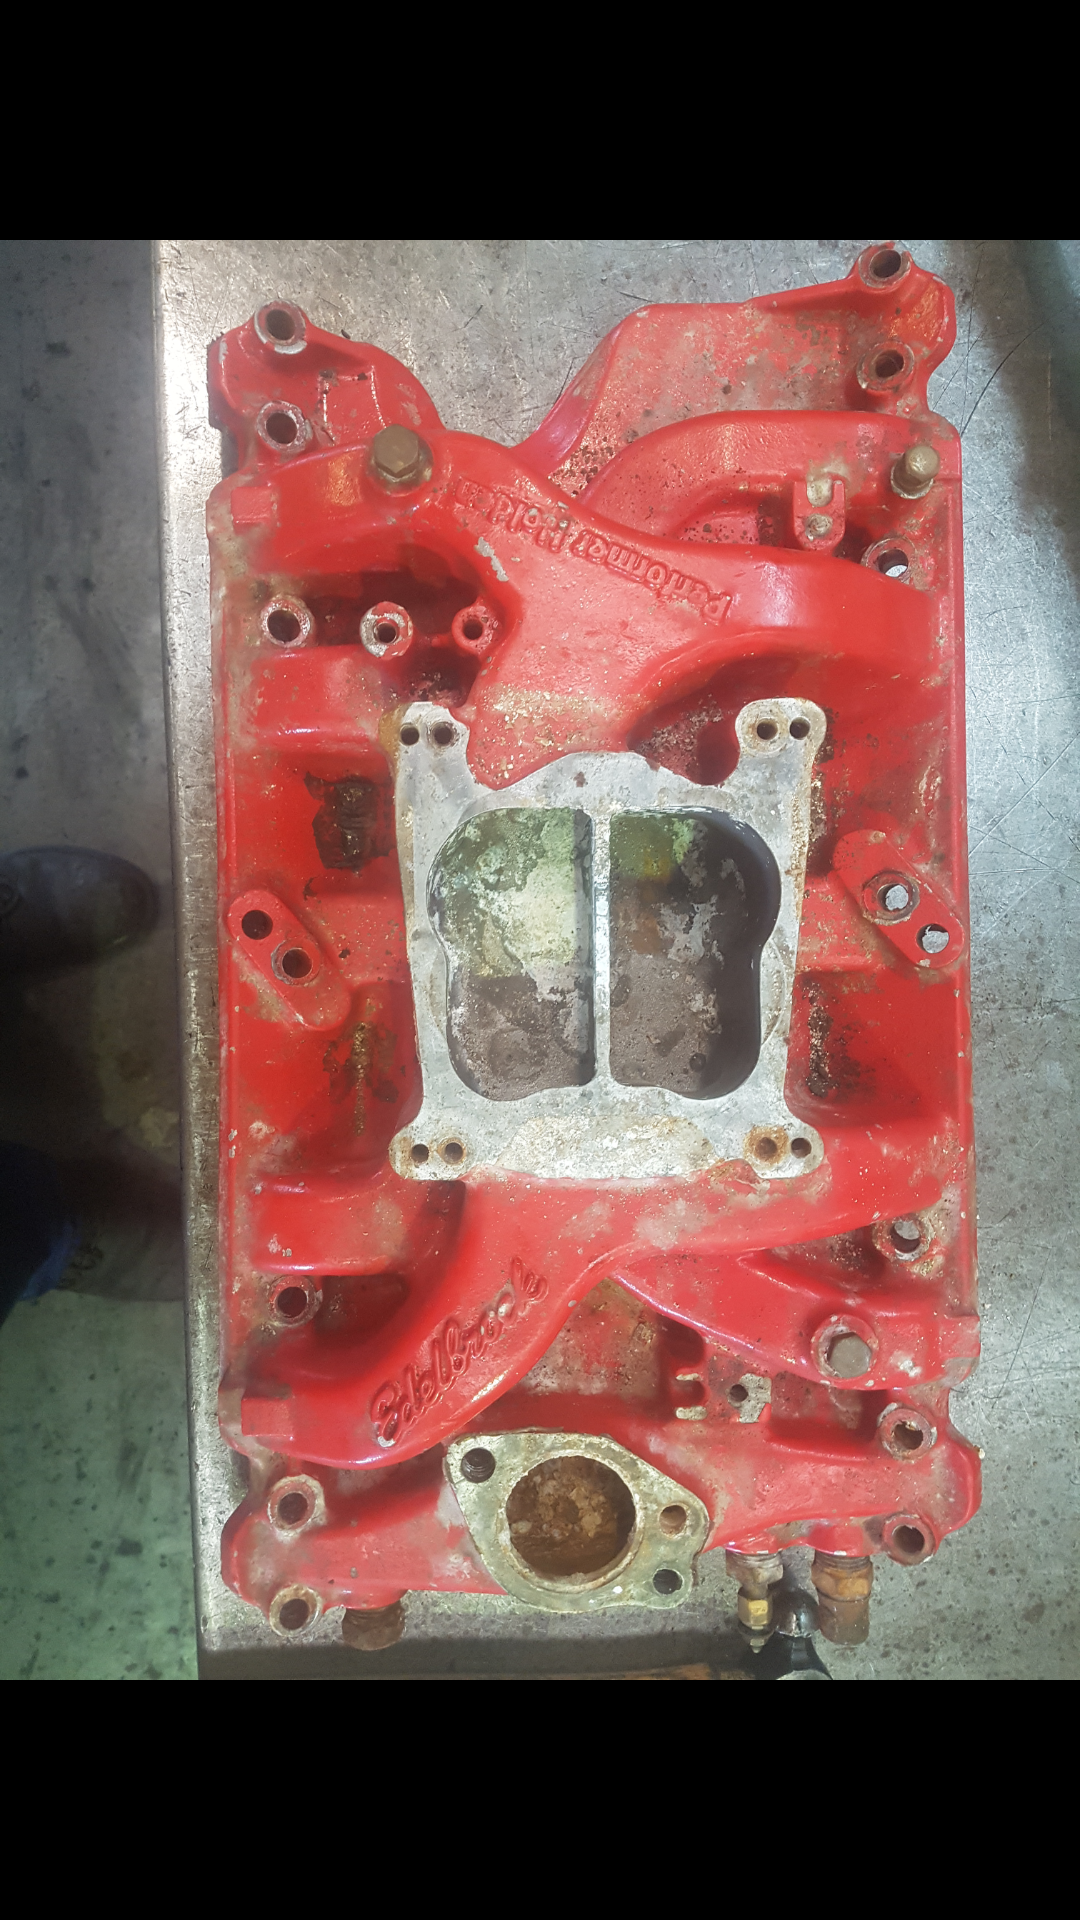
Rebuilt carburetor and acid dipped a few bits an pieces and currently rebuilding the heads in my lunch breaks.
2 points
-
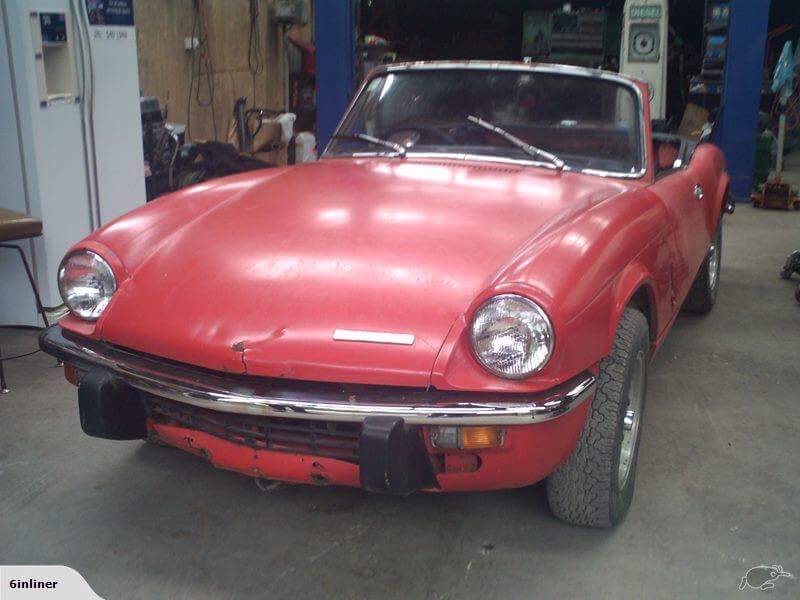
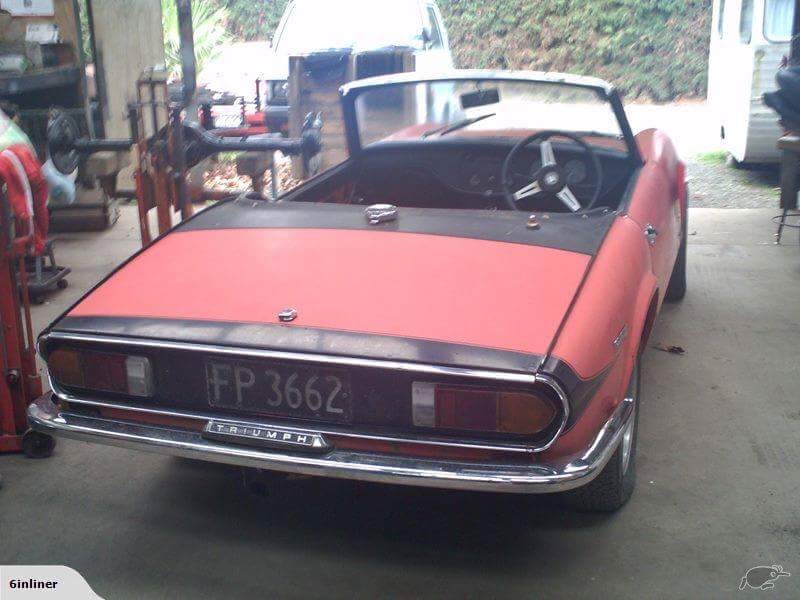
Hi everyone I have a MK4 spitfire I'm working on i got to off trade me the listing said it needed a little rust work that was a massive understatement Im after parts if anyone on here know of any it would be greatly appreciated
2 points
-
every bush in it needed to be replaced and all the shocks needed to be replaced
2 points
-
You could email them and see if they can send you a copy? If you own a hardcopy and they have your name on file they might be able to send you a pdf version2 points
-
I decided to start from scratch with a tune file, I've fairly well hashed out the 0-4000rpm region in all load regions of the fuel map. Because you go through all of them all of the time when driving. But I've found it difficult to reach the higher rpm mid/low load areas (partially because you're never in them) and I never felt confident in the past that I had these accurately set.So for interests sake, I thought I would software limit the e-throttle angle so 100% on the pedal is only say 80% TPS or whatever. Then go do some "full throttle" runs, where I could get consistent and repeatable results to help dial in the fuel in those part throttle areas. However, the results really surprised me! I had to pull out so much throttle angle just to lose 10kpa of manifold pressure. It was a good exercise to complete as it felt like my accel enrichment has been relying on these load cells that havent really been dialled in too well. But found it very interesting how non linear the MAP vs TPS relationship is at higher RPM. This car has a factory Toyota Altezza E-throttle unit which from memory is 78mm at the butterfly so you can tell that it obviously causes very little restriction even when partially shut. I would expect a more linear TPS vs MAP relationship when using a smaller throttle body. In other news, its hilarious doing a full throttle run at 20% throttle, it takes a long time hahaha.2 points
-
Keep forgetting to update this. Changed a few things over the last 6 months. Finally got around to having a rollbar made up for it by Chubb Racing. Will now be confident to get back out onto the track again. And made it stand out a lot by painting it yellow A friend needed some money so sold me his retro cluster cover made by KG Works Gave the car a proper wash as i was asked by NZPC if they could feature it in the daily driven article. Also bought and installed a 6 speed which has made the ratios super short with the 4.778 ratio diff. 3rd gear taps out at 100kph and sitting at 3900rpm at 100kph in 6th Have been watching too many itb/carb videos lately so might be doing an itb setup with 20v 4age throttles in the near future2 points
-
I know mike and kelvin (brothers) that owned this before Brendon, probably the tidiest Royale out there at the moment, mike had it as a daily driver in the Waikato and eventually sold it to Kelvin in timaru, I think Kelvin did the A8 conversion sold it to Brendon and helped Brendon with a bit of work on it. Was offered it before it went on trademe but passed it up as I wasn't in a position to buy, you can use any sedan solid diff up to VS on this but anything VN onwards will be up to 40mm wider. Love this car!2 points
-
If you still have an escort diff, you will probably also need a good supply of spider gears/axles if you use it as intended2 points
-
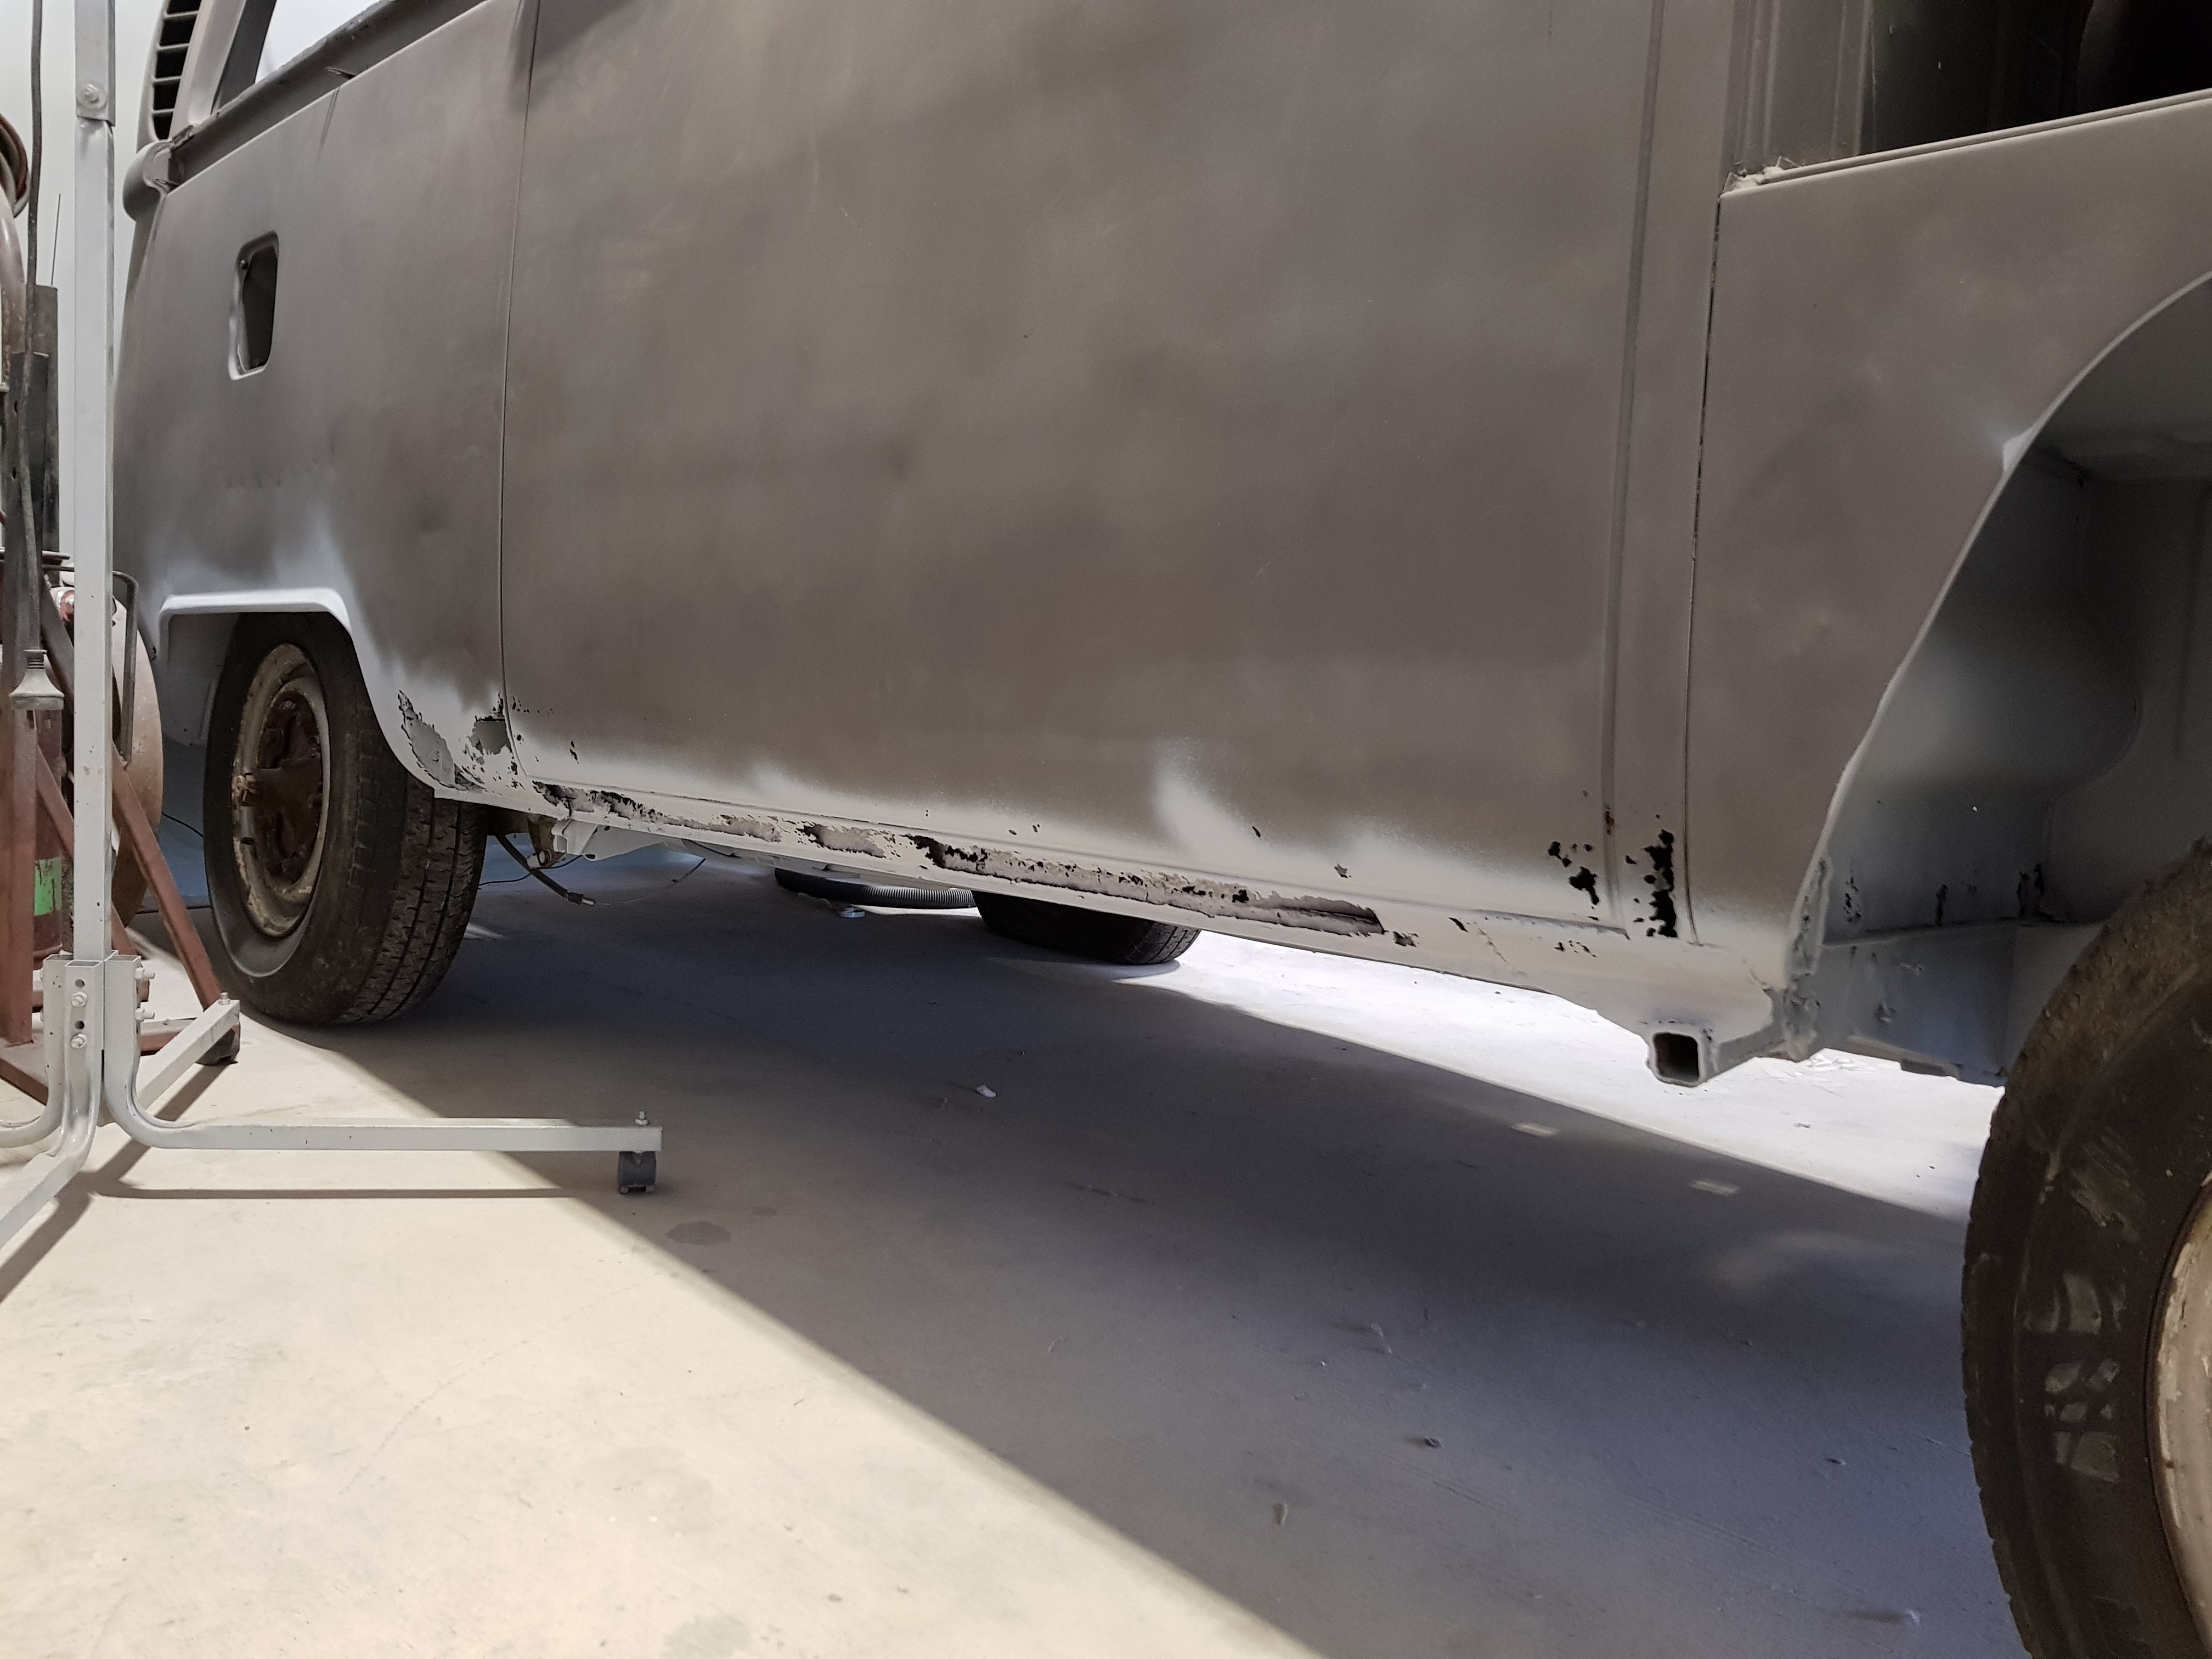
A very quick update this week All the panel repairs are complete and ready for paint Now all we need is some decent weather in Auckland so paint can happen, a big ask this time of year
2 points
-
So. What's up with the above pic? Well long story short I got annoyed at how loud the fuel pump was mounted hard to the chassis. So made the decision to go in tank. Was not as easy as I hoped as I didn't want to weld the tank, and due to very short time constraint (I had planned on taking crown wagon to hanmer, but my warrant man pointed out excessive play in the drive shaft yoke, which is a problem I have had before and can become terminal on a road trip) So anyway parts turned up from the states on the Thursday a week before heading off for Hanmer, and with the glorious help of Steelies and his understanding of what issues we had to overcome, got this shit sorted. 1 week later and car is in line at the ferry ready for the trip. 1100km later and mission accomplished. Only drama with the car was me demoing the exhaust on the off road trip on bridges up to fowler hutt. So its back up on axle stands once I get to the lock up again, remove exhaust and fix what ever leaks and issues. Then..... its pretty much done. Just a decent clean, removing the cb radio, and mounting of the monsoons and hopefully within a month it will be for sale. Looking for 8k certed with wheels etc. Spread the word. Will get better pics once its back together and cleaned.
2 points
-
Slap a bit of oil down the bore and it'll be as good as new2 points
-
Shit! This is tonight! I'm sorry people but I can't make it, double booked myself. I'll head along to the rover car Club meet on Sunday though. @moparmuppet I assume it's at the Pigeon Valley steam museum? I'm always keen to hang out in your sheds and talk shit.1 point
-
Holy shit I actually read this initially as Palmerston North hahahaha. I was thinking, 'what the hell is fletch doing down in Palmy. He doesn't even live down there.' Zomg I need to get my brain eyes checked. Prob best for fletch to store - we've already filled up part of the inlaws cowshed.1 point
-
Vibrant performance brand from Jegs.com1 point
-
Blardy brilliant idea. Shouldn't have sold that last postie bike I had.1 point
-
Vaguely related personal sharn. We fitted 4 gearboxes to the same Escort on four consecutive Sundays. On the fifth Sunday we fitted a Capri gearbox. The next Saturday night the car got barrel rolled. Rotor arms with a spring and weight used to be available that would earth the HT side at a pre set RPM. I was working in a NZ new petrol Patrol today, it had one factory. You could modify one to fit your Escort distributor?1 point
-
Man, i've been flat out at home and at work this month with general life mayhem. Haven't had much time in the shed at all. Did manage to get some paint on the swingarm though. so last night i thought i'd put the rear end back together - starting to look like a bike again! Hopefully sort the front end out this week sometime, then i can torque everything up and move on to the brakes and electrics.1 point
-
It was a stunning day outside today, so I decided to get out and do some much needed work on the Rover. Way back in December last year I did some work on the right hand rear door, replacing the failed window regulator, reconditioning the window switch, and fitting a new door handle gasket. I needed to do the same work (except the regulator) on the other doors, but it’s just been put off time and time again. Today I decided to bite the bullet and just finish the work. I started on the left hand rear door. Step one is to remove the door card. Once again, its secured with one screw in the carpet at the bottom, and a screw in the handle recess. A whole bunch of clips later, and the door card is off. This door looks like it hasn’t been worked on before. The moisture barrier didn’t have any replacement tape on it, or damage. Yes, apparently the duct tape is genuine BLMC fitment. I removed the handle surround and the handle so I could partly remove the barrier to gain access to the door innards. The old tape was very hard and the adhesive was slimy and sticky. I peeled off as much old tape as I could around the top and sides (left the bottom undisturbed as it was holding fine). This is the back of the door handle. There are two small 7mm nuts that you back off to loosen the handle. Once loose, you can just slip the new gasket over the handle and tighten the nuts back up. Done. Out of all four handles, this one was the only one that had some old gasket still in place. Super brittle and crusty. New gasket fitted. Much improvement, and the handle feels nice and solid now The other job I did whilst in the door was to lubricate all the rails for the window. I didn’t take any photos of this because it’s a flippin messy job, and mostly done blind. I covered greasing the rails in this post. The window was already pretty good, but now it’s smooth and fast, and I know it’ll keep working happily for a bit longer. Speaking of windows, another job I did was to refurbish the window switch. I popped it out of the door card and took it into the garage for cleaning. I know from the other door that the switches are prone to corrosion, but are easy to clean. Most of the window switches, except the drivers one, are a bit dodgy and need a few tries before they work. Off with the cap, and the extent of the corrosion was visible. Well that wont be helping anything. Serious corrosion on the base terminals, and the pin wasnt flash either. Some scraping with a fine scraper, and some sanding and I have nice bright contacts again. I smothered the lot in dielectric grease before assembling. With that done, back on went the door card, and I moved onto the front passengers door. Much the same as the rears, there is a screw in the handle recess, but this has a screw up top instead of in the carpet. With the door card off, I was greeted by another door that looks like it hasn’t been worked on since new. Although, unfortunately this one has some issues with the moisture barrier…. in the form of a hole A hole, which no matter how careful I was, just kept getting bigger and bigger. For some reason the plastic in the middle of the sheet was super brittle and fragile. It just shattered and crumbled when you look at it. The rest of the sheet seemed to be fine. I lubricated the rails, and cleaned the window switch on this door too. The window is now very smooth and the switch works every time (previously worked about 1/10 times). The door handle gasket was a bit more special to do than the rears. I had been warned about doing these as the handle is a prick to get at. Its tucked up and hidden, and unlike the rear, has no access hole. No worries, using my trusty random screwdriver, a 1/4″ wobbly extension and a 7mm socket I could reach one of the nuts. I found that if you insert the screwdriver above the white plastic door lock lever you had a pretty decent clear shot. The other nut, closer to the front edge of the door, can be accessed with a 1/4″ ratchet and 7mm socket…. and sticking your arm inside the door. Its tight. With the new gasket on there, back on went the moisture barrier…. with some new duct tape and some creative hole patching. But of course I’m not done there. See that little speaker up there? Yeah, its stuffed. No foam around the cone and bits have been falling out of the door for ages now. I had to fade the radio to the rear so the fronts don’t distort. Time has not been kind. Four screws and out it comes. It’s in this cool little mount which protects the speaker from water. Popped the old speaker out, and BAM, the new 4″ Pioneer TS-G1045R speaker fits like a glove. I even reused the original screws. Plugged it into the standard wiring, and away we go. Couldnt be easier really. Peeking through the door card. And onto the final door. The mighty captains door. It all comes off like the passengers one, except for a few more wires to disconnect. This door had been opened at some point. Someone had used more masking tape on it. Unlike the rear one this tape wasnt blue, and was only at the bottom. It was still old as though. Heres a slightly more detailed pictorial on accessing the door handle nuts, featuring my small torch. Hey nut Hey screwdriver Being friends Easy. New gasket made a ton of differences on this door. It’s always bothered me, being the door I use all the time, that the handle was loose as a goose and clunked around when I opened the door. Now it’s solid as a rock and feels good. Another thing that bothered me was that the door card was loose when I pulled the door closed. It turns out this bracket from the door card to handle recess (which is bolted firmly to door) was loose and turned sideways, and missing the screw. I reconditioned all the switches on this door too, so they all work without issue now. Another new speaker slotted in, and I refit the door card, and now its tight and glorious. It doesn’t feel like im going to hulk the door card off when I close the door now. Over all, it’s a job well done, and a job worth doing. I shouldn’t have put it off this long, it was actually an easy job to do, it just took ages. Now I can listen to music without having the sound faded all the way into the rear of the car. Winning.1 point
-
1 point
-
I hope you have turbos/trideys for the trailer1 point
-
Could you do the traditional 308 commodore thing and add a bug catcher, flower pot, or even a stack of two inch thick air cleaner elements? I'd like that.1 point
-
Who knew all your previous Google searches would be relevant in another context? I think the big issue here is why no bug catcher?1 point
-
I tried out its towing capabilities today...
1 point
-
Ive been buying Aeroflow stuff from Engine Parts in Silverdale for a few years now - good stuff to use. I get some discount if you want me to buy some for you.1 point
-
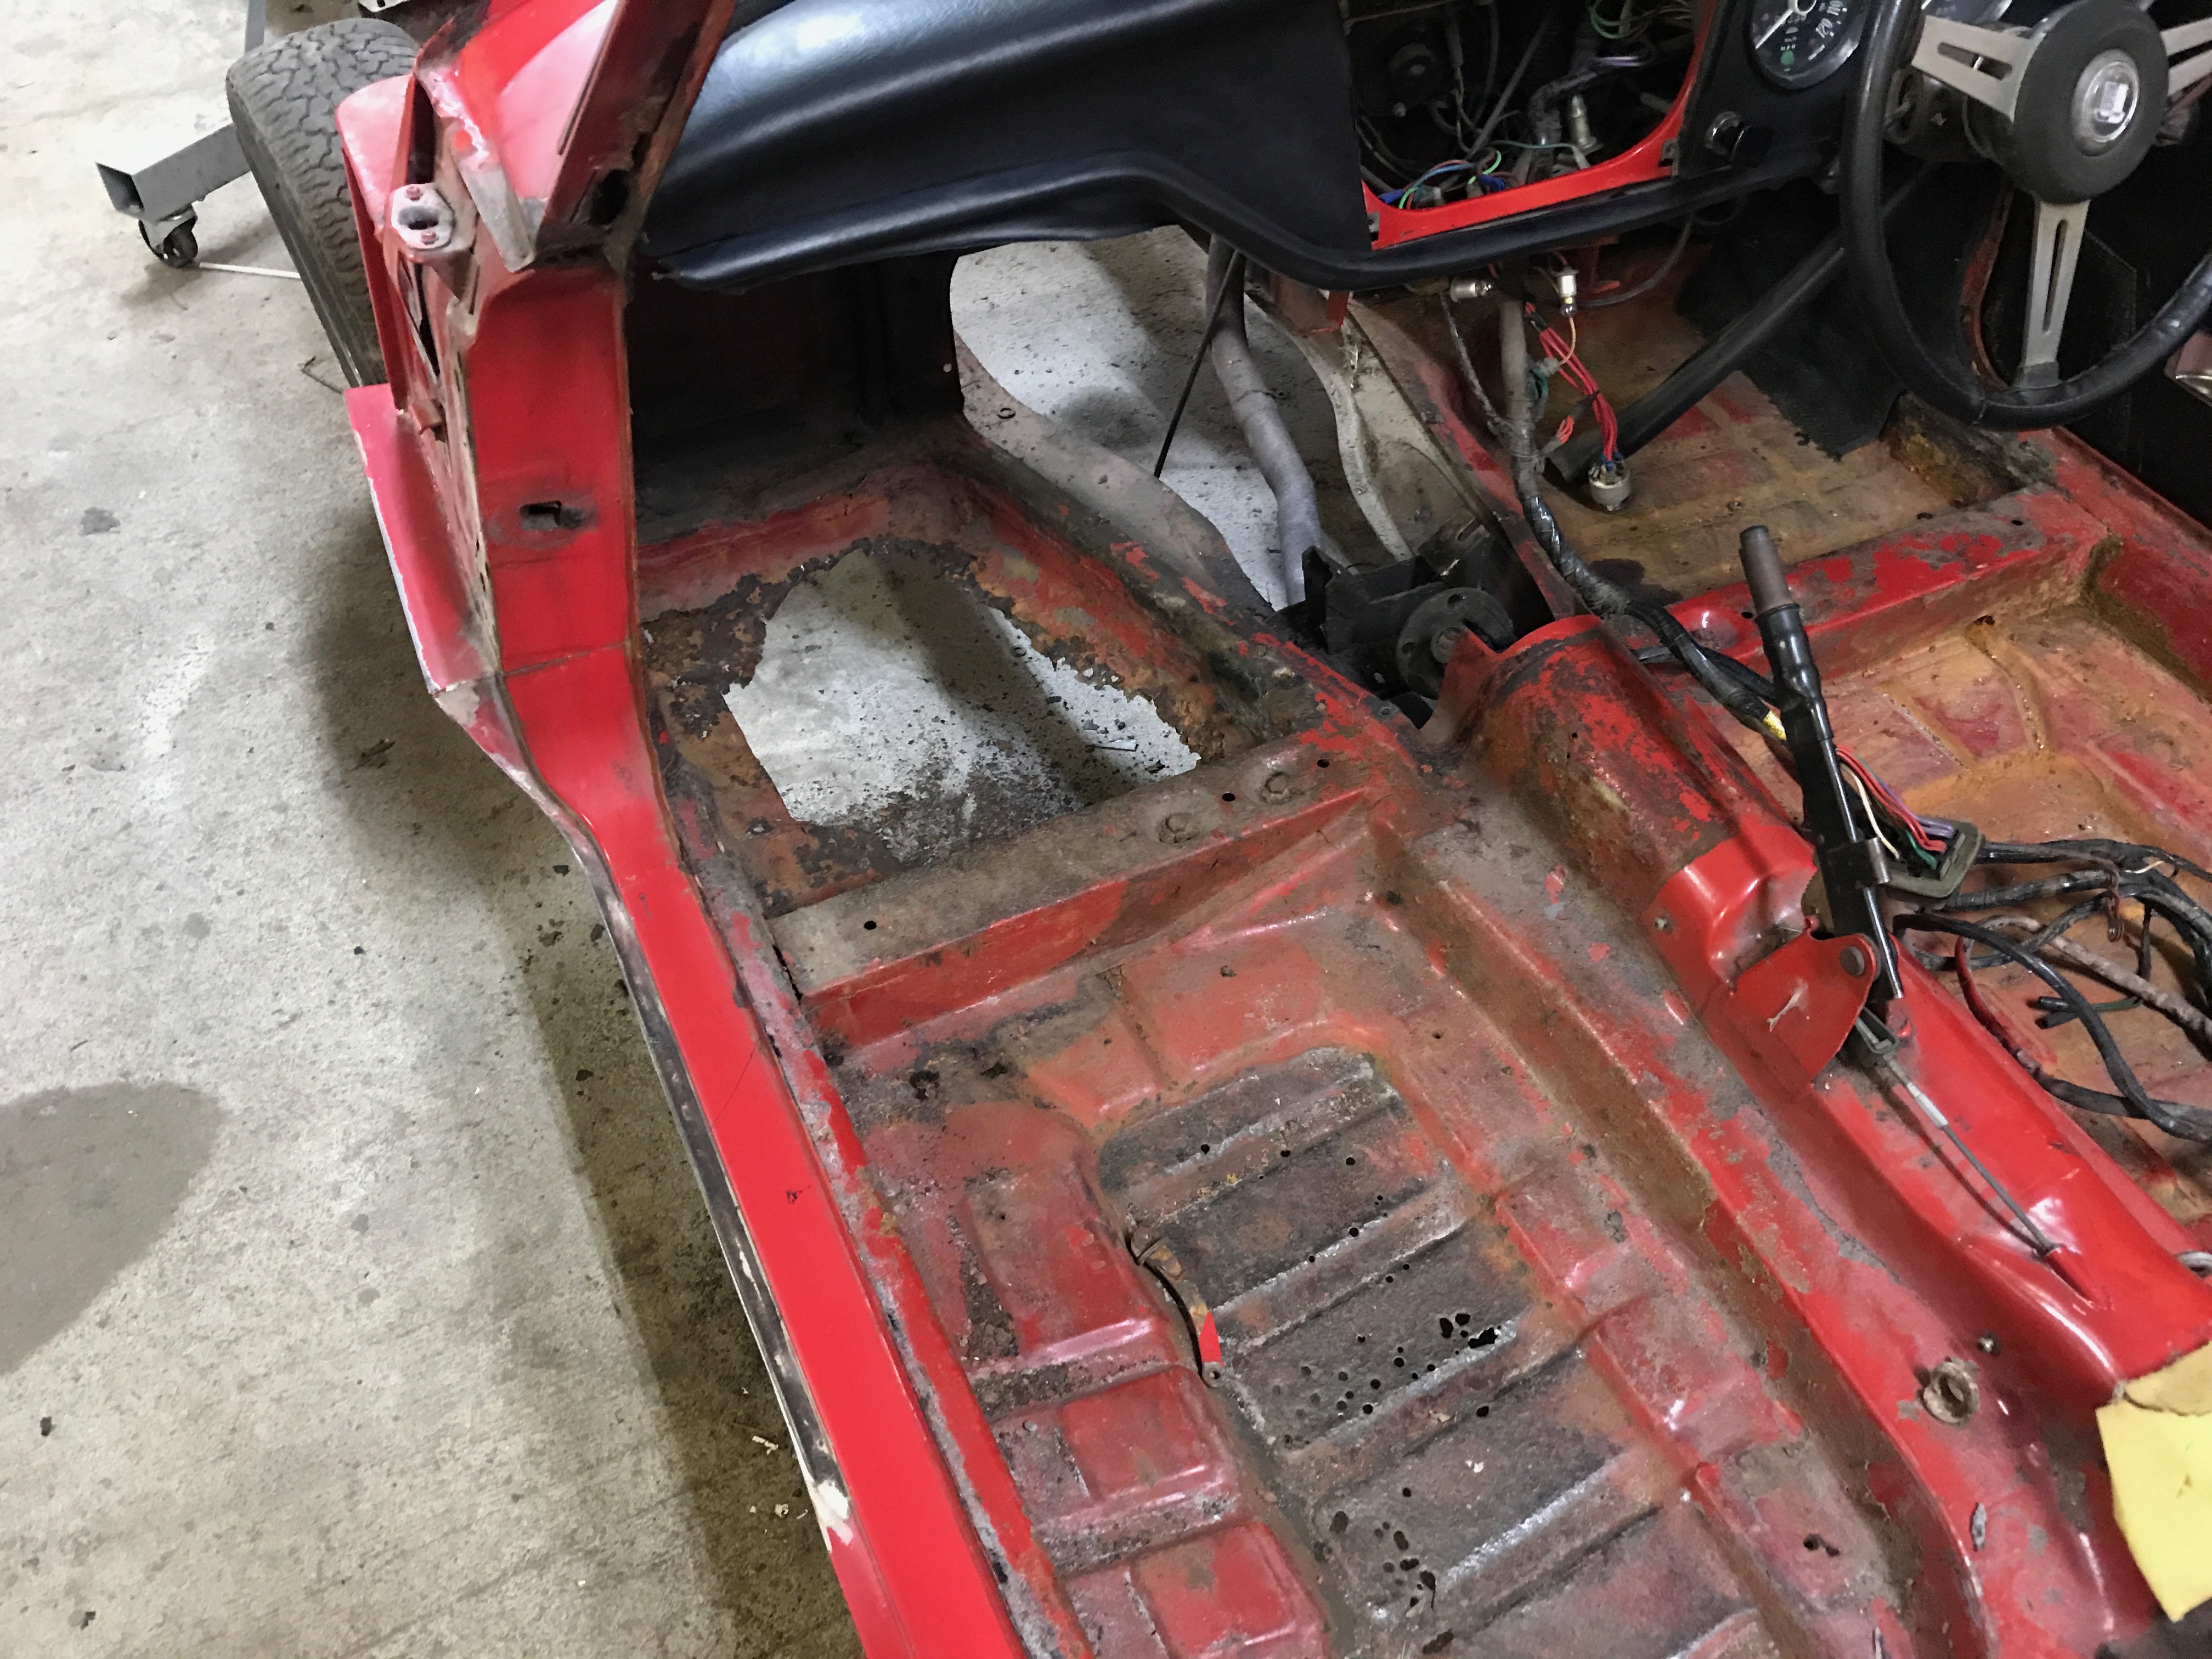
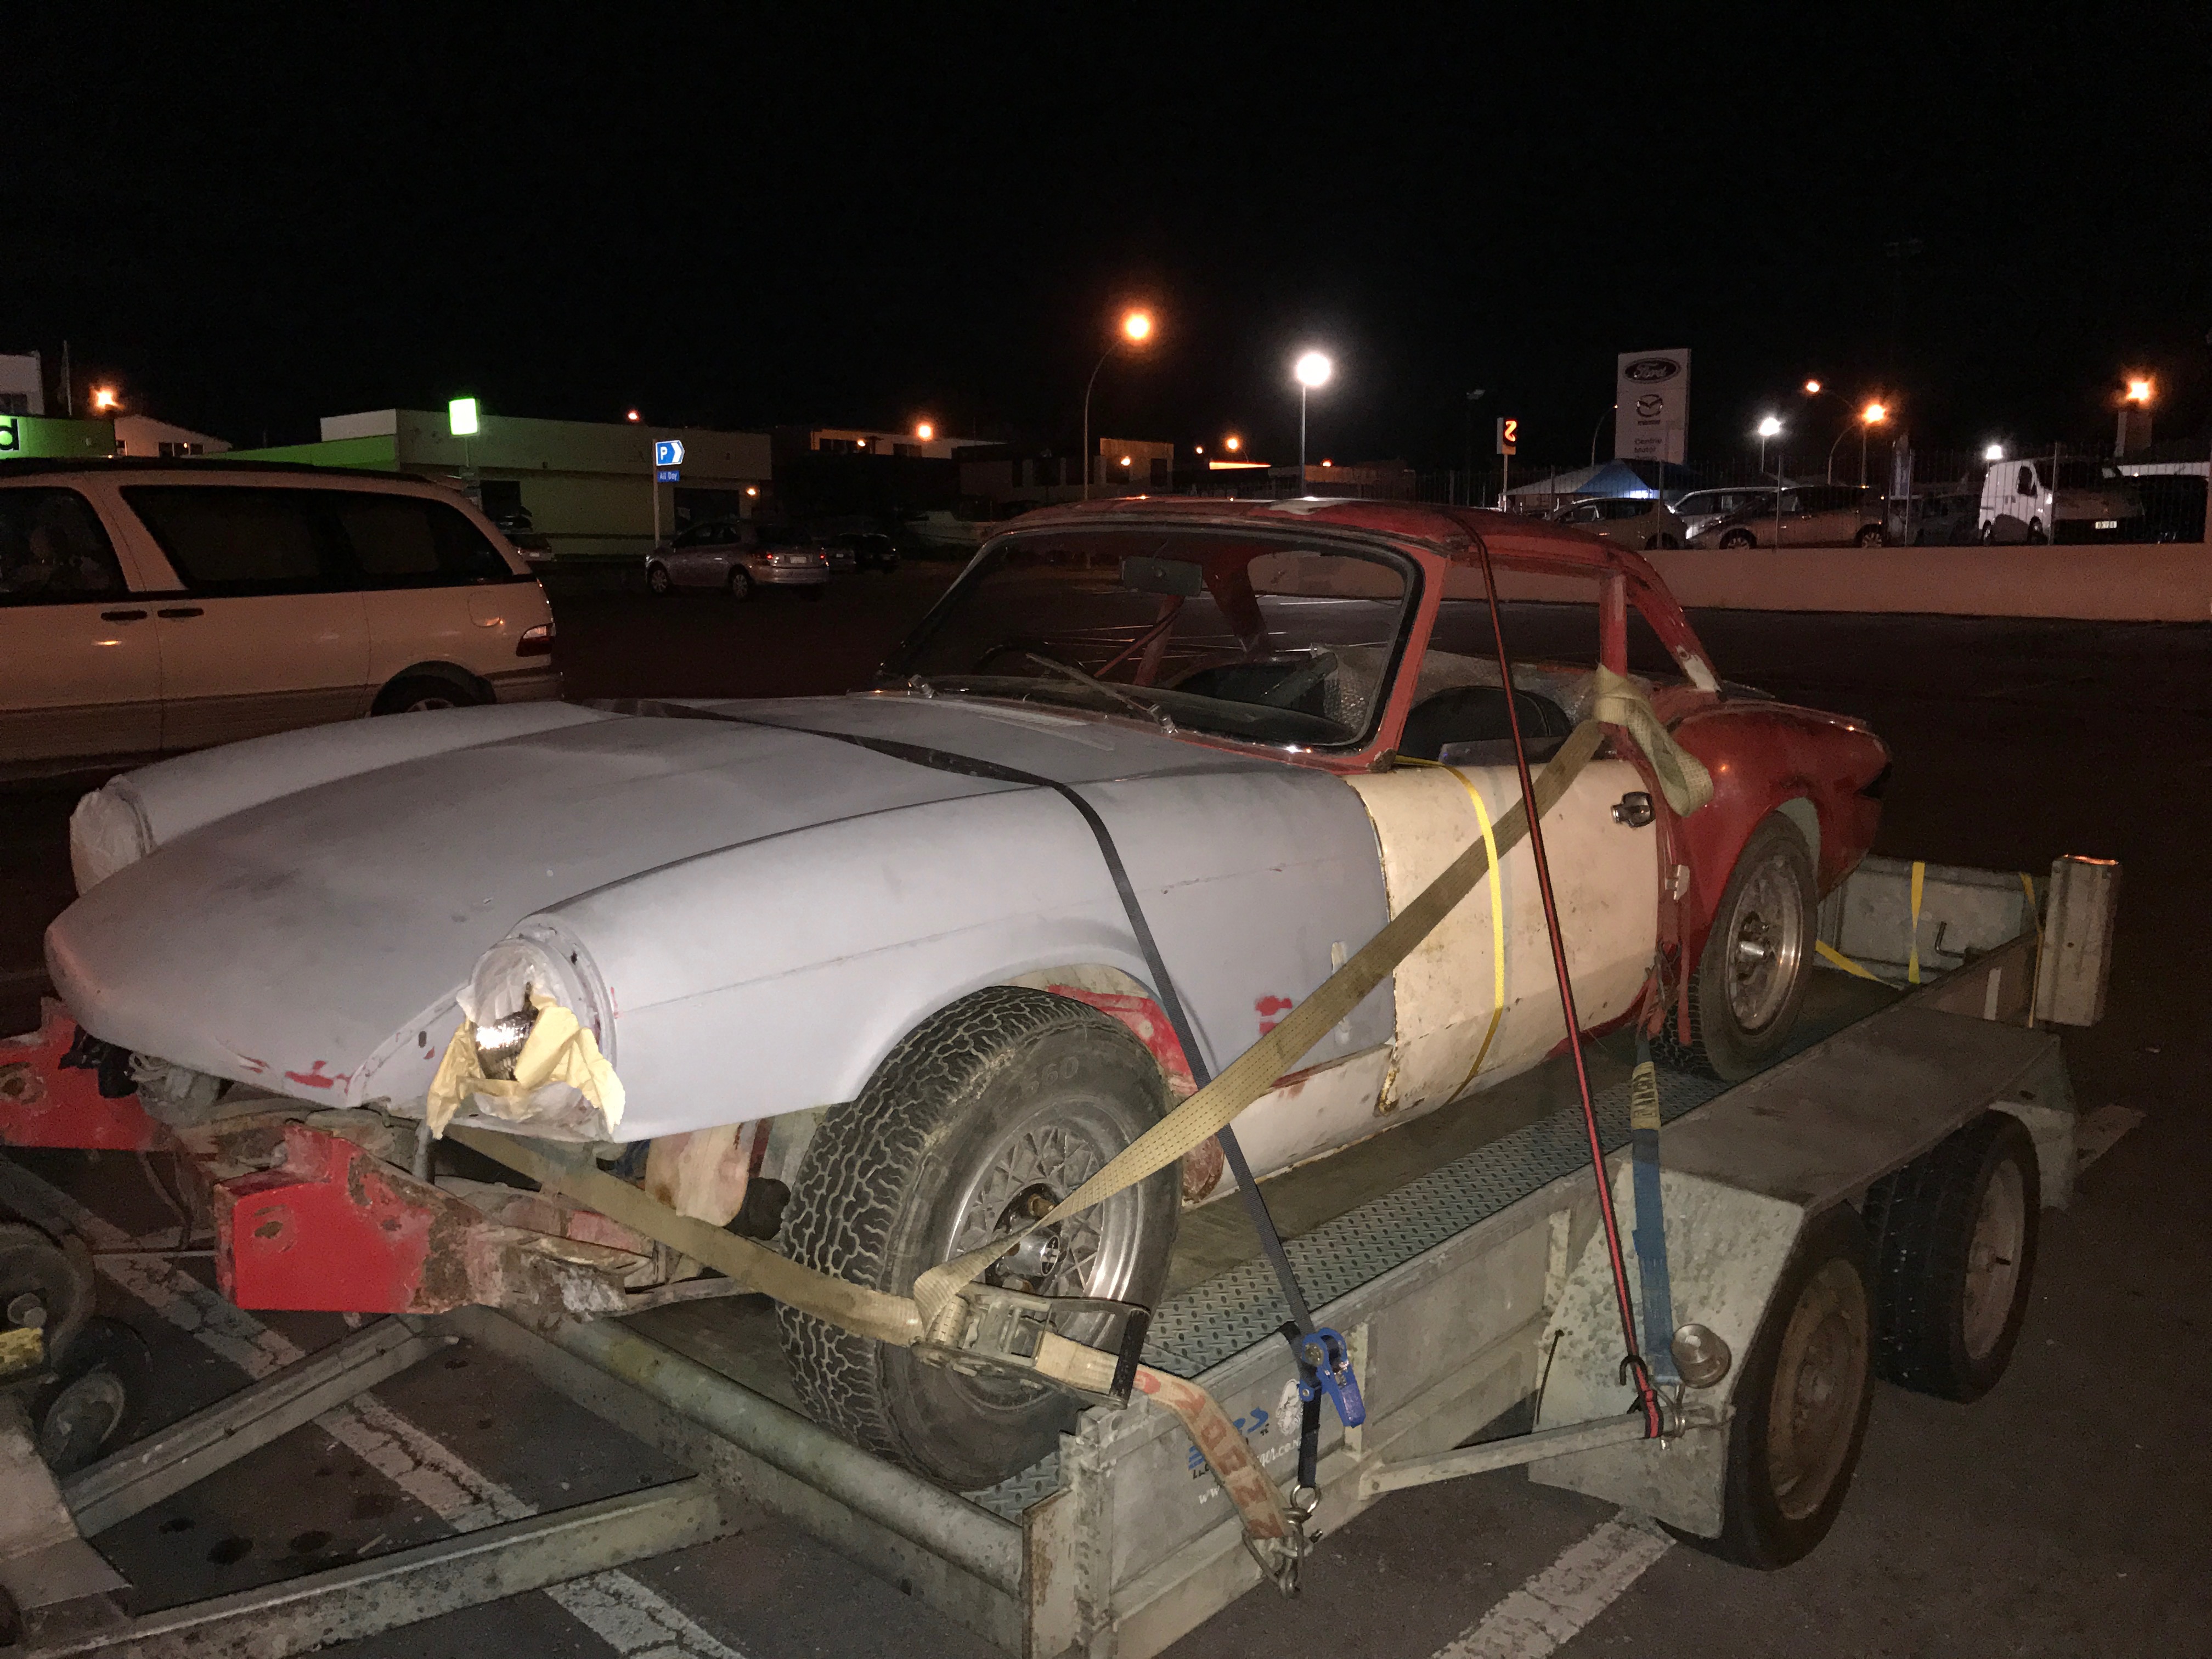
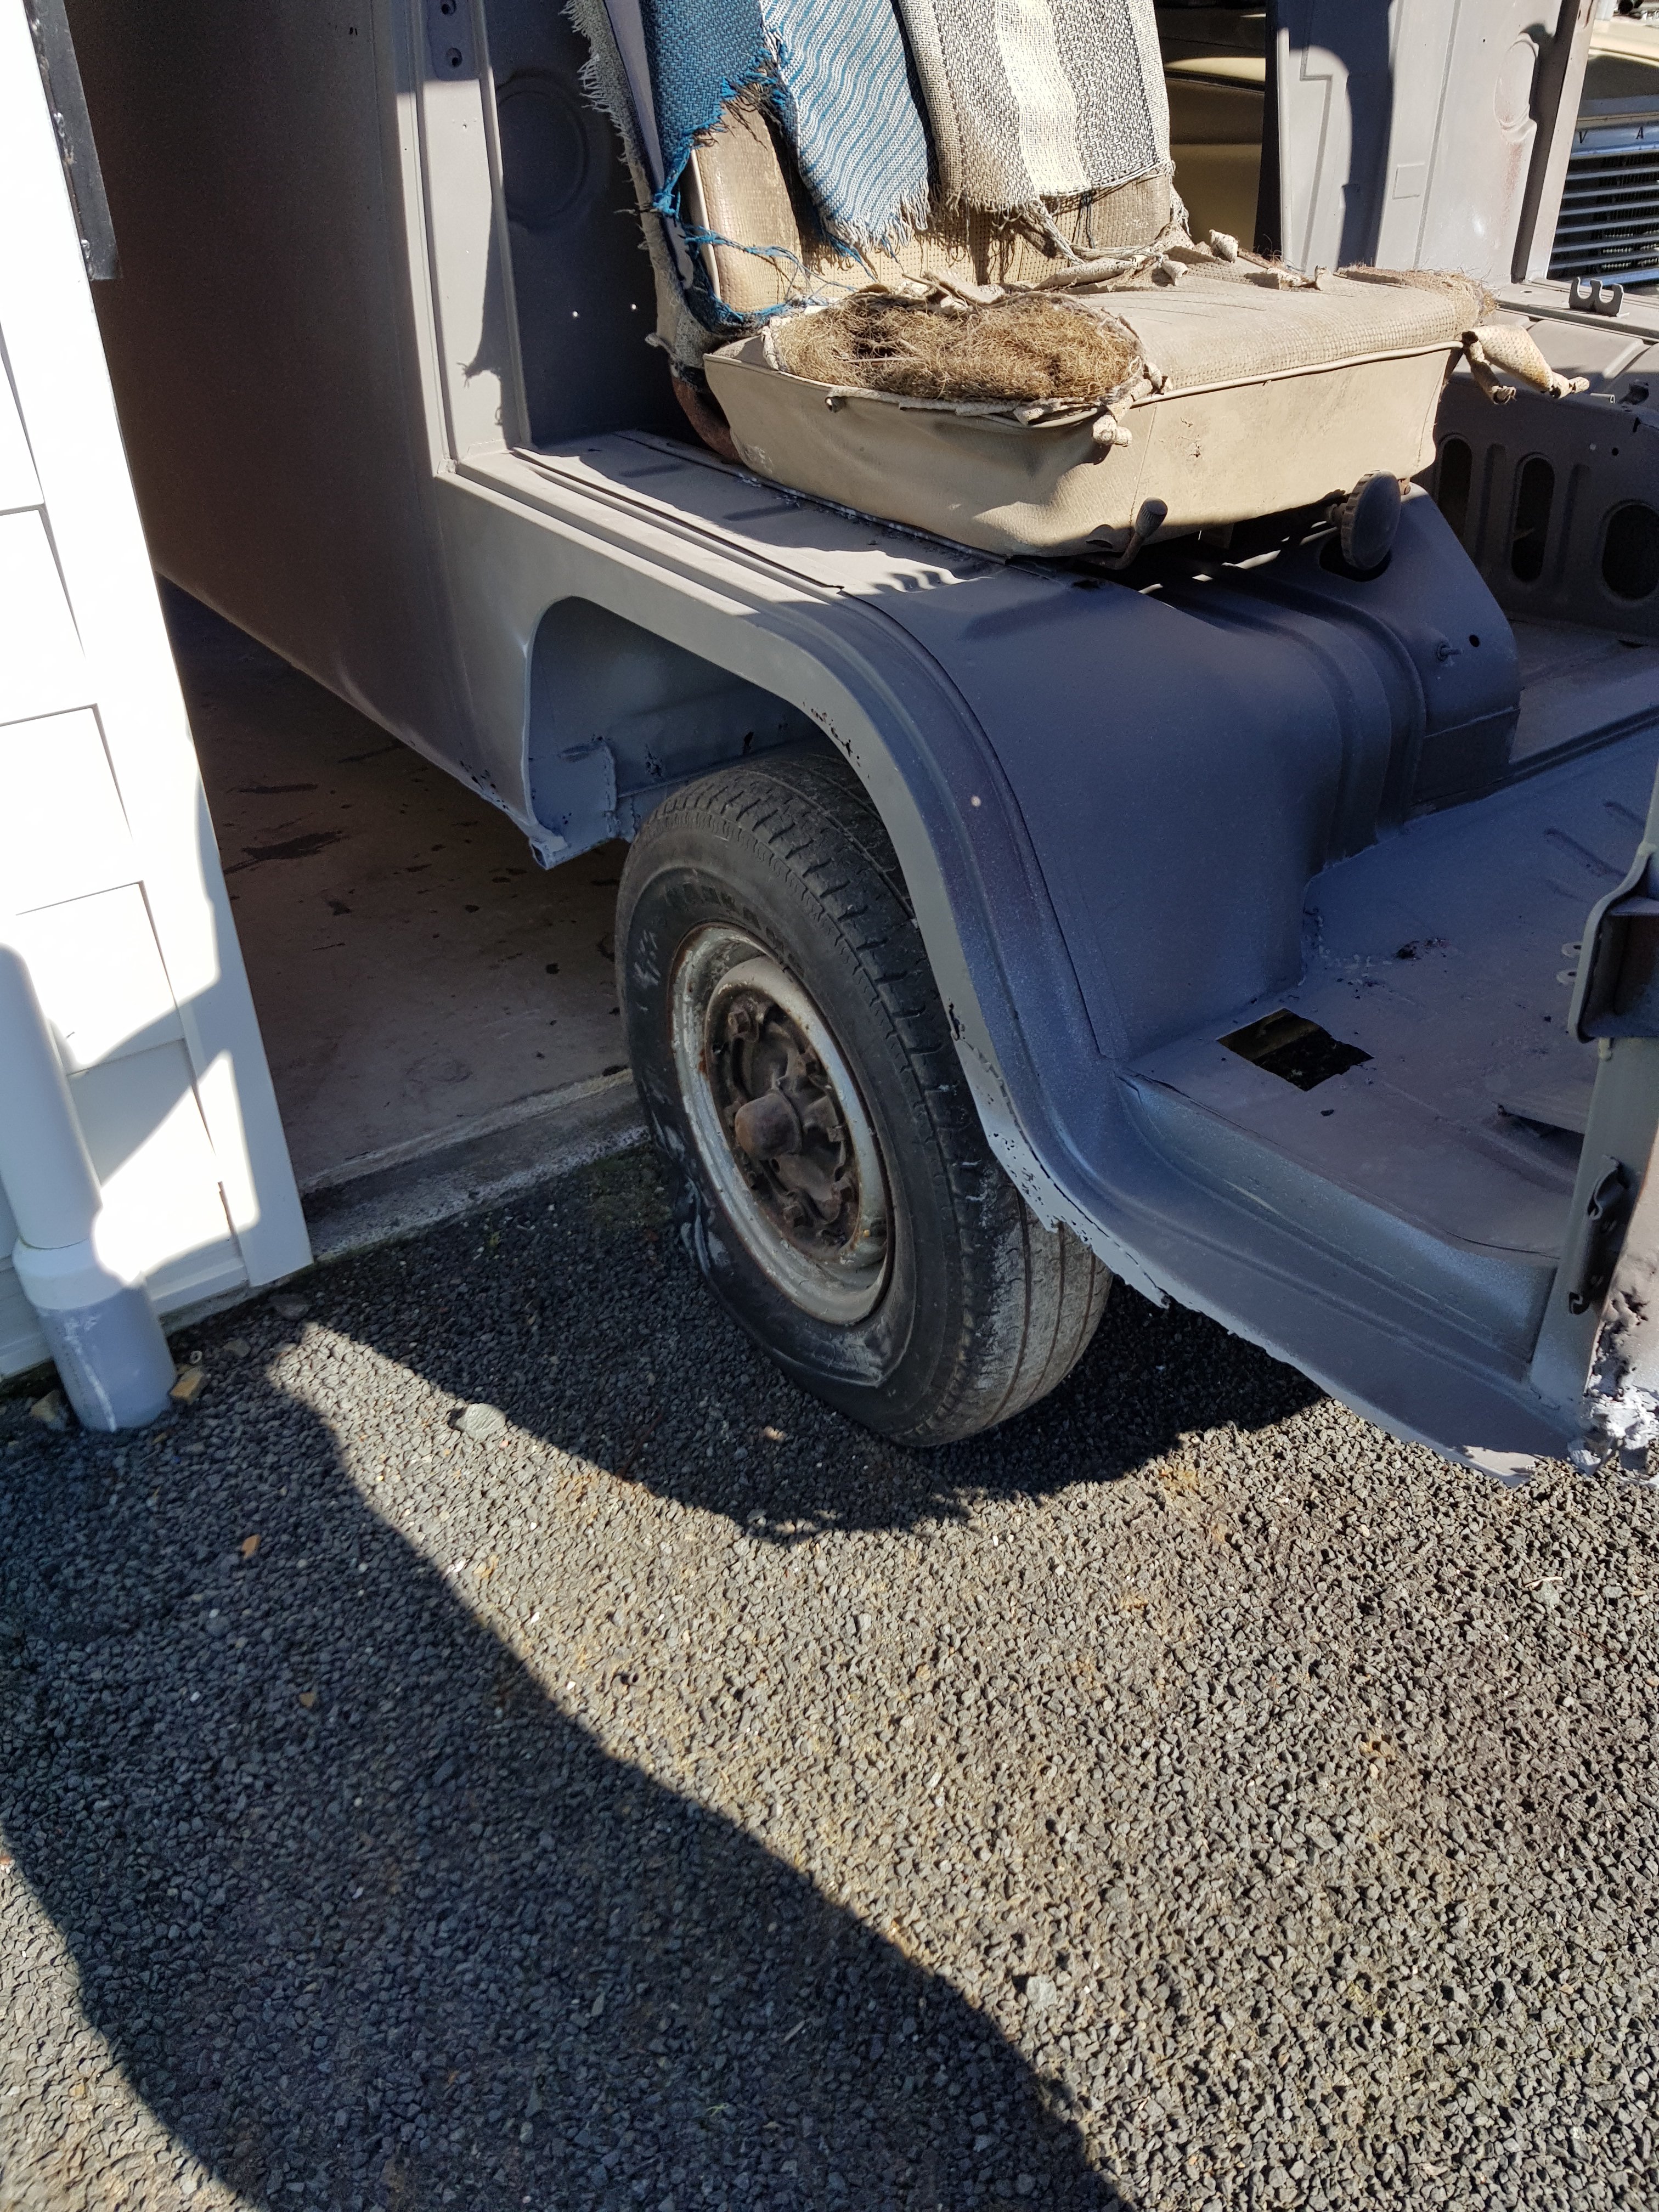
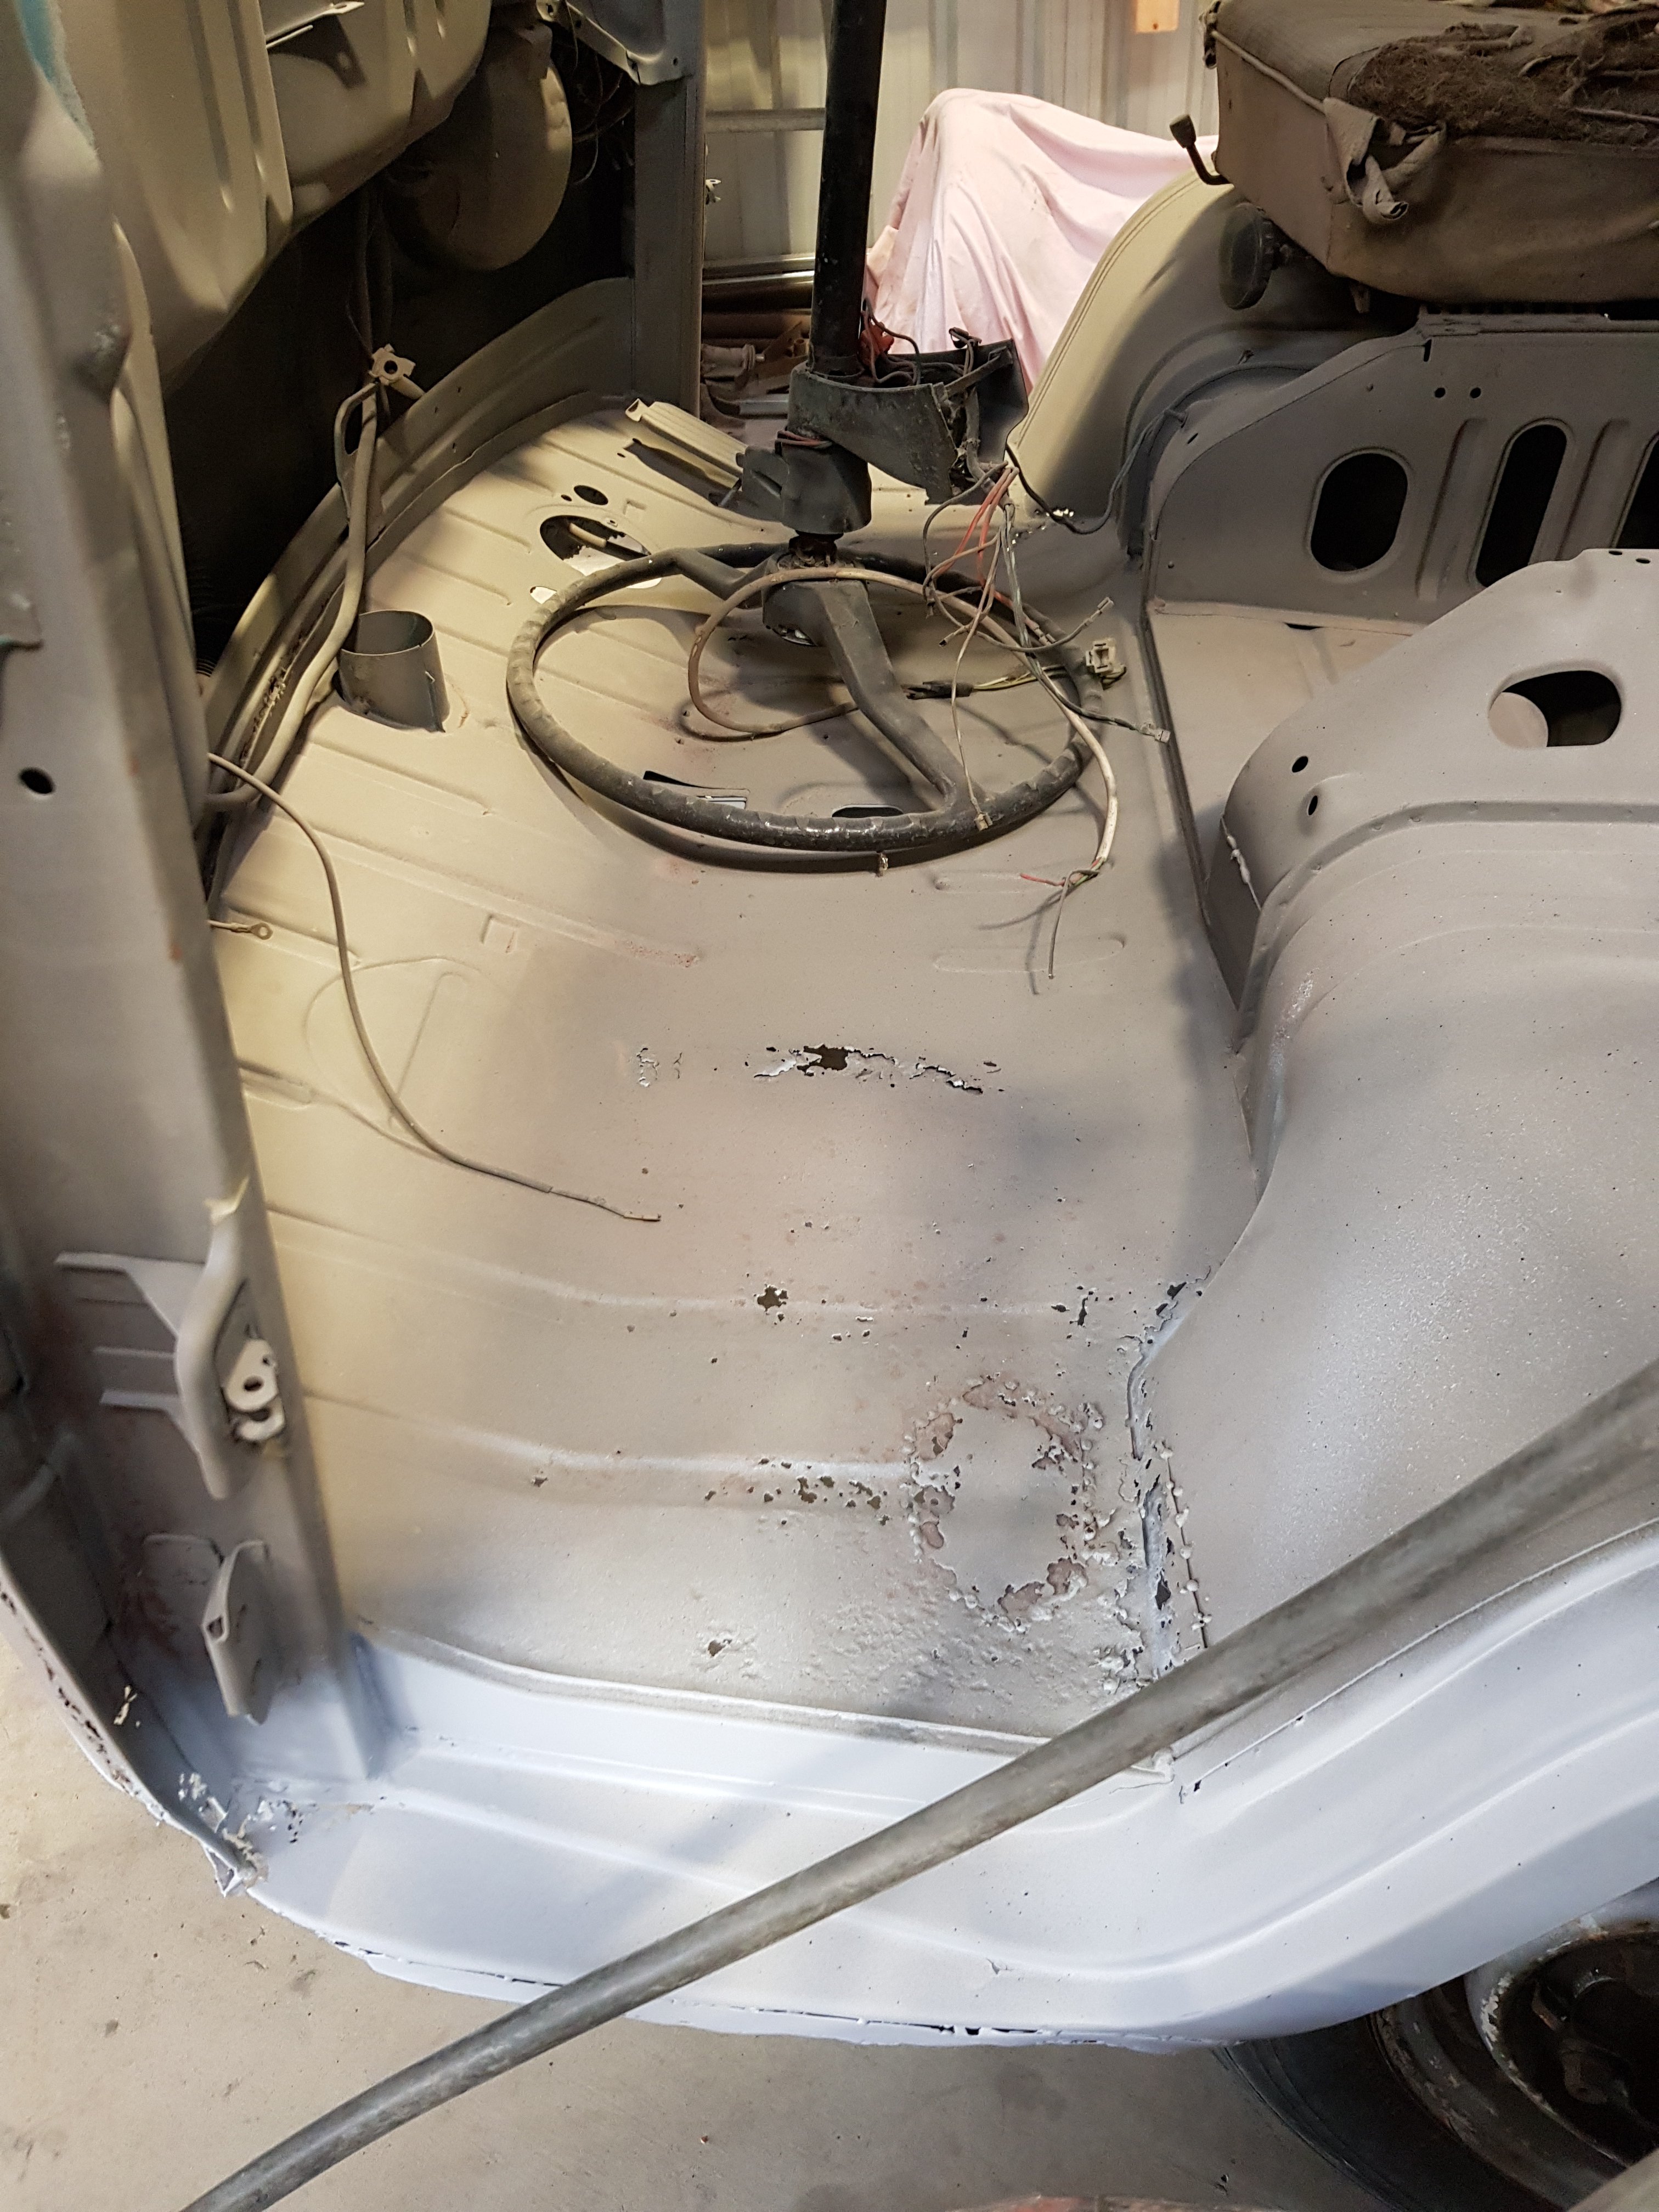
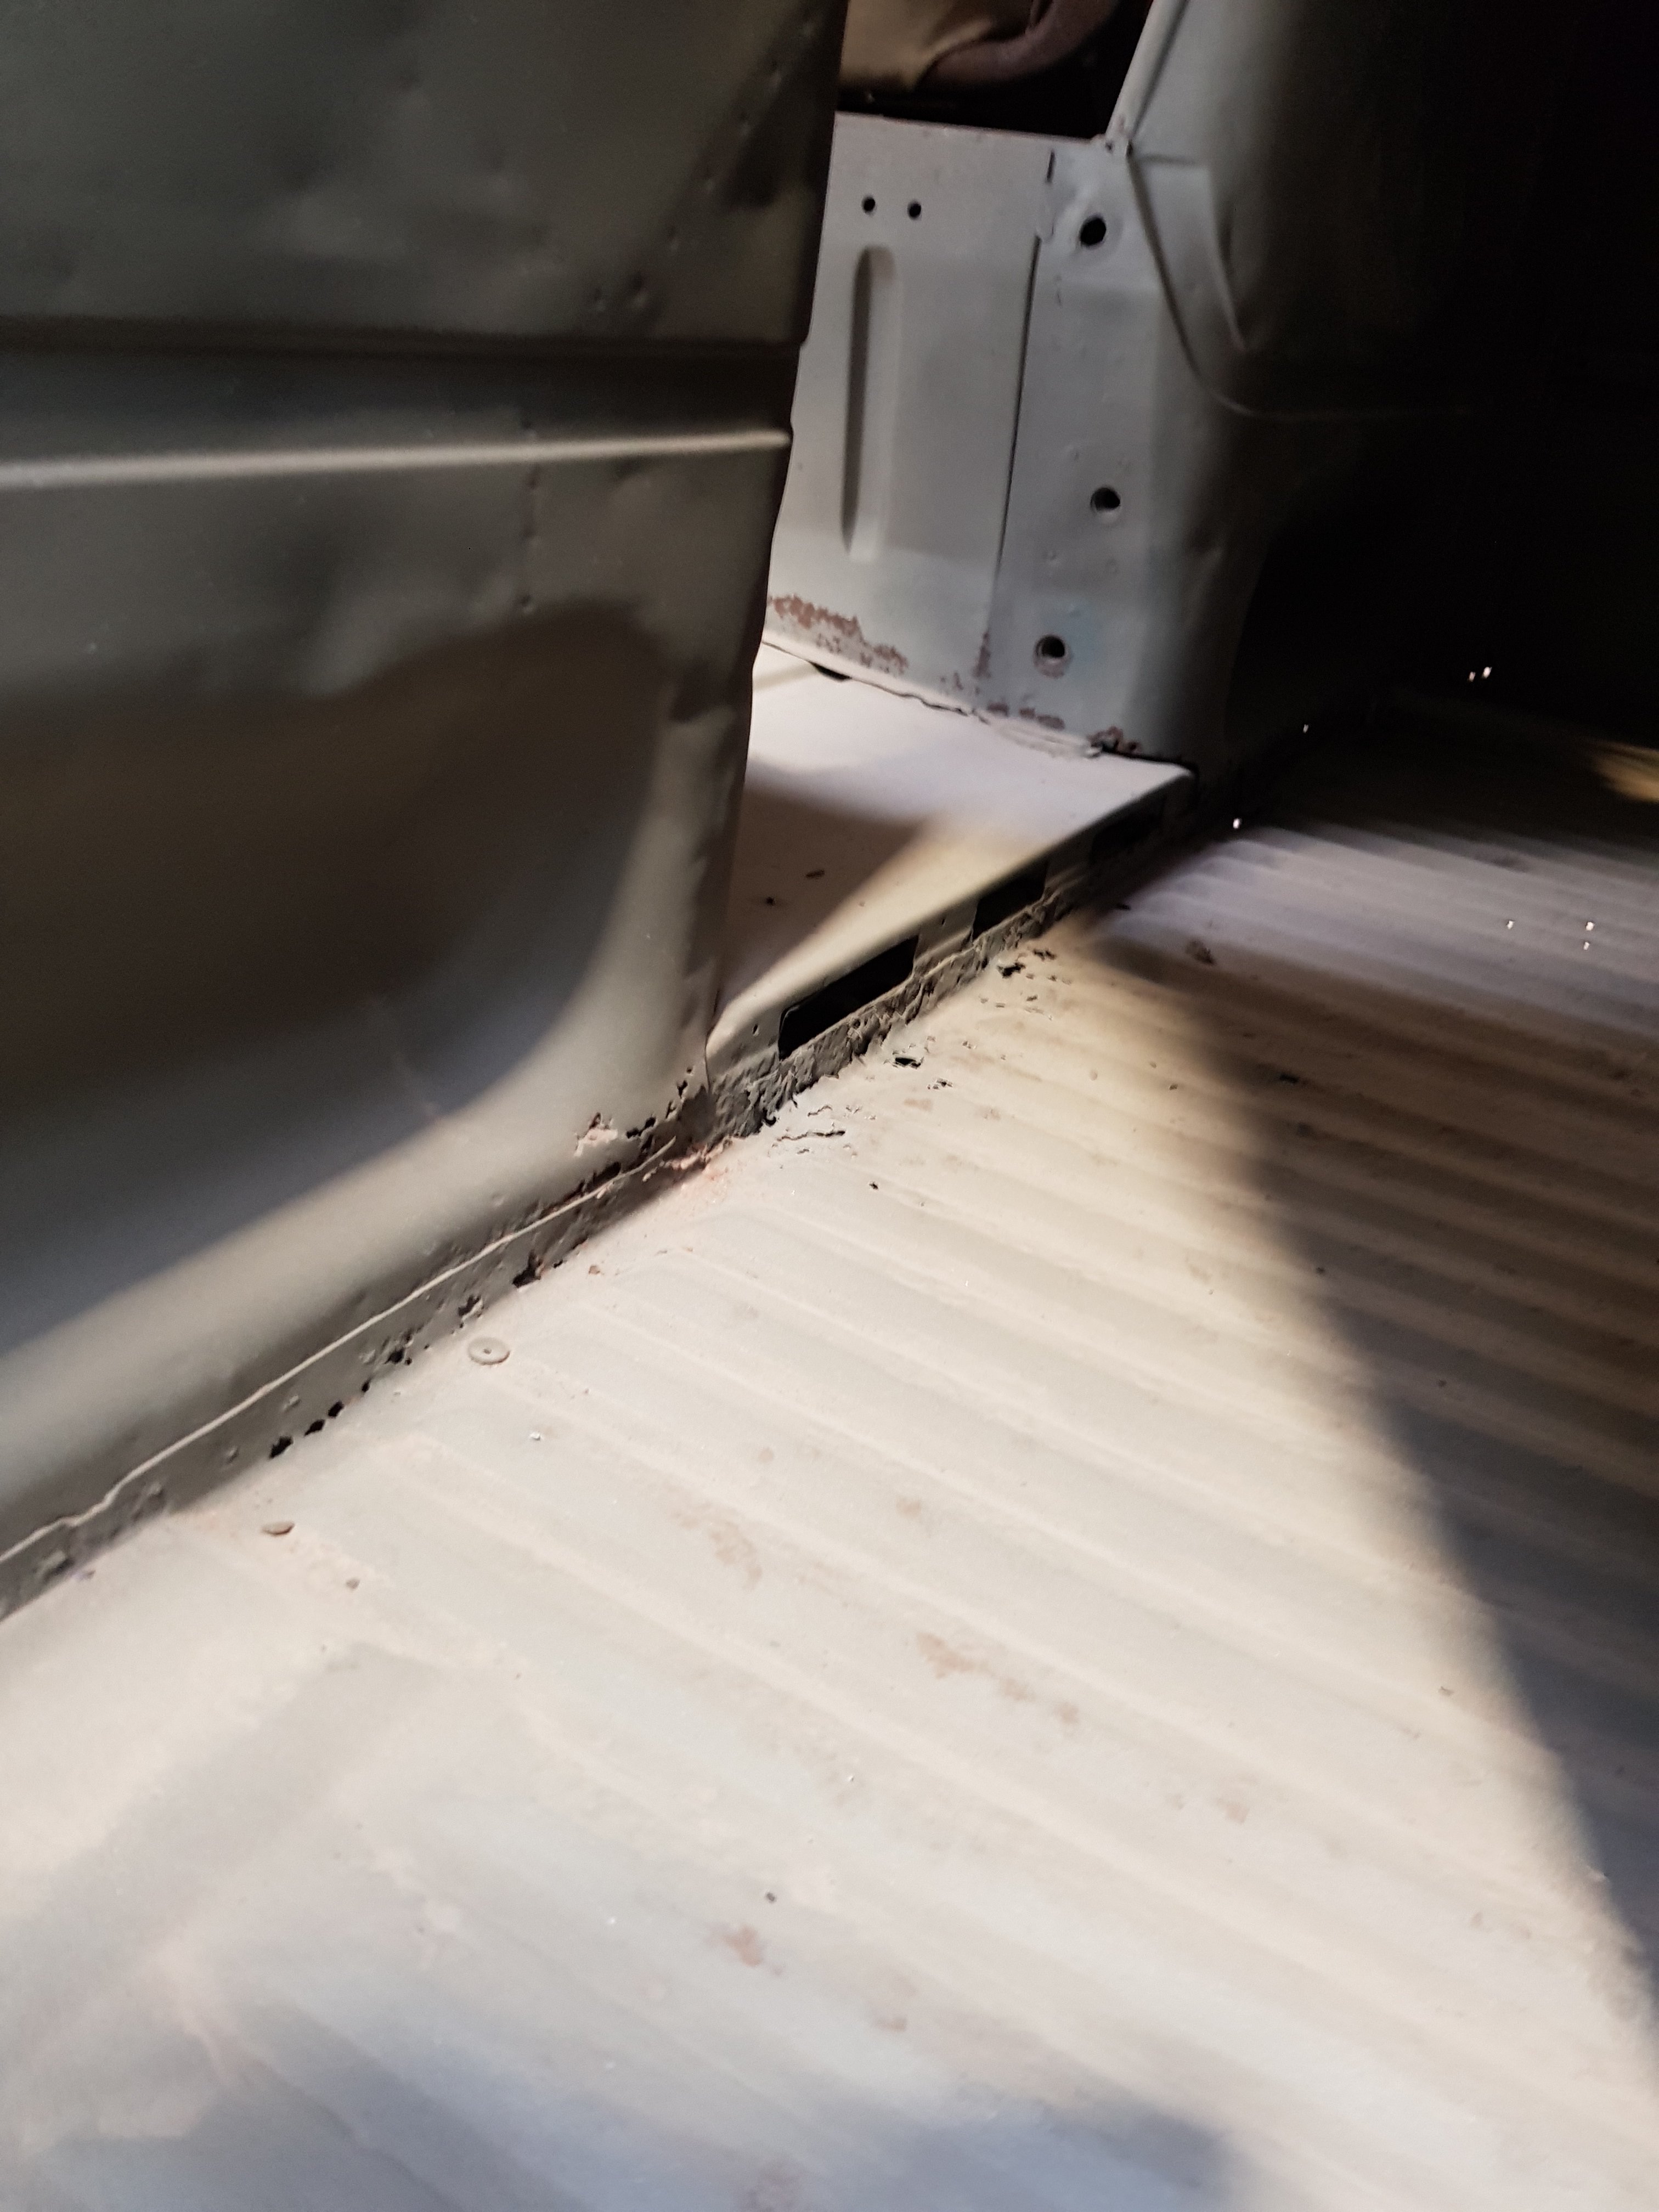
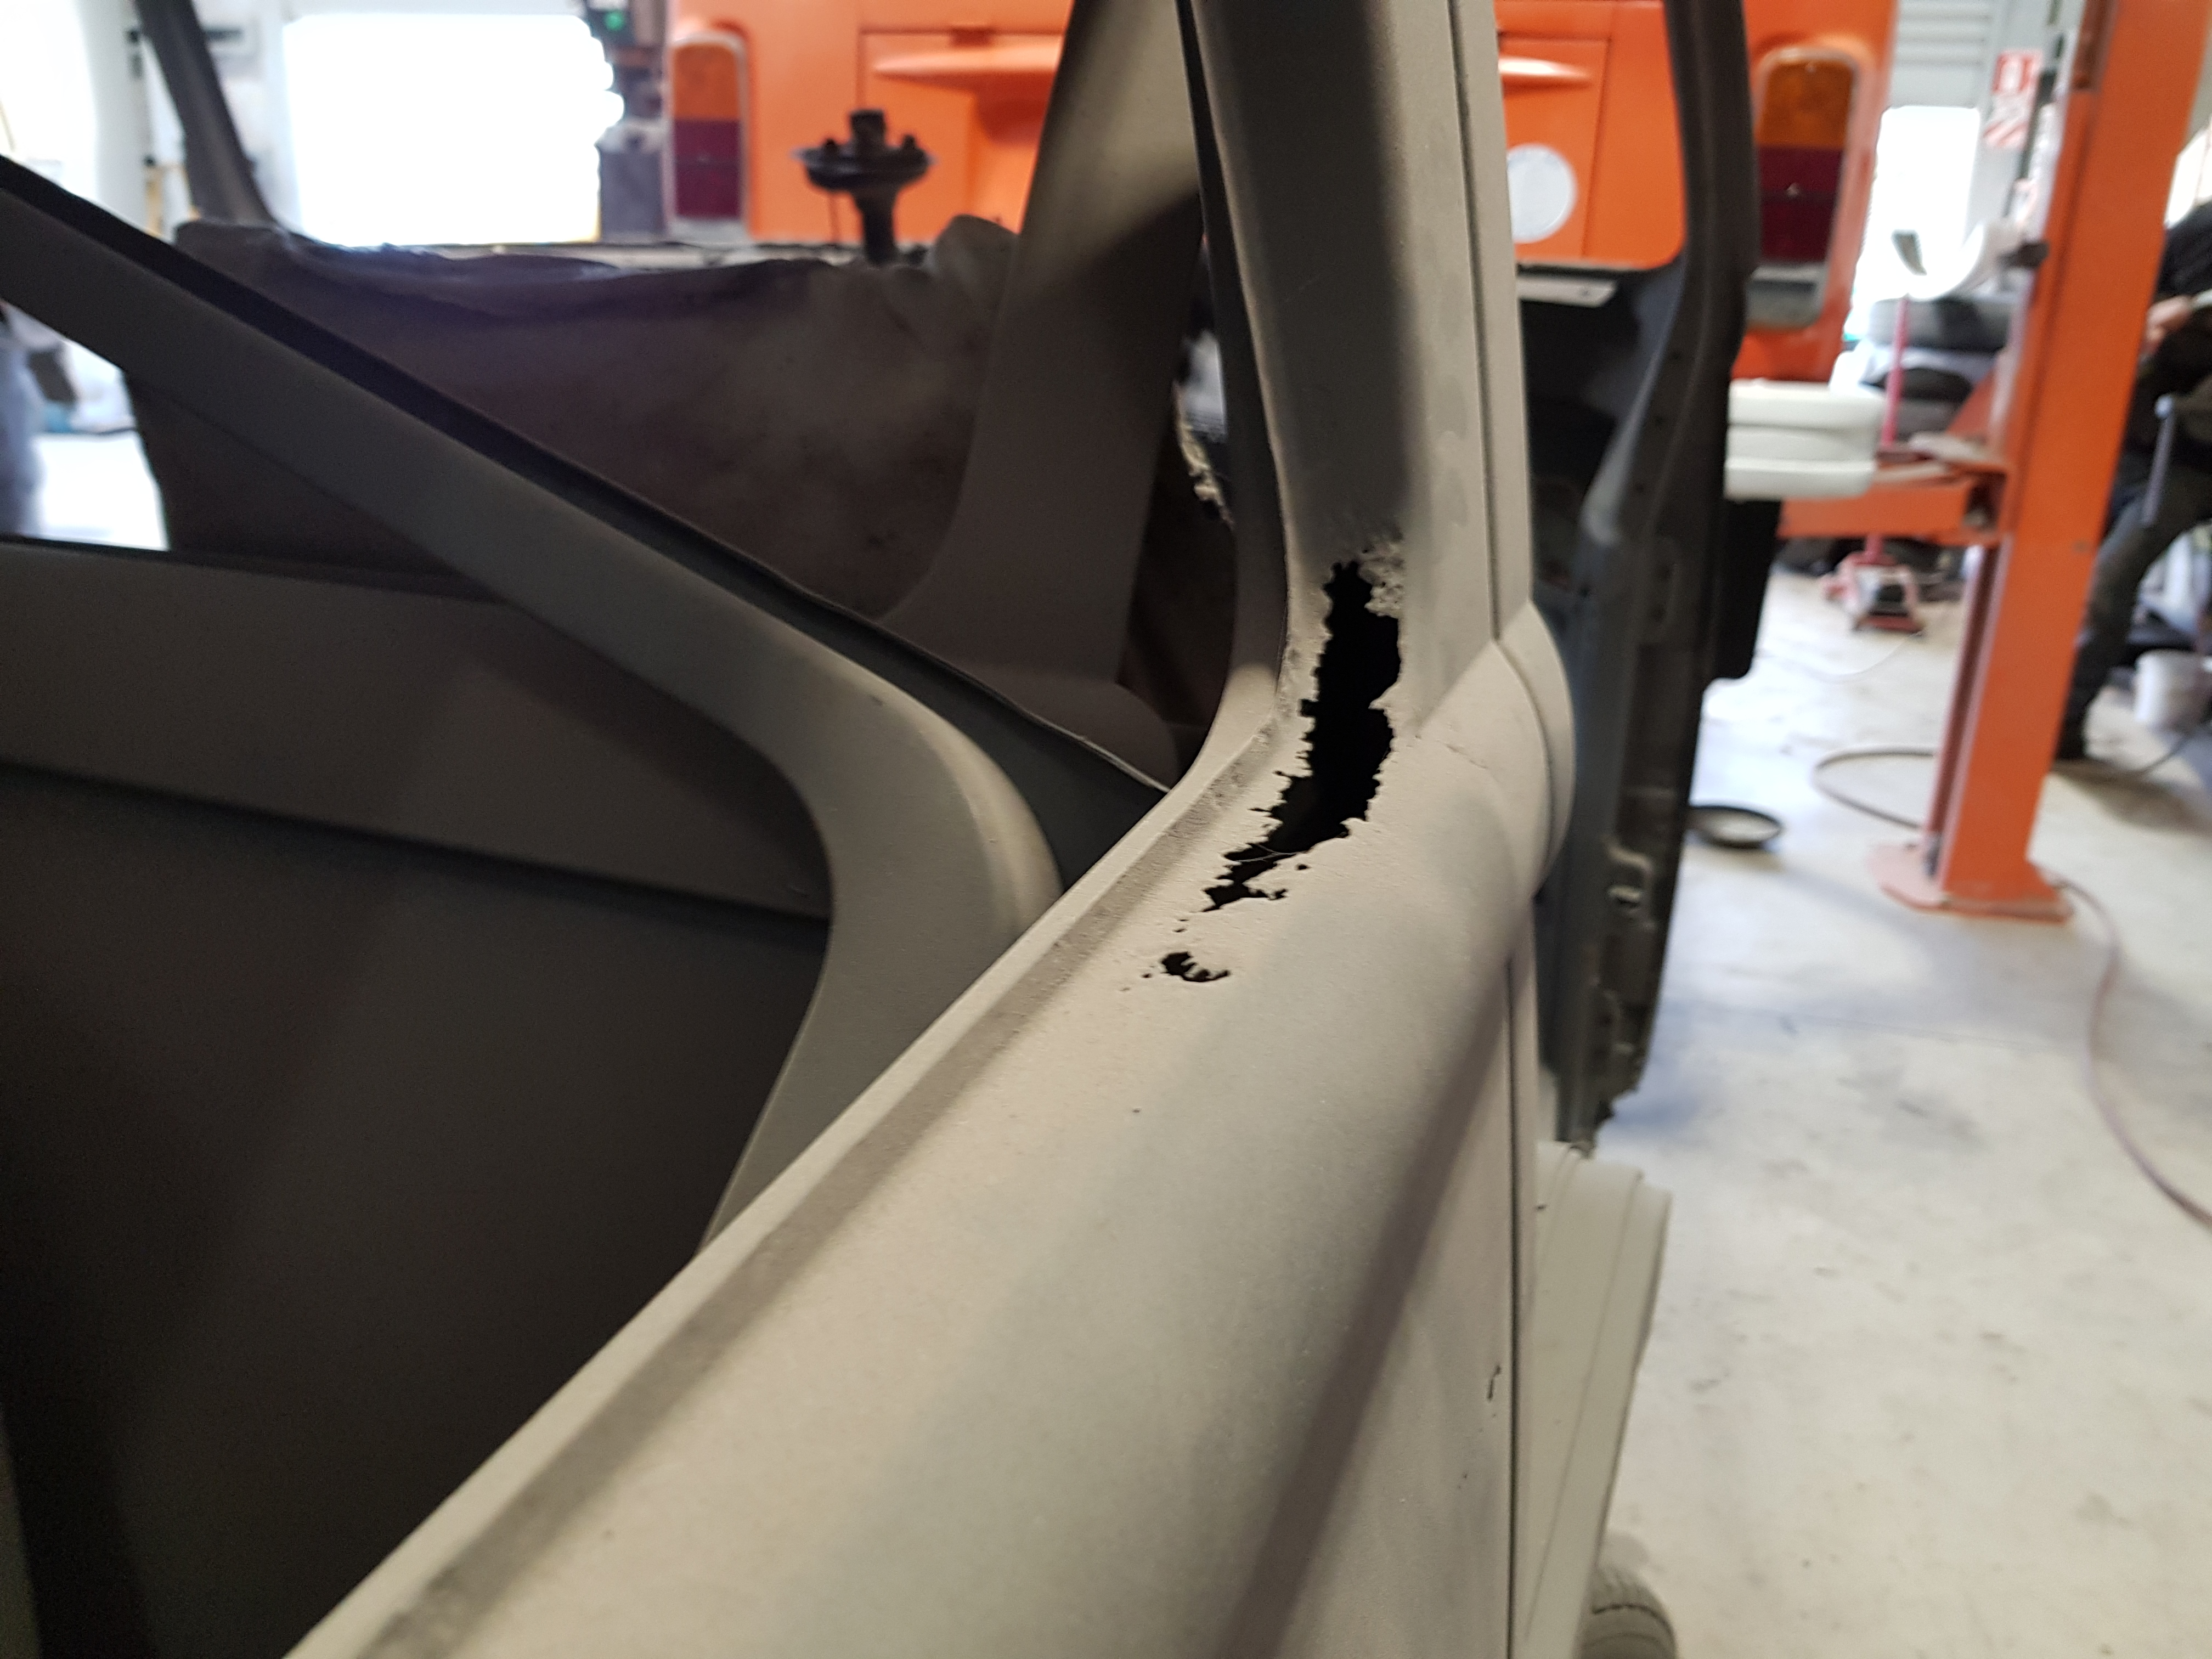
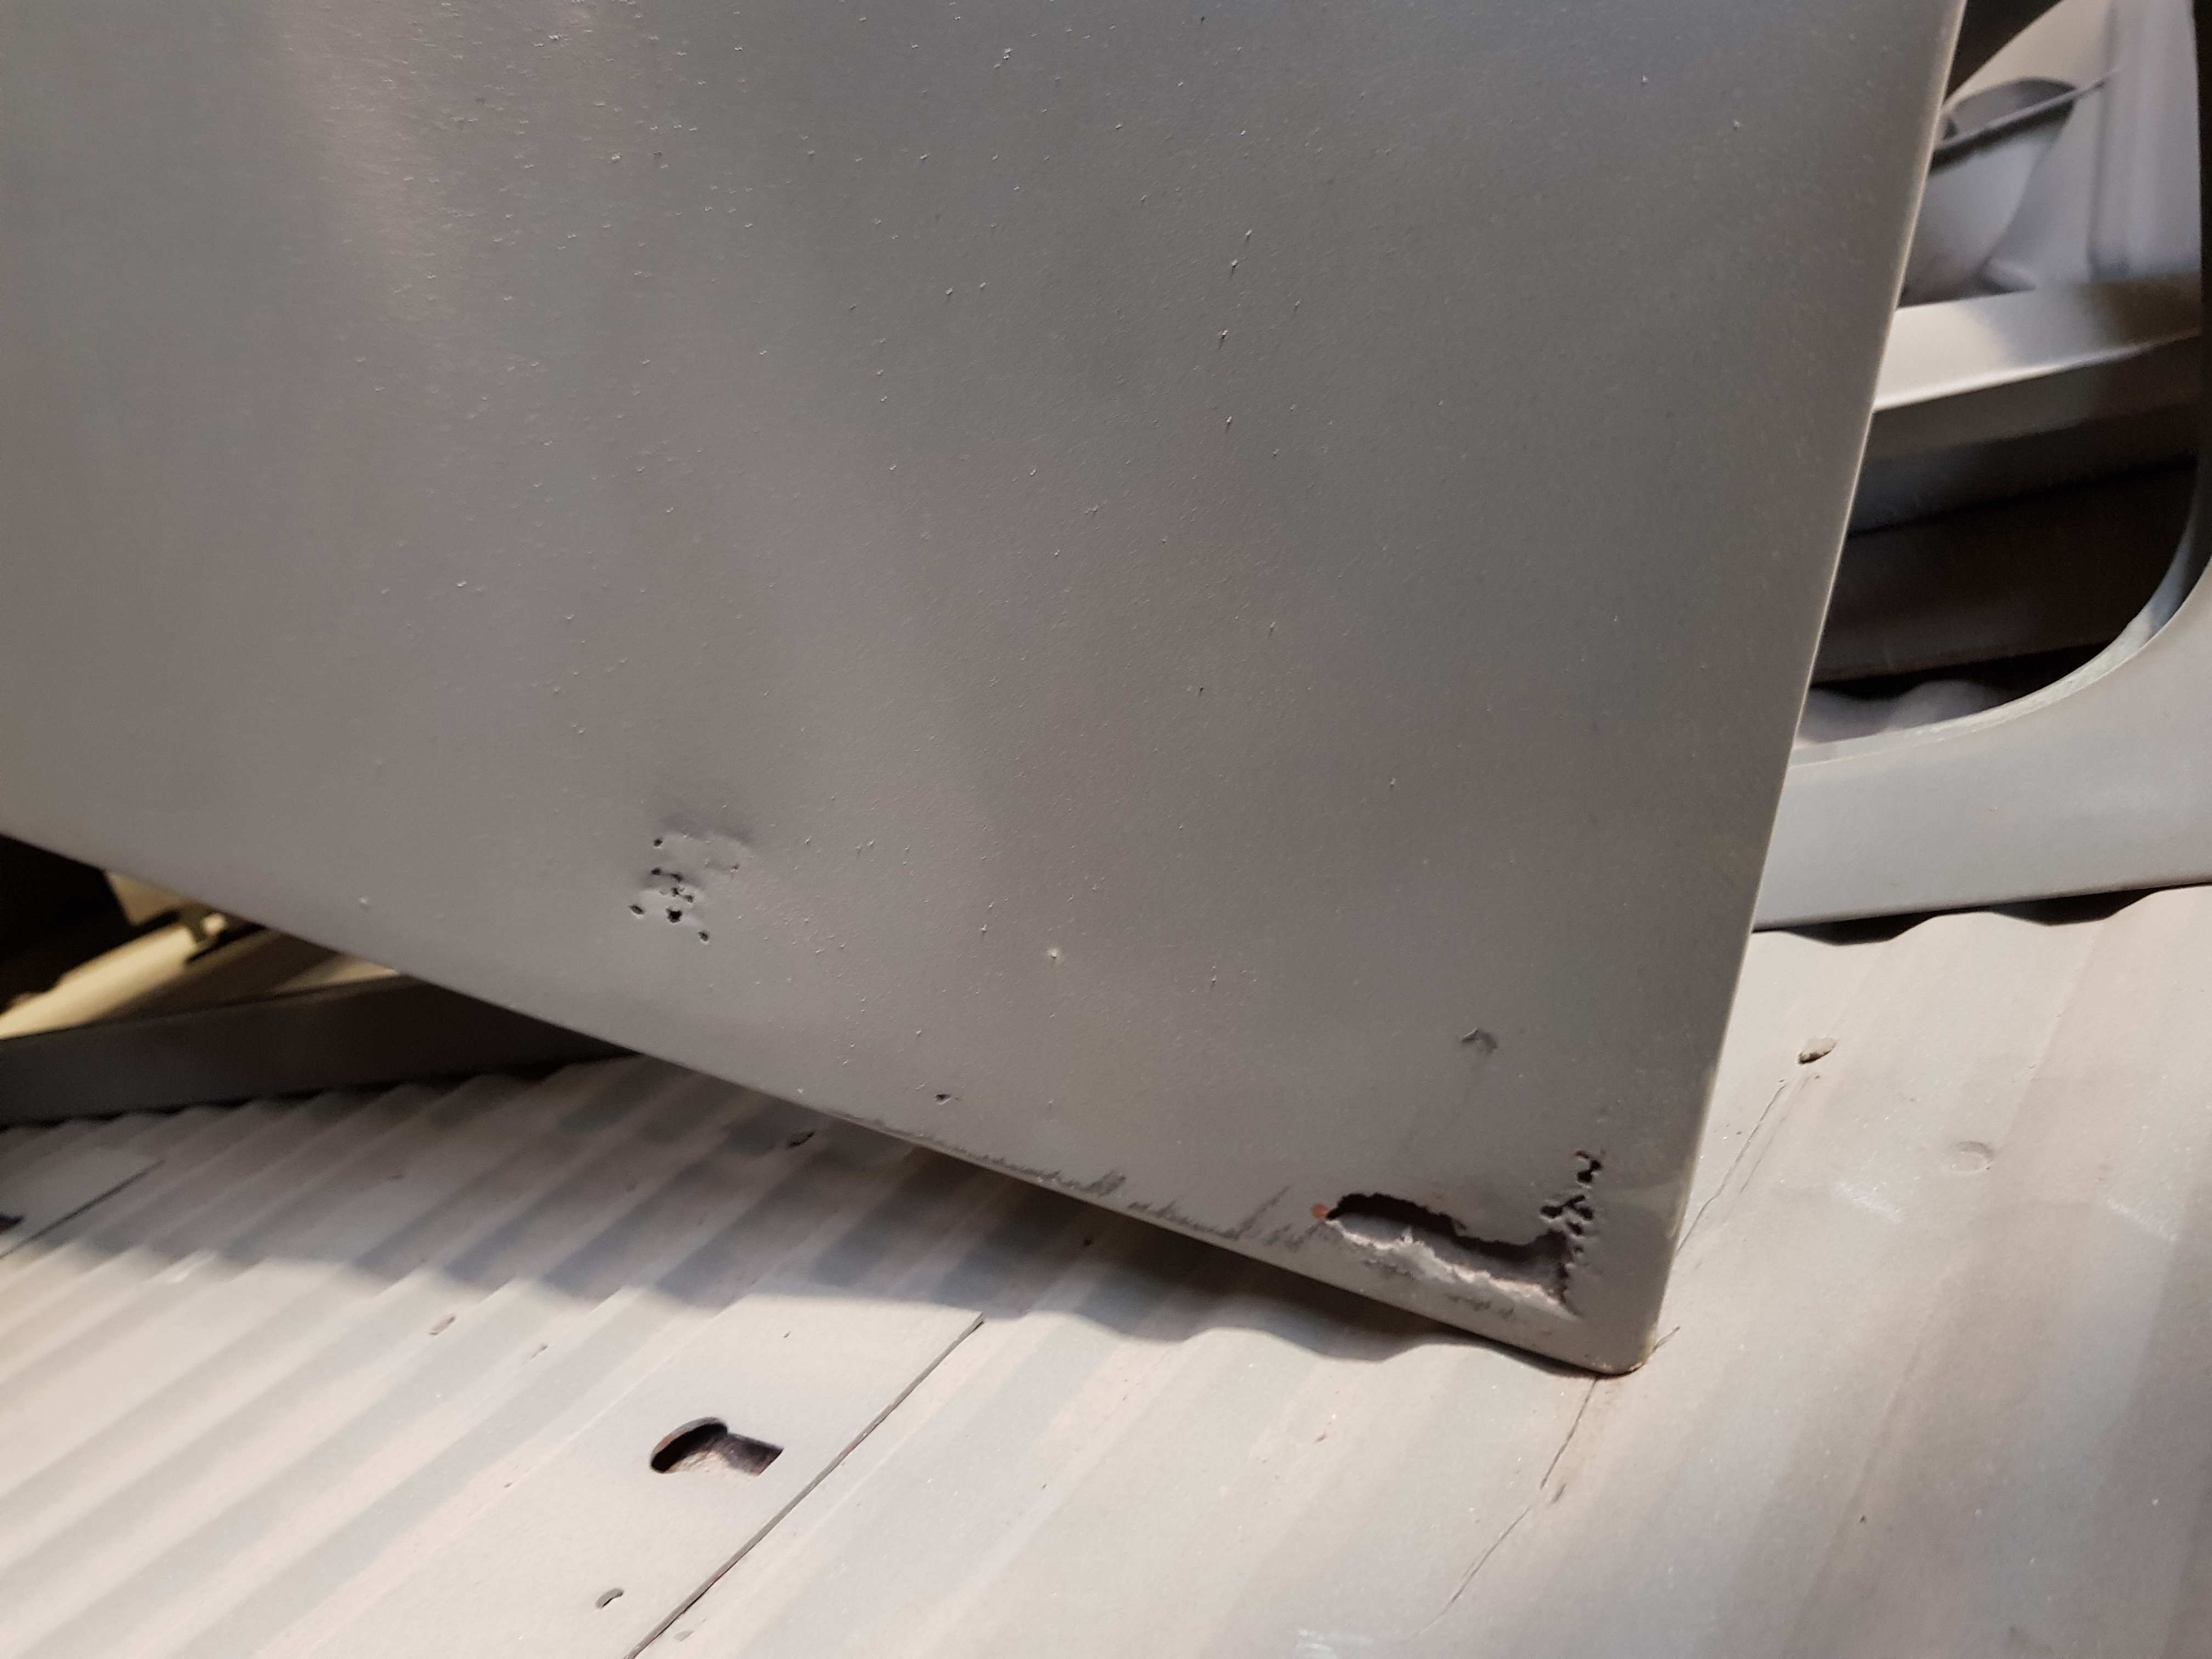
Ah so yeah most definitely will be making this thing a lot lower. Couldn't fit it in the shed without letting the front tyres down. Here are some more photos of the rust/not metal. For example on what a peace I brought. This back left 1/4 is pretty terrible. Some one has had fun filling it with bog before. Bottom of the sliding door Yeah... Some one must of drove into a nice pole at one stage. Bottom 6 inches like normal. Just easier to replace the hole front. Yeap. Few holes in this part. Just looks pretty when I put a torch under the floor in the dark. See heaps of stars Drivers door. Just behind the drivers door. Passengers door Behind the sliding door. And the bottom of the front window. I'm going to be a great welder or grinder by the end of this.
1 point
-
Then it was on to making up some rad support panels. I made up a wooden buck out of some MDF lying around and used that to form the ~20mm flanges on each one to fit the contour of the inner wing. One of them needed a bit of heat to encourage it to shrink around the corner but the other came around just fine. I used the bead roller to put in the inset portions to try and mimic the factory stamping shapes. These last two are all the panels clamped in place to see how they look, and them all laid out to more easily see how they fit together. The shorter one on the right was intentionally made that long but the asymmetry bugged the shit out of me so I ended up remaking it to the same length as the left hand one.
1 point
-
Plenty of room for important cargo.
1 point


This leaderboard is set to Auckland/GMT+12:00