
Leaderboard


Popular Content
Showing content with the highest reputation on 08/29/17 in all areas
-
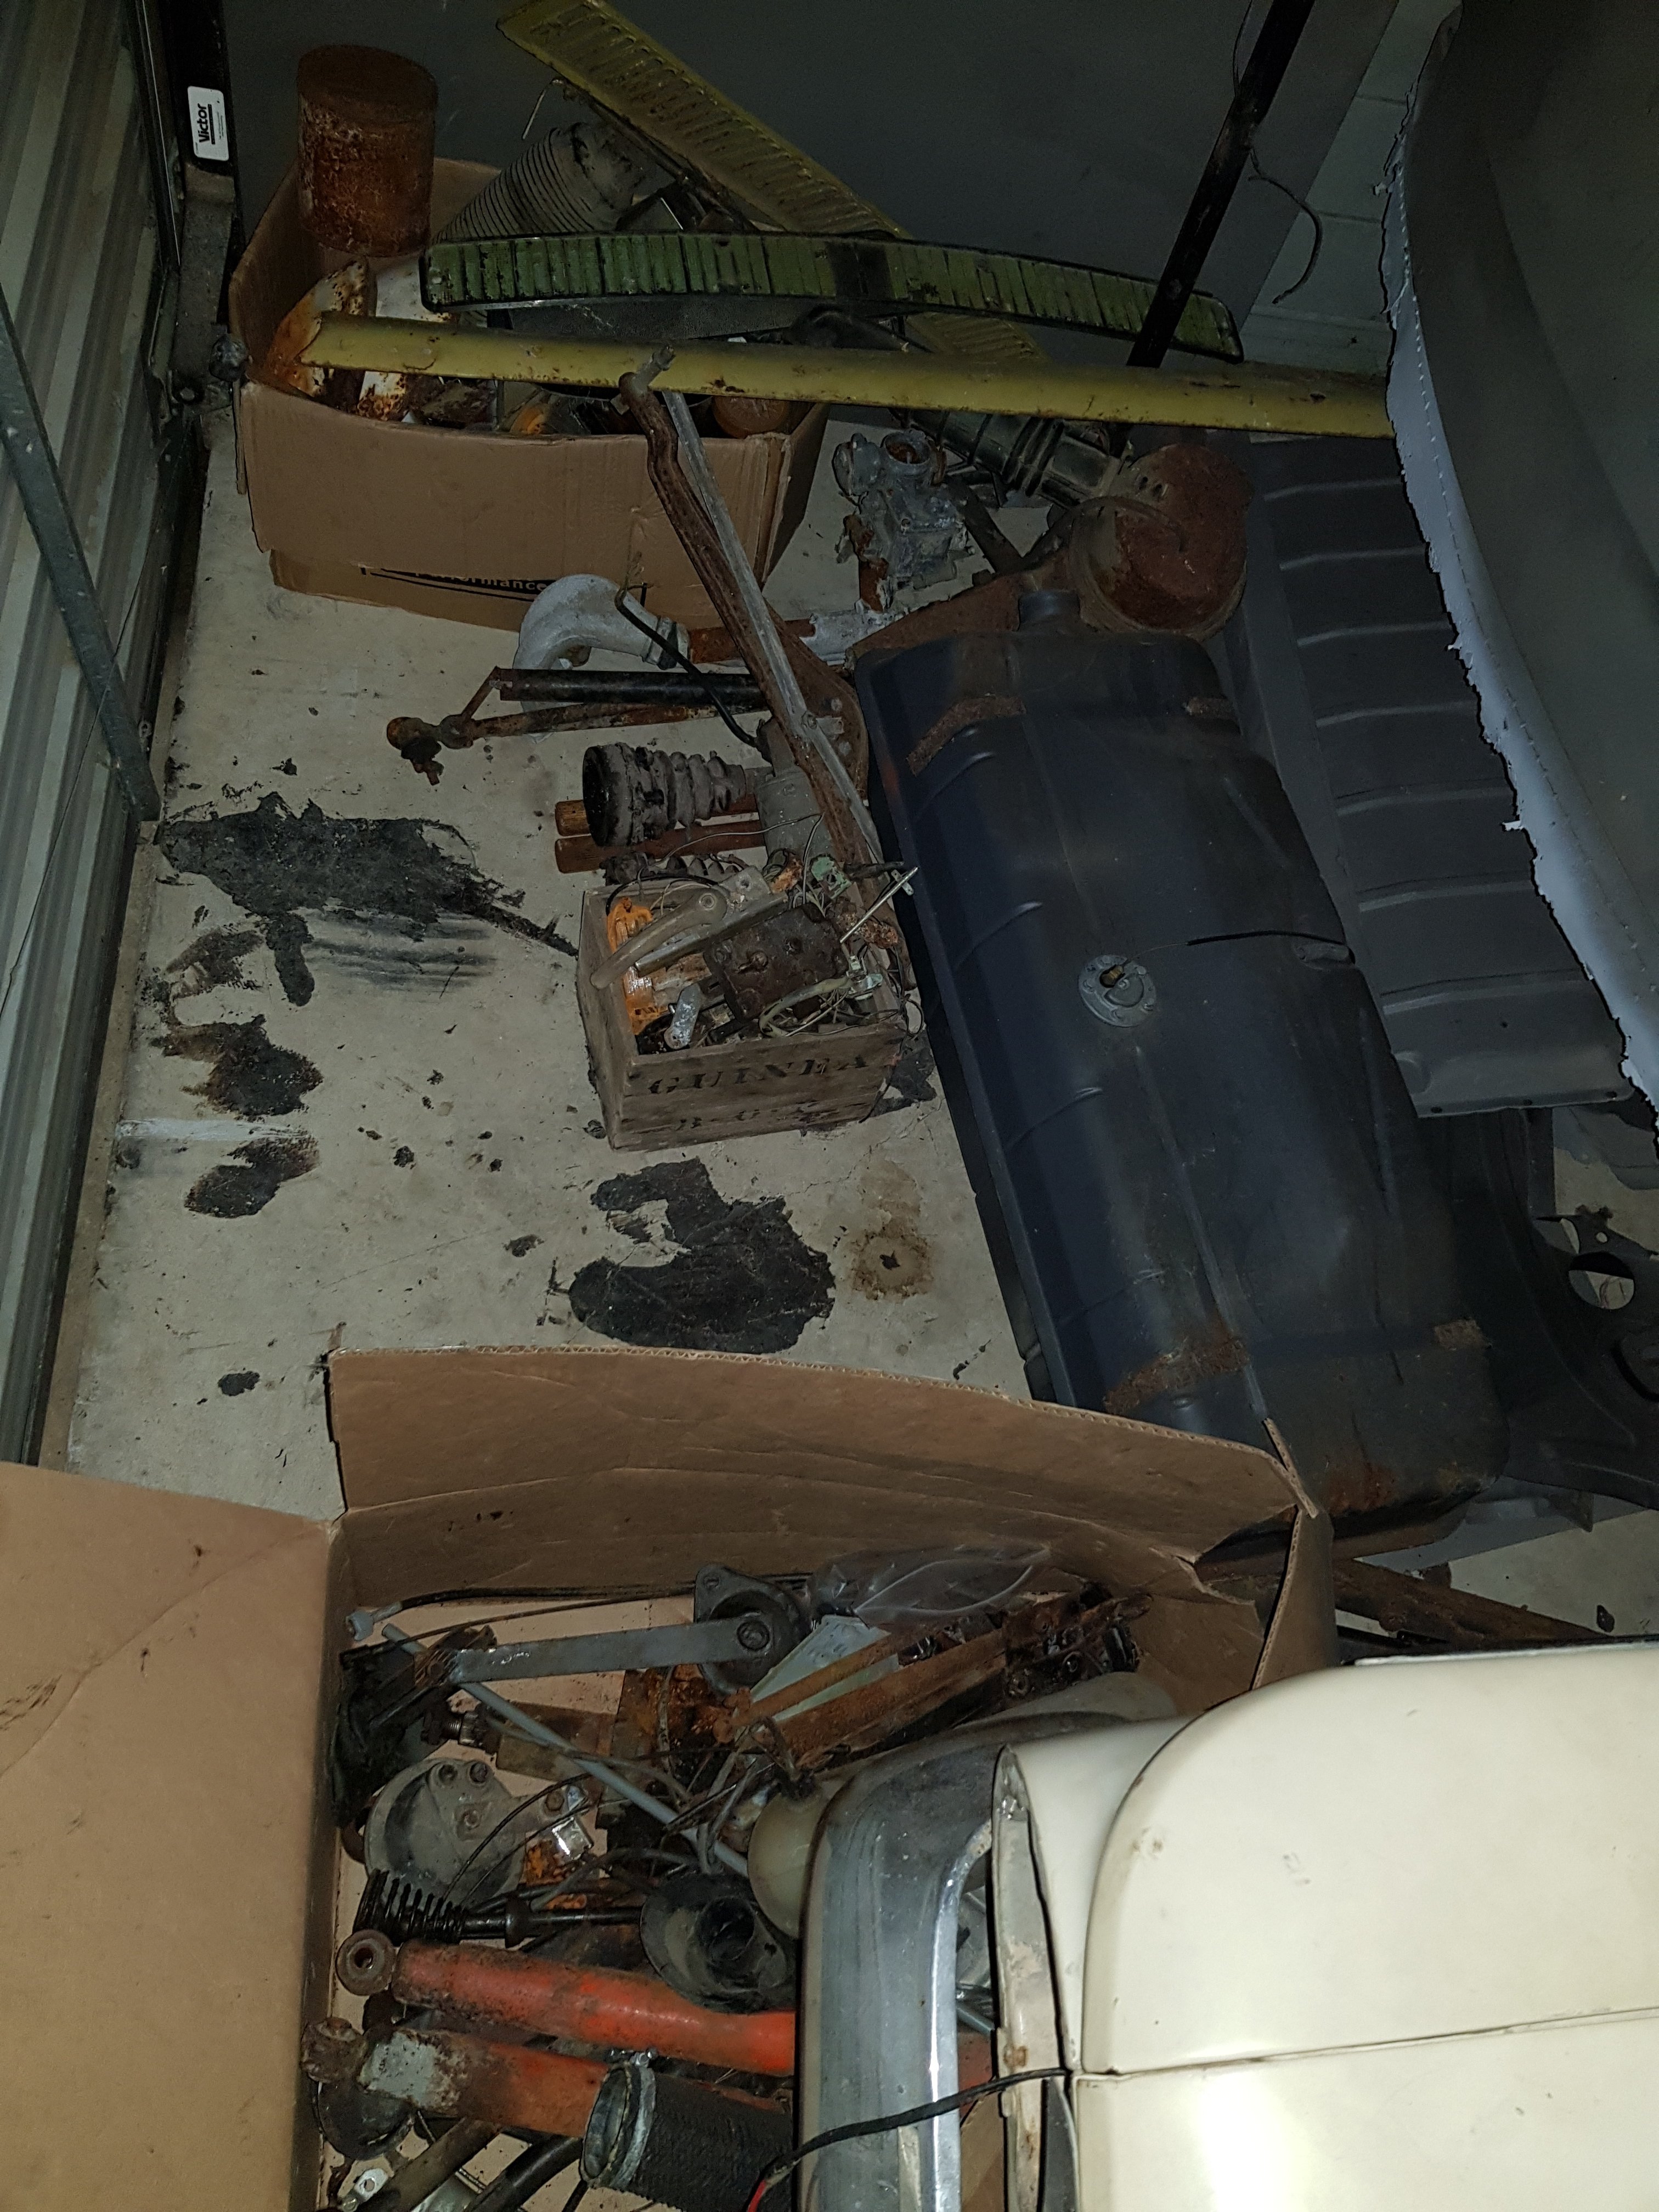
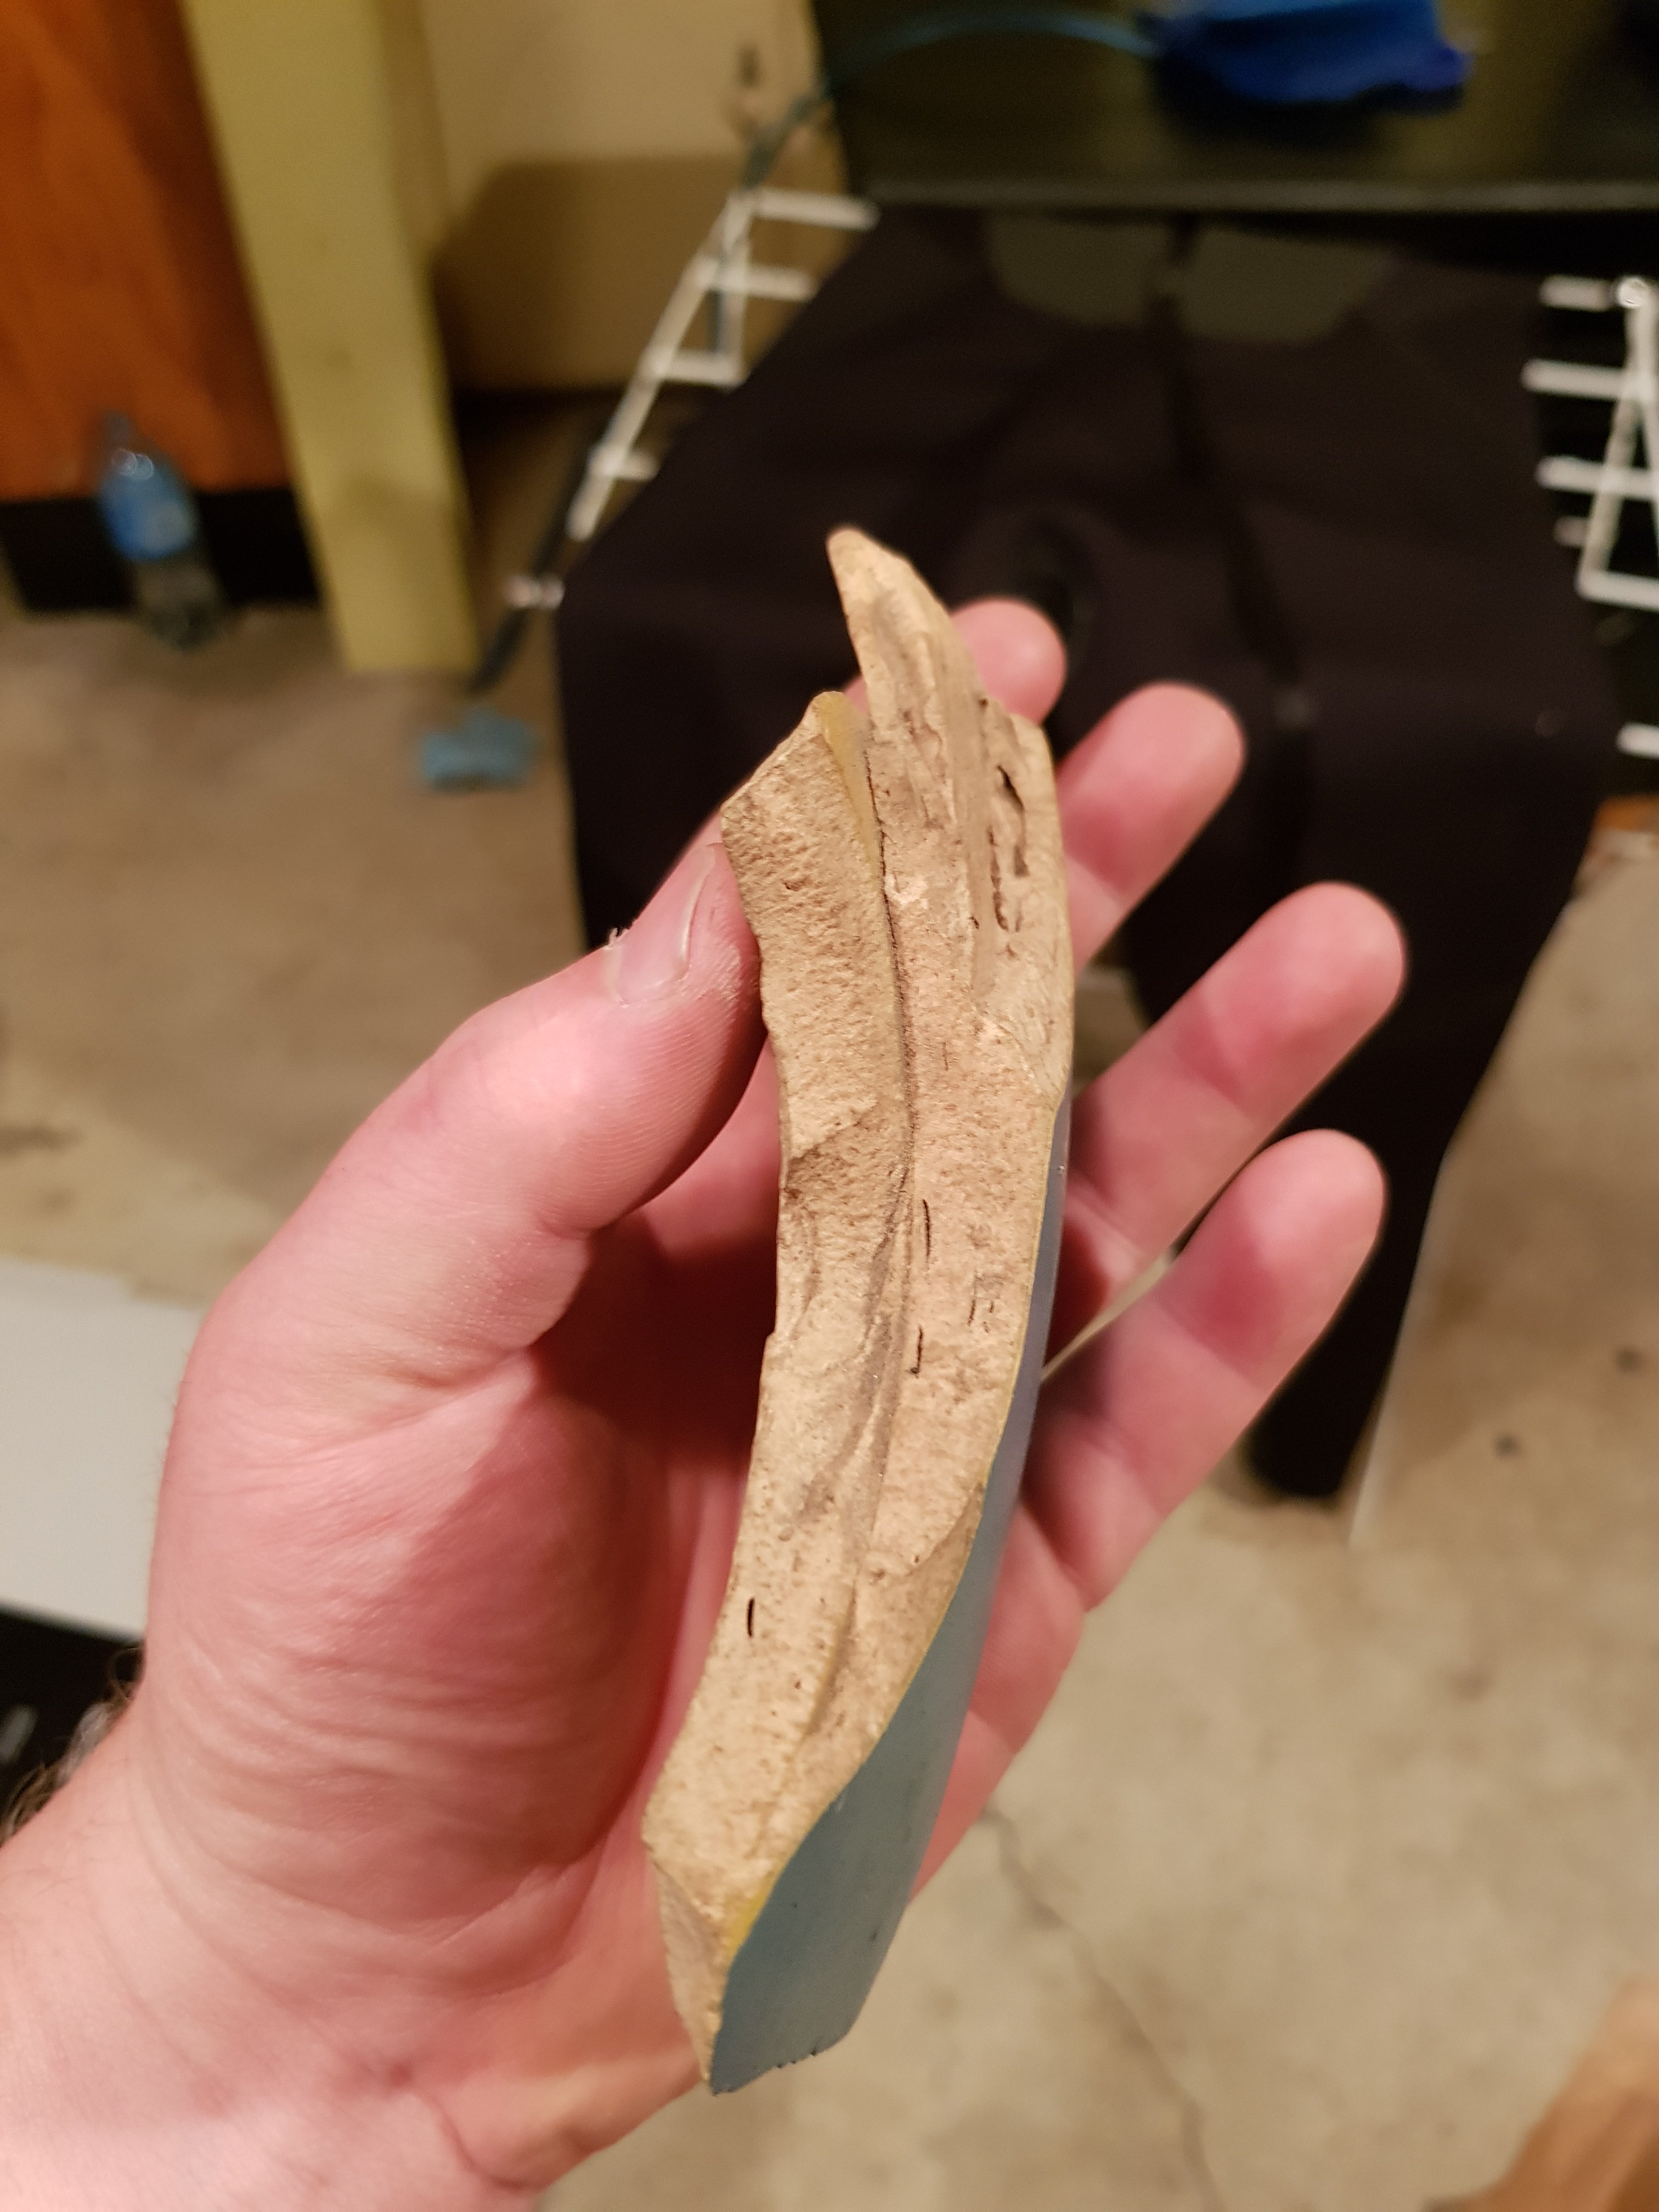
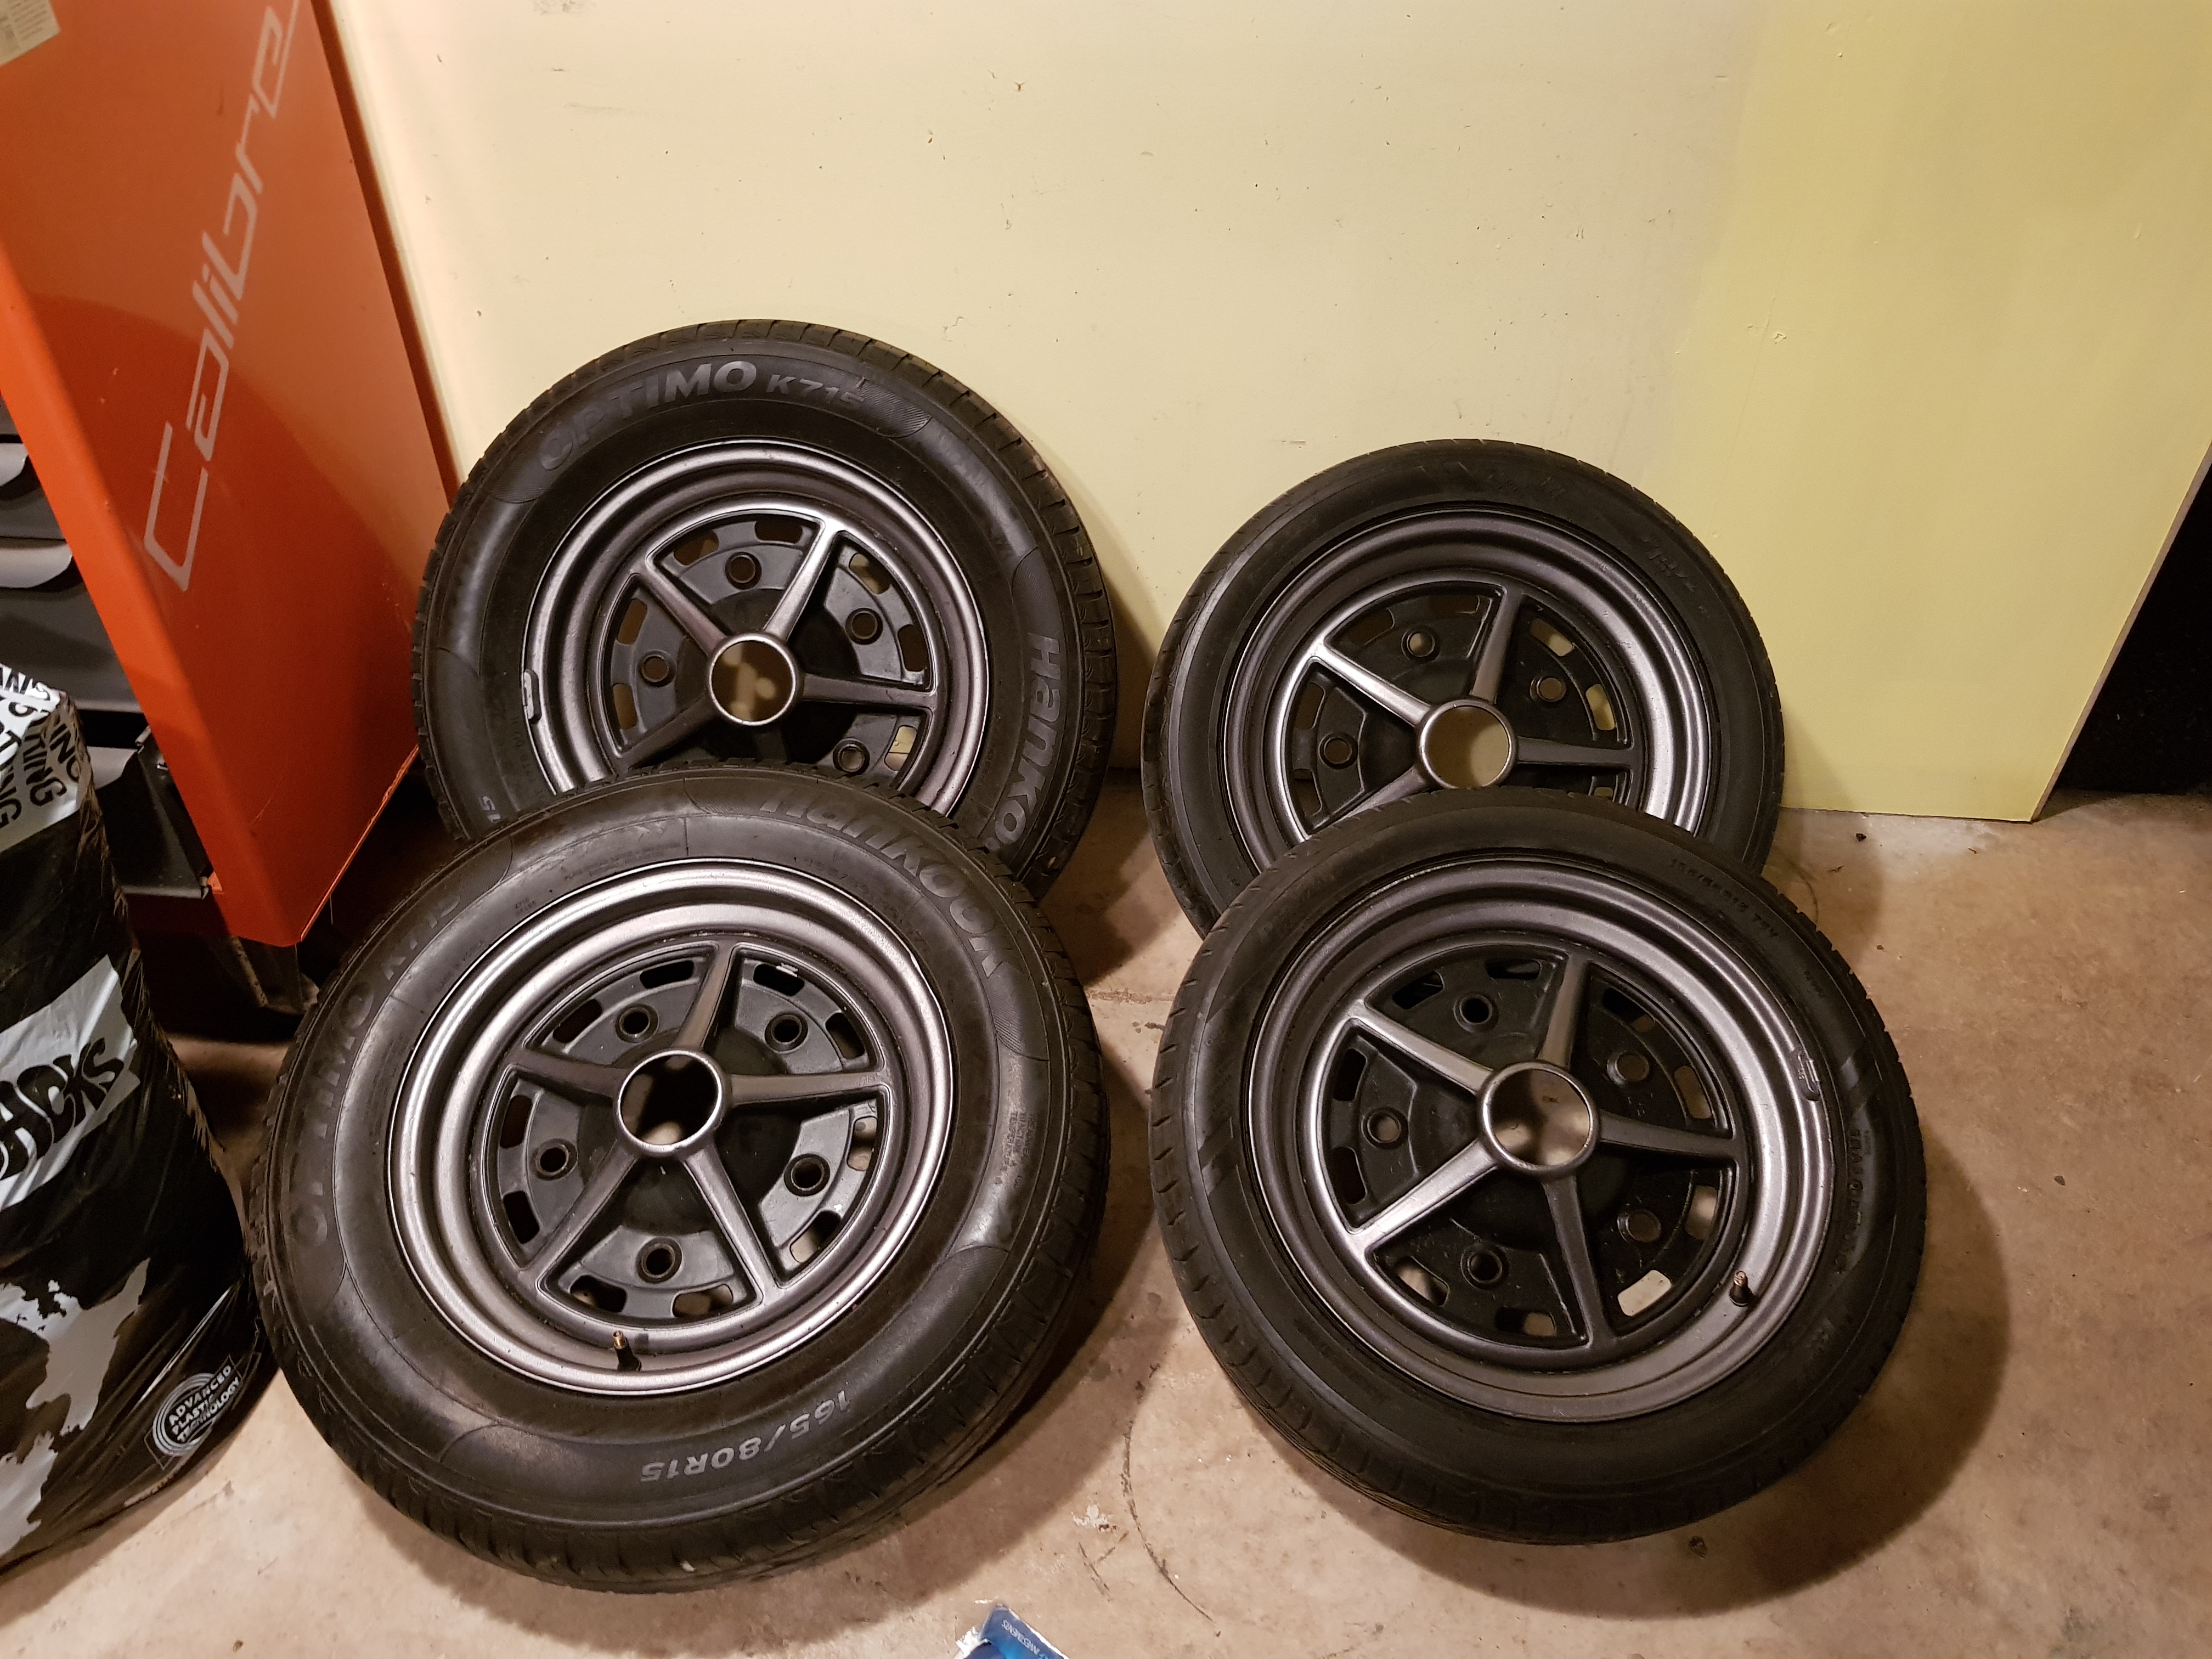
So I thought I'd go pick up some more of the crap for the kombi. Thought I had a couple more things left. Turns out I had a bit of crap. Just heaps of little things that I thought I was going to have to buy off another wrecked buss, window mechanisms and random stuff like that. Several boxes of goodies and a petrol tank also. Even got a bit of the old buss. Nice peace of bog that was out if the left rear quarter...... Covering that dodgy repair. Also shit upto the north shore and picked up these sprint stars. Pretty wrapped with them. And the size tyres I'd like to run also.
 11 points
 -
Hey Team, dug out a heap of photos of my old Lambretta project. Warning - a lot of photos and wofting on from the last 4 years or so up to present day so I will split it up into a couple of posts. First off, much like my Range Rover project I blame my parents. Dad used to have a 180SS Vespa and travel all over the South Island on it. They then got me a brand spanking new Vespa PX200 for my 21st birthday which I still own. Any how, all their fault and then my mate Rob's - who let me have a hoon on his Lambretta one lunch time. I was sold, I needed one! So much more fun to ride than the fat bottom Vespa. The hunt was one! It took me a while to find an Italian built Lambretta, most for sale are the Indian ones from the 80s. I got this 1963 Lambretta LI125 Special from a chap on the shore who built it many years ago and really liked matt black spray paint... It had a few trick bits on it and went pretty well. It had a pretty spicy Ralph Saxelby RS175 small block kit on it, ported barrel, suzi piston, snazzy AF crank, 30mm Delorto carb and a clubman exhaust. It was dyno'd around 15.5hp and a lot of fun around town but only really made power high in the rev range, not so good for long distance hoons. Any way, time for some photos. Chronological order up until present day. As I got it, naff GT badge and a lot of mat black paint. Nice Yamaha R1 shock on the rear and the old RS small block. It used a lot of gas but made a great sound. The small tank was soon swapped out for a larger long range tank in preparation for a 4 day 1600km scooter rally (race). Looking back, kind of dug this look. Tyre paint helped! Scoot all prepped for rally. We road from Auckland up to Cape Reinga in back over 4 days. Around 20ish scoots in teams of four and averaged 400kms a day. A few road side repairs and tunes along the way. Clutch cable change at the Cape Reinga 90mile beach run with open carbs... Side panels not wanting to stay on at 100clicks... Any way scoot went great over the four days. Used a heap of 2stroke oil at 4%... My first DGR ride, good fun but a really heavy race clutch and slow a ride was hard work! Next years scooter Rally on my mind. Time for face lift and the need to be faster! Time for a re build that ended up getting really out of hand and still in the process today... To be continued tomorrow...9 points
-
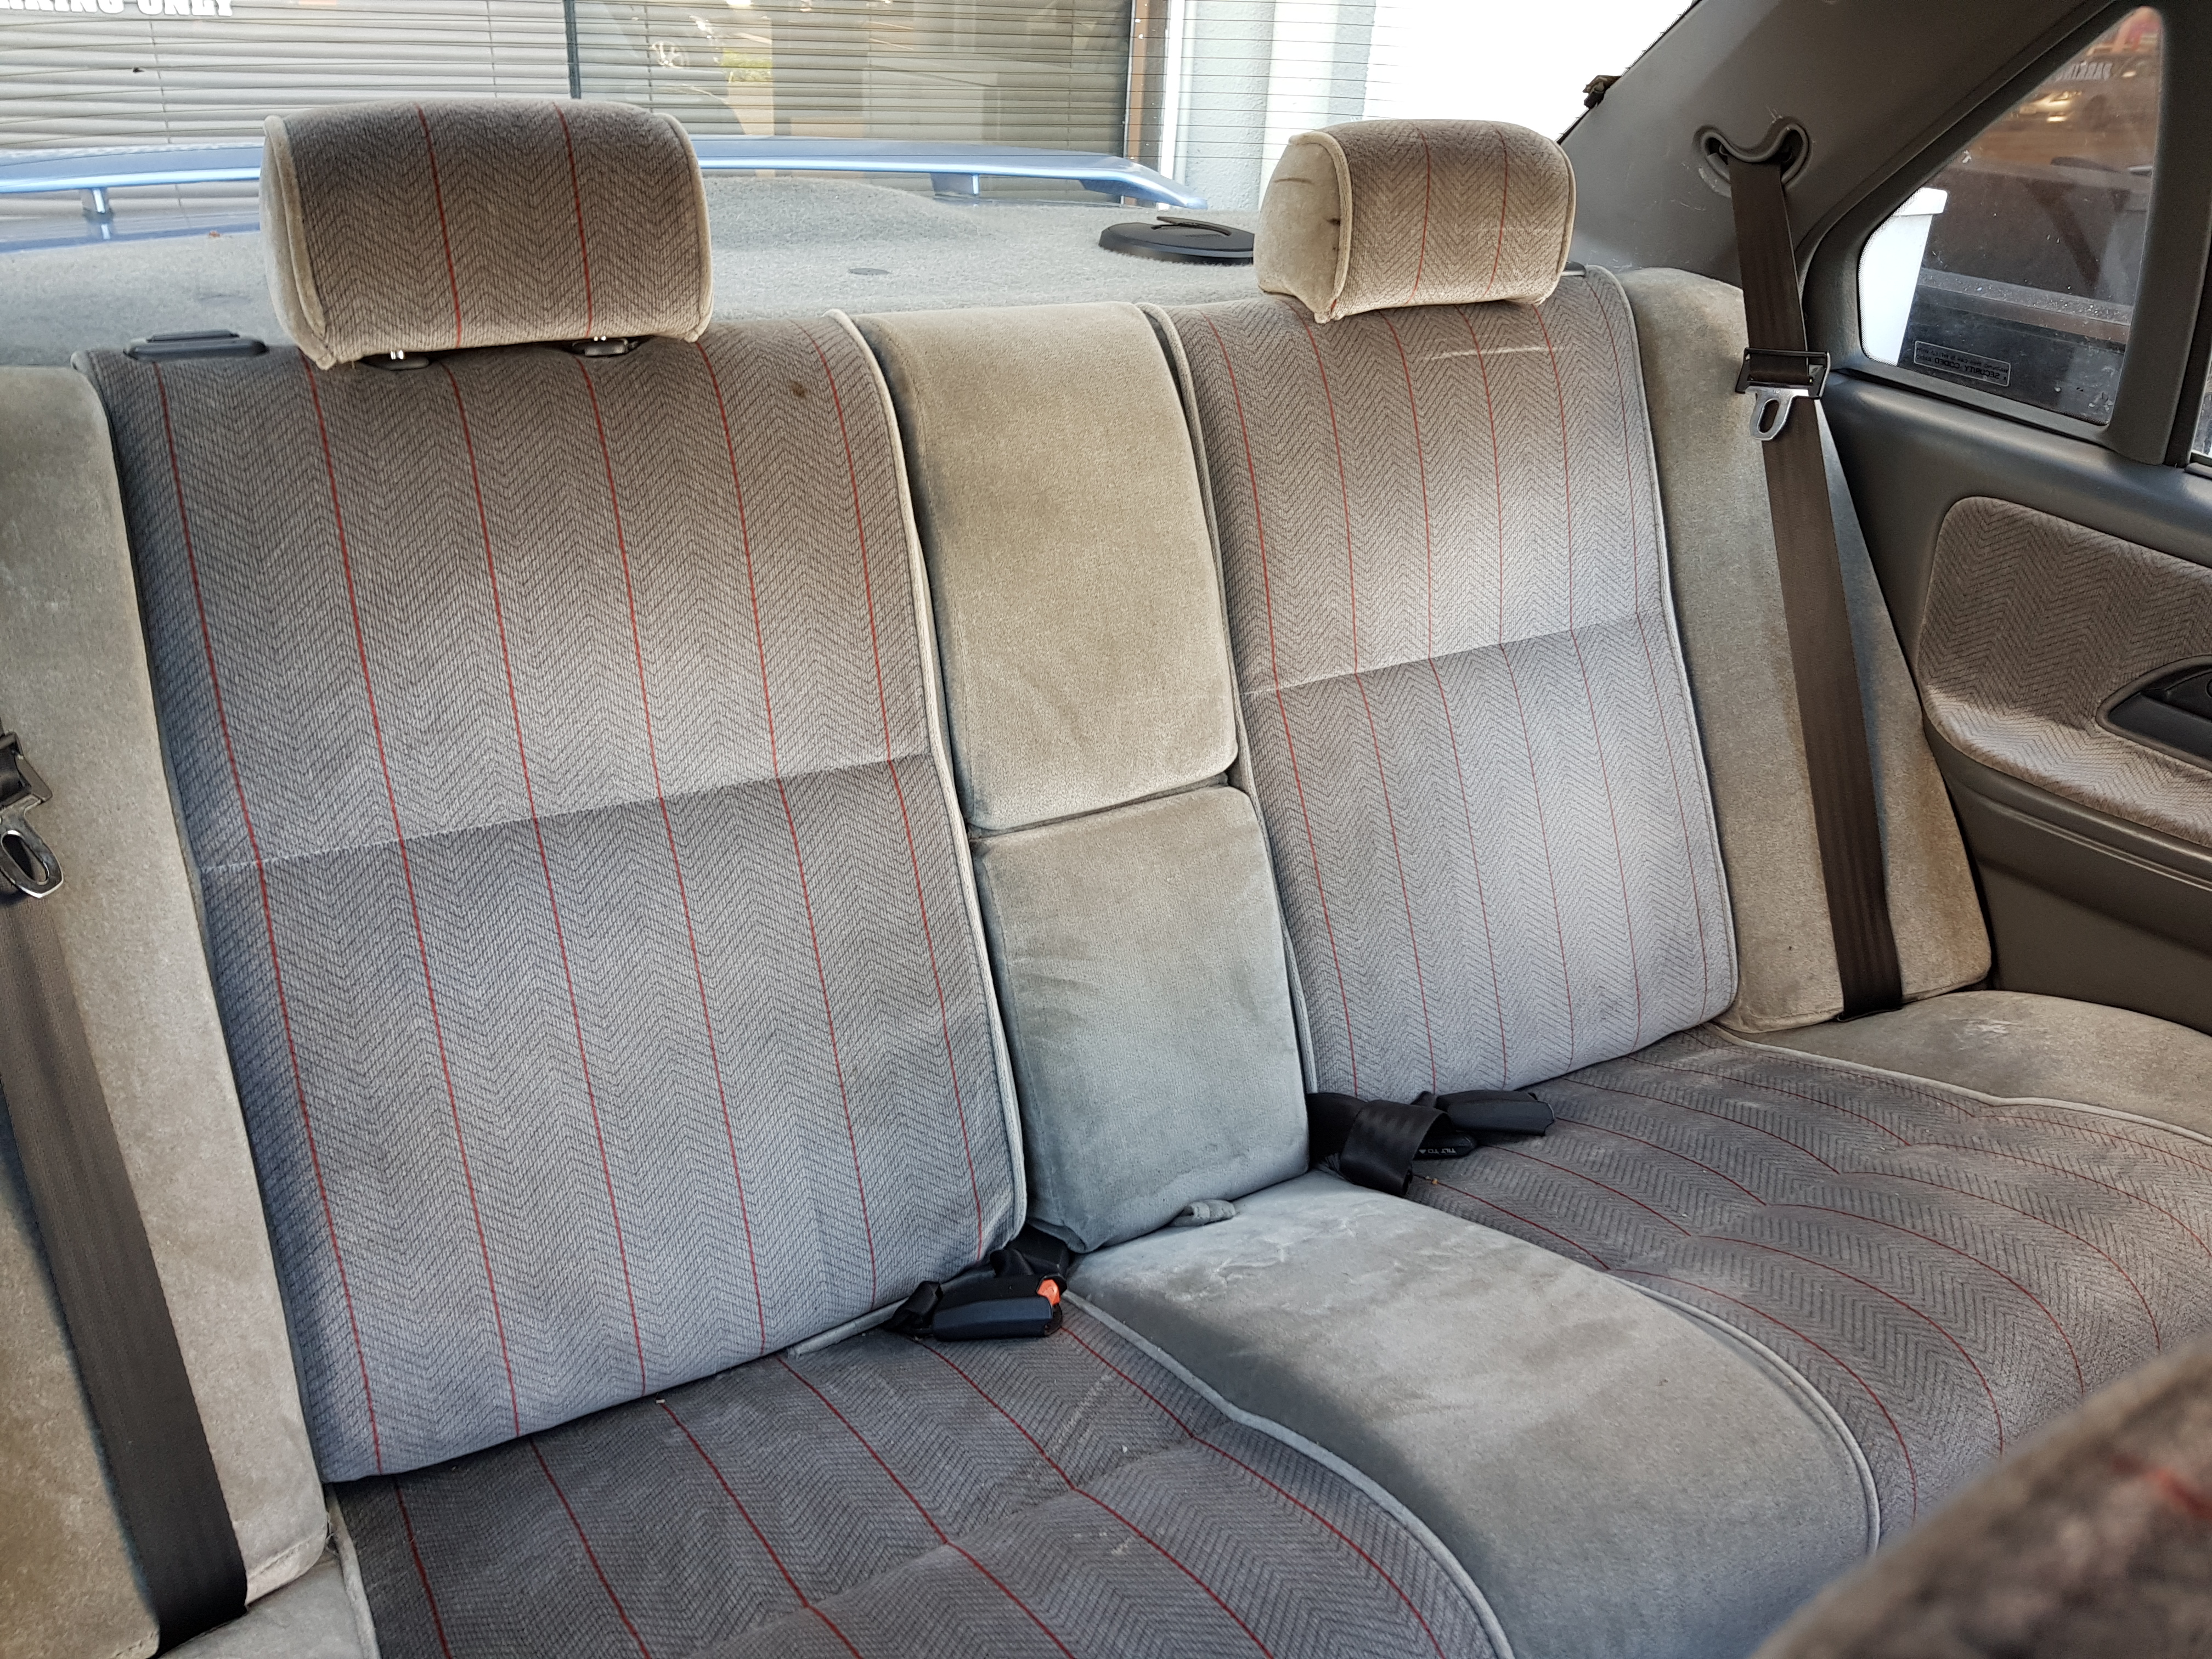
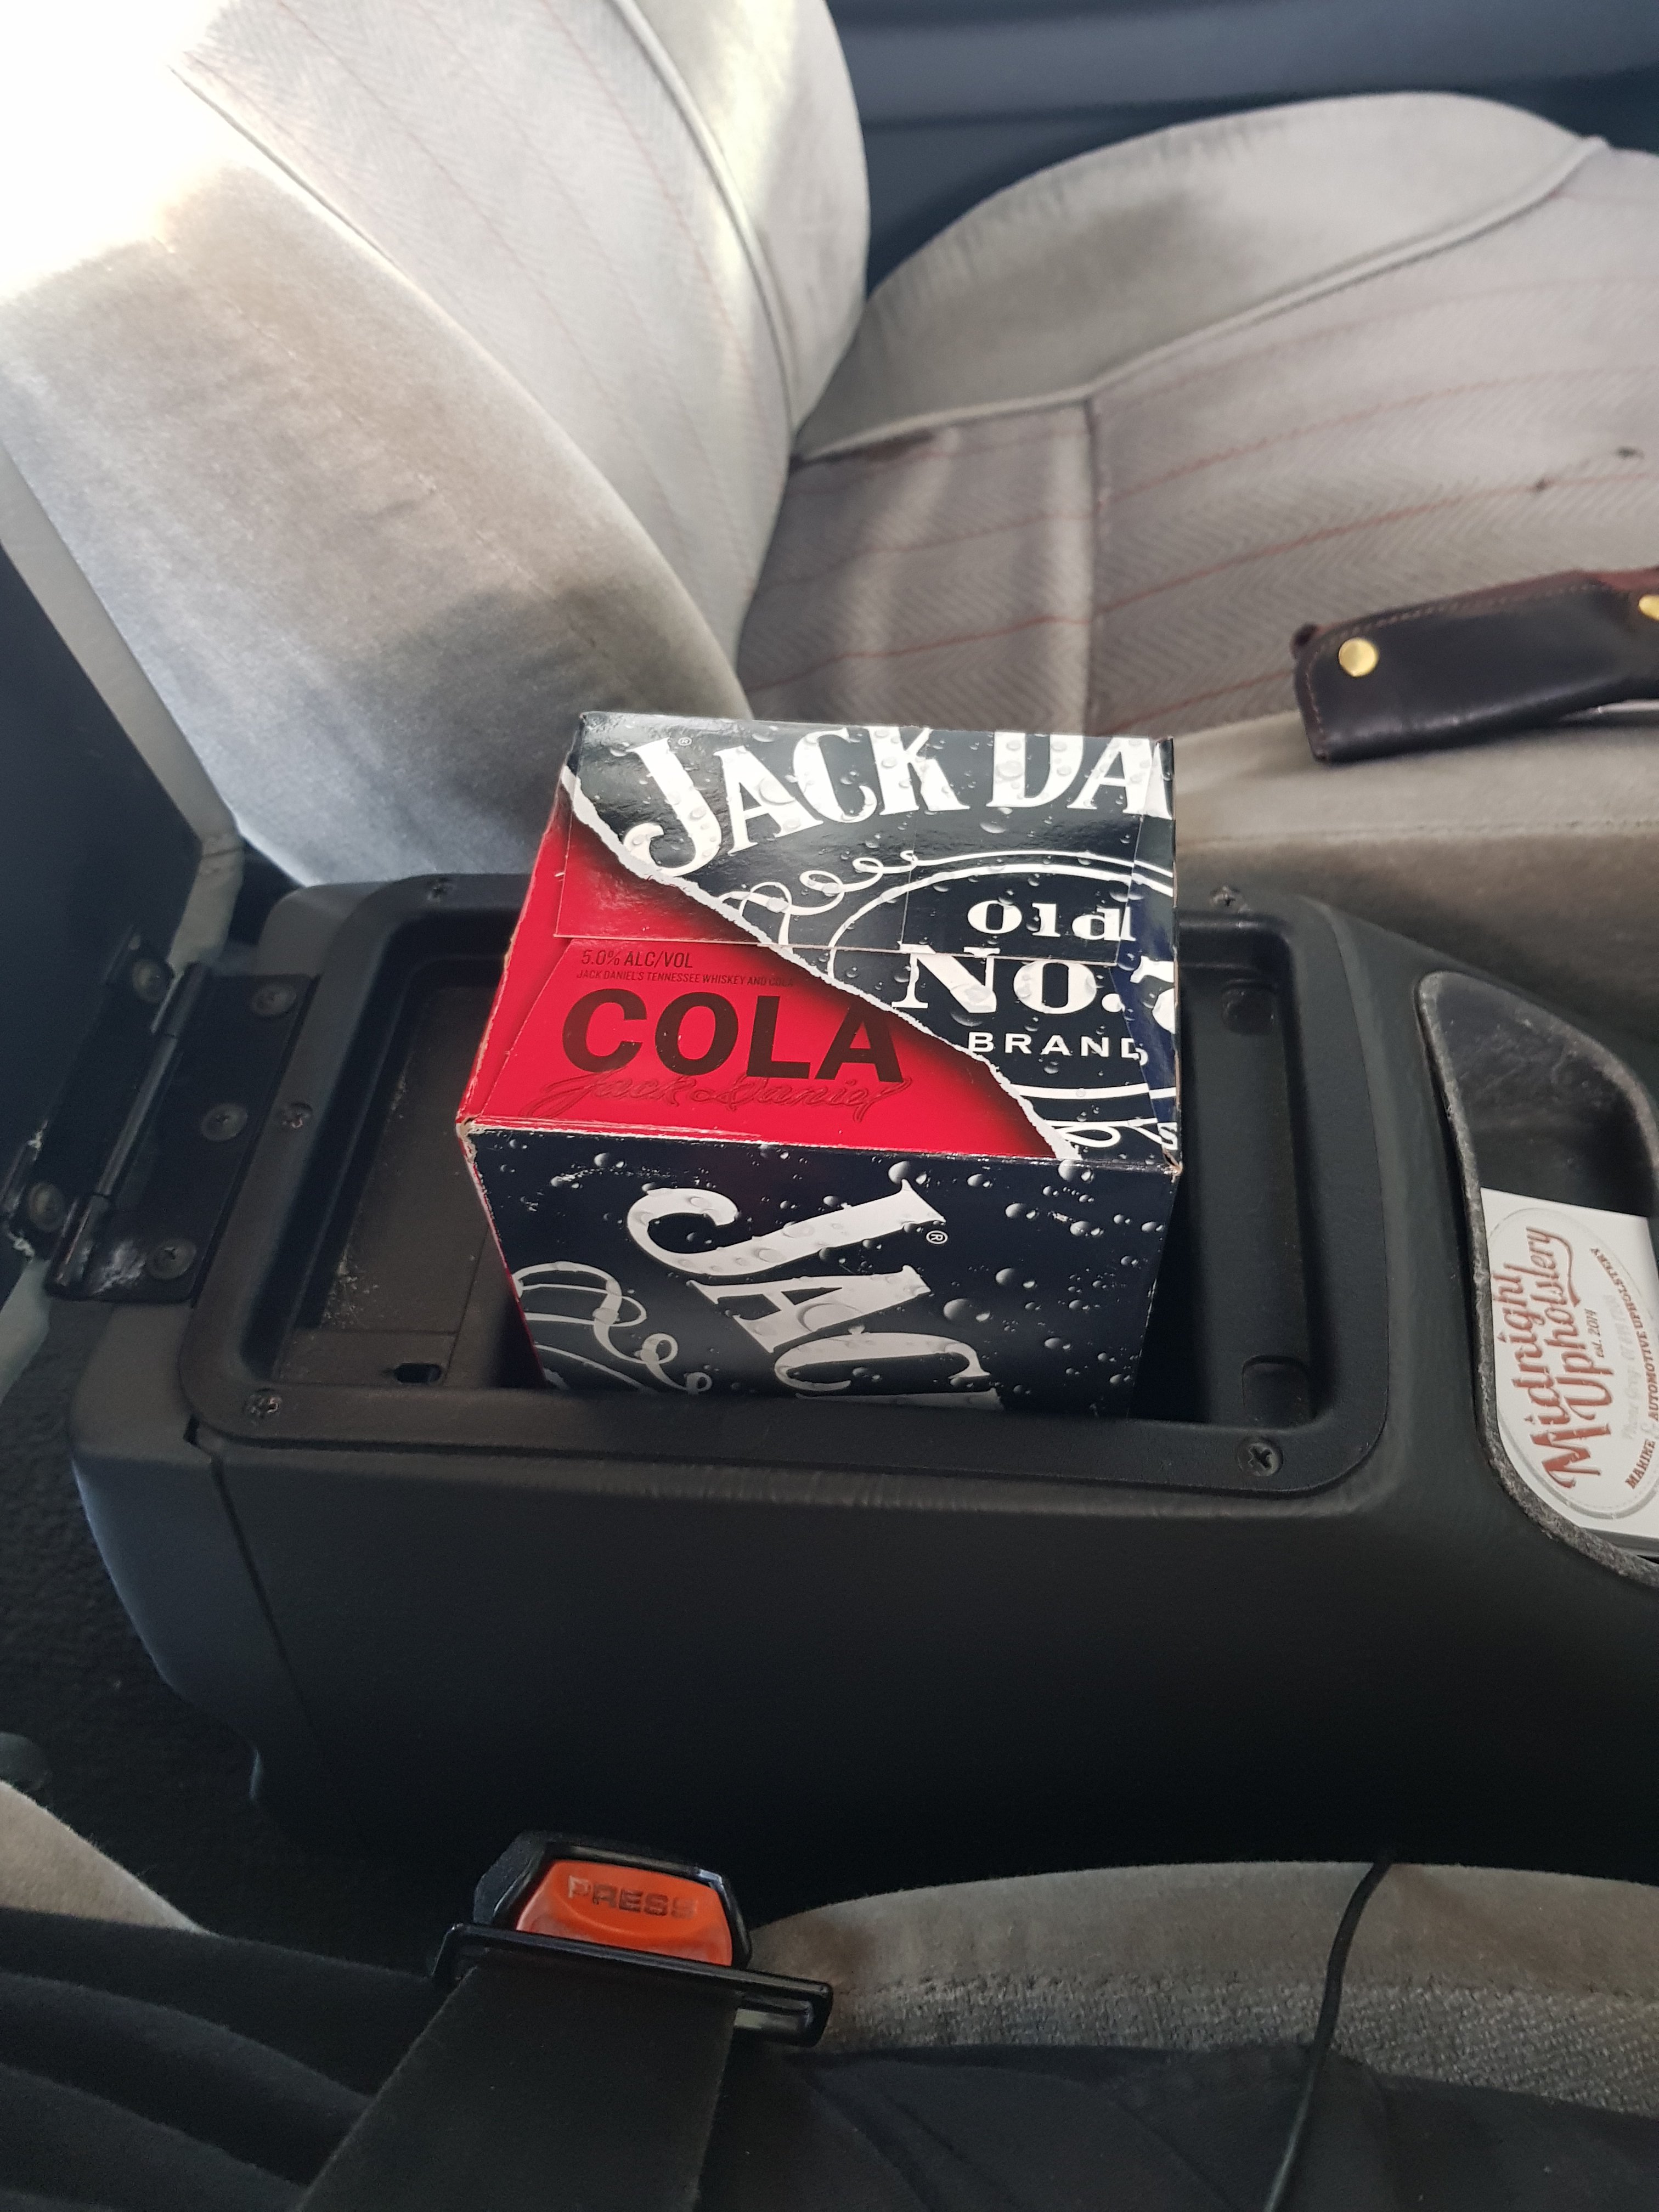
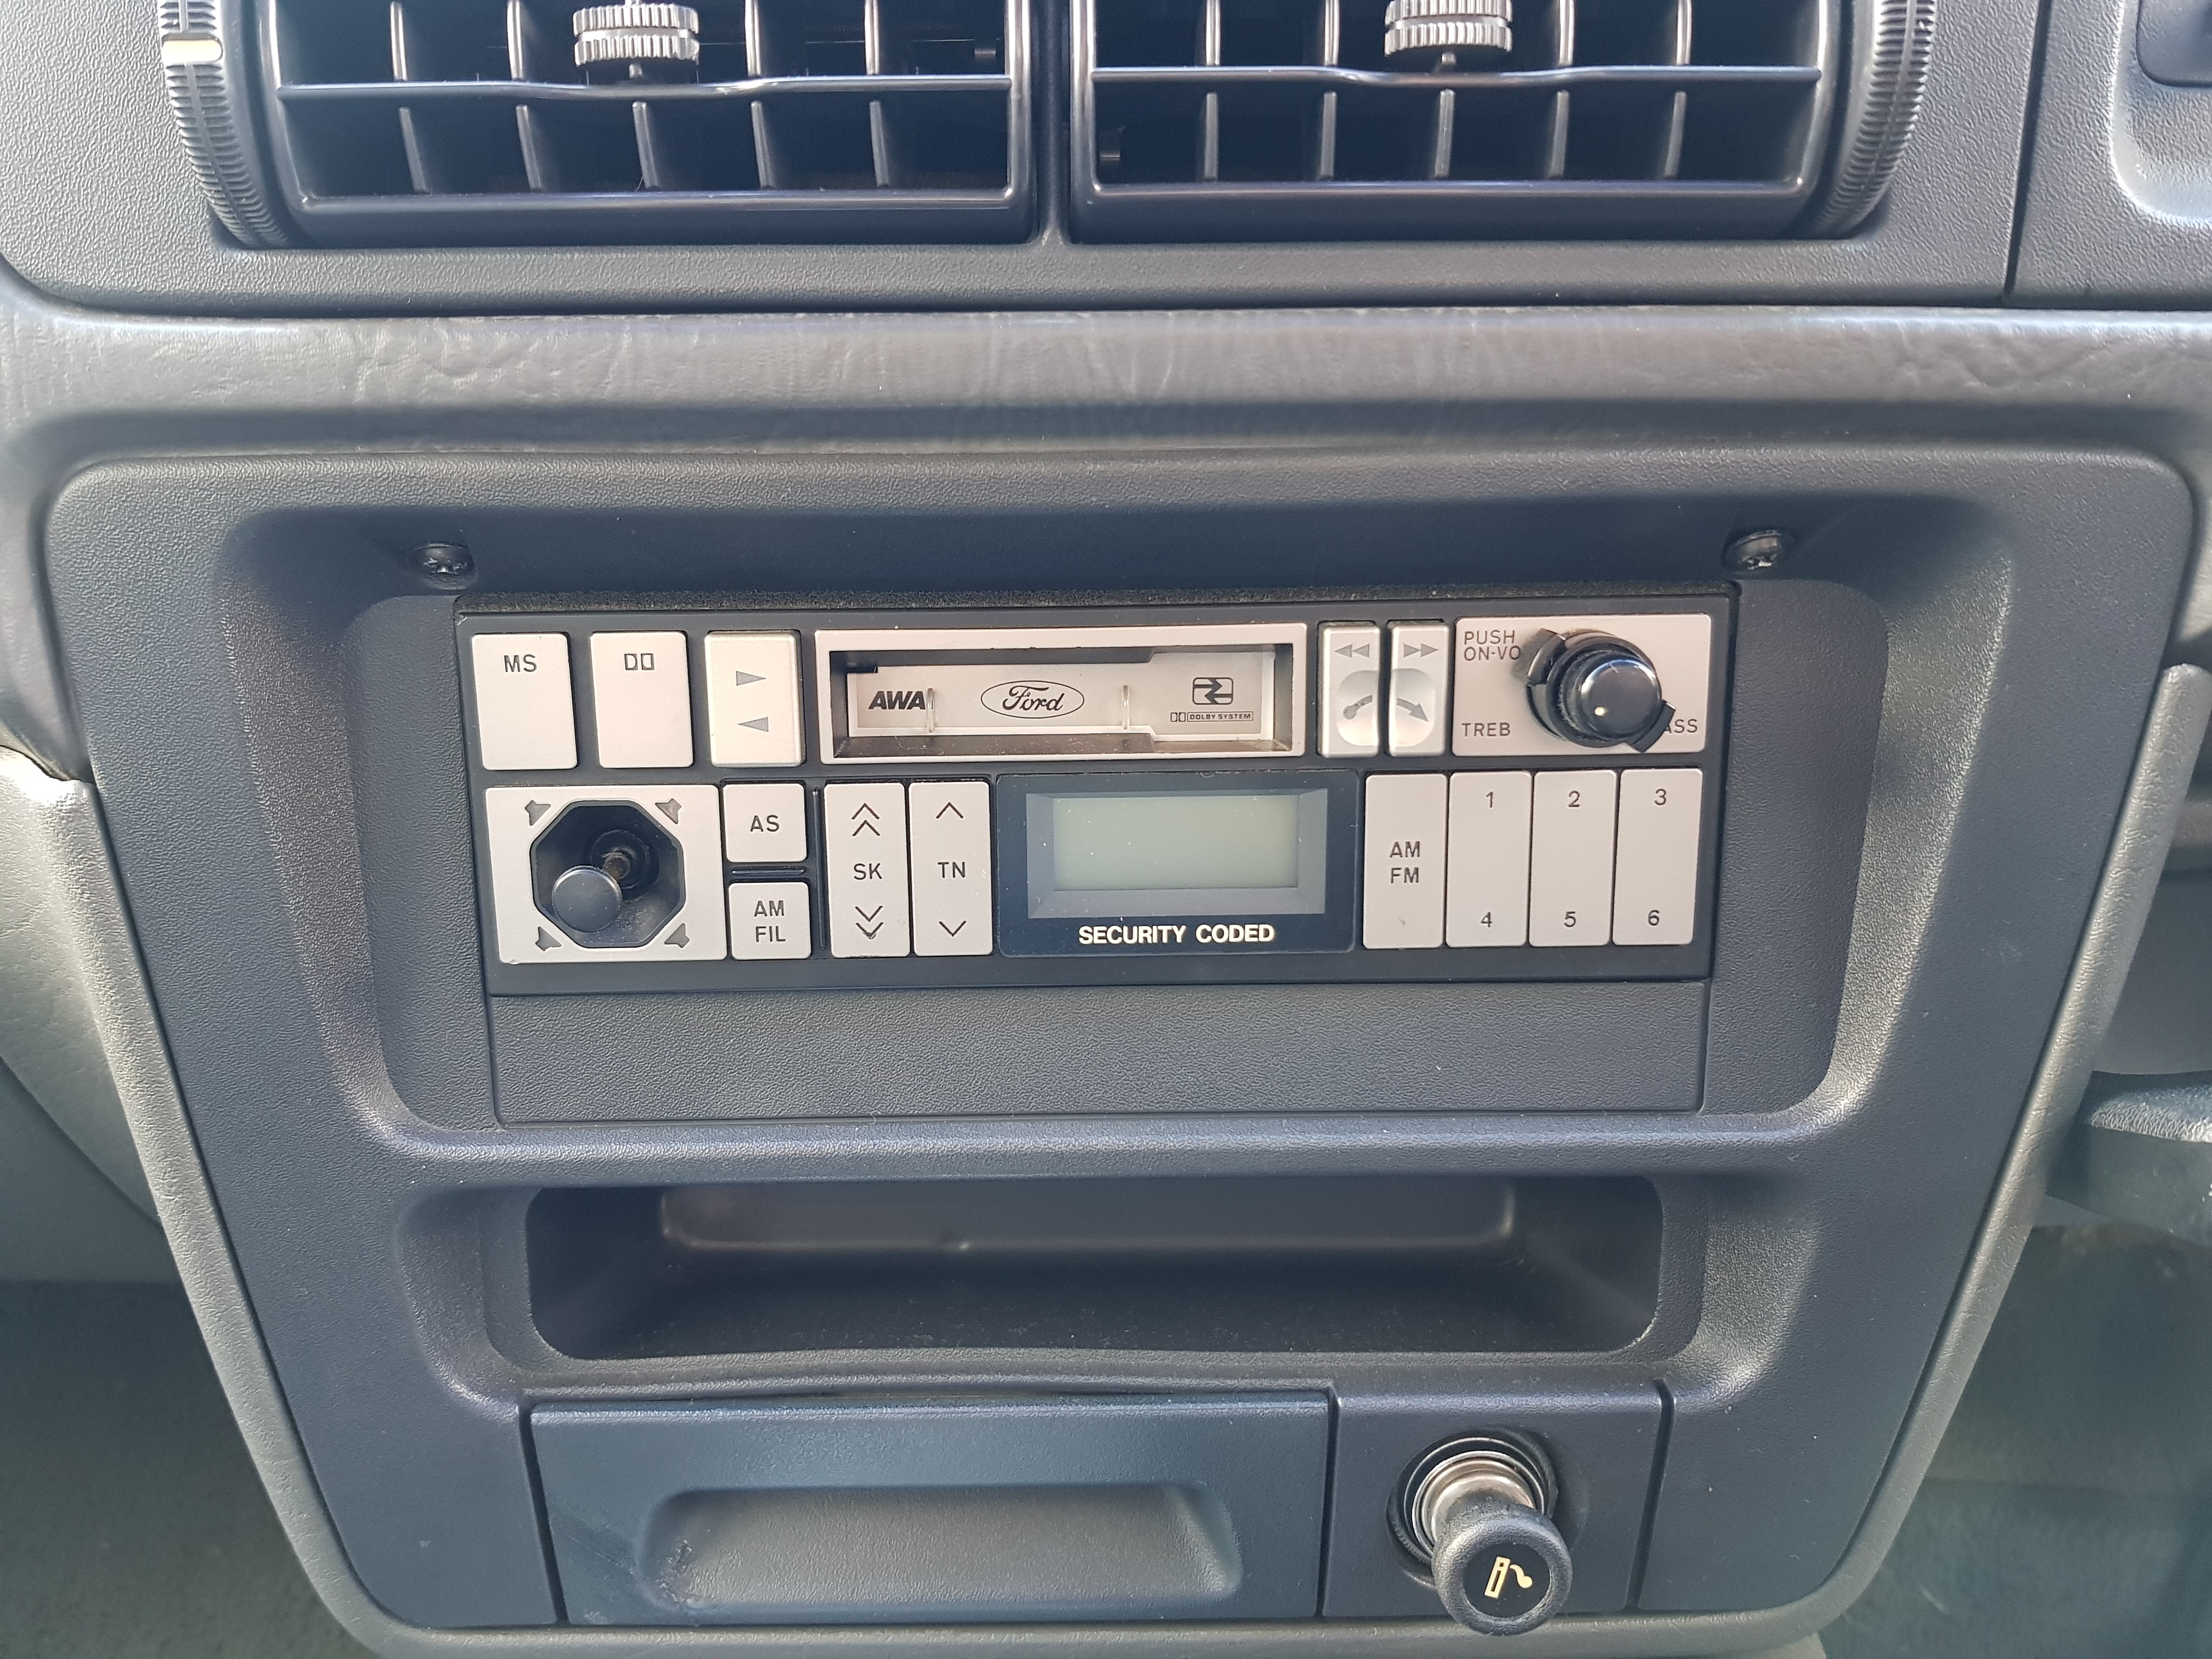
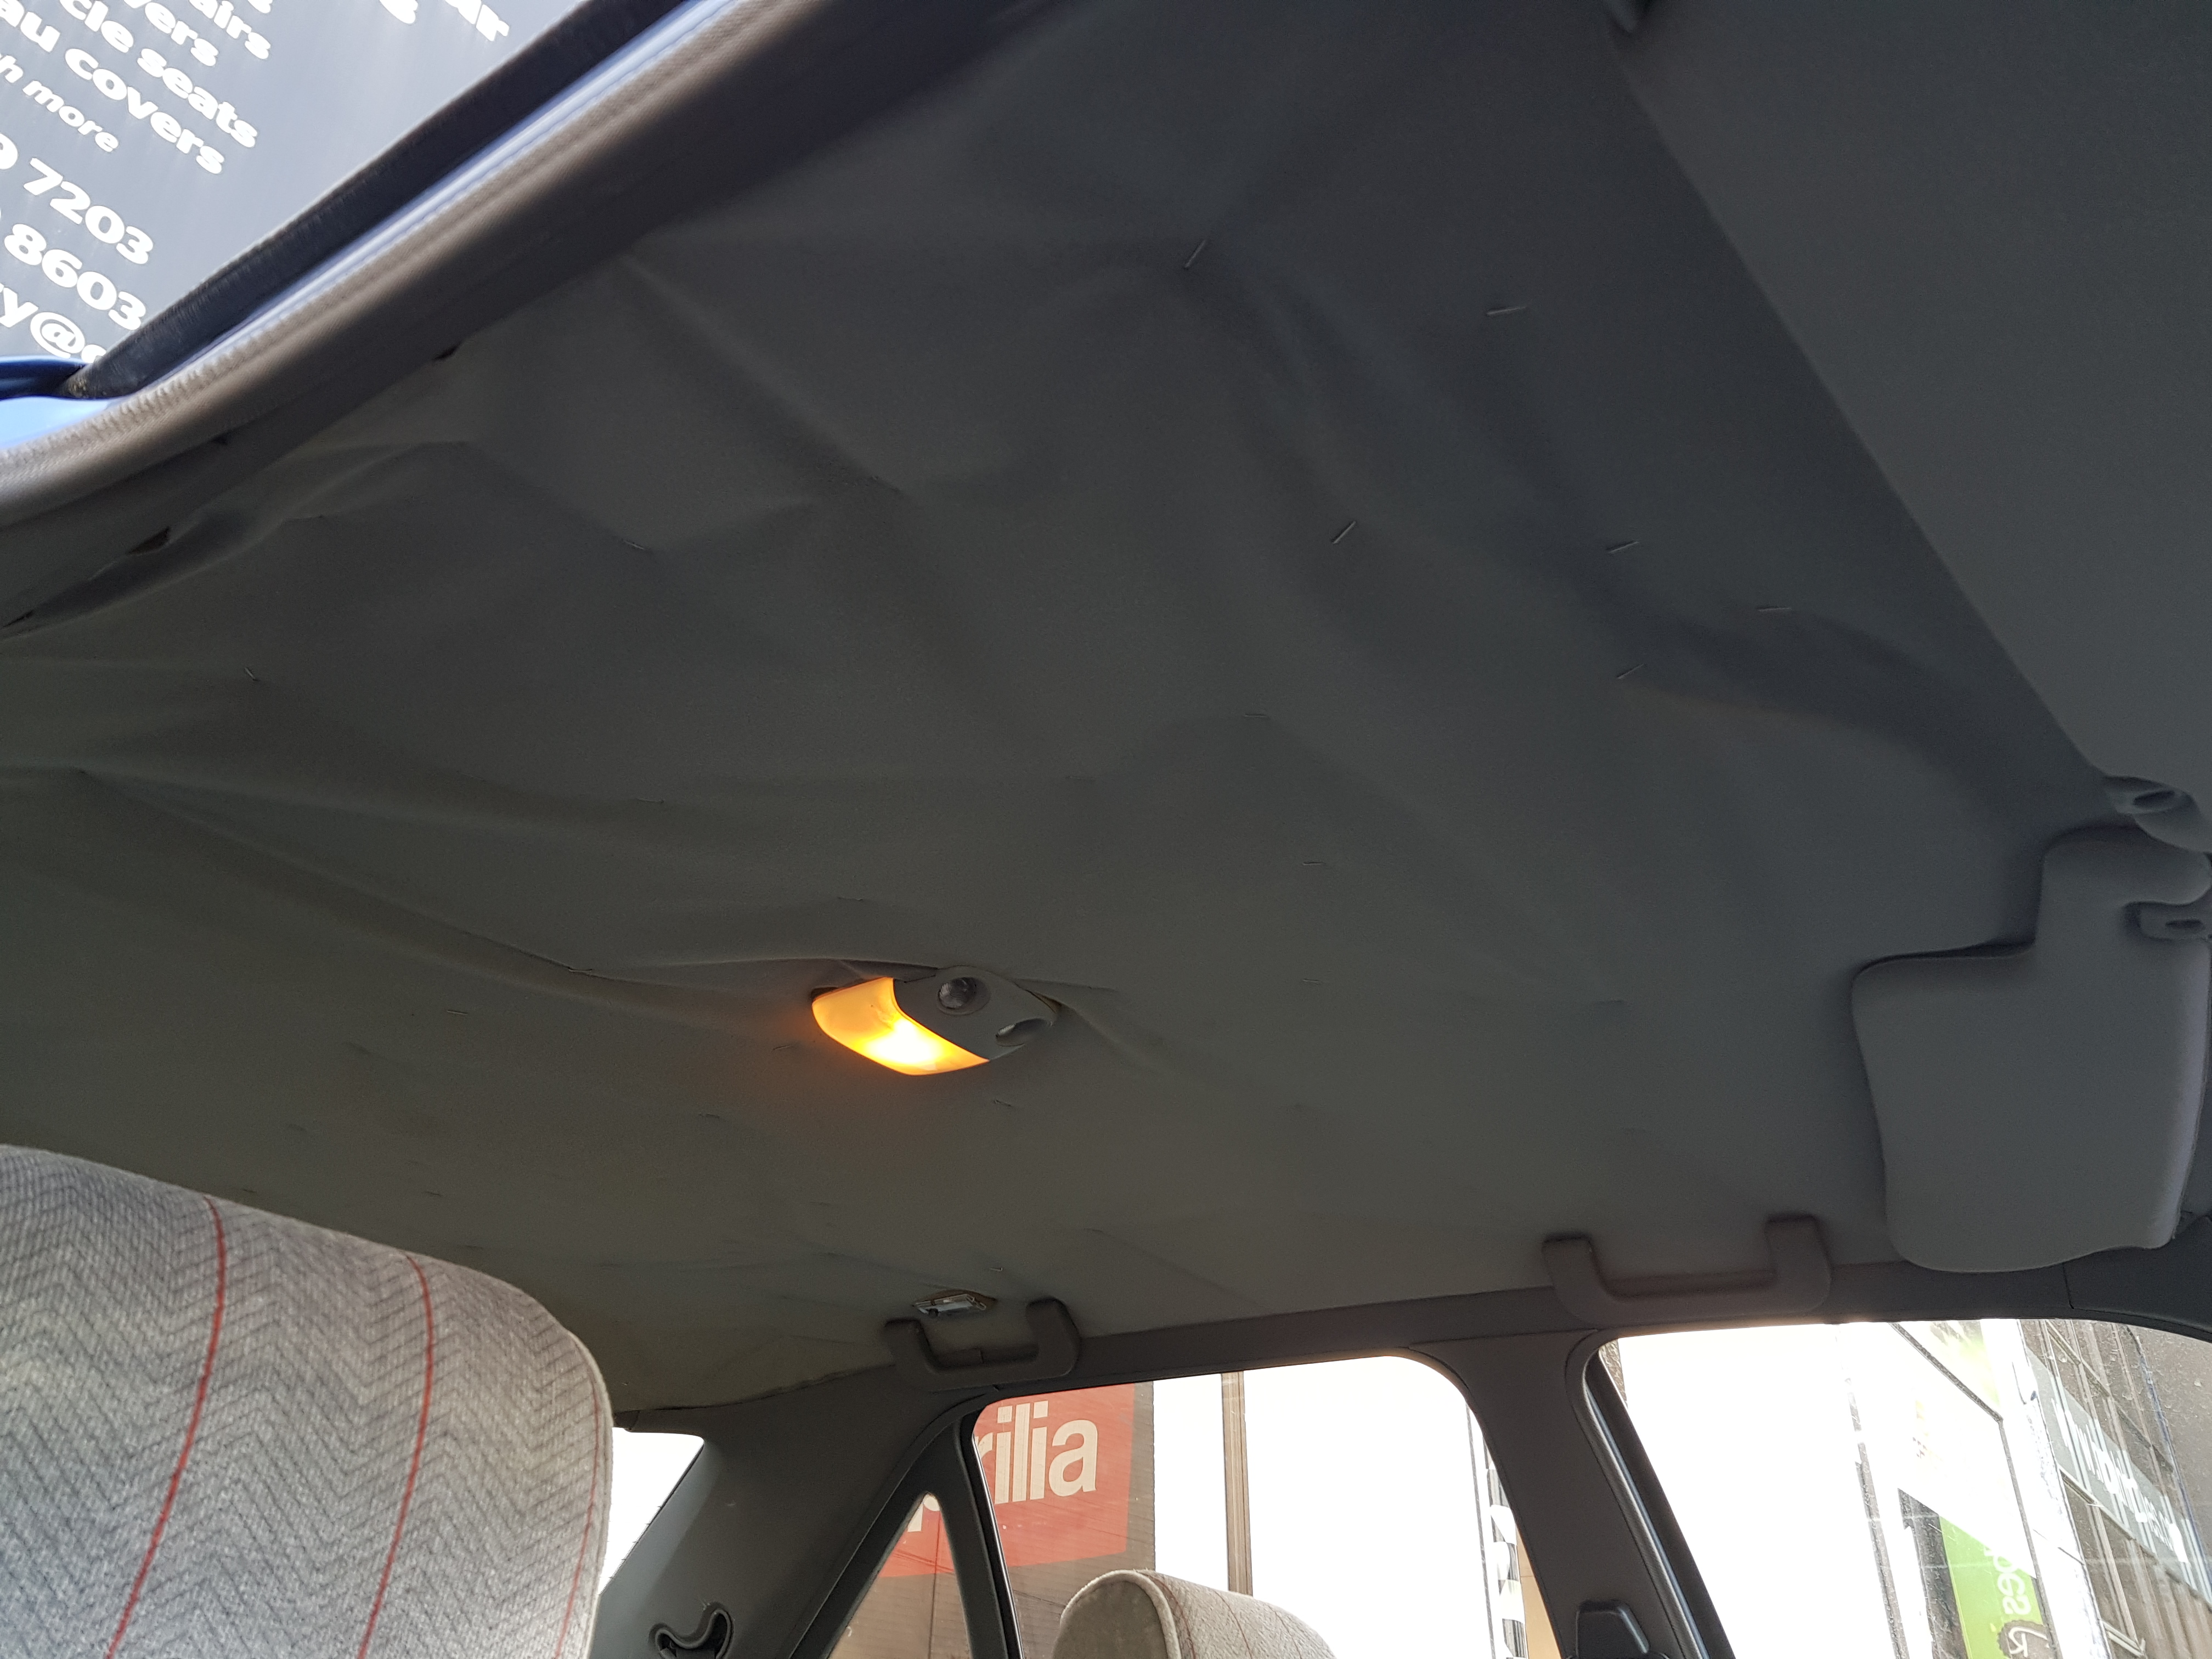
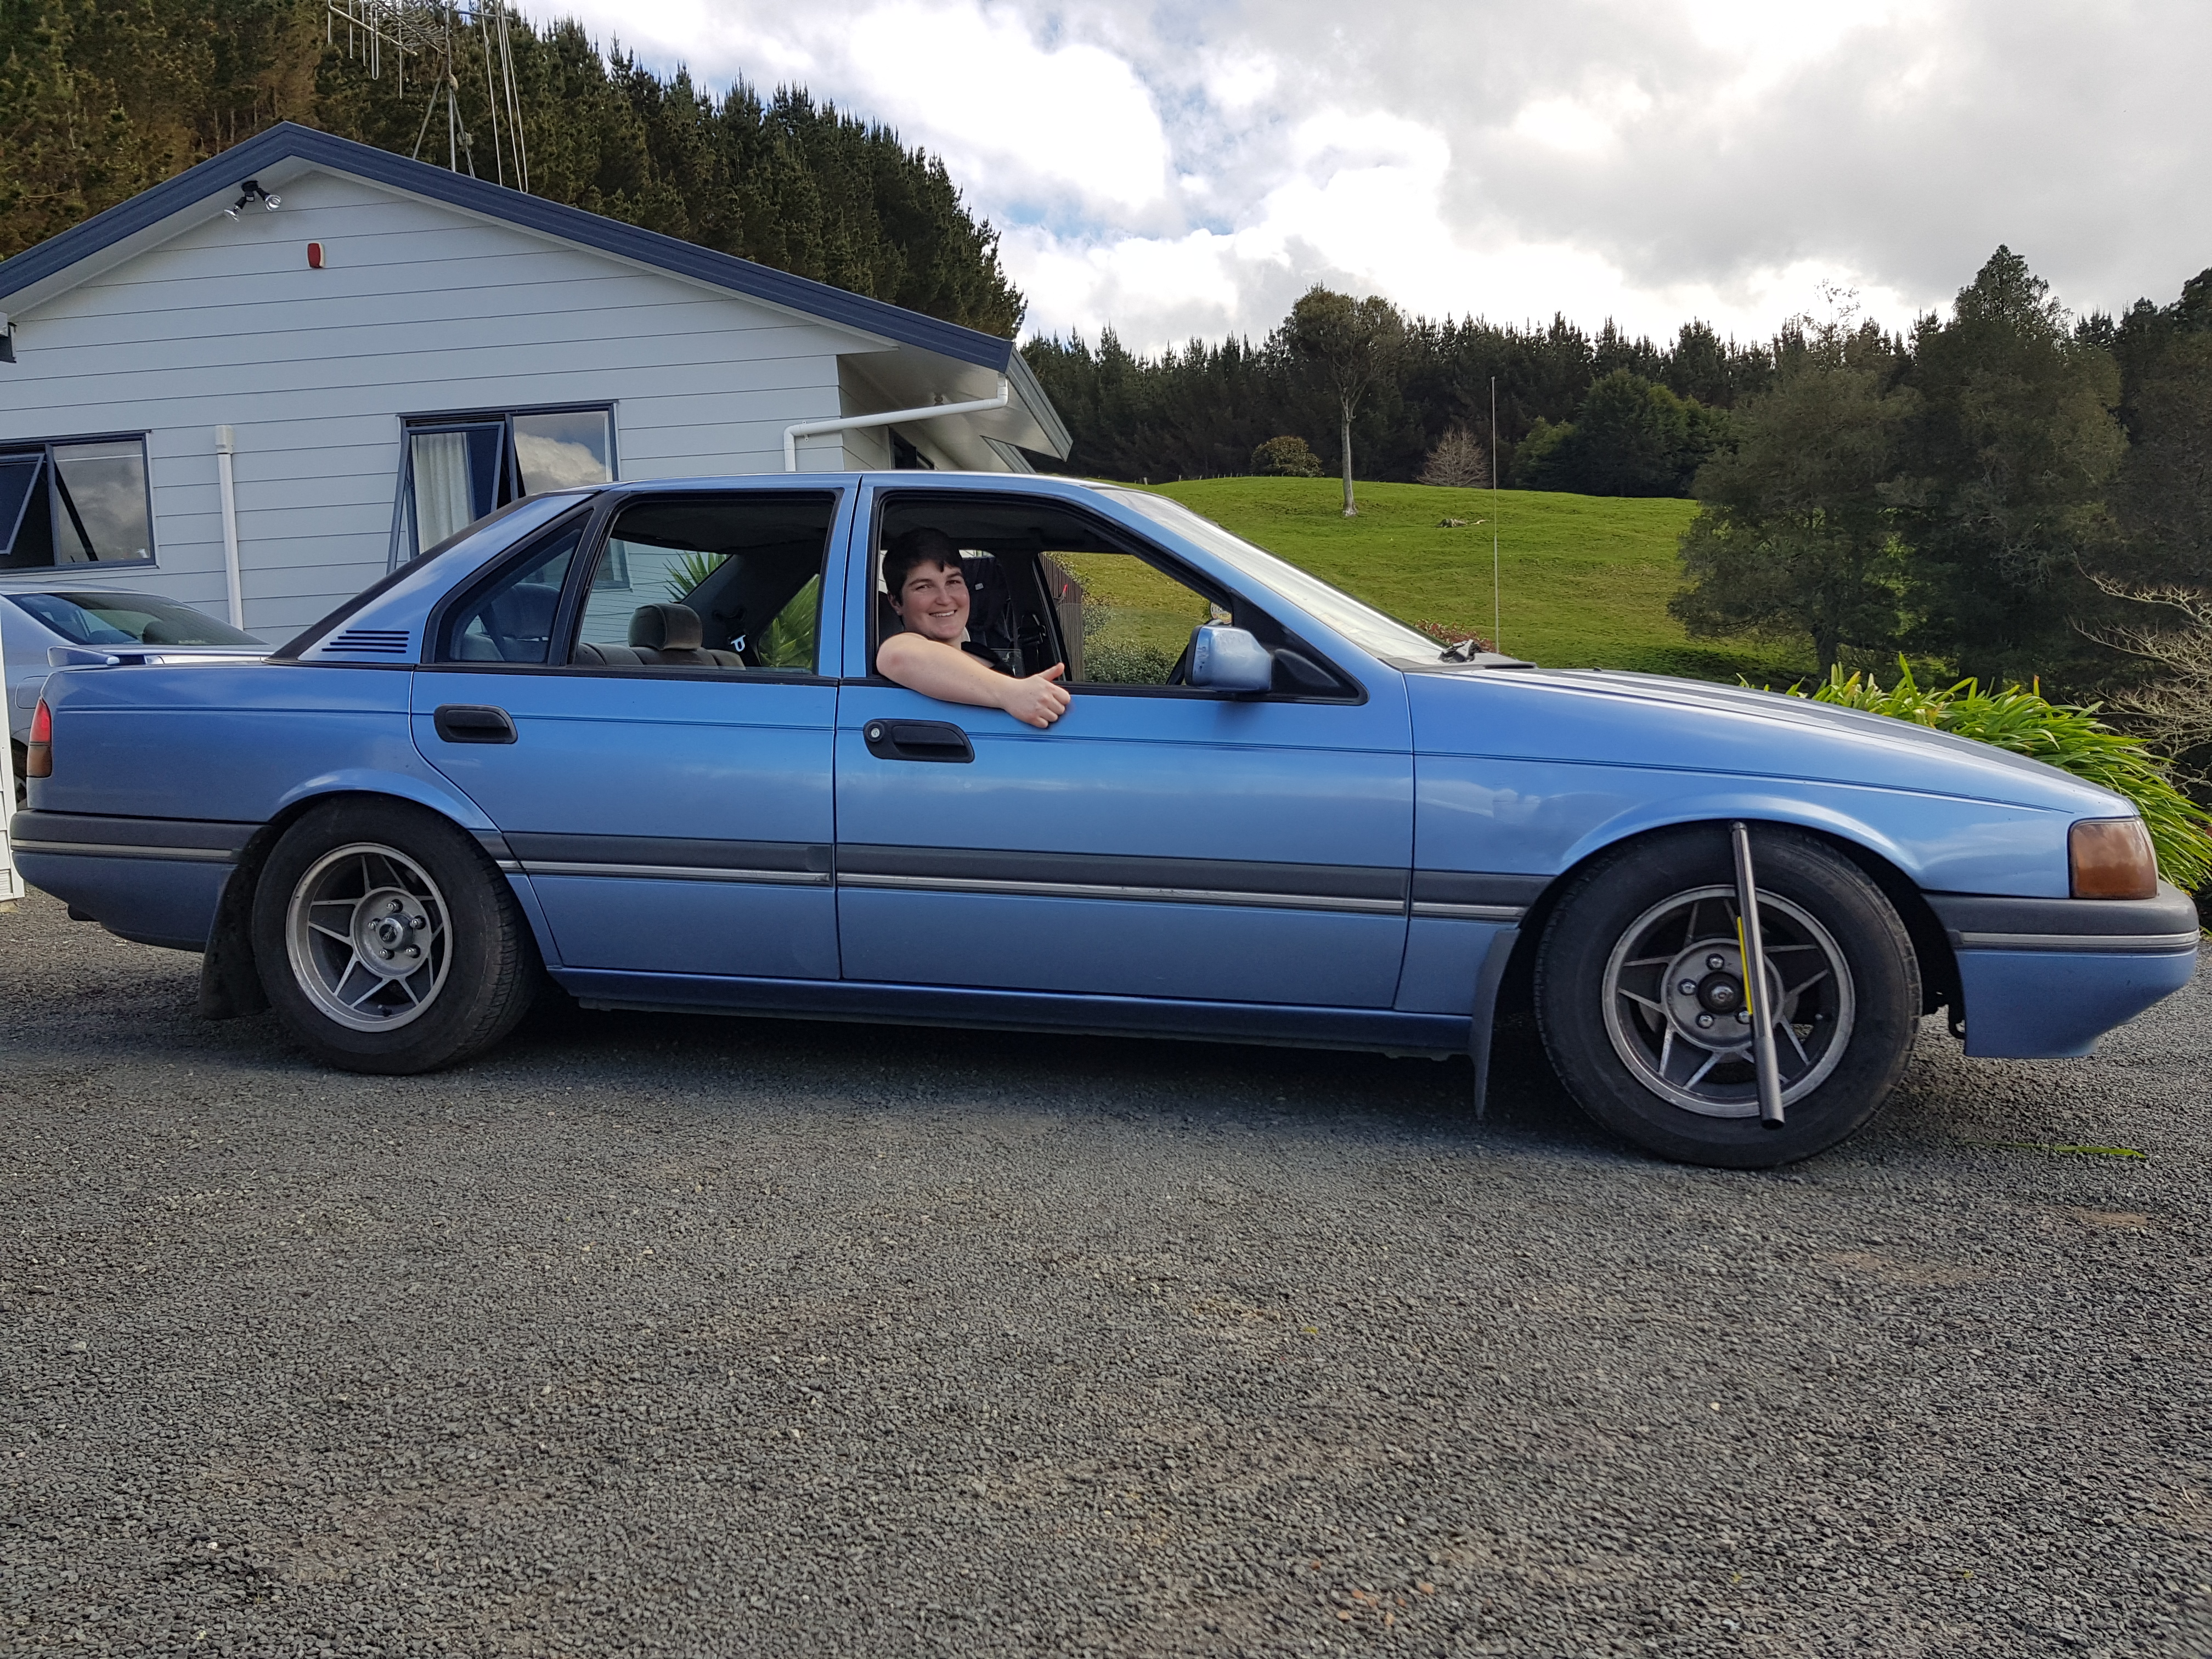
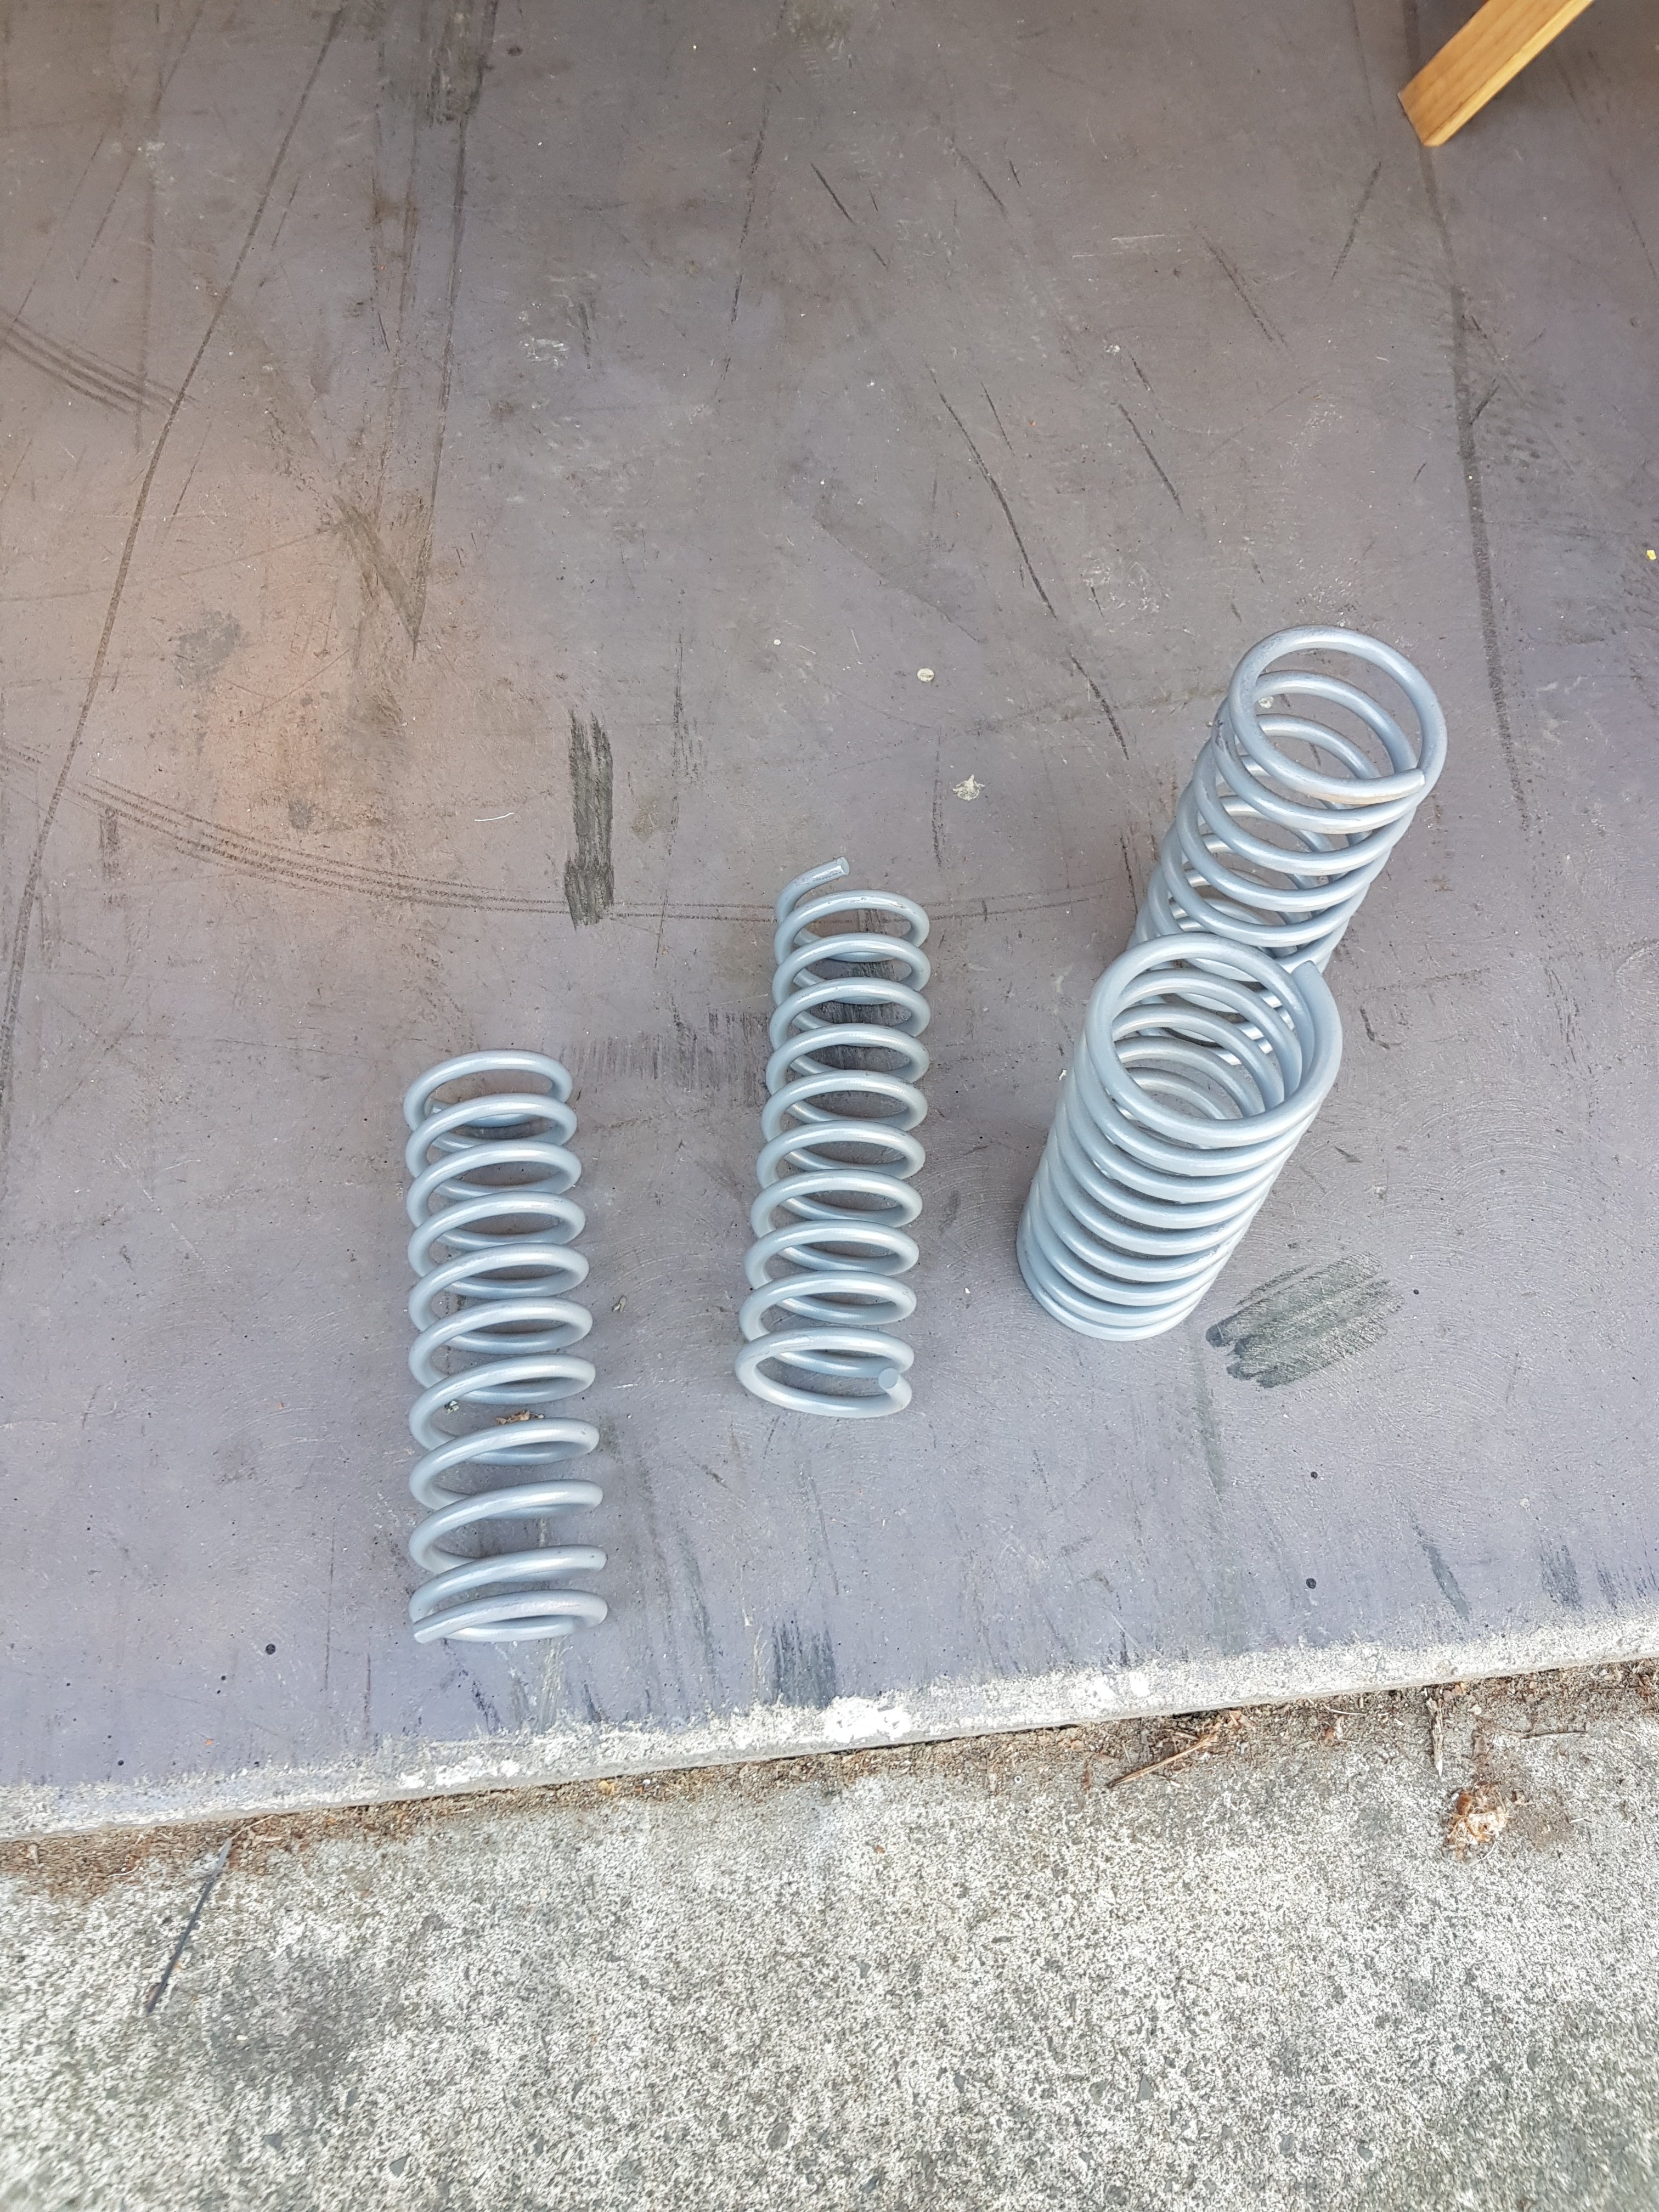
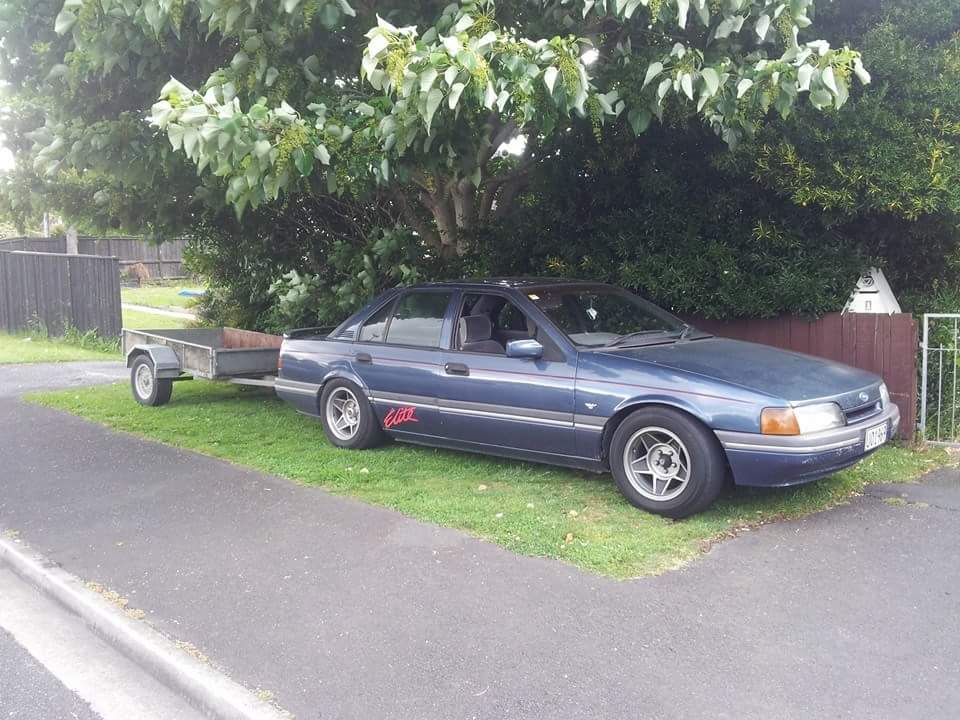
So as a few of you probably know. Beth had a little car crash and no longer has a golf. We said we would buy myself a cheap run around and she can have the Subaru and put the rest of the money else where. So I brought a ea coon. I brought it cause previously I had one I brought for the globes and I then sold it. Kept the globes though. I rang a couple of places to get lowering springs... Scratch that Ill get them Compressed at spring town in Frankton. Time to lower the the bad boy again. Had to roll the guards a little bit. Chur to the help of @Mrs 64valiant Still got factory radio in it. The battery went flat last week. Luckily I still had the owners manual with the code in it to unlock it. The interior is in pretty good condition. Hahahahahahaha They sure don't make them like they used to any more. Currently scrolling the net at turbo set ups. And I need to lower the rear a bit more.
9 points
-
So. What's up with the above pic? Well long story short I got annoyed at how loud the fuel pump was mounted hard to the chassis. So made the decision to go in tank. Was not as easy as I hoped as I didn't want to weld the tank, and due to very short time constraint (I had planned on taking crown wagon to hanmer, but my warrant man pointed out excessive play in the drive shaft yoke, which is a problem I have had before and can become terminal on a road trip) So anyway parts turned up from the states on the Thursday a week before heading off for Hanmer, and with the glorious help of Steelies and his understanding of what issues we had to overcome, got this shit sorted. 1 week later and car is in line at the ferry ready for the trip. 1100km later and mission accomplished. Only drama with the car was me demoing the exhaust on the off road trip on bridges up to fowler hutt. So its back up on axle stands once I get to the lock up again, remove exhaust and fix what ever leaks and issues. Then..... its pretty much done. Just a decent clean, removing the cb radio, and mounting of the monsoons and hopefully within a month it will be for sale. Looking for 8k certed with wheels etc. Spread the word. Will get better pics once its back together and cleaned.
7 points
-
Now for the expensive part! All happening around 2 months before the next scooter rally. Nothing like a deadline to get stuff done... Frame stripped, some extra support welded on known weak points and then off to HPC This was the start of a lot of online shopping and spending money at HPCoatings... Also sleepless nights trying to decided on colour ways for it. I went for a strange old Alfa Romeo GTV colour called Yellow Ochre or AR112. Still a bit unsure as to why I chose this colour after all, oh well it is certainly different. Pretty sure the paint shop also tinted it a bit differently... Panels stripped ready for the paint to go down Expensive bits coming in thick and fast, new big block engine casings, fancy front shocks, digital speedo with fuel sensor, rev counter and cylinder head temp sensor, 30mm Mikuni TMX carb. Time for the engine build. I couldn't have done this with out the help of my mates. A mate Ben spent many late nights helping me out with this build and has an amazing attention to detail when it comes to building anything, especially 2strokes! Great workshop too... I went a bit overboard on this but aim was to make a fast reliable scoot. I went with a kit AFrayspeed TS1 225 kit, mild porting, high comp cylinder head, larger crank, clubman exhaust, AF touring clutch with race springs etc. Side casing going together New 52mm crank installed Parts coming back from the painter in my interesting new colour... To top off my indecisive paint choice I went with this slate blue colour for the rest of the components... Front end going together, disc brake and the new shocks Engine closed up and in the frame Glove box, long range tank, carb and rear guard going on All new cabling and electrics BGM clubman exhaust fitted Rob's bike also getting a TS1 kit and a bunch of go fast bits at the same time. I think all four from the team had their bikes in pieces at this stage First ride! Jetting not 100% but it went awesome! Off to get dyno'd shortly. Scooter rally was only a few days away. What better way to break in a new 2-stroke than 1600km at full throttle? To be continued...7 points
-
Answer to question #1- yes, postive and negative to coil, wire were red and black, not red and blue. I forgot about the compufire points replacement I've got in the 009.Answer to Question #2 - yes I have the big red wires in the correct places, has thats the only place they could go, just had to crimp a connection on the end of the wire between the starter and the Alternator.Still no idea about the fuse box clip thing!!!meanwhile....it's off the stands, ass starting to squat down.lost that sweet rake it had, just need to drop the front another inch or two!popped the muffler and rear valance on, easy.looking good.Darrell to the rescue again with his tiny little 1/4 inch socket set.sorted those pesky manifolds out! wired up the coil, oil pressure sender, Alternator and spark plugs.Should fire up nowspend a couple nights sorting out the fuel system at the front end, looped the line around to the front, through to the old washer bottle spot, which is now the fuel filter and pump spot, and back to the hard line under the tank.I have had this set up in my head for a while now, I had even drilled the holes for the fuel lines, but no hole to mount the pump, drilling into my nice new paint fun! but at least gives a good earth, the power for the pump is for the moment hooked up to the spare radio fuse circuit, which is always live, which is not ideal.Anywho.rear bumper and mutherfucking number plate bitches! legal beagle.bumper rubbers not fitting all that great, will fit rubber first, then bumper when I next remove the muffler as the bumper mounts are a pig to get to with that big ass muffler in the way. So the correct process is Valance-Bumper-Muffler. reverse of the way I just did it.time to fire it up.7 points
-
windowz and shit. 2017-08-28_05-08-44 by sheepers, on Flickr 2017-08-28_05-09-10 by sheepers, on Flickr 2017-08-28_05-09-23 by sheepers, on Flickr 2017-08-28_05-14-09 by sheepers, on Flickr6 points
-
Some paint was applied, then I was away for work for a couple of weeks. Roof needs more clear and some finish sanding. Tailgate has reached the 'good enough' stage now I think.4 points
-
Now own a 1964 Mercury Monterey Breezeway that is without serious rust and though I'm happy to bring her up to spec and use her for runs and the like I've discovered a lot of 'cowboy' fixes that keep getting in the way. The biggest right now is stumble off idle that grows worse throughout a run. Replaced fuel pump with a new Carter mechanical - cowboy installation of a secondhand mechanical pump saw a socket stuck on the inner bolt which turned out to be cross threaded, the lever mounted over the eccentric. Recoiled the inner thread and mounted correctly. Though the fuel pressure now being constant appeared to make things better - the stumble off idle continued to intermittently rear its ugly head. Next to the PCV. Yeah right - another cowboy prank. All clips for the hoses were missing. The valve itself was clogged completely so got a new one in after reading somewhere that a cleaned one might look the best but new required regardless. Sorted that out but the stumble remains albeit intermittently. Next up the dizzy - yeah - you're getting the idea. Outfitted before my time with a XR-1 electronic points setup including a Flame Thrower coil, I soon discovered that the plate the XR-1 was mounted on being the vacuum advance movement as well, was mechanically sticking due to an incorrect fitup where the plate was angled and binding against its own retainers which also should have been set to allow free movement, was jury rigged with an oversized foriegn washer and the little mount cylinders being to short hadn't been spacer-ed at all. Getting stuck on full advance now and then sure wasn't helping with the stumbling problem and once I had sorted that out the stumbling went away though a problem with acceleration now reared its head. That means the next thing to address is the carb settings. It's a QF-Slayer 4160 750CFM though that took some time to sort as there was no ID marks anywhere to be seen whilst it is mounted. The carb has glass sight for the bowls so I fitted a permanent fuel pressure gauge, changed the vacuum advance to manifold vacuum, replaced the first hose for the merc-o-matic vacuum and checked that - no leaks at all - found out the exact marking on the harmonic for TDC #1 - ( it needs to be re rubberized as it has moved with age ) - and set about setting the timing exactly at 6 degrees - ( Vacuum advance is 12 degrees and I'm looking at keeping full advance under 34 degrees ). Set the bowl heights exactly as indicated and brought Breezie up to op temp at idle. Everything looked and sounded fine. Turned her off and watched the secondary bowl height grow until not seen at high level. Not good. Reset the height and once fired up tried to rev her a bit to now see the secondary level went - it went down and caused back firing and excessive stumbling - basically - lean running. So pulled the needle and it looked fine but still blew it out to be sure. Back in and reset the bowl back to original. Though a quick run around the block showed only a little spit upon initial acceleration, Breezie seemed to want to run. Took her for a 200 Kilometer run the next day and thoroughly enjoyed her though just a little spit on initial acceleration persisted. Still, the trip to Kerikeri got to see an expert with carb recognition identifying the carb which allowed the ordering of parts such as plastic bowls, new needles and gaskets. So this weekend should see that done and hopefully dusted. Can't wait to get on with looking out for Breezie and not being stuck using precious time on this holdup. Wish me luck. Meanwhile I'm on the look out for 14" rims and original covers ( Hubcaps ).
3 points
-
Oh I had the springs compressed 65mm. Was not dealing with having it half lowered. I did plan on buying spacers for the front, but ive settled with cutting a little bit of the rear to drop it down instead of raising the front. Slight difference in height
3 points
-
The 2 speed fan from a 90's Volvo blow hard for what they are3 points
-
Well then, the having to have at least 1/2 a tank of gas, to stop surge under acceleration lark, finally pissed me off enough, that I pulled the tank out. I thought about all scenarios, and pretty much went with the easiest option I thought would work. I cut out a new flange, from 6mm thick steel, and welded it to the very back of the tank, Then I lengthened and bent the pump cradle, so it sits at the lowest point of the tank, and right at the back. Took a while to get this just right, so that it wasn't touching the bottom of the tank, but nice and close, while not touching the drain plug that's right behind it. Slapped a bit of paint on it, then slapped the cradle in, Then I cut out a blanking plate for the old hole, screwed that down, sealed it, and then slapped a coat of underseal on it for good measure, Put it all back together, slapped piss all gas in it, and whet for a hoon. With less than a 5th of a tank (Probably around sub 10L from bone dry) I could be as fully hektik as possible, and it never surged once, great success!!. Next on the list is to change the AFM, and the throttle housing, then go for a re-tune with more boosts. I also want to change the engine driven fan to electric, but am having trouble deciding on what sort of fan to go for. Regards, VG.3 points
-
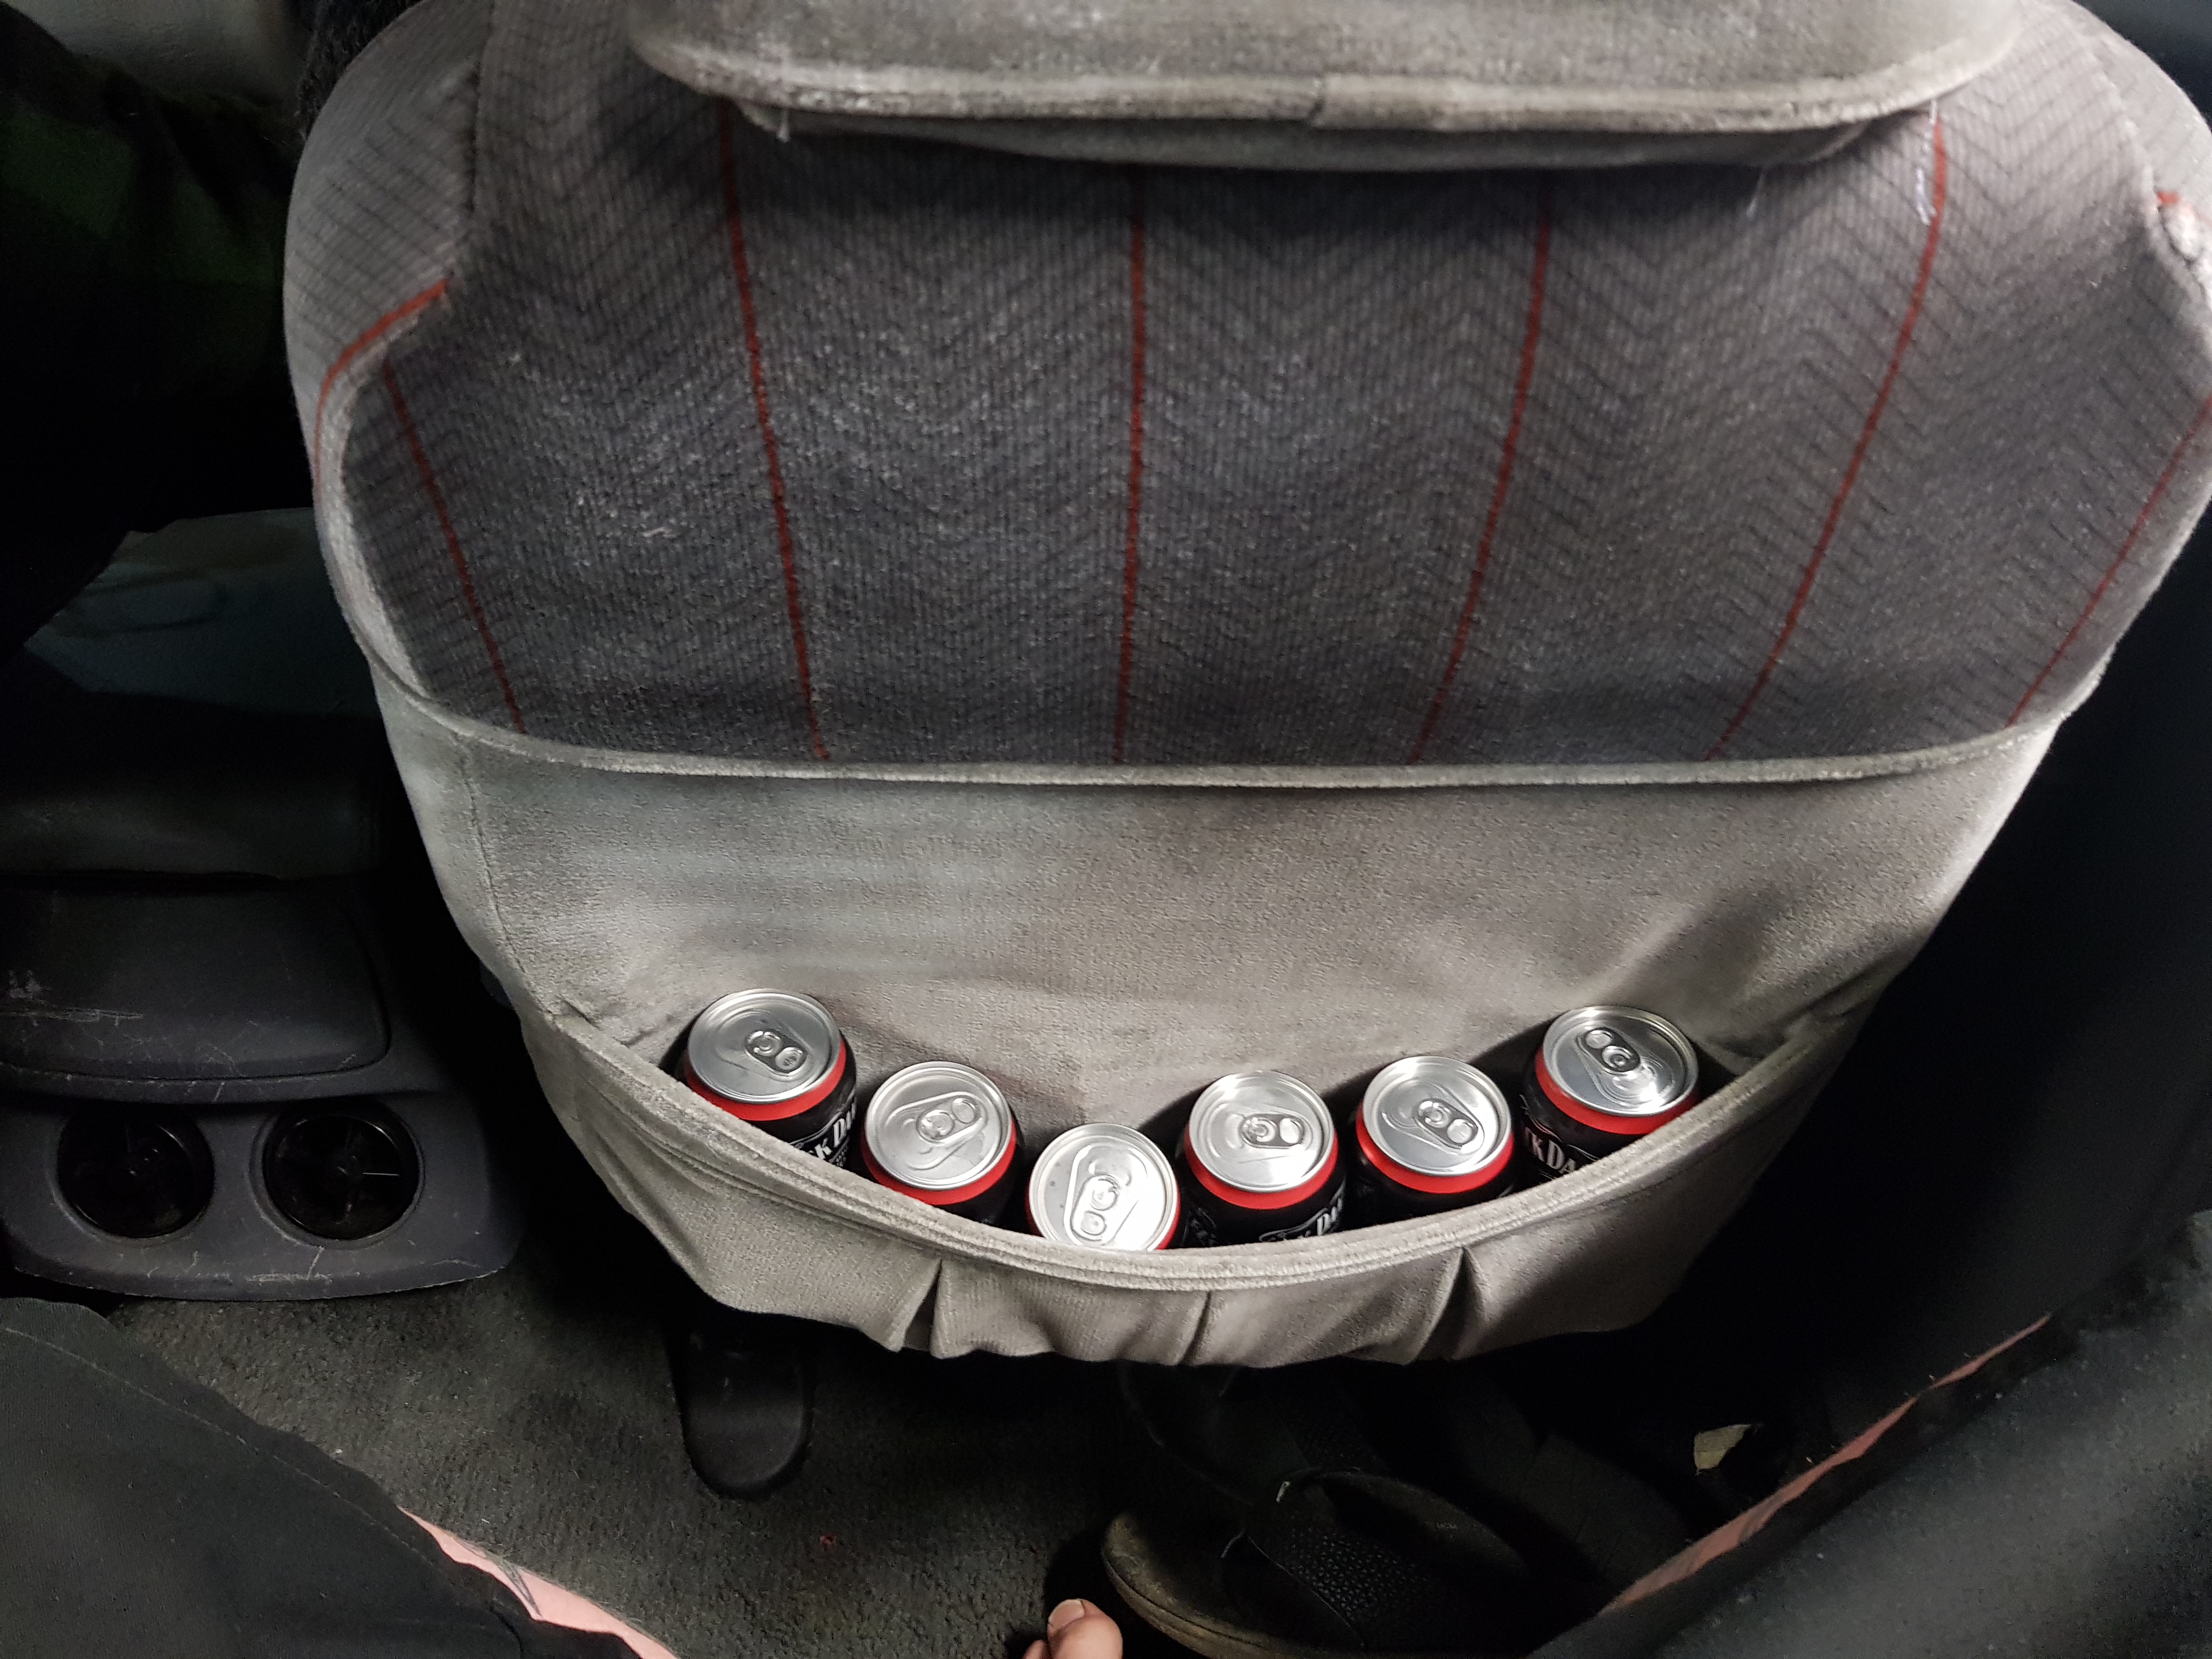
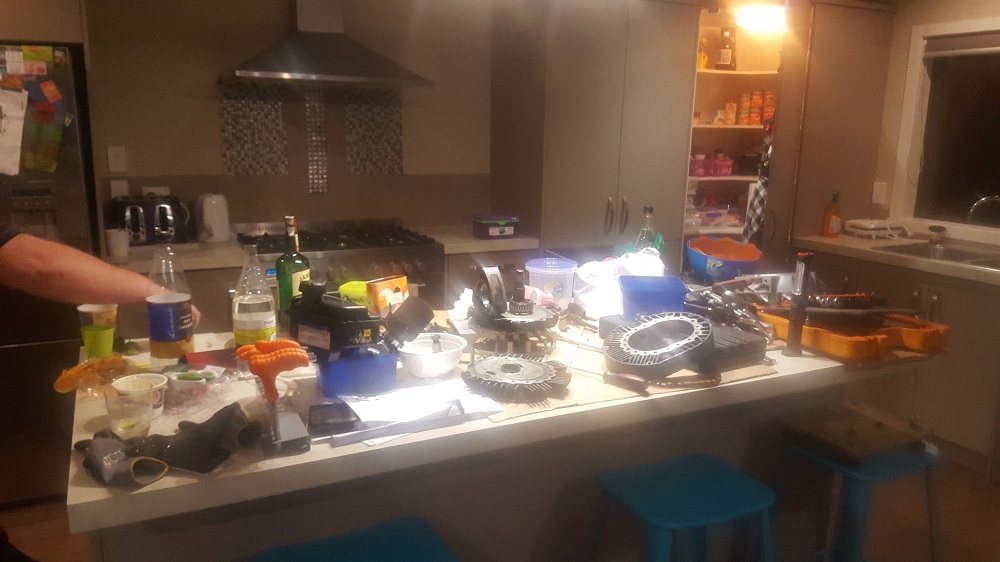
This wee project started with my son having a hoon on a mates PS4 racing game and loving it, but he was pretty shit at using the controller. Got the seat for $1 on trademe. $1 reserve win. The Drink Drive 2000. patent pending.3 points
-
Time for today's update then. I didn't get as much done because I had an exam but in the time I had I was quite happy with the progress. I started off by making some holes in the existing chassis rail. I cleaned inside the rail with a die grinder and solvent before I sprayed some weld through primer to try to keep the exposed steel to a minimum. Then I cut and clamped some 2mm plates inside the rail ready for welding. The idea here is for the plate to act as both a reinforcement, and a locating mechanism to hold the channel in place while I butt the two channels together. So I turned the TIG up to 11 and set to joining everything together. The green colour is from the weld through primer being messed up by the heat of the weld. These are the hottest I've ever had my little TIG; I'm trying to make sure I get some good penetration into the 2mm plate. Once all three plates were in I was able to slot the new channel section on and double check all the measurements. I wanted to be doubly sure that everything would line up nicely so I clamped everything to the angle iron again. Then I added another clamp to hold everything laterally and went ahead and welded in the rosets. And wire brushed it off all pretty like. Finally I could get to the actual butt welding. I left the welder cranked way up because I didn't have to worry about blowing through thanks to the backing plates welded in behind the joint. Almost like I planned it... Looks pretty good to me. All cleaned up, And painted with a quick spritz to stop any flash rusting. This was the last bit I got done on the Escort. Tomorrow I'll clean back the inner channel, hit it with some weld-through, and weld the outer skin on. That's the plan anyway. Meanwhile, I did a bit of work on the Mazda to try and sort out the trans issues. Remember, I do want to daily this thing if at all possible until the Escort is ready to take its guts. It's a really nice car after all. I started off talking to the transmission expert friend of mine (wouldn't really work if I called him the "trans guy," would it?). He suggested it may be a stuck valve of some sort preventing hydraulic pressure from getting to the valve body and letting the trans select a gear. He gave me a set of instructions of how to pull this valve and clean it up to see if that would help, then left for a while to go and run some errands. I pulled it out and hit it with some wet and dry as instructed before I reassembled and tried to put it in gear again. Still nothing. Kaput. Still, I was warned this might be the case. If it was, I was told to unplug a certain hose from the trans and run the motor to drain the trans of fluid before I pulled the pan off the trans to look for any shrapnel. So I did. Pulled the hose, ran the engine, got much less fluid than I expected into the waste oil container. Curious... I just assumed there mustn't have been much fluid in the trans. Maybe that was the problem in the first place. In any case, I'd drained it so now I went to pull the pan off. These bloody modern cars man! What a pain in the ass! Eventually I managed to get all the bolts out after wrestling around a cross member for too many minutes. Then I belted the pan a couple of times with a rubber mallet to break the gasket and get it off. Then it came off. Full of trans fluid. Shit. It may look like I decided to work on it in the barn for today but in reality that's all the sawdust I had to throw down to soak up the fluid. Once I had that mess dealt with I got to have a look inside the pan. This is what I saw. Now I like glitter just as much as the next man, but when I have that much of it, and in my trans fluid, I tend to get a bit upset. The two magnets were absolutely covered in chips and shrapnel and the oil itself had a very pretty sparkle to it. I don't think I have to be an expert to say she's toasted. I talked to my mate again and he said it's going to need a very extensive rebuild in the least, a new trans at worst. At the moment I'm thinking that it is going to be a pull the engine and sell the rest as parts job like I originally intended. And I'm ok with that. That said, the guru has offered to look for a new trans for me for much cheaper than I'd be able to get it due to his connections so there's still a slim chance of saving it. I think I'll probably just take the selling it as parts option though. It'll probably save me a lot of headaches. I should know for certain tomorrow anyway.2 points
-
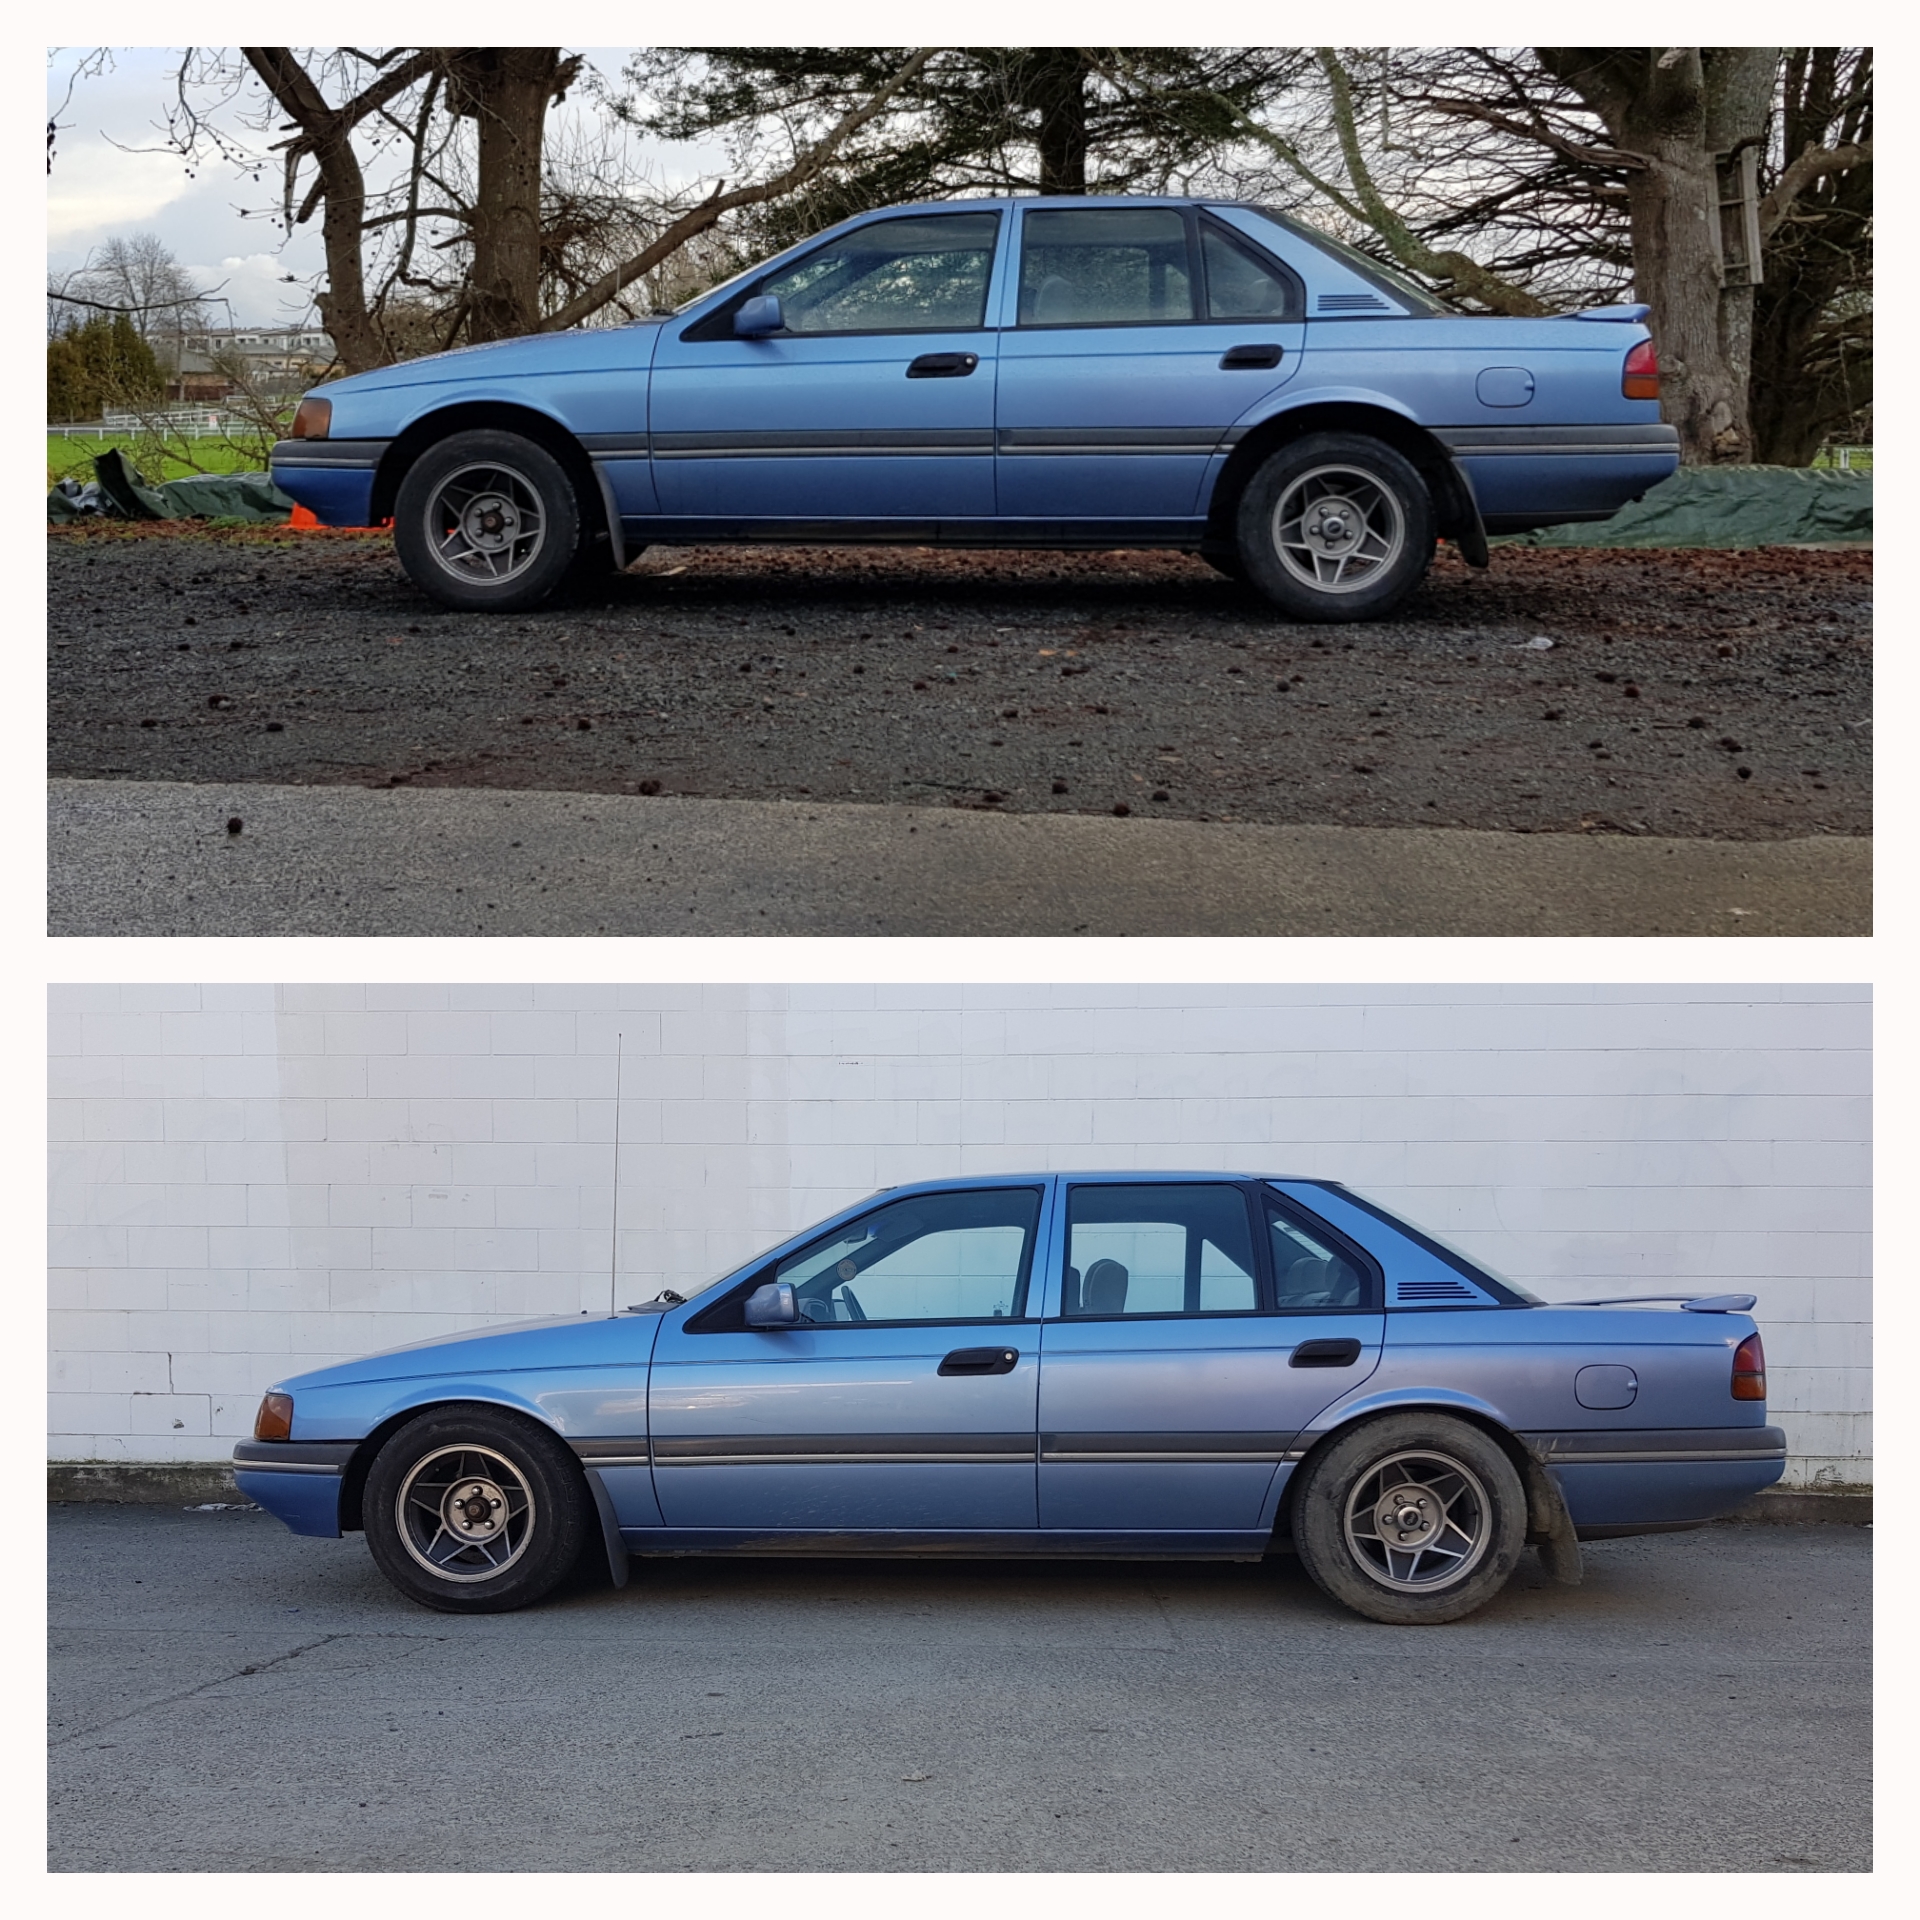
Finally, its running properly and now its finally legal. Registered and warrented today. Put in last week and it was failed on: - Wheels (to big, although under the gaurd) and tyres stretched on rim (rear) -Front left and right upper balljoints -Fuel Line -Handbrake All really minor stuff that we fixed on the weekend and just borrowed some wheels for the day to get it through. and legal: and finally after getting it home, running the buff over it to get rid of the rust water marks to make it look more presentable. Definaltey noticable in person. Will be going over it again before the Kaikoura Hop. I will now be looking at getting the front Valance painted in the blue and lowering it. If anyone is going to the rocking wheels meet this weekend in Amberly i look forward to seeing you there.2 points
-
Glass shout sounds like a meth party. Glass BBQ etc2 points
-
Yeah the 2 speed isn't necessary, I run mine on low only, just a name to identify the fan I meant2 points
-
Working on this is a bit of flashback. I had made this steel water fitting as the S14 one wasn't right. However the radiator hose was rubbing on the intercooler piping. I picked up a couple of sch 40 bends. A bit of hacksawing, grinding, and tig welding later.... (tig welding heavy wall pipe is much more forgiving than sheet metal) Also uncovered the intercooler And some piping. Might get this hpc coated if the price isn't too steep.2 points
-
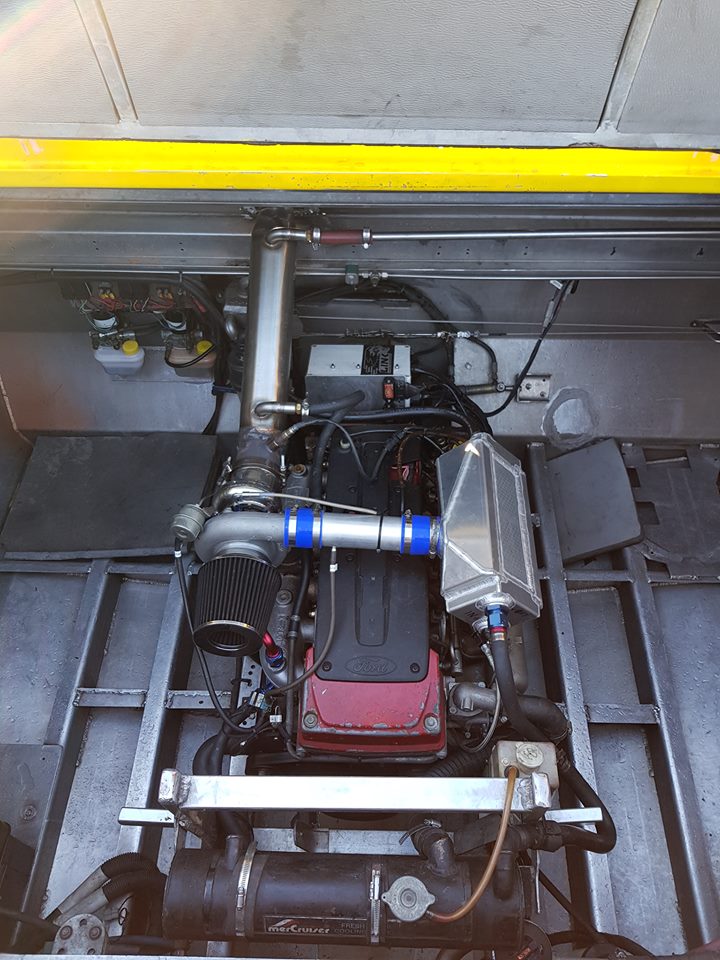
Do this! Used to drive a boat we converted from 496 chev to FG barra and it pissed all over the chev. Gotta be one of the best jet boat engines ive driven with hands down! The barra was pretty much standard apart from alittle more boooooost.
2 points
-
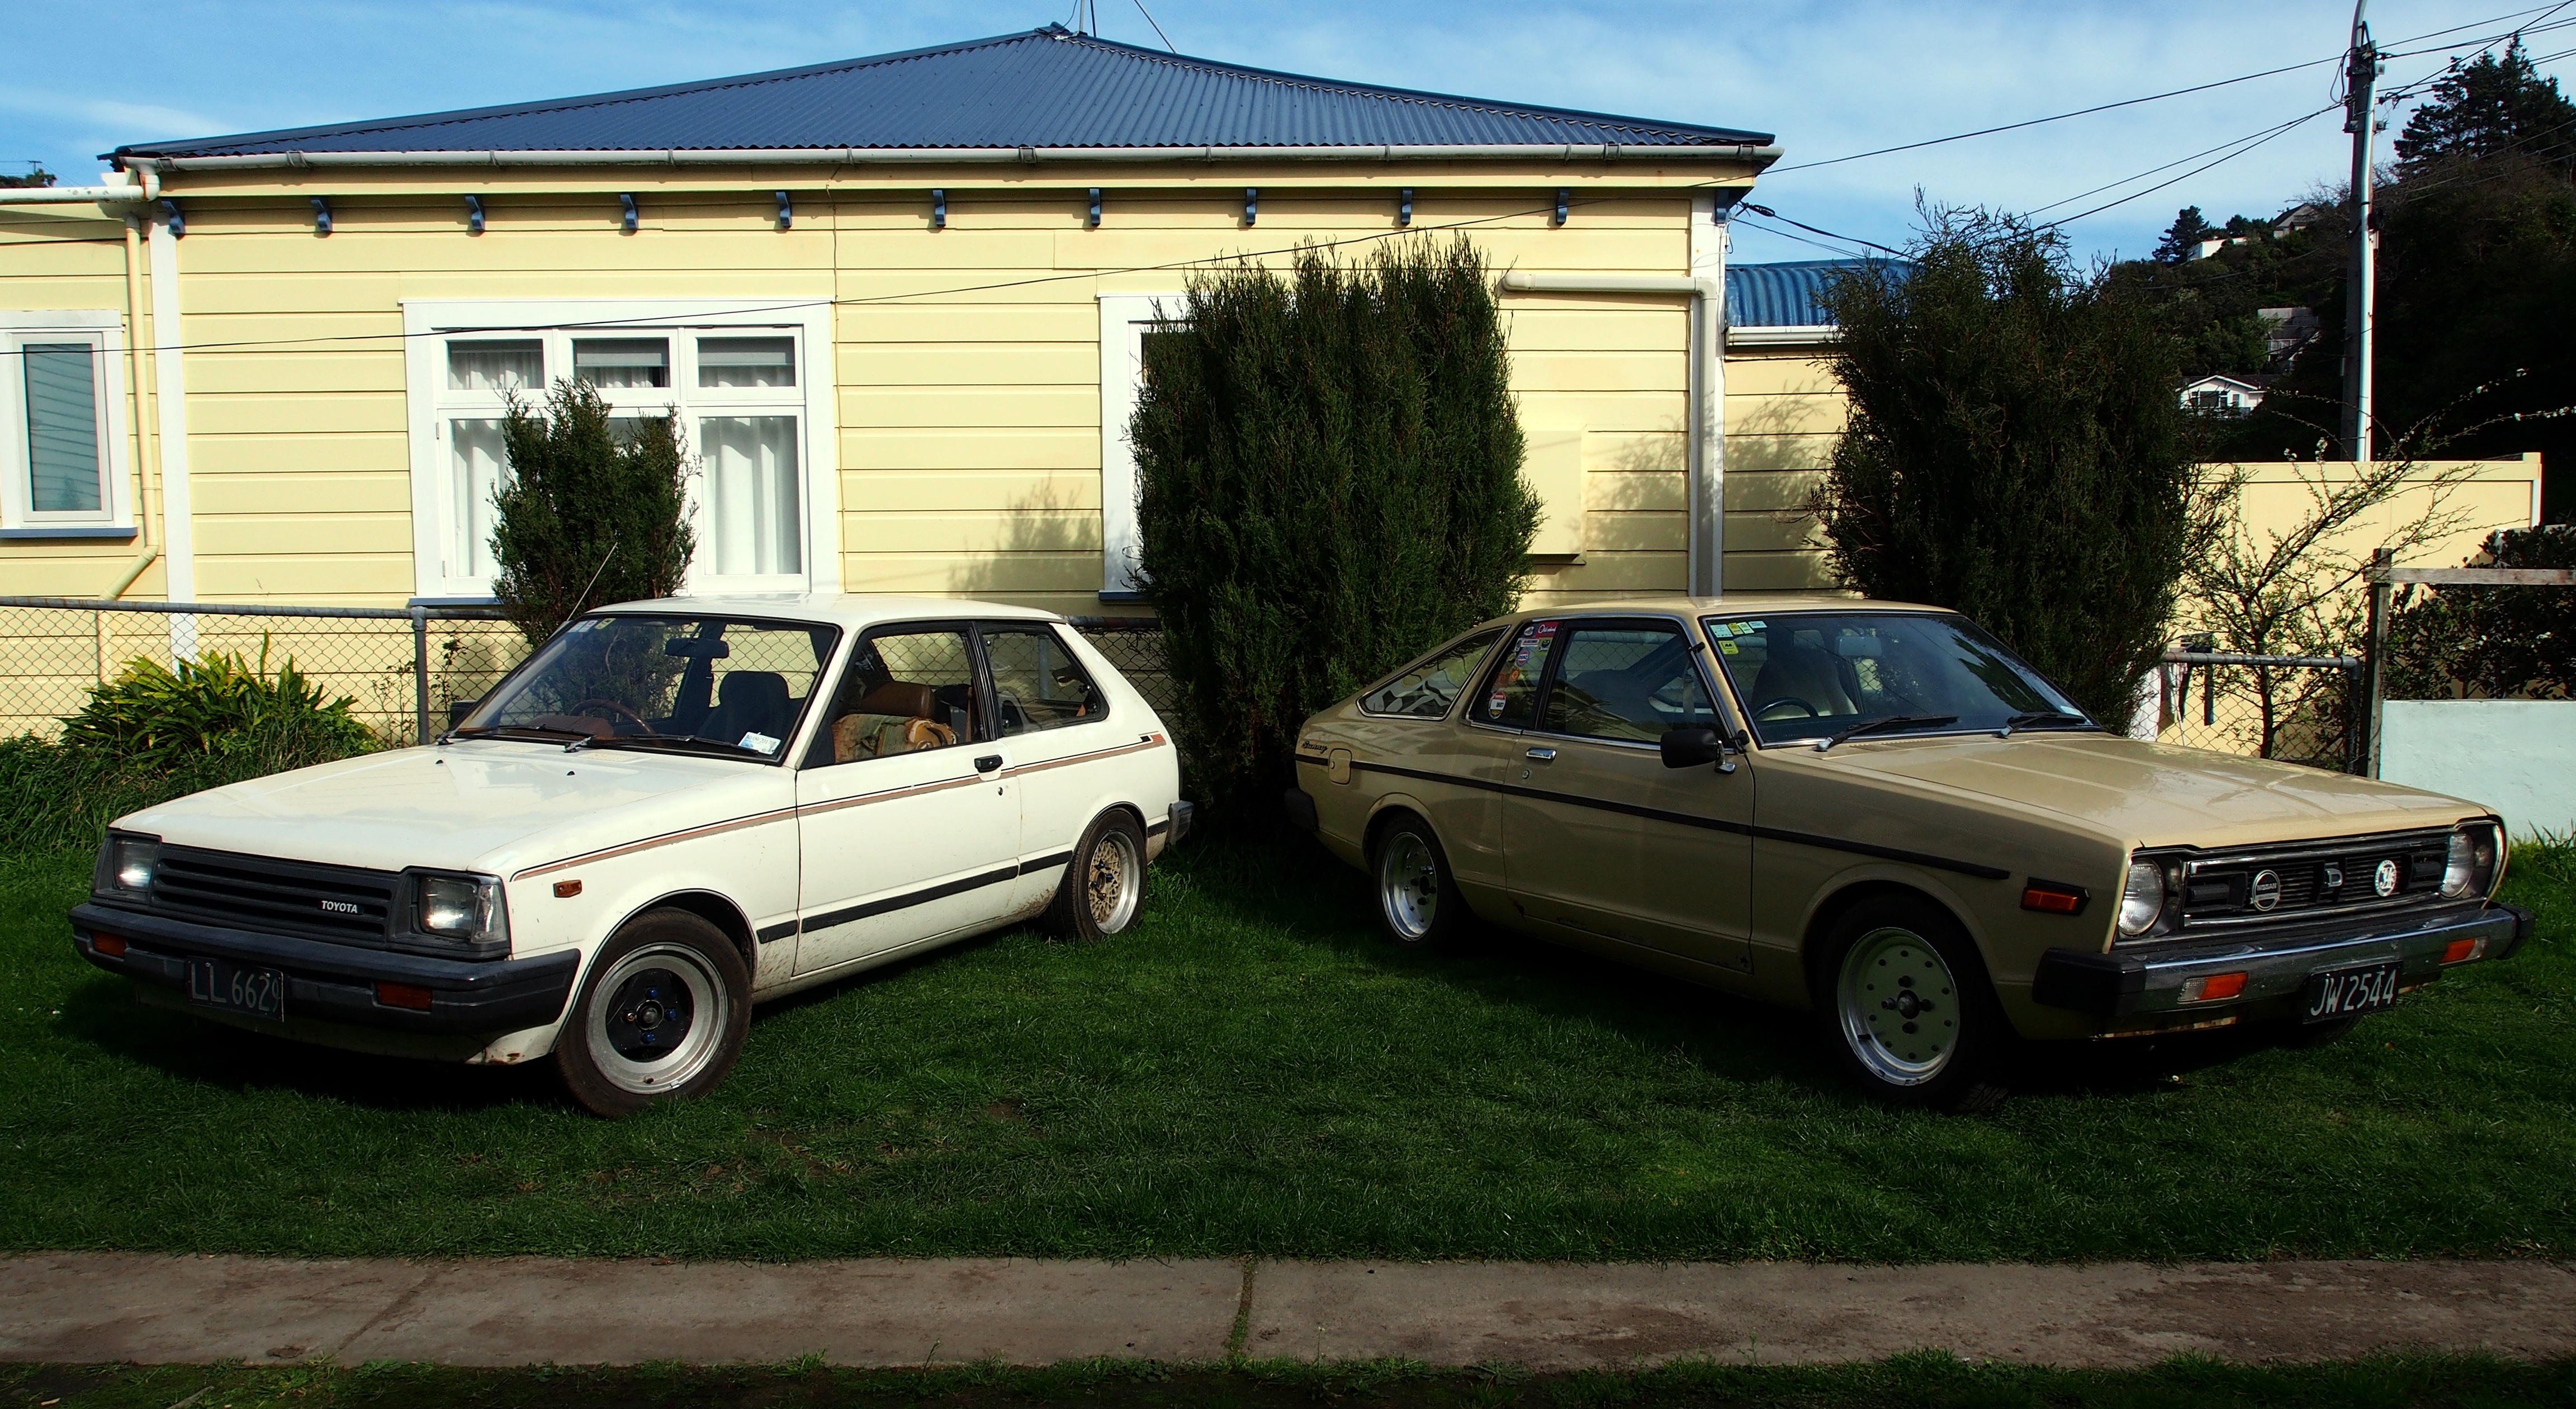
Cheers heaps to @AllTorque for taking an hour out of his arvo off to sort my wheels and tyres out. Wodda GC chur. The 7" rear wheels were a bit to rubby so have put my 6.5 mesh on the back, just tucks in the guard so pretty happy with that. Also got some tyres on my wider Mark 1s for the back of the Sunny which I've been meaning to get sorted forever. Time to run my own backyard TS Cup.
2 points
-
we are going to reuse the old internal doors in the new house. i took them to be stripped and this is the result. 2017-08-24_11-38-36 by sheepers, on Flickr in other news more weather boards are on and the spouting is finished. also some of the windows are in.\ 2017-08-25_01-57-48 by sheepers, on Flickr2 points
-
Update time. Vivadom daily driving has been pretty damn good. Especially when 2 months ago I finally got around to changing the voltage settings for the wideband O2 sensor on the ECU so that the ECU would get the same reading as what the Innovate gauge shows. It’s a common setting fault and took all of 5 mins to get them to read almost the same. What does this mean though? Well for ages the ECU and hence the tuning program, Tunerstudio, have been receiving a ‘leaner’ voltage than what the engine was really at. This meant that in tuning the final outcome was always a bit too rich. When the ECU was in closed loop ego control it would take my preferred AFR table settings and adjust to what it thought was correct.. which was not. With the ECU now getting the proper signal we re-tuned the car on the way back from Blenheim to Motueka. It was too rich everywhere and after not long was leaned right back. Driveability remained the same, but tail pipe smells improved J I have not gone super lean, sticking to around 15~15.5 on cruise. We filled the tank back up in Motueka and the cars economy had improved returning 32 mpg (8.8l/100km). There is still room to improve but happy with that. So this was all good and everything was fine and dandy for the last month or two. Then the other day while leaving town I started to hear a teeny whistle sound. I just put it down to the throttle body making the sound because sometimes it does just this. The other thing I thought it might be was the idle control valve. I didn’t look into it any further. However, over the next few drives I noticed it was hunting a little at really light throttle openings, like slowly accelerating away from standstill. Hmmmm?... Then that whistle again, this time when I got home one evening. I popped the bonnet and listened around. I couldn’t pinpoint it but when I ran my fingers around the back underside of the plenum box where one of the runners joins I heard the note change. An air leak. Bugger. I looked with a torch and could just make out a little crack on one of the welds I had machined down…hmmmm. Bugger. Oh well.. I was planning on doing a modification to the throttle body pulley so why not sort it out now. I drove the car into the Viva hospital and started surgery. It didn’t take long to pop the bonnet off, unplug all the bits needed and start removing the inlet manifold. The trickiest bit was the return fuel line which was stuck to the pipe and hard to get too. One hour after having parked the car in the surgery and picking up the scalpels I had the manifold on the bench. I worked out pretty quickly why the manifold had cracked where it had. To explain how we need to pop into the police box and go back in time…. Maybe not that far though. Lets try again… Nup.. still too far. This time… Errrgggg. Again… Oh dear lordy..one more time… Ahh… that’s better! Righto..now remember this original plenum chamber? Made from some bent up 2.5mm alloy sheet. It had buckled diagonally when welded and I had then set up the runner heights to suit when I tacked them in place. I had to try and straighten it so it sealed correctly (using our house as a press).. It all worked out OK at the time because it flexed enough to seal when bolted down to the runner flanges. However a few years later I had that backfire and blew the lid off. I then fabricated a new plenum from 5mm alloy sheet and its was nice and straight.. It did not flex. This is how I think the crack happened. I decided I was not going to try to weld up this little crack because I knew the heat would warp the runner flange and nothing will seal. So I bought some posh looking South African epoxy putty, a bit like minute mend or quicksteel. It requires a lot more mixing than the others but sticks really well and smoothed off nicely. Kevin kept guard while it set. While the inlet was off I did some measuring and worked out the dimensions for a new offset/eccentric throttle body pulley. Then I machined down a lump of alloy bar and ended up with a new pulley. I got to use our new mill with a 2mm slot drill ( I could have used a hacksaw and file but this was more fun..) The new pulley effectively gears down the cable pull at the start of the throttle pedal travel and speeds up at the end making for a much easier off idle transition. You can see the difference between old and new here.. No more kangarooing down the road for people not used to this engine with its lightweight flywheel etc. I refitted the inlet manifold, plugged everything in and tried it out. WAY BETTER!!! Went for a drive and its so much easier to ease the throttle on out of corners or from standstill. Much more user friendly and I now wish I’d done this mod ages ago!2 points
-
and at the top of those stairs i made a floor for filling up with shit. 2017-08-22_03-43-01 by sheepers, on Flickr2 points
-
weather boards and the butinol done on the veranda. 2017-08-20_05-37-46 by sheepers, on Flickr 2017-08-20_05-37-37 by sheepers, on Flickr 2017-08-20_05-37-29 by sheepers, on Flickr wires and shit. 2017-08-20_05-37-20 by sheepers, on Flickr2017-08-20_05-37-29 by sheepers, on Flickr rondo for attaching the ceiling 2017-08-20_05-37-11 by sheepers, on Flickr steps for getting up to the roof storage 2017-08-20_05-37-01 by sheepers, on Flickr2 points
-
Went for a hoon over the hills and took in a few country pubs with some other 1200s and a 260, car went well and no issues. Today I butchered a couple of old standard A12 downpipes I no longer need and made a flange so this will make life a lot easier in the future! Not to mention tidier looking. There's a pie cut left open cause I don't know what angle it needs to be yet
2 points
-
Everyone knows the car, most have been on white-knuckled joyrides in it, and it's a stalwart of the oldschool/nzdatsun culture. Bart Simpsons supercharged 'Death trap' 1200. If this car could talk, it wouldn't, What for the crippling PTSD. Its been Molotov cocktailed, in car chases, travelled at autobahn speeds, drag raced close to 13 second passes and all manner of in-between. When Bart approached me to tidy it up for impending sale, it just so happpend to be when I was looking to sell my wagon to blow all the proceeds on my Escort. Well I've never had a car younger than me, so make a habit of having 40-50 year old daily drivers, and I needed transport in between. Rather than buying something in a pinch and not really liking it, I saw this as the perfect opportunity to grab a model I've always liked, and have another A-series car, which is generally a joy. It was cheap, I had to keep telling myself this. Came with reg and warrant, and still certed for things like a roll cage and A14. Has a rev-counter dash and coupe centre console added. Driveline has been returned to standard, go fast bits went into a race car. Suits me fine as daily driven and less to go wrong. Came with a swag of spares , and that roll cage! I got a few weeks into December and couldn't do a lot until my holidays. I cleaned the fuck out of the outside and wheeled it into the shed. Can't find the after shot of engine bay but it came up well. Didn't do a lot until coming back from Xmas, so on Boxing Day I got into it. Came with straight spare guards which weren't flared but still a bit rusty. The drivers side rear or guard was good in white but bad in yellow so.. And the gap was massive so added on to the door.1 point
-
I missed my old white 944. I really, reeeeaaaally missed that car. The cash from that helped us into our first Auckland home. But I always said I'd get into another once we got comfortable with the mortgage and sorted a few things out, and I squirrelled together a few bucks on the side where I could, helped out by my photojournalism moonlighting. Even though the last car was an 8 valve NA base spec car, I'd always wanted an S2. For those playing at home, the basic differences are a 2.5l SOHC vs 3.0l DOHC, slider calipers vs 4pot Brembos, better suspension and bigger ARB's on the S2 and a bunch of cosmetic differences. I'd been eyeing this particular car up for a few weeks on Trademe. It was priced high and I always thought, "I'll wait until it comes down a bit." I waited. It came down slightly, but not really enough. And there the price stayed. And stayed. And remained. In the end I thought, "bugger it I'll have a crack," so called the number on the listing and named my budget, asking if I was in the ball park. The answer came back affirmative. So from then I enlisted the help of a Porsche-savvy mate, Tony, to scoot down and check the car over for me. At this stage, it's worth mentioning the Carjam report came back fairly positive. The current owner, (in his 70's) had owned the car for 11 years travelling around 250km per year in it over that period. Yeah, 250km. So the car's km sat at a pretty-low-for-a-944 127,000km. Great start. When Tony first queried an inspection, he was denied on the grounds that it was raining, and the car never goes out in the rain. A positive, sort of I guess. The sign of a fastidious owner. Anyway, after an excruciating week followed by a weekend of waiting to have this thing inspected, Tony flicks me a text with "call me now, seen the car" after lunch on a Monday. The assessment was brief but positive. I'd sent through this massive Barry-spec checklist of things that commonly turn to custard on 944's, after the rollercoaster ride I'd experienced trying to sort the wheat from the chaff while buying the white one. Most of it passed muster - a few minor problems, but the car checked out soundly - well, more than soundly - and the summary was, "it's a fuckin' sweet car, you'll be hard pressed to find another one this good." Decision made. So I called up, negotiated a price and a deposit to hold the car for a few weeks while I awaited a quiet weekend to pick up was sent through the ether. Now - the car had some pretty gaudy stripes on it. Orange, with a PORSCHE font in the negative space as a cut vinyl stripe down each flank. Furthermore, it had a bright orange window strip across the top of the screen. This was never going to do, but I was assured it didn't appear to be too old, and the vinyl wasn't of great quality so confidence was high that it'd peel off easily. In fact, I'd already decided that it would be resigned to the bin before I'd breached the Christchurch city limits. So the pick-up weekend rolled around, George (@Esprit) and I boarded a plane and set off bound for the shaky city. The flight itself was pleasant, smooth and some great sights of the setting sun over the Canterbury plains as we descended - but it wasn't without trepidation, as I was about to commit the most money I have ever laid down on a car by some margin. Spending big sums of money isn't something that sits well with me, but hey, this was one of the dream machines so I probably shouldn't let the opportunity slip by. But believe me, I agonised, tried to rationalise my decision beyond "I want it because I have wanted one for years" and even suffered cold feet over the whole deal. Tony picked us up in his Mini Cooper something hatchwagon thing with one rear door that opens backwards and a supercharged whatsit in the front. Either way, it was quite compact and made cool whizzy-doorty noises from the front bit and went hard for what it was. We ended up at the doorstep of John, the then-owner of the 944 and his son Simon, who I dealt with through the Trademe classified. John was one of those super nice older blokes, with the utmost passion for his car. I made some cursory checks in the dim light with the aid of an LED torch, just to make sure I was going to go ahead with the sale as John proudly pointed out the hard-to-find bits that were still intact on the car, as well as detailing his maintenance schedule, and aversion to driving the car in the rain for the last 11 years of ownership. As I said, a guy with a legitimate infatuation for his pride and joy. As an added bonus, a wee zipped-up bag full of 944 specific books and memorabilia came as part of the deal, how cool is that?! Stepping inside to sign the paperwork the discussion turned to motorsport, and Porsches in general. I started to feel a little bad, as John's eyes were definitely tearing up at the prospect of his pride and joy being driven away, but then the excitement of finally being able to own what I deem the best of the 944 bunch finally had us saying our goodbyes, and soon enough we were crawling down the driveway in the dark. Then we had to turn back as I left my sunglasses behind. Because you know, it was dark and I'm a Corey Hart kinda guy. 15 minutes later, we drove into another internet-acquaintances shed (we will call him Terry the Italian car tragic) where a heat gun was supplied and the decals came off with minimal persuasion and zero damage to the underlying paint. Bonus. Dinner was served, yarns were had, beers were downed and before you know it, it was 6am the next morning and we'd crawled out of bed and poured ourselves into the 944's confines for the journey north. The trip was swift, but ultimately uneventful. Stops were limited to food and/or tea and coffee, aside from an overnight stay with @Bullitt in which George and I both managed to empty the fridge of any thirst quenching, fermented grain, hopped, fizzy beverages and I built a gigantor feed of nacho's for all present. More sharns followed and then we departed early in the morning, making a servo rendezvous with another couple of far north friends who were making the same journey back in a just-purchased EF8 Honda CR-X. How rad! Anyway, the rest of the trip was fairly unremarkable. You know. Standard North Island scenery. Farms. Mountain and tussock. More farms. Large body of fresh water. More farms. Even more farms. The odd passing lane. Some more farms and then traffic jams and rain. But hey, what a way to get to know a car, and also find out all of the little foibles that are going to make life an OCD hell for the next short while. For now, here's some shots of the car as we departed Christchurch in the early hours. I'll outlay some plans and discuss the experience, as well as all of the flaws this particular car has that I have already started to rectify. Thanks for reading my massive sharn! 1991 Porsche 944 S2-5 by Richard Opie, on Flickr 1991 Porsche 944 S2-7 by Richard Opie, on Flickr 1991 Porsche 944 S2-13 by Richard Opie, on Flickr TL;DR - bought a poor-man's Porsche and drove it from Christchurch to Auckland.1 point
-
is that Dez's TV200 I spy?1 point
-
We've since had to August one - so any heads up for September?1 point
-
Do they block your view, or could injure you in an accident?1 point
-
Is it true you can't have A pillar mounted gauges? I want to run oil pressure and temp gauges in my Senator as I don't want to mount them on the dash or anywhere in the dash. Young bucks at work are saying illegal.1 point
-
Also there are some model of BMW (E36?) that had two speed fan. I remember grabbing a temp switch and loom from one at pick a part once. They turn low speed on at 80c and high at 88c.1 point
-
Fan wise i have never done anything outrageous, i'm a fan (pun intended) of nailing the liquid side of the system be it upsized thermostat opening area as was the case with the MX5 or additional passes / baffle in the radiator like the starlet got. The POS racecivc got almost nothing other than the rubbish aftermarket fan which was cable tied to the core replaced with an OEM fan and a fine foam strip between the rad and shroud to prevent drawing air from anywhere but through the core. I believe if the wet side is top notch and you don't have a burnout only spec machine the fan should only be kicking in momentarily until you are back up to road speed. I had no fan on my evo for a couple of years and did track days with it with no issues, admittedly i have since put a fan on which comes on occasionally whilst in traffic. Long story short some OEM fan with a decent metal shroud you can easily modify is the type of fan i try to use unless space is at an absolute premium, aftermarket plastic case fans can GTFO. I wouldn't bother with 2 speed unless you are concerned with noise, although could always just run it on fast if it does in fact blow hard for what it is.1 point
-
Old pulley was 92 mm in end (roughly) took fair old swing on the hub puller to shift it too.1 point
-
Putting the kitchen bench to good use
1 point
-
Damn dude that looks like the kinda mission I would buy c50 in north island and fly up with my 110 motor and do a quick 1 hour chop and come riding with you lads ! Enjoy guys looks like good times will be had1 point
-
Gone fistin' 10/101 point
-
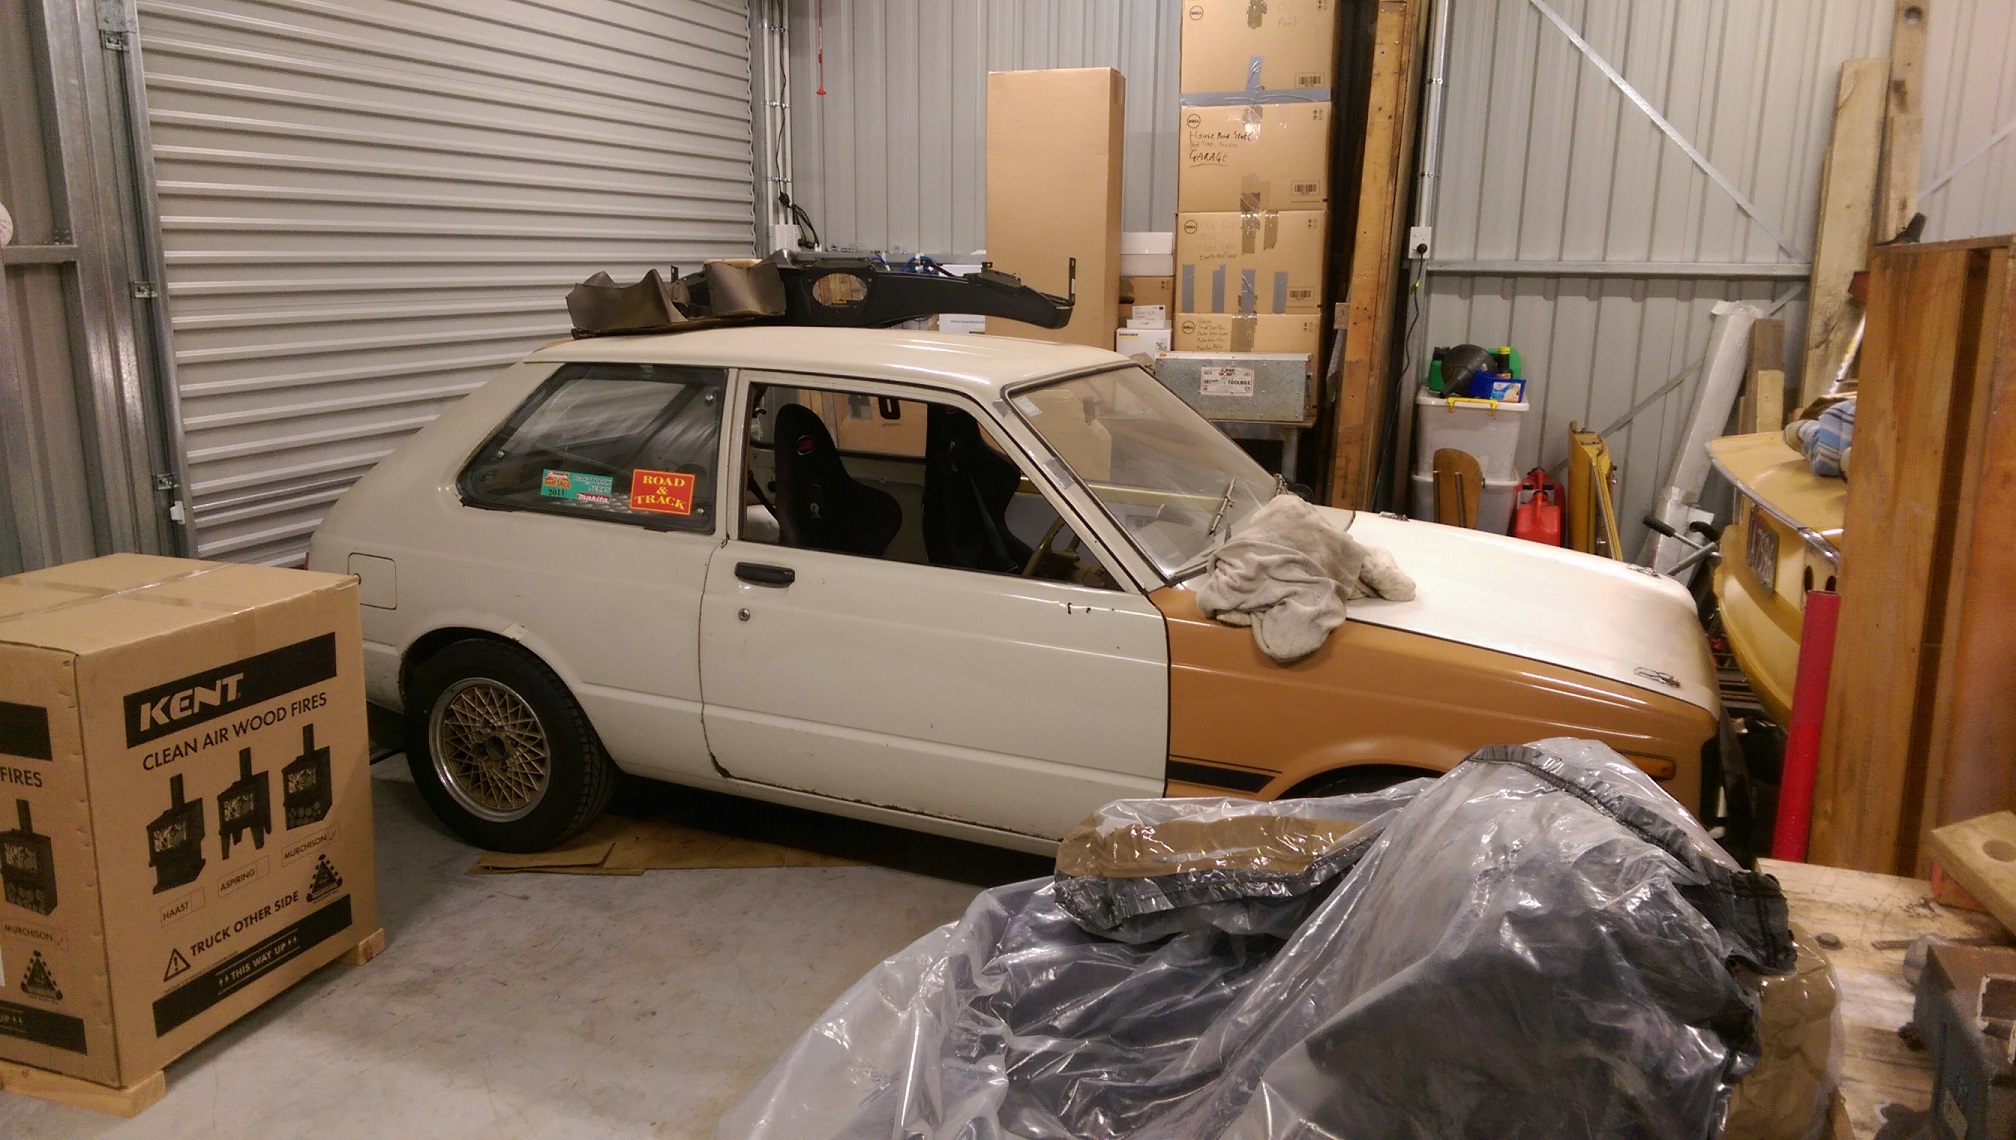
HAAHHH!!! PUZZLE MASTER!!!!!.. I cut the end off the triumph exhaust to get it in there. Now I have to walk all the way down the other end of the garage through my 'living quarters', the storage piles and the 'workshop area' to get the the other side of the car. Might be faster to just crawl through the doors. Motorbike battery was nearly flat, wouldn't start it, same deal for the STARVIA battery. I put the motorbike battery on charge.
1 point
-
we got the trusses made with a reverse kingpin so the floor bit in the middle would have more space. I hope to fill it with car parts.1 point
-
Paint it pink, call it wet on the inside1 point
-
we had a roof shout and it was fucking great. approx 11 thousand people turned up and had great times. this is the last people standing. 2017-08-20_12-29-17 by sheepers, on Flickr1 point
-
Go knock on the door of the Army barracks in the middle of Nelson. They have a uni mog that was made before I was born (1985 model) and it's done 45,000 on the hub. Portal axels drive shaft shroud. Would be nice to see some more mog campers about.1 point
-
36+1 trigger setup seems to be working good so far. nice smooth rpm plot. Was attempting to check the tune, but fun ended pretty quick. above is a part throttle run, just to check the new trigger setup works thru the rpm range. more than half throttle and the below happens.. Its had a hard life. originally was in my trueno Have also moved the battery to the rear. in an attempt to move the weight rearwards and lower down. I put those ugly spring covers on. as the roost off the front wheels was pumping the whole spring full of a grass/mud combo1 point
-
Also, bought this:1 point
-
Only one 'little hole'? What lies. Filled up that chasm, a slightly smaller hole on the other side, and a few other bits and pieces. Some etch primer around the windscreen. Then, back to the back. This isn't too bad as I patched the worst of the rust prior to getting a WOF. There is quite a bit of pitting above the drain channel which I am filling with the MIG. Note the factory lead filling between the D-pillar and roof.1 point
-
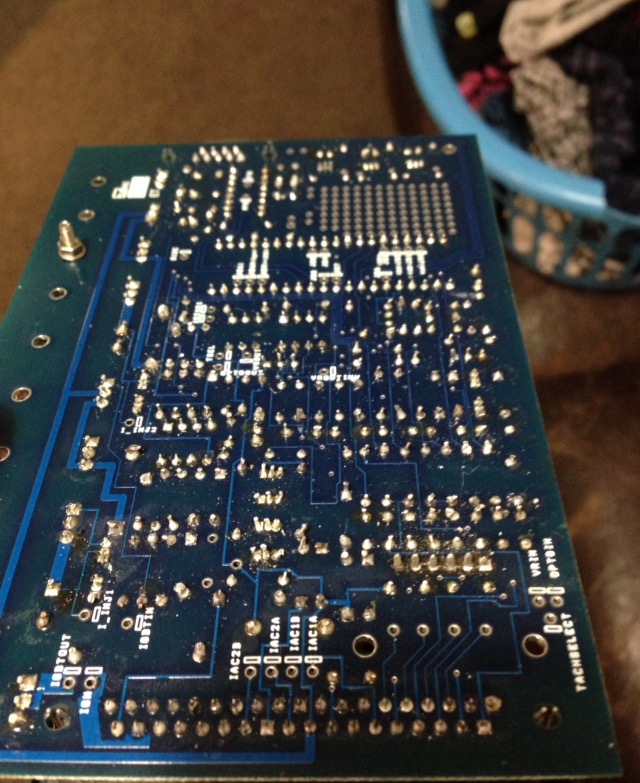
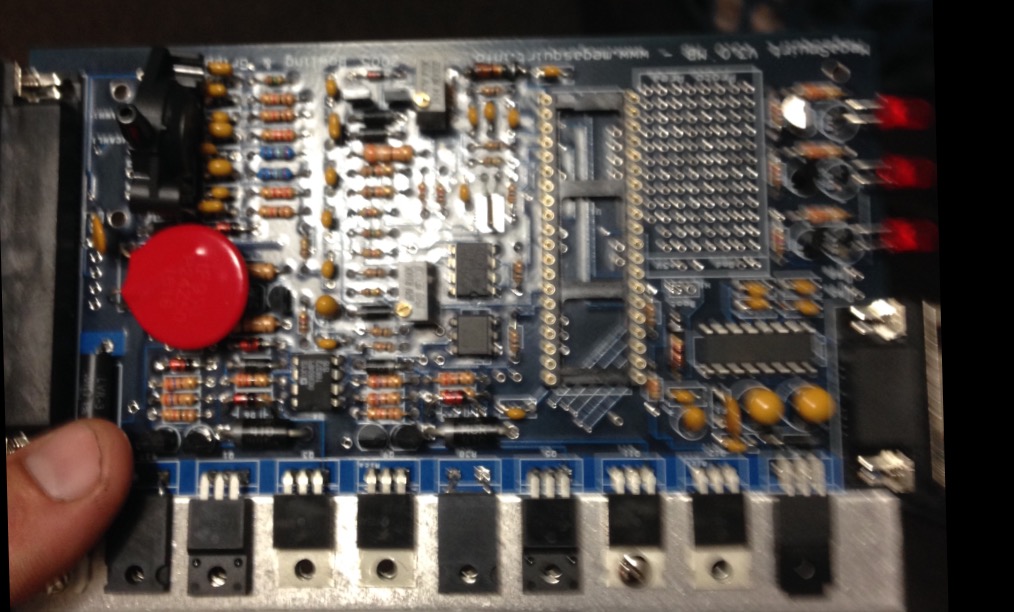
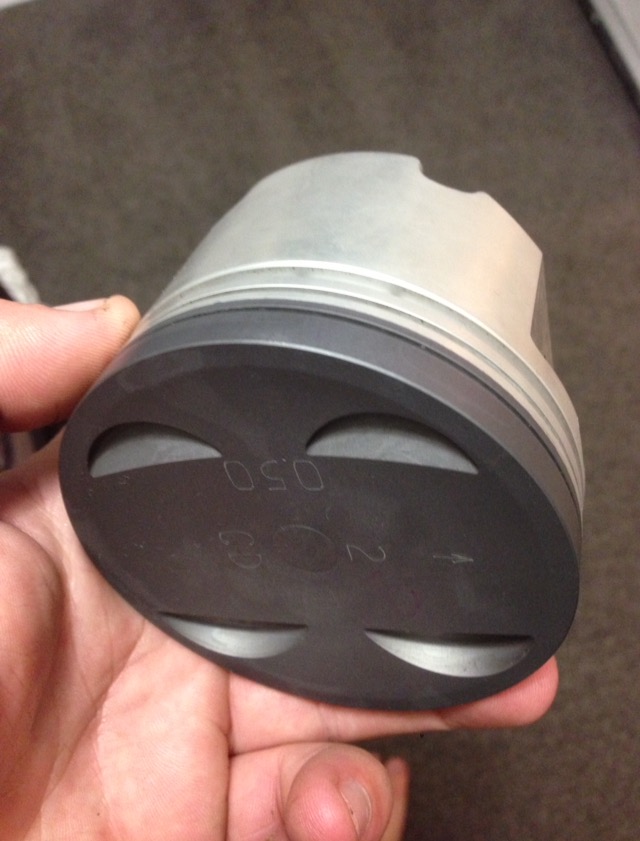
Making progress slowly. picked up another new piston to replace the odd one witch is sweet. so just needs machine work and its good to go together! bought a mega squirt kit and made the most of the rainy weekend. pretty happy with it so far, more simple then I thought to get together. Although i jumped the gun and put the MAP input on the wrong side witch is amateur AF. with no solder sucker I can't get the bastard out either haha ah ffs Open to suggestions for that seems people have had trouble with the VR input of the CAS, I've been talking to quite a few people trying to get some solid info but I'm getting different answers from people with mixed results. Unsure if I should dodge the an of worms or persist with fingers crossed
1 point
-
Good day today, lots achieved and a cracker day for it. As you always do, I hoped it would spray out immaculate and I'd never have to touch it but it ended up a little peely and some shit stuck in it. So I'll have to cut and buff it, I really hate doing it but. both my repairs on the mounting areas for the cowl vents cracked when I screwed in, bit gay but not super phased. Very jazzed on the original front, looks so much better than the plastic grille. while I was waiting for it to flash off I replaced the diff pinion in the pontiac so double project win. tomorrow I'll crack into painting the pillars and doors satin black in and out then wham on the new rubbers I got from basis and hang the doors back on.1 point
-
1 point
-
Both rear sills in and out. Both front caps, drivers not as bad. C pillar vent, one side only thankfully! And after about 80 hours day after day, 54 patches were chopped, made, welded and ground. marathon, but had to do it now rather than try patch it up as I'm driving it. I've got in with a tight group of 1200 owners, and they have been feeding me cheap and free spares! Fuckin awesome! Always liked the factory sedan grille more so,was amped when this showed up, bit of a scrub, paint and polish and I'm happy enough to rock it until I get a better one. Need the appropriate surrounds however. Also bits like badges, interior stuffs, brackets that have been cut or modified. Yesterday was hot, was waiting for the few layers of bed-liner to set in the roof after heat-shrinking and hammering so I can sand it easier, and I couldn't be assed sanding bog so I cleaned up and refurbished the bumpers, tail light surrounds, number plates, headlight surrounds etc. Already did the indicators and lenses before Xmas, test fit a stereo, general tidying and painting of stuff, cut a piece of underlay for the roof, seam sealed and under sealed the rear guards and spare tyre well, made a cover for the fuel tank in the boot. Broke a few of the tail-light fixed bolts, found if I snapped them off completely and drilled them out, I could fit some spare speaker mounting machine screws in there, weld them and trill off the excess. worked out really well, then wire wheeled and doused in black zinc. Common practice on this car1 point
-
The rear arches had been hacked to fit drag slicks and it was high on my agenda to make them more original looking. As you can see it was shy about 30mm of arch. So I made these out of sections of some rooted front guards cause I just don't have the gear to shrink and stretch new steel. In saying that, it was everying BUT the arch that was rooted on the spare guards. Half of these pics are just quick 'end of the day' photos for a timeline, don't freak out if you see holes and things still, I got them. I worked my way from that front guard all the way round back to it. I took photos of the lot but it's depressing so I won't post them all. fair bit of time spent with the magnet and air gun extracting the rust scale, then doused it in rust kill, zinc and another sealant. Everywhere. Inside both rear doors were Chooched, nice repairs from the outside but had blown out on the inside.1 point


.jpg.6fbe39d64bf405f30c0d8db3bc0bc4f3.jpg)

.thumb.jpeg.384ff72c8d2b0ee0d34a7bdedb55bdcf.jpeg)


This leaderboard is set to Auckland/GMT+12:00