
Leaderboard


Popular Content
Showing content with the highest reputation on 06/11/16 in all areas
-
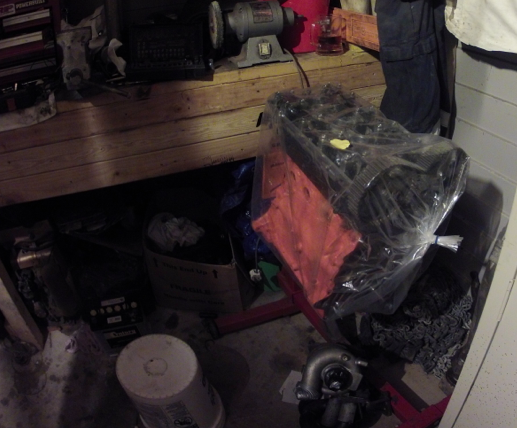
so. after a BUNCH of fucking around and getting dicked for a few items that should have been covered by insurance i finally got a payout to fix my blue car. without wasting everyones time with details the result was that the insurance company would pay for a new gearbox, a secondhand engine and a few sundries. so i bought this, 2016-06-11_09-35-36 by sheepers, on Flickr 2016-06-11_09-35-29 by sheepers, on Flickr 2016-06-11_09-26-57 by sheepers, on Flickr 2J short block, gasket set, new oil pump and a new R154. if i hadn't of just sold the red car i wouldn't be able to afford this and i would have had to buy a second hand 1J. but i have just sold the red car so its splurge on shit time! I've also bough a new manifold which ill post some pics of when it gets here but its pretty special. now its time to put it all back together and make some mods along the way. should be interesting when its back on the dyno…….27 points
-
So heres my current project 1989 Eunos roadster import - 1st year model manual windows no frills not quite oldschool Bought as a winter alternative to motorcycle - like the handling and the fit but not the lack of power in top gear or for passing Looked at lots of red ones went yeah/nah and then this popped up local and cheap Did the usual stuff to it - new soft top - better shocks lower springs new discs and pads some JDM mazdaspeed Rays wheels and scored a hardtop and some nice old made in nz autosport fixed back bucket seats So the plan is underway - 1600 motor out - 2.0 quadcam KFZE v6 from a mazda cronos 626 in slowly Plenty of these have been done worldwide and all end up being a bit different Mazda v6 onto 12mm adaptor plate onto series 1 rx7 bellhousing onto mx5 box centre and tailhousing - retains the PPF gearbox mount 626/v6 /mx5 clutch are same size splines and even pressure plate so thats easy 626 clutch fork and release bearing fits into the rx7 bell and seems to line up right Mocked up with plywood adaptor template and slung into the hole for a look at clearance Everything stock on the v6 for is for fwd only so needs chopped or thrown away for rwd setup Distributor = no way is there room back there Inlet manifold - tricky i was thinking chop back the rocker cover and mount it facing forward like the pic but its gonna be poking thru the bonnet so custom intake is looking like the way Big list of other stuff to figure out is Spacer the front subframe down off the body for sump/steering rack clearance Build a sump and oil pickup Exhaust - ebay headers then chop hell out of them to fit rwd Engine management - EMS stinger v4= hope they are not crap and will do what i need Engine mounts - mx5 lowers onto custom plates to engines - bolts holes everywhere on the block Coolant reroute Alloy radiator and mounts to suit the coolant hoses A/C = gone = easy Steering rack = depowered Driveshaft hoop needed for lvv So not quite oldschool - people either love mx5s or hate them I have read almost every interweb site relating to this swap or the mx5 or v6/mazda/ford probe/telstar/323 a few times And been picking alex Yoeddys brain for v6 swap info Not looking for crazy power but the stock v6 160hp/160lb will make the little thing fly Any discussion advice crap or otherwise welcomed Hi im Steve and this is my car build thread ...9 points
-
Must have restored it perfectly! Fuck it!!
 8 points
 -
I was in a mower shop recently when an old boy pulled up in a 911 SC, he then pulled a grubby old weedeater out of it and walked into the shop, no drop cloths or fucks given.6 points
-
I bought some seats from the wreckers, some fixed ones out of an Escudo, some swivelly ones out of a Previa, plus some swivelly mechanisms out of another previa to graft into the Escudo seats. This is because I need to use all the space we have, and have 4x seats that don't swivel and become the lounge is not an option. I got shit bored doing quotes today so decided to give the seats some loving instead. Some Escudo Seats; Some swivelly things with extra lumps; Swivelly things without extra lumps; I trimmed the long seat legs and rewelded the tab mounts back at the same level as the short ones, the intention was to mount the swivels to these points but i discovered an easier way; Which was to weld bits of metal directly onto the frame; And not forget to reinstate the lever springs for the lever that locks the swivel in the ahead position and the 180 deg position; Then weld the swivel things on, plus a lever to release the catch; The result; I shall mount these on rails now and put them in the bus....6 points
-
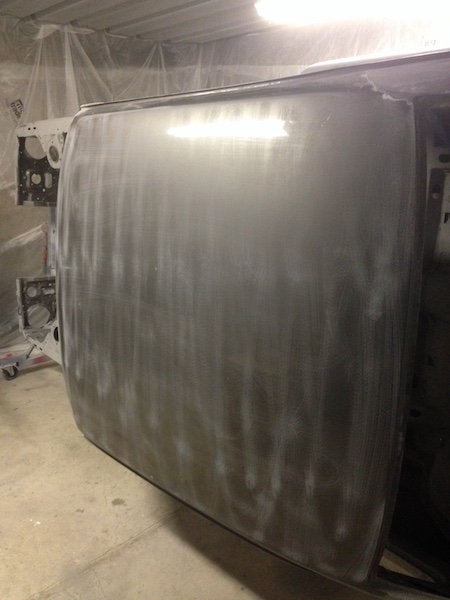
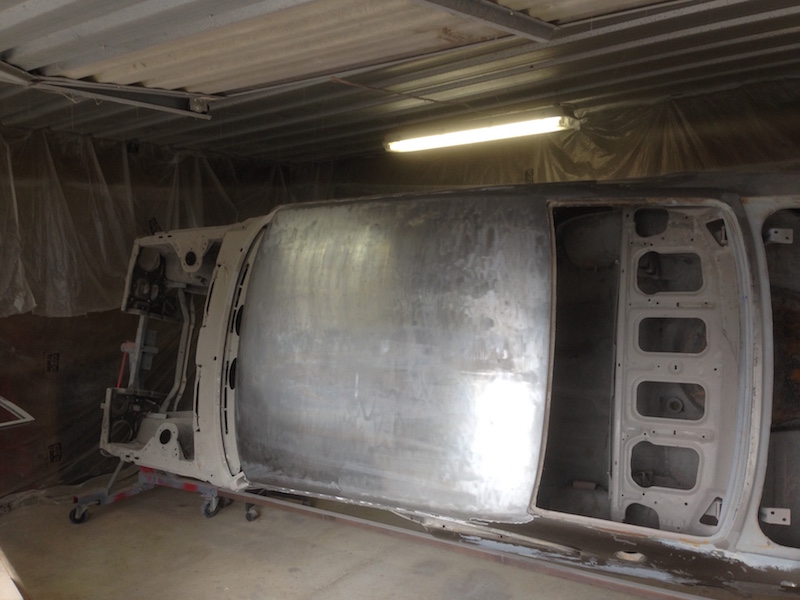
Got some shed time in yesterday avo......Stripped the roof/coated in Keyphos - great stuff! Just wipe it on and it stops any surface rust forming. And no I haven't primed the inside - that's just the new layer of bog dust EVERYWHERE. SO MUCH DUST! Only one small dent under it all which was nice. I had two coats of the gunmetal grey, a layer of spray filler in spots and some red primer (didn't see any original green up there) to remove, and even after scuffing the paint with some 60 grit, applying the stripper and wrapping it in plastic, I find I have to do it 2/3 times in some spots, and very thickly......is this normal? I seem to spend HEAPS of time on the grinder with the strip disc too, thought the stripper would be more potent.....I'm using TERGO STRIP. Also bought a 'dremel' from the warehouse to do the niggly bits around the doors and apertures. With the $$ i'll have to spend on the body work, it's cool to be able to get as much done as I can myself.
5 points
-
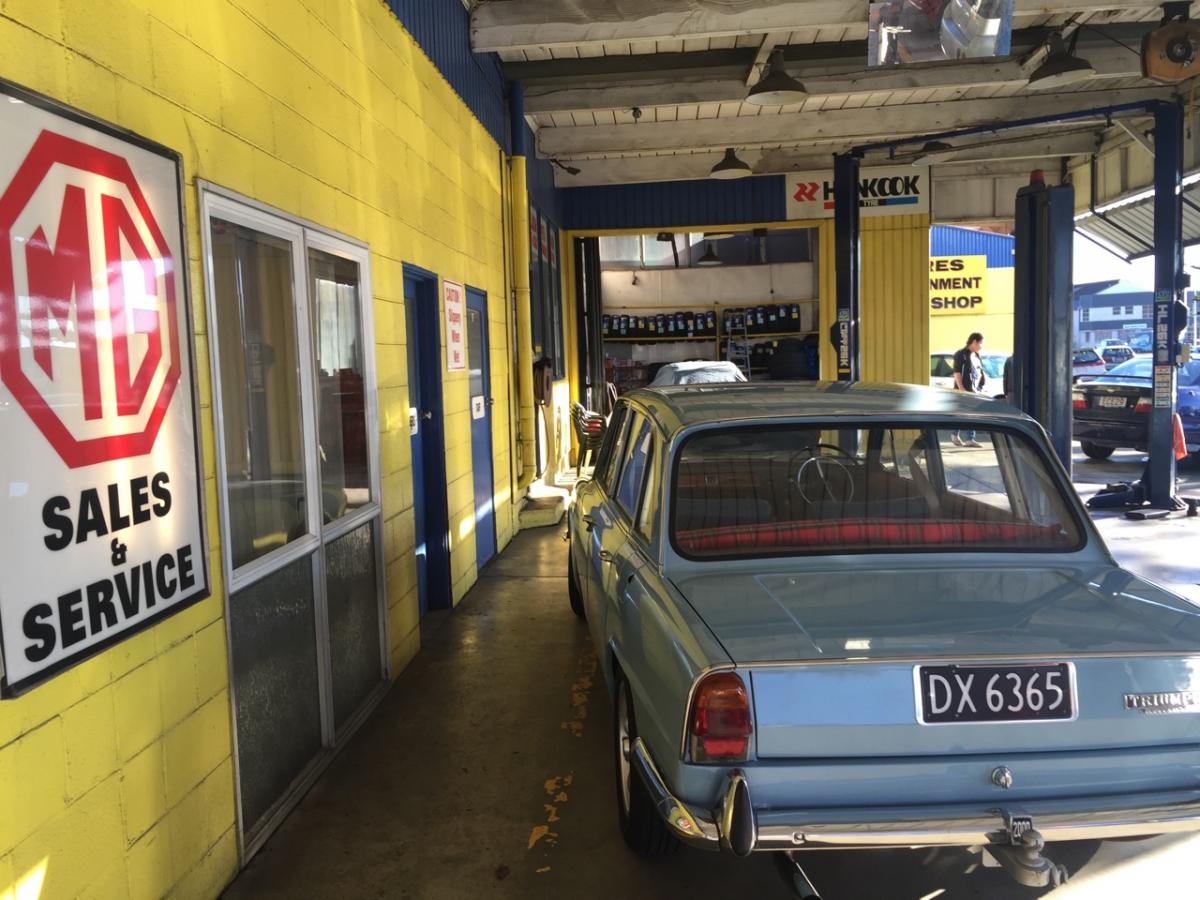
Bit of an overdue update, Finally got her wof and rego sorted! And shes able to retain the black plates too. Today I had a go at polishing up a wheel, what an improvement! Only 4 more to go... Not much else has been changed but I hope to get into the bigger things soon. I'm on the lookout for a drivers seat and a rear bench seat. Also need to get that clarion radio sorted.4 points
-
So the parts which i purchased off Ebay arrived this week. Looks to be quite a few useful parts like crank seals, some of the pull start, an exhaust manifold, new ignition system and flywheel, air filter, choke cable. I went up to scootling and took a few snaps of the sachs bike with the rotary conversion using the same engine Peeking inside this cover it had a belt drive from the engine to a pulley with a cog next to it driving the chain to the back wheel. Interestingly it runs the original carb and even more interestingly there is a company sticker with a phone number who I'm guessing crafted this weapon! Safe to say enthusiasm is running very high!! Returned home to have a look at the carb to find that the actual throttle butterfly is jammed close and what i thought was the control for it was actually the governor. A bit of persuasion back and forth and it moves freely so i bolt it back on with the throttle quarter open and have another crack at firing it up. Earmuffs for my earmuffs is an understatement, half an hour later and my ears are still ringing and the neighbors dogs are still barking...No video because i was busy shitting my pants trying to find a way to shut it down. I then removed the original kickstart from the chassis and sat the engine in to see how much room i have to work with4 points
-
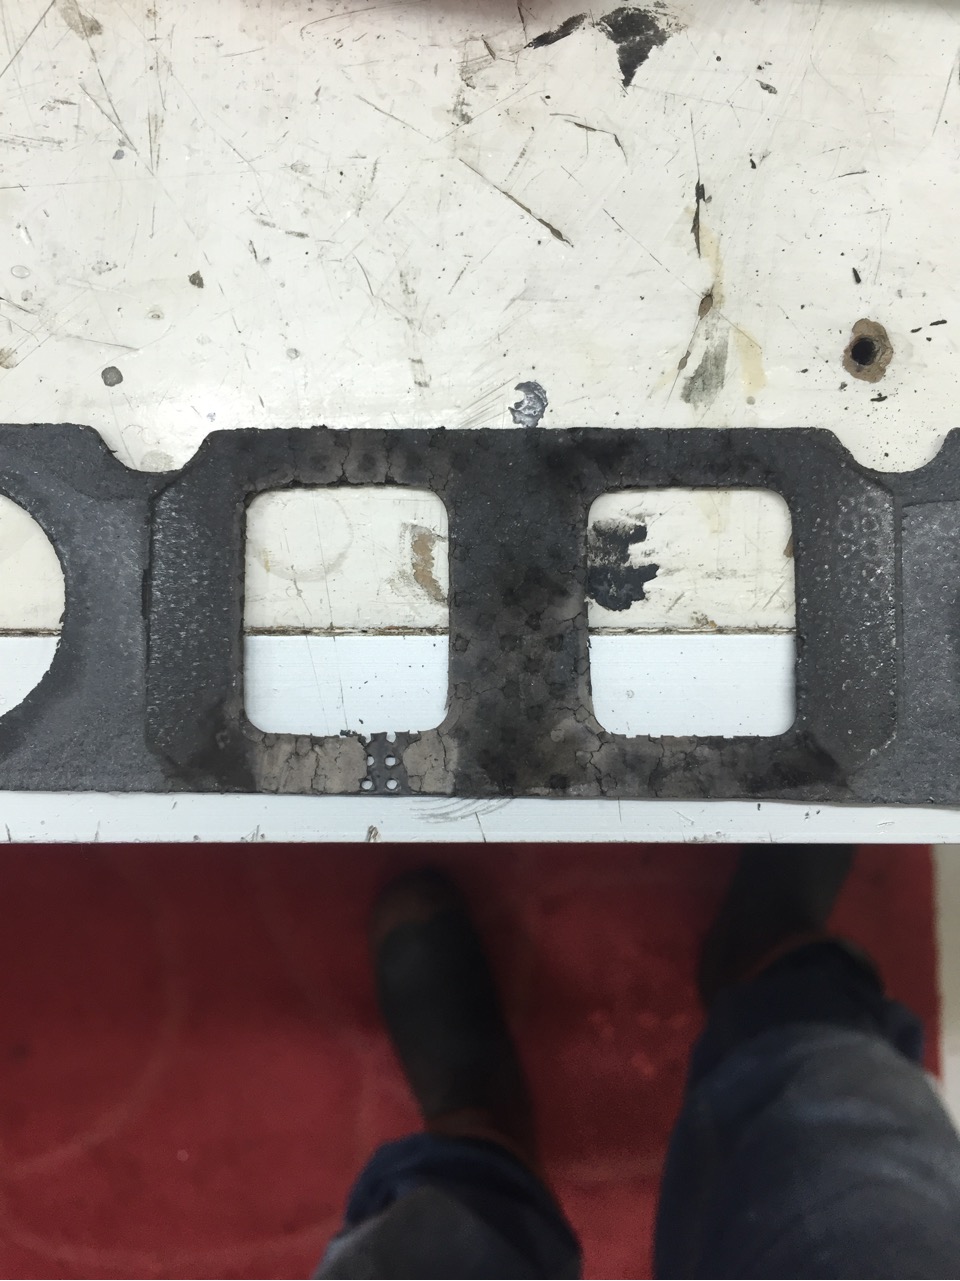
I've had a productive few days tidying up the last few jobs and sorting a few little balls ups. Ended up with an exhaust leak from a blown manifold gasket. Not sure what I did wrong or if I had a bad gasket but either way I'd bought two so had a spare. Not too hard to change in place either. Also, one of my newly overhauled rear wheel cylinders started leaking fluid but luckily caught it quickly and saved my new shoes. I had the cylinder done again, and so far it seems ok..... Had a real quick alignment done also which only got the front toe done. All other angles were OK sort of but not perfect. Might try and find a shop that doesn't mind actually spending a bit of time and care setting it up properly cause I'm sure it would be worth it... Either way, it's much better now and drives awesome. This morning took it in for a WOF, which it passed sweet as. Pretty stoked
3 points
-
2JZ, no shit?3 points
-
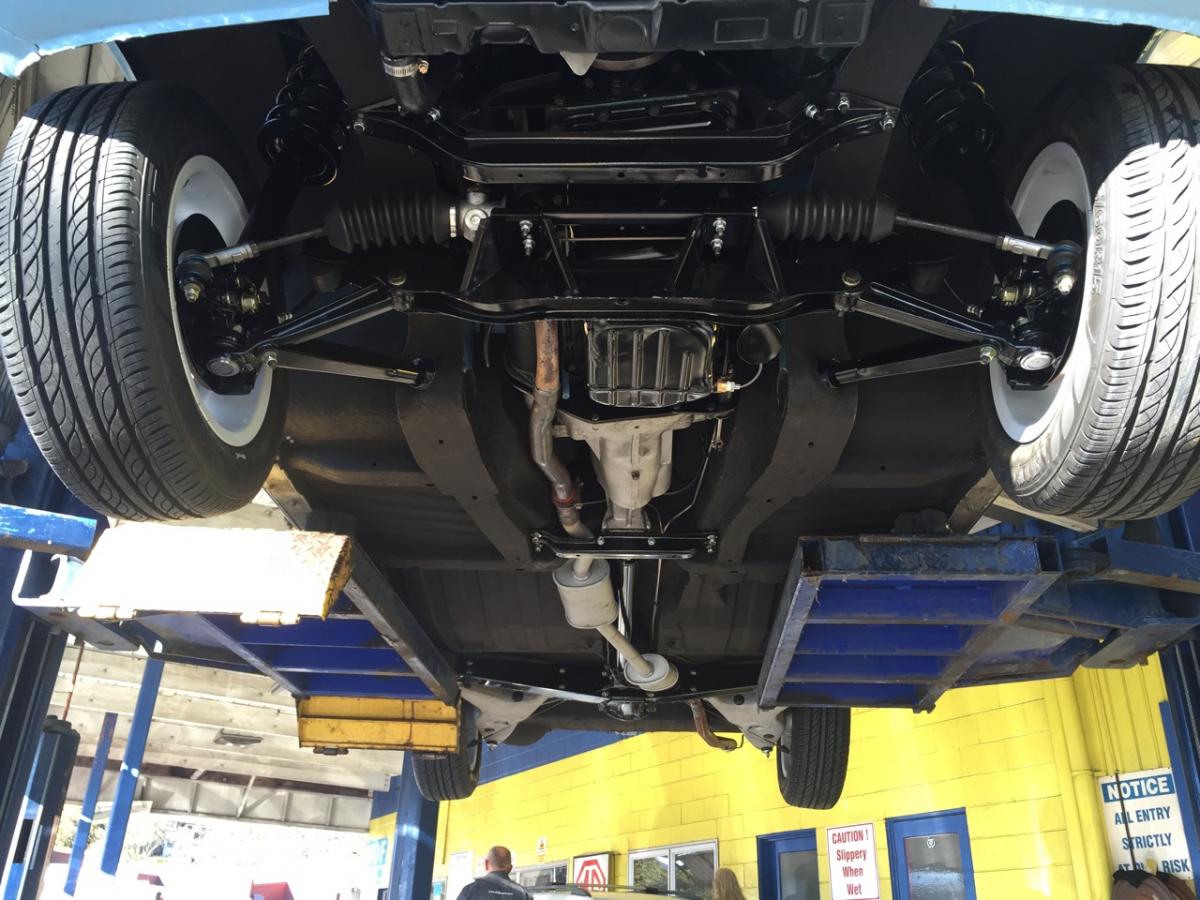
Picture below is the standard 4x4 Safari Sump If i cut 6cm out of the bowl part this will bring it inline with the very bottom of the bell-housing. No parts of the engine/sump or transmission sump will sit below the front cross-member. These engines take 10 to 11 liters of oil including filters. Since i wont be doing any 4 wheel driving or climbing 45 degree slopes i should be fine.3 points
-
2 points
-
So after a long weekend i shoulve ripped into this,i planned to but nothing happened other than pushing it outside for a wash.I have been in touch with the certifier in chch and told him that i would like to notch out the cross member,he has told me to go through the LVVTAs design approval process.So this weekend il be drawing up pictures of what i want to do and hopefully they come through and say i can do it.I have fitted the ms112 swaybar which is slightly longer than a ms65 one but it has the bend in it i need to clear the engine,also 16mm spacers needed to be made for it to line up.2 points
-
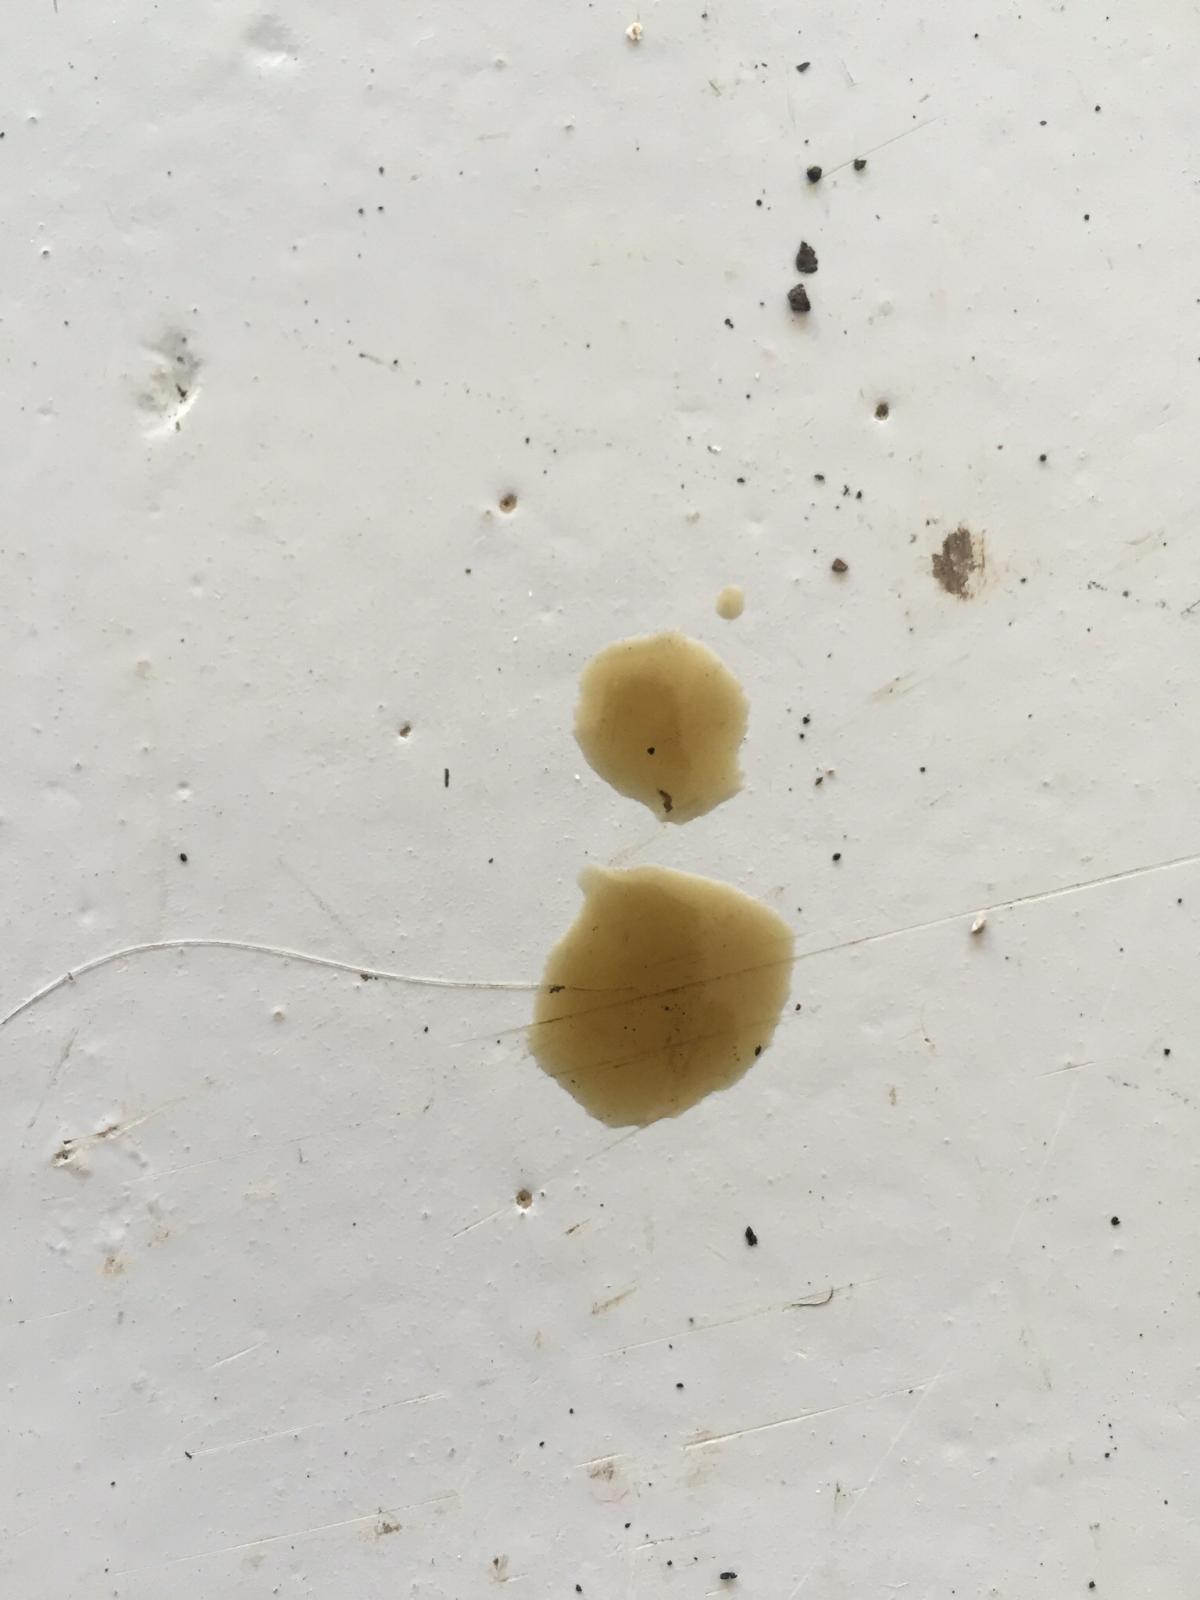
Truth is the leak was staged for a bit of loling... Lol2 points
-
If ya wana flag fixin ya euro and dont have a ride i have a spare seat2 points
-
I've stripped down one of those carbs using the CDL rebuild kit from SCA (used to be stocked on the shelf for $30) - it made no difference once it was done. I wouldn't bother if the carb runs fine as is.2 points
-
2 points
-
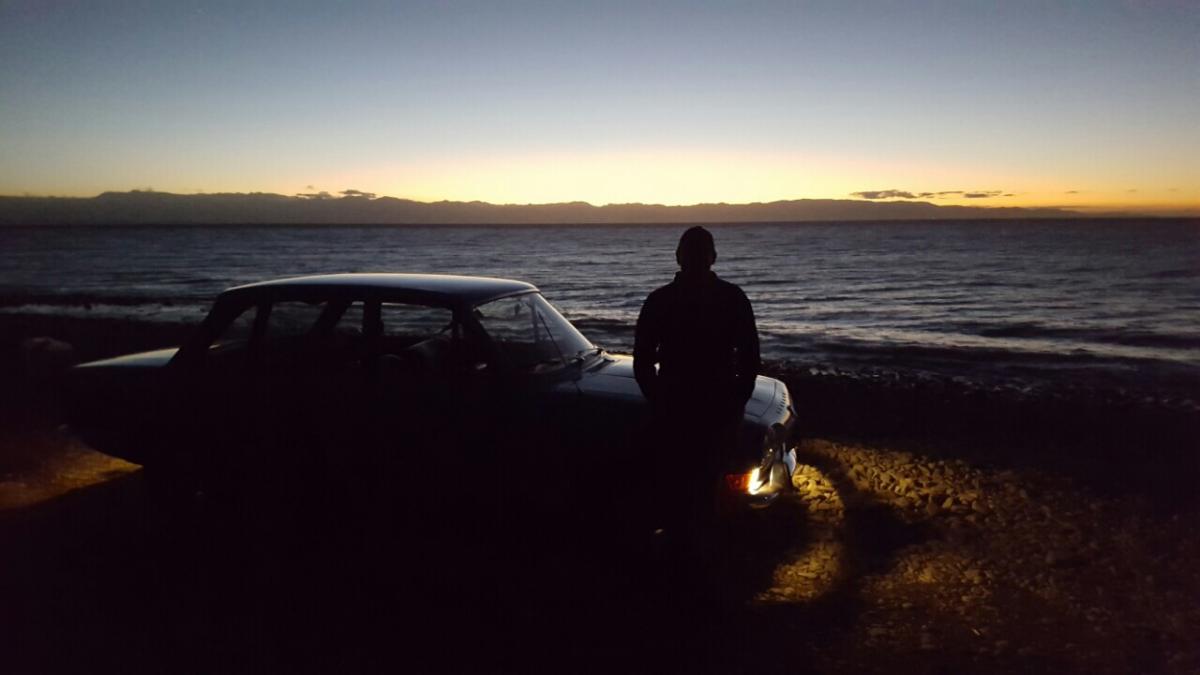
Off for some poser pics...
2 points
-
I have some good side panels and other bits for this you might be needing...2 points
-
Goals would be strapping a couple bags of readycrete on the boot (bonnet?) lid to get them home.2 points
-
Goals (Not mine - just a photo someone sent me.)2 points
-
That's better. Cut a coil and a half of the springs then used my gas torch to bend the top half coil down so it sits flat Got autoline to shorten the shocks 35mm ($55 a side) Got new inserts as well as they were pretty nackered. Handles far better now. Turns in more responsively and its not to stiff. I did think about going lower but would have had to spend a lot more on inserts to match the higher spring rate. Since I'll go to coilovers at some point the money can be used else where. That and it is actually pretty low, maybe it's just the 13's don't fill the guards but I like the 13's as the car picks up well with the smaller radius while it's only got the 3A in it Drifts better, just need to lower and stiffen up the rear as the rear is now more floaty then the front. The list to date: Indicator relay New tires (Achilles 122 185/60/r13) Lower rear with new telescopic shocks Pull plastic's out and roll guards, sort any sill/pillar rust out Then re-do all the under body seal New carpet Possibly new rear demister
2 points
-
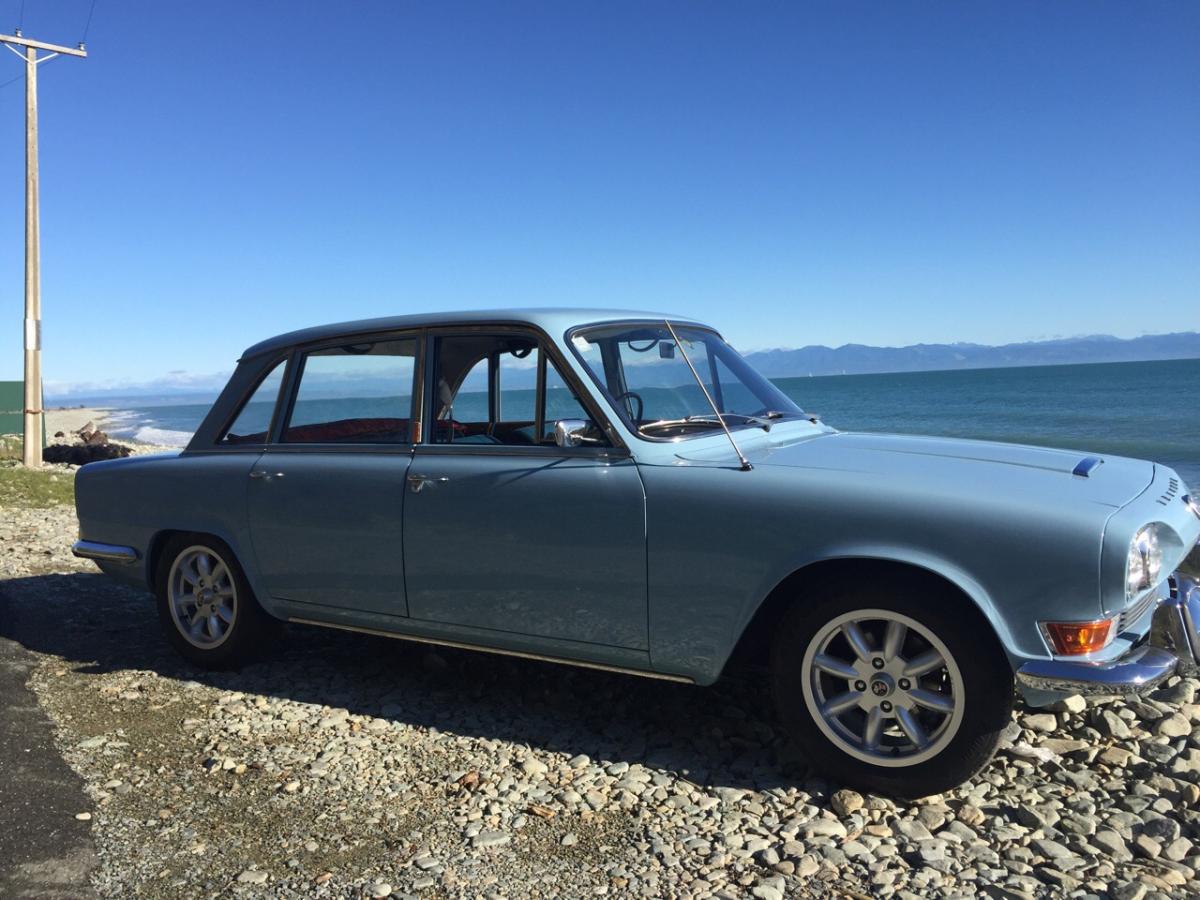
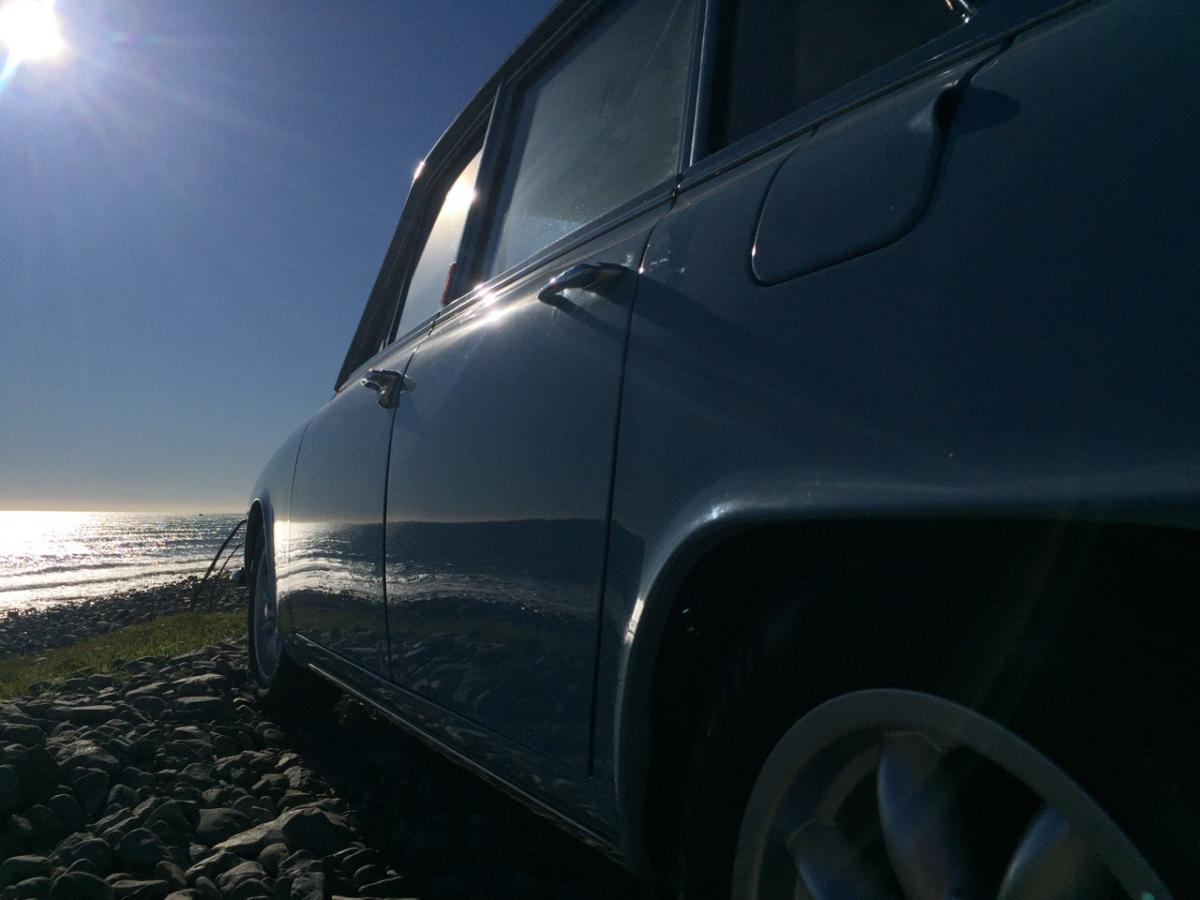
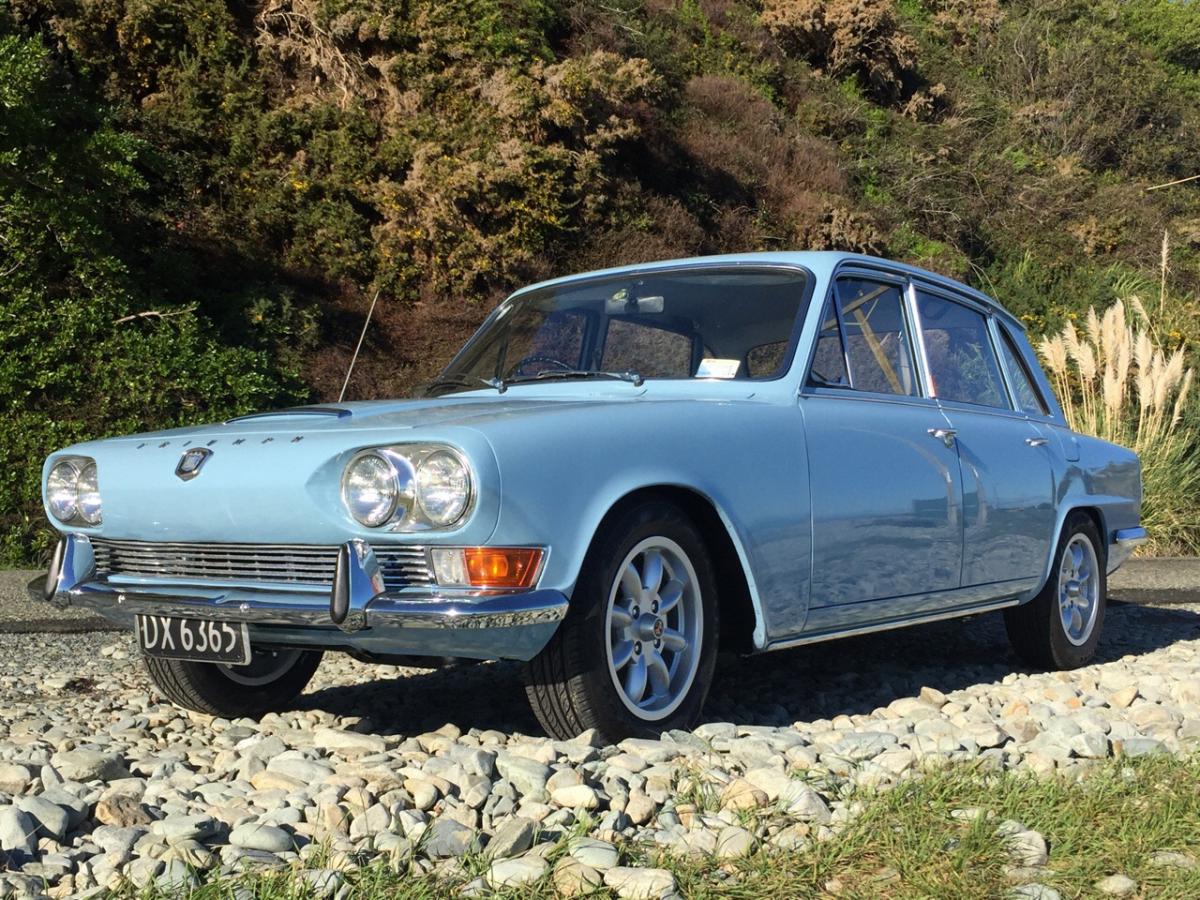
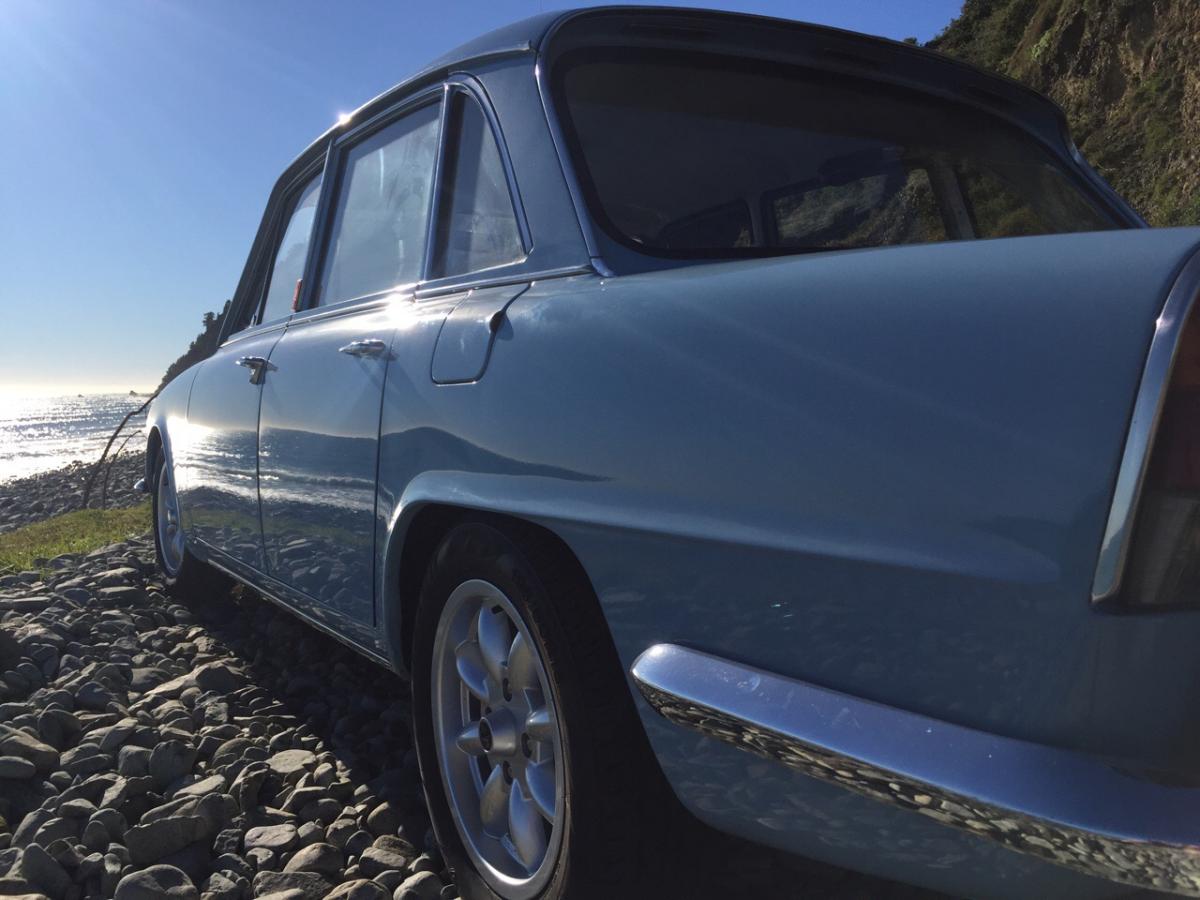
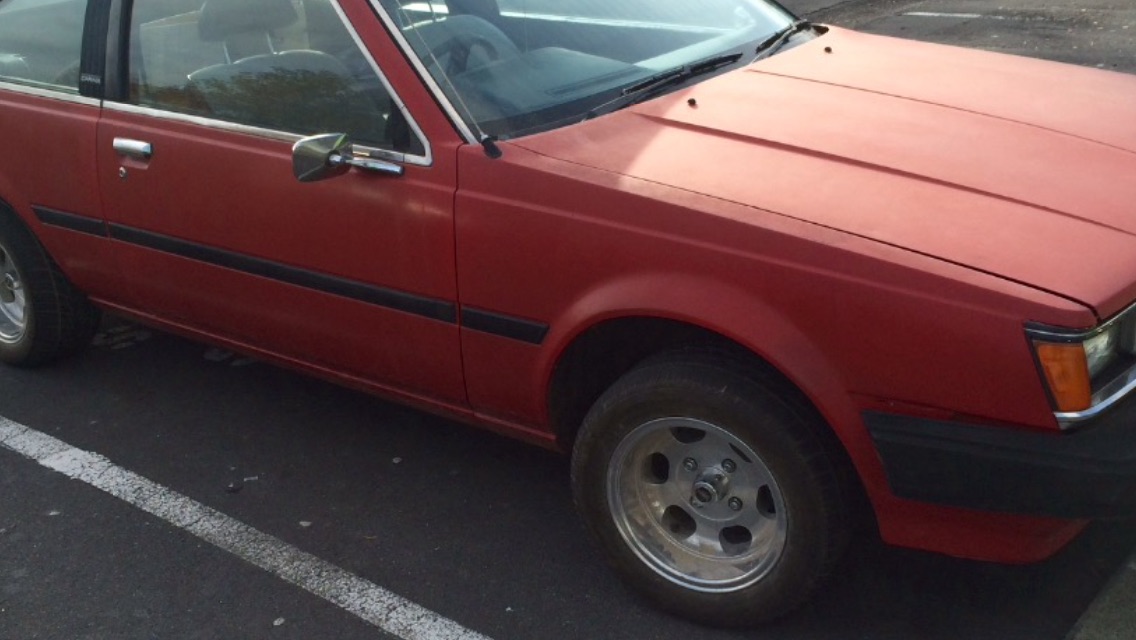
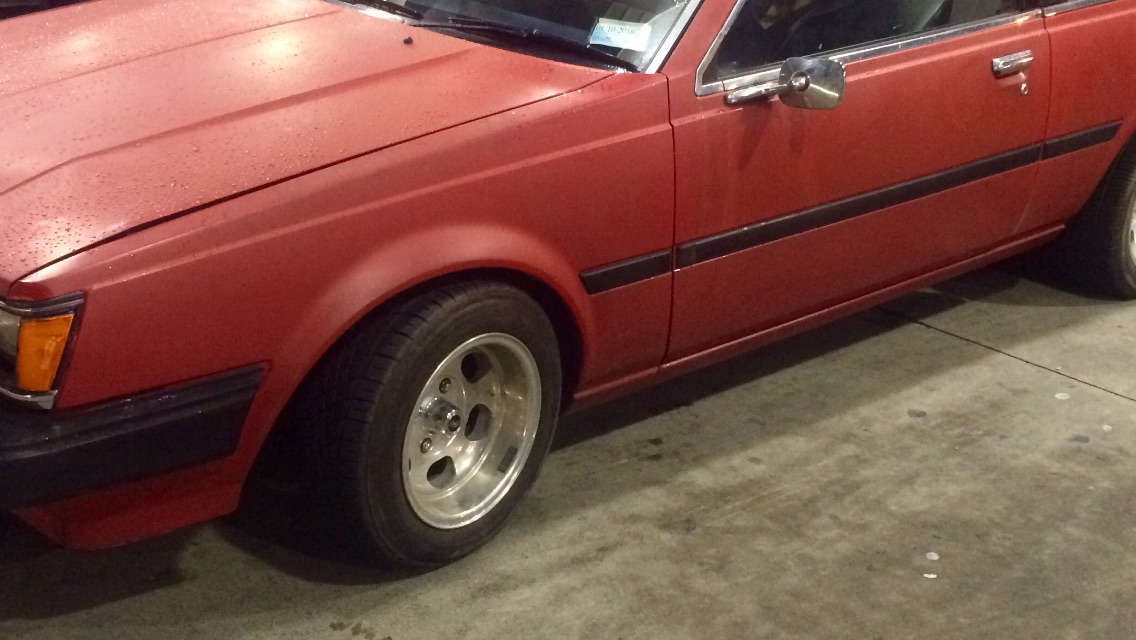
so the car has just come back from Greg's where it has had a full cut and polish. its pretty much done now. there are two things left to do, adjust the door glass so it seats in the rubber s better and paint the rear badge. thats it. its done. hard to believe really but it is. the new owner has joined OS and will be involved in OS events for the future so imi sure you'll see the car around. for what could be the last post by me in this thread here are some bad photos of trying to show how fucking amazing it looks after polishing. 2016-06-08_06-43-53 by sheepers, on Flickr 2016-06-08_06-44-17 by sheepers, on Flickr 2016-06-08_06-44-30 by sheepers, on Flickr 2016-06-08_06-44-51 by sheepers, on Flickr 2016-06-08_06-45-03 by sheepers, on Flickr2 points
-
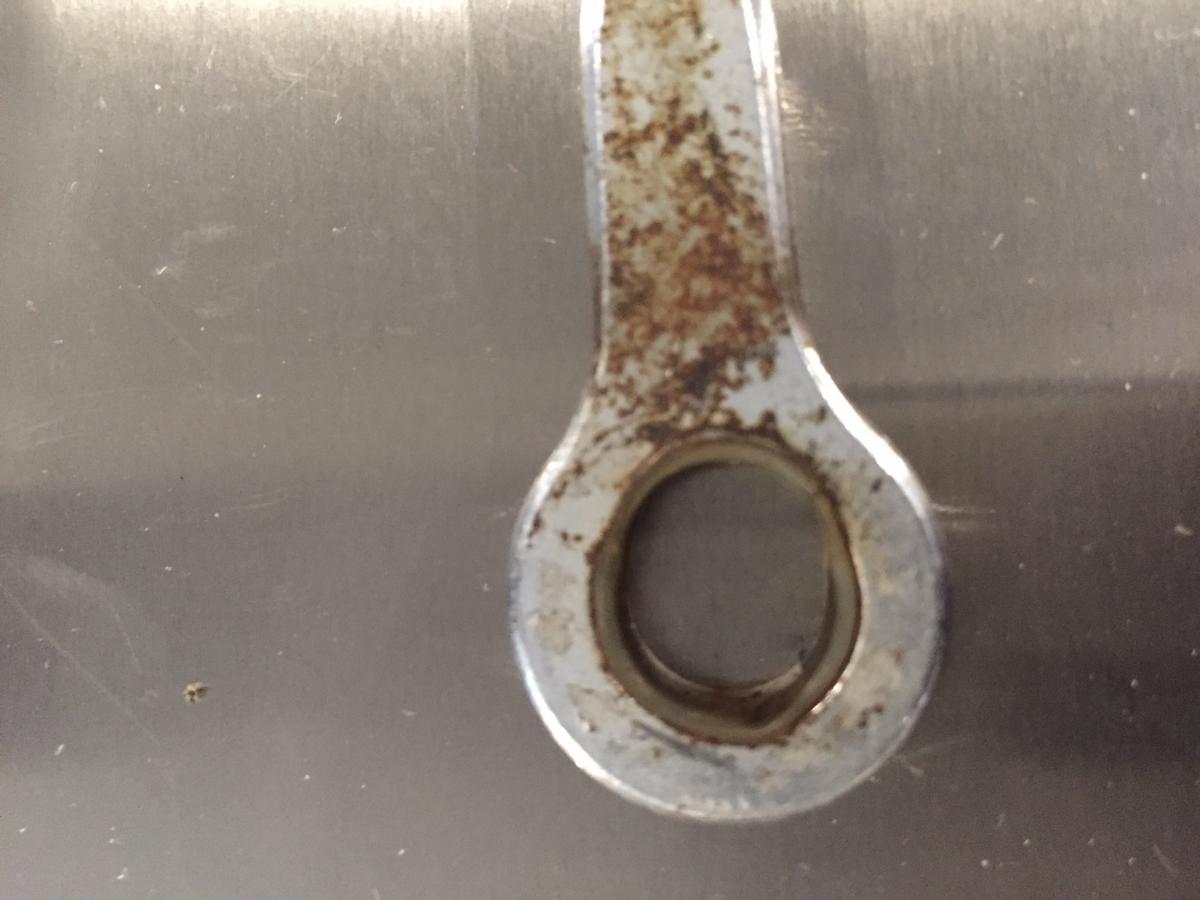
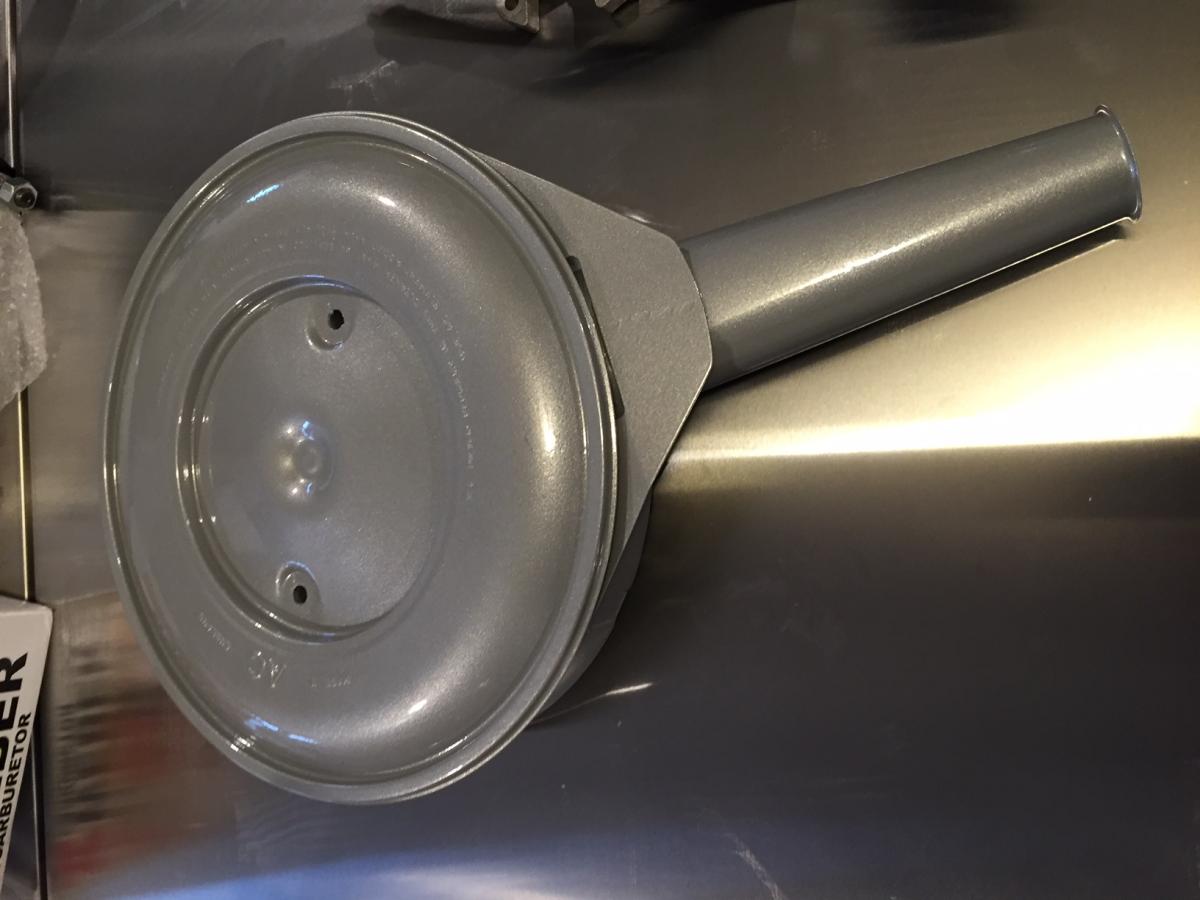
Slogged out master cylinder push rod ends. I'll see if I can get them drilled out and some bronze bushes made to sort the issue. Nice shiny Air Cleaner from the powdercoater.
2 points
-
The extent of the problem;2 points
-
Like fun..1 point
-
It's over in Opotiki and a 3 day drive, plus wants a day or two work getting it running sweet again1 point
-
Got my manifold back and sitting on the car which got me pining. Started fitting the body looms back in the car then found that the drive shaft I gave away was the one I had set up for the car and forgot I removed it so that sucks. Also fitted up a steering wheel from an unknown year corona coupe (gift from my cuzzy) which looks good.1 point
-
Oh so sweet. This is going to be cool to watch develop. I like that front end. That burner we were given that we fitted into our cabin, but fell over in the cabin incident and broke its legs, would have been a perfect size for this. We only just sold it on TM last week. I would have been keen to pass it on but glad we listed it because it sold for $1280 !!!! I do presume you will make some funky wood burner for this though. Oh and you could do this with the roof... But with a nissan homy van.1 point
-
^ but nothing a few dehumidifier bags, like the ones you get in new shoes, cant fix yeah?1 point
-
Been sorting lots of fittings, screws etc to go to the zinc plating man. Spent ages researching the correct type of screws and what washers etc go on them. When I pulled the car apart it was a real mishmash of odd size screws and head types so have now got all that sorted. Once the front of the car is back on I'll check the holes in the body work are all the correct size and fill and redrill if too big1 point
-
I would greatly appreciate it if the fuckwits bringing these pieces of shit into the country were shot in the face.Fuck these cars are the biggest ballaches to deal with.1 point
-
1 point
-
So took my wheels to the local bike shop here in Mosgiel to discover the dude was a real GC. Understood what I was trying to achieve on a budget, and was happy to do what I wanted instead of selling me new stuff. Hopefully today he will have replaced a few broken spokes and trued my wheels so I can polish them. He also suggested I run the current chain because "it's not that rusty" and "a new chain will look stupid on something like this, just run it as is man!" Will update when I receive wheels back, but super happy how he has approached it so far.1 point
-
Who the fuck changed my title thing? Only just noticed.1 point
-
Super - looks like I'll be there with boys and possibly wife. Bring your respective families, lets make a day of it!1 point
-
All the Minors.1 point
-
been busy doing a full rebuild on my 288xp Husqvarna high top filter chainsaw, ported the thing pretty warm deleted the base gasket, new piston ring bearings etc, goes pretty good now, full chisel chain, ported muffler. if your into your saws she's a mean machine.1 point
-
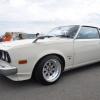
Is it just me, or is there more than a passing resemblance with these noses?1 point
-
Made the latest NZPC1 point
-
Did the pass a pillar last night..1 point
-
I got a bit of time to mess around doing some landscaping in the weekend. I also managed to get the basement closed in. UJ are happy TBH And there was even time to waterblast all the mud off the floor. Please forgive the poor photo. It was taken tonight under the FUCKING AWESOME lights... but the generator is now playing up so I've hauled it down to the workshop. I'll take a look at it Thursday1 point
-
Like not having mates?1 point
-
what gearsack will you use? i approve of this, i had dirty thoughts about putting a td42 in the valiant ute i had1 point
-
also because i have no idea how to plan anything i bought these flares. $_57-2 by sheepers, on Flickr $_57 by sheepers, on Flickr1 point
-
air cleaner setup finished. i hunted for ages to find a filter of any sort that had a small enough outlet to suit the 2TG but i couldn't find anything that wasn't utter shit. i had this trust one that I've had for ages and it fit better than anything else id found but it was chrome and the foam filter medium had turned to powder. i found a pod filter that had a similar foam bit so i bought that and the foam fits nicely into the trust pod, unfortunately the foam is blue but you can't have everything. then i took the frame to work and gave it a light bead blast so the paint would stick and i painted it black. job done. and in exciting news i put new plugs in it along with fresh oil and a new filter. oh, and i got the heater core reco-ed and I've put the heater box back together with new foam in it and thats back in the car now. oh and also - the windscreen washer bottle was a bit second hand looking with some of the plastic all powdery and shit so i gave that a light bead blast too. i gave it a thick coat of primer then i sanded it back to try and get it looking a bit more presentable then i painted it black so thats done as well. I've bought a cylindrical radiator overflow bottle that ill mount down beside the side of the radiator and that will just about finish the engine bay i think. 2016-03-29_04-48-47 by sheepers, on Flickr 2016-03-31_04-41-02 by sheepers, on Flickr 2016-03-31_04-41-10 by sheepers, on Flickr 2016-03-31_04-54-52 by sheepers, on Flickr1 point
-
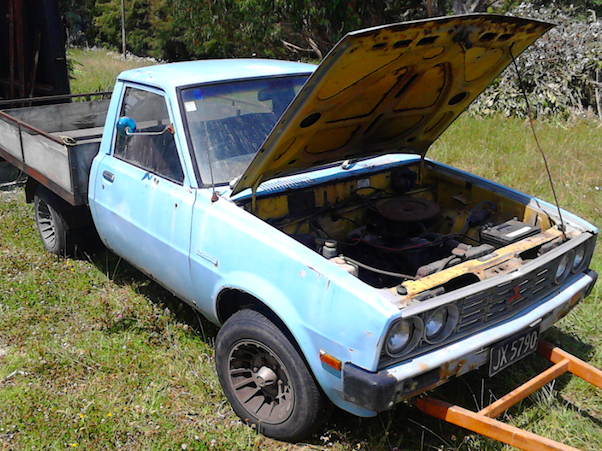
so this happened today, $200 towed it 45km home,prob should build a car trailer. has got a 1.6 that should be sweet in the wagon,if its not rooted. will do a compression test
1 point
-
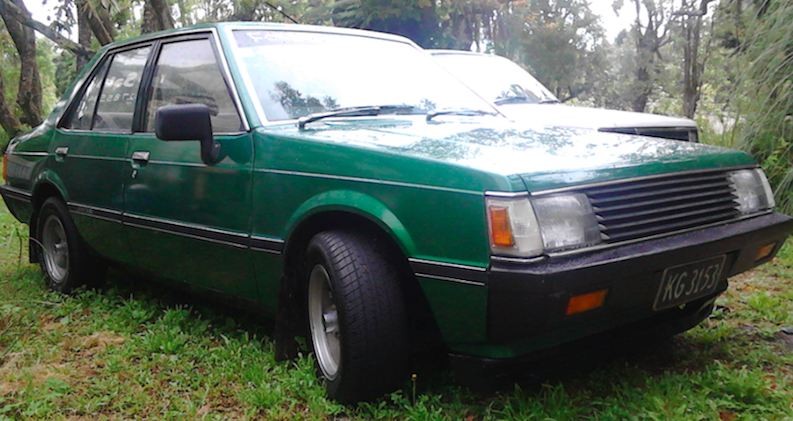
had to sell the lancer to hopefully re-do the shed, hope to weld up some bigger frames and lay a concrete base,theres two more frames the guy never put up.
1 point
-
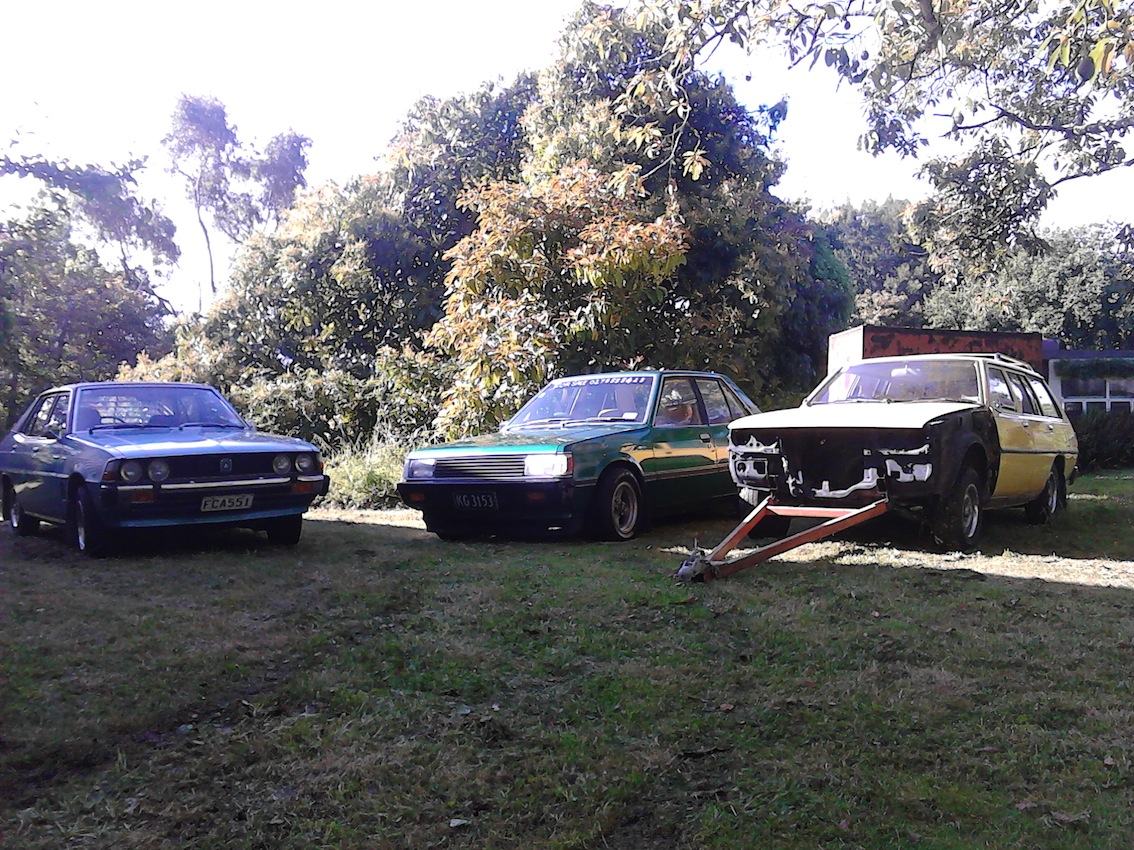
sold our house and have been in a temporary house till we move into our new place in a few weeks so not much has been happening.but hoping to get back into it next year
1 point
-
could put this in,been slowly building it up over the past year, vr4 block oilling mods,balance shafts removed,new pistons,bearings etc,evo 3 head,arp head studs,new valves, have made a top mount twin scroll turbo manifold to suit the evo 4 turbo,but can't afford 2 external wastegates right now. looks like theres room for a windsor though have a sohc 2L prob just put that in there for now and get it driving asap.
1 point


This leaderboard is set to Auckland/GMT+12:00