
Leaderboard


Popular Content
Showing content with the highest reputation on 09/14/15 in all areas
-
I have basically finished off every thing that needed making on my bike now, all that's left is handlebars and paint which i will hopefully start this week. As i said before i was hoping to make my forks more like the originals, they are all done now and i am extremely pleased with how they have turned out. Pics.... I started with this head casting. I got it from the guy in Oamaru, it's a steel casting that was taken off an original bike. I cut of the handle bar spigot as it was to small for the 5/8" handle bar tube that i wanted to use. I got it in the 4 jaw running as true as i could get it and then machined the 2 degree taper down the length of it. I then drilled and reamed the hole for the adjusting bolt to 1/2" for the next step. I found a 1/2" center drill with a broken of end so i could modify it with out feeling bad, i welded it to a 1/2" rod and then ended up with a long center drill. With the long drill running really nicely in the reamed hole i cut the bottom bearing surface, the long center drill worked well and didn't wander at all when i started drilling. After that was done i bored it out some more and tapped it to 5/8" UNF. That finished off the head and i started on the fork tubes. For those i used the squashed round tube i got from Oamaru. The problem was that i didn't like the look of the long straight tubes when all the other parts on the bike were tapered so all i did was cut a big long triangle section out of them and welded them back up. Tacked back together And all welded up. These long welds were good practice for my tig welding, im slowly getting better at it. I get to do a tig course next year through my apprenticeship so im really looking forward to some proper instruction. For the fork end detail i just cut out some blocks and welded them on. Cut to shape and roughly filed up. And after final shaping and sanding with the bearing carriers fitted. Once all that was done i welded the 2 fork tubes to the machined head. I did a few plug welds aswell to make sure its as strong as it can be. Once that was done i gave it a good file up to fair it all in. The other problem with these fork tubes is that when the round was squashed flat i don't think they had a proper former in it so it was hollow in the middle. This didn't look to good either. Ever since seeing Manu's pics of leading his Ariel tank i wanted to give that a go, these fork tubes were the perfect thing to do so. I asked a good panel beater friend of mine if he would give me a hand and show how it was done so i got some pics of the process. First thing was getting the surface perfectly clean and getting some flux on it. Then tin the whole surface with the body solder Next was getting the lead on. It was a fairly big stick and you heat the end up with the torch until a lump falls of onto the bit of steel you just preheated. You work your way along until there are lumps of lead stuck to the length of the part. The key to the whole thing seemed to get all the lead on in one go so you don't have to put more on later over the top of it. He told me that it is much easier to file of excess lead than put more on. After that was done you go round and using a wooden shaper heat up each lump of lead at push it around until it is roughly the shape you want. After all the lead was on i gave it a real good scrub in water to get rid of all the flux and this is what the forks looked like Now for the fun? part, I dug out my dads body file and got into it. After the basic shaping it looked like this. It happened pretty quick because the lead is very easy to file as you can imagine. And what they looked like after finial filling and sanding. I have also machined up a new handle bar spigot and welded it on, its also tapped 5/8 UNF for the bars to screw into I also finished of and painted the rear saddle mount and spring. The leather saddle is riveted on with big copper rivets. The front seat mounts ready to be cut out All fitted up with the front mounts bent to shape. I also set up the adjusting screw in the rotary table and milled a 1/2" hex on it for your spanner to go on. And how the bike looks at the moment. I am wrapped with how the forks have turned out and they now look like they were in 1870. If i had handlebars i could ride the thing, i am going to strip it down and hopefully get primer on both the bikes this week. The ride that im doing on it is less then a month away now so hopefully the painting process will go smoothly and then i might even be able to get a bit of practice in!9 points
-
8 points
-
Cool shot Shane got of the car with the seaside6 points
-
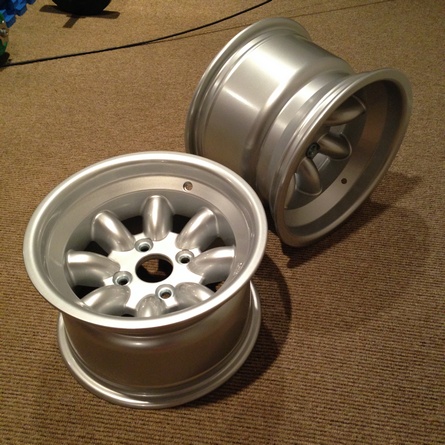
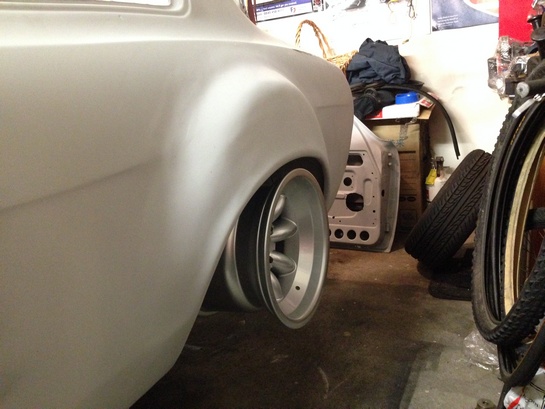
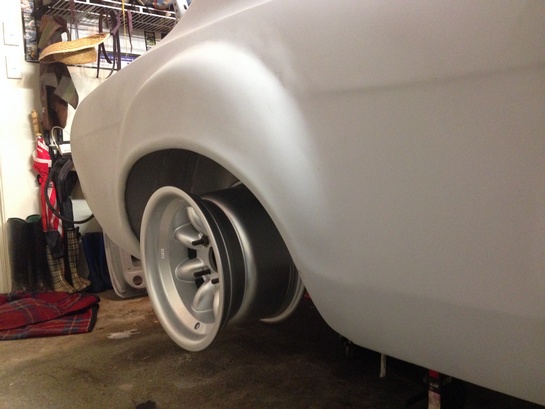
Trial fit of wheels 13 x 9 13 x 8 8's are the go , will order the other 3 when I can afford $$$
 5 points
 -
BOOOOOOOOOOM ! now to drive the shit outta it while I finish few bits See everyone at next Auckland meet ✌✌5 points
-
bit more rust, working my may way around the car, front left sill and fender. yum! take that! No wonder it rusted, there are at least 5 or 6 overlapping seams all facing the back of the wheel! I will slop some seam sealer on and plenty of underseal and is should be good for another 50 years. --- pretty happy with how this sill cover turned out i reused the door seam part, just replaced the bit below the door, the jacking point helped to keep stuff lined up on and off to check fitment and tweak at least once... ready to weld on noice and the aim of the game, more rusty bits for the scrap pile have another small section aft of this to whip off ( ayou can see my markings in the last image in the gif (and ill be onto the boot area, the rest of the sill and rear wheel arch is fine.5 points
-
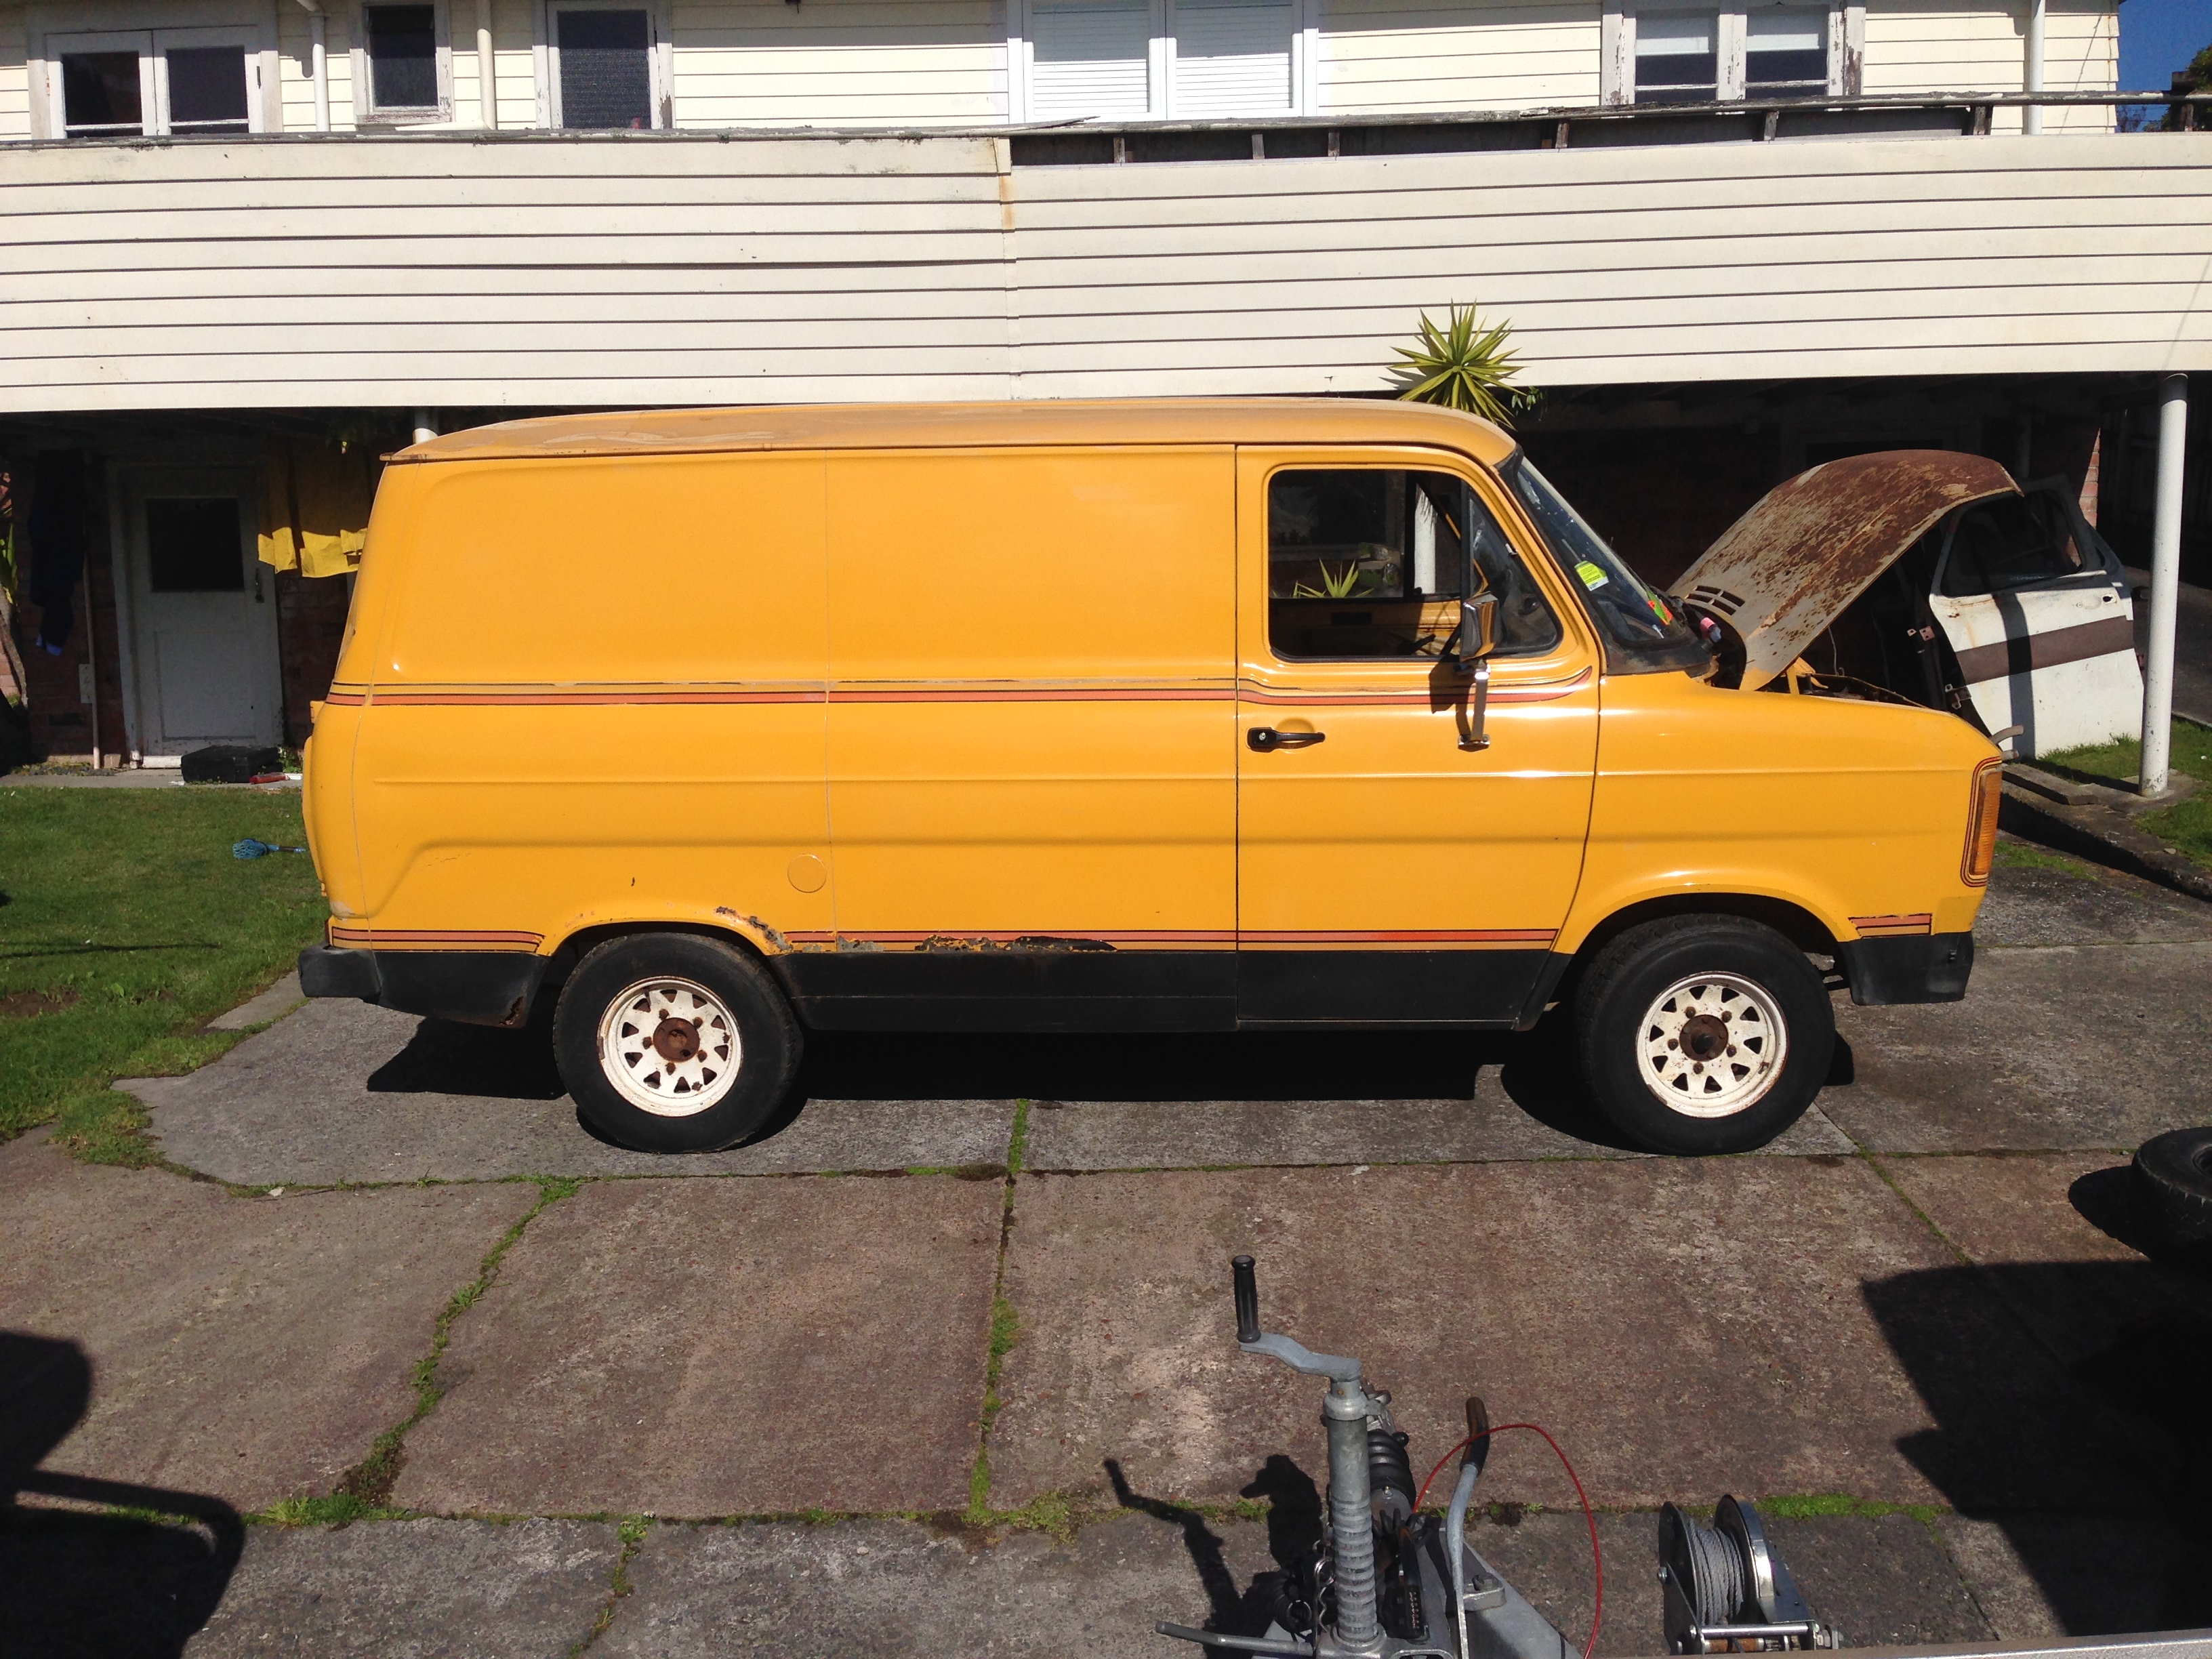
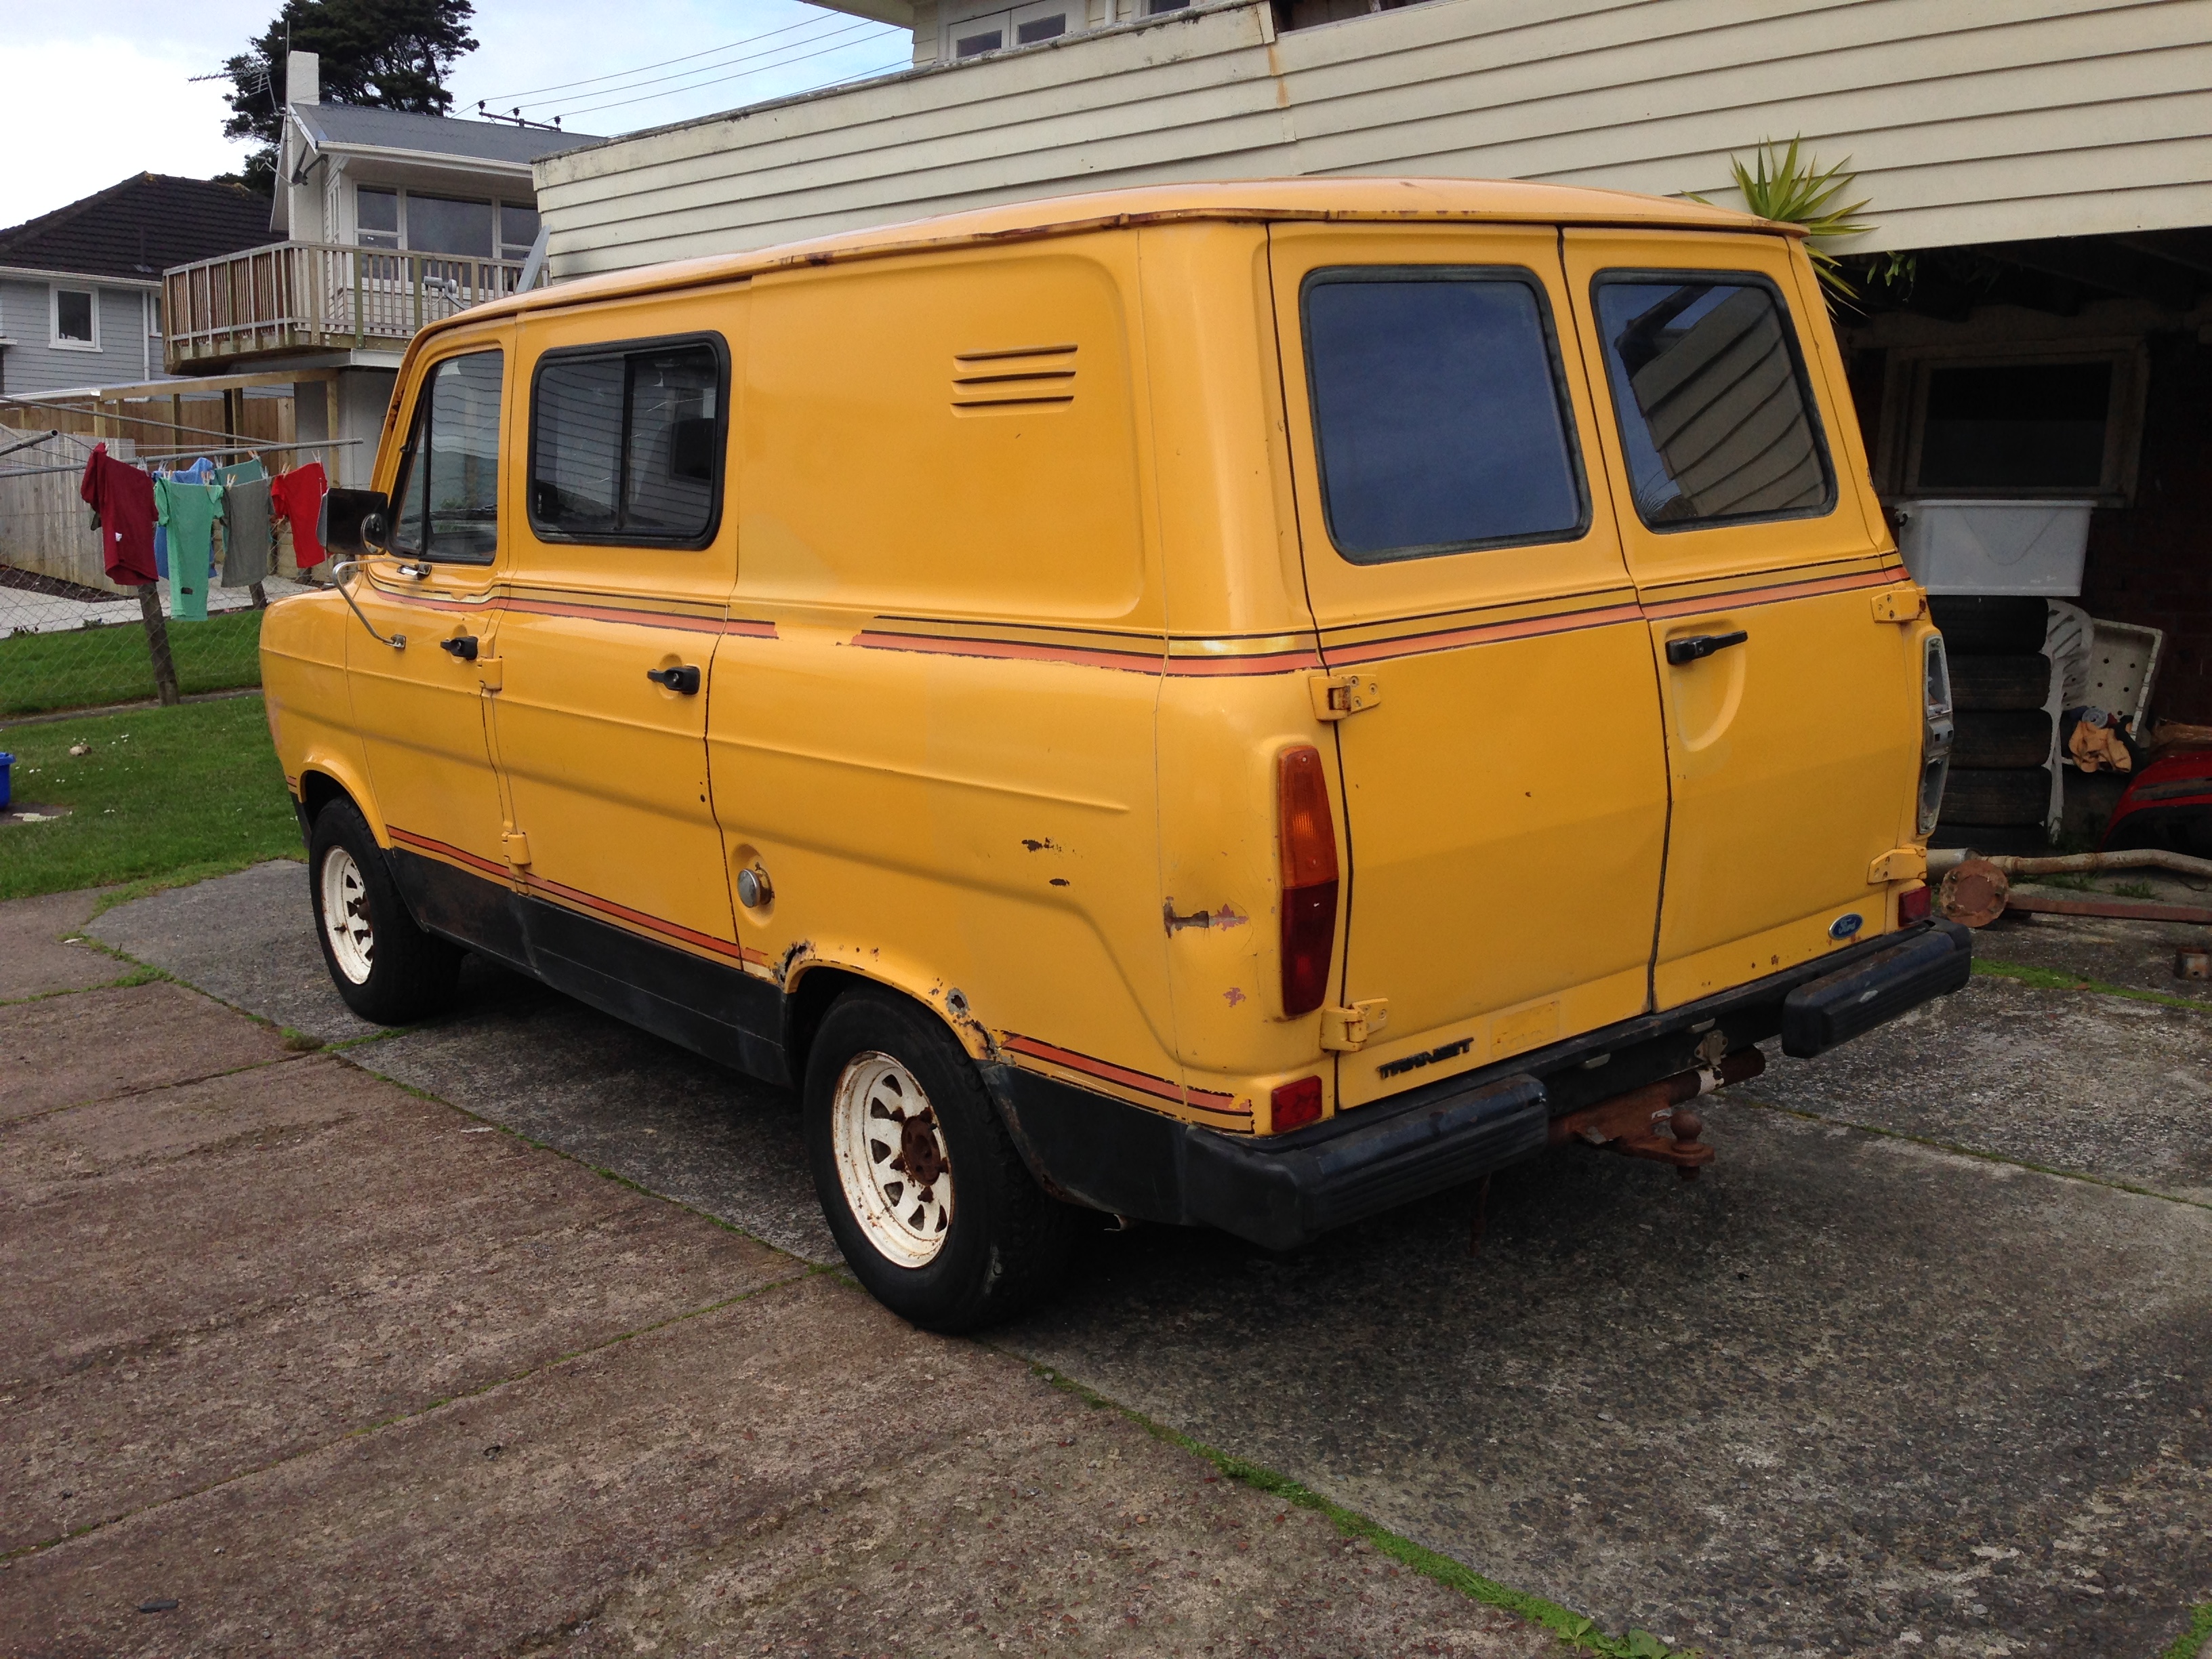
Finally picked up my van on Friday First impressions when I saw it was "f#$k me, what have I bought?!" It looked quite bad So loaded it on to my trailer, and took it home. Spent the weekend cleaning it out, gave it a quick machine polish to see what it would look like once it was repainted, as the original paint was very faded. I also threw in a set of spark plugs and HT leads,cleaned and gapped the points, as it was running on 4 - 5 cylinders. Much happier about it after a close look. Rust around both rear wheelarches, along a seam on RH side, a little inside the A pillar on LH side, and 2 small holes in LH step. A few dents here and there, and that is pretty much it. Underneath is mint, wheelarches, floorpan and chassis rails are all perfect and won't need any work. The aftermarket air con system that was fitted when new even works! Waiting for my signwriter to come over and take tracings of stripes, then I will take it to my storage unit and start work stripping it down. A few more pics:
5 points
-
Some more progress from the weekend, I needed to do some tests on the plastic steering arms to make sure they are right before I get them machined. First up I bolted the arms in place Then I made these I bought some cheap laser pointers and mounted them to a bit of SHS, it is hard to see in the photo but one of the clamp plates holding the laser is bolted so I can adjust it and get the laser pointing parallel to the mounting face. I only made 2 of them so I have to do each side of the car separately, so one gets bolted to the rear hub and the other to the front, then I put a board out the front of the car to shine the lasers onto then I can just measure the distance between them, well that's the theory anyway. So first I set the alignment by making sure the distance between the dots was the same at the front hub and on the board which was about 3m in front of the car. Next I pulled the springs out of the front suspension and measured the distance between the dots at ride height, max compression, and max droop. Then with a bit of trigonometry I can work out what the angle change is, seems to work ok, in that last photo you can see the marks I made at the 3 measured suspension heights. the arms are pretty good but I am getting toe out as the suspension changes and I think it would be better if it was going to be going the other way (toe in) so I have some fine tuning to do. I ran out of time yesterday to get it finished so will hit it again after work today. I also had this turn up last week After leaving my $20 cage in the car for the last month or so I decided that I would put one in but seeing as it is a bit of work to do figured that I should start with one that was up to spec. Anyway it is a fair way down the priority list at the moment but I will get to it eventually.4 points
-
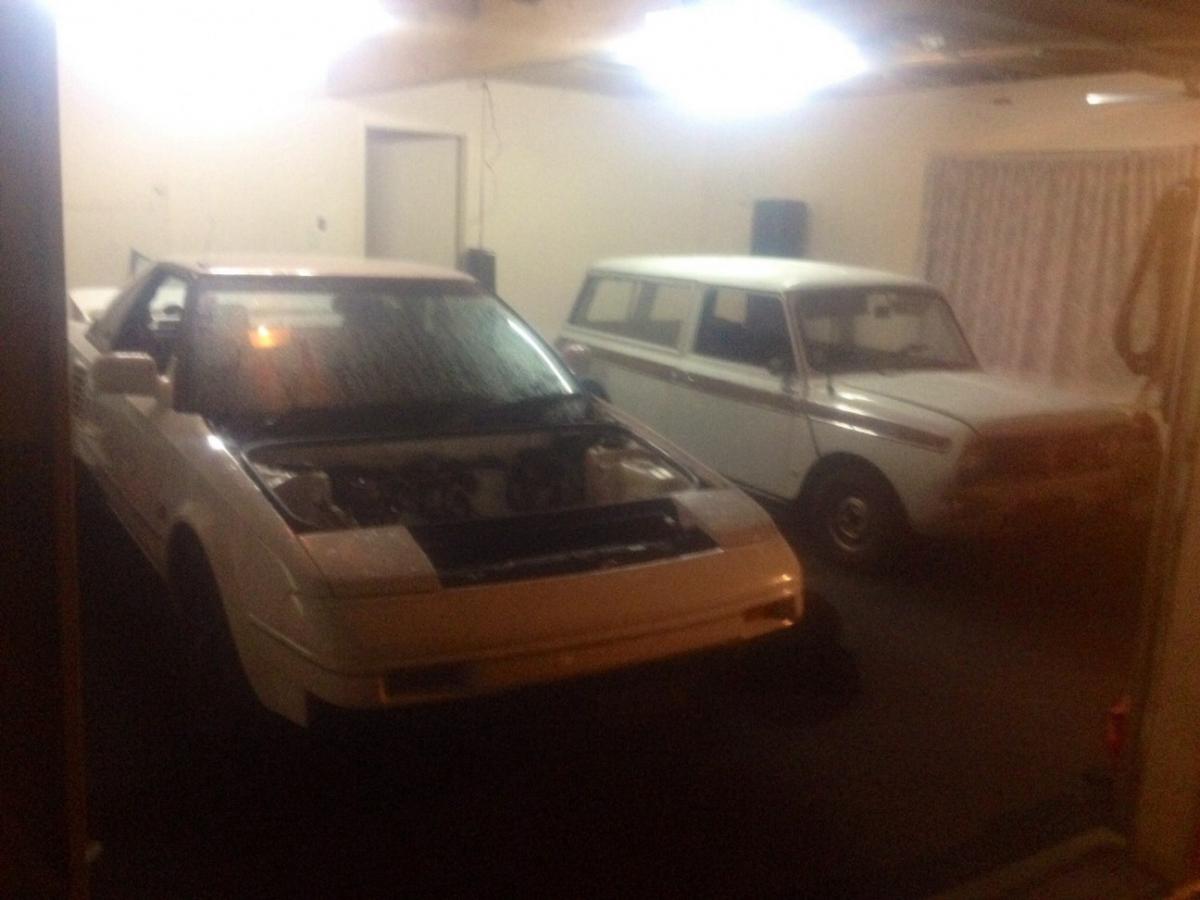
So, I'm back from the US of A. The Englishman has been chipping away at panel work and so far has found nothing overly sinister under the paint, just the usual you'd expect from a jappa of its era. Fair bit still to go yet but it has been mostly taken back to bare steel. Doors, guards and bonnet have been repaired and are in primer. I dropped a pair of mk3 at pine engineering to get a spruce up and 64valiant has set about making a hoodlining for it. That's all for now. Pretty boring so here's a couple of pictures of the GMC I travelled around murika and canadia in Currently looking for a b1600 diff to throw at it also.4 points
-
Depot has picked up the car today from Tottori Nice to get a couple of photos of it not from the seller. Discussion //oldschool.co.nz/index.php?/topic/49704-mlracings-hakosuka/4 points
-
So a couple of weeks ago when I was in Christchurch for the Hanmer meet I had the chance to check out what is my dream car for sale. Ended up agreeing to buy it on the spot. So unfortunately that means this has to go, although it is going to a forum member, and he is getting everything to make it cool, which he better other wise I will shank him. xx Will post up new project when I get it in a few weeks3 points
-
Cool, keep me up to date. Actually, nah, you're right. I'll hear it all through your missus anyway.3 points
-
20" Simmons, a half cage and cow interior are next3 points
-
I finally did something else on this thing. A little while after the initial engine transplant it started smoking on startup and being a cunt to start. I assumed it was just the glowplugs so I wasn't really too worried about it, other than people being all "WHAT A SMOKEY PIECE OF SHIT" after it stumbled to life when cold. Anyway, last week I messaged Cam about new glowsticks and he told me to fuck off, so I messaged Scott and he said genuine were $160 per stick. So I said "Fuck that." and figured that I would just throw the ones from the old engine in even if they're old and potentially also fucked, just to see if they were any better. We finally had some non-windy rainy weather so I did that this weekend in the luke warm sunshine. Pulled old glows out and they had different end shapes front (3) to rear (3). I had noticed in my investigations that there were different lengths available for the RD but these were all the same length, so anyway. They all looked like a metal stick with carbon staining. I then proceeded to pull the glows out of the old motor. They were all the same shape which was the same as 3 of the ones from the other motor. Side by side and some number reading later, it turns out that the ones from the newer (current) motor were 6.7V and the old ones were 12V. I guess I killed the 6.7V ones running the 12V Y30 setup through them. Anyway, older 12V sticks matched to cars 12V circuit. One glow, starts instantaneously with absolutely no smoke or hesistation. Problem solved. So didn't even think they'd be different voltages though. Cripes, such a noob. Something I'll add to the memory banks for any further diesel shenanigans.3 points
-
talented as well. I would also like to voice my appreciation. This is awesome work and I thoroughly enjoy watching it happen.3 points
-
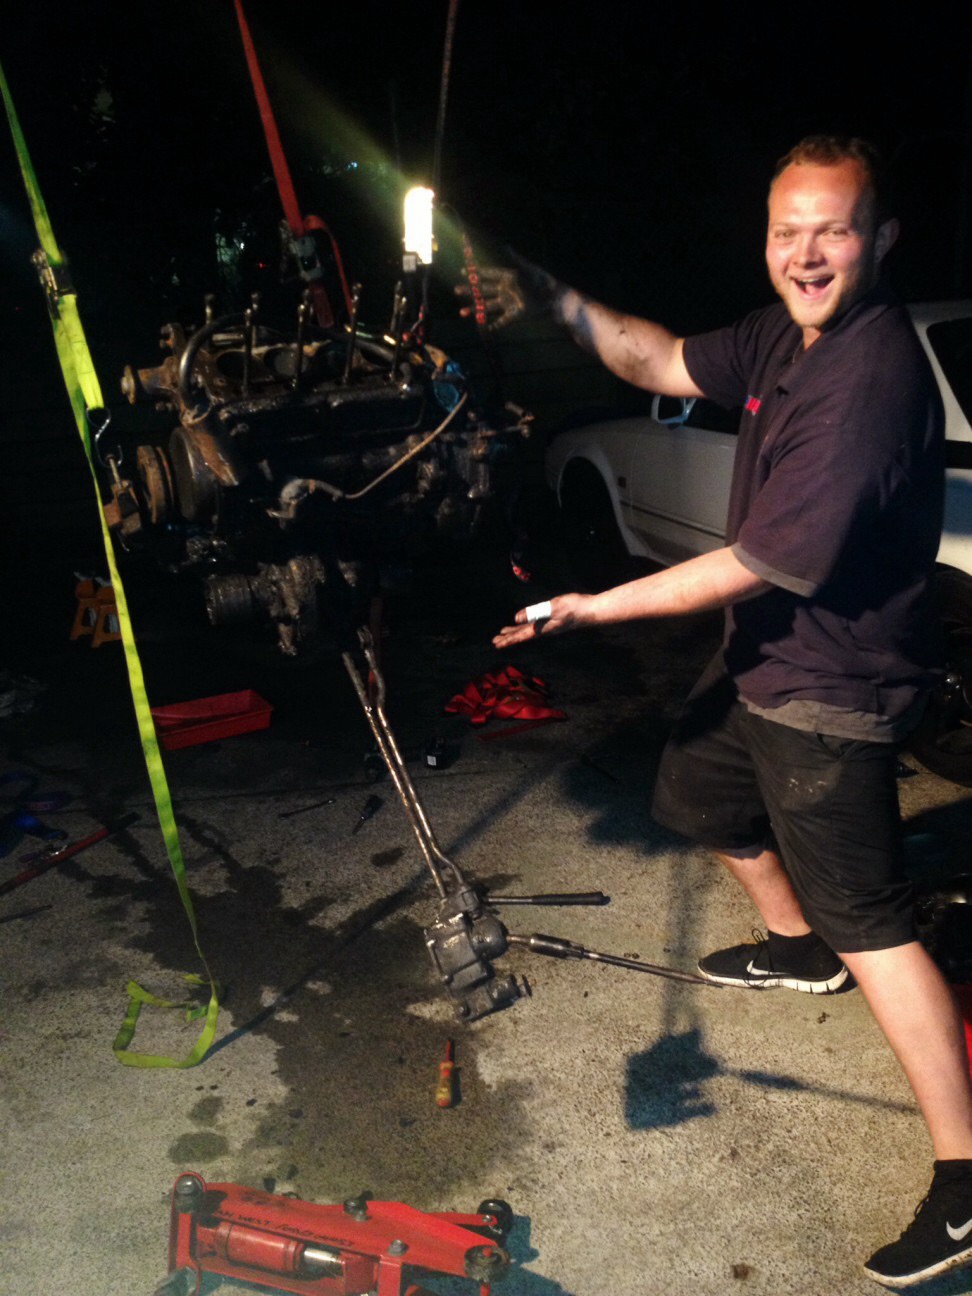
I've spent a big weekend working on this. Work lent me a little gas set so I could notch my chassis to fit the motor further forward. One thing lead to another, I got a bit carried away with the torch and quite a lot got done. Rear mount for the gearbox. The sides of the chassis had been quite badly hacked about in the past. I also found out that these tended to crack their chassis around where they were notched from factory. I cut all the crap away, and welded some nice fresh steel in. Both sides are done but they look the same in a photo. Next up was to remount the motor. both sides look the same etc. Cut a couple of notches to fit the starter motor and bell housing And something I had been meaning to do for ages. Now the oil filter fits and is easy to change. Last of all some where to fit the radiator. I just about had to cut the front off the chassis which was a bit of a pity. The radiator is as wide as the outside edges of the chassis. It's too tall to sit on top of the chassis and fit the body work. Anyway after some cutting and a bit more welding it sits in there nicely. The side covers and grill will need a bit of a trim to fit.3 points
-
/irony2 points
-
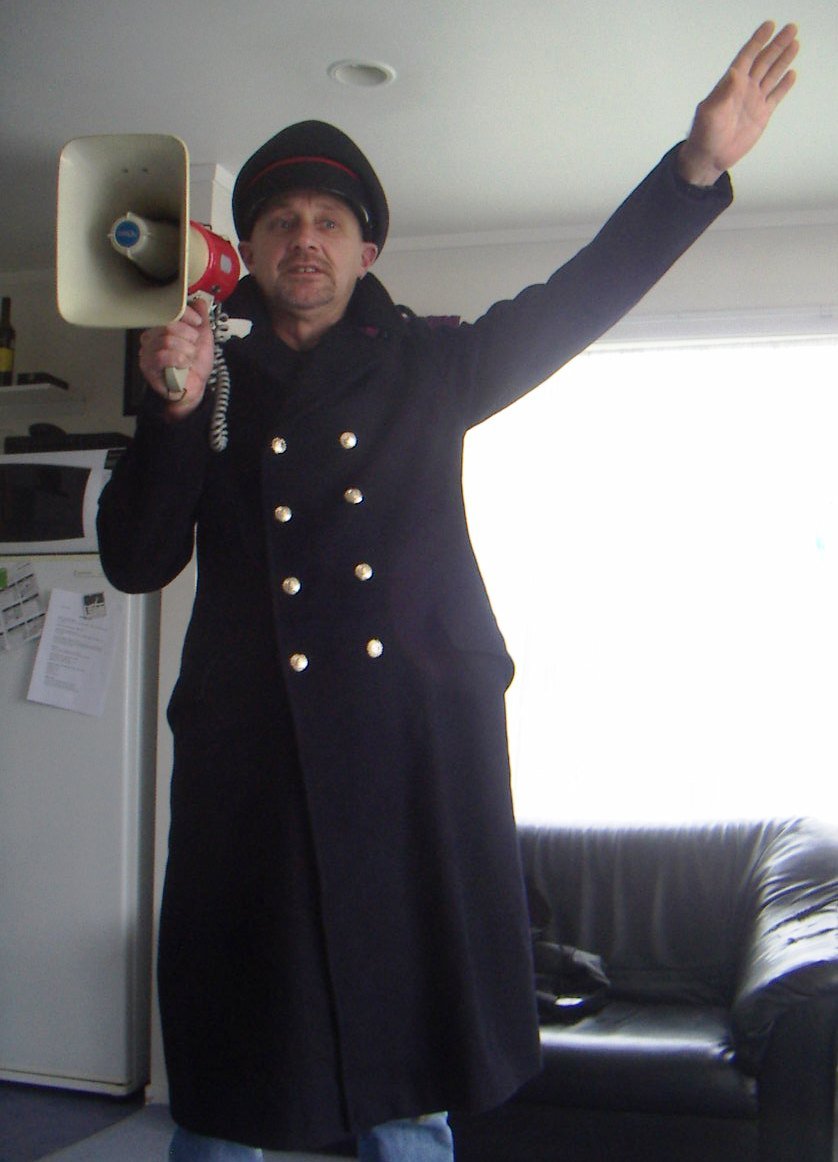
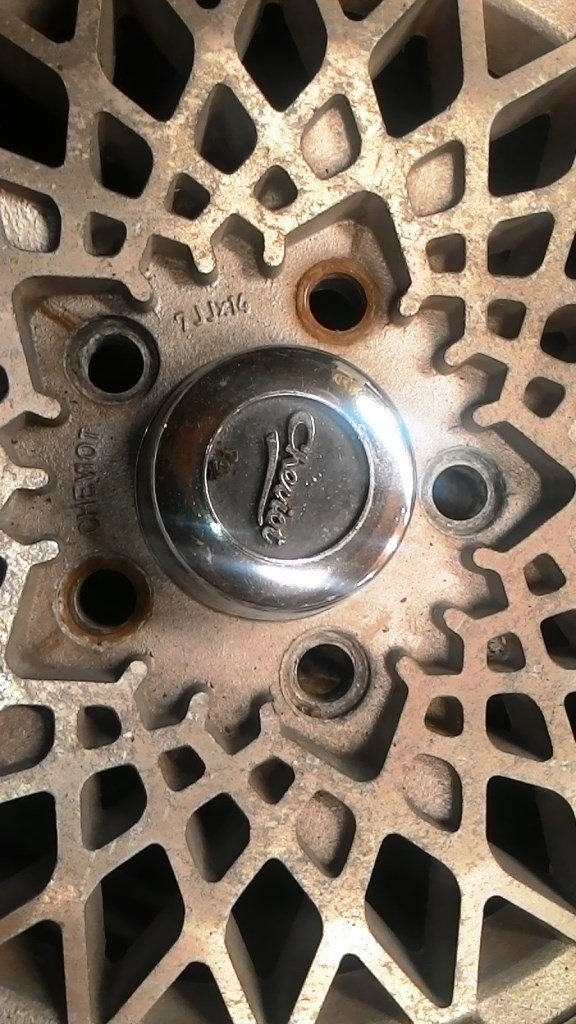
Still stripping rust and painting car parts but have managed to pounce on a few good bargains to feed my compulsive Trademe addiction, (as with the best of my addictions, it’s never satisfied). Found a Steel case W50 5 speed and snapped it up for $150 (Rigamortice will love the extra gear). A quick visit to Zebra parts Manakau found a Triumph 2000 Steering Column for $24, the original one had dry worn out “unobtanium” bearings and was getting a little manky. (For all you “Trumphy” exponents out there Zebra have two cars in stock). Talk about on a roll; picked up a complete HD rear end for $50, (I suspect the old girl has a bent axle and possible bent flange from the accident). (The megaphone gets the occasional “recreational” use with the beautiful Mrs sr2 but its normal application is deadly serious!). (Sometimes playing in a Pink Floyd tribute show has a lot to answer for!). Buy of the month had to be a set of these bad boys. The world’s coolest 14 x 7 old school Cheviot mags that still even have the original centres, all for only $100! Plan is to get Bruger Engineering to give them the once over for alignment, do a little dye penetrant crack testing, (boring safety stuff), do a little media blasting and then apply a lick of matt black Paint. (Very flash stuff and a big step up from rusty old HQ rims for my dear old Rigamortice). The only problem is the cheviot’s are not hubcentric, i.e. they rely solely on the studs for wheel concentricity. Question is; after 20 years of refusing to have non hubcentric wheels near any race car I’ve been responsible for do I swallow my pride, say the rules do not apply to street cars and bolt them on to the old girl? Any opinions will be gratefully accepted and deliberated on by both Rigamortice and myself. (Please feel free to visit and contribute to our project discussion thread- //oldschool.co.nz/index.php?/topic/49843-sr2%E2%80%99s-1947-vauxhall-%E2%80%9Crigamortice%E2%80%9D-discussion-thread/ )
2 points
-
Ok so been real slack on the updates but have a bit of progress but test fitted all panels and finished off the panelbeating2 points
-
Oooh, and one more. Wag spec, Levin styles.2 points
-
2 points
-
What is the legality of cutting a hole in the roof of a wagon. Similar to a sunroof but without the glass lol any way to make it legal ie removable steel cover etc.2 points
-
Looks amazing !!! Trying to convince myself and see if Pete is keen to head down to Oamaru for the day of riding / racing . Keen to race my Speedy BSA again2 points
-
looking amazing louis. not sure if i'm happy or sad that adding lead is no longer a part of bike building haha, either way it's great to see it used to such good effect!2 points
-
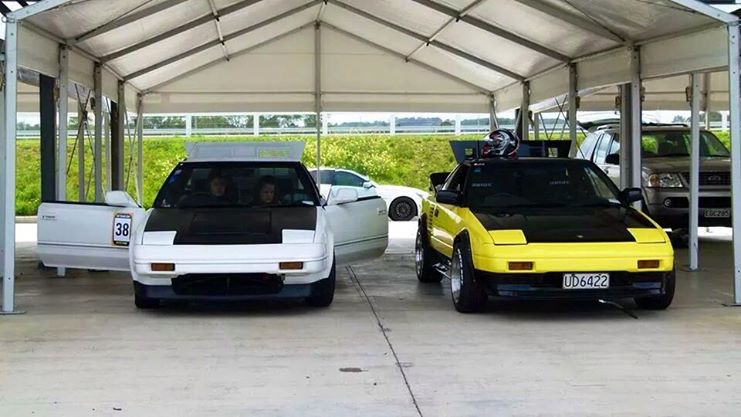
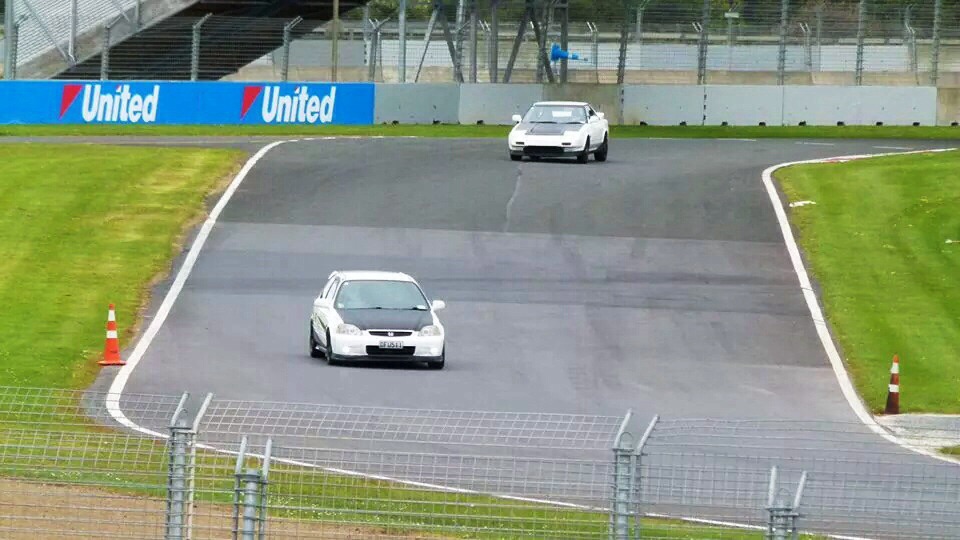
The good news is panels and rust cuts save three other aw11's That and I got some snazy parts for free
2 points
-
Not really AW related but my flat mate bough a mini clubman estate. Since then we pulled the motor out, re-built it. Re-sprayed the whole car in factory color. Didn't have a crane when we pulled the motor out so pulled it using some strops hooked onto the deck
2 points
-
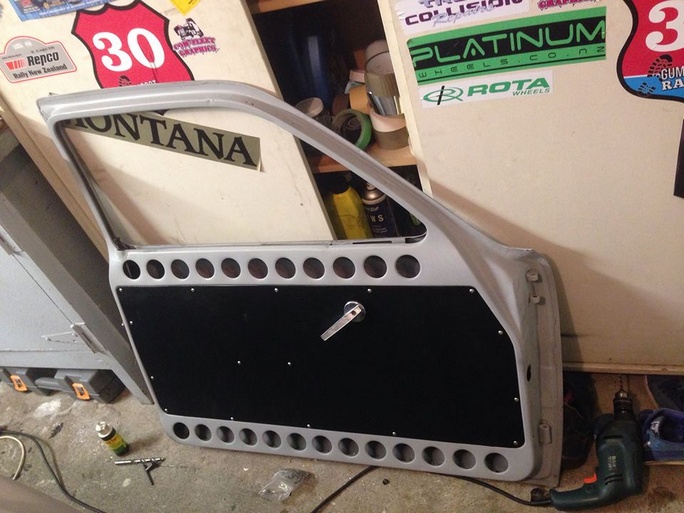
Firewall templates door cards done too
2 points
-
2 points
-
2 points
-
Right hand drive conversion?2 points
-
I have made up the first set of forks now, i just need to make the handle bar mount and weld it on. These forks are for my mates bike This is the steering and neck assembly, very simple but effective. The thread at the top is 5/8 UNF. It will have a lock nut to hold it in the right position when it is all set up. I got my dad to weld the pin on as it's the highest stressed part on the bike and I'm not really keen on it breaking of when I'm up on top of the thing haha Fork ends i made earlier welded into the tubes with the bearing carriers fitted Getting it all set up ready to weld in the steering assembly And all welded up with the fork rake and wheelbase set I have made up most of the bits to put my forks together now, they are going to be different to this set and much more like they were in 1870 with a cast head arrangement and taped fork tubes and a few other different details. This should make them much nicer looking than the standard forks for these replicas2 points
-
So I've been looking for a hako for about 4 years now, keeping an eye on the prices and how quickly they seem to be appreciating in price as the world notices them (thanks RM Sotheby's) and with some hard saving I've been able to finally make a purchase. The car is a 1971 2000GT with L20 engine and 5 speed. Unknown ks, bit of rust around the place (wouldn't be one without it) but overall a fairly solid start. I purchased this from Restored.jp who some may be familiar with, they make aftermarket FRP and carbon parts for old cars like that Hako. This was the owners personal car.. whether that's good or not is yet to be known but it's a nice story anyway. I'd be interested to have contact with other owners of Hakos in NZ as it would be handy for parts and general networking. I'll be working on this in stages (as I'm now broke) to get this up to road legal spec.. More to come but I've already figured a couple things I need to do before it's even here ! I understand there are several in NZ already, any coupes or road legal ones? Discuss: //oldschool.co.nz/index.php?/topic/49704-mlracings-hakosuka/1 point
-
You may remember my (and beavers) old estate ....... I missed it like crazy Since then I built and sold this.... And after a lot of searching I got contacted about this last week. So today I payed for it, the base car is an original Triumph 2500 pi mk2 estate with 4 speed o/d. Was restored or tidied up in the early to mid 90's. Sadly a terrible aftermarket sunroof was added at this time, along with a modern roof rack which was screwed into the roof.... At least it is pretty much rust free Plans at this stage are to remove the sunroof and fill the holes in the roof along with a tidy up of the crazy cracking that has occurred at the rear of the roof and around the fuel cap. Rebuild the engine and tidy up engine bay.. Summer involves getting some coilovers made up and building some 15" 3 piece wheels to fit Future future involves new carpets, re trimming some retro fixed backs in the original leather from the spare front seats and re trimming the boot floor and back of rear seat in hardwood. Also has a tonne of spare parts including a full leather spare interior, a couple of Pi engines, a couple of o/d gearboxes, a few diffs and a nos tailgate and bottom valance I pick it up in 6 weeks time on the way back from uni will update then Heres a few more pictures... Discuss here //oldschool.co.nz/index.php?/topic/49975-connors-pi-wag/#entry15827741 point
-
take your intercooler off and see if its full of oil, a seal in your turbo is probably just gone and leaking oil everywhere. but burning oil is still blue smoke.1 point
-
Yup some surface rust in the boot, and he wanted to look at the spot welds on an old repair (which turned out to be as tidy as, if not better than stock). I suppose it's the compliance inspector's job to be thorough, otherwise their inspection authority is on the line if they pass a car and it suddenly breaks in half on the motorway. The guy who signed off the Rx-7 all those years ago was much, much worse in terms of dictating repairs. Of course I doubt they're as strict on newer cars as they are on the classics, but in the end you know you'll be getting a fairly tidy car with few or no surprises lurking beneath. They even go as far as to measure up all of the chassis points to make sure cars aren't crabbed or otherwise completely fucked. From what I've read on the internet, rear swaybar was initially an option on all facelift AW11s but halfway through production they ran out of strut carriers with the attached link tabs. 14mm OD for supercharged models and 11mm OD for N/A. Oddly enough, pre-facelift ones all had swaybars from the sounds of things.1 point
-
Epoxy primer will go over almost anything without reaction.1 point
-
Sooo inspirational1 point
-
Governor's bay pub?1 point
-
Too much effort, just buy some plates and tags off Hustle Live/Dirty south car club/OFFICIAL NZ RWD Toyota - Buy / Sell / Trade & Advice. /Hopefully they don't just keep on finding things. What did they find this time?1 point
-
How did you got along with this, slut? Measurements yet? I measured my C110 one and it's fucking tiny despite you saying "C110 ones aren't" BECAUSE YOU DON'T KNOW! Anyway. I still can't find my spare other one which I'm sure was bigger (likely to have been changed due to the fact it came out of a car that had a V8 put in) If I can find that one I can send you the one that's currently on the car but I'm not unbolting shit without measurements to make sure it'll even work.1 point
-
Found you some Supremes anyway1 point
-
they shall be ejected from my garage with much force1 point
-
Decided to remove the temptation of poking fingers down into the driveshaft. Used the freebie shifter surround that came withthe flares from the states, a bit of aluminum and the civic shifter boot to cobble this together.. Rubbish photo but you get the idea.1 point
-
Puke
1 point
-
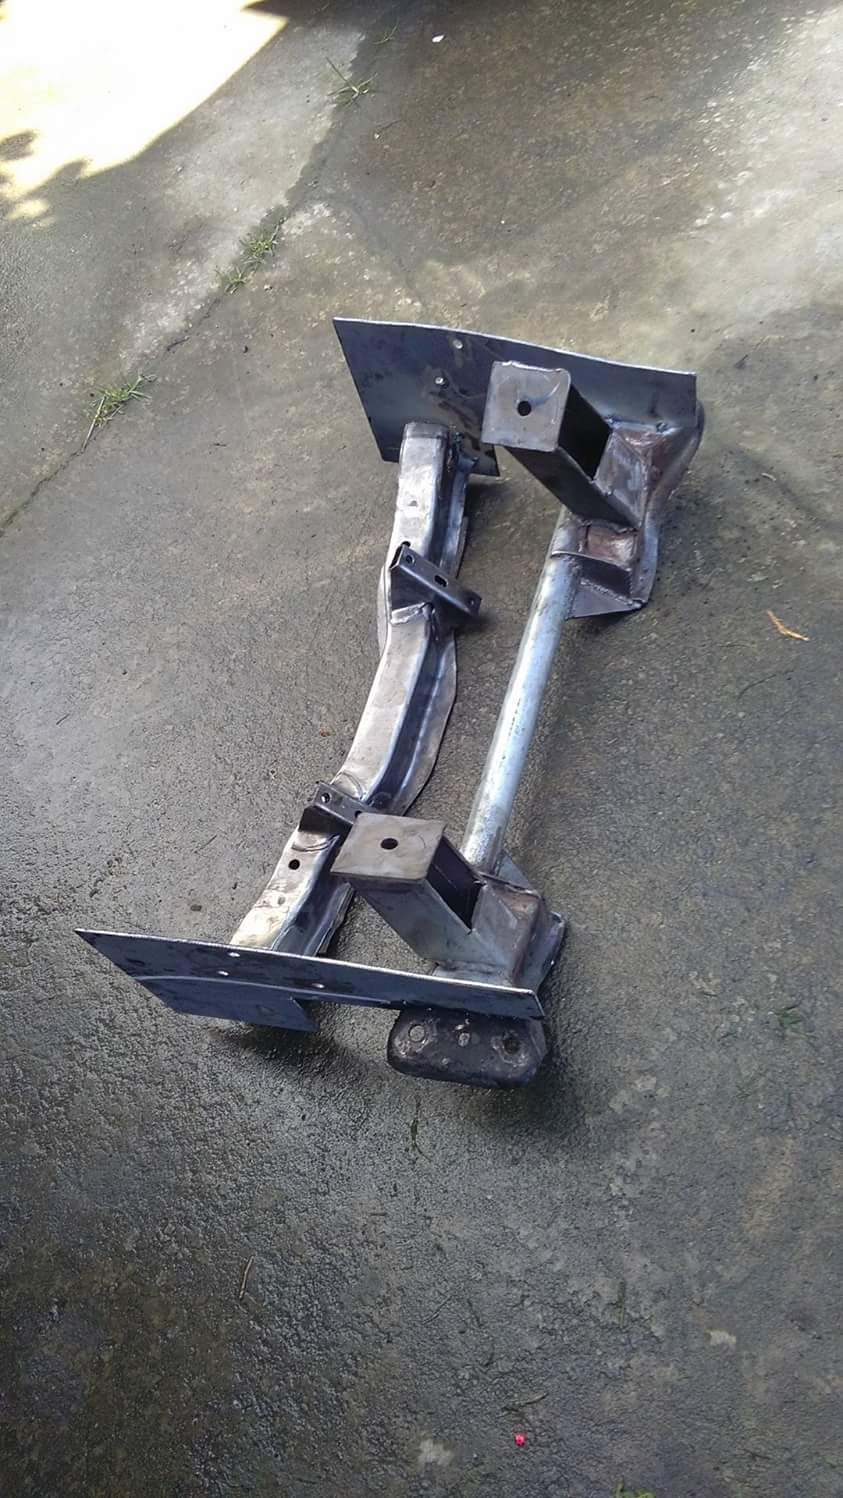
Soooooo unlike my normal way of measure once with out my glasses and not taking much notice of the number on the tape and having to redo things 8 times...I took my time to make sure all engine mounts,steering mounts and control arm mounts are 100% where I wanted them.. All braced up to take to work to cut the bracing off as I weld new bracing in till it looks like a semi nicish K member. This is how it looks now before I start. That is all back to your caves.
1 point
-
well after quite a while of this being in storage in Christchurch while i was in Auckland, i am now back into this project. i have been buying up bits and pieces and today, got started on installing them. OS member NZford sorted me out with an awesome 1" high strength axle, with 1/4" keys cut in where i needed them. also supplied some castle nuts, and threaded/drilled the ends to suit. was very well machined and everything fit on and lines up perfect. also bought a taperloc type sprocket mount and rear sprocket to suit. today i mounted the pillow bearings and axle, and drilled the holes in the engine mount, so now the engine is mounted in, though i still want to add some braces to the taller front mount. i finished off the front suspension and steering linkages, though it works well on the ground, im not at all confident that it wont need a redesign, as the effects of the suspension travel on toe in/out are substantially larger than i thought, but for now i will probly just lock out the shocks and carry on with the rest of the cart. with the axle on and the engine in, the sheer size of this car became quite apparent. its the same size as a mini, if not slightly longer!1 point
-
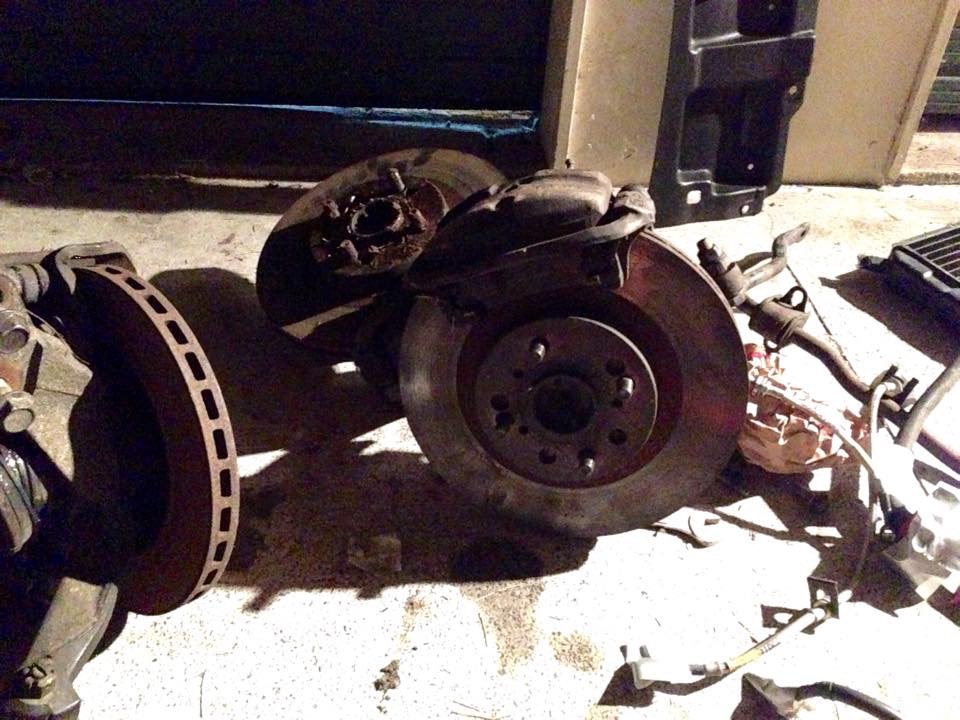
Pulled off all the extra mounts and brackets that I no longer needed and welded up the bottom of the c-notch. Took it to A1 sandblasting who sandblasted and primered it. Looks so much better! I think the next step is to box it, make some new crossmembers and sort out the rear arms.1 point
-
So, ever since I lowered the wagon ive never been happy with how the front sits. Theres an awful amount of guard gap but I cant go any lower with the standard struts without it resting on the bump stops. I needed to make "JUDDIES" or "JUSTIES" or how ever you young-ens say adjustable suspension. So, with a lot of research and referring to Seedy Als guide I decided to hack up a pair of Sigma struts. I purchased adjustable platforms and top hats from George Stocks. I also purchased a pair of SW20 (i think) rear inserts that were about 50mm shorter which meant I needed to cut the strut tube. Strut tube cut and ready to be welded back together A test fit to see how everything sits. With the different shaft size of the insert I couldnt use the factory top hat. I purchased some adjustable camber plates to suit. A little spacer was made to sit between the top spring perch and the top hat. The top spring perches didnt have a locating indent in them. I got a quote to have this machined fro $200! So I get my maori ingenuity on DONE Ordered some springs with keepers. And all fitted up I trial fitted one strut and found that the spring rate was way too aggressive. At the lowest setting the car was higher than before and was solid. I bought some more springs that have a friendlier spring rate So here are a bunch of pics showing the height before installing the new struts, new struts at max height and new struts at max low (actually could go down another 15mm) New struts - Max height New struts - Max low Measurements taken from top of arch to centre of stub axle Obligatory chassis rail comparison As it sits at max low, im sad to say, its too low. But, I can easily raise it to the perfect height. I had to use my roller blade wheels as the wheels I was using wont fit the new struts. Pics Thanks1 point
-
it's still in the shed 'on display', but yeah pretty much out of play now. motor will end up on a stand unless a better use pops up! kickoff: new bearings and shaft seals. had to turn plate out to suit metric seal. classic phone pics, haha blurtastic foreground nasty ass piston. scratched, seized, gouged, you name it. sleeved (?) big end with loose rollers, two rows old carb, new carb, used air filter off some machine at work. nice of tecumseh to put all that spec/production info on the shroud there, cool to know how old it is/ what the hell it is. manuals and shit all online new thing to make carb go there. see big-dogg 7/8" shaft1 point
-
small amount of fiddling with the carbs and its alive1 point


This leaderboard is set to Auckland/GMT+12:00