
Leaderboard


Popular Content
Showing content with the highest reputation on 06/10/15 in all areas
-
now that ive finished working on the brown glitter turd i can get back into this car. Untitled by sheepers, on Flickr front guards all ready for epoxy primer. no dents and no rust. bonus. Untitled by sheepers, on Flickr also the total good cunt Edz (MrMcdoll) gave me another drivers door which is mint. its got a small dent in it and a bit of surface rust on the bottom and that's it! i got the rust off it last night and began removing the dent so its almost ready for primer too! (put a picture of the door here you idiot) stoked because that will take a bit of time and cost out of what Peter has to do. in other news i got all the glass guides and door hardware re-passivated while its apart. Untitled by sheepers, on Flickr progress!9 points
-
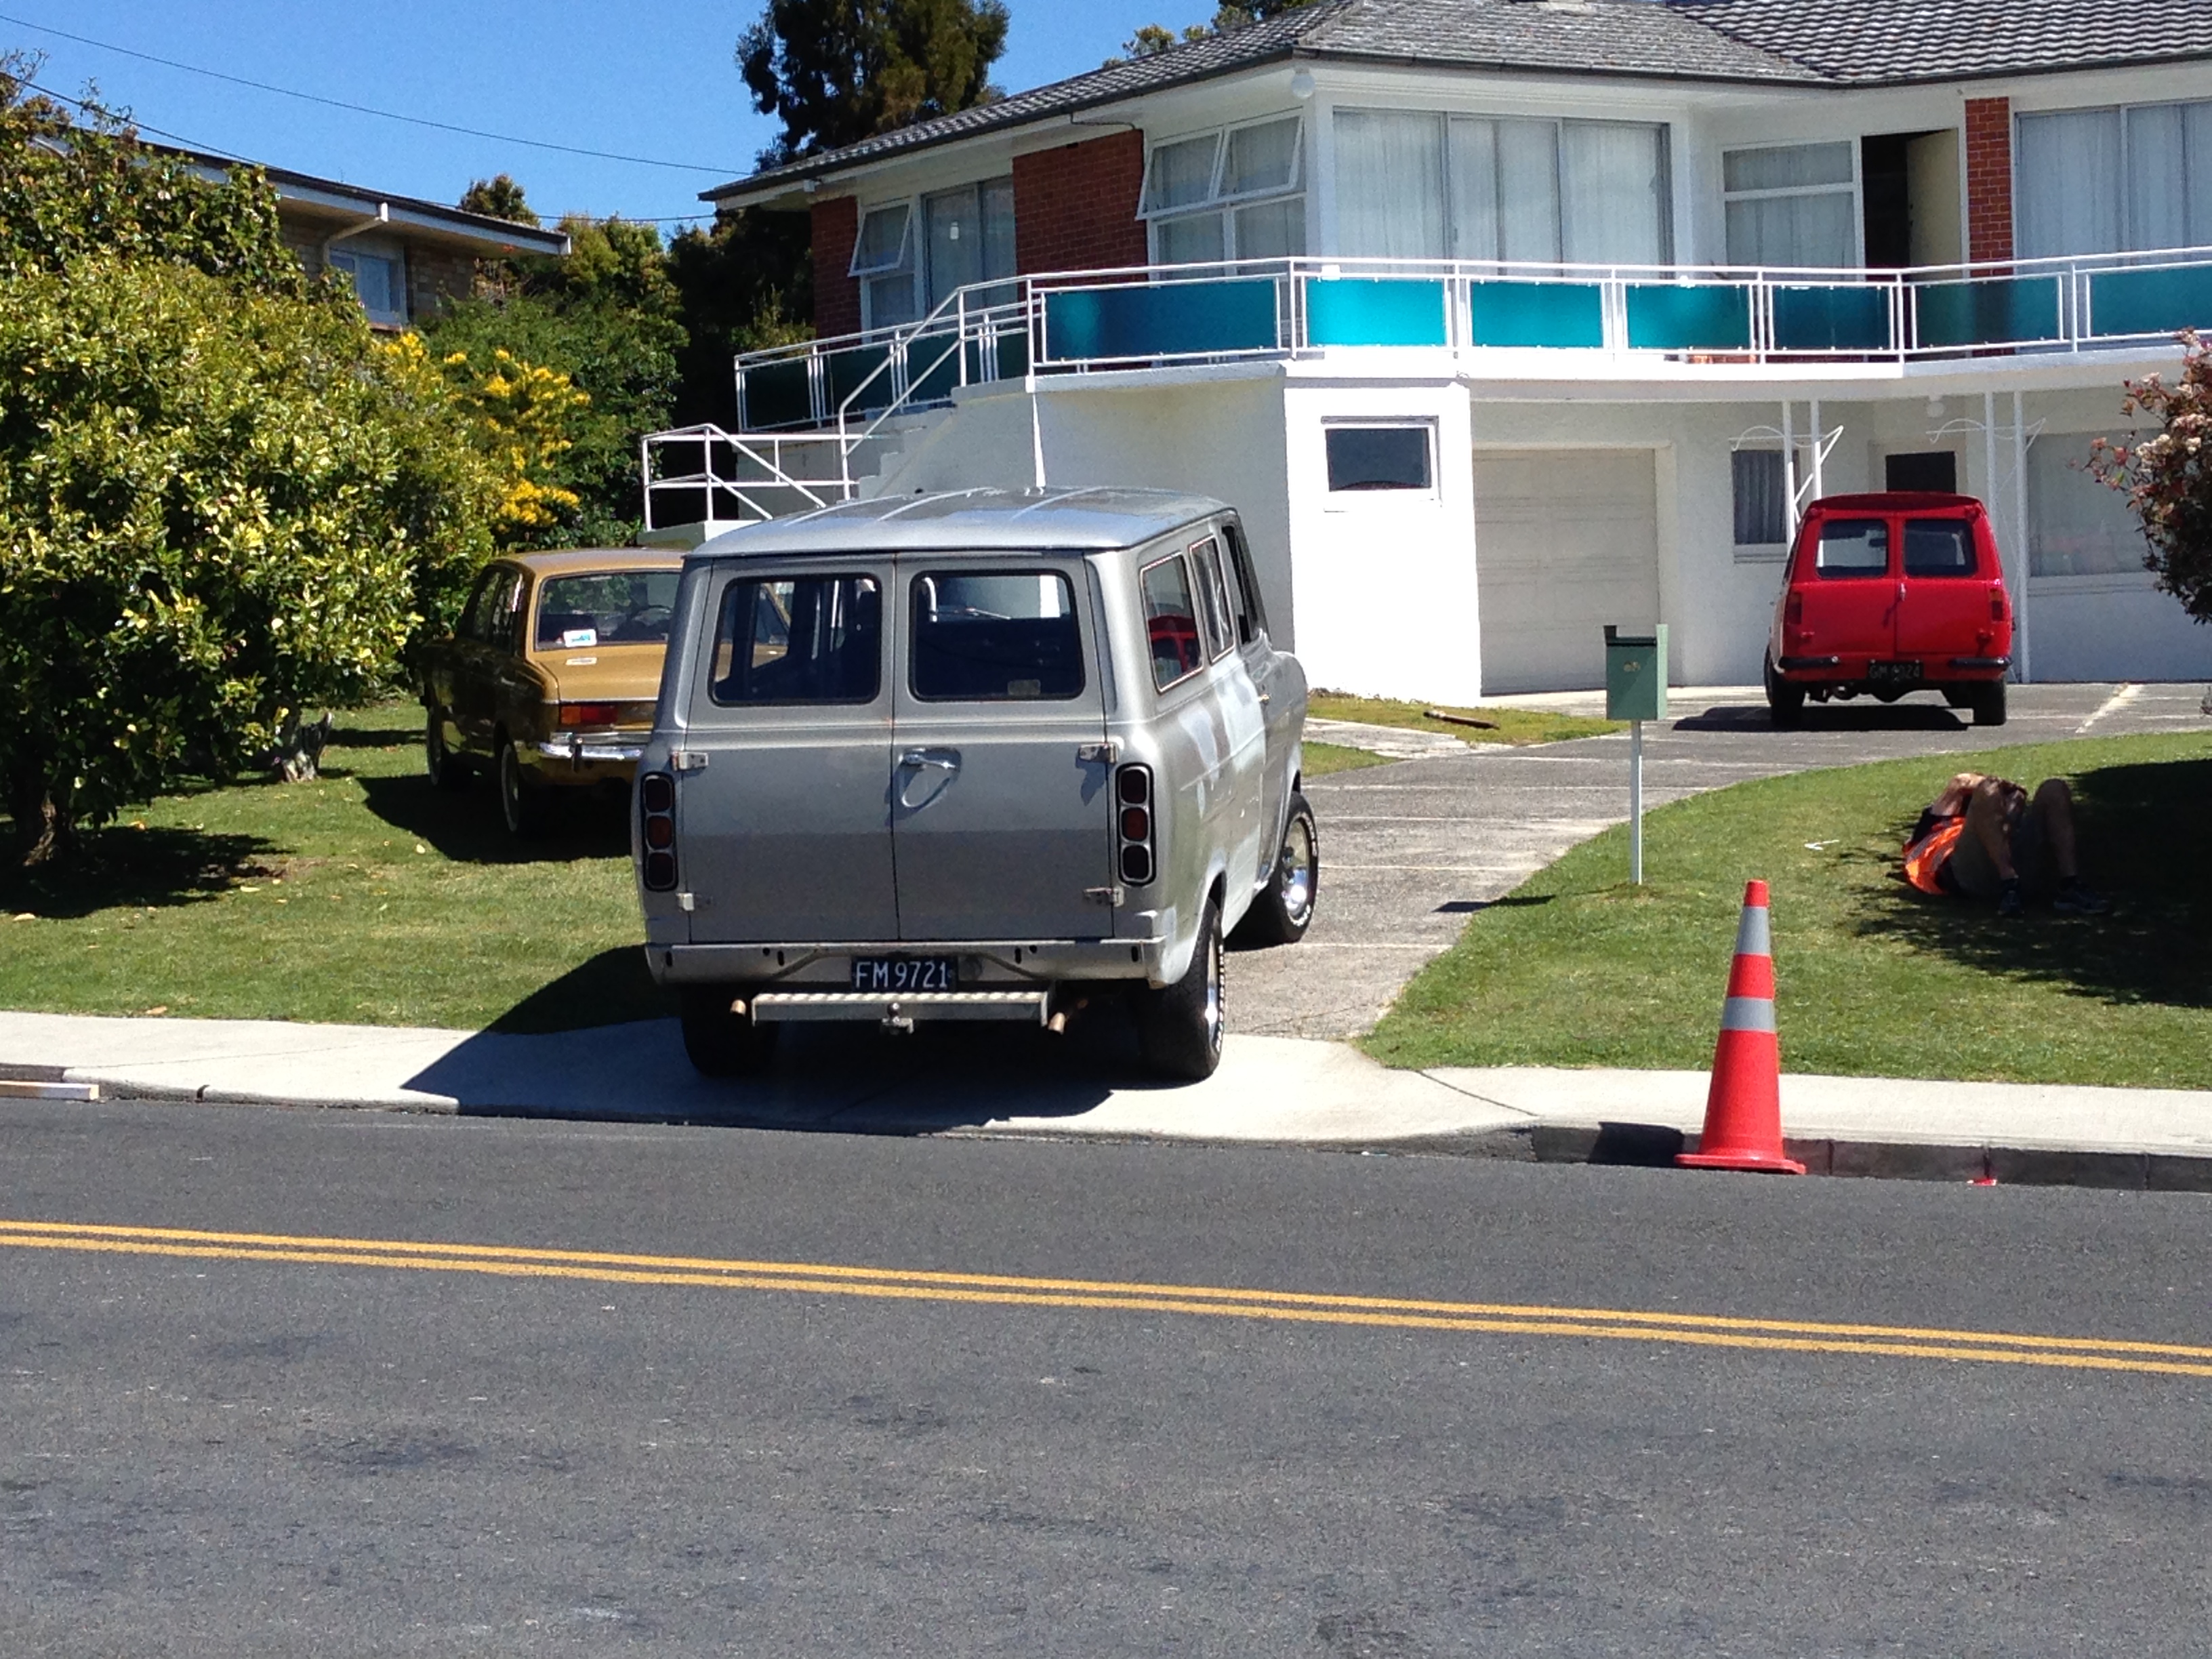
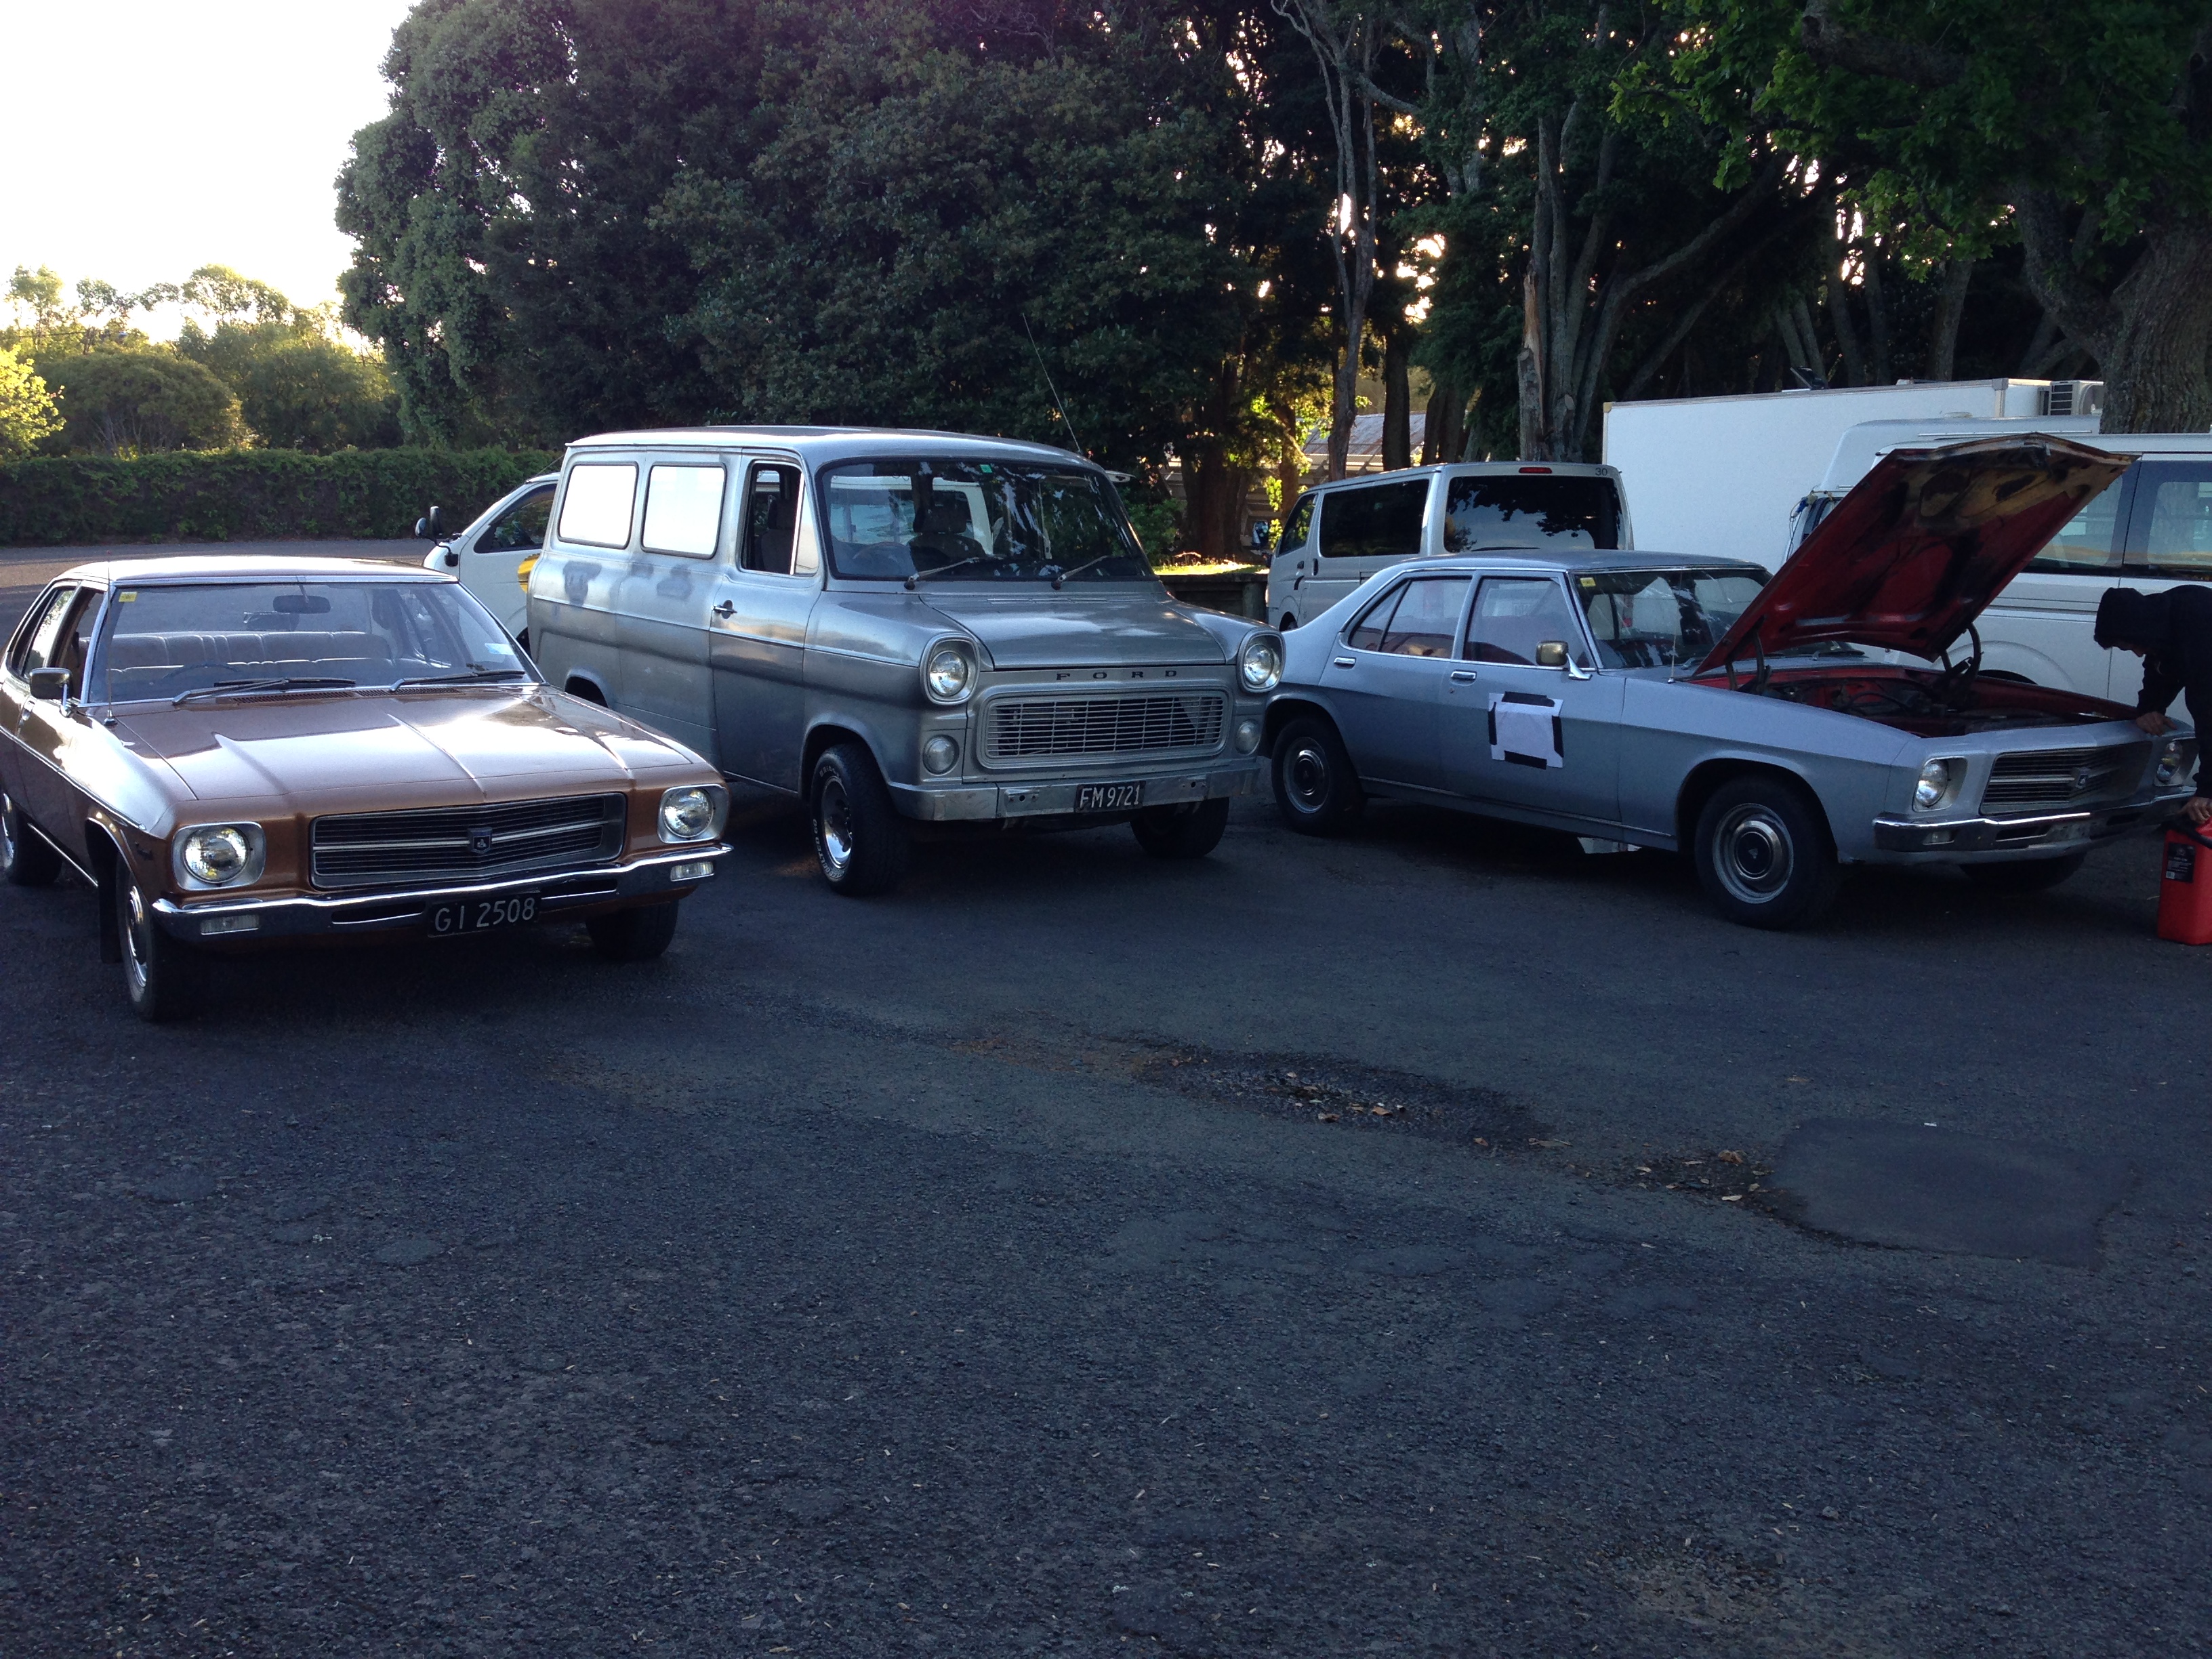
It's now a star! Several scenes on Westside last Sunday night at 8.30: http://www.tv3.co.nz/WESTSIDE-Season-1-Ep2/tabid/3692/articleID/114498/MCat/4513/Default.aspx And I have just delivered this and my white Sundowner to the signwriters to be vinyl wrapped for their next role. This is for a TV production that will be UK based, so not sure if or when it will be shown on NZ TV, but I really can't say much more about it than that, due to confidentiality agreements with the production company. It will look like a standard Mk1 for this next role, so I have fitted some standard steel wheels to it, shown here about to be delivered to signwriter: discussion: //oldschool.co.nz/index.php?/topic/45289-browndogs-1972-v8-transit/page-2
 6 points
 -
With the board unsolder-ed from the transformers, I can now start the re-capping process. First up will be the black "Hunts" capacitors as I have suitable replacements in stock. I'm lucky to have a good stock of old "mullard "capacitors to replace them with, they hardly ever fail and are hard to get, also quite desirable to guitar amp builders. They are also can be named "Mustard " capacitors because of their colour. I'm using them as they don't look out of place unlike the new yellow ones either side of them. last one for tonight, Here's the "Hunts" capacitors removed. You can see from the picture that some look a bit worse for wear, they also fail testing on my ESR meter.5 points
-
4 points
-
spotted I'm hugely proud of this. The same issue as the immaculate ZERO3 as well, A++4 points
-
Righto, 1st time poster, long time browser. Gotta say i love reading all the projects and shit on here, gives me loads of inspiration and enthusiasm for cracking on with me own loss of coin and sanity. I've always liked my small British Fords, but I've always had a soft spot for the old Anglebox, I've had a few over the years in various states, my first car was a lovely crimson one with a 1600 xflow, 13x7 hotwires, custom suspension..... And NO floor lol. About a year ago I decided I needed a toy to play with and that toy needed to be another Anglia. I squized around on the usual sites and found any that were avaliable were pretty pricey. Step in MADBUZ who hooked me up with a chap in Wellys who had an oldie with a 1500 pre xflow, the rest standard but with dead plates and plenty of rust, but for 2hundie who can complain. When i got to yard collect and had a quick look over it was in better condition structurally than I thought which was a bonus. Got home and unloaded into garage then proceeded to stare at my new procurement for the rest of the arvo. I decided i wanted to either A: make a road going track day car, or B: make a dedicated race toy for trackdays and autox/gymkhana. I wanted V6 front engine rwd setup... initially lol. I had at that time wrecked our Mitsi Diamante family wagon coz I couldn't sell it, so I had a good 6G72 engine sitting on floor of garage, queue research time... Rwd 6G72 gona be a pain in the arse, involves custom bellhousings etc. Then my brain decided it wanted to REALLY throw a spanner in the works and completely change the whole project. The car had at this stage been stripped down to the shell and found floors were mint, minor structural rust but doors, boot and bonnet stuffed. My brain got out the sawsall and cut out the rear floor in readiness for rear mounting the 6G72 and fwd tiptronic box... WTF. Dedicated racer, aint never gettin this nutbox on the road lol. I thought yeah why not the mitsi box, will be easier to hook up in rear engined format, as no linkages involved, just switches etc and fwd/rwd cable, with mk2 Escort front end and steering.... but coz im an indecisive knob i shelved that idea too. Now im going EJ20/5T as rear mounting that has been done plenty of times before, its relatively easy to turn 4wd box into a transaxle, nice short engine, plenty of power, loads of aftermarket support and cheap. Right, I've got about as far as I can go without a donor Subie so will start saving and post pics of what I've got etc, and will keep you posted of my sanity going out the window..... cant wait to take it for a spin woho.3 points
-
Just checked back through my thread and realized I've done a bit more than what my updates show. Will have to get some more pics to show some of the work I did on it last year. I scored a complete, rust free, bare chassis off a friend and grafted in a Jaguar XJS front crossmember. I'm nowhere near finished, at the moment it's just tacked in place. Planning to run bags all round so I've set it up so when they're fully deflated the running boards are about an inch off the ground.3 points
-
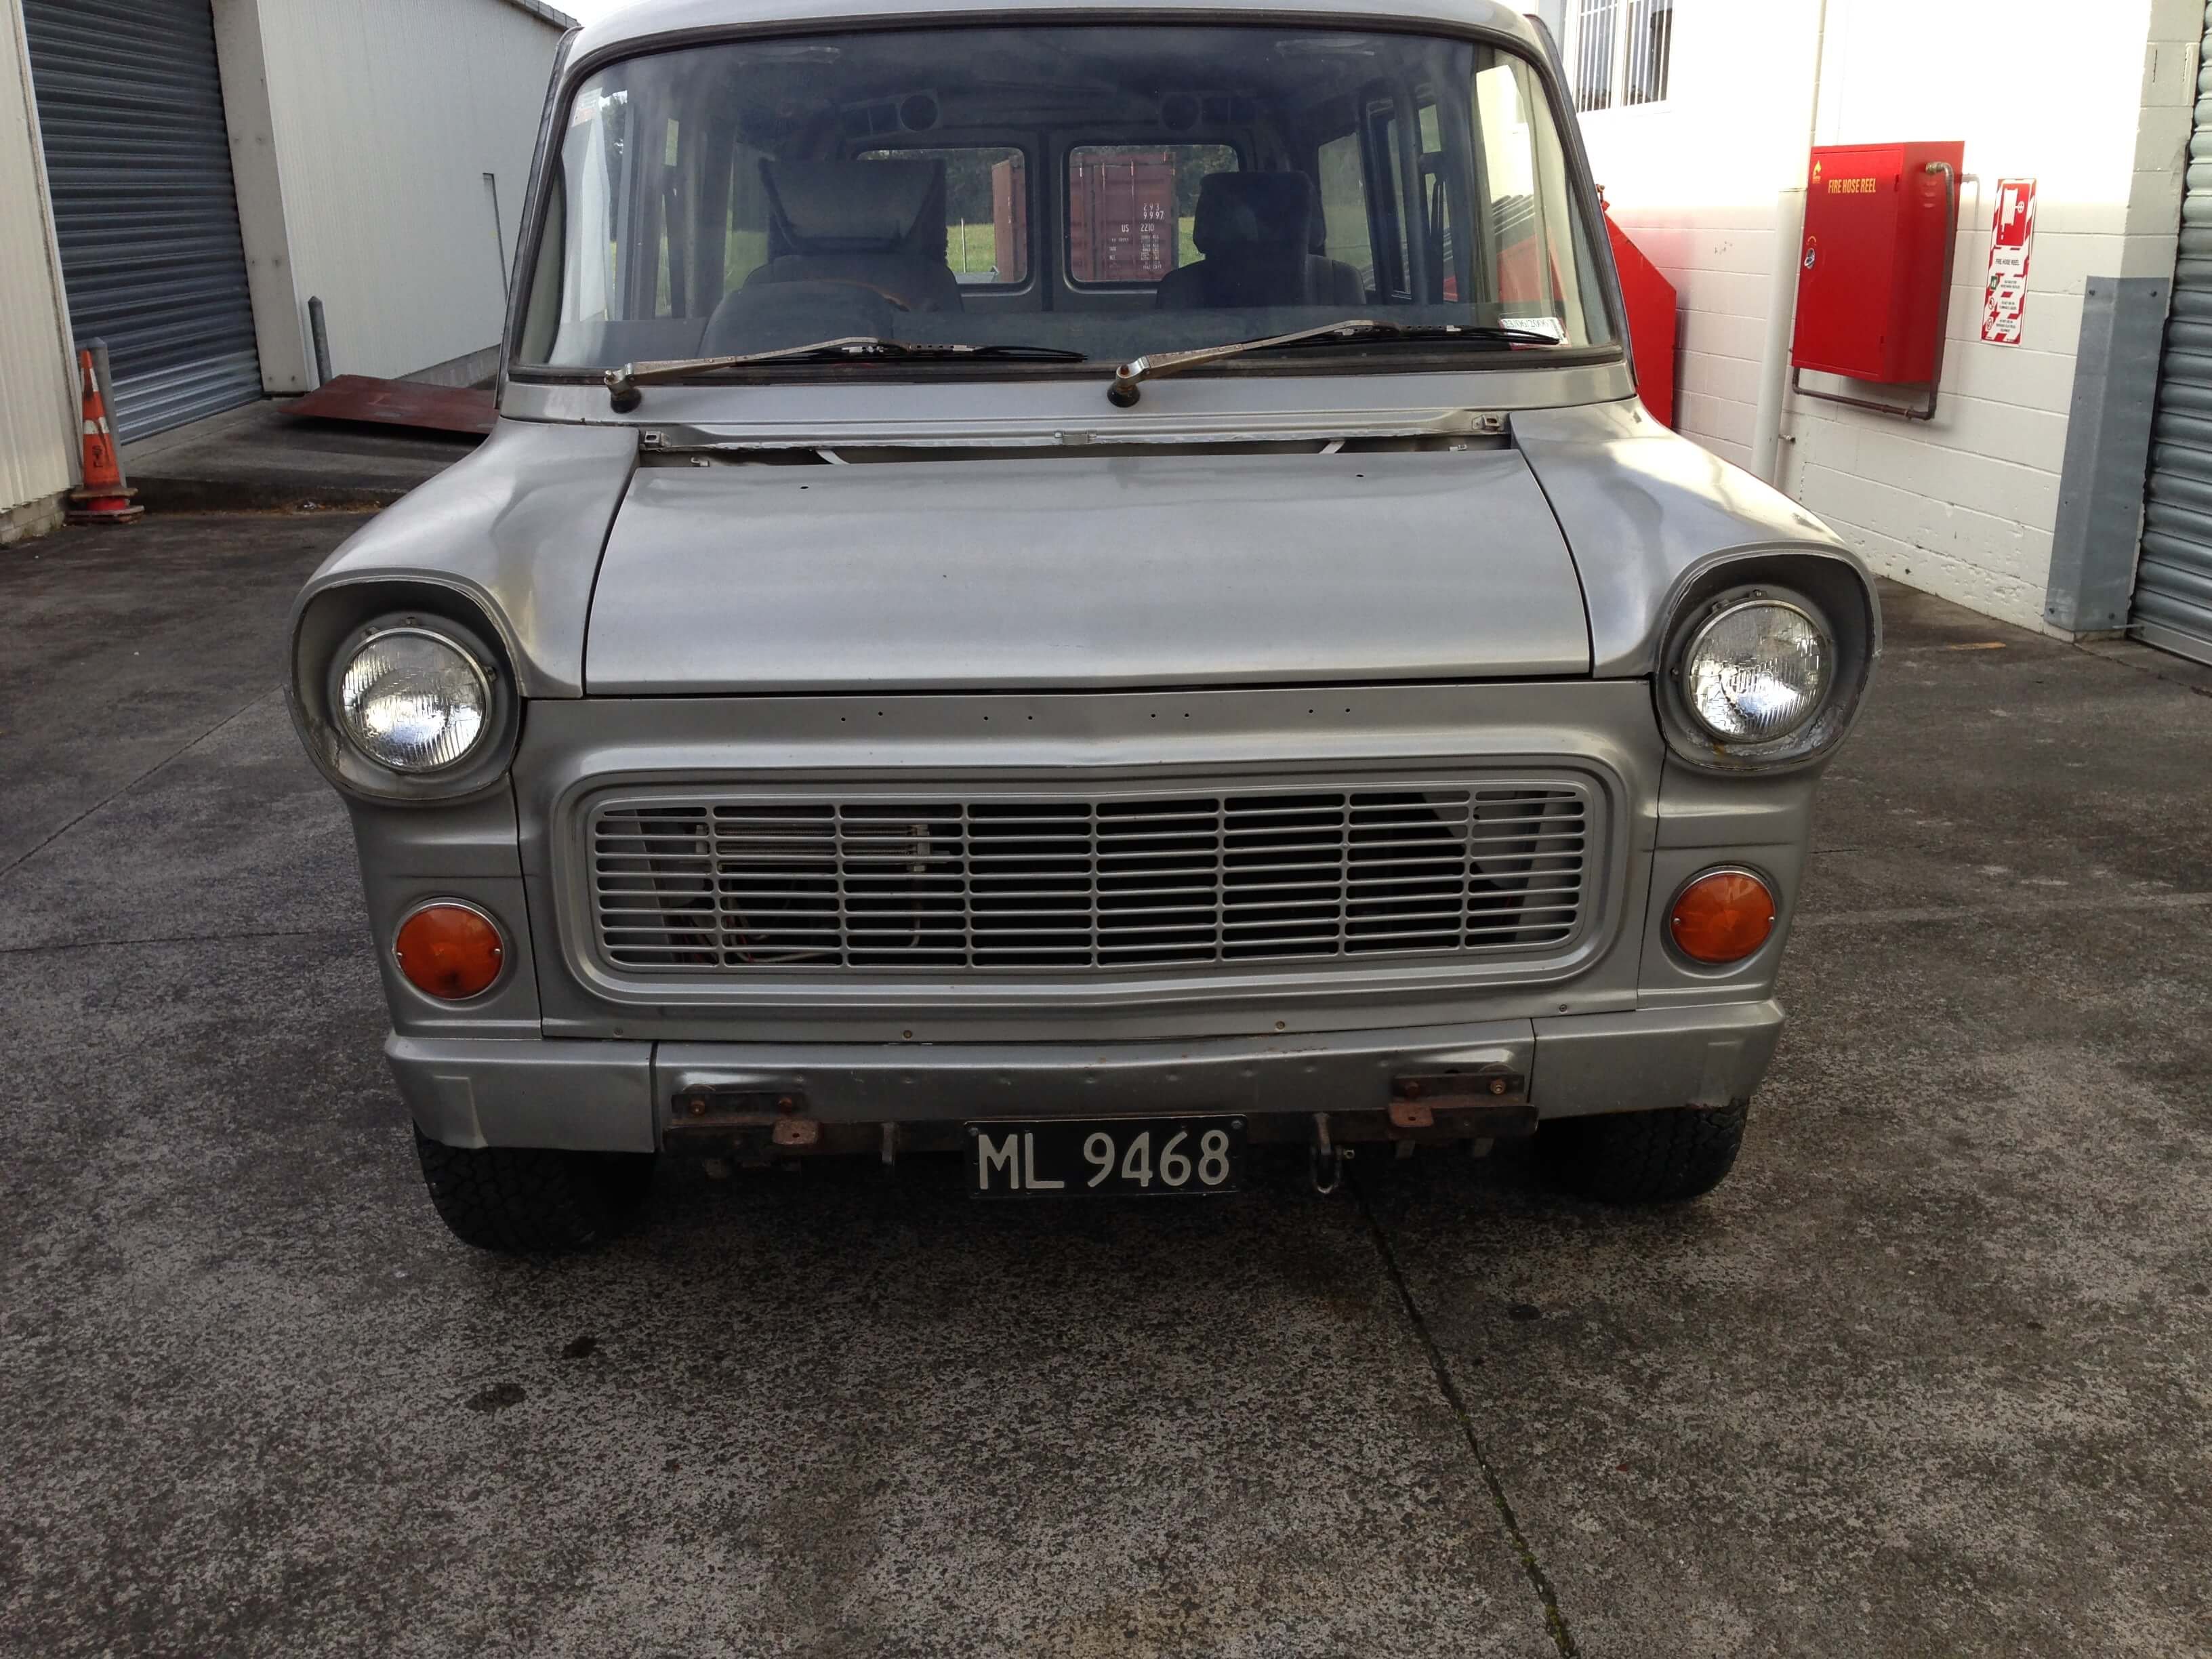
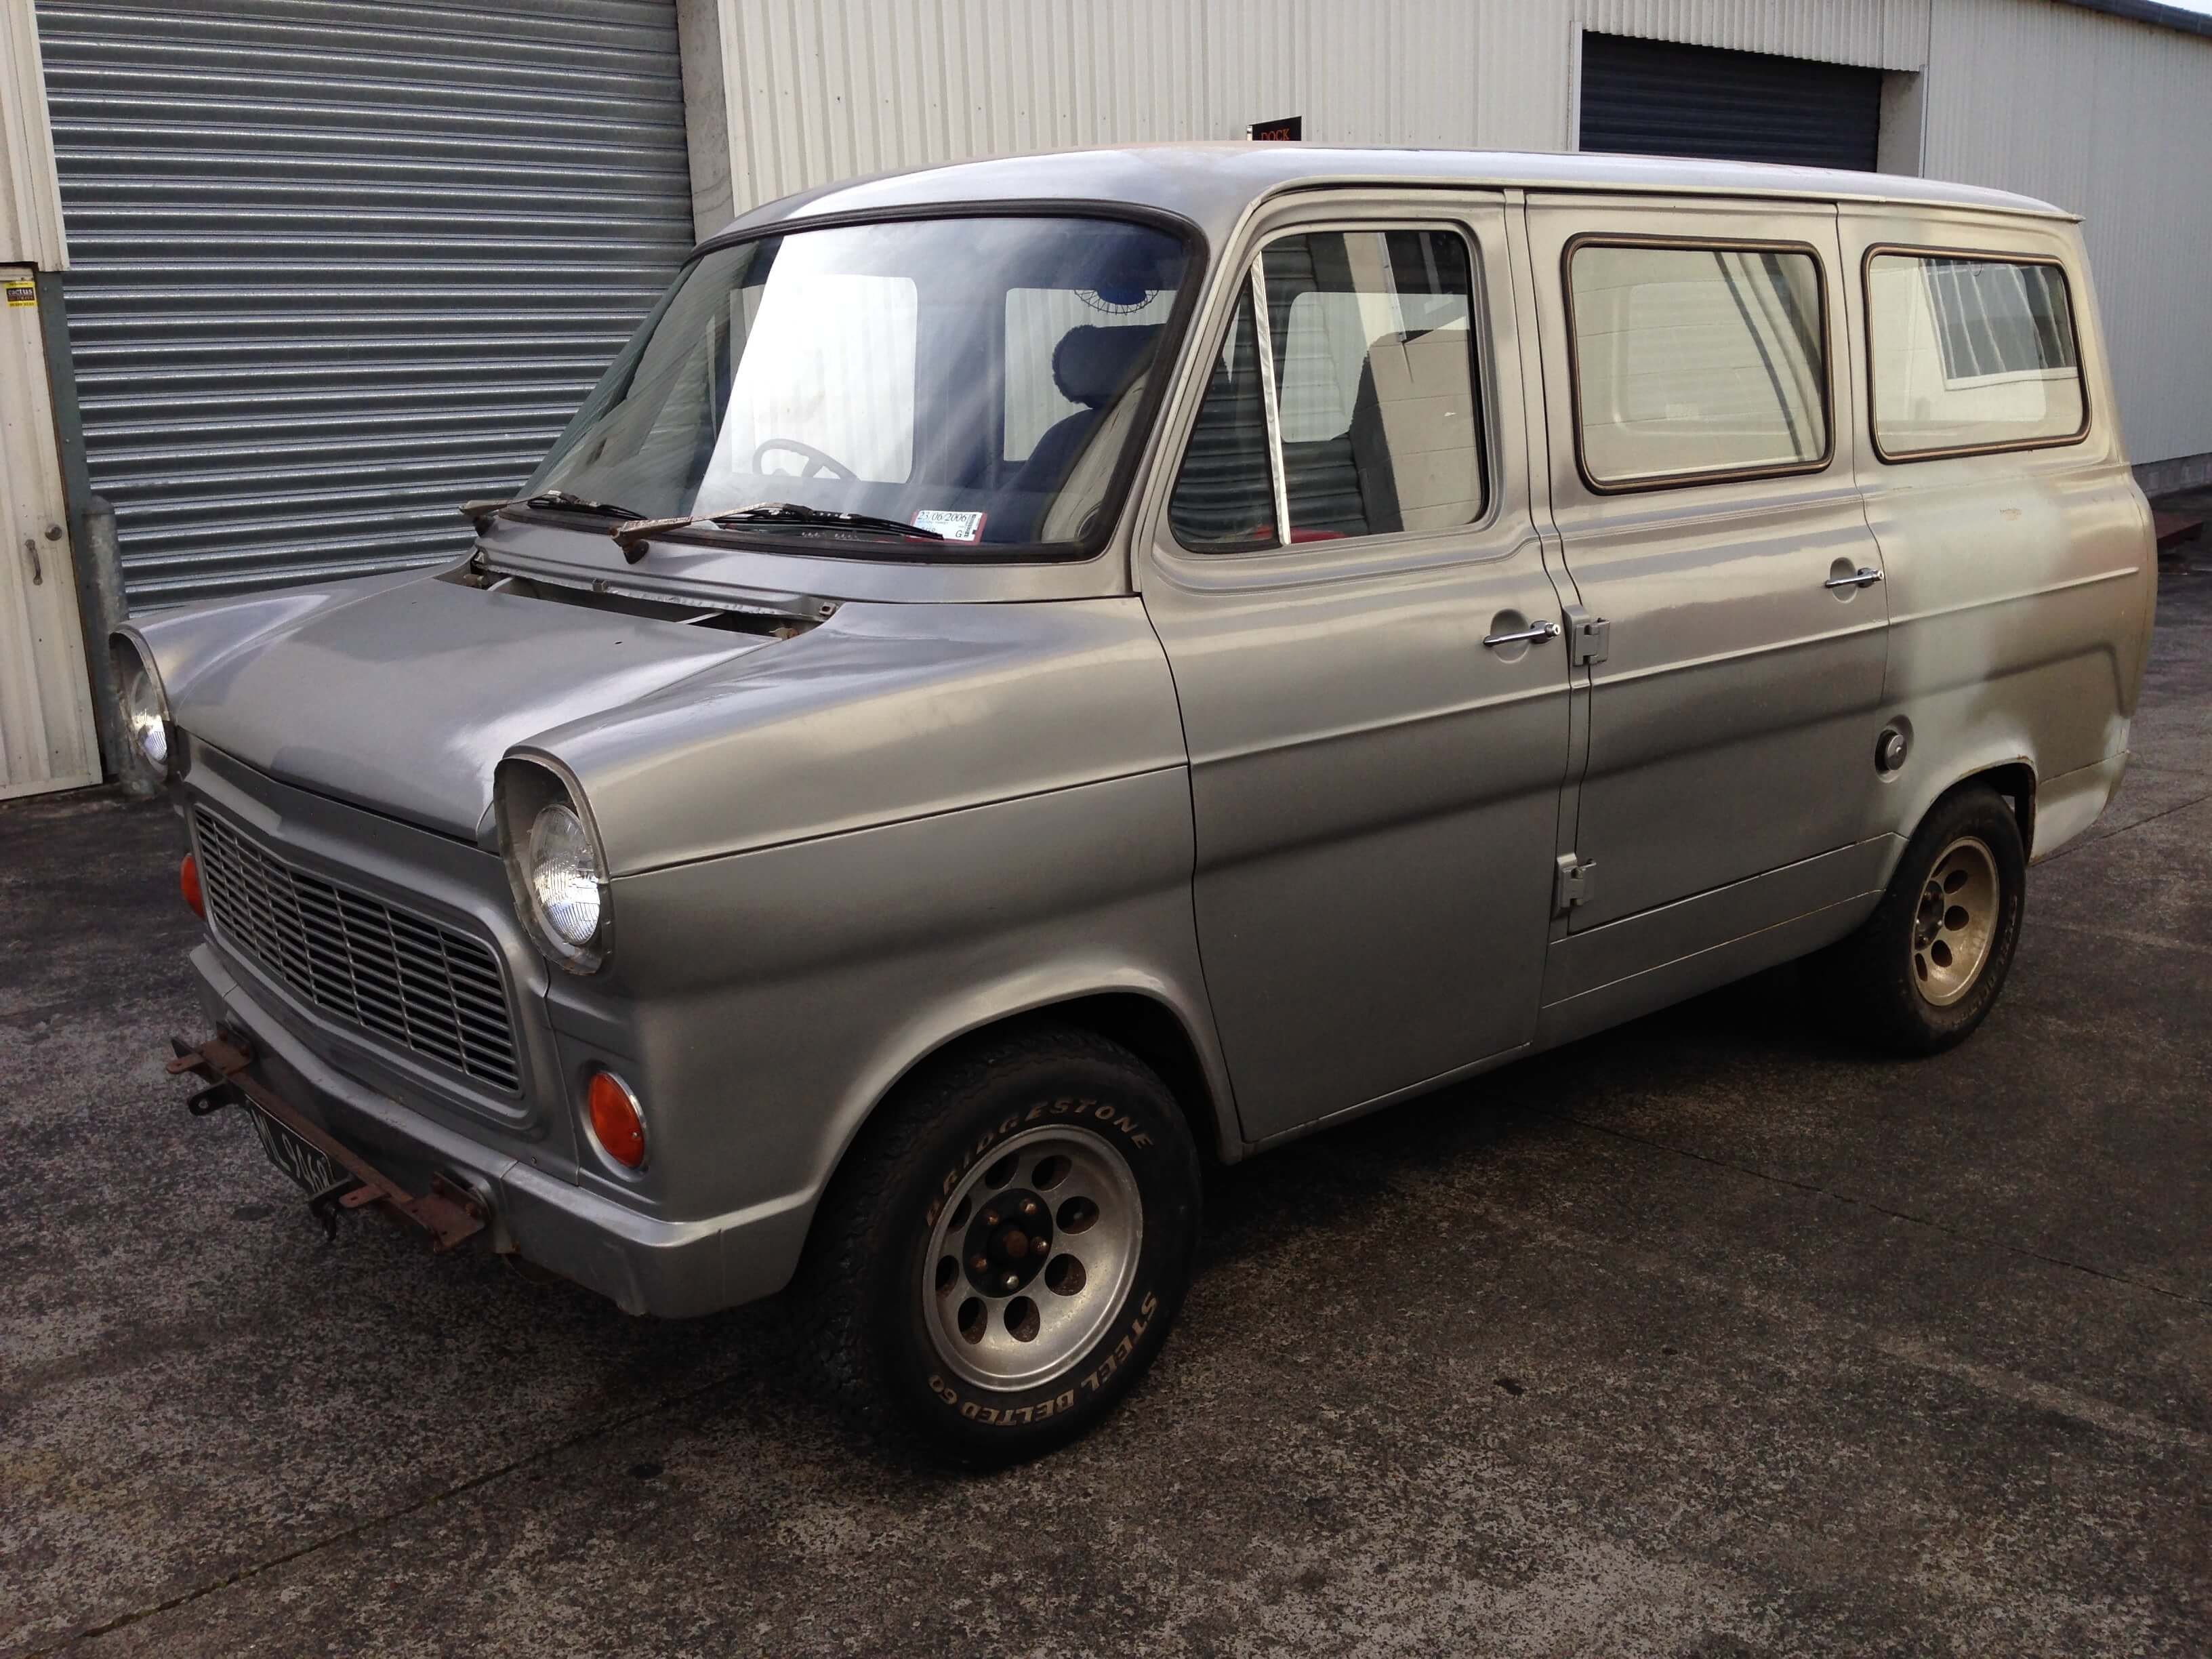
I bought another one of these damn things last week, told myself I wouldn't buy any more, but this one was too good to pass up (ever said that to yourself before?) Anyway, short story is, previous owner bought it in 1976 from DB Breweries who were the first owners. At this point it still had the 2.0 V4. Shortly after he purchased a written off XA Fairmont, and took the running gear out, as well as a lot of other parts. Over the next 8 years (!) he fitted the engine, trans, nine inch disc braked LSD (from a Lincoln Continental) into the van . The job was completed in 1985. He then used it as a service vehicle for his Gp.4 Escort rally car. It was parked up in 2006 and not driven again. I first spied it a couple of years ago, and he had made noises about selling it, and I have been in his ear ever since. Spoke to a friend of mine last week, and he said he was over at the Transit helping the owner get it started, and to come over, to which I replied " I know how this is going to end!" Anyway, we got it running on 8 year old fuel(!) and by the next day a deal had been done and I owned it I went to his place yesterday, fitted a new battery, poured in some fresh 2014 fuel, and fired her up. I drove it up the road to make sure it had brakes etc, seemed near enough so drove it to my storage unit about 25 minutes away without incident. Something that occurred just after purchasing it was; Mk1 Transit SWB, flat front, with a 5 litre V8. Sound familiar? To me I instantly thought of this, the iconic Transit Supervan 1: So after collectimg the van yesterday I swung past a friends place and picked up a set of wheels off his Pantera, thats 15x10 fronts with 285/40x15 tyres and 15x13 rears with 345/35x15 tyres. It is just so happens by pure luck that the Pantera has the same Ford 5 stud bolt pattern as the Falcon running gear that has been fitted to this van, so on they went: followed by a set of works Escort arches: So the plan at this stage is to get the van roadworthy, nothing major, new front brake discs and pads, sort the intermittent starting issue, get both sides repainted, good groom and use and enjoy it over summer. Then will start on the Supervan conversion next year sometime Happy days. Conrad //oldschool.co.nz/index.php?app=forums&module=post§ion=post&do=new_post&f=11
2 points
-
Brain: Hey get another project Me: Nah got 3 other cars to waste time and money on. Brain: go on, its a wagon. Me: naaaah... Brain: ahhhhh go oooonnn. Me: ok Here it is, a somewhat neglected GX60 wagon with a very sad, oil leaking 1G-EU power house The poor 1G is hemorrhaging oils from every oriface at an alarming rate. Thankfully the car came with a spare engine. So this lucky 1G will be receiving new oil seals, gaskets and water pump etc. + = Why the fuck am i even trying to make this lump look good?? Anyway that is it for now. I will leave you with this artists impression of the wagons near future. Discuss: //oldschool.co.nz/index.php?/topic/48689-be4vers-gx60-wagon-discussion/2 points
-
Hey guys im moderating the thread for my dad. Here we have a 1964 Ford XP falcon that my dad has had for 20+ years. He has had a fully reconditioned heads and motor blocks and he has had a single carb supercharger. About a year ago we started peicing it together and this is how it went: Disscusion: //oldschool.co.nz/index.php?/topic/48719-1964-ford-xp-falcon-noel-supercharged-disscusion/ My Anglia: //oldschool.co.nz/index.php?/topic/48706-1963-ford-anglia-first-car-shannon/ Anglia Disscusion: //oldschool.co.nz/index.php?/topic/48716-1963-ford-anglia-first-car-shannon-disscusion/ Brothers Anglia: //oldschool.co.nz/index.php?/topic/42275-jordens-1967-ford-anglia-105e/?hl=jordens Dads Anglia: //oldschool.co.nz/index.php?/topic/45036-noels-1963-ford-anglia/?hl=anglia So this is how it started out as Yellow and just sitting in weeds with flat tires: This is the super charger: And the motor on the stand: First step was to take the old shot motor out: Which looks like this: Next was to put the motor together first to give it the signature Ford Blue paint: And then we put it fully together and it looked like this: Next we started the long process of putting the motor in: And that ended up looking like this: Side veiw, but we wernt happy with how high it was sitting so a future project is to make a spacer to make it as high as the top window line: But we diddnt have time to make one before the formal so we just went with it. After checking everything and fitting a dummy fuel can to feed it fuel we started her up for the first time: https://youtu.be/brKckiFJRjQ Next we had to cut the hole in the bonnet, although we did not want to as they are hard to come by: And finally came the paint: And this is how it turned out, pretty well i think for no body work except a small bit of sanding: But now this is how it sits waiting for us to get her going as she blew a head gasket. The plan is to pull her out this weekend and start getting it ready properly rust and all for the Kaikoura Hop. Here it has the recently purchased shotgun scoop which gives it a mean feel. Will update soon!2 points
-
While I was overseas last year I managed to find the time to do a quick bit of TradeMe browsing. Now I've always been a fan of American vehicles of the 40's, so when this Chevy popped up locally it caught my eye. I tried for a few days to contact the seller so I could send my brother to take a look but every day I received no reply and every day the trucks price dropped. Eventually I decided enough was enough and hit the buy now from my computer on the other side of the world. Almost immediately the owner emailed me and as luck would have it he owned a tow truck, so it delivered to my driveway, beating me home by three weeks. Here's a few pics of what greeted me when I arrived. Call me crazy over here //oldschool.co.nz/index.php?/topic/41876-di0ns-thrifted-thriftmaster/2 points
-
GA70 supra map sensor type? I has one of them2 points
-
http://instagram.com/p/3tEg6sDJEC/?taken-by=_nickritchie2 points
-
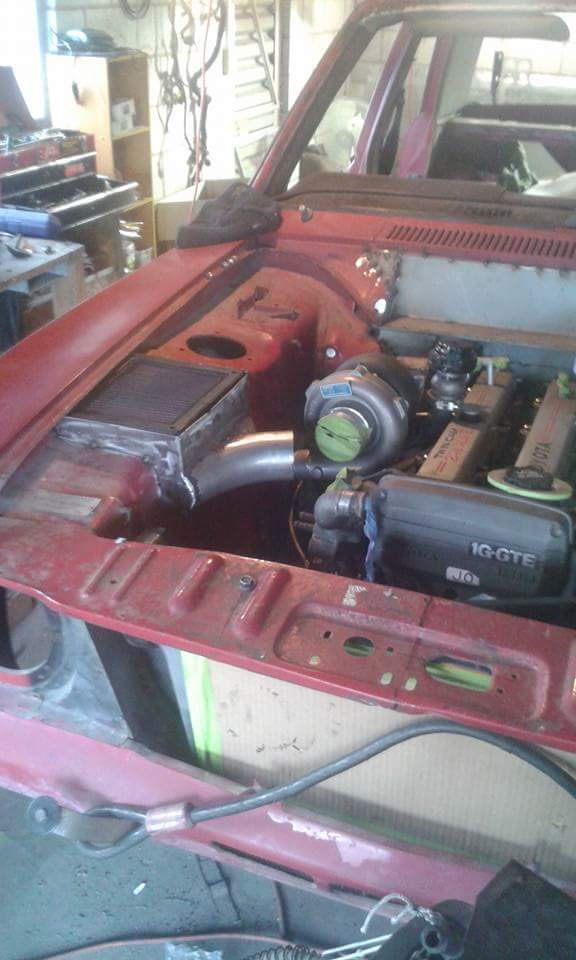
Reassembled and ready to go in Took the old engine out... There is always one bolt/nut that will essentially double the removal time! If you have never used a hot water-blaster i very much recommend using one if you have a greasy engine bay with 30+ years of shit crusted to it. Cuts through it like butter! Also im after a decent rust free bonnet and a drivers tail light if anyone has anything??2 points
-
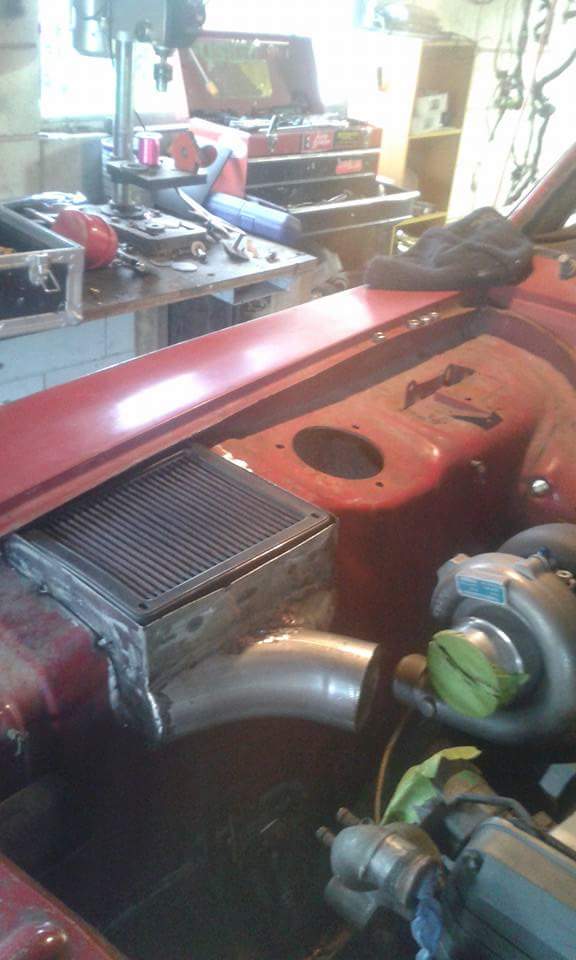
Fished the air box today.made to fit an evo k&n panel filter
2 points
-
So, I finally bought one. I was hesitant in buying this one but not many have popped up for sale. Typically, as soon as I get this one a few have popped up on various websites. I was told that it was a sweet runner, no worries. It wasnt till I handed over the cash is when they started to mention the faults......The joys with dealing long distance. Anywho, this is my (soon to be once I fix a few things) daily driver. It runs the powerhouse 4G11 and yes, it has the SUPER SHIFT Plans are to add some wheels, some low, and eventually some (slight) power1 point
-
once again i have acquired another car that is not an austin... (regret that username) BUT never the less this is my new project was a freebee off my mate who is moving to the uk and for some odd reason he though i would like it.... and i think he thinks im the only person who will put work into it. so first things first is WOF and i need >window wipers >lift side steering arm boot ( im think its that rubber thing) >reverse lights (and according to VTNZ its too low but who said i had to go there for wof...) hopefully can get around to it all this weekend, the only thing i dont want to do it the reverse lights because i am terrible with trouble shooting electrical problems so if anyone has any tips for that it would be much appreciated. Plans for this beast includes fixing the front bumper, paint both bumpers gun metal grey, then primer the body because surprisingly its pretty straight and virtually rust free. not planning on spending heaps of money on this so thats why its only getting primer. and also sounds, needs sounds. there are some slight mechanical issues that need sorting too, there is a wicked tap in the engine (well i think its the engine, dad thinks its something else) and it leaks autotrans fluid and diff fluid so ill have to take a look at that too.. anyway thanks guys, update probably after the weekend if i get wof!! >discussion<1 point
-
Here's another little project on the burn, I found 2 Pye Mozart amps a while ago and it's time to bring them back to life. They are what is called an integrated amplifier which means the pre-amp (volume/tone/input selectors) is integrated in the same chassis as the Amp. When they were sold in 1958 they retailed for approx. 33 pounds each. I was lucky enough to find a pair of them in reasonable condition Here's a rear view of the amp, plenty of dust from 50+ years of life in shelves and sheds. If you take a close look you'll see 1 large valve ( Vacuum Tube) lying on it's side, the model is what is called a "single Ended" amplifier. What does single ended mean? Strange that you should ask, but ok, I'll try to explain. I'll do my best to without making too many eyes glaze over , single ended means that the one tube is biased to the mid point (with no input) and it performs the whole output section with one tube instead of 2, sound confusing? Lets look at a normal situation using a complimentary pair of output devices, I'll use an example most can relate to; Car Batteries! If we had 2 x 12v batteries and we connect a volt meter lead to the jumper lead that connects the two batteries together, in this specific example that connection point is called the mid point or "0v". - [12v batt A]+ --- 0v --- - [12v batt B] + If we connect the other meter lead across bat "A" then it would read -12v If we connect the other meter lead across batt "B", then it would read +12v (if we put a meter across the 2 batteries (end to end) we would get 24v) The same logic applies to an amplifier, If I had 2 output tubes (or Transistors) 1 tube would handle the -V side of the sine wave, the other would handle the +V side on the sine wave, with them both connecting to each other at the "0v "point, put in a complimentary pair they do the job nicely and allow for very high outputs if reqd. However for a single ended tube we have only 1 output device, so if the maximum output swing was 24v, we artificially "bias" the tube so it sits at the mid point (0v in our battery example), and it can swing up or down 12v to make it do the job Hope that wasn't too confusing. The output tube is an EL34 and this model about 9 watts output at 0.3% distortion @1Khz, which was pretty good for back then. Here's another view with the cover off and the output tube removed, and a quick wipe1 point
-
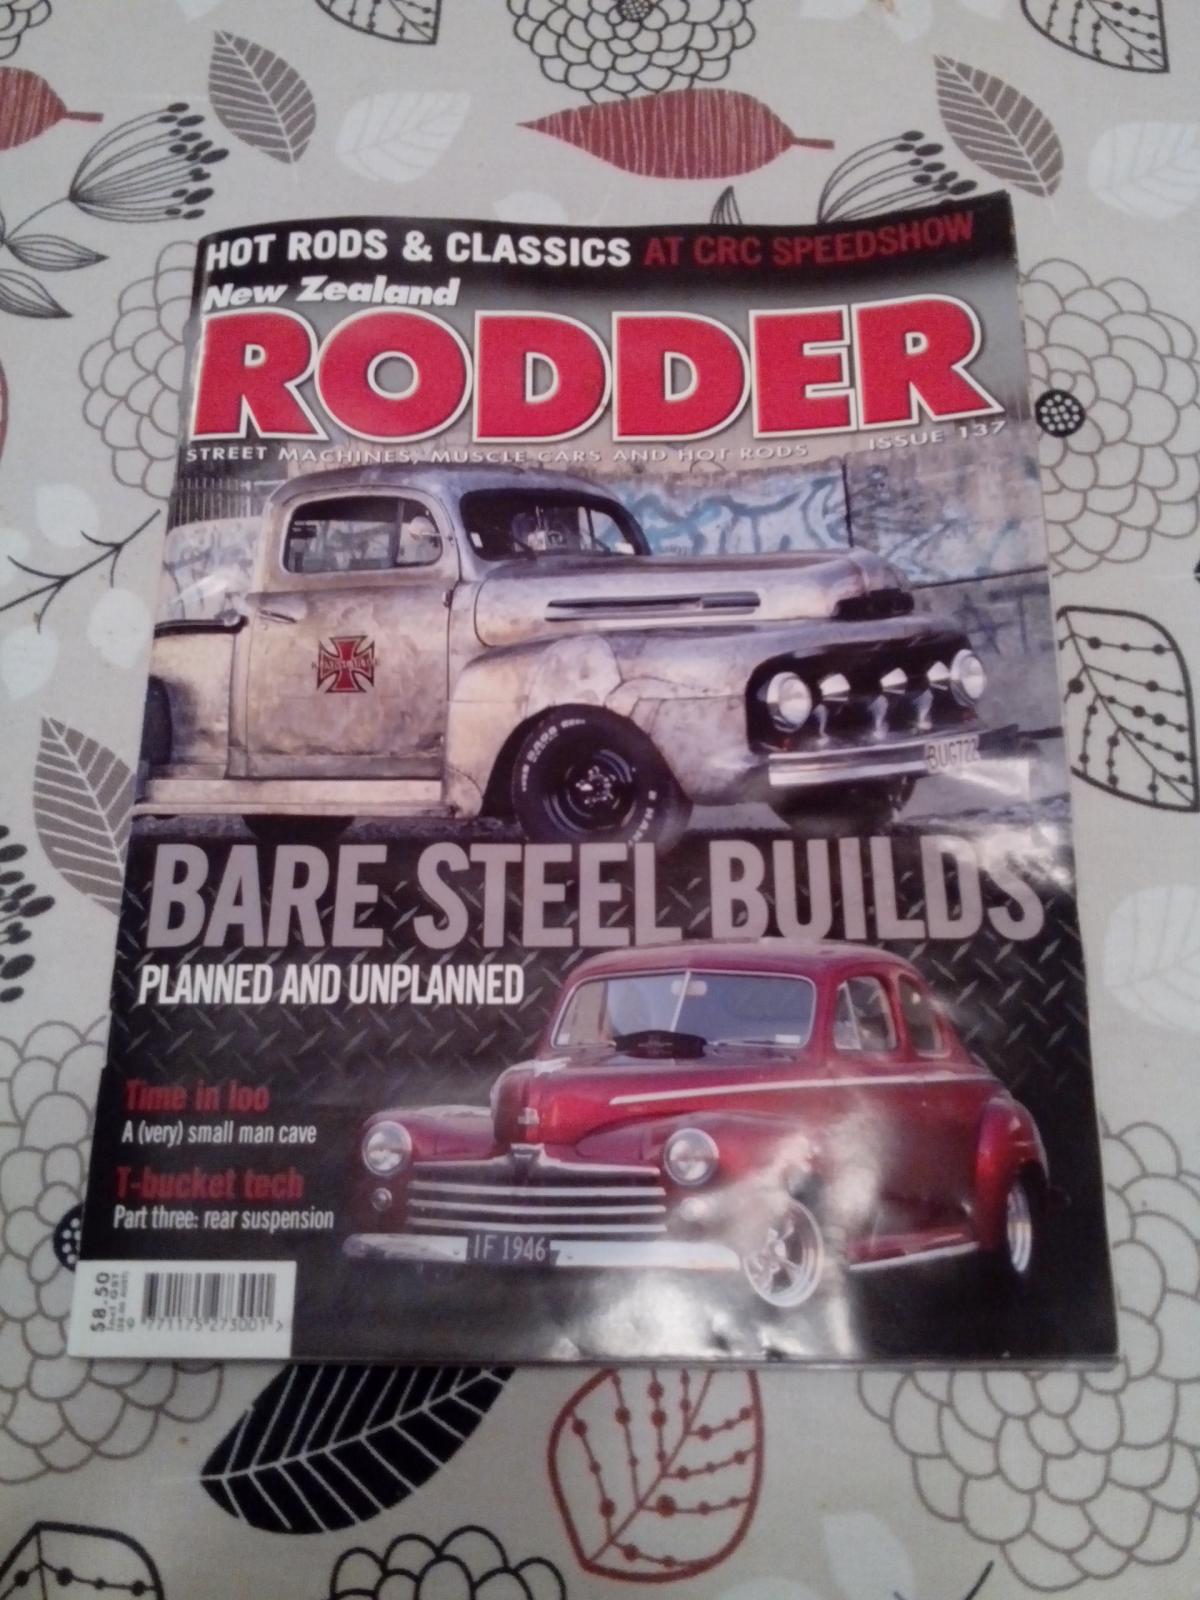
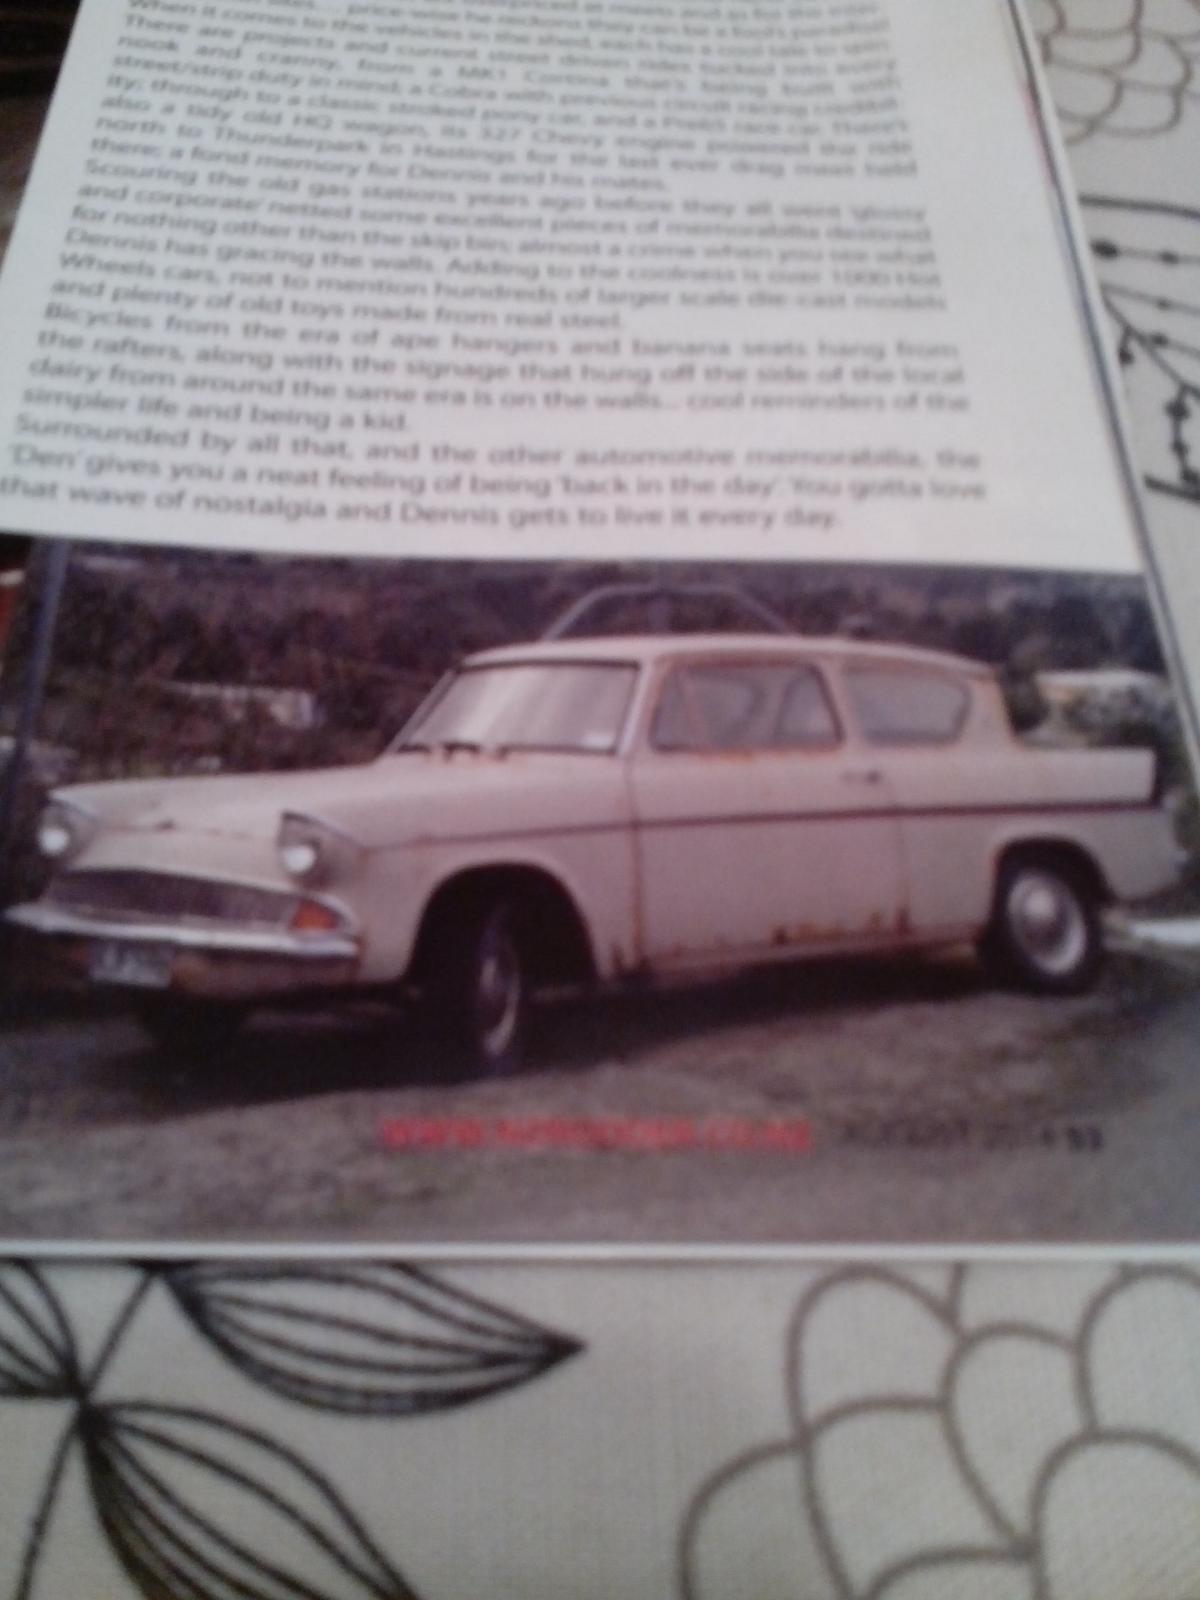
Pic time... When I organised to buy the car from seller, he mentioned that the NZ Rodder magazine was doing a write up about the various vehicles and lock up of his, so off to shop and brought magazine....my new toys famous lol.
1 point
-
Yep your table will be 12x12 so youll have it set at 9% intervills to get max table usage so having a little slop isnt the end of the world. It will be if you go injected as it itll miss sudden changes to add on extra fuel for acc enrichement.1 point
-
If the body is straight and you'r not planning on spending heaps of money on it then don't bother painting it. Especially not primer as it looks shittier than shit paint and still costs money. Get it road legal, fix the mechanical issues and if at the end of it you rather enjoy the vehicle and want to sharpen up the appearance, choose a proper colour and do full respray. Might be a great car for you to learn a bit of painting on/with. Edit: From the guy who drove a primer grey HQ for years and is only finally painting it properly.1 point
-
Those carbs will want around 3psi (not exactly) so if there's much more than that being delivered the fuel can climb over the bowl float and spill into the carb throat. I'd suggest checking your engine oil too. It might be contaminated with fuel. You may also have a weeping float needle valve An adjustable pressure regulator is fairly cheap, as is a pressure/vacuum gauge from Repco (to test the regulator output) EDIT: Yup, the Holley one you linked to is what lots of guys use. I have used two and found them both inconsistent, but I don't know of a better one. personally - I wouldn't move the pump at the same time as fitting the regulator. One thing at a time etc.1 point
-
Yup, nana spec when I bought it, but done a couple of mods getting it ready for cert1 point
-
Done. Remember for when you log-in You should have got two emails about it though (if that part of the board is working)1 point
-
They've been sold to another OS/ Riverside member1 point
-
cheers man is yours the stock as looking cef? pretty sure ive seen it around i couldnt find a set so ended up buying 2 pairs of 15s which was kinda meh but will still look good i hope1 point
-
+1 on don't primer it. Primered cars suck IMO1 point
-
don't stick primer on it, all the cool kids love that fucked looking paint, it's called patina man.1 point
-
we just got one of these in at work1 point
-
Photo shoot. Now to find another pair of 225/40s for the front.1 point
-
Those Toyota ones would fit in your pocket.1 point
-
Discussion thread //oldschool.co.nz/index.php?/topic/48710-bullitts-1970-triumph-gt6/ I also have a set of Dunlop LP923 5.5" steels I bought a few months ago that wil give me an alternate wheel choice once I do them up:1 point
-
those arms are choice ^ I built this jig to prove no bind with rose joints. now to put the leafs back in my hilux1 point
-
not much progress on the ute week gone been busy getting rid of all the bits i didn't need, have made some progress in getting bits i need. -have some brake hoses on the way -also cleaned up a spare set of axles and got rid of left hand thread and changed to sealed bearings ready for lsd courier/bounty nugget with a lower ratio to go in (that combined with 5 speed should be nice cruising at 100) -also this is ready to go in after sorting out sound deadening and carpet (thinking of going autodec? anyone else used them?) -then need some door cards done to match
1 point
-
video up! ah man this was a fun afternoon. http://www.machineofmayhem.com/m-o-ms-motor-racing-2015/ we went for a bike ride that night too, a video of which should surface at some point soon.1 point
-
Managed to score a cluster with a tacho. Extremely useful for the big RPMs this car can hit! So, out with the old.... ...and in with the old. Also found a front bumper thats a bit straighter Ive got my eyes on an injected 4G15. Im just waiting for the guy to drop his pants on the price and ill grab it. This was meant to be my daily, its now turning into another project. Story of our lives!1 point
-
Yesterday the windows went in. All that's left to happen is the roller door, which is going in on Saturday. Then it's all complete and we've just got to wait for signoff to start using it. Unfortunately there a couple of things to get done before that can happen. So we're probably looking at 2 weeks ish. Glass and stuff! Closeup glass and stuff. Also lots of mess.1 point
-
Wireless1 point
-
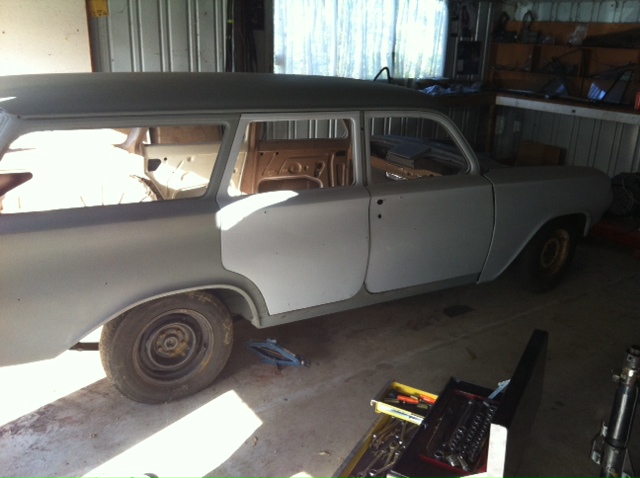
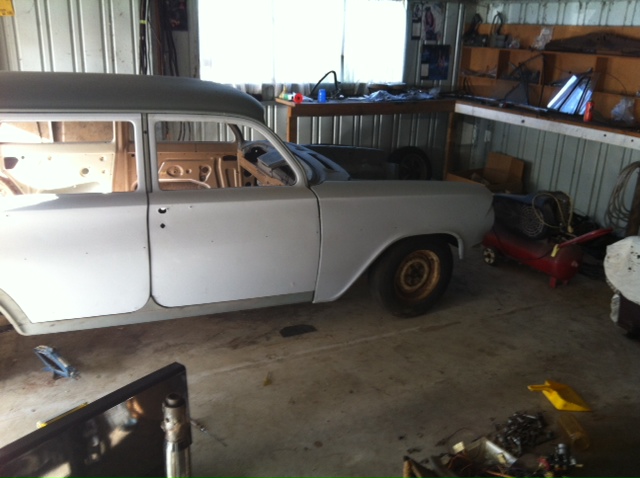
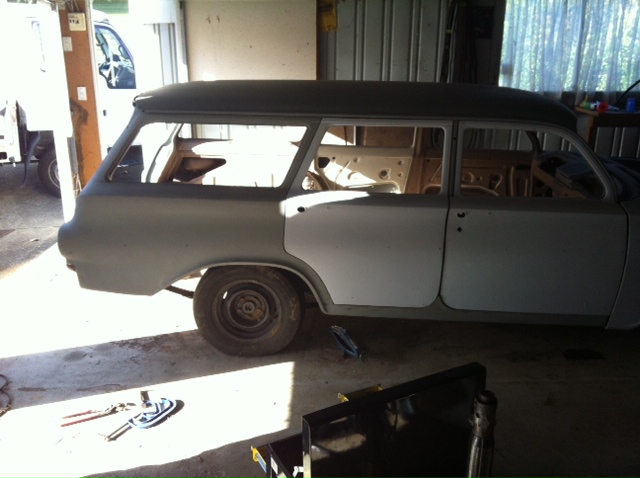
Today I played Hookey from work and got the car over to the panel shop. Managed to dodge the rain showers and only get a little bit of rain on it. My wife came and helped with the pushing around and winding the winch on the trailer. With the stress of the weather I forgot to take any photos. I will go down to the panel shop tomorrow if I get a chance and take a couple. Heres a couple of photos from the other day when I go the doors on and the threaded rod in to hold the front suspension up. It's got the 70's nose down thing going on big time.
1 point
-
Toyos fitted. 225/40s are perfect in the rear, slight roll after I do the camber mod to the rear subframe and we should be good. Yeah.1 point
-
i haven't been doing nothing, quite the opposite in fact because i have been doing something. dipped and stripped the doors, boot lid and front guards. Untitled by David Arthur, on Flickr this revealed that the front guards are pretty beat up, the boot lid is fucked and the doors weren't as bad as i thought. so Peter is going to do the doors for me and today i realised i have two guards in the roof which are way better so ill use them instead. Untitled by David Arthur, on Flickr Untitled by David Arthur, on Flickr Untitled by David Arthur, on Flickr as for the boot lid Richie told that restored.jp make boot lids and so ill probably get one from Japan because at 300 odd dollars there is just no point in trying to fix this one. also, i got some 225 50 15s for the back. Untitled by David Arthur, on Flickr so things are definitely happening. Peter has a job on at the mo which will take him about 3 weeks then he'll fix the doors. after that he's going to fix the roof for me and take out the sunroof. in the mean time ill get the front guards ready for paint and order a boot lid from Japan. then its time to take the screens out and see what horrors await in the glass rebates…….1 point
-
heres a picture of the spoon i use and the hammer i use to hit it with. Untitled by sheepers-ra28, on Flickr Untitled by sheepers-ra28, on Flickr this is how i use the end to get up behind the surrounding panel. obviously its on the inside of the panel... Untitled by sheepers-ra28, on Flickr and this is the heavy end that i use once there is enough gap to get this between the two skins. ts got a nice curve to it so i can add a bit of concave shape to the arch. Untitled by sheepers-ra28, on Flickr this is the thin end and how i would be sitting it to do the crease at the top. Untitled by sheepers-ra28, on Flickr1 point
-
alright so ive been asked "how do you stretch a guard?". the answer is its not easy and i want to make this very clear, i have only done this twice. i am not an expert by a very long way. i was told how to do this by my mate Peter the panel beater and that's the grand total of my experience. peter was very clear in his instruction and he told me that if it starts going wrong DO NOT try and fix it. he would come and sort it out for me. i have fluked it so far and have not needed his help to fix anything. so, with that said here is a run down of what i do as best as i can communicate in text. please ask questions and ill try as best as i can to explain. ill take some pictures tonight that will help. 1. Mark out where you want to put the new fold where the guard lip will start from (the new arch line) do this on both sides before you do anything else. 2. Drill the spots and separate the inner and outer skin. 3. Fold the outer lip down. 4. My “spoon” is a broken trailer leaf spring. It’s perfect for this job because it has a skinny end with a bend in it that allows you to get right up inside the panel and onto the back of the flat parts of the quarter when you need to pull the panel out a bit. And the other end is thicker and had a curve to it so it makes putting a convex shape into the arch easier. 5. Using a spoon (whatever that turns out to be) very gently work around the lip putting a crease in the panel for the new arch line, pull the spoon towards you and hit into the car. I use the pick end of my hammer to make a nice tight crease line. The skinny end of my spoon is great for this bit. 6. Once you have a crease hit the spoon from the back to stretch the lip, once again work slowly back and forth, don’t try to move it a great deal with each blow, take your time and it will come. At first I use the skinny end because there isn’t enough gap between the outer guard and the inner guard to get the thick end of the spoon between the panels. At this stage I’m hitting the back of the spoon with the largest hammer I have. You can hit the spoon fairly hard and you should be able to judge how hard to hit it. If it looks like you’re moving it with each blow you’re hitting it too hard. If you can’t really see anything happening with each blow but it’s moving slowly then you’re about right. 7. Go back and forth between checking/maintaining the crease and stretching the lip out. Once in a while use the spoon and the light panel hammer to get any obvious dents or bulges out of the arch and to work the stretched material into the shape you want the arch to be. 8. As you go you’ll find that the top of the crease line will move in towards the centre line of the car. Get the spoon up behind the flat part of the panel and gently bring it out. 9. DISCLAIMER!!!! As I said I was told how to do this buy my mate Peter the panel beater and he said very specifically “if the quarter panel around the arch starts to buckle STOP and I’ll come and fix it”. I’ve been lucky enough in the two times I’ve done this that that haven’t happened to me, I have no idea how to fix it if it does, but if Peter said that the only way to fix it was for him to do it then it must be very tricky indeed. 10. Try to get some shape in the lip (either concave or convex, don’t matter it just gives the lip strength when it’s finished). Once again, my spoon has a great shape to the end of it to help with doing this. 11. The bottom corners are tricky because you have to transition from where the panel was originally to the stretched part through the top. It gets more difficult when it comes time to reattach the inner and outer skins. You’ll just have to suck it and see because it kind of “happens” as you go. 12. When the outer is where you want it start on the inner. 13. Fold the inner lip down. 14. Beat the inner with a ball peen hammer to stretch the inner skin (don’t hit it hard enough to dent the outer) don’t worry too much about the shape, all you’re doing is stretching the steel so you have material to work with. 15. Use the spoon and hammer to move the inner out. Make you crease line around the top in the same place as the outer and work the inner the same as the outer, slowly. I find that if you hold the spoon on the outside of the inner skin pulling it towards the centre of the car and hit the steel right next to the spoon outwards it stretches nicely. You can work your way forwards and back doing this. 16. You might need to give the inner a few goes with the ball peen to stretch the material enough. 17. When the skins are touching again and your happy with the shape (check the flat panel above the guard and the fore and aft parts of the panel for flatness/correctness - usually it goes in and you’ll need to get in there with the spoon and tap it back out) it’s time to weld it back together. 18. Because the two skins are now different lengths you will need to scribe the fold line onto the inner and cut the inner back so the outer folds around it. This is going to be very difficult to explain in text so I think I’ll try and draw what I mean. Untitled by sheepers-ra28, on Flickr Untitled by sheepers-ra28, on Flickr Untitled by sheepers-ra28, on Flickr Untitled by sheepers-ra28, on Flickr 19. Use heaps of clamps right around the lip to clamp the two skins together in place. Check the surrounding quarter panel for correct shape. There is no going back once you start welding. 20. Tack the centre first and work outwards front and back from the middle welding the edge of the inner to the outer where the fold will eventually be. Use the smallest tacks you can because these will eventually be “inside” the lip and if they are big it will make the bottom of the lip all lumpy. 21. Then fold the outer back under. Fold it with pliers until you can hold the dolly on the outside and hit the lip up from the inside. Don’t hit the lip inwards at any point, it will distort the lip and the panel above. 22. When it’s up tight against the inner clamp it and weld it in place. Start in the middle and tack it moving outwards. Hey presto! Finished!! Easy.1 point
-
Beautiful Mazda RX7 yesterday1 point
-
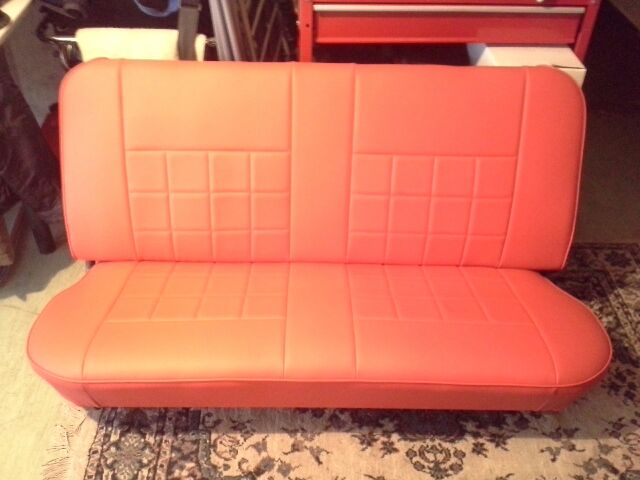
The other thing I had done since last time I posted was a bit of interior trimming. I managed to find some black loop pile carpet, which as any of you old Ford nutters will know is the correct carpet for any self respecting 1970's Ford, and had a carpet set made, as well as a vinyl engine cover. As well as looking quite good, it has cut down the cabin noice quite a bit! I have a nice set of black trimmed high backed seats which I am also going to fit //oldschool.co.nz/index.php?/topic/45289-browndogs-1972-v8-transit/page-21 point
-
I'm sitting here after some beers for lunch Thinking about you giving my snake a munch Stingy old meat pack from the RSA Lay back and I'll fling my sausage your way What's this about a date with Maurice? I thought I was in line to dominate your forest Cheeky moonshiners are requesting a slam I bet they beat off while listening to Wham! Hayhole's Mum, I can't wait for you to finish Please will you give my top tube a linish?1 point
-
Did abit of polishing over the weekend! Its come up with an awesome shine/polish. Still has a few small scratches etc in it but it was never going to be perfect being painted in the garage. Also found some old pinstripe so we put it on just to see what it would look like1 point
-
Got a few more photos today... As you can see, she's in a pretty sad state. So this is my new cab... Only rust is a few little pin holes in the floor. The vents even open and close still!1 point
-
Untitled by sheepers-ra28, on Flickr Untitled by sheepers-ra28, on Flickr Untitled by sheepers-ra28, on Flickr Untitled by sheepers-ra28, on Flickr Untitled by sheepers-ra28, on Flickr1 point
-
Suzuki SS10 Fronte, 440cc 2 Stroke Grunting up horokiwi hill, Had to get a shot1 point


.JPG.abe2c1ce9fc5f220f96fdb482cb81cd8.JPG)


.thumb.png.46e518f714cdc319554c389f990e75a4.png)


This leaderboard is set to Auckland/GMT+12:00