
Leaderboard


Popular Content
Showing content with the highest reputation on 31/07/23 in all areas
-
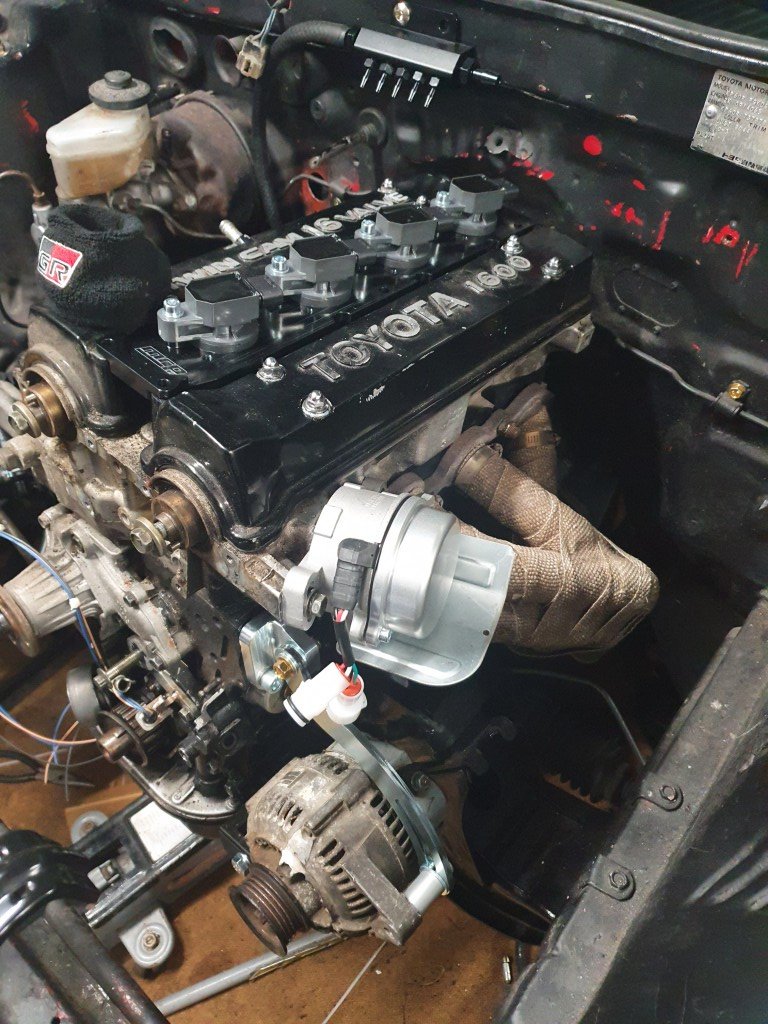
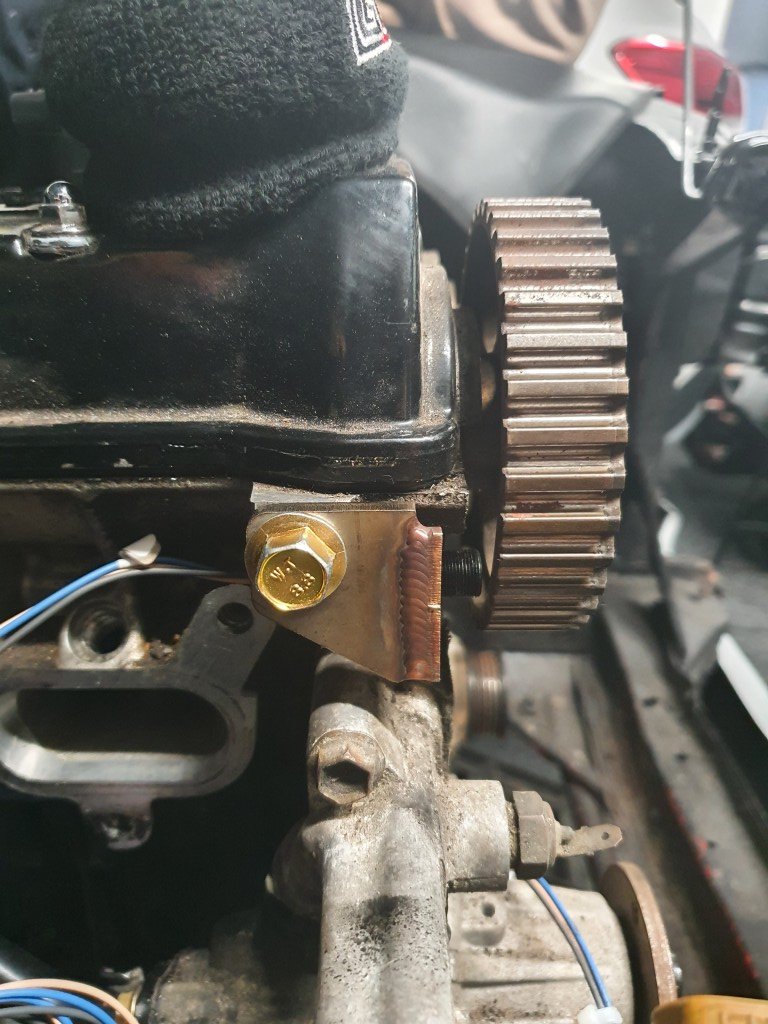
Ahh man I have been going 7 days a week plastering and painting my house outside of work hours. Which I think has taken a toll on my levels of brain juice for working on car stuff. As today I cut off the timing stand thingy - which was hollow so now there's a hole to patch in the timing cover. Then I couldnt figure out why the tensioner wasnt going to work at all. Because I was trying to run the belt the wrong way. So I took the tensioner off and had a look for how it might run without it. I could probably just tension it by pushing the alternator into its proper place. (With the correct length belt - This one slightly too short) Which means I didnt actually need to cut off my timing mark. Also I bought a 6PK belt when it's a 7PK. (wtf does it need 7PK for?!) If I can run it without the tensioner that would be good, for sake of a 2kg weight saving. But I think I need a decent rest before doing any more brain based activities.
 9 points
 -
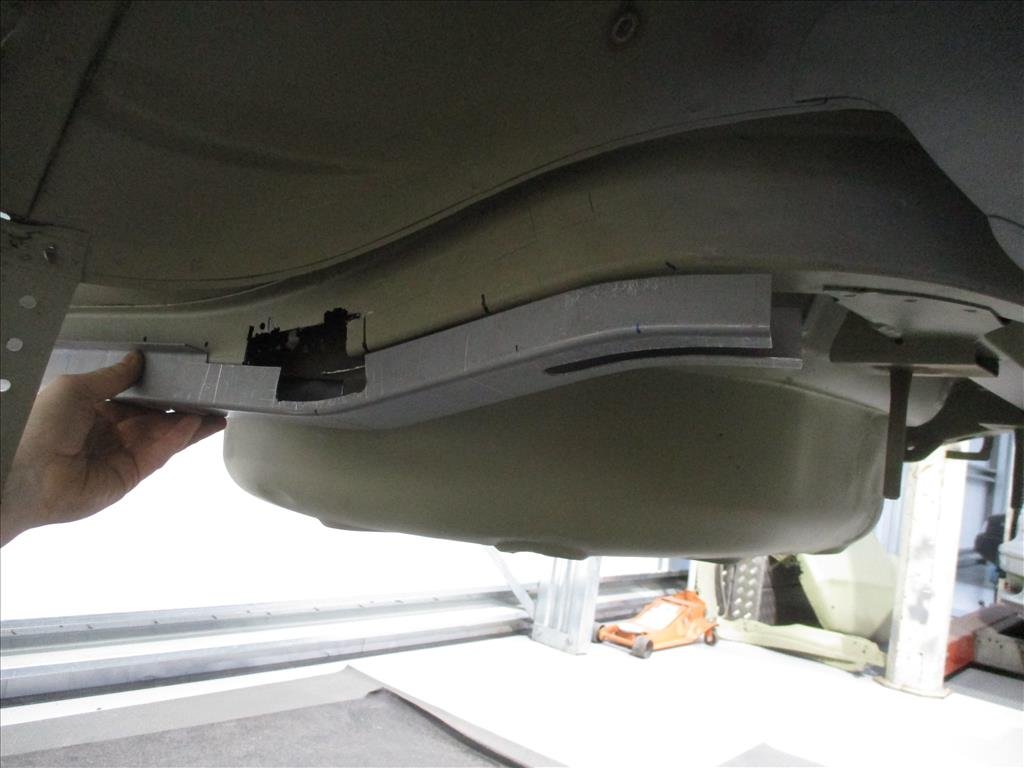
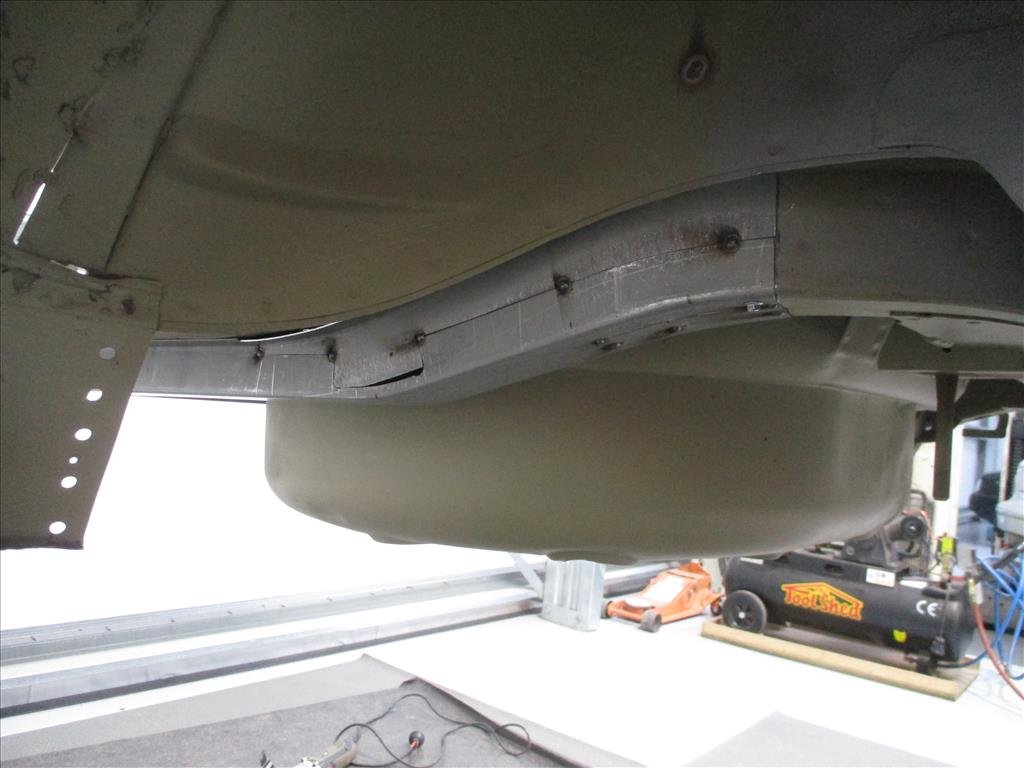
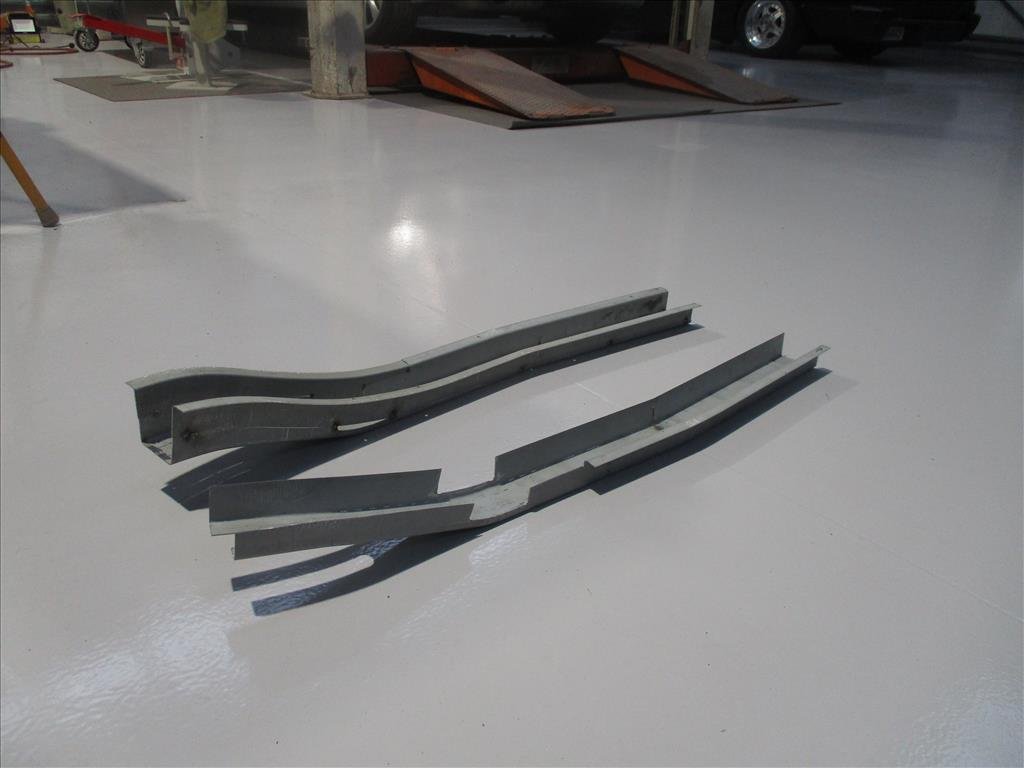
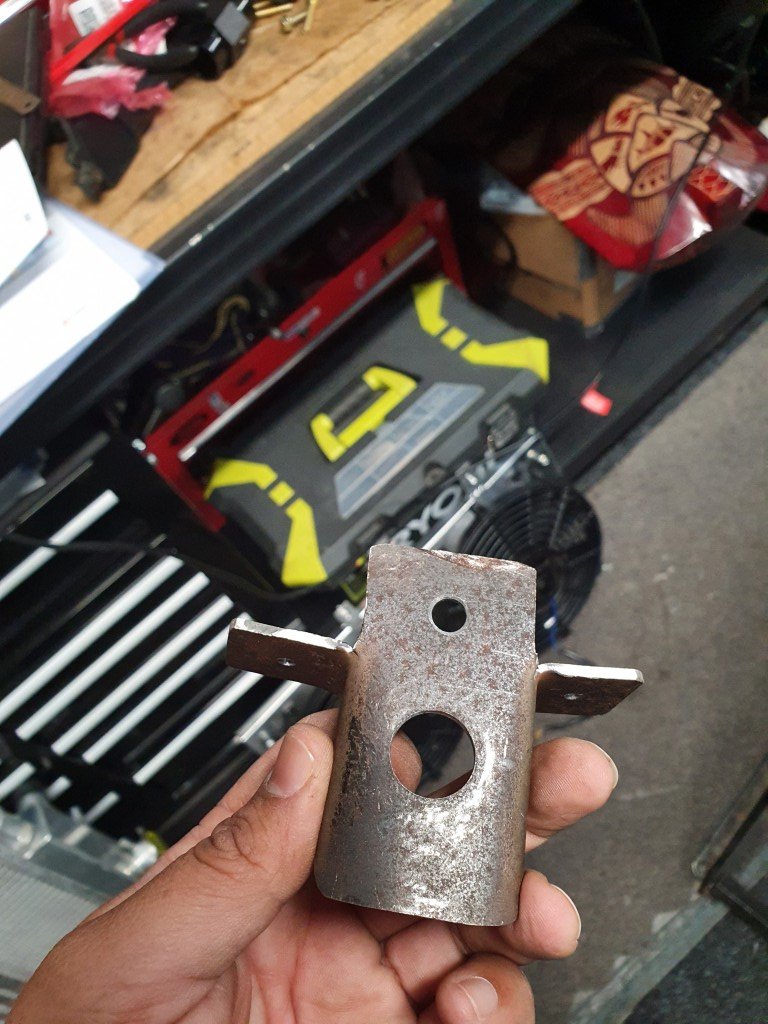
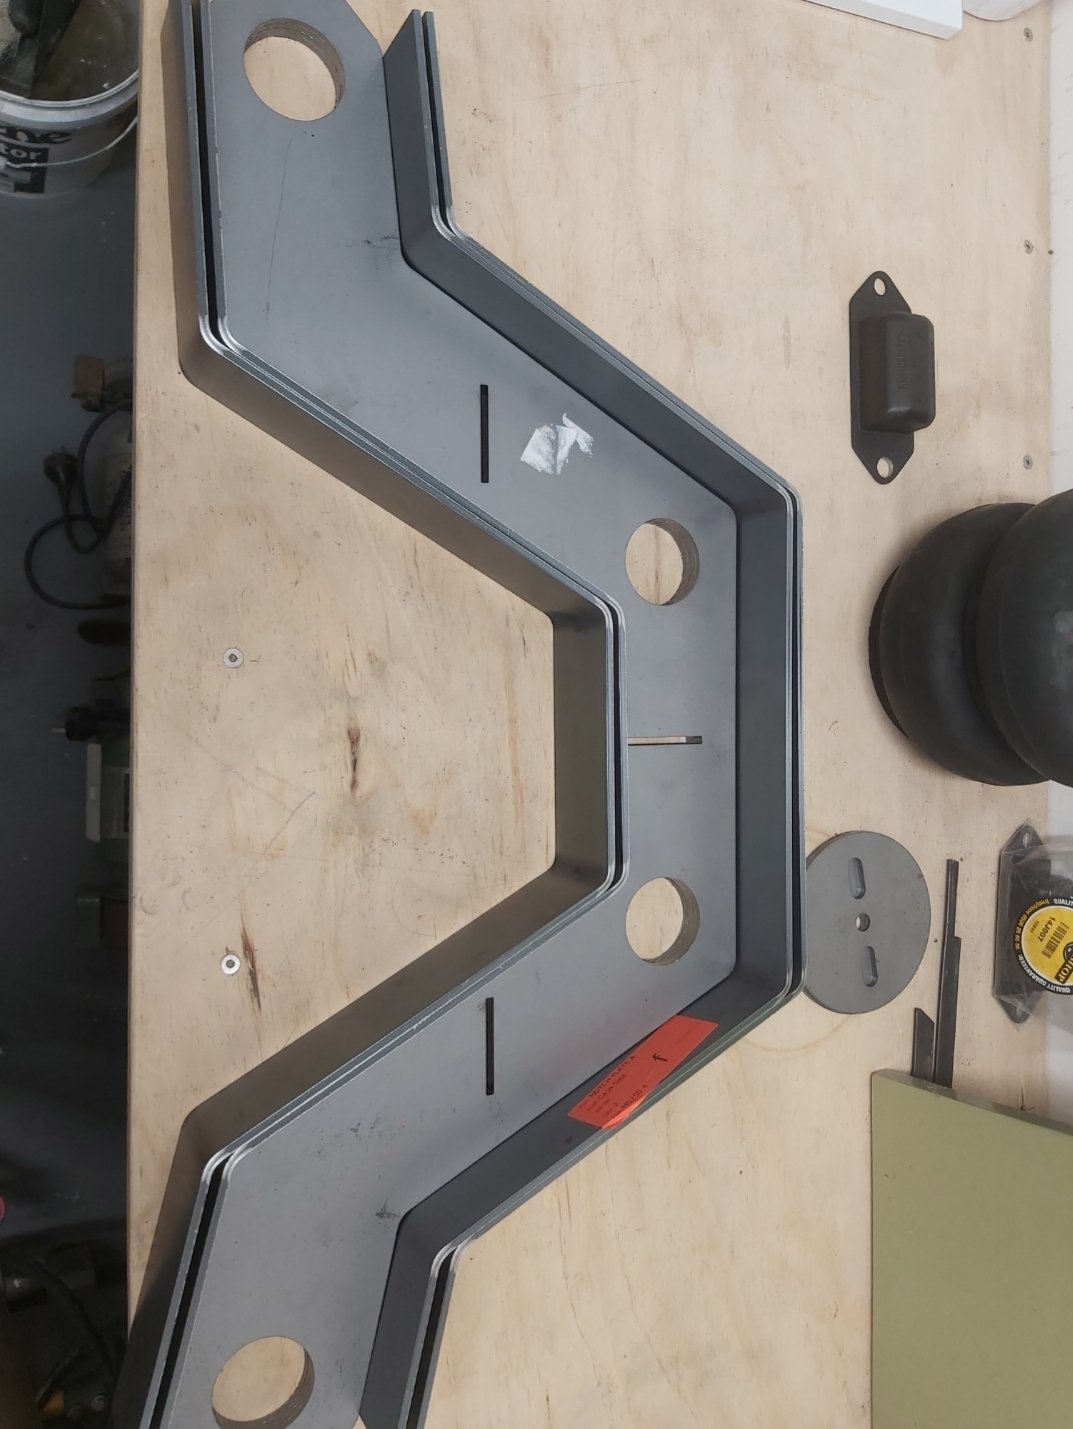
Speaking of momentum, a bit more work getting done on the Skyline while we wait for those arches to be made. Bit of a hole in the back chassic leg here and the other side wasn't looking super flash either so some new bits being made up.
8 points
-
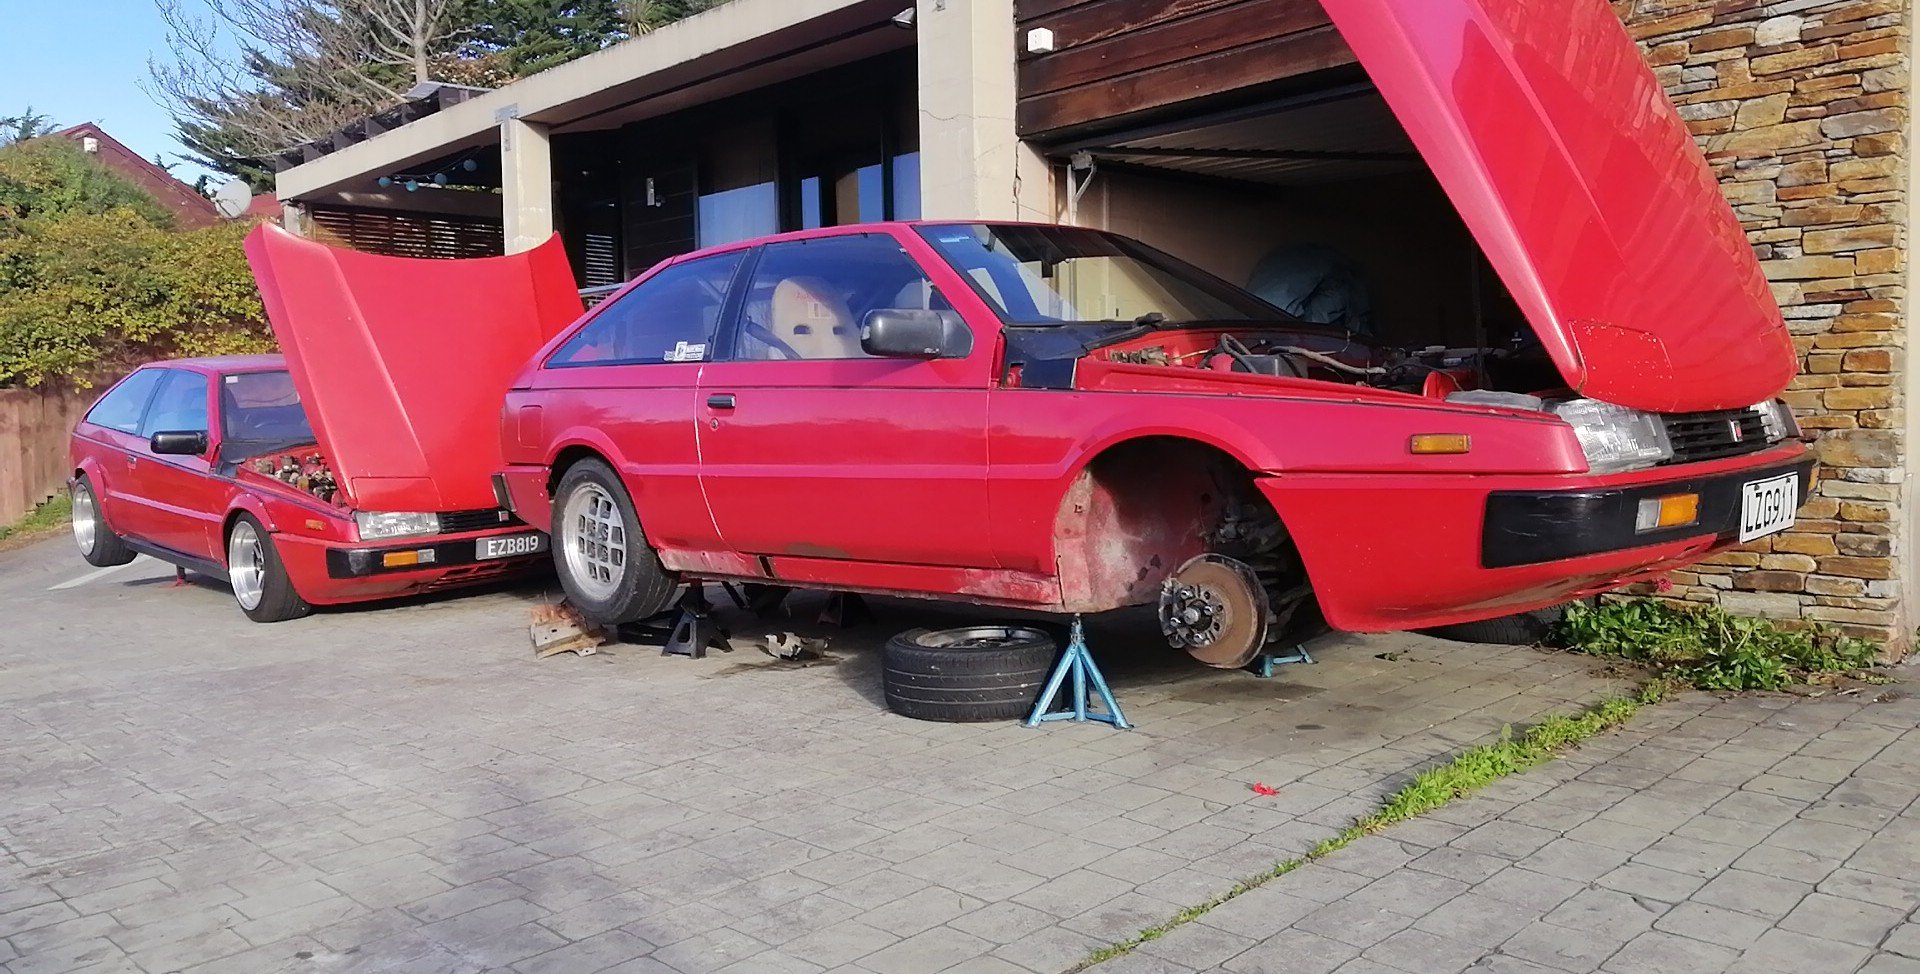
Piazza Planet round here atm Mate of mine has a sister car at mine while he's overseas
7 points
-
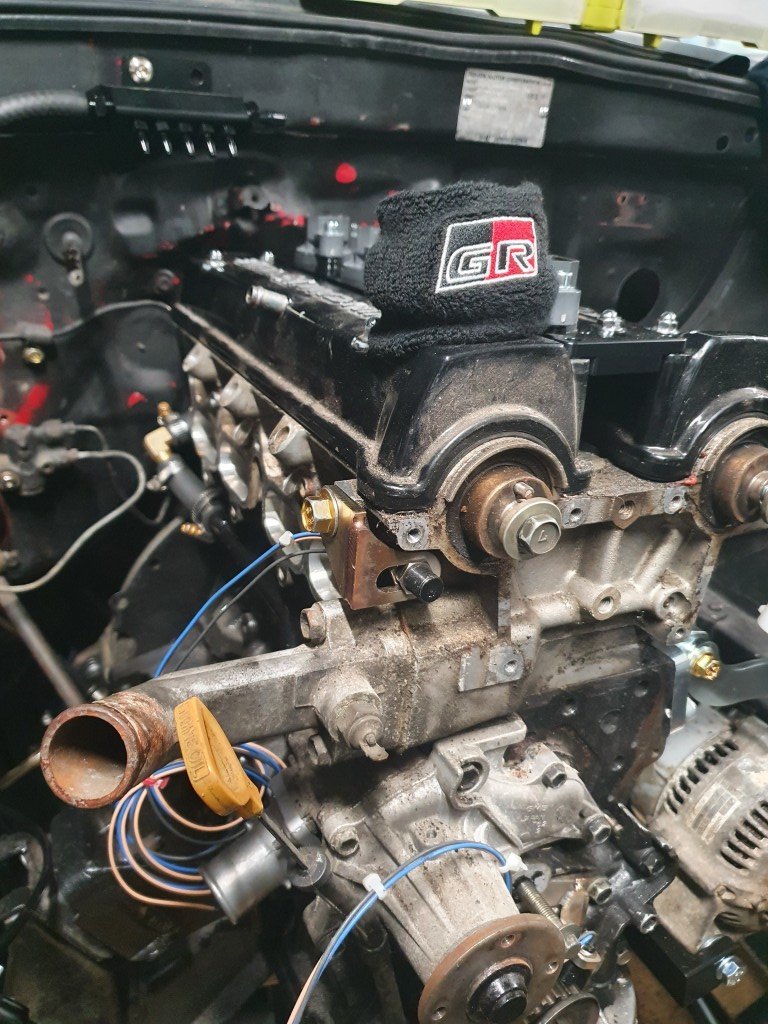
Every day I go to the office, the Clubman watches me and probably wonders where all the attention it used to get has now gone. Trigger kit fitted to the cam gear with @mk2marty this weekend. We decided to follow the slot given on the bracket to allow for adjustment for where the pickup will be. Aiming for a cam tooth to have 3mm added and that should clear the backing plate at TDC. Have also used more flush fitting fasteners for the backing plate behind the intake came to allow some more clearance. Will get that pickup welded on this week and get some heat shrink and P clips to tidy up the wiring. MRP coil kit fitted! Such a nice bit of kit, opted for the 1NZ coils rather than R35 for ease of replacement. Rather annoyingly, one of the bolts inside the valve cover to mount the coil kit has been snapped off by PO, will get that sorted when the cam gear gets its silver tooth. Spot the SQ Eng alternator bracket too, makes the lower coolant hose easier to deal with too. Have decided that I need a heater setup from a KP so actively looking for one.... Am also trying to get the fuel tank to have an in tank pump rather than external to tidy things up, so watch this space. Radiator bracket MK1, not the tidiest but good enough to test fit. Will get my CAD design actually sorted from a laser cutting place.
7 points
-
These bits turned up thanks to @Corbie .. Sweet. I've got some coils and a spare ignitor. but hang on a minute... something ain't quite right. One of these things is not like the other... This will give me nightmares if I fit a mismatched coil. I'll have to look about for another matching FC0021 While is was looking at ignition stuff I dug out the original Goldwing coils and leads from the store room. Then this happened to them... The leads have molded rubber boots, shaped neatly to seal the spark plug holes. Three of them are perfect for the LH bank and will point the leads nicely towards the front of the car direction. At this point in time I am planning on mounting the coils up under the parcel shelf, sort of above the transmission and out of immediate view. But the other 3 boots left over are all over the place. Only one remotely points towards the transmission. The standard leads are solid copper strands and from what I know they are not the best thing to have around electronic engine management. Maybe they are OK? I'm not 100% sure yet but what I do know is that they were too short and a bit messy looking. At the spark plug end there's a very neat little brass fitting that screws into a plastic guide inside the boot. See the bits here... The tread is m10 x 1.25. How handy. I'll get a long bolt, screw it in place, clamp the bolt head firmly in the vice and simply pull the rubber boot off the plastic insert... Poos. I superglued it back together and put it out of sight. It'll be fine. I think I can pass 7mm silicone leads through the insert anyway when I make new leads. I don't like the way the silly boots that refuse to point the correct way bend awkwardly. This is the best of them. Not really neat enough and I only have the one of this shape anyway. So I got a sharp knife and performed a little circumcision on one of the 2 remaining... The end tapered nicely with a flapdisc on the grinder... And looks OK in place. If I get some nice flexible leads they'll curve the way I want fine I think. Now the fuel rail fittings. I had a certain look in mind, tidy, simple and pointing the hoses where I wanted them. I machined up these bits in stainless. You can see the first one I had made and brazed already just as a trial.. silver soldered them together. Not as neat as I wanted- possibly it doesn't flow so nicely on stainless? Luckily the worse bits face down. Now to get the angles just right and mark them.. Then braze them in place... I'll clean them up in the morning. My plan is to paint the rails in black epoxy and leave the stainless bits clear. Hopefully they'll be tidy enough for this to work out well. The rear inlet I have yet to decide on with regards the positioning of the hose. I'm leaning towards it heading down out of the way rather than across because I'd like to keep the area around the throttle body as clear as possible. For the fuel pressure regulator outlet end on the other rail I had to first turn the end of the reg mount down. Awkward in the 4 jaw so I mounted it to a lump of alloy that I'd turned a spigot onto, so centralising the mount. Regulator can now mount here... But it just annoys me a bit that its sitting there, right over a plug hole, on view. Luckily the home made spark plug wrench I'd made... ....because I didn't have one to suit the plugs/hole size on this engine when I was stripping it down, still fits and works but would be better with a smaller diameter shank.. But maybe I extend the rail with a bit of curved tube and mount the regulator sort of here... I shall ponder this and look at it tomorrow. Time to kick up my feet and do my next bit of google homework - look up leads for the ignition.6 points
-
Something else semi worthy of noting. Usually the go-to for loom plugs is DT or DT mini, but it annoys me that they have their own terminals separate to everything else on a Toyota loom. And they look a bit out of place. Then if you need a few plugs in the same place, there's risk of mixing them up and plugging wrong thing into the wrong thing. (True for any type of plug though) I found some Sumitomo plugs that use the same terminals as everything else on a Toyota loom. Ordered a bunch of 12 way and 16 way plugs to make a detachable loom from the motor. So if you used 2x 12 way and 2x 16way, and reversed the male and female sides on each of the same plugs. Then you've got 56 pins with no chance of plugging in anything incorrectly. https://www.aliexpress.com/item/1005001608539293.html?spm=a2g0o.order_detail.order_detail_item.3.26e5f19c0cNfX95 points
-
Bike choice: We're trying to keep this ride in the spirit of previous Eastcapescapades, so bring your small, old, shitty, modified motorbikes and scooters along. 50cc scoots should be sweet if you're comfortable enough on gravel. We've set the route so there is minimal fast highway riding and maximal slow backroads. If you can manage a cruise at 60-70kph you'll be right in the middle of the bunch. If all you have is a DRZ400 then noone is gonna say no but it could be pretty boring when (hopefully!) everyone else is nangin' hard, throttle pinned trying to do 60kph up a hill. Buy or borrow something small and shit and send it!5 points
-
Got 99.9% of the snapped bolts out of the fuel tank Wire wheeled it rust killer then black enamel is baking off on it at the moment5 points
-
It's amazing how grippy even the PK6 is on there - if I turn the alternator pulley, it is holding on well enough to turn the crank (heads off though, so no compression) However I dont think it would need a huge amount of belt tension to work well. Currently has a PK61035 on there, have ordered a PK71080. Hopefully that'll be long enough to get the alternator bolted on correctly, either with a smidge of tension or slightly loose. It still cracks me up that with the 1NZ motor, the belt tensioning system is basically "Put a bar behind the alternator, pull the belt tight, do up the alternator" haha. No tensioner at all. 1NZ is a masterpiece of irreducible complexity.4 points
-
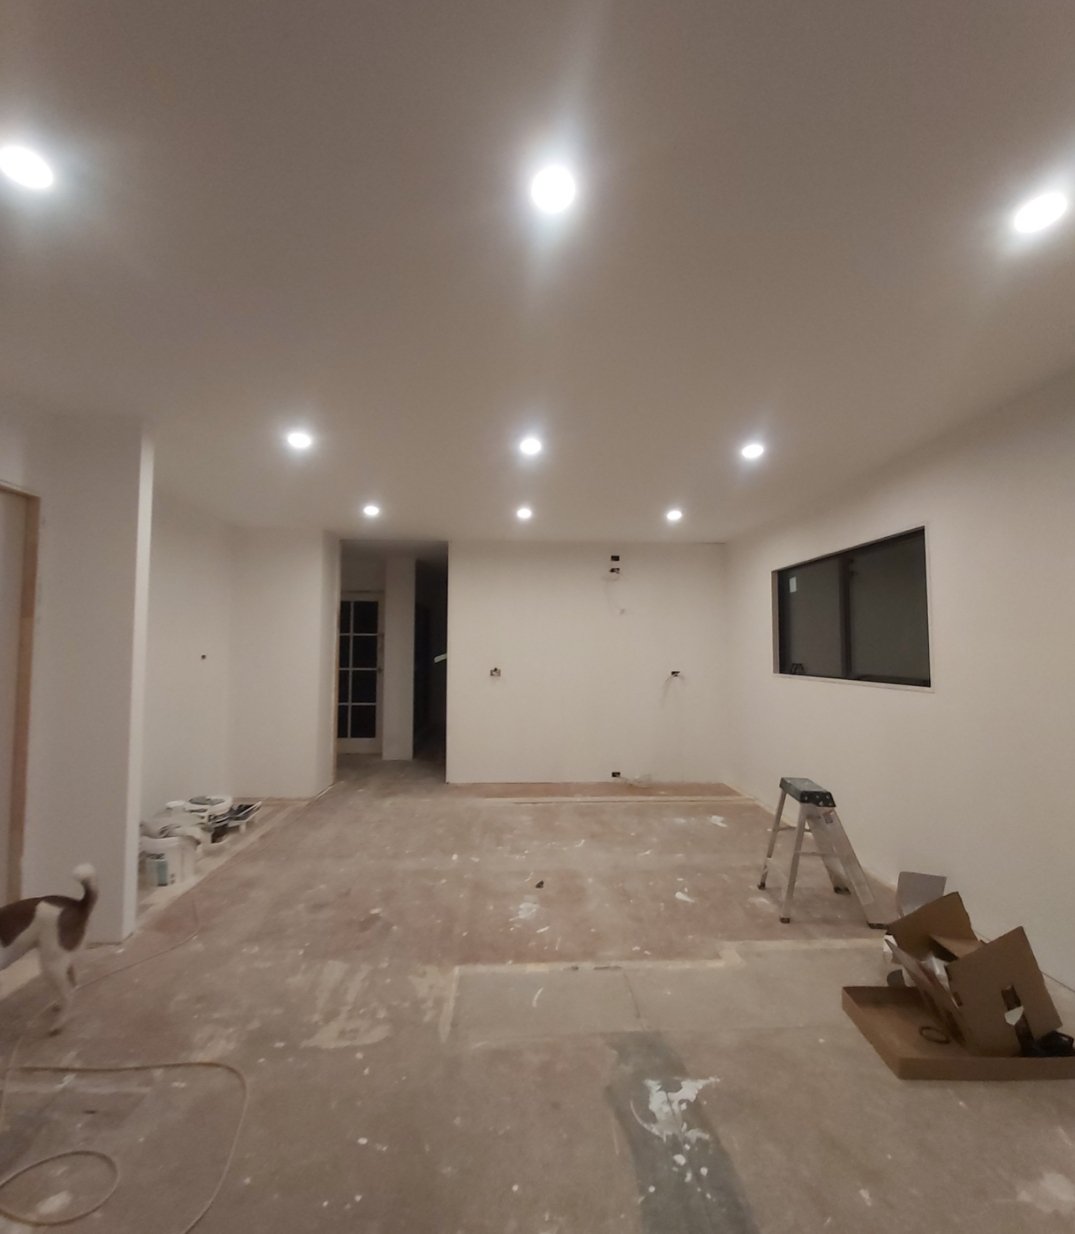
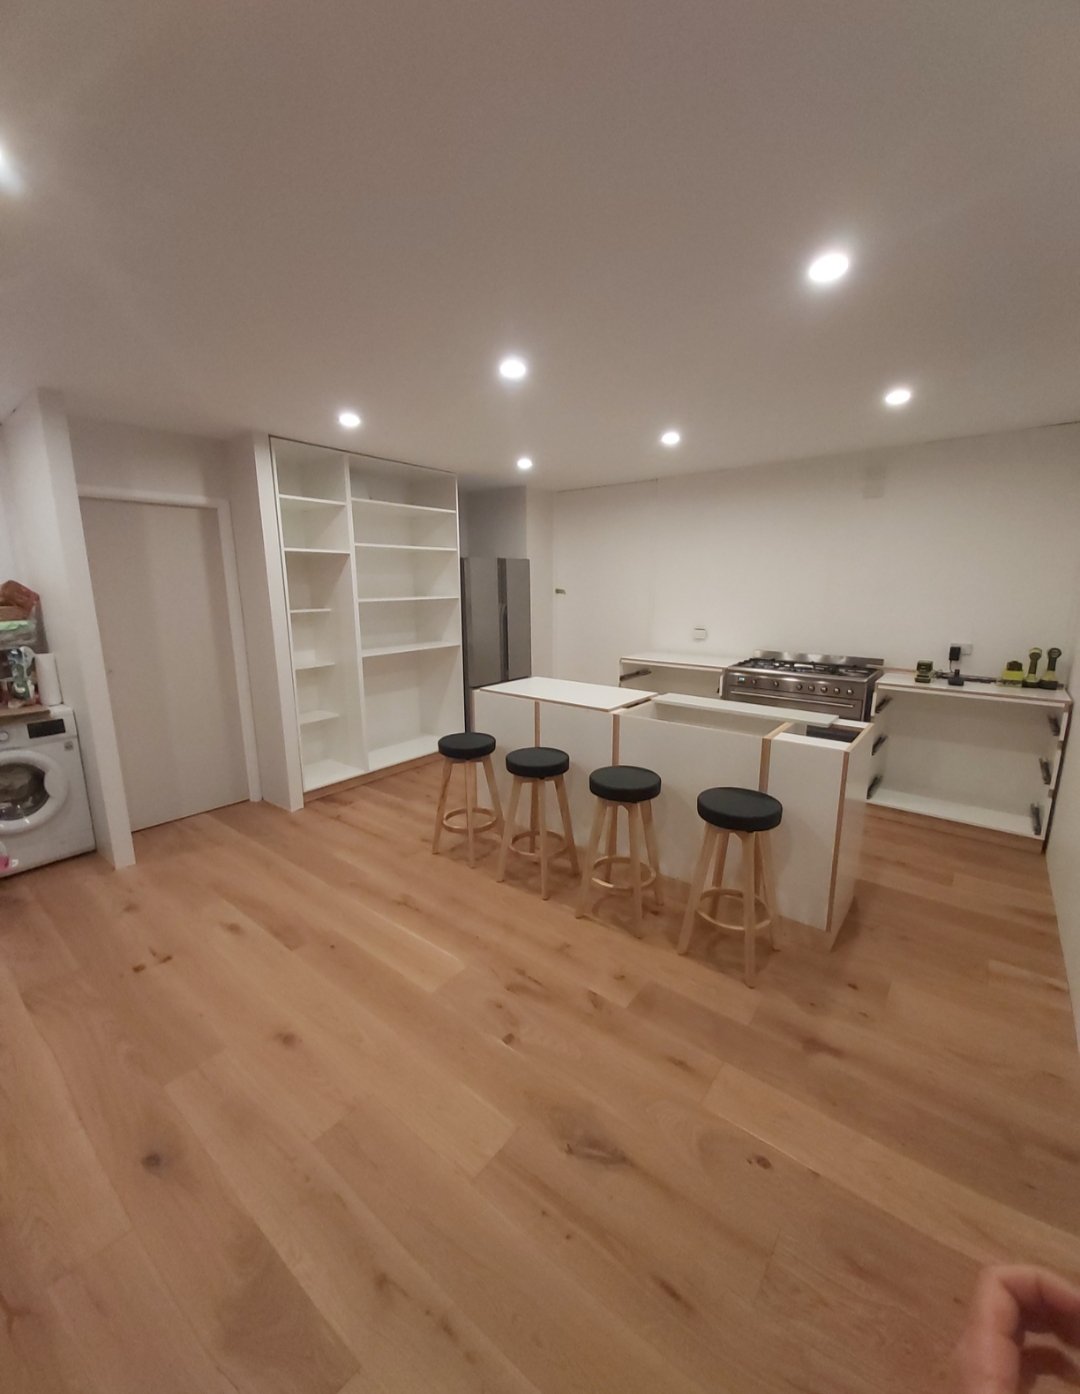
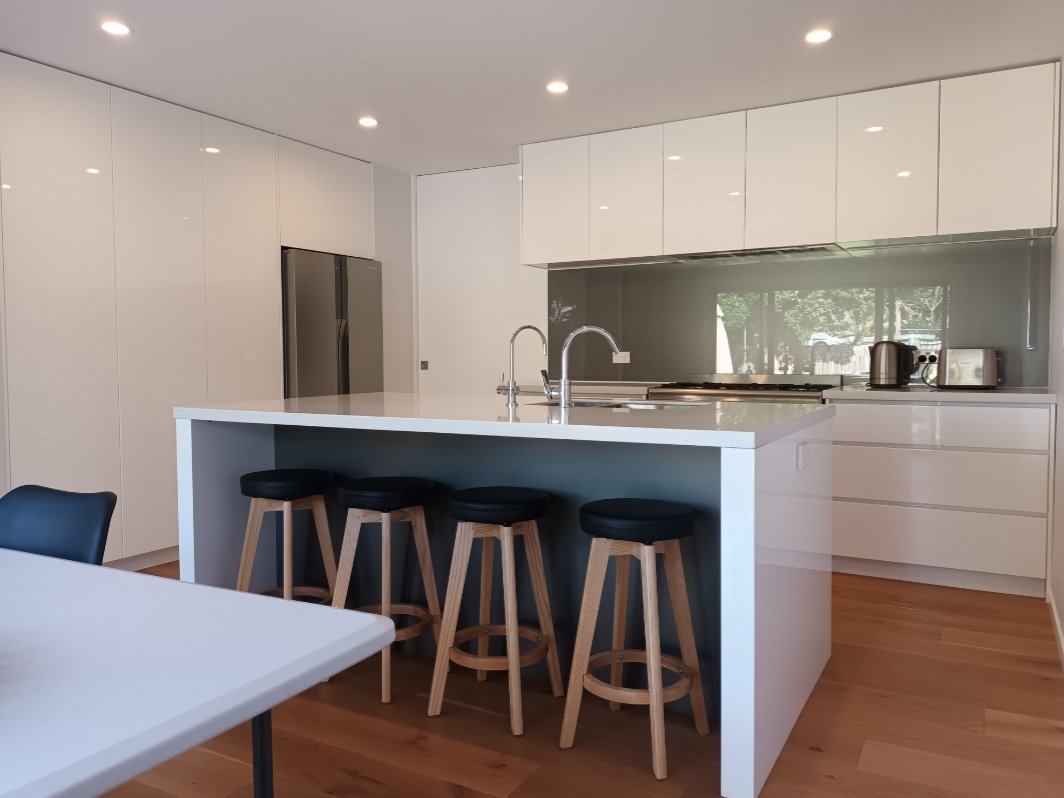
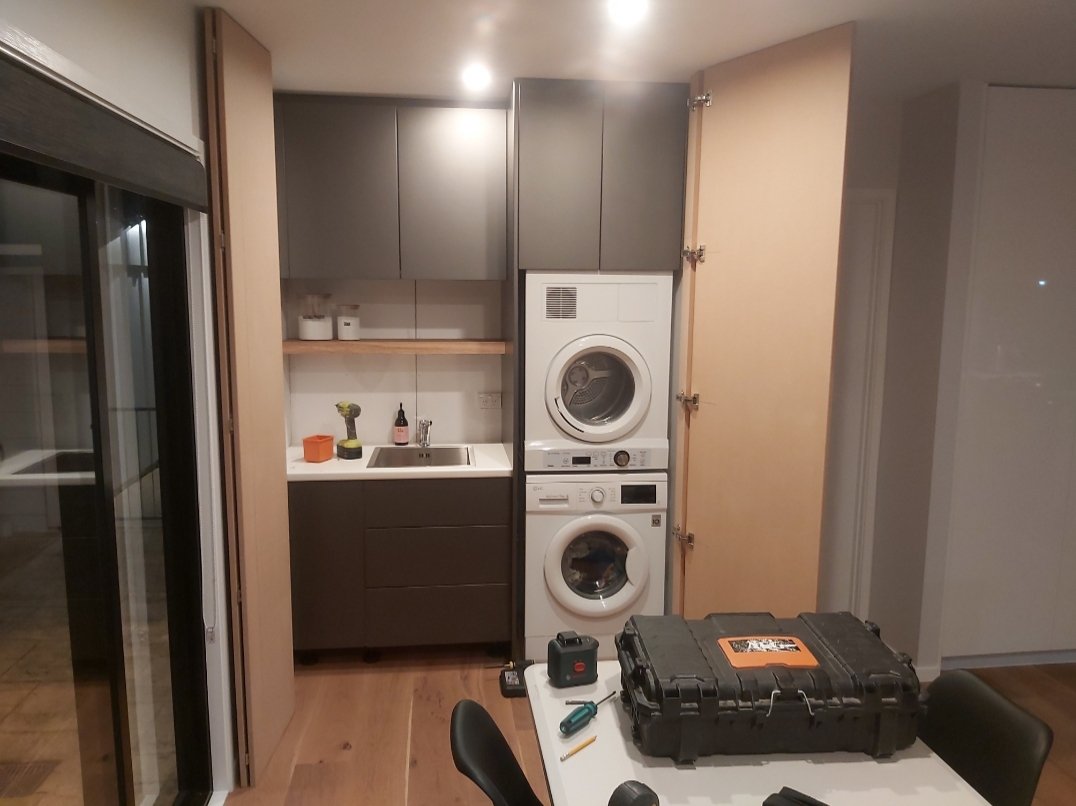
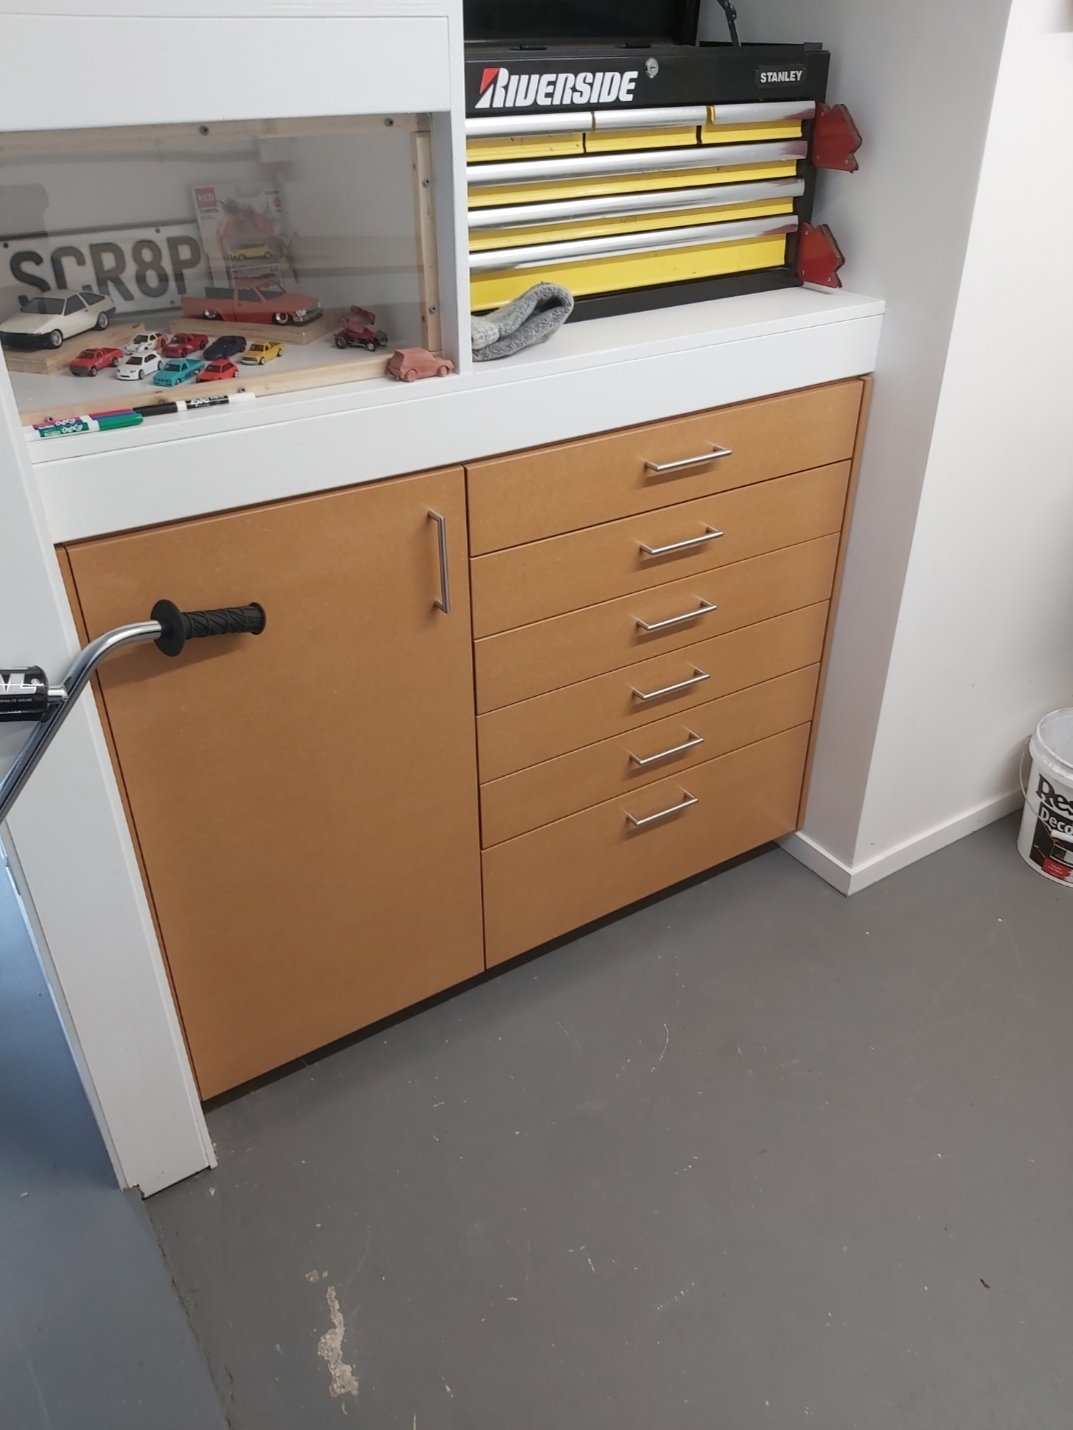
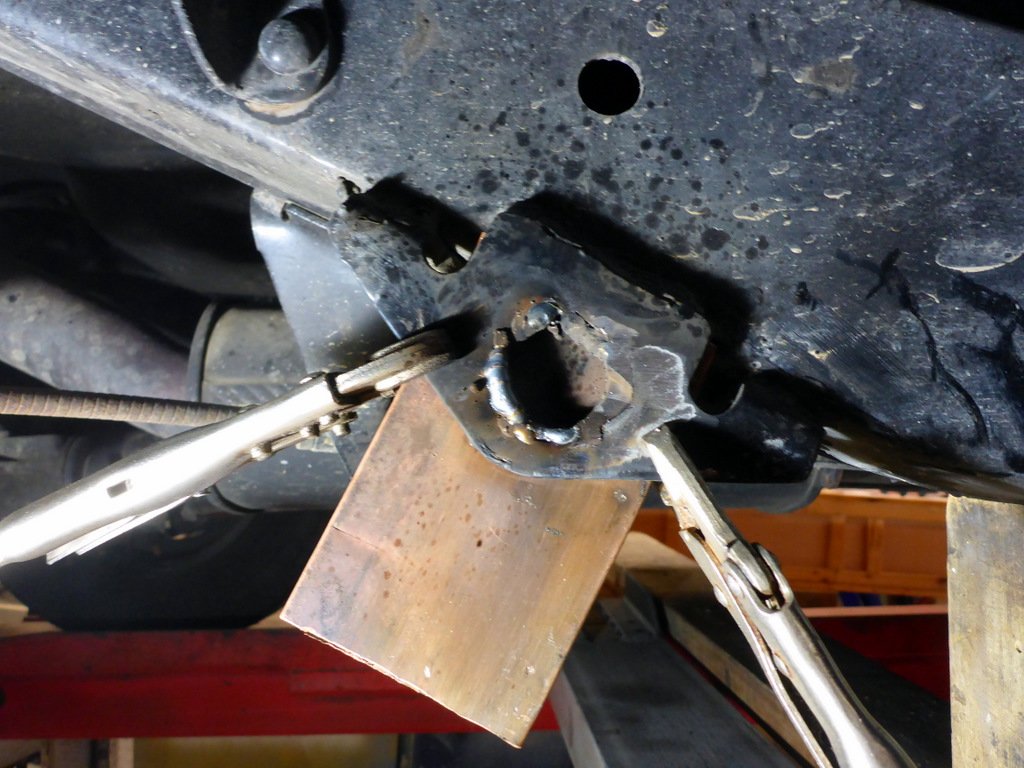
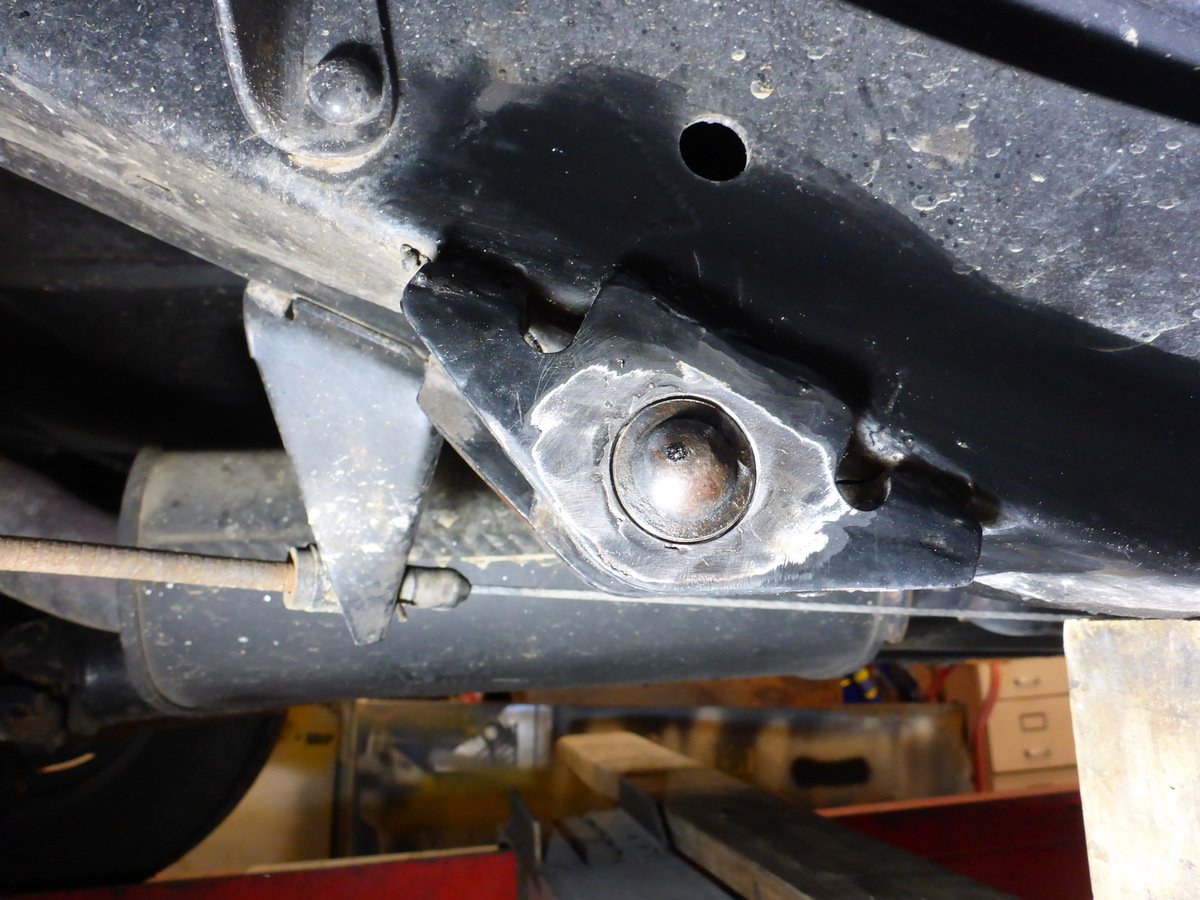
Thanks @63Ragtop but I feel like I should explain my situation a bit more so you dont all think I'm lazy. For the last 5 years cars have taken a back step while focusing on other things in life. Most of my time is taken running a kitchen spray painting/kitchen remodeling business the rest of my time is kids and house Reno's with the last year being focused on the kitchen, dining, laundry and lounge. But in the past few weeks I have had some motivation I've made a cabinet for the garage to get all my shit off the floor, have made another one have just got to clear coat it before I bring it home. Had the c notch re made and brought some pipe for the crossmember. Hopefully have it welded in before the 3 year anniversary of ownership. Brought a drill press and a great set of drill bits (used all my good ones doing all the Reno's) Thanks for looking.
4 points
-
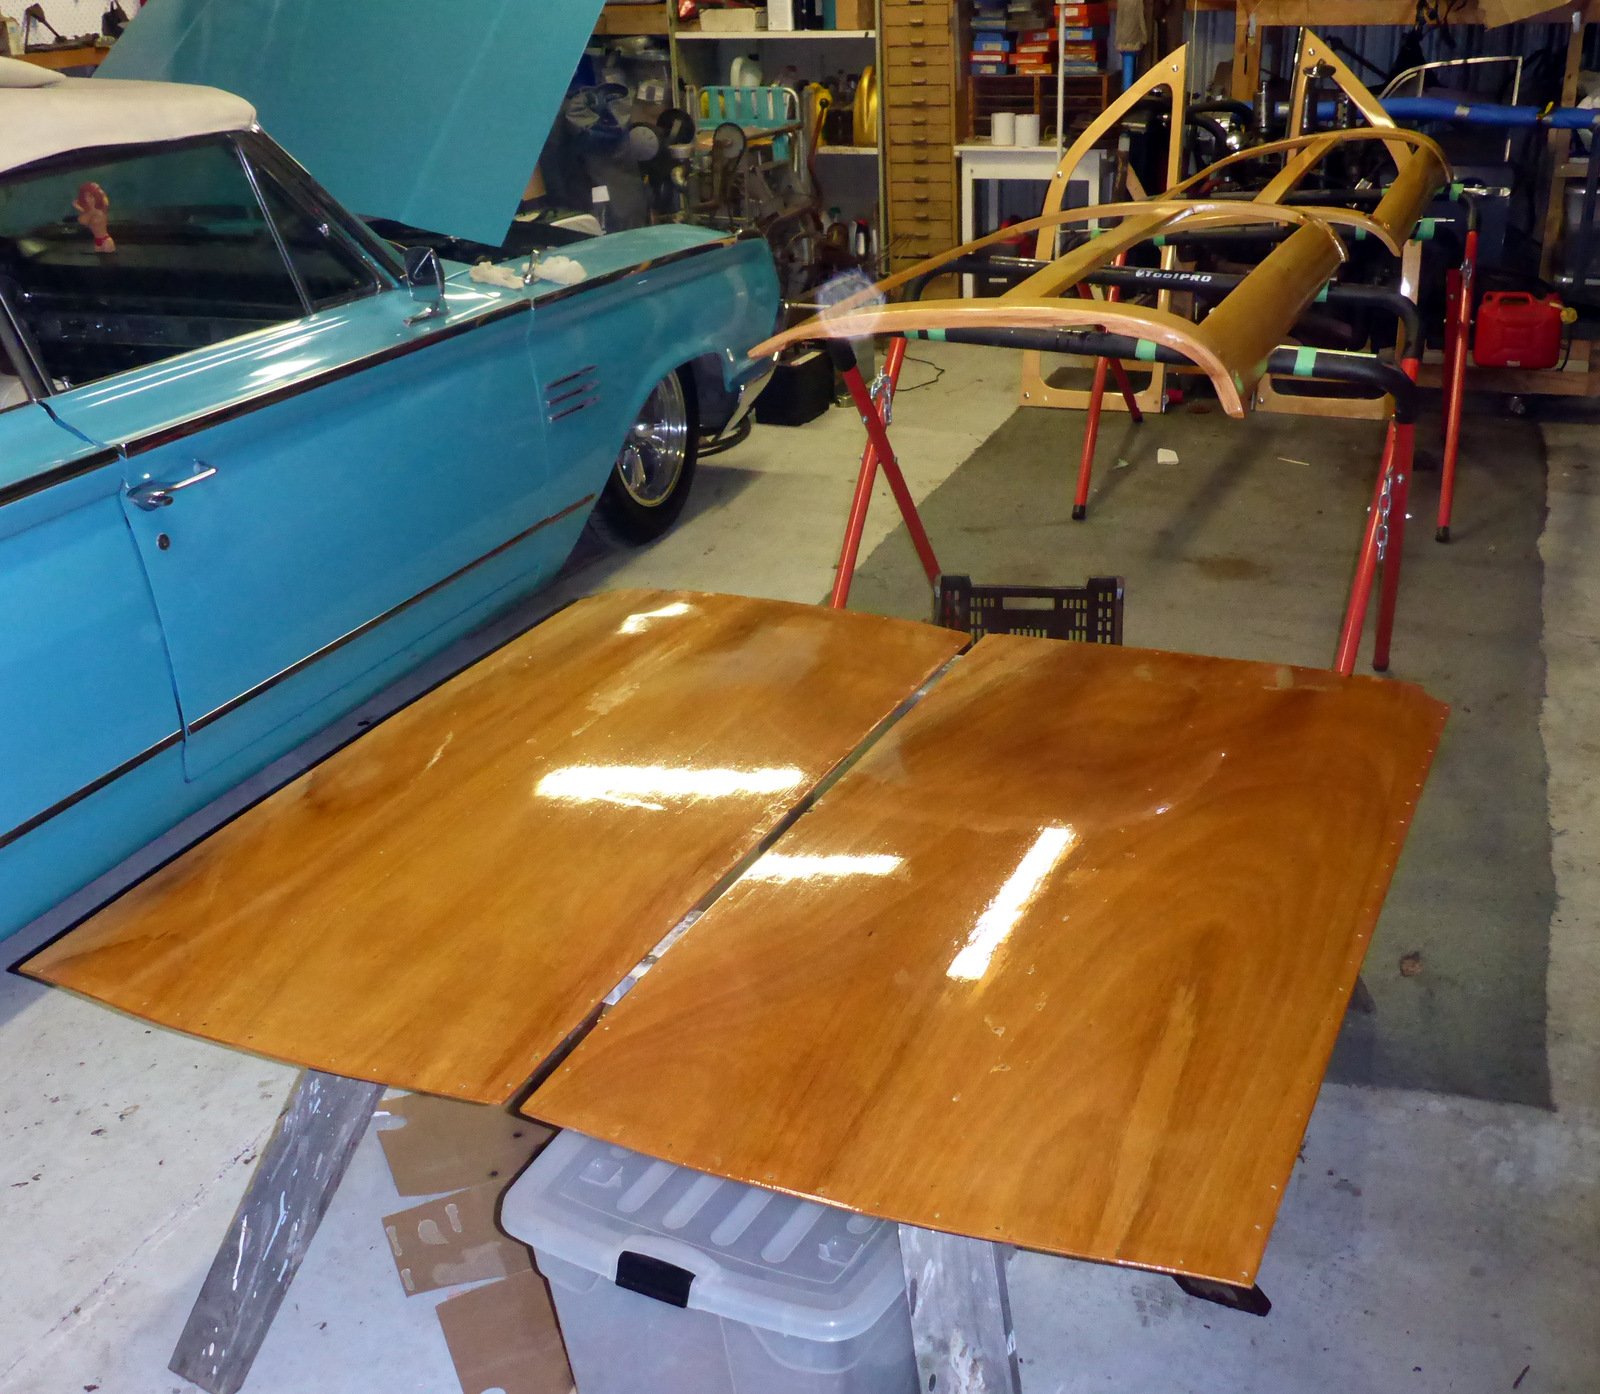
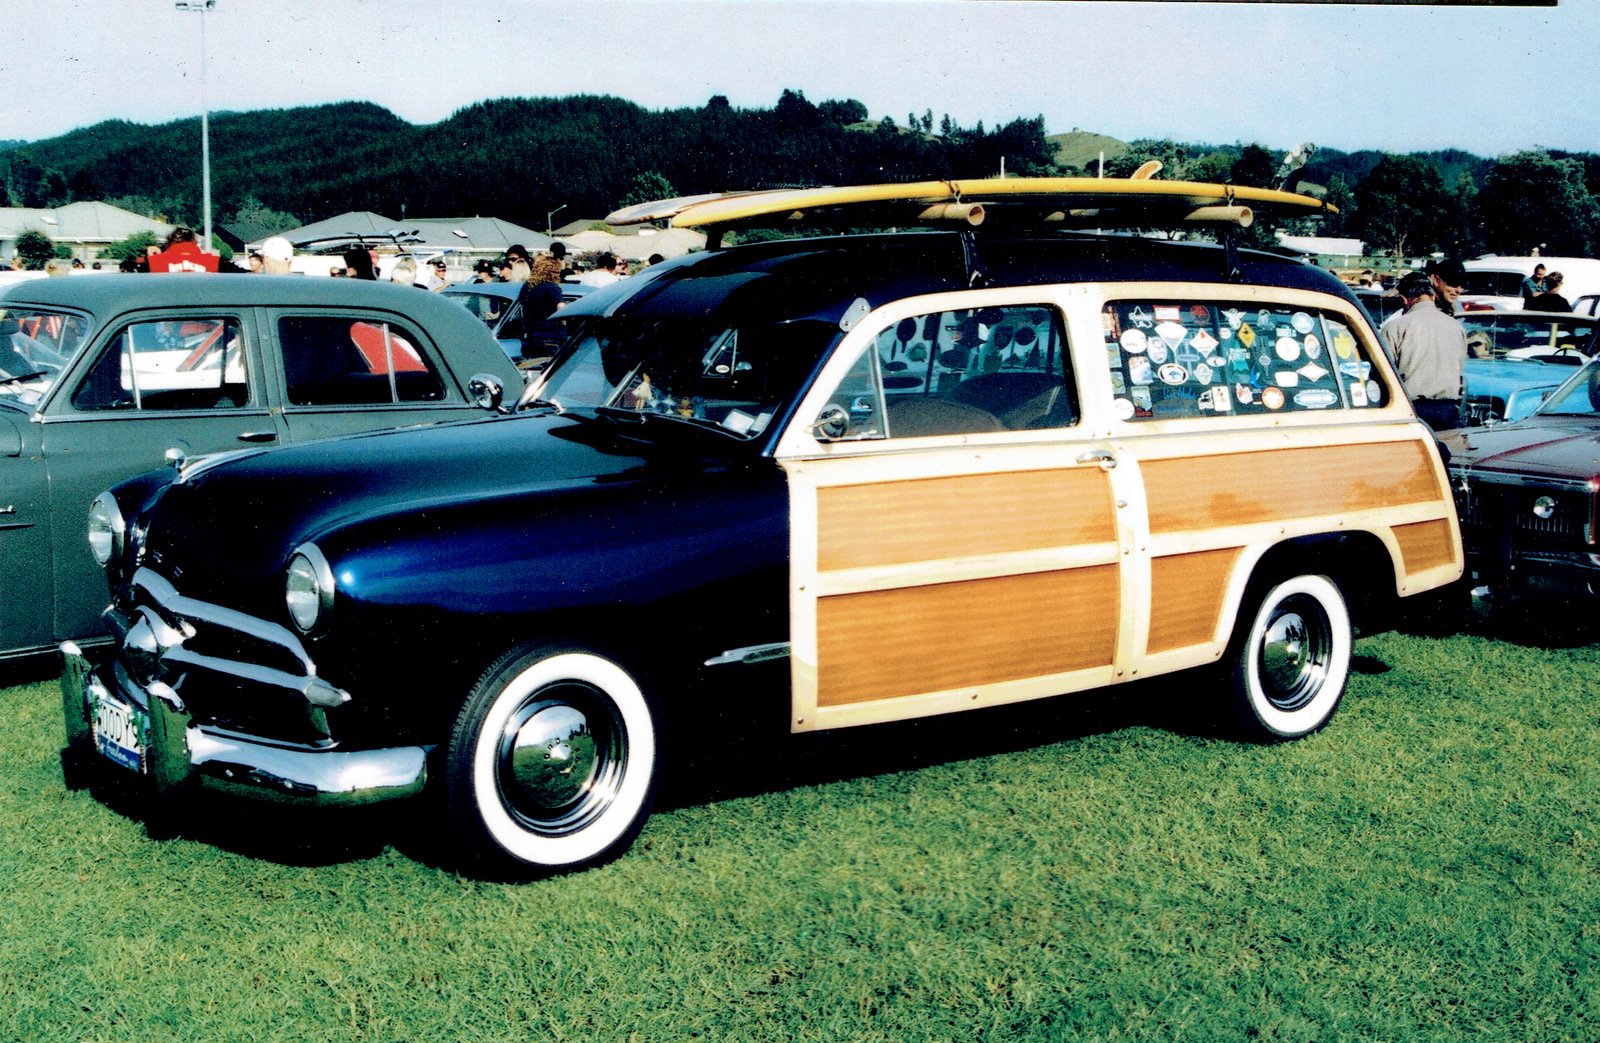
Back in the varnish mines. Also found this potato photo I took at the 2011 (I think) Beach Hop. Never thought it would be in our ownership
3 points
-
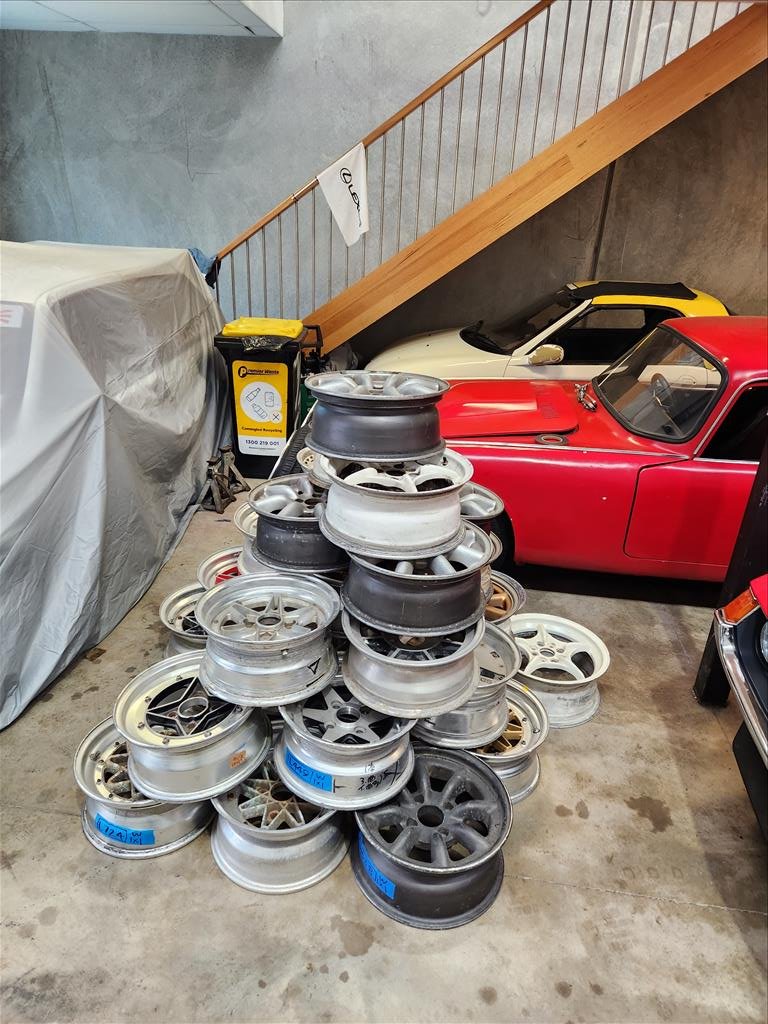
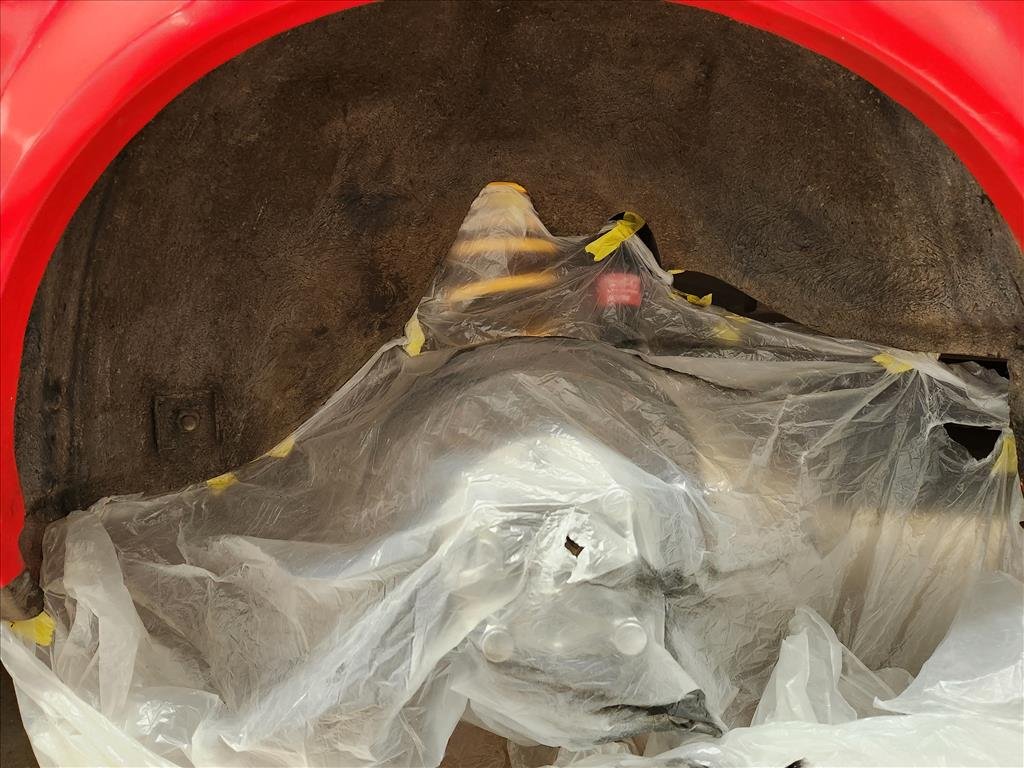
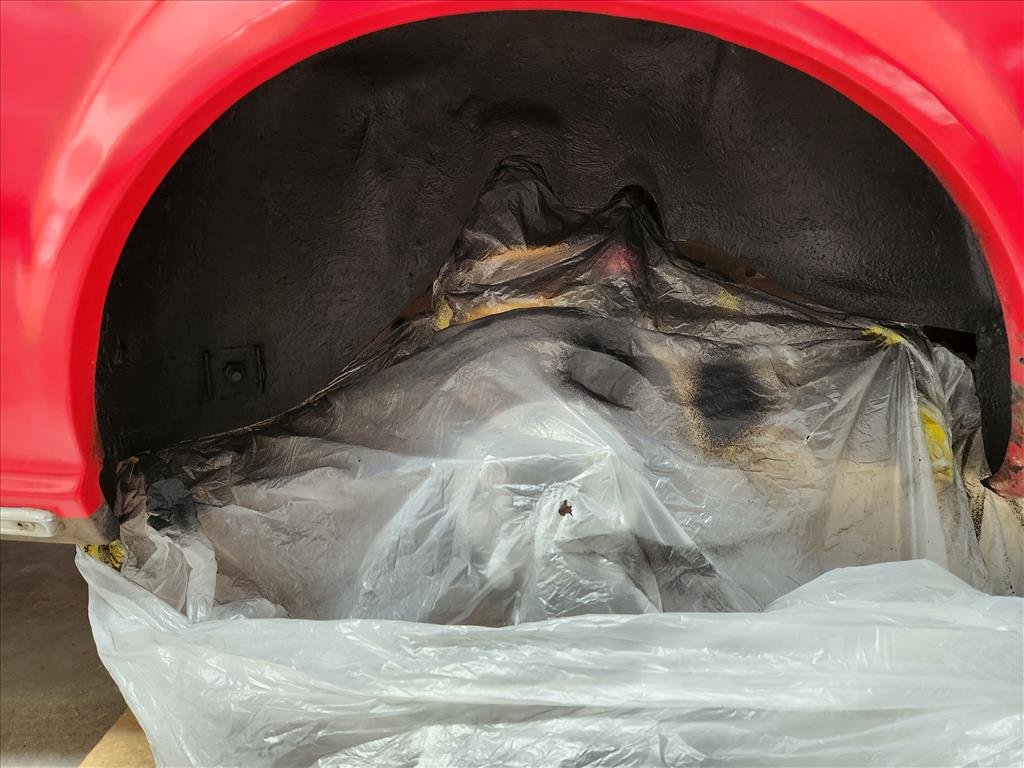
Not a huge amount happened today but in the interests of keeping momentum going there is a little update. I have taken the wheels off the Celica to get the new lips put on so while it was in the air I sprayed the rear wheel wells with underseal. It's not perfect but it's better than it was. Found out some of the rear guard pocket is made of fibreglass.. not really a surprise. It's probably not perfectly coated but it just has to be better than it was, that's all. Next task is working out which wheels to put on the S600. Because it's 5x130 (yeah I know, wtf) stud pattern I'm getting some spacer adapters made up but they have to be 30mm because of the way that it's done so I'm wondering what kind of width I'll be able to get under there. I don't think we'll be able to do big dish however the rears have been widened by some Barry in the past so not sure how wide they even are.
3 points
-
@Ned or @kempy Topward TOPWARD 6303A Dual-tracking DC bench power supply -working up your way $50bux so far https://www.trademe.co.nz/a/marketplace/electronics-photography/radio-equipment/amateur-radio/listing/4250718955 (sorta temped, but I have 4 bench PSU already and it'll be too heavy to courier, really)
2 points
-
might be able to change that idler pulley to an eccentric type one, to get belt adjustment2 points
-
Depends what you are doing I guess. Was it lap weld of two panels? You'd see evidence of the weld a lot clearer on the underside if penetration was good. Last weld I did was plug weld two panels together and you could see the plugs from both sides of job. Perhaps wind the wire speed back a bit and leave the other settings as is. If I could get to my welder I'd chuck up examples of cold welds and welds with good penetration. Can't even get to my bench though. Not saying that job will fall apart at all. But in a case where you need more strength, it may be lacking. Also don't do it for a job so could be off mark. But that's my experience.2 points
-
I'm using a Spartan 3, have used the early version with the analog output (as the canbus didnt work, so new later model one sent under warranty) and then with canbus. Both seemed crazy fast response time compared to 4.9 or 4.2 sensors. Not having to squish a range of results down to a 0-5v signal means you can get readings right out to 50:1 and incredibly rich as well. Which is sort of pointless, but when you're initially dialling in a tune it means it takes fewer steps to get to the right point. The best part though, is I'm still on my first and only LSU-ADV sensor. Where as I've probably got nearly a dozen blown up 4.2 and 4.9 sensors kicking around. Definitely an A+ rating for Spartan 3 from me. But make sure to get the LSU-ADV.2 points
-
In other news Mrs Flash dabbles a bit with paint and canvas and earlier in the week she whipped together this little cartoon image for me. Thought I'd share.
2 points
-
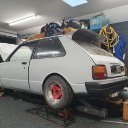
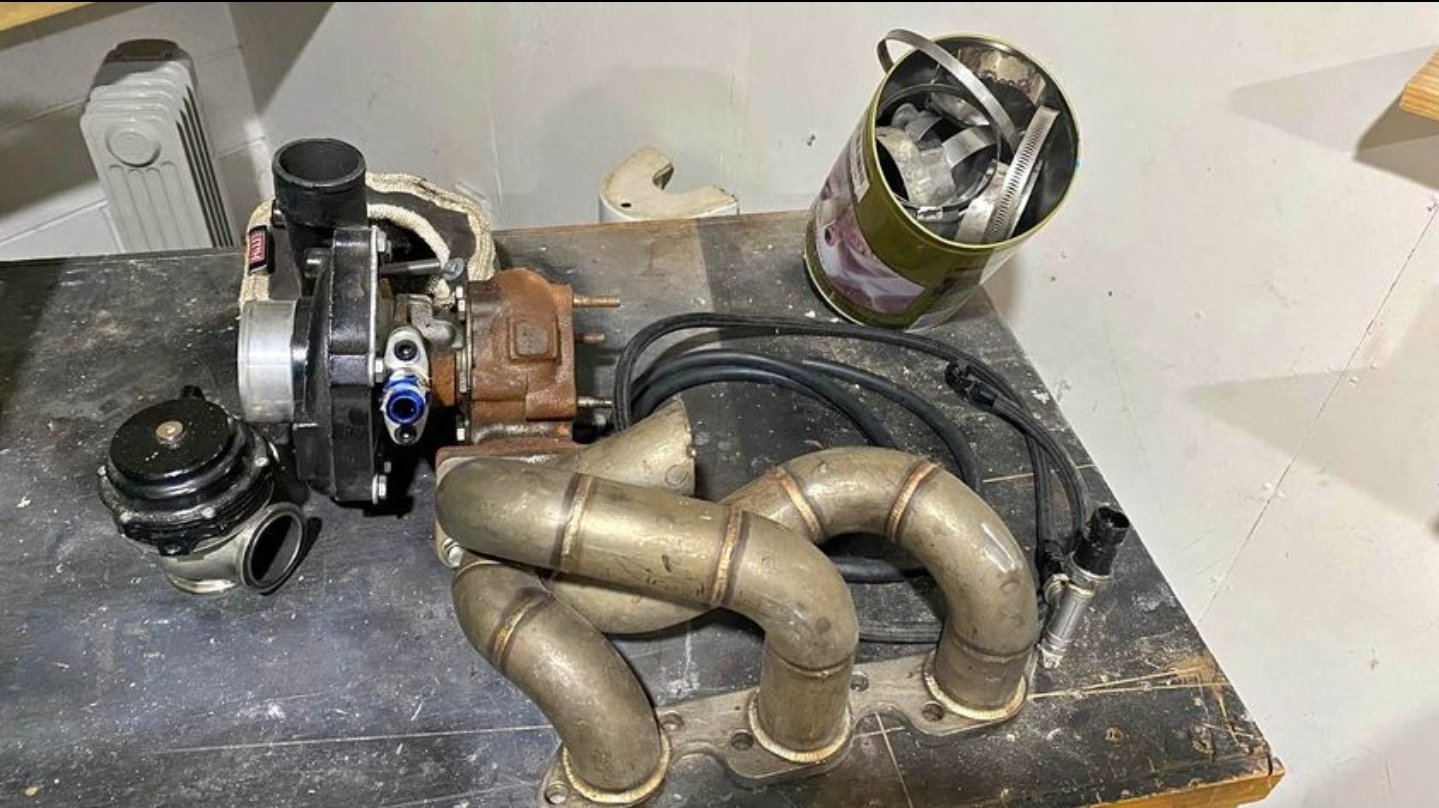
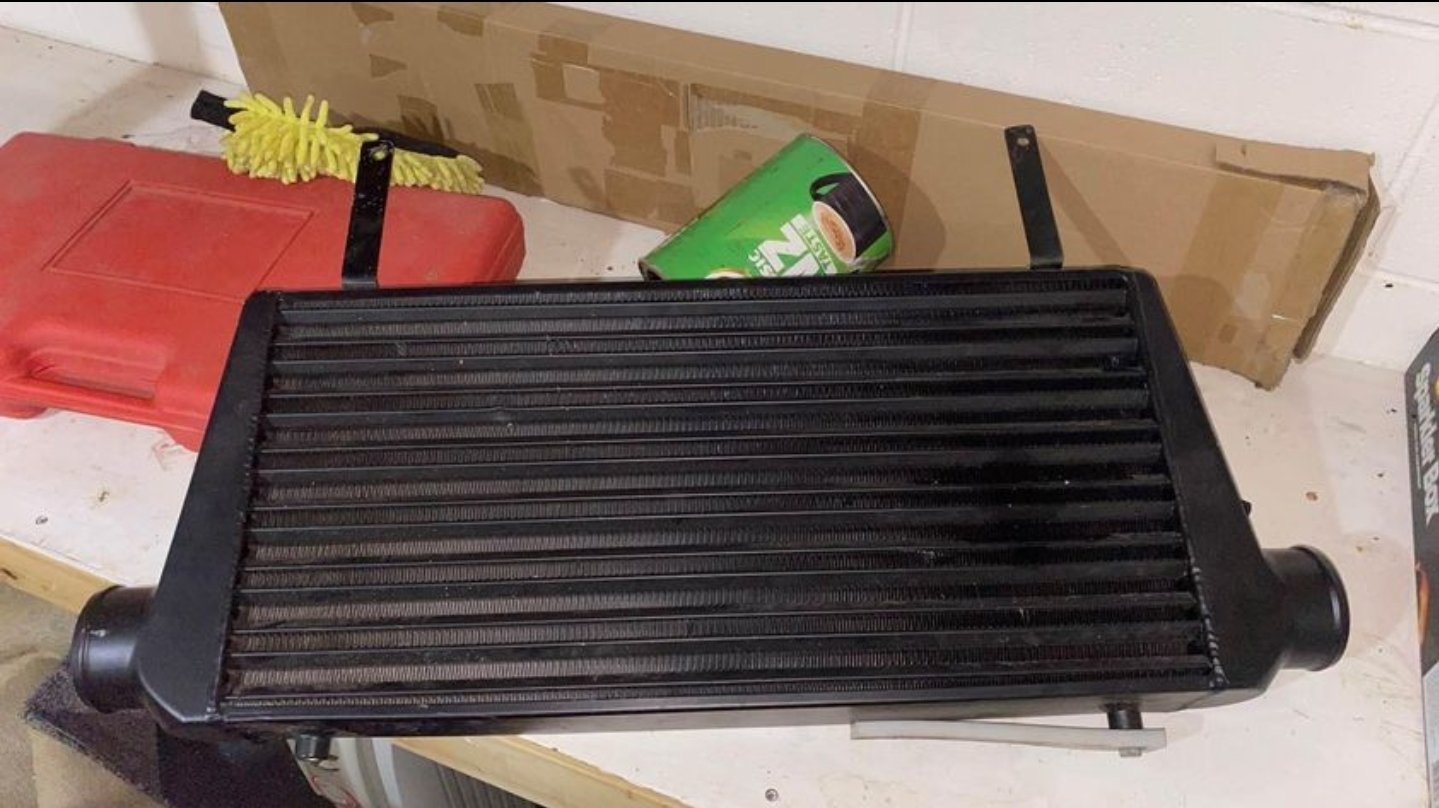
Long time between posts.... so just bought someone else turbo ecotec project eg all the bits to get the turbo on, plus another turbo which will be up for grabs I'll be running mine rather than this thing. Surprisingly expensive build im 10x the cost of the car and counting now to be fair car was cheap as fuck originally. Will maybe be at dragday as a spectator this year. But lookout this summer! Going to have to do something about the paint too poor things not so great got hit by a garden shed in a storm a wee while back.
2 points
-
Cam phase wheel continued. I needed a nice solid accurate hub to mount it on for machining the slots. Found a suitable chunk on the rack and turned it down to suit.. Drilled and tapped a hole in the middle then machined a solid cap which is pulled down tight so holding the disc in place.. Using the cam pulley as a template I scribed the outlines of the slots in place. Then into the mill and made lots of mess. Because I don't (yet) have a rotating table for the mill the slots are straight, not curved. But being short in length and even they look ok. Good enough to knock a little weight off. I'll leave the final machining until just before assembly in case something changes with the sensor although I think that's pretty much sorted as I have a brand new sensor as used in many Peugeot/Citreon/fiats plus the ever helpful @chris r had picked me up another one plus some various plugs I needed from pick-a-part. I have been accumulating various plugs and terminals from Aliexpress in my quest to be able to make a new engine loom without having to splice wires to connector pigtails. This arrived in the mail from friendly @fletch, gifted to the cause Its a genuine Mitsubishi ignitor for a Mitsi GTO/many other Mitsi V6 vehicles. However - its the one item I have been struggling to find the correct terminals for. They are either Yakazi or Sumitomo but I've still not found an exact match. I'll keep searching but luckily mr @Corbie is gifting me an ignition module, exact match, plus the 3 Mitsubishi twin post coils with the leads/plugs intact between the coils and ignitor which will make for less splicing. Another little job I checked off was to make some blanking plugs for the unused air injection ports. Not sure if they'll get painted over or left as bare alloy yet. In place but not yet fixed in. Much better than what was there (look back a post or two) Back to cooling pipes then. The extra 22mm bends I'd ordered had arrived so I could continue on with the top pipes. I found another bit of stainless tube with a gentle bend set into it. Ideal for this area... I used some of Dads old surgical forceps to hold the pipes in place while I tacked them.. Now I needed to merge the pipes into a larger size so off to the press.. Tacked in place and blend it in.. I joined the rear pipework with merger to the front pipe assembly with a short bit of radiator hose leftover from the front of the Goldwing. The rear pipe needed a bracket. Played with bits of card until I had a shape that worked.. copied it into stainless like such.. That was welded in place and the top pipe assemblies were pretty much finished. You can see how they are routed in relation to the inlet manifold once its back in place. As with many aspects of the build so far I have done my best to make sure they can be easily removed and don't hinder the removal of the inlet in one piece. I'll be adding to their length, plus the bottom pipe , once I have worked out the best positioning of the water pump but that has to wait until the engine in the back of the spare imp for mocking purposes. Other trinkets/treats/goodies that have arrived in the mail are these universal joints.. They are for the gear shifter shaft that runs under the tunnel from the transmission to the gearstick. Because the selector rod enters the Subaru gearbox a bit higher up and at a slight angle compared to the imps original transmission I need these to connect the dots. I wanted something with no slop to keep the shifter travel tight. These have sealed bearings and are aluminium so lighter than they look. This afternoon I dropped Hannah off at Nelson airport as she's off to the UK to see her family. Almost 4 weeks home alone so I'll be trying to do as much as I can on this build While in Nelson I picked up another one of the same model chain that I'm using for the oil pump drive. I bought it mainly for with the special strong joining link that I needed. It wasn't looking promising to be able to get these particular links by themselves in NZ but no worries anyway as I'll need a new chain for one of my old bike restorations I'm in the process of doing so now I have one... When I got home I found this assembly in my mailbox courtesy of @dmulally. I now have a spare gearstick assembly so I can mock up and build the shifting linkage in the green Imp shell. Next step is to finish my fuel rail inlets/outlets to suit. Then a quick wire brush of the crankcase and assembly can start. With this in mind I searched deep into my moth ridden wallet and paid the man for some of this stuff which by all accounts is the best there is.. I'd like to give a big thanks to those who've helped out with parts!!! Bloody top blokes.2 points
-
^-- don't worry I didn't ignore the lost frenchman. We're exchanging love letters privately. Back to the paint. Where I last left off, I was struggling with sand nibs being shit to sand because they're already sand. I found a solution: a metal scraper dragged lightly across the surface lifts all the bits up perfectly, and the durepox endures the scraper very well. It also did quite well to flatten out areas hit by the undercoating overspray that had come up through many un-blocked-off-holes. Before and after a scrape and sand: Once i'd scraped and sanded the whole interior (why am I doing this?) I sprayed some brunox converter + primer on any bare metal and spots of surface rust I noticed. I also sprayed it liberally in some of the various crevices around the vehicle because anal. I found it quite interesting how it's a clear epoxy but it turns black where it reacts with steel and rust. Science bitches! It also had some kind of reaction in places where it seemed to create rust - and by that I mean it made some already-well-epoxied bits a bit brown - but I have to assume that's just some harmless reaction created by overspray. I gave that a few coats and scuffed it back. Then I did my first ever bit of seam sealing on the back of the floor panels that I'd dug the seam sealer out of when I was removing the sound deadening. The factory sealer is an absolute mess so I'm glad mine blends in. Now it's time for more durepox to make it uniform. Possible anal. Probably actually. But hey! First step is to mask it all up... every little screw hole. I followed every possible point of egress from the interior to make sure it wouldn't find its way out into some dumb place, especially the already-painted engine bay, but also the undercarriage and undersealed areas. I had no idea how long this could take. Then I whipped out my 2 year old mostly empty durepox tin... which had a couple cm of jelly at the top because it hadn't been sealed properly by blasty man :'( Like an absolute idiot I didn't bother to try a test patch and come back another day, I just went all in and hope for the best. I picked out the jelly (it had just enough rigidity to allow me to pinch it out) and went through many strainers to get a full cup, fiddling with thinners to try and separate jelly and paint, etc... The hardener looked okay fortunately, though the cap took some effort to get open. Overall the mixed paint looked the part so I just went for it. I laid a couple of coats on areas that I'd either brunoxed, had significant underseal overspray, had mismatching primer from shop repairs, my underseal, and areas that just generally looked a bit sad. I cleaned my gun, exited the shed, and only then thought about how much of an absolute idiot I was laying that much questionable paint down. There's a better than good chance that jelly was formed from separated chemicals and that I'd either sprayed something that wouldn't harden or otherwise would just be shit primer with shit qualities. Probably the "wouldn't harden" part. I anticipated having to come back and sand it all back off. But, I came back in a couple of hours and breathed (through my isocyanate protection) a sigh of relief: the paint had set. A couple days later I scuffed the areas back and everything seemed as it was. I had dodged a bullet. A couple days, scuff, vacuum and degrease later and it's time to just Get It Done. I set up my gun with 450ml of mixed and strained top coat. Things went wrong immediately. Screw up #1. I guess I didn't clean my gun correctly because it was spraying fine while testing on some cardboard but as soon as I aimed it at the bodywork it sharted blobs. I tried a few things to try and clear it without emptying the paint container but it just kept sharting. Some fragment of durepox must have been lingering somewhere and jammed up the works. I'd recently bought a new paint gun on clearance because the price was right and it's good to have a spare, but I hadn't set it up yet. With paint sitting in the pot I said fuck it and switched the fittings and filter over to the new gun, ran some gun wash through it, transferred the paint to the new pot, fiddled with the dials to get the finger-to-thumb span thing right and got a wriggle on. Screw up #2. I didn't realise how much metallic paint settles in the can. I only realised this when I went back to refill the pot and noticed huge blobs of at the bottom of the tin, which I thought I'd mixed properly! I added some thinner to the tin and shook the absolute shit out of it and it still didn't get it all incorporated. So, the first 1/3 of the car is noticabely less metallic than the last 2/3, lol. At least it's just the interior right? Screw up #3. The big one. I laid it on like it was durepox. I probably should also have spent a little more time dialling the gun in to prevent so much coming out at once, but I was super heavy and thicc on laying the paint to the point where I could see previously-laid paint move just from the air flow . Drips and runs galore. I ran through 1/2 of a pot just on 1/4 of the car and this was meant to be for two coats. FUCK. I changed my approach and started laying thinner coats. Then even thinner coats. Even this was too much - the paint wrinkled in many areas, especially areas where I had to spray from multiple angles to get around obstructions. I'm just too used to making the first coat completely obscure the underlying surface I guess. I finally got the coat thickness "acceptable", which still felt way too light to me as the immediate effect was that I could still see the primer - only to have it spread and self-level to cover it within moments. I managed a full coat before running out at least! So yeah lessons learnt Top coat goes on t h i n Better to let a too-thin coat dry for the 5-10 mins and come back for a second pass Where multiple angles of attack are required, let it dry between angles Adequately agitate all the corners of the can :\ Clean my god damn guns properly especially when switching from primer! I'm not actually that upset because my screw ups are reasonable for my skill level and there are clear corrections to be made. The worst things are screw ups where you don't know what you did wrong so you don't know what to fix imo. This is not visible paint in the finished build, however I have ordered more paint and will sand the problem areas back to try feather in a respray and scuff+spray a proper second coat in. For my learning and because I want to do a proper job.2 points
-
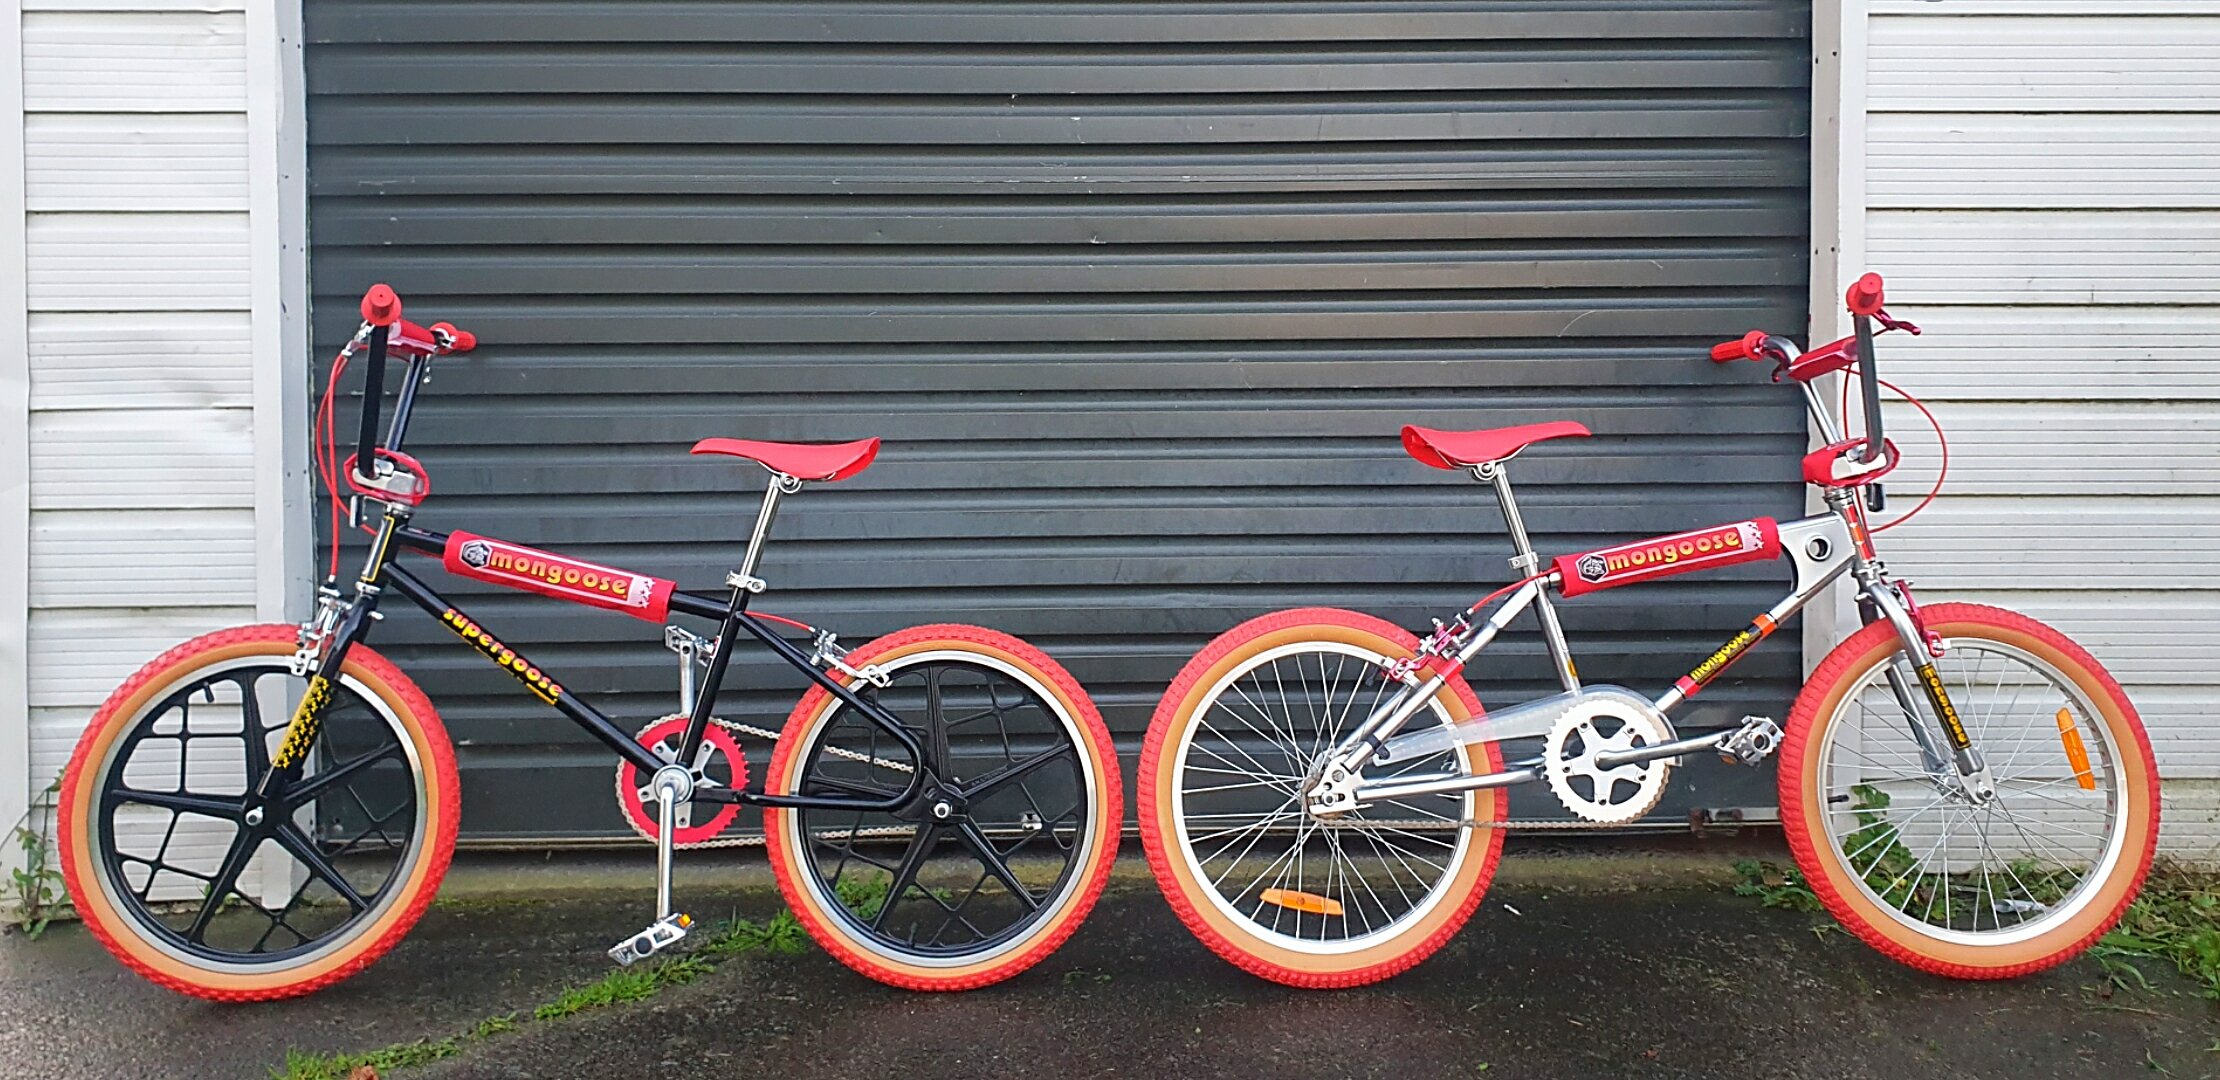
Shes in realy good condition maby get lucky and find another set of motomags but really sud put some effot into my statesman hmhh.
2 points
-
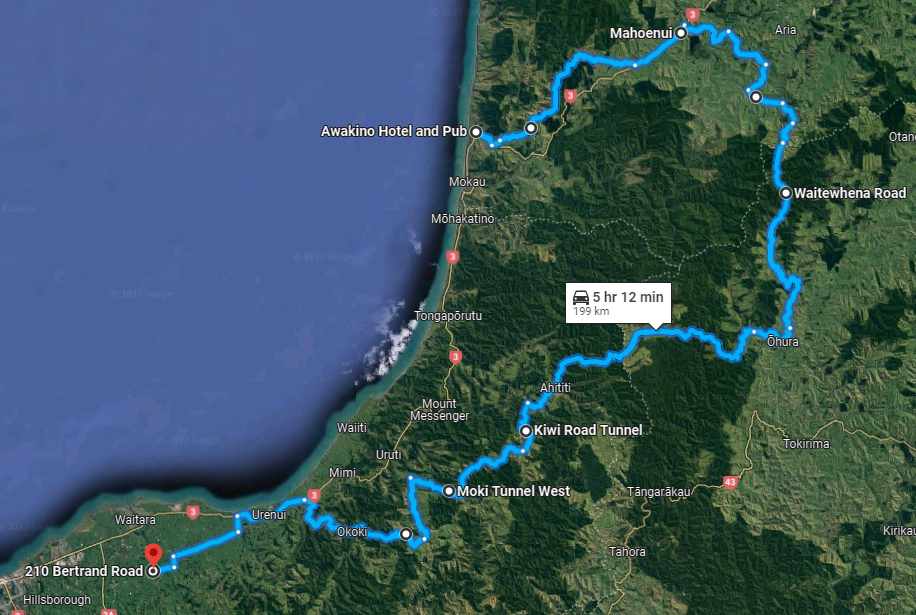
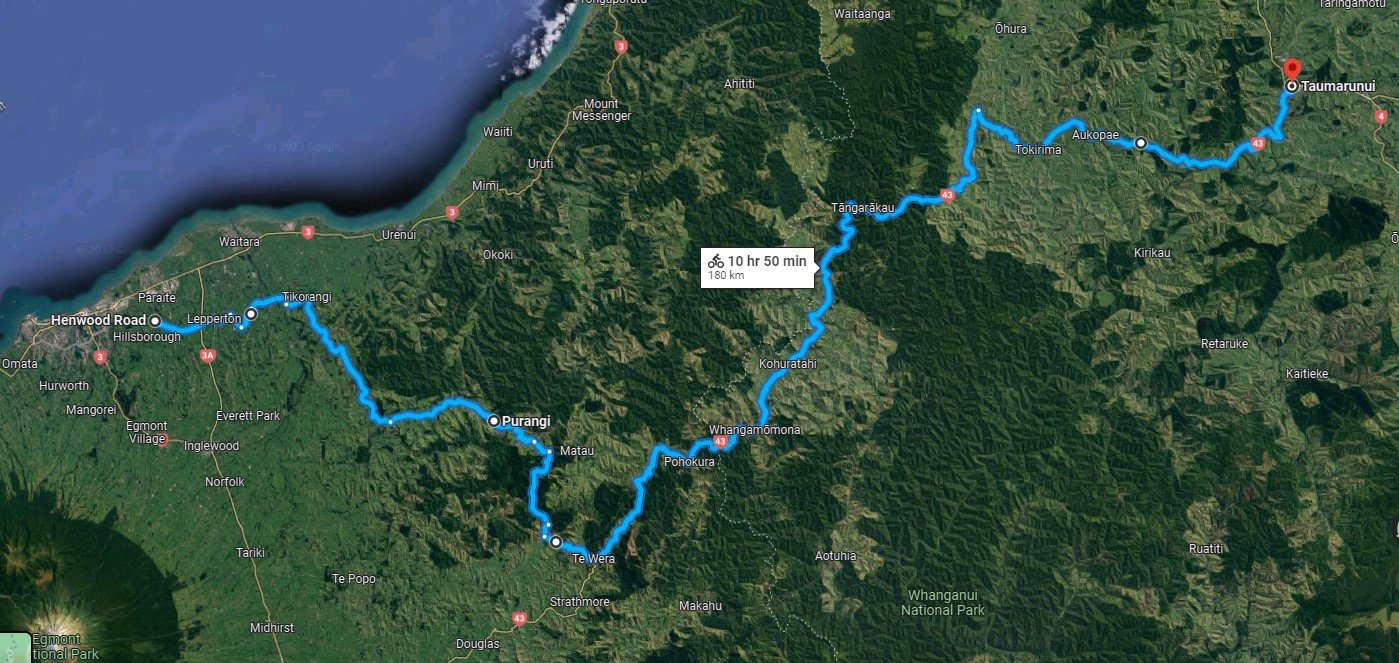
King Country Crusade November 17-19th 2023 J5 is up the duff and Eastcape is off the cards this year. Don’t worry though, @anglia4 and @alfalfa have rubbed each of our braincells together and came up with 600km of twisty backroads, tall and narrow tunnels, smooth and rough gravel, and scenic views spread over 3 days taking in some of the best the West has to offer. Rev up your fizzholes and start prepping those bikes for the King Country Crusade (AKA West-Pest AKA Westcapade AKA Taranaki Tunnel Tour). November 17-19th 2023. If any of you jokers happen to turn up in New Plymouth on the same day and start riding along the same route then wow wouldn’t that be a happy little coincidence. Day 1 180km/220km (depending on route) We head inland from New Plymouth to Taumaranui via the Bertrand road swing bridge (oldest in NZ!), through a few choice tunnels to Whangamomona & Forgotten World Highway. Some gravel, mostly sealed. The famous Forgotten World Highway, a must ride for every self respecting motorcyclist in NZ. Lunch stop at the classic Whanga Hotel for hot chips and a lemonade. There is an option to go via Old Whanga road if conditions allow - this is 18km of unmaintained dirt road challenge! Petrol NP (0km), Taumaranui (180km/220km). This is a big stretch between fuel so you will likely need to carry extra. It might be a good idea to figure out what kind of range your bike gets and plan for how much extra you’ll need. If you can make this leg easily then ask yourself - am I really riding an appropriately terrible bike for this kind of adventure? https://maps.app.goo.gl/xHZrKrMuJRRwFZfu9 Old Whanga Road - Extra for hardcones Part 1 https://goo.gl/maps/BUH3qGTUpXz1H7rQ6 Part 2 https://goo.gl/maps/XR8LUMGDvmnAfiFm8 Whether we attempt this or not will be very weather & pre-ride reccy dependent. The clay/papa rock surface supposedly turns slipperier than eel snot after any rain. It's also only halfway through day 1 so we don't want to have half the pack drop out before lunch! Stay: Taumarunui We’re staying at the Alexander motel but lots of other options exist in town. Twin Rivers Motel is just over the road. There is also the Taumarunui holiday park which is 3km down the road for campers. Or take your pick of abandoned house in town and mancamp in the backyard. The RSA is just round the corner for a refreshing post ride beverage and there are a selection of ethnic eateries nearby to satisfy even the most discerning palate. Day 2 190km Taumaranui to Awakino via Ongarue, Aria, Piopio, Pomarangai, Waikawau Beach Tunnel. The roads today will be a good mix of gravel and sealed. There is a scenic detour along the way to visit a rugged west coast beach accessed via (another) tunnel. Lunch stop at Piopio. Petrol Taumaranui (0km), Piopio (85km), Awakino (190km) I've had to split the route into 2 halves to get google maps to play nicely with following the route. Part 1 Taumaranui - PioPio https://maps.app.goo.gl/gJE2dKd4EhQeVTeW7 Part 2 PipPio - Awakino Hotel https://maps.app.goo.gl/ZY83ypAUv3Q7NGn57 Stay: Awakino/Mokau We’re staying at the Awakino Hotel and Pub. 06 752 9815. There aren’t that many rooms here so get in early. The dude here also reckons he can sort out other accommodation in town if needed so holler at him if the pub is full. Tent-pitchers or cabineeros can stay at the Seaview holiday park (06 752 9708) 3km down the road or at the Whitebait Inn 06 752 9713 in Mokau 5km down the road. Day 3 200km ish Awakino to NP via Mahoenui, Ohura, Ahititi, Urenui. Lots of gravel, lots of corners, sweet tunnels and ride back across the oldest traffic suspension bridge in NZ. We're deep in the wilderness pretty much all day so bring mi goreng and a stove for a hot roadside lunch or stuff ya pockets full of muesli bars and last nights leftover burger and chips. The Ohura Cosmopolitan Club will be opening up their kitchen for burgers & fish'n'chips for us on Sunday from 11:30am! Petrol Awakino (0km), Urenui (185km), NP (205km) Another big stretch between fuel stops so you will likely need to carry extra again. https://maps.app.goo.gl/NfEvUgDpyMo2TW1AA We’ll probably have post ride beers/BBQ/bonfire somewhere in NP? Details to come for where to assemble on Friday morning and leave vehicles and trailers behind. We don’t have a support vehicle and trailer sorted yet so if anyone is keen to volunteer that would be two thumbs up. *There is a trailer just waiting for some champ to hook up and drag along. We have 2 support vehicles and trailer confirmed! Entry Form: https://forms.gle/Ertmwgaqdu6jJFep6 Please make sure you have accommodation sorted for Saturday night in Awakino/Mokau before submitting the form - this is limited and will probably restrict numbers unless you’re going to be a happy camper. Entrants: @anglia4 @alfalfa @Itchybear Bucket Barry @Duke Blackwood @WankBankA100 Dan W @northernal Chris R (Tofa) Alan H-R (Ginga) @Gyrocket @morkster (support) Greg H (gregbop) Connor D Travis K (trav) Richard S Matt N Shaun M Paul M Brian S (Support) Dallas W Karl D @iwanttobeamole @TheGriz Brett H Chris K Darren P Zac B Neil S Jose R Ian D Luke B DNS. Nathan M (Gazza)
1 point
-
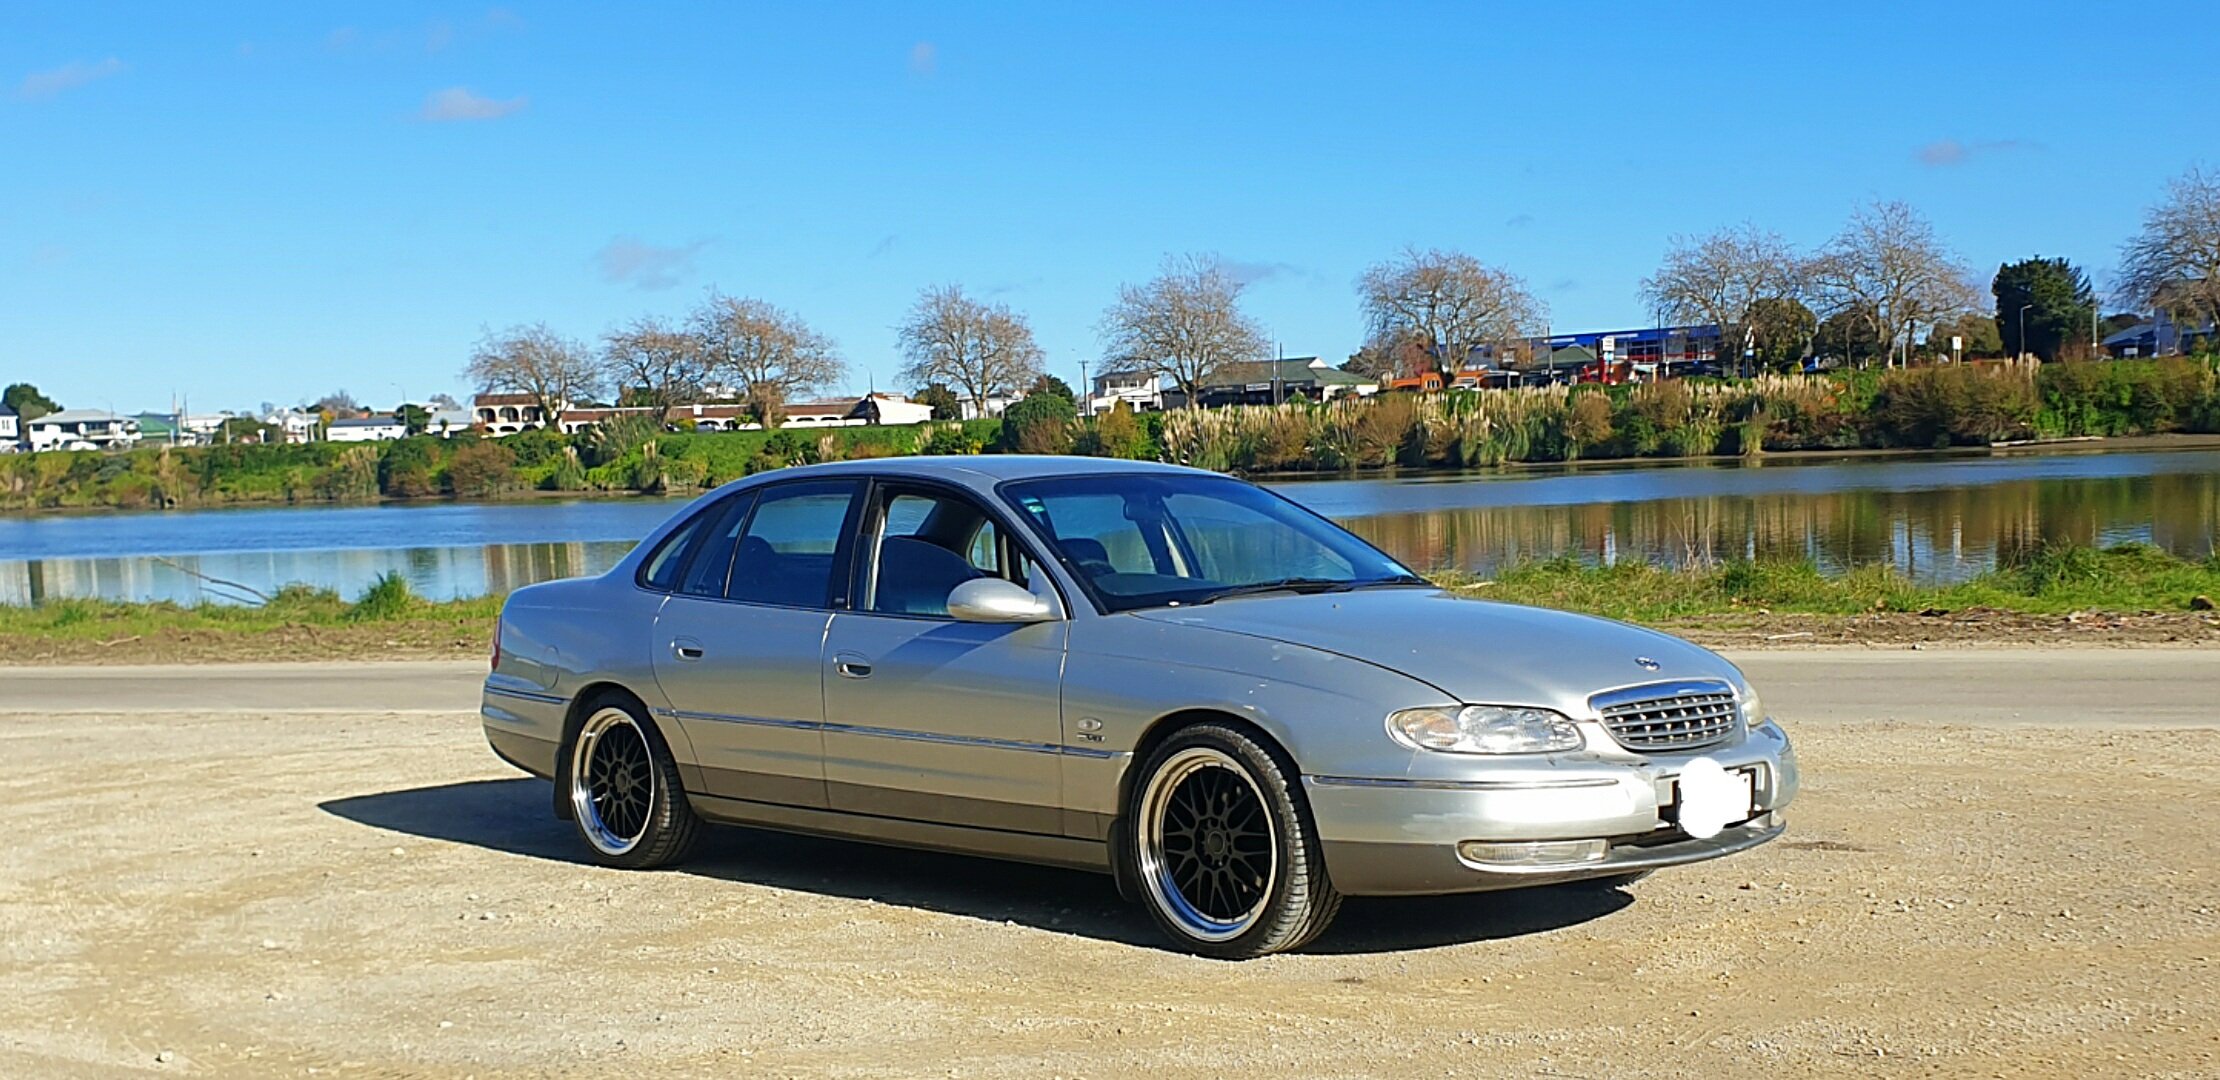
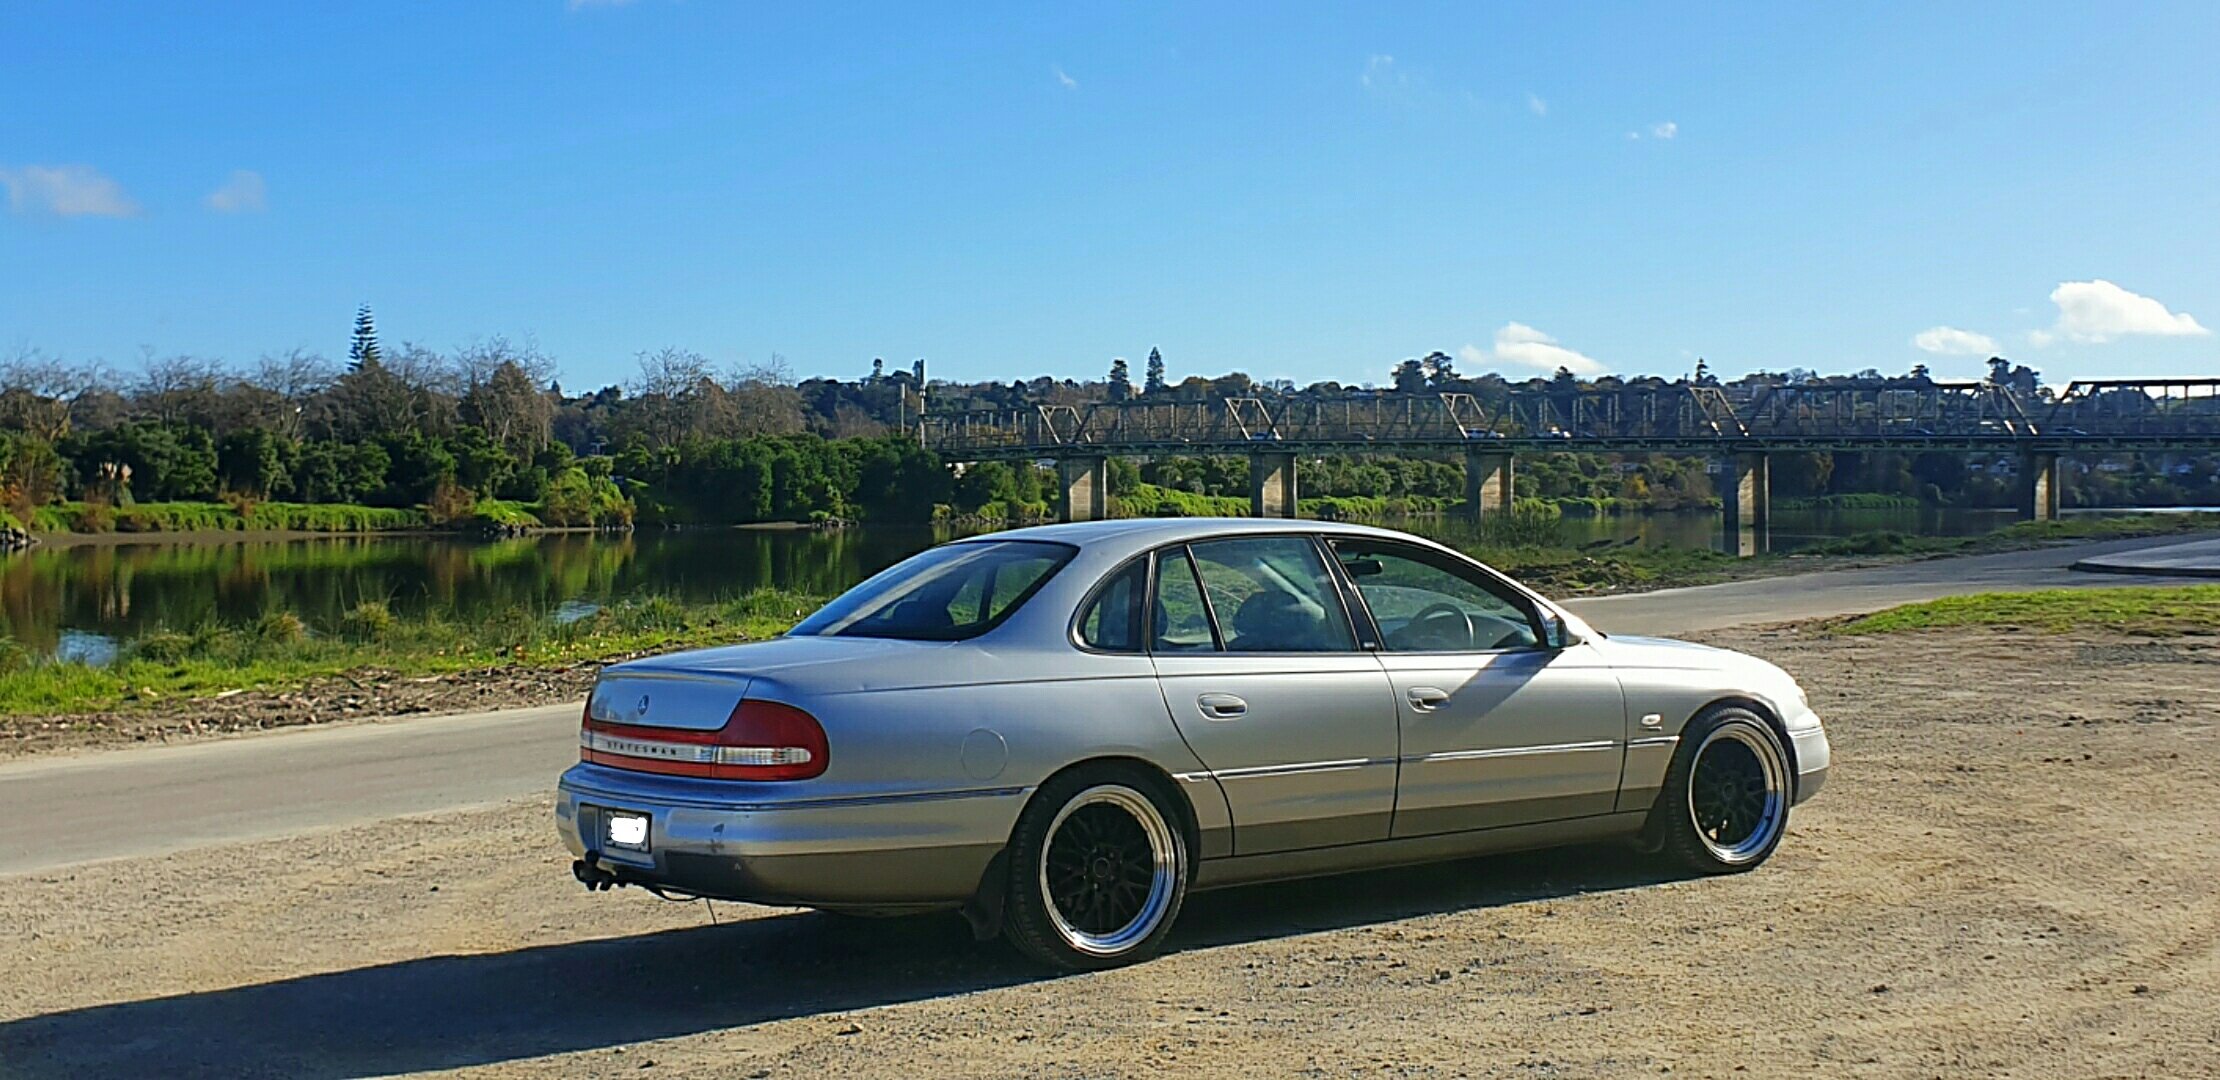
Here's a project ive had awhile actually. Shes a wh 5.7ltr ls1 v8 long wheelbase statesman big plans for this car. But by no means in a rush. My bikes come 1st haha Got her she was running ruff as guts now she runs good. New plugs new leeds new oils ect ect needs air bag light and breaks can b a lil funny sometimes so need to look into that. Done drive palmy to wanganui and back fine recently too
1 point
-
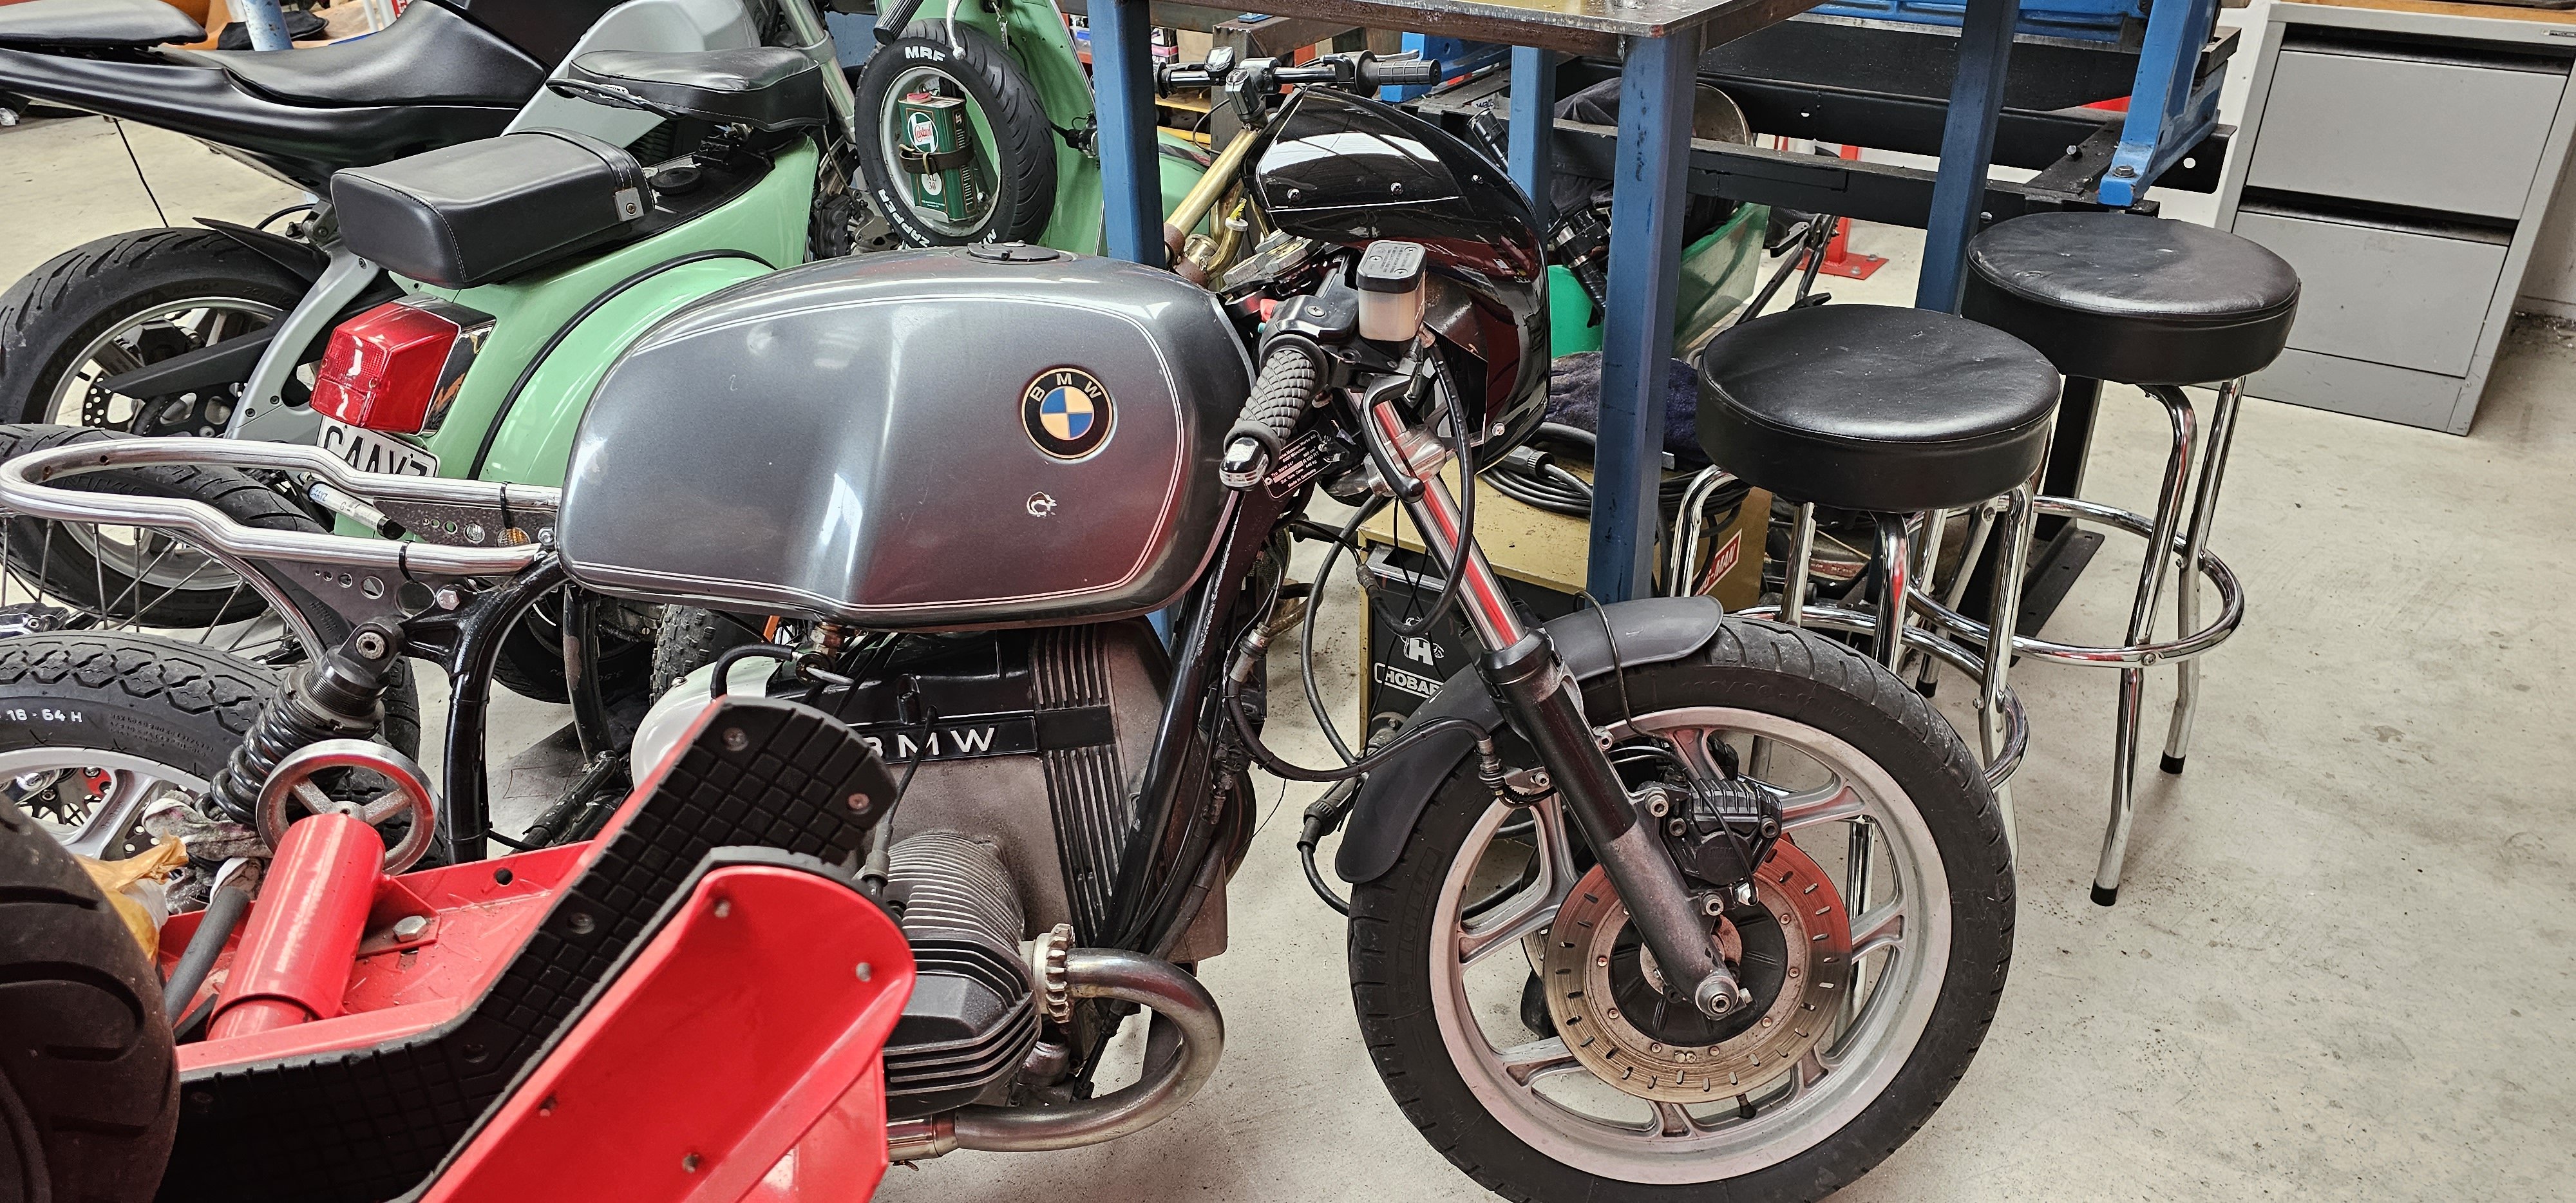
Front fender mounting all figured out. I rolled a thick bit of panel steel to hide under the fork brace, then bolted the fender to that. Sits nice and tight to the wheel, with about a 10-15mm gap. Its not a part I want to stand out at all, as I personally hate the way all front fenders look on motorcycles, but needs must for legal requirements.
1 point
-
Gotta rememeber that 14point7 is a one man band, and he's an engineer type guy not a customer service guy. Where as other companies likely have sales people, support people etc. Not dissing 14point7, I'd happily buy more of their stuff, in fact, I'll be buying another same wideband setup at some point in future. But if you need some hand holding through installation or something (unlikely in this case) then bigger company might offer better support.1 point
-
Ah there is probably a hockey match on or moose season or something1 point
-
I've only ever killed one sensor, a 4.2, which was coupled to a Inovate mtxl. I think I know why though- thermal shock from having the ignition on for a while, the sensor heating up and then starting the engine is what I suspect killed it. Anyway- not going to touch their products again. I think with a newer controller from Aem or 14/7 I wont have these issues. I don't think I need to stump up the extra pingas for a adv sensor though. Not on a 100 bhp NA engine that's not really going to see silly revs/will be more of a road cruiser. Anyway - 14 point 7. Fuck me he seems a bit useless at communication. Doesn't fill me with confidence. I'm glad to hear he stands by his products because it does seem from other forum posts a fair few of them have issues. But then you'll always hear about the faults first. Reading the above forum thread is interesting too. I'd love to have seen him come to the party and just swap units with AEM fella so they can test each others rather than him just having a sulk. Interesting to see that his latest units now have a response time of 10-20ms depending on the sensor - a time he had been harping on was impossible and the AEM were manipulating their results Either way, whatever unit I end up with - be it an X series or a S3, it'll be streets ahead of the old Inovate mtxl/4.2 combo.1 point
-
Belt seems legit like that, new cover and yeah some kind of adjustment on that idler and its done. Keeping those timing marks will be nice.1 point
-
If the belt path works like that, I'll just get another front cover so I get the timing mark back. Ahh yeah an eccentric idler pulley looks like a good scheme. Will see what I can find.1 point
-
I'd go with 14point7 just because I know for a fact that he stands behind his products. I butchered one through total misuse and he sent me a new one for free1 point
-
Me brother has a Grange, hsv number. Huge boat of a thing but so gangsta!1 point
-
Awesome bro, no reason needed. Looks like you've been busy indeed! We are starting our Reno at the moment so I feel your pain.1 point
-
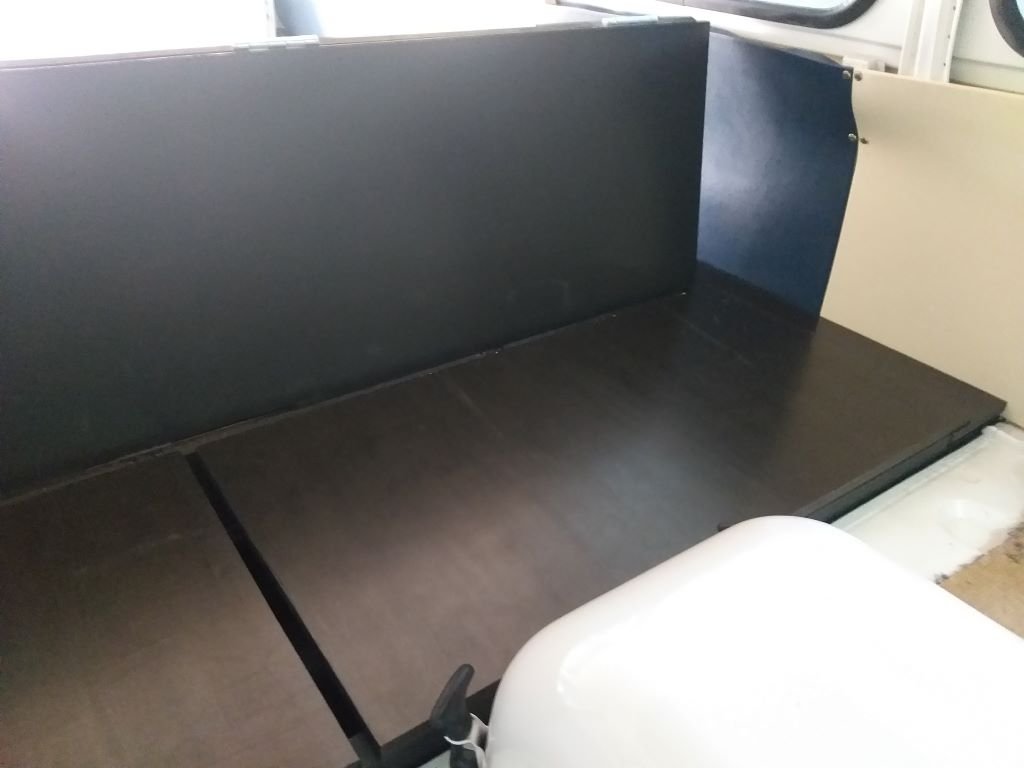
And that's the dog box done. I've split the lid into unequal lengths. The two batteries will live in the smaller box behind the driver's seat. A few more brackets and stuff to fit tomorrow and I'll crack into the cushions after that. I think I'm going to outsource the upholstery work as it's a focal point and needs to be perfect.
1 point
-
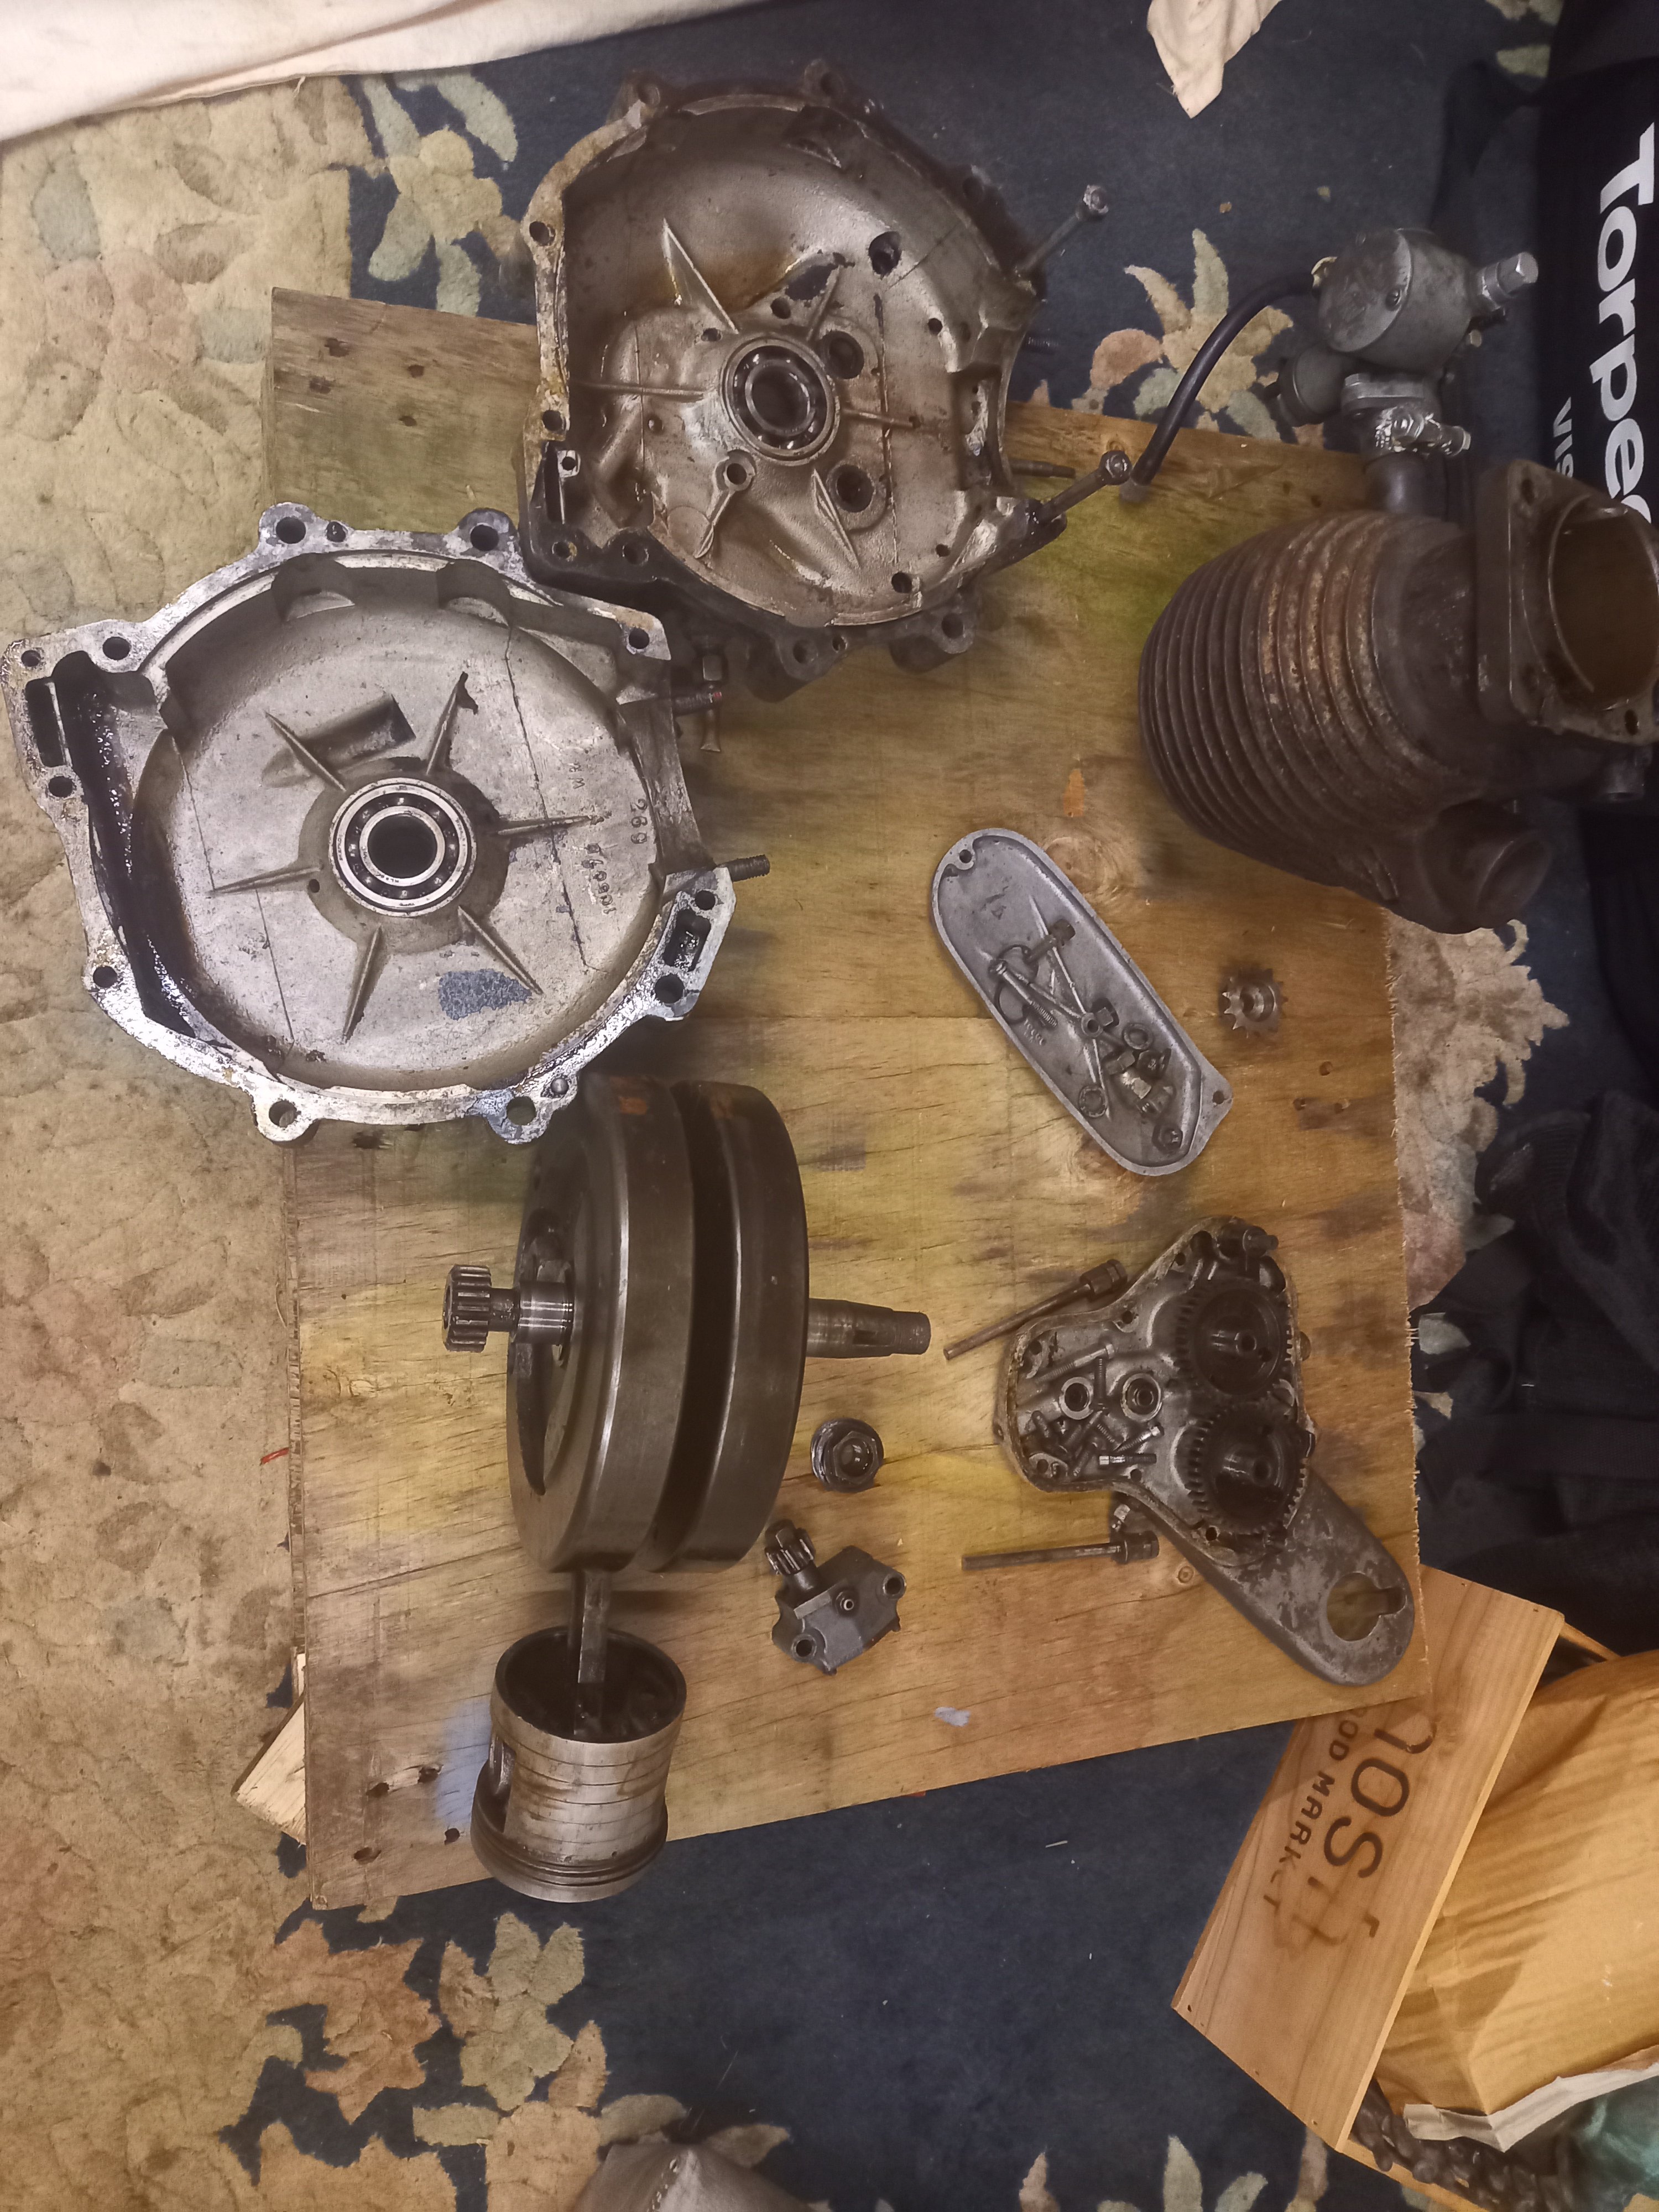
Not super horrible, a new big end and mains should see the bottom end done, I may reuse that old piston. People reckon I should press the cams off the shafts and swap them over but then the ramps are on the other sides of the lobes. Gearbox is apart and I need a new 2nd M/S gear, I found a new 1st, I got given most of a clutch and a kick start leaver
1 point
-
Yes; looking forward very much to no wof, no rego, no seatbelts, no doors, "one wheeler peeler" trips around the block in Milford. I've always felt automotive anarchy is much underrated.1 point
-
1 point
-
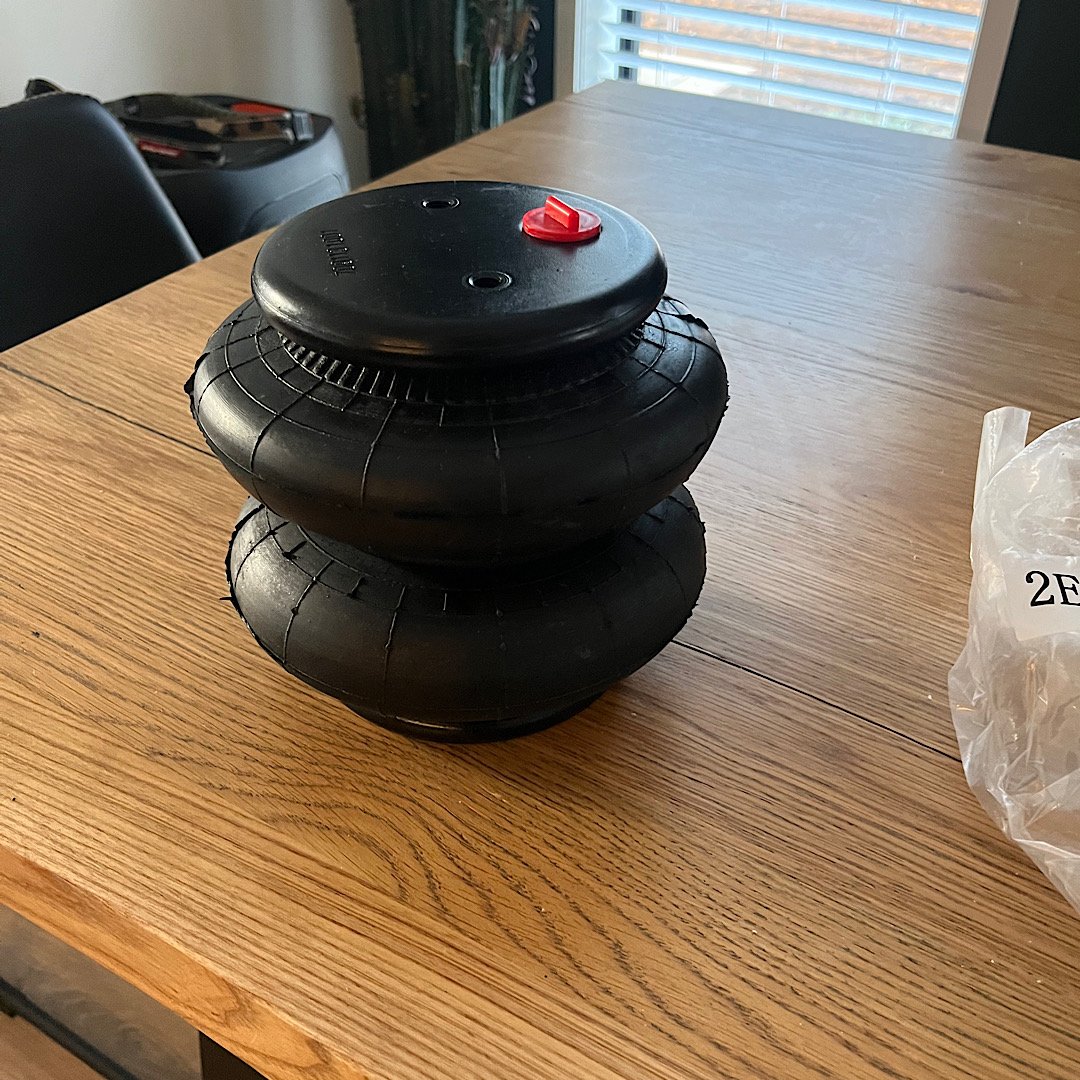
Well the first order of bags was a fail. EBay cancelled the order at the border. Kent’s. so ordered from elsewhere and 2 weeks later I have 4 bags for testing. These bags are 230/65 with an internal bump stop, but I’ll add an external one as well. in the future I’ll plan to upgrade to slam specialty bags and accuair control. but for now, I’ll go cheap to have a play. will order the 4 link kit this week. opted to go with an engineering firm that make them, 100% cert ready. I’ve heard mixed results for the generic stuff with the welds not passing. as Snoop Dogg once said, drop it like it’s hot
1 point
-
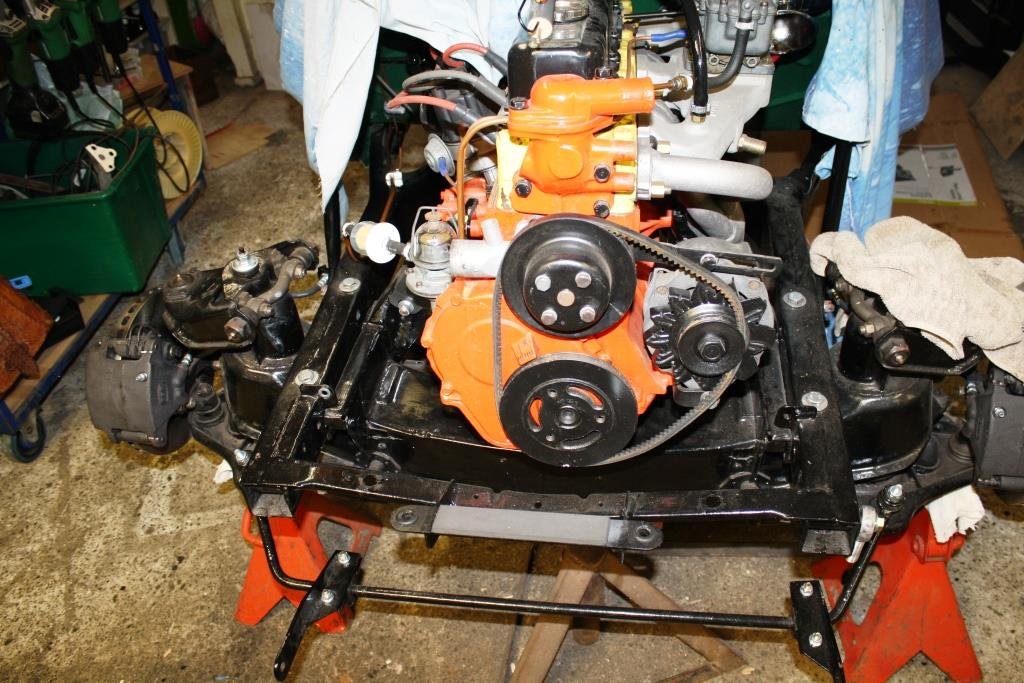
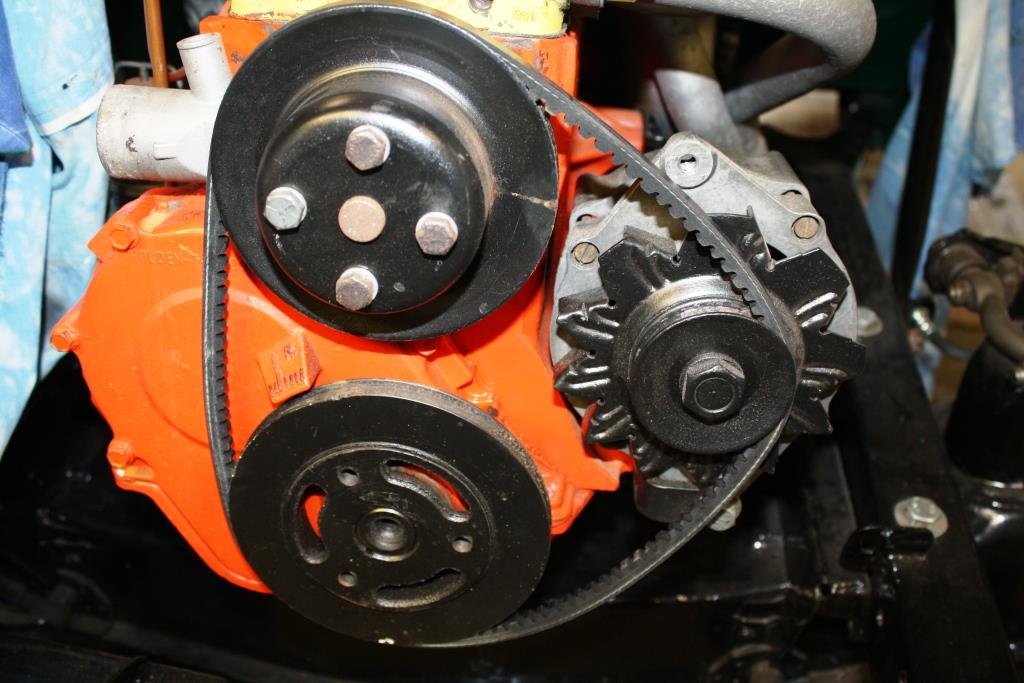
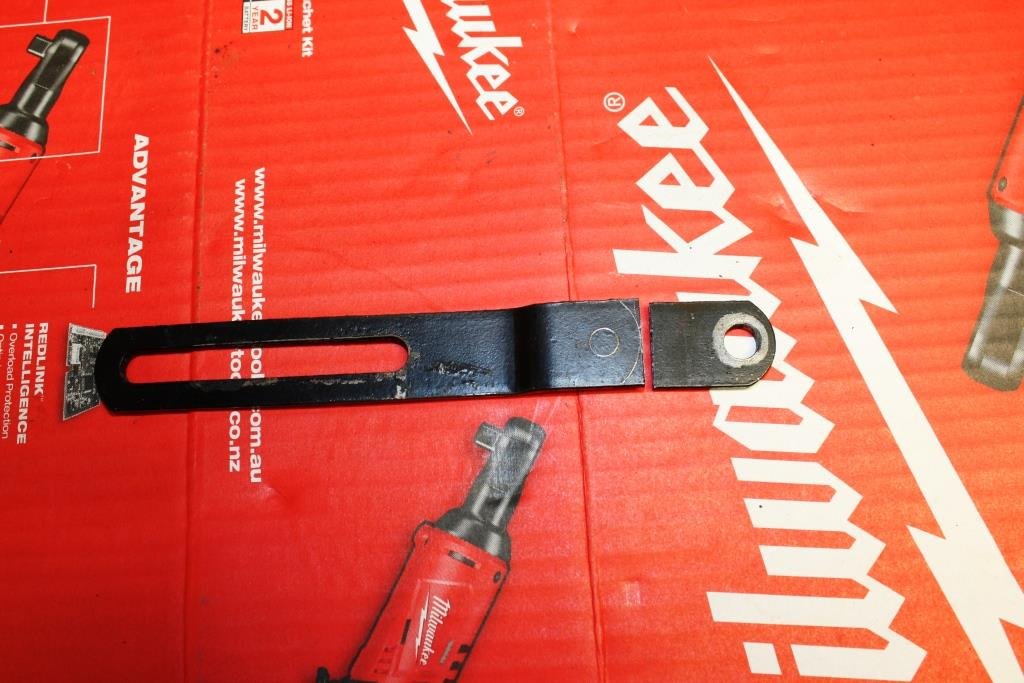
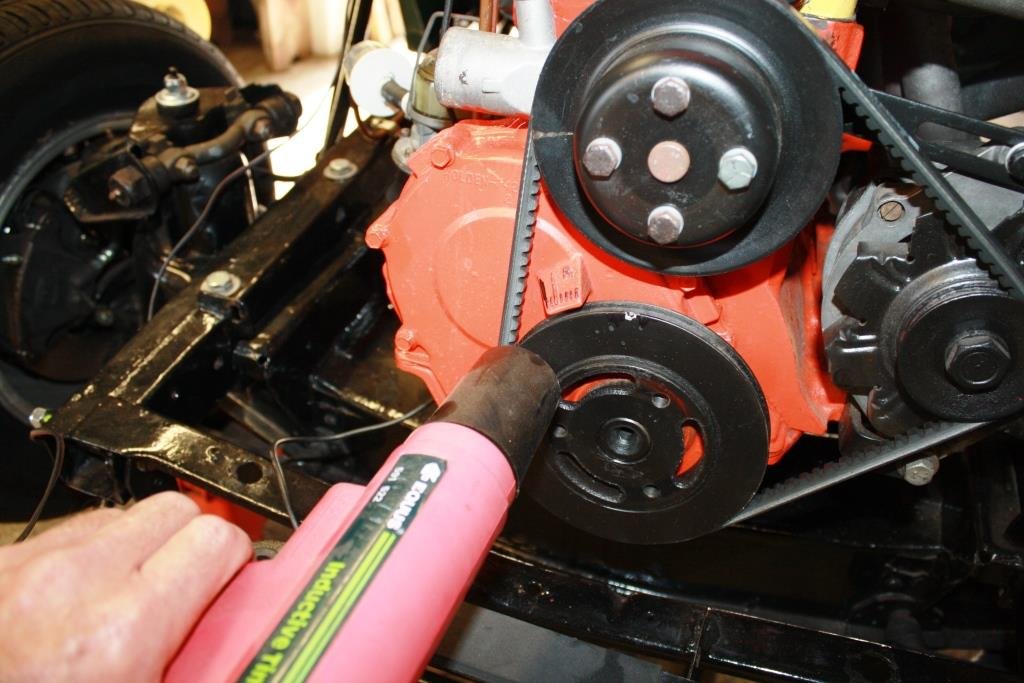
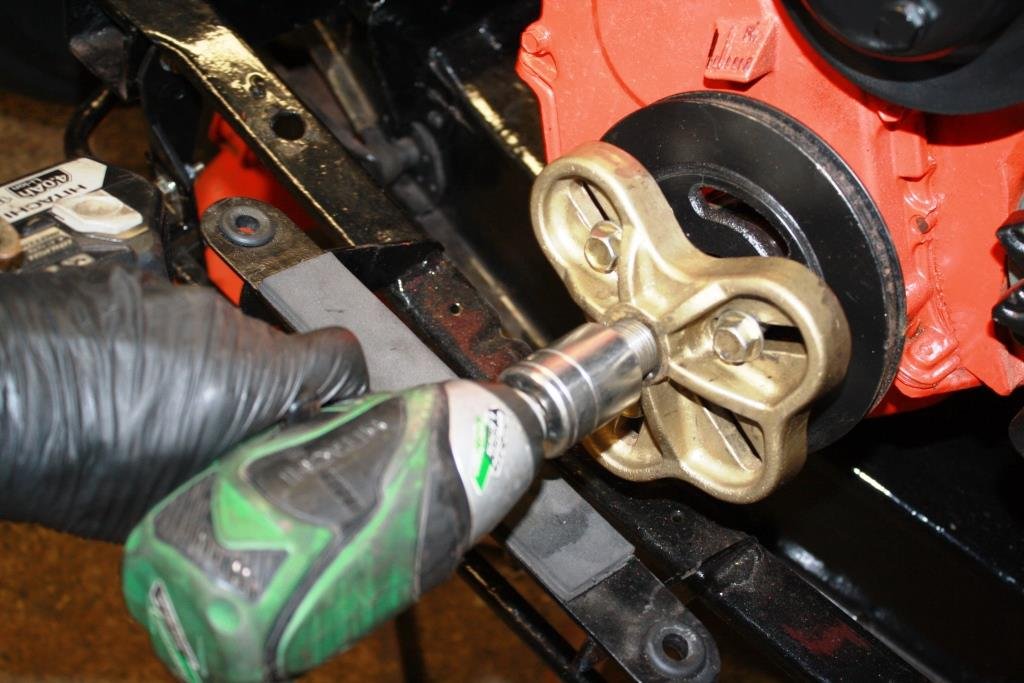
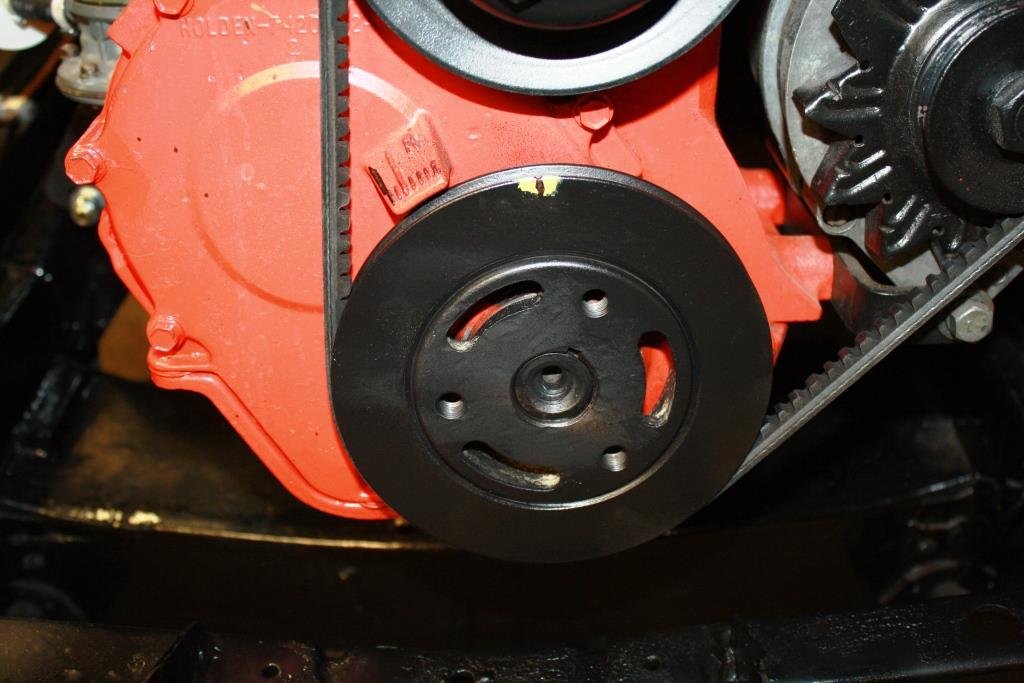
Please forgive me if I’m a little out of sequence here but just before I filled the old girl up with fluids I thought I’d pull the front off for the last time (famous last words…) and have a play with the alternator mount and check the ignition timing was spot on. I’m having difficulty seeing the front pulley timing marks as it’s getting tight as a Nun’s #### on Gala day down there! You can see with the alternator adjustment backed off there was still a way to go to get close to the block. With the adjustment arm removed you can see how much closer to the block we can get. A quick cut with the band saw….. ….and a little tickle on the linisher, (thirsty work)…… Because it was a Sunday rather than being at my usual bearing supplier I was stuck at Repco giving a pizza faced Gen-Z a lesson on how you identify V belts when you don’t have a Rego number. I wasn’t brave enough to explain how you can calculate belt length using pulley diameters, belt section and distance between centres. (Jeeze it’s great being a grumpy old prick! ). With it all bolted up and looking good with the right sized belt it was time to check the timing. Woops, just discovered the harmonic balancer had a serious wobble to it - I used to have a girlfriend like that and I ended up marrying her. (Guys, if the “ever lovely” Mrs sr2 reads this I’m bloody toast!). Luckily I had a spare non-counterbalance harmonic balancer so it was a quick job to change it. All timed up and running ok, I’ve dot punched the distributor for a future rough setting and with old Holden 6’s I usually road test and set the final timing by ear.
1 point
-
More wiring done. The joys of buying old shit, that has had several owners of varying degrees of giving a fuck previously work on it. To be fair, I'm somewhat in the middle of this spectrum when it comes to wiring ability too. But I've certainly cleaned it up a lot from where it once was.
1 point
-
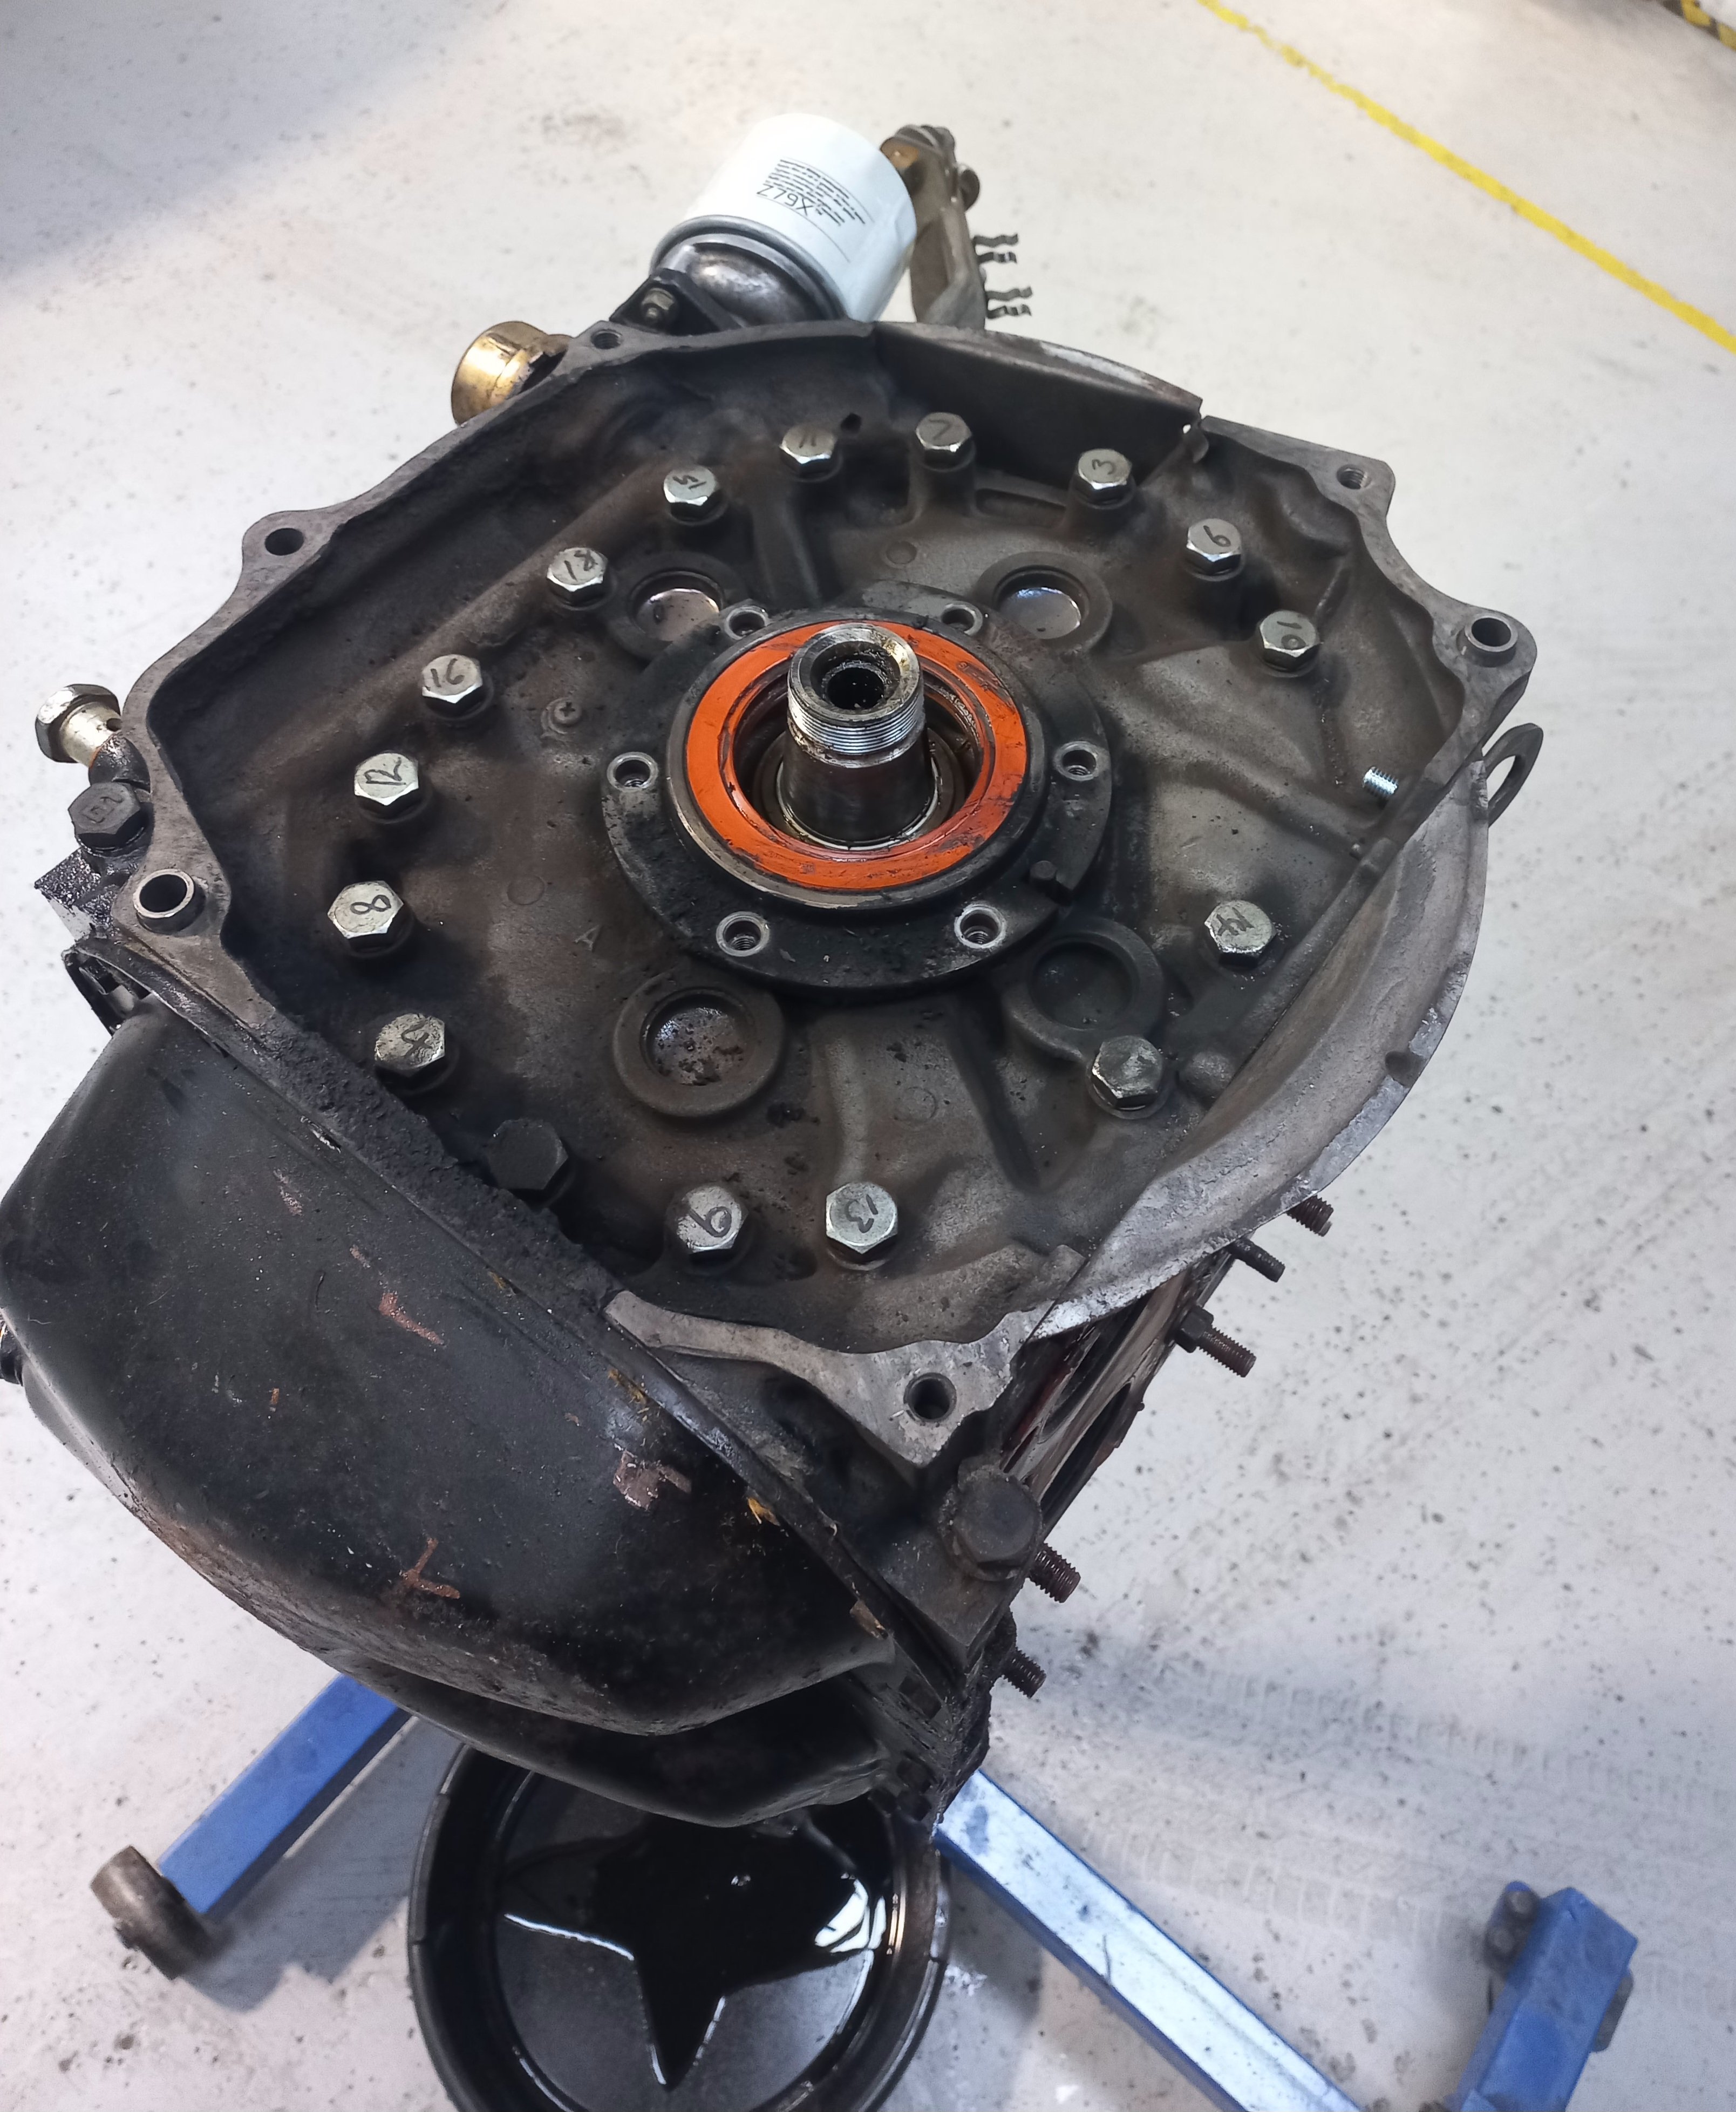
Also..what i thought was an uncracked 13BT has been opened before...kinder surprise as my builder said. Vivid numbers on the thru bolts for tourque sequence (not factory) and further delving apex seals were 3mm not factory issue 2mm...either dropped an apex or compression or performance upgrade. Rotor apex slots been machined out to 3mm as were the corner seals rather than use S6 full ones. Must have happened early on in its life as I've had the car near 20 years and previous owner never opened it up.
1 point
-
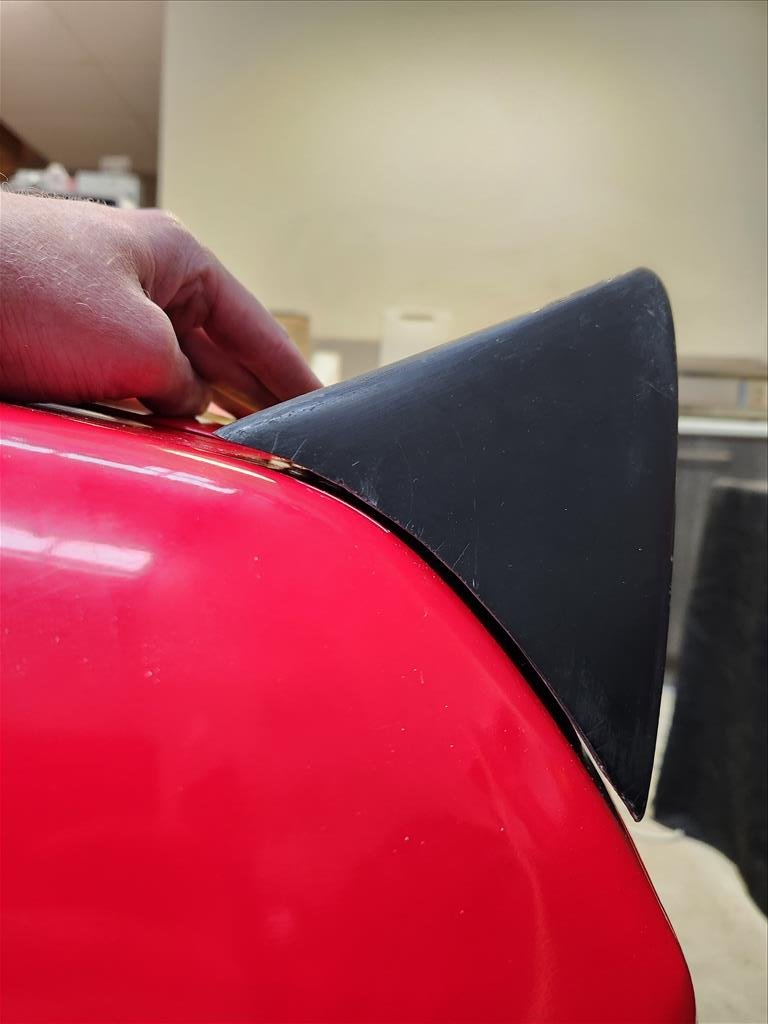
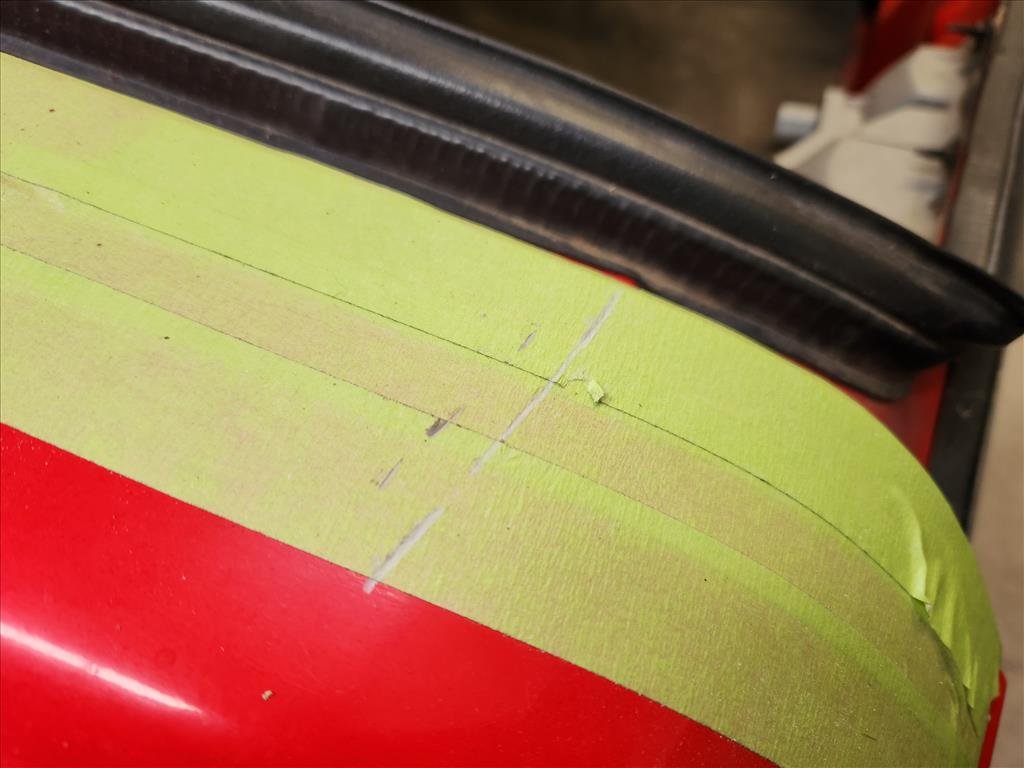
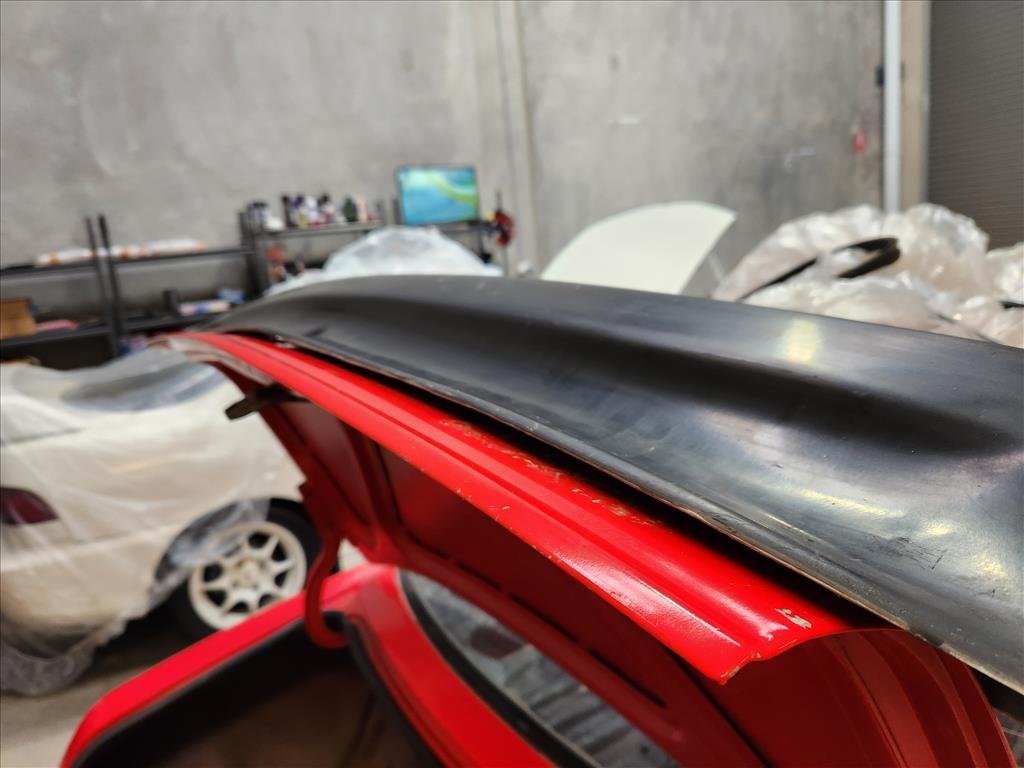
It's Sunday! That (usually) means workshop day. For the rear wing on the Celica because it's fibreglass and generally averagely put together I had the problem of the passenger side contacting on the rear guard. I thought maybe it was to do with the rubber boot seal so replaced that which did make a different, just not in the area I needed. Ended up just trimming a bunch of stuff off the edge which was the last step really and that's probably going to be good enough. As you can see the fit is pretty terrible on the back but I decided to make the top fit best then deal with the back fit later. When it's a bit warmer I'll Sikaflex it on.
1 point
-
Gone - hopefully to a better place? I still have most of the expensive parts for it, I'll hang on to them in the short term and see what develops
1 point
-
All my recent efforts and funds have gone into a trip to Japan, a heat pump, and some other stuff. And the stuff I'm working on is sort of midway. But I should update as it's been a while and to assert that I am still alive. --- When I got back from Japan I had a chat to a cert guy about what I wanted to do with the car. The first thing was my dramas with the crappy shocks. Autolign had recommended just going with XYZs, so I was very happy to hear Certman say that XYZs are a LVVT approved brand. He also pointed me at someone local to me who could modify my front struts but I found a kiwi business that sells the struts and modifies them as a service for about the same total price, so I just jumped on that. Rather than remove and disassemble my refreshed and reassembled front struts from the car, I opted to drag the parts car's struts out of storage and fully disassemble them. These ones still had the original Starion oil shocks, as opposed to the others which were modified with aftermarket inserts. They're dirty and have inconsequential surface rust but the empty strut housing look to be completely serviceable to my noob eyes. So I sent them off, we'll see what condition they come back in as to what extra clean up I need to do. I'm very excited to see what I get --- At the same time I asked about what was needed for a manual swap, especially around what I was allowed to do with the transmission mount and tunnel, and the answer is: nothing! As long as I smash the tunnel in a tradesman-like manner, I can DIY to my hearts content without needing anything. Kind of surprised me. So maybe I need to rewind a bit. I got the red parts car for the rails, but also for ...the parts. This included its full manual setup, for a potential future manual swap. But oh no! I got shafted here, I guess by nobody's fault but my own. The parts car was converted to a NA 4g63 engine, and a kind oldschool user informed me that this likely meant that the manual transmission attached to it was a narrowblock whilst my turbo engine was a wideblock. Uh oh. So I pulled the auto transmission off my turbo engine and had a look. Yup. Wider than the manual trans. But yay! Aforementioned user offered his wideblock transmission for free; he wanted my smol flywheel for his Cordia so we did a swap. The extension housing is from a different car so I'll just need to swap that over, no worries. KM132 on the right. But oh no! The KM132 uses a hydraulic clutch and the red car's unknown transmission (possibly D50? if anyone knows how to conclusively tell let me know) uses a pull cable style on the other side of the transmission! And that there's no sign of any hydraulic clutch setup on the parts car! And in fact a closer look at the parts car reveals that some rando clutch pedal setup has been artfully installed, with a rag welded into the old clutch firewall hole! Zzzzzz. I've put feelers out on FB but I dunno. I'd rather have some OG equipment here - or at least the OG brackets and lines to make it easier for myself. More on the manual swap as it unfolds. It involves some cutting, welding and hammering, so it's simultaneously easier to do while the car is apart, and adds to the complexity of an already complex (for me) project. --- The other thing in motion is slowly picking up momentum, and that's preparing the interior for paint. I've got a huge roll of sandpaper wire wool stuff (this stuff is great!) to scuff it all down and I'll be putting on some tunes and getting into that in the coming weeks as I wean myself back out of holiday mode. In the mean time I got rid of the fluffy glue remnants of the headliner using a paint stripping wheel and patience, making sure not to heat the panel up too much in any one area. Then I went around and removed all of the vivid marks with a dremel as apparently they like to show through paint jobs ... :D... I'll just show one because they're much the same. There's a few spots of of unprotected metal that hasn't started to go off yet from the shop repairs so I'm not fussed about priming them just yet; I have some leftover durapox which I'll whip out when it is time. Using the sand-wool is quite therapeutic. It's not exactly an exciting thing to do, but it creates a little bit of a connection between me and the car. I'm reducing focus to a small section of the car at a time using my hands and really does make it feel special in a way? I dunno. Left: an untouched section. Right: after. However there are two classes of sanding. The paint that doesn't have blasting sand stuck in it, and the paint that does. Sandy paint absolutely tears the sandwool up and is super unsatisfying to try and prep. Even normal sandpaper with a block doesn't really affect it. I guess durepox+sand created a... sandcar? I know it'll be fine to receive paint, but ugh, my not-real OCD really gets bothered by the knowledge that it's not smooth in those places. I don't know what I could do beyond completely paint stripping those areas, and that just sounds like too much bother for something that is going to be covered in trim. So I don't think I'll end up doing anything beyond this. Anyway that's where I'm up to. Japan was cool, but we won't talk about what went on there.1 point
-
Update time Dug into the twincam donk and all is looking... okay? Car it came out of had been parked up for about 20 years and going off the head gasket I pulled off I can see why. Completely blew out number 1 and number 2 and 4 were not far behind. Checking over the block, head and pistons etc it doesnt look like its done any damage which is good. Cliff bond has a gasket kit on shelf (un-bloody-believable) and various seals etc, coolant galleries need a serious clean out though as they are full of shmutz. Seems alright though so onwards we go. Loom is in place too and as far as I can tell I may not need to do any surgery to make it work. Have confirmed that i need a diesel rodeo/bighorn bellhousing from a c190 or c223 to work with my gearbox. Picked up a random panhard bar today to make fit as mine was bent like a banana and to be honest pretty skinny. Latest goal is I want this on the road by my birthday. At this stage its pretty obtainable if all goes to plan. chairs1 point
-
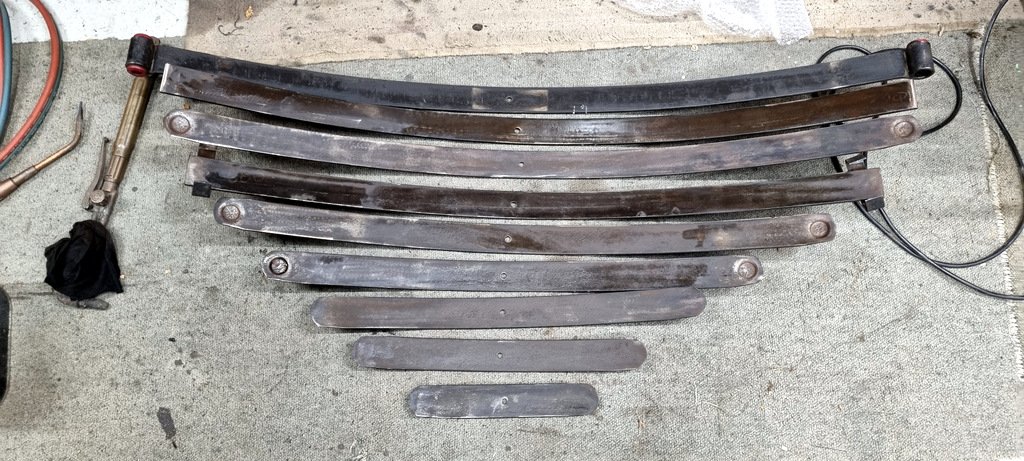
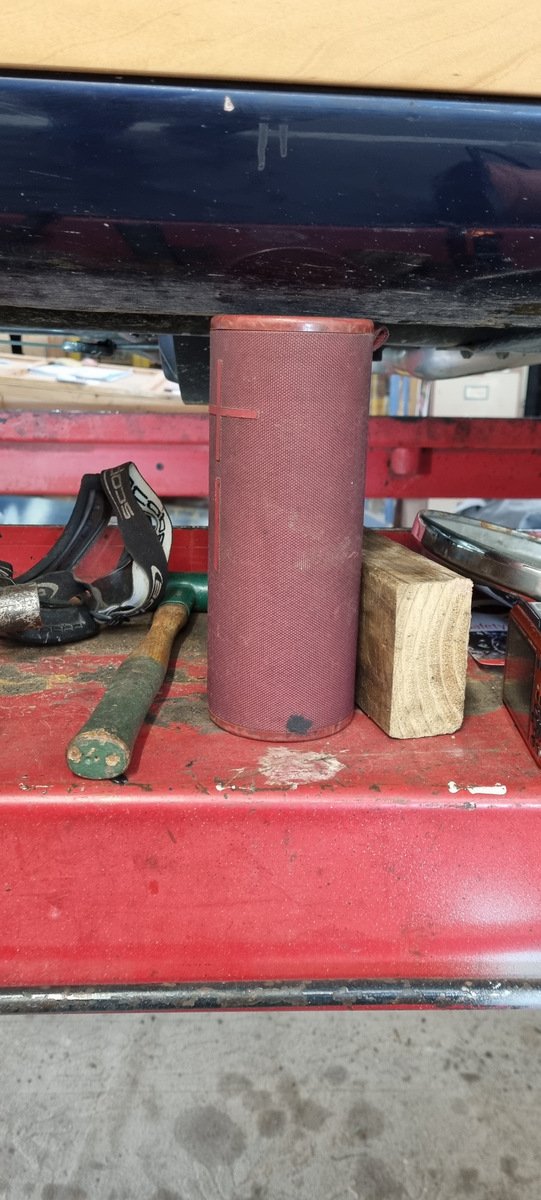
Took the spring apart (had 49 R stamped into the bottom leaf so I presume they are the original set), and gave the top 4 or so leaves a bit more of a bend. Unloaded they are about 25mm higher, so hopefully will work out at the 10mm I need. Then reduced the size of the mount hole a bit Back together, it looks better, will drive it a bit and re-check. Still need to do remove and clean up the other spring and fettle its mount. Main hassles were putting the spring back in back to front (I'd made a note but got it wrong), 'losing' one of the nolathane bushes that were already there, then after a search realising it was still in the rear shackle mount up on the chassis (duh) Also stress tested the UE Boom as a jack stand - oops.
1 point
-
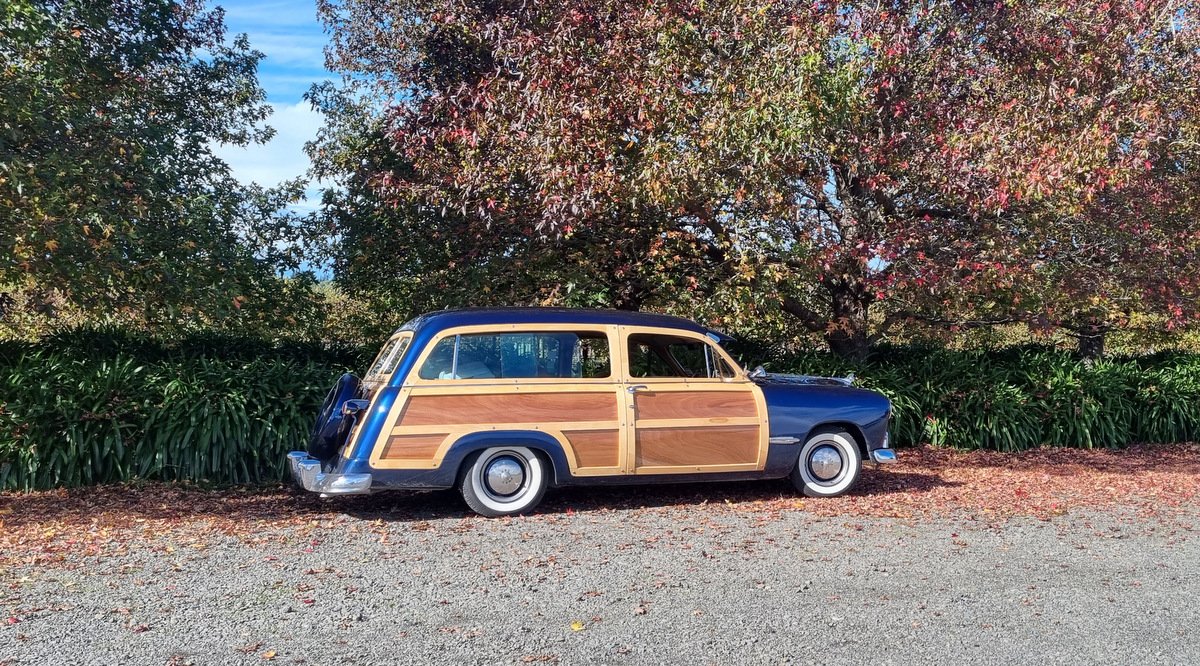
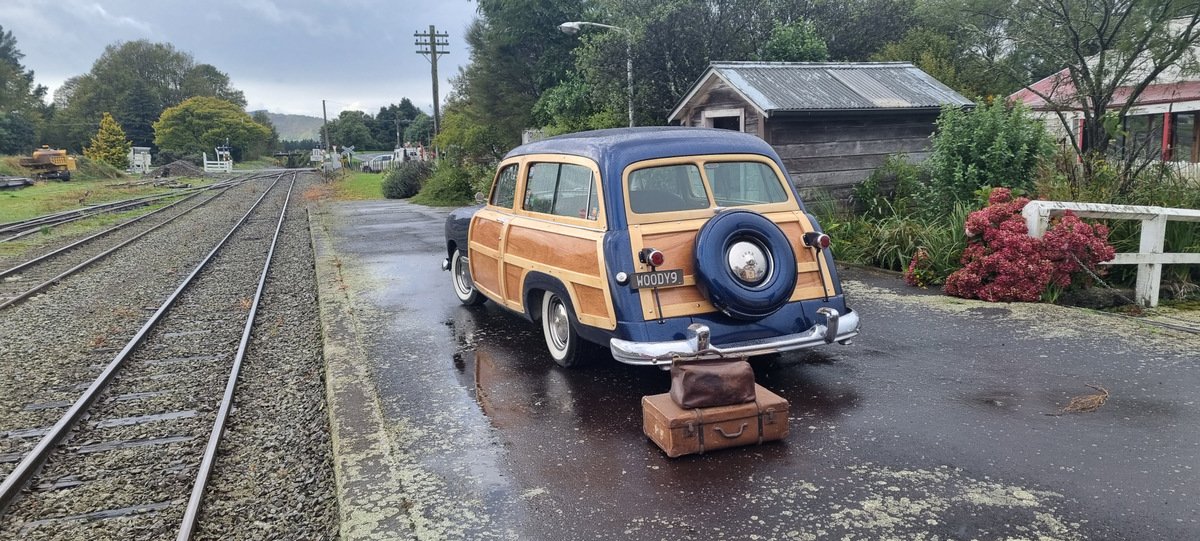
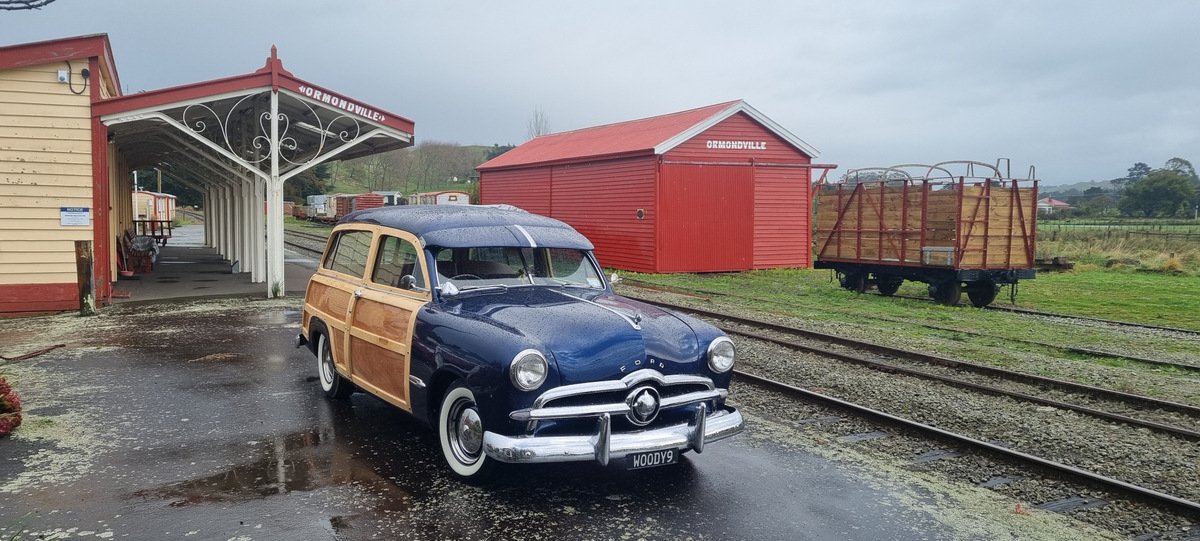
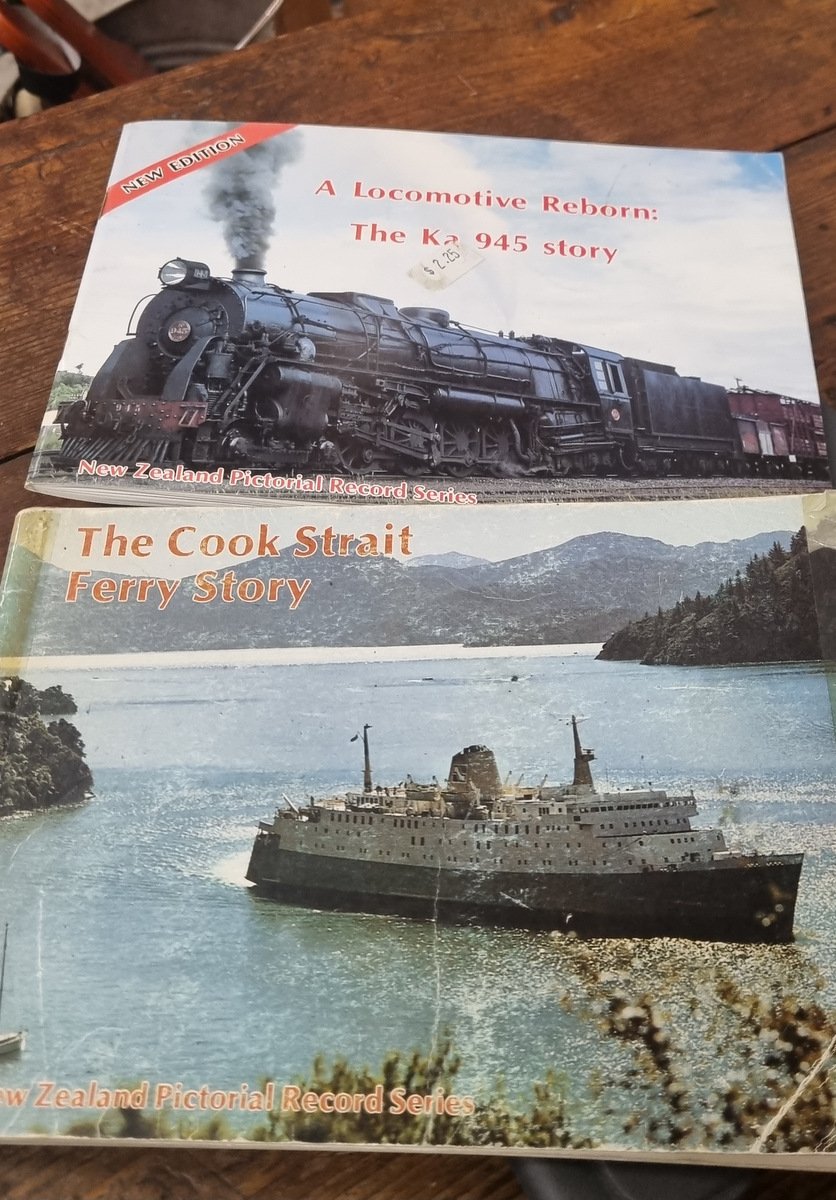
Did some tiki-touring up Hawkes Bay area at Anzac weekend Visited a winery or two We stayed in the Ormondville Railway Station near Norsewood, made use of some of their luggage. Plenty of quality reading for in front of the fire
1 point
-
She’s Finished!!!! I’ve finally finished a project. certified, wof’d and registered. last legal for the last Hanmeet, so it’s been a while.
1 point
-
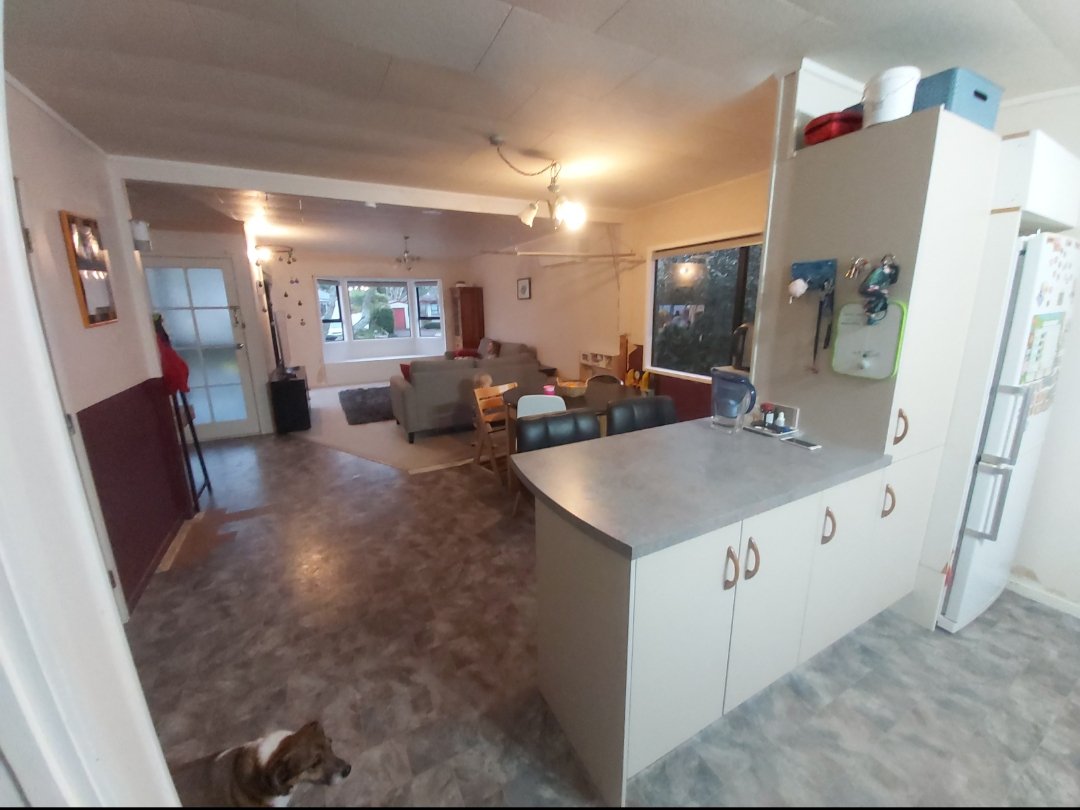
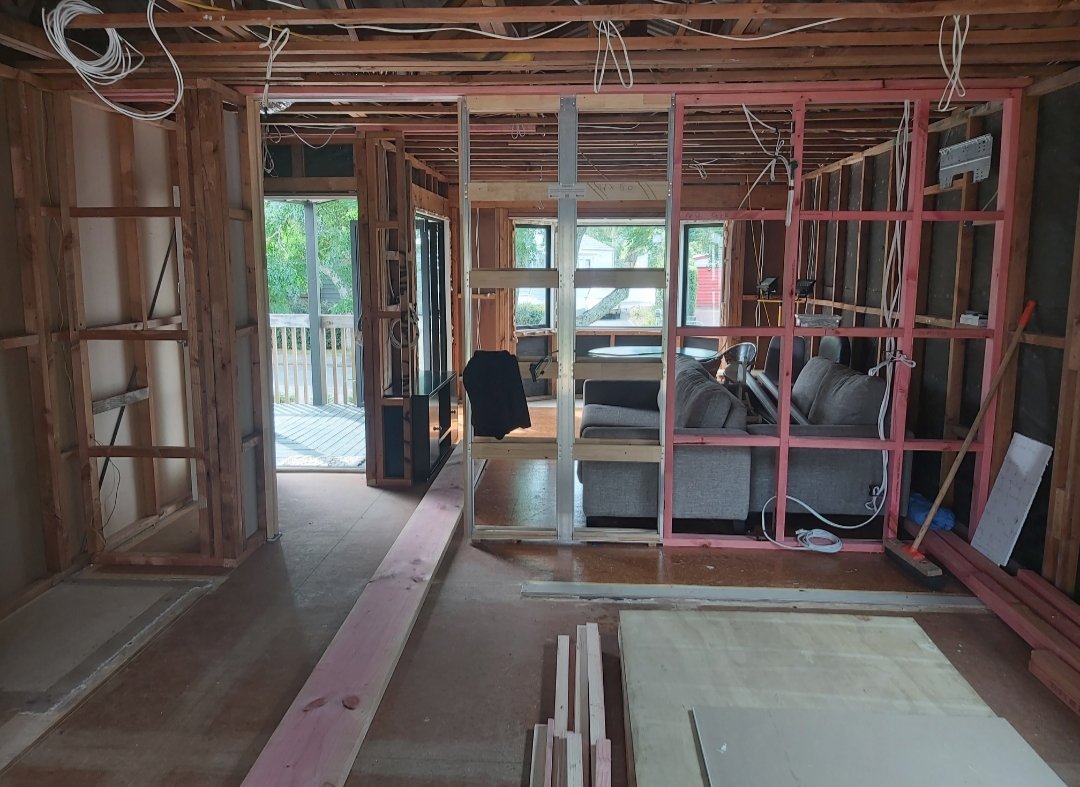
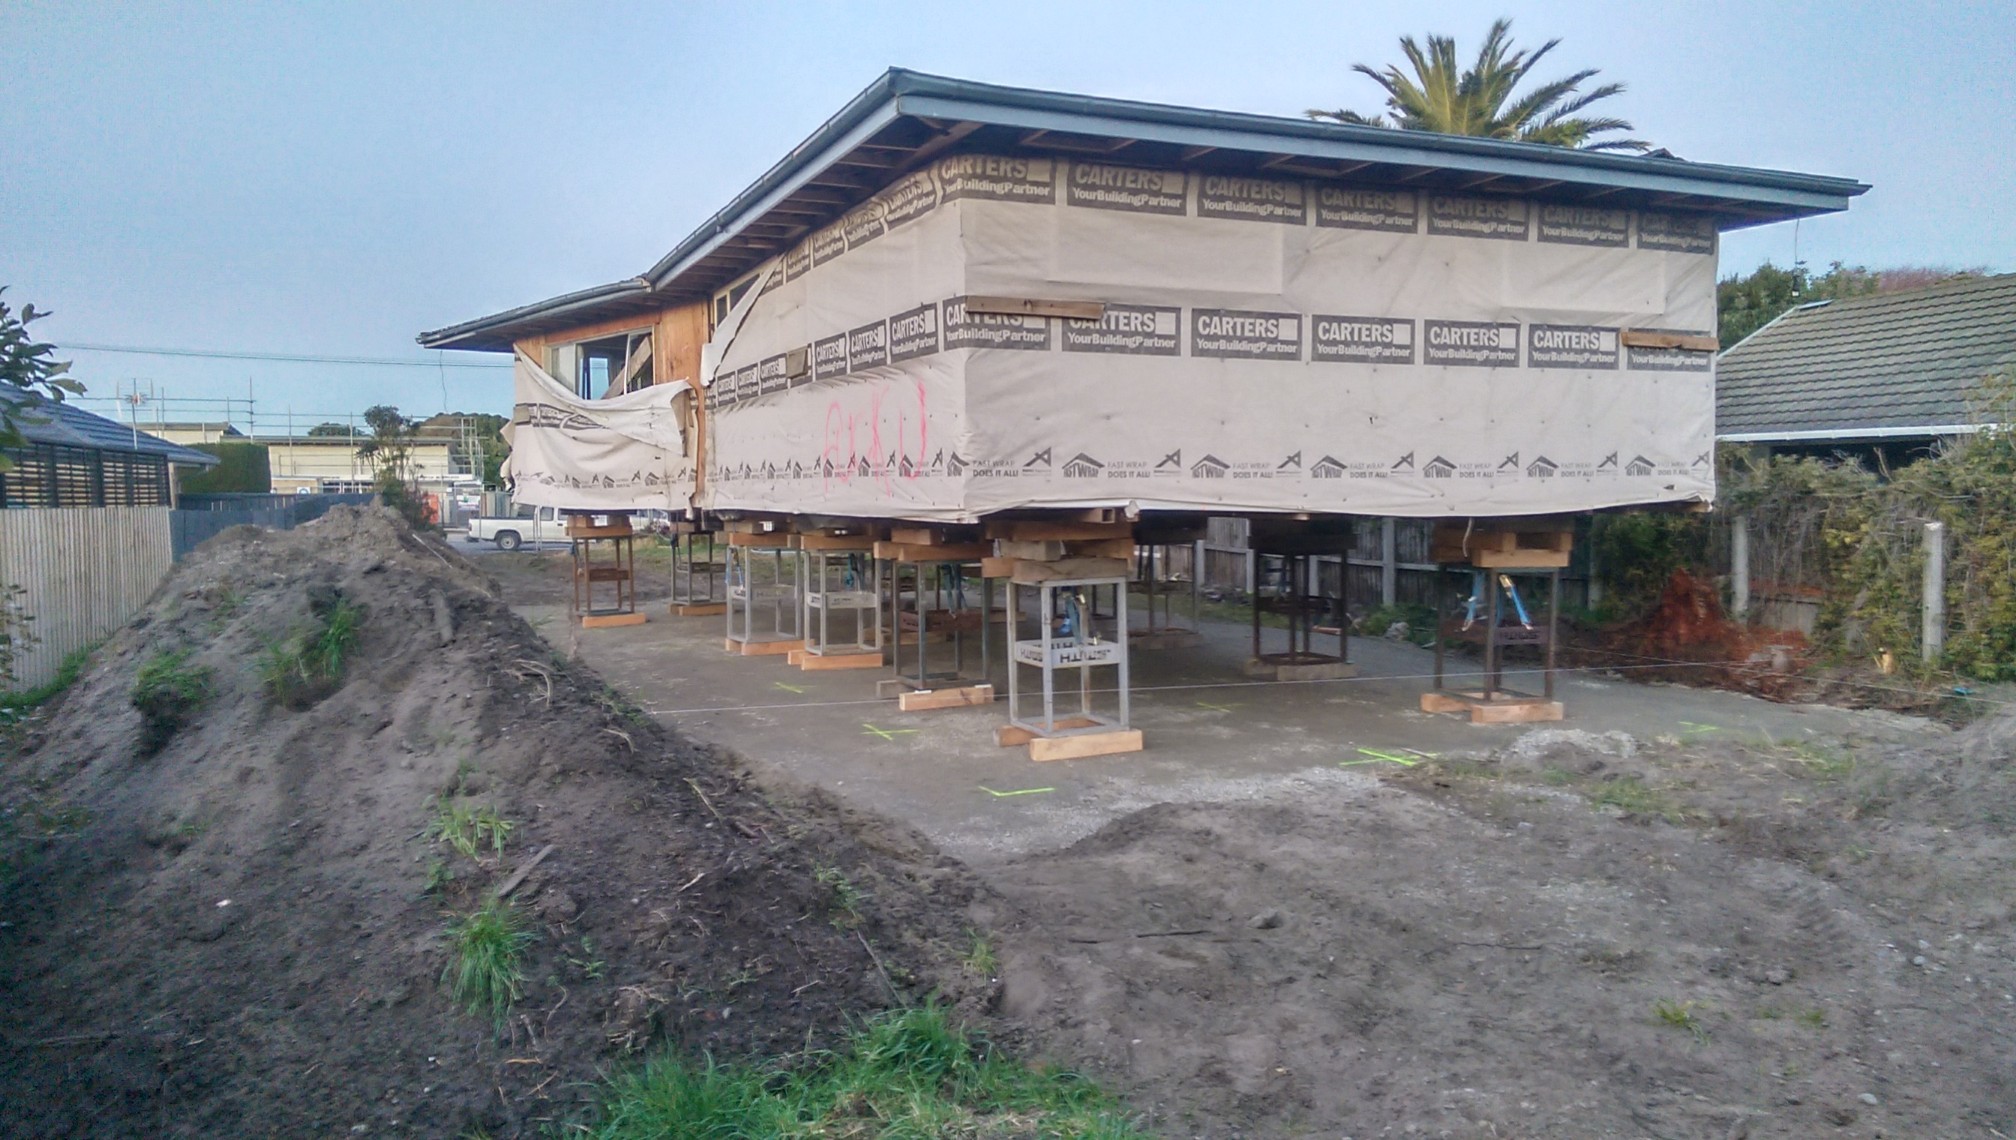
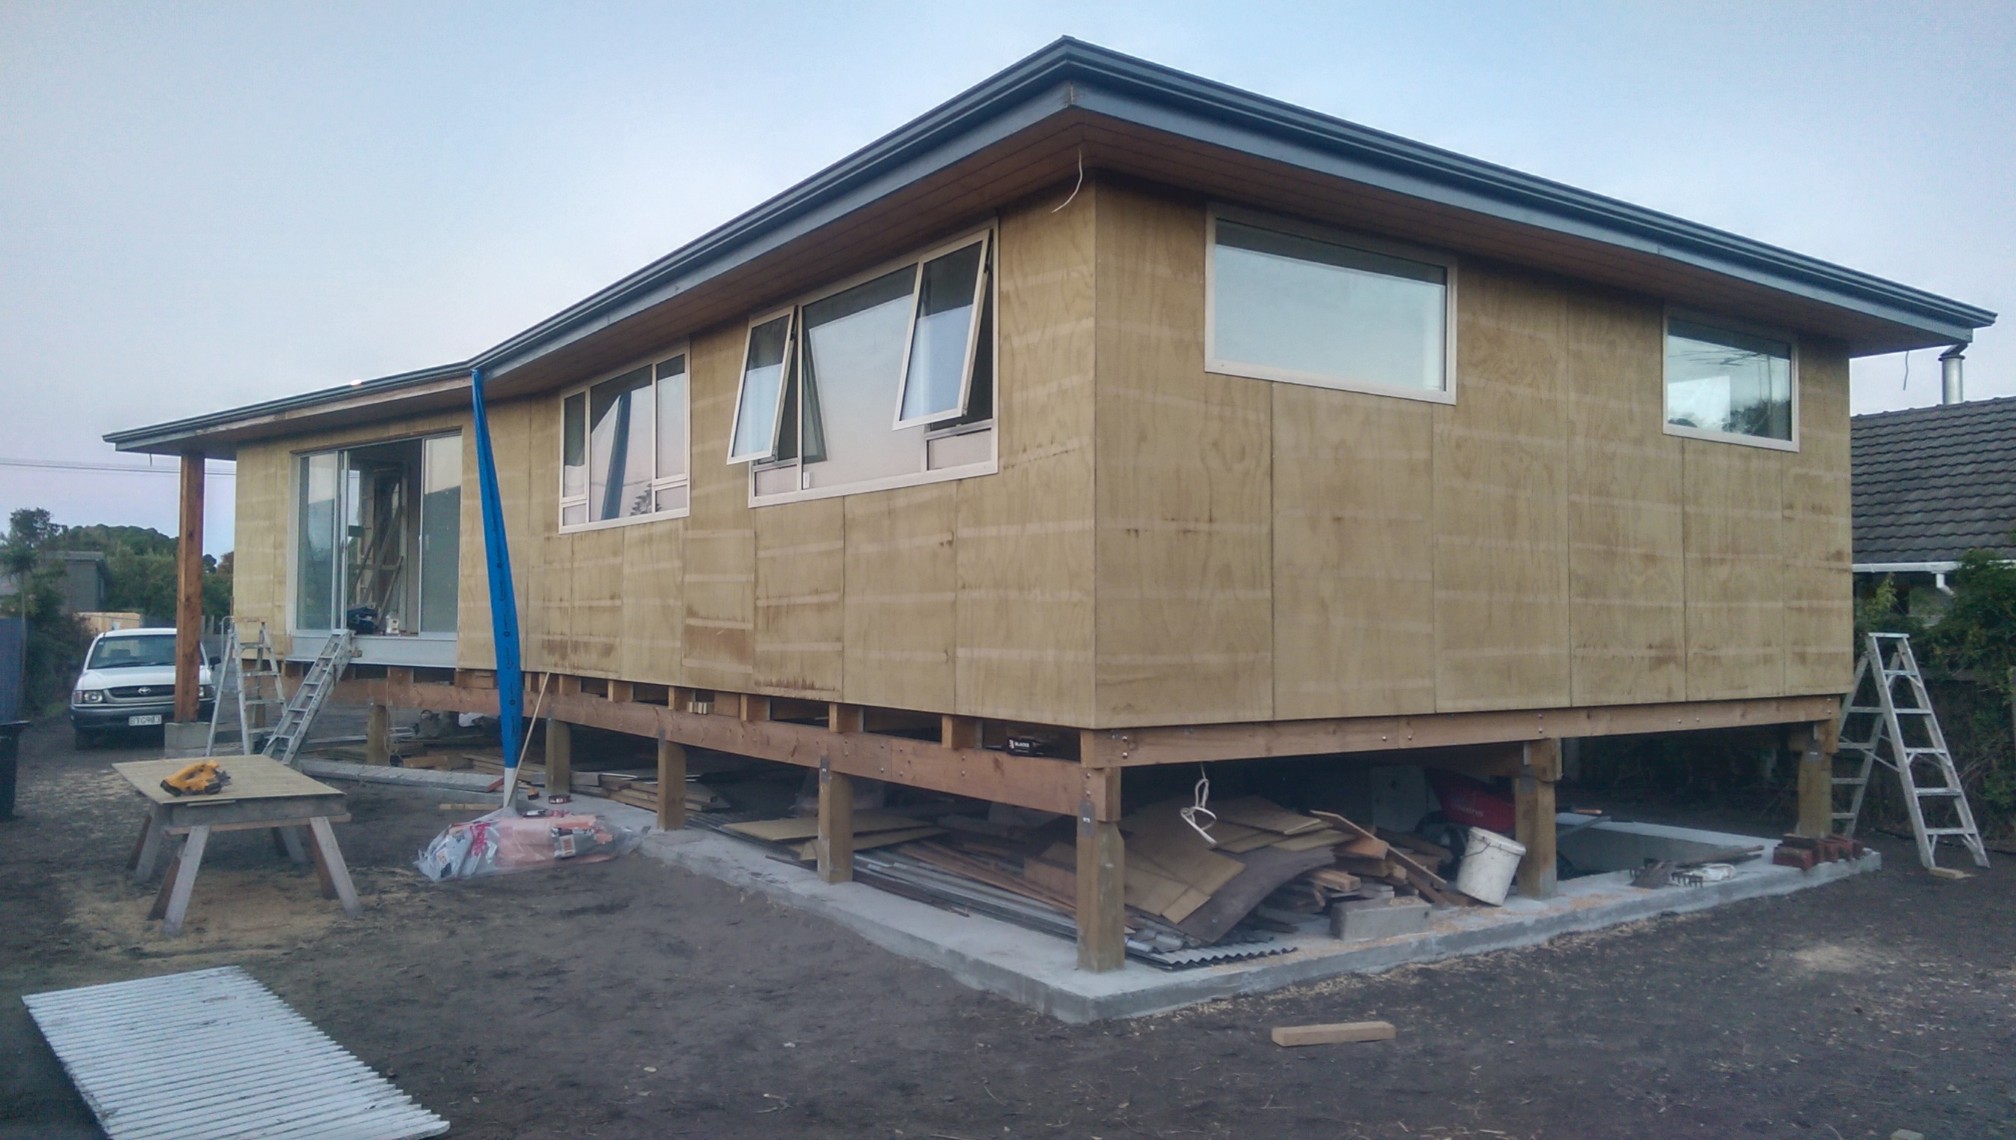
Bit of a comparison 2016 2017 a month before we shifted in. 2021 Been a fucken mission....
1 point
-
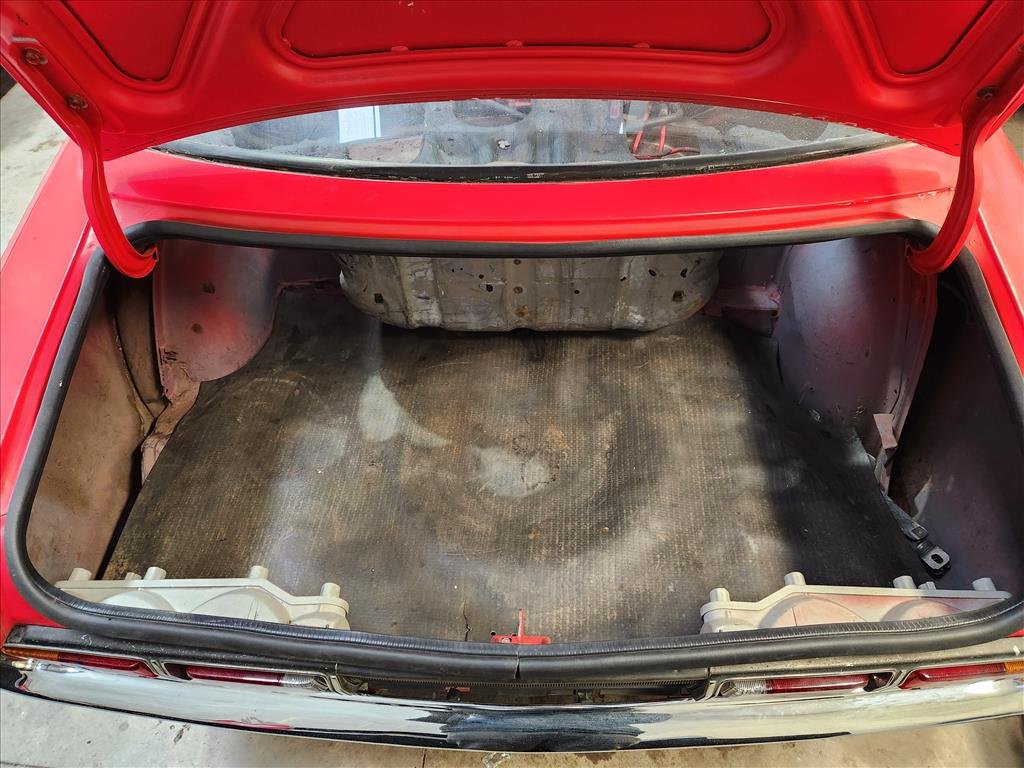
Getting the engine started is a milestone I want my partner to be there for so putting it off until the holidays when we have the time. So in the mean time let's take a look at our fuel system. I read that fuel drains slowly so I didn't bother to raise the back of the car to fit jerry cans/buckets under, instead opting to just use a pan and ice cream container and swap them over. This went poorly... But at least I didn't roll a 1 so the garage and everything is intact and I just have to deal with the fact that I need to keep all the doors open for a while. Also poor: my preparation. I bought a 10L jerry can and for some brain fart reason decided that is all I'd need. I had a couple more litres than would fit in it so I threw it in an old container and let it evap outside until I could get another one. 15 year old fuel smells and looks pretty bad. My old container was dirty so I was hoping that the crud at the bottom was already there. Foreshadowing Fast forward to weekend: Partner is over! I want to see what is borked and what can be cleaned and re-used. She removed the wheel and dropped the fuel tank after a bunch of dirt/fuel to the face. What a trooper. I disassembled it and found probably the first truly effed functional pieces of the car. I'm actually shocked at how bad this has rusted. It's like the rust has generated its own cities and infrastructure on these tubes. This float mechanism is truly beyond hope. I was hoping to be able to clean the in-tank filter and re-use it, but it's $15 from amayama and it looks like I'll need to find some other bits too so shrug emoji. I gave the tank a quick zhuzh with a smol brush and left it outside to tackle another day. I can hear debris shift around when I tilt it. A brief shitty look inside is inconclusive - definitely some rusty bois floating around in there but not sure what the tank itself looks like. The exterior has some minor surface rust in places, hidden under the geological layers of dirt. It sucks that the holes are so small, definitely won't be able to get my arm in there to clean it properly, so we may have to wait for some solvents to arrive courtesy of partner's chemistry connections. As a side, the paint around the drain hole peeled off from the fuel. Seems like a design flaw... also the fact that the heat guard can't be removed so treating up in there is going to be "fun".1 point
-
@Firebrand to the rescue! He happened to have the right one (we think) floating around and used the opportunity to offload a bunch of other stuff he was hoarding, for which I am extremely grateful. And most importantly, it fits! Finally!!! This is just a test fit - I'll need to get it properly in. Next up is to sort out the spark plugs, re-dinosaur the oil system and de-dinosaur the fuel system, then we're pretty close to test firing this beastie.1 point


This leaderboard is set to Auckland/GMT+12:00