
Leaderboard


Popular Content
Showing content with the highest reputation on 11/27/22 in all areas
-
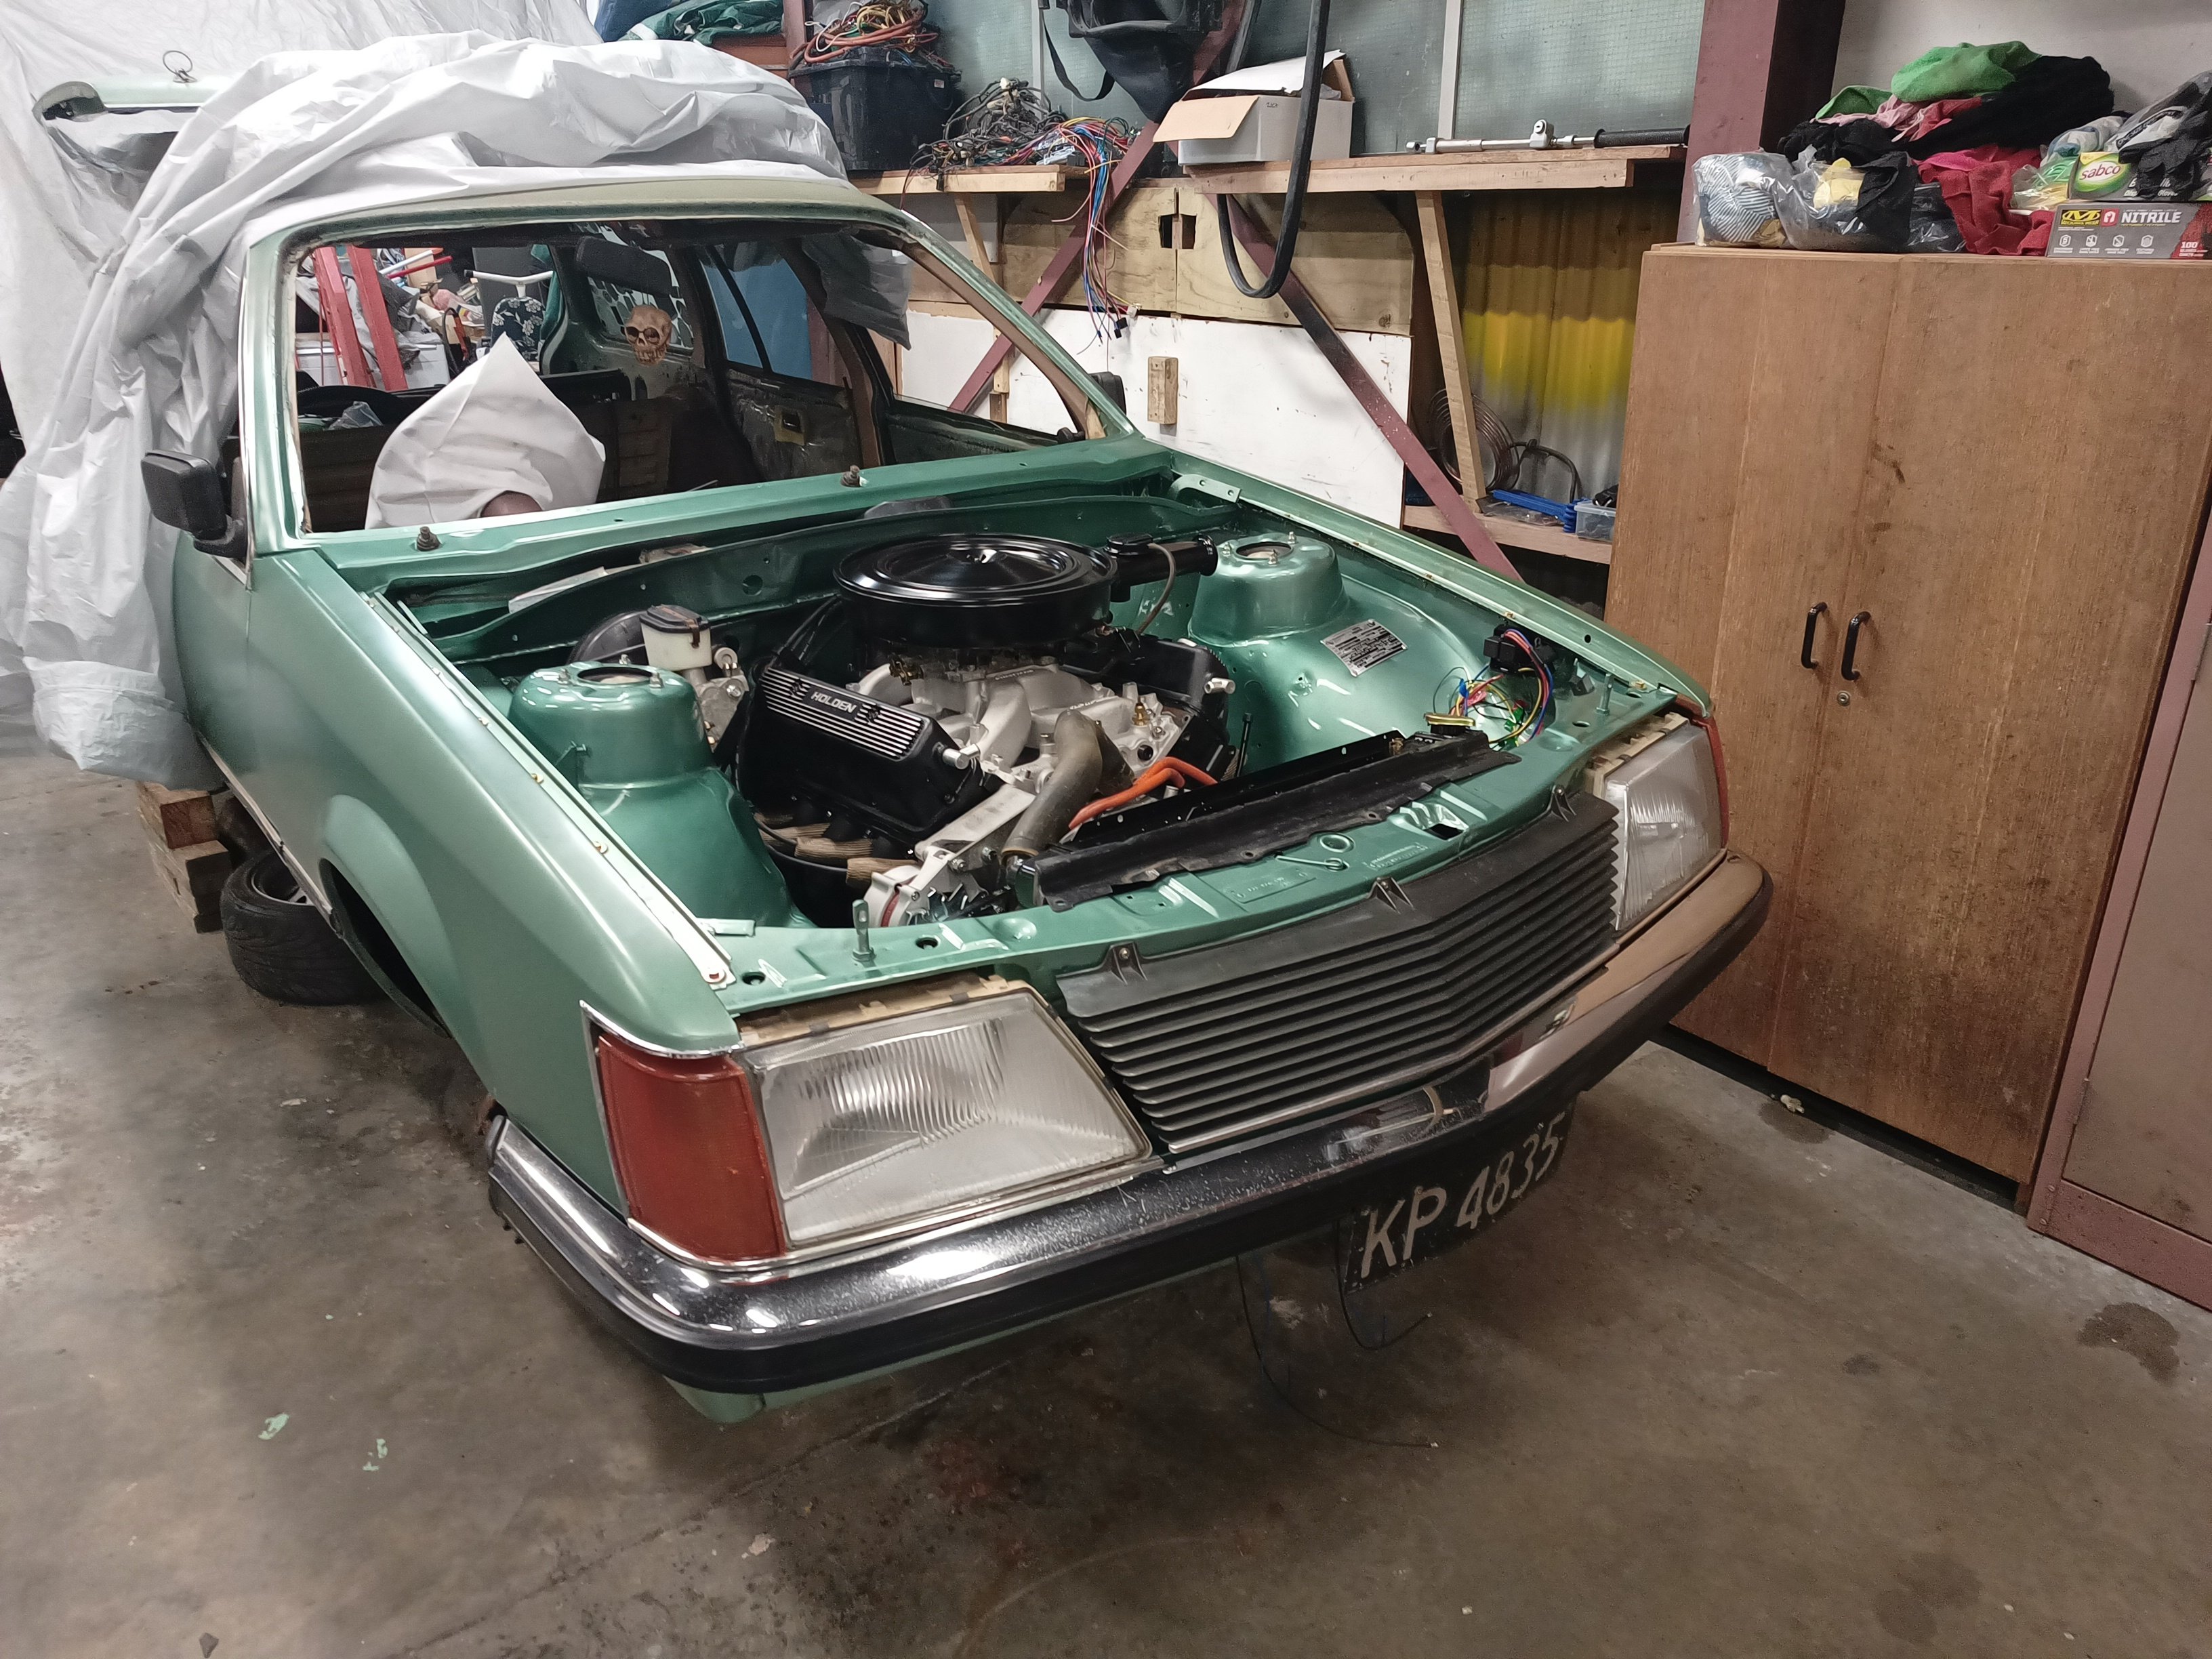
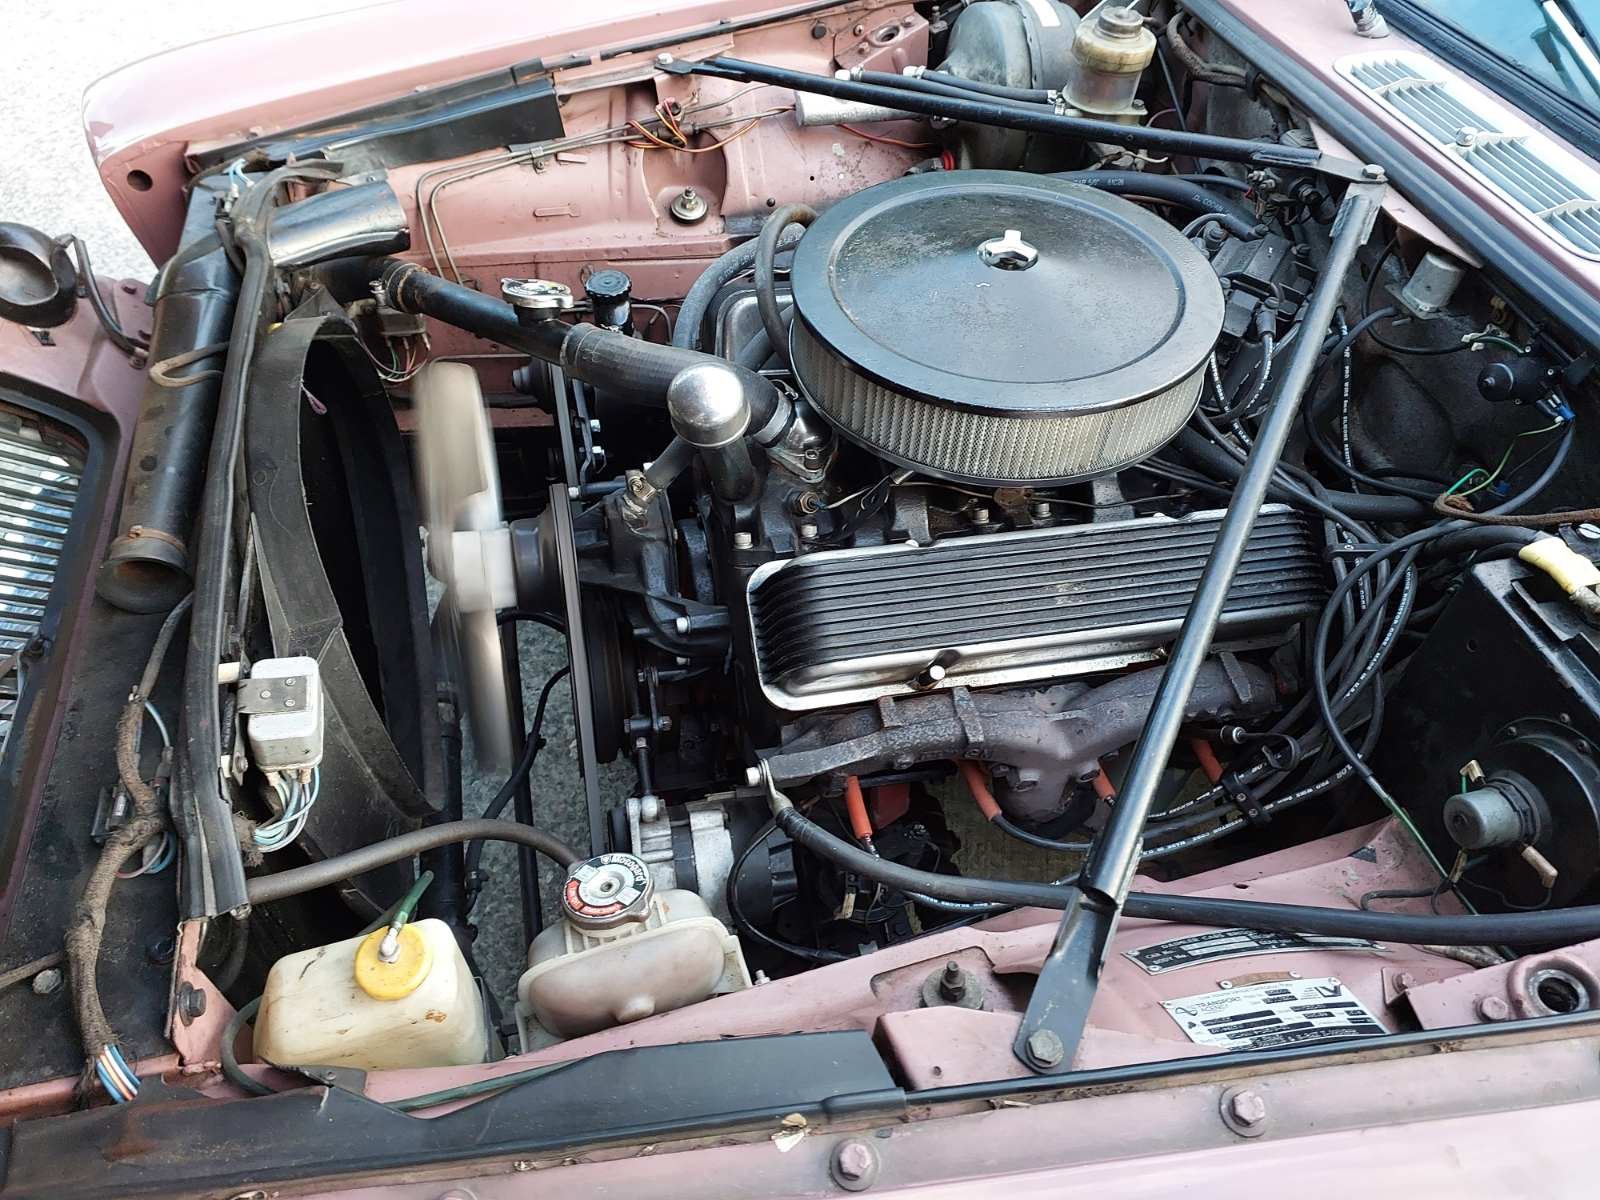
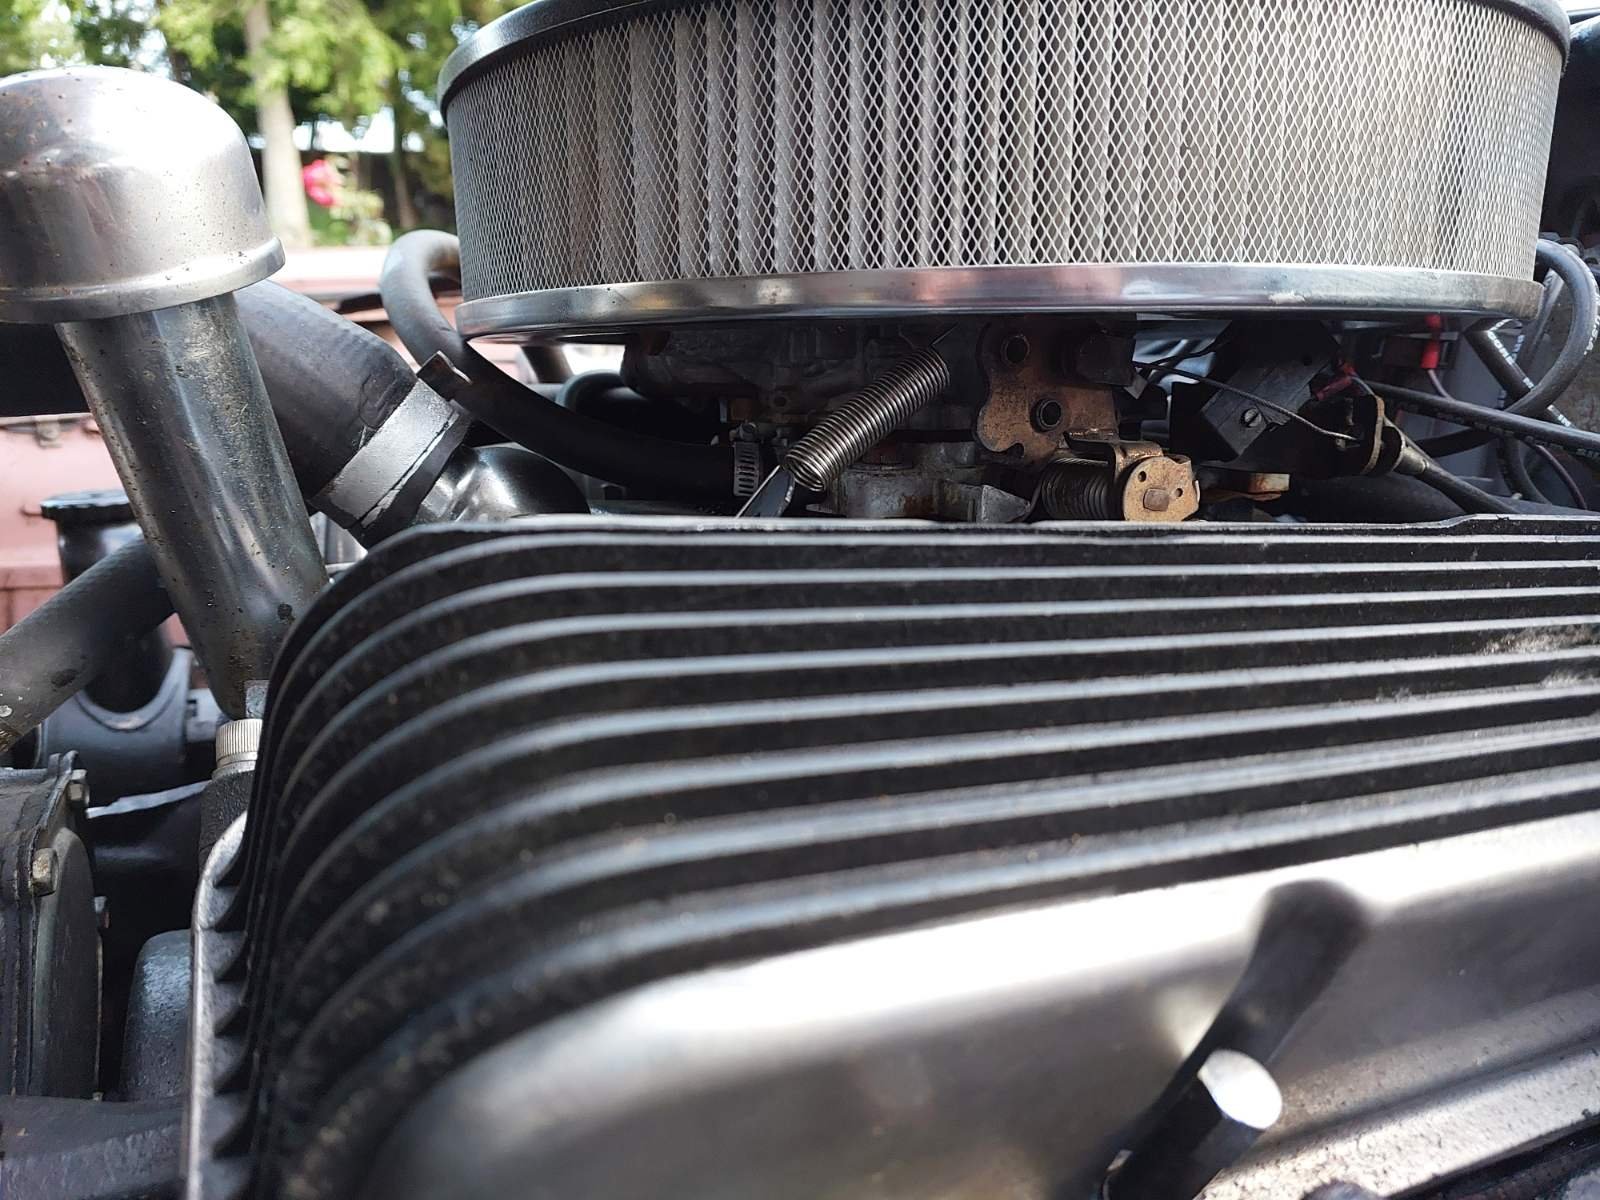
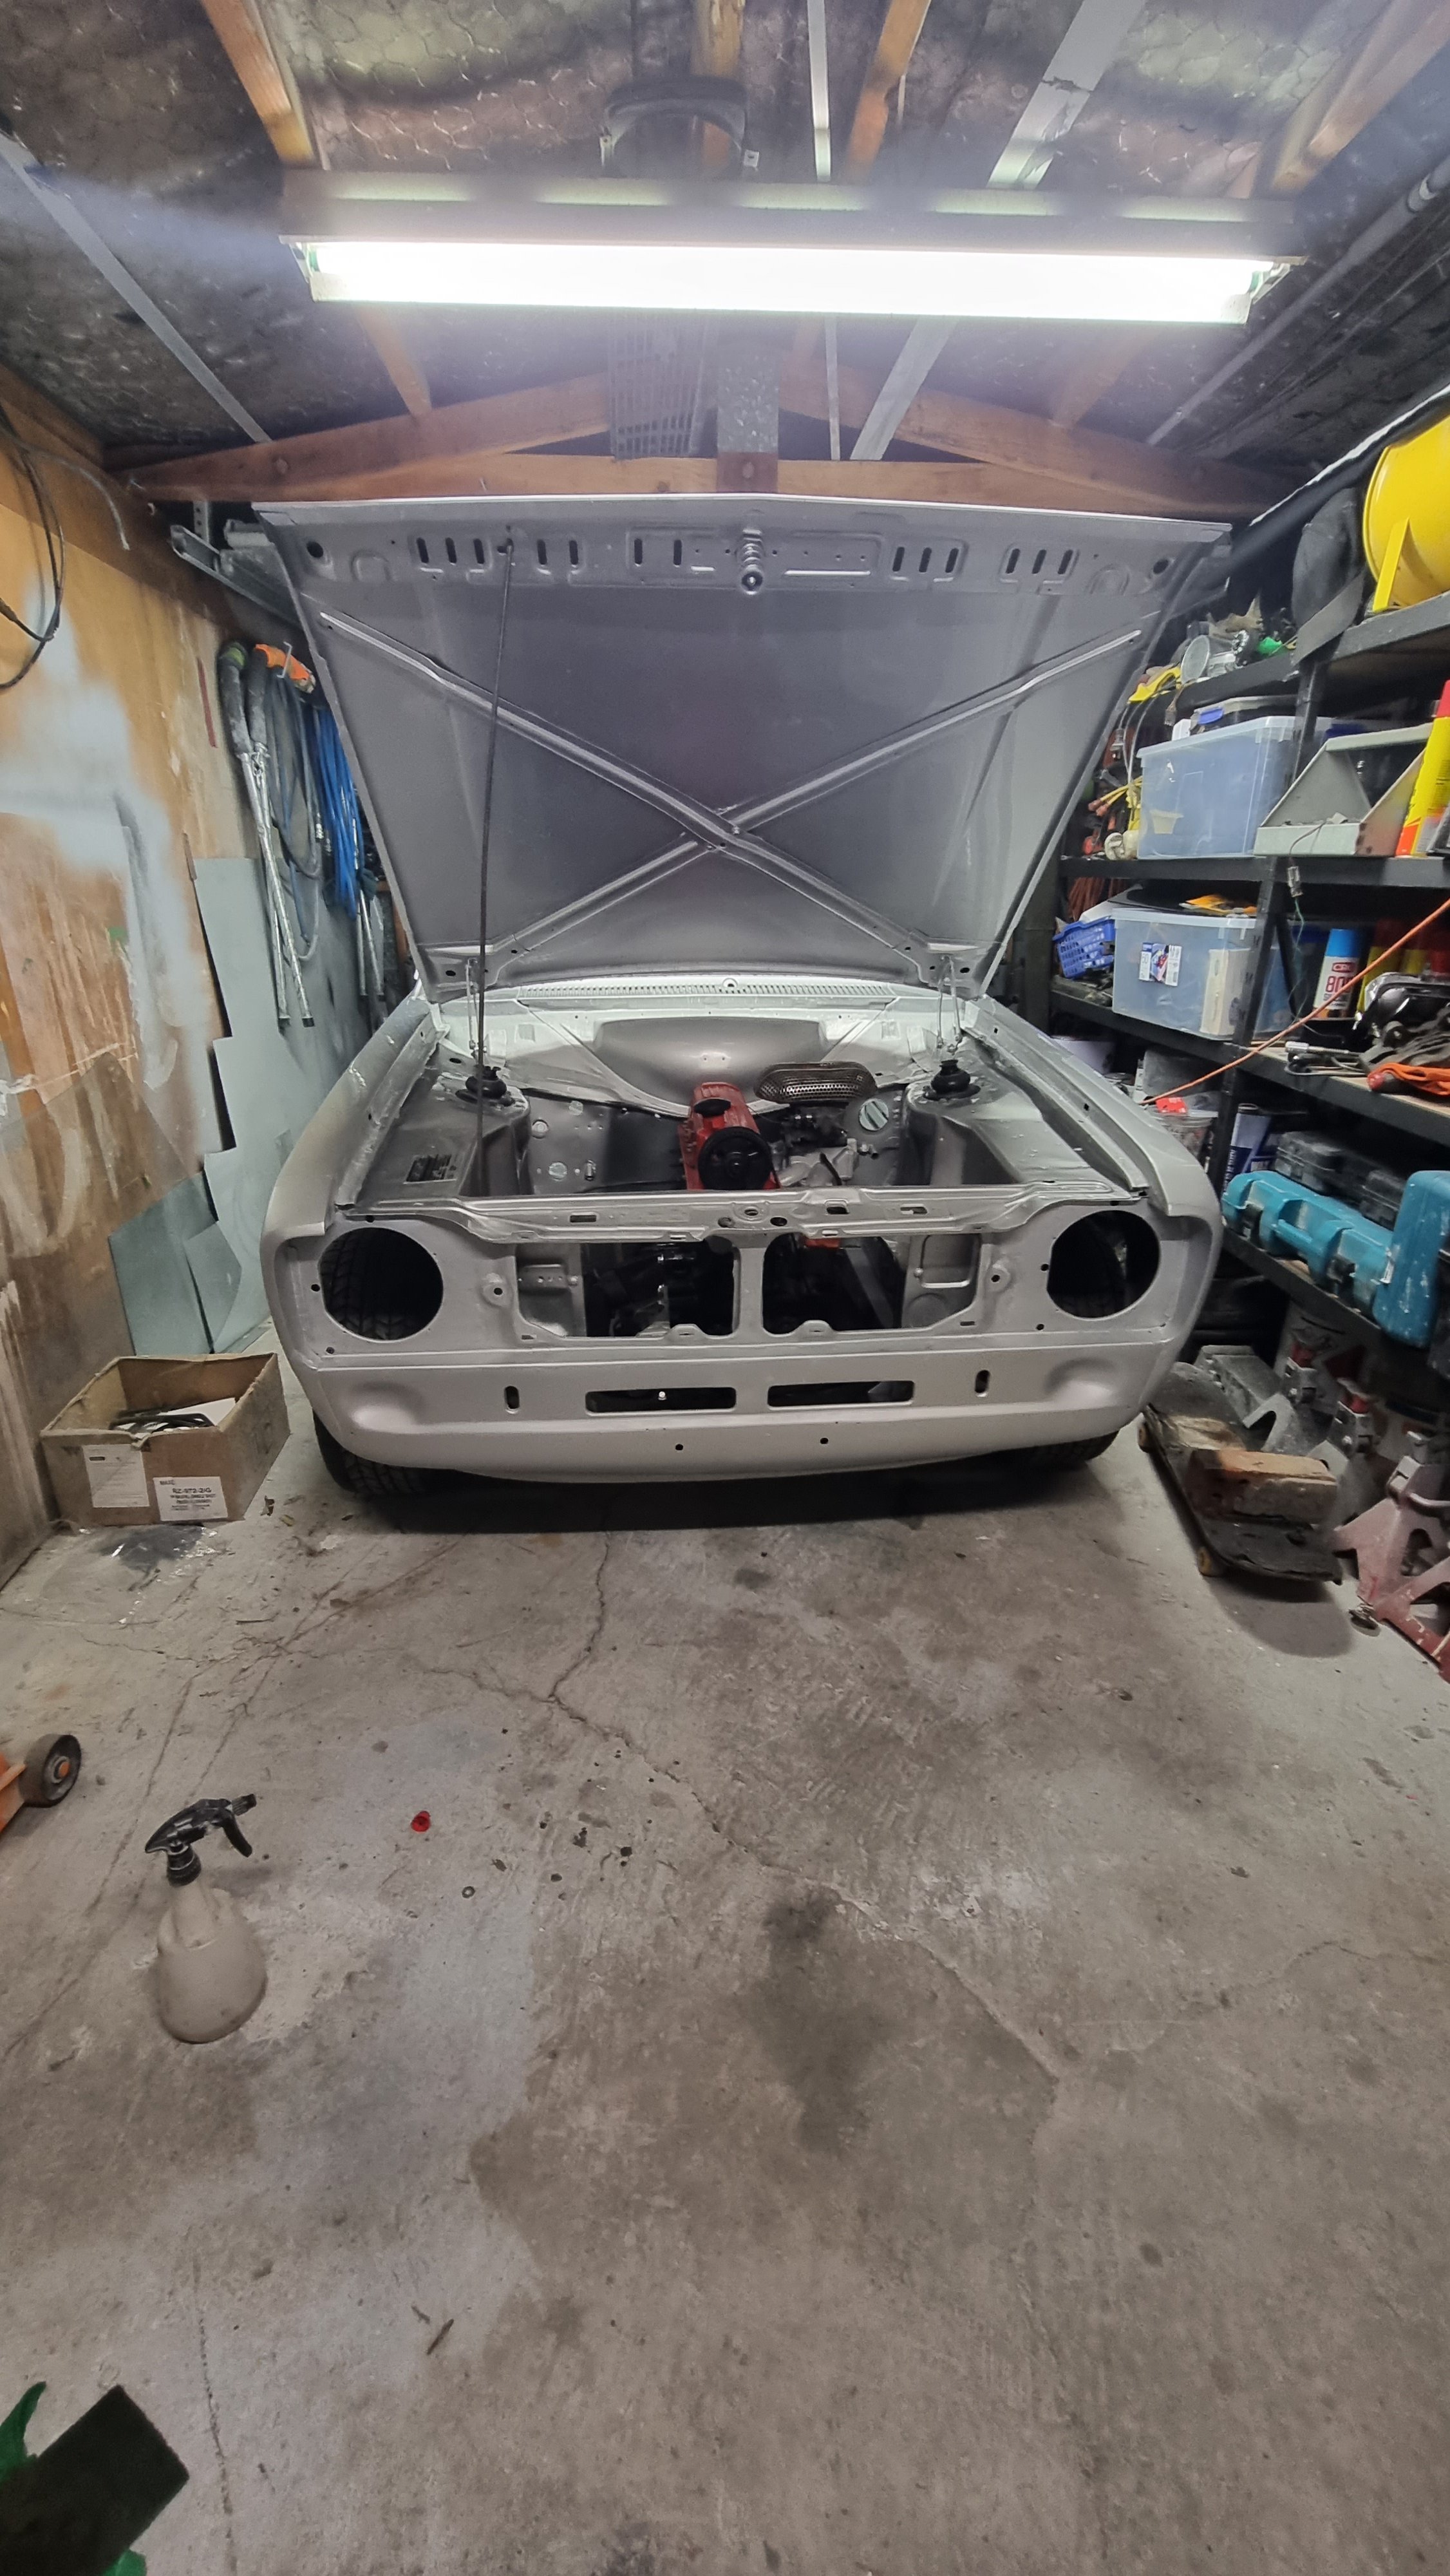
I feel I should make it clear I haven't engineered the drama for the clicks; it all happened very fast and it's all real. The car is/was currently listed for sale (at great cost), I had a couple of people contact me but nothing came from that, I guess an SD1 with a broken engine just isn't that desirable. The comments I have had on various forums made me realise I would be better off at least giving it a try and seeing what I could do with the engine, whether it was rebuilding the original or fixing the current one. I wrote the current engine off quickly as it's not worth spending the cash on (low compression engine, with bad oil pressure), so started to look at rebuilding the original one. I was quickly put off this by the horrific cost of shipping some of the parts from the UK (hundreds in just freight), so chucked a couple of WTB ads out on a couple of places to see if there were any 3.9L Discovery engines about. I didn't have many hits on this either, and then remembered I'm a member of a local Range/Land Rover Parts Facebook group. So last night I asked on there if anyone had a good 3.9 for sale, and as luck would have it, someone local had one they weren't using from a Disco they bought for parts. Today they dropped it into my garage, and took away some cash for their trouble. Apparently it's done 160,000km, ran well, ran quiet and other than the external oil leaks (mainly from valve covers it seems) it looks good enough. I'll take the valley gasket off when I do the inlet manifold and see what state the cam is in, hopefully it's good.16 points
-
Well here it is, the plot twist; The car won't be sold. My arm has been sufficiently twisted by all the lovely people online who actually care about the car, and this will go in instead. What is it? It's the good high compression one too It needs a damn good clean, and some refreshing (new seals and gaskets) before it can go in the car, but I have a deadline of about 3 weeks to have the car going—Lets goooooo.15 points
-
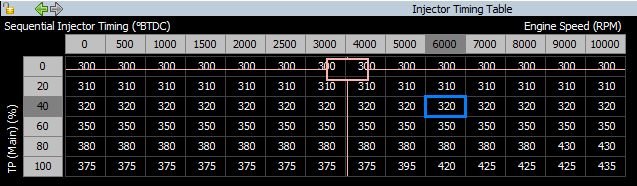
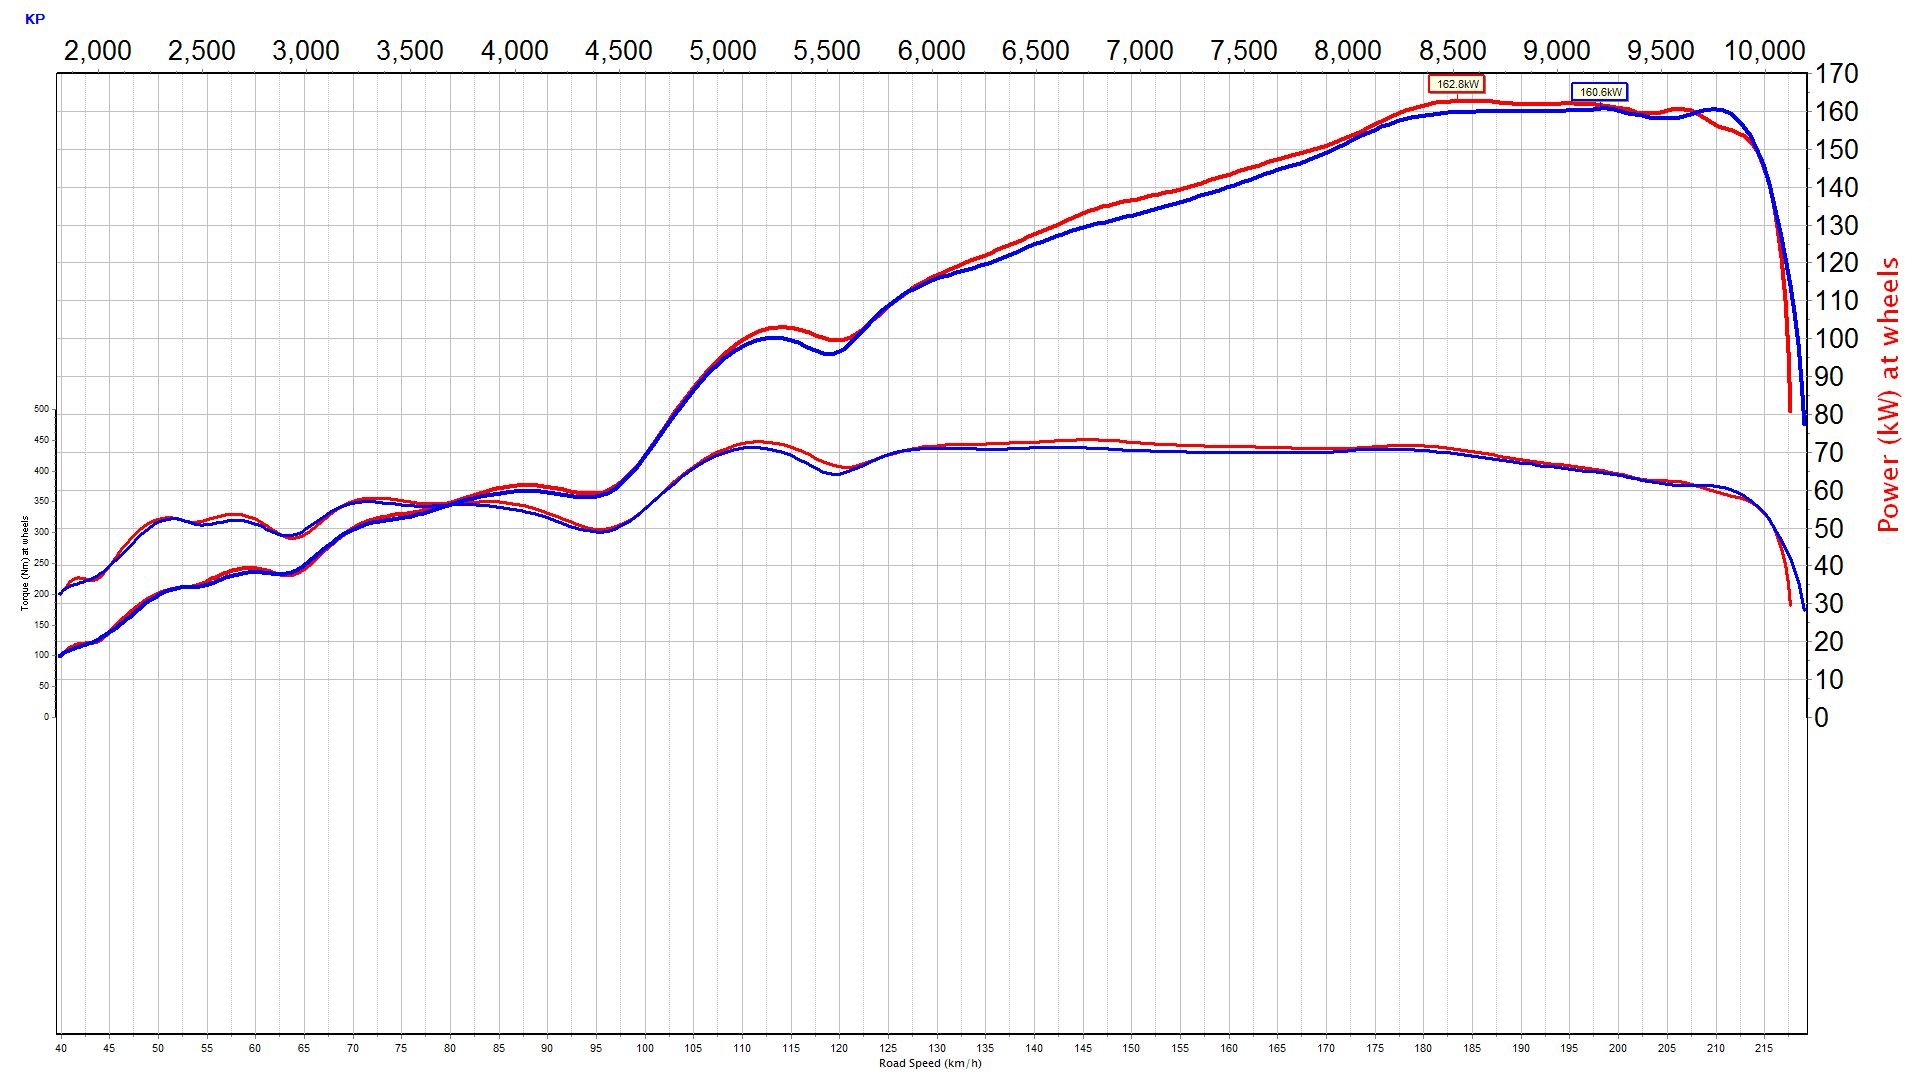
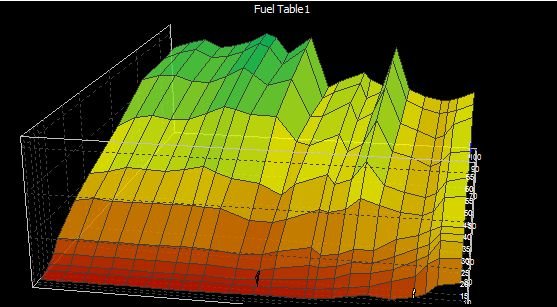
Done a few more tweaks and got a touch more out of it. fixed some stuff in the fuel system that was causing a few afr spikes. played with the injector timing, which seemed to give some small gains here and there, mostly noticeable right up top 9500+ Pretty much lined up with when afr richest = best. I had been running fixed 400 end of injection which worked pretty good for fixed number. heading towards 300 would result in massive loss in bottom end. but it did like a little less than 400 down there. right up top it liked over 400. So yeah running this engine with the big 980cc injectors is actually a benefit. Seems to be a touch of power in it. Even if there wasn't/isn't, would be wasting fuel, going to a smaller injector. since the injector would be open for so long, part of it wouldn't be burnt Bottom line is what it likes at wide open, ignore the rest of map haven't fill it out properly yet. Injector timing made some of the changes in fuel map slightly less aggressive, but yeah big cam itb tune always going to be all over the shop contrary to popular belief, something like this is harder to tune than a turbo engine making way more power. gains from last time in red the atlantic engine in dark green. I should probably try the big headers at some stage. think it will be really close to the atlantic curve. at least lose the power below 6k haha
 12 points
 -
Bah, the next owner can worry about matching numbers and being an anorak, I've always wanted a 3.9 SD1 haha.8 points
-
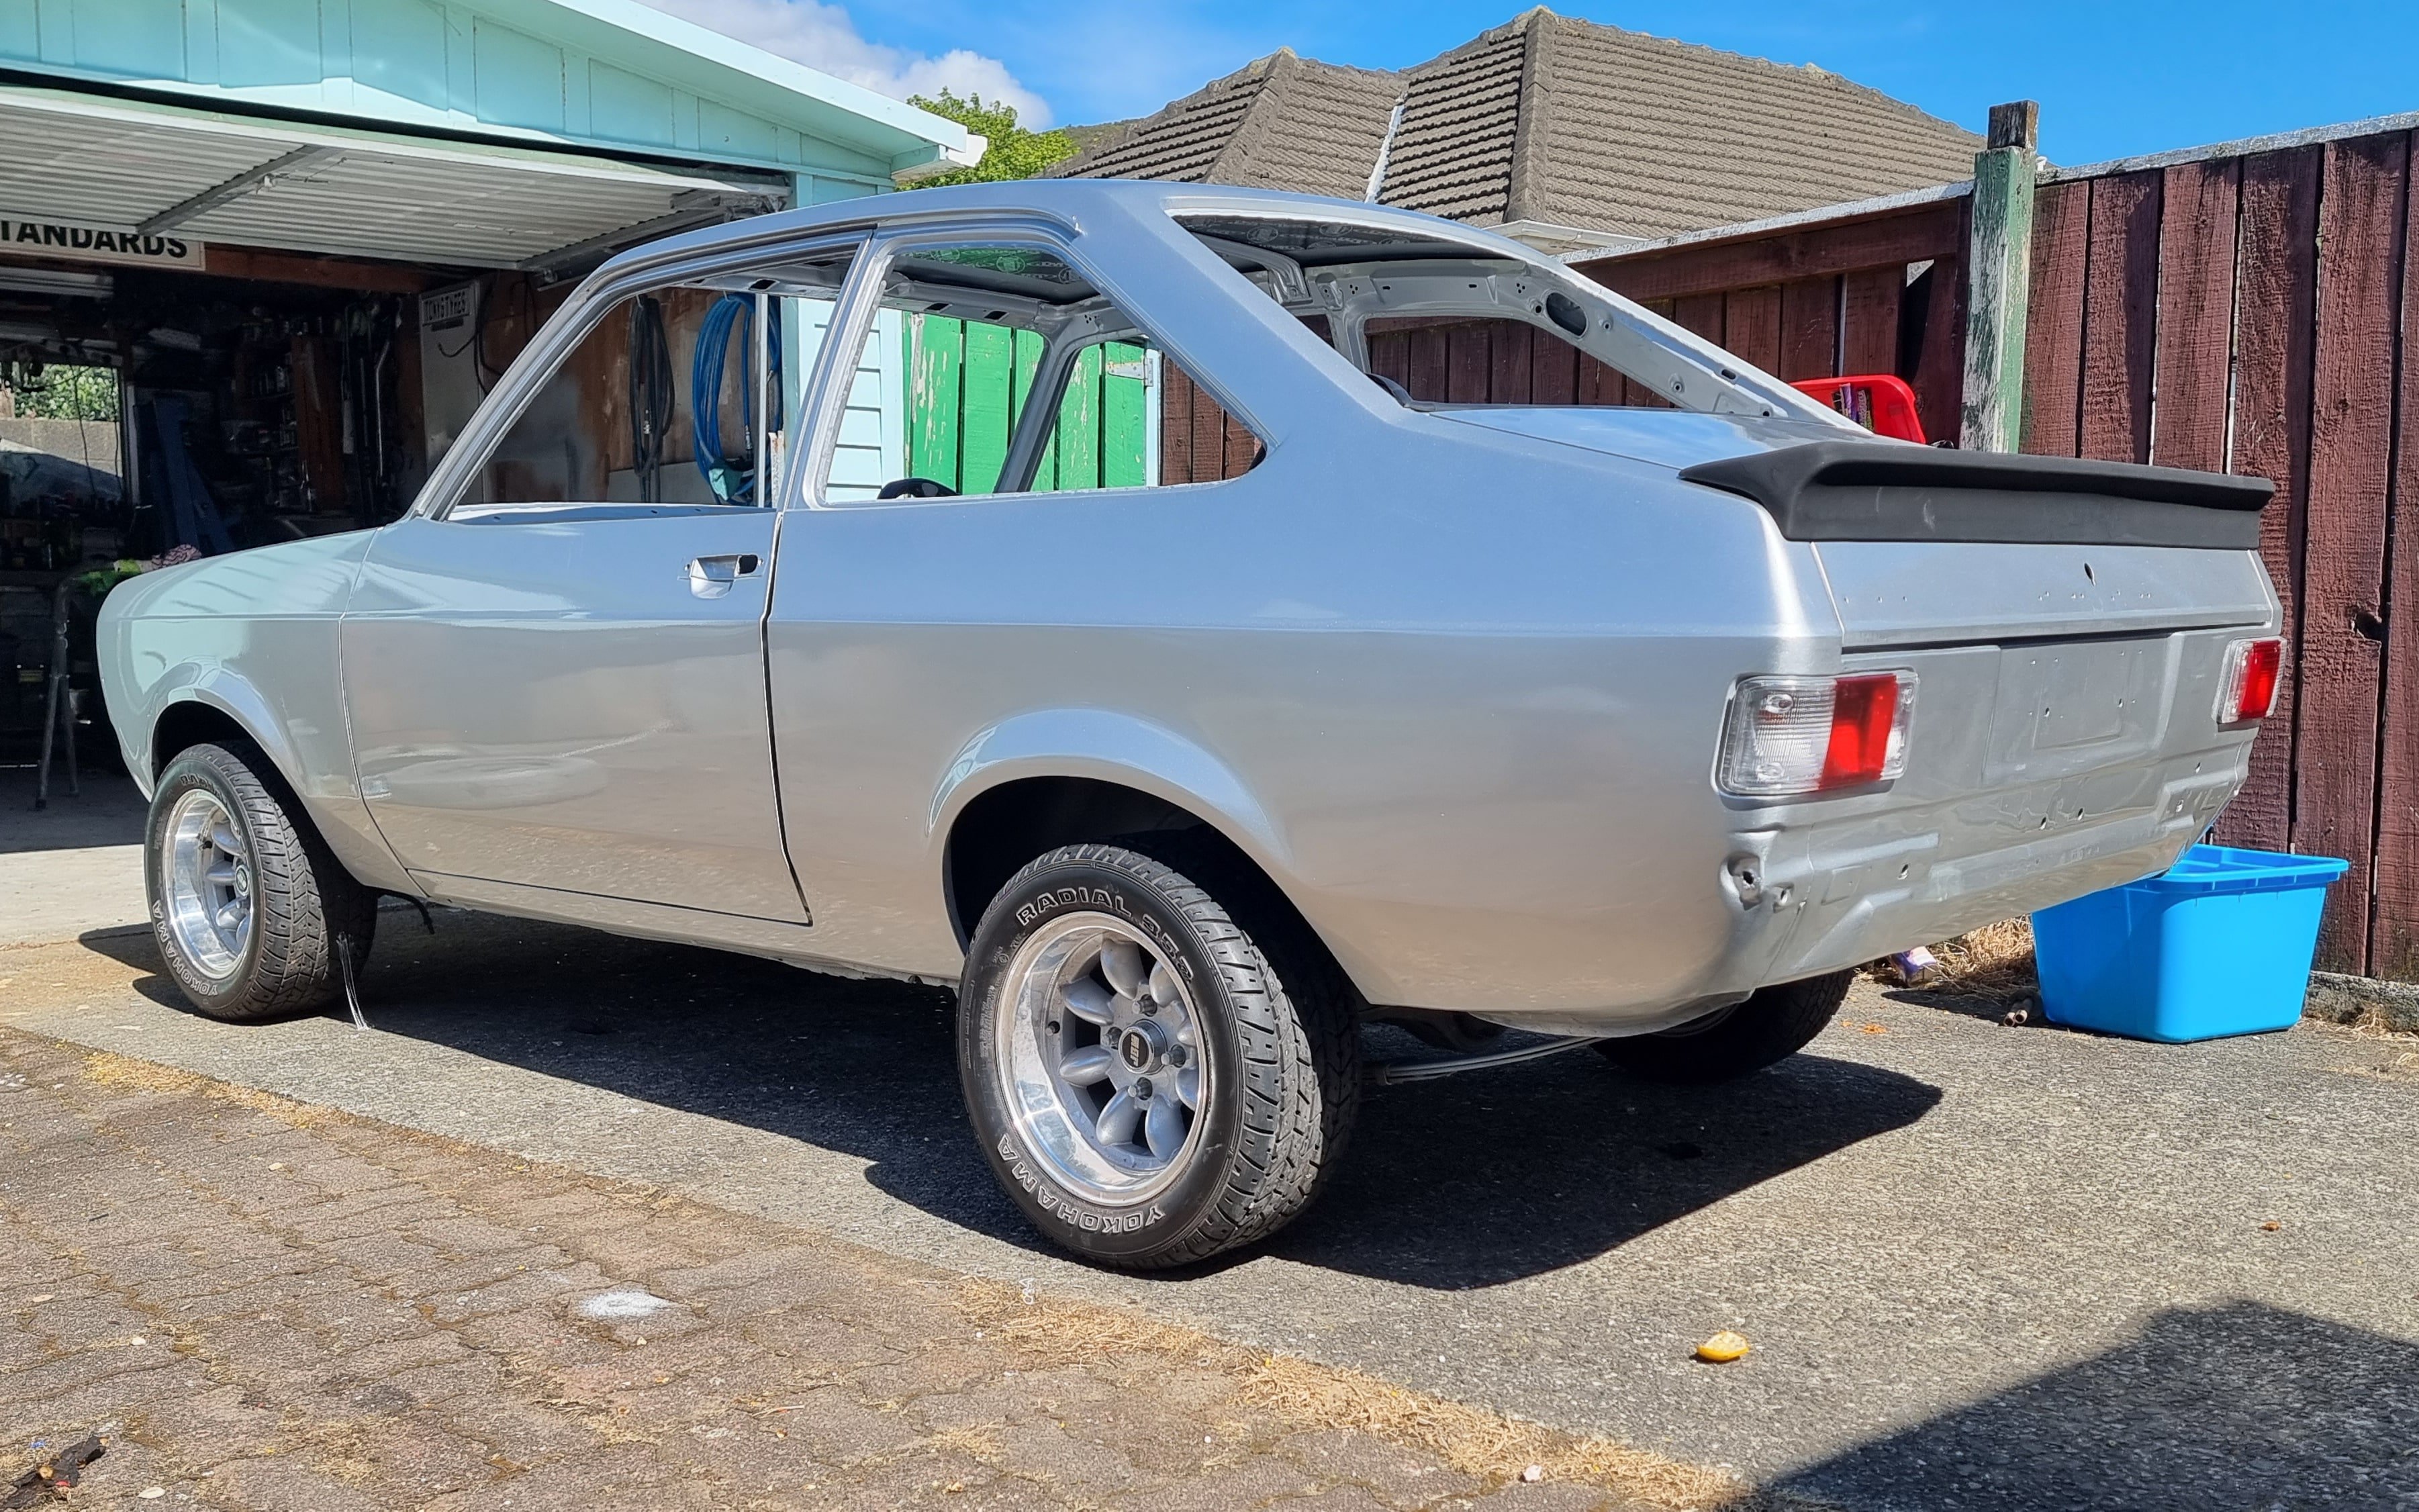
Pretty happy with the turnout so far, Need to do headliner now, any tips lads
5 points
-
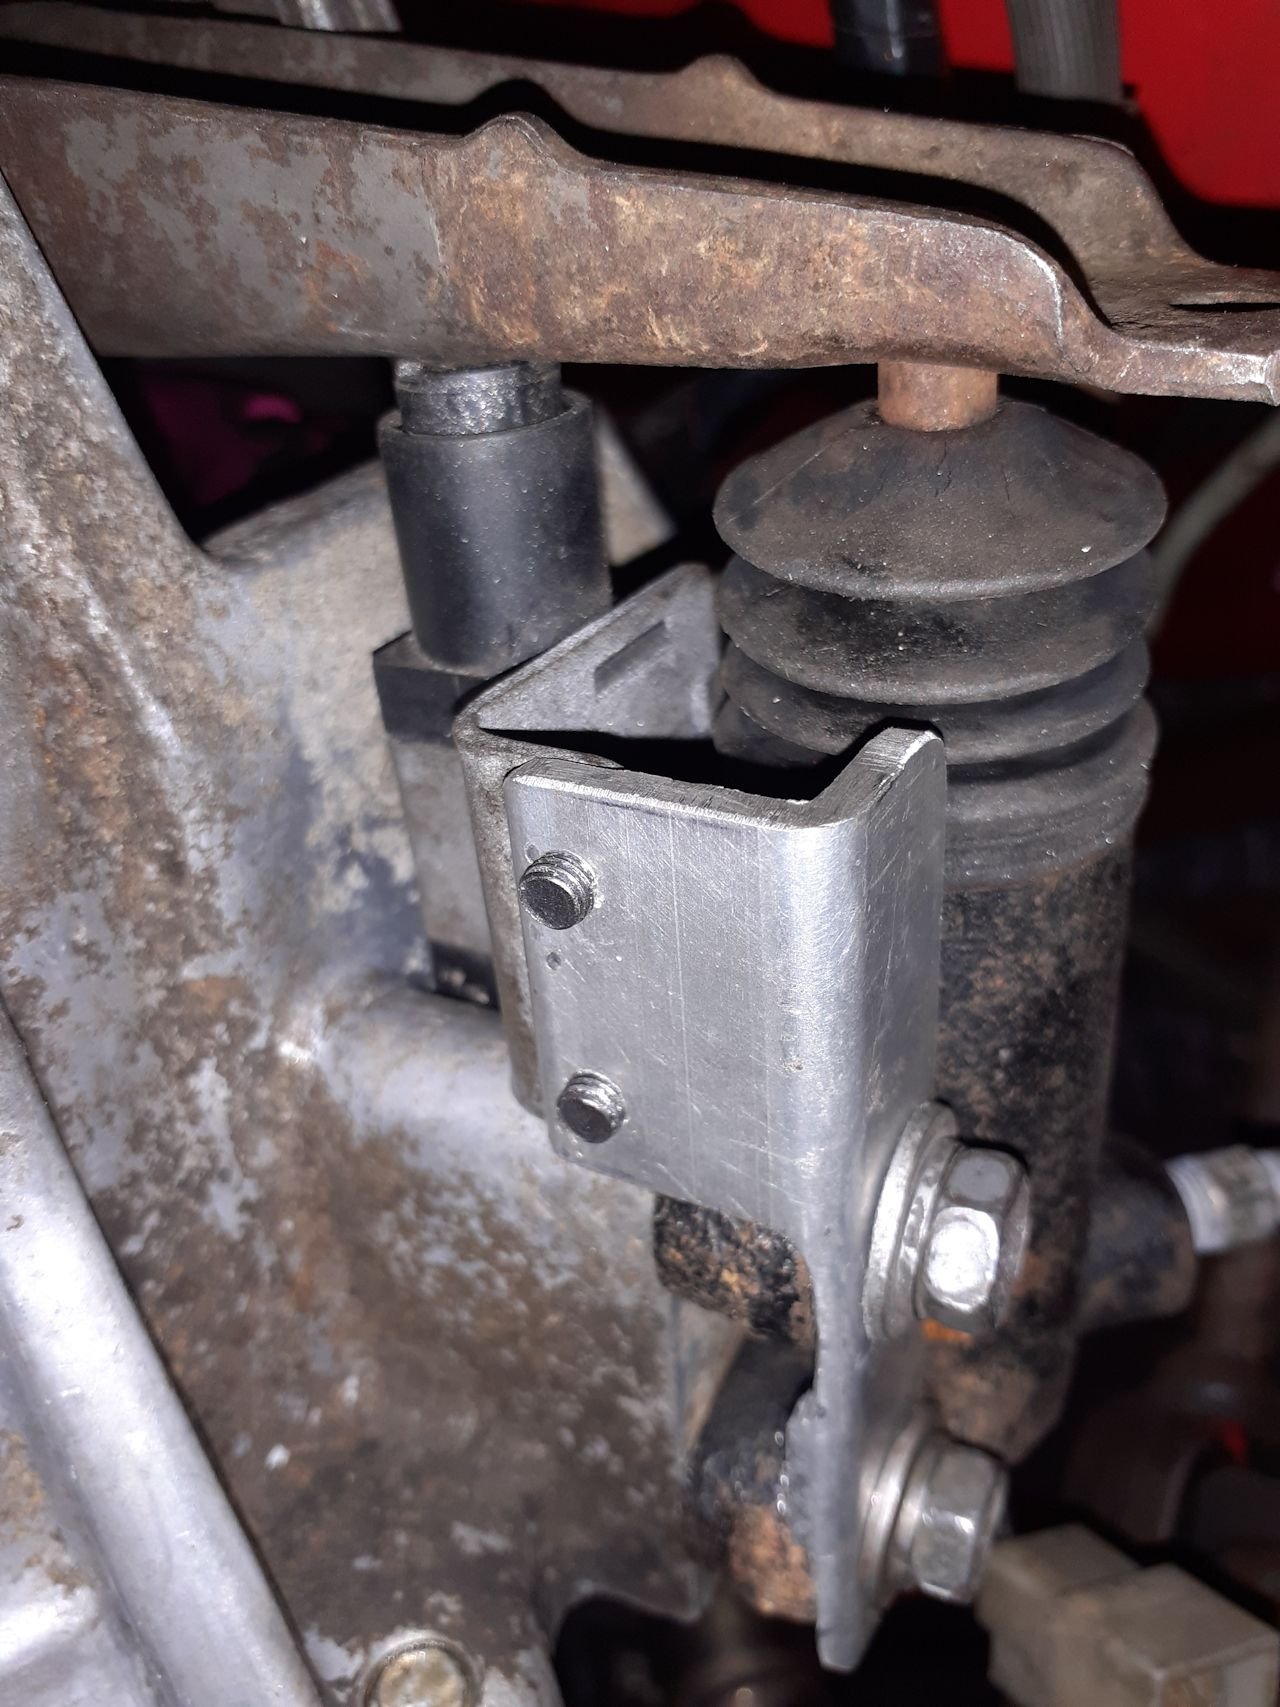
Lid handles sorted. I found a quick release bumper thingy in the shed which turned out to be just what I needed. Bit of careful holesaw and chisel action and it was in Hopefully that little bracket is strong enough It's as finished as it'll get for now. Need to varnish it and wait for the battery holder to arrive from aliexpress. I've got varnish at the lockup so will try and remember to grab it next time4 points
-
Speaking of ordering things, if anyone needs bolts and hasnt come across these guys before, I highly recommend checking them out. They have heaps of oddball (imperial lol) stuff, and REALLY good prices. Im talking less than $1 ea for stainless bolts that Rimmers wanted $5 a piece for zinc plated. I got a kit of machine screws from them for the Marina too. https://www.theboltholder.co.nz/4 points
-
Not much other than about 160k on the clock, out of a late Disco, and ran well with no knocking or ticking. Came in a truck the seller was wrecking for parts for his and his dads Landys. The disco failed a WOF on various things, so got scrapped. Just spent almost the cost of the engine on parts for the conversion (seals, gaskets, oil pump gears etc). Yayyyy.4 points
-
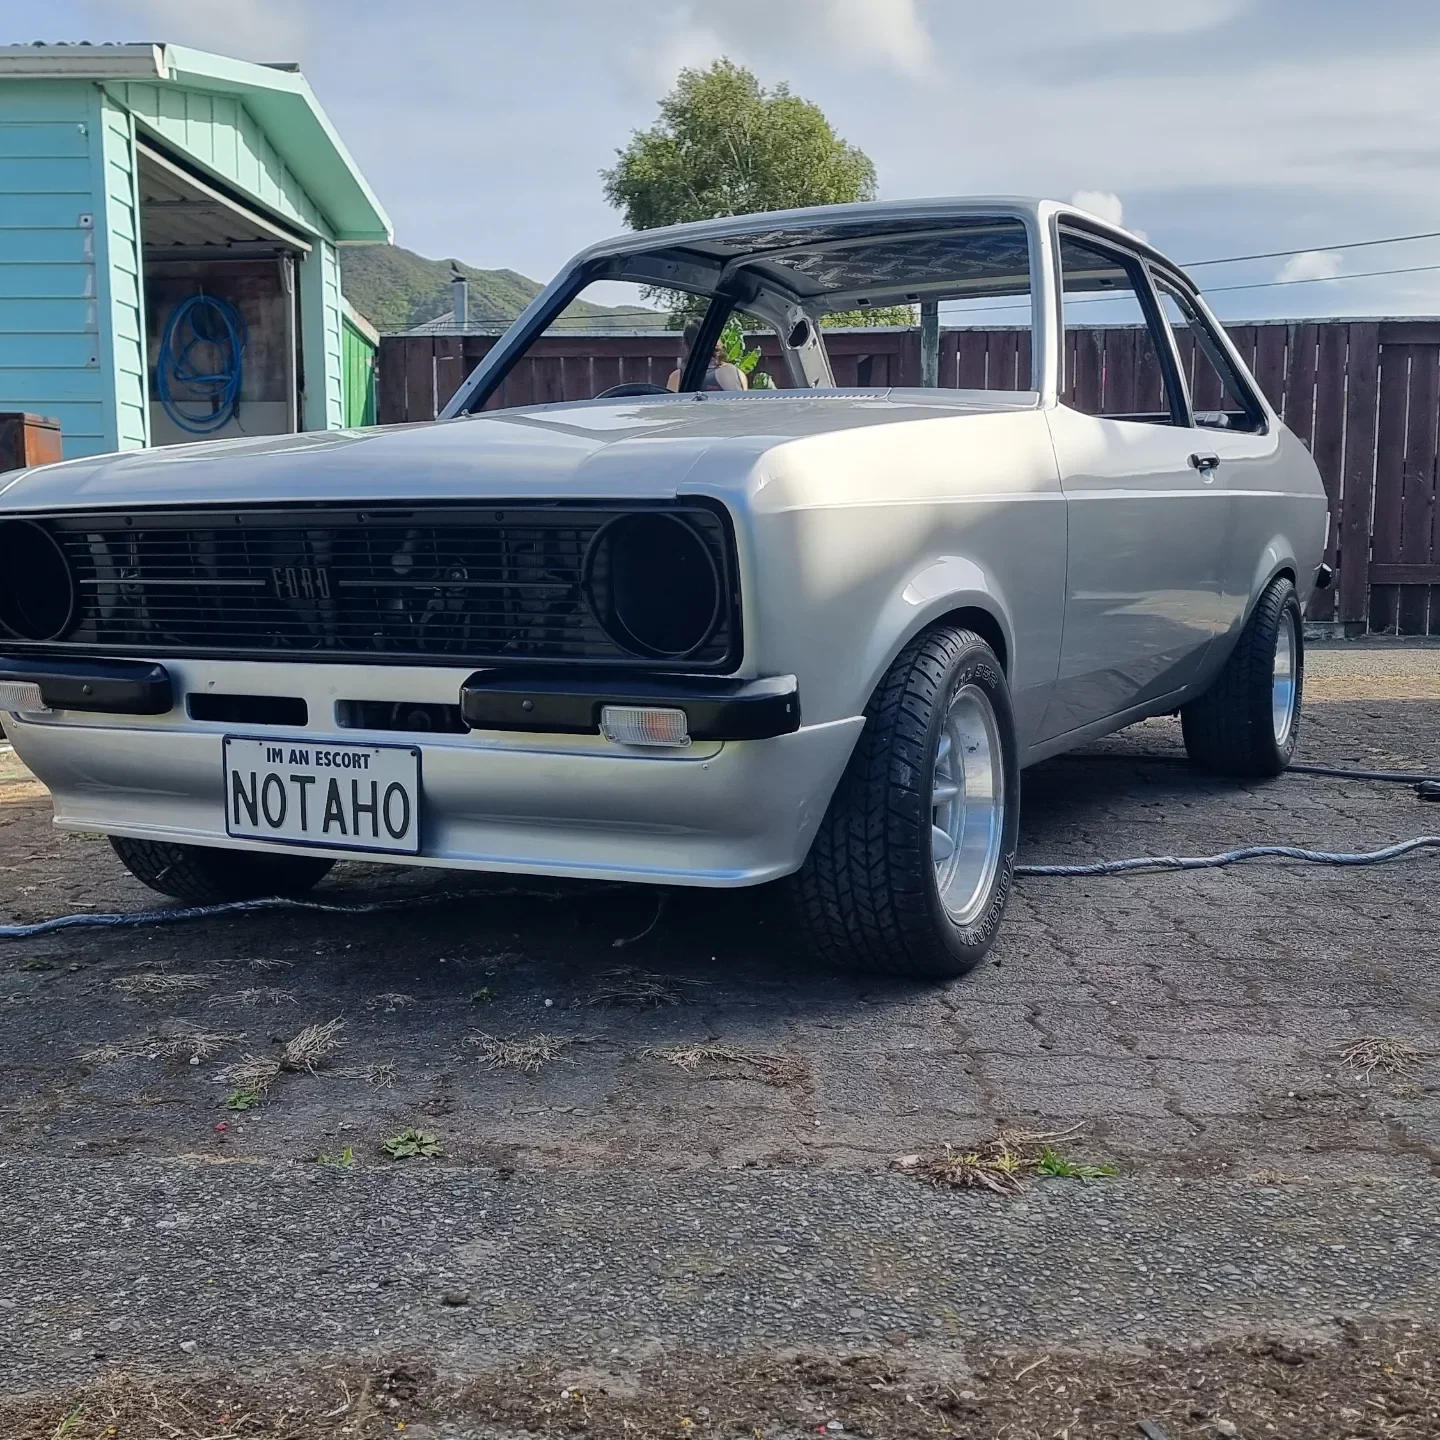
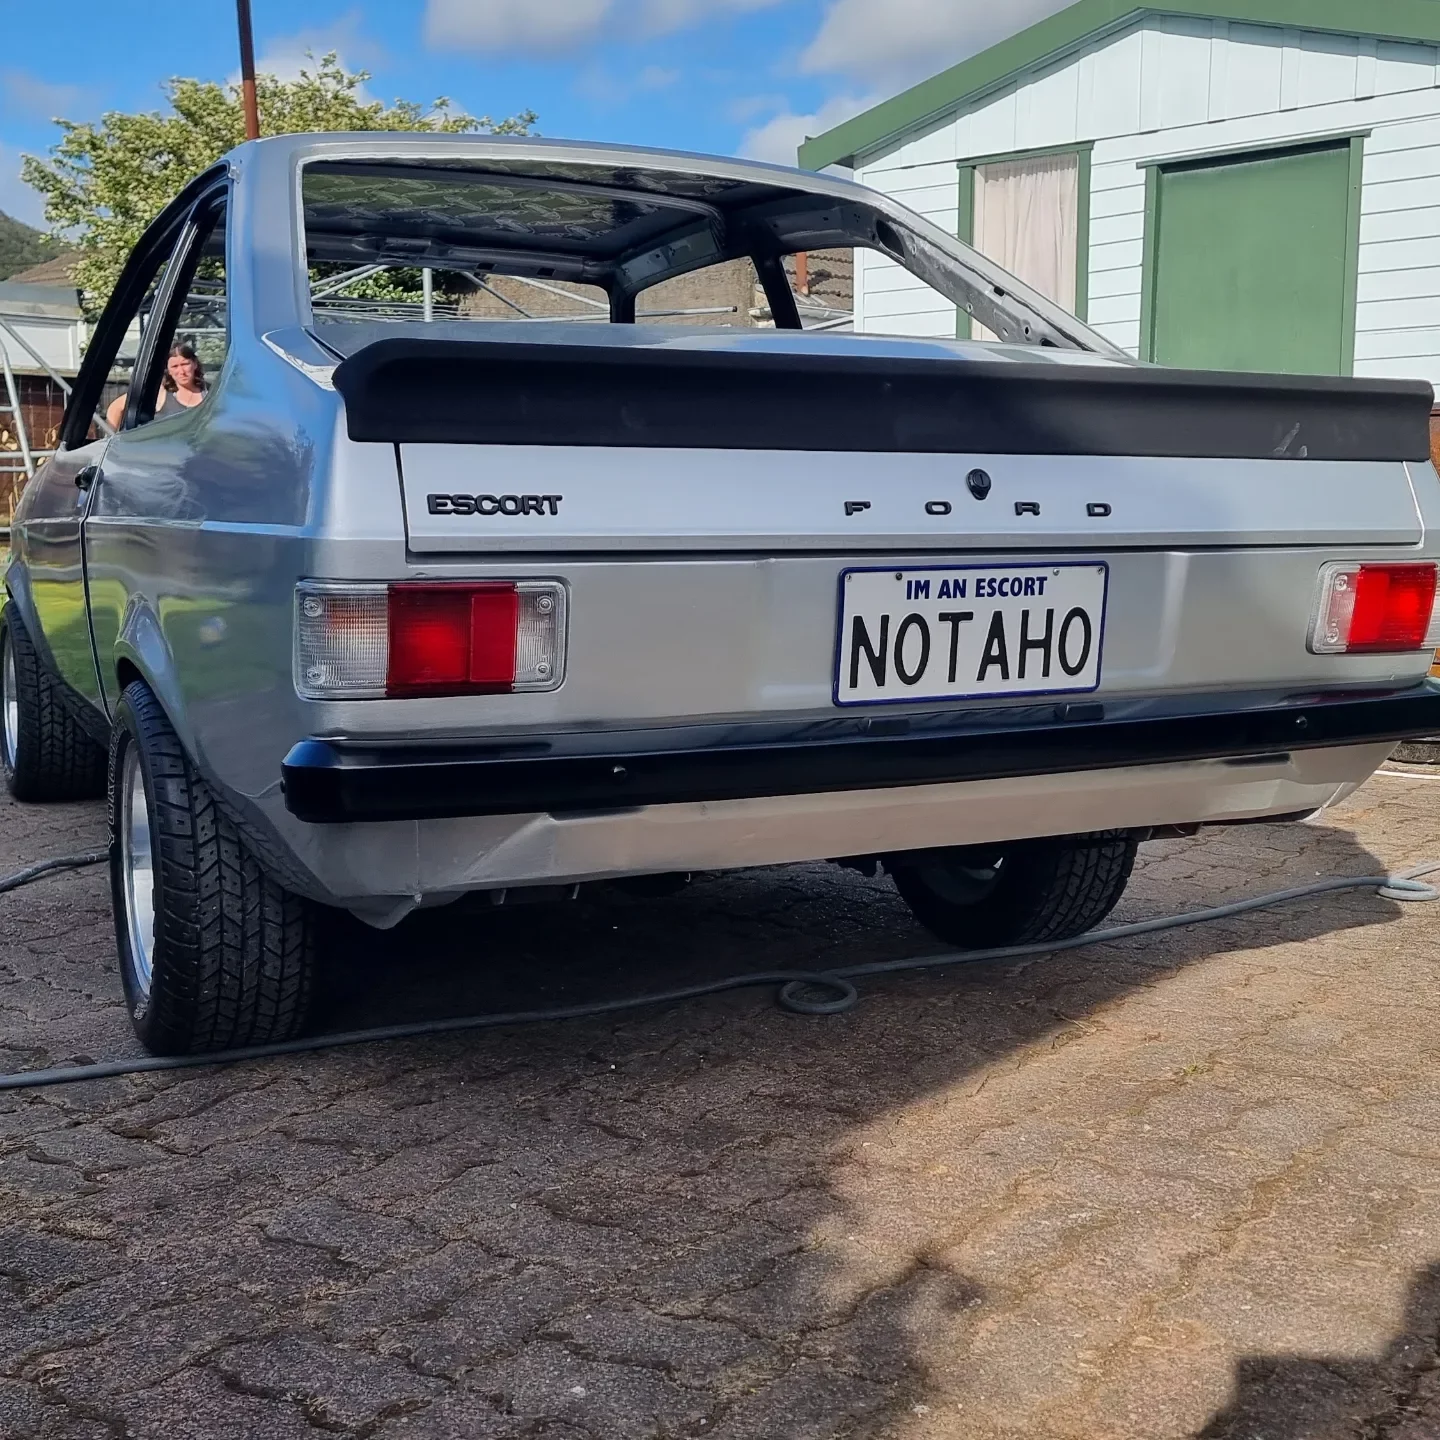
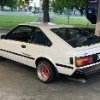
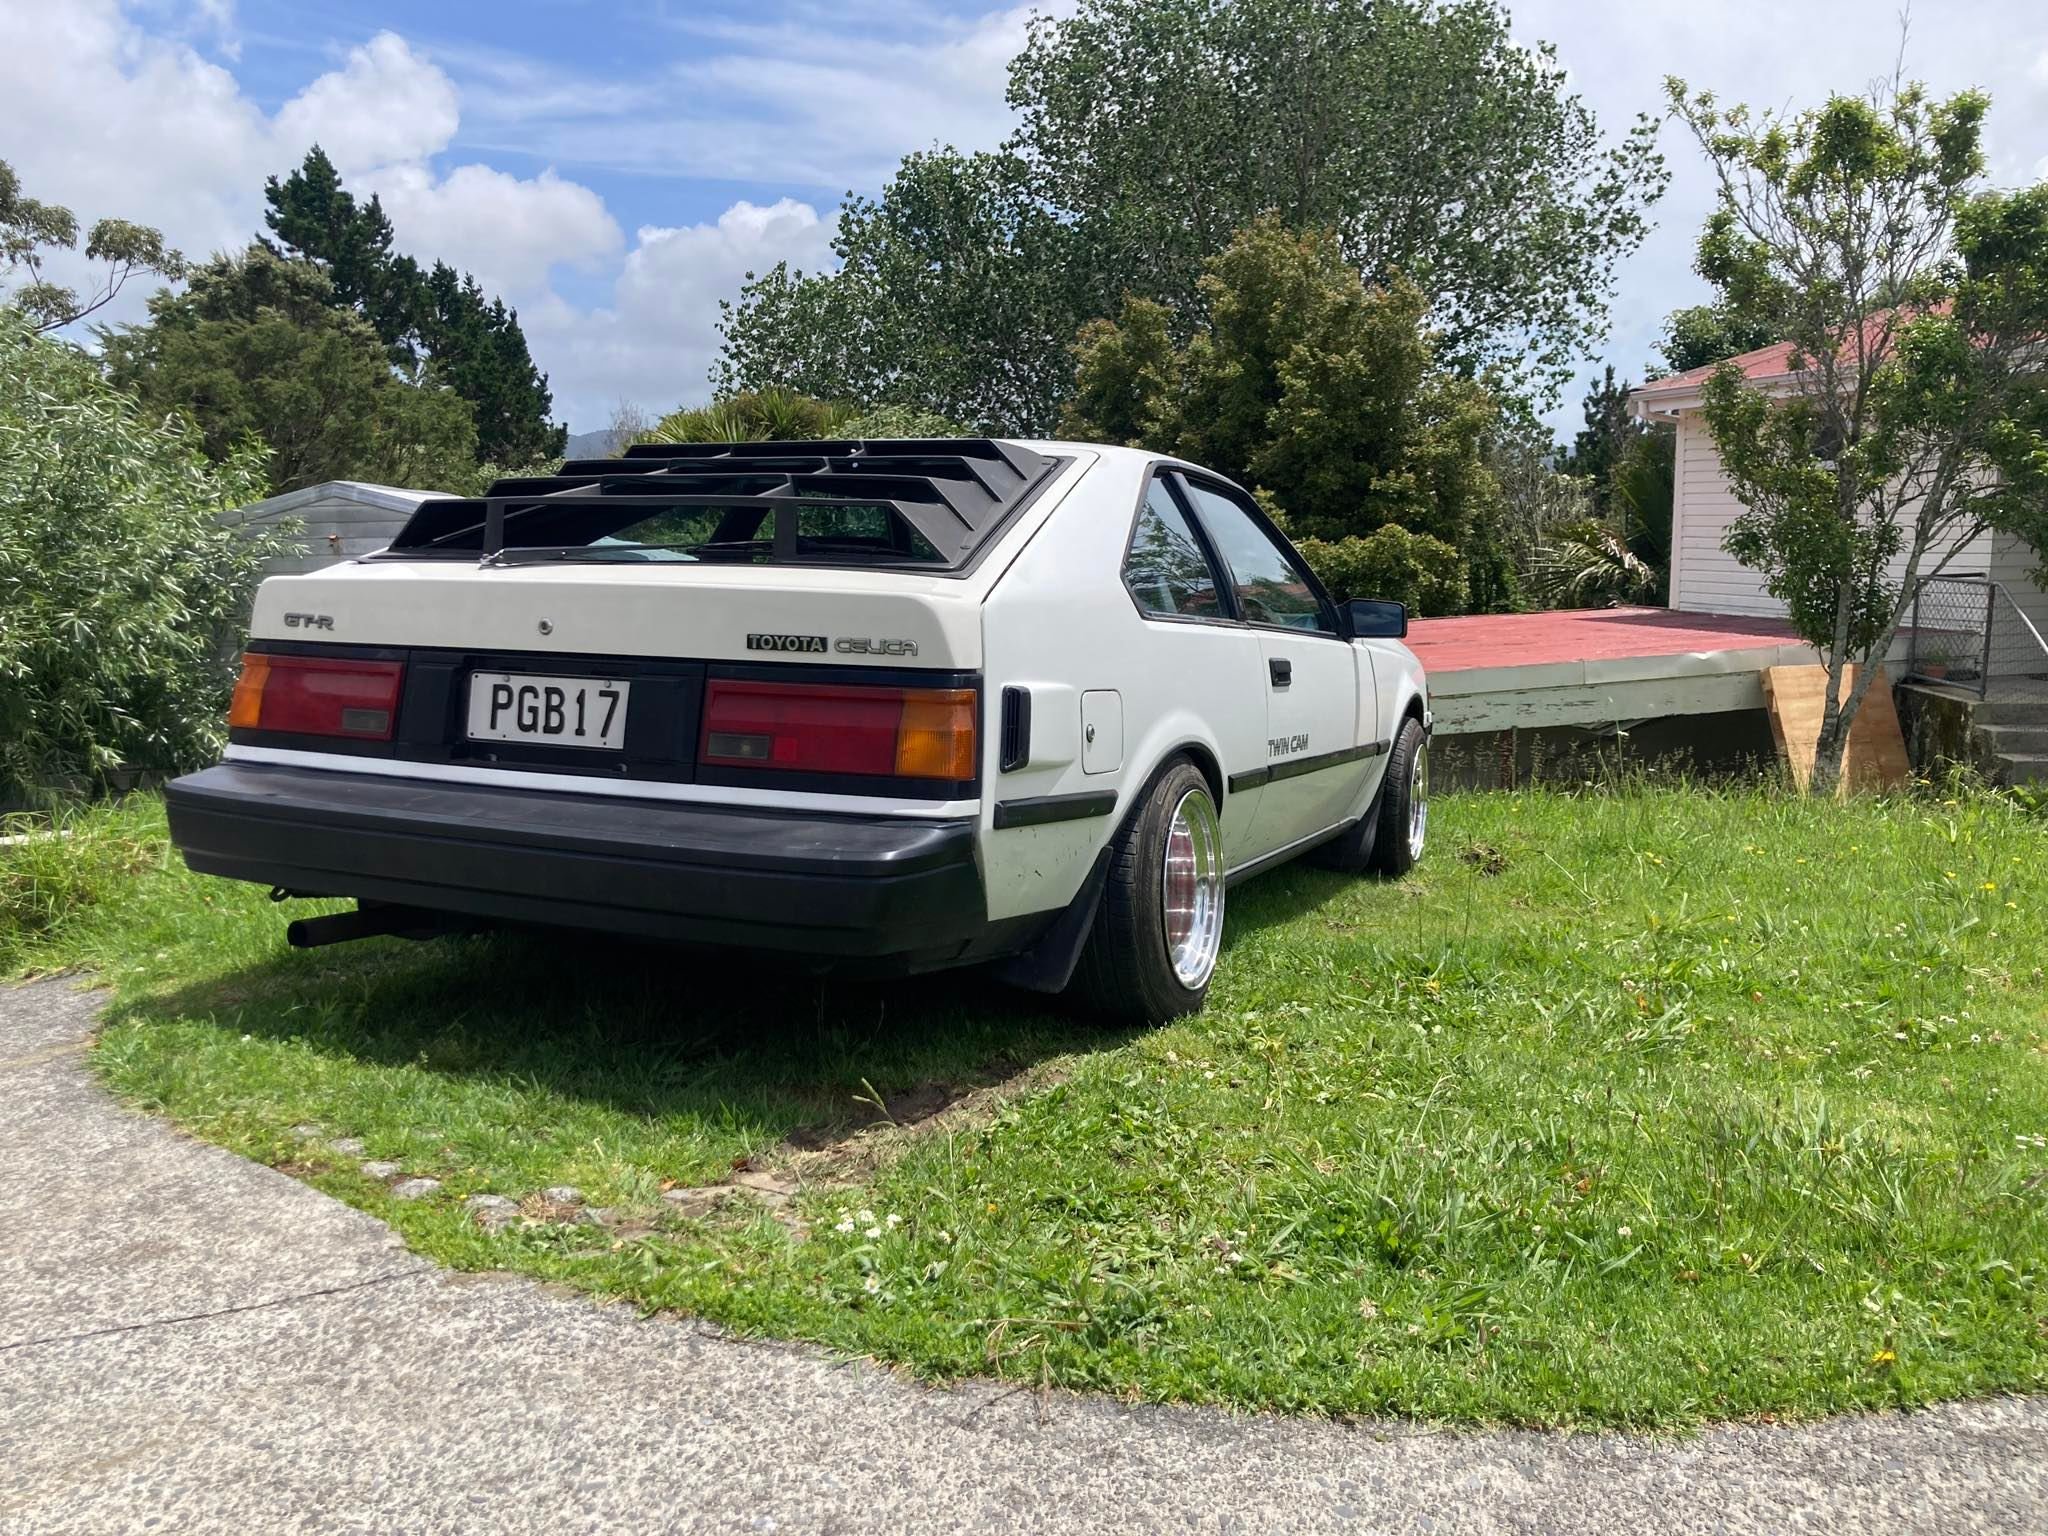
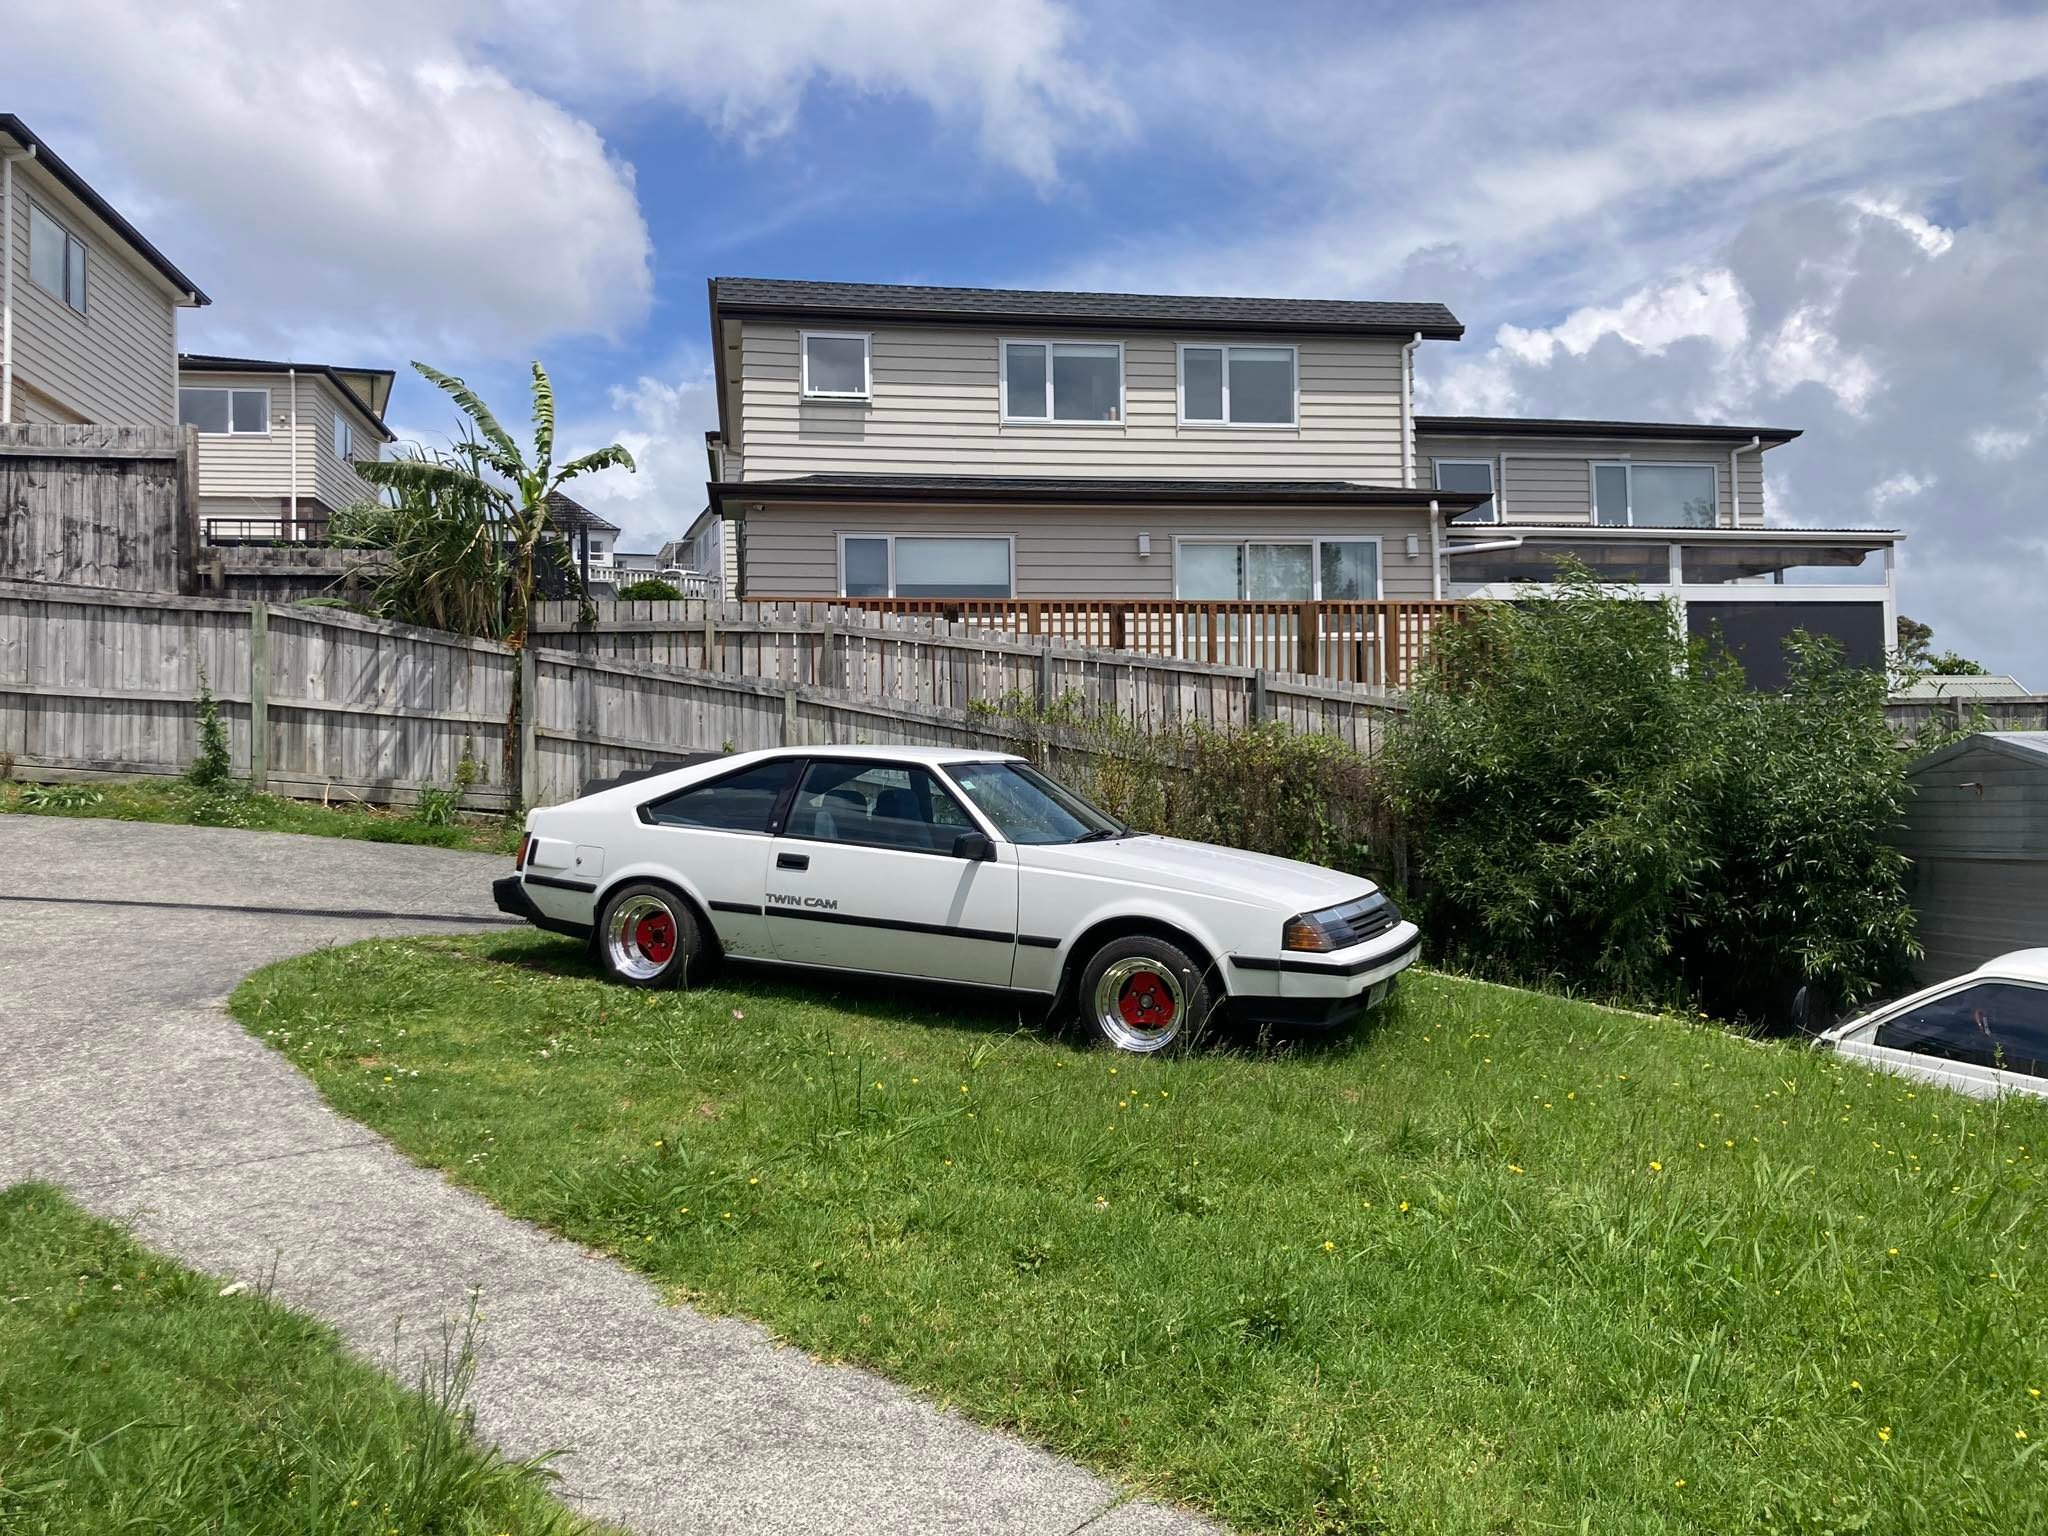
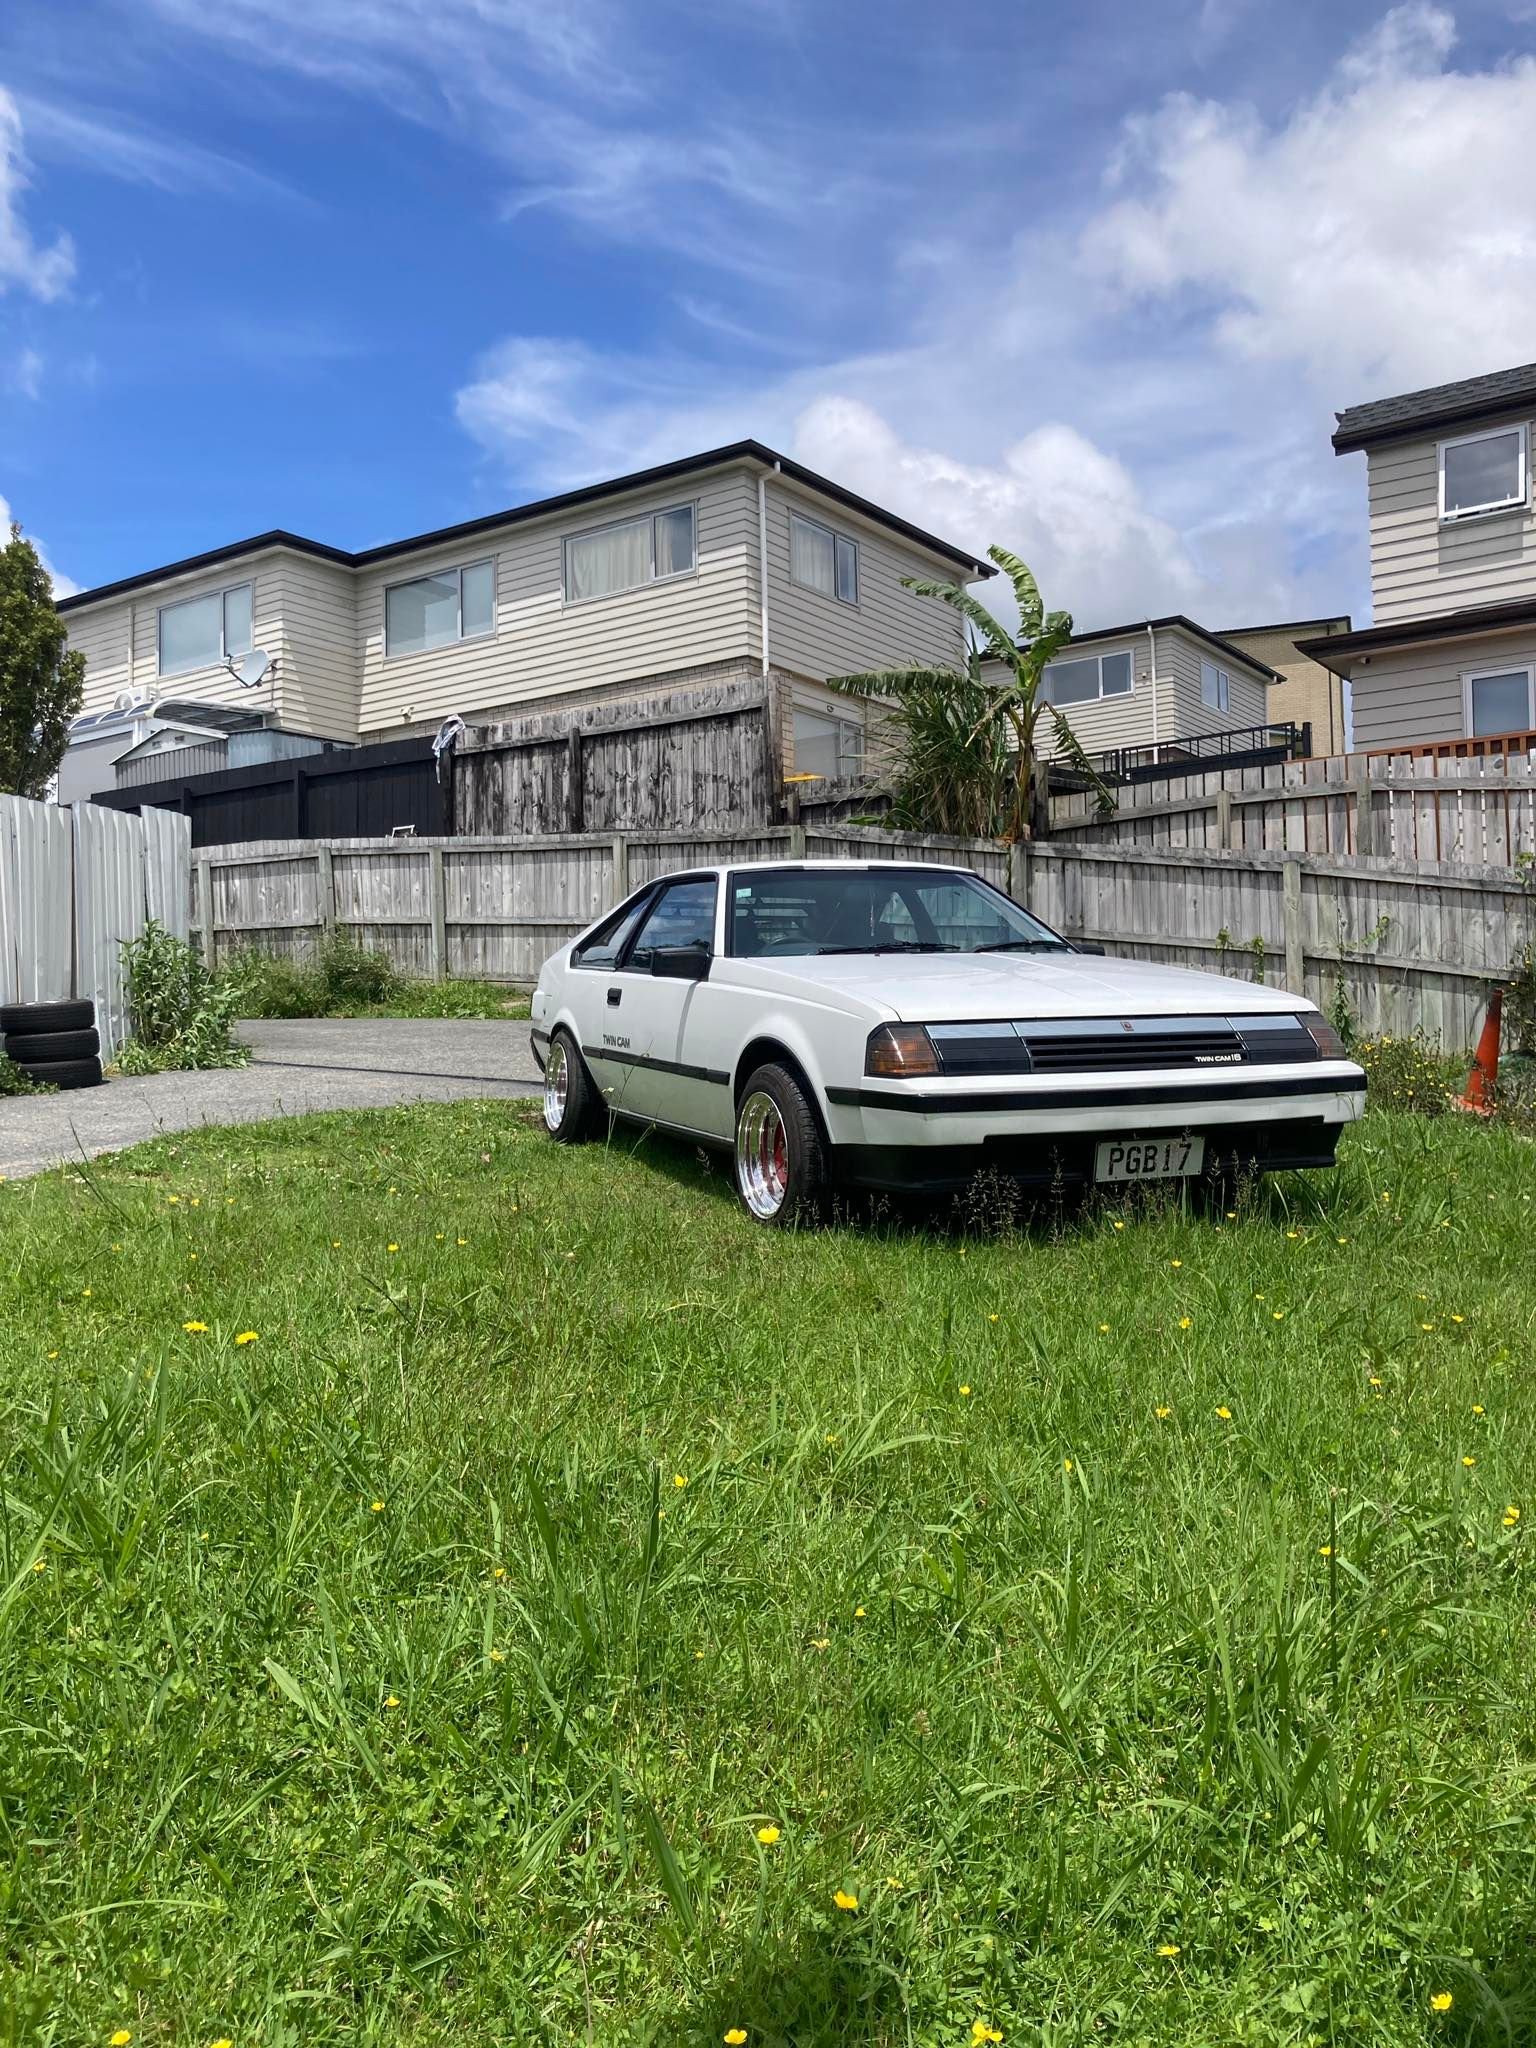
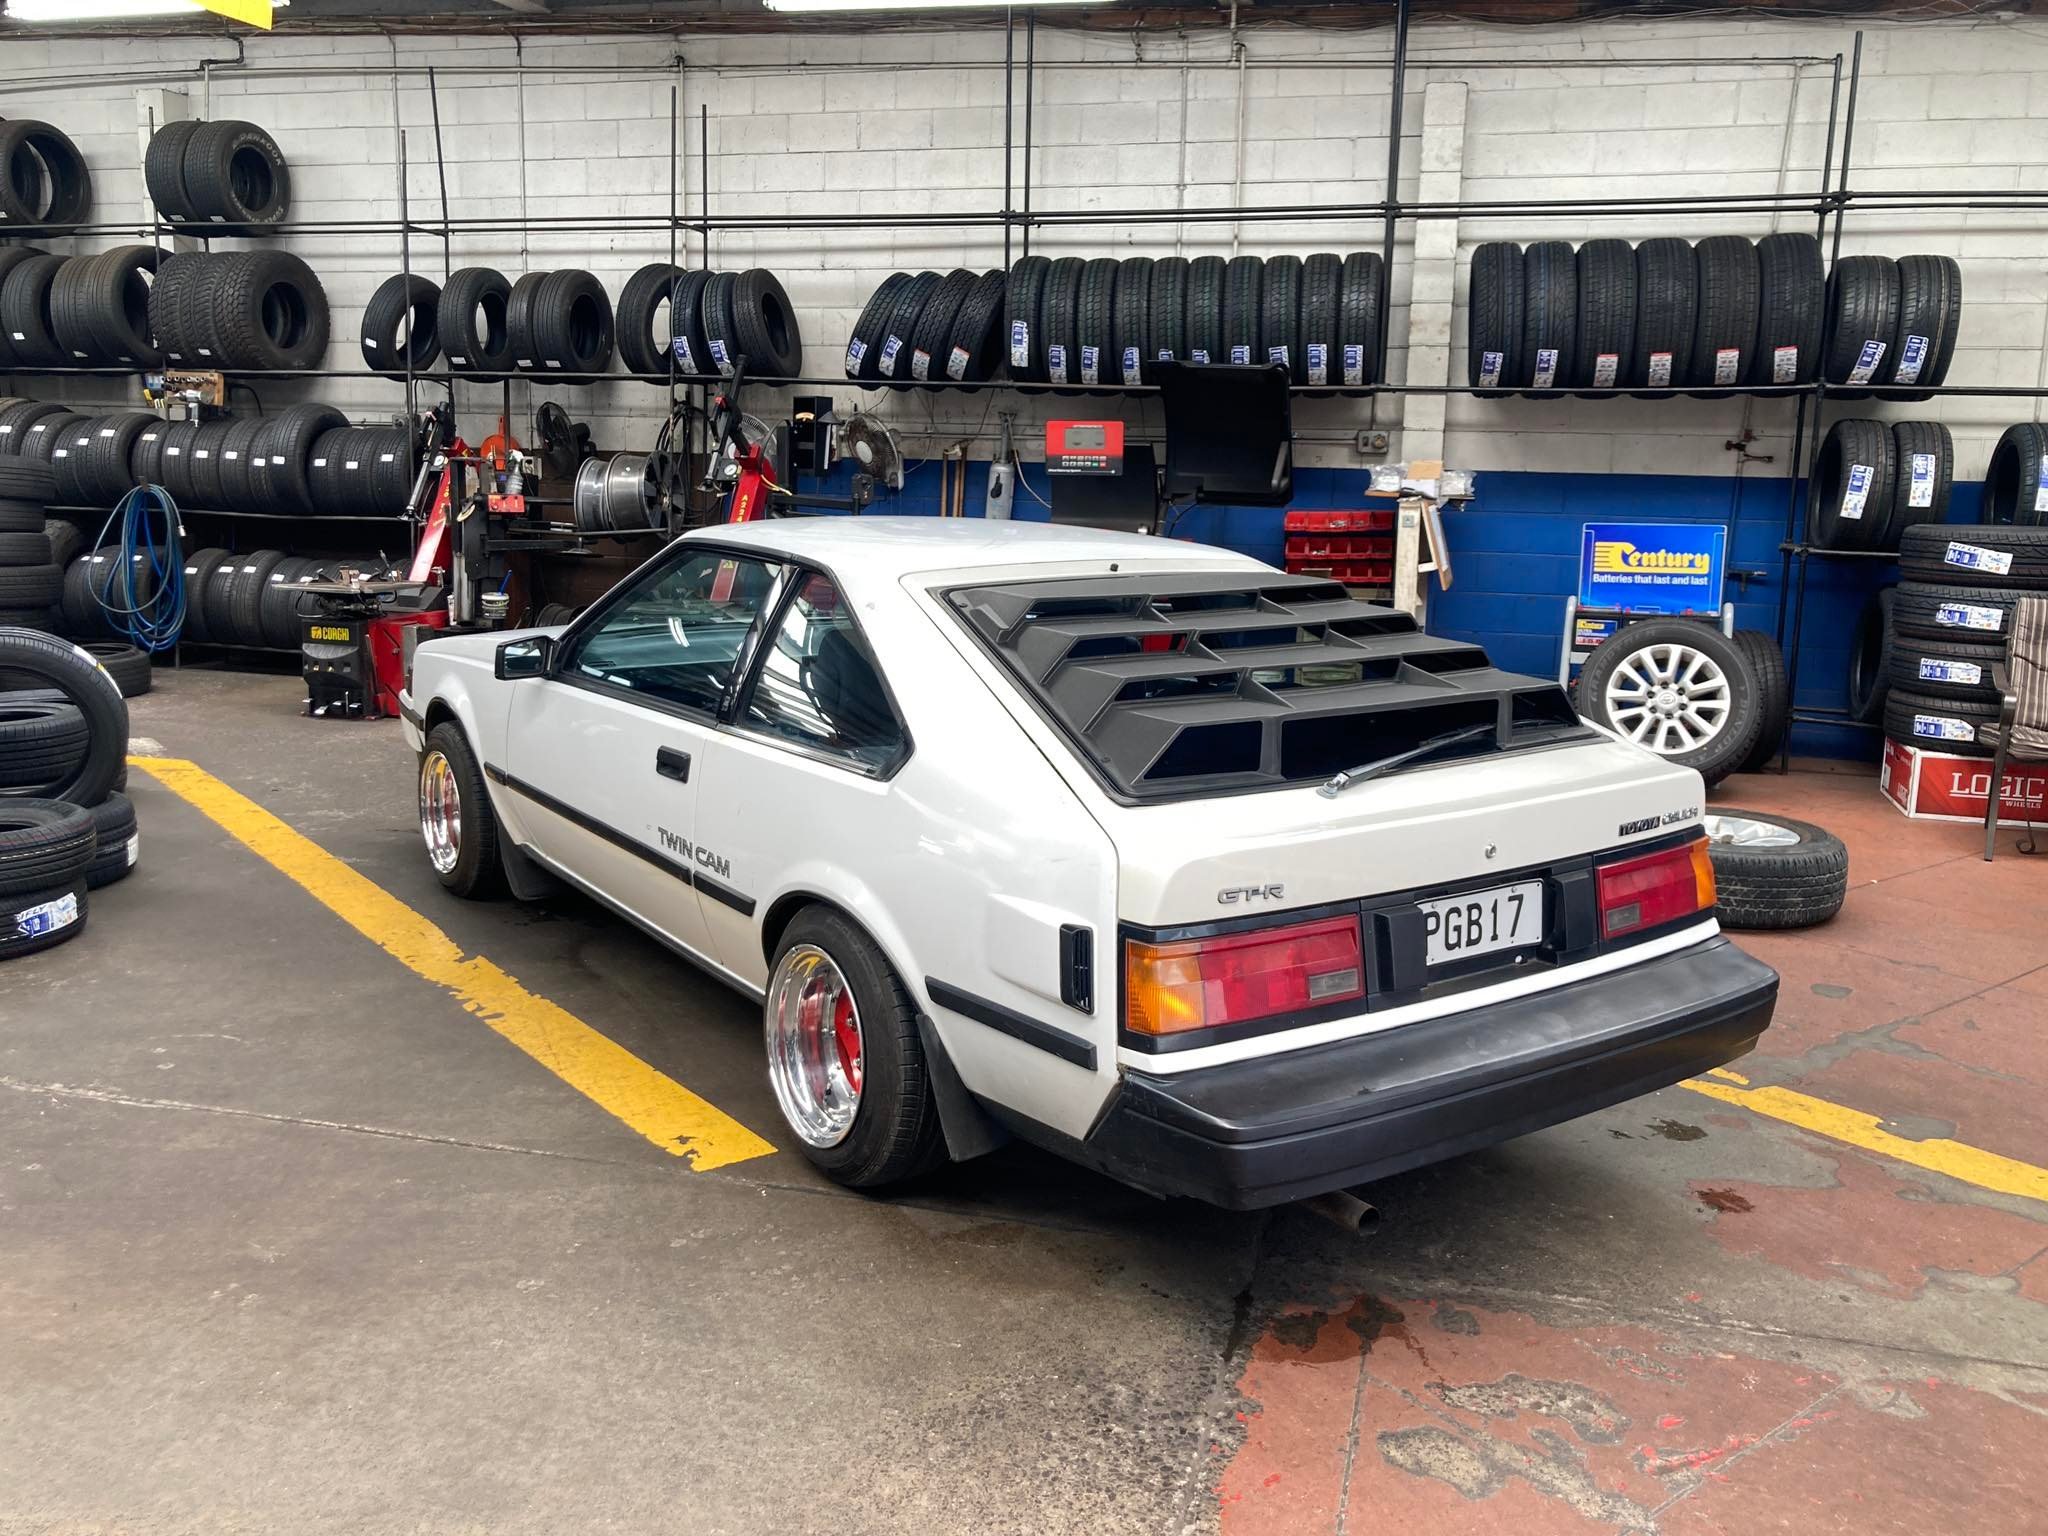
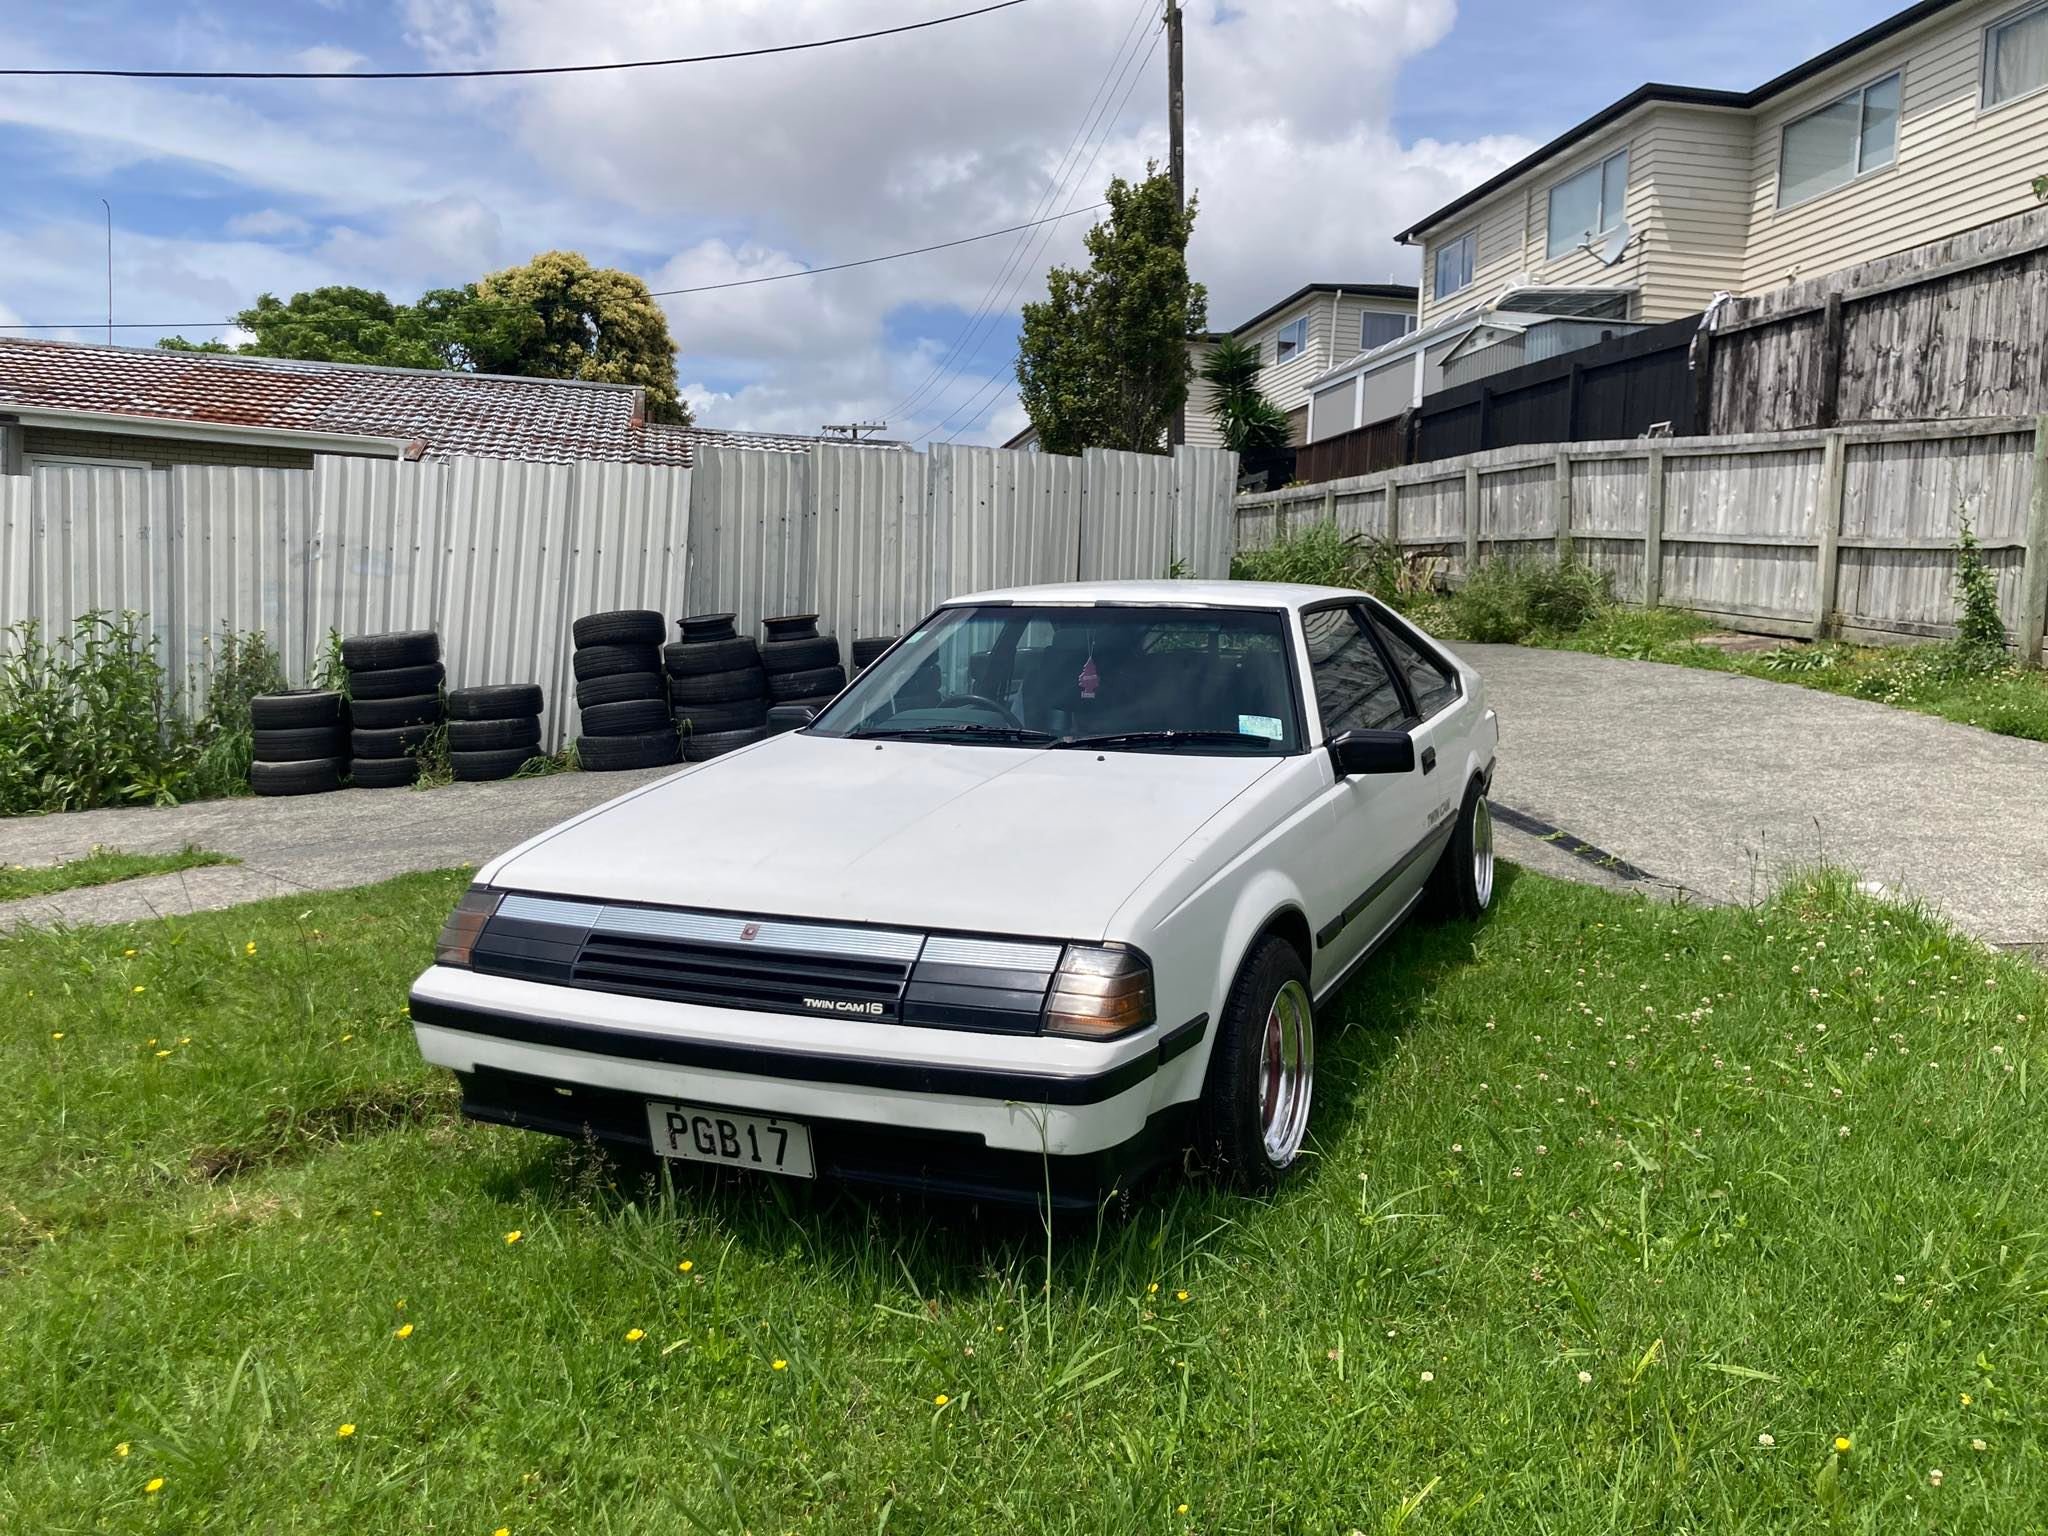
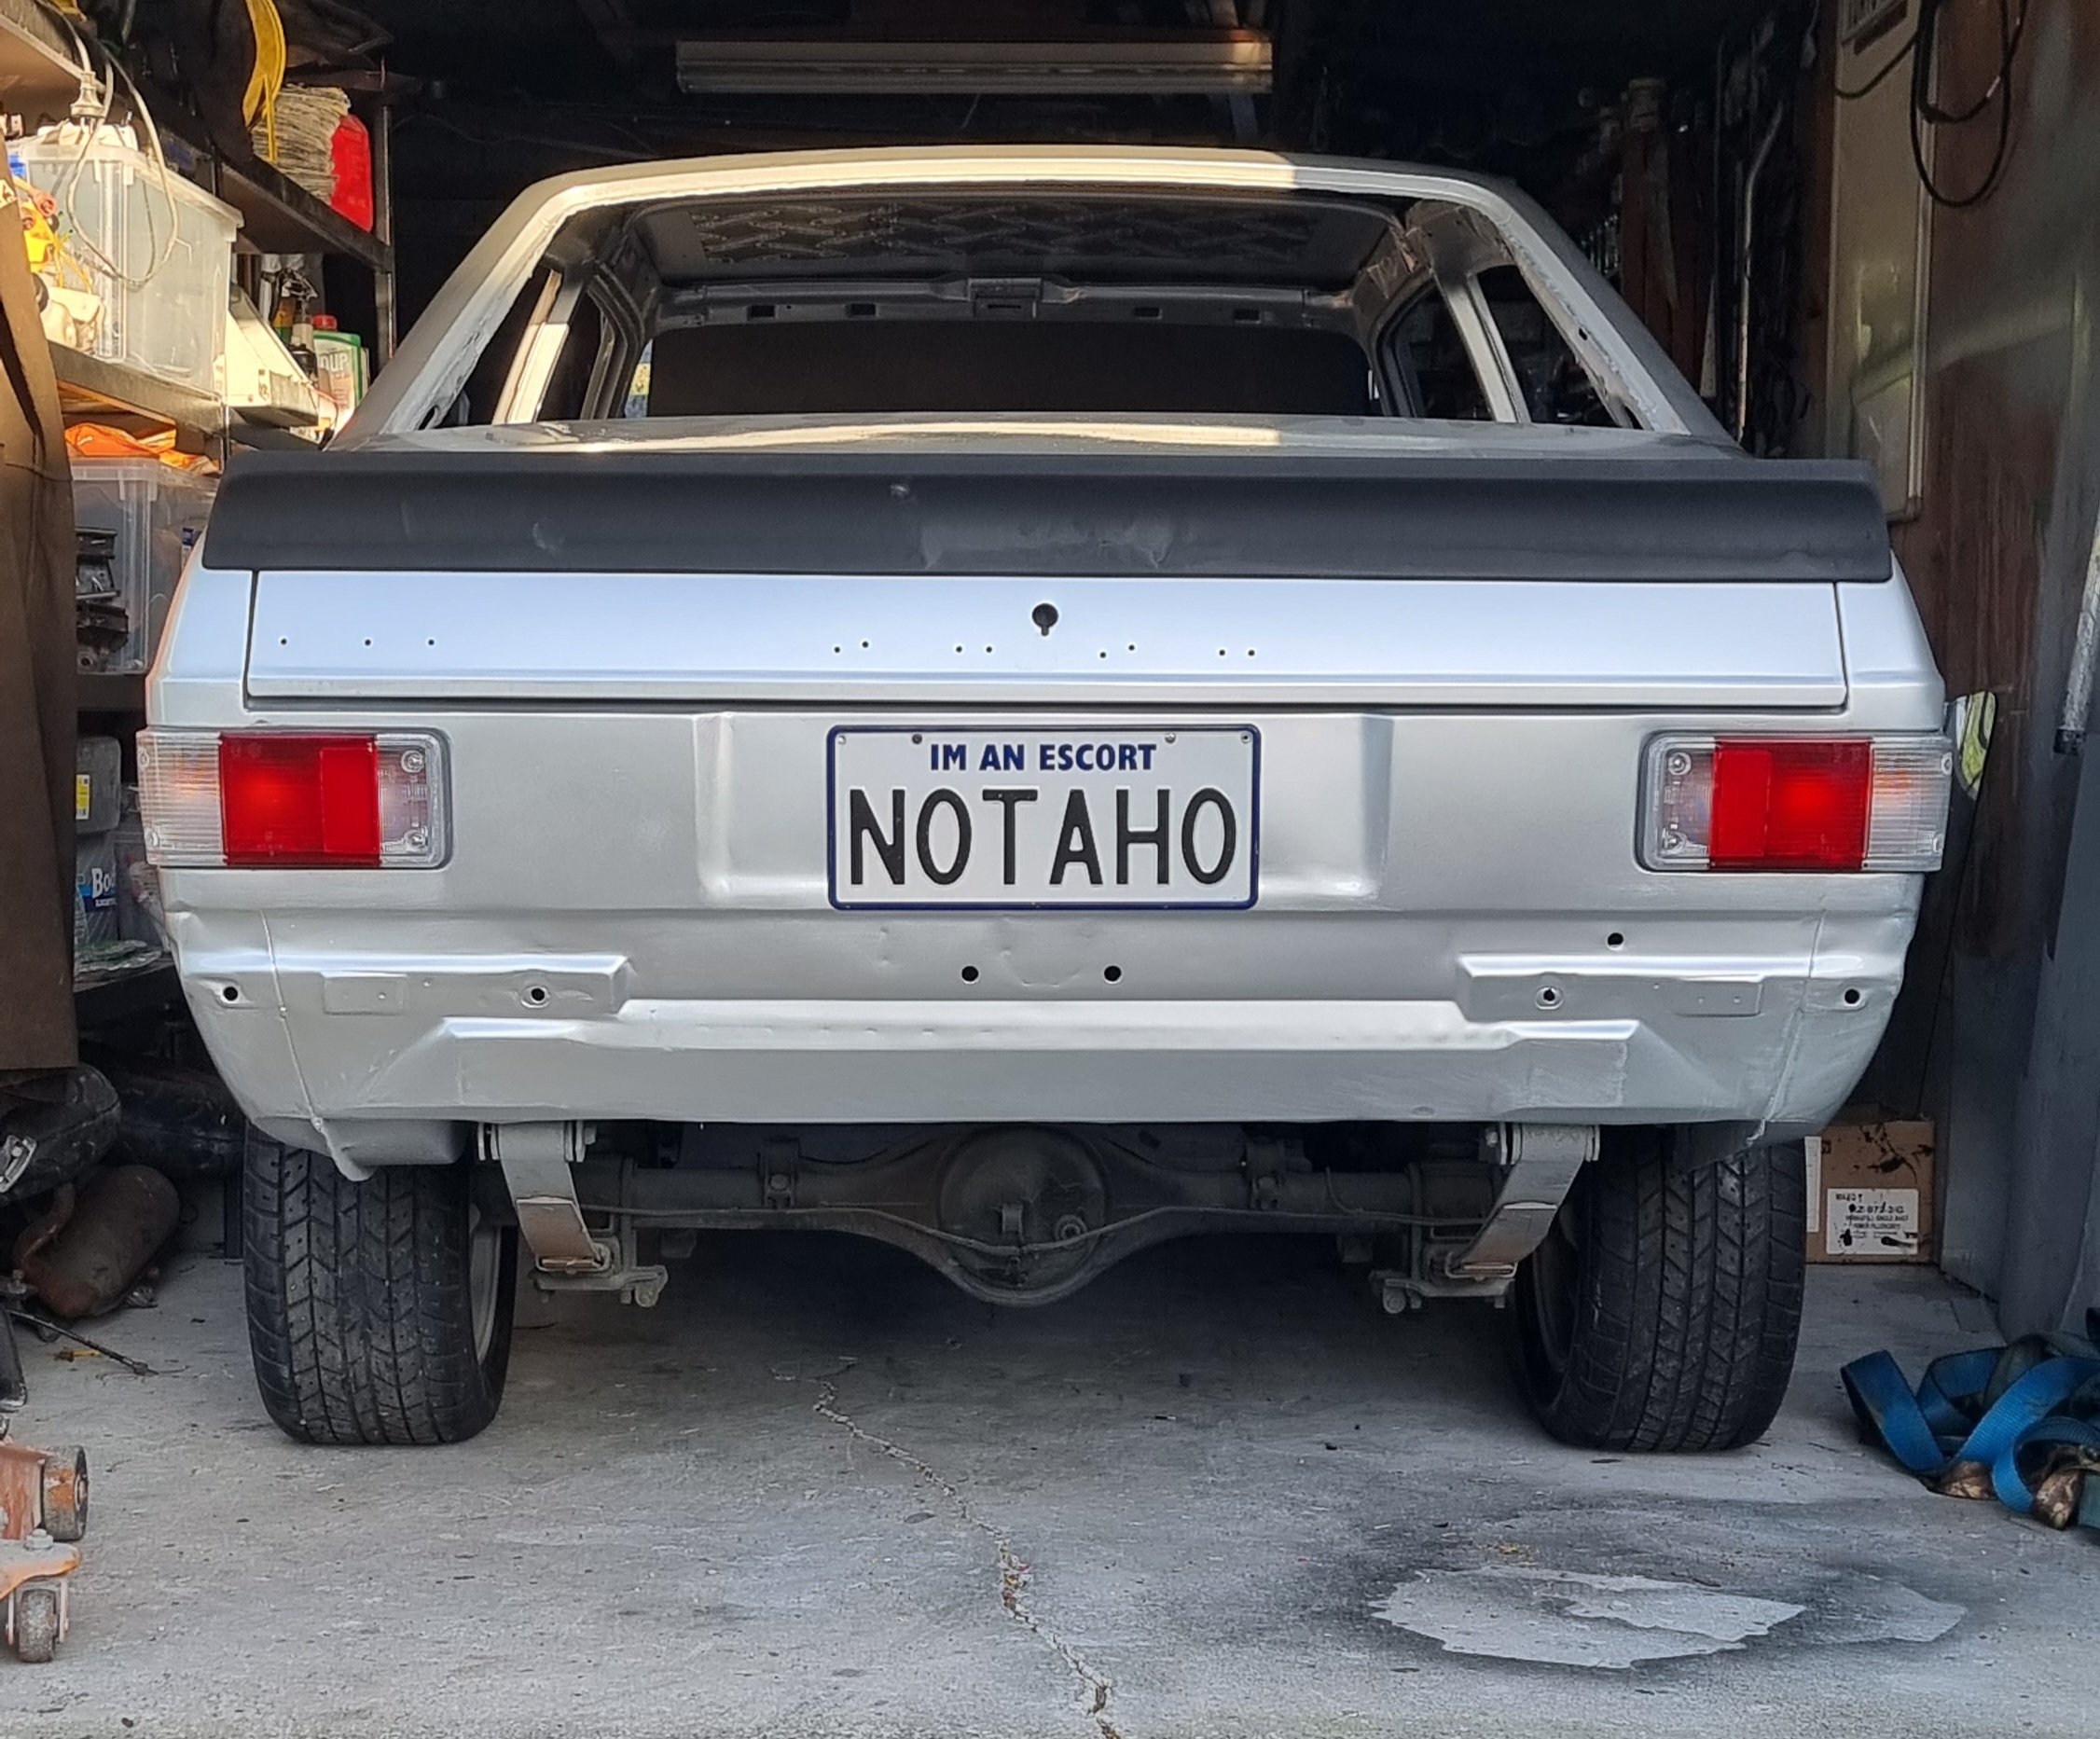
So had an opportunityi just could not pass up... Bought back my plates for my throwback build. This is the most important piece of the build. The rest can be recreated, but having its original identity is the cherry on top. The driveshaft goes off to beattys next week. Gearbox crossmember is done..used the original crossmember, and welded on new chassis tabs the same as factory, only 50mm further along the chassis. Have a custom radiator and oil cooler being made at the momentfor it too. Ill keep this buil in here seeing as yhe hinter has gone a bit dormant with a few wiring issues that are beyond me. This build is easier, dine it many times before
4 points
-
I got this blurry pressie yesterday via MMS...
4 points
-
Refitted it back into the car for some Sunday afternoon feel goods...
3 points
-
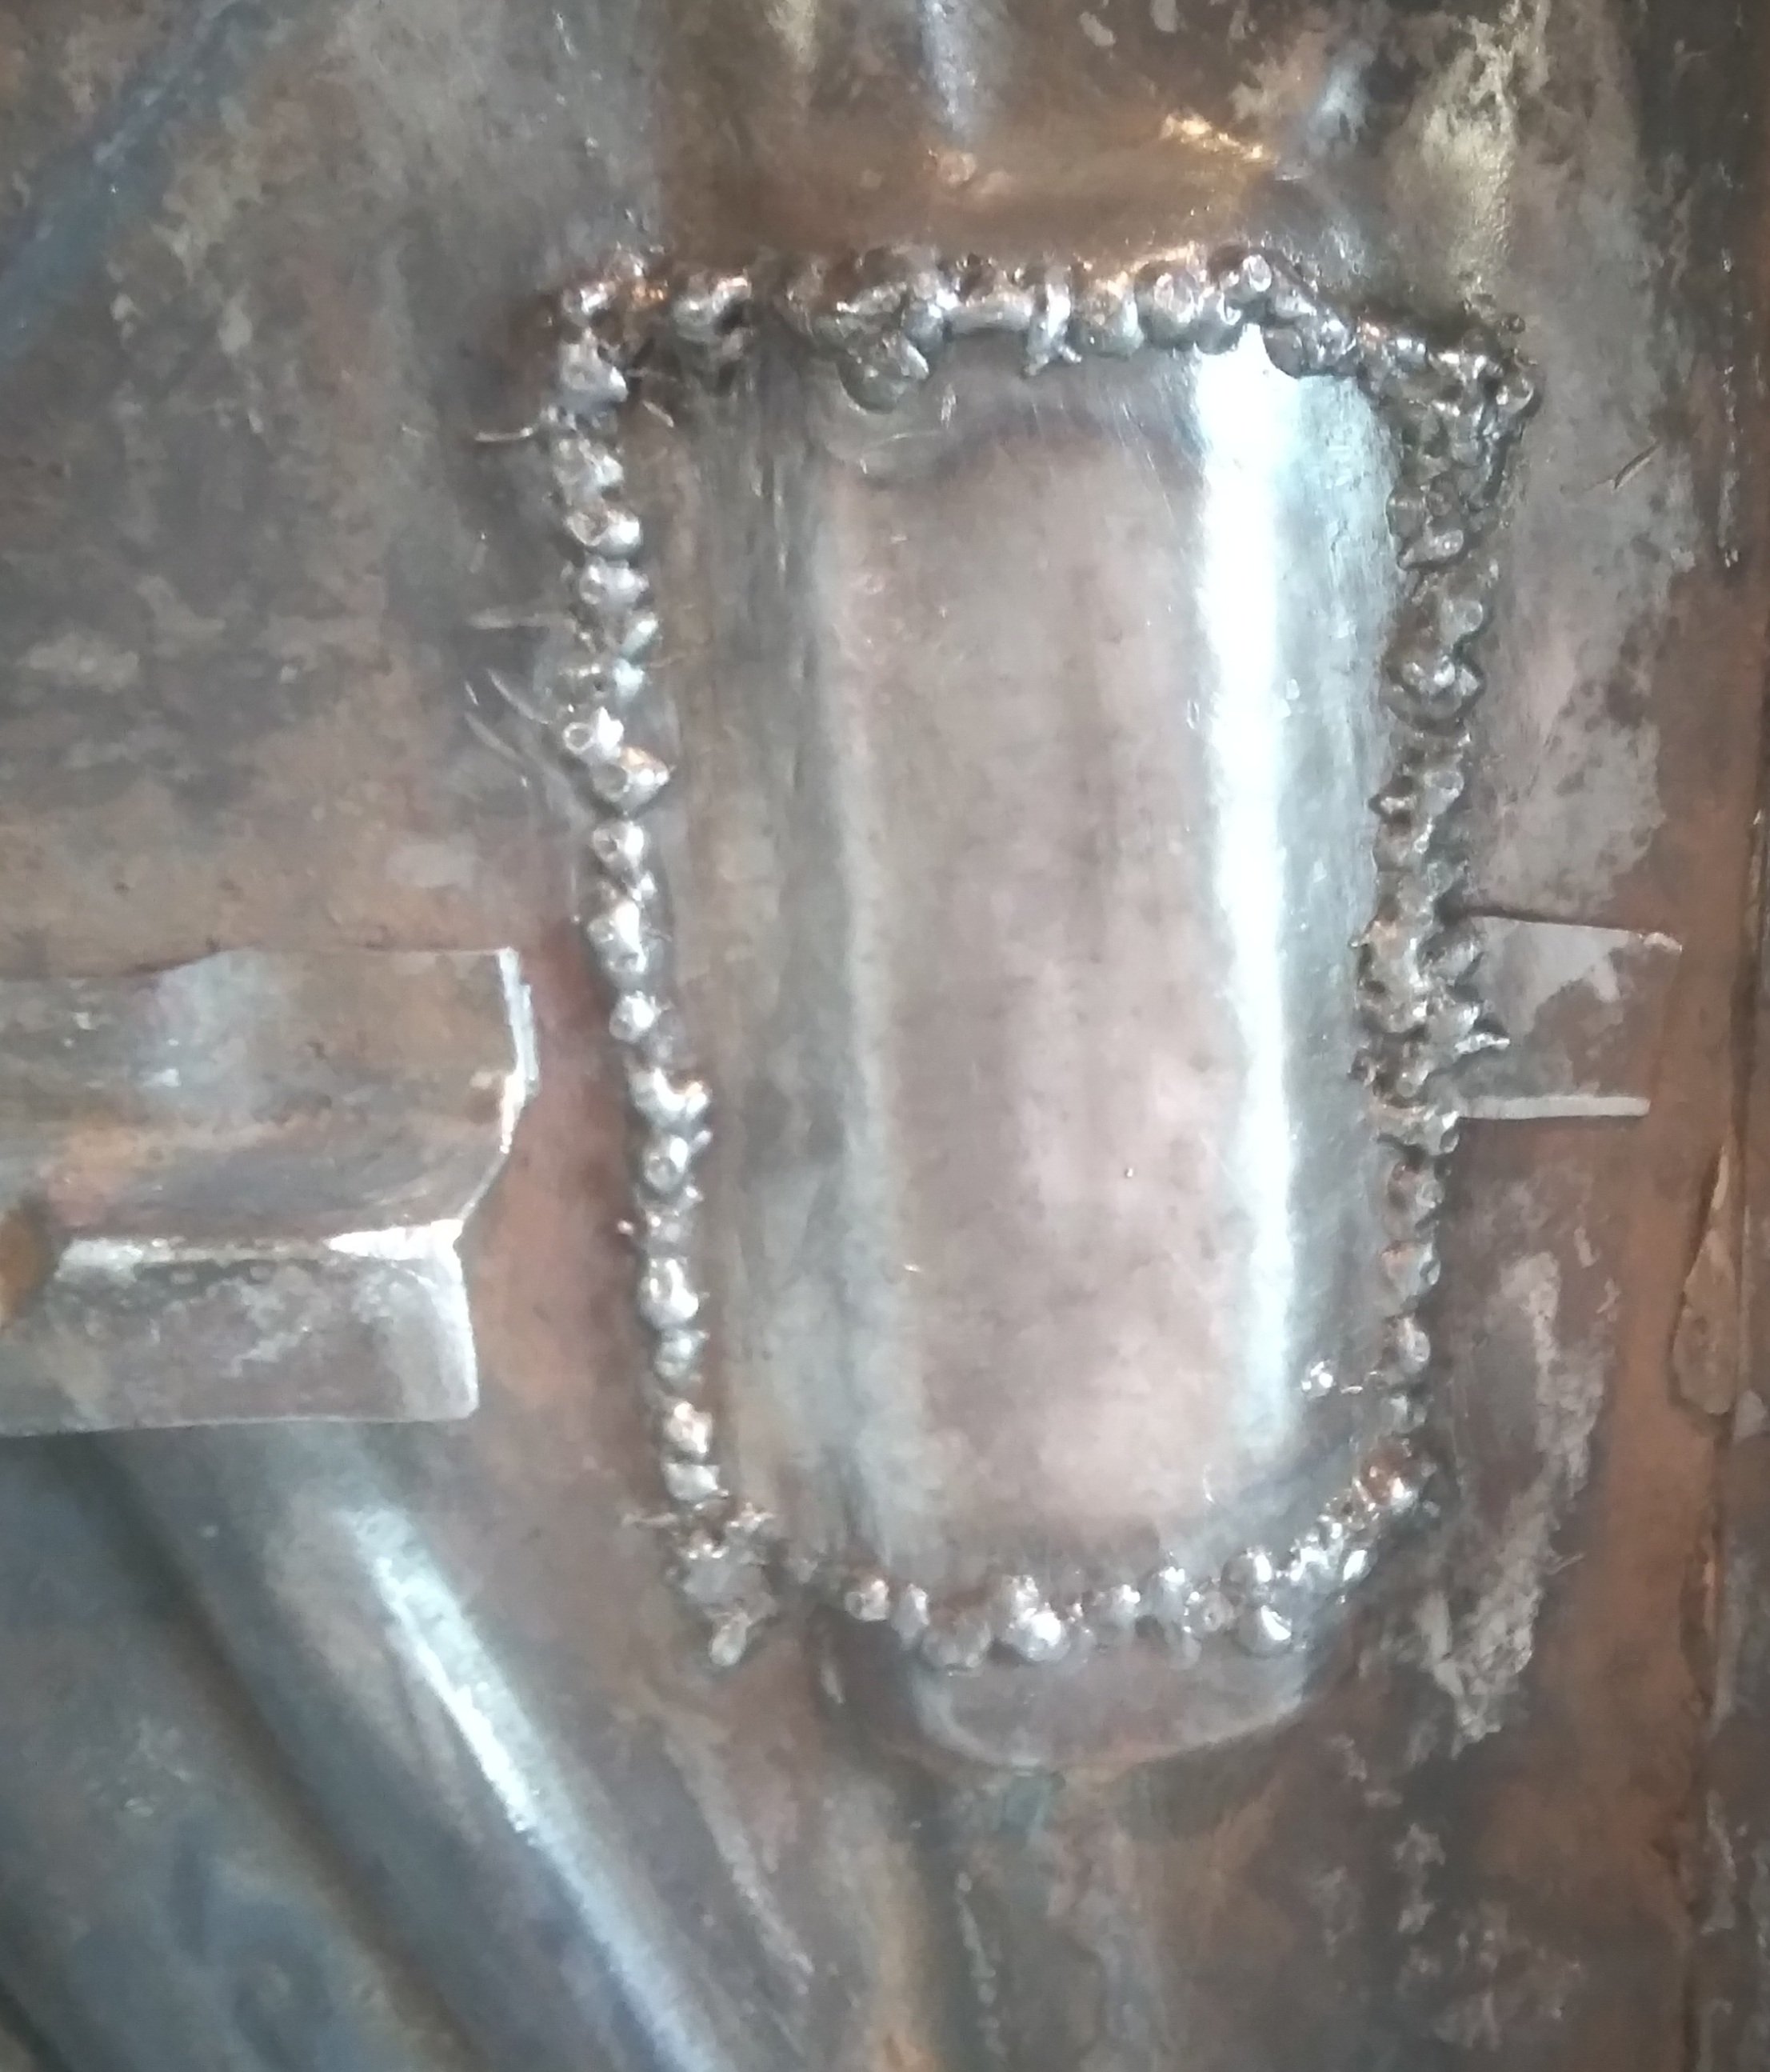
Not much of an update but Tonight I ground it back a tiny bit and primered it.
3 points
-
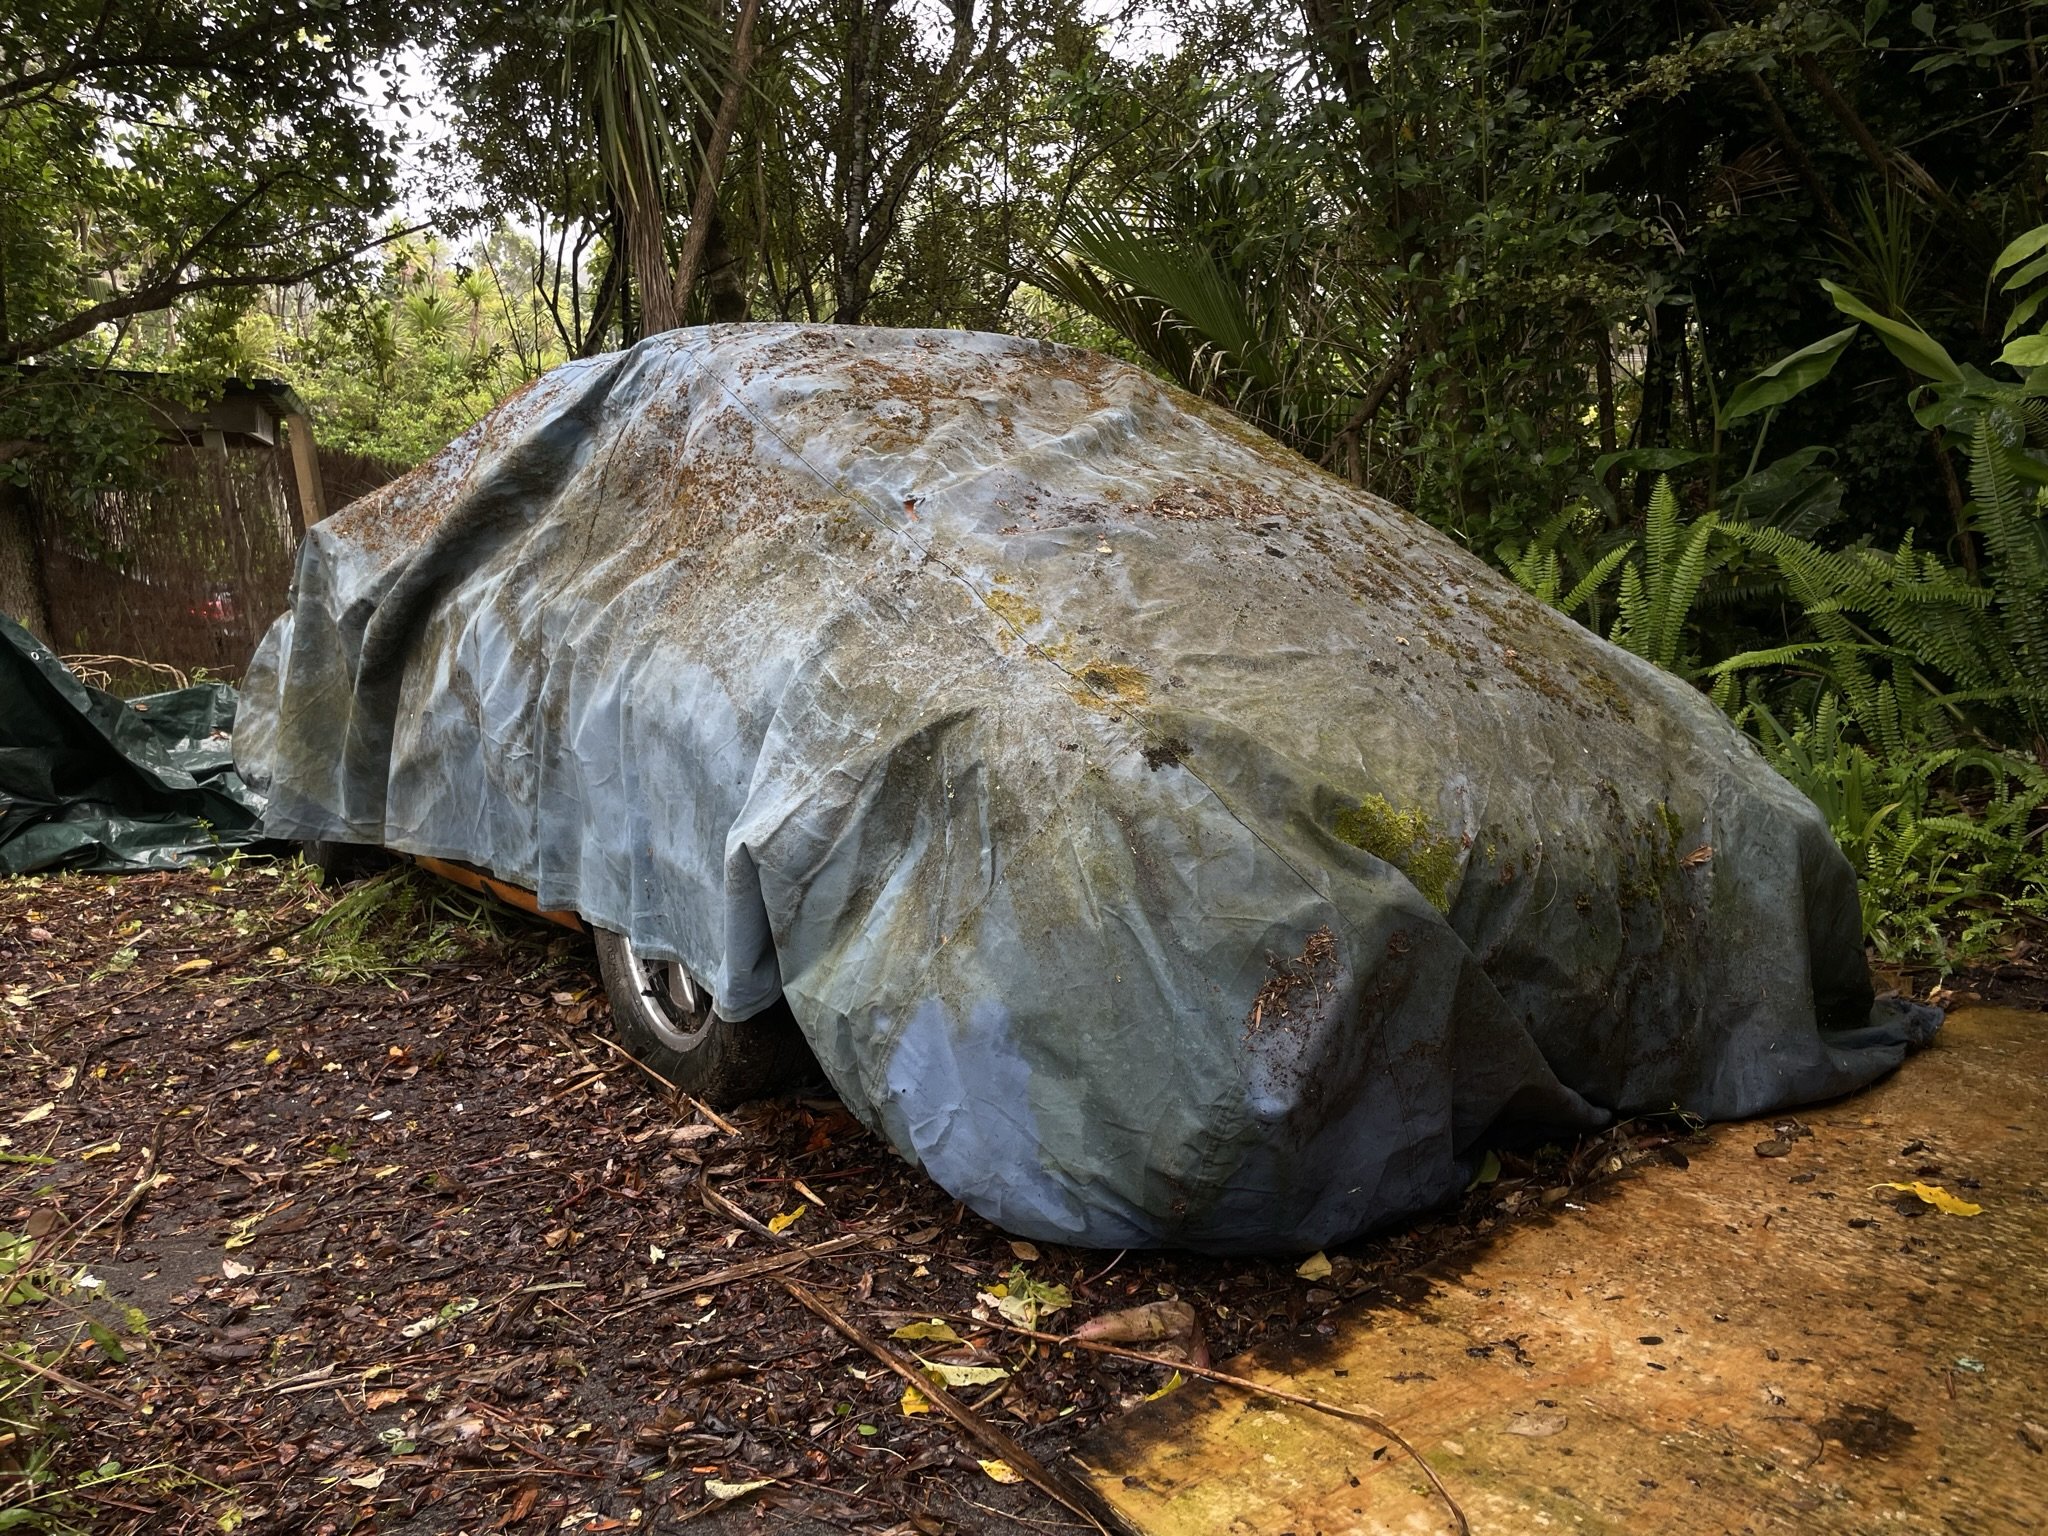
Both true. After 8 winters in a forest covered by Bunnings finest car cover, we (CC @rot808) are delighted & honoured & somehow entrusted enough to announce that tomkirkgarys Porsche has left the bush and will be settling in amongst its new mostly Mazda family with us. We hope to do Thomas proud, and to see how good these O’s really are. Preferably with now aged stripper shoelaces in place.
3 points
-
Great news about the replacement heart for Lucas. I'm chuffed to think that you will be able to enjoy the Rover whilst you toil away on completing your Marina. Then when the dust has settled you can take your time to decide on the long-term plan for Lucas .... yummy high compression 3.9 or matching numbers original EFI. Boy you are spoilt for choice now.2 points
-
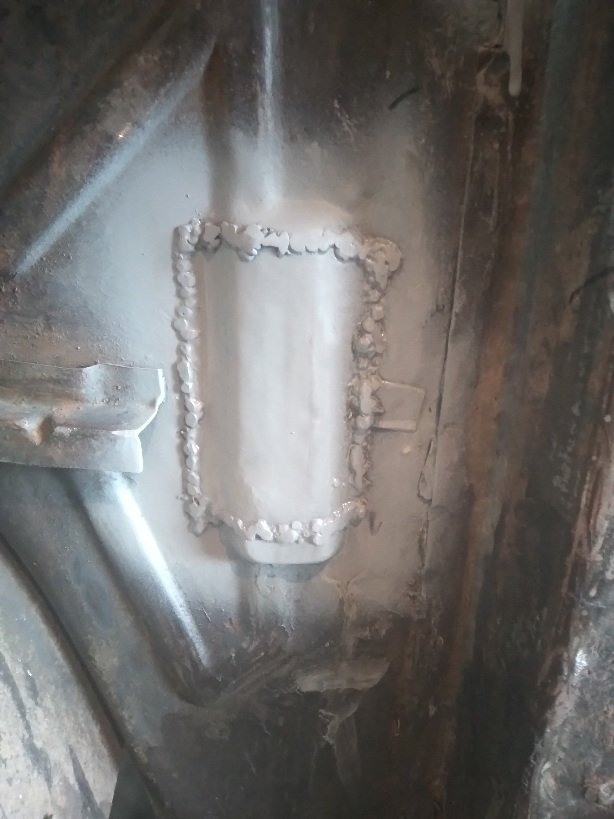
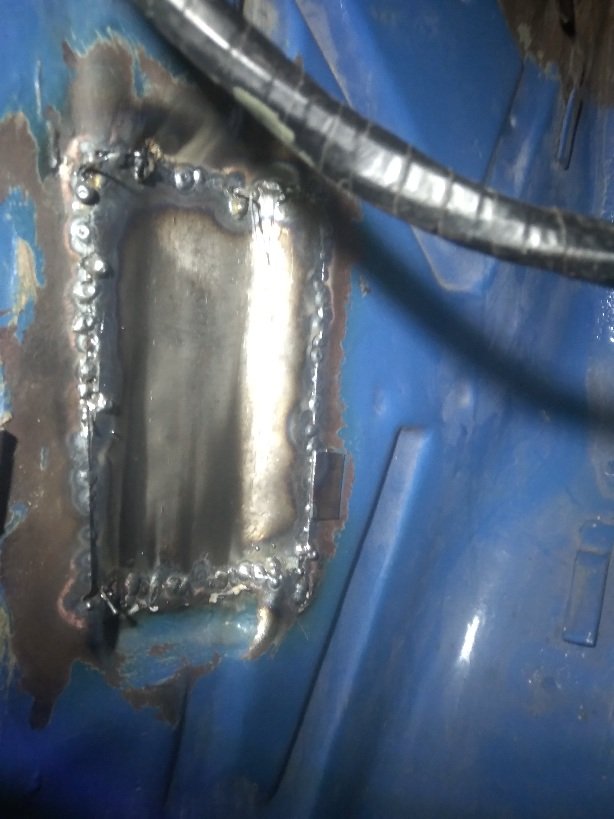
Right so tonight I decided to weld in my panel. I havent ground it bk yet but I'm pretty happy with it inside and out ! I've been practicing my welding abit durning the week. Not the best but way better than the last attempt.
2 points
-
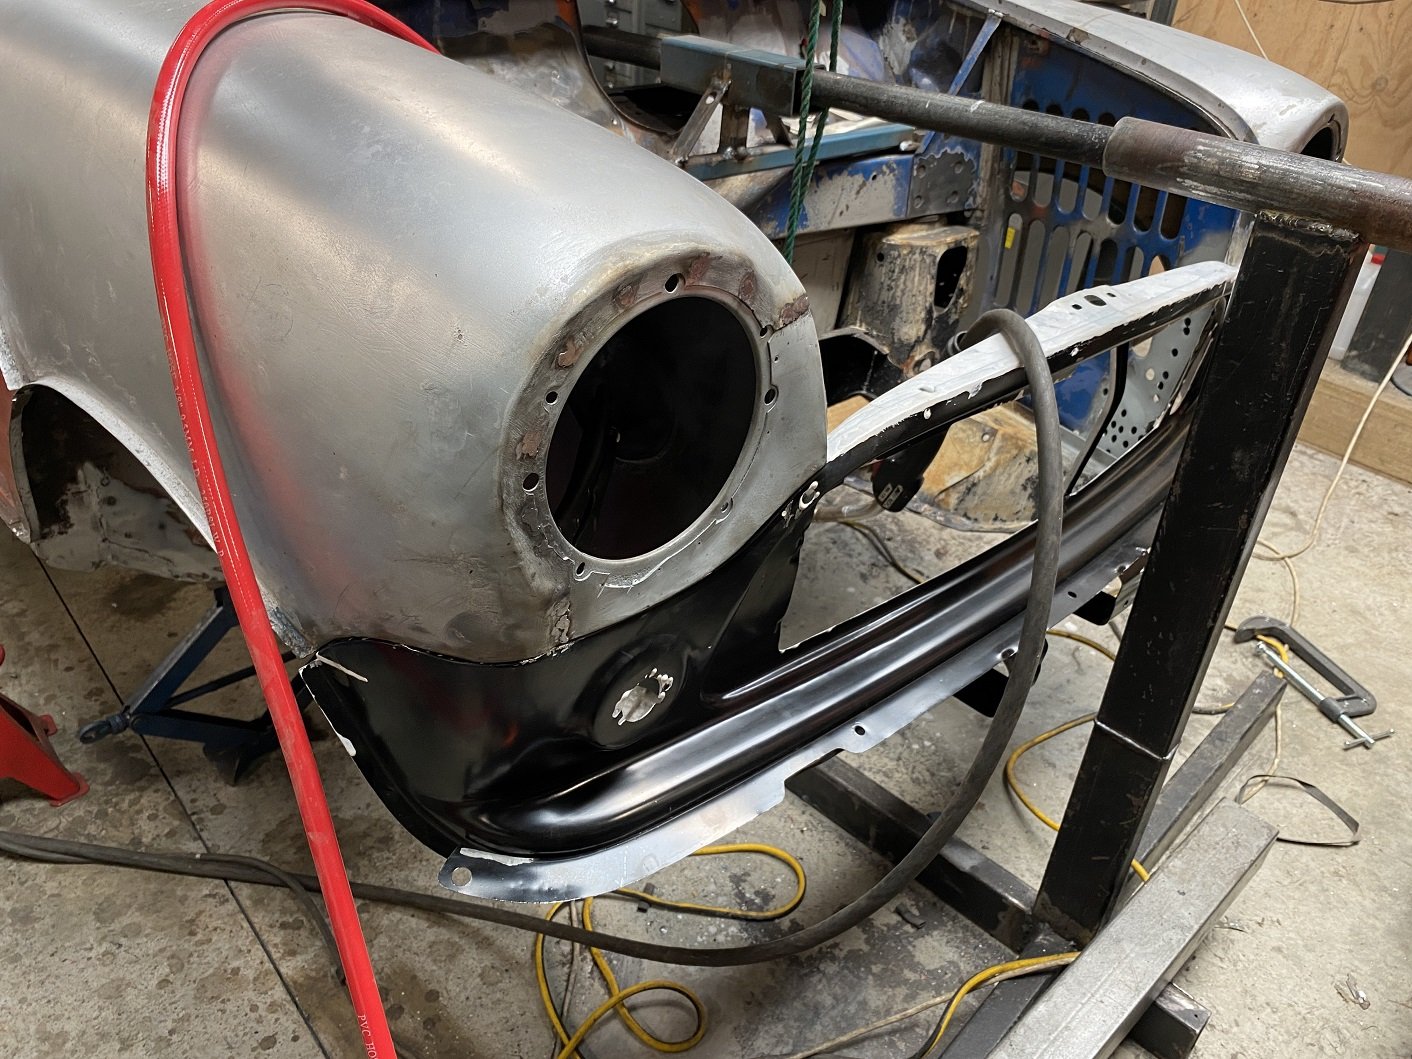
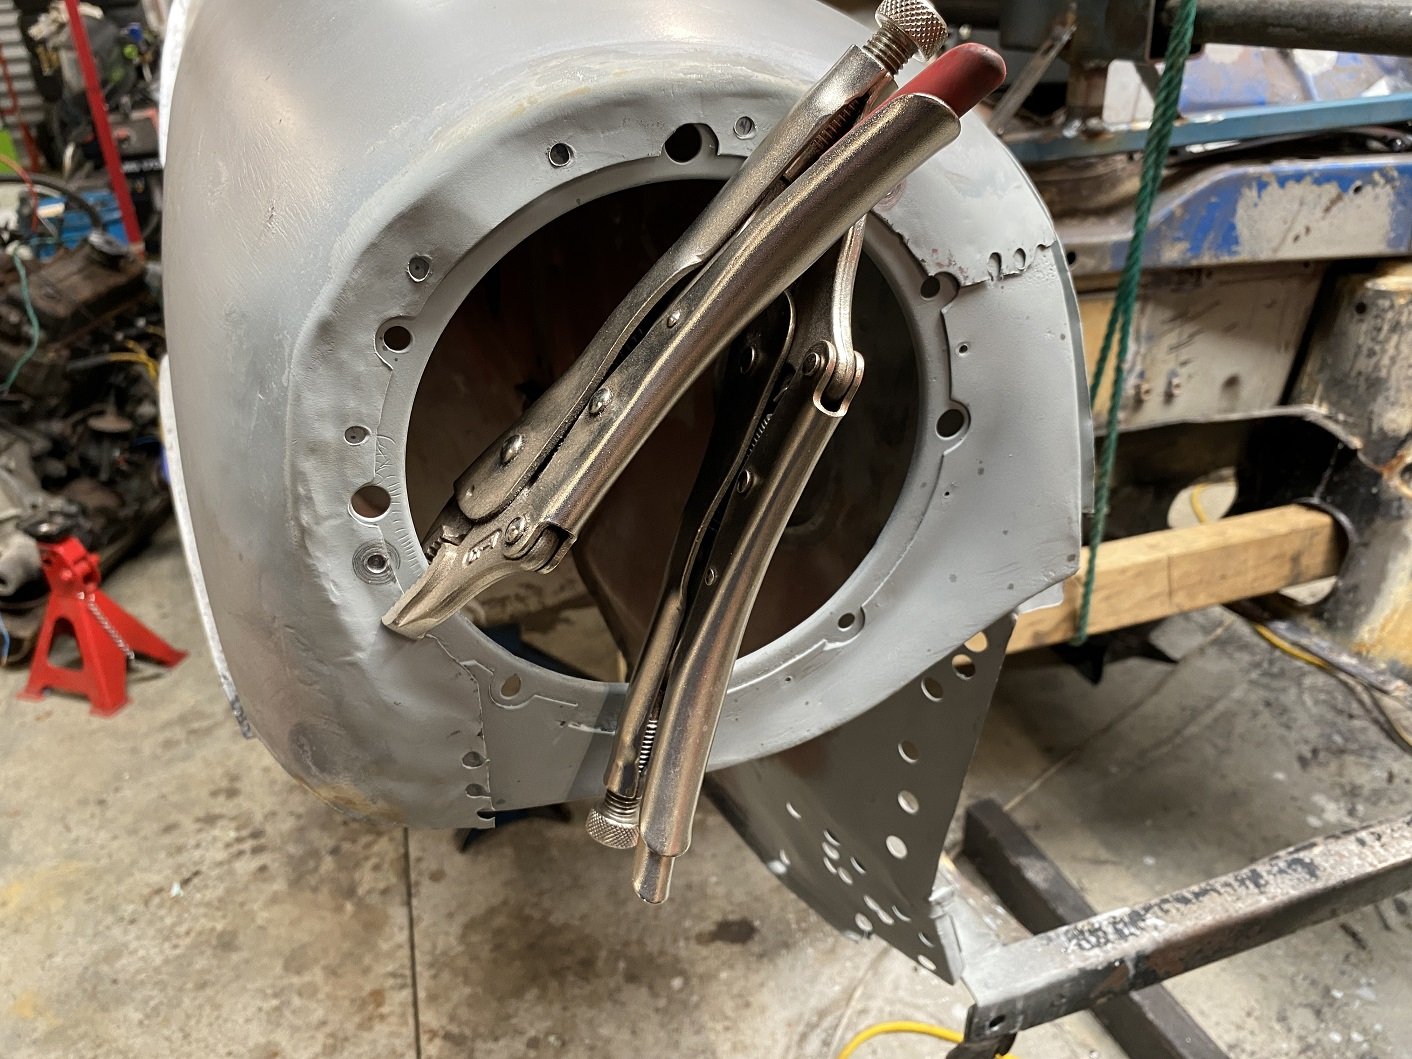
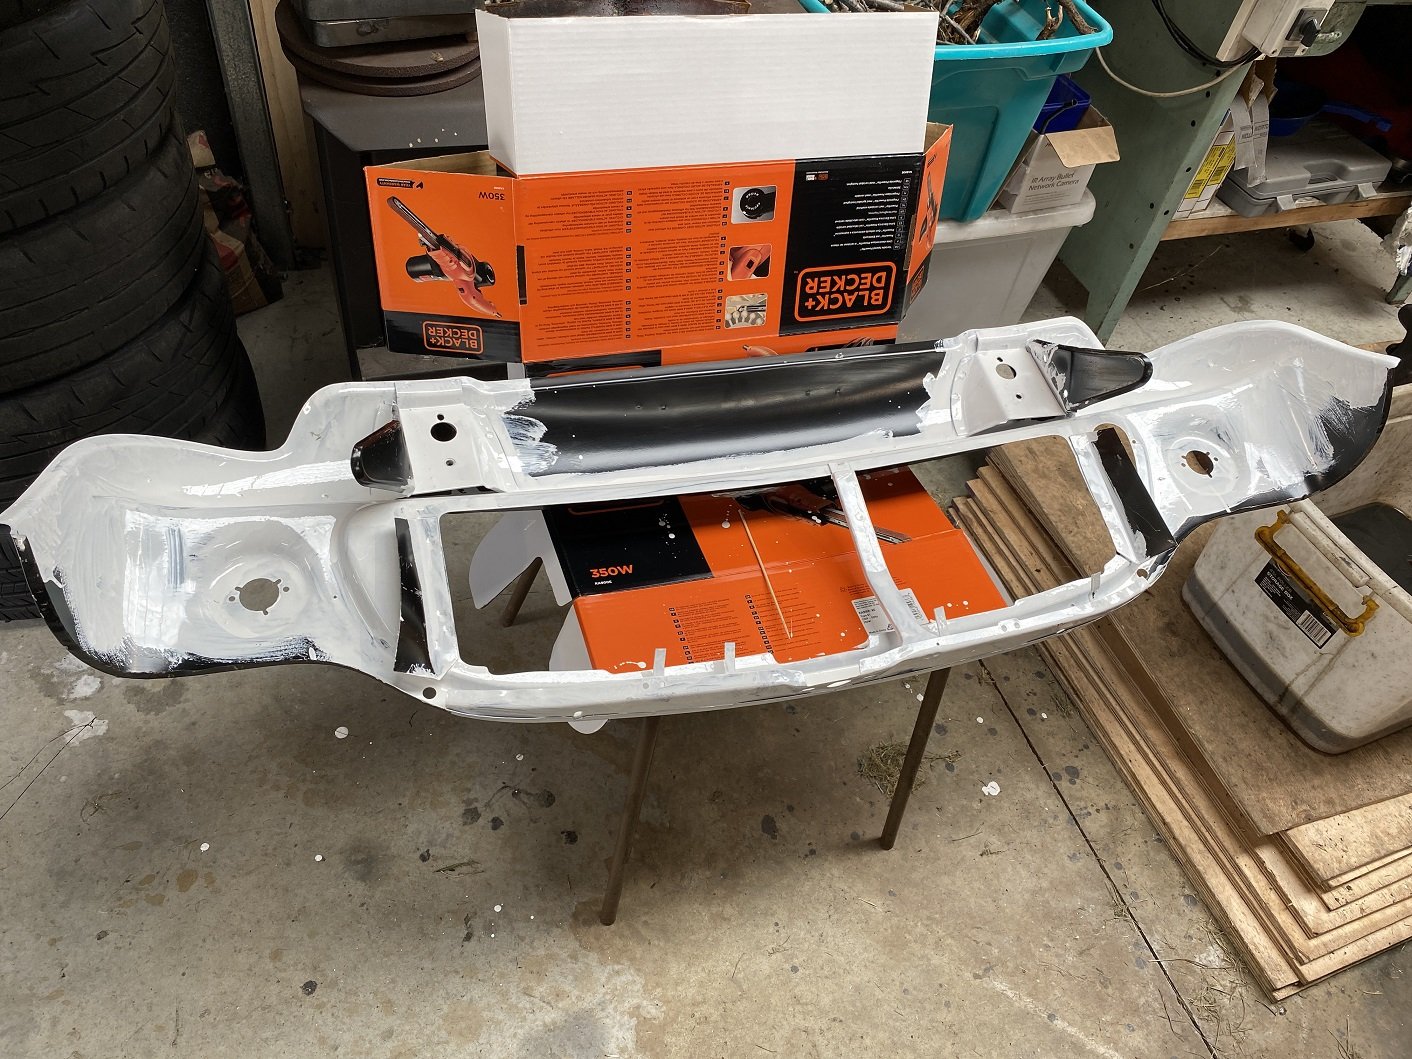
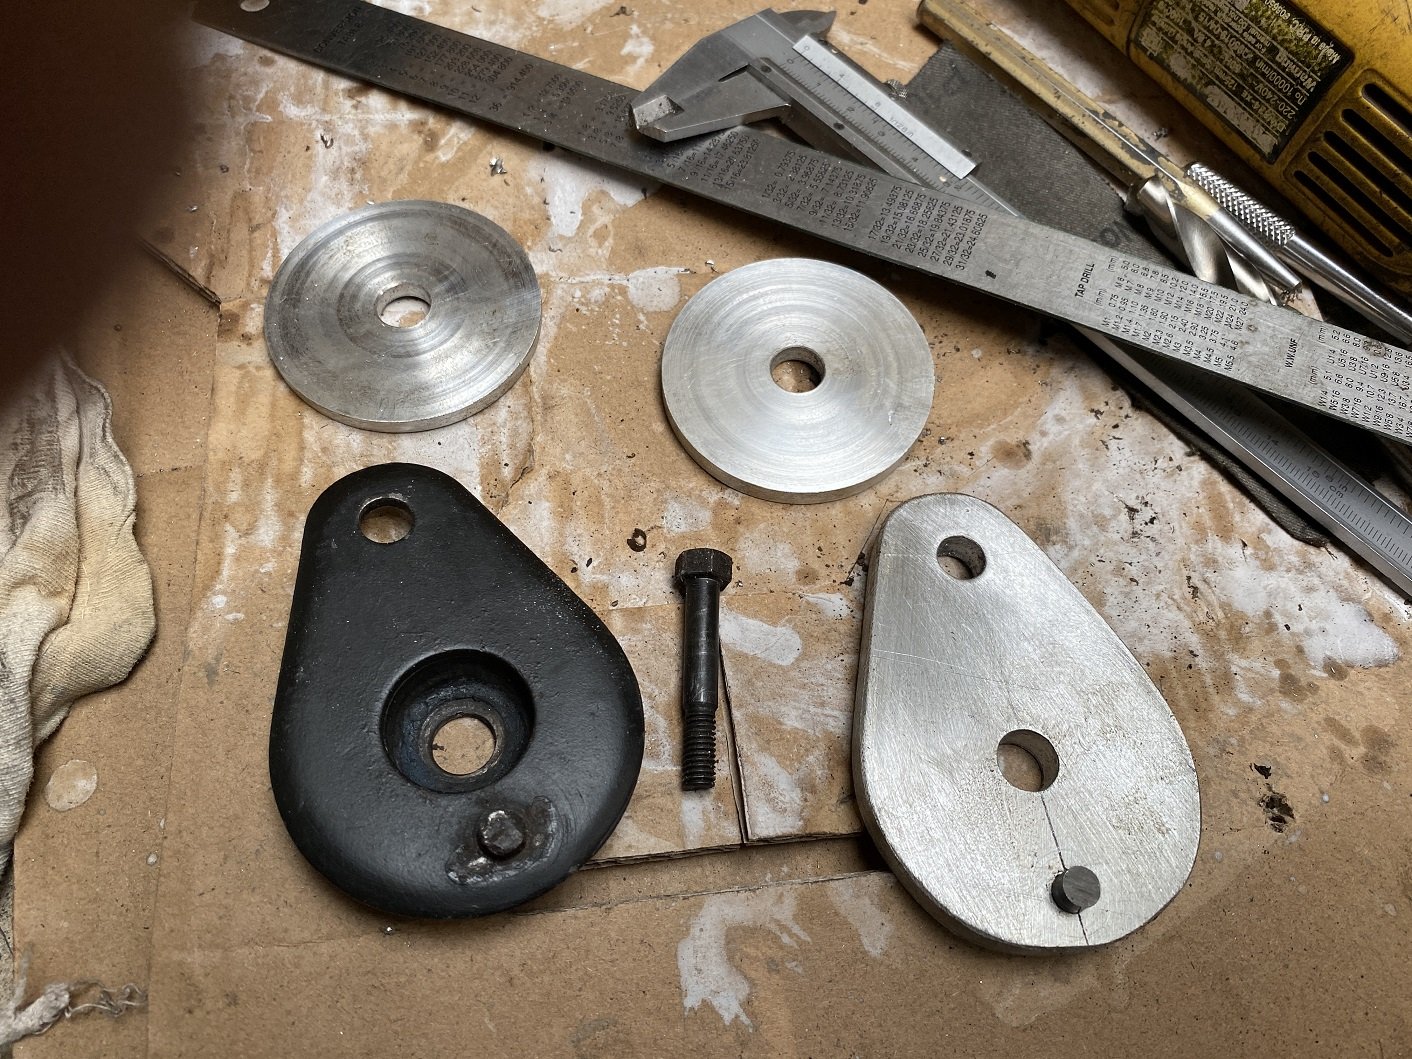
Painted the front panel after filing down the razor sharp panel edges. Still cut myself on it. This is so I can get paint in the places it will be hard to do with a gun when the panel is mounted. Not sure If I got the mix ratio correct for such a small amount. Where it pooled in the low spots it took several days to cure. I think I will use digital scales next time, rather than the mixing cup markings. When I drilled out the spot welds for the original panel, I drilled all the way through, then I overlaid that panel onto the replacement panel and made dots on the headlight ring so I could line it up with the holes in the wing. It was still a wrestling match, as you can see the front of the wing is a bit beat up and out of shape. Then I thought, I'd better put the front panel on too, for additional alignment guide. So I went to bolt the front subframe mounts to the front panel.... and found I needed to file the locating pin holes so I could actually get the bolts in to the captive nut. With the mounts now on the front panel, I went to bolt it to the two holes in the front of the subframe.... And they were off by about 10mm and forcing it on made one of the old mounts partially delaminate. Well, I may as well make some solid mounts, since I plan to do that eventually anyway. One mount. Two mounts. I didn't have alloy thick enough, so I did them in two parts. I'll keep telling myself I'll tig them together later. I threaded the pin holes and used cut down bolts for pins. You can buy solid mounts like these... but they are about $60! Only took me about an hour. Found that the correct distance between the two bolt holes in the front of the subframe is 660.4mm. Measured the subframe and that's correct. With my new mounts on the panel, I only had 655mm, so more filing of the pin holes in the panel. MOAR wrestling and I got the front panel aligned enough that I was happy to weld the headlight panel in. I have already pre drilled the seams on the new panel for plug welds. I will rotate the car belly up, so I can weld down from the top... The seam lip on the old panels is pretty thin now.... so the plug welding is going to be 'fun'.
2 points
-
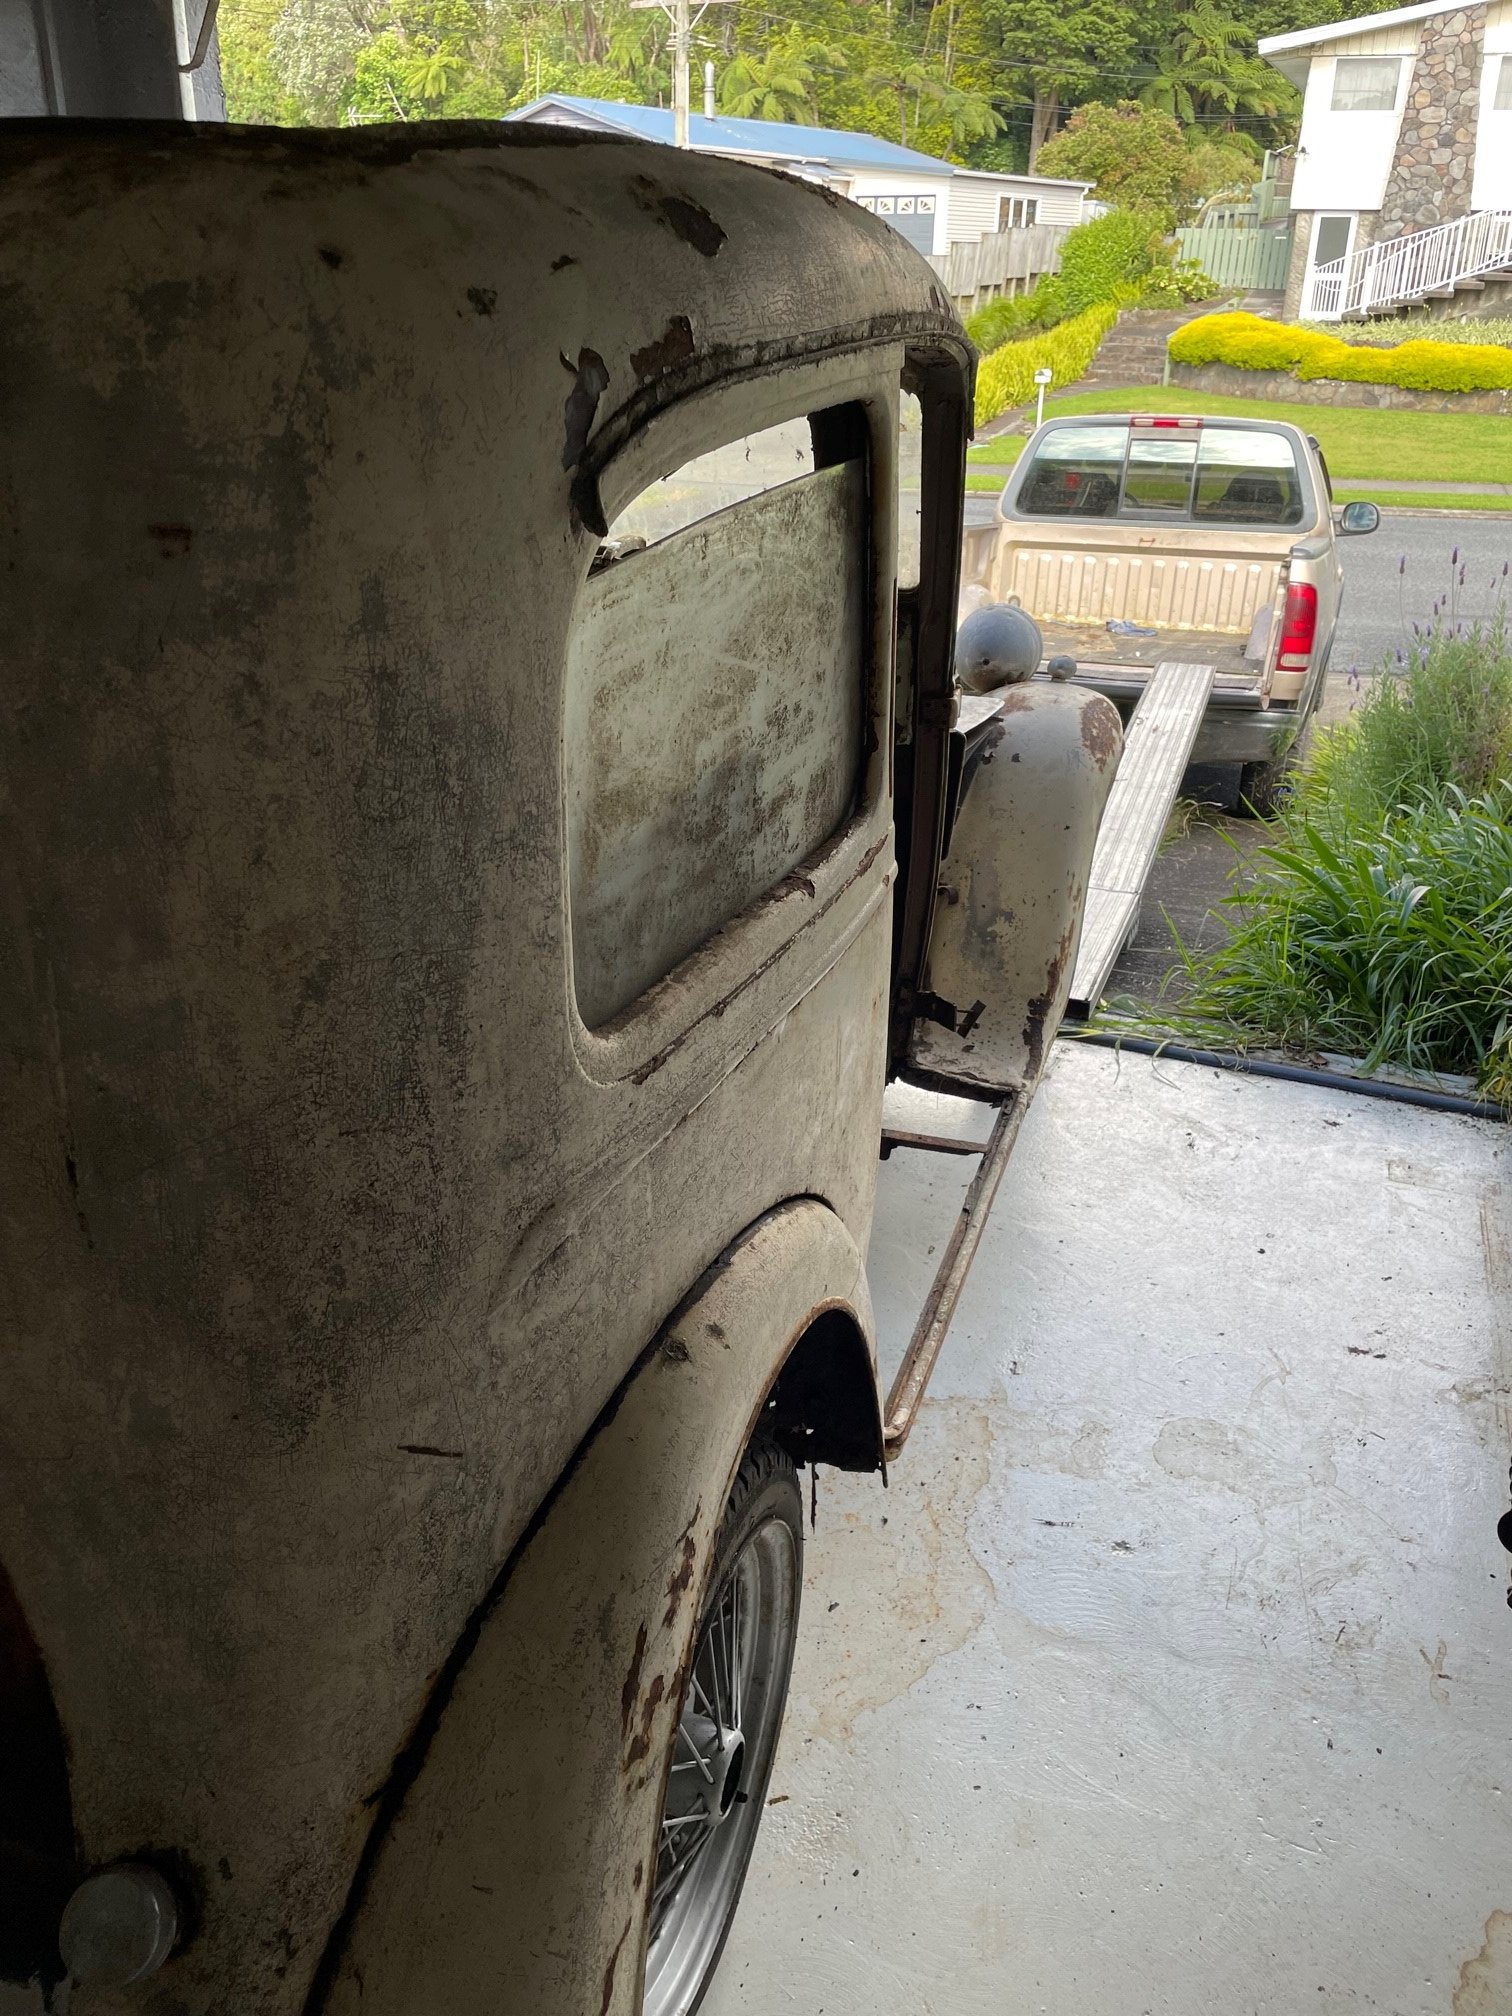
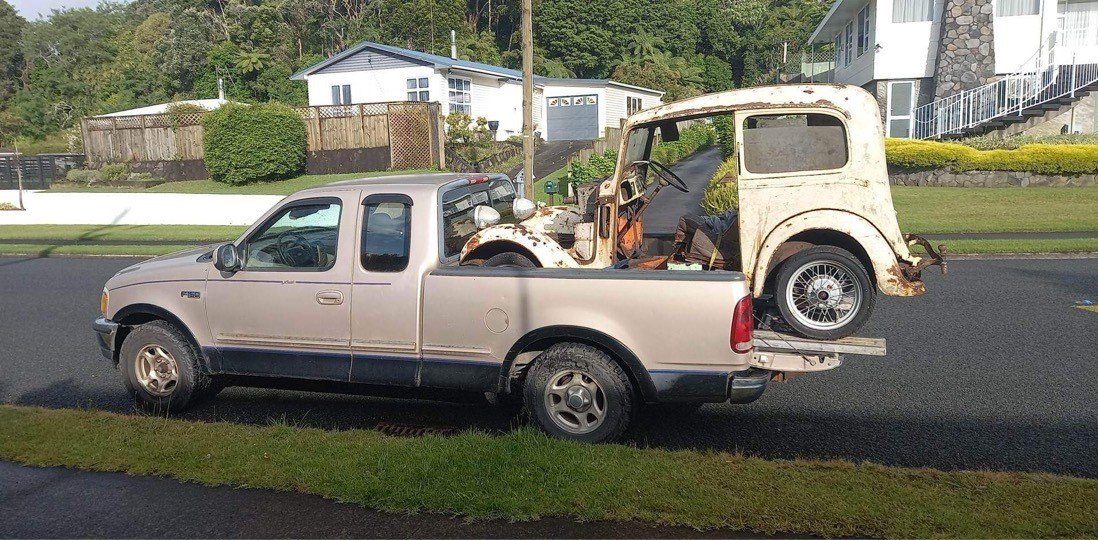
The Austin has been in storage for a bit while I've been working on other projects, but I've lost the basement I was using so it had to come home. I thought it was worth a post on here... The trailer I usually use wasn't available, so this happened... It worked well! But I'm not sure I'd do it again
2 points
-
Inlet fun over and time to move on to some other jobs. First off was to start on the pipework for the cooling. Like I mentioned a while back the heads are symmetrical and each has a outlet for the hot coolant. So one ends up at the front and one at the back. Here's the back one... Both just visible in this shot... On the bike these were plumbed so they joined up near the middle and went into a thermostat housing and from there to the radiator. But I will be running an electric pump behind the engine so that's where these outlets have to be plumbed towards. I started on the front outlet. I gathered together the bits of pipework from the bike setup.. I chopped them up and using bits and pieces I welded together a pipe for the front. They are very thin- about 1mm so it was a tricky one for my tig skills but I did ok. I'll probably paint them and that'll hide the lumps Pipe went like this... Holes = whoops.. Bracket.. And that was all I could do for now as I had used up what bits of the old bends I could. I have ordered some 22mm bends from Aliexpress and so I wait. Better start sussing out the injection gubbins then. I went into the store room and dug out the box labelled 'electronics' and another full of various sensors I'd been collecting. Blew the dust off them and sort of like xmas day I carefully removed all the goodies within. Laid them out on the work table and this is what I had... The brains of it all is a second hand Megasquirt 3 with the expansion board. Apart from the faster processor, SD card slot, loads more ins and outs, canbus etc etc it also allows for fully sequential injection. I'll need to change some of the jumper wiring because its setup for a stepper idle valve and a hall sensor on the crank but otherwise its all good. I have a few VR and hall sensors to try out.. Temp sensors ... First thing was to plug in my megastim and power it up then test the ecu out. Its all working fine. Its been ages since I have used tunerstudio. Not used it since I sold my Viva. Now time to start on setting up sensors to suit. Starting with the crank sensor. The Goldwing came fitted with a 12-1 trigger wheel and two VR sensors (called pulse generators in bike world) to run the ignition module... I could have just kept the trigger wheel as is but for better resolution on a full engine management setup it makes sense to go for at least a 36-1 trigger wheel. I knew there would be nothing available even close to fitting my needs so I made one in much the same way as I did for the Viva. I cut out a disc with the plasma cutter.. Cleaned it up in the lathe and drilled/machined out the bore, ensuring it was perfectly concentric to the bore. The VR sensor needs to have no more than about .020" clearance. Made a jig for the drill and using the original trigger wheel I was able to mark out the teeth. I set the jig up with a locator bolt so I was able to turn the wheel one tooth at a time and drill it and then repeat... Then I carefully cut out up to the holes, gave it a tickle with a file and I had my trigger wheel. I have yet to remove the 'missing tooth' or tig in a nib in the centre that keys to the crankshaft. I'll sort that later. Now I had to sort out my second sensor wheel, for the cam or 'home' signal. This will be a single tooth or maybe a half moon. I'm not sure and have yet to work out what's best. The MS manual suggests a half moon type (like one long tooth). Other OEM setups just have a single small tooth. Either way I need a sensor to be mounted near one of the cam pulleys. What seems to be recommended as the better option for the home signal is a hall sensor due to the fact that the camshaft spins at half the speed of the crank and when the engine is being turned over at startup it could potentially be quite a low speed. So low that a VR sensor might not be able to produce enough of a pulse for the ECU. I had played around with a couple of VR sensors out of interest to see if they might fit in place but everything I had was too bulky or the wrong shape to fit under the cambelt cover... Anyway- they were VR sensors and not what I wanted. I looked about on googleworld and found a couple of hall sensors that looked like they might work. Another trip to my local wreckers was called for. I rummaged about in various engine bays and found what I was after in a 2003 Peugeot 307. It was ideal! I grabbed the plug with a length of wire attached. Once home I whipped up a bracket from some thick walled alloy angle, a hacksaw and file and had the sensor fitting where I wanted it. Once I have decided what type of toothed wheel shape to make I'll be sorting that out. After all this I stripped the whole engine down and removed the crank... The next day Hannah and I took the imp for a hoon and visited the big smoke, Nelson city, to do some shopping. I'm now sussing out where to get my crankshaft balanced up - without a doubt this is one job that has to be done. Imp looked great against the blue sky along the promenade in Nelson ...2 points
-
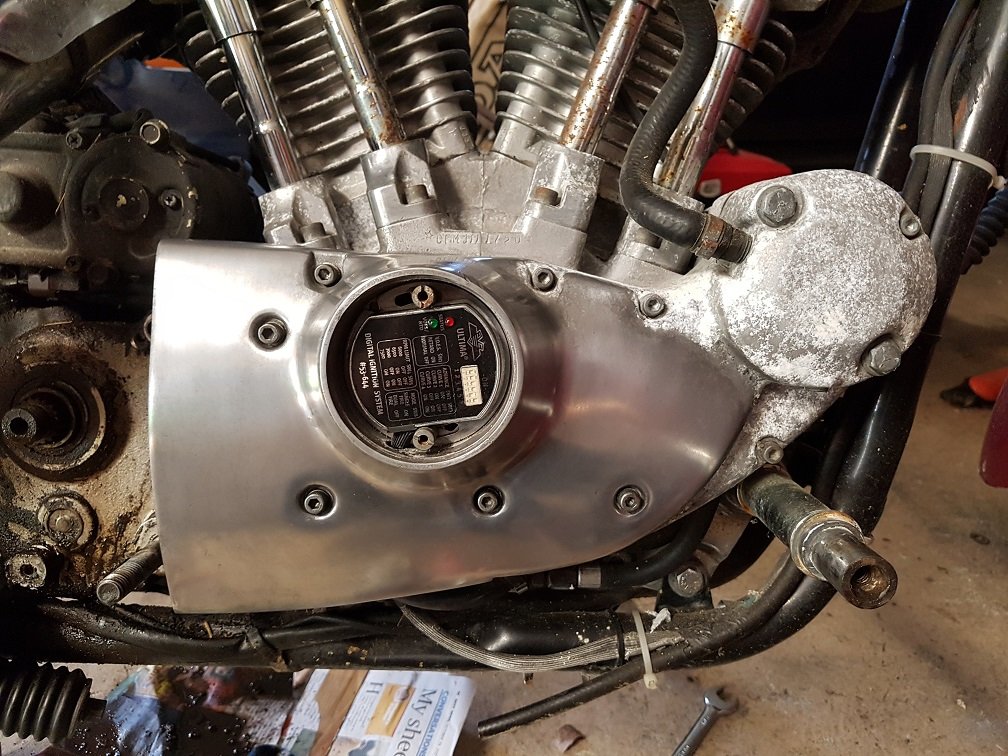
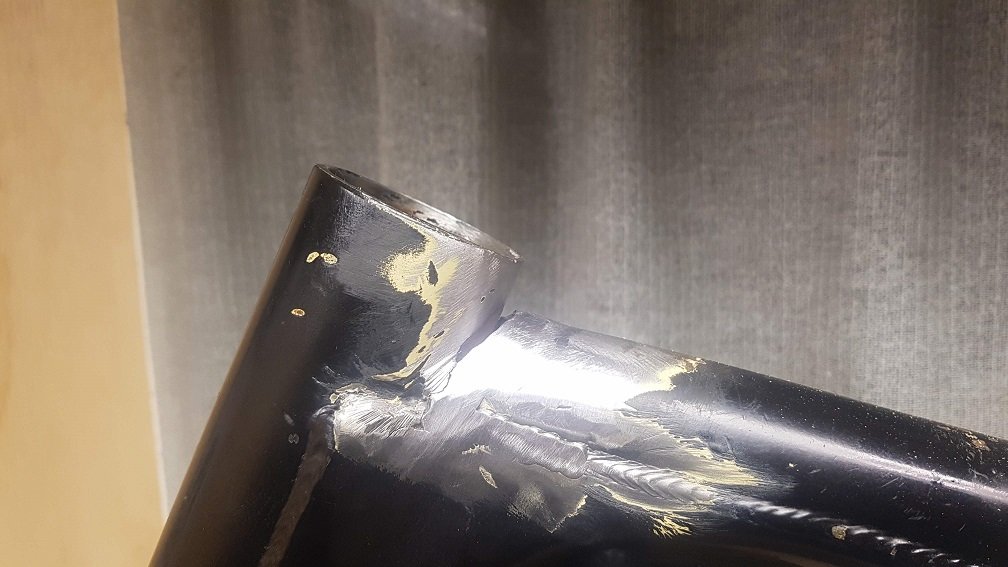
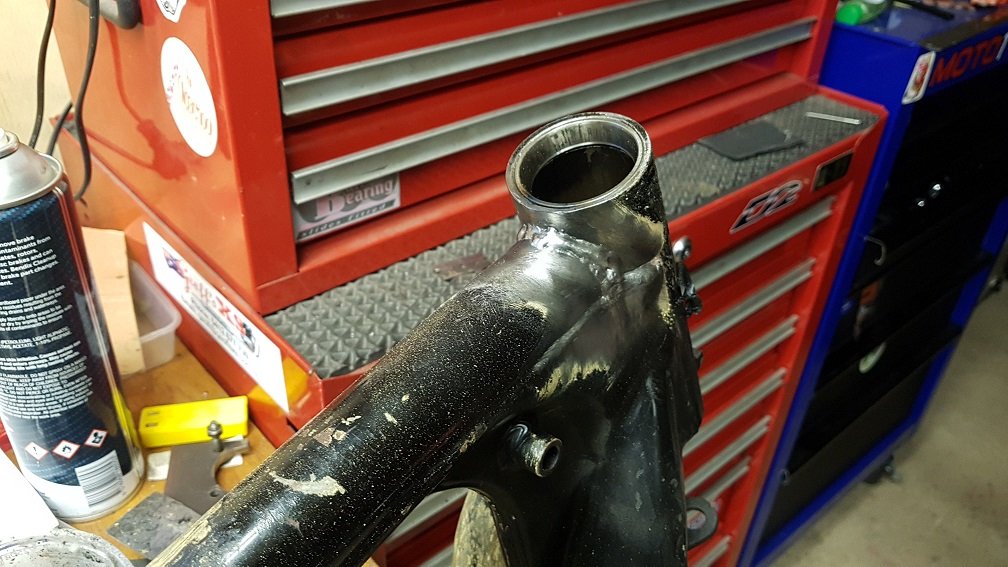
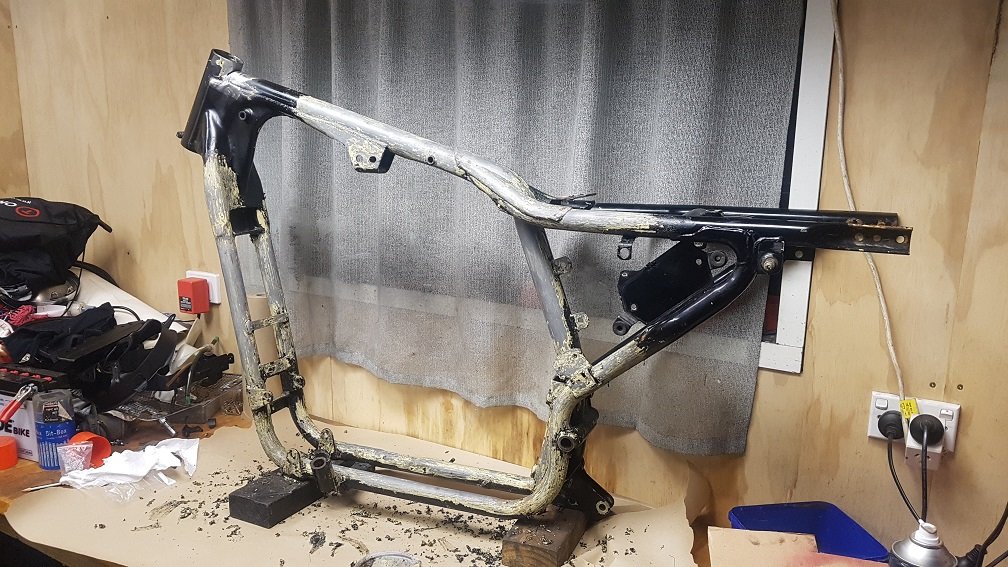
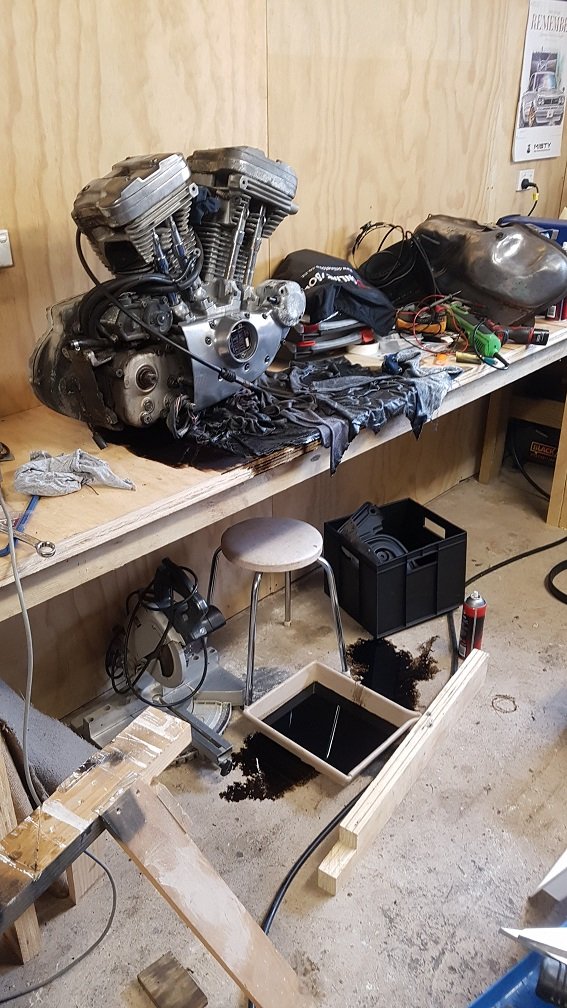
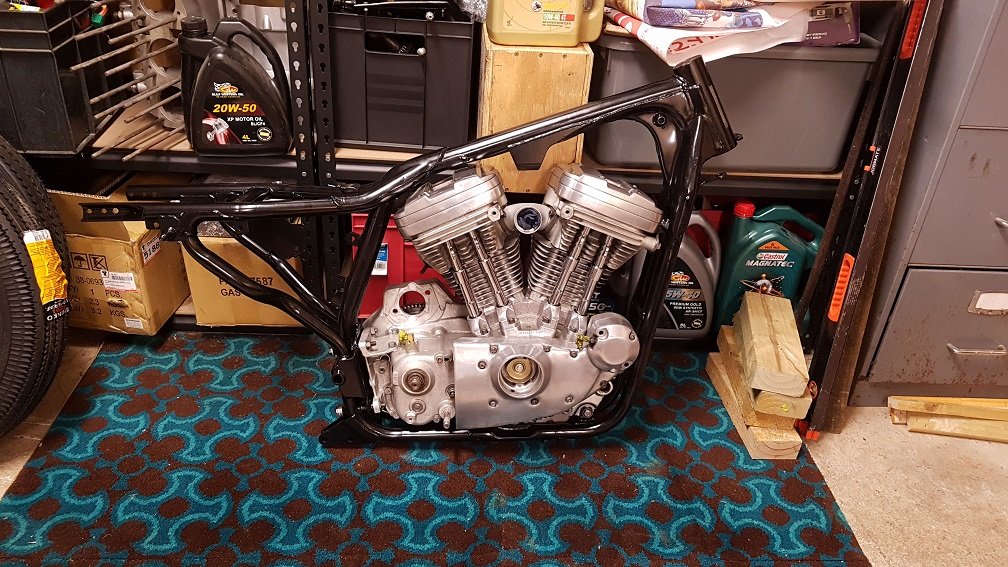
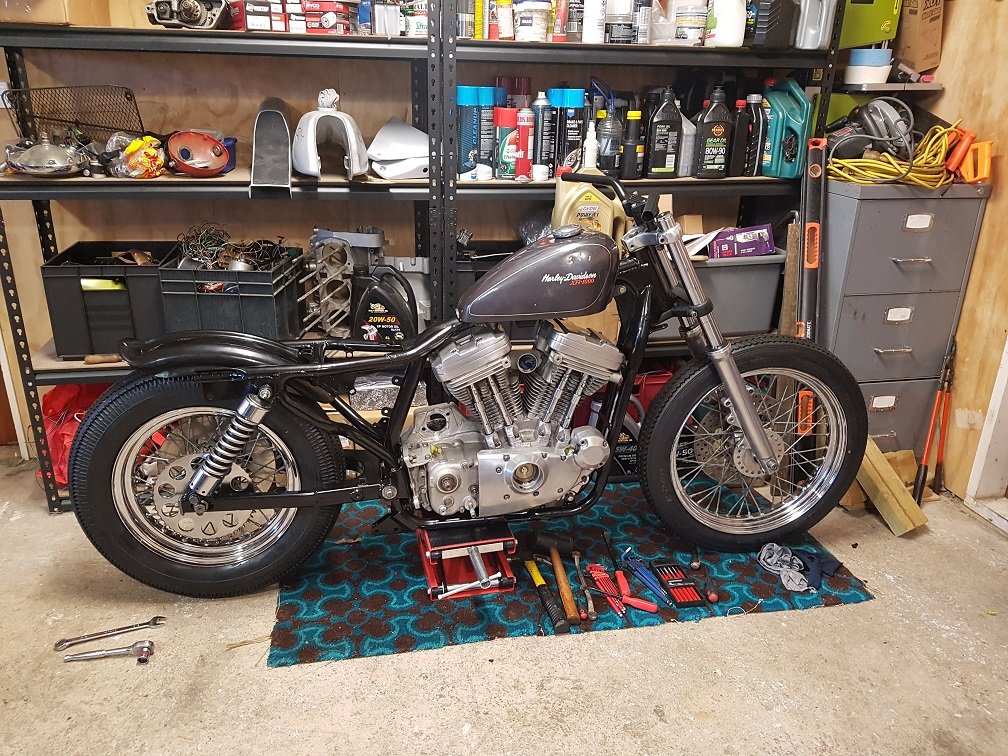
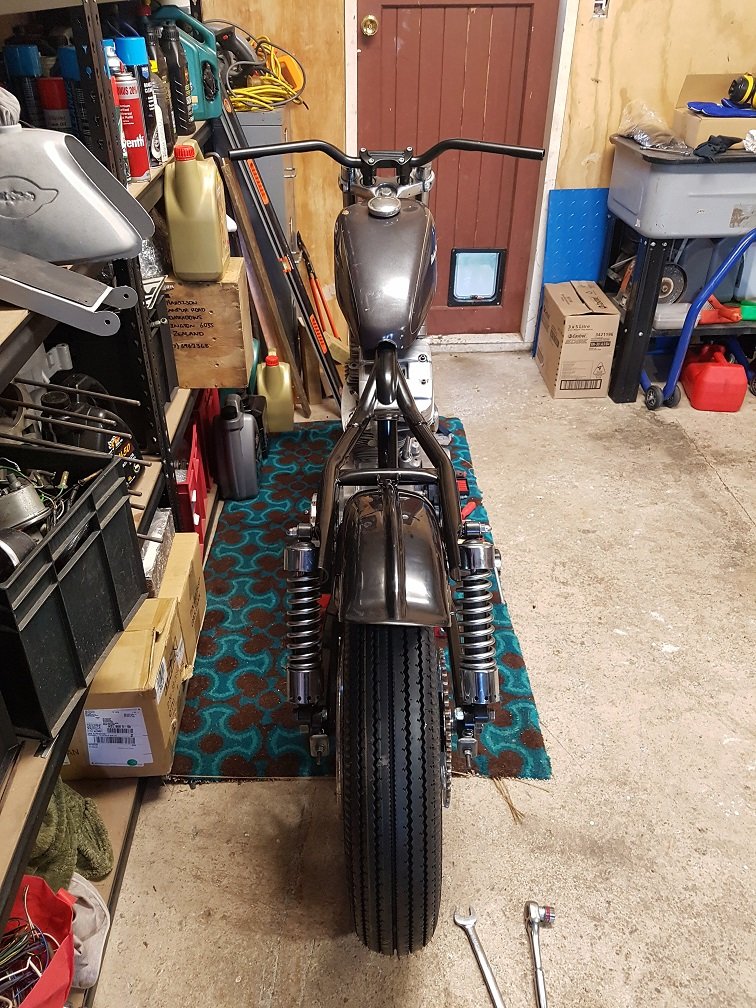
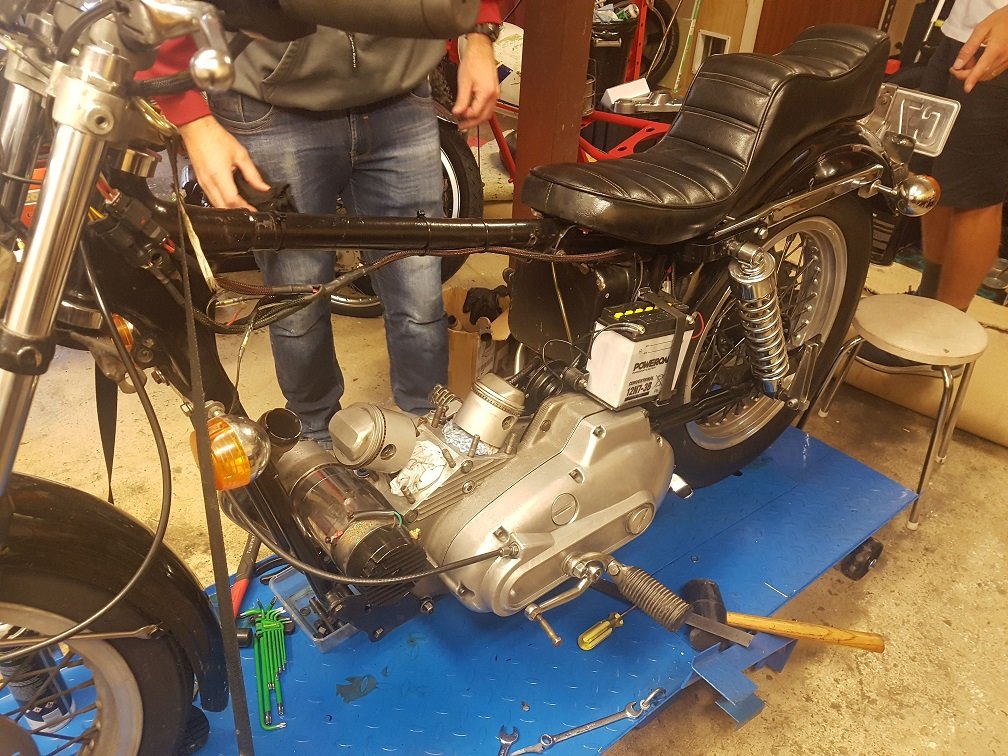
First step was to see what I'd bought and start cleaning it up. It was responding well to some 400 grit and some autosol. Before: After a test patch: It certainly had potential.... Next issue was the frame. It had some goobied up weld on the headstock. So i ground this back and re-welded it. Looked much better: I then proceeded to strip the frame by hand: I got this far then rage quit as it was absolout misery. Dropped it at blasters to be blasted and powdercoated. While that was happening i put the motor on the bench to give a propper cleanup with new gaskets etc. It had wet-sumped and proceeded to go wees on my bench overnight: Was really fun to clean it up and add new seals: Got the frame back from powdercoaters and put the engine in. Looks like brand new! Started to reassemble it whilst trying to not make it look super gross. Got some short rear shocks from a dyna, and some cuttiez in the front g. Also popped some new shinkos onto the cleaned up rims: Love how narrow it is. Ali express rear guard. This is where it currently stands. As soon as my ironhead is off the table i'll get full force back into this. On the home stretch now. Have a whole heap of new bits to go on it. Plan is just to have something cool and reliable as a backup bike or one mates can ride when they're in town. Will hopefully come back with updates in next few weeks. Motivation is high at the moment.
2 points
-
Heart transplant was a success.
2 points
-
Its actually made it off the dyno and onto the road. amazing I stole @Roman clutch sensor idea. spans 0-5v over clutch range. so can pick engagement point in ecu software, rather than mucking around trying trying to adjust a switch to right spot. So yeah set up launch control. On my shitty old concrete tyres i use on the dyno,would only take 2200rpm launch. then would cut loose again a 5k. I set up an ignition retard map, based on time after the lauch control switched off, so will pull timing and come on power less aggressive in 1st gear. then back to full timing by the time hit 2nd, which worked ok but pretty weak sauce acceleration> Found some slightly softer springs and did some shock adjustments which helped a little bit. but still ended it tyre fire Before swapping to some slightly better condition 195/45 14's. thought would try some other junk got hanging around Enter the 185/55 15 linglings first attempt = tyre fire. but after zinging the crust off them and running them at 15psi. got it to hook up at 3800rpm and able to get rid of the timing retard map. aint no drag car but seems to take off fairly decent for what it is
2 points
-
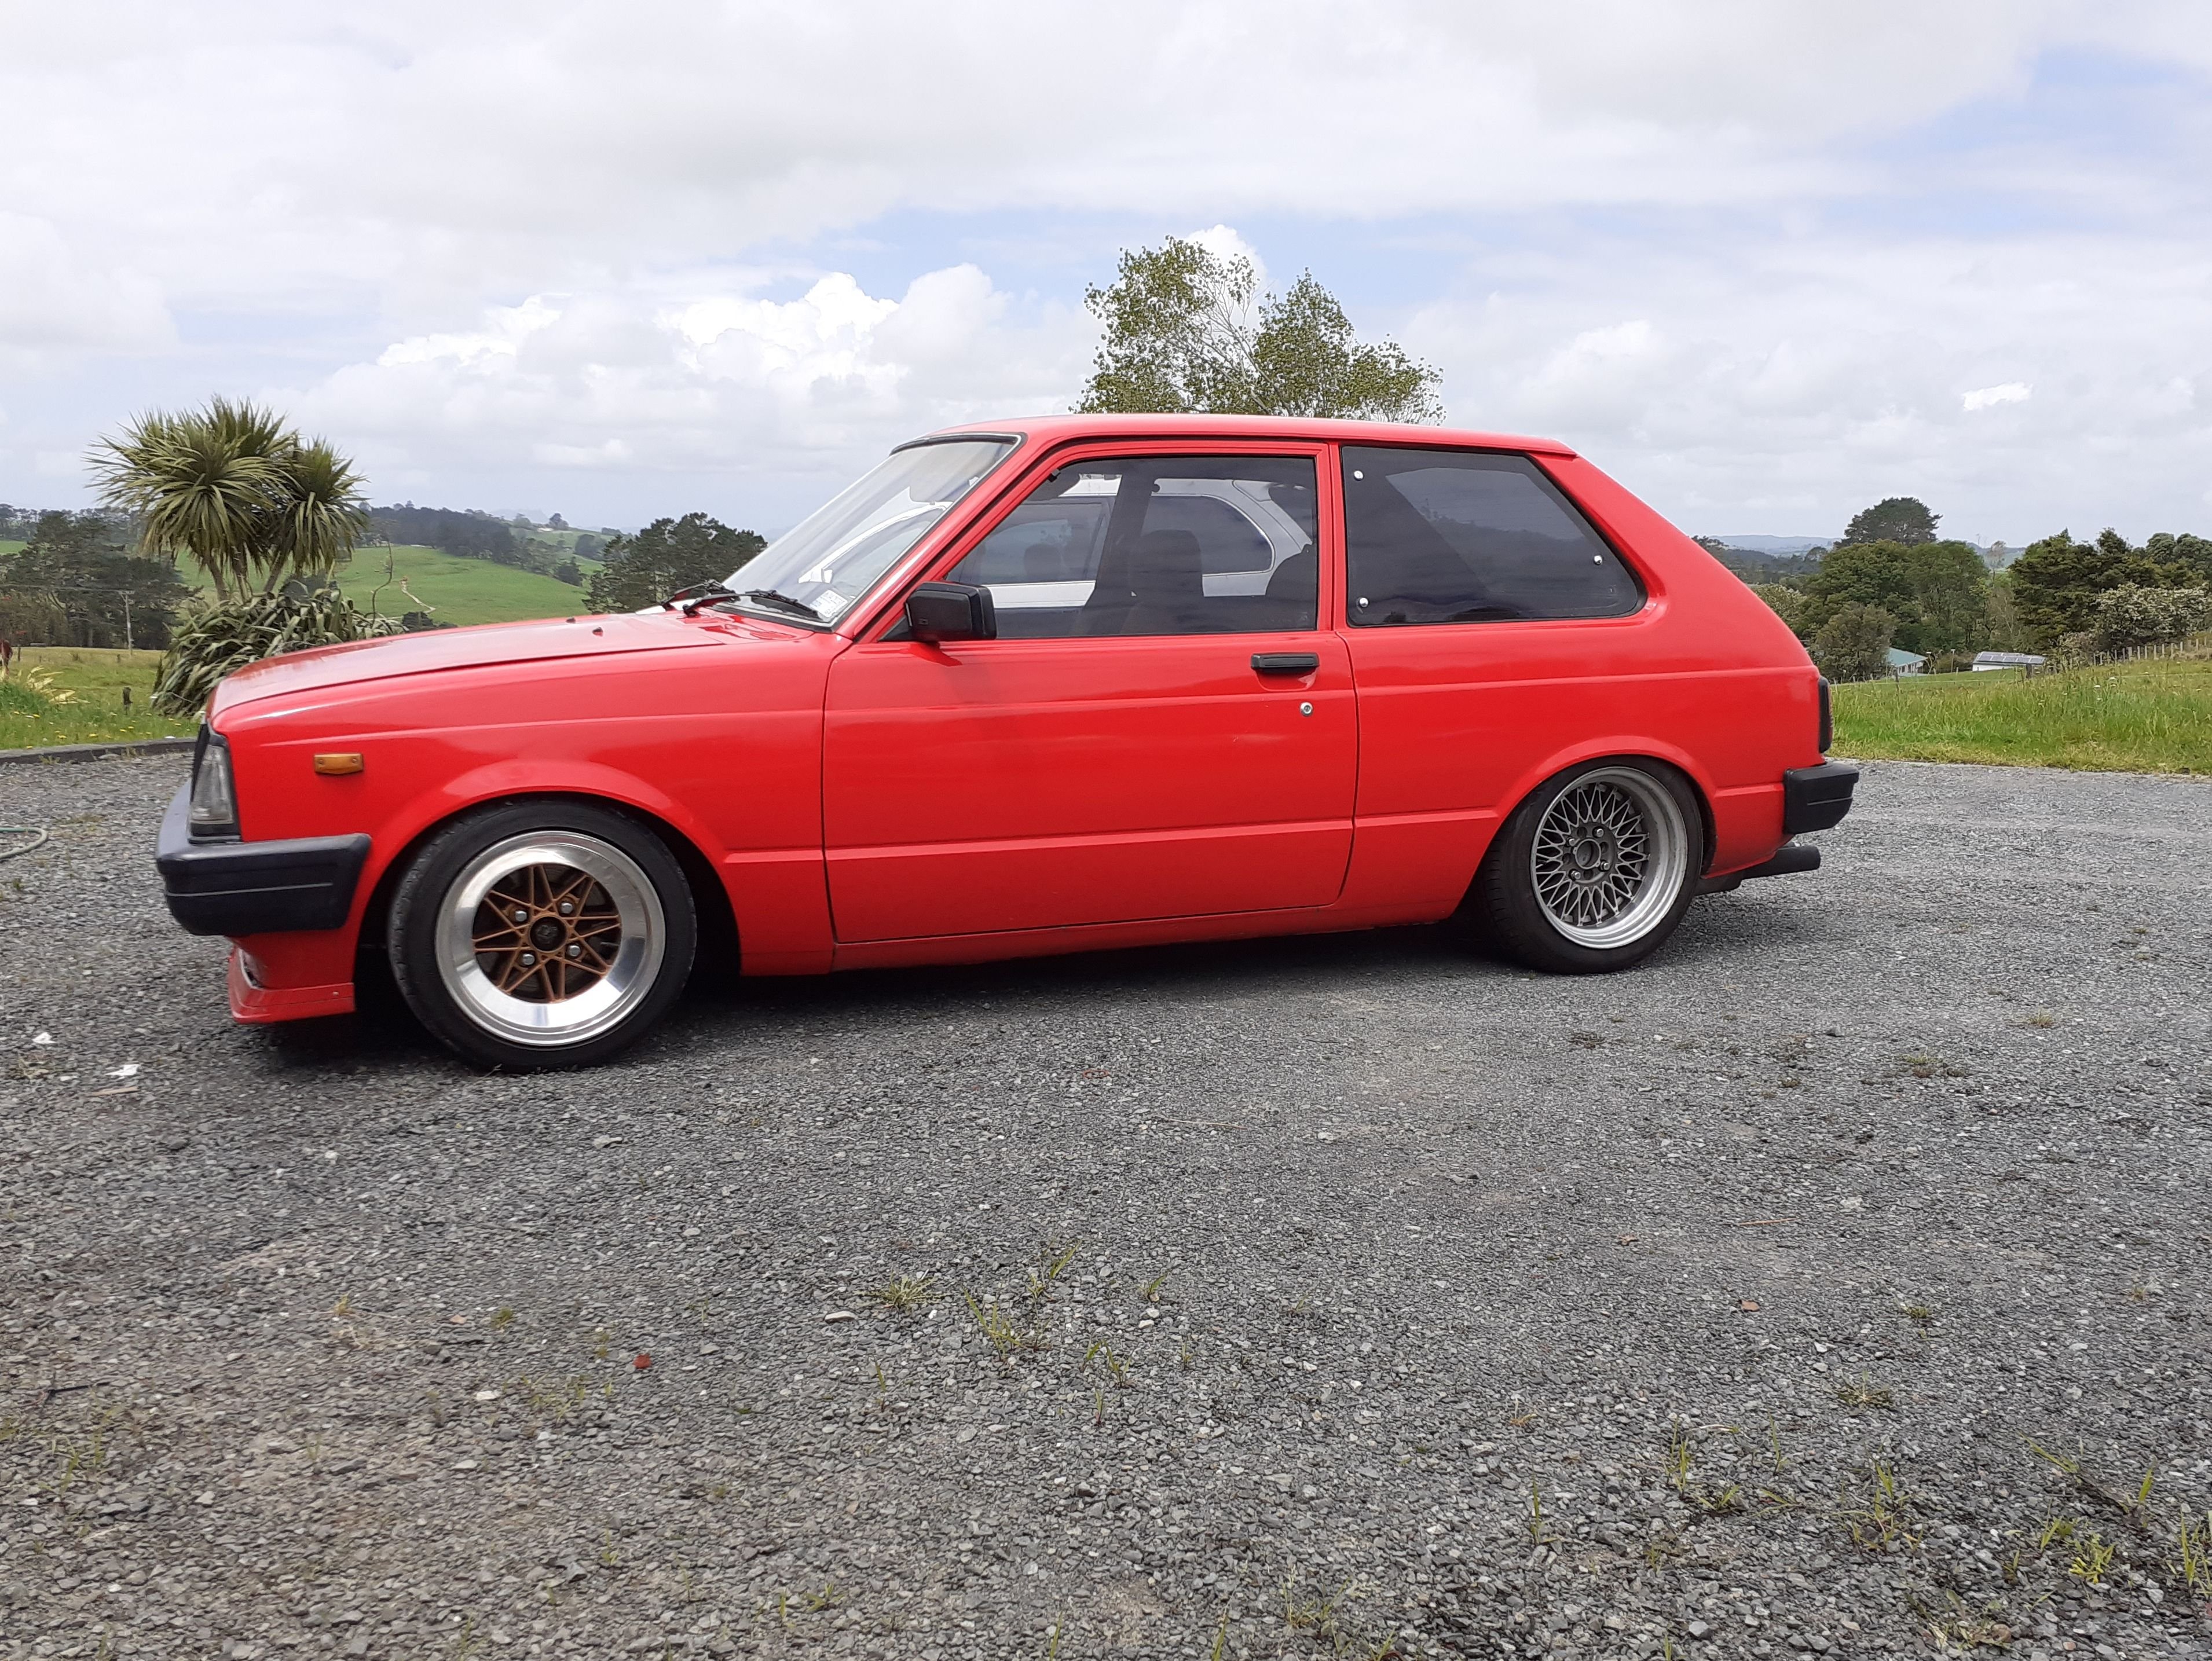
Im a Bulls Rat, from 10-18ish, lots of good times. Razza looks like its taken over the block!1 point
-
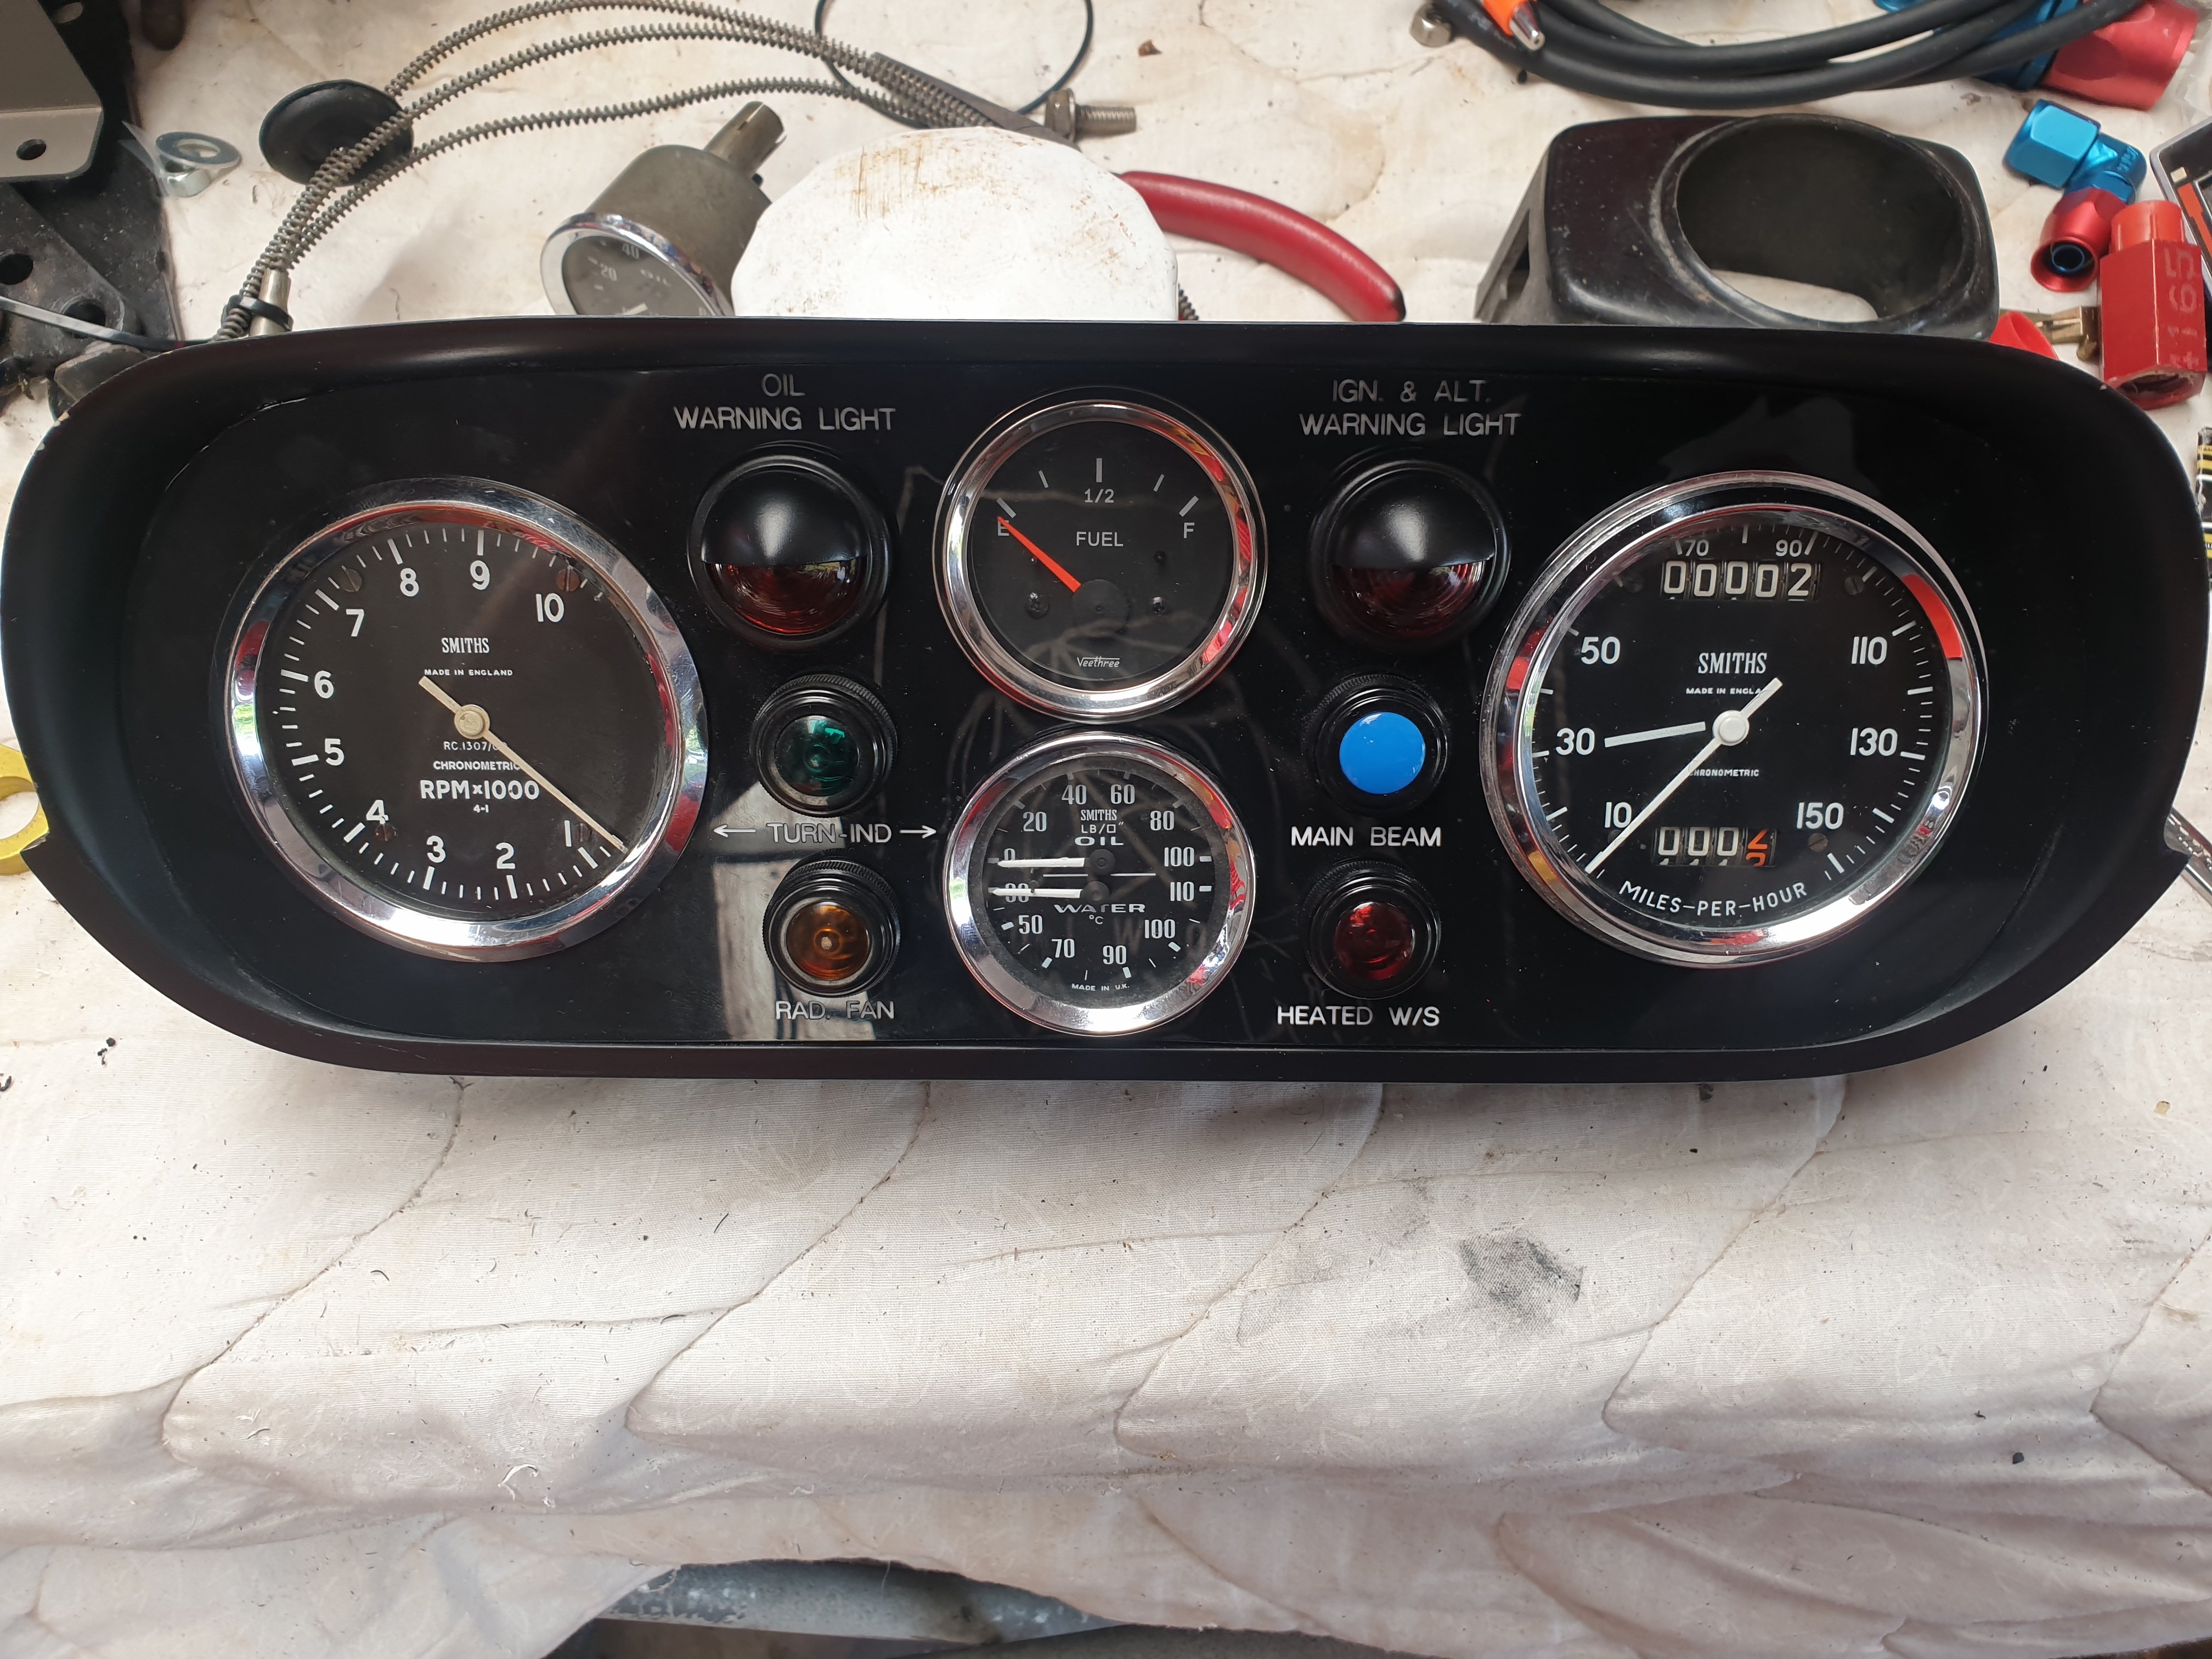
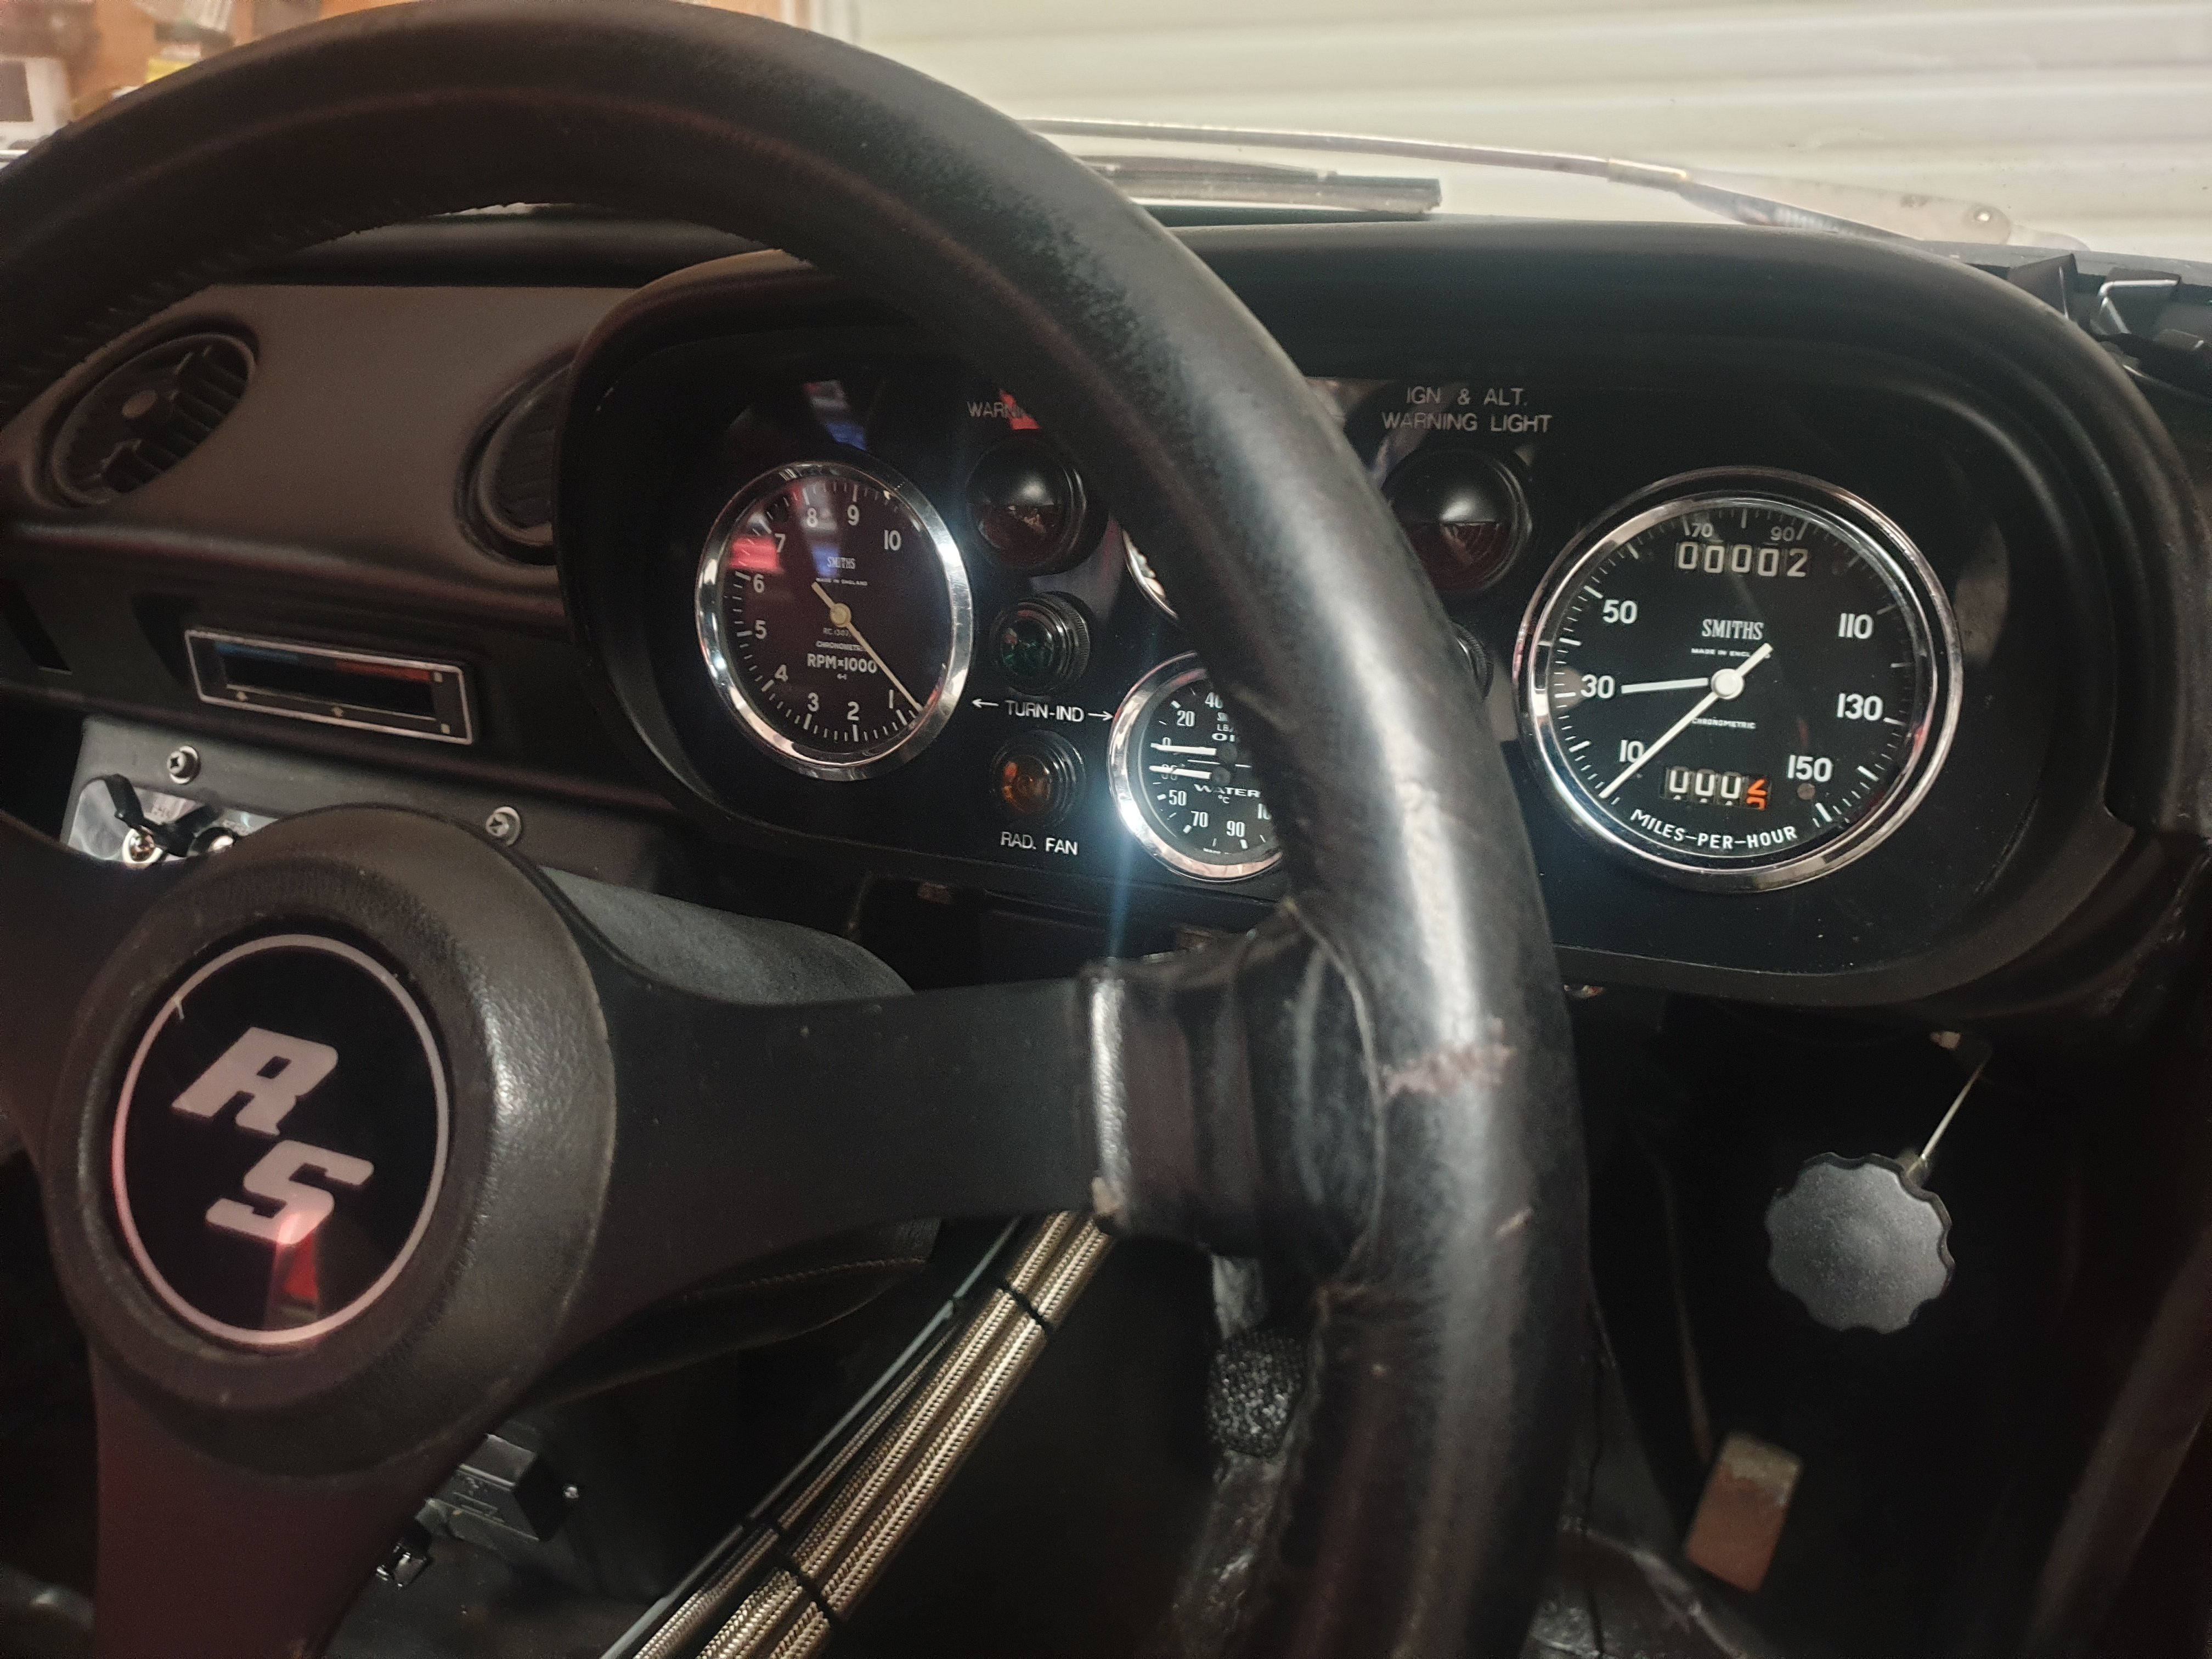
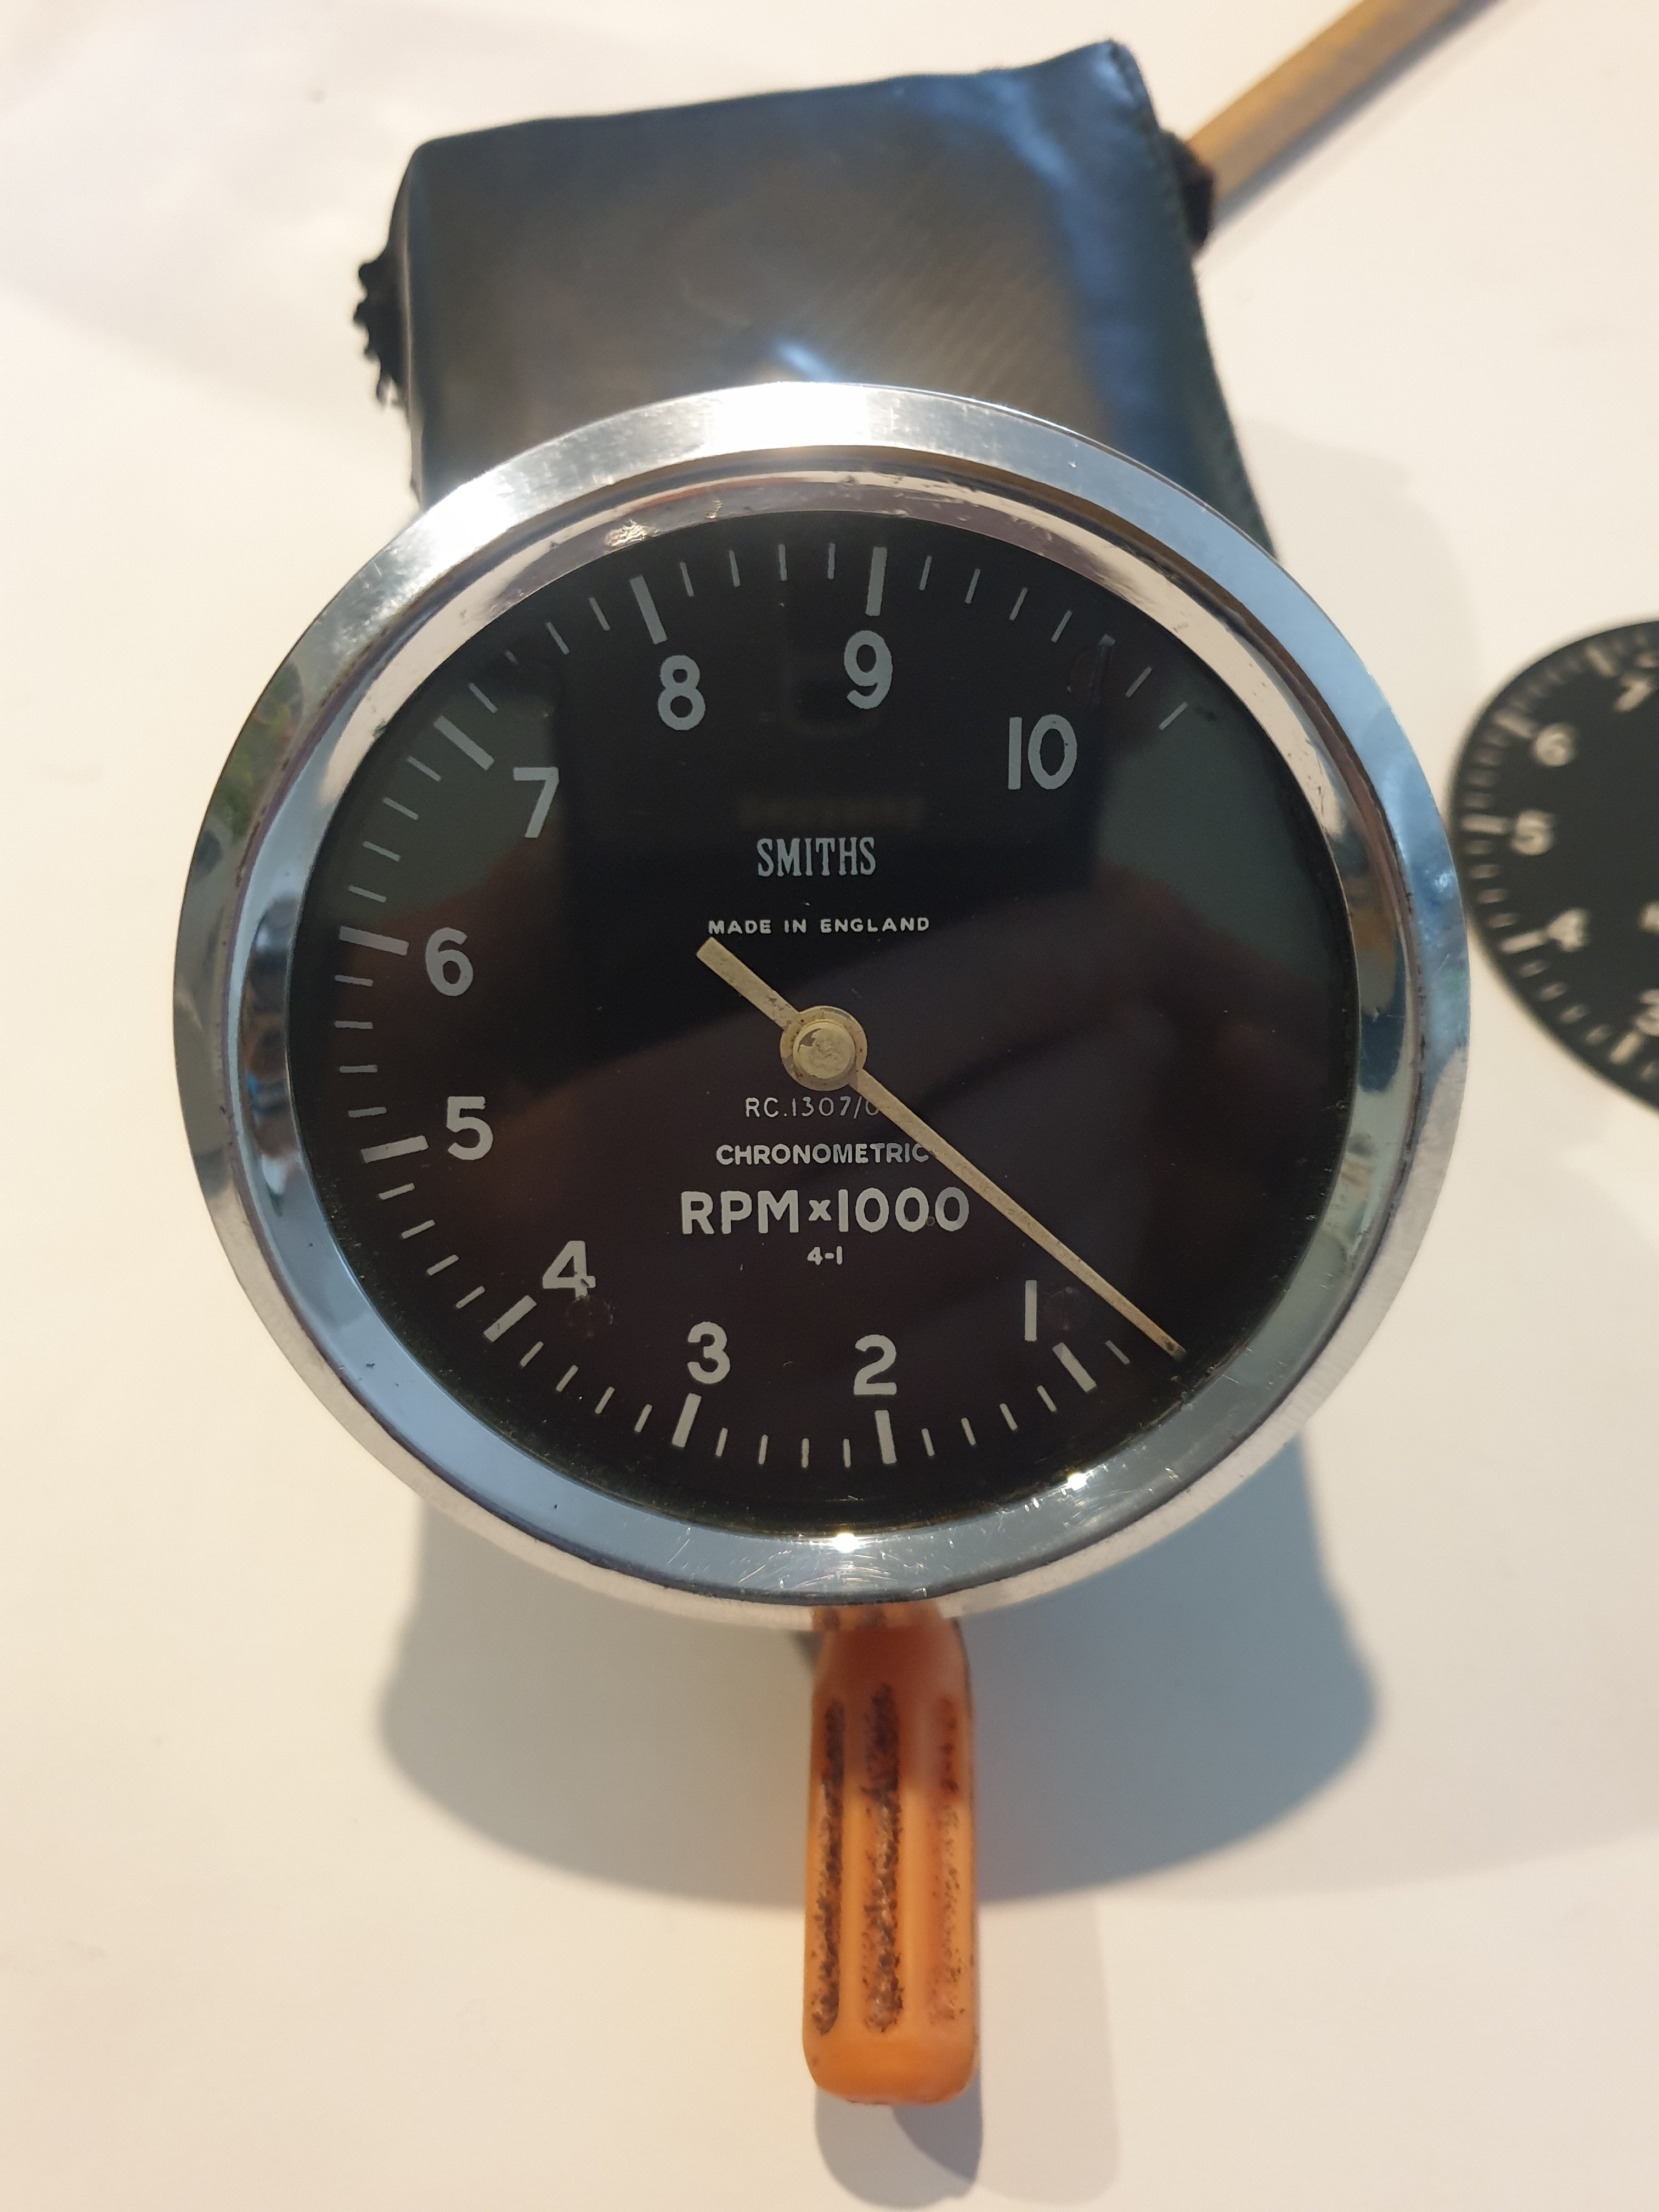
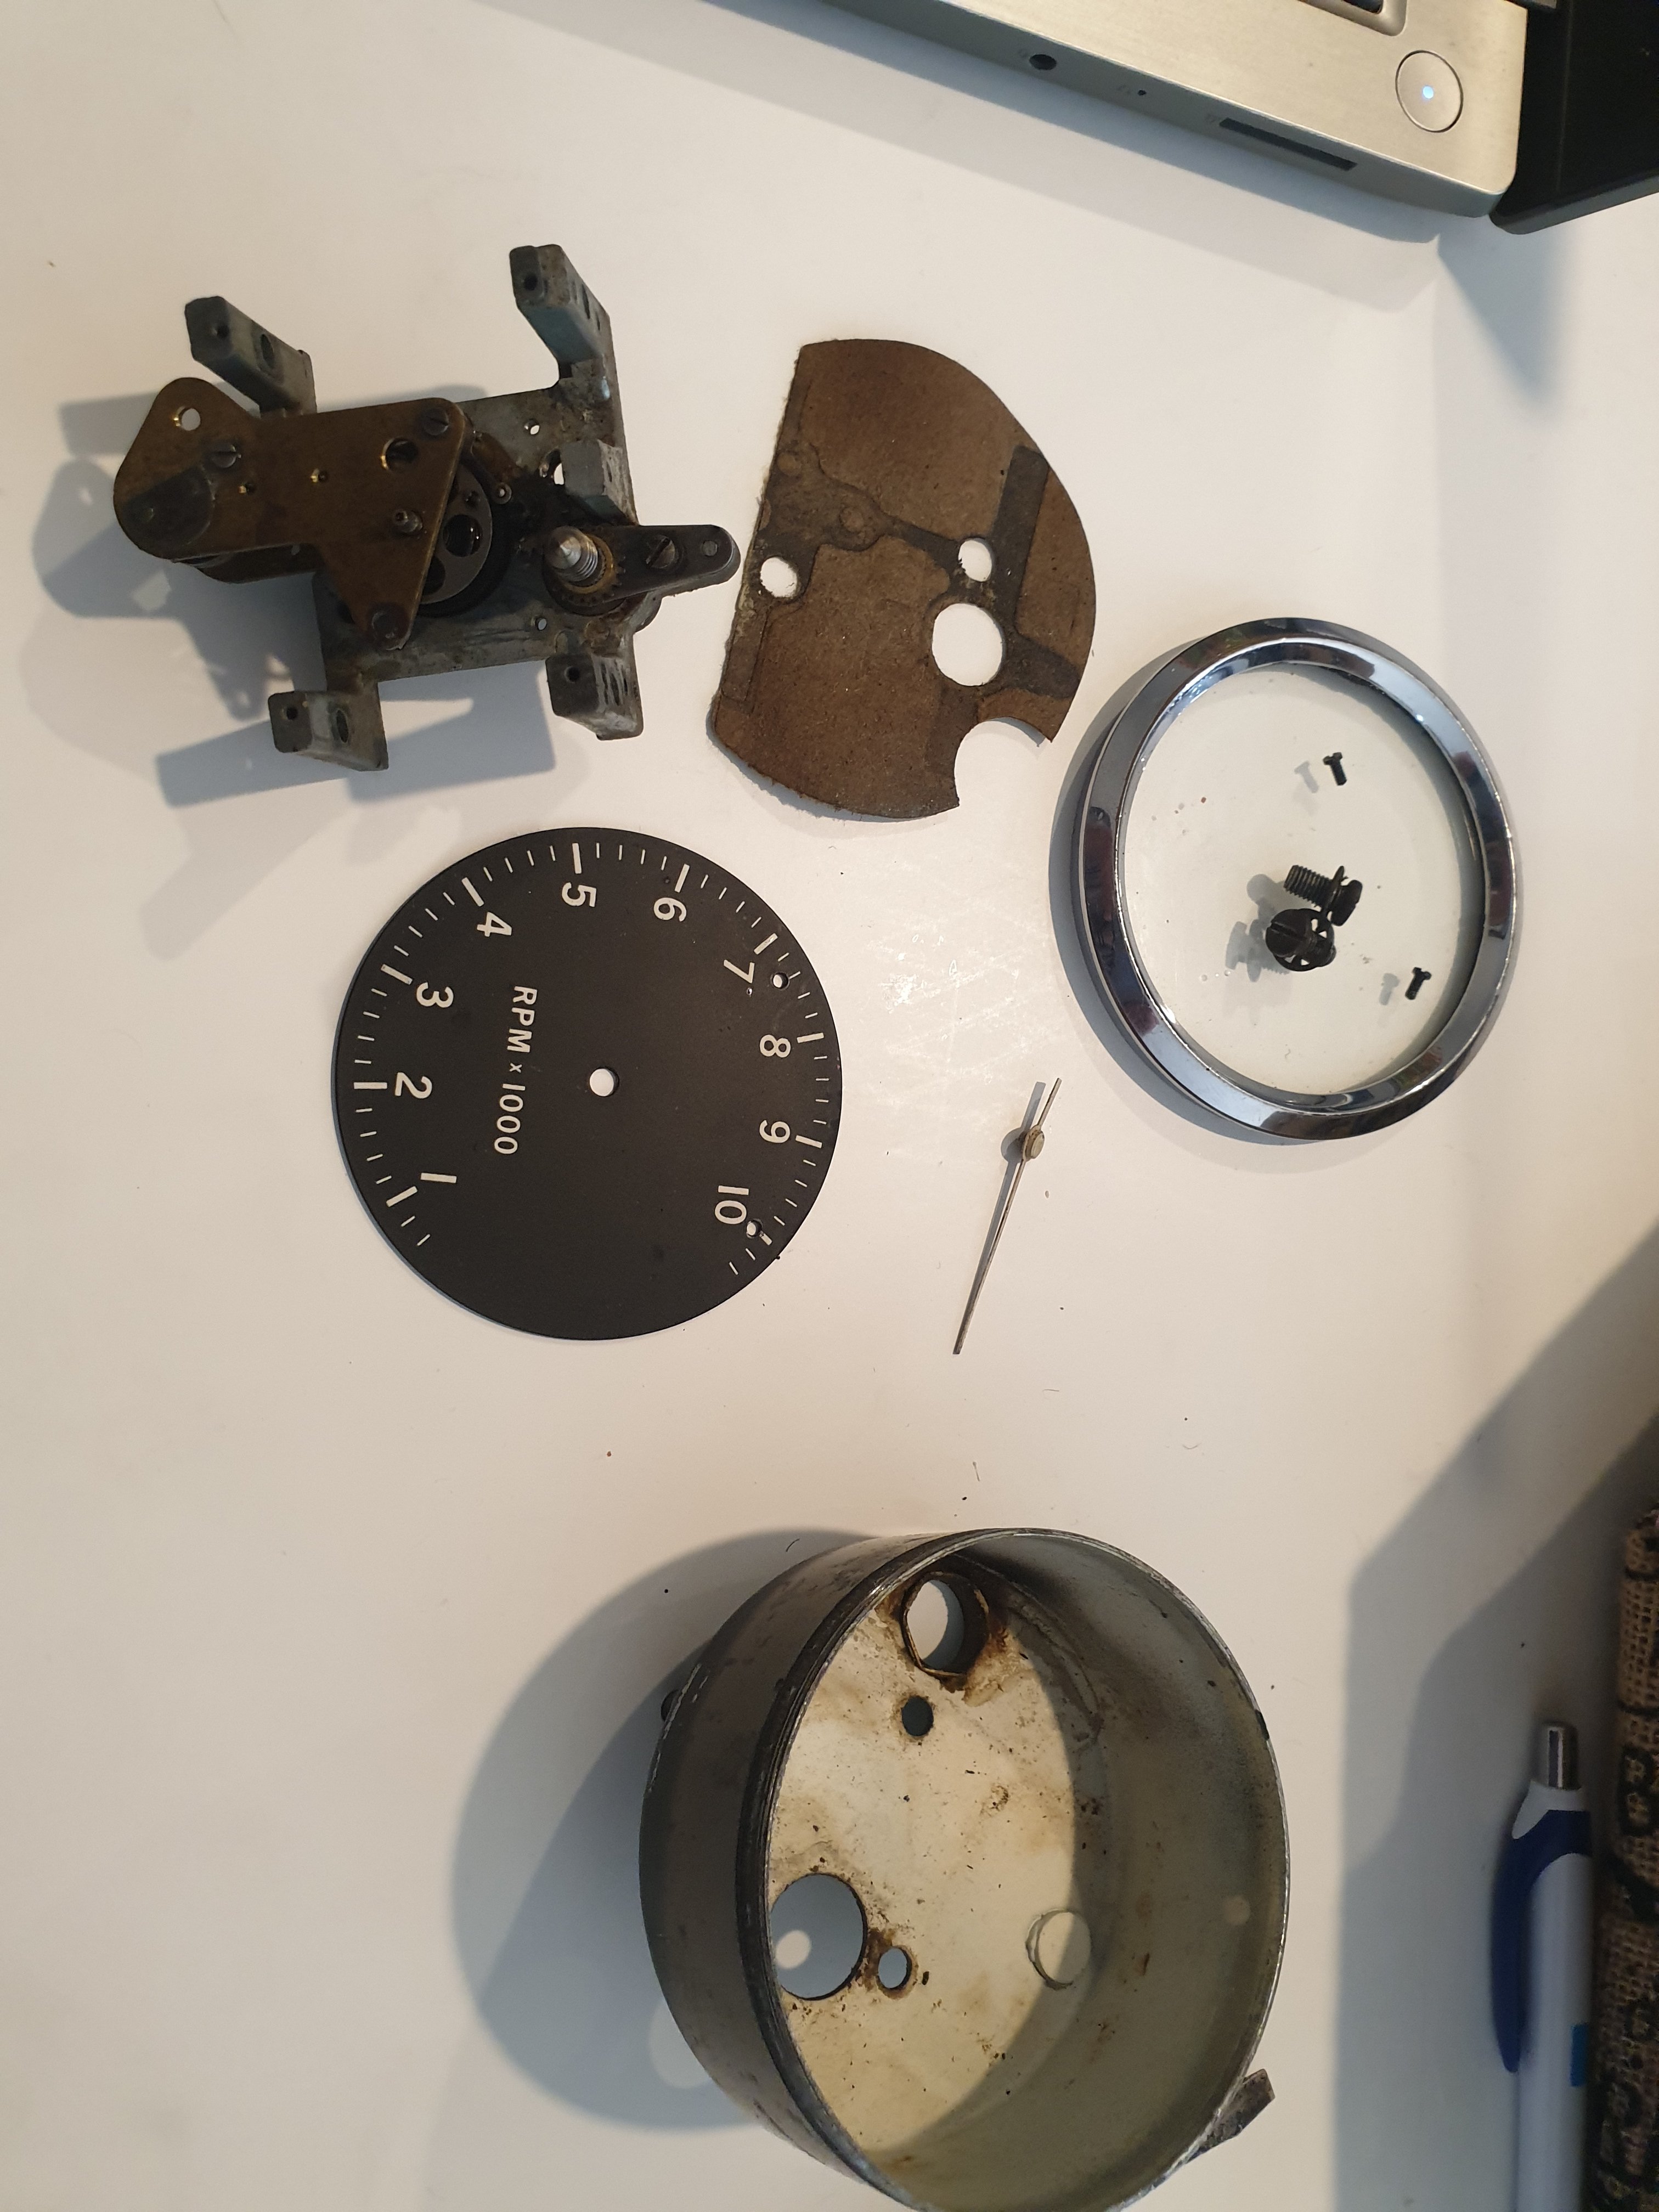
Managed to source a correct Smiths Chronometric face for my tacho. So stripped the gauge and fitted the new face. Cleaned it all up and refitted it along with the NOS speedo to the dash.
1 point
-
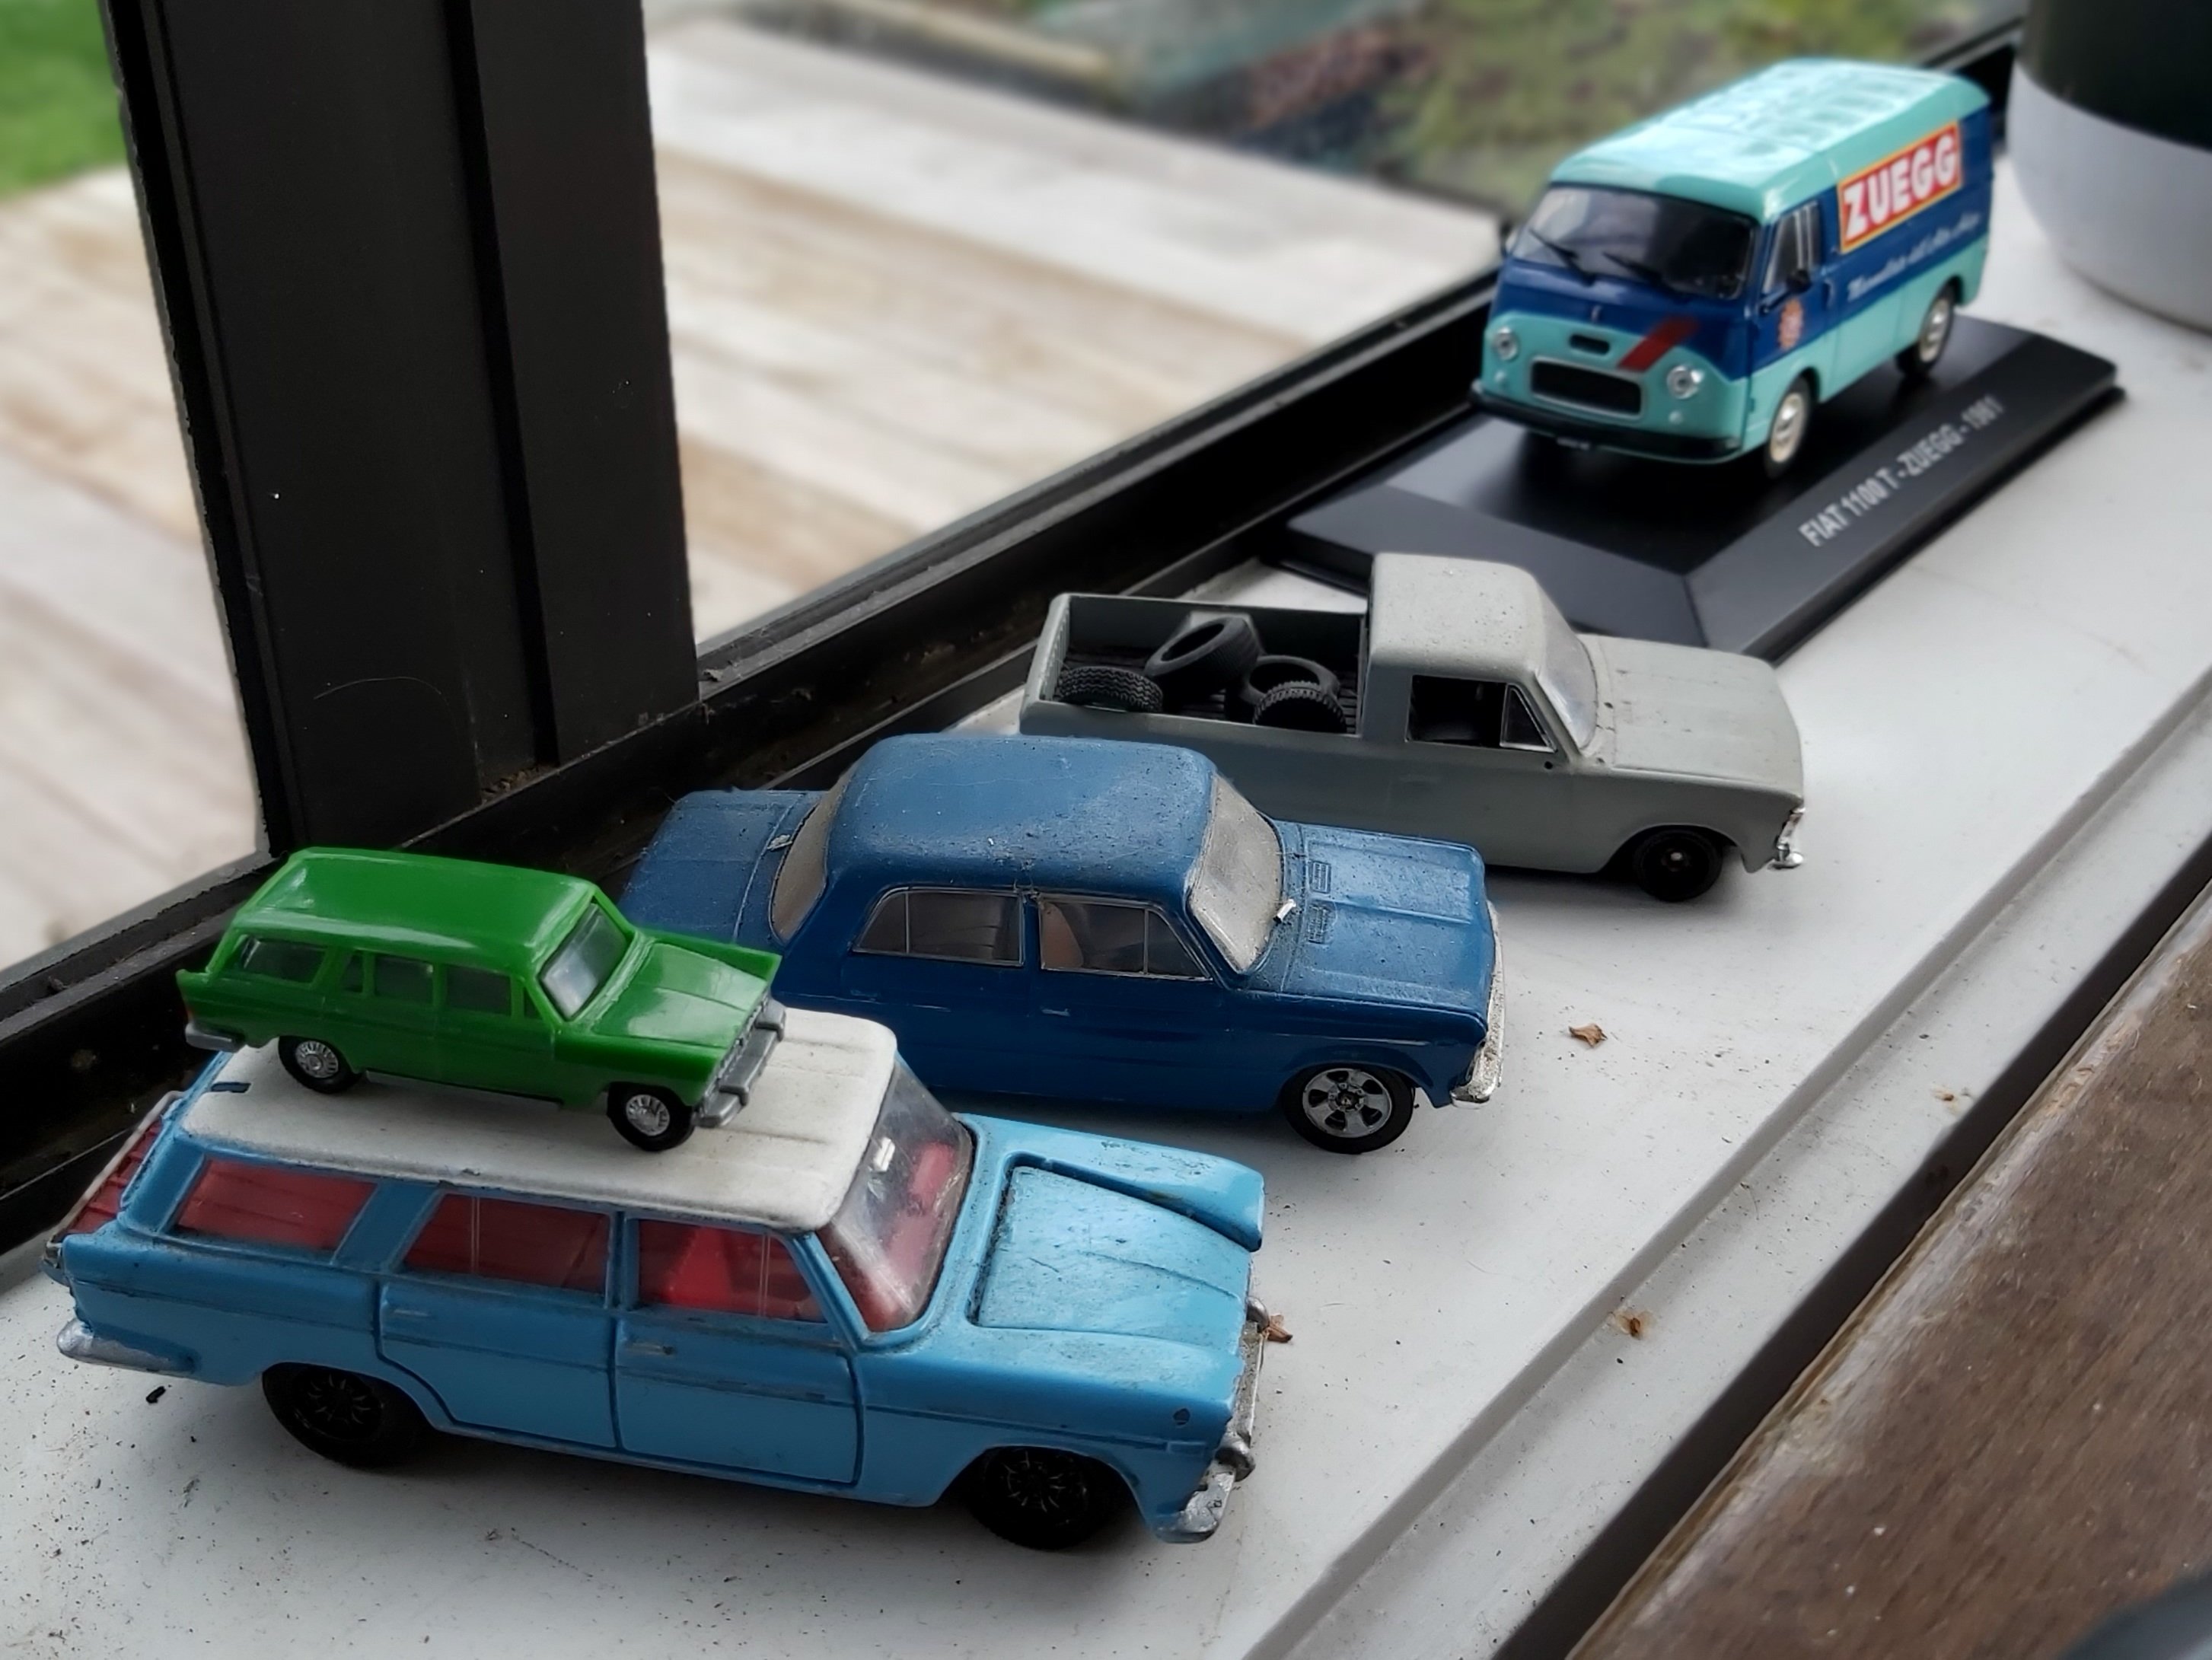
Saw one of those bigger wagon models at a second hand shop in Bulls this week. Bloke wanted $45 for it though and was offended when I offered $20. Good street view pic of the place.
1 point
-
Picture less update. Did the rest and drivers lower engine mounts today, old ones were pretty soft and I could rock the engine by hand. Threw another set of spark plugs at it, I'll clean this set and just rotate them if/when they get dirty again. I thought about getting another head gasket and pulling it all apart again but I think I'll just go grab another bottom end from pick a part and get that freshened up when money allows. For now it can keep eating oil. Also Wanged in some narva led H4 headlight bulbs which are lush.1 point
-
Yes so glad to see you found a motor! Looking forward to seeing more updates1 point
-
Top side bits on and everything just fits. I'll mount the battery slider to the lid so it's easy to use Found the hinges I knew I had hoarded when I was cleaning out the car Wanged one grill cover on. I'll find and fit the other one tomorrow I've found a quick release bumper faster thing I had hoarded which will work perfectly for the catch for the lid. I'll drill/mount that along with the handle tomorrow. Will also grind the screws down so they are less stabby. I had to going all day on the drill battery and no sign of it going flat yet which is good. I'm happy just to get a day out of it tbh1 point
-
there was one put into a lawn mower years ago. they may be able to help.1 point
-
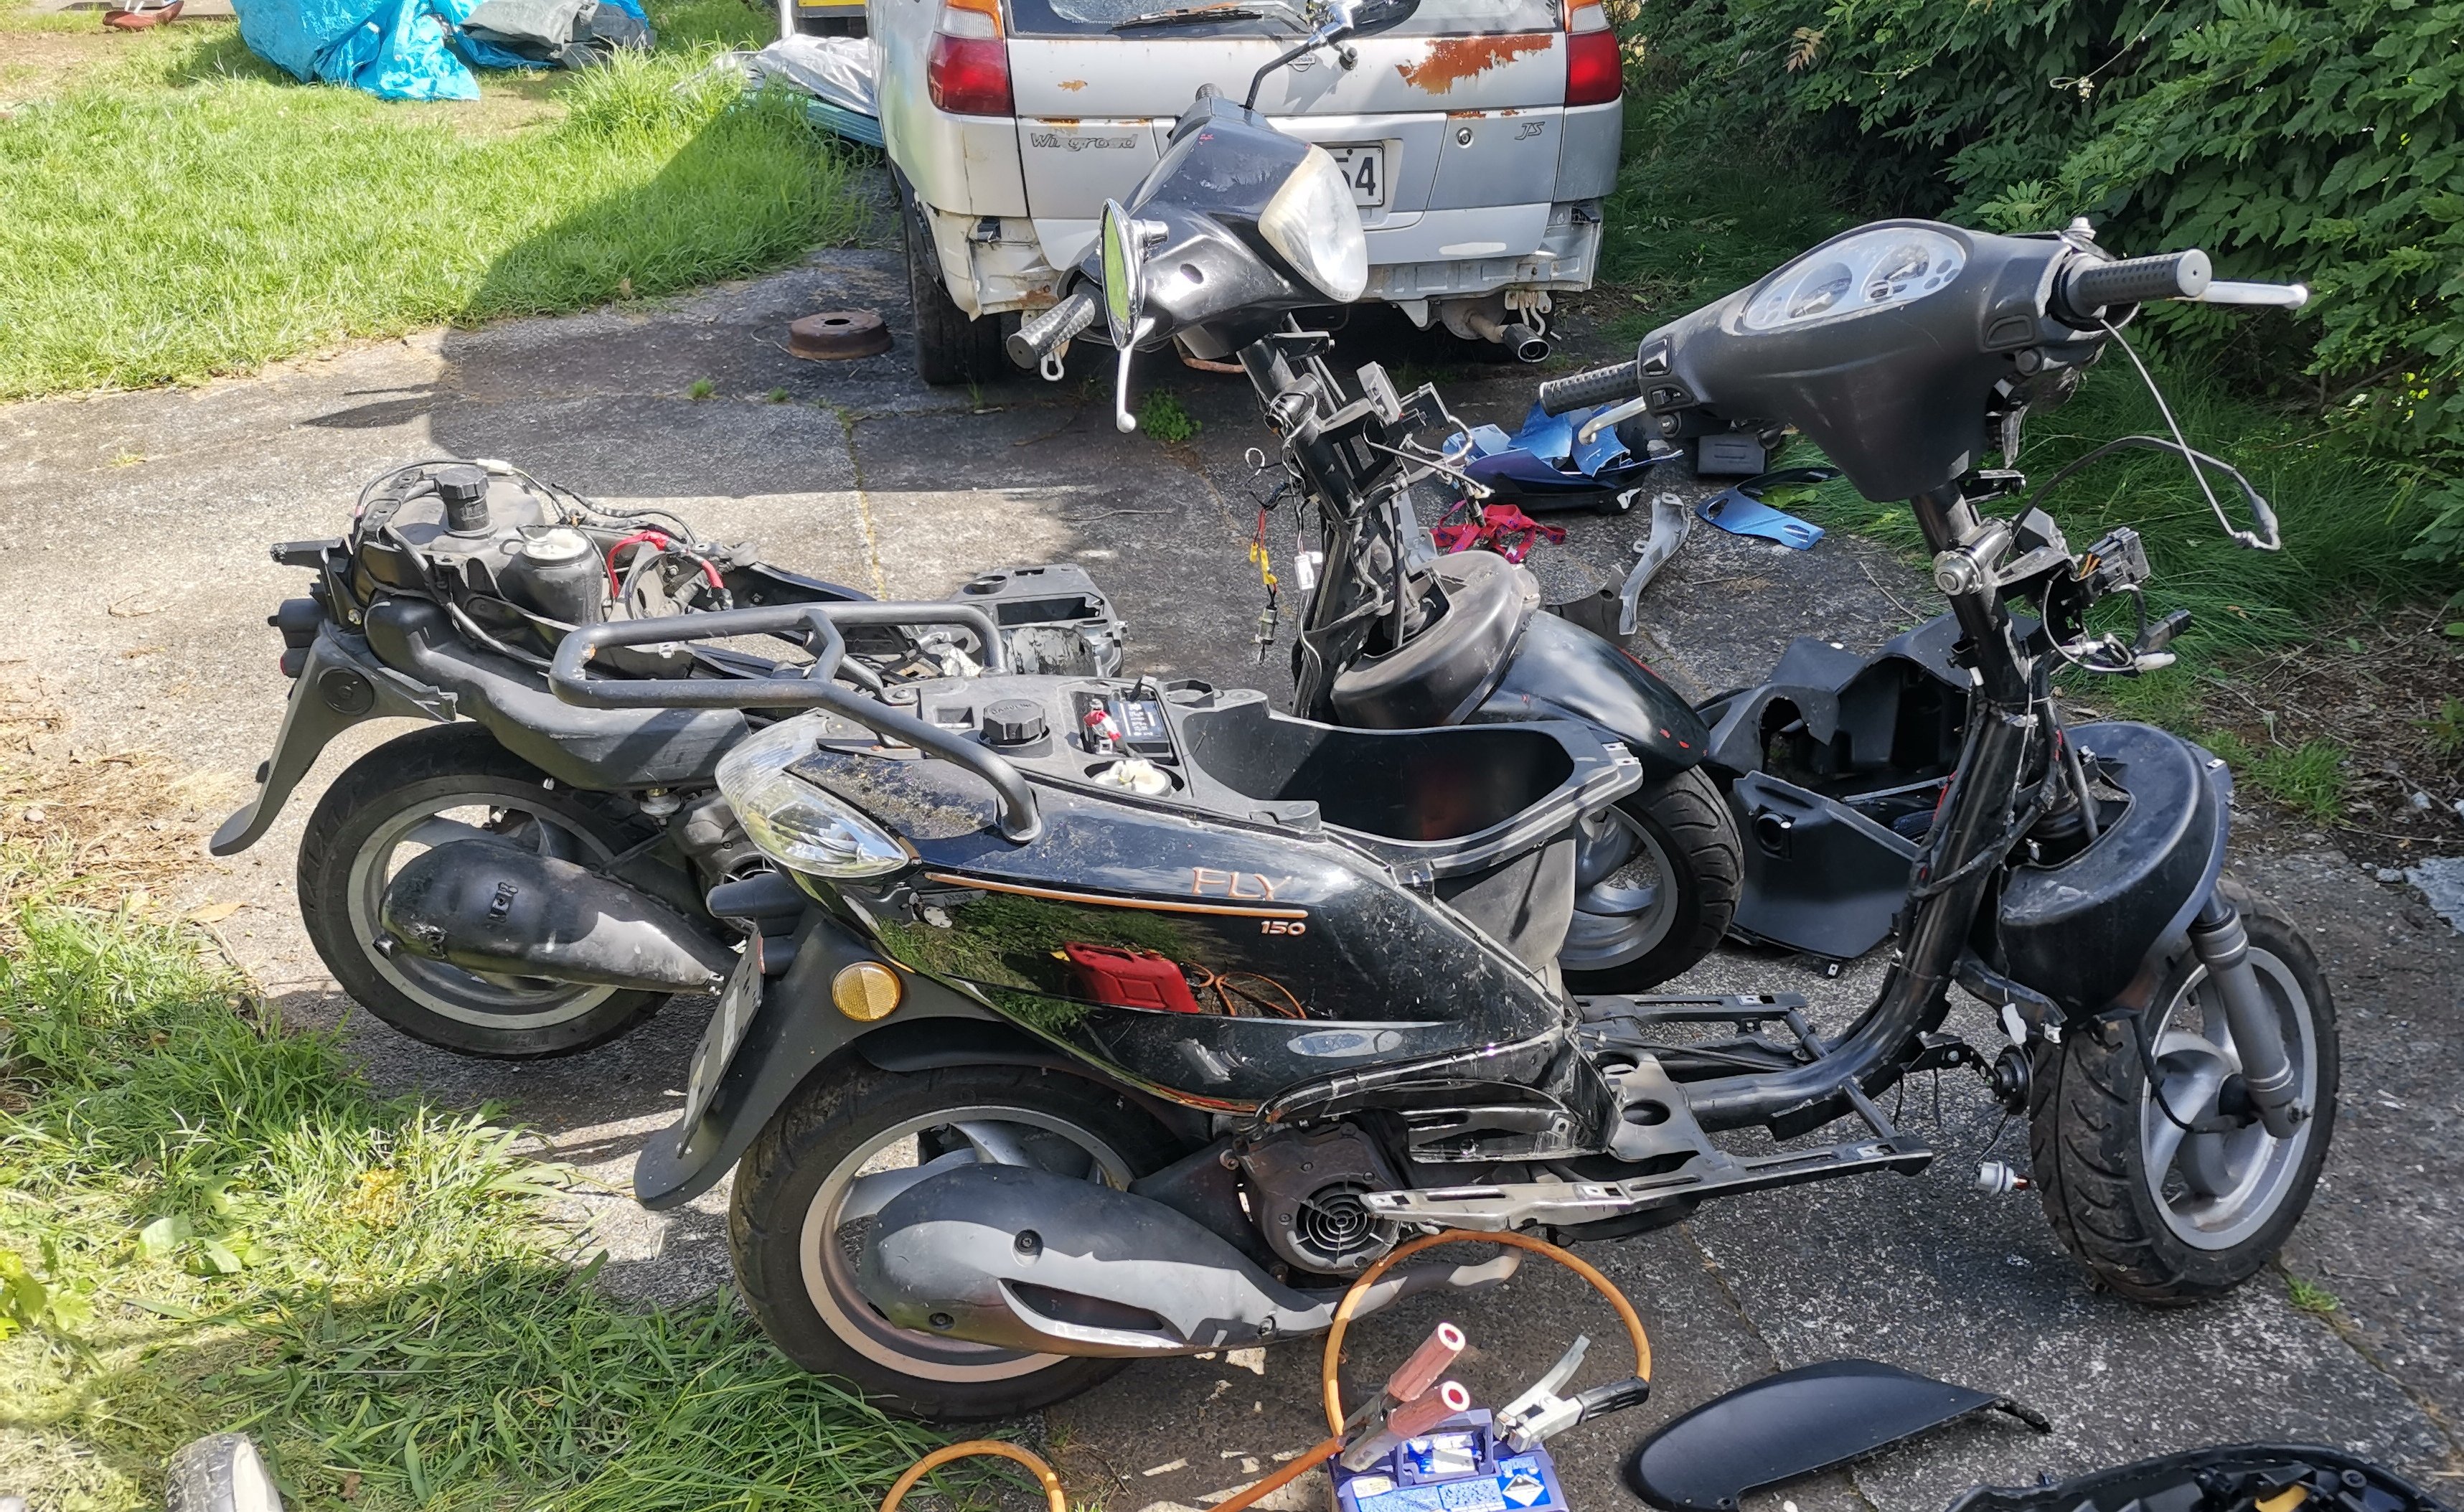
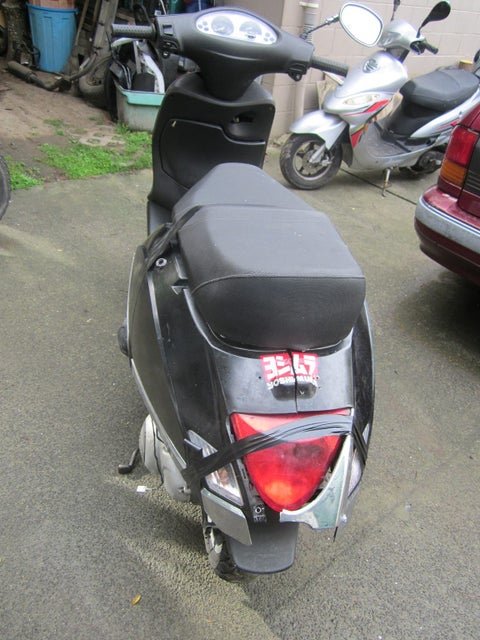
I picked up a piaggio fly 150 a while ago. Most of the front panels missing and someone had taken the carb, cutting the cables and all the wiring in the process (they have a tps on the carb, none of the sensors are needed to get it running but they do alter the timing in the cdi) Locks all busted as usual, they have all the lights and wiring for the factory immobiliser, but not fitted for nzdm (sell the cdi to European gypsies for ez theft) Anyways it sat in the parts shed waiting for a fly with no back end on it, and I got one last week Parts bike is dereg, missing the rear panels, matty B (and had China scooter rear plastics and seat to make it incognito, also had a car battery wired in under the seat) Original bike has live rego Spark plug was broken and its nearly an engine out job to get to the plug if you don't have the factory tool, might be why the parts were cut out of it. But got that one running too, plus I happen to have a 125cc engine in the shed Parts bike battery and fuse wiring is cut Original bike has all the carb sensor wiring and some of the front light wiring cut. Luckily most of it is cut 1mm away from the plug, leaving the plug for me to use? But I will need to wire in a new tps plug and headlight plugs. But I think that's better than swapping the looms over, there's a lot of clips Engine is a liberty, same as vespa lx150 and a few other things. I have pretty much everything to make 1 complete decent bike, I think I will paint it but I'm torn between a nice pearl or a roadkill shitheap look deserving of the name blowfly
1 point
-
sheeeeeeesh.
1 point
-
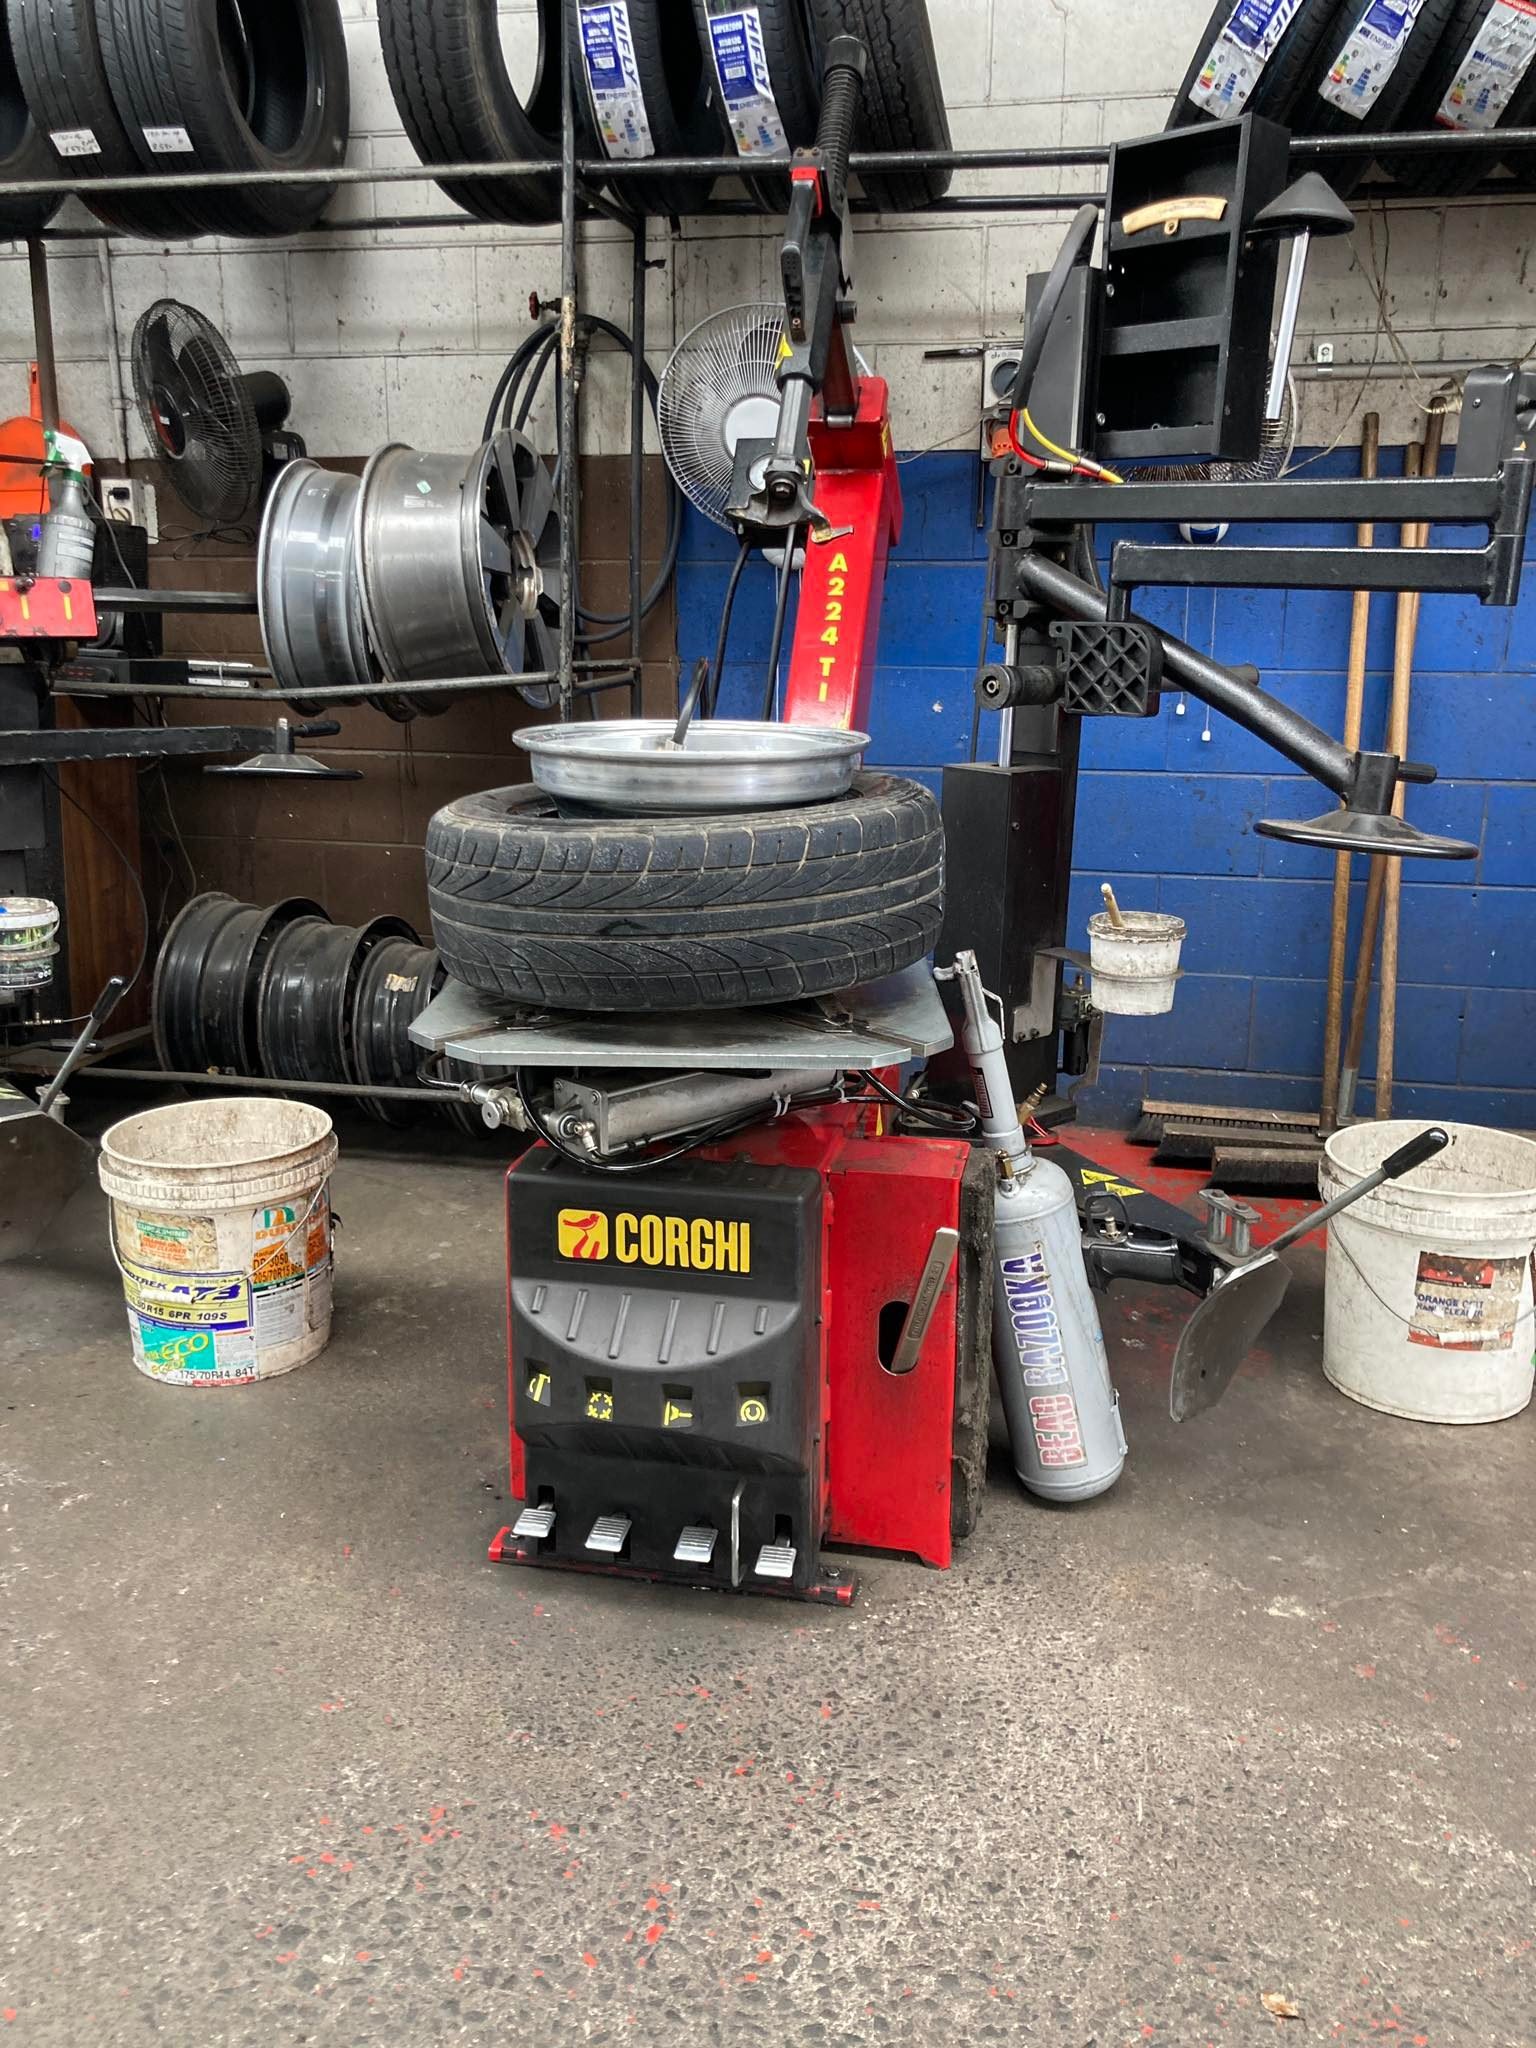
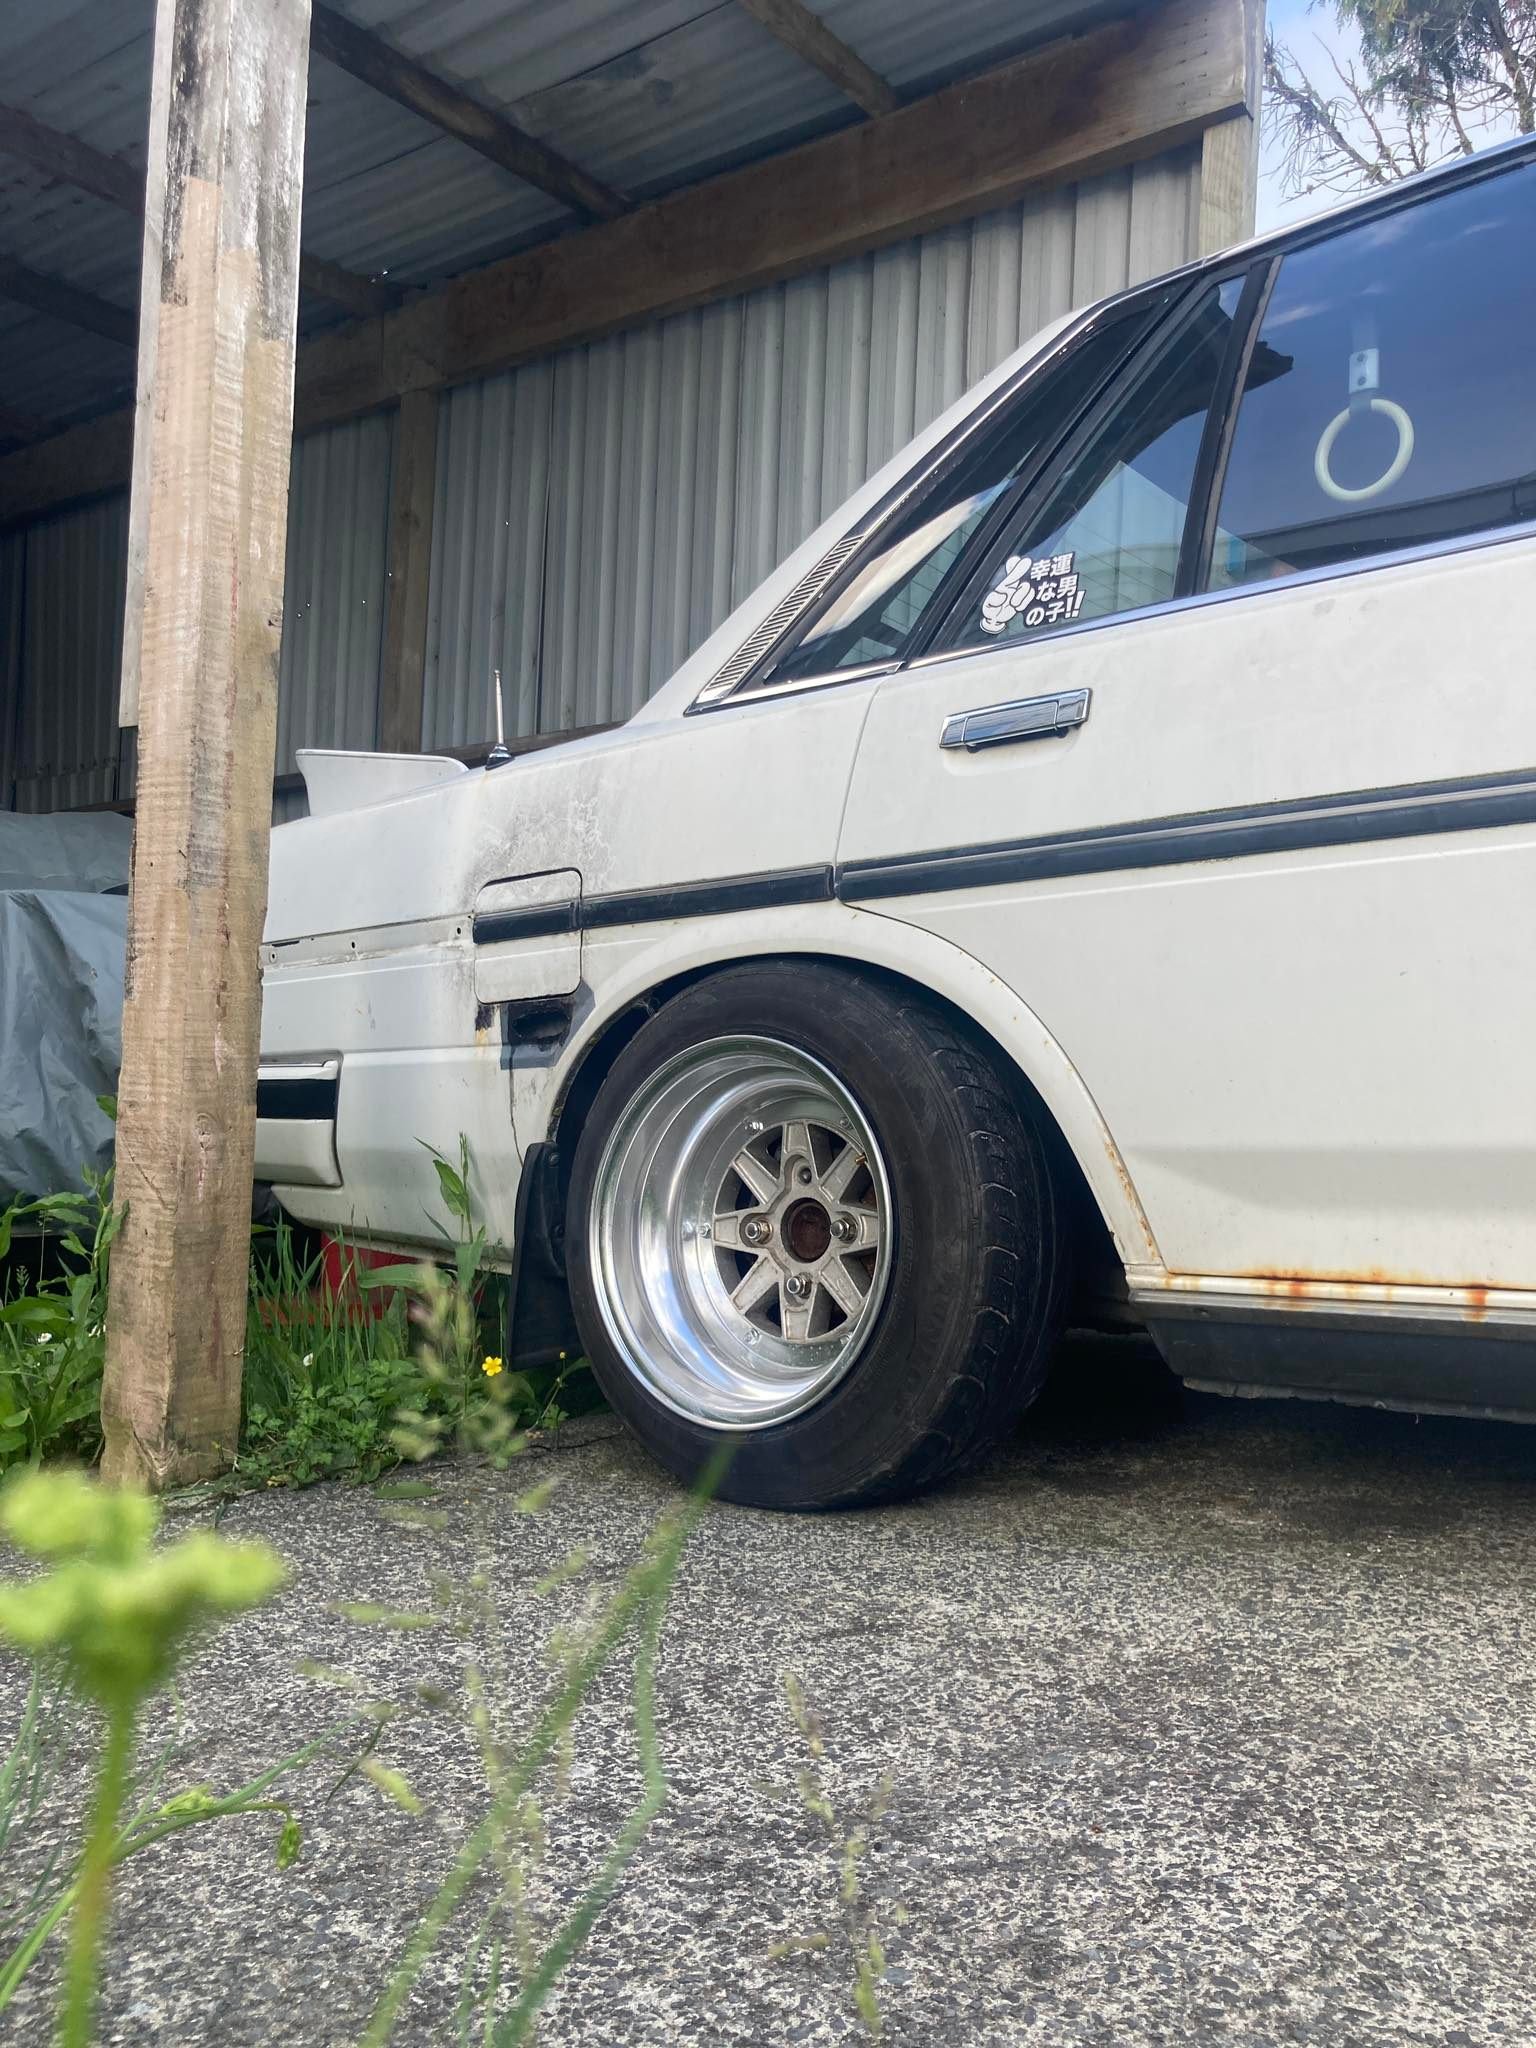
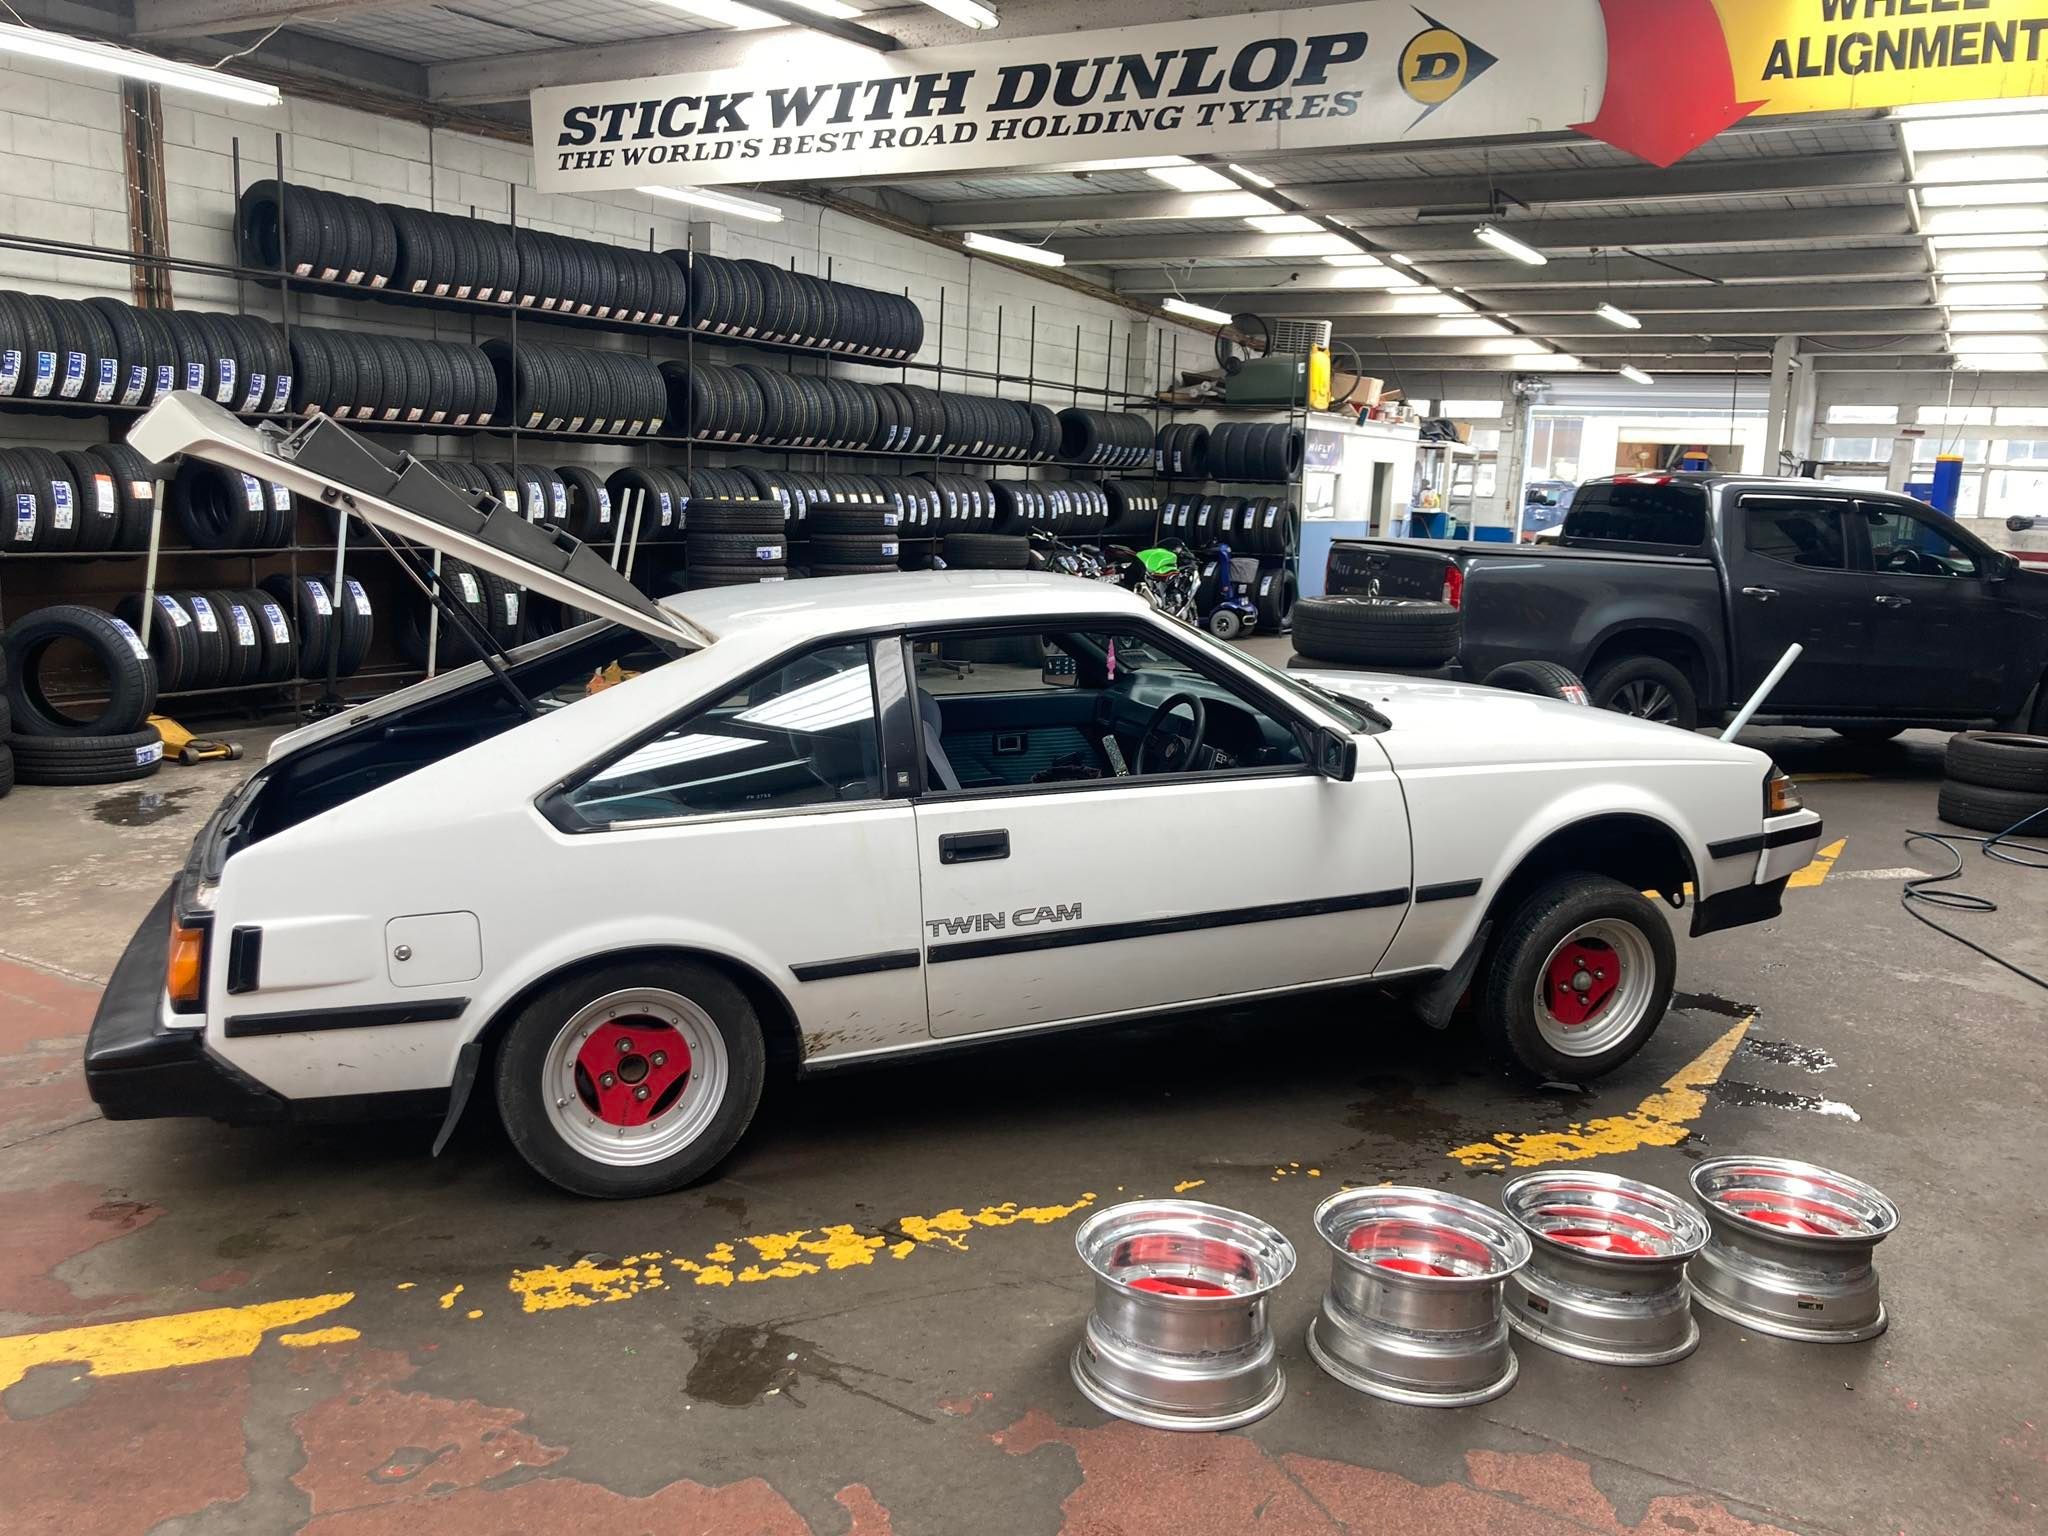
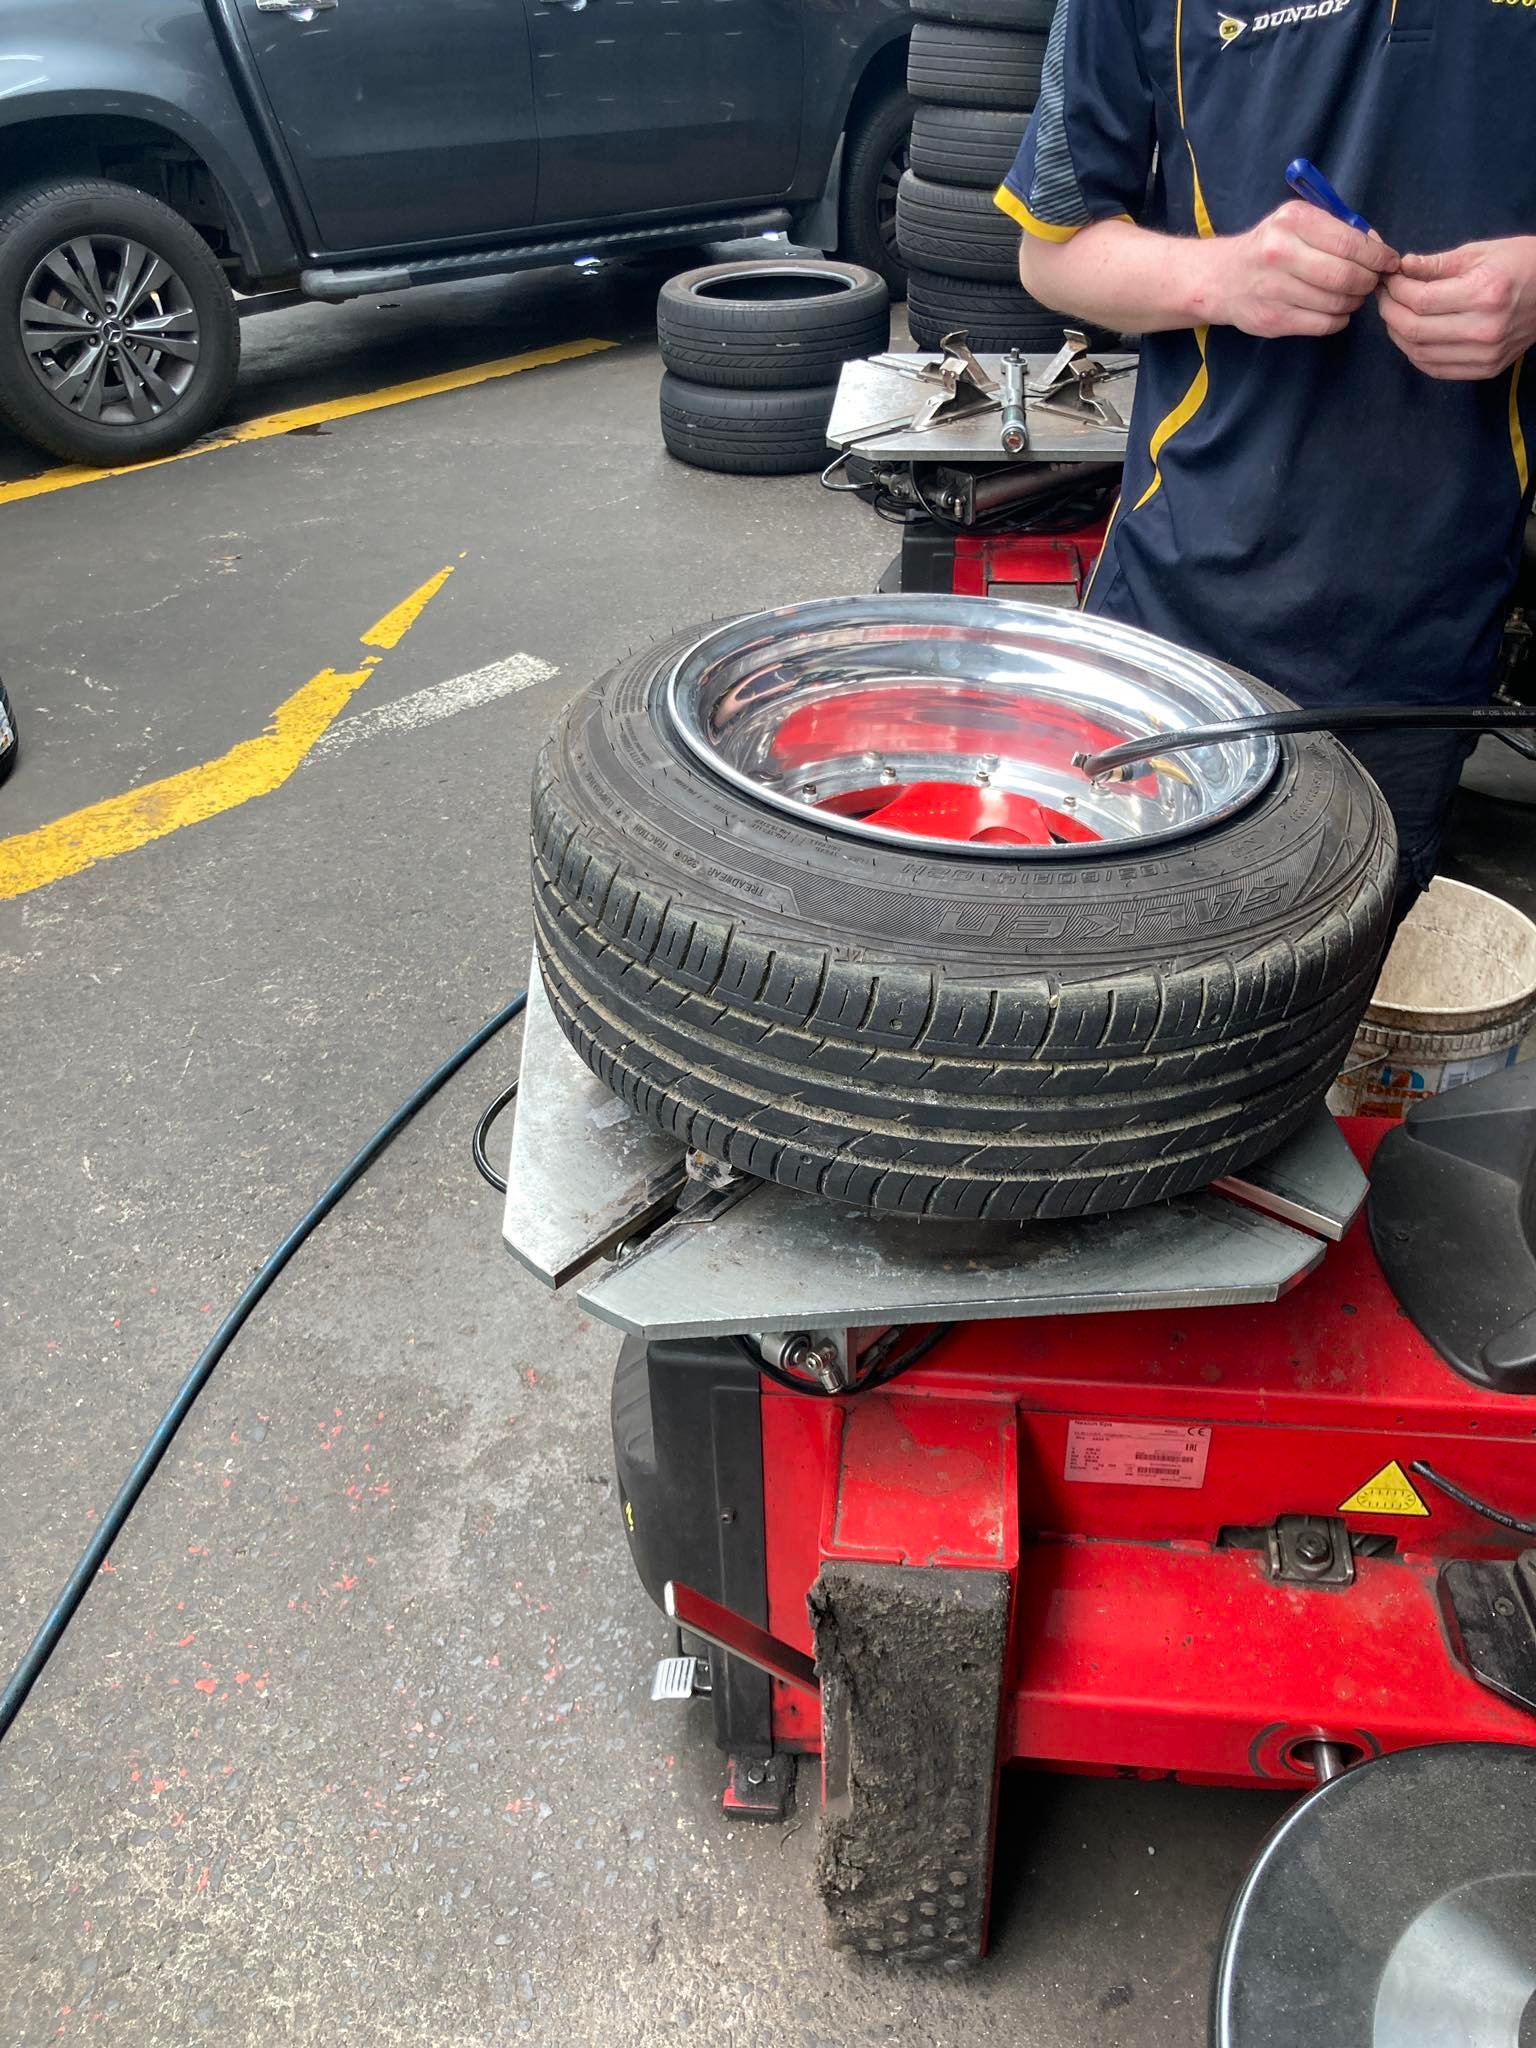
Interior looking outrageous thanks to @deez for the steering wheel again. Horn button care of @Jeffs_Emporium Gettin down to business woops sorry no i was sidetracked by this thats right haha ok now. down to business, time for some shakatanzzz Local tyre shop doing the lords work Gad damn
1 point
-
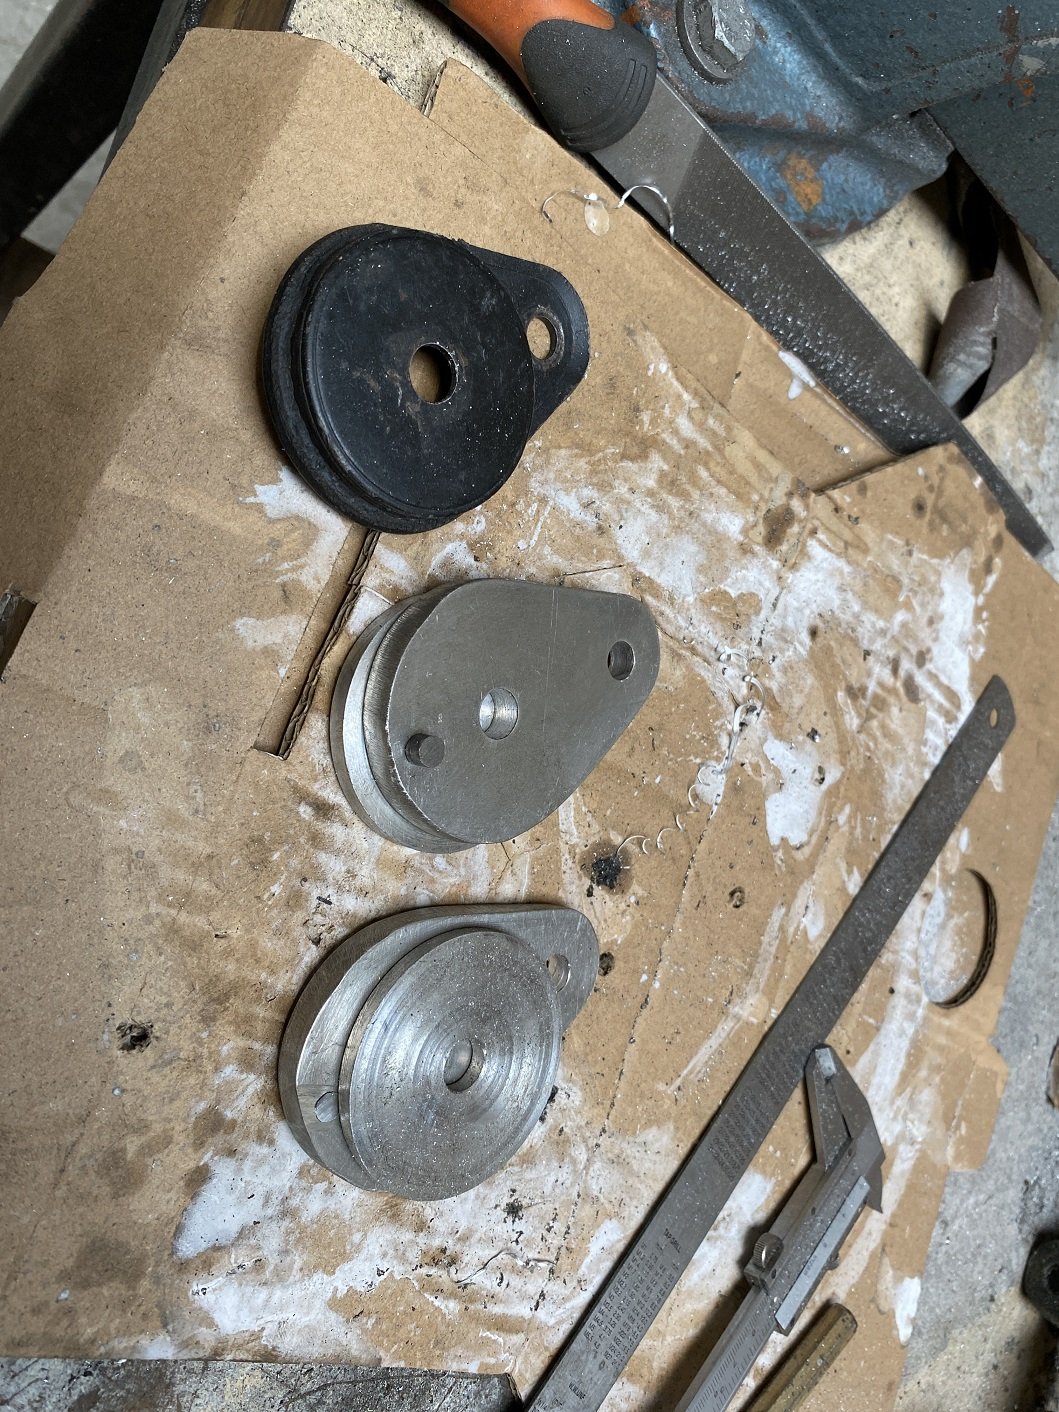
@Yowzer has the closest to correct prediction so far I think? Head finally off this evening. It looks like #1 piston has been kissing #1 pre combustion chamber. The precup looks well located into the head so I suspect worn big end bearings are the cause and the pre-cup is just ever so fractionally lower than the actual head. I also suspect I can fix this! So stoked. P.S. precup to head impact witness marks are roughly each side of the foreskin end of the diddle shaped piston valve relief pockets. I am thinking the piston has only been hitting the pre-combustion chamber on the exhaust stroke... which it probably just BE bearing(s). Nice.
1 point
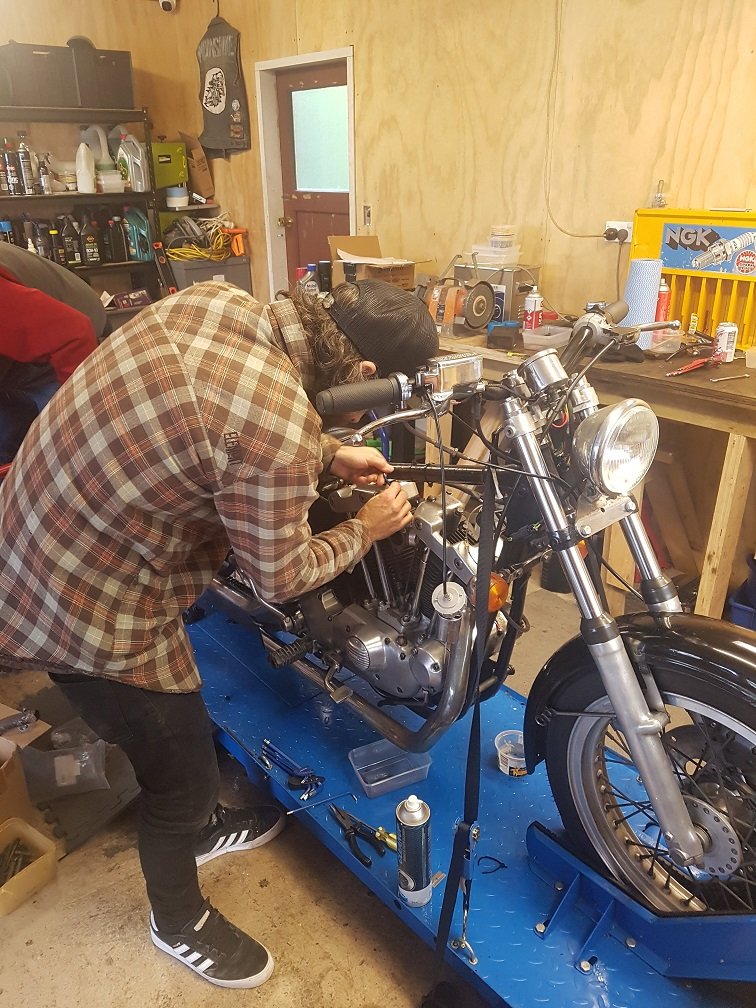
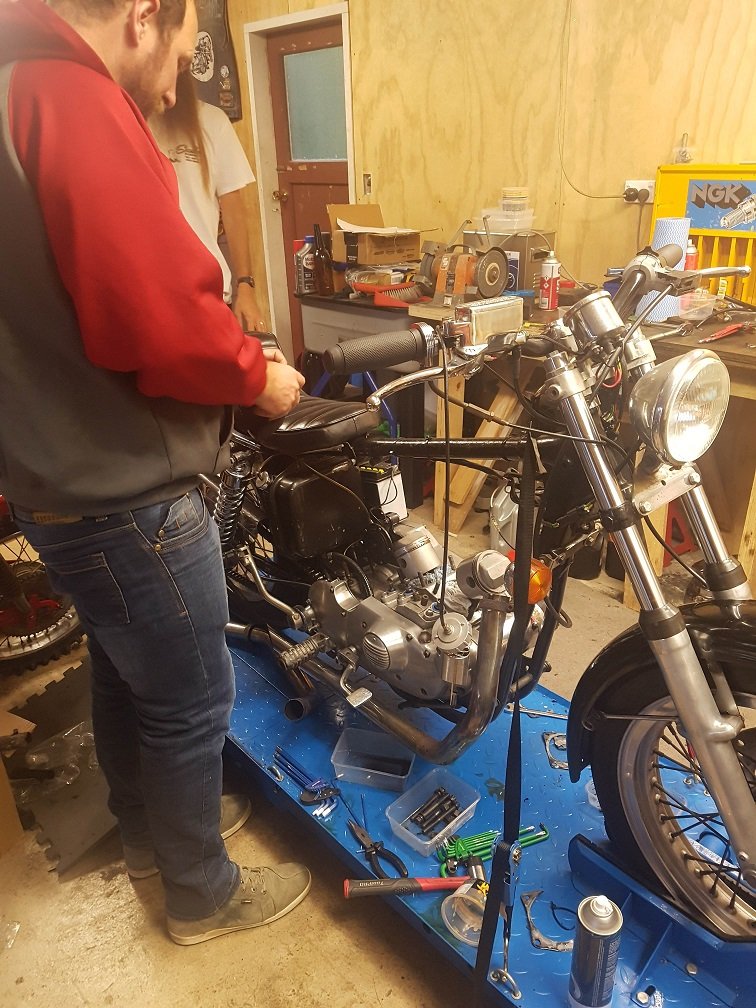
-
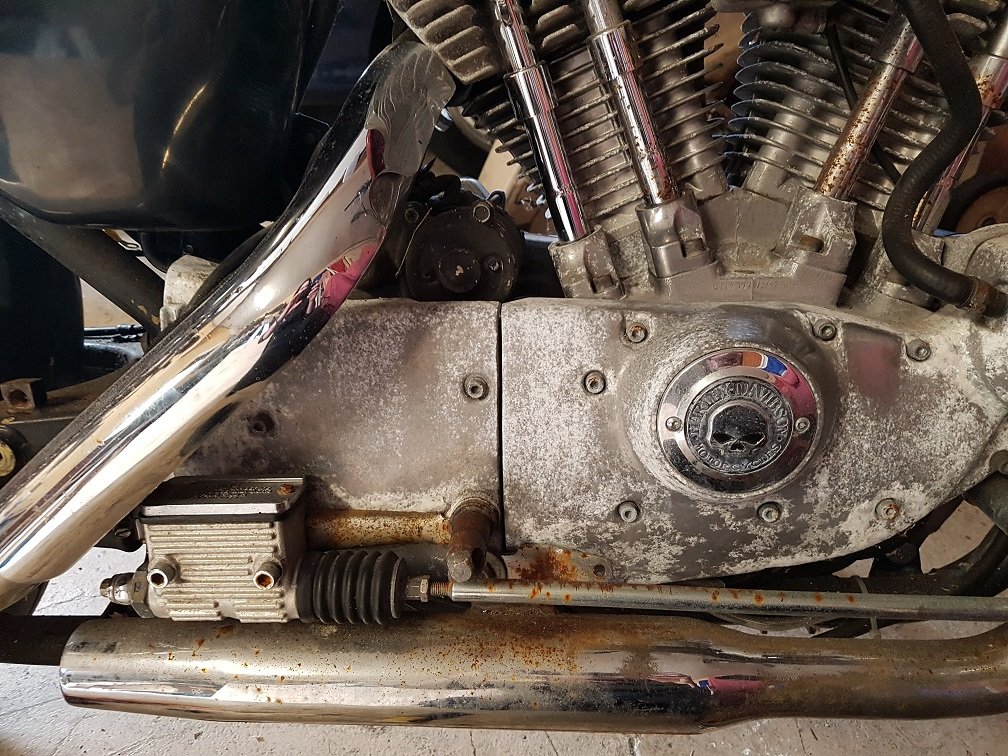
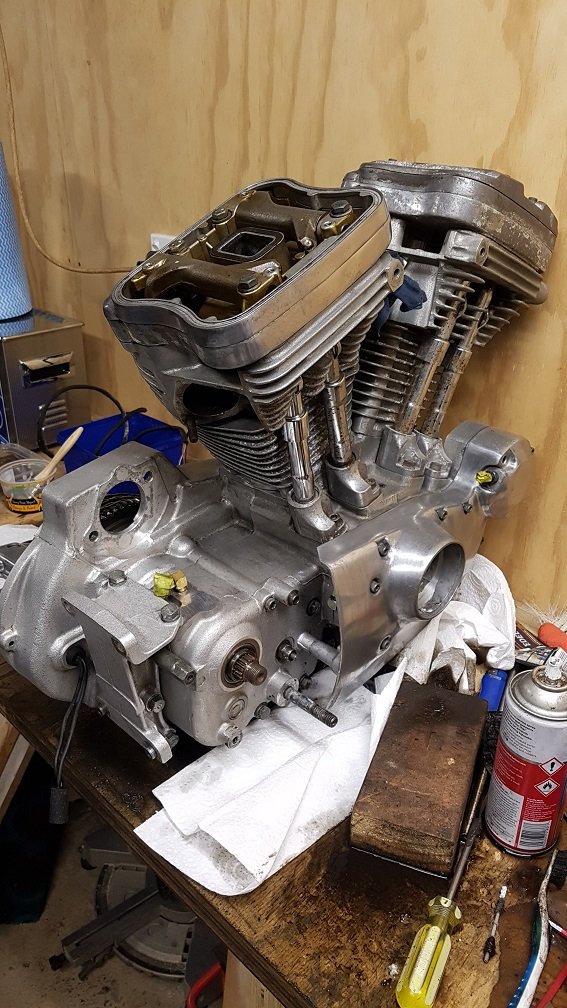
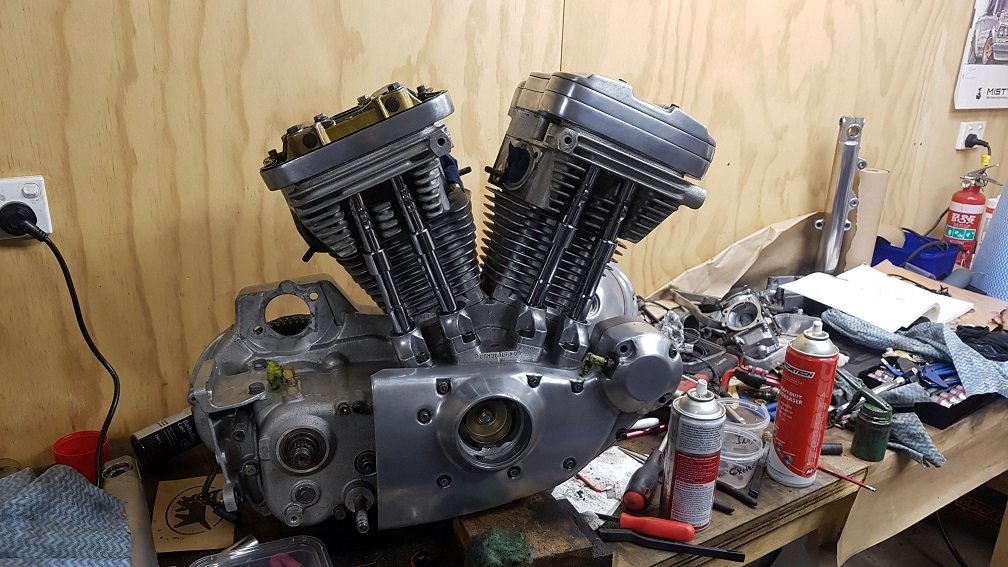
A bit of tuesday night bike night motivation. Got the dudes in there helping, hoping the freedom will catch and i'll have someone to do a chopper build with! Took top end off. So simple to work on. There is some very uneven mating surfaces at the base of the barrels... between 0.5 and 1mm out of flat. No wonder it was leaking. I think there was so much oil cos it was wet sumping, but still, would be weeping forever. Applied excessive gasket goo to hope it seals. Its nice grey stuff, not red. So can hardly notice it. Will cut back the eccess (no pics with pots back on) will put heads on later this week. Hopefully get it running again in the weekend.
1 point
-
Amp will now be running on 50v dc and according to the datasheet be about 20-30w per channel which should be plenty to drown out the other radios. I'm not usually a cunt like that but am being petty in this case. Worked out the box dimms and doubled the length for both speakers Cut the wood and needed a couple of days rest roughly assembled it to see how square it isn't Measured and marked the speaker cutouts Dear santa can I plz have a jigsaw Gave the holes a quick rasp and everything fits flush I Wanged a bunch of no more nails on all the joins as that's what I had in stock, that and screws held my sub box together so should do the job on this as well. I've run out of mdf (only have enough to seal in the woofers) so will use some other timber for the rest/case. Plan is to have the amplifiers and voltage booster (hopefully it doesn't create a shit load of noise) up top under/around the tweeters. I've got a power supply on the way from aliexpress so ill make provision to mount that so it can also be plugged in. If I feel super fancy I'll work out a battery charge function. I'll also have to think about where to mount the heat sink for the amps and if I make a lid/compartment to store the 18v drill battery1 point
-
Also, thanks for the support! Glad someone else is getting value from my work It's only fair given the inspiration/knowledge I get from your builds too! Sneaky pic of the trumpets just sent from the fabricator...
1 point
-
1 point
-
1 point
-
1 point
-
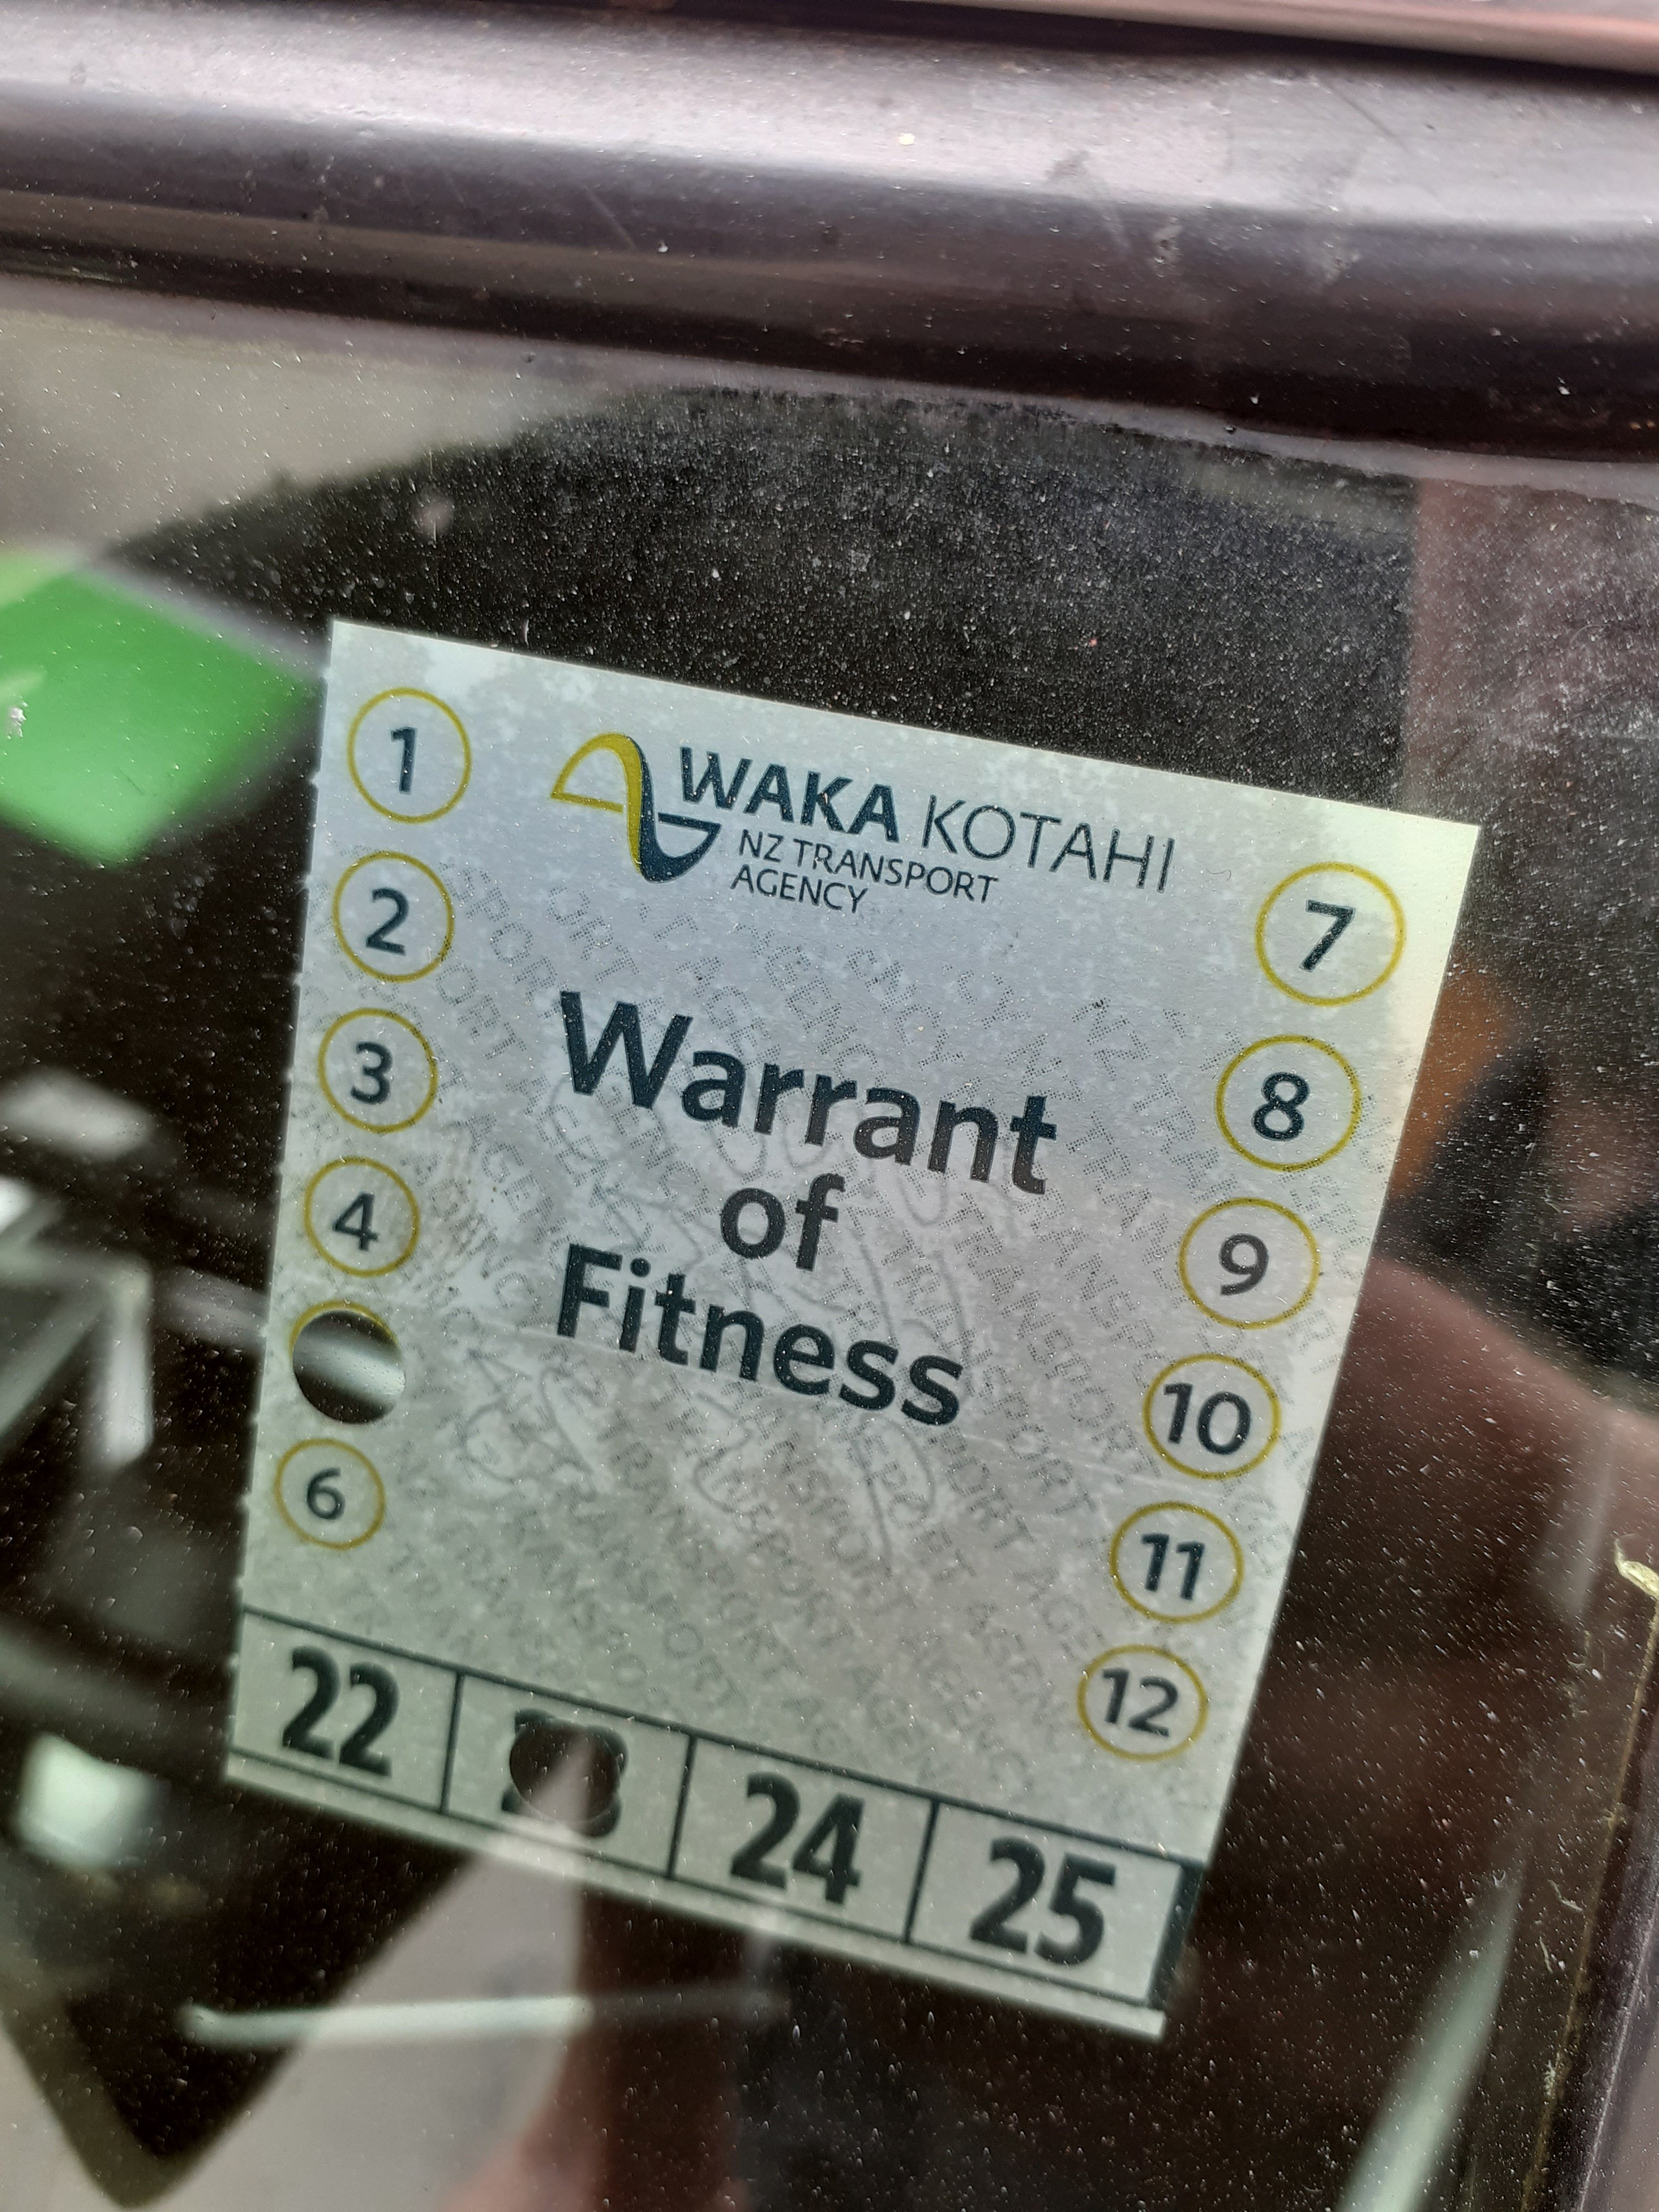
wof reg and cert done.
1 point
-
I've finally finished the inlet plenum (although I want to add some paint/tidy some bits) and I'm pretty stoked with it. The end result is a bit of fun. Just mucking about after I had some ideas pop into my head and wouldn't leave. I had to do it. So where I left off last time I had made the base of the plenum which I continued on piecing together, changing some ideas and sussing out construction issues as I went along while keeping the design close to some original drawings that I'd done while visiting my parents. Building the box... made some stainless trims to smooth flow out of the rectangular hole feeding the plenum and also hide interior welds... Tubey bit sticks up facing towards the front of the car... Boxy bits getting tacked together. Welded on the inside too. Enough tacks and welds that it would hold fast and not 'pull' when the outside welds were added Tacked together bits getting welded on the outside... Stumpy elephant trunk... (it could be described worse) Back to milling bits of alloy... Making these bits.. Which were then very, very carefully bent to suit the curved lid of the plenum... Drilled and tapped to suit the plenum body... Lid fits nicely onto the body, sealed with high density foam and held in place with dome headed socket screws. Then the throttle body flange needed welding on. I took my time so nothing warped but luckily it was pretty thick ally anyway. Tacks then welding. Added another layer so I could file it down flat and have a good sealing area. In pics.. Next thing to make was a little curved bit of alloy that would surround a bit of acrylic. I started with some small section alloy capping and milled it down.. It had to be bent in 2 planes. Out with the shrinker stretcher which luckily did almost all of what I needed, the rest being finished in a vice with hammers and pliers. Turned out like this... I got some 5mm acrylic and cut it to the right size. I made a form from two bits of alloy, shaped to the same curvature as the lid. Out with the heat gun... Setting the forms and squeezing together... Checking the curves formed are correct .. Pretty good matches the alloy rim... Drilled some holes in the alloy and through the acrylic (carefully.....! ) which as I predicted was tricky next to the edge and I ended up splitting a couple of the trial domes. So I made this little tool, using a bit of steel I machined to a point and one of the little wooden handles I had made ages ago for wood burners we make. Heated the point up with the oxyset and pushed it through smaller pilot holes drilled... Around the same time as I was playing with bits of plastic some leds with a controller that I'd bought online turned up. I chopped them up and reconfigured bits to suit the underside of the lid. Tiny little solder pads on these. I checked they worked... A hole was cut in the plenum lid to suit the acrylic and alloy rim, which was then bolted in place with little socket head screws, again sealed with foam. Neat. Now I could look inside. Then I stuck those led lights to the underside of the lid. This was all needed because these little treats turned up a while back after I first had the ideas pop into my head. (thanks Ali express)... Lego fun.. The detail... I glued the Mandos so they'd never come apart. They got screwed and glued onto a little section of alloy. I cut a section bit mirror to size and stuck it to the back wall. Then the Mandos were bolted into their new forever spaceship home complete with some signage ... Zooming out from the front of the spaceship/engine... Plenum sits nice and low... I did a little video for fun. I couldn't resist... Fun is over. I now have to crack on with boring water pipes and exhaust manifold building (I must order some stainless bends!!!!) But yeah- I'm pretty happy with what I have just made. A bit of silly fun I know but hey- I'm not a very serious person I'll really enjoy seeing the response the 'Mandalorian spaceship' gets from the more serious type of enthusiasts at car shows in the future. I hope it works out for me and this is a thing that happens.1 point
-
Did some barrying today Finally installed the O2 port bung Put some silver and clear onto the seam seal on boot Cut out/ welded/ painted the shifter plate I'll have to carefully drill the mounting screw holes for the shift boot tomorrow.1 point
-
Far out, is this the first vehicle on OS to ever get a WOF first try? Looks like you'll be ready for some summer caravanning in no time! Well done.1 point
-
Time for more punishing caravan updates: The tow coupling I had put on so I could run the gauntlet and tow the caravan across town to work was pretty rough, and missing the handbrake part. And to make things worse the caravan actually popped off the tow ball when I was moving it around the yard with the forklift which gave me the shits. Taking a look closer it was very worn so I promptly ripped it off and threw it in the scrap bin - dodged a bullet there. Hunting around for a direct replacement to the original turned into a bit of an ordeal - I could buy a generic braked coupling for not much money, but the handbrake levers are different and wouldn't work through the front fairing and the original handbrake also wouldn't swap over. It was looking like the only option was a new one but at ~$700 that idea could get fucked too. But by luck someone on the Liteweight facebook page had one for $60 - sold! Its in pretty good condition so with some new high tensile bolts it got fitted into place. Next on the radar was the wheels/brakes/tyres situation. The original wheels and tires where toast and I chanced my arm they would last the trip across town when I first moved the caravan. Luckily they held - check out the condition... First idea was just to get some new 13inch rims and away I go. Finding some rims in 4x10⁸ wasn't the that hard, but after barrying to a couple of long term Liteweight owners it seemed the consensus was change to 14inch tires if possible as the load ratings are higher. Apparently the 13's have been known to blow out when heavily loaded - yeah not that keen seeing as the caravan will no doubt be loaded to the hilt in kid crap etc. Seeing as I was needing new rims anyway I started looking at 14's instead. There weren't that many 4x10⁸ options around that I liked but I could get new 4x114's for not much money so I set to redrilling the hubs to suit. I made up a template on the CNC, used the drill press for the new pattern, and fitted some new studs. Rebuilt the calipers, got some new lines, and cleaned up the caliper brackets and slides Pressed in new bearings, packed the grease, new pads, fitted. Later swapped the calipers sided to side to the bleed nipple is at the top. New tires and rims fitted: I need a few more brake line fittings before I can get onto remaking the hard brake lines so moved onto other things. I re-wired all 12v trailer plug wiring with new 7 core trailer cable - a big step up from the 1985 speaker wire that was previously used. Interestingly it turns out two small internal kitchen lights run off the side light circuit. Anyway, thats all done. Moving back to the chassis I broke out the plasma and diced off the old front levellers, the made up some brackets for the new ones. With that done it meant the chassis prep and painting could continue. The whole chassis now has one coat done and Im most of the way through the second coat. I've also bought some underseal to paint the underside of the flooring with as the sand blasting left quite a few patches. I've done a few other small bits and pieces like replace the door hinges and the roof vent latches, and swap out of old crusty fastenings/bolts with new ones etc And that's kind of where I'm at bar a few small touch ups here and there. Hard brake lines next, rest of the chassis painting and undersealing then off for a WOF. After that, its onto the inside.1 point
-
Lighting is a bit bright for me There are four options. Red, blue, seconds flashing, or off The middle tube was displaying the line symbol initially but isn't now, might be a dodgy solder joint as the pins were all corroded. Will investigate tomorrow1 point
-
Need a parts car to go with my other miniwags. Looks like it might be a different brand tho, so new parts car too good = new project! Mini fleet
1 point
-
1 point
-
1 point


This leaderboard is set to Auckland/GMT+12:00