
Leaderboard


Popular Content
Showing content with the highest reputation on 11/09/22 in all areas
-
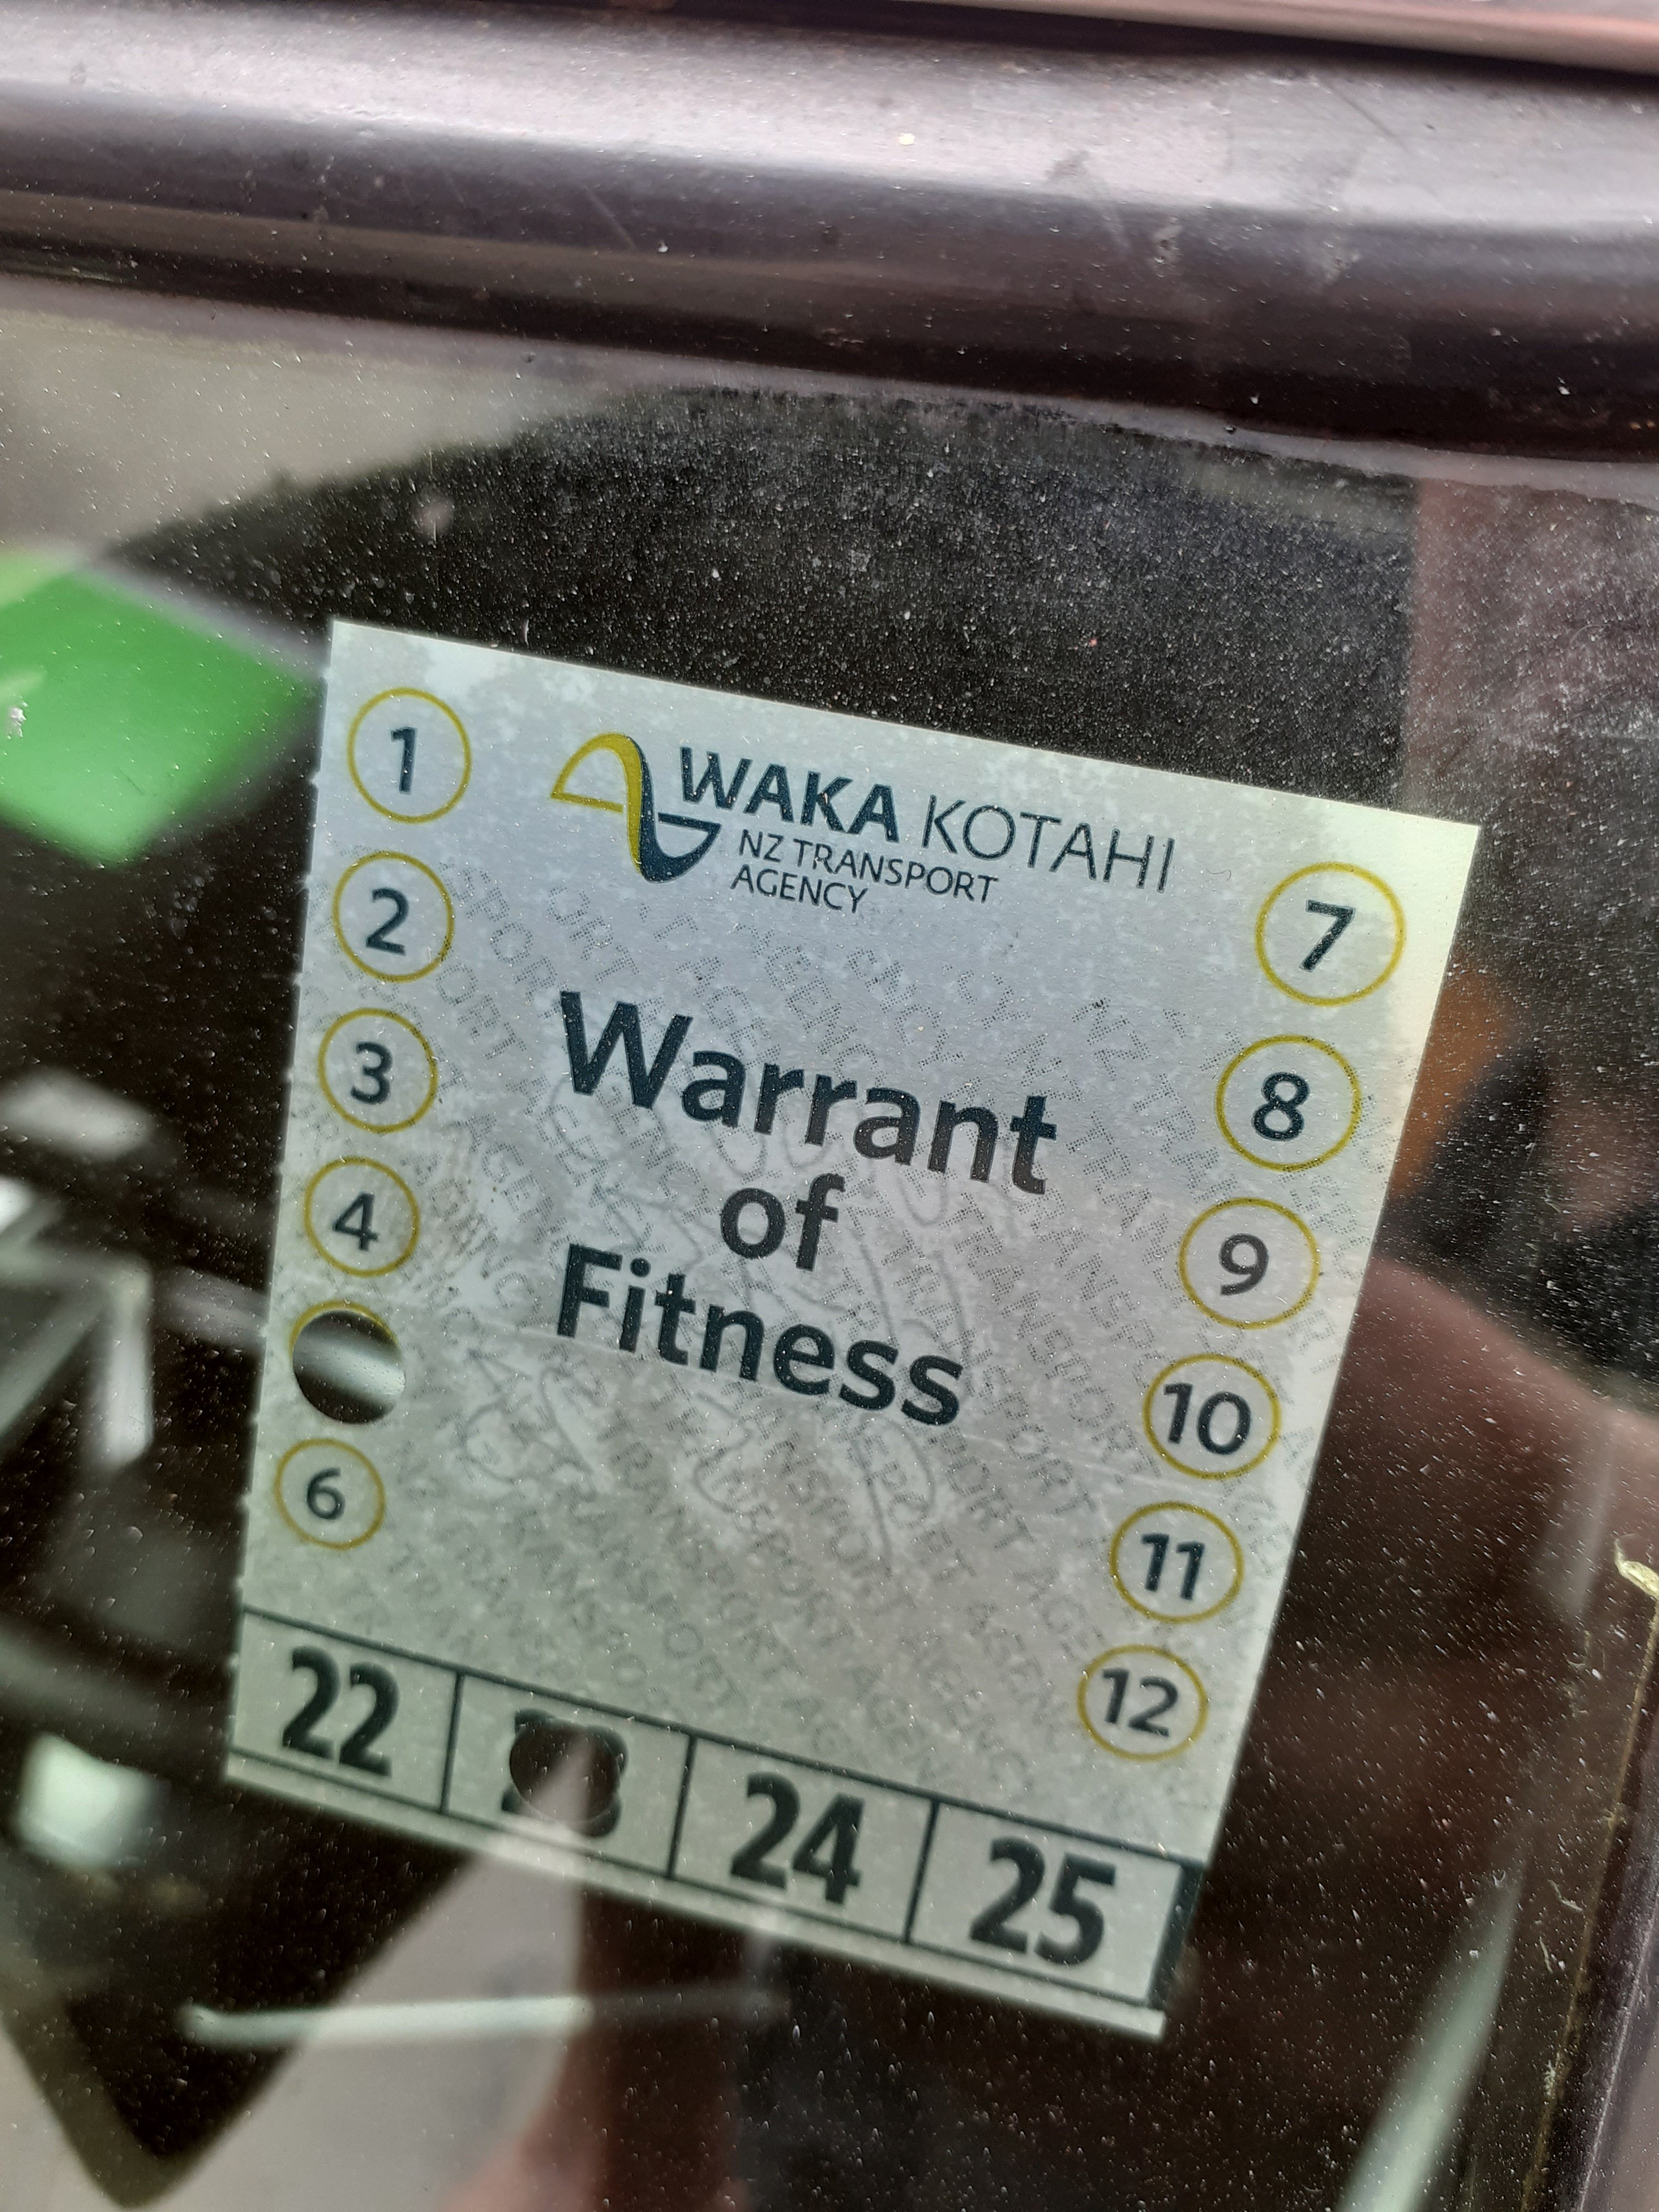
wof reg and cert done.
 30 points
 -
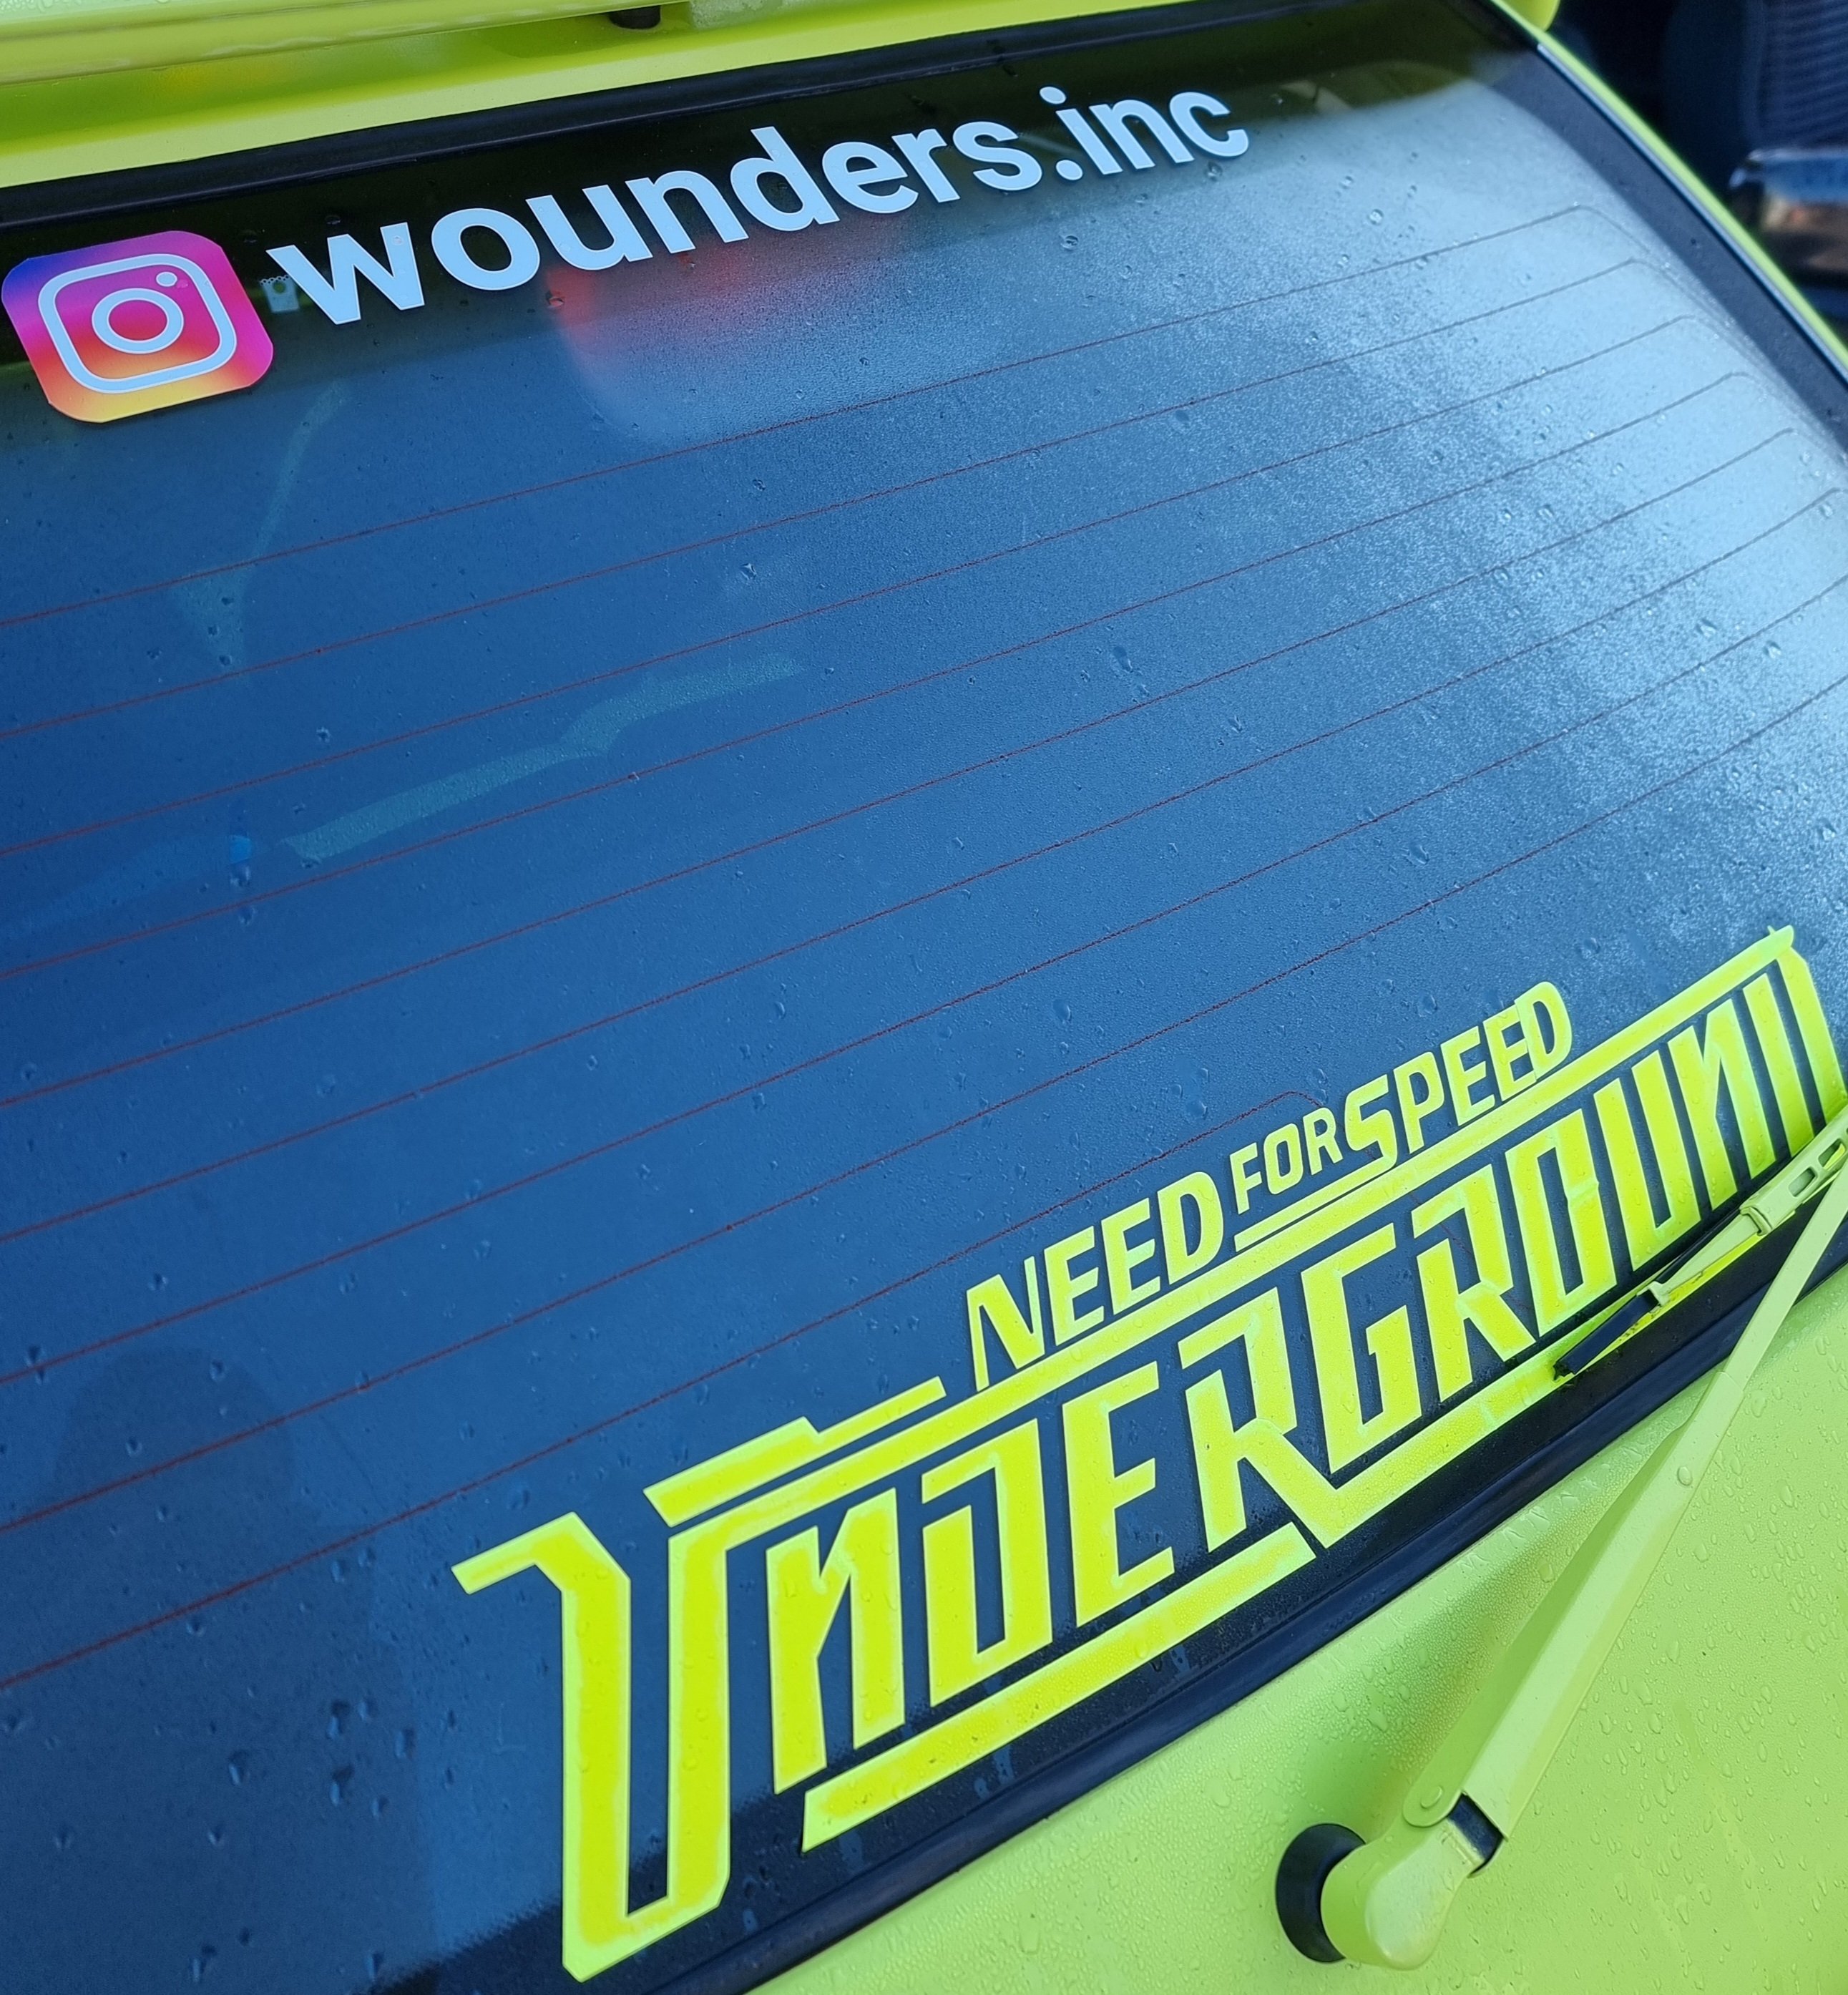
Mandatory stickers. Follow our shit adventures.
24 points
-
And of course did a mandatory park up at Tahuna Beach. So far so good. The NX Trans is giving issues. Sometimes it wants to go into overdrive, sometimes it won't. Trans is getting pretty warm so we were up til midnight fitting another Trans cooler to it. Fingers crossed we have more luck today!
10 points
-
Oh yeah, we made it to Nelson...
10 points
-
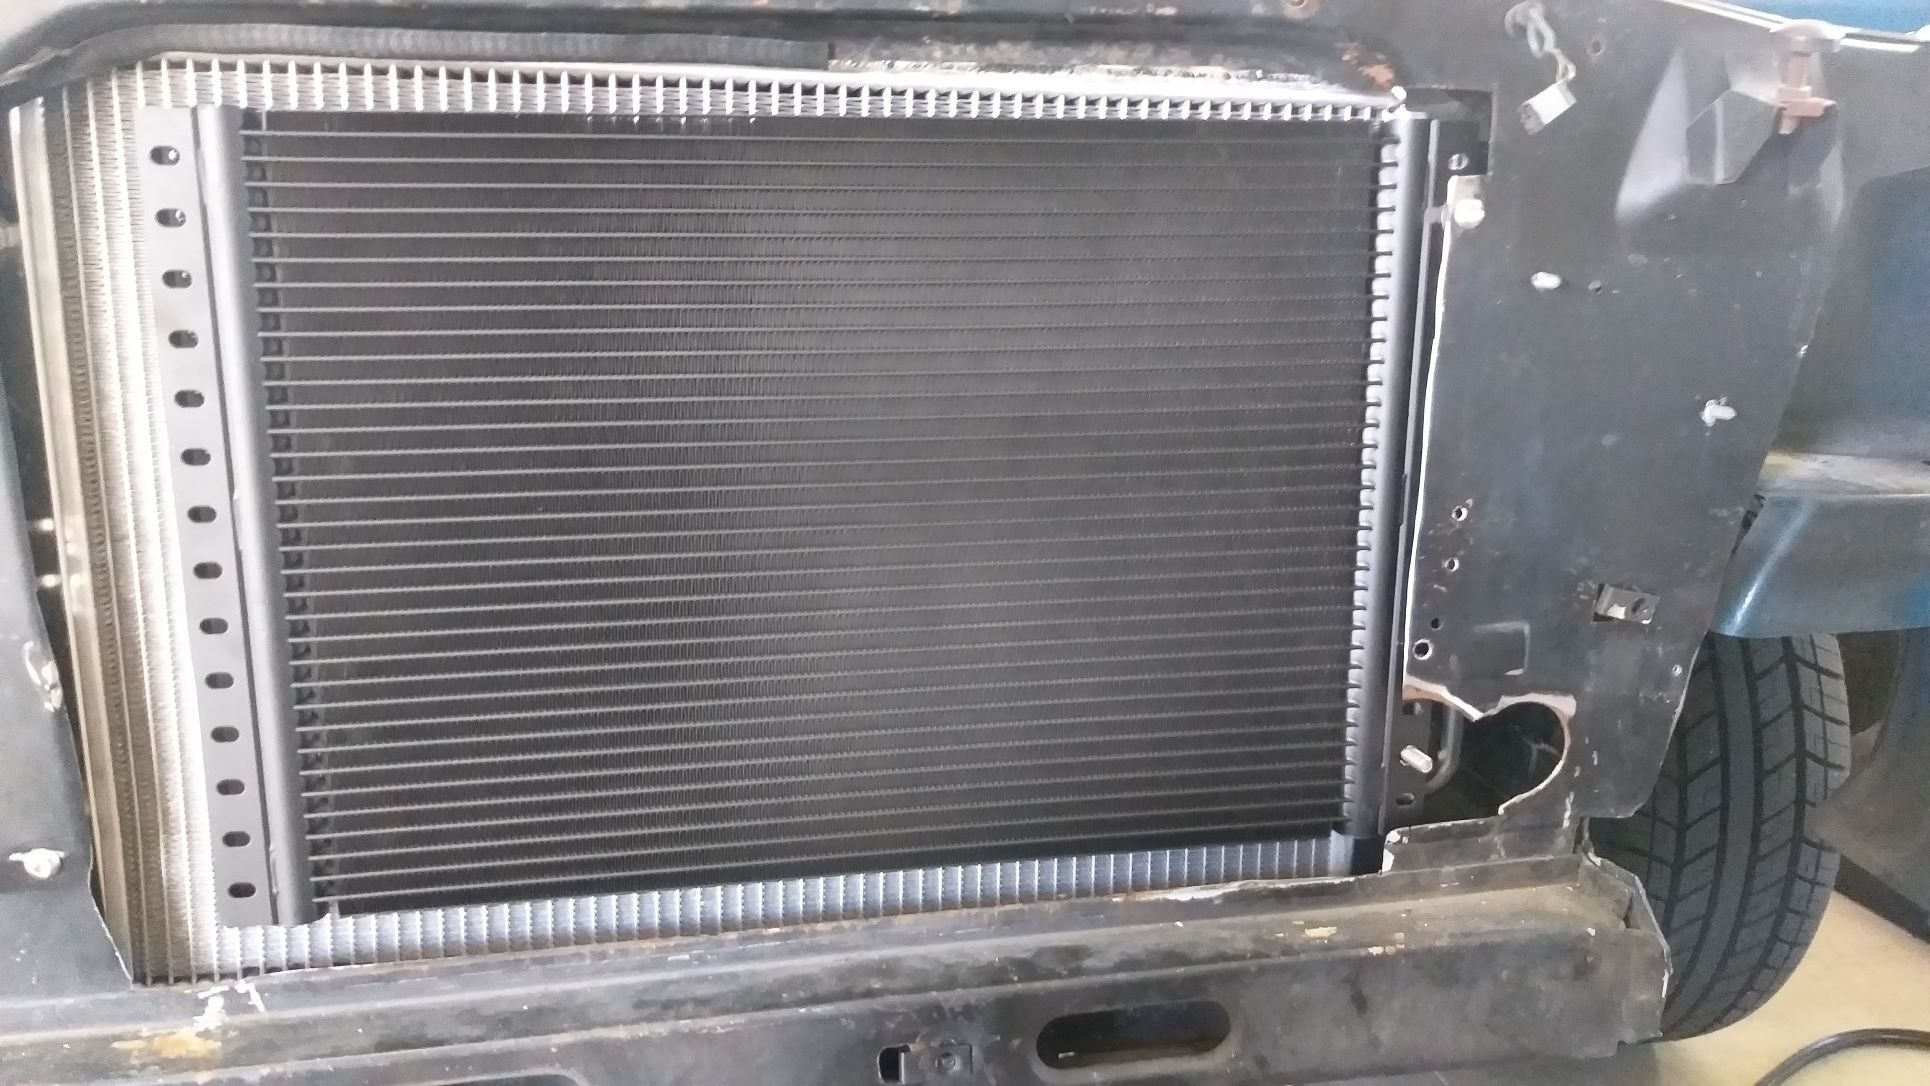
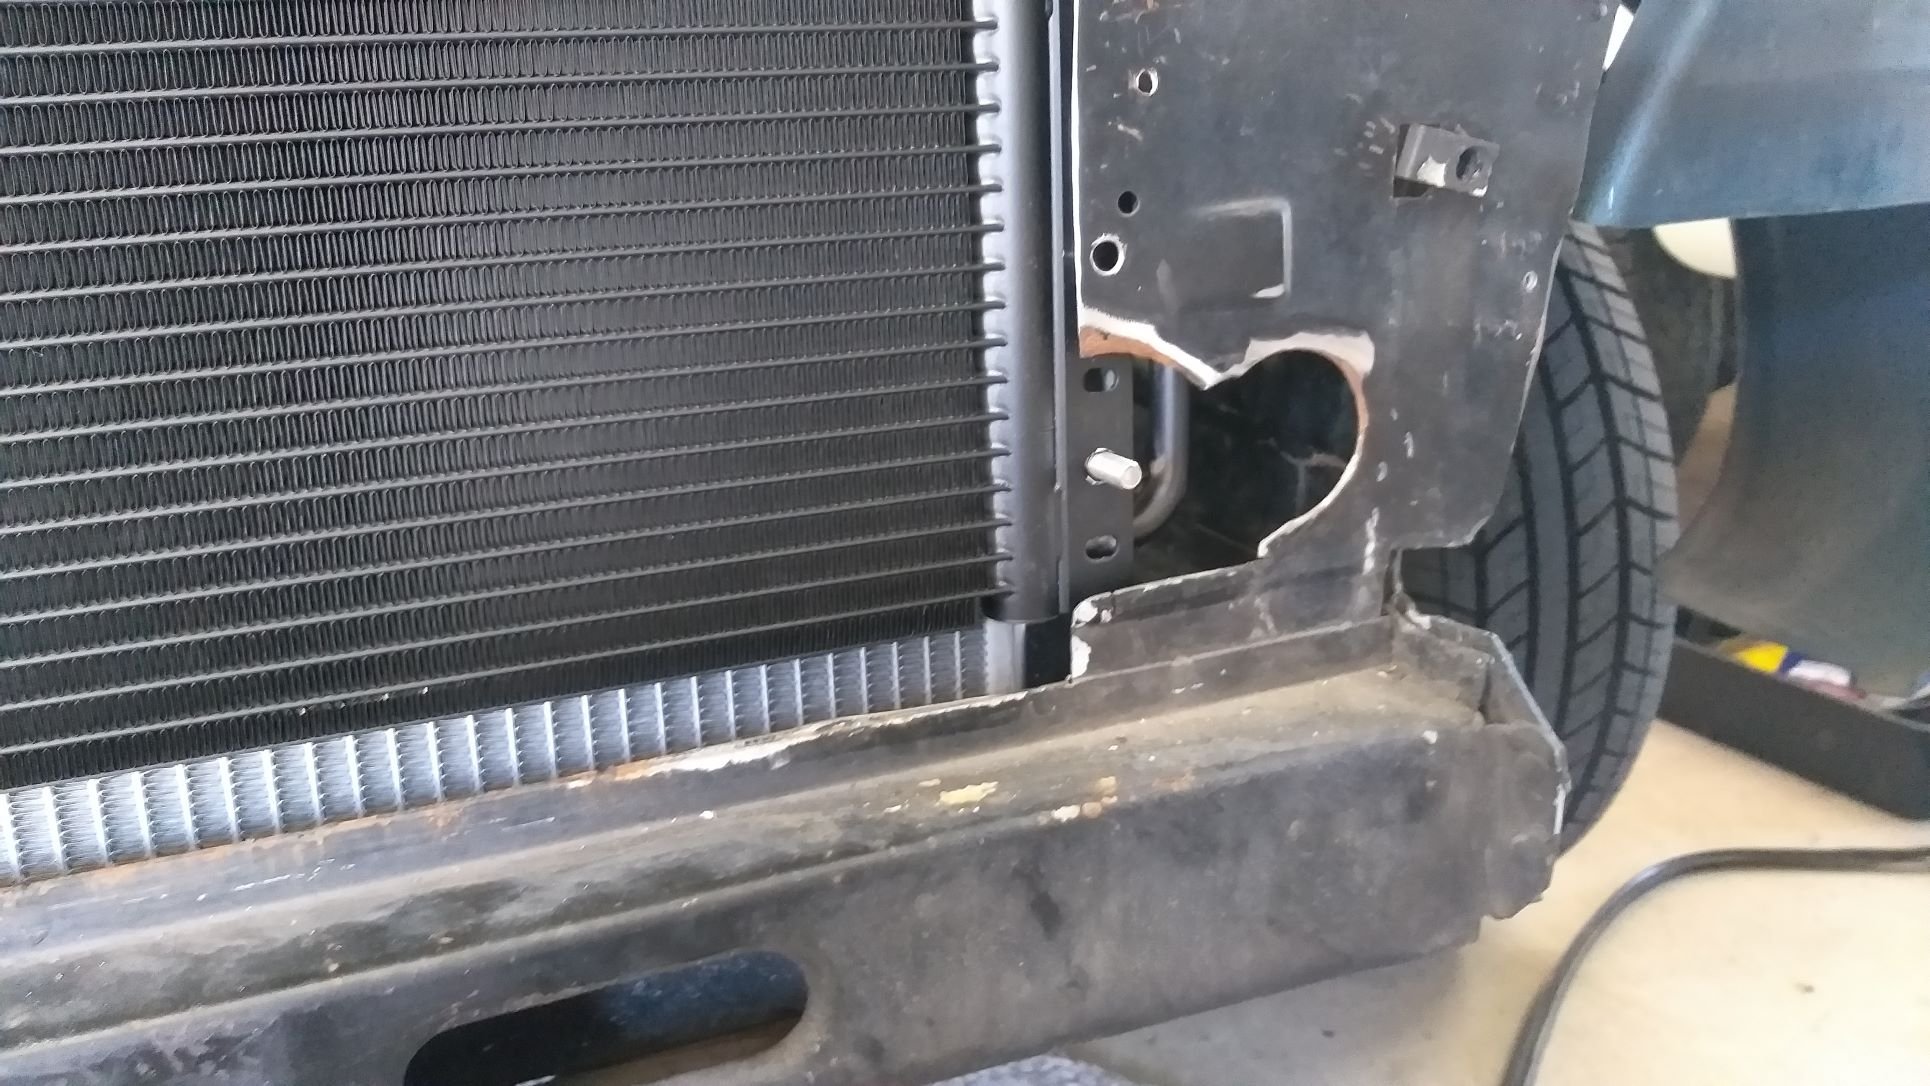
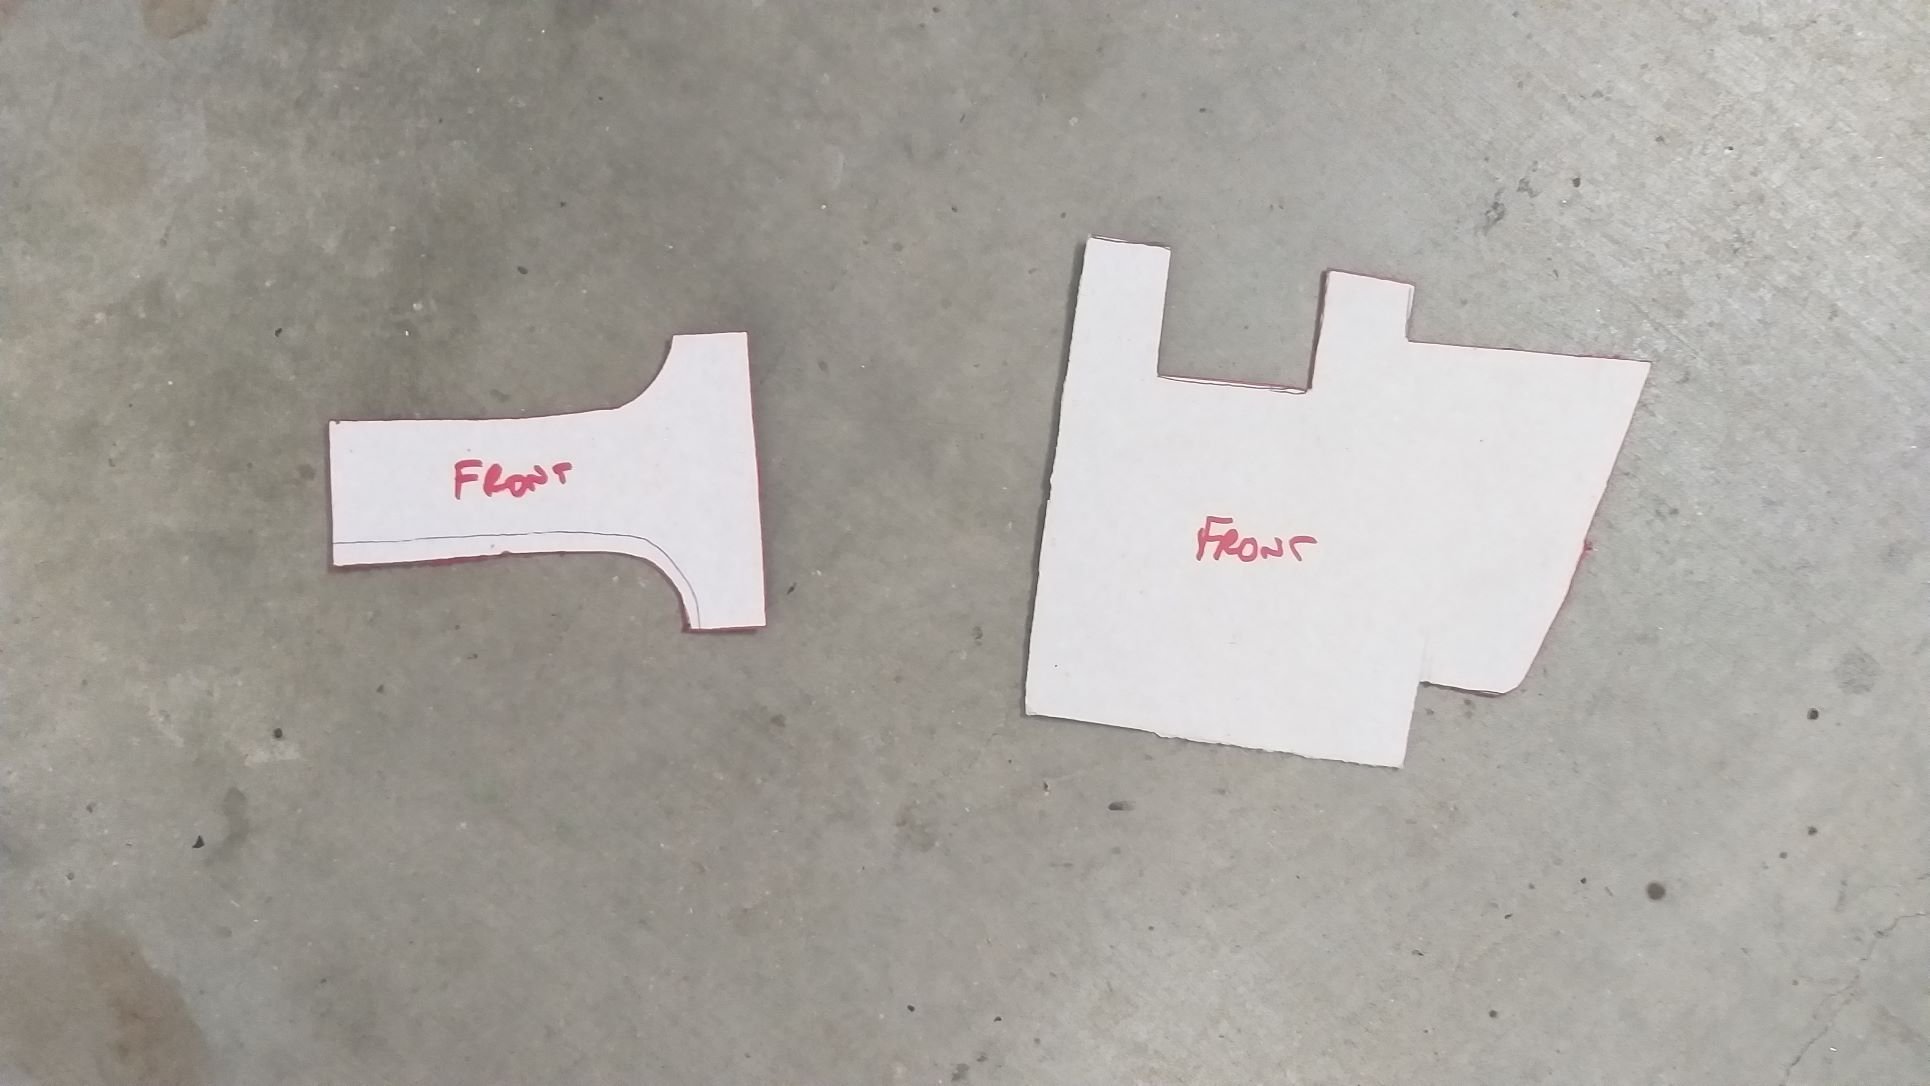
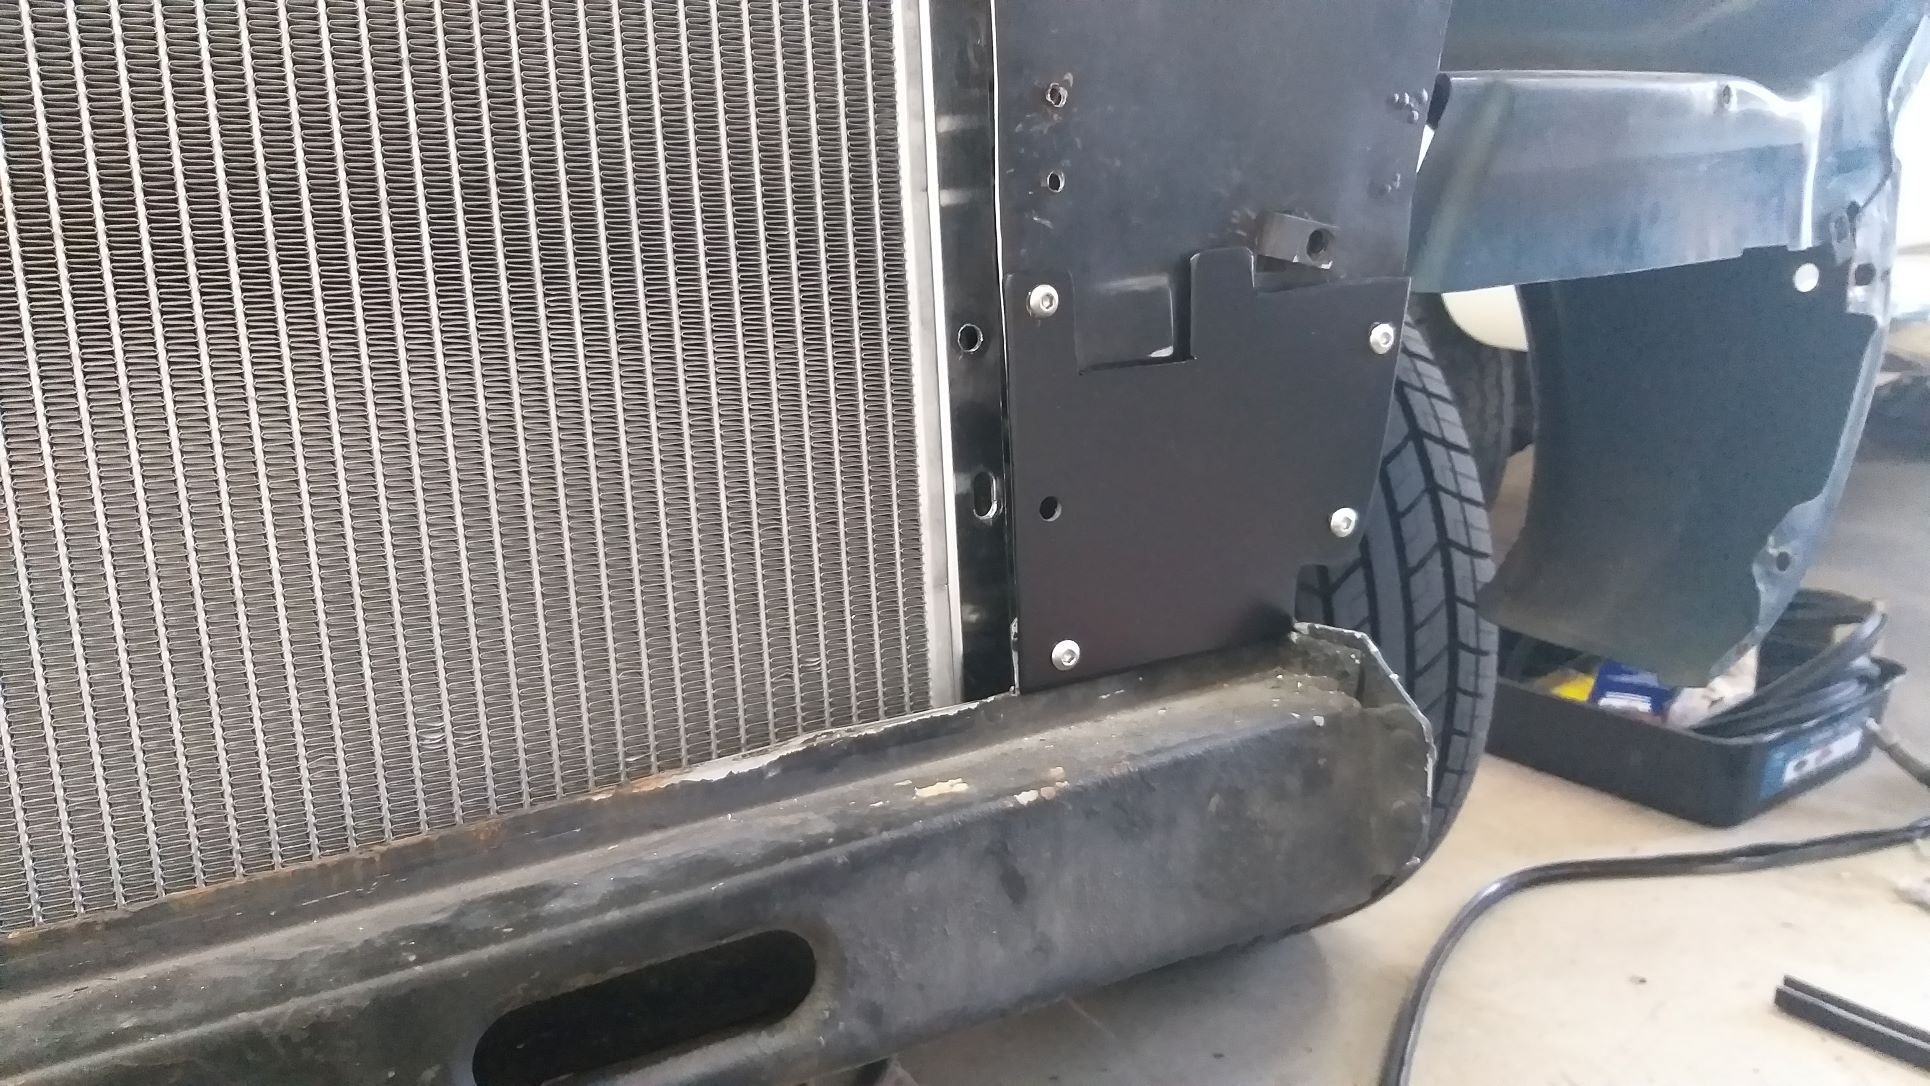
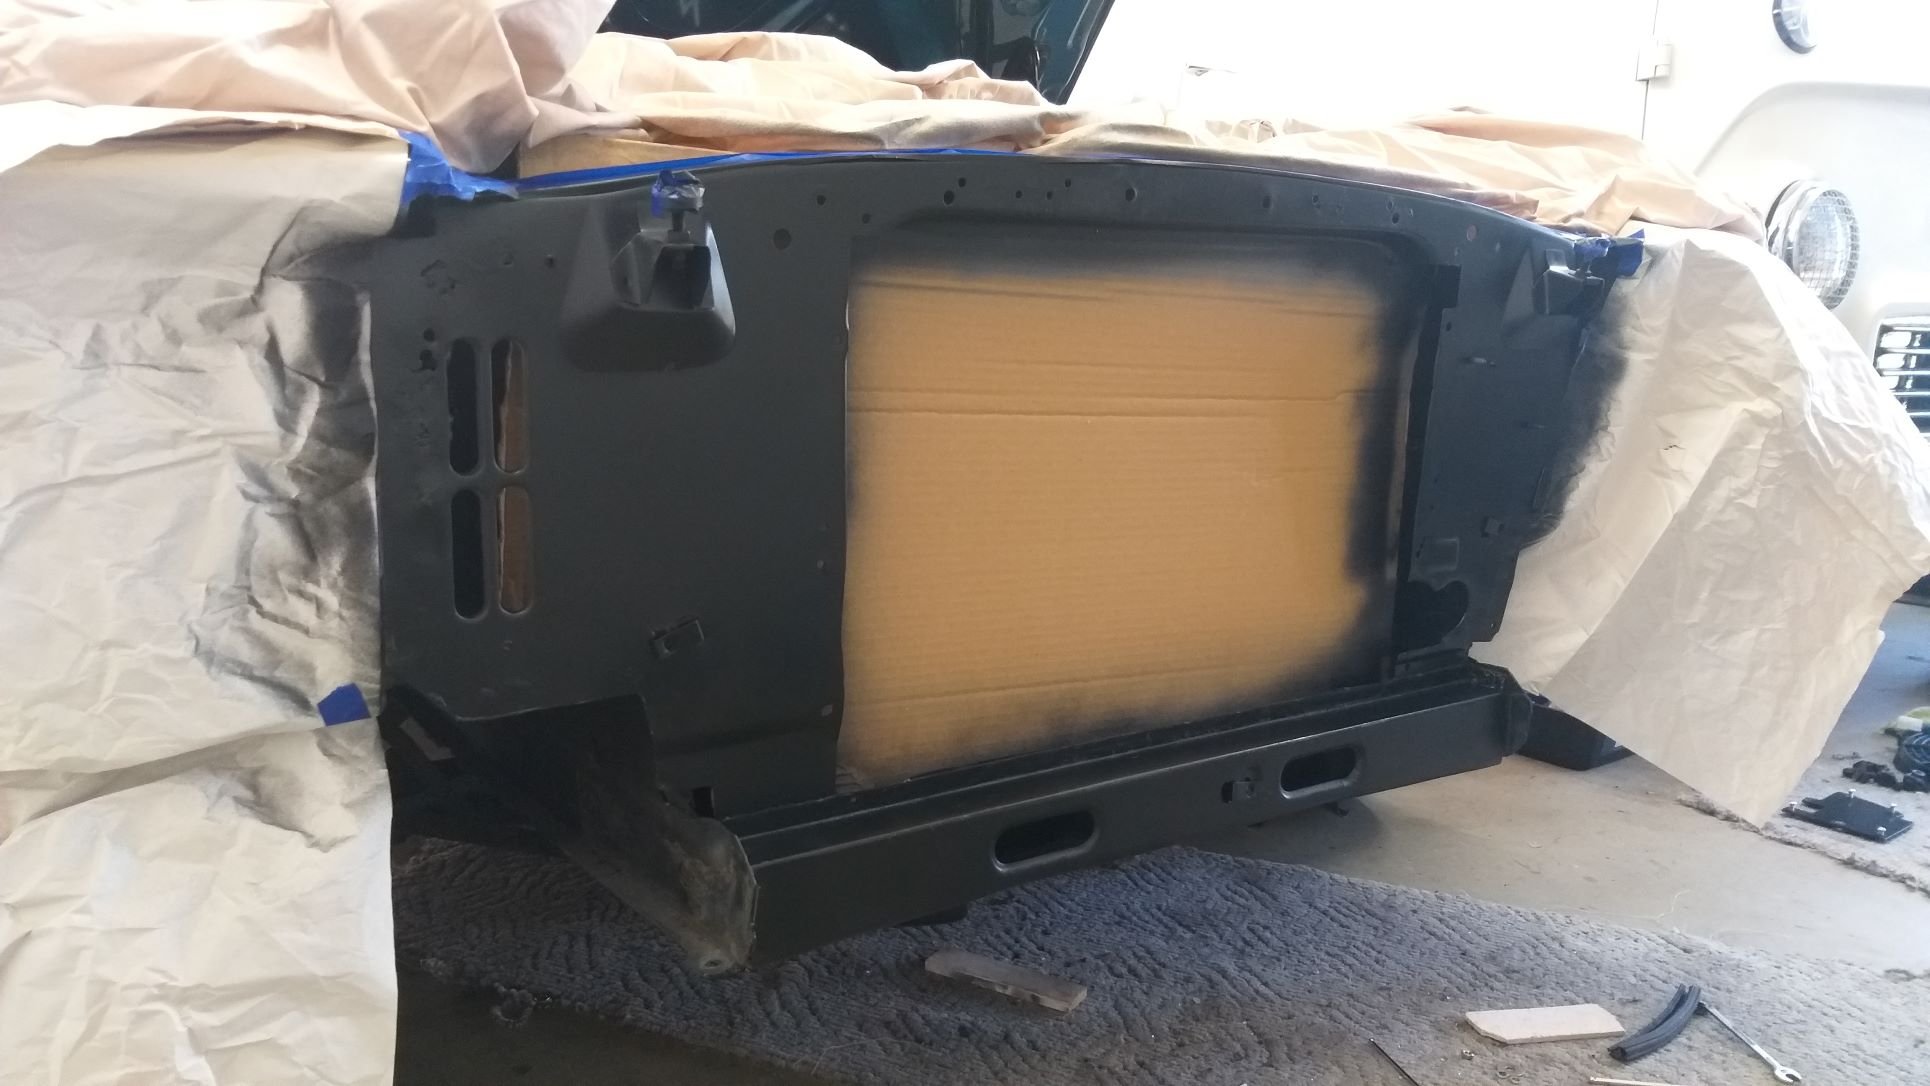
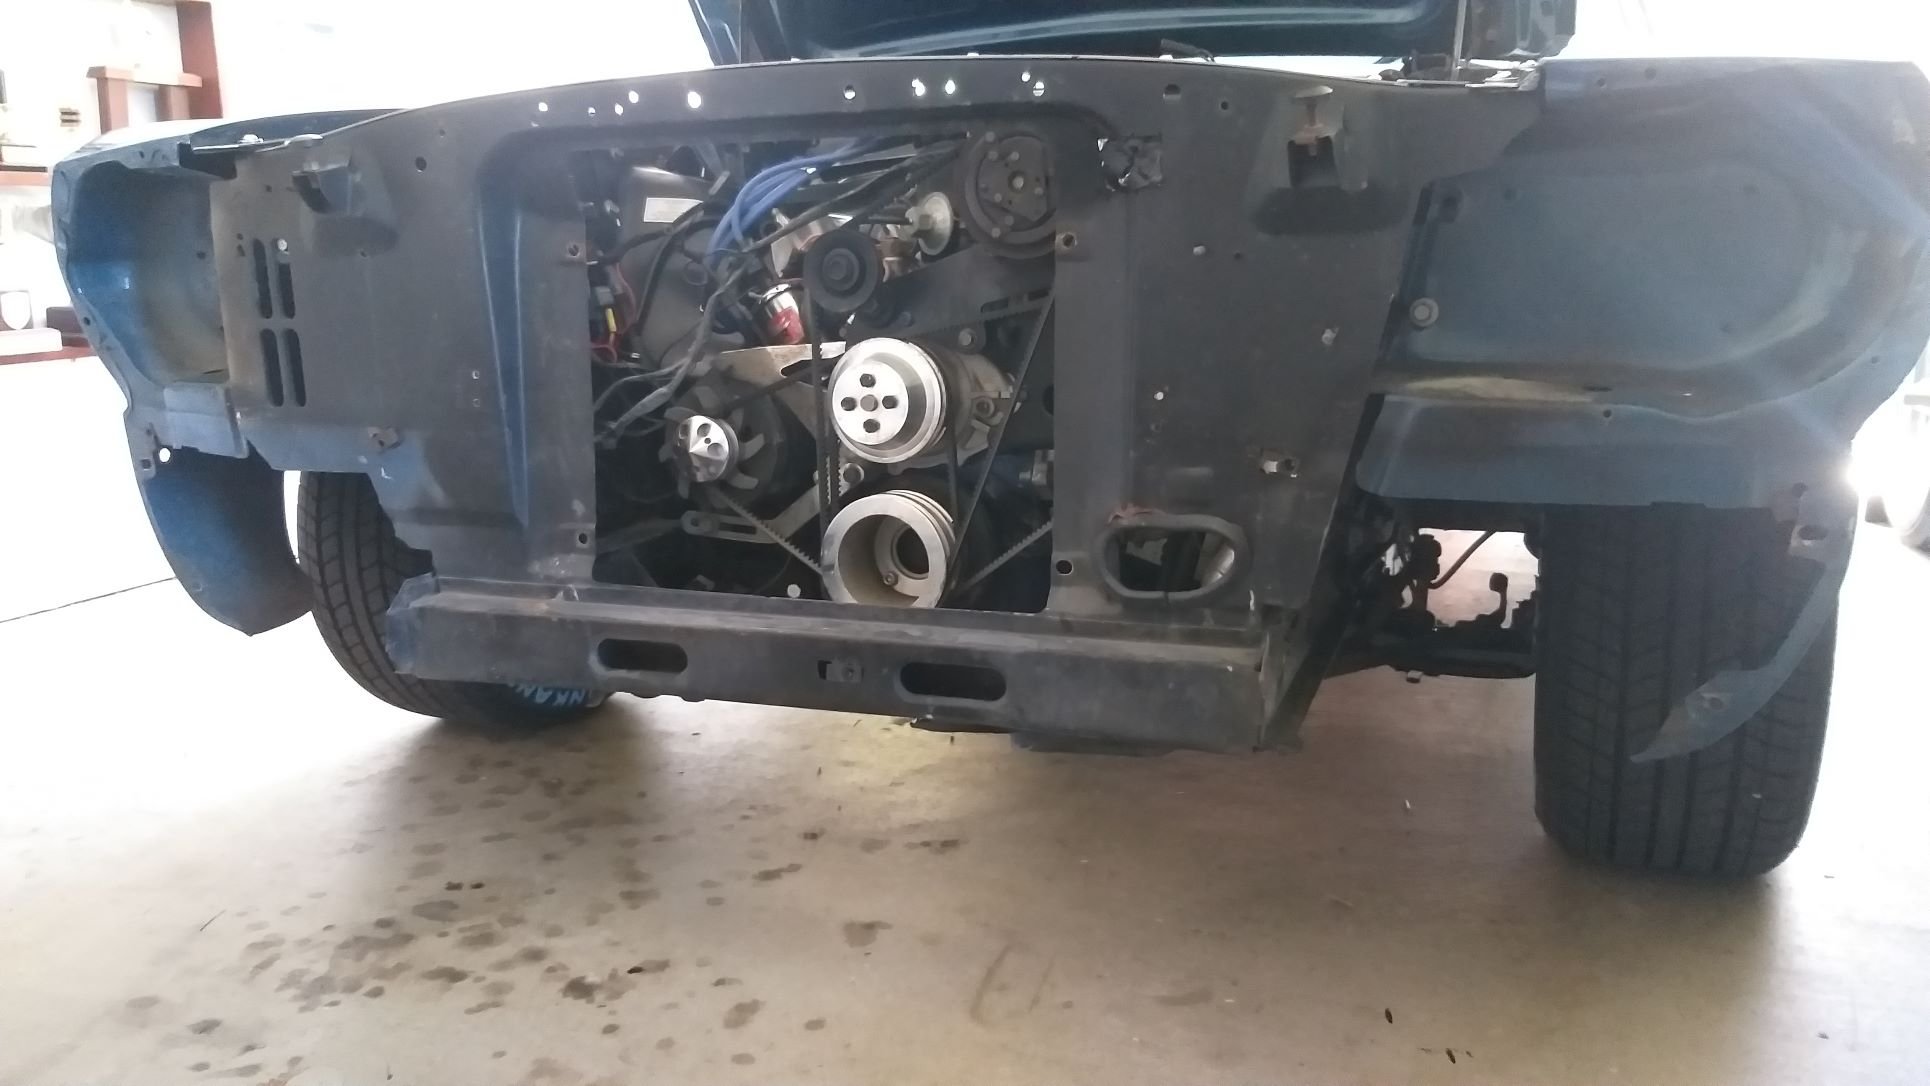
I'm still plugging away at the new radiator and a/c condenser install. I ended up sourcing a 23" x 14" condenser. It's a bit shorter than the new radiator, but the next available size was 25" x 14" which would have been way too big for my current opening. I've mounted the condenser as far left as possible for two reasons. First up it was easier to run the a/c lines this way as I didn't want them rubbing on the new radiator core. Secondly, I figured with the radiator inlet and outlet both being on the right-hand side and the radiator therefore having a natural tendency to push a higher percentage of the coolant up this side of the radiator it made sense to have the unrestricted airflow on this side. I don't really know if this will help, but hey ... it is what it is. With the condenser test fitted I made some templates for the two additional mounting brackets required and I also carved a little filler panel to cover the old a/c hose holes. Figured I'd refresh the front panel whilst I have the grill and valance off, so that is looking a lot neater now. A few "in progress" photos:
9 points
-
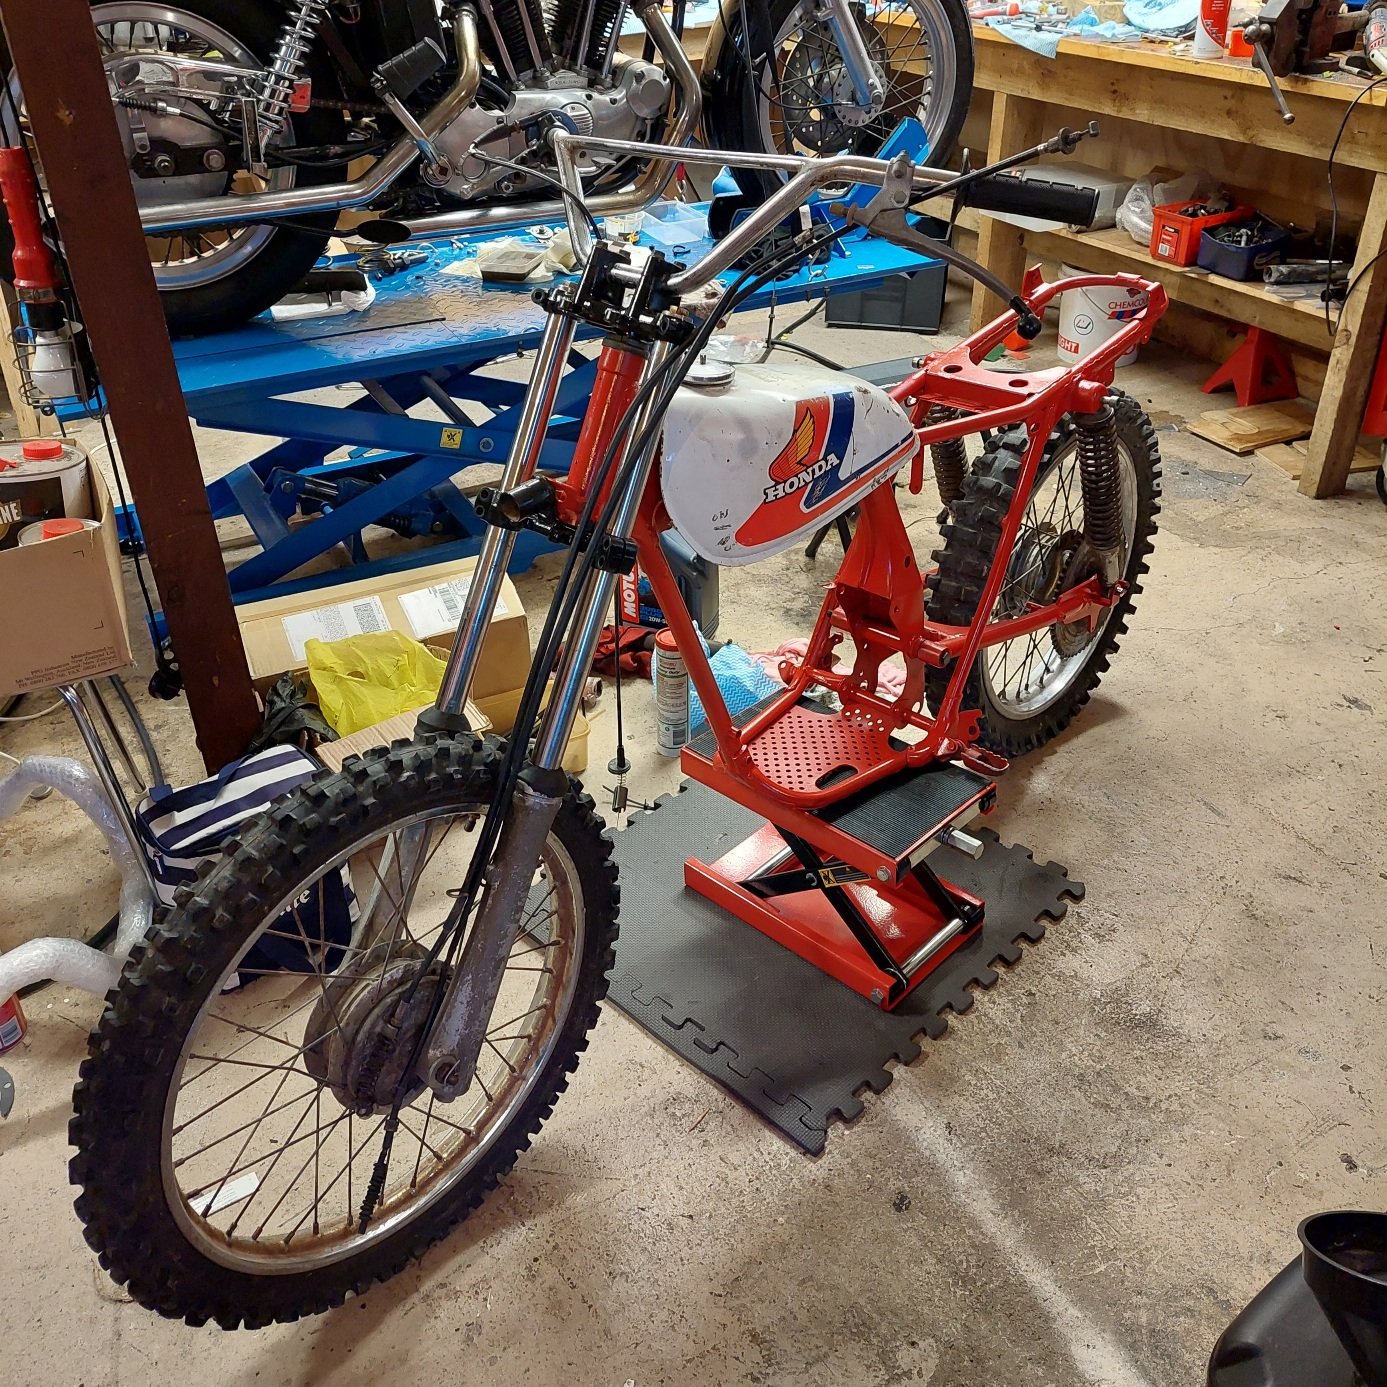
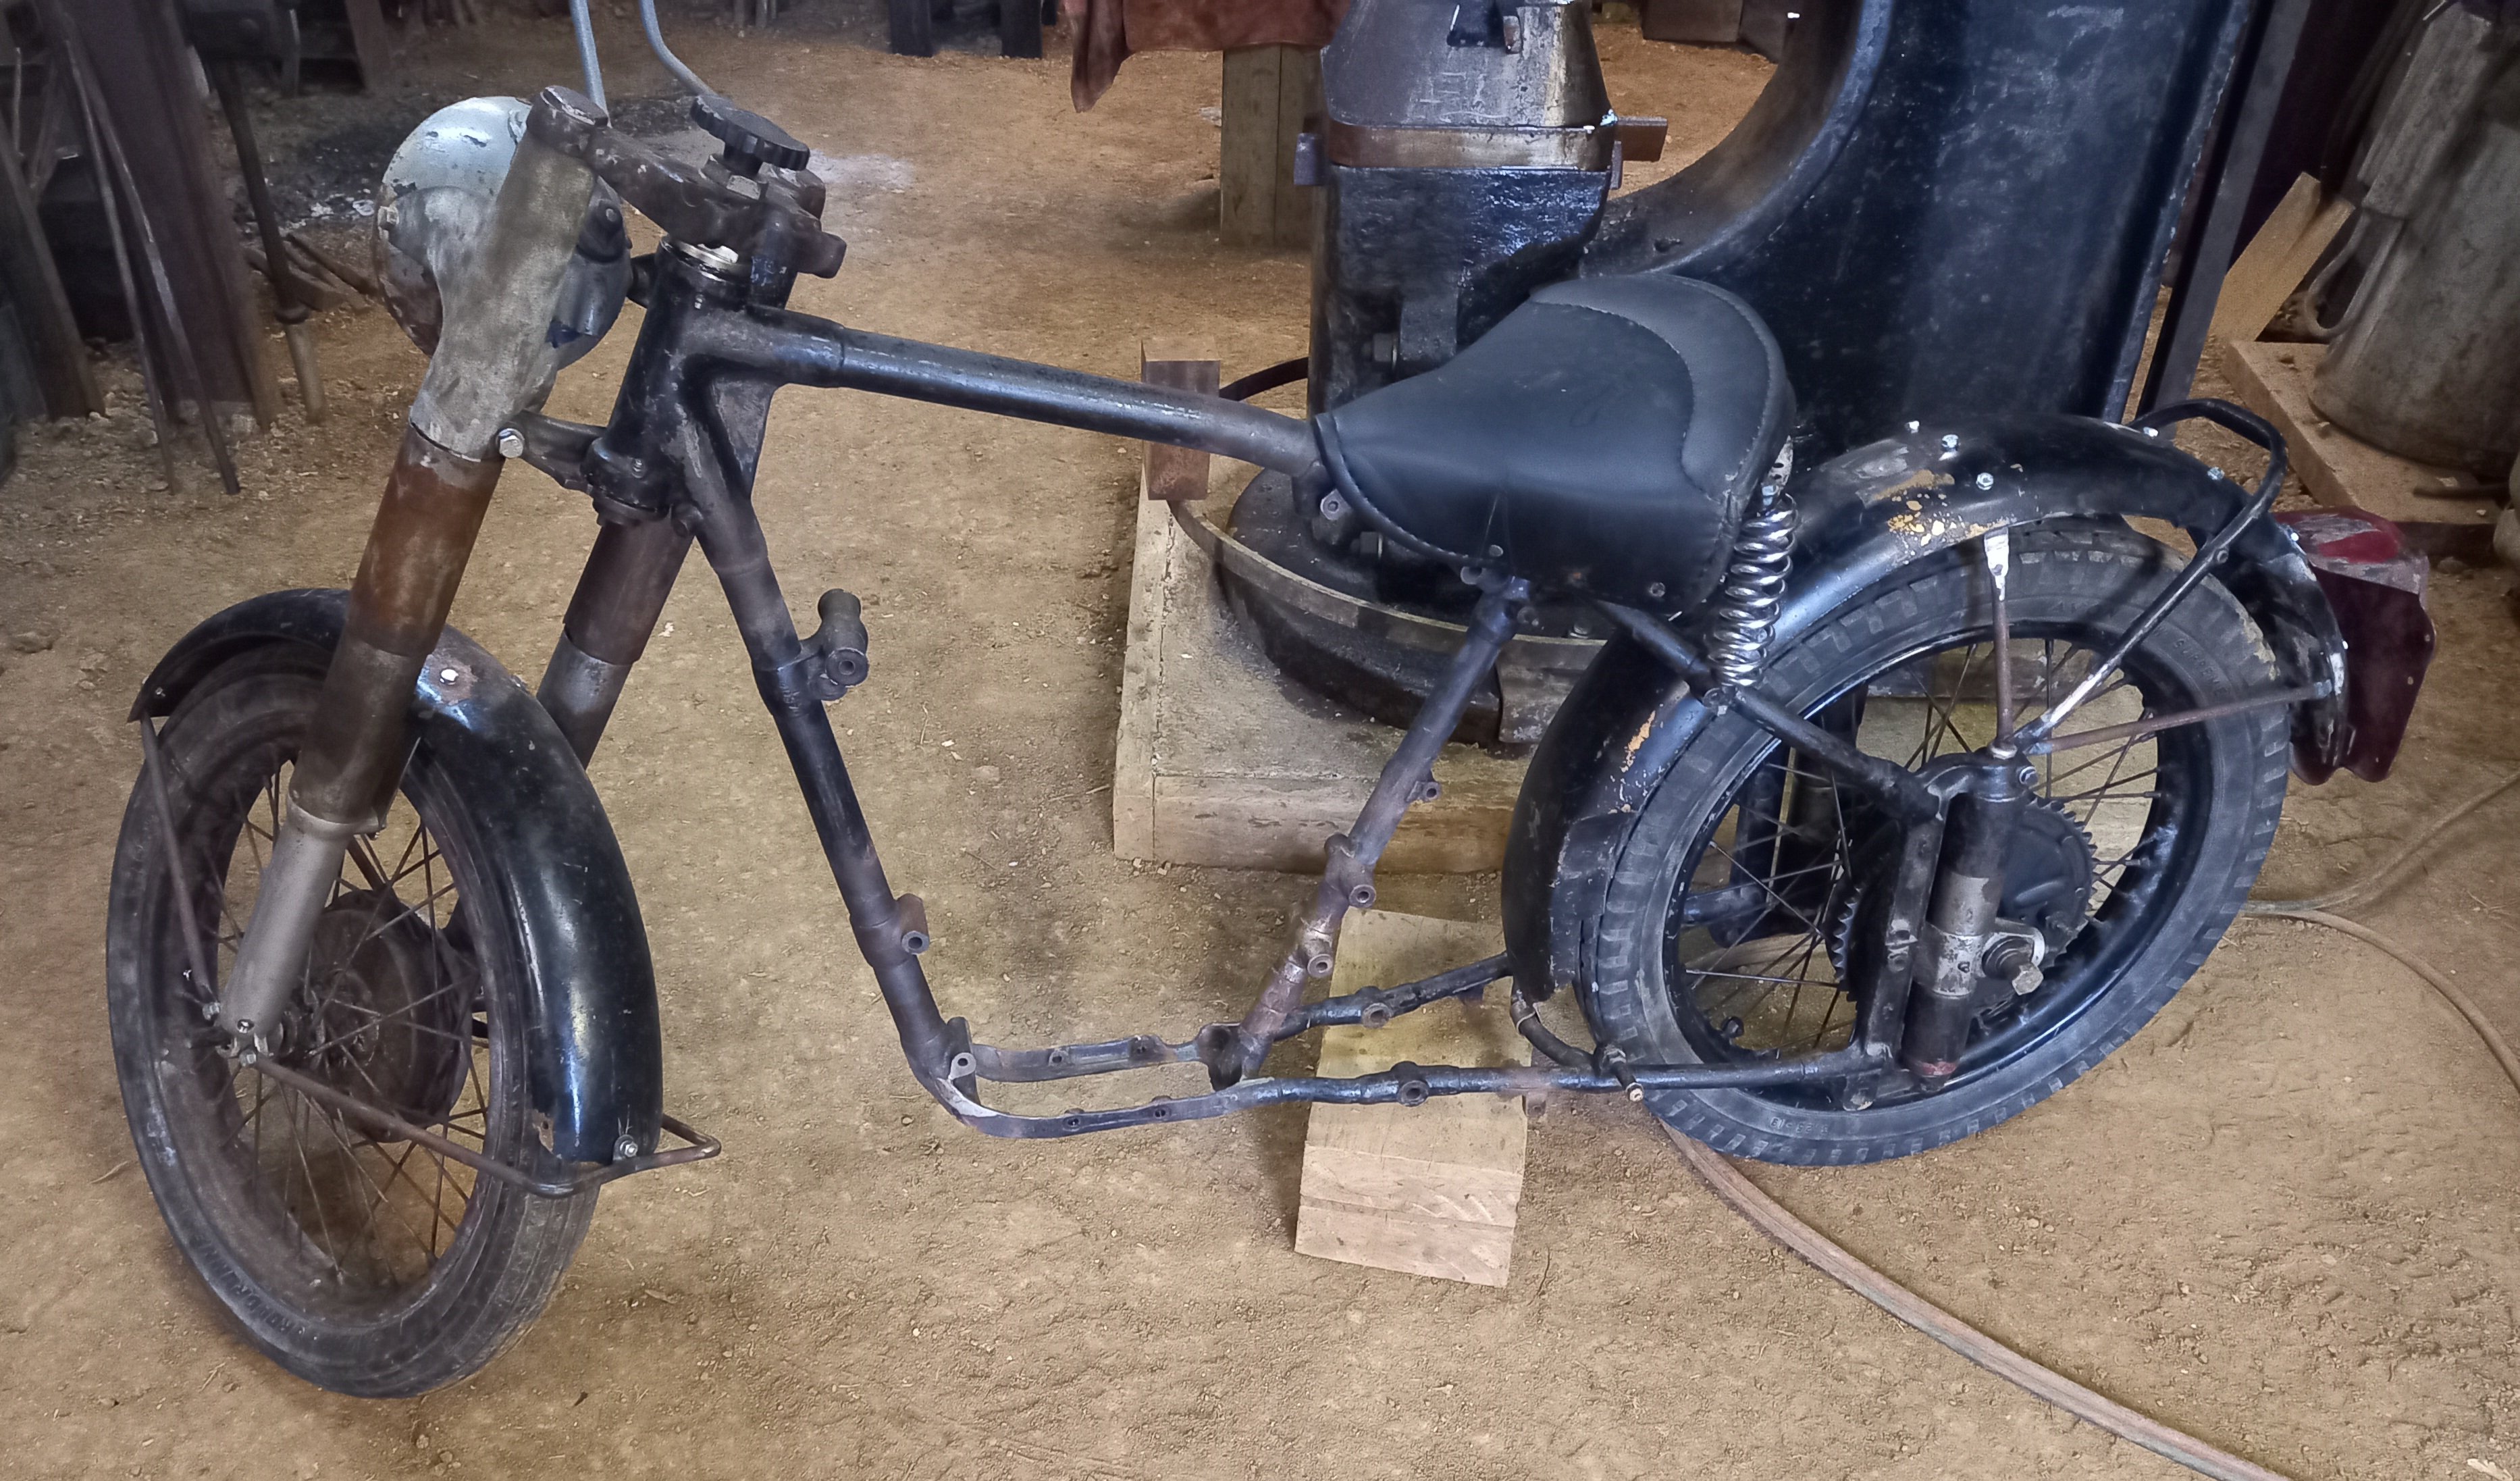
I thought I had done the form but not on the list so obv not! Done now. Blizzo is a yes in case he doesn't actually enter. Trust us to pick the one weekend it's due to piss down, again! Chur, bring on the nangs! P.s. bike build started last night - be all good, right?!
9 points
-
I’ll just leave this here… After toying with the injection idea I just couldn’t do it. picked up a pair of mikunis, slapped them on, hooked up the fuel line that was already there. found a wiring diagram for using the stock dizzy with a bim024 type module. found that the wiring I paid an auto sparky to do last year is cactus, so hotwired the module for now, pump isn’t running, great. got spark. Wouldn’t fire off tdc, so figured the module may have advanced it by up to 30degrees. Guesstimated that on the pulley. And pop goes the weasel. only ran it for this long. now can sort the wiring so shit works, finish a few other bits. order up a ae86 radiator. but holy shizzlnut, it’s way quieter lol7 points
-
I'm not sure I've ever been less prepared for anything. I've never ridden my bike. I own exclusively leather riding gear. I haven't even grown a mustache yet. ... and the Mrs has already put up our Christmas tree.7 points
-
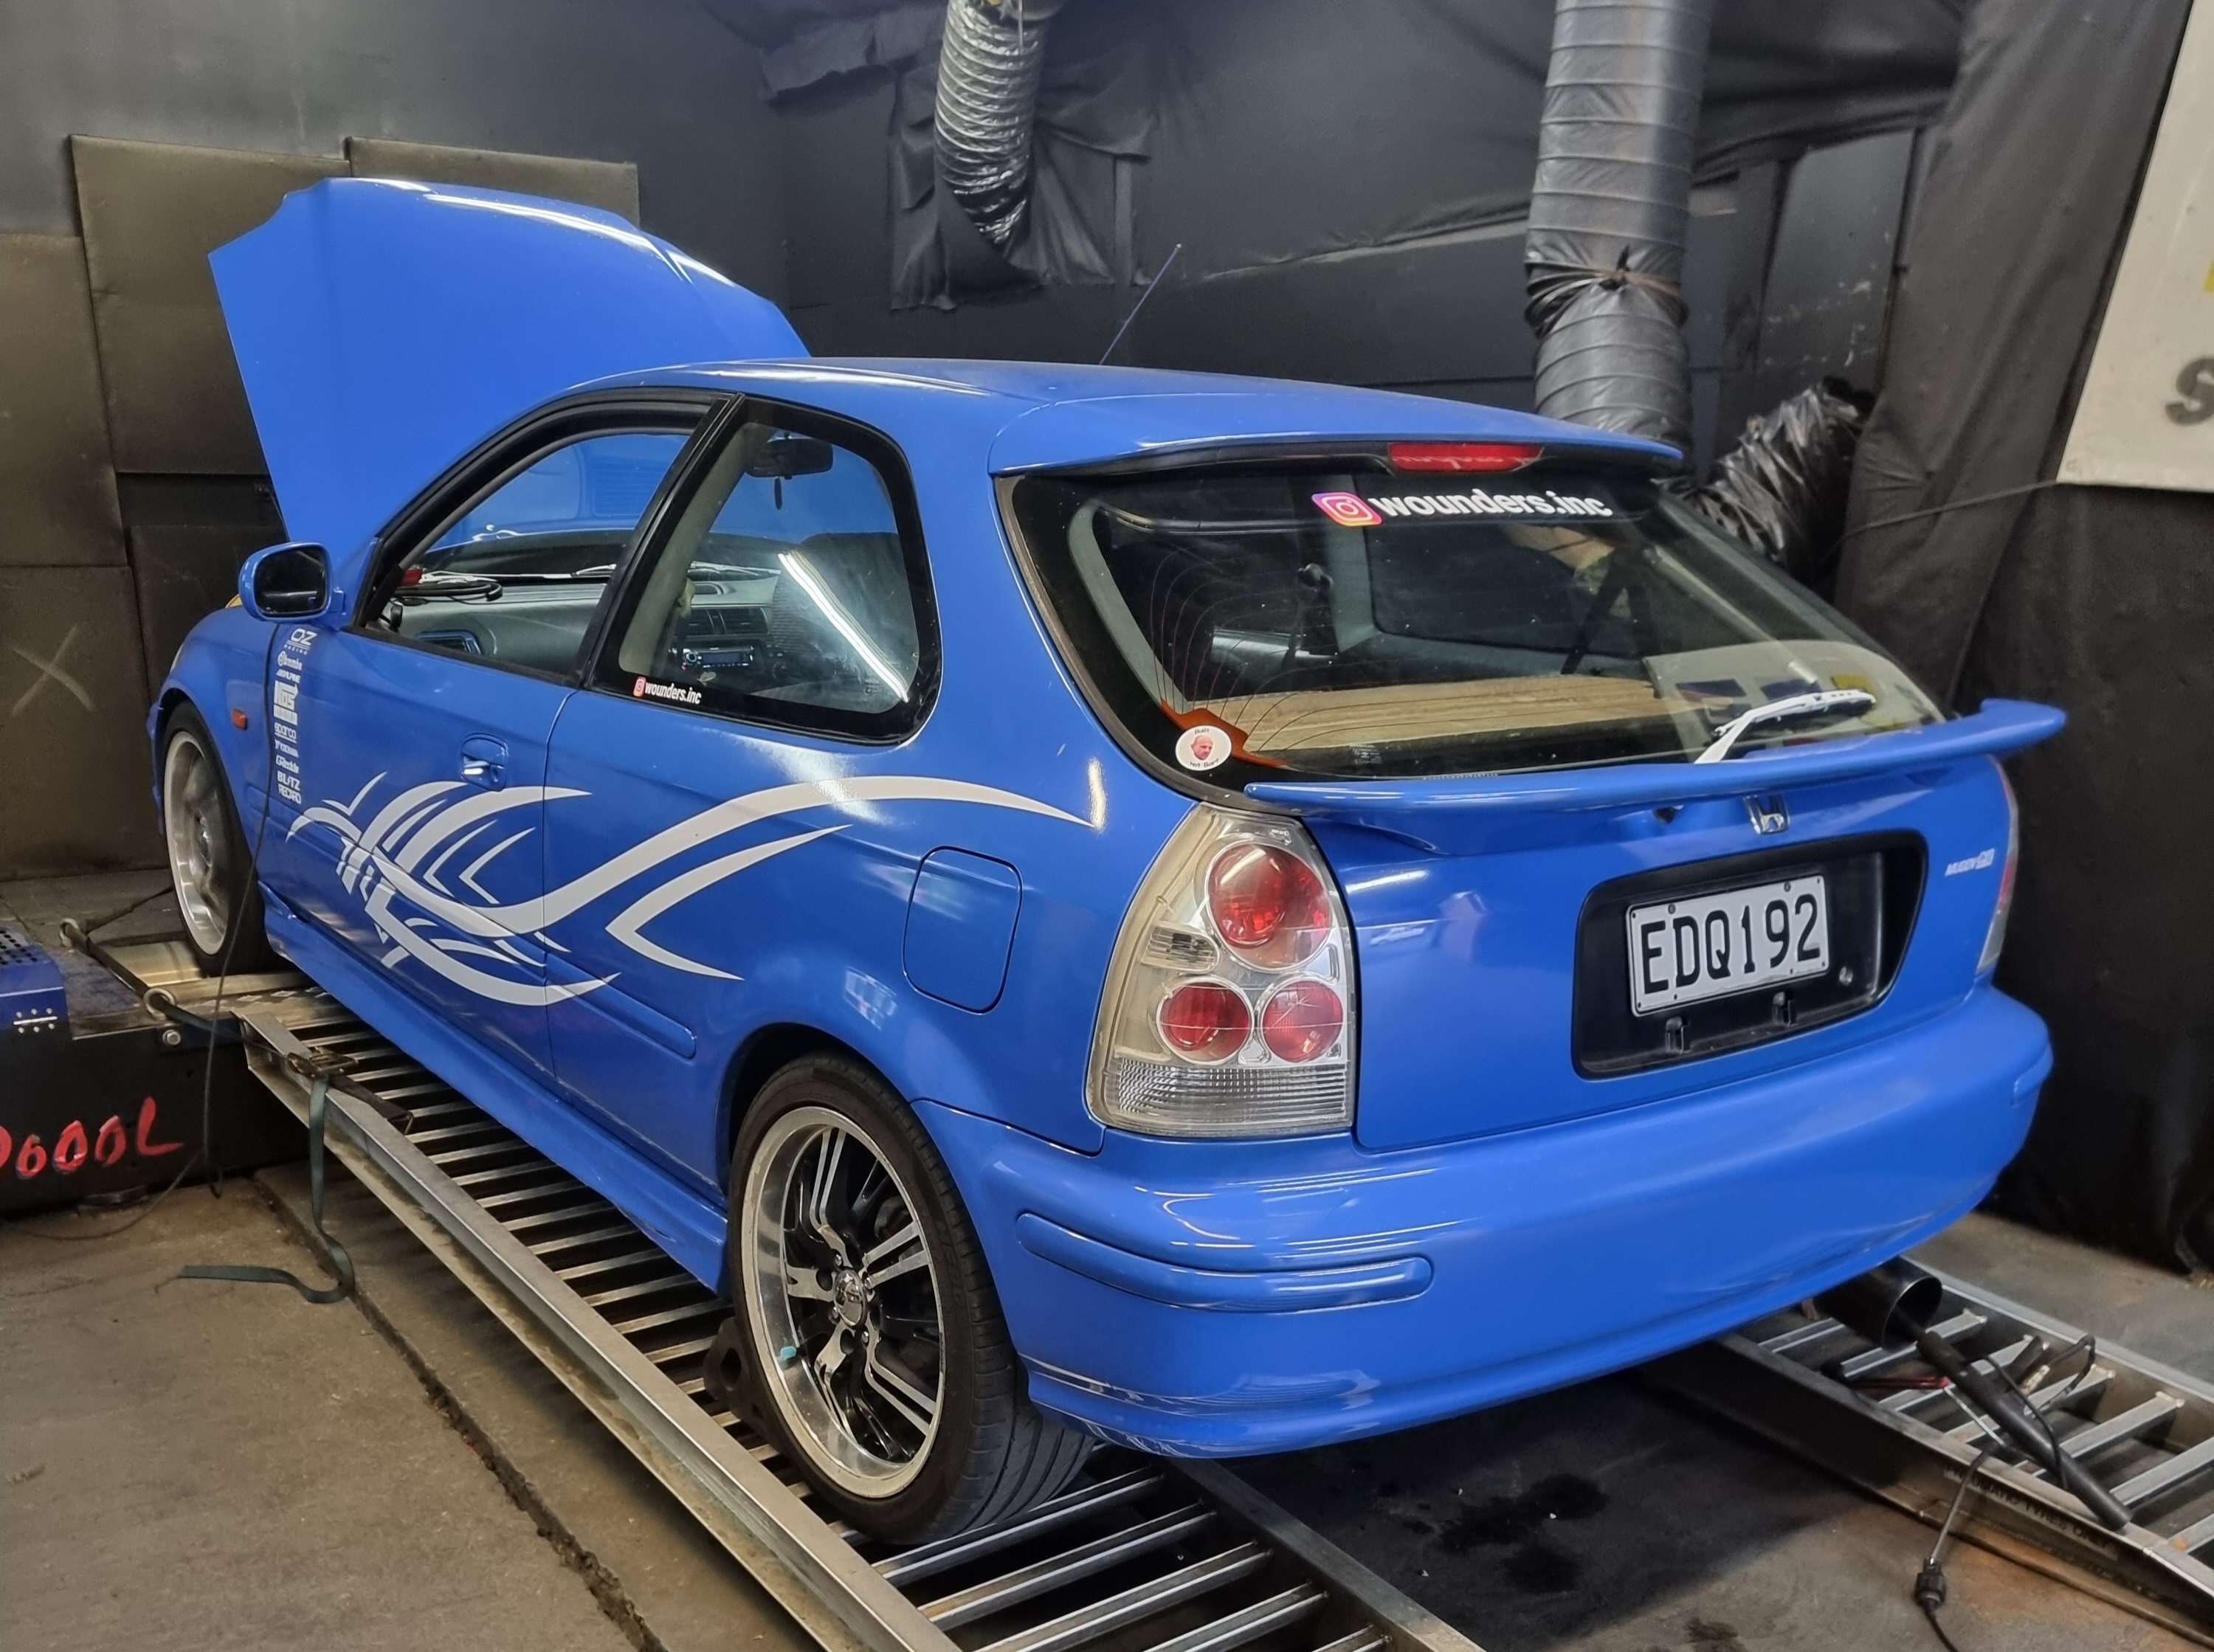
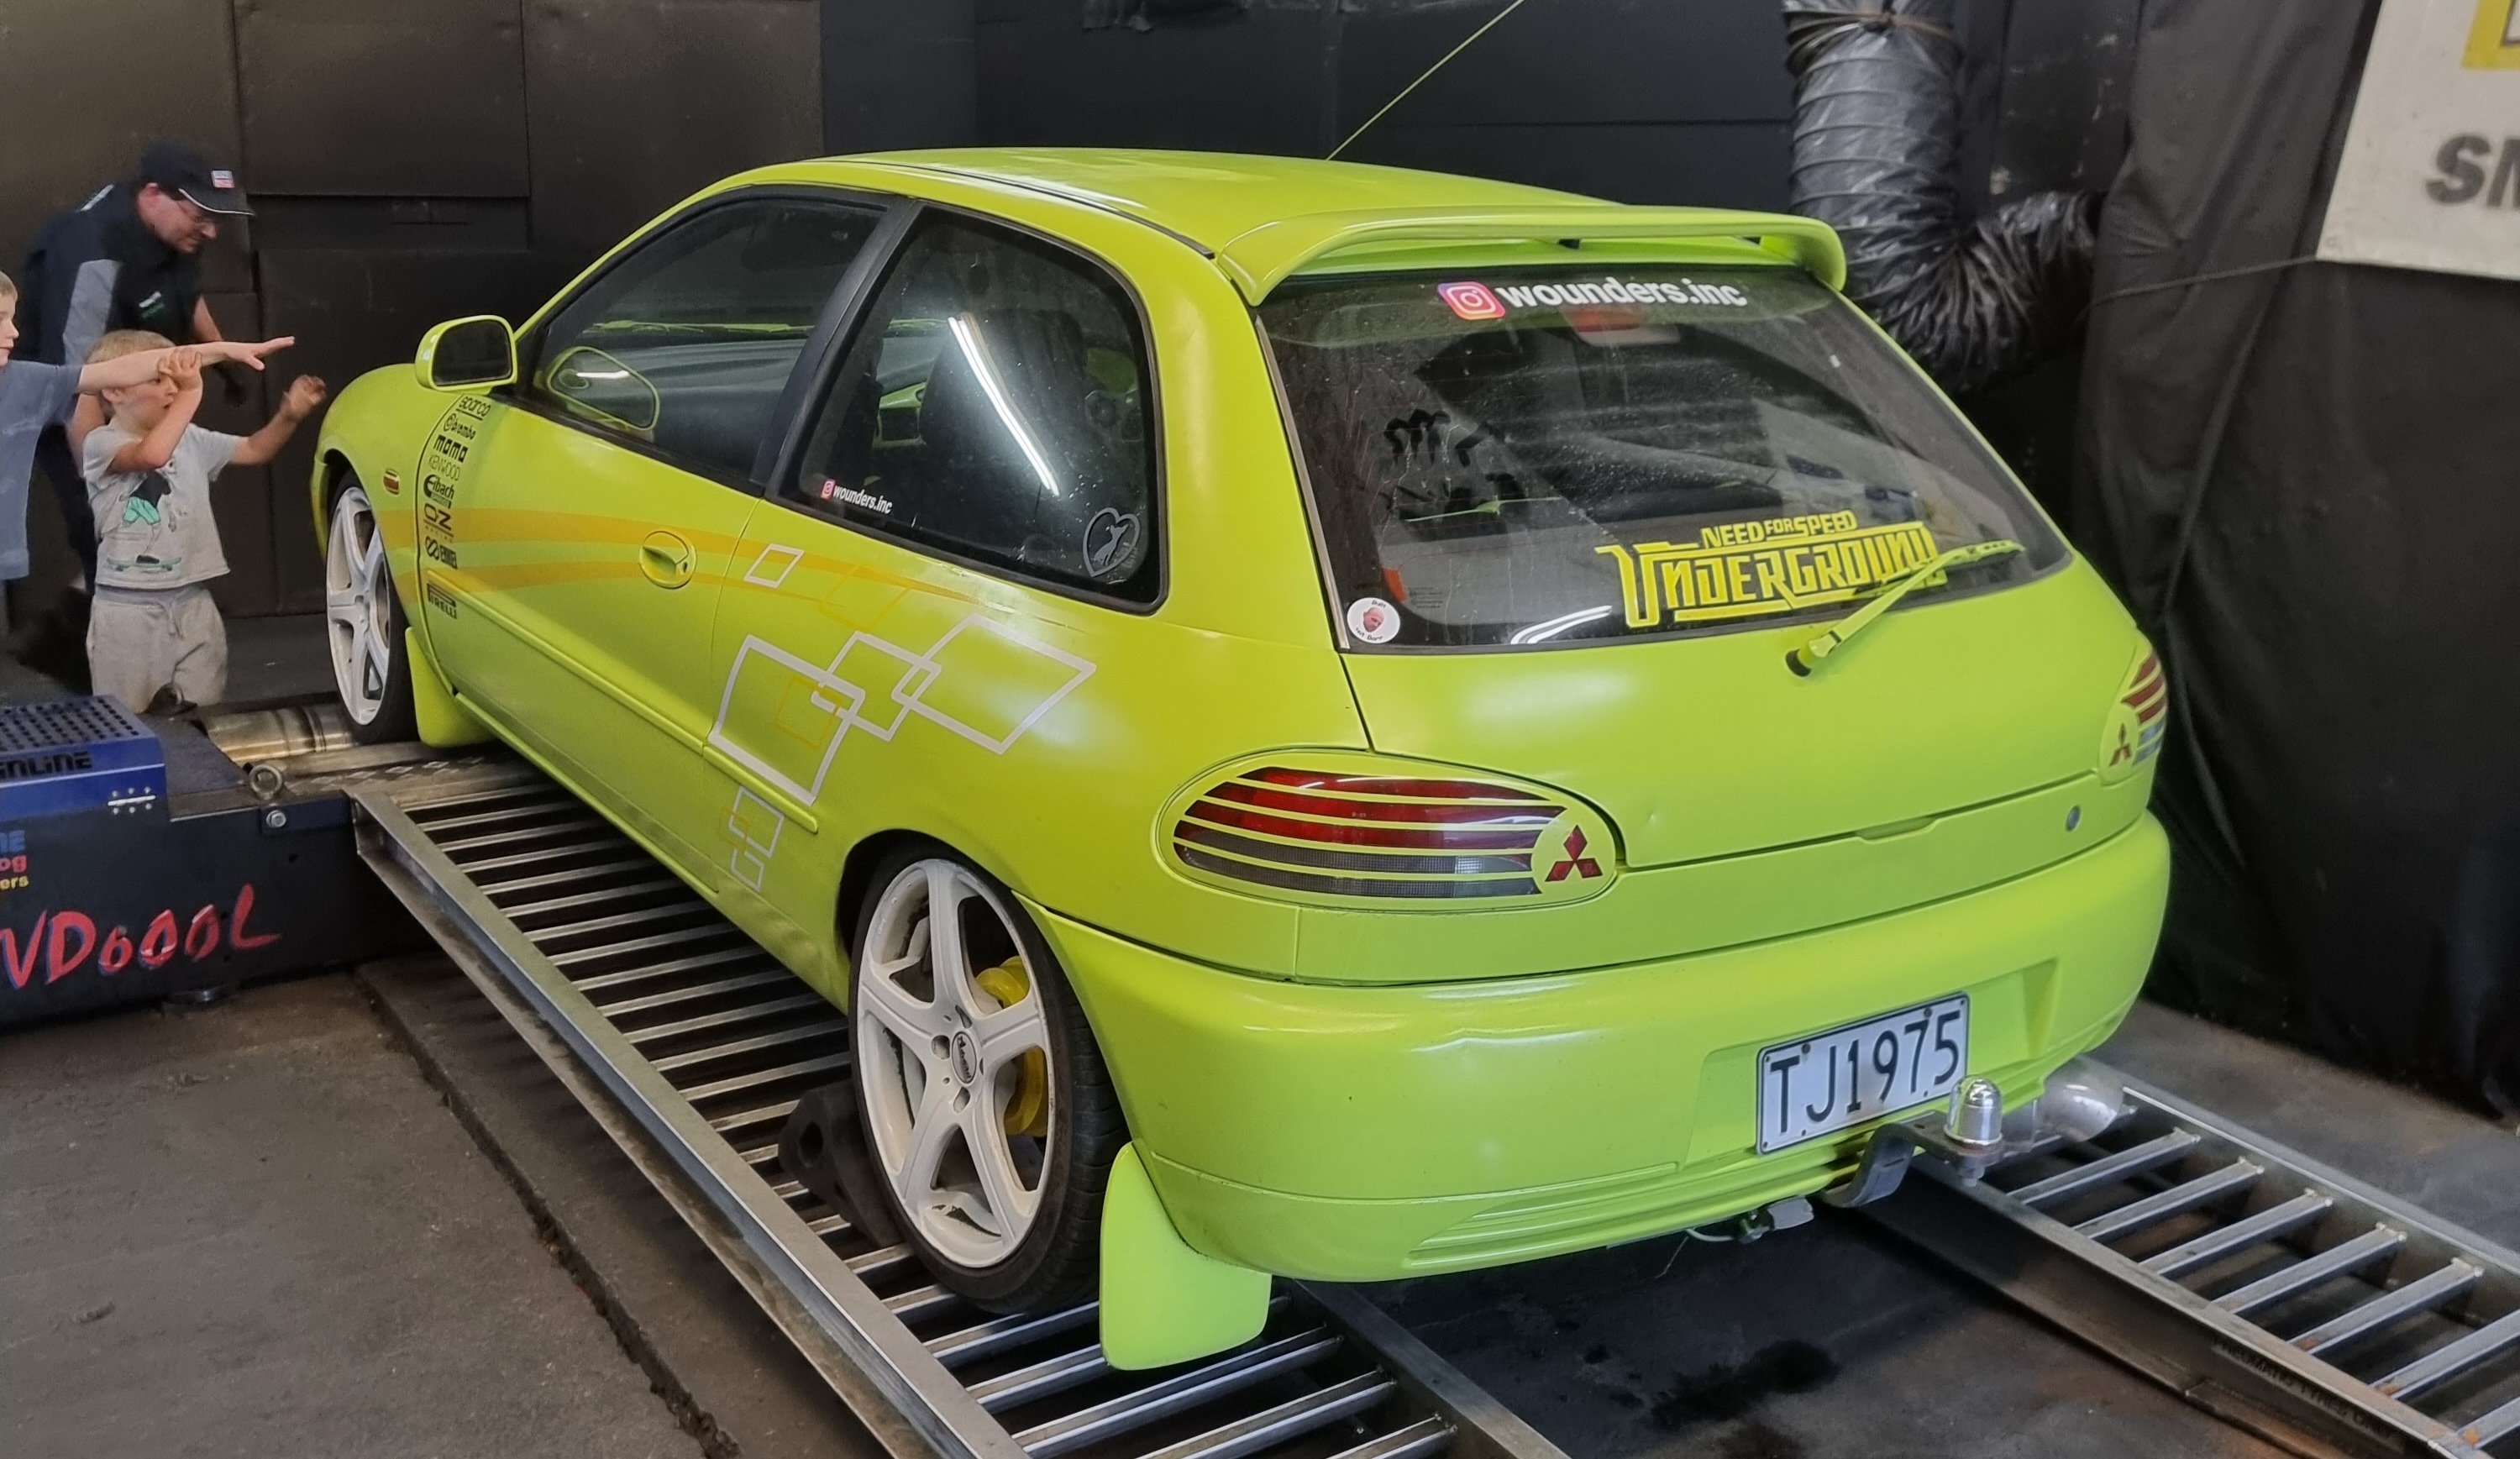
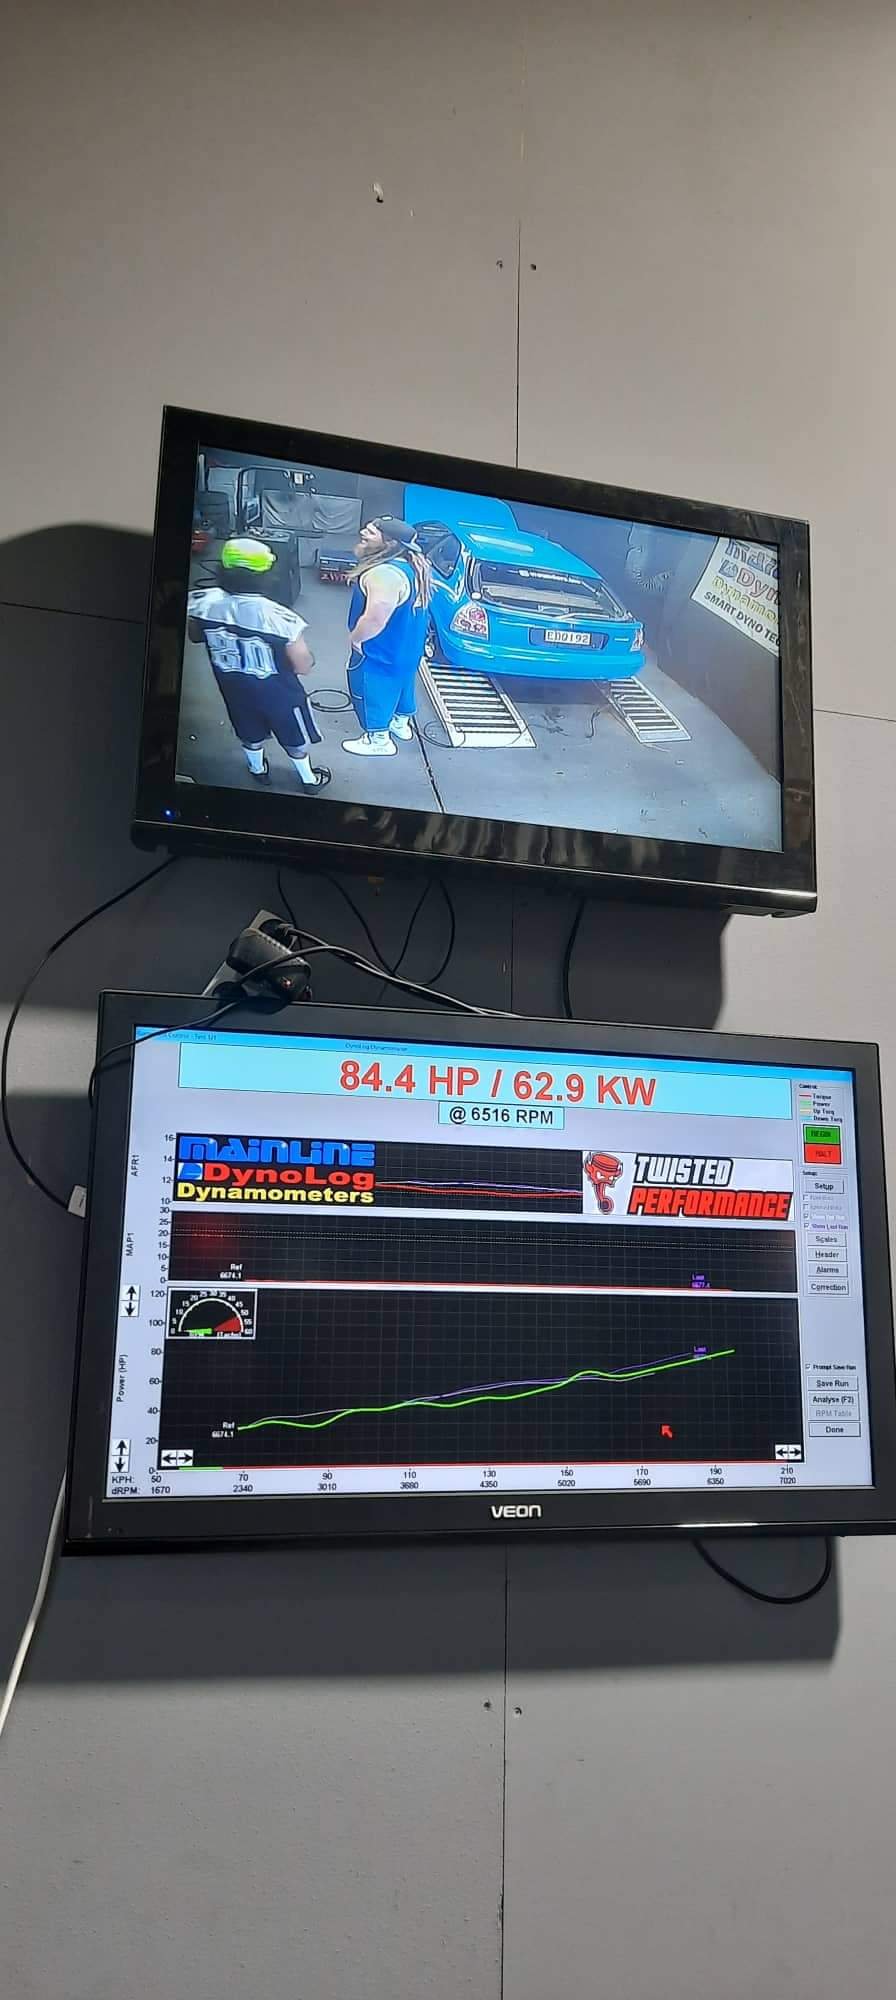
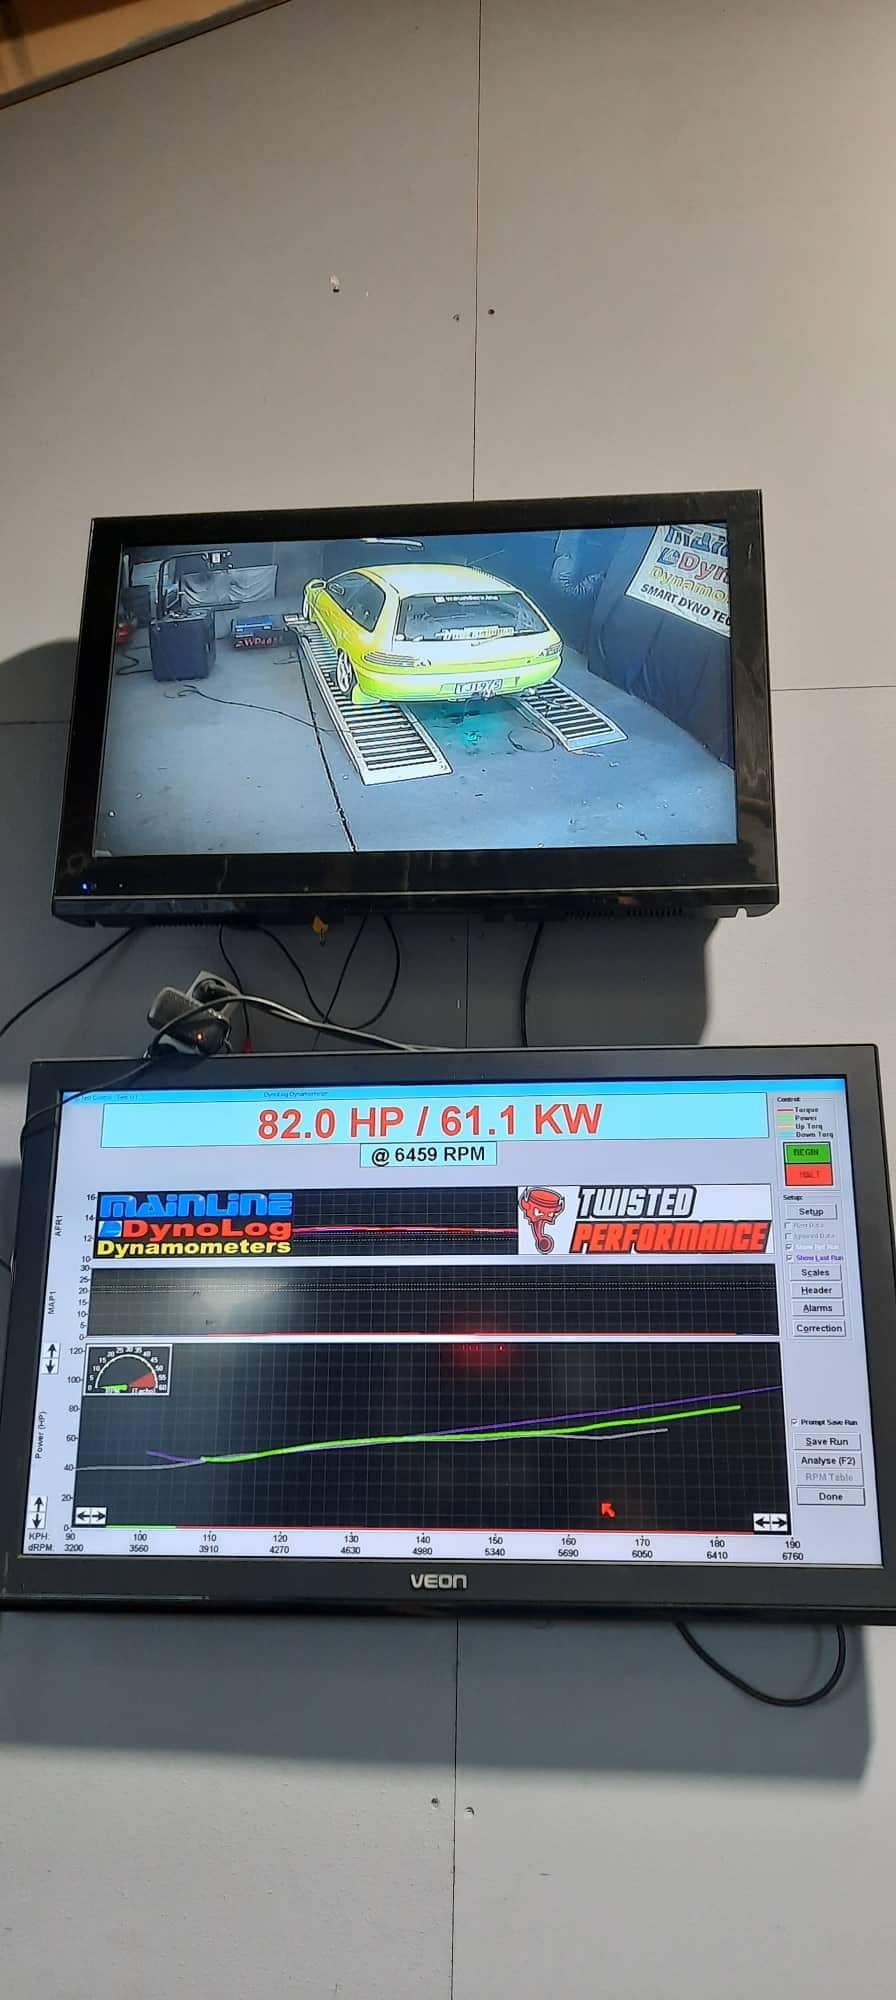
Did some dyno runs..
7 points
-
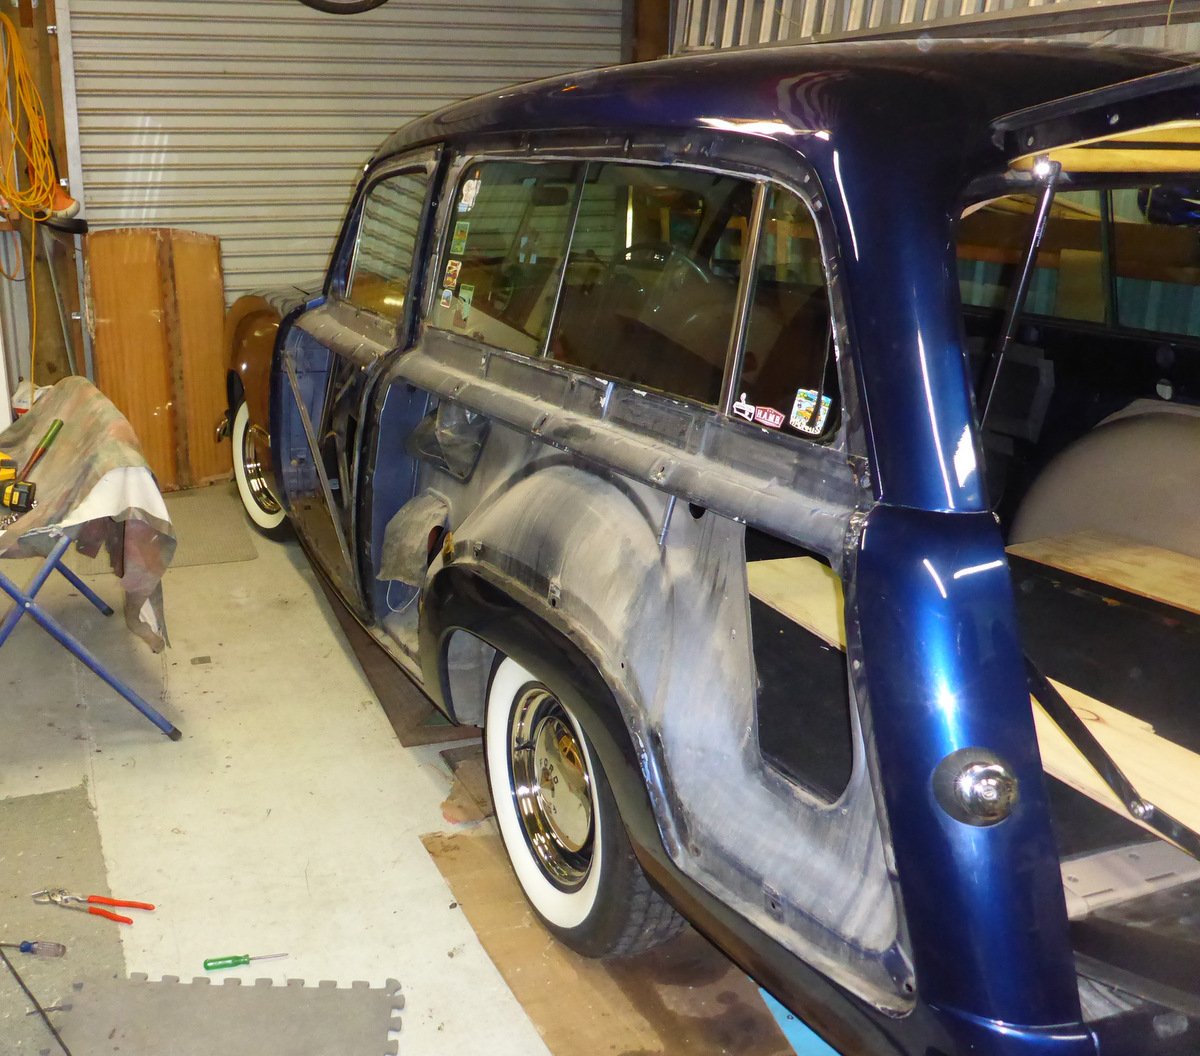
All off now, bit faster on the second side as I knew what I was doing. There's a fair bit of sticky sealer on the body side, not sure that all that is necessary, will do some research before it goes back together. First side has been been stripped using a heat gun and given an initial DA sanding. I need to go over them again and check the details, then go down a couple of grit levels to 240 or so.
7 points
-
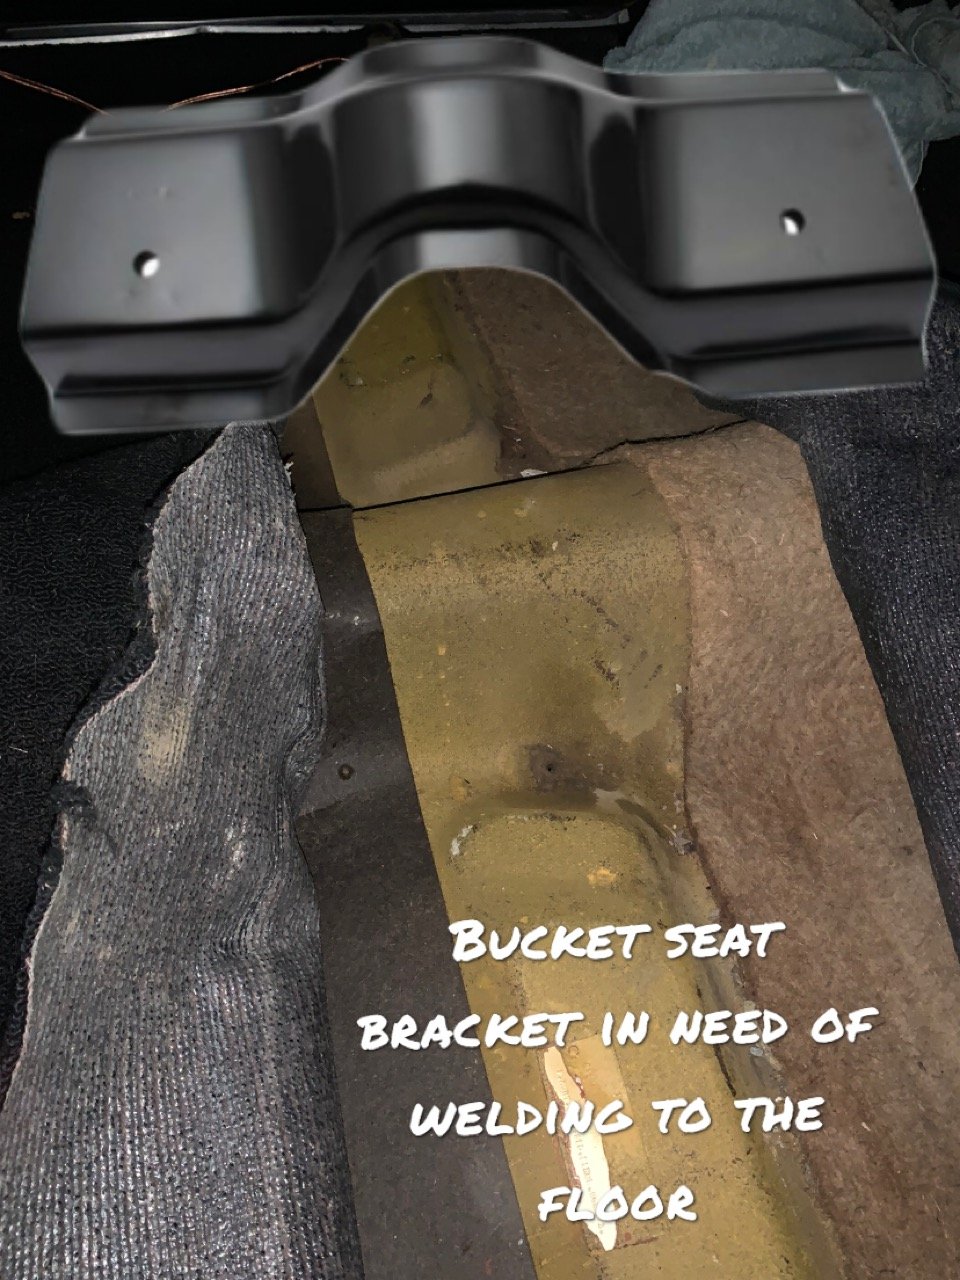
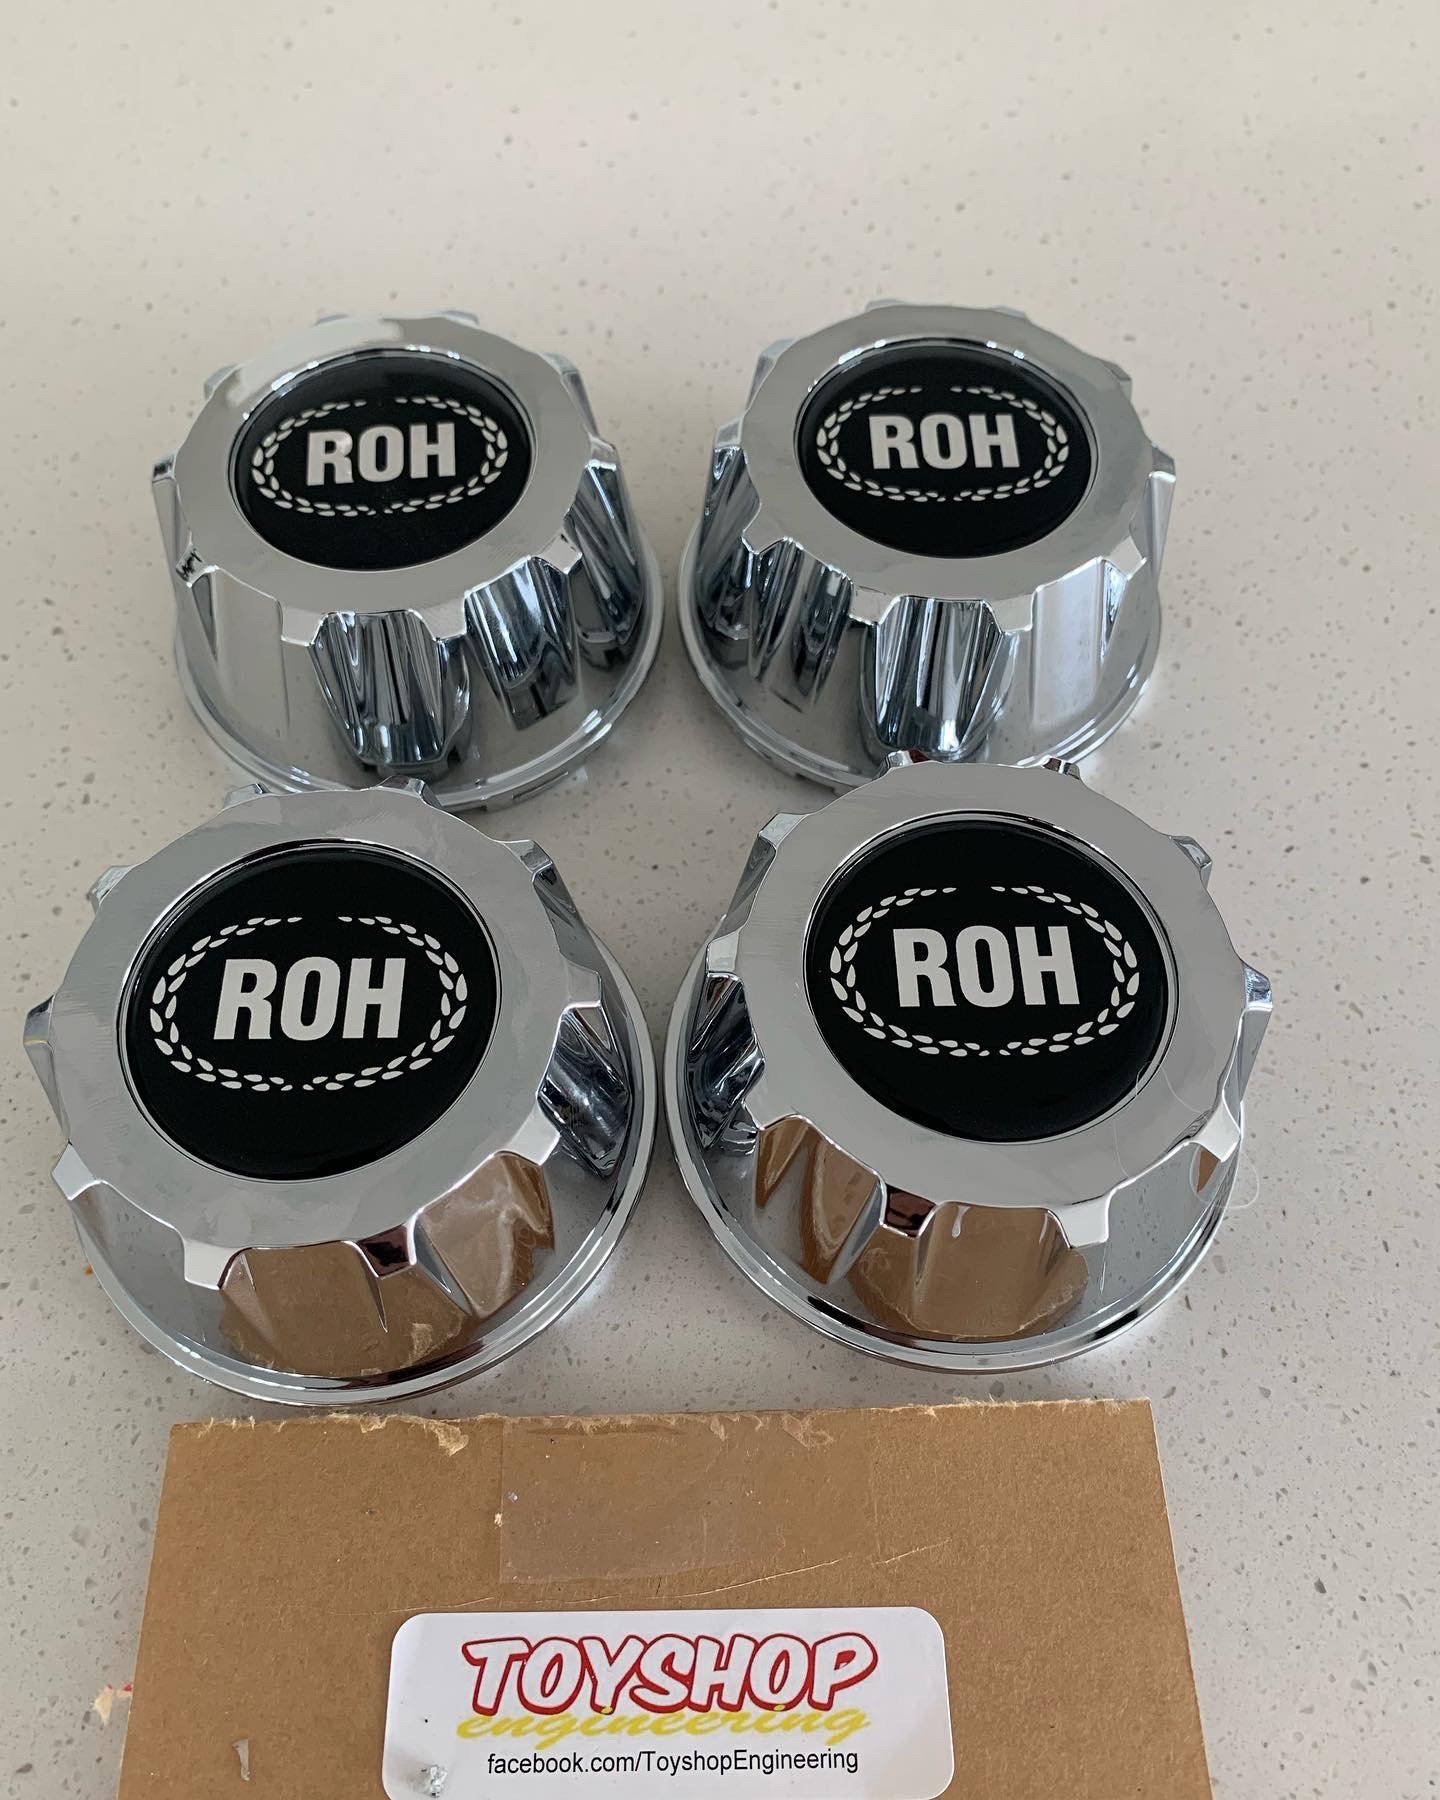
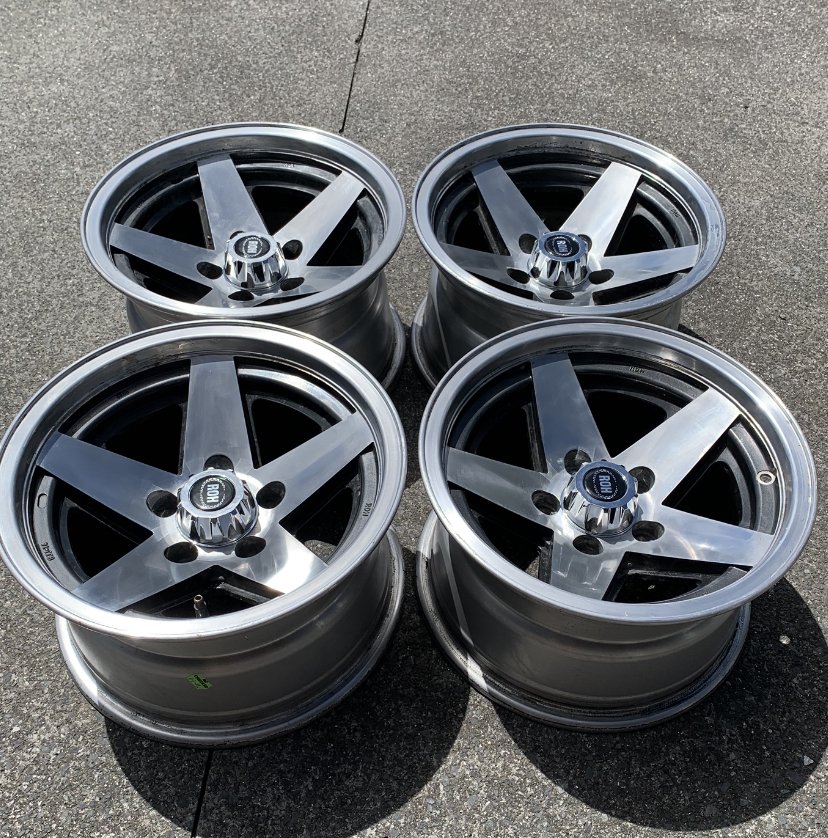
In prep for my bucket seats, I ordered the bloody bracket that I was loathed to pay for. it sits over the trans tunnel and allows the inner leg of the buckets to locate. Also it appears I need 2 x nylon 45mm bushes with 8mm centre bore as a spacer. $74nz for 2 off trademe or $8 if you c all a plastic engineering place in NZ haha. I also buffed the hell out of the 14x8 prostars and almost have got the clear coat off using stripper many many times….. that was some good sh!t they used back then. Sigh. I ordered repro centre caps from GT Wheels aussie and some ROH 45mm decals from Toyshop Engineering in NZ. I think you agree that they now are looking great and all for the cost of some 800 and 1000 grit wet n dry and elbow grease My spare mint 245 50 14 nankangs will go on the prostars as I want to save the Eagers as much as I can Carb was leaking fuel down the idle bleed valve and a mate popped in the other night, tore it down and it’s now fixed and runs loads better. The bloody dizzy cap was loose….which wouldn’t help the richness and bad idle Now to fit the buckets when the arrive, time it up and then I ca look to reset leaves 4” and super low front springs with new struts if anyone ha super lows to suit PM me.
6 points
-
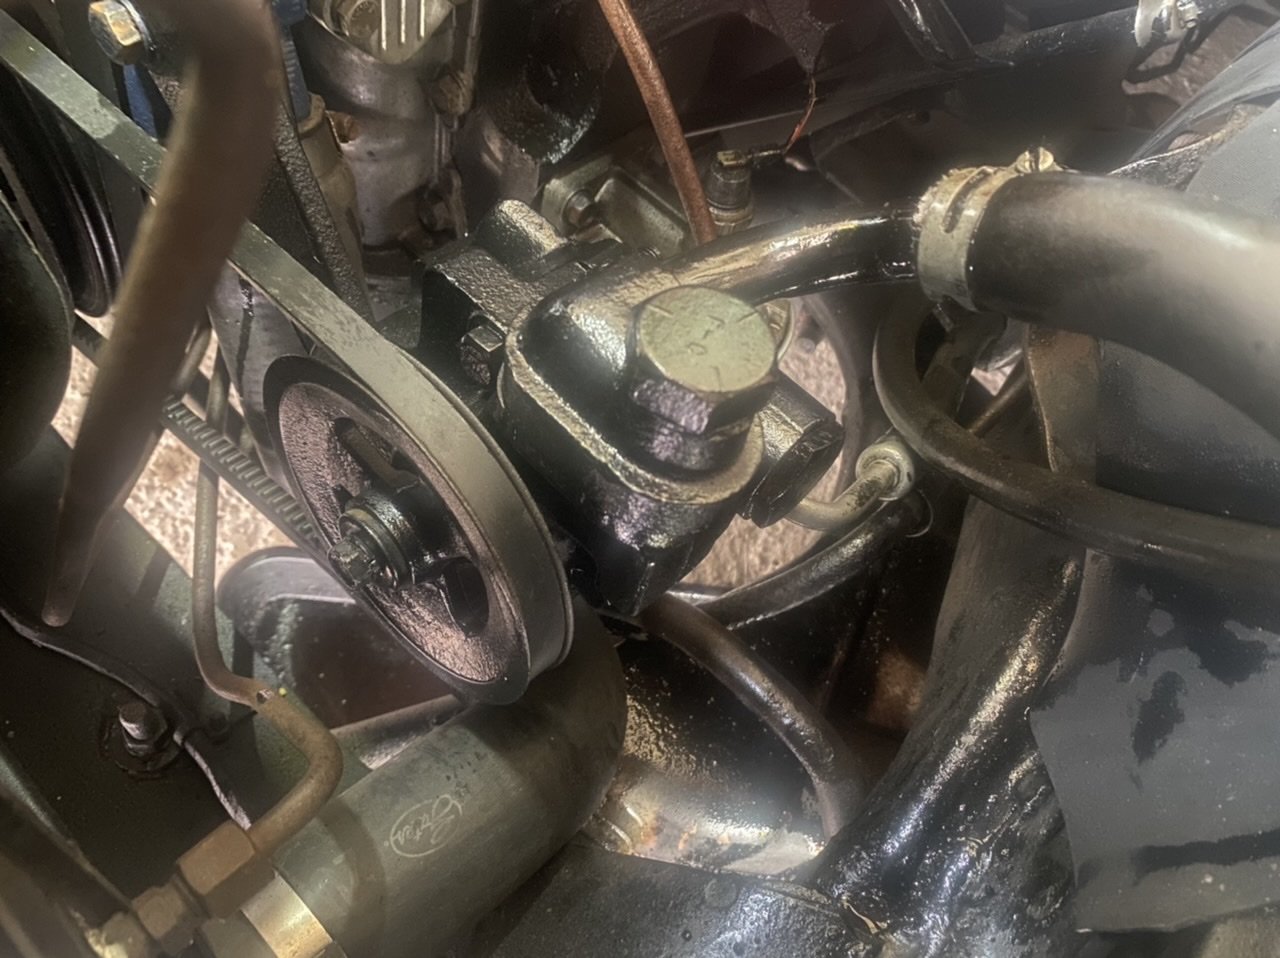
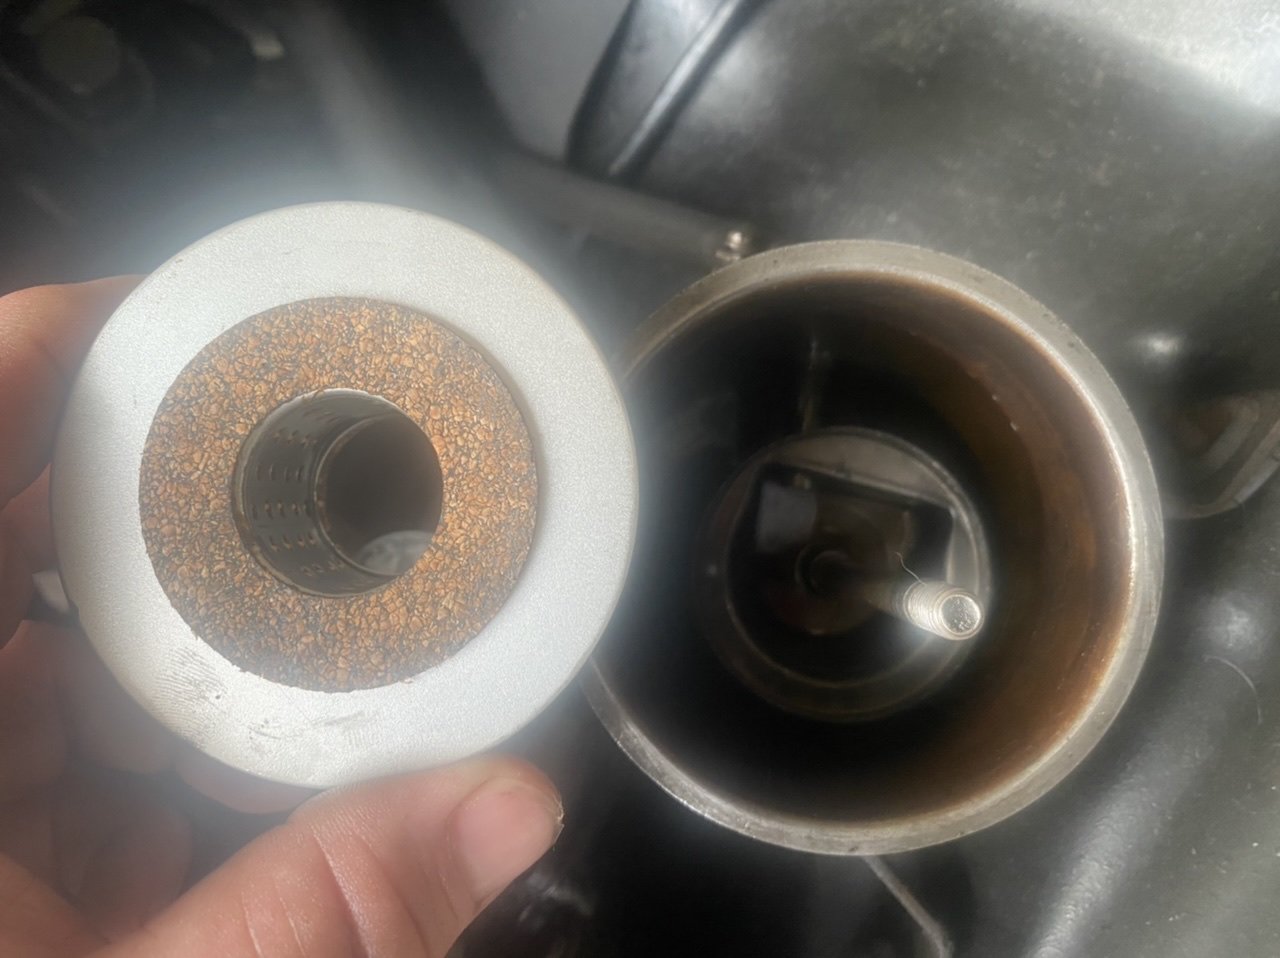
Guess I should try getting this thing road worthy if I’m to take it to drag day.. Finally managed to install the rebuilt PS pump.. had a bent pin I believe. When I went to install I noticed how far out of alignment it was so that may have had something to do with it failing, so I’ve shimmed it out and it’s pretty much bang on in line now.. was about 4-5mm out originally and I noticed the pulley on the pump wobbling prior to the rebuild, hopefully this will help it all last a long time to come. Last thing to do was to put in the new filter, unfortunately I ordered the new one off the code of the old one without realising the old one wasn’t correct.. needs to be 2.5” diameter to fit in the cup in the base of the reservoir, but this one is 3” so sits on top.. probably not a big deal as the spring holds it down, but I’d prefer the correct filter so I’ve got it ordered and should turn up next week. Getting there..
5 points
-
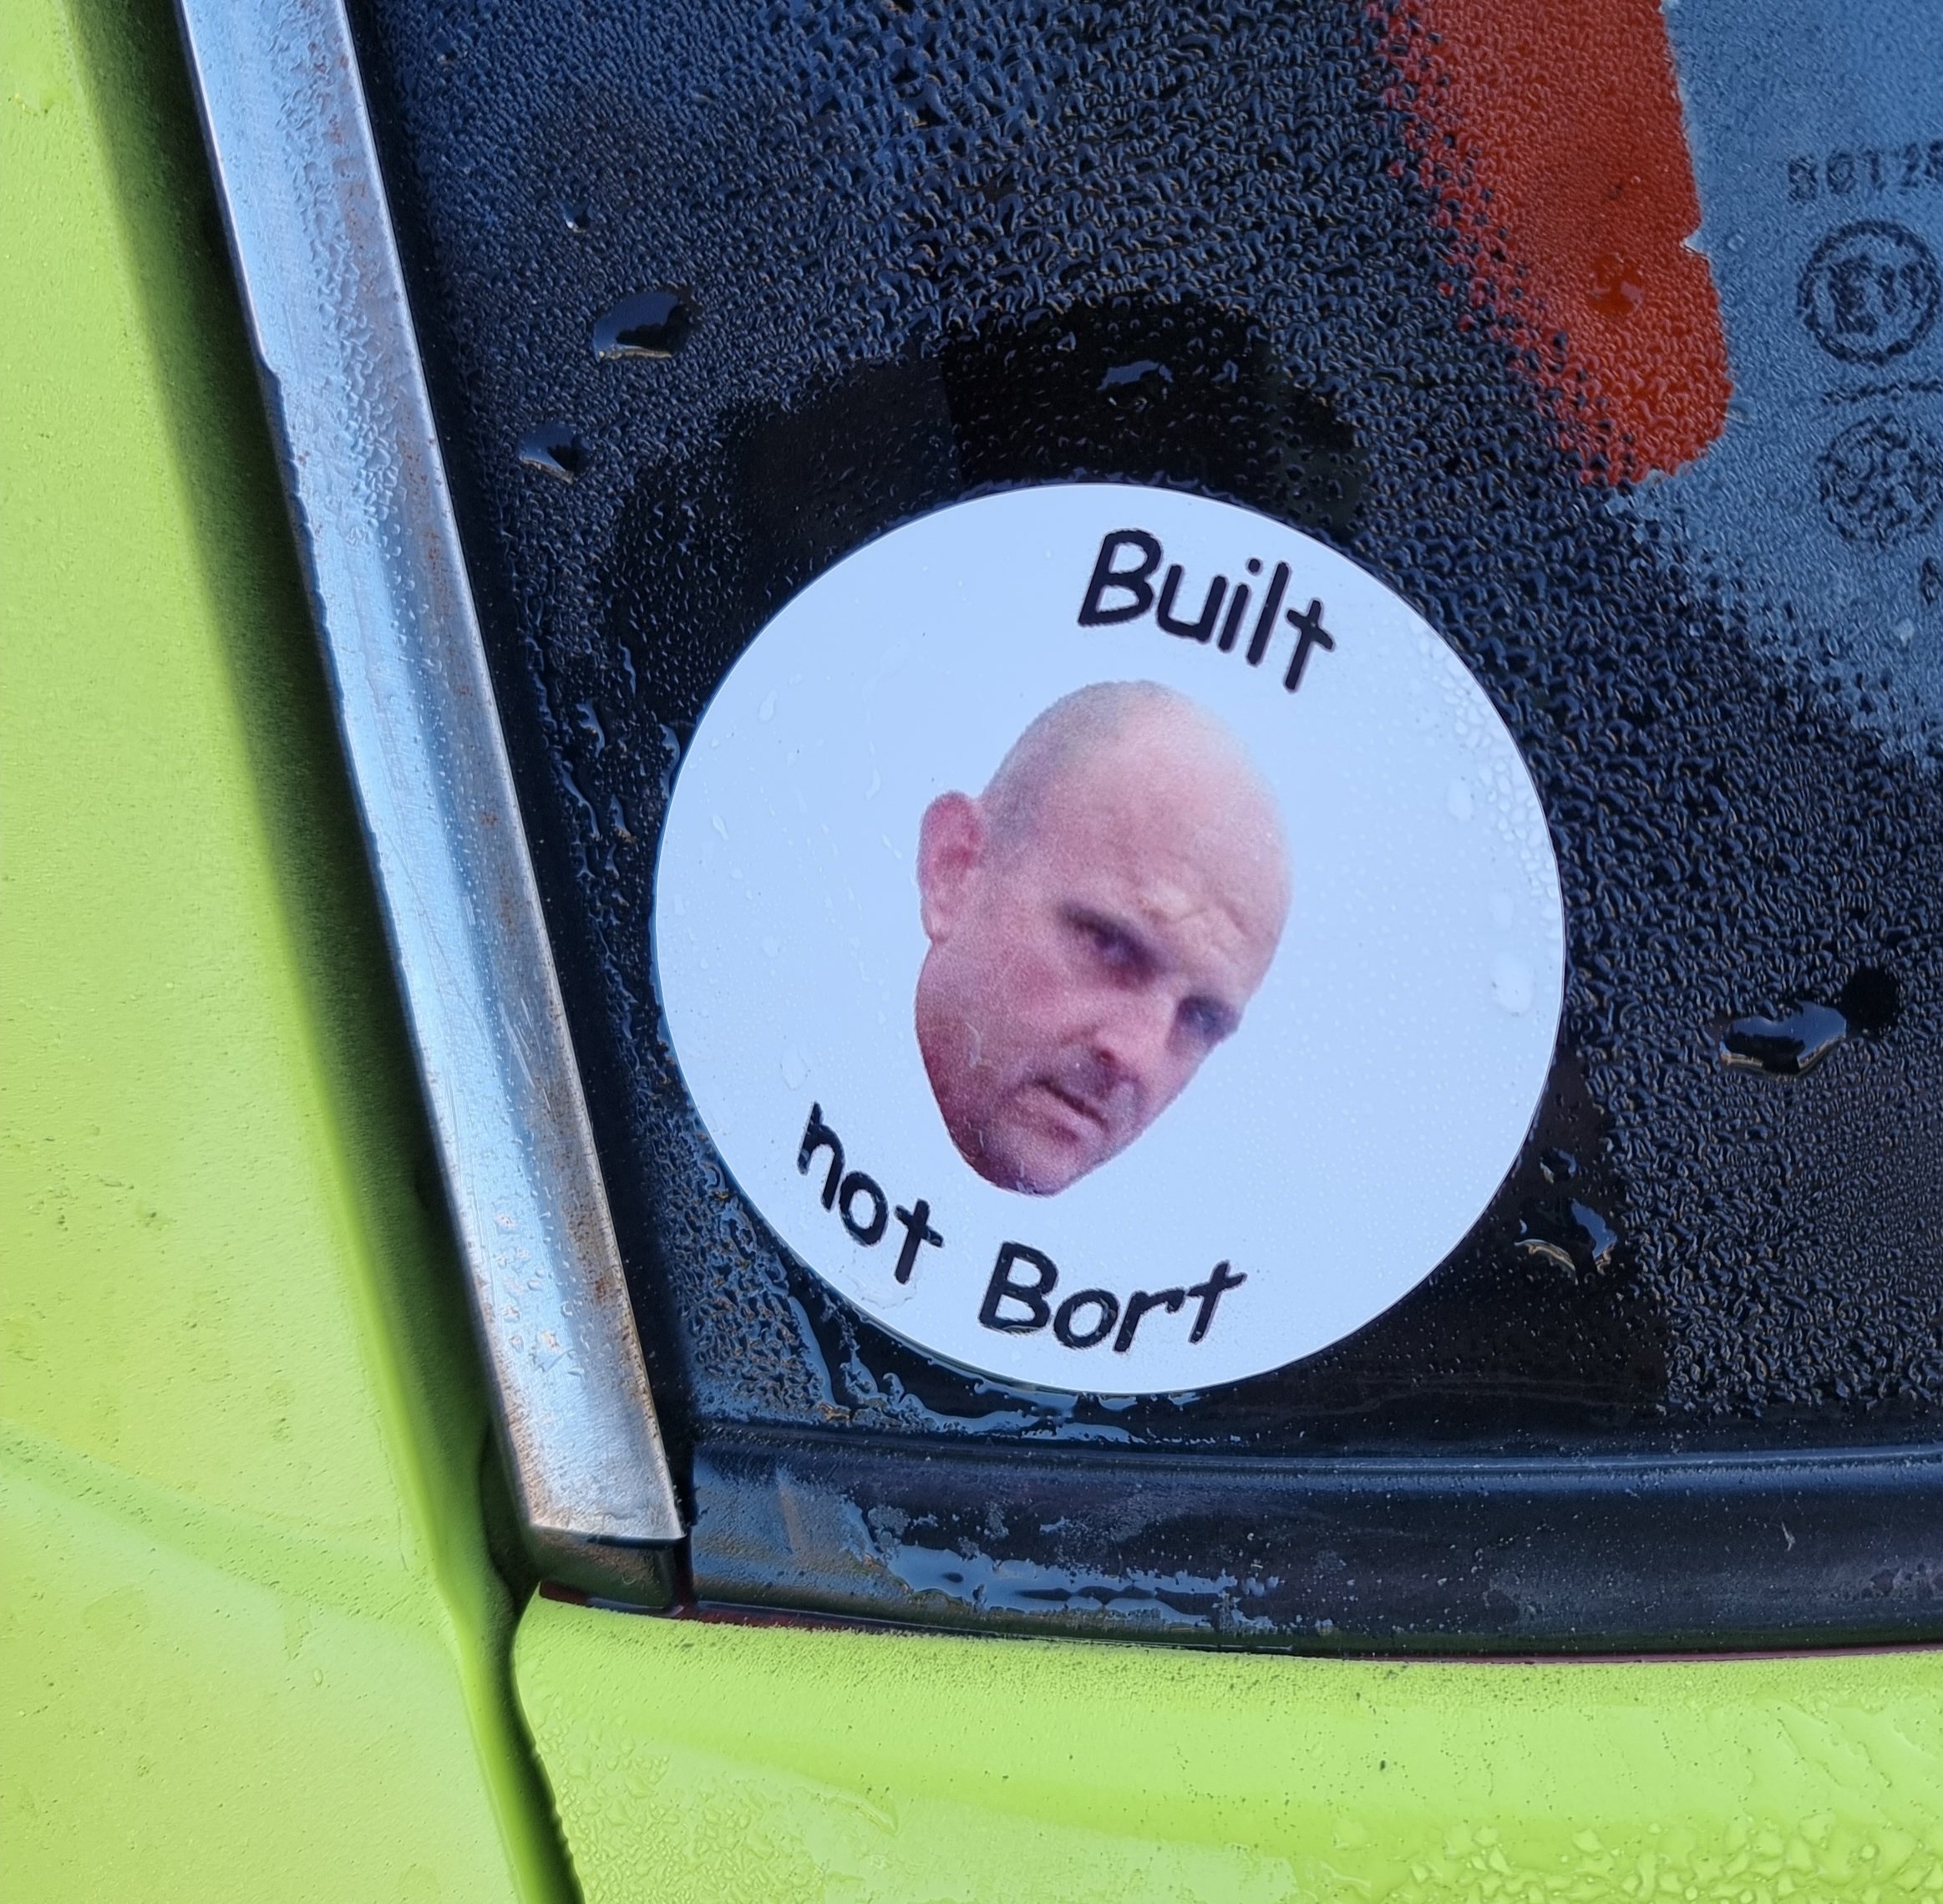
Jim the sex pest Wiltshire approves...
5 points
-
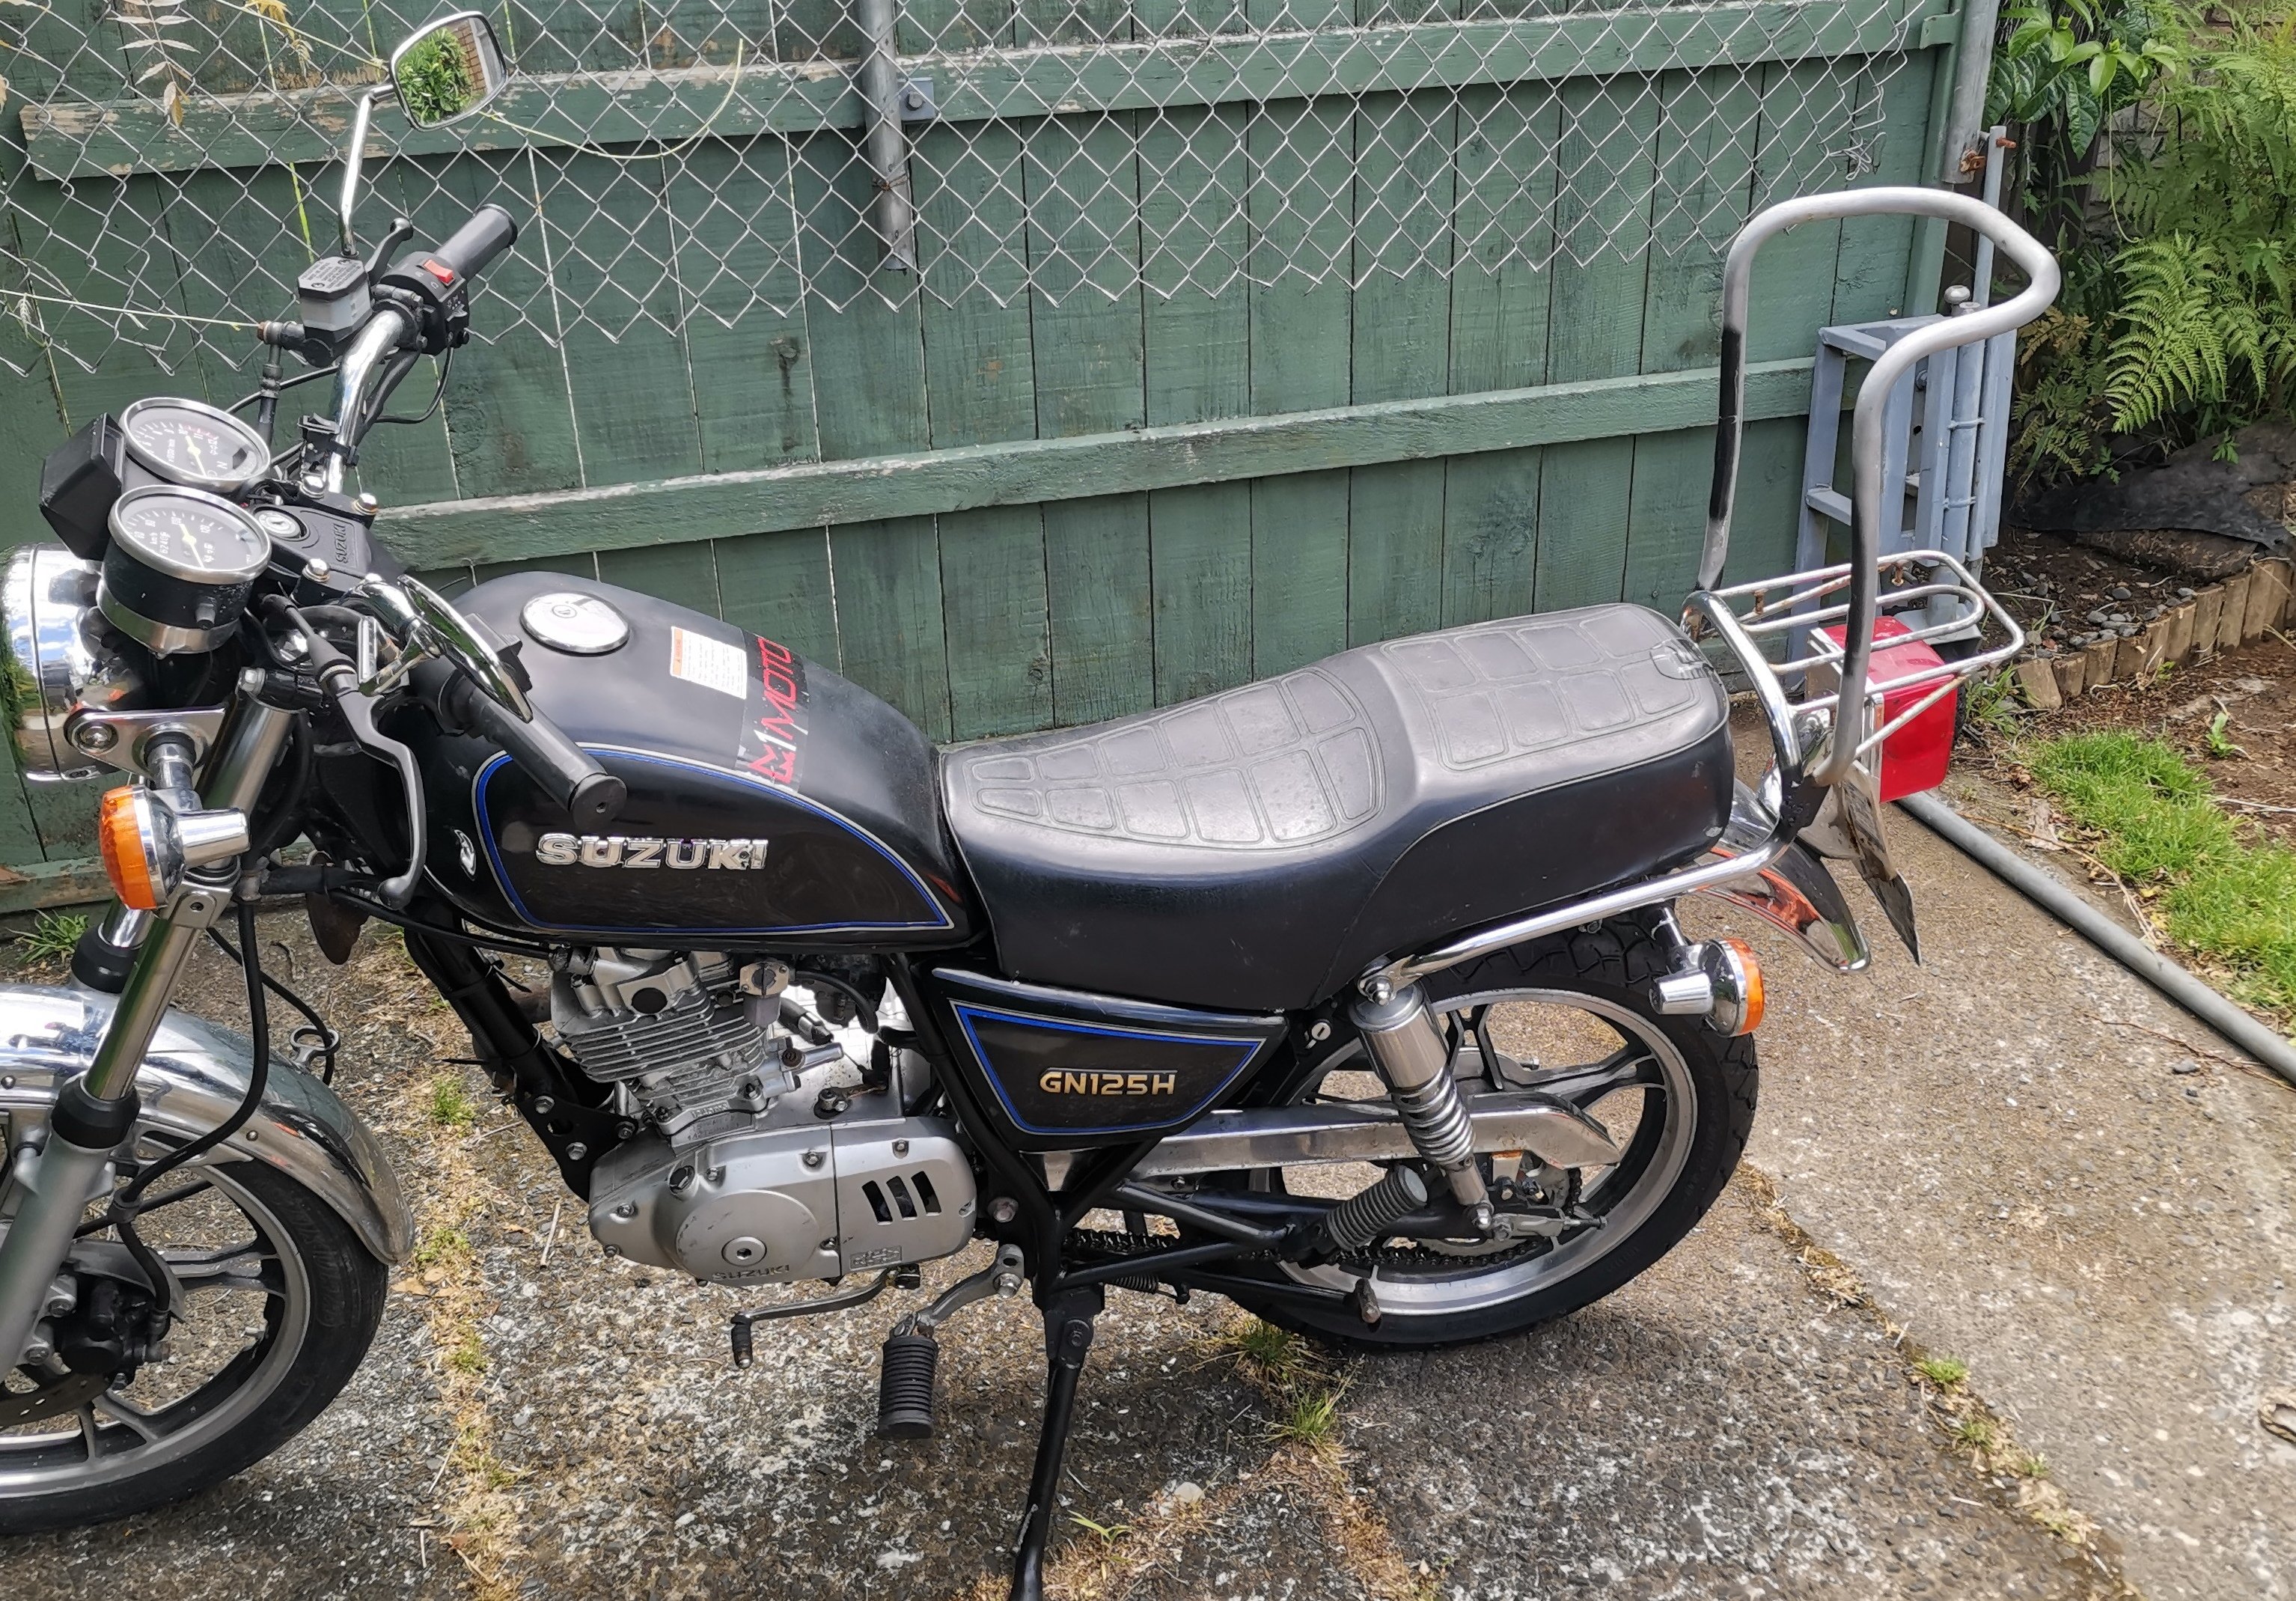
Just did my test ride. Bike ticks along nicely at 75kmh now. Much happier!!4 points
-
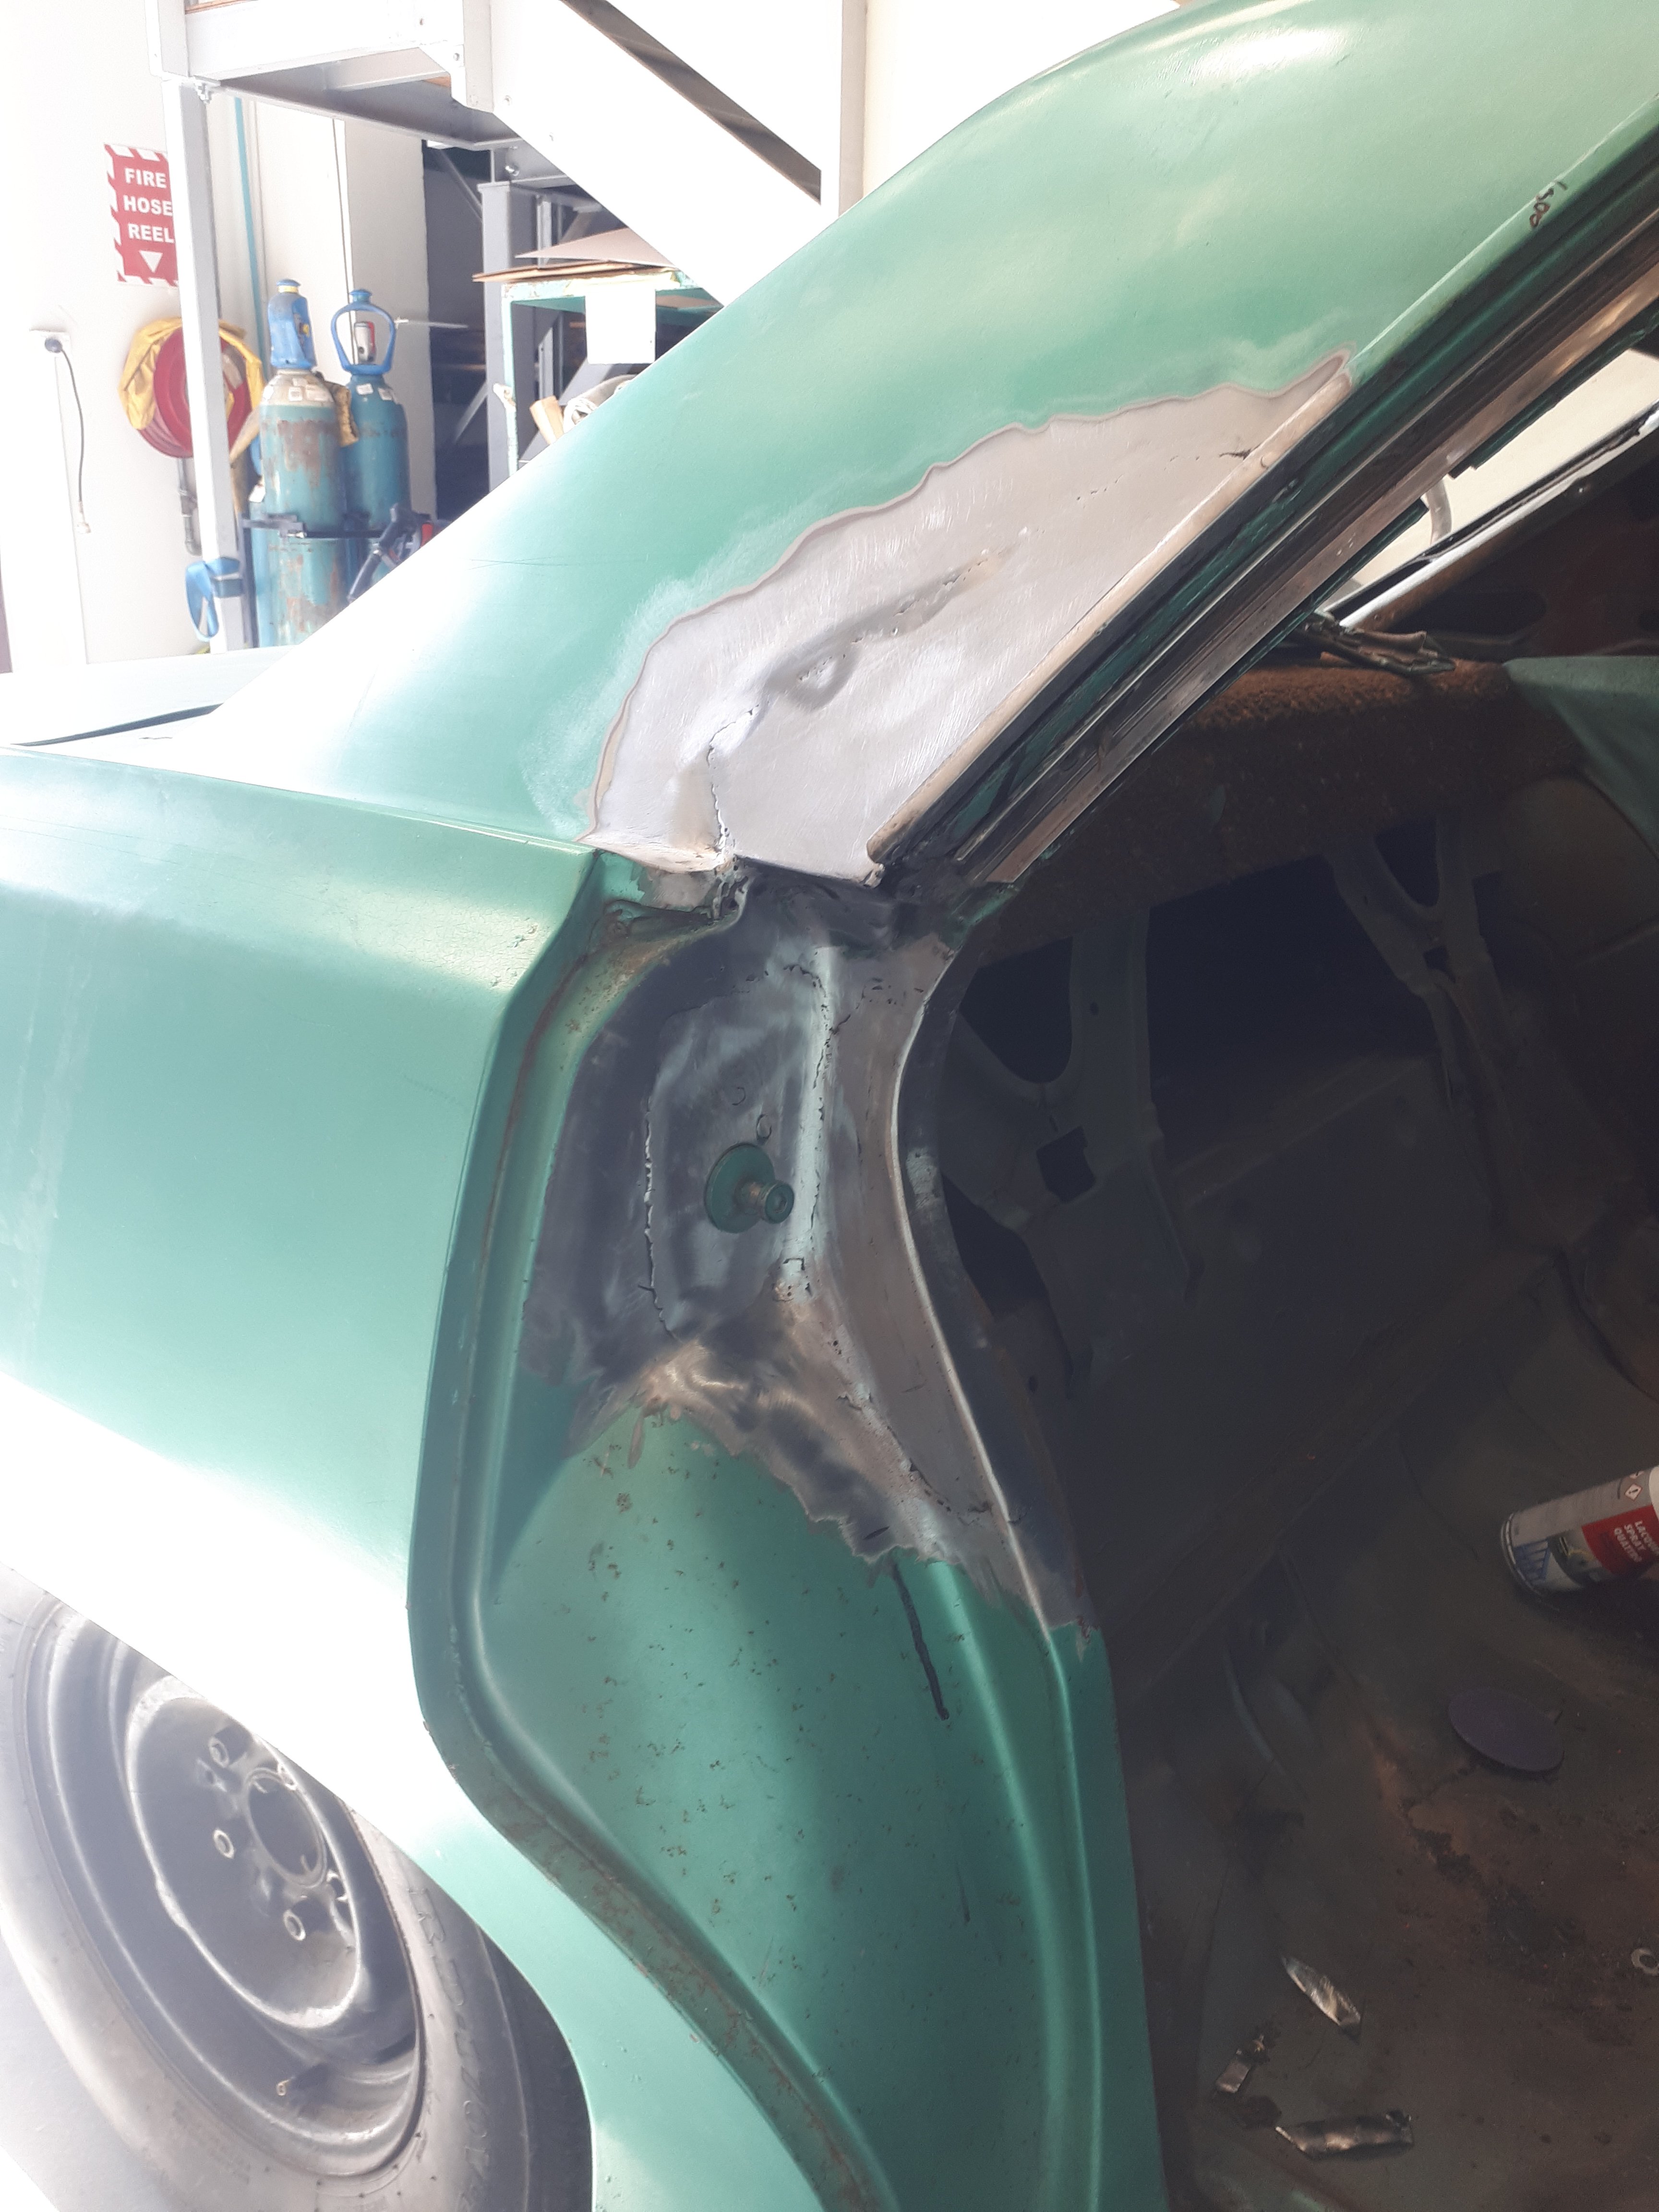
Rh c pillar dialed in sunk a bit. But no access to dress and it's pretty thick so a wipe of composit will sort that
4 points
-
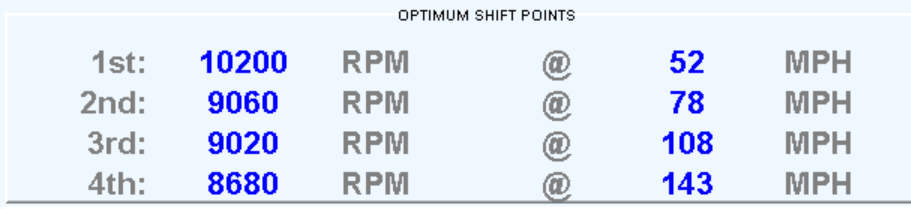
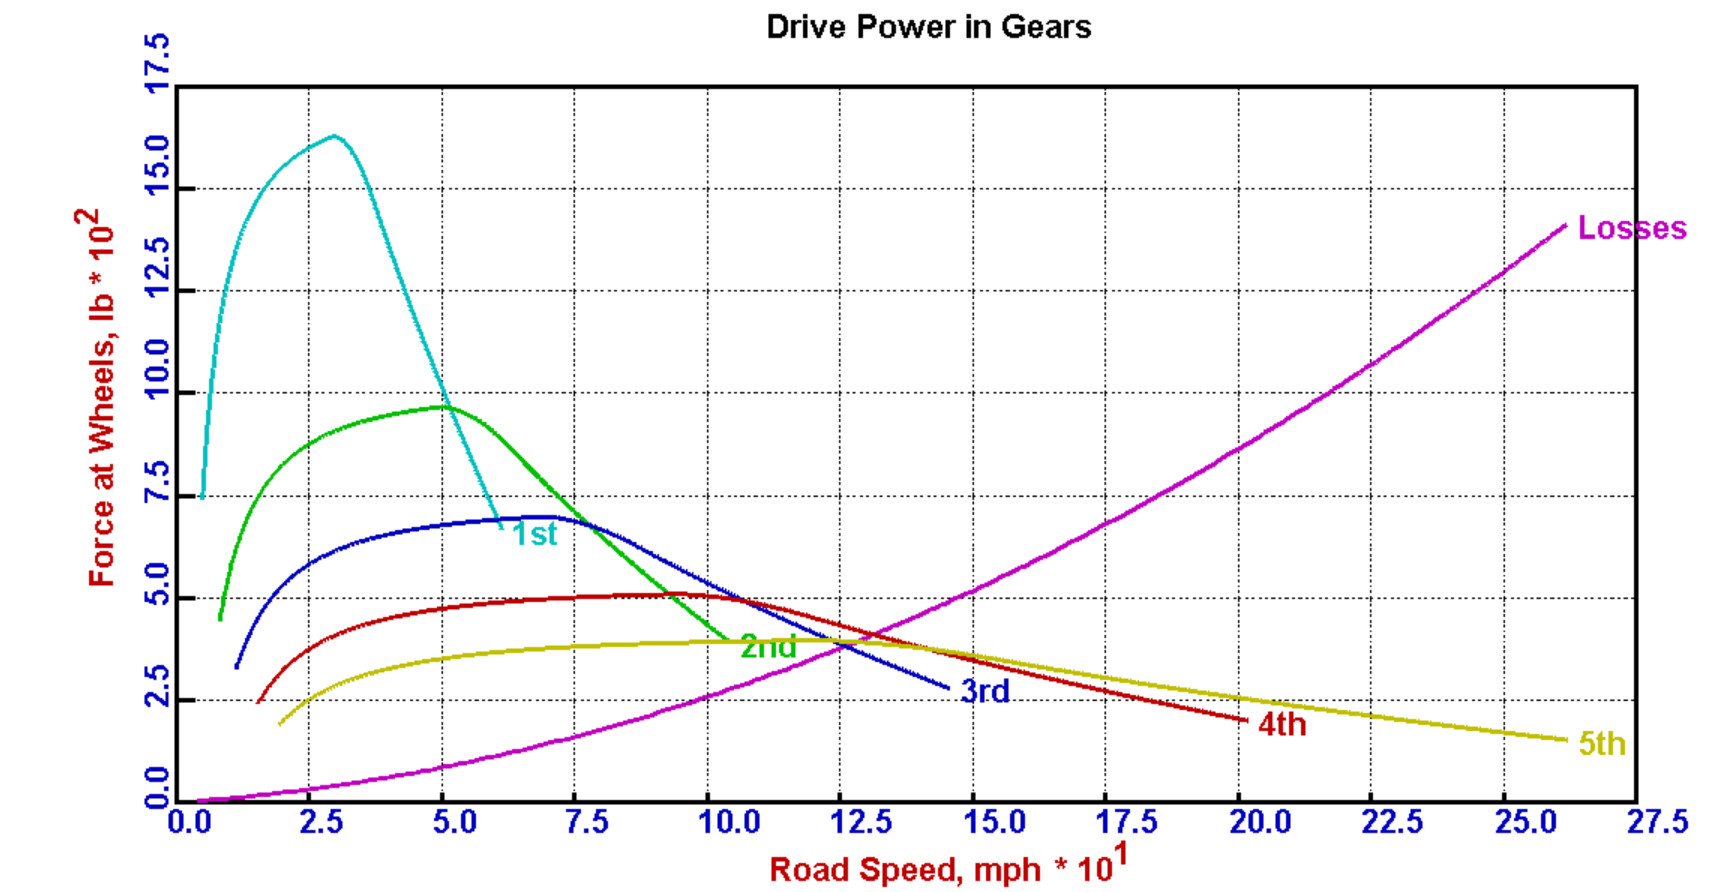
@RUNAMUCK its interesting looking at the drive power curves, where it crosses over tells you where is best to shift. So in first gear, you lose so much wheel torque going to 2nd that it's worth revving the absolute snot out of it in 1st even though power is completely gone. If it had a slightly taller first gear then it wouldnt "ideally" want to go to 10k Then 2nd gear onwards, less need to rev it so high.
4 points
-
Yes hopefully back to dyno before drags. Rev limiter needs to stay at 9000 for drags, otherwise rpm drops too much on shifts. At trackday try stick to 8500ish. I will set the limiter lower when doing burnouts. As it was overshooting to 9200rpm a lot which cant be helpful.4 points
-
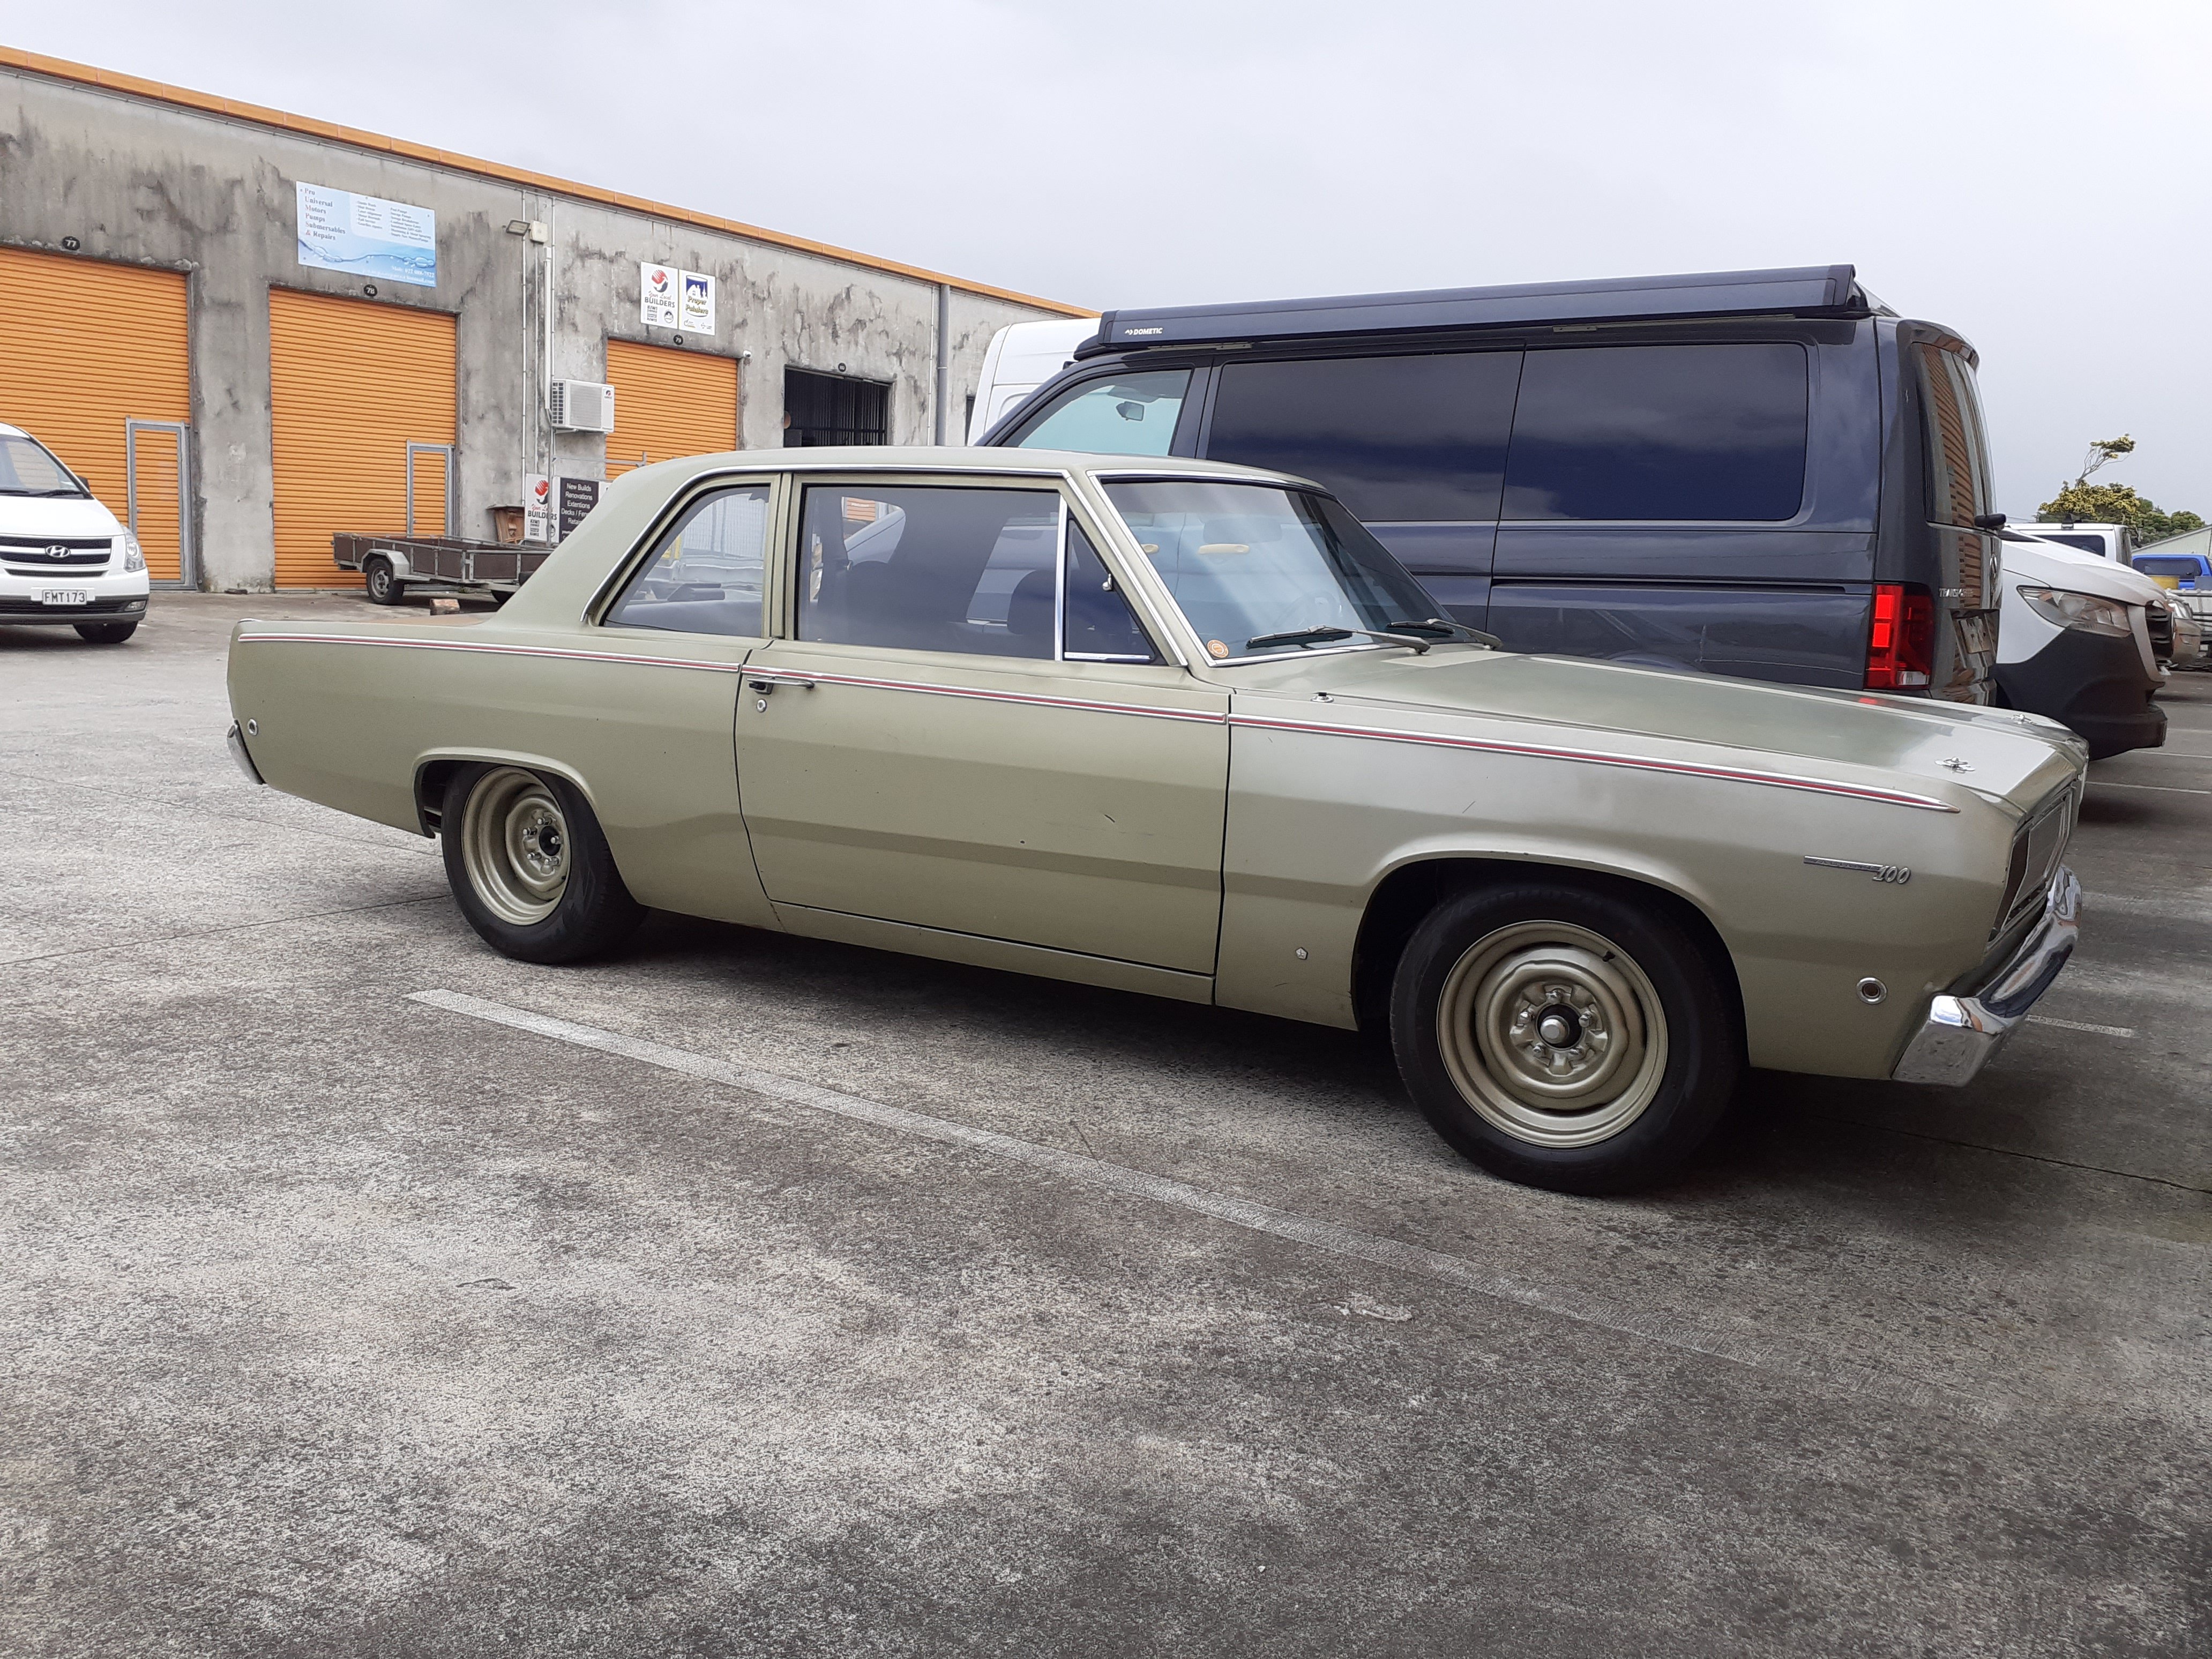
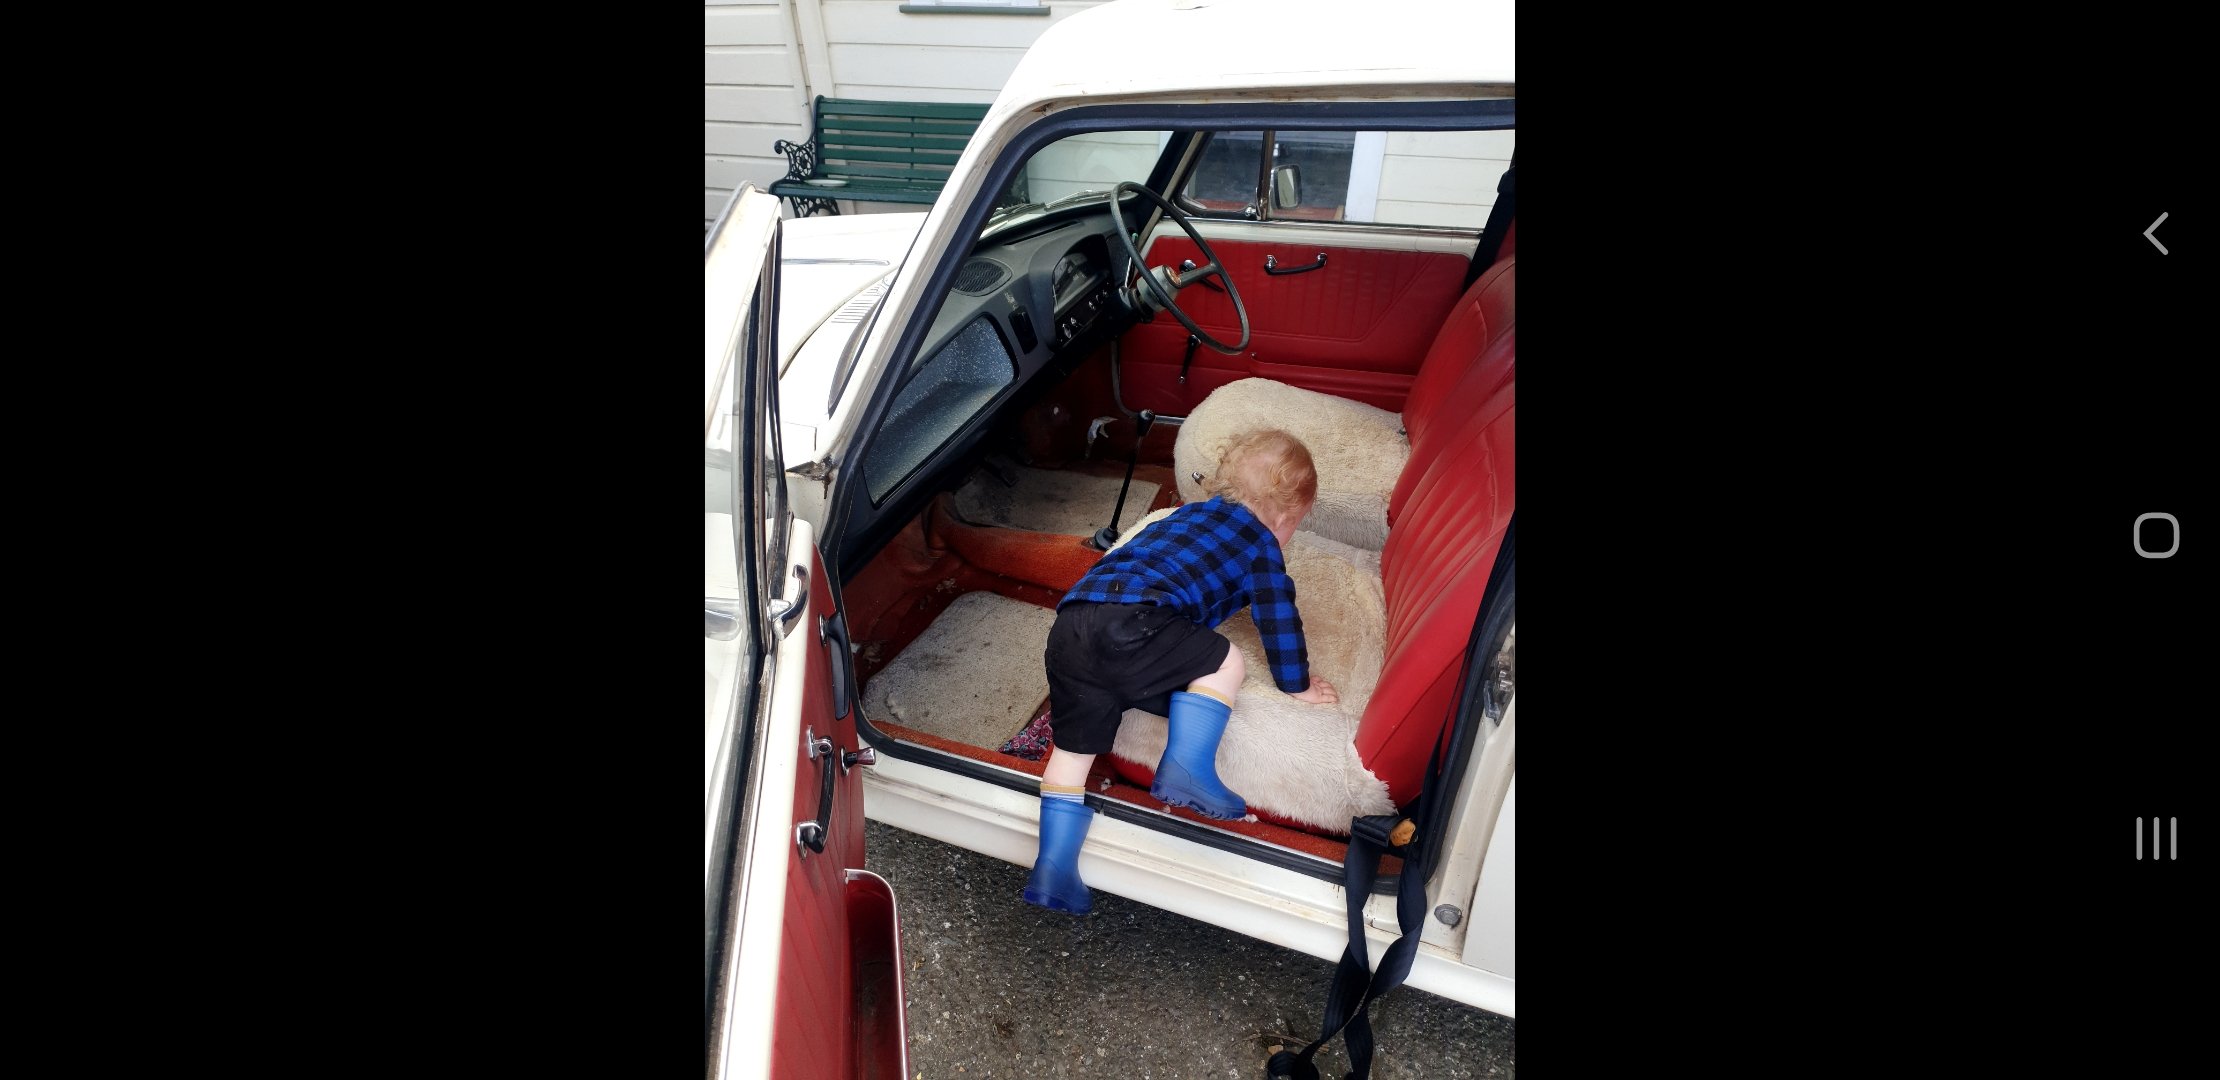
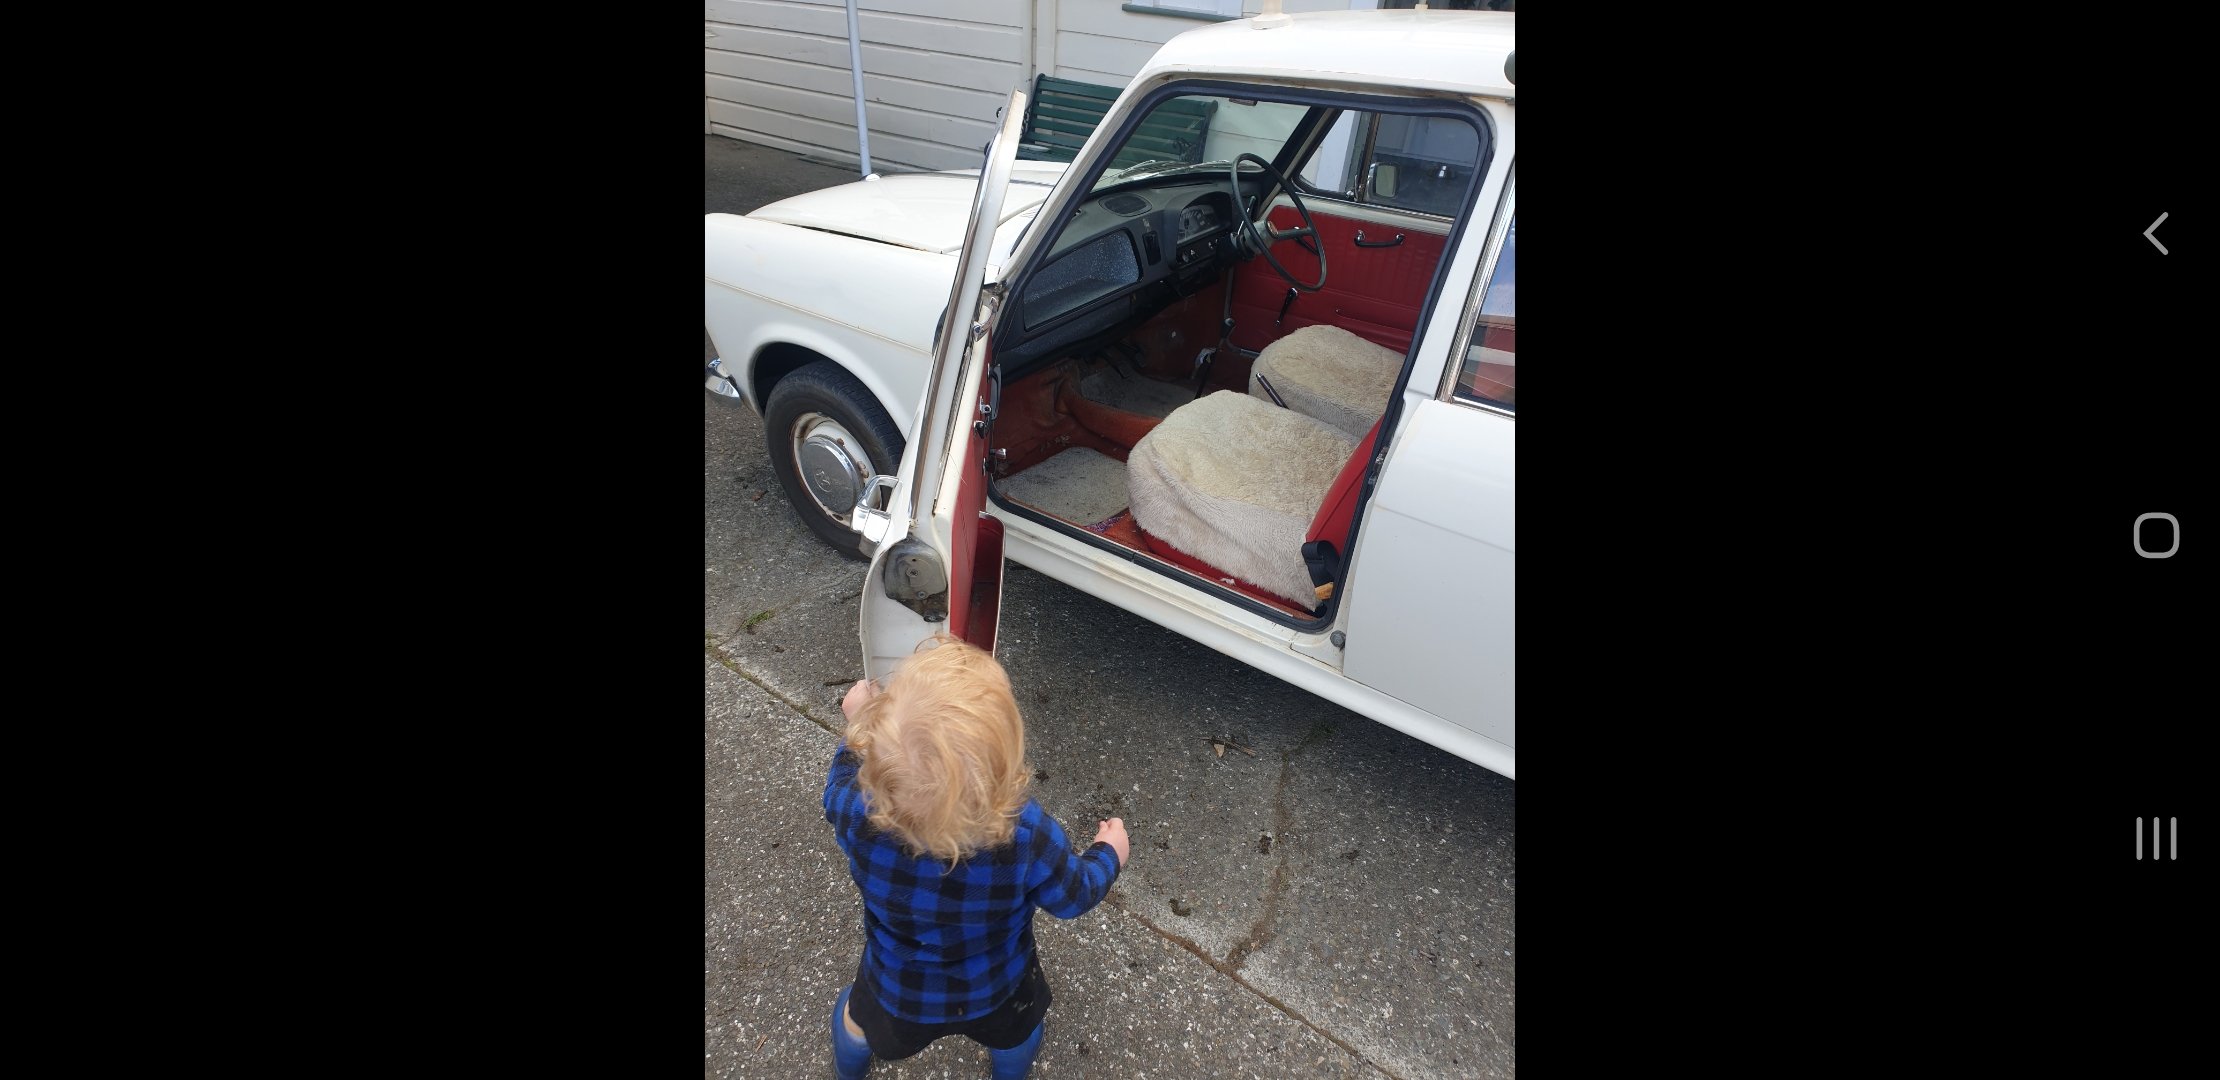
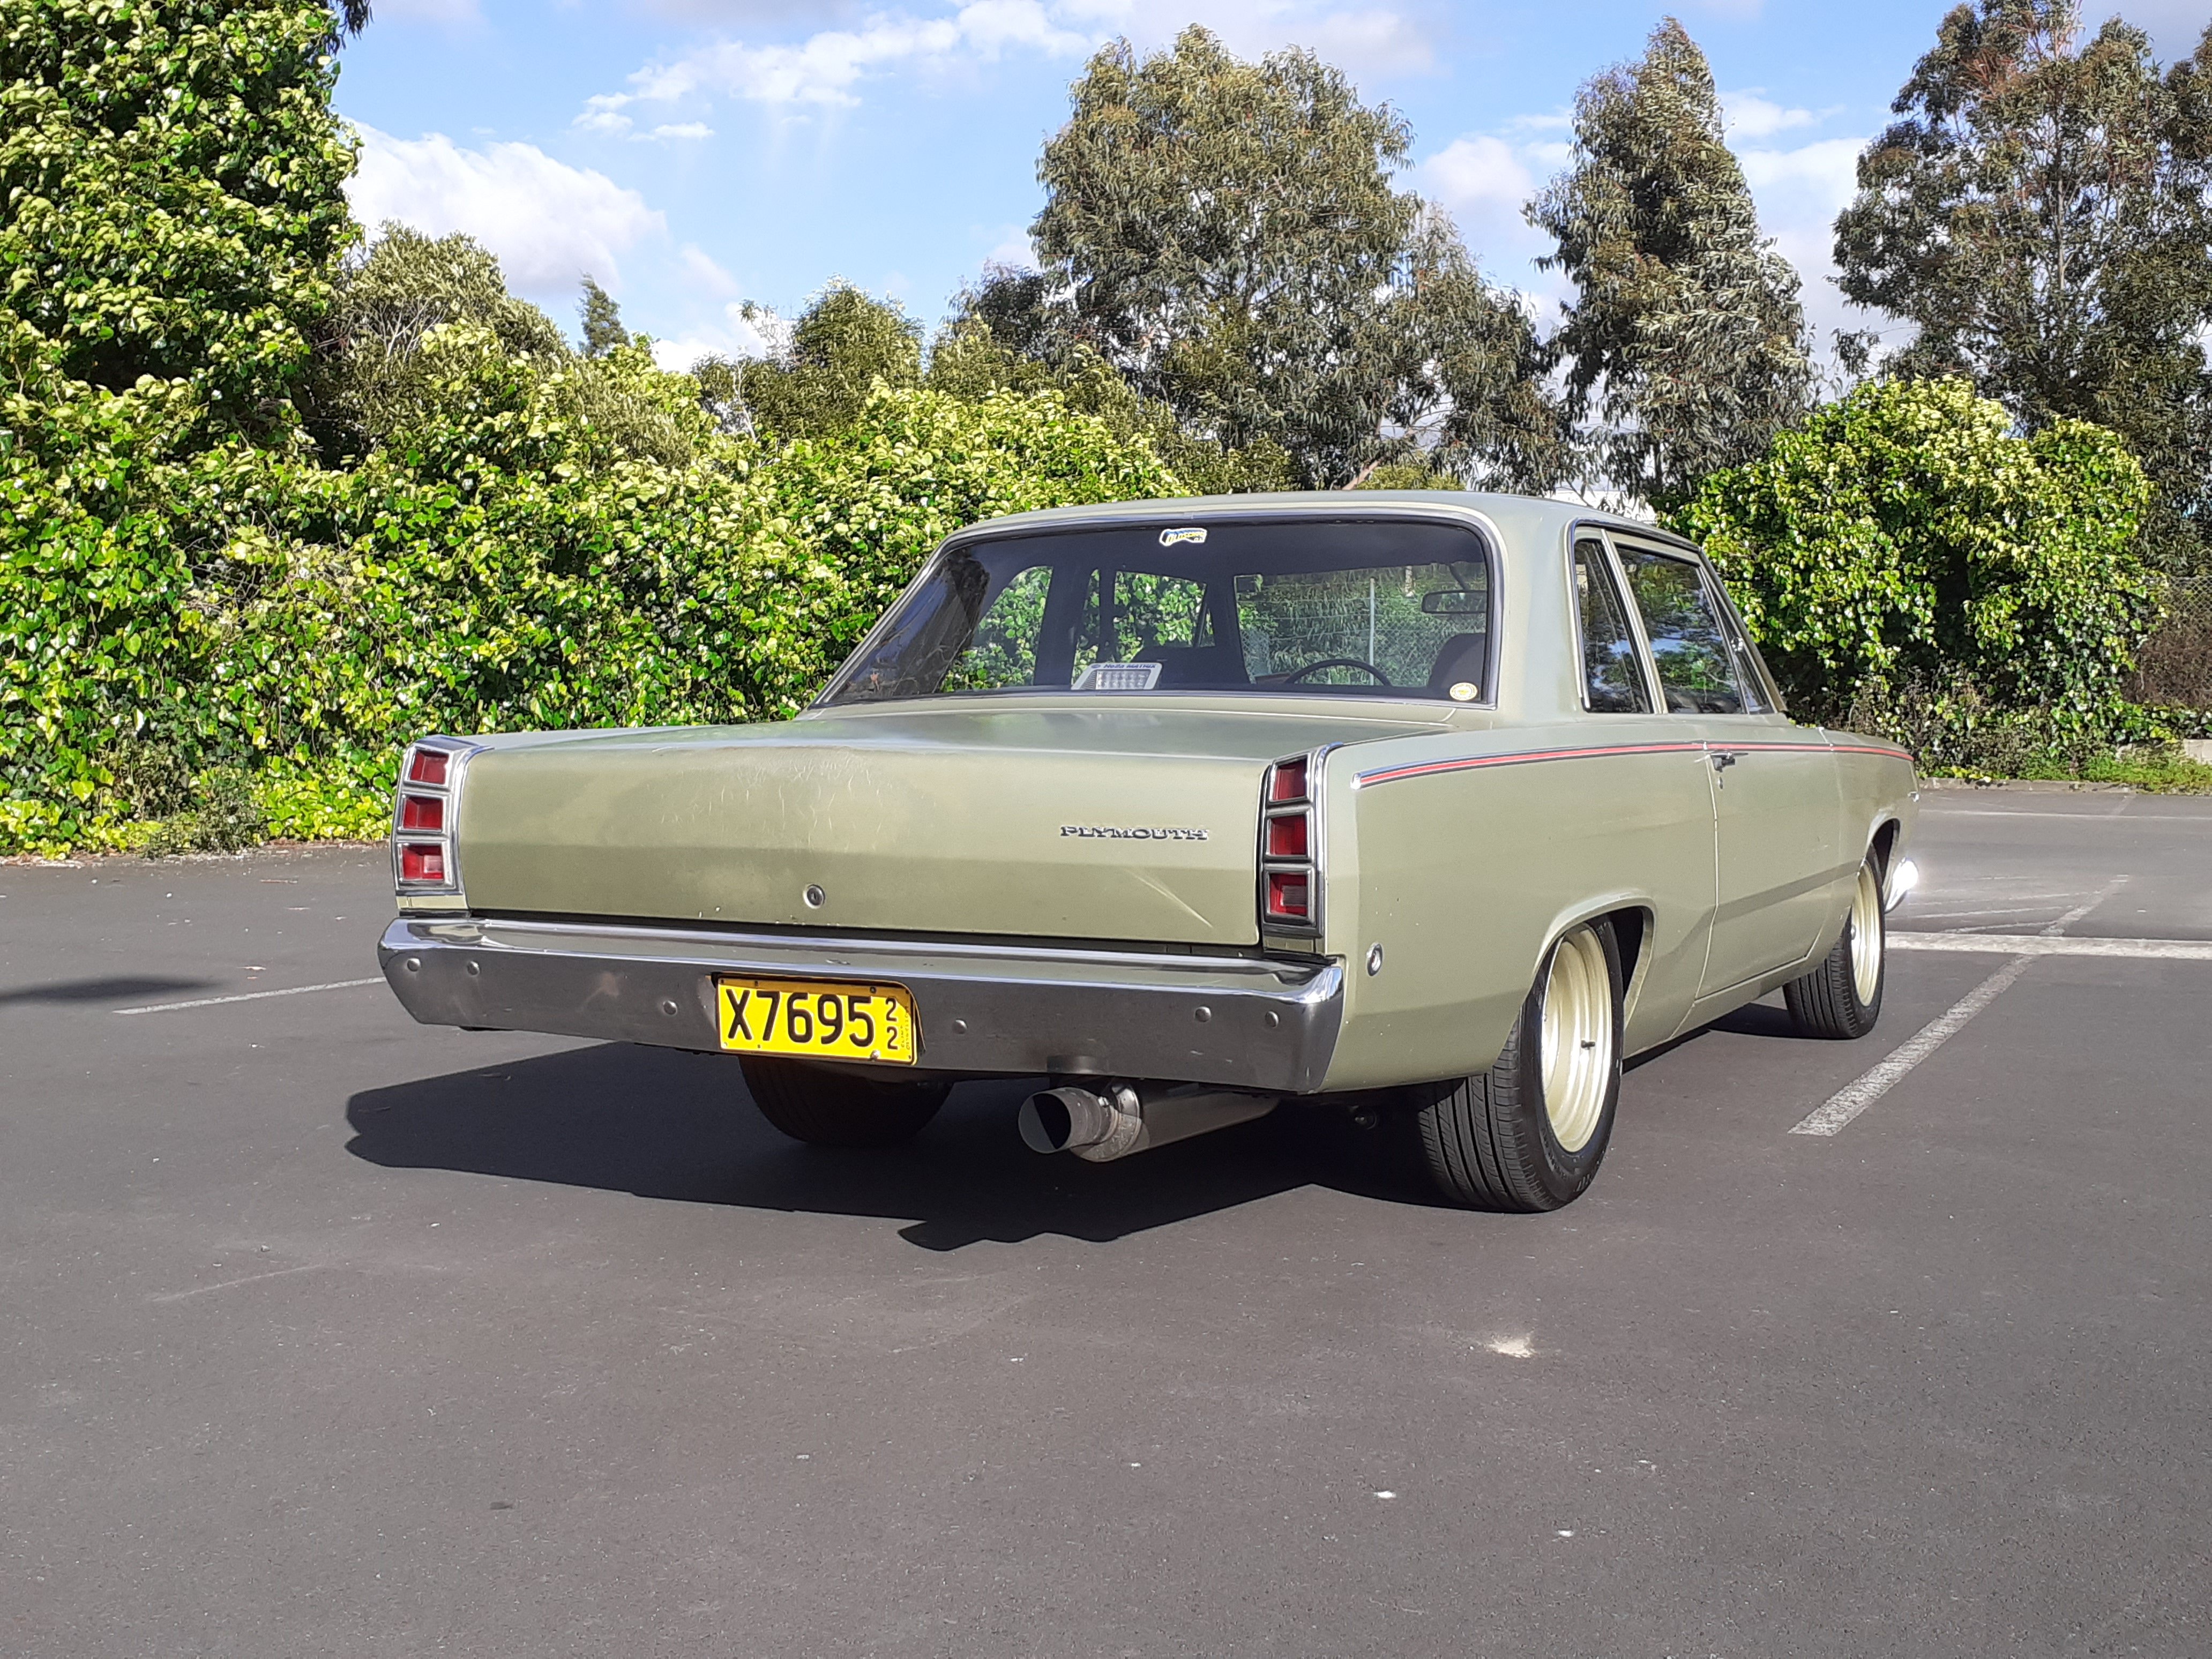
Better add pics of the real boss entering his favorite car.
4 points
-
Ready for cert . Did a bit more fiddling around with tuning , removed bowl vent extensions again and swapped to a 3.5 power valve Getting the PV to open at the right point is a knife edge balance of too lean backfires and black smoke chooch
4 points
-
Got the guards mounted, they are old bits of shit I found, stays are recycled junkcut and welded I, made sure everything has heaps of super stud lock on it and is straight and its good to go, that rear number plate/ light thing is off a Bantam, I choped it down, I might invest in a can of paint to touch up hear and there, I want to fuck up the chrome on the tank some how, I think you can do it with some acid and a rag and a car battery.
3 points
-
I was about to say you have no sense of danger or adventure....but your current escapades suggest otherwise... Do you get extra points if you sell it at the end of the trip to some clueless 16 year old?3 points
-
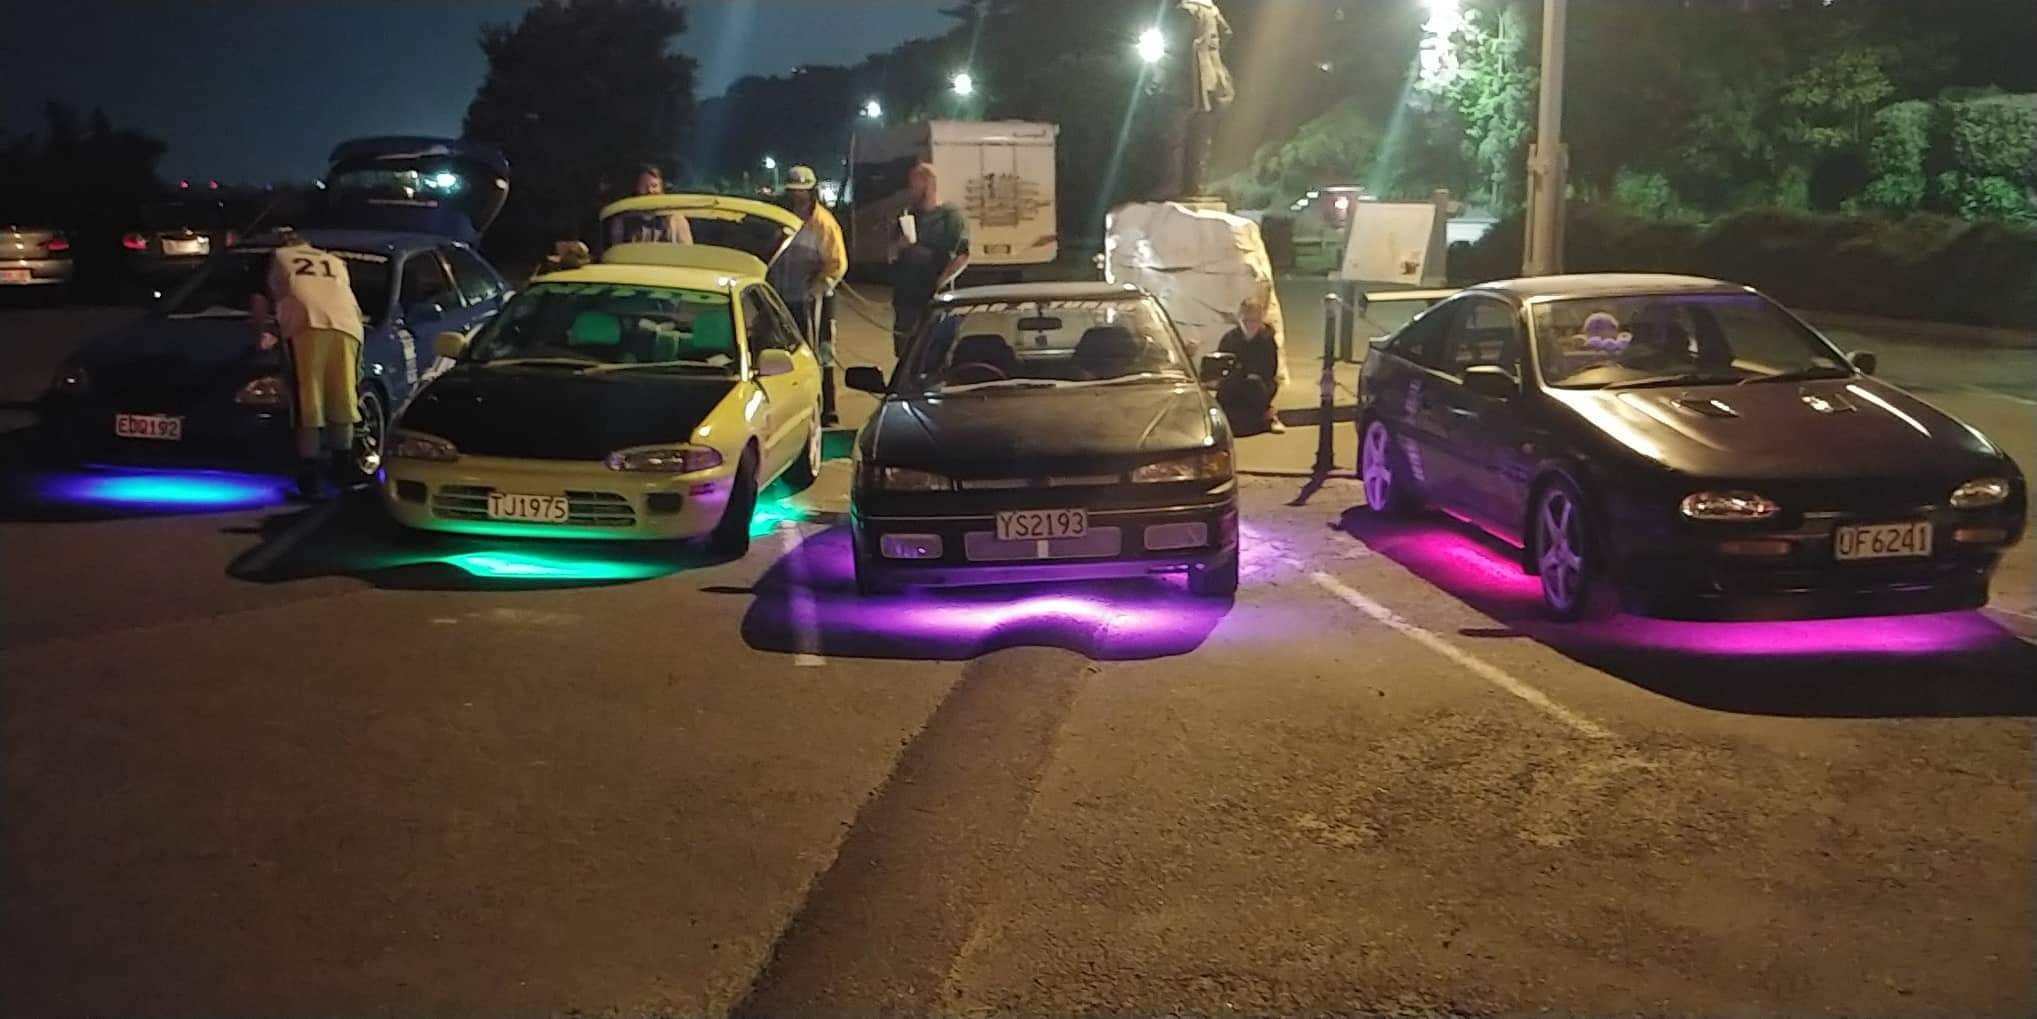
What the heck, the cars look great, I thought this was a shitbox tour Night pic for thr underglow?3 points
-
I just stopped by to ask, if you'll be on the dyno before drag day? And also to say, Damn those god damned torpedoes! Dont you dare run a lower redline for a drag day. If you dont rev your engine to the moon, even for just that one day, I'll block you. Plus if you scatter the block, someone is sure to be filming. So we can all enjoy your offerings to the gods of speed. (Over and over)3 points
-
Also I broke my ITB manifold trying to get it off, because I had to pooz it onto the head with heaps of silicone. Not for sake of sealing it from vacuum leaks. But because anywhere that wasnt covered in carbon fibre, needed to be sealed from fuel reaching it or it starts melting. hah. So, I thought I'd give it another hoon printing one from carbon nylon stuff, as this is much more fuel/temp resistant. Rather than fiddling with heaps of settings, just used PLA settings with hotter temps, and set extrusion rate to 80% I think most of my previous problems with it, were from extrusion rate being too high. As I think this filament is a little wider diameter than 1.75mm, it's harder to push into the tube than PLA etc. Turned out pretty good, lots of stringing but its easier to tidy that up than fiddle endlessly with printer settings. So meh. I need to print some trumpets for @Stu so this will hopefully work out well for that too3 points
-
Winning, like a brand new box, no more anxiety on down changes, the crunches sounded pretty horrible3 points
-
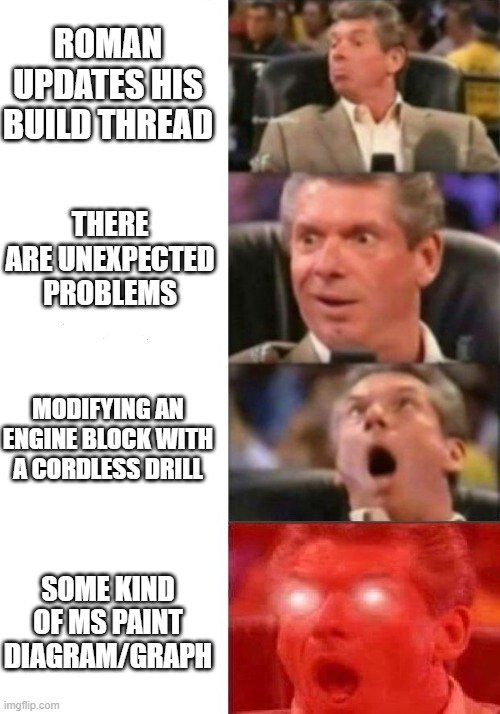
I think if I had to summarize this project with a single picture, would be this: But @keltik still gets the prize for best meme post in this thread, hahaha
3 points
-
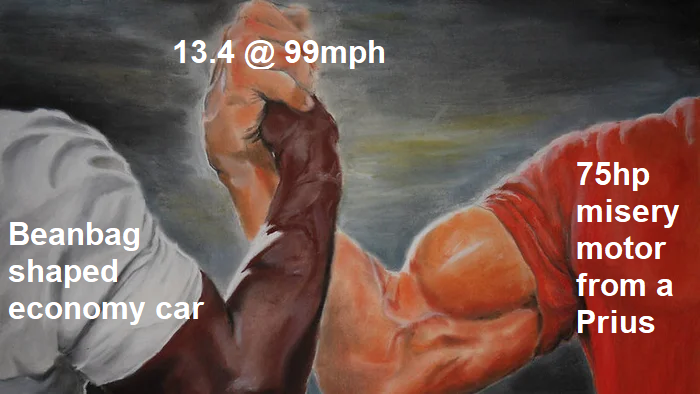
Got a WOF today, super stoked about that! Also, for some reason the Dutch Top Gear website, and another Dutch site wrote some little articles about the Echo. This translation had me laughing out loud, ahaha "The combination, which you only dream about (mainly because it just doesn't make sense), apparently runs track-time sessions in New Zealand , and sounds surprisingly good too. We hope not to offend anyone here, but the Toyota Prius engine isn't the prime candidate for an ' engine-swap ' project. We will also not soon see a Toyota Echo among the registrations of a track day. Still, David van der Haas from Matamate, New Zealand thought it sounded good in his head to bring the two together." Thanks again to everyone that's helped me get the car going again with another motor. I'm now all set for OS drags in december, and getting the car back to the dyno in the meantime is now top priority.3 points
-
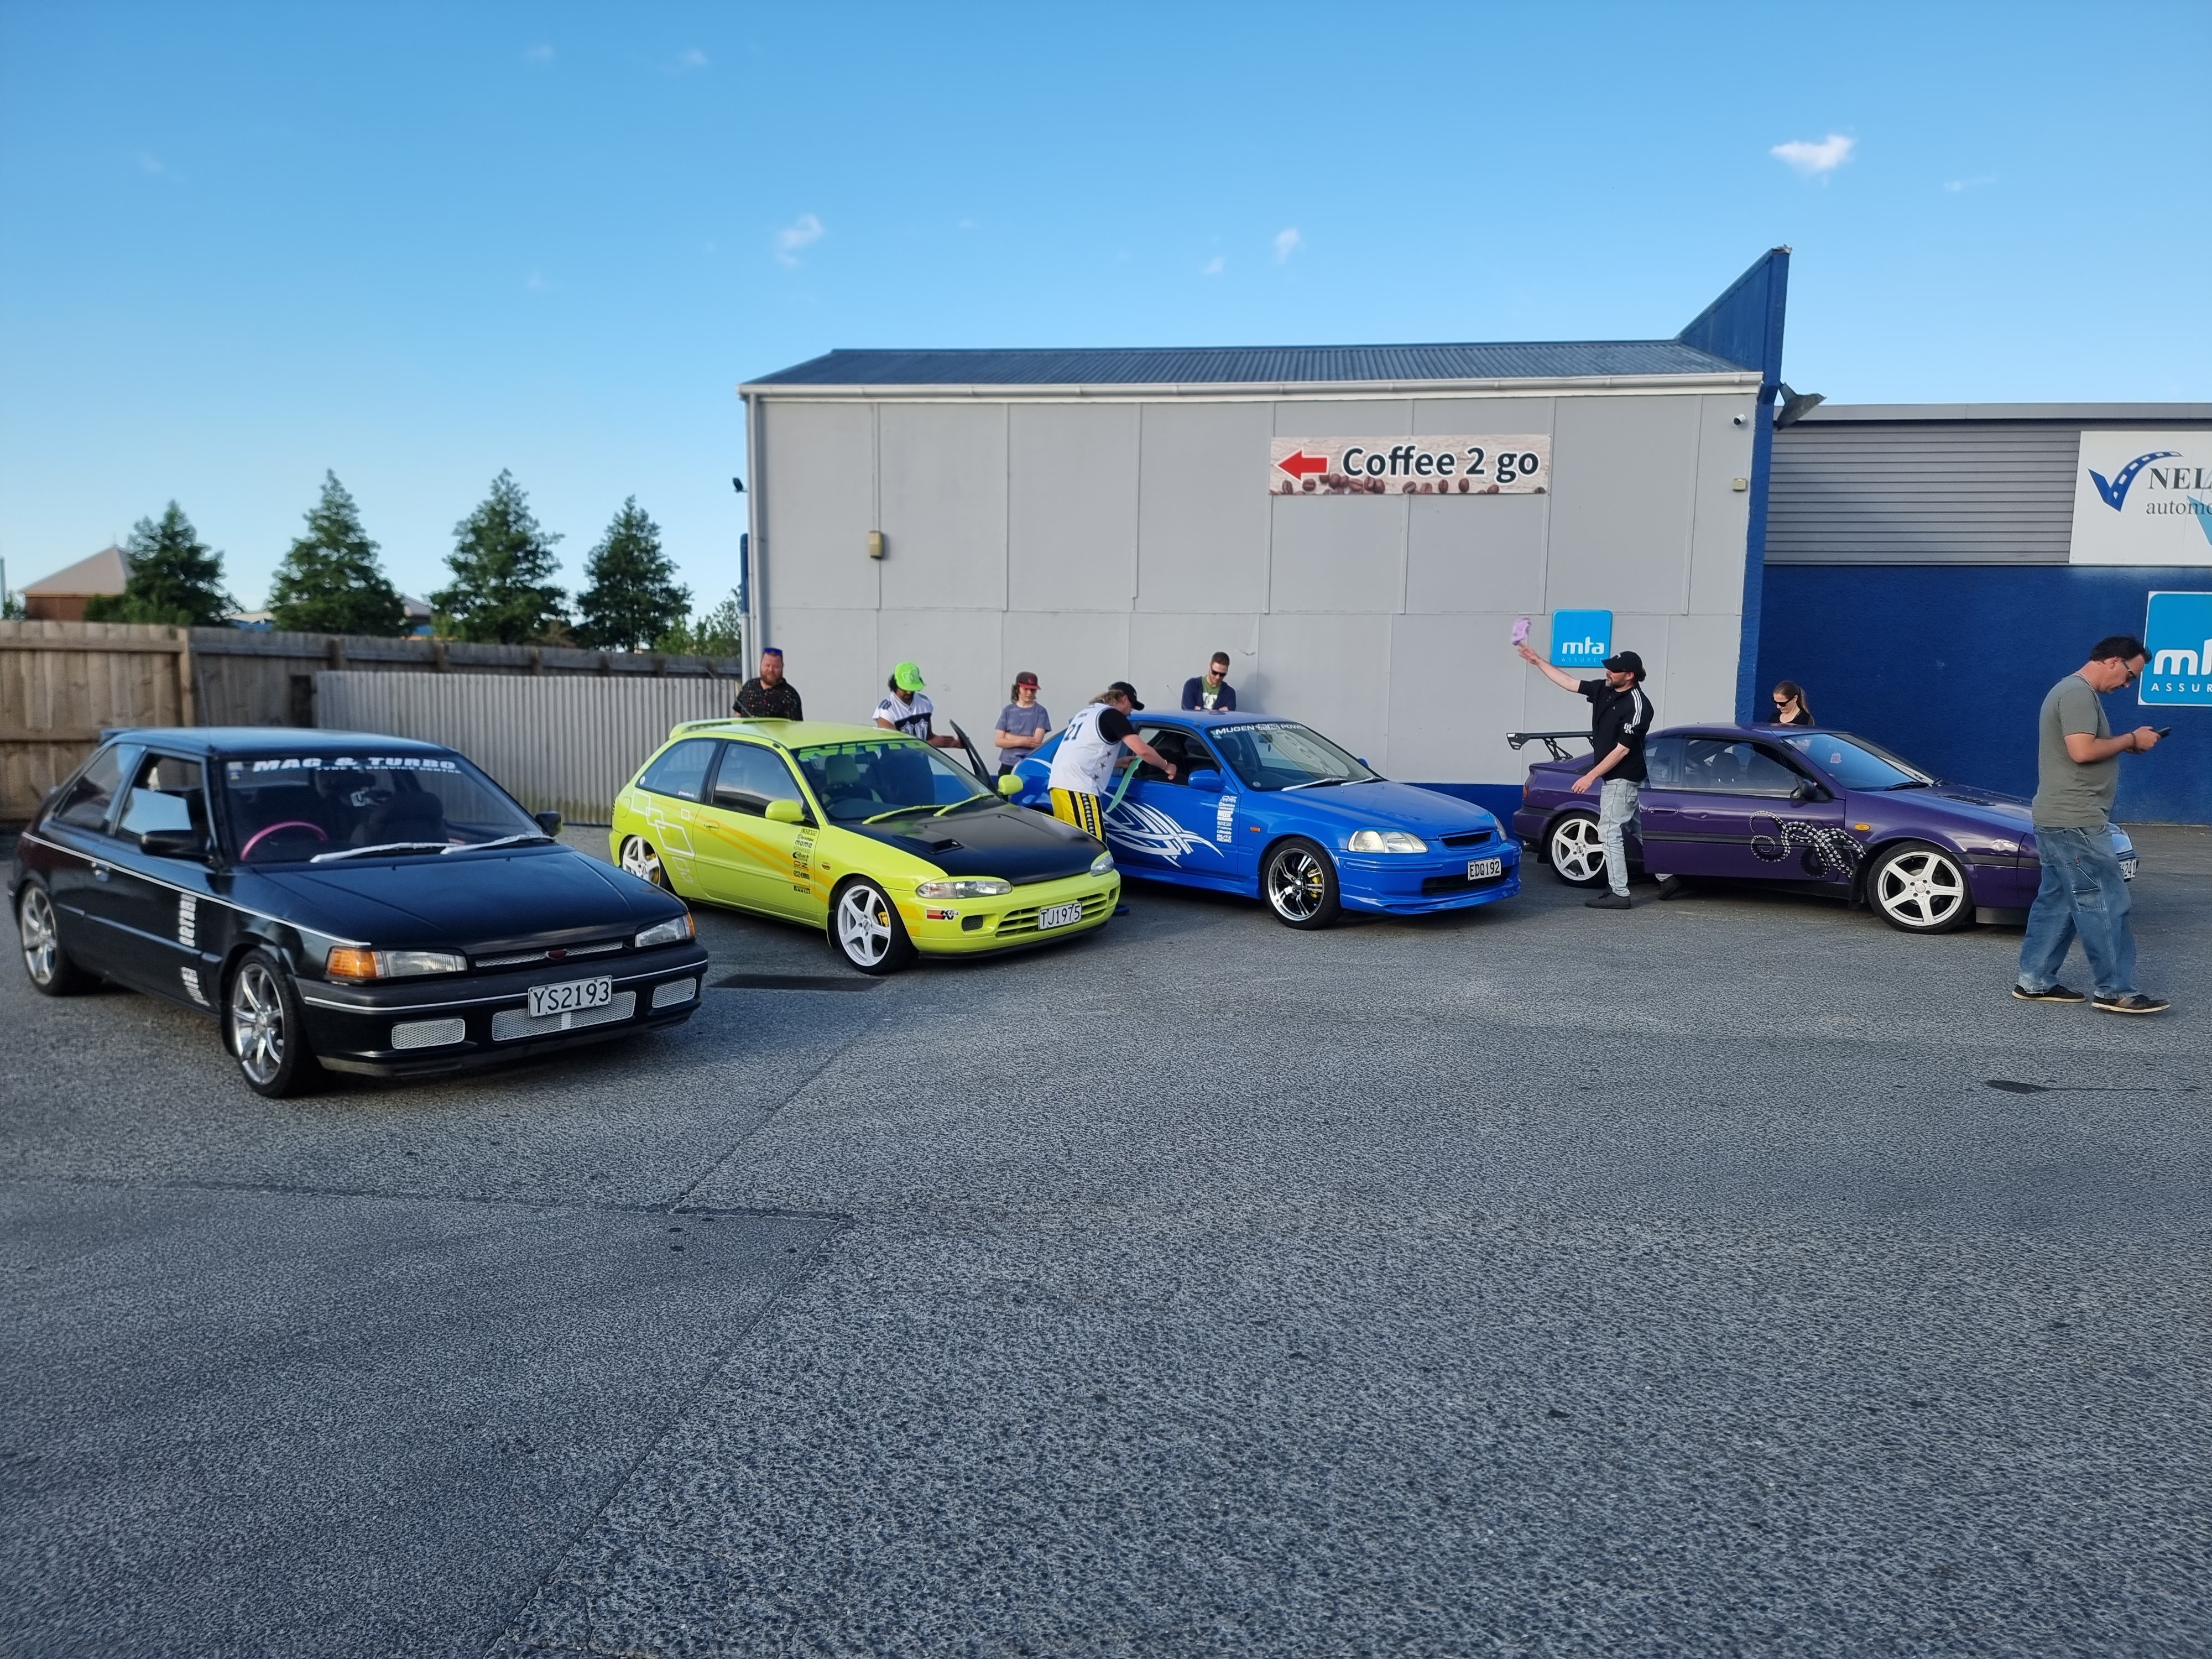
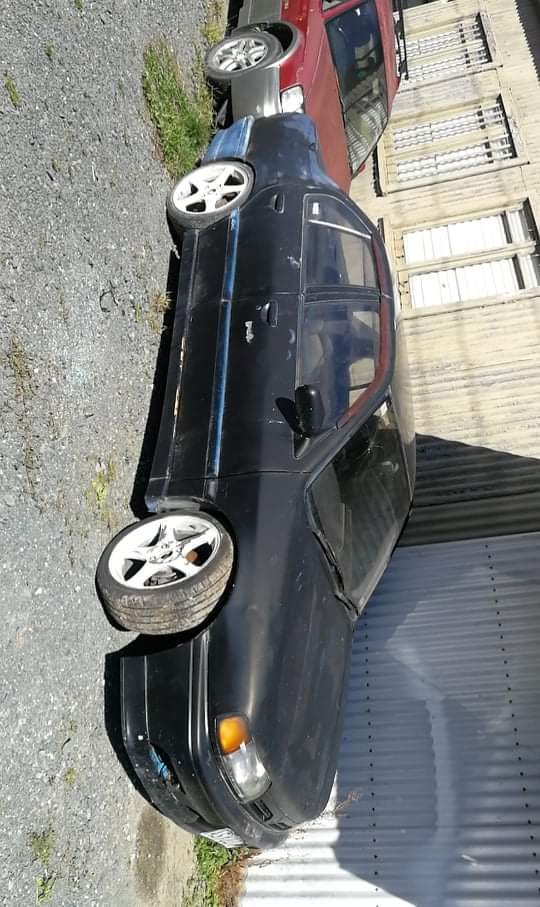
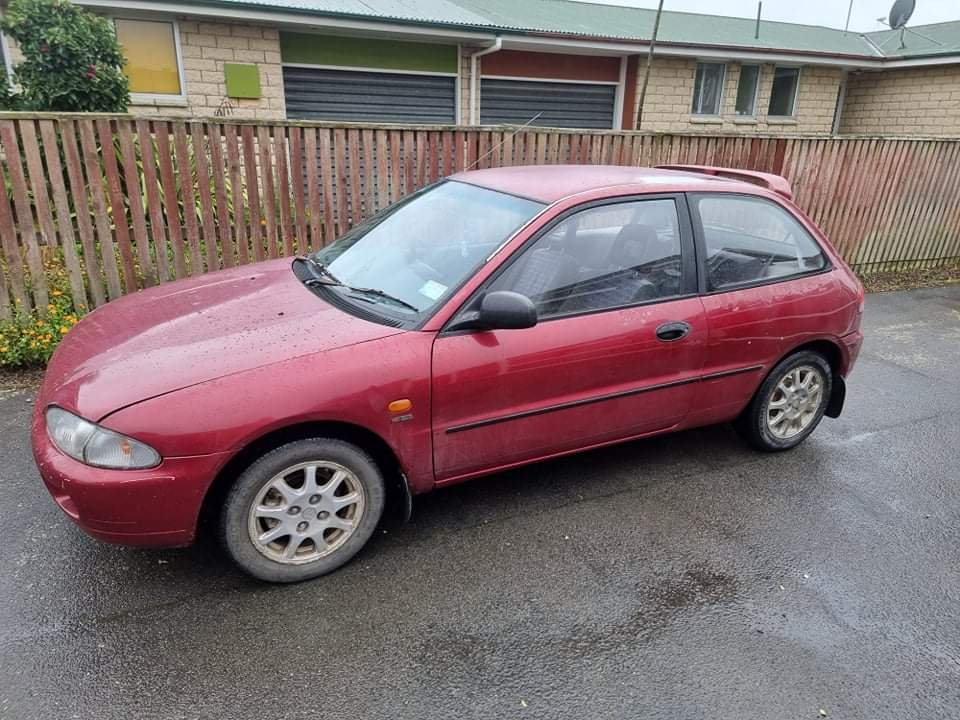
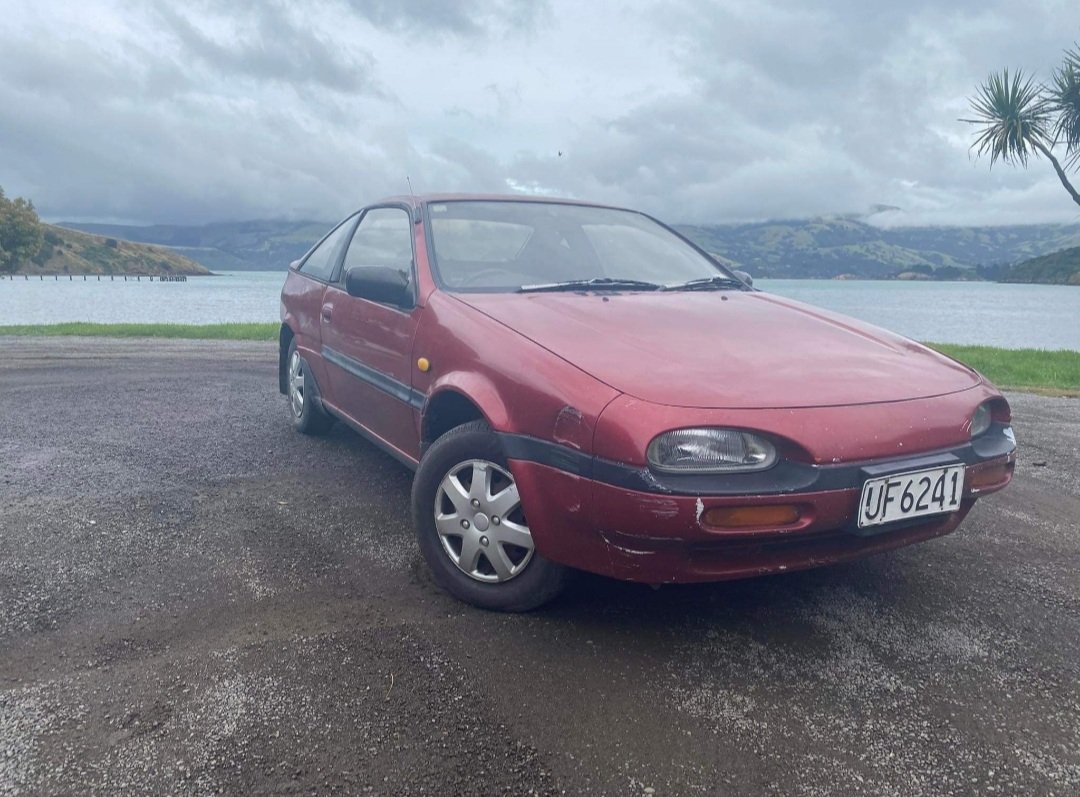
Sup yo. So a group of us are doing another shitbox challenge thing next week. This year, buying and modifying cars for less than 1500 bucks in the theme of the Golden era, aka, early 2000s. So we're off on a roadie in our creations next Tuesday, cutting another lap of the south island. Gonna be staying in Nelson 8th November, hokitika 9th, queenstown 10th and invers on the 11th. Thought it'd be worth a post up here if anyone local wants to come out for a brew and a yarn when we're in each town. Will probs do a really shit park up and cruise in each town for a laugh and to be general pests. 4/5 of the cars we're using. And there's an EK civic hatch as well. Come hang!
2 points
-
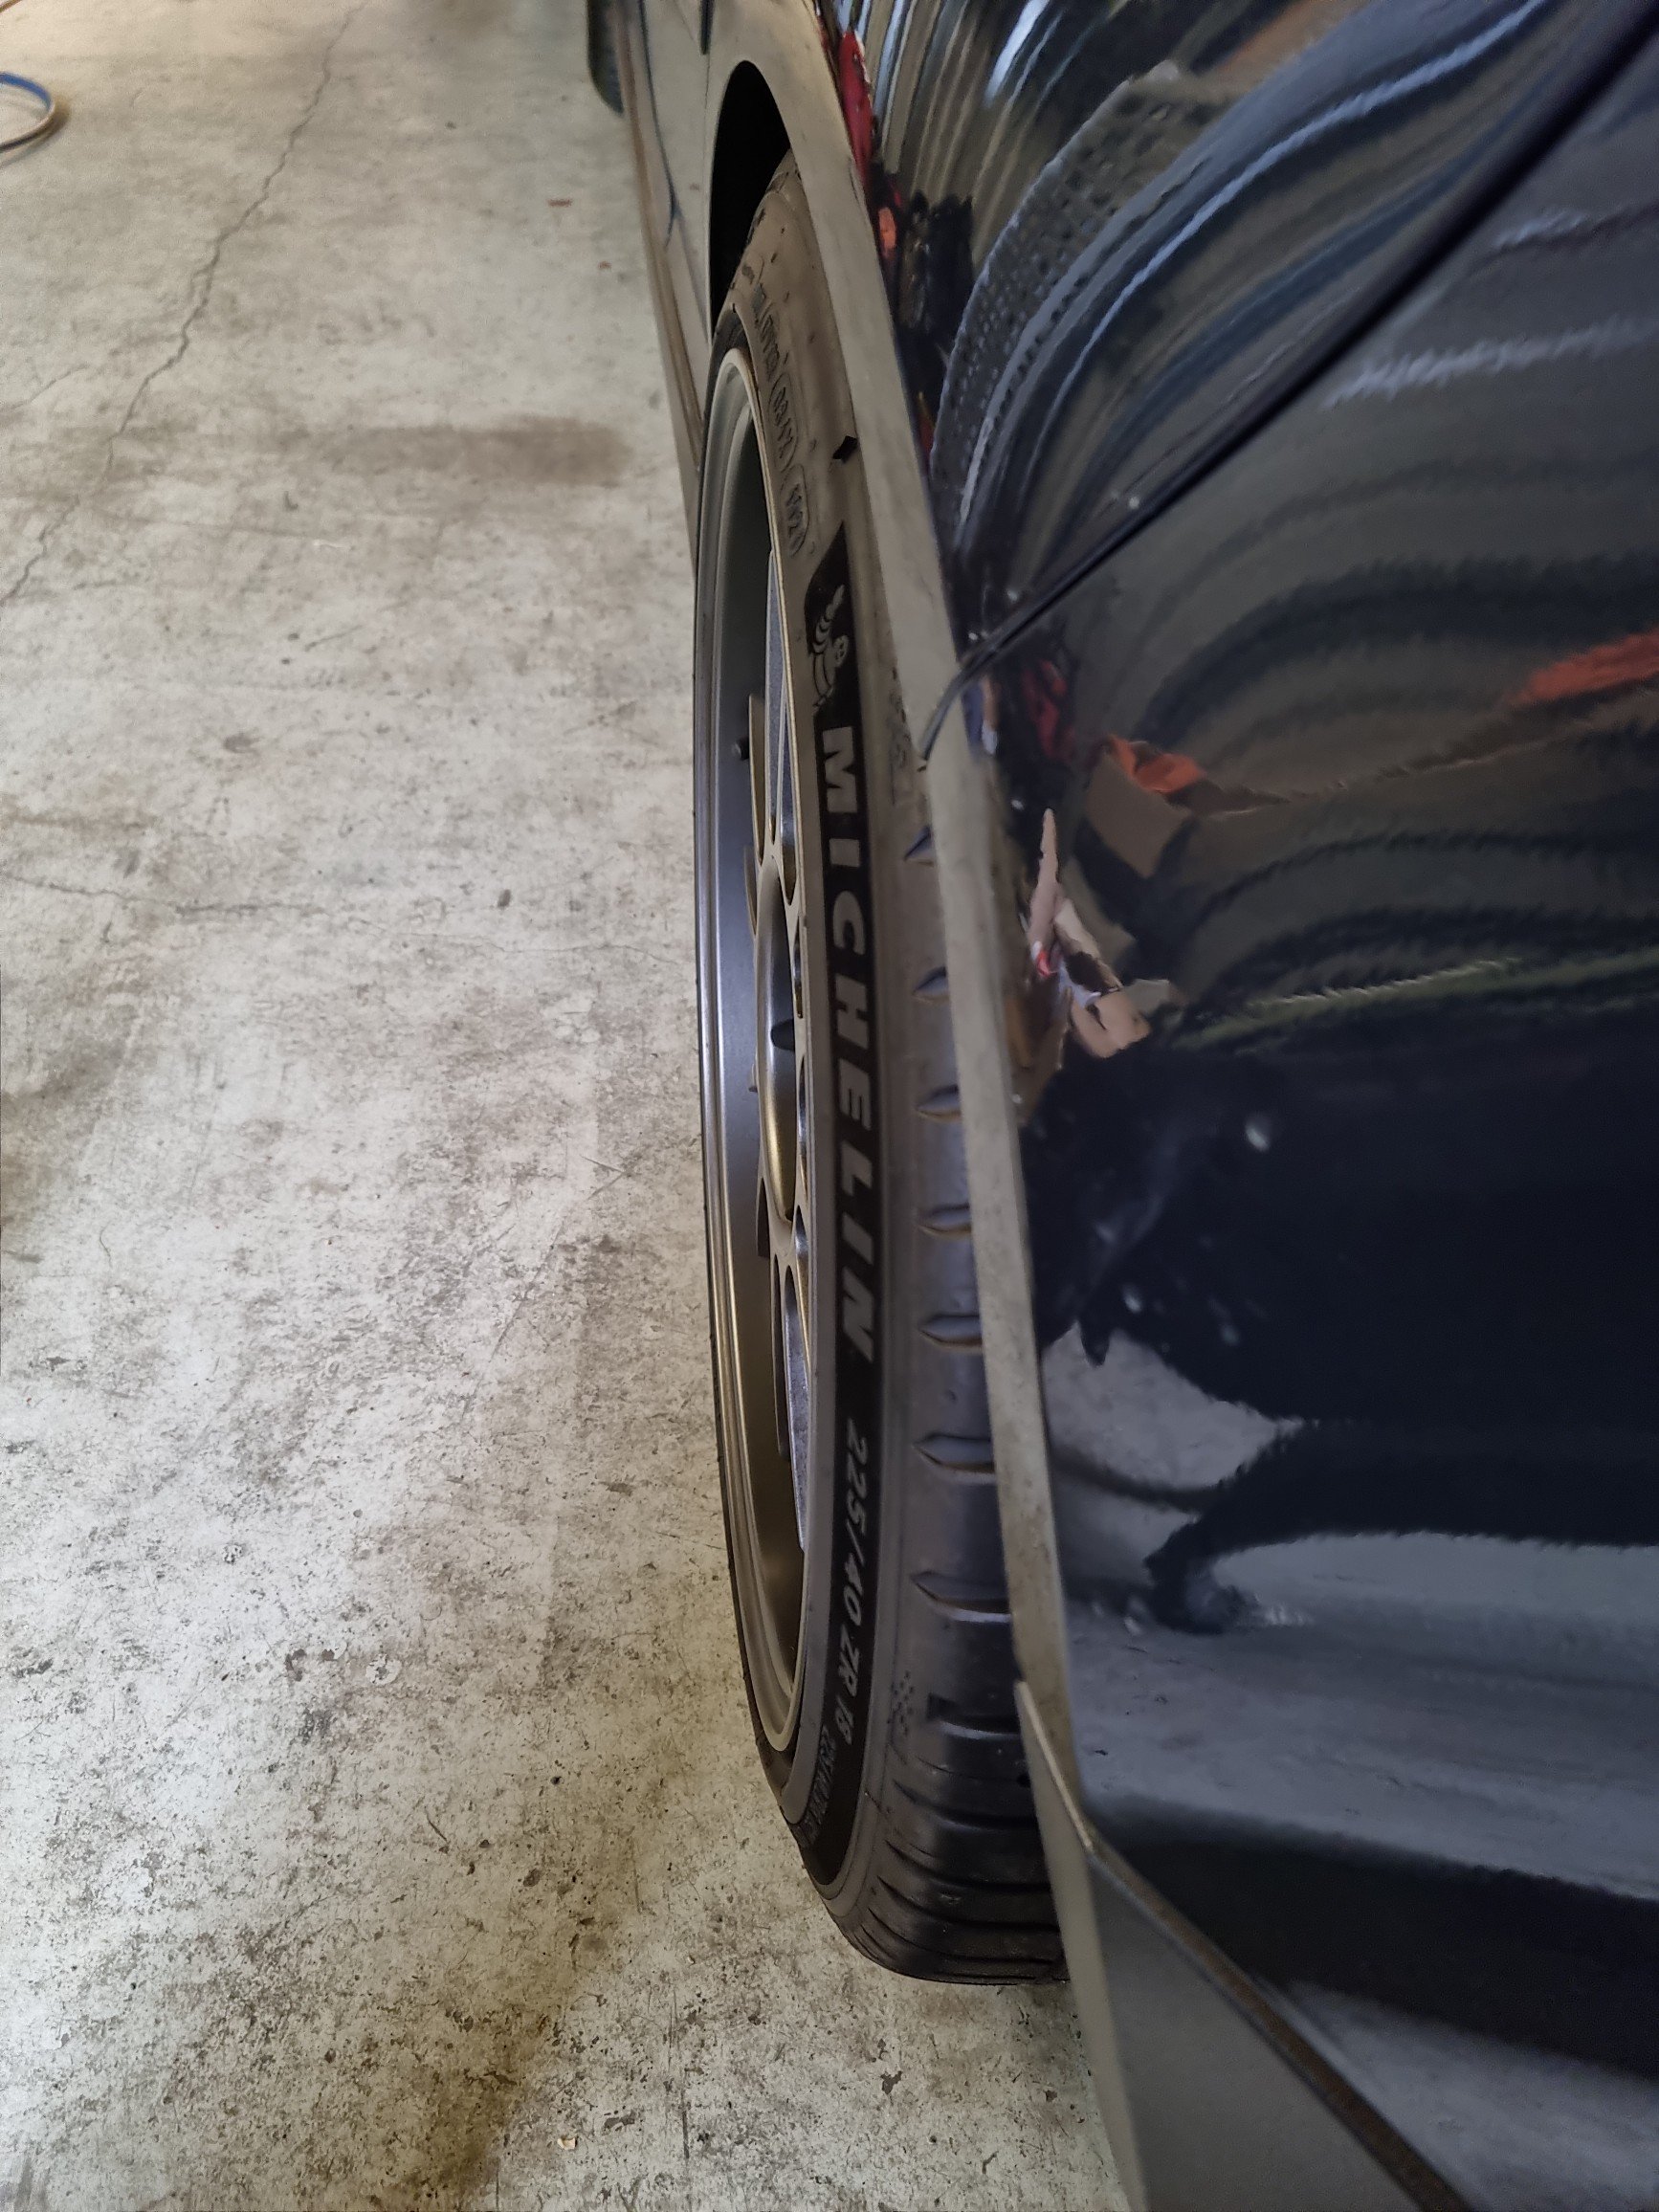
Took it for a hoon in the weekend on some b roads Im happy with the wheel offset/width tyre size ride height combo I ended up with Not to menacing on bumpy roads
2 points
-
Yup, dont have a massive turnout atm, maybe 4 or 5 cars Started out on NZ Datsun but not much interest atm, so all welcome2 points
-
Dyno day 19th Nov at Bombay, be cool to see how it goes compared to pushrod datsuns2 points
-
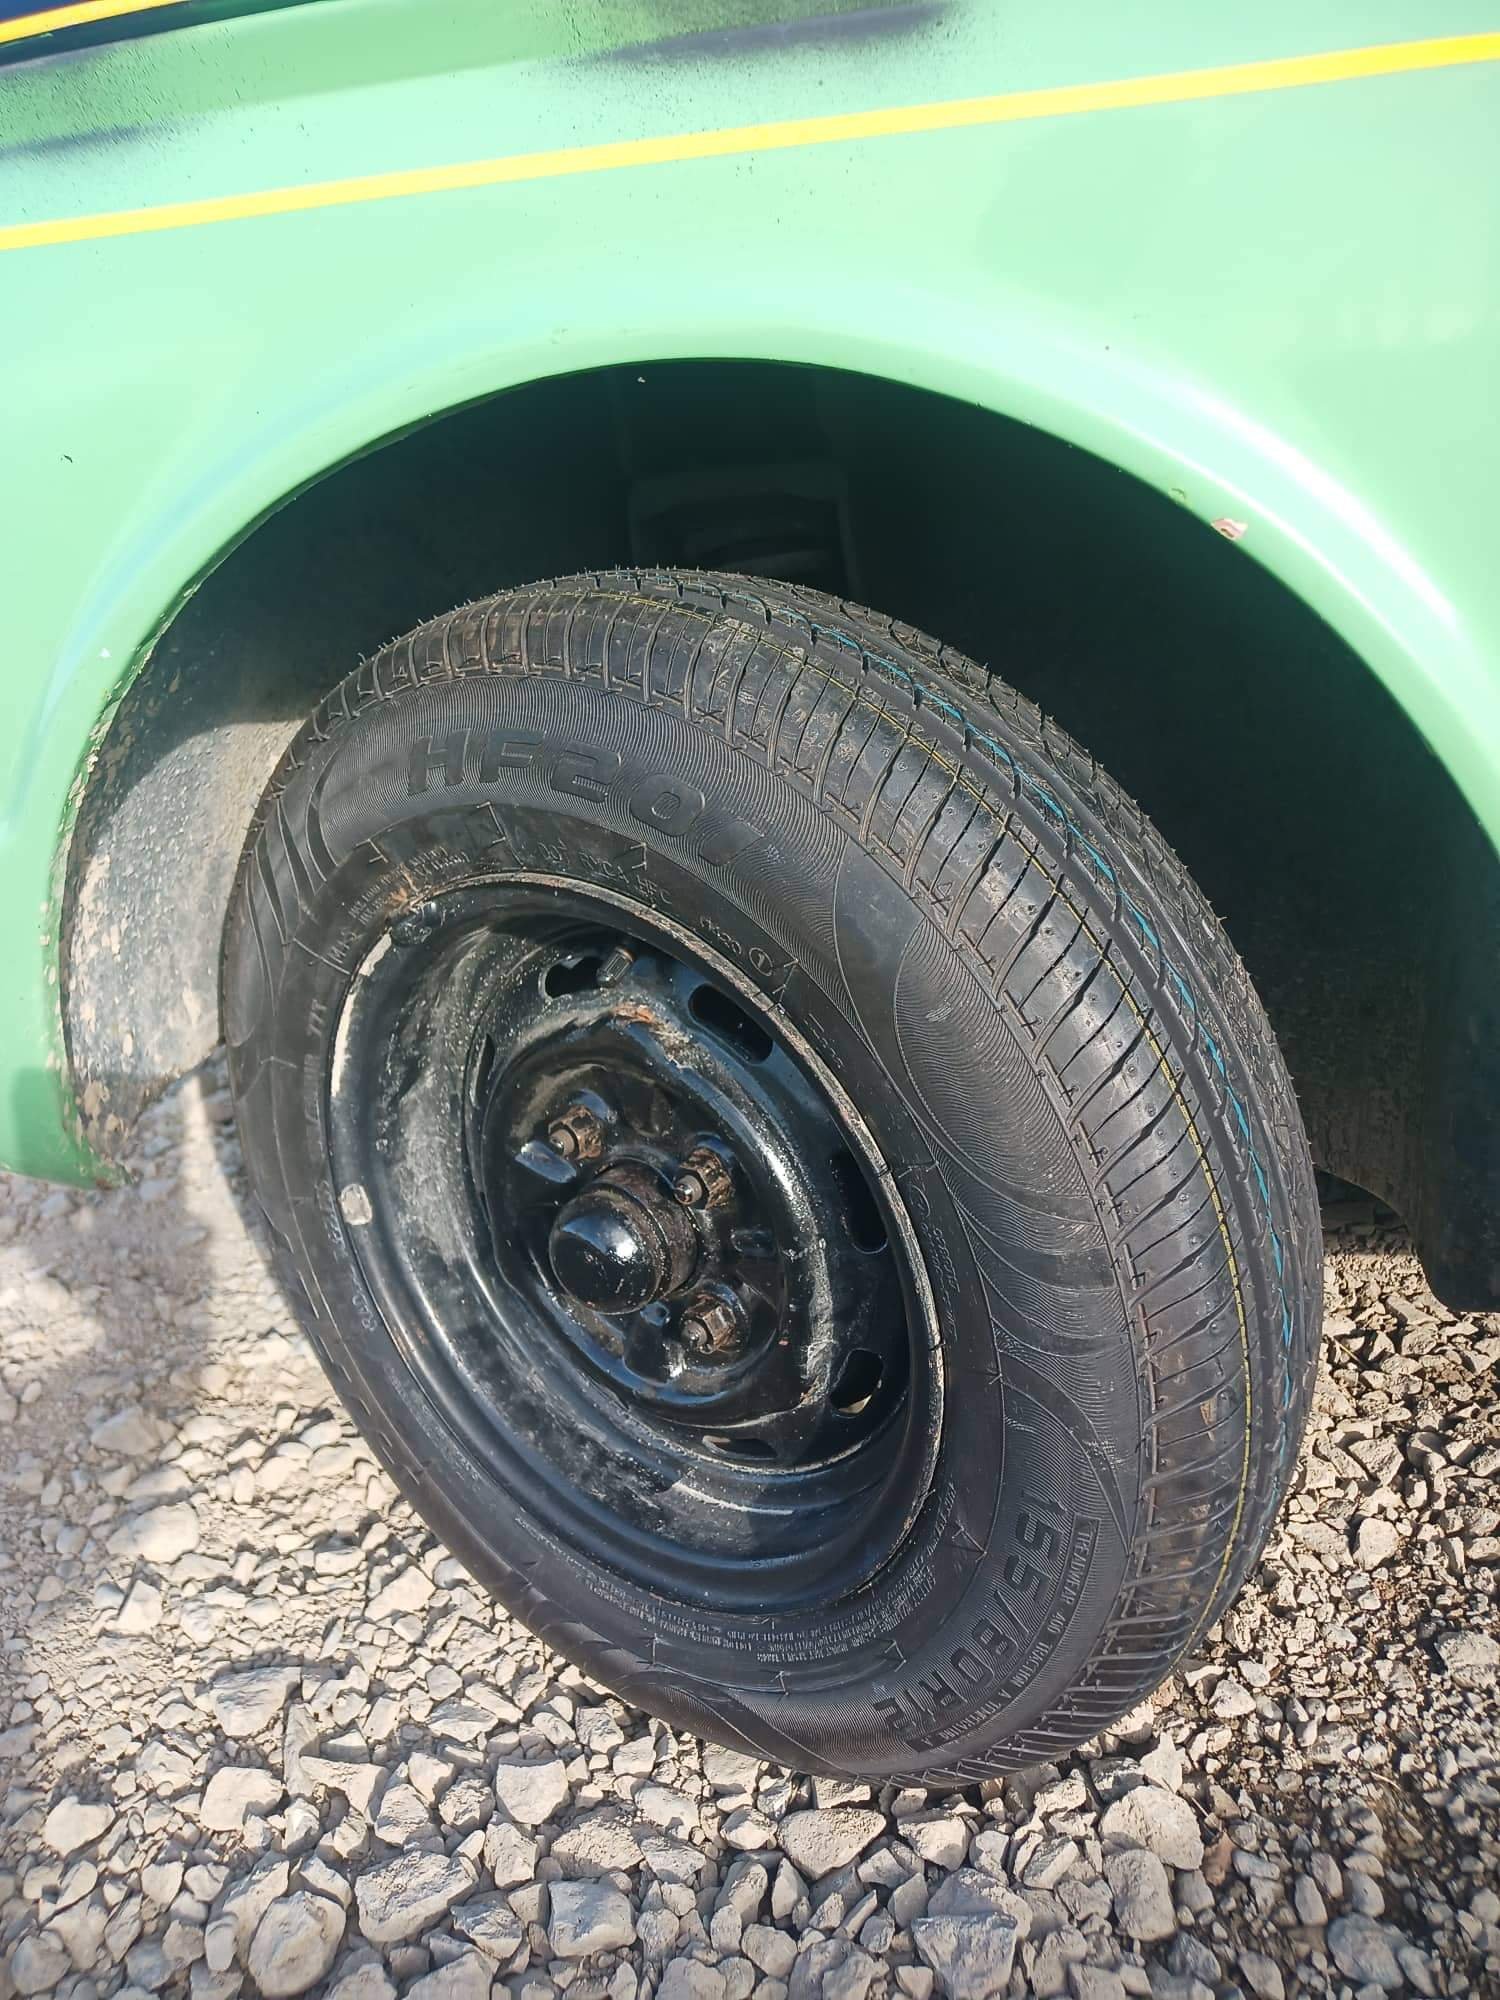
The front tyre is barely legal, just how I like them So no weight on it means it should last the whole trip Probably take knobly off advgn
2 points
-
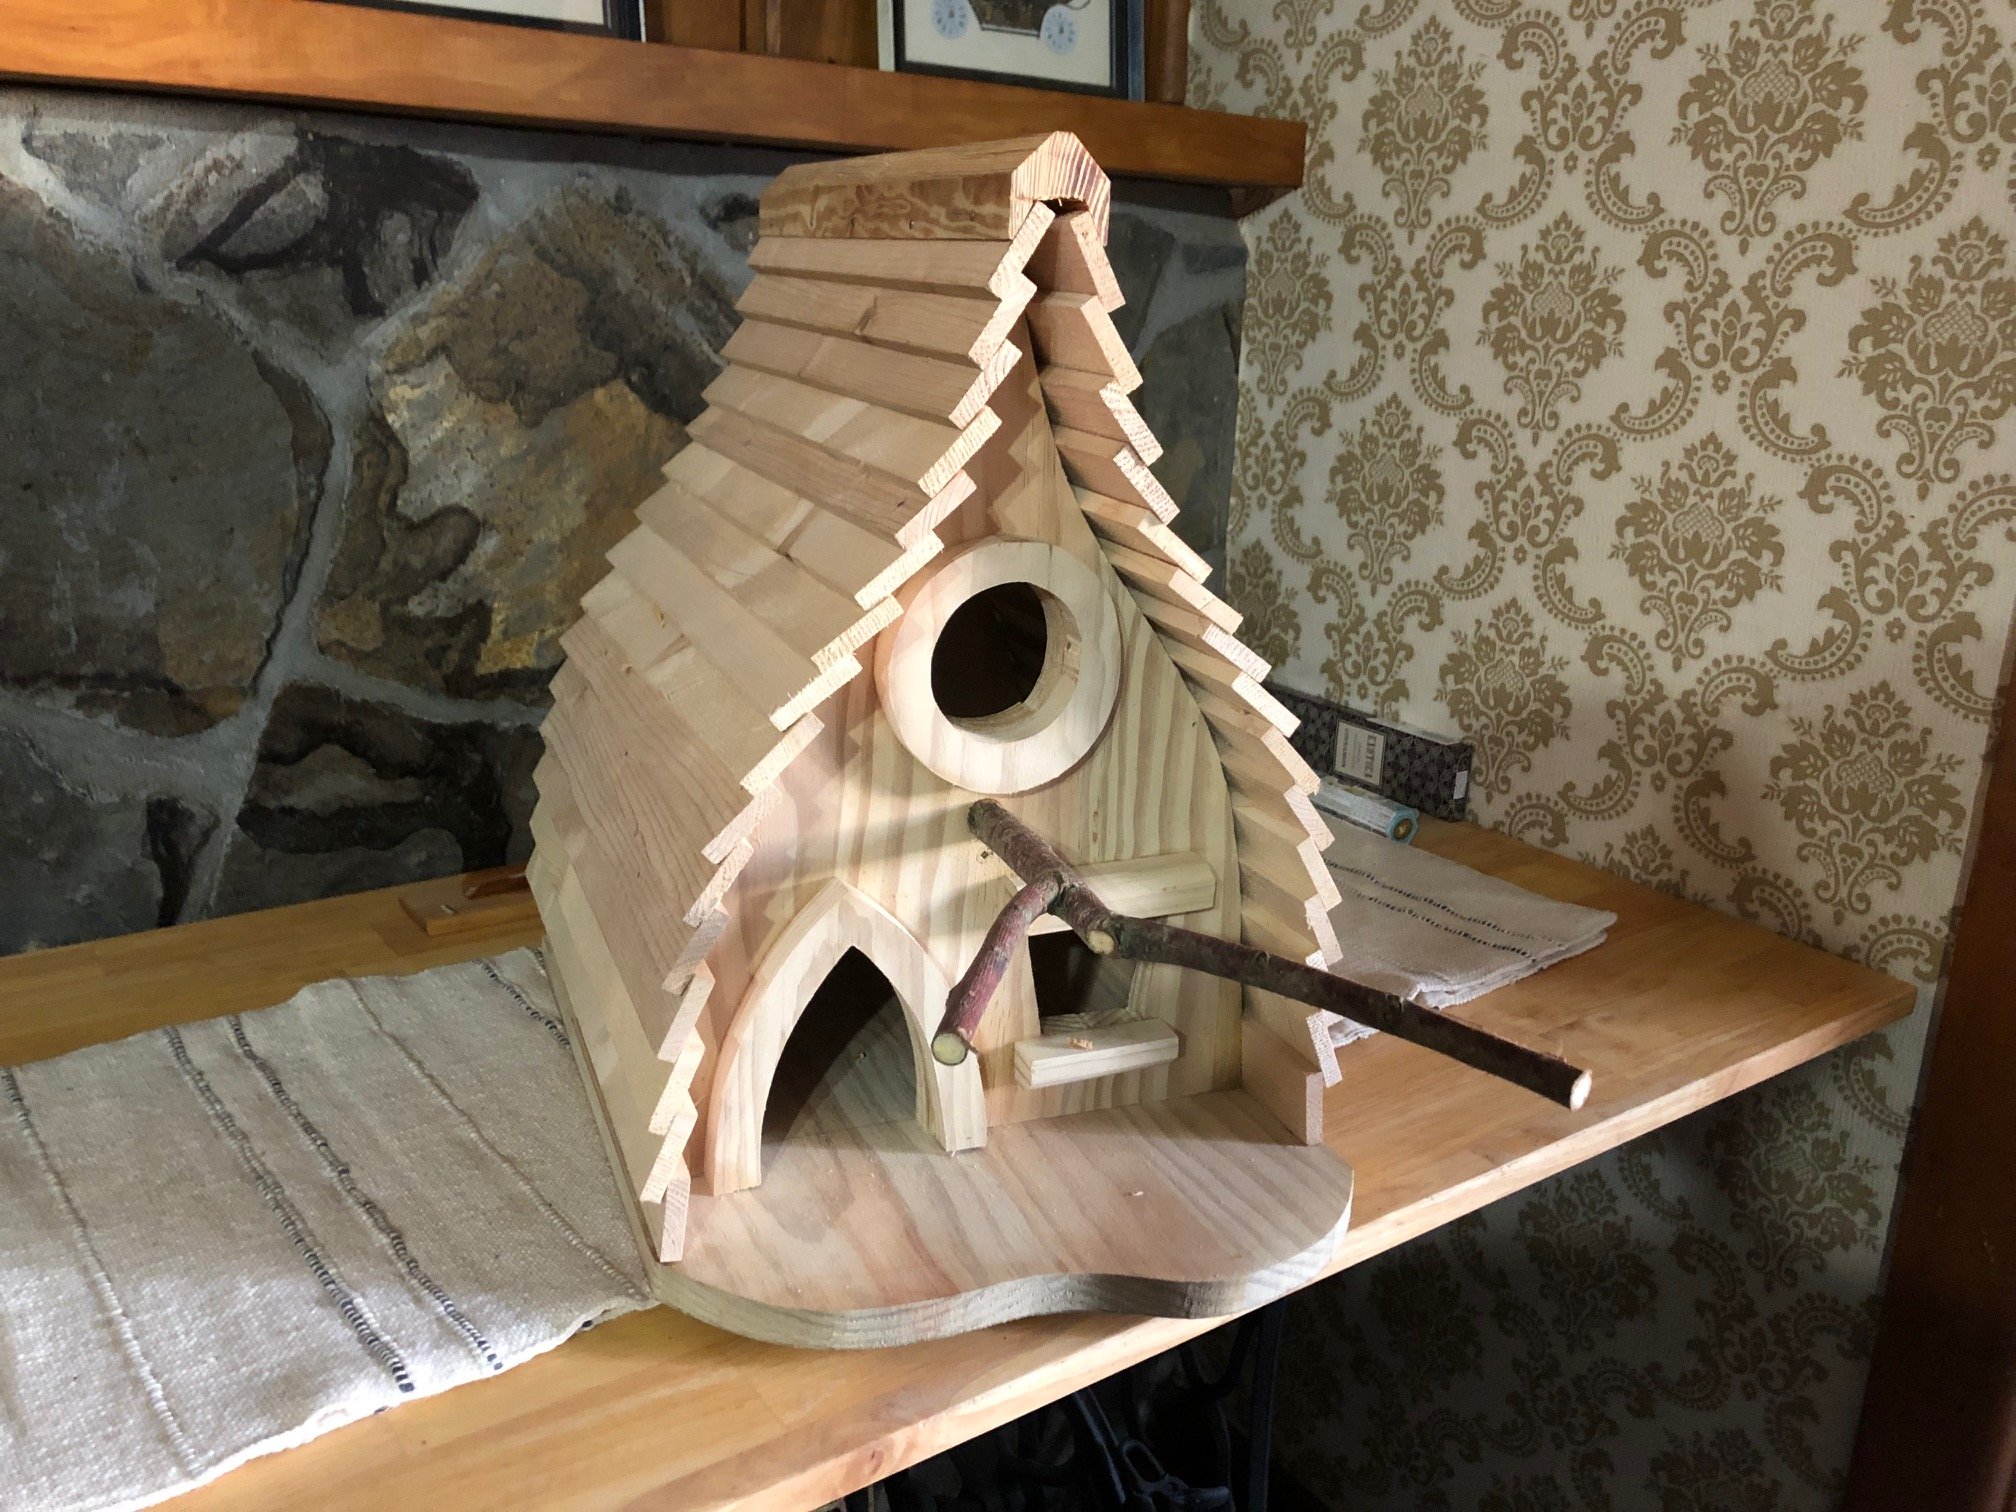
Made a bird house today
2 points
-
Try water and water wetter, should do it. But it's a fairly fine line between coolant being too thin and water not leaking. Otherwise hylomar blue FTW1 point
-
Holden always put sealant pellets in for leaks like that I get it in my sidevalve morrie headgasket too1 point
-
I'm keen1 point
-
1 point
-
Do you have any measurements for the springs? I have a set of new falcon springs at home but don’t know what model they’re from, they’re blue and quite short.1 point
-
He's a nay as well as kass, he said he double booked.1 point
-
I think I'm ready to go. There was a brief moment of panic where I thought I'd be riding something else this year. But fingers crossed, and test ride pending, this seems to be ready to go.
1 point
-
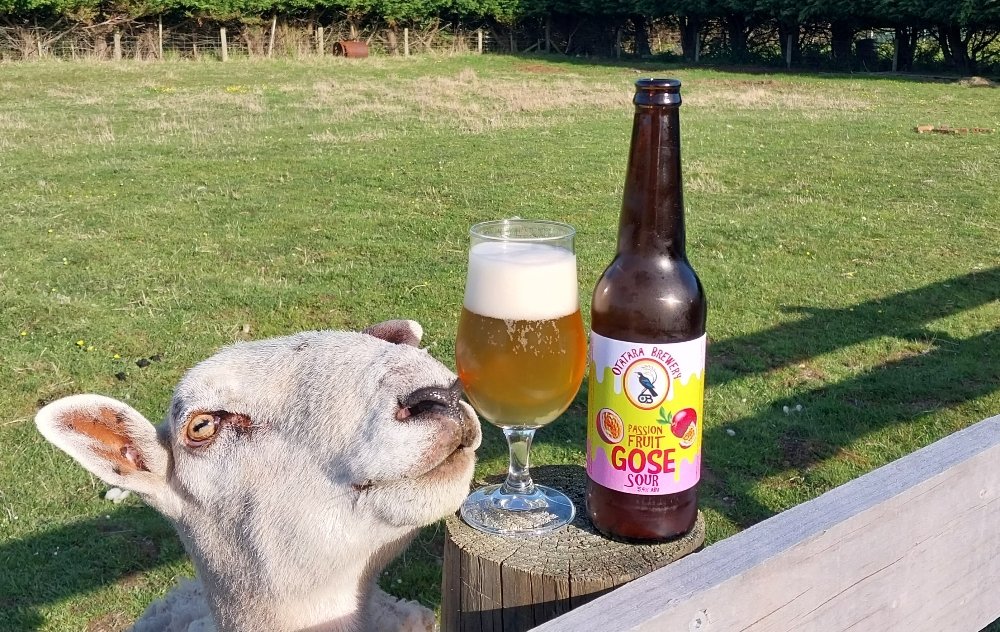
Crikey. In a weeks time we'll all be slurping on a pink pussy. Better go put some stuff in a bag1 point
-
Paints came up mint
1 point
-
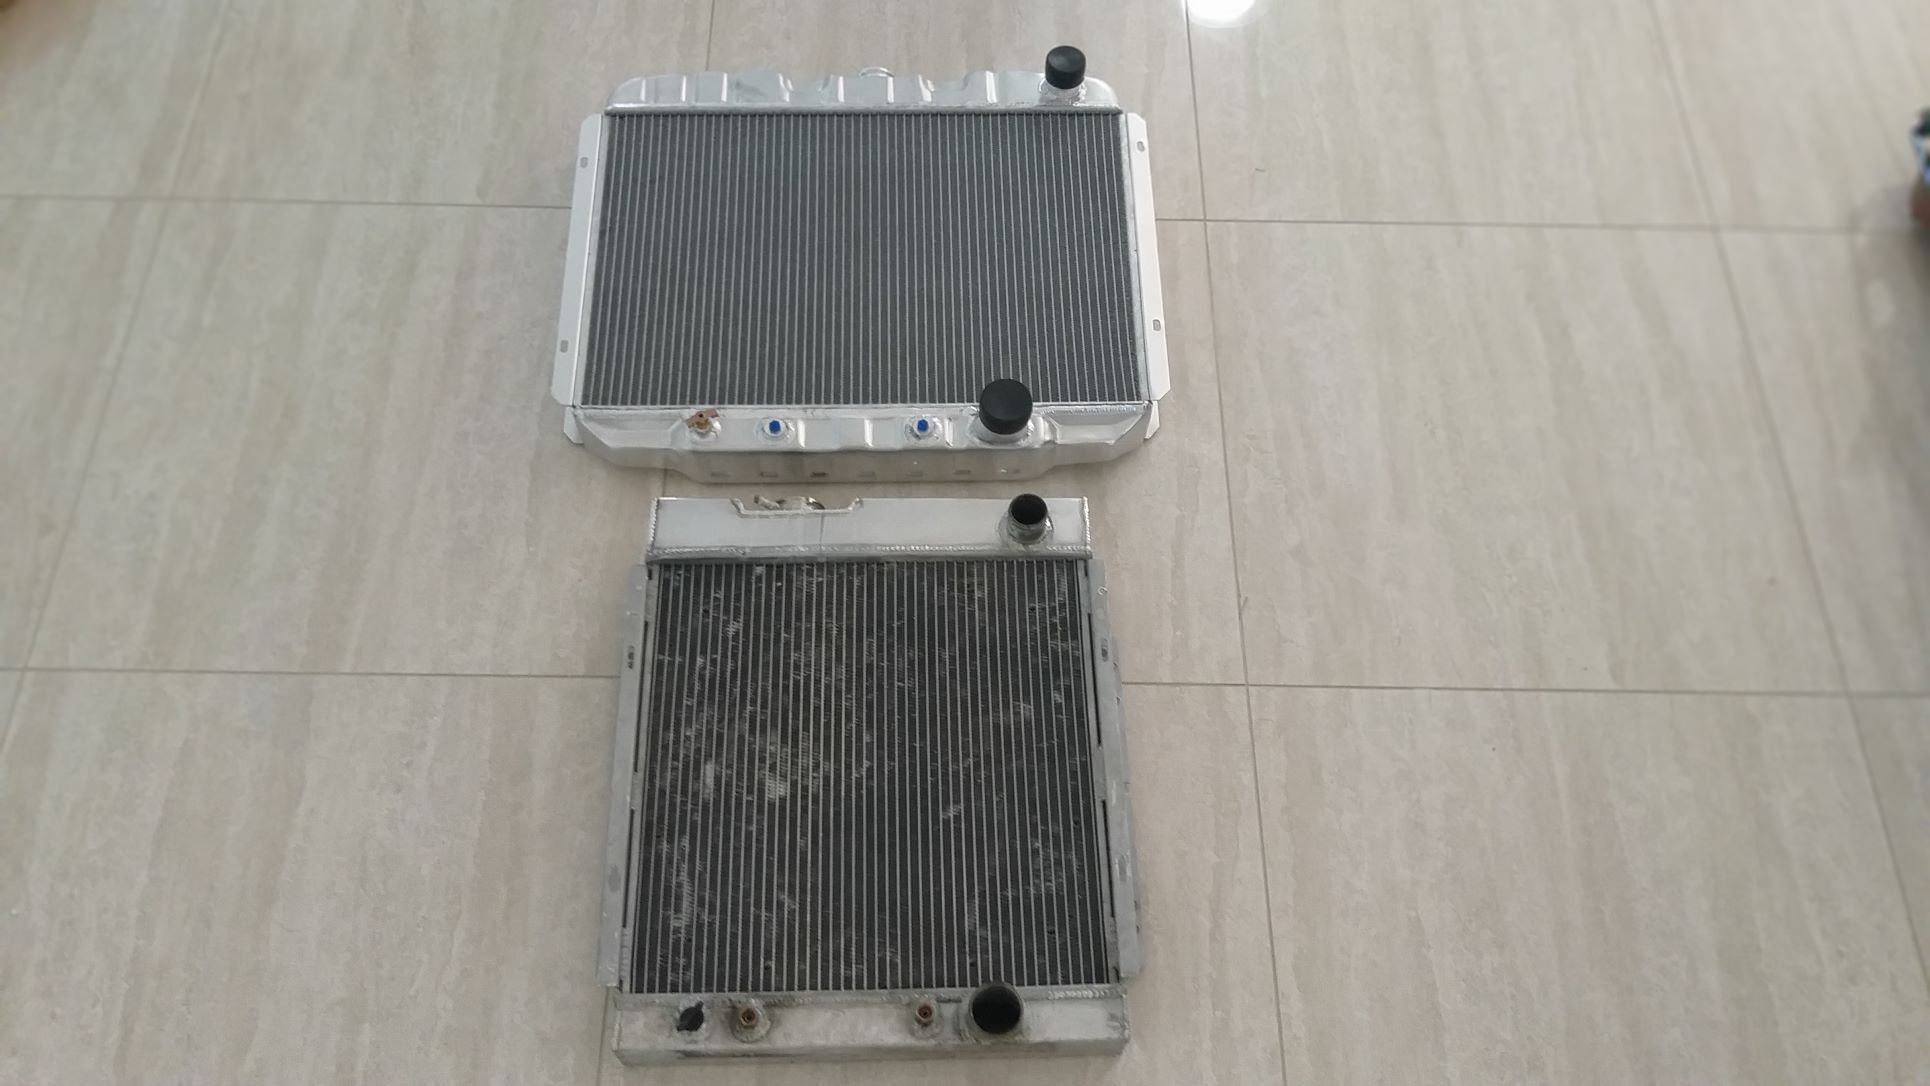
Cooling Issue - Chapter 9 A while back as part of my cooling diagnostic exercise I flushed the system, but I figured it was worth giving things another good flush before installing the new radiator. Managed to do three flushes over the past two days and I reckon I've got things as clear as I am going to get them. So, this morning I cracked into the radiator upgrade. First step was to strip the front of the car which I managed to achieve before morning smoko. With the old radiator out of the car I was able to put the new and old next to each other for a quick comparison. My plan is to test fit the new radiator to make sure that my tranny cooling lines and new radiator hoses all line up and once I'm totally happy with the fitment, I'll then pull the rad out to butcher the bigger opening. More to follow later in the day.
1 point
-
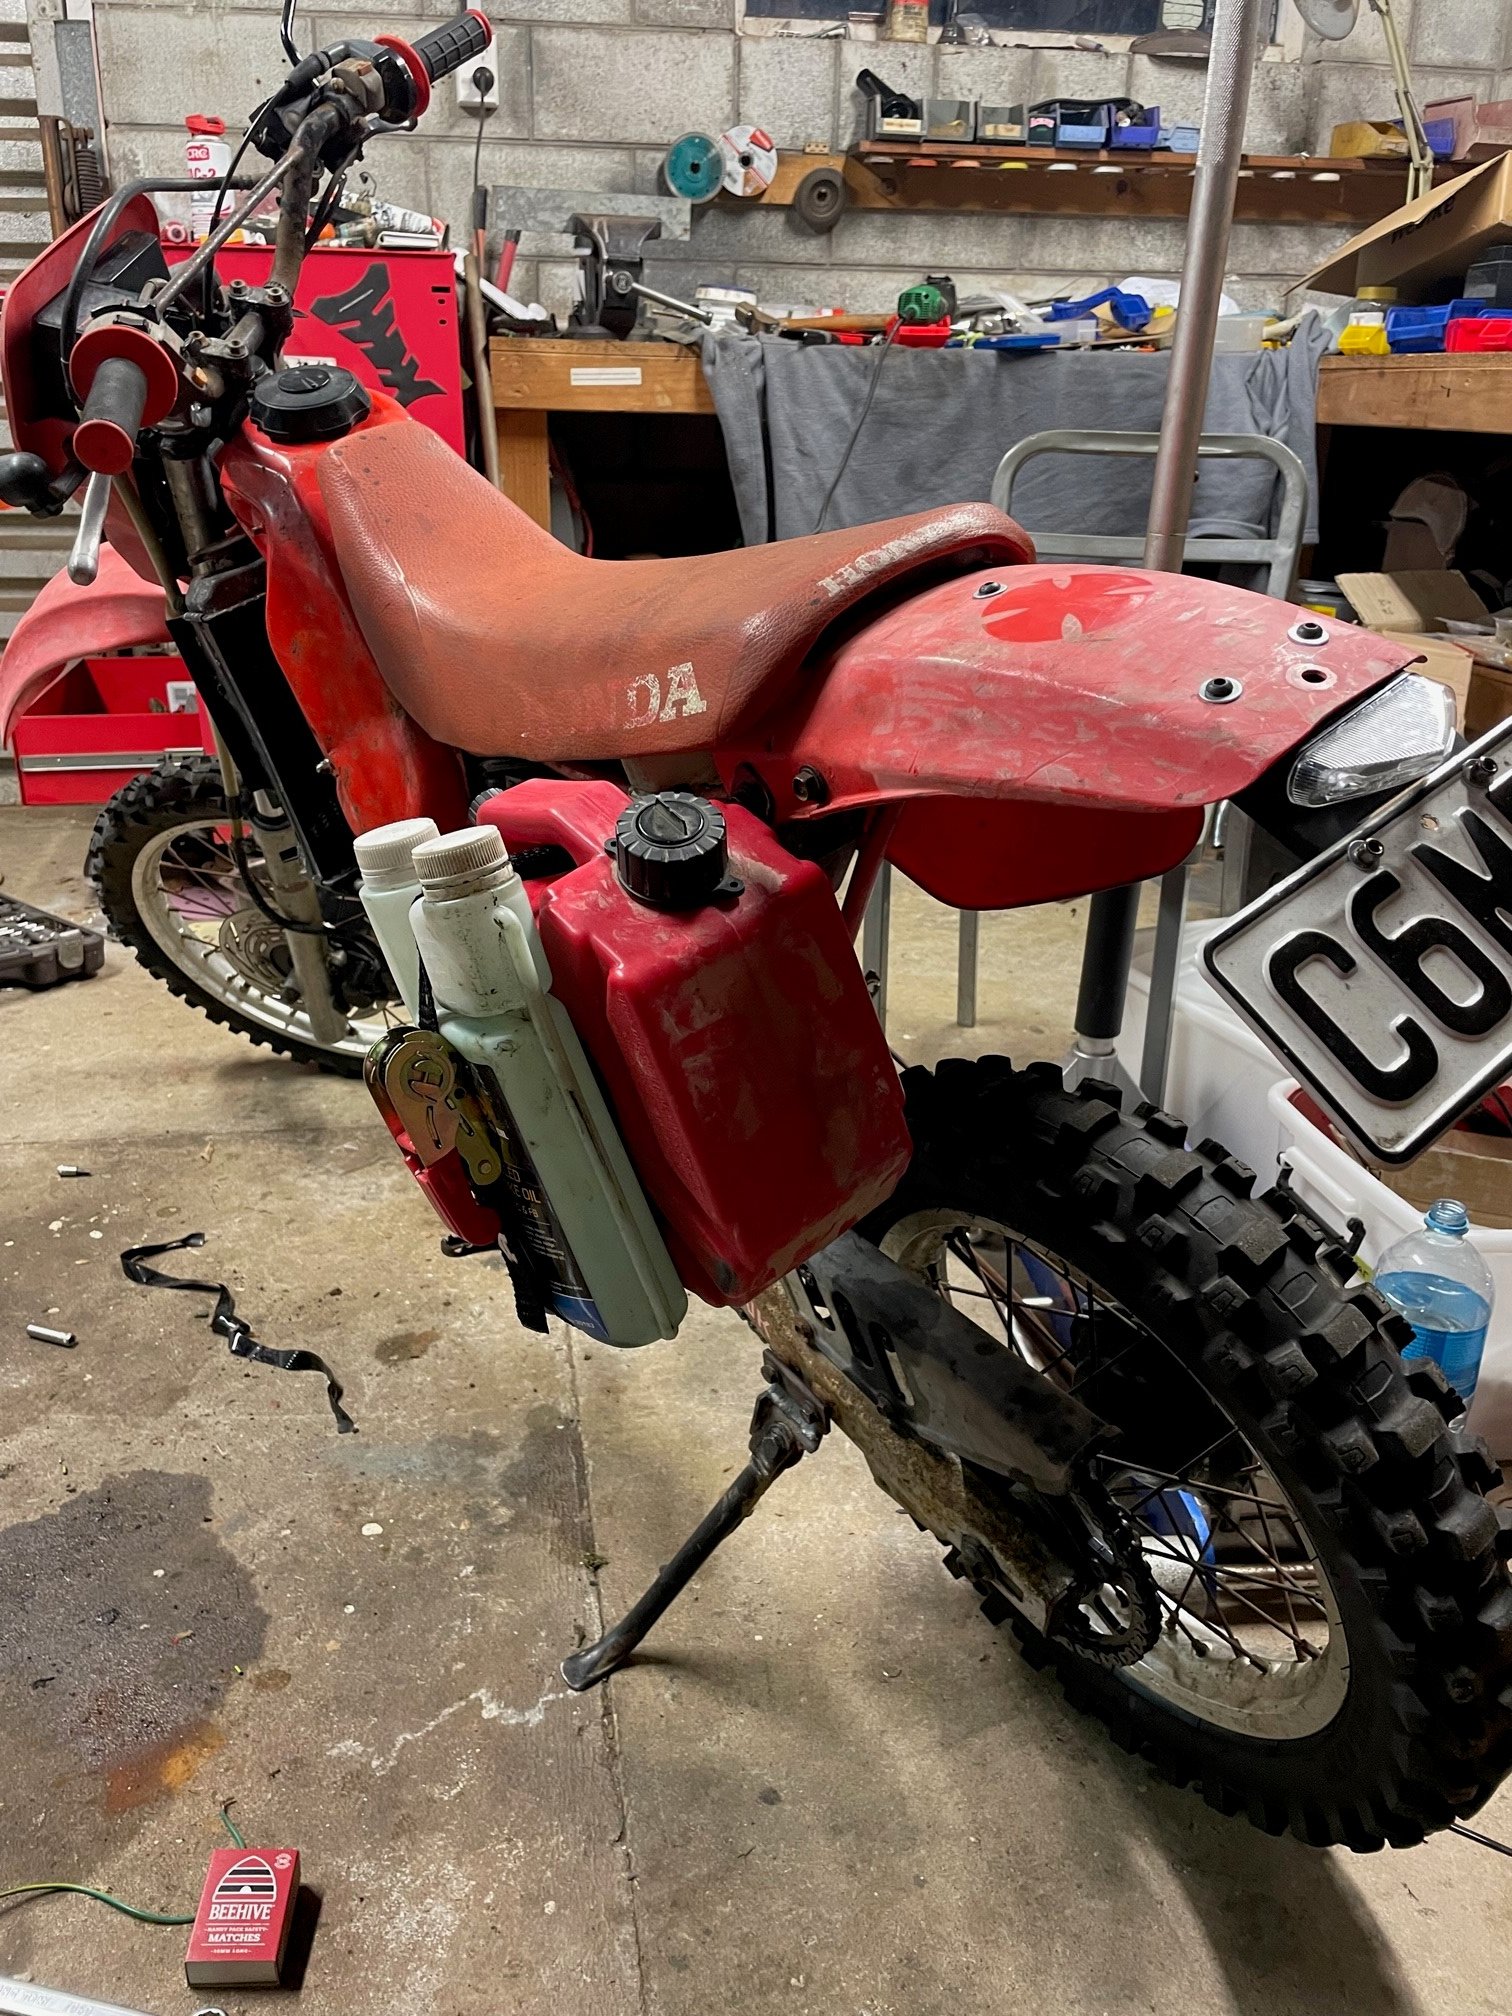
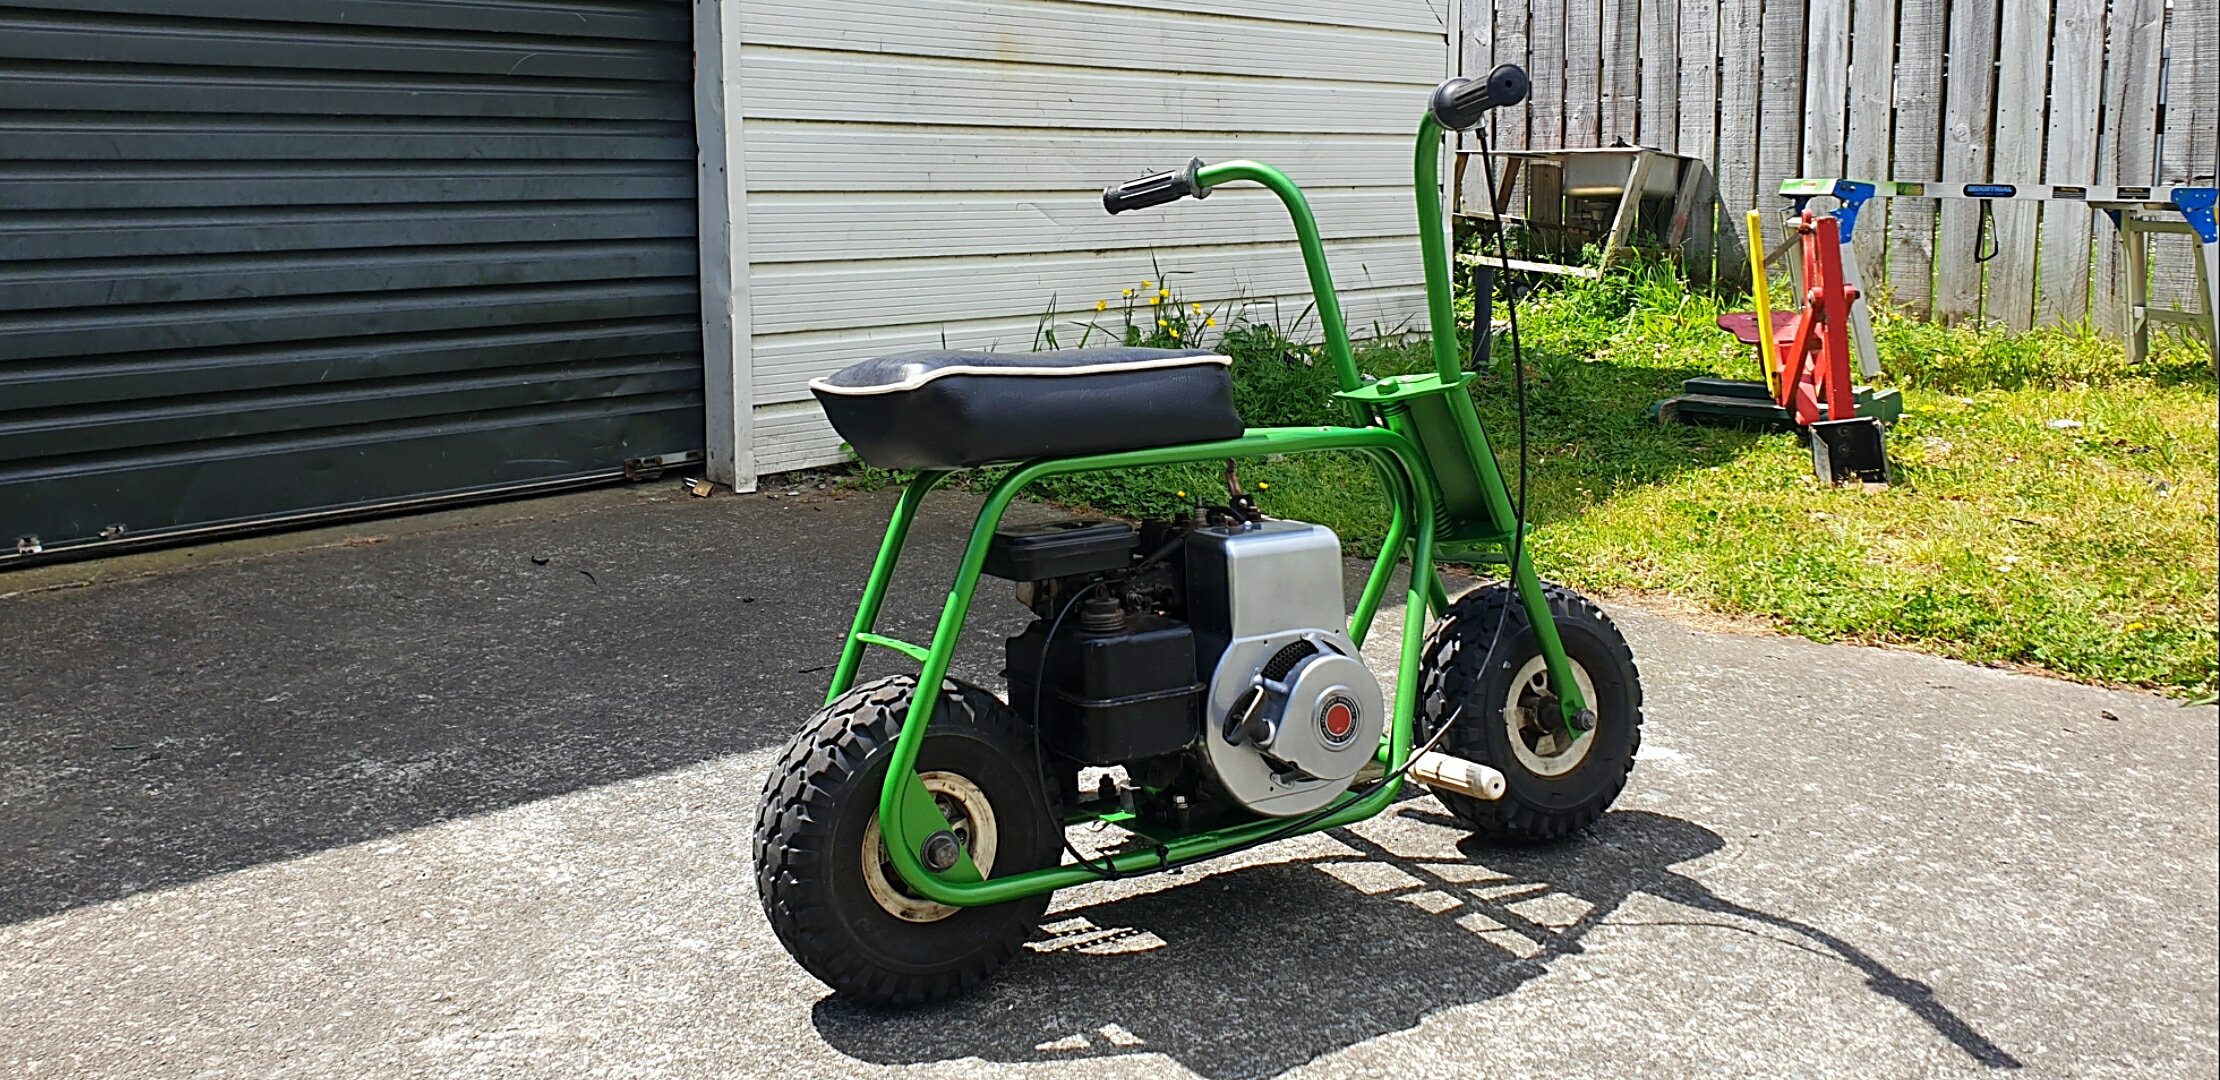
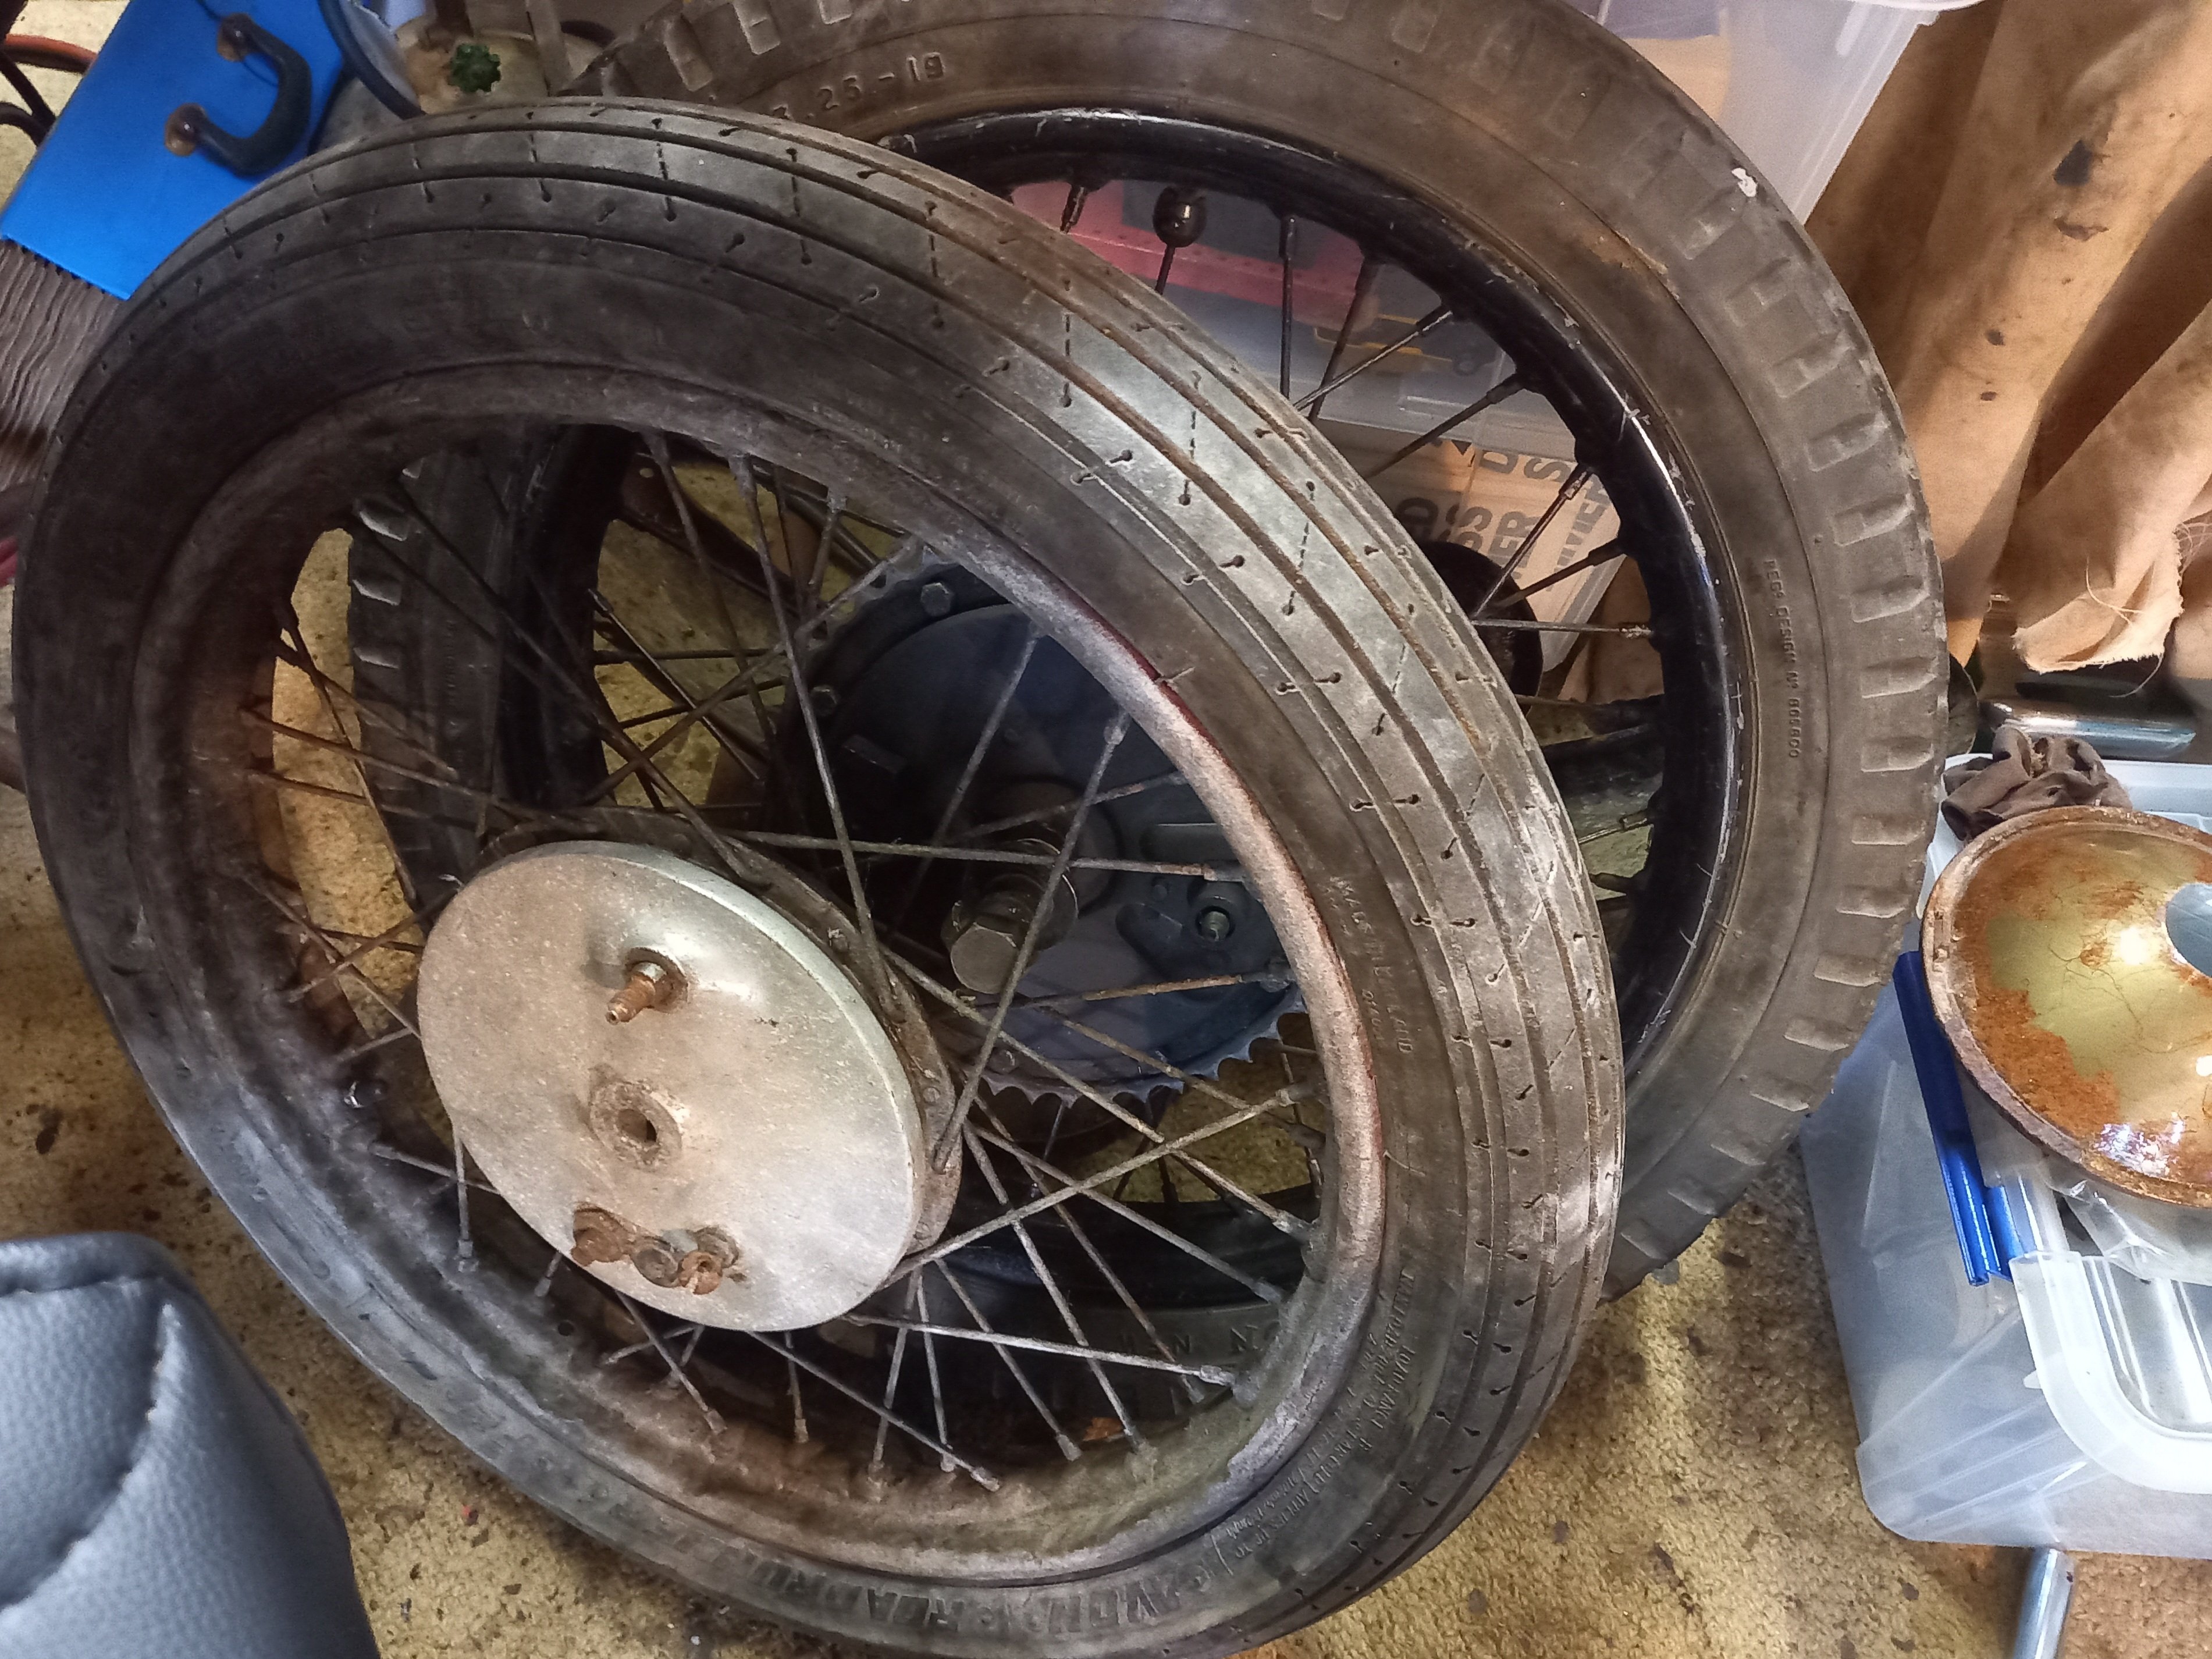
Got some old tires from a friend's place, fitted new rim tapes and tubes, this will get it on its wheels to finish the mudgaurd stays, I will get new tires at another stage, front tire is a race tire so will probably be extra dodgy.
1 point
-
Still quite glass gearboxes if abused, little bro had a mate in the early 00s who could change one out in less than 30 mins with practice....1 point
-
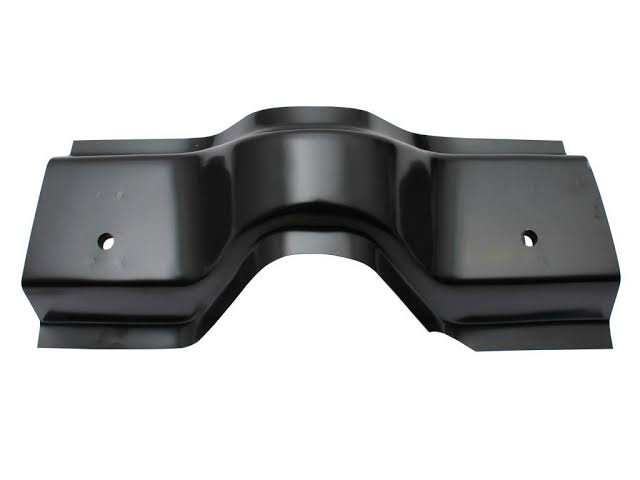
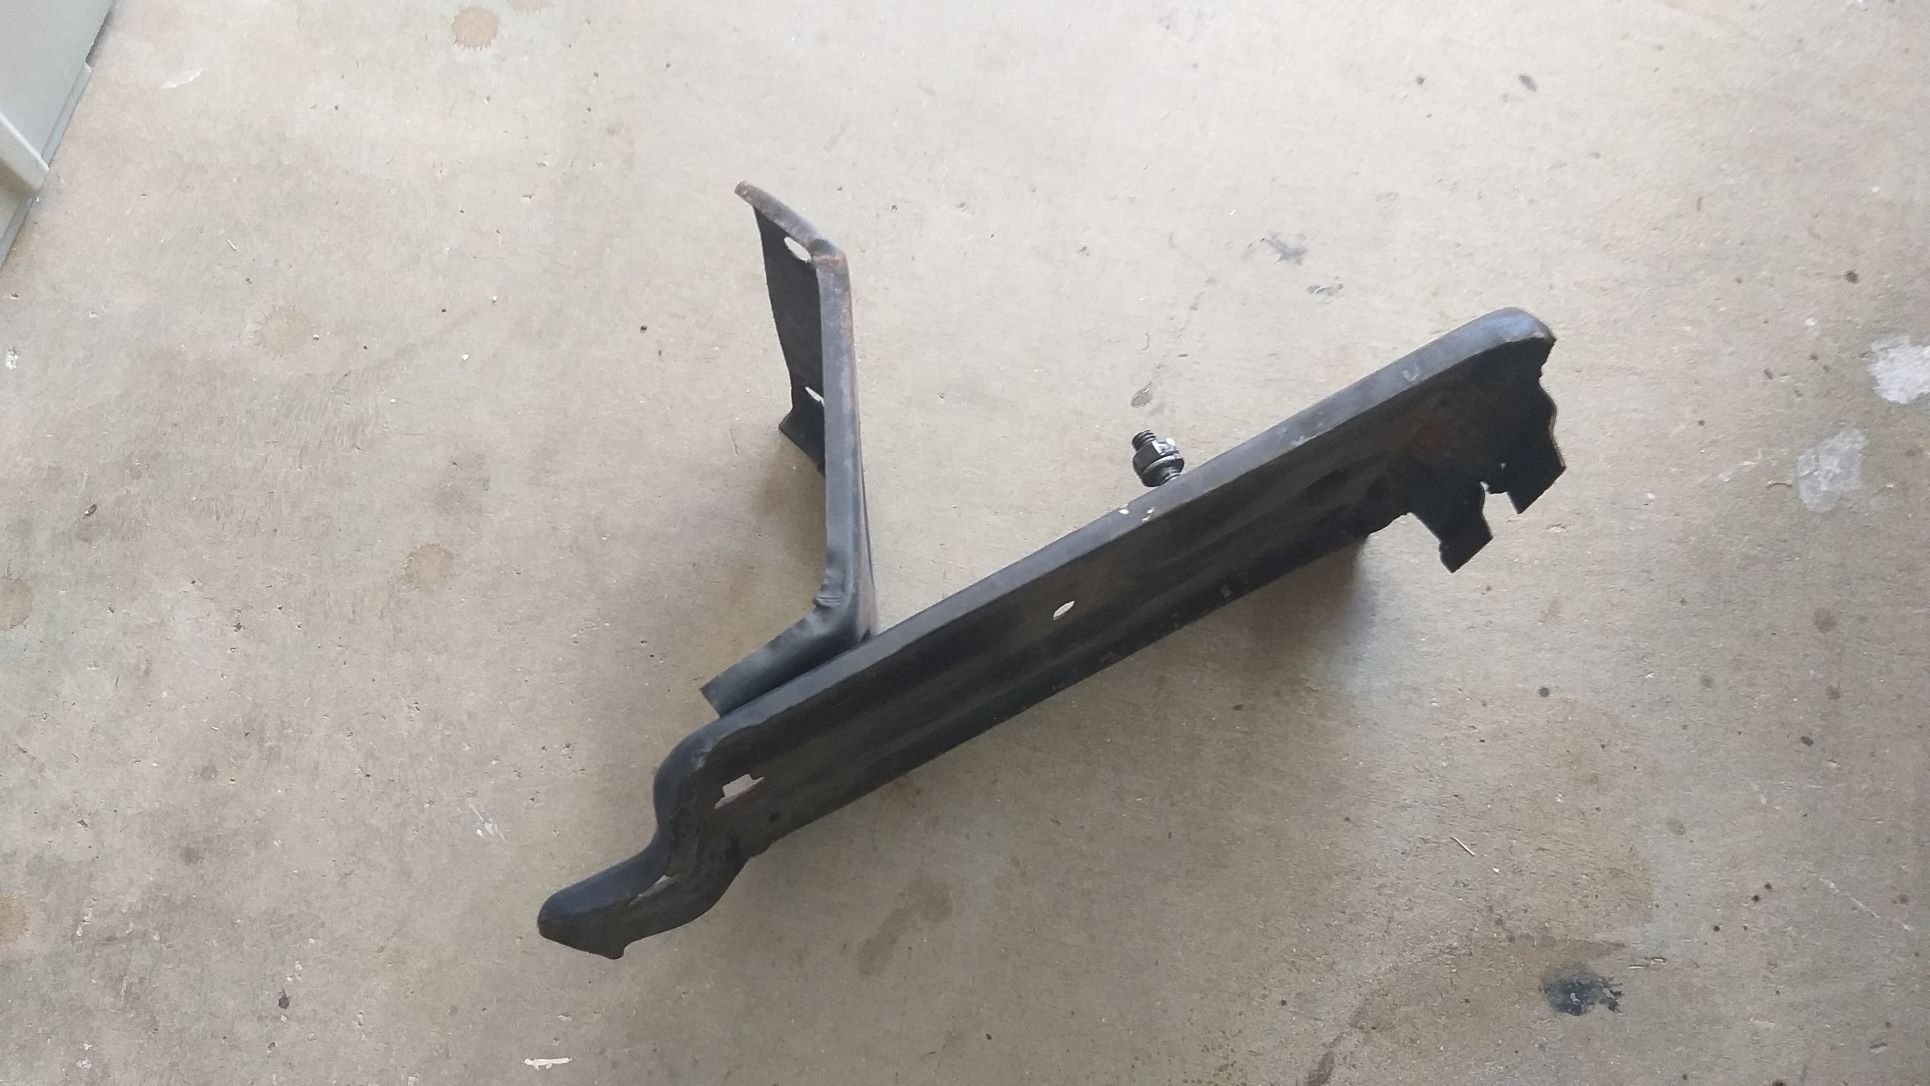
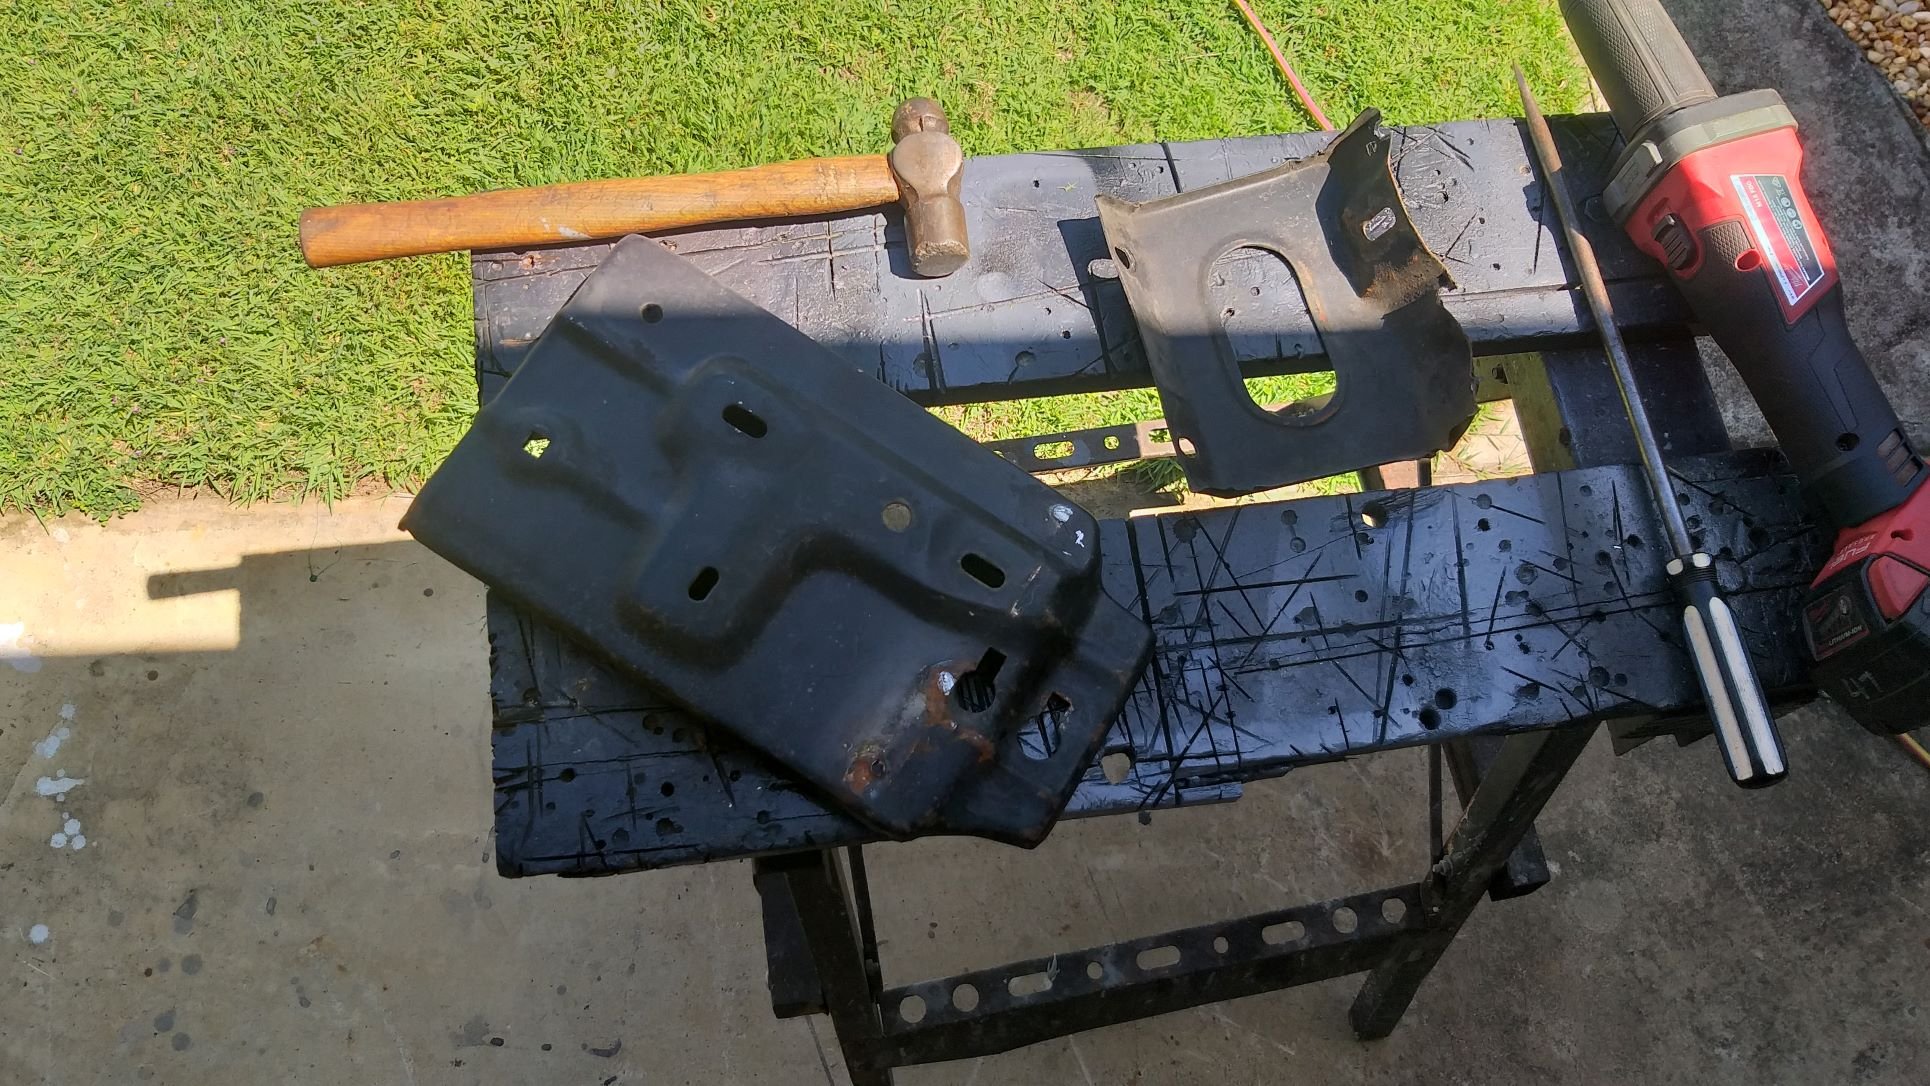
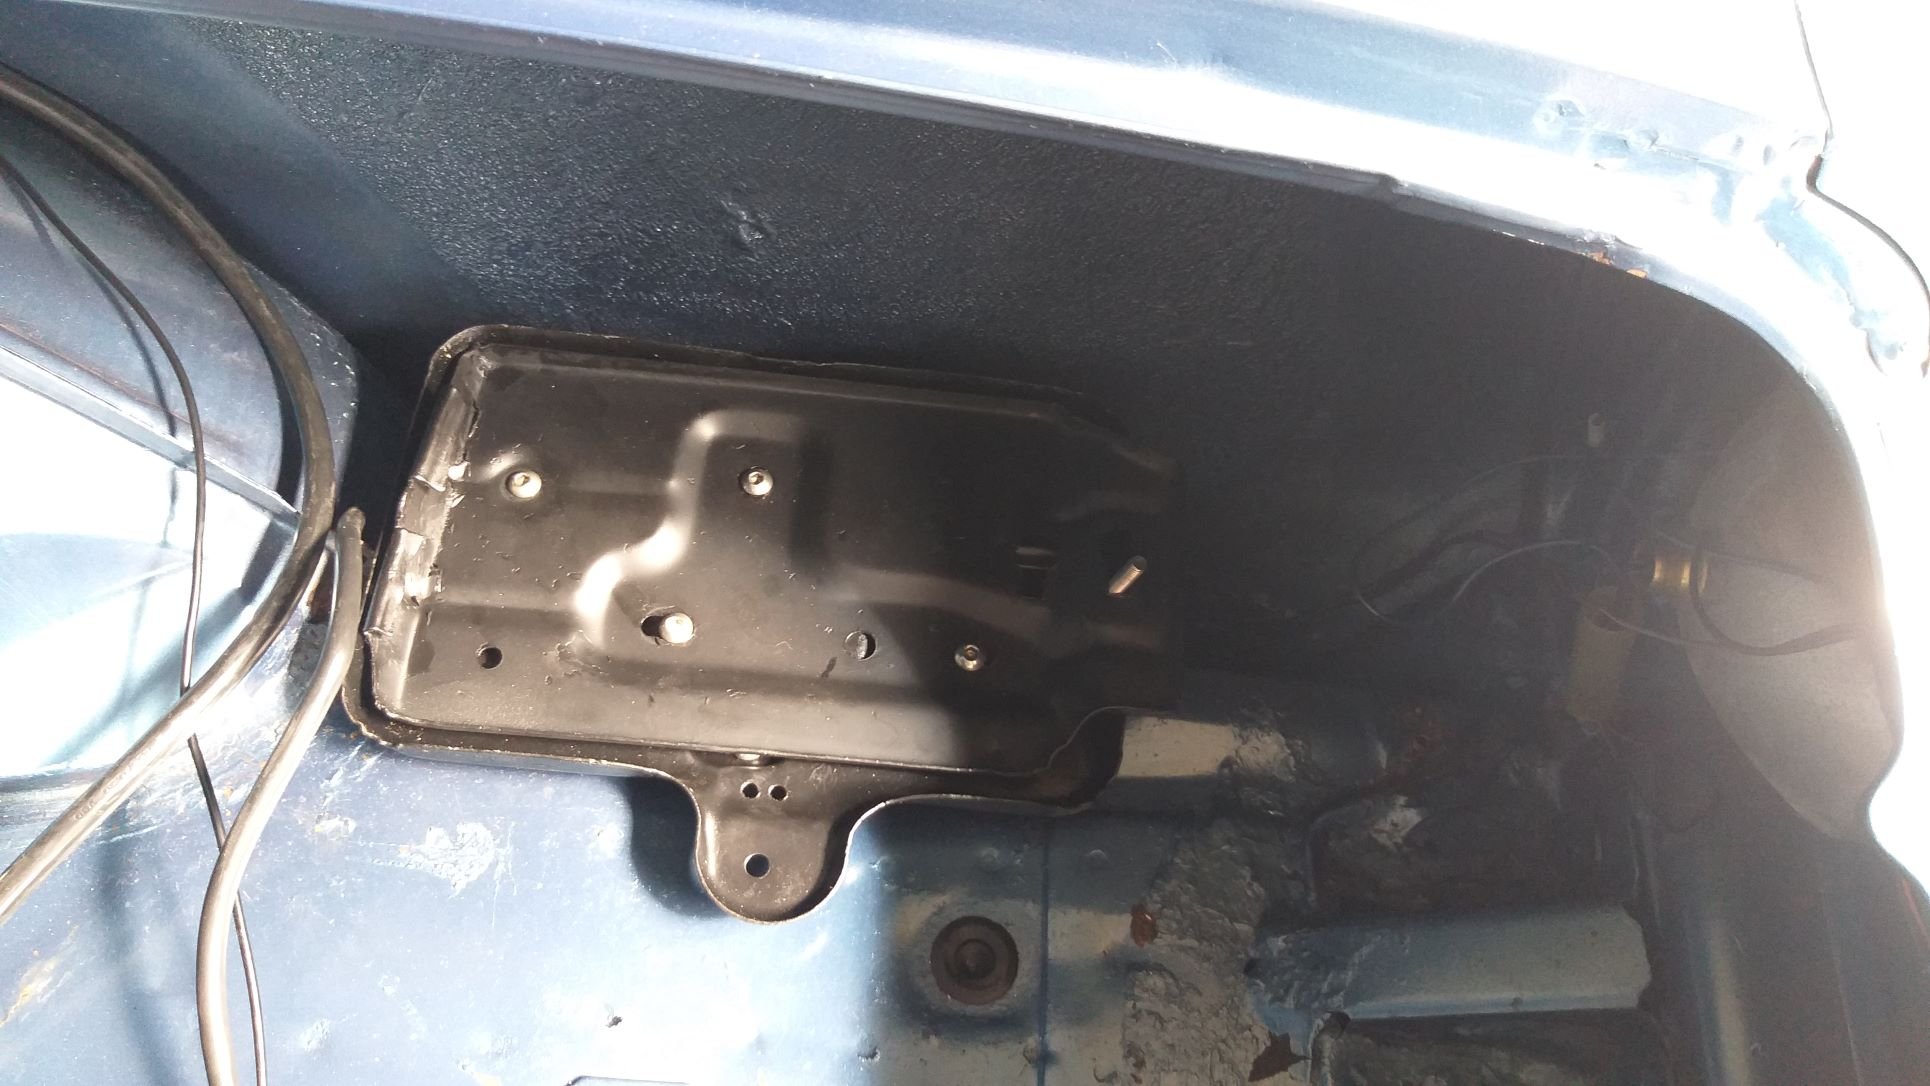
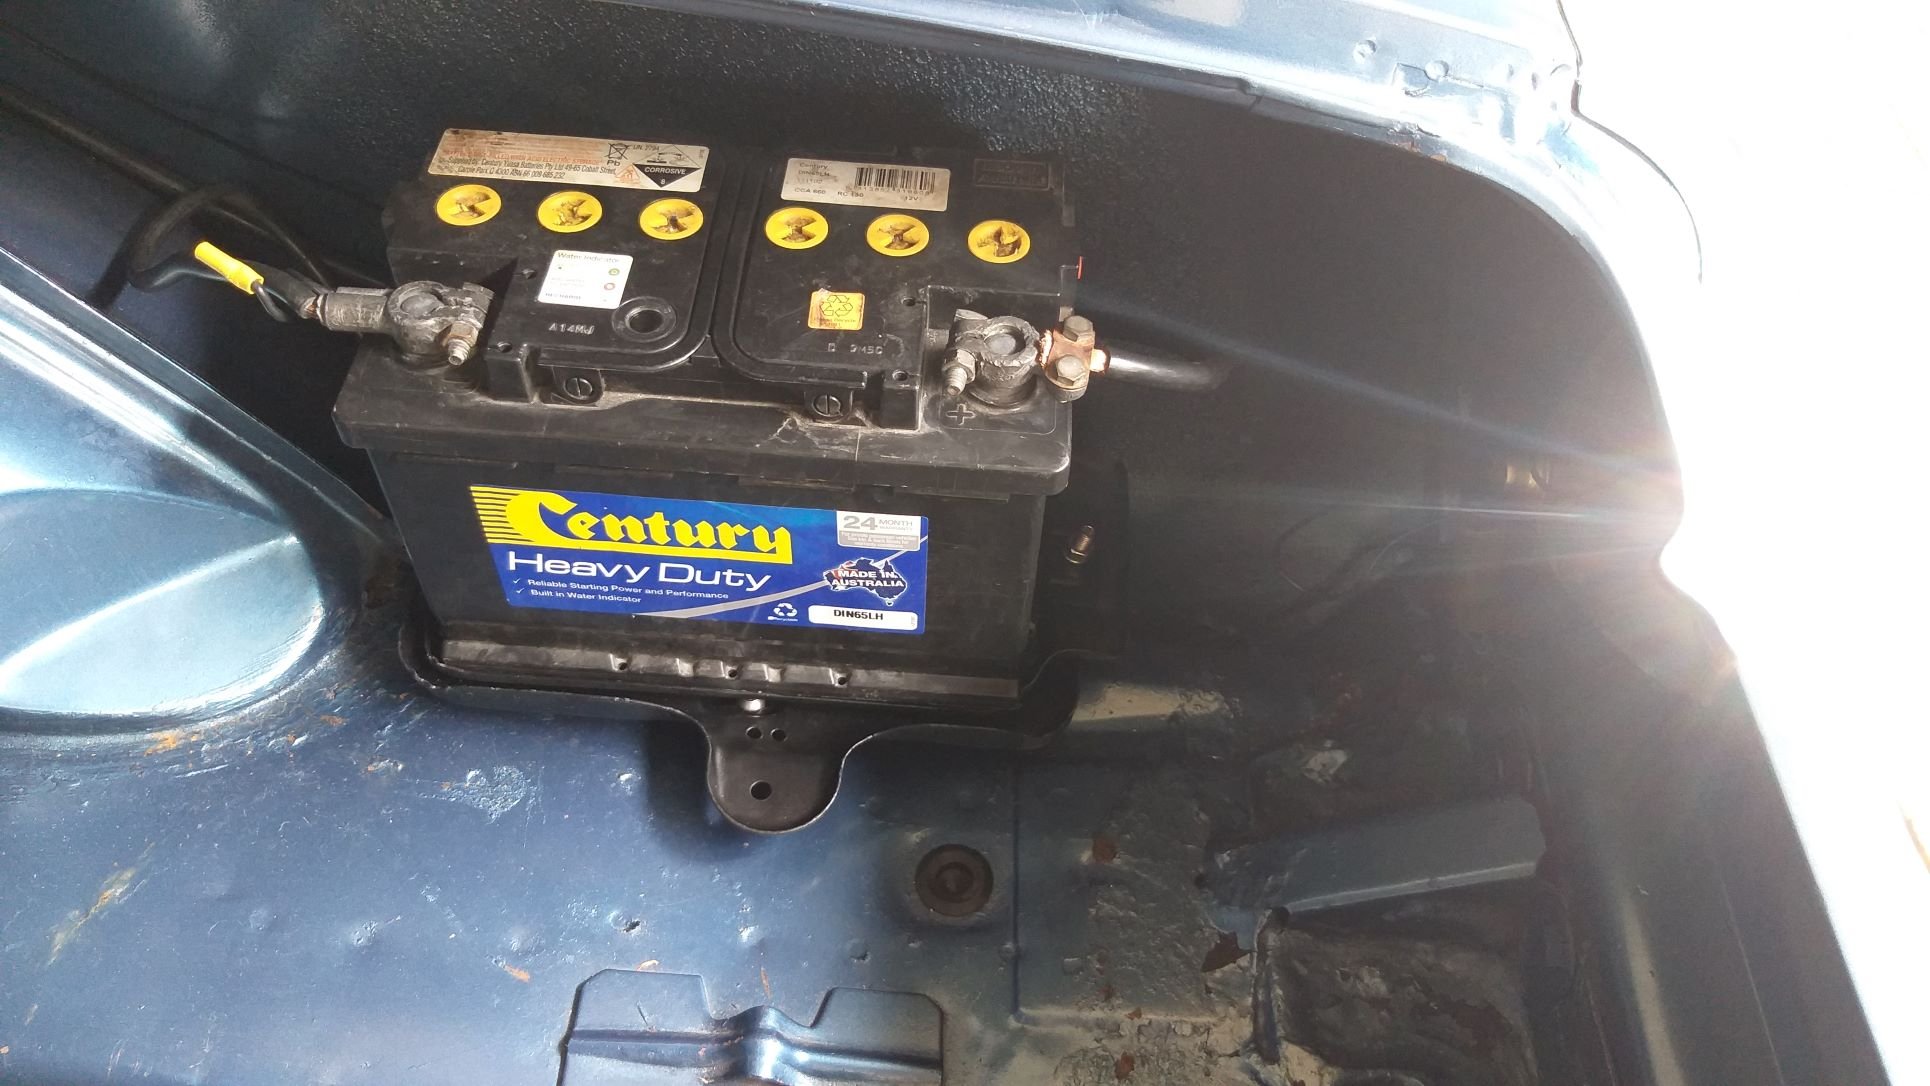
Battery relocation - Chapter 4 Next step was to pull out the original engine bay battery shelf to create the additional space needed for my bigger radiator. The whole thing is held in with 4 bolts and came out easy enough. What I really like about the Mustang tray is that it holds the battery down with a little foot clamp rather than the Mitsi tray which uses the old hooked threaded rods and a cross bar over the top of the battery. Checked the dimensions on the Muzzy tray and its just slightly smaller than the Mitsi tray, so I figured why don't I see if I can modify the Muzzy tray to bolt inside the Mitsi tray. That way I get a nice double thickness tray to help support the battery over the void and at the same time I get to keep the neater foot clamp style battery mount which looks way neat. Luckily the angle bracket on the Mustang tray is only held on with 3 tack welds, so those were easy enough to break. Cleaned the Muzzy tray up, poked a few more holes, slapped on some paint and the battery relocation is now done and dusted. Very happy with the result.
1 point
-
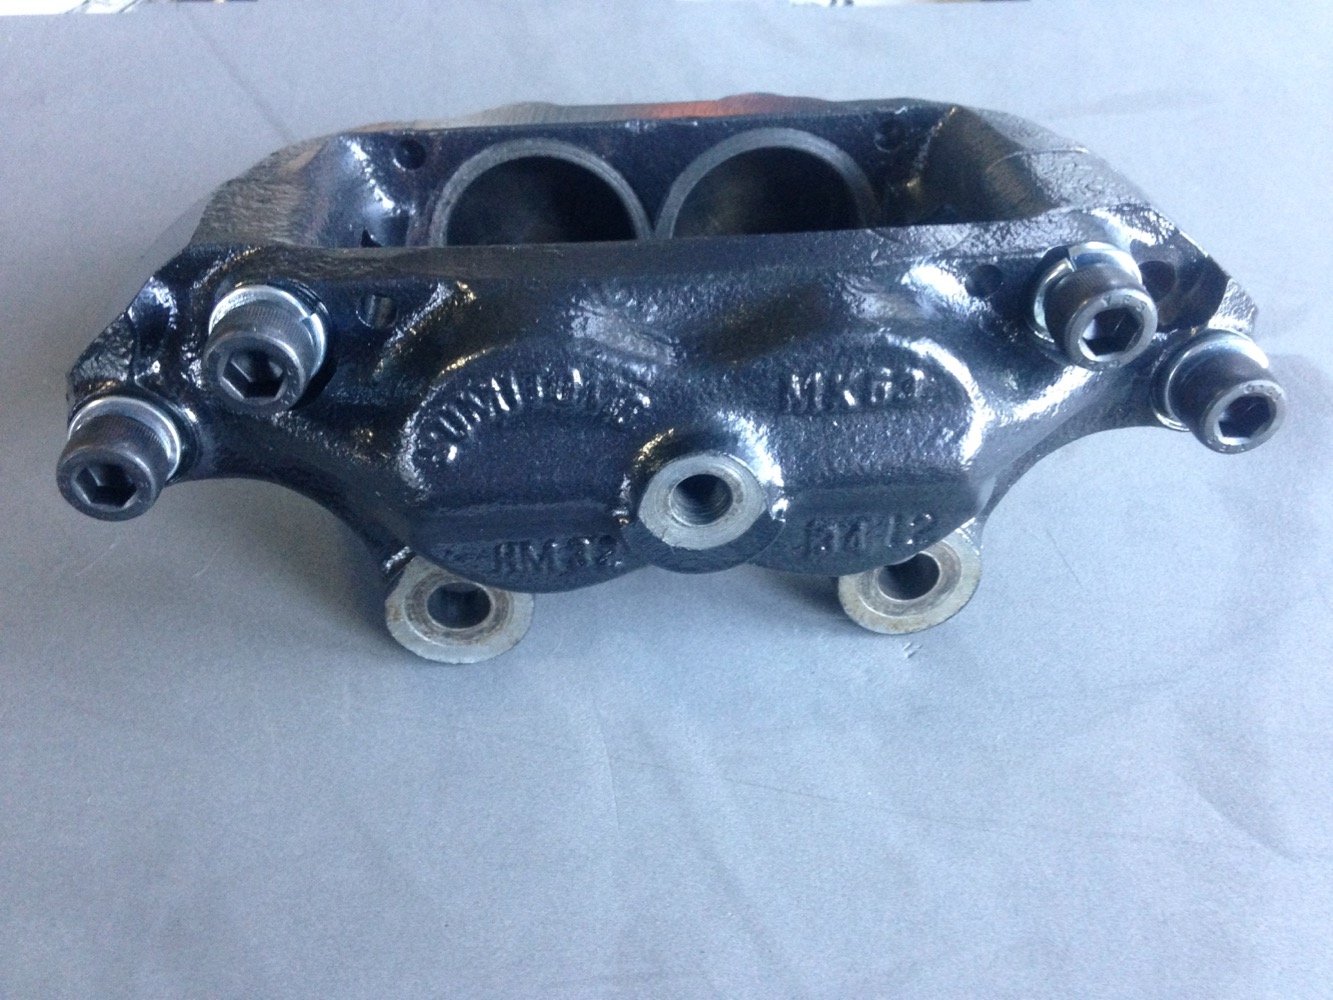
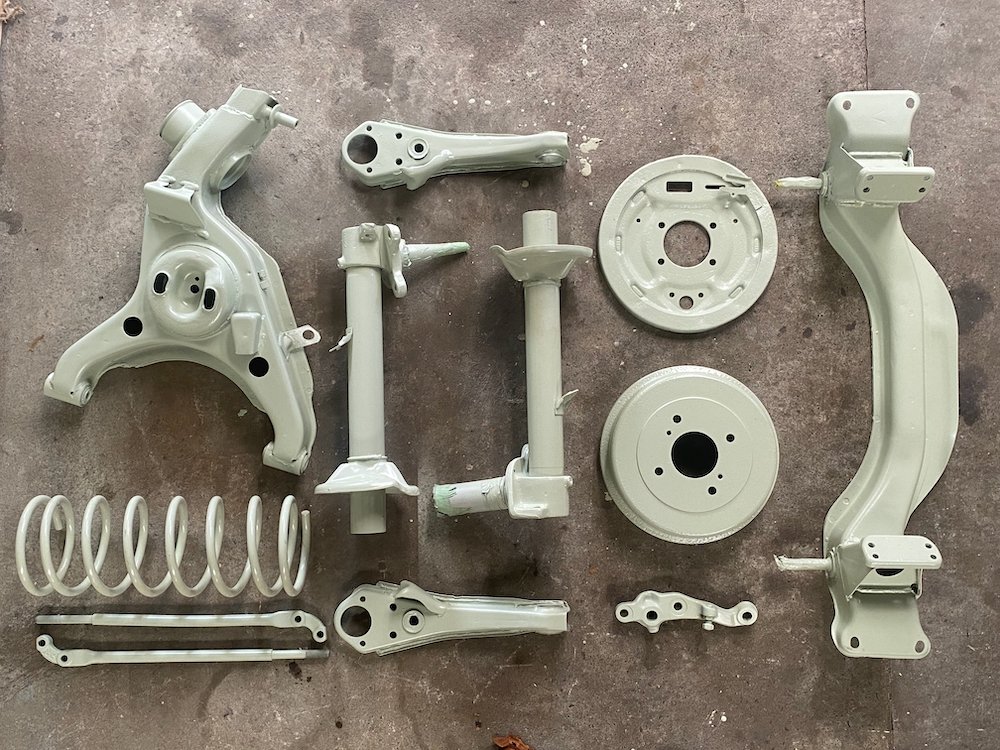
Coming up to the two year mark, thats two of seven checked off..... The last 6 months i've been hating my job, many small issues just killed my desire to go to the office 5 days a week not to mention overall happiness on weekends when I should be relaxing, taking a pretty big leap I handed in my resignation and looked for new adventure. In that regard I kind of lucked out, the new job has pretty much every tool a resto needs, most of which I can access after hours no worries, taking full advantage i've spent the last month dragging suspension bits through the blasting cabinet and spray booth slowly getting through the pile. Three weeks worth, slow but momentum. And this week's trolley brings up the balance of large bits. As for the shell, it hasn't escaped my motivation either, in the weeks between jobs I knocked off the underbody rust and stripped the remainder down to bare metal, I had planned to do more, but the spring winds and rain had better ideas. Then the last few weekends have gifted warm weather with unheard of low winds so two coats of epoxy and a pretty heavy layer of underbody have been applied, can't stress enough how incredibly happy for the rotisserie at this stage, what a mess! No real finished pics, but here is one halfway: I have picked up some paint for the suspension bits, current plan is to roll black underbody, charcoal suspension bits so its not all black underneath. (works in my head......) Colour is the same as used on the MK64 calipers I restored some years ago, a dark metallic grey Will it be ready to roll this summer? tbh i'm too scared to check the timeline, but will soldier on with that plan in mind.
1 point
-
So she has new school shoes on and the wof is booked in for Friday next week. Everything works so I won't even be looking at it in the meantime. Still waiting for my air filter to turn up so when that does I'll fit it right away. One drama was that when in full droop, the gearbox leaked at the input shaft. Made a mess but something for me to note.
1 point
-
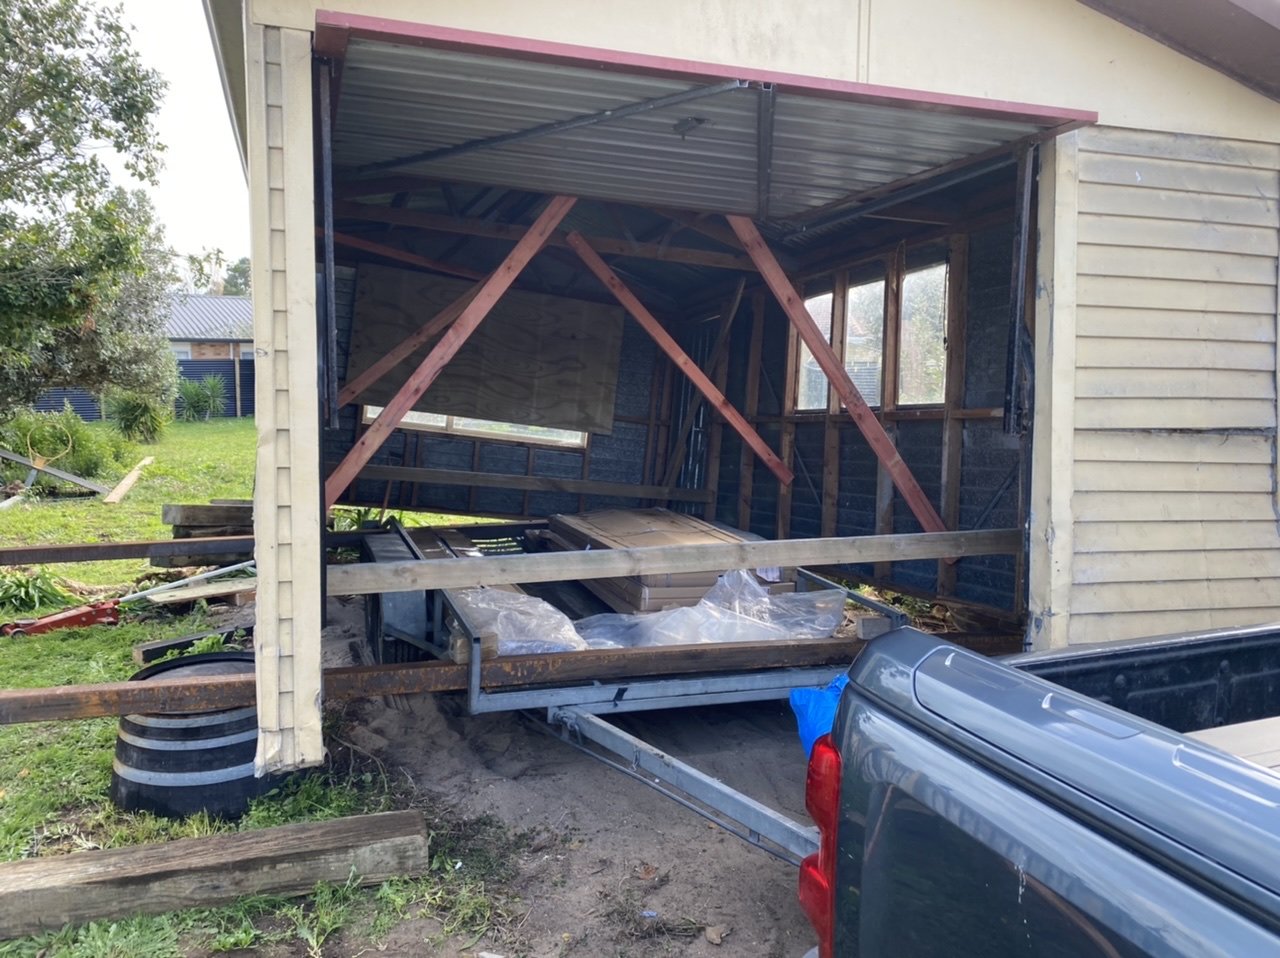
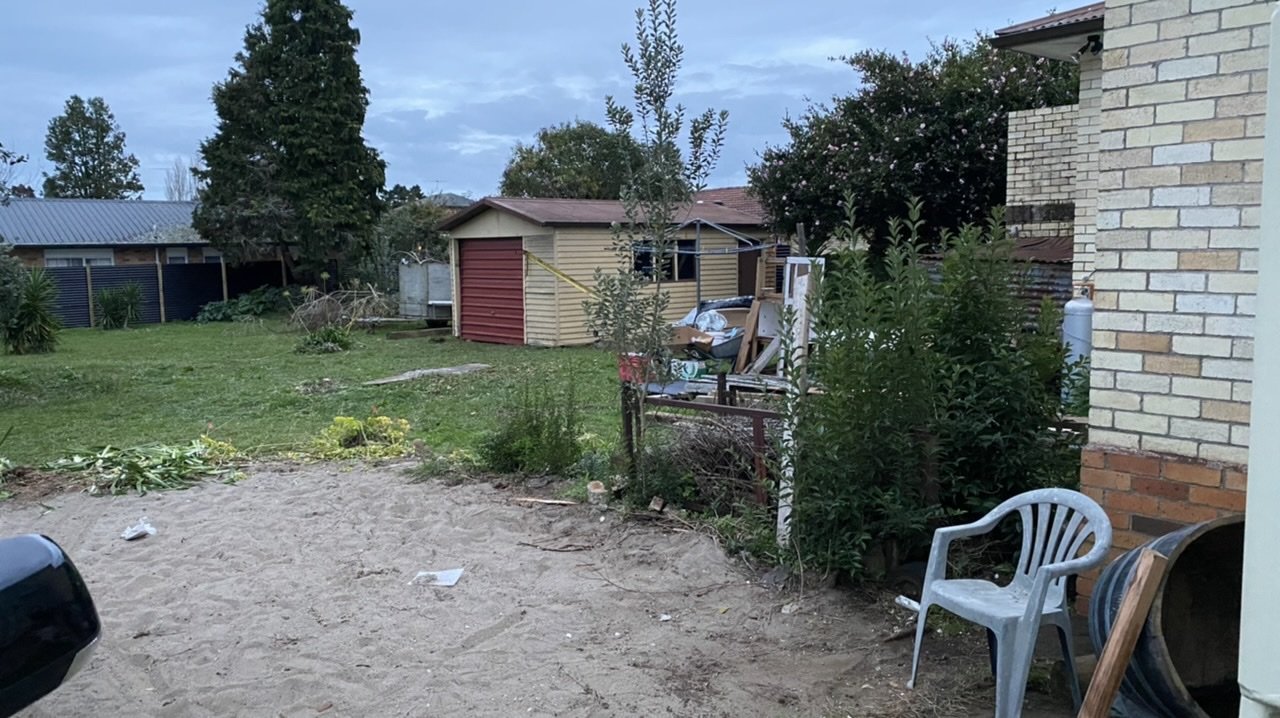
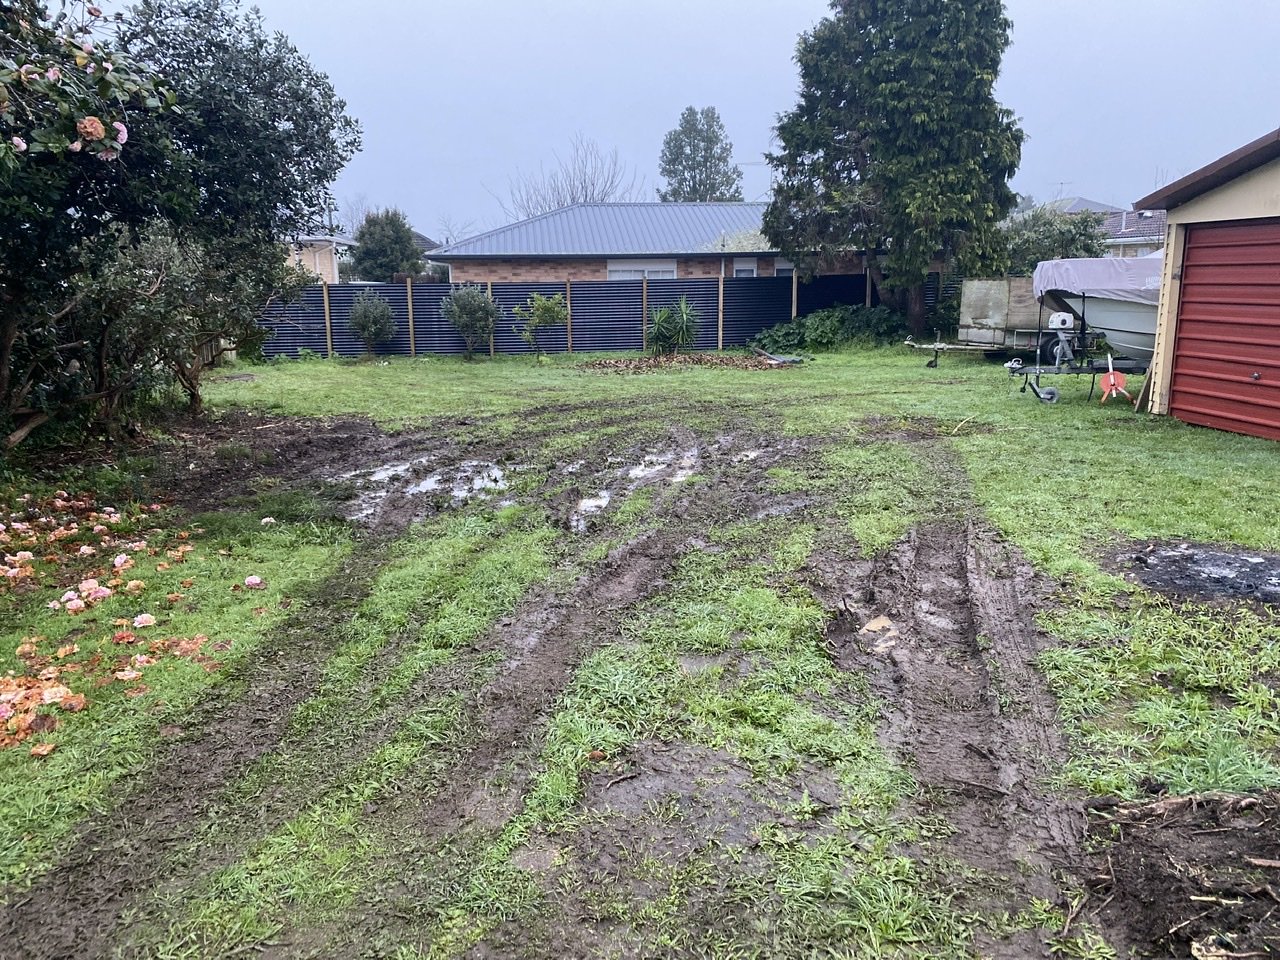
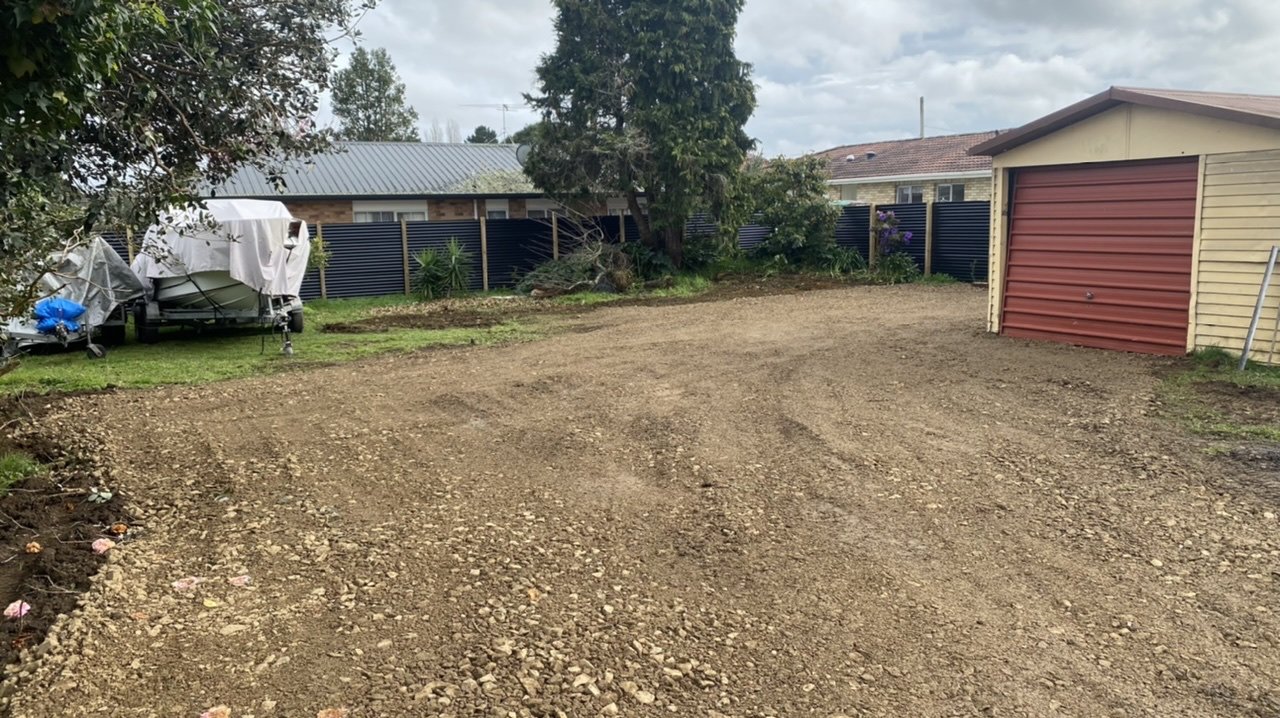
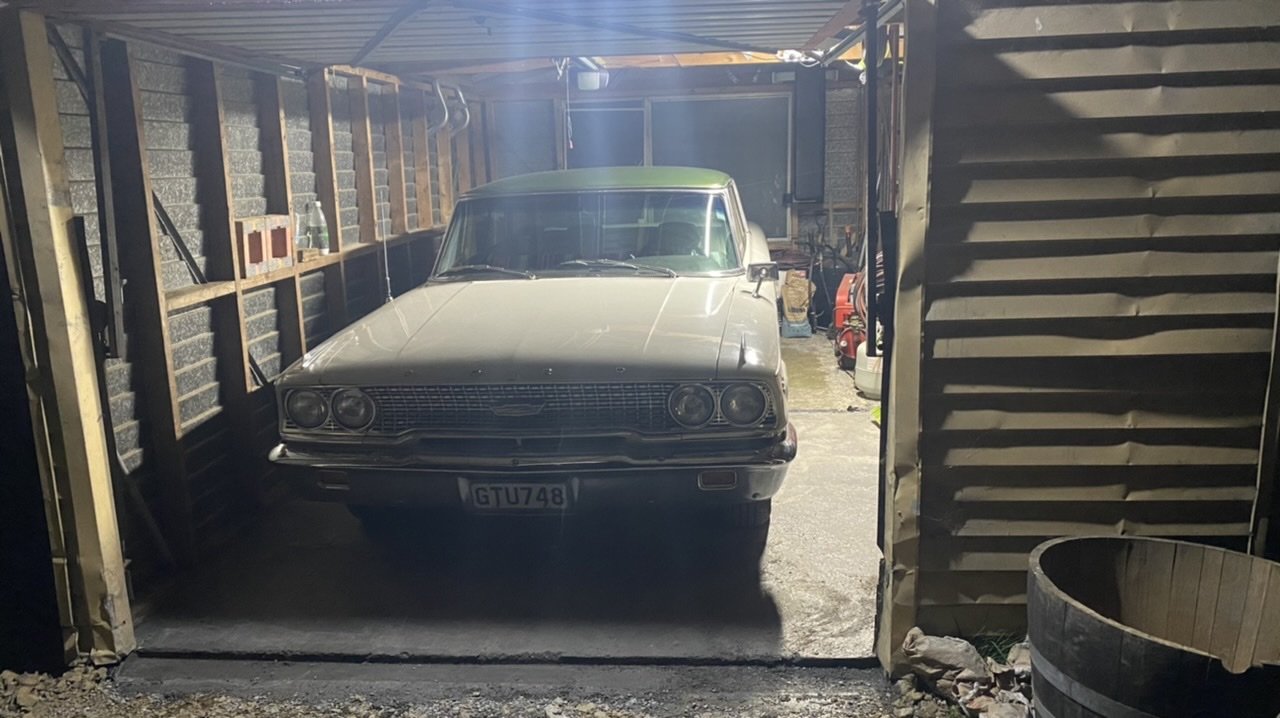
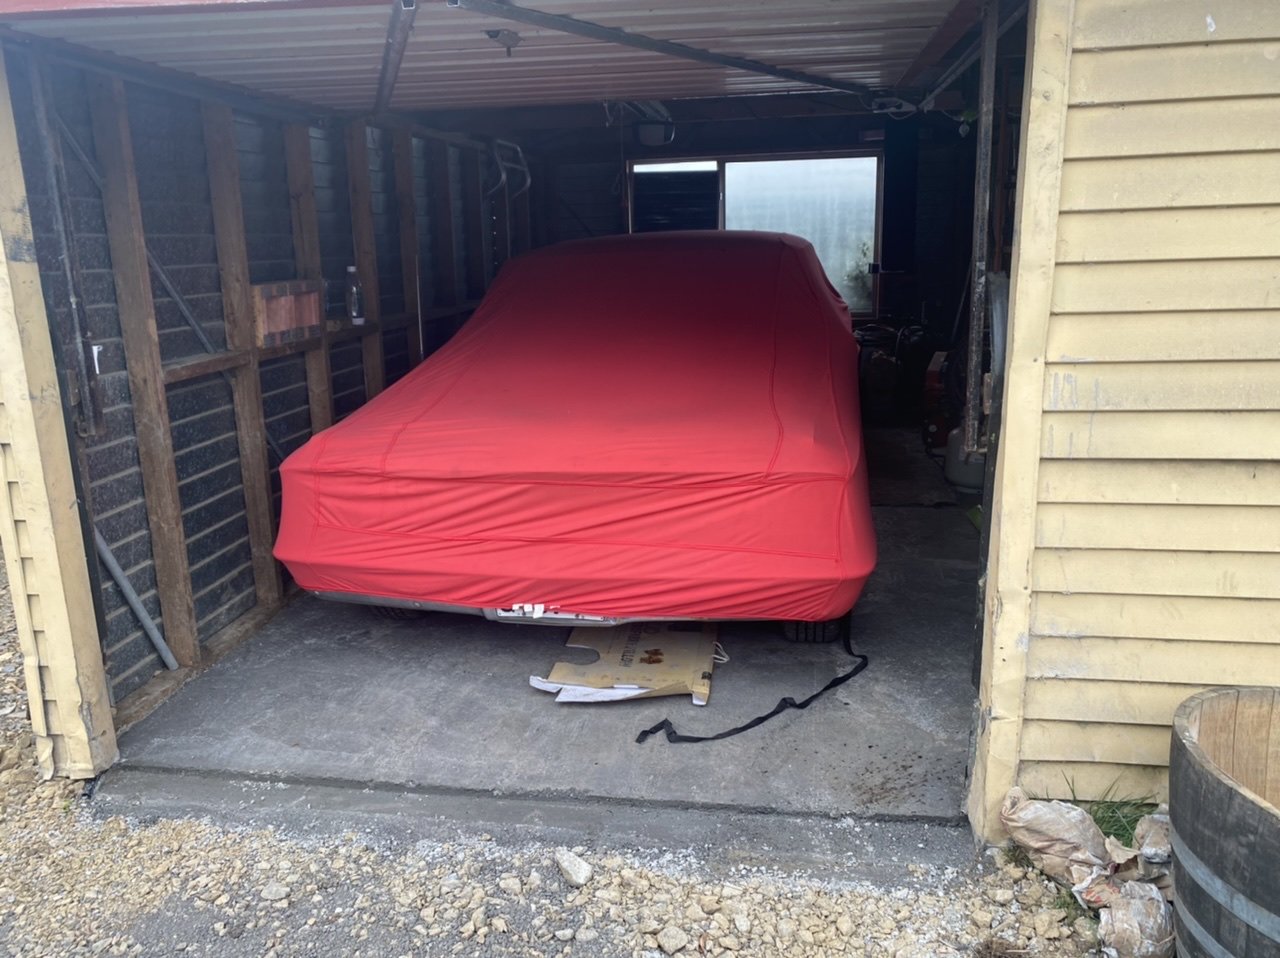
Not much happening, but a scenery change for the car.. been sitting up at the parents since my breakup early last year, been a year since I moved into my rental and finally have a garage secure and dry enough for it to park. Firstly it involved moving the existing garage around the back as it’s current position didn’t allow good access for all my other stuff I needed to move from the parents place.. the old man and I braced and jacked it up to put on the car trailer and back it into its new spot.. Next required some GAP65 to be laid to reduce the mess. I love my grass, but I love my toys more Then some rough and ready concrete laid I’m sure the old girl was not happy going from relative space and luxury of my parents garage.. to this.. so much so, she decided to shit the bed and start leaking out of the PS pump.. So that’s my first fix now she’s back home (wasn’t supposed to be).. PG Hydraulics have already rebuilt the control valve and PS ram so they might as well do this for me as well.. then I’ll get the leaking manifold sorted before taking it in for a WOF
1 point
-
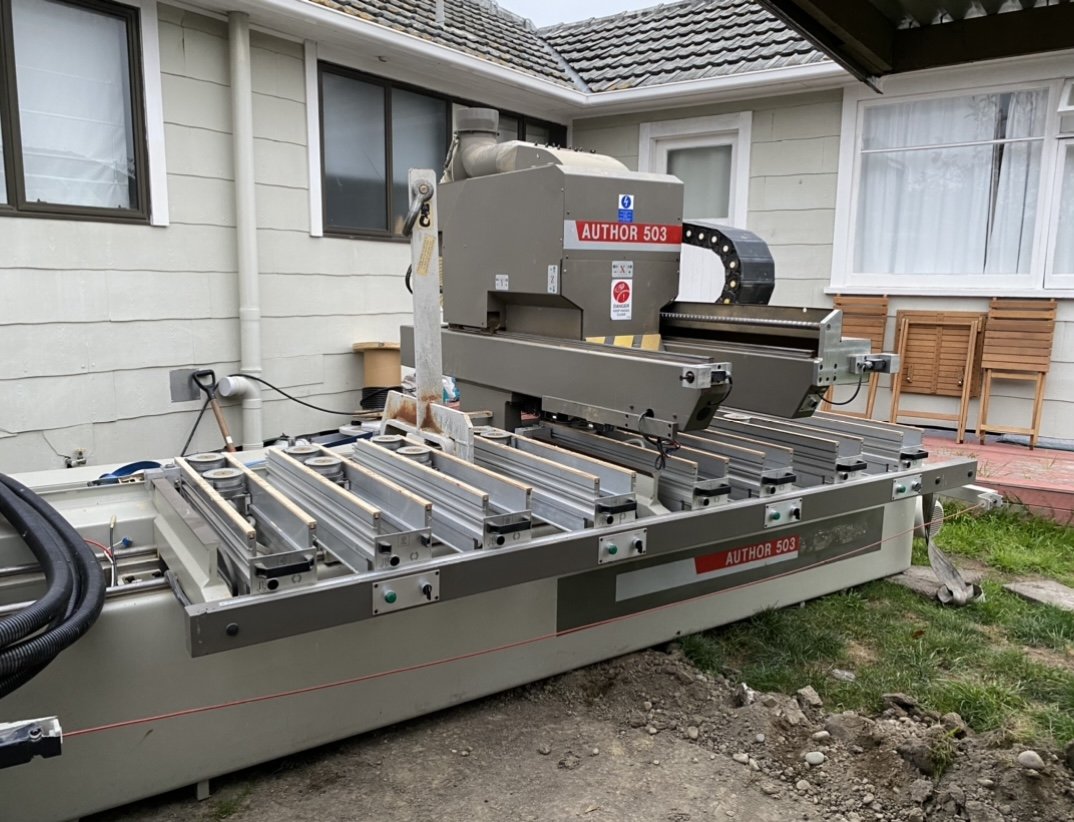
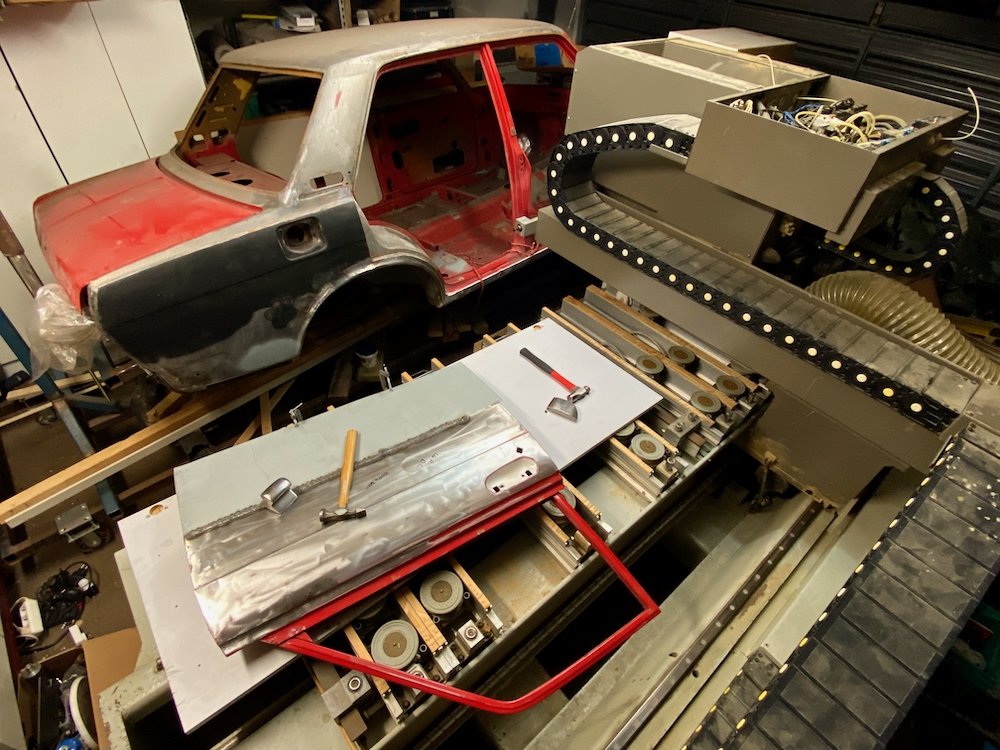
Last few months haven't been so directly productive, I did give the garage a good reshuffle with the aim of allowing greater progress which was then destroyed in typical male impulse buying fashion.. A good mate forwarded the details of a CNC router going for a steal. "This will fit in your shed right?" ........Umm, yeah, I spose.... "Cool, Its yours" ........eh? Crap This has unfortunately been a massive timesink, new power cables to the shed, new distribution board and an even bigger clear out. It definitely will not lead to more distractions, well, not until the sparky manages to pop around and hook everything up! Sorry for the tangent, back to car: After 4 weekends of delayed action, I got started again on the Datsun, on what has to be the biggest, heaviest and inappropriately complicated workbench. I've carefully welded the new piece of skin onto the driver's door and now just carefully smoothing out the ripples, easy does it right? I'd love to say i'll start getting paint on, but with winter coming on, global warming will really need to pull a swifty to get it done. I do have grand plans of getting this to Nationals, will be tight, but no reason why not.
1 point


.thumb.jpeg.e0a4bff61111e0c8c7396950fcc94da1.jpeg)


.thumb.png.b2aee08688778d18bdc7b3e3c1852d9c.png)


This leaderboard is set to Auckland/GMT+12:00