
Leaderboard


Popular Content
Showing content with the highest reputation on 01/08/20 in all areas
-
Here I go, late Saturday night and another installment. Because that's how I party... I thought I'd post up a pic of all the other bits safely tucked away on my beautifully arranged 'Honda Goldwing cylinder head apartment storage facilities. At the right height to peer at when needed (maybe for a mojo boost one day - "oh yeah.. that's what the rest of the engine looked like before I pulled it apart, chopped it up and started a whole can of worms type project from it") Here's a piston storage rack that would make Maclarens factory effort look like something from scrapheap challenge.. Carefully laid out heads- these engines have identical heads, cam carriers, cams etc for each side. Don't mix them up!.. All covered up by a lovely sheet so not to get covered in dust. (It makes it like a secret stash of engine goodness).. Now back to the block/engine casings. I'll call it a block from now on, ignoring the fact its two halves. So I have now got to re-mount the oil pump on the opposite side, higher up and turned 180 degrees from where it was originally mounted. It has to go about here... I also had to work out a new way of getting the oil from this new position to the oil filter and then onwards to the starting point of the main oil gallery. Here's a lovely picture you can ponder over. Best pondered with some strong coffee... The standard oil filter location. This is on what was the front of the engine but is now the back and right where I wanted to put a cross member to hold the engine up. Not to mention a big chunk of that lower half of the casing has disappeared after I chopped it off, right through the original oil filter centre line... So that had to go. I looked over the engine and eventually worked out a spot that would suit a new filter pedestal to be mounted so allowing easy access for filter removal. It also had potential to allow for a Mazda style oil cooler or a take off plate to suit a normal oil cooler. It was going to mount roughly about here... It was going to require a big hefty lump of alloy to start with. But I was on lockdown along with most of NZ. Luckily the local engineering workshop that I go to for many bits of random steel stock was doing 'essential' jobs for some industries still running. The workshop foreman left me a lump of alloy in his letterbox that happened to be on the way home from the supermarket shop. This was a lucky thing! Here's the lump of alloy after a lot of it was turned into many many little tiny shards of alloy... I'll get back to that lump later. Next thing was make some flat areas that I could mount things on and line stuff up with. The block was split in two luckily I was able to clamp it to the bed of the mill. I machined the inside so... I had to do this on both sides in different areas. One side had to be machined to suit a new location for the oil pump. On the other casing i machined out pockets to take machine bits that would locate new oil pump feed and return pipes. I was going to do oil the pipe work in alloy using the same size pipes and o-rings as previously used by Honda for the original setup. But now I'm getting ahead of myself and even forgetting where I'm at in writing this. In fact - many times as I looked over the oil line layout I was scheming I would get a bit confused. I felt like this bloke who had just turned up at this new city for a job interview and discovered his phone was dead, his map was 40 years out of date and he didn't speak the local language... So where was I?... Machining things and making a mess of the floor, trailing alloy swarf everywhere inc into the housetruck. Not making friends with Hannah or the cat. Anyway. That oil filter pedestal/mount? needed a flat pocket to mount to. I machined away the casing so creating such an area... On the other side of that I machined out a matching pocket. It began sort of like this... ..and continued like ... Because it was so fun I took away more alloy... Now I had a nice location for the mount. This would be pulled into the outside pocket with a custom gasket sealing it, via bolts from the inside going through another bit of alloy that would be machined to help locate the pipes in and out. From the outside it would sit like this... I drilled the mount and then set about to tap the M18 thread. But I didn't have a M18 tap. Its lockdown so borrowing one from someone was out of the question. But I did have a few spare old Mazda V6 oil filter mounts so I nicked the threaded pipe from one of them and made a tap... It worked fine (phew! ) .... I then turned out the oil groove to suit the Honda filter. I didn't take a photo of this but you'll see it here as I was drilling the oil ways through... Drilled and tapped some mounting holes... Now I had a lovely oil filter mount... Annoyingly I didn't take any pics of the oil pump mount but I can describe it. The oil pump bolt via three bolts to a alloy plate. This plate is bolted to the inside of the casing via bolts that come from outside through spot faced locations... The oil pump shaft runs backwards towards what will be the flywheel area where it will be driven by a series of two chains off the crank adaptor - sort of like the original. But backwards and on the other side. That you will see soon along with a network of machined pipes and fittings that almost need a subway map to follow. More soon....9 points
-
Got first spring in the other night, but wasn't happy with how it sat so pulled it and rotated it against the anti rotation tab better. Bloody easy job using the old impact driver on the spring compressors... And sitting much better... And torqued up the ball joints, needed a hardened washer to space the split pin correctly in the castellated nut. Also did some research on which way to align the pin, such a Barry-argument minefield. Turns out this way is the one used by the aviation industry (as opposed to bending them round the side of the nut), plus it is easier when there are clearance issues, but really doesn't make too much difference... And driver's side done, and new shock in, also torqued and pinned suspension rod arms etc. This is the easy side as the other one is against the shed wall... Discovered the new tie-rods weren't painted so painted them black like all other suspension bits, will install them tomorrow... And I'm over the cheap fittings that come with supplied gear, spring washers chewed out at only around 25 ft-lbs. replaced them with decent stainless ones... And installed new rotors. I'd packed the bearings 3 yrs ago but that had gone hard, so cleaned them out with solvent and repacked them. I'm not fitting the brake pads yet as I have to push the car into the other shed and new pads will probably rub. I just loosely bolted the calipers in position till it's moved... And repeated the job on the other side, all went ok but the rotor is rubbing on the dust shield so I'll pull it tomorrow and bend the shield back into place... So a big day, and frustratingly short of getting it mobile, should get there tomorrow though...9 points
-
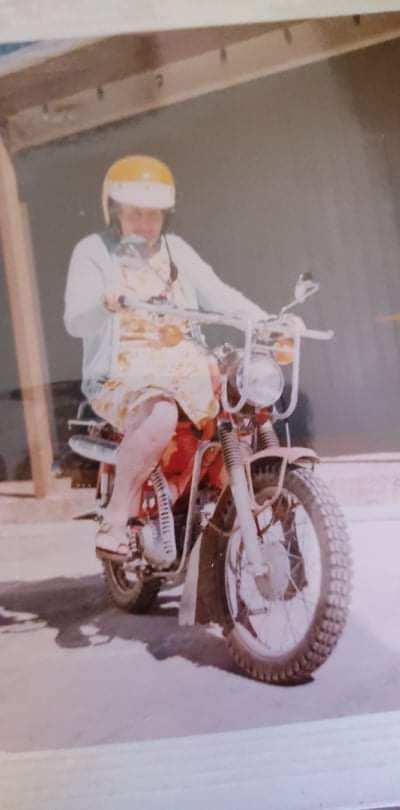
Minutes after posting that I got a phone call to say my Nan had been rushed to hospital, so have made zero progress on any of my shit. But in the process of cleaning out her house today I discovered small bike life runs in the family haha My Nan on an uncles pretty new CT back in 82 or 83 I think the tag said
 8 points
 -
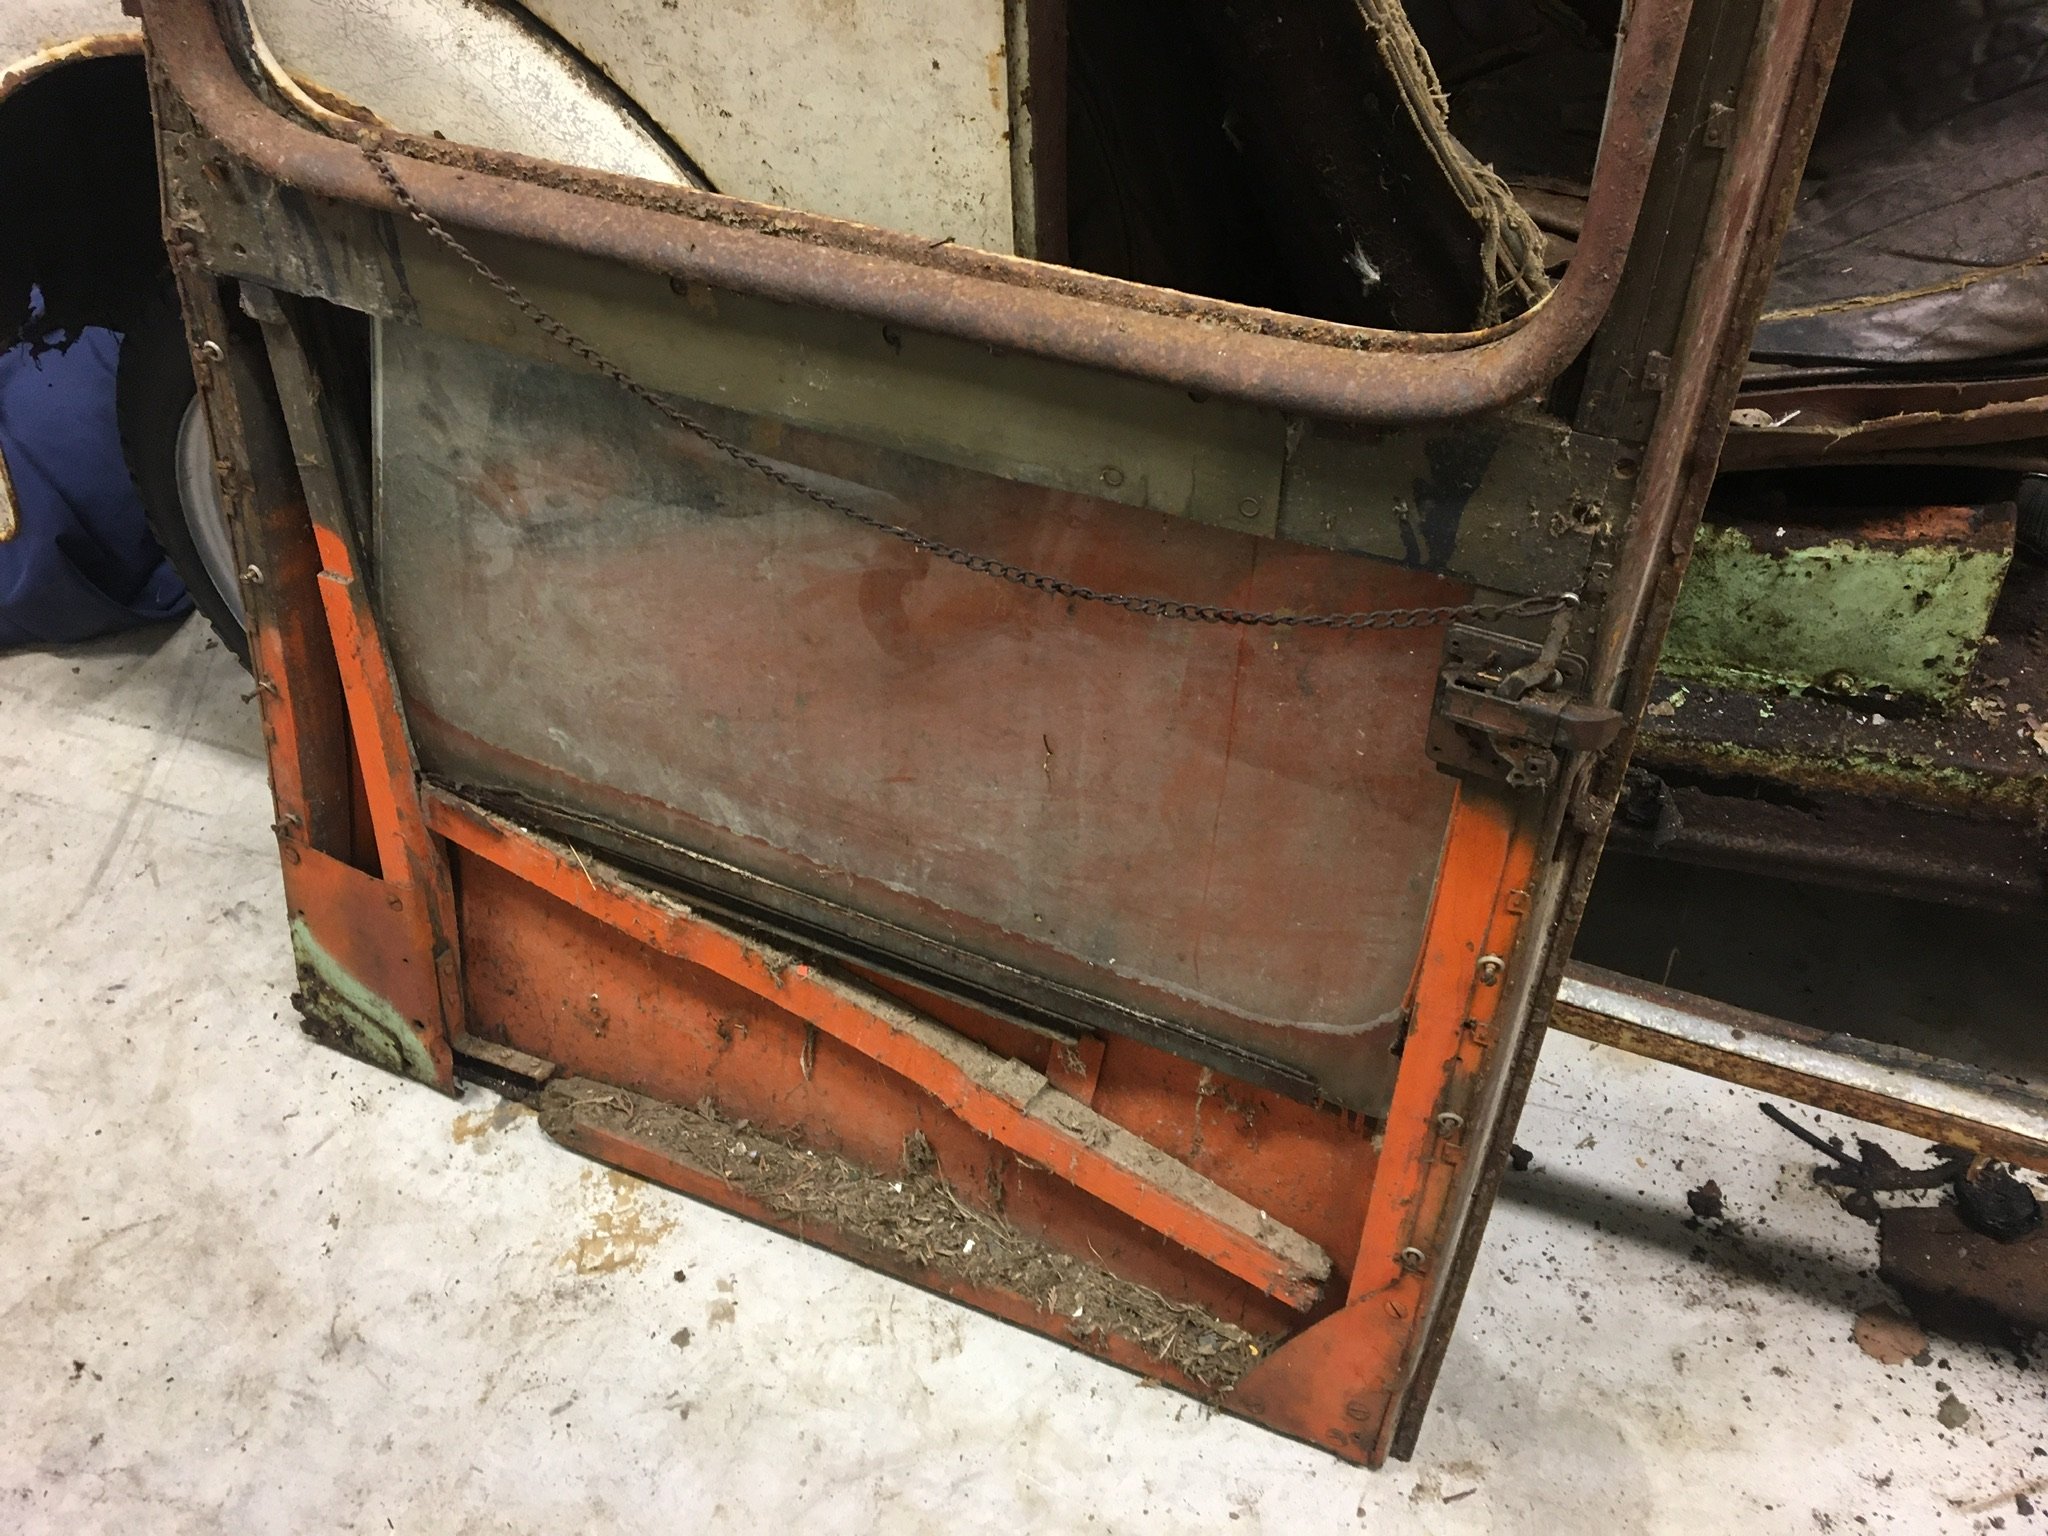
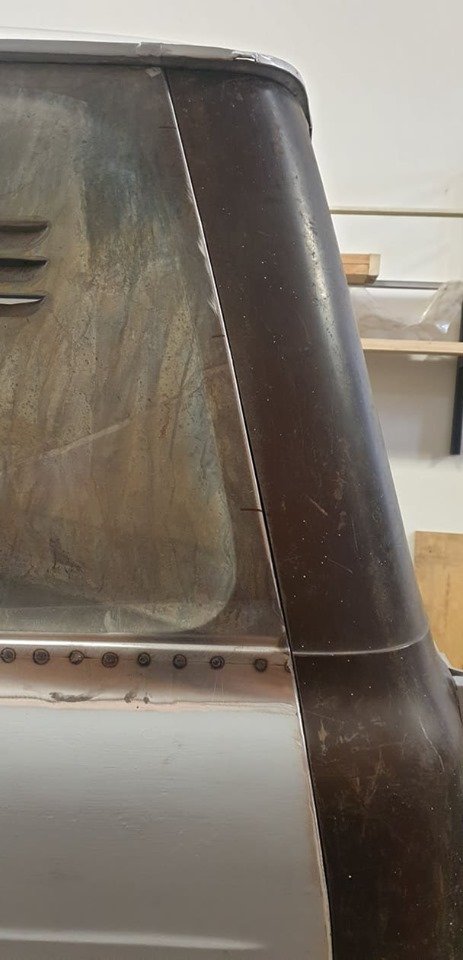
The doors were a bit of a prick to get off. The hinges were held on by a varying assortment of bolts, screws and coach bolts. Theyre pretty fragile at the moment on account of the rot. It seems that grandad has added some bits of sheet metal to stiffen up the corners, and then added more and more screws as the timber behind rotted away.
8 points
-
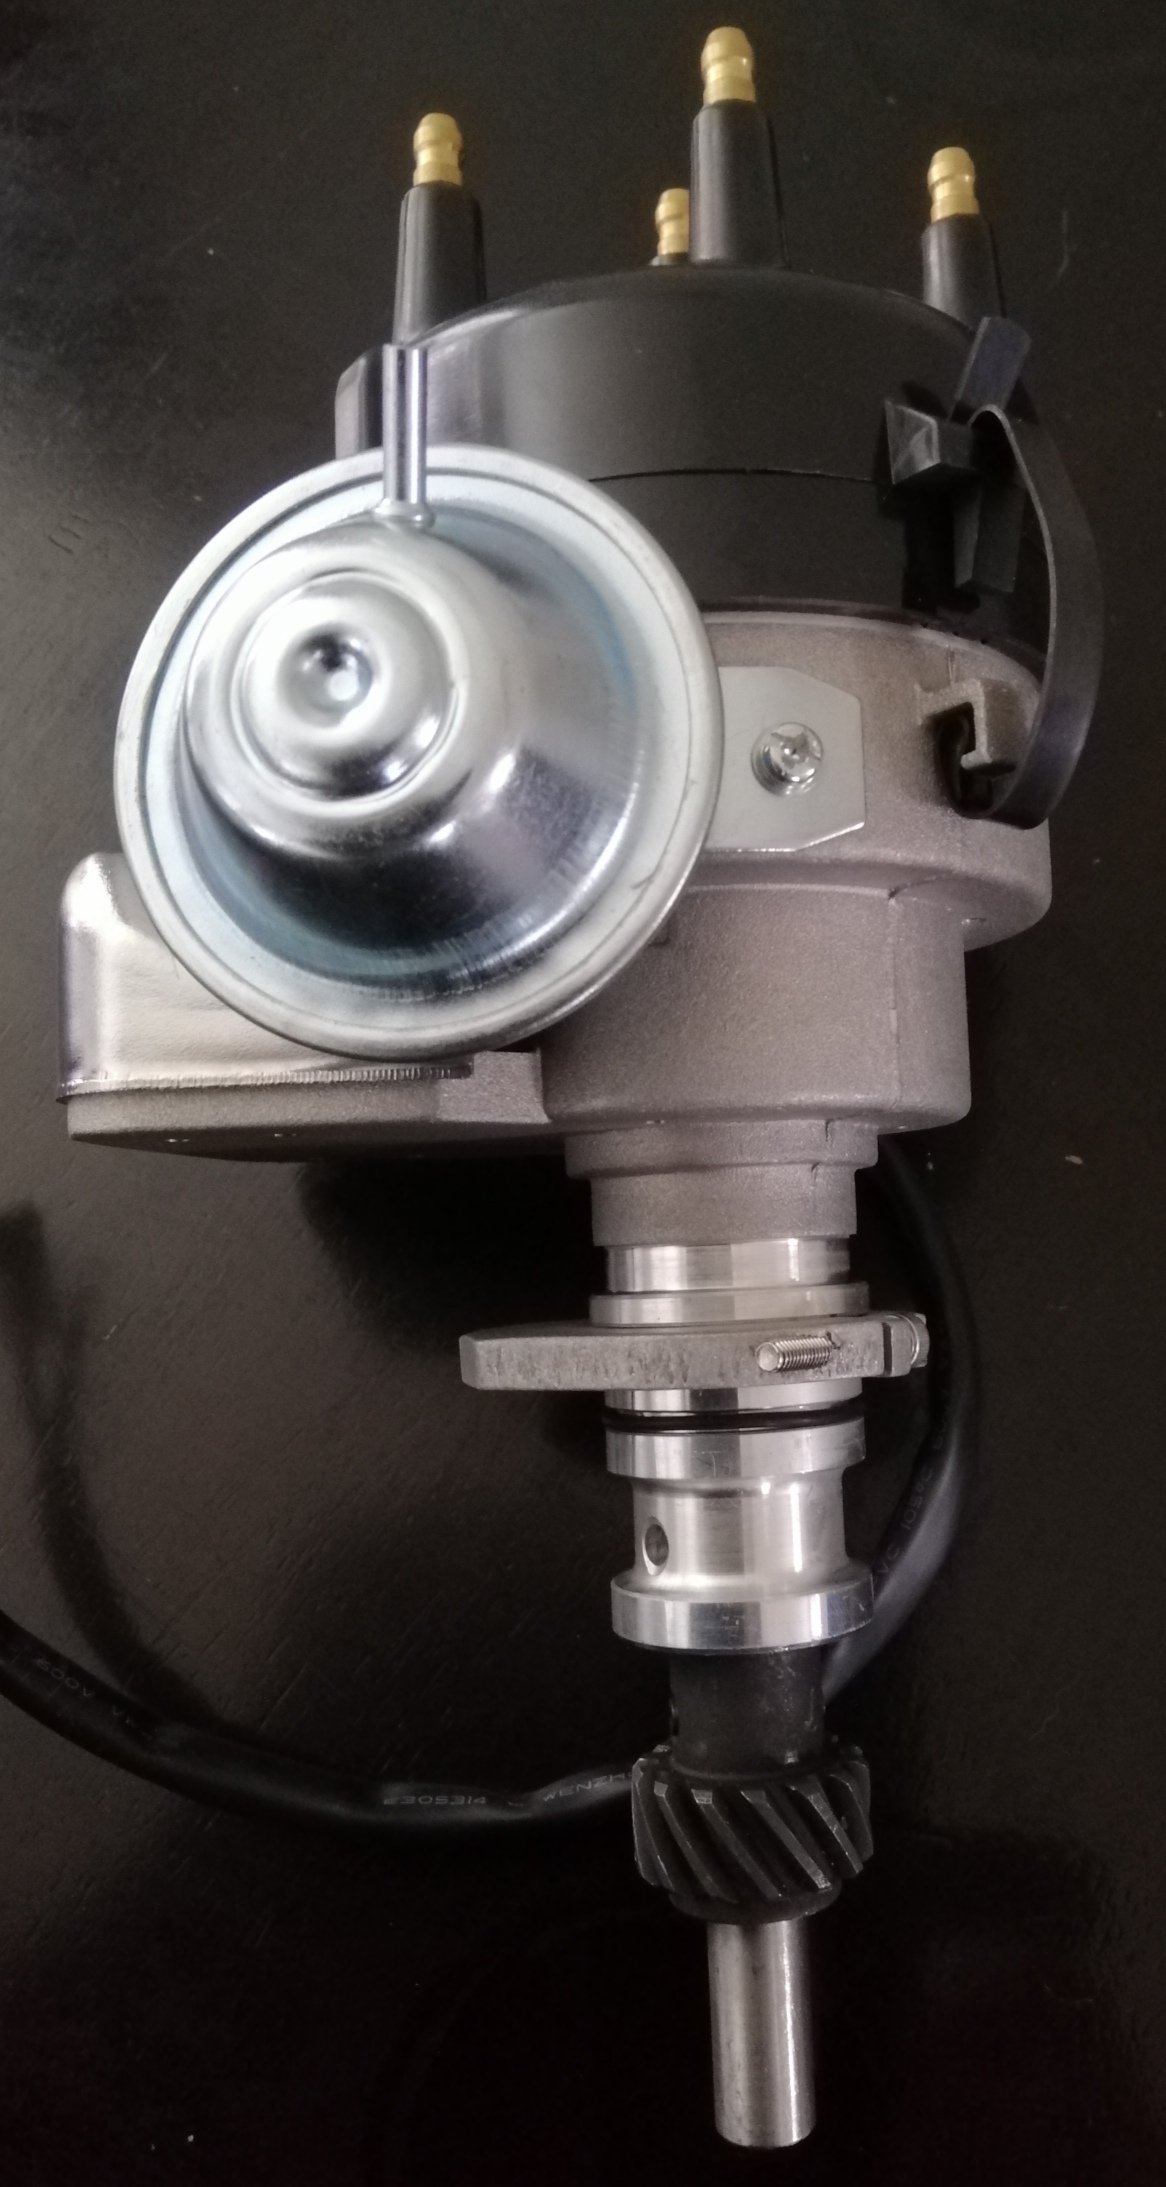
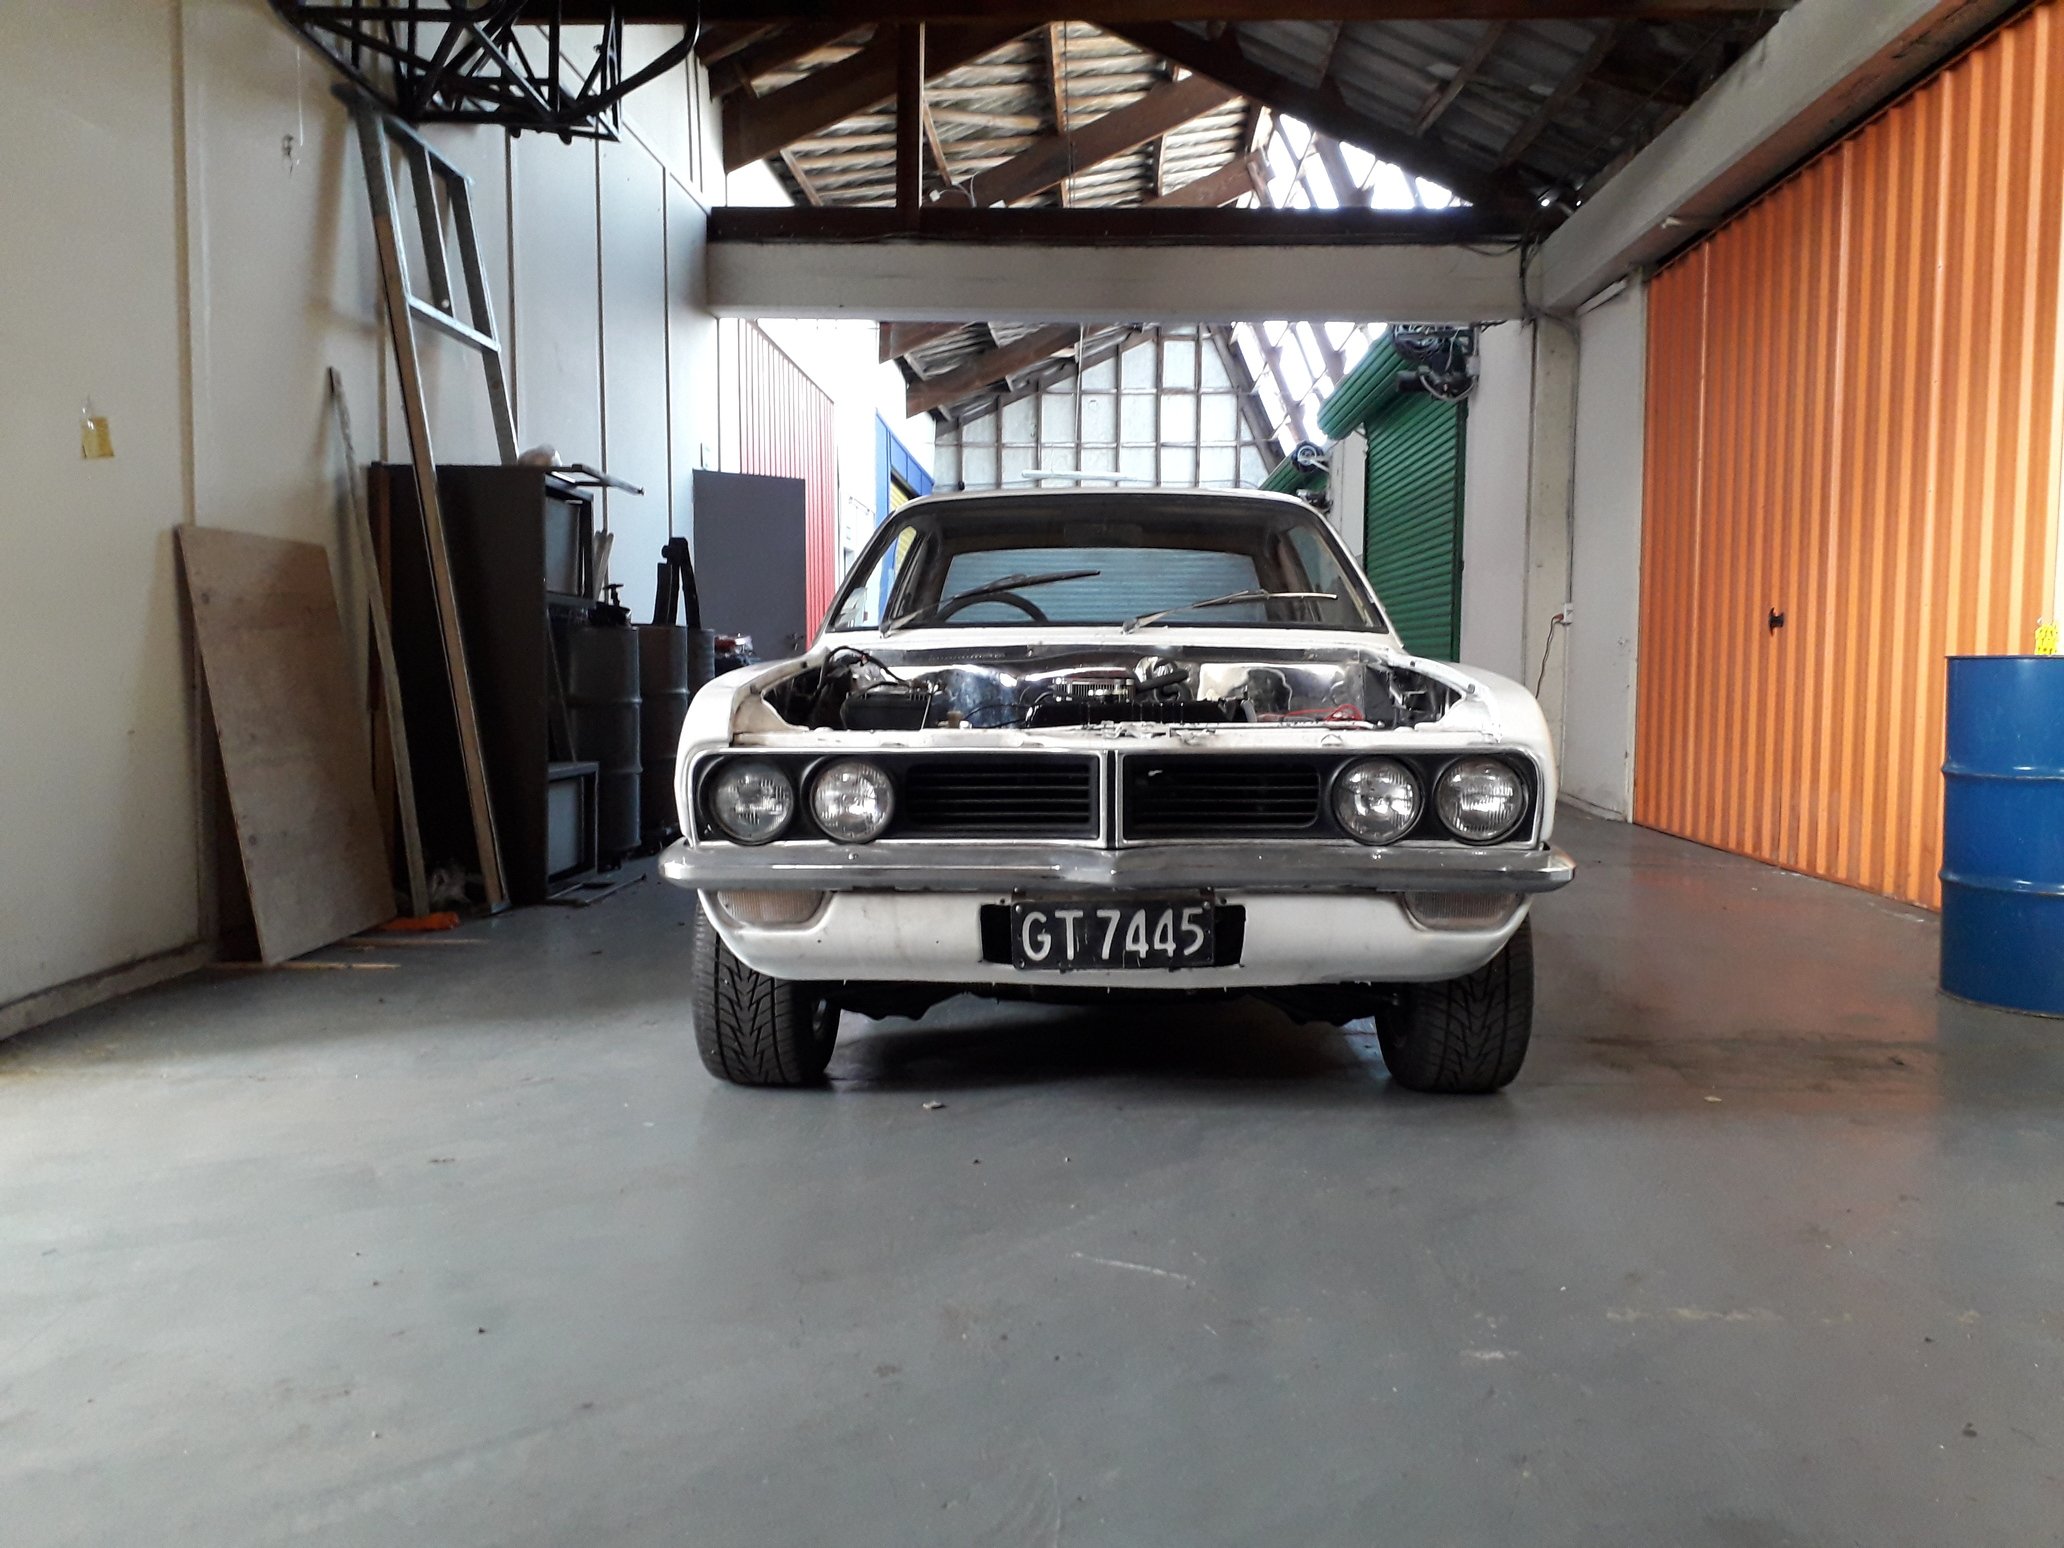
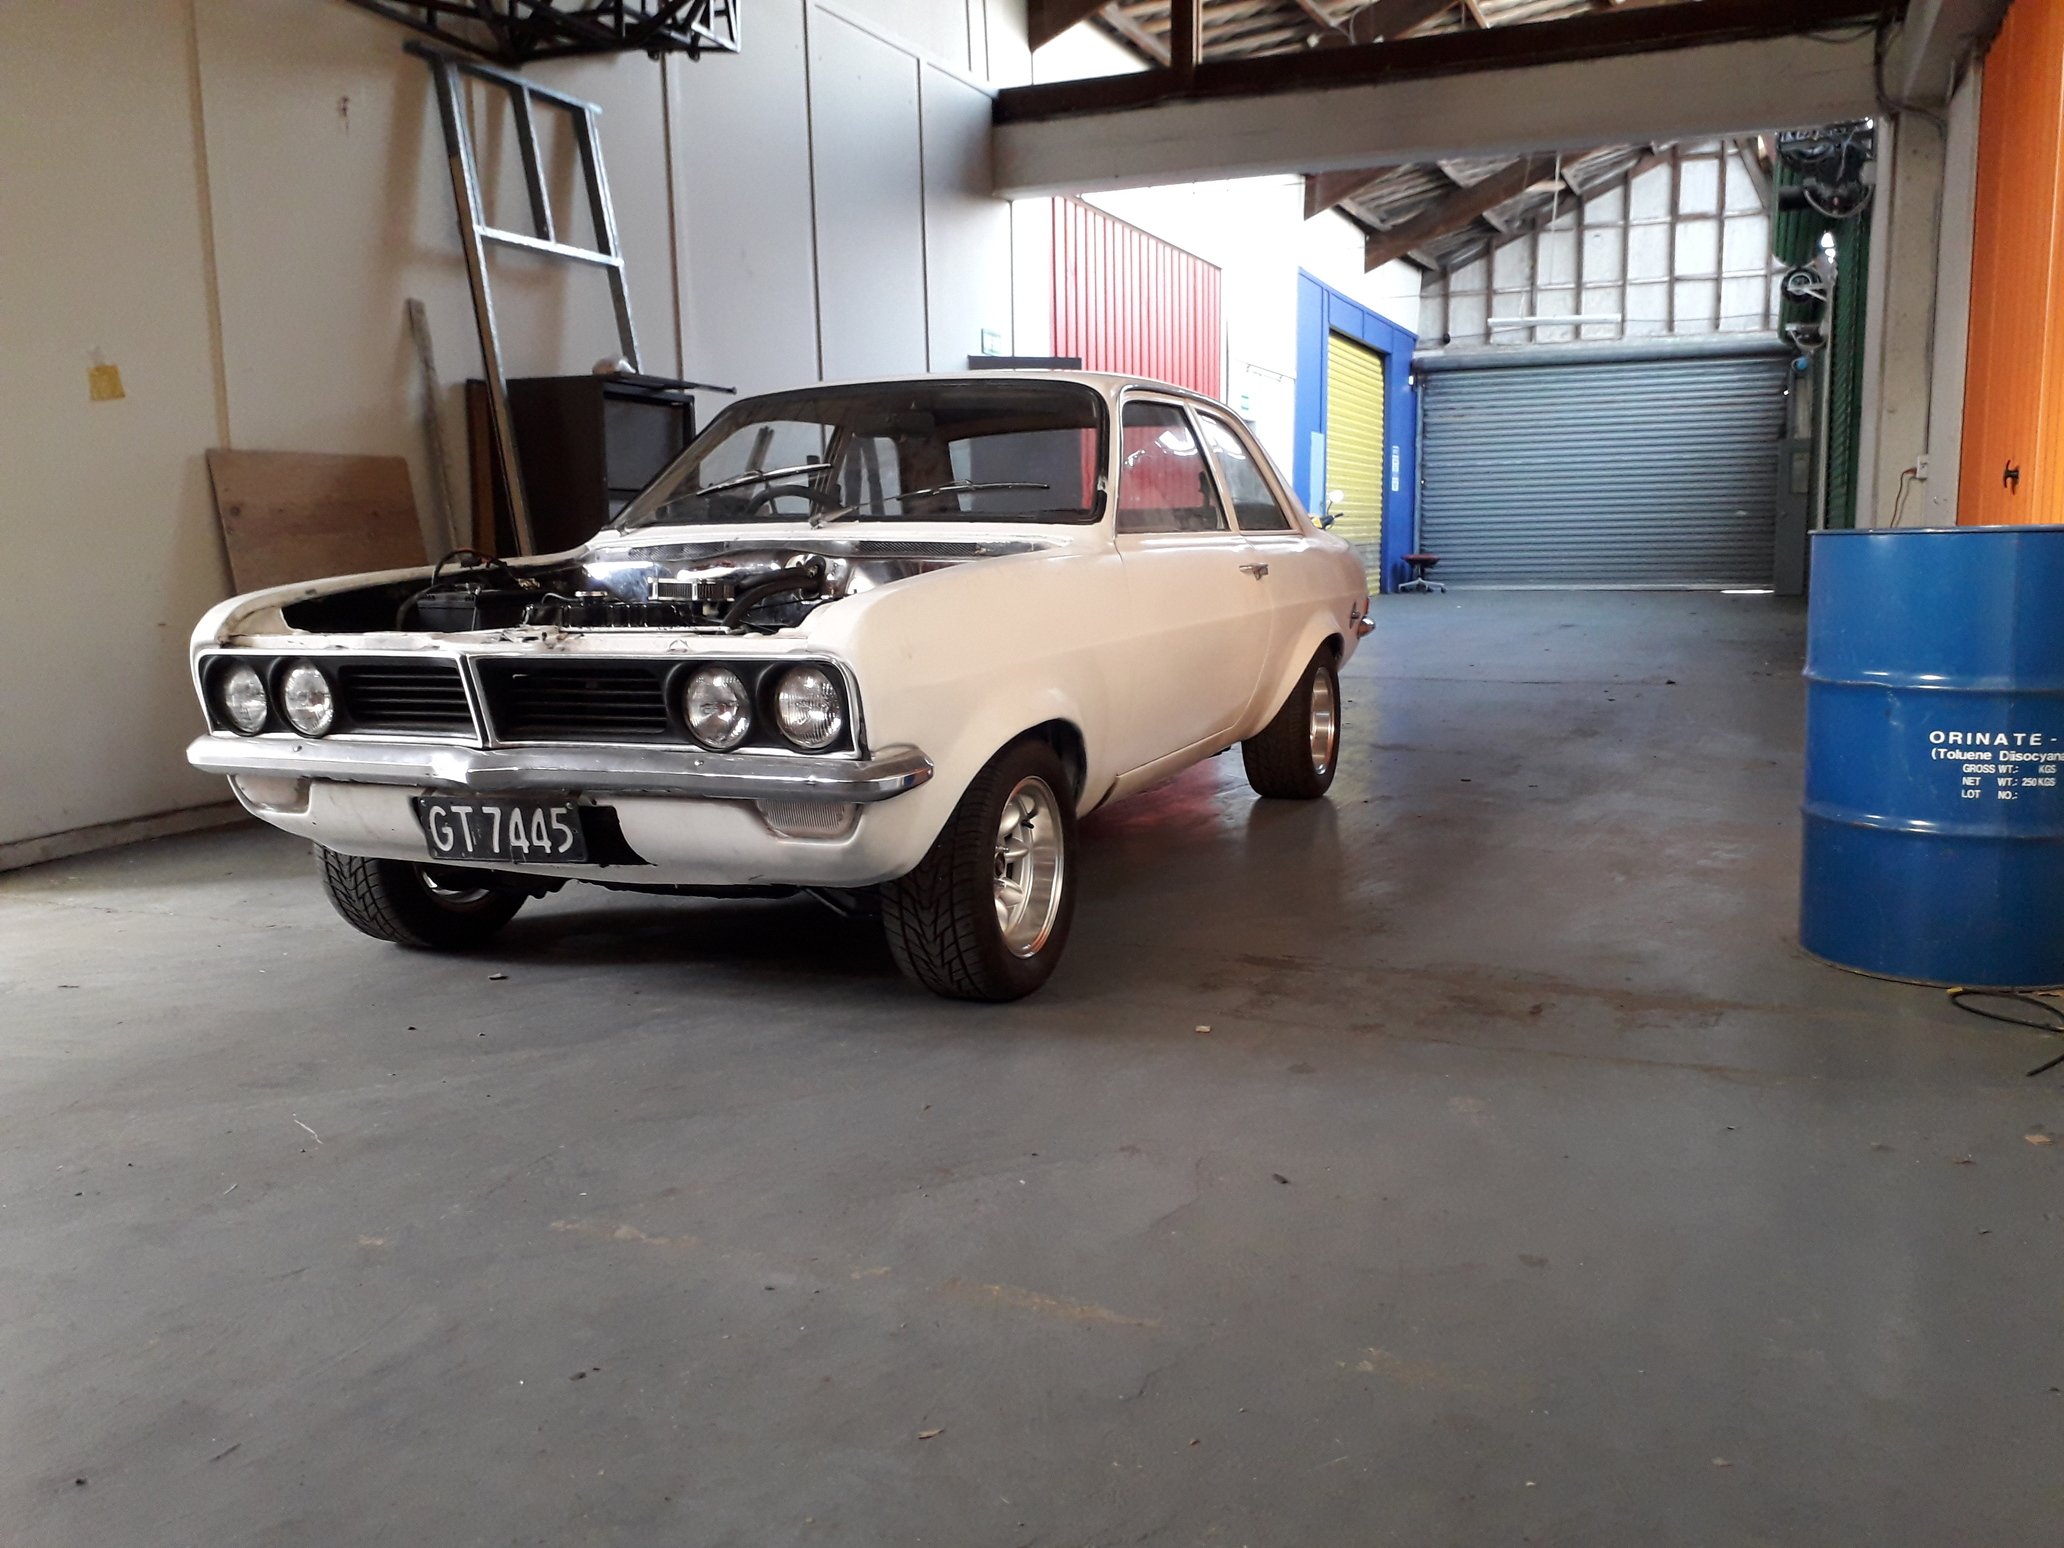
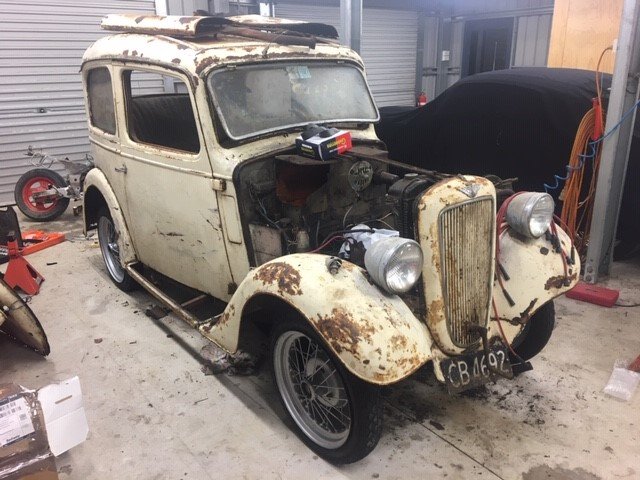
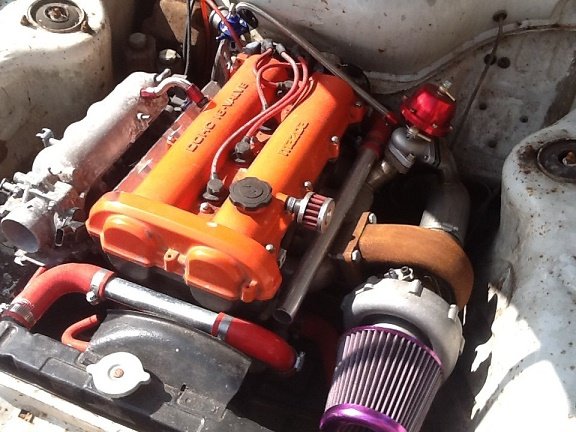
Another piece of the puzzle arrived this morning, fresh from the West Island. Next up is coil and leads, time it up, fire it up.
5 points
-
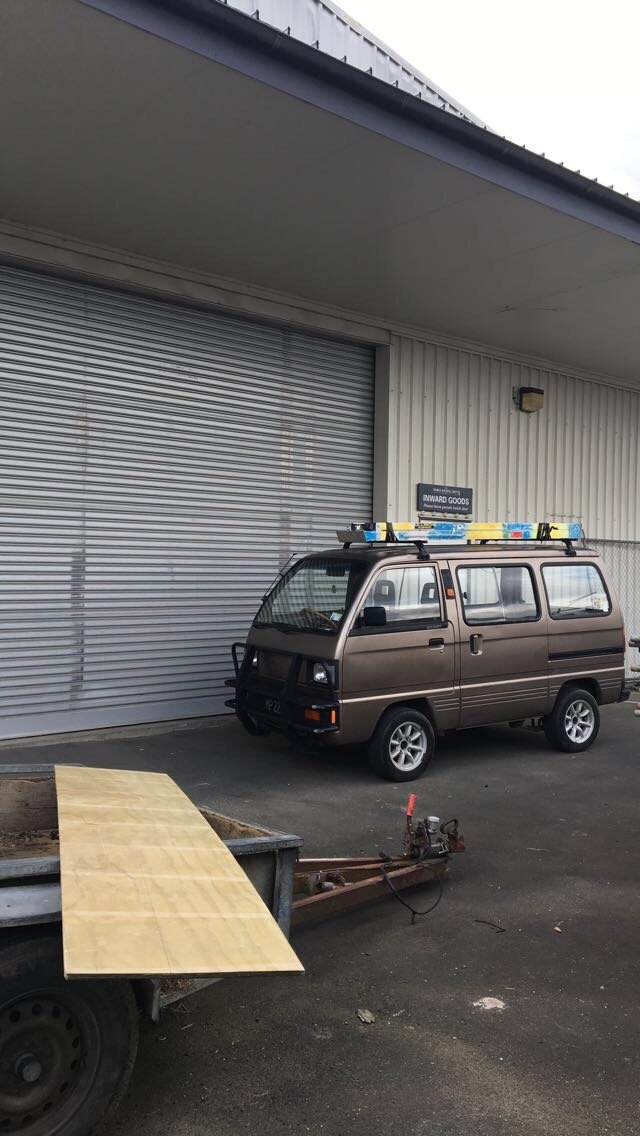
The wee carry van is back in action after a few year hiatus threw a few different owners. Currently my workhorse but have been tidying it up since I bought it the start of this year (has a pretty fat sound system now to!) Will keep updated with progress. Cheers, Mitch
5 points
-
Finally managed to complete the chassis mounts for the front sway bar and bolted everything up with some temporary nuts and bolts from my stash. Will get correct lengths when I next visit my local bolt shop to neaten everything up, but I'm pretty happy with the result.
3 points
-
Year 12s project to make a clock that re-draws the time every minute - it's upside down, but 15:10 is what it's writing...3 points
-
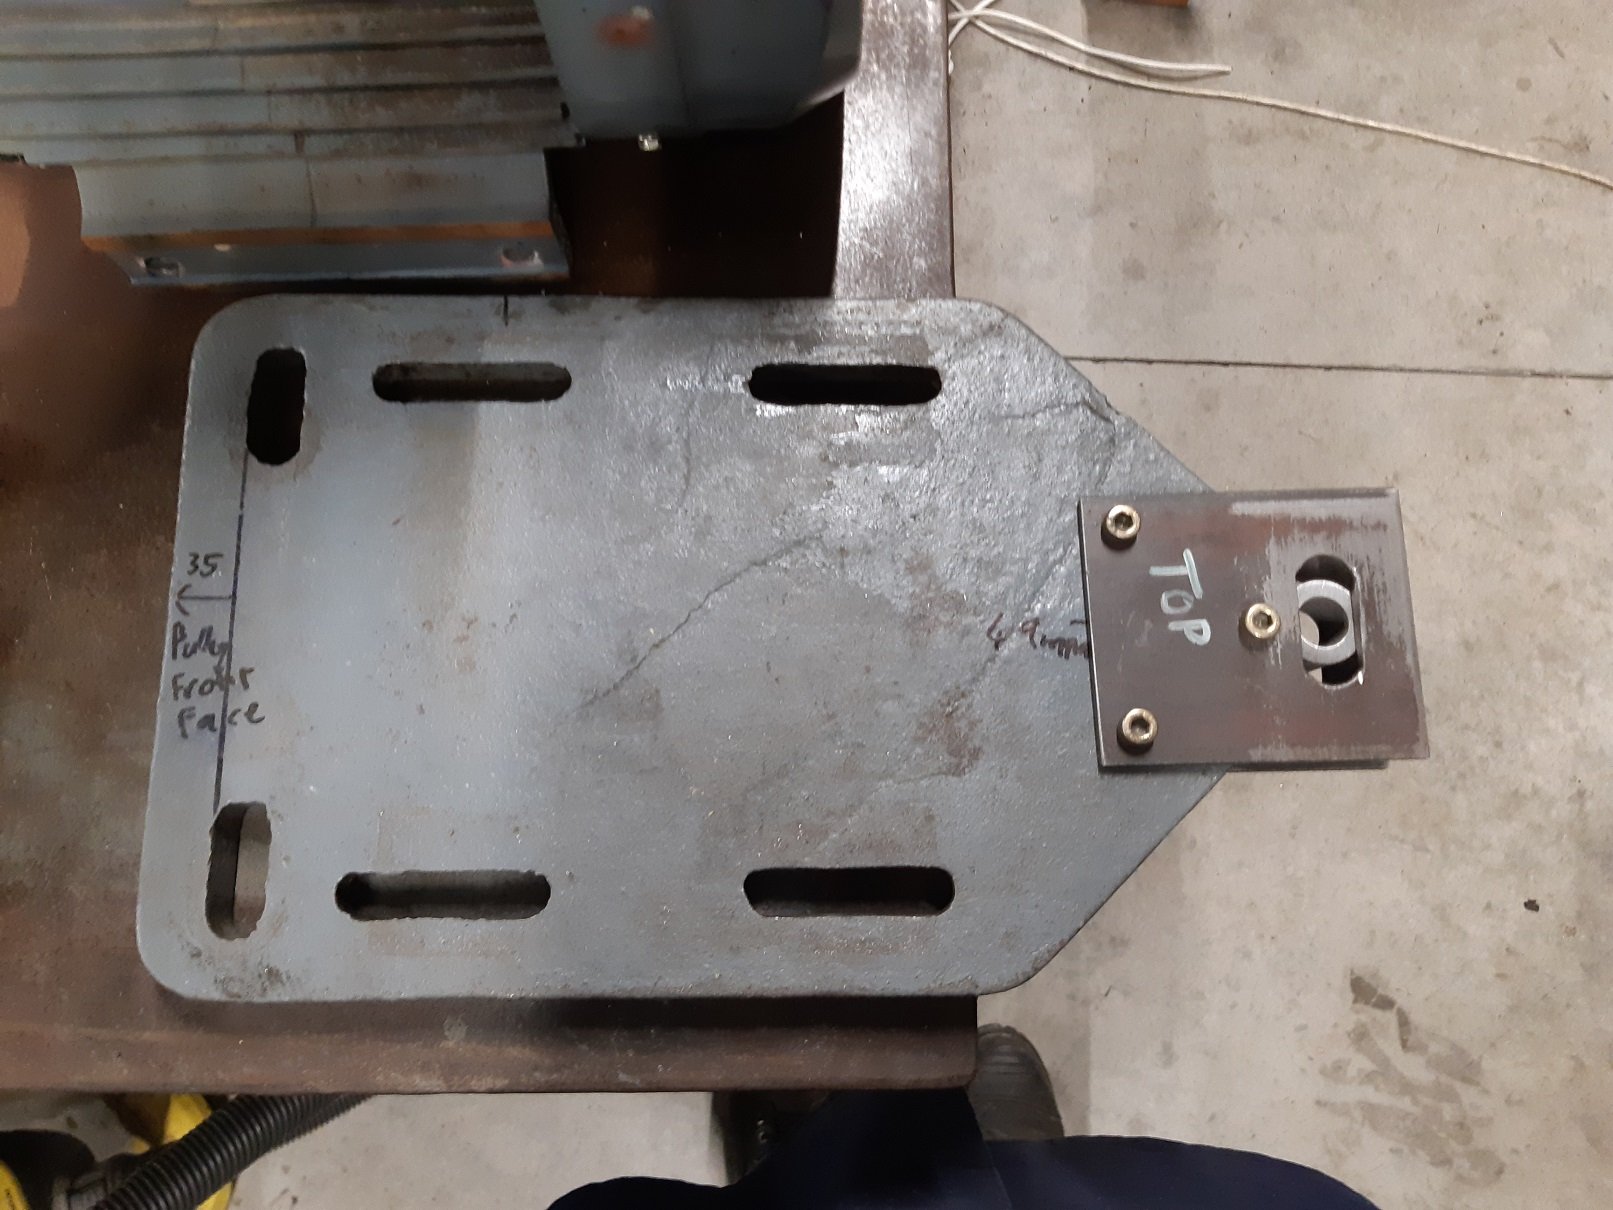
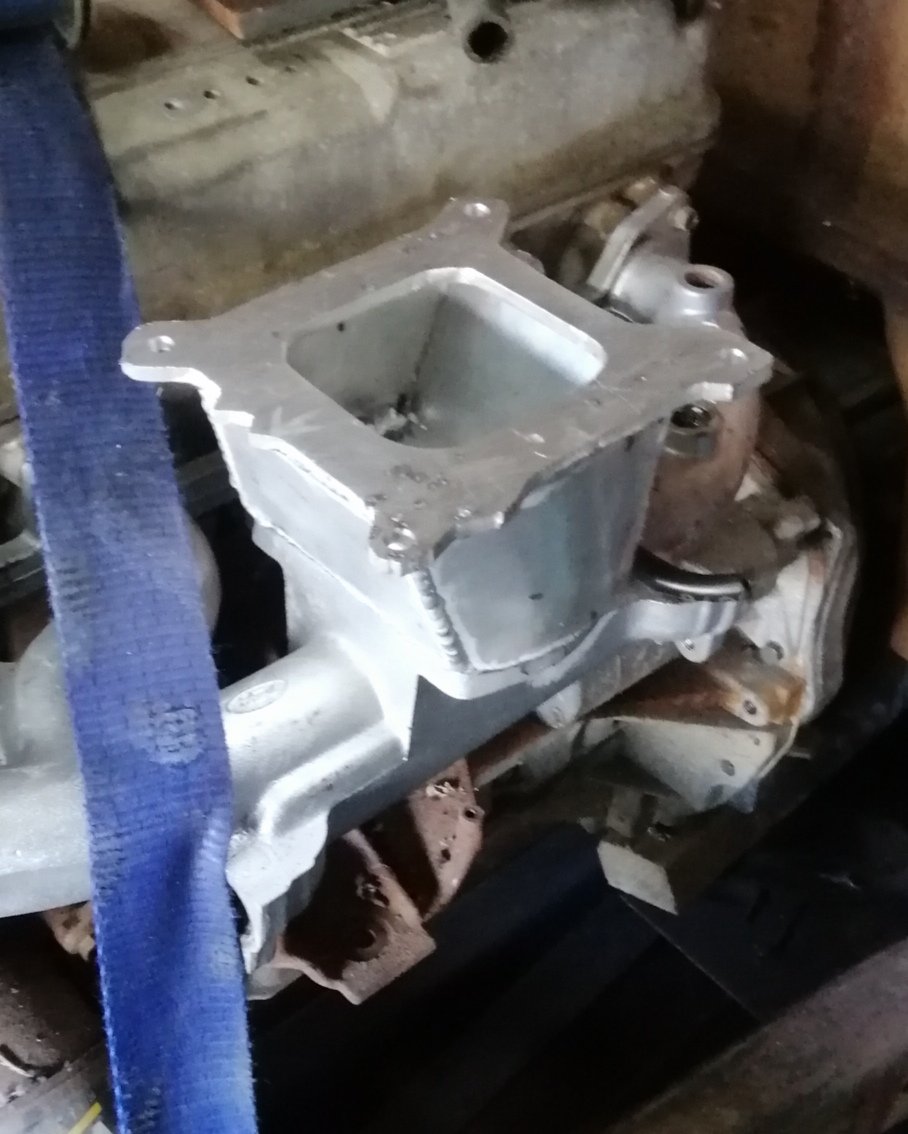
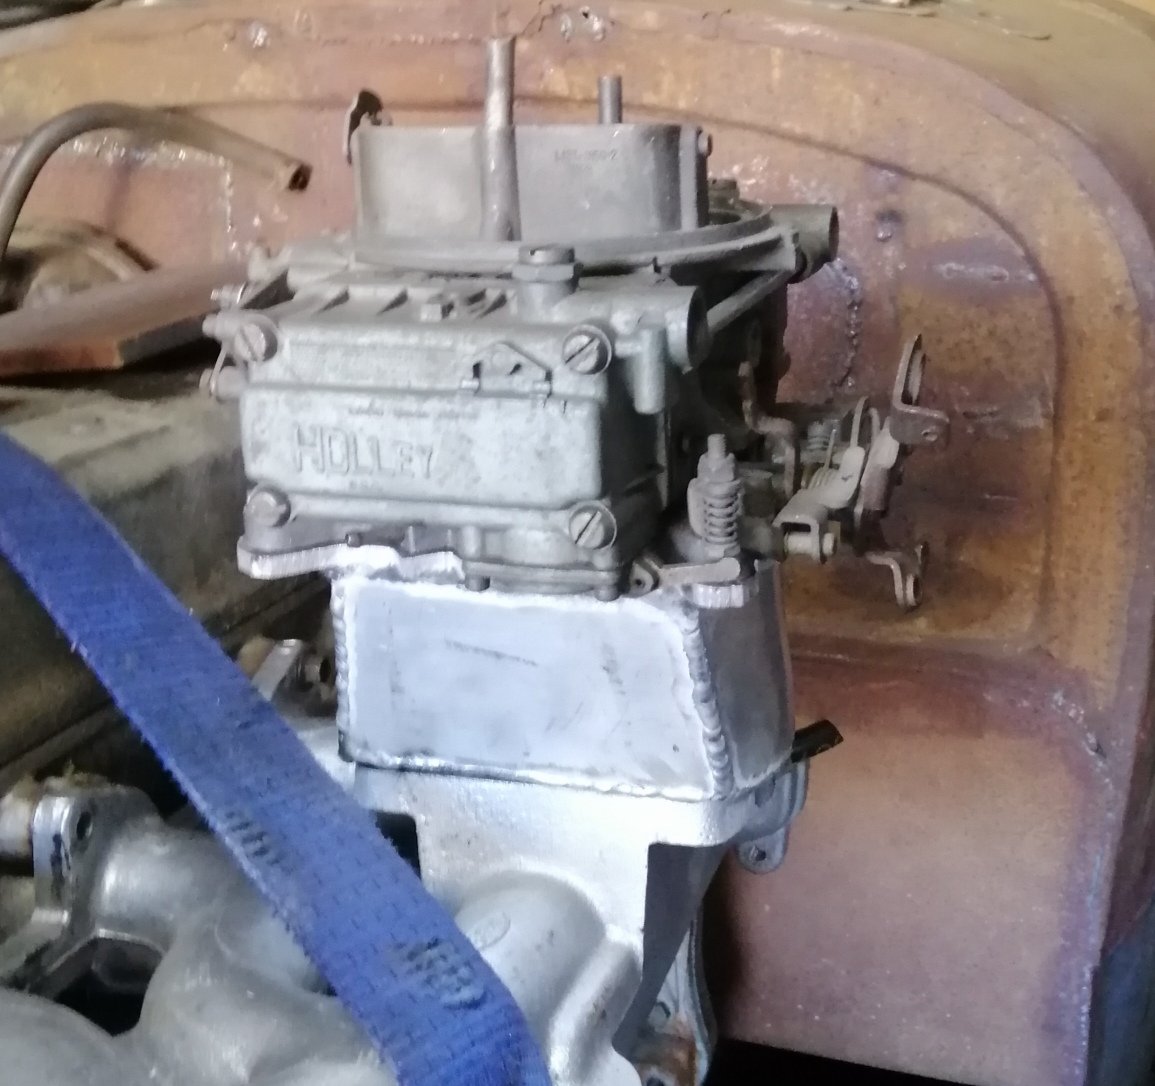
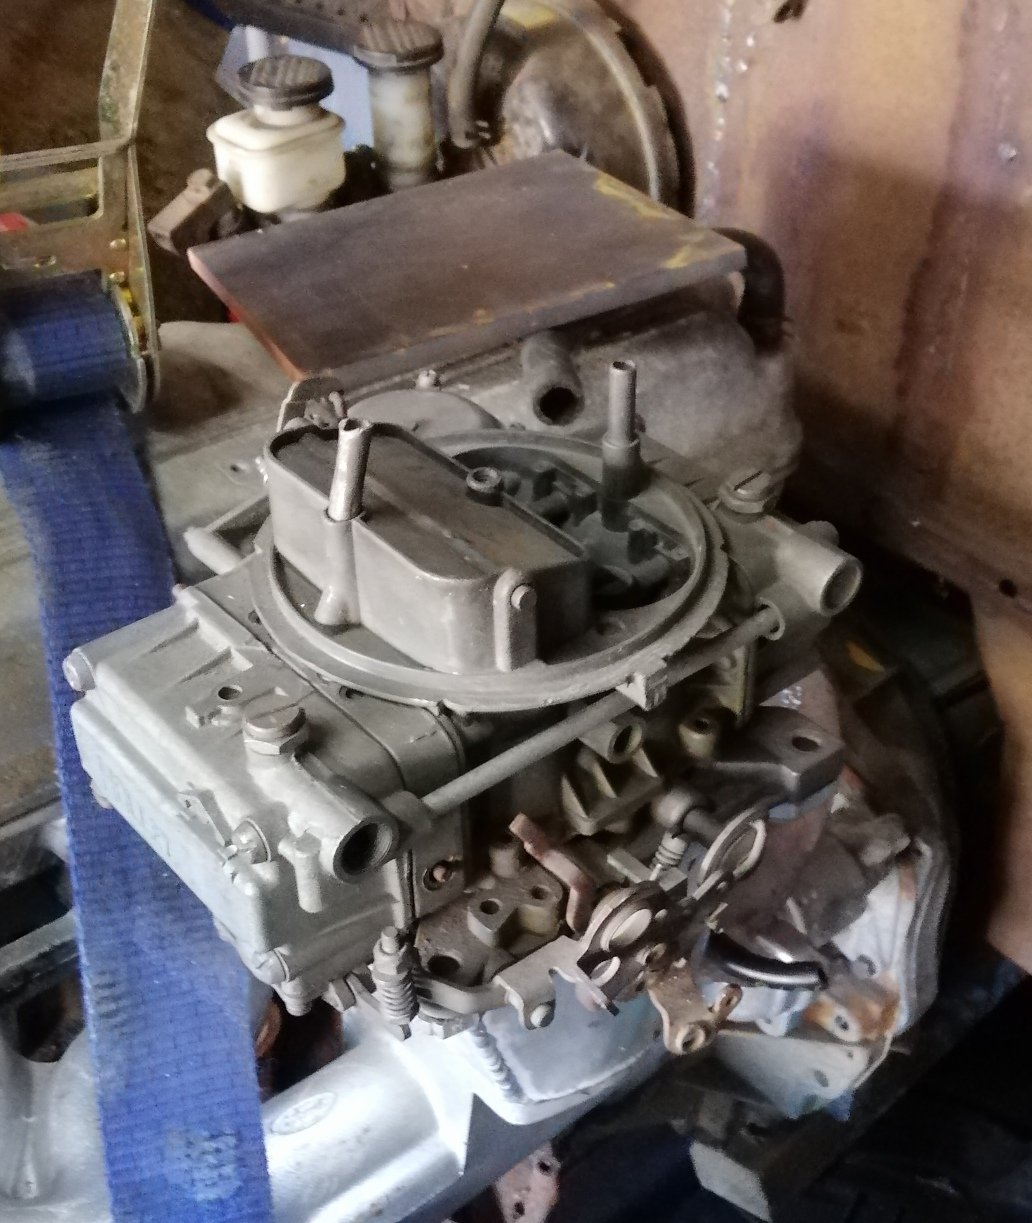
EXTENDO BRACKET! The big motor does not fit with the rear stud in the original location. Fortunately there is another tapped hole for the stud further back. I assume there was a factory option with a longer motor that uses a different plate... This option seemed way easier/cheaper than making a completely new mounting plate. I still need to make an adapter plate because the bolt holes on the motor are just wider than the slots in the plate.
2 points
-
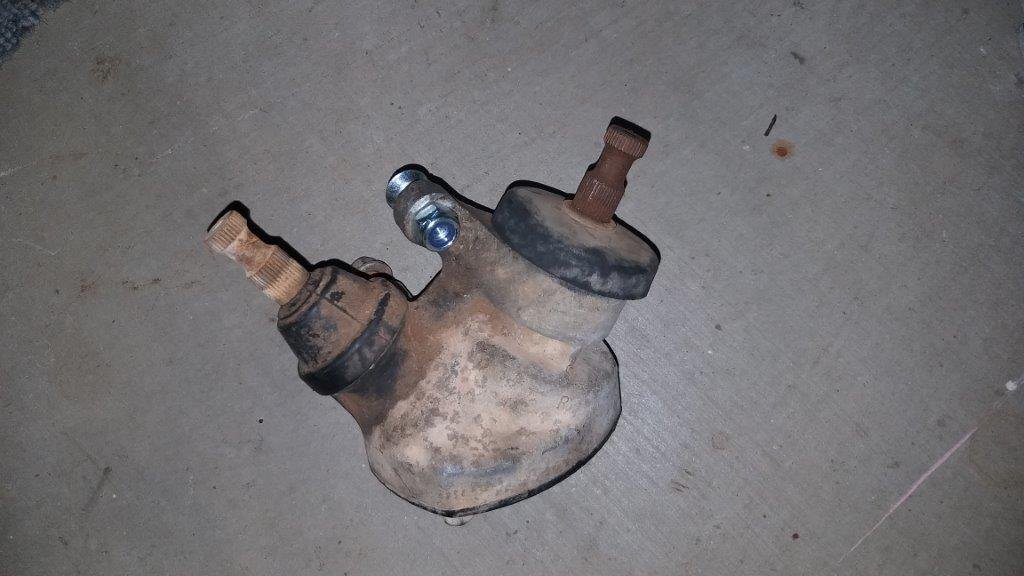
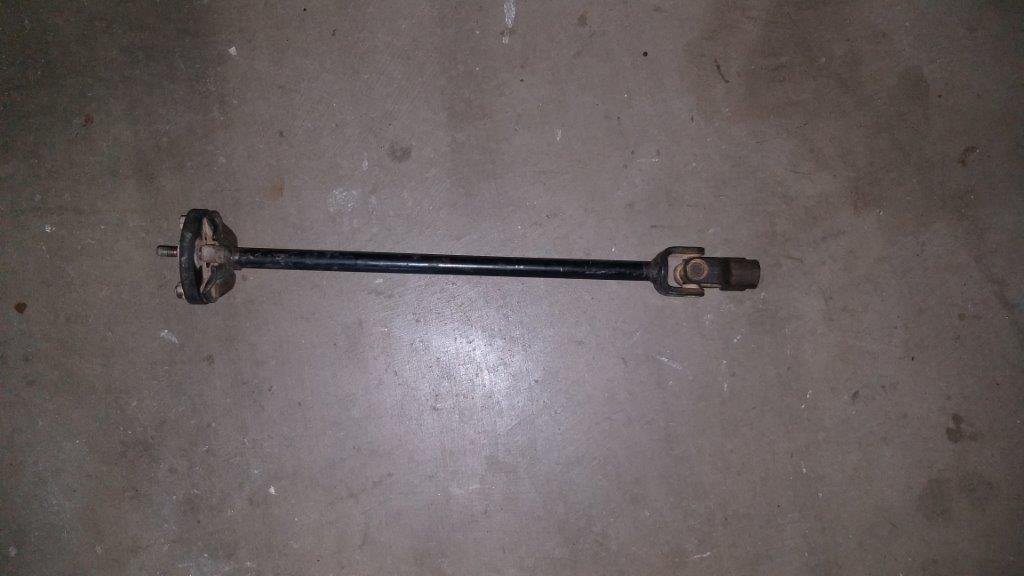
I'm going to tackle my engine and gearbox mounts next, but while I was underneath the front I thought I would take a few minutes to review my plan for the steering. Just to recap I'm planning to use the steering angle box and intermediate steering shaft that I harvested from the Mitsi Express.
2 points
-
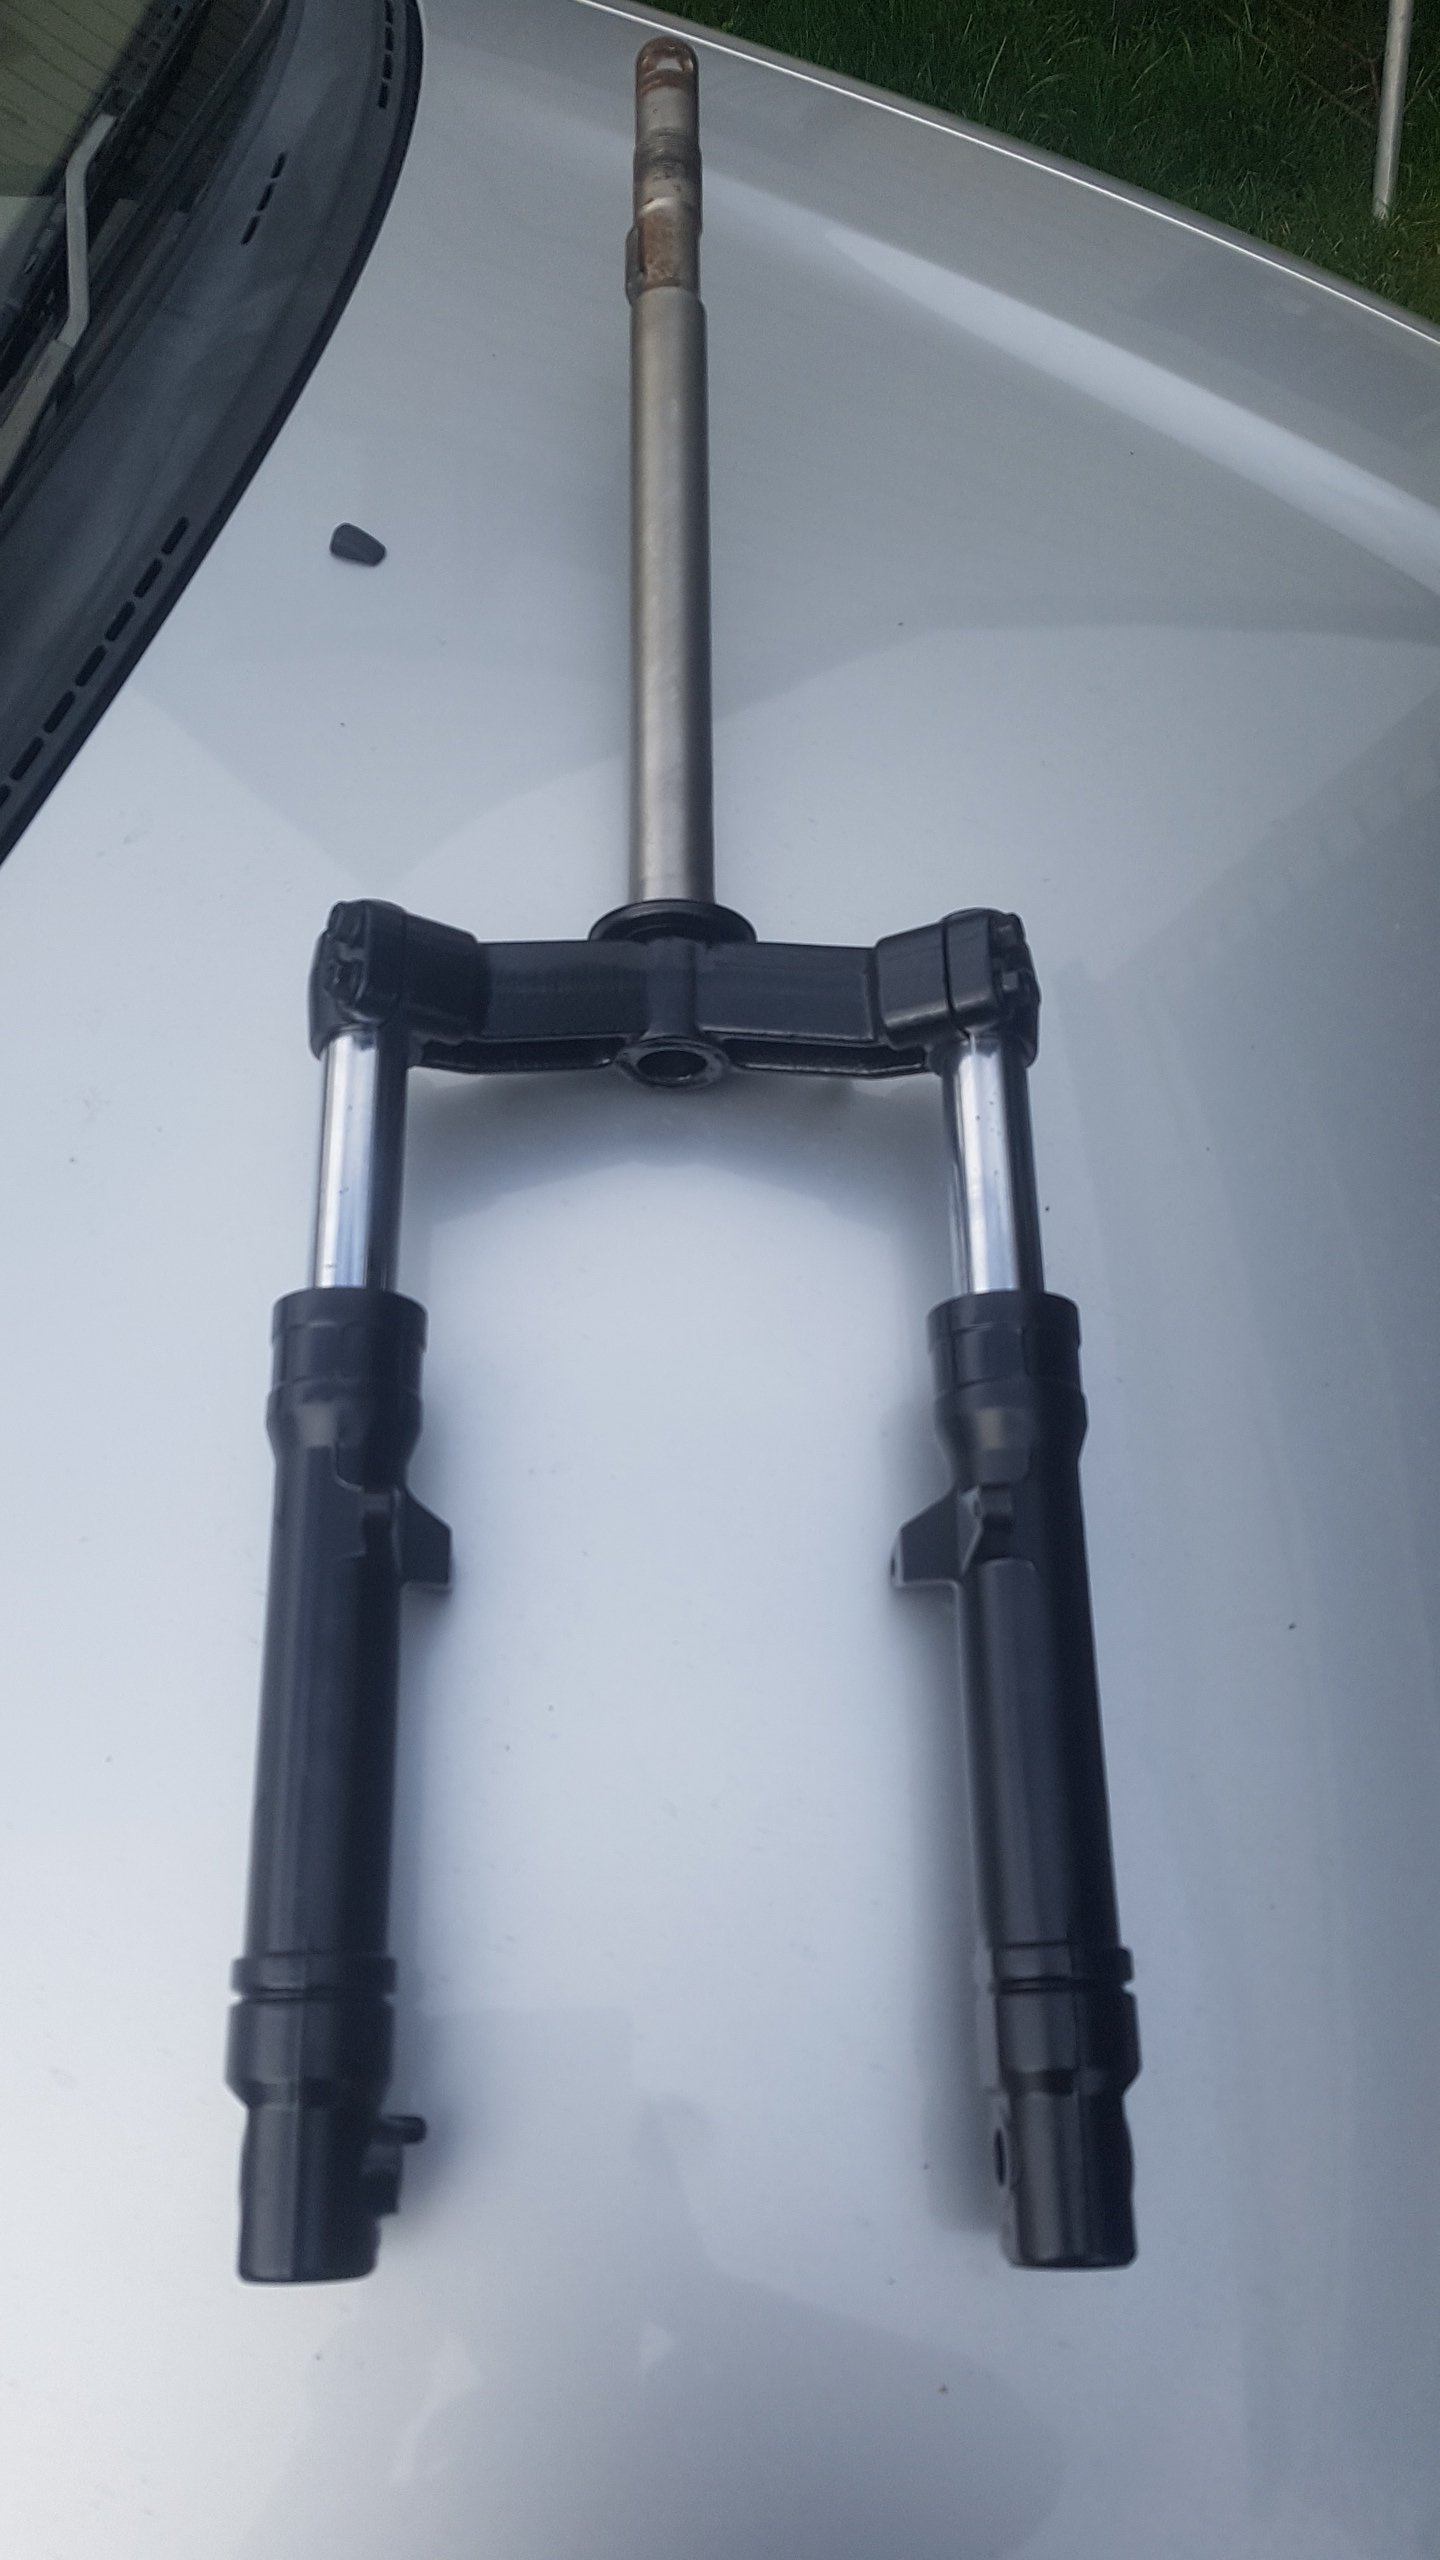
Got a press? Could spend an hour or so manipulating your shaft to work the kinks out2 points
-
Dont metal spray it. Just tig it up and have ur mate lathe it smooth and then polish with paper till its shiny. Will still be better than any used shaft.2 points
-
We use spraywell at work. Apparently the trick to getting a better price is to go around the back on the left hand side and find the younger dude (son). The dad charges more. Also the charge prices seem to come out their bums, they just pick a number. Good quality finish though2 points
-
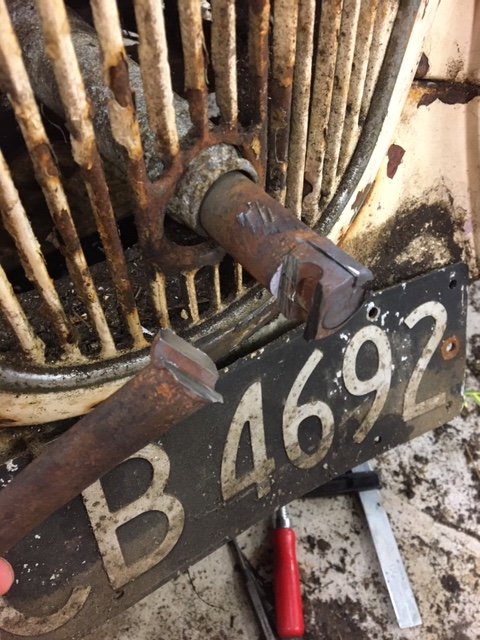
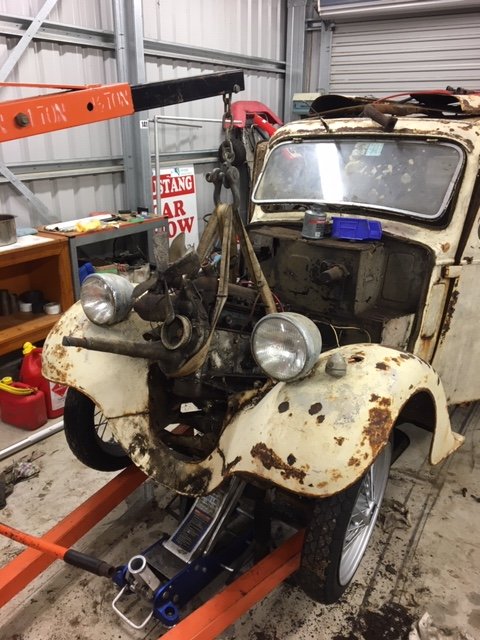
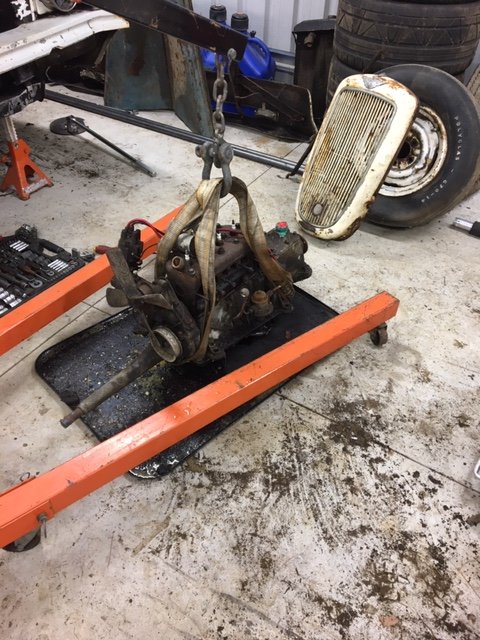
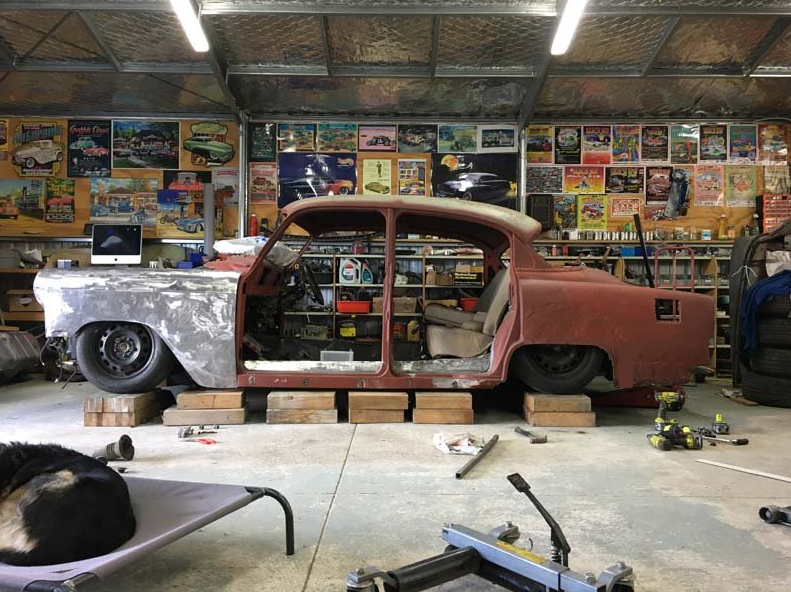
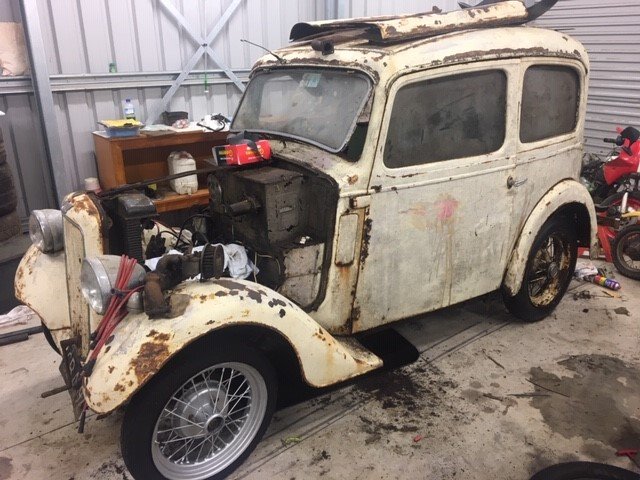
The first thing that needed to come off was the crank handle. I spend 2 x shed nights fighting with it, different methods of heating, pulling, hitting etc. Its off now. And now I'm not convinced that it was supposed to come off the front as it seems. I still can't quite make sense of it. Either way, I'll just rebuild it later. Note I had to jack the front of the car up because the crane didn't fit between the wheels haha. I've never had to do that before. Interior out next and then into some serious cleaning.
2 points
-
Old mate @ruff kunt automotive aka RKA tigged it together today. Needs some minor cleaning up but I'm stoked with the result
2 points
-
OK so I had the engine sitting there in pretty much the spot I wanted it. I had taken loads of measurements and pondered many aspects in an attempt to really look into the future and pick up on any potential problems that could arise. It was pretty obvious that the bodyshell was going to need a fair bit of chopping about in the tunnel region (ooooooohhhhh I can see the originality preachers trembling already..) and that the engine was too low in its nether regions. You can see it here. Its not stupidly low and I have seen worse but for a car that has to navigate our driveway with its rocky surface it needed to be better... It had a nice burly bottom but my intentions were to raise that and make a removable sump plate. Still with fins though to help keep the oil cool. Here's what the underside currently looks like... I pulled the engine out and sat it on the bench. The Imp then got its little Datsun heart bolted back in place and reassembled to working order (yay for no more leaks I thought..but it still leaks because British) I poured myself a whiskey. It might have been a few. I studied the crankcase and sump carefully... I then went over my plan of attack. My main issue was the oil pump. It was going to have to move further up in the block so I had to find a suitable place to mount it. I also had to work out how I would drive it. Originally it there was a larger spur gear running off the crank, driving another spur gear. Off the centre of the spur gear was a sprocket which ran a chain down to a sprocket on the oil pump shaft. The oil pump shaft ran not one but two oil pumps. The main pump in the sump area and a smaller scavenging pump in the clutch housing area which squirted oil up over all the gears. The shaft also ran through the main pump to the front of the engine (what is now going to be the back) and powered a water pump. A bit tricky to picture? Well here is a stunning bit of pencil art I did just now ... Plus a photo of the all those gubbins on view at the back. The driven spur gear is missing in this pic but you can see the splined hub it slides onto with the driver sprocket on inner end... Honda had made it all very neat but also all very complicated for what I required. I just need one main oil pump to feed the bearings. So I move the oil pump up. Fine. I'll mill a flat area and make new mounting blocks to suit. But because I have removed the spur gear arrangement (no room for that lot with a custom flywheel planned for the crank) I'll have to chain drive the pump with sprockets (at the correct speed too). OK. That should be easy enough. But no spur gear means the pump will be running backwards. Oh bother. So how about I mount the pump on the opposite side of the sump casing and so turn it around. The shaft is long enough because it goes right through the pump each way. I took the pump apart and checked if this was feasible. It was. Yes! Now why not just run an external oil pump and dry sump it etc ? Well mainly because I am not Mr Money and hence prefer (have) to do it as cheaply as I can with what's at hand (more of a challenge this way and more satisfying too) Also- if I use the Honda pump and keep the required oil routing sensible then it sort of remains factory. I am also going to do my very best at keeping the external look of the engine as clean as possible with a nice uncluttered engine bay. That's just the style I like. Plus we were only just into lockdown here and I wanted to crack on, get as much fabrication as I could done while on my ' holiday in the shed '... So now I had a plan to follow and could start chopping things up. I chopped it just below the engine mounts I intend to use. There is a myriad of long bolts running through the cases clamping them together. The main larger ones are all up around the crank area. Then another two lines of smaller ones below (which hold the cases together under the against the loading of the transmission shafts- now gone) Plenty enough bolts so the lowest are now gone. This lot will be stronger when I have finished with my idea. I kept chopping it up. Took a bit more off because it was fun. Lovely alloy too I might add. Very clean castings. Ended up with an engine a fair bit shorter in height... I got the cuts pretty square and straight. Made easy by the fact that Honda had nicely added reference lines for the purpose- just like on a pack of butter... Now I had to mill it flat. It would take decent sized knee mill to clean up something this size and awkward. Or how about a little drill mill, a steel bench and a big plate of steel I had rescued from a Japanese dentist chair I stripped for bits... I had to position it just right and use the swing on the radial drill mill to run over the cut edges. It looked a bit suspect but it worked fine with light cuts. After the bottom of the sump case was flat and square I then milled a flat area on the face below the crank flange. This would leave a good flat surface, perpendicular to the crank centre line, to mount a plate with an idler sprocket on it for the oil pump drive I had sort of nutted out in my head (but really had not gone any further then just that and it could well have been just nutty) That area ended up like this... The pump would fit somewhere in here like this... Then I threw the lot on the fire... and swept up all the alloy chips that seem to have gone everywhere! When it was nice and warm I welded some new flanges on. Very carefully and slowly I tacked them, taking my time to make sure they stayed true and square and keeping it warm in between tacks. They did. Yay I welded as much as I could reach with my torch along the tricky edge leaving just a few spots that I'll seal at build time with JB weld. It turned out so good that I barely needed to give it a tickle with a larger file, more just a clean up and sits square on my bench. Straight edge reveals my bench is indeed flat too- I had to check! I was so happy at this point because it was one bit of the conversion I feared could go wrong - however I think the warming up and that fact the block is a complex very rigid shape helped keep it all straight. I sat back with a cup of tea and admired my nice burly flanges that I will bolt a plate to...2 points
-
Any SU carb guru on here Can't get the hillman imp running right .I've got rebuilt twin HS2 1-1/4 ,the imp is 875cc with 4-2-1 headers and Griffiths intake manifold Current got new Red springs and MME needles a guy in the UK is using this and works well on his IMP but he has a sports head and sports cam so flows a little better but nearly the same setup has same manifolds as me too I can't seem to get it to increase the idle a little if I push the lift pin up abit inleast I wind up the fuel mixer alot. I either have good top end/bad low down (bogging)or good low down and average up top by playing with mixers I've set floats by using a 3mm drill bit between middle of plastic float and float lid and I've balanced both carbs reasonably close Any suggestions be good! maybe I'm using wrong needles and springs, I found a post saying to use Blue springs and E3 needles but that info was from like 40 years ago
1 point
-
Yeah depends on the car. Most things that have a vented disc on the front at least, can be prepped to pass the 5 stop test ok If it's got drums or solid discs or the brakes are tiny or the car is heavy- probably not1 point
-
It's already bent/fucked right? so nothing to loose except time imo.1 point
-
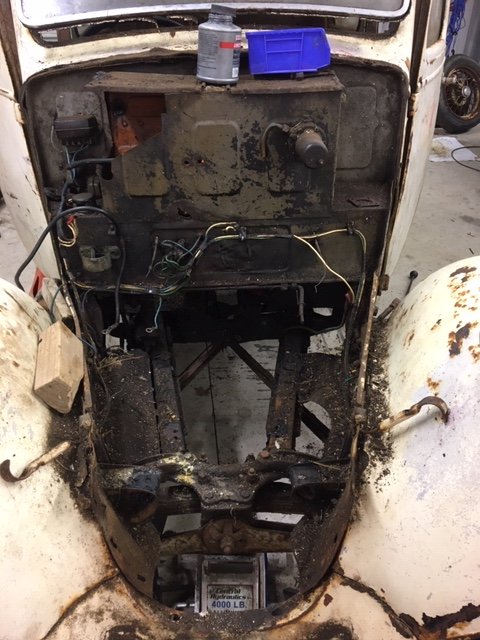
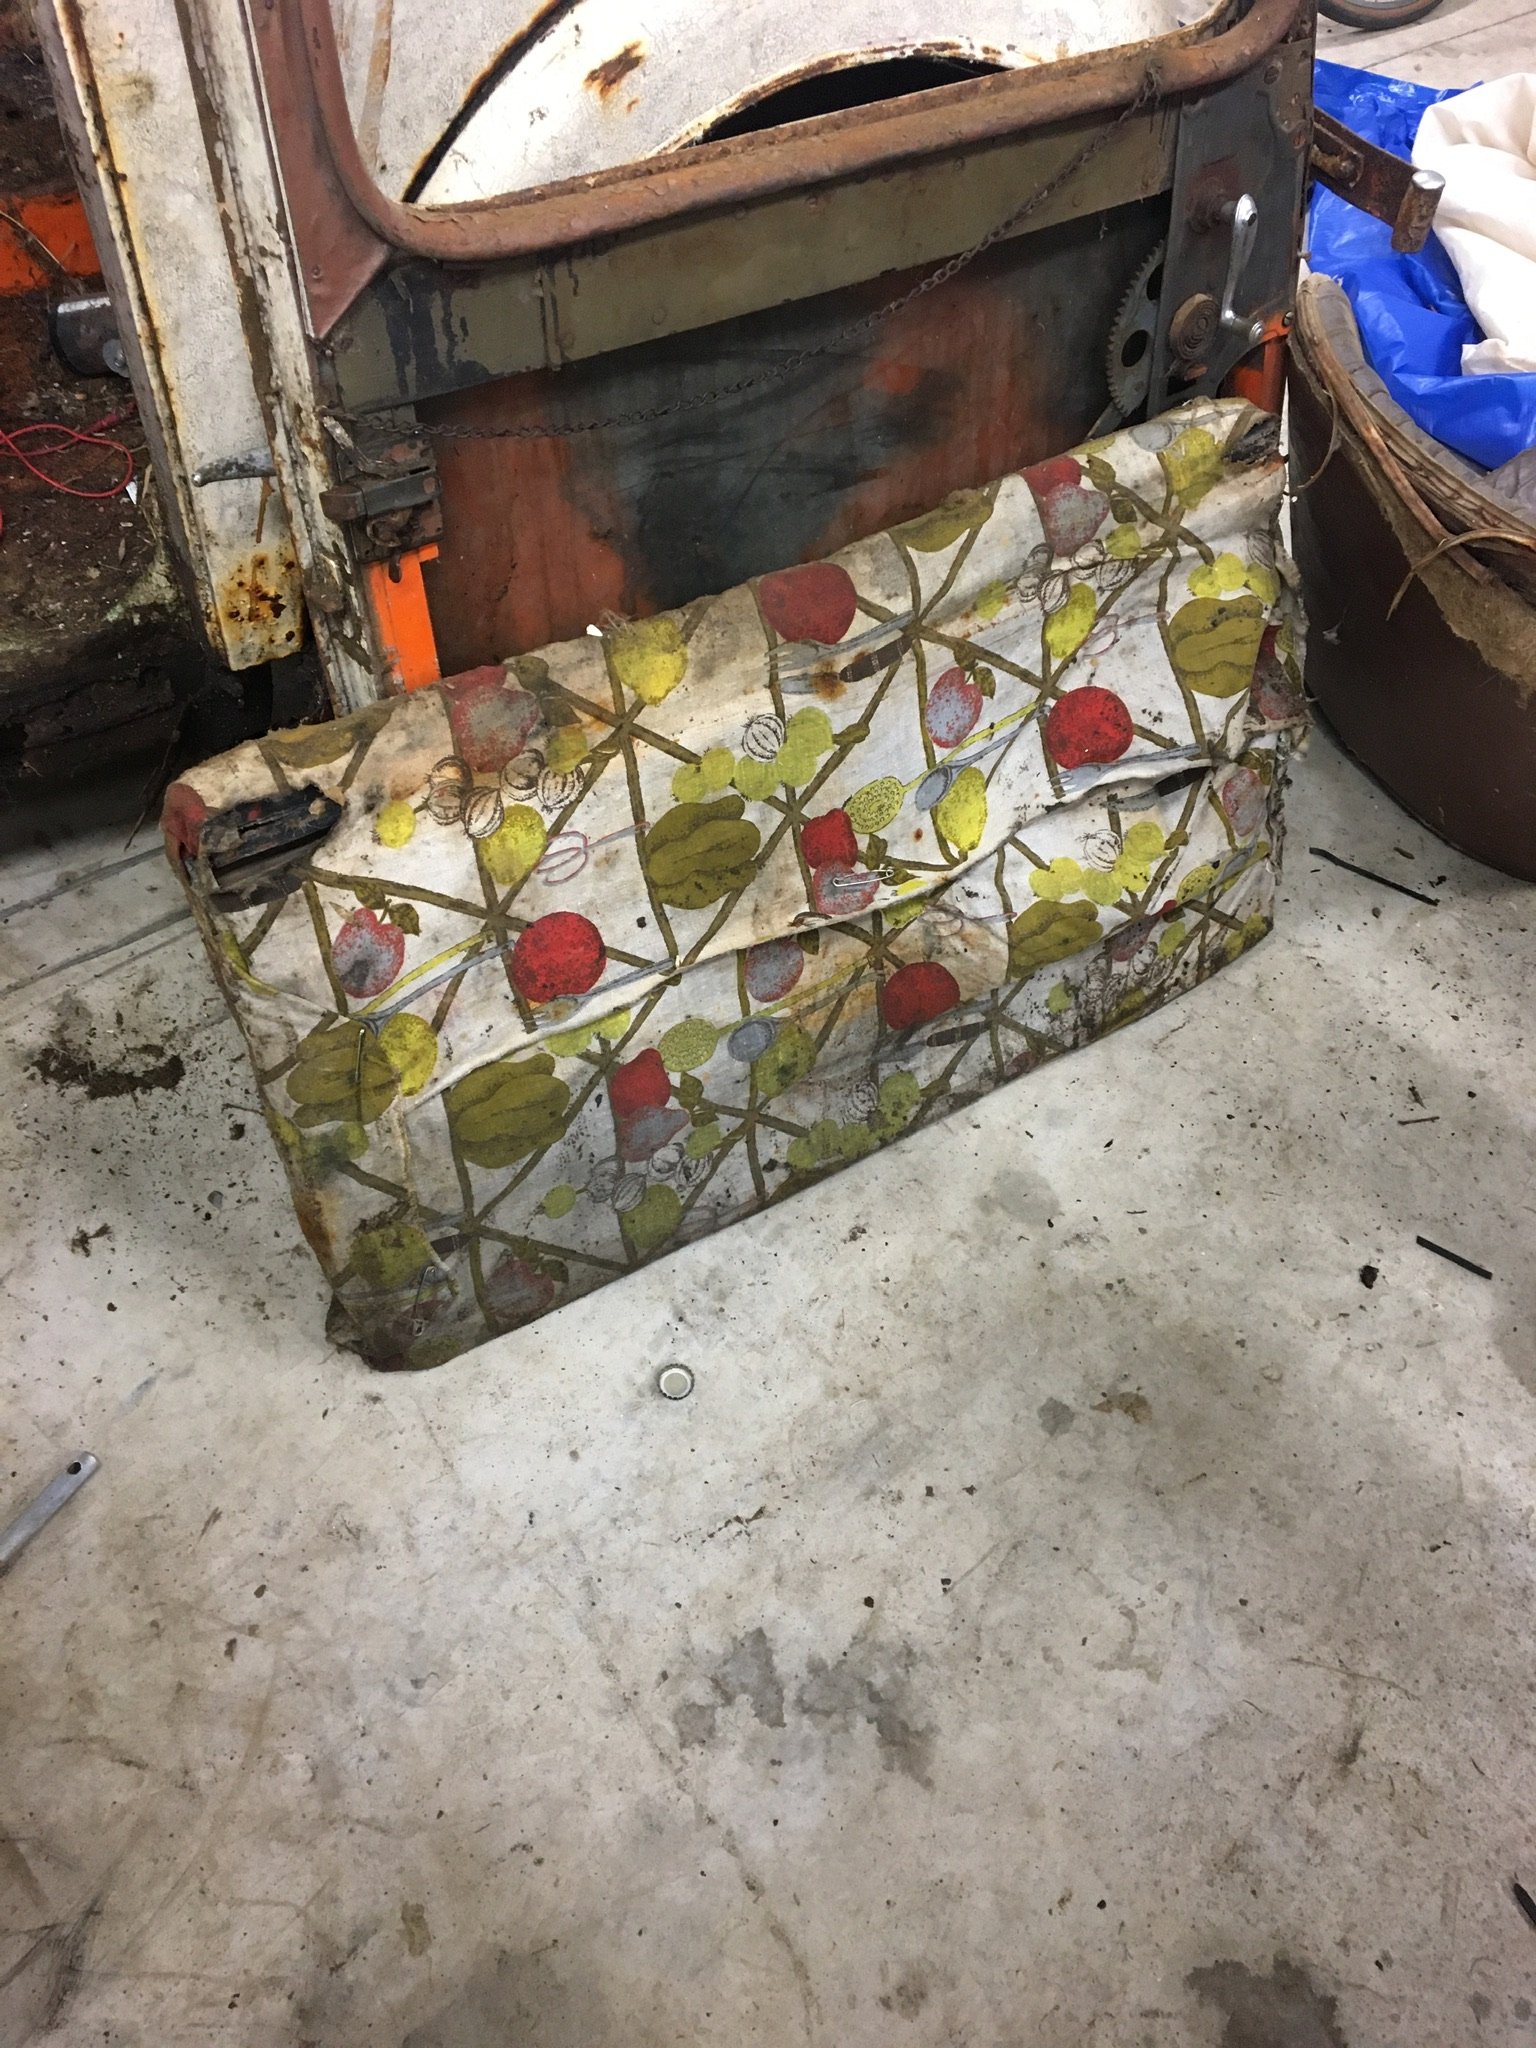
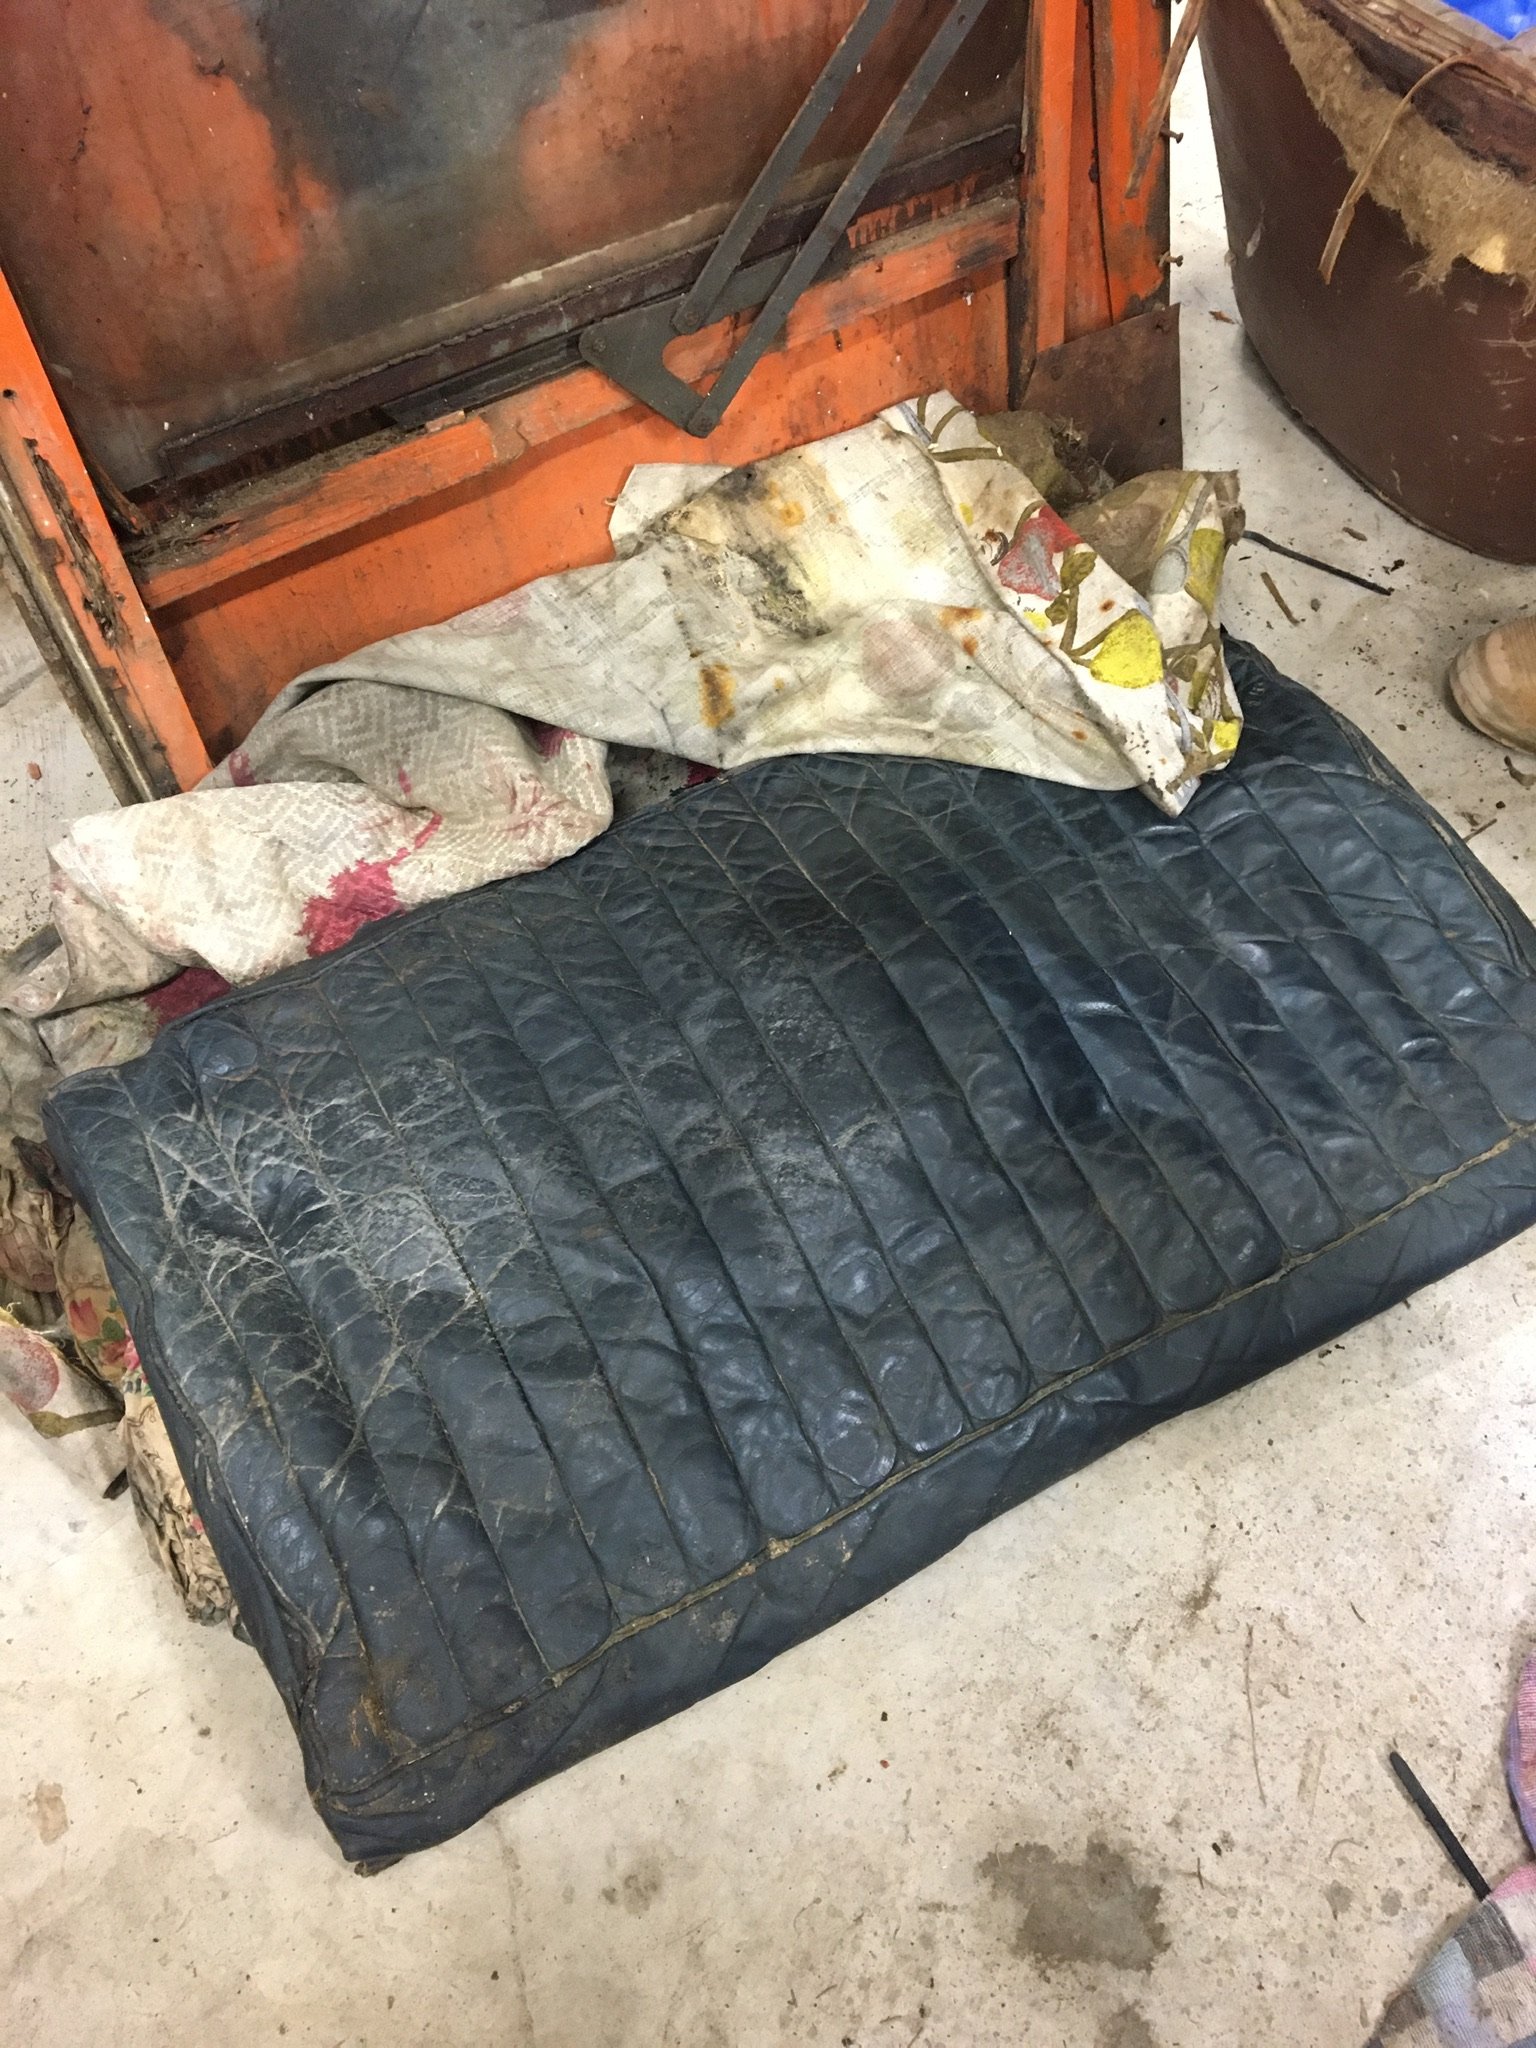
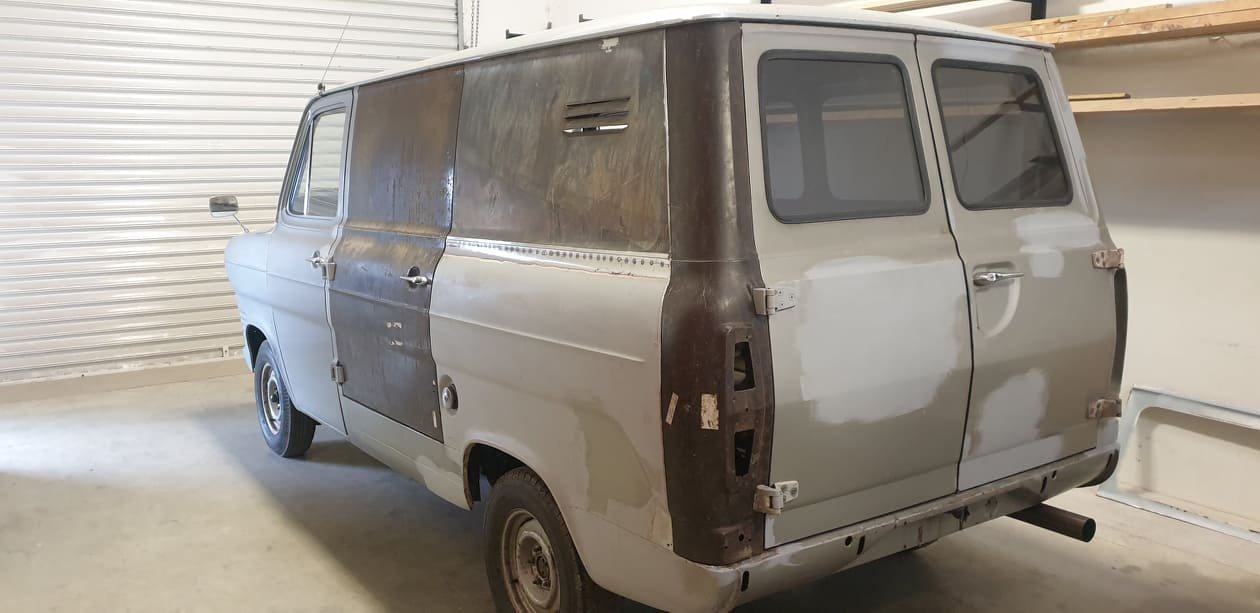
This week I stripped out the seats and took the doors off. The front seat rails are quite bent so I might need to find some replacements. The back seat base was upholstered with a table cloth and safety pins. When I took it off, I found the stuffing was old rags, and the original cover is actually quite tidy underneath.
1 point
-
Yea, potentially, i have got a nice new replacement EMS panel to weld on in that position, and not so keen on modifying that or the body lines too much. I have wheel spats too, which would hide the whole wheel. Still Confident i can move the whole subframe back with solid offset bushings, or new mounts. Or just move the wheel backwards with arm adjustments.1 point
-
Finally managed to get to zebra to get a rear diff from an explorer, I missed out on the one @cletus told me about because I was slack. anyway Zebra finally had one come into stock at the end of June so I went out this morning and plucked it out of this gladly all bolts came out with out a fight and it ended up with this It’s 8.8 inches of Ford goodness, 31 spline axles, factory disc brakes with onboard handbrake, it’s a 3L73 so 3.73 ratio LSD, need to source another short side axle, shorten the long side down 3” and it will be just narrower than the factory mopar and is the same stud pattern as the VJ valiant front brakes I’m using, it’s a well documented thing to do in the USA so there’s an abundance of information about it online.1 point
-
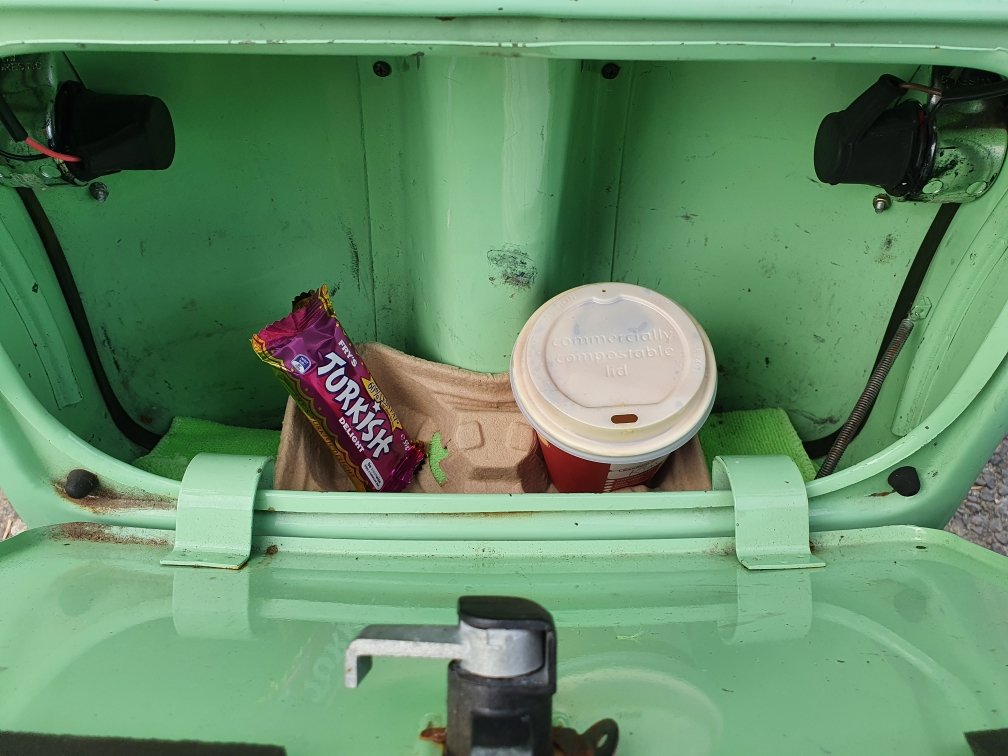
I got 2 coffees home, 10km from town like this. Well one dropped off to wife on the way. Didn't spill a drop! Did 120kph downhill...it loves it!
1 point
-
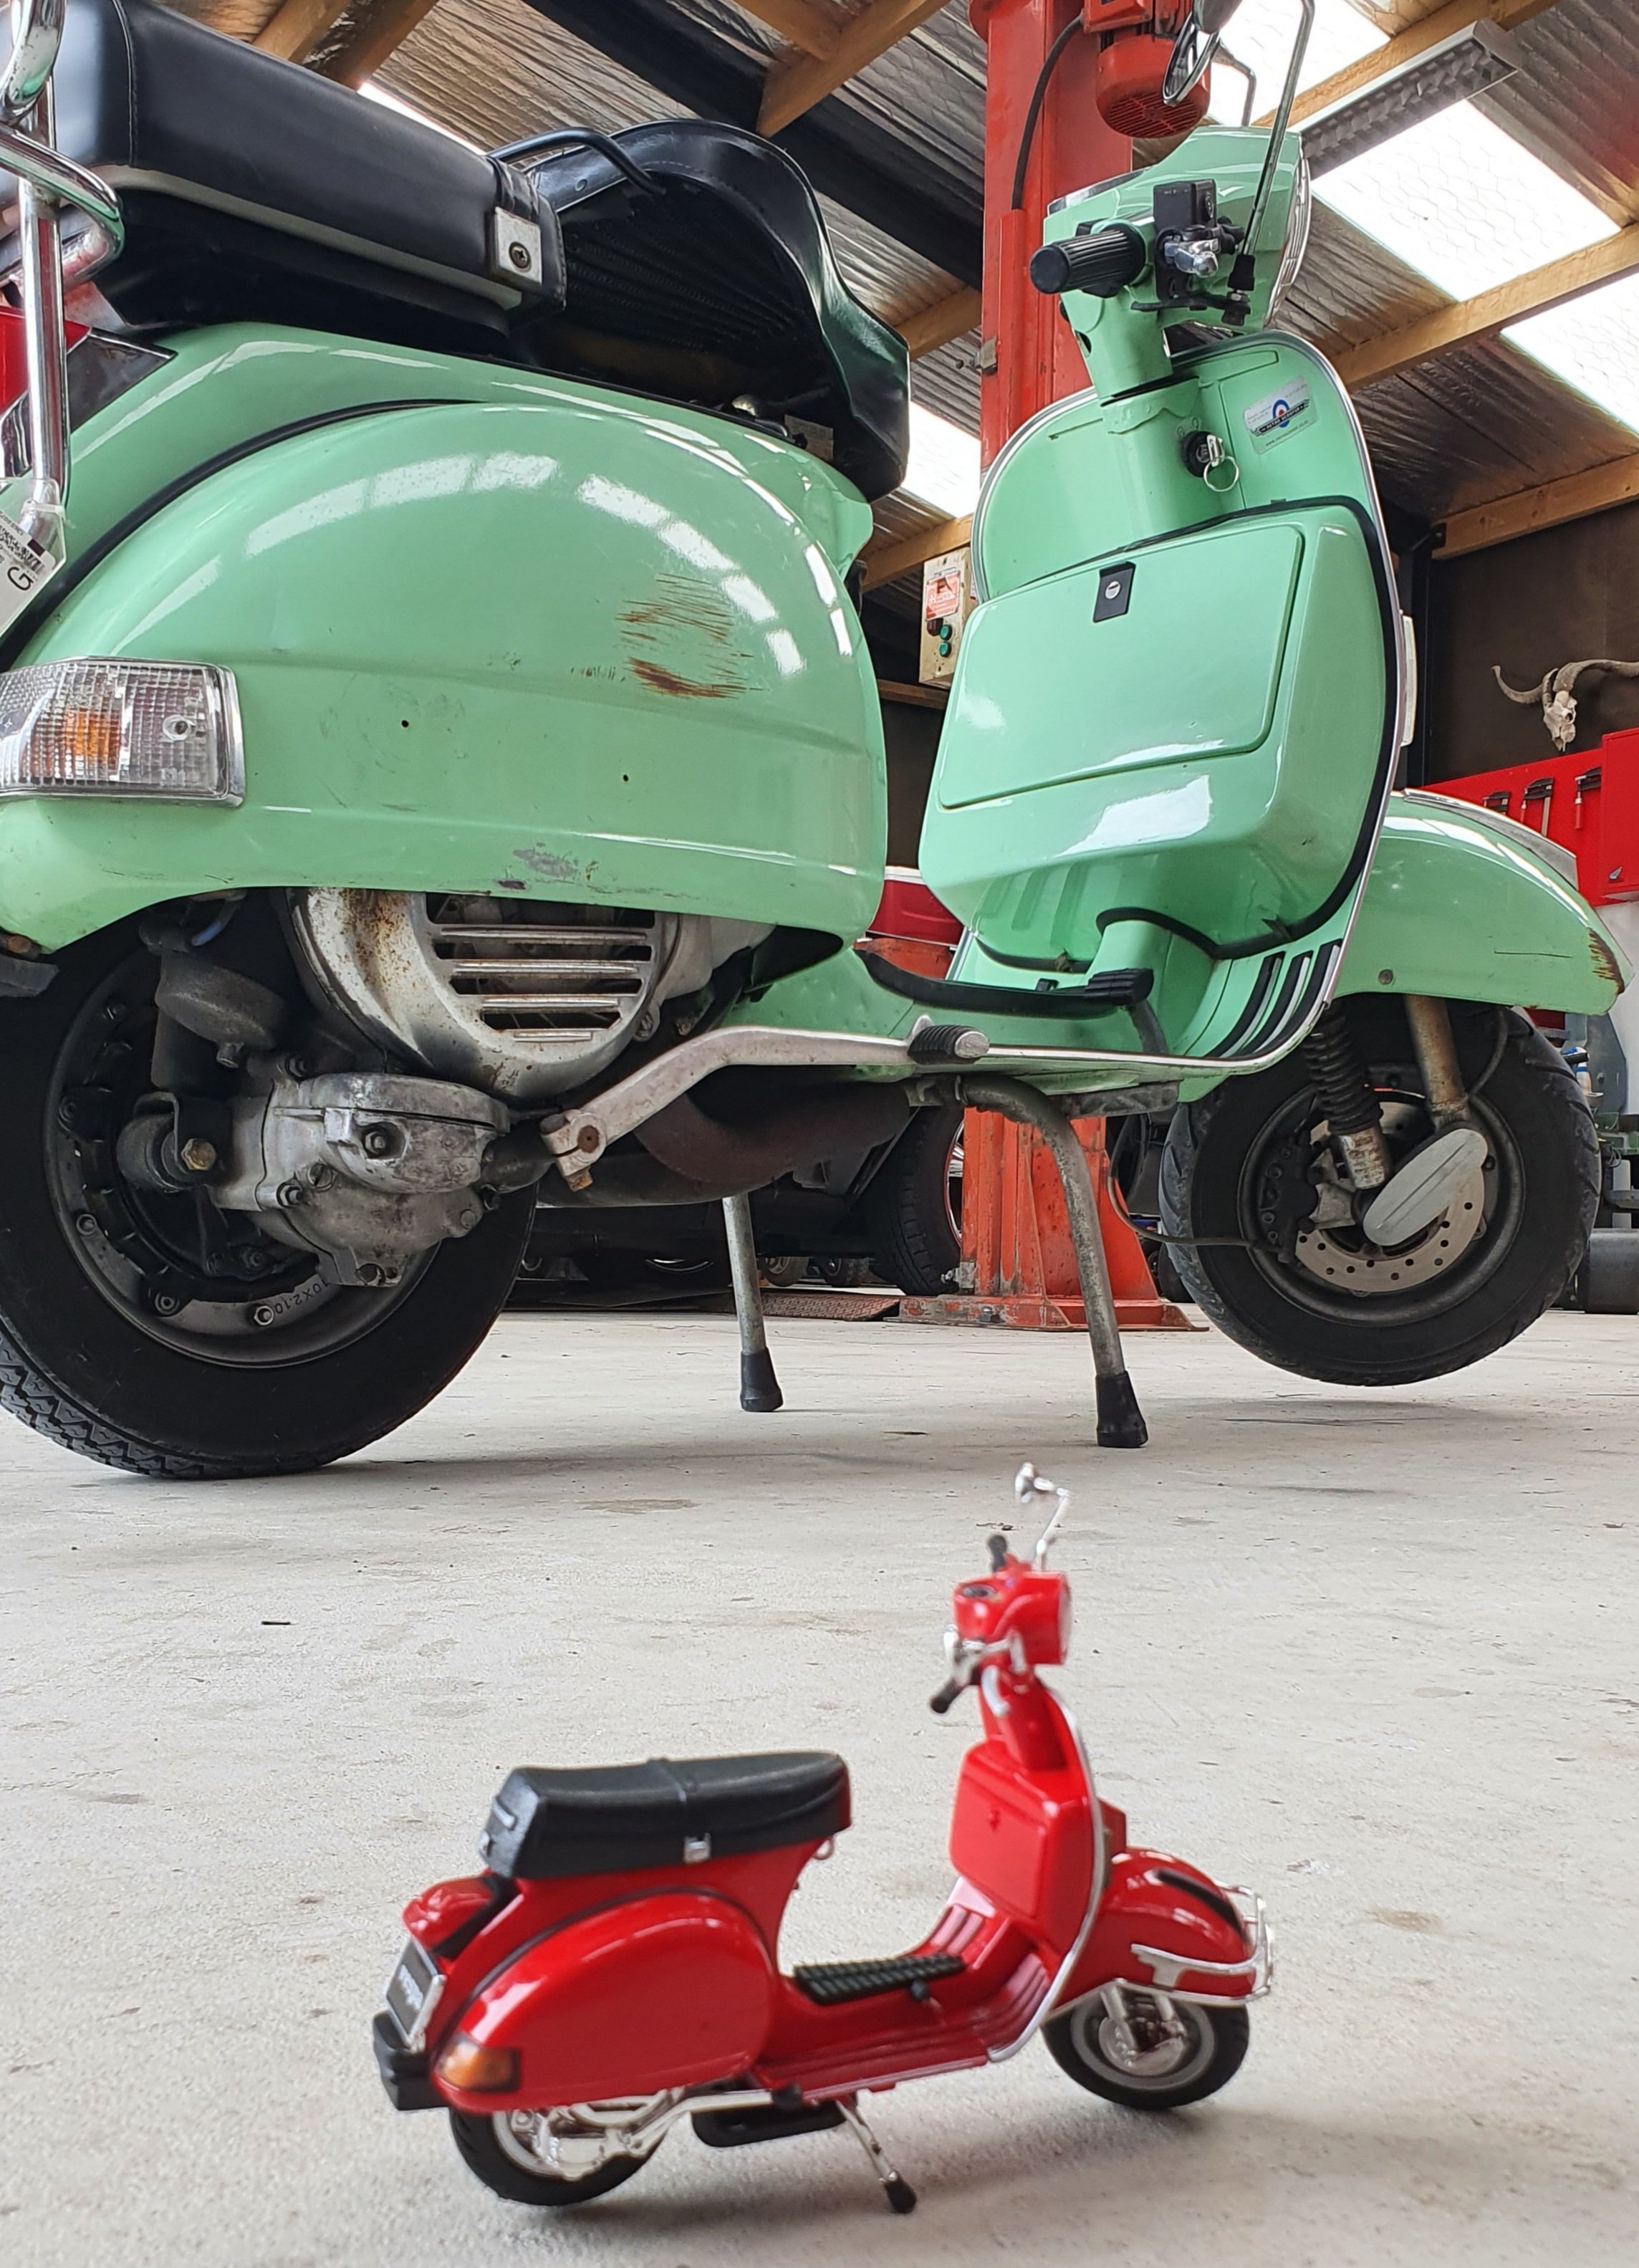
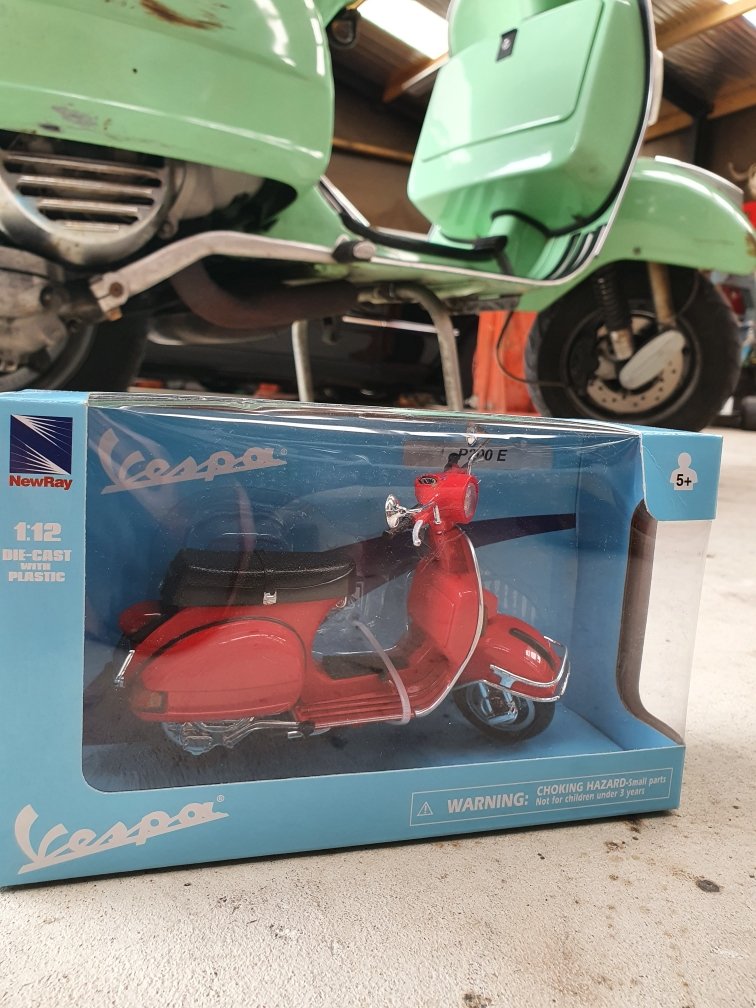
This arrived today. Just need some snifter green paint to make it match...
1 point
-
New tyres and spacers on. This thing just gives me one step forward and 2 steps back. I discovered a few amazing things today: The front end of off centre by 4mm. The LF wheel has 7-8mm guard clearance and the RF has 0. I will have to remove the subframe, slot the holes 4mm then weld the slot and reshape the mounting holes. The rear end has been fitted 10mm off centre. The LR wheel is flush and the RR is in 10mm. I will have to cut the mounts off and reposition them over 5mm. I have found some rust underneath that I’ll have to fix up and the chassis rails need tidying up before a wof. The car came with a receipt for the exhaust from a reputable car modification company here in Christchurch. $2500 worth. The rear muffler has 2 mounts. The forward most one is hard bolted to the chassis with no rubber so that explains the vibration through the car. The rear most mount is a cotton reel that has been mounted as a hanging set up and in a way that it has pulled itself apart. Cotton reel exhaust mounts have to be compressed! Anyway. Enough chat for today. Here’s some photos.
1 point
-
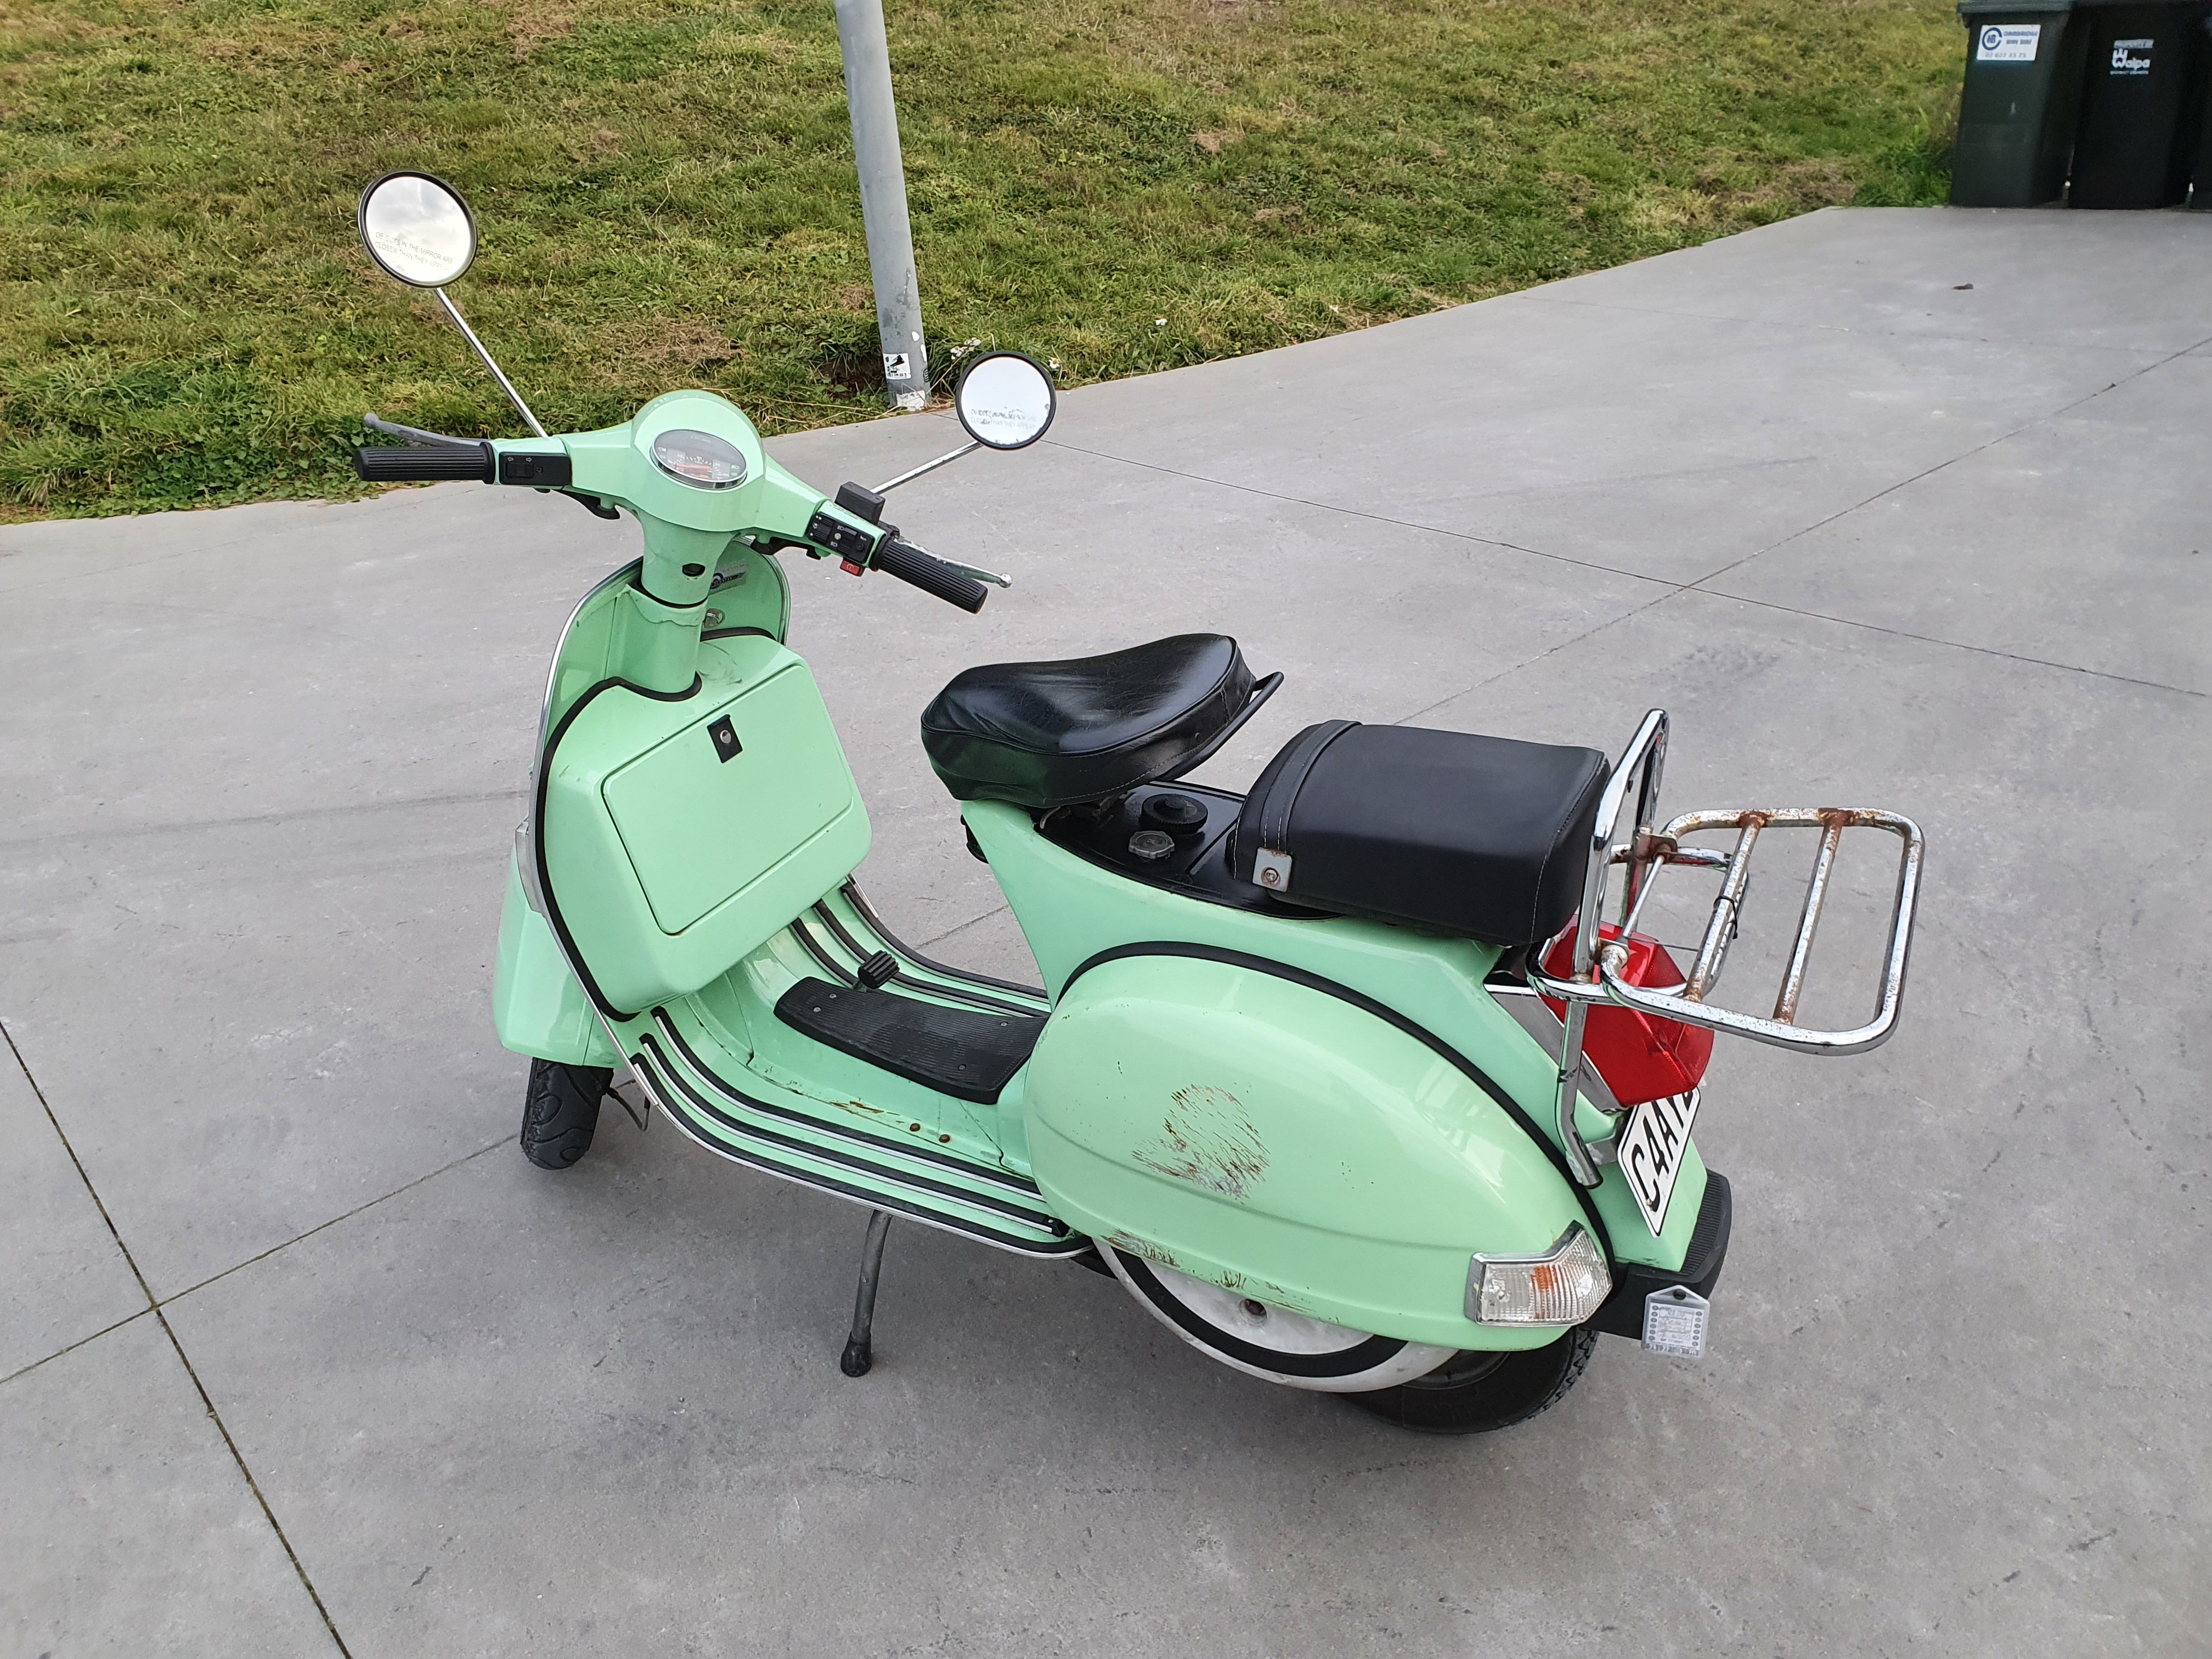
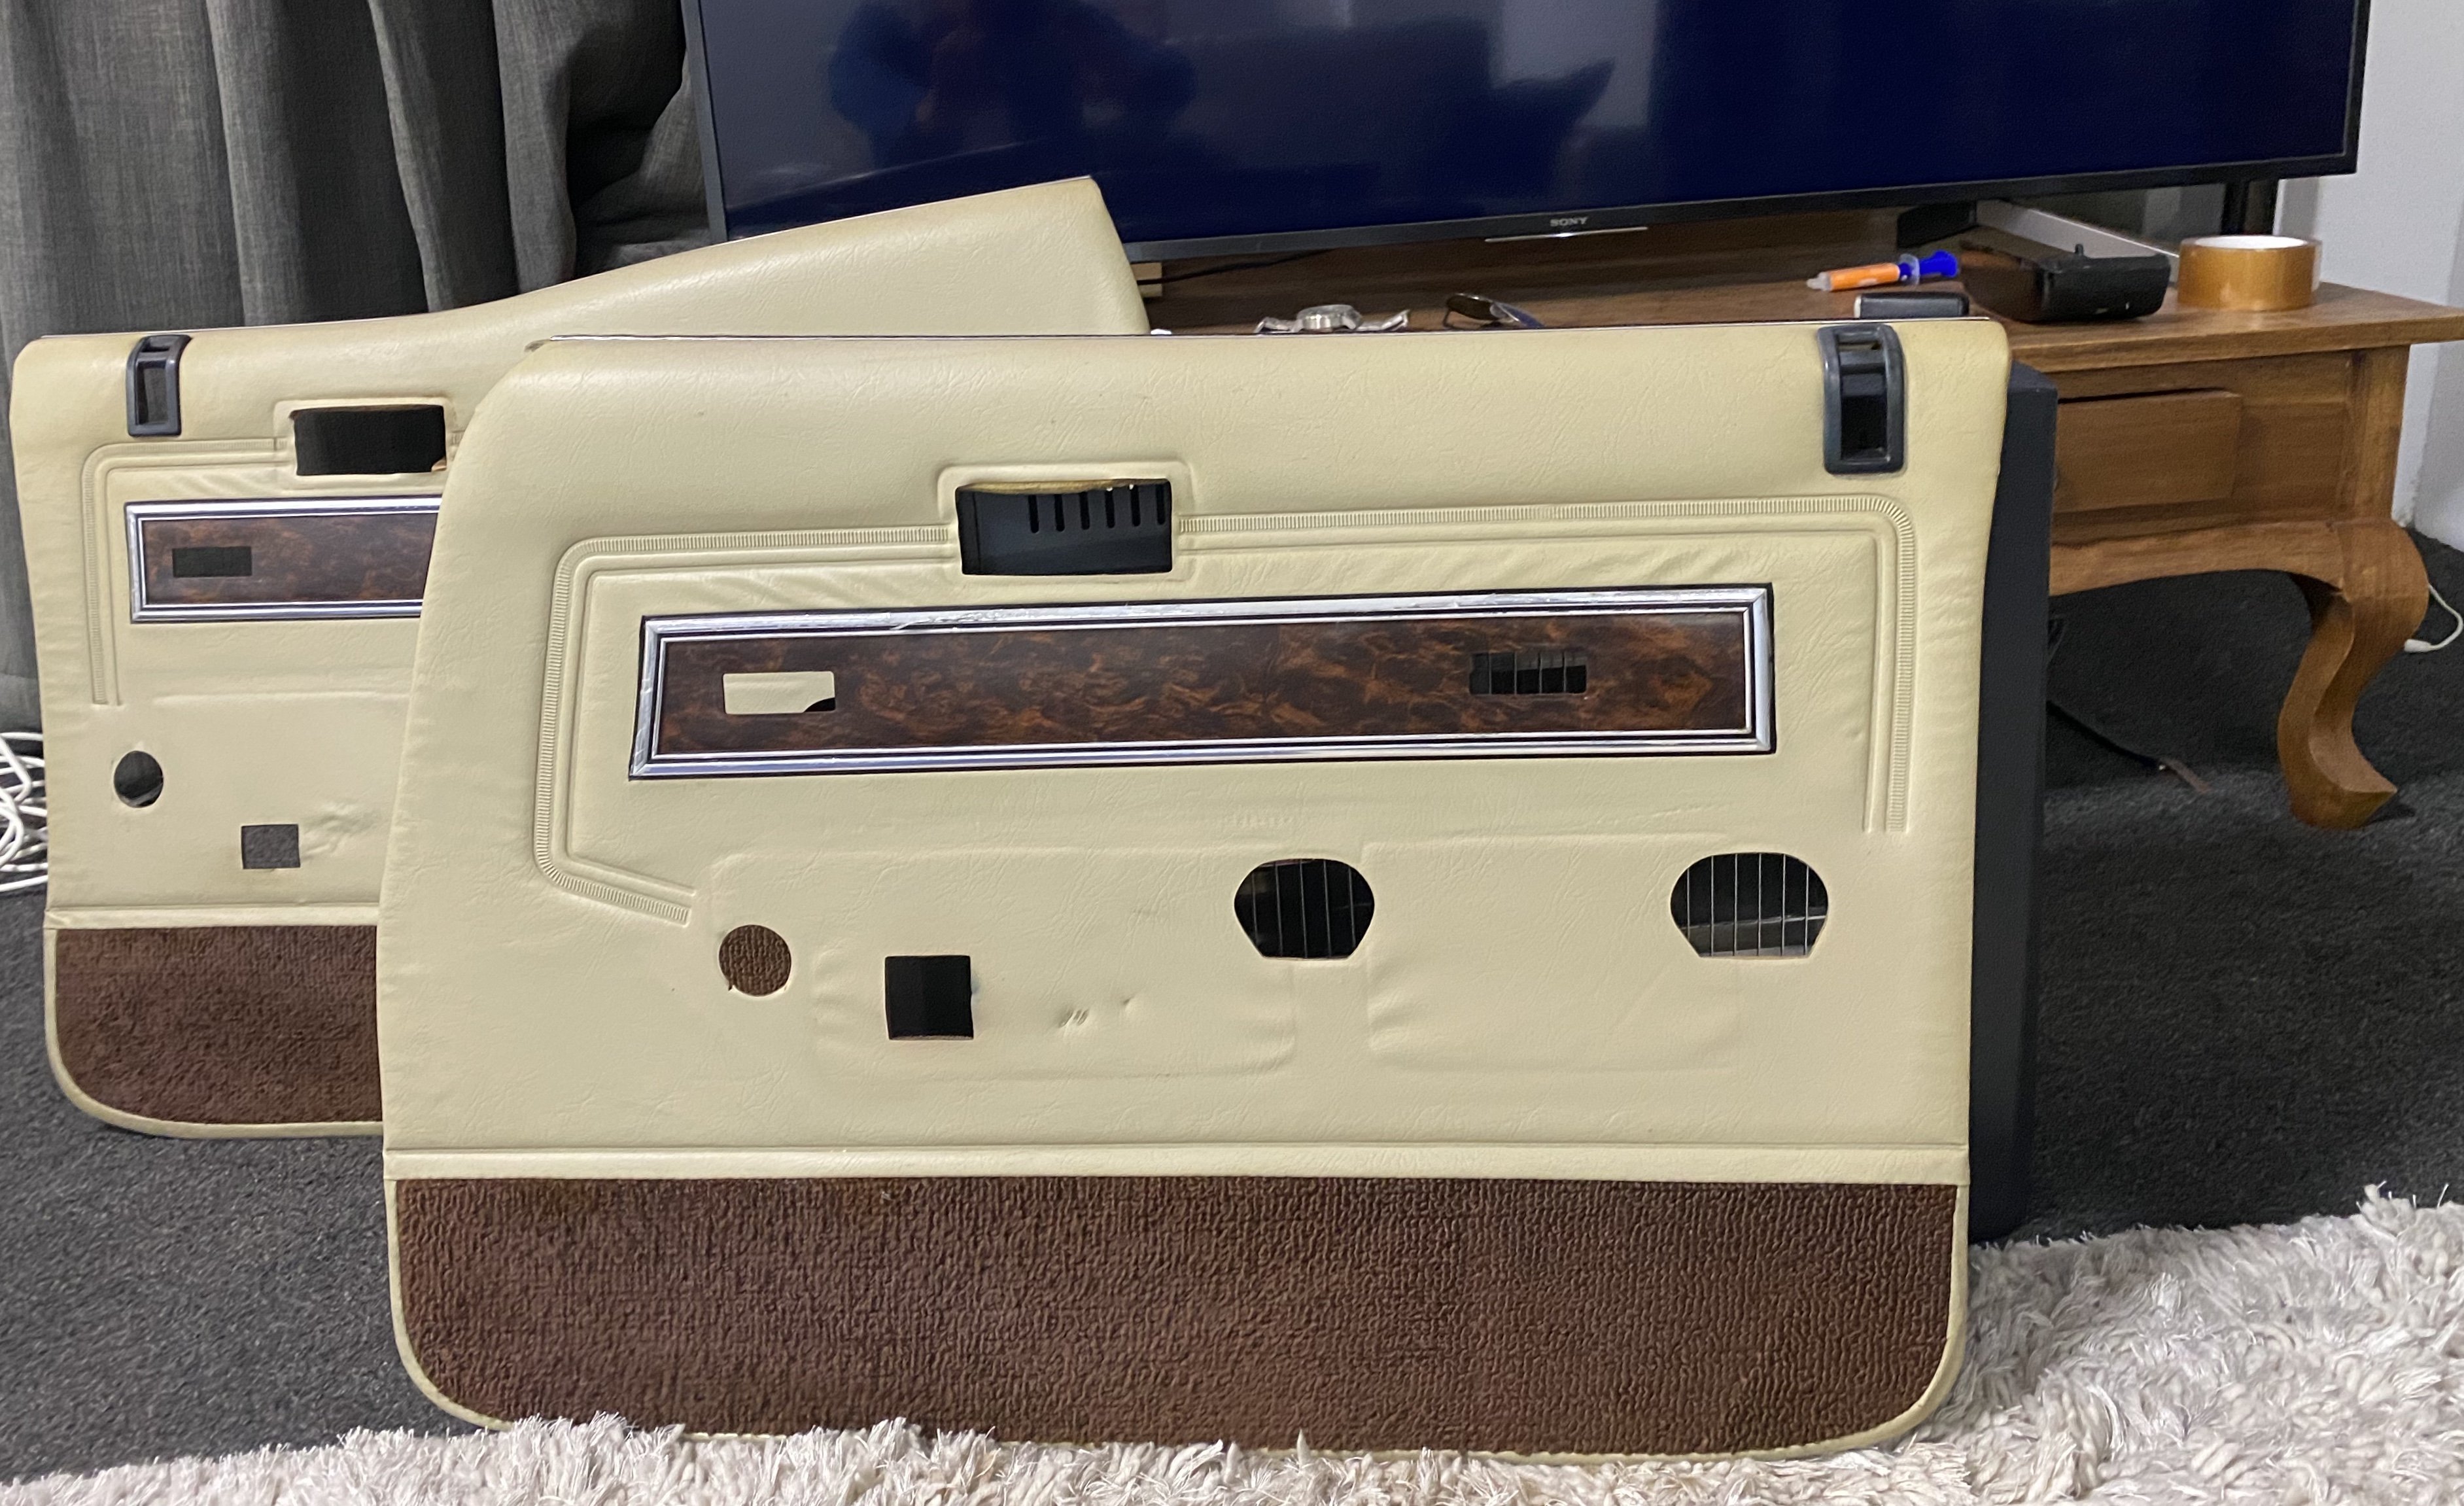
Im loving this seat. The springs are sweet...it squats down as you excellerate, so forgiving and super comfortable. I made a slight mistake by applying some armorall to shine it up...but that just ended up making it very slippery. I've done my best to try remove the "slipperyness" and its certainly not as bad as it was. Lesson learned. Ive ordered a brown leather cover set to replace the black covers. Should look lush! I don't hate the black, it looks sweet...but im keen to try brown? #brownseatsmatter
1 point
-
some good progress today
1 point
-
The thought definitely crossed my mind, I’ll let you all know what I choose and might do a build thread if I make the box1 point
-
So here is how it sits Also if anyone has recommendations for a rust repair person in Christchurch I'd love to hear from You!
1 point
-
Oh wow almost a year without an update! Things have been happening with the viva but it's still been slow progress. So the car now runs and has had a very brief road test. I genuinely don't think it's to far away from the road! The bigger magnum brakes have been fitted. fully reconditioned calipers and master cylinder were what was needed with New shoes and cylinders in the drums. All electrics work apart from the interior light. This shouldn't be to much drama to sort. Bad earths and poor connections were causing issues with the headlights and indicators. All added electrics run through a separate fuseboard which makes things easier. Top and bottom ball joints replaced Tie rod ends replaced A variety of bushes replaced The engine is running really nicely, no oil or coolant leaks. Most of the ignition system has been changed as i was having various running issues. Ultimately these were caused by the wrong coil being fitted and the ballest resistor wire not being disconnected. The carb will need some fine tuning I'm sure. But I'll get someone who knows what they are doing to look at this. I don't even know if the jets are the correct size. The carb is a bit big for the little 1256cc engine but hopefully it can be down tuned if need be. I'd like to keep the 32/36 but if I need something smaller then so be it. Lots of learning has happened during this project, which is exactly what I wanted. There was an intermittent hot starting problem which turned out to be the inlet manifold had no metal gasket. Something so simple which has caused me years of head scratching and Google searches! The oldschool forum and various viva Facebook groups have been an infinite source of knowledge and wisdom! A huge thank you to all those that have helped and inspired! So i don't have to much left on the 'to do' list. But here it is: The wipers are really slow, so I'm going to give the motor and connections a good clean and hopefully get it working a little better. Tidy up some electrics and get the interior light working. It's mainly just checking everything over and making sure things are sheathed and tight. I'd also like to relocate the rev counter and oil pressure gauges. Which won't be to much drama Fit a few interior bits and pieces like the step trims are to be fitted. And then give the car a good clean. Then the car can go for it's rust repairs and have the new window rubbers that I very prematurely bought fitted. Then off to a classic car friendly garage for a tune up and wof. I'm sure there will be things to sort out for the wof but hopefully nothing major! It still bugs me that the paint and wheel arches are so crap. I aspire to have it shiny with standard arches one day but for now I have a bit of a plan regarding the look, which will be a kinda patina racing look. It just needs a few aged decals and aged door numbers. It'll definitely make it stand out and will be a bit of fun. The app I was using to resize photos isn't working and my phone won't let me download another app so I'll resize them online and post them below. Any thoughts or questions please express them in the discussion thread. I'd love to hear your thoughts.1 point
-
Oh yeah that car- it pisses over everything at the start grid. Such good acceleration! Dude looks to be a good driver too. It used to have a Datsun A12 in it before he fitted the boxer. Must be a thing....1 point
-
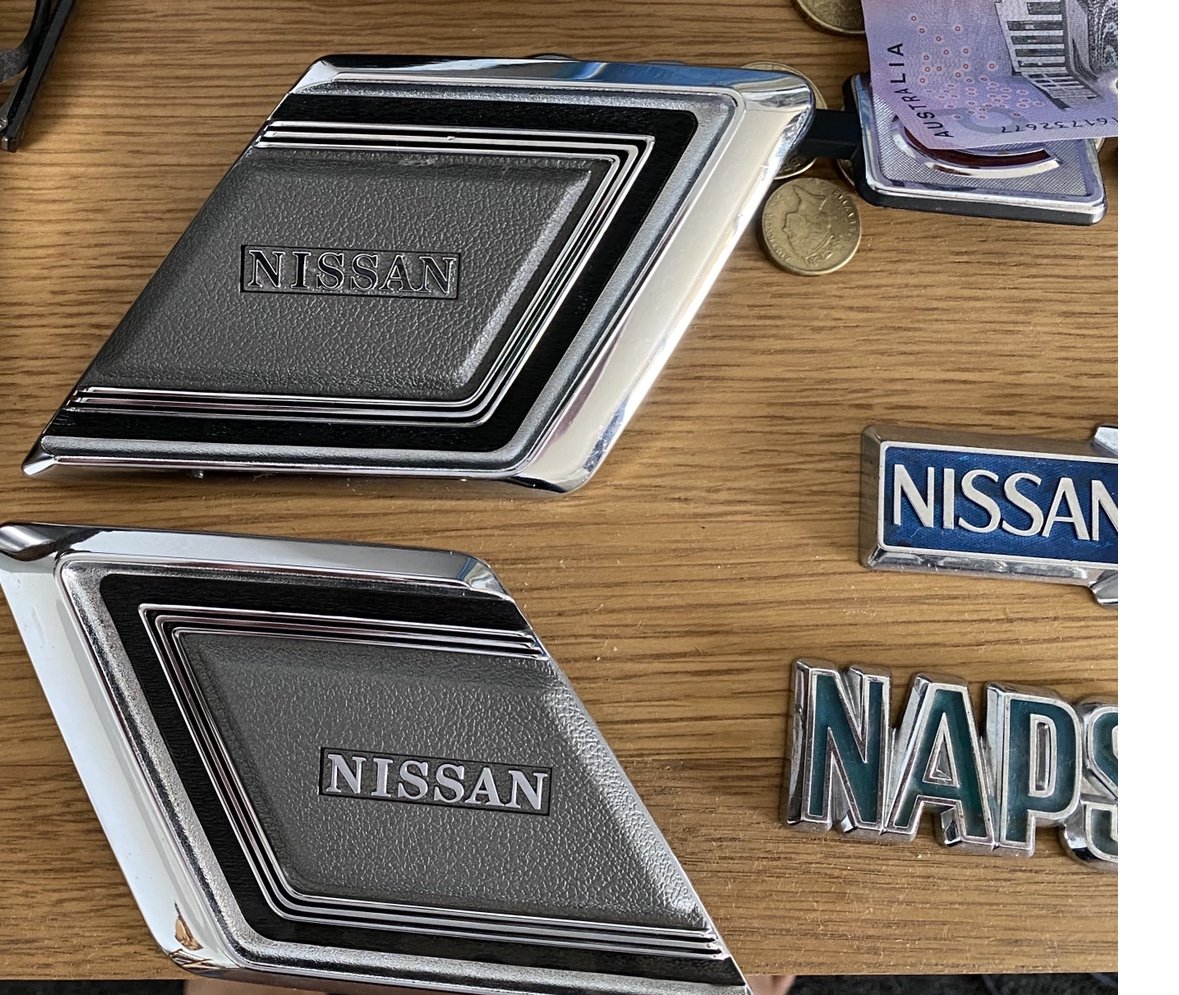
More NOS badges all the way from Cairo ... yes that’s a NAP badge .. look it up hahaha.
1 point
-
Door cards cleaned up mint.
1 point
-
MS Paint edit of what i mean
1 point
-
this may have been mentioned, or already your plan. but if that rear wheel works fine where it is and clears everything, why not just trim the rear of the arch out and weld it back on and inch or so further in to 'center' the wheel in the wheel arch? youd end up with a bit of a shorter wheel arch but i rekon it would look awesome, and be nice and symmetrical1 point
-
https://oldschool.co.nz/index.php?/topic/45289-browndogs-1972-v8-transit/page/4/
1 point
-
Adjusted valve lash on the weekend, rotated each pushrod till I just felt resistance, then 1/2 turn more and locked them in position. Did the #1 TDC, then 180 deg, then 270 rotate method to do all valves, and went though each cylinder in turn after that rechecking them, seems ok... Then braced myself for looking at the suspension, that had been removed 3 yrs ago and not looked at since (apart from a half hearted attempt at the driver's side). Wasn't too bad, started by scraping out the passenger side wheel well, nearly 50 yrs of accumulated crud made a greasy mess on the floor, swept it up (filled half a bucket) and cleaned with petrol. All the while cramped up against the wall, wish I'd taken a before pic... Had no idea where I'd got to on drivers side so rechecked torque, some bolts were tight, some only done up with fingers. Had a bit of trouble finding torque specs but went with: Top arm pivot bolts - 90 ft-lbs Lower arm pivot - 90 ft-lbs Lower arm to strut rod bolts - 65 ft-lbs Strut rod to under body bracket - 50 ft-lbs Spring saddle to upper arm bolts- 25 ft-lbs Ball joint mounting bolts - 30 ft-lbs And was going to do ball joints to steering knuckle at 80 ft-lbs but the castellated nut screwed past the split pin hole before any torque was applied, so I'll need some hardened washer spacers, will grab some today... I went though old pics and set the suspension strut camber eccentrics, and thread lengths approximately where they were on disassembly, will do the same for the steering tie-rods so hopefully it's driveable before I get it aligned properly. So things are clean, upper and lower arms and strut rods in place and almost ready to put the new springs in... Looking fwd to seeing how these sit...1 point
-
Outer pattern with runner system.1 point
-
the floor inside exists but i dont know if it will support any weight, sills dont exist, not sure about the rear deck area as theres rotten ply over it, i'm not that hopefull. stupid big project i agree, but it could be great, put about 15 grand into it, and overnight parts from japan.... or it could just be a parts car. or give it a wash, coat of matt black and build a burnout car1 point
-
no dust covers shits me! will have to find some boots/gaiters
1 point
-
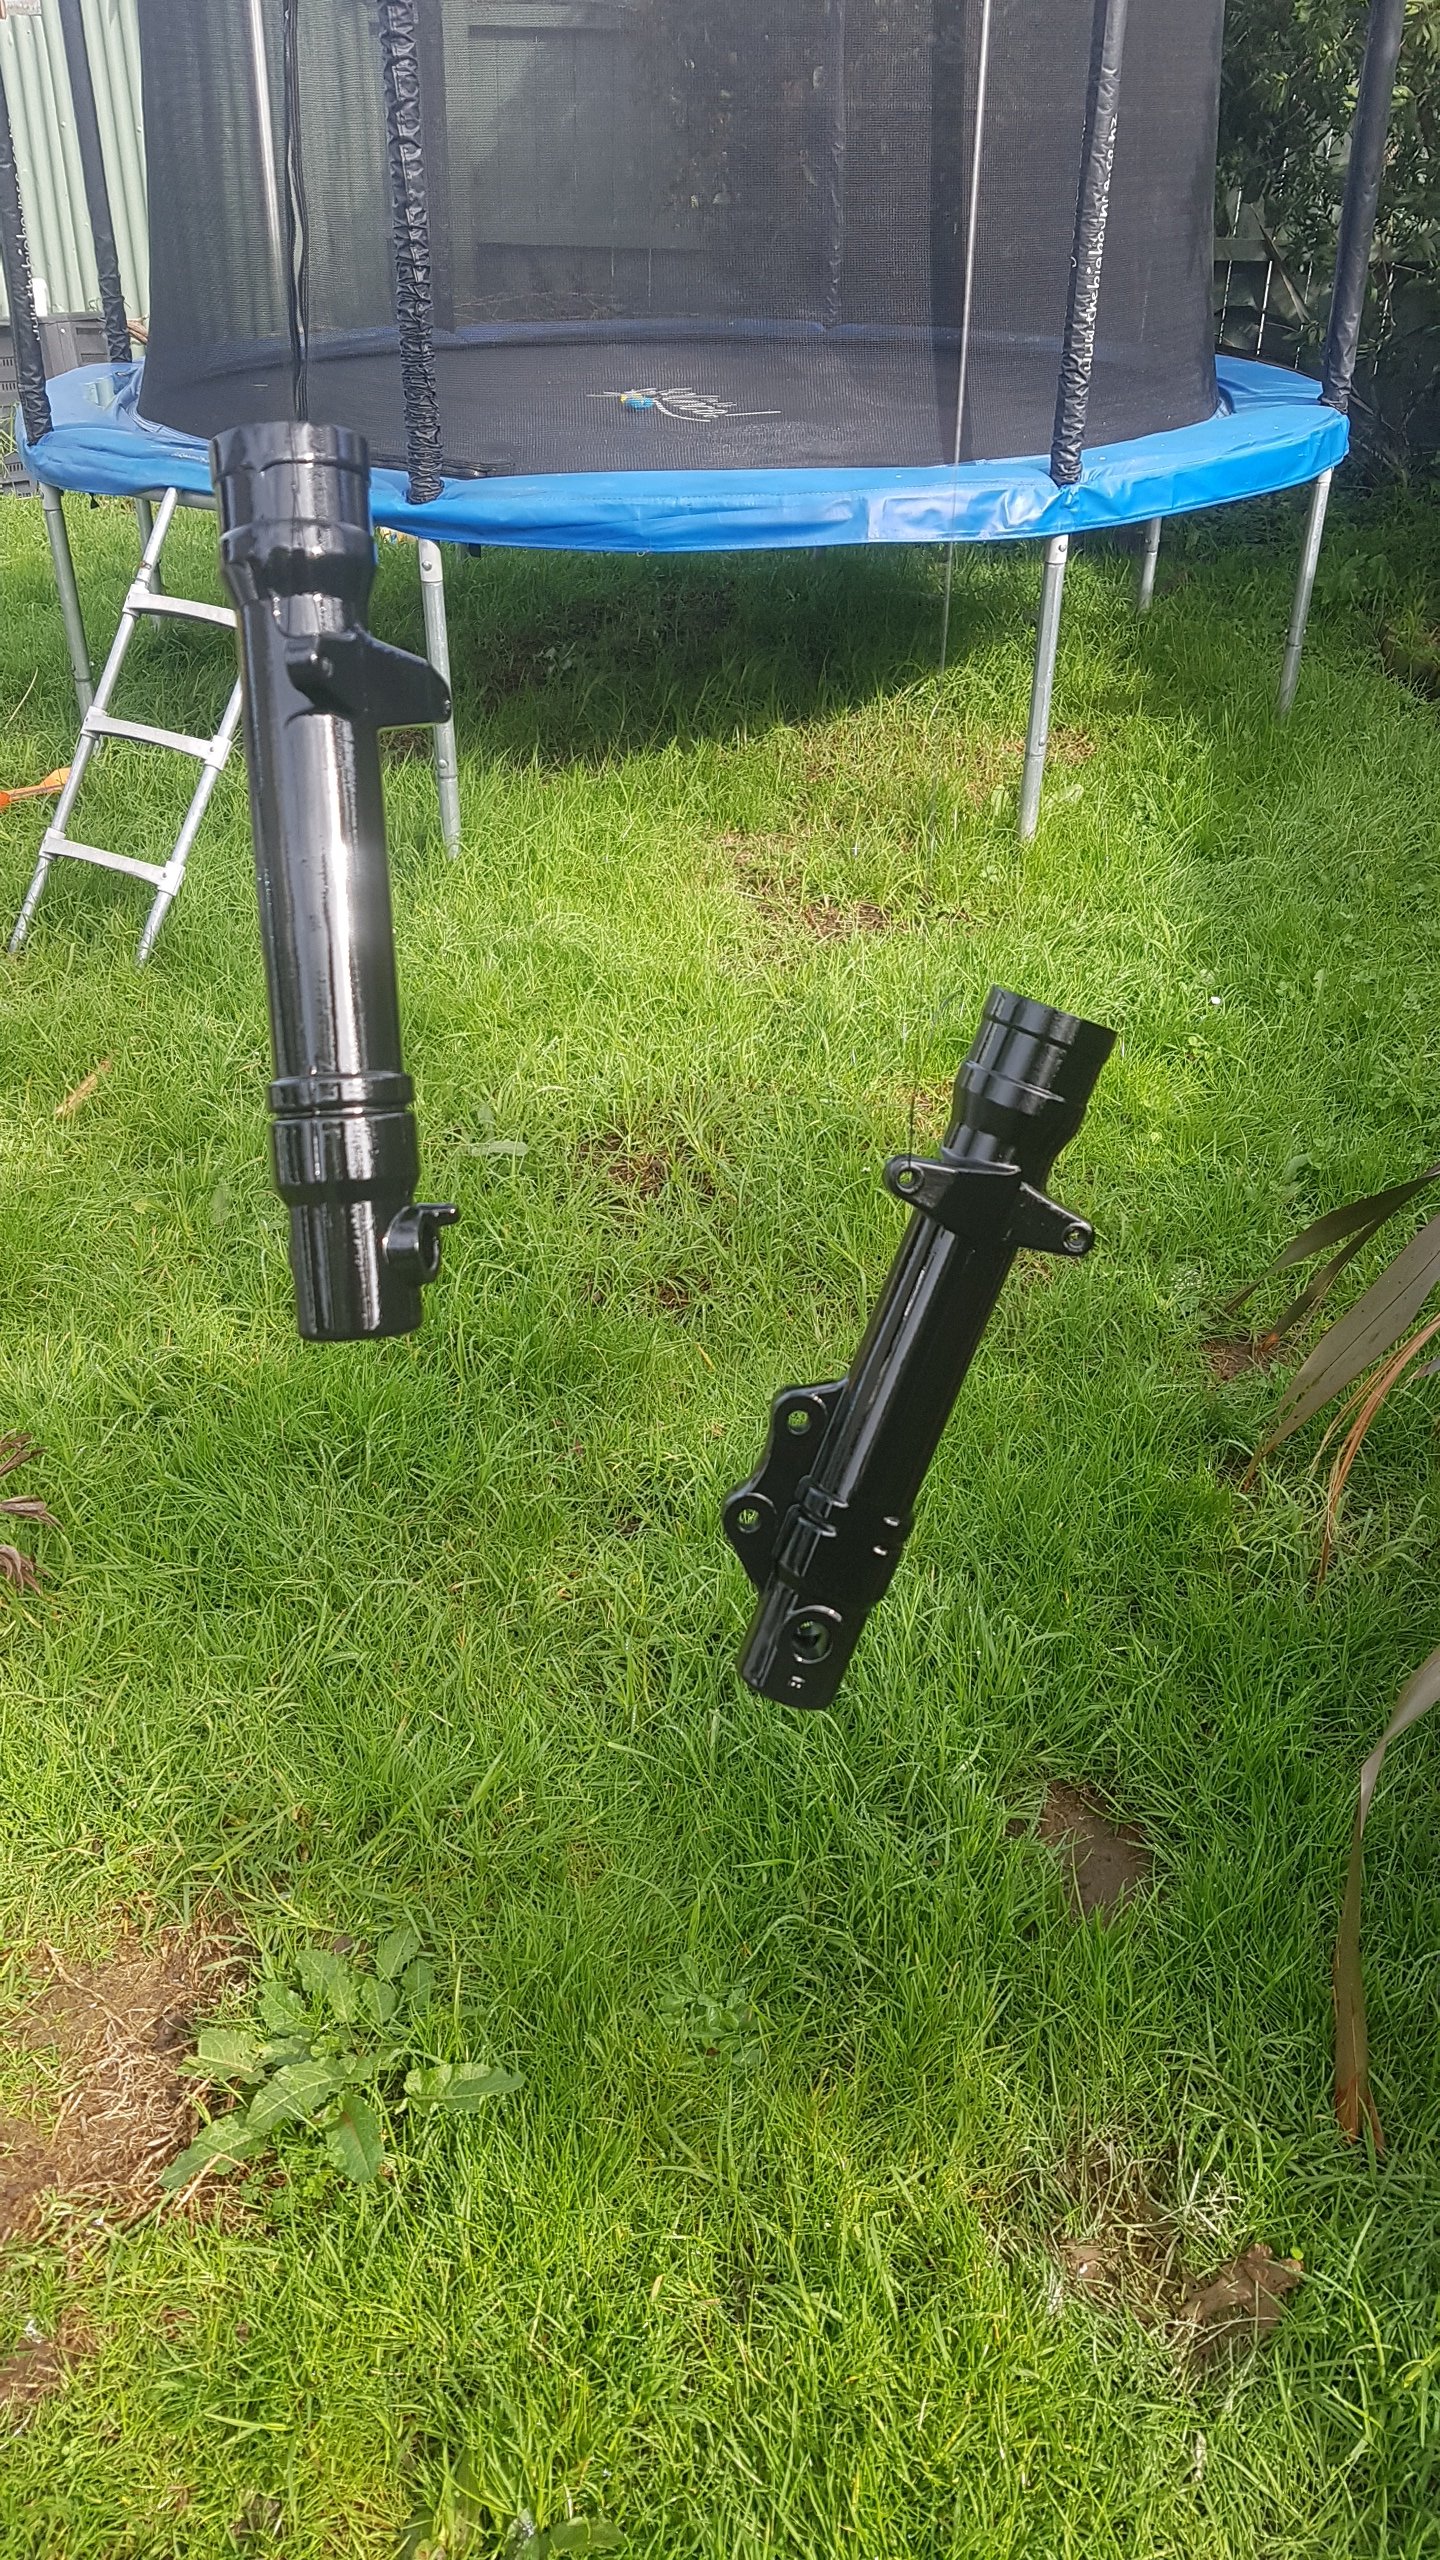
leg day..... was blown away with how dirty the inner's were, 1L of kero and a can of brakekleen later.... forks have only taken 120ml each and were weird to do as the spring dosent separate from the chrome inner tube so you have to fill the inner with the spring in it then put the outer on upside down to screw them with the 8mm Allen key, they are like upside down/standard fork hybrid weird italianness
1 point
-
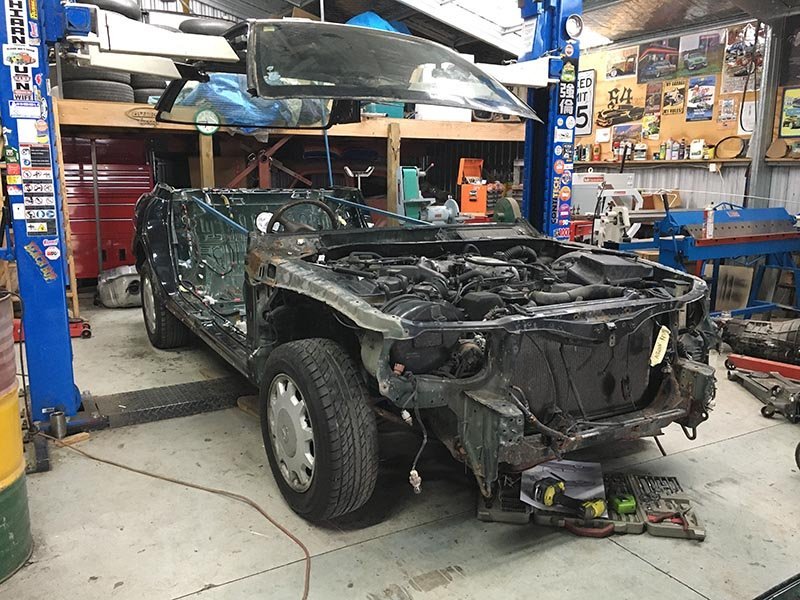
goes without saying really but ive driven the crap out of this, drove it to work every day, supermarket, all that shit. anywho the clutch slave shit itself which tbh isnt that big of a surprise. the pedal pressure on the clutch was immense, the whole fire wall flexed so much the brake master hit the strut tower. the clutch that was in it was the highest pressure 250mm exceedy clutch you can buy. and it had started slipping. so Richard gave me a hand (because i dropped an engine on one of mine) and we took the JZ out to replace clutch slave and clutch. im just going to replace the seals in the clutch slave because fuck you cardwells you thieving bunch of cunts. and im replacing the old clutch with a twin disk OS Giken unit which requires less force on the spring tines but has double the clamping pressure. its a sprung center unit and fingers crossed its actually drivable on the street. consensus is that it will be fine once i get the hang of it so thats good with me. ill do a few other things while the motor is out because why the fuck not and then ill chuck it back together. then do a skid i would expect. 2020-07-25_03-40-31 by sheepers, on Flickr 2020-07-25_03-40-21 by sheepers, on Flickr 2020-07-25_03-40-04 by sheepers, on Flickr 2020-07-25_03-39-53 by sheepers, on Flickr1 point
-
The feeling when you find the barry who knows exactly what you need when you thought it would be difficult, is friendly and helpful, AND gives you trade.... Better than sex.1 point
-
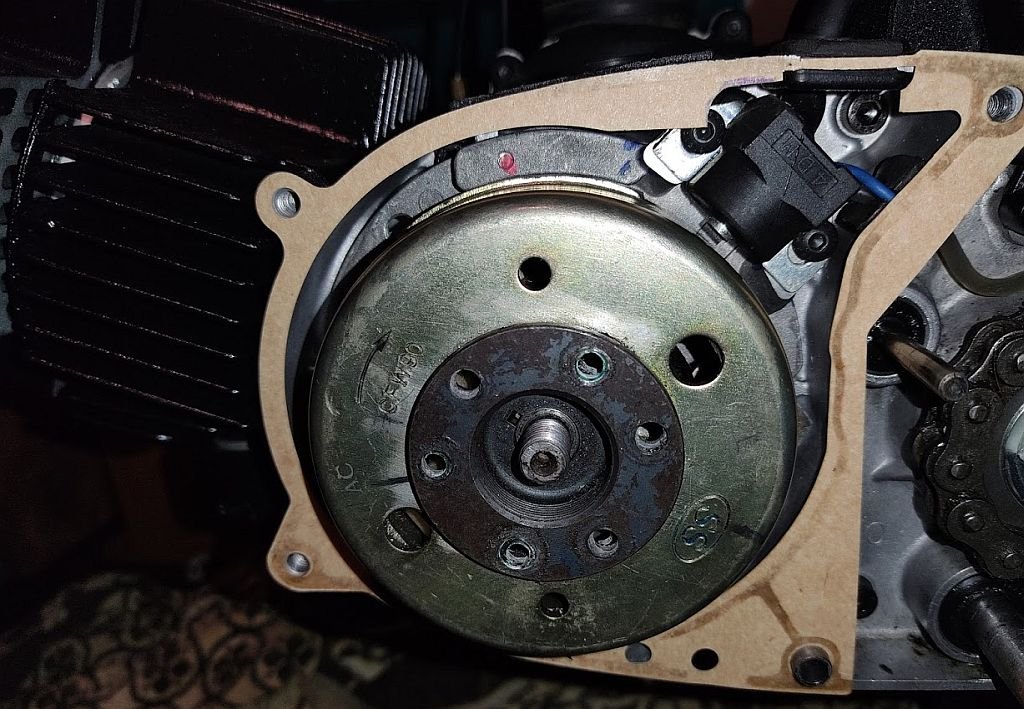
So yesterday was the day to do the first start, but yeah had a few issues with timing and had to redo the flywheel. How it was at TDC: Compared to another engine So yeah it was trying to fire well after TDC. Bit of mucking about got it here: With room to adjust timing still Loaded fresh bolts up with red thread locker, spring washers + nylocks this morning Then this happened...
1 point
-
I managed to fit 3 of the new tyres last night. Stupidly I left the 4th wheel at home as I had separated it from the rest to sort tyre sizes a while ago. So I bolted on one of the originals just to be able to put it on the ground. The GN tyres look pretty lo-pro and sporty on it, but I don't think they look kosher enough for when it comes to on-road-inspection time.
1 point
-
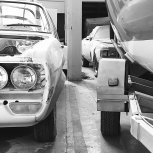
This pic Reminds me so much of
1 point
-
if you dont need the money ...keep it man...bloody clean car. and if you want to be able to jump in and drive all over the country without issue and good on fuel.....mx5 the bugger you would regret selling it mate and they fit pretty well......even with a wu-tang war whistle hanging of the side
1 point
-
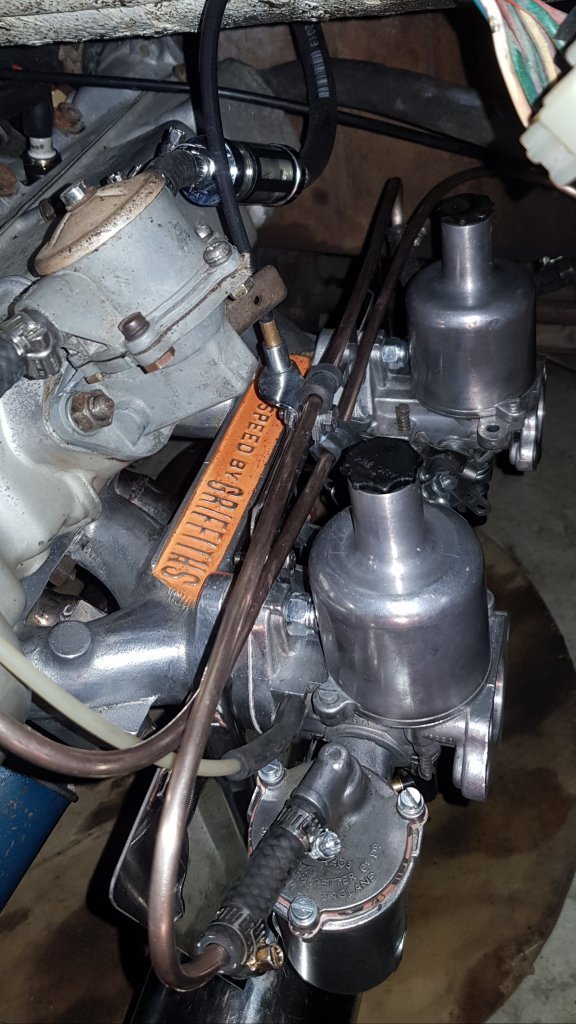
Crikey! Its been over 3 months since I last updated this thread. The reason being I have been busy just enjoying summer and driving the Imp whenever I can. Its such a hoot . I'll use any excuse I can to take it for a hoon. We have now covered over 3500kms since getting it on the road at the end of May last year. Considering we work from home so no commute I was quite surprised at how much its had! Its been incredibly cheap to run (very easy to get over 40mpg while still having a laugh) and is sooooo much fun to trash along on windy roads. The reception we both get whenever either of us uses it for a shopping run etc is fantastic. It really does make people smile- which is nice A few various friends, some from Oldschool, have also taken it out for a good thrash. Its really interesting seeing how different people drive it, their style, ease with the handling and gear change, confidence. Generally they have all found it super easy to drive and all seemed to love the handling. If only it had another 50 bhp... I have done a few little jobs here and there to improve it. Back in the last exciting episode I left off with some sexy photos of a new Hitachi carb. I swapped the relevant linkages/cable stops I had made for the previous carb across onto the new one , bolted it in place and hoped for the best. Started the car up but flooded it because the new carb seems to have a more effective choke. Cleared it and started it proper. Straight away I noticed how better the engine sat at idle. I few twiddles of both the throttle stop screw and the idle mixture and I had it running sweet at idle. I then took it for a hoon up the road. WOW- what a difference. No more flat spots, the transition off idle was smooth as, the transition onto the secondaries was smooth. No stumbling when coming to a stop and a super smooth idle. The jerkiness at slow speed in high gear was gone. Overall a huge improvement. Best $120 I'd spent in ages!! Here's a pic of said wonder carb.. Next job on the list was to improve the brake pedal feel. They work really well but I would still prefer a firmer pedal. I knew that the original Honda Civic brake hoses on the front were far too long, needlessly long. So that was a good place to start. I ordered a pair of new stainless braided hoses from Nelson brake services, impressed I was with the previous set I had them make for my Viva. $55 each which is a bargain. I fitted them and noticed a big improvement in feel. much nicer firmer feel with a better defined bite point on the front. But it can still be better and I think that its possible the brand new Lada master cylinder fitted has a slightly weak seal. If I press hard on the pedal and hold the pressure the pedal will slowly sink. I can also pump the pedal up a bit harder and I have done so many attempts at bleeding it I am pretty sure there is no air in the system. @NickJ ever so kindly sent me a spare set of seals he had. However Nick has warned me that they are from the same vendor he got the master cylinder from, which did come wrapped up in newspaper with these two fellas on the front... Interestingly the seals are a odd shape I have not seen before in a brake cylinder. They have a curved edge, like a worn o-ring outer rather than a lip that is forced against the bore like most brake seals I know.... I thought this was possibly the problem but after some googling it turns out that this master cylinder design and bore diameter is a very commonly used item across many Fiats, ladas and some other brands. So the seal design must work fine in use. Hannah's mum has come over from Blighty for a holiday and essential sun. So over a few weeks previous to her boarding her plane I kept an eye out on Ebay UK for anything interesting. She ended up bringing this stash of goodies... Apart from the very obvious Marmite with proper actual taste I bought a Haynes cutaway book filled with lots of Terry Davey's best pics, plus two old magazines with road tests on Imps- one of which was printed at the release of the Imp and is filled with heaps of articles, photos and fold out pages with extra large exploded diagrams. A total treat for any Imp nerd and one which kept me thoroughly delighted while reading it in the sunshine on coffee breaks... Lastly and more recently I have decided to sell on my Viva wagon. I'm not using it and have utterly fallen for the charm of the Imp. I would rather someone else make something of the wagon and what money I get for it can go towards this car (as well as another few projects in mind, and probably pushbike stuff...) So with that in mind I decided the VIva did not need fancy Recaro seats but the Imp does. The Mx5 seats are ok but not quite as figure hugging as I like, nor do they seem to offer the same lumber support that the Recaros do. Plus the Recaros just look so damn nice and fit in well with the little nippy go kart like car ethos I like in Imps. I was worried about them being a lot heavier but they only weigh 3kg more each. I can live with that for the comfort they offer! So I had to add some slightly wider spaced mounting points. Because the mx5 seat mounting points were welded on the back/inside of the box sections before they were welded on the floor I had to instead make up some flanged threaded bosses... which I then tigged in place (rather then risk mig splatter everywhere)... It was when tigging I remembered the steel was zincalume and made my welding a bit messier then I had hoped as the fumes came through... But all good and strong. I shortened the reach adjust levers while I was at it.. I also had to fix the mountings for one of the plastic covers which no matter what I did with the old push in plastic rivets would always come loose and rattle about . I machined some wee stubs and epoxied them in place... This (blurry..) pic dates the seats somewhat... (kids- ask your parents) I finally mounted them in proper and they look great. Much better to sit in and they also swing forwards further than the Mx5 seats - which to be fair really were never designed for a car with rear seats were they. The Recaros have a more suiting mixture of grey and black which suits the interior better I think. However I'll still keep looking for some suitable red leather sports seats much like the ones in my previous Viva for they were the best looking seats I've yet seen, although being slightly wider for 'larger" Alfa Romeo drivers and covered in slippery leather they were in use a little less hugging than these cloth Recaros. So that lot takes us up to date. Next on the list is to fit some carpet, now that I seem to have finally sealed the windscreen properly although the car has not seen much rain recently- its been so dry here since the start of December. I'm still tempted to play with injection. I bought a spare engine for $100 from the local wreckers. Its a 1500 and has the later oval port head. Larger ports and larger valves. We stripped it down together and its pretty good as far as wear goes on the guides etc. Certainly a good head I can clean up and fit without any machining. I have a inlet manifold to suit. However.... I may still yet re-power it with another engine, yet decided on. I do really like the idea of regaining my rear parcel shelf, currently cut to allow the valve cover to go through, because its missed and would be very handy for the weekly shop! Datto engine in the van after pickup... A tiny little tool box a found at the warehouse which was just soooo cute I had to get it... Goes here.. A tiny little trailer we built for some locals kayaks. Had to size it up... I sold the race car shell and it headed south to Queenstown on what was a comically huge transporter. Fuck I laughed... My Imp making other normal cars look huge... Finally my parting shot- because well... I just like this photo1 point


.thumb.jpeg.910c6632f6e66e8cba89476e83b41634.jpeg)


.jpg.2e144dbd6a7c7a5e28b18a900ddacc6c.jpg)

.jpg.3ef359aafbc7d9edb185bf349fbf9225.jpg)


This leaderboard is set to Auckland/GMT+12:00