
Leaderboard


Popular Content
Showing content with the highest reputation on 09/30/19 in all areas
-
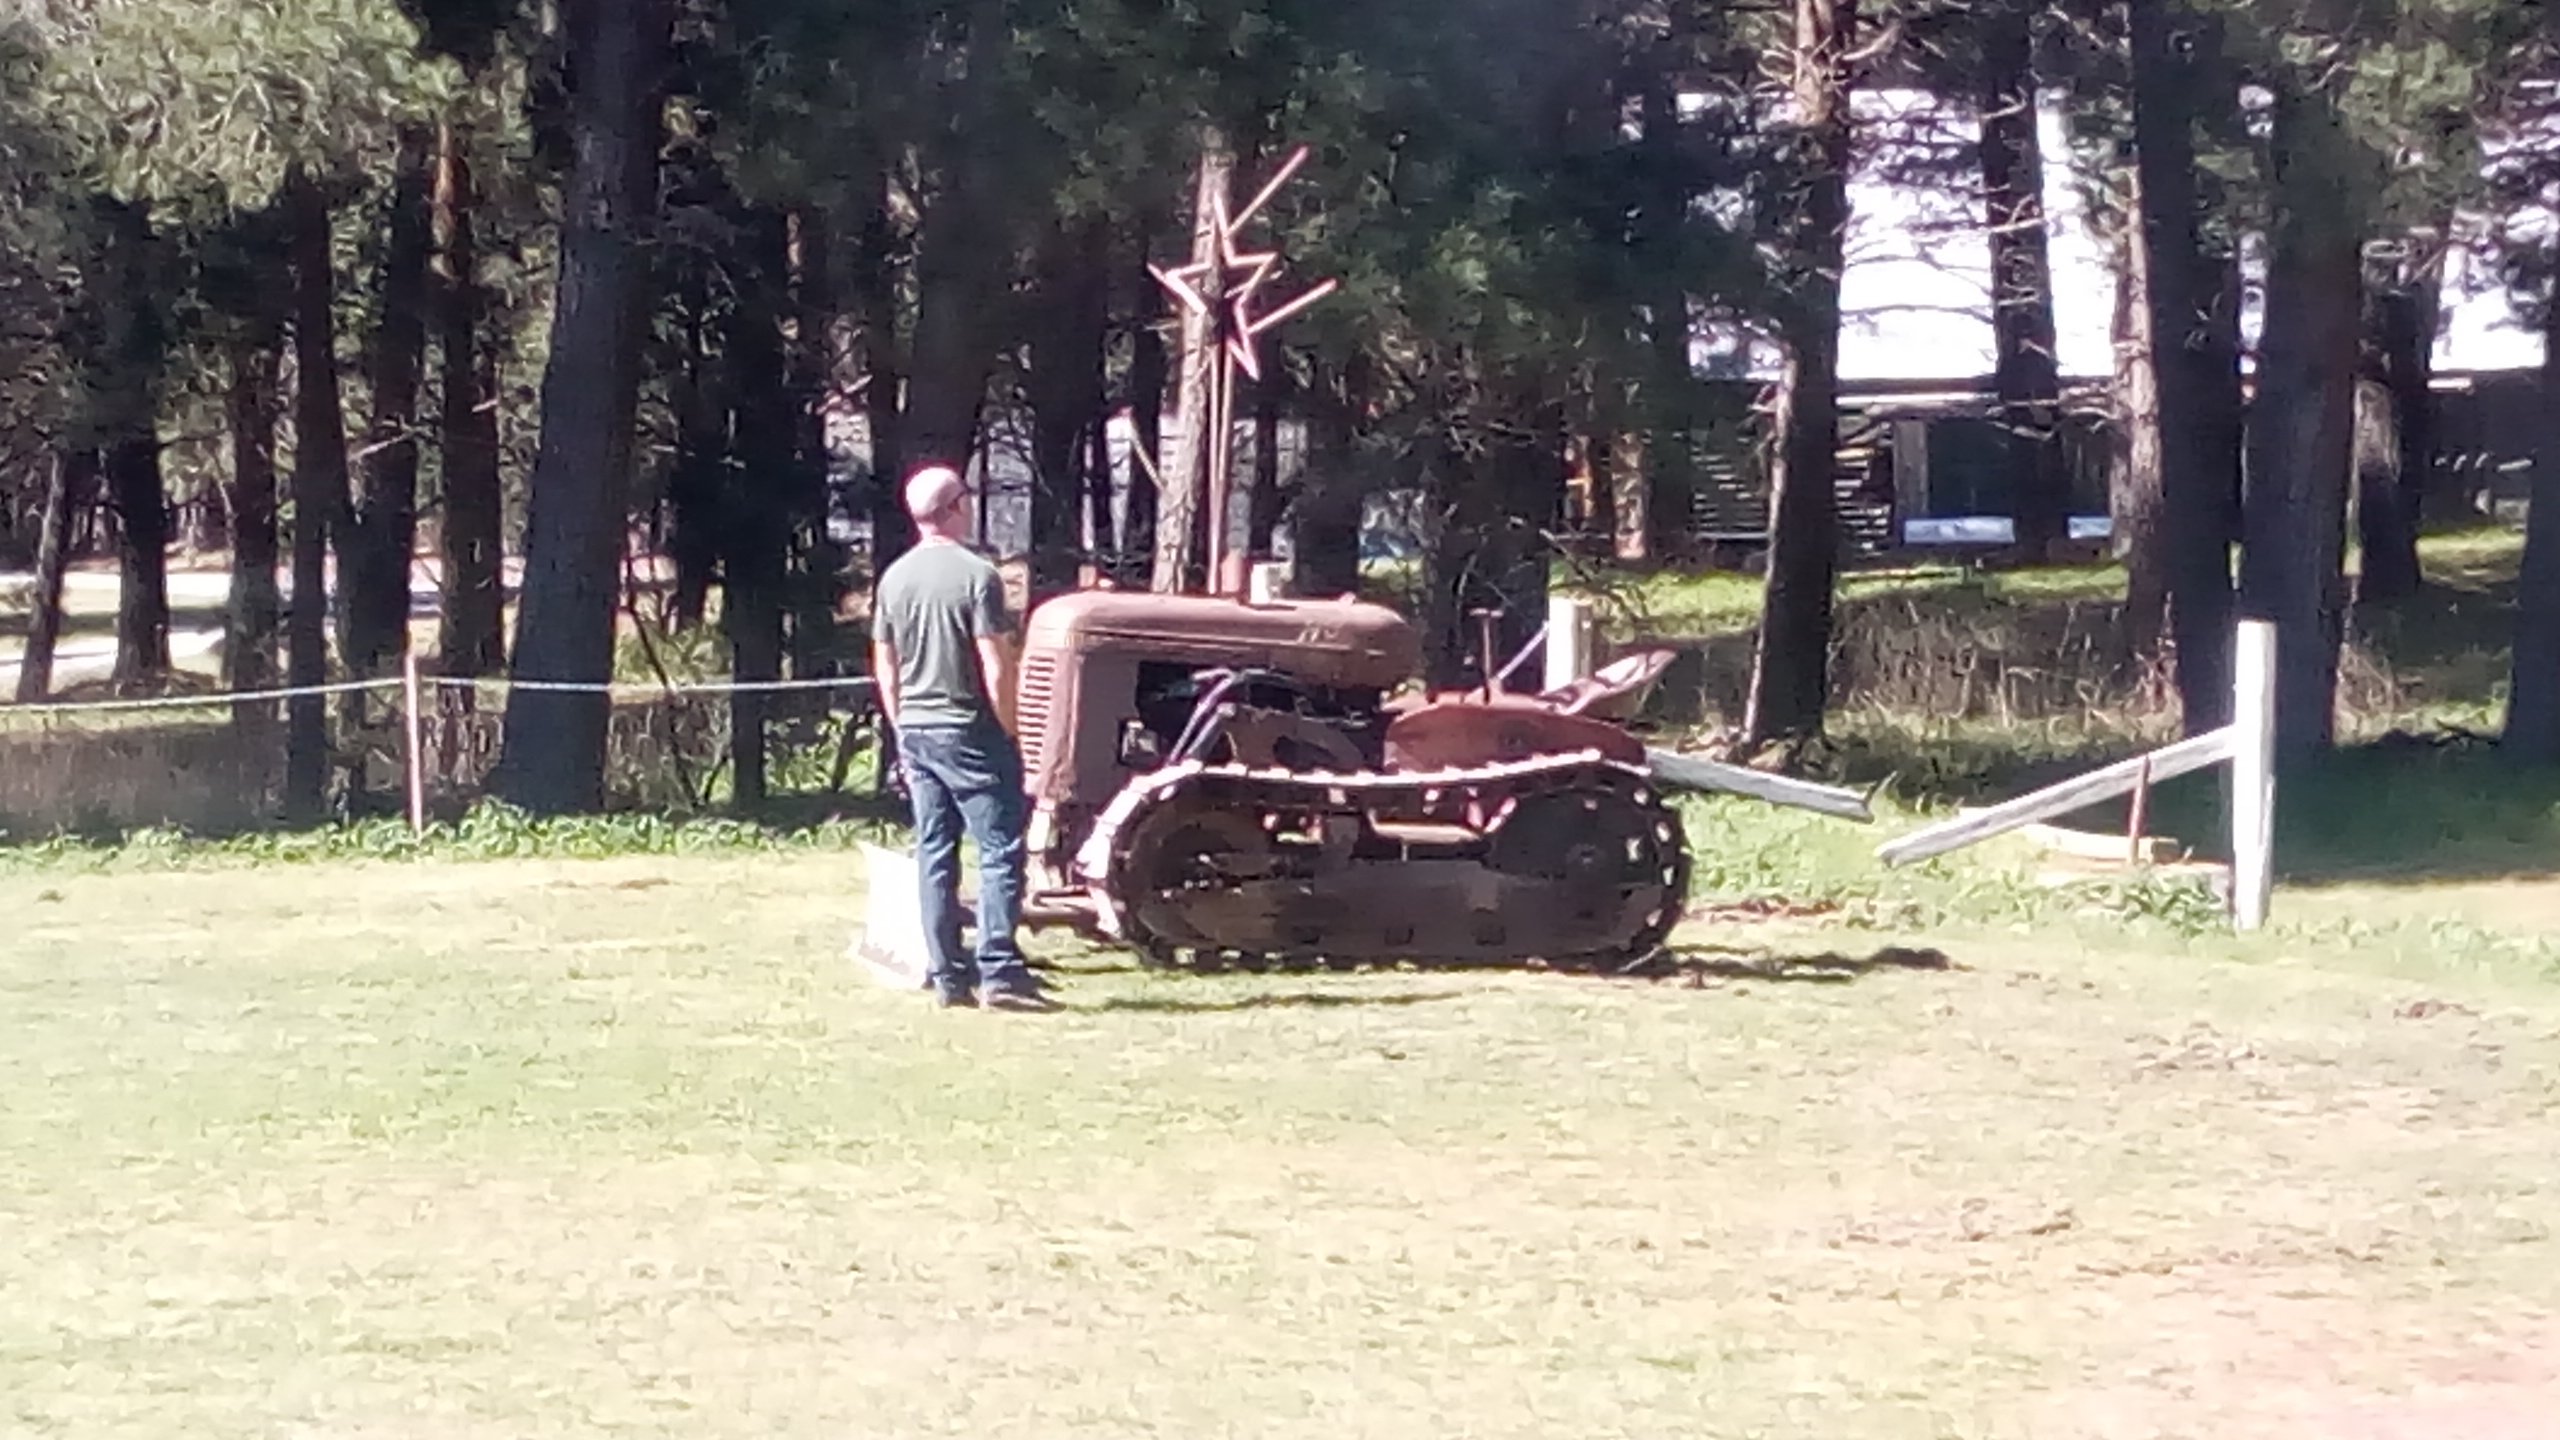
Not favourable. When I was leaving I almost drove through the sandwiches and tea area, many many disapproving looks were metered out. Edit. Barry on the left in the sharn pic liked the star. He said it made it stand out and was amazed what an effective muffler it was.
 22 points
 -
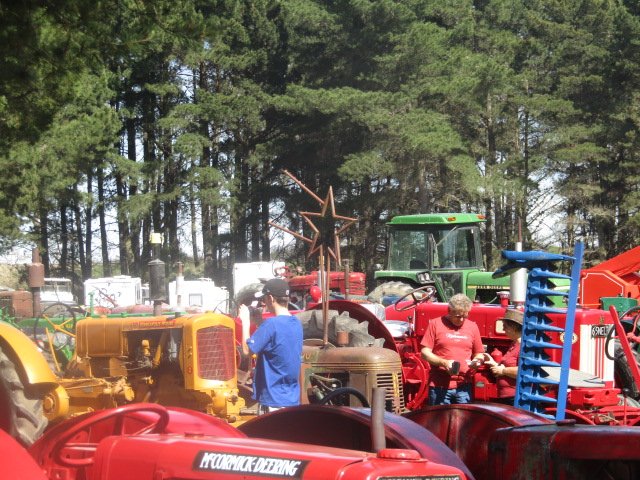
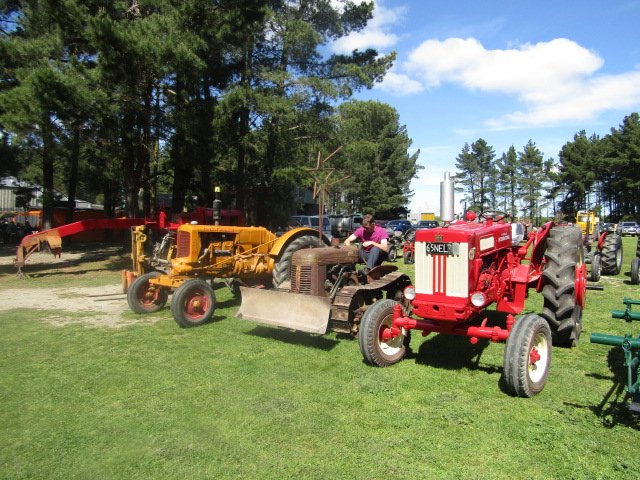
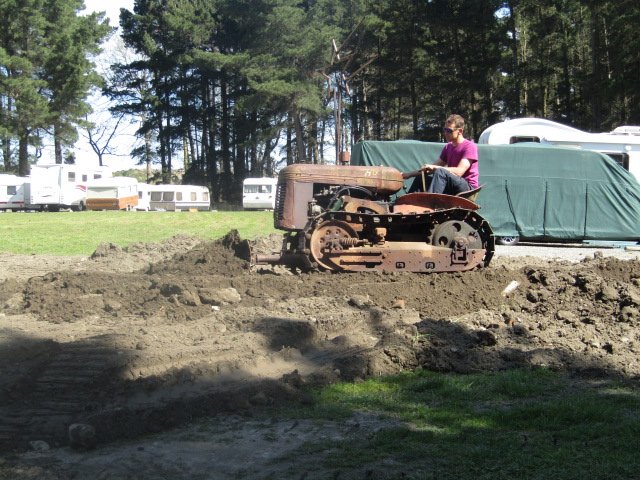
The Mcleans Island Vintage machinery club had its annual show this weekend just gone, It seemed rude not to attend. Ill post pics here, in the tractor thread, and or in the wombling Barry thread. In the show, standing proud Pushed some dirt. Had some sharns.
20 points
-
Made this baby walker trainer for my daughters upcoming first birthday. Silloette of my corona painted in its actual paint. I never work with wood so super stoked on how this came out. Kmart fishboard skateboard donated its wheels and that's about all I needed to buy. Bonus is it gave me a chance to test out my new to me, Sata 4000b spray gun. Shit it's awsome! Can't wait to paint to crown with it, colossal step up from the supercheap auto guns...
19 points
-
Yeh nah yeh, so after that ^ I got a bit of 4140 CG shaft, had some keys chucked in it for a box, and slapped it back in. Keys are tiiiight and everything fits much snugger due to shaft being correct size, so that's tops. I cut the keys a bit longer, so everything had a key under its total length for strength, and I went for internal threads on the ends as its way easier to do. Once it was back together, we took it back to the beach again, to finish off testing. It was running much better (put tape restrictor back in) and we thrashed around in it for hours with no dramas. I didn't get video of it, but i'm blown away by what it can get up, considering it has no articulation in the rear. It was strolling up stuff that decent 4wd's couldn't get up. I tried to keep the vid short, and not totally mind numbingly boring. You can't really tell in the video, but the road is bumpy as all heck, quite pleased how well the suspension works for how shit it is/road bike shocks and pivoting on bolts. I accidentally drove it through a few small streams on the beach, so washed it down when I got it home. While pushing it back into the shed I discovered one of the back axle bearing housings was broken, I think it may have been damaged when the axle broke, as its on the side that got wrenched around when we were towing it off the beach. By reviewing the footage, I worked out it broke on the last run of the day, so didn't do any real damage, thankfully. Hows that serenity? I decided if the suspension and steering didn't break after all that testing, it was probably good enough, so stripped the whhhooollllleeeee thing down for painting. So now i'm going to clean up some welds, cut out some weight, and then paint it. Regards, VG.7 points
-
So this bad boy is all finished just in time for DGR, had a pretty lush day filled with a few ales and some quality @My name is Russell banter. tried to find some penguins to club, couldnt, so got a photo instead when i got home i packed my tent, themarest, sleeping bag and a shit load of clothes into my 40l bag to see how it will sit for east cape, perfect. Gunna be lush to be 100% self sufficient this year yea rad7 points
-
I flattened out a bit of coronated iron and turned it into a steampunk top hat, made the googles to.
5 points
-
I dug some plate out and chopped up another scooter frame and made a intake that will clear the frame. Long intake = more torque right? Just what I need for a 15000 rpm motor.. I initially had the intake angles the other way but it was too close to the clutch cable and mounting bolts on the flange. And I'll wanting to fit a exhaust in there somehow so it'll visually balance out a bit. Nfi where shifter or foot pegs will go yet I'll blast the intake and put some epoxy or similar to smooth the transition into the flange as there is a bit of a lip4 points
-
did the bushes in the rear today. nothing special, usual shit of drilling out the rubber, cutting the sleve then smashing it out. new bushed just push in. haven't drive it on the motorway yet to gauge betterness but given how squishy and fucked the old bushed were i suspect it'll be a big step forward. 2019-09-28_06-51-37 by sheepers, on Flickr 2019-09-28_06-51-27 by sheepers, on Flickr 2019-09-28_06-51-19 by sheepers, on Flickr4 points
-
Bosozukodozer the barry aggravator3 points
-
What were the reactions from barries like regarding the exhaust?3 points
-
Picture-less update. While i will still need to dial in the auto-advance curve (the orig' relied on a combination of moving a lever to a basic range, and the magnets on the flywheel ramping up the speed of the points opening) it has a notable improvement in fuel economy, partly due to being able to wind the fuel mixture screw in 1/16th of a turn & have the same performance. It's like having the magneto set perfectly. But requires a battery.3 points
-
If you have gone to the trouble and expense of getting a 9 inch with all the good gear, don't stuff round with trying to use a secondhand drive shaft. I had the one on my Holden built with new everything except the yoke into the trans, 3 inch shaft rated to more horse power and revs than the 5 litre Holden will ever get near for $750 including tax. One busted drive shaft will do more than $750 worth of damage.3 points
-
Small steps? One bolt a day will soon have it parked outside the cert shop!3 points
-
Went away in the bus for the weekend so didn't get a lot of time this weekend, just a couple of hours today, but I thought I would chuck the axles on just to get it a bit more mobile...3 points
-
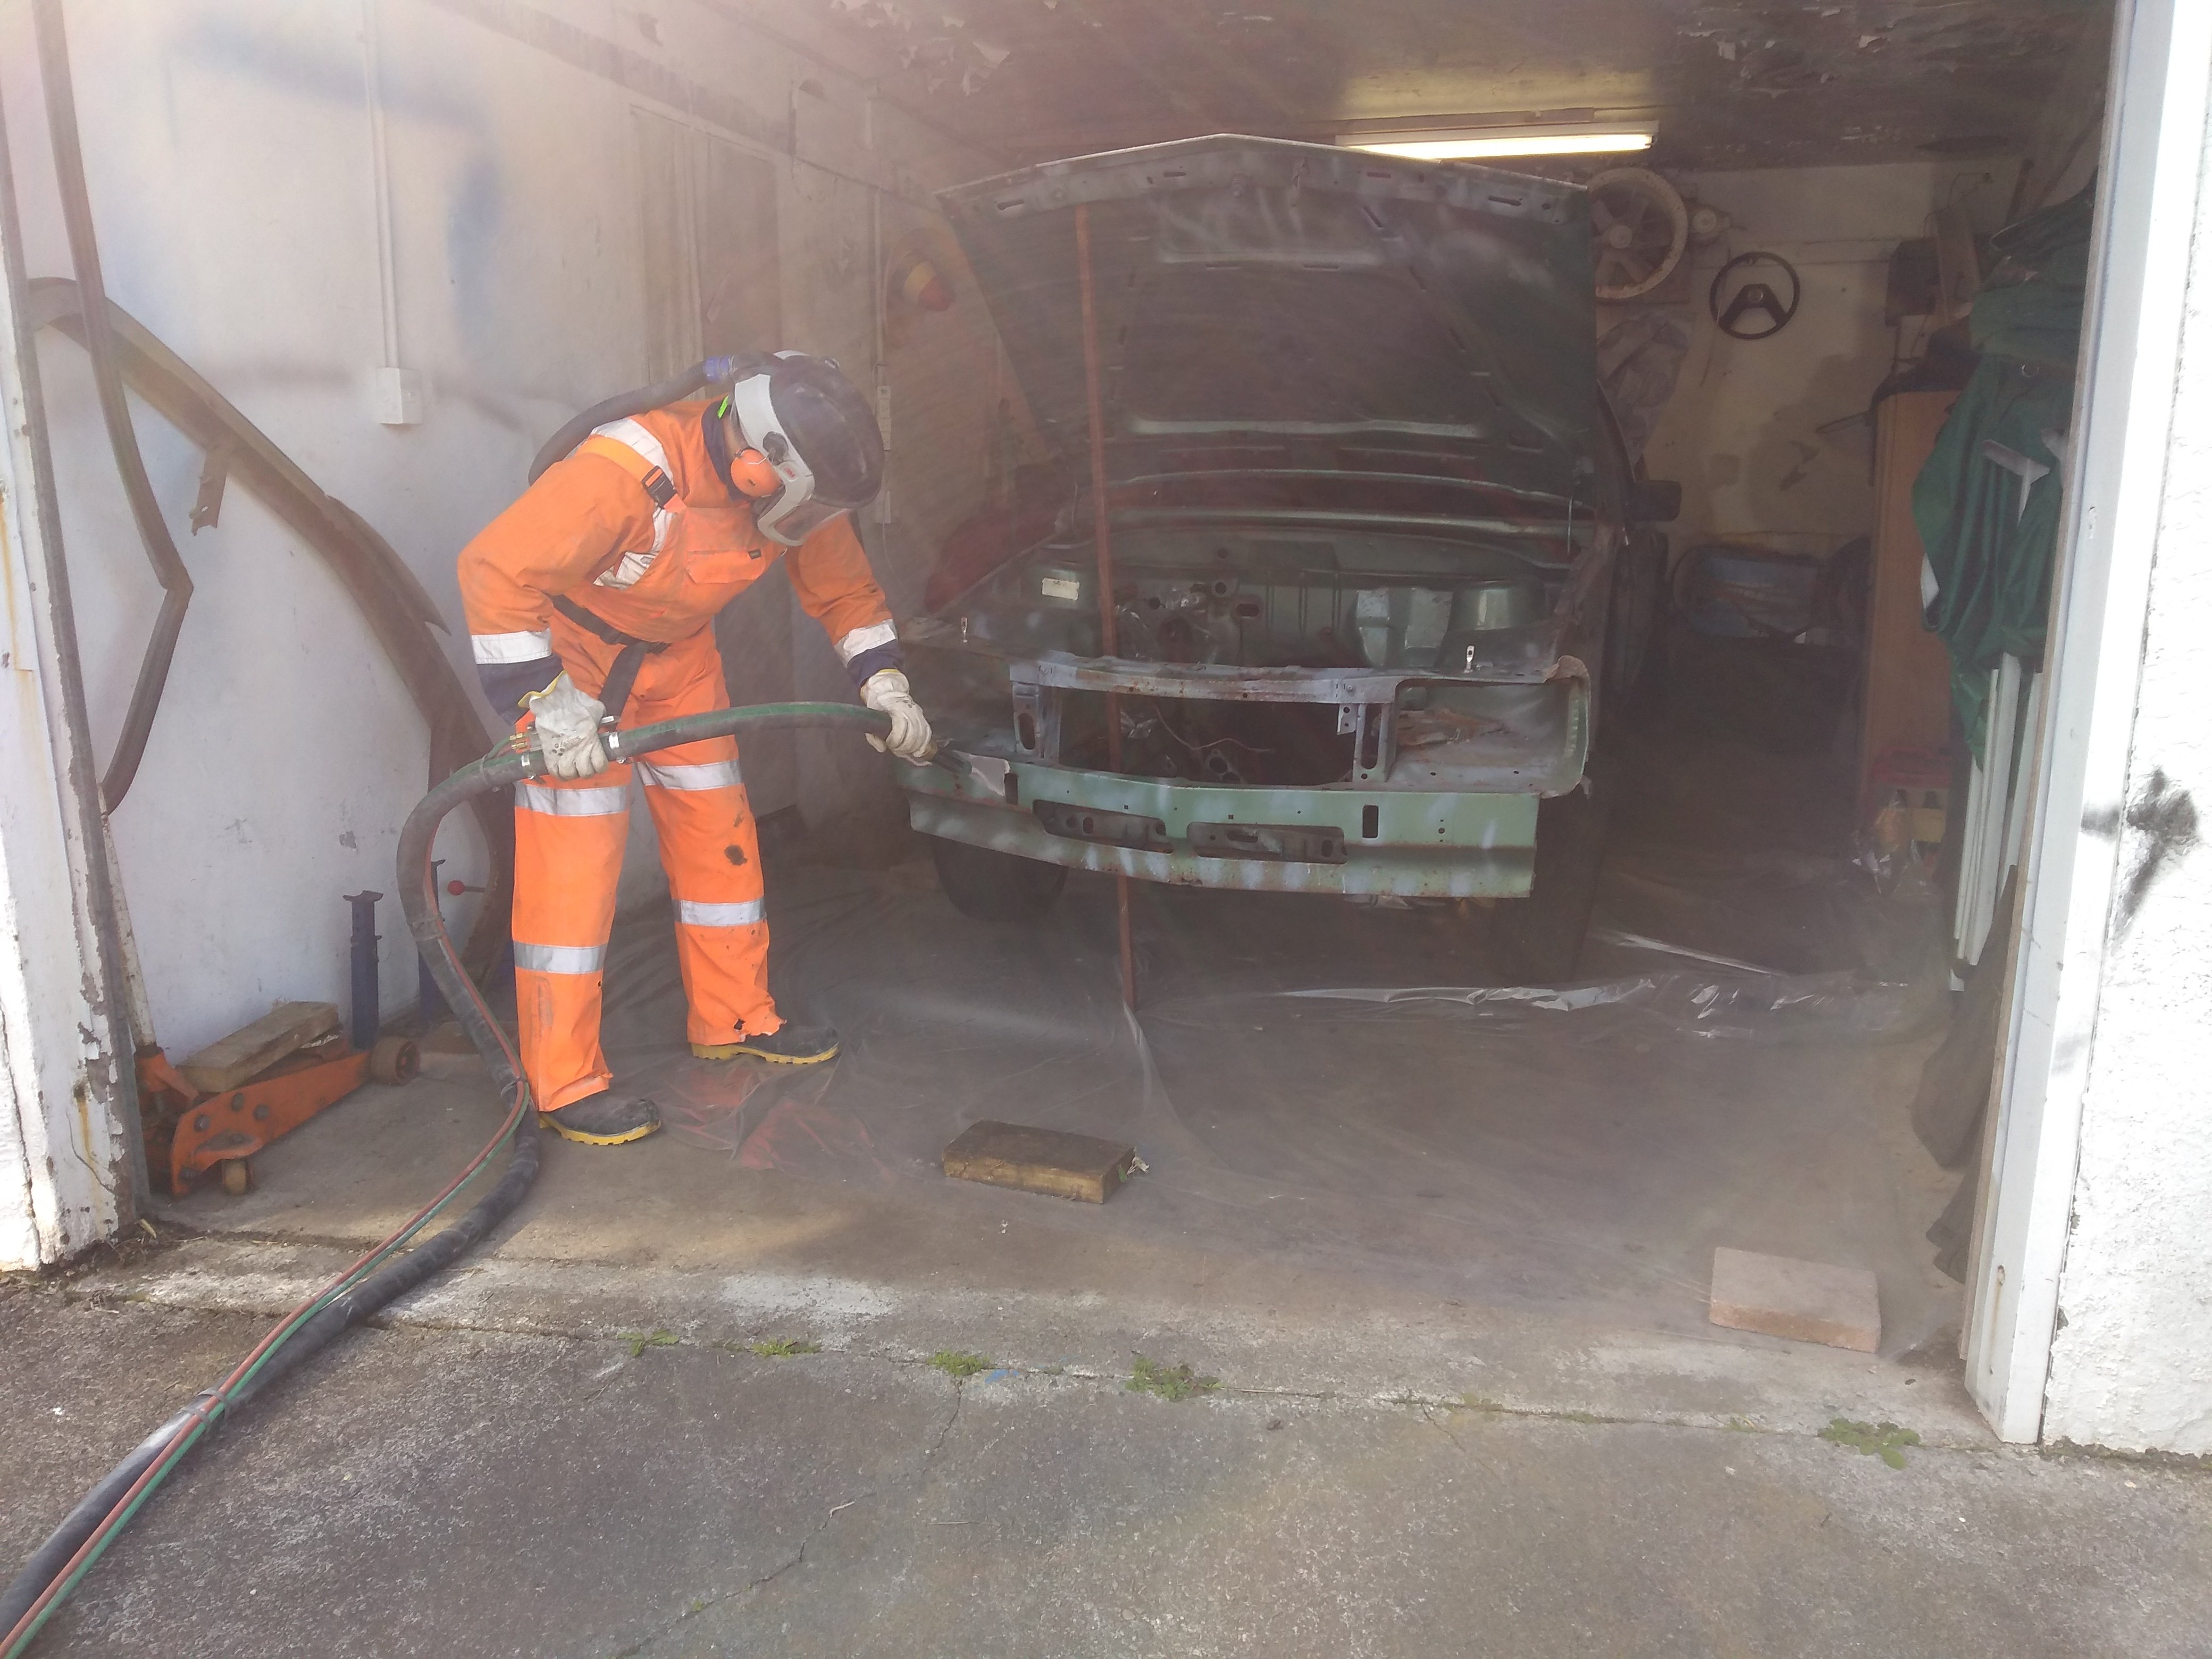
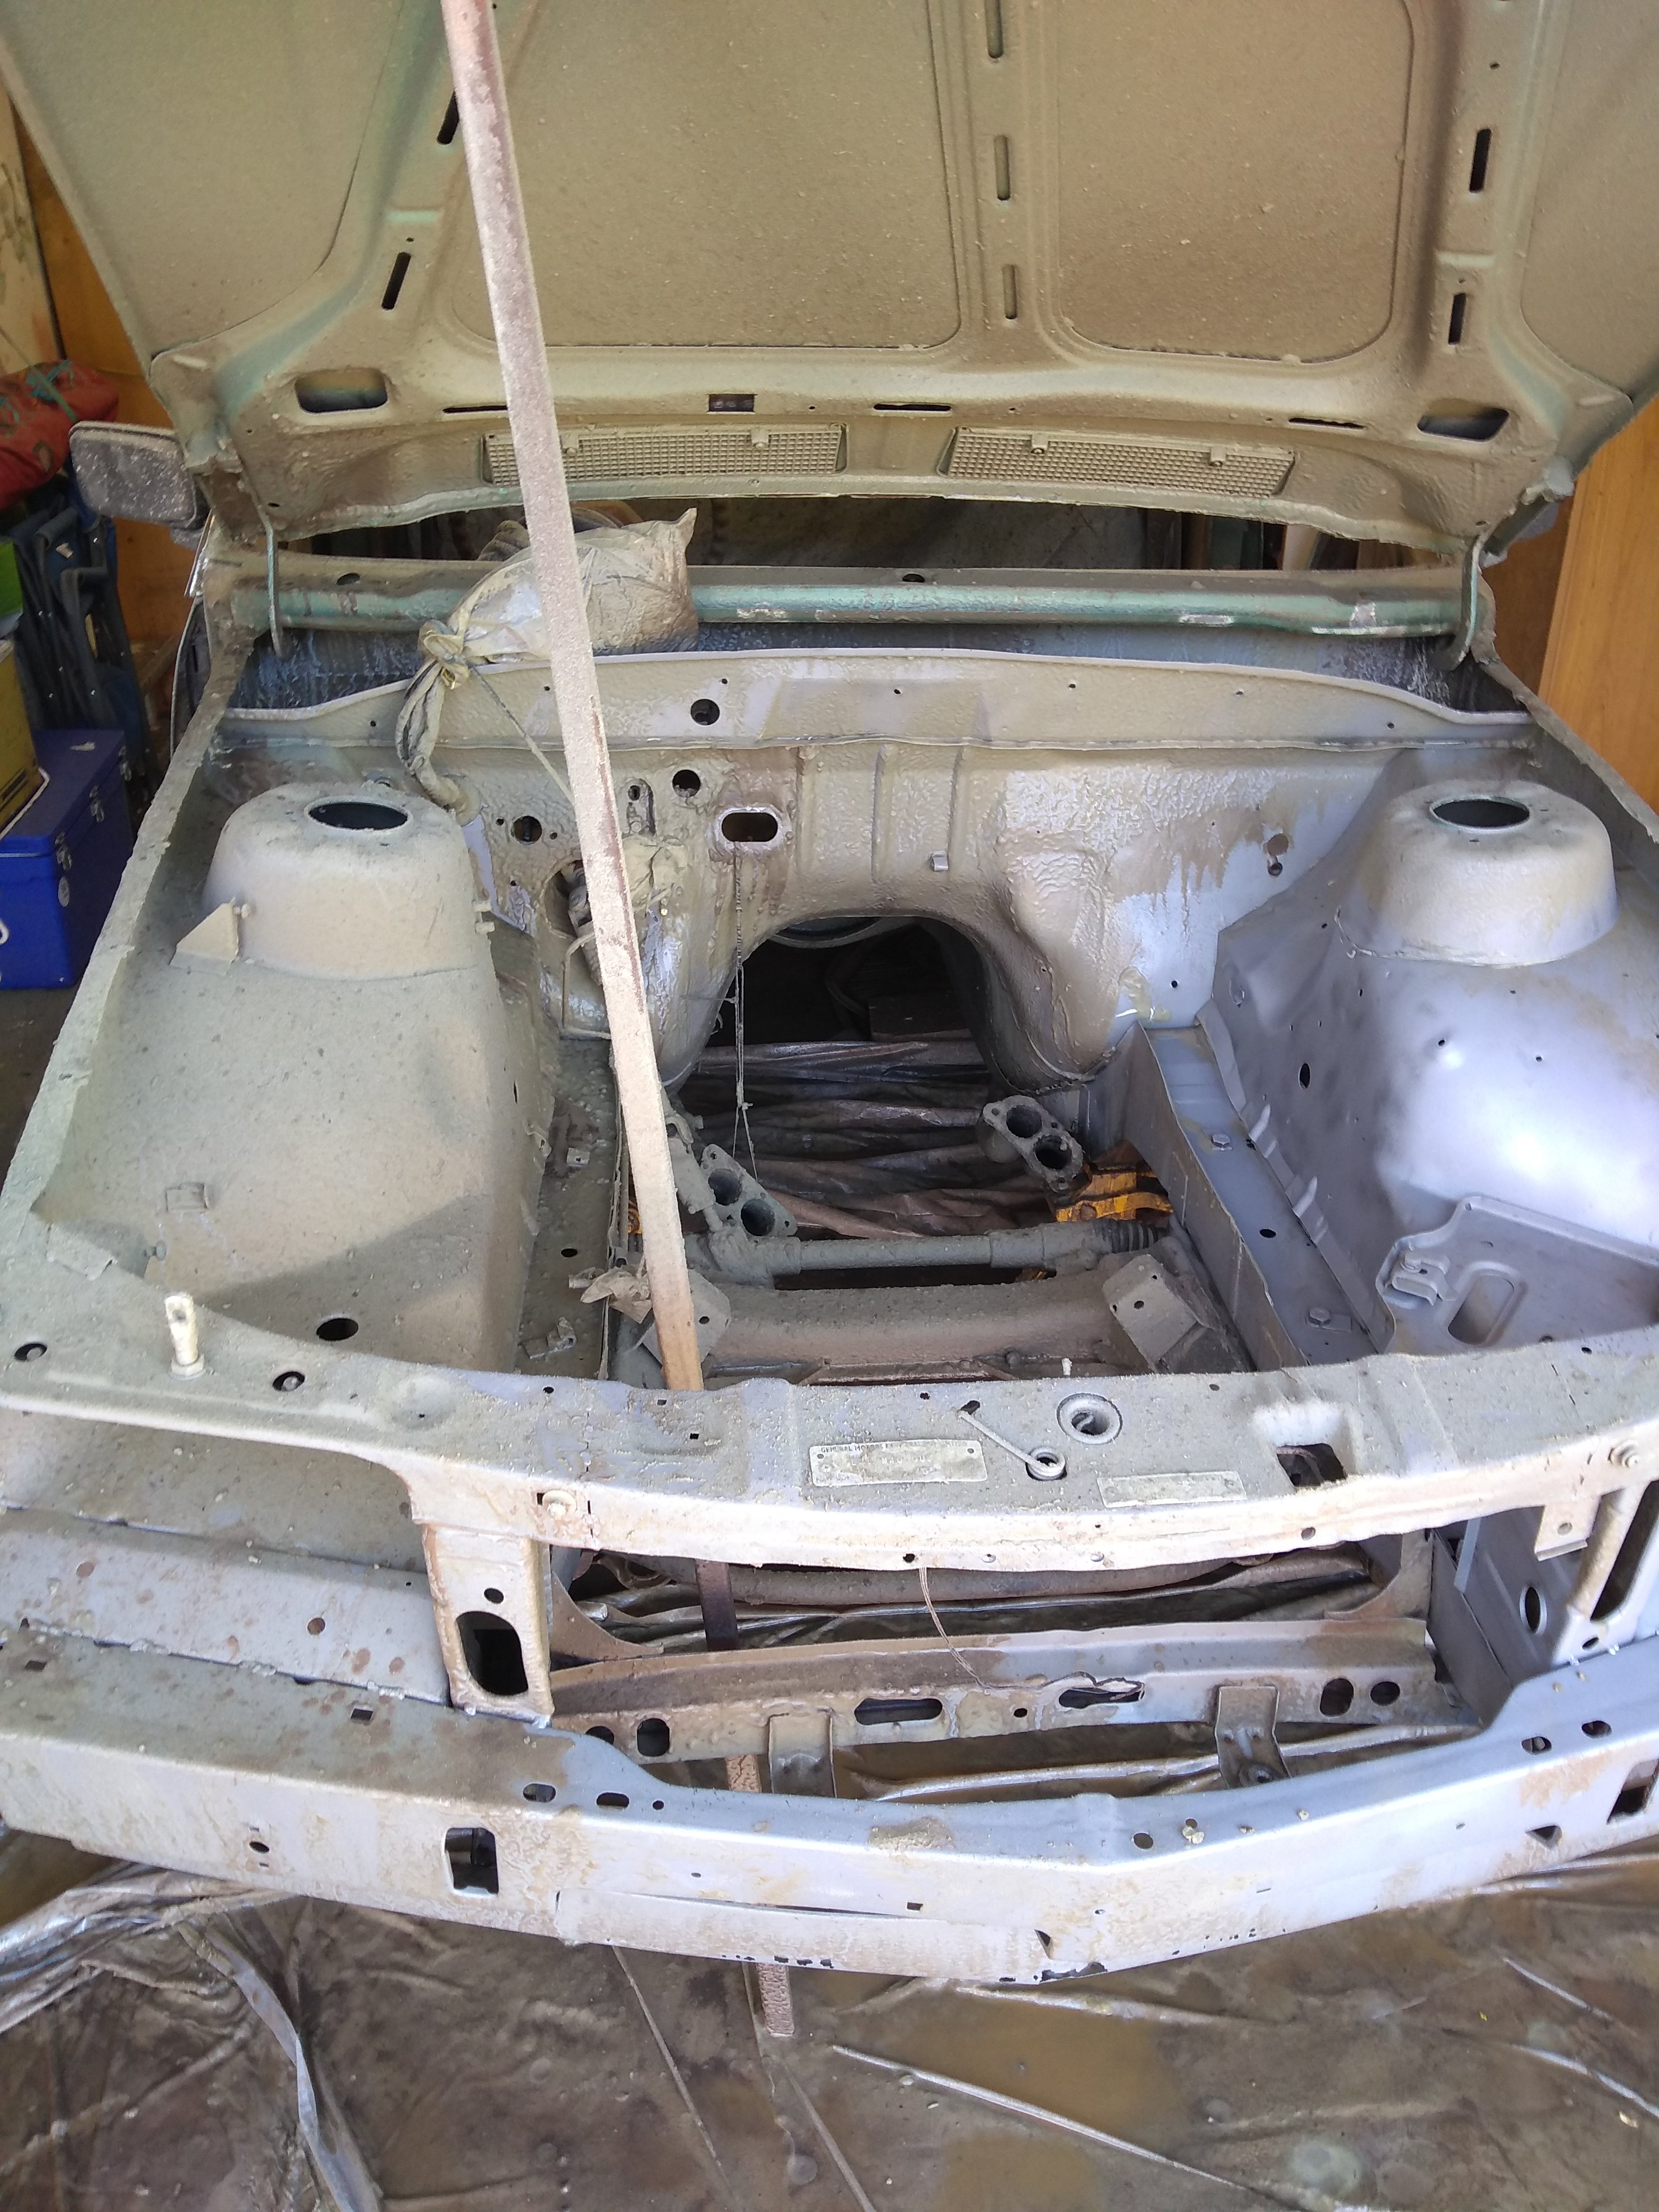
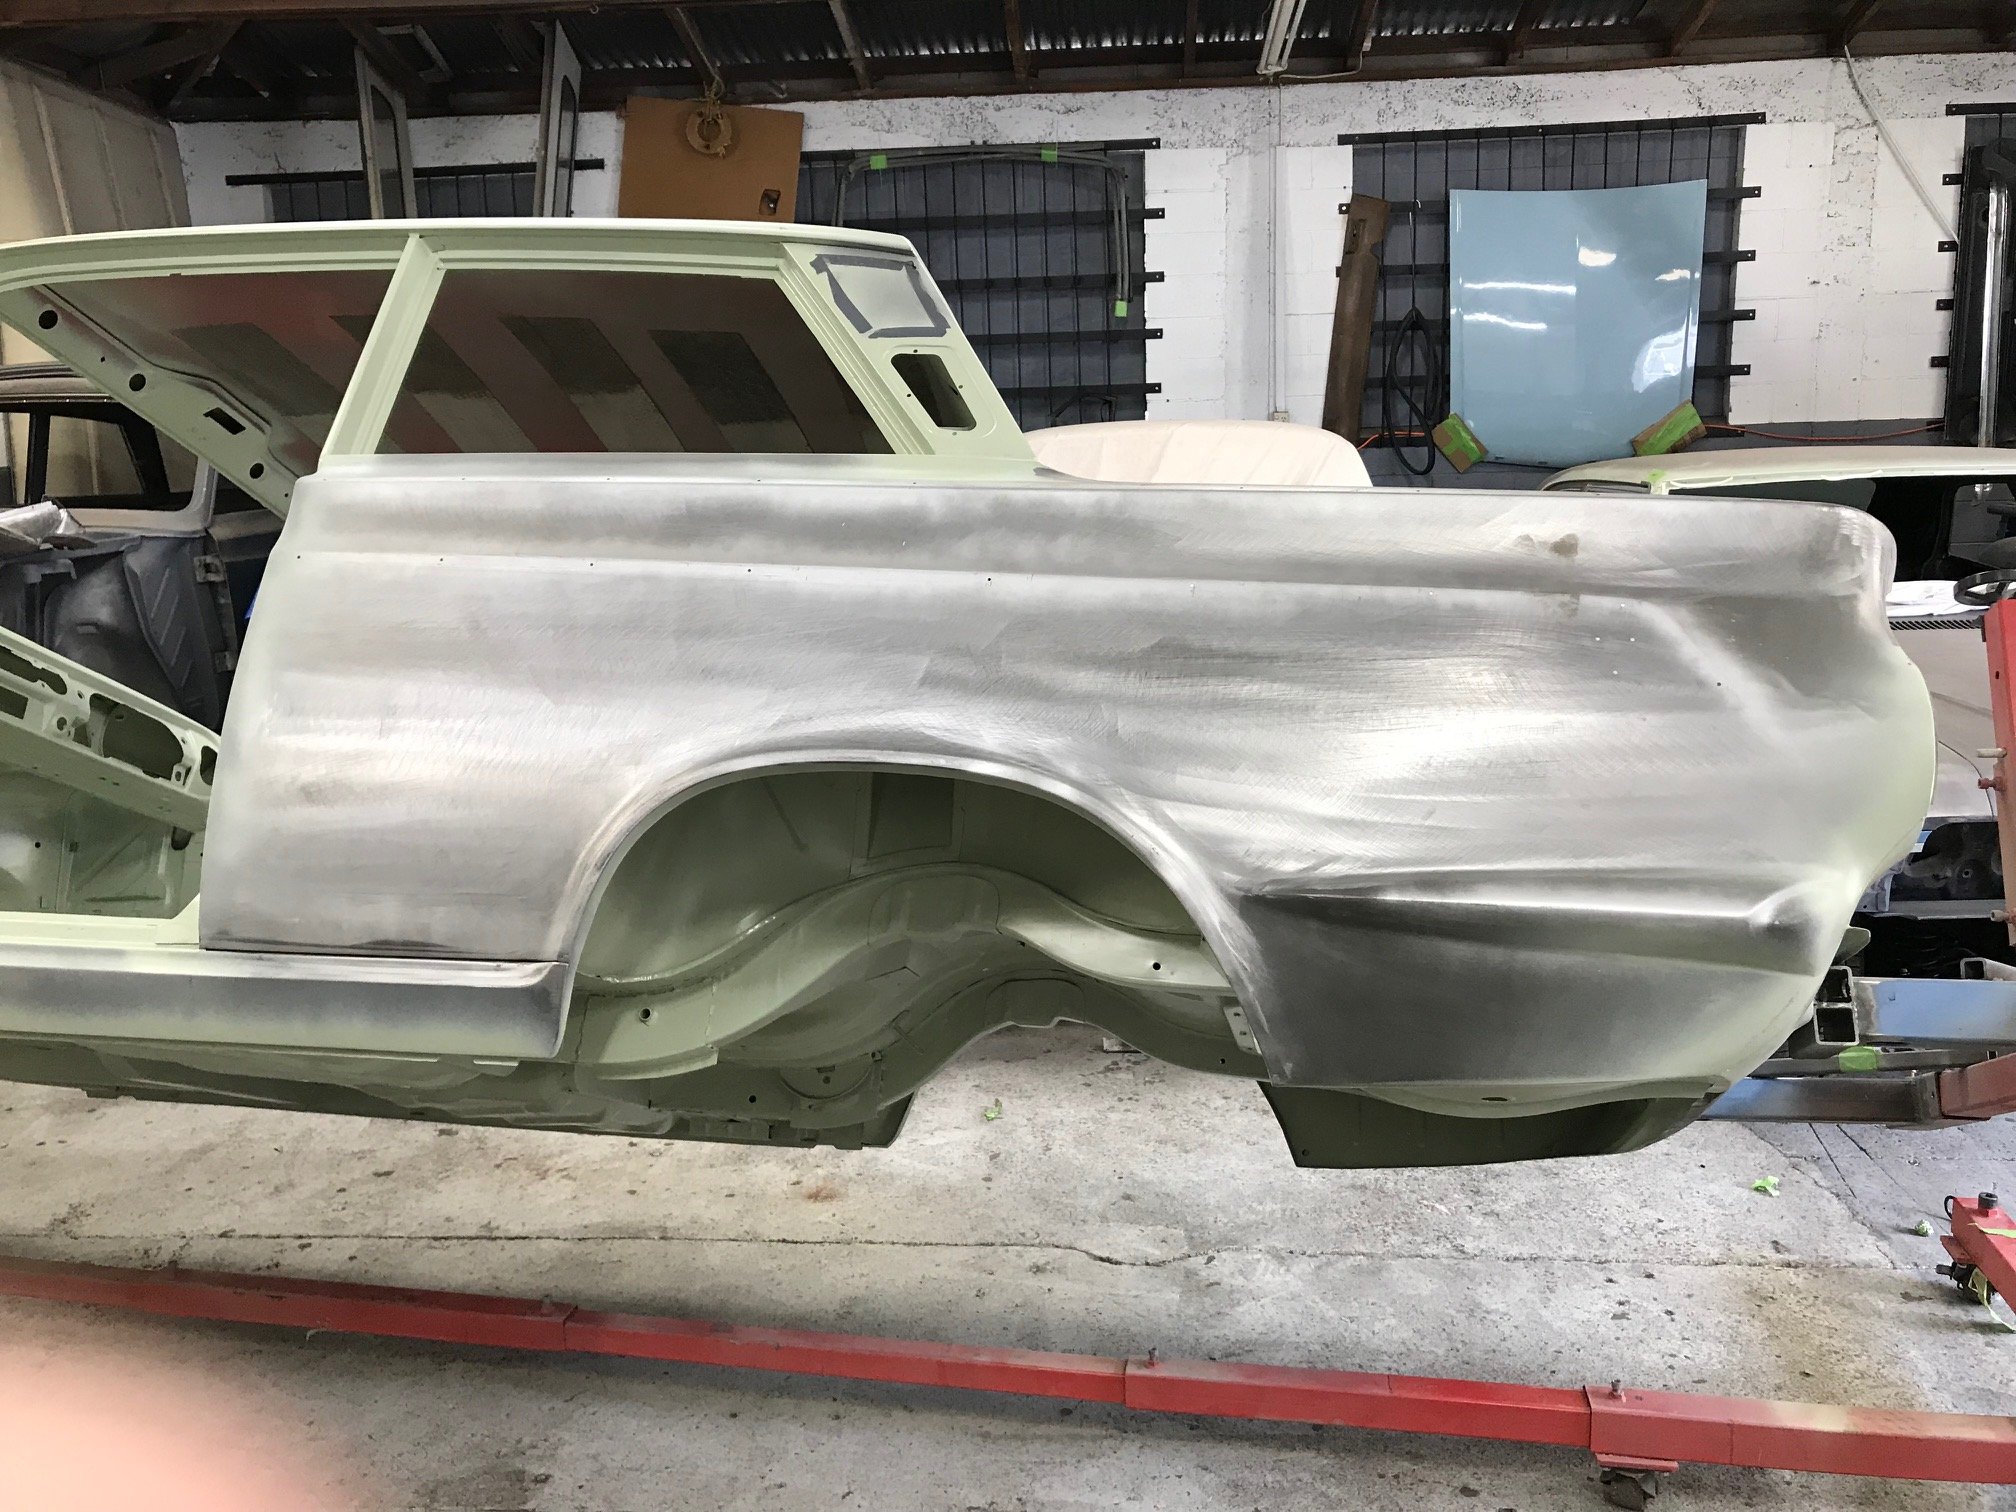
A Big Rig turned up today... To do this Which ended up looking like this A bit better after clean-up Next step, to the panelbeaters - hopefully soon.
3 points
-
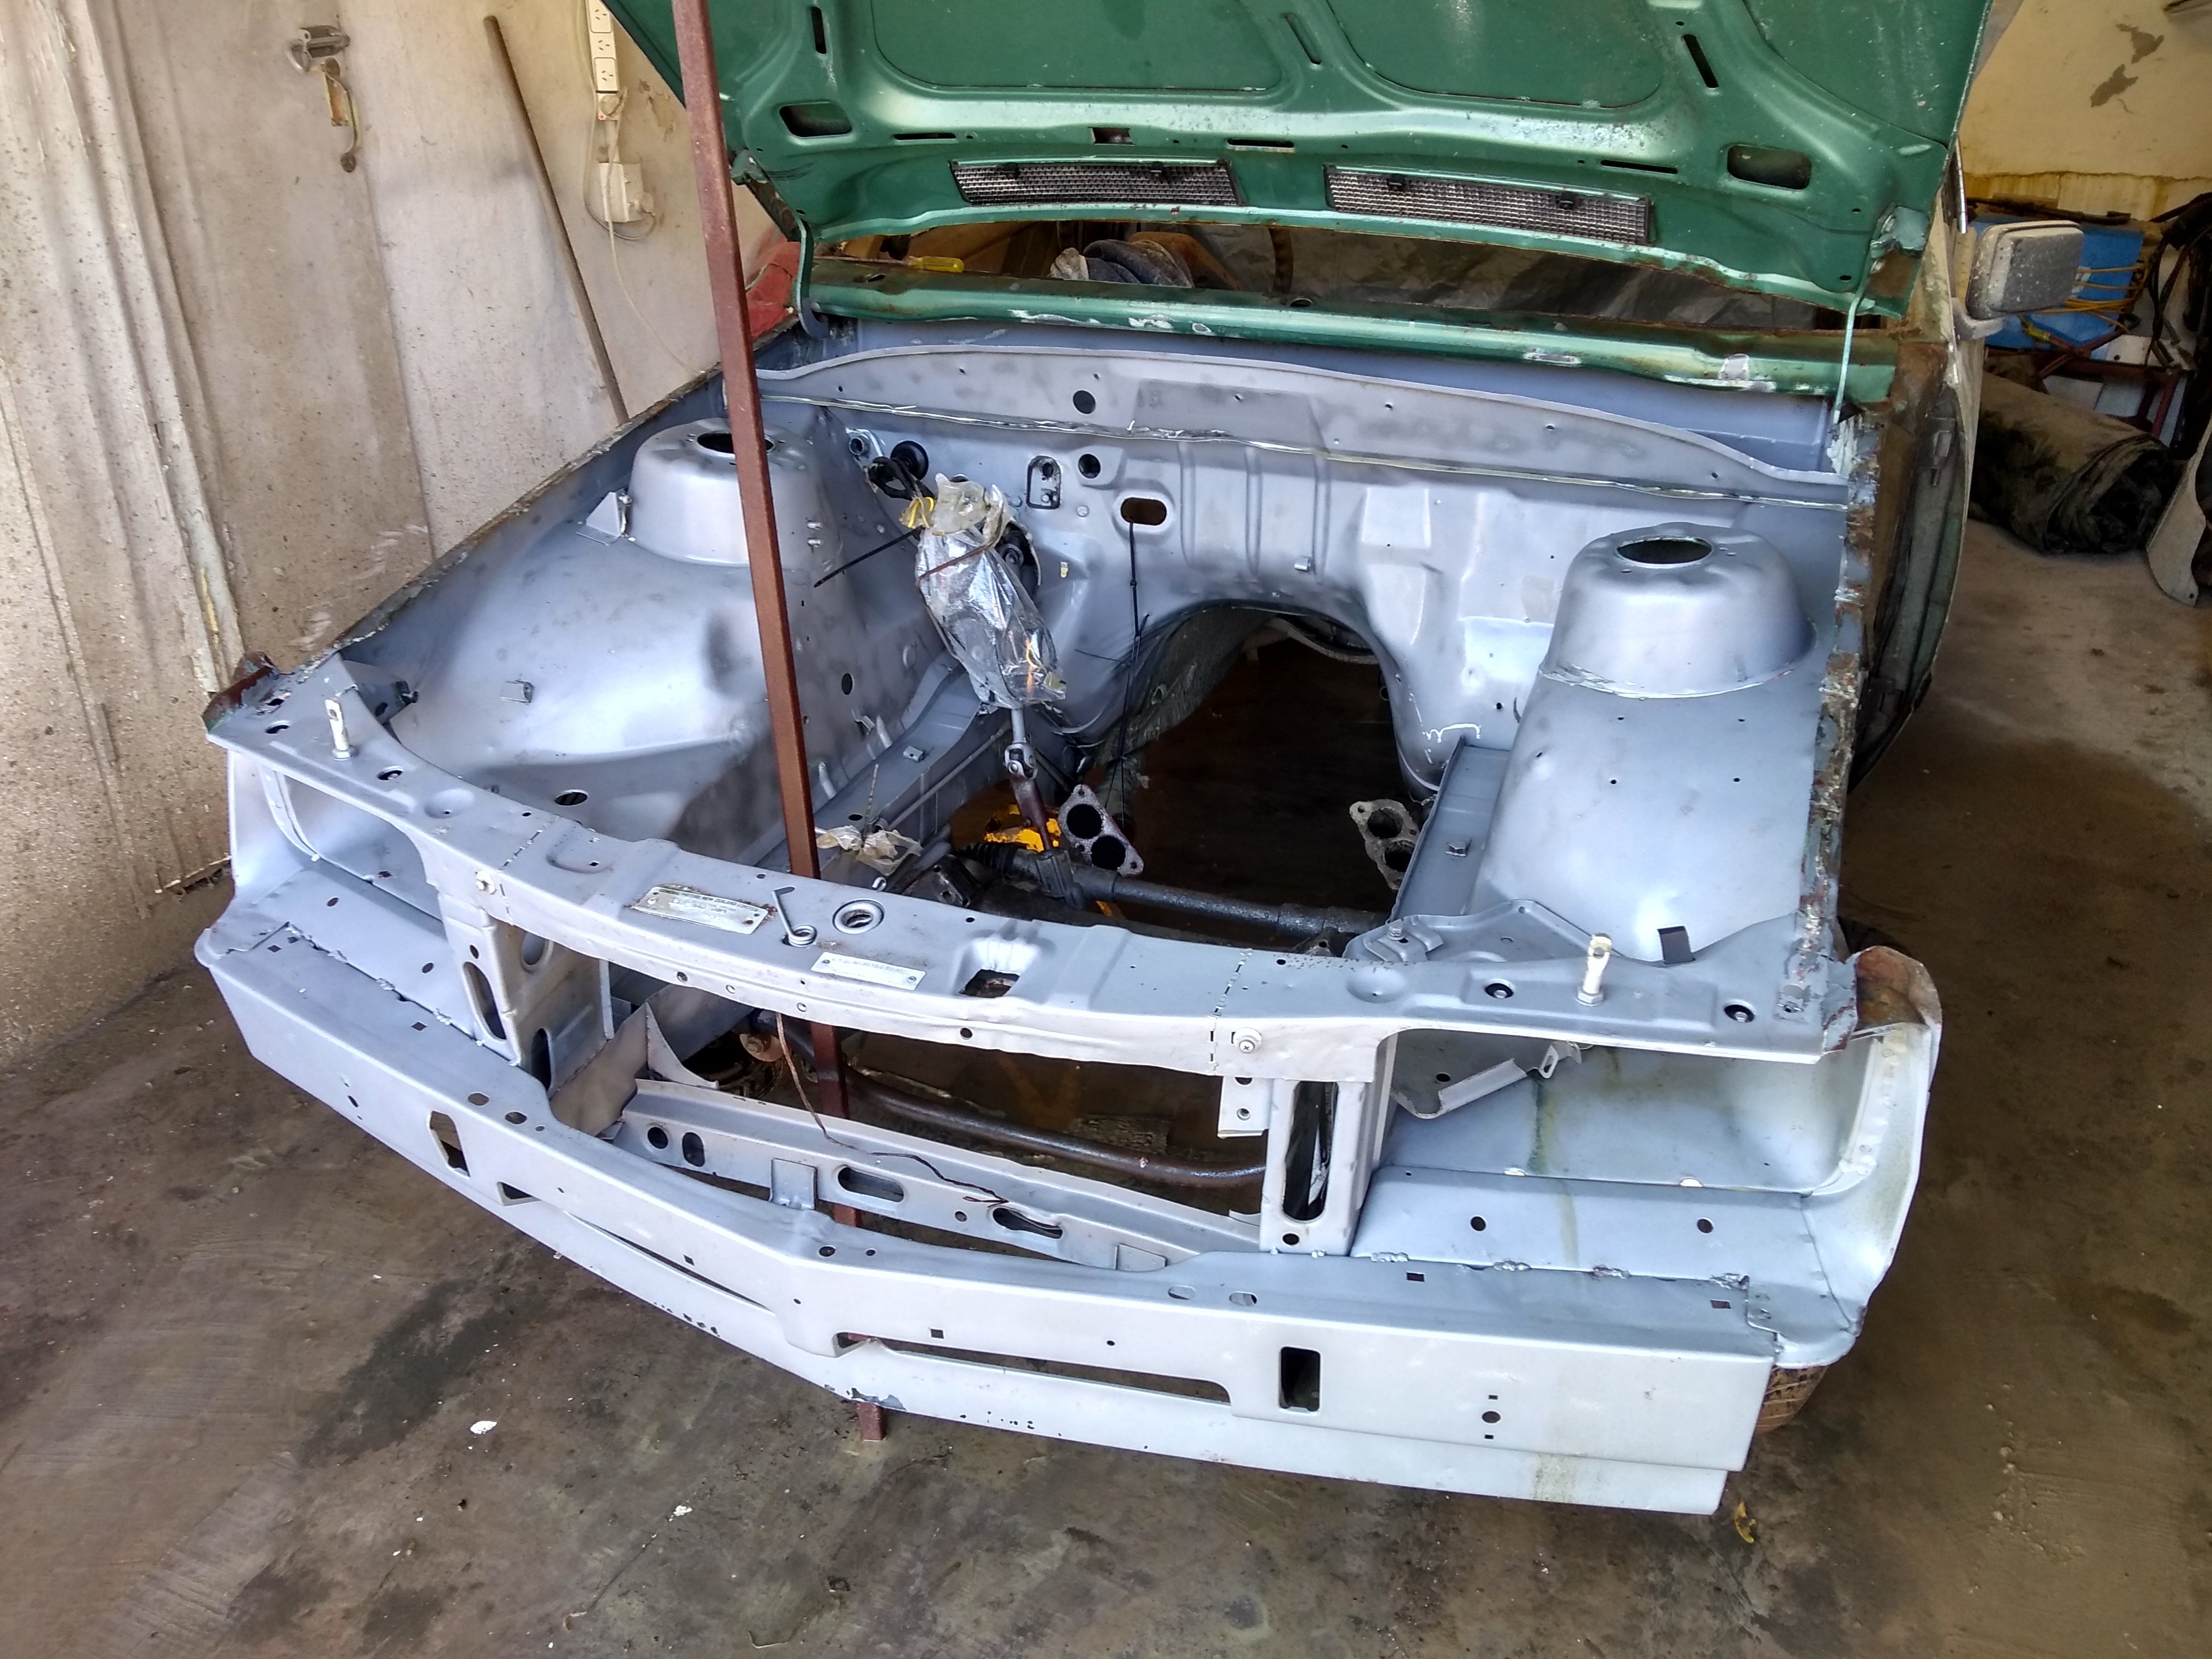
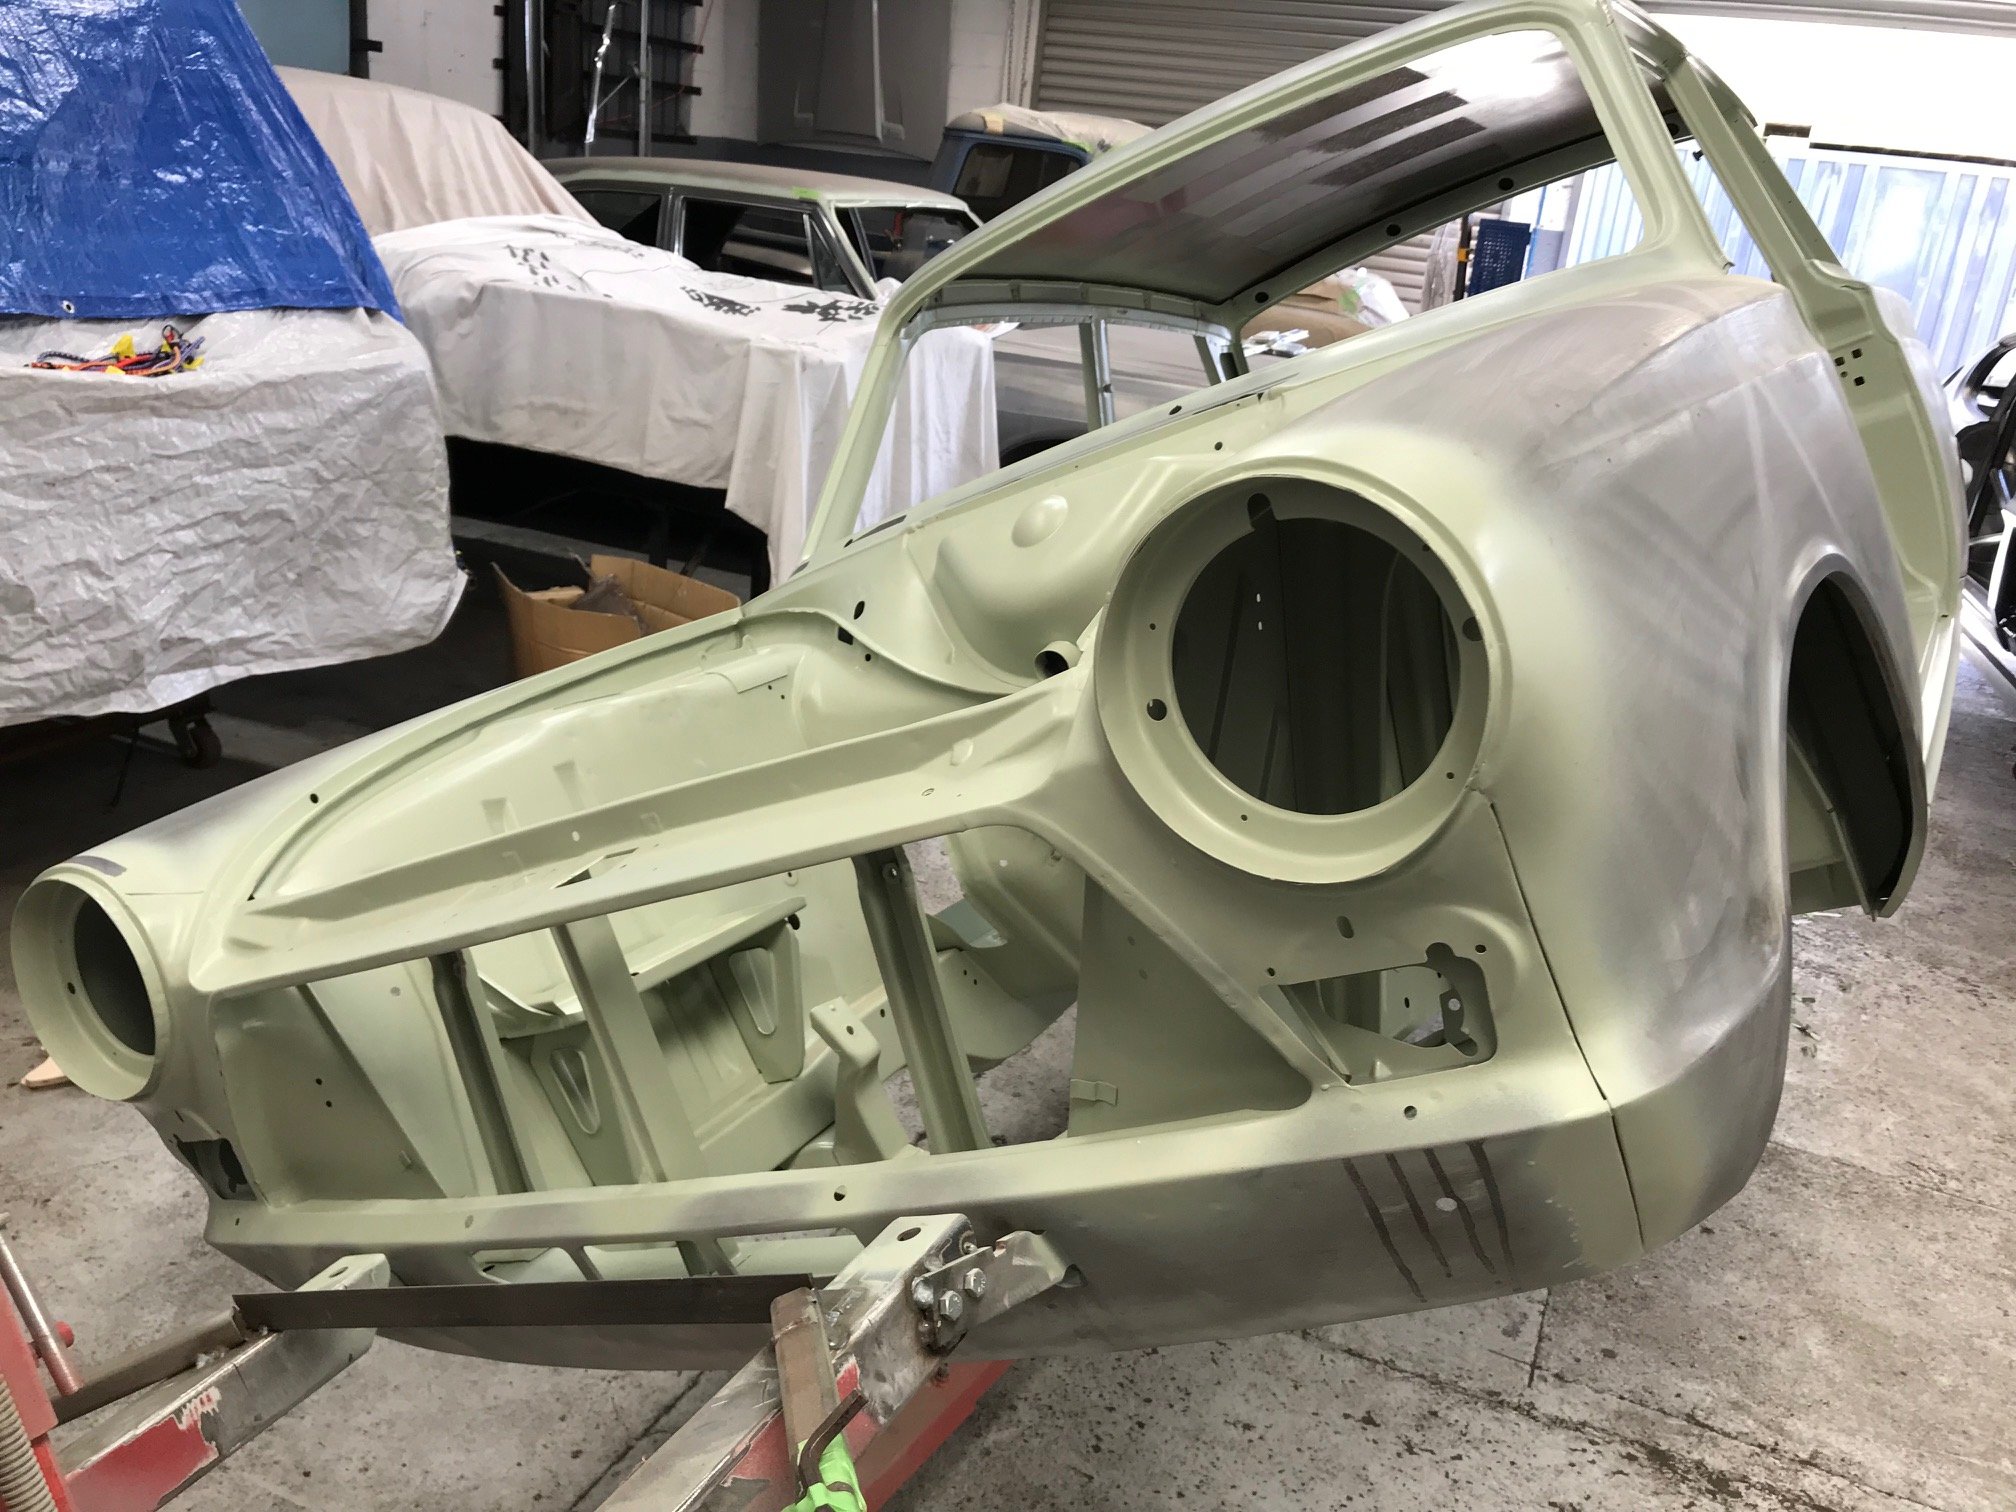
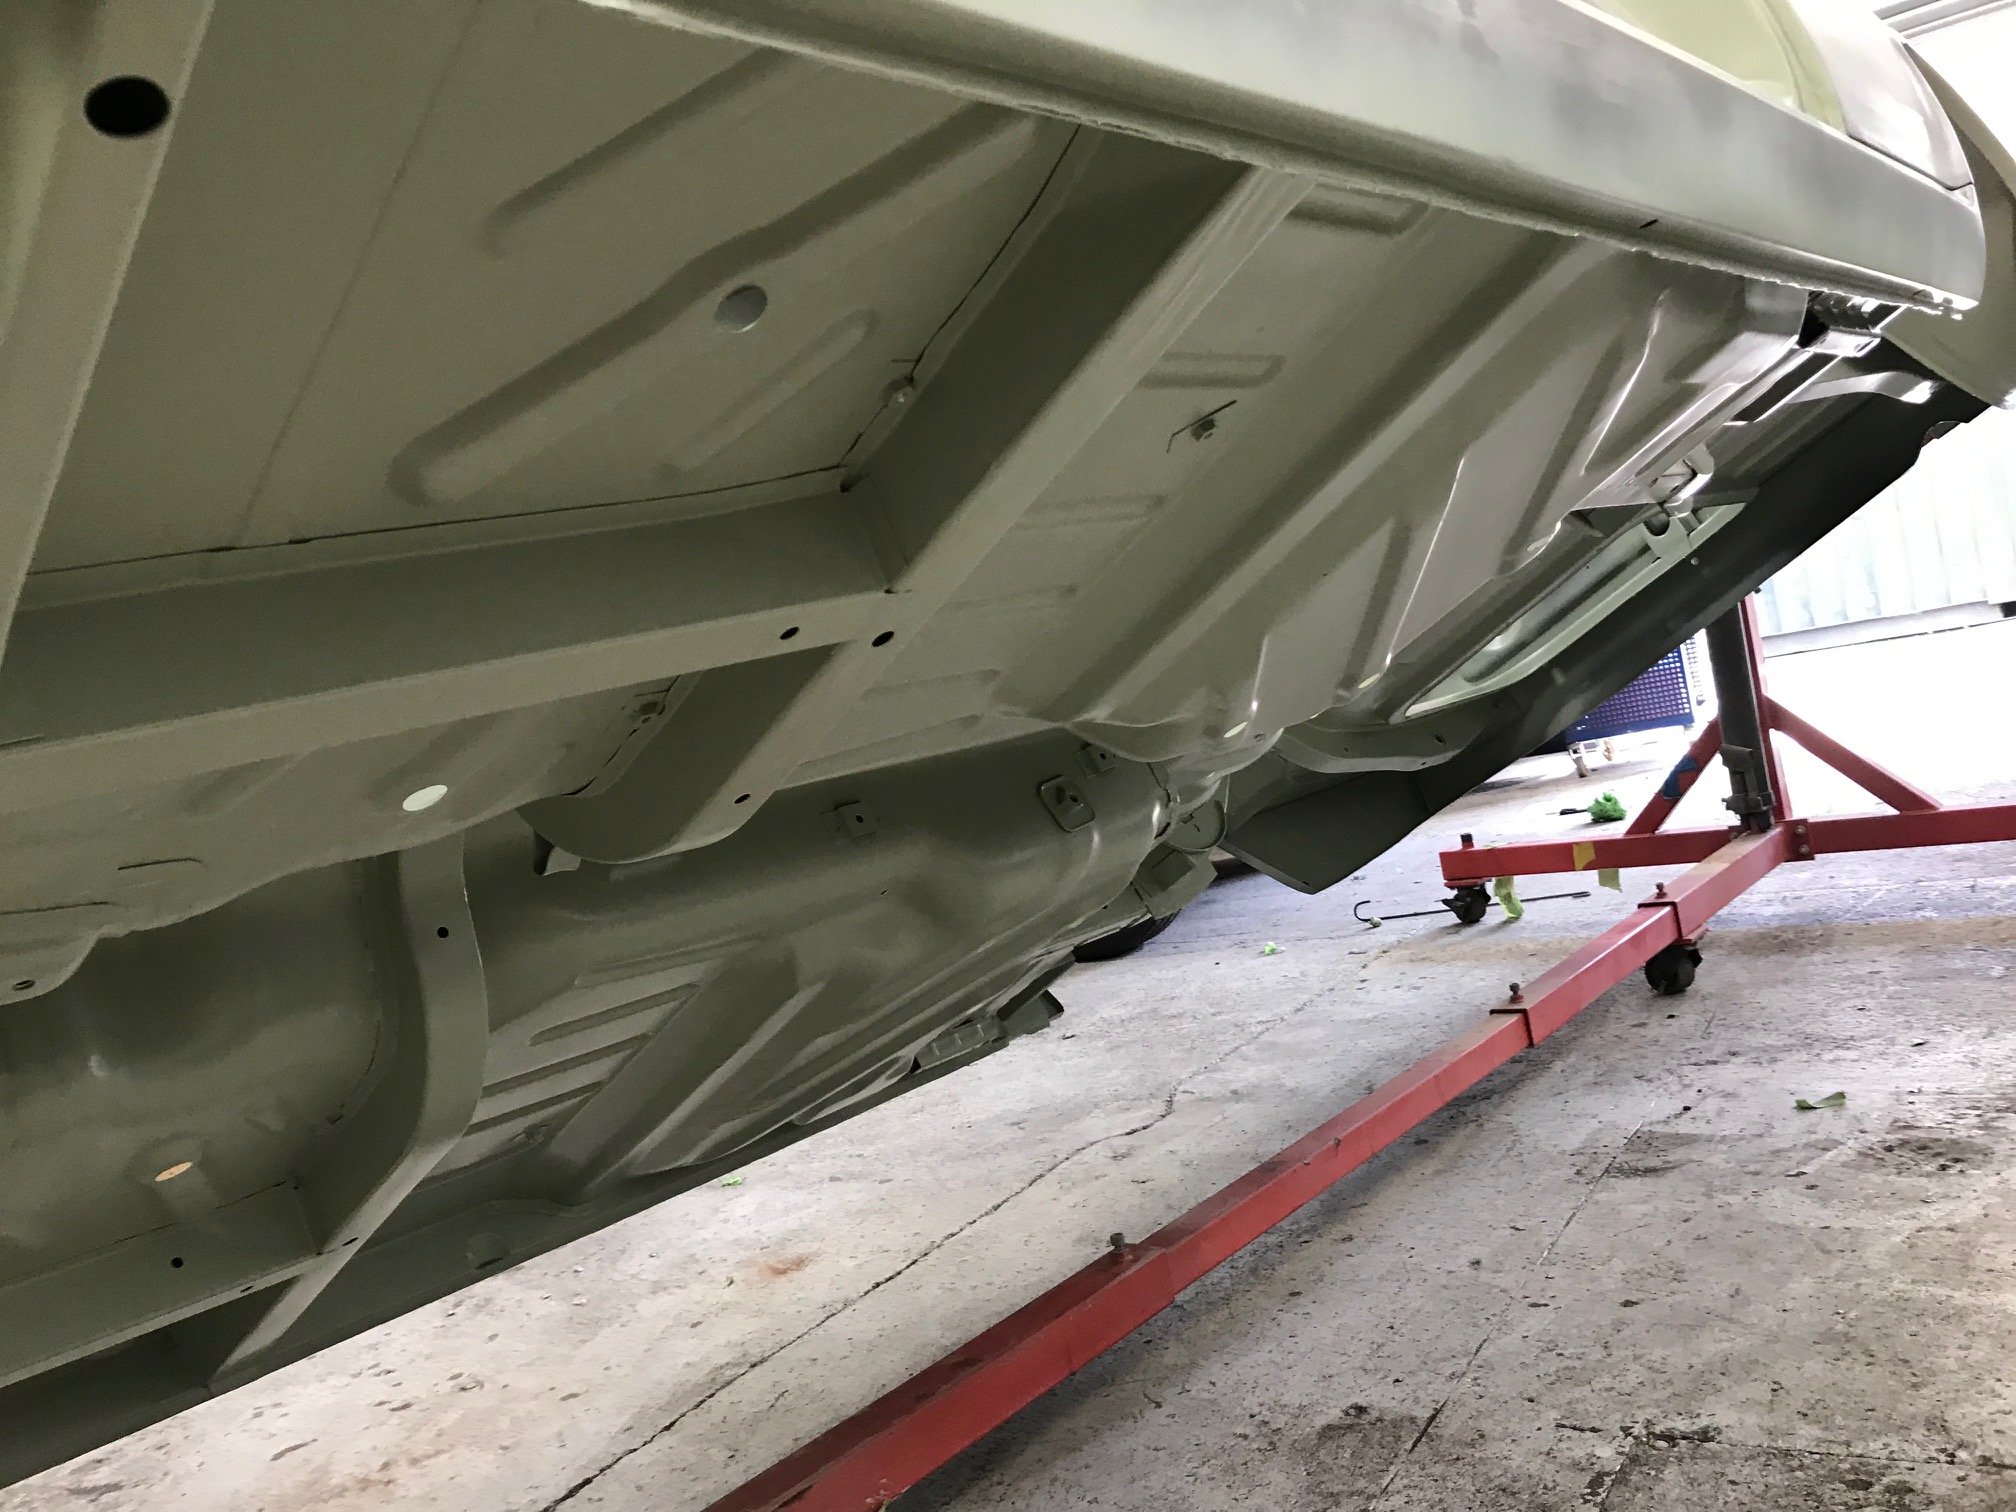
More pics
3 points
-
I hope you have fitted a motorcycle throttle so you can play your "call" while dozing agitated barries into a heap2 points
-
For interests sake https://www.google.com/amp/s/www.hotrod.com/articles/what-is-mallory-metal/amp/2 points
-
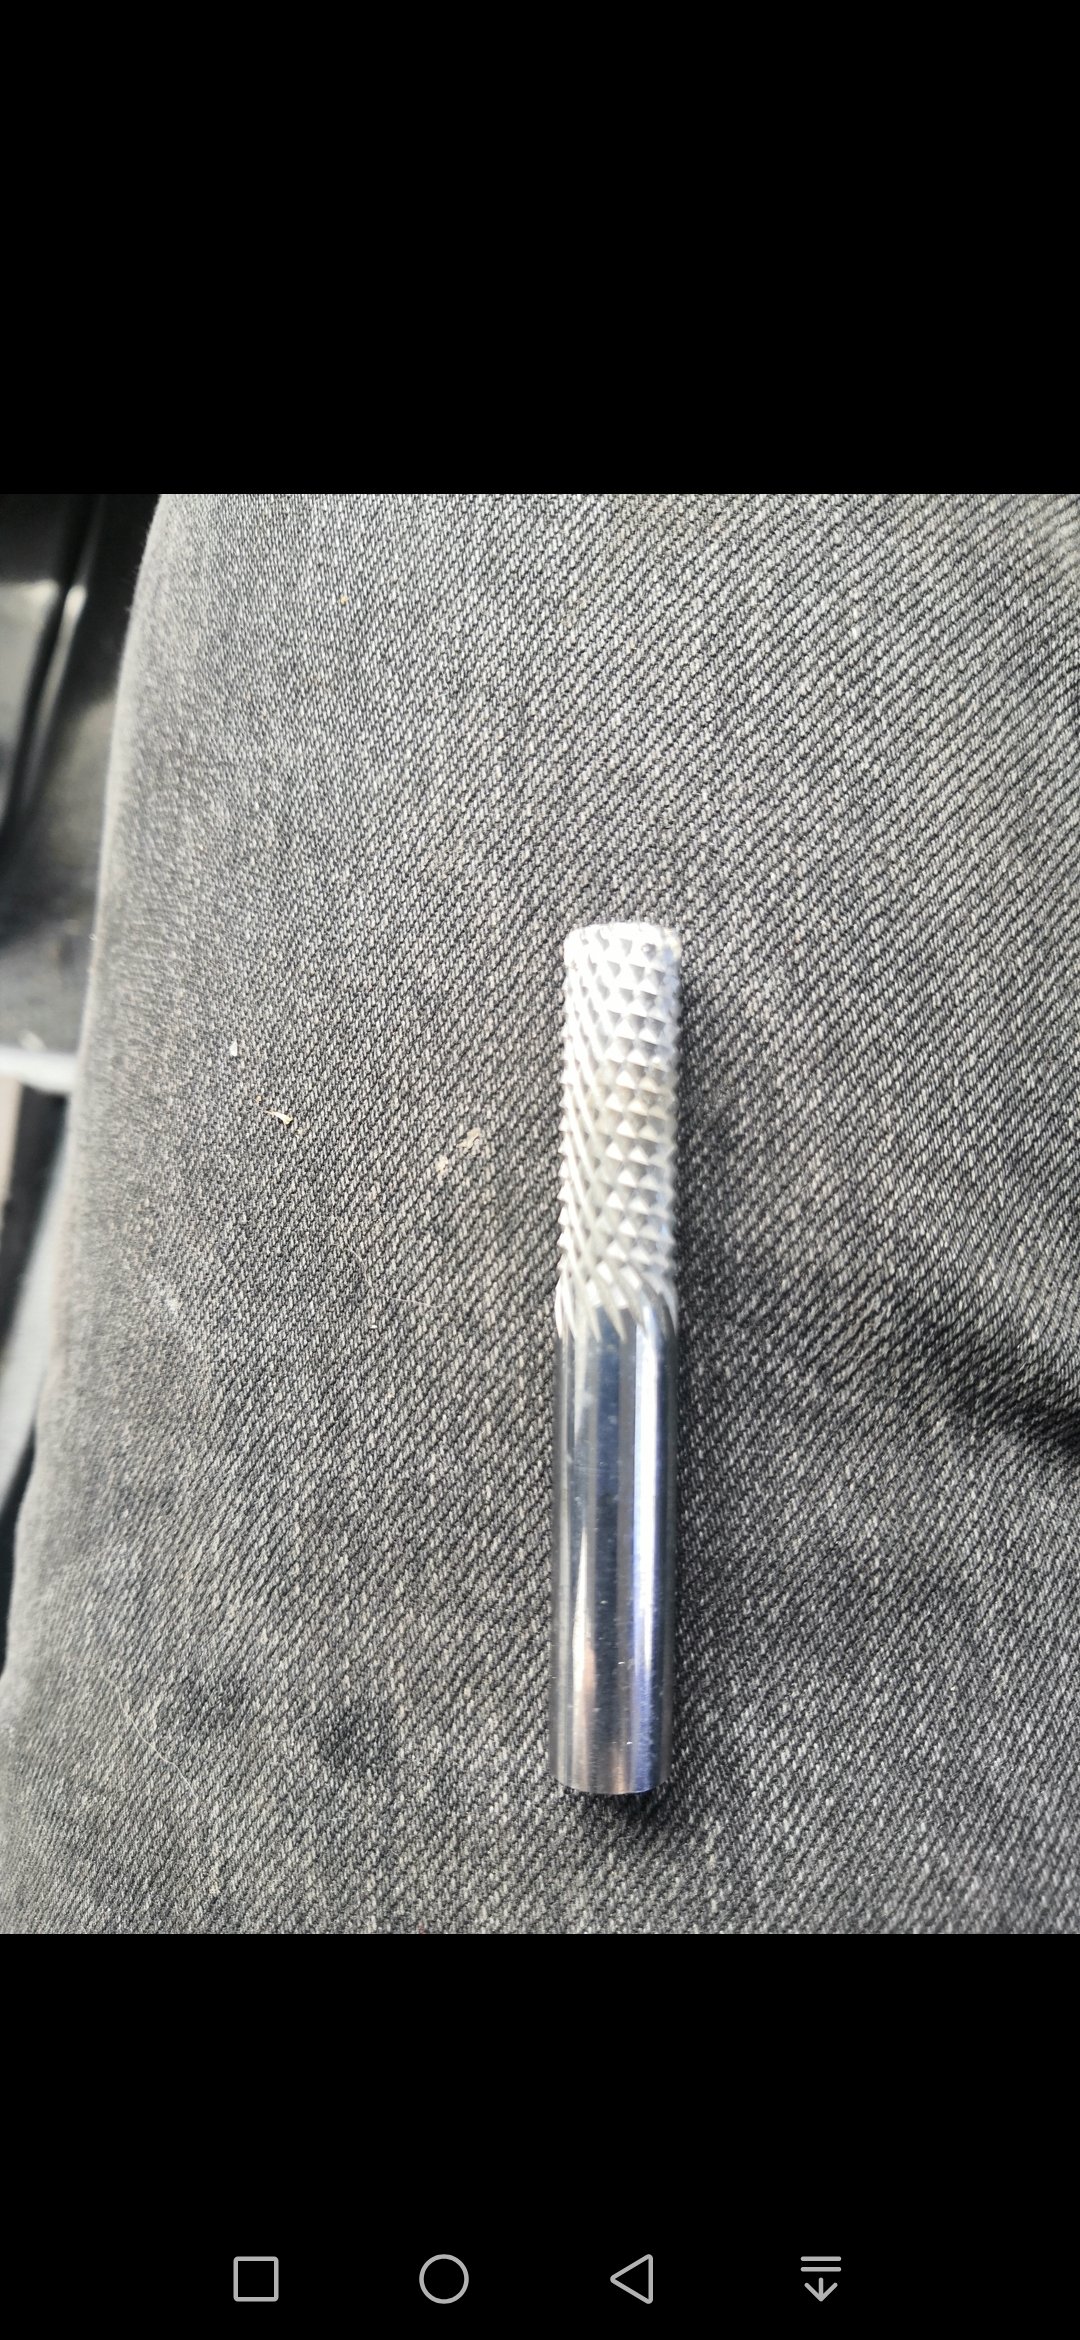
I've got a dull bit of tungsten carbide here that measures 9.5mm with 32mm of shank if that's of use?
2 points
-
Old solid carbide milling cutter?2 points
-
hey man, Scooter looks great., You could maybe save some money by going down a size or two in Jandle. Profit.2 points
-
Small steps my arse, I will be cranking this motherfucker. Although I do need to take some time and care getting the engine back together...2 points
-
Waiting on parts to finish the throttle & plenum setup. so pulled the radiator and intercooler out to modify the intercooler pipe. Then went full retard and cut up the radiator. cut a bit off the end and relocated the outlet pipes Why? more room for other stuff and that part of the radiator was mostly blocked off from airflow anyways. Redone the turbo side pipe, as well as the inlet side. the pile of pipes at bottom of pic is the old stuff that come off it. Yep that cast elbow looks horrible for flow ^ thats why i chopped it up, so goes from 2.5" to about same area as 3" pipe. The intercooler is on the list to go in the bin. because is heavy and junk. I brought the cheapest one i could get when originally built the truck. Staying for now but will go to a tube and fin one day. 2.5" hot side 3" cold side. old was 2.5" . even though the pipe is bigger have cut the length down quite a bit. so probably sill less area in the pipework than the old setup2 points
-
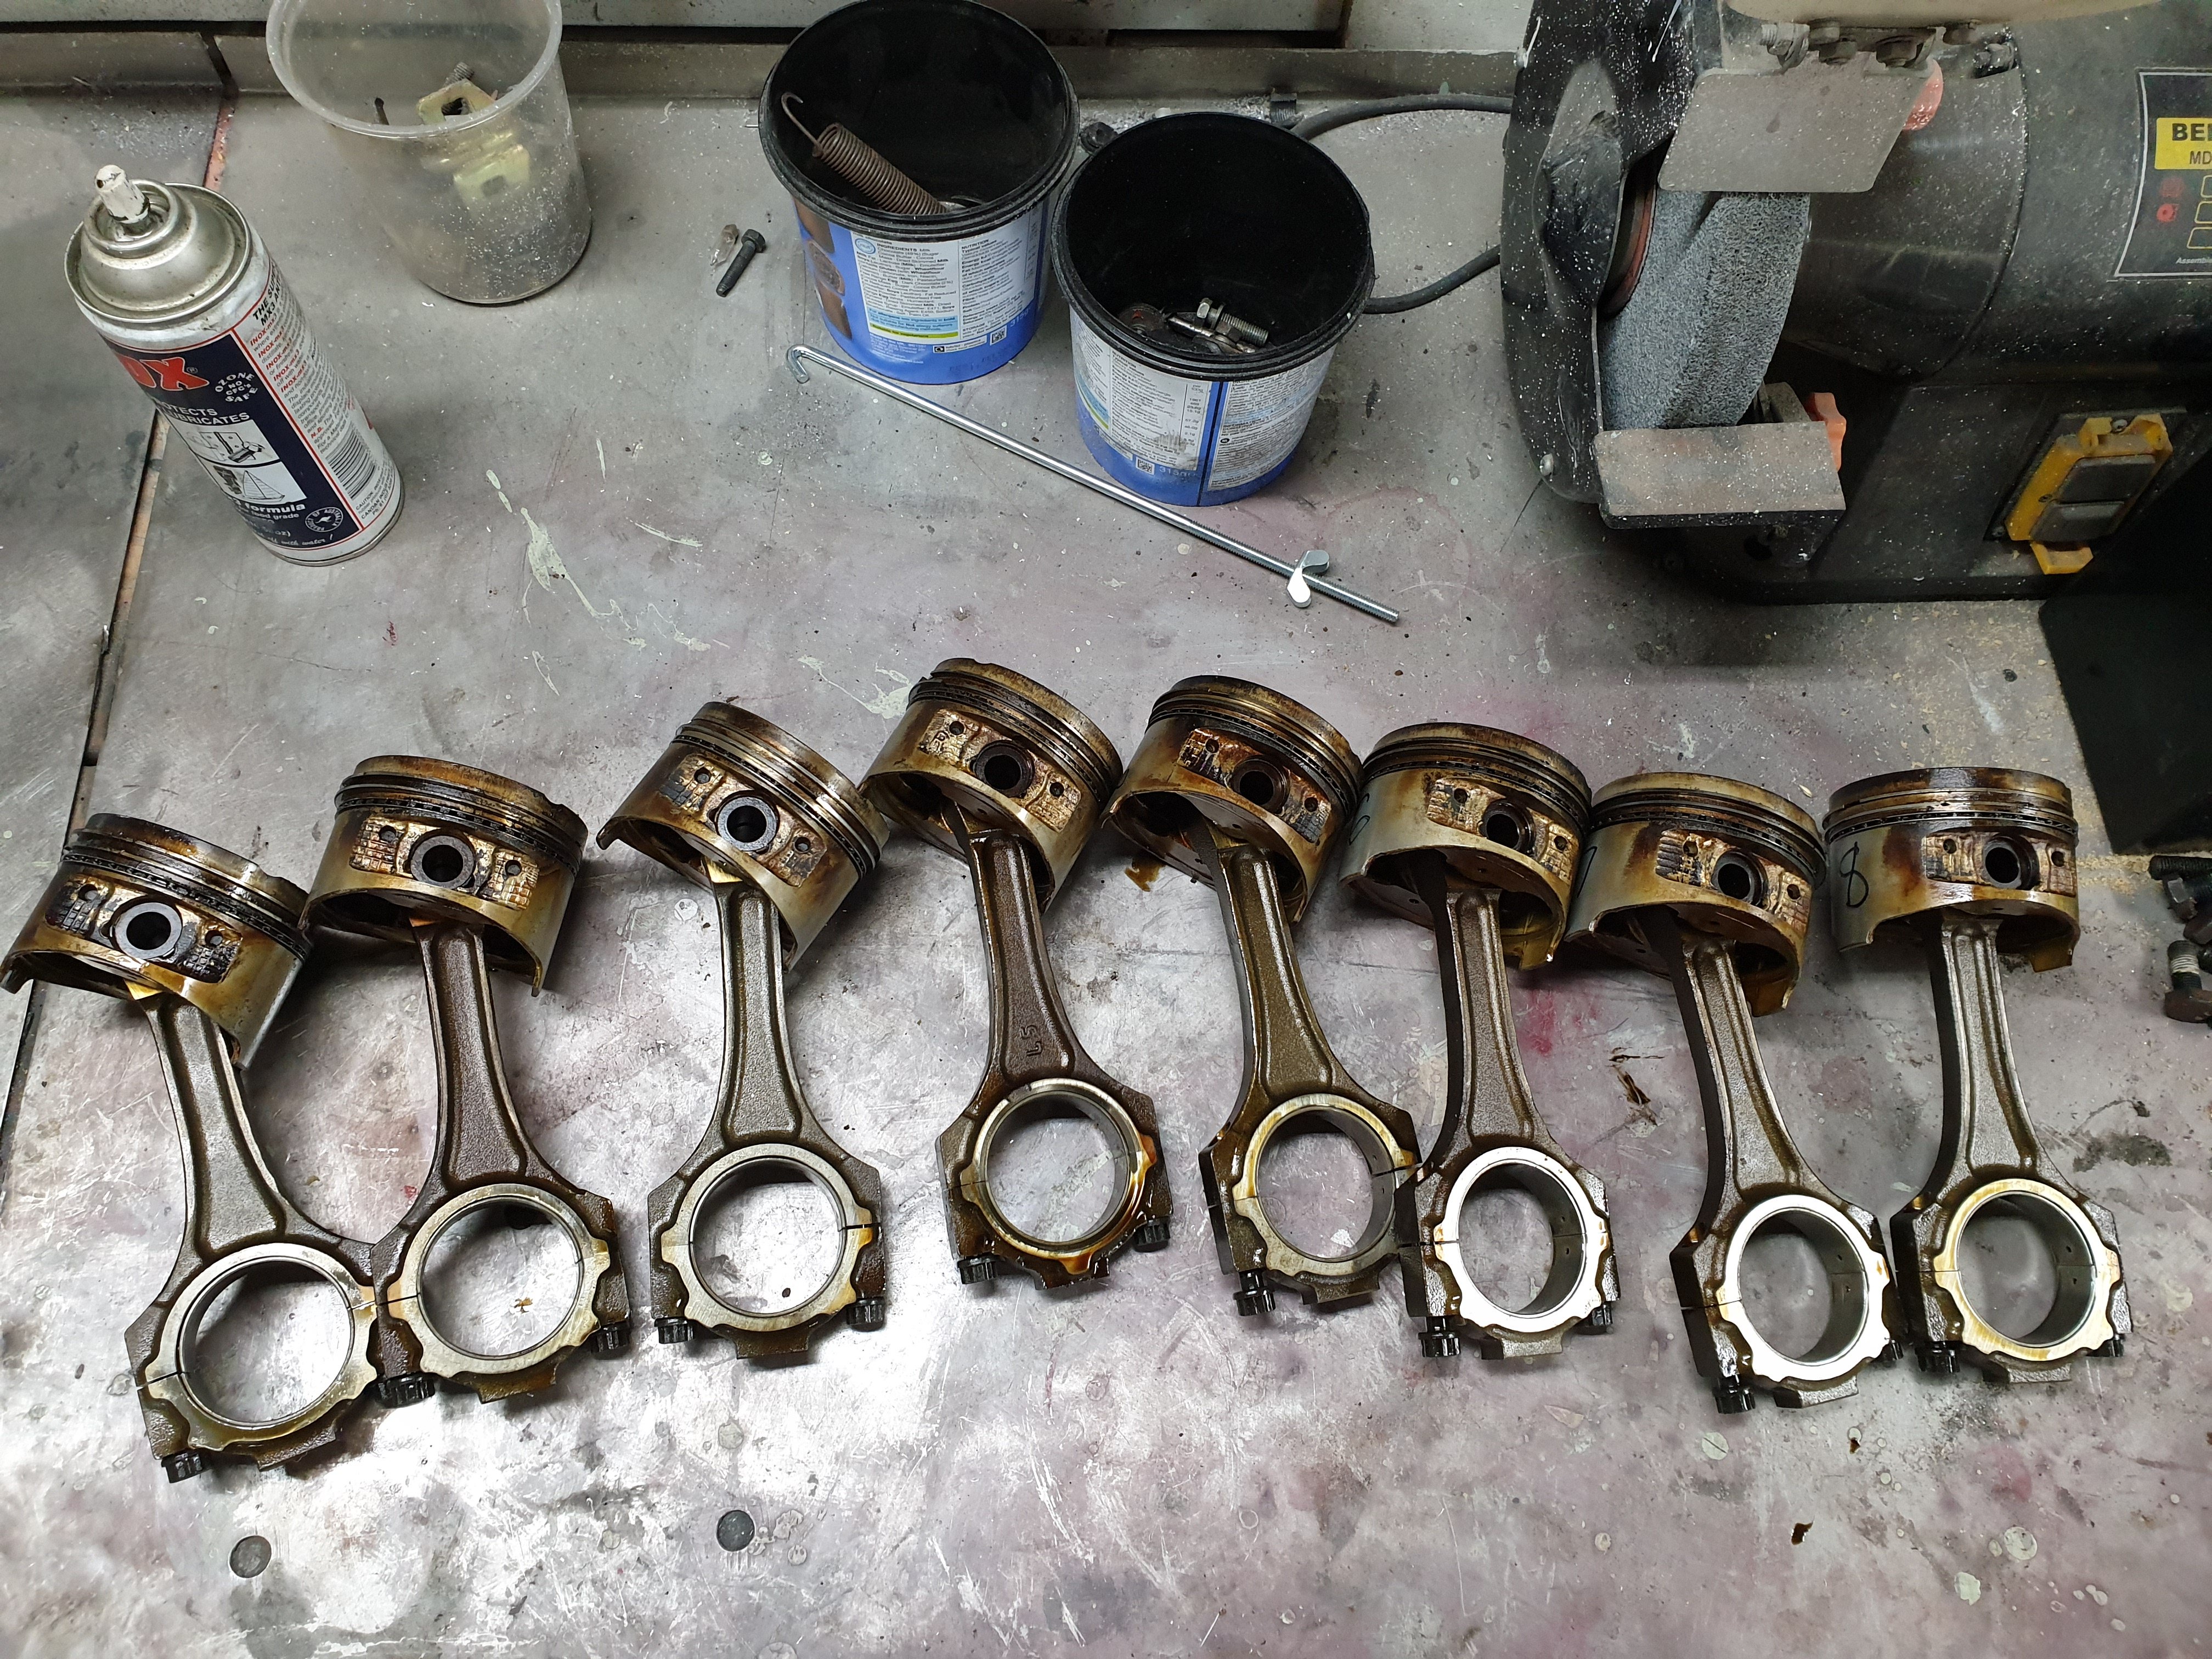
2 months later i have all the bits to rebuild the bottom end. the heads are already finished and i have them back. parts, 9 to 1 CR Ross forged pistons (the cunts will not change the value of the parts on the shipping invoice so keep that in mind when deciding to use them or not) eagle H beam rods and ARP rod bolts ARP main cap studs and bolts new genuine Toyota oil pump theres heaps of other shit too but you get the picture. block will now be bored and honed to 88mm. rotating assembly will get balanced and ill get the short block back. then its reassembly time. good days. or maybe not good days. going in to hospital to get back surgery in about a month so that will fuck all progress for a while............... 2019-09-19_07-59-37 by sheepers, on Flickr 2019-09-19_07-59-22 by sheepers, on Flickr 2019-09-19_07-58-23 by sheepers, on Flickr2 points
-
so 1 x generic falcon tap and some cutting and welding and we're back in business. tap is in the engine bay and its fairly ugly but there isn't fuck all i can do about that. 2019-09-19_08-00-10 by sheepers, on Flickr 2019-09-19_08-00-03 by sheepers, on Flickr 2019-09-19_07-59-55 by sheepers, on Flickr 2019-09-19_07-59-47 by sheepers, on Flickr2 points
-
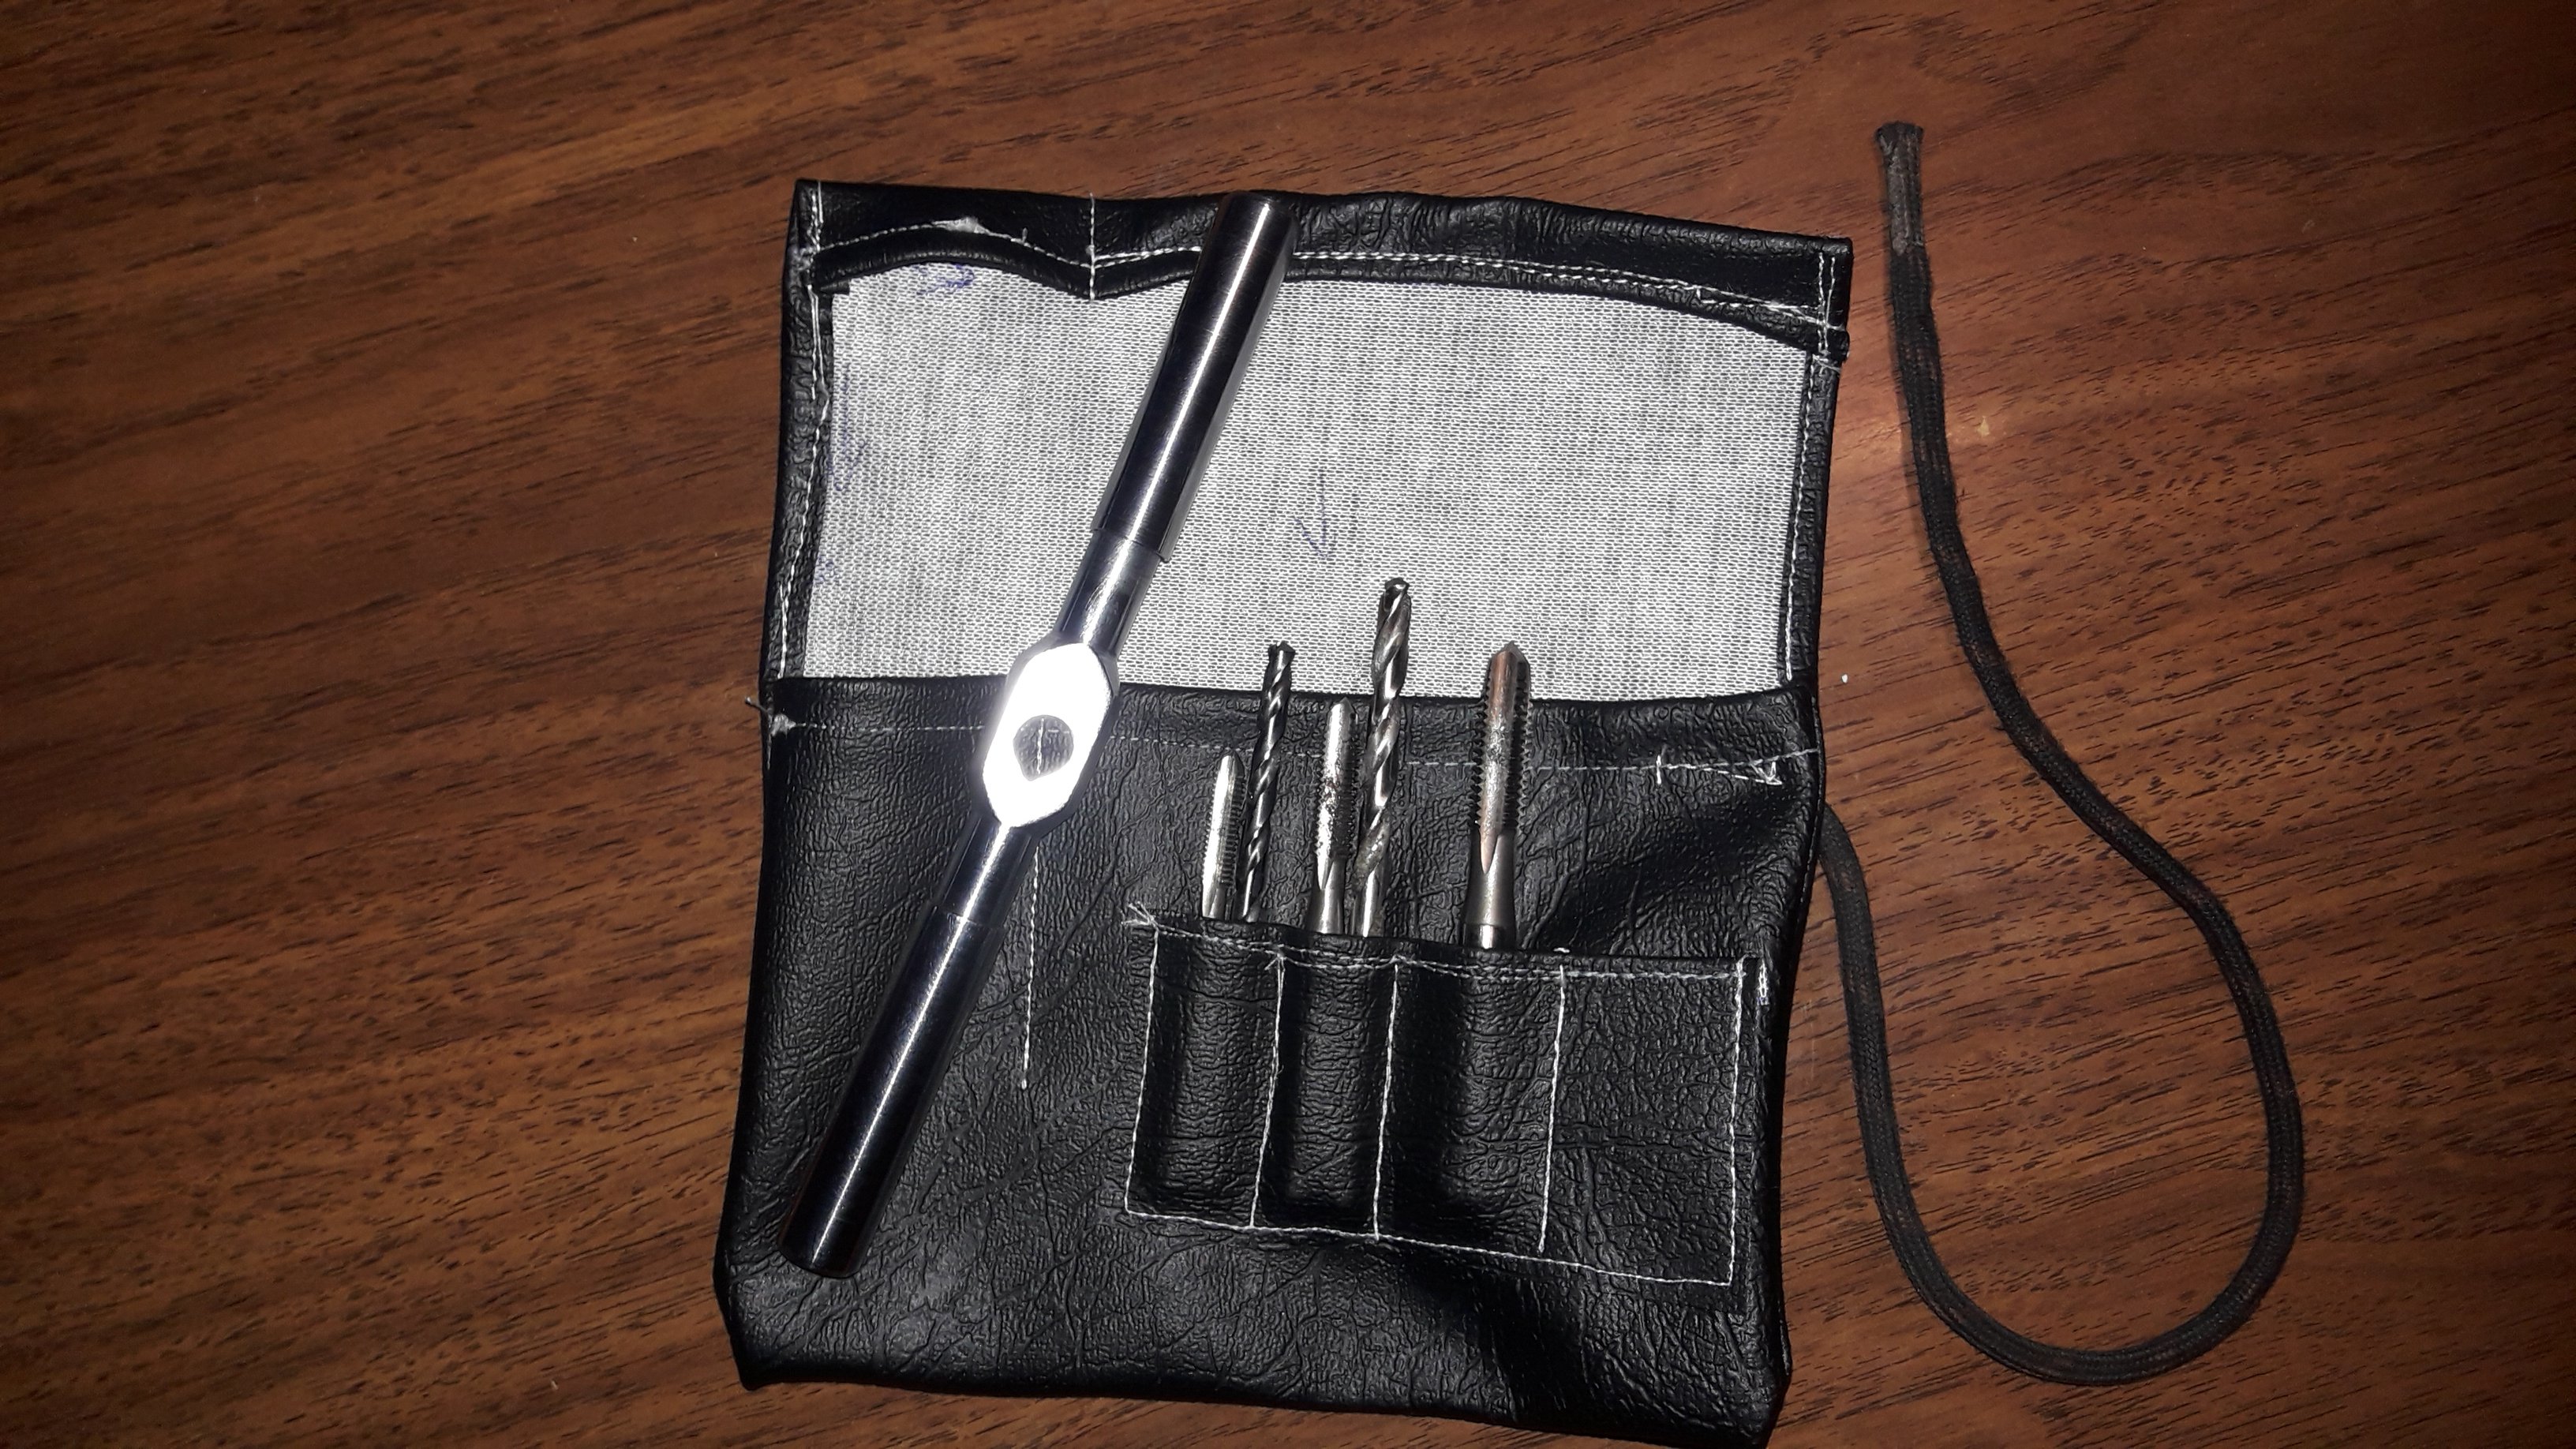
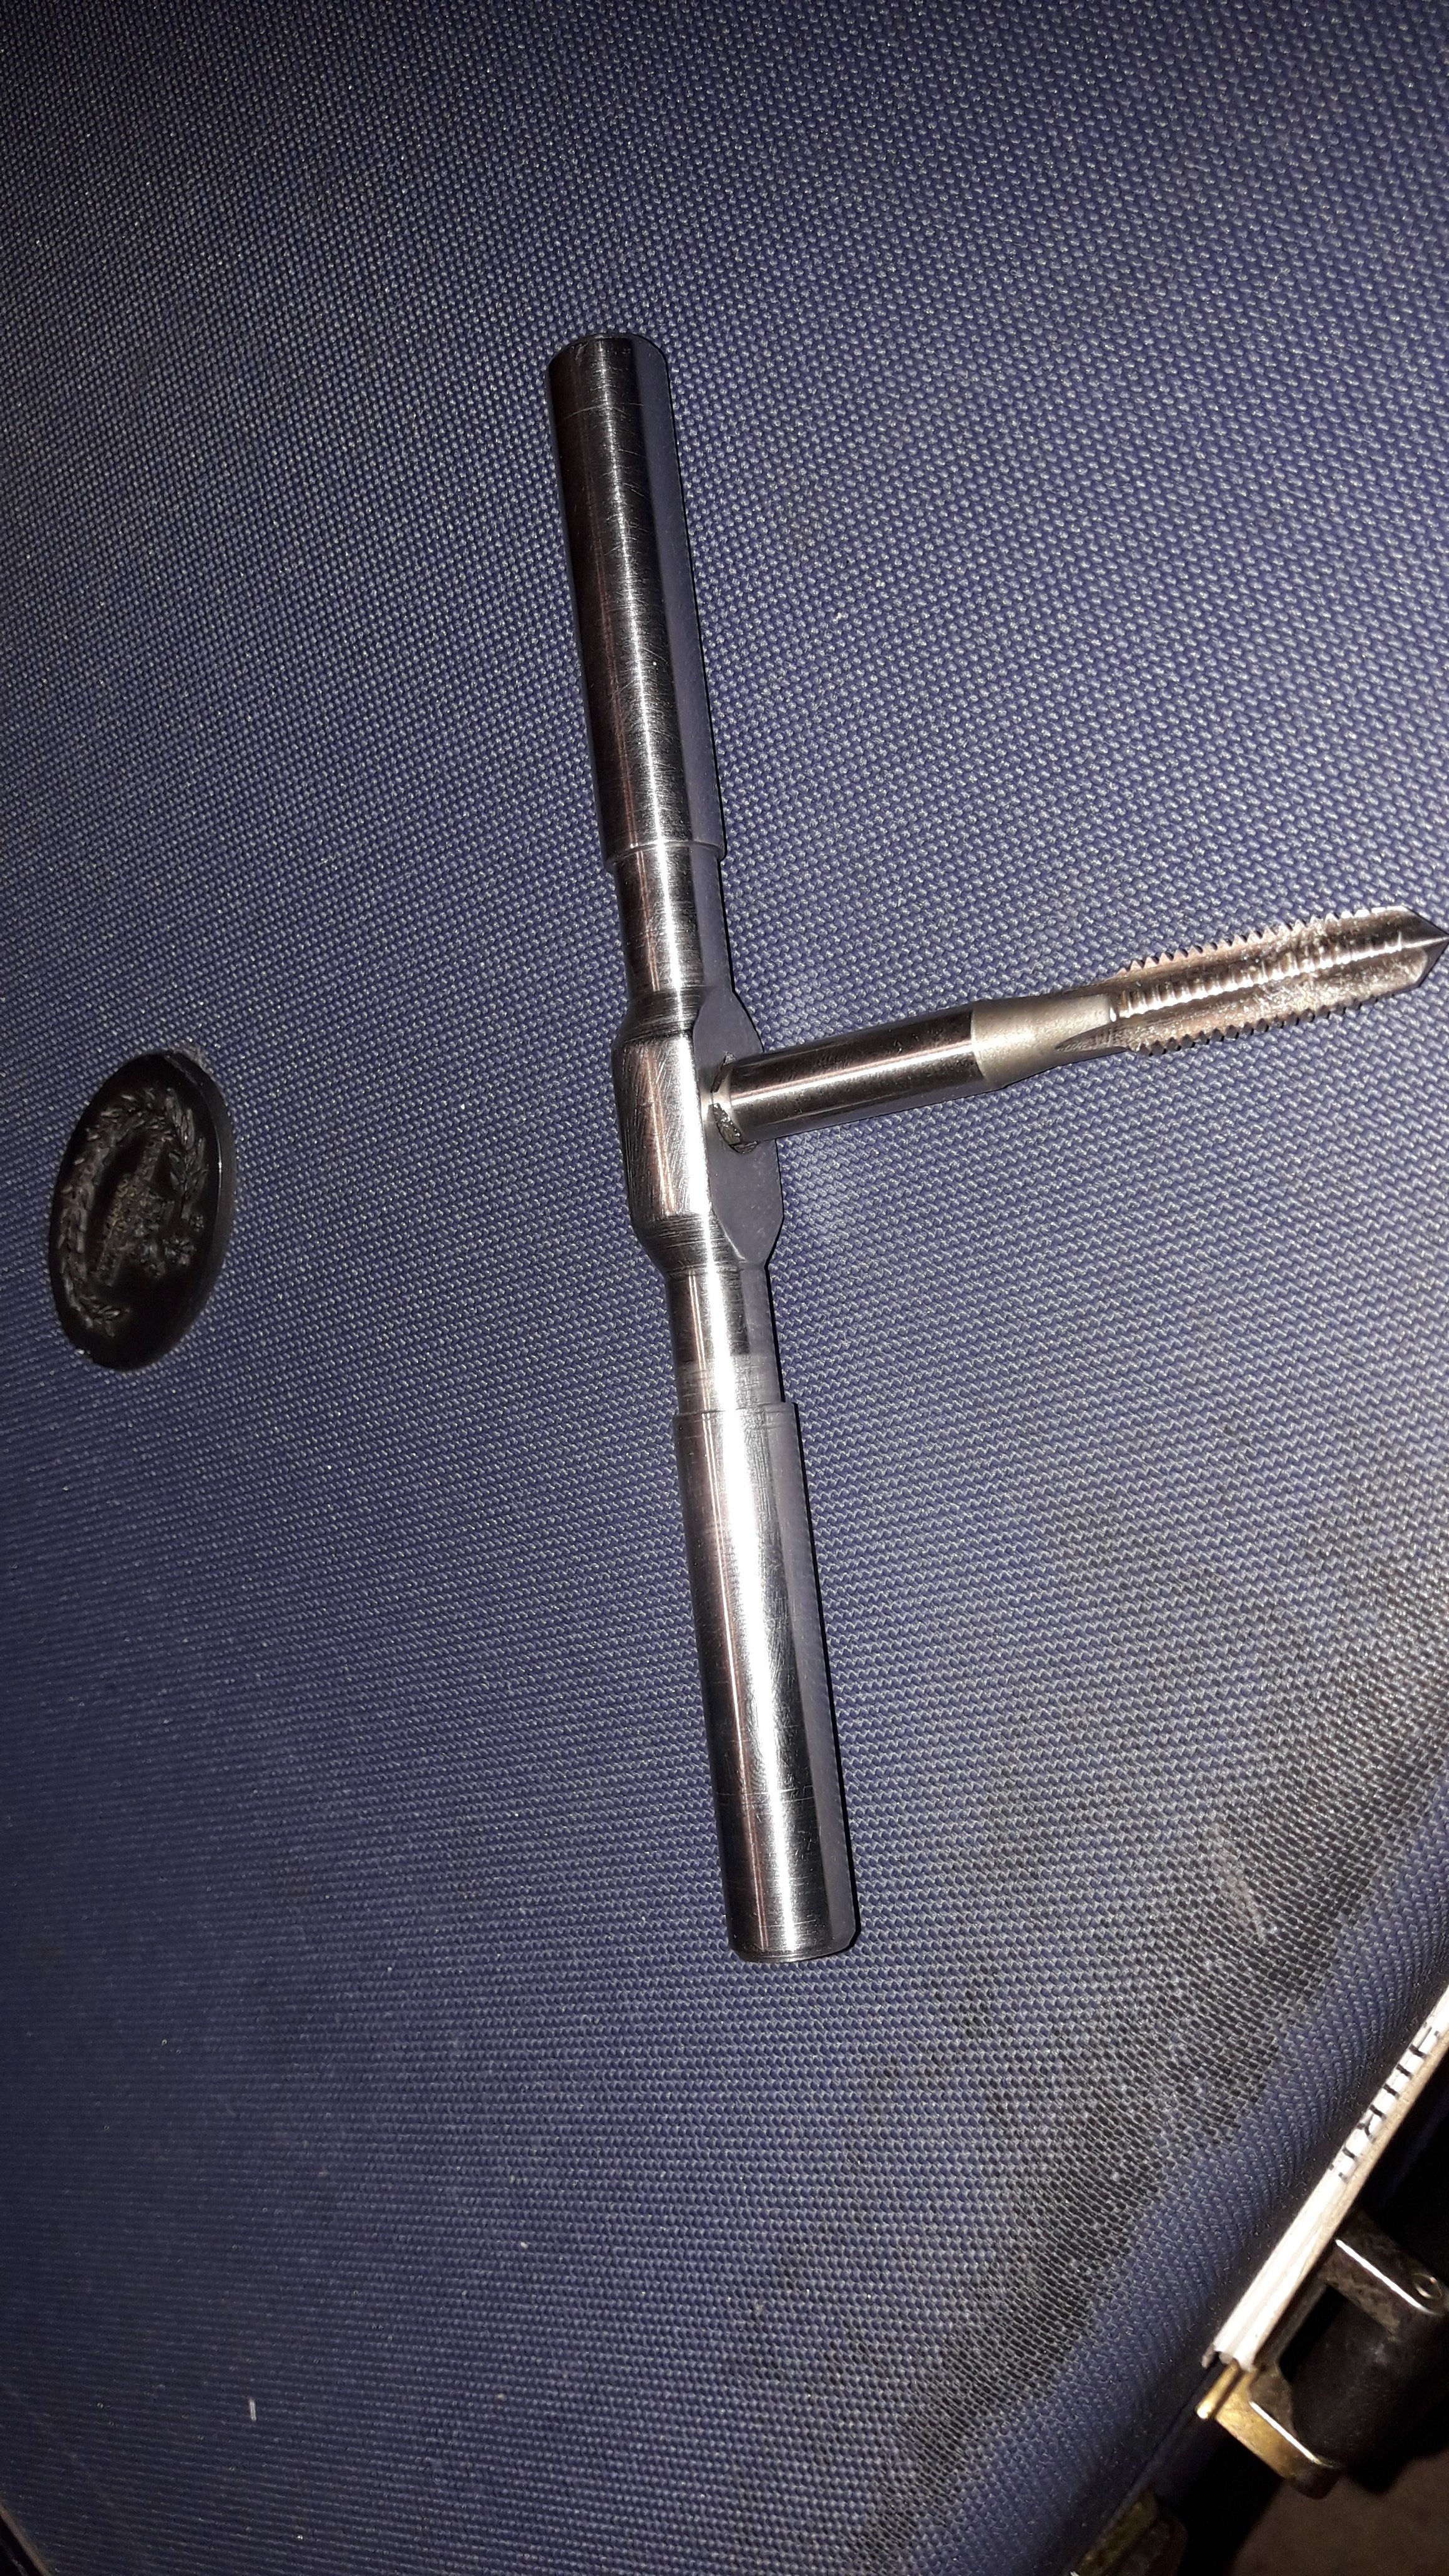
I made this tapping wrench on the BarryLathe this weekend. I need to practice my sewing /subscribe to DirtyBarry
2 points
-
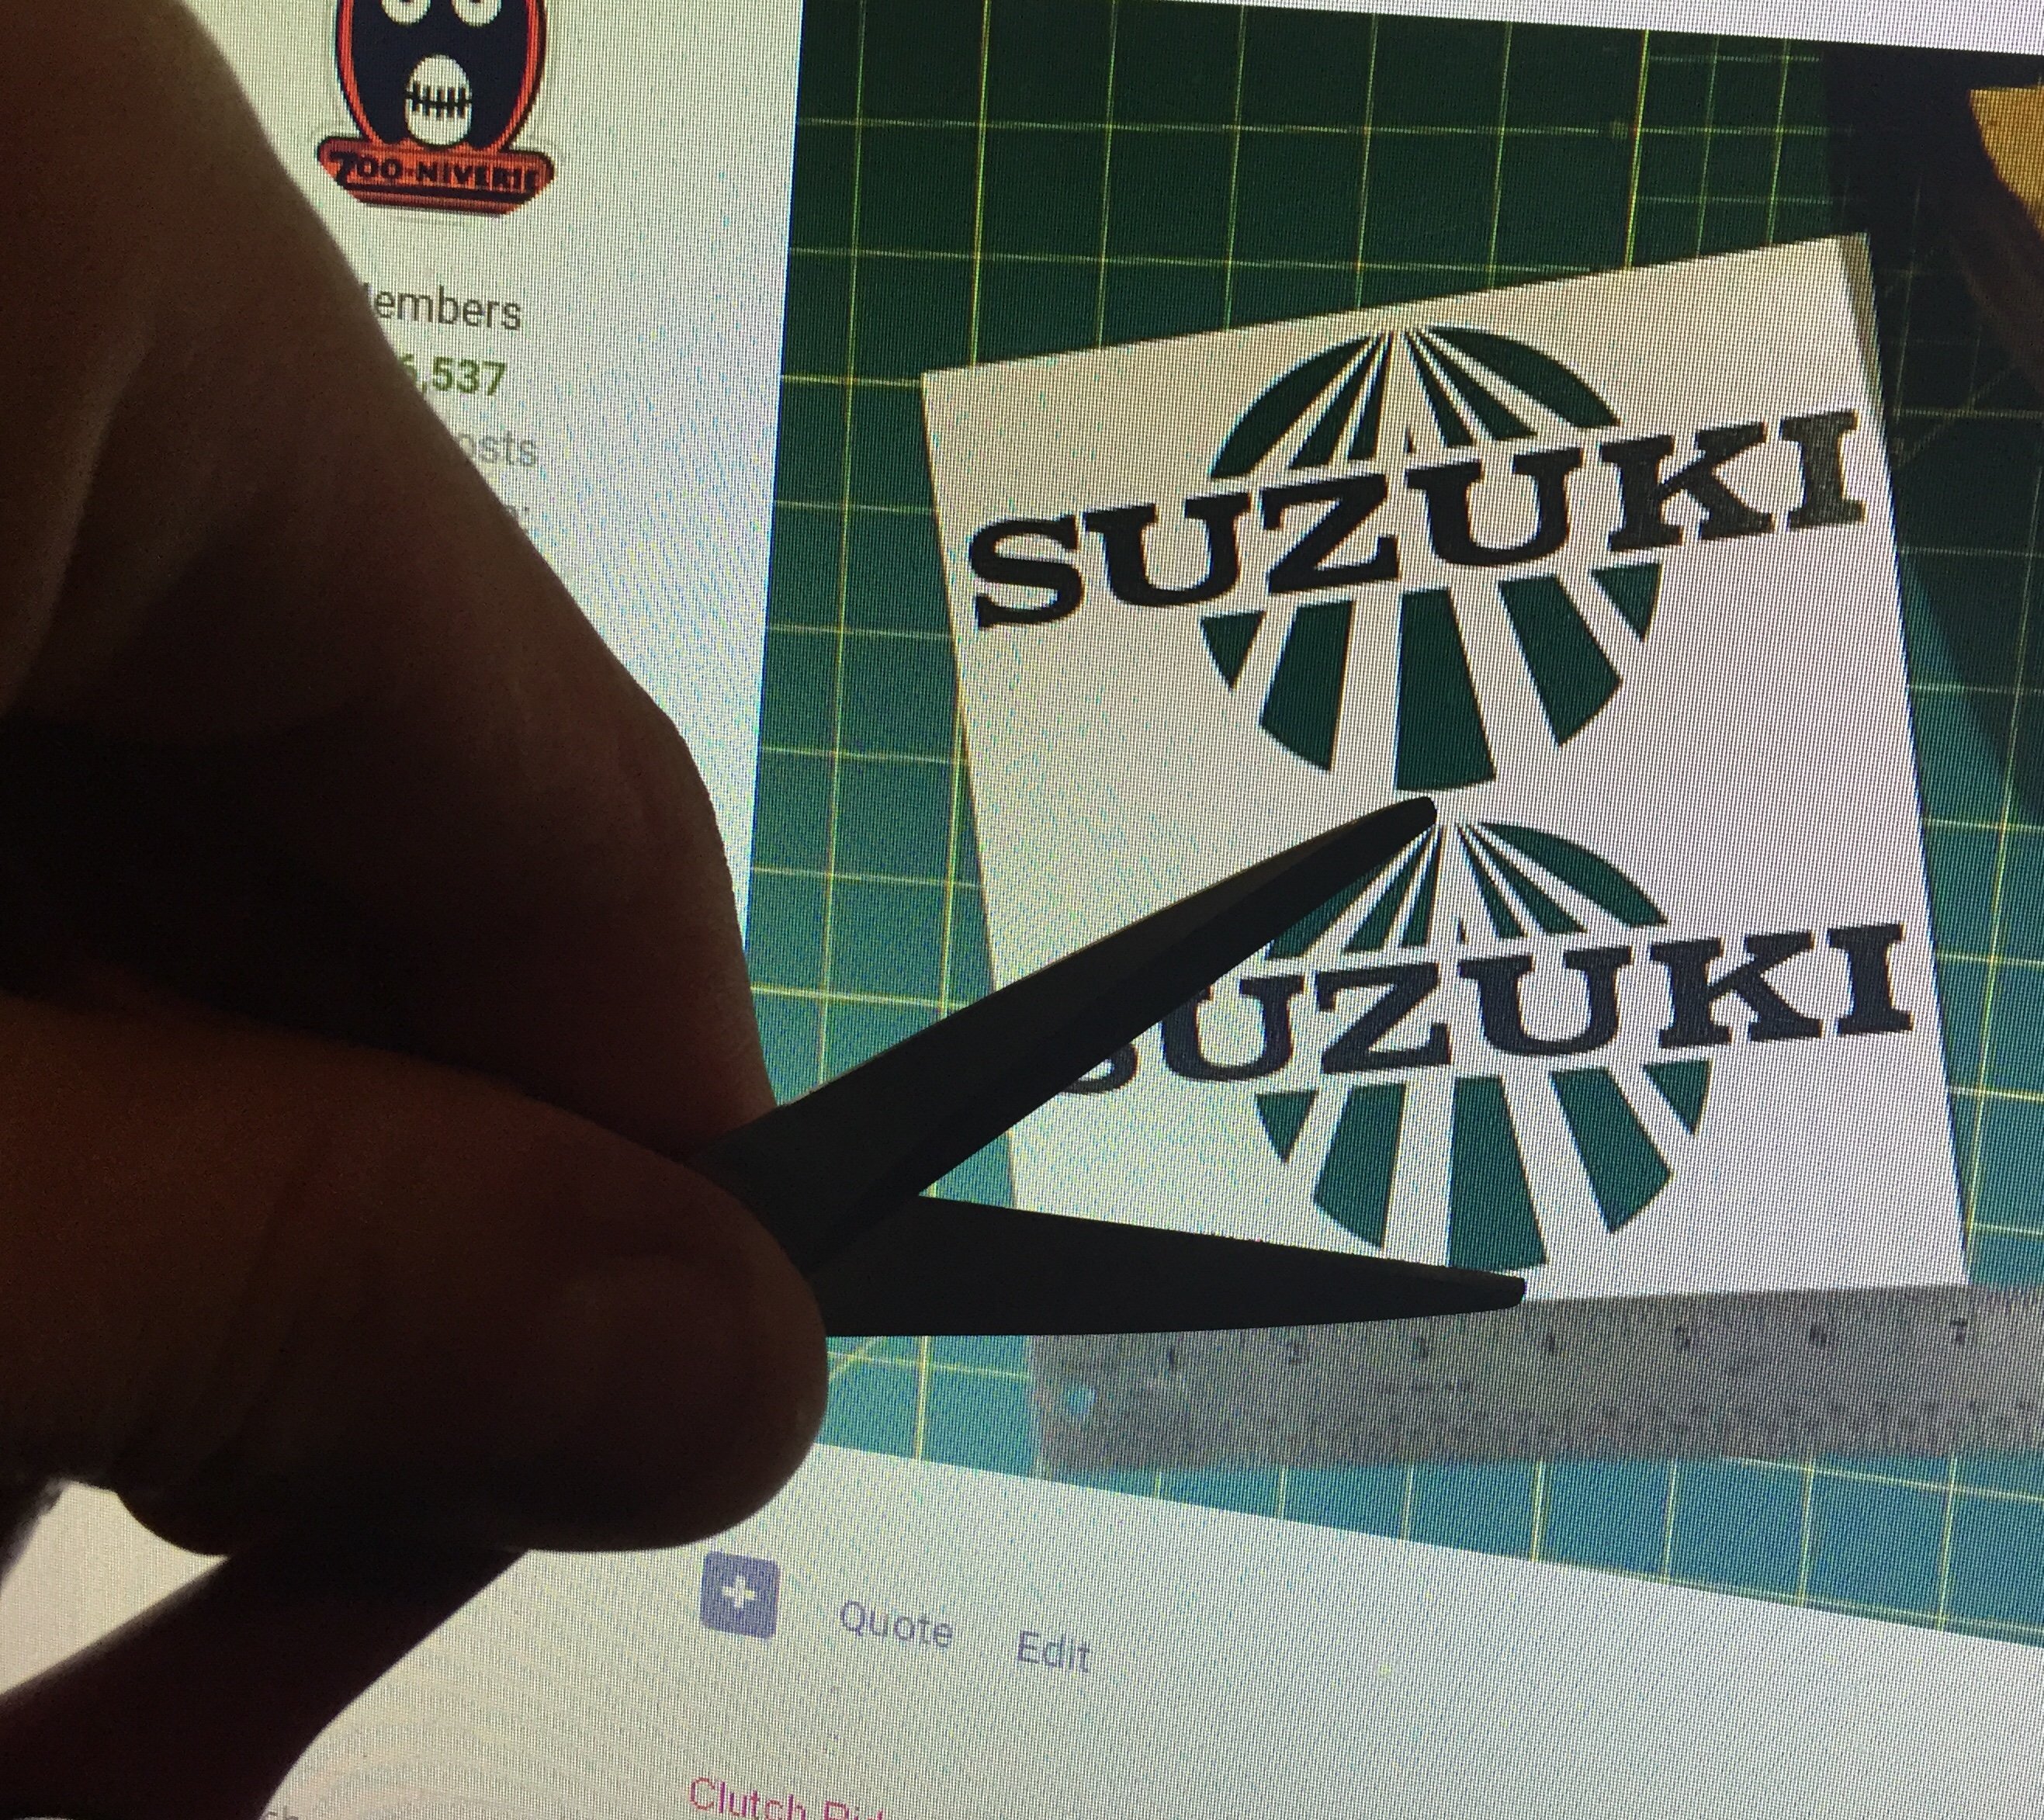
Tank decals for sale on line had a ruler for size witch makes it easier for copying
1 point
-
We had some 50mm tungsten bar going through a machine not so long ago, was comically heavy trying to lift if from the crate. No reason you can't get the first order inbalance sorted with your current approach, then its only balance shaft away from perfectly smooth running.......1 point
-
It's the prefect sized jandle thanks. Nearly worn through the heel so I'm getting my monies worth It was the perfect size for the intake tubing and the bends worked out well. It looks like they dunked the whole frame in a vat of paint!1 point
-
you seen this guy?1 point
-
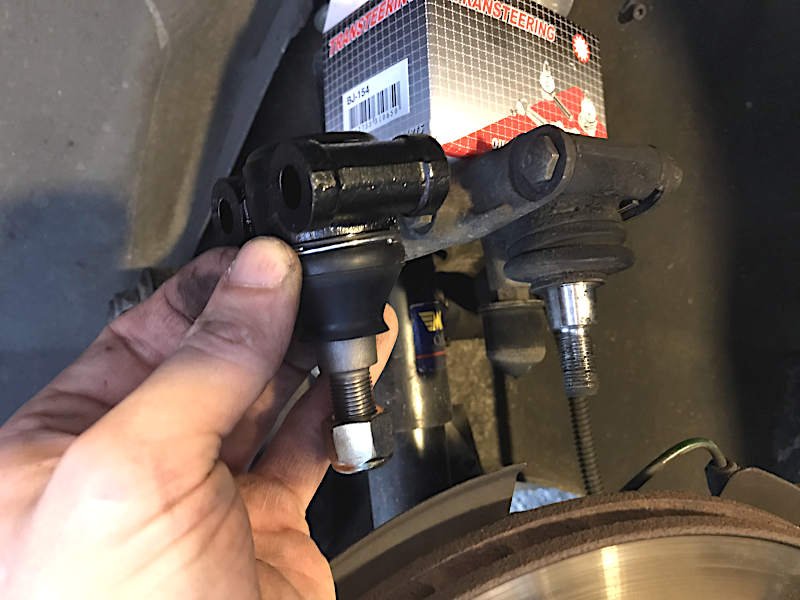
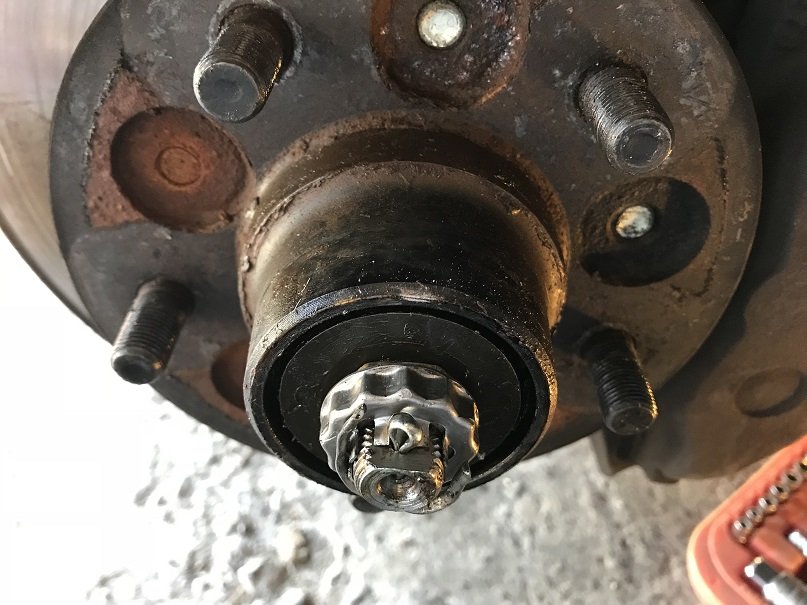
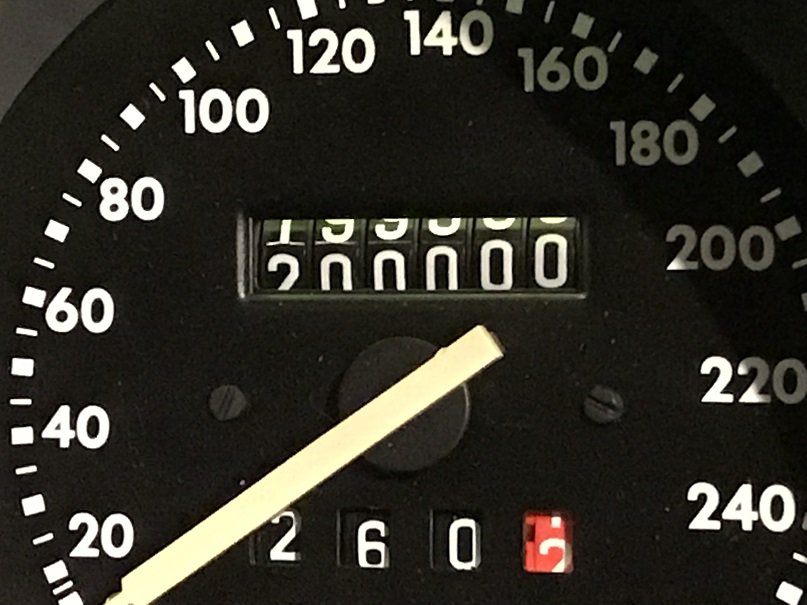
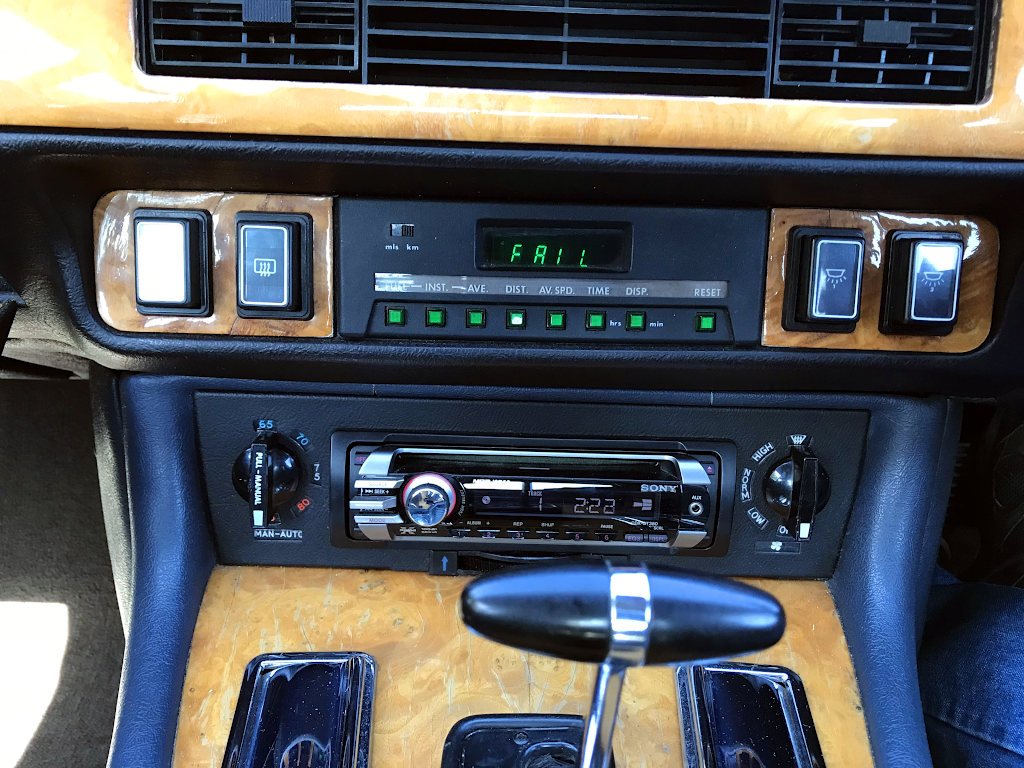
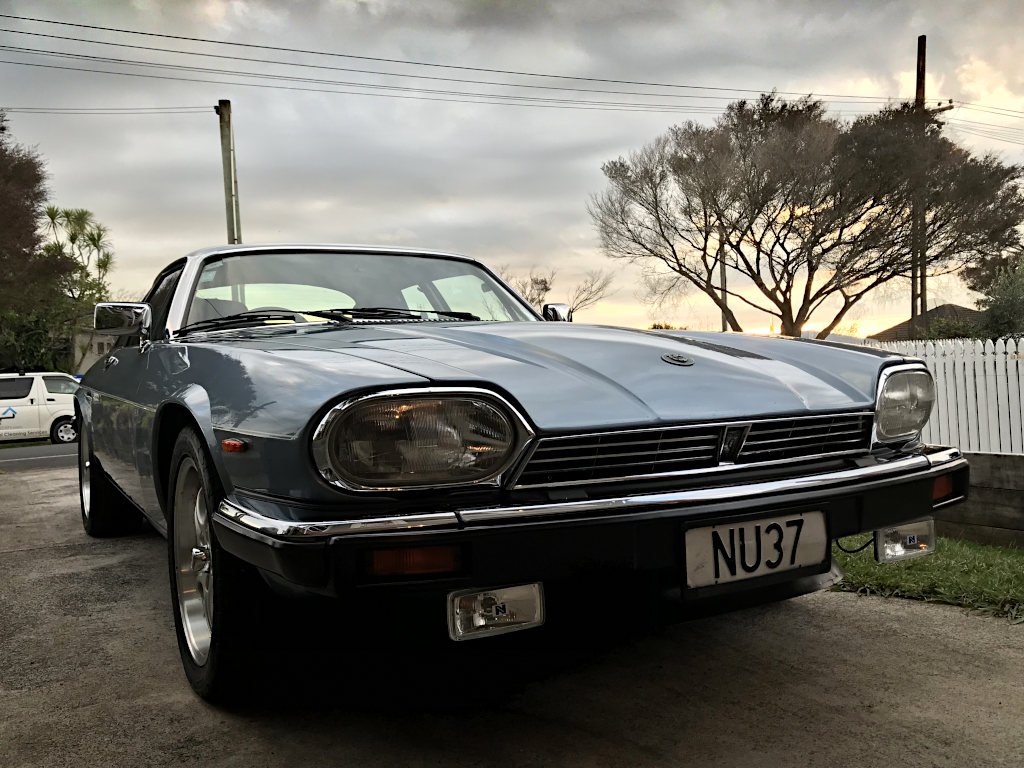
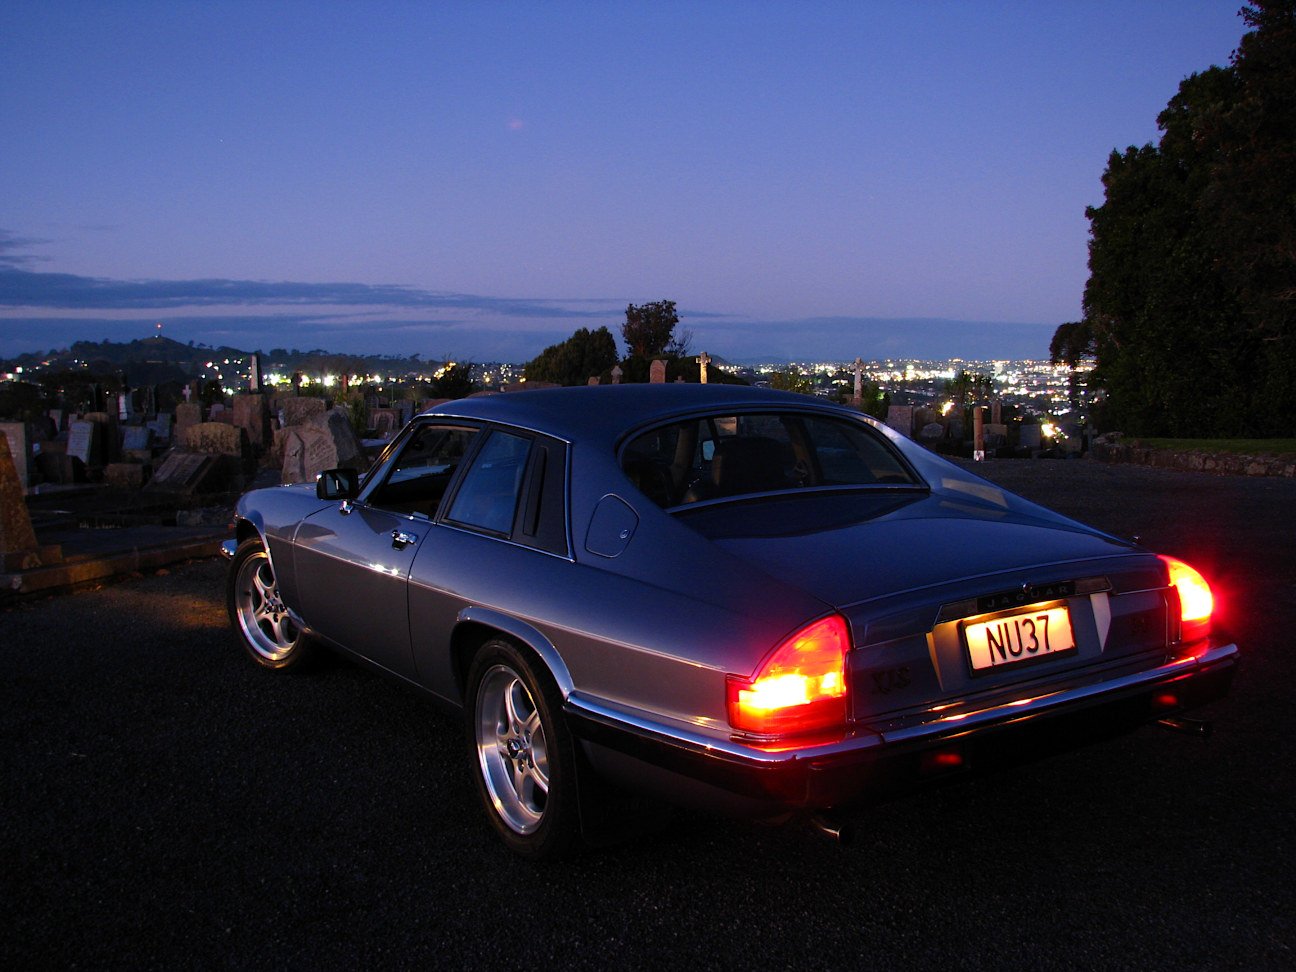
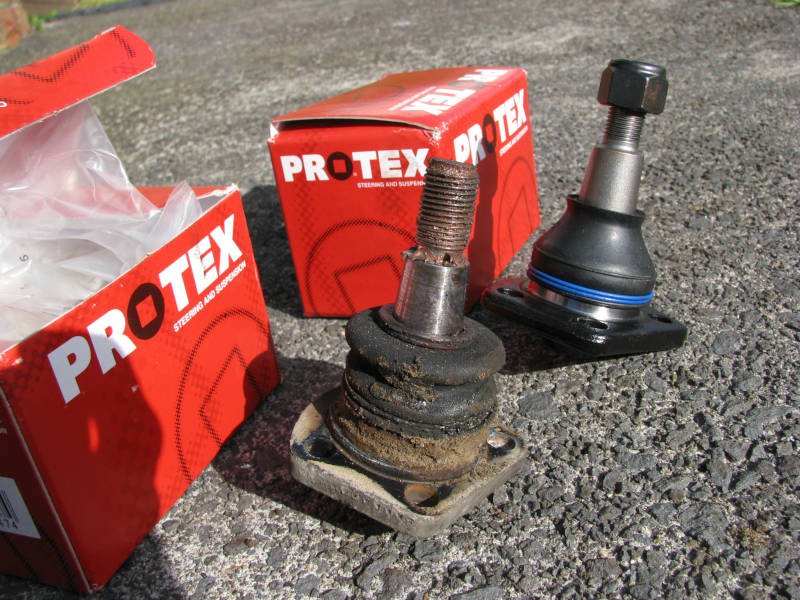
So I did the upper ball joints as well.. ..but it wasn't those. The push/pull play at 6 and 12 o'clock was still there. So I looked at how to adjust the wheel bearings.. I was expecting it to be horrible but it was easy, and now the play is gone. Should have done that first. Alas, the vibration is still not quite gone. It's probably just something I have to live with in a British car which has made it all the way to..... 200,000kms. So I got a new obsession instead. The engine doesn't run all that well - it has a random half-stumble at idle and low rpm.. You can see the misfires by watching the shaking of the motor, and although it appears to smooth out if you raise the rpm sufficiently, the higher engine speeds could possibly be disguising the problem. The car has also never really started that well from cold. I checked the spark plugs and they looked amazing to someone who has never owned fuel injection before. I looked for bad connections and vacuum leaks, since the ECU directly reads manifold vacuum (in V12 cars, the ECU is in the boot and its vacuum line has to run the whole length of the car, because why not... ). Nothing stood out though. Several tanks of fuel system cleaning pills didn't help either. Today I took off the airflow meter and cleaned it, and this did make an improvement. The raise in engine speed on startup is more pronounced, and the idle speed seems to have raised slightly which makes the car coast better / makes it not decelerate as aggressively when you lift off the accelerator. But just like my reduced 80kph vibration, the shaky running issue's still detectable. I'll try a compression test and then randomly change every ignition system part, idle valve, fuel pressure regulator and injector before giving up in 6 months from now. The Jag let me know what it thinks of my diagnostic skills:
1 point
-
stories from M lyfe. the heater tap started leaking. the heater tap is inside the passengers foot well. like any true M series connoisseur i know it was leaking within seconds of it happening because i smelt it. i knew, instantly, the the M was about to try and fulfill the prophecy of its lineage, and its tradition, and attempt to BHG. but old M masters like myself are made of sterner stuff than that, it'll take a better trick that that old chestnut to bring the prophecy to life. so, i caught it before it had a chance to get hot, no harm done. MS75 heater taps are vacuum operated, incorporate a 90 degree bend in them and just to really make sure there is no way of substituting it with something available its closed with no vacuum. all available vacuum operated taps that i have found are open with no vacuum. there are no taps available that event fit in the space available, let alone have the right vacuum configuration. so ill just have to buy a gates one, cut and weld the vacuum actuator to be on the other side of the lever and put in the engine bay somewhere. if i can stand up for long enough to do that job ill do that tonight. 2019-09-19_07-33-00 by sheepers, on Flickr1 point
-
So I had a short list of things to sort after the last test. First was to make a more permanent restrictor, before the tape went through the carbs. I did lots of math to work out the area, and made a stainless restrictor, but just fitted it temporarily in case it was wrong. Turns out it doesn't work as good as the tape, so will try again. I also redid the top of the brake pedal, to try get more swing/feel. Seems to be a bit better/good enough. Did a bit more of the wiring/cleaned a bit of it up, and mounted the magic boxes. I'm waiting on some components to arrive from China so I can finish this and the dash. Speaking of dash, I started making a new one, with new switches and shit. Waiting on new warning lights to show up. This is the same shape as the hood. I also made a new front panel. It's made of thicker steel than before, with more bars and more mounts, so should be nice and strong. I also fixed a few other bits and bobs, and adjust a few other items. In testing today I discovered the sprocket is still coming loose, I think it's because the axle was welded together under the sprocket (it broke years ago because there was no center bearing) and is slightly undersized, and the key ways are a bit flogged out. I was going to re-key the axle and sprocket a size bigger to see if it would stop it coming loose, but while doing beach donuts, it snapped the axle. So I'll just make a new axle from scratch out of 4140 center-less ground. Luckily I purchased a 4wd last week, and I sighted this very occurrence as my reason for needing one. We managed to drag the offroader back to the trailer with a jammed rear wheel. My fucking sweet rig, Broken, Aftermath, Shitty vid of today's efforts: Regards, VG.1 point
-
hey also, here's a technical tip for those of you interested in the finer details of auto trans setup, if you want it to not leak fluid out the bottom, do up the drain plug. you got that?1 point
-
finished modifying the crossmember and put it back in the car. everything's done now, fluid lines hooked up, kick down connected, shifter connected and spedo cable hooked in. just need my drive shaft back (should be Tuesday) then its test drive time. cant hook up the converter lock until i figure out how the fluid pressure circuit works which ill know when i drive it. 2019-08-10_12-08-21 by sheepers, on Flickr 2019-08-10_12-08-29 by sheepers, on Flickr1 point
-
replaced all the lip seals on the crank and both ends of the gearbox. tapped and fitted some 1/8 NPT hose tail fittings to the fluid cooler lines and then i put the box in the car. it fits. dont have the gearbox crossmember in yet, ill make the mods to that tomorrow night. 2019-08-08_07-51-57 by sheepers, on Flickr 2019-08-08_07-51-47 by sheepers, on Flickr1 point
-
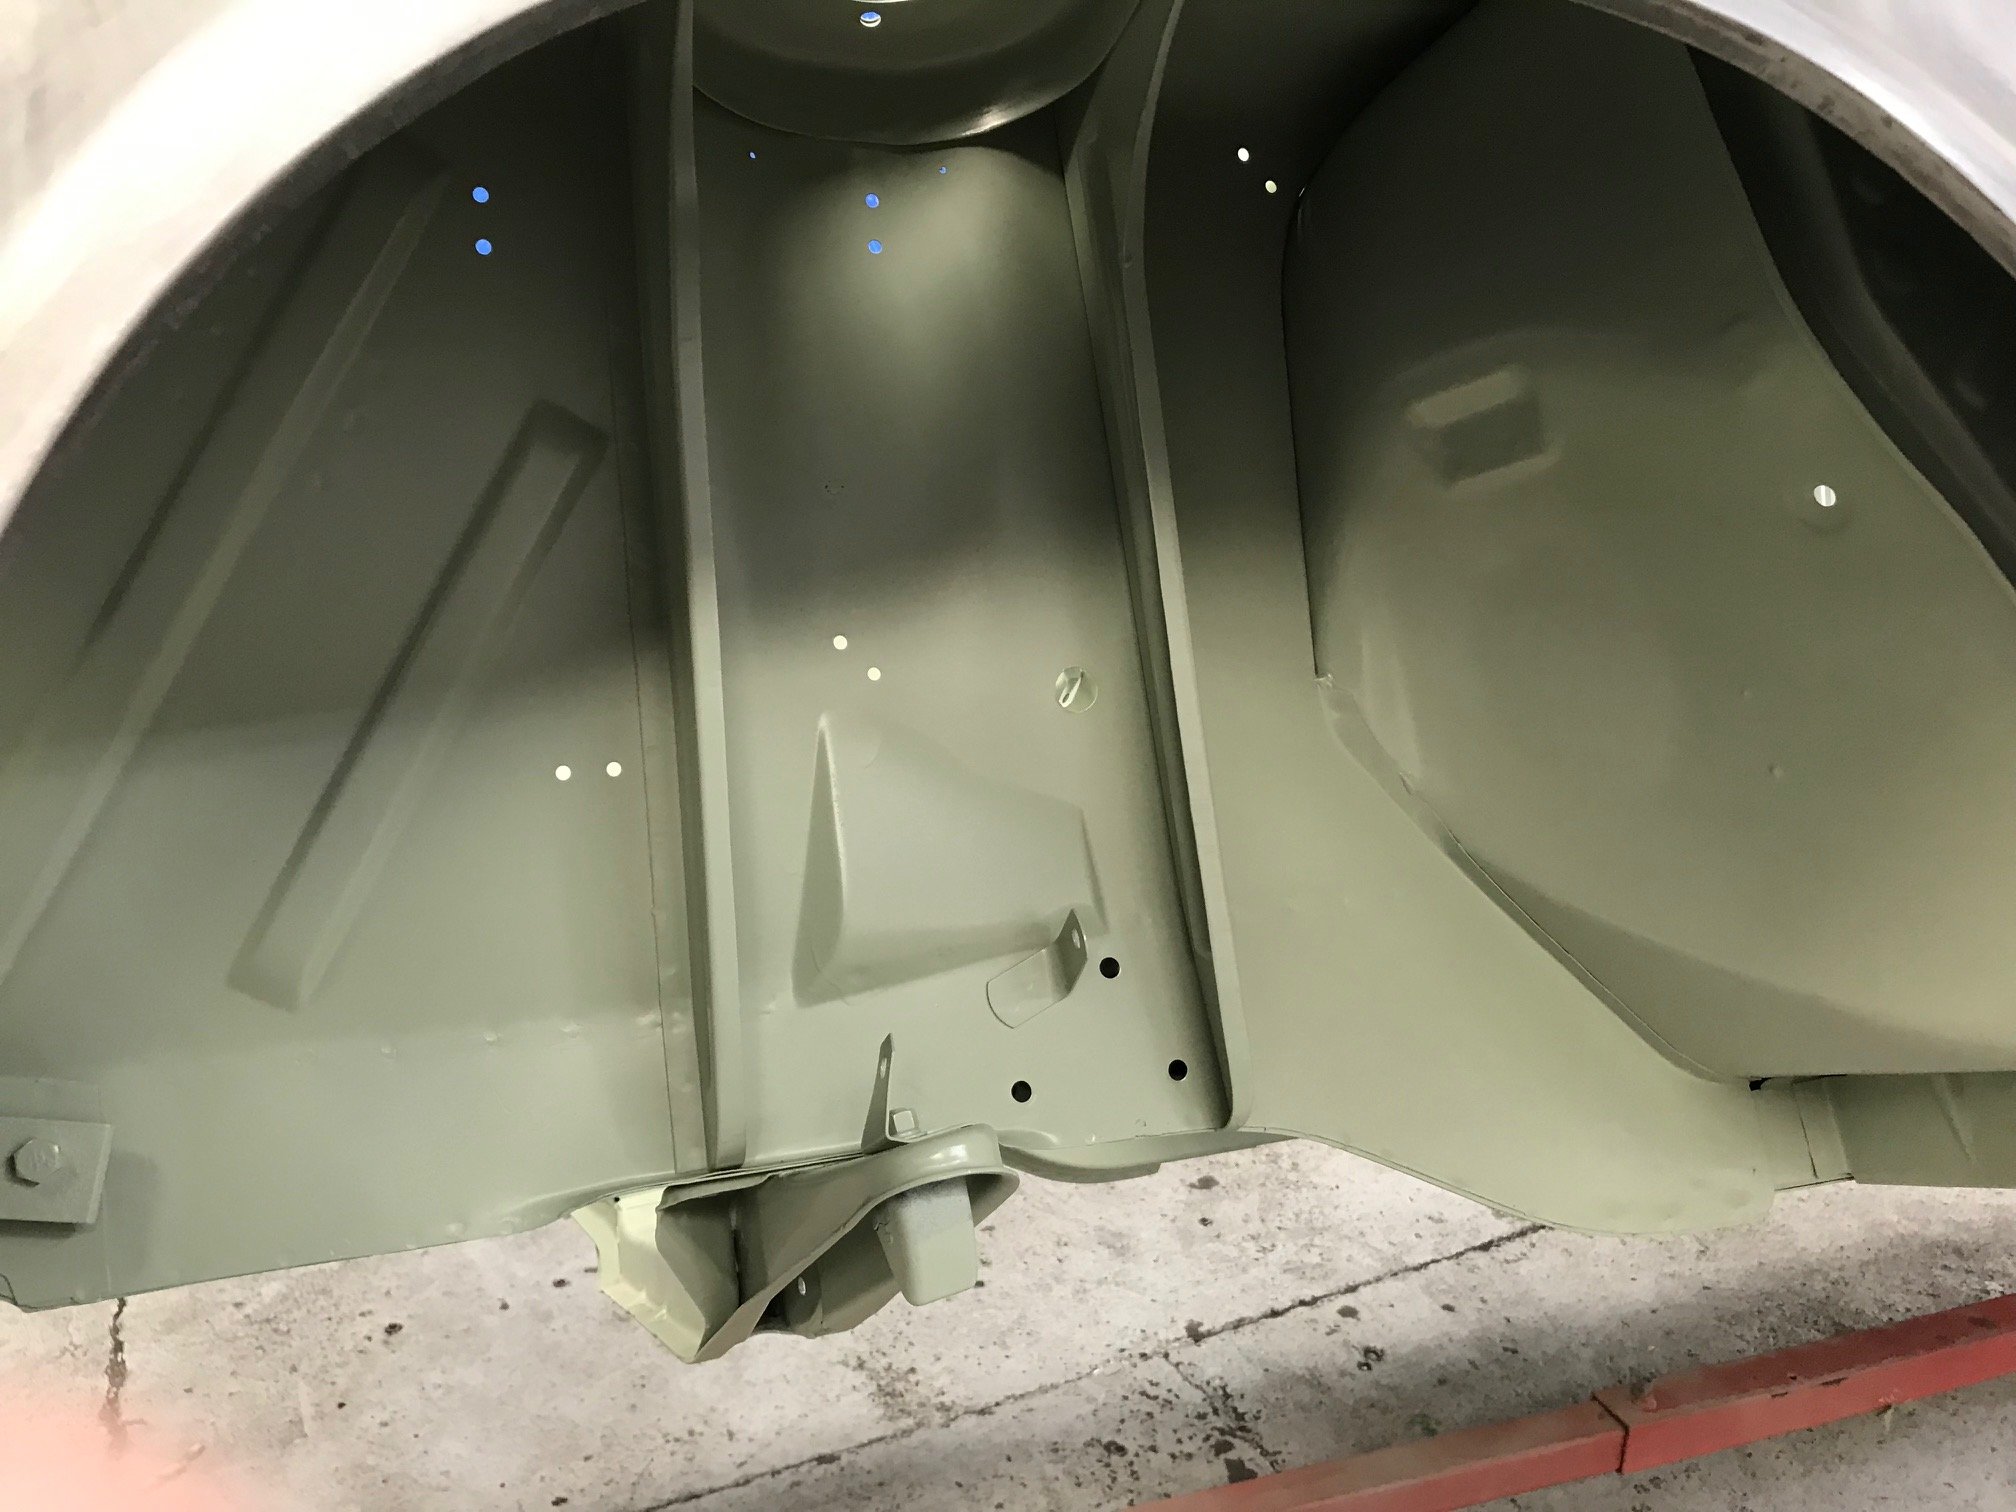
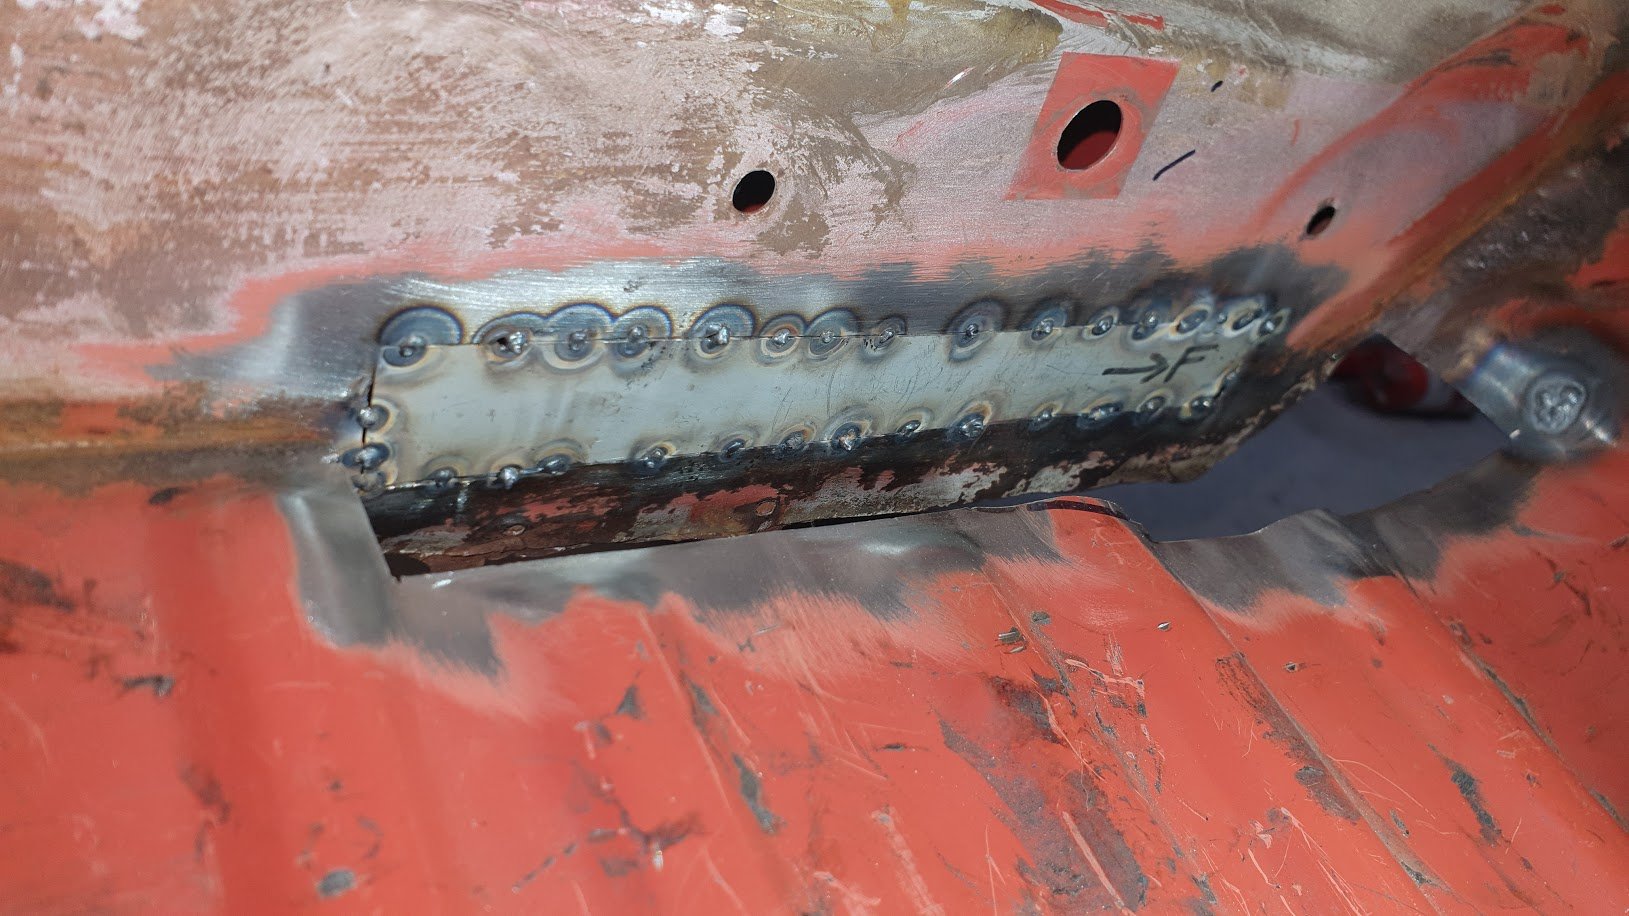
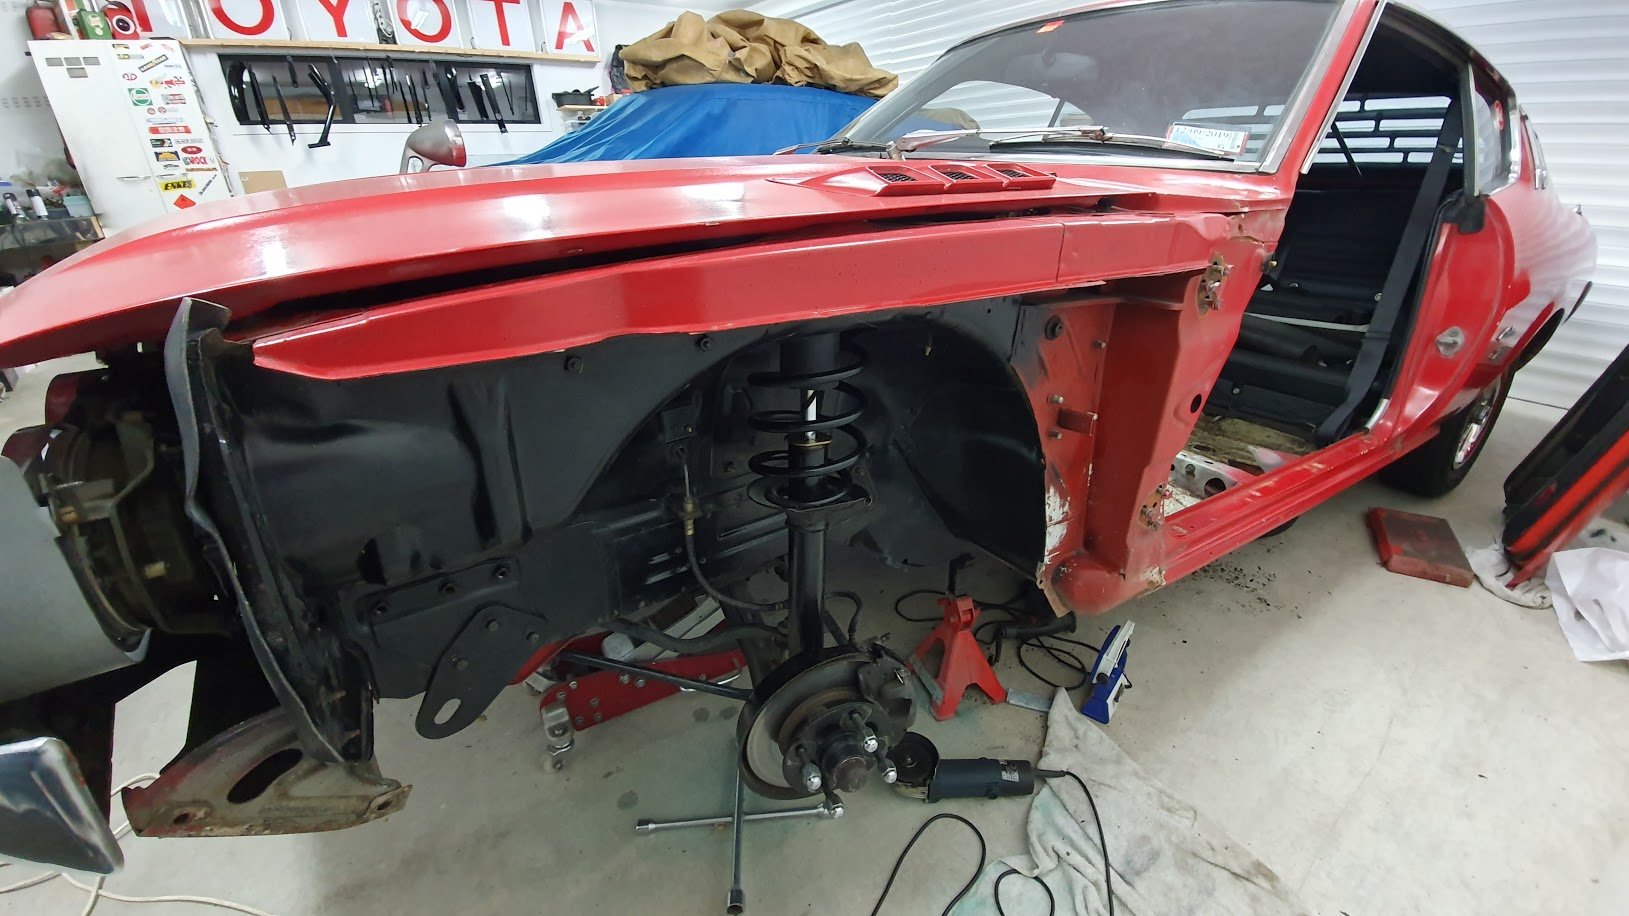
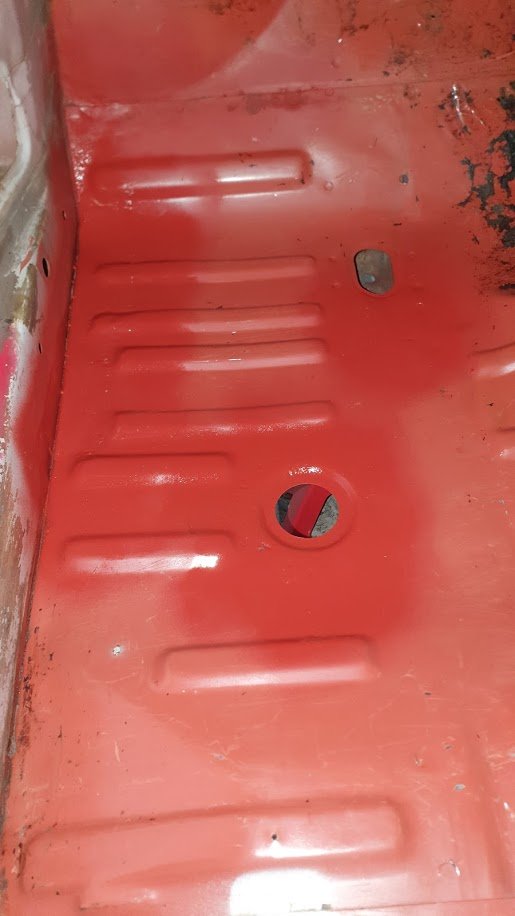
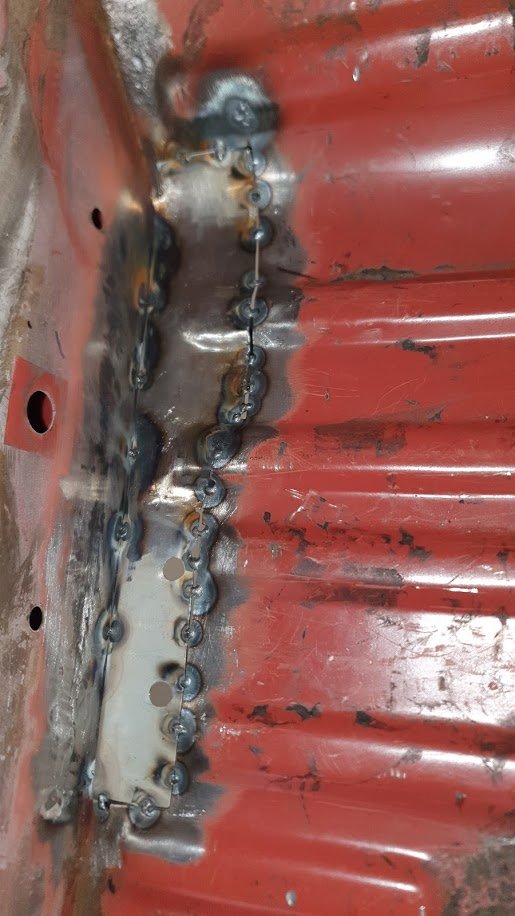
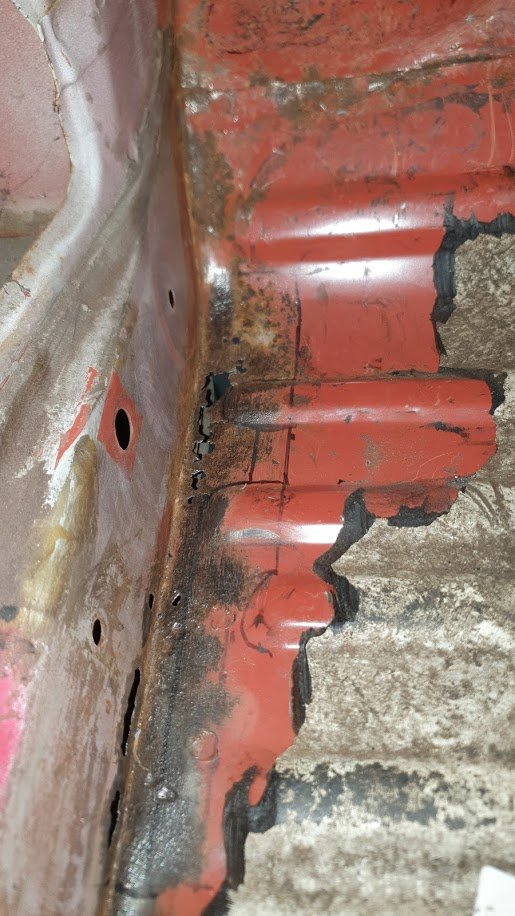
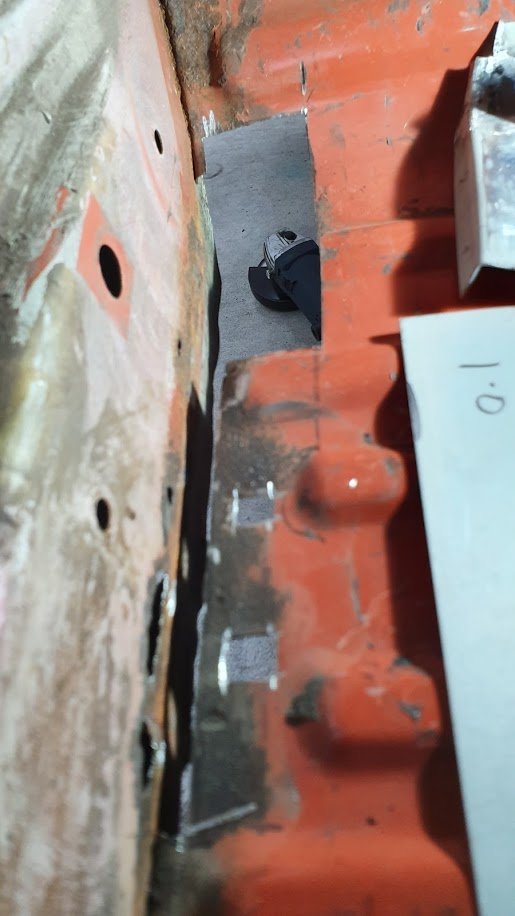
So... a change in the place i took this for a WOF meant it had a bit more of a thorough inspection. It didn't fail but he mentioned that some rust in the passengers floor would need attention soon. So some investigation happened. Turned out that hiding under the sound deadening was a little more serious than anticipated. Likely a leaking windscreen caused this. Out with the cutting disc and I had at it! And then glued it all back together Grind, Sand, and Prime - phone was left in the house so no pics except after And finally a renewal of paint and anti-chip coating. A nice tidy up for it.
1 point
-
These new wheels have a tyre diameter 3% smaller than stock, so my speedo is even further out than before. It now seems to under-read by around 10%, officer. I went looking for more reasons for the vibration at 80kph, and found the diff seems to leak oil from the input seal. Probably explains its woooo noises on deceleration. So many things to fix! This car will keep me entertained for many years. I found a bit of play in the front wheels when rocking them at 12 and 6 o'clock, but not at 9 and 3 o'clock. I ordered some lower ball joints (an unscientific guess) and installed them this weekend... While doing this, I found the shock absorber top mounts were loose, one by a reasonable amount. After replacing the ball joints there was still some play in the wheels, so I think I guessed wrong. The vibration situation seemed to have improved for some reason though. Maybe I need to do the upper ball joints too / I don't know what I'm doing.
1 point
-
Just hanging out, being cool.
1 point
-
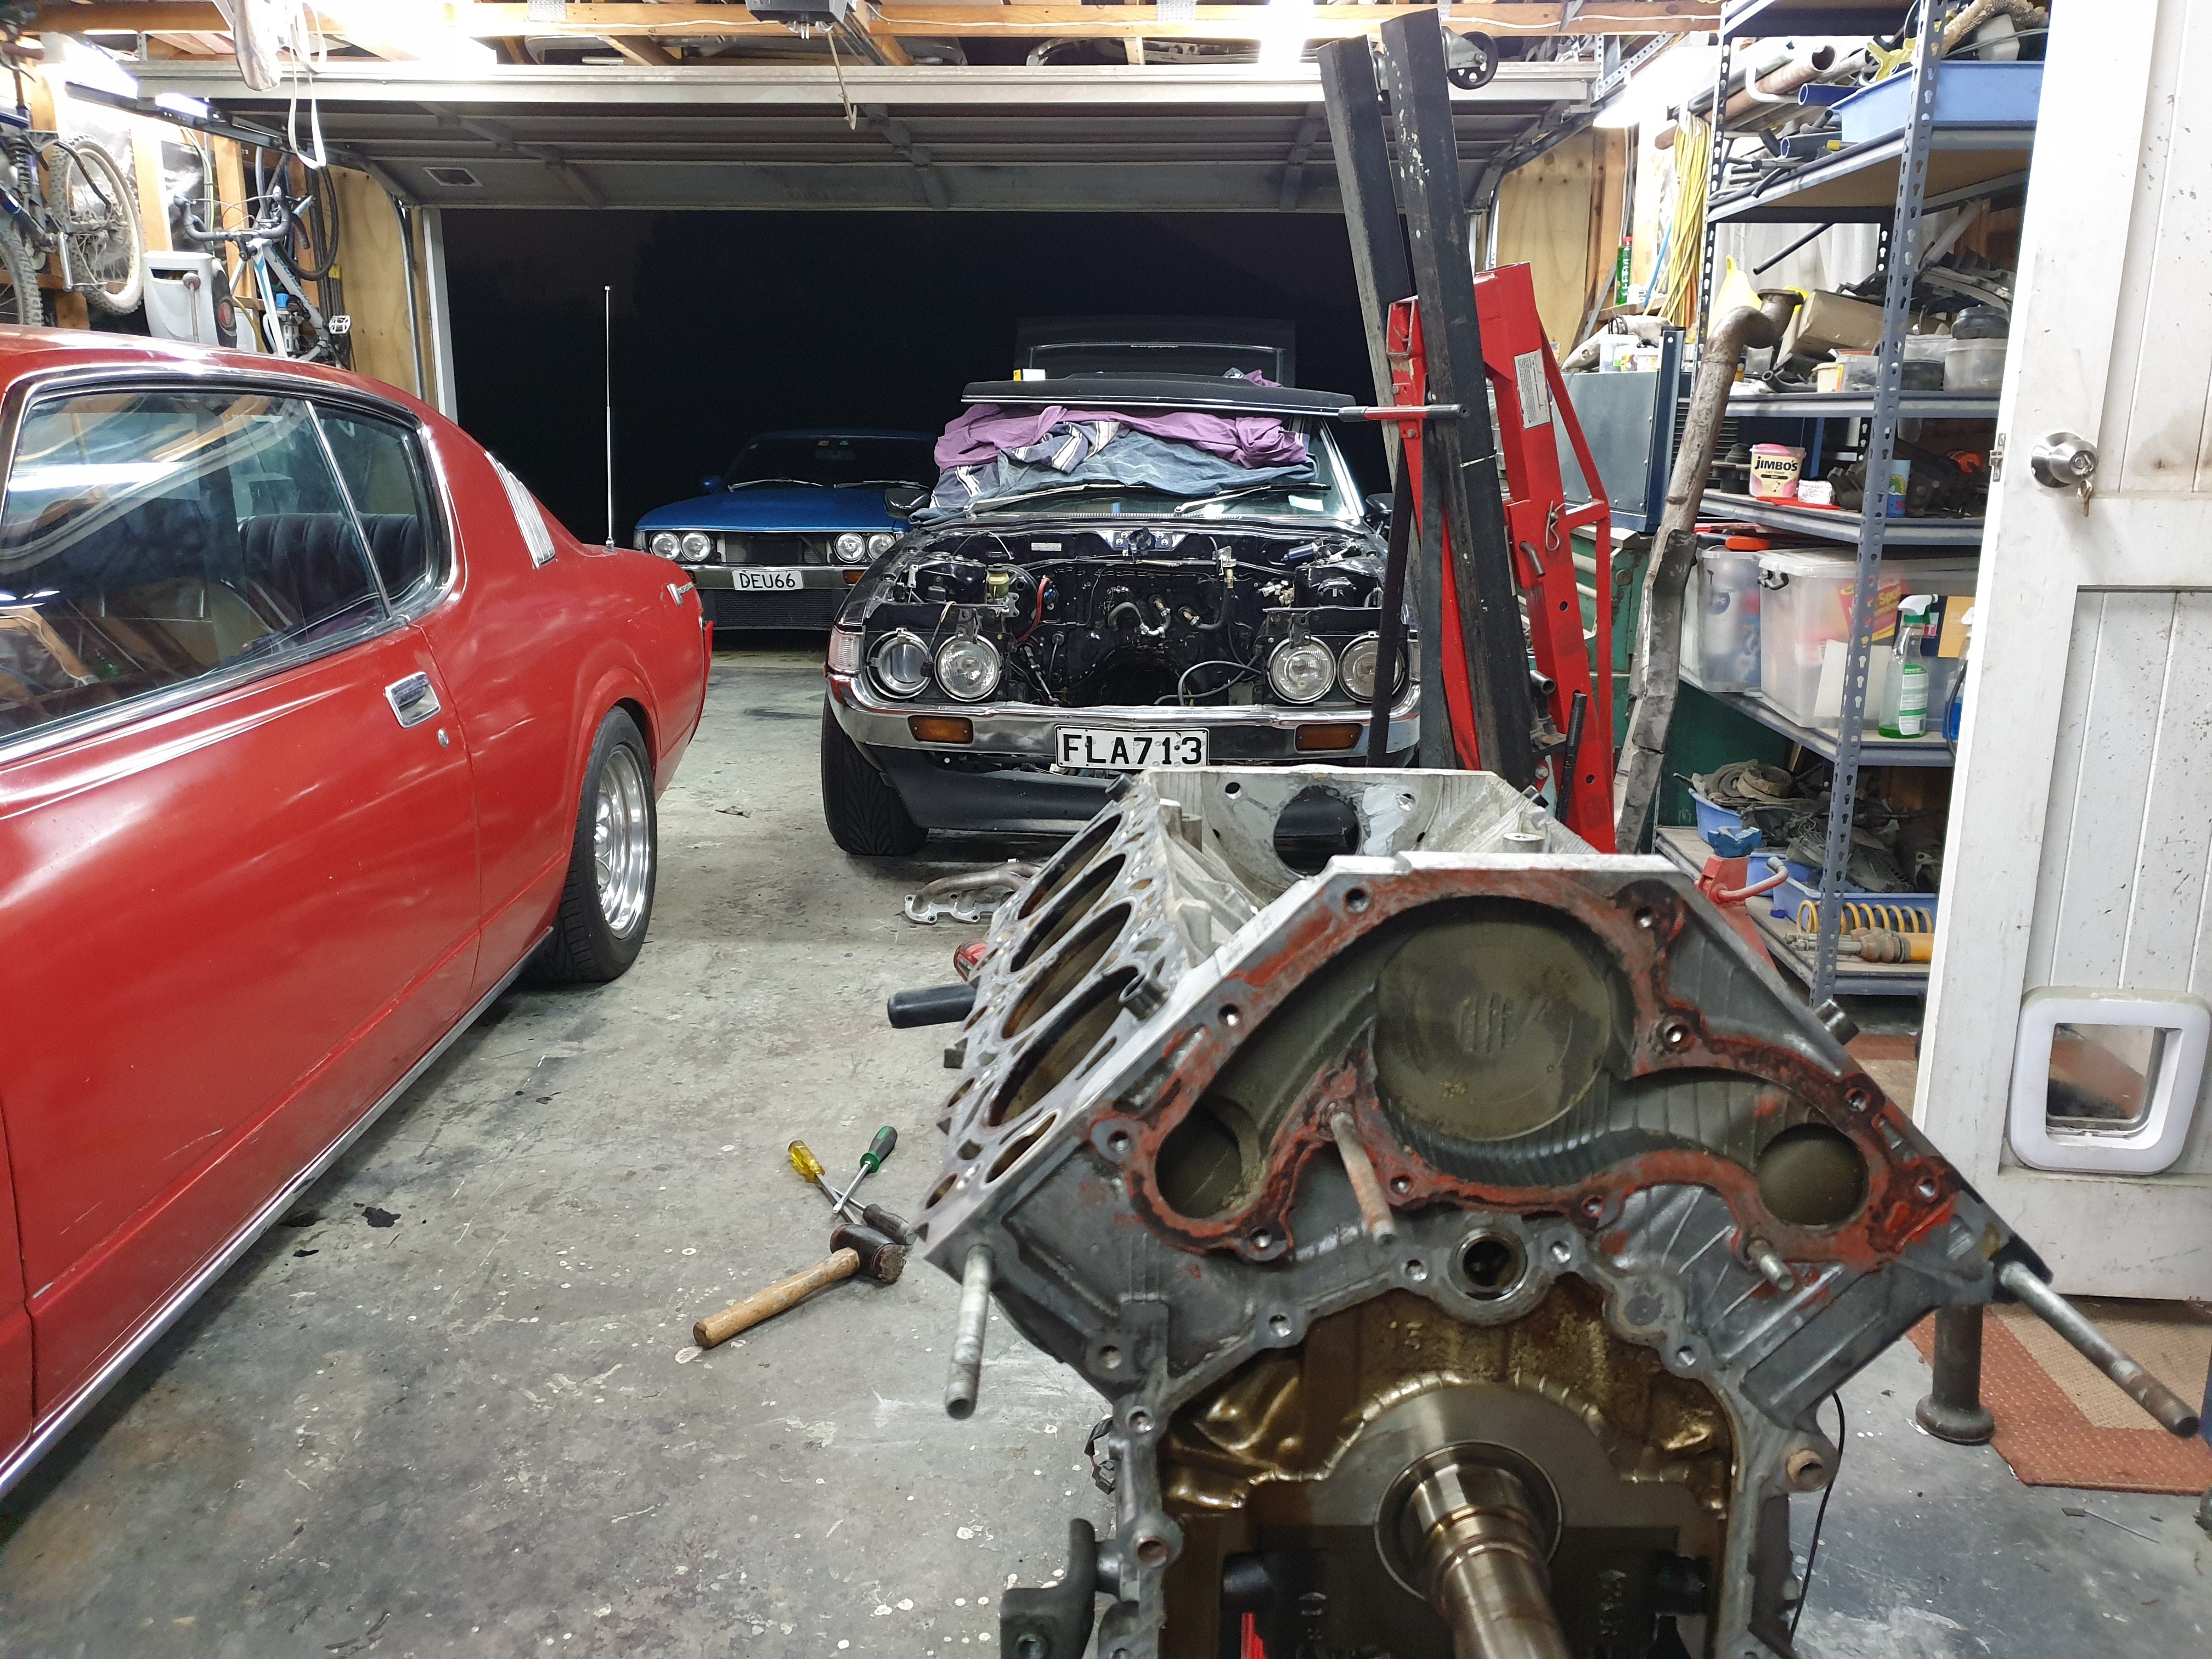
Pistons out of the block. Bores should clean up with a hone but we'll see and the crank looks like it just needs a polish. New eagle rods and Ross pistons to go back in.
1 point
-
So, a month later and not much has happened. Took the heads to the reconditioners. Will sort out a new clutch then I can take the short block in for a reco as well.
1 point
-
so yea. legal as. and now that is legal again it time to start doing all the illegal mods to it that i want to do. first up was installing an adjustable brake bias valve because i wasnt happy with how the brakes were before and im going to be putting a disk brake diff in it soon and ill need it for that. second was installing a smaller steering wheel. 2019-07-06_05-04-31 by sheepers, on Flickr then it was time to lower the front a bit because i wasn't happy with how it looked so the front springs got a mikita haircut. now its sitting much better. 2019-07-06_05-04-40 by sheepers, on Flickr 2019-07-06_05-04-49 by sheepers, on Flickr 2019-07-06_05-04-58 by sheepers, on Fl next will be painting the hood lining i think. its a fucked grey/mostly stained colour now so i think ill dye it black.1 point
-
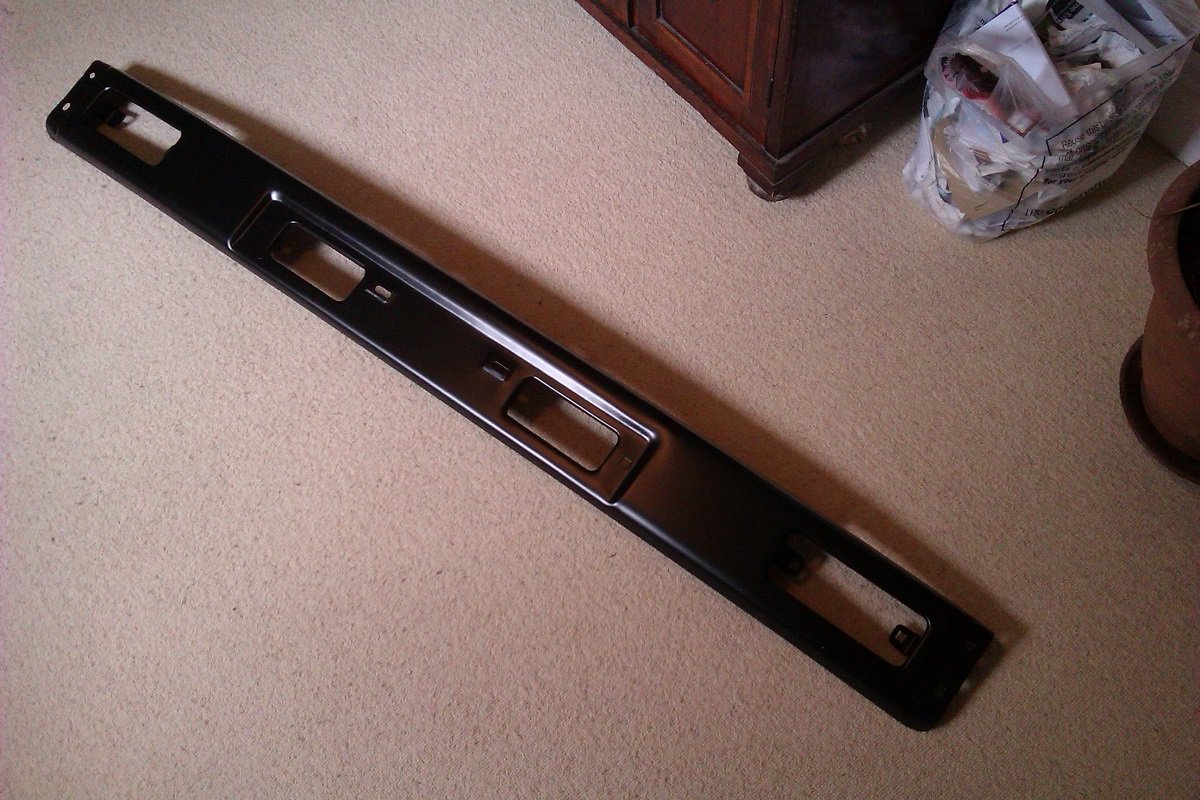
Well gosh dang it, possum on a gum bush, etc. Bumper arrived in less than 3 days, 4 days early. It's good quality, painted nicely not just primed & only cost 9 quid. Bargain. Save the tea for next time @Dell'orto God Bless 'Murica.
1 point
-
yea cool so 1 month later and ive managed to get the fuel tank acid dipped and cleaned, put a liner in it and paint it. such progress, much wow. still not complied. 2019-05-28_03-45-30 by sheepers, on Flickr 2019-05-31_08-22-55 by sheepers, on Flickr 2019-05-31_08-23-03 by sheepers, on Flickr1 point
-
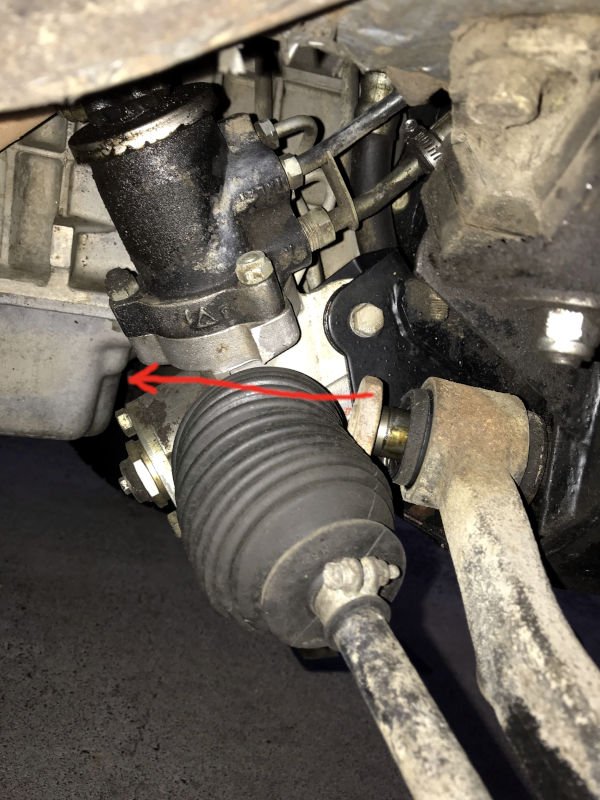
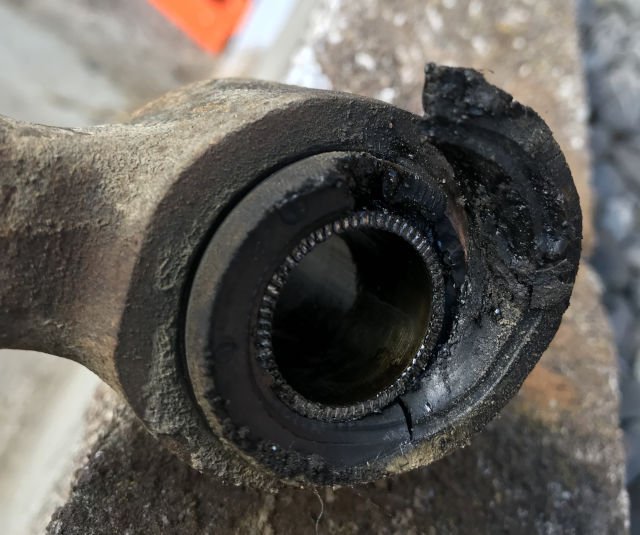
I passed another WOF, by deliberately seeking out a garage who wouldn't fail me on my chipped headlight glass or my worn front brake discs. I'm going to send the Jaag for a wheel alignment to see if it fixes the vibration, so first I had to change the remaining lower wishbone bushes on the more difficult side of the car. I wasn't looking forward to this, because the whole steering rack had to be unbolted so I could move it down and sideways out of the way of this fulcrum shaft: Not sure why Jaguar couldn't have made these fulcrum shafts insert from the front of the car where there's nothing in the way of withdrawing them. Still, the whole reason for doing these bushes was on this side of the car. The inner edge of the bush below had looked bad while the wishbone was still on the car and I couldn't get a good look at it: Actually its mechanical integrity was fine, despite that bit hanging off. And when I say 'fine', I mean relative to how hard it was to replace! Reinstalling the steering rack was horrible because it's a tight fit (I had to use a jack to push it into position) but you've got to precisely line up the rack and its shim thing with the subframe bolt holes. Reinstalling the suspension spring was also horrible because of trying to get the bolt holes in the spring pan to line up exactly with the wishbone while the spring's compressed, so that I wouldn't cross-thread any bolts. Because I can't work on this side of the car in my tiny garage, I had to do this work in view of my neighbours. Trying to align bolt holes in the dark for a conspicuously long time, hands grimy, lying on the ground with moths and mosquitoes, while people passing by correctly conclude that I'm crazy. But it's back together now. =) I noticed that the power steering pump appears to leak, but it's in a horrible spot and I'm not about to tackle it myself. I'm booking the car in for its first visit to some Jaaag specialists, so I can ask them about all its other rattles and whines and clunks. The impossible quest to make a Jaguar into a good car continues.
1 point
-
anzac day progress. been feeling pretty good lately with the old back, im down to half my pain killers (except for today where i took some after breakfast because leg was turbo sore) so with that in mind ive been doing a bit more on the coupe. today i installed new inner and outer tie rods, new upper and lower ball joints and a second hand but pretty good pitman arm. i also topped up the steering box with Molly grease which has made quite a big difference. lets be honest, the steering on these things is pretty hard but its slightly less shit now. i have a power steering box to put in this which ill do after compliance. i dont have a bracket for the pump if anyone has one for a square port 4M.... so with that done i decided to go for a drive. the longest drive ive ever done in it, about 5Ks around the neighborhood. went up to westmere then down to the beach. this thing goes so well. the suspension is fucking ace, it dosent rattle or vibrate, the auto is smooth and changes perfectly and the motor hasn't turned to shit yet. the radio works and the heater /fan all works mint too. its fucking ace. and your not gong to believe this but it did a skid turning right onto the main road! ive got a few little things to tidy up but then its on to compliance!!! 2019-04-25_04-50-20 by sheepers, on Flickr 2019-04-25_04-50-11 by sheepers, on Flickr 2019-04-25_04-50-03 by sheepers, on Flickr1 point
-
pulled the mirrors apart because they were fucked. the bolt/pin that holds the top part to the base was rusted through and they fell off when i started trying to move them. i got the broken rusty bolt out and ill replace it with a new one. i need to make some conical washers but that shouldn't be to hard. i do need to replace the springs. they are pretty impressive springs when you consider they are just to hold tension on the top swivel bit. square wire (might have been round once but look like they were square to me) reducing helix wound springs. if you know of something like this i can buy new hit me up, otherwise ill find something that will work in its place. 2019-04-23_07-52-46 by sheepers, on Flickr 2019-04-23_07-52-38 by sheepers, on Flickr1 point
-
got the tail lights back in and the bumper on. the gaskets that go around the tail light holes were all fucked so i bought some closed cell neoprene strip from para rubber and stuck that on. it worked a treat and now the tail lights are all sealed up. 2019-04-14_03-38-29 by sheepers, on Flickr 2019-04-14_03-38-22 by sheepers, on Flickr also found this cool manufactures sticker/QC mark on the back of one of the door cards. 2019-04-14_03-38-13 by sheepers, on Flickr so yea the back end is starting to come together, got an issue with the brake lights not working properly but that will be something minor, im pretty sure they all worked before i pulled it to bits....... 2019-04-14_03-38-06 by sheepers, on Flickr1 point
-
Peter the rust defeater finished the boot. hes done an amazing job and once i tidy and paint it all up you wont be able to tell its been replaced. 2019-03-12_07-29-34 by sheepers, on Flickr 2019-03-16_05-02-02 by sheepers, on Flickr 2019-03-16_05-02-41 by sheepers, on Flickr with that done there was only one small bit left to do and the car is rust free so i did that. it took me two days to make this small piece and weld it in. i can't do to much really before the leg tells me its time for a rest so yea, progress has slowed somewhat. 2019-03-17_03-42-44 by sheepers, on Flickr 2019-03-17_03-42-53 by sheepers, on Flickr that last photo isn't very good. anywho, the welding is now finished. Nick the sparky came over and sorted out putting relays into the power feeds for the electric windows so the switches don't take the full current. so that done and choice. now i need to get the heater core reconditioned and install some new ball joints and tierod ends and then try to get it complied . it'll take a while but i should be able to sort all that in between whinging about my leg/back.1 point
-
yea cool so 8 weeks looks more like 8 months at the moment. this is my spine, 2019-03-11_07-36-39 by sheepers, on Flickr the eagle eyed among you will notice that at the bottom of my spine where it fucks off to the right there is a disk which has prolapsed into my nerve. its a long road to fix this. there is no fix really, you just wait and try not to do anything that will make it worse. what makes it worse? moving as far as i can tell as well as being upright. both of those things so far have sucked to do, but it is getting better. very, very slowly. ive been told i can do a few light things in between sitting down so ive been doing that. took the passengers door apart and just re-set things and greased stuff, got the key lock working better, just maintenance sort of stuff. as you can see this has never been fucked with before, i was the fist person to remove the plastic off the inside of the door. 2019-03-11_07-36-04 by sheepers, on Flickr i spoke to Peter the rust defeater about the boot floor and he agreed to give me a hand and do the boot floor replacement for me. its nearly done. hes cut the old floor out, made the replacement panel fit and get it ready to weld in. ive painted it and tomorrow he'll weld it in. with this done the other things the car needs to go through compliance i should be able to do myself. we'll see. 2019-03-07_05-55-15 by sheepers, on Flickr 2019-03-07_05-55-23 by sheepers, on Flickr 2019-03-11_07-35-47 by sheepers, on Flickr 2019-03-11_07-35-31 by sheepers, on Flickr1 point

.thumb.jpeg.384ff72c8d2b0ee0d34a7bdedb55bdcf.jpeg)


This leaderboard is set to Auckland/GMT+12:00