
Leaderboard


Popular Content
Showing content with the highest reputation on 06/09/19 in all areas
-
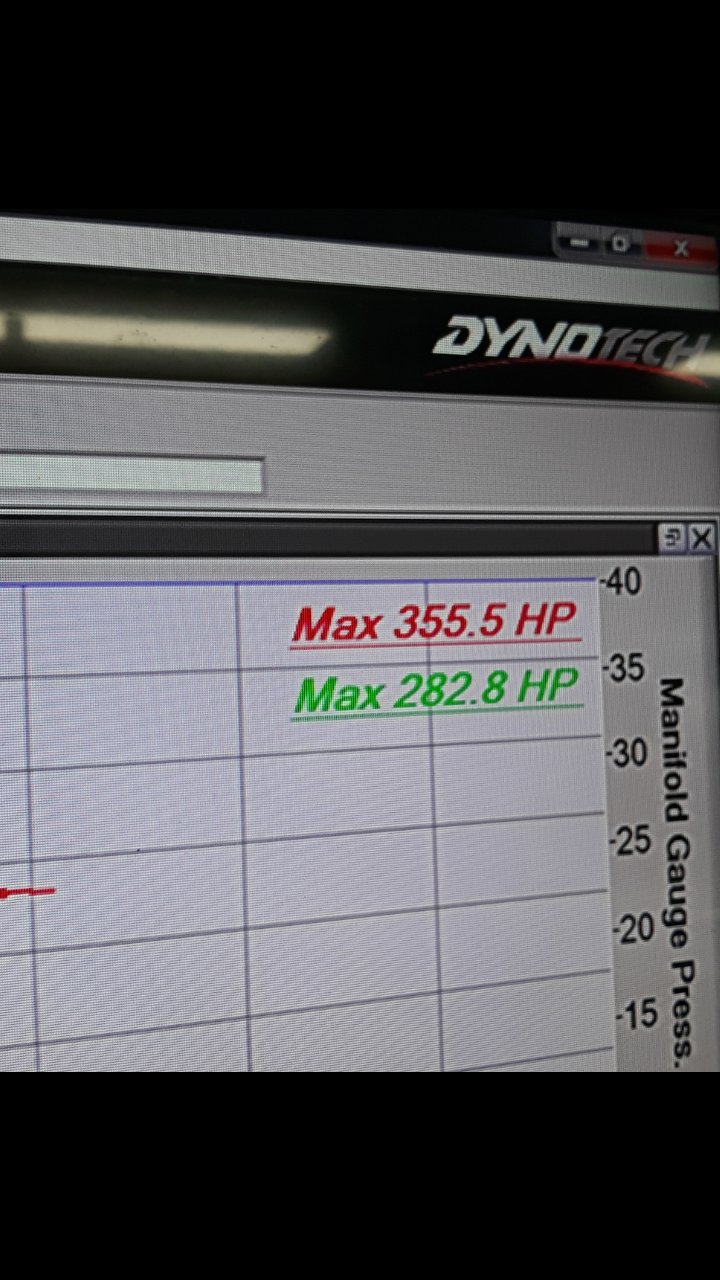
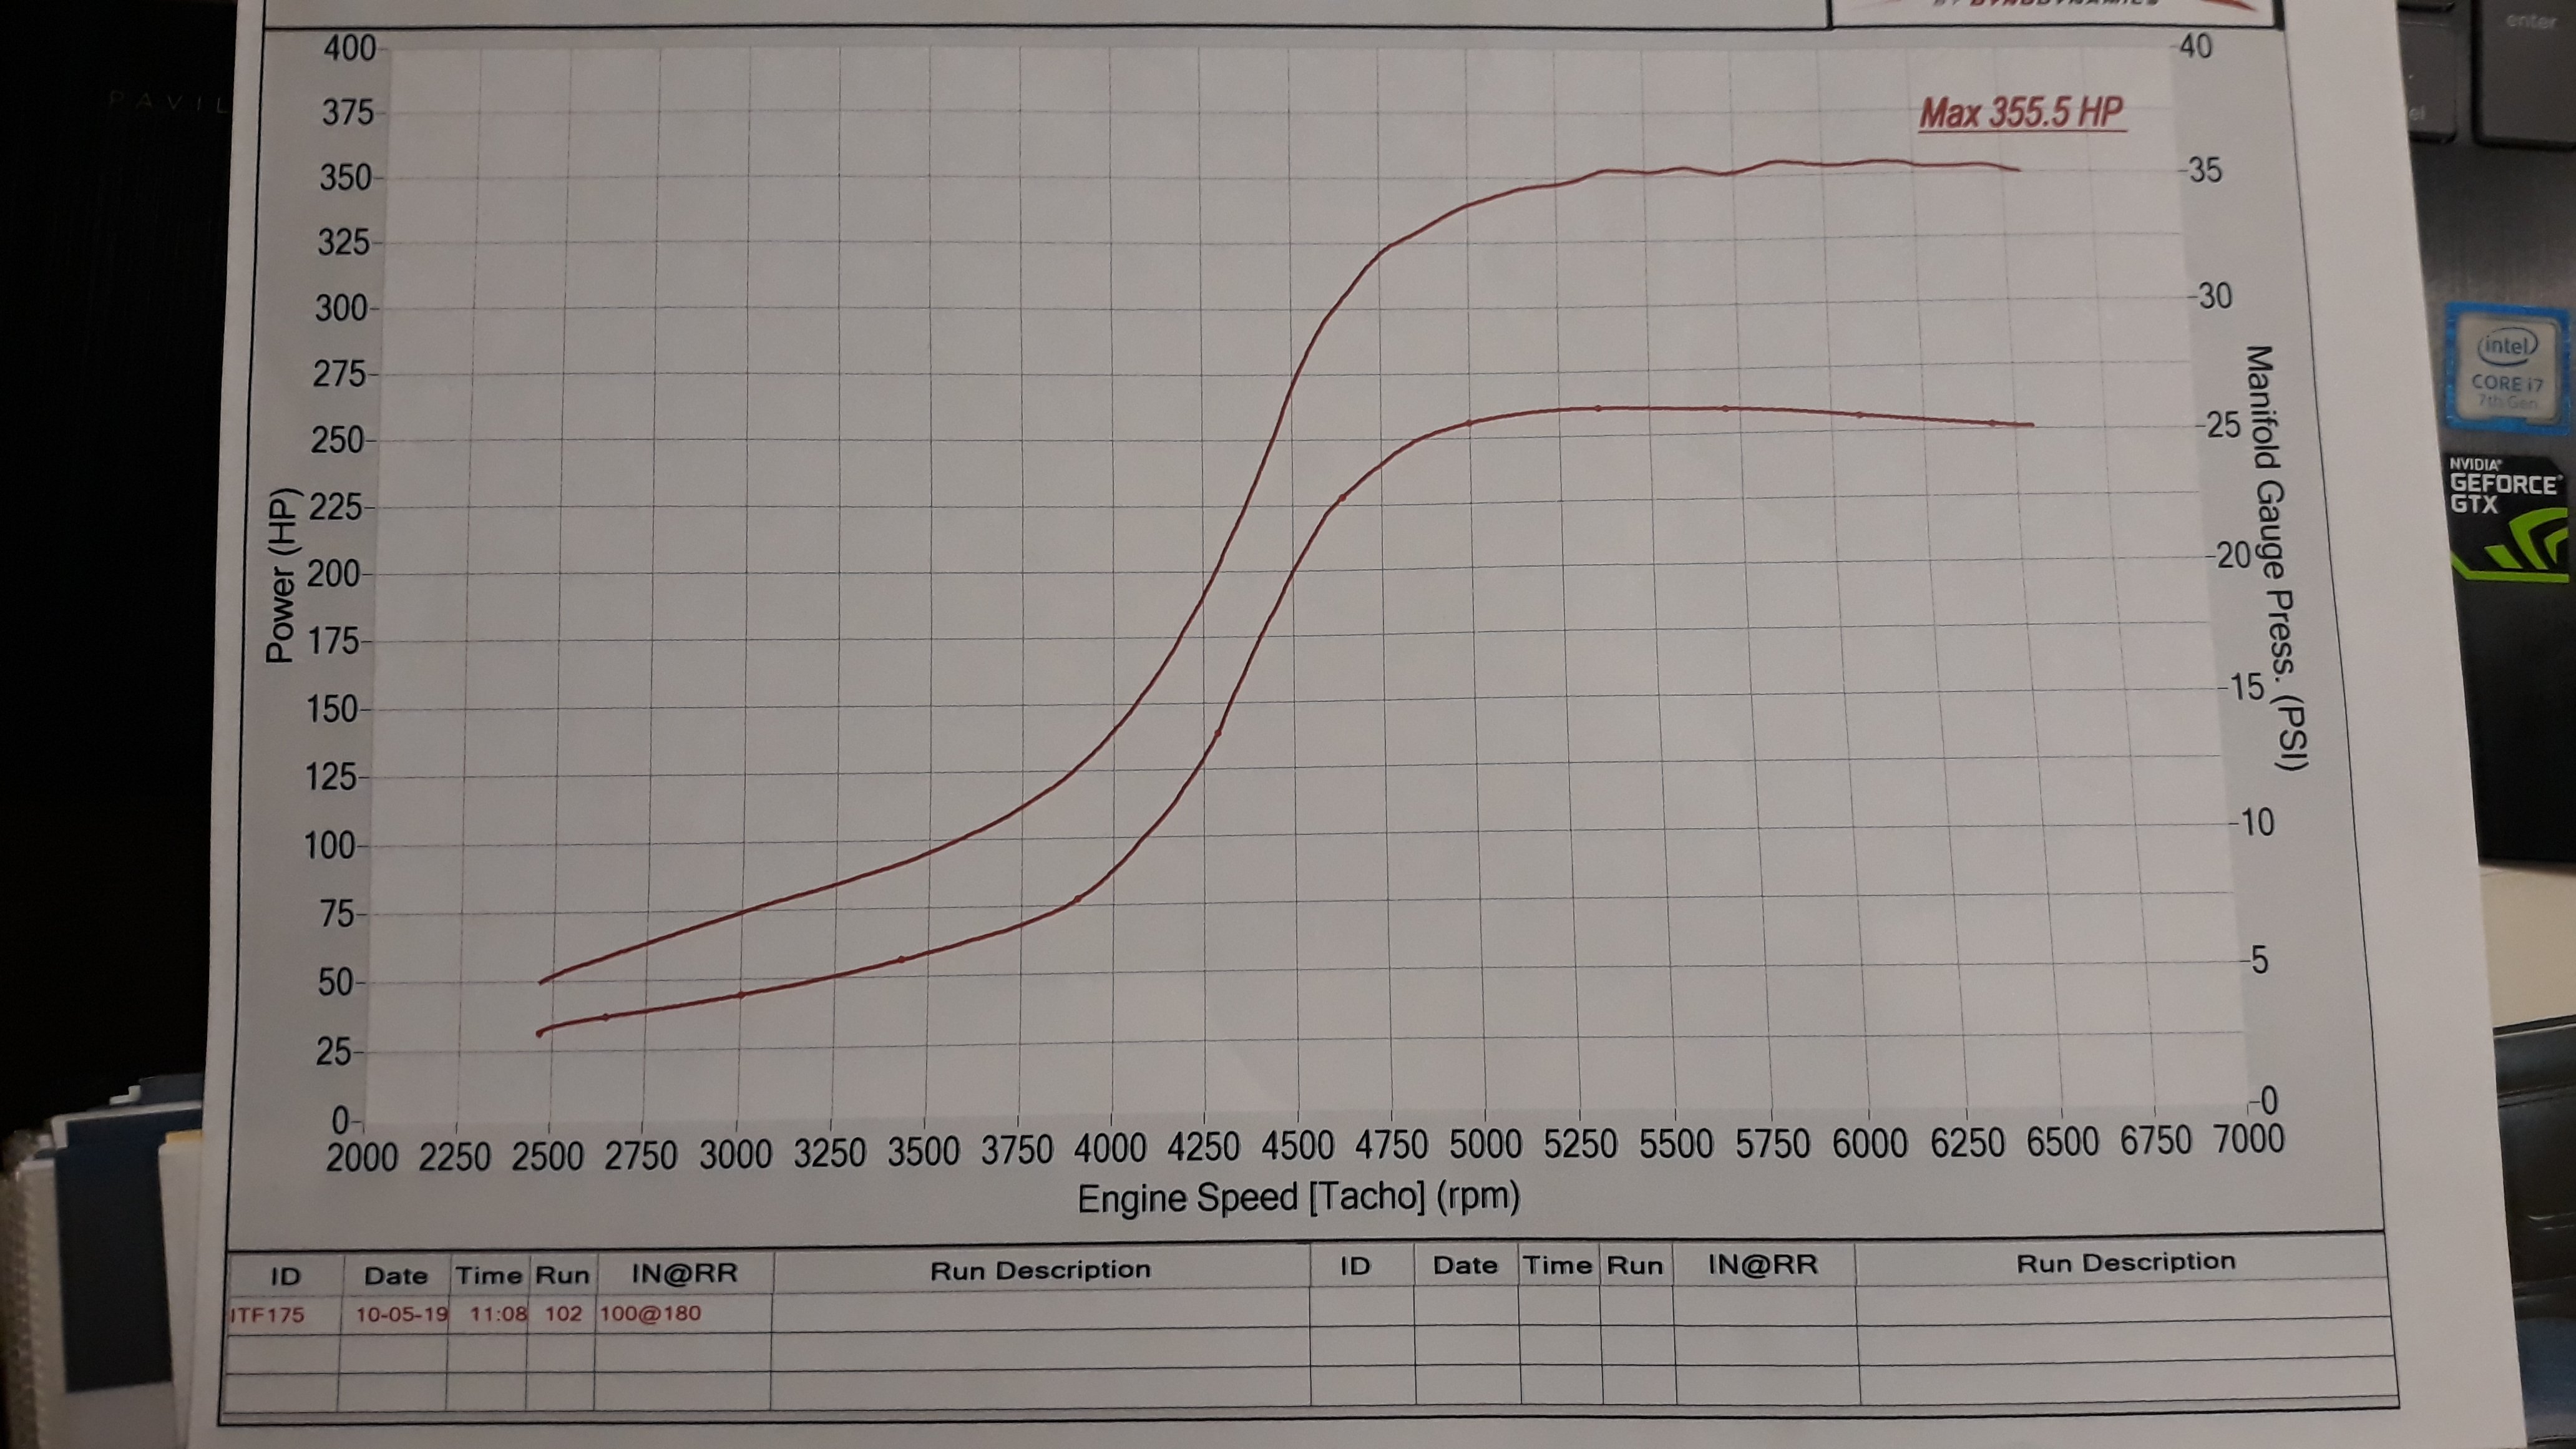
New engine is alive Back on the 47mm throttles for run in as had good tune for them. trying some stuff hence wiring abortion. have wiring for multiple setups on same loom, so can swap between easy must of done something right, 150kw at wheels on the small extractors, most its ever made on same setup is 145kw, usually around 143kw. Note to self put mic further away; RIP mic and all speakers.14 points
-
Because I'm such a hardcore Friday night raver I'm here doing an update on an old car whilst my cat sleeps in front of the fire. Rock on. This little Imp...its great fun!!!! I have not really clocked up many miles yet, as you'll find out why soon, but those miles that have been driven have been fun. Its taken a little while to get used to the balance, steering feel, brakes and sheer grip that exists. Still not fully confident at flinging it about but getting there. Its a giggle. I'm just weary of the slippery wet corners that are about now we are into winter here. The little Datsun engine is a gem! Its still not quite perfect at idle and just off idle but once rolling its great. I can really see why the Datsun 1200 cars have such a following- they are about the same weight as an Imp with similar gearing and were well known for being peppy little performers. The engine sounds pretty cool when trashed. I have since found out that this is indeed a completely stock unit and it was a different engine that the previous owner, Rob, had fitted with a supercharger. Anyway- onto fettling. There are always a few things to sort on a fresh build. First off was to sort out the dodgy running carb. In my previous update I thought I had found the problem with the accelerator pump boot being split. Turns out that wasn't the problem... I managed to locate a couple of A12 carbs from a local fella for beer money. One was a complete standard 1200 carb with stock sized jets etc. I took my fitted carb apart and soon discovered that not only were all the jets completely wrong, way too big and pretty butchered as well they were also housed in the wrong carb for my engine! The carb I had fitted was off an A15 which has larger throats and venturis. Great for a slightly hotted up motor but not what I'm after right now. The leaning out issue was because someone had fitted a air bleed that was way too big for the primary jet, among the many wrong other jets. So I rummaged through both carbs, got the best bits from both and assembled a nice new carb that was stock and set to factory specs. I had a page covered in jet numbers and felt happy in the knowledge that I can now possibly join the elite group of carb Barries forever chasing the perfect tune (when the know full well that injection is just soooooooo much better in every way! ) A photo of some carbs in pieces.... So with the Imp now fitted with the right carb I took it for a spin. Because the work shop is now clogged up with the start of a tiny house build I had to drive it out from the back of the workshop and up the grass drive to the cabin. I thought it best to get some photos of it next to the other Imps... I did a few test drives and I had to remove the carb a few times to dial in the float height, getting pretty quick at that process I must say. The difference is huge. Much better all round except for a hesitancy just off throttle. I'll continue to tweak things and see if I can improve it but I am starting to wonder if the vacuum unit I got from another car for my electronic dizzy has too stiff a spring. I think it might not be advancing the ignition enough under light throttle loads as it should. Ill get back on that. Next issue was a funny one. Some of you will have seen it already. Not funny for the amount of pissing about I had to do to fix it but funny in what I found. A work of art really. Rob has to be proud of his handy work at creating such a masterful bit of Barry engineering! The story goes like this.. After getting back from a quick drive checking the carb was OK I noticed a horrible vibration in the engine. I popped the lid to discover a very out of balance main pulley. Bugger. I knew it was a hybrid pulley made up of what I think is Toyota pulley on the Datsun hub but I had never looked further into it because it just worked. But not any more. I removed the pulley to discover this on the back... Hmmmmm. Lovely welding. Purposeful. I'll have to grind that lot off and make a new hub. I'll start by removing those two screws.... Eh?!!! its not weld. Its magic fake weld thats been machined into a flange(like)thing. Its wonderful! Just look at this art ... The Datsun hub had a crack running through down the keyway too. I had no choice but make a new hub to suit. First off I cleaned up the pulley and had its running perfectly true... Then I popped to my local steel supplier and get a big lump of steel bar from which I machined a new hub, with a centre locator to tightly locate pulley central. In photos.. Then the internal keyway. When I was working as a (young) fitter turner back in the 90s I would use either a broaching machine or a shaper, depending on the size of the key way. I have none of those tools. I did contemplate milling it from each side with a end mill and filing it out square but that would take ages on this fairly hard 1040 steel. So I made my own internal shaper bar to use in the lathe and just scraped out the keyway using the carrige. I bought a lump of 20mm bar at the same time as I got the round and cobbled together a tool holder from it. This will now be handy for future jobs I'm sure... and in action (well about as actioney as a photo of a non moving lathe tool can be...) Resulting in a nice neat keyway.. Which fits nicely right here. Beefier then the original Datsun offering too Hub drilled and next to pulley.. And altogether now, in a uniform coat of black paint... Much better. In order to tighten the main bolt, of which I had to buy a new slightly longer one to allow for the beefier hub, I had to make a tool to hold the pulley. I had tried tightening it up with the car in gear, on the ground, with the handbrake on but I didnt like the feel of trying to put the 110 lbft through the transmission like that. so yeah- tool time. Now I have another random tool to got in my wooden box of other random tools specific to only one thing... Doing its random tool thing... So I had a working Imp again that was not going to rattle apart. Best thing I do is to take it for a drive. I took it to town where we met Sam and is son Chris, who jumped at the chance to go for a ride with his Dad in the little blue car. Here they are returning... While in the shop buying stuff a Honda city turned up and parked (badly) next to the Imp. What I always think of as tiny cars looked huge next to the Imp... We went to the steel merchant for some more steel bits for another project. The rear opening window is handy for shopping. Note the lovely old land cruiser... While in town I rang Rob, the previous owner of the original race car shell that donated all the running gear for this restoration. He popped down and met us and had a good look over it. I reminded him of how I'd love the Weber sidedraft manifolds he had left over from his ownership. Well good old Rob actually popped home afterwards, found them in his piles of stuff, tracked us down later on in town and handed over these to me ! ... Wow! awesome. Top bloke. I'll now be able to fabricate a decent inlet setup for injection in the future. Yes!!!! Later on that afternoon we parked next to another small car... This evening Hannah and I took the Imp out for a hoon on our local roads which are just perfectly made for little nippy cars. It was such fun! I love it when the (tiny) little secondary opens up. Its got a lovely induction sound (right behind our ears, even with two thick blankets covering the engine cover..) We went for a nice evening walk and I took a photo of it parked up on the near the beach... Closer... Tune in next time to hear about the stupid mistake I made when buiding a cold airbox setup....7 points
-
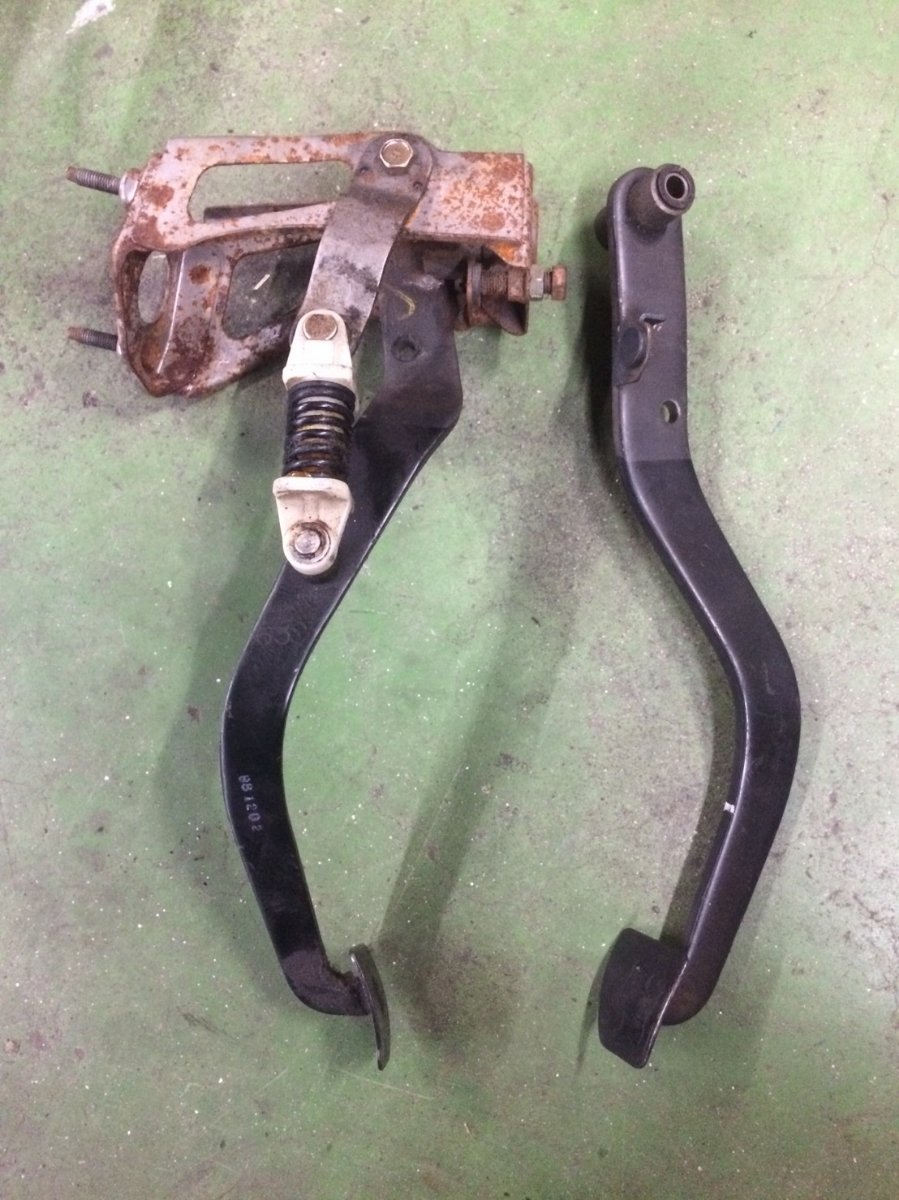
Just won an auction in Japan for a clutch pedal assembly and manual spec brake pedal. Stoked
 5 points
 -
It'll fit. probably5 points
-
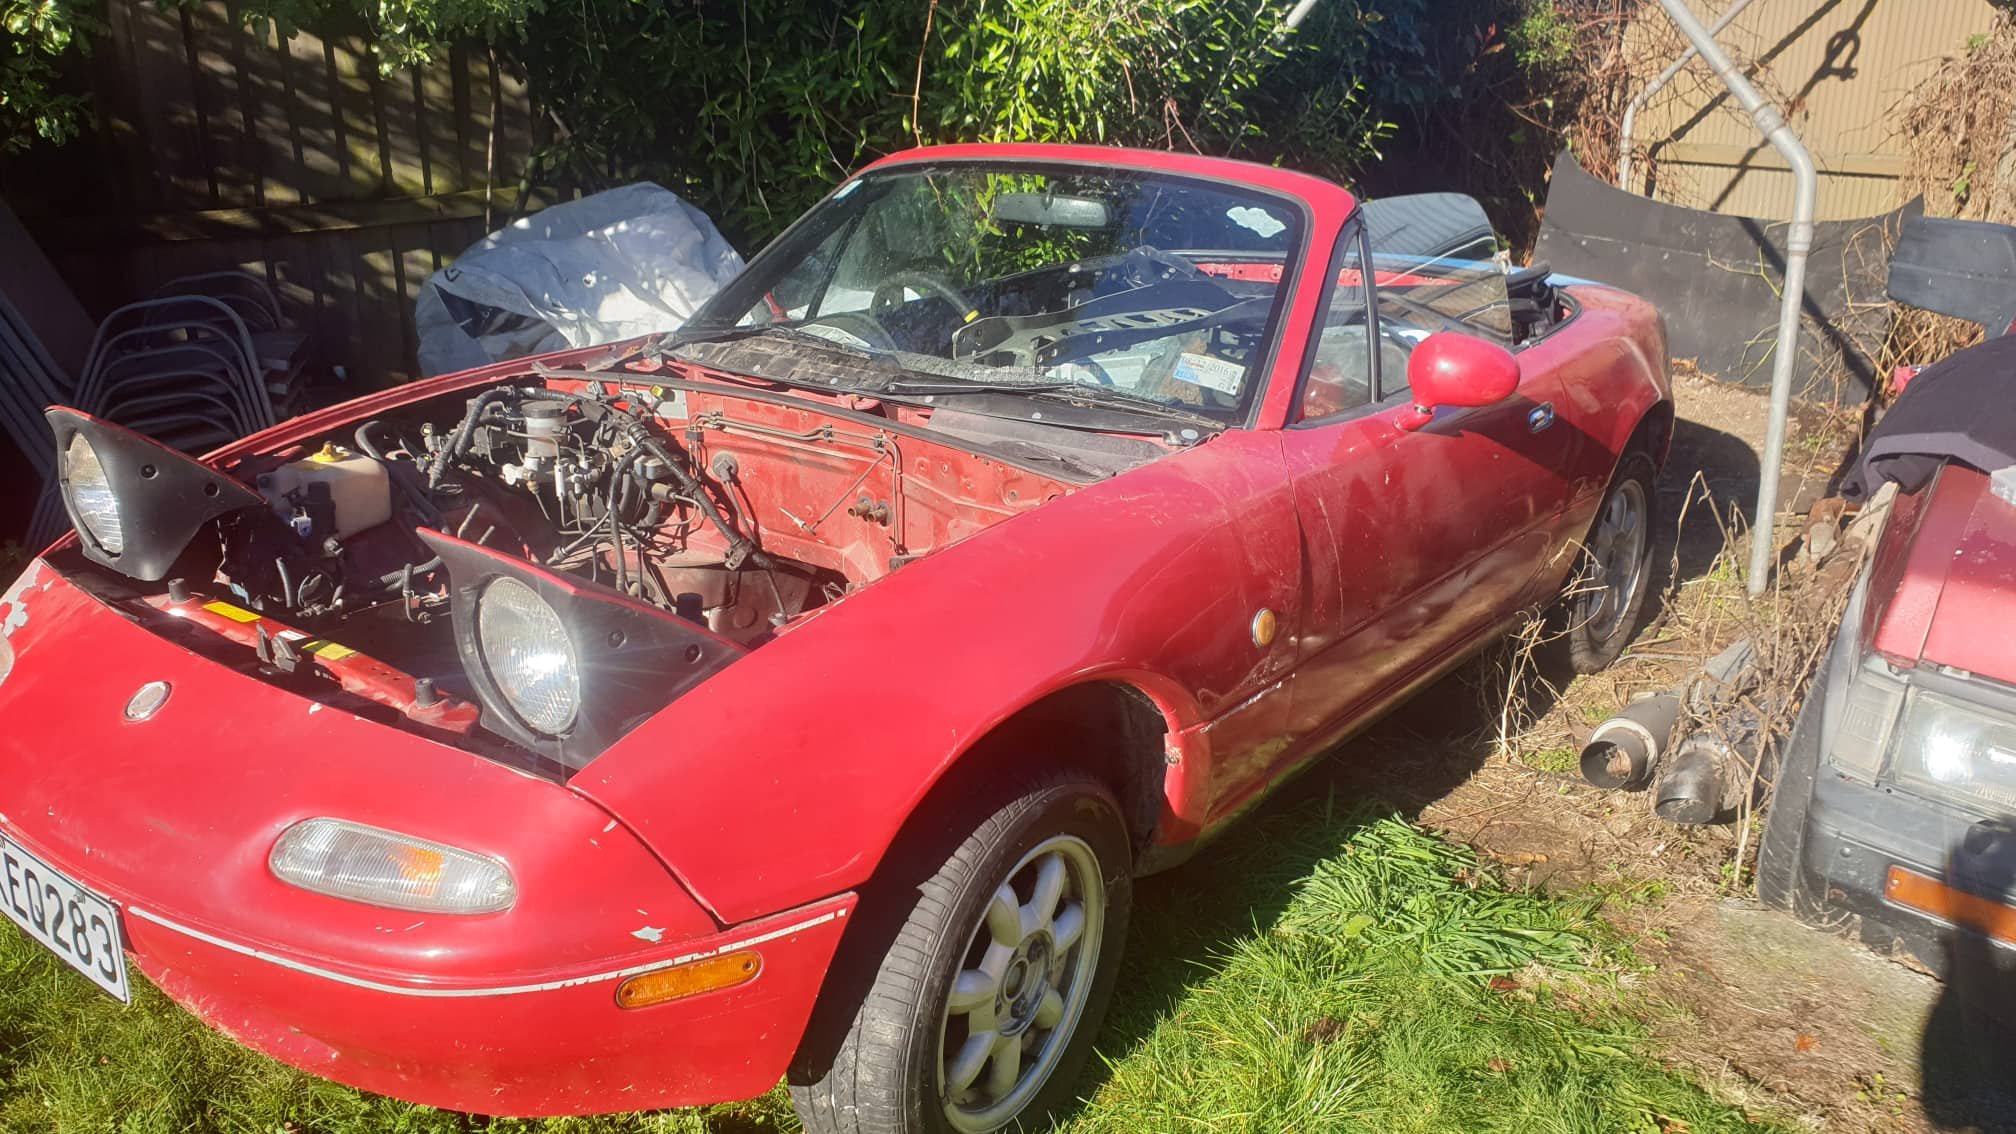
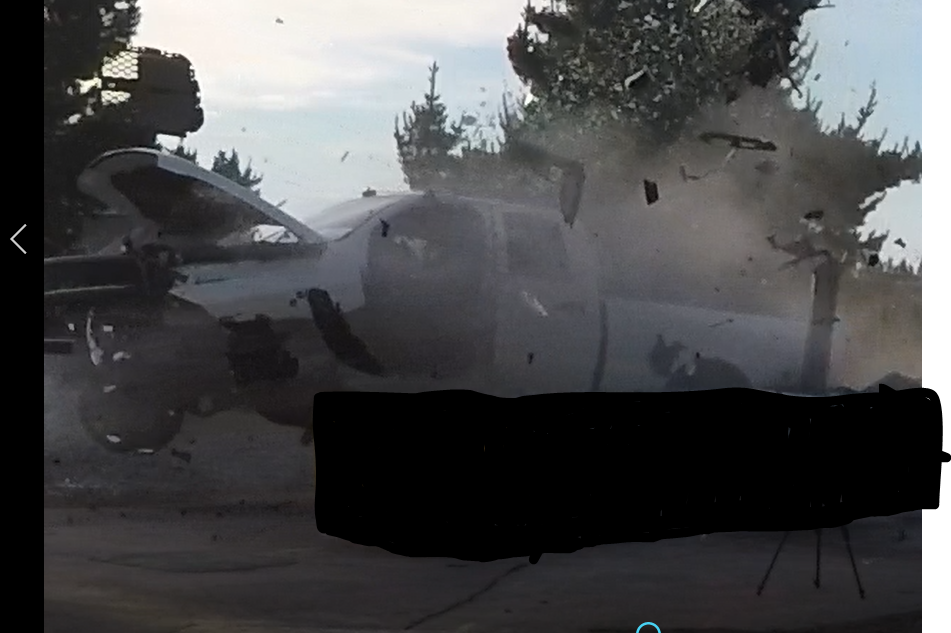
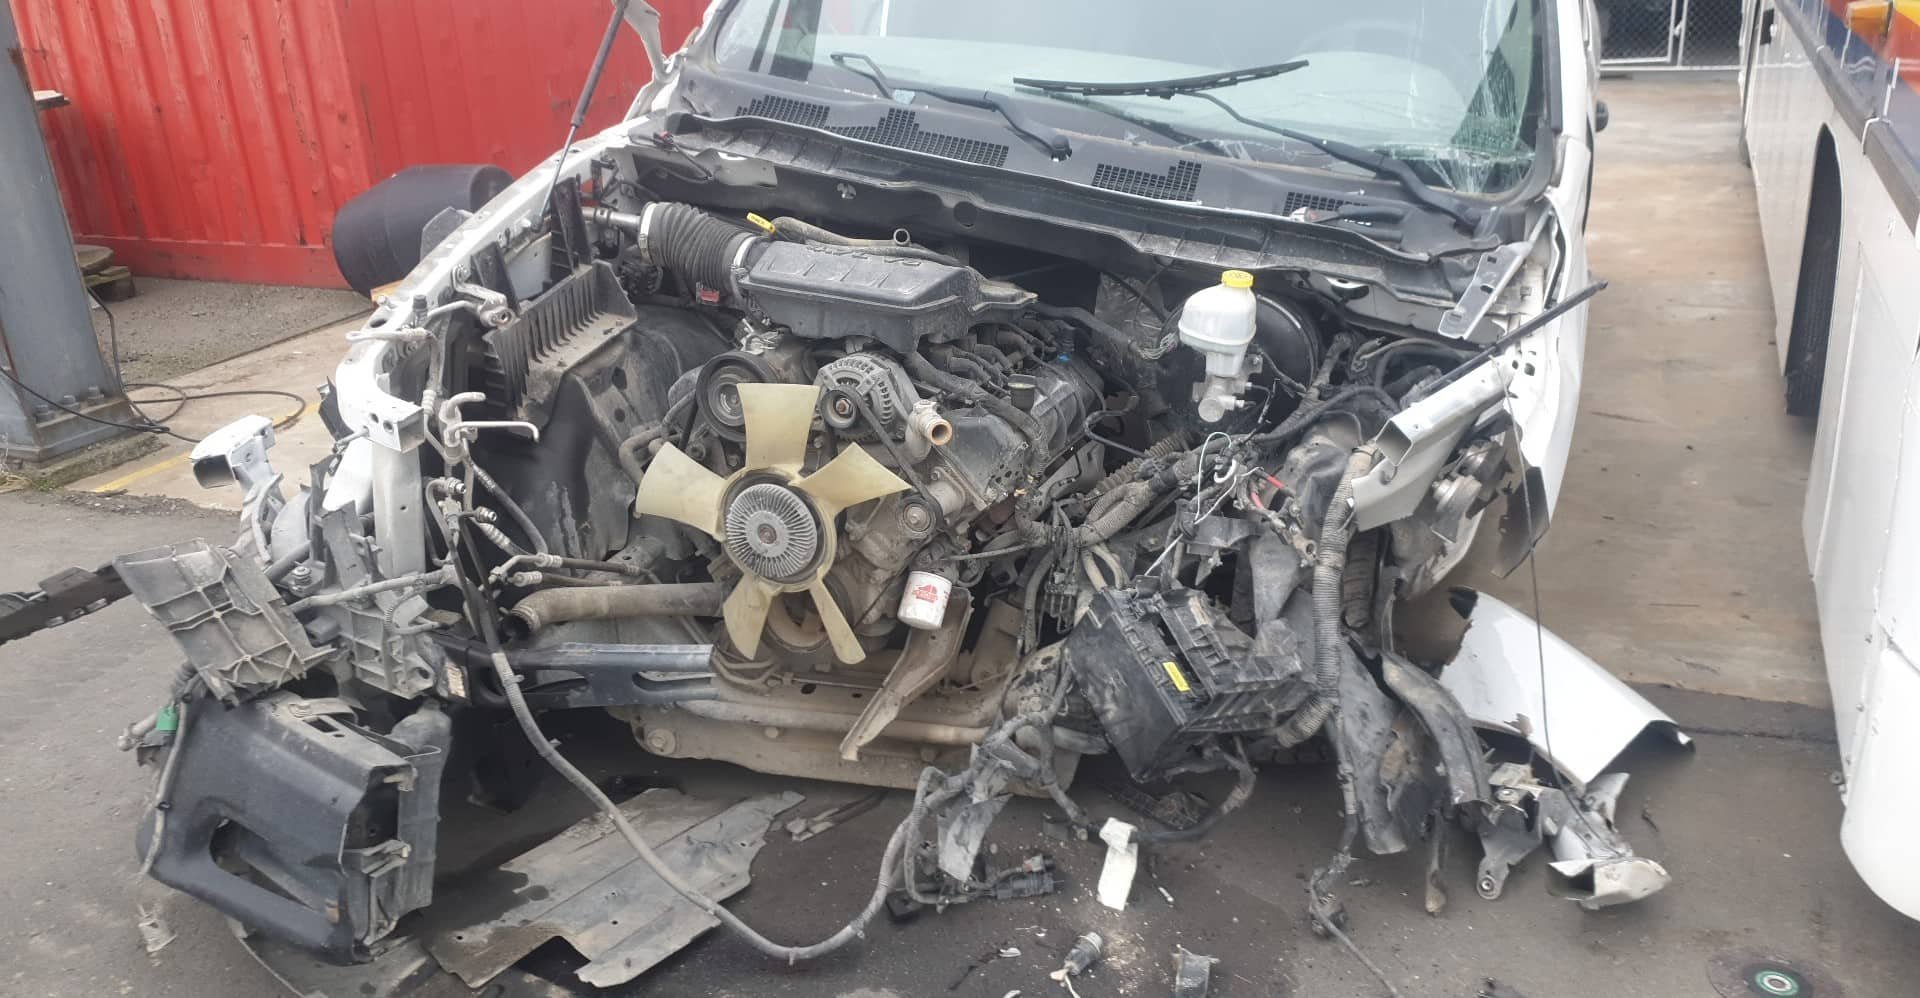
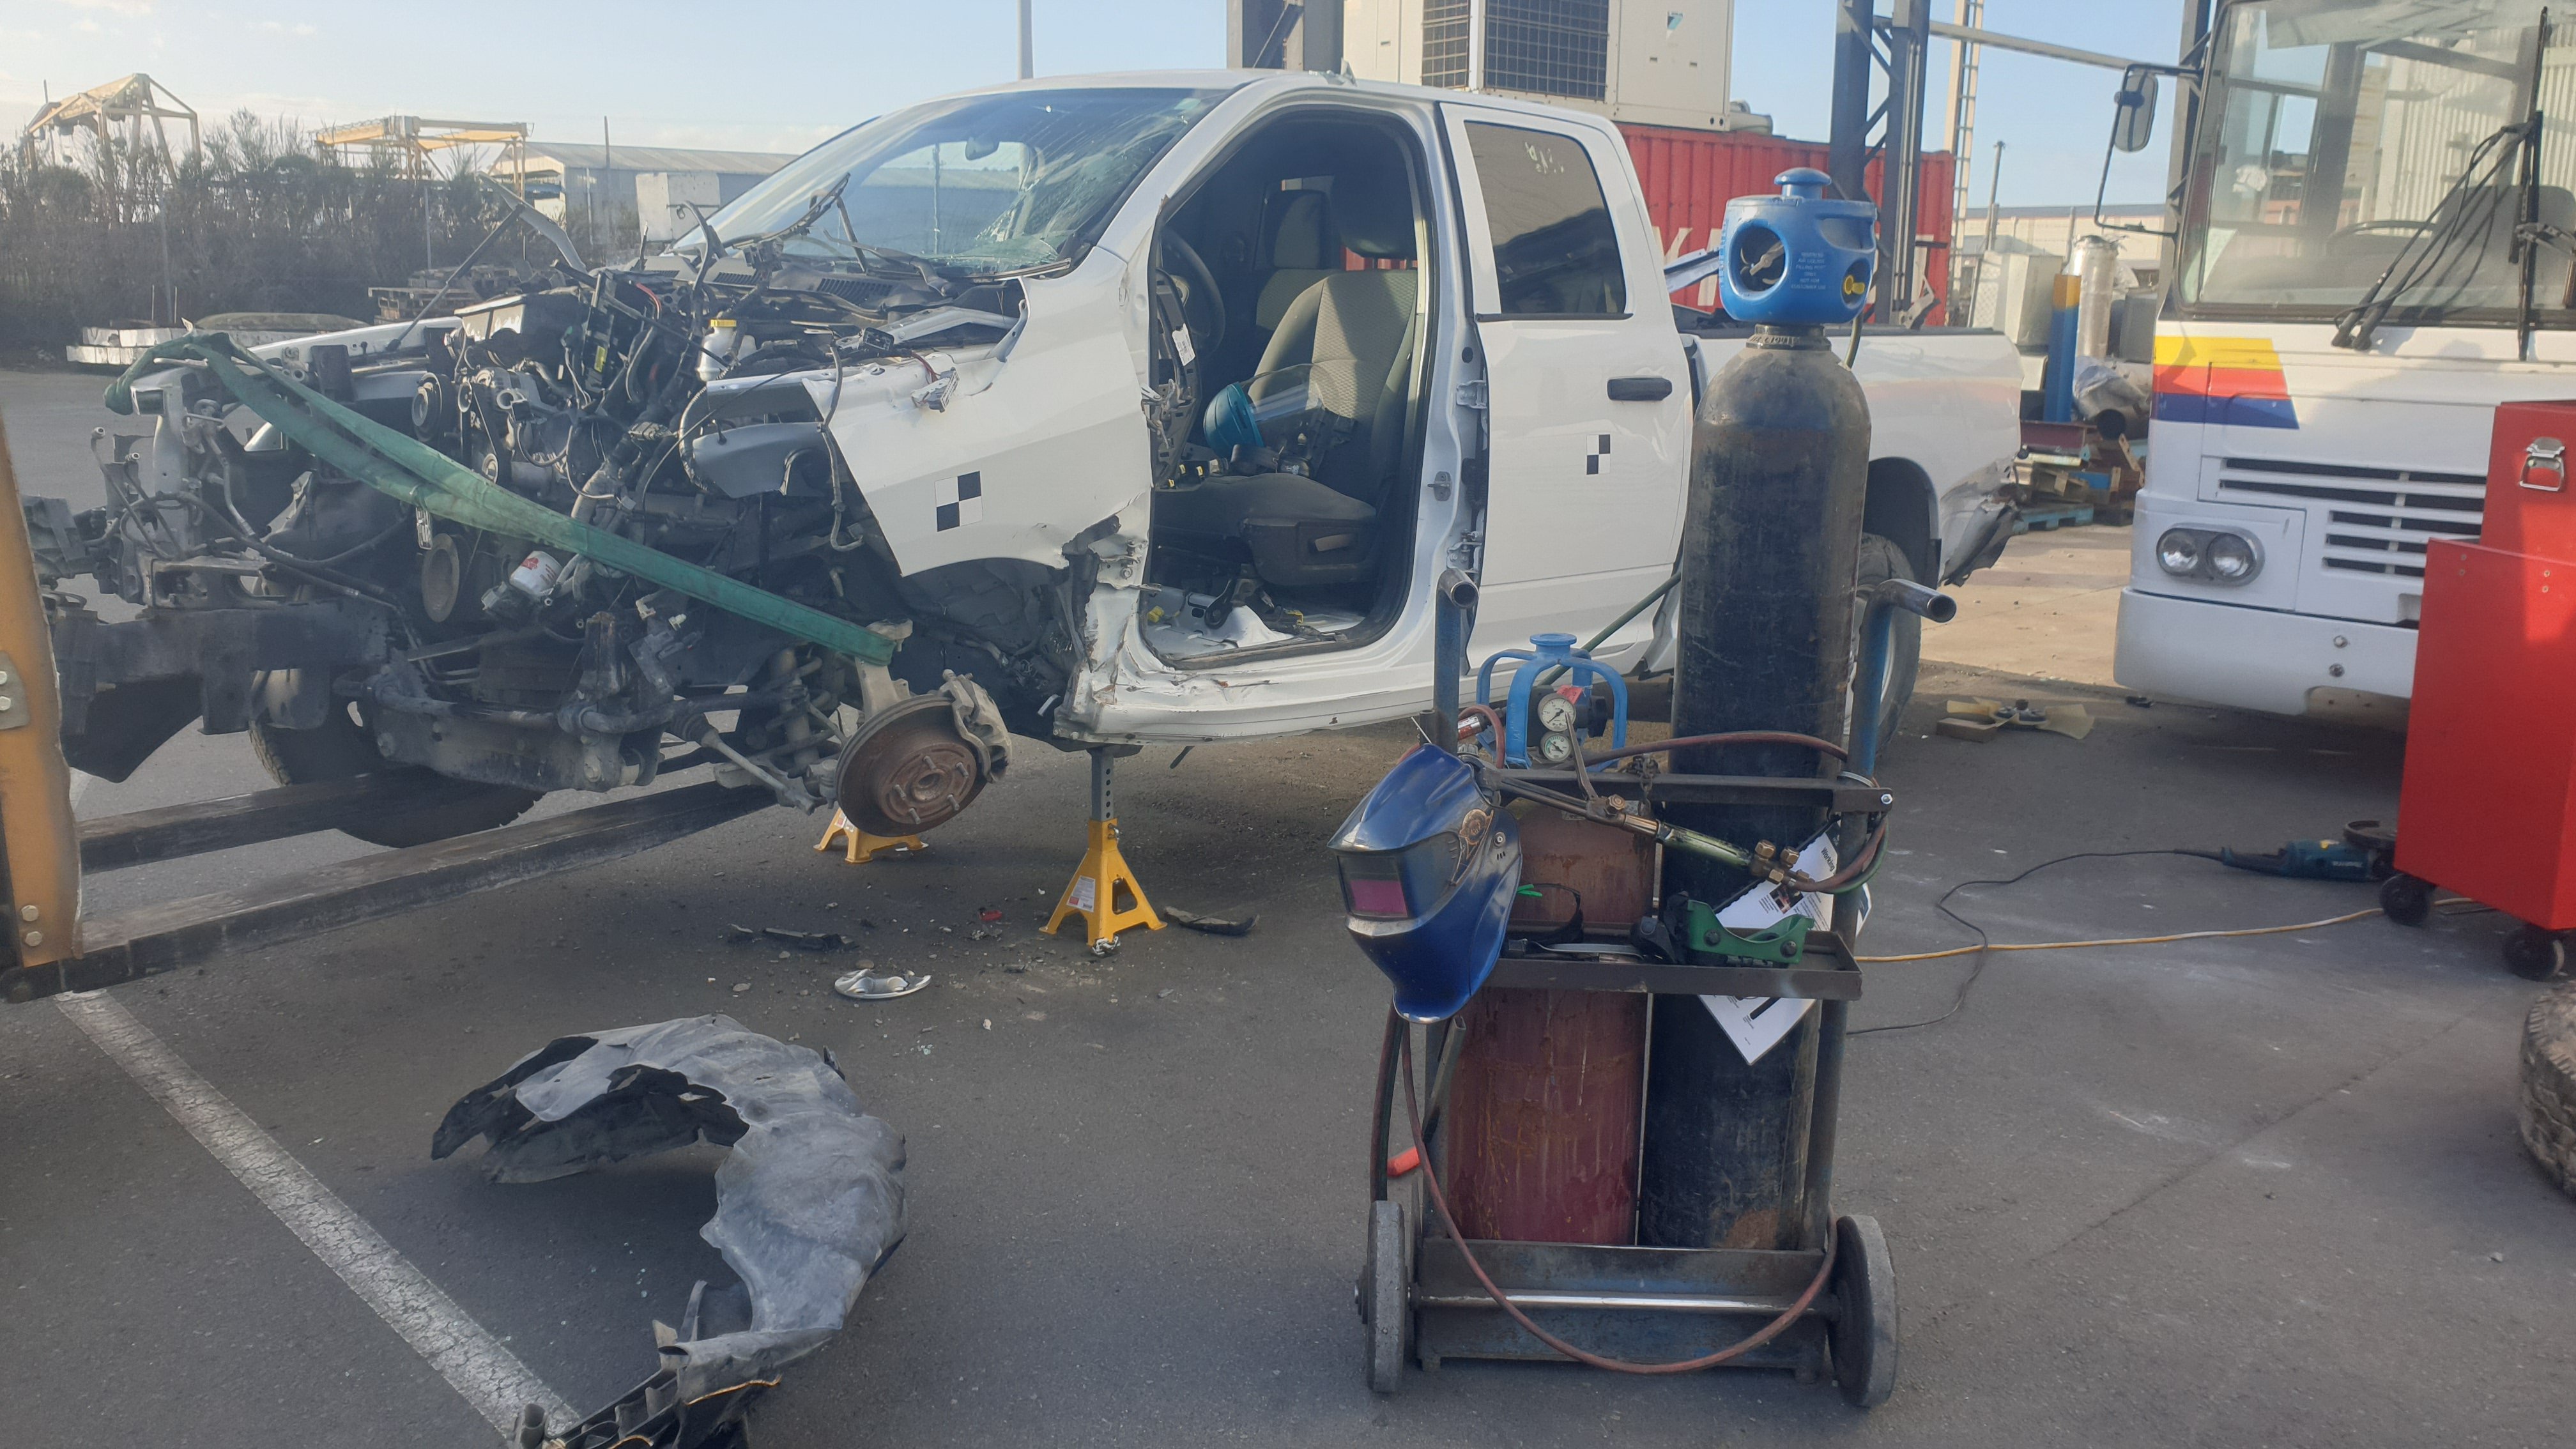
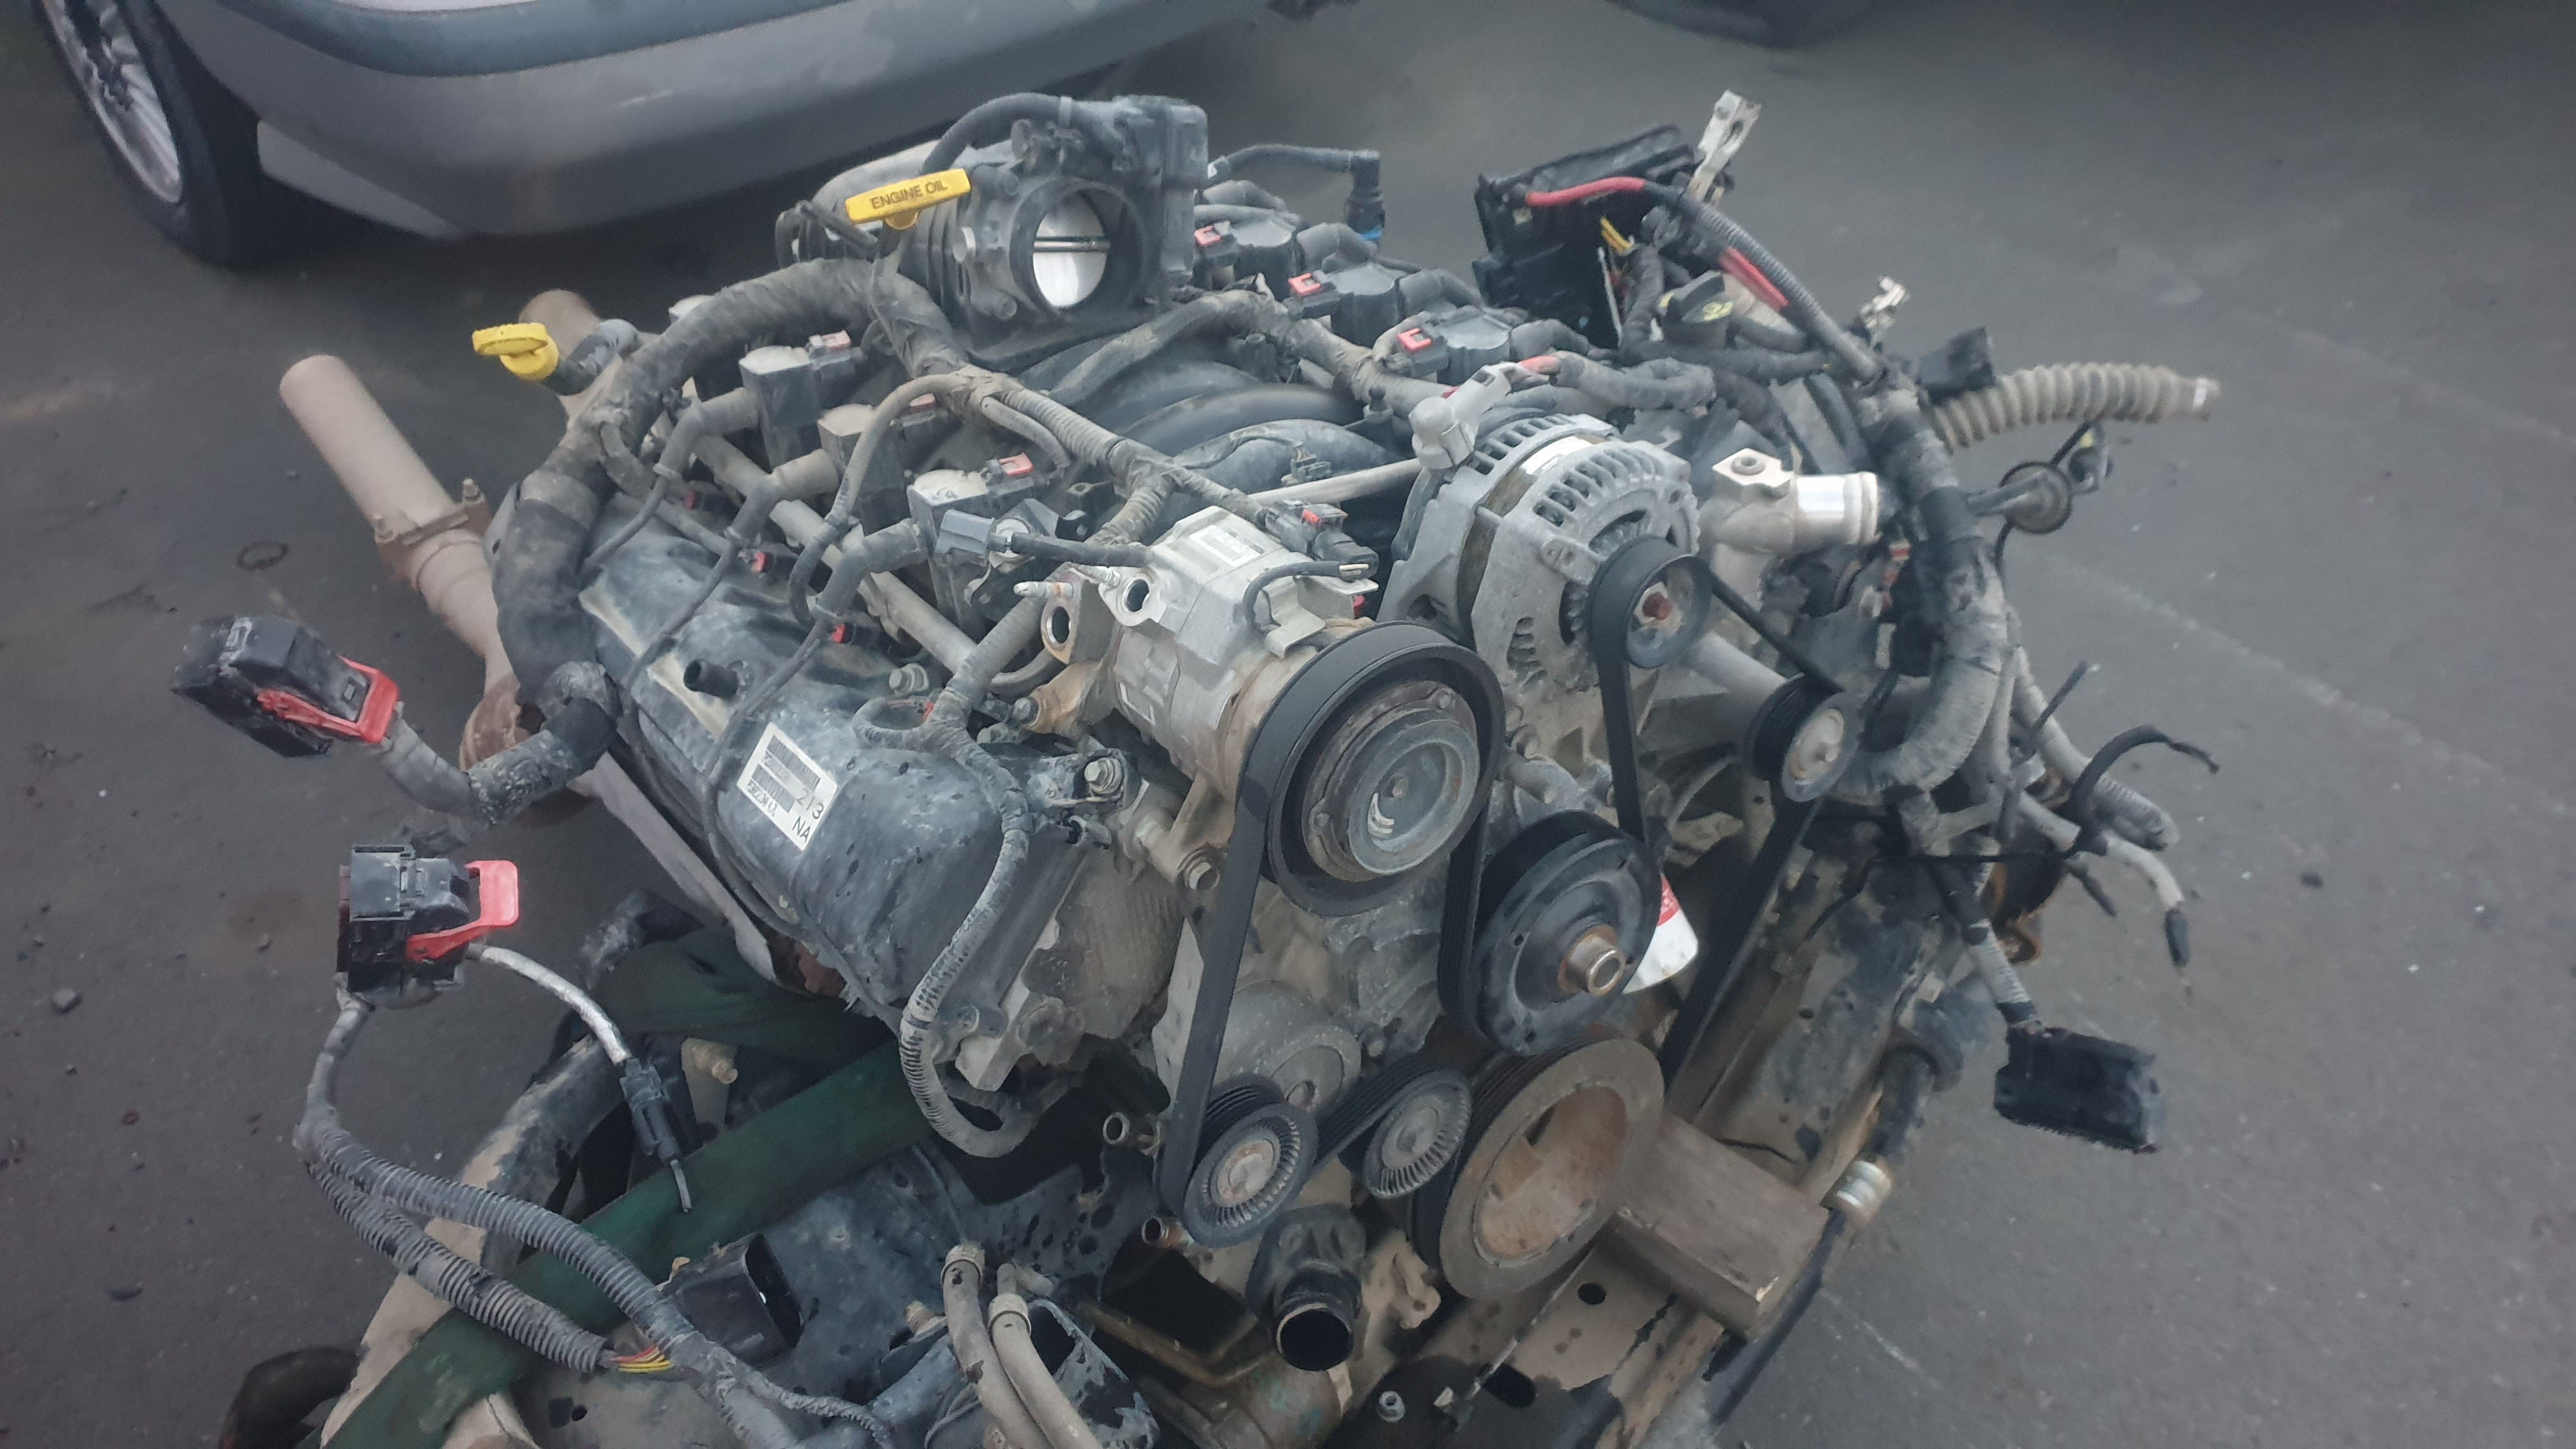
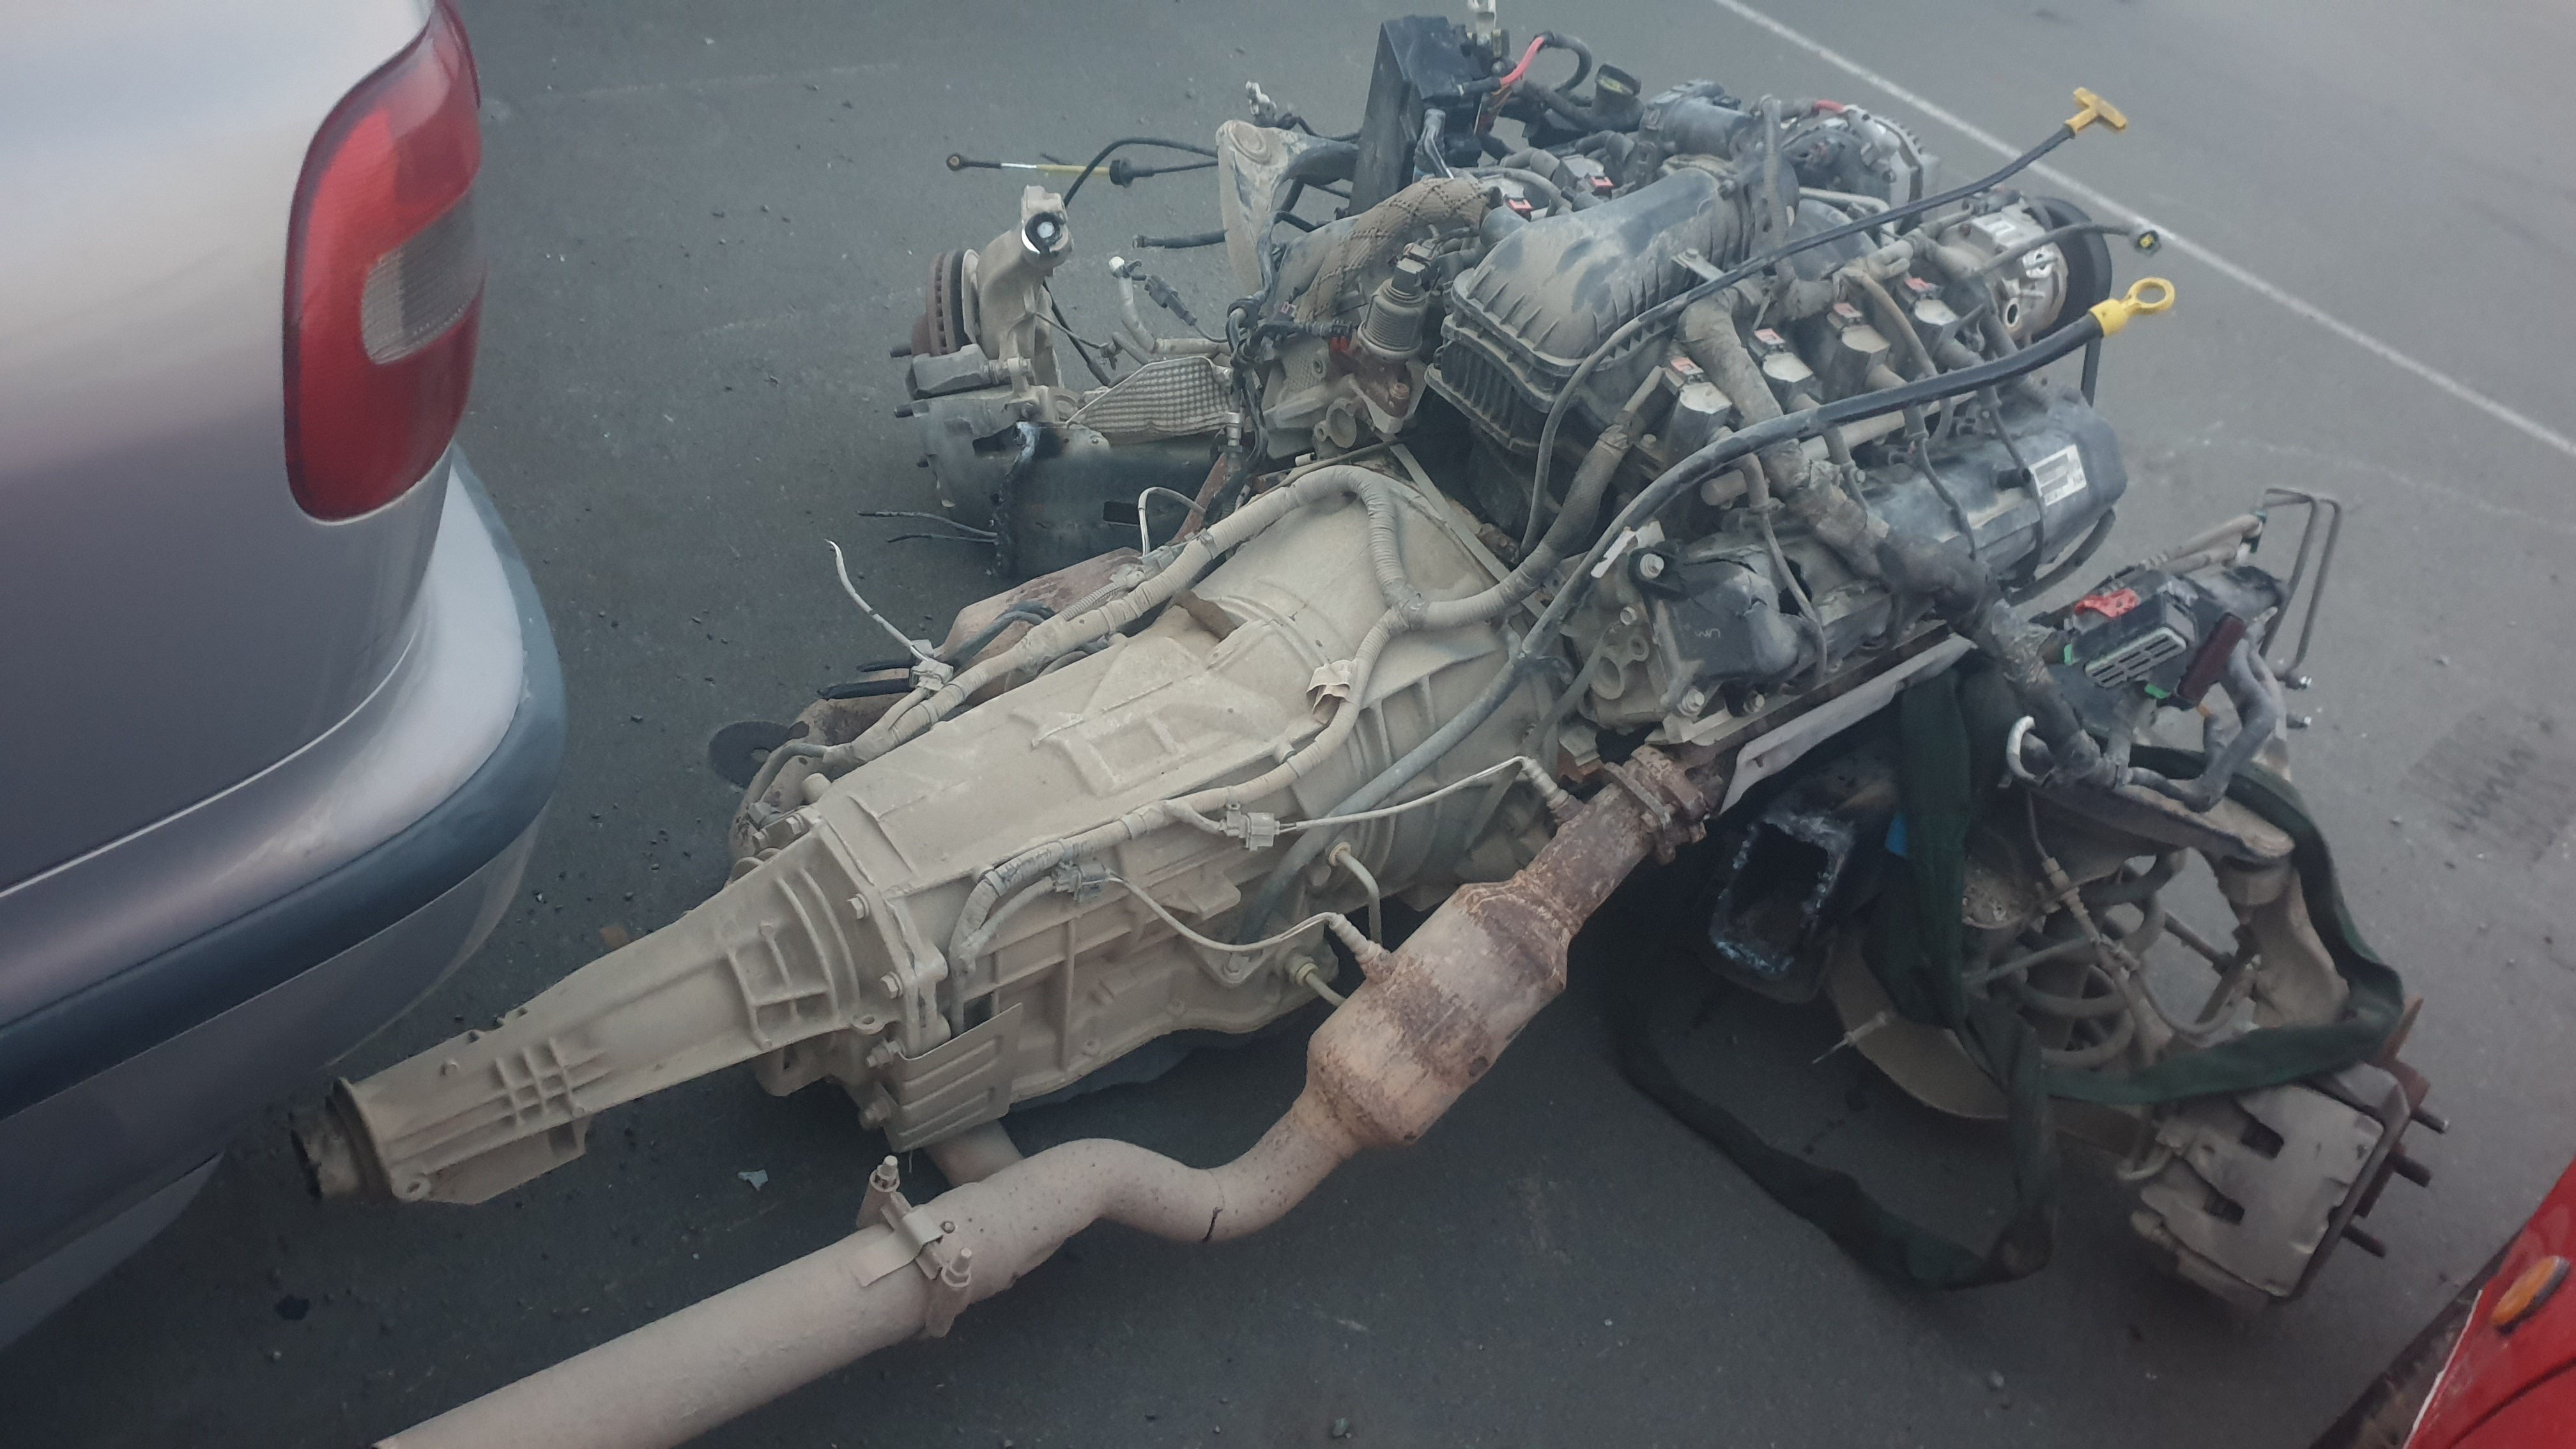
Where do i start. A while ago my brother started building an mx5 for his girlfriend and ended up with a fairly straight, but de registered rolling body, offered it to me for free and i was keen for a future track car project. I also happen to have a job which involved crashing cars, and thanks to a certain american standard roadside barriers must meet, we crash a lot of Dodge Rams. with plenty of v8 engines kicking around i hatched a plan and proceeded to talk about it for at least a year without actually doing anything about it. then the engine blew up on the corona, so while i wait to save up money to build that engine properly, i thought id make a start on this one, which by all accounts should be nearly free, with the only big ticket items needed being a roll cage, a diff swap and a driveshaft. So last weekend i dragged the mx5 into work, where i have all the tools i need to build a race car. and over the week started the efforts to remove the engine. Now that sounds easy, but boy was this truck fucked up. while the engine faired very well with the only damage being an engine mount ripped out (block still fine) and the starter motor wanged in (i have alot of spares). the chassis was bent at near 90 degrees around the engine, i also didn't really want to remove the trans. i started with a 9" angle grinder and removed as much fucked body and frame as possible. i then undid the remaining mounts and then promptly discovered this engine doesn't have lifting points? strapped it around some dubious strong points and tried to lift it out with the forklift. it rapidly became clear that the turbo fucked chassis was going to make it impossible to get out. so packed up, went back to work and had a think over the next few days. that brings us to today, what i had decided to do was cut the chassis in half just behind the trans and lift the truck off. so out came the 9" grinder again and i began by cutting access to the rails around the fucked body, and then trying to cut the rails with the grinder. sketchy at best. so thought fuck it, step it up a notch eh? though this was actually much safer. Gas axed the rails and out she came!
4 points
-
Spent some time adding to the wiring and tidying the routing and earth's etc. Then I spent the weekend welding the deck up. And adding somewhere for the batteries to go. I kind of wanted them closer to the cab but this meant either bolloxing up my side drawer plans or making them really hard to access, this is a reasonable compromise. The deck also has this feature; Because I will mount this bad boy that I picked up the other day; This is good as I do not like to lift things. In other news, the engine I have lined up is looking less likely as the dude has not responded to my messages for 3 months. I have a truck coming from the Waikato through Nelson and back in a few weeks, so if anyone has a decent silvertop lying around let me know. I literally have cash sitting here waiting to spend on an engine.4 points
-
i have, that shit crazy fast. there is also a Mercedes M120 v12 going into one, that one fits like a glove too, an XXS glove over an XXL foot. fits none the less. and it will sound like a zonda if hes done it right, funnily enough we also have one of those engines at work, in an sl600 race car we built, its a gigantic engine, truly a monster. sadly the motor is fucked, so its getting similar treatment to my car, except we'll use one of the Hemi 5.7 beasts we sometimes get. i figured i didn't need an additional 25% power over the 4.7 in an mx5, with the added bonus of way more spare parts for the 4.7. cheap cheap4 points
-
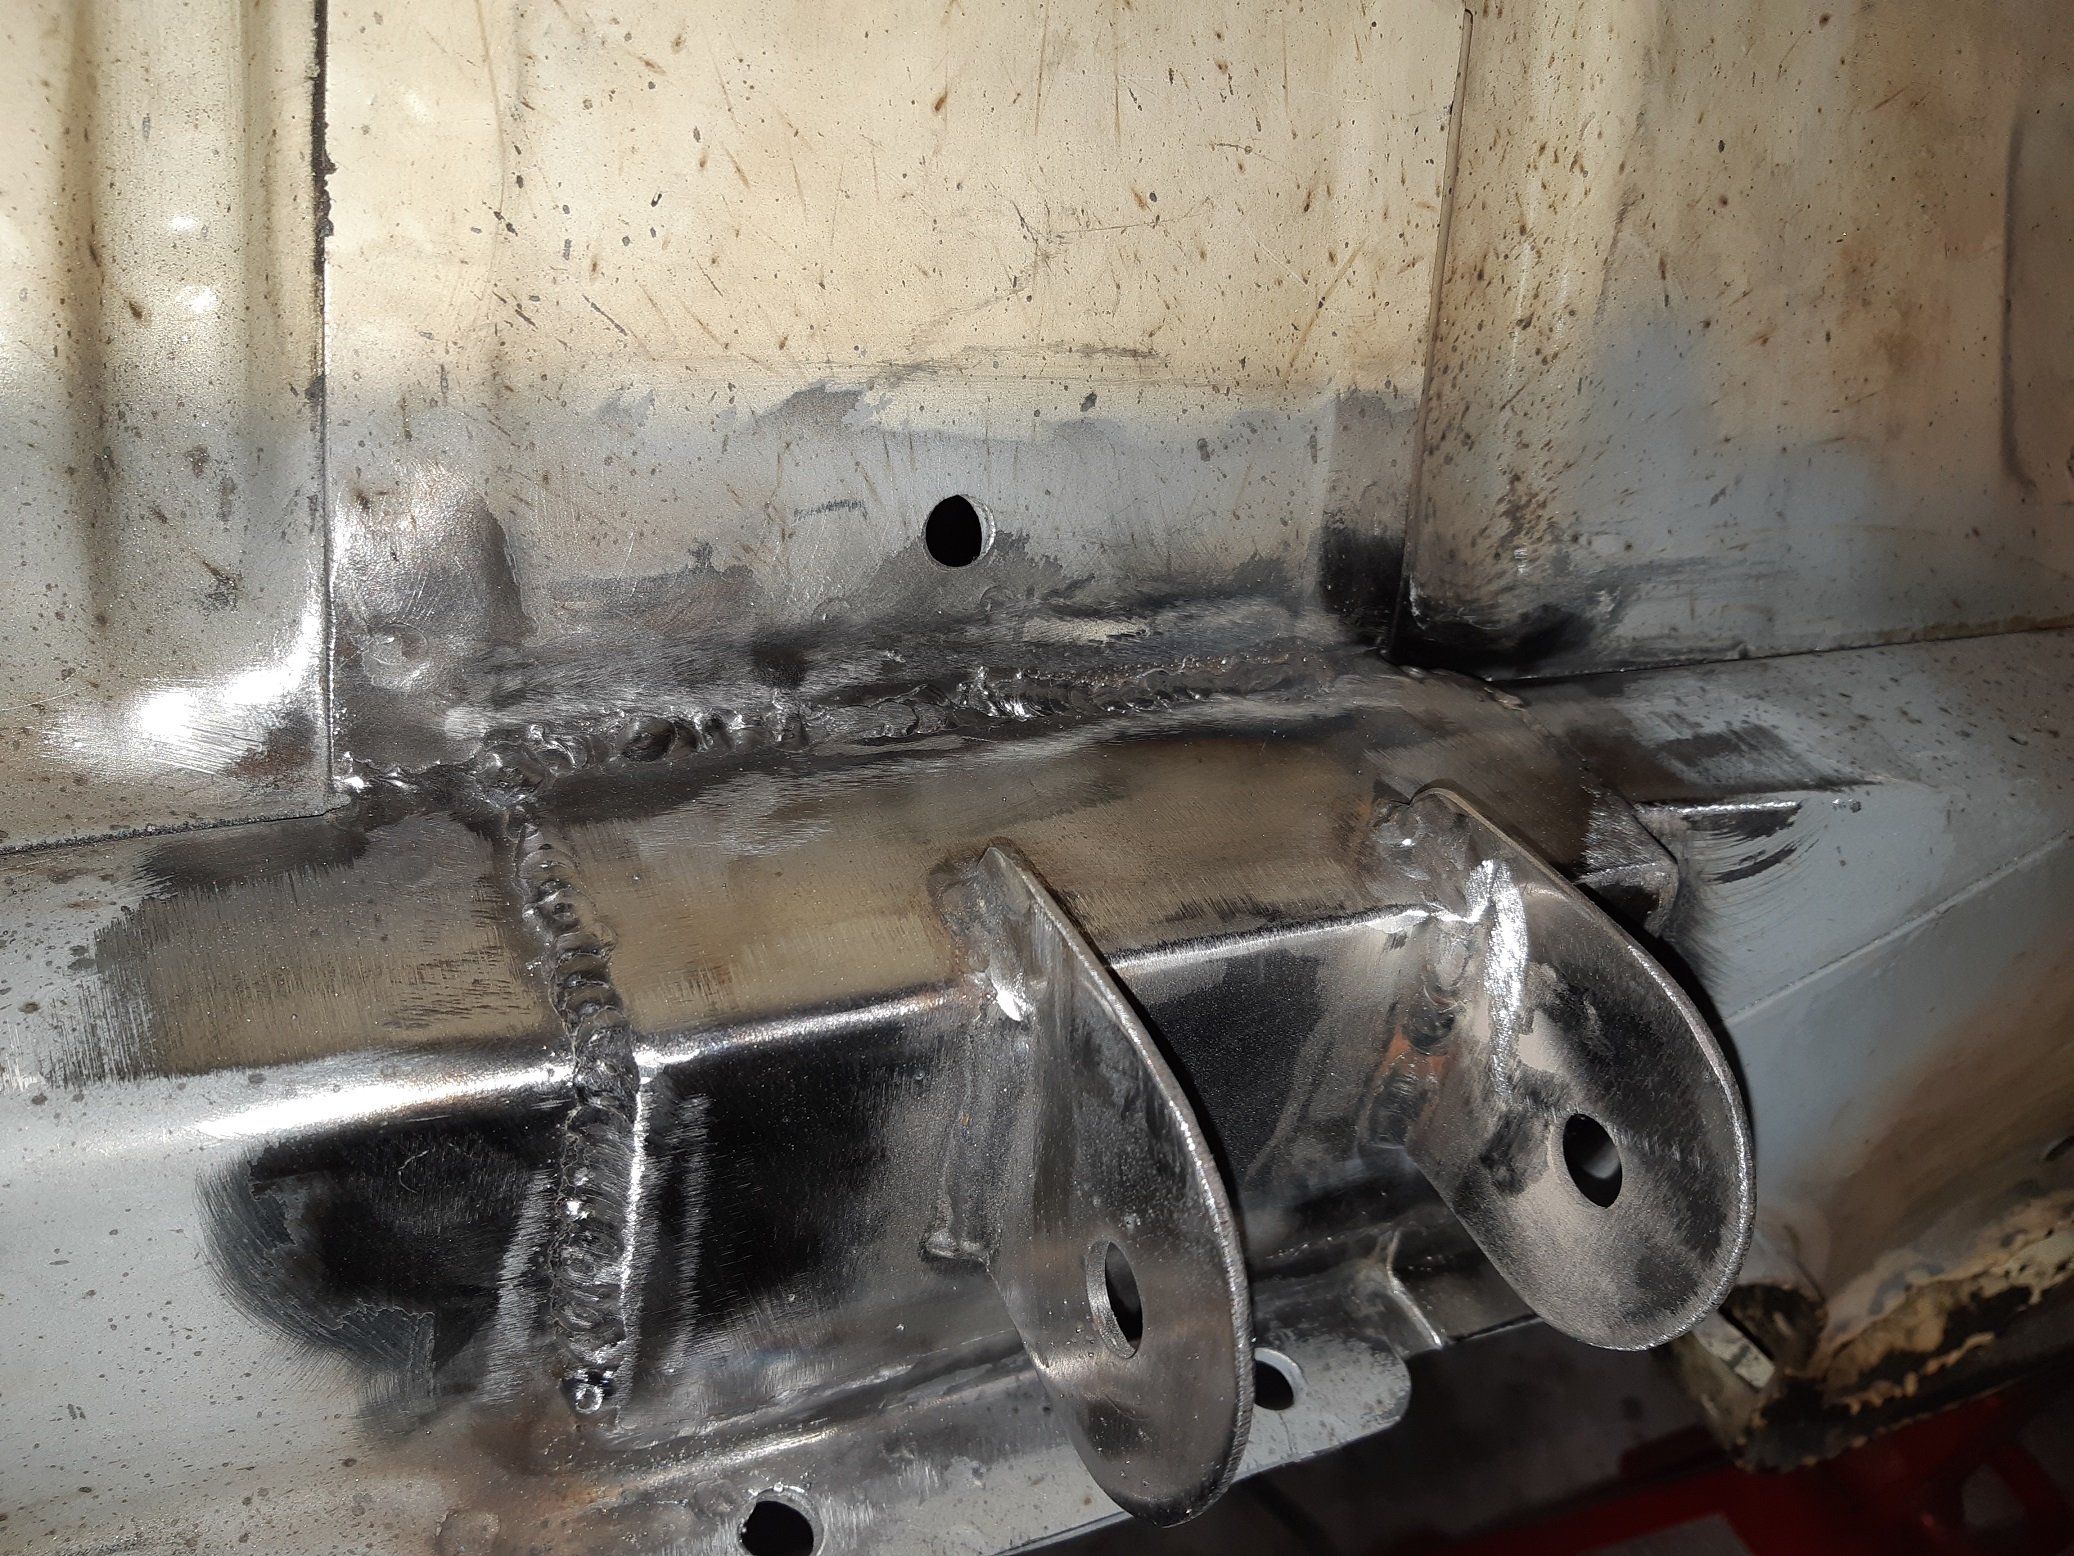
Buzzed the engine mounts on.
3 points
-
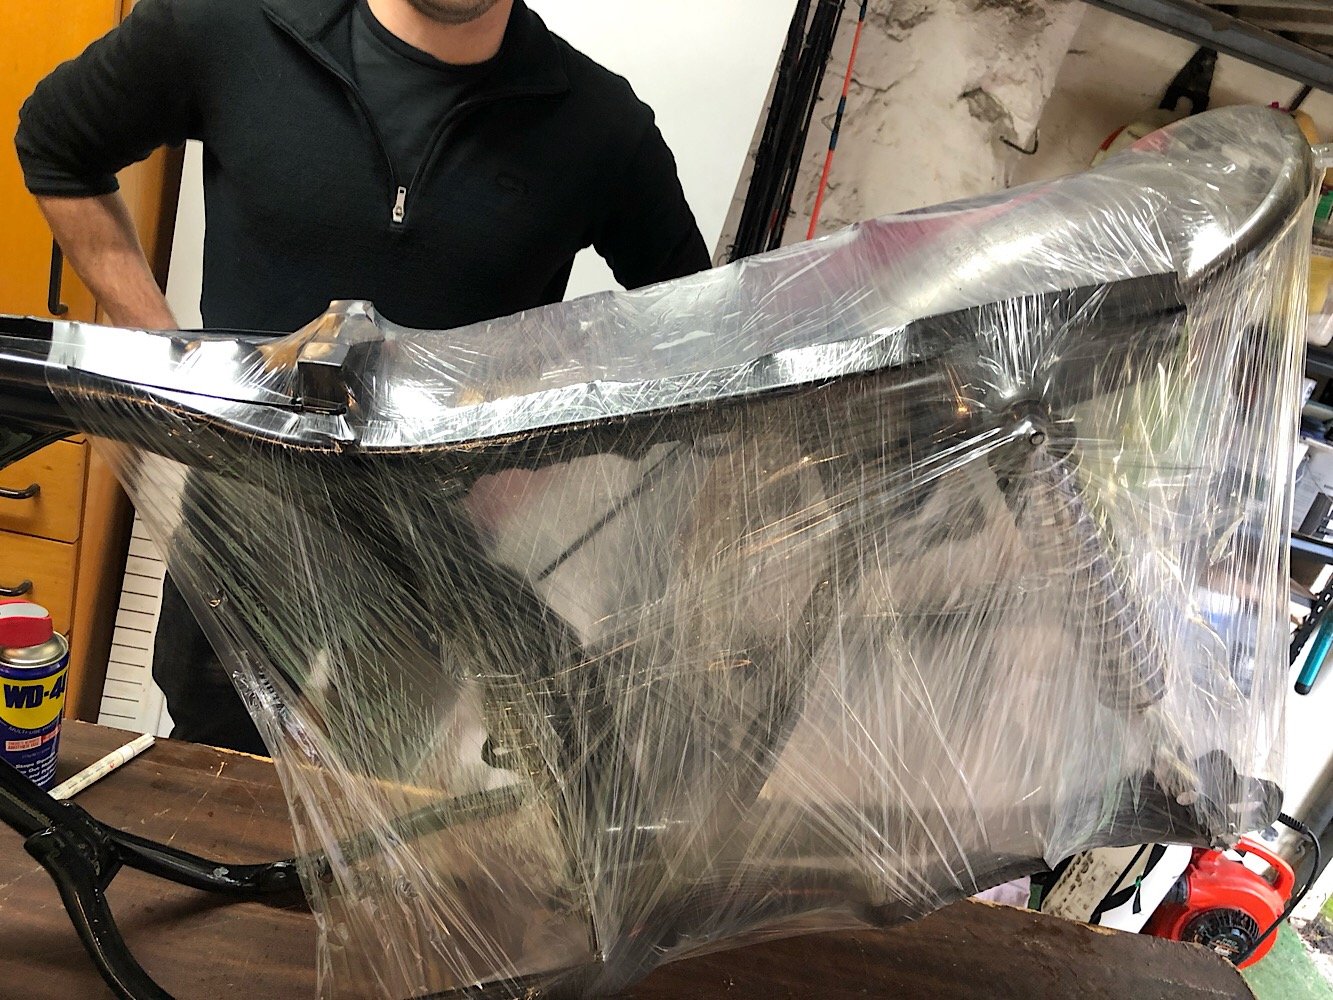
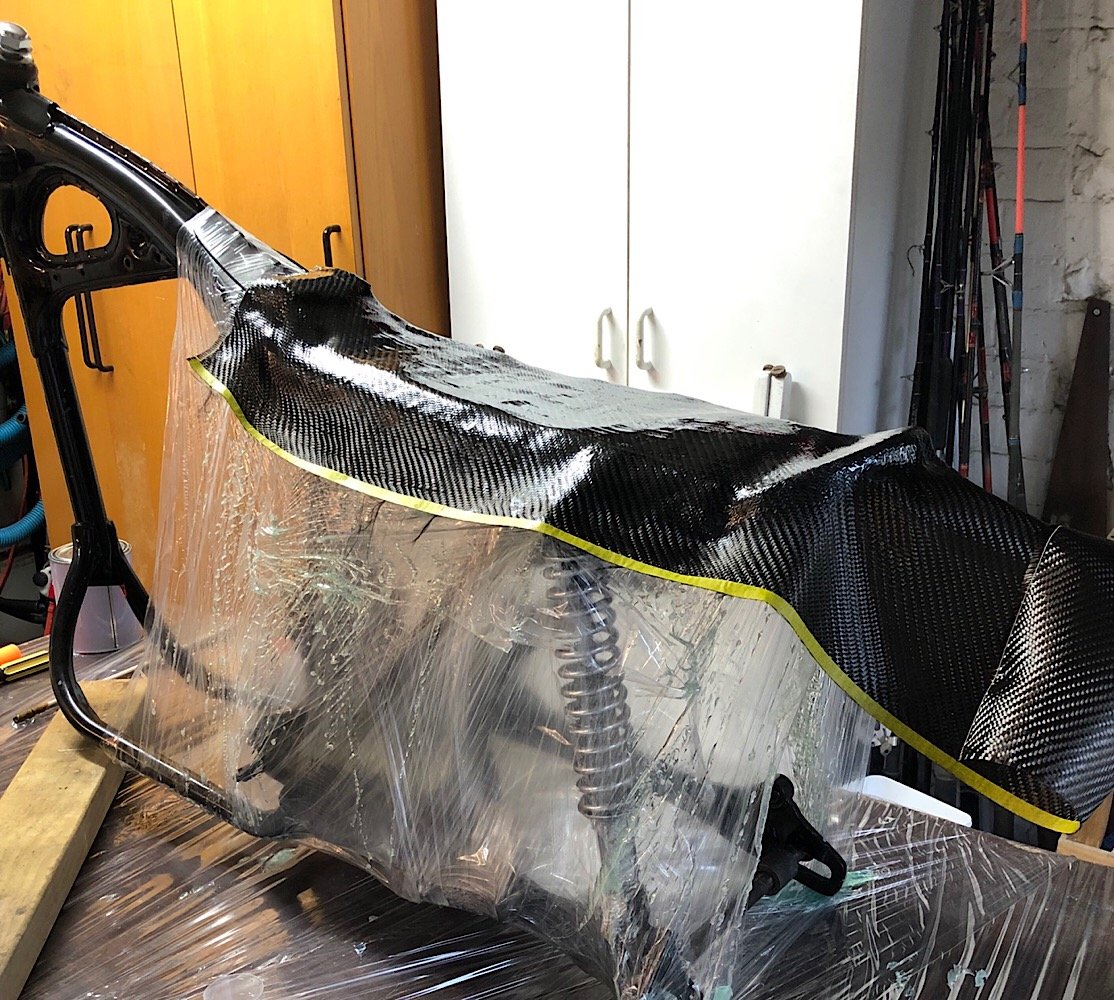
Carried on fitting the rear hoop, chucked on the rear wheel and measured clearances as the new shocks are 3cm shorter than factory. The rear of the hoop now sits just over an inch past the rear wheel centre point. IMO anything shorter and the bike looks stumpy. Once that was tack welded in we got started with the seat. Decided to create a mould out of pallet wrap. Layed down Polyester resin and rolled carbon fibre into the resin to set. Dream result is to have a nice carbon fibre look under the seat. We used white lithium grease as a release agent which may have left white streaks through the resin. So it could look shit house but we’ll see after it hardens off.
2 points
-
Seen the Hellcat Miata in the States? This puppy will fit like a glove* *when you have XL hands and XS gloves .2 points
-
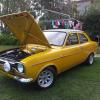
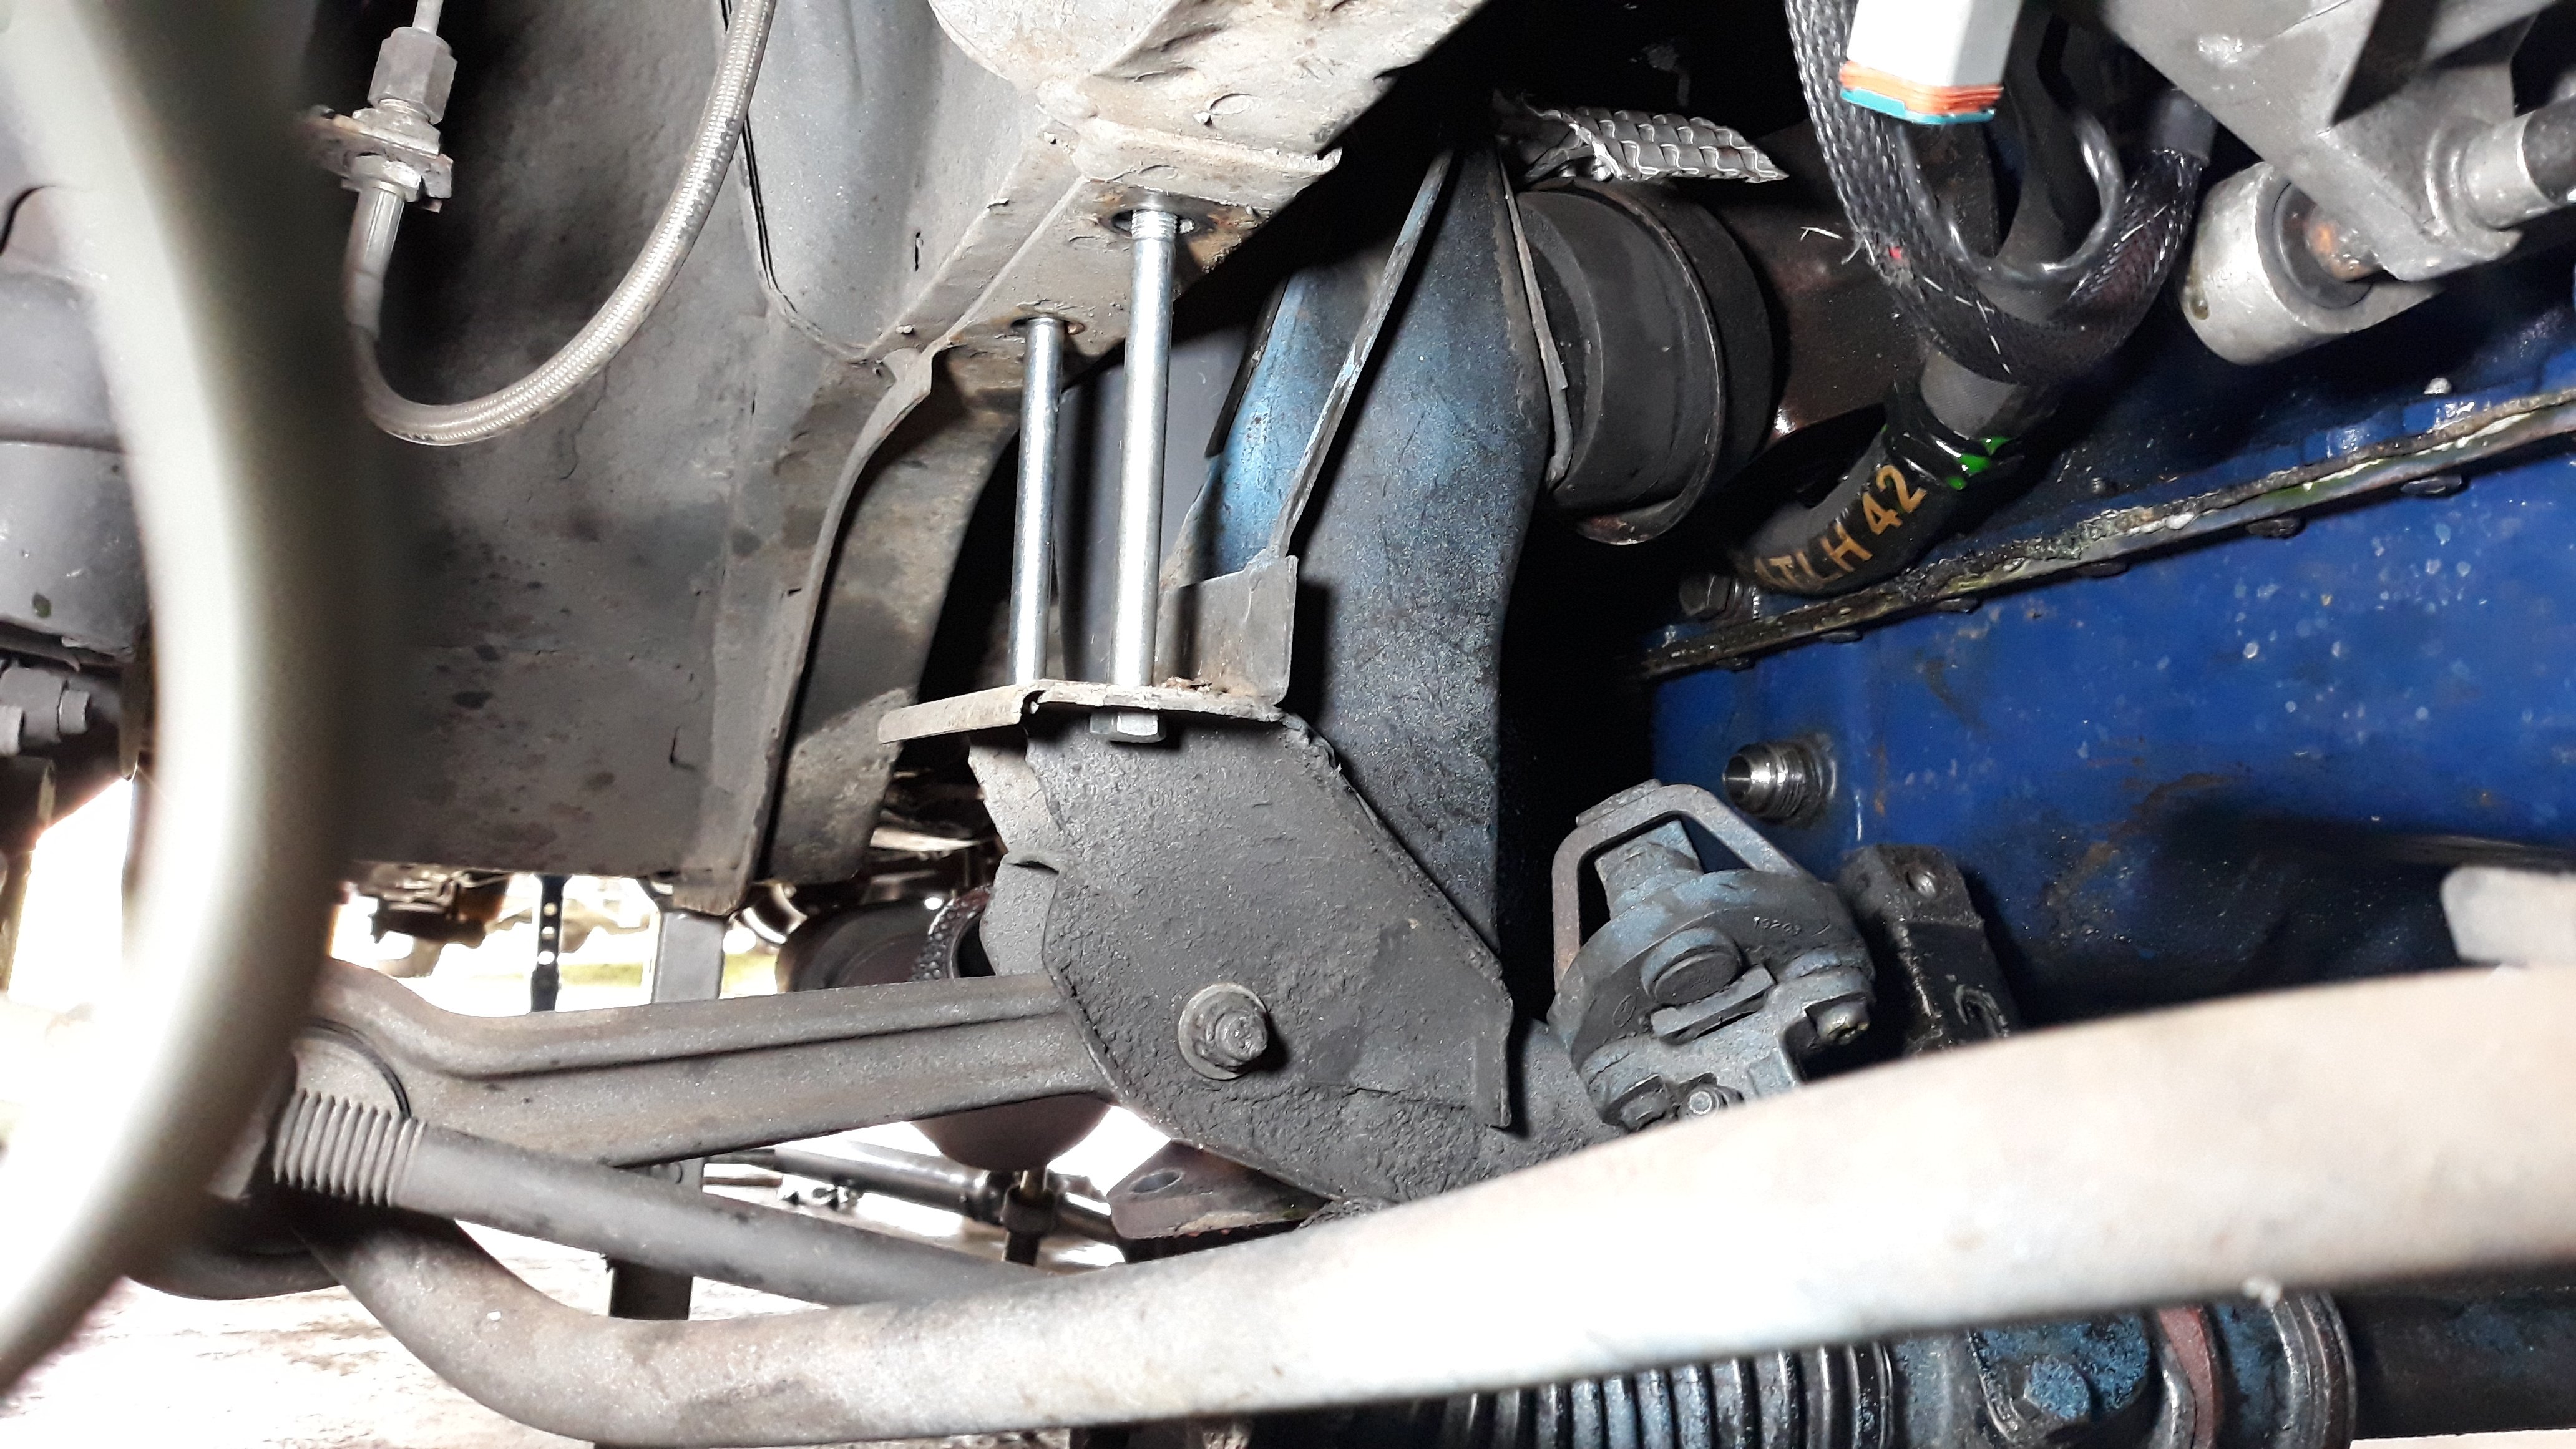
Another cruise session at Lakeside a few weeks ago and unfortunately the gearbox failed. It was not catastrophic so I was able to drive the car home 10 mins from the track. I used the dropped crossmember method to remove the gearbox which worked really well. It's been shipped interstate for a rebuild and I was told on Friday that the gears are all good but bearings are shot. Heavy duty needle roller bearings will be fitted as part of the rebuild. I'll be using Redline MT90 oil this time and have sourced a heavy duty transmission mount keep things supported a bit better. Thanks
2 points
-
drove it the 15 odd Ks to the compliance center this morning. went perfectly. heater on and the AM radio playing Indian pop music. changes smoothly and drives very nicely. needs a wheel alignment but apart from that its mint. compliance next week. might throw up some issues, i know the brake light switch needs adjusting because its not turning off properly every time and i forgot to connect the hand brake warning light. lets see what happens.2 points
-
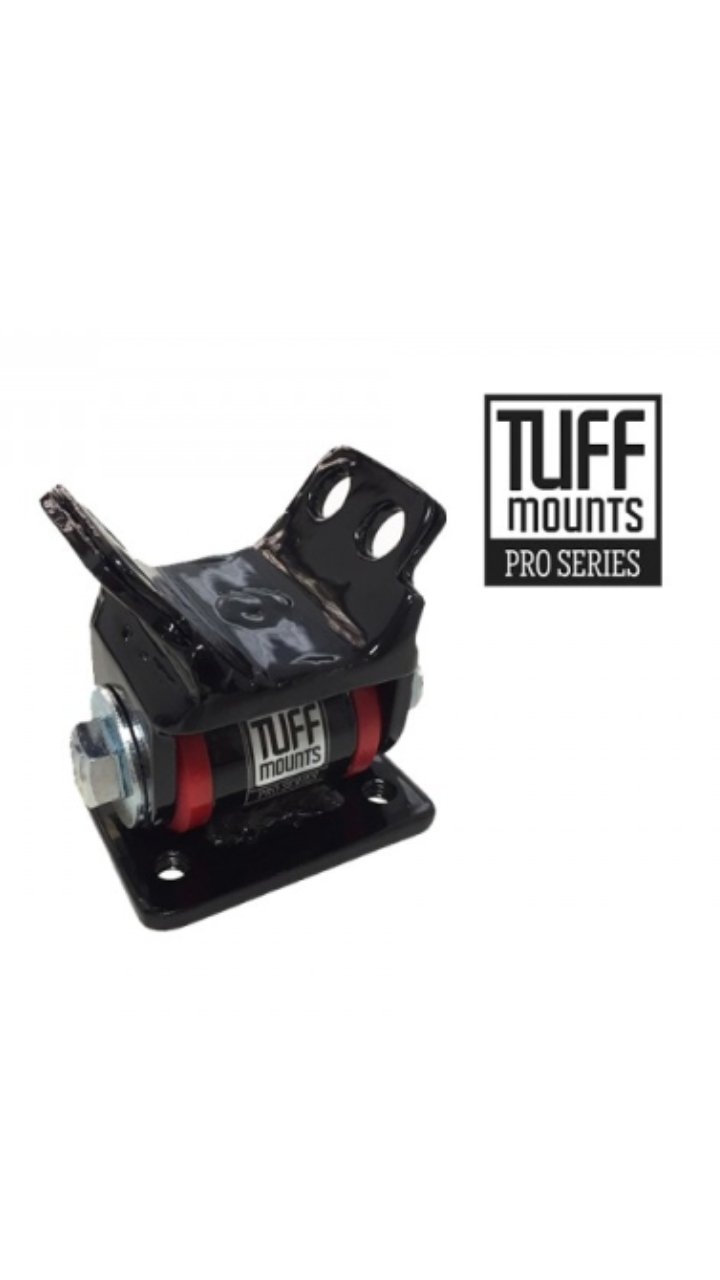
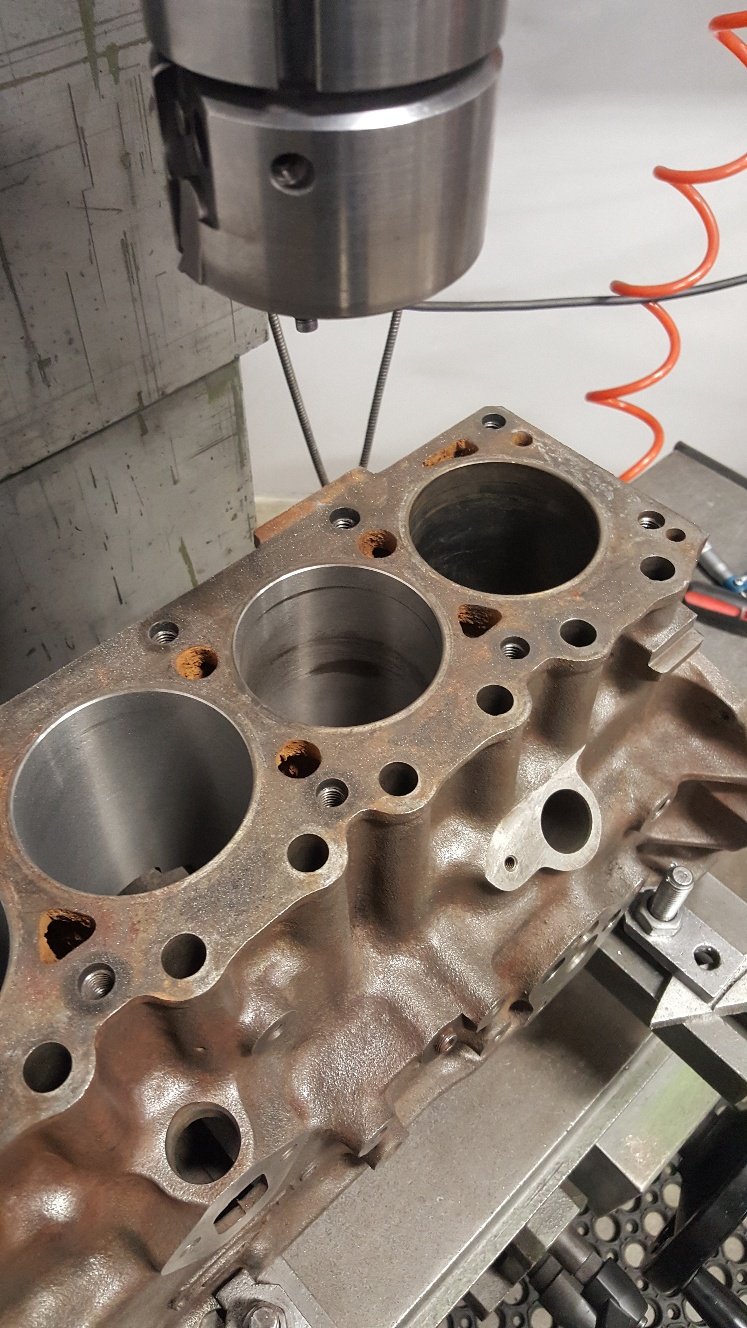
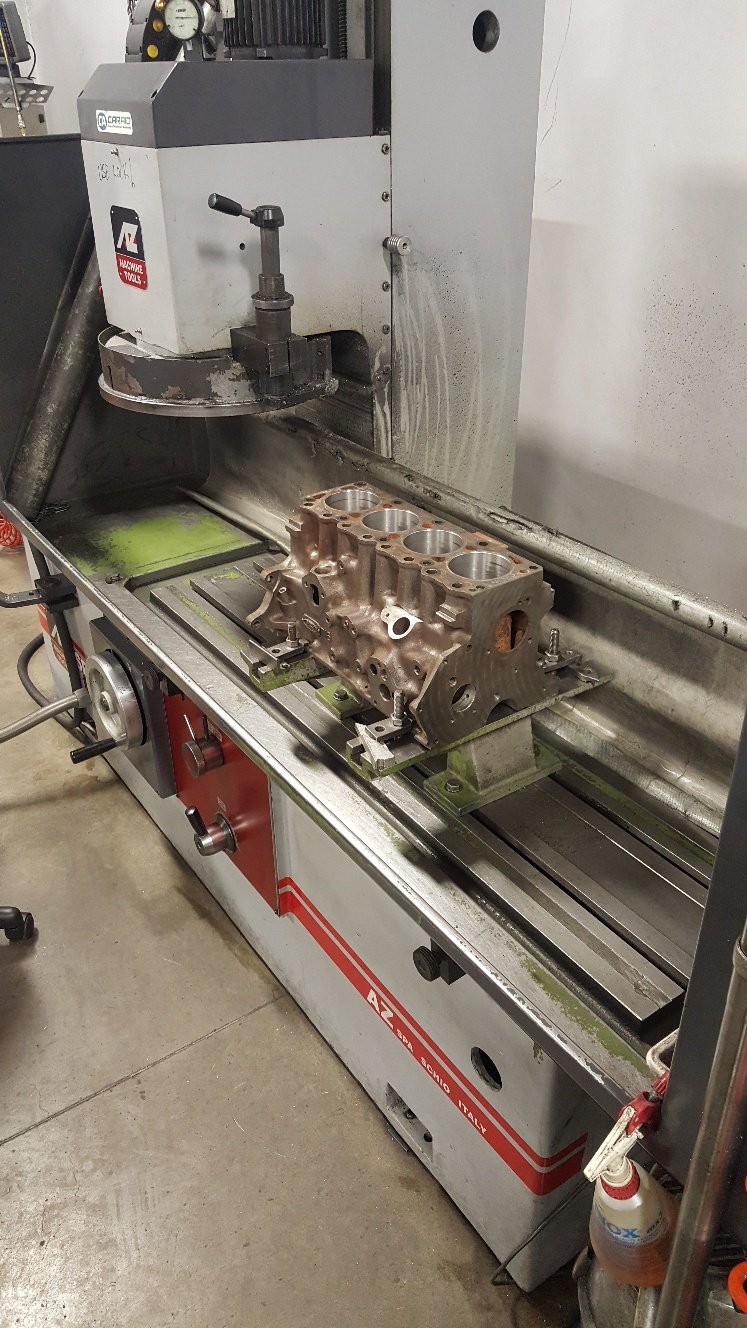
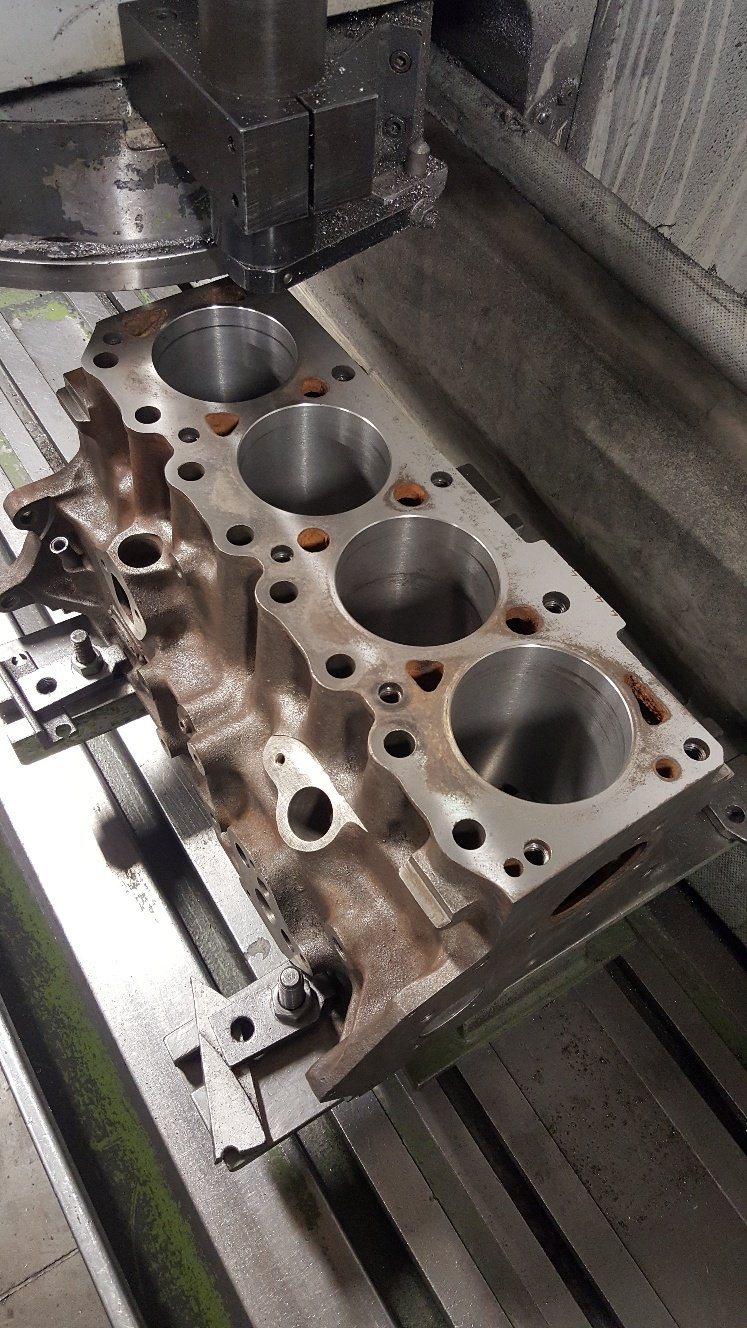
So I got the block into the boring bar. It's pretty straight forward boring a block. Doing a cylinder liner is a bit more involved as far as the boring bar is concerned. This block is at 30thou over or .75mm in metric. I have bought 40thou over or 1.mm pistons. It has a bit of wear. But hopefully it's should clean up once it's honed. This picture is of a test cut. So you dial the boring bar head into the bore. If you have a decent amount of wear it pays to slightly offset the bar towards the wear so you clean all going well at the next oversize. So in this picture you can see the boring bar hasn't totally cleaned with this size cut. I have only set the bar at 81.90mm. So I have .1mm or 4thou to hone out to get to our finished size of 82mm. We generally like to leave this amount to hone to achieve good rk rvk this is the depth of hone pattern. I'll go into that a bit more once we get to honing it. Once we've finished honing we normally go to the surface grinder. The top of the block is a little corroded so I'll probably take a few cuts to clean it up. So I've done a light cut to see how it looks You can see it still needs more off it. In this case it's not a issue to take more off the deck. When you are dealing with a late model diesel or performance engines that have been set up with good tight clearances it pays to watch how much your removing as you may have to detop your pistons as they may start getting to close to the head once assembled. Also valve reliefs can also need deepening. But this is more so a issue in extreme cases. This good old xflow should be fine. But i will be checking all this later once i can dumby the engine up
2 points
-
Fuck yeah Indeed. Fuck. Yes. Feels like its been 10 days already, its really only been 2 days. Where is plate? WANT. DRIVE. NOW.2 points
-
Holy shit. Front spaghetti. Engine spaghetti. Inside spaghetti. Fusebox spaghetti. Currently (ha!) I have; Headlights high and low Indicators Hazards Park lights Brake lights Wipers and washers Heater blower Acc, main and start off the key A glow plug timer I have the glow loom stuff hacked out of the Safari loom. Things going surprisingly well, I have only blown 7 protection fuses during engagements.2 points
-
2 points
-
really wasnt planning on getting another 250 - but breaking my 1st bike just before i could sit my full means i now own this 83 GN250 Original model so - no rev counter + Drums front and back Starts first pop every time - barely needs the starter to be pressed even new muffler and alternator/chargerdealie that bikes have black chrome no speed demon - cruised home at 100 (tho was passing eveything so i think the speedo may stick at 100) runs on 0 gas future mods - nothing just keep her tidy - has the usual dodgy chrome but its not too bad may slam a ram tube on the carb for lols Bike will be for sale in a couple months1 point
-
Got them back on. Need bit more testing, but looking like same results all the way through..1 point
-
Wooohooo!1 point
-
The silvertop was the first couple of years of production, then they lightened everything and it became known as the blacktop. This meant things weren't as robust, but then the factory blacktop turbos had extra oil sprays under the pistons etc. The silvertops take turboing just fine, the non turbo blacktops don't. Factory turbo blacktops take more boost pretty well. The silvertops are considered pretty bullet proof either way.1 point
-
what is the difference between black top and silver top? I'v never actually actually bothered to think about it.. Nice progress btw1 point
-
I emailed nzta when my impala was listed at 6 cylinder engine size, but was a V8. I took a photo of the chassis tag which had a "x" in it, which denotes factory V8 in Chevrolet's chassis code, as well as the details on how to decode the chassis numbers and they emailed back saying all done! Easy as that.1 point
-
You want what they call a state machine. Im on my phone and dont wan a write code on it haha but will help out if you're still stuck Monday1 point
-
Maybe have a bool value to tell you current warning state? So if youre within xyz parameters and currently not in warning state. Run the code to flash the alarm. But if already in warning state do nothing. Then maybe it could time out or turn back off when xyz conditions are met.1 point
-
The engine is a nothing flash 4.7l V8. making a reasonably flash for an mx5 310hp and 400 something nm filthy, but not an ugly motor which is nice. i plan to keep the automatic and manualise it. the trans computer should be able to to be programmed to behave like a sequential manual trans and ill make a big gear chopping stick. and the goal for this car is to be as fun as possible for as cheap as possible. it wont be a competitive race car. but it will be a stupid amount of fun
1 point
-
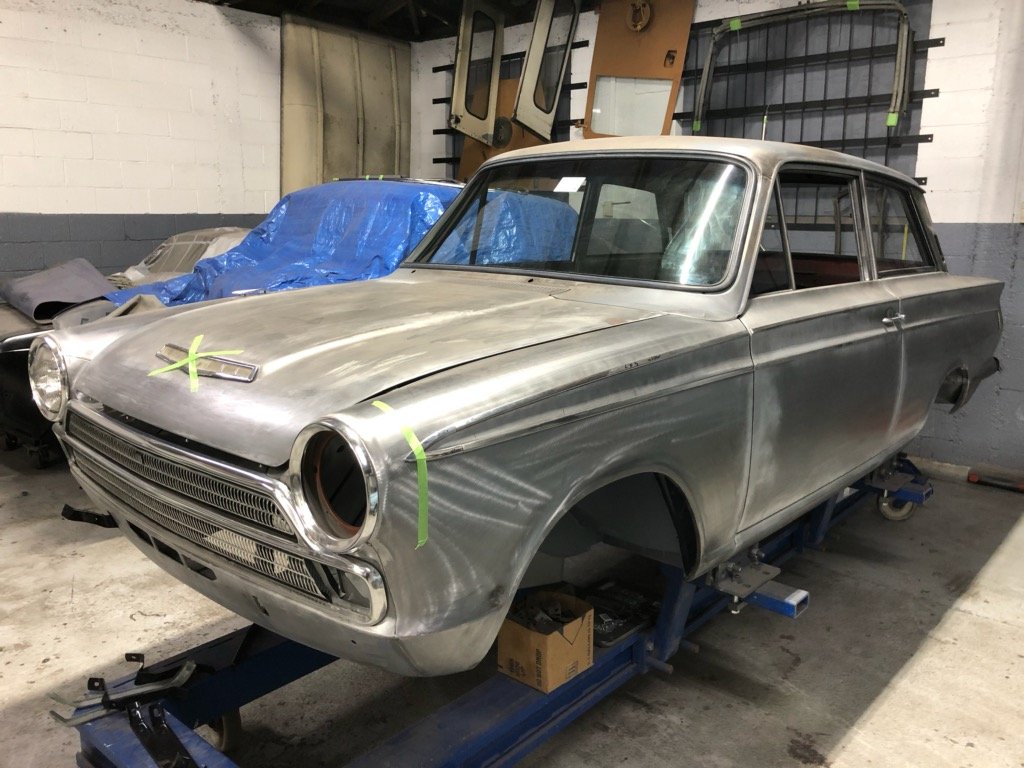
Ore progress on trial fit up, installed glass but not happy with the new rear quarter window rubbers so looking at another supplier. Quarter bumper brackets need so work as well as bumpers don’t sit quite right.
1 point
-
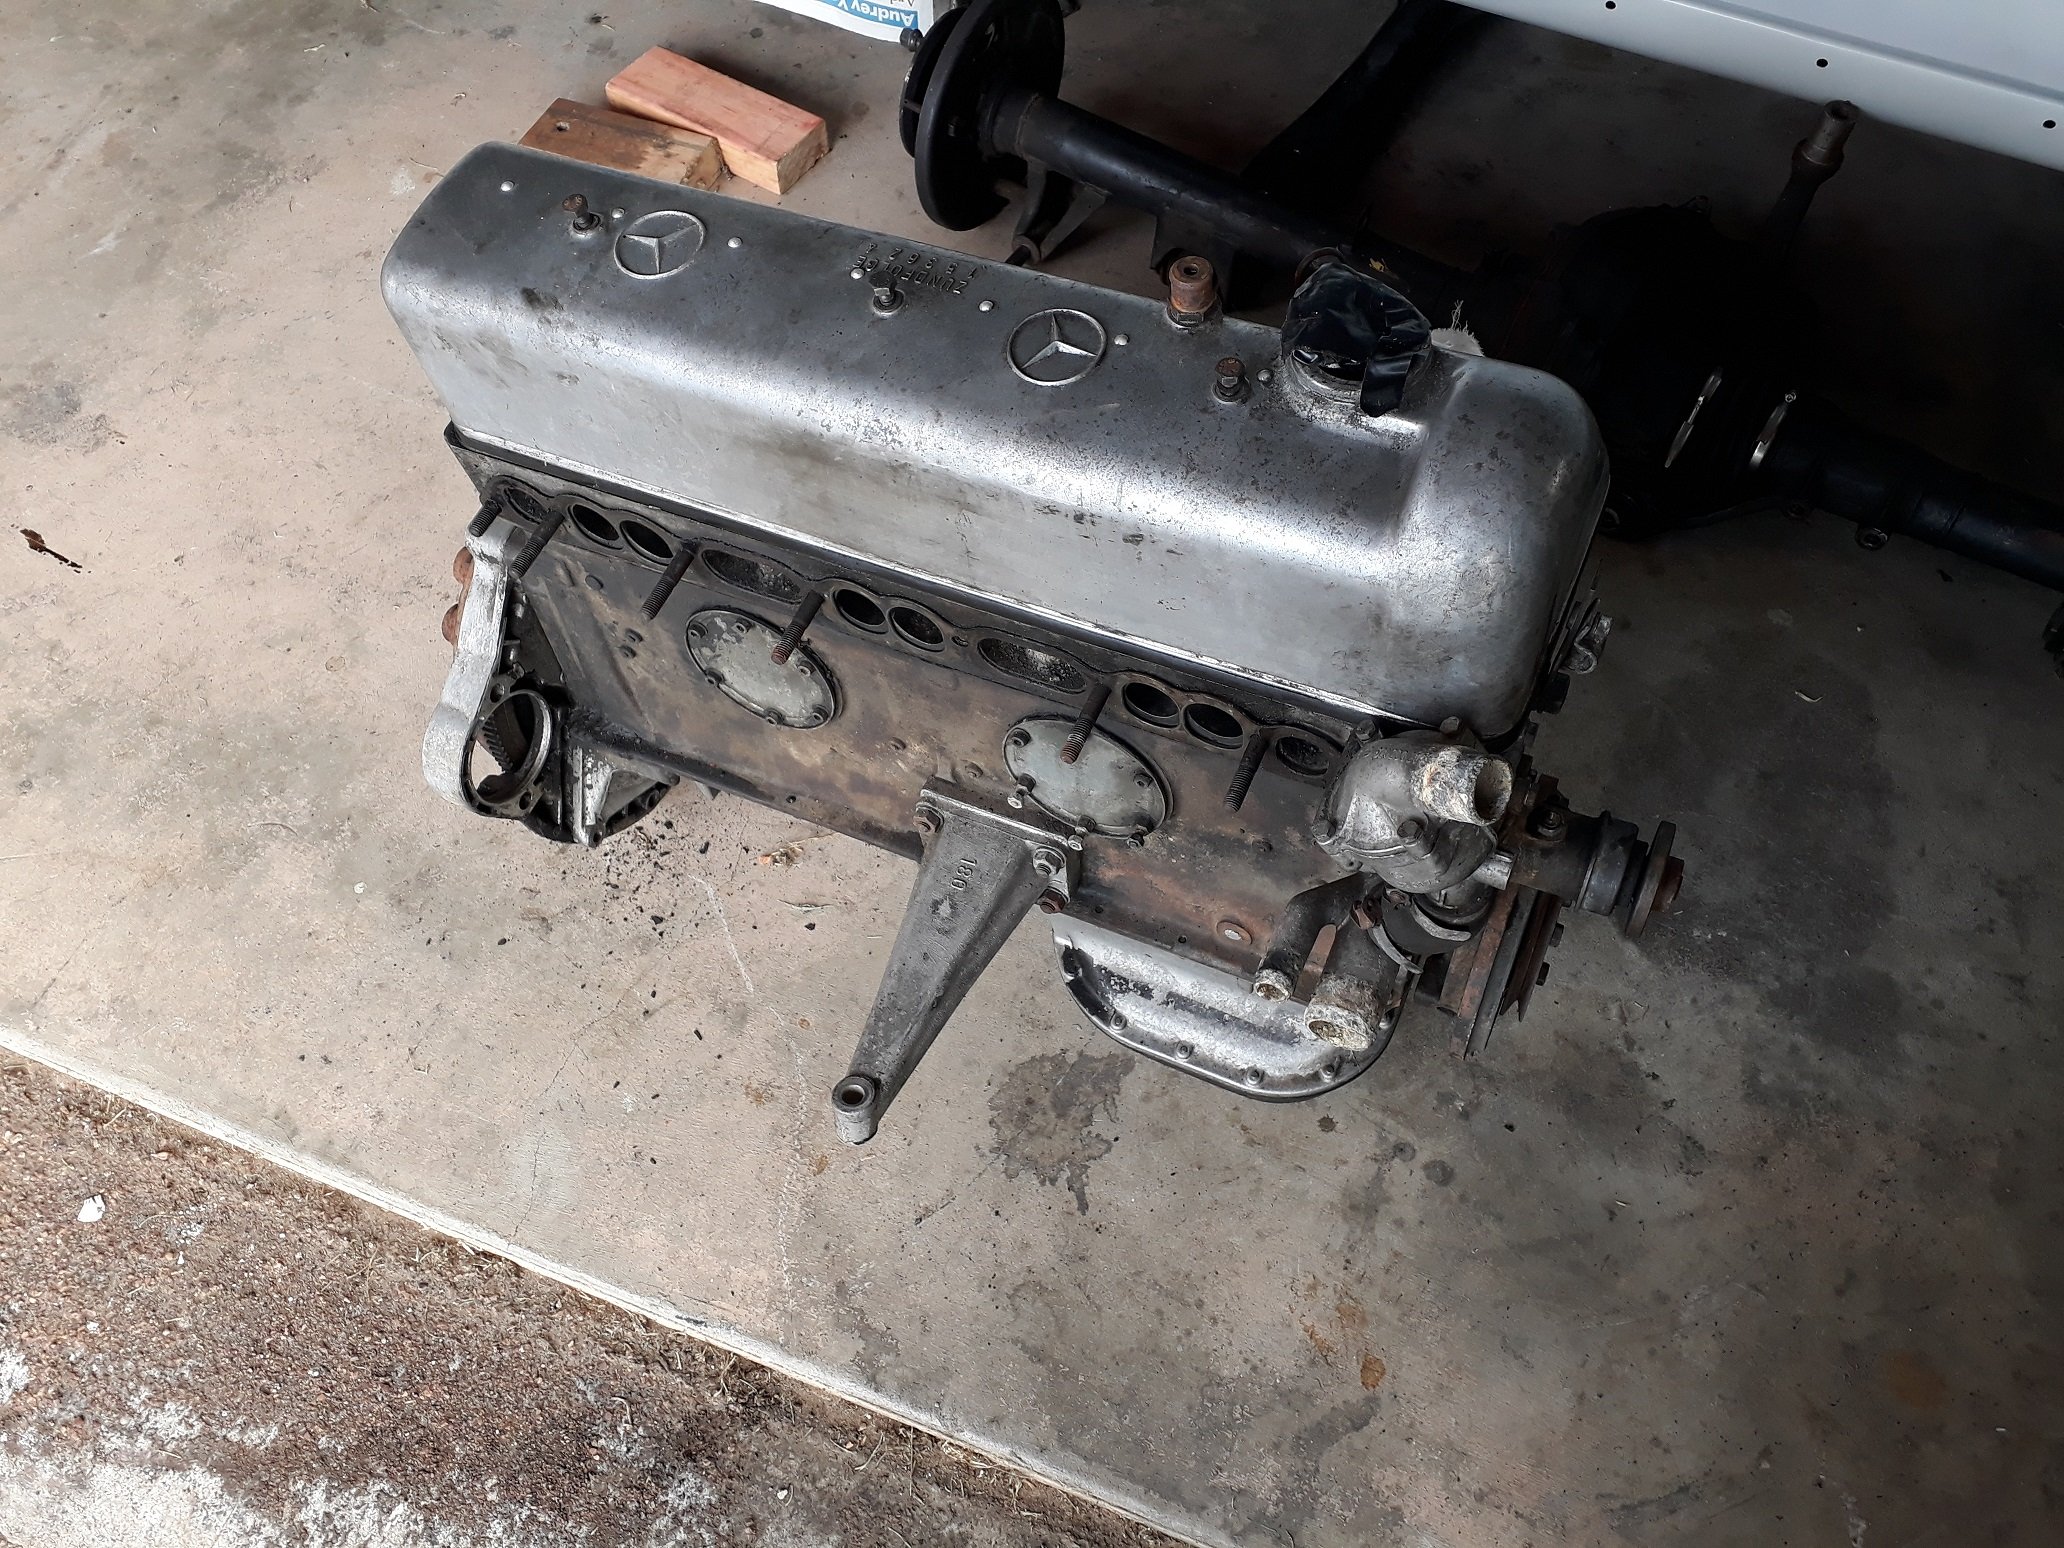
Temperature has dropped and work has slowed. Have been deliberating over engine choices for aaaaages, was pretty set on running a M104 (basically a Merc RB/JZ), other alternatives included an M271 (supercharged 4 cylinder thing) or an OG M180. I flip flopped for about 18 months until this popped up on trademe for $1 reserve, it's mine now. So I brought a 54 year old engine that 'ran when parked' 20 years ago sight unseen. It's not an L series Datsun donk but rather a Mercedes M180 which is what these cars originally came with. It doesn't look half bad under the rocker cover but even with the plugs out and a bar on the front pulley it has no enthusiasm to turn over so could be seized, more investigating required..
1 point
-
Its Toyota, they are metric race cams. .750 race1 point
-
Some new filters...1 point
-
An exciting update this time! My wagon was featured in this months NZ Performance Car Magazine (Issue 271). Definitely one ticked off the bucket list, I never thought I would have one of my cars featured in a magazine, so this is super exciting. It's a really great 7 page article, it's out in stores now so pick up a copy if you get a chance, well worth the read Back to upgrades on the wagon. Finally got my custom carpets installed. I brought a standard set of Avenger carpets from Autodec, then got them modified and installed by Supertrim. It makes it look so much more finished now The rear carpets didn't need to be modified, I only needed to customise the front for the bigger transmission tunnel Also got carpets for the boot, and brought a bit extra to do the back of the rear seat Got some New Old Stock tail lights from Ebay UK. The shipping was more than the lenses themselves! Ouch! Also got some NOS clusters also New tail lights installed. Looks really nice Now that winter is coming™ I wanted to figure out a way to still be able to show my engine bay at car shows but also keep rain out of the trumpets. I took one of my trumpets off and went down to the local hardware store to find a sink plug that fits the trumpets. They are 50mm trumpets which is a common size so I had a good selection of plugs, so I could find one that I liked. I brought a little "Remove before flight" tag so I can just pull the chain and take them all off in one go, and also it will remind me to take them off before I start the engine, not that the engine would start with them in place. What do you guys think of the plugs? I might tighten up the chain, and also change the hoops on top of the plugs for something a bit smaller, like a little keyring. Discuss1 point
-
Took this thing for few hoons lately its finally running pretty good again ive gone back to roughly a 50:50 mix of ethanol and petrol the carb just couldn't suck enough fuel through on E85 to let it rev out. Ive also stuck the external carb bits through the ultrasonic cleaner at work which rattled out plenty of chunks of shit (mostly lead) It now starts runs and revs out nice again. I changed the exhaust a bit to a 1 1/2 slash cut end to help it exhale a bit better which has doubled the noise it makes as well.
1 point
-
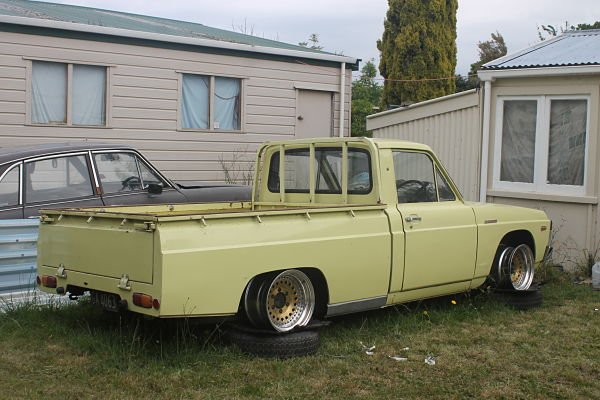
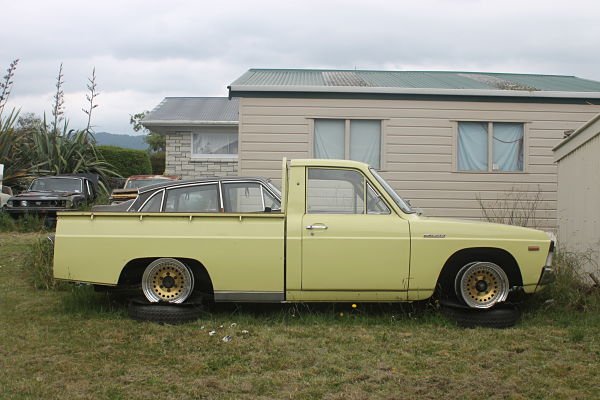
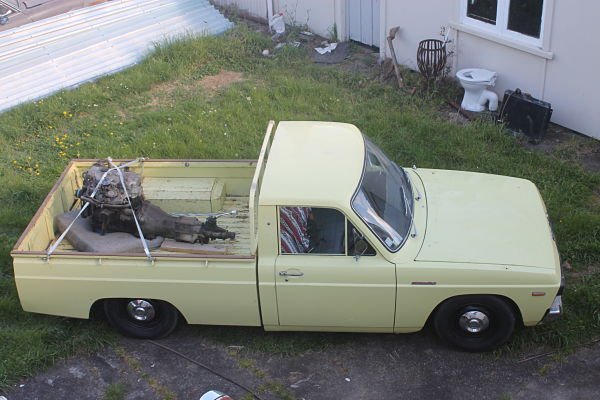
The ute hasent been doing to much lately but i recently picked up a MA engine for it, so that should hopefully increase performance slighty. And then these cool wheels popped up for sale, so i had to get them. Just the gold against the yellow sounded so good in my head! i gave them a test fit and they look better then i actually imagined! They are slightly to wide for it, but im just gonna chuck some tires on them and go from there. Other small things to do this month. I wanna try bring it to the old school palmy monthly meet! Finish making sill extensions, get them color matched. Buy fender mirrors, Get a mazda sticker made up for the tail gate.
1 point
-
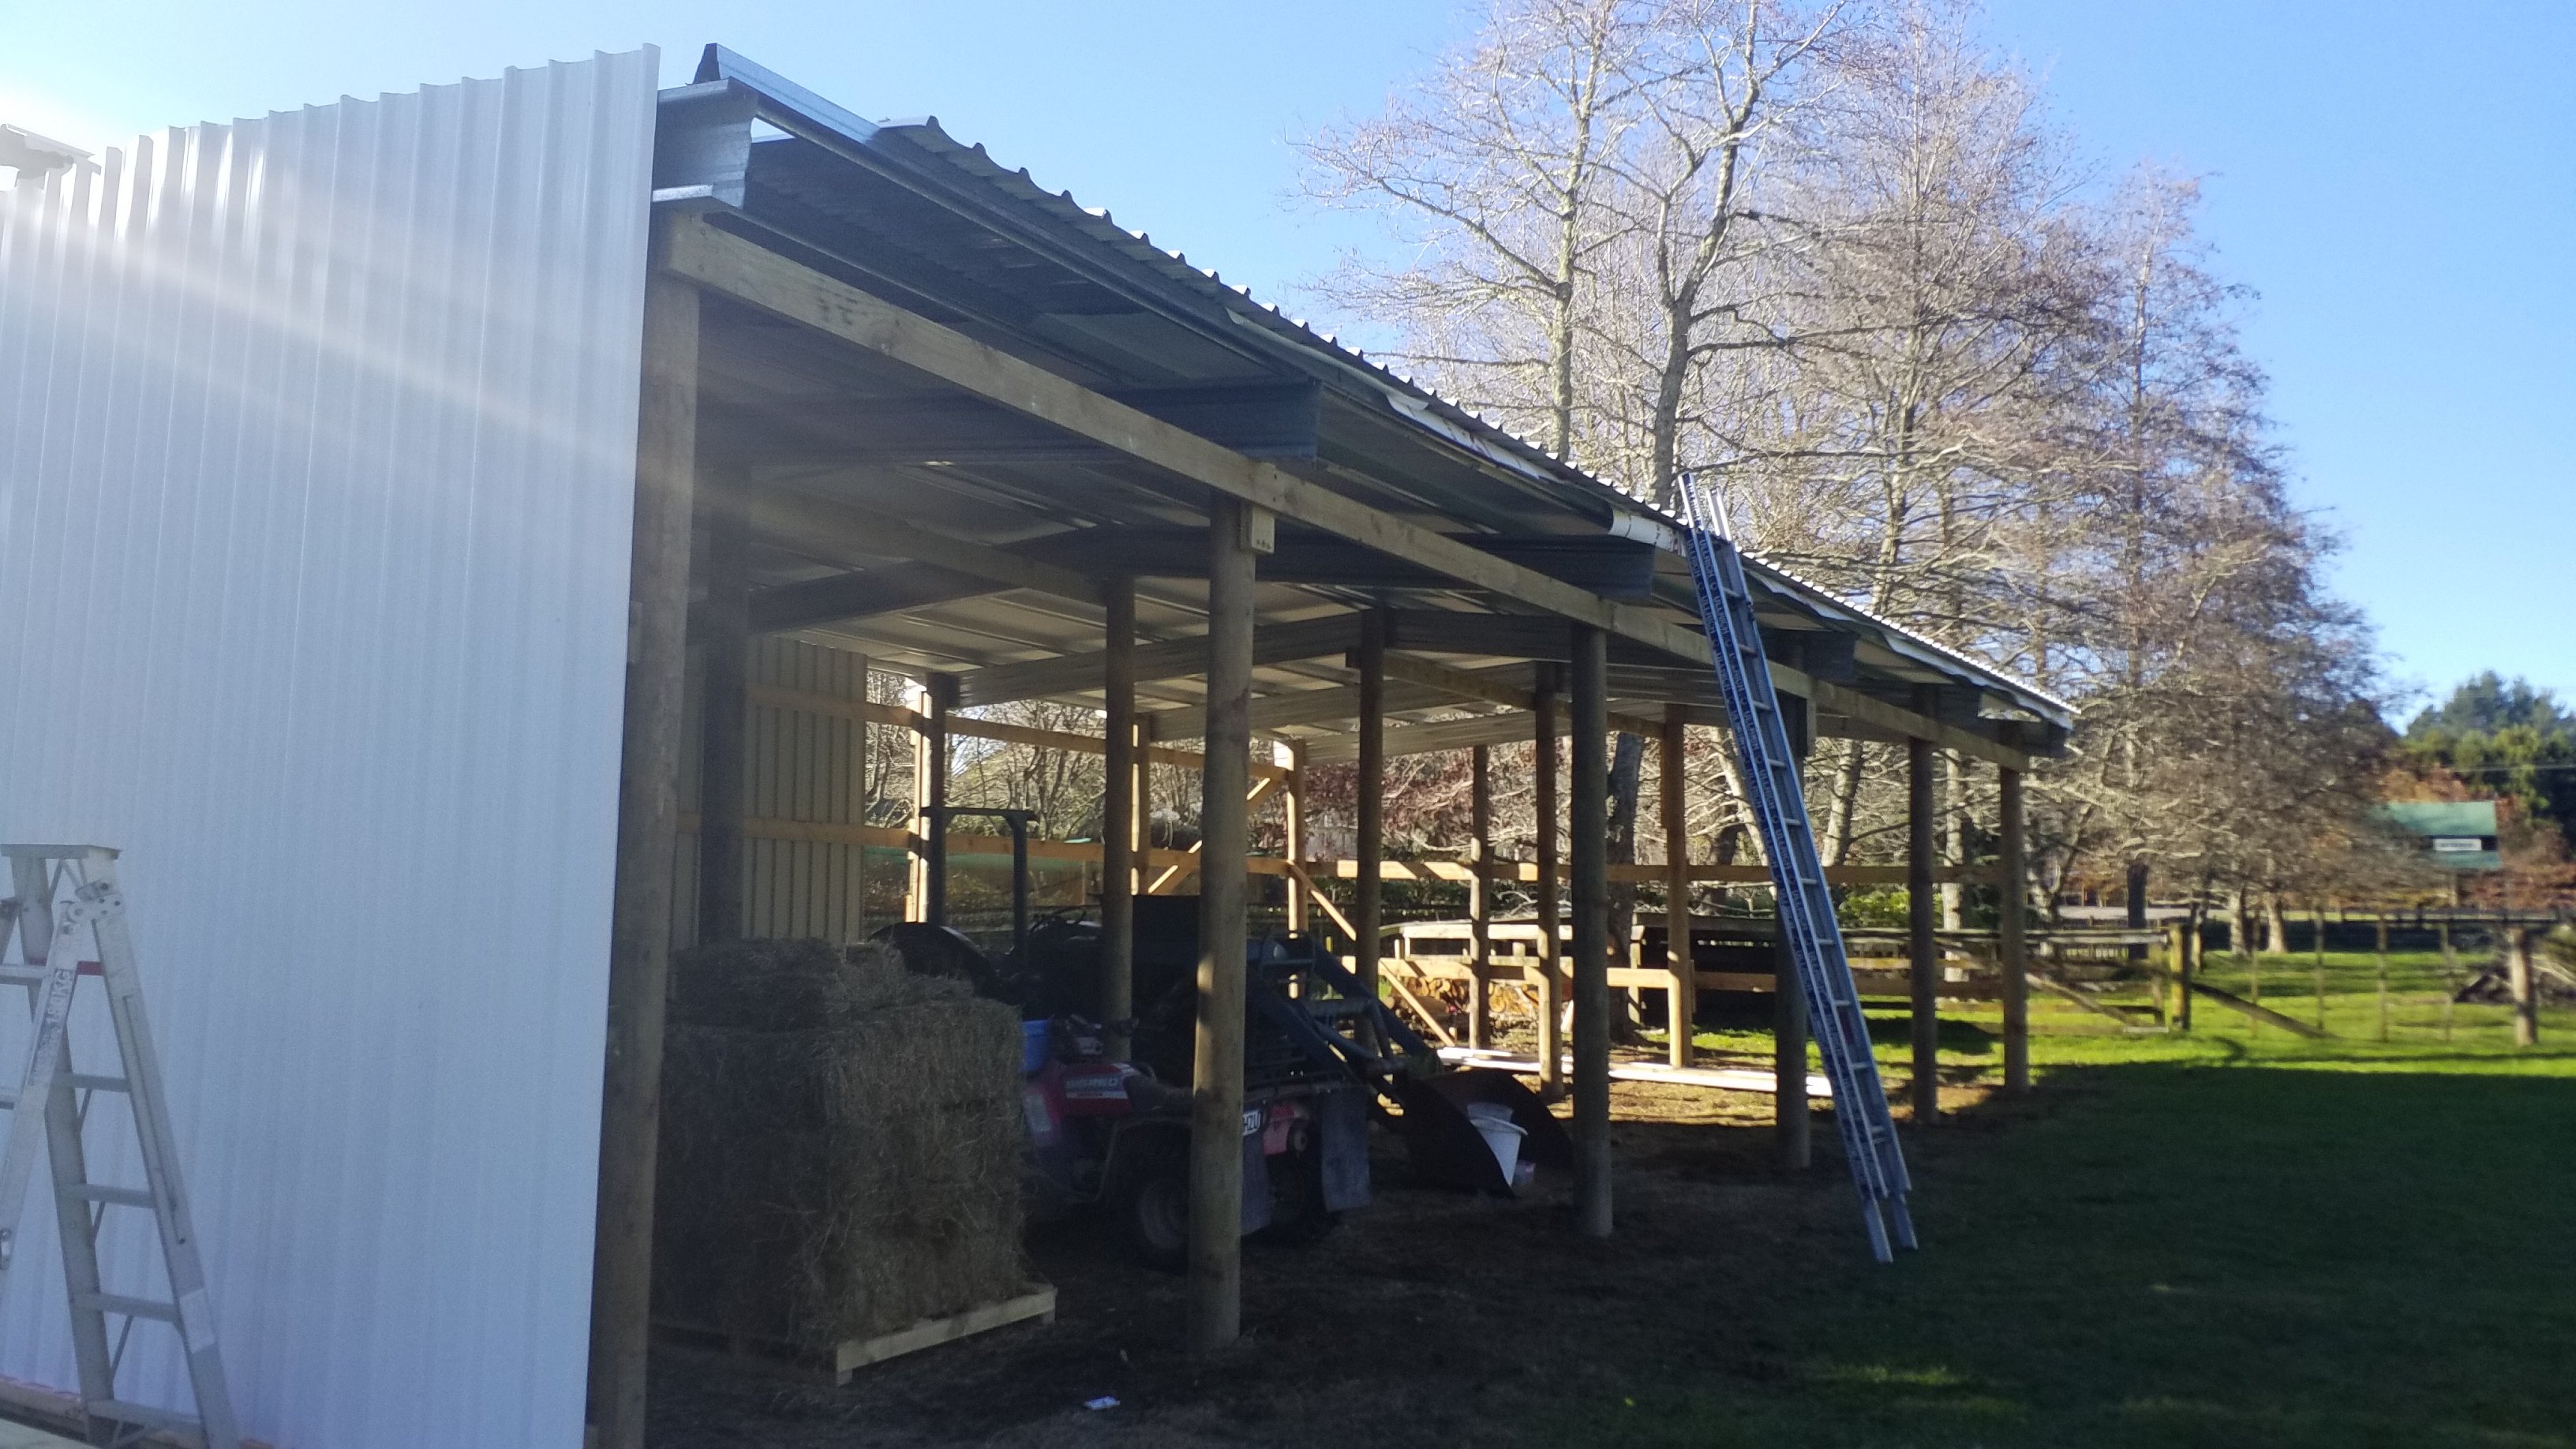
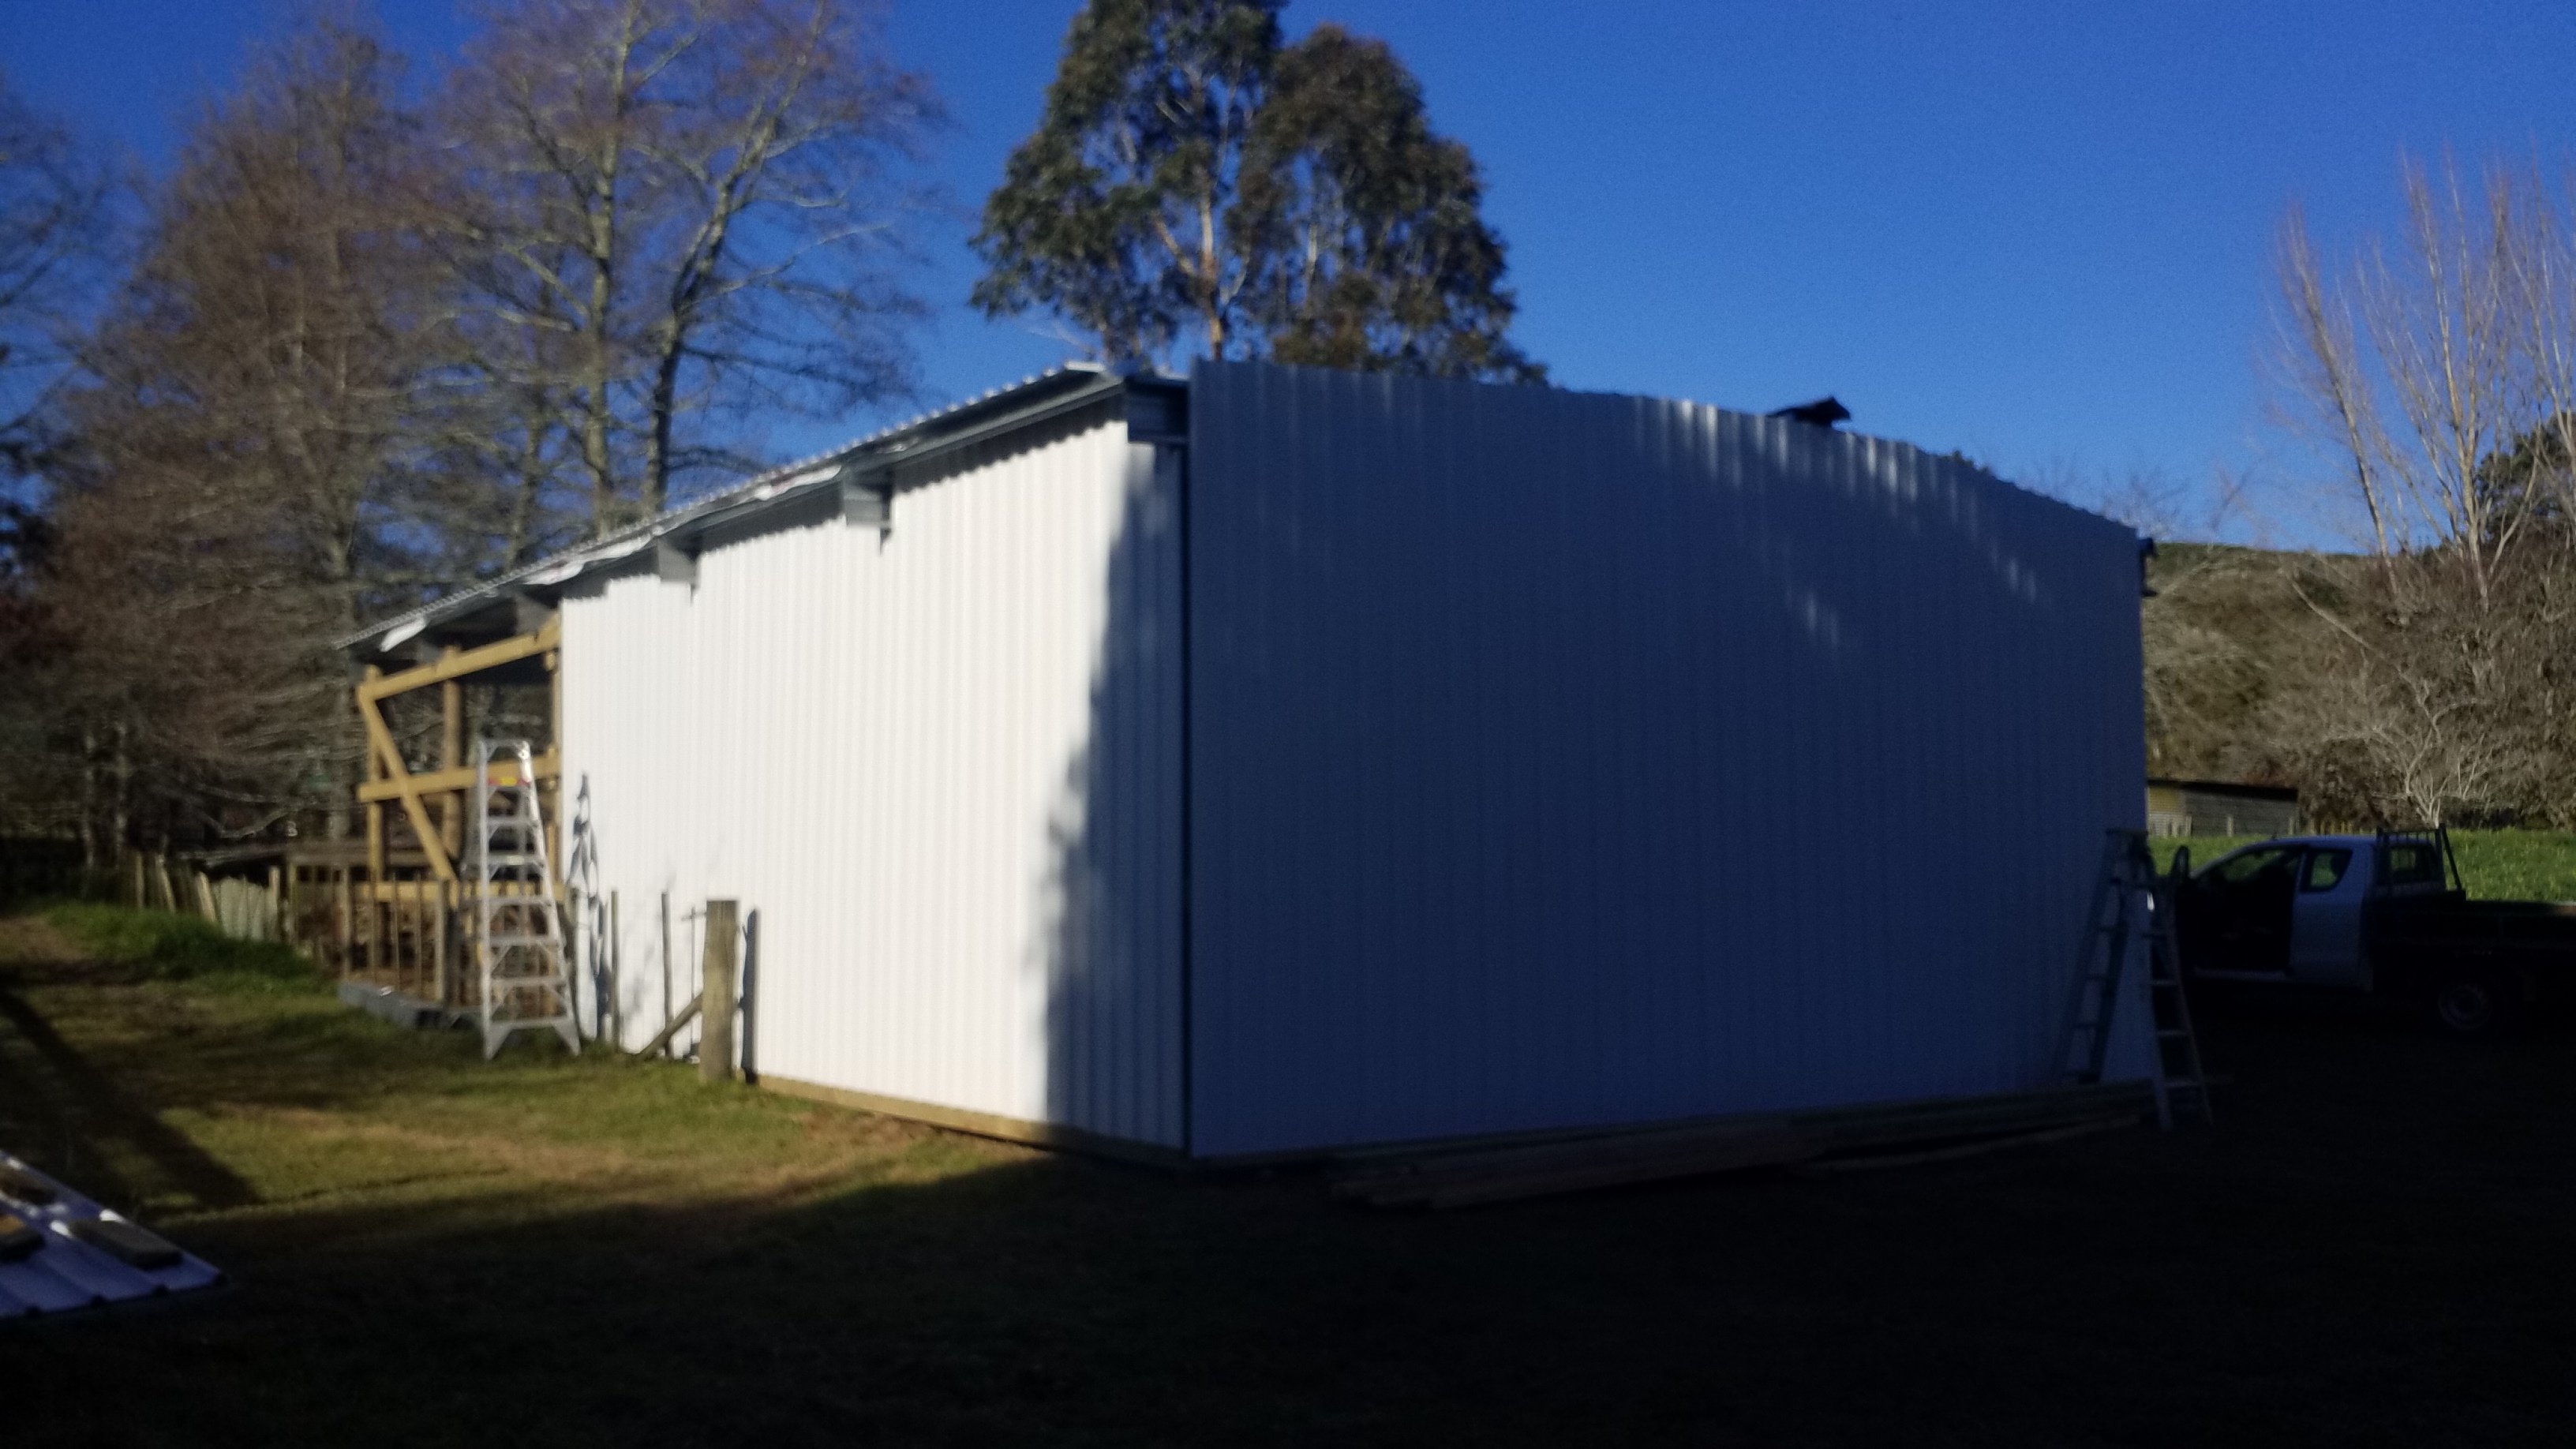
Saturday was a right-off because of weather, Did manage to get everything prepped for the roof in between showers. So on sunday I did this, Roof and half the walls on, Bloody shattered now.
1 point
-
Well this thing still hasn't left the garage yet. Funds have slowed down greatly now as well as we've started saving for a house pretty seriously but still putting a bit away for it. Motivation was on a decline so went to the shop and got it a nice and shiny air filter (actually ended up returning and getting another as the 4.5" was too tall for the little 1300). I also dropped in to Weber Specialties to have a catch up with my old mate Murray. He's convinced me to bring in the IDA for him to have a look at as it's setup is a little unknown (previous owner had it on both a bp and pp setup), and he's going to sort a throttle wheel and help me shorten the cable. Looking to sort a malpassi fuel regulator for the old girl as well. In the pipeline I'm also looking into the ignition setup and seeing what options are available,so plenty of reading up to do get my head around the ideal setup. Cheers
1 point
-
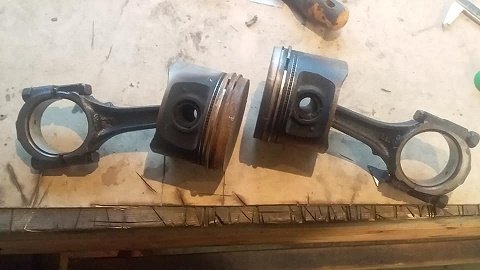
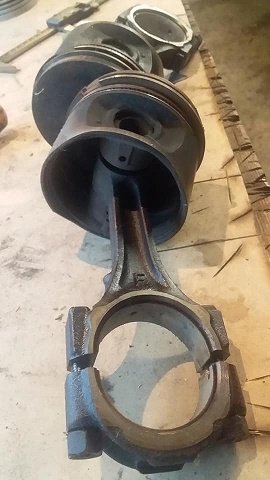
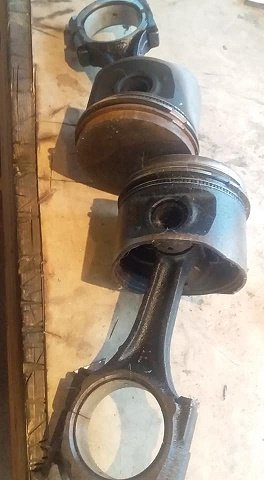
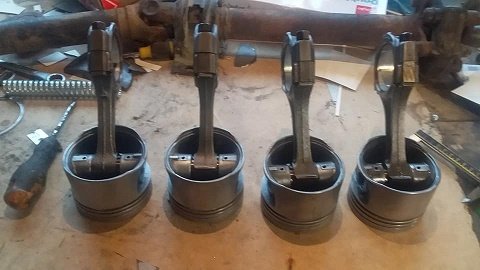
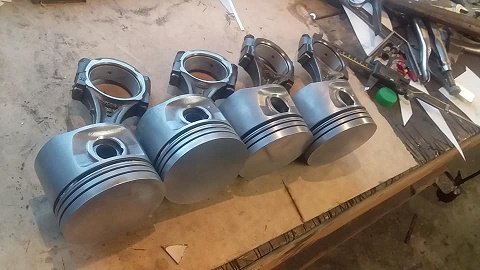
well after over 2 years of ownership and passing every wof so far as well as never really letting me down apart from the few times it hasn't wanted to start. there are a few issues with the old girl...after last years hamner meet it picked up a vibration in the drive train.(still looking into that. the motor starts and runs well but it blowing smoke (valve guides are stuffed .(working on that now) so i do have a 205 pinto motor in bits so im going to rebuild that and to factory spec ...no interested in huge cams and twin side drafts ..im happy with the motor in my cortina now so just want the same....its good on gas and can pull a trailer with another car on it fine. so i started cleaning up the old 205 pistons.
1 point
-
hi. so 8 years after i bought a supercharger and 5 years after i made a manifold for it im actually going to install it. old people like me will tell you about how times speeds up and you just dont know where the time went but this is fucking ridiculous. how the fuck has it been 5 years since i made that manifold? how? anywho. i took the motor out. its fairly depressing to look at the engine bay that i once spent so much time and effort on and see what a pile of crap it looks like now. still, me, and a few other people too, have done a bunch of Ks in this car. ive dailyed it for almost 8 years, driven it to invercargil and back, been to heaps of nats in it, leadfoots, Toyota nationals, thrashed it at countless track days, done 70,000Ks in it. and its NEVER missed a beat. not fucking once has it ever let me down ( you could count the time i blew the gearbox up but any idiot who puts a W55 behind a UZ deserves all he gets). cant complain about that i suppose. so now its time for a new look, a new motor and a new other things as well. first point of business, motor out, 2019-05-31_08-22-40 by sheepers, on Flickr 2019-05-31_08-22-32 by sheepers, on Flickr 2019-05-31_08-22-24 by sheepers, on Flickr as it now takes me 27 years to scratch my arse i doubt the progress i used to make on projects is going to be a thing again. so dont expect me to have this thing finished by monday as i would have done in the old days.1 point
-
Sunday night update time. For a start it continues to look fucking banging. I mounted some trad looking but actually LED tail lights. I added a mount spot for a Ute crane, pretty sure I have found one cheap. Then I sucked in my gut and pretended I wasn't scared and started laying out the loom. It took all weekend to get to this stage lol. Mostly it was separating things out to where they need to head to and figuring out what wires did what for the steering wheel controls. I also broke the heater blower and wiper stuff out of the Dyna loom so I can feed them from a DC DC converter. @moparmuppet kindly dropped a convertor off to me and had a perv the other day, although it might not be chunky enough, it is rated at 8a continuous. I also pulled a whole lot of important looking shit to do with glow plugs and such out of the Safari loom. Interestingly it doesn't look like the new loom has relays to run the main lights, but I have pilfered those from the Safari setup as well. I am feeling surprisingly comfortable with all this which I was not expecting. Maybe tomorrow I will apply power to it and let the smoke out. That will be halarious.1 point
-
The little IMP is now all road legal !!!! I refitted the carb this morning, hoping for the best but it was still terrible. I just couldnt get it to idle below about 1500 rpm and it had a big flat spot on light acceleration. So I gave up and we drove it to town, the long way through Kaiteriteri so I could have some fun on the windy road there. Wow its fun! Soooo much fun. Even with an engine that wouldnt pull properly, horrible flat spots, tyres that are definitely too high in pressure, a few clanks from the yet to be fully secured pipework, noise from the un-insulated engine bay shelf, noise from no carpets, fumes being drawn in through the old heater hose routing holes etc etc... it was still fun. It really is like a big go cart. The steering is lovely. Gear shift is great. Brakes getting better as they bed in. The temp gauge sat pretty much bang on an indicated 80 degrees C whch I reckon is more about 90. Fan only came on when we stopped, as expected so I was really happy about that. We got to town and straight into the booked WOF slot. Our local friendly wof man just loved it. Kept saying how cute it was, how neat the install was etc. Really impressed. Did all the check things as usual, test drive and it was all good. We looked about all the neat stuff in his workshop.... WOF attained and we went to the local council and got a years license. $47 - yay for old cars. Did a shop at supermarket, did the proper look back over my shoulder at my little Imp, sitting there in a sea of bland grey modern cars, looking sooooo tiny. On the way home we popped in to show it to another couple of fellas who run a nice country workshop and had sorted out the tyres for me. They too loved it and the older fella reckoned it was running way too lean and certainly had a big air leak somewhere. Then off home, this time driving over the much steeper longer climb. No worries even with terrible carb. No increase in temp. Yay for that. I got home and removed the carb. Discovered two things. Firstly. Spot the schoolboy error here... Yep- That accelerator pump can go downwards for sure, but not if the lever pushing it down cant go up at the other end! My air filter base was stopping it. This also meant that along with only a tiny bit of travel I was also not getting the secondaries to open properly. Easily sorted with a hole, some alloy and some epoxy. Second thing- this... There goes my air leak. Air getting pulled in through that huge split, past the accelerator pump piston and into the venturi. Well at least I am pretty damn sure that this is the culprit! Reporting back with findings soon.....1 point
-
Hannah got to drive it yesteryear evening. She loves it I knew she would. Hannah's first classic was a little imp super she bought in the UK and she joined the imp club back then. Did a few local meets in Oxford. This was her first drive of one since then. We popped down to the beach last night... The little car is going well but for a stumbling idle. I cant quite tune it out because the throttle spindle was so worn. So last night I took the carb off and stripped off the linkages... The gap is quite large! .... I'll keep a look out for a better carb body but for now I have to improve this one. So I went through my collection of rubber washers and found one to suit, which I did. Its a good snug fit over the shaft and sandwiches in neatly between the body and the first bit of linkage... Then the other end. Nothing to sit a washer on. So I dabbed a bit of automotive silicone on top and let it set. It flexes enough to let the shaft turn so its now well sealed... I have yet to try it out. The car is booked in for a WOF today so wish me luck1 point
-
Righto. Exciting news. However I shall start where I left off. So last time I moved the car under its own steam resulted in quite literally its own steam, all over the floor when the heater matrix decided to give up. I swapped that out with a spare unit I had, replaced that seal in the clutch slave cylinder, fixed another couple of wee things and prepared it for the big drive. I also lowered the platforms on the front dampers and got the car down to a much better height. I may well raise the front by around 5mm later on so to get the camber a little less negative. I'm not a huge fan of excessive negative camber nor does it aid in handling unless corning at 9/10ths all the time. The car looks so much better low all round. I took some photos.. Now lets take it for a drive! This time I made it about 1 metre further then last time. Then I stopped to look for the cause of a terrible rattle coming from the flywheel/clutch area upon engaging the clutch only. I suspected the spigot bearing (which foolishly ...when will I learn... I thought was a bit worn but it would be OK..) Upon Hannah sitting in the car depressing the clutch for me to investigate the sound, the drive to the box stopped. Bug-ger! I thought it might be a broken friction disc hub etc. Same scenario as last time... push the car back in feeling quite a bit pissed off and this time we both went for a decent run. Get away from that car I thought! Proper exercise is my go to thing for instantly feeling happier So that night whilst in the middle of engine and box removal I discovered that the clutch slave had pumped out, again, and was holding the clutch in I released the bleed nipple and the clutch fork returned home So I now suspected two things here: Either the flexi hose had broken down inside and was restricting fluid returning quick enough so instead the master refills from the reservoir. So I had a new hose made to rule that out. Or was it the little one way valve within the master, of which I had made a new spring for to replace the missing item, opening too easily. Possibly it was easier for the master to draw fluid in quicker via that valve then refill from the returning fluid from the slave. Hence the slave was getting pumped out with each push of the pedal. It stayed out in increasing amounts by about 4mm each stroke! So I bought a new 'proper' spring whilst I was at the brake shop too. So there it sat- engine not exactly where it should be. But I do like this shot though... So out with the engine and trans. I made a wooden cradle this time which I lowered the engine into. It made it much easier and meant I was able to have the engine and box sitting on the large mobile steel bench and I could then work on it at a decent height. I removed the transaxle, then the clutch, adaptor plate and finally the flywheel. Gave all those bits a clean. The flywheel has been lightened quite extensively and weighs up at 6kgs. A standard item is about 9kg... Here is a good shot of the alloy adaptor plate that joins the box to the engine. Its quite nicely made... The spigot bearing was indeed pretty worn once I had a good look at it... It was indeed allowing the first motion shaft to just tap inside the release bearing guide tube. I bought some Phosphor bronze and made a new spigot bearing. No photo of resulting new bearing- but rest assured it looks pretty much like the old one but this time without enough room between its bore and the shaft to house several Badgers. I reassembled that lot and had a looksie at the transaxle reverse gear plunger... I was not happy with how much effort there was involved in moving the gearstick into the reverse plane. I knew what was 'grabbing' and had an idea on how to improve it... There is this lockout plate that rotates in an arc as you move the lever across the gate in neutral. There is a spring loaded plunger that has to be pushed in to select reverse. However the edge on the plate is very sharp and rather then sliding over the plunger as it pushes it in it digs in a bit. I could feel it through the lever. You can see it here... You can see scrape marks on the cone of the plunger... So I gave the edge of the plate a gentle tickle with the grinder.. I also took the corners off on the plate here... where they slide through the slots as you move across through neutral here ... Resulting in a much nicer shift. It will be improved further when I get a proper ball for my shifter and I suspect my flexible coupling at the end of the shifter tube onto the transaxle is a bit too flexy. The trans was reunited with the engine and slung back into the Imp. It all went back in nicely. This morning we re-bled the clutch system and YAY !!! It works better with the slave returning instantly. Filled the cooling system back up, having added a bled nipple on the thermostat housing which improved the bleeding of air from the system hugely. I'd also forgotten to mention that a fair while ago a fella on the Imp forum mentioned that my stainless tubes tat run under the floor should not really be touching each other all the way down. The hot one will heat up the cool one. Not good. I didnt think too much of it but it bugged me so quite some time back I ended up ovalising them which gave them clearance all the way down... I also made a throttle stop so not to break the cable... With that it was about time to go for a drive.. Success! This time no rattles from the clutch area, clutch worked fine, battery was good. Ran it up to temp and bled all the air out. Temp went up to about 80 degrees C indicated and sat there. It was a fantastic sunny and pretty hot Autumn day for a drive. All the smoke from oil spills, coolant spills etc burnt off. I checked the timing which was about spot on at factory setting. Gave the carb a tweak so the car idled nicer but it'll need more attention. It has quite a worn primary throttle spindle and I think that combined with that light flywheel makes it hard to get a super smooth idle. Enough is enough though. I finally took the plunge and did this....... I came back beaming. It drives pretty well. Wanted to stall when stopping, because of that lumpy idle. Has a slight flat spot down low but once on the secondaries it fair flies along (well.. for a Datsun powered Imp) It sounds much better then I was expecting. I parked it up and checked all the usual things. No obvious leaks and the fan came on after I adjusted the knob on the thermoswitch. Fan is loud but works really well- very efficient. Happy, relieved, excited. We both sat down on the sofa, had lunch and a cold beer and admired the little blue car in the sun. Yay1 point
-
Doubt no longer Pete, it is a beautiful thing. The plan is to swap the bulbs and relays, then run it all at 24v. There is stuff like the blower motor and wipers which might go a bit too fast and let out smoke at 24v, so I will get a DC DC converter and run them at 12v off that, with the signals driven through relays if needed. That's the plan anyway.1 point
-
small update on this, new engine is still a work in progress. New block has been bored out for the toda pistons, new rings acquired ( was thinking about getting something higher compression but spent too much already) Crank; the crank out of the spare 4agze block was bent?! Was over old junk by this point and brought a new genuine crank thanks @CorollaGT Head had 2 bent exhaust valves, which had no signs of contact on the pistons when pulled the engine apart, unlike the inlet valves. guessing i may have got slightly aggressive on the exhaust cam timing at some stage. Otherwise its fine. Done a little work in the chambers while head is off. Hand finished the transition into exhaust seats. previously was a small lip, knocked that off into small radius. plus knocked off a few other little bits . Assembled with kelford beehive springs and ti retainers, top side is even lighter now due to the smaller diameter of the spring and retainer. engine guy has the last exhaust valve, as needs a little bit of a zing to get clearances correct. Going to ditch the oil cooler for now. First reason being, it probably has bits of rod bearing stuck in it. also suspect it even needs it, plus is more shit to go wrong and it weighs something. so yeh mostly the last too reasons.. have welded a bung in the sump to monitor oil temps. before the sensor was in the sandwich plate for the cooler. tl;dr : found more broken stuff. spent more money. should be running again sometime1 point
-
cars back on all four wheels now. found lower ball joints locally no problem, but was concerned about the stress the upper may have seen, when it was all that was holding a wheel dragging at 90* along the road. so have got some of those inbound from Australia for piece of mind. i did take it slowly around the block and had a bit of a frightening light bulb moment, i had initially been planning on getting the car a wheel alignment because it didn't return to center all that well when turning. but with the new lower ball joints is now spins right back to center quick as can be. guess we know what the real problem was now, never did feel any play when i looked quickly when swapping wheels. oh well live and learn.1 point
-
anzac day progress. been feeling pretty good lately with the old back, im down to half my pain killers (except for today where i took some after breakfast because leg was turbo sore) so with that in mind ive been doing a bit more on the coupe. today i installed new inner and outer tie rods, new upper and lower ball joints and a second hand but pretty good pitman arm. i also topped up the steering box with Molly grease which has made quite a big difference. lets be honest, the steering on these things is pretty hard but its slightly less shit now. i have a power steering box to put in this which ill do after compliance. i dont have a bracket for the pump if anyone has one for a square port 4M.... so with that done i decided to go for a drive. the longest drive ive ever done in it, about 5Ks around the neighborhood. went up to westmere then down to the beach. this thing goes so well. the suspension is fucking ace, it dosent rattle or vibrate, the auto is smooth and changes perfectly and the motor hasn't turned to shit yet. the radio works and the heater /fan all works mint too. its fucking ace. and your not gong to believe this but it did a skid turning right onto the main road! ive got a few little things to tidy up but then its on to compliance!!! 2019-04-25_04-50-20 by sheepers, on Flickr 2019-04-25_04-50-11 by sheepers, on Flickr 2019-04-25_04-50-03 by sheepers, on Flickr1 point
-
And a trailer of.....well if you asked my missus it's called "Rubbish"......
1 point
-
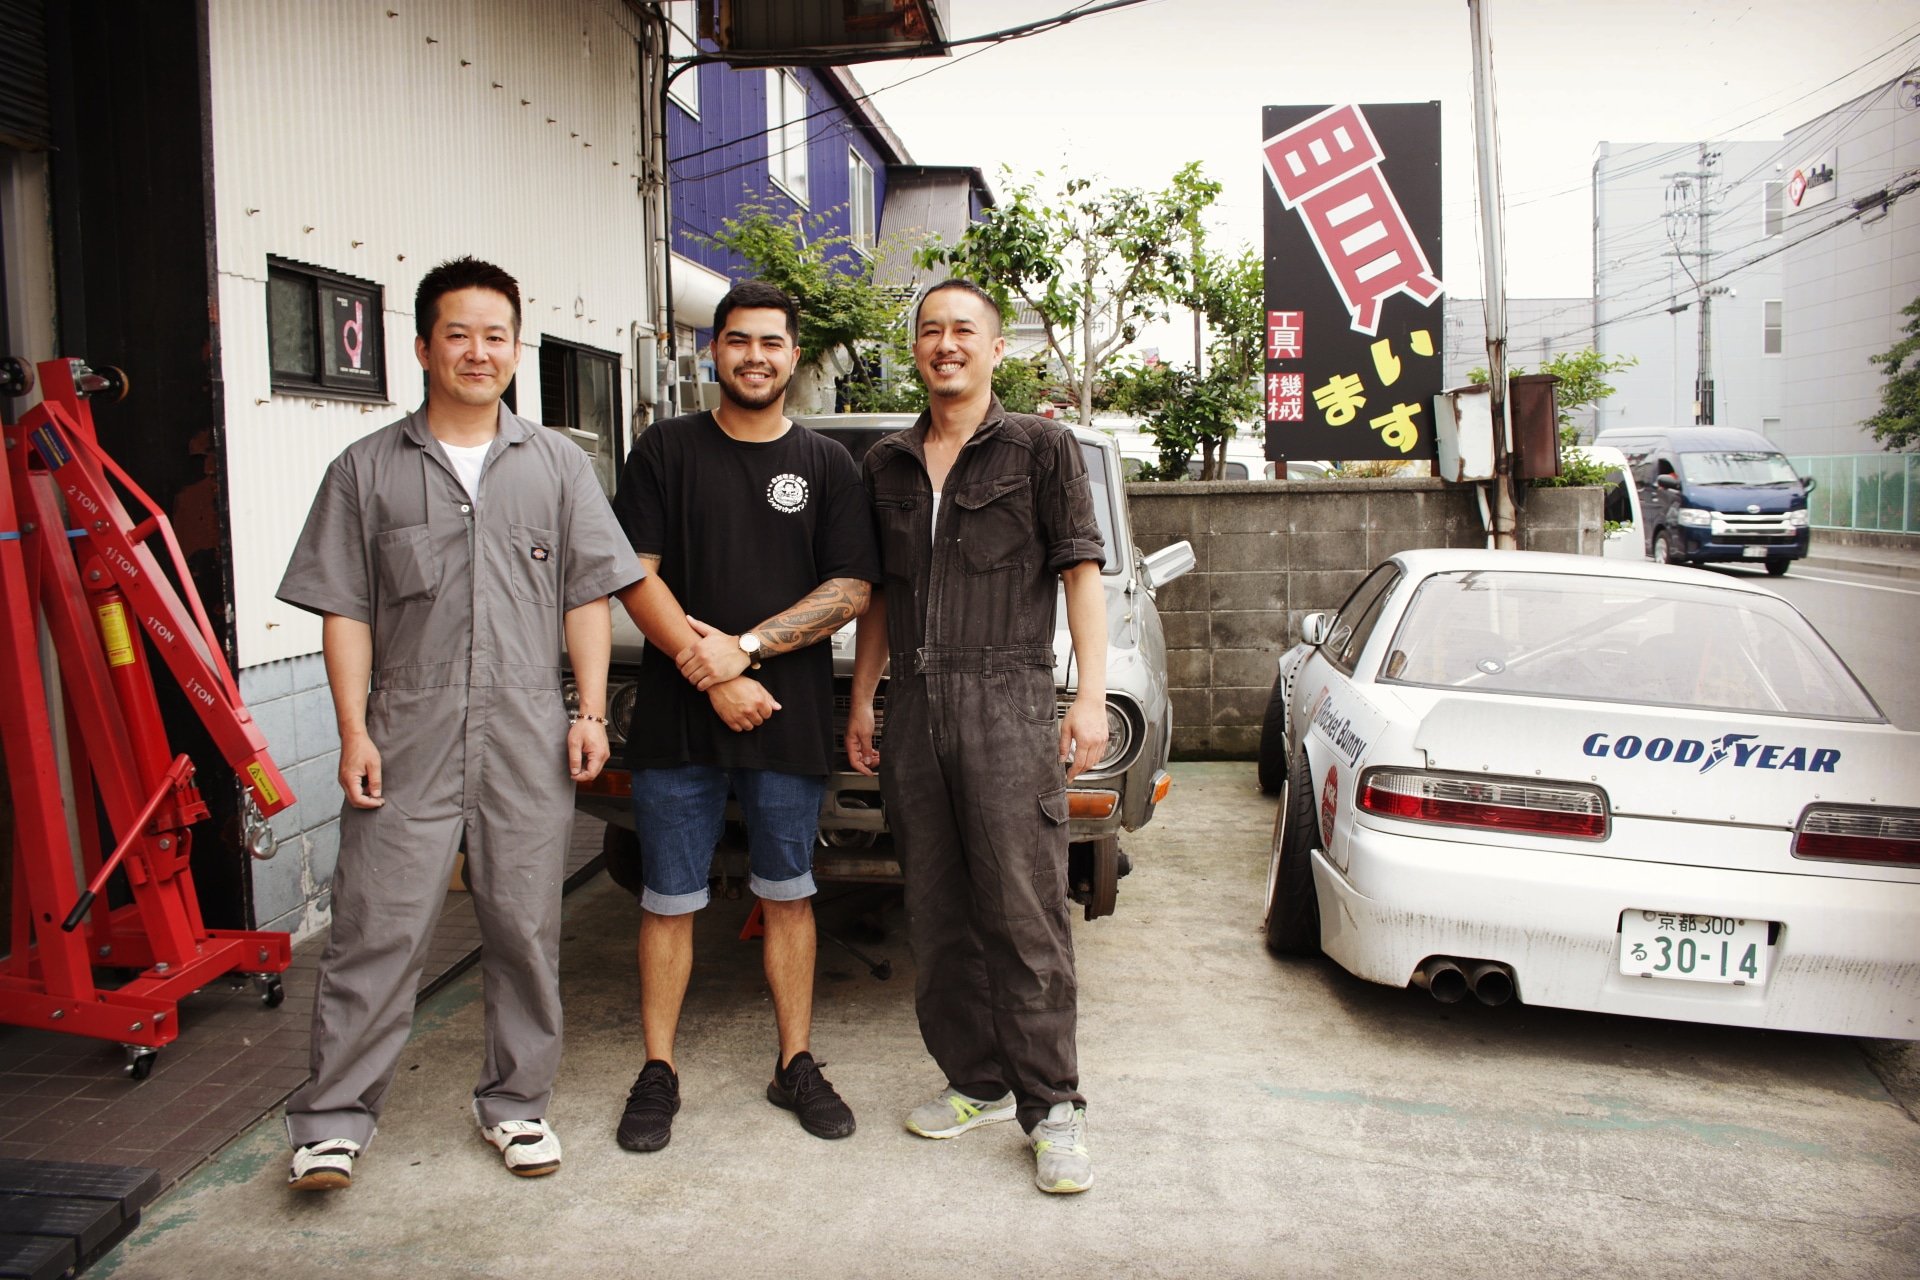
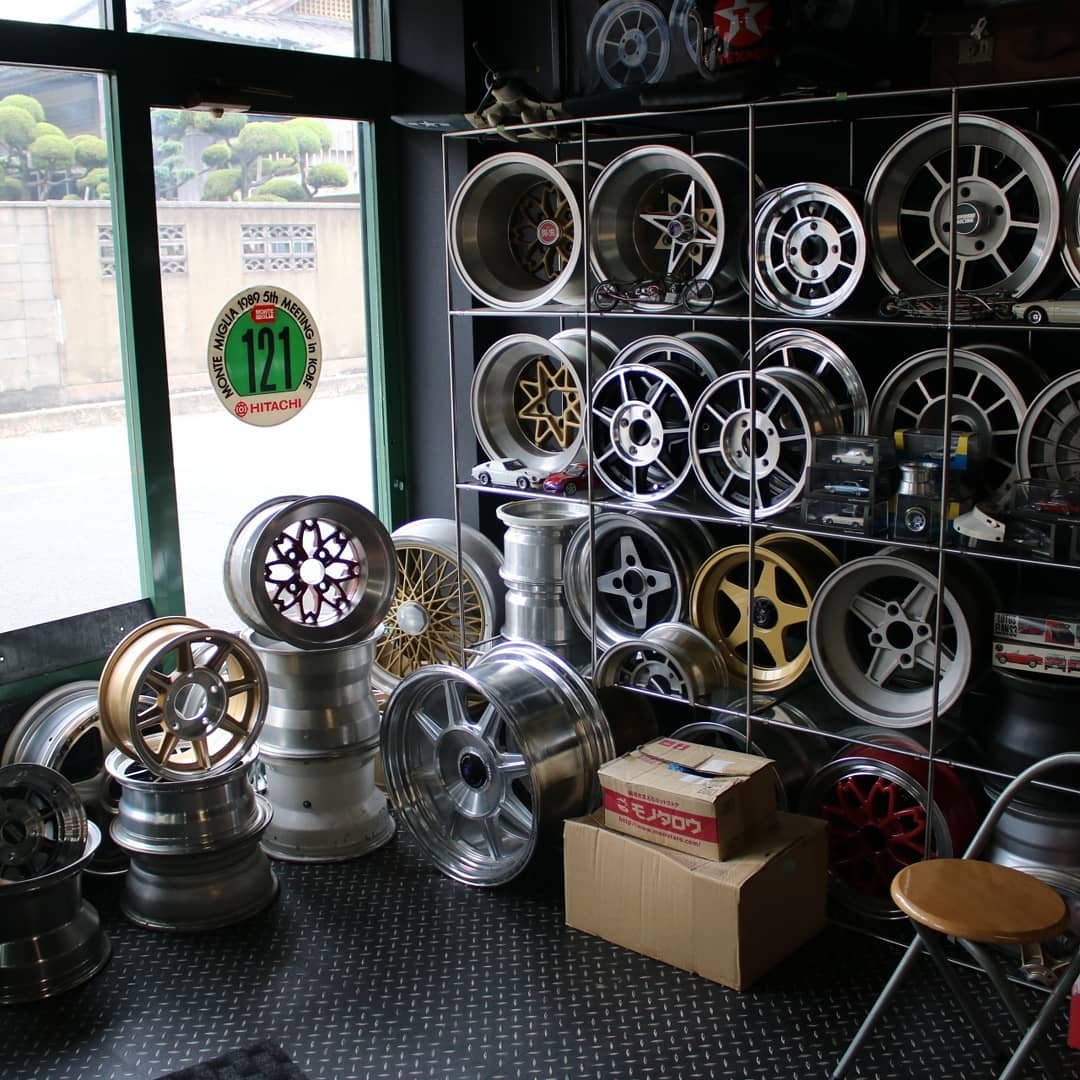
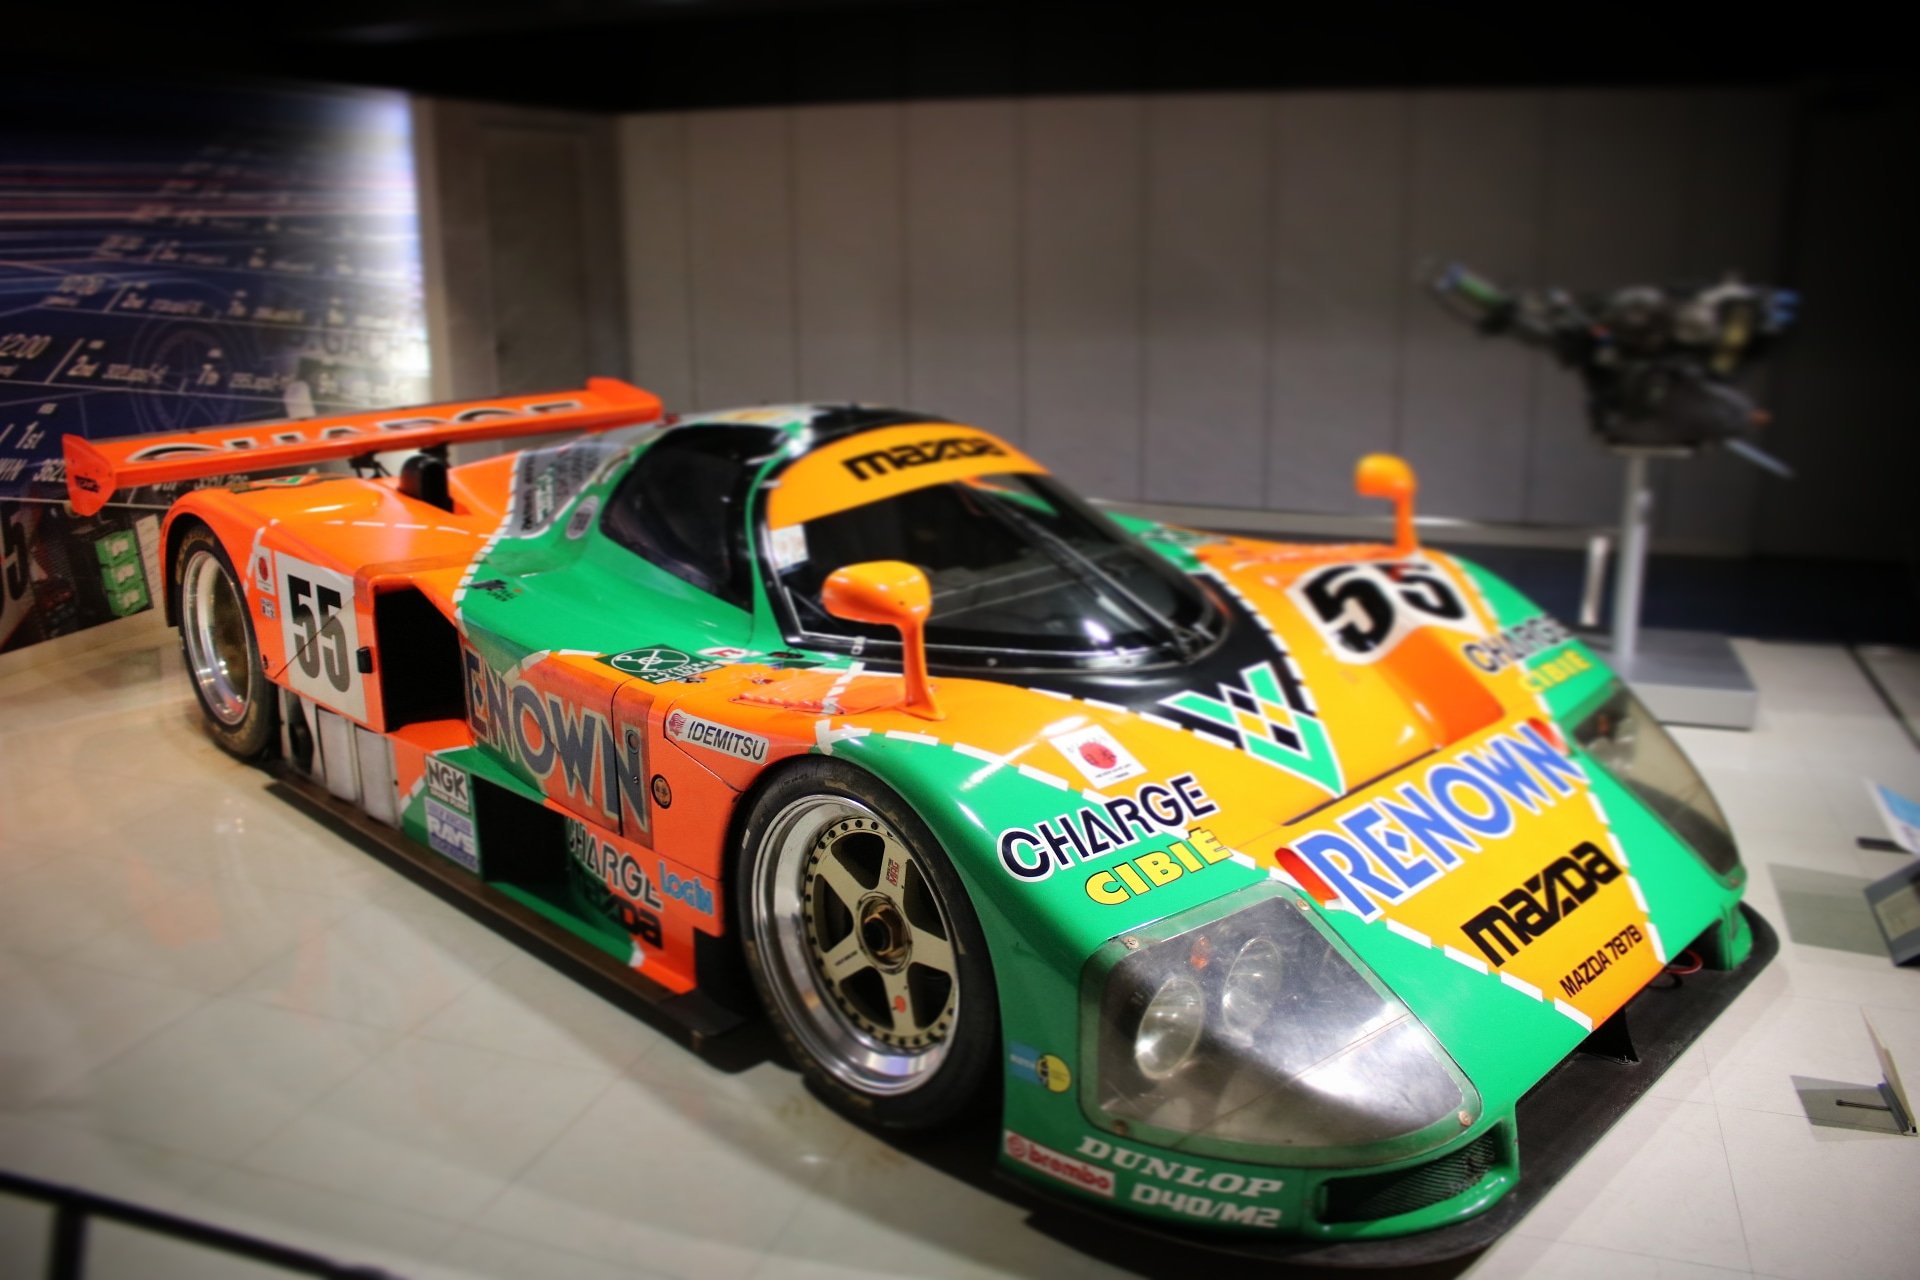
Alright and now to bring everything up to date. This was put on hold again since it arrived. Had the chance to finally take a trip over to japan with the Mrs so all my money sunk into that. Bloody awesome trip though, we started in Tokyo, then hired a Corolla and carried on through to Nagoya, then Kyoto, Osaka, Hiroshima and Okinawa before a quick stop in to Tokyo before heading home. We did all the tourist shit and were flat out on the daily however we did manage to do some sweet automotive related activities which included hiring a panda ae86 and driving up to tsukuba circuit to watch a local trackday, call in to Fuji Speedway and had a quick geez at some series racing (gt86s then na Mx5s), call in to Suzuka circuit (and theme park, wtf???!) And check out a local trackday, have a look at Meihan Sportsland during a Gymkhana day. Amongst this we also met the team and check out TRA Kyoto, got a private tour and history lesson at Hayashi Racing, Meet the team at Miyoshi RE in Okayama, Tour the Mazda museum in Hiroshima and pick up heaps of memorabilia. I have to say that UPGARAGE is very overrated though. Here are some pics anyway...
1 point
-
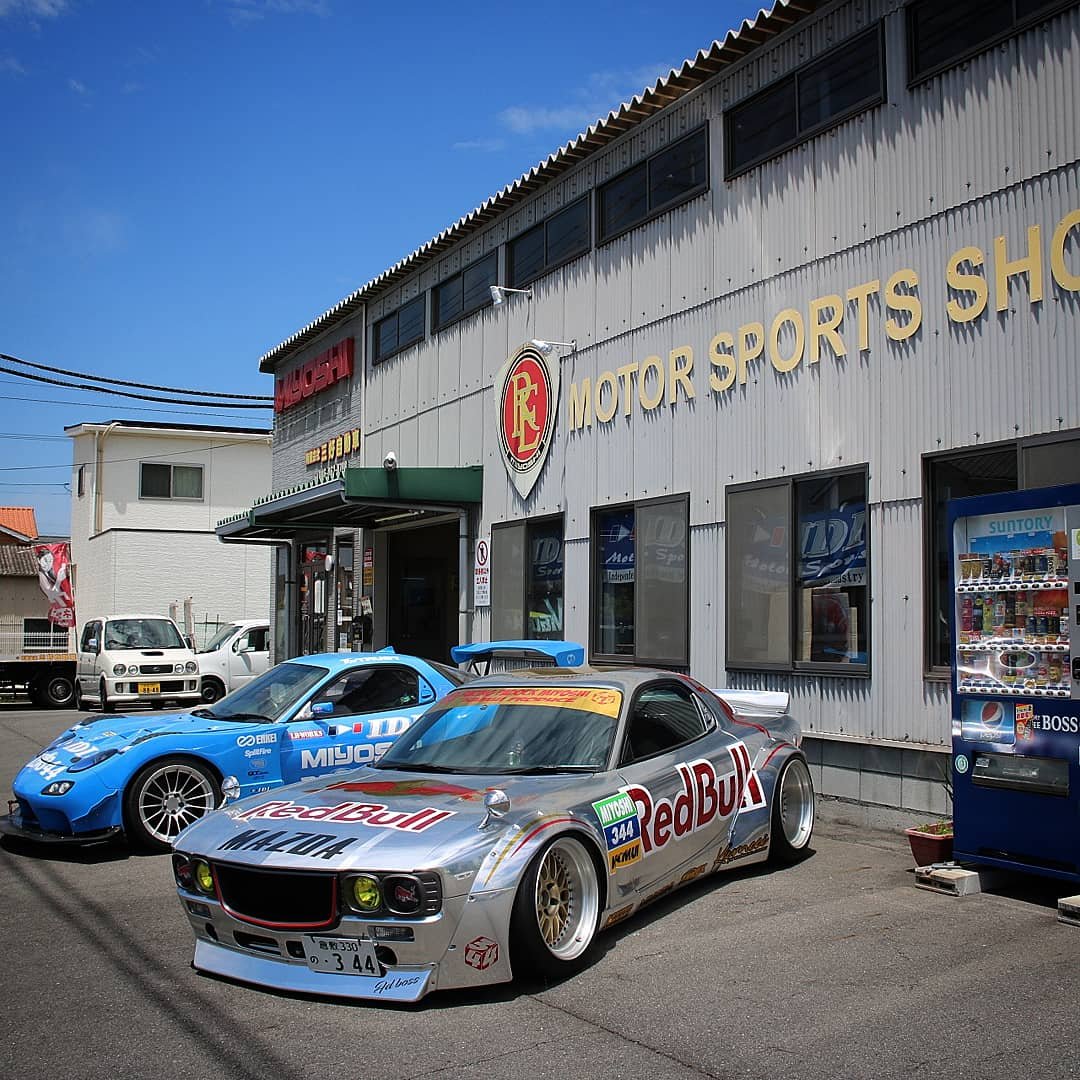
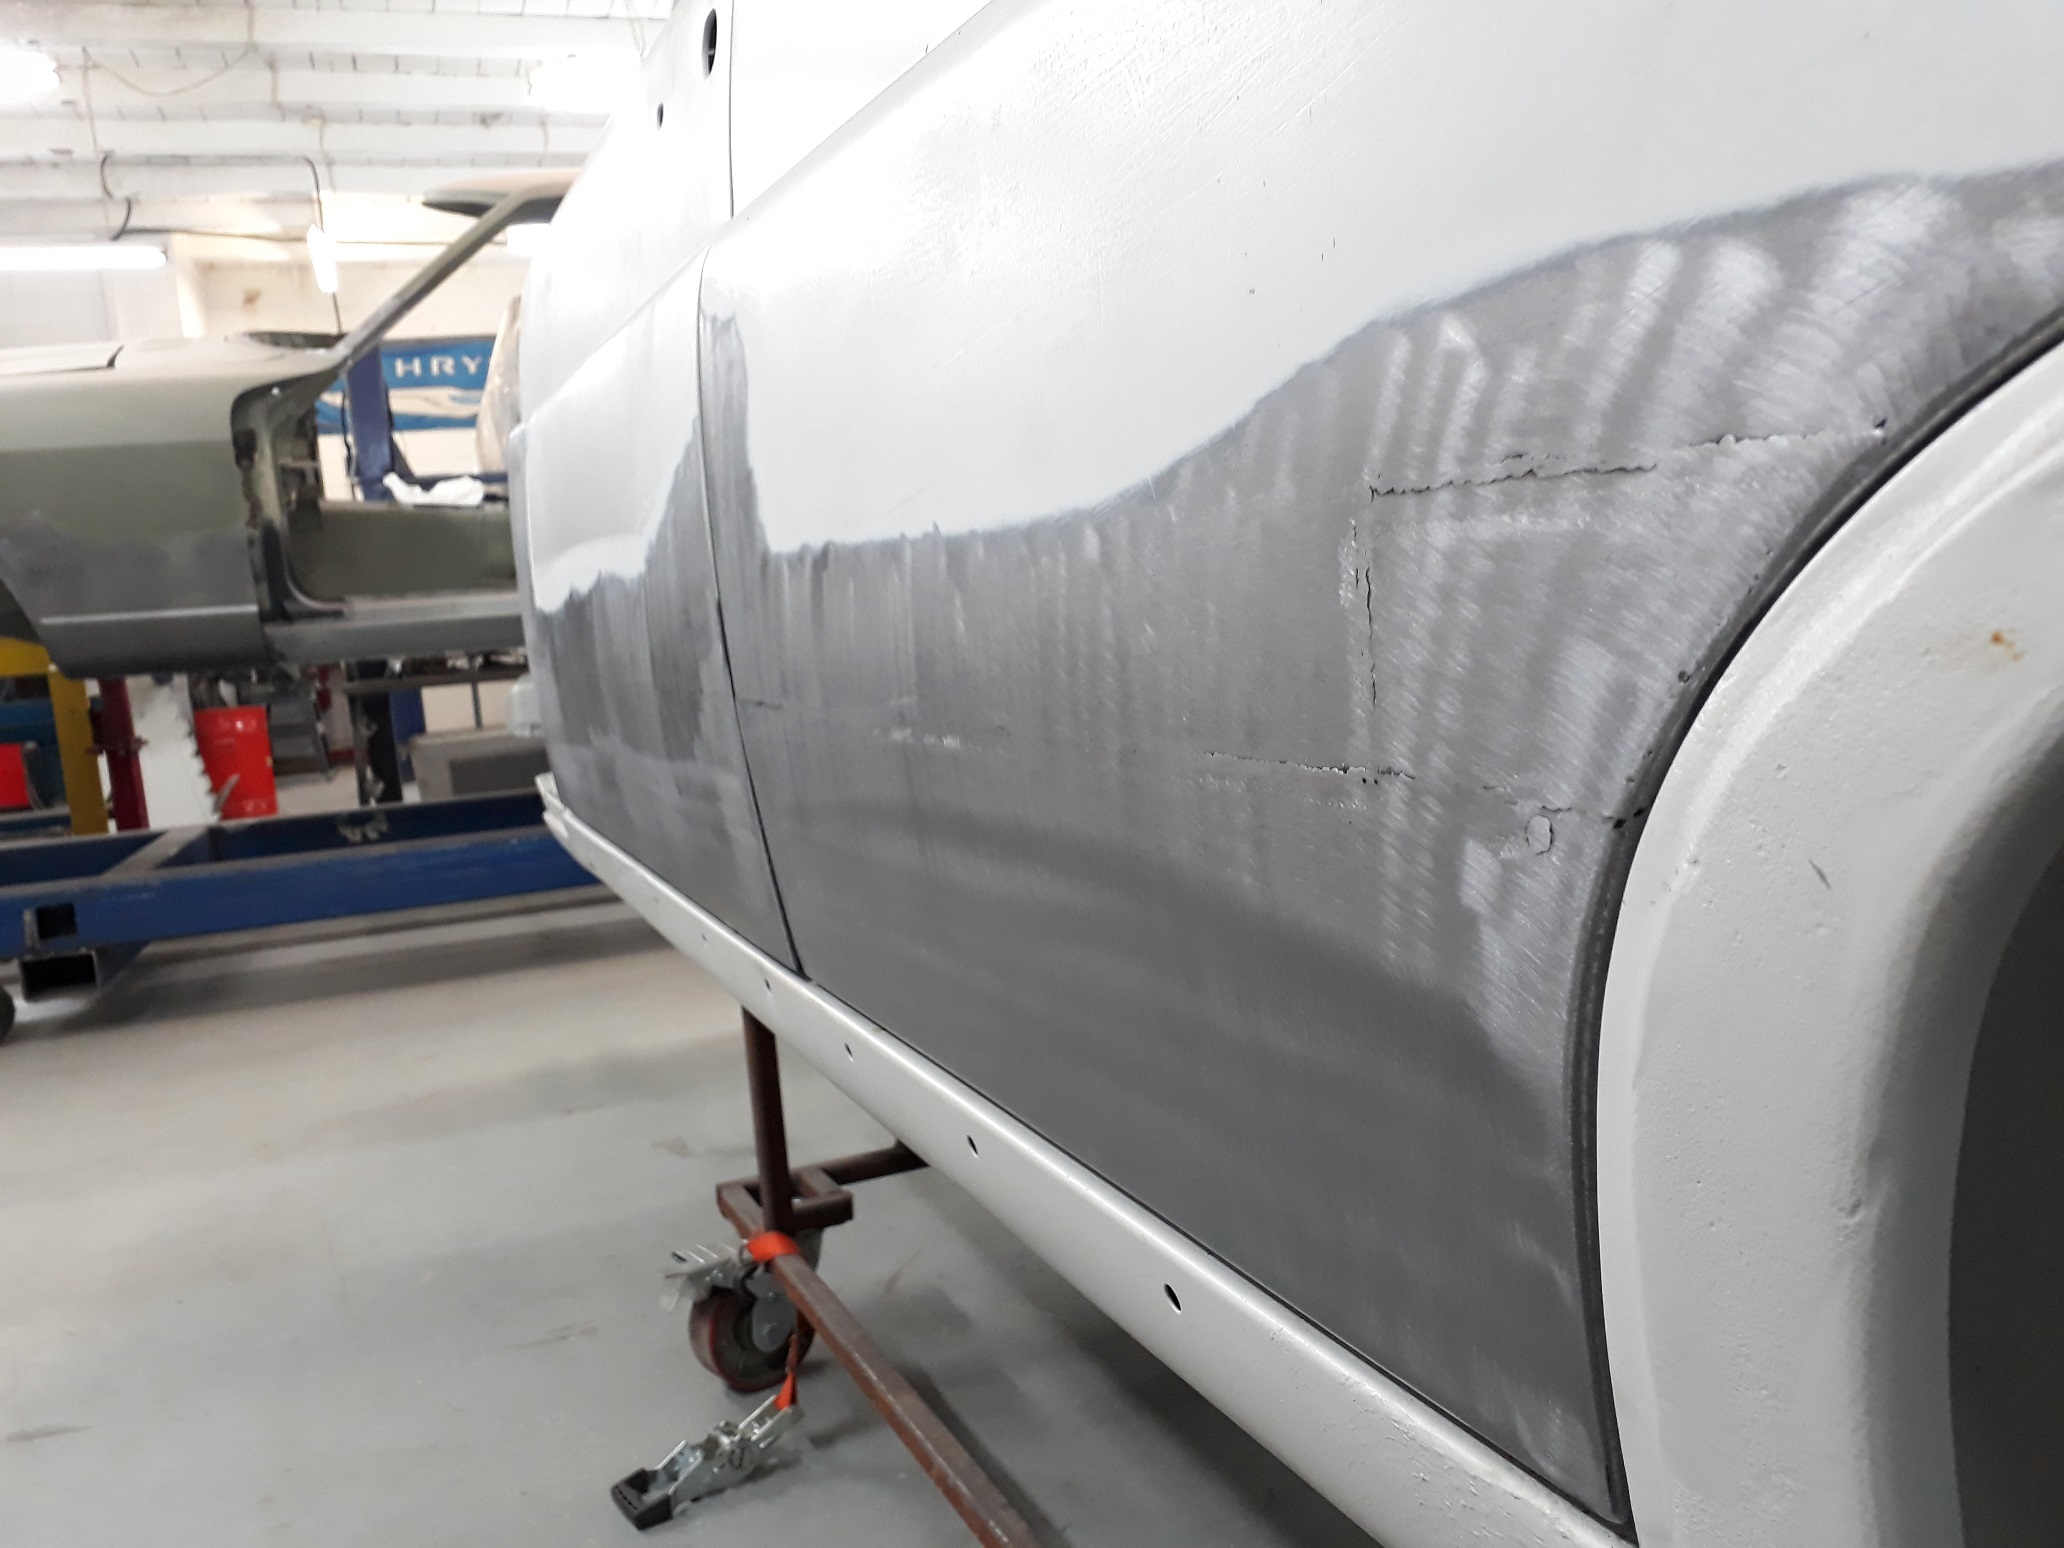
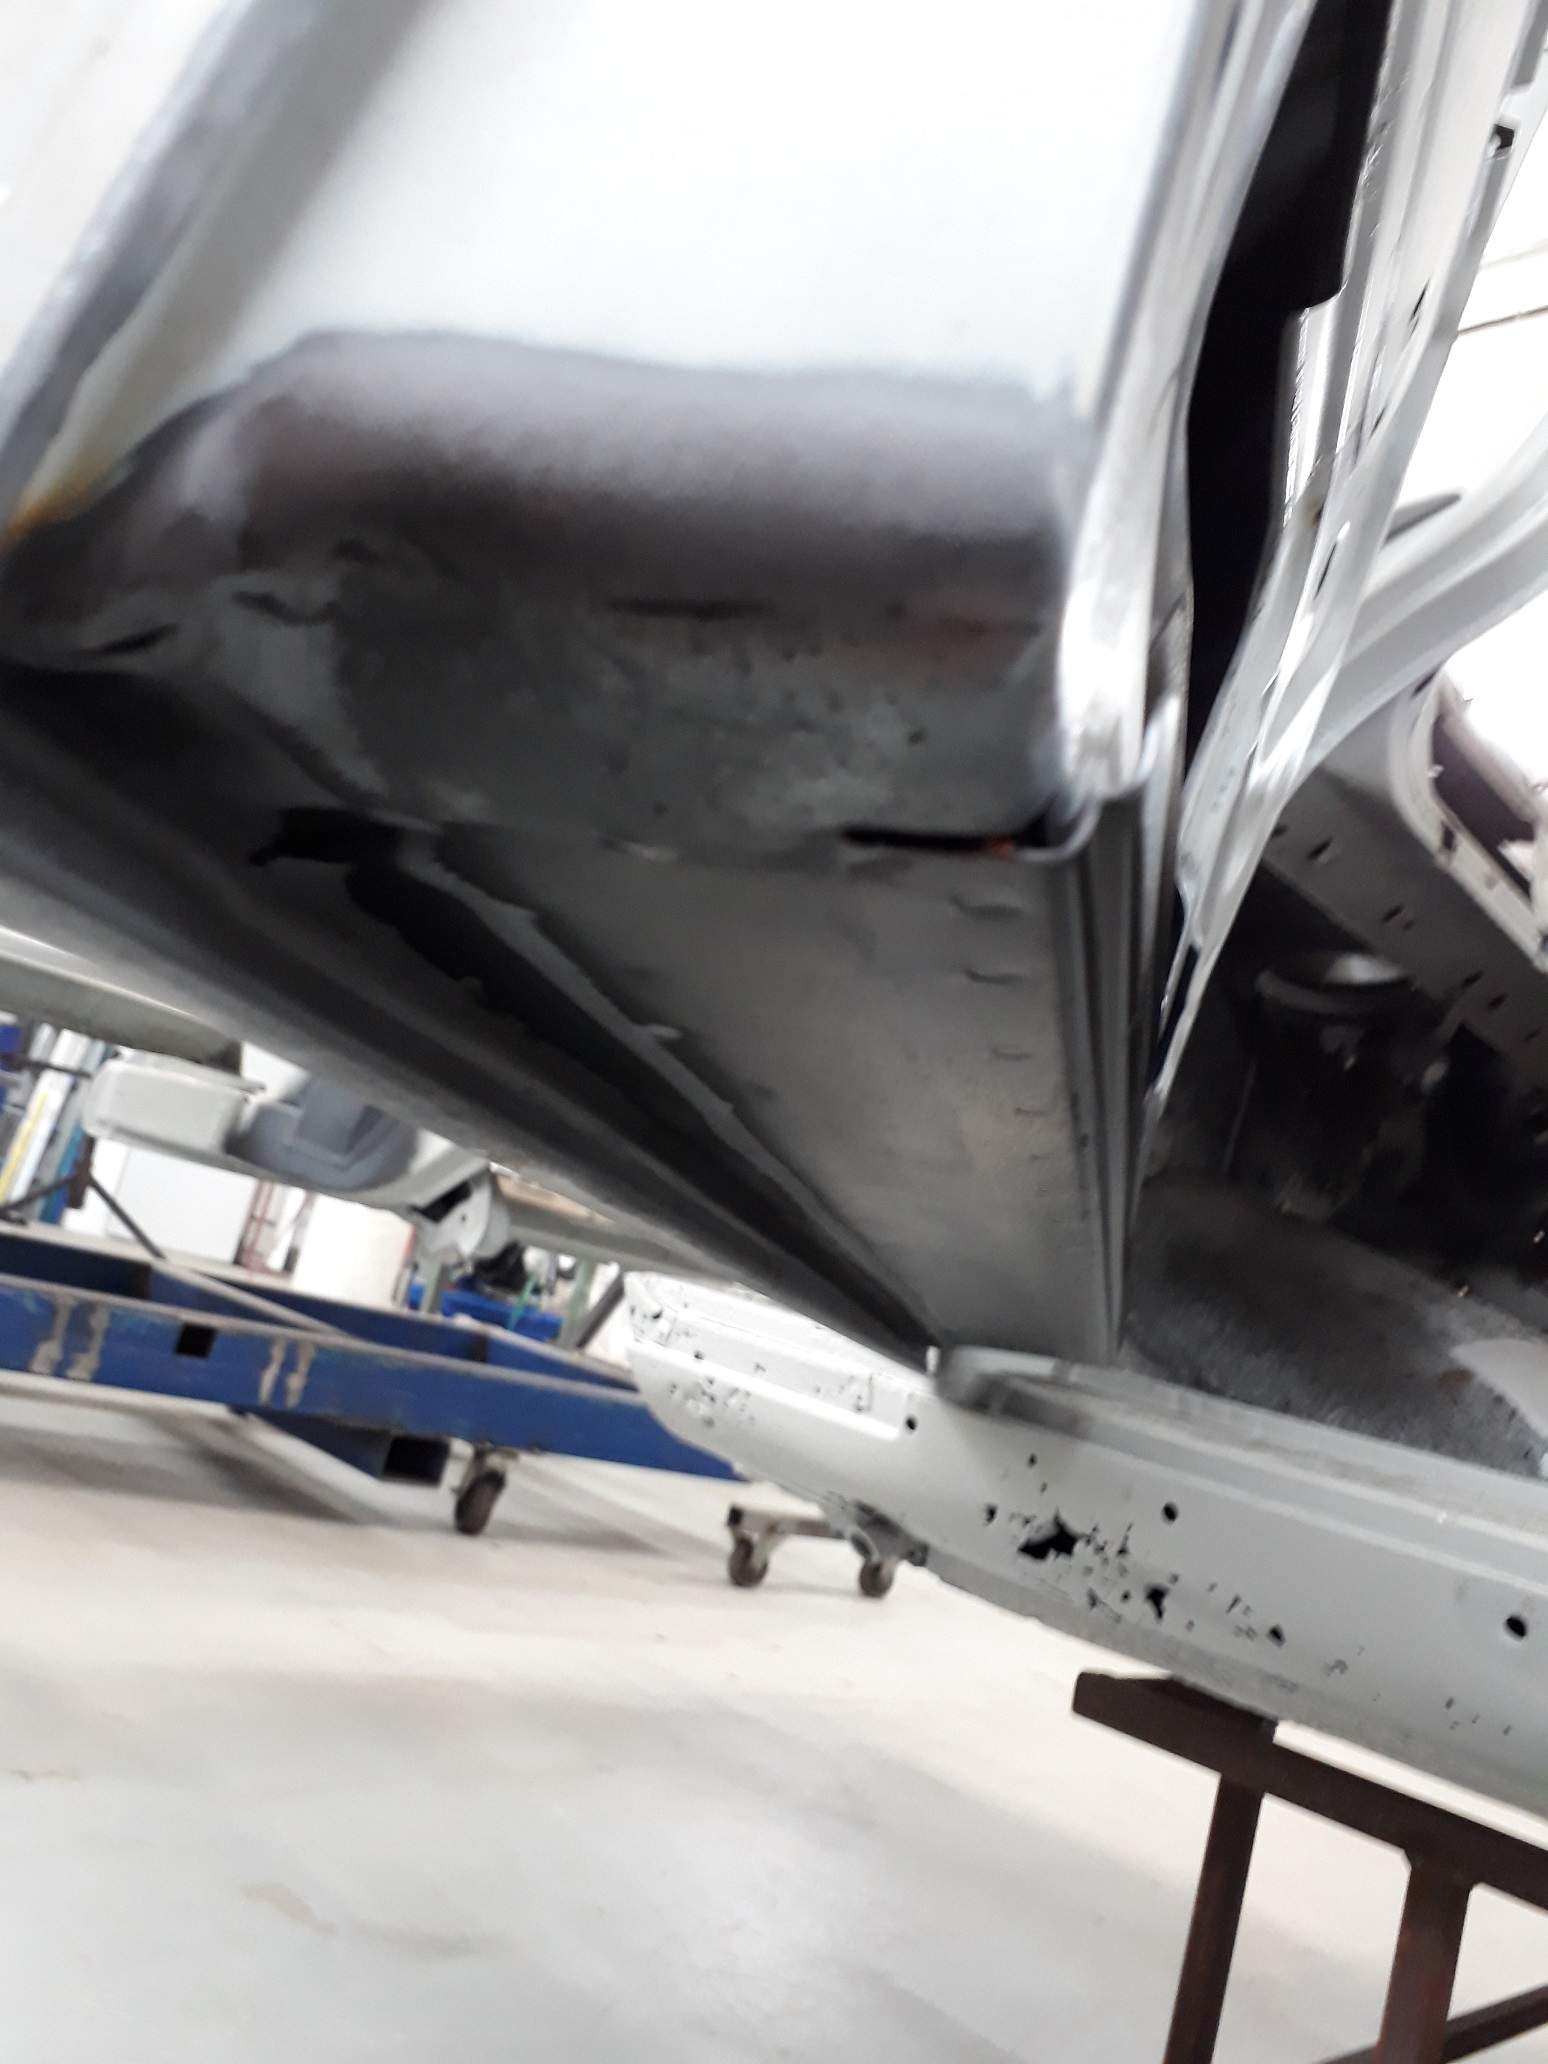
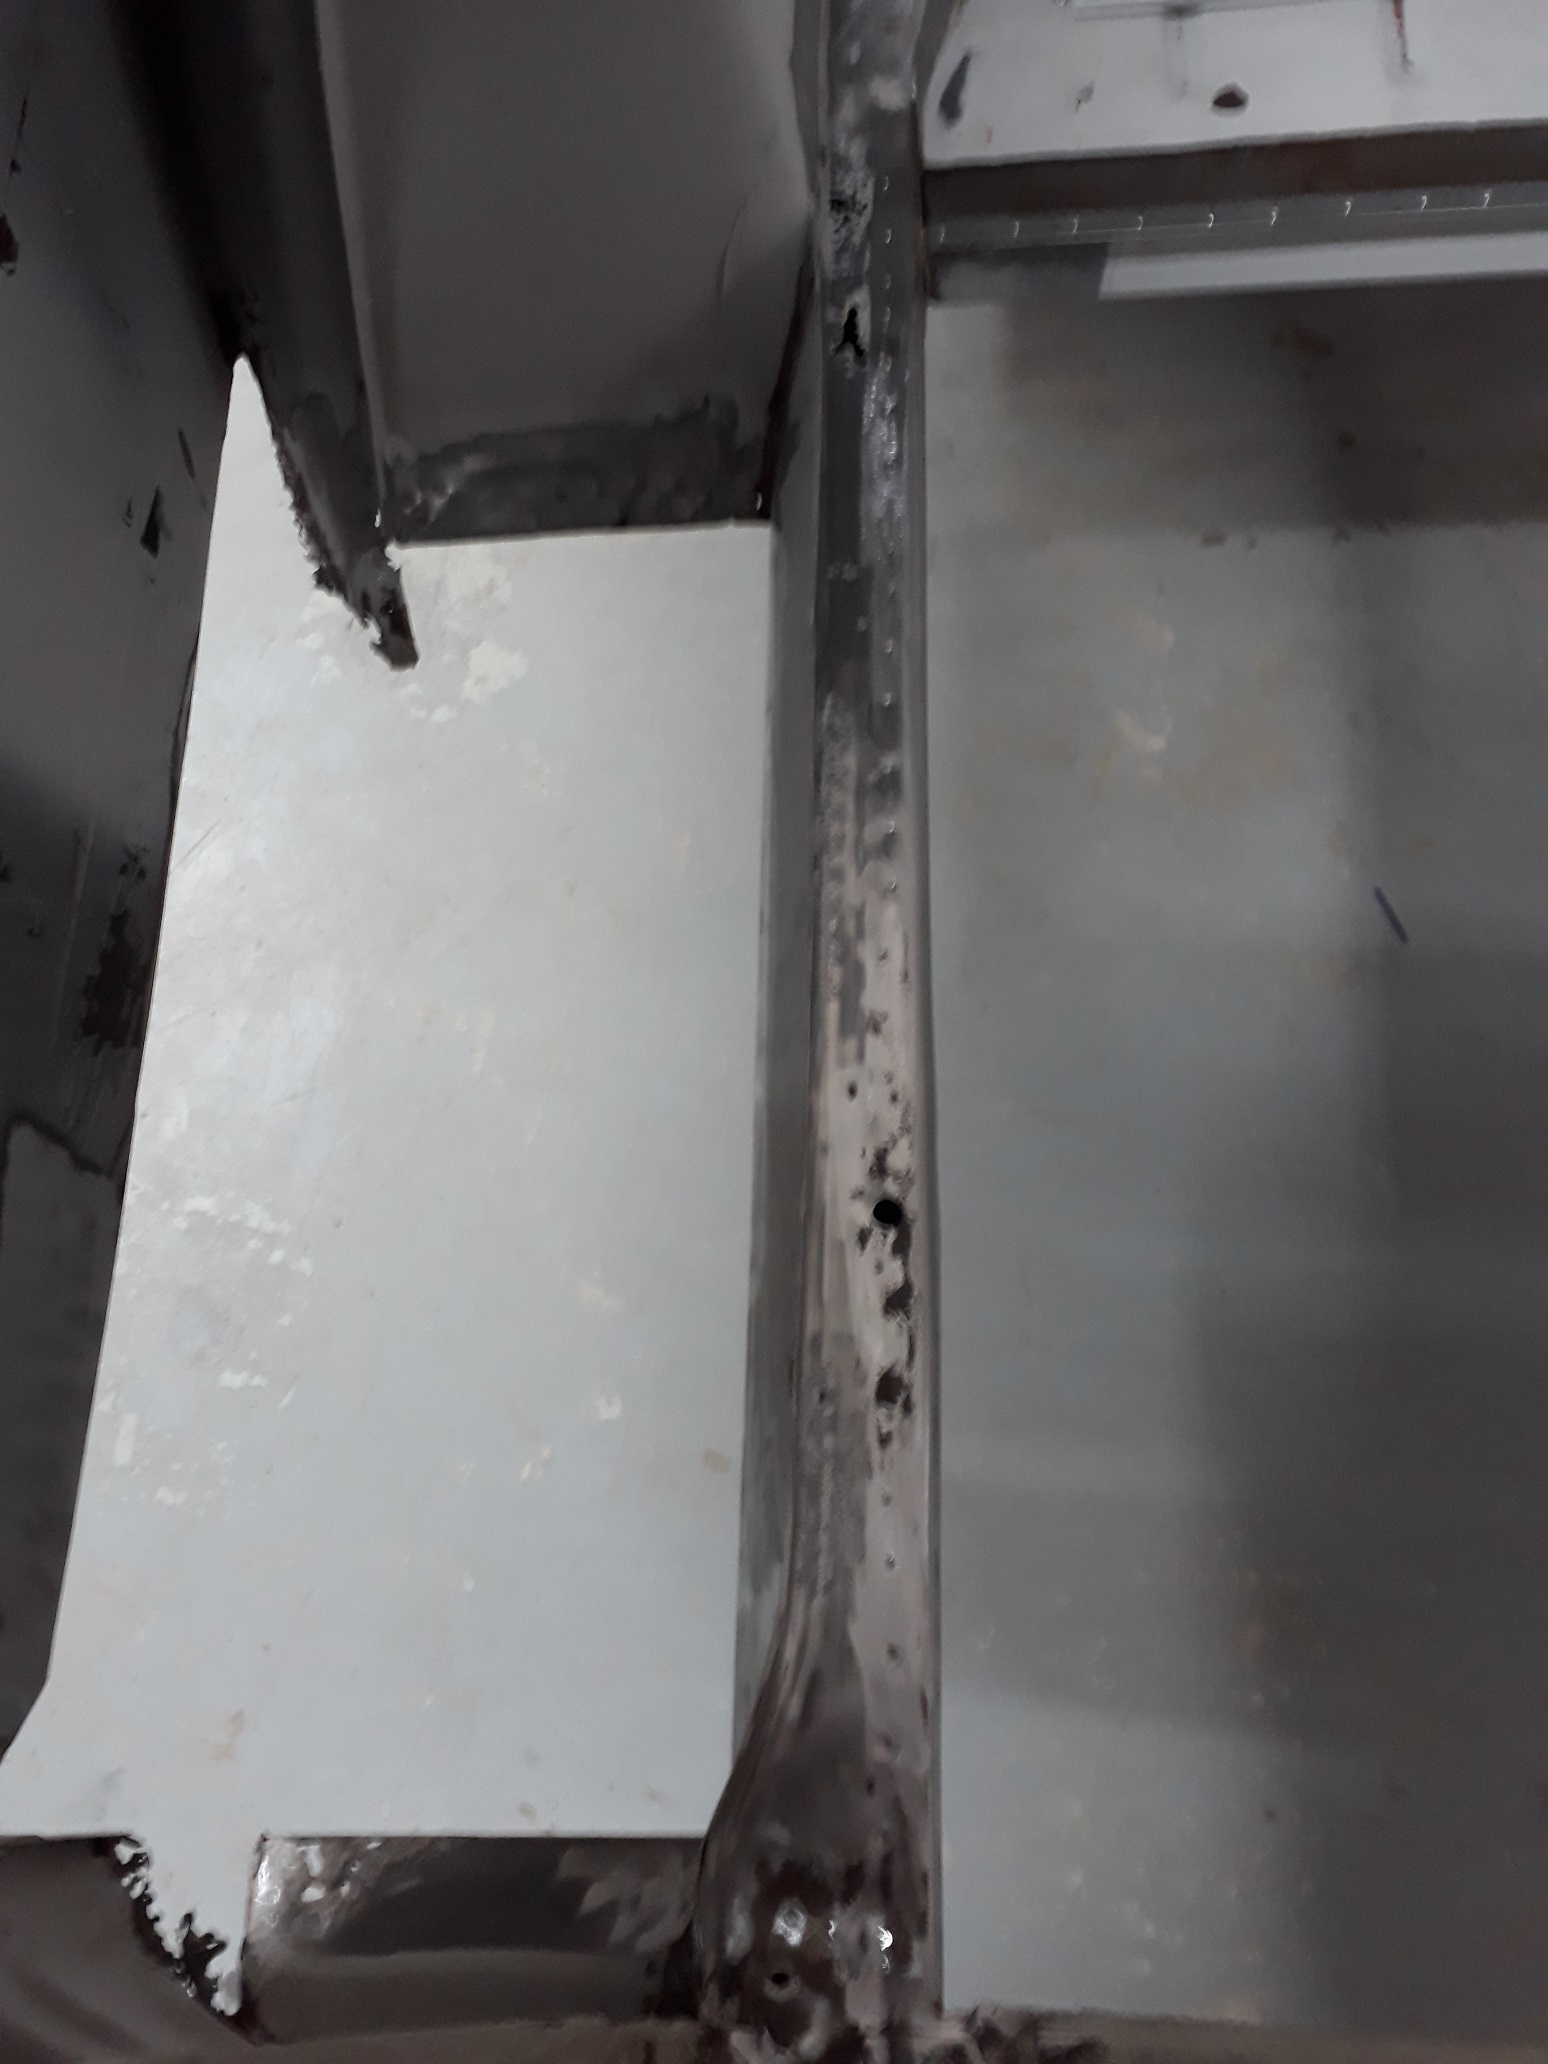
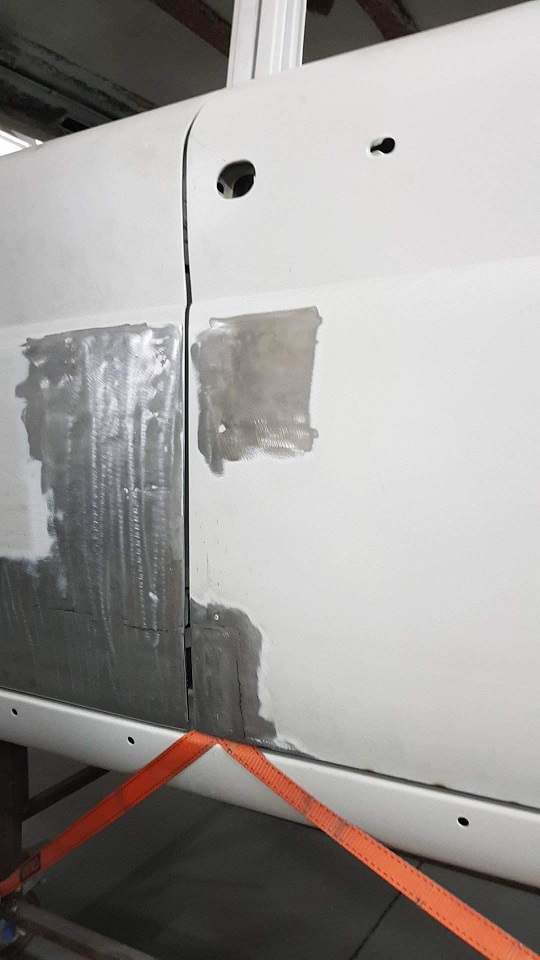
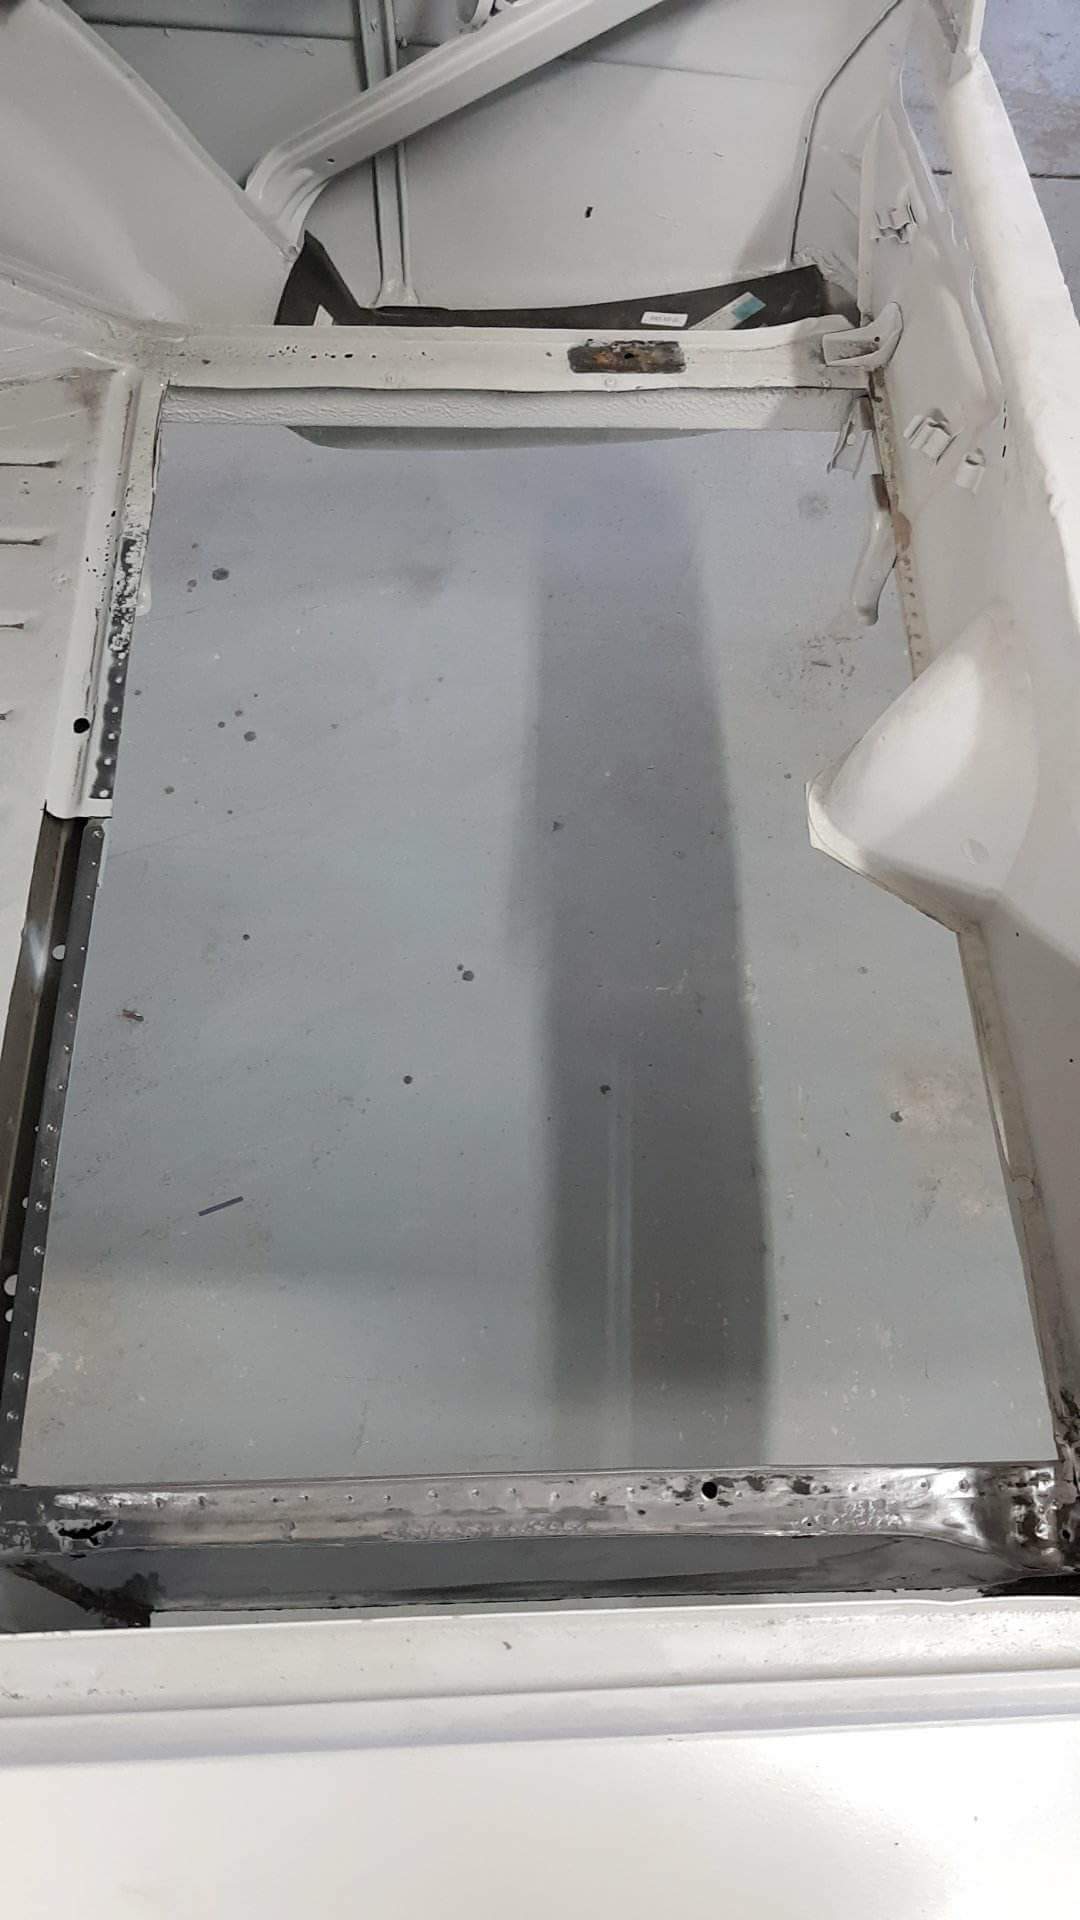
Went and had a look yesterday, the doors are now less self draining than they were before, with the lower door skins having been fitted and the lower frames replaced on the front 2 doors. However the self draining capabilities of the boot floor have increased substantially since last featured Have new sills on their way from Germany at the moment, I think they will be the last repair panels I'll buy in, everything else that's needed will need to be made here. Also I got called out the other night with who I have/haven't given thanks to in previous posts. An Honorary mention must be made to @Ned for storing the car for the 4-5 month period between it getting blasted and going to the panel beaters.
1 point
-
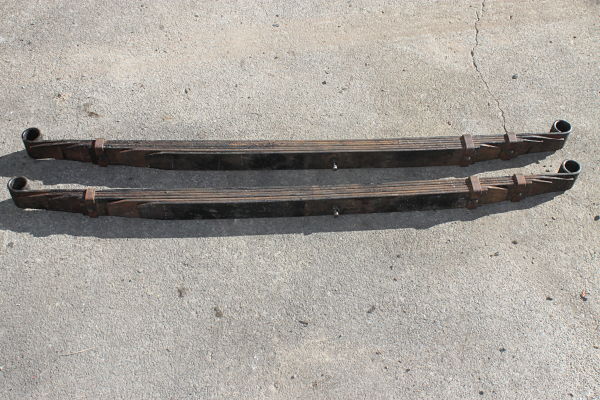
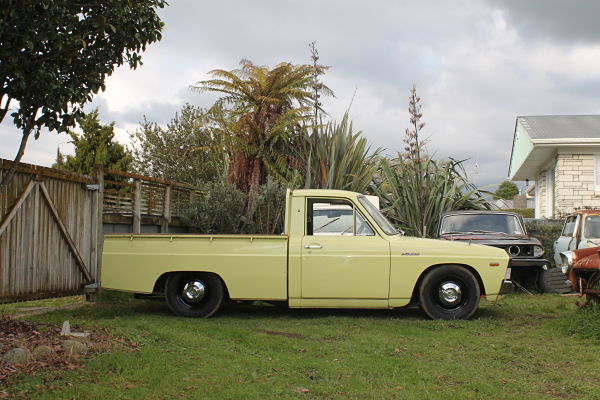
So im still waiting around for that indicator lens and handbrake cable, so i couldent help myself, Ill be getting some spare leaf springs soon so ended up getting the leafs springs in it reset, just because i really dident like the angle it was sitting on, I bolted them in today and im super stocked with the way it looks, its sitting perfectly even with the front now, i also gave the whole ute a good buff and the paint came up so good! the wheels also got a coat of black paint, im still unsure if i like them silver or black tho. And do i get some whitewall tires or keep it as it is? i might try photo shop some one.
1 point
-
While the box is out, replace the rear main seal. I made that mistake on one of my cars, the fucker leaked almost straight away1 point
-
Hey guys, Last update for a little while now. Dropped in to MotorElite and brought around some beers and a feed for the boys as it's the last time i'll be seeing the little 1300 in Australia. Top blokes there, if you're ever in Perth make sure you drop in and check out the shop because it's full of good cunts and always got awesome, awesome builds on the go. Anyway I was able to grab a few quick snaps while I was there, mainly being the guard work that was finished off the time before but I forgot to take pictures of. From this originally: To This:1 point


This leaderboard is set to Auckland/GMT+12:00