
Leaderboard


Popular Content
Showing content with the highest reputation on 04/15/19 in all areas
-
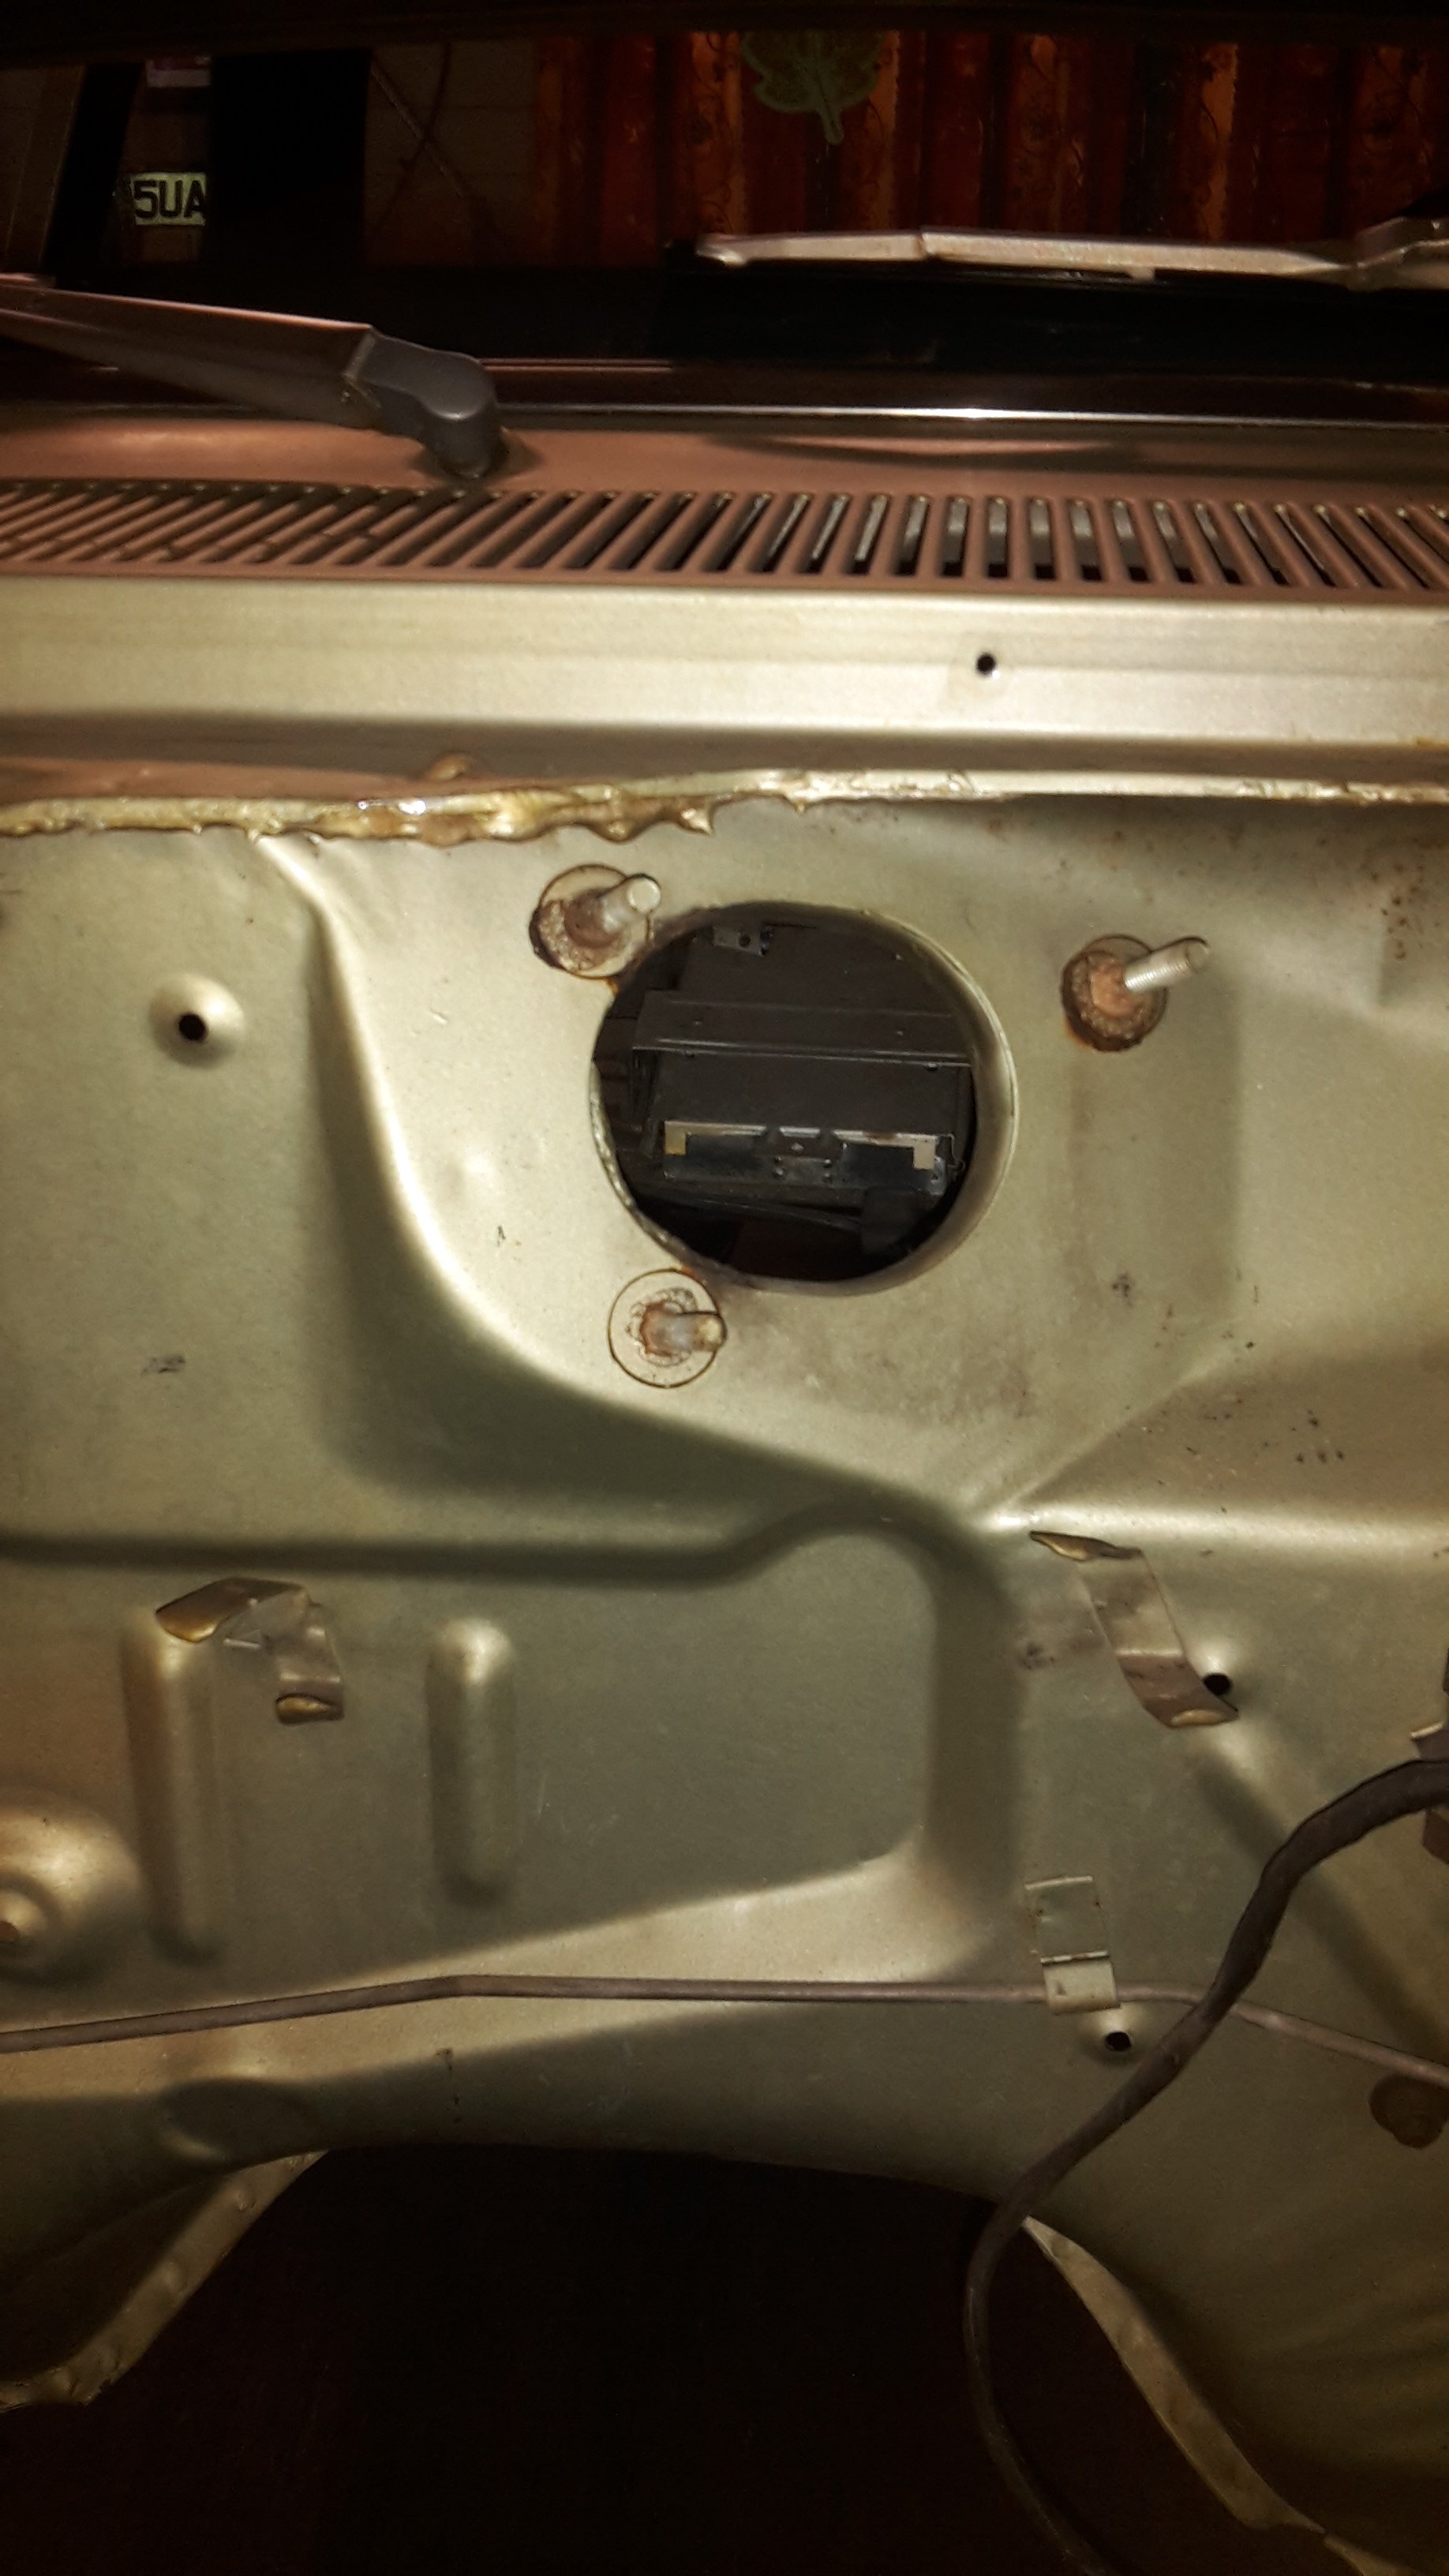
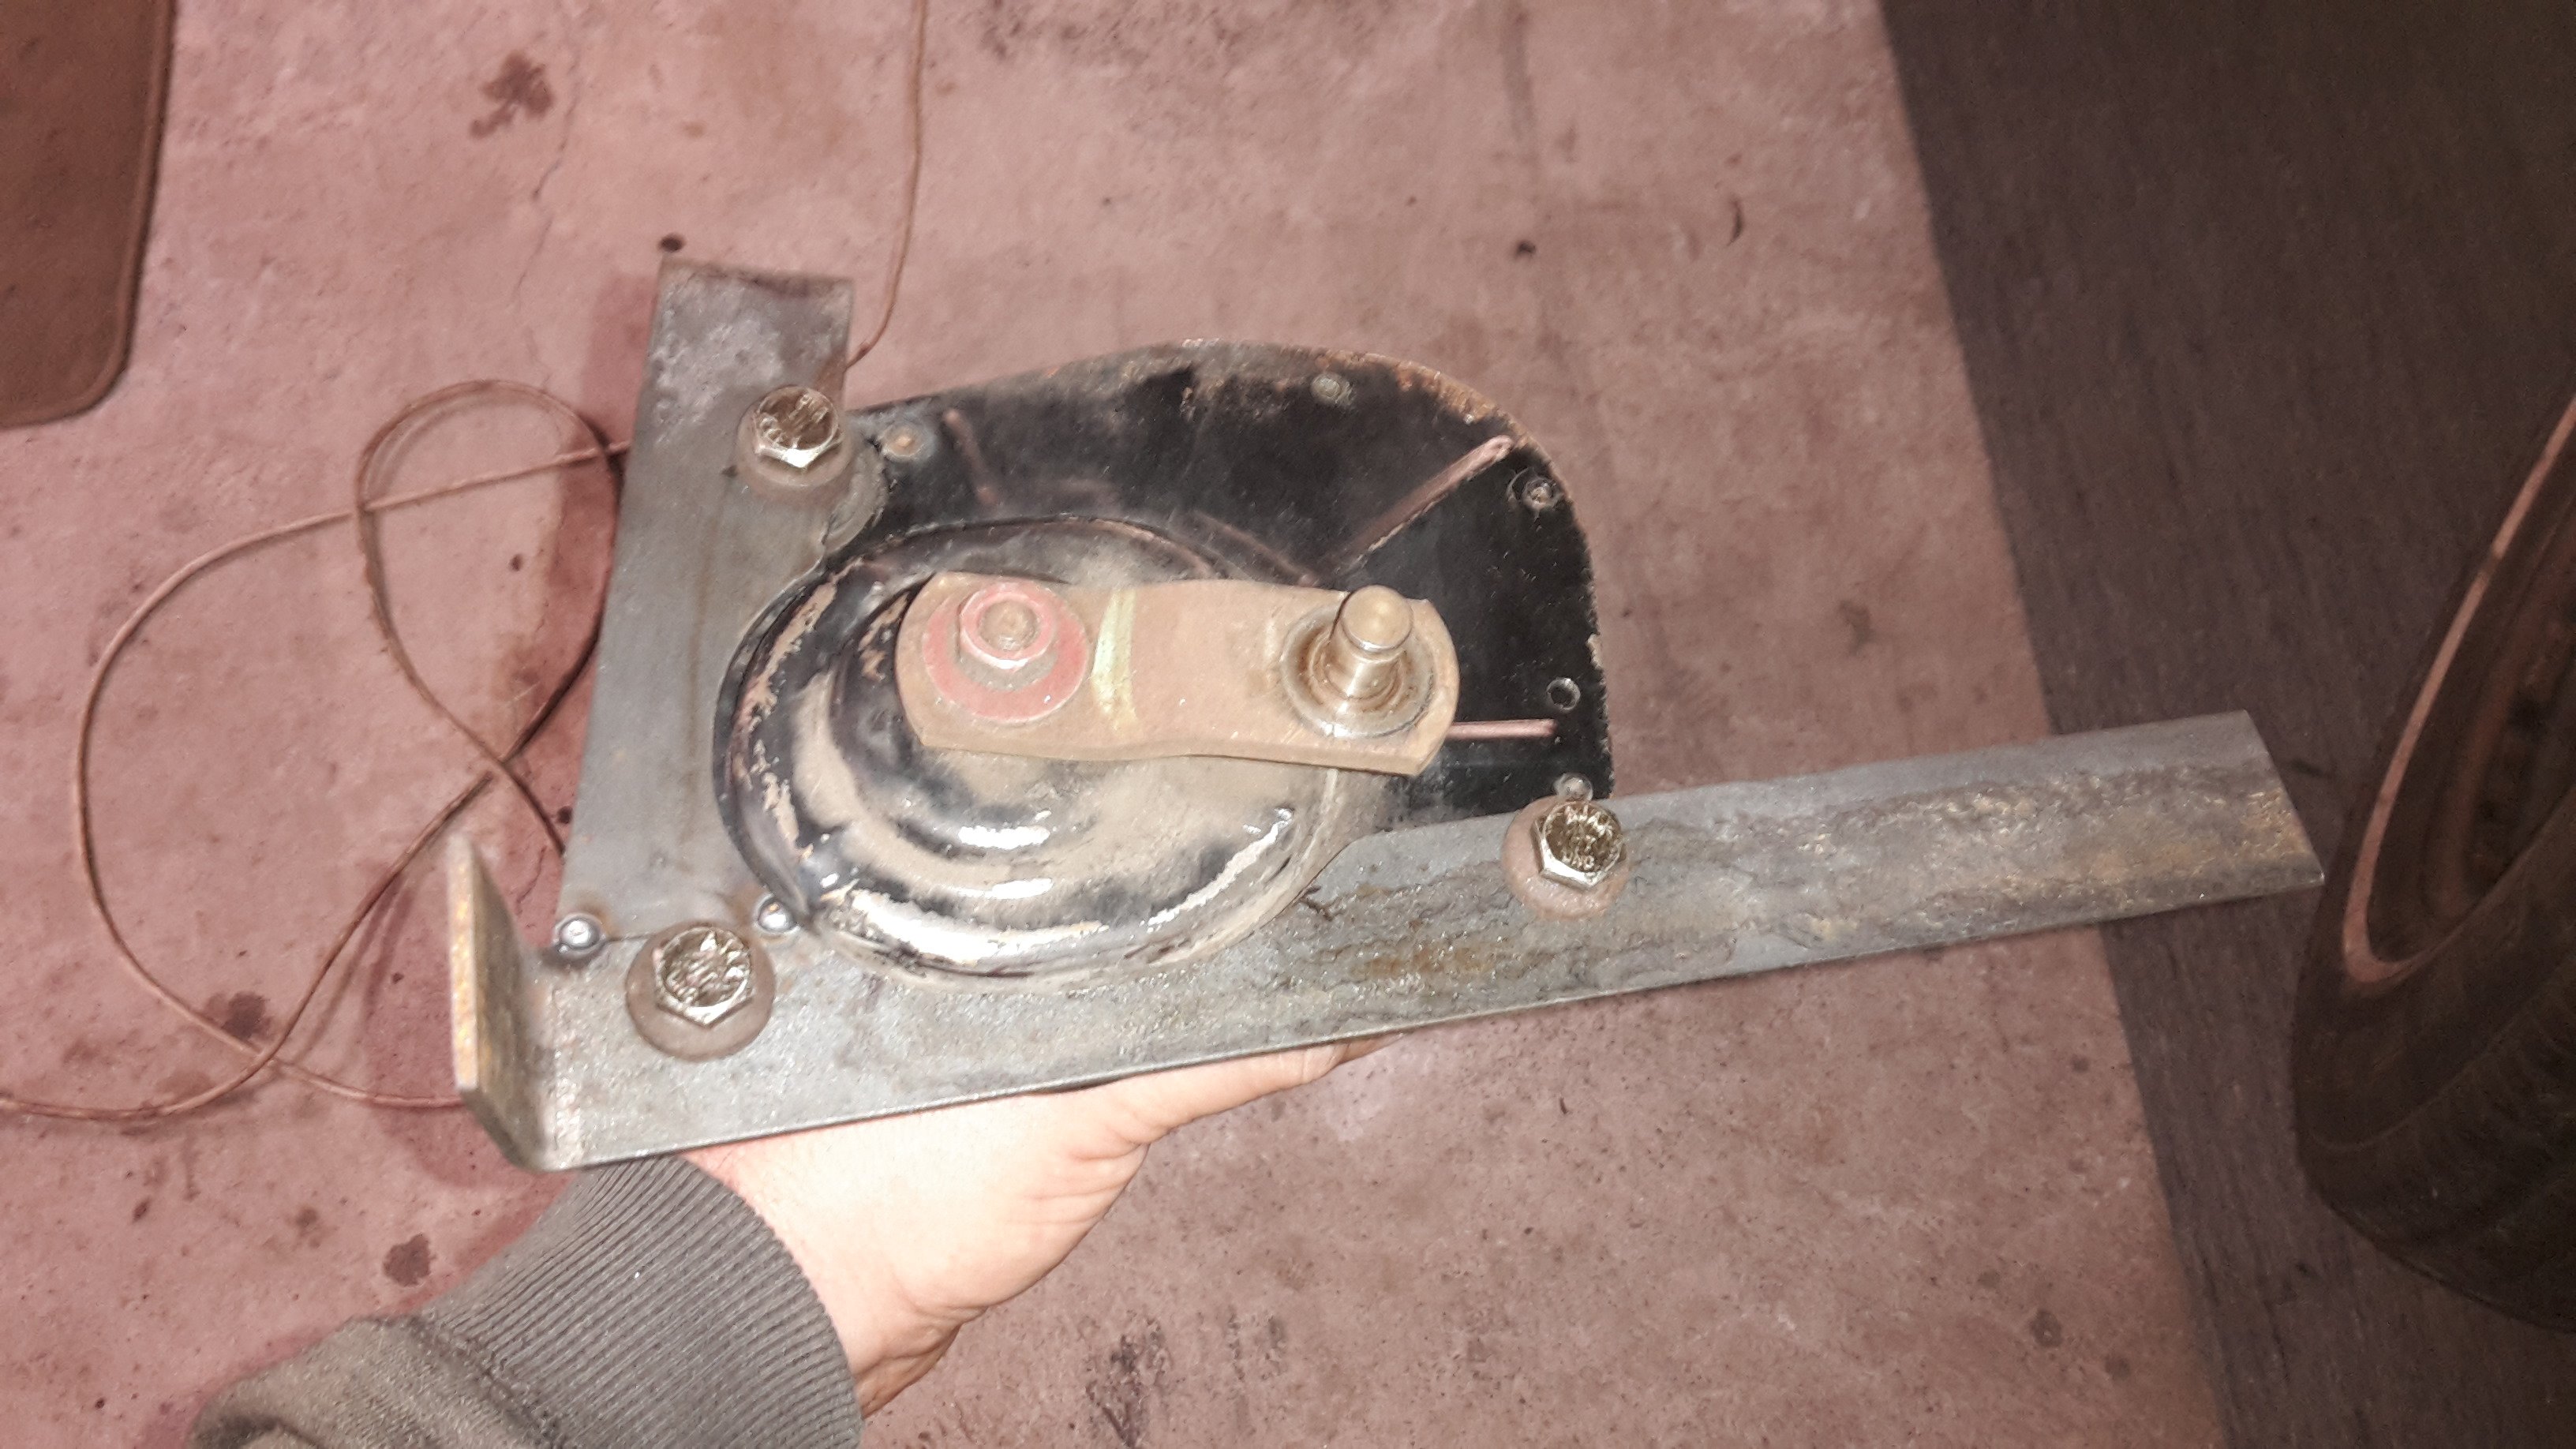
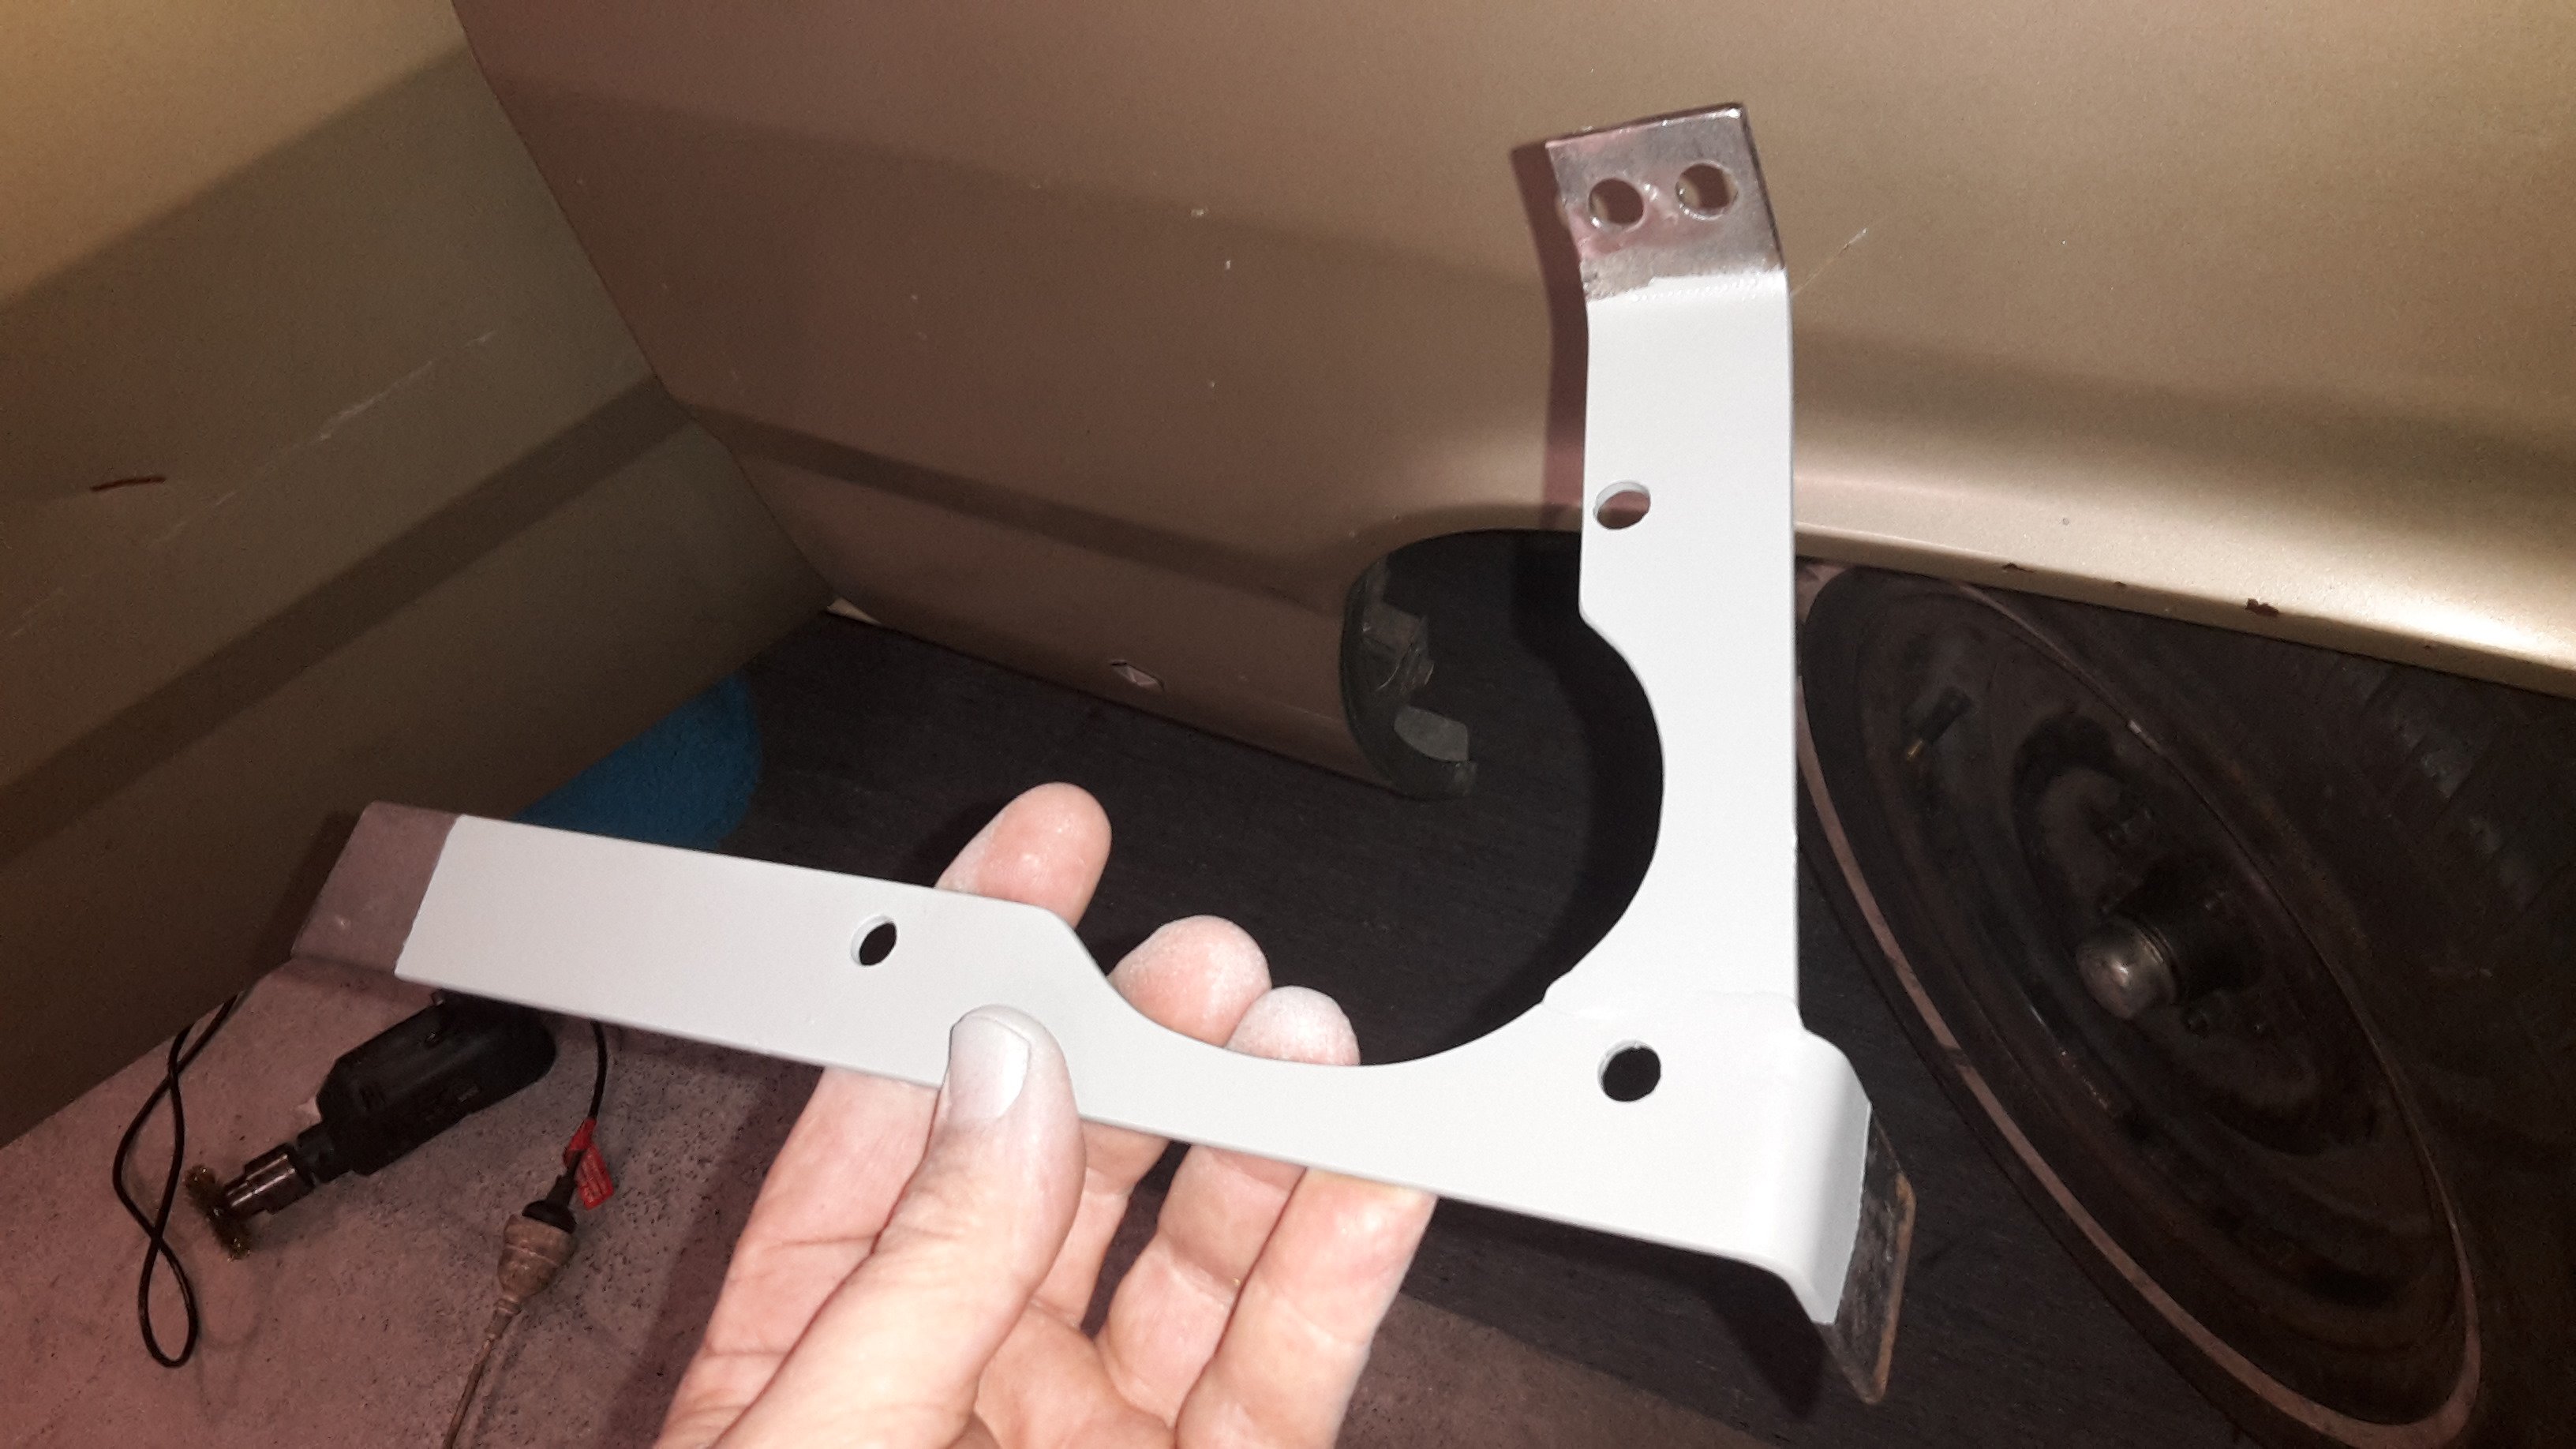
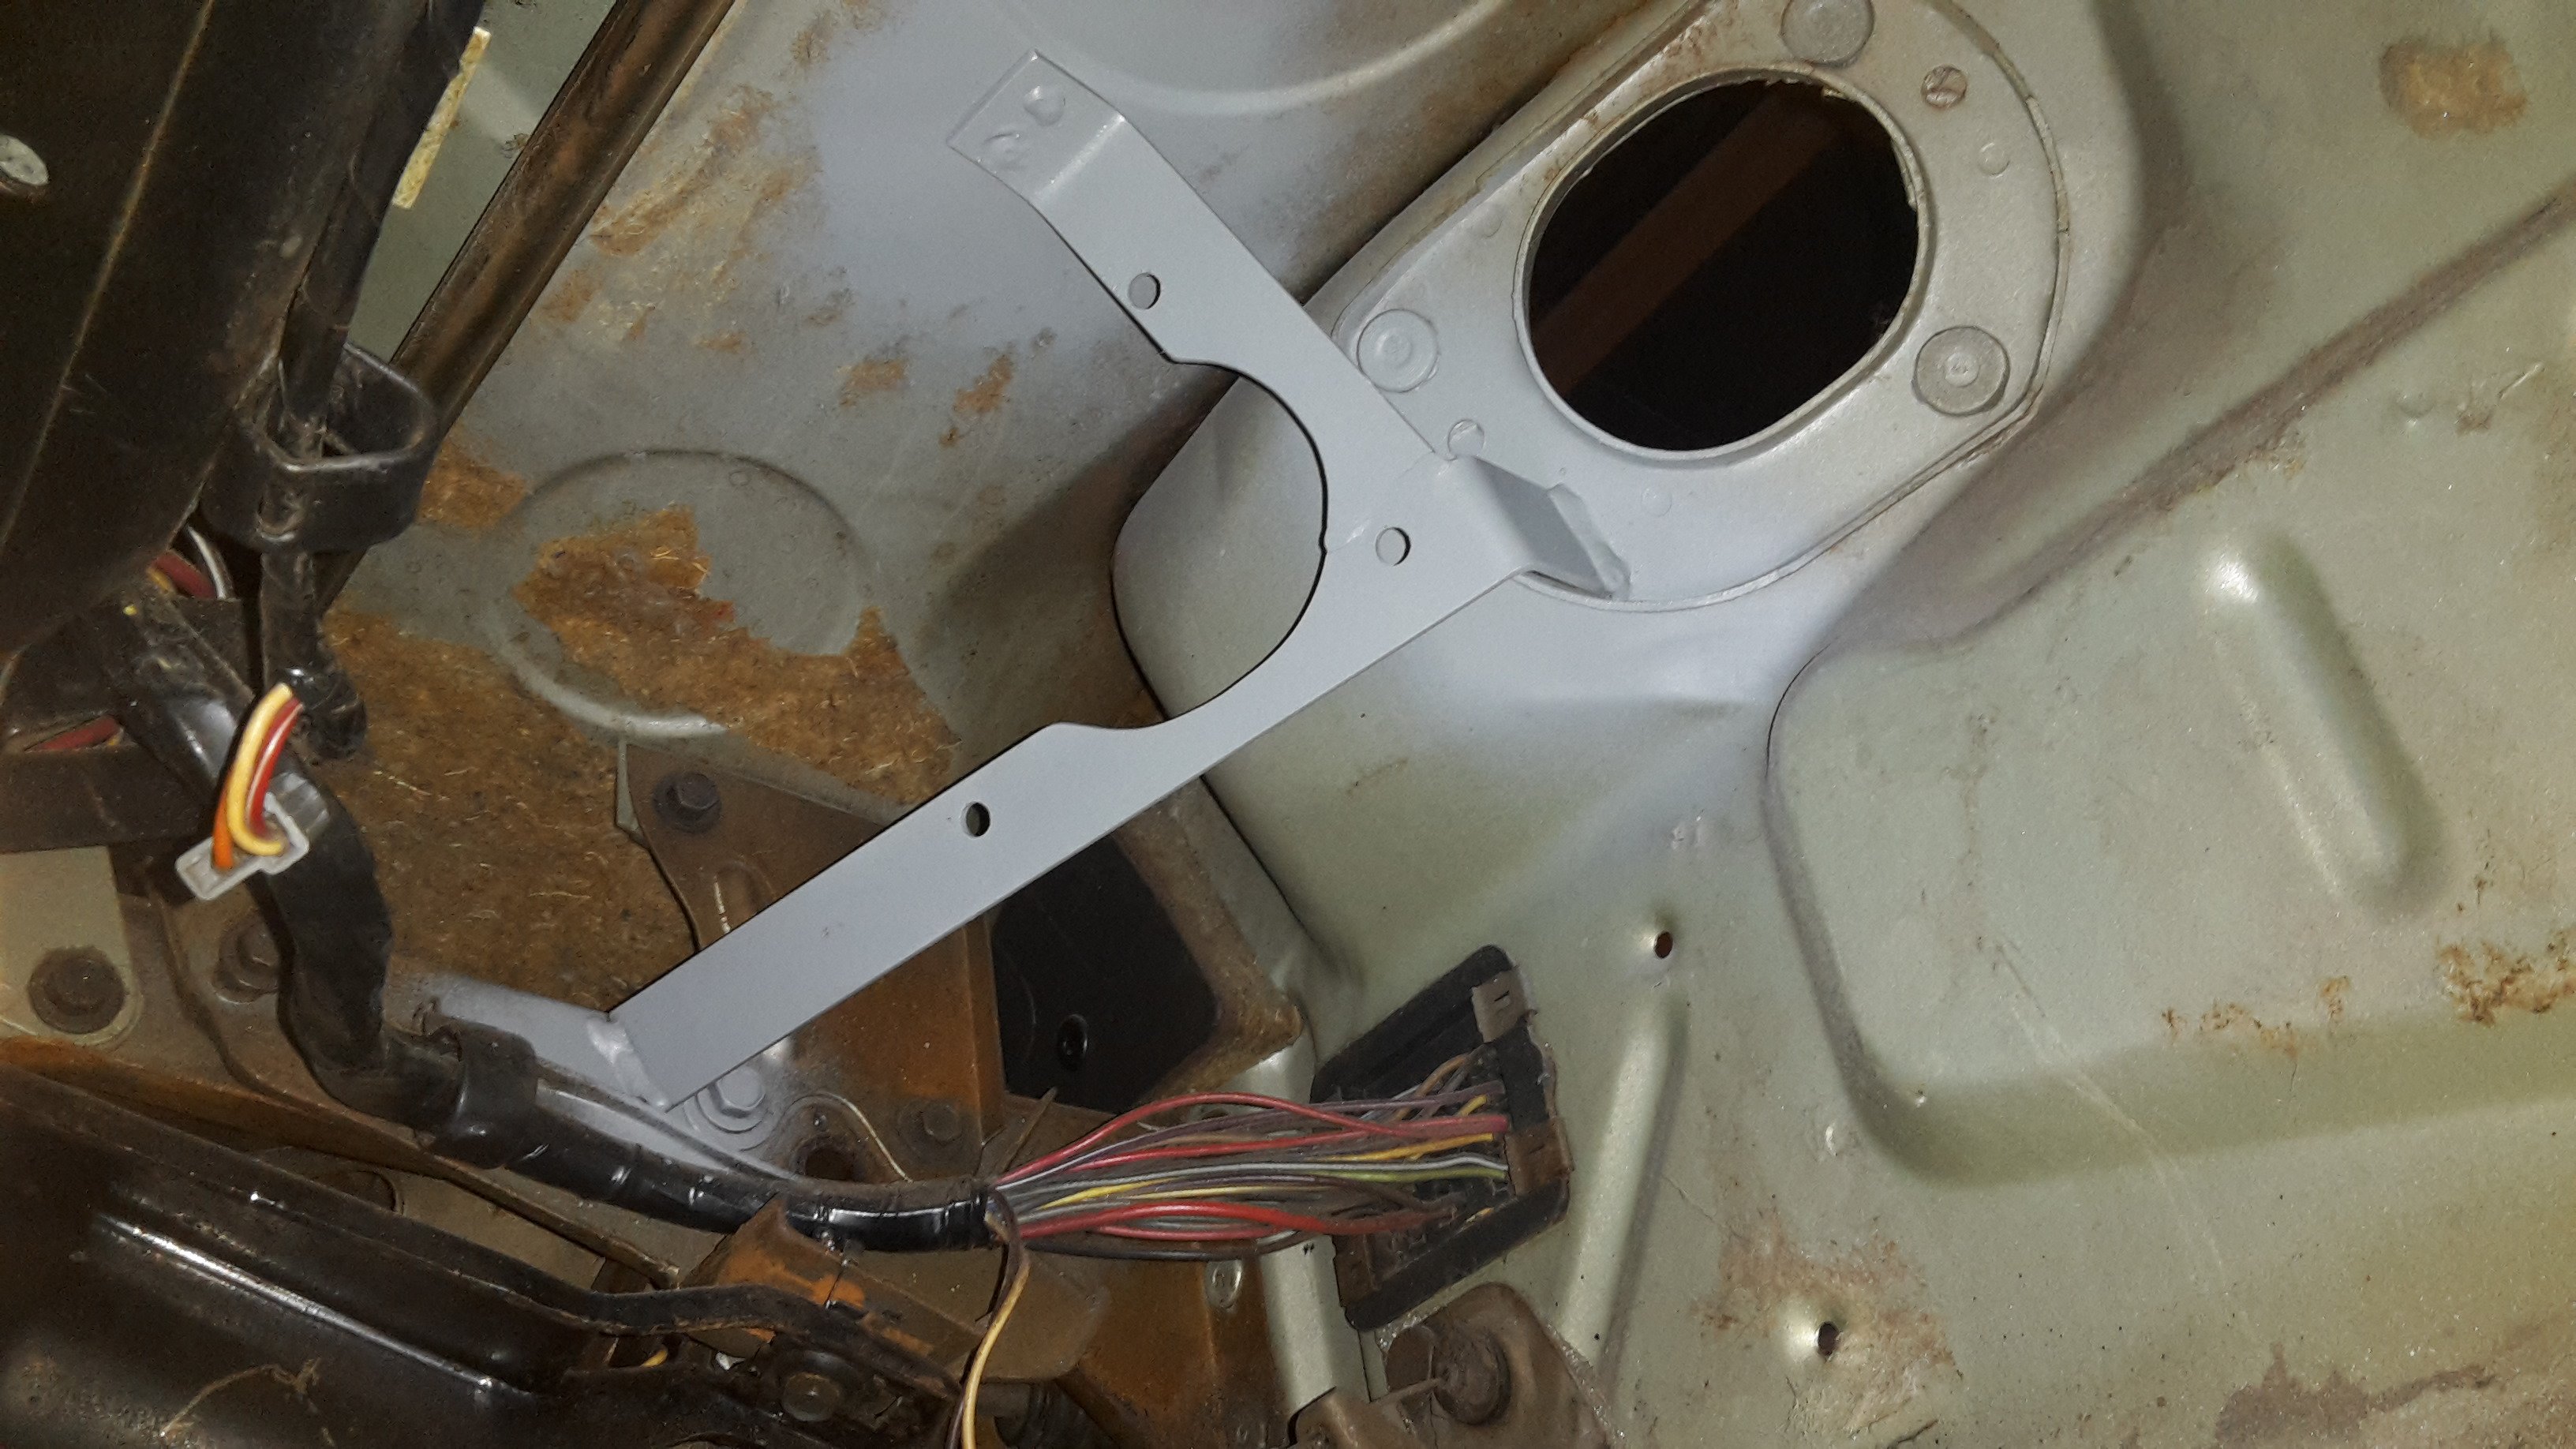
Have decided to use a water air intercooler this time , I'm going to mount it in the passenger side footwell/ up against the firewall where the heater was This means the intercooler pipes can be somewhat hidden. I'll run a pipe from the turbo under the rh guard thru the firewall . Out of the intercooler there will be a pipe thru the hole where the wiper motor was, straight into the carb hat This meant I had to shift the wiper motor to inside the car under the dash which is also a bonus cause it's very ugly. So I mucked around for ages getting the position right and made this thing. Shit update but it's progress at least...
 13 points
 -
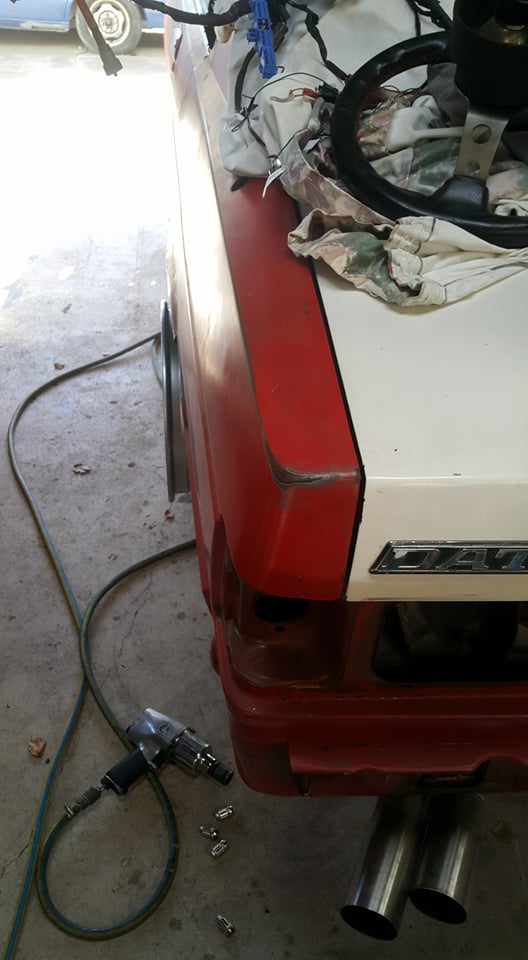
got the tail lights back in and the bumper on. the gaskets that go around the tail light holes were all fucked so i bought some closed cell neoprene strip from para rubber and stuck that on. it worked a treat and now the tail lights are all sealed up. 2019-04-14_03-38-29 by sheepers, on Flickr 2019-04-14_03-38-22 by sheepers, on Flickr also found this cool manufactures sticker/QC mark on the back of one of the door cards. 2019-04-14_03-38-13 by sheepers, on Flickr so yea the back end is starting to come together, got an issue with the brake lights not working properly but that will be something minor, im pretty sure they all worked before i pulled it to bits....... 2019-04-14_03-38-06 by sheepers, on Flickr10 points
-
all working now. 2019-04-15_08-43-48 by sheepers, on Flickr7 points
-
It's pretty cool when your 33 year old bike beats modern machines7 points
-
Here is the engine, it was built at Mcintosh racing, it runs well, its around 1100cc, it dropped a valve when the retainer snapped in half but it was ok, I made the exhausts and oils lines, engine plates, mudguards, and half the shit on this bike. it has Hemmings heads, I know a guy who has a KTOR engine on the floor in his shed, I can put you in contact with people but you probable already know them?6 points
-
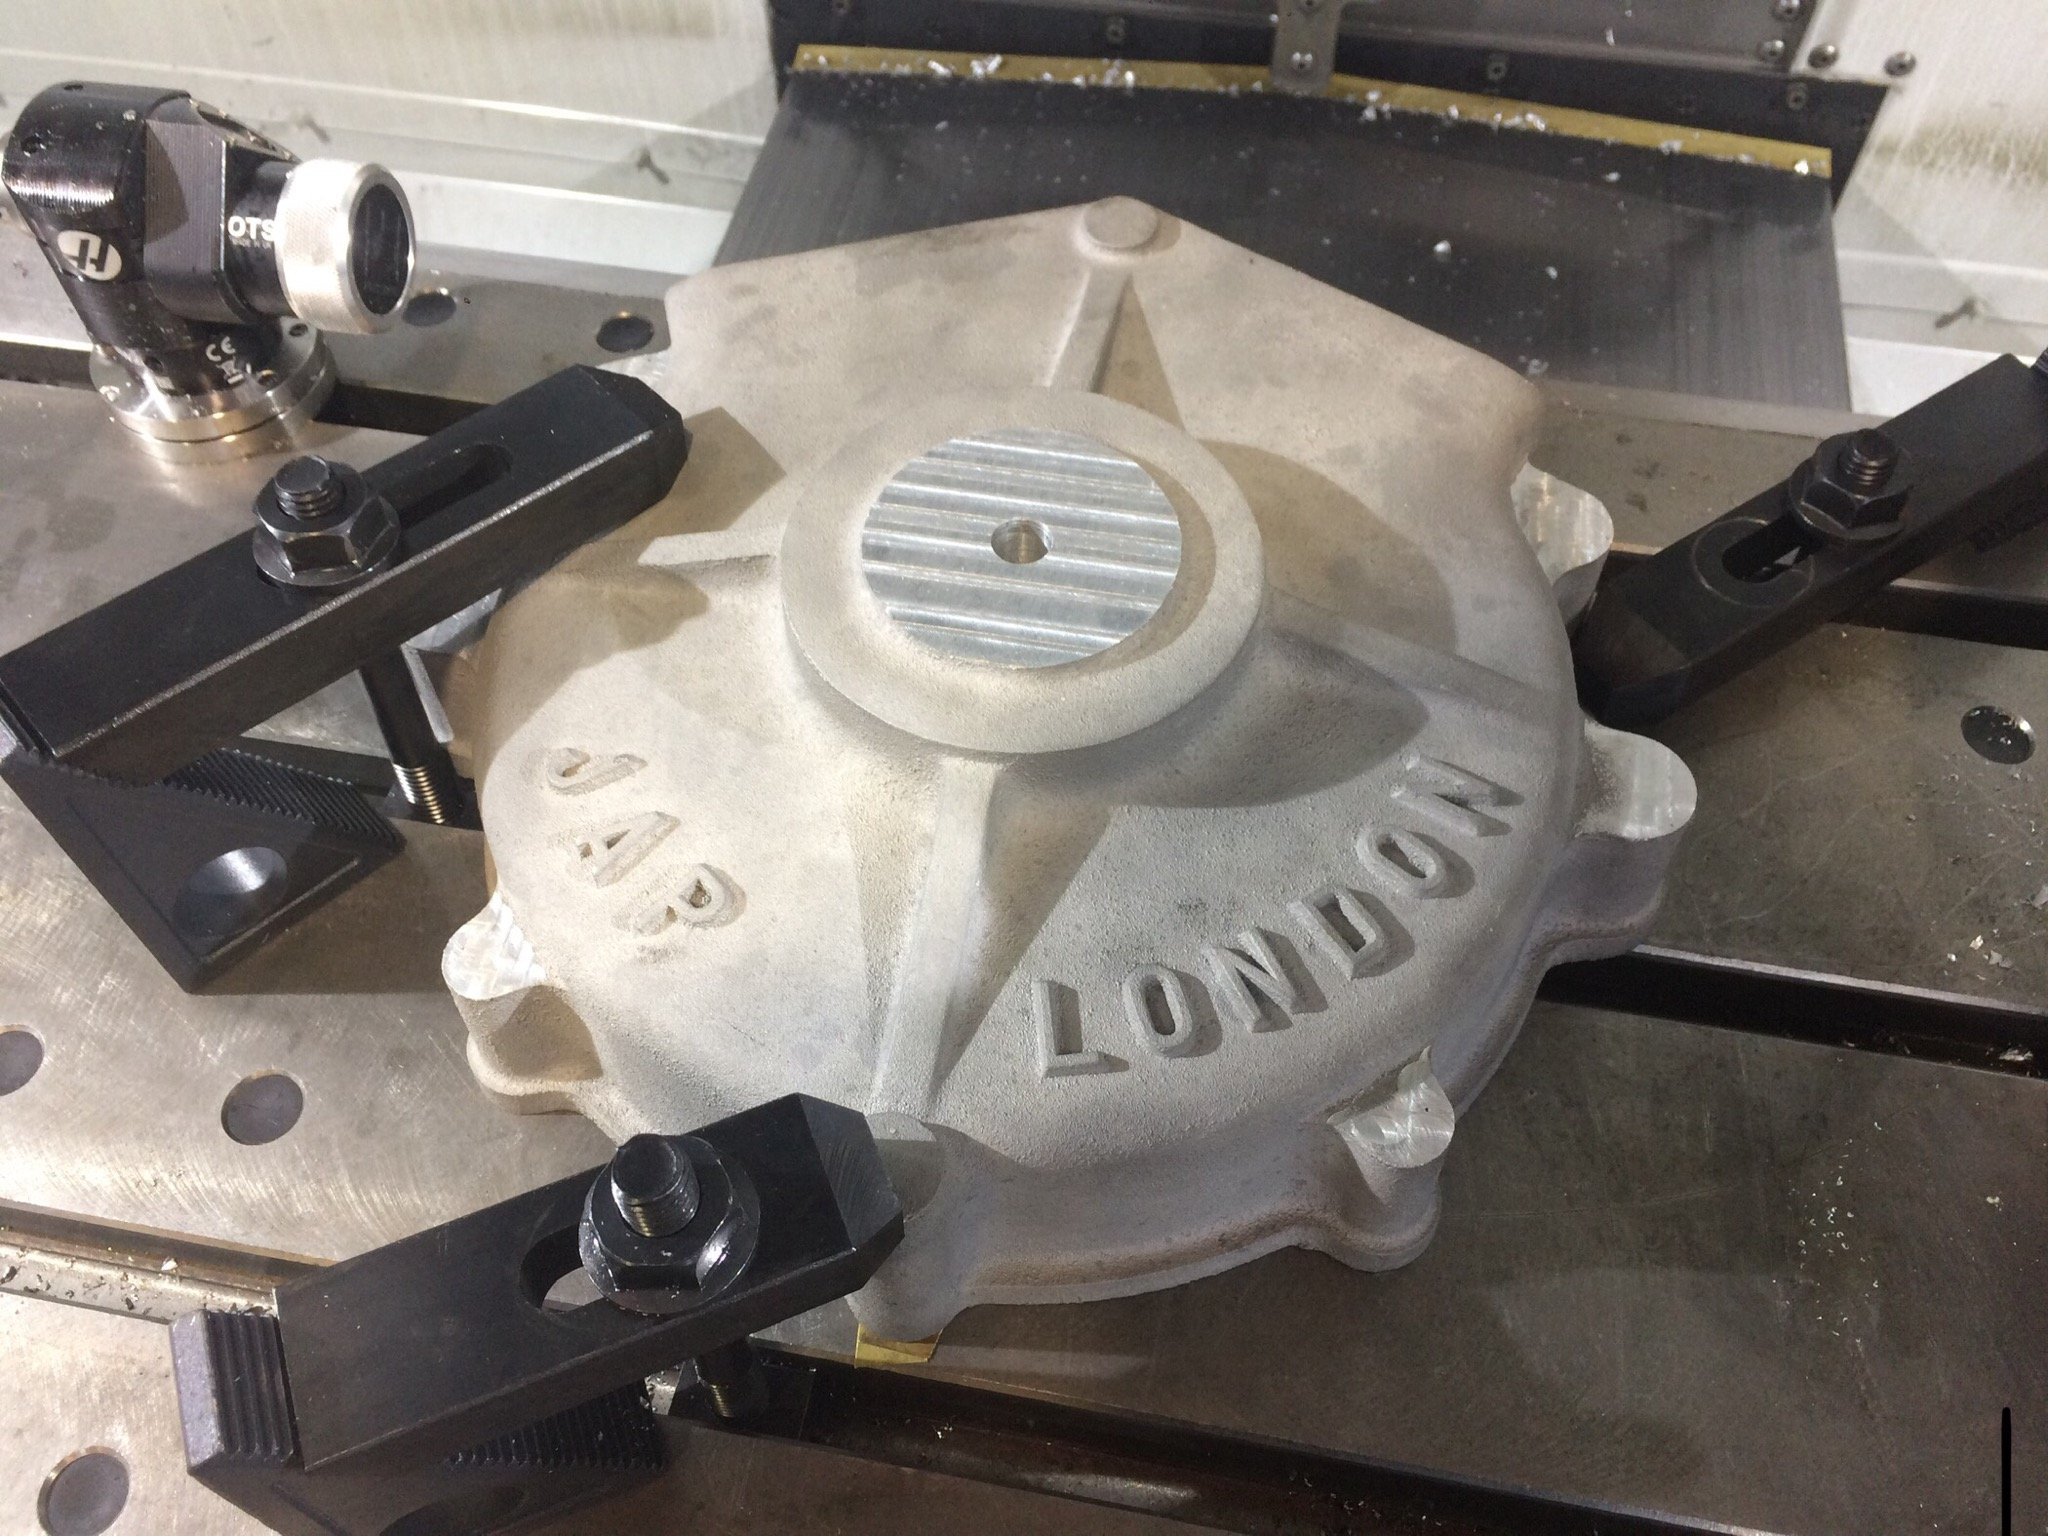
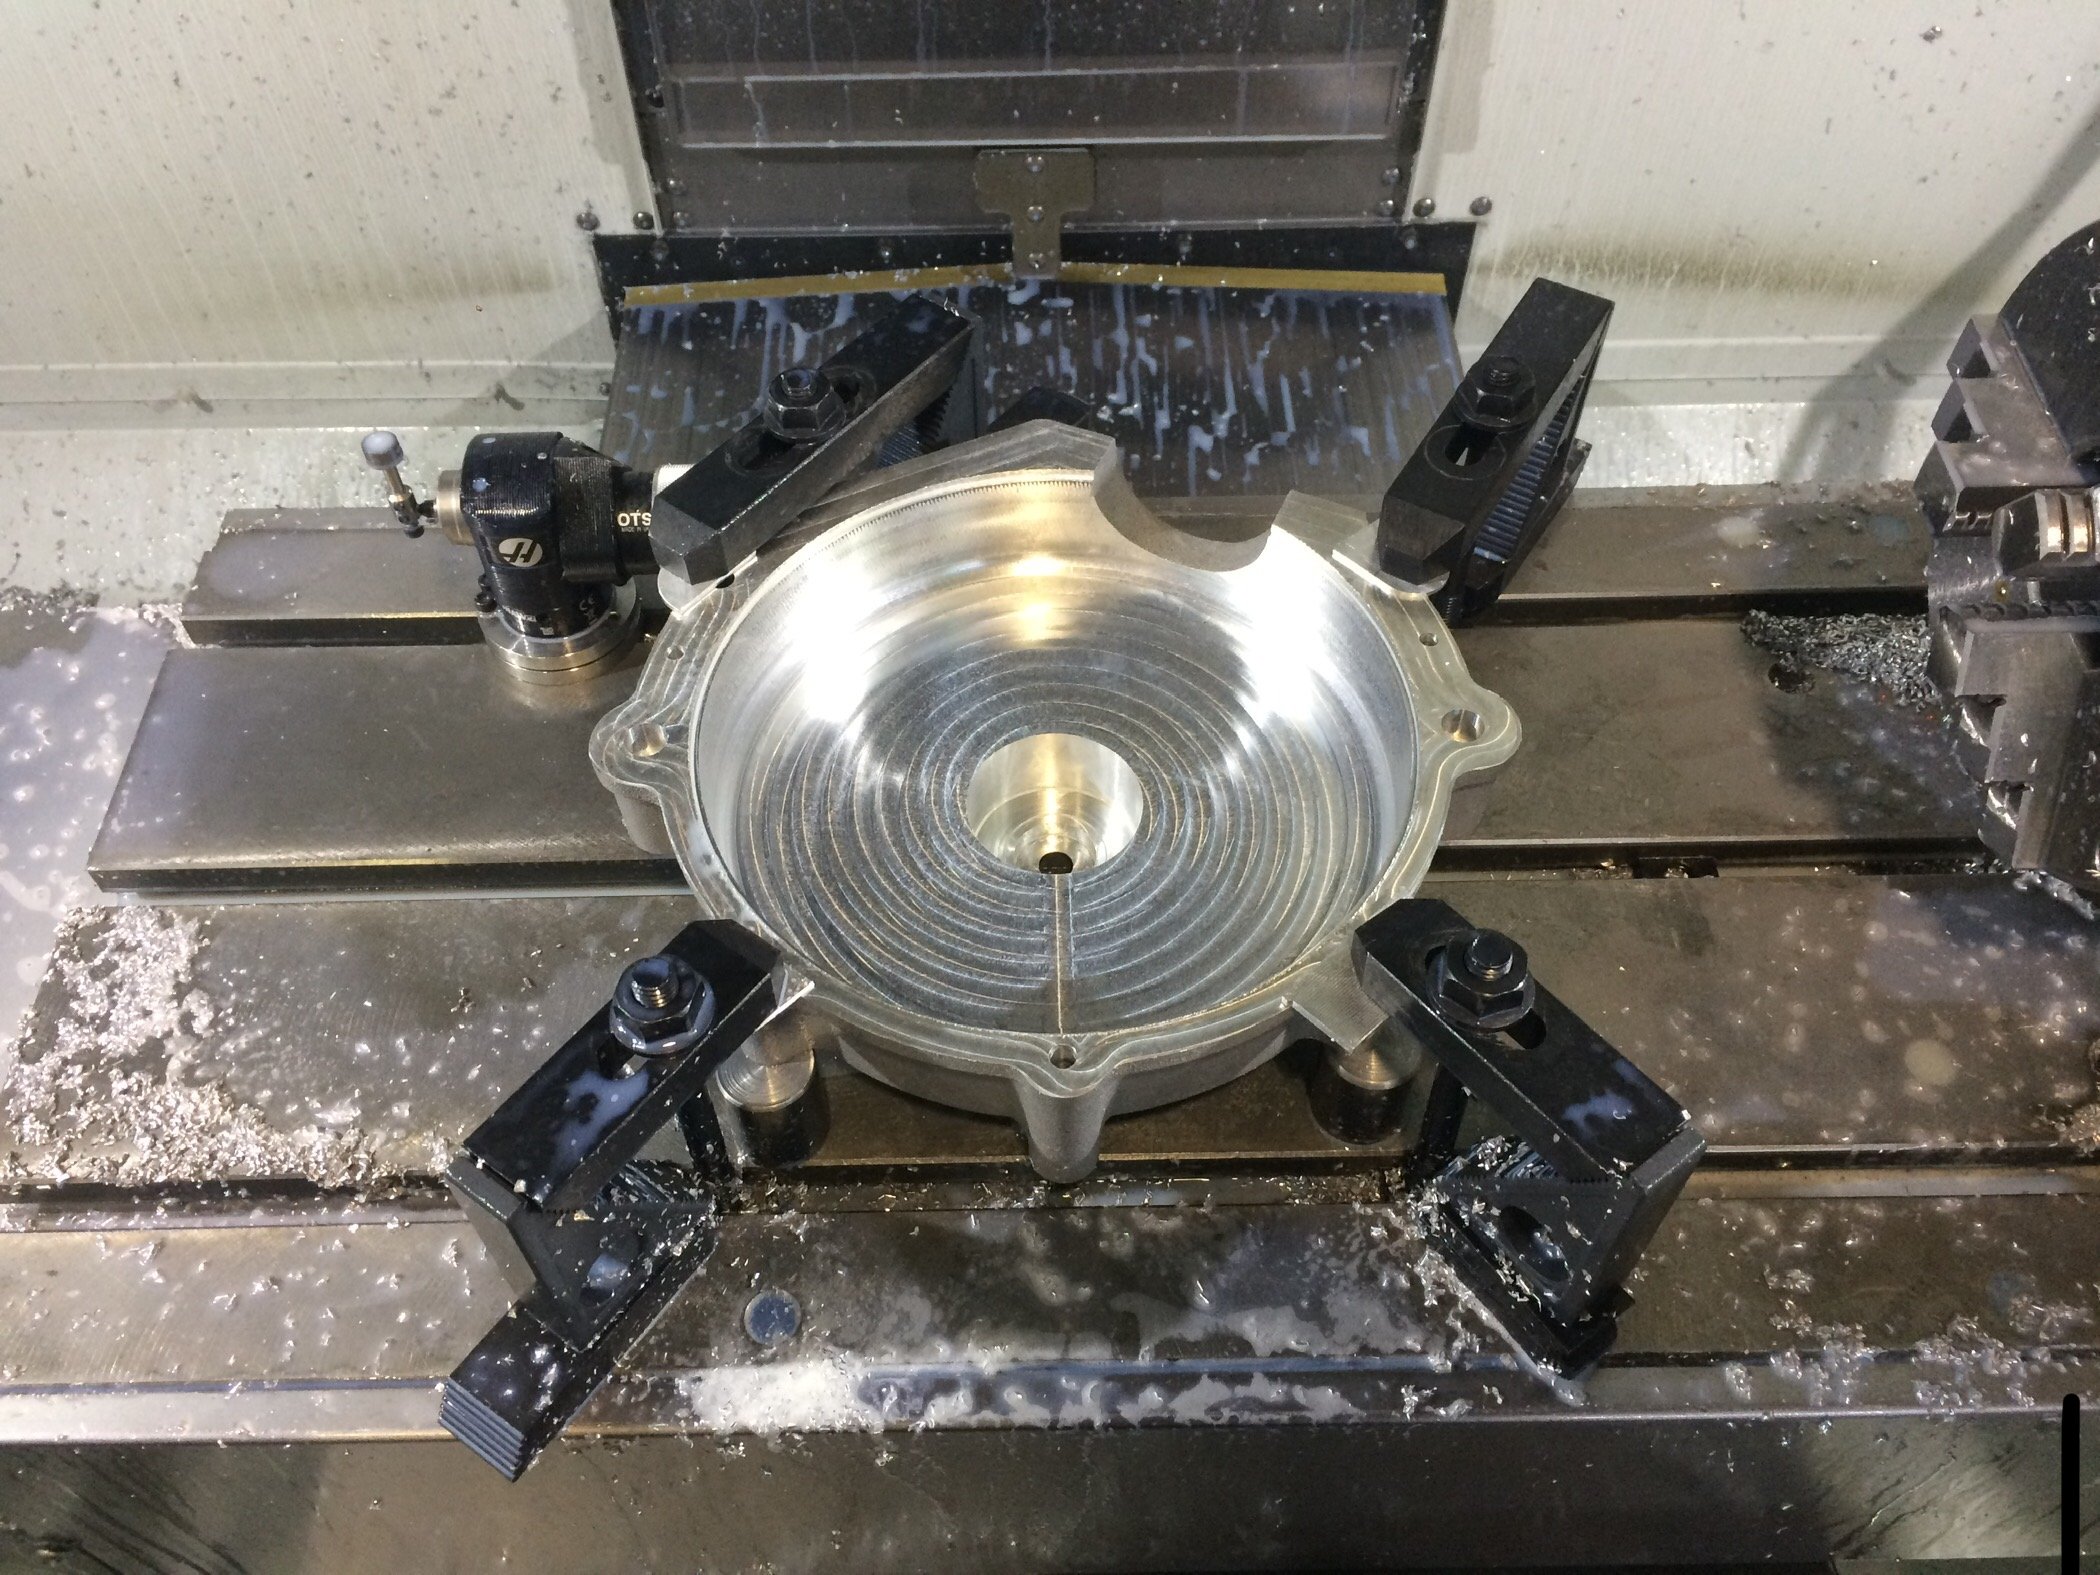
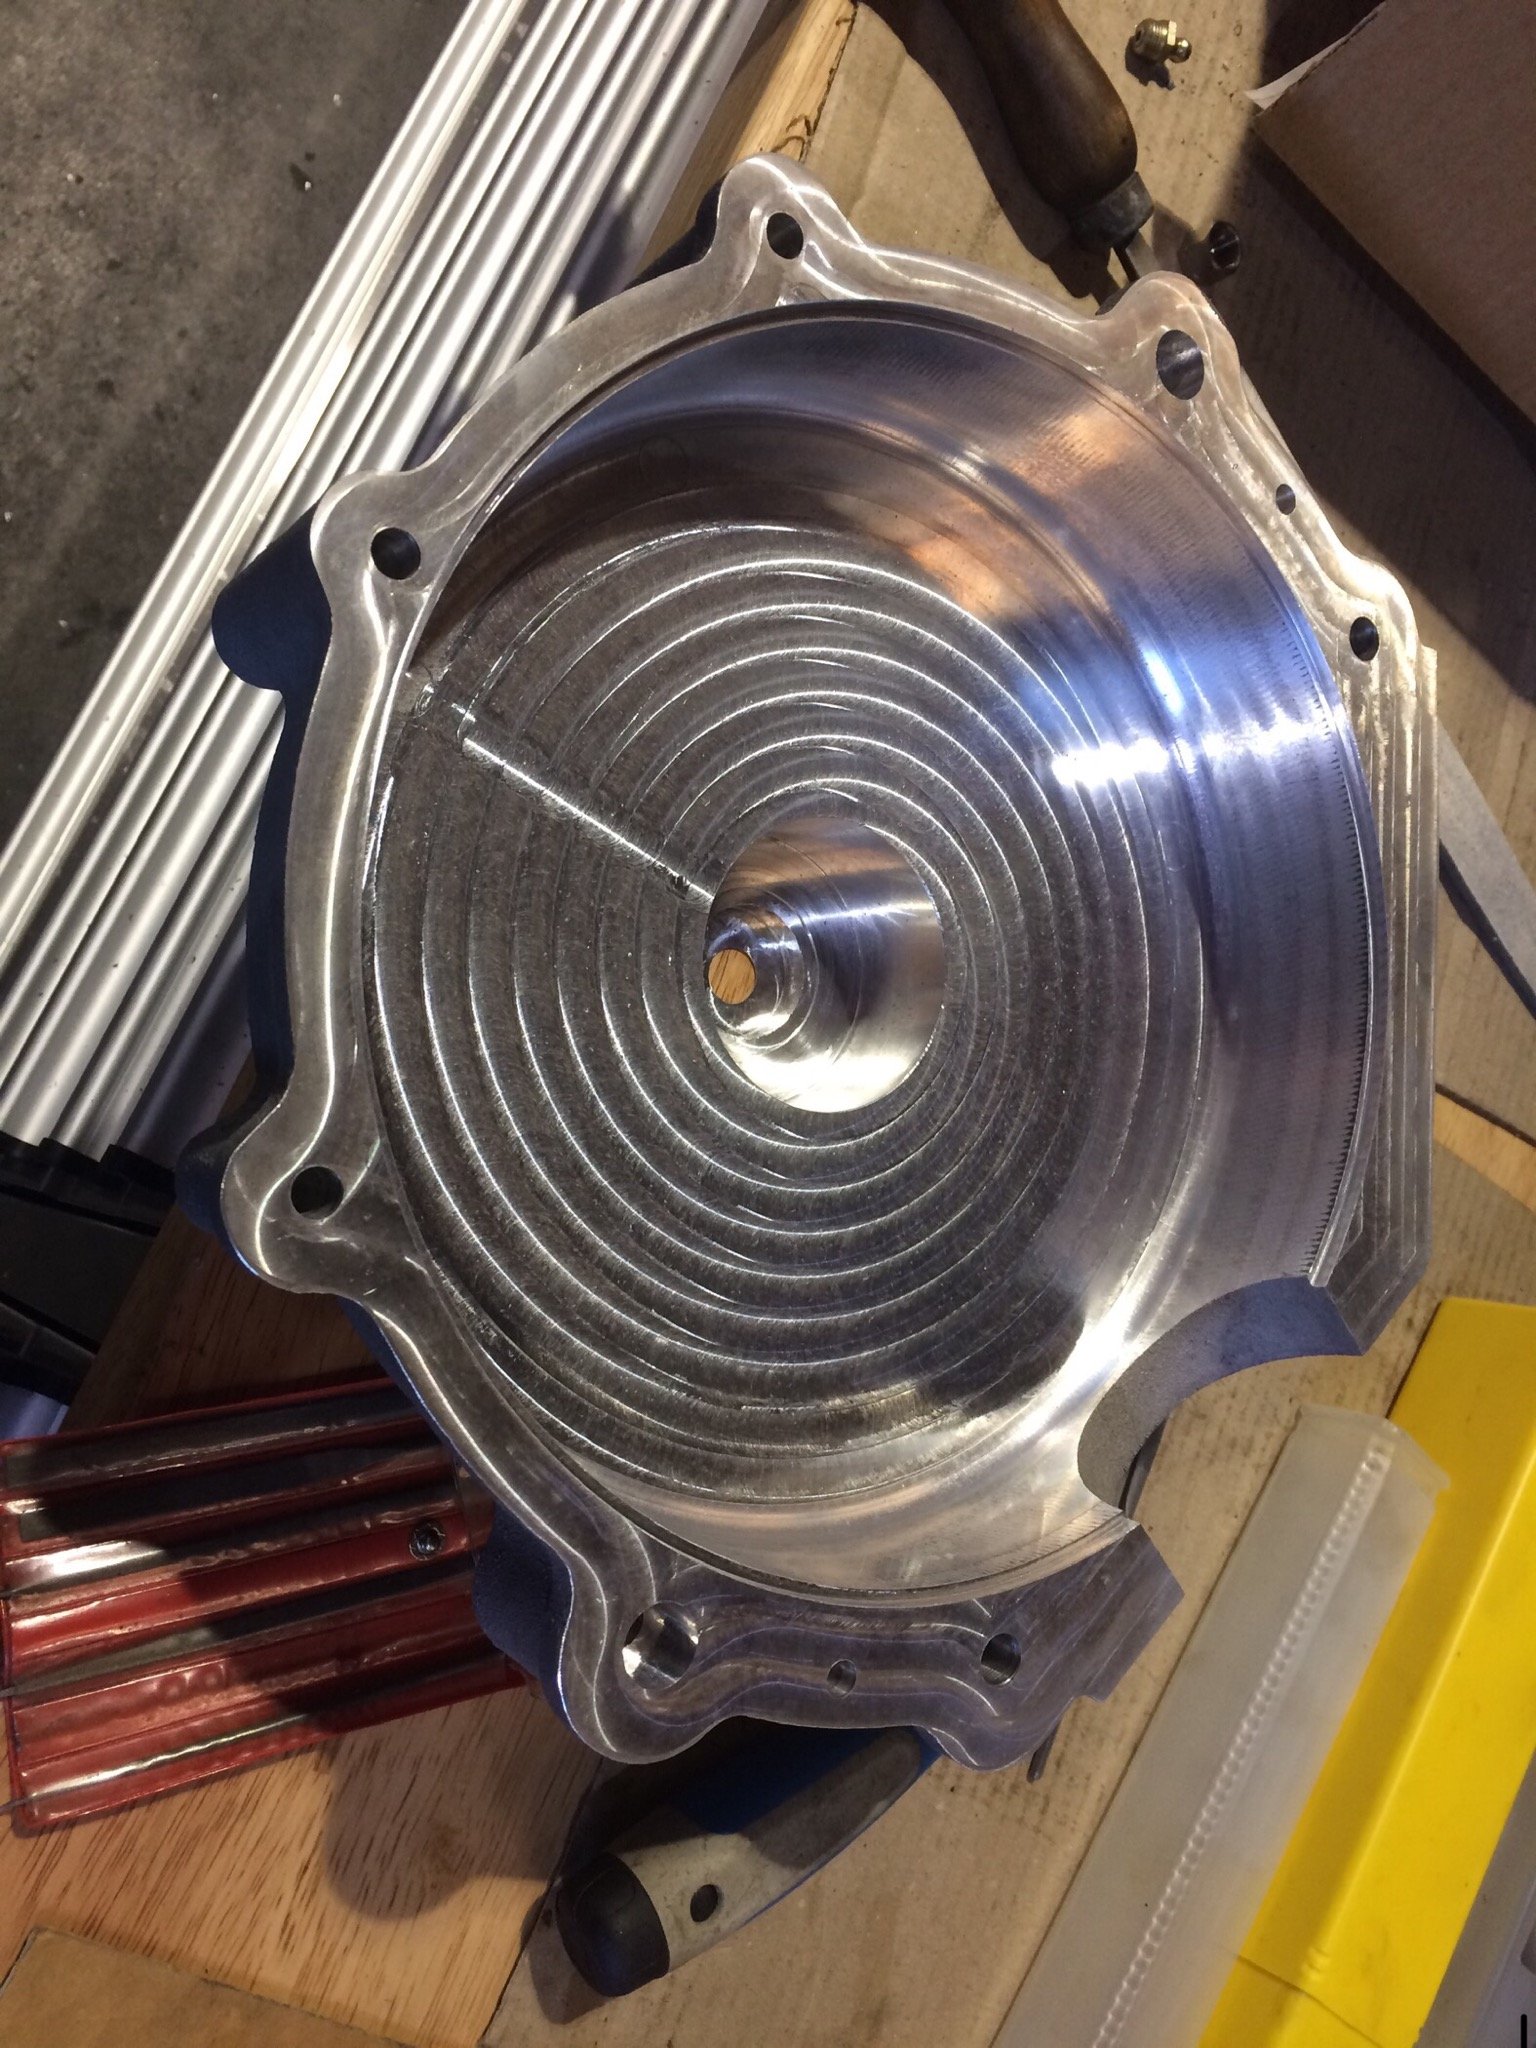
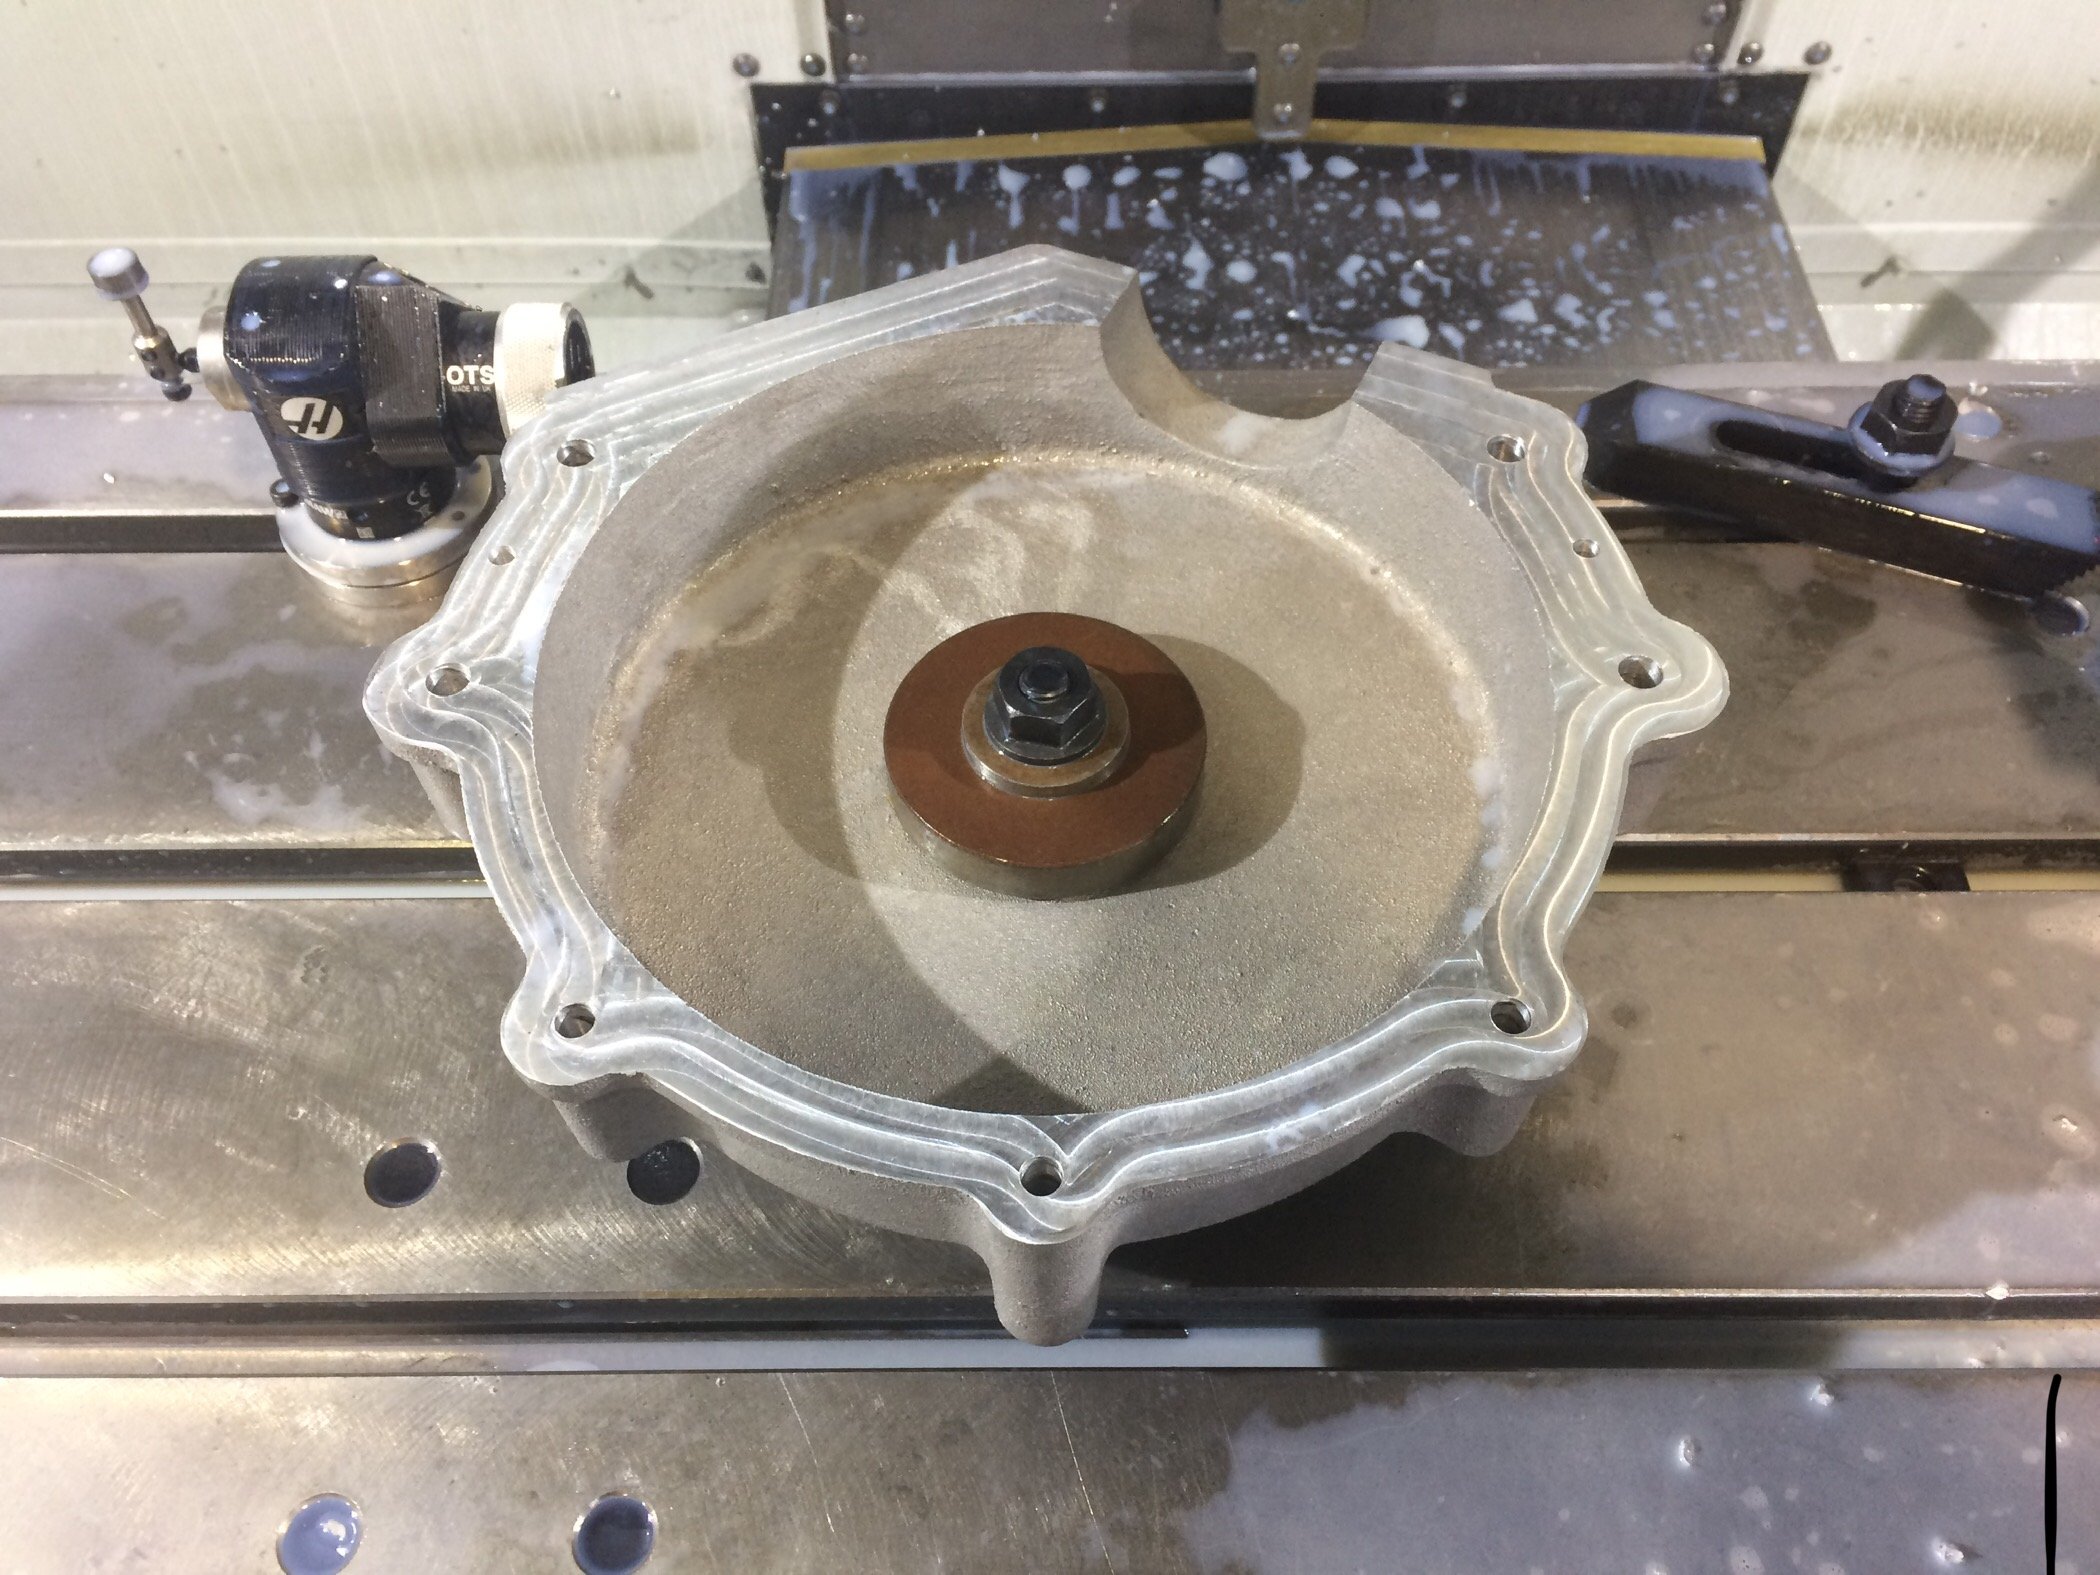
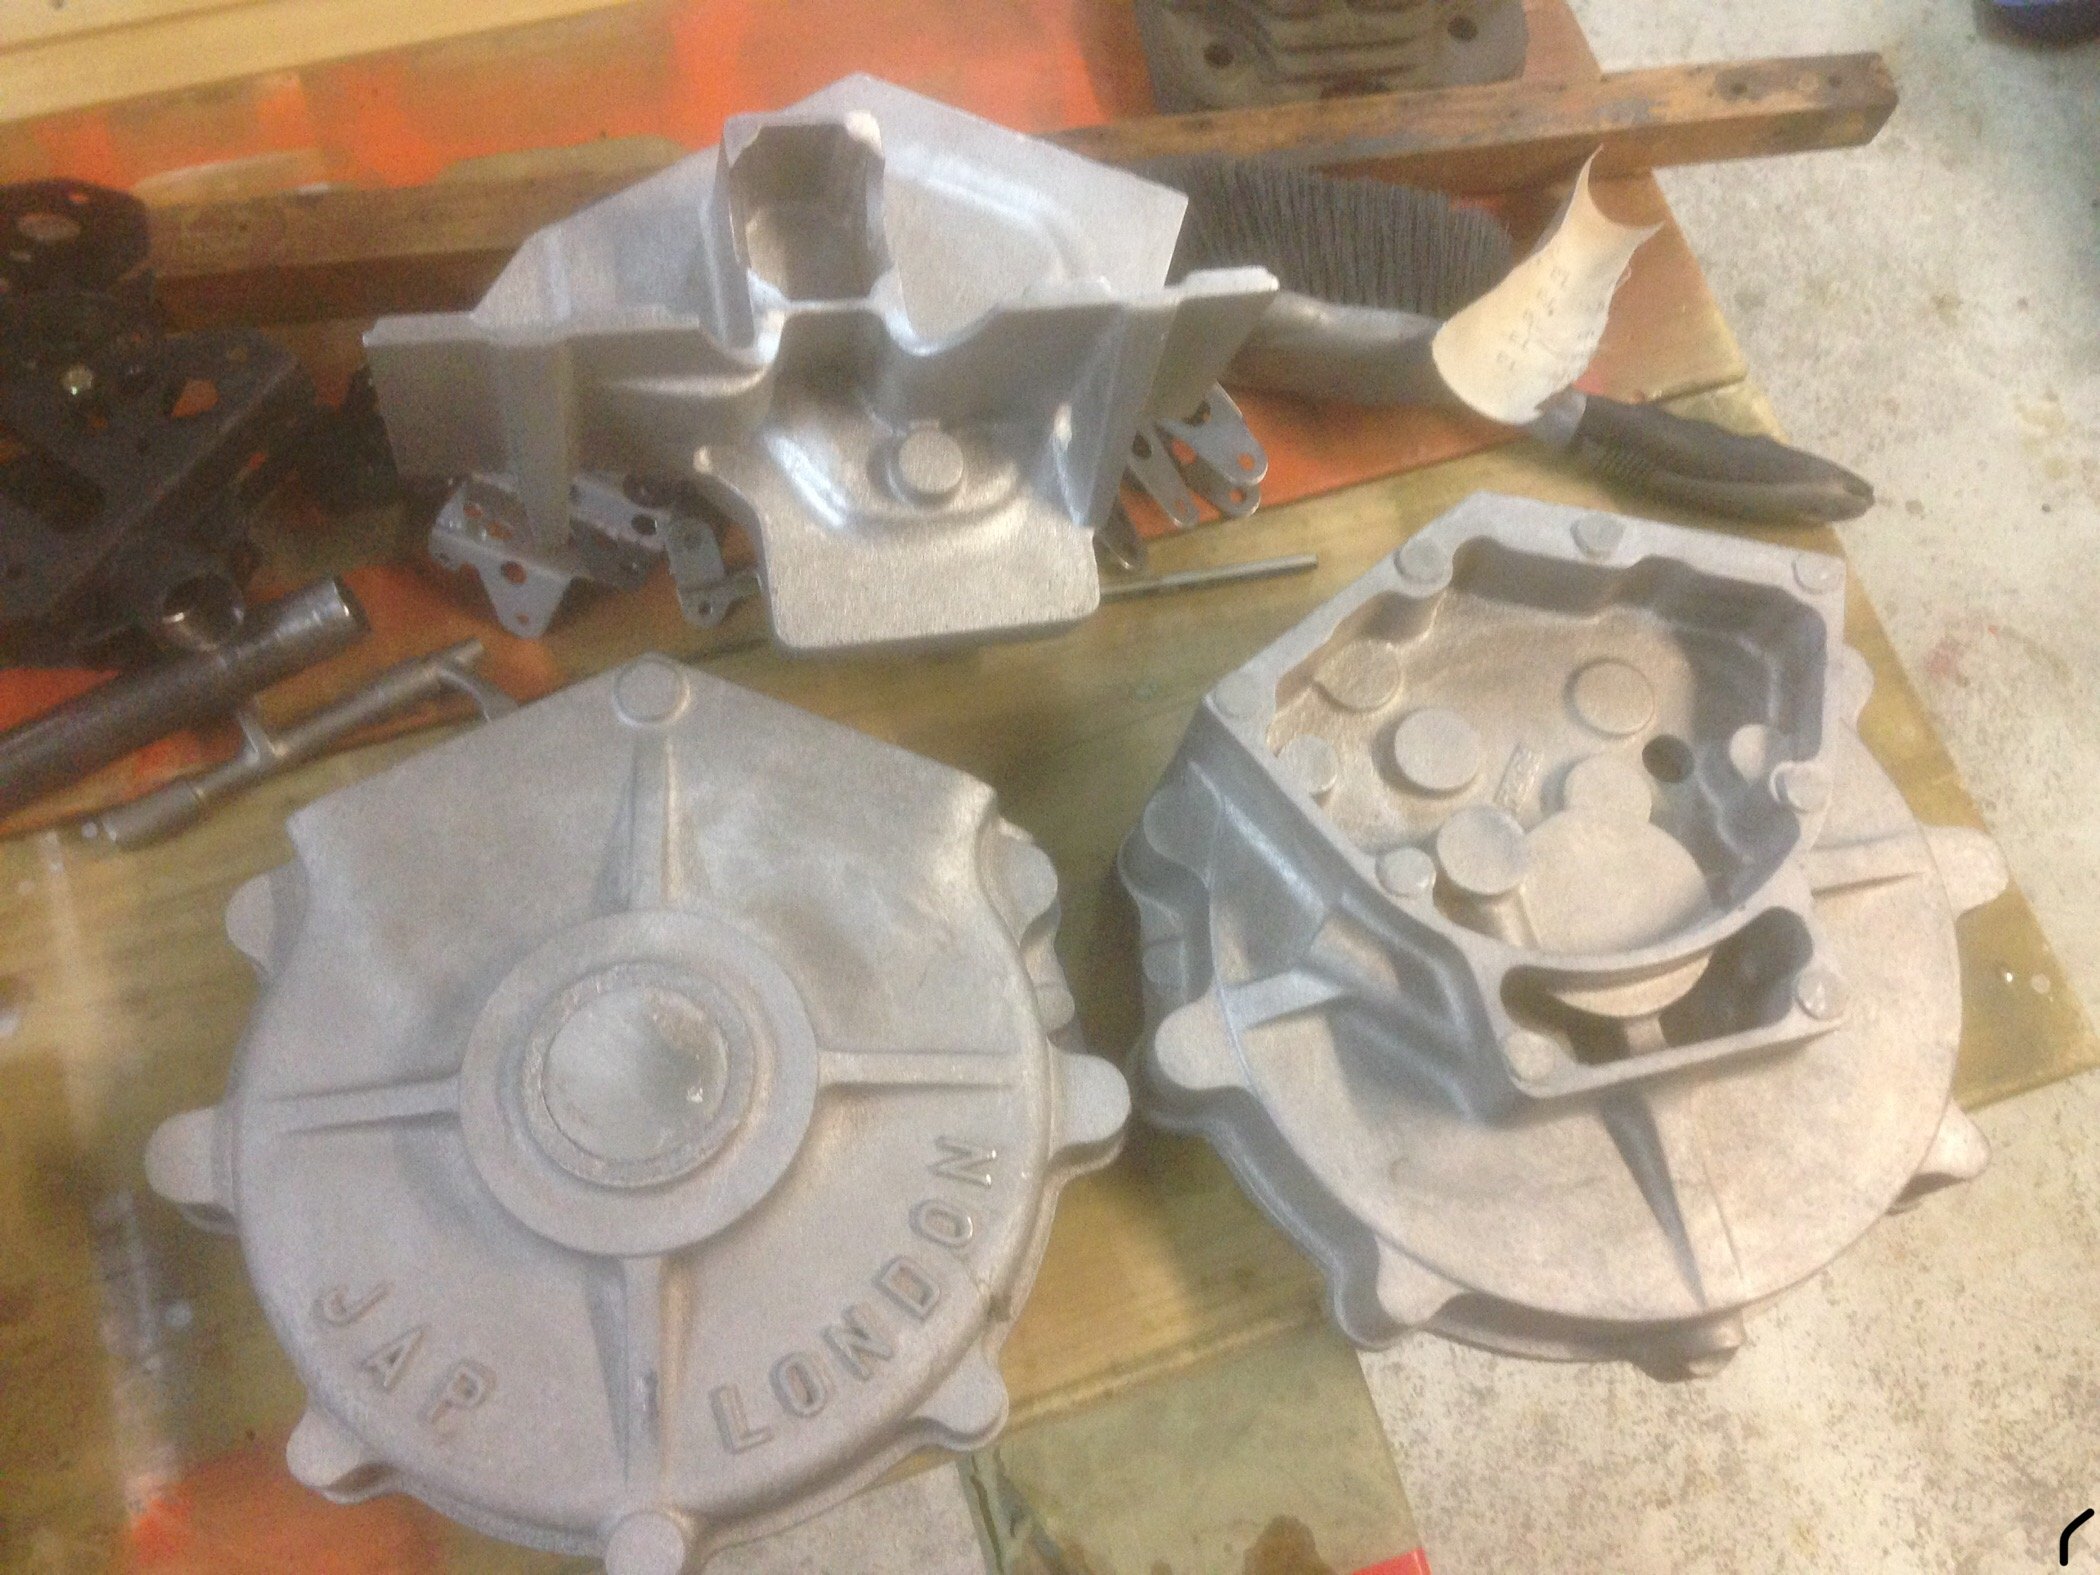
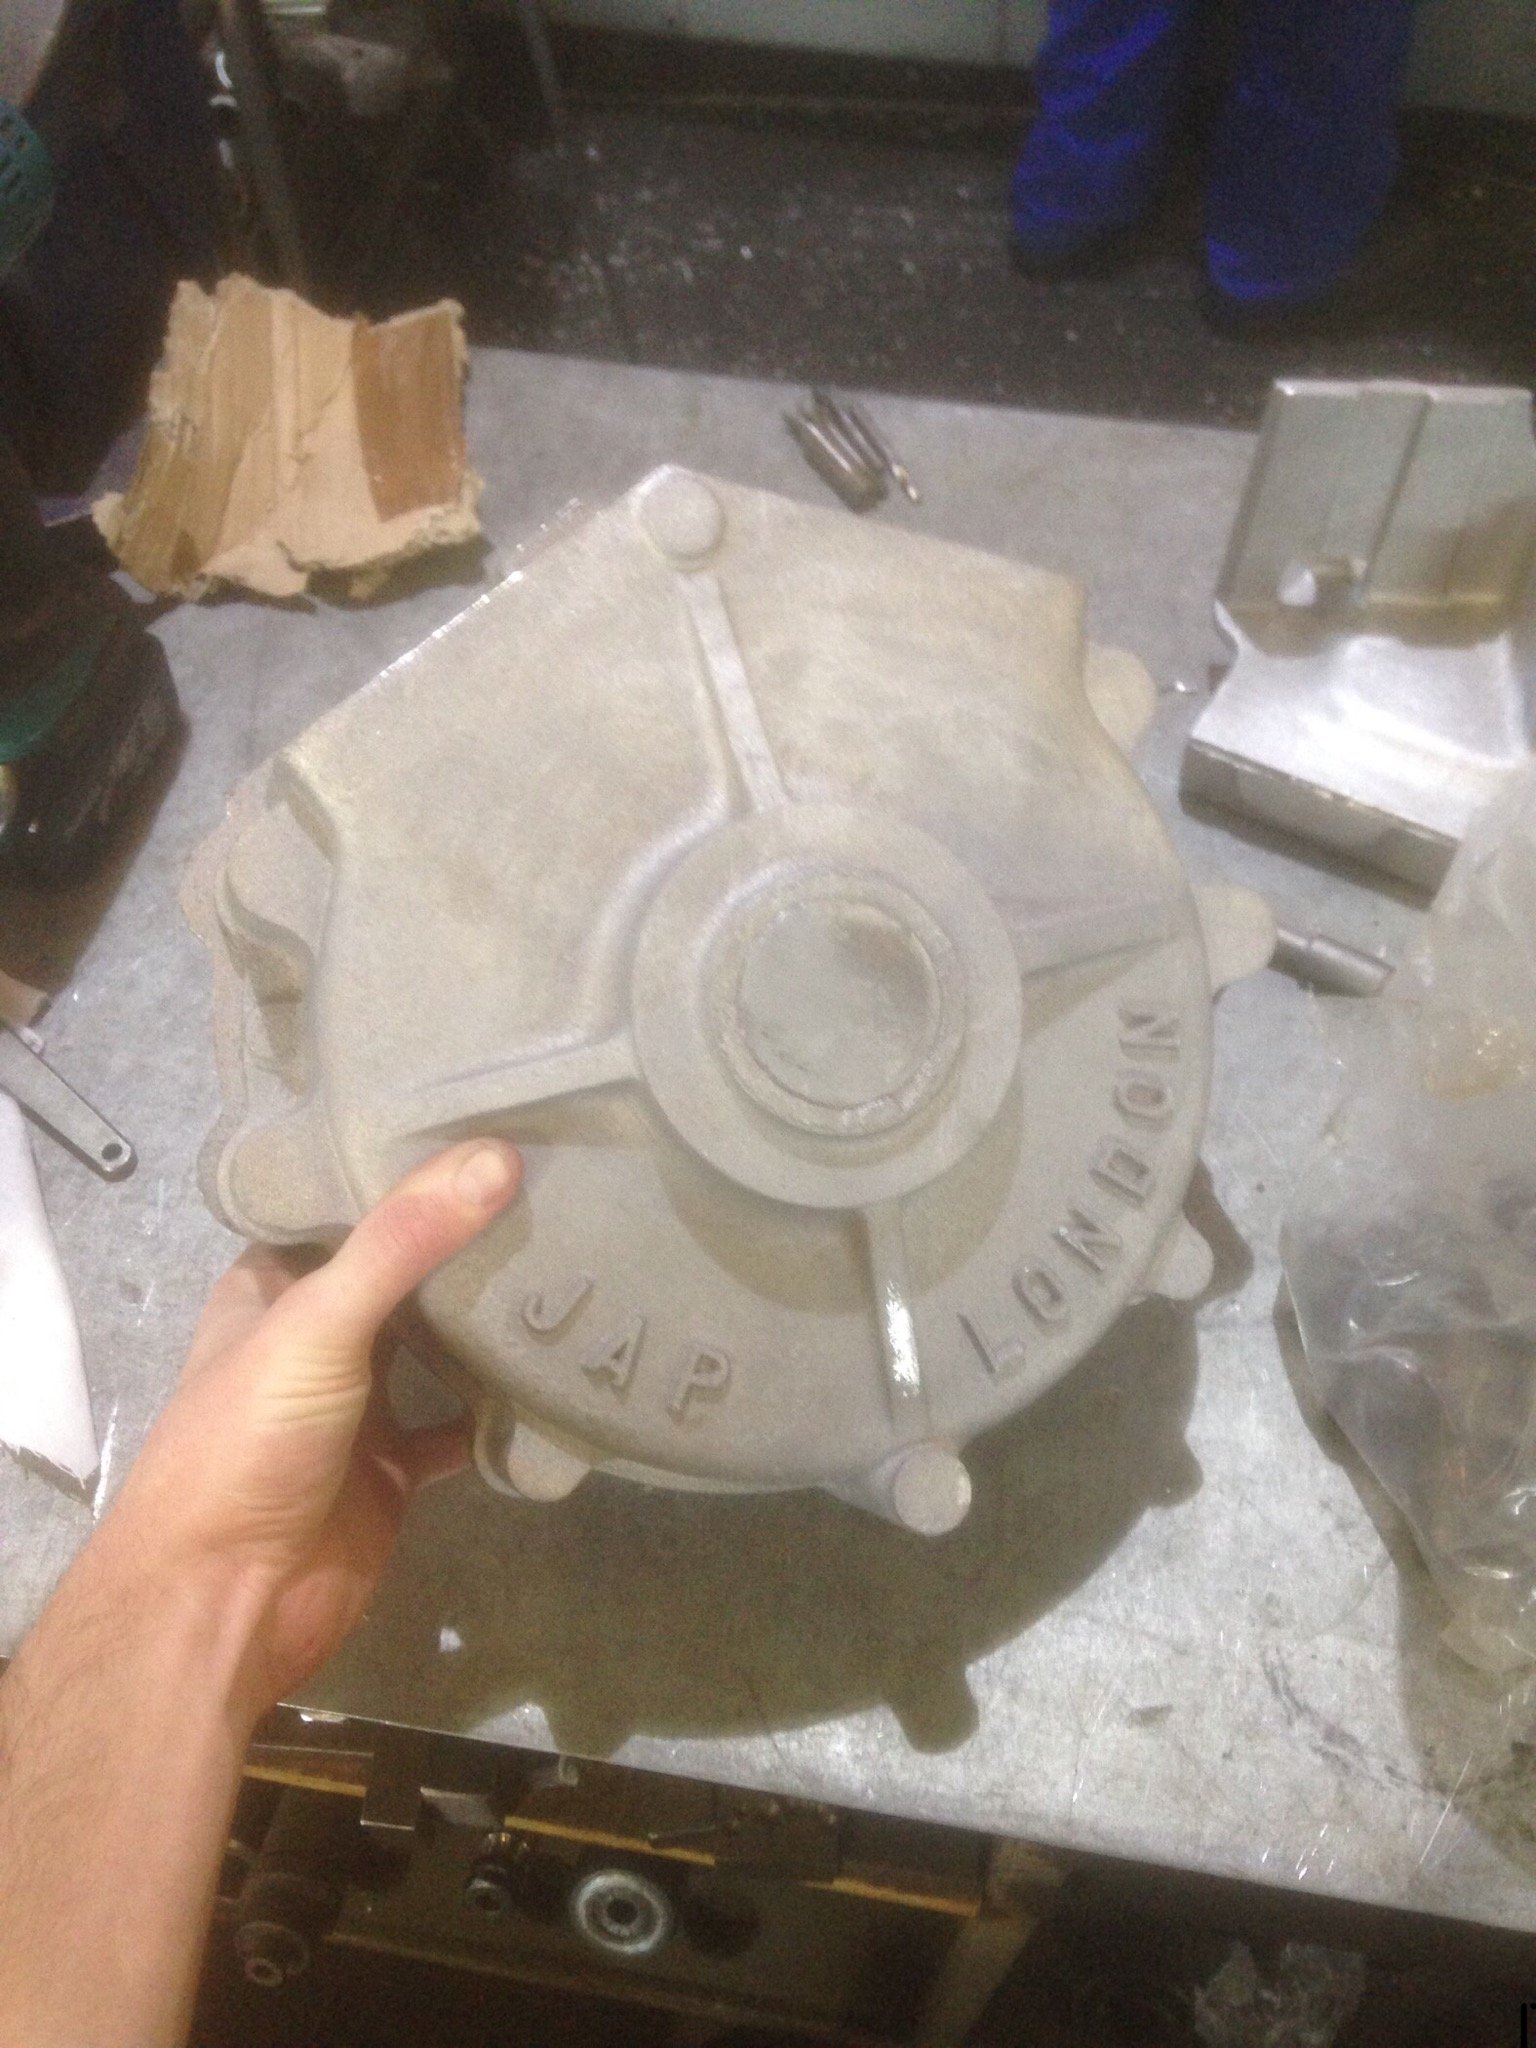
Did you ever see the engine run SOHC? A bit of info on this engine. It’s a 1930 JAP JTOR long stroke racing model of 1000cc. They were used in racing 3 wheel Morgan’s and Brough Superior motorcycles. These v twins are very rare these days and are worth a large amount of money. Lucky a place in the UK has reproduced some accurate castings for anyone mad enough to try make their own. I will be changing a few things with this one to try and get a bit more capacity and power out of it. Made a start on machining the drive side crankcase half. Bearing boss faced off to become the first reference surface Flipped over, mating surface faced and holes drilled. Now clamped down with spacer blocks to machine inner surface and bearing bore Inner features finished Next up timing side
6 points
-
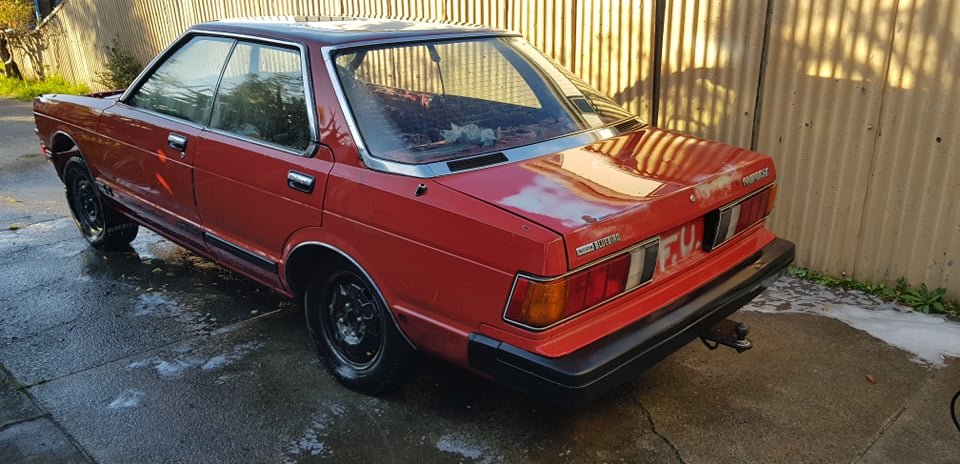
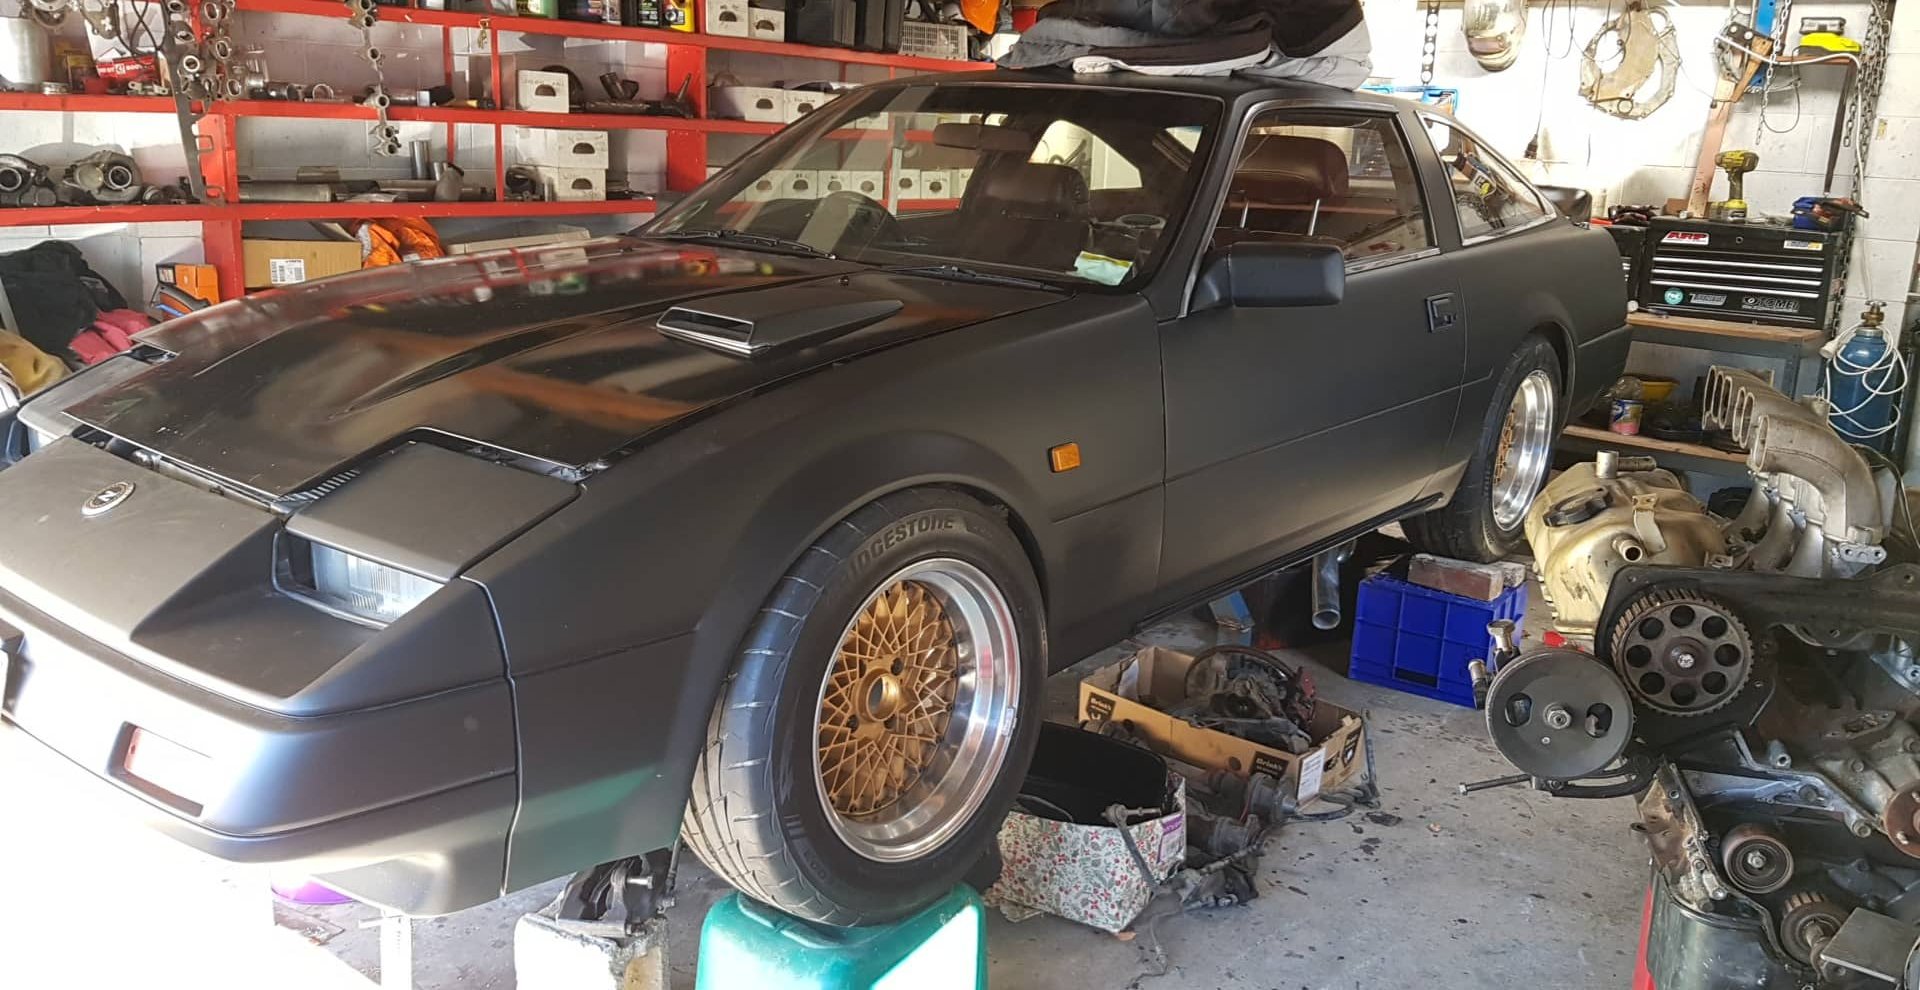
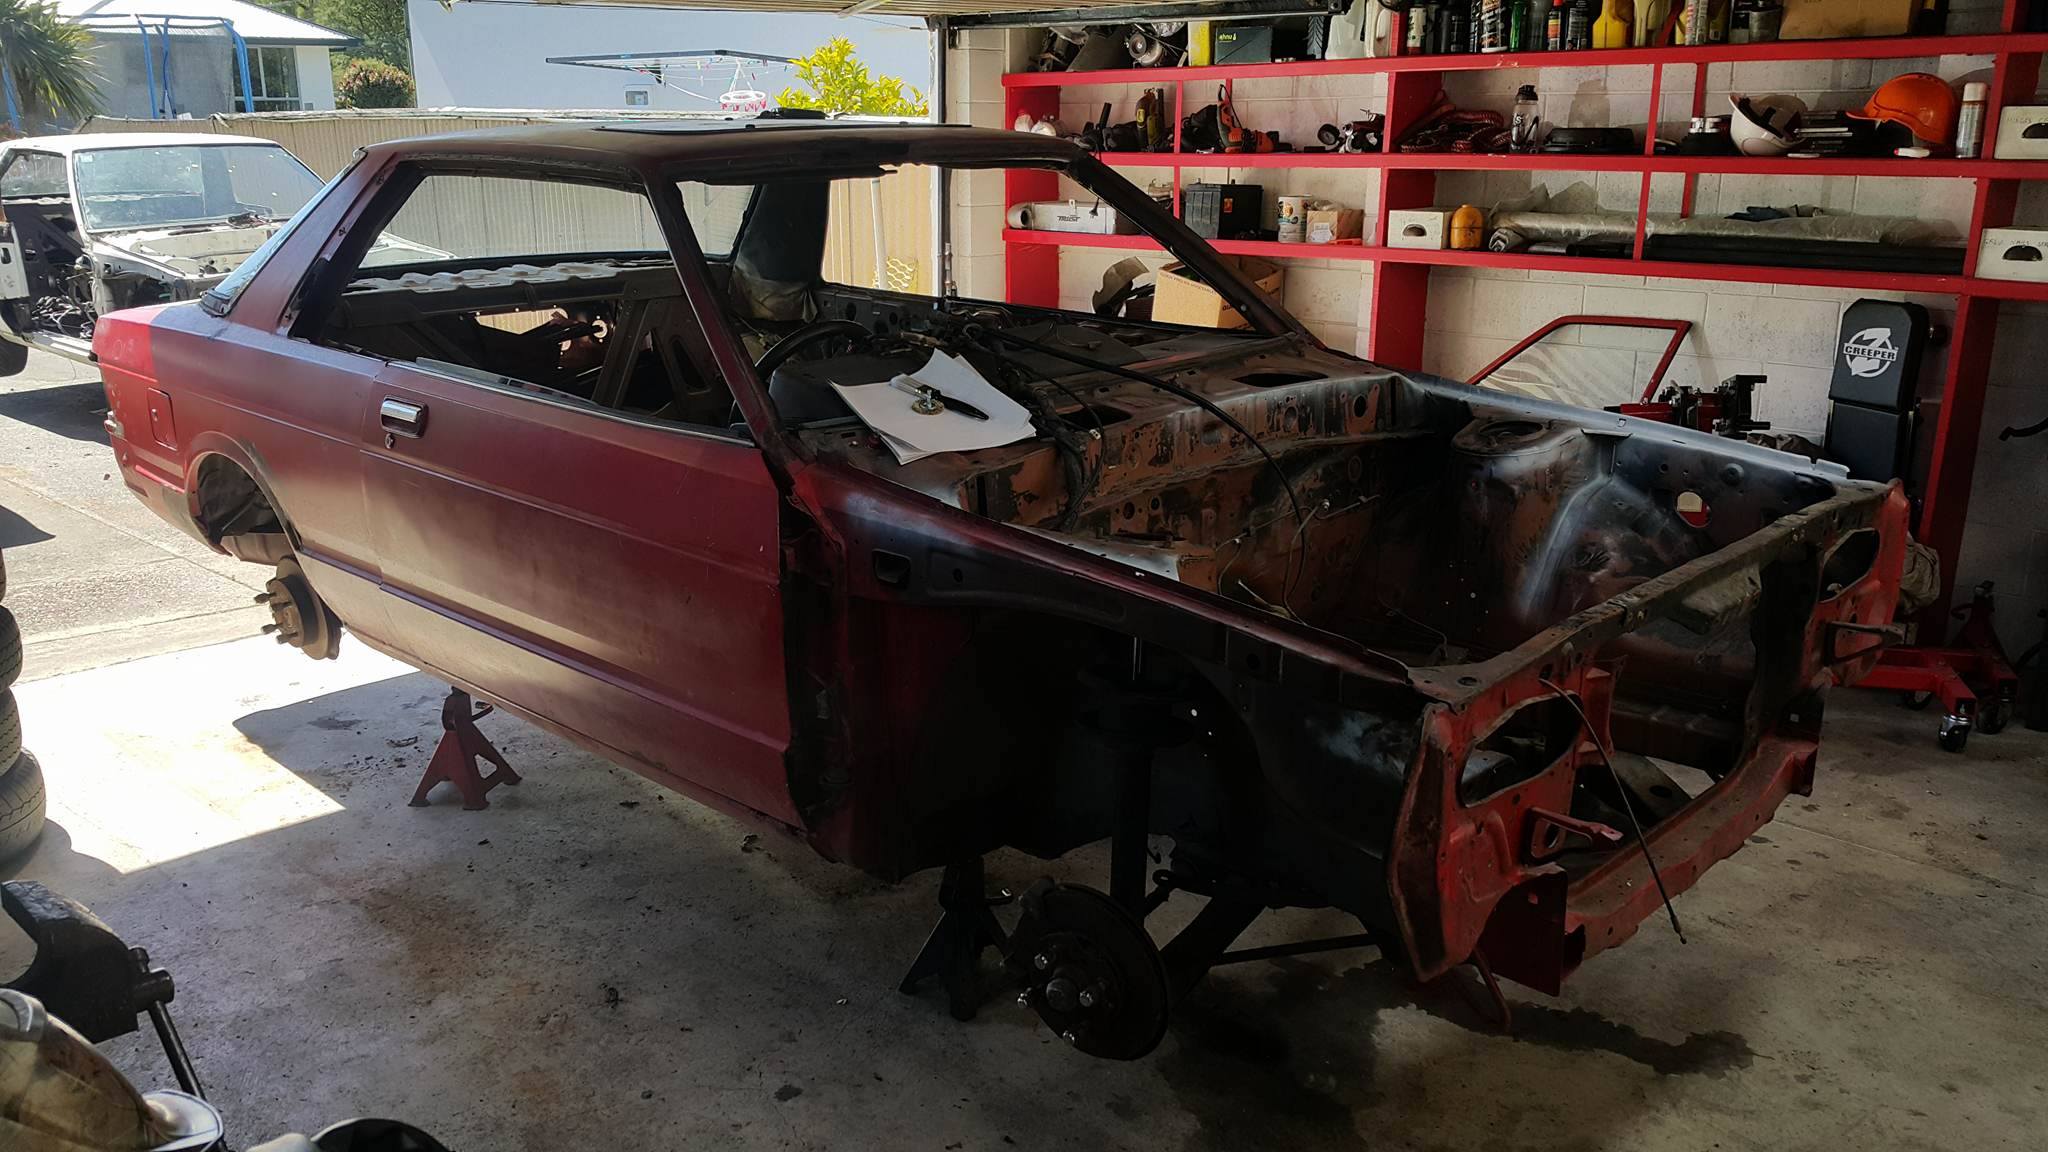
Woah....been awhile since I updated this. Got some notifications.... This has been sold onto a dude in Auckland, reluctantly. . .Been building a Z31 300zx turbo since and recently acquired a 910 hardtop 4 door. I'll be creating build threads for these at some stage
5 points
-
Crx is back together, only needed a small shave off the mount and the headers fitted. The radiator fan needed lots of trimming but it's in for now. I took it for a drive and everything worked like it should. I've managed to squash a heater core pipe a bit so Its doing green wees at the moment. I'll try and reshape the pipe and see if that'll fix it4 points
-
This thing is broken also. have started to fix it. This is front suspension lower link, chassis end mount. its meant to be parallel to the chassis not bent down at the back. the force from the front link is mostly pulling straight forward. the mount has plently of strength to handle that, but it also pulls down slightly, and yeh bendy bendy this is the brace that runs up the inside of the chassis. weld held up fine but has tore a hole in the chassis, which is maybe 2-3mm thick. other side is fine as the braces run to the top of the chassis, this side was cut down as handbrake stuff was in the way. Managed to bend it back to where it needed to be, by putting the weight of the truck on the mount and using massive bit of pipe too leaver it back into place. Then plated the chassis and boxed in the mount, plus added another brace along the bottom side on both sides of the truck. wasn't much fun tig welding left handed and almost blind under there. but is stuck good. yep i changed that grease nipple so it doesn't get torn off One of the front lower links has been bent for awhile. plus had to replace the joints, with the proper johnny joints i brought ages ago ^ ^. Decided to remake all 3 links. New links are a size smaller pipe but are made from 4130. old ones are some cheese water pipe. so yeh new ones should be easily as strong and are lighter. drilled some speed holes in the retardedly overkill hand brake linkage, to make myself feel better about welding more stuff to the chassis. front uni of front driveshaft was smoked also. just looked old and corroded, rather than not being strong enough, so wacked in a new gen toyota joint. White is the old top link ^4 points
-
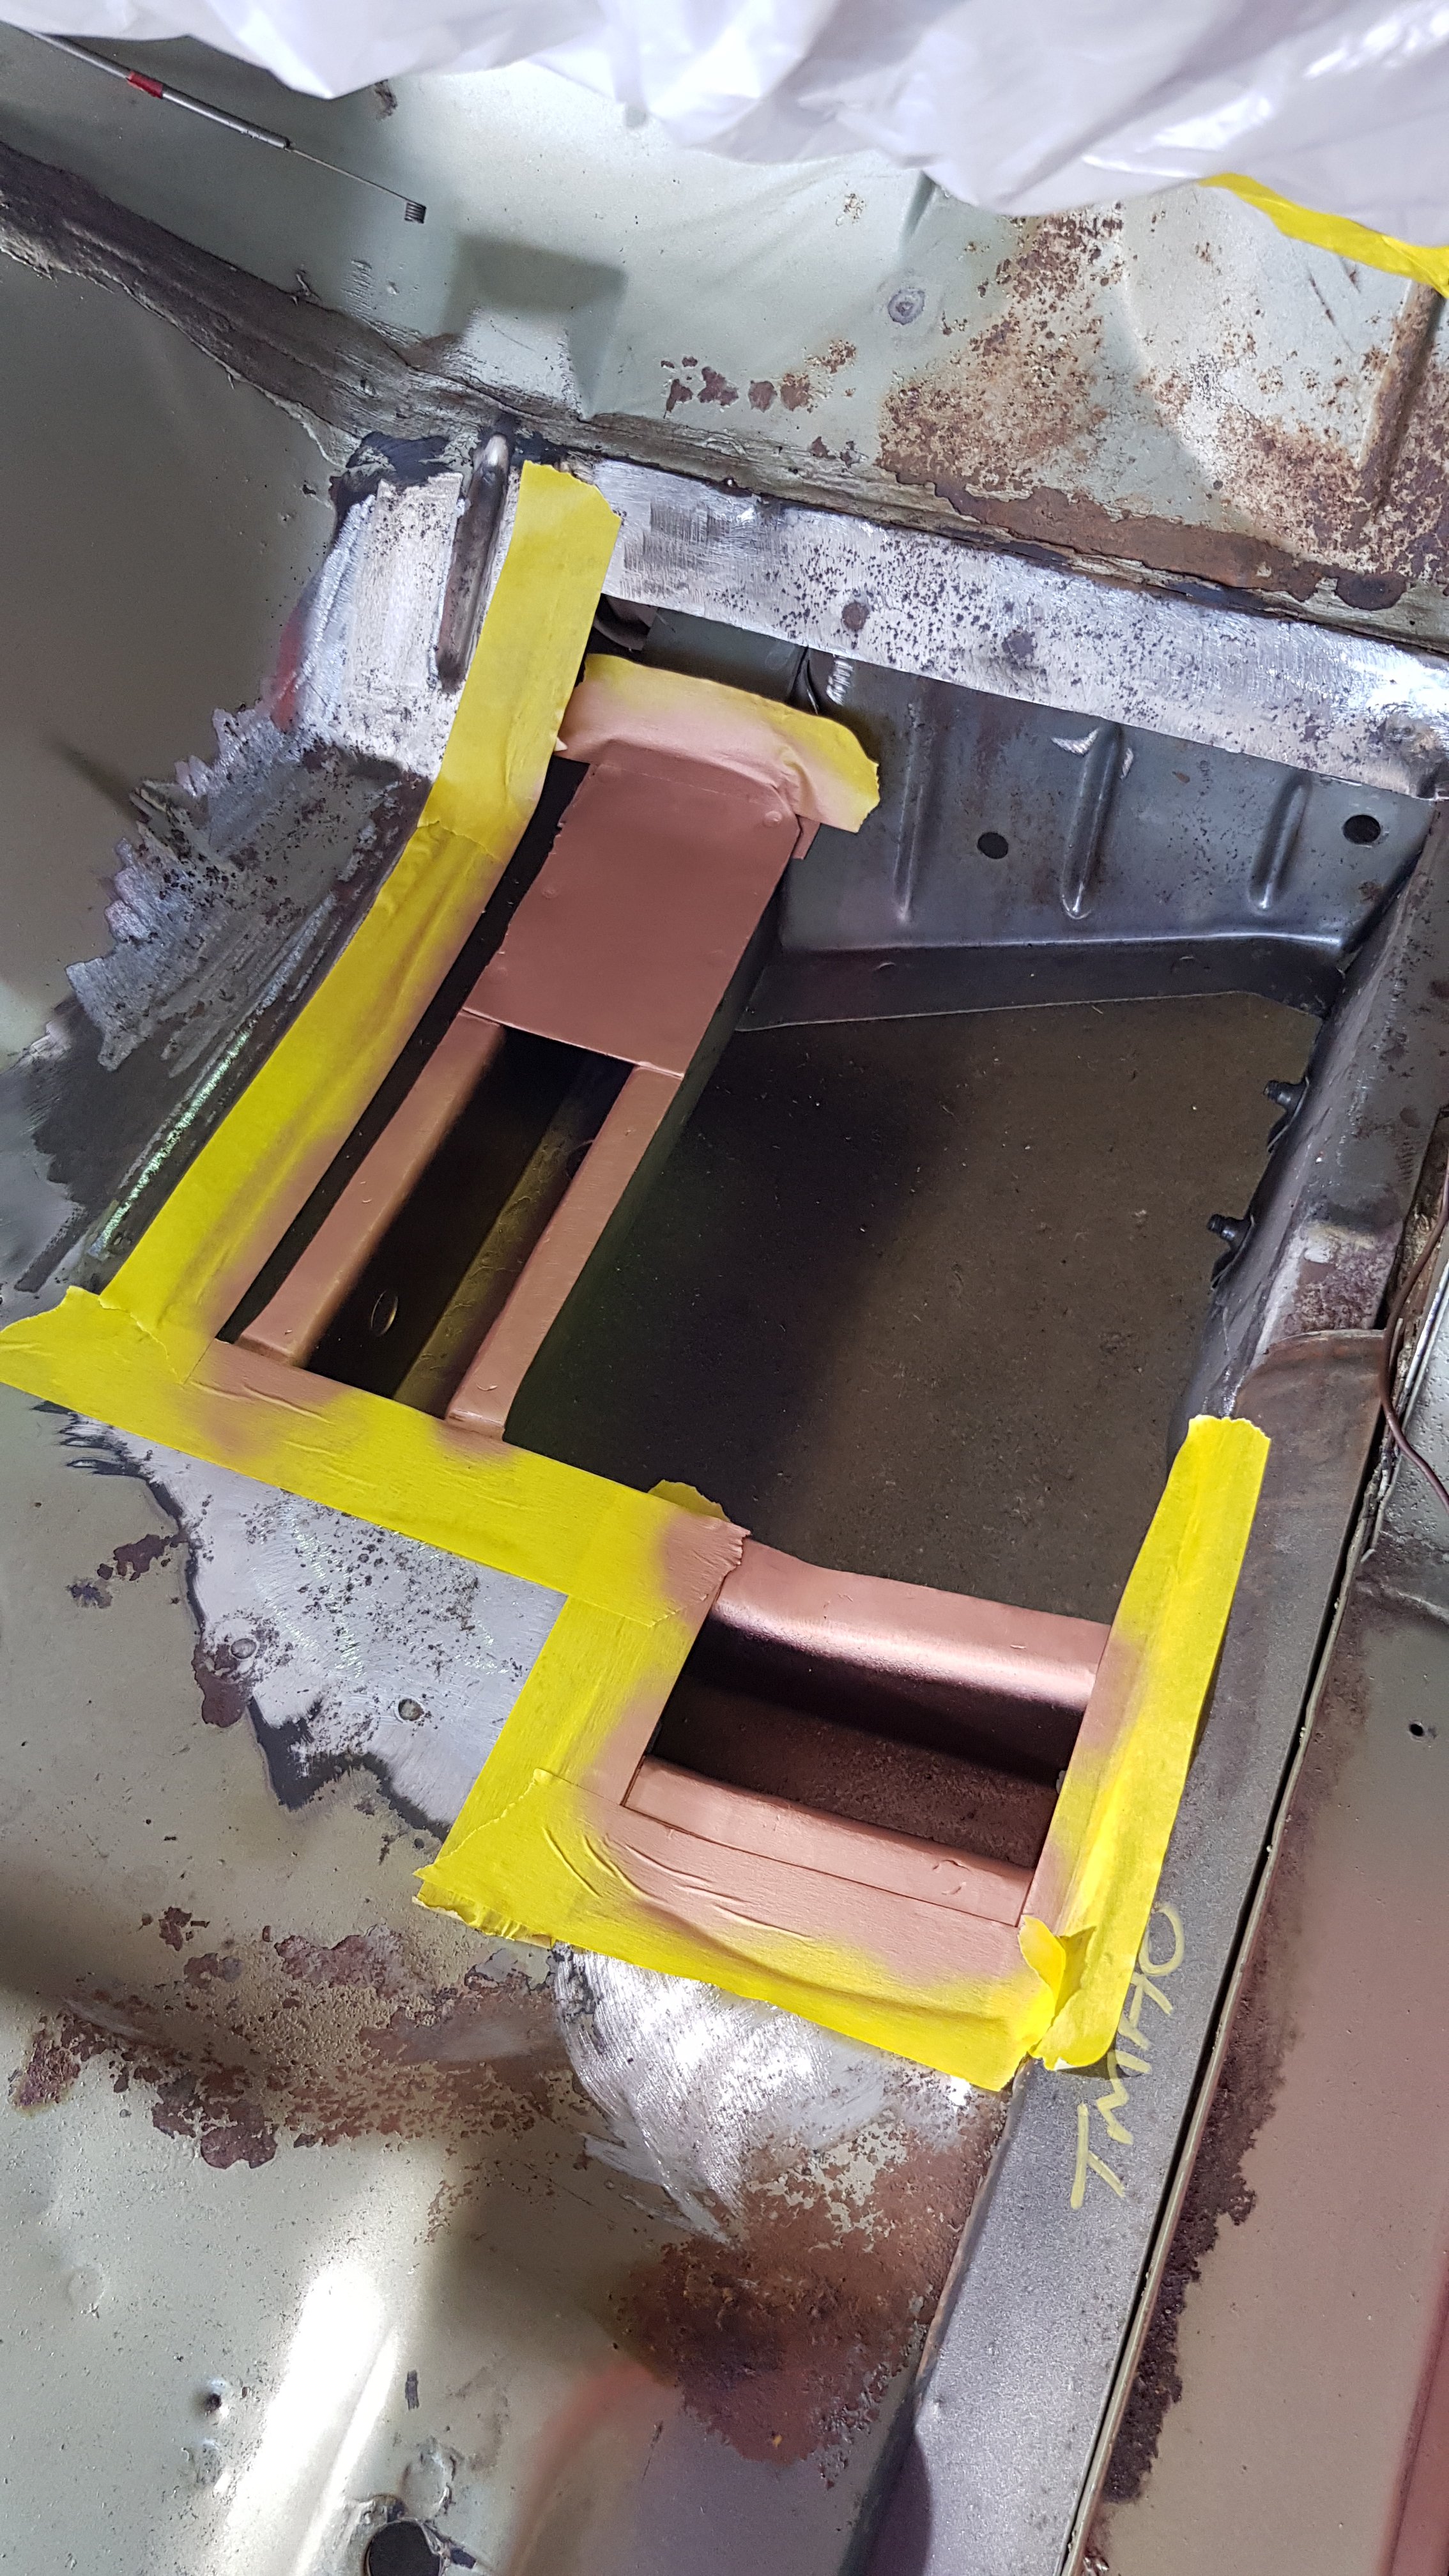
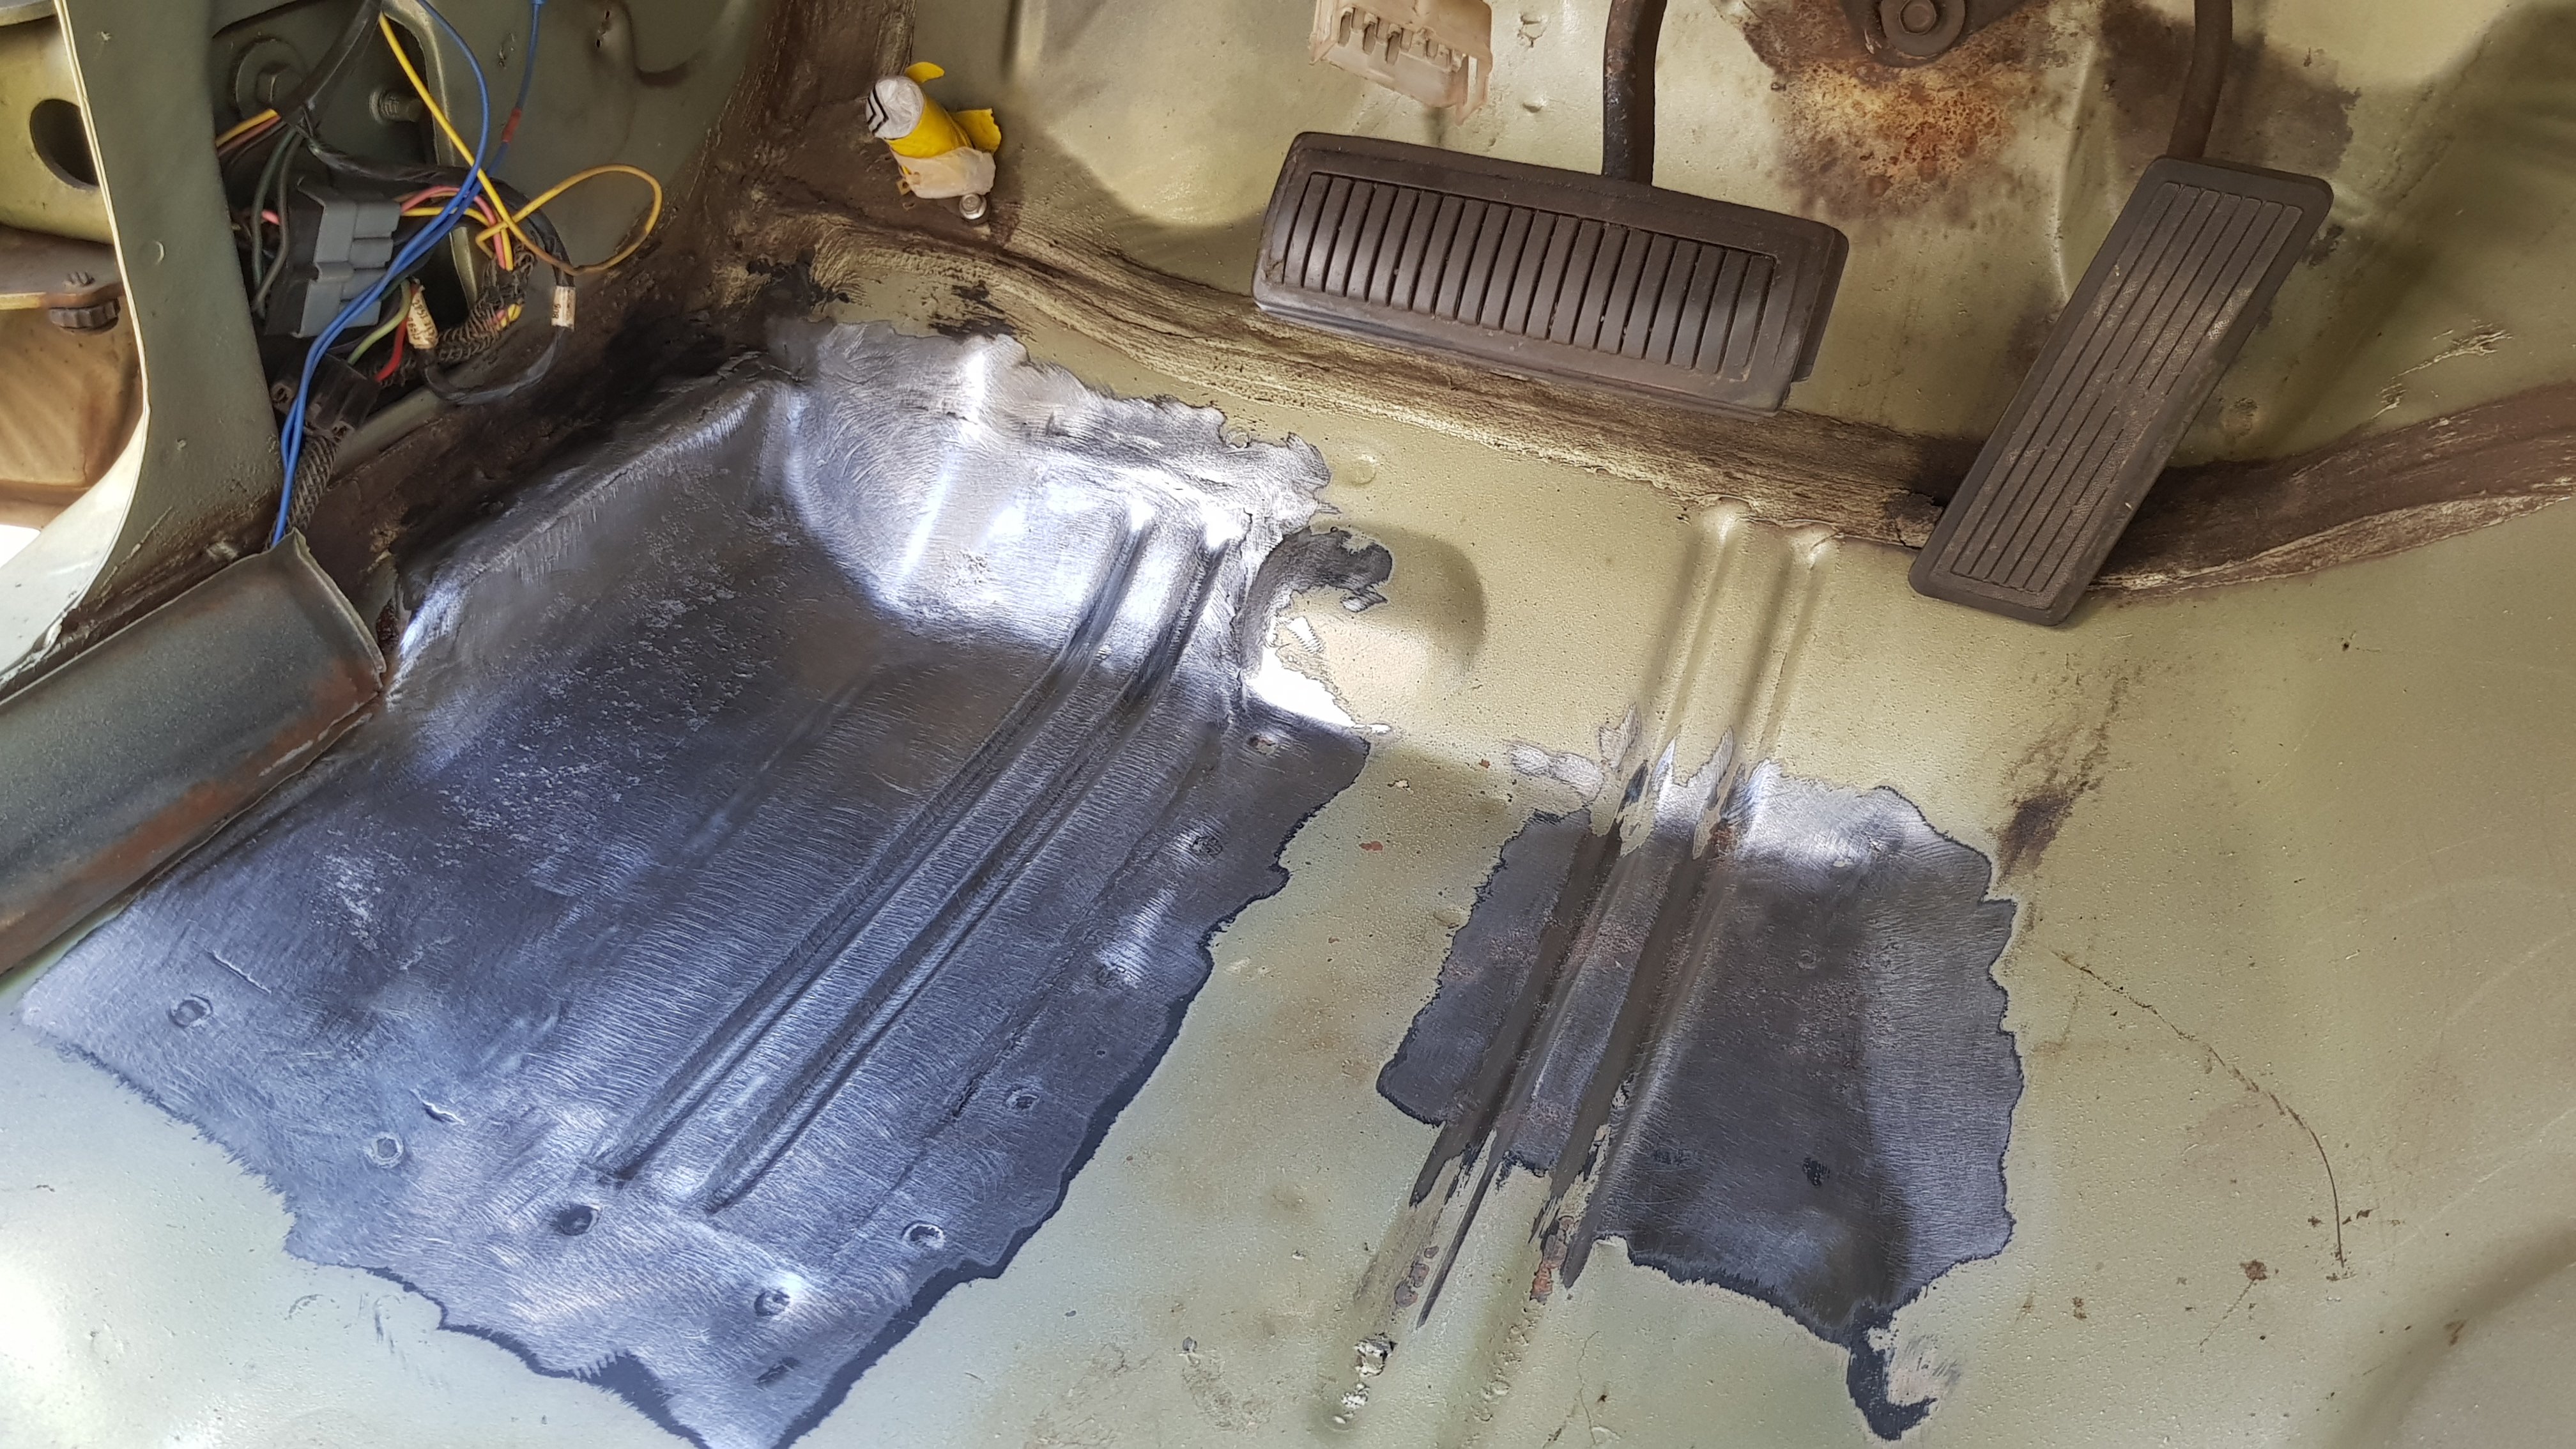
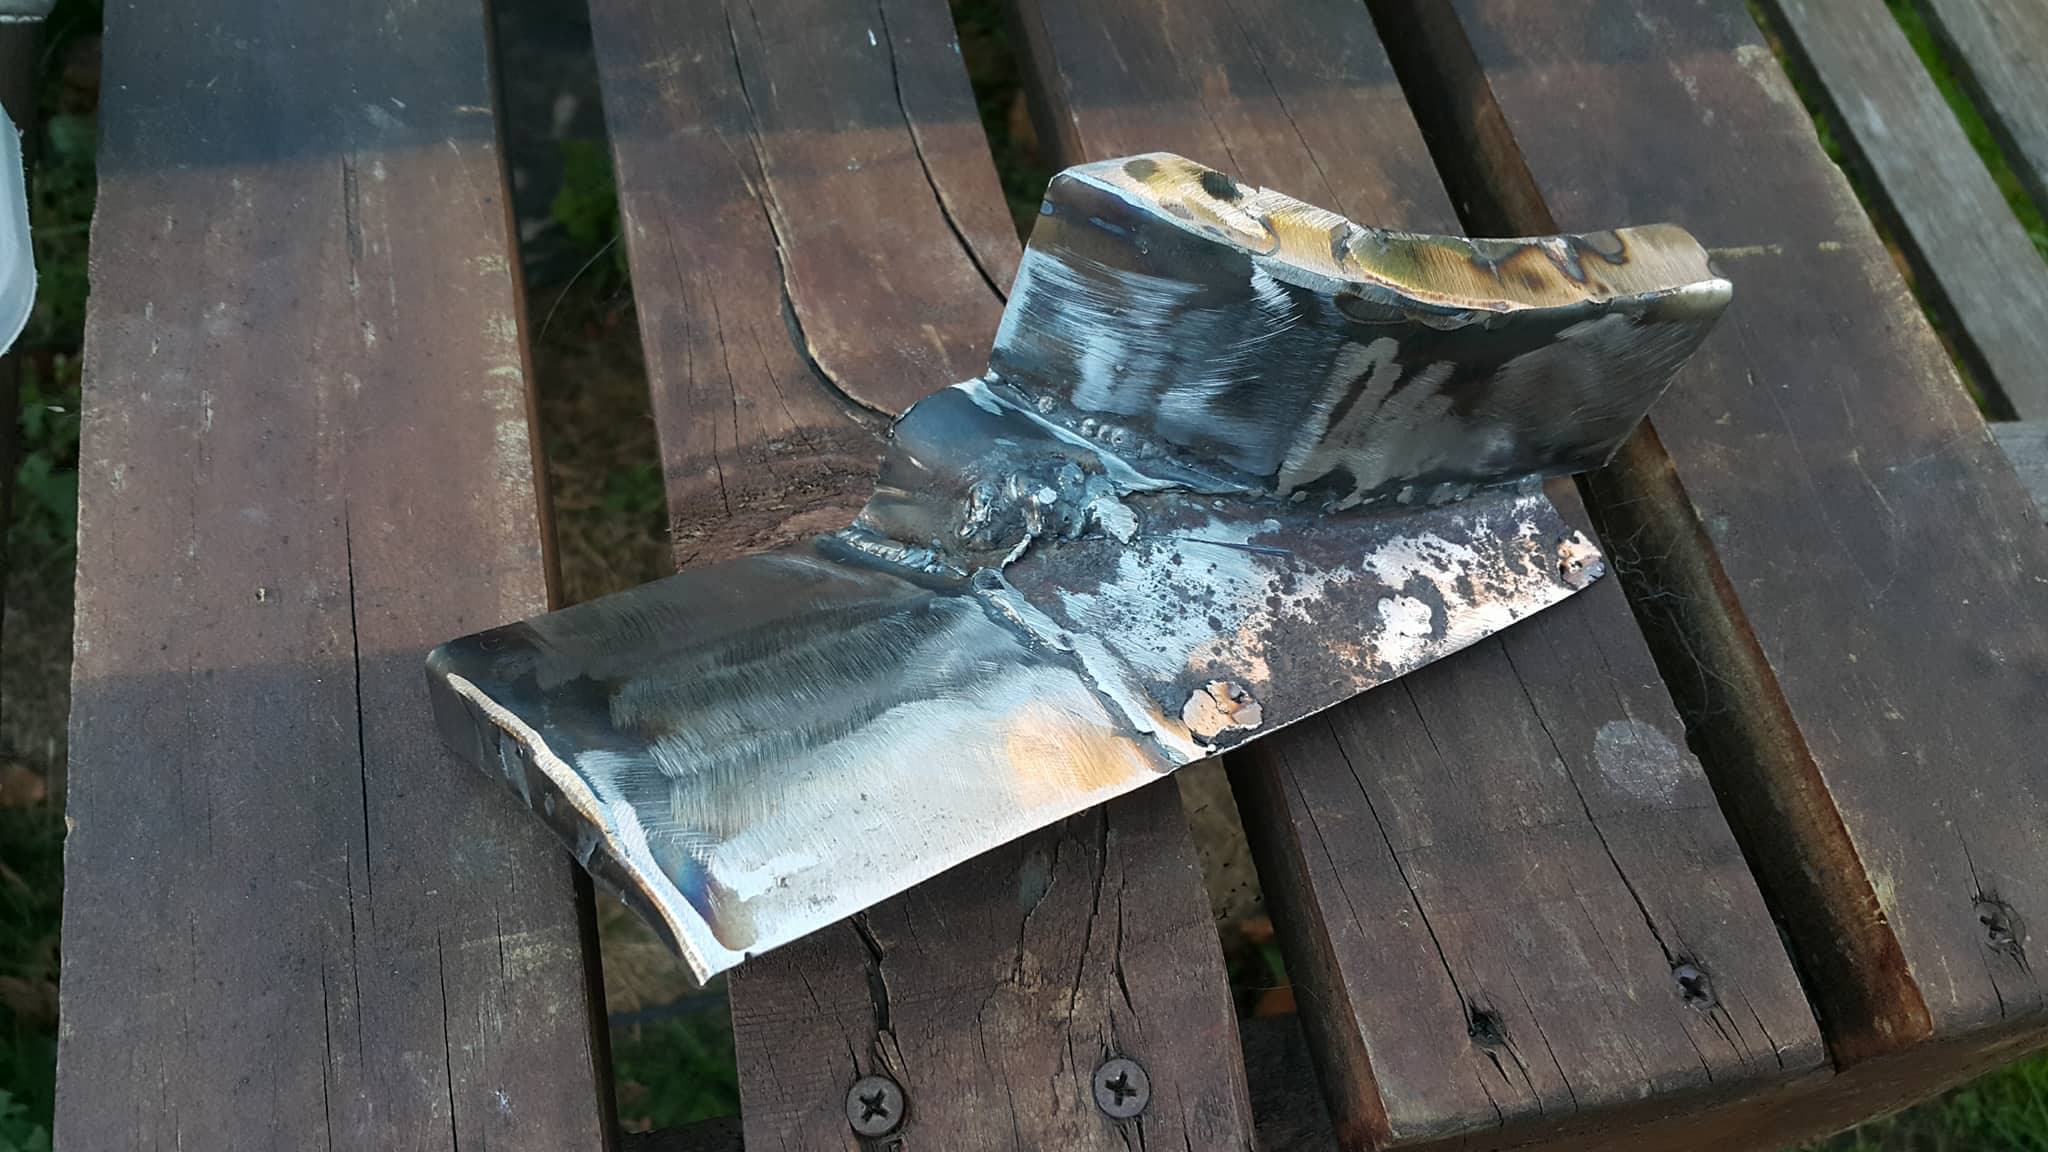
Matt sent me some better pics of when he was doing the floor and stuff
4 points
-
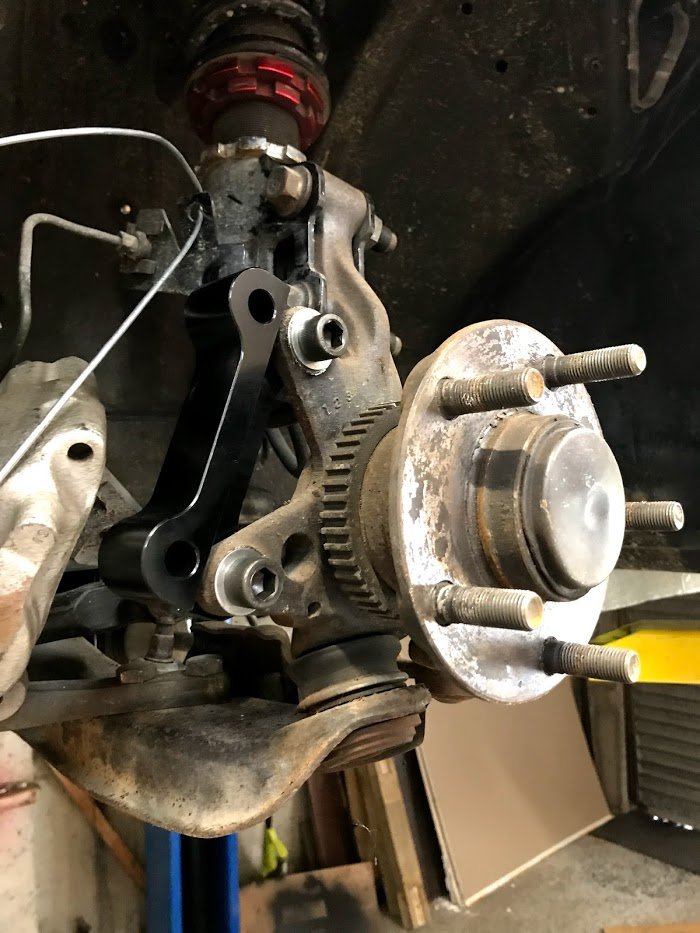
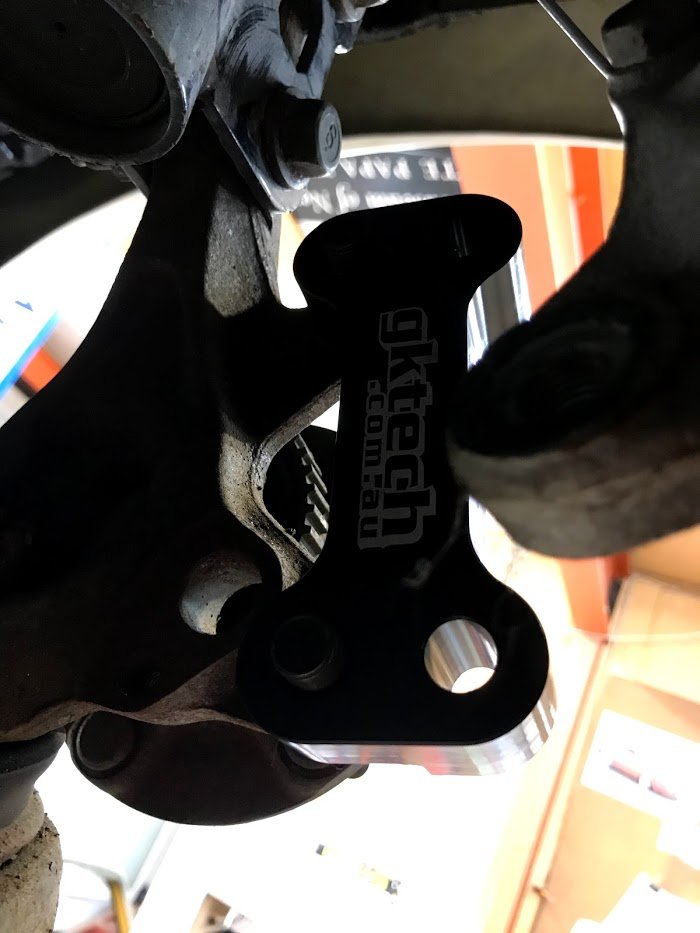
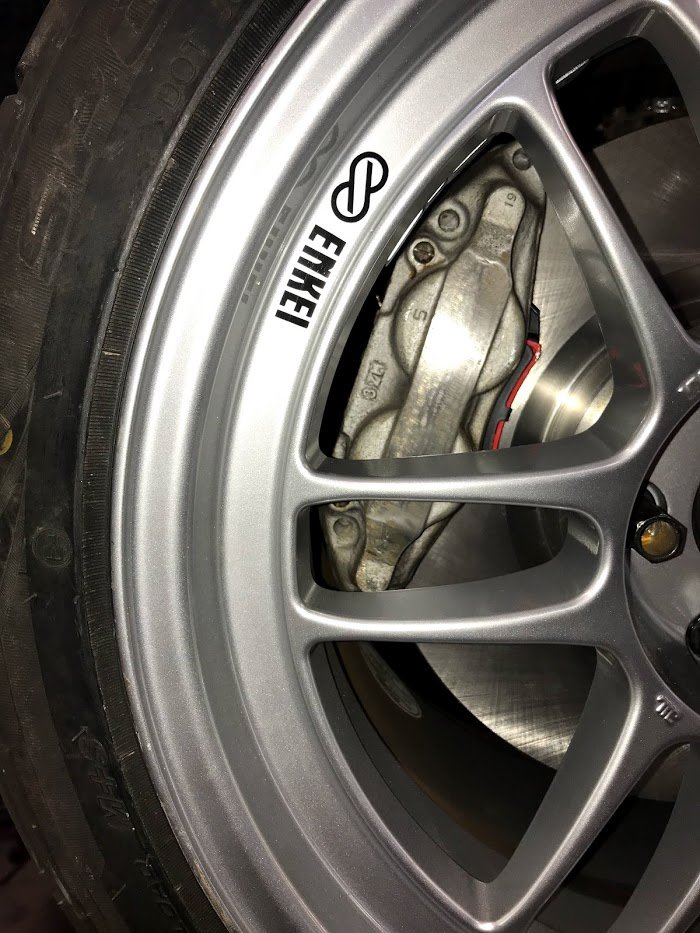
oh these are the gktech adaptors I used, dark photo but they are there:
3 points
-
Small update.. Car is running sweet no more mechanical drama..3 points
-
Budget shelter nearly finished. We had to add 4 more ribs today to get the iron to sit better. Aesthetically its quite poor. Practicality, and budget wise it's very good.3 points
-
Next will be finding somewhere to put the wastegate
3 points
-
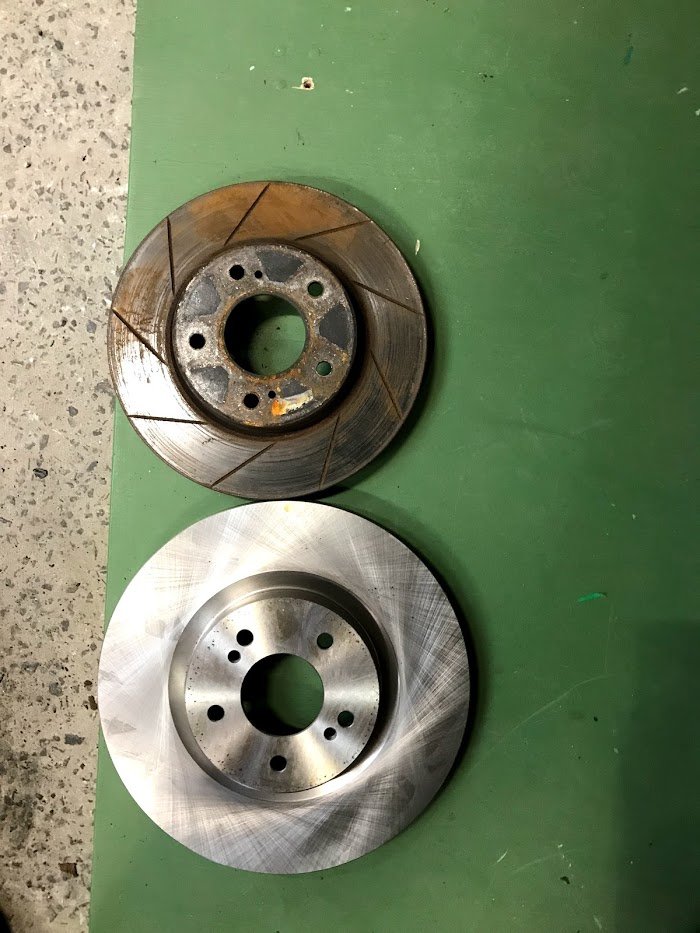
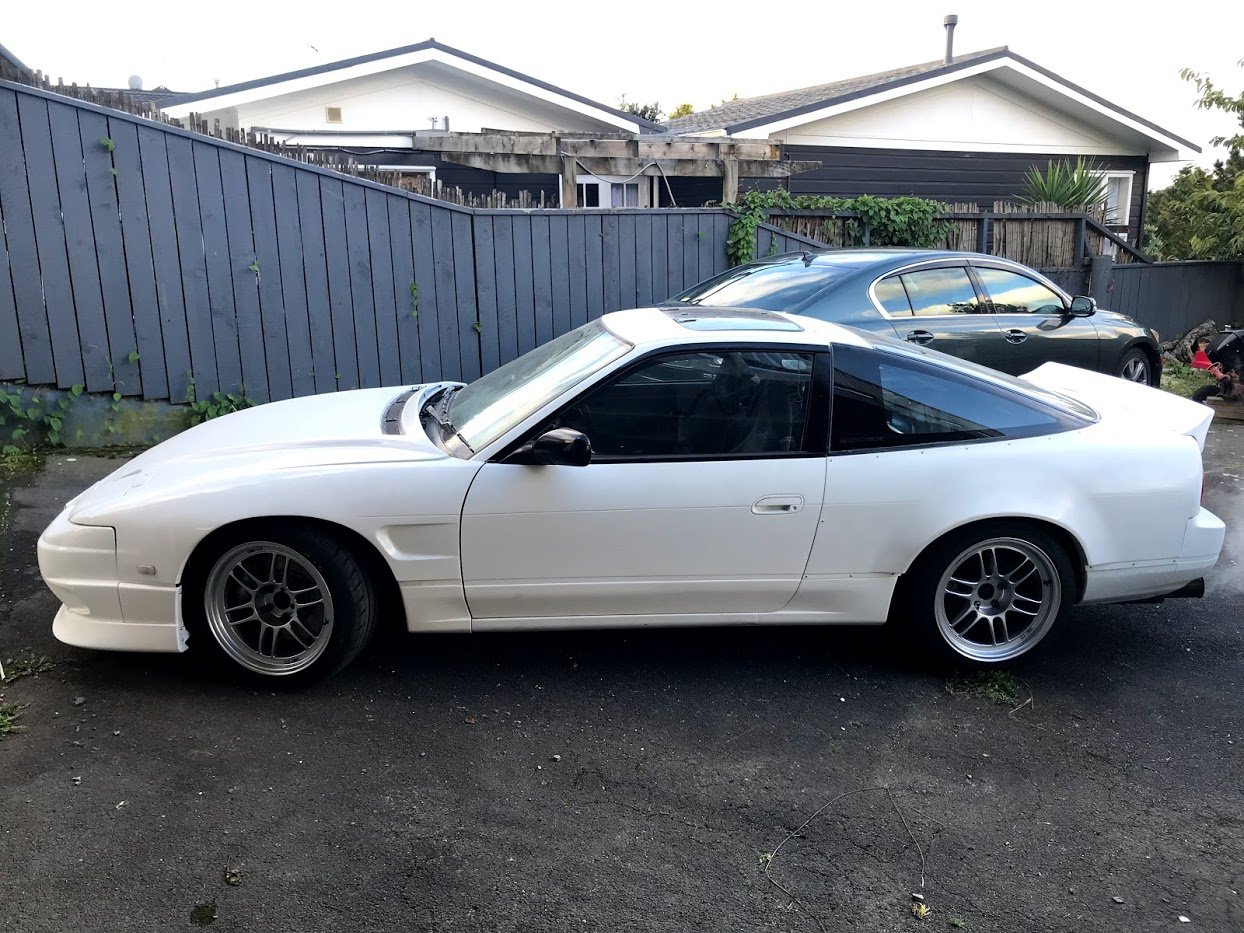
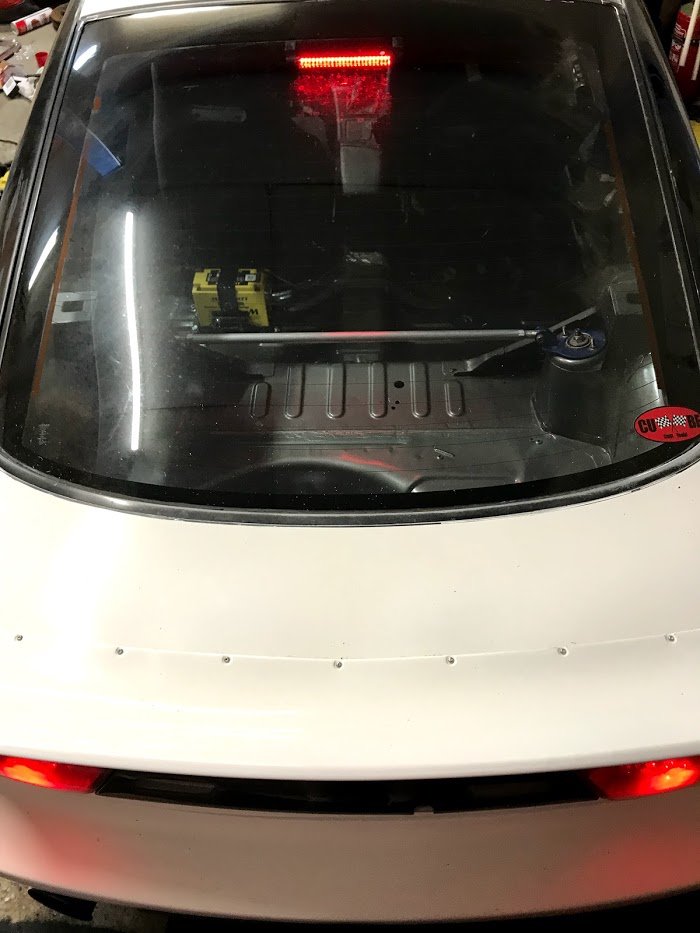
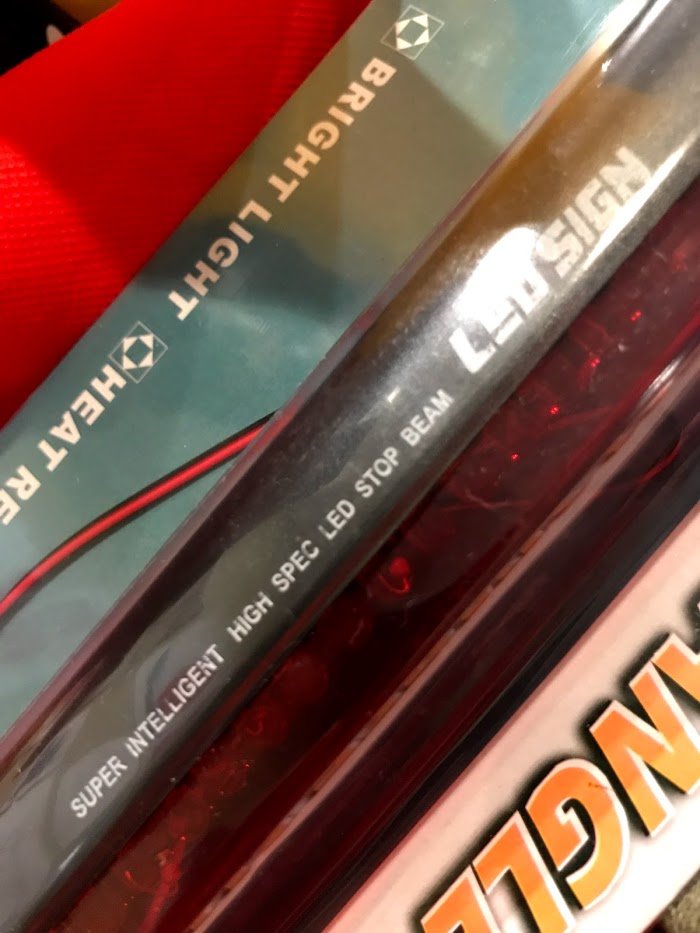
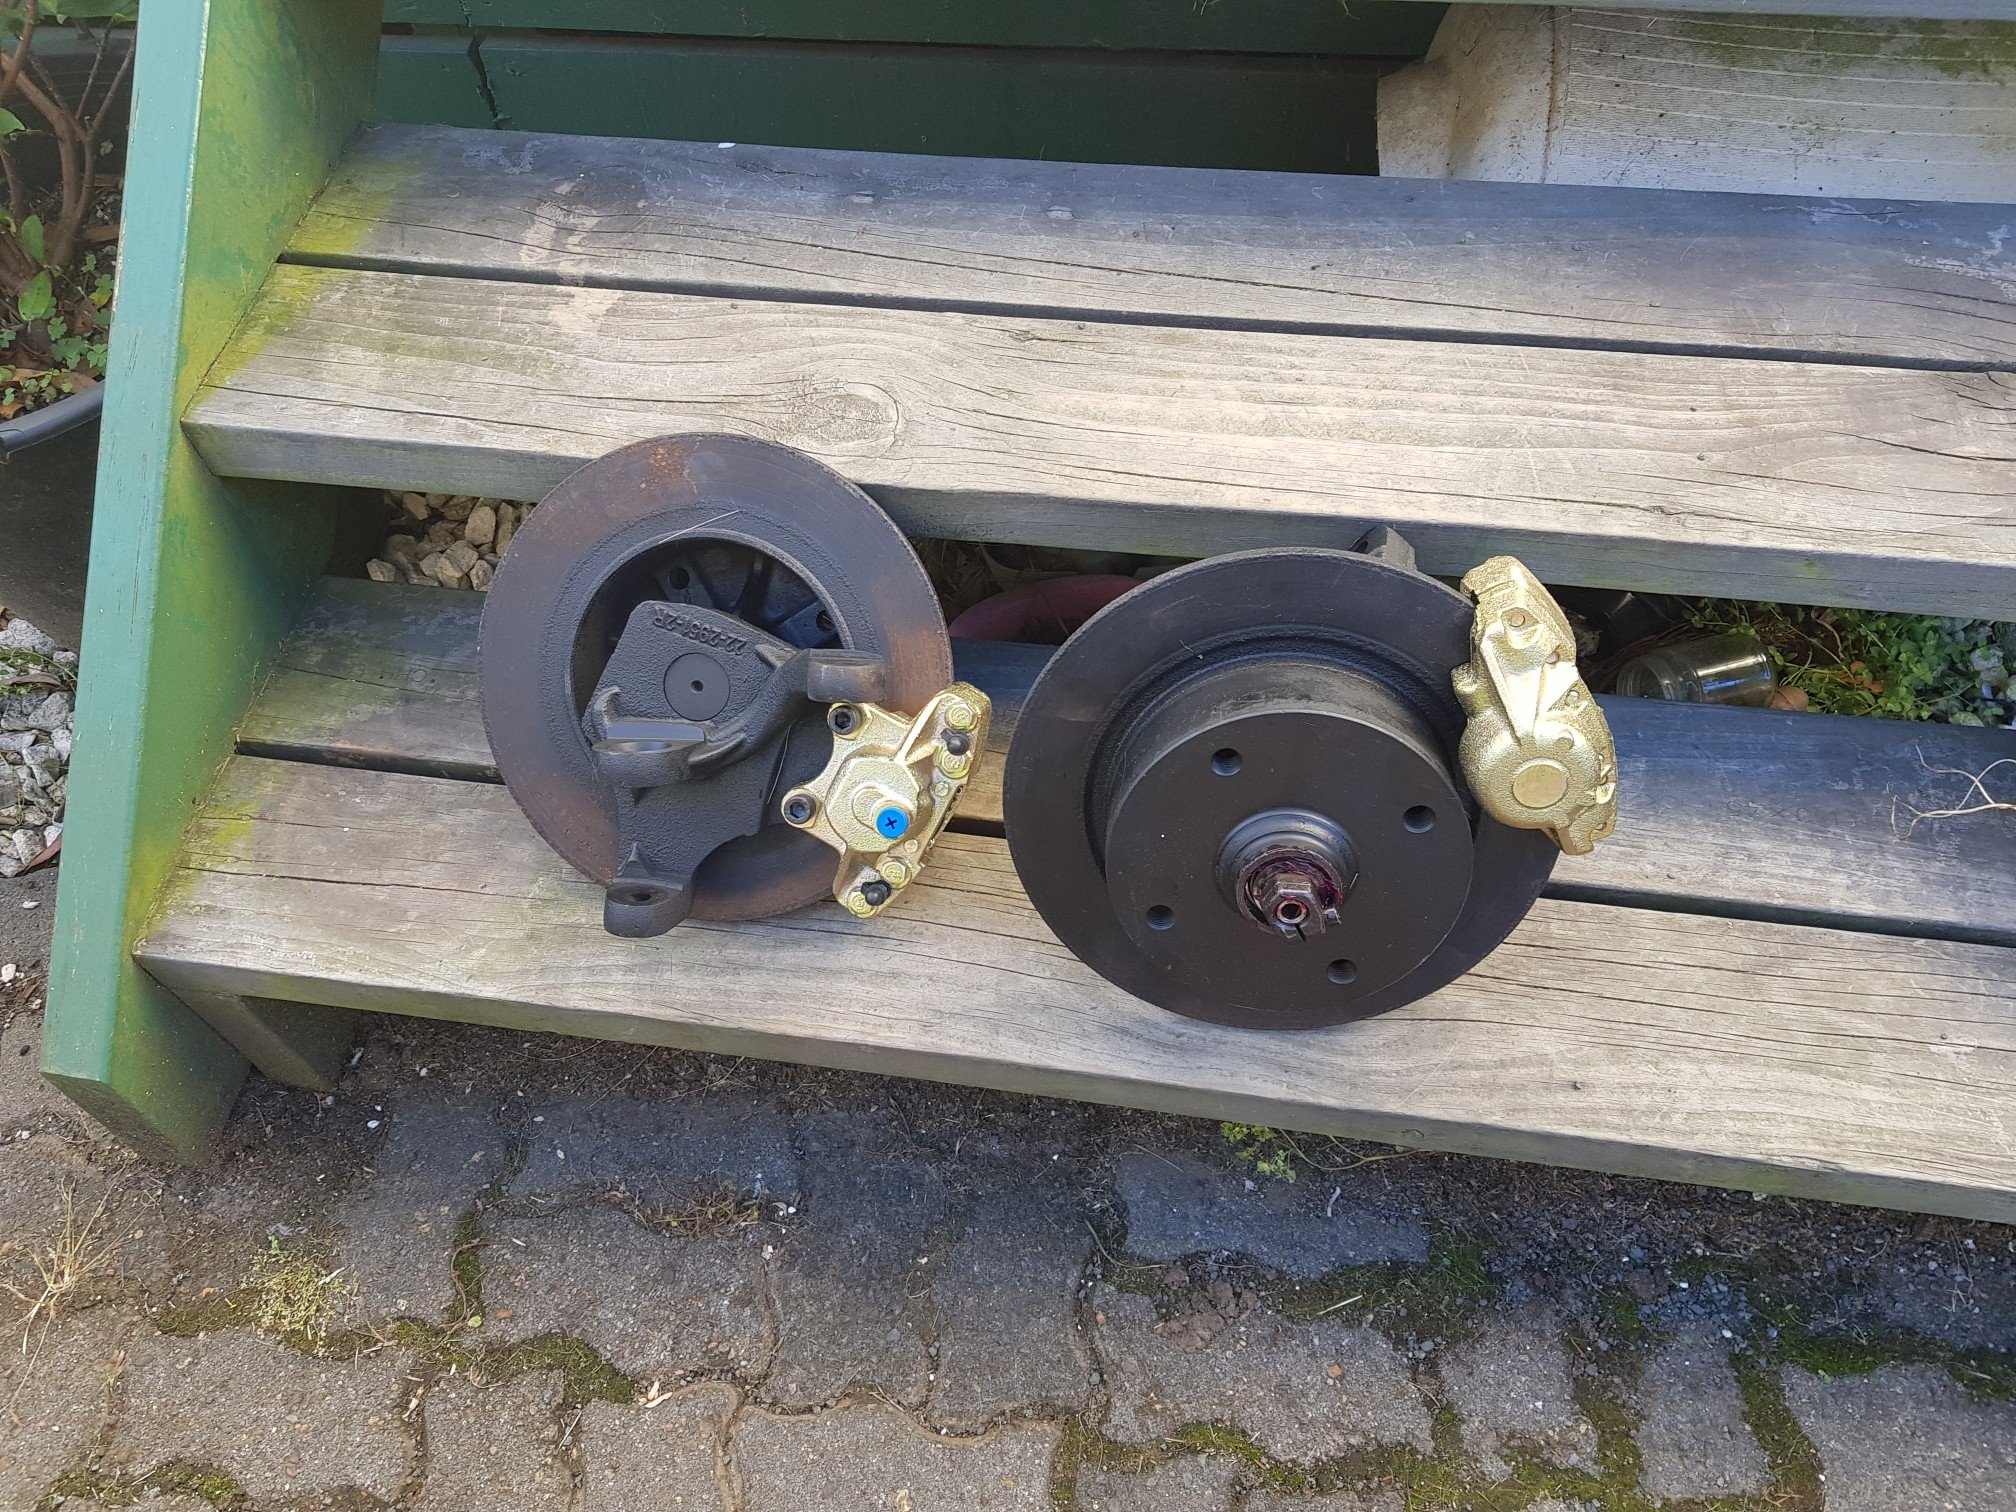
Discs 280mm versus 324mm Before: After: I'll put the type x side skirts on at some stage: Also added a high stop light because the original boot one is gone due to the wing: It cost $12 and is super intelligent high spec!
2 points
-
Added a few more braces to the mounting without trying to make it too strong so frontal impact etc isn’t effected too much. Has some movement so I’m sure will rattle with solid engine mounts but shouldn’t effect night driving too much Hopefully saving some weight too I’ve cut heaps of shit out of the front end and not a lot going back in.. got oil cooler mounted and will start ducting that when I convert my shed back to Ali after I’ve finished all this mild steel fab. Any opinions on what colour/coating these headlight mounts should be?? They unbolt so I can remanufacture when I crash it/bend it. a) zinc passivated like subframes b) powdercoat white c) powdercoat gunmetal grey d) other options?? Im 76.9% sure engine bay will be painted white. Tossing up gunmetal cause it looks tidy but like the idea of the carpet matching the drapes etc.
2 points
-
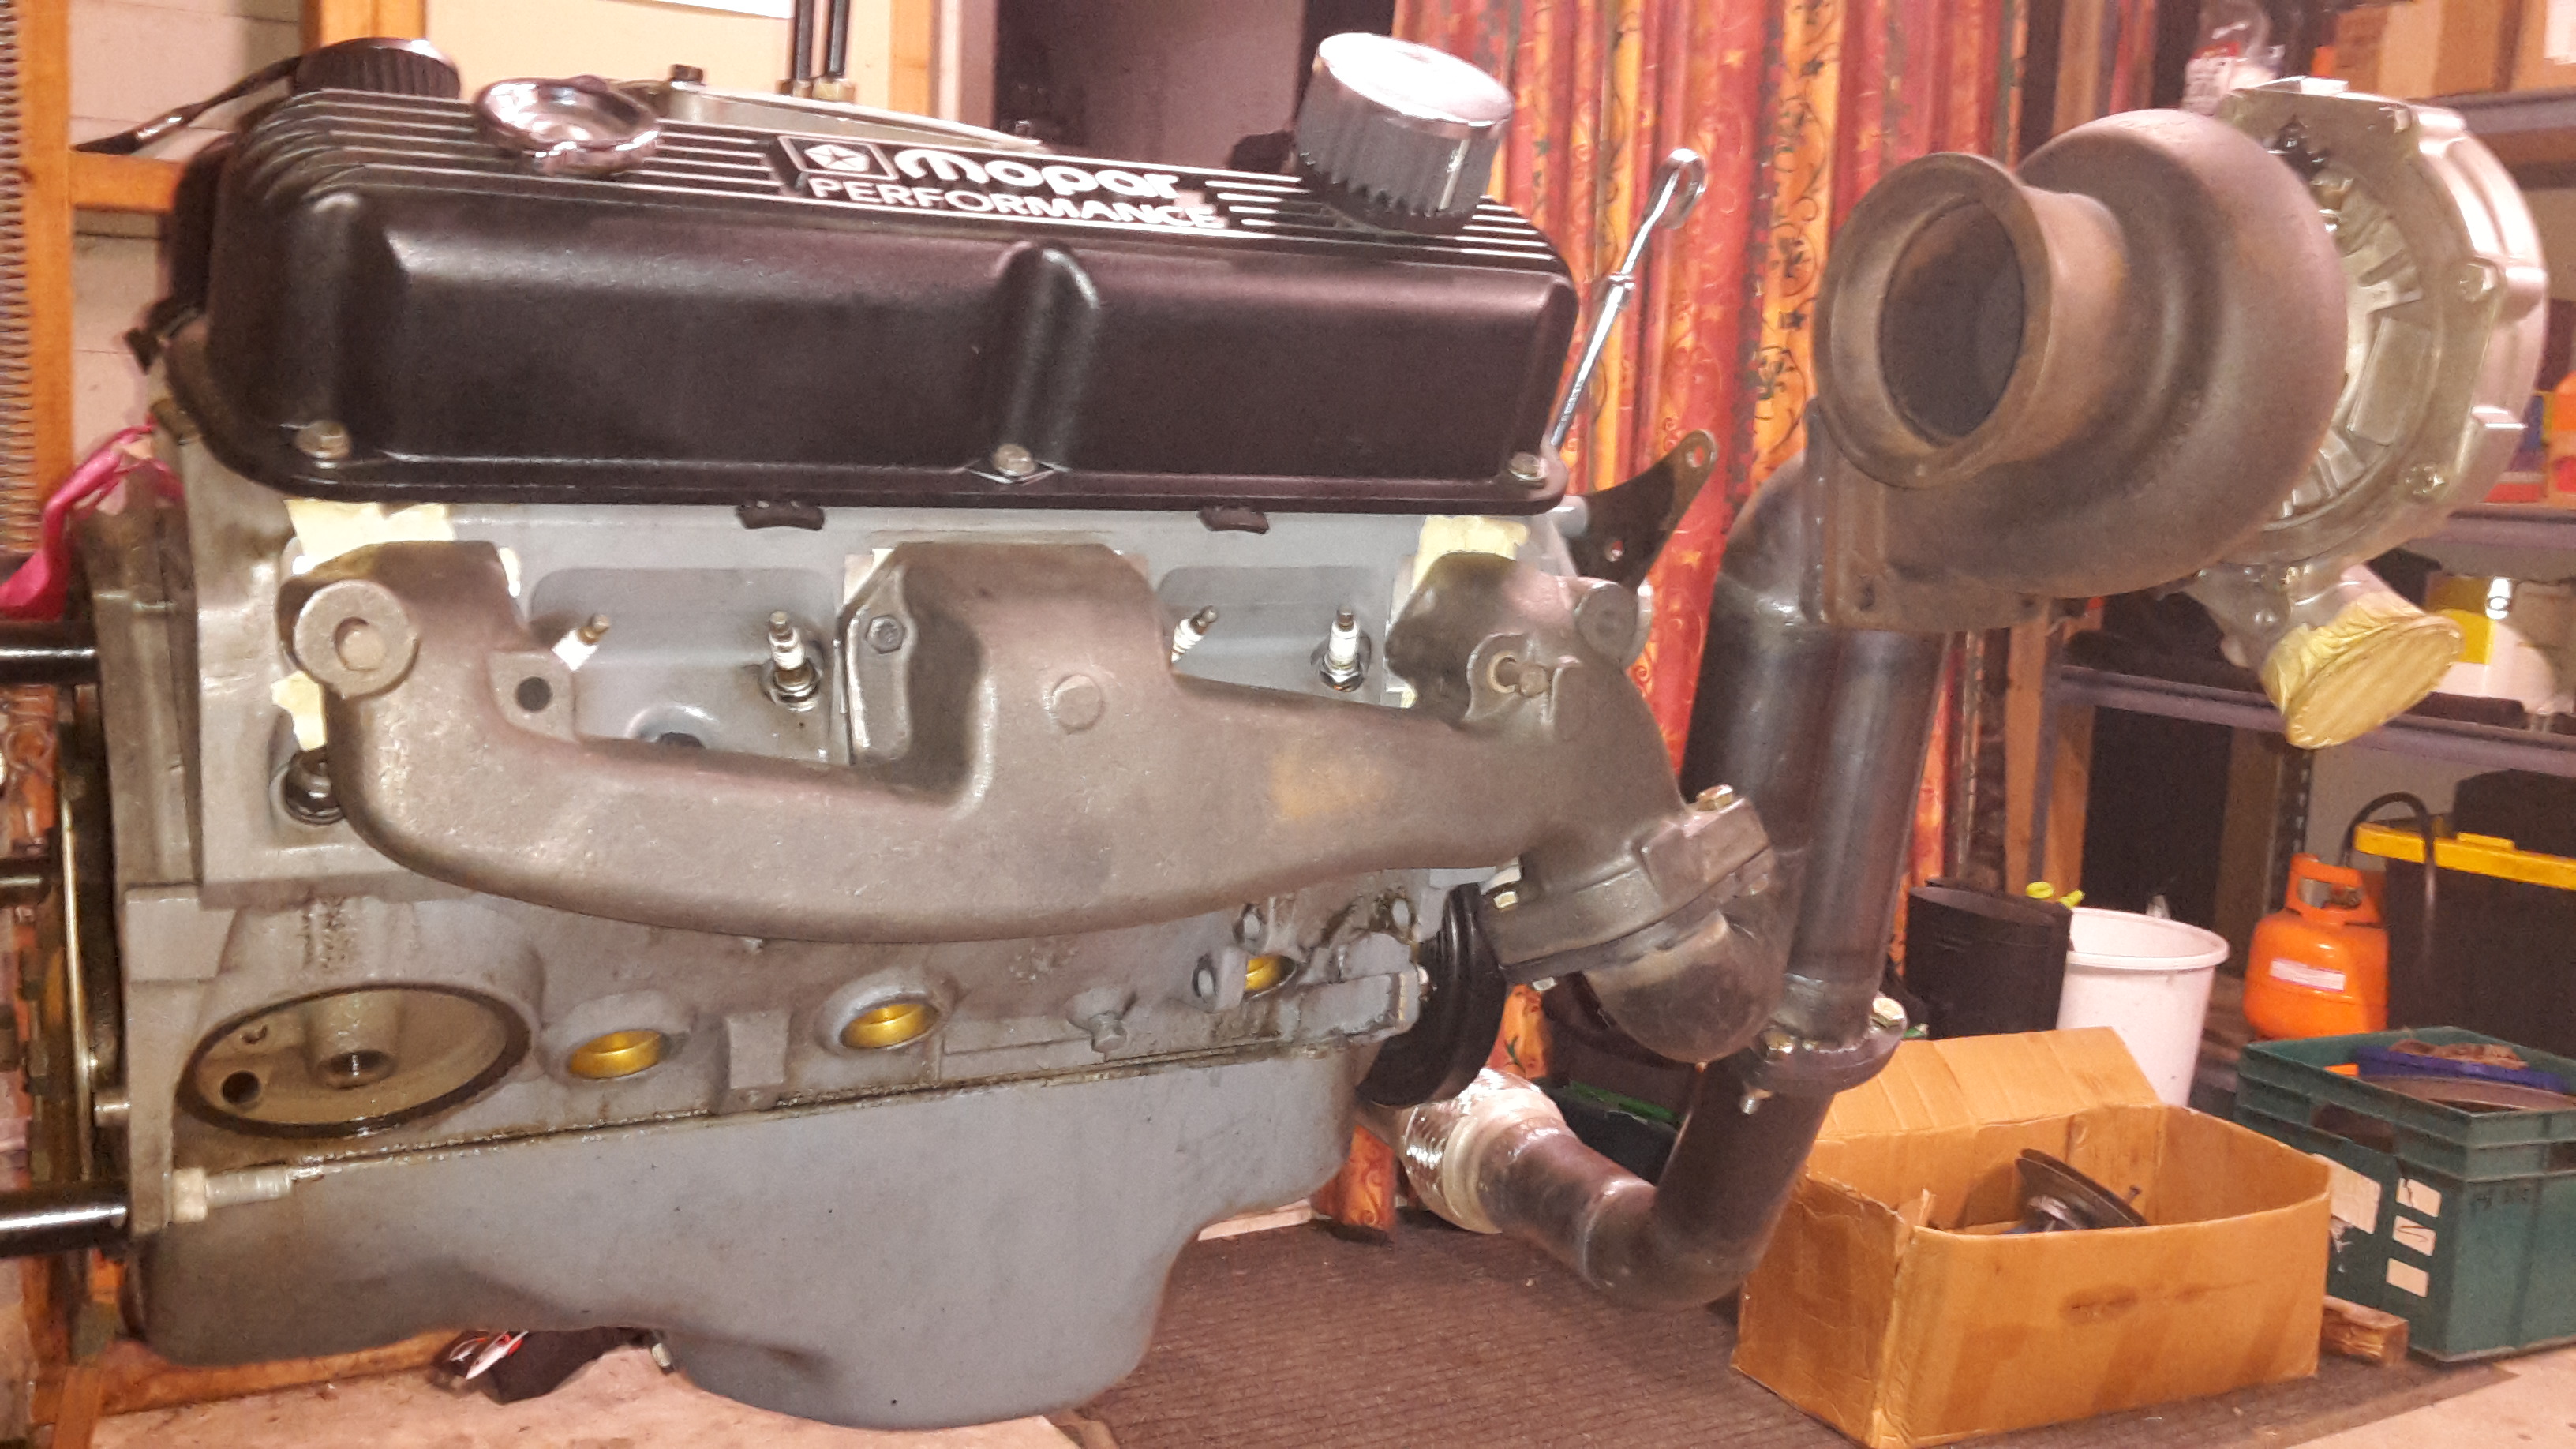
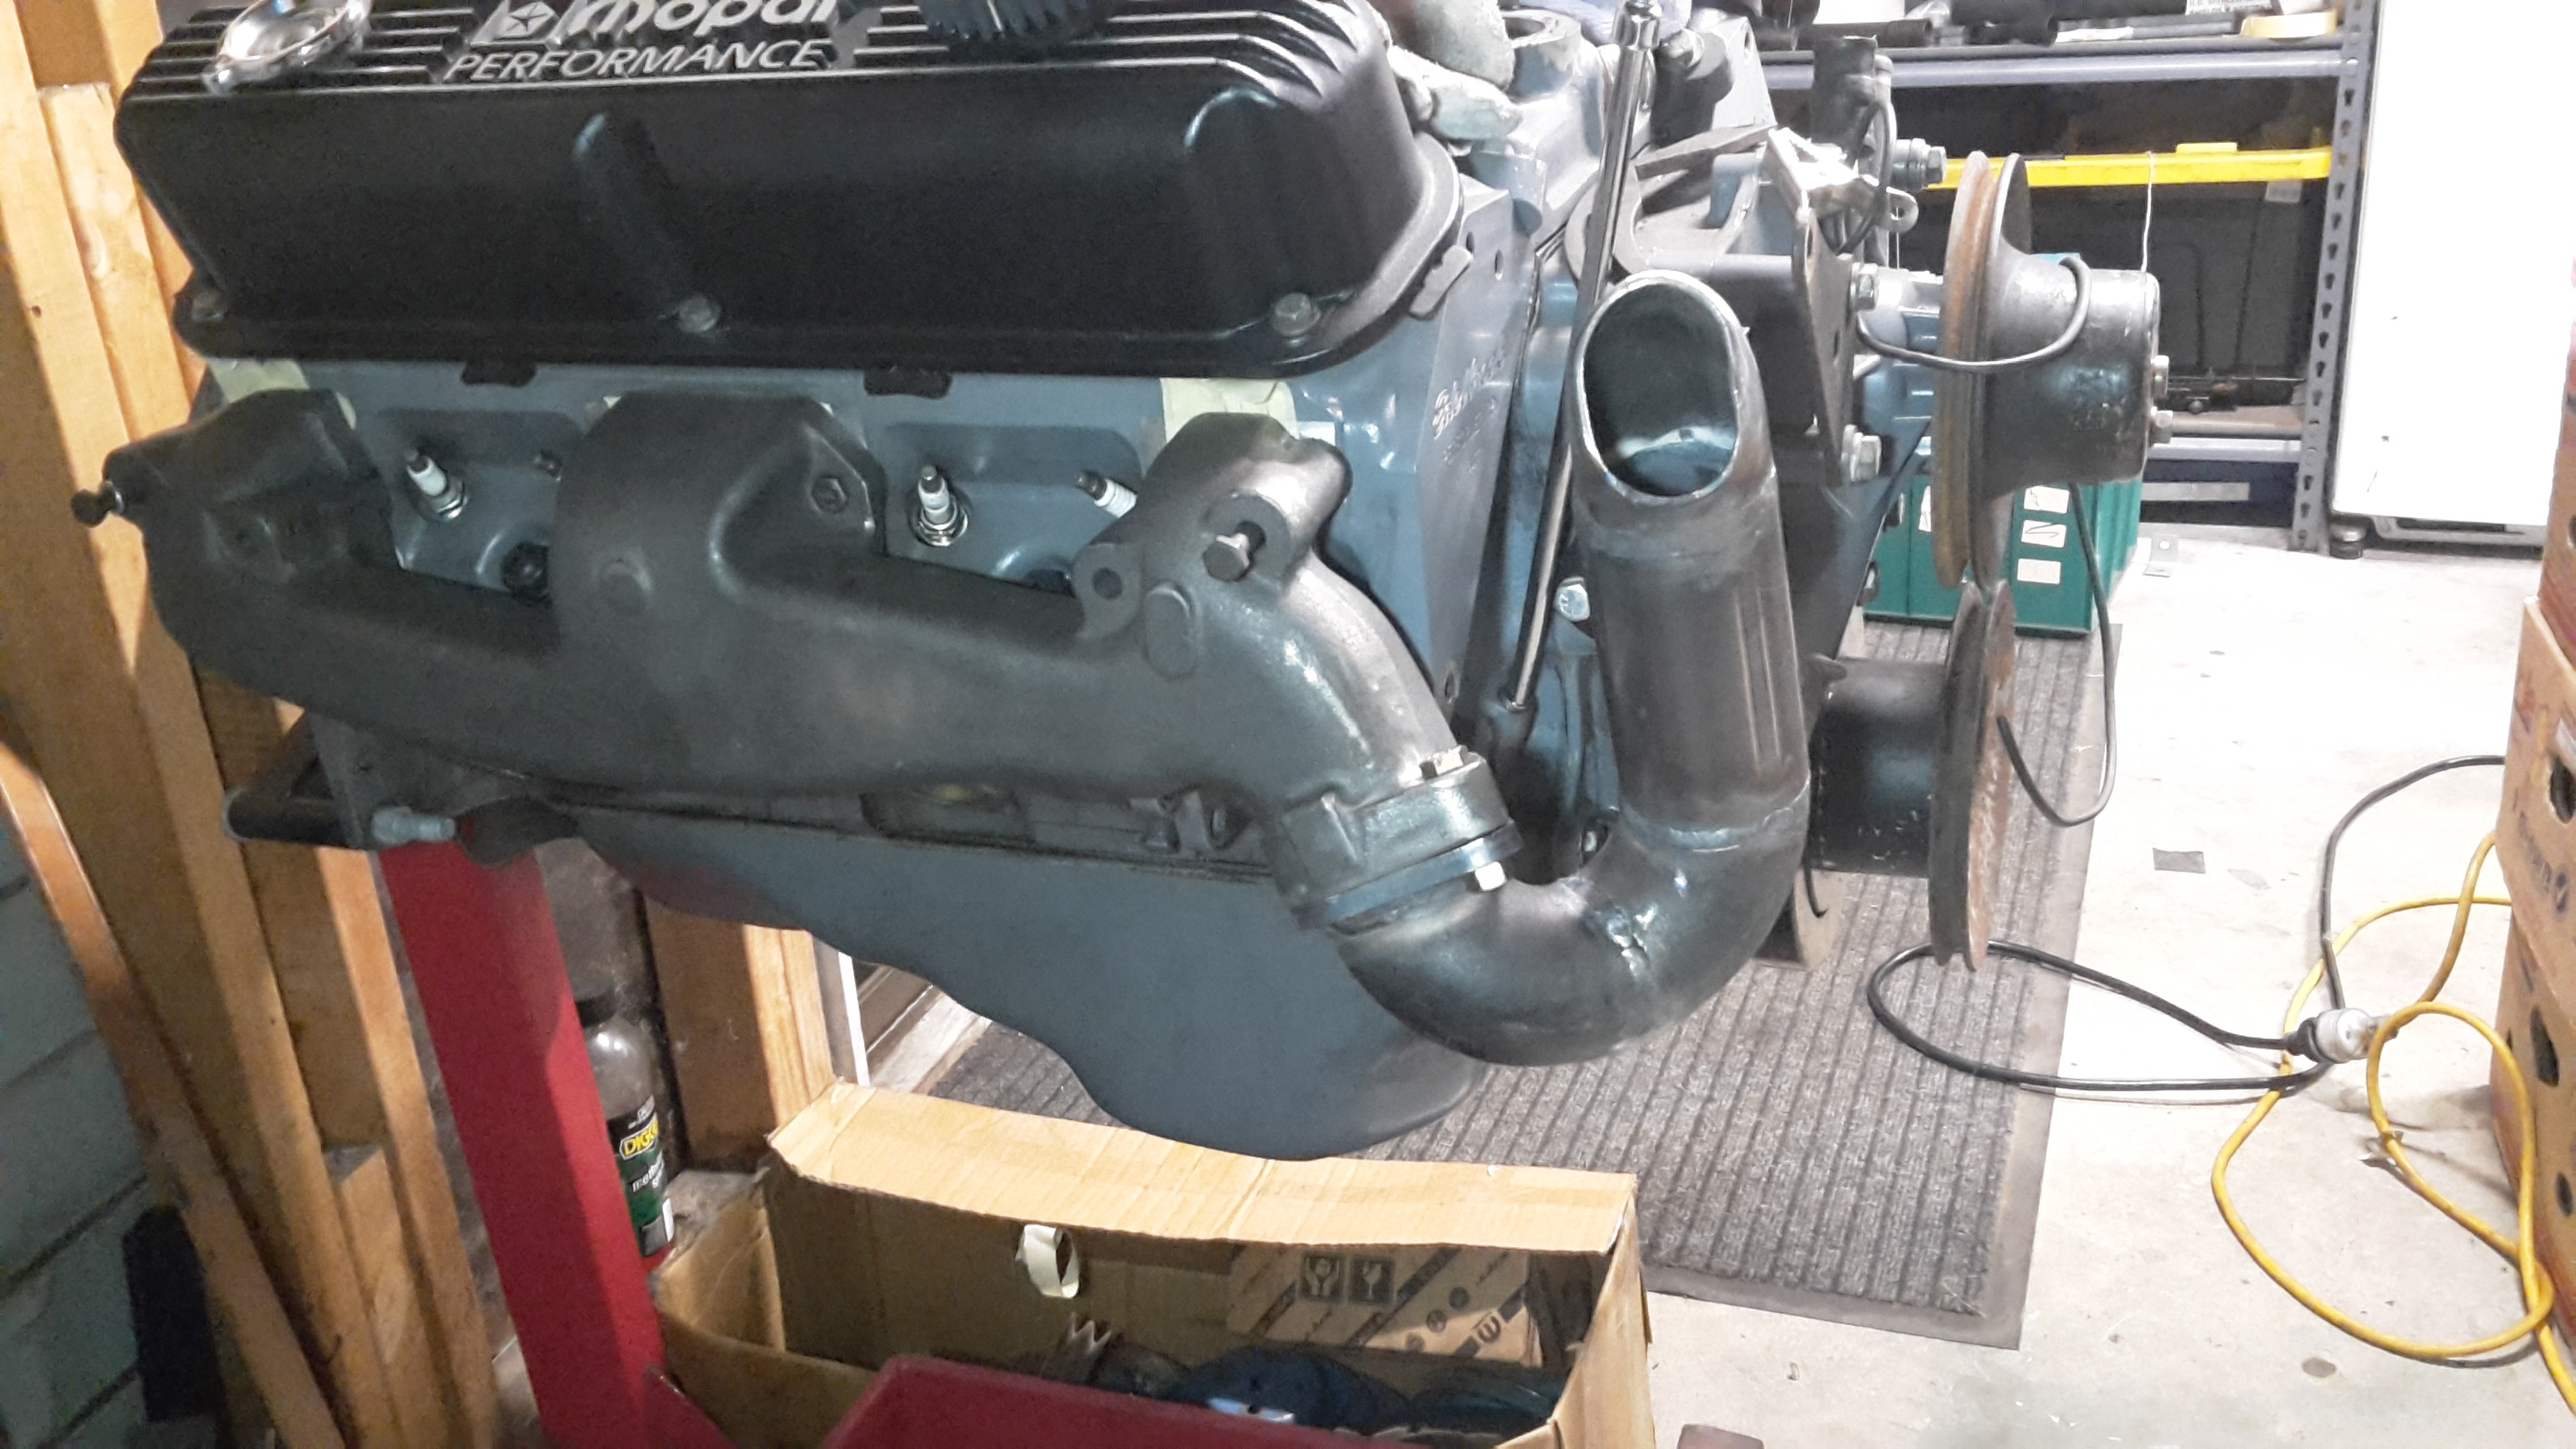
Work on the scamp has been on the back burner a little bit lately. However a chap in my Hot rod club was in need of some 318 engine parts, so I removed the factory 2 barrel intel manifold and rebuilt carb, I could’ve stopped there but I was at a loose end so I decided to pull a head. Looks like it’s had a pretty poor service history it’s fairly black and gunky inside nothing seems overly worn however Pistons have no markings to indicate being oversized It has a small ring ridge which it to be expected, but a quick vernier of the bore (albeit on the ring ridge) shows 3.89”, stock bore should be 3.91” so looks to be stock bore heads are standard open chamber heads. Factory sized valves 1.78” in 1.5” exh. Obviously until I get it on the engine stand and drop the pants off there maybe a different story but at this point it looks like a good base to start a build with.2 points
-
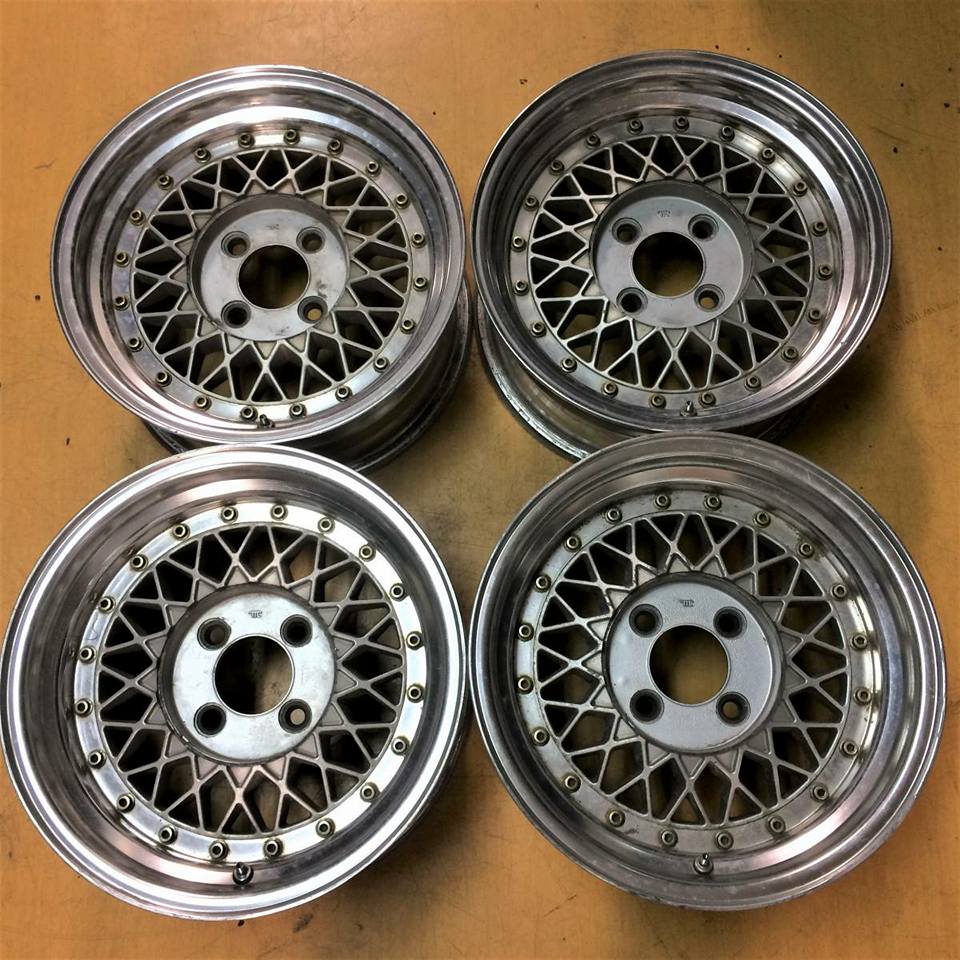
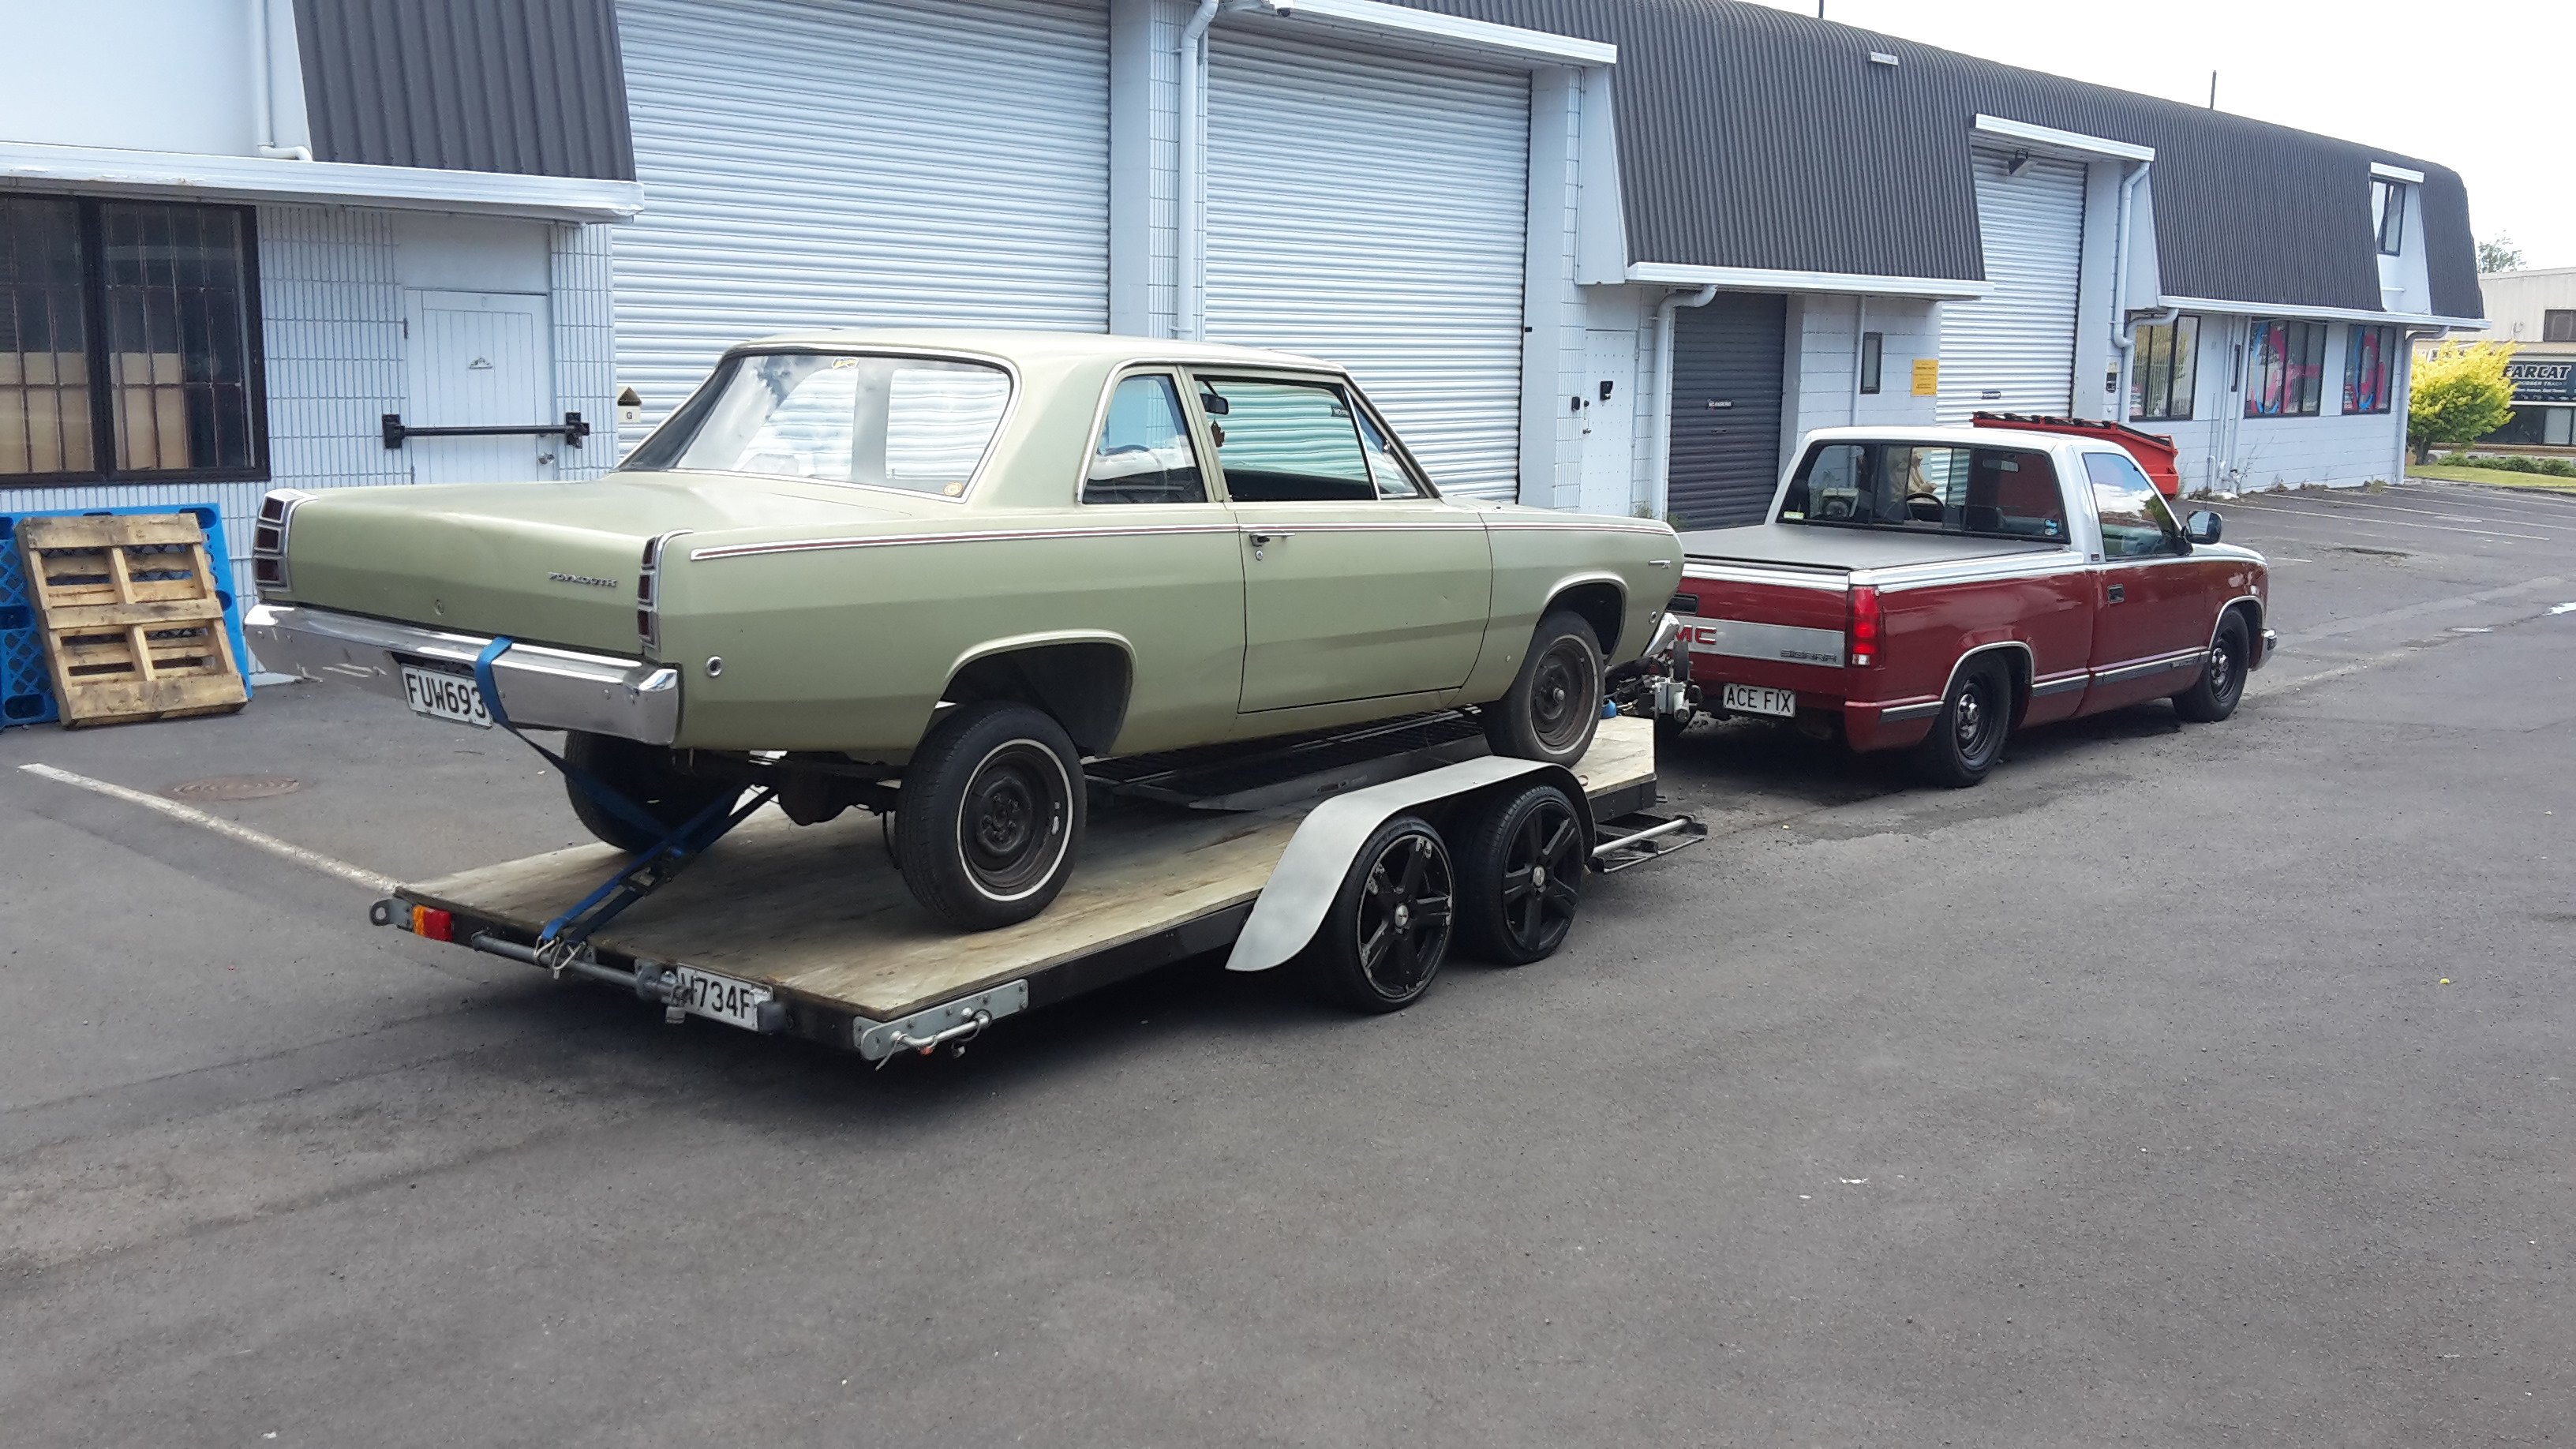
Proud new owner! Wanted this so much, I had it shipped up from chch. Unfortunately, previous owner ran into something, so I've been working away fixing that up. Lots and lots of other things to fix and improve. Little bits of bubbling paint really coming through, suspension is completely shot, and the 5 puck clutch makes for a pretty rough ride. Have been going over the entire engine bay hiding away many loose wires, securing power steer lines, and plugging firewall holes and the like. Here it is now, just over 2 years since the last thread update. The temporary Jolly chrome steel wheels will be for sale in the near future if anybody is interested. More to come soon! choice2 points
-
What have you done so far? Aside from cook it?1 point
-
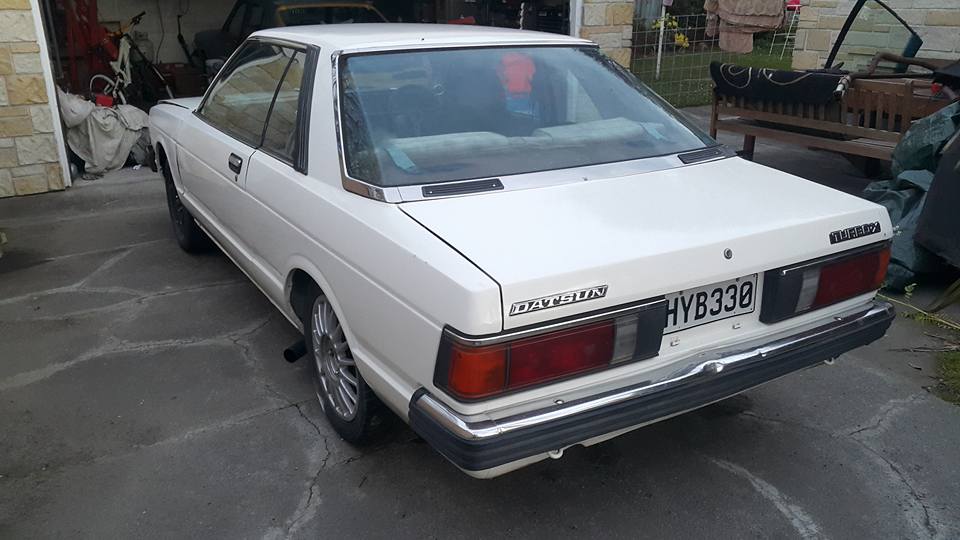
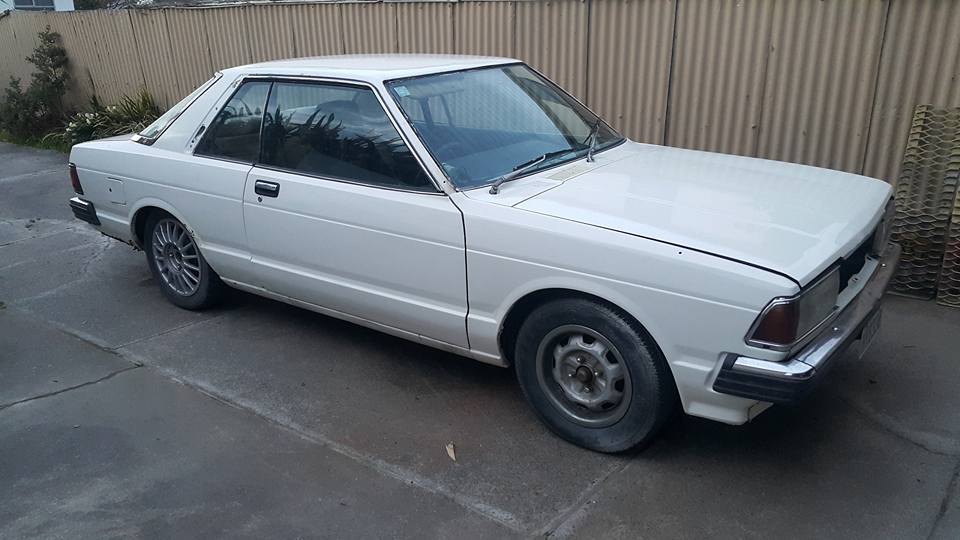
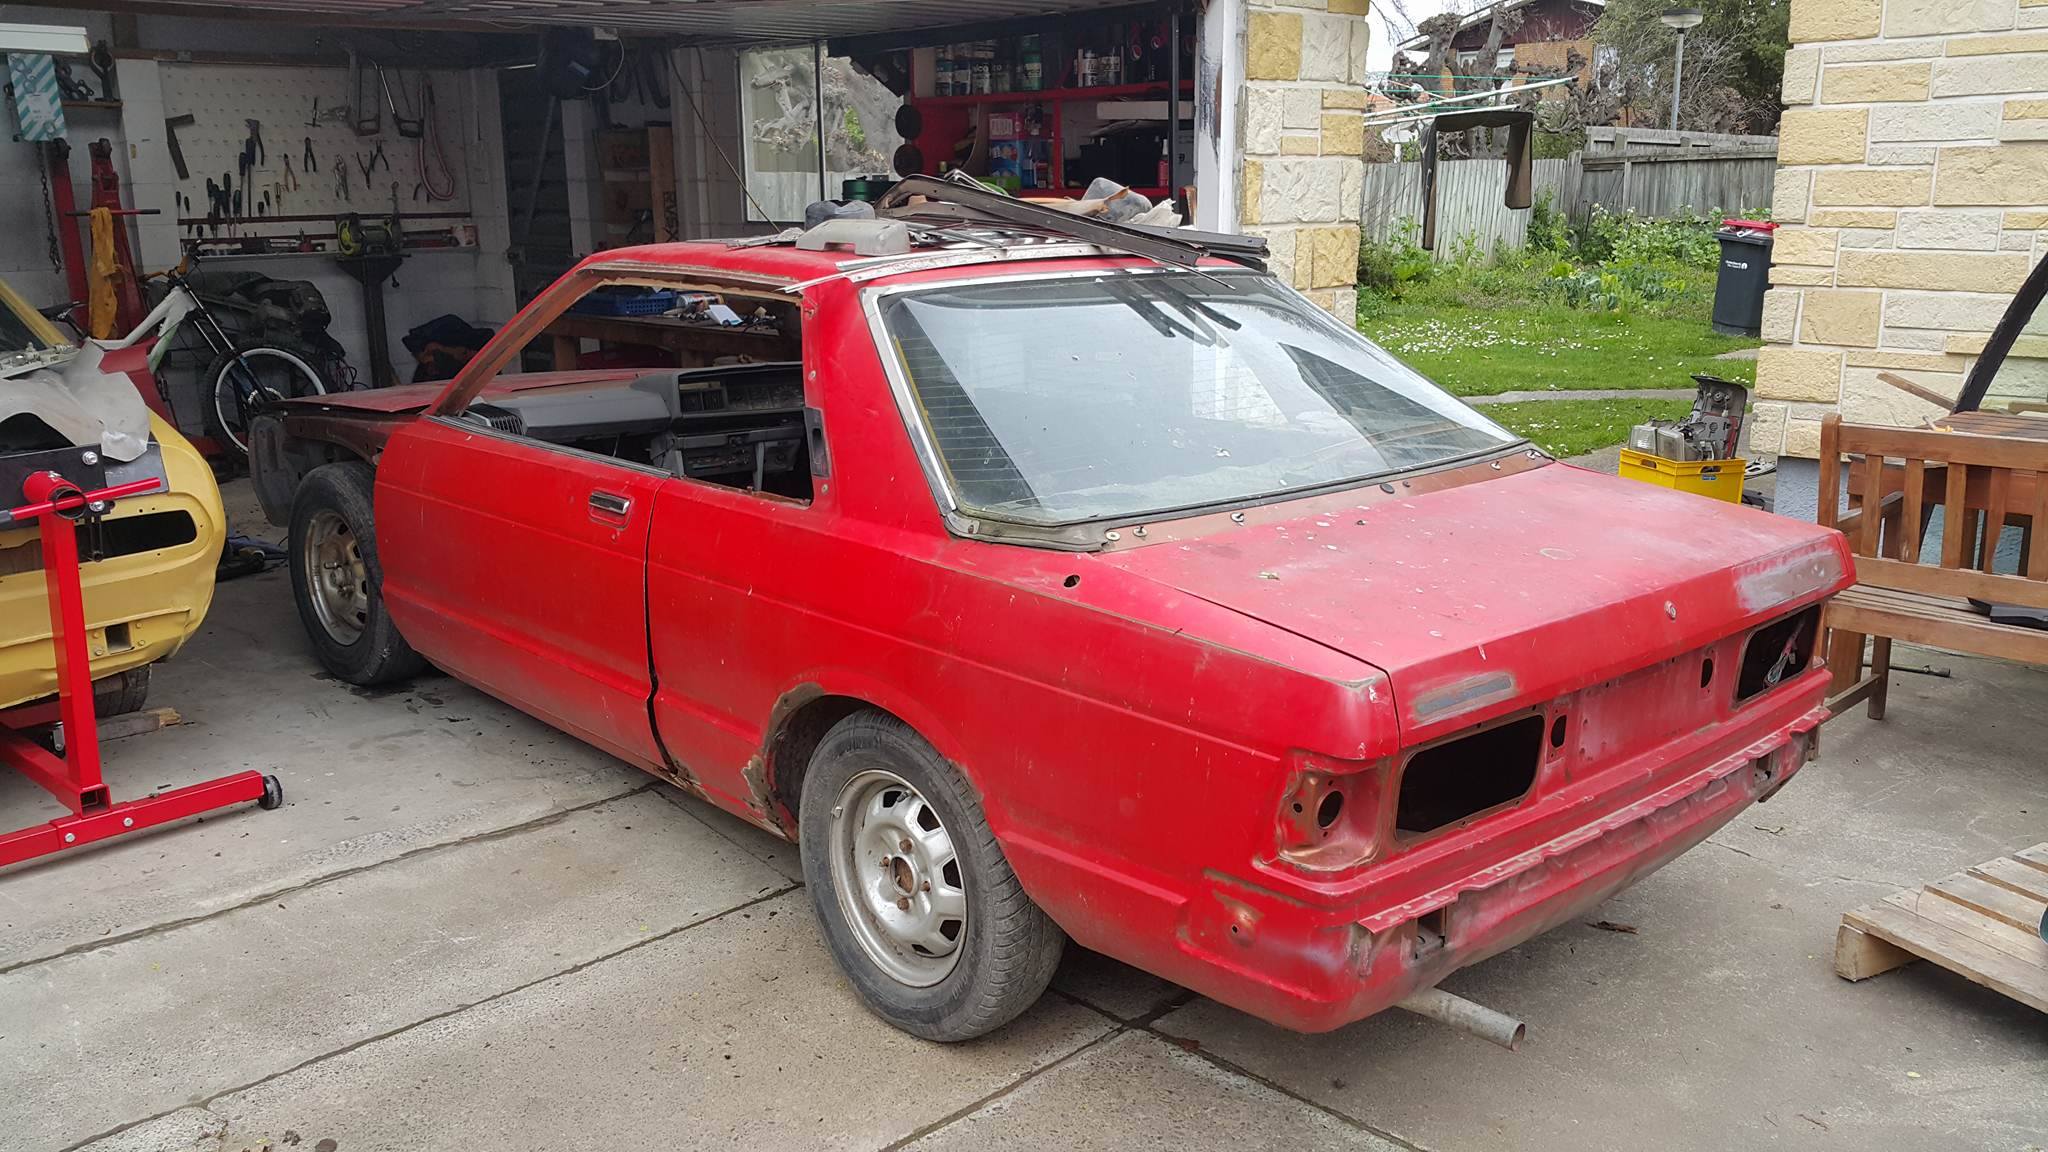
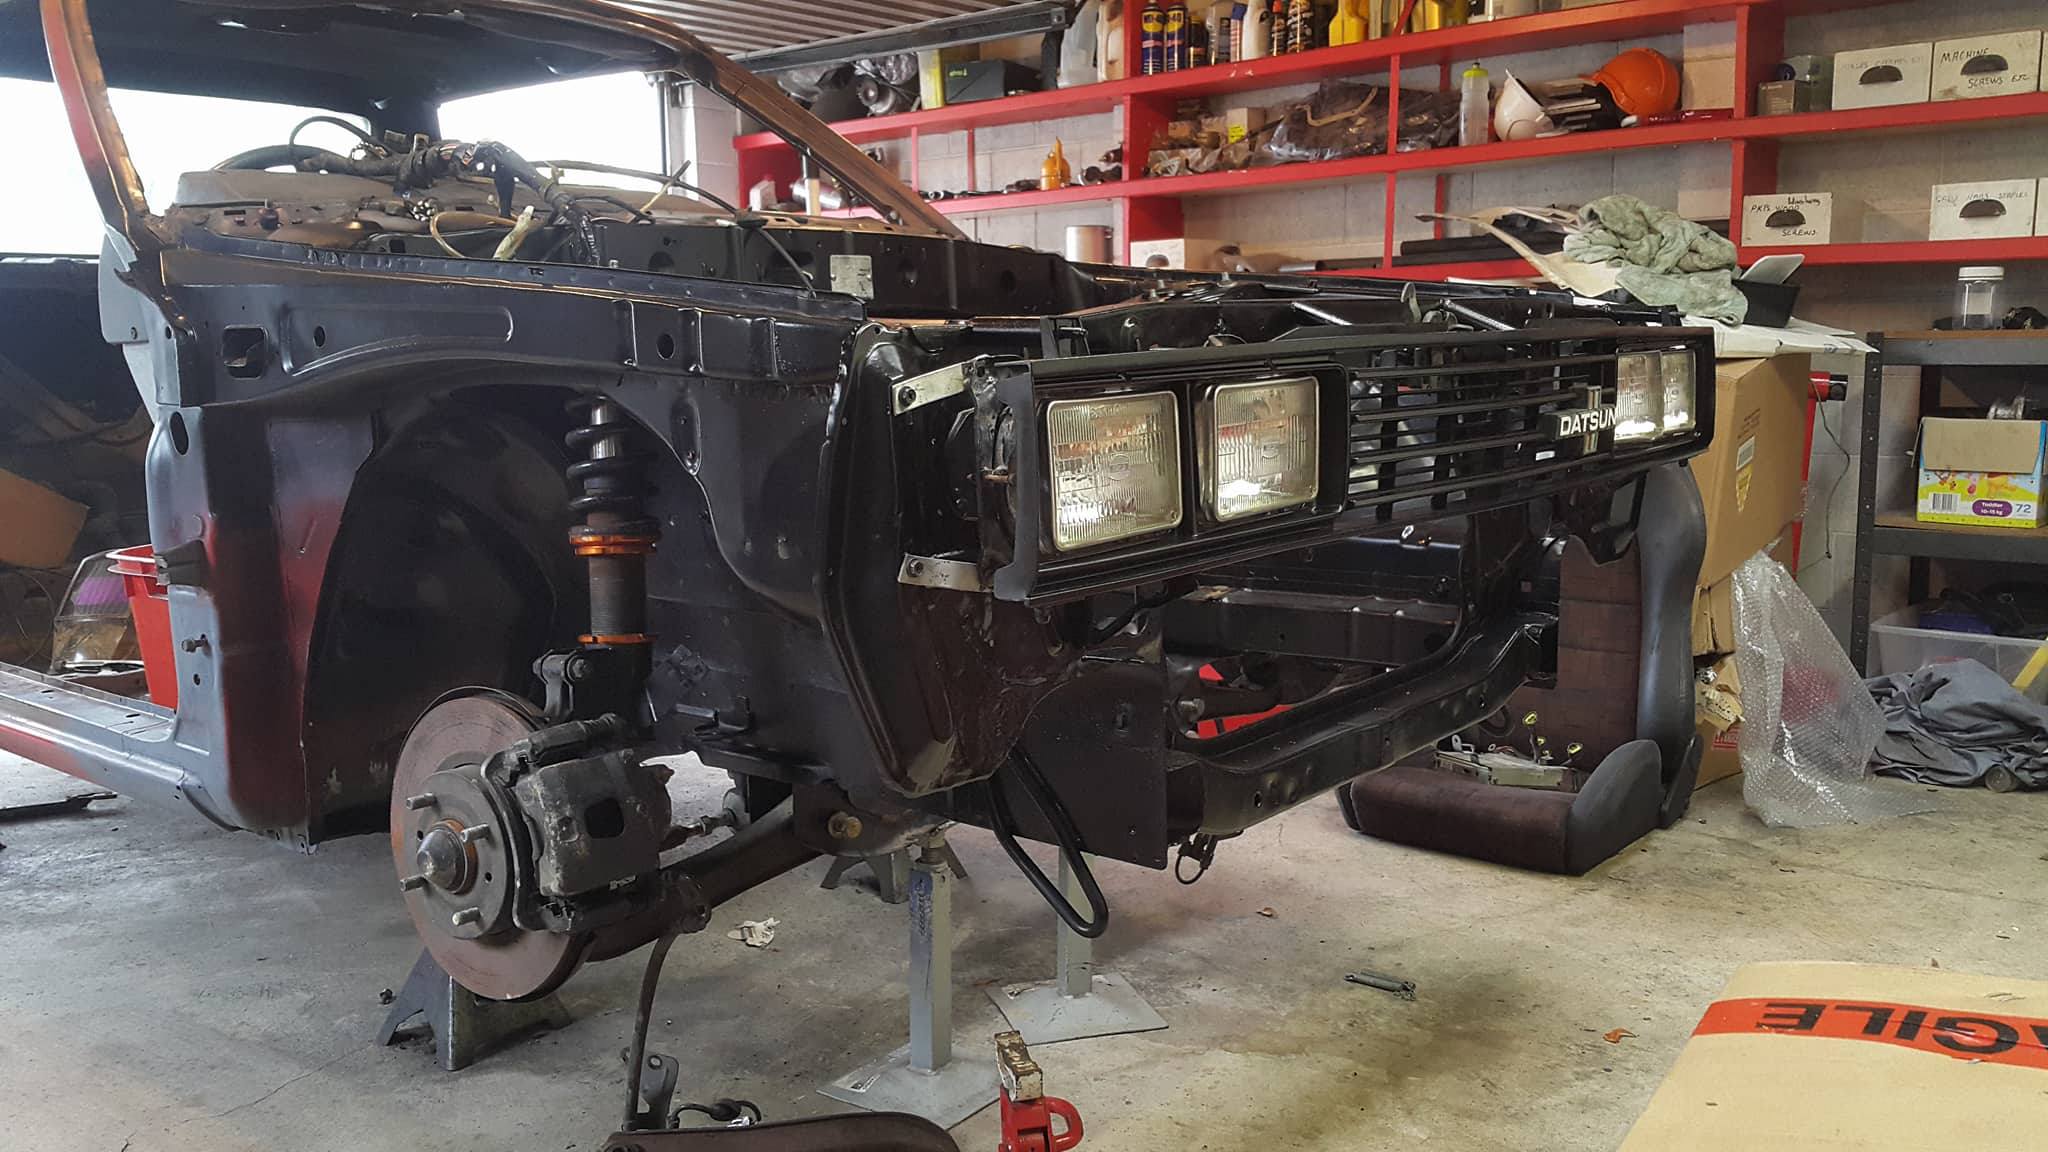
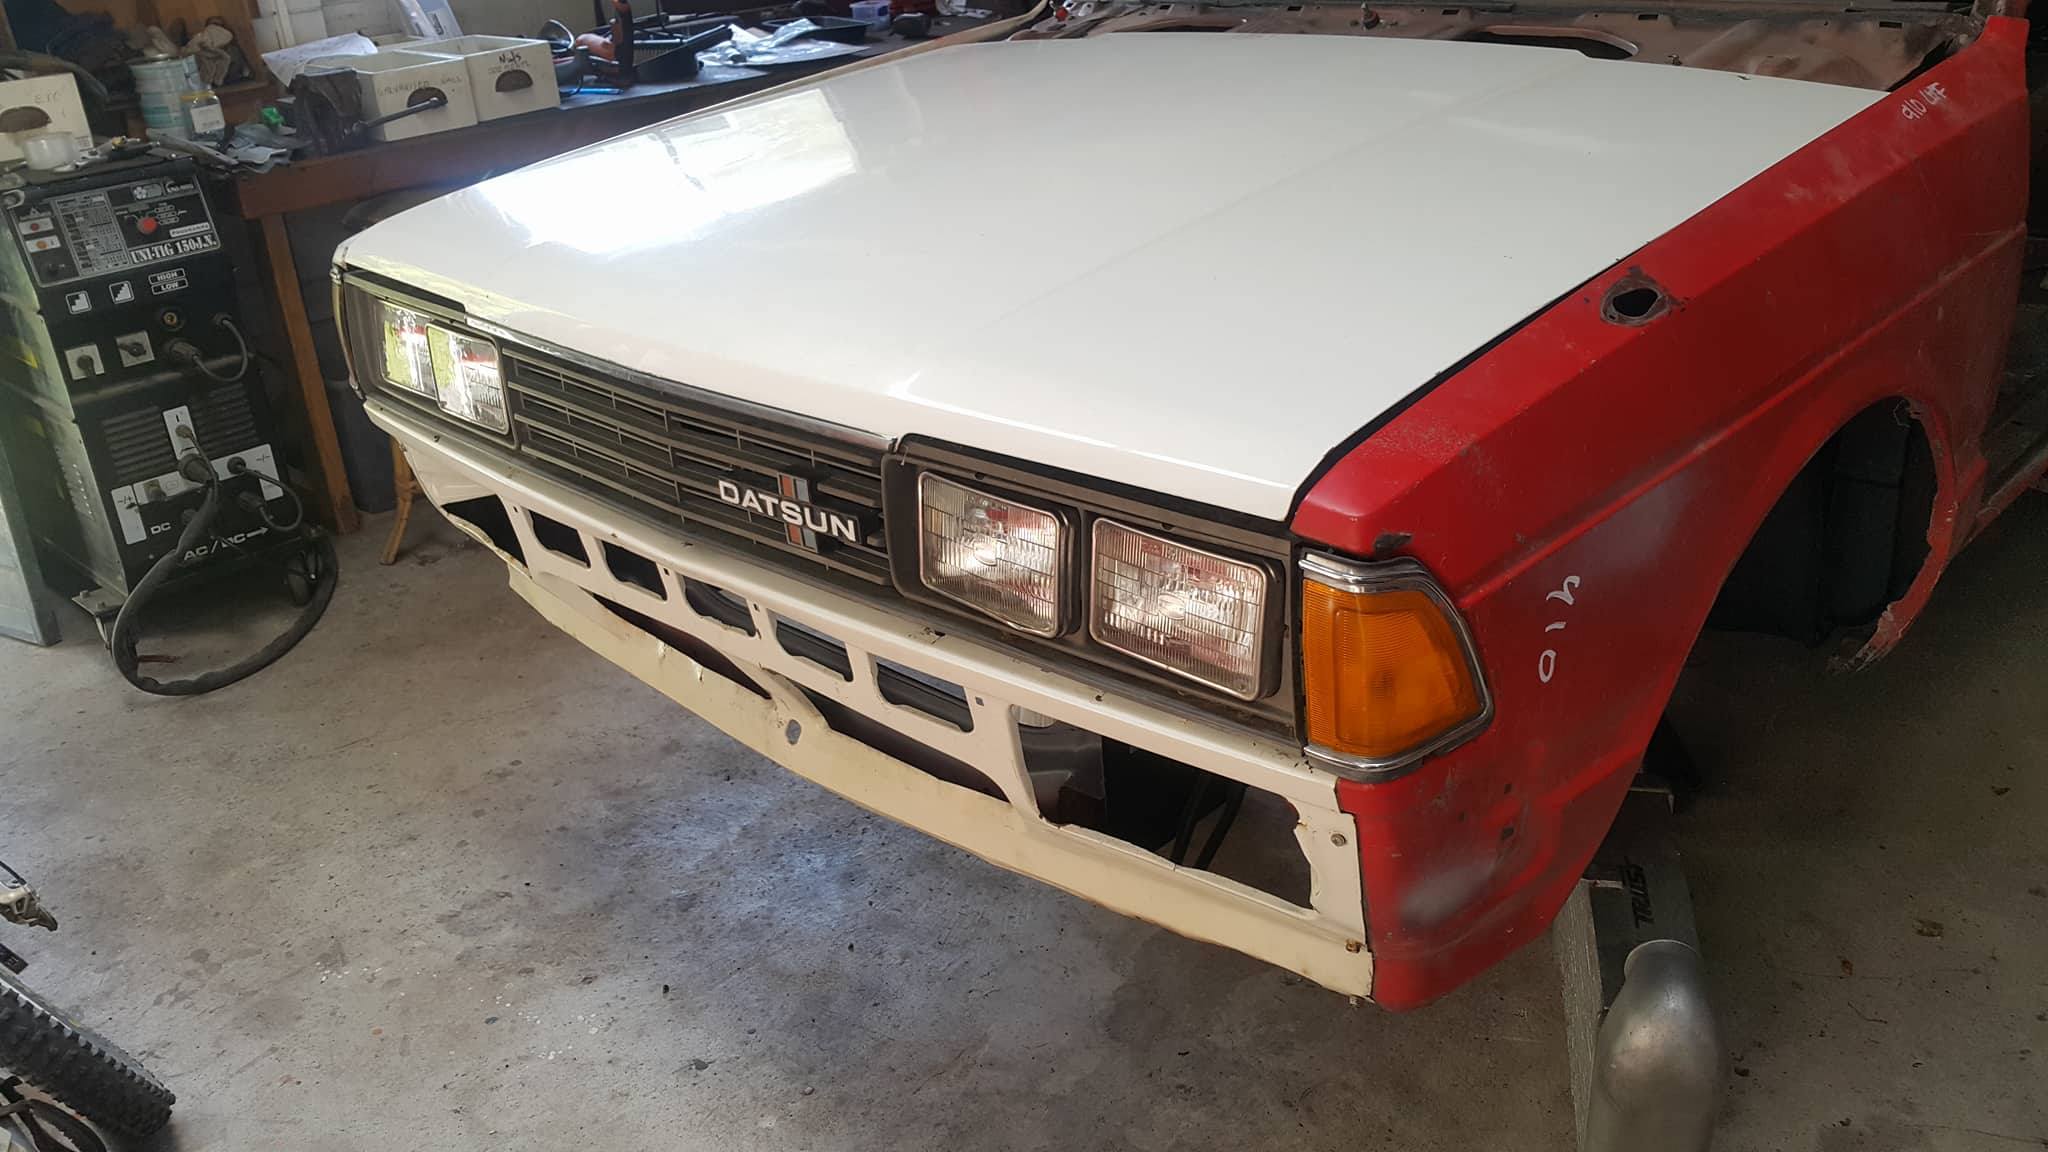
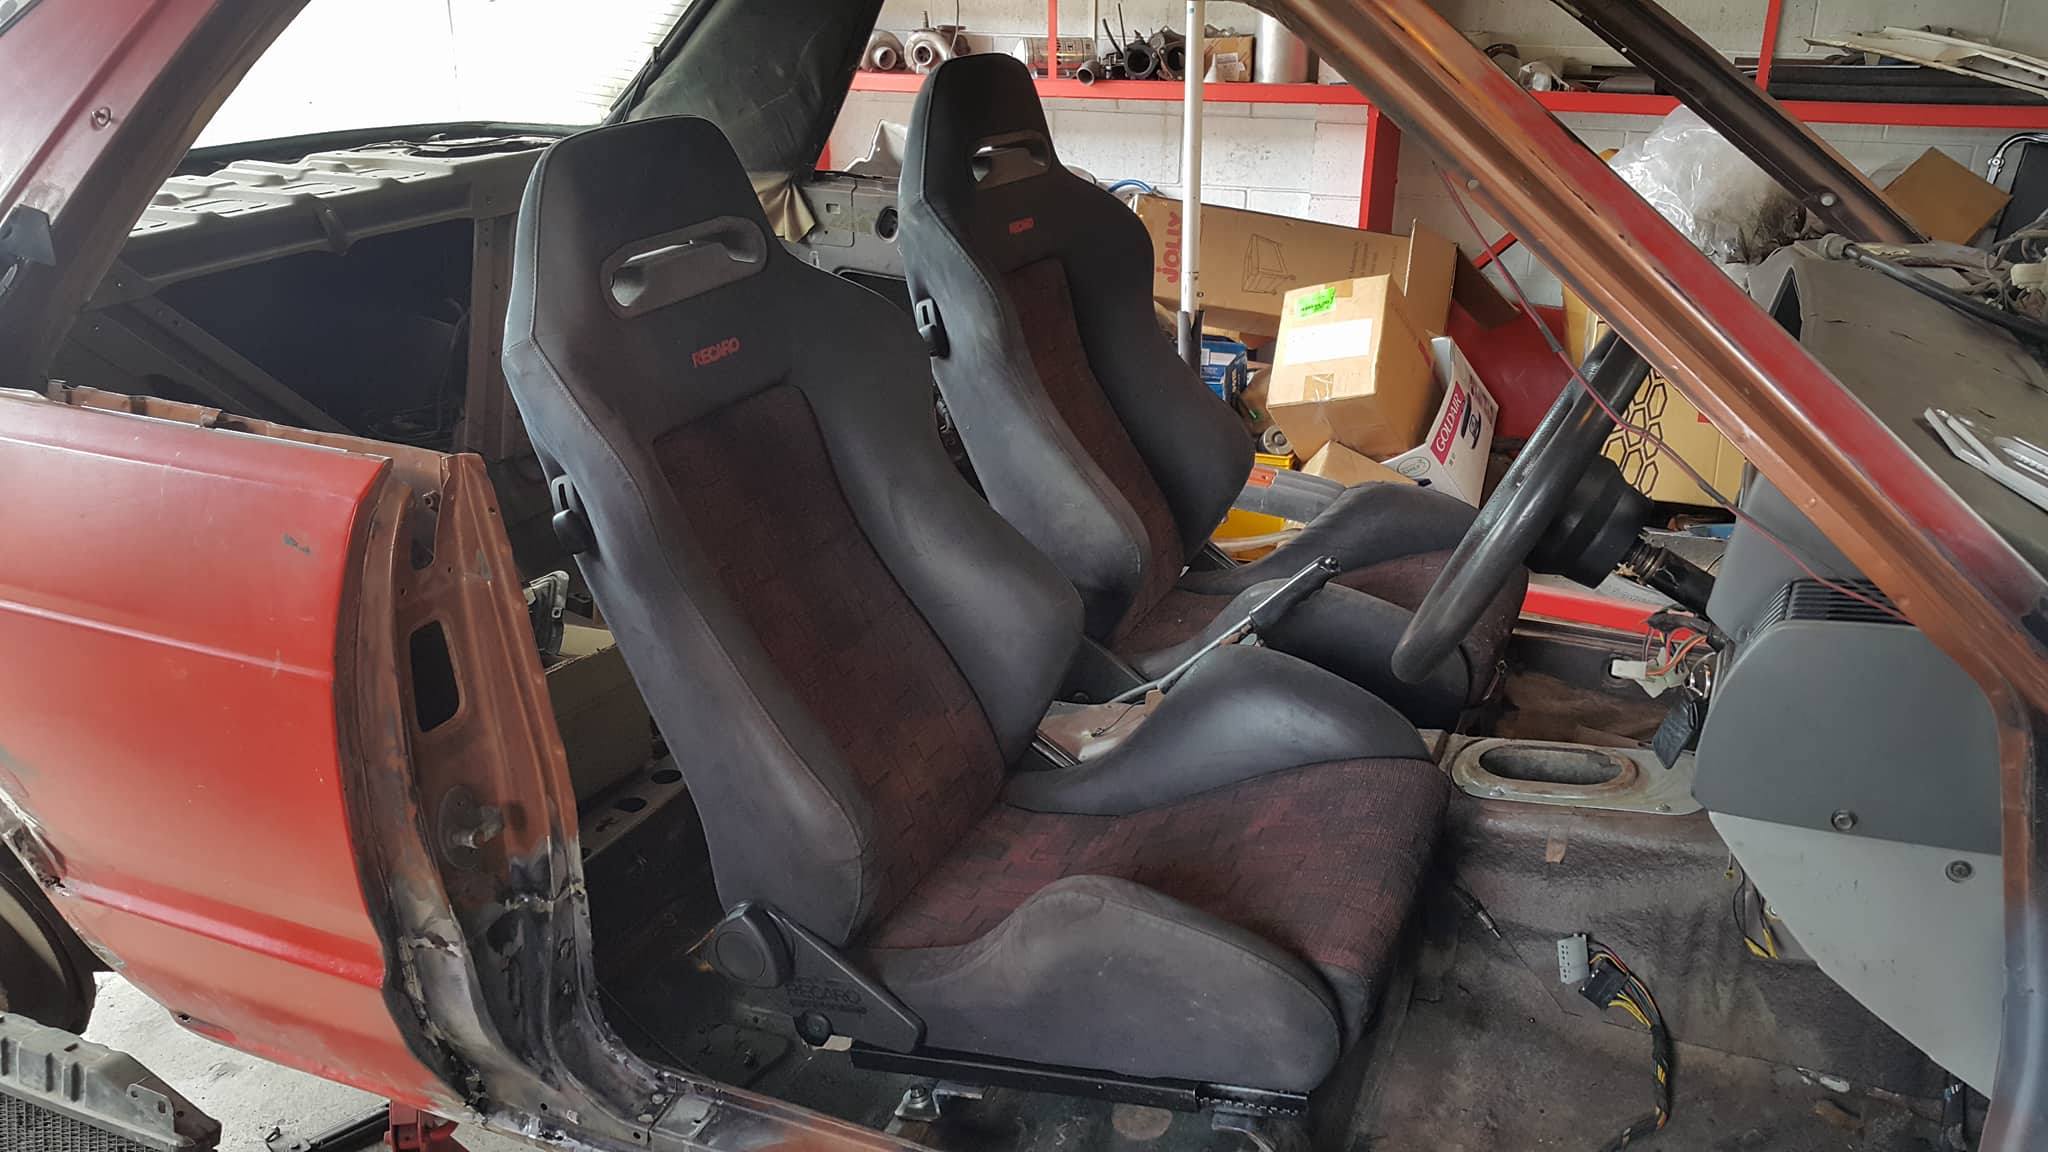
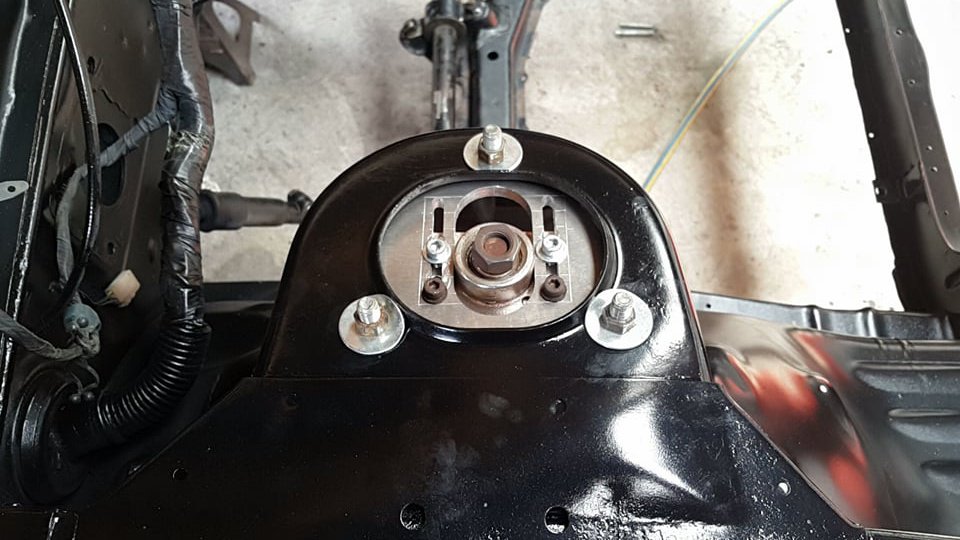
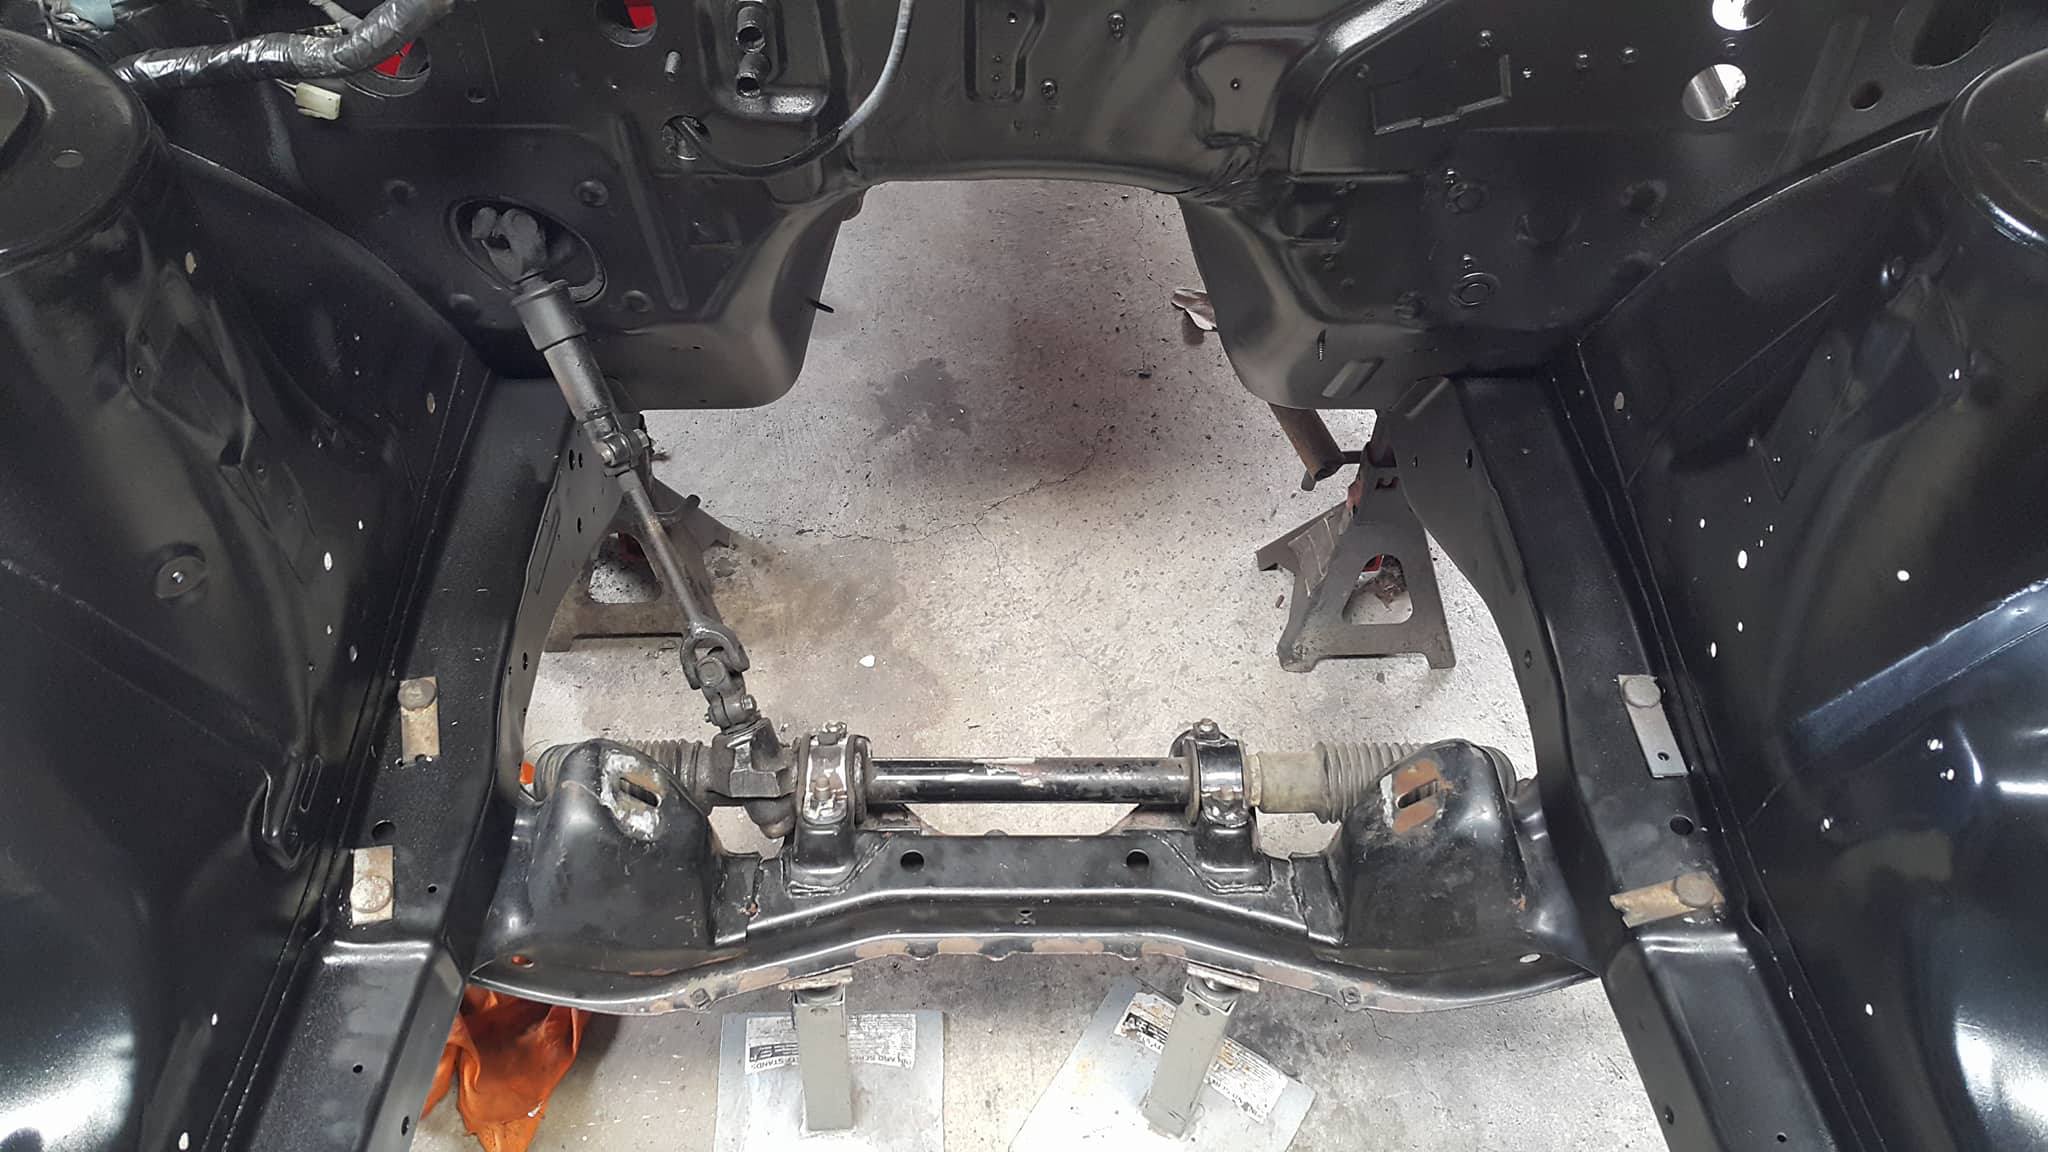
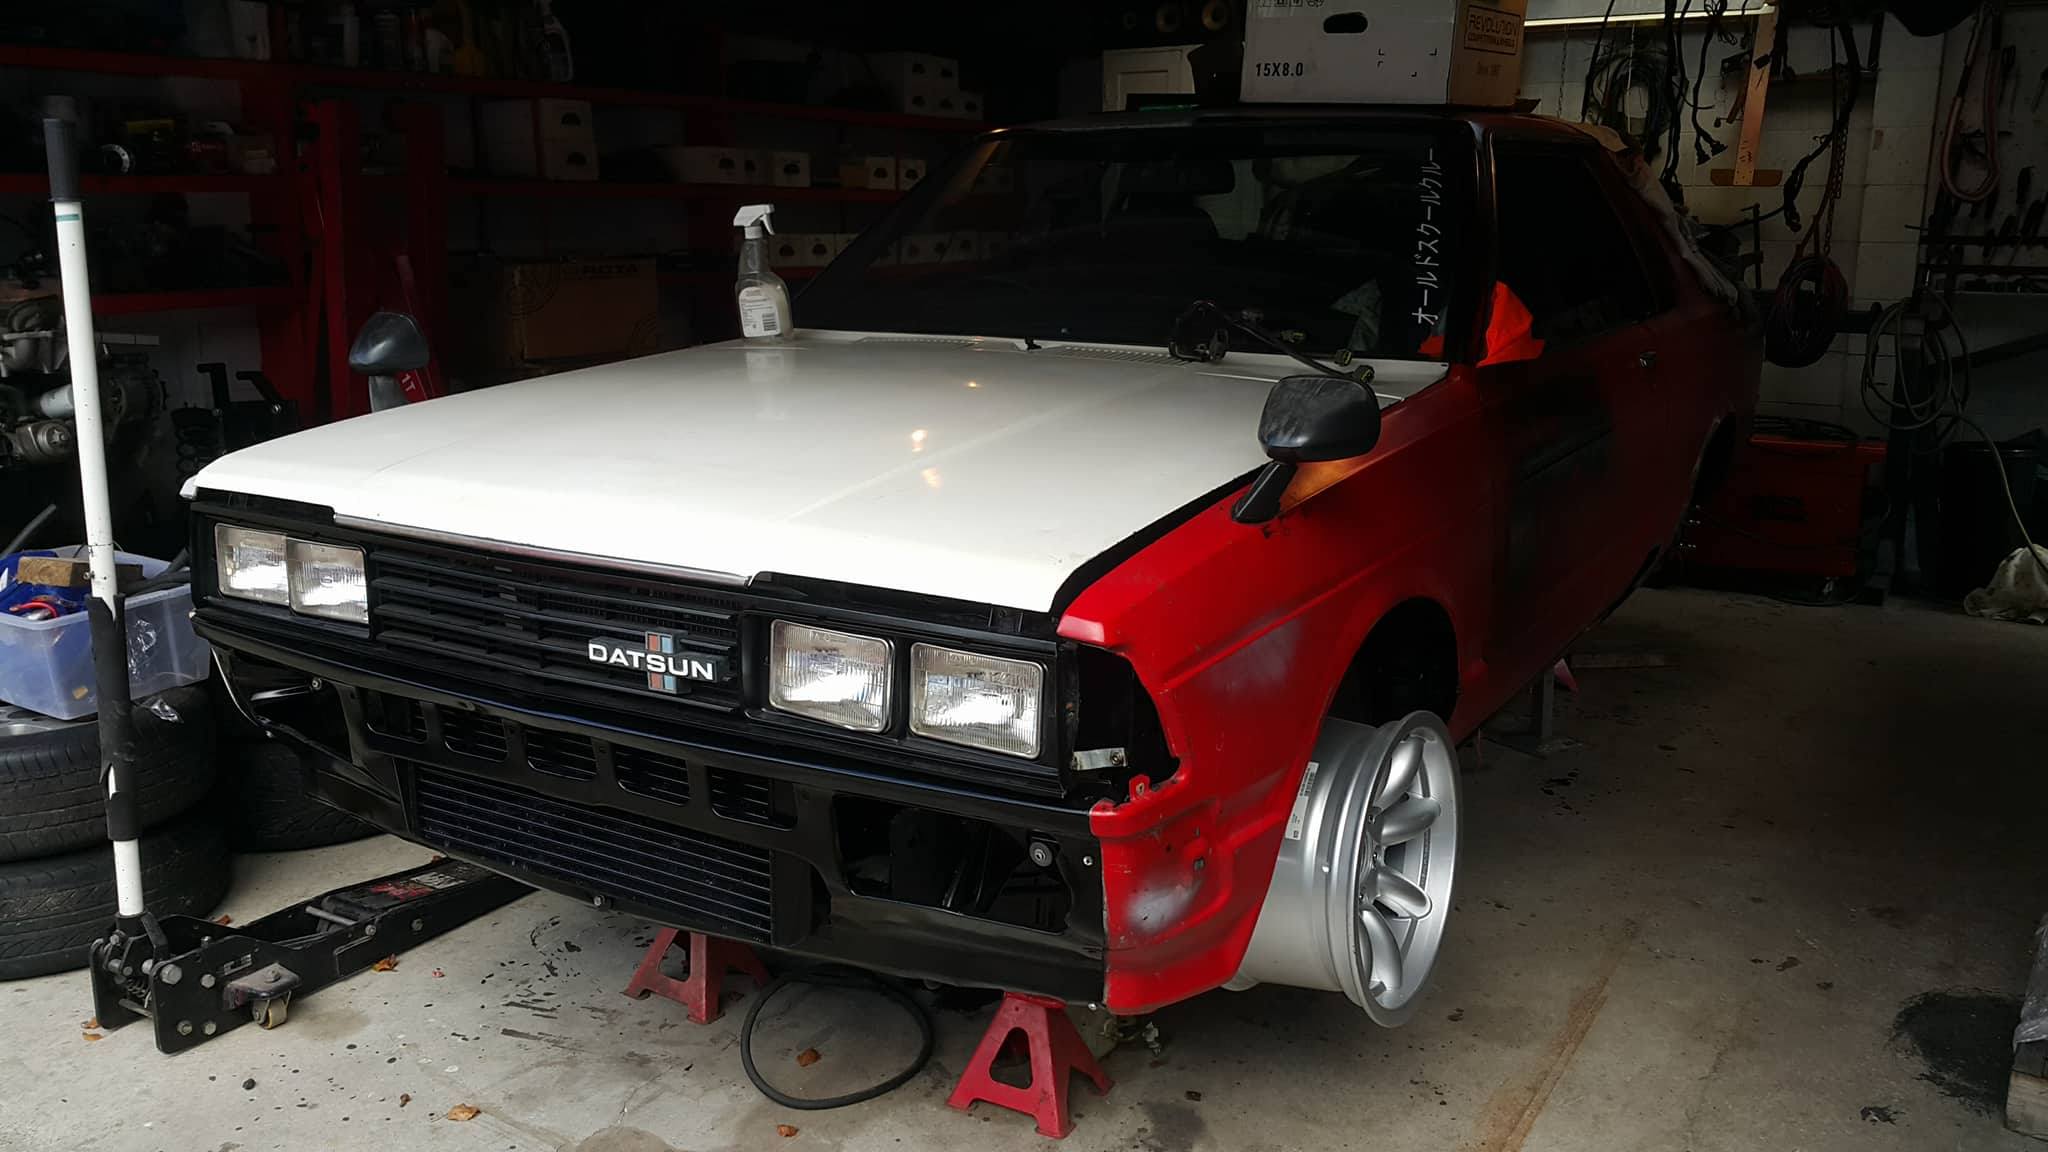
Discussion : I got a pair of hardtop coupes off Facebook late last year, Factory *maybe factory* turbo z18et which was white and very rusty under the white paint and another *Red one* which seemed to be in worse condition and I believe it has been passed around a few times in the last few times, I think Cheese aka Mike owned it at one point.? It was still pretty rusty but at least with this, I know what i have to work with and has come along way since. Its around 70% through restoration and have done some modifications already I have converted the front end to S Chassis, S14 crossmember with redrilled holes in the chassis rails with crush tube. S13 LCA's, S13 hub carriers with S13 brakes. S13 adjustable suspension with Camber plates that I had profile cut at Autobend Have also converted the front end to 720 headlights and grill. New mounts etc. Looks tons better Engine .... This was a hard decision. The choice was sr20det, rb25det neo or rb30et and Vq30det. Ended up gonig with a S14 sr20det since it doesn't weigh that much. With what was been removed and engine being lighter, should weigh around or just under a ton. There is more that has been done and plans that I will add over the next few days. More photos too.
1 point
-
All right man, this thread just got real interesting real fast!! Not going to cast your own post one like ol' bert?1 point
-
But, flip them upside down, instant lowering1 point
-
so much room for activity at full lock. Time for some caster you say?? I’m really trying not to talk myself into making some bottom arms for this...
1 point
-
I'm not a fan of duratorques. only place they should be used is on supercharger tensioners.1 point
-
Did front wheel bearings, bought new front beam bearings, some other random stuff, new front calipers, greg has some new front brake hoses for me and so once i get some wheels and a new front spring pack (some of my leafs were broken) i can get it on the ground and rolling. A few things before its drive time but lists getting shorter Wheels, steering box, rear side windows, window seals, motor off @64valiant and be sweet for a drive i think i also bought a turbo legacy as a donor for a one-day engine swap dream project. Thw legacy was being sold by a mate for $750 with blown trans and 140,000km, seemed like a bargain and couldn't help it.
1 point
-
painted the boot. its not great tbh, got a couple of runs in it but its only a boot i suppose.... 2019-04-13_06-22-45 by sheepers, on Flickr 2019-04-13_06-22-53 by sheepers, on Flickr i also painted the dash. it was looking a bit shit and the sliver edging was all fucked so i had a go at masking the edges and using some chrome spray paint to bring it back to life. it came out super awesomeo! im really happy with it. the chrome isnt "chrome" as it was but its pretty close. sure looks way better than it did. im giving it a turbo win out of ten. 2019-04-13_06-22-37 by sheepers, on Flickr1 point
-
Looks like i-force has pooped itself and all my images are gone. Bummer. Anyway, drove out of the garage for the first time in who knows how long to give it a bit of a rinse and rearrange the garage. Got a real ratrod vibe going on here. Out and about 1 by Thomas Addison, on Flickr Out and about 2 by Thomas Addison, on Flickr Pretty much done with stripping now, just finishing up the underside of the bonnet. This is the first thing I will paint, get some practice in with the paint gun on a big area that doesn't matter much. I've also been buying things. Found a single NOS fender mirror. These are usually astronomically priced for a pair, on the rare occasion they turn up at all. This one was surprisingly cheap and is super mint. There's one slight scuff on the side which I think will probably polish off completely. Nice. NOS mirror by Thomas Addison, on Flickr Got a cool gear knob to match my kitty cat headlights. Gear stick by Thomas Addison, on Flickr And lastly some 70s galant hubcaps. Really tidy and shiney. One has some curb scuffage, but no big deal. They came up on TM pretty cheap and I thought they make for another nice nanna spec wheel option. My current thinking is to have these, widen some steel wheels with the little centre caps and trim rings I have now and get a set of 14 inch japanese, period appropriate mags, as wide as poss without flaring the guards hubcaps by Thomas Addison, on Flickr1 point
-
Been having tons of adventures in the wagon. Won a few more awards. Best 8 Cylinder at 4 and rotary jamboree And my favourite, the "What the ?" award from the Automania festival. Pretty much sums up the wagon You put a V8 in what??? So, back to my adventures and what not. I decided on the spark plug cover look I liked the most so I went with just the plain black covers. It worked quite well because I had heaps more people asking what the engine is, so I guess it fools them just enough without the V8 FOUR CAM 32 badge on it Before my trips I figured I would find a new brake pedal pad, I found it a hoot that it is a dodge truck part! Looking sweet, I will have to get another for the clutch at some stage, they are both the same pad So with the engine sorted and the brake pedal sussed I went for a cruise down to feilding for the 4 and rotary jamboree. I stayed at a sweet little B&B just outside of town. Got to Manfeild on Saturday for the track day, super excited because it is the only track in NZ that I haven't done a track day on, so I can tick every track in NZ off my bucket list now. Got out on track then on the first lap disaster stuck!!! The track had been used for field days the weekend before so it was super dirty, and the car in front of my chucked up a rock, smashing my windscreen!!! I drove the rest of the lap with my hazards on and my head out the window. When I got back to the pits I gave my friend Jared (A.K.A @JoKer) a ring and got him to bring me a spare windscreen over from Dannevirke. While he was making his way over I drove down to the local glass place and got them to swap the windscreen over. I got some funny looks cruising down the main road of feilding with a busted windscreen in a V8 Avenger, it was only about 1km from the track so I just drove with my head out the windows. Made it back to the track with the new windscreen just in time for the afternoon session. As a thank you, I took Jared for a cruise around the track. It was quite a blast My favourite picture of the wagon out on the track Out on the track I had a bit of a lean backfire off throttle so I pulled the car off the track early and set it up in the show and shine, After the show and shine I found the problem was the idle adjustment screws on the back right pair of throttle bodies had vibrated up so those throttle bodies weren't closing fully, fixed it in the car park. On the way back home I stopped in at Horopito, AKA Smash Palace to get me some wagon parts. They have a few Avengers there, 2 wagons and 4 or 5 saloons. Got me a good haul of parts, got some rear bumper brackets to replace the ones I had to borrow from the 75 Avenger when I swapped to the NOS Hillman bumper on the wagon. Got me a tow bar because there is nothing cooler than a V8 Avenger wagon towing stuff, am I right?? And also a pedal box for a friend, and a new door card. Got back home and gave the bumper brackets a good sand blast Then painted them with black zinc paint The next weekend I went off to @Ned house warming down in Taupo, So I figured I would camp out in the wagon on his front lawn. I am really digging the wagon for camping. The bed mode is really comfy, so I think I might do that more often rather than staying at hotels. On the way back up I meet up with the Hillman Humber club and we did a run out to a truck museum. Pretty good turn out. We had 3 Avengers there!! Then the weekend after that I had the Automania festival!! I entered my wagon in the indoor show. I figured I should actually get a photo with the bonnet down as 99% of the time it will have it's bonnet up, because V8! I went with a nice little in car display of some of my old Avenger sales brochures. I especially like the one on the back of the drivers seat because it has all the original prices hand written and a dealers stamp on the front, it must have been kept all these years by someone who was thinking of buying one, it's either 1979 or 1980 so it's from the exact era of my wagon, and even has the van pricing on it, and that you only needed 30% deposit, rather than the 60% deposit you needed for a normal car or wagon. I also entered my 1975 Avenger in the outdoor show. It was raining all day so my poor little Avenger Panther felt very unloved while it's younger brother sat warm and dry inside (Can you tell I have a favourite child at the moment?)1 point
-
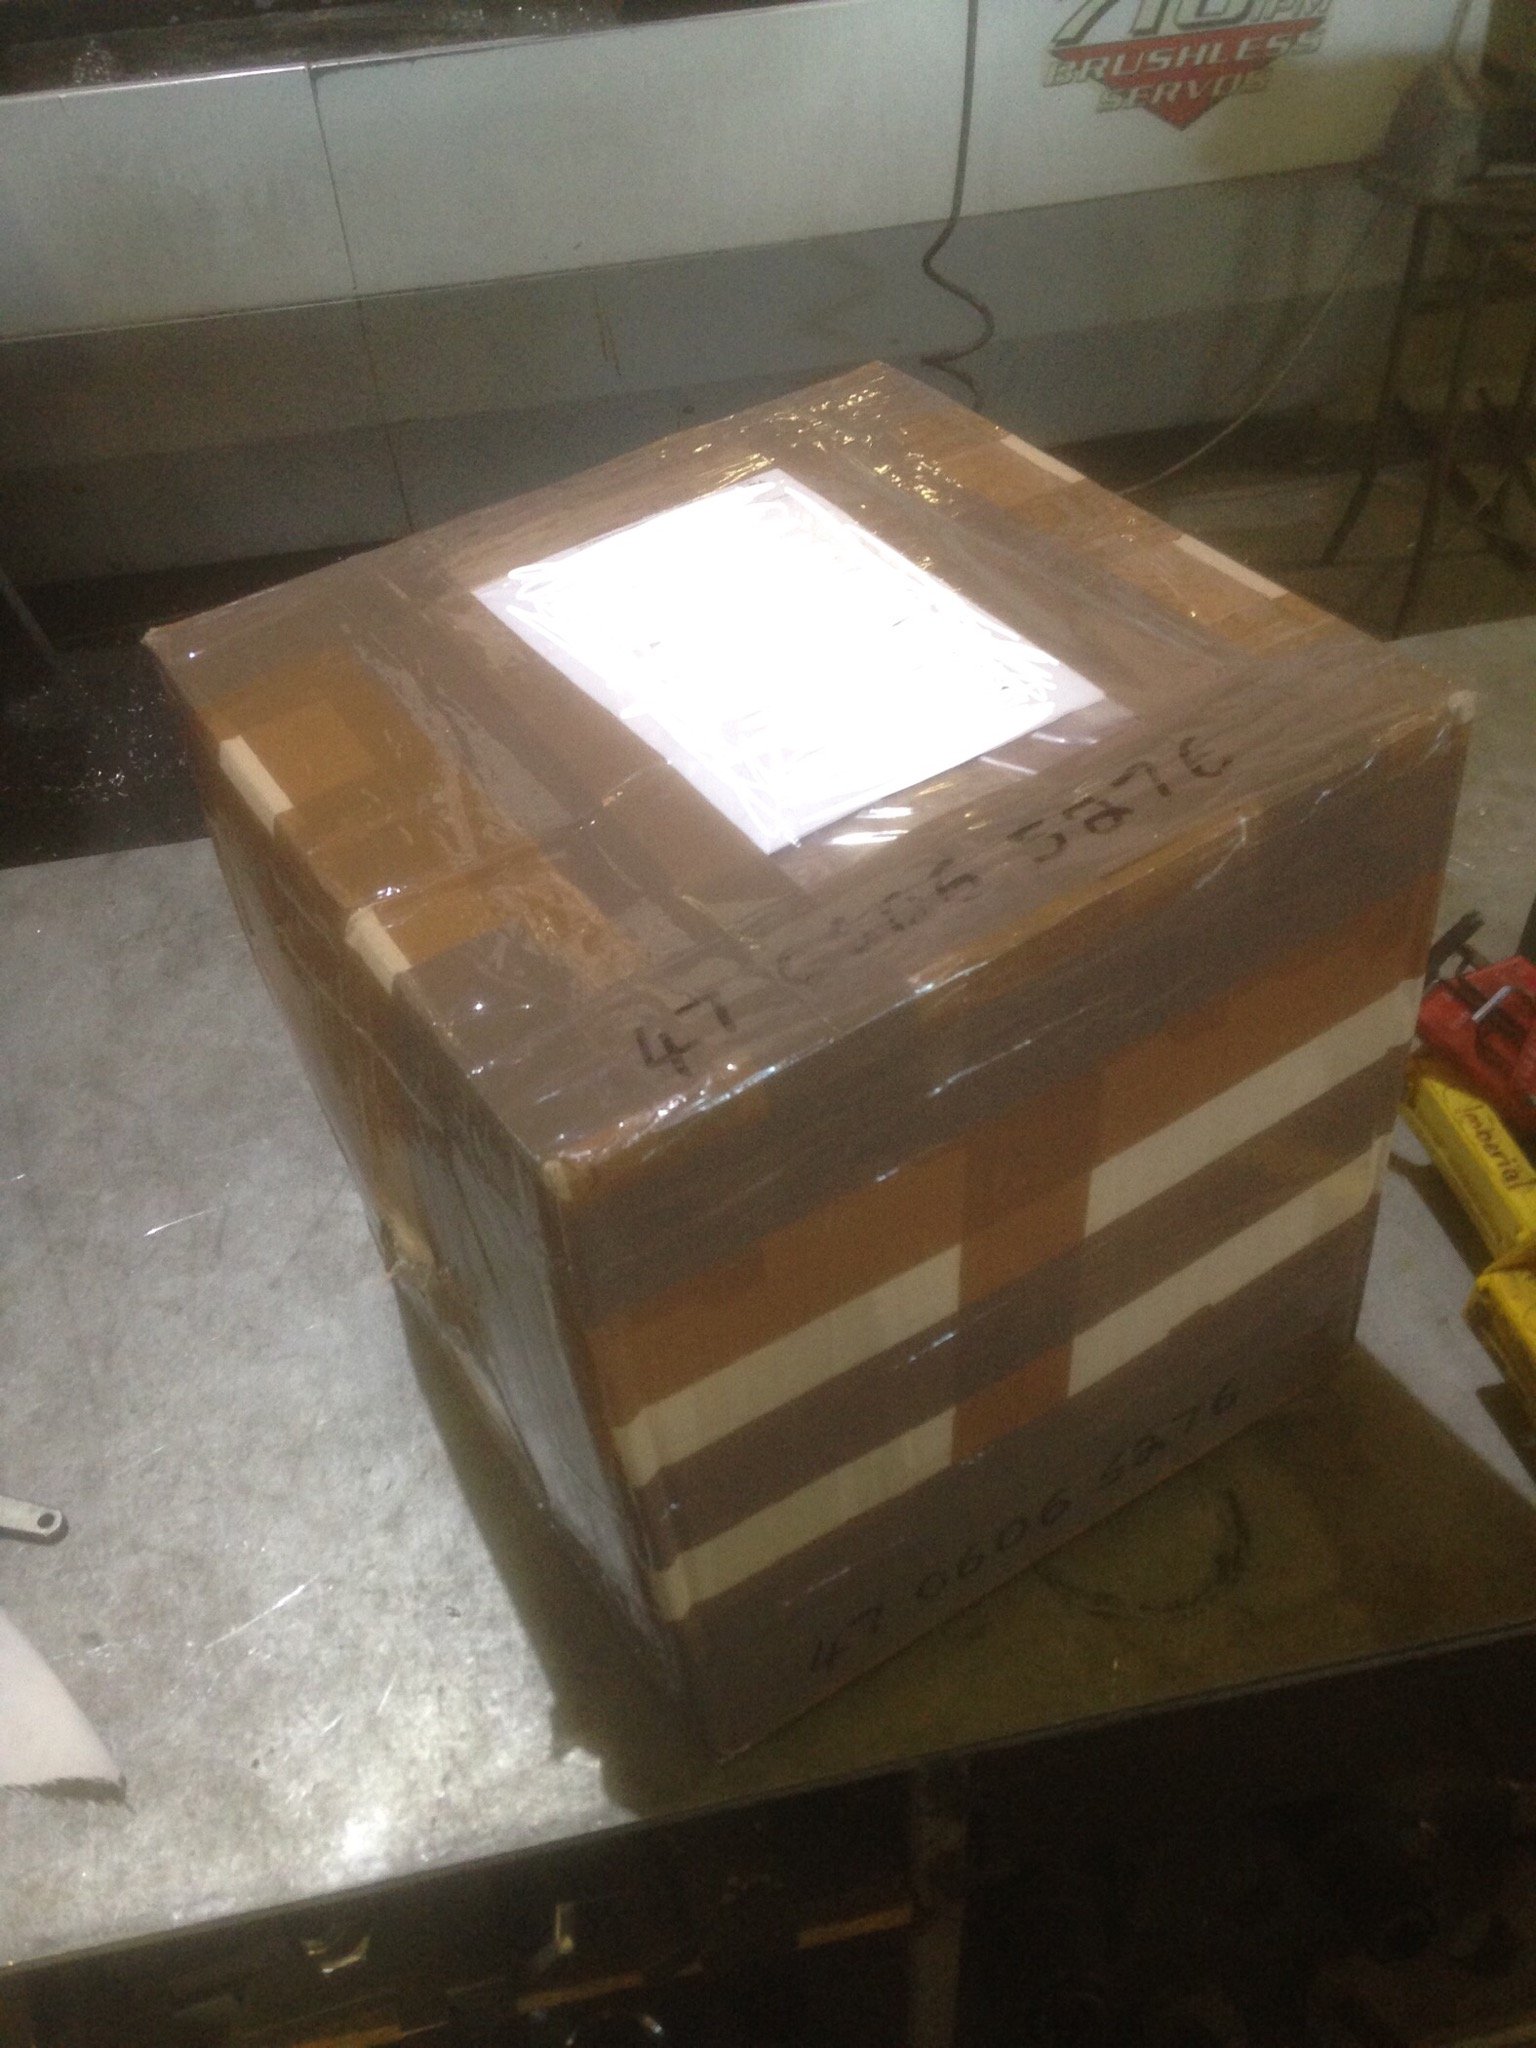
Nice cardboard box arrived from the UK. JAP V twin engine kit set, some assembly required..... Should keep me busy for a bit.
1 point
-
So have managed to progress with this some more! Got it all back from painter Doors all on lined up not perfect but will wait till front guards are on Fitted all new door rubbers and window guides Got the motor In Swapped over the end T piece of the steering collumn to the shorter power steering one from a ms110 And fitted it back in car Found out the auto and manual pedal boxes are the same manual just has a mount for pedal so I just removed the clutch pedal and refitted as this will be auto. Painted the brake booster and fitted the new Nissan pajero brake master. That's all for now! Exciting times1 point
-
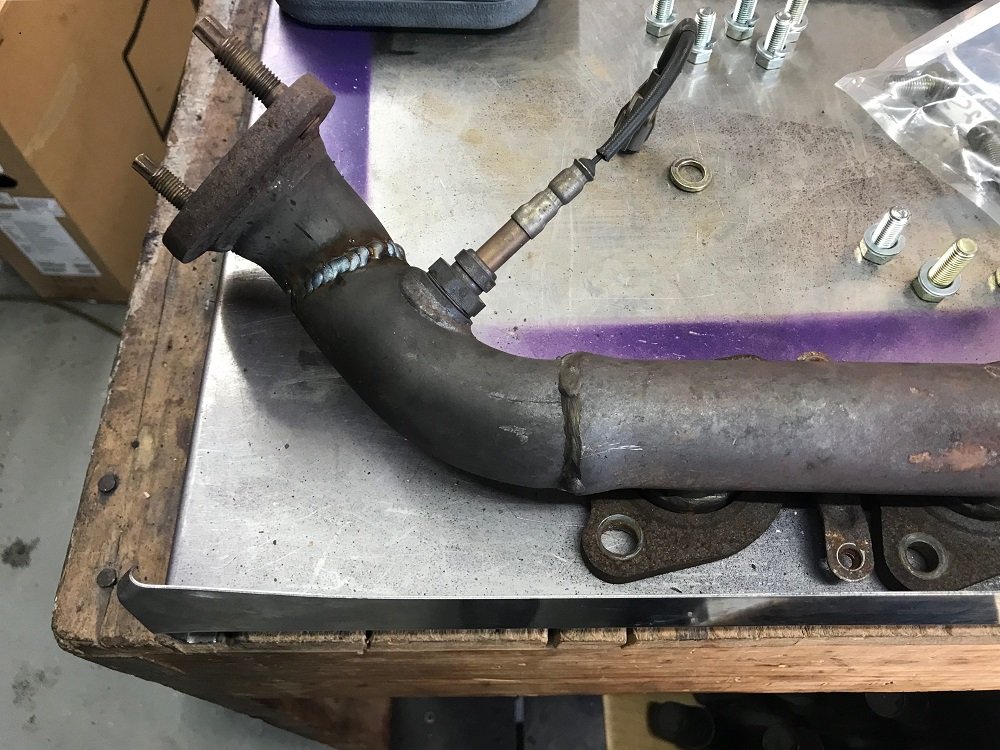
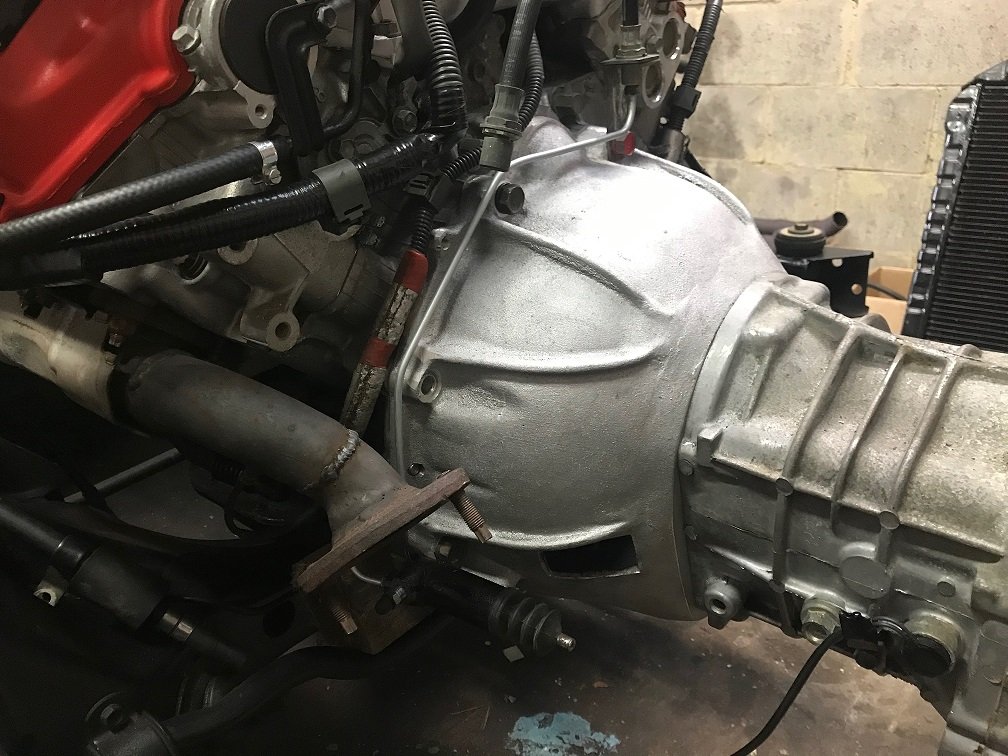
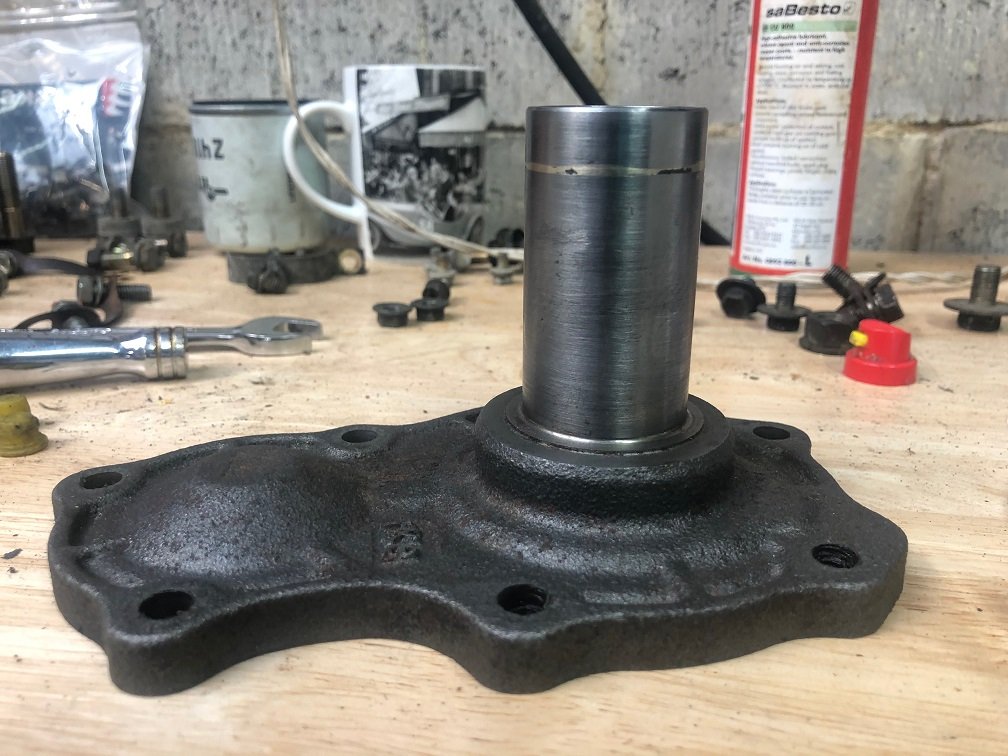
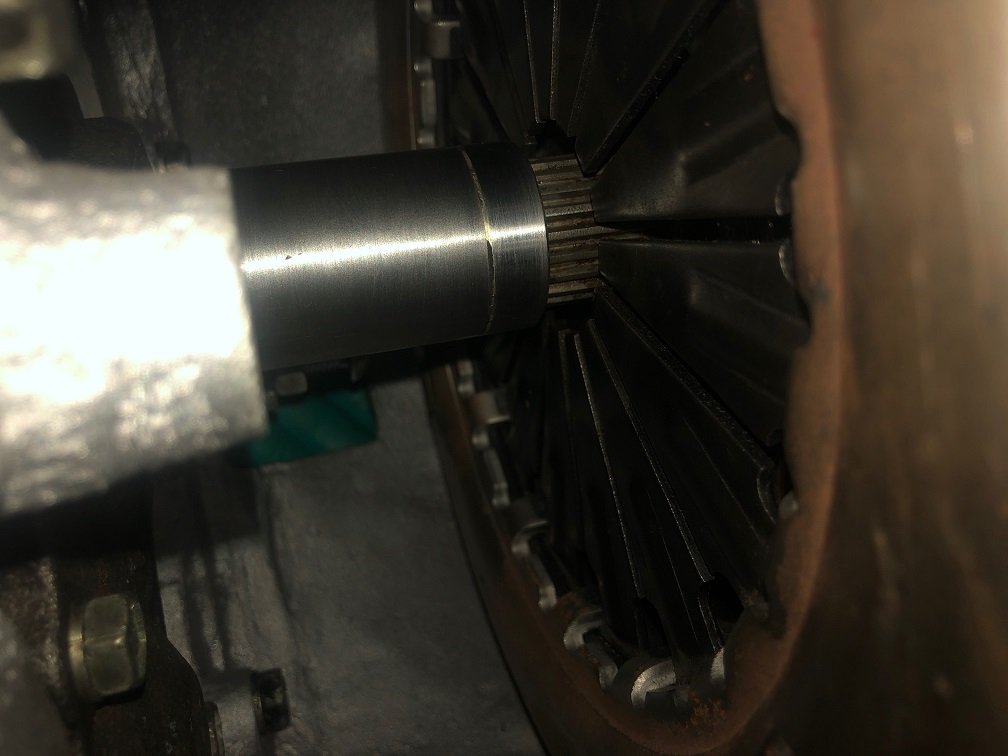
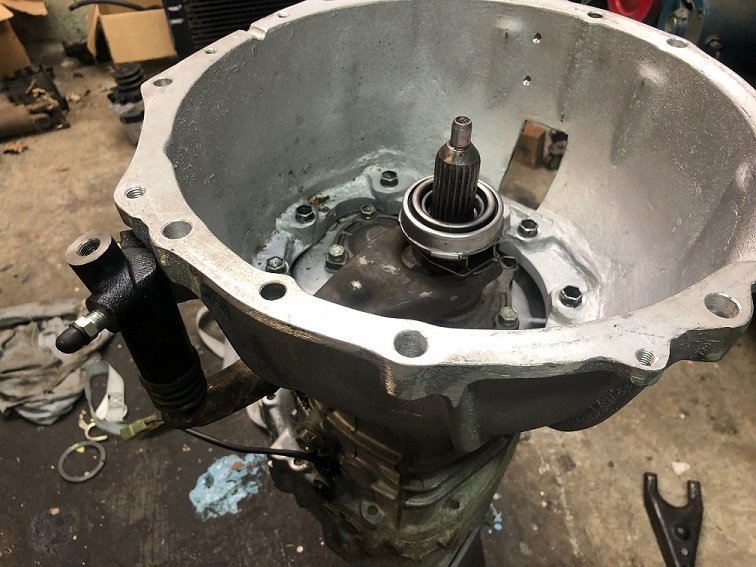
I've had to tweak the L/H manifold to get past the clutch slave, just rotated the flange by 90 degrees. I also made up the new clutch hard line. Engine mounts are done and bolted on for the last time. The new flywheel/clutch/bell housing combo had a weird issue where the thrust bearing would just about fall off the nose of the gearbox before the clutch was disengaged. I guess I could have spaced out the flywheel but I didn't like the reduced starter teeth engagement, so I ended up having the nose lengthened by 10mm by my local engineer. He made a nice job where the extension is pressed in another 10mm inside from the join, I feel much better about it now. I've just got to finish adjusting the pivot ball length & slave cylinder angle, then the whole lump should be ready to bolt in!
1 point
-
Well shit. Ugly asf but maiden voyage complete.
1 point
-
got a message from @Mrs 64valiant saying we need to get a buddy seat for our bus. (center seat for a walk through) found a diagram on the net add that to the list of things to make1 point
-
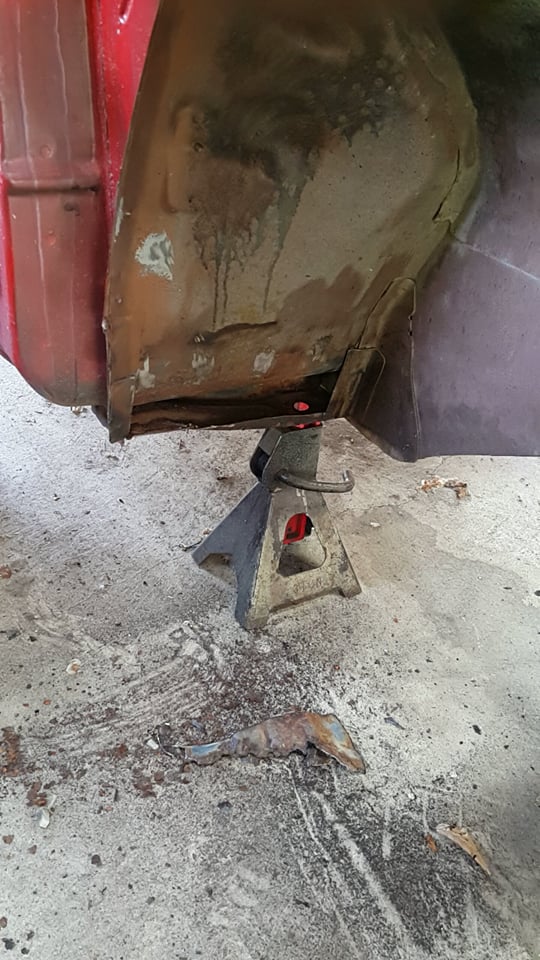
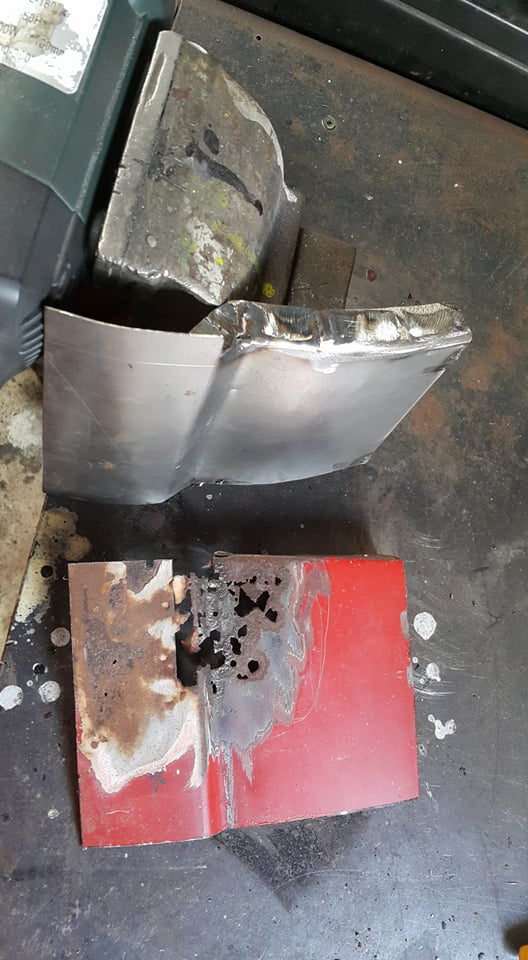
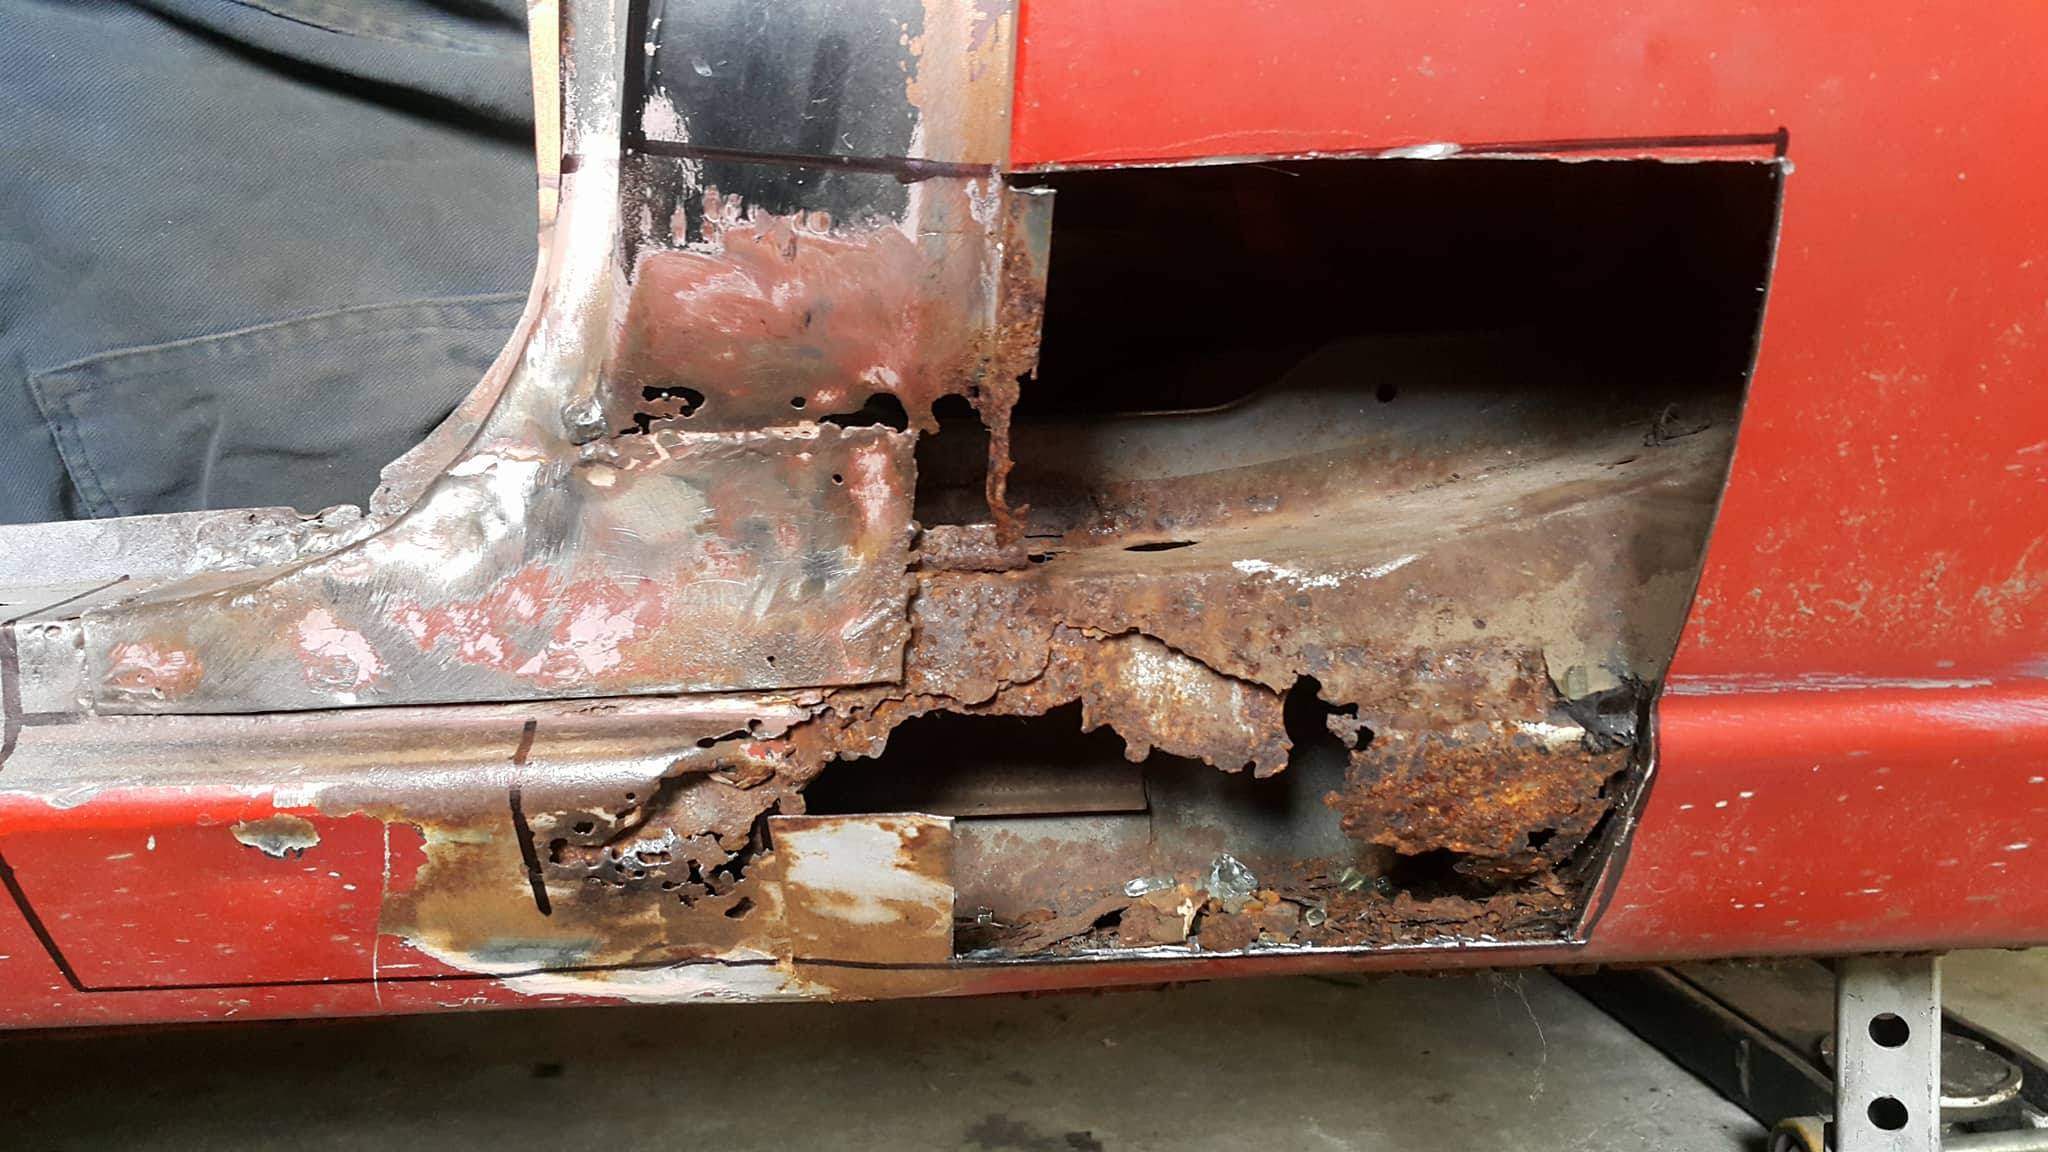
Not much to report, have just been working on removing the underseal, lots easier with a hoist, but still not fun. On the plus side I’m finding lots of nice metal. which has left a nice pile of crap on the floor1 point
-
Loves a long weekend Managed to strip all the doors and get them epoxy primed. Blocked down the front 2 doors n bogged them. Still not dry so will leave overnight. Annnnd in other news, the shell has been painted!! Looks a million bucks! Should get all these doors ready by end of weekend n can drop off when i collect shell Heaps mean!1 point
-
This thing is running sweet now. No good. This years plans are, just got a new windscreen washer, multi speed wiper motor (fast slow and delay) to modern it a bit. Need to get some bodywork, rust repair done and seal it up as it spends too much time uncovered. Last but not least, accidentally bought a crate lsa motor have acc drive and loom/ecu/tcm on the way. Will use existing box/diff. Should be another 100hp or so but mega more torque for sideways/circle work and 12s. So I'll be selling the ls3 with loom,ecu,tcm, pedal, power steering, alt, ac compressor... or buying a jetboat. I hate boats but I like fast. Also planning on getting back into the beetle this winter, need to get this at least running1 point
-
Did some more work on this tonight. Managed to remove the rear suspension and diff, then removed the fuel tank and fuel lines now have plenty of room to play still need to build a cradle to drop the engine and gearbox onto for easy removal, but first I need to get the torsion bars out which are proving to be very stubborn, there are plans on a mopar A body website of how to make a tool to remove them so that maybe the next step1 point
-
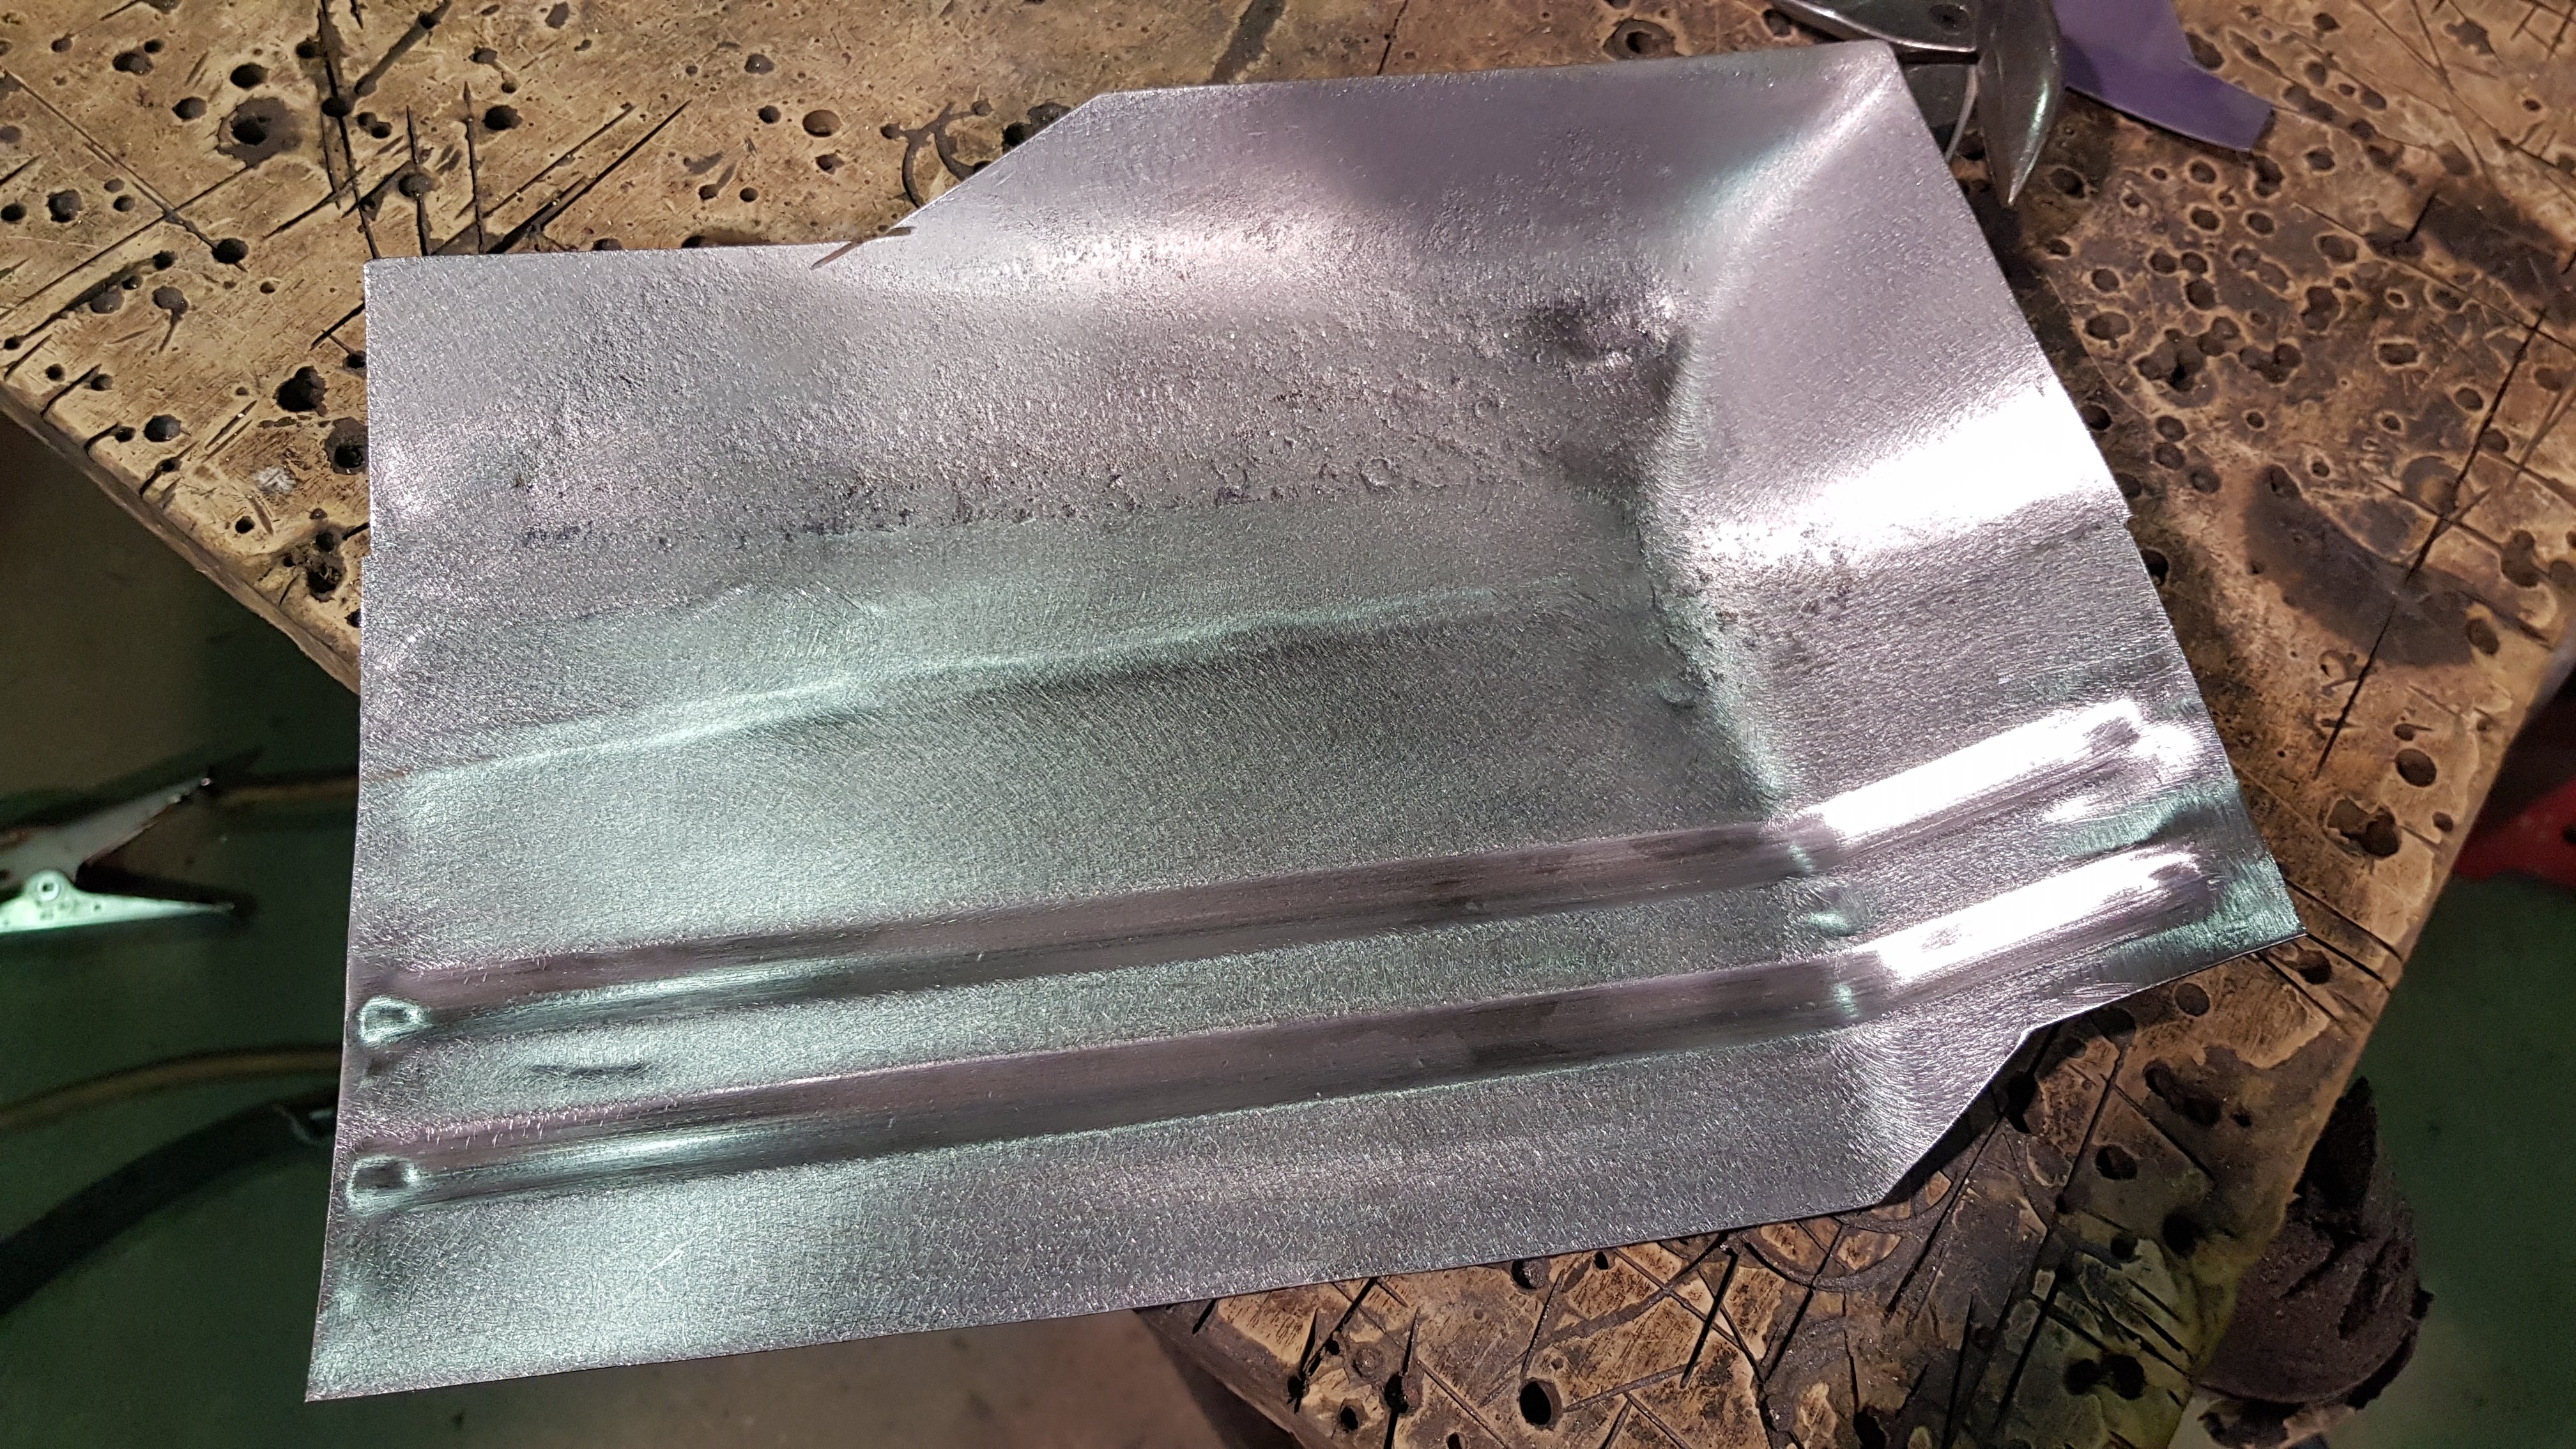
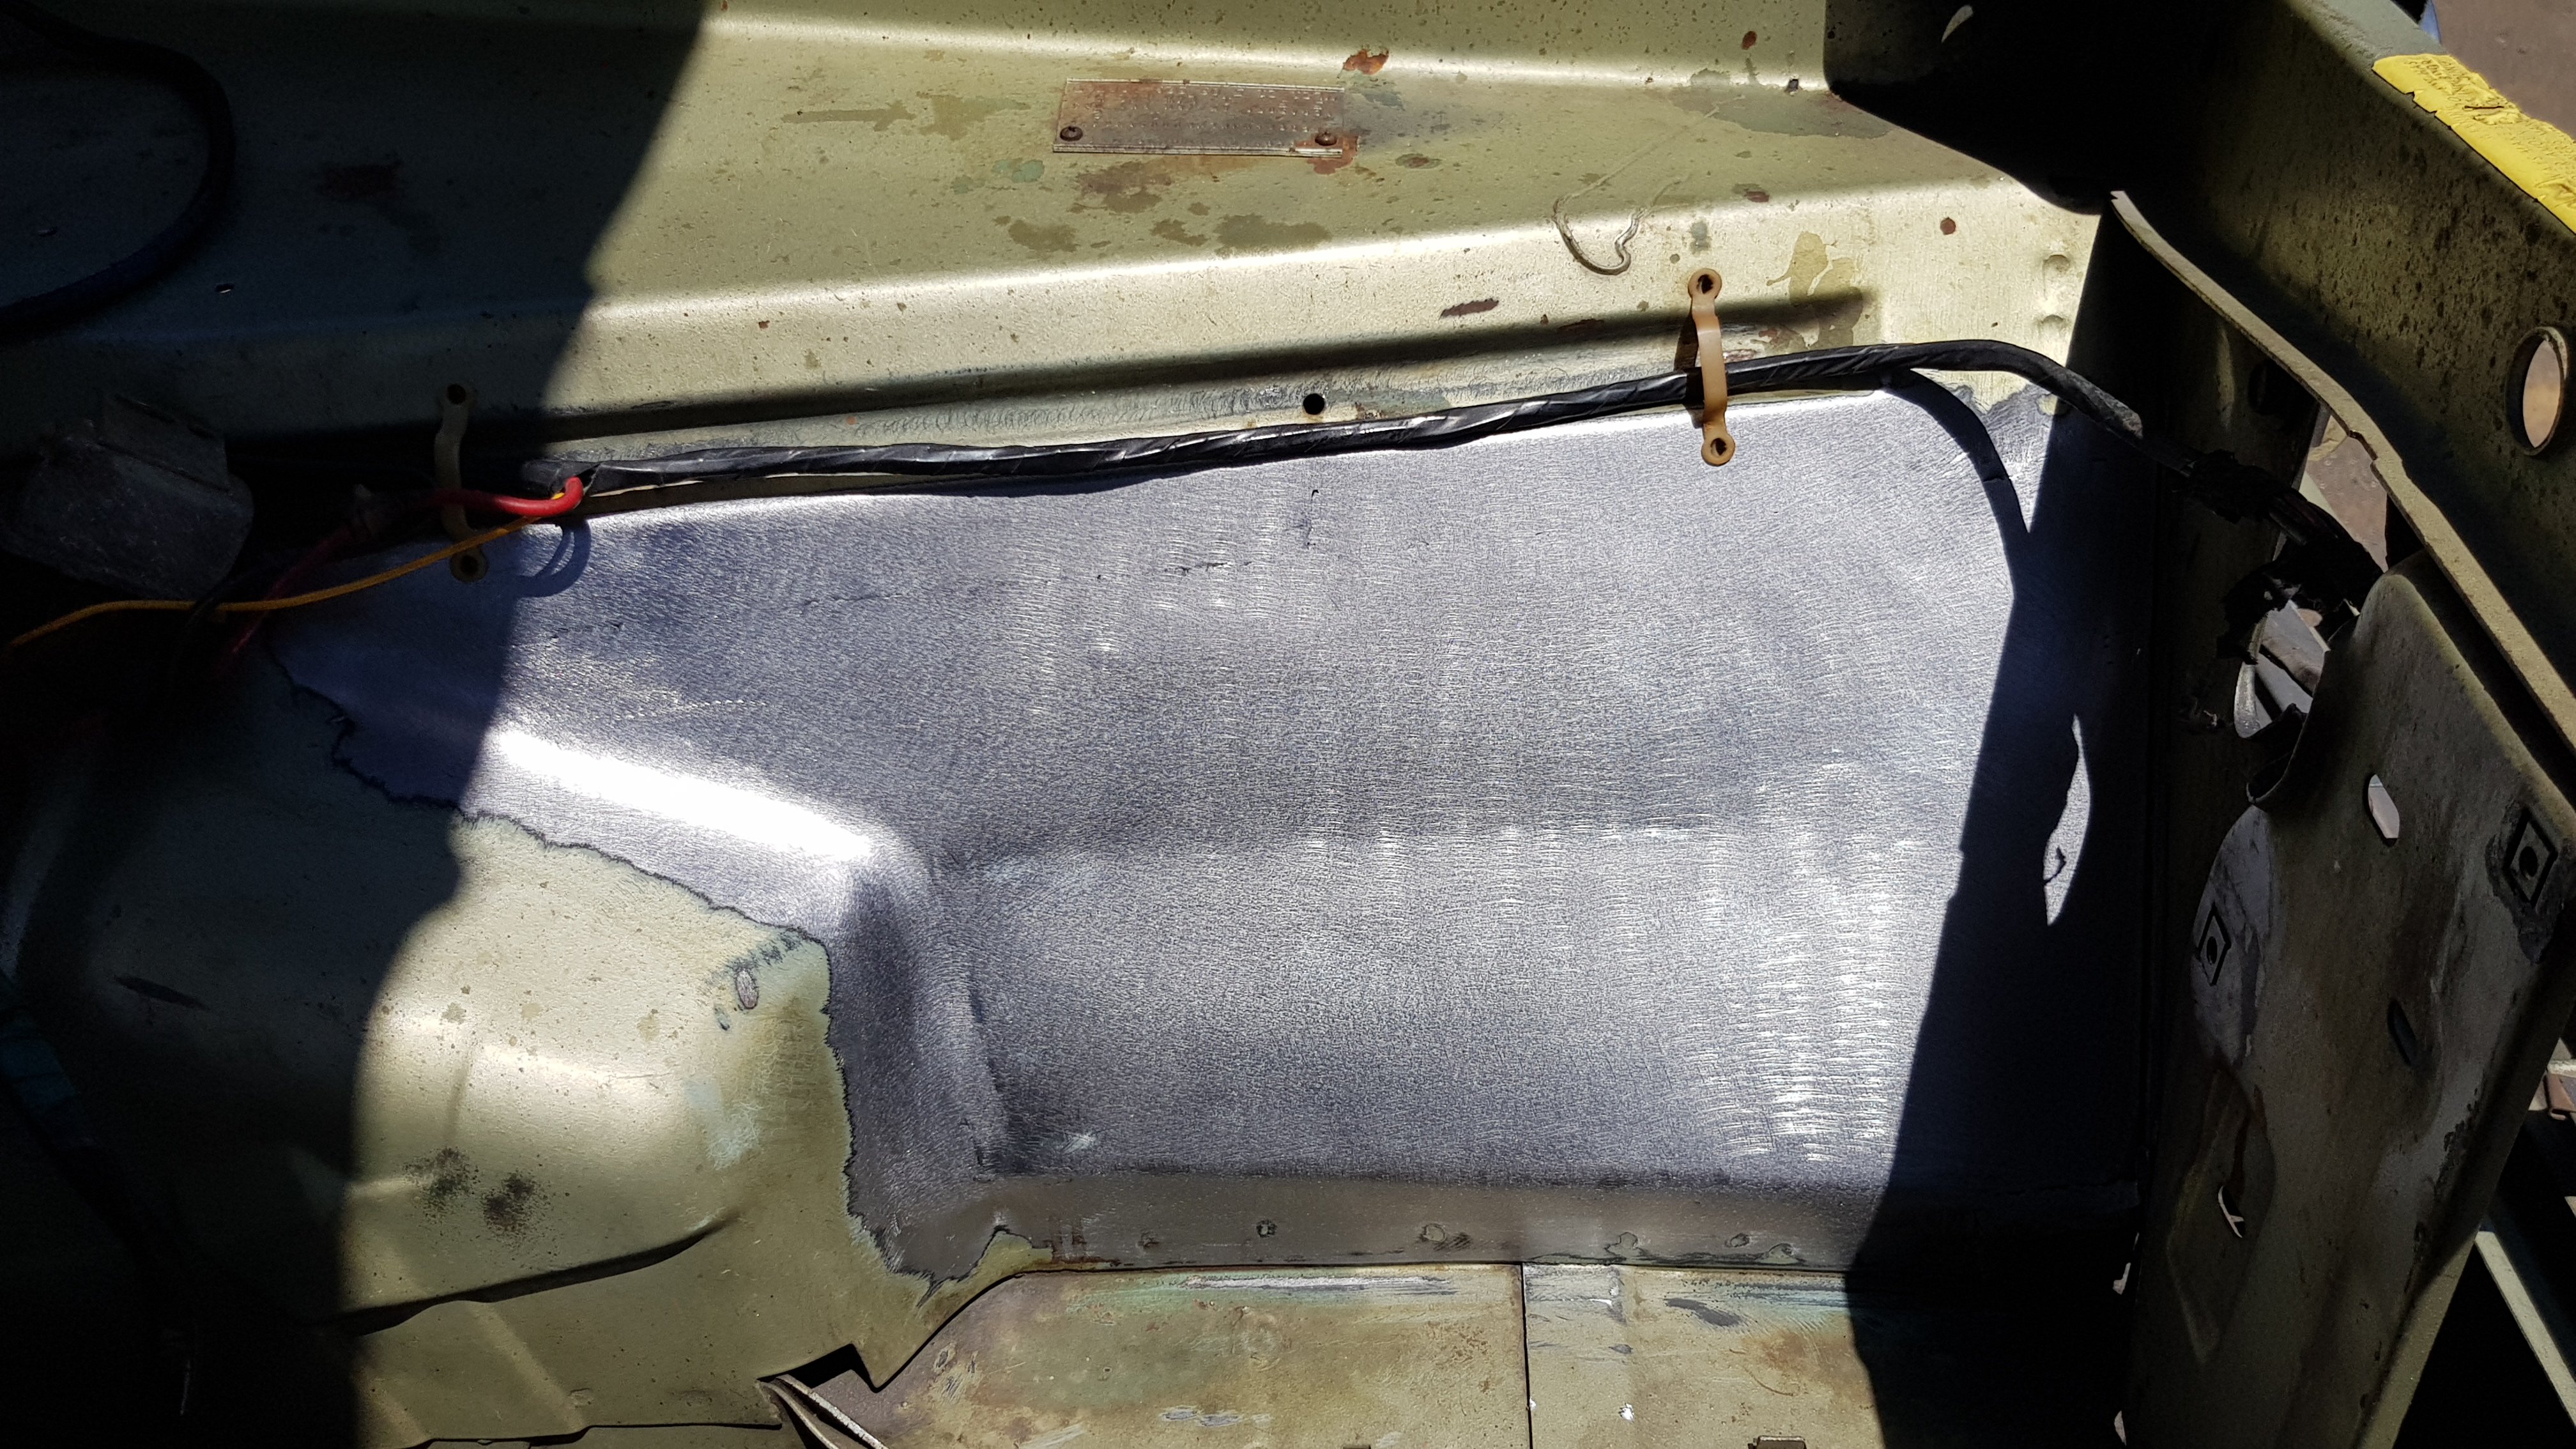
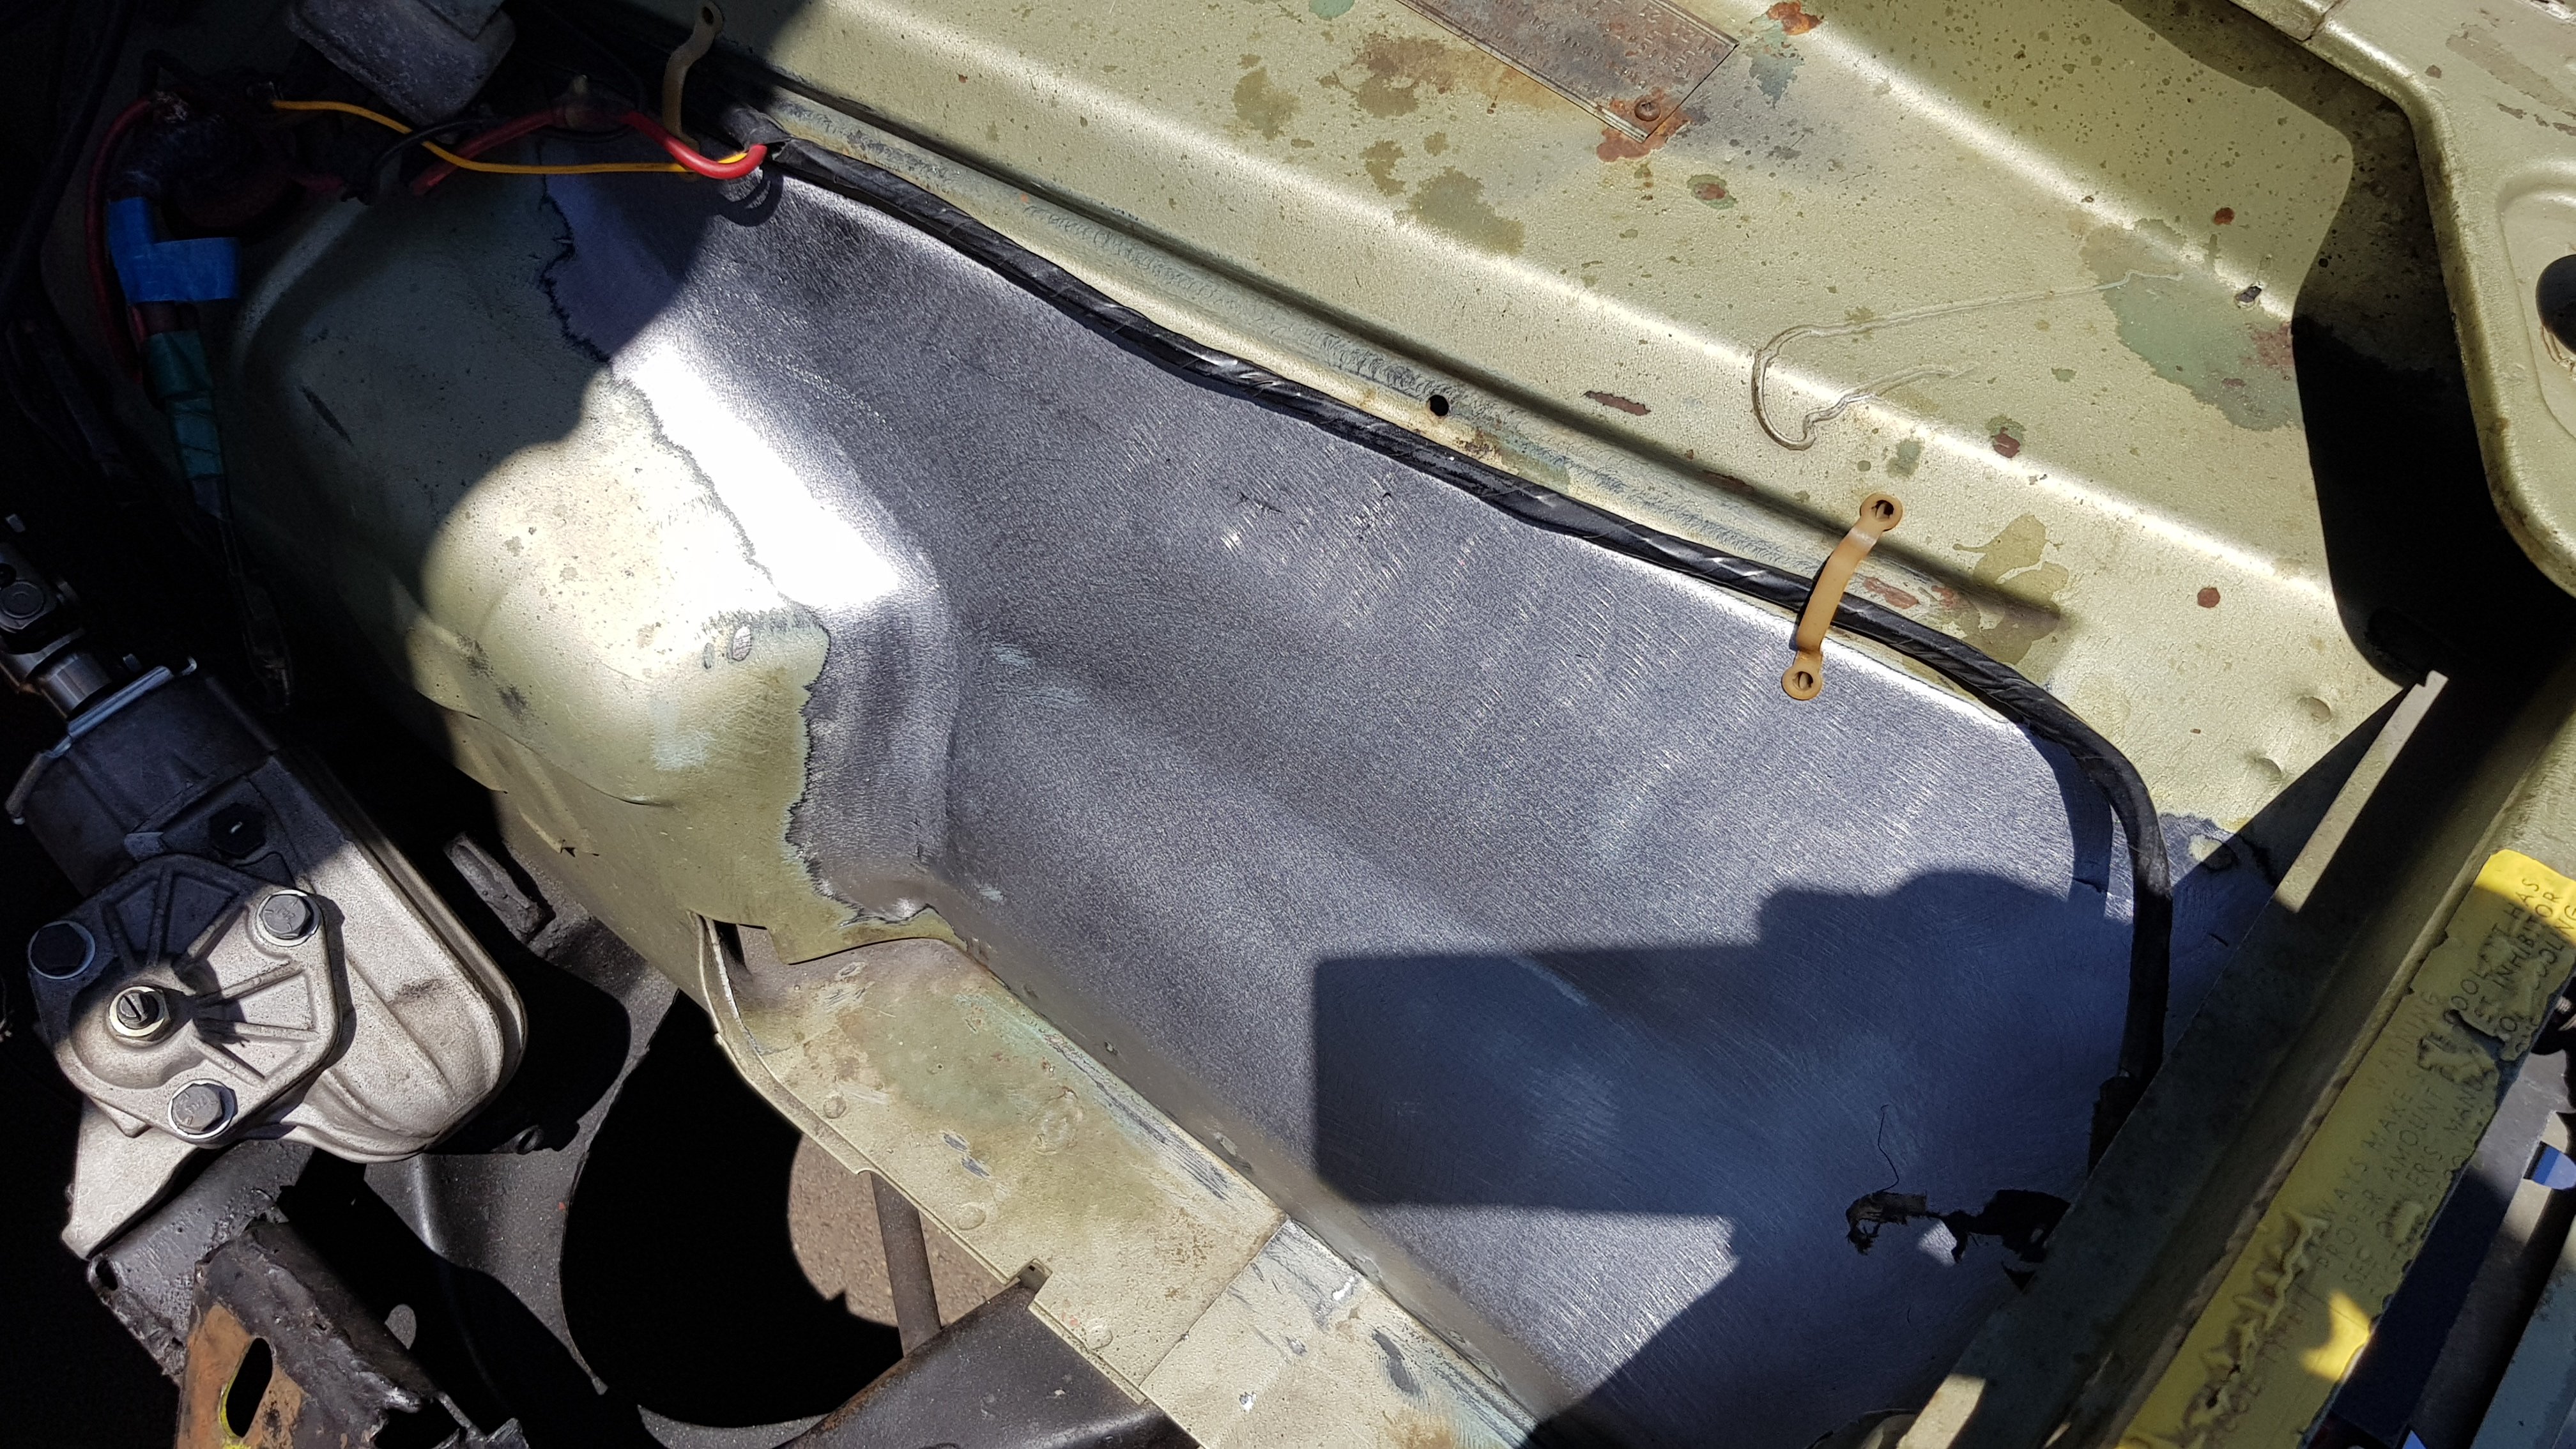
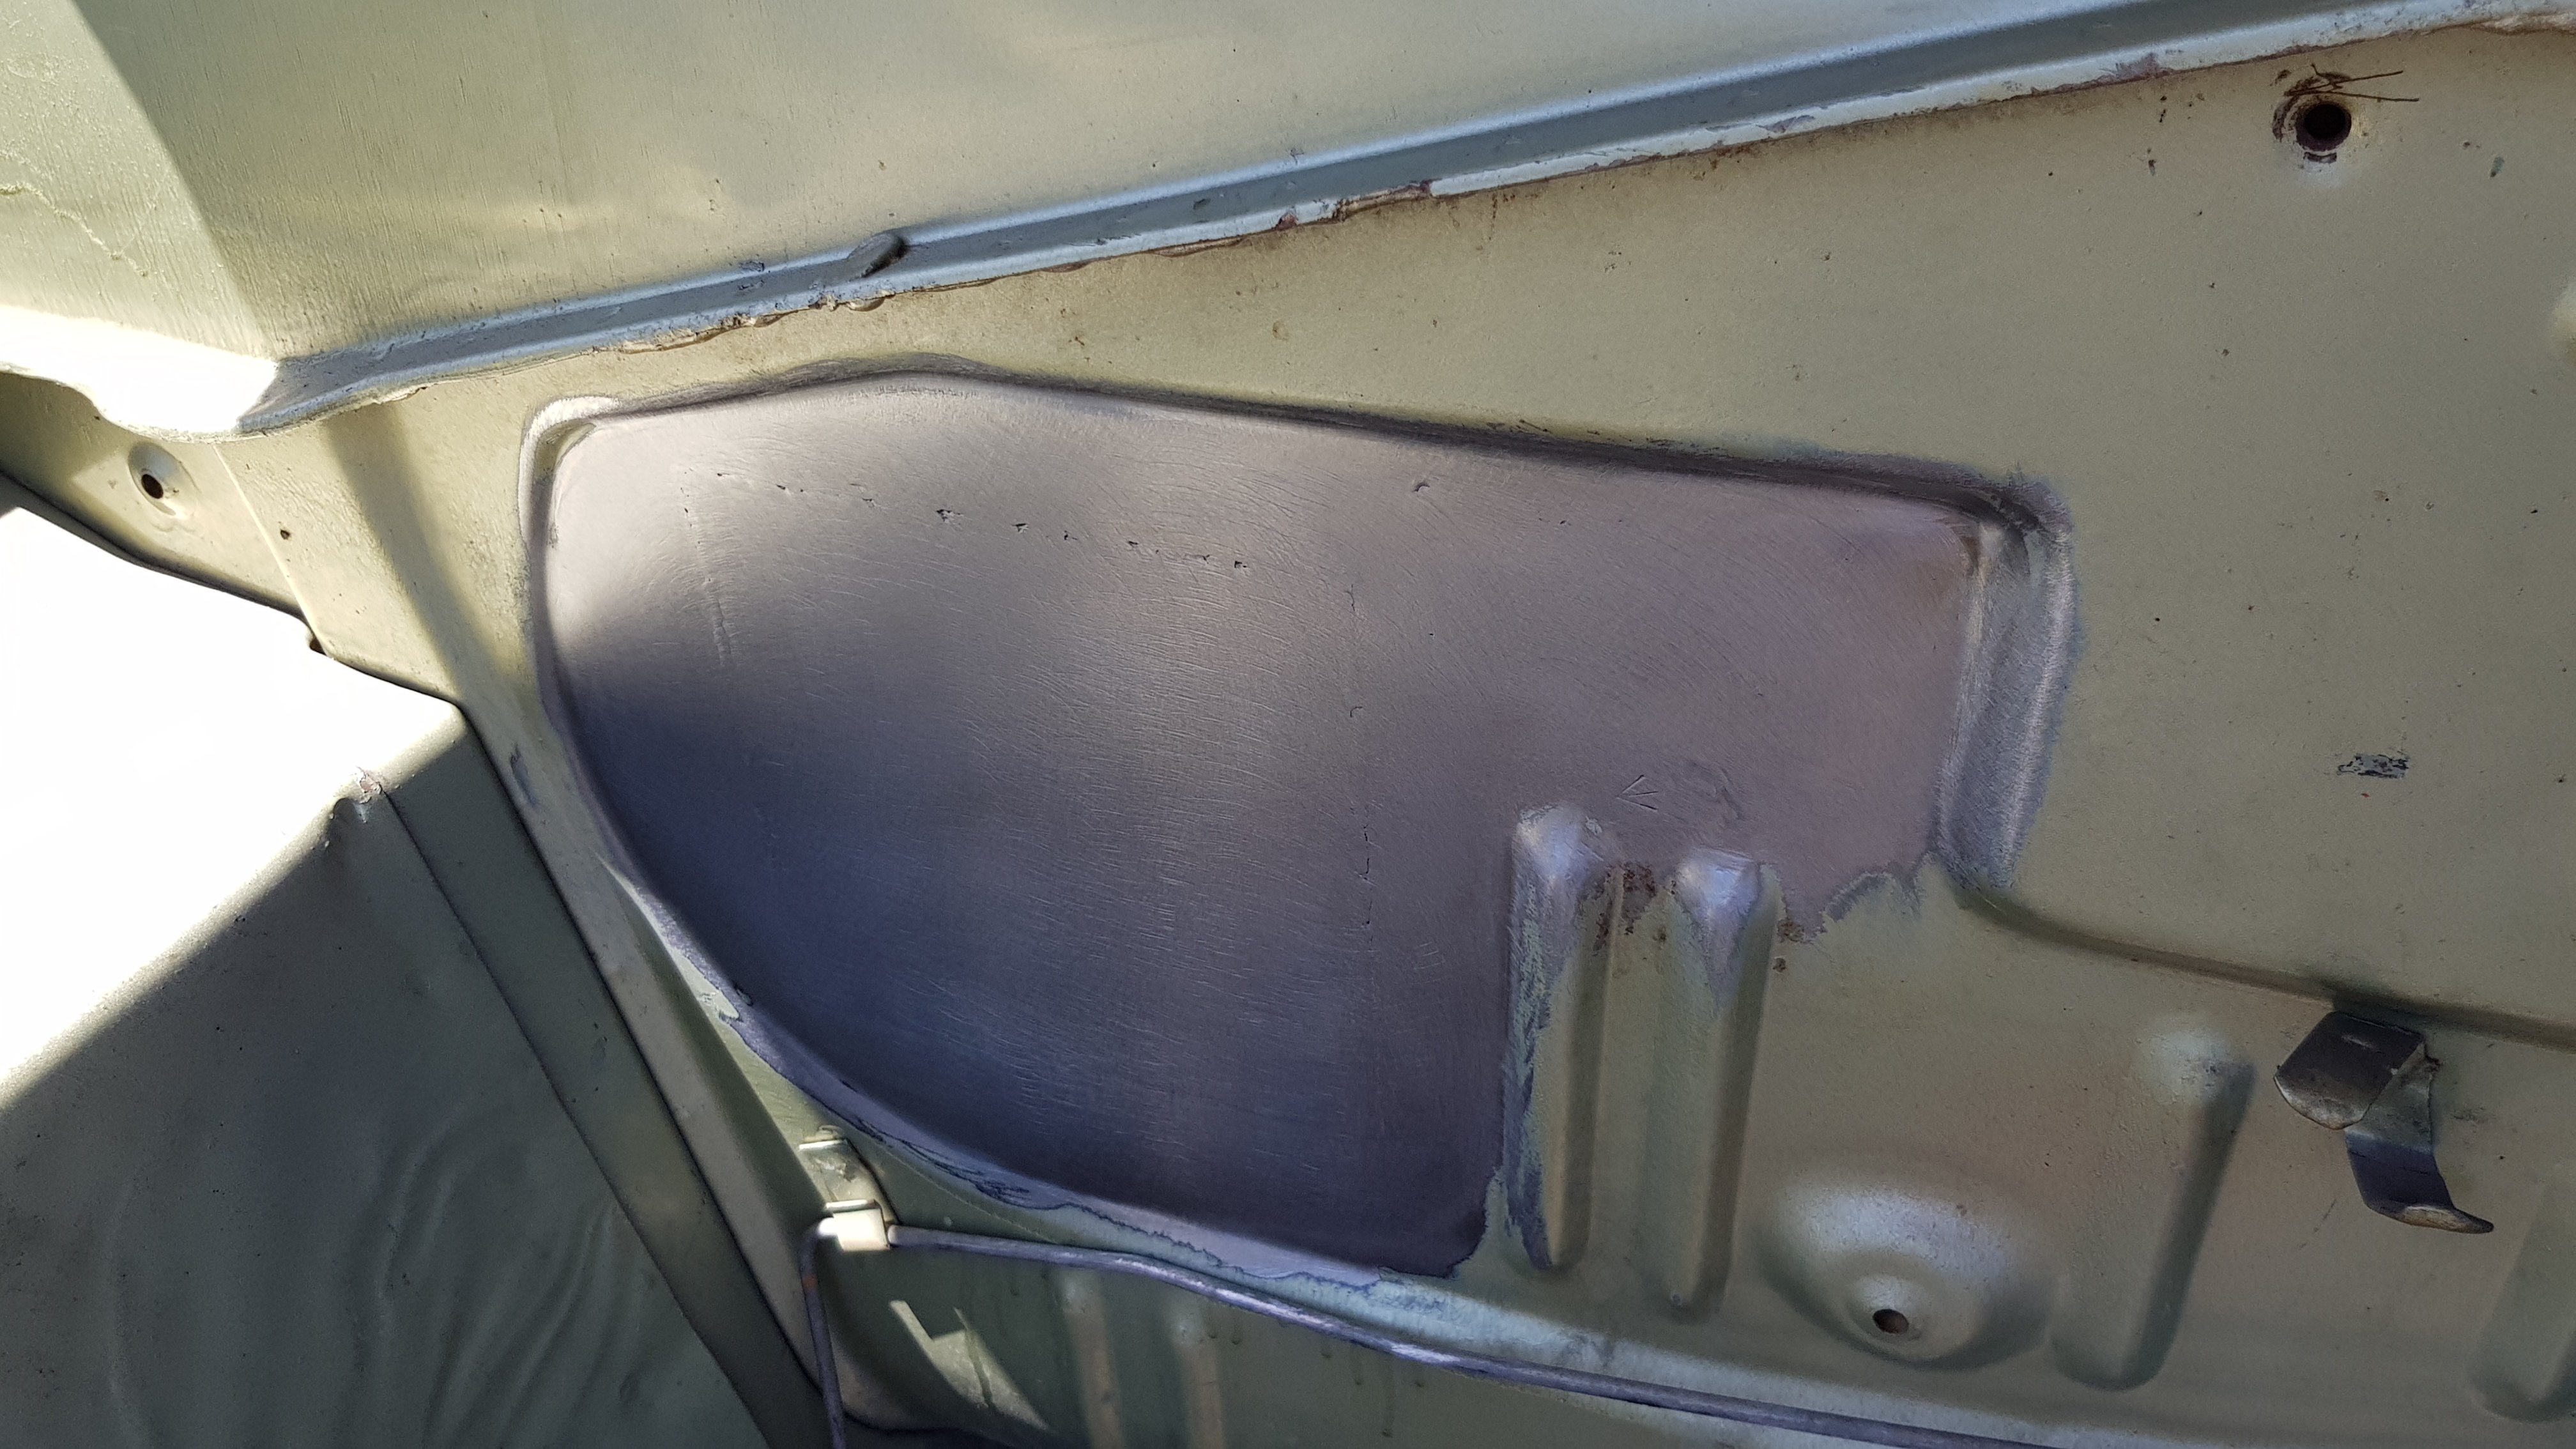
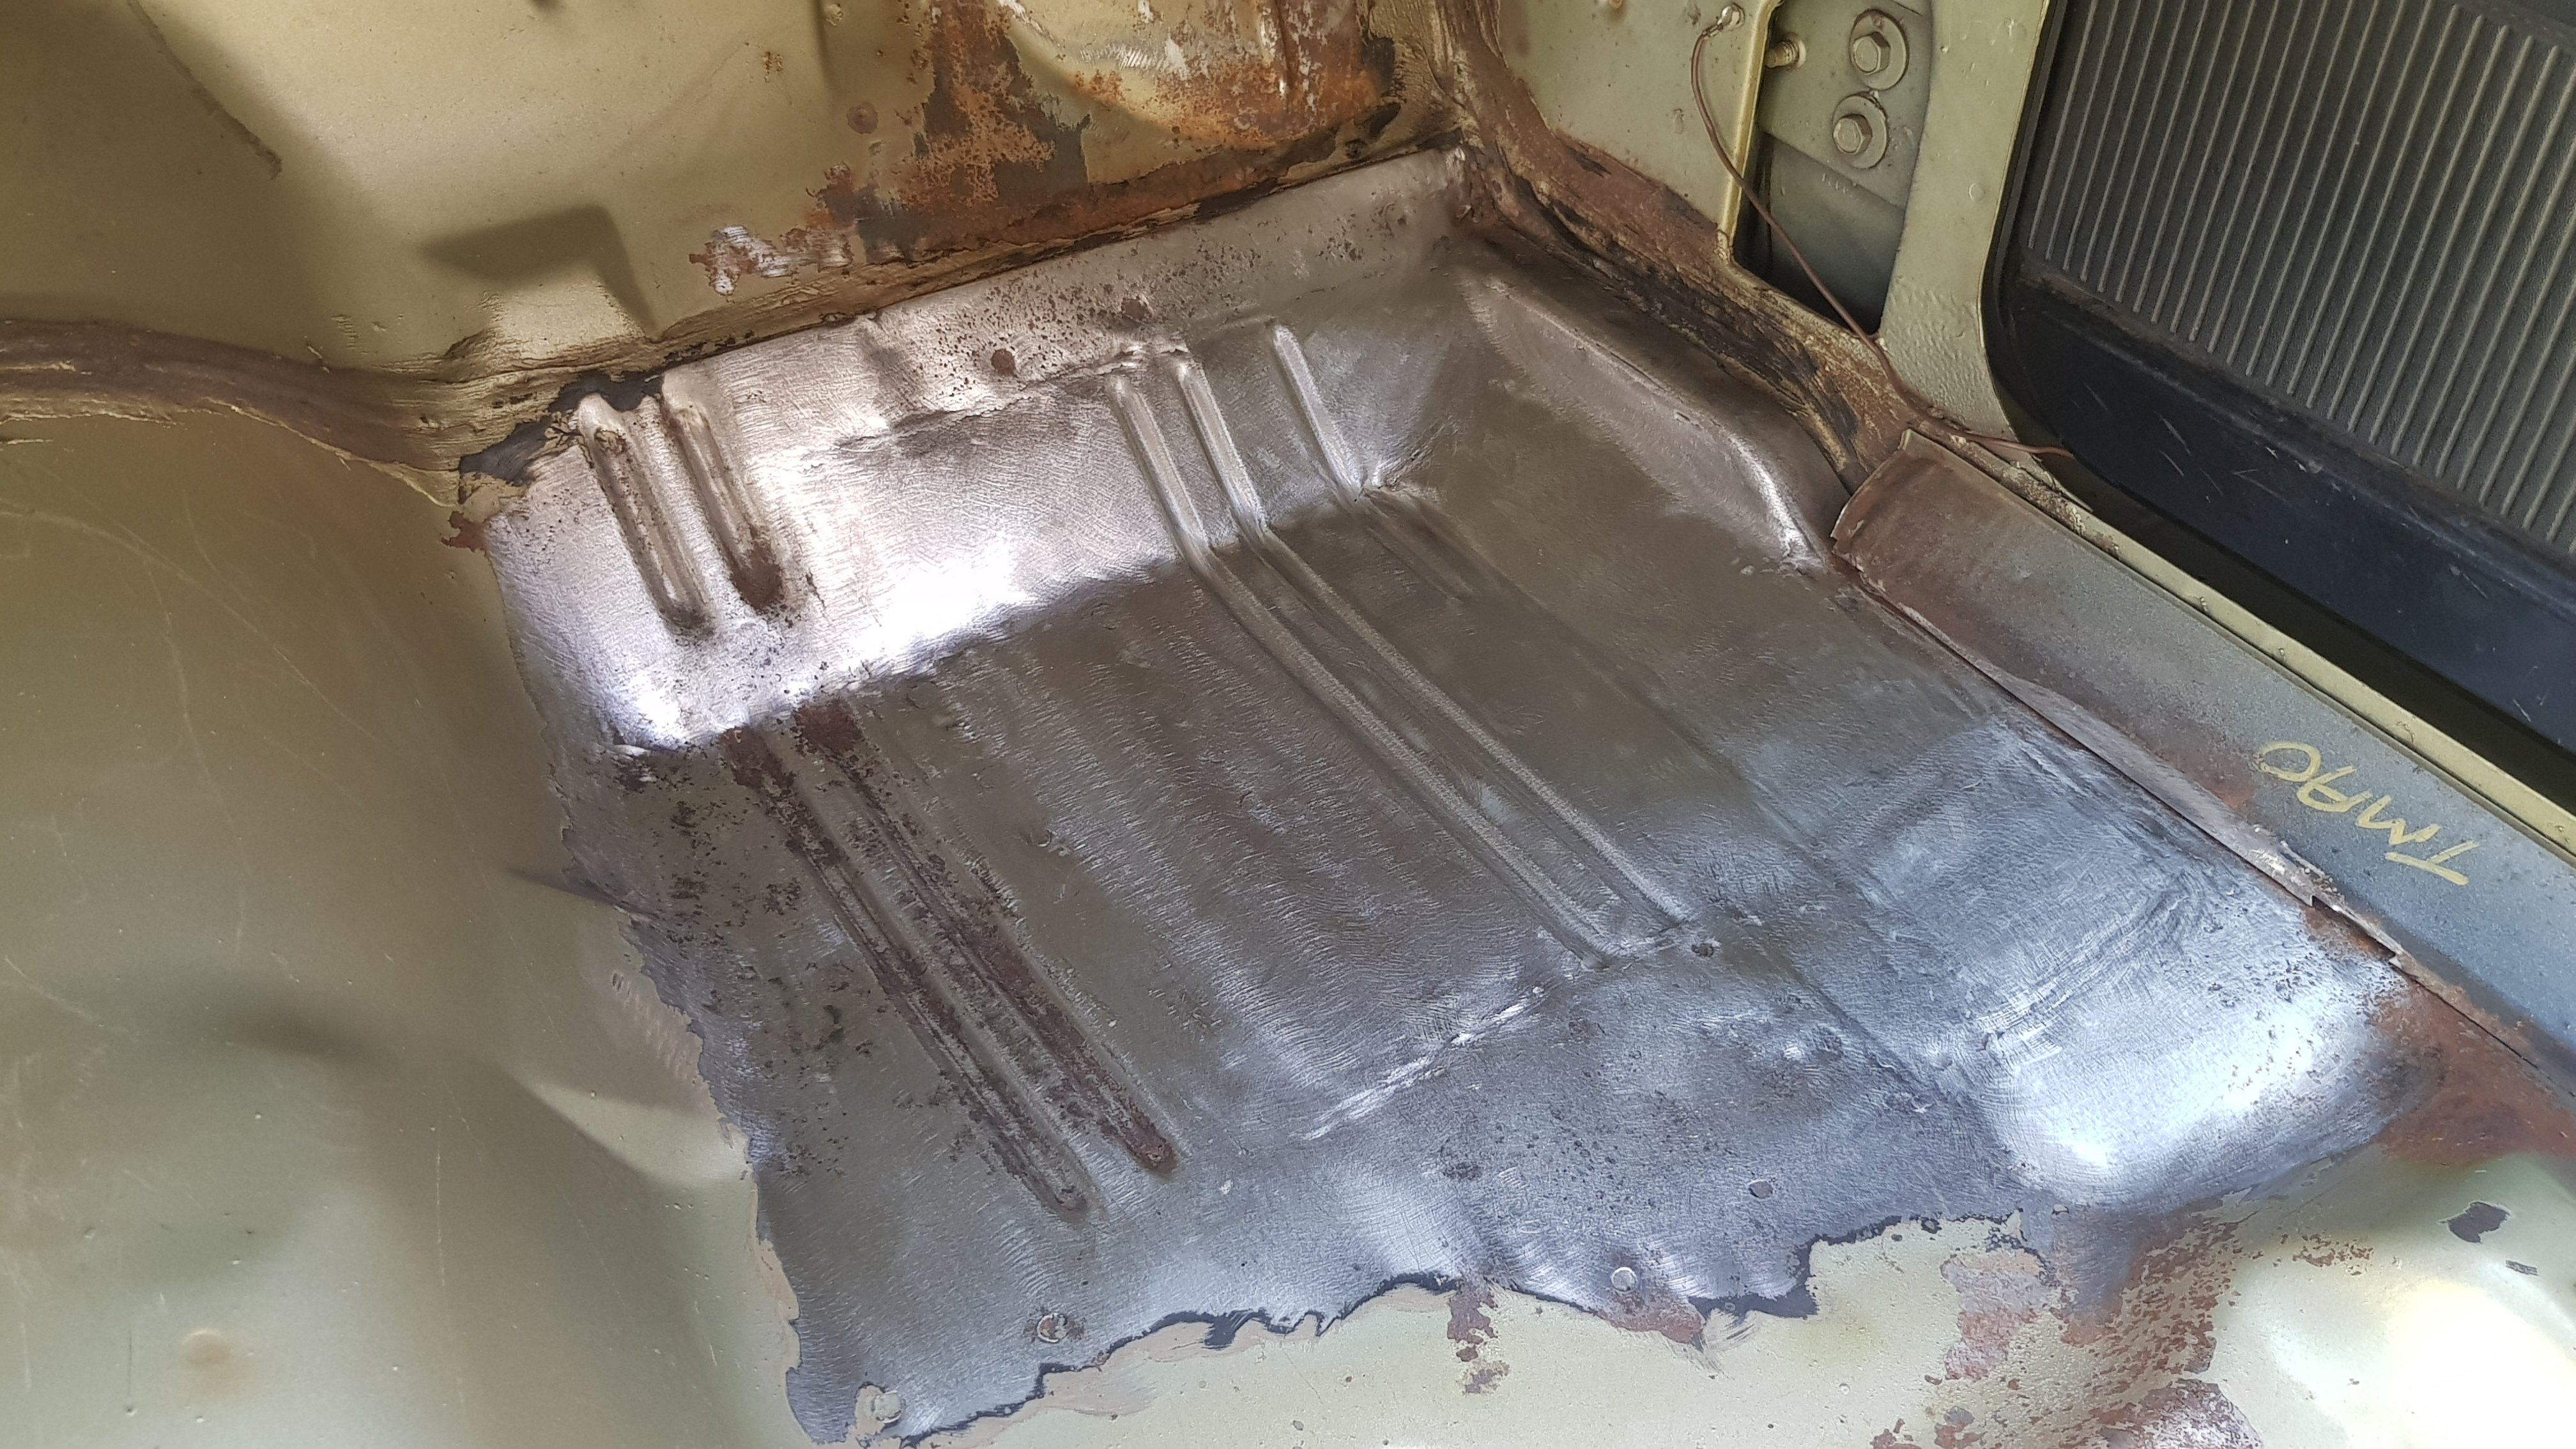
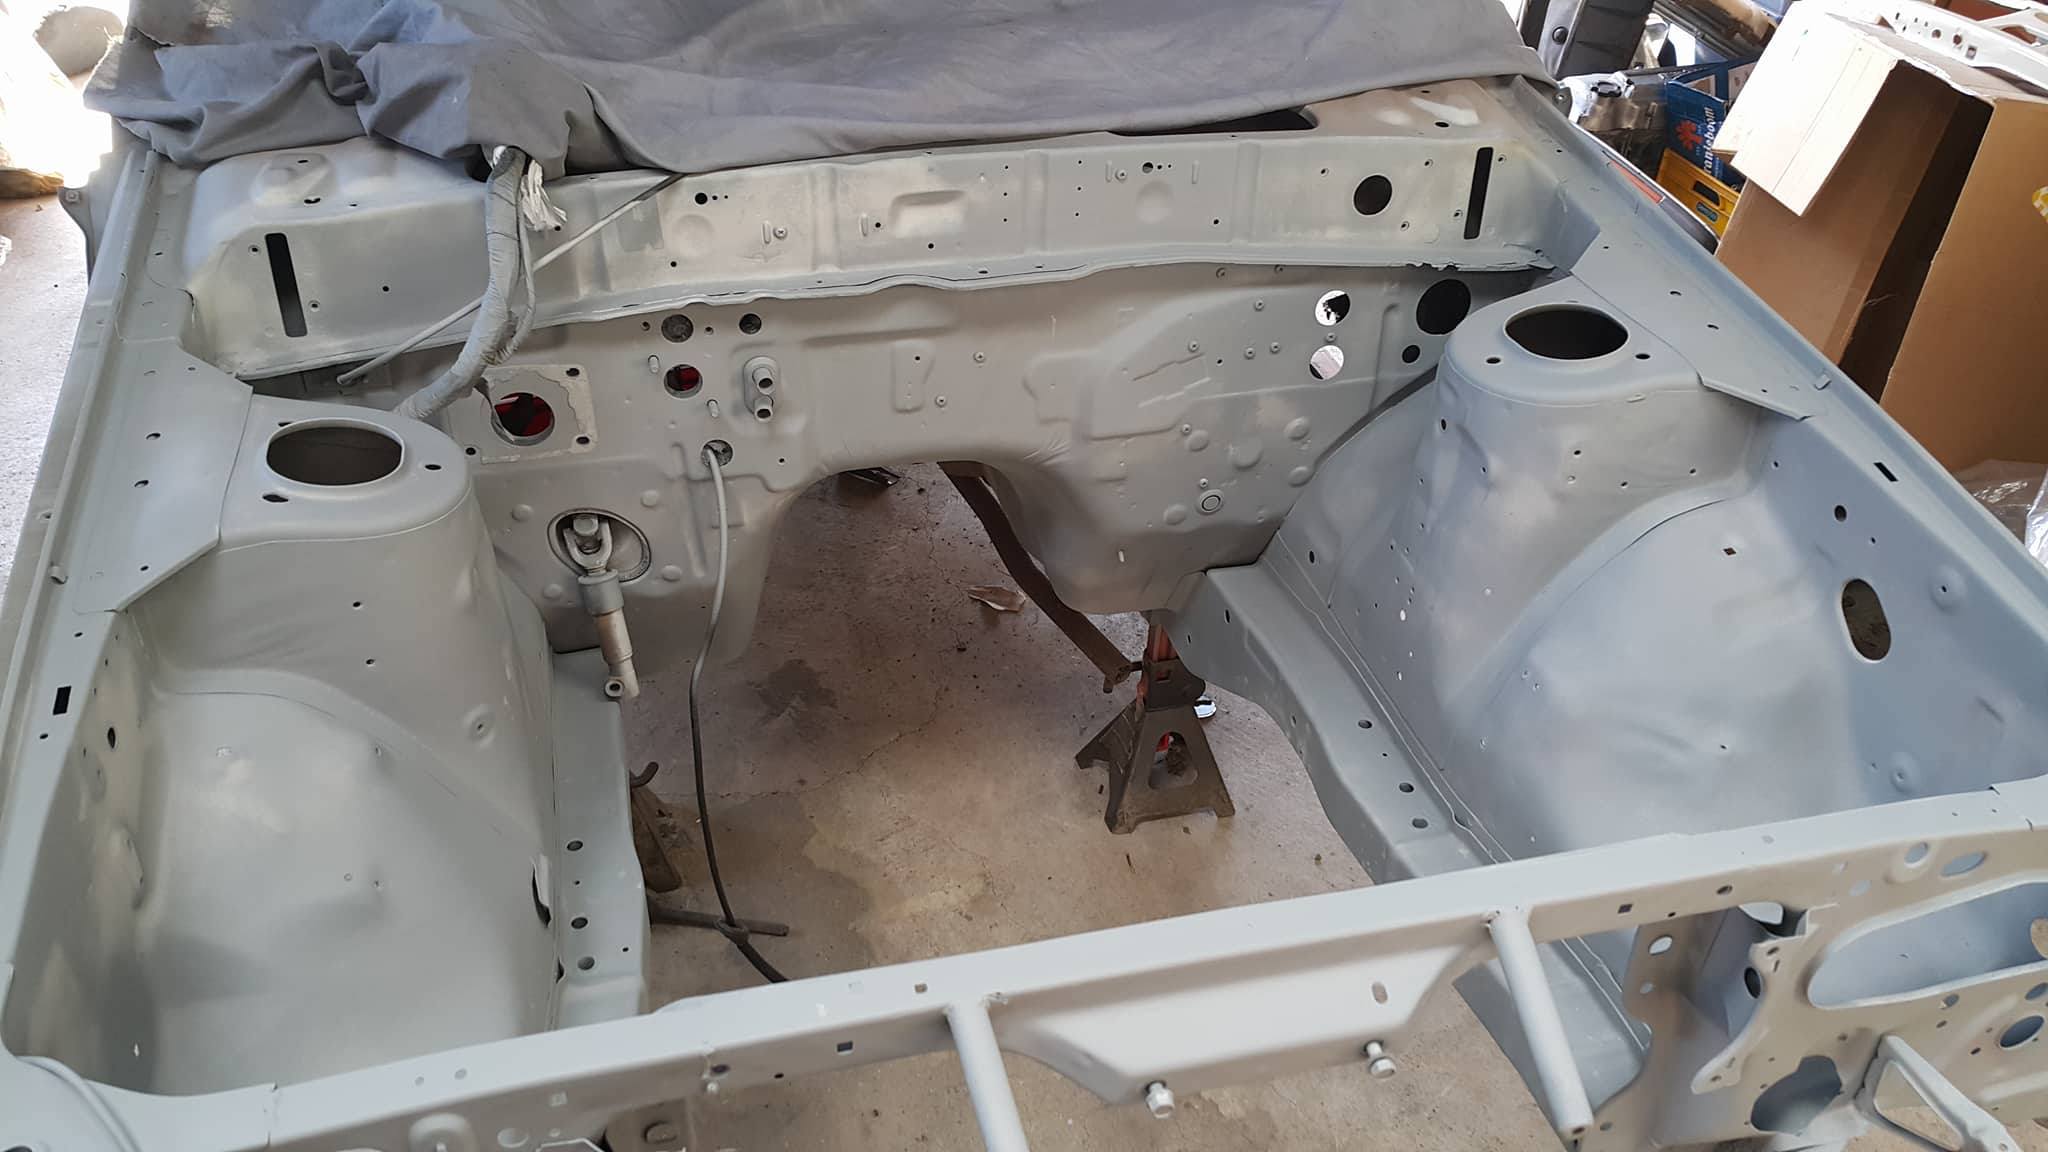
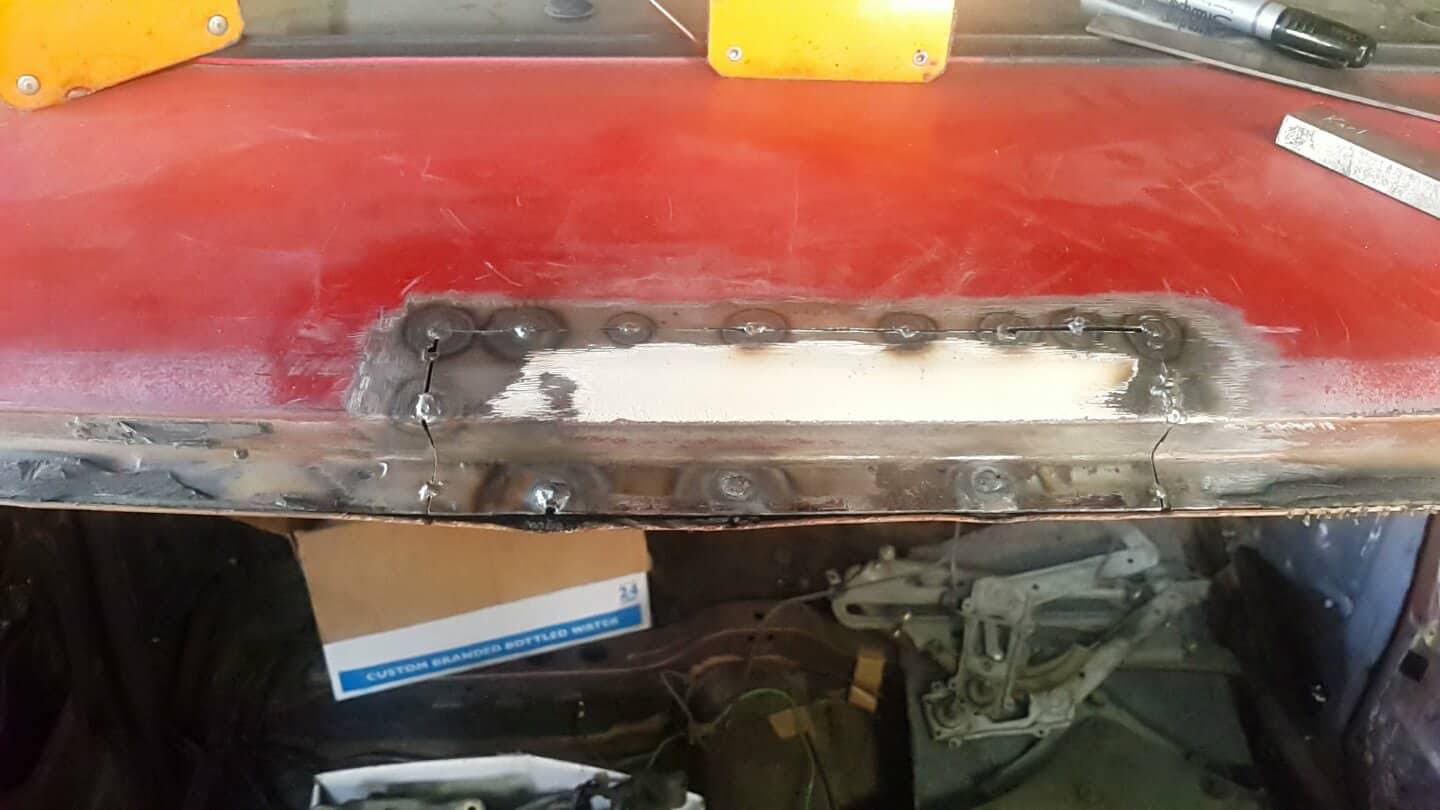
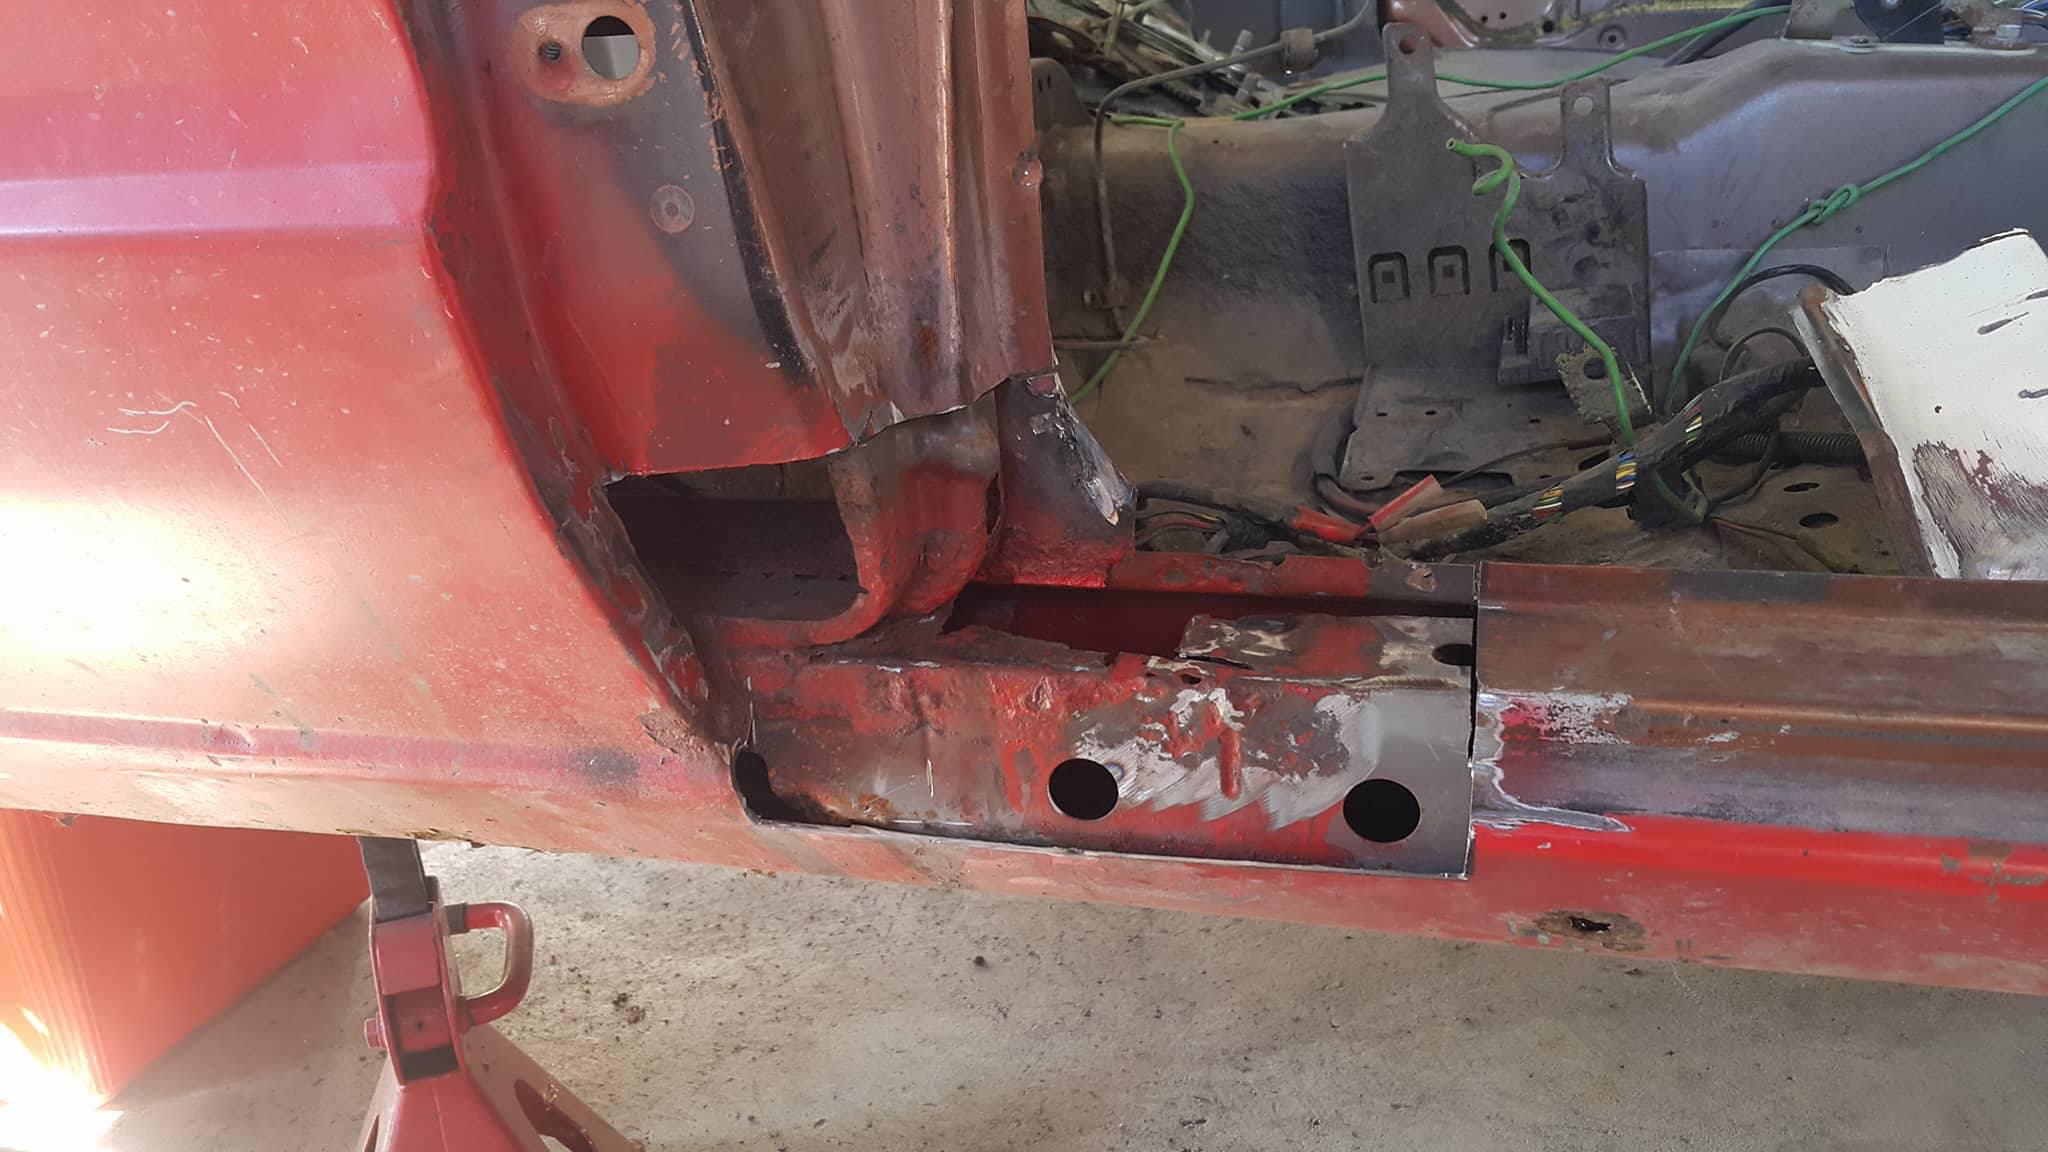
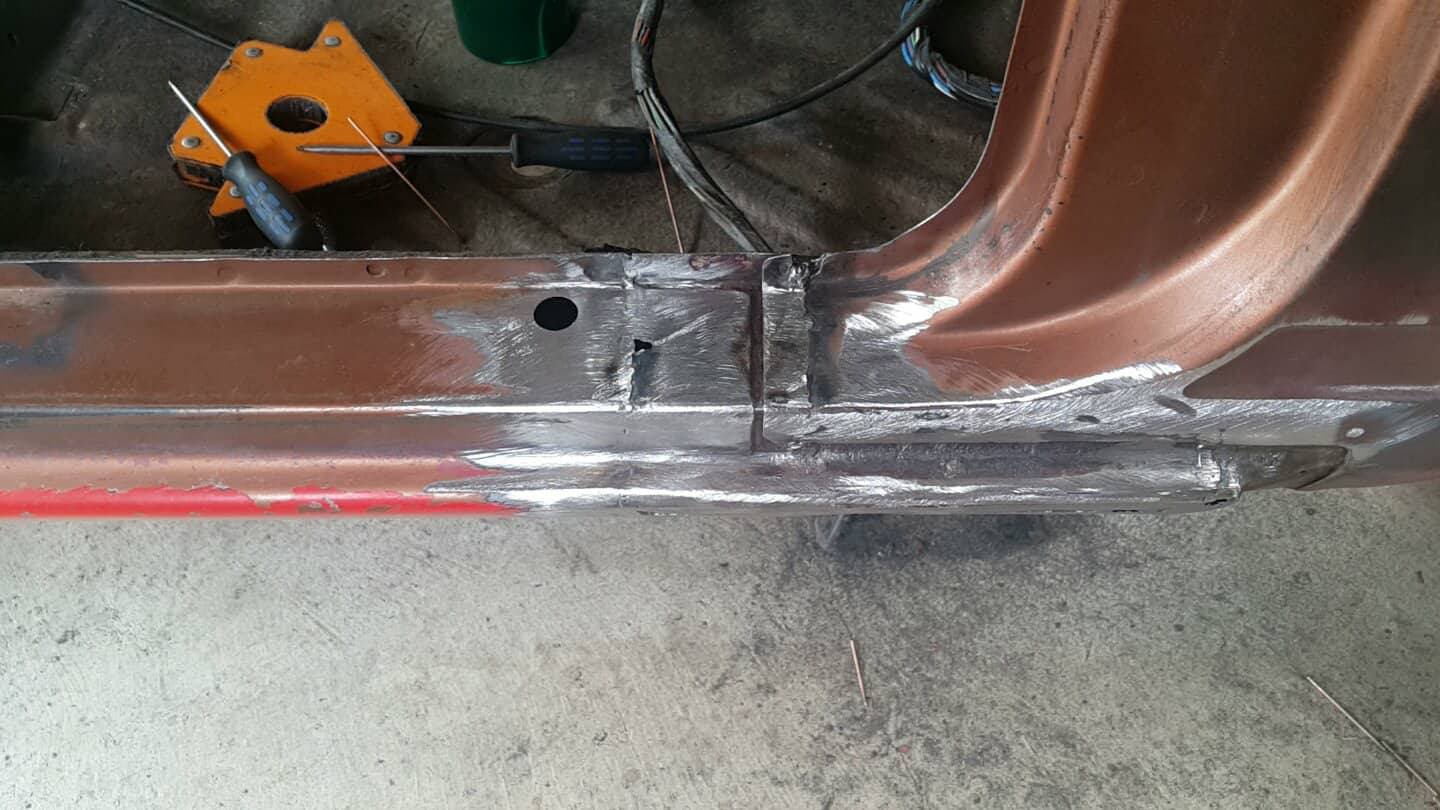
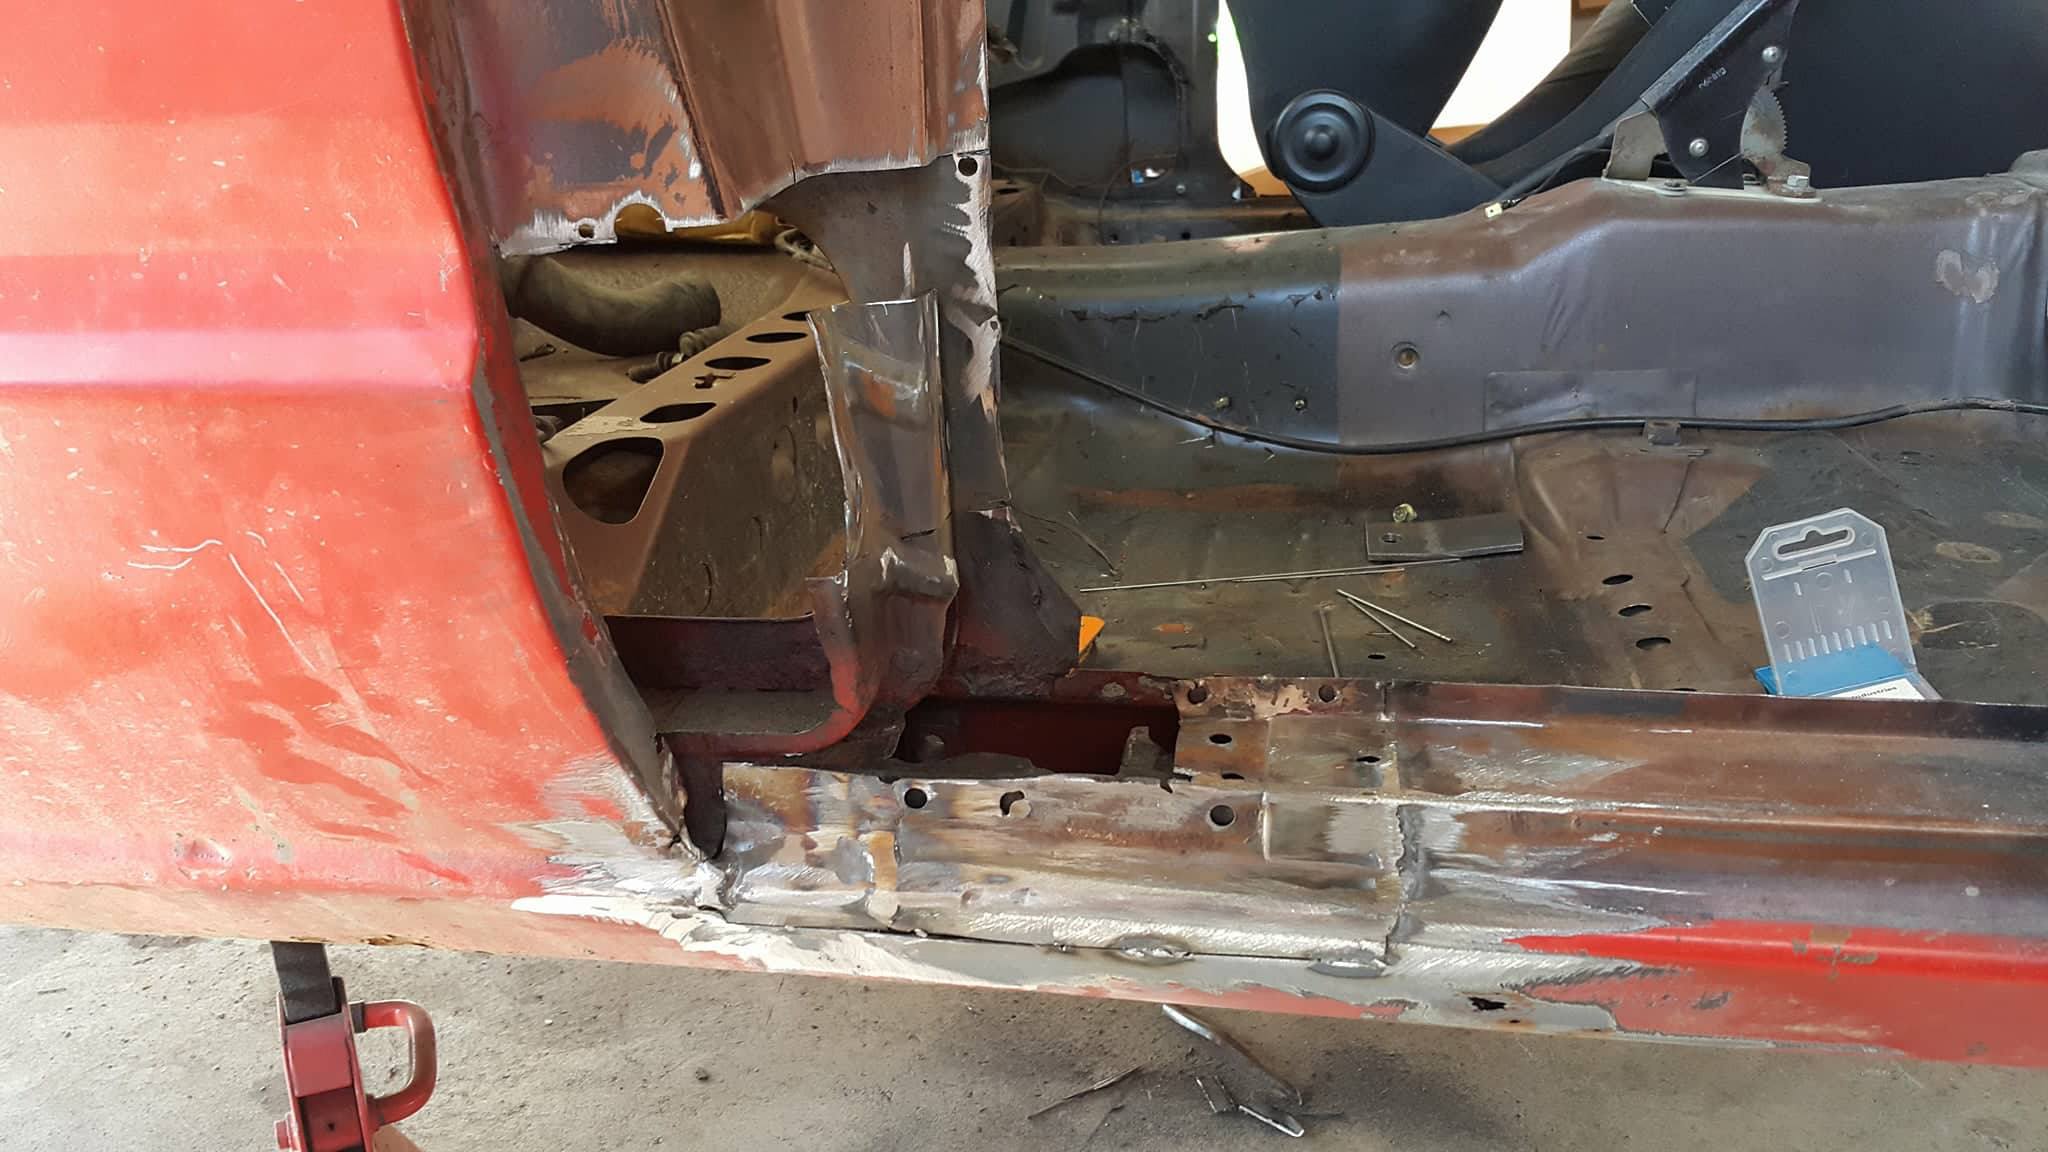
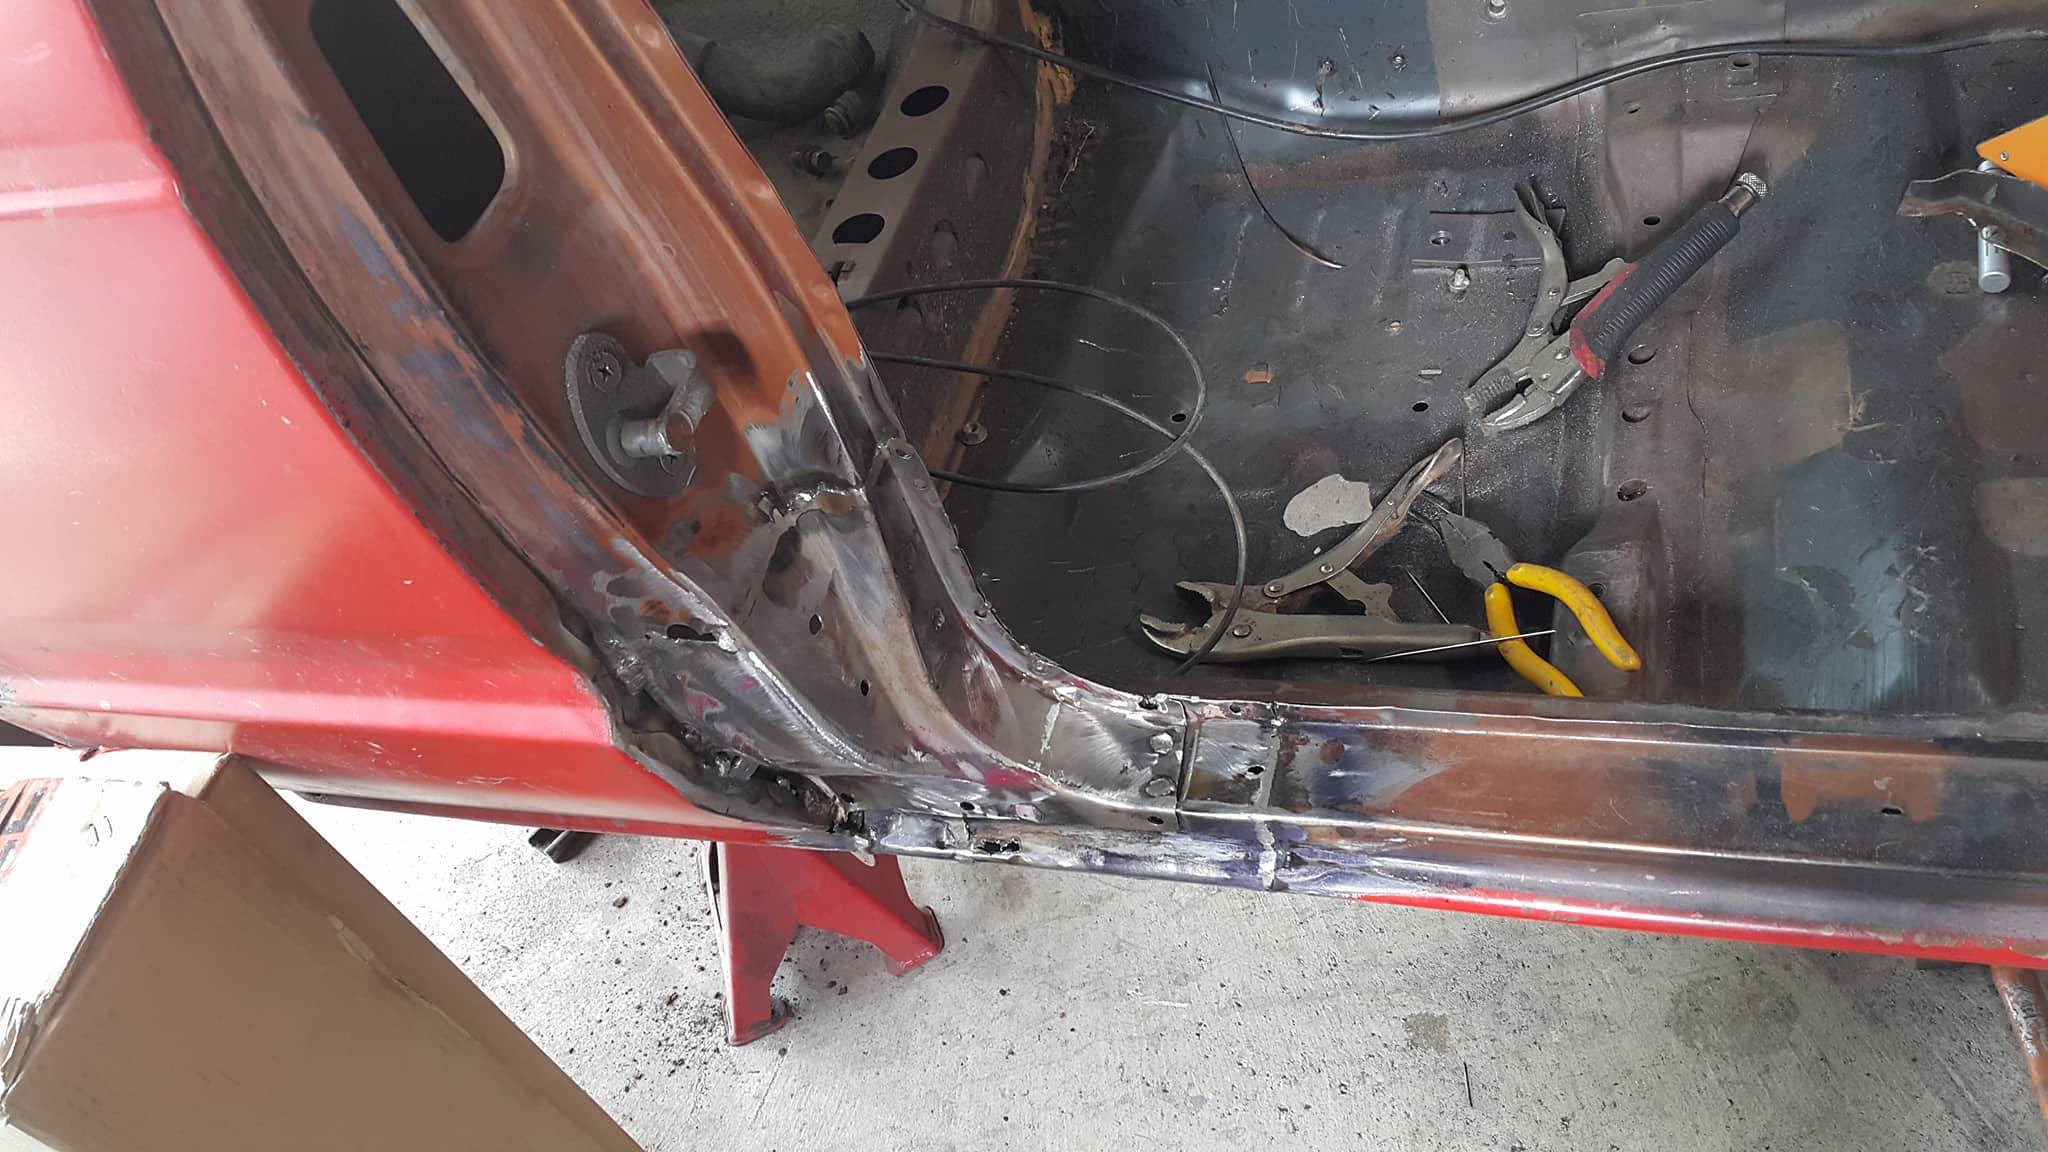
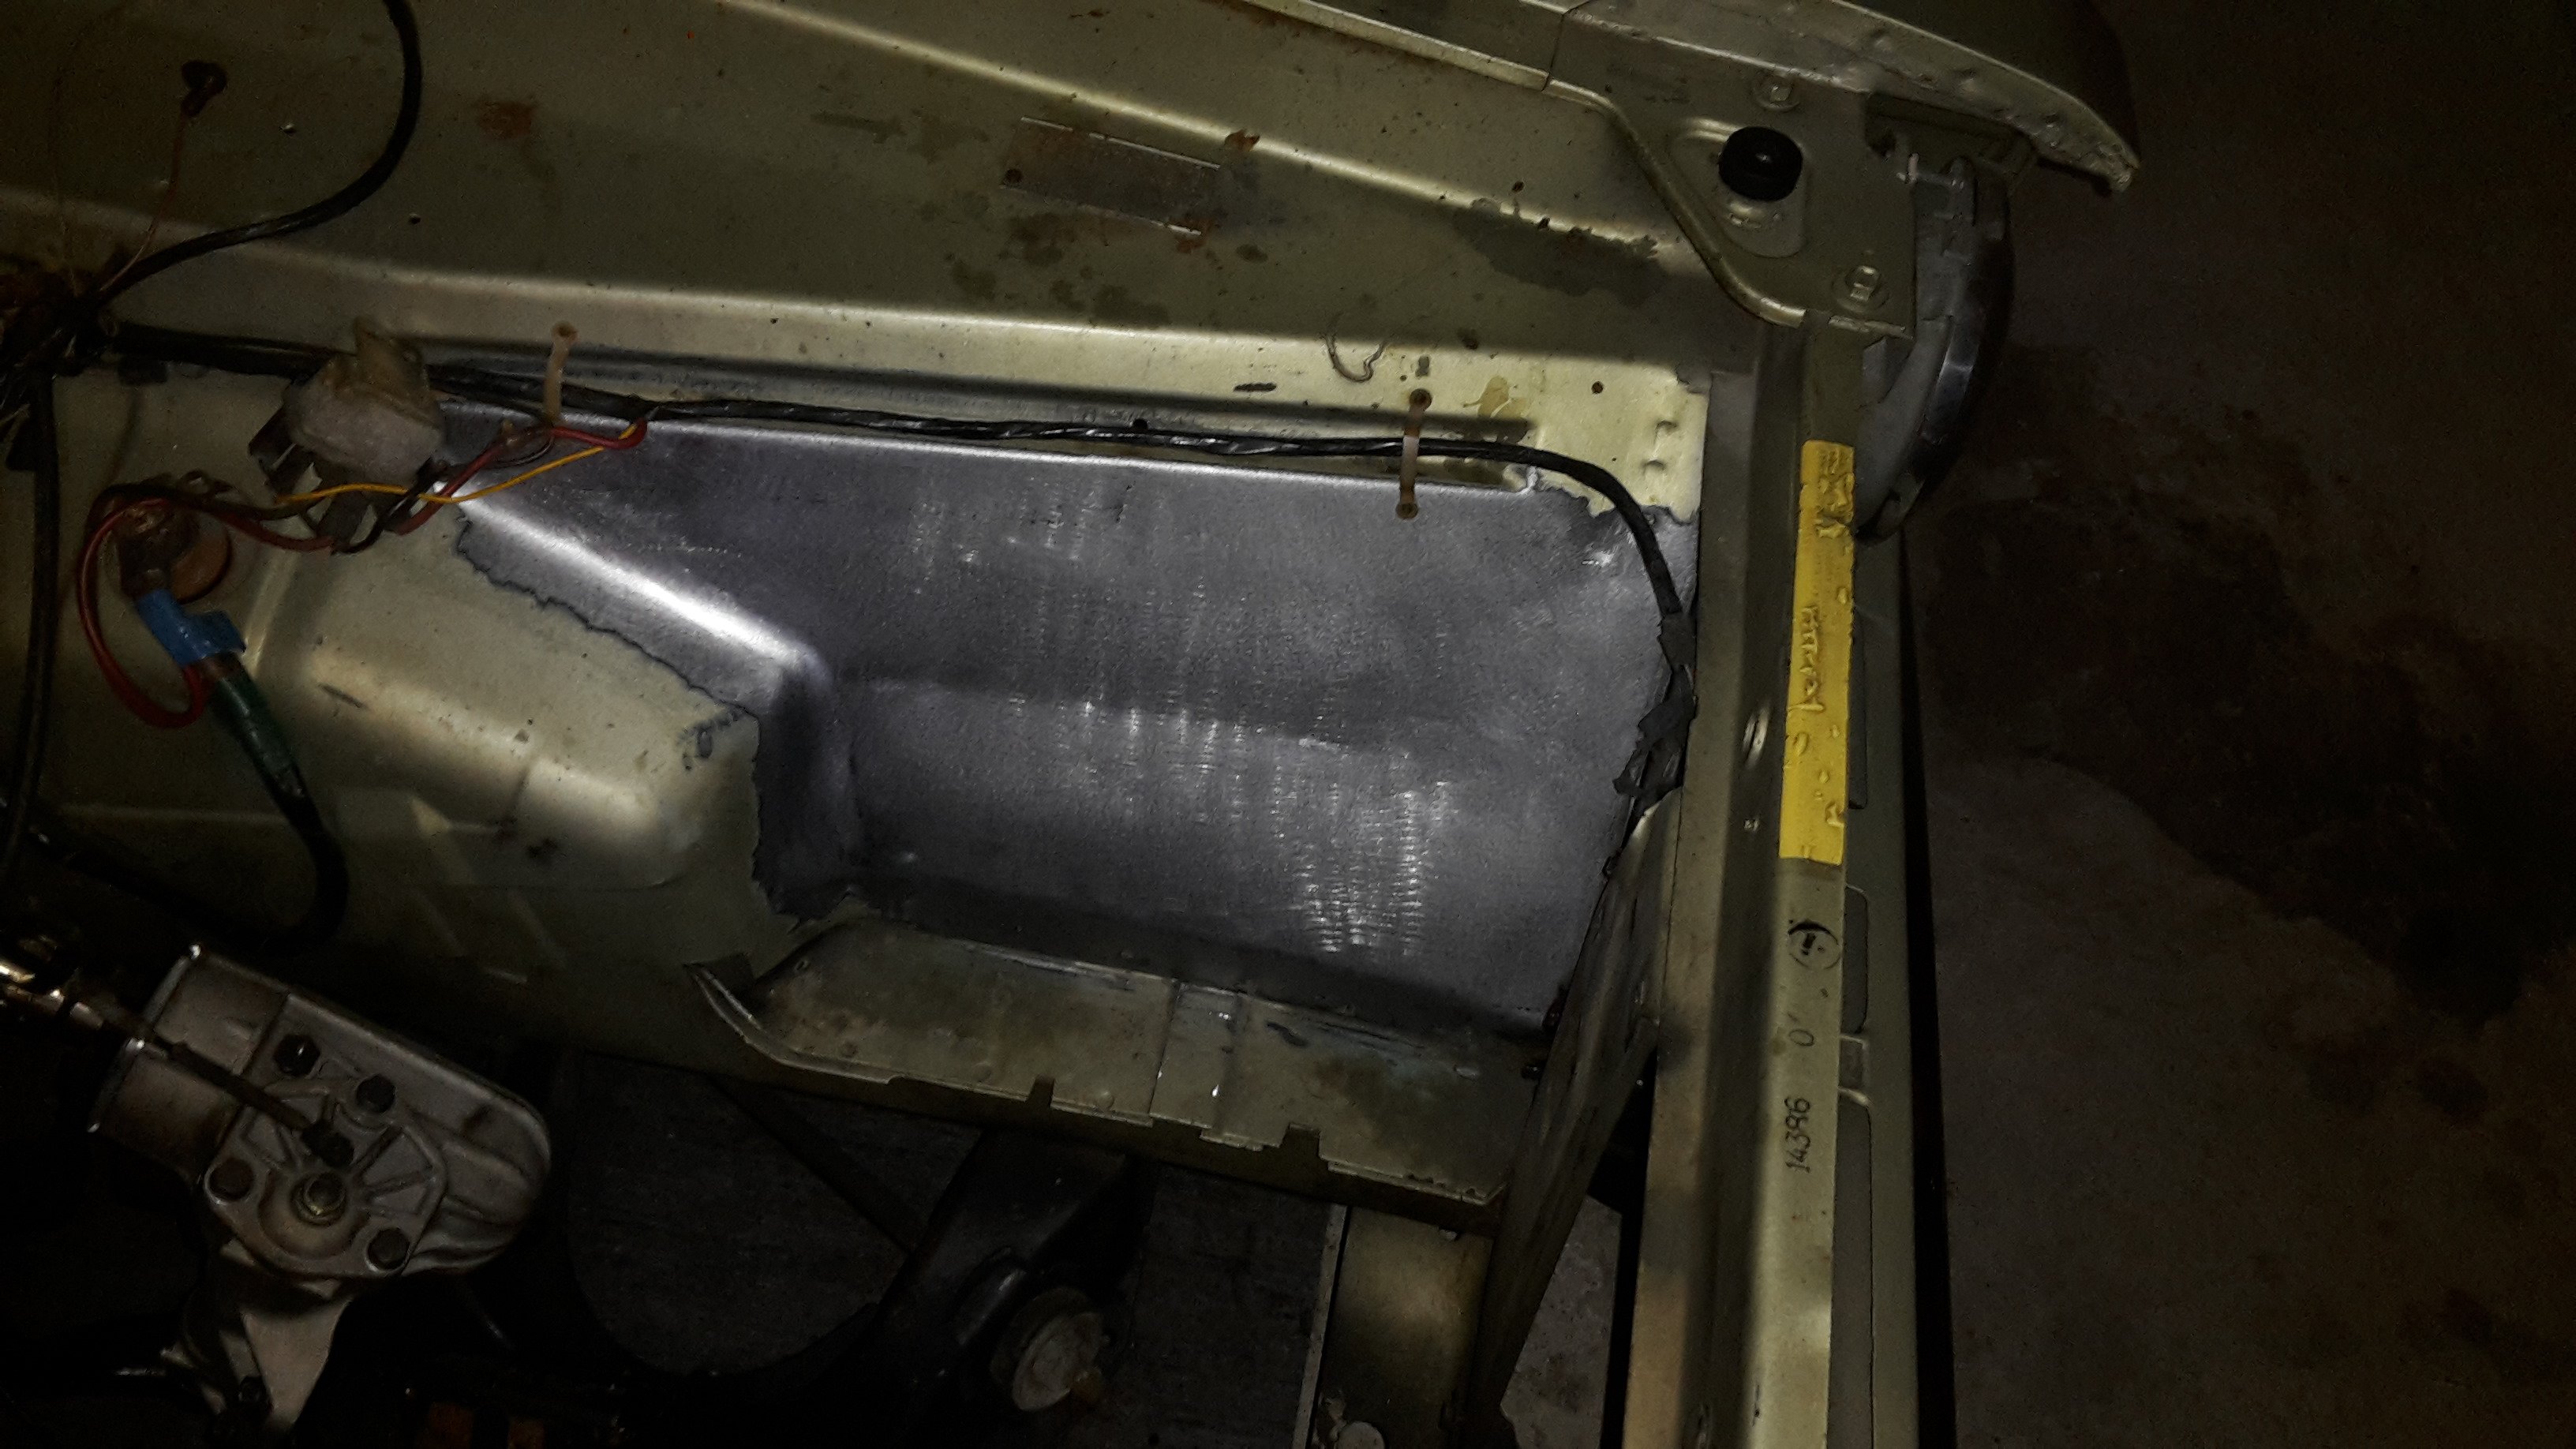
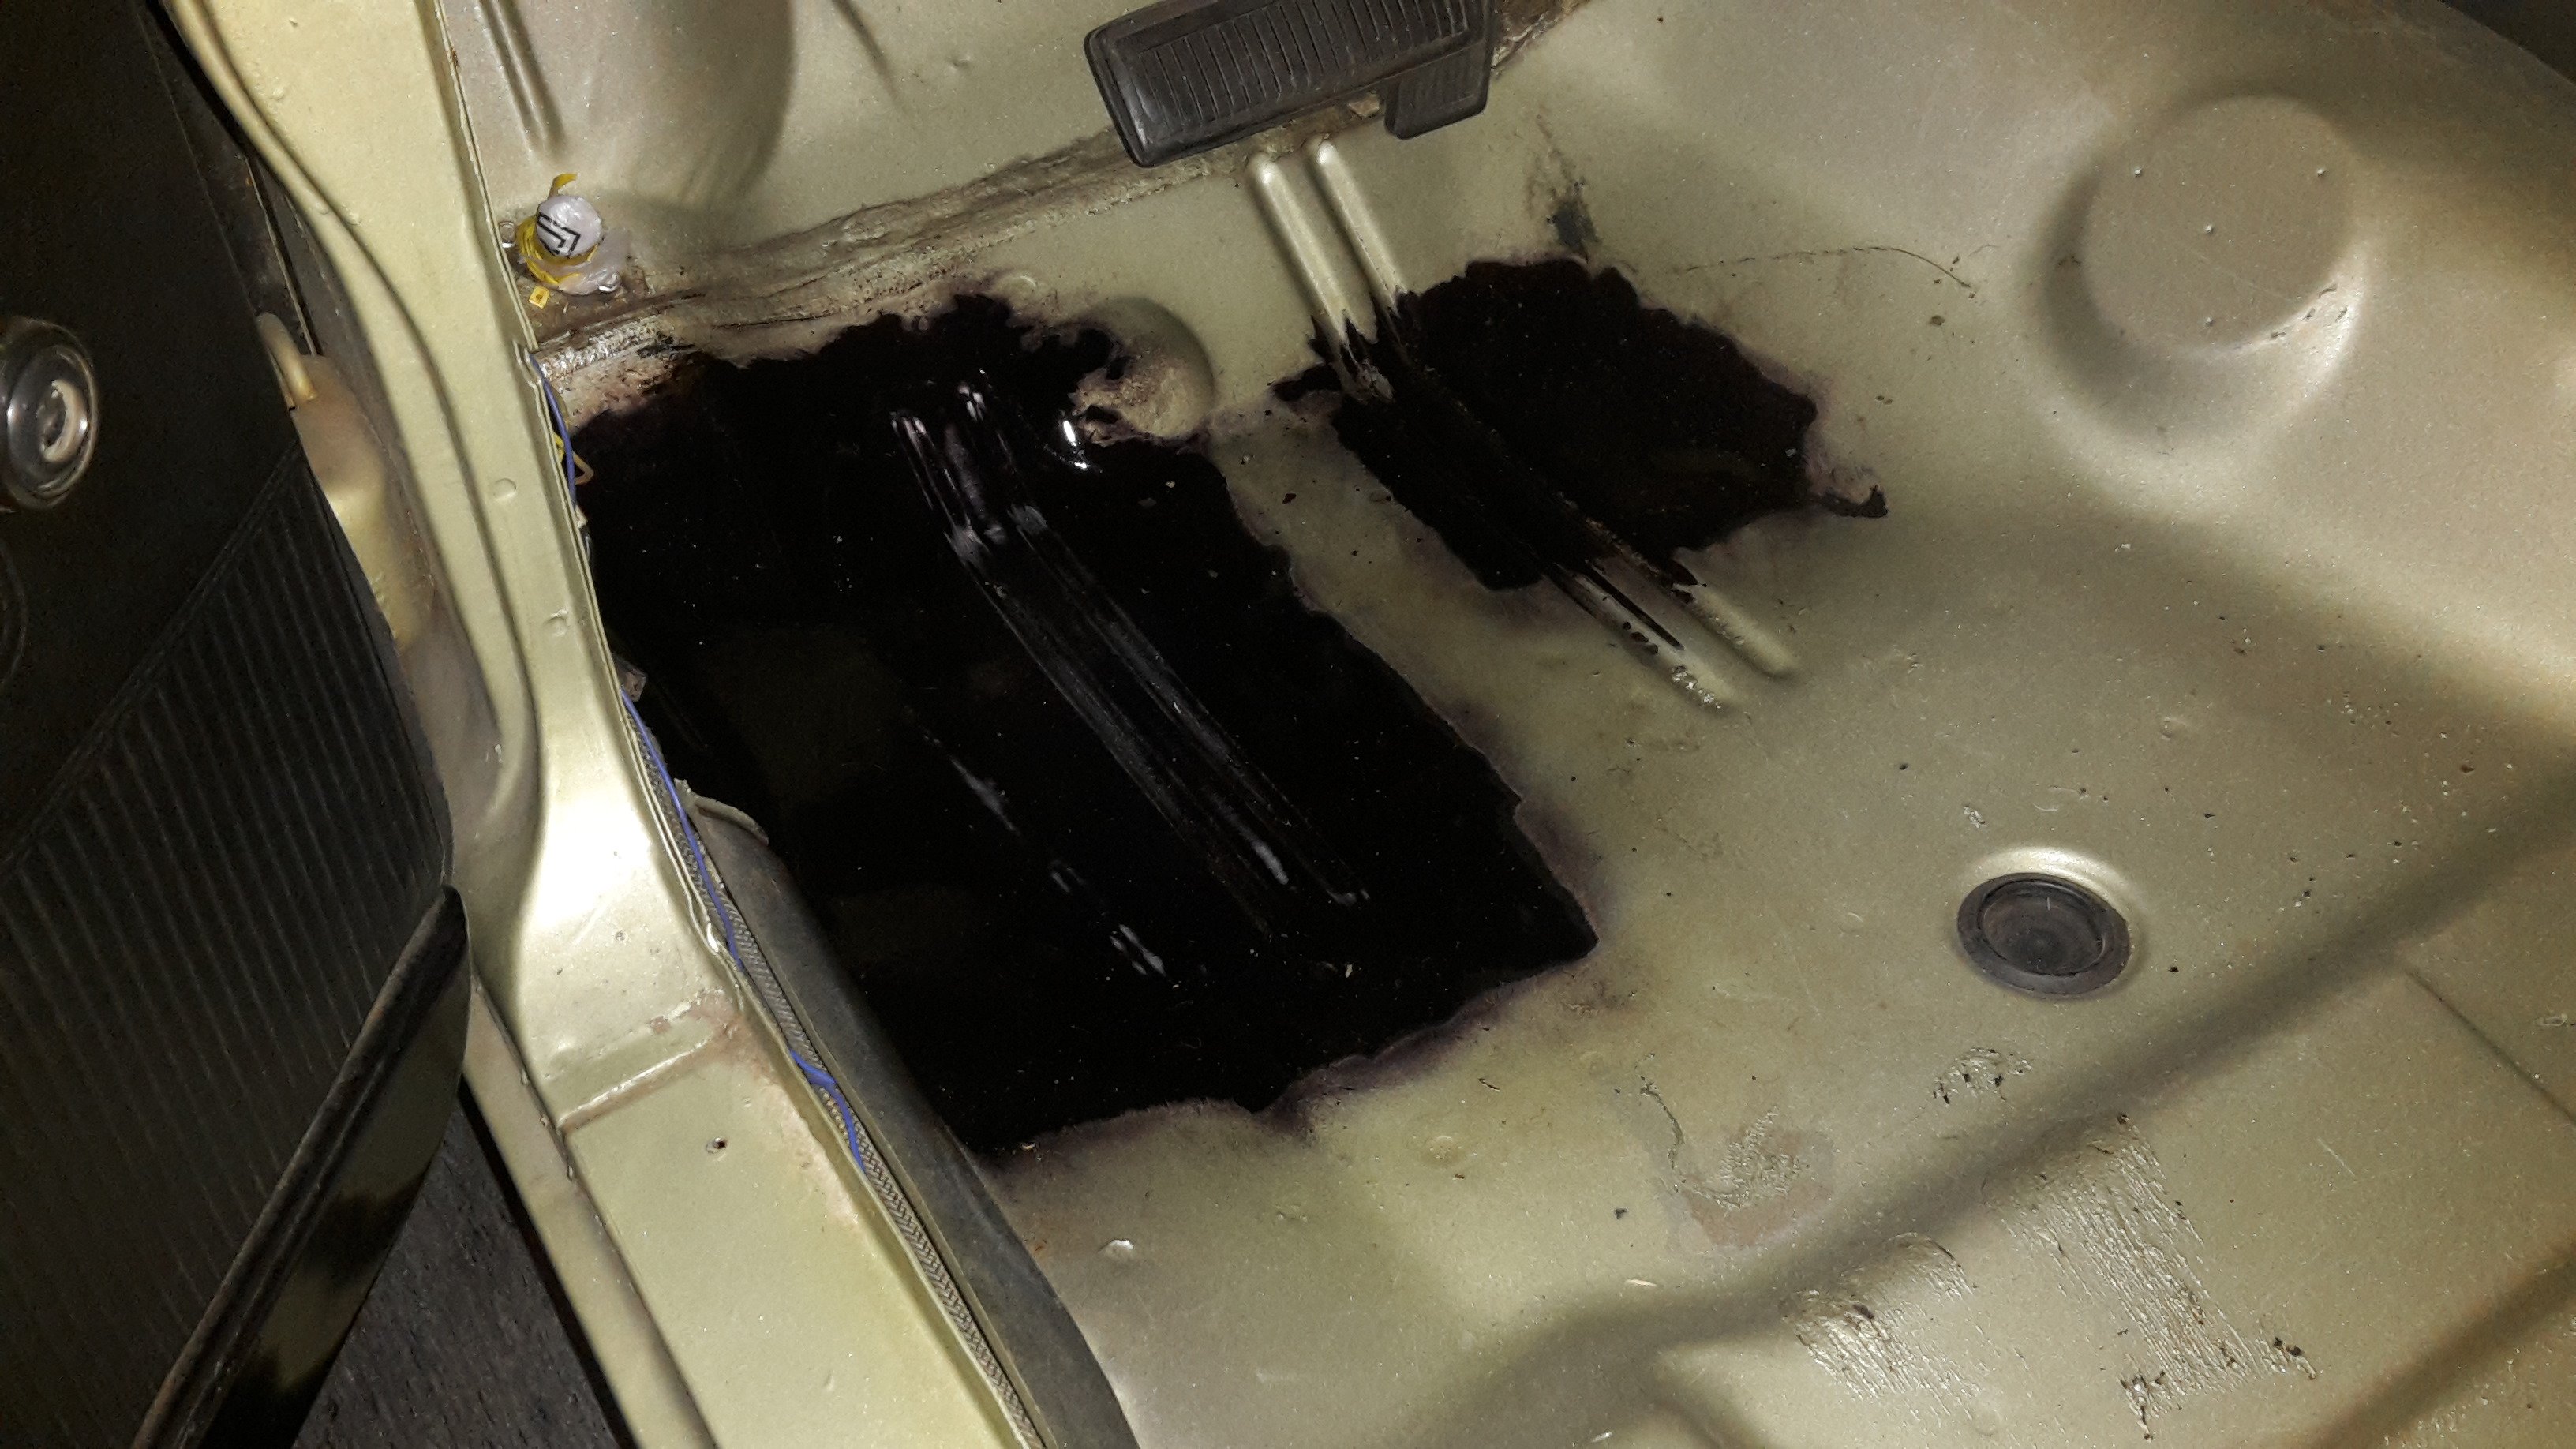
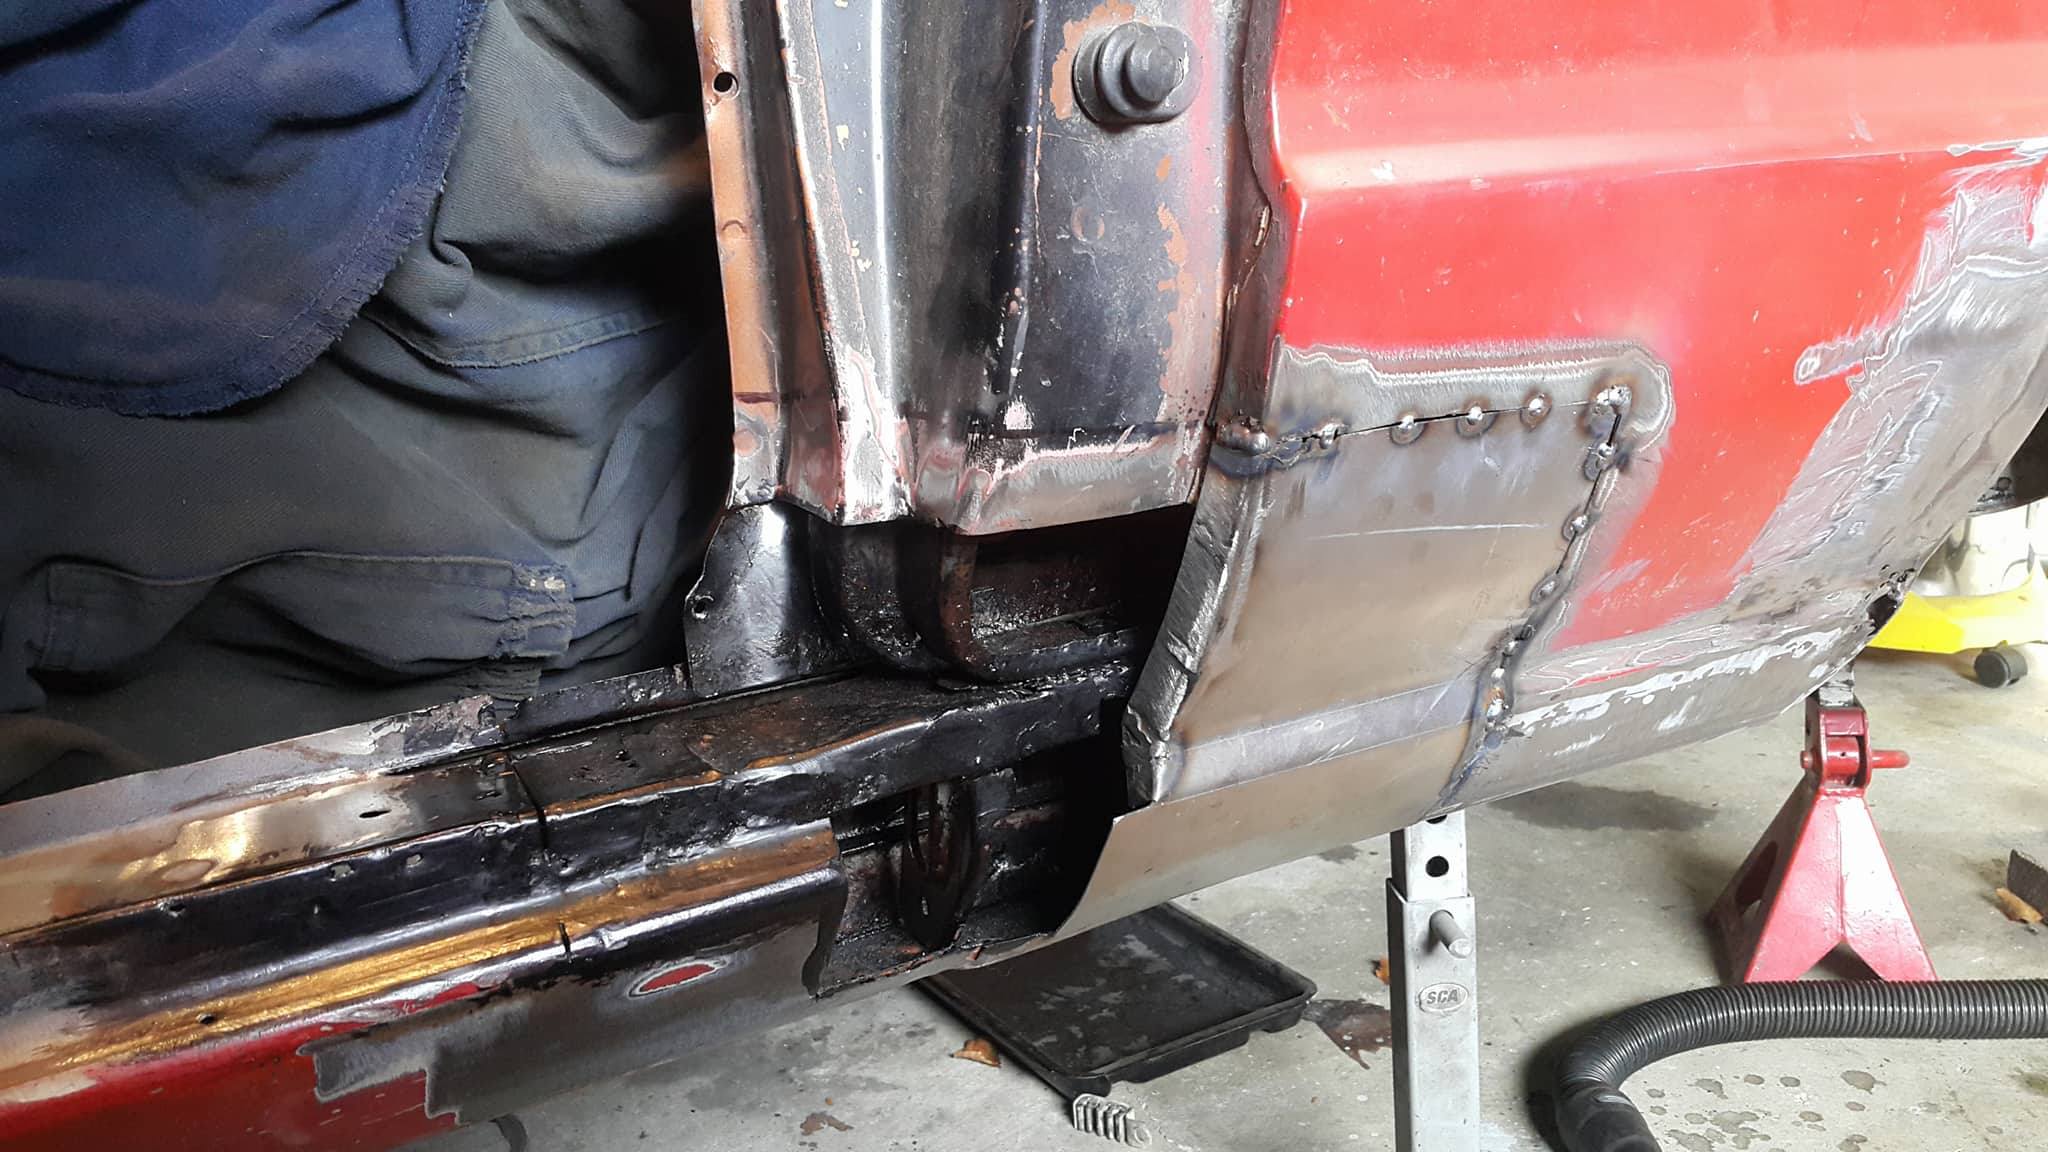
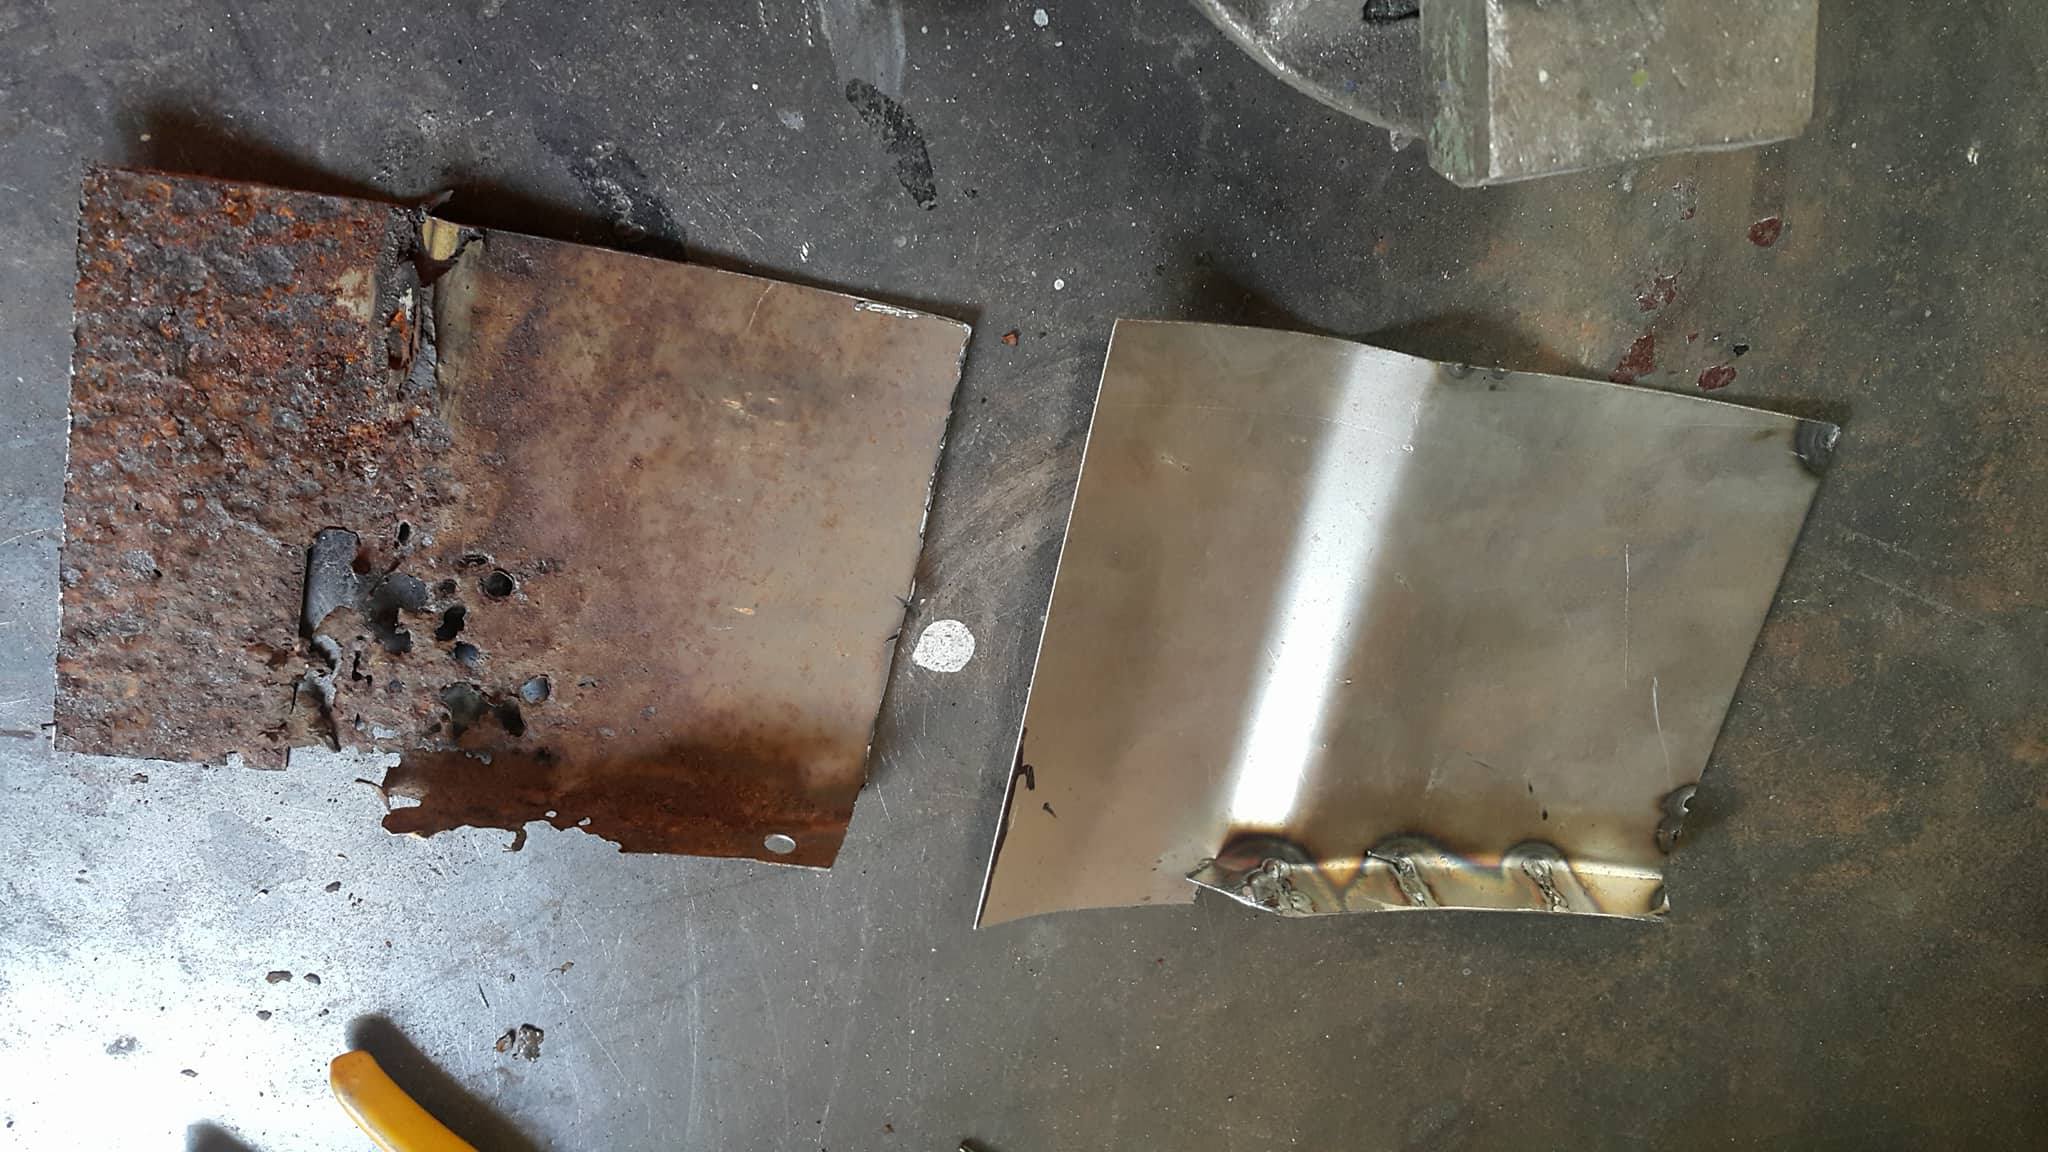
Some more progress. One thing I have learned from the job I do, is sometimes it's better to pay for someone to do stuff instead of having a go and making a hash of it myself. Both front floor pans had some rust on the top side which I don't have the skill, gear, or patience to do a nice job of. @RXFORD/ Matt at tin tricks in east tamaki is a friend of mine, he picked it up and fixed the floors, while it was there he deleted the heater motor and hose holes in the firewall and made a new part of the inner guard which gets rid of an ugly bit where the battery box used to live, and made it match the other side. My photos are a bit ham but I'm stoked with how it turned out
1 point
-
wow having a mare. just some more paddock hacking. looks so tame in the vids. ask someone whos been in it.. and they will tell you how they wish they hadn't. @Stu@Snoozin1 point
-
Hondata. It works fine, but a link would be better so he could add an extra map for water/meth injection.1 point
-
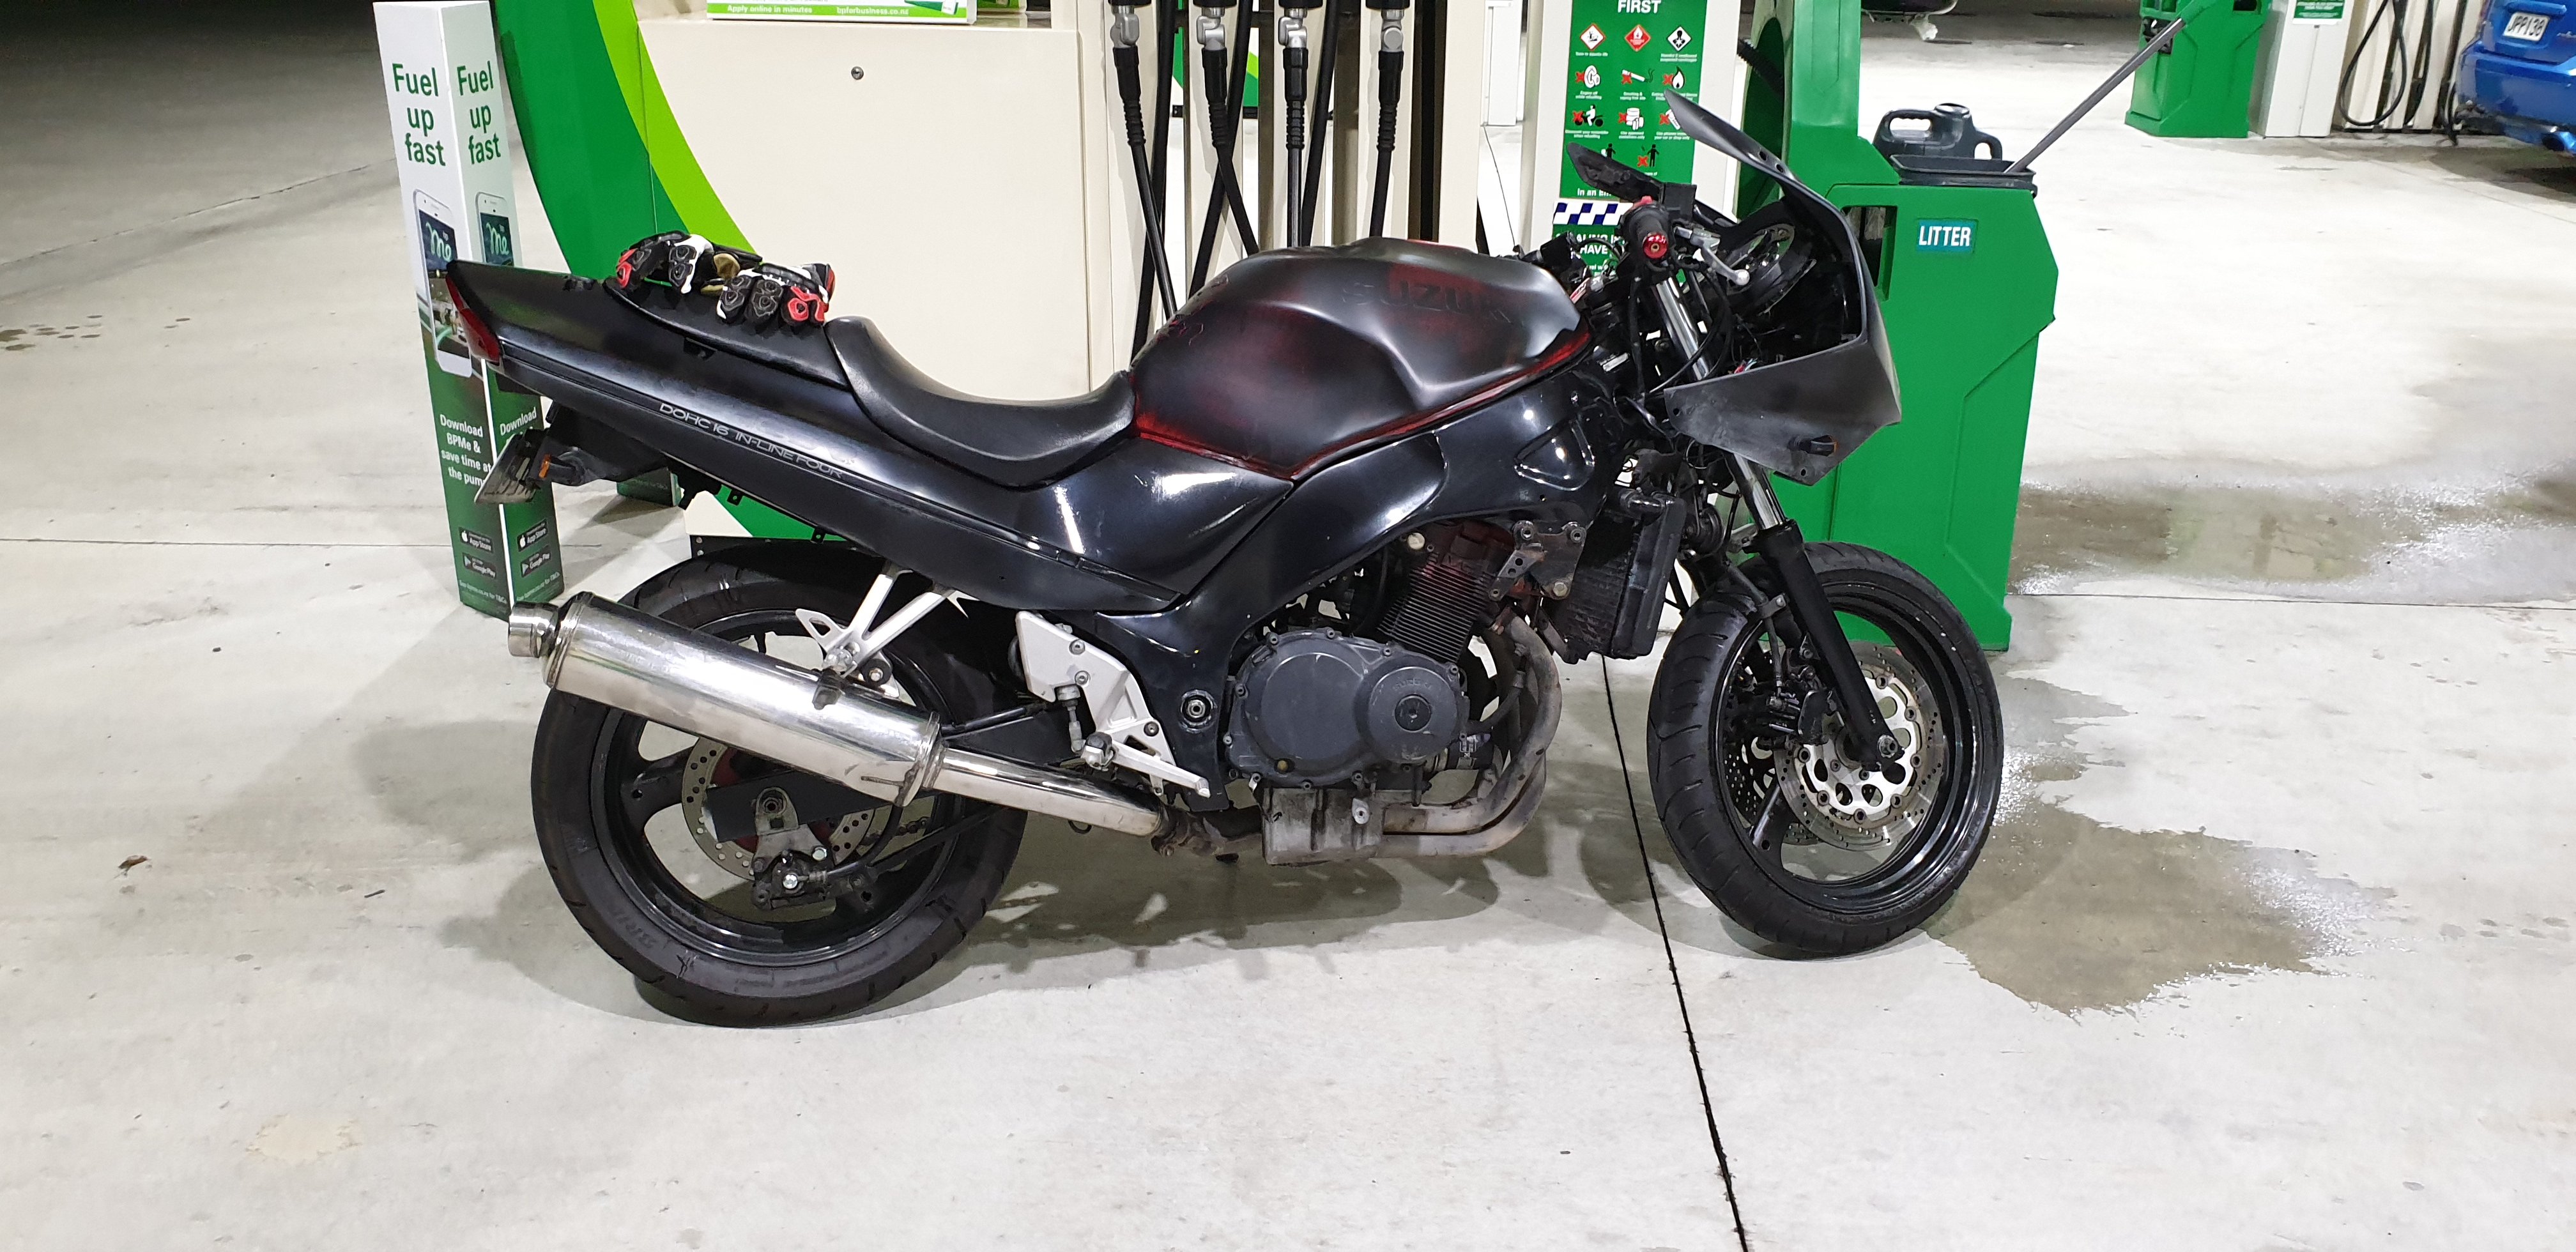
Went for a 1300km ride over labour weekend. Oil temp got up to 140c when thrashing it between Napier and Taihape. I have an 1100 oil cooler from a later model bike, and new valving to control the oil flow through the cooling system. From this: To this: 11 rows to 14 rows, much wider and curved. Will make an air guiding duct for the top, and fit foam inside the fairings to guide the air through the cooler. Also have a set of 36mm flat slides I'm currently rebuilding to fit on because more power is good power. (It has plenty)1 point
-
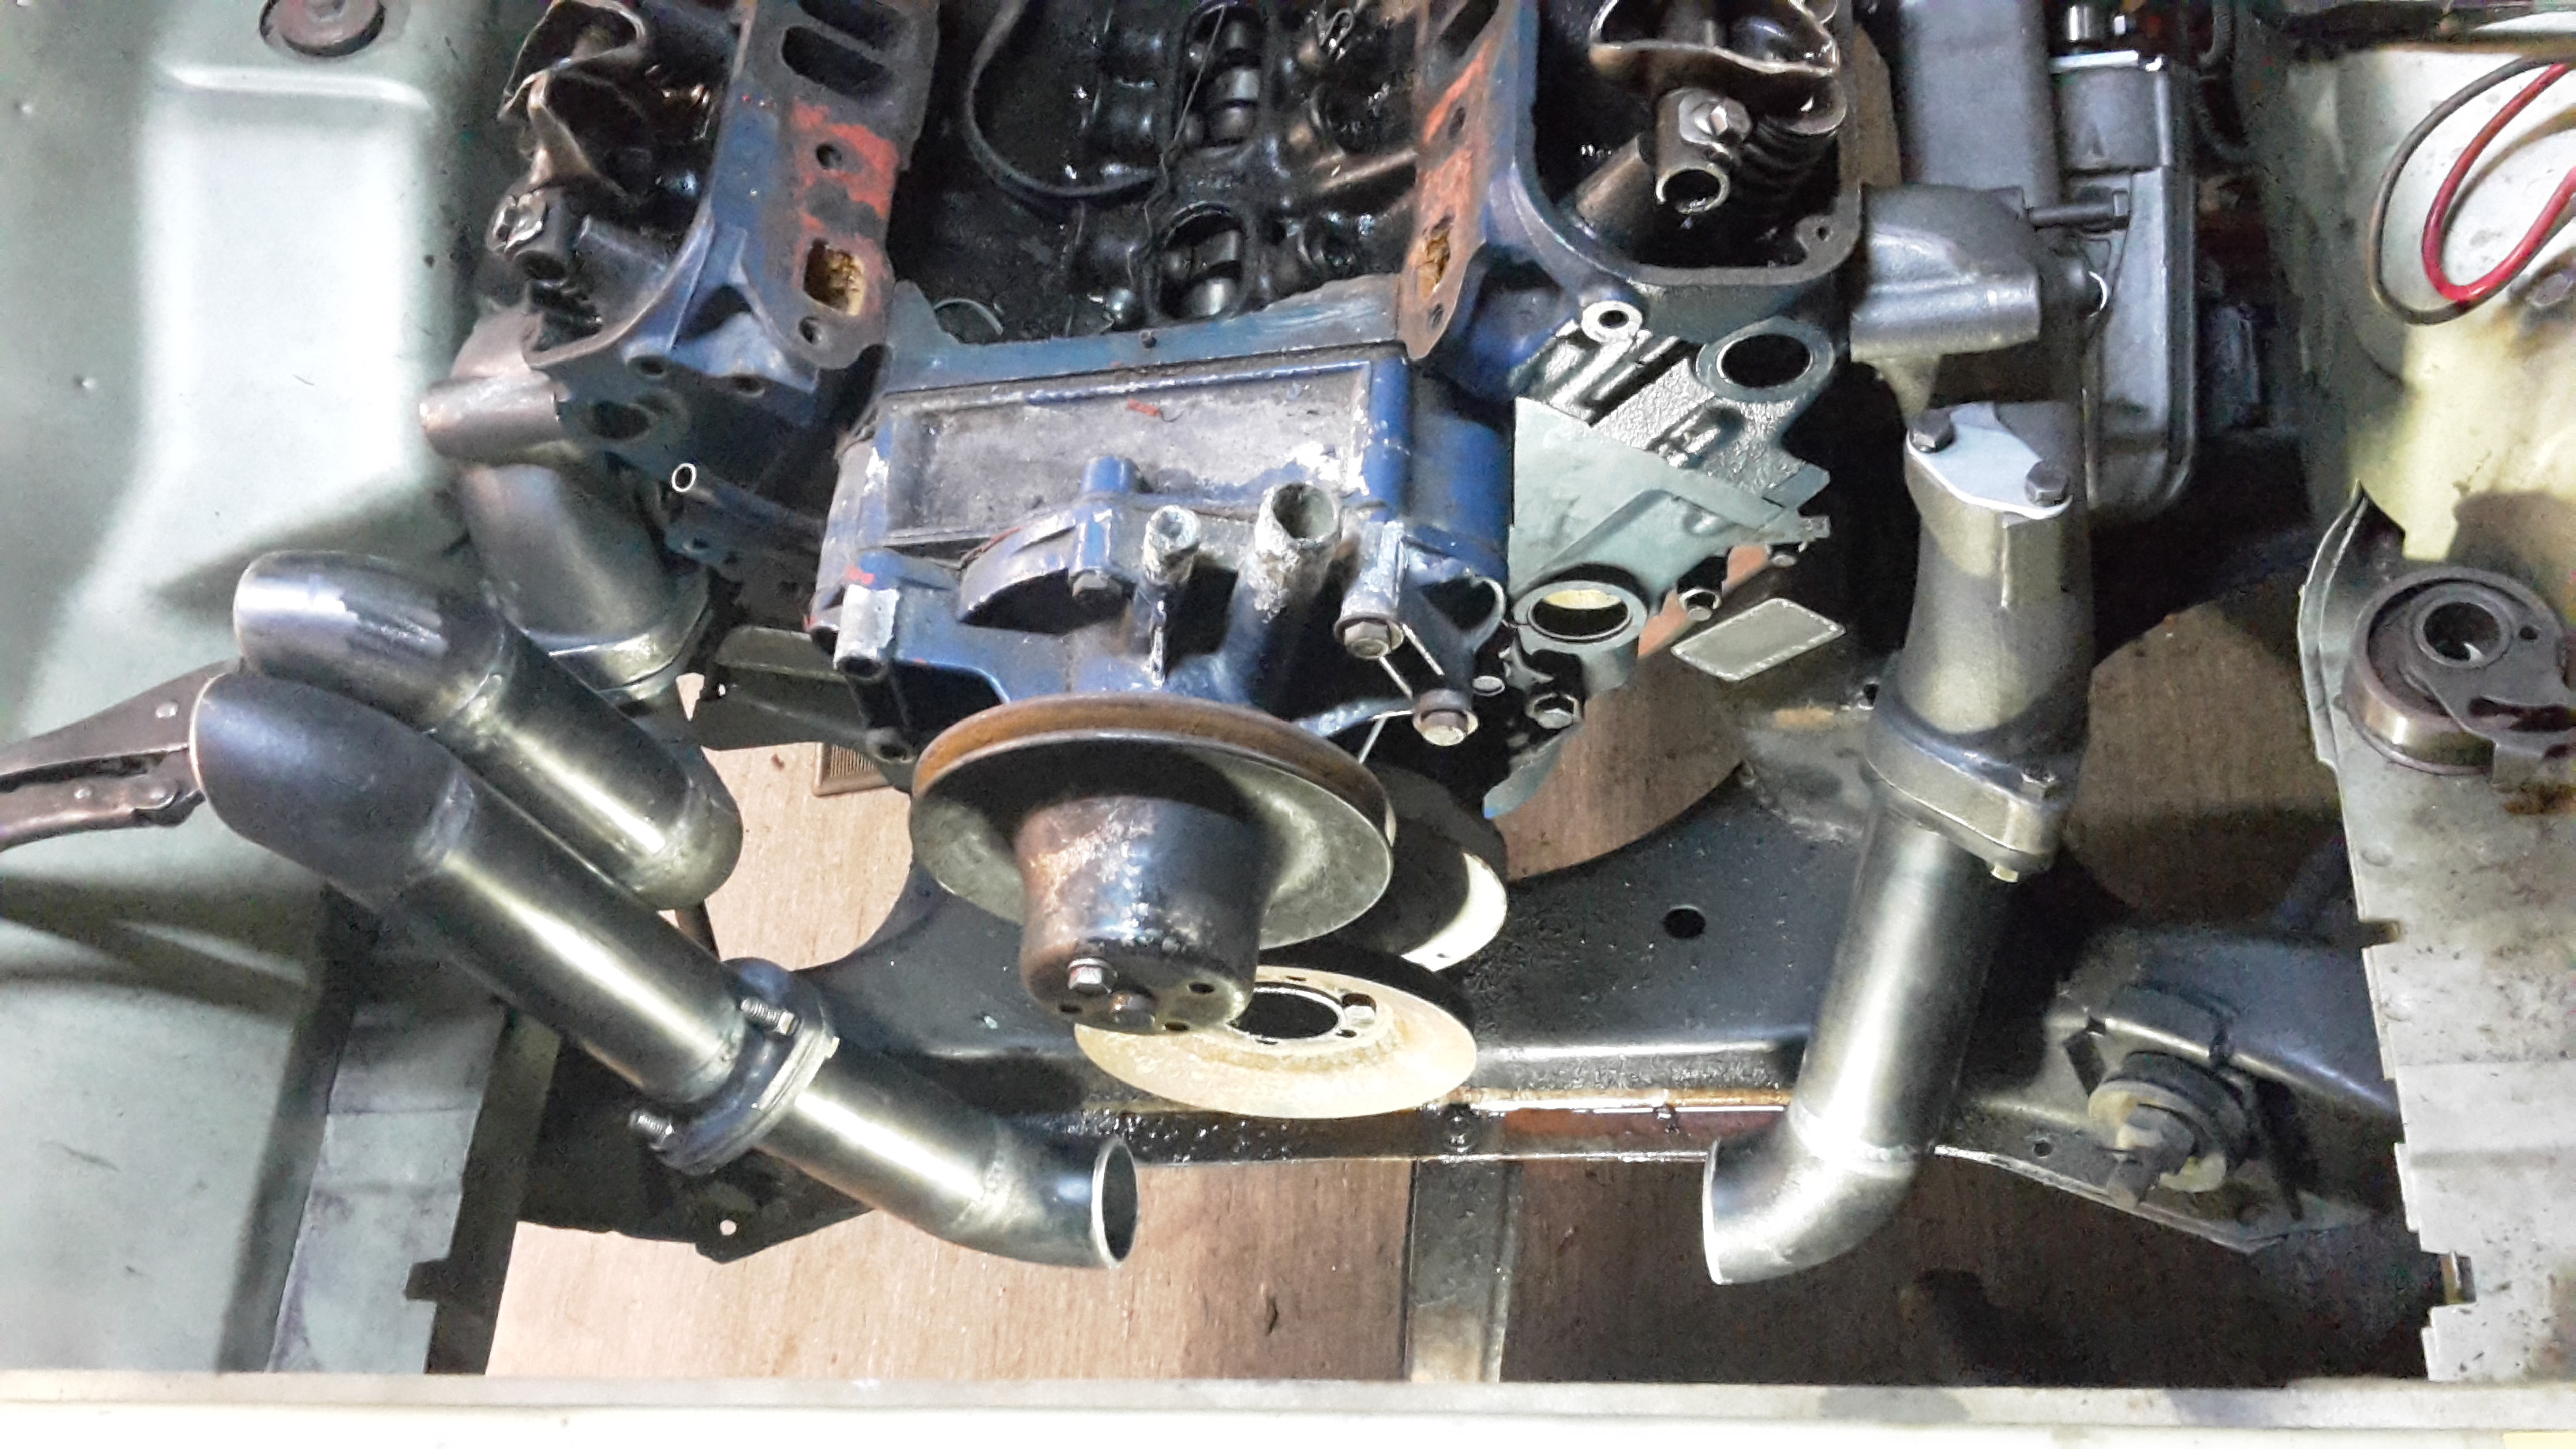
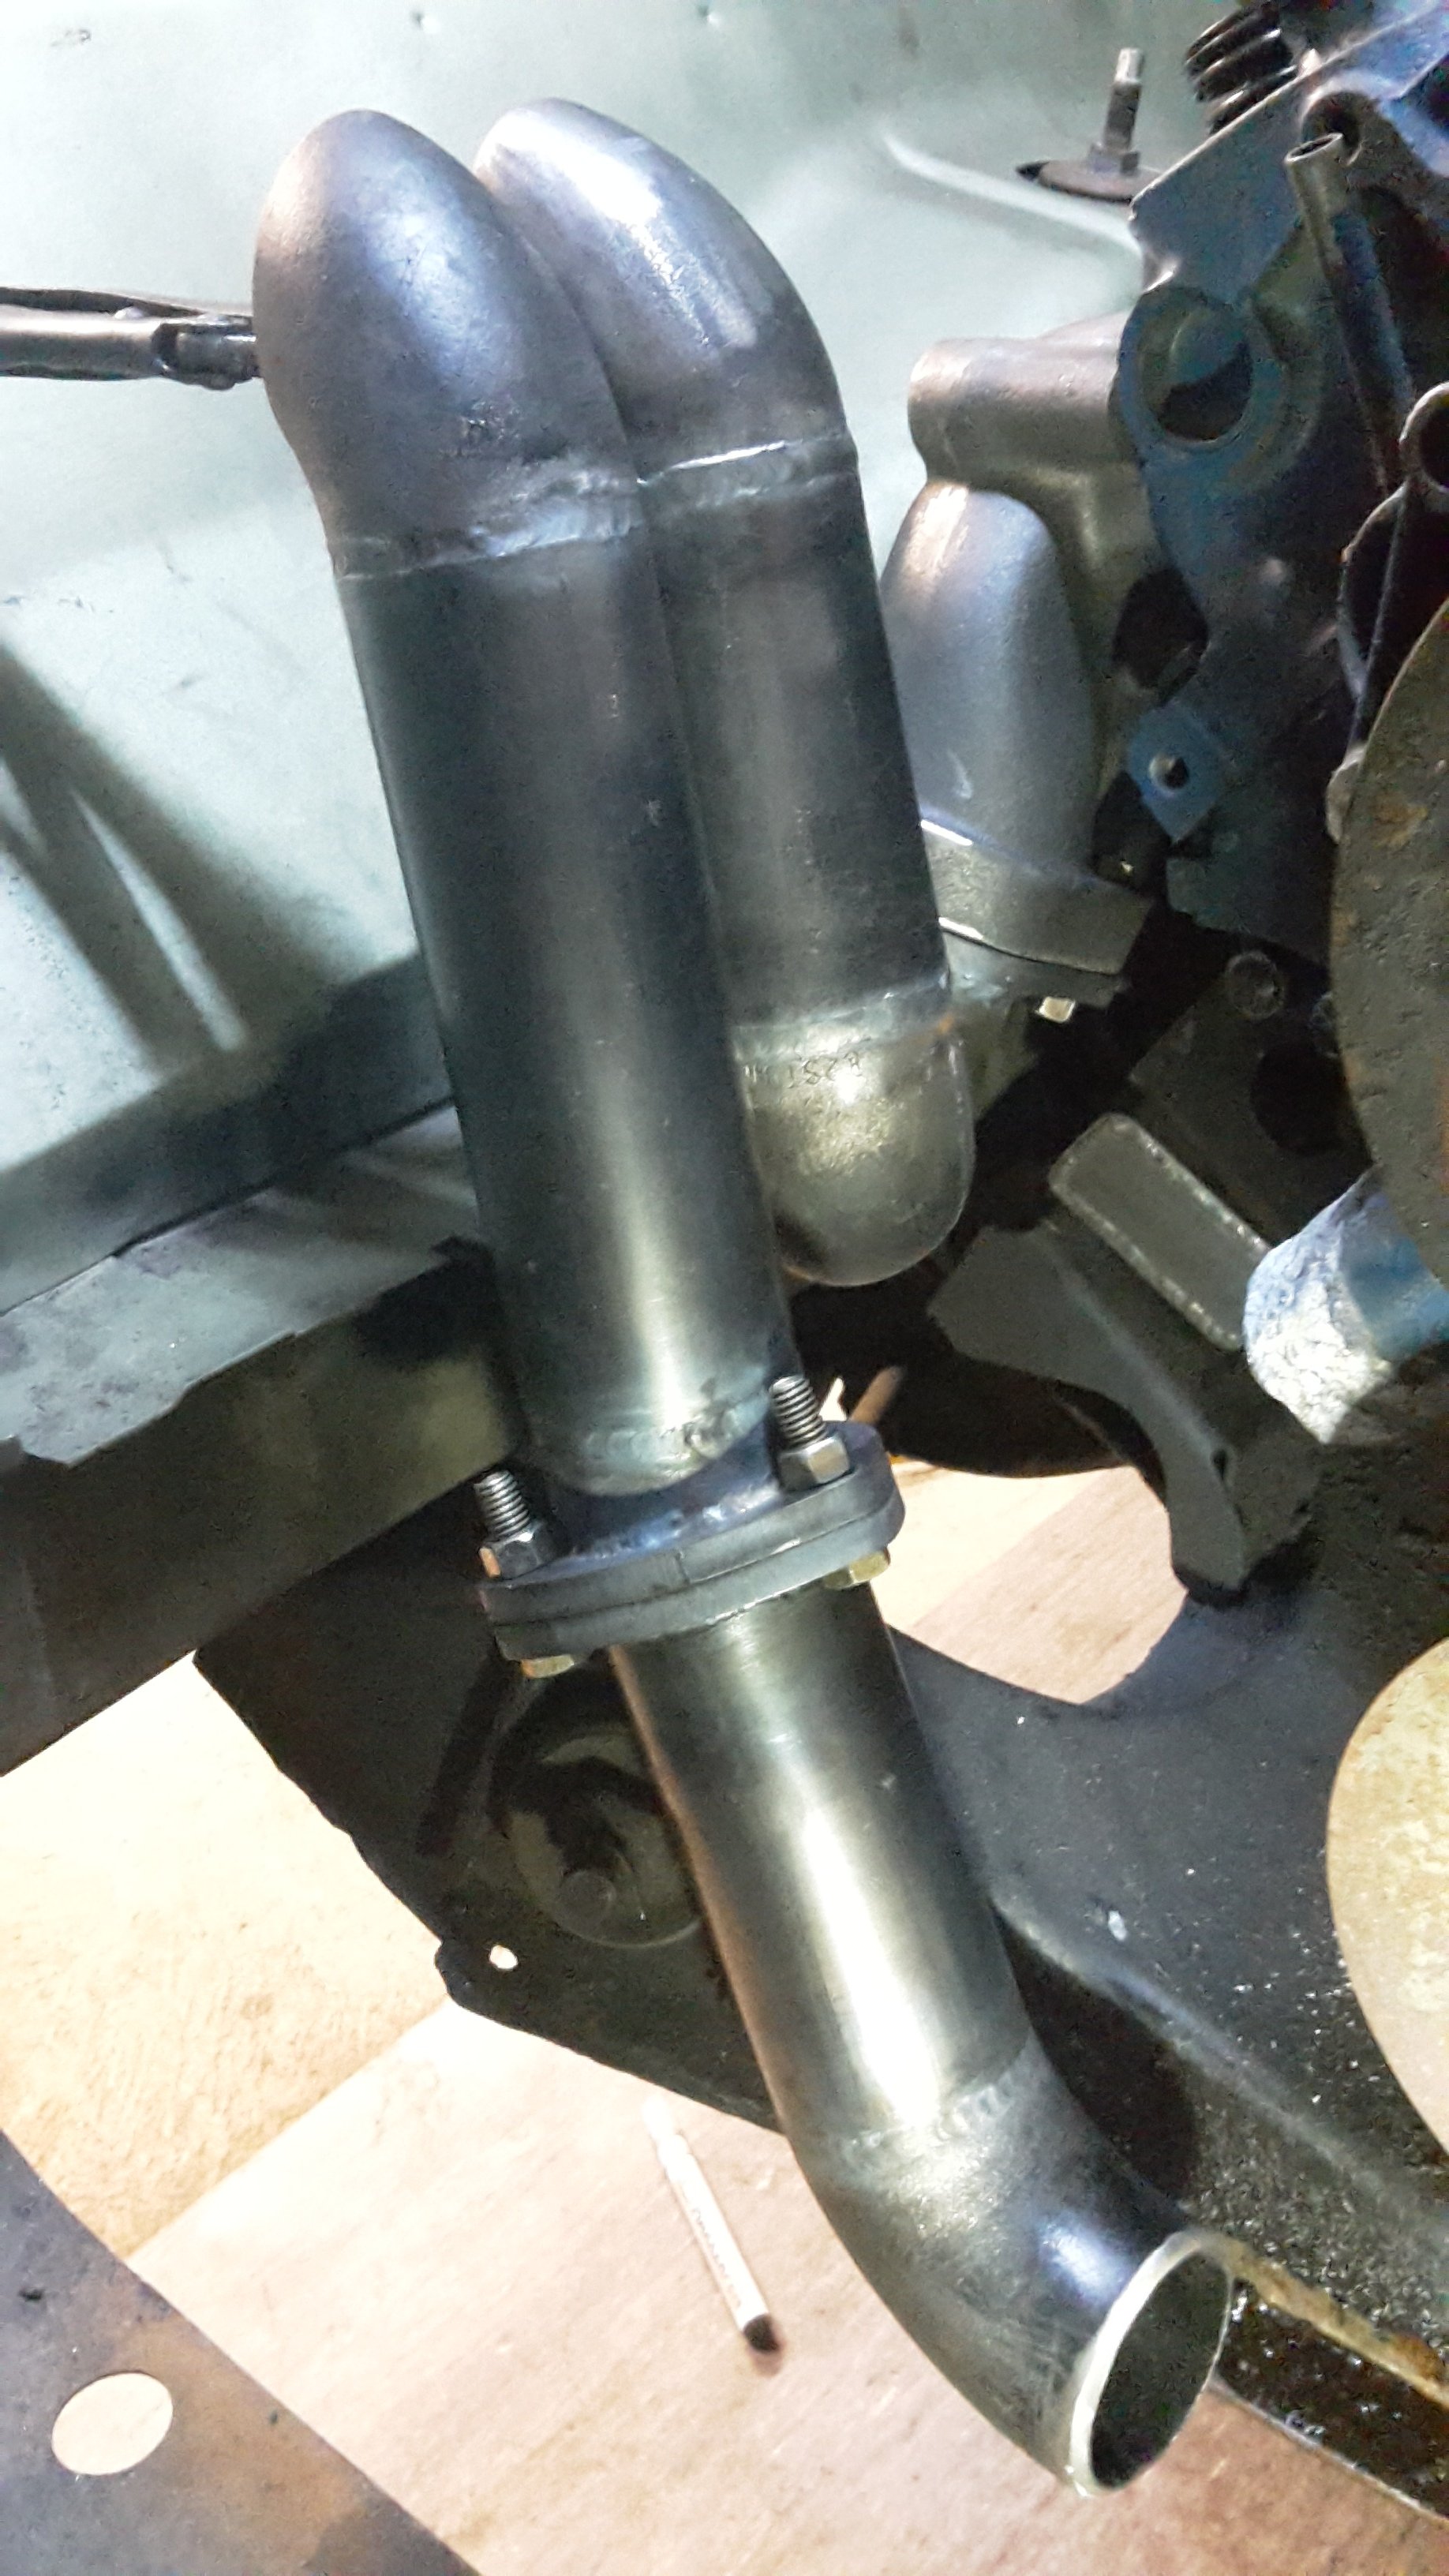
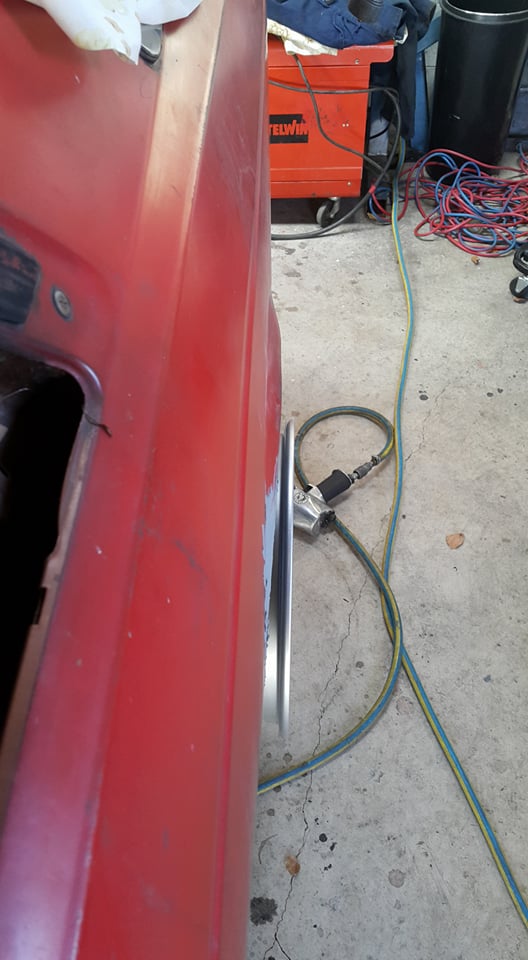
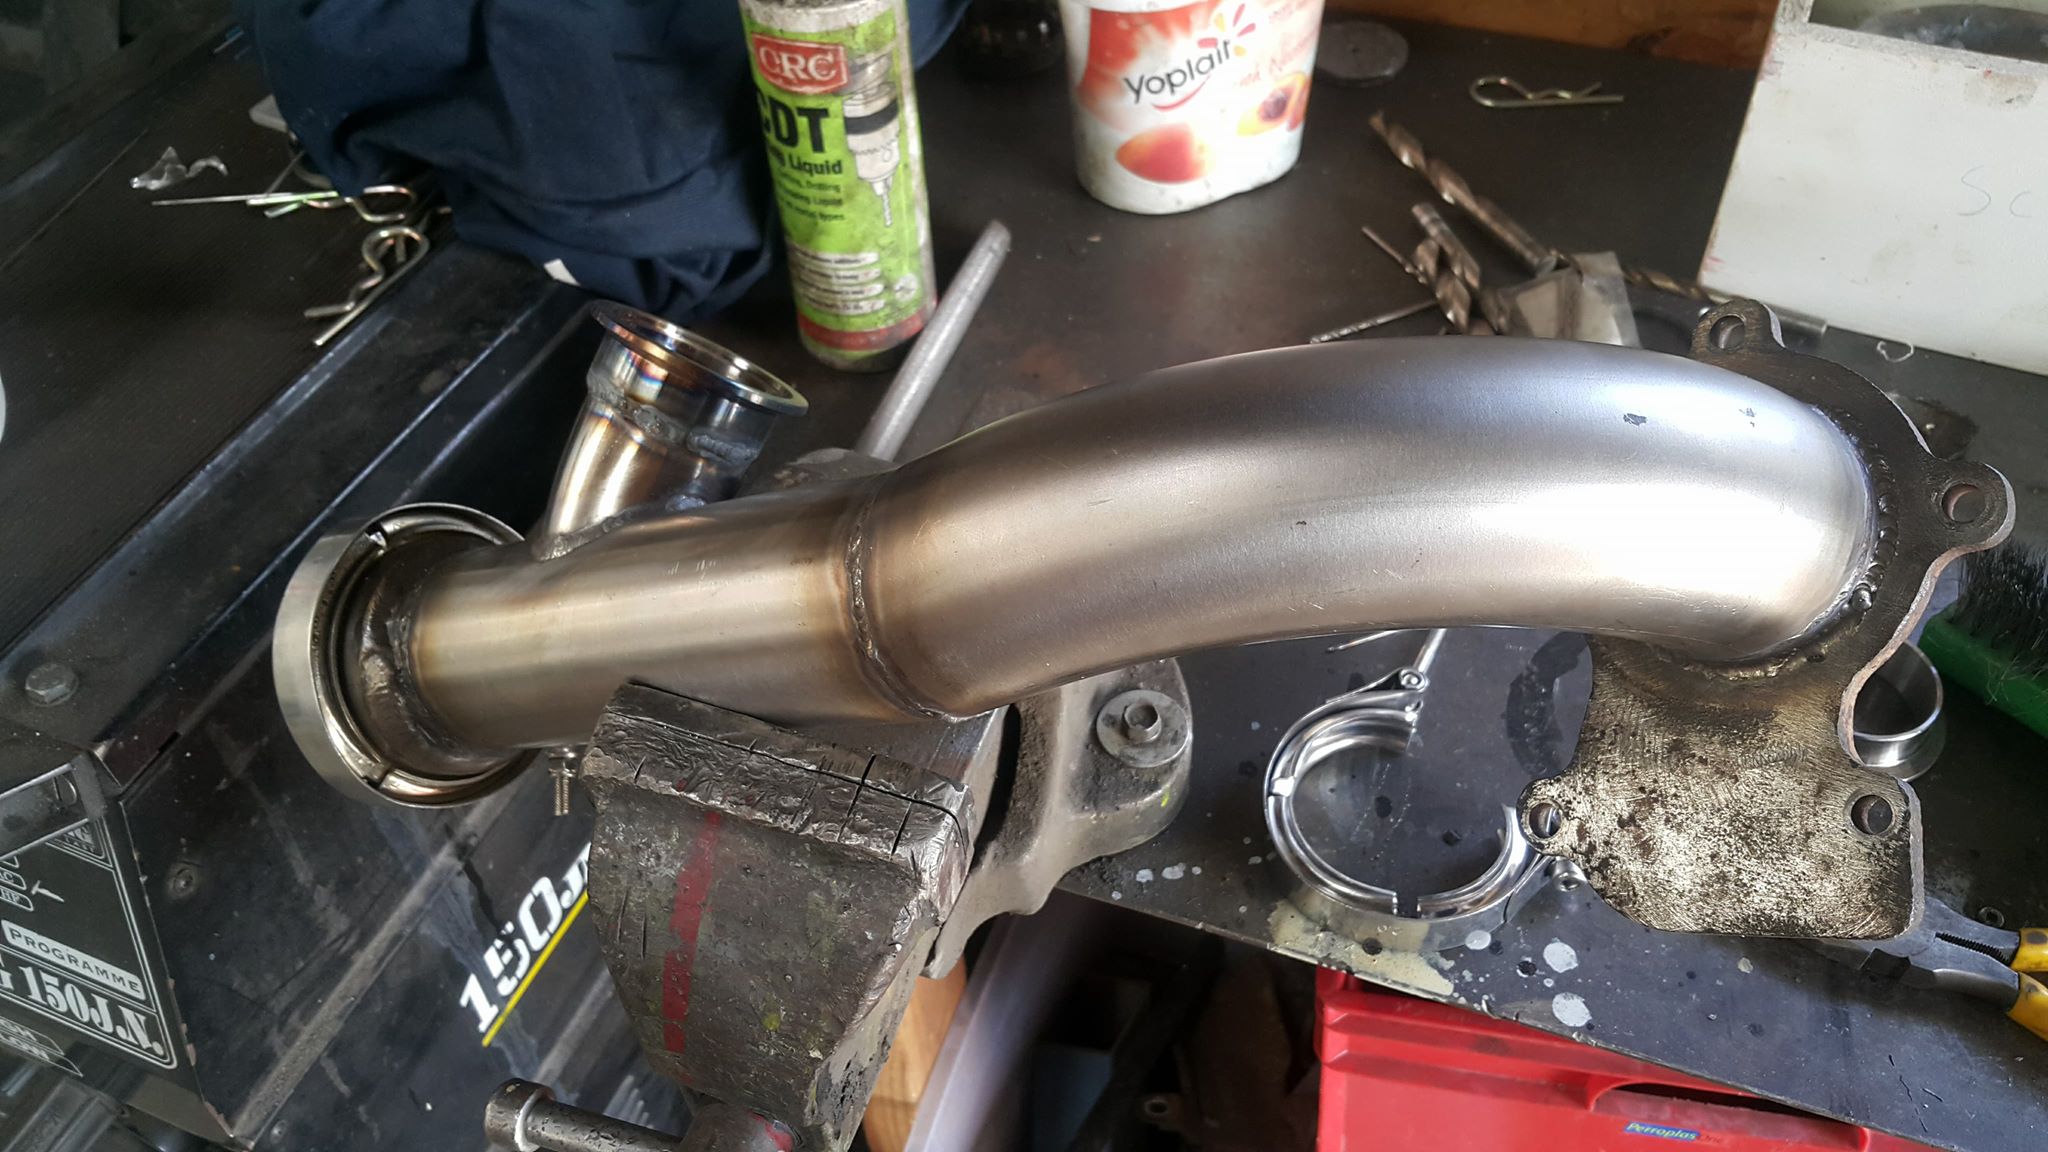
Made some pipes. Need to get a flex joint this week then I can finish the pipe across, then make the 2 pipes fit the turbo flange, then figure out where the wastegate goes.
1 point
-
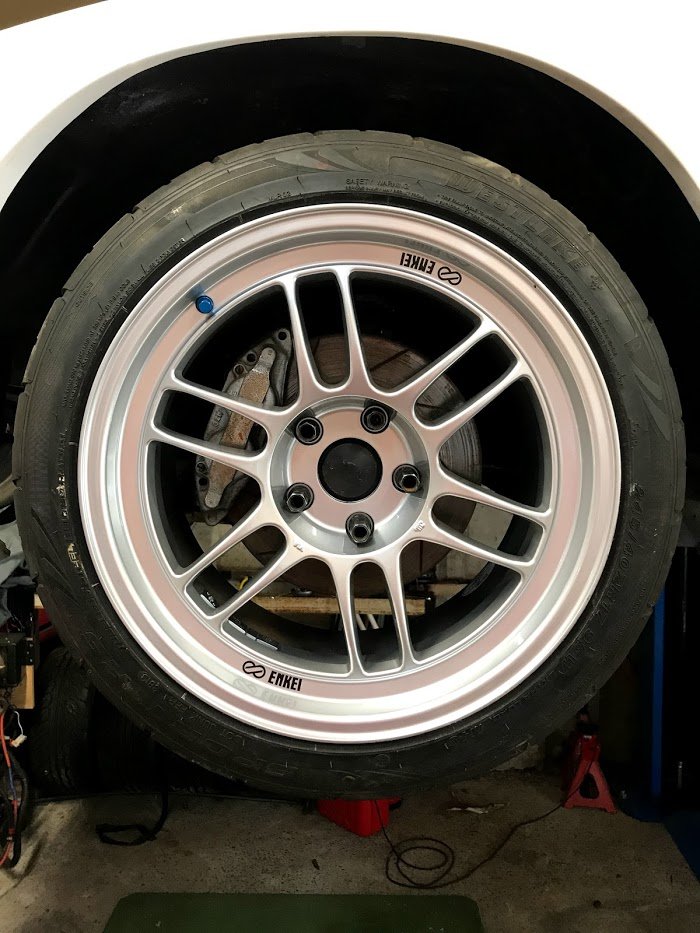
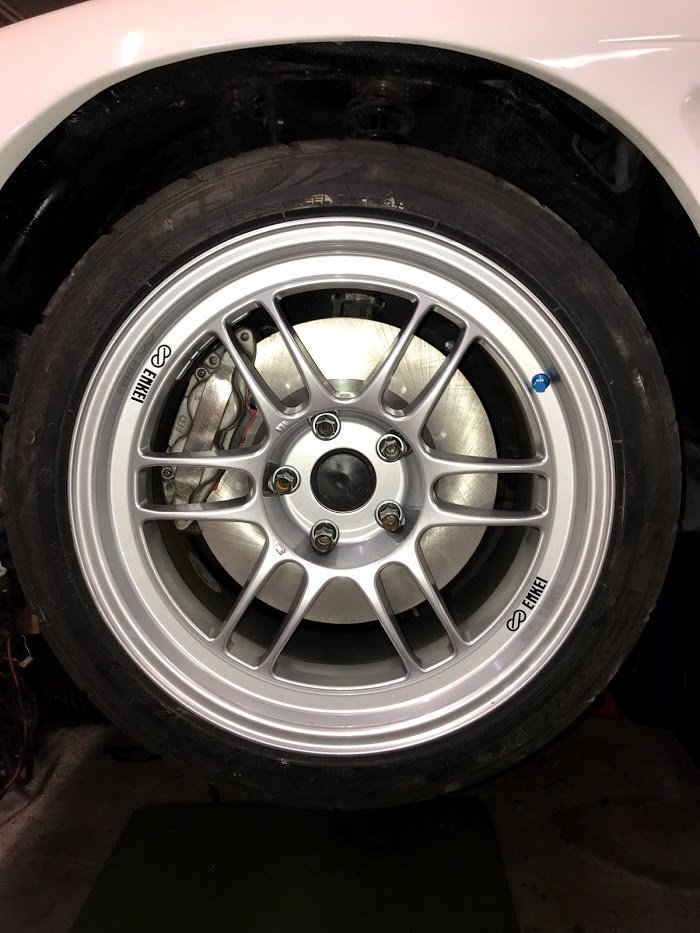
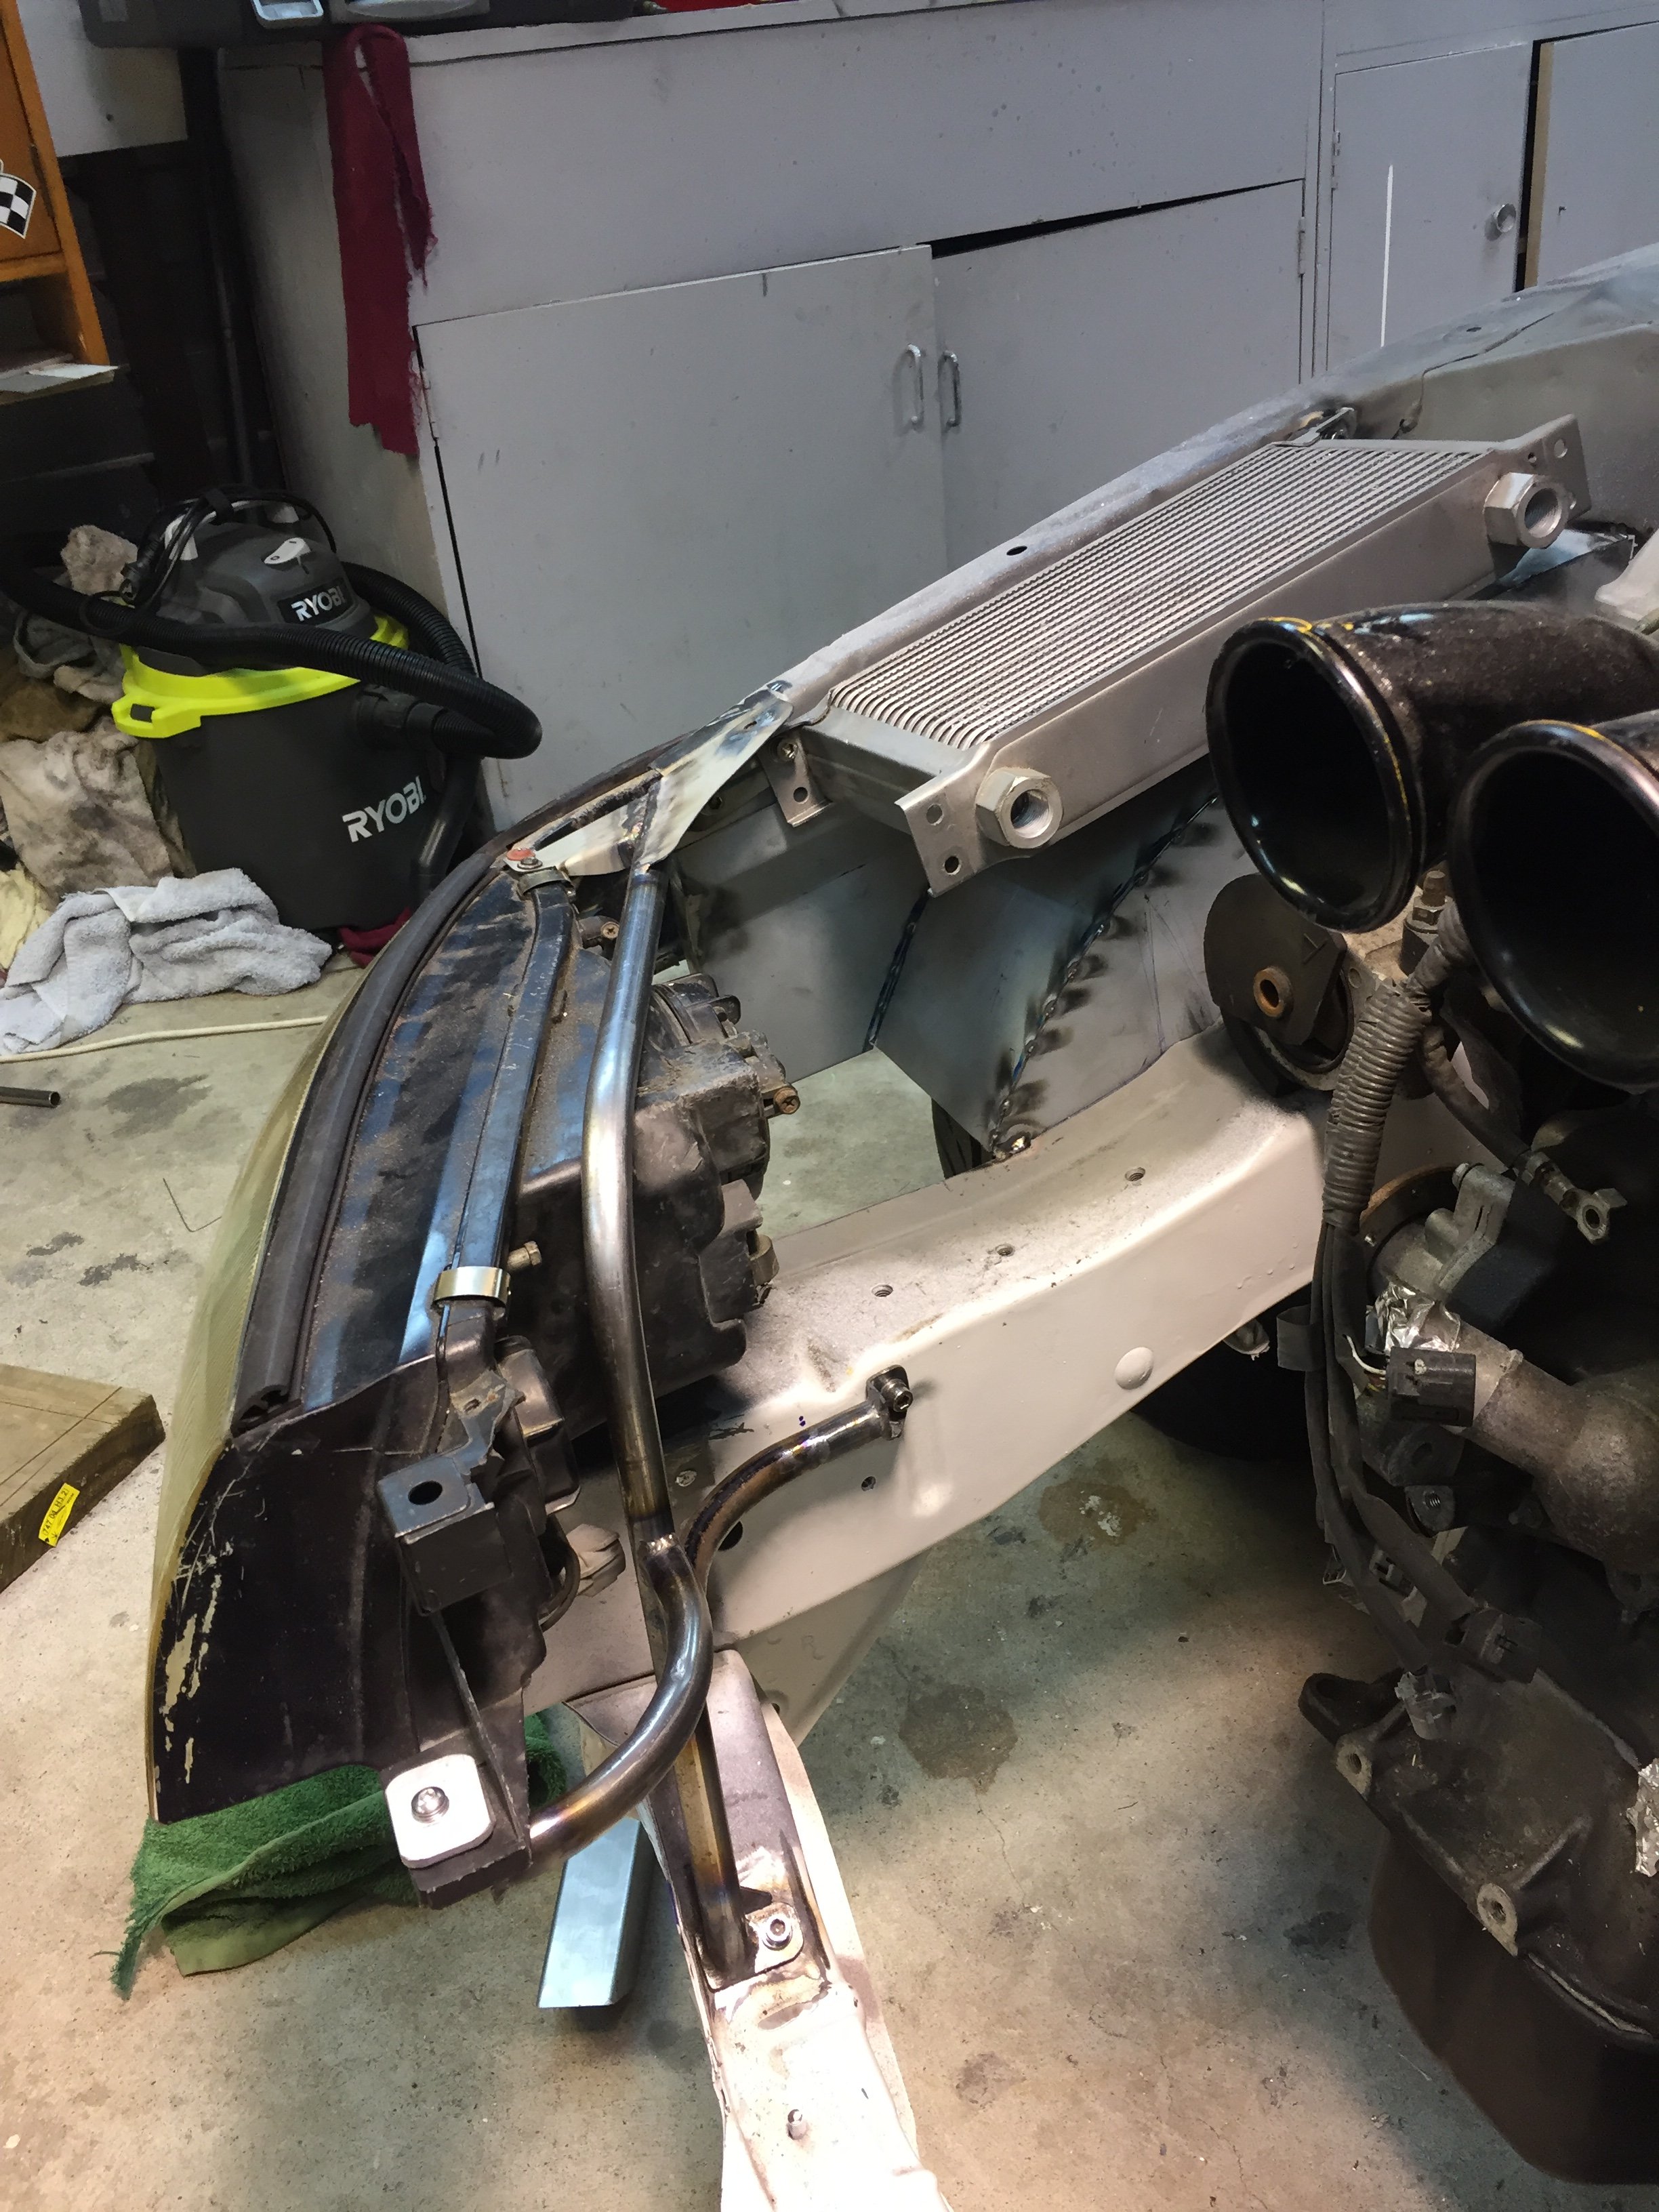
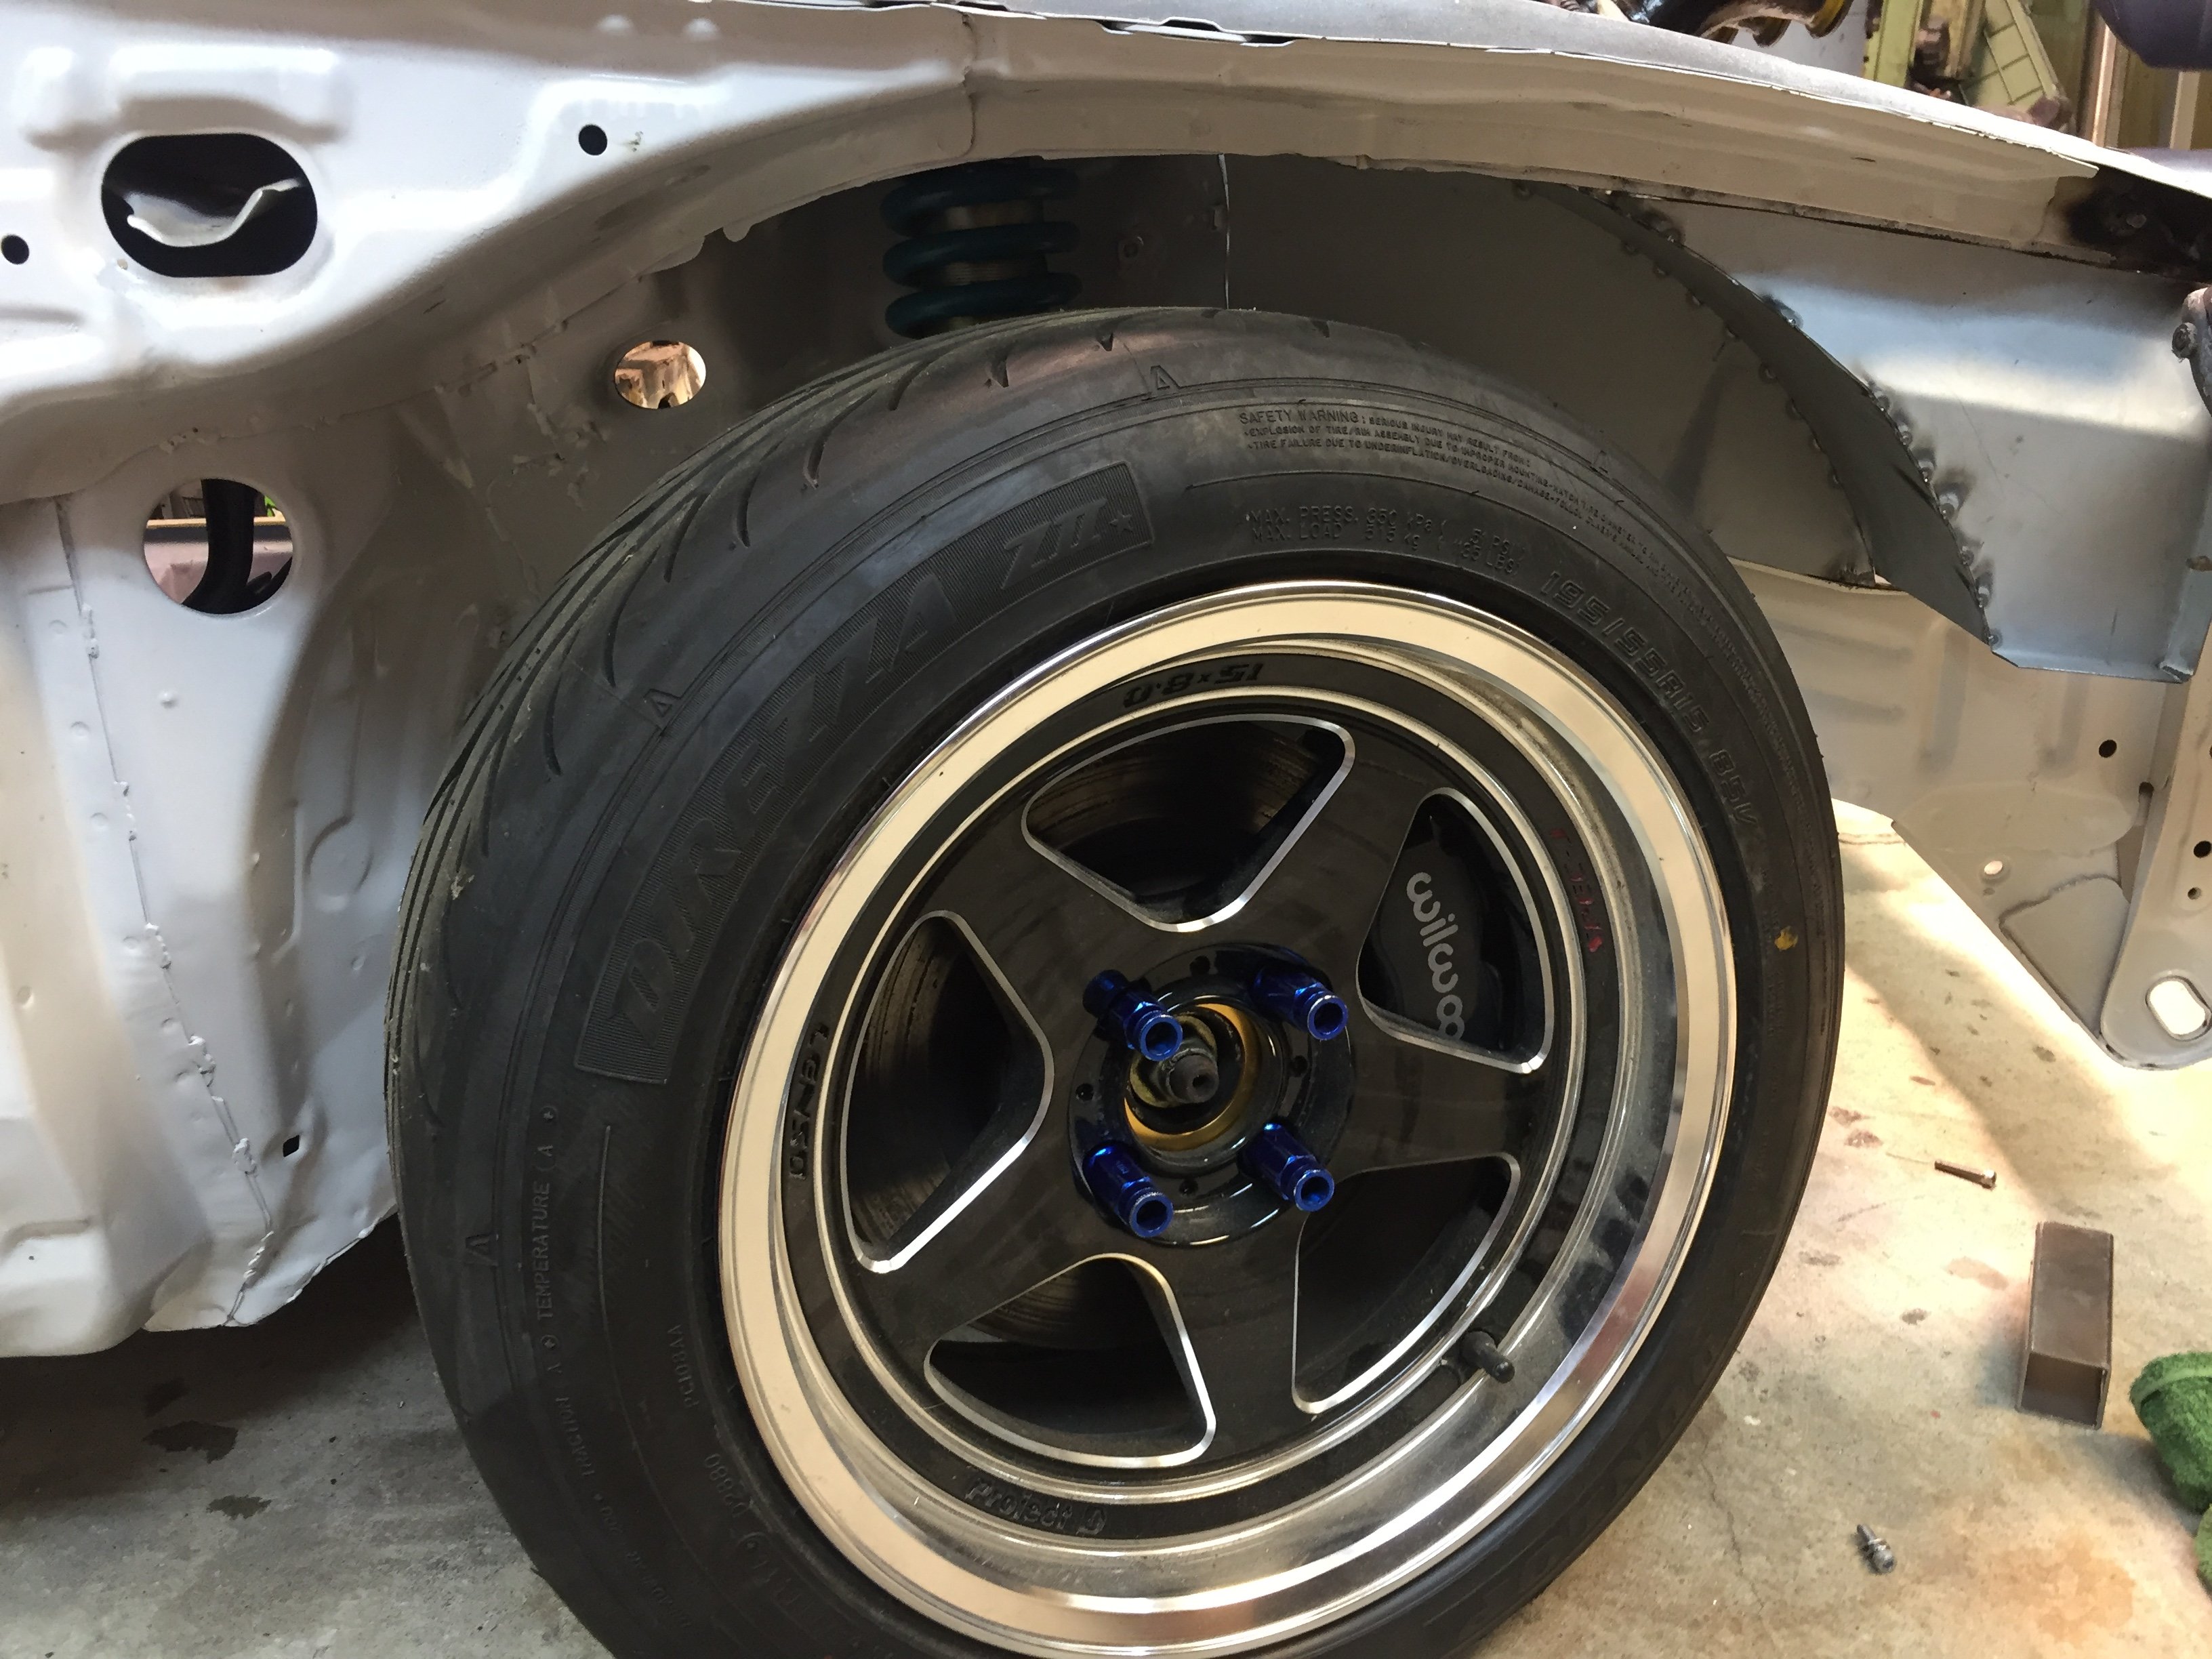
All the rust work is finally done! Rolled the guards, managed to pump them out about 45mm. Wheels has been a big issue until now, local company stocks a wheel made in Ireland called Revolution wheels, similar to Superlites and the quality is excellent for the price considering the other crap on the market for more e.g Rotas . Most importantly, they clear the 4 pots without spacers! 15x8 0 offset. Ordered some Toyo T1Rs 225/50r15 for the rear, undecided on the front.... Intercooler plumbing done....exhaust almost done, first start is rapidly approaching
1 point
-
Maiden Voyage was - Auckland, New Plymouth, Wanganui, Palmy, Kapiti, Wellington, Upper Hutt, Masterton, Hastings, Napier, Taupo, Auckland. Went sweet apart from a wee drip from the gas tank, tried to tighten the offending cap and sheared it off in a rest stop, managed to bung up the hole and repair properly in another rest stop. Did some 0 - 60 times and 1/8 mile stuff on the OBD app thing. 4.9 second 0-60 and the 1/8th mile time translated to about a 13.9 second 1/4 (was 130 ish at 1/8 so pulled the pin), so pretty rapid for a 2.5 tonne pig, and 11.5l/100ks on the trip, with some looseness thrown in along the way. Been looking at Magnuson supercharger set ups...
1 point


.jpg.9e4fa79b4348f07b931f2346369d1a60.jpg)

This leaderboard is set to Auckland/GMT+12:00