
Leaderboard


Popular Content
Showing content with the highest reputation on 09/02/17 in all areas
-
I've seen you shift, no amount of electrickery would make any difference. You'd have the clutch out again before the ergs had a chance to start the journey down the wire4 points
-
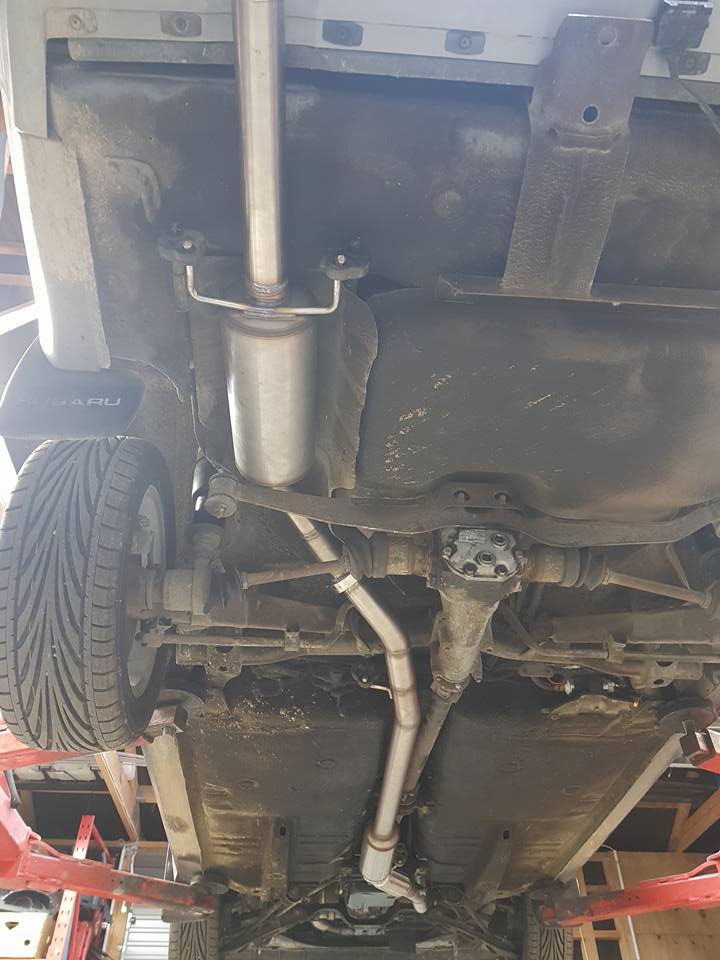
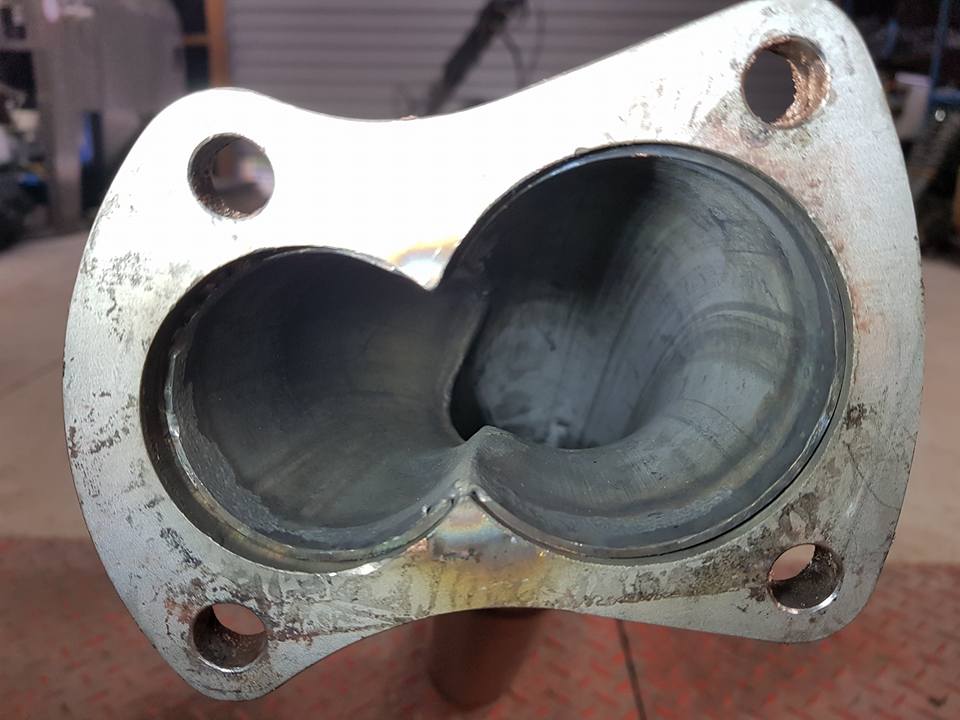
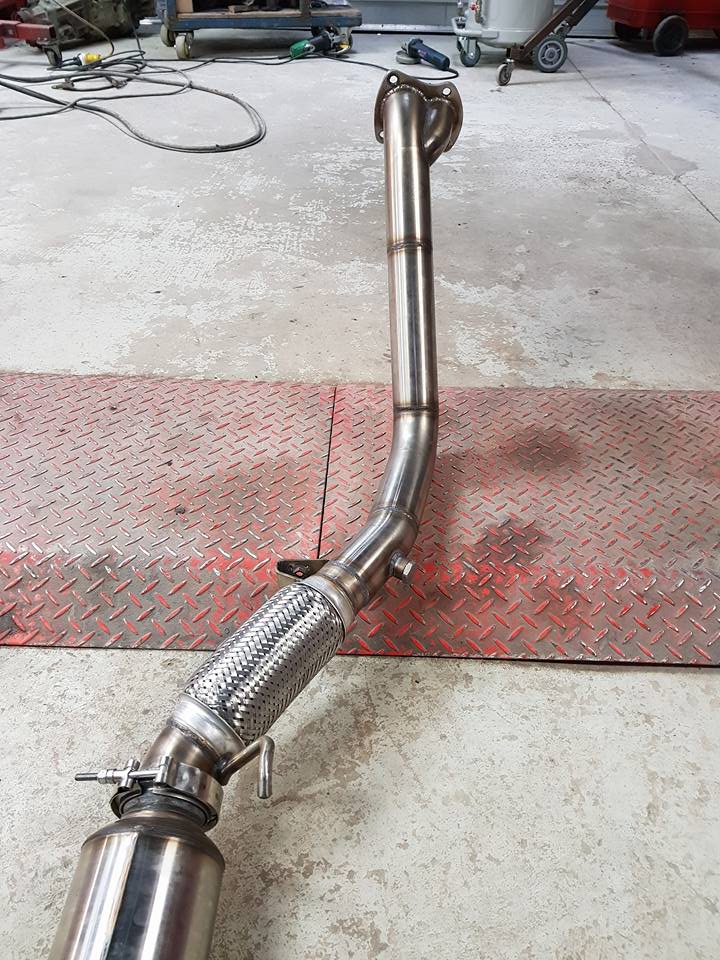
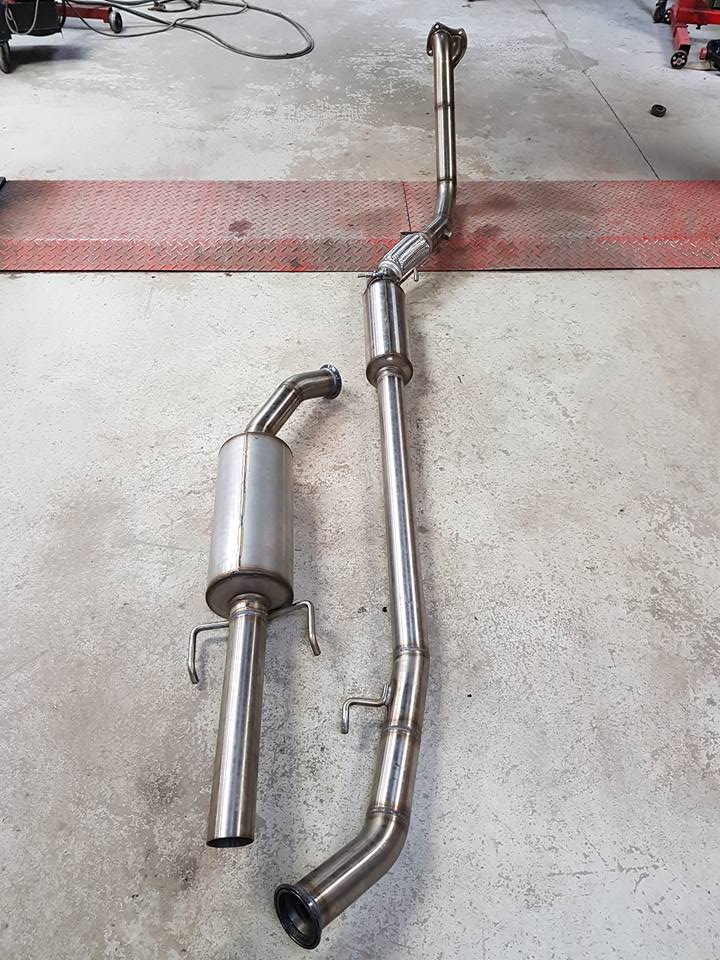
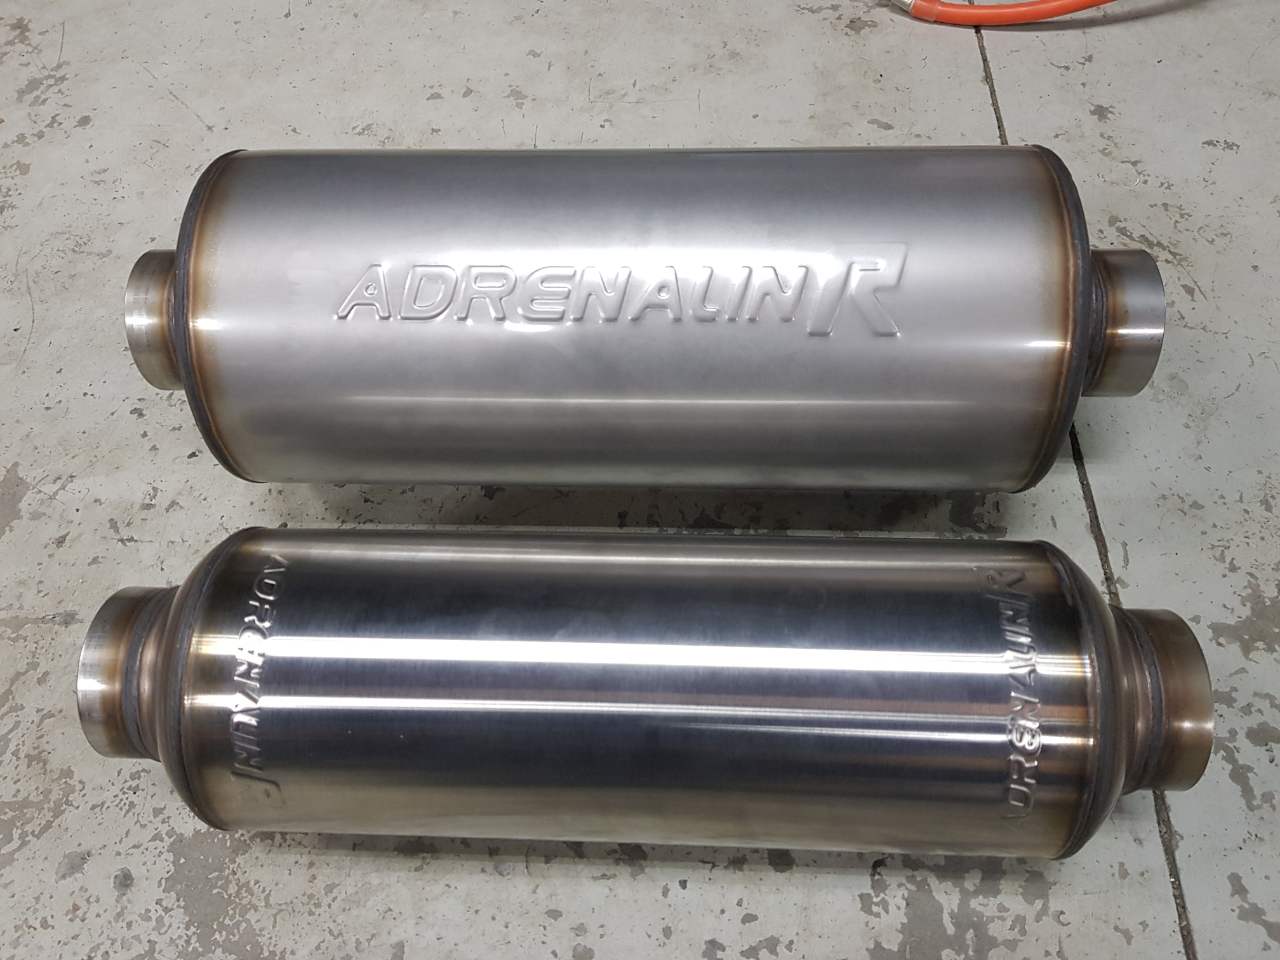
Thanks to me ole mate Richard at Specialised auto services here in Rangiora, I've had a bespoke stainless exhaust made and fitted, to help the old girl breathe a bit easier. VERY happy with the quality and fitment.
 3 points
 -
The Good The Bad & The Ugly From inspecting the car all the electrics worked, even the fender mirrors. The interior was mint minus a crack in the dash and the centre vent. Also a small hole in the drivers seat. I wasn’t a fan of the 1g-eu and it was leaking oil from every orifice, fixed to the auto box = a gradual 0-100. The exterior was fairly straight but the paint was showing its age. Stone chips and a few imperfections were apparent but none of this worried me. It was advertised as having no rust apart from some surface rust under the bonnet and 2 spots near the boot. I knew it would have more and boy I was right, yet I didn’t know how extreme till later down the track. A wheel well half filled with water was a bit of a giveaway and prodded around the boot for some clues. A few areas around the boot seal became apparent, but me being me haggled the price slightly instead of walking away. On The way home I also worked out the suspension all round was rooted as the previous owner had removed the springs for the images in the above post above. First Things First Replaced the windscreen Replaced rocker cover and manifold gaskets Add a sump bung washer to stop oil leaking And straight through WOF it flew. I was certain it would get failed on suspension, but some how it got through… so I carried on sailing the roads of Canterbury with some wicked body roll.3 points
-
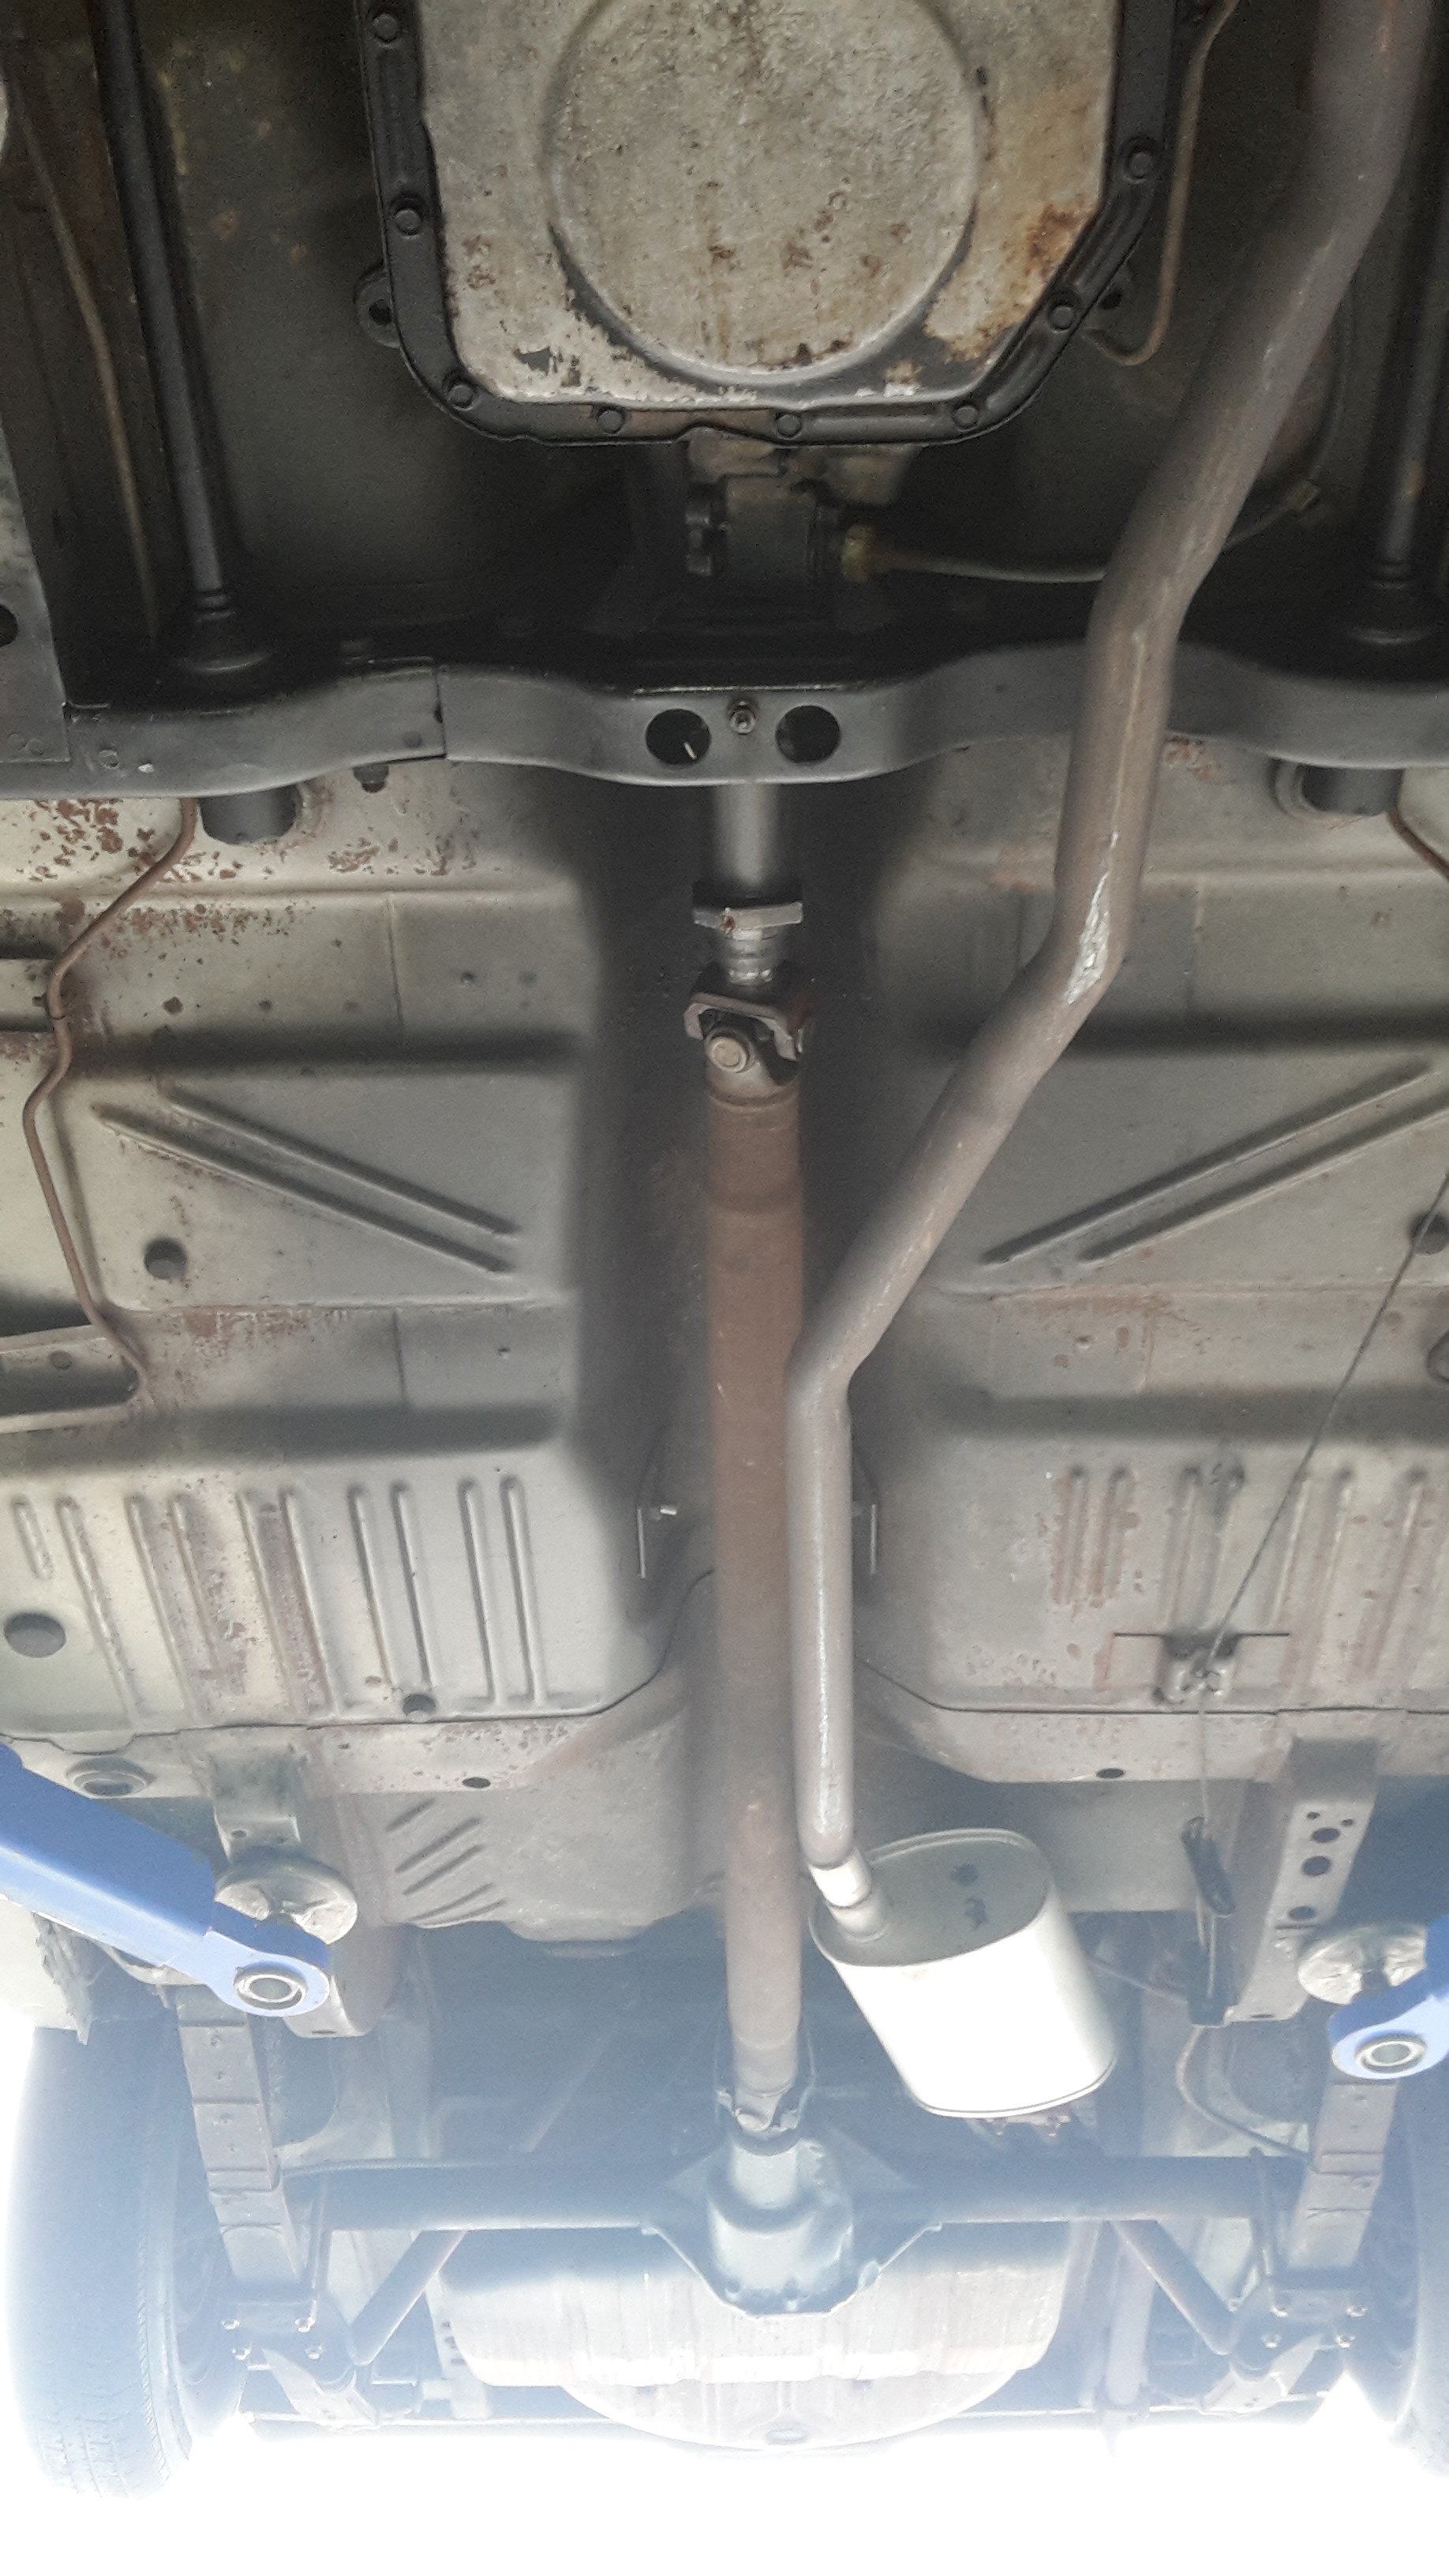
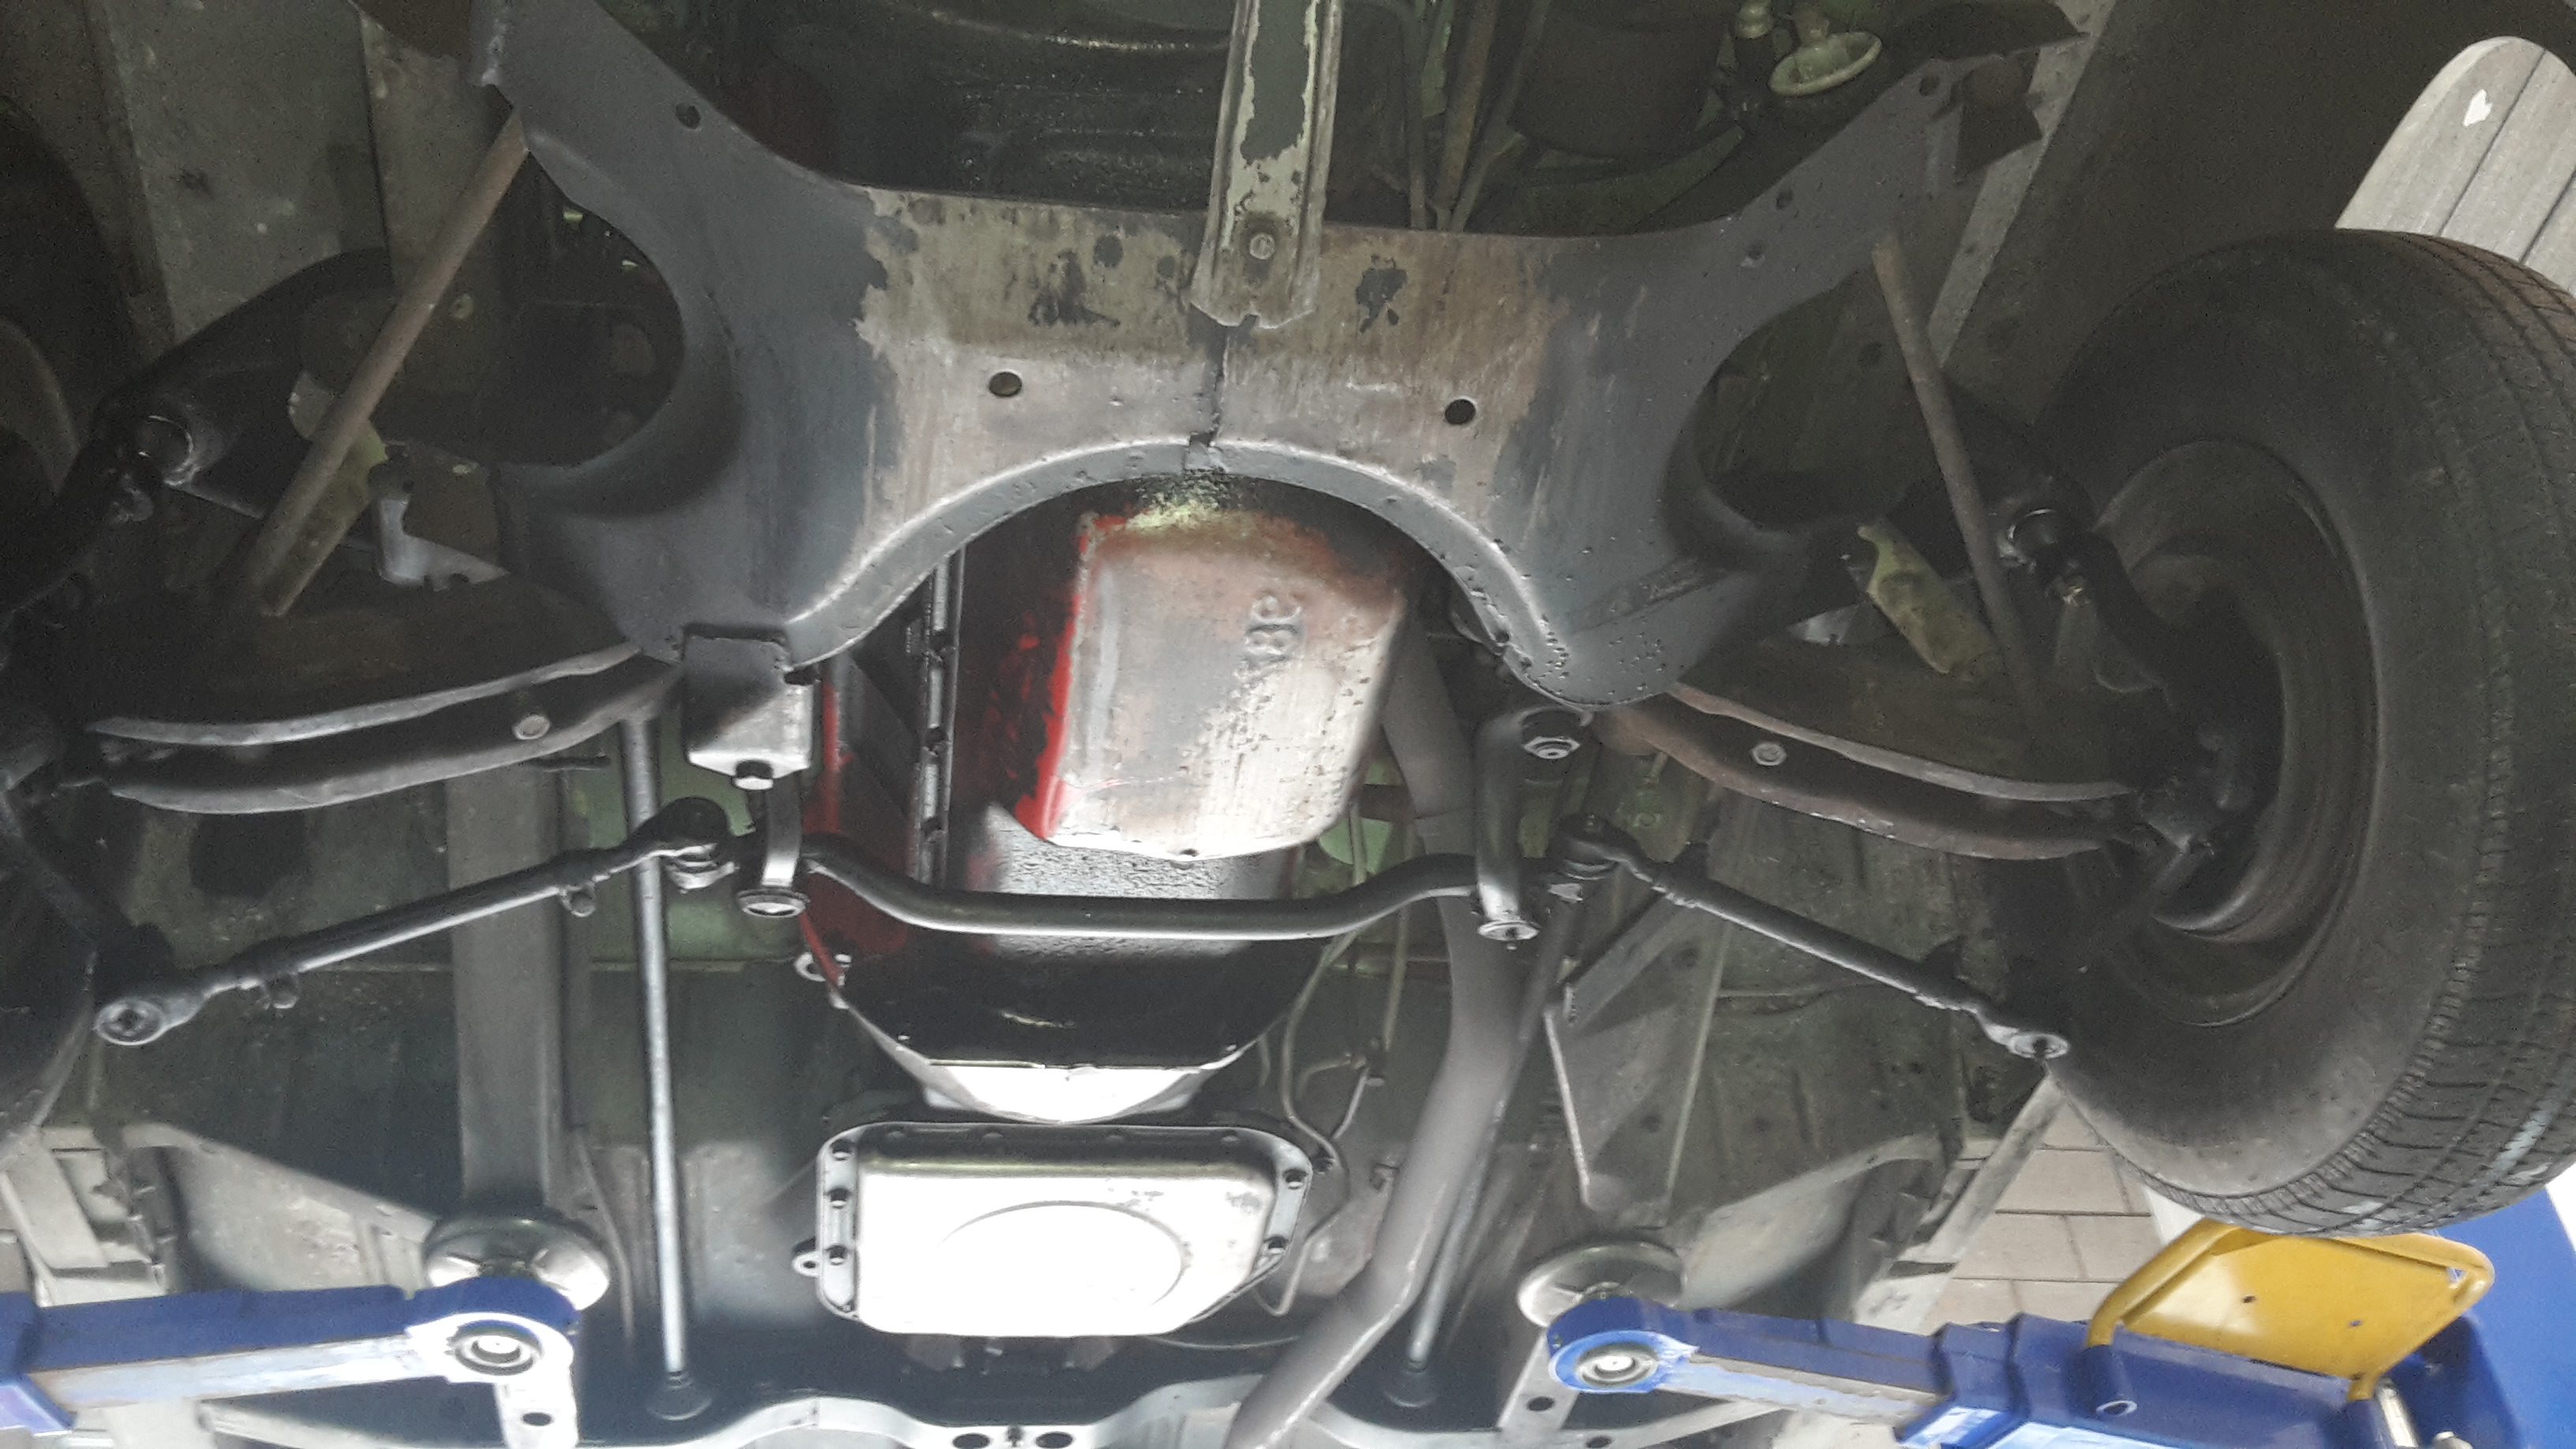
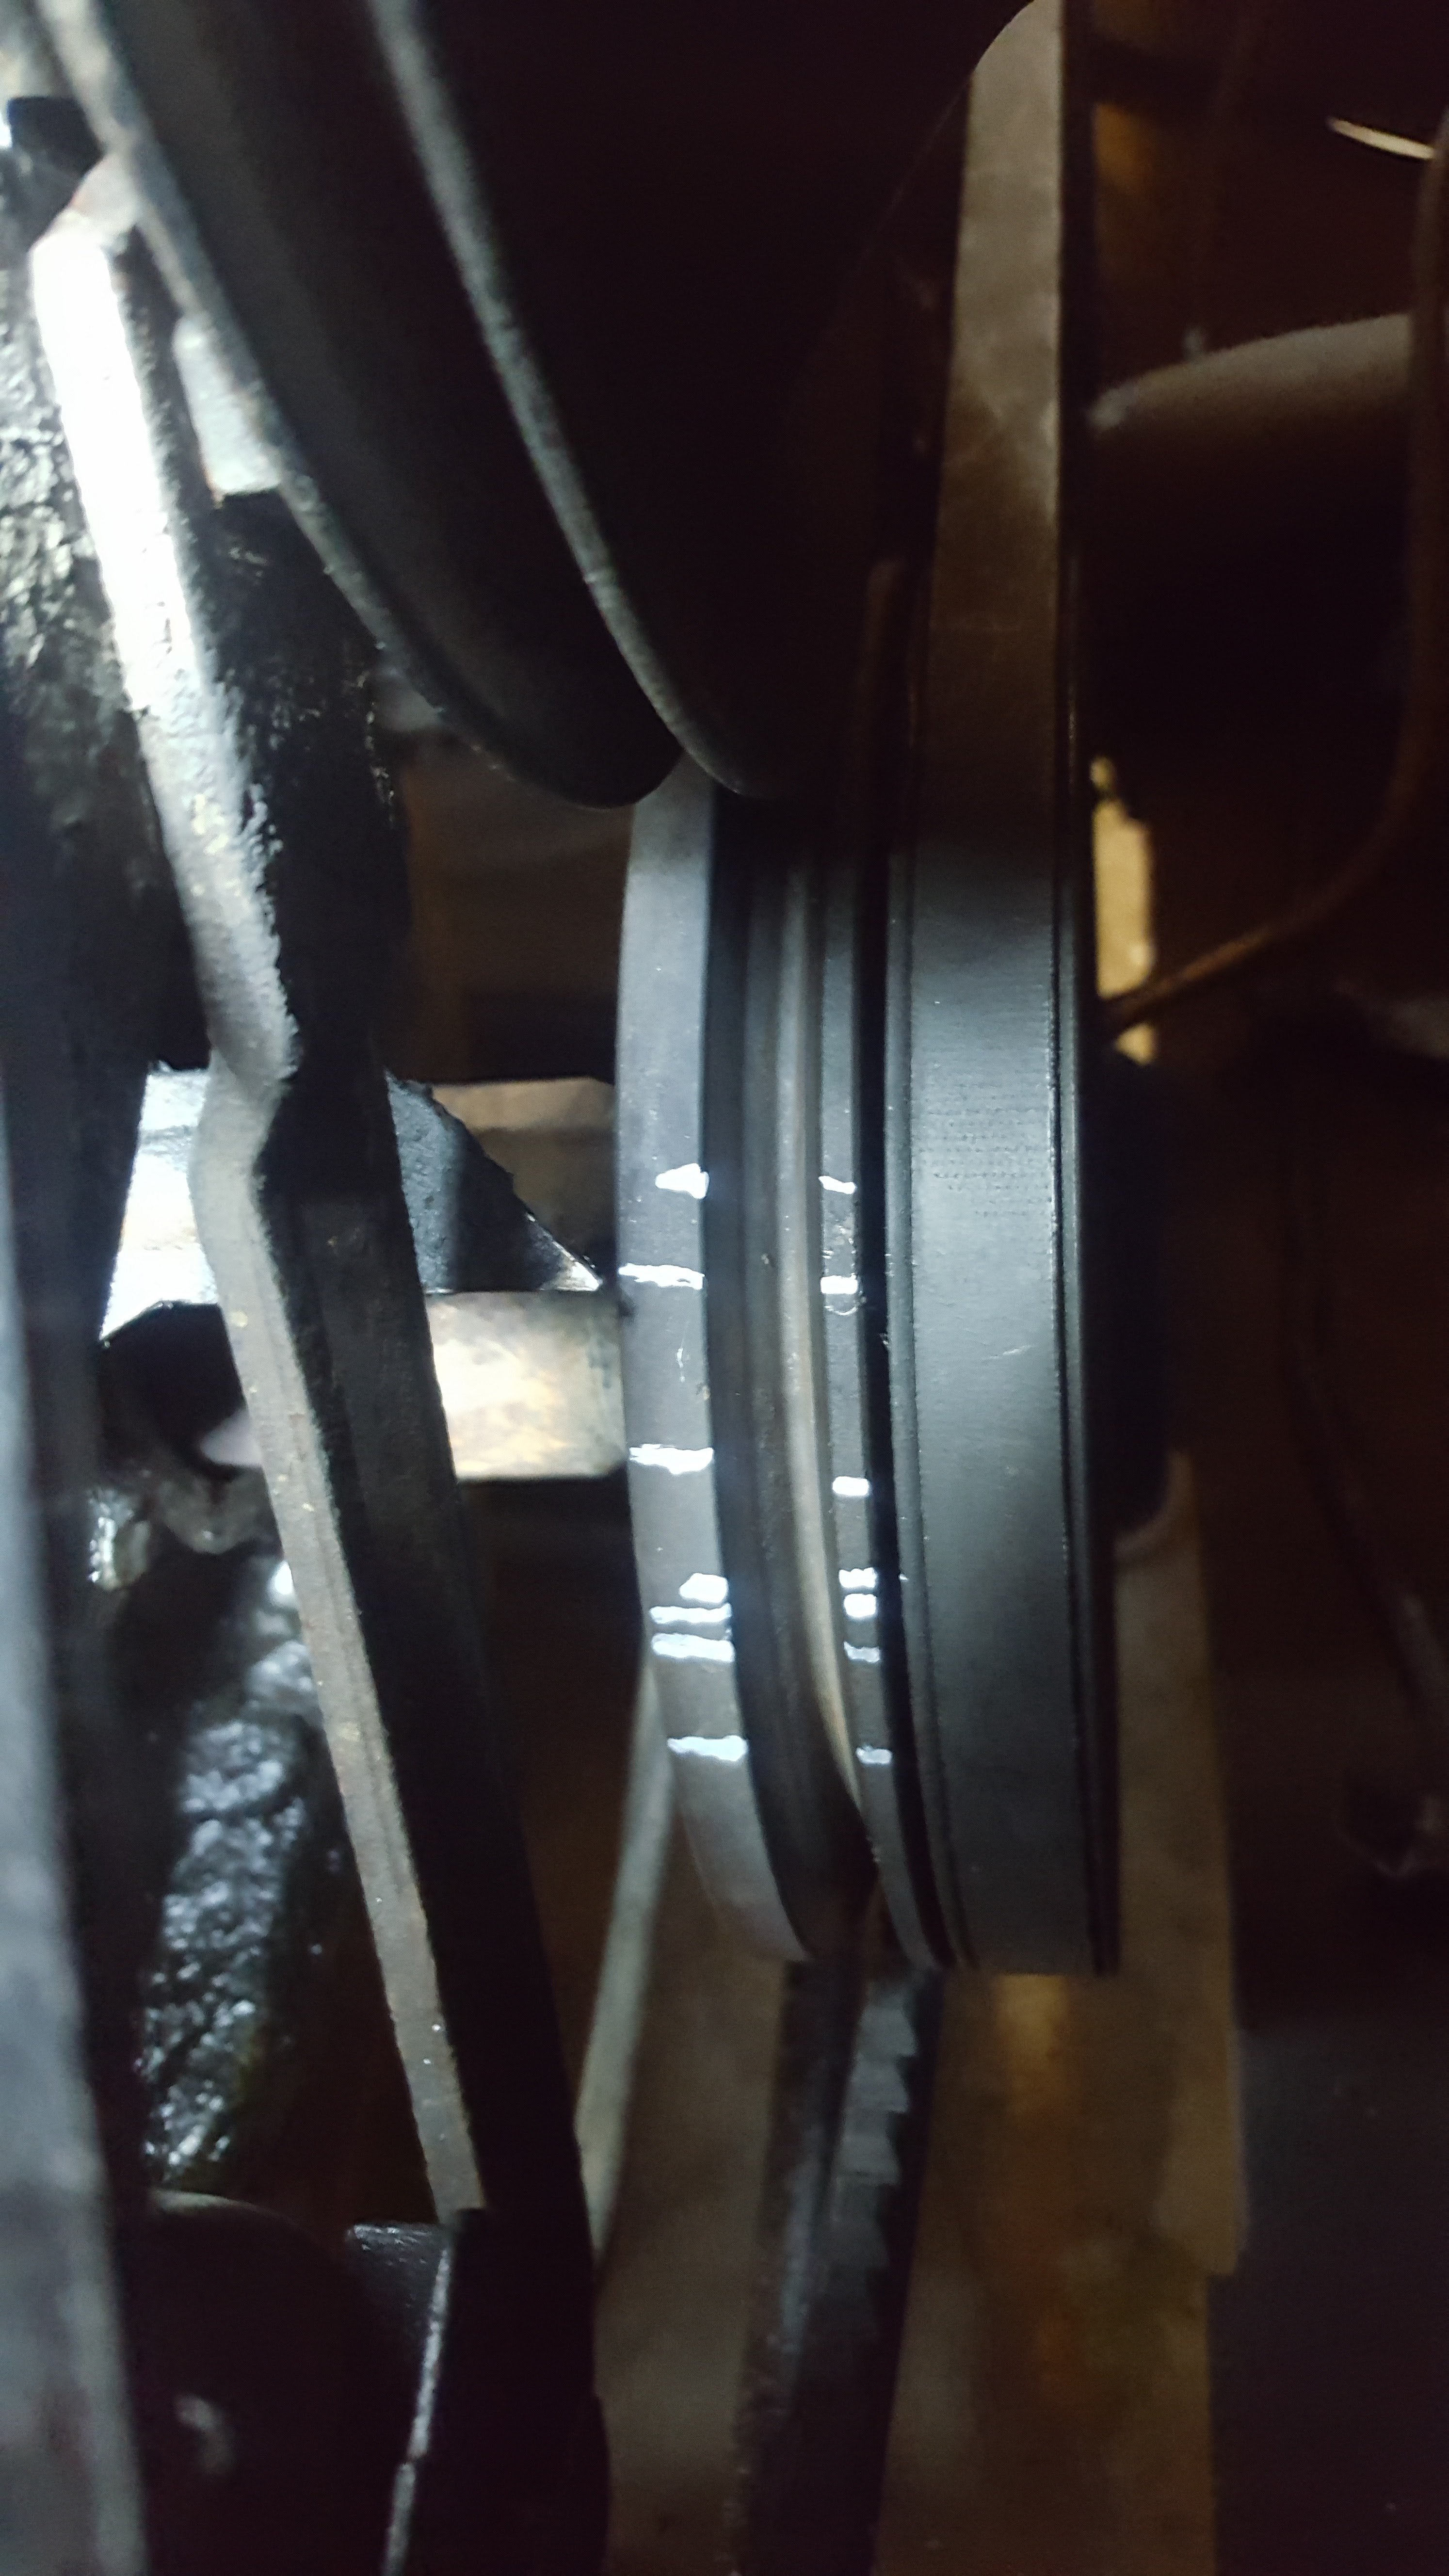
Have been sidetracked with some other stuff but have now got all the bits I need for the diff. Rebuild kit, new 3.23 gears, carbon lsd clutch pack (mustang parts there, look out pedestrians ), another short axle, robbed the center out of a low km explorer to get better spider gears -the ones in the diff I got originally were not great and new ones are surprisingly expensive-and a fancy pants alloy diff cover with a brace Went and got a wof today and here's a pic of its undersides for no real reason
2 points
-
Nah fail, it was better but no full secondary's. Pissed about with it all afternoon but never got there. I noticed the dizzy wasn't advancing so I put mine in, tweaked the feet of the secondary's so it's just about touching the primary's actuator. pulled the diaphragms off and they checked out, put back on with some sealant on the gaskets. I though maybe the airbox might affect the vacuum situation so I also sliced the bottom of the air box, pushed it down to where it cleared the bonnet and filled the gap with panel steel. Didn't get to test drive it but didn't seem to change with free revving on the spot. A keen mate decided I needed mirrors so went and scored a few from some wrecked Cedrics, I made a pair from the best of them, cleaned up well. Stoked with the look, sedans look best with rectangles as opposed to round sporty ones. were now cooking up some 13" wheels so I can utilise the golf shocks and lowering springs I got a few months ago. likely have to reset the leaves too but it needs to come down. I like the current wheels but they..aren't 13s2 points
-
Damn you swanky gits with CAD and all that I must stop reading forums and start practicing fusion 360!!!! The drawings above should work but I'd still be inclined to double check the measurements against your block and gearbox to make sure. Using measurements off the nerdnet is only as accurate as the fella who originally measured them.2 points
-
Been thinking about a Valiant convoy to nationals. Pretty sure an AP5 Safari would be the ideal flagship for such an adventure.2 points
-
I was in the shed for about a minute last night before I noticed a linkage rod on front carb had over-centred, so righted that and it seems to have full travel incl secondary's . So I'll test that on the way to work tomorrow!2 points
-
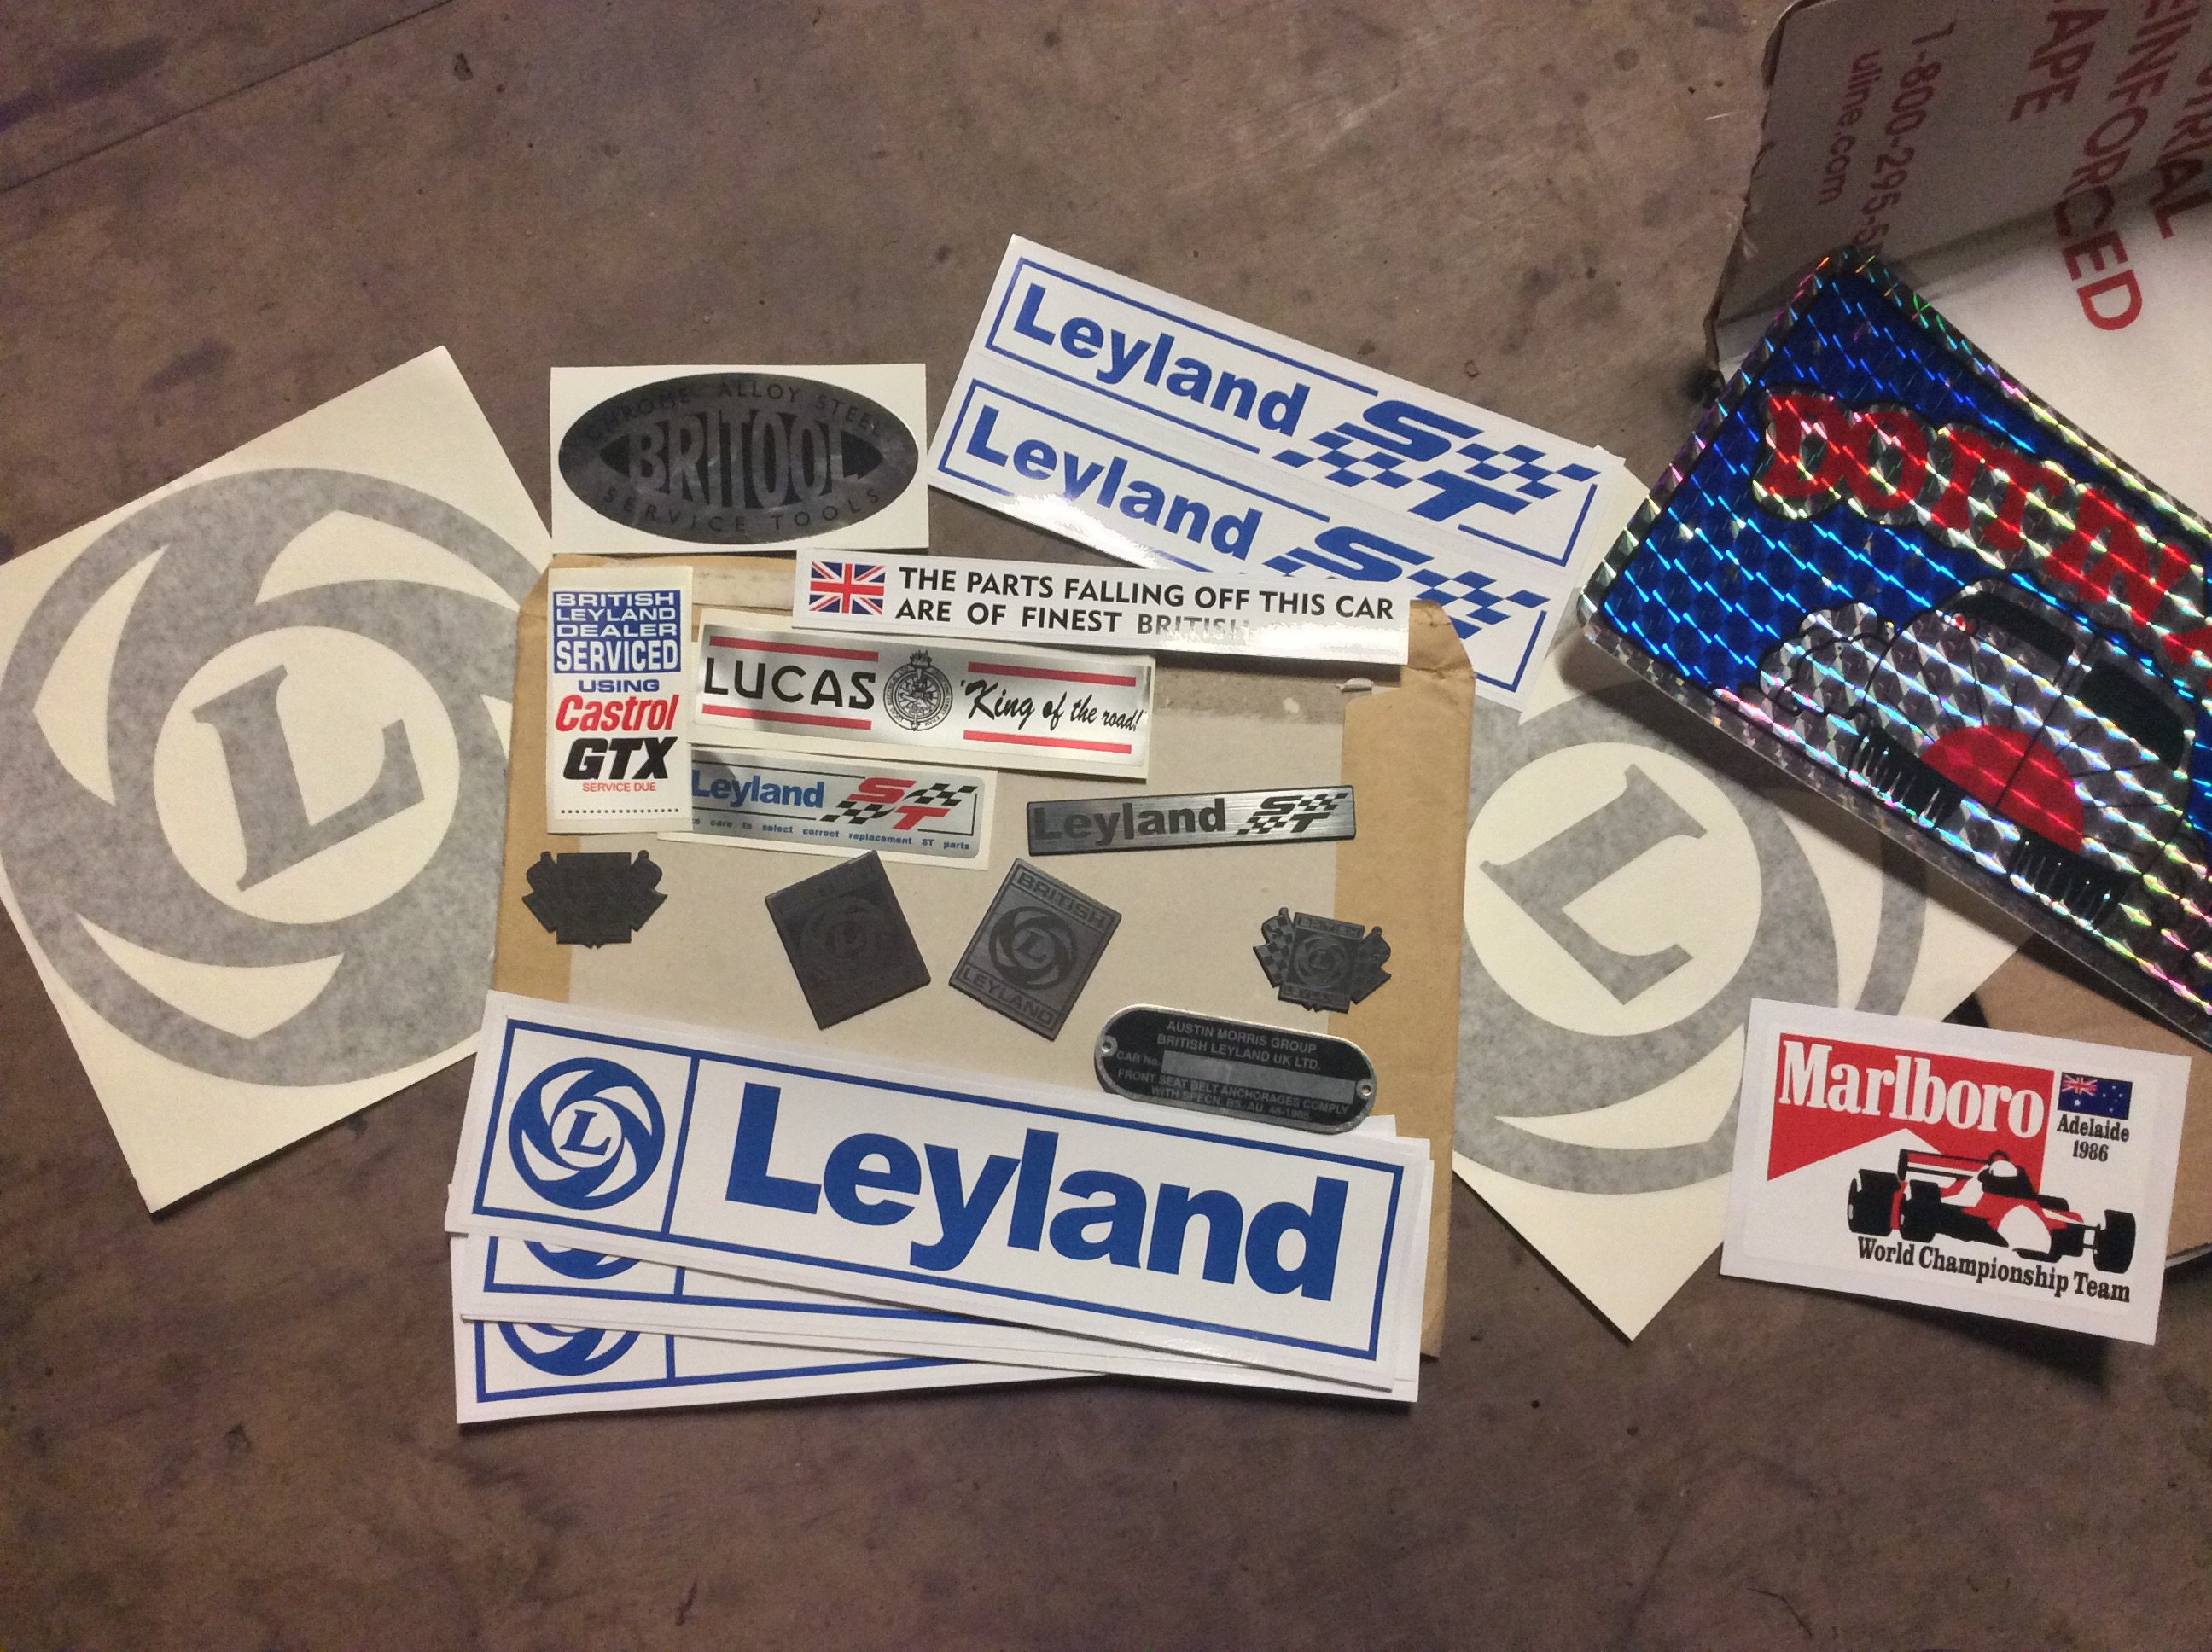
All I'm waiting on now is tie rod bushes from the UK, should have ordered them earlier damnit. Have painted a good deal of the floor pan, and ingested at least 6.2kg of ancient road debris, mostly through the eyes of course. Got a new horn, it's a Lucas high tone so a bit cheery but ah well. Jammed some cheap driving lights on, even used a relay, flash I know. They emit at least 3x as much light as the Lucas headlamps, which just get left on high beam, couldn't blind a possum. Also nos Marina front mud flaps to keep the mud out of the bottom of the guard. heater blower is no go, motor is getting current but not spinning, unsure how keen I am to get involved in 70s BL heater nightmare tbh
2 points
-
Further to last update I finished (roughly) the fuel pump setup last night: FUEL PUMP Take one piece of aluminum off the side of a broken welder, cut it into shape, cover it in kids dura-seal and drill some mounting holes. Whip out Ali Express's finest (cheapest) Riv-nut gun and slam in some captive nuts unlike everything else British. Re-purposed the old fuel pump bracket to hold the pressure relief valve. More captive nuts and a coat of whatever paint I had lying around. Complete setup installed. Factory pre-filter on the left (with new filter) - Bosch fuel pump - high pressure filter - pressure relief valve - metering unit. Not the tidiest solution but wanted to re-use a fair bit of what I already had to keep the cost down. This will be coming out again to weld up an exhaust mount underneath the floor and i'll blast some paint in there at the same time.2 points
-
Updater. 1. Fuel pump. The one on the left is in the bin. The one on the right is in the boot. We now have reliable Bosch fuel pressure at 110psi at all throttle openings. New power supply and relay fitted also. I'm just finalising a mounting system and I'll take a pic for the next update. There are kits on the market but they are very spendy so have put something together myself. The original Lucas pump is actually a windscreen wiper motor. Needless to say it wasn't a great option from new. 2. Metering unit. After many many hours fettling, dicking about, trying things, trying other things I decided to rob a bank and buy this: Stuck it in, timed it. Available for sale for a limited time: Patented Tumeke injector bleed test bed © Also available Tumeke Remote Cranking / Gravity Weight System © Also reset and re-sprung throttle bodies, butchered a twin cable choke cable (if anyone has a spare I'd like it please), fixed the over-drive switch with some re-wiring and generally dicked about. Pretty close. Still needs a bit of timing / tuning but mobile and has been moved to home garage rather than storage garage so that I can begin cutting out rust for a WOF. The saga continues.2 points
-
I decided to start from scratch with a tune file, I've fairly well hashed out the 0-4000rpm region in all load regions of the fuel map. Because you go through all of them all of the time when driving. But I've found it difficult to reach the higher rpm mid/low load areas (partially because you're never in them) and I never felt confident in the past that I had these accurately set.So for interests sake, I thought I would software limit the e-throttle angle so 100% on the pedal is only say 80% TPS or whatever. Then go do some "full throttle" runs, where I could get consistent and repeatable results to help dial in the fuel in those part throttle areas. However, the results really surprised me! I had to pull out so much throttle angle just to lose 10kpa of manifold pressure. It was a good exercise to complete as it felt like my accel enrichment has been relying on these load cells that havent really been dialled in too well. But found it very interesting how non linear the MAP vs TPS relationship is at higher RPM. This car has a factory Toyota Altezza E-throttle unit which from memory is 78mm at the butterfly so you can tell that it obviously causes very little restriction even when partially shut. I would expect a more linear TPS vs MAP relationship when using a smaller throttle body. In other news, its hilarious doing a full throttle run at 20% throttle, it takes a long time hahaha.2 points
-
One of my claims to bogan fame is the fact that in the 90s, the local wrecker ran out of stock of escort diffs because of me. 2 in my escort van and 7 in my mk2 cortina. Skid-axle tramp- bang. Learn? No. Repeat2 points
-
Since working down south at HPA I thought I'd start from scratch with a new tune file, my old one had lots of odds and ends in it from various experiements / adding and removing sensors etc. Looking at everything with a fresh set of eyes really showed how much a few things were garbage but I just assumed it was right when I didnt know much at the time or whatever. Like looking properly into how the cold start functions work it's now much better, starts without foot on the gas and doesnt zing the revs up when you start it. As well as that I'd never really played around with accell enrichment before, now it feels a lot nicer at high rpm when you give the throttle a stab. And I'll be ditching the staged injection as in my case it doesnt really add enough/anything to justify the added complexity to the fuel system, and the throttle response is worse when you're using it. I think to make it work as nicely as a single injector setup you really need a good wall wetting compensation model and two completely seperate tables for it for each injector. Whereas the Link only has a single table for accel enrichment settings, and an initial enrichment setting when secondary injectors come on. Which makes it impossible to account accurately for situations where you've got say 20% secondaries vs 90%. I think staged injection works well when your entire intake is hot, as it evaporates the fuel a lot quicker. But in my case when you've got a thermal isolator stopping engine heat soaking into the manifold you get a huge % of fuel ends up as wall wetting and you lose control of fueling and accel enrichment. I've now got about 3-4 sets of Altezza injectors though so I'm gonna flow bench them all and find the best matching set out of the lot. Will be interesting to see how much variation there is (or isnt) across that many of the same injector. Also just picking up this afternoon an Altezza engine in bits, so might throw it together and chuck it in the car to have a play around with exhaust side VVTI as well and see if that makes much difference compared to current setup. /Pointless Dave Rant over /It's never really over though2 points
-
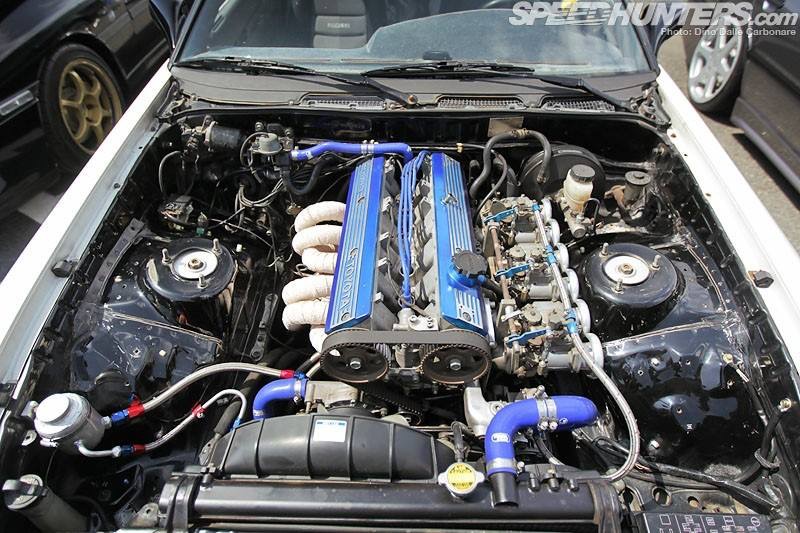
So I have been scanning Oldschool for a few years but I don’t pipe up much. But since breaking my collarbone a week ago whilst skiing I have found time to finally put together a build thread to hopefully catalogue the cars journey. Model Info Japan import 1982 Toyota Corona Mark II Grande GX61 (pre-facelift sedan). 1G-EU, 2-litre, 6-cylinder, automatic with over drive. Background For the majority of its life it was owned by a Lady in her 70s-90s. She used the car as her daily as I believe and was apparently always garaged. She even wore leather driving gloves, which I still have one of, and resides in the glove box. The other was sadly lost before my ownership. She then passed the car onto her granddaughter’s boyfriend. The car then went through a couple of hands in under a year before finally reaching mine. I brought the Car in September 2015, 2 years ago Why Buy That Piece of 80s Rust? As a kid I always drew pictures of cars and the dream cars were the A80 & A70 Supras. However this then changed at the age of 16 to the Celica XX/GA61, (8 years later this is still the dream car sadly). So I move to Dunedin to study and a certain car catches my eye on my first day down there. A Cream Toyota Cressida Waggon scraping down the main street, ring a bell? I was lost for words, it was fucking amazing. But a guy just down the street didn’t think so yelling out something like “Buy a new car you .....”. After a few weeks I worked out the owner was in my course, and that’s when I meet Zeb. Zeb then opened my eyes up to all the 80s Toyota goodness and Oldschool.co.nz (however I didn’t follow oldschool till many years later). Then I got the Toyota bug. So what’s the first thing to do when you finish studying and have a job…..buy a 80s Toyota that’s what. Also the pictures of the cars potential with some low and some simple SSR mk1s that the previous owner had put up on the sale post pushed me along. Note that the following pictures are from the previous owner. I purchased the car entirely stock. I will update this thread over the next few days hopefully upto where it is now.1 point
-
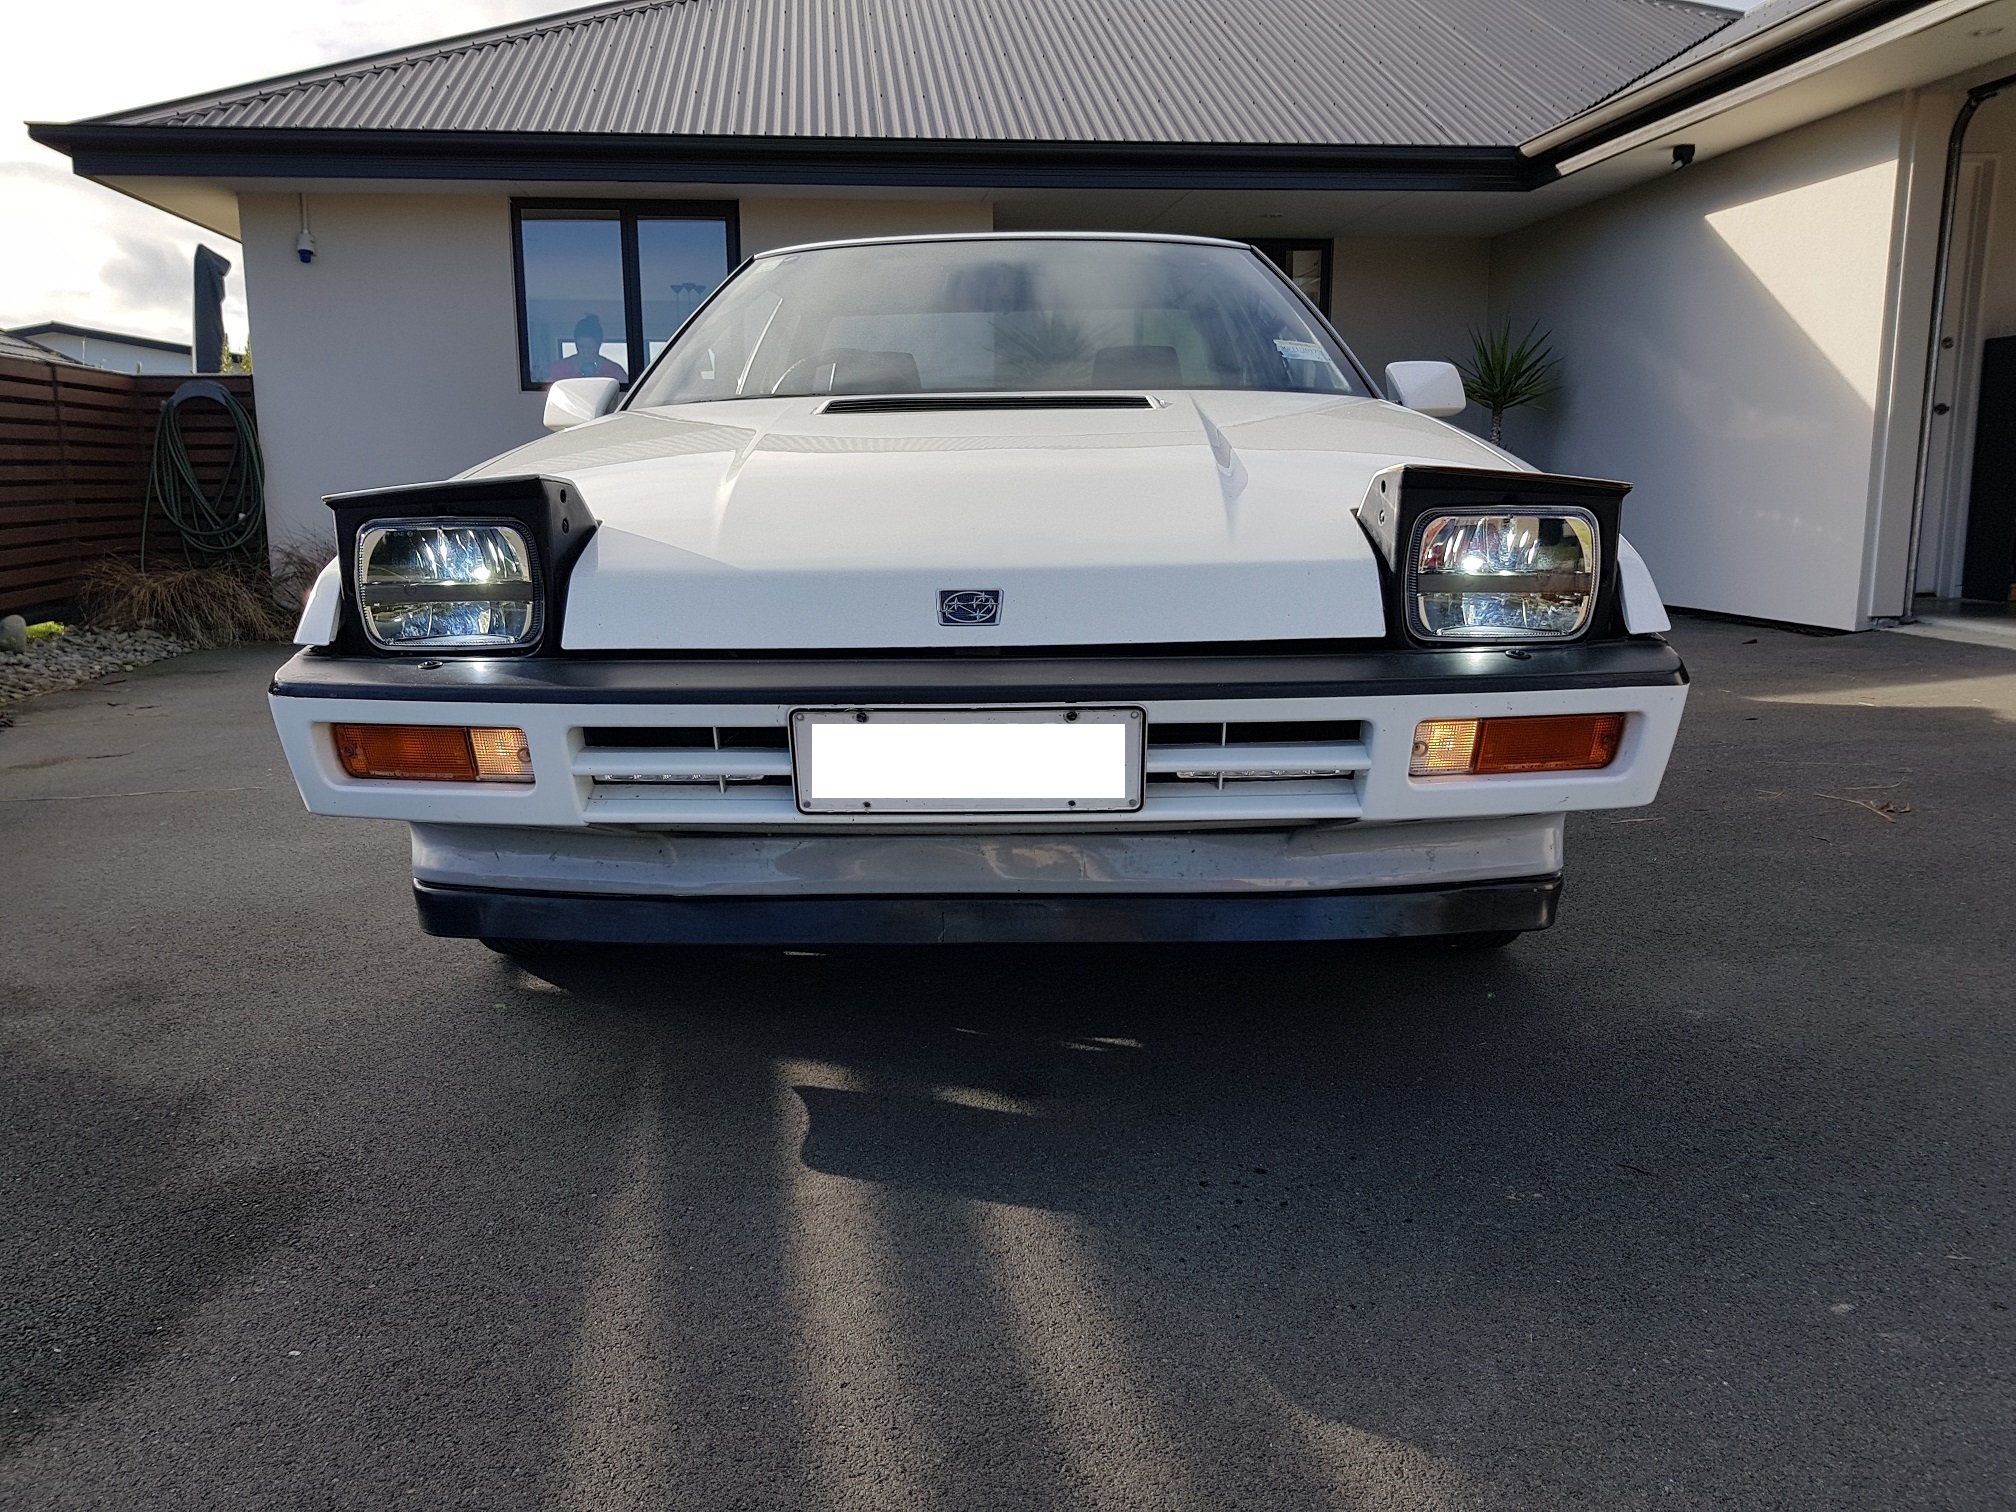
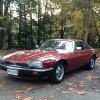
Thought I'd better post a pic of my latest family member and life long project car... NZ new, second owner and only 77 thou k's now, rust proofed when new so very very tidy, everything works including air ride, digital dash and not a single squeak or rattle while driving. I real gem I recon. Got a few reliability plans for the EA82T to keep it alive forever (under bonnet air/water intercooler to get that intake temps lower and stainless exhaust plus a few other tricks learnt over the years), but keeping it as standard as possible will be the mantra throughout. Bit of a dream car for me to be honest from the moment I saw one in 1985 at a motor show, i even had the Tamiya model of this exact car/colour/interior as a kid!. I think it's an interesting car from an interesting time that people either love or hate (both the time and the car haha) Joins my Brumby as a permanent member of the family along with the everyday drivers.1 point
-
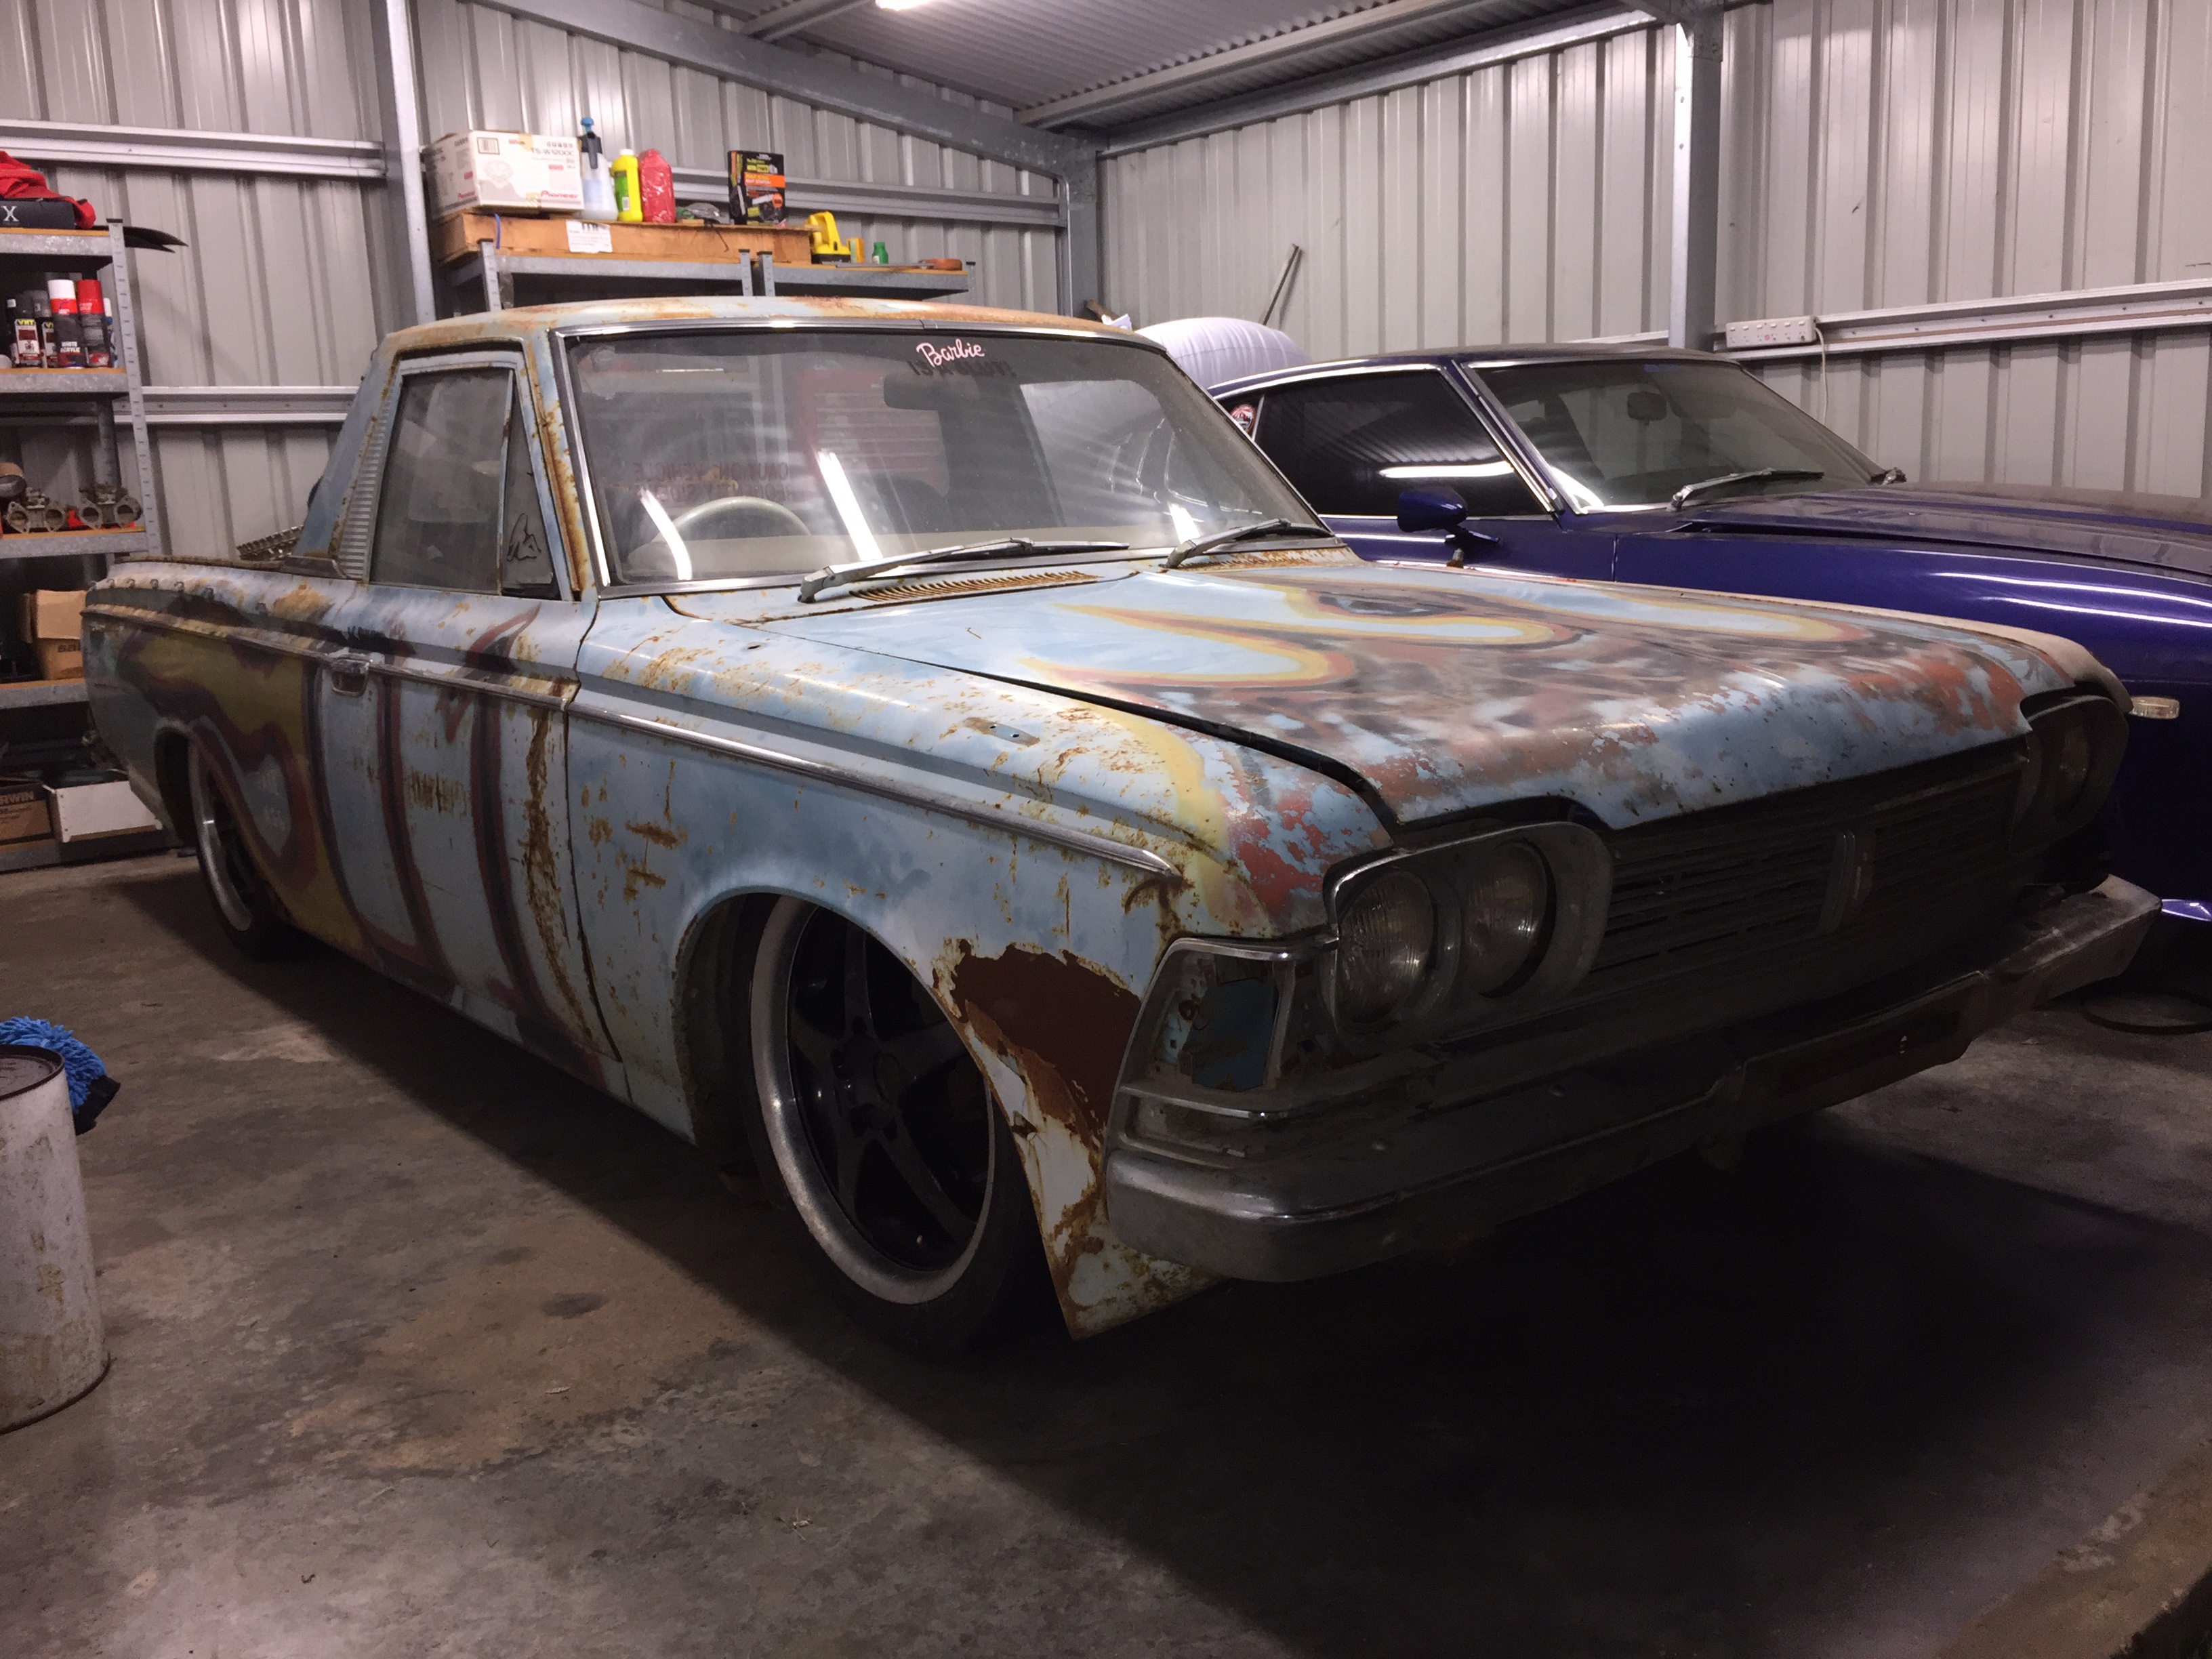
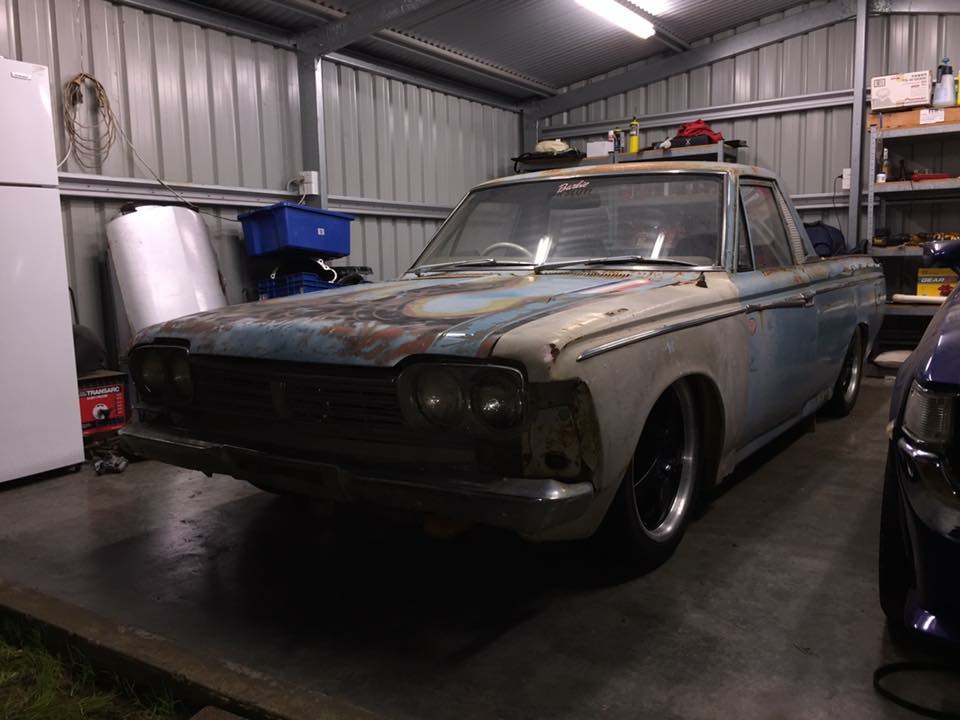
Now own a 1964 Mercury Monterey Breezeway that is without serious rust and though I'm happy to bring her up to spec and use her for runs and the like I've discovered a lot of 'cowboy' fixes that keep getting in the way. The biggest right now is stumble off idle that grows worse throughout a run. Replaced fuel pump with a new Carter mechanical - cowboy installation of a secondhand mechanical pump saw a socket stuck on the inner bolt which turned out to be cross threaded, the lever mounted over the eccentric. Recoiled the inner thread and mounted correctly. Though the fuel pressure now being constant appeared to make things better - the stumble off idle continued to intermittently rear its ugly head. Next to the PCV. Yeah right - another cowboy prank. All clips for the hoses were missing. The valve itself was clogged completely so got a new one in after reading somewhere that a cleaned one might look the best but new required regardless. Sorted that out but the stumble remains albeit intermittently. Next up the dizzy - yeah - you're getting the idea. Outfitted before my time with a XR-1 electronic points setup including a Flame Thrower coil, I soon discovered that the plate the XR-1 was mounted on being the vacuum advance movement as well, was mechanically sticking due to an incorrect fitup where the plate was angled and binding against its own retainers which also should have been set to allow free movement, was jury rigged with an oversized foriegn washer and the little mount cylinders being to short hadn't been spacer-ed at all. Getting stuck on full advance now and then sure wasn't helping with the stumbling problem and once I had sorted that out the stumbling went away though a problem with acceleration now reared its head. That means the next thing to address is the carb settings. It's a QF-Slayer 4160 750CFM though that took some time to sort as there was no ID marks anywhere to be seen whilst it is mounted. The carb has glass sight for the bowls so I fitted a permanent fuel pressure gauge, changed the vacuum advance to manifold vacuum, replaced the first hose for the merc-o-matic vacuum and checked that - no leaks at all - found out the exact marking on the harmonic for TDC #1 - ( it needs to be re rubberized as it has moved with age ) - and set about setting the timing exactly at 6 degrees - ( Vacuum advance is 12 degrees and I'm looking at keeping full advance under 34 degrees ). Set the bowl heights exactly as indicated and brought Breezie up to op temp at idle. Everything looked and sounded fine. Turned her off and watched the secondary bowl height grow until not seen at high level. Not good. Reset the height and once fired up tried to rev her a bit to now see the secondary level went - it went down and caused back firing and excessive stumbling - basically - lean running. So pulled the needle and it looked fine but still blew it out to be sure. Back in and reset the bowl back to original. Though a quick run around the block showed only a little spit upon initial acceleration, Breezie seemed to want to run. Took her for a 200 Kilometer run the next day and thoroughly enjoyed her though just a little spit on initial acceleration persisted. Still, the trip to Kerikeri got to see an expert with carb recognition identifying the carb which allowed the ordering of parts such as plastic bowls, new needles and gaskets. So this weekend should see that done and hopefully dusted. Can't wait to get on with looking out for Breezie and not being stuck using precious time on this holdup. Wish me luck. Meanwhile I'm on the look out for 14" rims and original covers ( Hubcaps ).
1 point
-
My sister has a new workshop and she said you should come see it, particularly if you like Nissans & Toyotas 28 October. There will be pizza and drinks http://www.facebook.com/events/174566376421391/
1 point
-
Also, Fitted LED headlights, amazing improvement.
1 point
-
Nice straight through mufflers
1 point
-
This is what I was referring to.
1 point
-
1 point
-
Cool wagon, i spotted it parked in Austin st a few weeks back. Do you still have any of the original slant front parts left? I'm after a front bumper if its good, or failing that just a passenger side end cap.1 point
-
Then if we could lure a certain white big block ap5 out too there would be a trio of pure ap5 lushness.1 point
-
Thanks everyone for your replies. On the flywheel front, I talked to Claire on the MX5 forums who has done this engine and gearbox combo in the past, and she said that she had no issues with the flywheel being unbalanced. Apparently on the RX-8 the counterweight is separate to the flywheel, whereas the flywheel off an RX7 (which fits the 8 and looks very similar) has it built in, leading to the confusion. Therefore I have decided to go this route with it. That means I won't need to pull the engine out of the 626 down in Auckland, though thanks heaps to @bigfoot for the generous offer. On the adapter plate front, thank you @BigT105e for the suggestion and I totally see where you're coming from but I feel like I wouldn't be comfortable with the amount of accuracy that I would get from doing it that way. Instead, thanks again to @Transom, I found the CAD drawings of the KLZE bell housing bolt pattern. I also found a drawing of the RX-8 bell housing bolt pattern and set the two over each other to try designing my own plate. It's very much in the early stages so far but I'm still chipping away at it slowly. You can see there are some clashes with bolt positions but one on the top left is a locating dowel on the engine side so I might be able to get away with it. The lower one I'm not so sure about yet but I work on it some more and I'm sure I'll figure something out. My plan it to get it to where I think it will work, then cut it out of MDF on the school's lazer cutter to check it will fit, then take it to a CNC shop in town and get them to cut it out of some ally plate for me. It should work out to be cheaper than importing it by a long shot. I'm still open to your guys' thoughts so fire away.
1 point
-
Haha! Need a crap old piano to gut out & carry around on the roof rack1 point
-
very tidy.1 point
-
Bro re the bellhousing adapter, get yourself a bit of perspecs and a red and blue or black sharpie, put perspecs against back of block, draw an outline in one colour, marking all holes etc, then put the opposite side against the bellhousing you want to use and do the same in the other colour, transfer to ally/steel and cut out desired shape and thickness, bolt up and work out shaft lengths etc, theres various ways to do plate, milled from thick ally is best, other ways incl cutting 2 plates out of steel and gusset together, I'm a tard at explaining shit, its clear in my noggin lolz1 point
-
If you want a hand pulling engine, let me know and il bring tools1 point
-
Try this again... Long story short life and dads junk got in the way lol, been mishing for the past year to get the house and garage sorted which is now done (shelving works a treat...in the storage form..) soo no excuses now!! gah.. me box is too big, had to get my trim on..whos awesome idea was it to put this lump in instead of a humble t50... Never-the-less shes in, bit of an angle or else i wont have room for the hoop but meh i just want to get it done and driving. Will weld some gussets/bracing to the box mounts and make it all flashy tomorrow!1 point
-
I actually tried to fire it up last Friday night, but the second hand fuel pump out of Darrell's HZ Statesman, which I've had in a box for a few years, had died from natural causes.I wasn't keen on changing all the lines and installing the factory pump, so I googled up the brand of the old pump and found they are a NZ company manufacturing these pumps in a Waihi, 95bucks delivered to my work yesterday, 5 o'clock couldn't come soon enough! I rusted home and mounted it up.This is a 2psi low pressure pump for carbs, they do a 4psi 6si a 6volt version and 24 volts version.I like it as it's small, in line, no regulator needed, and very quite.So after battling to find a good earth I ended up using the screw that holds the left service cover thing on.By now it was nearly ten at night but I've waited to long to let that stop me!I took it for it's first wee drive up and down the street last night, woke up all the neighbours and stuck it back in the shed as no lights is a bit scary!Darrel came up and we quickly realized the "to do" list is getting bloody small!-lights-seat belts-4 wheel nuts-brakes still spongy-wipersplus non wof things like air filters, sunroof etc...so while we were on a roll we connected up the lights.still no front indicators, but I'm sorting that out today.moved the power for the fuel pump over to one of the only on when car is on fuses, indicators I think?and holy shit! everything works! the wipers! both speeds! the horn, everything!can't believe it!!even though it is technically running like a bag of shit, carbs need tuning/jetting/sync, brakes where scary bad and the steering felt heavy as(might have just gottin use to power/no tiny wheel) it was awesome!I even gave it a bit of welly in second up the road and man, it wants to go!1 point
-
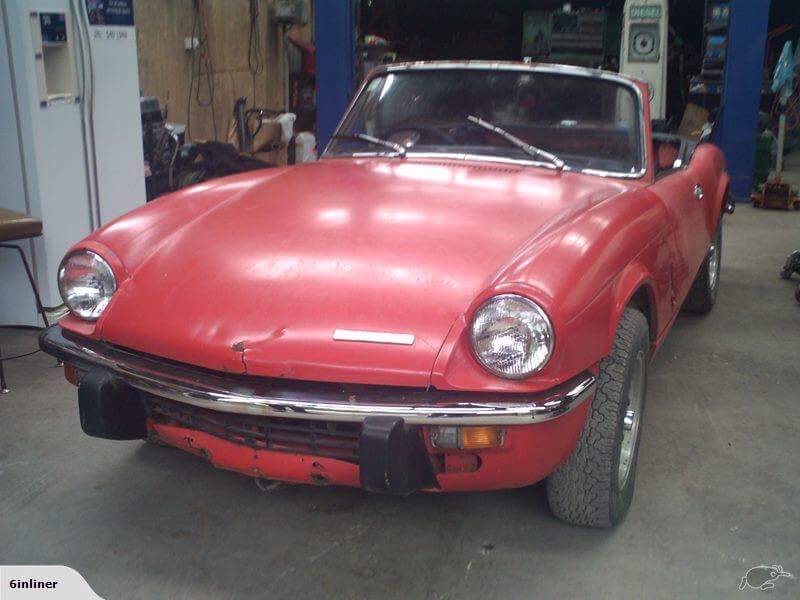
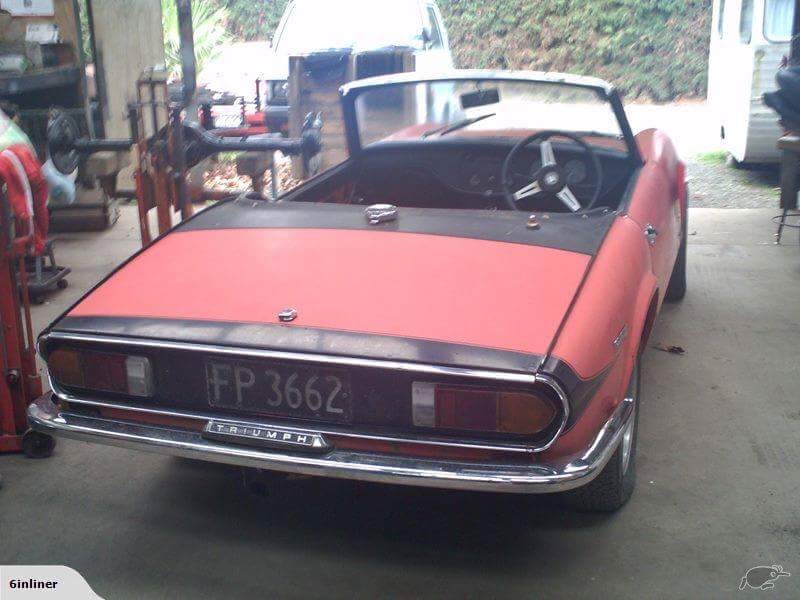
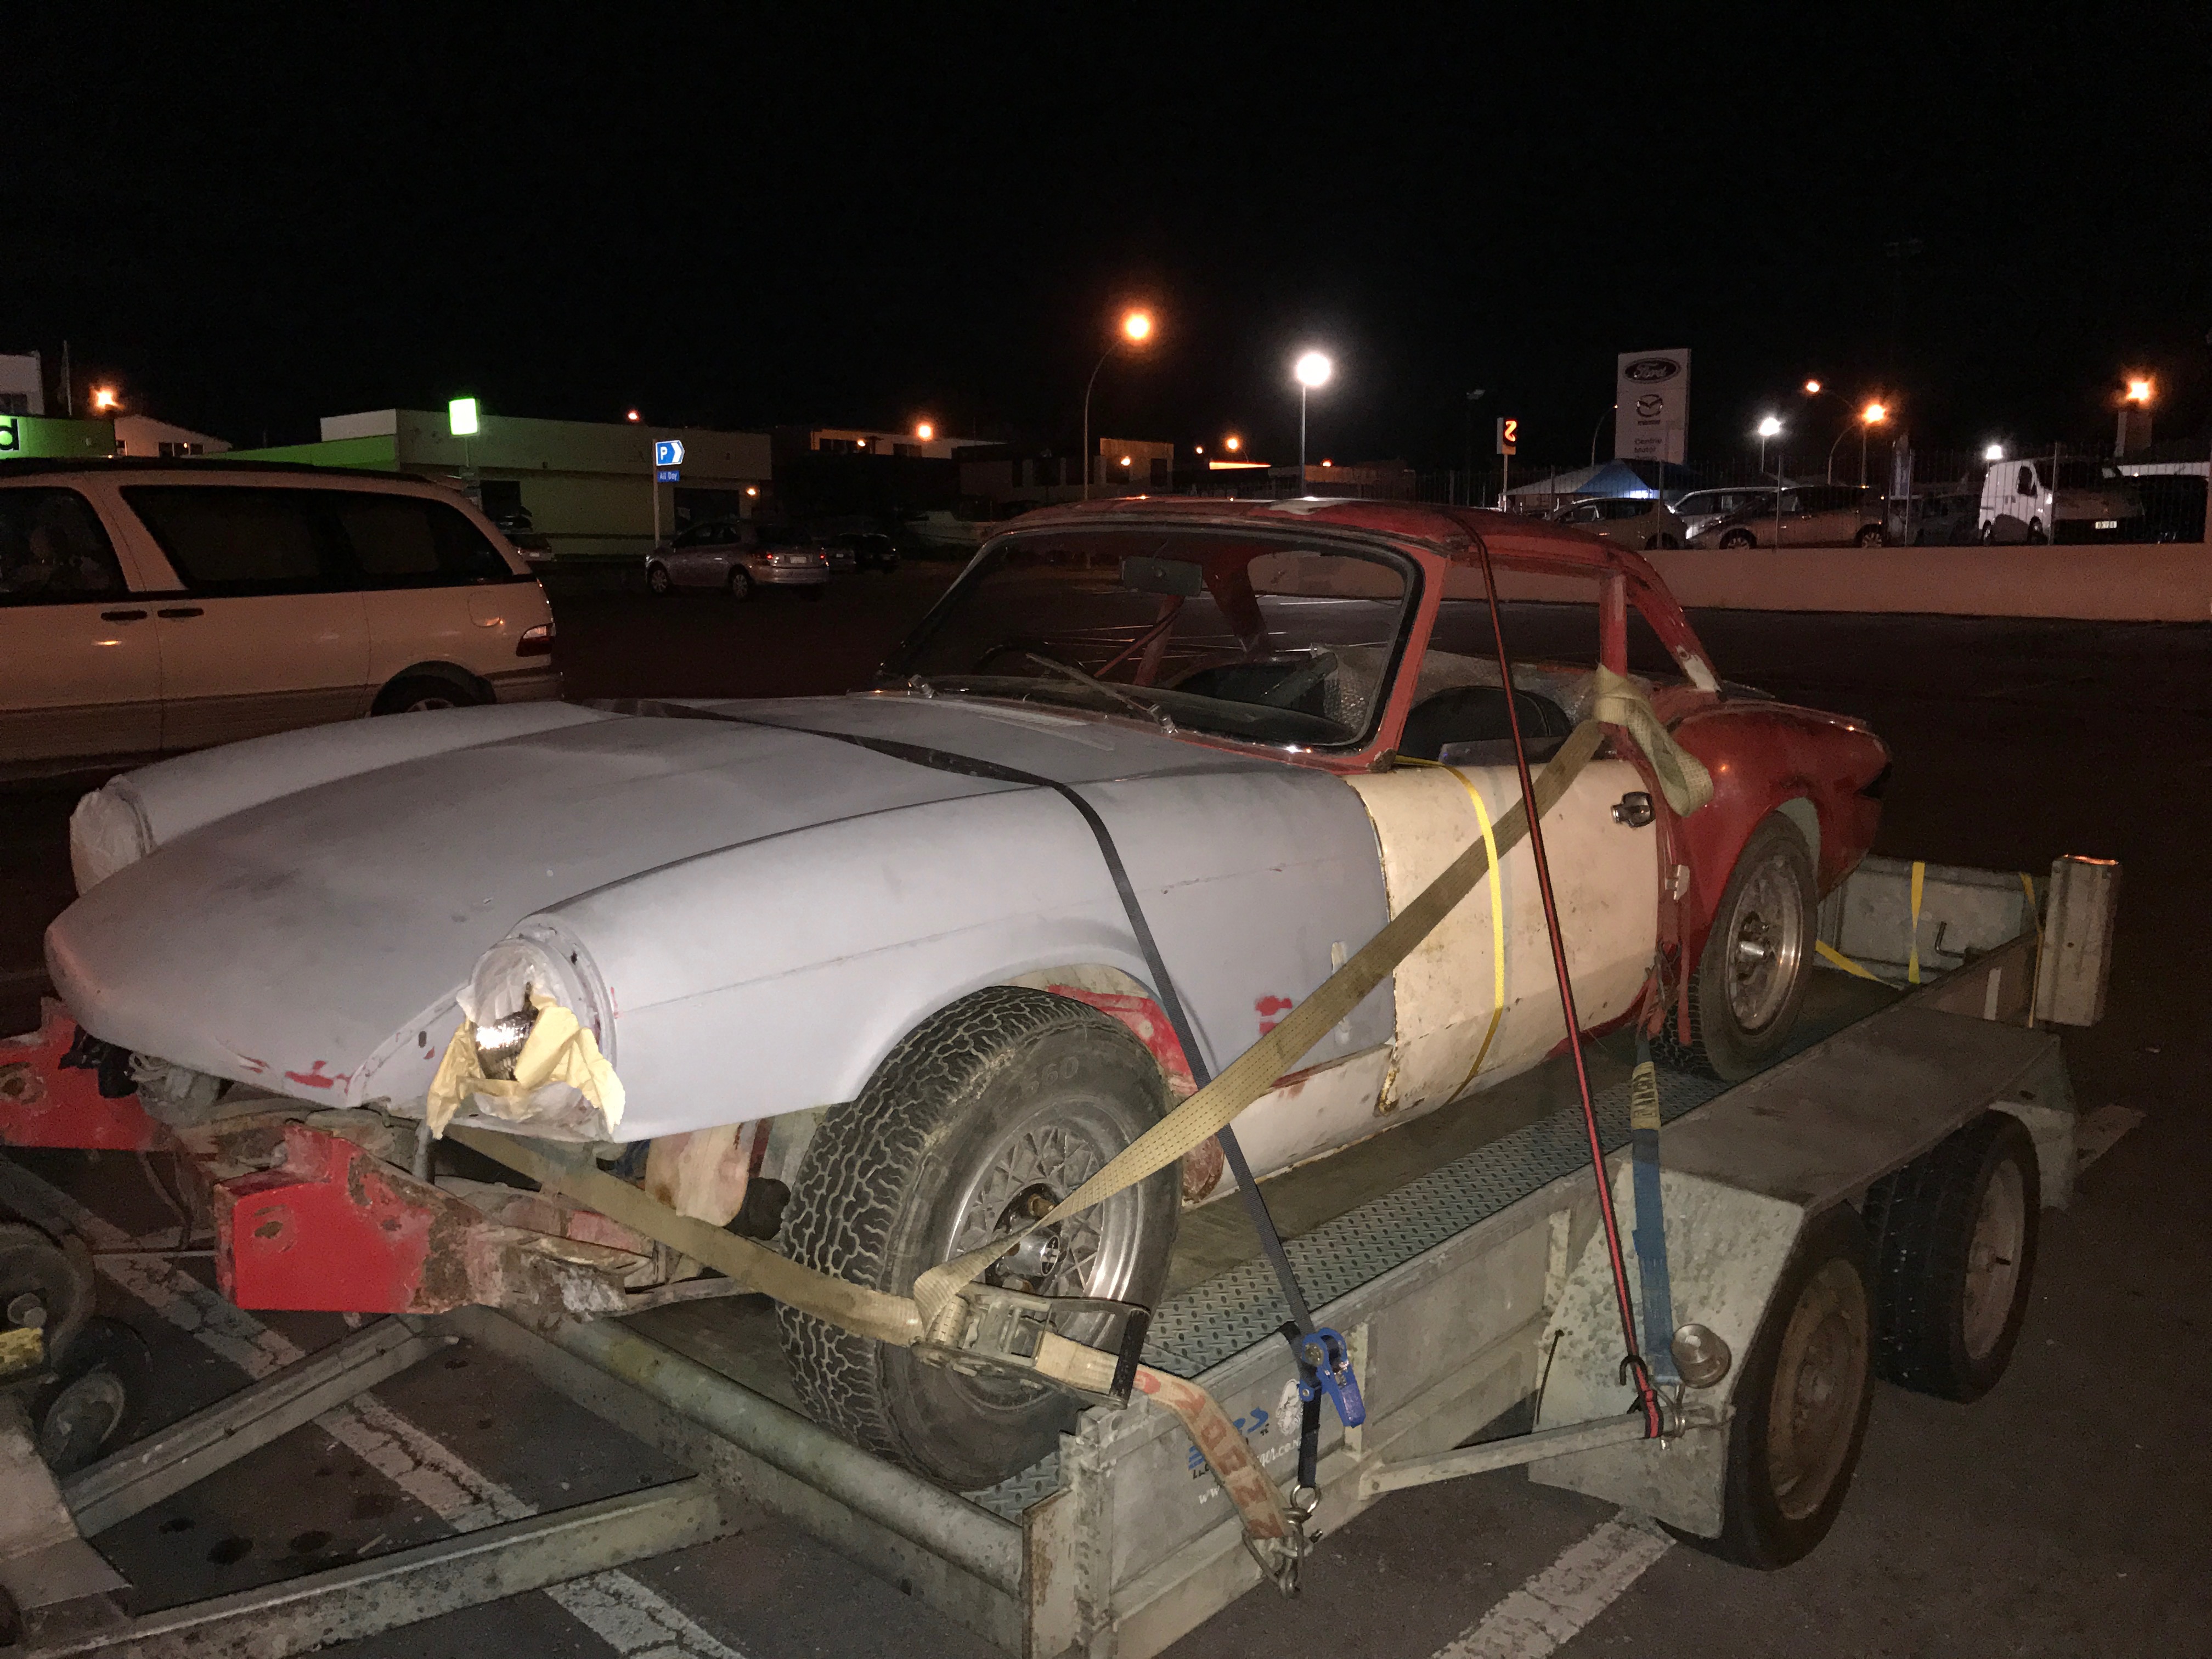
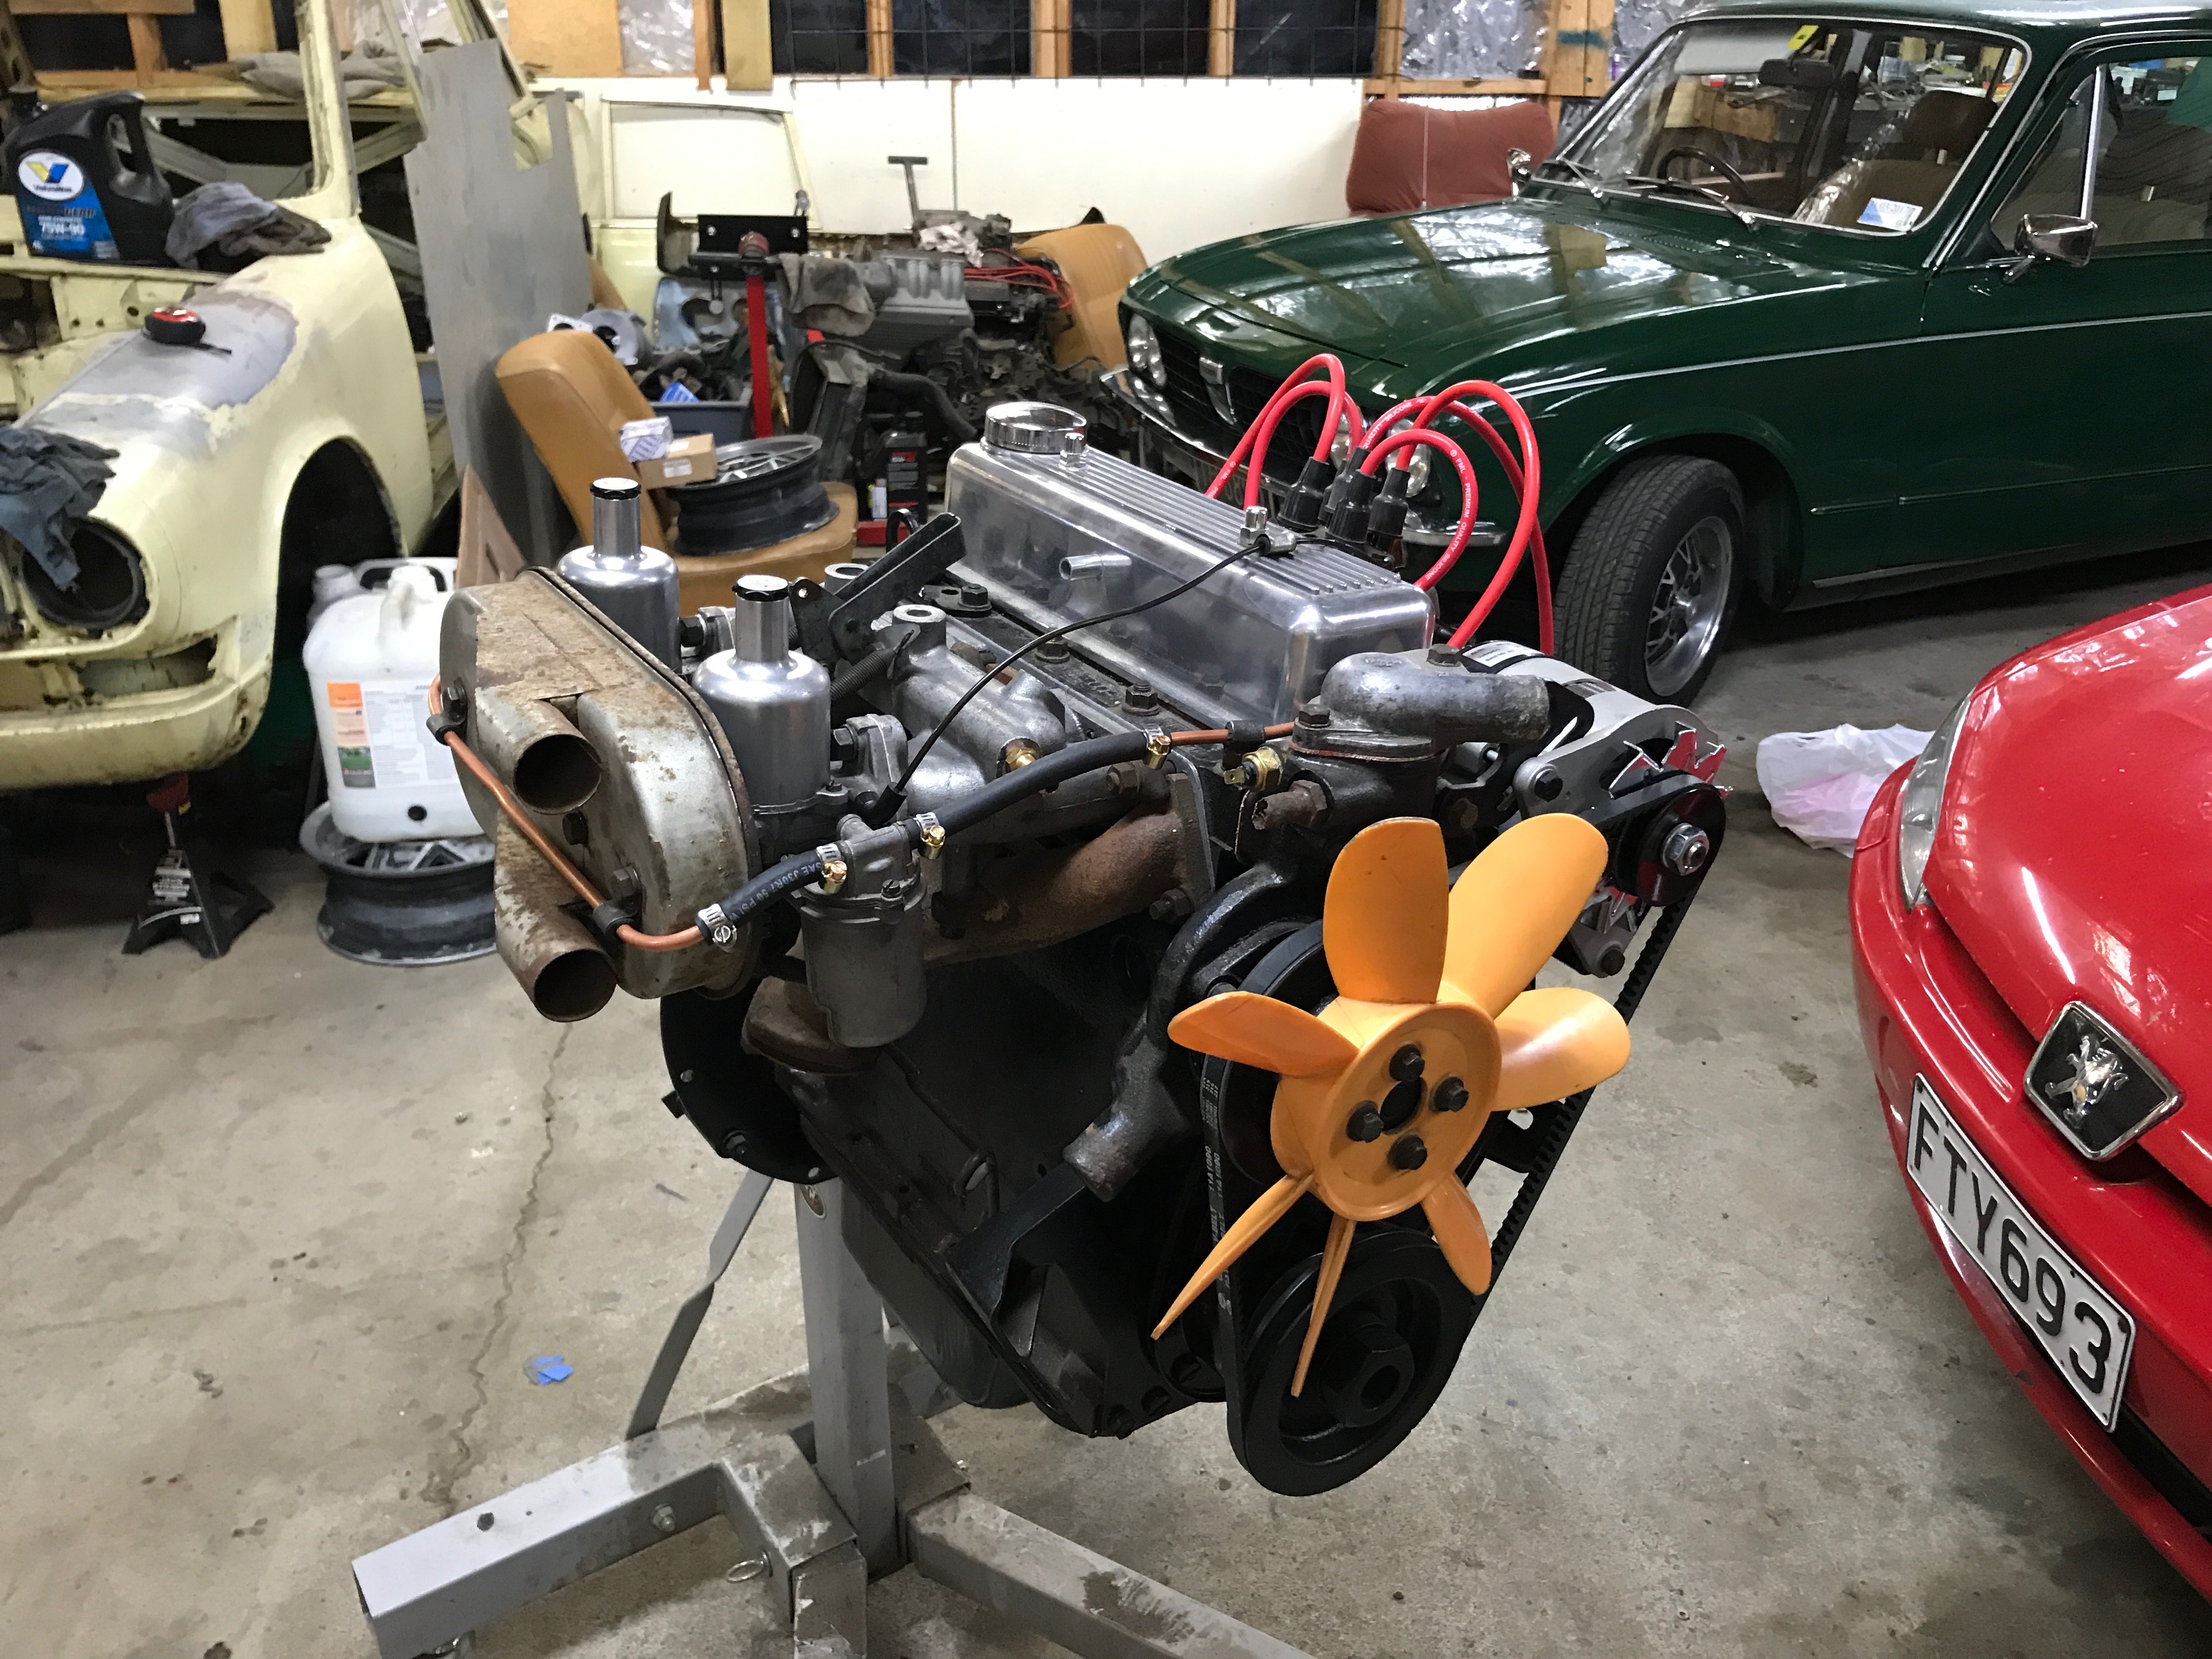
Hi everyone I have a MK4 spitfire I'm working on i got to off trade me the listing said it needed a little rust work that was a massive understatement Im after parts if anyone on here know of any it would be greatly appreciated
1 point
-
the engine has been rebuilt to .40" over size i just need to clean up the air filter housing and paint it a nice dark silver and it will look mint as
1 point
-
Vaguely related personal sharn. We fitted 4 gearboxes to the same Escort on four consecutive Sundays. On the fifth Sunday we fitted a Capri gearbox. The next Saturday night the car got barrel rolled. Rotor arms with a spring and weight used to be available that would earth the HT side at a pre set RPM. I was working in a NZ new petrol Patrol today, it had one factory. You could modify one to fit your Escort distributor?1 point
-
If you still have an escort diff, you will probably also need a good supply of spider gears/axles if you use it as intended1 point
-
I am no sedan fan but this whip is so damned sweet, especially with the 2JZ in it. It made me swoon with it's noises and slowed me down with it's slammedness. Good work on completion, hopefully the next owner will keep it slammed and maybe throw a turbo on it.1 point
-
Nice one mate lol. As nice as it would be to have 2jz Wagon. I think it will be even nicer having 1kz wag instead.1 point
-
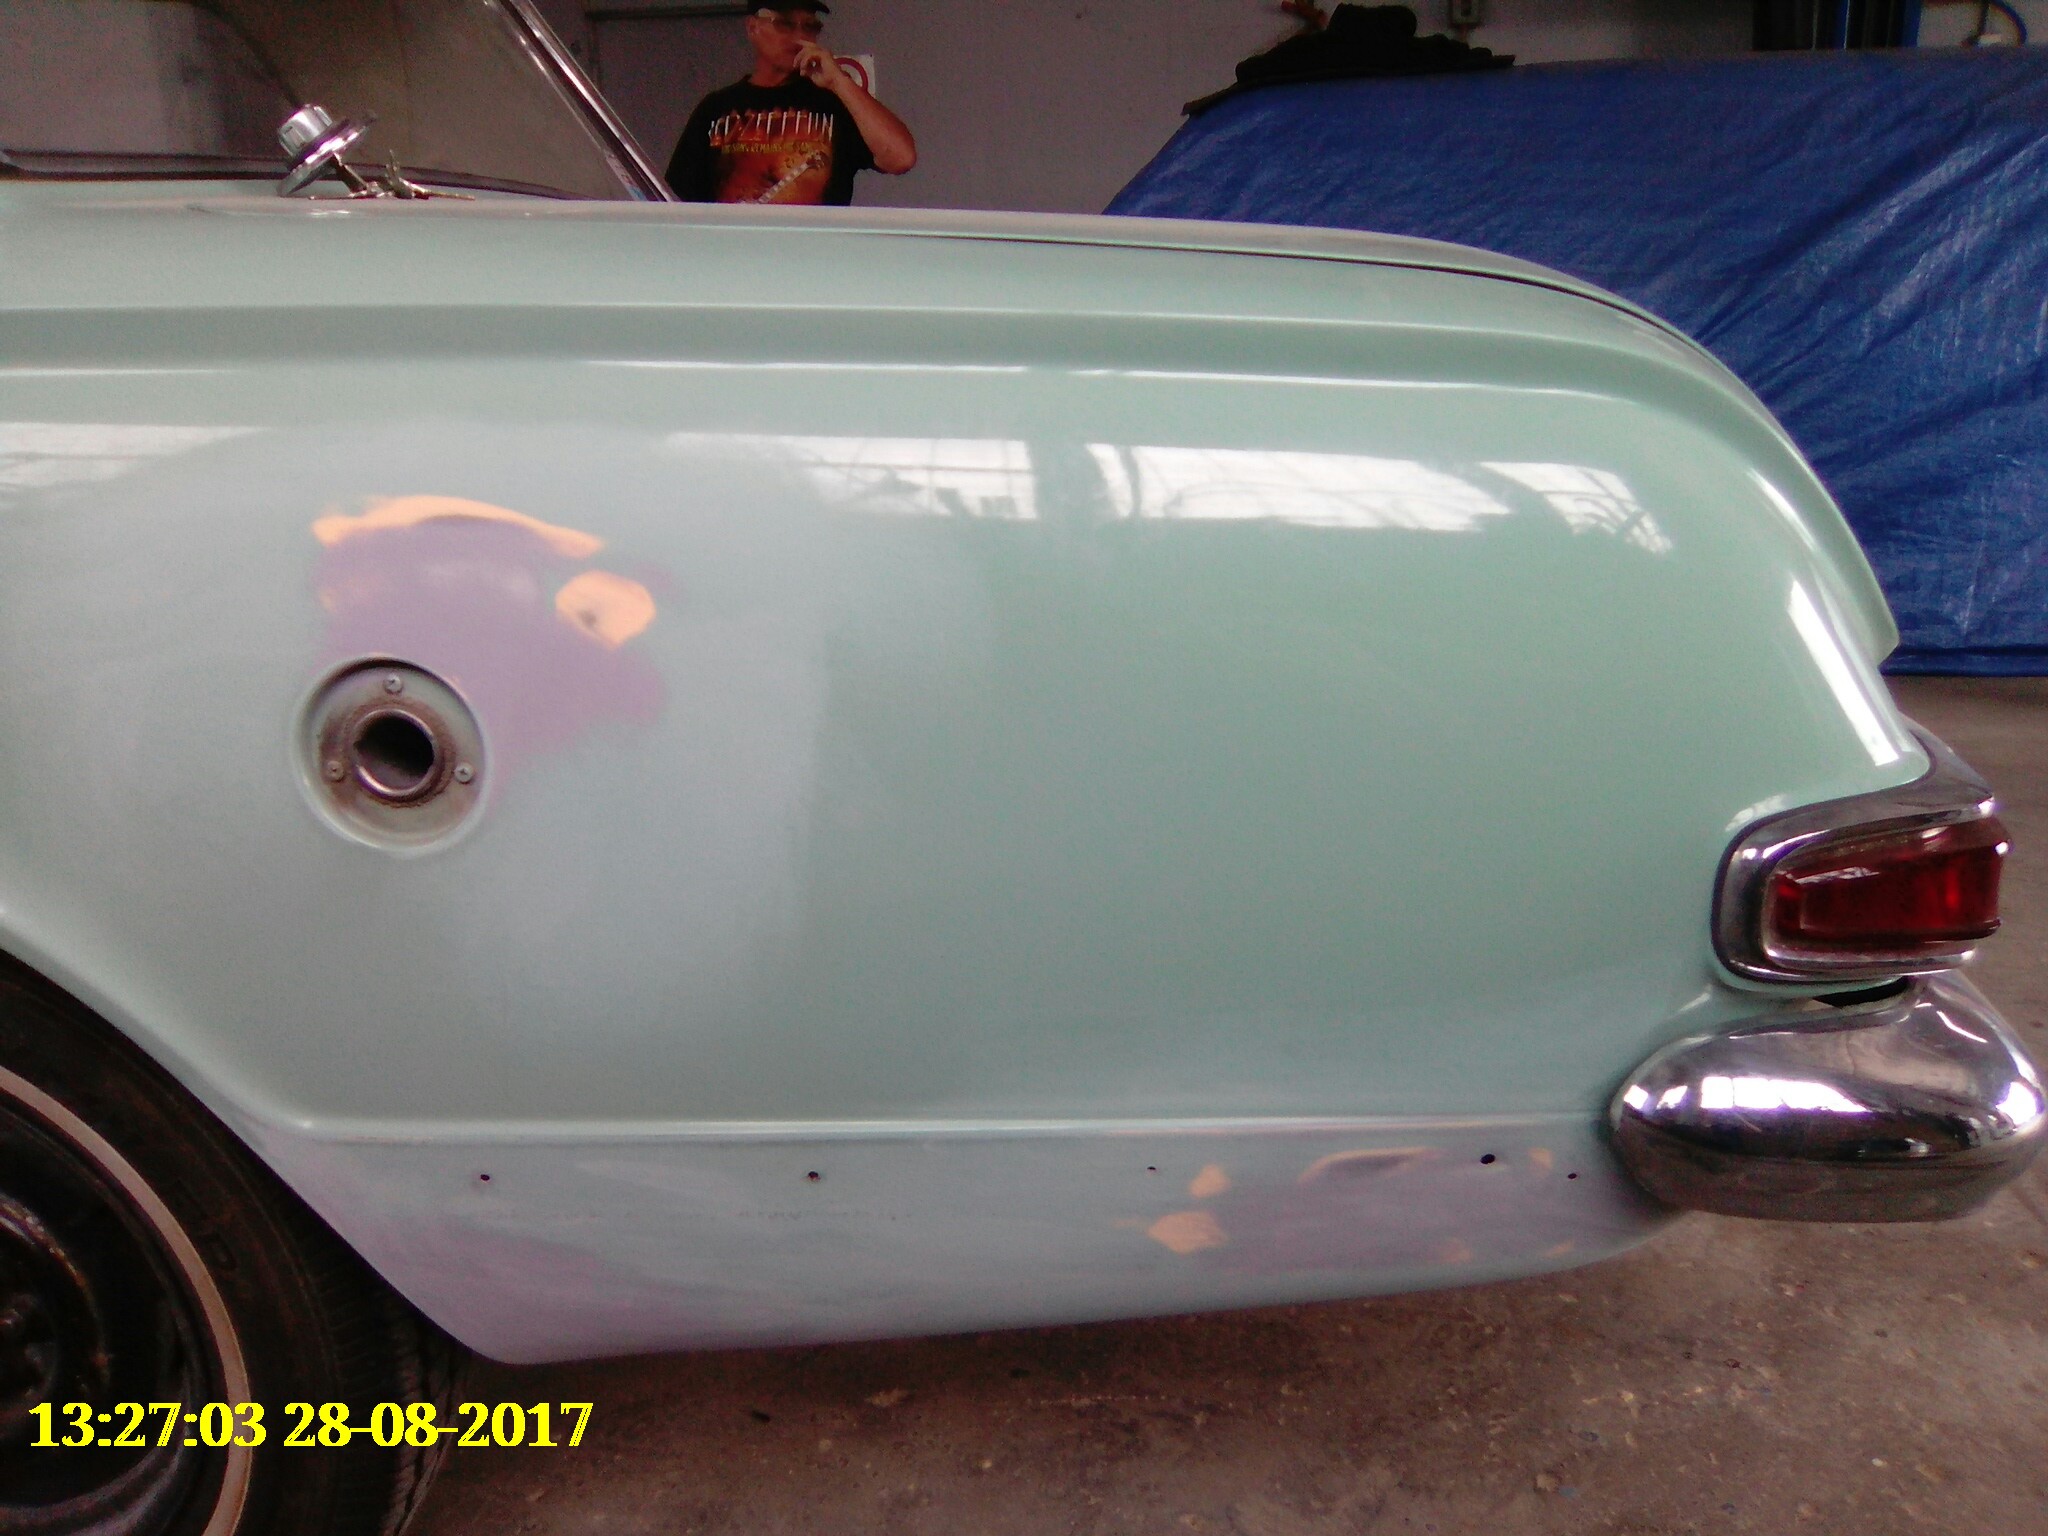
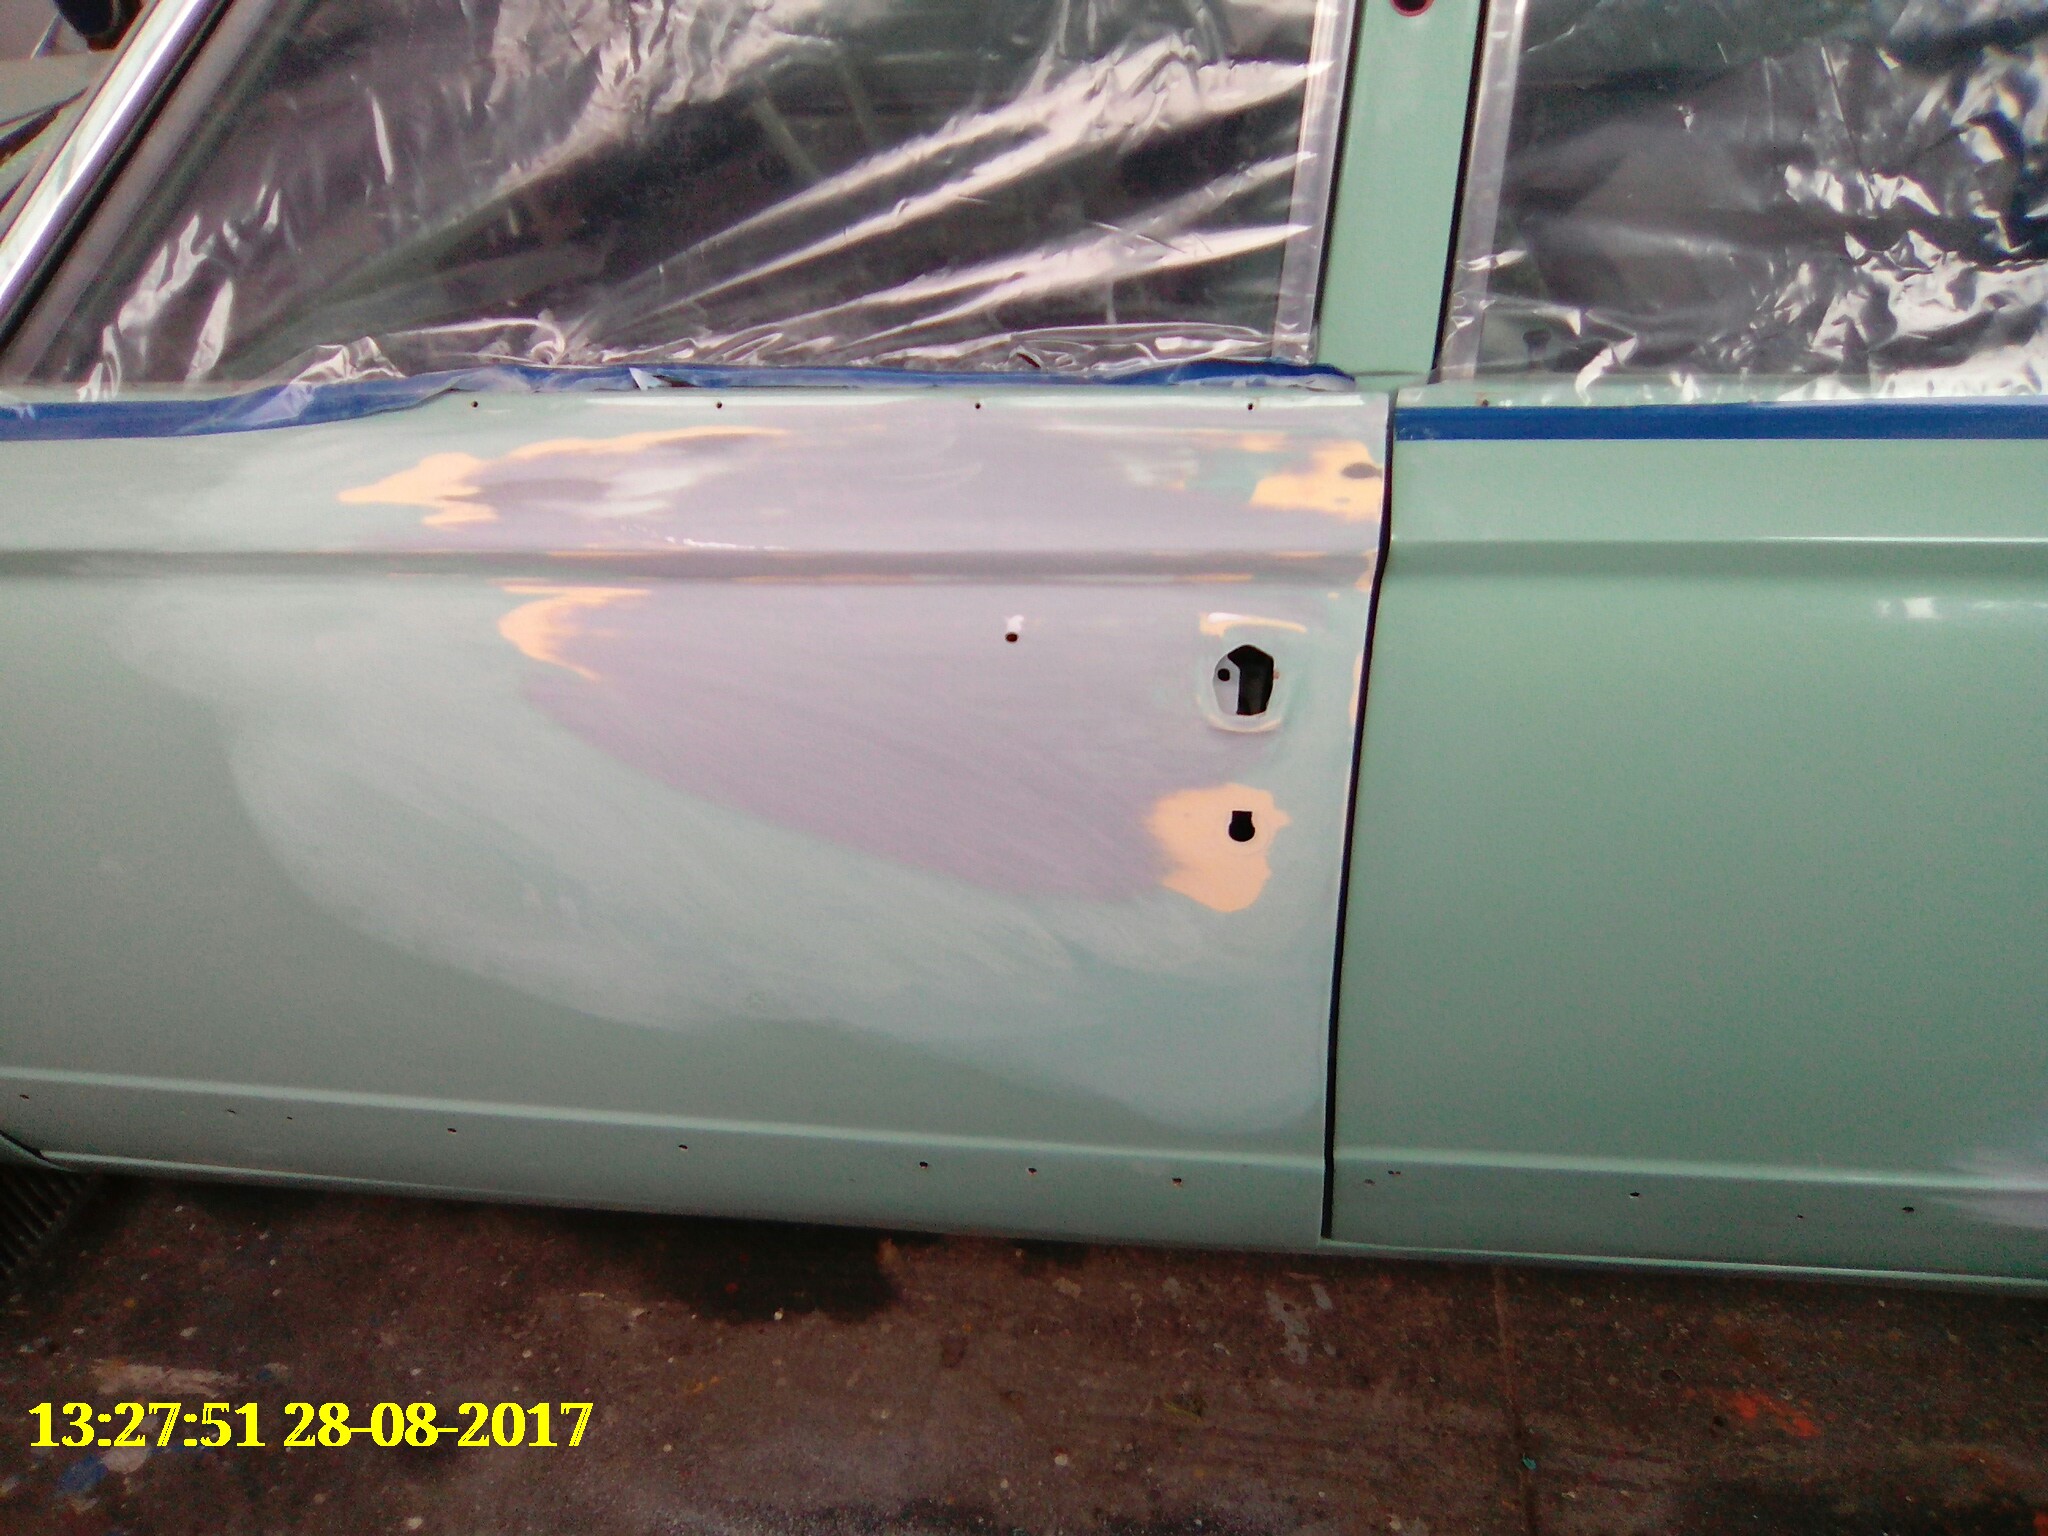
A very quick update this week All the panel repairs are complete and ready for paint Now all we need is some decent weather in Auckland so paint can happen, a big ask this time of year
1 point
-
Answer to question #1- yes, postive and negative to coil, wire were red and black, not red and blue. I forgot about the compufire points replacement I've got in the 009.Answer to Question #2 - yes I have the big red wires in the correct places, has thats the only place they could go, just had to crimp a connection on the end of the wire between the starter and the Alternator.Still no idea about the fuse box clip thing!!!meanwhile....it's off the stands, ass starting to squat down.lost that sweet rake it had, just need to drop the front another inch or two!popped the muffler and rear valance on, easy.looking good.Darrell to the rescue again with his tiny little 1/4 inch socket set.sorted those pesky manifolds out! wired up the coil, oil pressure sender, Alternator and spark plugs.Should fire up nowspend a couple nights sorting out the fuel system at the front end, looped the line around to the front, through to the old washer bottle spot, which is now the fuel filter and pump spot, and back to the hard line under the tank.I have had this set up in my head for a while now, I had even drilled the holes for the fuel lines, but no hole to mount the pump, drilling into my nice new paint fun! but at least gives a good earth, the power for the pump is for the moment hooked up to the spare radio fuse circuit, which is always live, which is not ideal.Anywho.rear bumper and mutherfucking number plate bitches! legal beagle.bumper rubbers not fitting all that great, will fit rubber first, then bumper when I next remove the muffler as the bumper mounts are a pig to get to with that big ass muffler in the way. So the correct process is Valance-Bumper-Muffler. reverse of the way I just did it.time to fire it up.1 point
-
Working on this is a bit of flashback. I had made this steel water fitting as the S14 one wasn't right. However the radiator hose was rubbing on the intercooler piping. I picked up a couple of sch 40 bends. A bit of hacksawing, grinding, and tig welding later.... (tig welding heavy wall pipe is much more forgiving than sheet metal) Also uncovered the intercooler And some piping. Might get this hpc coated if the price isn't too steep.1 point
-
windowz and shit. 2017-08-28_05-08-44 by sheepers, on Flickr 2017-08-28_05-09-10 by sheepers, on Flickr 2017-08-28_05-09-23 by sheepers, on Flickr 2017-08-28_05-14-09 by sheepers, on Flickr1 point
-
I all ways get asked to weld something that is in the bush or at the bottom of a paddock and I carn't get my MIG there or my AC ARC is way too heavy and most people dont have a 15 AMP plug, thought I would make this. This is a welding alternator that has triple bridge rectifiers and super heavyduty windings. and it has a 240 volt DC 15 AMP power supply, very potent! The idear was to fit this to your vehicle so you can weld and run a grinder or light or anything that dosn't mind DC. Has a throttle knob to adjust engine speed witch controls the AMPS when in welding mode. 240V output, My plan is to mount it to a trolley with a Honda GX390 motor witch I got given, it had no muffler had had been sitting outside for 3 years and had locked up, I got it free and it seems to start and run very well, I made a glass pack muffler witch is very loud and I might need to rethink. I have a trolley with cast iron wheels I will mount all the shit to, just need to find some pulleys and get a couple pillow blocks, I will need every ounce of power from this motor.1 point
-
Went for a hoon over the hills and took in a few country pubs with some other 1200s and a 260, car went well and no issues. Today I butchered a couple of old standard A12 downpipes I no longer need and made a flange so this will make life a lot easier in the future! Not to mention tidier looking. There's a pie cut left open cause I don't know what angle it needs to be yet
1 point
-
Hide them1 point
-
That noise comes from a well tuned set of pipes. It will have a good set of headers and a merge or crossover pipe so you hear both banks in harmony. This car is a V8 but gets the same kind of howl: Although all this is irrelevant to this thread because hopefully this motor will end up in a boat with zoomies.1 point
-
Assembled the front today, mainly because I've run out of room! slammed it so my garage looks cool, it'll sit like this for a while until I've finished the Corolla. Also acquired a free 5MG, the only M motor I'd consider running. It's a possibility, they look sick on carbs/ITB's. 1st pic to prove it! cheers Matt
1 point
-
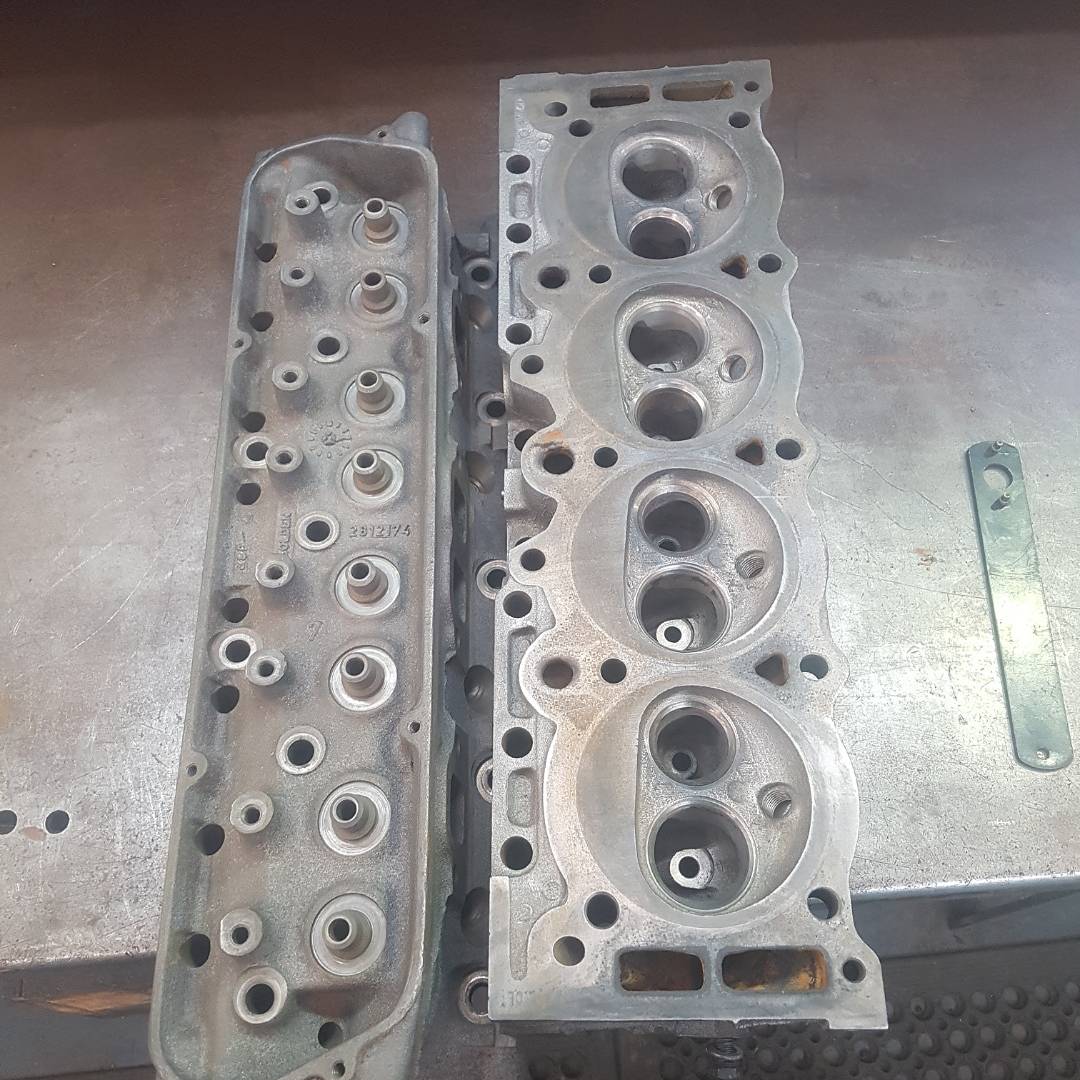
Started building a motor for this. L28, flat top pistons, twin hitachi SU's maybe a cam. Thought i would put the pistons on myself. Watched a bunch of videos of some rednecks doing it and it looked easy. Made a jig out of plywood to hold piston and allow the pin to pass through the correct amount to get the rod centered. Borrowed an IR thermometer from work and heated them to around 200degC Easy Gapped the rings last week. Next i will clean up a couple of cranks i have and see which one is the least wonky. Going to try something different with the head and use an uncommon combination. I put this one through the bandsaw to see how much i had to play with Hope to have time next week for crank and then assemble bottom end the week after1 point
-
Decided I didn't like it all jacked up in the bum, so got some 1.5" blocks to level it out. Much betterer
1 point


.jpg.6fbe39d64bf405f30c0d8db3bc0bc4f3.jpg)

.png.8c880082c7828e04f162a00220cdef64.png)

.jpg.bddfd5a5d26f9bce15602847626ea411.jpg)


This leaderboard is set to Auckland/GMT+12:00