
Leaderboard


Popular Content
Showing content with the highest reputation on 05/02/17 in all areas
-
The last few trackday events I've done, they have all been on very hot tracks in summer time... lots of grip for R888s which were coming up to temperature nicely, very quickly! Thanks to all this grip I've had, I've been able to wind the brake bias heaaaapppssss more rearwards than I ever have been able to previously. Which is awesome, it stops the car up great. Then, the Manfield round of Superlap... I was greeted by an intially damp, very cold track. First run out, feeling a little too confident... by lap 3(?) I still had almost no heat in the tyres, was pushing it a little too hard, and the brake bias caught me out. I spun off turn 1, ending up stuck in the kitty litter which was embarassing, and I felt bad for delaying the session while I was towed out. I went back to the pits, took a few winds out of the brake bias (it isnt adjustable in the cabin) Second session, wowzers! Track came up to temp nicely and the car was running great. I was still getting familiar with things as I've never driven there before. But had an awesome time. I was driving conservatively as I didnt want to be "that guy" that crashes twice in a row haha. Feeling confident lining up for the third session of the day, and ready to push a bit harder. I get waved out onto the track and my driveshaft makes a clunk noise. Try go forward again... same thing... shit. I head back to the pits, and it looked as though the hanger bearing had crapped itself, so the centre of the 2 piece driveshaft was free to flop around. It felt okay to drive "normally" so I said my good byes to friends at the track and went back to accomodation (Thanks Lachlan) I packed the car up and started driving home. I got about an hour out of Manfield, and driveshaft noise was getting bad going up a hill when it was under load - Boom! The front UJ broke, and the driveshaft went smashing around in the tunnel like a MFer! Lucky I had driveshaft loops in place or it would have made a bloody big mess. Once I got safely to the side of the road, and had a look under the car. It dawned on me that I am 6-7 hours drive from home, with a car that's fucked haha. About 1/2 an hour later, something magic happened! Some other competitors saw my car on the side of the road, and stopped up. They couldnt really help, but wanted to see if they could assist. Then some more competitors came past - this time with their track car on the trailer behind tow vehicle. They stopped up, unloaded their track car from the trailer so they could tow my car home - and drive their track car instead. These guys lived near Hampton downs, but drove all of the way to Glendene in the pissing rain to help me get my car home by about 2am. Which meant they didnt get back to theirs until 3 or 4am after a very long day. Absolutely blown away by the help. Big thanks to Jakke and Matt for being awesome well beyond the call of duty. Sometimes when you're up to your eyeballs in shit, and someone helps you out - The sort of thing you remember for a very long time. Some good memories and good friends, made by a bad situation.12 points
-
Who likes jigsaw puzzles? Almost forgot how to weld. Lucky I remembered how to grind.
 8 points
 -
So Manfield finishes up... And I'm enjoying doing superlap and the camaraderie between competitors. Buuut everything else in life was starting to feel a little stale. I have been daydreaming about moving to the South Island for the last few years, but I'm not a planner person... I figure if I wait until I have a plan, I will never do it. So I made a bold move - To just hand in 30 days notice at my IT Manager job, with no idea what I'm going to do next. I knew this meant sacrificing the remaining rounds of Superlap, and would probably lead to some hard times financially and otherwise. But it was just what I felt was necessary. All I knew was that I wanted to move out of Auckland for a while and start on a fresh page after some tough times over last year or two. A few days after this, I see an ad pop up on facebook... "Remote Dyno tutor/manager at HP Academy in Queenstown" Awww hell yes, could that be any more the ideal career/city change, at exactly the right time?! I applied for the job - and got it Then not long after, thanks to Bigfoot, I had some accommodation sorted too. It was the most low effort career/city change ever! Within the course of a week it went from my family probably thinking I was a bit of an idiot for quitting my job without a plan. (and a fair bit of doubting myself as well) to, "God damn it you're a jammy bastard Dave" To anyone who has along the way thought "David why not just take your car to a tuner instead of wasting your time doing all of these stupid tests/graphs/etc" Well, all of these things that I've done were a major contributing factor towards me getting the job. So there's probably some motivational message there about following your dreams or something. But end result is I'm pretty happy right now, and working at a company where drawing graphs and looking at datalogs etc is par for the course. Which is bloody exciting. So I packed my echo full of essential stuff and drove on down to start a new way of life down here. So far so good! Keeping some relevance to this thread though - My Carina is still back up in Auckland. It's packed full of "want but dont need" items, it's ready to hit the road as soon as I've organized a place down here that has a garage to store it in. I've been learning so much from Andre and the team, it feels like getting an apprenticeship from one of the best engine tuners in the southern hemisphere. I feel like I'm only just smart enough to be on the cusp of understanding some of the stuff Andre talks about. But I think I know just enough, that he doesnt feel like it's a waste of time explaining things to me. I expect that by the time I've got the Carina down here, I'll be ready to redo my tune from scratch using the new knowledge and tools now available to me. Cant wait! A new southern chapter of graphs, nerdiness, and awesomeness awaits the Carina. The next post in this thread, when the time comes. There will be graphs, oh yes, there will be graphs.6 points
-
Cert is tomorrow. Mix of nervousness, excitement, and not looking forward to getting up at 6.30 lol. I would be more excited if it was just the cert I had to deal with. But also need to sort a proper wheel alignment, aka double wish bone fun, and the pink sticker inspection, which could be its own can of worms. Still. Gotta start somewhere.6 points
-
i pulled the last of the fence down on Saturday and tidied up a bit. cant do much else really. the digger will be here on Thursday to remove topsoil and get the fence posts out then next week it all kicks off proper. 2017-04-30_05-18-03 by sheepers, on Flickr6 points
-
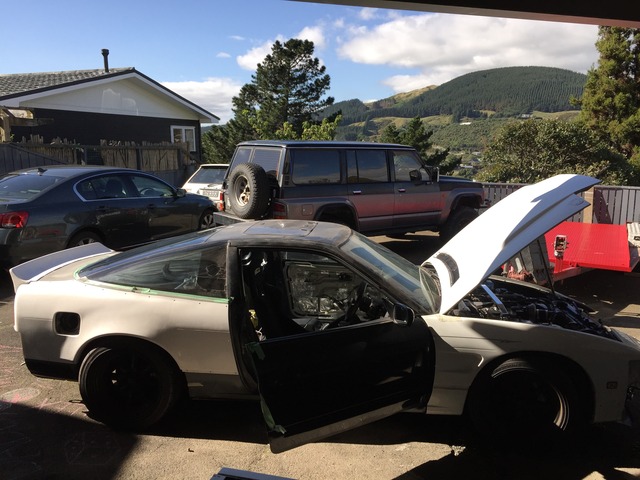
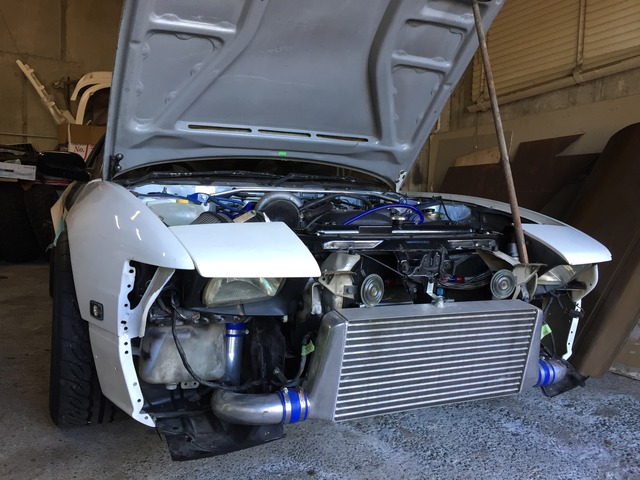
Shitty Update: The Z31 is STILL at compliance place, it needs: LR wheel bearing, steering rack leak fixed, 2 front tires, wiper blades, brake pedal pad. I went to see it yesterday, still hadnt been up on the hoist. A bit frustrated with how long its taken. It had to get a repair cert for a few things, old repairs and fixing some rust and floor pan damage, it all looks super lush under neath now as its been resealed. Couple of pics for an otherwise lame update6 points
-
I love these. simply love them. i'd have made an integral side skirt if it was mine, but i still love it. that dish.4 points
-
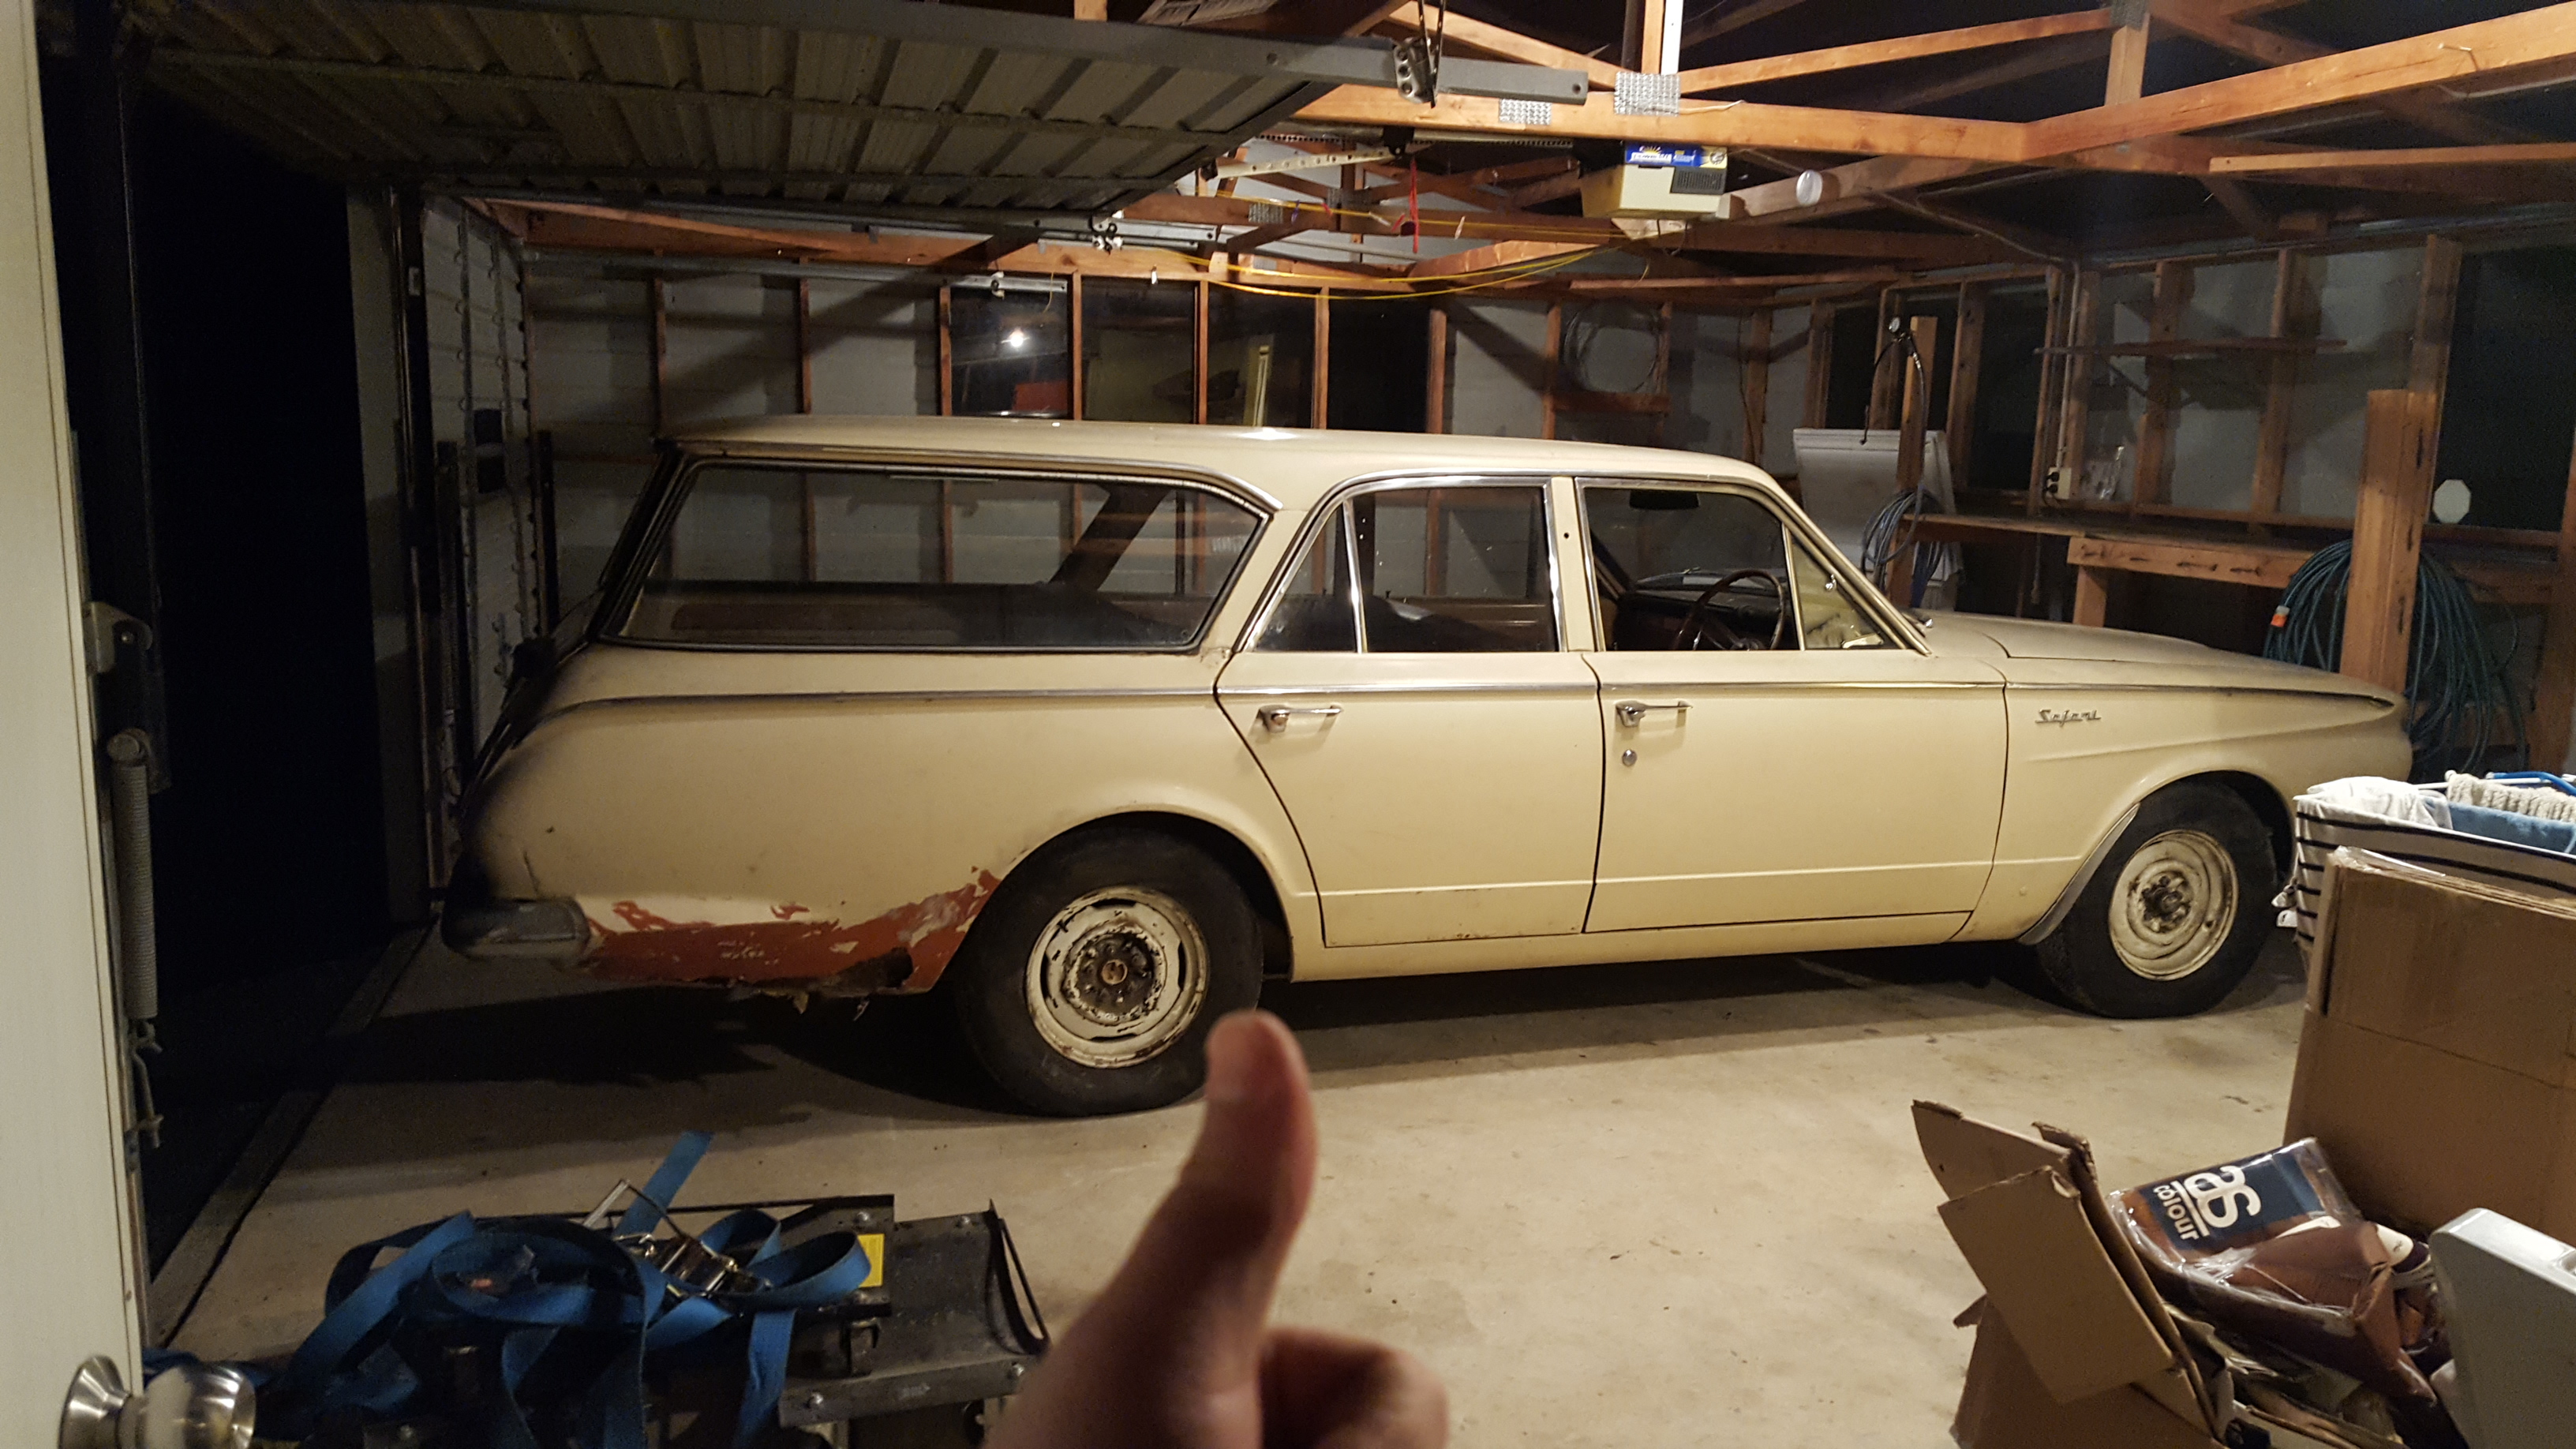
So @Archetype lent me his trailer this arvo and I managed to drive the valiant under its own power onto its trailer. Was good. But the new house location is up on a hill....... got the trailer and two wagons stuck half way up kinda got to close to one side and bottomed out, couldn't move. Unloaded wagon there got trailer up the hill. Backed back down and towed the valiant up with out a trailer. Mate got brakes working and it running quite sweet just not great which is sweet as. And now it's sitting in my shed waiting for me to buy some steel and a couple of cutting disk and hire a gas bottle Watch this space. Got to have it going for the wedding in feb next year and now I have my own shed I can escape from Beth heaps now.
4 points
-
Ass end is pretty much done! Well the hard parts any way. Full ridetech 4Link tacked in and Moser housing in place. Useing HQ 8000 series Shockwaves from Ridetech at the back. The mounting brackets have three height settings. All welded in and a quick coat of black. This is shown at the lowest height. once the skirts and rocker panels are on its going to look pretty good on the ground at this low height. Guess i will do a bit of a write up of whats going on gear wise back there. Whats in and still to be put in sitting in boxes. Talked about the Ridetech 4Link but im also using the before mentioned Shockwave airbags from the same brand. For those not in the know click here to check them out with all the fancy videos and marketing guff. Basically they are air bags that mount like a coil over but with air shocks with 26 tuneable rebound clicks. The company was great to deal with and extremely helpful. Another company who had exceptional service was Moser Engineering. Drag racing heritage & brand so built to withstand alot of abuse. the guys build and race the kit they build. Website here. Man i feel sorry for Brian Miles as he steered me through the process of ordering the custom 9′ rear end. A million emails, measurements, re-measurements latter we got it sorted. Bare classic looking Ford 9″ Housing made to my measurements. (2inch narrower than stock Hudson) Moser axles w/bearing package 5×4 bolt pattern with screw in studs. Moser perf nodular case. Trac Loc posi 31 spline. Nodular support. 1350 Pinion yoke – steel gearing at 3.50 fill & drain plugs. Wilwood breaks i will cover when i get to installing. Should last me well. So next step is taking it down off the rotisserie and sorting the front end. It will be back up on there a few more times yet i imagine3 points
-
Now onto some quick repairs and quick flick of paint... maybe.. if I can be fucked.
3 points
-
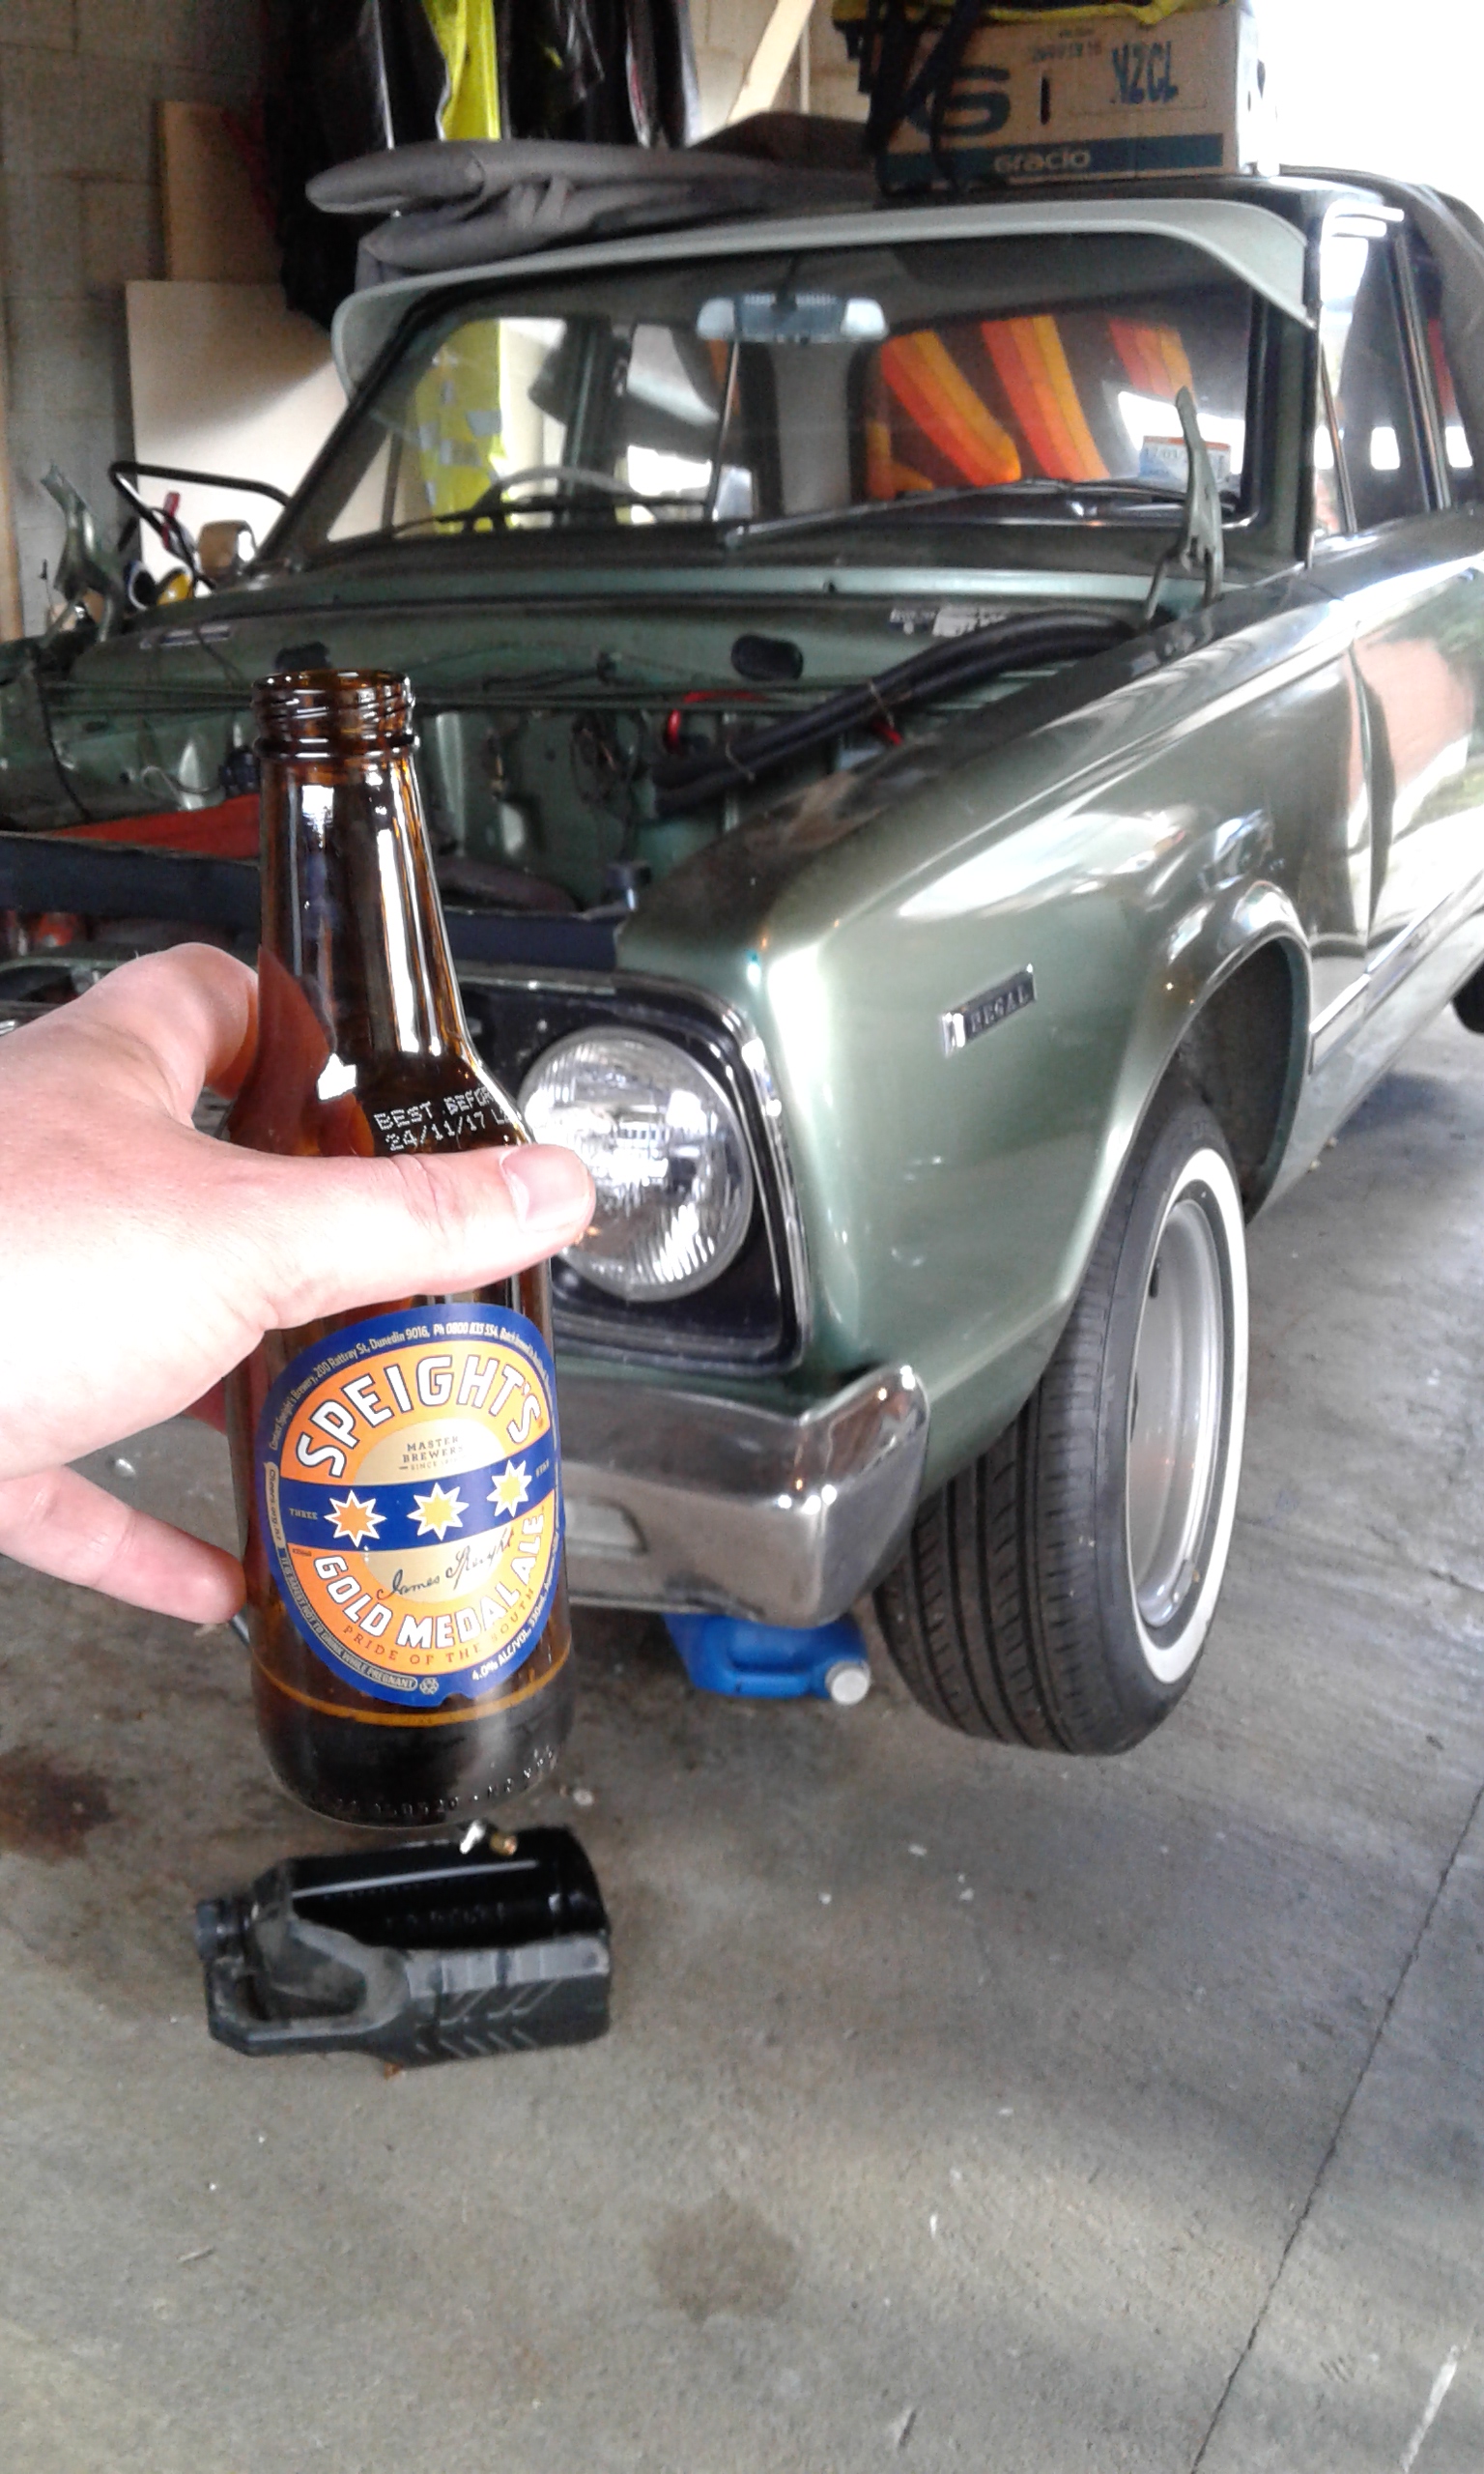
I run a 350 Holley on my one with the factory 2 barrel manifold, the adapter plates are available off the shelf for around $30 so its hardly worth the trouble of making one. I went that way because it's a very simple conversion and 350's work pretty well straight out of the box on Slant 6's. If you have a Torqueflite transmission however you need to get a little creative to make the push rod linkages down to the trans work properly. Anyway to answer your original question, of the two carbs you have I believe the Carter is the preferred option for a lot of people and they work just fine if they are in good condition. Sometimes the older carbs can be difficult to fix up because the shafts and linkages etc get worn over time. As above the Weber 38 DGAS should also work well.3 points
-
After much deliberation I went with visible stainless steel screws for both this cabin deck and the deck at home... and I am SO GLAD I did as I've needed to pull up boards on both decks over the course of the last year or so. I chose a Simpson Strongtie hardwood to softwood screw, but that was largely to do with the shape of the head which is personal preference. Getting them all in a straight line helped make the visible screws look OK. I'd never do anything but a simple vertically fixed screw for a deck now. They cost more and take longer than nails, but they are much better at staying put and give you the luxury of being able to lift or replace a board with minimal fuss.3 points
-
So I ordered a carb rebuild kit and new plug wires with the objective of seeing if I could make her run. Carb was a bit sketchy, the instructions showed a washer that I never saw on tear down. But cleaned out a ton of varnish an junk an slapped er back together. It's a one barrel Carter carb feeding 196 ci FLATHEAD STRAIGHT 6. Yep 90 ponys! so the plug wires were a bust. Way wrong. Oh well, took em back an got a universal diy kit. Till then we made due . Fed it with a portable boat fuel tank and shorted the starter with a screwdriver, as one does. She fired up straight off and idled nicely. Blew a bit of smoke an all but quite happy. The fuel pump discharged all the old gas into an EPA approved bucket and after running for a couple minutes I changed the oil and filter. Had one spare tire so slapped it on front and aired up the back one, it holds air for about 10 min or so. With a quart of atf it backed off the trailer/work station, I made a half assed attempt to bleed the brakes before hand ( with a 8 yr old for a helper) but just used the hand brake. by this time the cars fuel tank was empty so hooked it back up and added a few gallons. And drove down the driveway and back. Yep gravel driveway handbrake skids more as it happens dont hold yur breath an more pics next time hopefully3 points
-
Yeah fcrb2 points
-
so its a 6 cylinder rx7 yeah?2 points
-
Wagons in for a wof tomorrow2 points
-
Had bias valve mount laser cut. Clamped it in vice and folded legs with a hammer. Drilled out holes and tapped. It fits.2 points
-
Is the engine stock? If so there probably wouldn't be a significant performance improvement with a 350. If you rebuild the Carter nicely, get it set up right and working properly I expect that it will be capable of supplying all the air/fuel that a standard engine can demand. Since you already have the Carter it would be worth a go.2 points
-
Ever consider trying one of the Weber DGAS style carbs on Ali Express? Or a genuine one if you can find one. Ebay one. http://www.ebay.com/itm/NEW-UNIVERSAL-CARBURETOR-TYPE-fit-WEBER-38X38-2-BARREL-FIAT-RENAULT-FORD-VW-4CYL-/321961105209?hash=item4af6609739:g:PGIAAOSwAKxWZtXh&vxp=mtr2 points
-
I had the tank thread lol. My 2c is just get the por 15 kit, follow the instructions and don't spill half of the metal ready. Oh and triple check you haven't sealed up any vents. Bloody good work on getting it running and good call on giving the carbs a birthday. I think the battery will be stuffed if it's been sitting for years but it doesn't hurt to try2 points
-
It's actually the last of the first generation RVR (around '95-'97) that have the separate cam/crank trigger sensors at the front of the engine rather than a single CAS on the back of the head. The second generation RVR has the same head as an Evo4-8 with the sensors behind the cam/crank sprockets too, but that head is reverse flow and will not bolt on to the earlier block you have. 'Late model' RVR, aka the ASX has the 4B engine family so is completely different. You'll need some kind of ECU to control spark at the very least with a DOHC 4G6x head so you may as well go the whole hog and convert to EFI to make the most of the better DOHC head anyway. With the DOHC swap, you'll need the front timing components and if you are unlucky enough to have the earlier style 'short nose' crank you'll have to swap cranks to the later 'long nose' to use the DOHC crank sprocket etc. If your current 4G63 SOHC (no such thing as a 4g63B, it's either a G63B or 4G63) is narrowblock (ie just in a 2WD van/ute/Sigma and not turbo) then you're better off finding a whole E33A Galant or N23W RVR 2L DOHC and putting it in complete, swapping over the sump/oil pump pickup and engine mounts. You could also find a 4G64 SOHC 16V EFI from a 93+ L300, L400 or Triton. They are still SOHC but come with the extra torque or the larger 2.4L displacement.2 points
-
Fixed2 points
-
Lol. I don't do face book, so was about to ask what the fuck f meant, unless you happened to be referring to the diff head code, which in this situation, will in fact be an ' f '2 points
-
Paint a massive cock and balls on it please before you cover it up2 points
-
I can't stop looking at that fucken wall..2 points
-
I took some quick shots this morning before work just in case anyone crashed into it2 points
-
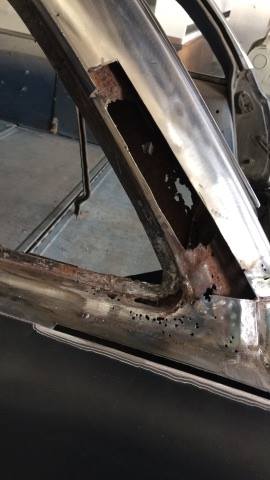
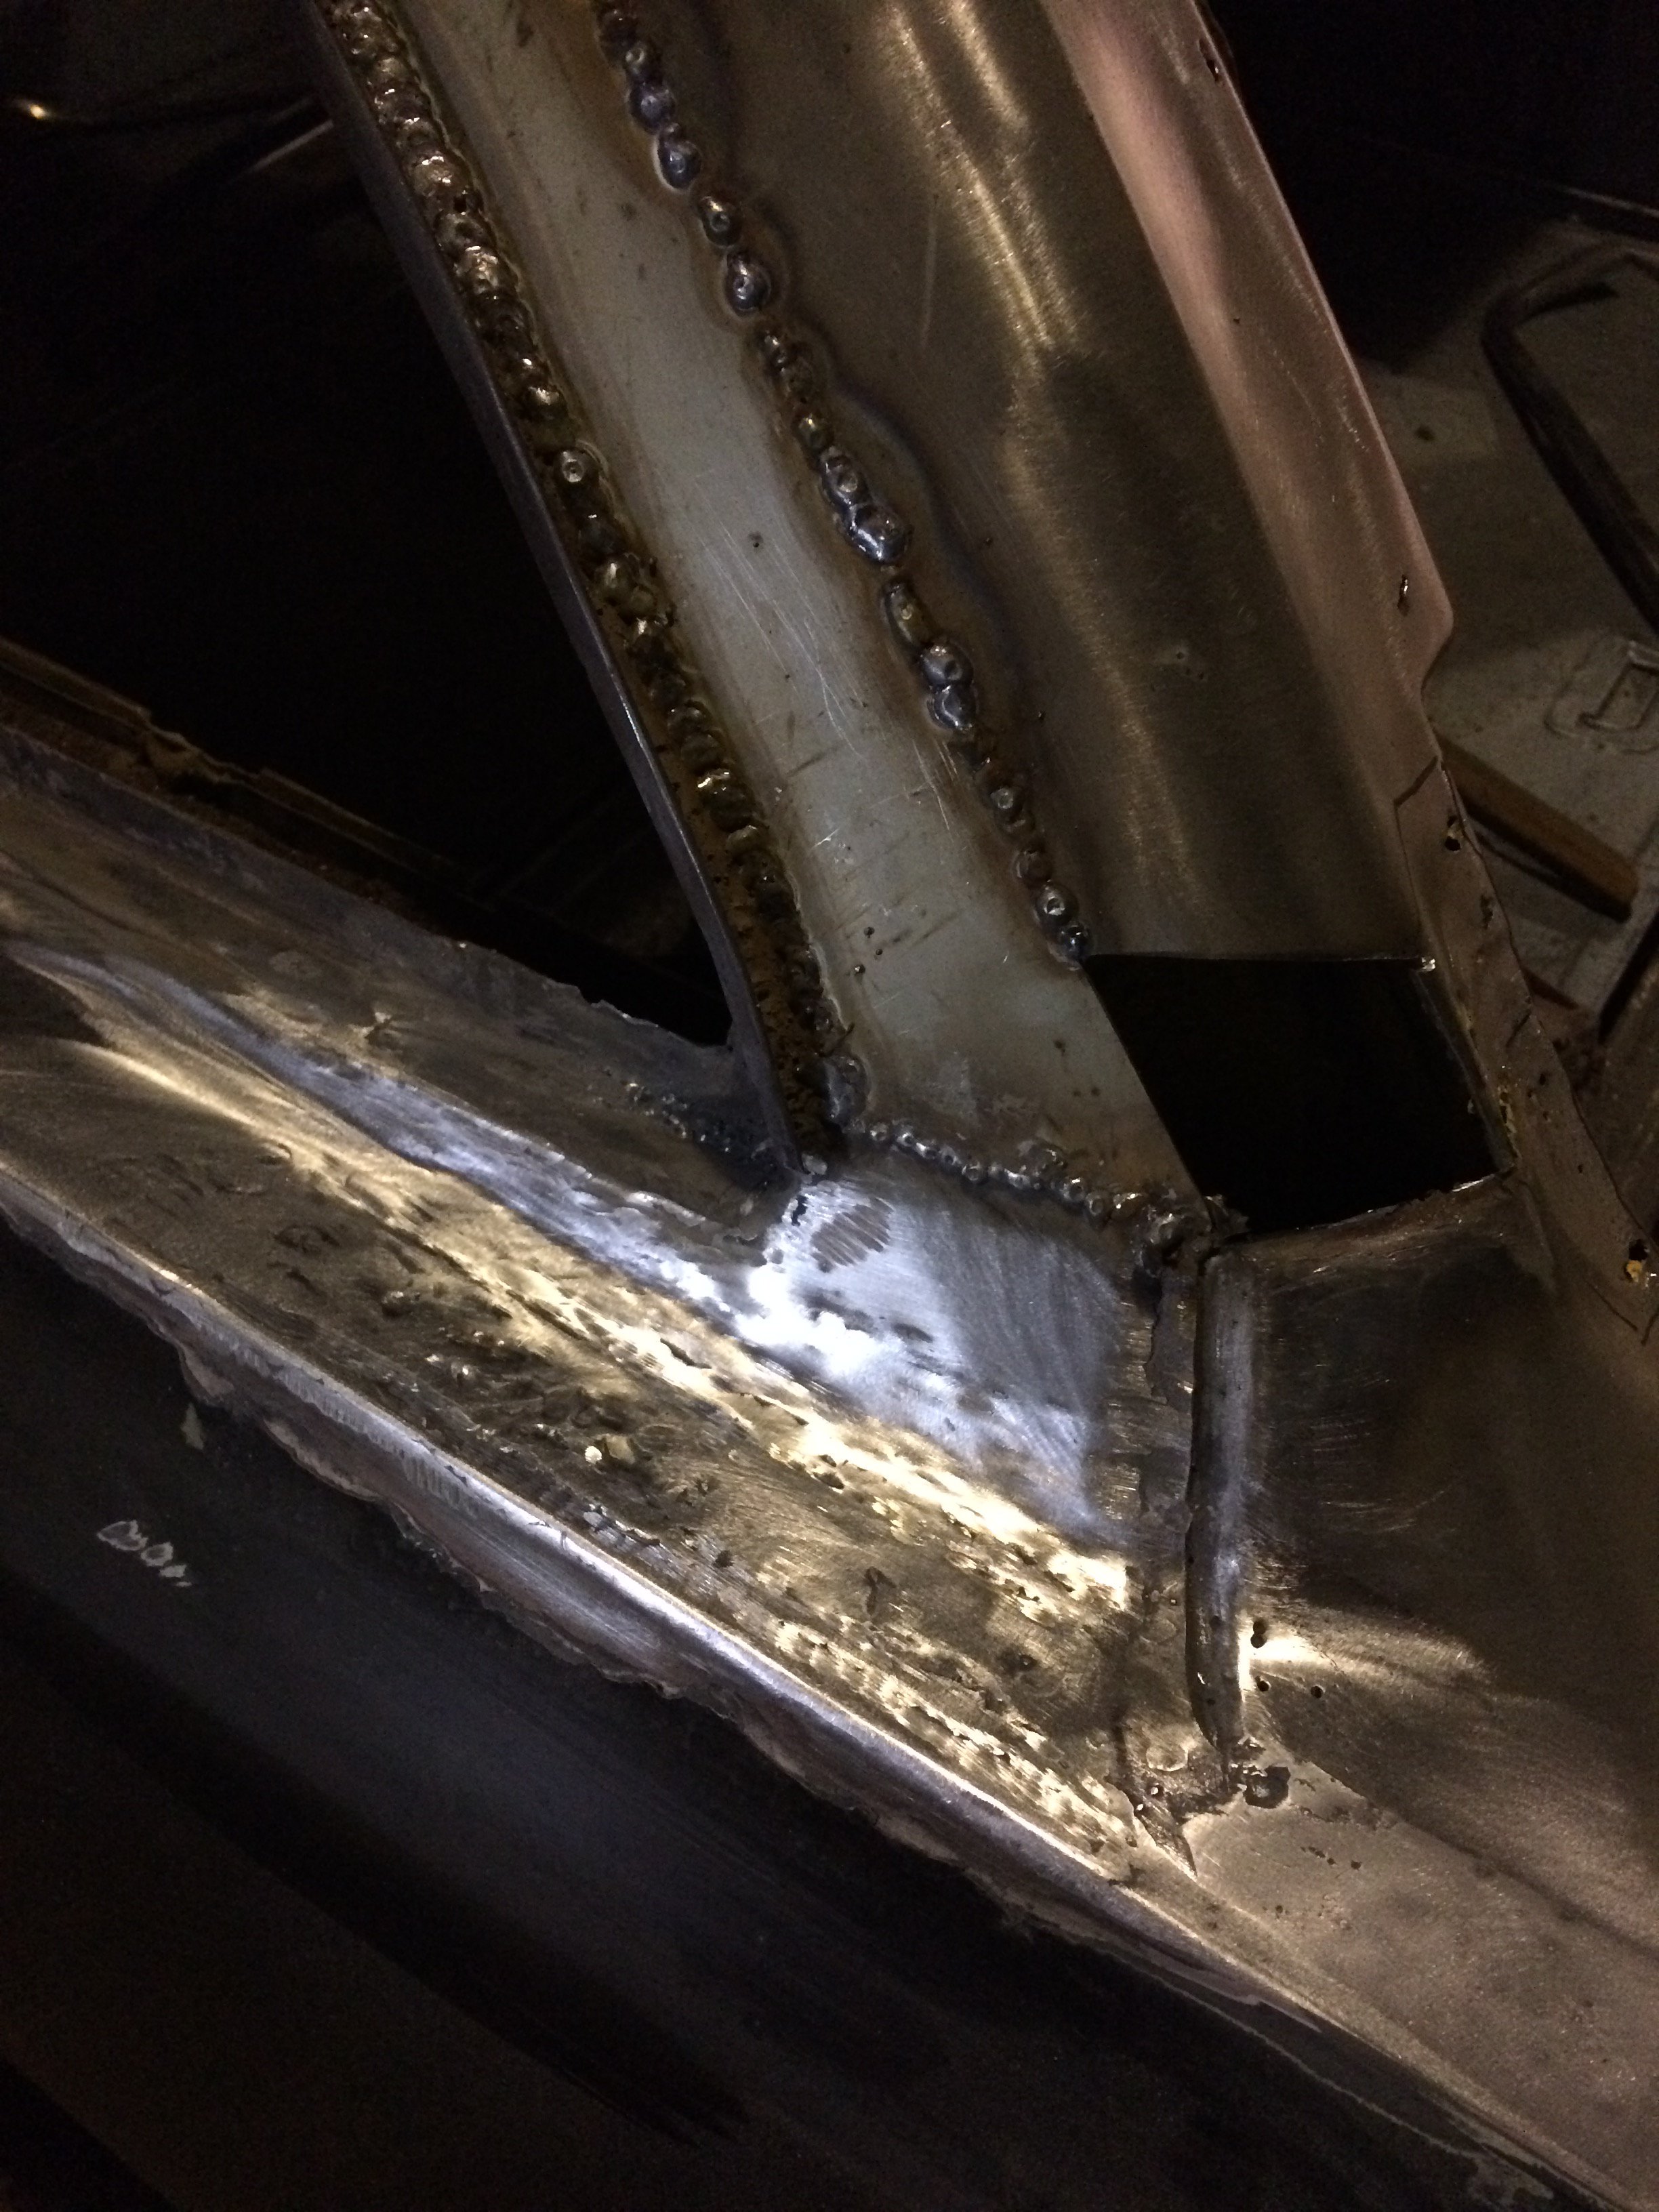
So that last post was fuckin terrible. I have never done any sort of sheet metal like this (just what's in this thread) so it was easy for me to bust out some garbage that filled the hole and sort of ignore how terrible it was. I made the mistake of sharing some of those images on Facebook and got many good comments and I fleas feeling pretty good about things. Nek minnit a friend (an Oldschool rodder who has done thousands of hours of high quality bodywork) was brutally honest about how shit that section of floor is and told me I could do better. It was embarrassing as hell and I remembered what it felt like to be an apprentice.. so started googling. First of all- I need to buy some decent hammers. It's pretty damn obvious but every dent in your hammer is going to leave a mark in the steel. I shouldn't have used my single planishing hammer for driving nails, basically. Secondly- it's not THAT hard to watch some videos and just do things properly. So I polished the face of my only hammer and gave my only dolly a file. Then I made a template of what I thought would be the hardest section to start with, transferred it to MDF and rasped some curves round the perimeter. I can flip this wood over and use it to do the driver's side (which I cut out way too eagerly) I pinned the steel into place with a few nails and started tapping it round...Which didn't last long as it soon became a pretzel. So if you don't have a shrinker stretcher there seems to be really only one way of shrinking things. You have to make a joggle tool..There seem to be quite a few diy solutions online but I just cut a slot into this big old screwdriver. You slip it over the edge of the panel where you need it shrunk and twist then move along and twist in the other direction. Eventually you end up with what looks like a cupcake case. But rather than being twisted like before it will now have a flat bottom ..Like TS The joggle tool is also great for shaping the edge of panels.. you can slip it on and lever the steel up or down in little increments and grandually change things quite nicely. Next you need heat. All I have is a little MAP set but it suits my limited space and does the job. Heat the joggled area cherry red and then tap down quickly and gently over a dolly. This squashes the z's down flat but somehow doesn't spread them back out.. dunno how but it works waaaaaay better than expected. So.. a heap more tapping and adjusting with this new dolly I made and suddenly I have something nearly ready to fit! Now I need a hammer with a pick end and a way of forming the swage in the rear section.2 points
-
2 points
-
Well finally got my wheels made up just before Christmas... Tyres fitted and balanced - went and did some domes, seems OK slight rubbing round corners but she'll be right! Hooked up van... drove 2 blocks down the road and had to turn round as both tyres were rubbing flat out. Gay. 1 white walled Eager So the consensus is, leafs too soft to tow van - put over rider spring back in and get them reset so I can keep it low & get rid of blocks. New bushes to minimise sideways movement. Re-weld rear wheels with a bit more backspace.2 points
-
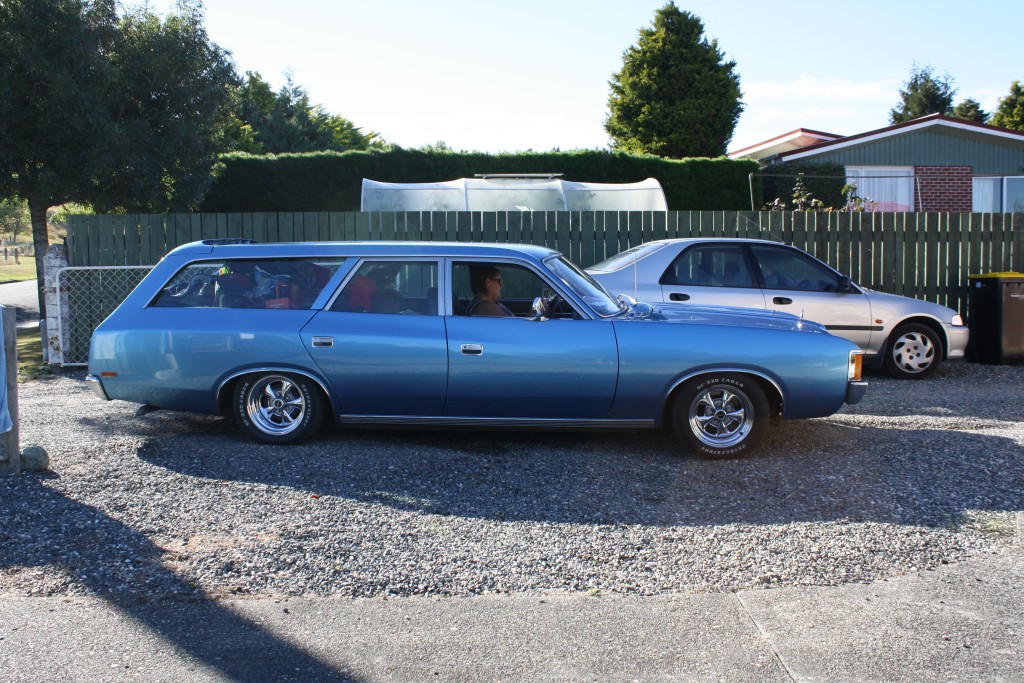
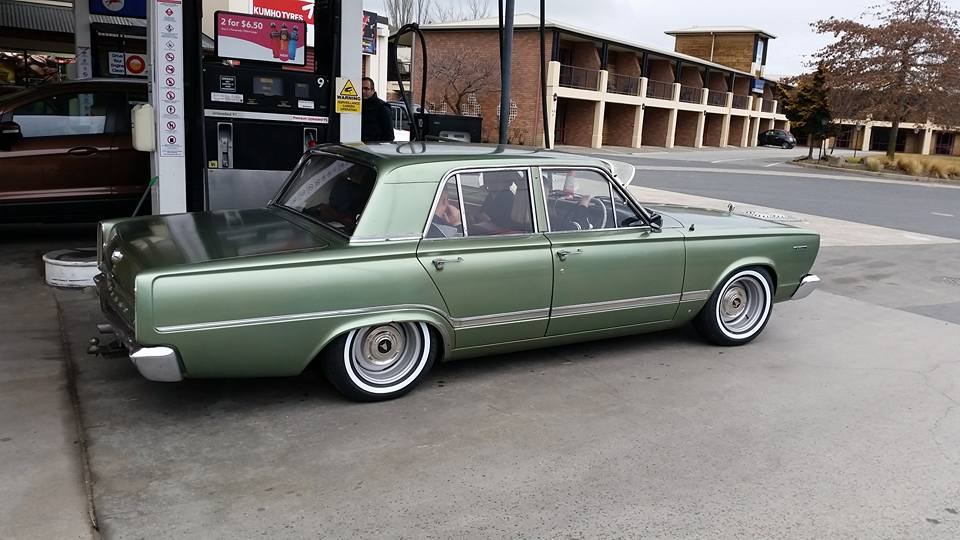
Hi All, Long time watcher, first time poster! Had this VK Wagon for a few years but sold it after a marriage split... Went about 6 months without a wagon and it finally got the better of me so bought this sweet granddad spec VC. Bought it unseen about 10mins after it 1st hit trademe - shipped it down to Chch, then flew up and cruised back to my home town of Gore. Was pleasantly surprised with how great the condition of it was!! Running 225 leaning tower of power, single barrel squirter through TF904 trans. Discuss...
1 point
-
Chur my brother, I remembered something about a guy in Miramar, will put on the to do list1 point
-
The reason for not doing it myself was id have only had 20 days to do everything including the repair cert process if id taken it off site, whereas by staying onsite they can take a mich (much much) longer time and i dont have to repay for another compliance inspectiom1 point
-
Have you considered doing the work your self?1 point
-
Clamped to the floor, and vented to outside passenger compartment, either via a sealed box vented outside, or use the vent holes with a tube to outside, like oe on a lot of euro cars. Cable needs to be secured and not sit on sharp edges,and if it's not in a box I would suggest something over the terminals to prevent ergs escaping in a violent manner1 point
-
Thanks to everyone who came along. we are going to do Sunday meets over winter. Do you guys want to mix it up with where we go, or just stick to the one pub/place?1 point
-
Yea, very happy with the wheels. Not perfect which is great, I won't be paranoid about them At this stage, the only plan is to get rid of the rust! I despise yellow, so that will need to go, but probably not for some time. Change out the springs so it's sitting even. Oh, and welding the fuel filler back on so I don't have to use the ingenious bent piece of pipe the guy gave me to fill it.1 point
-
Got some pics of the wiring. Tested everything, found I had somehow wired my solar panels backwards even though I traced them back before plugging them in (they come with two black wires...) Swapped them around and was away laughing Volt meter doing its thing Took the back panel off the box to fill the water tank the first time and check for leaks so I got some pictures of that. We also ran some chlorine through the system, about 2ppm, to clean it out. Also discovered while laying down there that you could actually sleep below the bed quite comfortable with a camp pad and sleeping bag (which we have with us anyway). Good to know if someone comes to visit and needs a space/weather is too poor to use our tent. Using some loc line flexible coolant hose for my faucet. It is long enough to reach out the door and folds up out of the way. Also for anyone copying this idea, there is a $8 half inch kit on Amazon that has everything but the hose to npt adapter. Buy the genuine USA made LocLine one, it's only a dollar more than the Chinese ones. Made some window shades awhile ago out of the insulation just never took a picture. Using magnets to keep them up. Hung some curtains. They are some cheap Walmart curtains that Rebecca and Mom doubled up and shortened to fit1 point
-
I got this off trademe, it has possibly the worst welding I've ever seen...but with minimal effort myself and mate of mine got it going last night. My mate reckons it looks like something out of a war torn African province, just gotta add a few machine guns and a flag! Hence the nickname. Now anything that goes is a rarity in my life...so this bad boy is fast becoming a favorite. Kj1 point
-
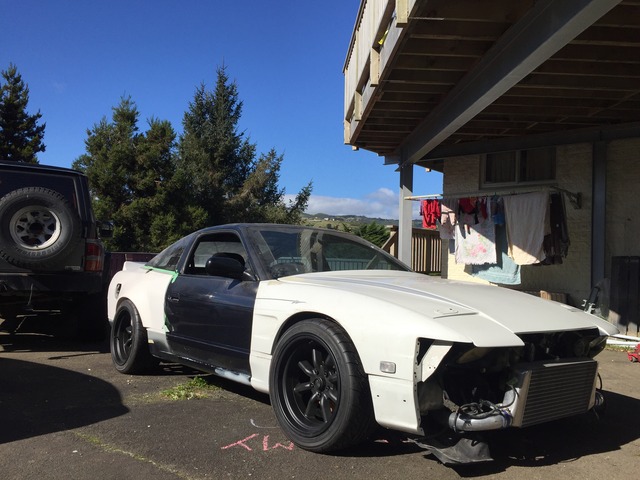
I bought it some new wheels because I've always disliked the ones on it. 18x9.5, +24 offset fits perfect, I re used the tyres that were on it already, 245-40-18 I also spent a few hours touching up all the paint chips and scratches. Looks tidier.
1 point
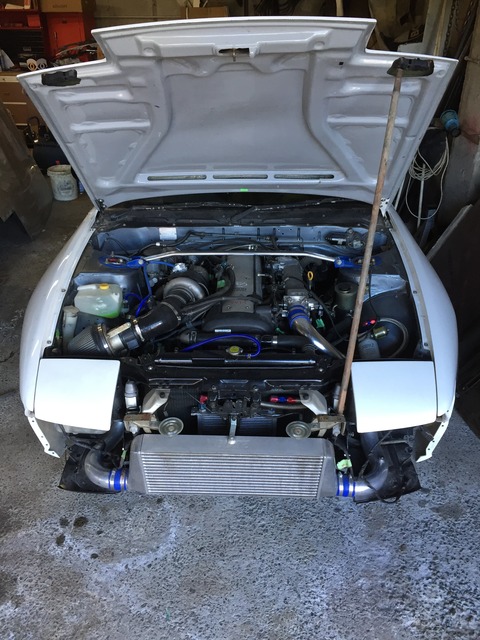
-
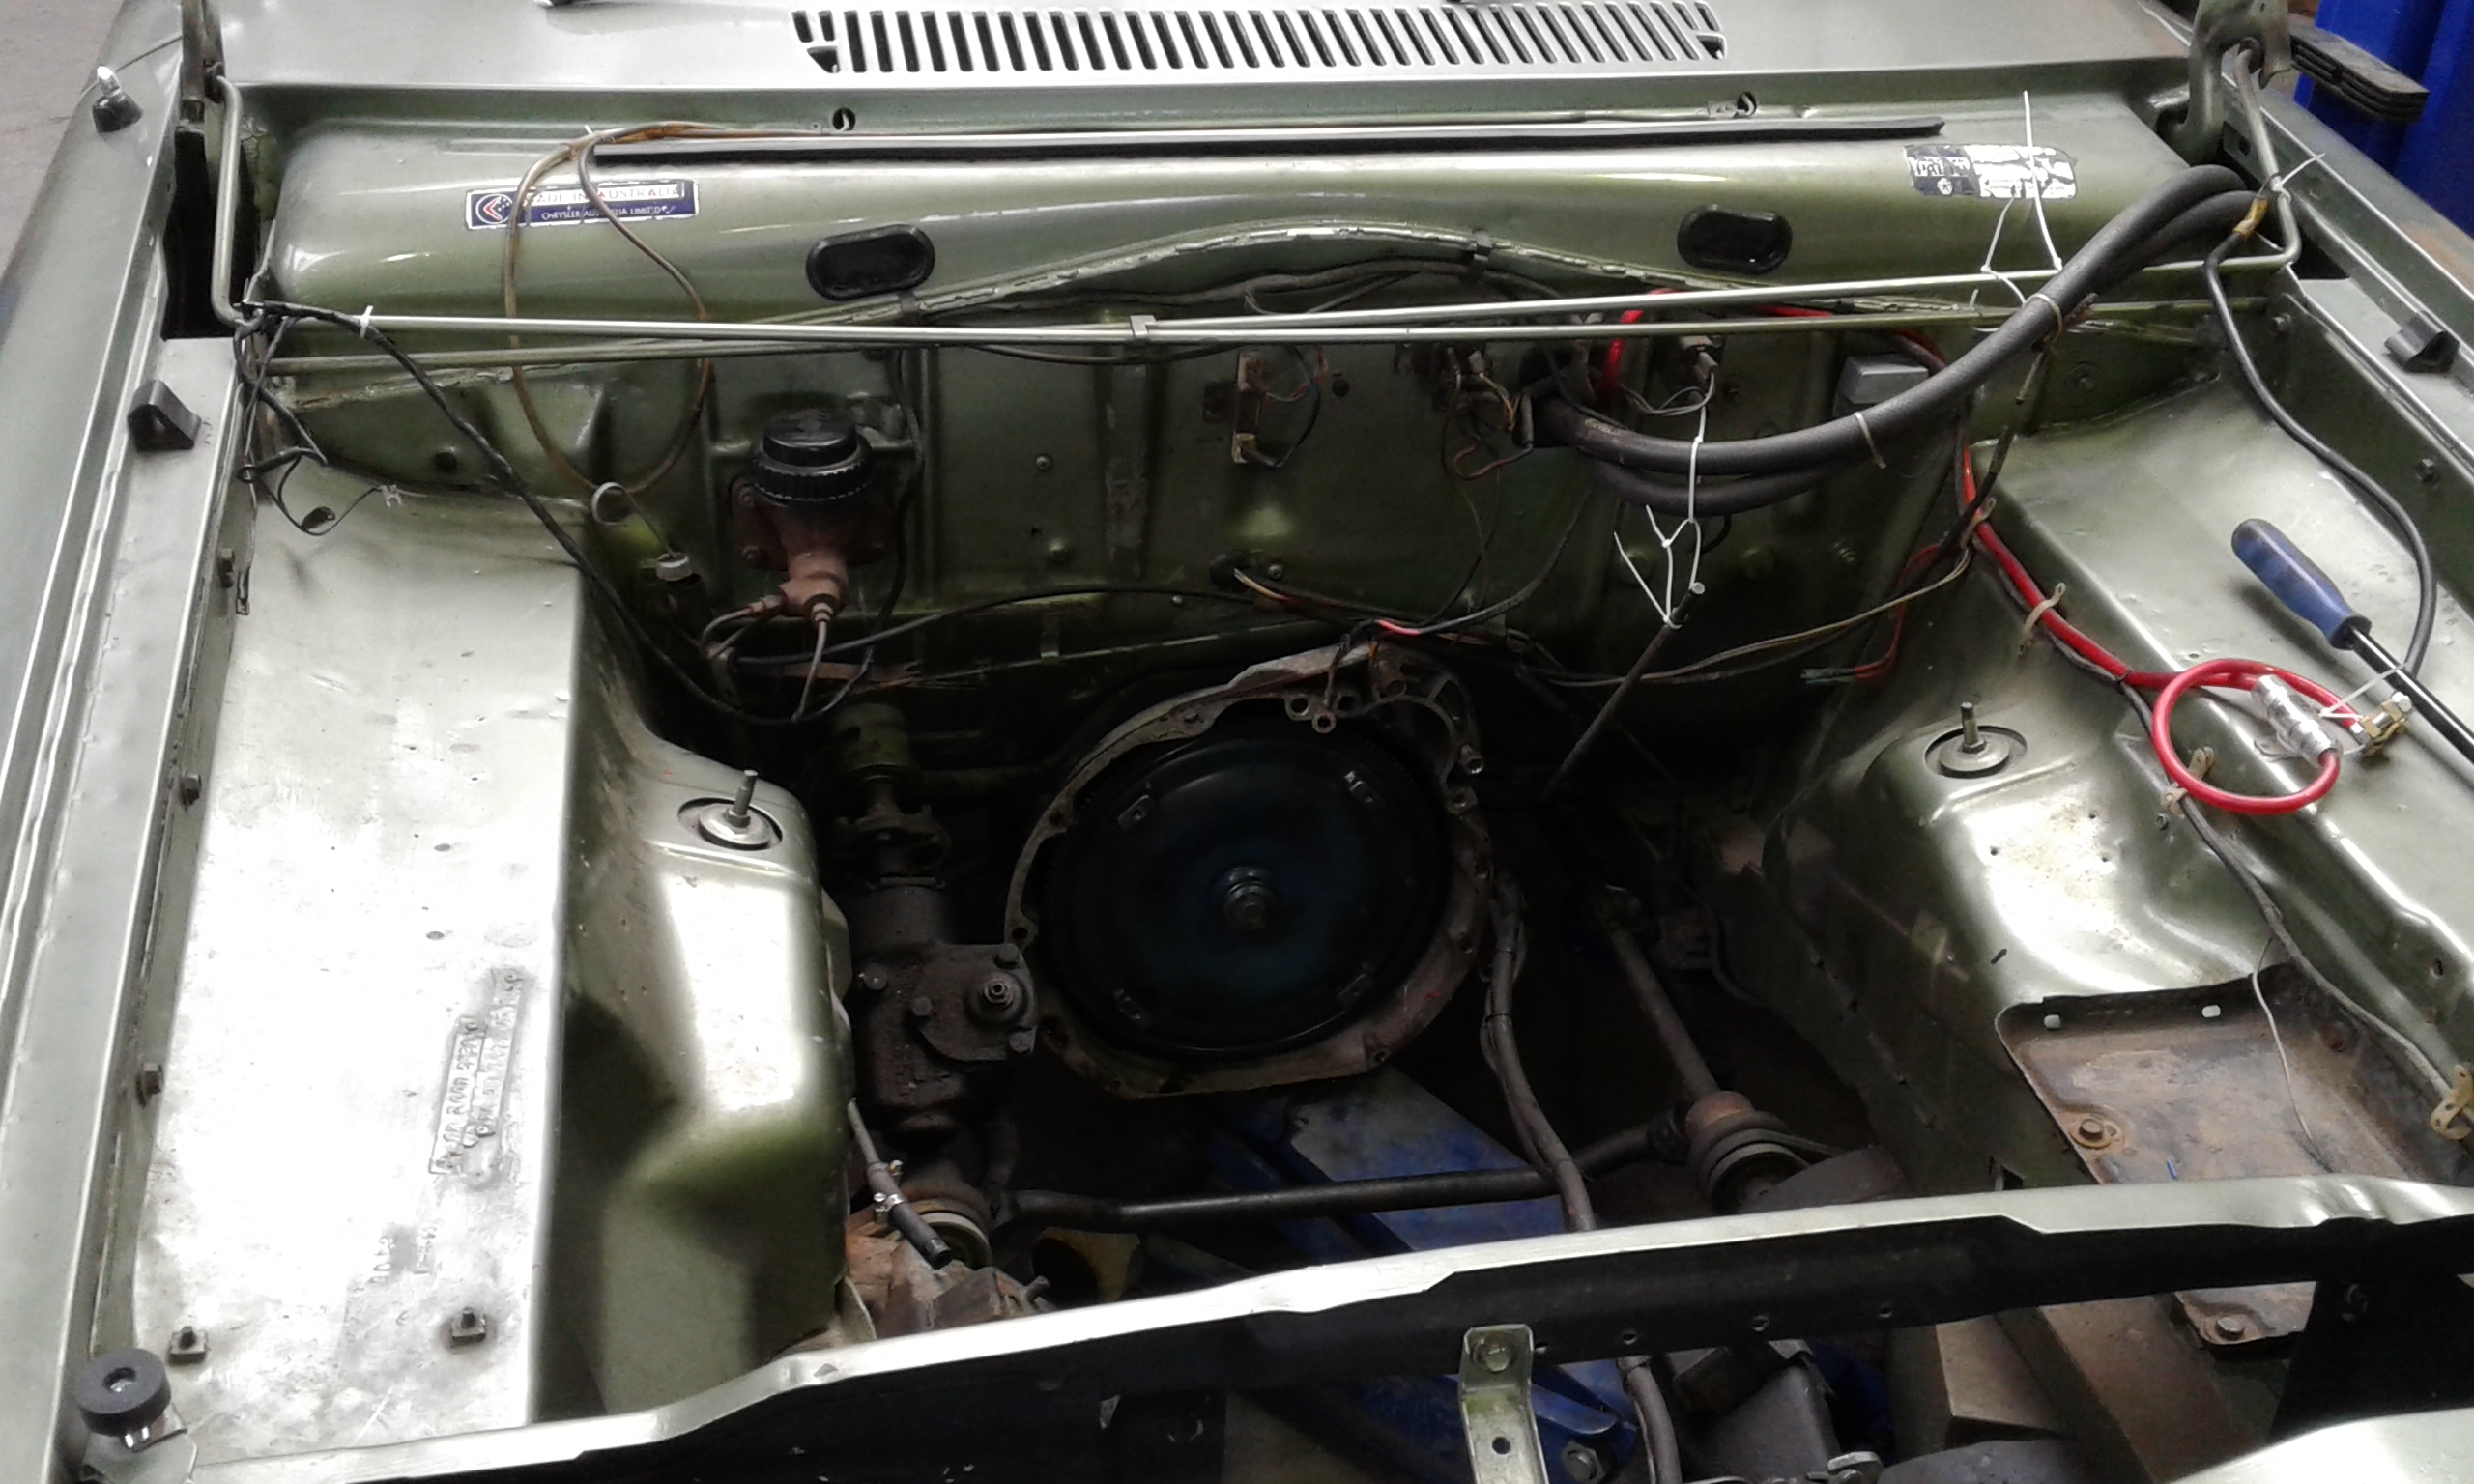
Evidence it moved: Engine bay, some stuff is still temporary: My washing line:
1 point
-
Spent some time on the weekend with the help of @kempy with good results. Some of the stuff I remember: Changed one-way valves on injector pump, cleaned points, bled injectors, replaced injector, adjusted fuel regulator to 110psi pressure, cleared return line, adjusted overfuel lever, replaced 6 (yes 6) totally dead spark plugs, re-timed and marked ignition, swapped distributors, lost all the hair on my arms and temporary hearing whilst fireball from backfire on intake gave @Geophy and @Threeonthetree a good laugh (possibly due to me holding a can of engine start that was also on fire) and then started car. Next steps - sounds like slight miss on one cylinder but no cooling system plumbed in, so, reinstall radiator, tweak, and do skids / road test / fix all the other stuff I find broke. Finally making progress = win.1 point
-
So thanks to Josh for his efforts in getting this tank ready, its now in my driveway. Couldn't really afford it but couldn't let the opportunity slip. Kinda surreal in that I have never bought a car before that I've been content with at time of purchase. So far I haven't even popped the bonnet. Just jumped in, thrown the chronic 2001 in the CD player and clocked up a few kms getting to know the way it drives (like a 6 yarder truck) But I love it. Thanks again Josh.
1 point
-
Good day today, lots achieved and a cracker day for it. As you always do, I hoped it would spray out immaculate and I'd never have to touch it but it ended up a little peely and some shit stuck in it. So I'll have to cut and buff it, I really hate doing it but. both my repairs on the mounting areas for the cowl vents cracked when I screwed in, bit gay but not super phased. Very jazzed on the original front, looks so much better than the plastic grille. while I was waiting for it to flash off I replaced the diff pinion in the pontiac so double project win. tomorrow I'll crack into painting the pillars and doors satin black in and out then wham on the new rubbers I got from basis and hang the doors back on.1 point
-
Got the pedal box mounts finished. firewall mount is the back plate off the original pedal box with new brackets welded too it. picks up 7 bolts in the firewall, along with the top mount which picks up the last 2 factory pedal box holes, its solid as shit Was fairly straight forward compared to the setup in the starlet. since Hilux has a separate mount for the steering column, But that also meant the fluid reservoirs had to be remote mounted, since said steering column cross brace was in the way. I had originally planned mounting them in the engine bay, but lack of fall said that idea was a fail. which was making me think the whole thing was a fail. but eventually come up with this.. Stuff sticking through the dash is yuck. but. This thing used to have the roll and alt meter thing that alot of 4wd's have. will put a blank face in it to cover it all up. Just need to plumb it up and hope my master cylinder sizes are correct. Cant wait to try this out on some 4wd Barry's. Hopefully it will shoot some flames on the limiter1 point
-
I don't need the power if I'm not carrying your mum around /lingpost1 point
-
Both rear sills in and out. Both front caps, drivers not as bad. C pillar vent, one side only thankfully! And after about 80 hours day after day, 54 patches were chopped, made, welded and ground. marathon, but had to do it now rather than try patch it up as I'm driving it. I've got in with a tight group of 1200 owners, and they have been feeding me cheap and free spares! Fuckin awesome! Always liked the factory sedan grille more so,was amped when this showed up, bit of a scrub, paint and polish and I'm happy enough to rock it until I get a better one. Need the appropriate surrounds however. Also bits like badges, interior stuffs, brackets that have been cut or modified. Yesterday was hot, was waiting for the few layers of bed-liner to set in the roof after heat-shrinking and hammering so I can sand it easier, and I couldn't be assed sanding bog so I cleaned up and refurbished the bumpers, tail light surrounds, number plates, headlight surrounds etc. Already did the indicators and lenses before Xmas, test fit a stereo, general tidying and painting of stuff, cut a piece of underlay for the roof, seam sealed and under sealed the rear guards and spare tyre well, made a cover for the fuel tank in the boot. Broke a few of the tail-light fixed bolts, found if I snapped them off completely and drilled them out, I could fit some spare speaker mounting machine screws in there, weld them and trill off the excess. worked out really well, then wire wheeled and doused in black zinc. Common practice on this car1 point
-
Putting the wife through fertility treatment so money has been tighter than usual but managing to do cheap shit occasionally. I removed the bent grille in top center of the dash (is it for a single speaker?) Sent some bits off for gold zinc plating Drilled some holes in my fuel tank mounting frame as it's way too sturdy/heavy. Will get this gold zinc plated too Also did some trading and bought some fiberglass front guards (need to get these north from invers somehow!) And also a fiberglass nosecone that was made locally.1 point
-
I decided against the stairs, mainly because CBF. Next there's some paving to do, and after that I better actually build the cabin I guess.1 point
-
Trip to Twizel for the weekend! Looks much better with a full tank of gas and a few peeps in the back!
1 point
-
Removed the forementioned overload spring - didn't take any before/during photos due to being a useless prick... But here's how it's sitting now... Chucked in some mean sounds, subs amps and pissing the cunt up!1 point


.thumb.jpg.b5491dbec1053270a4d99ed376fc2c36.jpg)


This leaderboard is set to Auckland/GMT+12:00