
Leaderboard


Popular Content
Showing content with the highest reputation on 03/27/16 in all areas
-
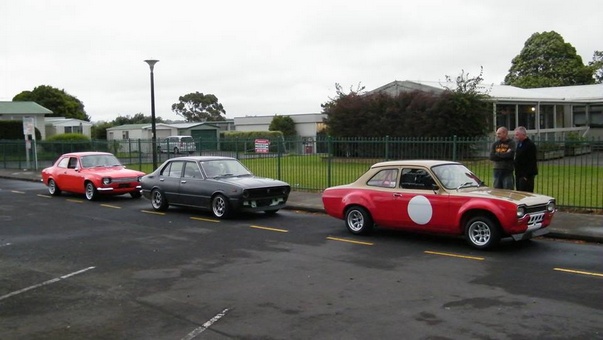
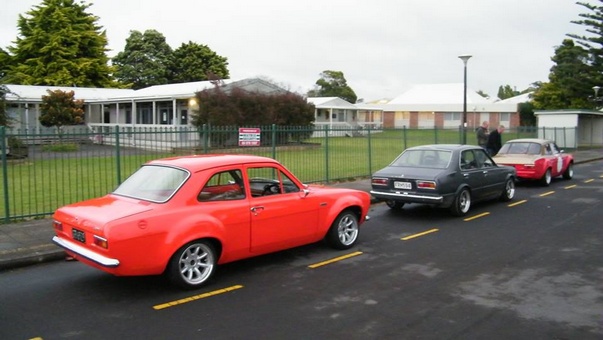
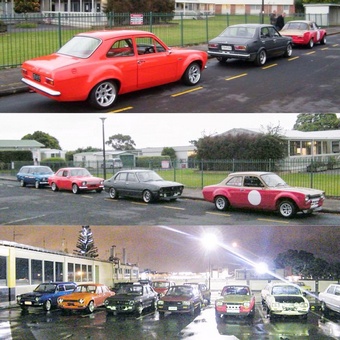
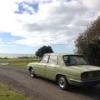
Got a few of the crew together and cruised along to the Auckland oldschool meet
 5 points
 -
Windscreen still has remnants of the Nats roadtrip bug holocaust, will have to drag the car back out of the shed and give it a better clean. Thanks Alistair for the last minute wipe down before Caffeine and Classics today One zenki steering wheel installed. Discuss: http://oldschool.co....1-sc-chit-chat/4 points
-
Dunno why, but I've always preferred the design of the pre-facelift AW11 steering wheel (shared with AE86s, AE82s, and a couple of other 'sporty' Toyotas from the same era) over the facelift one. Here they are side by side for comparison... facelift on left, pre-facelift on right. Perspective is a bit off in the photo - they are actually the same diameter (but pre-facelift has a thinner rim). I installed the pre-facelift one today, we'll see how long it lasts before I go back to the Nardi/Personal. Discuss: http://oldschool.co....1-sc-chit-chat/4 points
-
i now feel like the more analog version of romandave, but regarding valiant front suspension rather than toyotas. i got my new tie rod things painted and put in also made a thing to reduce the amount of droop travel to counteract the shortened bump stops, so the total suspension travel is more like original. this didnt make much difference to toe change problem though. check toe change again BINGO. toe change reduced from 23mm over 100mm of travel with original tie rod ends, down to 6mm with new ones. It drives much better, even with a wheel alignment done by eye, it feels much more stable at open road speed over humps etc. its quite surprising how much difference shifting the pivot point down a minimal amount can have such large effects on the geometry. the new tie rod ends are from memory about 9mm different to the original ones3 points
-
Lol, Mine has been in bits since November while I did a couple of minor things. It'll take about four years to do what you have outlined there.2 points
-
I was able to spend a bit of time on this over this long weekend and close up the rear quarter. First removed the remains of the inner skin and replace it with a single skin. Like the other side, instead of recreating the factory rust trap, i replicated the existing 'shelf' but made it an extra 5mm or so wider to attach directly to the outer skin. inner plate ready to bend to outer 1/4 profile inner bent up to outer profile. + a wee rebate for the bumper mount outer 1/4 from under neath (bumper rebate patch from the original just tacked on) hole which was cut from the original outer skin. It would probably have been easier to just tap it into the nice new steel given the state of it, and the amount of faffing blowing holes in it but its done now Next, make the lower panel to fit. A shrinker/stretcher would be awesome, but this tuned out ok. 1/4 fit looks ok test fit #4358754785 showing off my pie cuts and blow outs that make this shape 1/4 fit looks good, time to weld. I like to have the patch just 'fall' into place with no more than about 1.5mm gap at the most- if you have to force it it wont sit right once its welded and might warp - too big a gap and its a pain to weld and it will warp due to the amount of heat needed to bridge a big gap 1/4 tacked in, this is about 3 passes, just closing up the gaps each time letting it cool be fore stating the next pass. These big panels will warp very easily. 1/4 welds smoothed and ready for some primer Also fixed the rust patch in the sill, good to have a few patches on the go when welding as you can swap between them and avoid over doing it and warping the panel. insider the sill end, not bad for 50 years. Dunno why it rusted out above? sill patches tacked in And all ground back plus smoothed with the 40 grit sander and ready for some primer So that leaves only the front drivers floor and fender to do now rust wise, but I cant make a start on that untill the diff is back in and on its wheels. Axle seals turned up, so swapped them out, changed the pinion seal (the nut was suspiciously easy to get off so will get a new one before i put it back in) with some RTV behind the washer (to stop the leak into the flange). My handbrake pads and diff hard lines need picking up, and i need to get the leaves reset over the next week or so, and meanwhile have some crusty diff/suspension parts to clean.2 points
-
That's the second graph that I've seen posted in a project thread today, by someone apart from me. Loving life right now2 points
-
Posting graphs in your project thread So thoughts on the new manifold, keep it or go back to the other one? Or cant really tell outside of the cam timing differences yet. Off topic but I saw this really awesome article where a guy somehow measured the strength of exhaust pulse over a single cycle, will try find it2 points
-
Fail ^ afr graph; pink line is the 44.5mm extractors, they match the old 38mm's from 6000rpm onwards. but are junk below 5000rpm, at part throttle and wide open. im not sure what is happening down low, lack of velocity or maybe getting a bit of reversion? but rules out that the 38mm tube is any kind of restriction. The fuel ratio is a bit junk in general. long story, but had to do a quick temp fix on cambelt, with an old belt. as some stones managed to get in there and destroy my poser toda belt. Im pretty sure the cam timing is off. as its gone lean through the midrange. but with that fuck up looks like it may have gained some more midrange power. as requries about 5% more fuel between 4500 & 6500 to get it back to where it was. when i throw the new belt on will see whats going on, and maybe finish dialing in the cam timing, that i was spose to do 2 years ago... looks like i got to 10degrees advance on the inlet and 10degrees retard on exhaust, over kelfords recommended.2 points
-
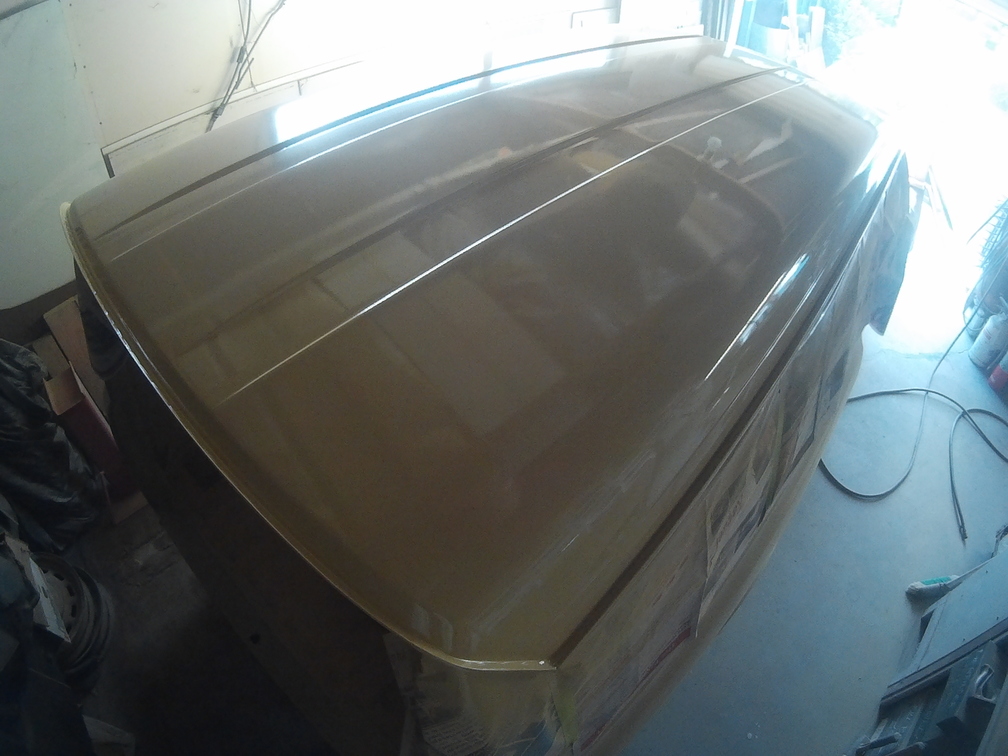
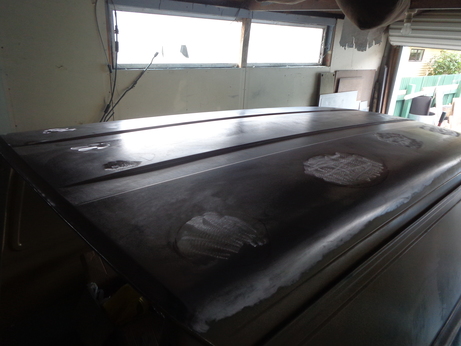
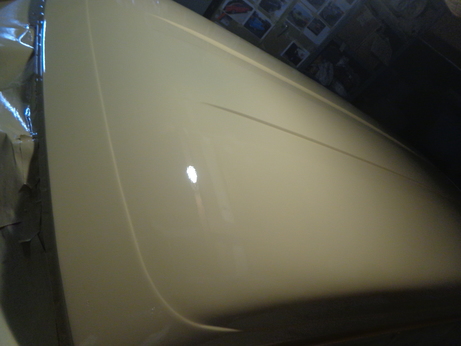
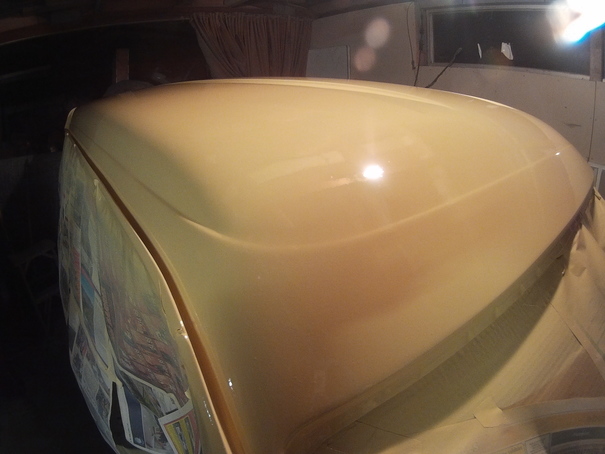
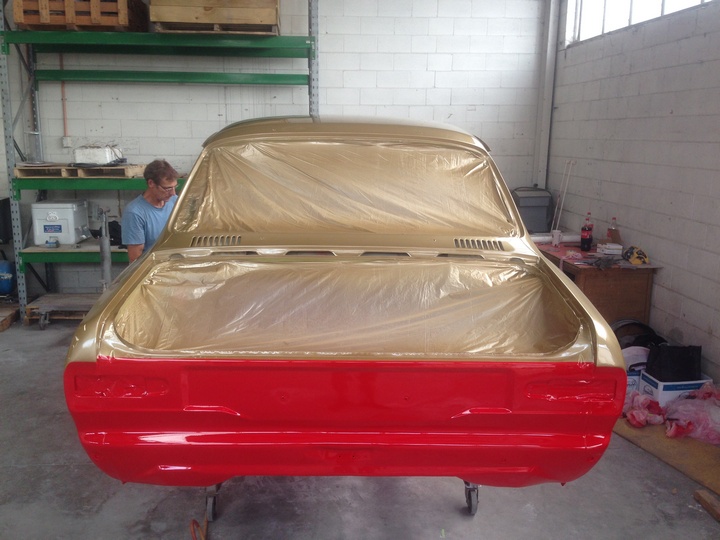
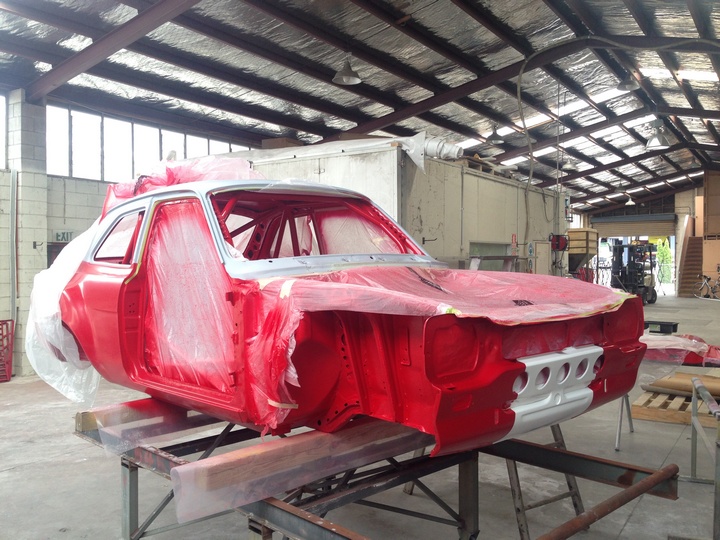
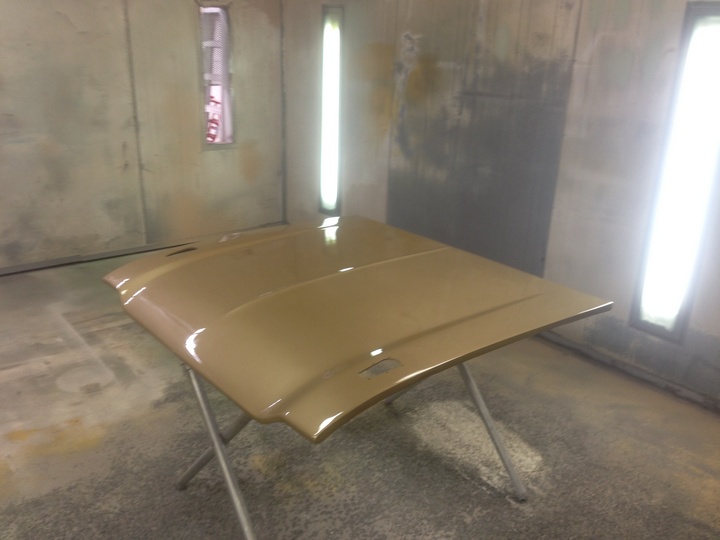
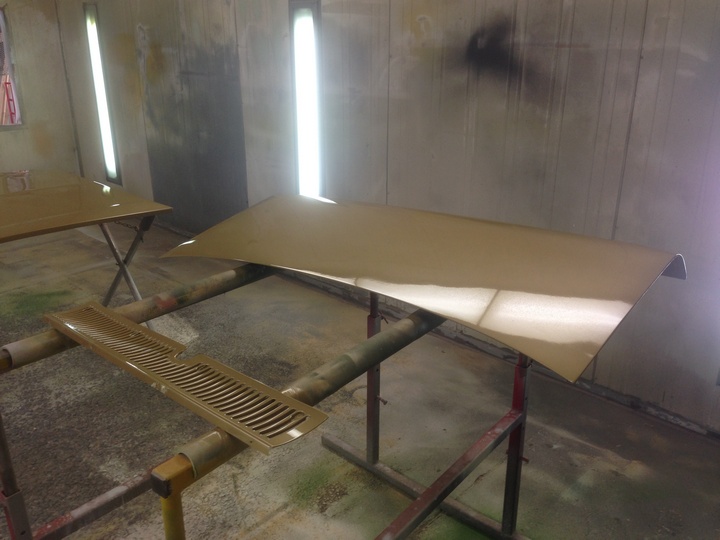
The roof was long boarded down and any imperfections were sorted out. Also seam sealed the two edges where the roof panel meets the sides. This is the rear corner looking over the roof. Sprayed on the final primer, dried very quickly but was able to keep it wet and glossy. Looking very straight now.
2 points
-
A+ work everybody. Special mention to guest of honour, thousand dollar supercar.2 points
-
Got some updates. Engine and box is out of the E34: Some other cool stuff that I got: Parcel shelf to match my seats with premium speaker covers: Painted black and installed: Also got an Mtech replica spoiler but it arrived damaged so got a partial refund and went about starting the repair today: Also made my engine mount bracket adapters today: I used 12mm steel, might be overkill a little but when I'm dragging off Evos and Skylines the last thing I want to be worrying about is the engine falling out under the car, haha. Also got hit about a month ago by a guy who suddenly changed lanes without looking: Luckily he has insurance so working with them now to sort it. I was pissed off but he's been good about it and not screwing me around so I appreciate that. More updates to come soon. Then some sideways.2 points
-
2 points
-
Just before leaving taupo I bashed the front of my car into the ground (again) Drove home okay, but figure it's time to sort this out properly. Pulled the sump off, looks pretty bad... AND THEN WHAT THE FUCK IS A SCREW DRIVER DOING IN MY SUMP?! Couldnt believe my eyes when I saw that, must have been there for a long time So perhaps I've fixed an engine rattle as well... I've got a spare oil pan to fit, big thanks to Pe-arce foe this. But I'm hesitant to do so without coming up with a better way of protecting it, I certainly dont want to do the same thing again. I'm thinking some slightly harder springs up front will help. Raise ride height a little and reduce travel a little. Then come up with some sort of bash gaurd.2 points
-
Sooooo, unicorn shit has been aquired. Genuine TRD new old stock (thants right brand new) k50 close ratio gear kit. And not only one kit, but two, although the second is missing 5th gear, got lost someone in its last 30 years of storage. So pine right now2 points
-
Finally have 4 pipes heading in the right direction. Has been tricky getting all runners the same length, while making them aesthetically pleasing and within the same constraints, so can bolt on swap back to the old extractors if need be.2 points
-
They gonna look pretty hanging on the wall, with the 5km worth of light gold coloration. I initially thought they were slightly better through the midrange, as first compared to a log just pre cambelt issue. but down low was pretty big losses and felt real lazy at part throttle. so swapped back to the old ones to see what the deal was. with a back to back run. what looked like the midrange gain, is what im assuming is cam timing issue. as the old extractors matched the afr. 13.4afr up from the usual 12.8 so yeah, no gains anywhere just big losses below 5000rpm. on the wall they go. that log is the new vs old about 2 hours apart, no other changes.1 point
-
In other news, your under car suspension videos are really awesome! Great idea.1 point
-
does need a cert, but will probably have other things to do before i get it certed again. i dont think anyone would pick it up unless they knew what valiant steering bits are supposed to look like...1 point
-
You've probably already seen it, but there's stats for RB26 pumps on a couple sites Stock: 47 L/min @ 6000 RPM Nismo: Nismo claims comparable output to Stock but uses stronger gears. HKS: 53 L/min @ 6000 RPM (Old Pump, Jun style) HKS: ?? L/min @ 6000 RPM (New Pump, Tomei style) Tomei: 57 L/min @ 6000 RPM JUN: 59 L/min @ 6000 RPM (Calculated using Jun's Claim of +25% of OEM) Trust: 59 L/min @ 6000 RPM Reimax: 70 L/min @ 6000 RPM1 point
-
Ha, turns out I was on the opposite side of the harbour. Tried to get away today, but mate, those numbers will need digging soon. But that bin is no good there, go get the tractor and shift it to the implement shed, now there's a gap there gotta build a new bench, chop up some oil drums, don't use that good wood, cut the rotten bits of this one, it was here back in 82 when I bought the place. While you're here climb up there and check those bulbs1 point
-
Oh man, looks idyllic! Would have loved to be there.1 point
-
1 point
-
Slab of titanium for sparks pls1 point
-
It has been a few weeks since an update, I was hoping to have everything done and painted by this point, but theres still a fair amount of work to do. I finished off the rear end/diff rebuild on my brothers car and got that all back together and driving, which has free'd up some space and cleared my plate so to speak. With my attention focused back on the front clip for my car, I was able to finish off a majority of it. Got the front tub end cap panels welded on which added a lot of rigidity back to the tub section. Picked up a new intercooler from Fenix. This one is slightly larger with 500x300 core, instead of the old 380x230 core. So intercooler and oil cooler mounts were added to the front clip, along with radiator and bonnet pin mounts. Made up some headlight mounts and got those welded on. The plan was originally going to be to have the entire head light mount to the front clip, so removing the front end was easy. At this stage only the inner mount of the headlight is attached to the front clip, and the standard outer mounting bracket still attaches to the front guards. Got the new tubs mocked up, they still need a little more trimming and tweaking here and there. Will remove the engine before I go ahead cut the factory tubs out and weld these ones in, which is pretty much where I'm up to at this stage.1 point
-
Ive been pretty slack... But my engine/gearbox are in and ready to be wired up. Gearbox ended up being a W58 which is an added bonus. Anyone know any local (dunedin or around) auto sparkys interested in wiring it up?1 point
-
Or try strong for Honda for used parts. Sounds like your Honda workshop doesn't know/care much about old cars. Find a local garage that likes the old stuff.1 point
-
Haha not too bad, I was having some fun on the way back from Bfuel!1 point
-
IMG_4969[1] by Neal OnTheTree, on Flickr1 point
-
Couple of the better ones from tonight, had focus on manual for half of them - doh!1 point
-
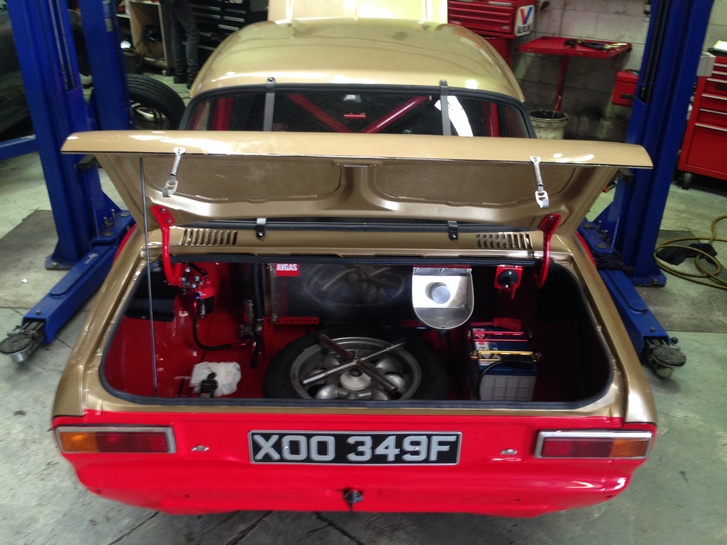
so hear we are boys.... this is what it looks from the top, also have a compartment for my battery and any other gear etc i carry... will be fully sealed and is lockable. underneath its abit of a mission iv shortened the xmember by 120mm either side re strengthened it and tig welded it all back up and going to tig the seams. also i shortened the wheel base by and inch so its all the original wheelbase now... so its pretty good and fit-mint is perfect... iv found some adjustable plates for the camber and toe angles so it will be fully adjustable.1 point
-
Test Drive time for the Cert
1 point
-
i maded suspension ended up with 6kg springs 150mm, ae80 shocks, strut housing shortened by 45mm i think, and ae86 camber plates. on my first test drive i realised my driveshaft loves my floor so need to cut and rasie that up. annnd picked some equips up and a bunch of other wheels slapped some tires on and this is the result. the back is still miles high because the ae86 diff hasn't been shortened so i can bearly fit a 13x6 +10, will get that sorted asap then the back can come down to match the front. after this drift day it will get a paint and a good needed tidy up1 point
-
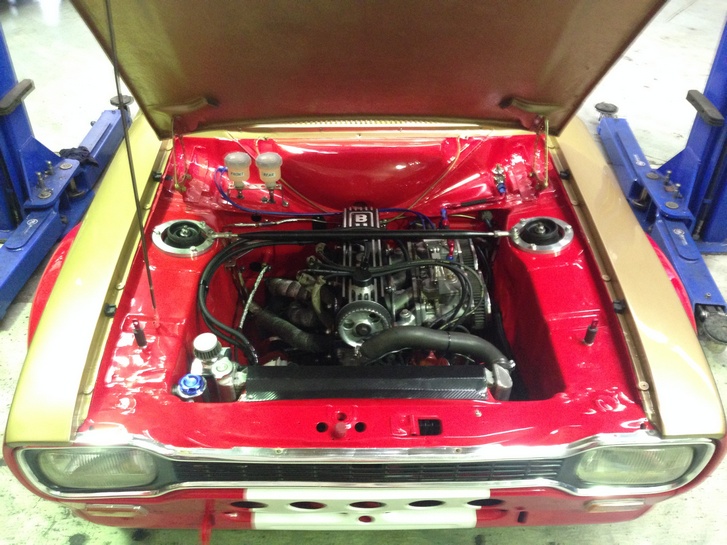
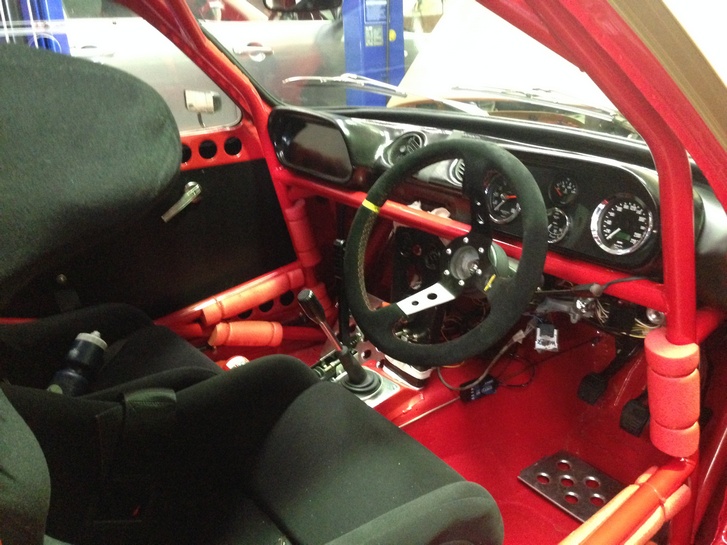
For those not on FB heres tonights post, Proper photos and engine bay/interior to come but for now: Talk some shit! //oldschool.co.nz/index.php?/topic/34313-the-westpala/page-71 point
-
many hours later.... Its all back together and running
1 point
-
Is there such a thing as a road legal rotobongo?1 point
-
So this year has been gayballs as little time for this thing until recently. Made a clevis and mounting plate and got my later model commodore booster mounted. Then I traced a heater box flange onto some aluminium and made a blanking plate. Today I glued it into place and will remove the few screws once it's well and truly cured. I need more damn mix gas1 point
-
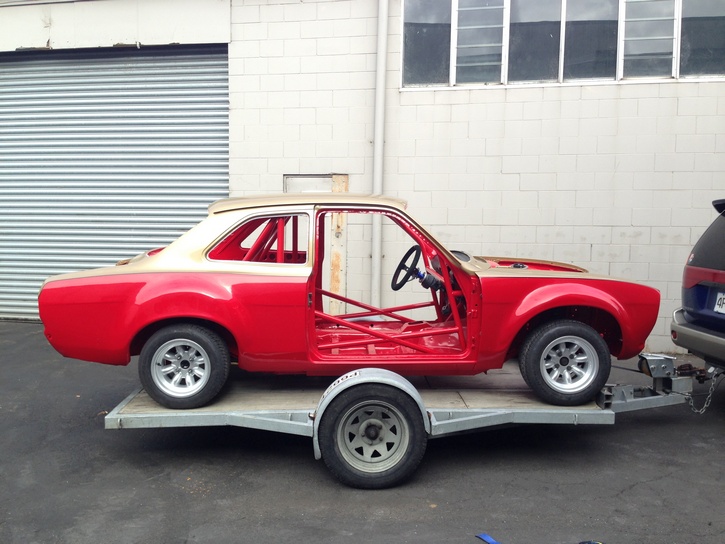
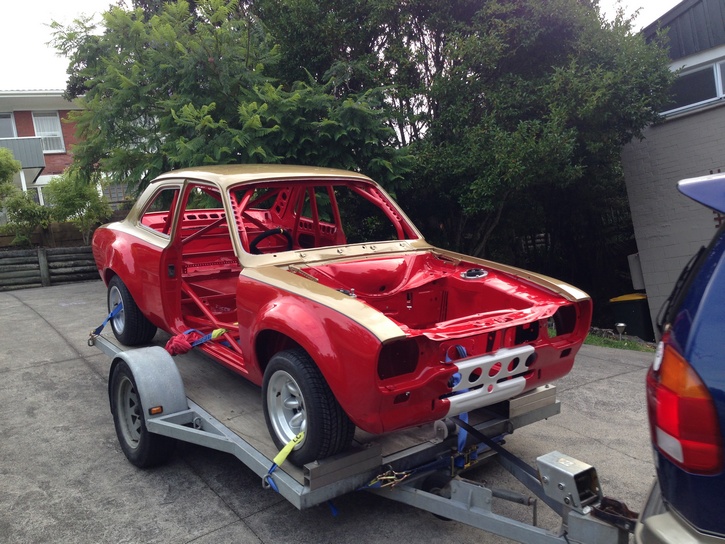
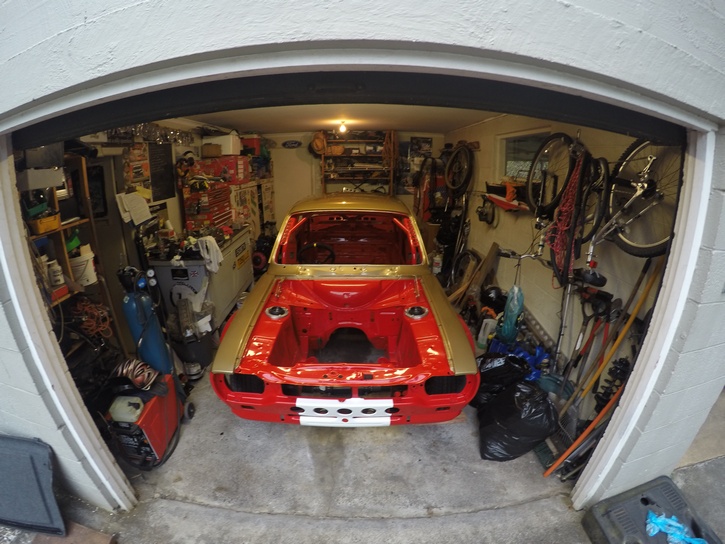
On the trailer Made it home Back in the garage Time to get assembling before the next cert inspection
1 point
-
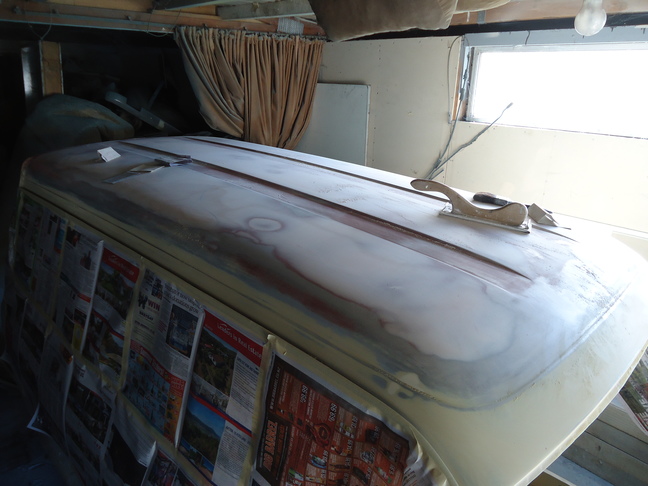
After the holidays and getting the blue van up and running, I got back into this one. Started with the long job of bare metalling the roof. For a little van it has a big roof!! Got it down to bare metal and scratched up the areas needing nuetec. Brush painted on the 2k primer. Bit of nuetec, skim of bog and then it was all long boarded down. Pretty simple doing a mainly flat roof. Tonight it was prepared and had 5 coats of high build primer applied. Came out really nice, too bad it'll be sanded back.
1 point
-
Thanks to the efforts of Slacker.Cam and the Jackson Factory (sounds like a cheesy movie...) the OEM Toyota roof racks have been securely fitted in time for OS Nats 2016. Cam turned up some small spacers for the rear section mounting points on the lathe and found a bunch of appropriate fasteners, while over the weekend I grabbed some felt padding for the front section. Nice and safe... but I don't think I'll be ambitious enough to tie anything to the racks just yet. Went for a quick dort out to Parau in the fading light and managed to grab a few shots before dusk. Look past all the small blemishes of being a thirty year old car, and the old wedge does clean up well for photos I must admit. More photos: https://flic.kr/s/aHskikS3t3 Looks real sicko spec now, haha. More photos: https://flic.kr/s/aHskikS3t3 After Nats the plan is to continue tidying up little bits and pieces on the side, while I focus my efforts on the Skylines. One annoyance I'm hoping to get sorted is to restore all of the exterior side trims to their original black colour. Discuss: http://oldschool.co....1-sc-chit-chat/1 point
-
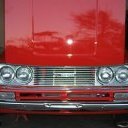
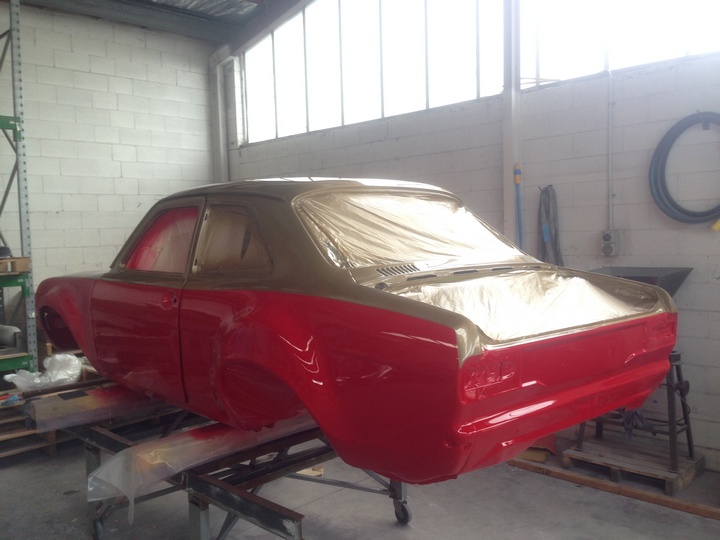
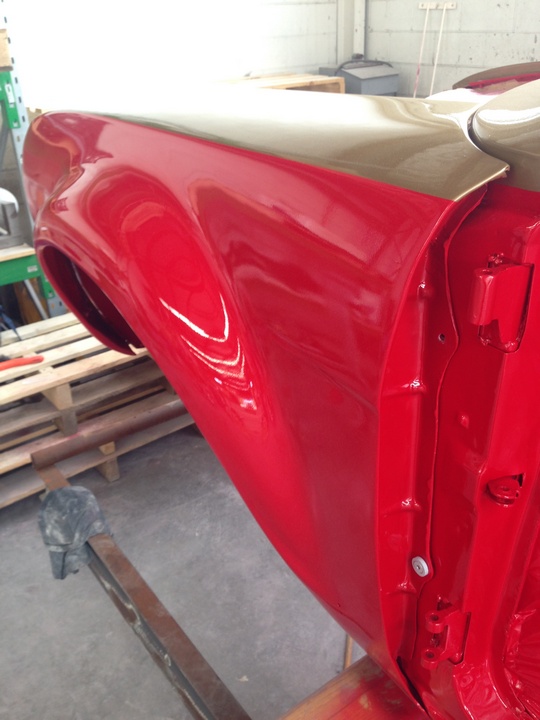
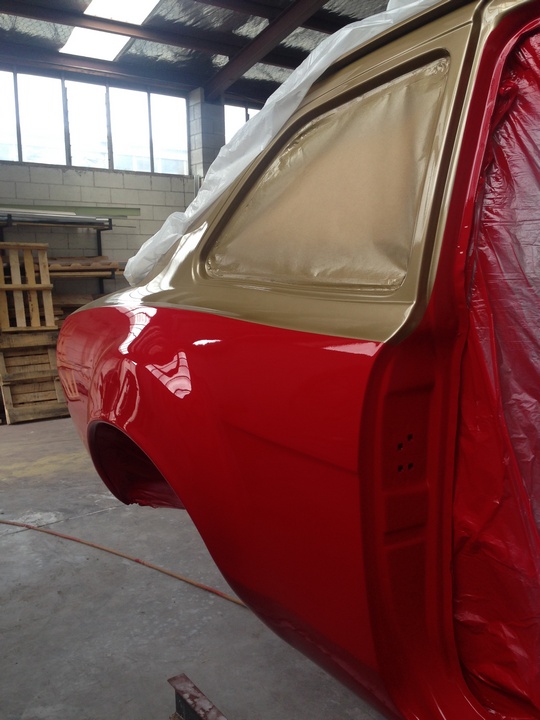
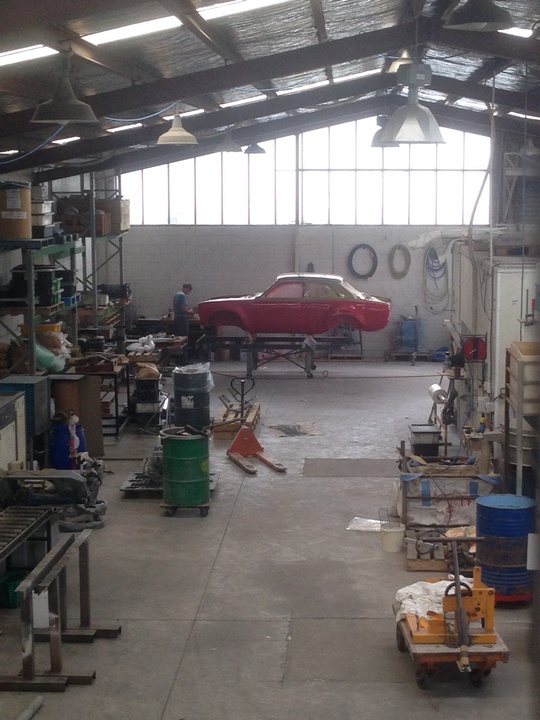
I spy an Alan Mann coloured Escort
1 point
-
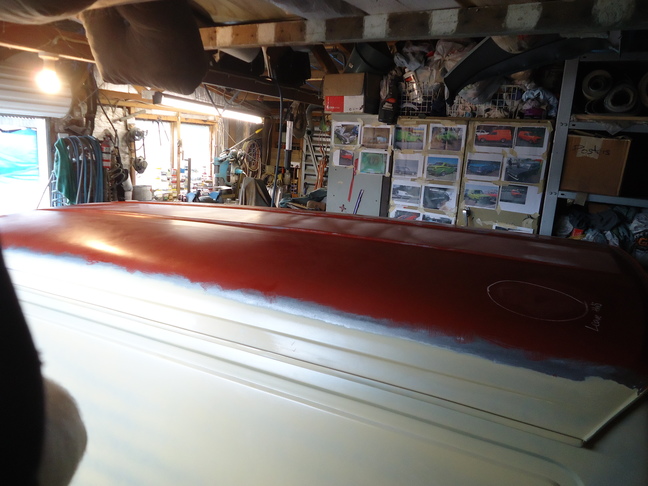
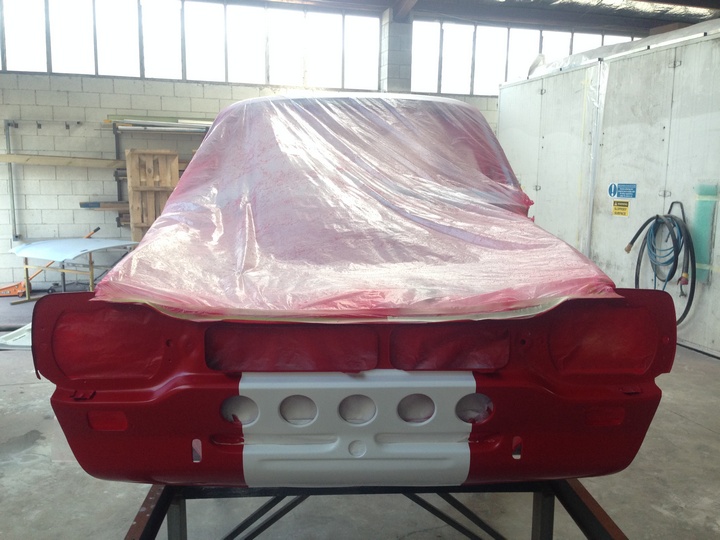
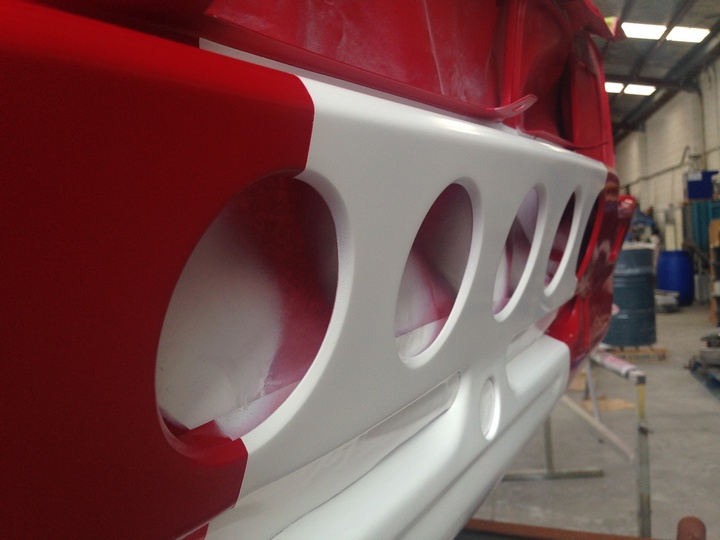
White stripe first bit of Clear Coat
1 point
-
I paid a bit extra with the tonner and bought a bulk lot of hq front end parts. 3 RUSTY hq guards (sold) two OK guards with monaro flutes welded in, one hq bonnet (will sell), one radiator support panel and two nose cones (one very rusty, sold) The plan has been to just fix the rust and leave the cosmetics until later...but then my cousin came over and offered to take them away and make them nice. Can't say no to that! I also bought this off trademe for $200.. Fiberglass and I should be able to cut that gay scoop off without much trouble.1 point
-
Who has a need for this?1 point


This leaderboard is set to Auckland/GMT+12:00