
Leaderboard


Popular Content
Showing content with the highest reputation on 02/16/16 in all areas
-
the front spoiler showed up today. it fits and is well made, which is diametrically opposed to the last pile of shit i bought. i drilled some holes in it and bolted it on. all G. so now ill paint it red. i also finished fitting the door glass and adjusting the glass to sit right with each other and the top seal. I've set them pretty tight because all the seals are new so it should bed in a bit. I've ordered new door belt seals and ill fit them when they turn up. its also got a matching set of door locks so its now lockable. tomorrow ill give it a hosing and see if it leaks. celica doors are pretty good if all the seals are new so it should be right. 2016-02-16_04-50-12 by sheepers, on Flickr 2016-02-16_04-50-26 by sheepers, on Flickr 2016-02-16_08-51-20 by sheepers, on Flickr 2016-02-16_08-51-28 by sheepers, on Flickr13 points
-
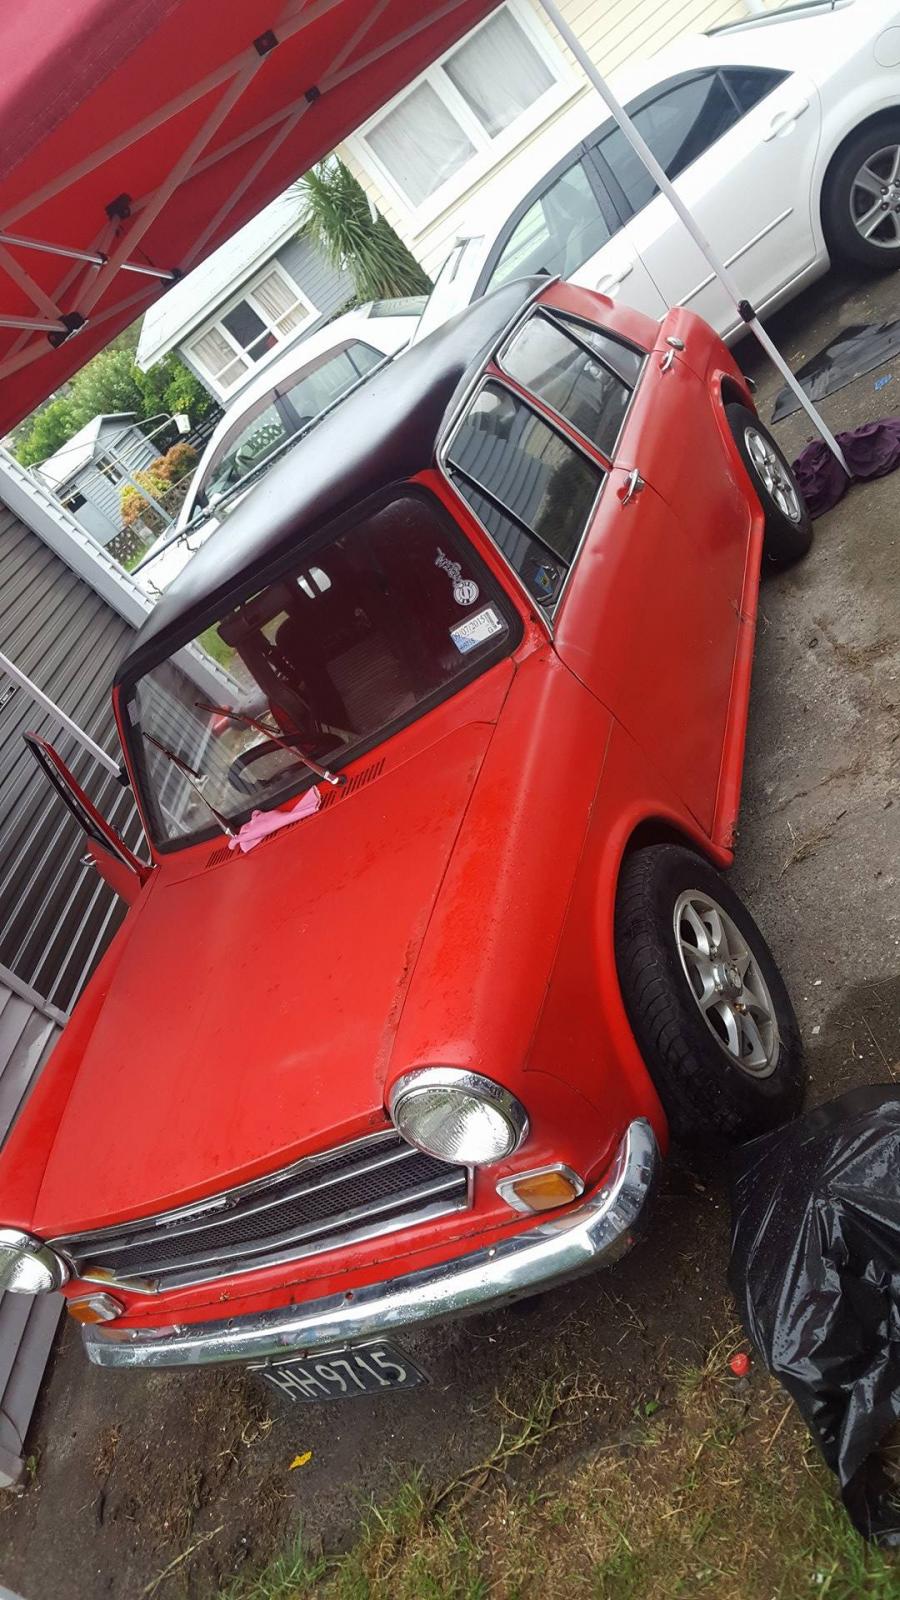
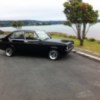
Thought i would post up a build thread on my little red austin! little story , im only 16 and had been going past this car seeing it parked for about a year since it stopped working , i asked them if they wanna sell it and ended up getting it for $100 but it has quite abit of rust and a little diff/gearbox issue ive been told , so im planning to get it back legal and on the road for my first old school car
 6 points
 -
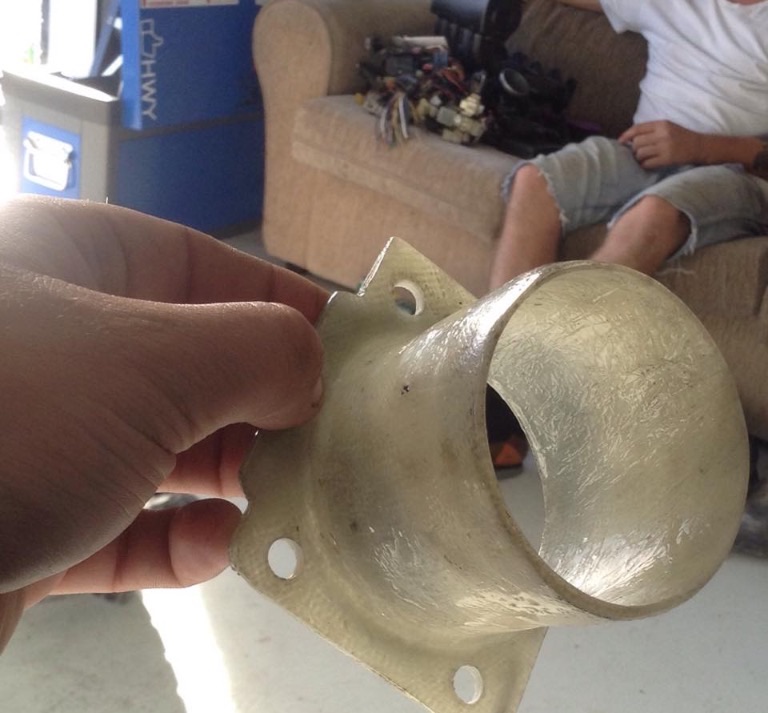
So here is a little job I have been meaning to do.. The indicators don't self return cost the little bit of plack that acts as a spring is broken on all 3 indicator arms I have. All have broken in the same place. So I drew that shit up in CAD and got a couple of new ones rapid prototyped in SLS Nylon 12. I modified the part a bit to help the high stress area that keeps cracking as well; Came up mint although it needed a bit of a trim here and there to fit in ok. The grease made it ugly but whatever. The result is perfectly functioning indicators....! I also decided to paint the boot, and put the correct trim on. This meant filling in the trim holes and drilling new ones. This was laborious for me because it has to do with aesthetics which I am uninterested in. The paint is super shit so will chalk up and look right in a couple of months. The bit just below the boot was painted 4 months ago or so with the same paint.. In other news my steering ram pin mod isnt going so well, shit clunks a lot when driving over rough ground. I have a plan for this tho. At ease.6 points
-
So what better way to celebrate than to go to the Wagon Nationals (aka Wagnats) Such good times.5 points
-
Here's a list of the things that have been done: Got the flywheel back and it is about 6.5kg I think Also painted the grill and headlight surrounds again, this time satin black, which looks much better! Clocked to 88888 today5 points
-
5 points
-
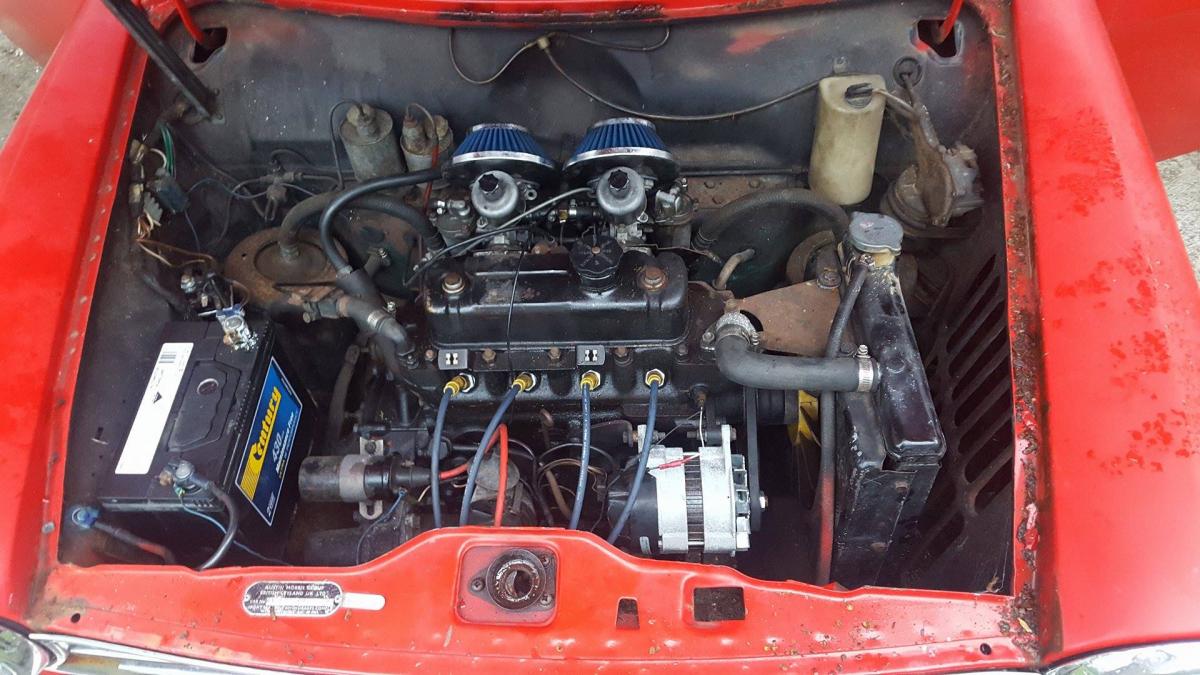
Heres a photo of the engine bay , has twin carbs and been told it had the bearings done in it , if anyone has any information or help it would be much much appreciated as im only learning as i go on this and dont really know a thing
3 points
-
how's your fan set up? was looking at pics including the one of the engine straigth out of the bay sitting on the pallet, then this one http://i.imgur.com/h64hsKK.jpg when it was on the pallet the fan blade was on backwards, but this pic shows the fan fitted straight to the belt pulley, then the alloy spacer fitted over top, although this time the fan is fitted the correct 'way round' from what i remember.. you want the spacer to be on in between the pulley and the fan blade, and the fan should sit into the radiator shroud quite nicely. love this thing! between you jokers and guywithaviators, you've got me pining for an ADO163 points
-
Nice colour. The car looks good too3 points
-
A couple of weeks ago I went and grabbed a paint sample from the owner of this s1 rx2, all going well it is currently being matched. These turned up on a facebook page and I owned them within five minutes! I'd been looking for a while but they didn't seem to come up for sale often. I paid a third the price of the the last pair I saw for sale so I was pretty happy. A badge I was missing turned up today in the post. On the lookout for a factoryish radio now if anyone has one? Next update might be it painted? Fizzing after going to Leadfoot and REunion.3 points
-
wag times. oh wowsers, waggy even got a new exhaust system a couple days after this pic. some knocks to sort out but no more megaphone drone pipe, phew. have yet to speedbump test the new gear though, wont look new for long3 points
-
Finally got this thing working again after the spark disappearing on me. After replacing the coil and ignitor and lots of fluffing around I called an auto electrician to come and have a look. He suspected the ECU so after getting a replacement off pbaines (super fast delivery! 10/10 would get their tofu delivered on time by his AE86) it was all go again, retimed to 10 degrees at idle (the IACV I rebuilt is working fine now too) In the meantime I stripped some paint back where rust was showing through, had to do some welding around the fuel filler area as it looks like water has been finding its way past the seam sealer and sitting between the outter panel and the filler pocket thing. There were a couple of little holes, note really enough to patch though so I drilled them out til the metal was a bit thicker and filled with weld and ground it back. First attempt at spraying 2k primer, I really went way too thick because I was expecting it to be opaque but it is kind of a weird milky transparent colour. Is this corract? its protec epotech 408 and I used the prescribed reducer and waited the 10min after mixing before spraying. Anywho its not permanant its just to protect it until it gets a full makeover (so a long time) Anywho next up is putting some new wiper arms on and go see if I can pass a WOF!2 points
-
Be very careful mate, collecting and rebuilding old tools and machinery can become an obsession. You'll soon discover that as well as vises there are old drill presses, power hack saws, lathes, bench saws,....etc. all out there waiting to be rescued, restored and then used on old school projects! Great info here on this Bench Vise Thread. http://weldingweb.com/showthread.php?121511-A-Bench-Vise-Thread2 points
-
Thanks. For onlookers: Windows defender offline found some shit after a full scan (overnight on a low powered machine), and combofix found some more. Now seems to be kosher / halal, though I removed an odd looking manual DNS entry.2 points
-
20" Simmons, a half cage and cow interior are next2 points
-
got me one these recently but am pulling me hair out - need new crankshaft and piston sleeve+pistons +rings+bearing rebuild kit -else a no go venture - any help with references on websites would be much appreciated takes Mazda AU 1484cc engine - found in Yale forklifts+HYSTER forklifts and some TCM forklifts1 point
-
mayte I'm cheesing terrible british vehicles at the moment. makes a change from terrible french!1 point
-
Yea it's definitely on the correct way now, may have been wrong on the pallet and for the stand photo we just threw it on quickly for looks. Yeah dude definitely, I take it you can't make it to the meet tomorrow night then?1 point
-
Nice work guys. Once I get a WOF we need to go for a drive! Do it! Ado16 by GuyWithAviators, on Flickr1 point
-
I might have a couple. Will look1 point
-
Blocks and cuttiez brah?1 point
-
Why turn it into a GMC Jimmy when it's already a 420 Blazer?1 point
-
Get out of my thread fool Edit: its official, I now own this. Its currently on the back of a big ass truck. Hopefully get delivered sometime this week.1 point
-
Latest pics:1 point
-
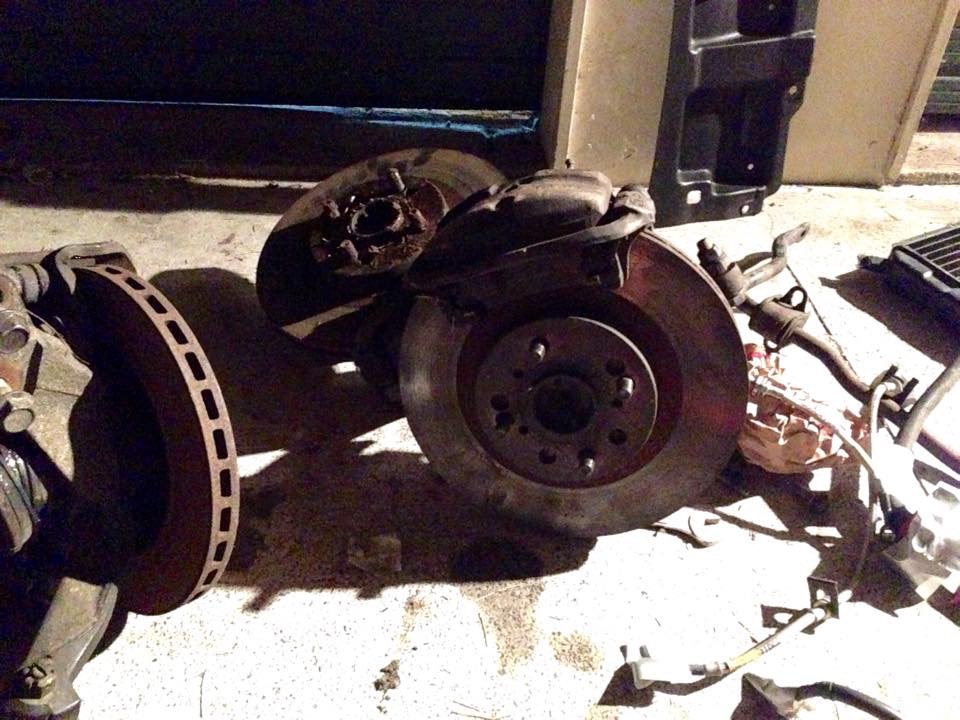
Good progress on one of the remaining hurdles, upper arm mods to allow the knuckles to bolt up with something resembling a decent camber curve.... How? Chop end off upper arm. Notch them out to fit the new bearing carriers, with a bit of added castor. Weld in the carriers. Flip them over, weld in the gusset Give them a dose of 2 pot black, fit urethane bushes and yhe spherical bearings then install. Some of you will recall the plan to fit the GTO 4 pots, but this was going to be very tough with the chosen wheel offset so we going to try the MA70 calipers and see how it performs. (My first brake upgrade which isn't a 4 pot option) So i got a pair off a mate of a mate in rotorua, and stripped them down for a clean and paint. We still need to finalise the bearing spacer sizing but it seems to be coming together pretty well.. We did some other stuff not photographed like reassembling the hubs with new seals and a fresh dose of grease.1 point
-
Did a couple of small bits the other day, decided to see why my wiper motor was not really doing a good job and install the rear emblem as well as finally put on the hood latch handle thing. So basically when I got the car it didn't have a proper handle connected to the wire to pull the bonnet latch so what I ended up doing is getting this washed and knob setup there which was ok but still difficult. Most excellently I found a whole wire on Yahoo but as it turned out I could just unscrew the handle bit and screw it onto my current wire which was great because it looked quite difficult to get the other one out. Next up I attached the emblem that I sort of reburbished just using some double sided tape (the kind used to attach wings and such) so that isn't going anywhere. Looks sweet! Also mocked up the black bit there but I still need the trims that go along the top and bottom then I can attach it on there properly. Still debating whether or not to get a badge for it, probably will. Next step rip into the wiper motor.. so what happens is when the wipers are on the windscreen it has one speed, slow. Despite having multiple actual speeds available (slow and slightly less slow). My first port of call, the switch. Sometimes people jump the switch if there's a problem or do some different wiring or wahtever. Definately some.. typical wiring jobs under here.. This one, twist and taped (and a gear boot which is broken that I have another one on the way). This one, casual wire just hanging around. This one, some kind of twist and tape splice method, appears regularly. Old mate twist (no tape even on this one). This is what I mean about the twist and tape splice method.. sans tape. Anyway after all that I did another test with the wipers not on the windscreen and it does change speed so I think the motor is just old and worn out and can't put through the power it needs. So I've got a couple of choices here.. I can take it out and see if it can be revamped somewhere or get a different one. I've been told that S13 ones may be able to work so I'll investigate both options. Also I got rid of a bunch of redundant wiring that I suspect was for the head unit/navi that was probably there before. Also I thought the car may have been red before and repainted to silver.. now I wonder if it's always silver and the floor was just red? No idea really.. probably had some shitty rust repair done on the floor before and maybe it's a coating or something. Yarns: //oldschool.co.nz/index.php?/topic/49704-mlracings-hakosuka/page-7#entry16464121 point
-
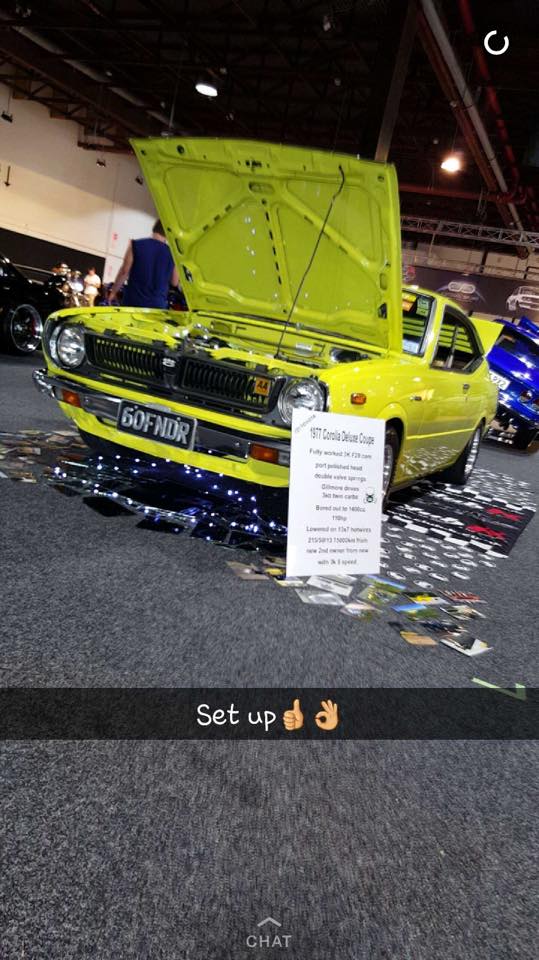
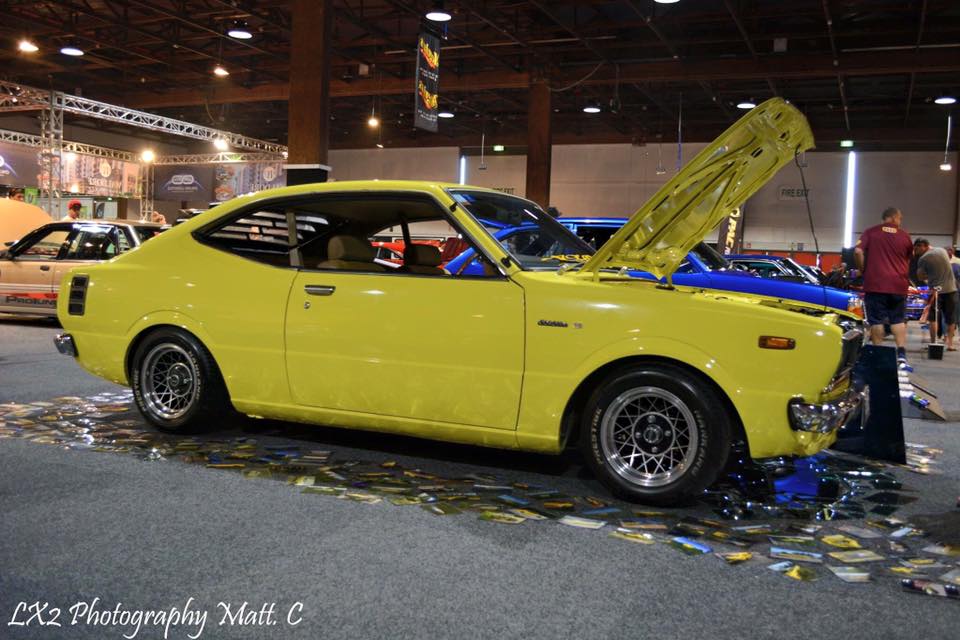
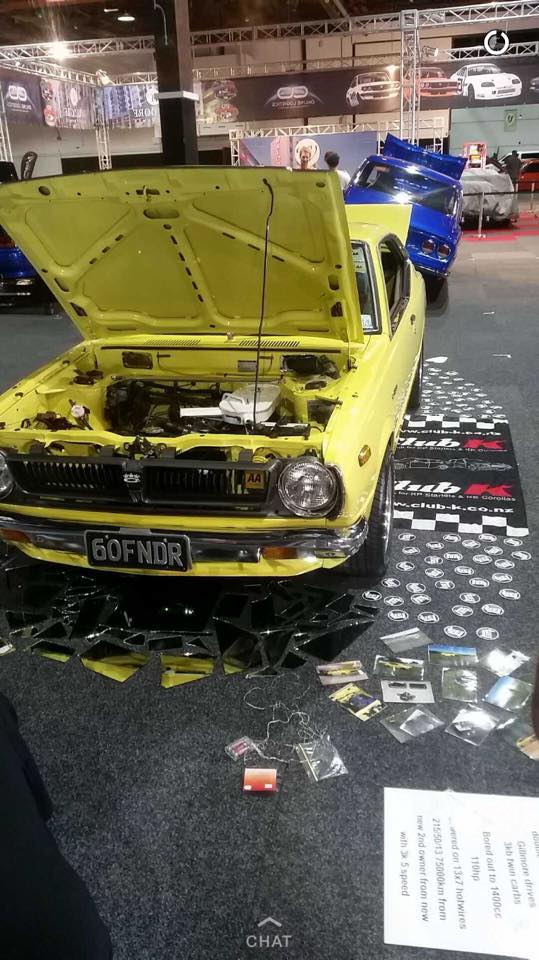
So the 4K is all reassembled thanks to Hartley's! Not 100% sure on the specs yet, but I believe it is bored out to 1400cc, new pistons, bigger cam, ported, skimmed head, valve springs, lightened flywheel, electronic distributor. Weber carby has been rebuilt, have also acquired a Primera radiator, MSD coil, new muffler and Ramflo filter. Basically just waiting for the Rush automotive headers to be made then it can go in! So excited for some power!! Need to tidy up that yuck fuel pump and dizzy vacuum advance(?) somehow.1 point
-
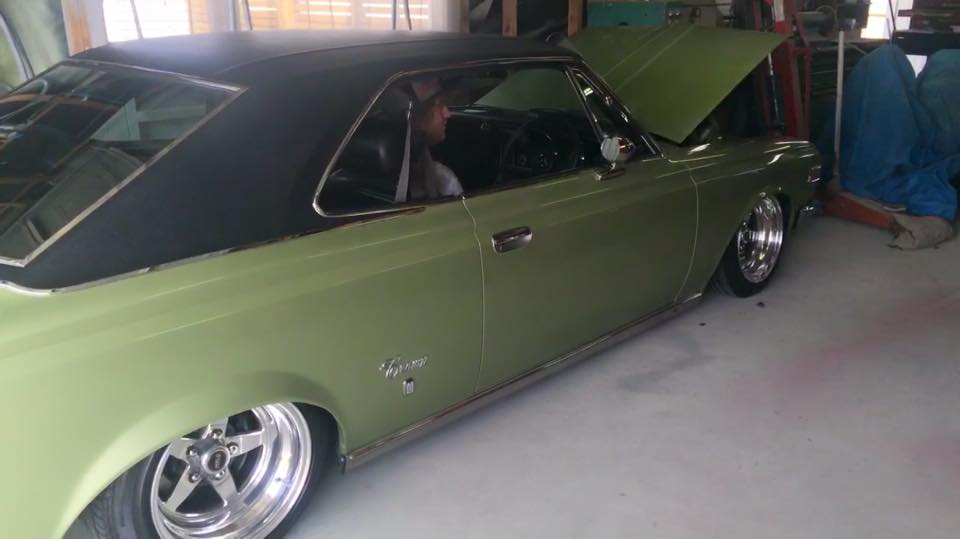
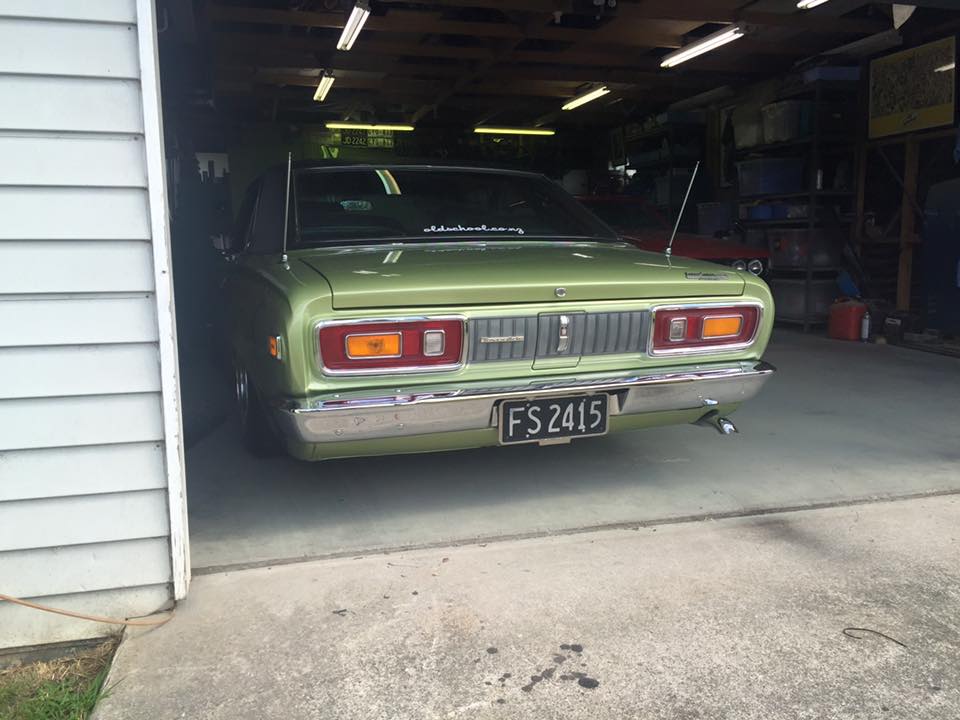
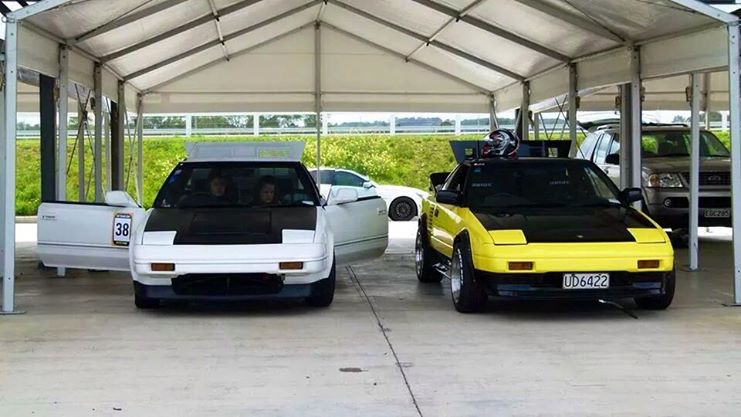
okay still havnt stared on the crown yet but in the mean time I drove my sr coupe up to Auckland for the 4 and rotary show with two mates. got go and see and meet (sheepers) bloody nice guy too and got to have a look at his crown. want to start on mine now so much !!!!!!
1 point
-
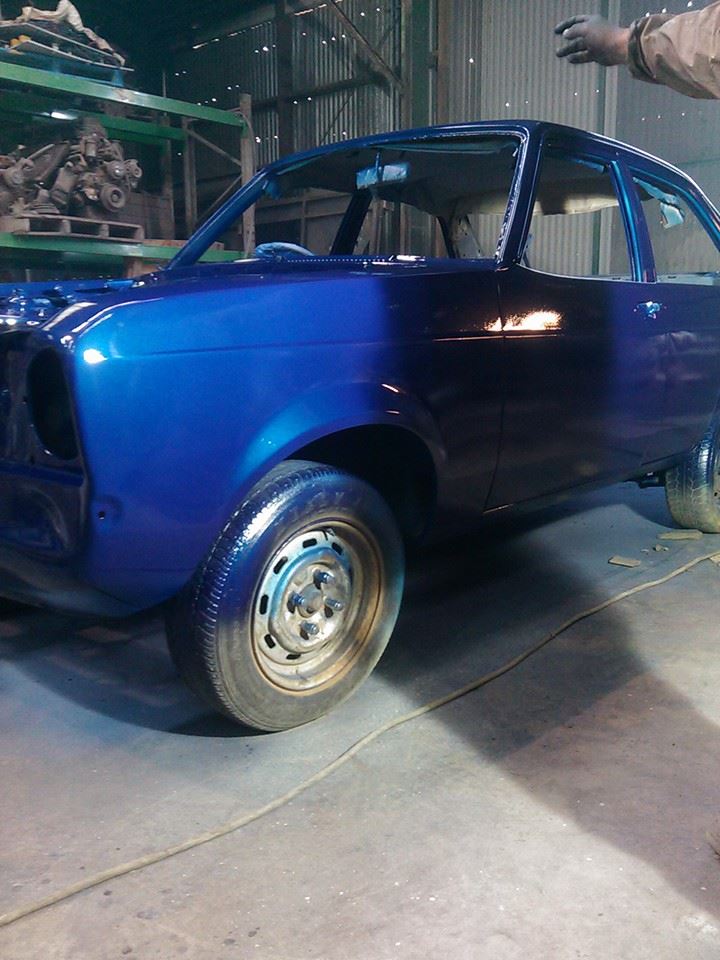
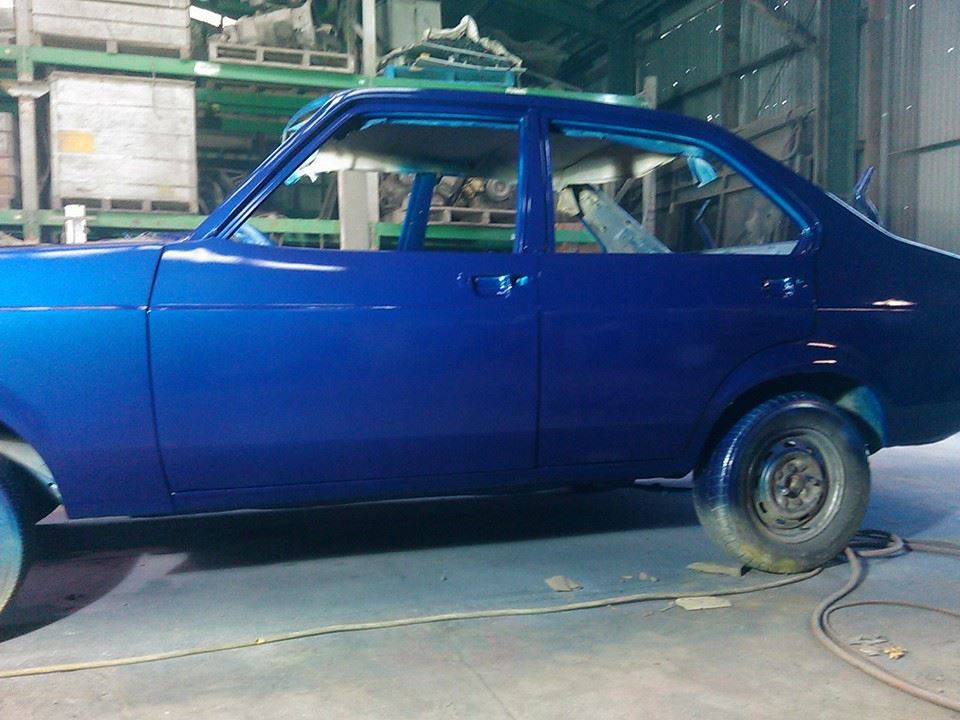
Right so into the paint shop First photo shows the first spray going on The paint is a pearl blue with a metallic absolutely love this colour Lets say everyone was very happy after this haha Ive added a few photos to show the pearl in action
1 point
-
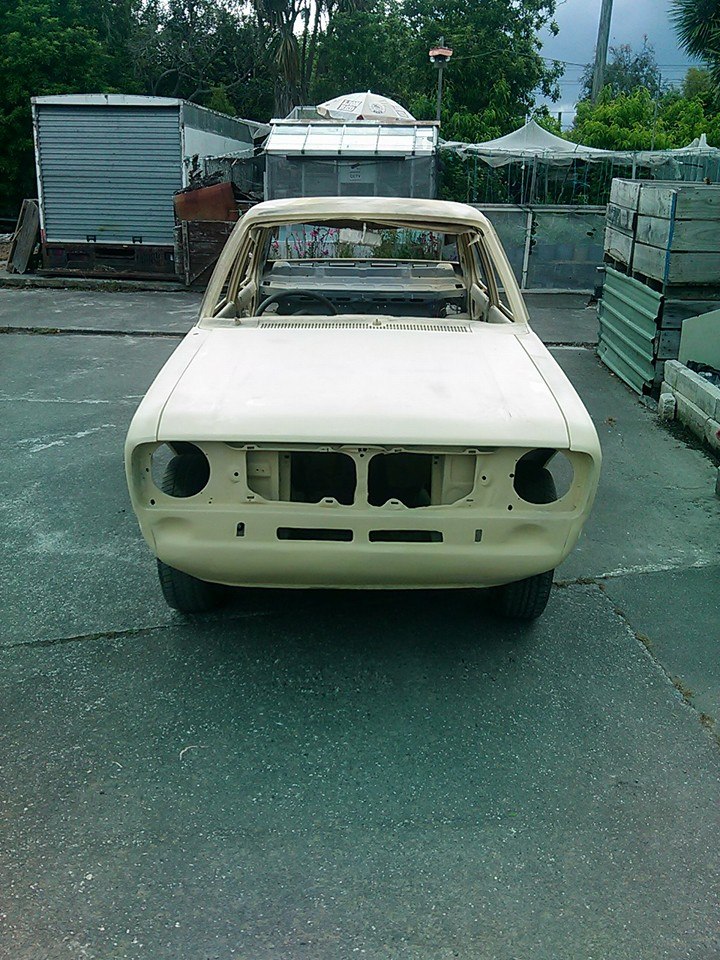
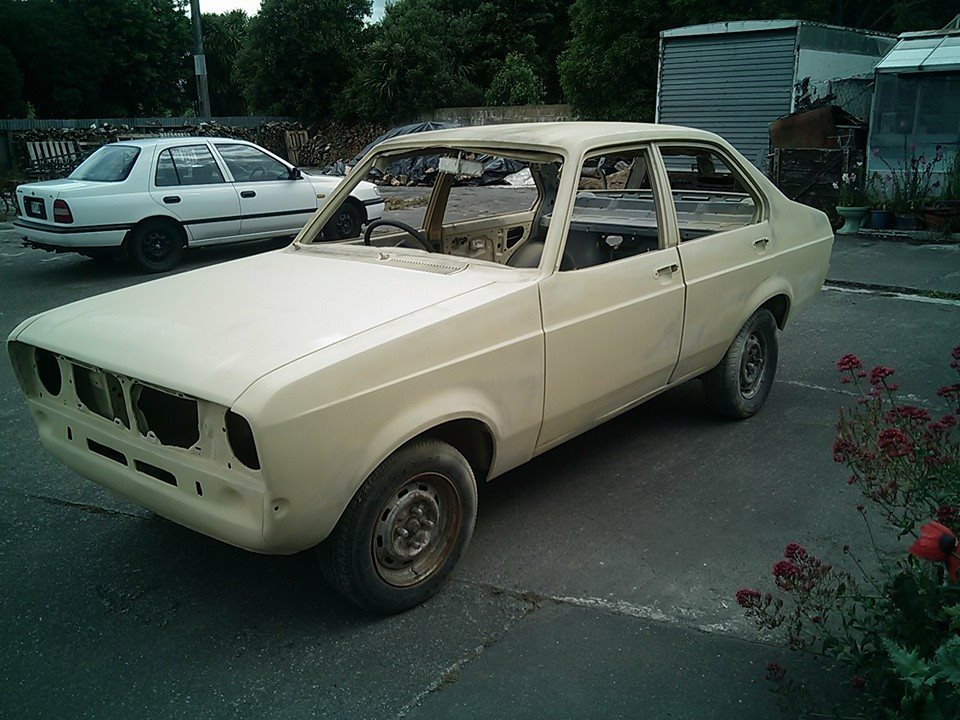
Right next was onto prepping the body and getting ready for its top coat, this was about 4 years down the track lost intrest got frustrated so on as all projects have a toll, I had just over two months to paint a car and put everything back together and then be on a ferry to nelson in the new year, this is how it went So after a month of sanding,skim bogging repeat which near drove me to insanity my little puscort was ready for her new coat of paint
1 point
-
For the time and effort it'll take to get paint outa that in a kinda ok fashion go to a paint & panel supply place and buy ya self a new one. For $140 you can get a decent gun with 2 tip set-ups (Needle and fluid tip), comes with a (semi ok pressure gauge) and all in a nice carry case. AND yes they do work well.1 point
-
Hi Oldschool Thought i would share other semi oldschool projects I have done for non facebook friends to help justify why so little progress has occurred on the Escort. (also many many boring house renovation ones but I won't bore you with them, retaining walls, spa pool areas, kitchen etc) I built a HOG for my partner matching her Vox Then i modified an AX100 into this Then decided I needed more space to store cool old stuff, so built a 'cool old stuff appreciation room' from recycled rimu . . . that's going to be an ongoing project Still a few things to complete. Did some stuff overseas Stalked Hayden Paddon etc and a few things in between Onto the Escort . . .1 point
-
So after receiving my rebuild kit from Palmside, i spent 8 hours on saturday cleaning and learning the components of the DHLA 40. Fully stripped the venturris and jets and cleaned the lot. Have re kitted with new gaskets and rubber o rings. The diaphragms seemed in ok condition so left them. Sunday was spent putting them on the datto! got them running and seem to be not too bad after an attempted tune. so much more power, great with the 5 speed. now averages about 10.5L per 100 as apposed to 6/7L lol Just so people know for their own projects, im running these jets with a standard a12, just has extractors and 2'' exhaust. dhla40 dellortos 28 venturi Pump 40 Idle 45 mains 118 emmulsion .1 After being told to use a hose and listen to each carb, ive managed to get them going much better. Still spluttery around 1500rpm, cant get it any better. If you have any advice for tuning let me know!! Discussion here //oldschool.co.nz/index.php?/topic/48815-120whys-75-datsun-120y/ Feel free to comment! So the 120 will be in 4 and rotarys jamboree at manfield in march. Needing to get a couple things done to tidy it up before then!1 point
-
Not a lot has happened except being washed a few times and doing a few k's. Yesterday I cleaned and waxed the engine bay and painted the washer bottle to tidy shit up a little. And so today I cleaned the underside of the bonnet, gave her a wash and went for a small cruise. Took a heap of (shitty iphone) pics cos I friggin love this car Tomorrow the rear bumper is coming off to be massaged so its a little straighter and I may massage the bootlid some more too. Basically just doing what I can without spending coin until after it goes to get pulled.1 point
-
Mirror tints, bad boy club sticker then go drag off some SR coupes bro.1 point
-
A couple pics from the Southwards swapmeet I forgot to post1 point
-
the rules might have changed but when i did mine like that as long as both sides are symmetrical (ie, the opposite side is unplugged so only the two external lights work) and the remaining headlights are both high and low beam then your good to go. be prepared to be told "hey, you've lost a headlight" approximately 2 thousand times a day.1 point
-
I would be genuinely surprised if they picked it up, but just argue with them as you are allowed +/-5%.1 point
-
Woo! Wheels finally arrived from Japan. They turned out to be 13x6.5 instead of 13x6 which is good. Gave them a bit of a polish and some new nuts and bolts. They didn't polish up as good as the other pair because they have a clearcoat on them. Will have another go removing it at some point. Was going to paint them all gold, but I think I like the red a bit more, because it's darker and has more contrast with the polished bits. Just need to lower it a bit now.1 point
-
1 point
-
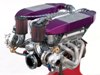
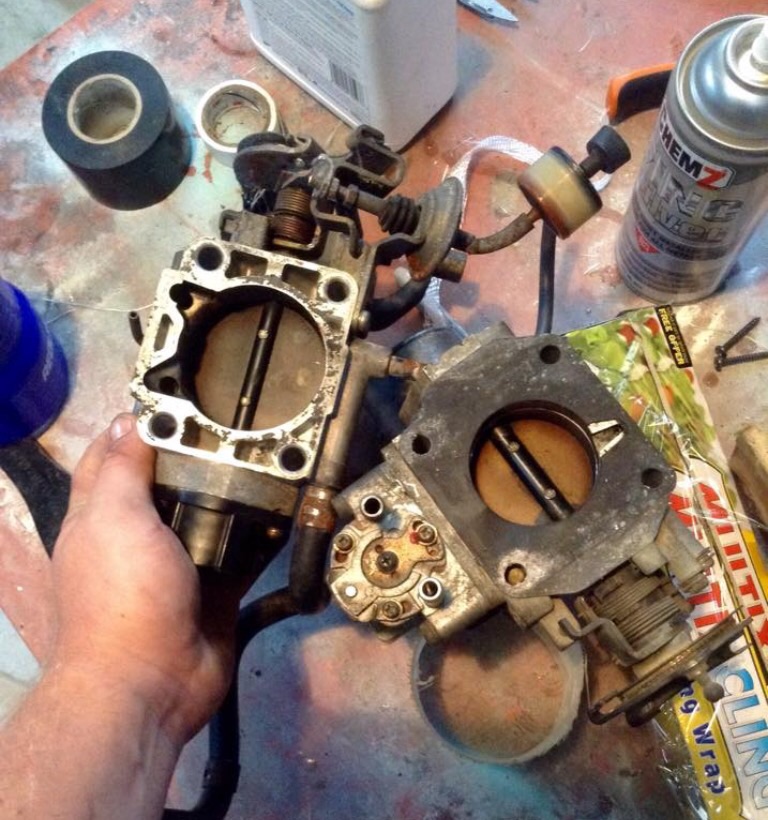
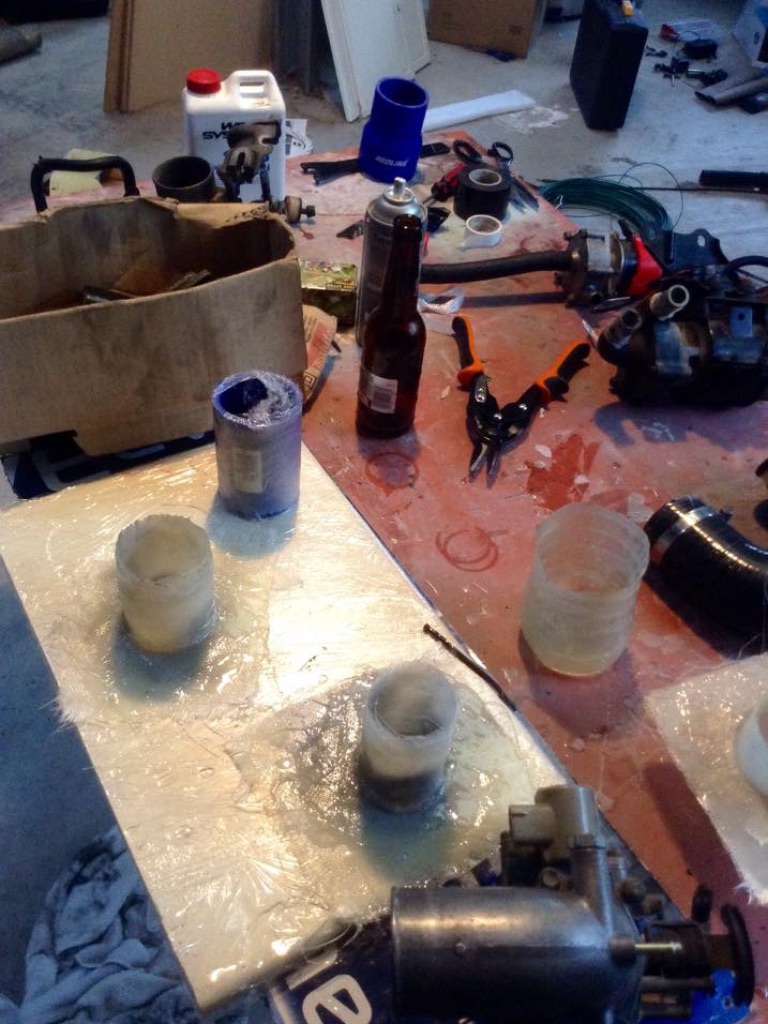
OEM 4agze throttles pretty small. NA's not much bigger. On the left is a 7MGTE throttle. Good as it has the same style cold start mech and TPS' are interchangeable. 7MGTE take 2.75 silicone. Good little upgrade to this bottle neck in the system Will take the NA intake manifold opening out and get a mounting plate welded on to put the bigger throttle Progressive plenum would probably be better but I'll invest on one later down the track. Sorting out a decent intake in these things is a pain in the ass. Air flow and heat soak being the biggest dramas. Have played around with a filter in the boot. maybe adding a vent on passenger side same as drivers and build an air box onto that, il do this at a later stage before cert. Fibre glass flanges and intake piping aren't hard to make, a lot lighter then alloy. Allthough I'm not sure about heat and pressure resistance. I've got to get some carbon mat so I'll have a play around
1 point
-
The good news is panels and rust cuts save three other aw11's That and I got some snazy parts for free
1 point
-
Puke
1 point
-
Bonnet was a lot of work. It's still not finished today haha I've got a thing for making things out of fibre glass, flat mates nick named me "epoxi ash" Added a lip to help create neg pressure for exiting air, but also to look more aggressive
1 point
-
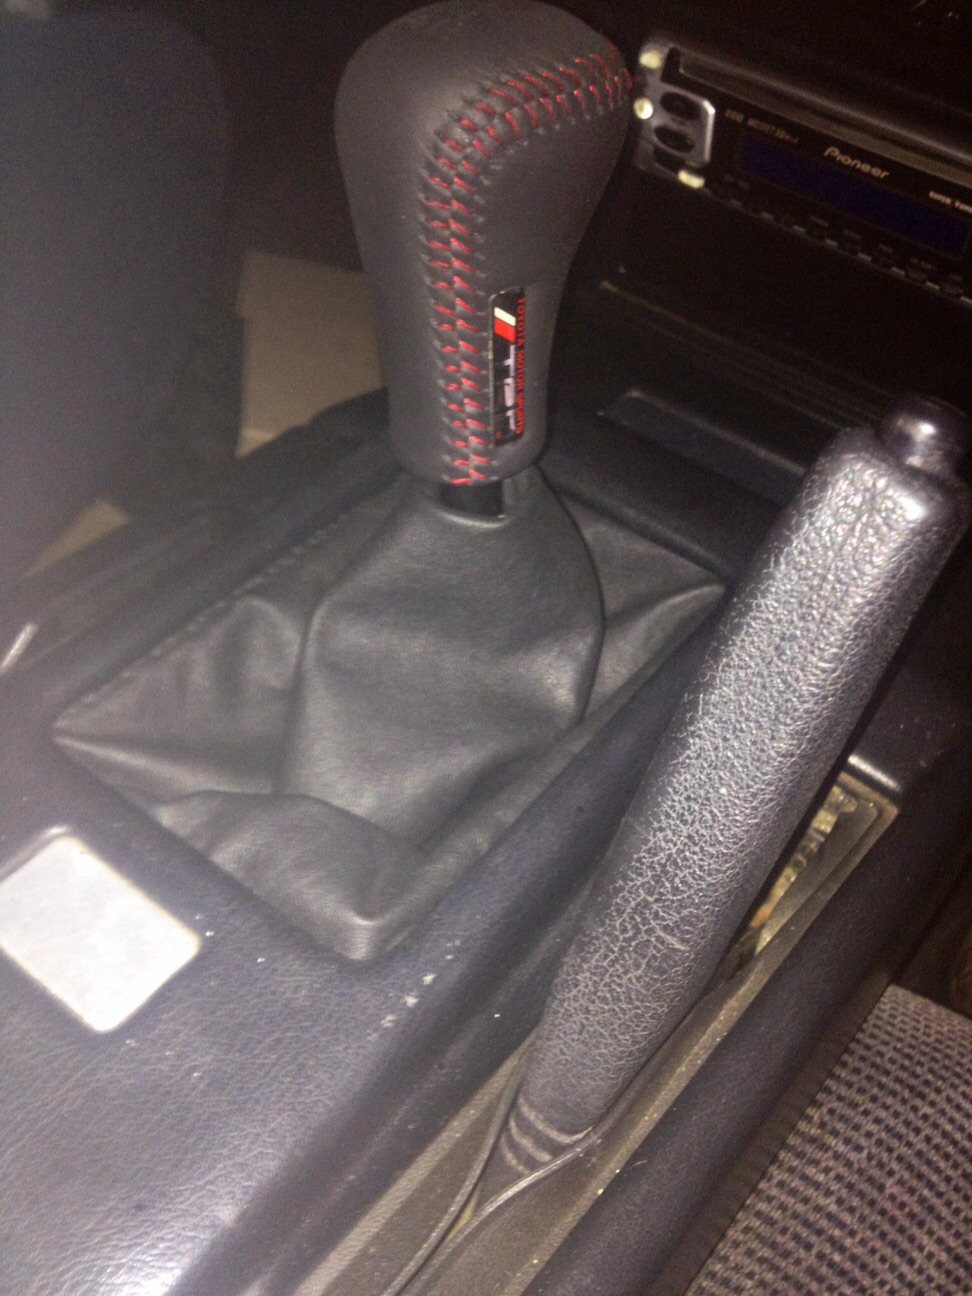
So here's when I first picked it up. Little ginger fellas Findley, he's pretty into the AW too Made a new shift boot. Used proper leather hide from a place at the end of my Eden rd. They sell raw and processed hide along with all the studs, needles and waxed thread you need to do whatever it is your doing
1 point
-
Had a datsun man come by today, worked on stripping my 5 speed 60a gear box. Was purchased in unknown condition, have found that the main in put bearing has blown itself up, causing the balls to go through the box. No other damage has been done to cogs etc. Should be a solid box once its been rebuilt! 5 speed and dellortos, power pack for the Y. Does anyone have 40mm dellorto trumpets ? am after some1 point
-
Spent the best part of the weekend finally polishing this and applying a hard shell wax that i scored from BMW before i left there. i really hate polishing, but am pretty happy with the finial results. and the hard shell should make subsequent washes quite simple. the other thing that happened after all that represents quite a milestone for me, the badges have been re applied to the car, nearly 3 years and two paint jobs since removing them! (some excess sealant removal required)1 point
-
Had an issue on the way home from a road trip. Car died and had to get towed home by old mate dan. Was a good 3 hours in the dark and rain with dead battery. Such fun. Put a new dizzy on last night plus a new ecu. Never run better. Oh and new higher profile tires! Back Rollin1 point
-
So close now. Few wiring issues but slowly getting there. Determined to try and get this on road for labour weekend. Need to work out why the taillights arent working and add a horn. Hanging out to drive her. And slam her1 point
-
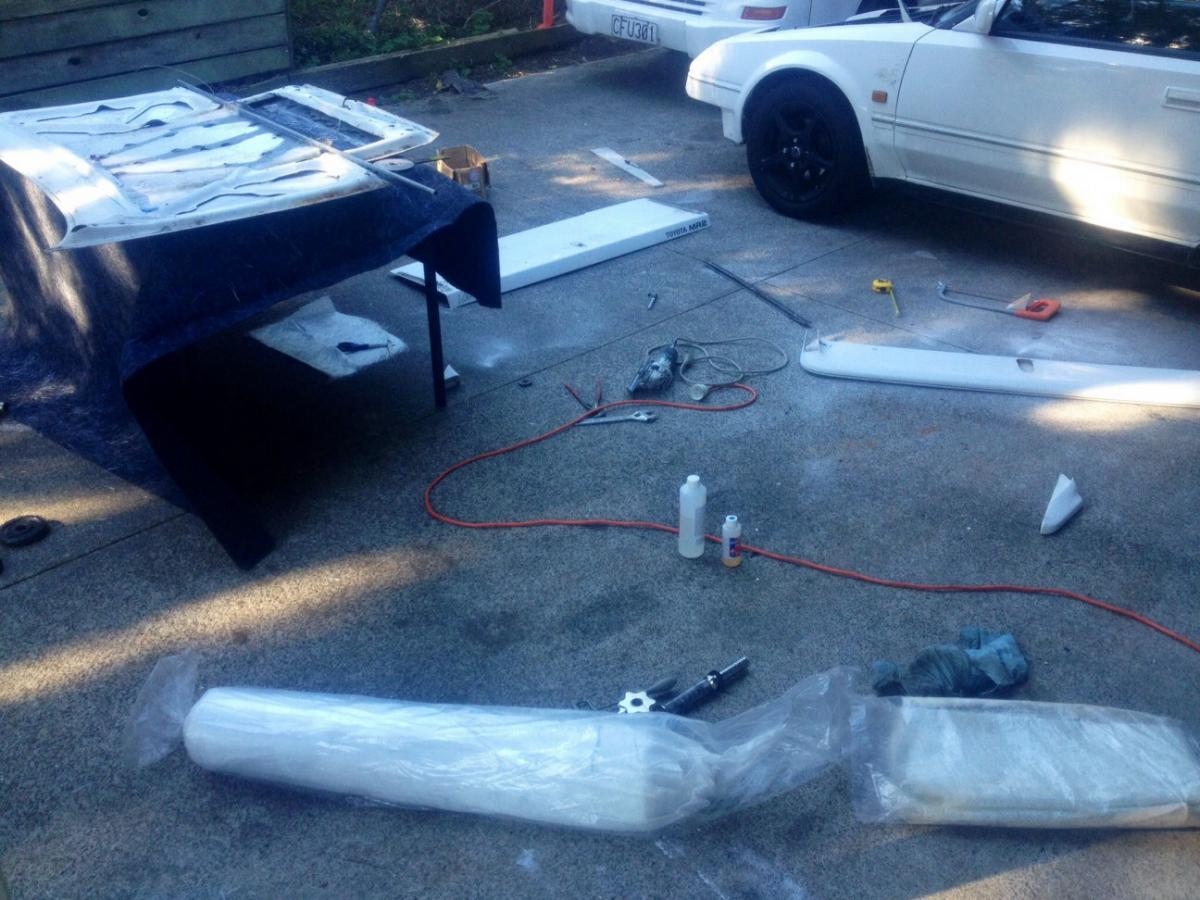
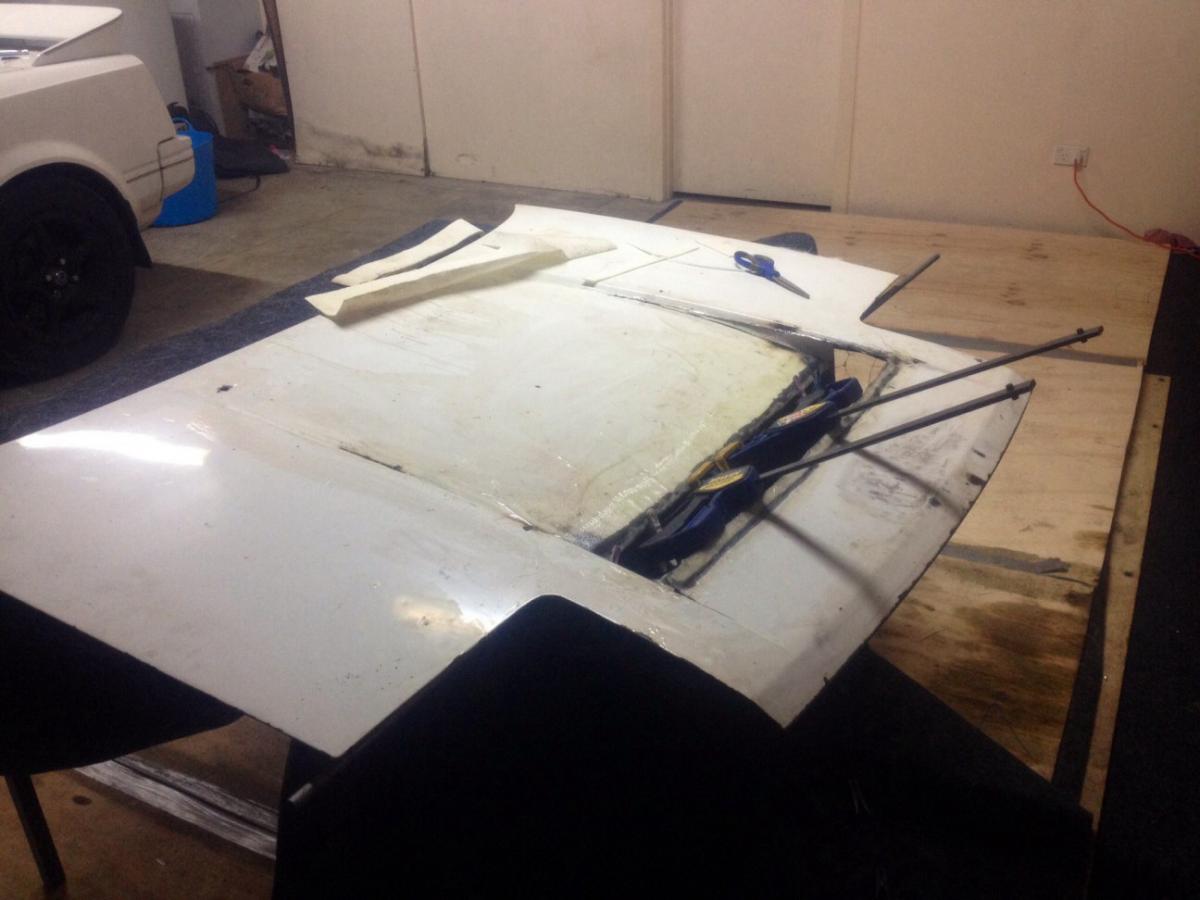
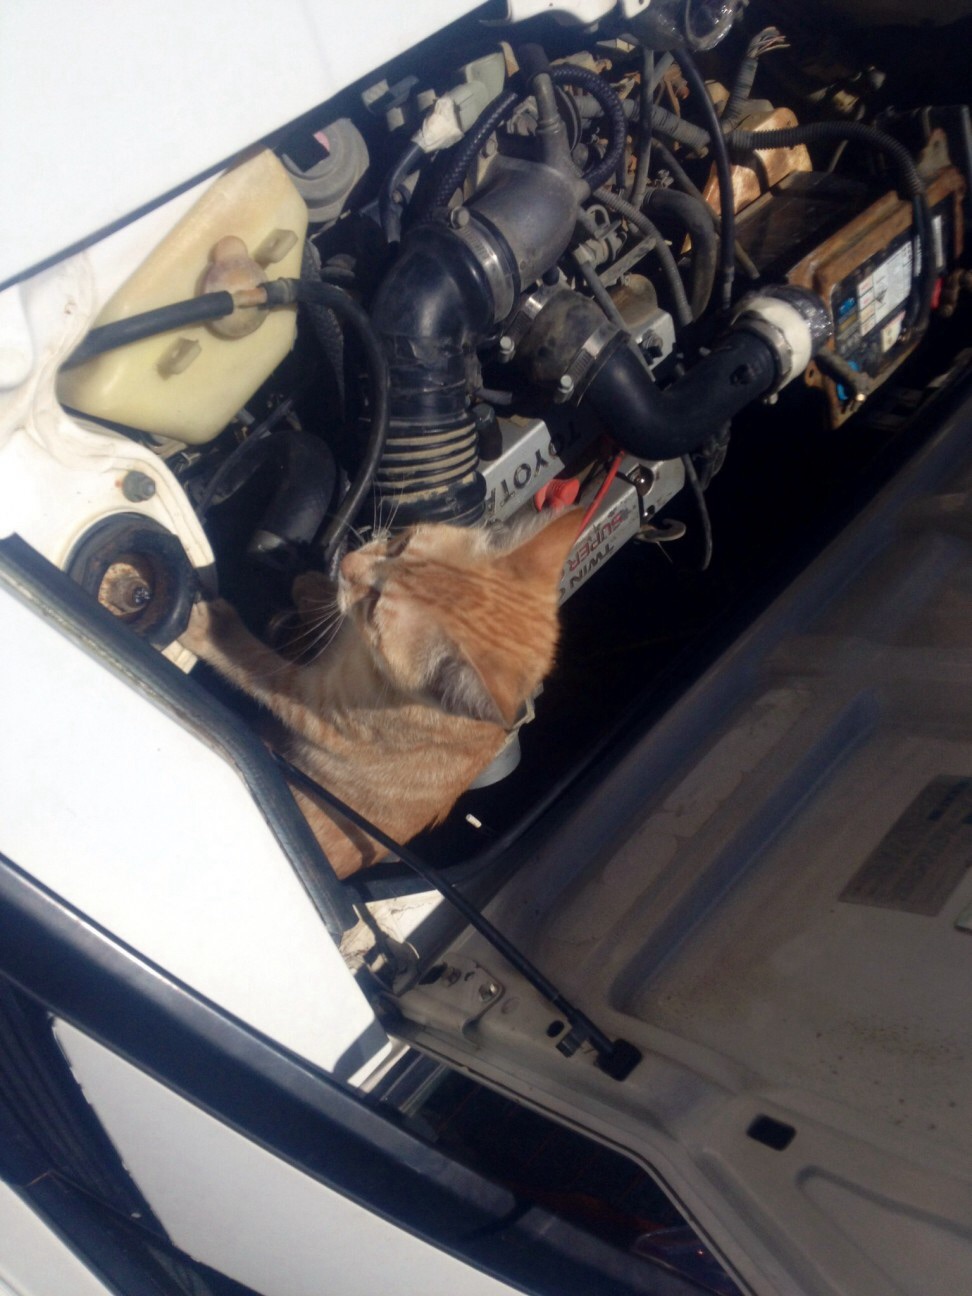
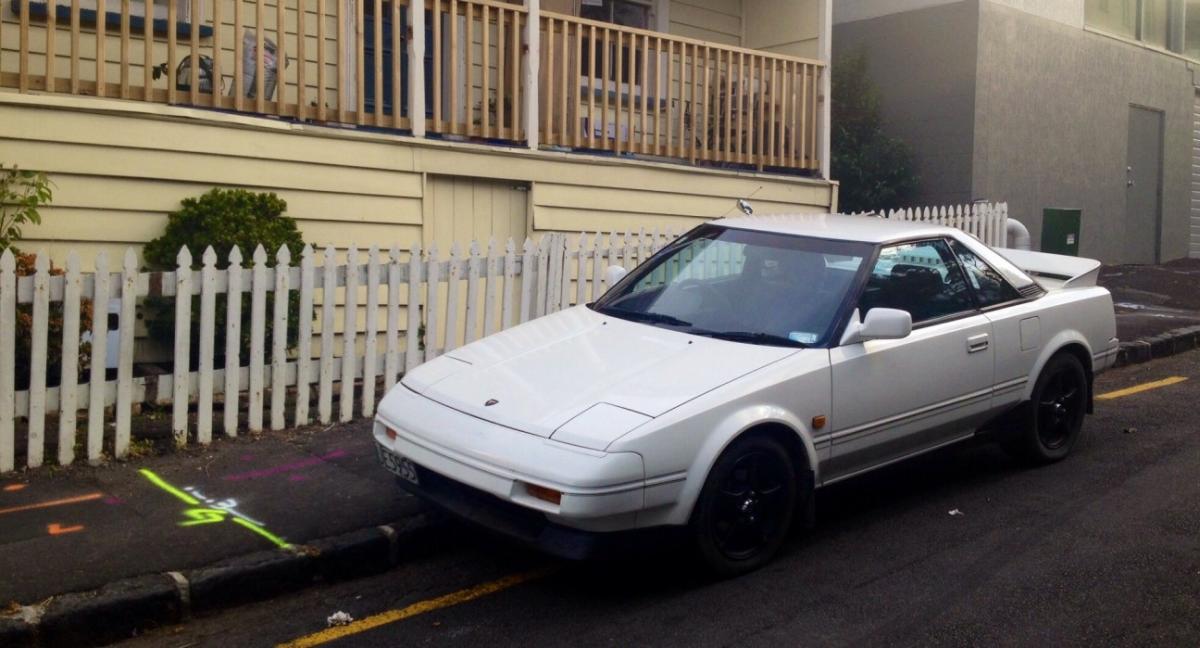
some more little parts arrive today pedal pads which ive been meaning to do for years before after small change but still nice. have also stripped all of the glass out ready for rust/paint to be sorted much to the please of my cat1 point


This leaderboard is set to Auckland/GMT+12:00