
Leaderboard


Popular Content
Showing content with the highest reputation on 01/29/17 in all areas
-
Long time no post. So since the last post I've been through 3 distributors, 2 fuel pumps, rebuilt the carb, changed both lower front balljoints, popped the ringlands on number 2 piston I believe, used so much petrol I almost needed to haul a mini tanker to get around town and close to a litre of oil each day. Still starts first time everytime though, but it's running on 3.5cyl, has the power of a scooter and the economy of a big block V8 and fuck it. After chatting with KY and Seedy Al then getting Dolan to give it a check over I purchased a new set of wheels off TM, introducing Grassvan v2.0 1996 Toyota HiAce Super Custom G, powered by a fairly freshly rebuilt 1kz-te featuring a bottom end refresh, brand new head, turbo and radiators etc, I'm guessing it was cooked previously. Has pretty much only open road K since the build. Dolan picked it up and stored or for us, even fitted some wanker spec wipers! So yeah after too long in a bus we ended up in Palmy on Friday, bummed around a while until Cam picked us up to go to his pad and pick the van up Majestic! After having a bit of a sharn with Cam and Jemma we got on the road, my original thought was just for me to come down alone, plant foot and get home in one hit, the middy had other ideas so it's became a family weekend in Wellington Filled the van with diesel at gull in the 'ding (FTP ha), well after an embarrassing amount of time trying to find the fuel flap popper anyway! Hit the road to Welly, this thing is a rocketship compared to the old Green Turd Delica! Balloon spec 235/60/16 tyres have the speedo bang on with the GPS, no wasted RUCs here! Makes a good BBQ seat and also road block Rough interior in the back is pretty much what put it in my price range, so much room for activites in this beast, was tempted to try and stuff Manu's Carry in the back to "borrow" haha. Have given it a bit of a bootfull on a few steep Wellington hills, not a hint of the engine getting too warm which is good, still planning to fit a trans cooler in the very near future though, also Joegoatflange pointed out a reverse camera would be a good idea too, so aliexpress double din GPS headunit with screen and a camera seems the way to go. I'm Raizer and that's my new van story.11 points
-
After what seems like a week Ive finally got the roof to a satisfactory shape. Took a fair swag of bog, but sanded a lot off too. Needs a few more primes to save headaches when I come to fine sand it but wanted to seal it tonight. Also happy with the drivers guard and bonnet, the passengers side is a lot better so taking bugger all. they are so flimsy I had to lather the backs of guards with under seal so they would not move around while sanding. Even threw on a shit old indicator because the front got weak without it screwed on. Sigh. now I have to finish the passengers still, hook into the rear arch (which looks better/more proud than the drivers started out) and the rear corner,tail light area. Happened upon a mystery tin of brand new 2k red paint and hardner,reducer. waited a week to see what shade it is and I reckon it's a goer, price was decent. The aforementioned front valence looks great in place with primer on, will just rock it as it. So it's just the fuel flap and valence that are bog free on this unit,boot lid came close but took a few hits. also have a lead on the chrome boot garnish which I thought would be impossible to find6 points
-
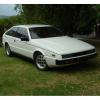
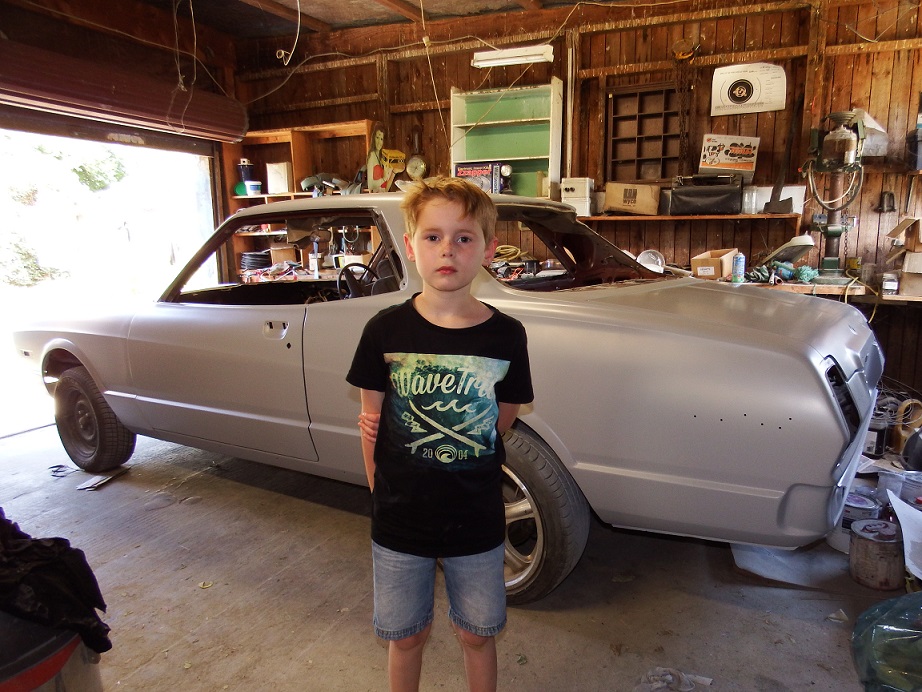
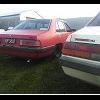
My car was invited to the Ellerslie Intermarque Concours & Classic Car Show, on Sunday 12 February 2017, running out of time to finish what I need.. Stereo going in (I don't know why anyone would ever want to be an auto electrician), all wires about 5cm too short: Gave it the first real clean it has had since I bought it, lots of black oxidation in the 30 year old paint: Also put on 2 new rear tyres, they were so old they too were made in NZ.... Still lots left to do before I can try and get a WOF, hopefully I can make a bit of a dent today and tomorrow.
 6 points
 -
6 points
-
mediablasted intake manifold before-after and how an engine looks so far6 points
-
Hello again OS, figured it was about time I put up a build thread for my Zephyr. A bit of back story first though, some of you may have seen the thread that I had for my Camaro, I did a few bits and pieces to that car and then sold it about 18 months ago to help fund my OE. My girlfriend and I spent six months travelling around Europe, it was awesome and I don't regret selling the car to fund travelling in the slightest. Since coming home I've found it pretty weird not having a goal to be working towards and combined with facebook reminding me that it'd been four years since panel beating started on the car I figured it was about time to do something with it! I bought the car from a member of the Zephyr Zodiac car club who'd had it sitting in the shed for about ten years. He'd been planning to chop the roof and convert it into a V8 coupe but for whatever reason hadn't got around to it. I spent a few months rebuilding the brakes, steering etc and then got it a wof. It was my daily driver for about six months until the head gasket went. I figured that I may as well rebuild the motor instead of doing just the head gasket and as these things tend to do it snowballed and I ended up stripping the entire car. I got a few bits and pieces done and then motivation petered out and I ended up buying other cars, pursuing other interests etc. I turn 24 in Octbober this year so I'd like to have the car driveable, even if not entirely finished by then. Please bear with my while I dig out some old photos and get the thread up to date with the current state of the car. //oldschool.co.nz/index.php?/topic/55346-chasinthemirages-1964-mk3-zephyr/4 points
-
With my lightning quick reactions, I pressed this plan into action a mere 21 months later than expected: Note the kayak on the roof for extra internet cool points and also the headlights, grille and bonnet removed, to make the job look more involved. That's not me on the ground doing stuff by the way; that's my cousin, who did a vast majority of the work, whilst I pondered over various bits and did a small fraction of removing stuff, plus took some terrible photos on an outdated camera phone, for the benefit of a few people who like to read about old cars on the internet. Here's a very similar photo, just prior to the one above (where 'we' were removing the Nissan gearbox) which shows the LD28 freshly removed and testing the load bearing capabilities of some old seatbelts, whilst I pause to take another photo. There's a bit more to say about the 308 motor but that'll have to wait for another time, as I've had a few drinks tonight to celebrate/commiserate the LD28's passing.4 points
-
Anyhooo, got it home on wednesday, and on Friday after work ripped everything out and gave all the carpets, interior and engine a waterblast, used a whole liter can of cavity wax and put 20mm XPS behind the interior panels. Also some old carpet as underlay under the 'lounge' part. Tidied up the one rusty area (under the drivers feet) Euuugh Stripper wheel and some Phosphoric acid Paint (wooo appliance white!) Today I installed the bed. The side 'pods' are now permanently attached to the van, but the centre part of the bed (a 1200 x 2000 bit of ply) can be easily slid out to convert to a van. Gets the bitches seal of approval. Mrs like it too. Still got black out curtains to make and install, a sink/shelf (Mrs runs contact lenses so running water is a prerequisite), new (from the Caldina) head unit overhead storage? retractable awning for over the sliding door etc. Stoked.4 points
-
Once the engine and interior had been removed from the car I started stripping the underseal. Used a heat gun, scraper, hammer and chisel. In hindsight I should have used dry ice but I didn't know about it at the time! Next time I will definitely build a rotisserie as chippng this stuff off while lying on your back on a concrete floor is bloody awful. As to be expected I uncovered a few bits of rust but not too bad overall. Before I bought this car I had another that I was going to rebuild but the state of the shell meant it made far more sense to repair this one. Shell stripped and ready to go to the panel beaters. The panel work is being done by a friend from the car club. He has done top notch work on lots of the club members cars so I wasn't going to turn him down when he offered to complete the work on my car.3 points
-
Checked car today. Its fuckin mint.
2 points
-
And random bodge throttle return, might put a spring on the throttle shaft too. "redundancy is the soul of safety"
2 points
-
So yeah. Thought I would make attempt to drive this to work from my lock up to see how my rebuilt motor might hold up etc. Got to petrol station fine. Then just cruising along a very straight road it just cut out. After finding an off street to coaster into checked some shit. Seemed I had lost all spark. ... again. As this same thing happened when I had it running up in the lock up just a few days ago, which I had put down to accuspark dissy conversions being average. So I had replaced the dizzy with an injected m one, and fit a factory ignitor pack to match. Which got it running and I was happy. But yeah today after goat came oit and gave me a tow back to the lock up ( joe I love you! ) I swapped out the ignitior pack to another one I had and it started straight away. But what does it all mean? Is it coincidence? Is it just old parts being old? Or do I have something going on burning out these electronic components. As joe suggested and that I had already considered was maybe alternator is over charging. But would appear that's not the case. Only other thing I can think of is that I have used the ignition feed on top of the ballast to run power to the auto choke and cut off solenoid. I wonder if there is to much draw from these causing high resistance. Will try find another ignition feed from somewhere (pretty sure when I wired it like that it was because I had no luck finding something better) but yeah. A tad gay. Want to get a spare points dissy in case this happens again. Atleast then I can road side swap and not get stranded somewhere. Points get you home.2 points
-
Pretty special Z-car that can hoon inverted. I'm pleased for you that the rust is minimal.2 points
-
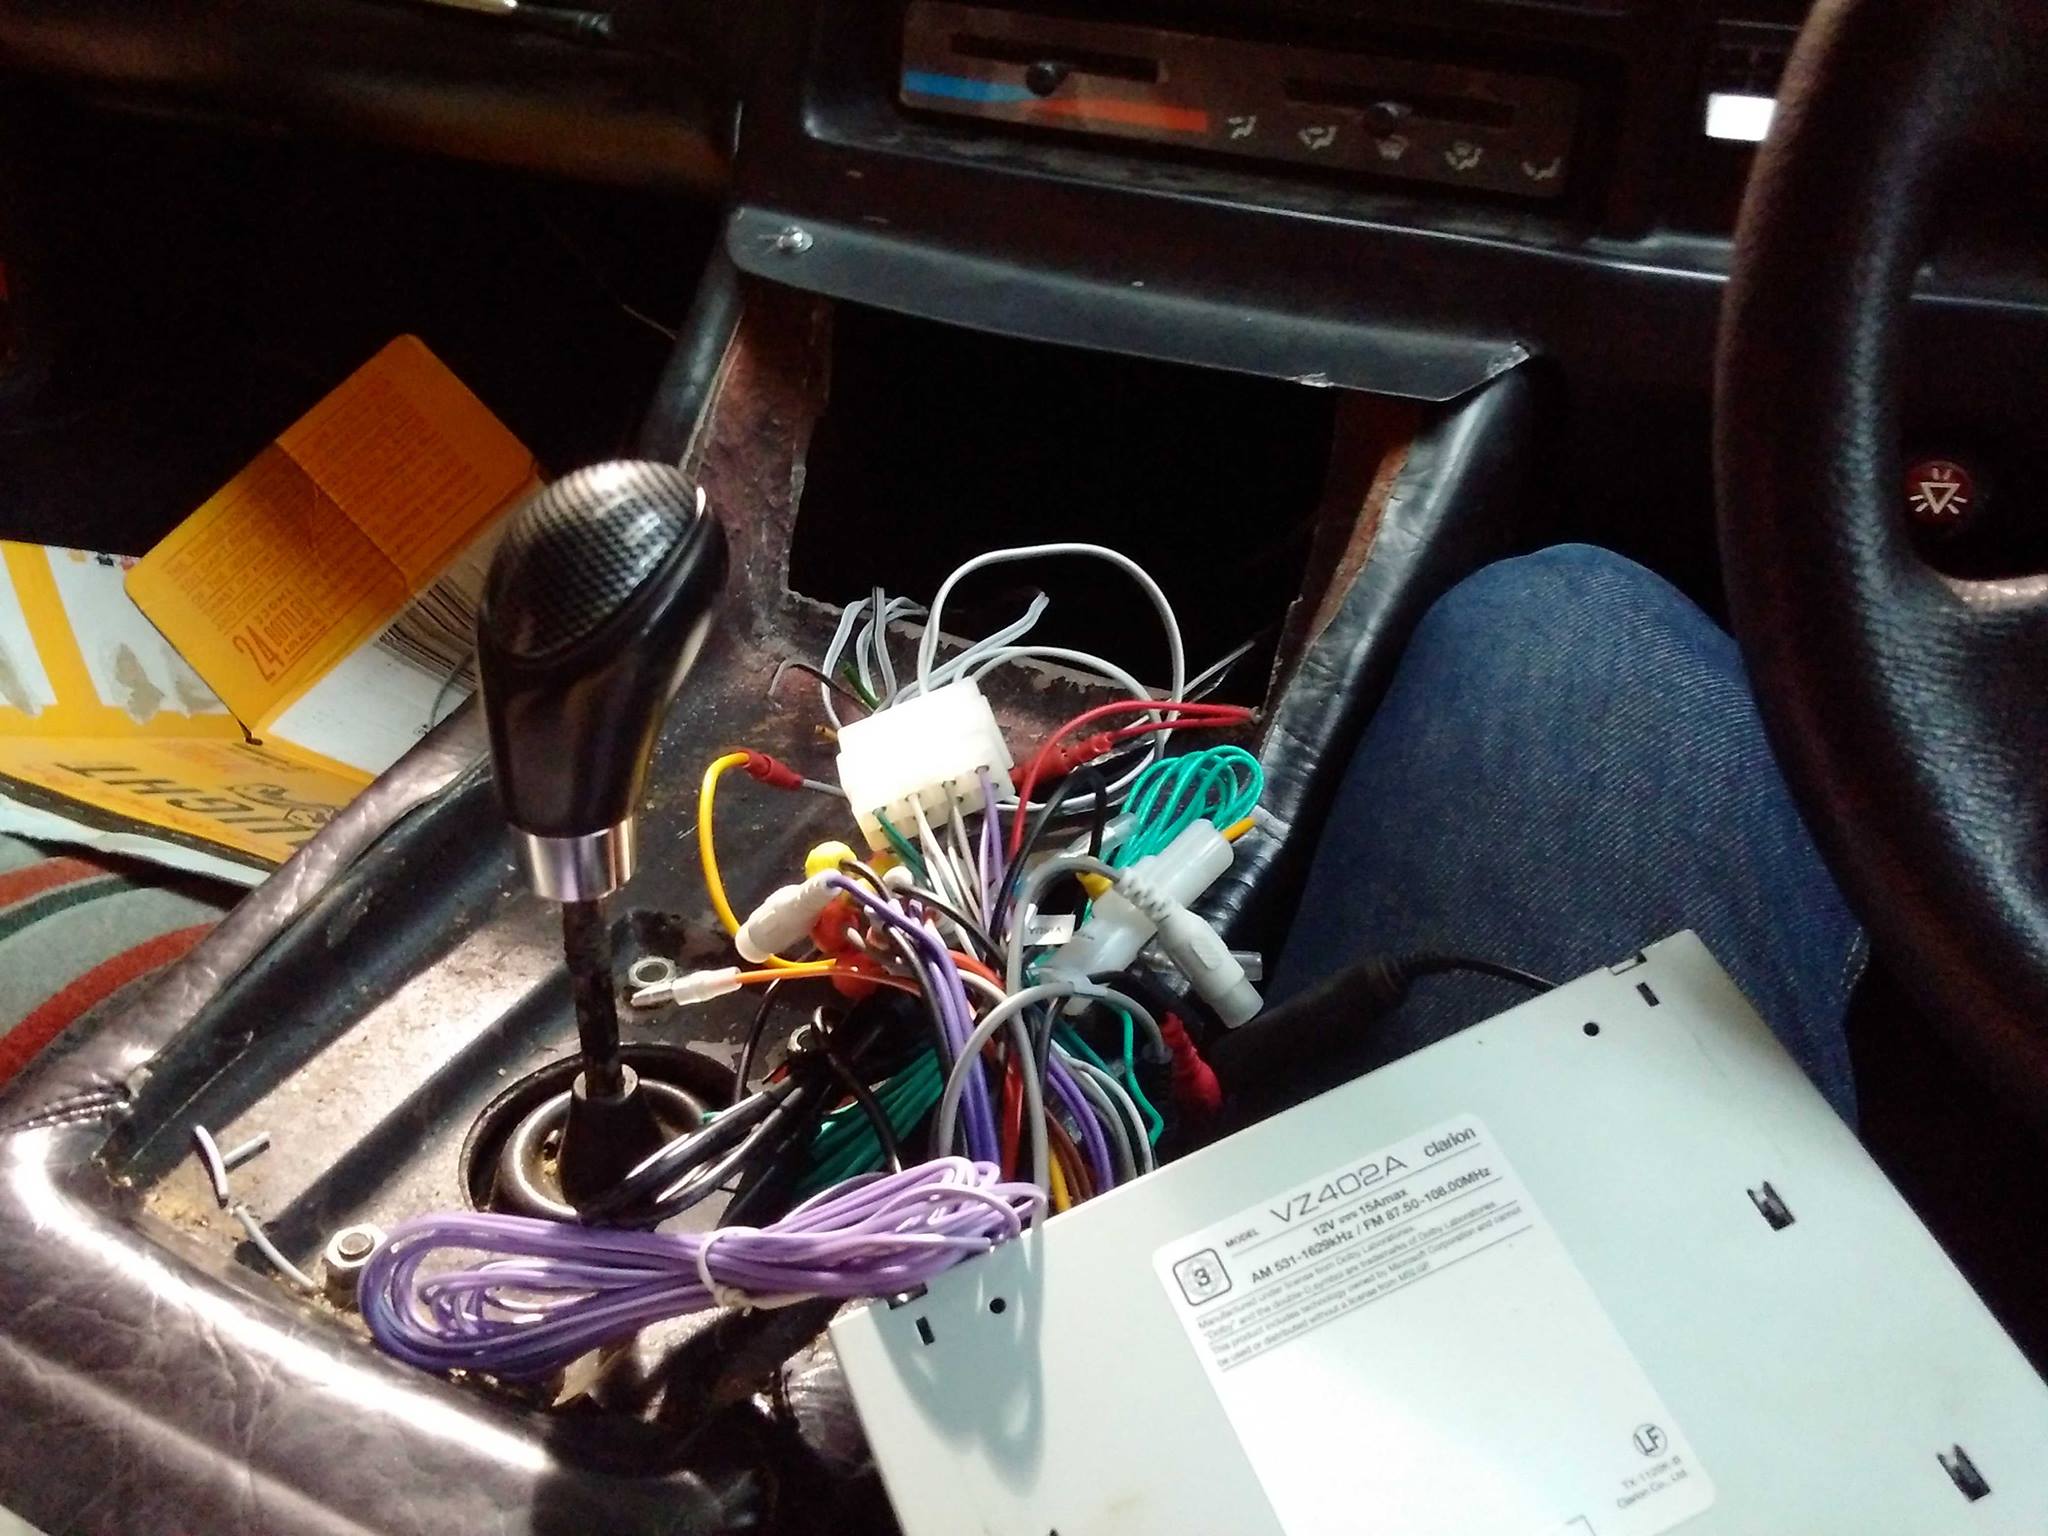
Cool car. I like that you drove it every day with primer patches and no bumper, very 1970s nz. I hope at some point you leaned against it and drank a big bottle of lion red or similar. my grandpa had one as a company car, he was a sales rep and used to hoon all over the north island2 points
-
So I havent updated in quite a while, been fairly busy. So heres a quick run down. Smashed a door at Hampton Crashed into a bank at a hill climb - Smashed another door after a drunk lady hit my car while it was parked and I was trying to get in it. Went to Dunedin and just missed out on qualifying Pulled my engine out and made a new bottom end So right now the engine is finished, run in and tuned. Heres the results which Im quite happy with, and thats at the wheels2 points
-
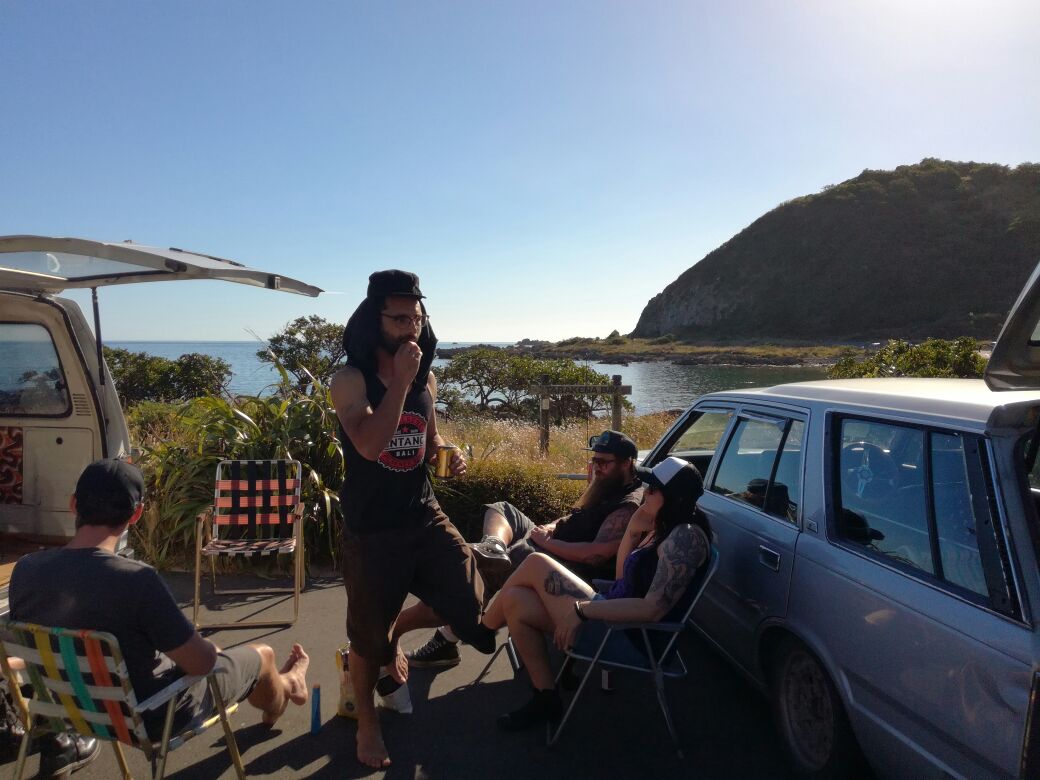
Fuck that was mint! Good to meet you all Sorry I was so quiet, functioning is difficult on about 4 hours sleep and a lot of sugar free V ha. Awesome spot to chill out too, van roadblock = private parking ha. Pretty sure @Russ is going to be a bit more OS active now too.
2 points
-
The old fruit has had a fair bit of use now, we have had multiple trips over the break, and these are continuing every other weekend or so. Overall things have been super sweet, with the only real issue one of storage. This means i am in the process of moving the second bunk bed to the front of the bus and converting the bed into a storage shelf. Other improvements include replacing the diaphragm pump with a rotary one so the sound of it does not echo around the campsite at inappropriate hours. I have also added a water filter as the tank taste has not washed out yet. I also created a side drawer to hold the camp brazier/wood/tools/spare fluids/etc. This probably needs a bit more loving as the weight of all this makes it sag a little bit. While I do this I will change the closure method from wing nuts to trailer hitches. I cut a hole; We have a wee finger bender at work, I put this to use making bent things; The finished product, totally sweet until it get loaded with 100kg of stuff. On the way to Cable Bay; The campground.....it was surprising cold that night even after a jaunt up the hill to the lookout, so we convinced the camp owners that it was ok to crank up the brazier. We only stayed one night, but i am glad as a storm came through the next day, it was chaos for the tenters and caravanners who stayed. The bus didnt leak at all that night and it was blowing and raining like a bastard, so I was stoked with that. What did leak is the heater, and it turned out the core was rooted. I went the the truck wreckers and found something that fitted pretty much perfectly except for the outlet position, but 5 mins with a holesaw and cutting blade sorted that issue. I am in the process of getting all that together along with a tap in the cabin to shut the heater off for the summer, pics to come....2 points
-
WOF man picked up the car on Wednesday, and had a few issues with the column change. I haven't driven it much yet but the plane change between 1-2 and 3-4 seems problematic, and seems to hang up somewhere. Anyway, failed on the following: - Windscreen washers non-op - Exhaust leak at manifold/exhaust pipe join (I knew about this but ran out of time to fix it) - Upper tailgate loose (needs washers under the bolts) - Leaf spring shackle bushing shagged - Fuel tank leaking - Full set of tires. Also it ran out of gas on the way home so the mechanic had to walk back to our house to get his car - oopsy. I had a look at the windscreen washers and I can't really see how they were set up originally. I though it would be a manual pump (that's what the owner manual suggests) but I can't see that there was ever one fitted. I have a pump tank hanging around, or I might remove the whole setup as they are not required on pre-1992. I had only noticed the tank leak when I put it back together this week, so pulled it out again. There must have been water sitting between the tank bottom and the inner floor as there were a few pinholes to address. Broke out the soldering gear. Haven't refilled it for a test yet, but should be OK. Also pulled the shackle from one side. Hopefully I can get some bushes from BNT today.2 points
-
2 points
-
Yes! sits all shonky cause the other sides tyres are flat-12in on rear and 14 on front, but it's all I had2 points
-
So tortrons (autocorrected to tortuous appropriately) Q15 rolled up on the back of a truck today. "you're a brave man" quipped the decidedly British truck driver. fired up first pop, standard bugs vs brake cleaner stz, unloaded the many spares which I can't wait to have a good sift thru, and round the block, went great! Changing up gears easy, down not quite so Heaps to do but will have to wait till after backyard wedding/ hose down & ribbon mods. Fit perfectly in the wrong garage naturally1 point
-
Dude slow down you're making us all look bad1 point
-
Had a tutu today, adjusted clutch, zinc-flavour motor oil (didn't drop the sump but will next time, honest) G/box full of oil-tainted water (not vice versa!) new 140w and topped diff, clean probably 500mls low. Visor off, buggered screen seal out, lubed and opened the front windscreen, definitely cool, after I rust-murder and paint the screen surround and frame i'll probably leave it rubber free, and take to carrying a zazzy brown roll of cloth tape around. Need to paint roof & rear of cab, leave current paint unmolested as much as poss for now. Most likely will clean,sand/wheel and repaint the underside of machine too1 point
-
If it is wired up like that you are missing at least one wire, there should be a 12v wire to the positive terminal of the coil that bypasses the ballast resistor on cranking, and this should only get 12v when cranking. My bet is that you are only getting power on cranking, hence why it dies when in run. What you should do is get a volt meter and hook it up to the positive terminal, you should see 6-7v when the key is in position 2 and 12v when the key is in position 3. If this isn't the case you need to sort out the wiring.1 point
-
unfortunately you're correct about the impala. that thing is probably one of the nicest cars in NZ1 point
-
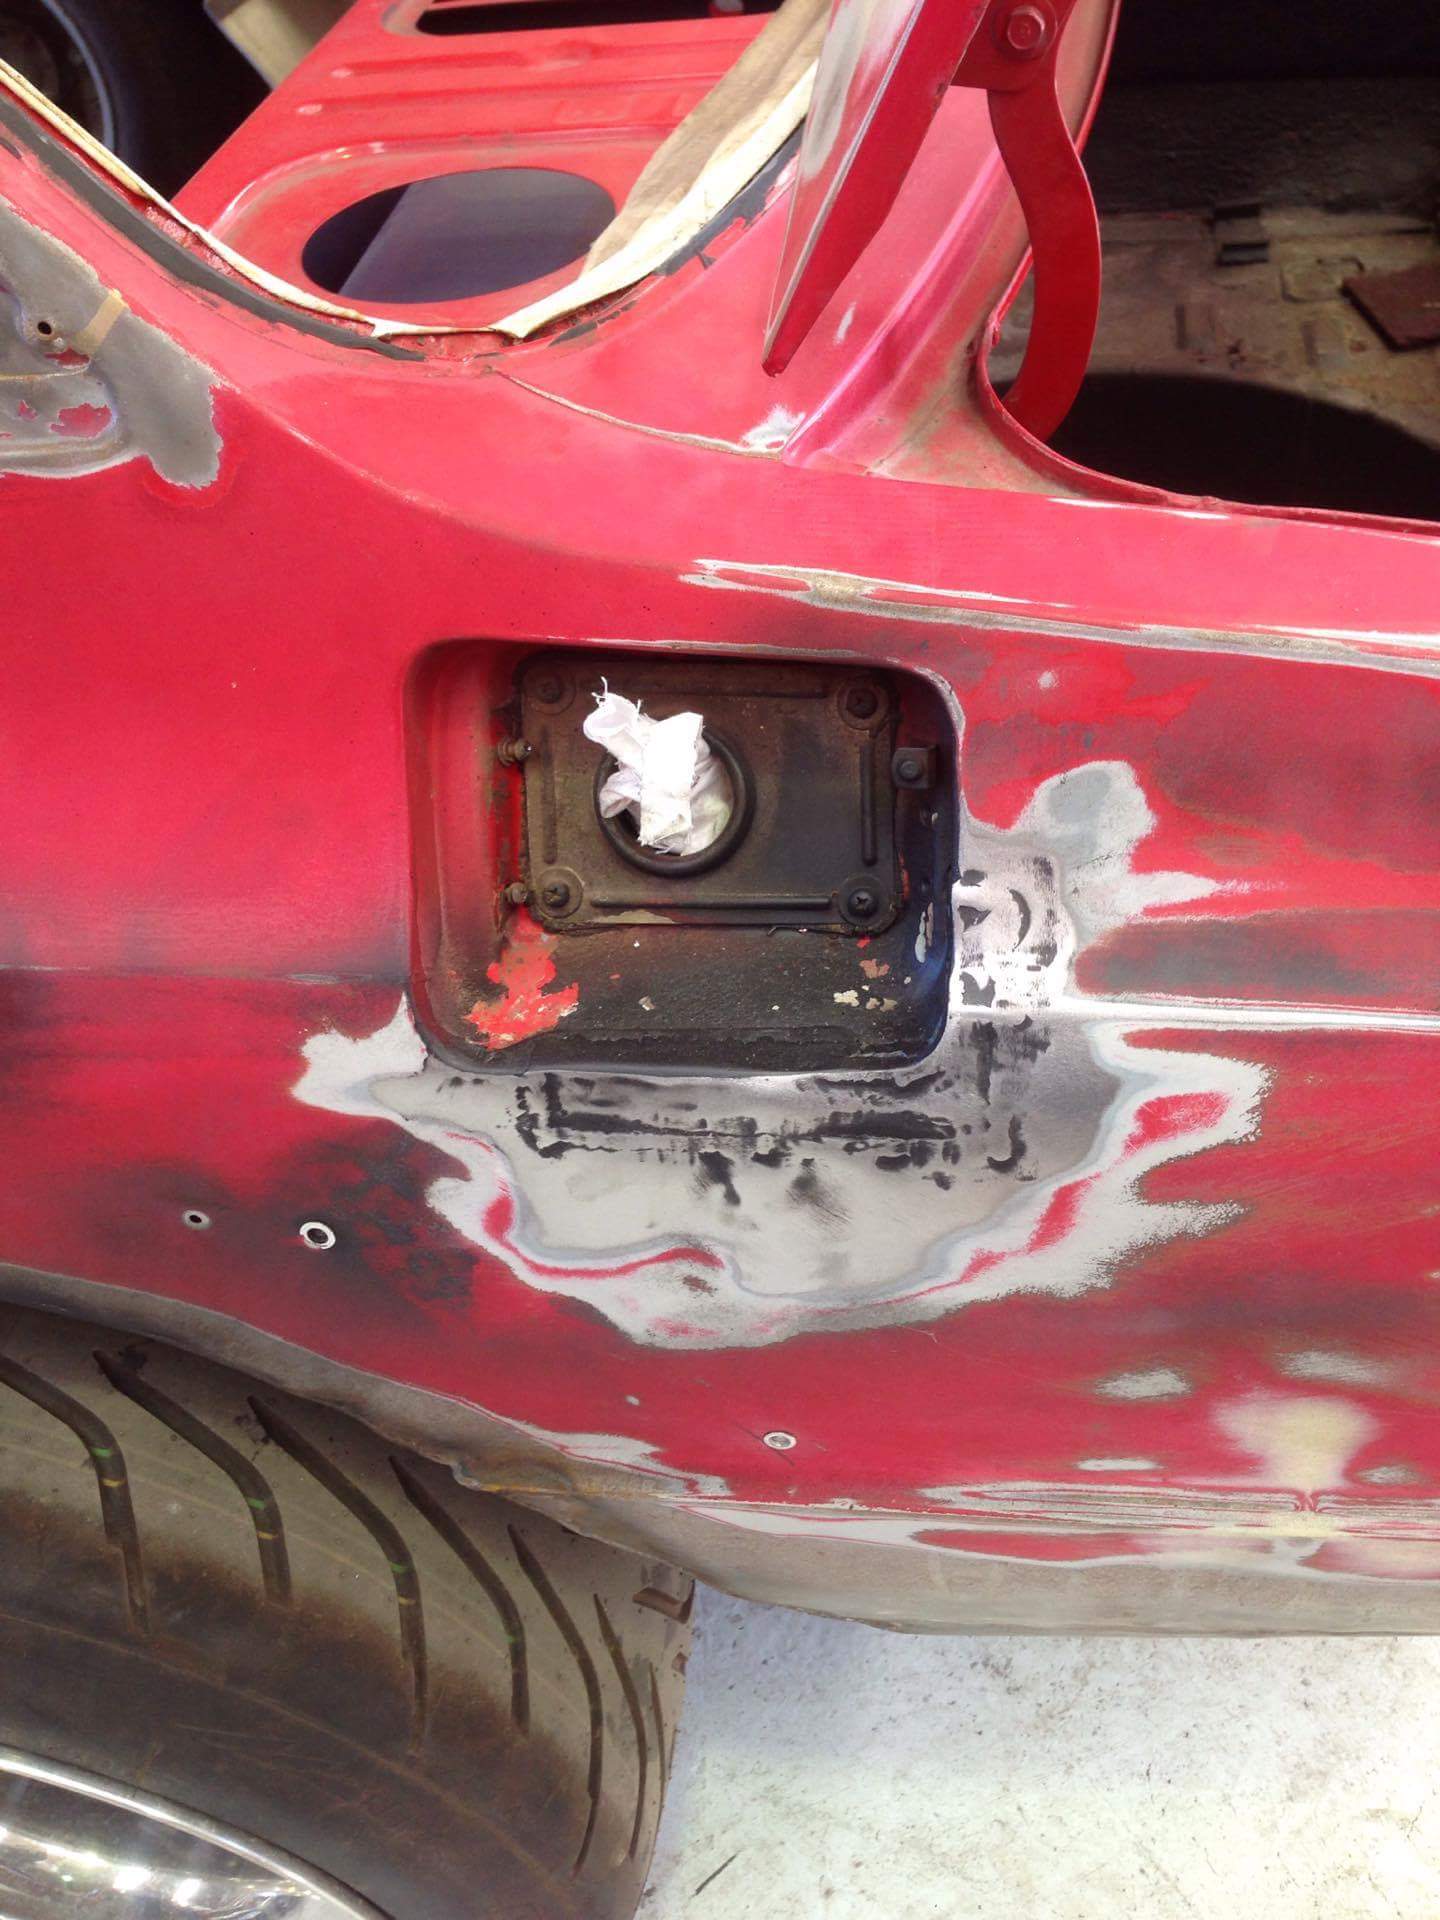
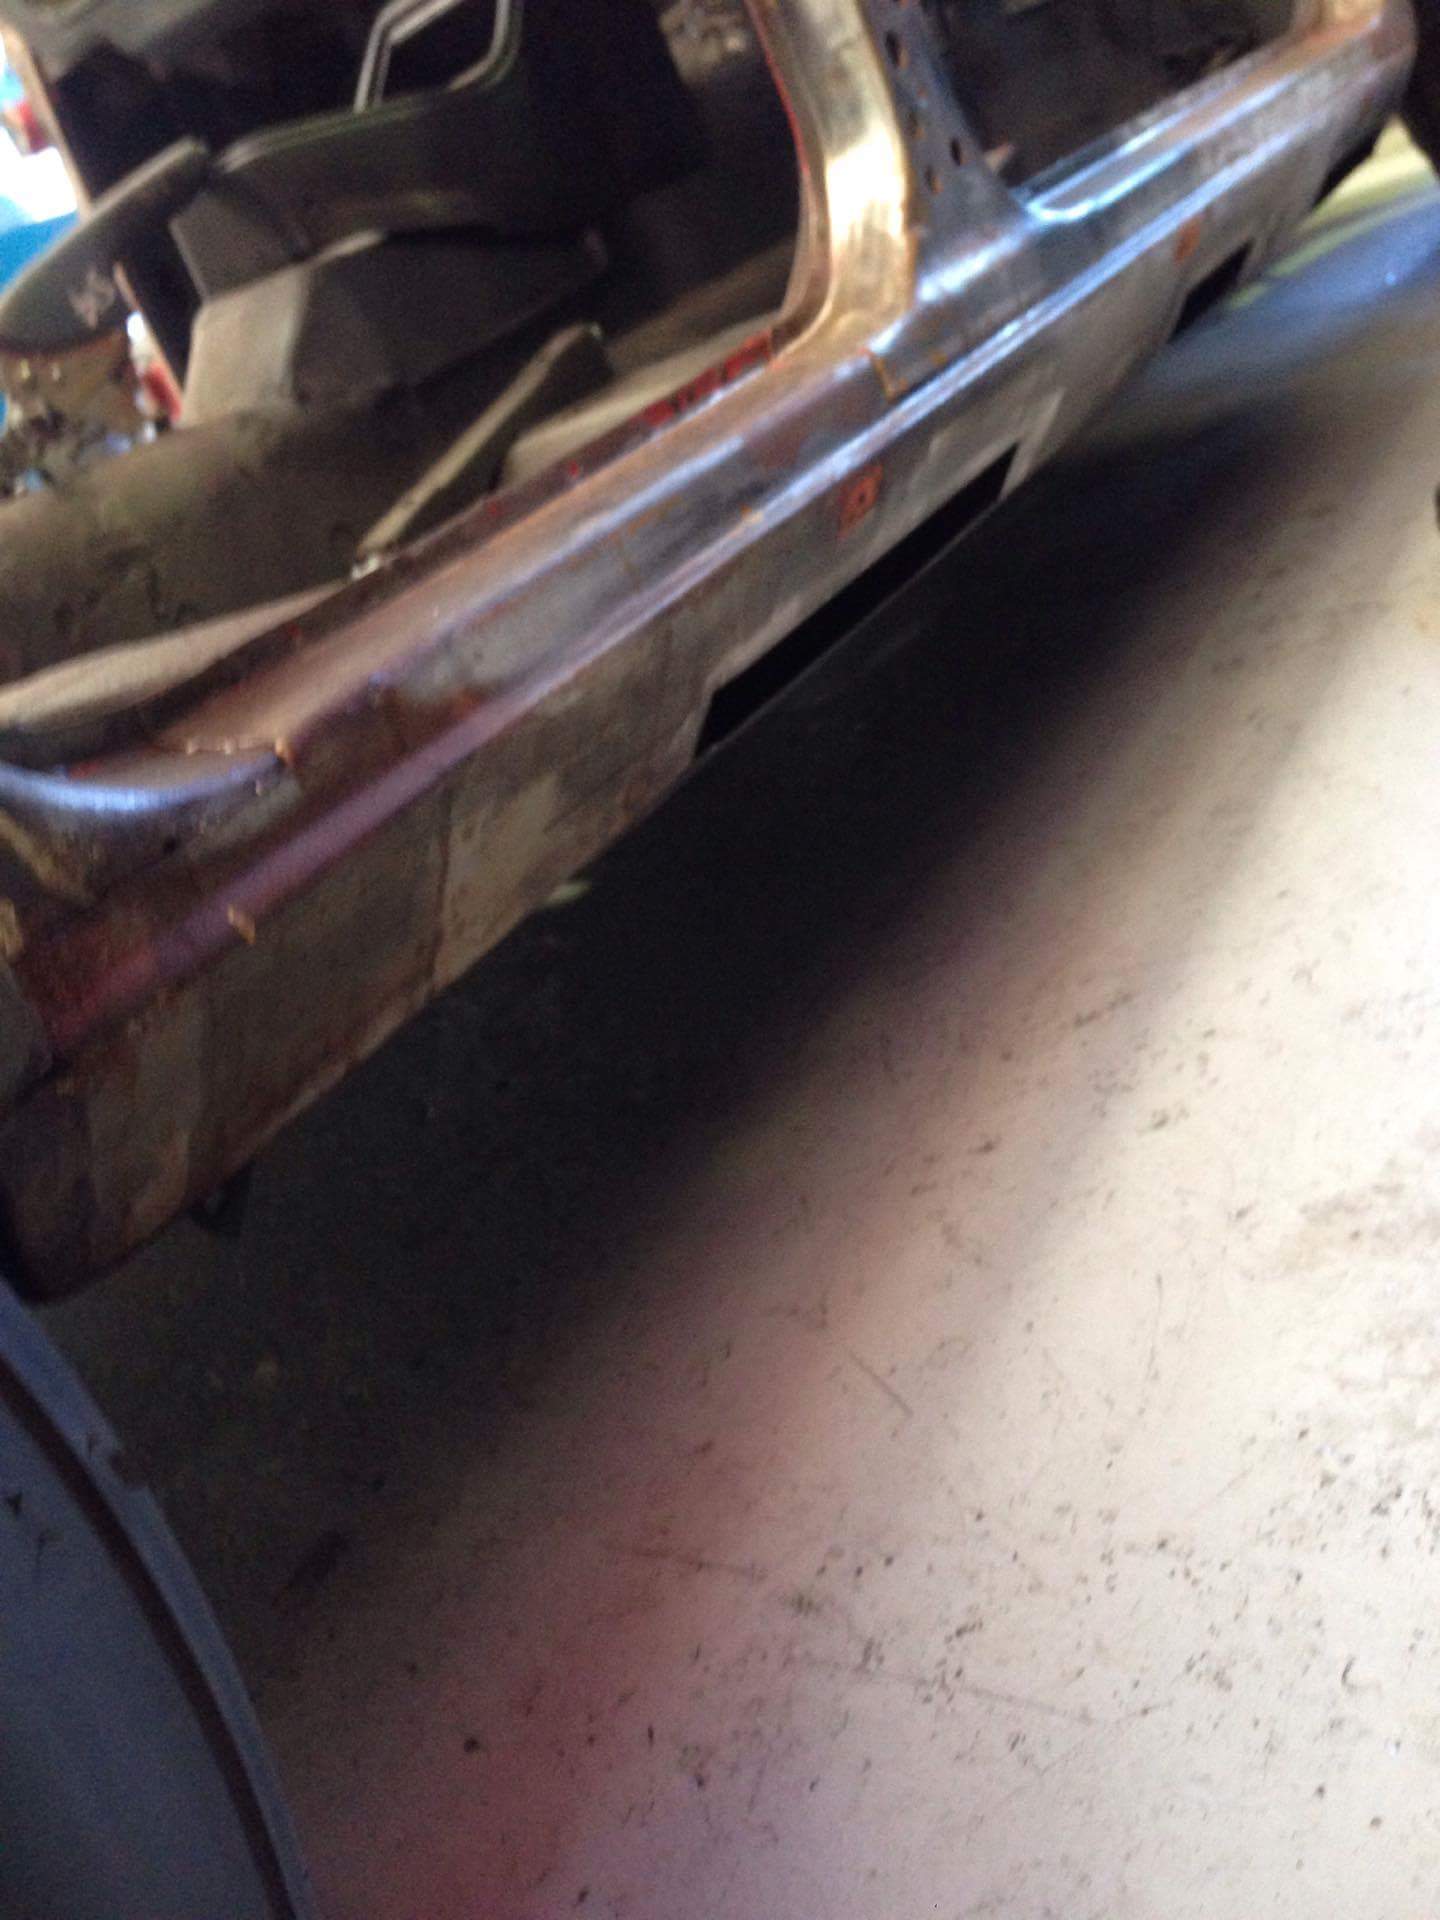
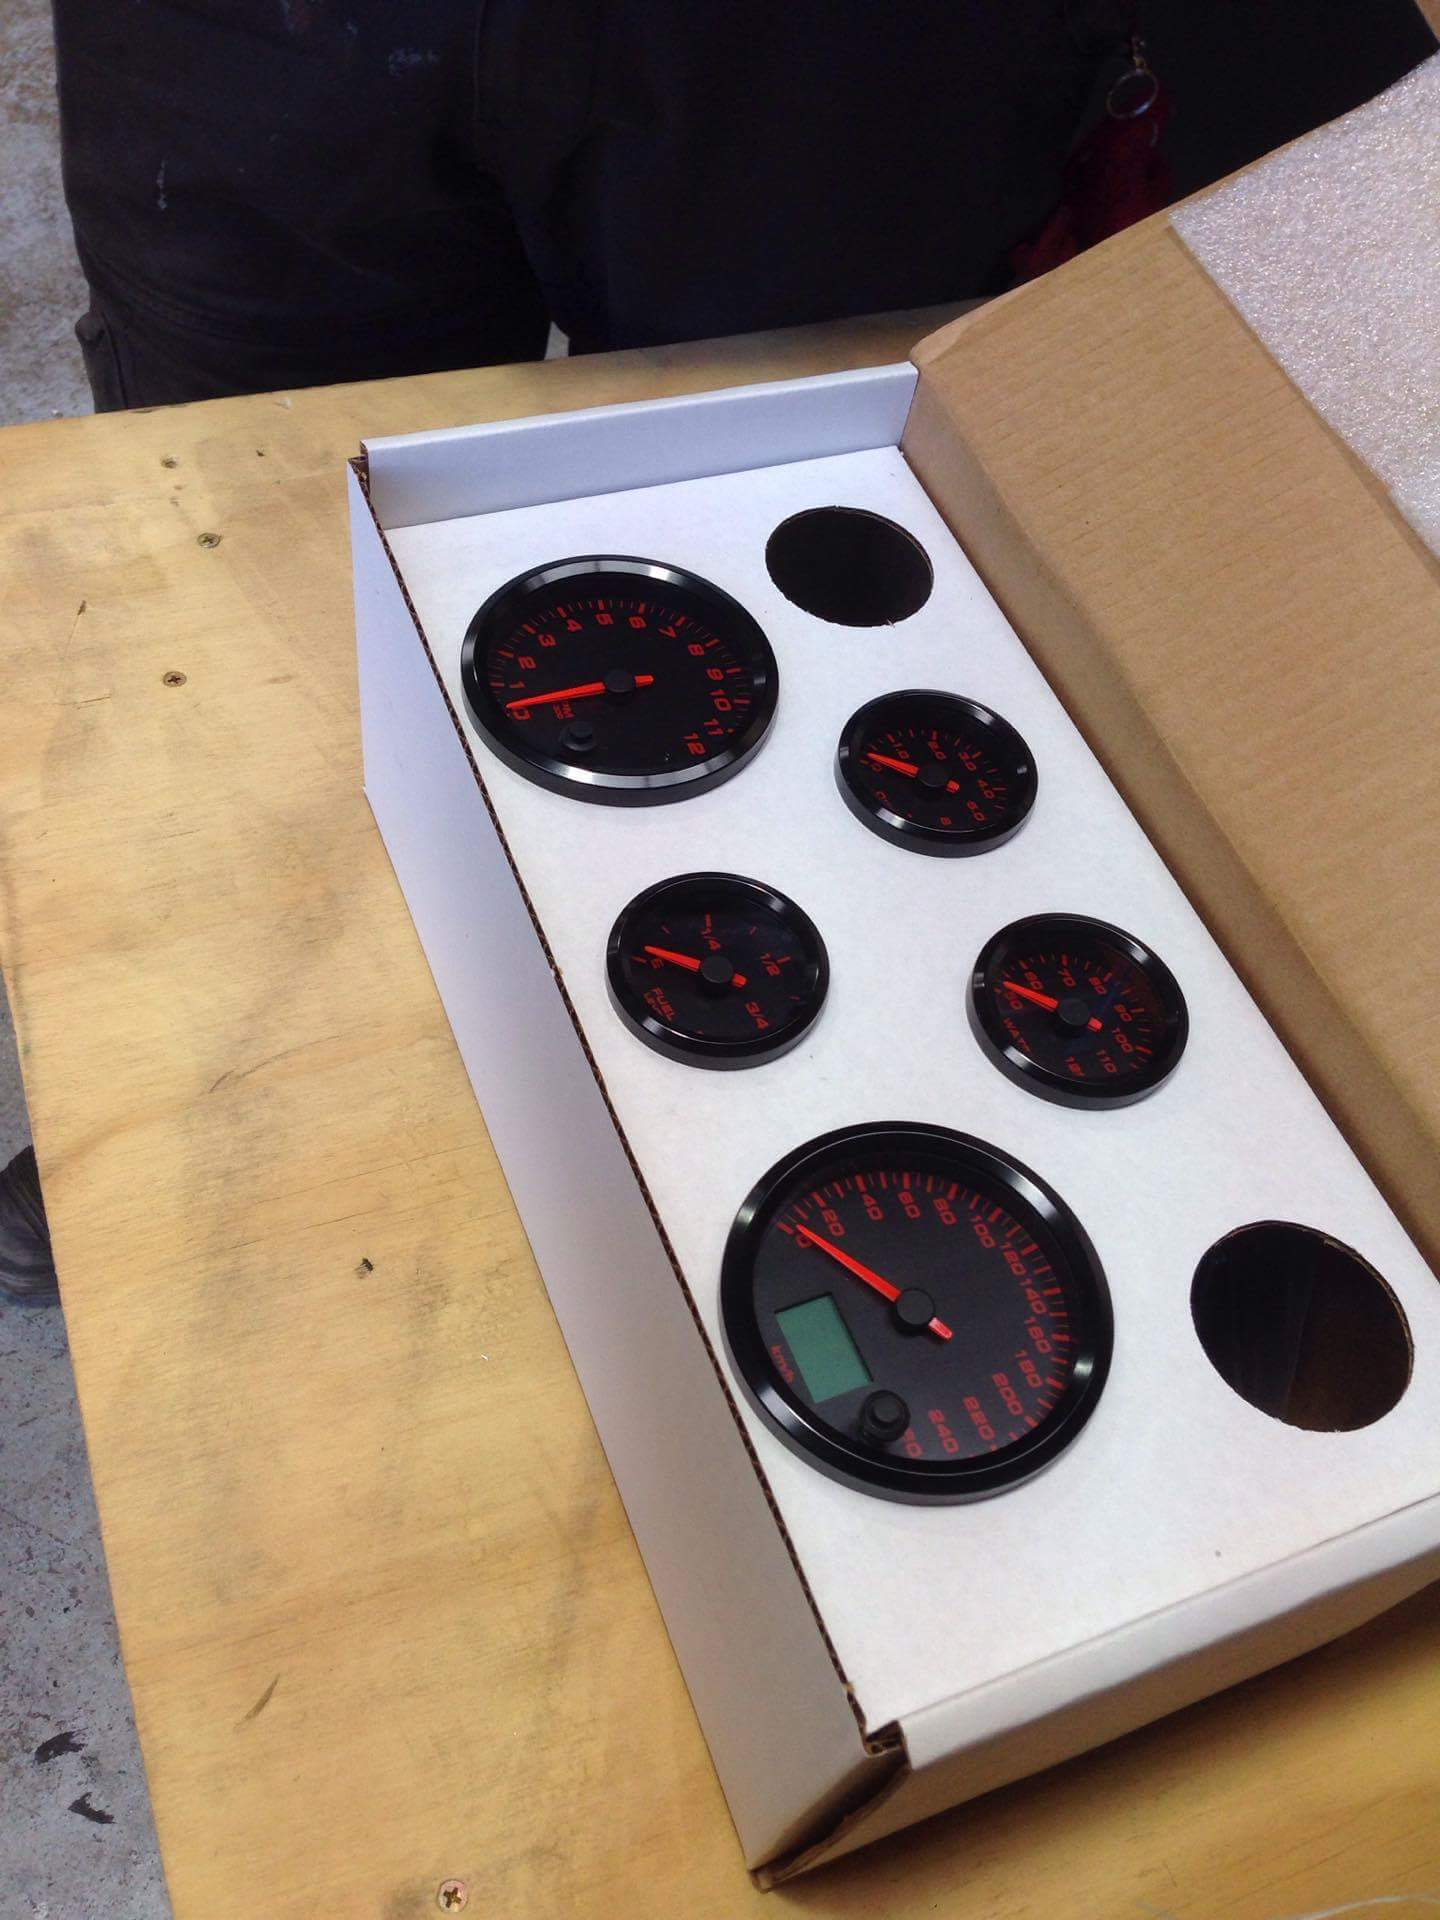
Hey guys, Just checked in with the guys and got the Mrs to head around to the shop and see what's been happening with the old girl. Progress has been slow, the panel beater had a few weeks on holiday so this had been put on the back burner. Some fab work has been carried out, patch welded in on the rear quater by the fuel filler as well as the c pillar. Also the sill rust sections have been cut out and it looks like rust is really bad on the inner side of the outer skin so more rust will start coming through from the inside out down the track. We've ordered in some repro sills so will either look at completely replacing the sections or just use what's needed. in other news the gauges have rocked up. They look the tits so pretty happy with that. New estimate until it will be ready to ship is end of Feb so fingers crossed. Cheers, Tai
1 point
-
I get what ur saying. I LOVE retrofitting lipos into shit and do it wherever possible (I had an RC controller that I pulled to bits and fitted a lipo into.. I think I charged it twice in a year, was brilliant, and a 12v floodlamp that I put a big lipo pack onto) You need to make sure things are completely foolproof and easy though. You don't want to accidently plug a lipo pack into a nicad charger With that said- I use a hobby type digital charger with my nicad DeWalt packs (because my charger didn't work on our 240v mains) and don't have any issues.. smash some alligator clips onto the terminals and just press go- the bonus is that I get to see exactly how much juice is going into the cell. You'd probably want to open each tool and wire in a low voltage alarm so you don't bugger the cells but they are cheap and easy.1 point
-
Give me something to whack in the GPS and I'm sure we'll get there, managed to find @Unclejake's on purpose and @Steelies pad by accident so I'm getting around ha If only I could find where I parked the van now...1 point
-
1 point
-
LI blows all over NIcad man, Li has been the mainstay for like 5 years now, its good mate. join the revolution. Buy a new kit, they are usually around 1k for a 3 piece+ 1-2 bats and charger. The skins (tools) are the cheap part, its the battery that costs $$ . tbh id upgrade, it will be a world of difference.1 point
-
Coolest bug I've ever seen.1 point
-
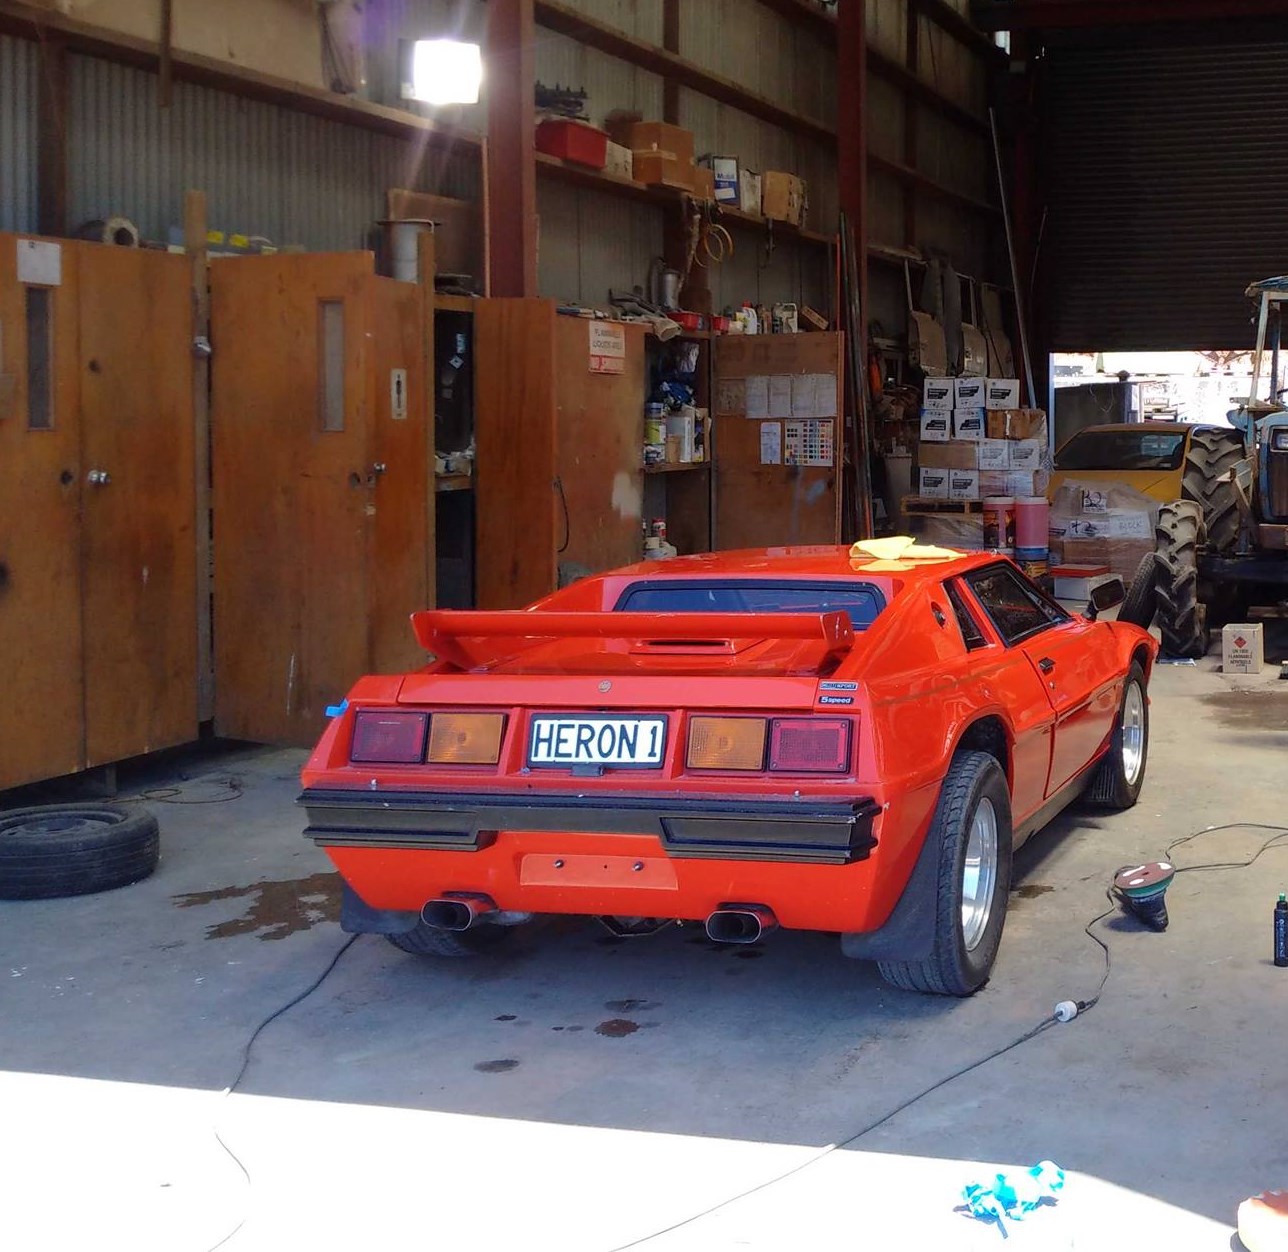
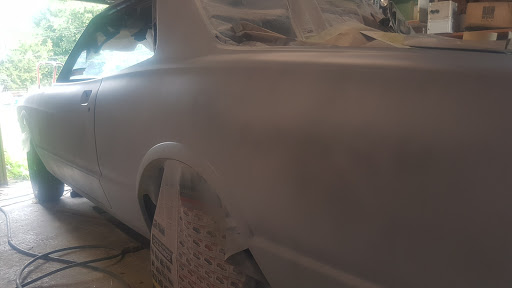
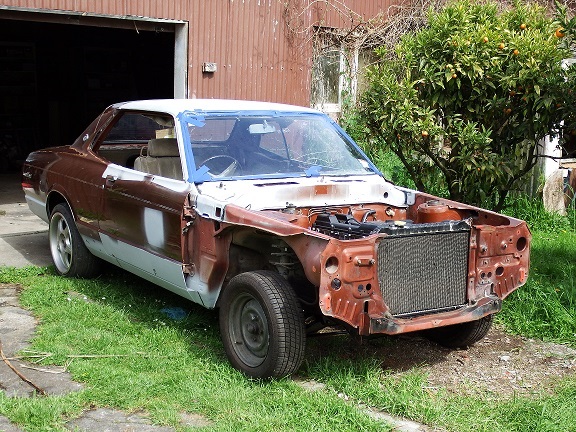
I have been below the radar lately but shit the cars getting close. Asked Kayne for a photo before I head out on Sunday so heres a teazer he sent me. Cant wait to have a look before it heads off to get painted with it coming home around the 17th of Feb. I kept the engine bay original as the paint cleaned up really well (except the panel in grey) and I found a cheeky penis drawing behind the strut tower so that had to stay.
1 point
-
Took the bits into Cliff Bond today, the boys there were bloody good, after a measure up it became apparent someone has been at the pistons before now, (and made bit of a mess) but they managed to find some old stock mazda rings on the shelf that can be massaged to fit. I'll strip the block fully this weekend and drop it off monday for them to work their magic. I also put a piston through the ultrasonic cleaner at work, tore the bulk of the carbon off really well, might just cycle the rest through.1 point
-
head on its place, torqed thermostan housing, camshafts, lifters, rocker arms etc ,all in its place its really nice to put all of those things together while they are so clean thermostat housing thread locker on the oil plug for oil gallery on the head1 point
-
The driver's side sill and underfloor structure wasn't as bad as the passenger side, despite the holes in the floor. Patch panel bent up. It was much easier to fit this side with the floor section removed. The outer panels were 'good enough' to weld back in (saved time too) Sprayed etch primer in all the repaired areas. So, all the welding was done by Monday night about 11:30 pm. I had to pick up some wheels from Island Bay on Tuesday and didn't get home until later. Had to reassemble the front (bumper and grille), rear (gas tank, fuel pump, bumper, upper and lower tailgate, and number plate light) and finish the brake lines before a WOF check on Thursday. Managed to get through all this by late Wednesday (got my son out of bed to help with the bumper bolts even). Bleeding the brakes was a pain as usual - I'd missed tightening one line fitting so ended up with a mess on the floor. Quick test run at about 11pm, then gave it a quick hose to allow testing the wipers and stuck it in the garage for the local mechanic to pick up on Thursday.1 point
-
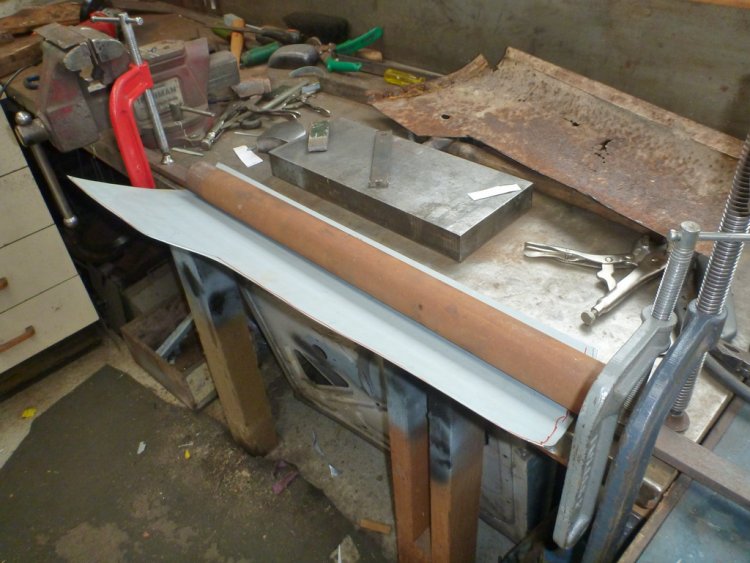
Filled the hole at the back of the guard. The shape is a little off but I was in a hurry and it is mostly behind the bumper. Before After (1/2 way anyway) Next up was the drivers side floor which had a few holes. New floor bit. Had to do this twice as I got the swage orientation all wrong the first time. Swage made on the Nibbler with some home-made dies.1 point
-
such a happy widdle face at the end. vw brap gilleez and trappp all too low to steer - perfect combo good shit man! (and everyone that helped!)1 point
-
drove this for the very 1st time today. not bad for 22 days ago it was on axle stands and i was cutting the other floor pan out.1 point
-
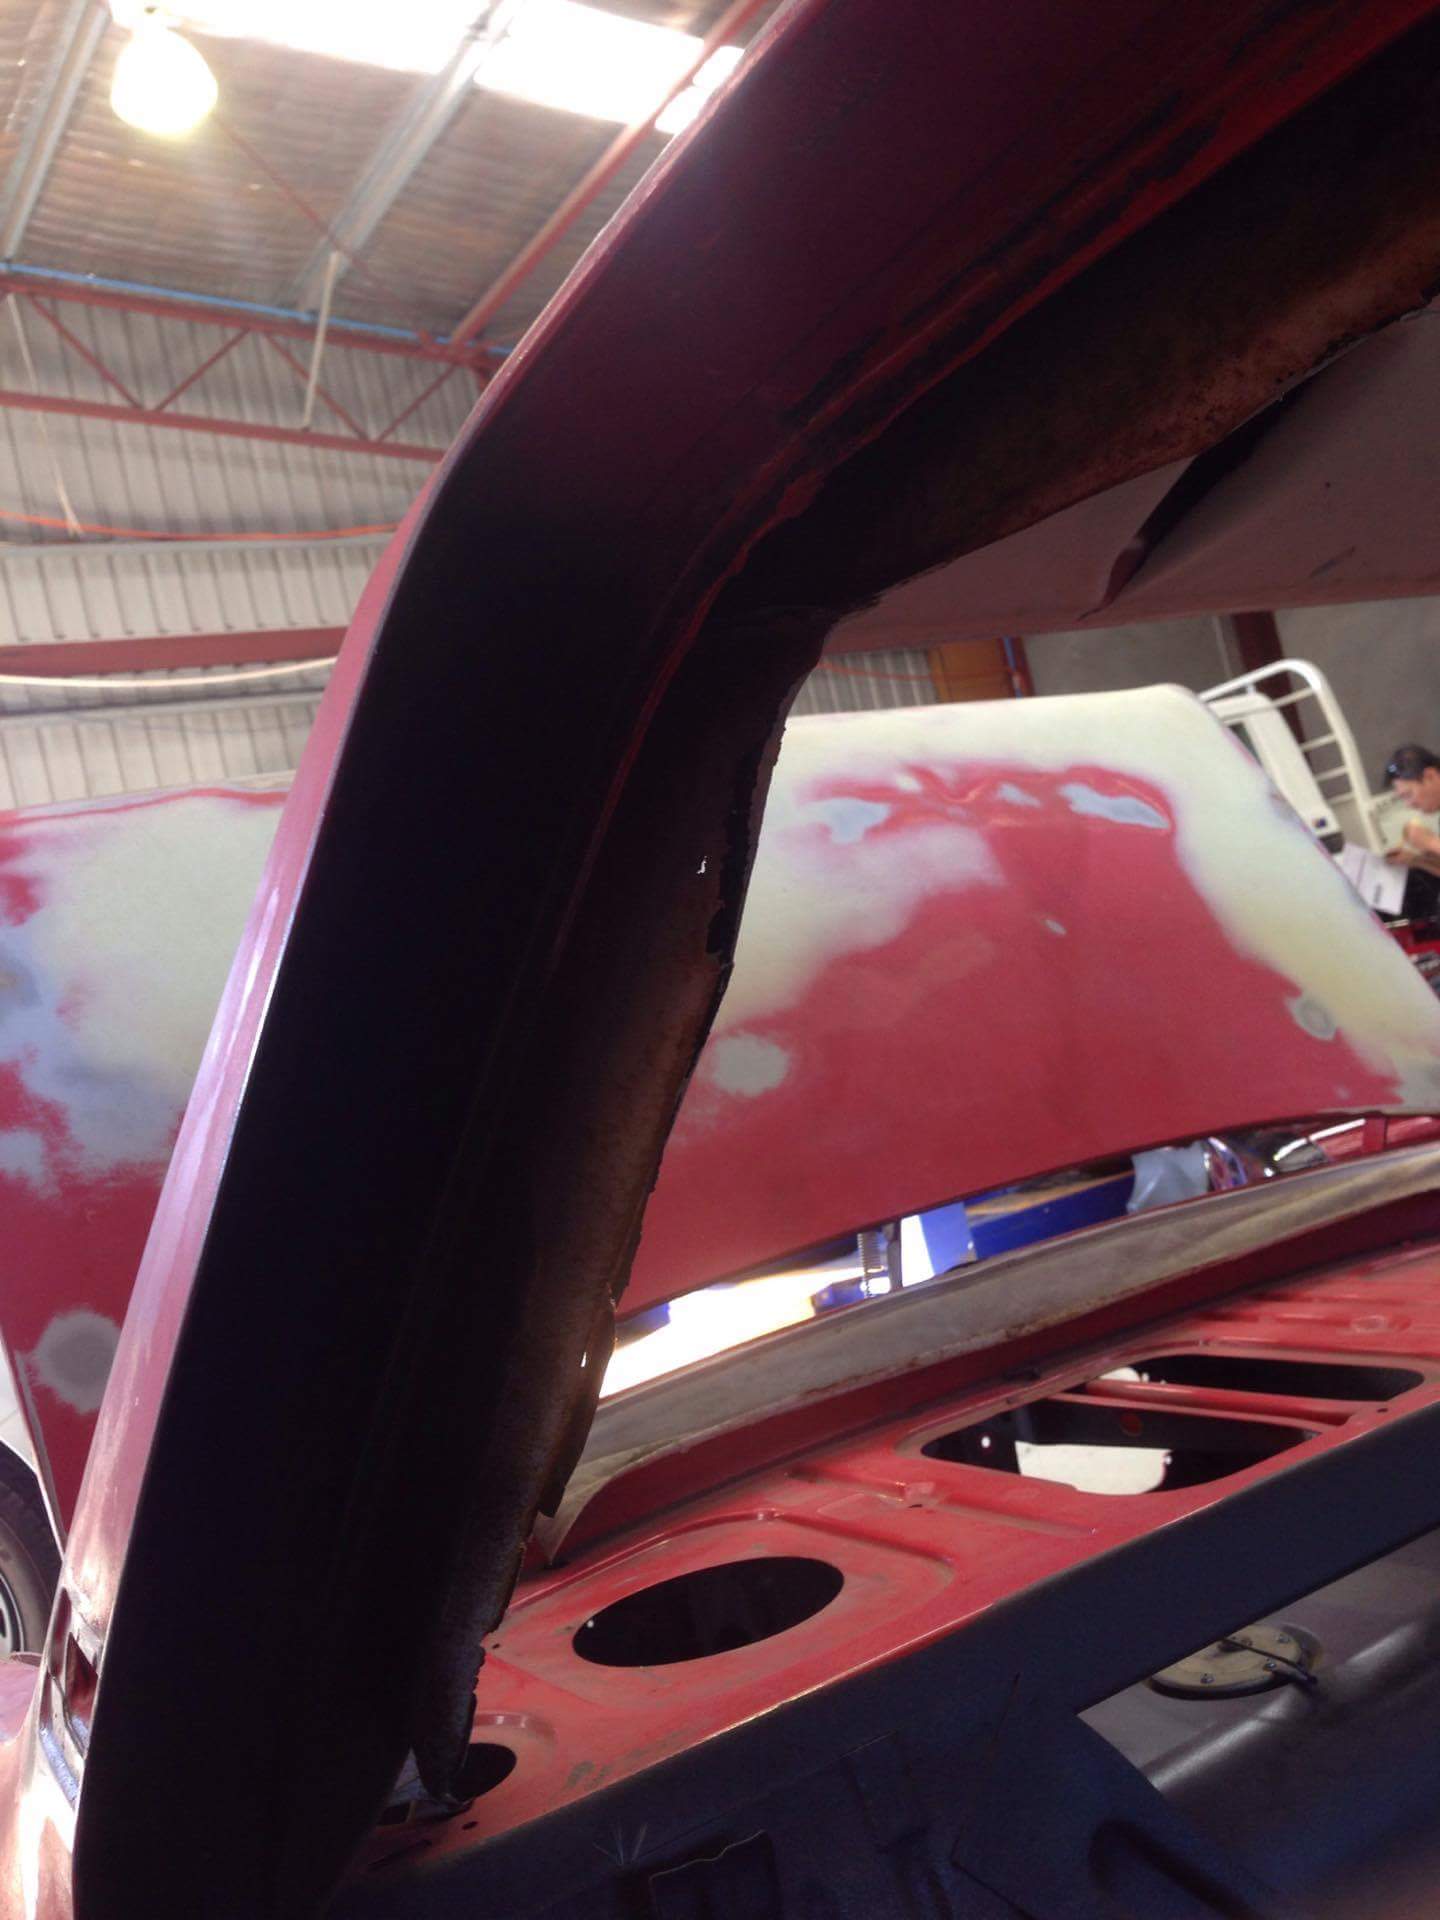
Went away camping for a couple of weeks after the last update. Came back the day before anniversary weekend with the objective of finished the rust repair by the end of the weekend. Just before we went away I'd noticed some rust at the back of the roof where the tail hatch hinges are. Not really sure why this area was rust, I guess a bit of water gets in around the hinge screws. Had to fix both sides. Got the channels welded around the lower edge of the tailgate, and filled the remaining gaps in the bottom. Painted inside the frame and the repaired outer skin. On the final test fit I realised the shape was a bit screwed up so had to cut and re-weld the frame somewhat, then re-prime it before plug-welding the two parts together. Took farking ages!1 point
-
Pictures of half sanded bog and piles of dust aren't interesting, these are slightly moreso. Got this decent valence with my goodies a week ago, it had a few small knocks but was vastly better than my other one, and sat much more pert on the car. It was paint stripped and left as-is years ago, so I hit it with the stripping wheel and etched it, between coats I undersealed the front guards with the last of the hippo-liner, more to add some strength to the mega fucking thin guards that move when sanded. Cheerio1 point
-
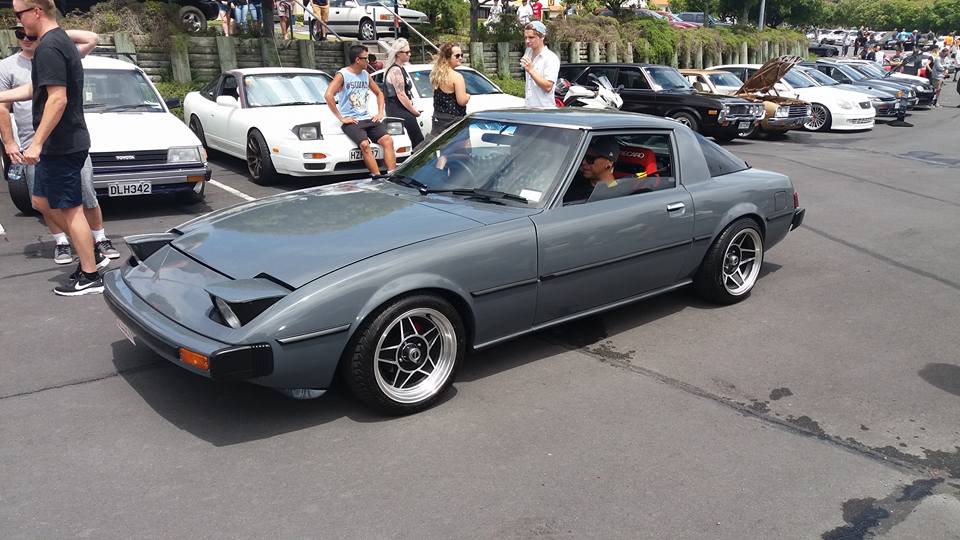
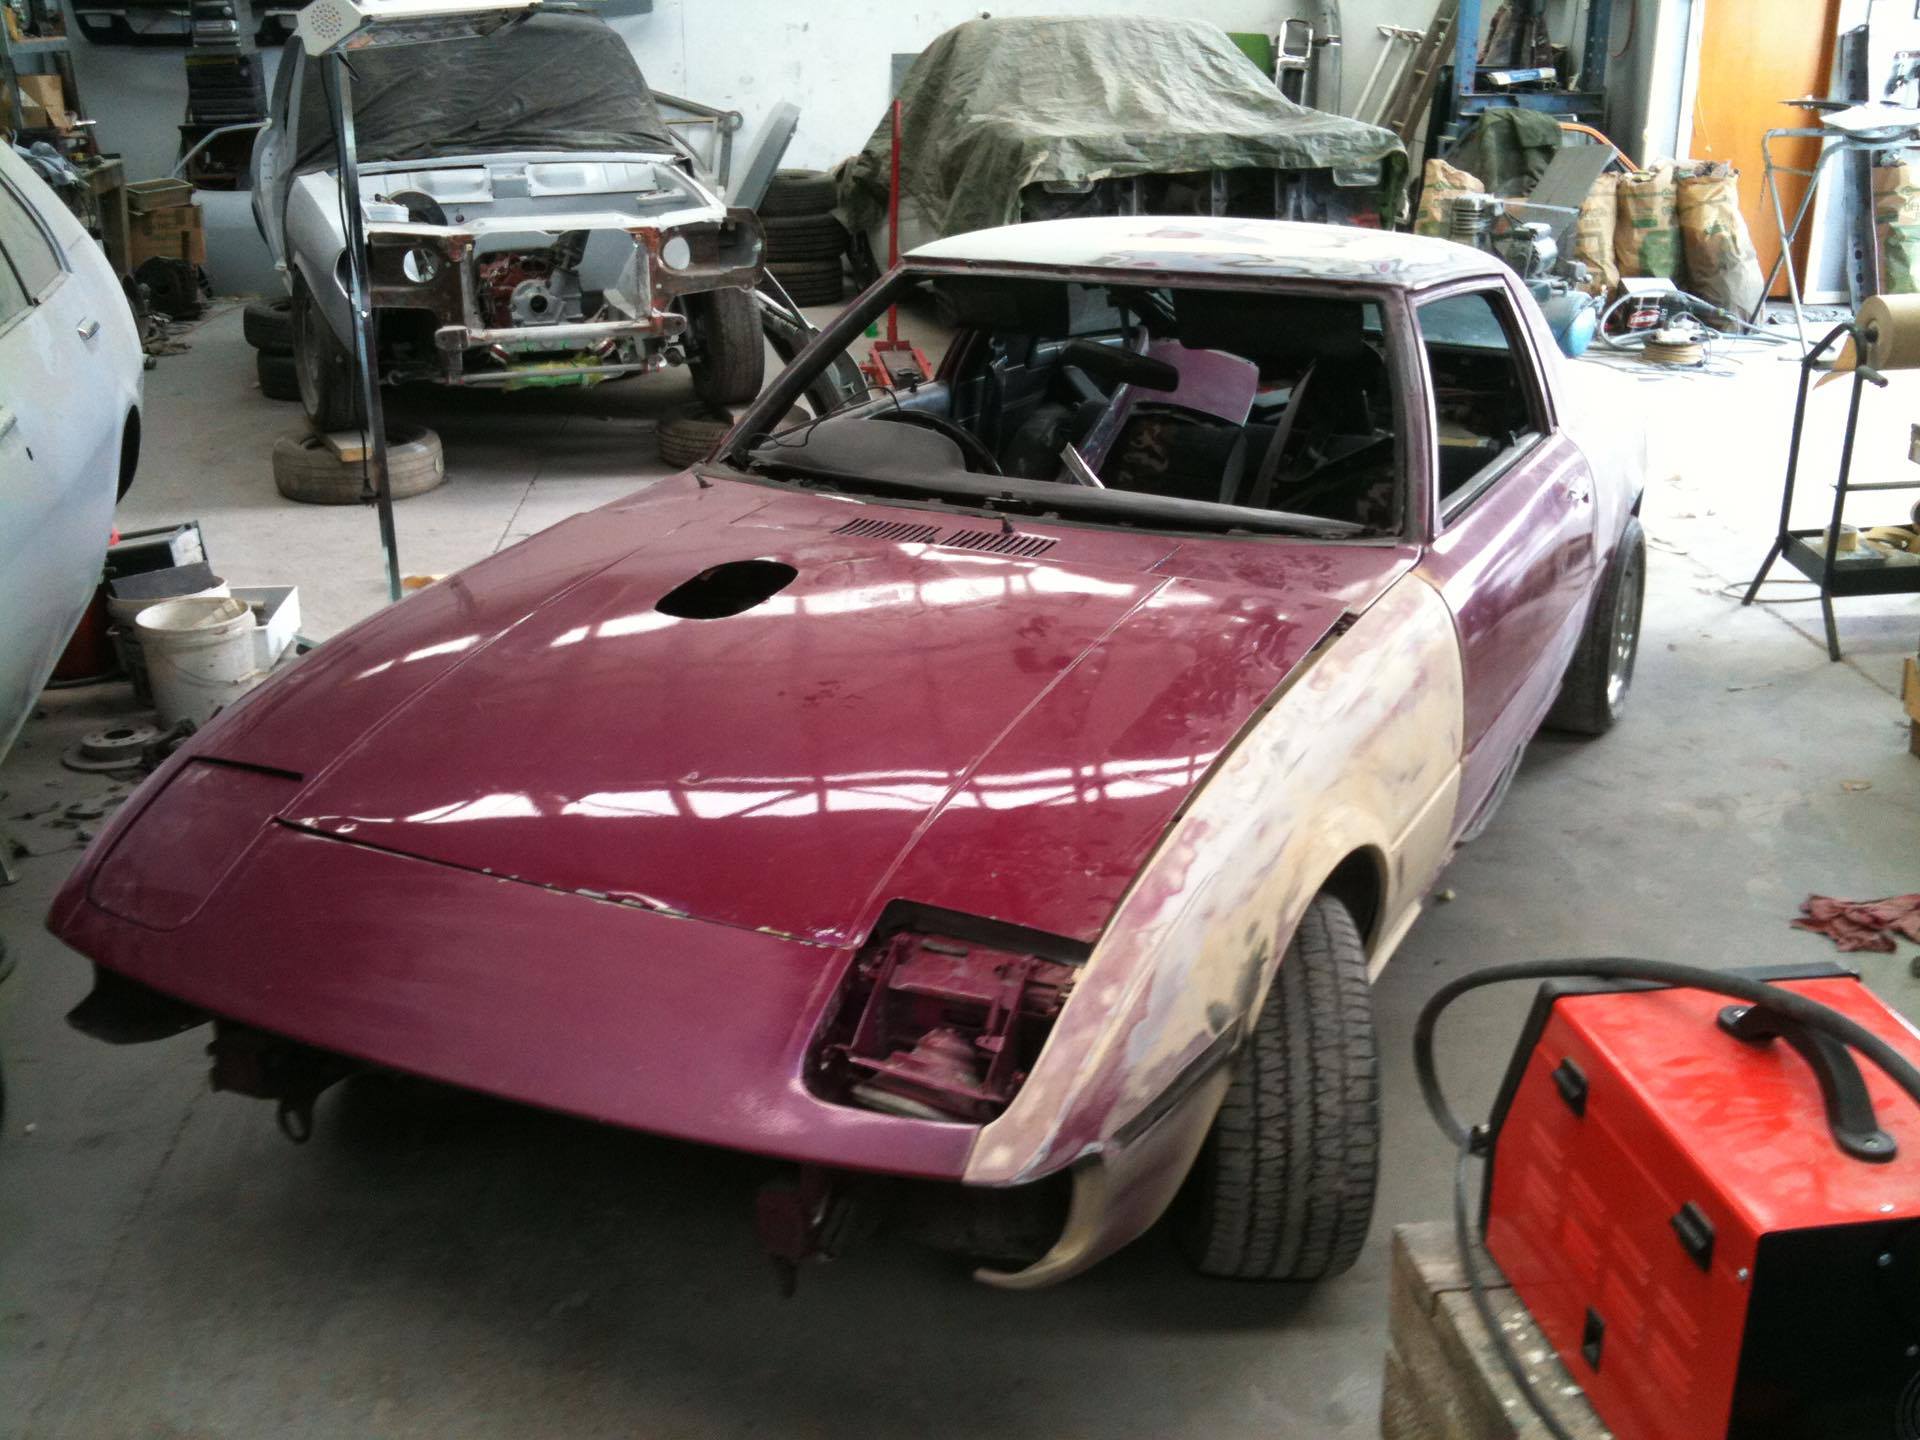
Hey guys n gals This is my newly completed project build-up from the last god knows how long (4-5 years maybe?!). Acquired it is a rough rolling body, with rust-chomped doors and sills. However I saw through the nastiness to the potential of getting it back on the road where it belongs. Too many get parted out when in a reasonable condition and I couldn't bring myself to strip it. The first several years it sat in storage whilst I slowly starting obtaining the parts I needed to piece it together. A buddy took it under his wing in this time to straighten out the panels and primer coat it. I had no idea what colour to go for at this stage and decided it was best to make that the last thing on the list. I obtained a stripped old skool 13b block through a connection, and got together all the required kit for a complete rebuild. The plates were a throw out so we found some good donor series 4 plates, the rx4 housings were really nice for their age so I got lucky with that. A good friend who is a hobby engine builder of great reputation did the assembly for me whilst I worked on finishing the interior and acquiring the running gear. I found a series 4, 5 speed box and had the shifter position shortened to save cutting up the gearbox tunnel. It has an Exedy 4 puk ceramic heavy duty clutch mated to a Green bros lightened 12 pound flywheel. Everything was dropped in with relative ease although mounts had to be fabricated to suit the upgraded motor and box. For certification purposes a drive shaft loop was made up and the driveshaft itself had to be cut down to suit the new gearbox placement. I decided, (being an 80's kid with a 90's rotary passion), to keep the block N/A and fed by a 48mm Weber IDA. Of course the mandatory high-rise K&N filter was to sit through the bonnet also! The Weber is fed via 3/8 stainless braided lines from a Carter pump which keeps up with the demand. The bridgeport is cooled through an aftermarket 3 core aly rad and oil cooler which do their job well even in heavy traffic or under high revs. Another buddy (Andre Antonievich Automotive -shout out!) fabricated a new exhaust to suit. We opted for Adrenalin R resonators and 7" muffler in a two to one,under the diff formation. At this stage security was the next concern as it was starting to turn heads whilst being trailored around. My auto sparky buddy wired in a 5 star arm complete with GPS tracking with is great piece of mind. It gives you the ability to disable the engine remotely and track not only location, but speed and revs. I replaced most of the interior and had to turf the original seats due to being irreparable. Recaro reclineables were fabricated to suit the existing floor rails. Most other dash and interior items were replaced also to complete the look. Carpet was also replaced as the 30+ year stuff was starting to stink a little. Once everything was wired up and engine was tuned over the Rx7 was taken to Brent at Dynopower Tauranga for a pre-run in tune on the dyno. The car was making great power at such an early stage and only minor adjustments were needed to the electronic dizzy and MSD spark set up. The car was then taken to be certified in Papamoa, and got the all clear on its second visit after some minor issues needed addressing. Back to my buddy who did the original panel work years before to complete the job.......I had decided on a subtle yet clean look, nothing too bright and bold like some of the other early rotors on the road. I found a grey tone by Lamborghini called 'Gregio Telesto'. It has a blue/grey appearance in the shade but under sunlight a gold and sky blue shimmer too. I have various sets of wheels for the Mazda but it rides best on the 15" Challengers which are normally on it. Future work includes adjustable suspension to get a more aggressive lower stance, and the possibility of a 13b turbo engine swap once Ive had enough fun with it Cheers for reading, if ya see us out and about (most likely gassing up) feel free to say hi or have a yarn, Im more than happy to talk if your planning a similar resurrection! Noomz
1 point
-
Toyota carb lyfe Even when its running sweet its still not sweet1 point
-
Swap the battery I bought yesterday for one with 60 more cca and gave it a charge. Once I had built up oil pressure and plugged the coil back, this started straight away. Was a bit surprised. Still seems to have idle issues when warm. However I have not set timing or anything. Need to clean over flow bottle so I can jam that in and fit radiator cap. Then once its warm I can attempt another tune. The little manual I have is pretty good for setting these carbs up. Tho am a little worried that it might have a vac leak in the throttle spindle. We will see.1 point
-
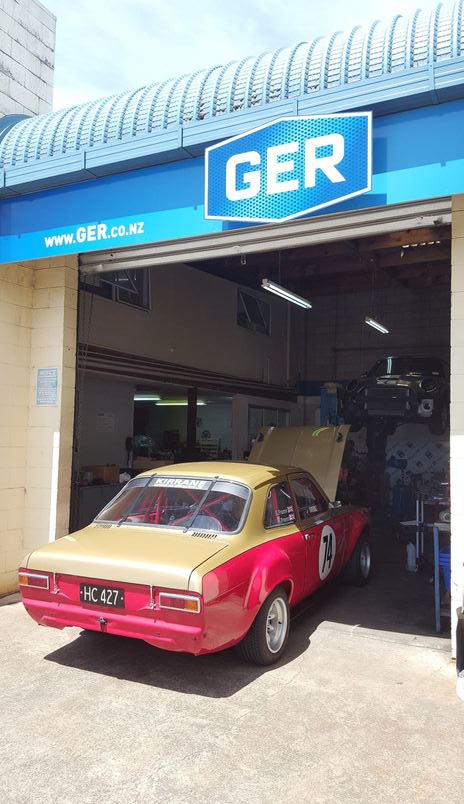
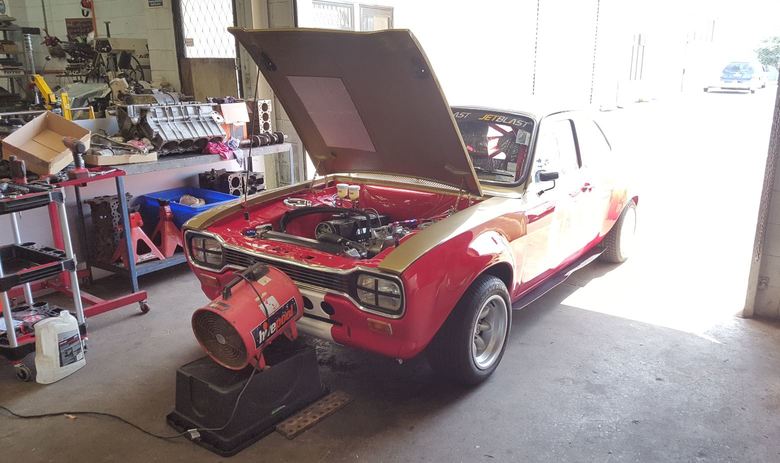
Back at GER for the start up Fired up first time and sounds mint
1 point
-
So as the 4G52 is slowly killing it's rings I've decided to hot up a 4G54 2.6 to keep the engine looking semi original as they are the same series engine. Picked up a 1990 L200 for $600, ran like a treat but was deregistered so suited me well. Drove it to my old man's workshop and spent Sunday pulling the engine and gearbox out. It's awesome having forklifts accessible to assist removal and makes water blasting the engine so much easier. I sold my series one Rx7 and bought a daily so the sigma can rest up in the shed. Have been so slack I haven't even test fit my steelies yet but again, all in good time! Spend today pulling the 2.6 to bits to see what I can do. Looking at the valves and the pistons it looks as if I can't shave the head or deck the block so I will be looking at welding up the chambers in the head. Sorry no pics as I'm on a tablet and it's telling me I can only upload 0.78mb of pics which is literally nothing!1 point
-
Ahh what a weekend. Honest last week sucked with one day being a family funeral then the other days working till 8:30 each night as I worked to a time frame that is still closing on me in a most desperately horrid fashion. Yesterday (Saturday for those future cyber readers out there) in a semi hangover state it was deemed a most suitable idea to jump in the ol 52 Buick and cruise along two and a half hours of highways around lakes, gorges and wide open roads to a small central Otago NZ town called Cromwell. Calls of fame being some giant fruit statue thing, a hydro power lake, vine yards and for the last few years a car show attracting a wide following of people from around the South Island NZ. A good chilled turn out of 600-700 cars i guess. Some pretty cool cars. But the inspiration i was looking for wasnt present to tell the truth. I was after interior ideas. Paint ideas. tail light ideas. and well… ideas in general. This fine day was followed by more liquid refreshments & fish n chips -a kiwi classic and mighty fine cuisine in moderation when coupled with a Mexican blanket, a good woman and pumping tunes in summer. Saturday done and pass resulted in a overcast rainy Sunday. Fine day for garage mayhem really. And that is what happened. With a general check over the 52. not much to report. rock steady. Following this beverages where served and car chats between the better half and my self progressed. Good times chatting over cars we saw yesterday, looking at photos and being those critical bastards as we picked at bits n bobs from each car. Flockie from Flockies Kustom Chassis & Rods flicked me a most welcome text saying basically to check facecrack. Faster than a speeding ticket I was online. will note as fast as i was “she” was going “FUCK ME! HE CHOPPED IT!” before i could figure out whats what on my phone. beating me to the line by a good 30 sec. ( i work IT and got thrashed) Measurements taken. Flockie in the background getting ready. Available real-estate is promising upfront. Checkout that sweet ride in the background. Diff out. Looking pretty good under there for the age of the beast. Ass end is dropped on out. But man that crap up front just aint doing it for me. Wonder how that can be fixed…. ? Something that makes sparks maybe? ps dont mind the slide in the background. a reason to all madness. last i was at the shop he was fixing an early 50’s F100 hood that had been used as a sled for the kids behind a truck in the fields by the last owner. Touching wheel arches. Damn those big old guards can swallow up 28 inches of tire. I see this and just grin. Of course bumpstops and bla bla bla will add a few inches but still. BRUTAL! Side pipes will be on there as well to make it that lil bit lower… Im thinking a C Notch is in order my friends. Check out below pic and tell me what you think. God im almost tempted to say tubb that fucker and get some serious fats on the back. Unfortunately i doubt this will happen though. those guards are a pain to get fat tires off but we will see what can be done. Gud damn son! Low enough? Front off, ass dropped and sitting pretty. This is the pic that got the missus screaming “he chopped it!” over and over with squeals of glee & frantic social media postings. This generally only happens normally for lipstick releases from her fav brands, cats, new episodes of Vikings and leadsleds in general. So a big TICK in the only female perspective i care about. I plan to use this photo to combat the “maybe i should curve your spending on the car line” should it rise its ugly head. Top job Flockie. Thanks Ash for the pic’s. He has a Truck he was air bagging today at the same time Flockie was taking care of business. o.o i have a new desktop wall paper.1 point
-
Lame weather and lame Motorsport on tv means a full day of work. Huge thanks to Chris born_loser for the use of his DA sander, shit started progressing far faster! loaded up the roof, finished the guard, rear and doors, started into the front guard too. Then been on some primer. Shit load better looking I feel. need to grab another tin of bog tomorrow x-)1 point
-
Still bogging and sanding. Fellow member nick_m messaged me to say he still had some boxes of shit from his old race car, bring beer and depart with shit. So I did,and I'm glad I did. This was the best box, lots of things in much much better shape than mine, or certainly required. Especially the headlight surrounds since changing grille. Also some screens, a front valence that's not full of bog, 7 tail light assemblies. And found a box of good quality unopened 2k etch and primer kits which I need to pay for in the future, I'll use on Escort. DATSUN stainless plate surrounds cunt!1 point
-
Got it running today, all of the smoke, I guess it needs to burn off what was sitting in the crankcase. I suspect the oil tank may have slowly drained over the years as it was completely empty when I got it. I think I have found why it was parked up, the fault with the starter circuit has reappeared since assembling the bodywork. Had the solenoid clicking nicely after cleaning all the contacts but no dice now. The earth on the circuit is good but the volts go missing somewhere.1 point
-
Filled another hole today. Using the roll former.... And continuing the weld/grind cycle
1 point


.thumb.jpg.b5491dbec1053270a4d99ed376fc2c36.jpg)


.JPG.e9396f74913e984506e93258e096eb5a.JPG)
.JPG.5246e3ad63bcc744b8e9f039f09adff2.JPG)


.JPG.f9be955b94dab873a7970774f512b363.JPG)


This leaderboard is set to Auckland/GMT+12:00