
Leaderboard


Popular Content
Showing content with the highest reputation on 19/04/24 in all areas
-
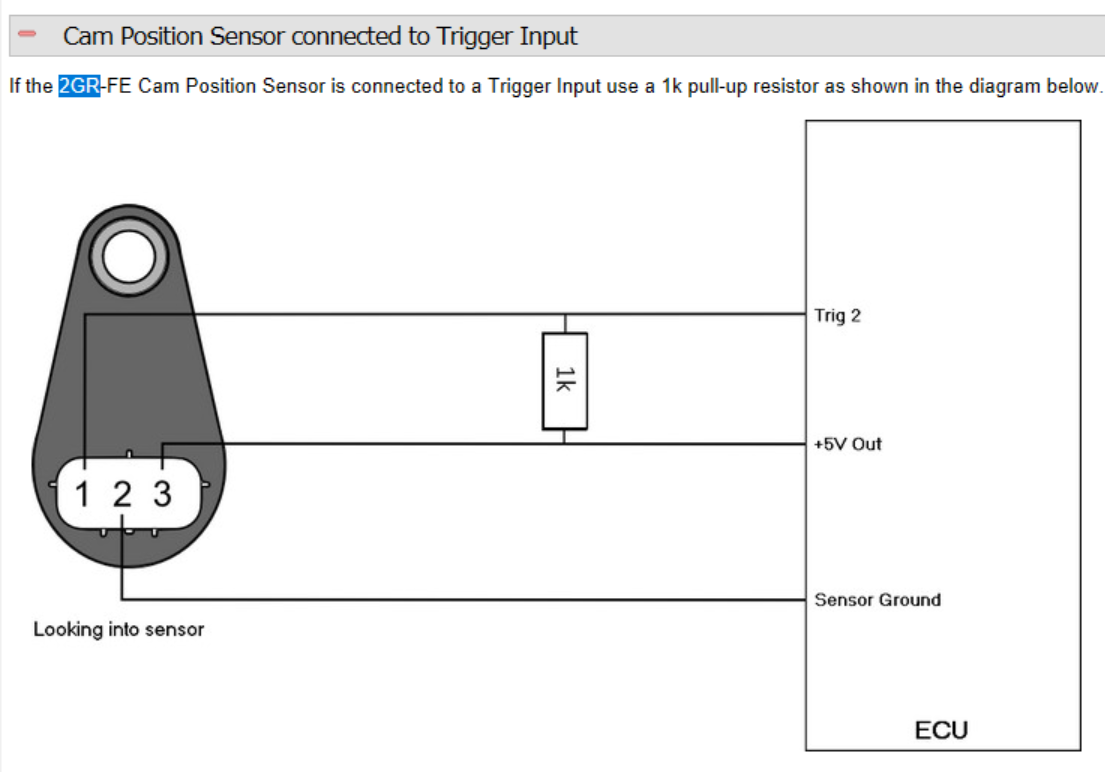
Ive been making good progress on getting everything wired into the fusebox and controlled by ECU rather than hardwired. I bought 2x 500mm coby hotdog mufflers which are currently just sitting pushed over the ends of the pipes on each bank. Quieter than just open manifolds but should be better once welded. Have wired up ECT, wideband, fuel pressure sensor. The motor was still idling really high (like 4200rpm...) with fully closed throttles, even after setting everything to fully closed. I couldnt figure out why until I noticed that my 2x lower intake manifolds dont quite cover the edge of the circular holes which must be an idle air bypass. It was only by a smidge, so gooed the gap with some silicone and solved that problem. My current issue is that the cam angle triggers arent being picked up properly. This motor uses hall effect sensors on the cam angle sensors, and the voltage they output is too low for this ECU to register correctly. So pullup resistors are needed, which I have wired in. But stilk not working it seems. Some people have suggested wiring them to the 8v power supply rather than 5v supply, and this boosts the output voltage. But this stuffs up my loom a bit, as the 5v supply on that plug branches to a few other things as well as the triggers. So, another annoying problem, but not insurmountable. Just soaking up more time on little bits and pieces than expected. But thats always the way I guess!
 20 points
 -
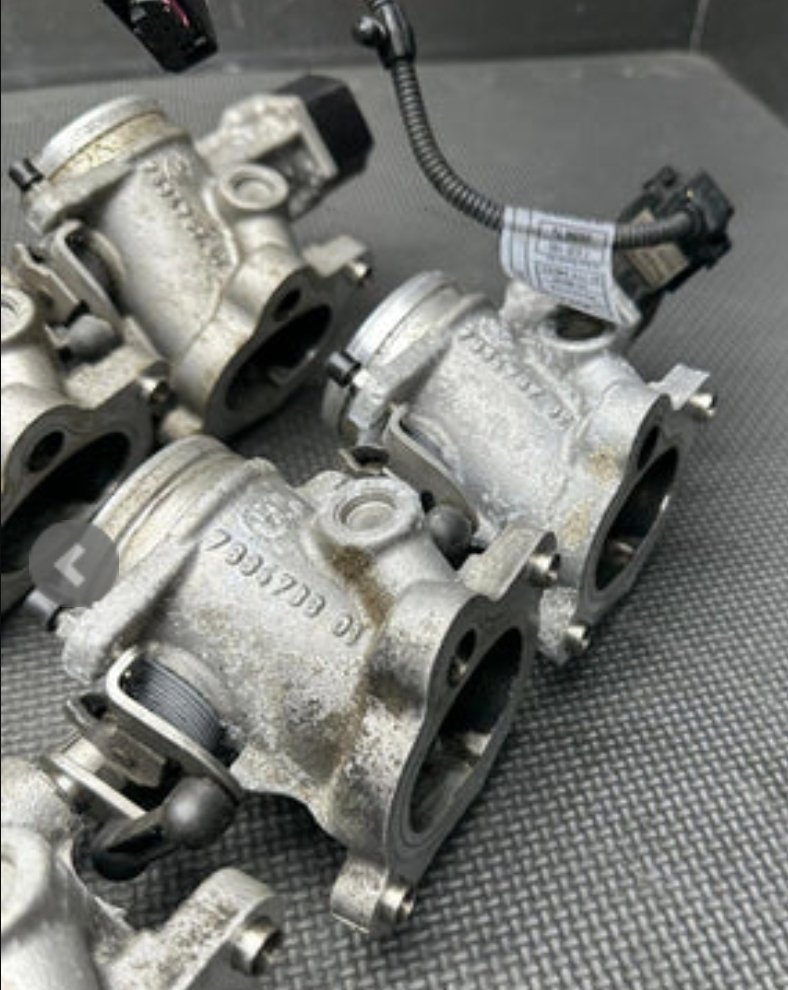
*girly screams of excitement * just got these through
14 points
-
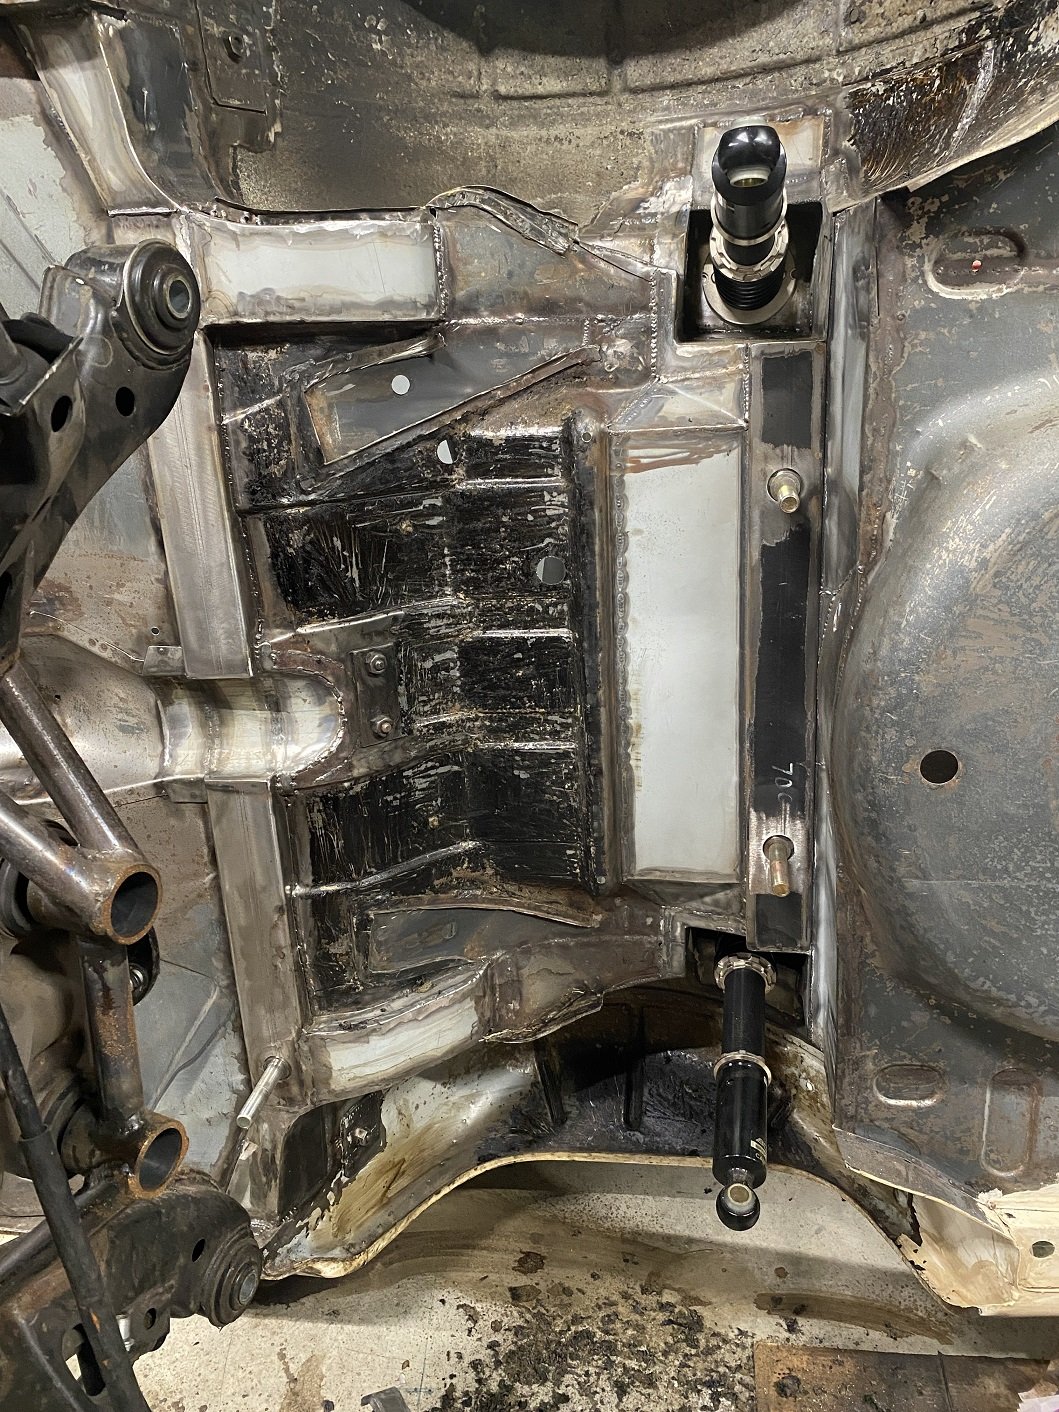
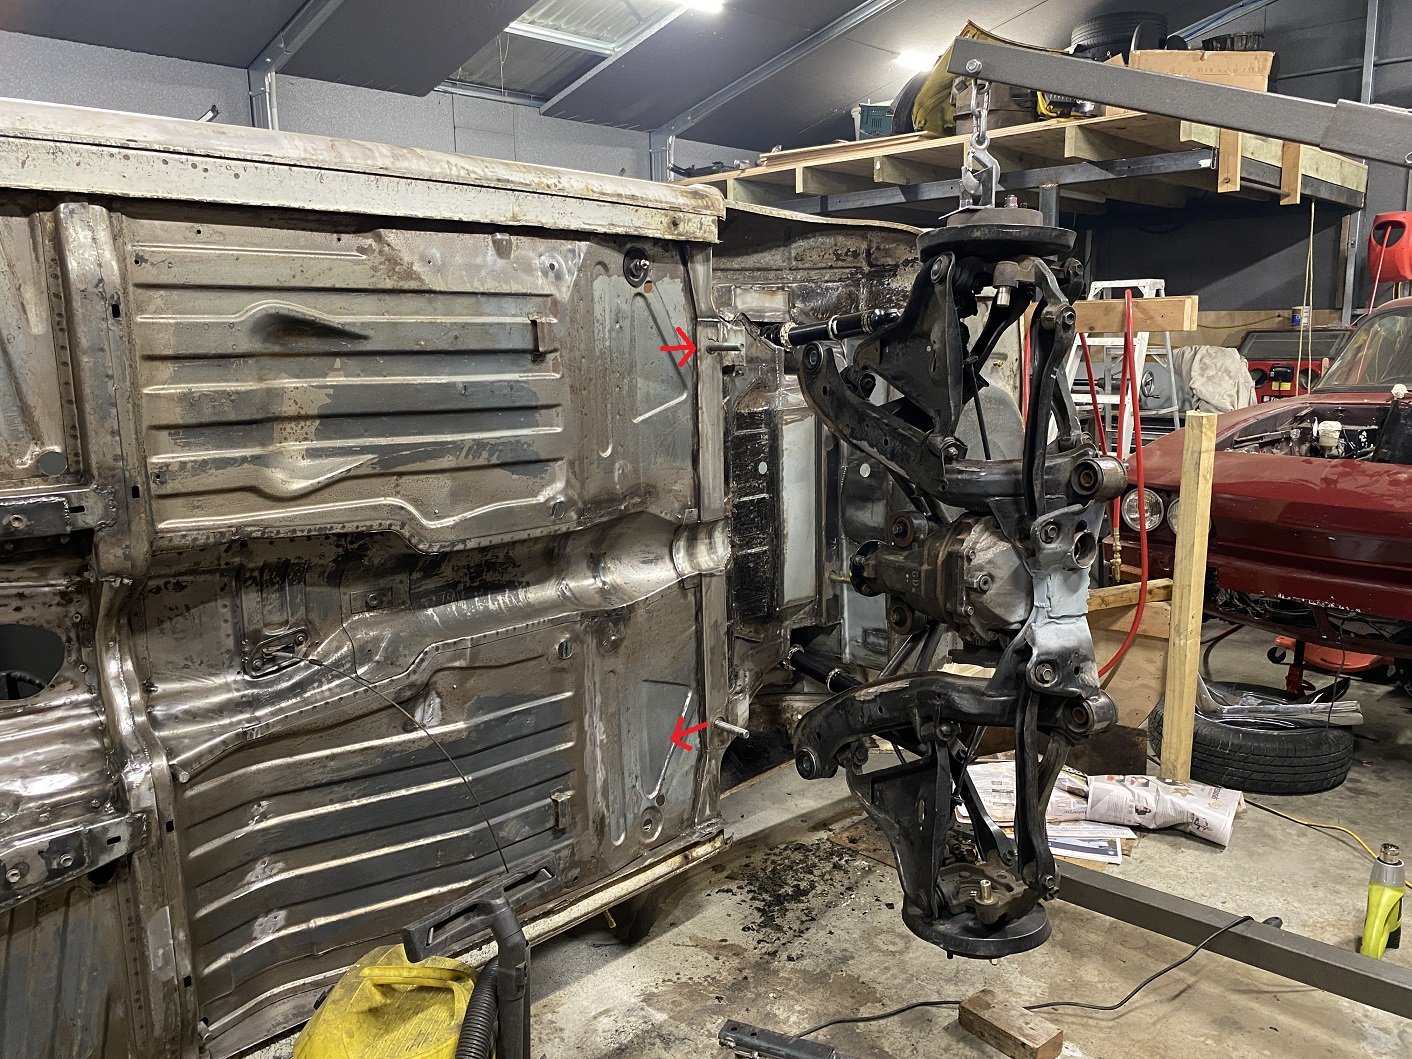
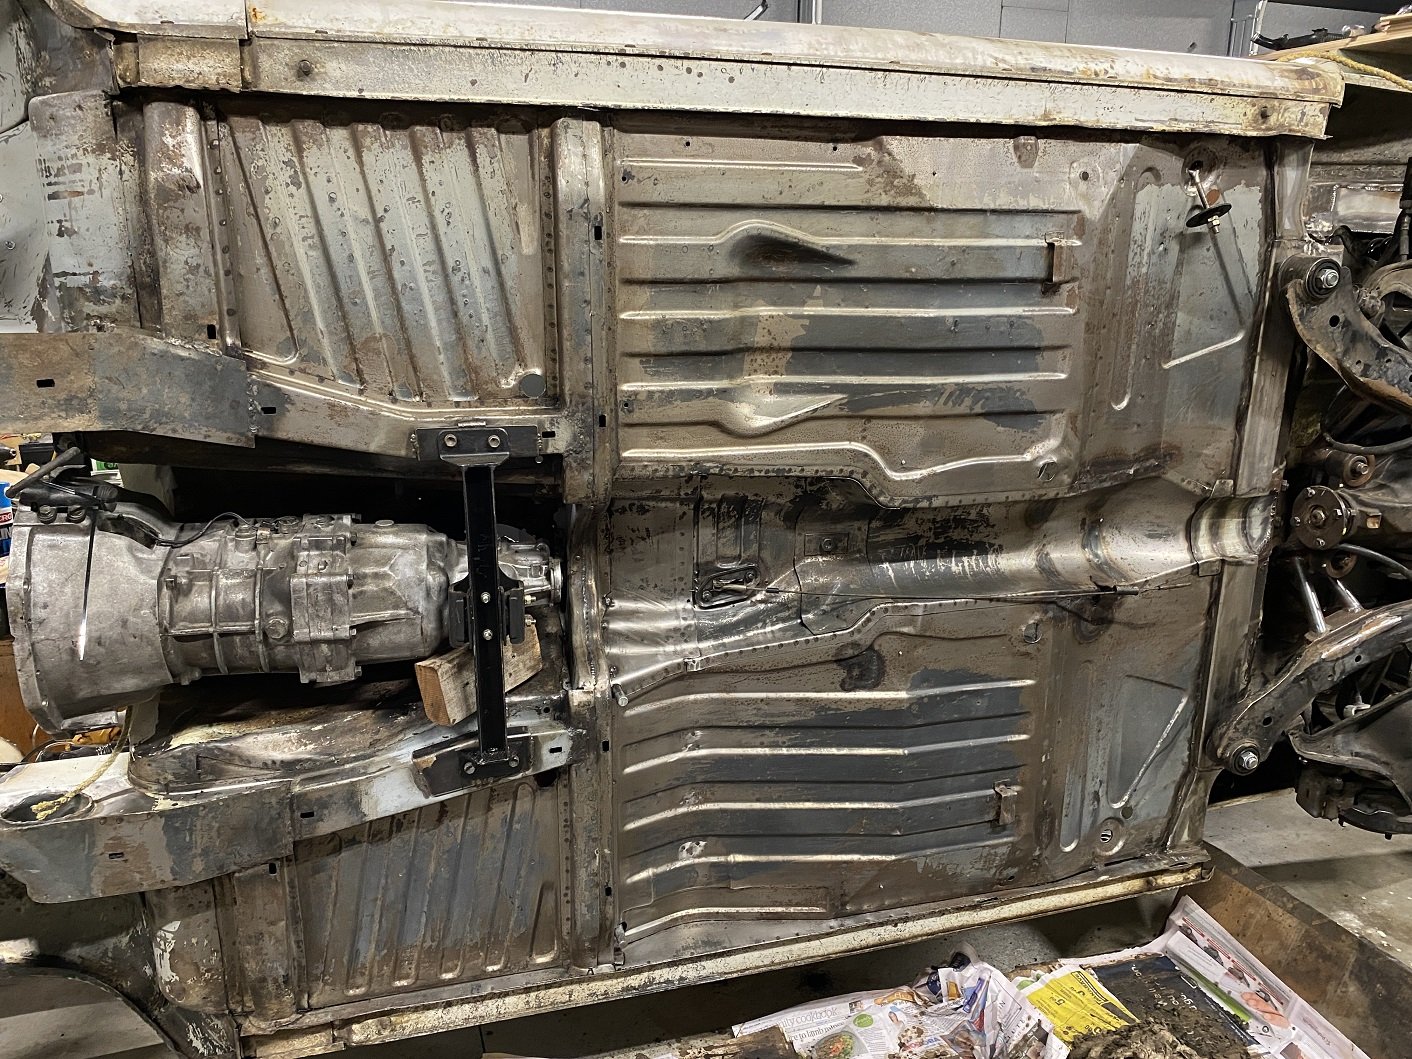
I lifted the rear subframe off. Feels like one of those photos showing off the big fish I caught... With the car like this it made it really easy to measure between the front and rear lower ball joints to find the wheelbase on the drivers side was longer than the passenger side. I suspect it's because I built the alignment jig for the two front mounts on the yellow car, not this one. I had oversized the holes that the studs come through to allow some wiggle room, but I need to take a further 4mm off both sides. Once I can get it on a wheel alignment machine to make sure it's straight the studs will get welded in solid. I've started cleaning off the last of the underseal. I've got to also remove the remains of the original spring seat reinforcement.
10 points
-
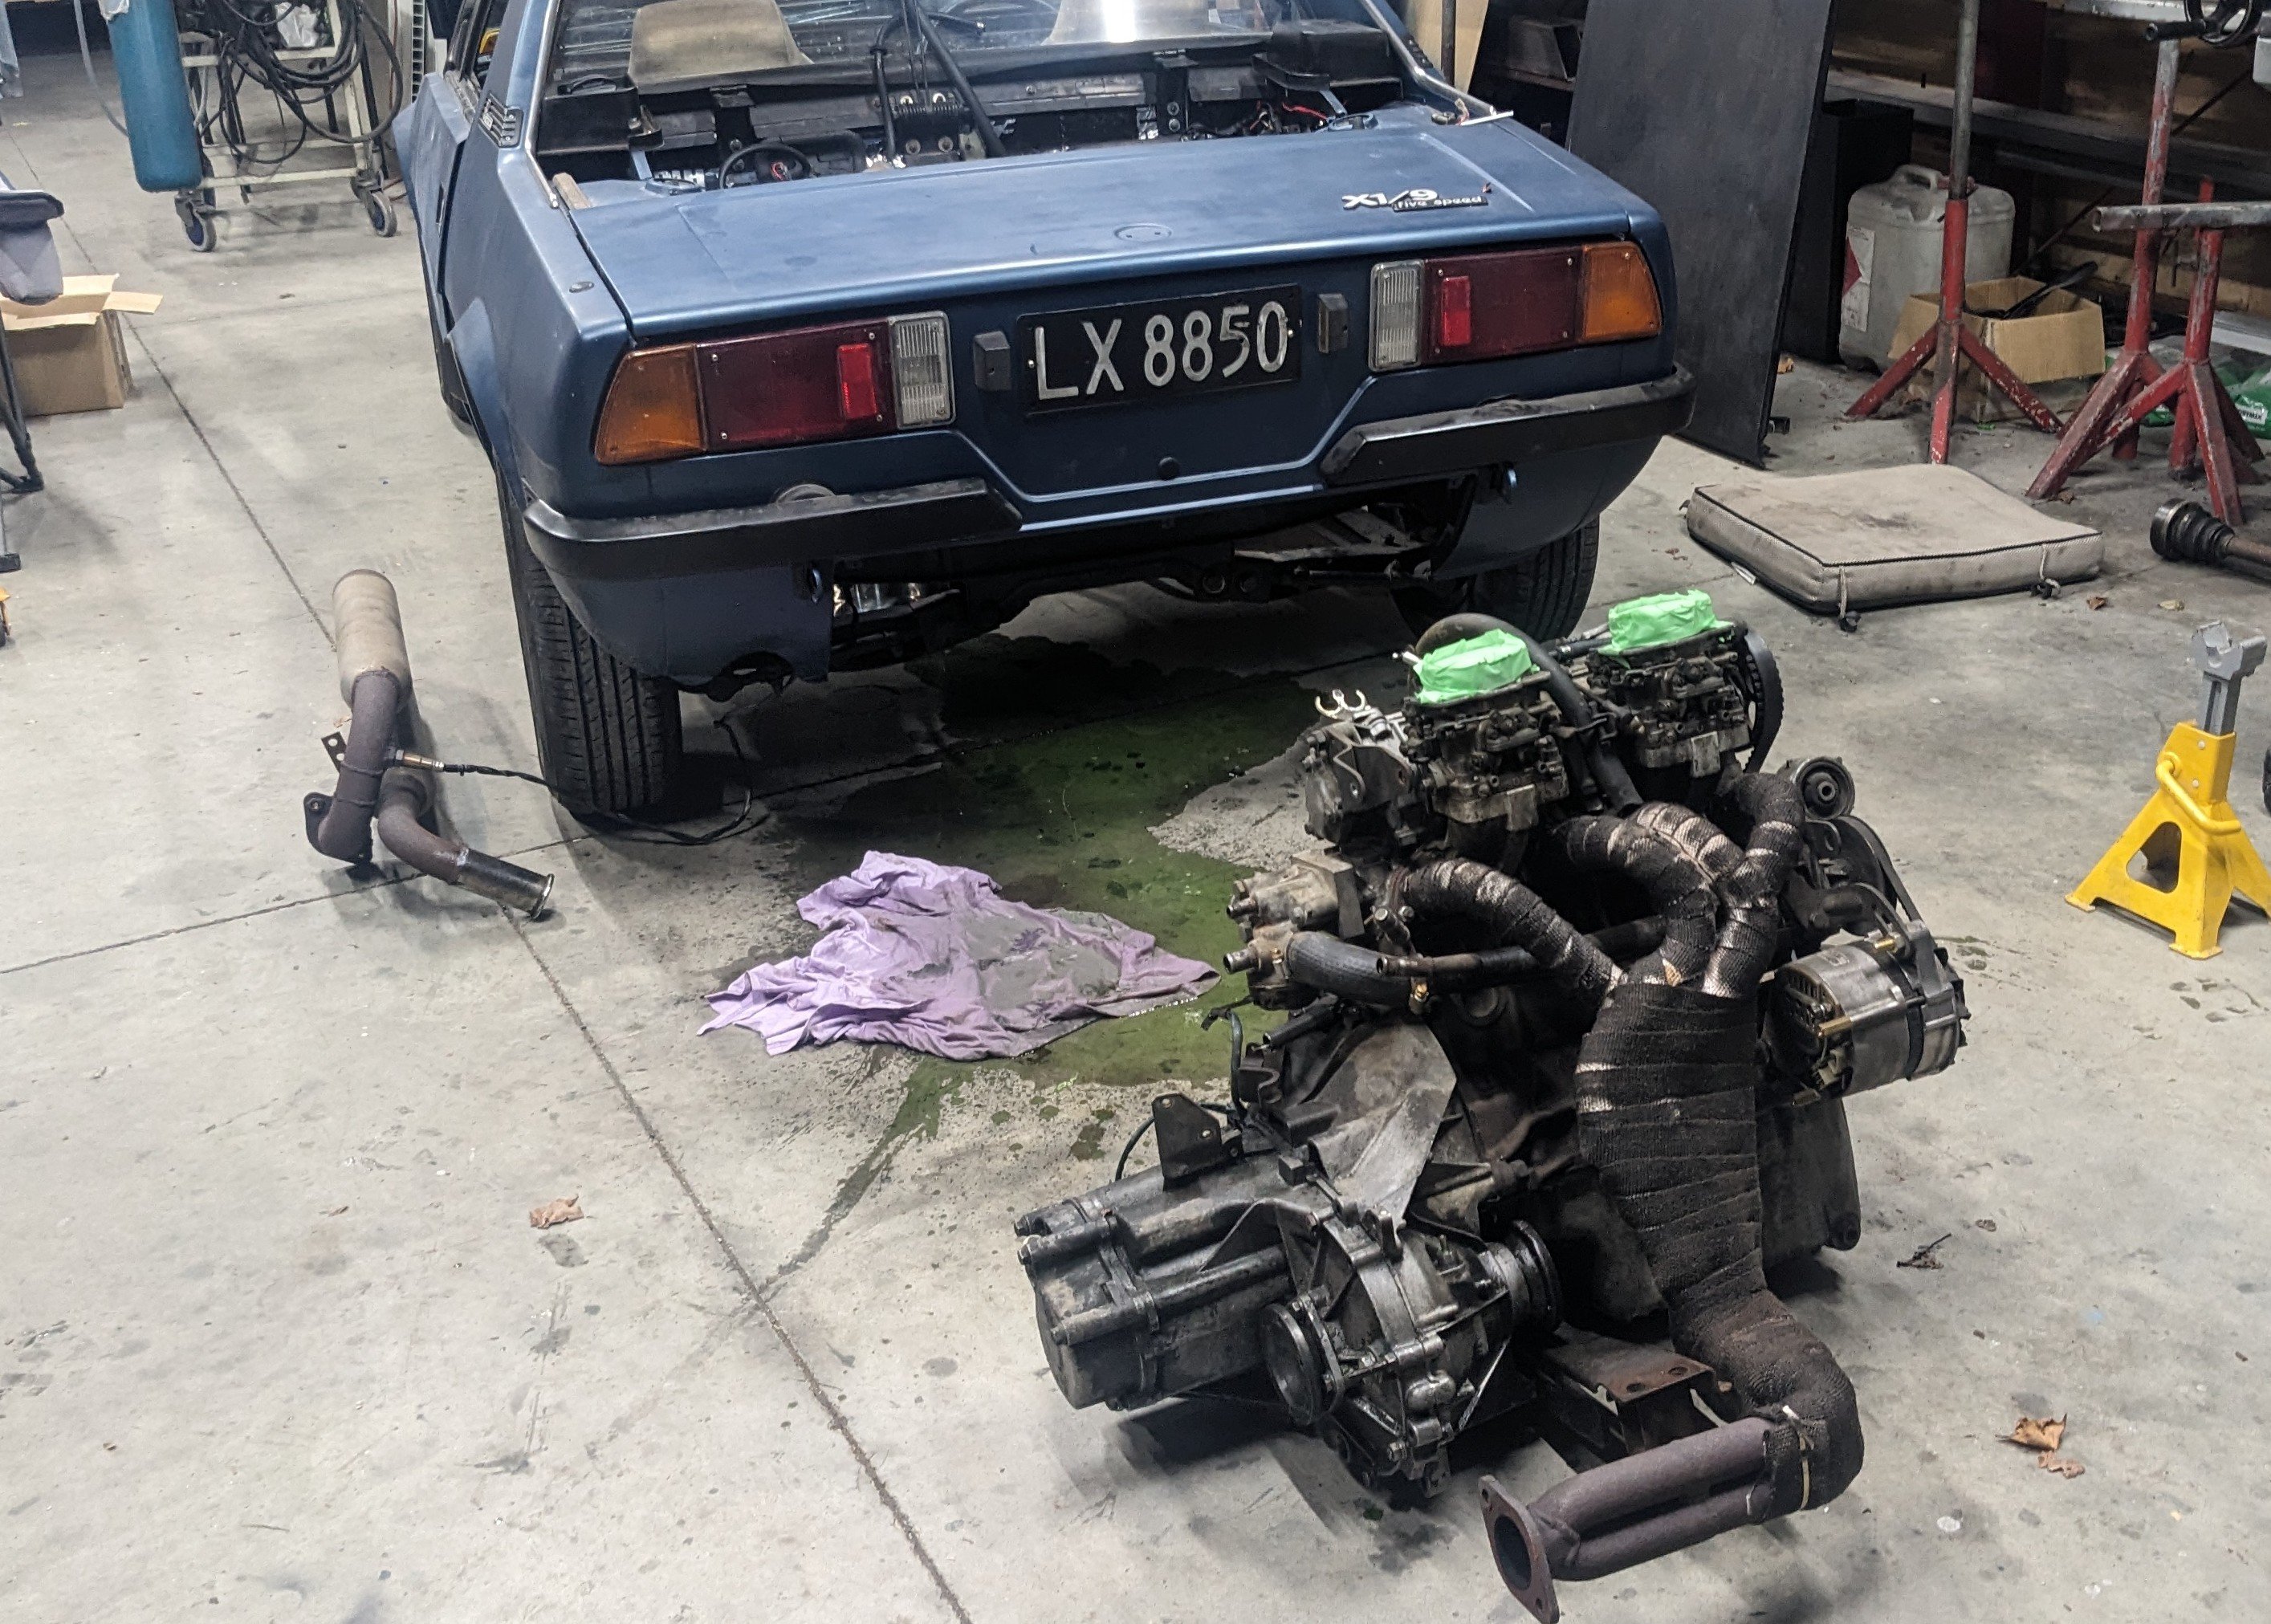
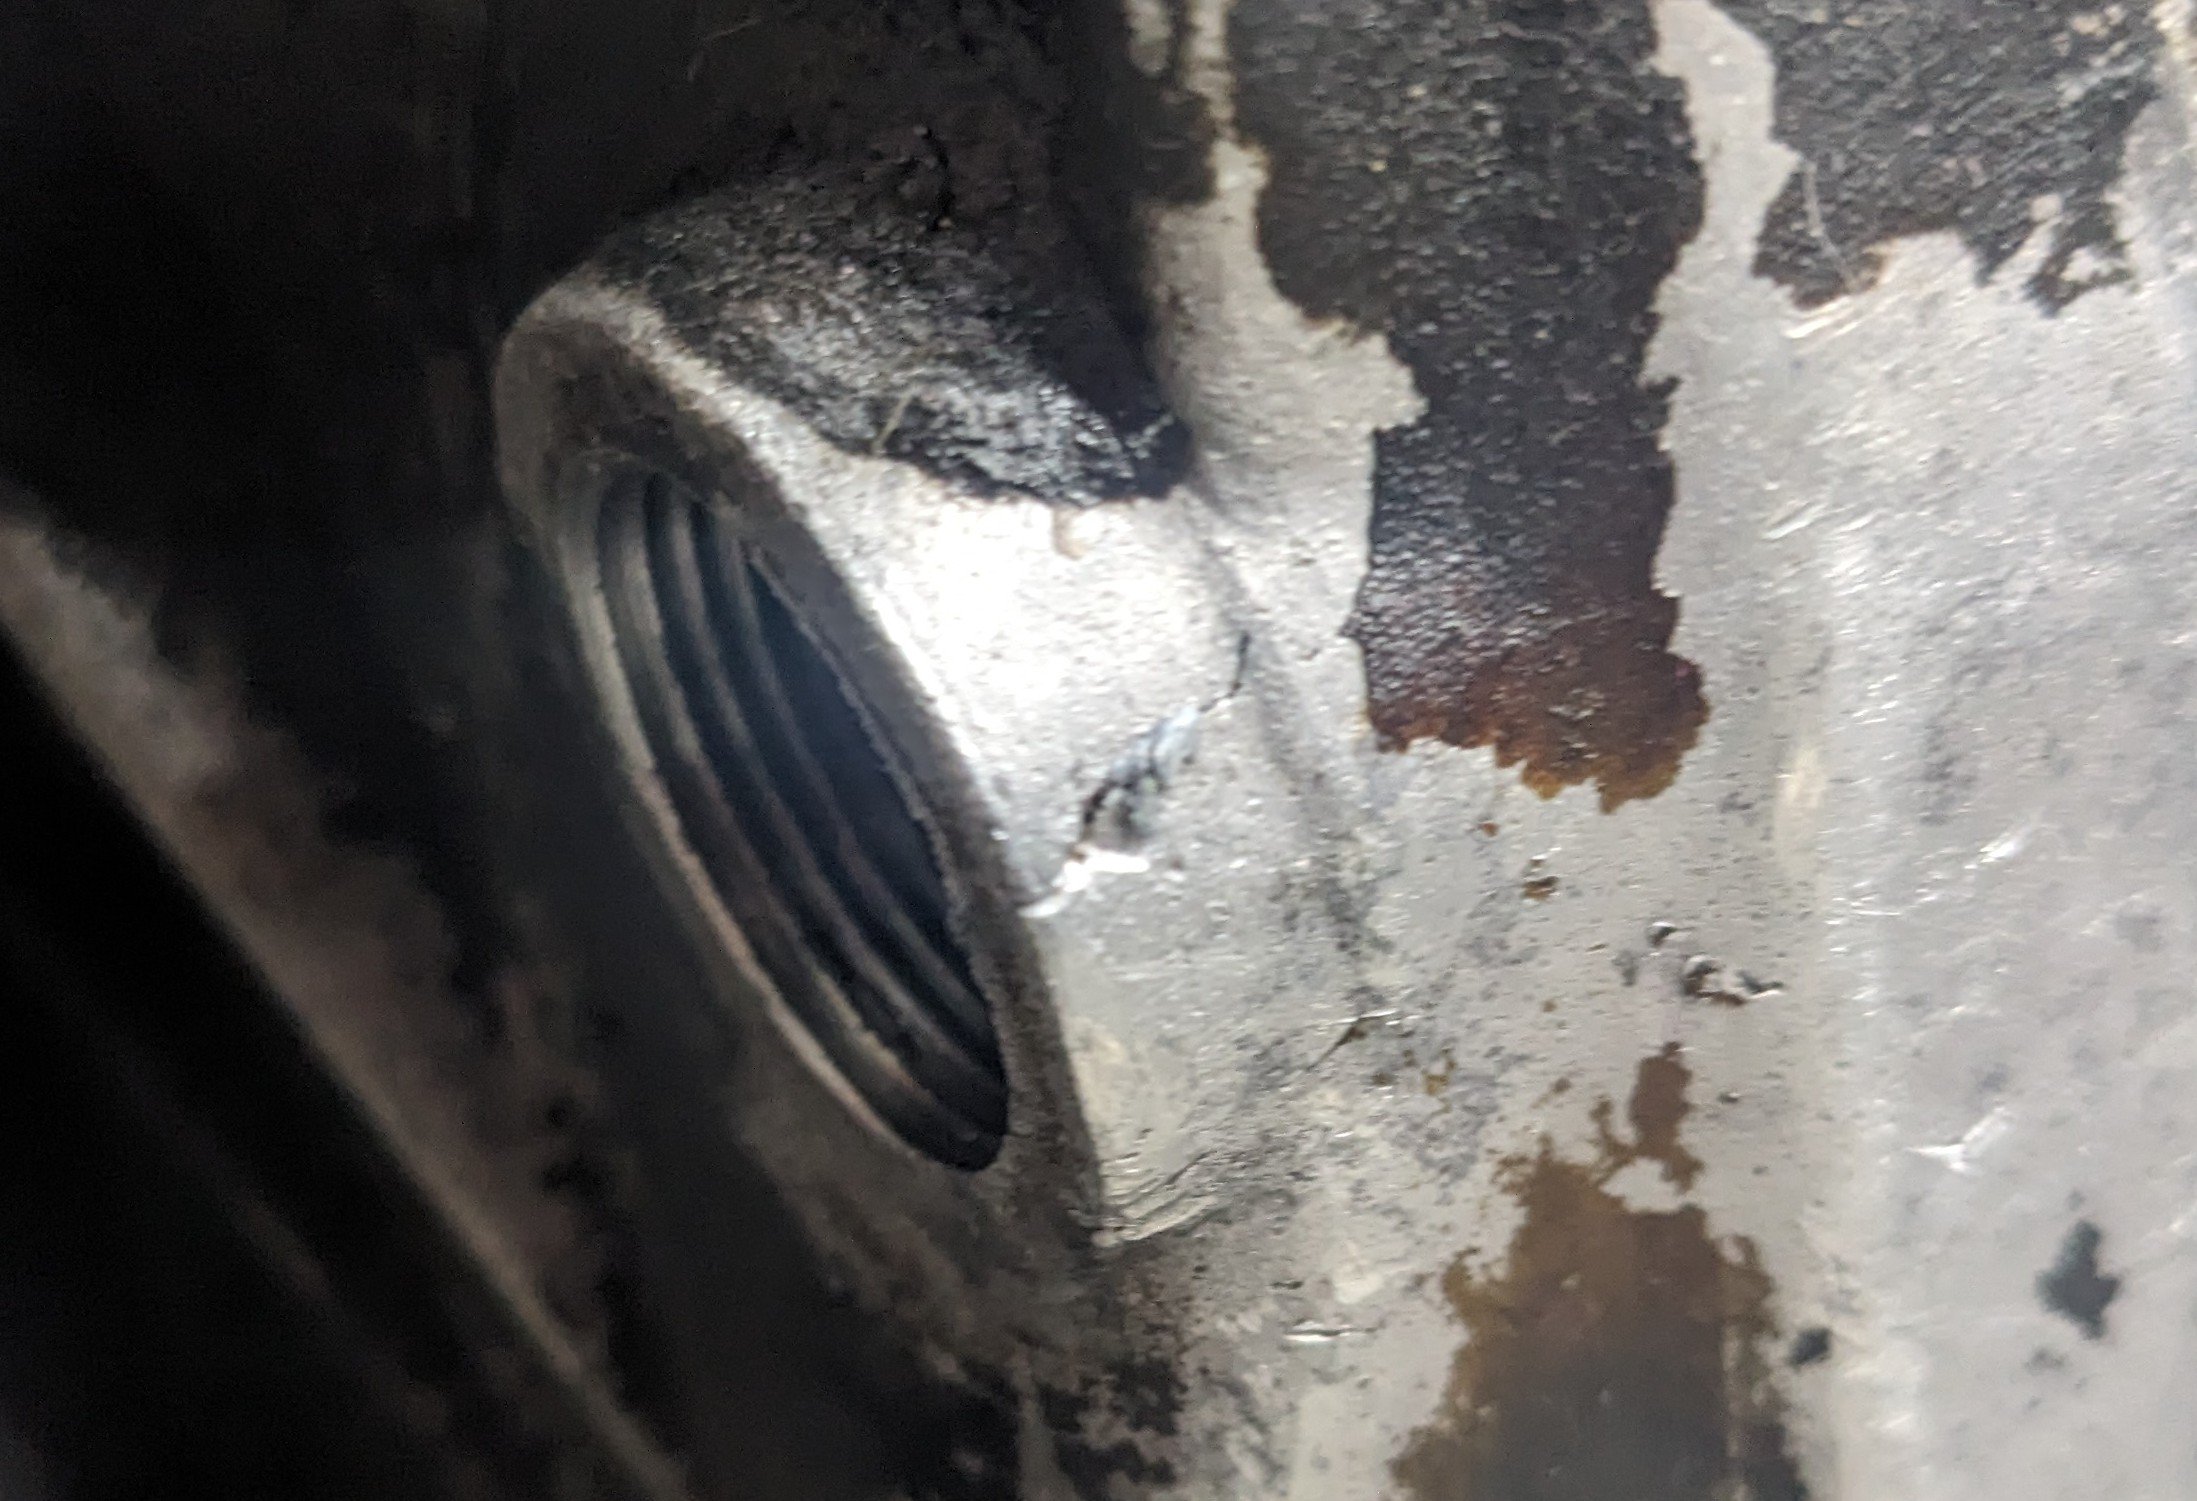
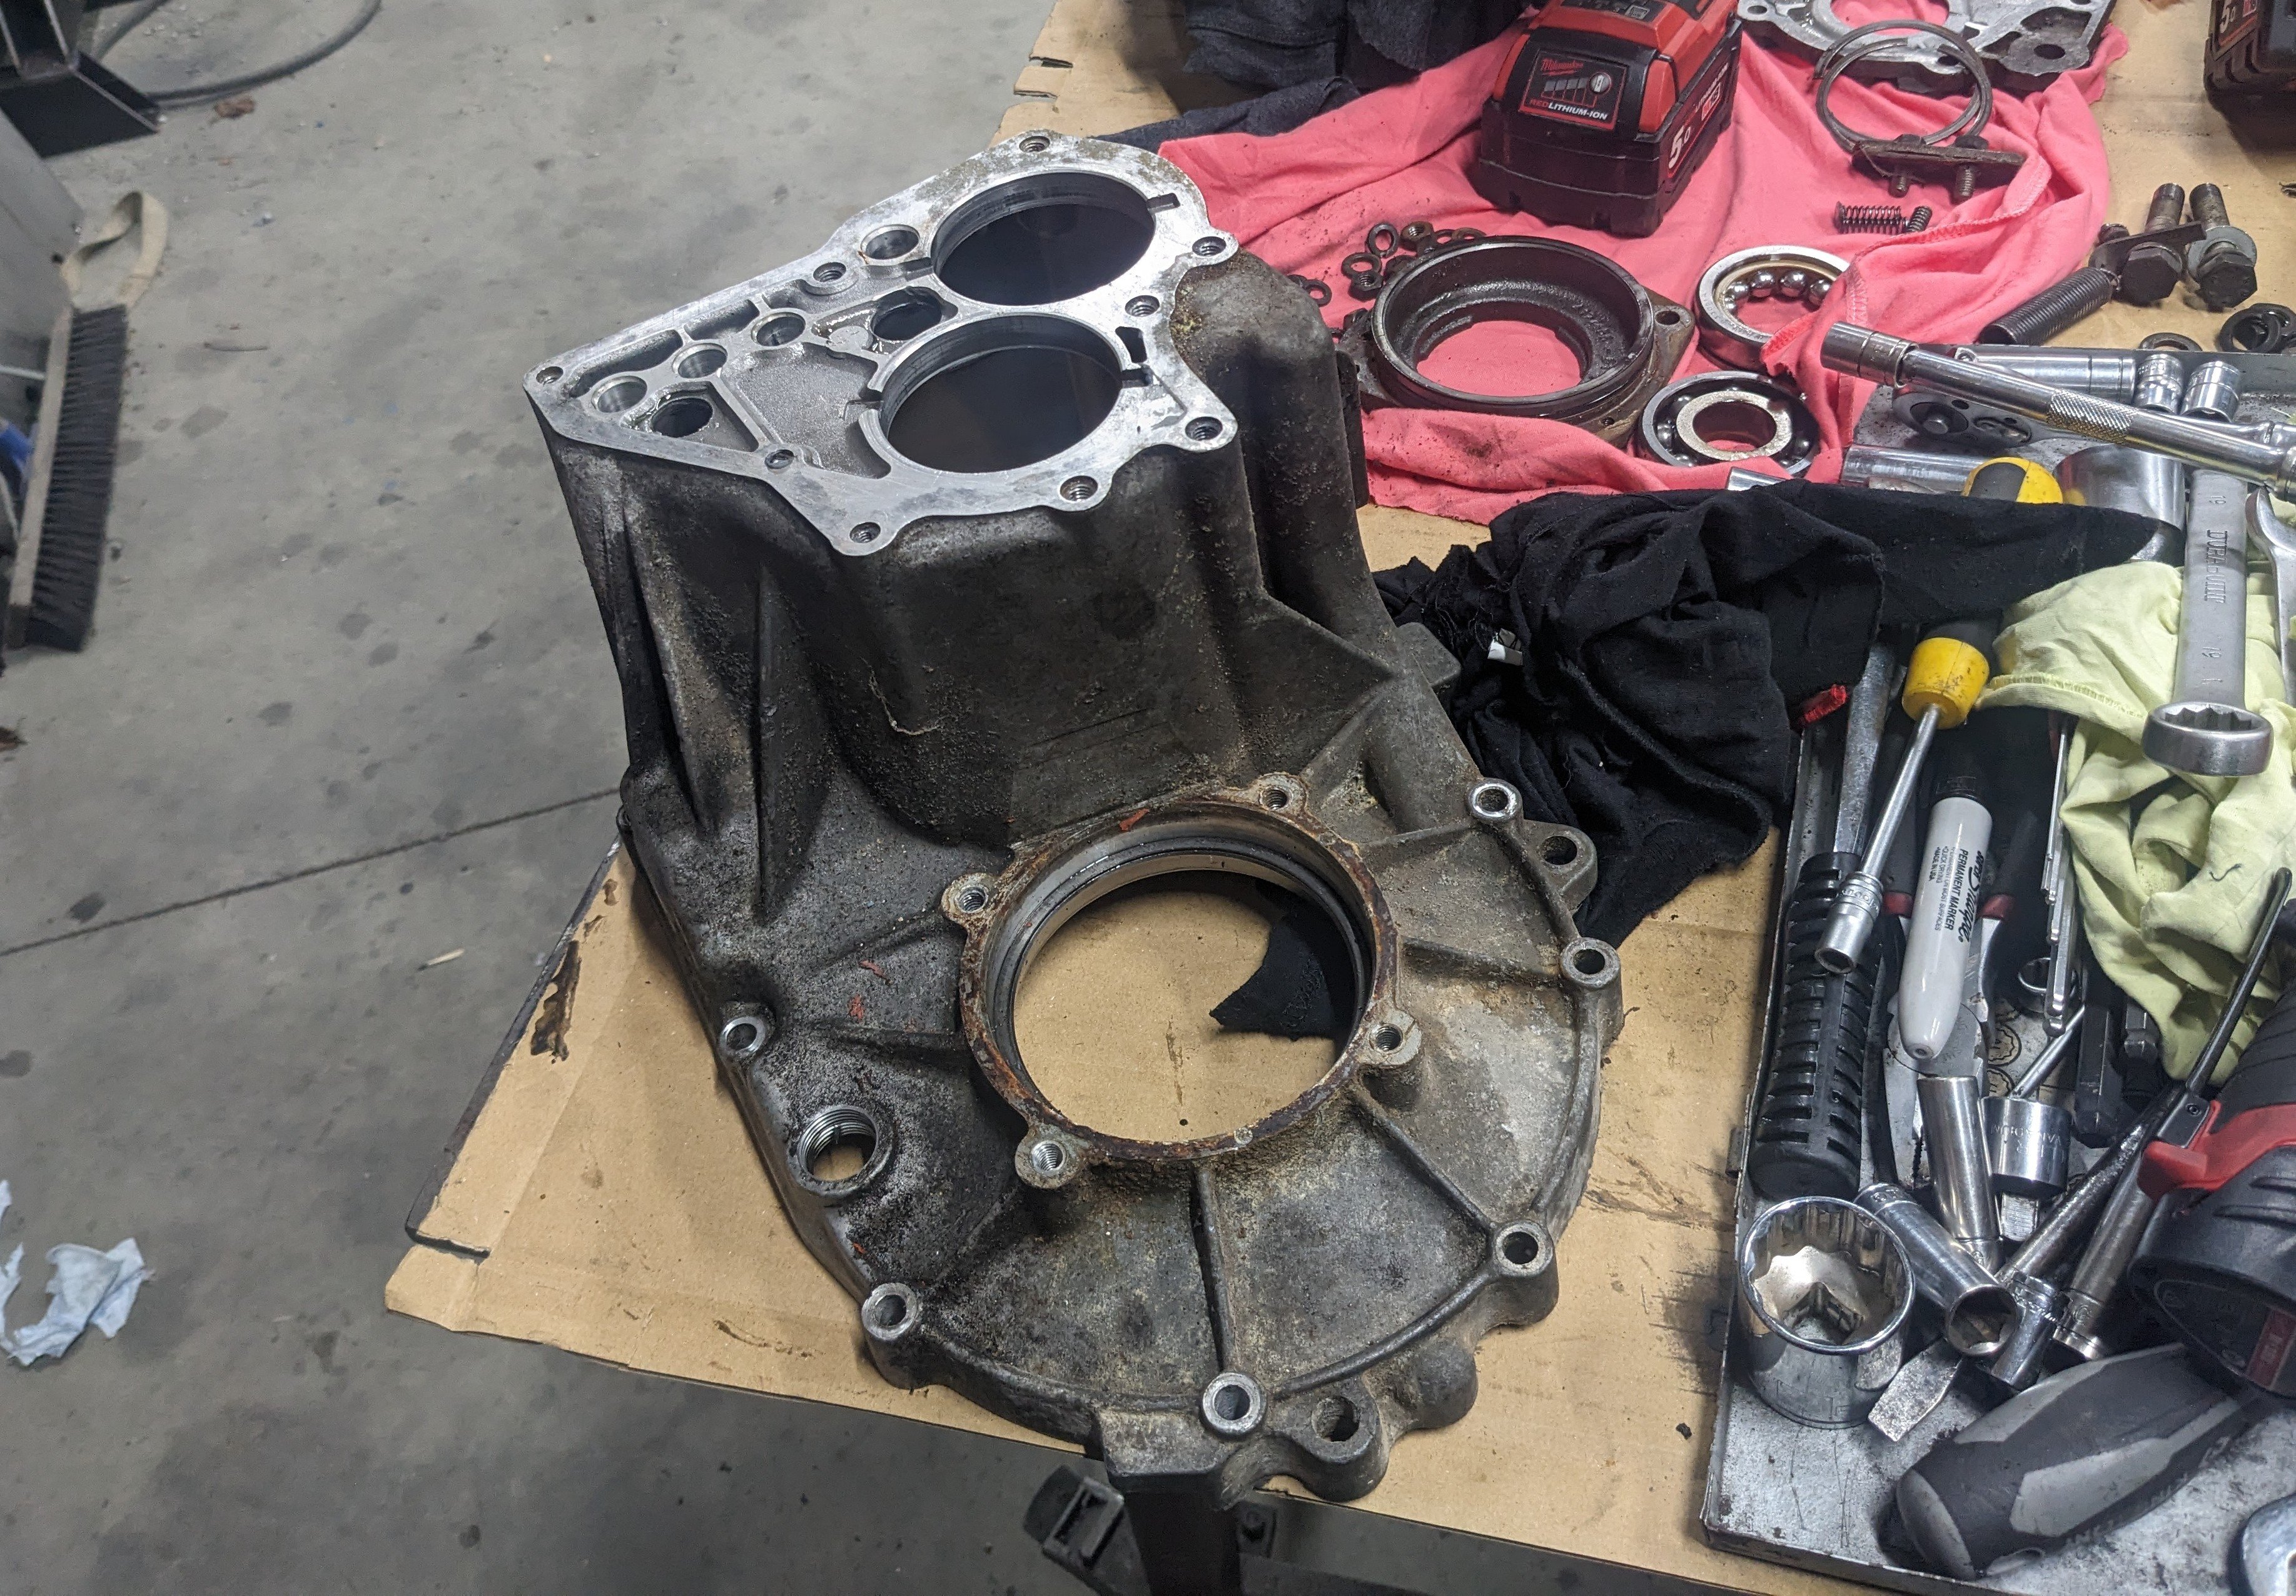
The bits I need for that Wof have arrived, the wheel bearing might be a mission, but we will see. In the meantime I have been hoovering/relearning what I need to know about DCNF carbs and have had some useful and enlightening conversations, some of which can be found in my DCNF thread.. I also decided to replace the expensive oil in the tranny with fresh expensive oil. Mostly cos I drained it all out to put a bit of sealant on the drain plug as it was dripping a tad. When it came out it was kindof murky which I guess is the new oil washing out and interacting with the old. So I did that and it resulted in a pretty significant drip from the drain plug regardless of my sealing efforts. I did a wee bit of investigation, which has had this slightly annoying result; I have a spare box which I stripped enough to get that housing off, pretty much for practice but to see if I could just use that. But unfortunately they are different. This might mean enlisting @yoeddynz in some dirty welding duties if I cant find someone slightly closer. If it welds ok I will tap it out with a parallel thread rather than taper and machine a flat face so it can use a washer for sealing.
8 points
-
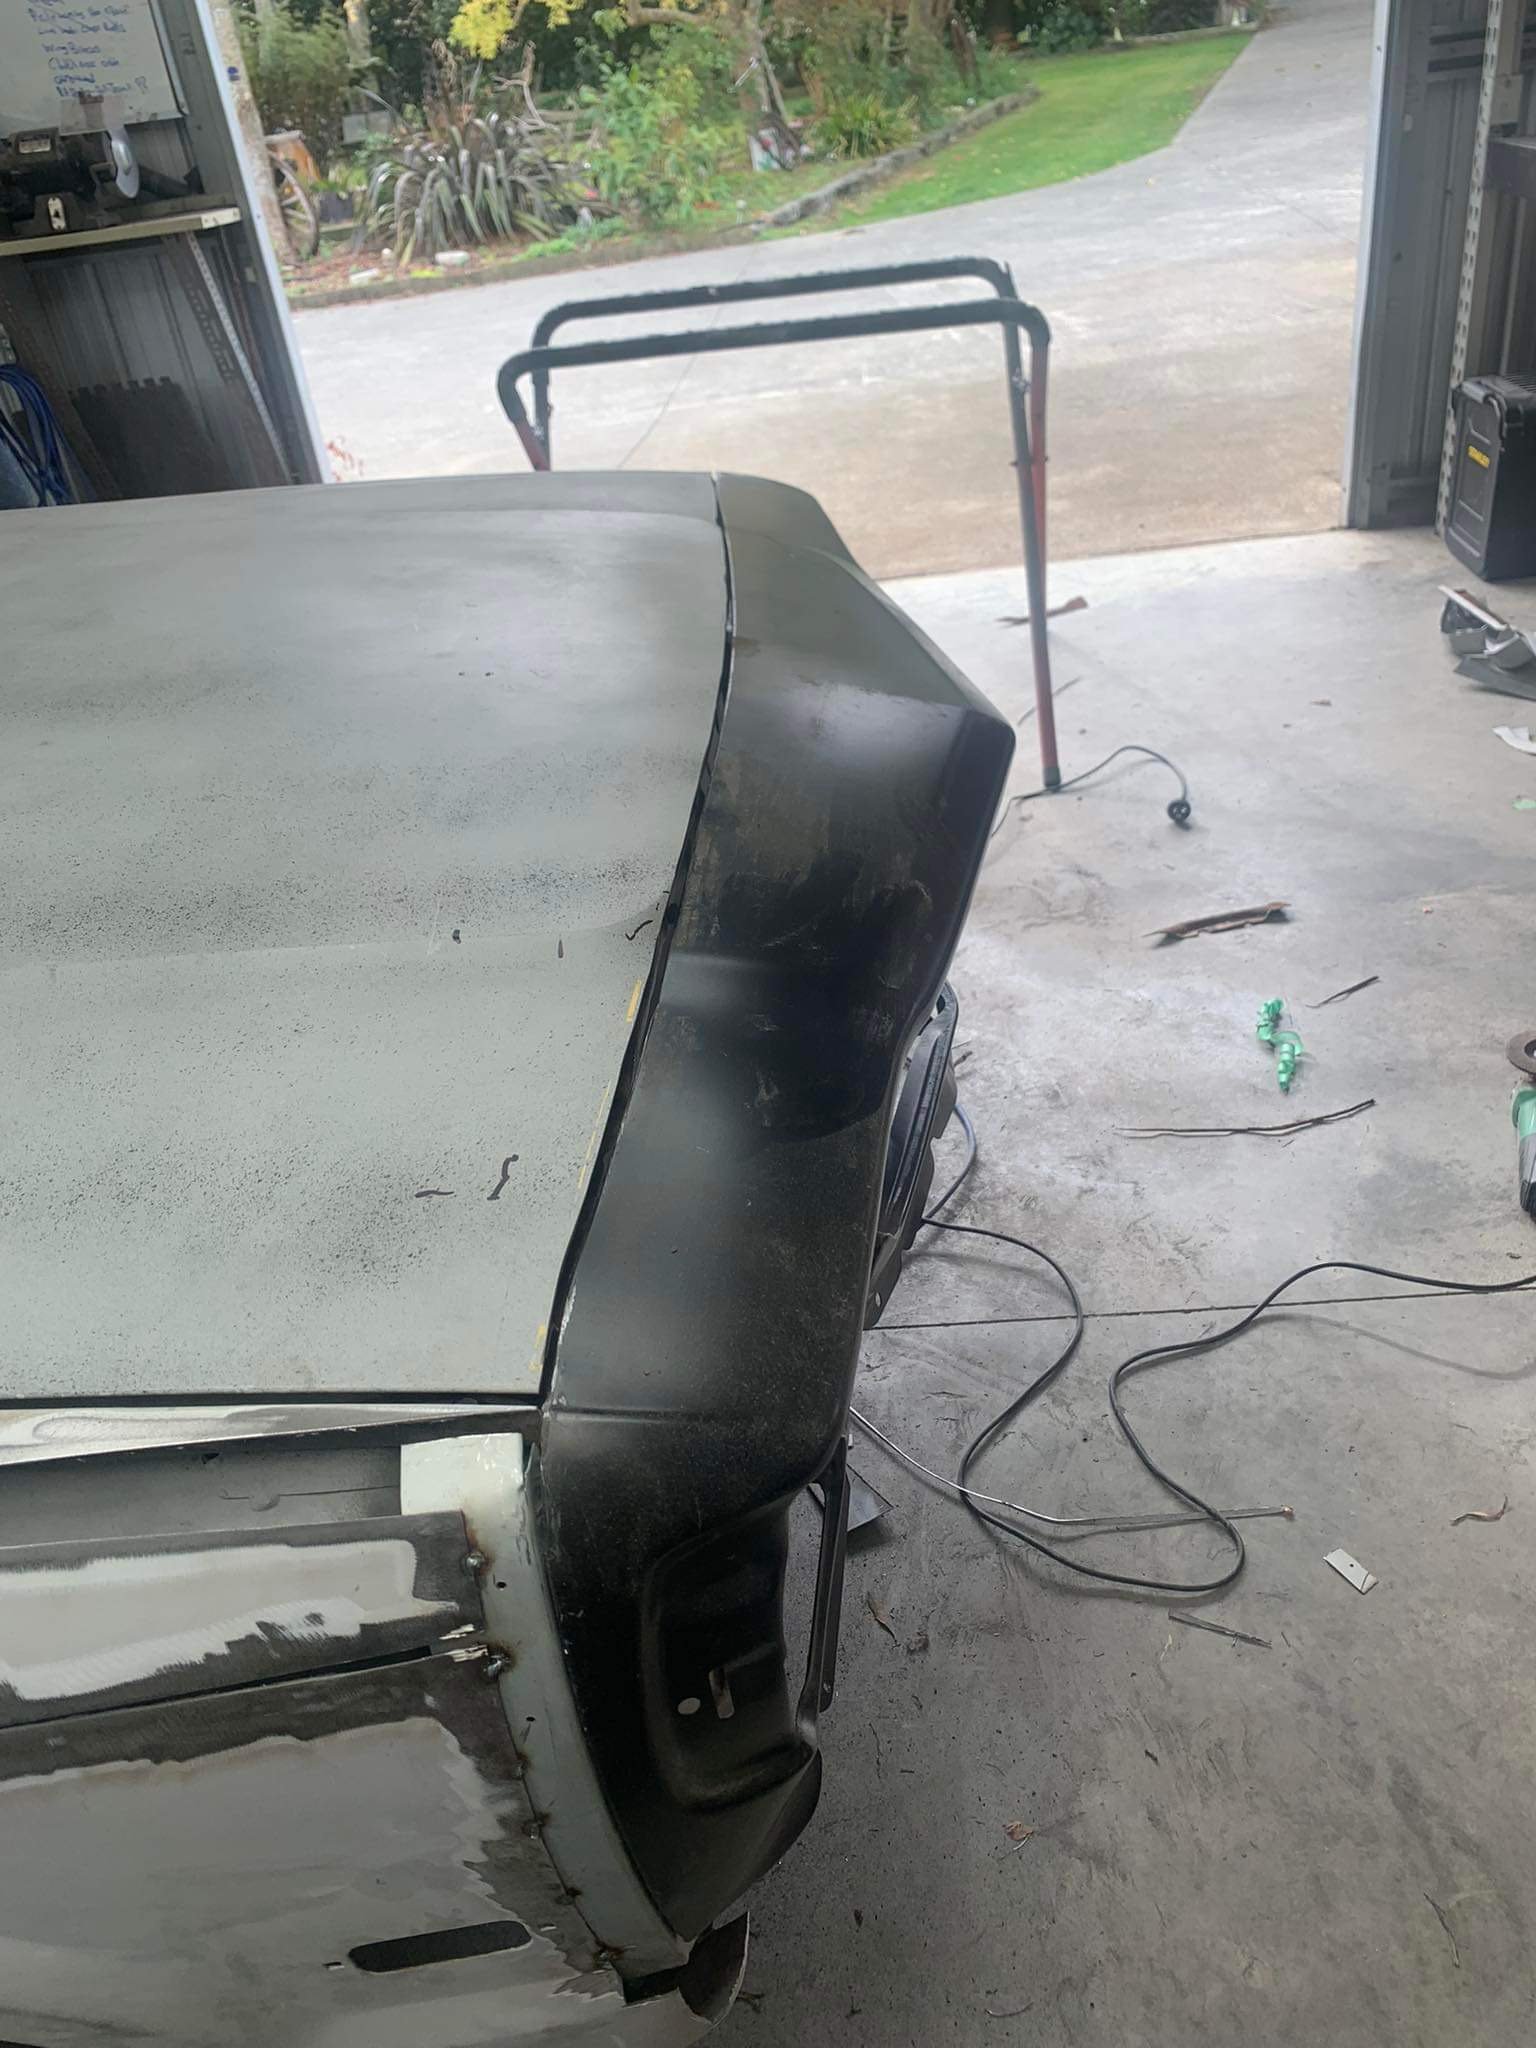
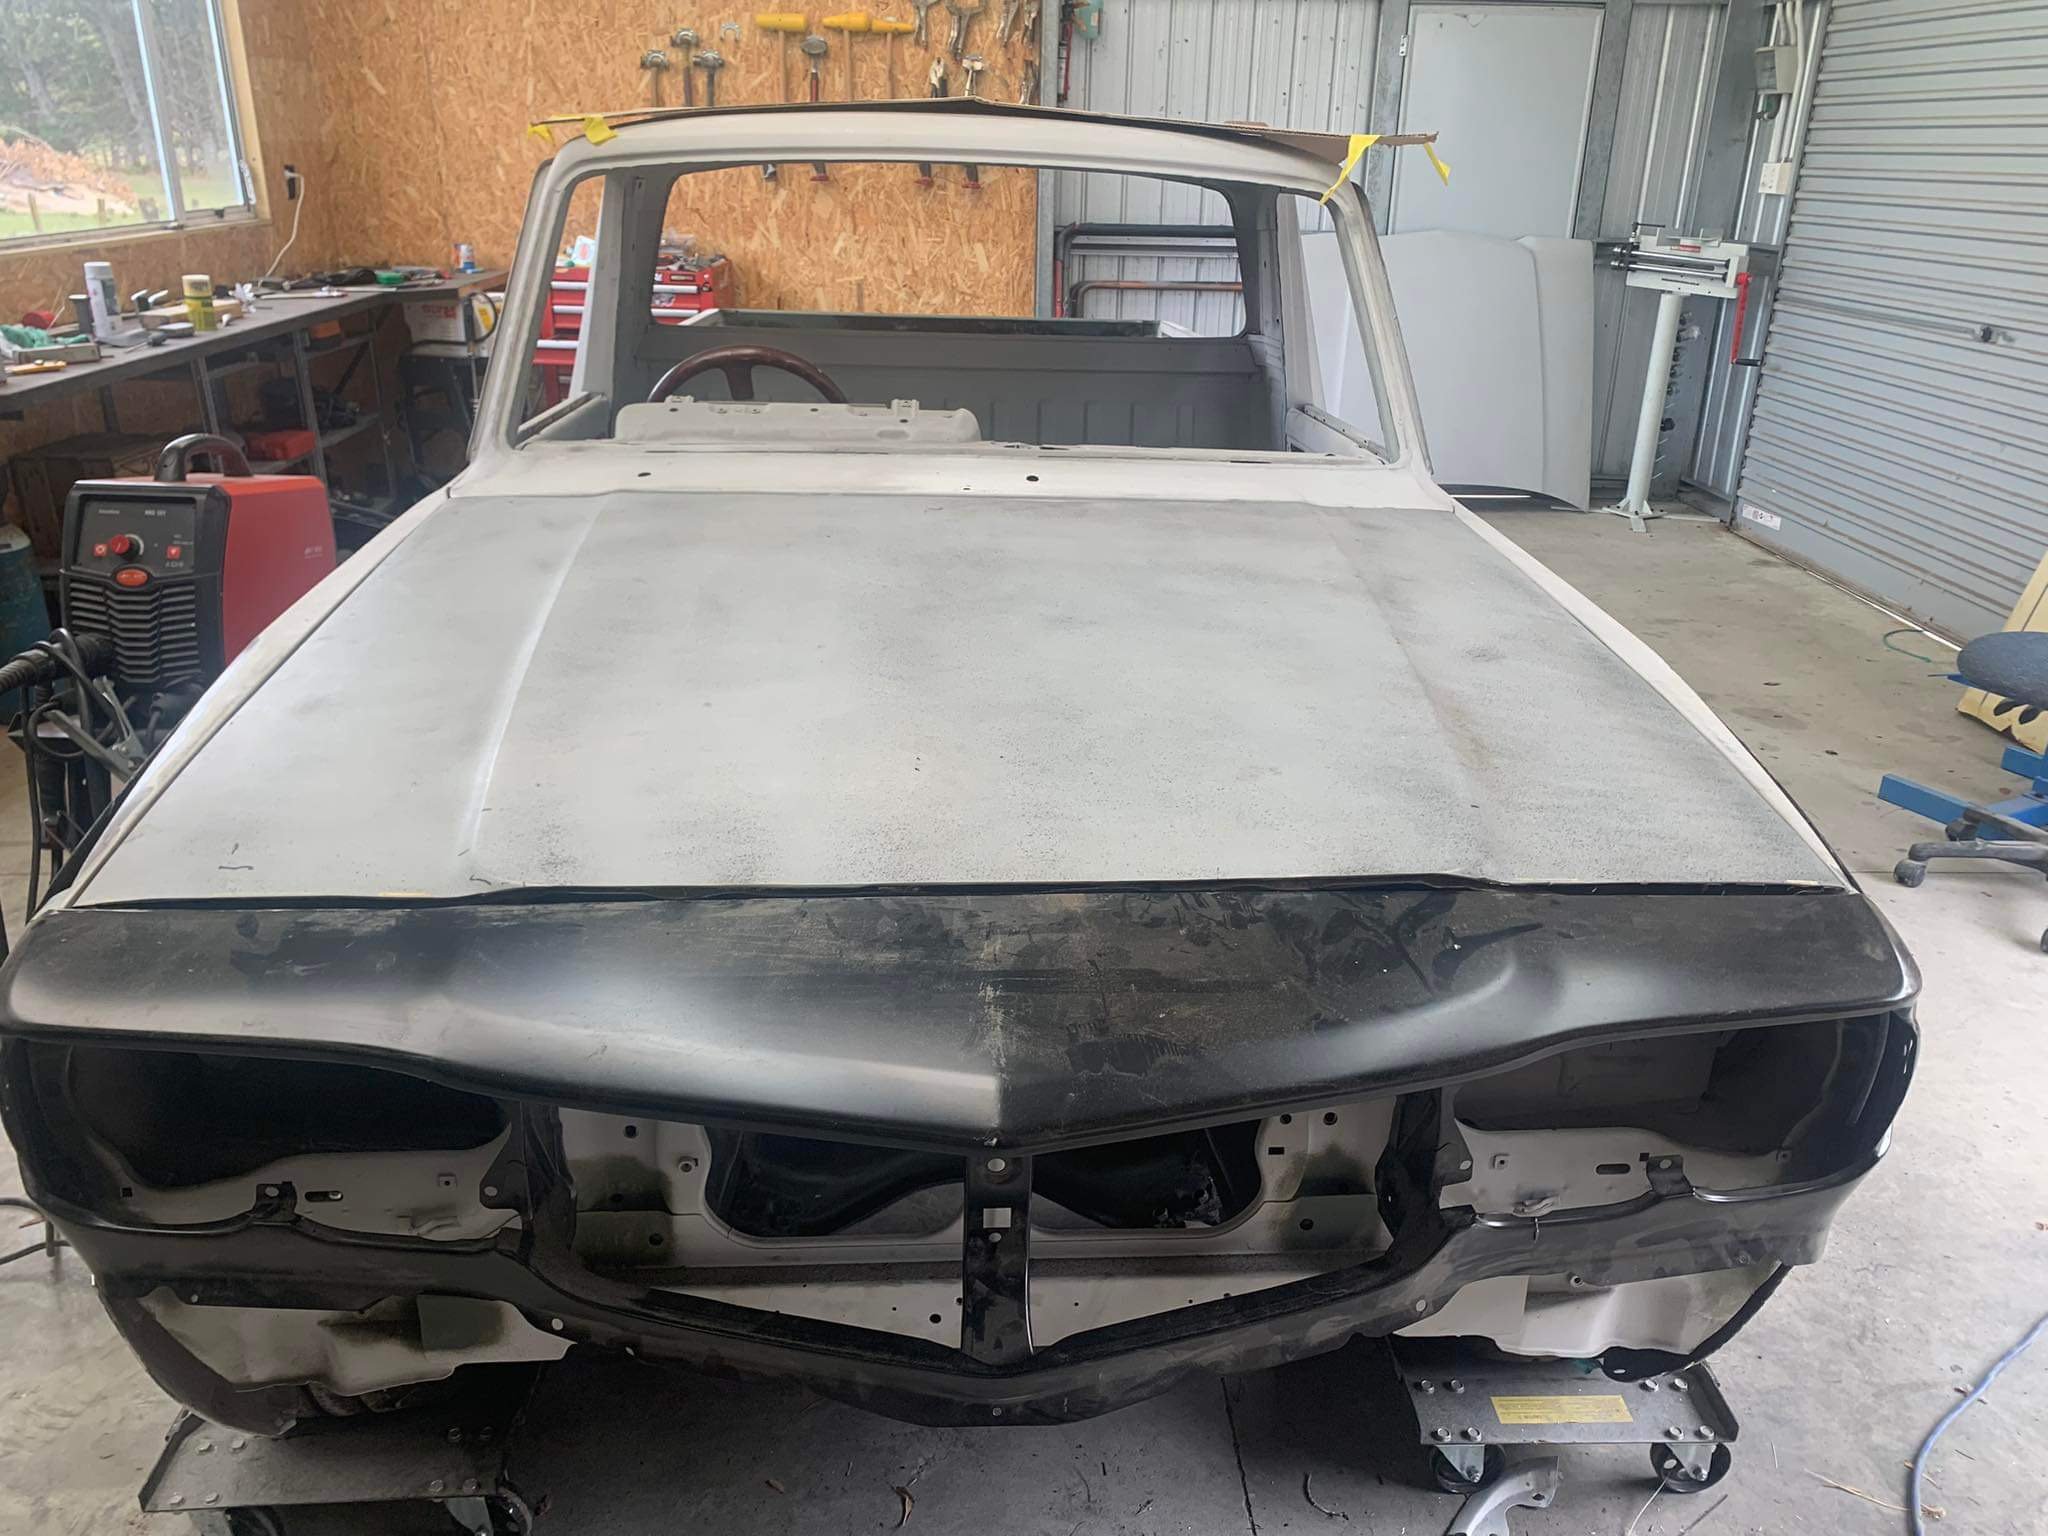
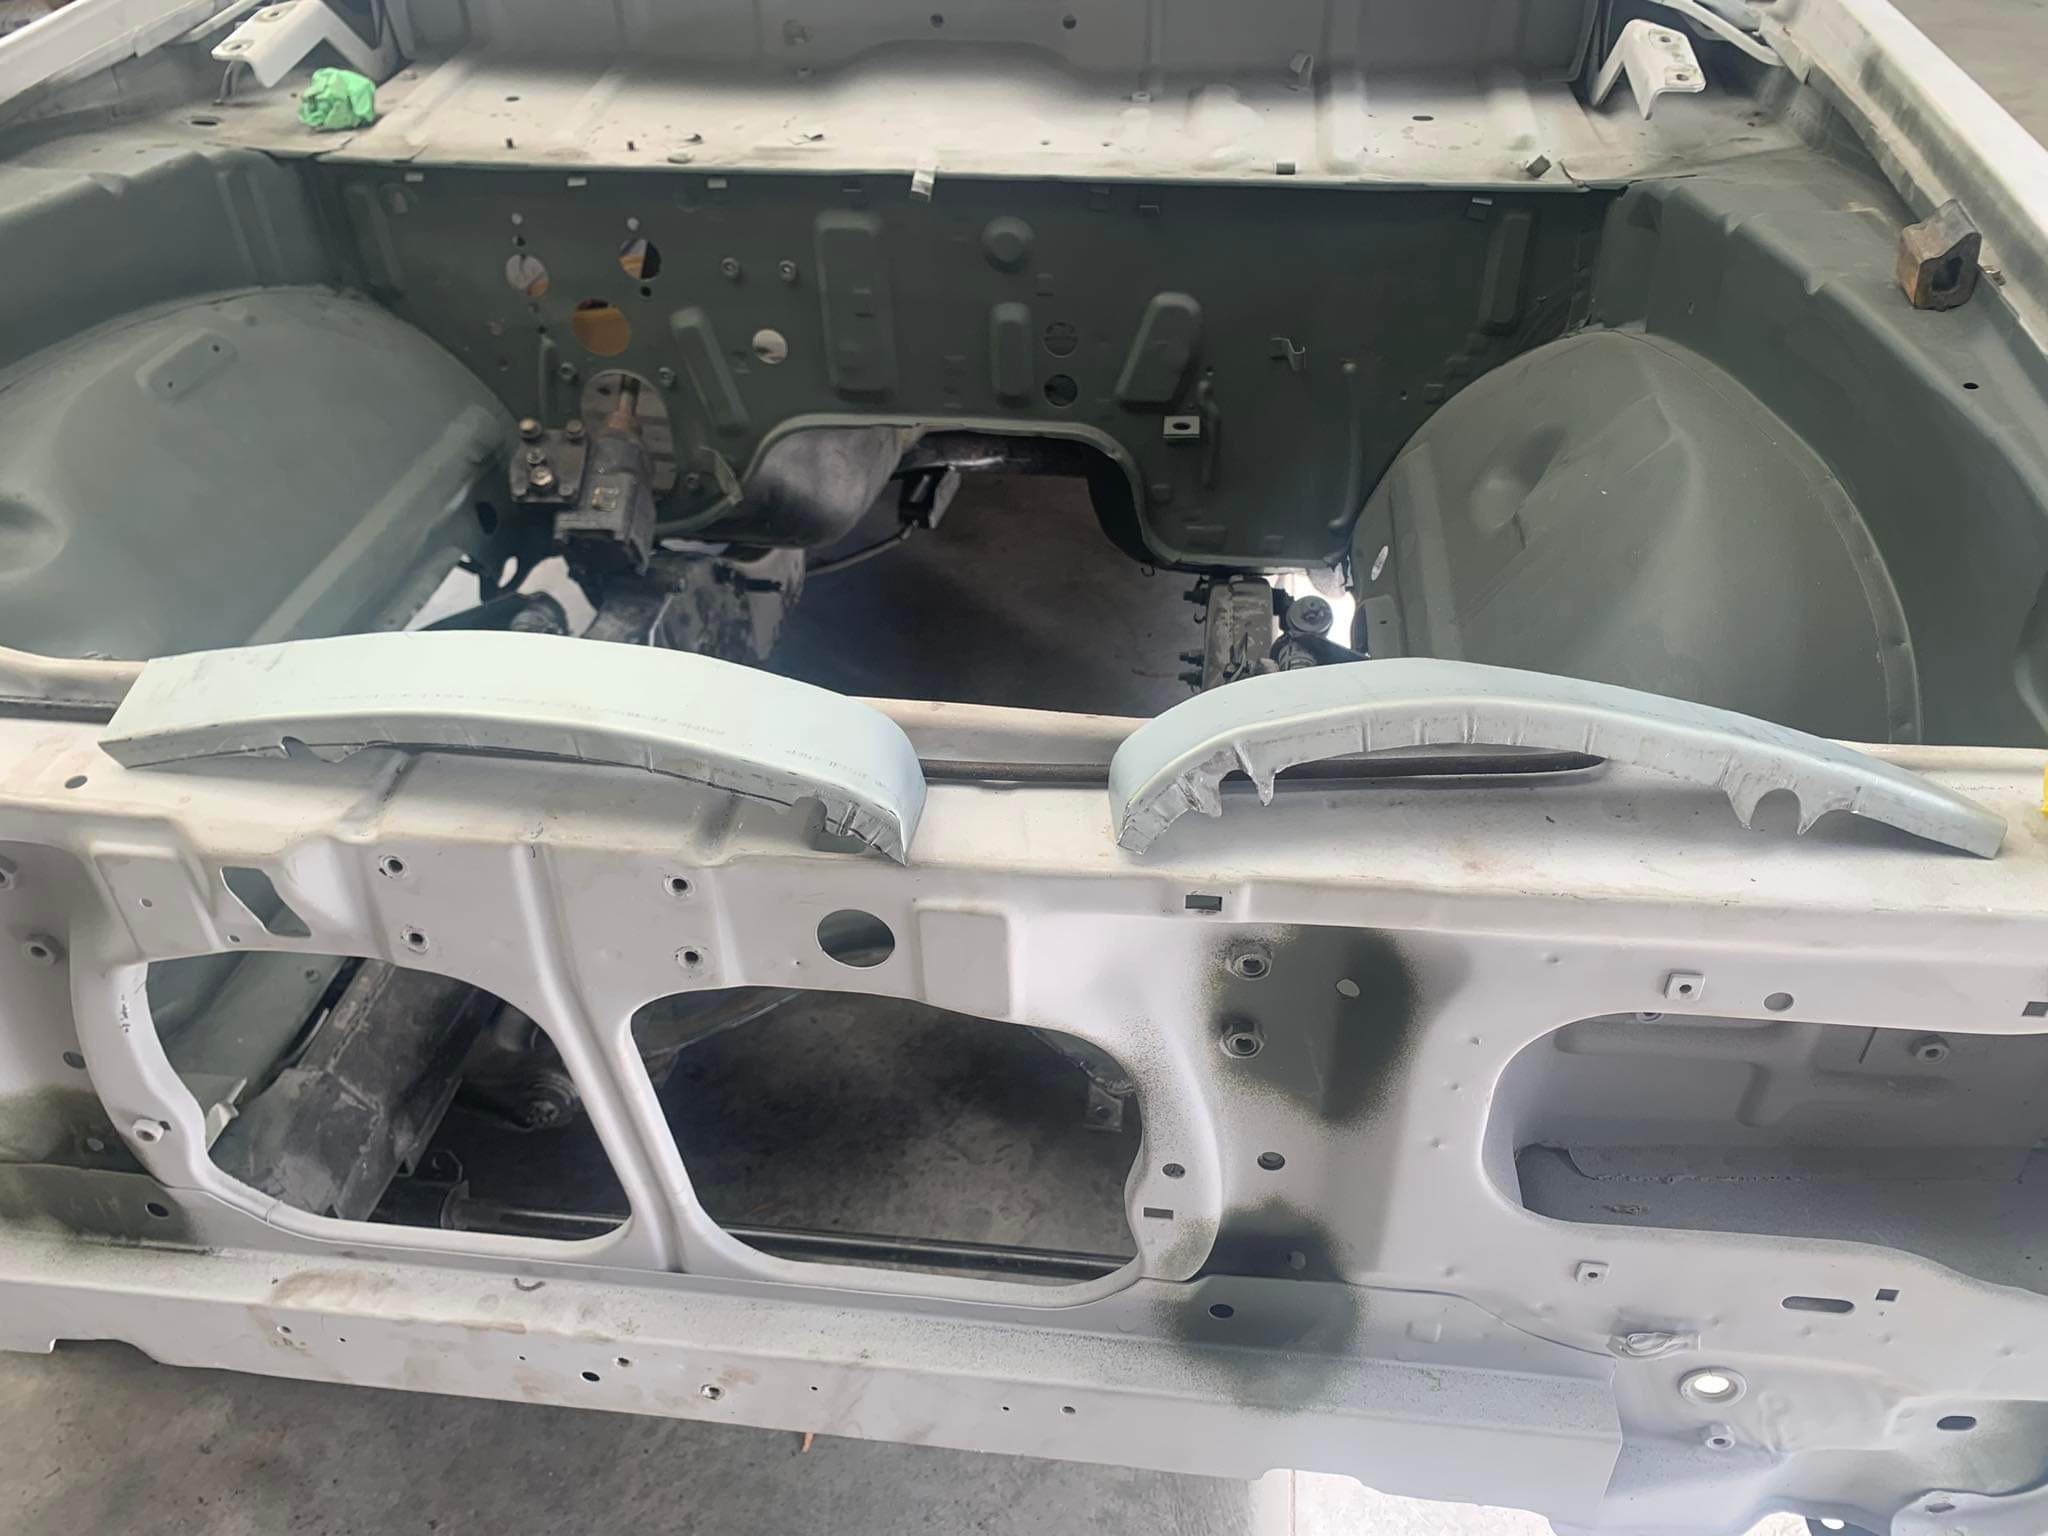
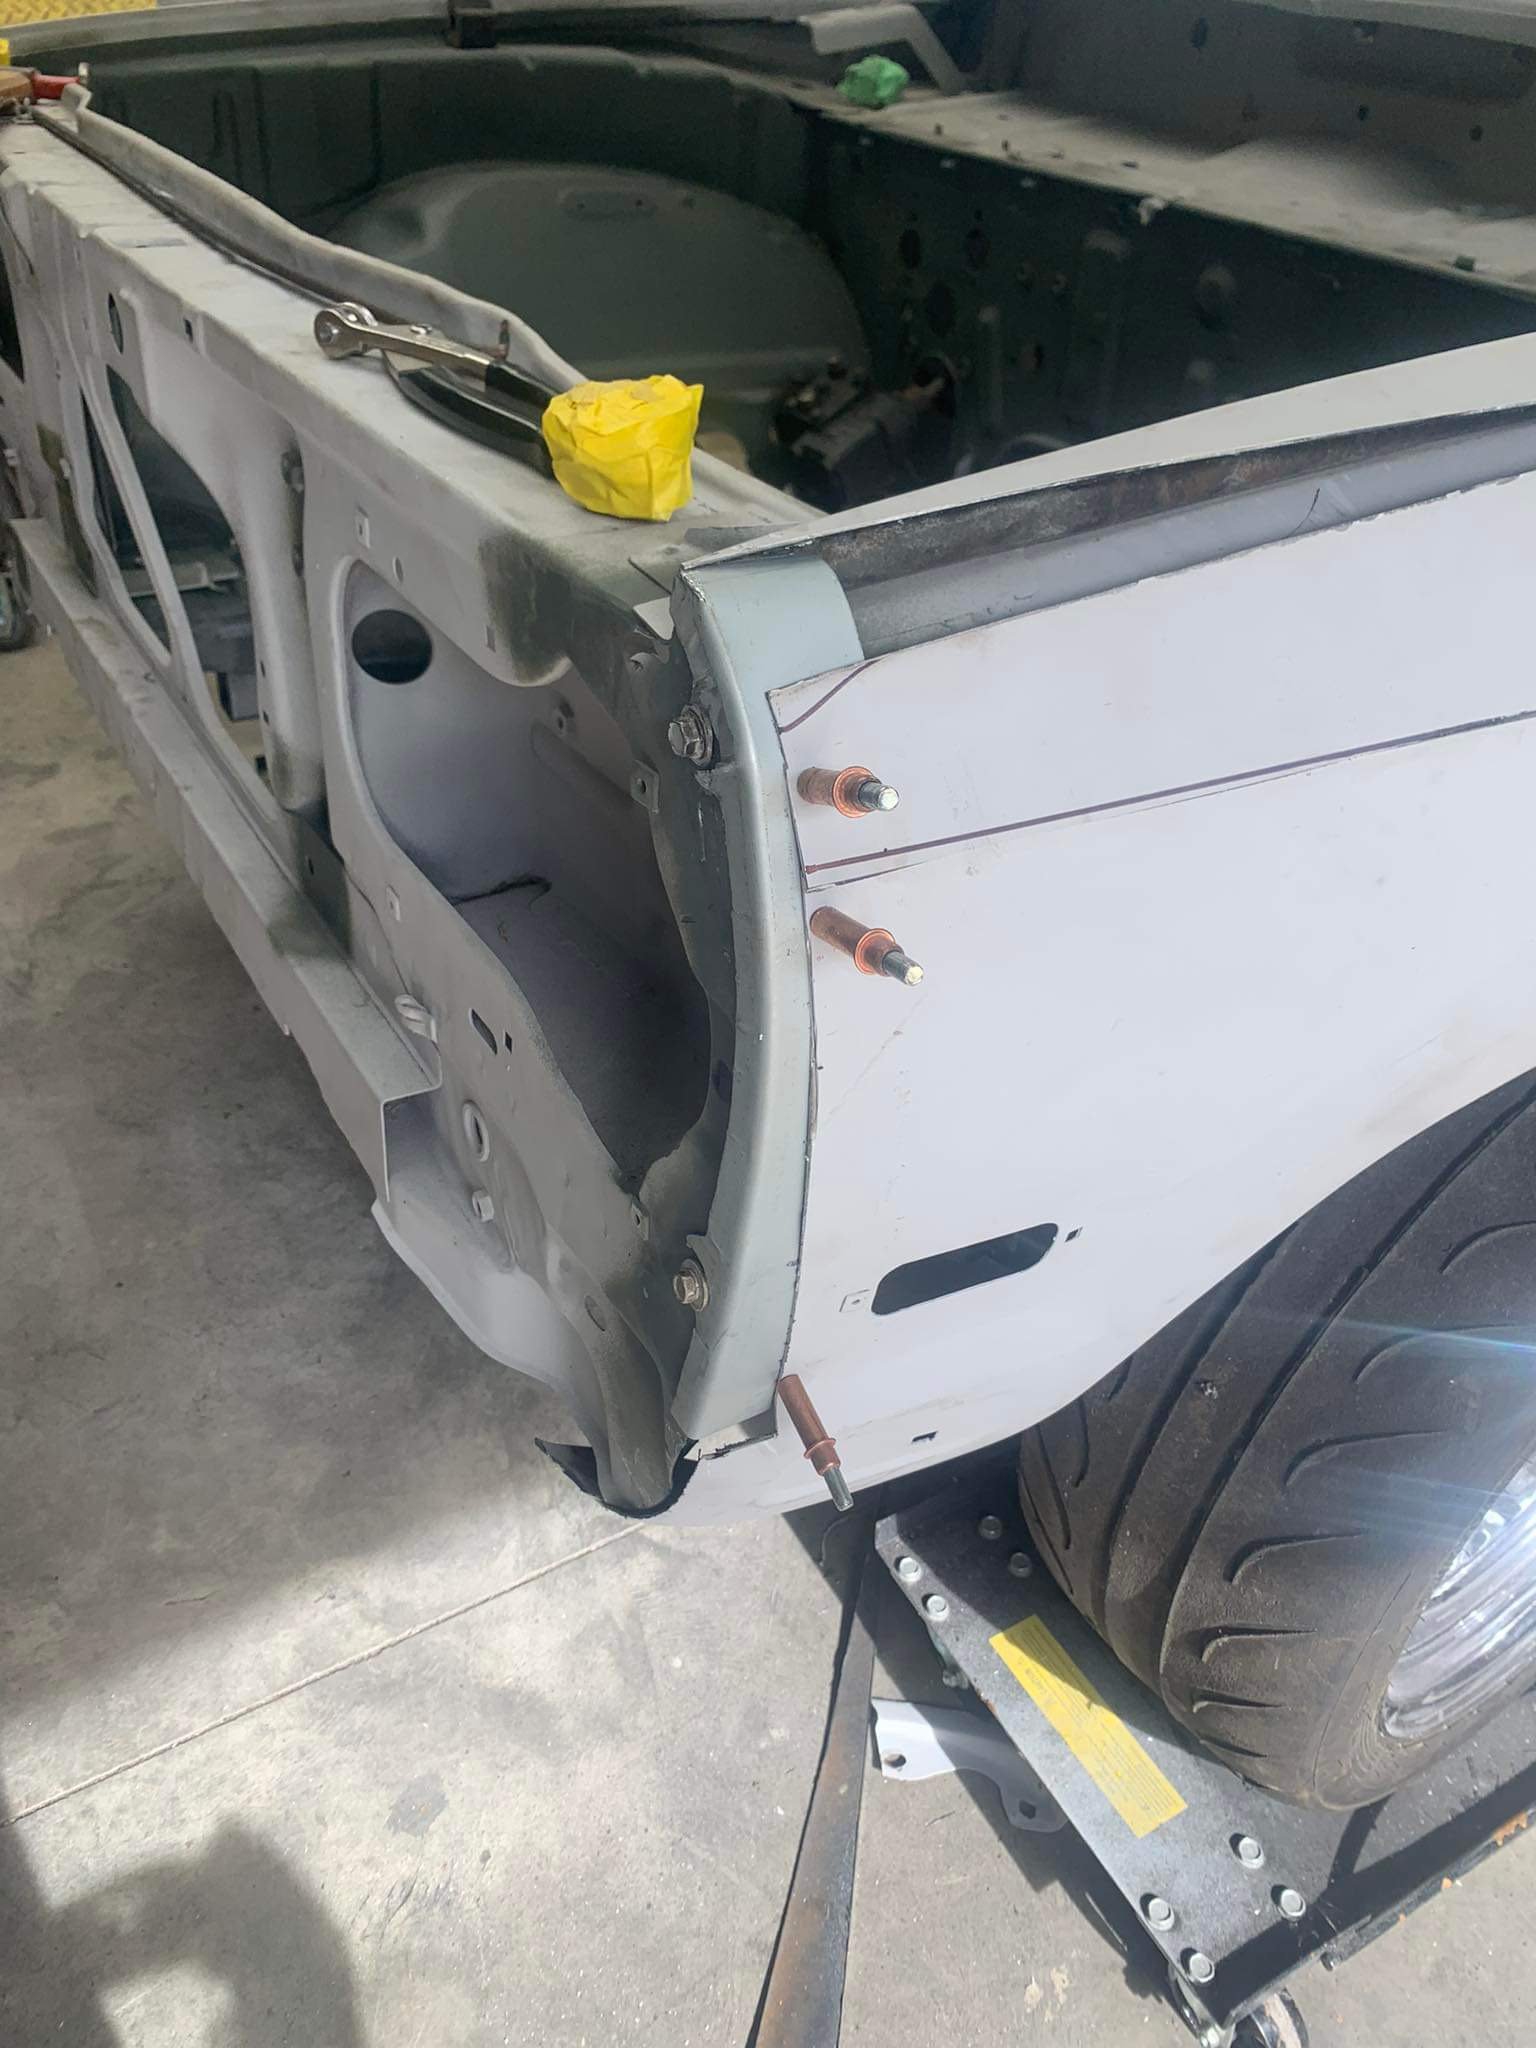
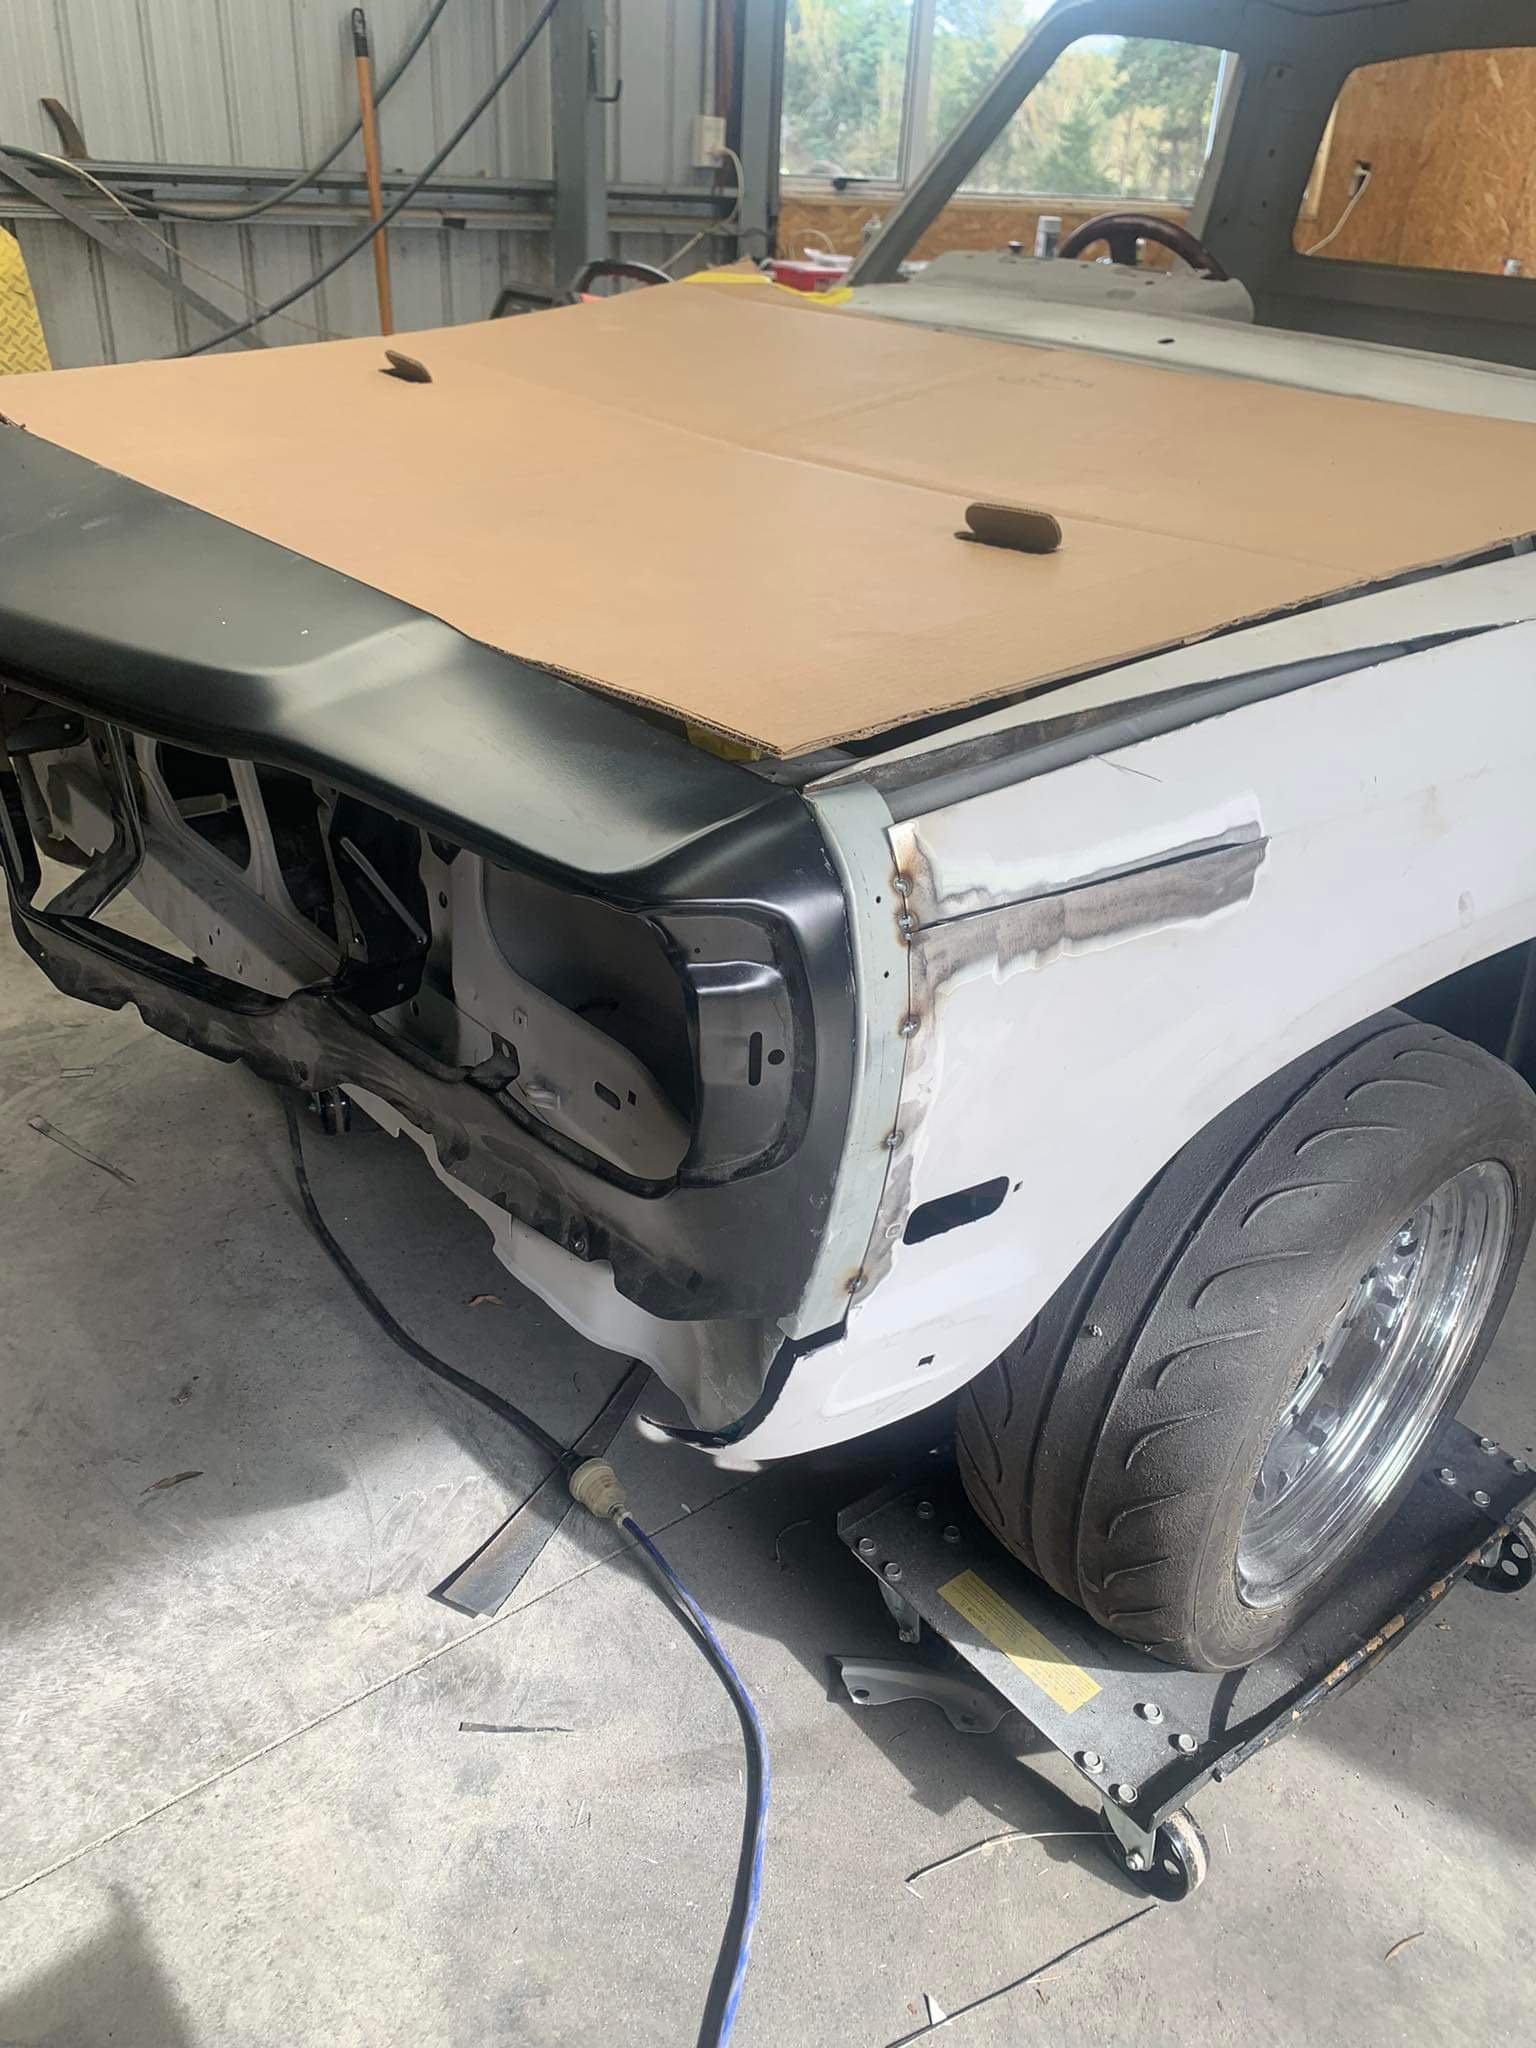
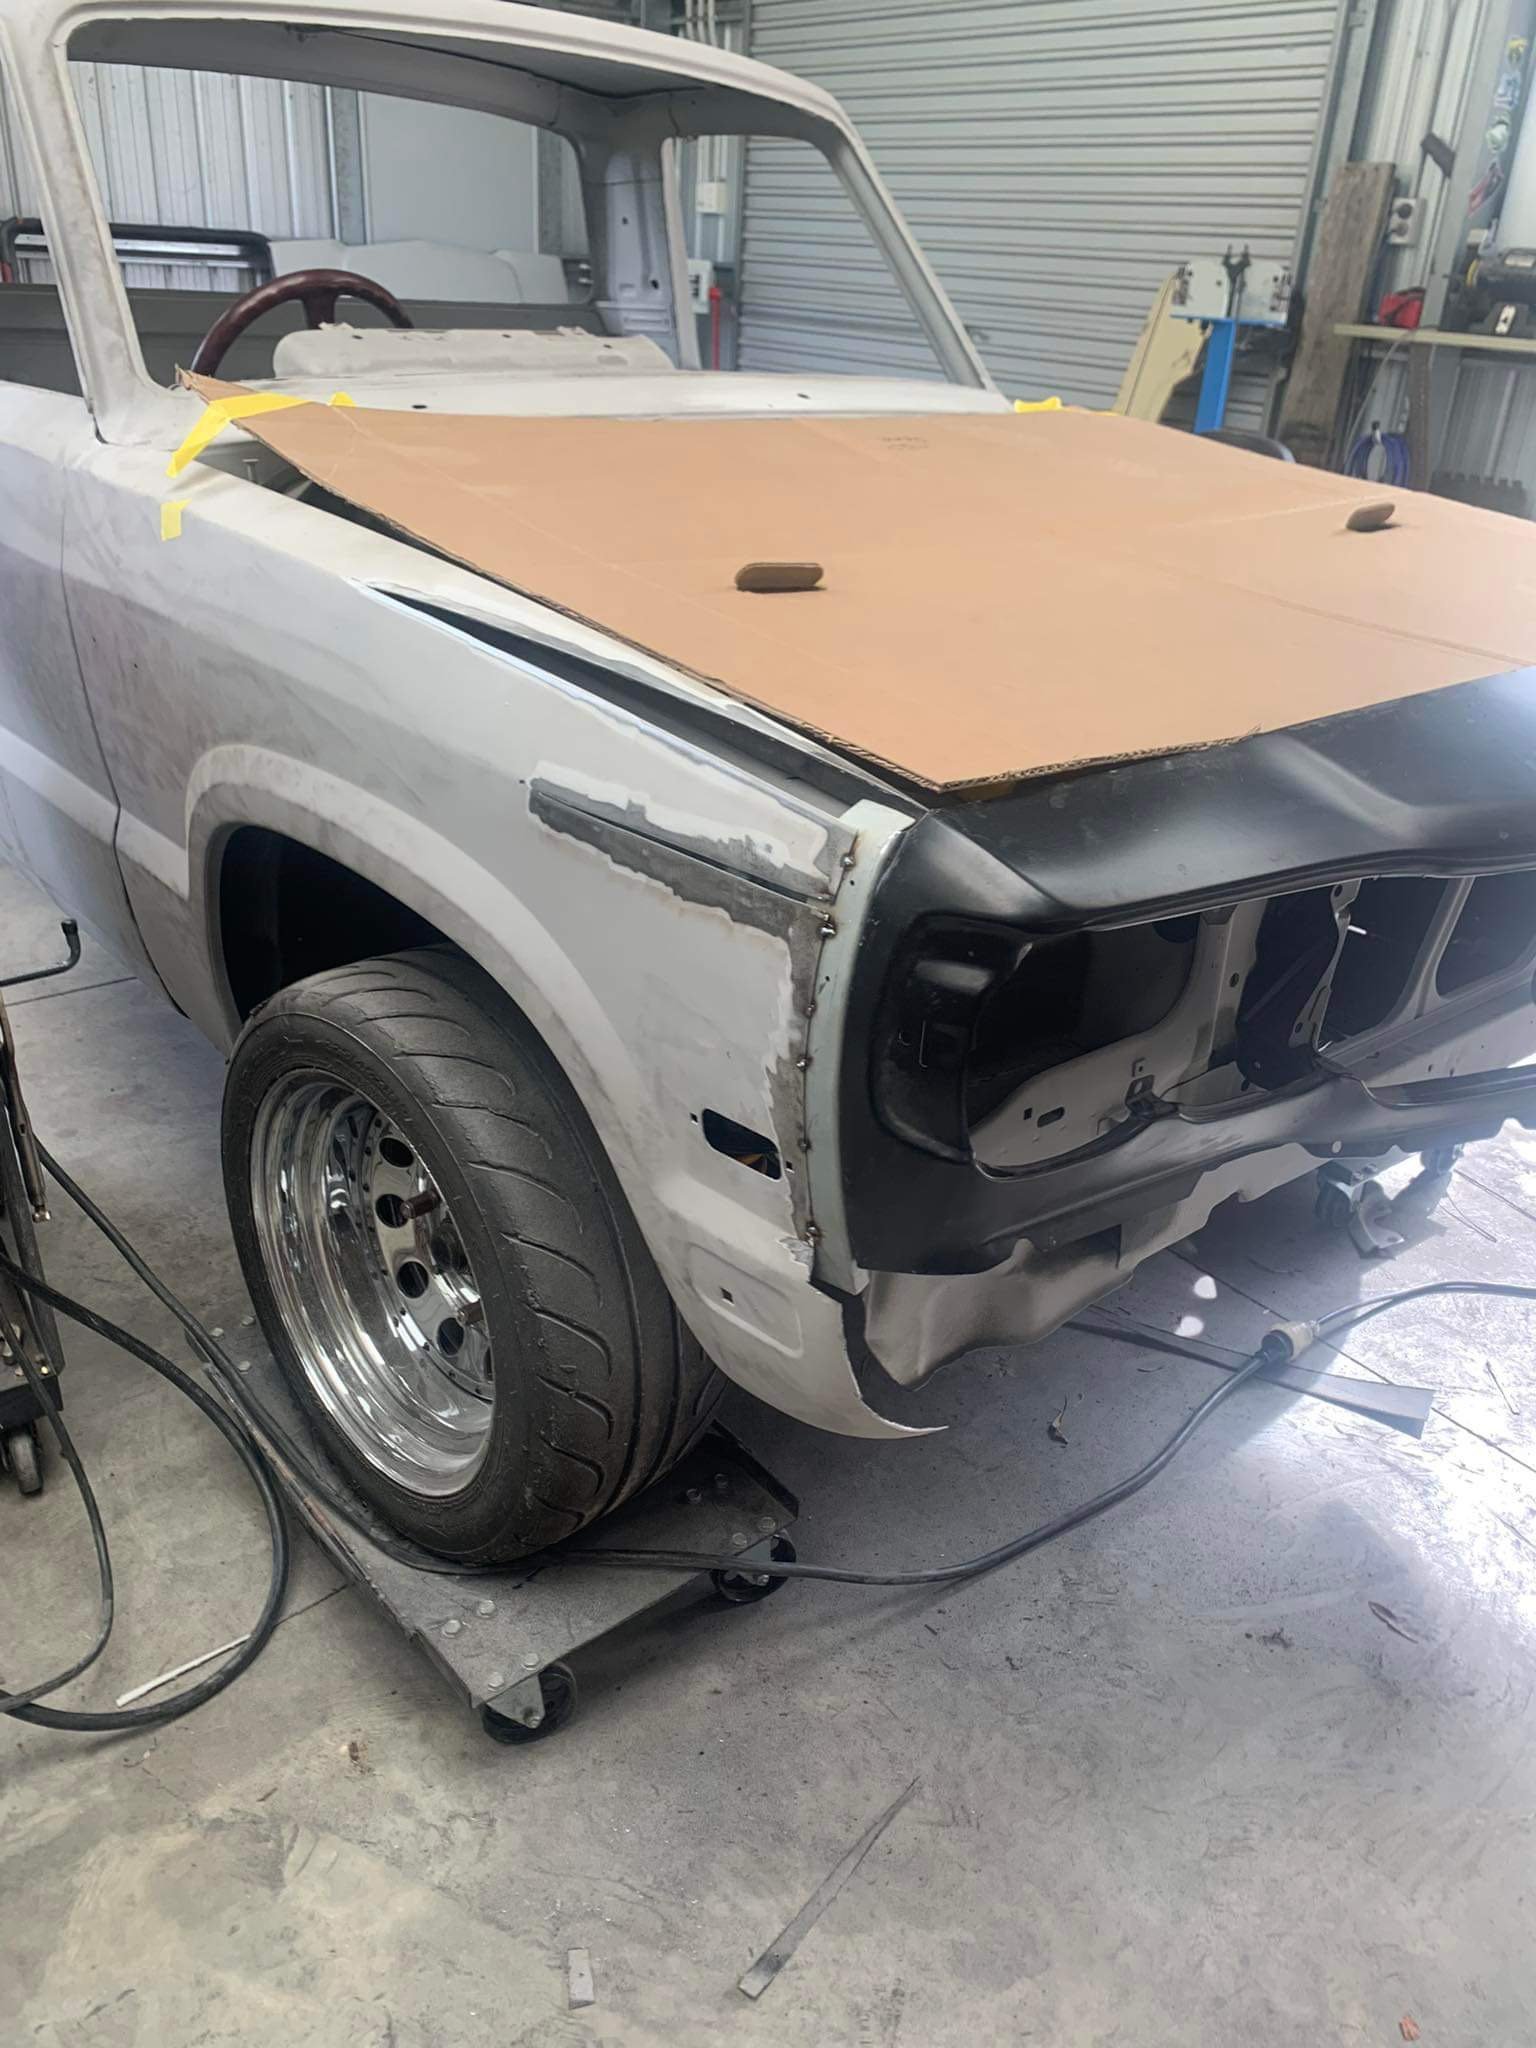
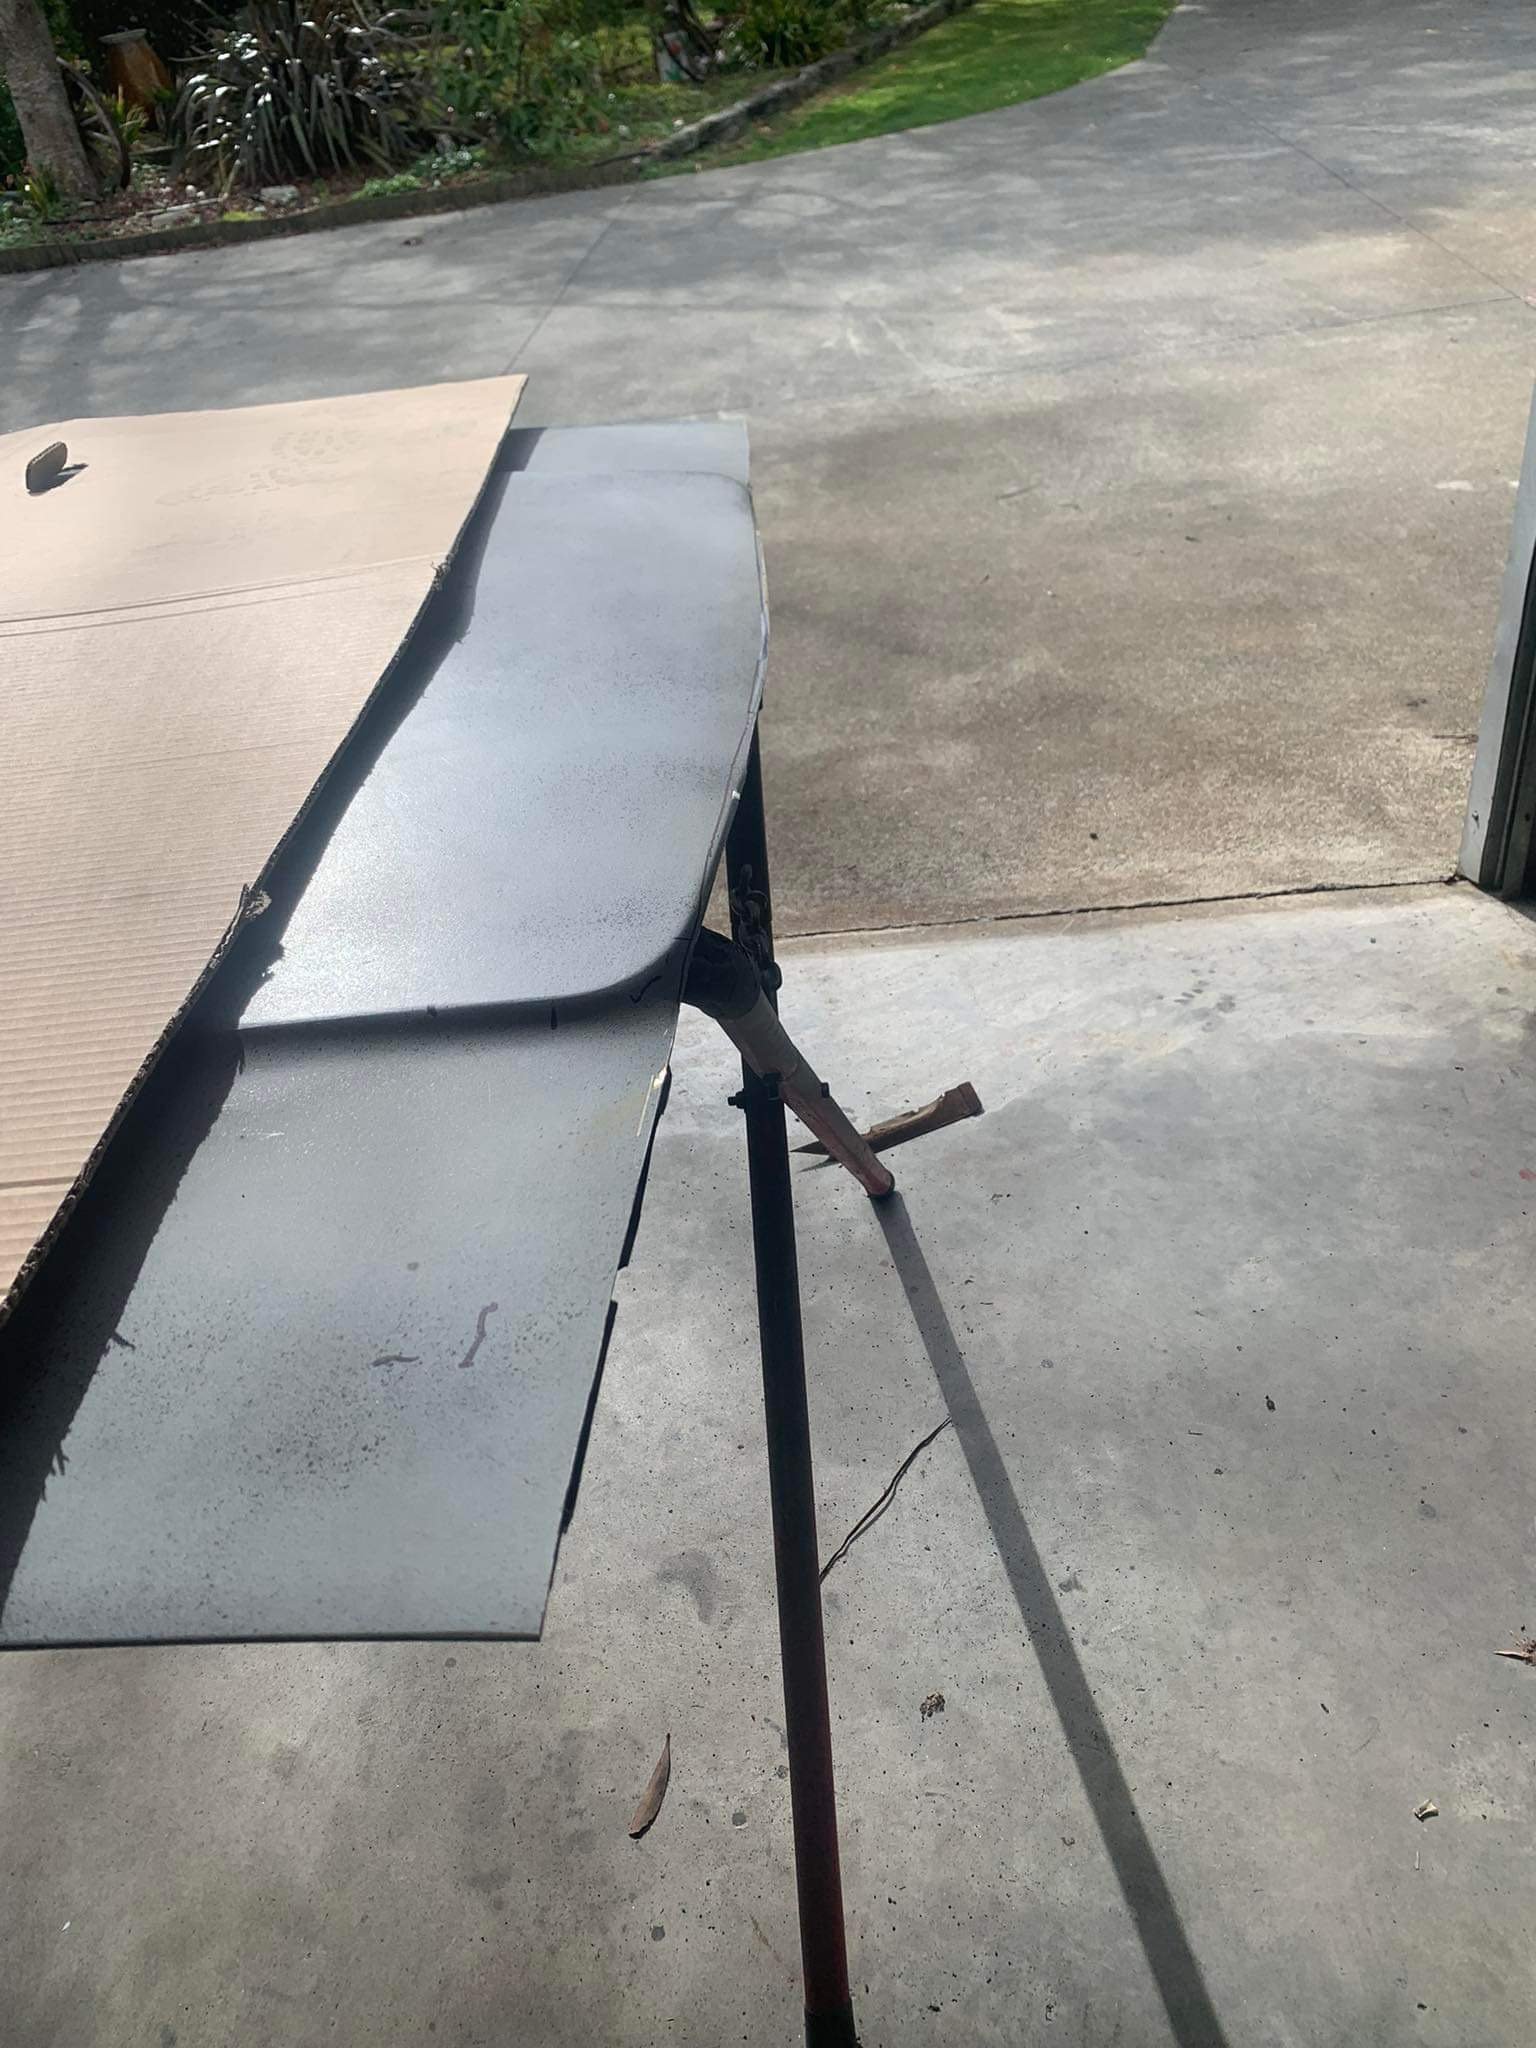
So the above teaser was me dropping the ute off to a panelbeater near palmy. this is his update pics. i just didn’t have the time or mental energy to grind my way through the stitching phase, or attacking the mint bonnet with a grinder. he has made up new flanges for the front of the guards , he won’t use the rx3 guards on this set up, all new steel. have also tasked him to fill over the fuel filler hole as I can’t utilise that once I drop tank it out the back anyway. So now I’m forced to drop tank it now instead of when I bag it. it means that I can carry on with the tubs when it’s back. I will end up using push button bonnet pins, hopefully they’re ok as a bonnet pin for road use. I’ll also fit a check strap as a secondary safety measure happy days
7 points
-
I actually have a massive boner for early Jimny 2-strokes. An old guy that comes into work has one, I'm trying to get put into his will so I can get my mits on it. Anyways, I have done a bit more on this thing. Don't laugh at my lack of wood working skills, I fucking hate working with wood. So I made the front guards, bit of a weird shape to try and make out of wood, mostly because of my being a tard and all. A bit of fiberglass & resin, a hint of bog, and they should come out pretty good. Then I got started on the bonnet, which is probably the most complicated shape on the thing. Added some wooden ribs, and a couple of dowels as reference marks, then put real thin MDF under them to keep the foam in, then filled the gaps up with foam, then carved the foam with a hacksaw blade and Stanley knife, then chucked a couple of layers of fiberglass over it, to give me a firm base to work with. It actually came out really close to correct, so will need very minimal amounts of filler. Next was lights. My B-I-L used OG dolphin torch reflectors/lens' on his Jeep, that he cut down to the correct size. New dolphin torches have four round LED bulbs in them, so don't look anything like a head light. The only torch I could find that was roughly the correct size, and also sort of looked like a real headlight was some budget items from Bunnings. I pulled them to bits, linished & sanded the OD of the lens down as small as I could, but so that the reflector still fit into it. I then cut the holes in the body to suit these. The front grill will hold the lights in, and also down size them to roughly the right scale size. I also found a Toyota badge that used to be on my 86 (before I got a legit one) that's pretty damn close to the correct size for this, but not sure if I will use it or not. The back lights were way easier, I found some LED lights on Ali that were the right shape and scale for this thing. They are meant to be in corners of the bumper IRL, which seems silly, as they would get smashed real easy. I added in a bit of wood roughly the same shape as the real bumper, and set them into this, so they are a bit more protected. There will be a steel bumper under them mounted to the tow bar in the future, so it should be quite a challenge for the kids to smash them. That's pretty much where I'm up to. Regards, VG. xoxox7 points
-
registered and will pay shortly. "all cars must have a wof and reg" feels a bit fascist6 points
-
5 points
-
DIdn't say they have to be current?3 points
-
Went to pickapart and replaced the missing air bleed hoses. Fixed a few other coolant leaks. Now it's good. Bought a big syringe pump thing to fill the gearbox with oil, managed to do this notoriously messy job without spilling a single drop of gearbox oil! Miracle! Until I realized that the drain plug wasnt screwed in properly, and itwas on an angle - so I had to undo it and quickly straighten it and tighten it up. So gearbox oil everywhere still. Damnit, haha. Then I think I've still got some fairly massive air leaks, I dont have any gaskets or sealants at the moment so I'll pull it all apart and sort that a bit better. I managed to get it idling at around 1000rpm, but only because I've leaned out the fuel table so much. Again an easy fix, just time consuming. Then another cool milestone, and to be honest something I was dreading a bit - testing the clutch. Everything's good! I drove the car forward about a meter, then reverse about a meter. Which is officially the furthest it's propelled itself in about 6 or 7 years. It's still ear splittingly loud, and dear god it sounds like a straight piped RB or something dreadful currently. Ugh. Will buy some mufflers this week if I can, so I can keep making some progress without making my brain bleed. Then also have enough of an exhaust on there that I'll be getting okay readings on the wideband. Small steps but all in the right direction currently. nother3 points
-
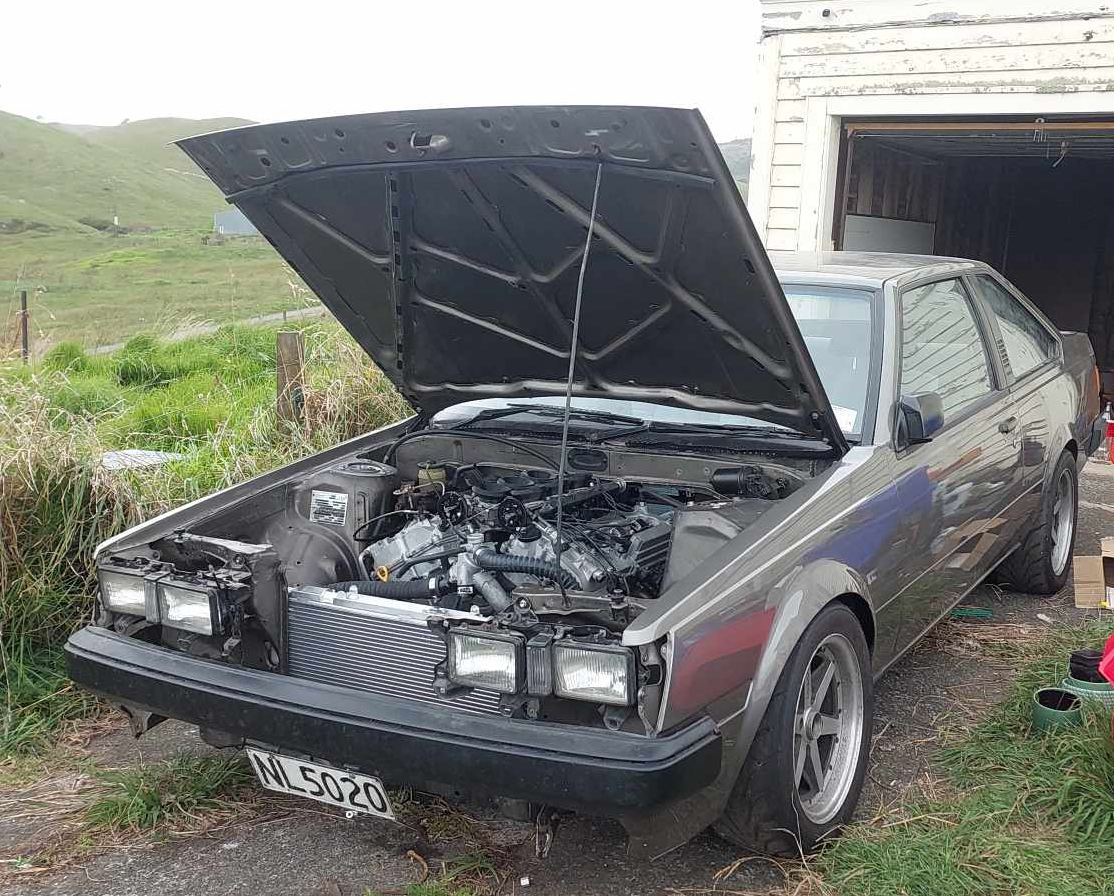
Alright alright alright! So I pushed the car outside this afternoon so I could reach some wiring inside to try fire it up. I filled the car up with coolant, by which I mean water because I was expecting things to leak. Sure enough each head had a hole up the front where water started leaking out. I couldnt remember what these were for, then found out that they are like an air bleed channel that goes back to the thermostat housing. So, these seem to have gone AWOL when moving house so I'll need to pickapart some more. I must have removed them when taking the heads off to clean them. Easy fix. Then I got the fuel pump working and fixed a few fuel leaks. It turns out that AN fittings arent very good at sealing if you havent tightened them up? Crazy. Then I got my tune somewhat sorted, and tried cranking the motor over.... and the bloody battery died! Ugh. I mucked around to get another battery, it sort of spluttered a few times but not quite. I had a look through the tune settings. Engine size was still set to 1500cc from using this ECU in the Echo - woops. I needed to disable the fuel pressure sensor allocation. As since this isnt wired in yet, it took 0v to believe that the motor had zillions of psi worth of fuel pressure. Then when I cranked the motor it was registering the crank trigger, but not cam trigger. Checked the settings, had this wrong. Both were set to VR sensors, but the crank is VR and the cams are hall effect. So once that was fixed... Bam! We are running. It was absolutely awesome to reach this point. So whats next? Lots. Get the coolant system functioning properly. Make an exhaust for it. A lot of wiring work, get the fusebox setup all connected nicely and mount all of the wiring nicely. Need to put some gearbox oil in the box, will do this before running the engine any longer. Pull the fuel rails off, and do tests to work out the CC rating and deadtimes for the injectors. Calibrate all of the sensors Mount a radiator fan Check intake for leaks (I think all of the air bypass screws are currently all the way out) Install the wideband Finish wiring up the alternator And a bunch of other little similar jobs. Most of these I can peck away at over winter with limited space. Making an exhaust will be difficult when weather starts getting darker and wetter and I can only really work outside. Will push ahead as best I can. Super excited for first start though!
3 points
-
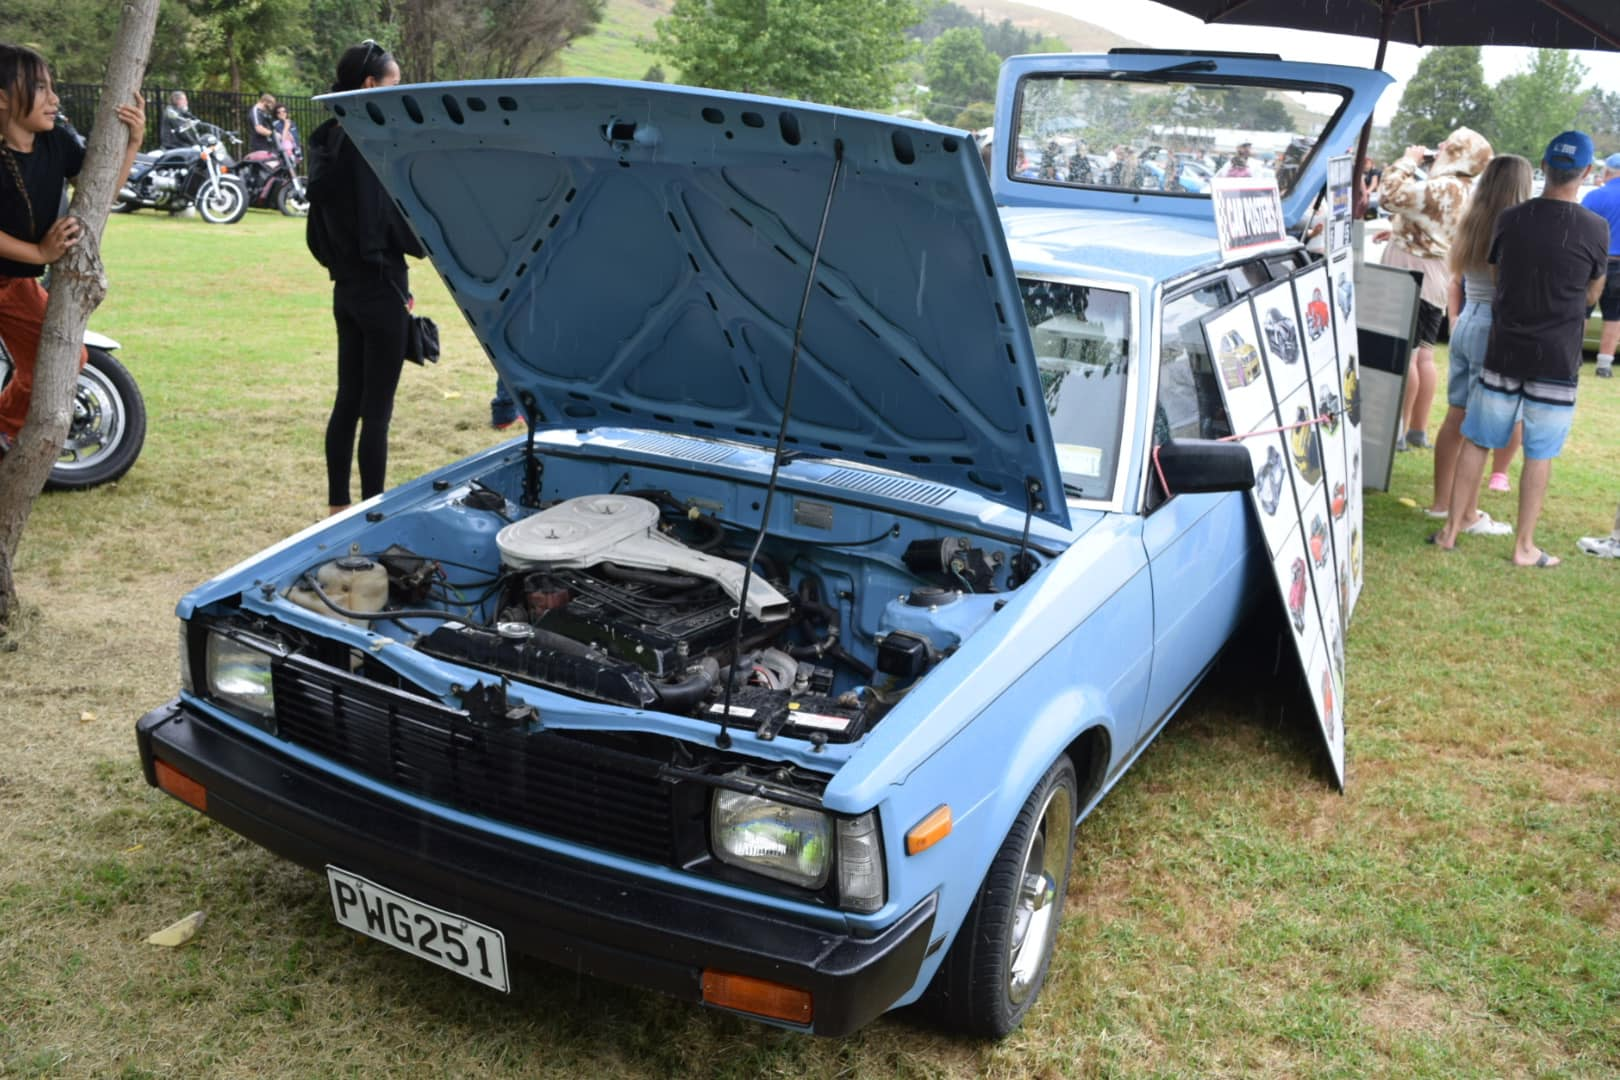
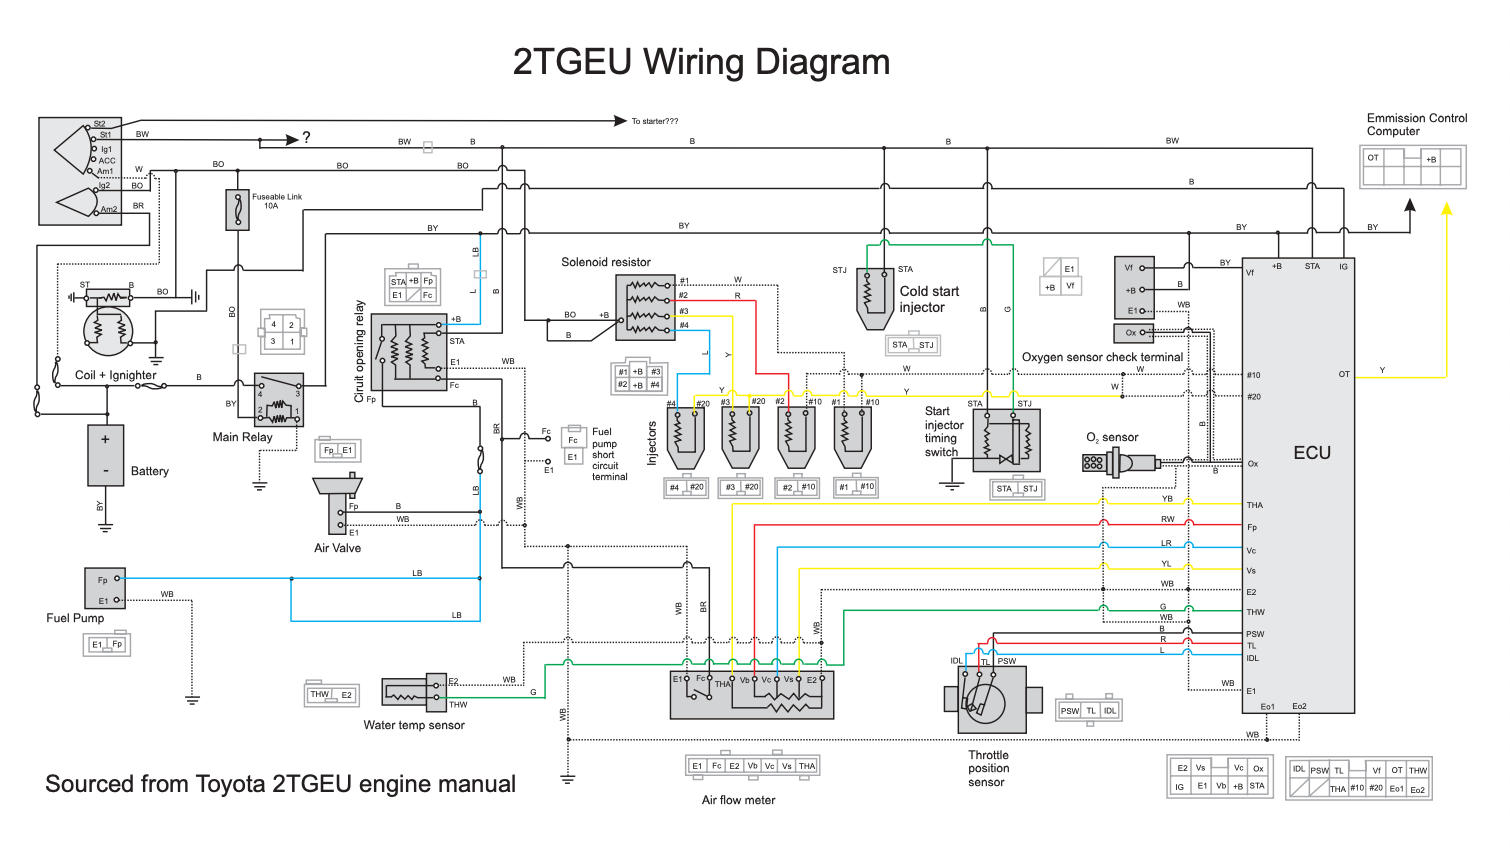
Dad's cousin married Max, who has always been our family mechanic and panel beater. He's somewhere north of 70 and a full-time menace and tinkerer. This is his Ke70 wagon that he bought off @Dudley (also a fill-time menace) and proceeded to rebuild half the body of before painting it and tidying allll the things. He got bored one day and had a 2TGEU sitting around that he'd got in exchange for putting a 4age into someone's wagon years ago. The loom had been chopped in half, and being older than fuel injection he thought it was a great idea to replace the injection with twin carbs. Yesterday my brother called me and said "Max has been talking to Pete's friend who built himself an ECU for his car and tuned it himself. He reckons you should be able to do it." Approximately 24 hours later I have all of the EFI gear from the Corolla sitting on the floor in the shed and have read half of the information on the internet about the Speeduino. I've been given a generous (for a Speediuno build) budget to work with and told to get ordering. I've printed out the 2T wiring diagram which is comical after dealing with 1UZ diagrams and am starting to make a plan. So far the shopping list (other than the ECU) includes: IAT sensor (probably a Toyota one) Map sensor (also probably a Toyota one) (so I don't have to run a vacuum line all the way to the ECU and can just run it off the AFM wiring) TPS (maybe 4age as we have a couple of motors sitting around) A wideband, probably Spartan 3 I'm leaning toward either one of these https://www.everythingfuelinjection.com/store/The-Micro-p161480124 https://kiwiefi.nz/index.php?route=product/product&path=20&product_id=54 Feel free to tell me in the discussion how far over my head I am. I've wired a 4age, a B16a, an SR20VE, a 1uz and a 3uz and used to do car alarms, so pretending I know what I'm doing.
2 points
-
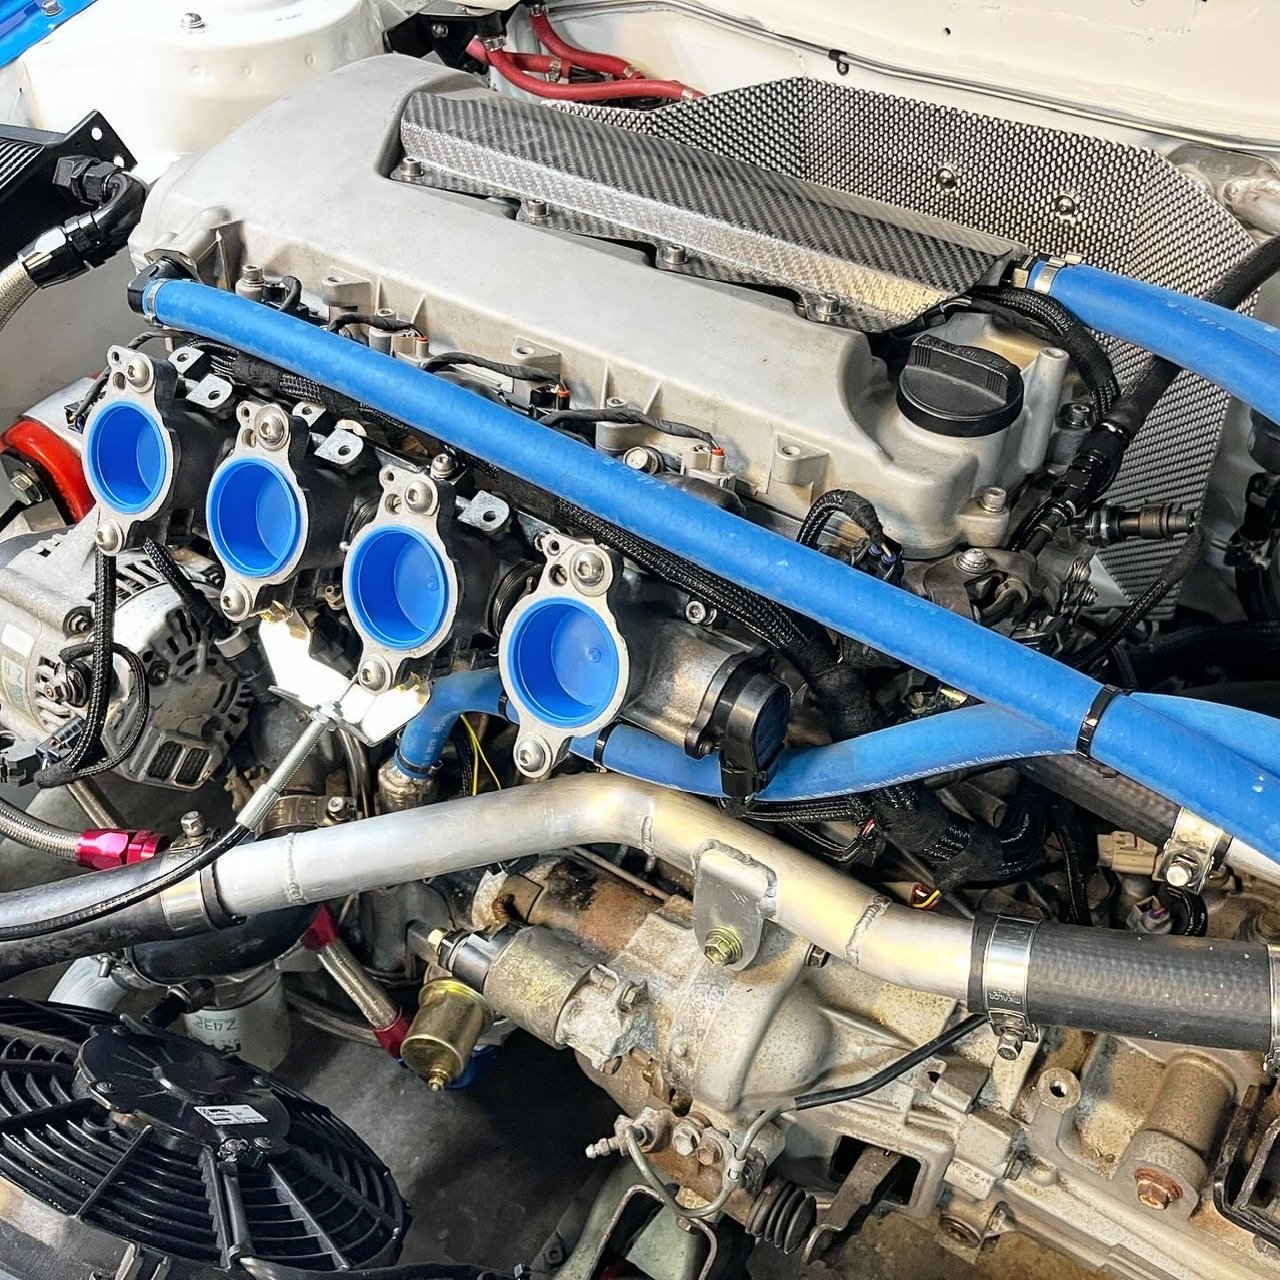
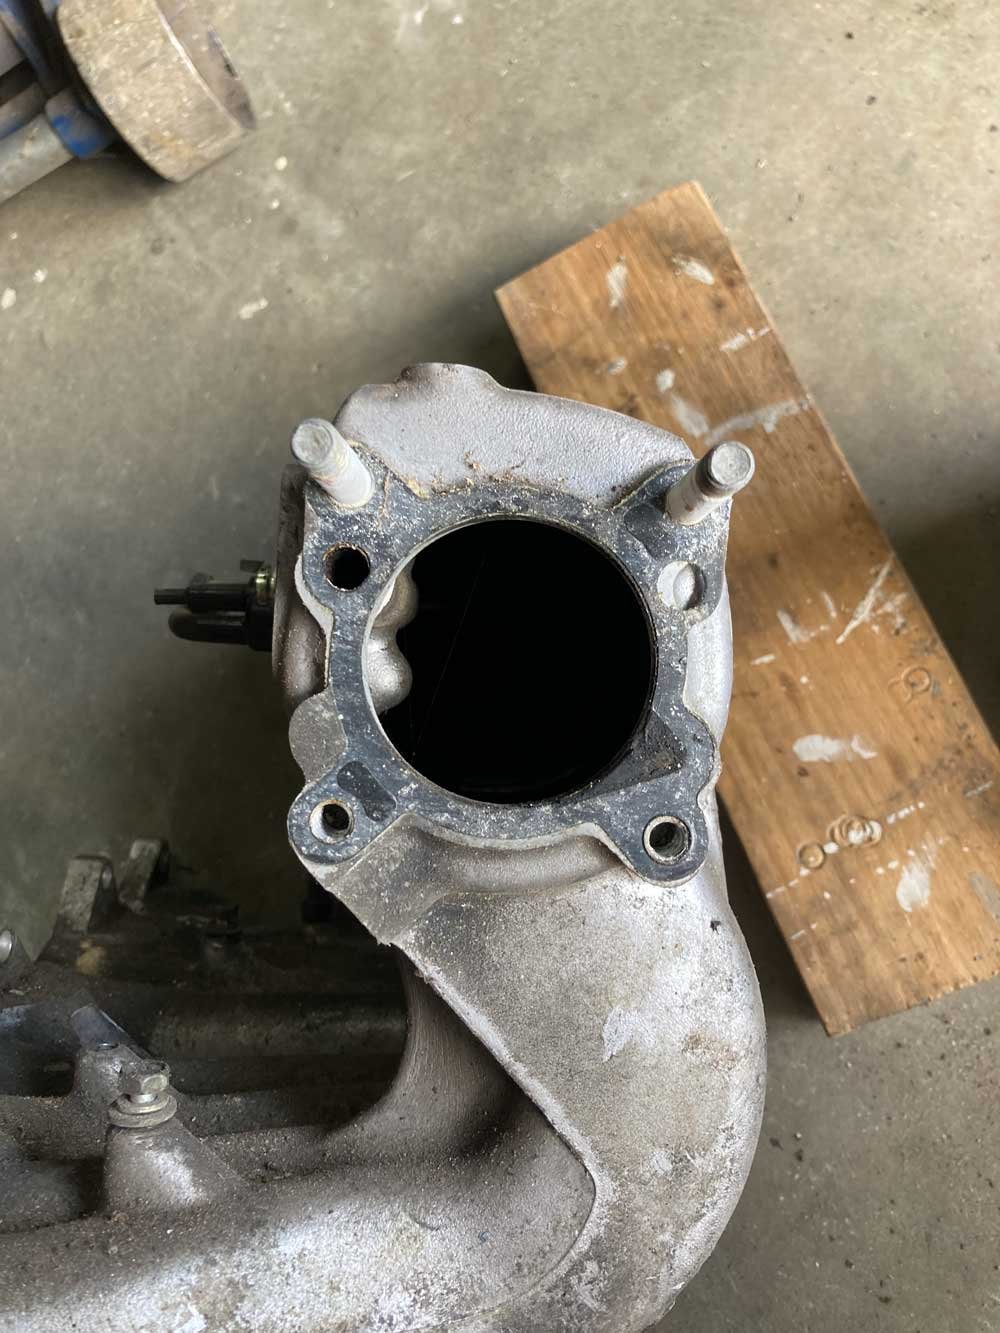
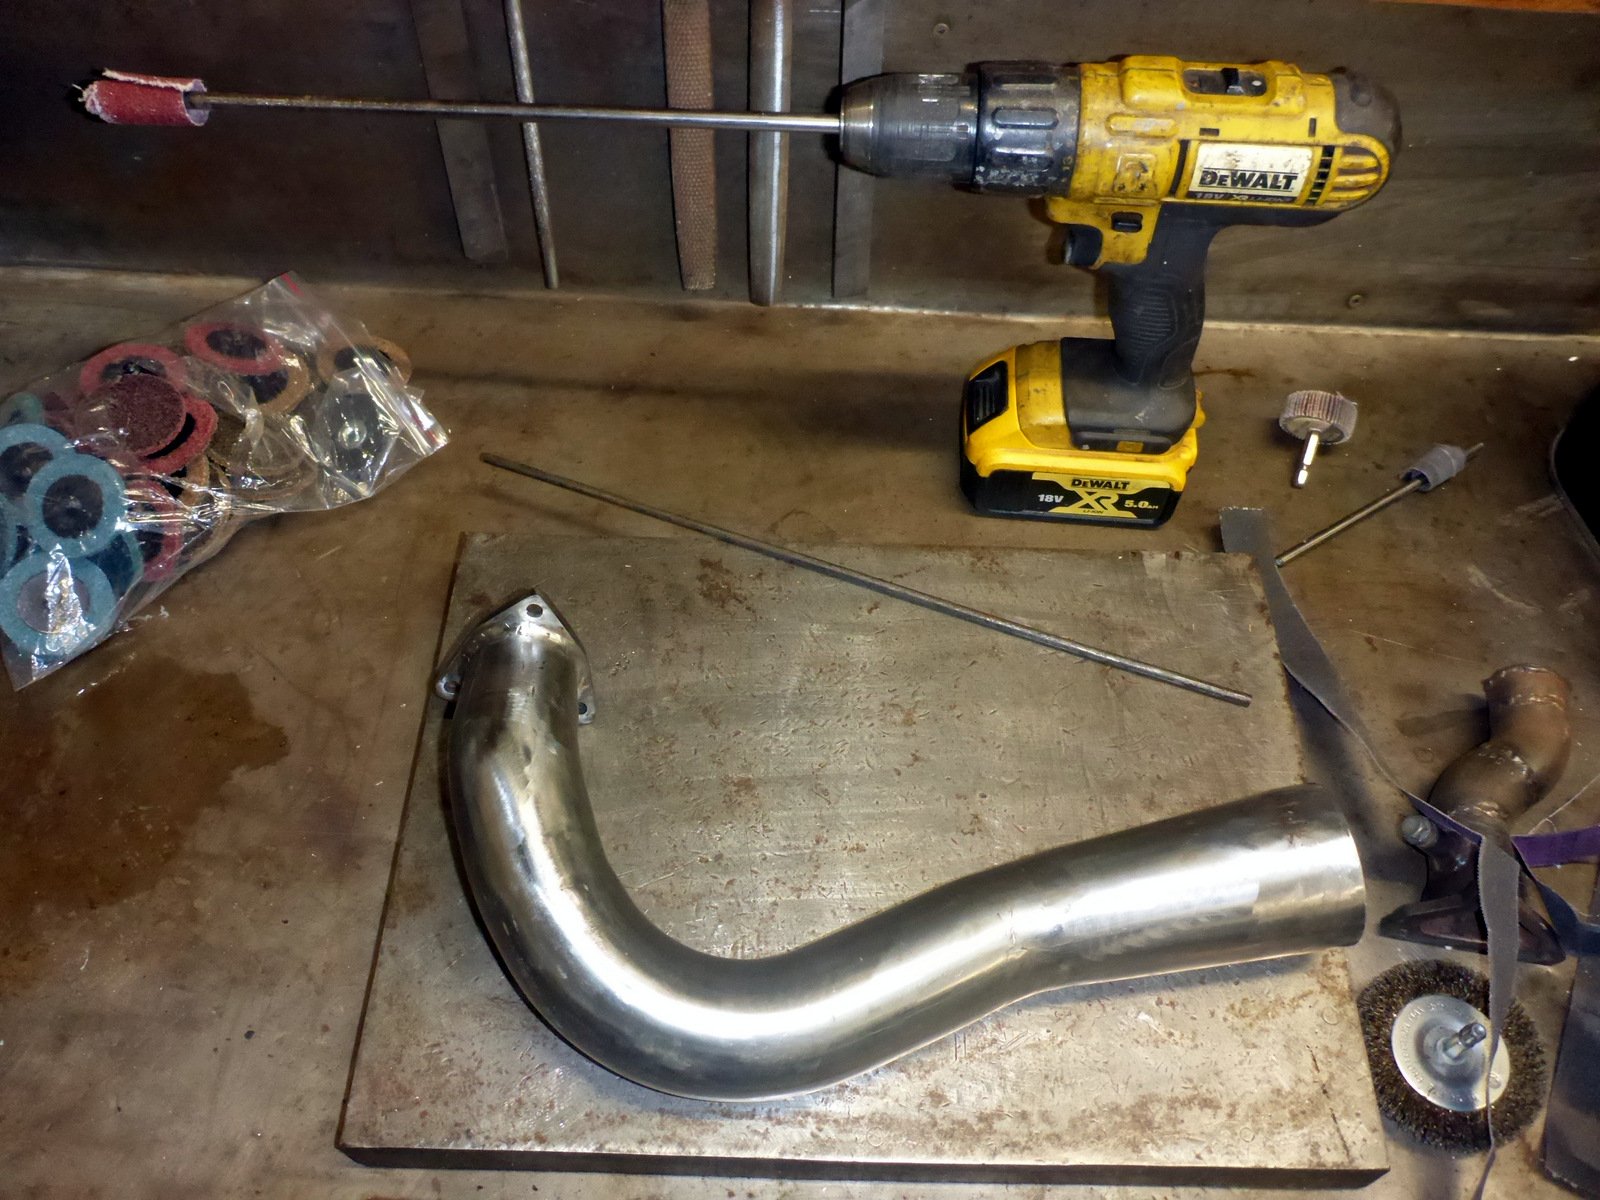
The shroud arrived, it'll need some trimming to suit but was cheap enough I pulled the manifold off and sat the turbo in place with the v band adaptor bolted on so I can start figuring out the manifold. I'd be a lot easier to fit the tubo without the air con compressor The downpipe is going to be fun and a lot of bends too, it'll probably will do a U-turn then sneak behind the manifold and down. @Raizer trimmed the Drain fitting and that now fits nicely (I'll need to clock the core to sort out the angles ) The sinco merge collector is quite nice, I might need to shorten it a little as its quite long and space is limited I've ordered some more steampipe short radius bends as I don't have enough. The Nissan genuine studs for the turbo are 40mm M8x1.25 and are $12 each, The Honda studs are 38mm M8x1.25 and are $2.50 each so I'll order a bunch of honda studs and hope the 2mm won't make that much difference2 points
-
Were not the cops. Or narks2 points
-
Thats probably a regurgitated rule from a really old oldschool event form. Personally, i dont give a shit.2 points
-
Yeah so the trigger code for the 2gr lets it run as wasted spark / batch fire until it gets a cam trigger signal. So originally i had timing 360 deg out, then it would work as wasted spark but then cut out when it found trigger 2. Ha. Yeah so there are 4x cam angle sensors for vvti, one gets connected as trigger 2 then the other 3 to DIs. According to some old posts on the link forum the trigger decoding only works if set to falling edge. As otherwise the timing of crank vs cam overlaps in a weird way for vvti range. Will do some checks with a multimeter tomorrow.2 points
-
I'll sort my entries next week (pay week)2 points
-
Fuck that off with a sharp stick. I would never inflict that kind of pain on any individual looking to aggressively sharn and relax, I make dumb decisions, but I’m not a cunt2 points
-
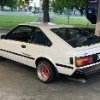
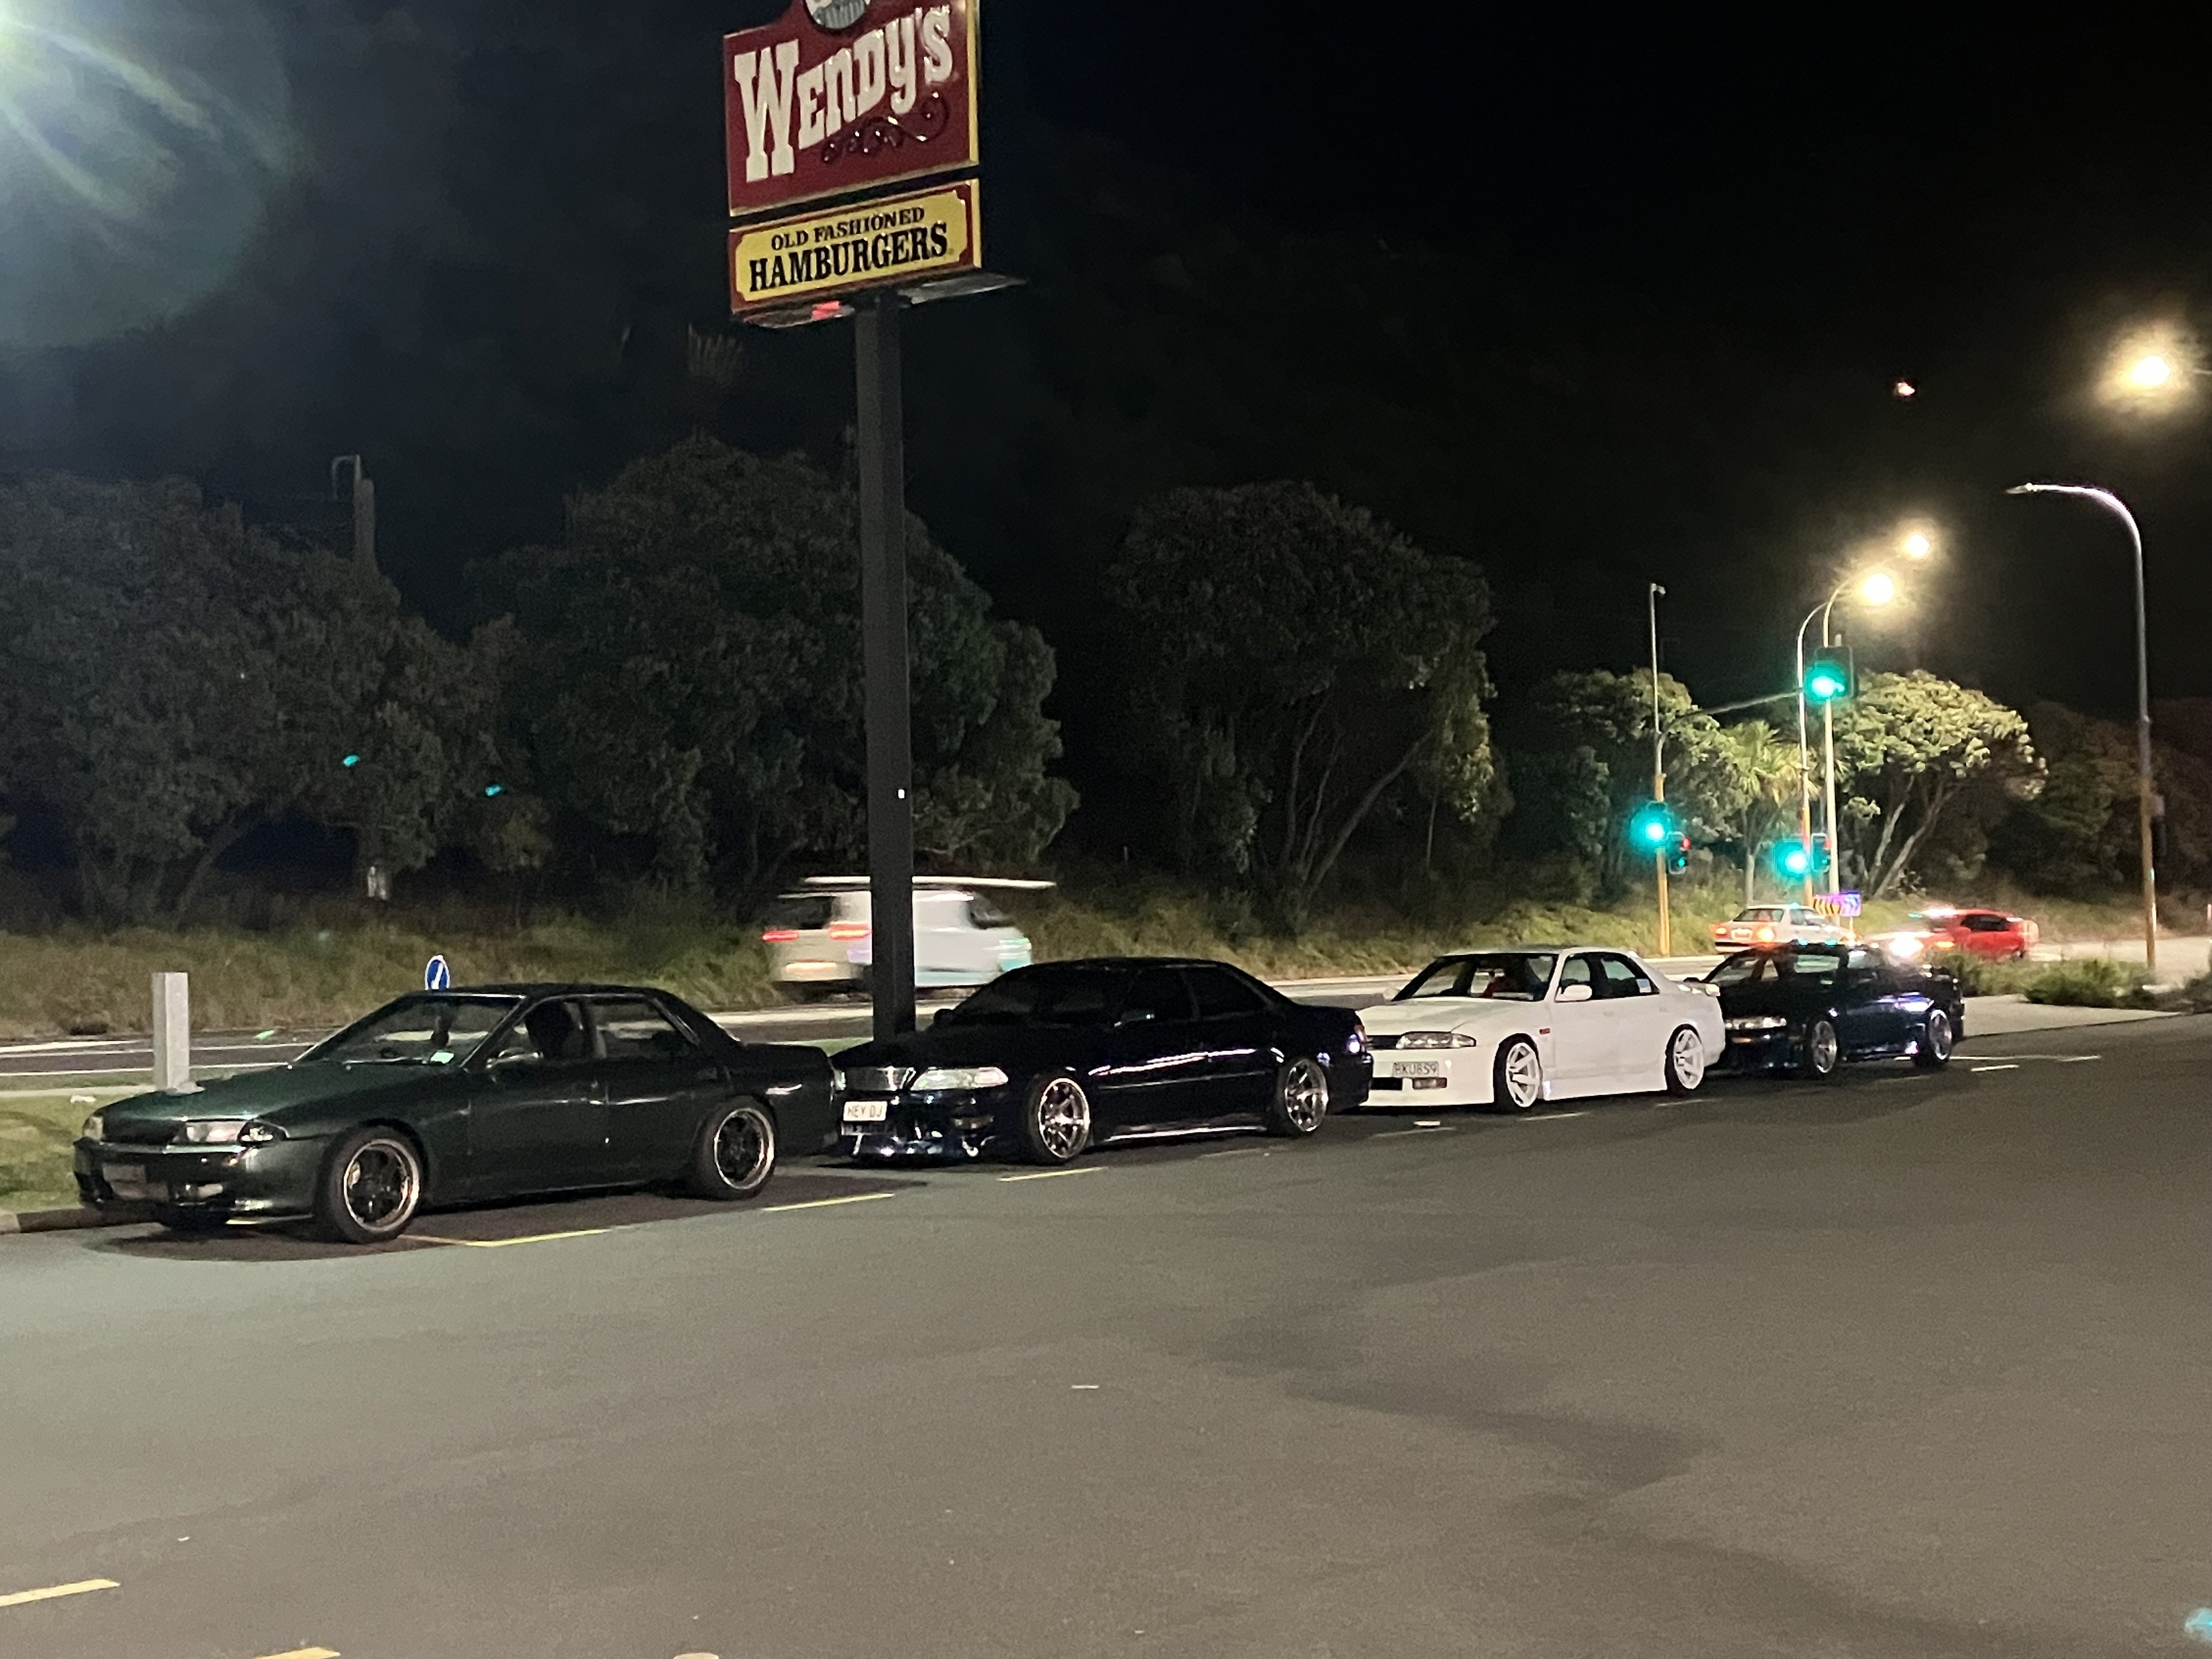
Stopped for a burger on the way home and came across a Nissan type meet. If I’d brought my other car tonight we would have pretty much been a Toyota* meet.
2 points
-
Autopilot stuff. Gave it a lot of thought and decided that the main use I have for an autopilot is keeping us vaguely on course in light winds while I go make a cup of tea or steer the boat with the engine on which is boring if you have to do it for more than 5 minutes. The fancy expensive autopilots can be trusted to probably not kill you if you go down below to get some sleep while sailing through the night across the middle of the Atlantic. They react to wind gusts better and manage rolling nasty sea states under sail without getting confused as easily. Even then, some of the long distance sailors just carry 2 or 3 of the crappy cheap ones and throw them over the side when they stop working. Since I don't plan on doing long passages - and in challenging conditions I'd rather be steering myself or have another meat bag driving....I bought a cheap crappy autopilot second hand. The big brother to the one on Nice Try - the Raymarine ST2000+ Principle of operation is simple. The built in compass keeps track of your heading. When activated, it tries to maintain that heading by extending or retracting the ram to move the tiller and turn the boat. The bigger the boat, the more force you might need to use so the gruntier the autopilot needs to be. The ST2000 has a brass recirculating ball drive for the ram rather than a plastic nut on an acme screw as found on the ST1000. It also seems to have some bigger fets driving a slightly bigger motor? Not quite an apples to apples comparison since the ST1000 I have is from 1999 and the ST2000 is from 2012. Still rips my undies how simple these things are inside. Autohelm designs it then Raytheon buys them out and milks the design for a few decades. Minimal changes in nearly 30 years of production. No limit switches or position feedback. No conformal coatings on the board, glass reinforcement in the plastic or silastic schmoo on the connectors. AvE would be disgusted. Will install it maybe next week and see how it goes.2 points
-
It’s been awhile since I built a hot rod. my last one was a ford pop that was chopped 3 inches and channelled 4 inches running a 302 Cleveland. i ran it in black primer for awhile and sold it to a guy in Aussie who painted and upholstered it.
2 points
-
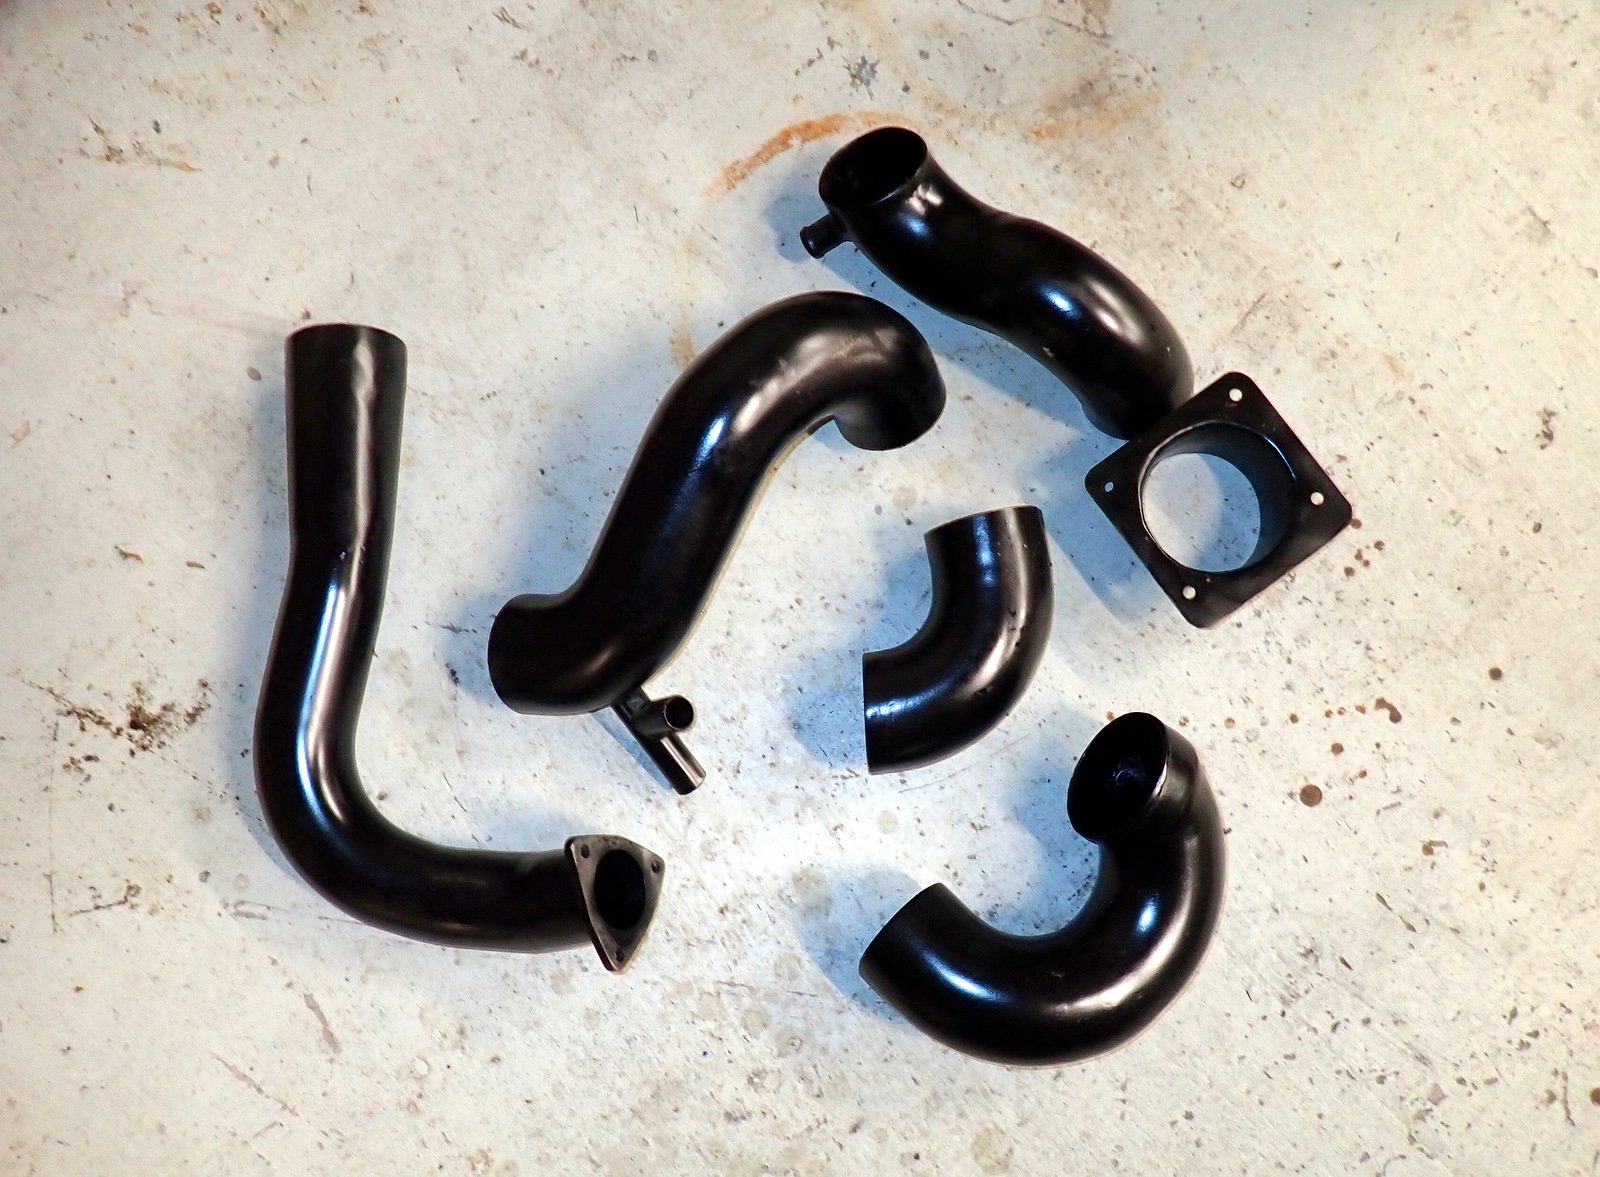
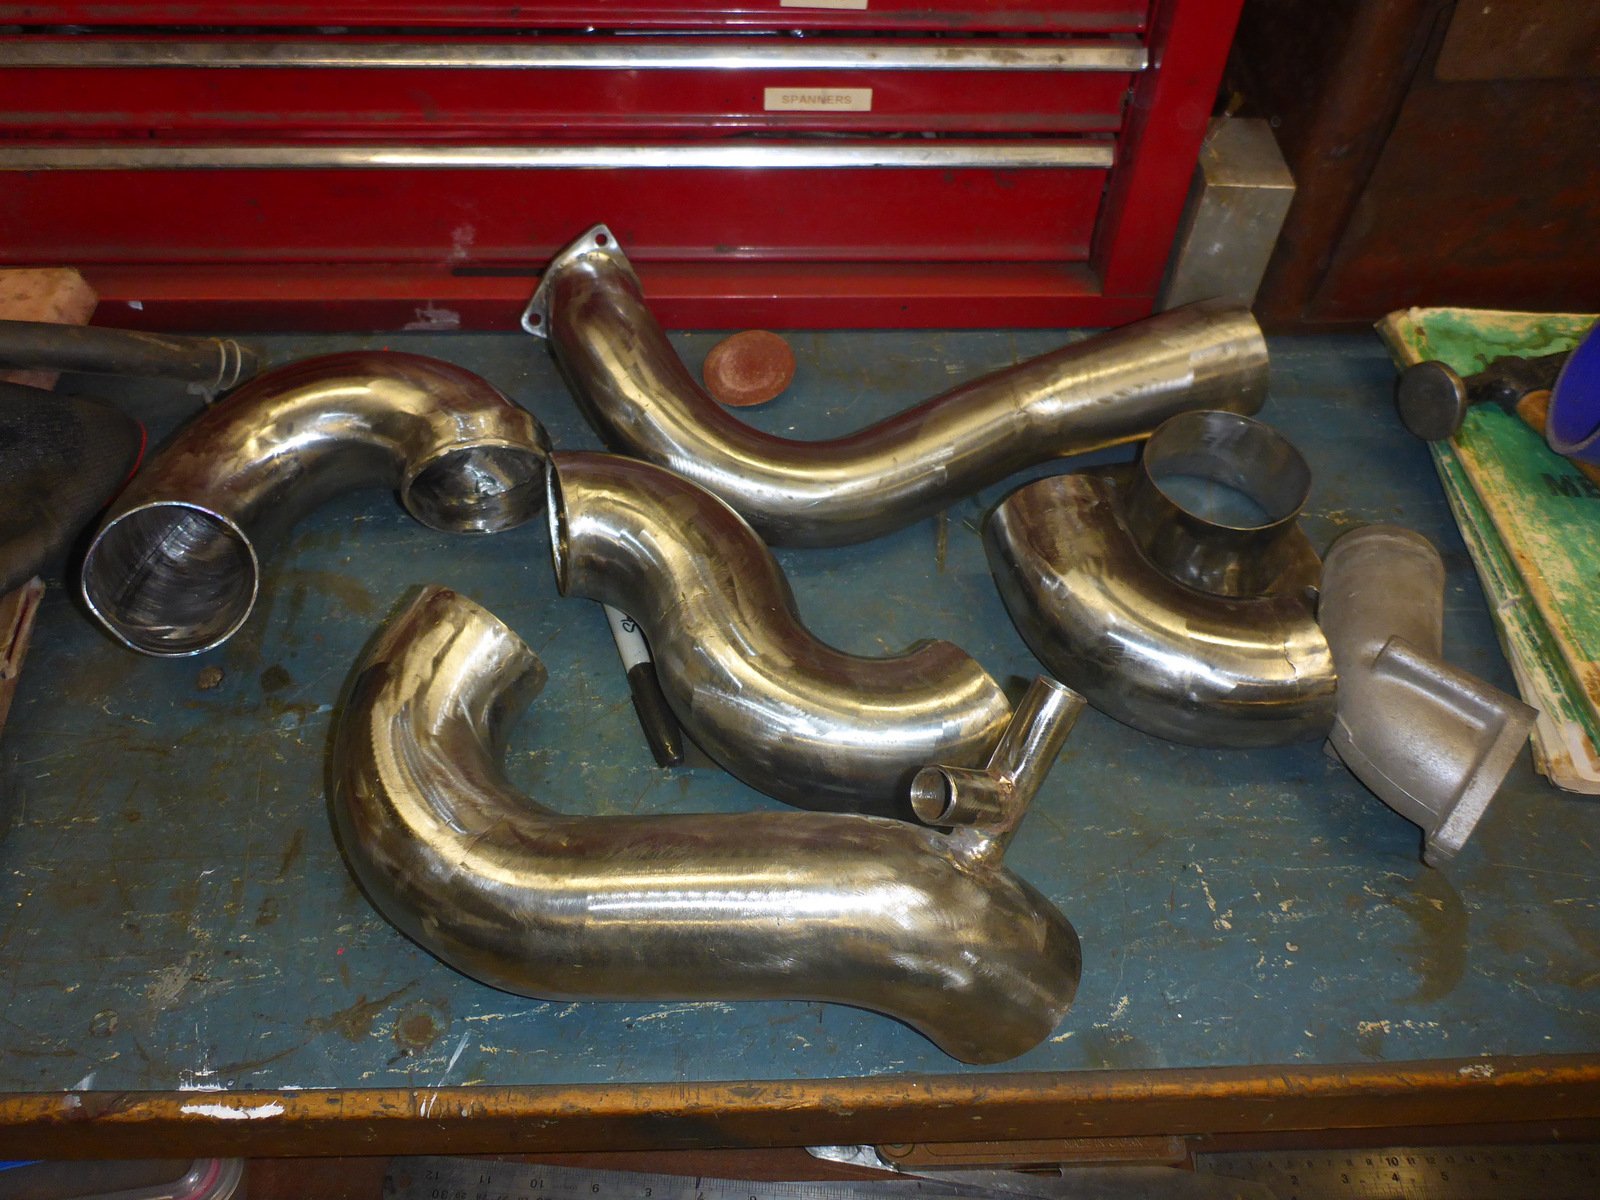
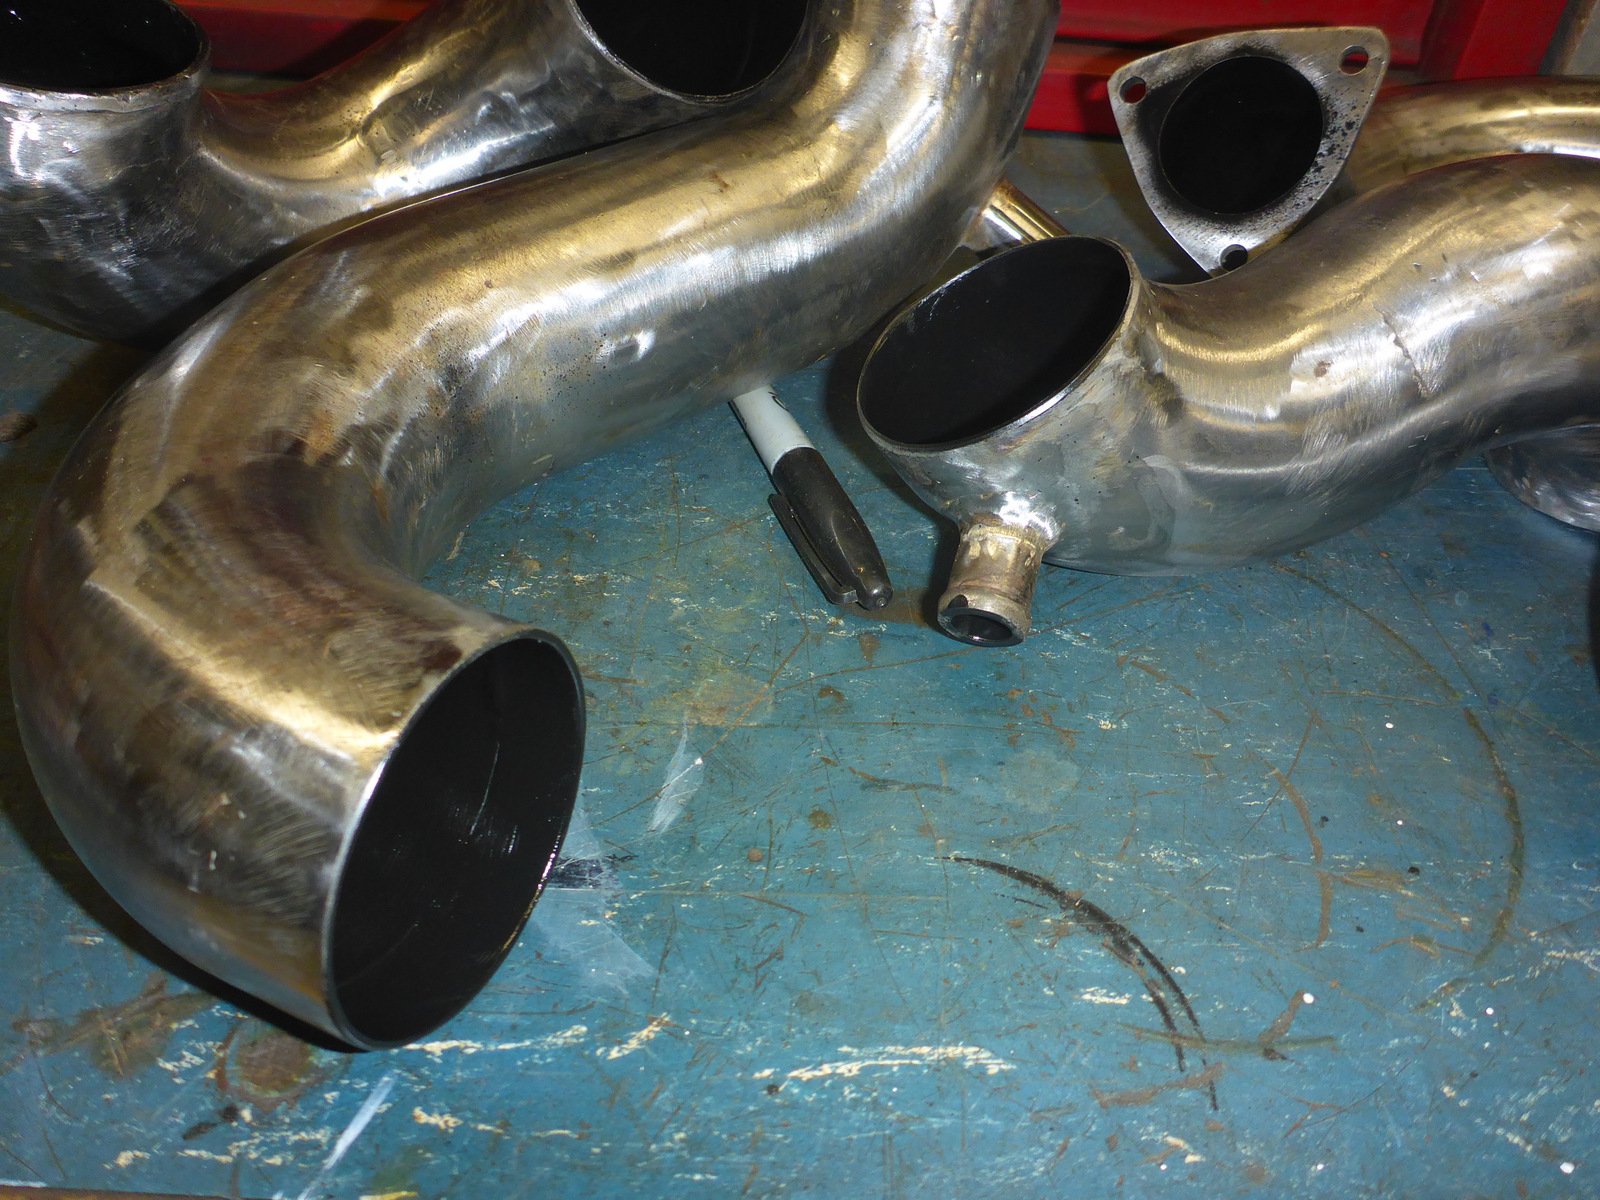
Got some paint on them and baked it with the heater for a while Good thing I have some photos from when I took it apart 7 years ago to refer back to for what goes where. Got one side done, looks better with the pipes painted I must say. Had to stop and tidy up the work area as we have a couple of house viewings tomorrow. I don't usually tidy up until either the stage of the project is finished, or I can't find what I need.
2 points
-
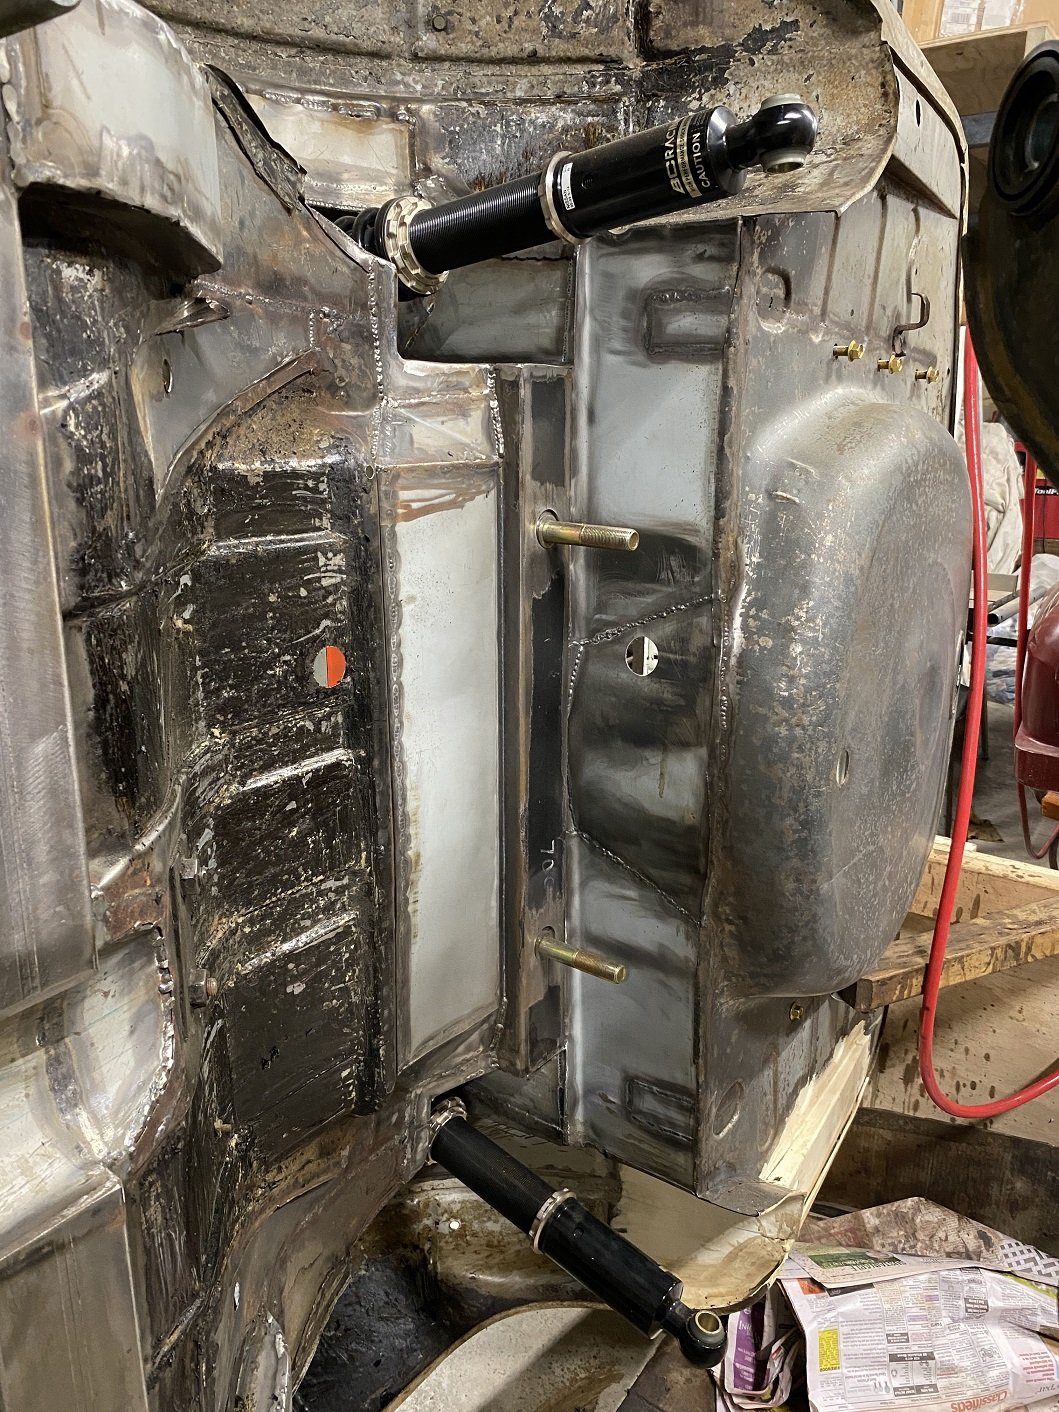
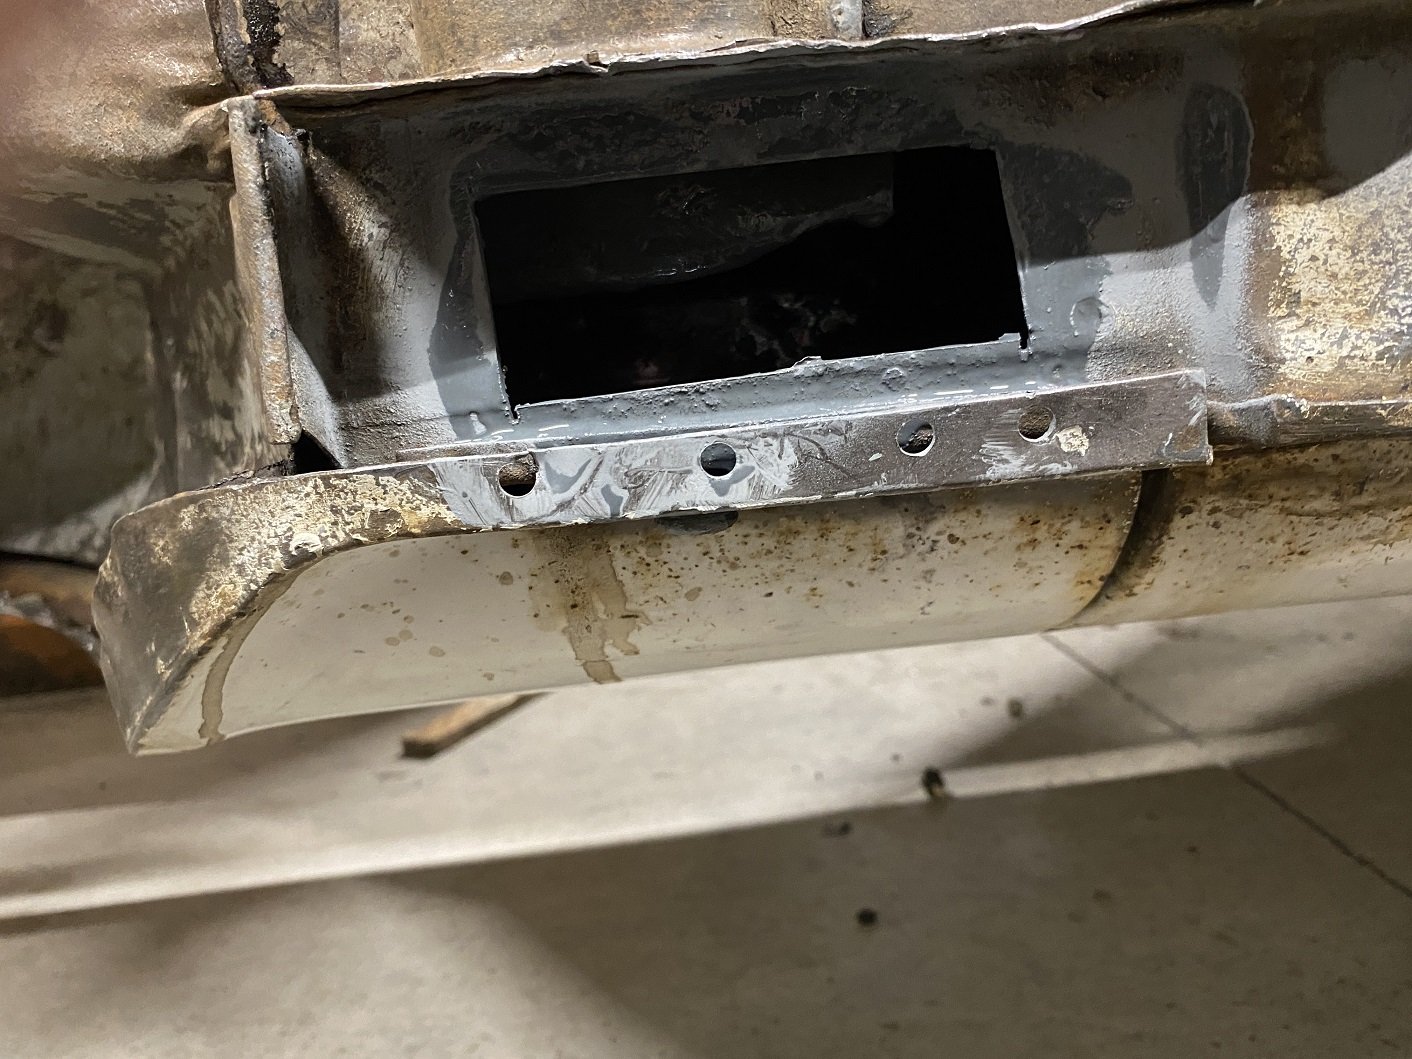
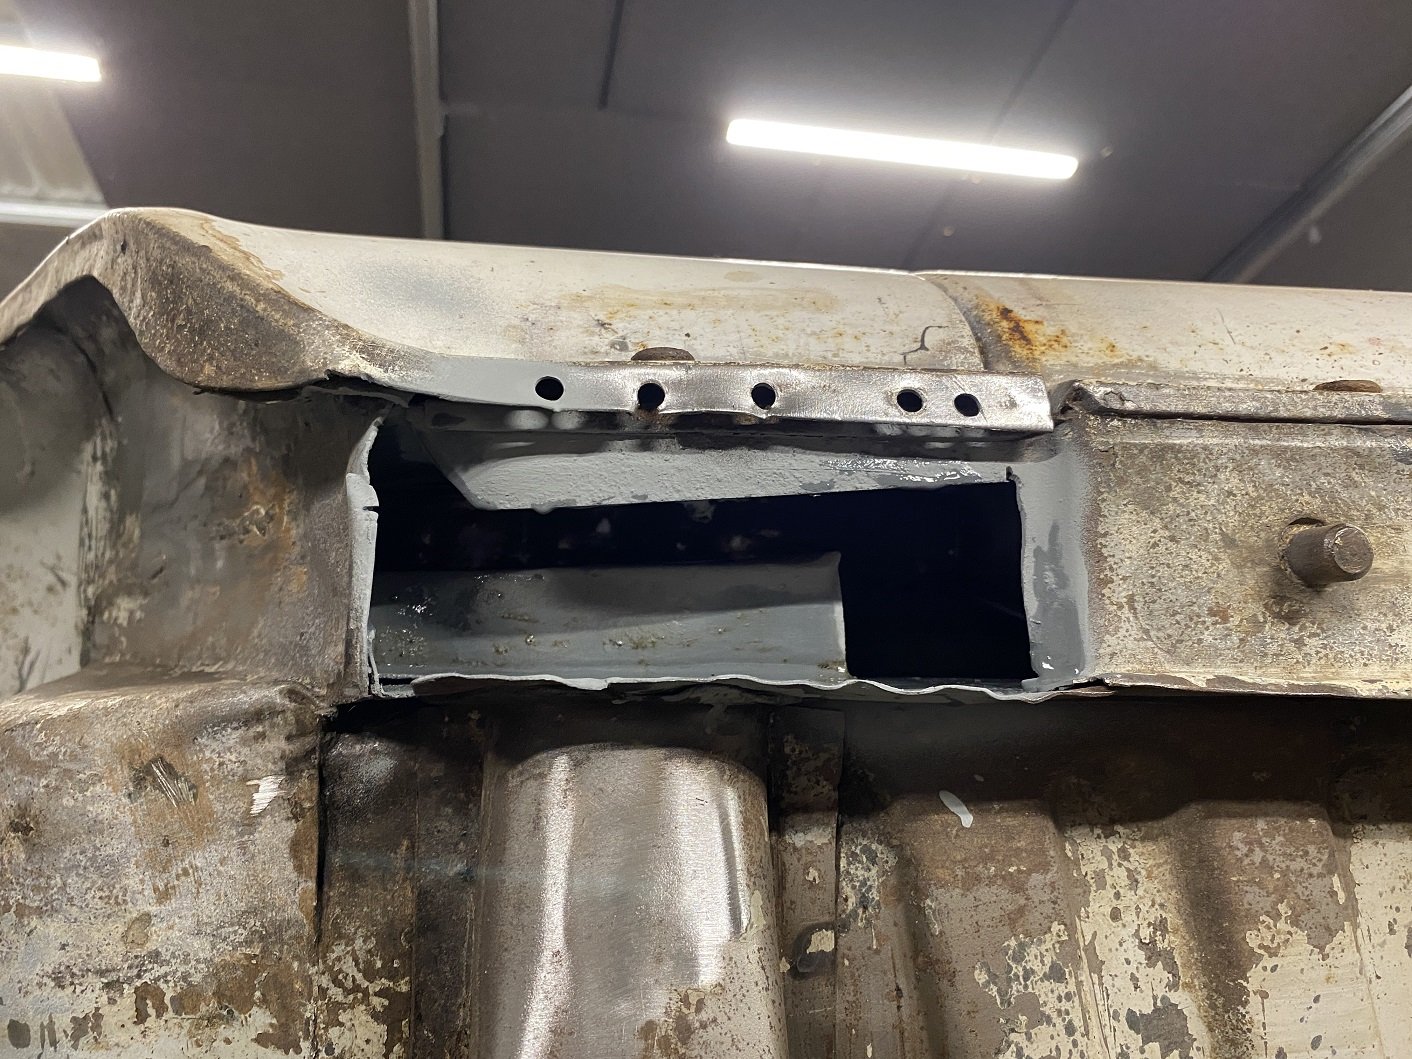
While I've got the underside of the car right in my face, I've been using the hammer to close up any gappy seams and straightening edges. Because I can. The seam at the front end of the sills were a bit squashed from jacking so I knocked and pried them back into shape. While doing that I noticed some pinholes in the flat panel that joins the bottom of the front wing to the seam on the bottom of the sill. I decided to remove that panel. It's basically an 'L' shape so real easy to make a new one.(I've made the new ones using slightly thicker metal) The drivers side sill end was quite pitted under that flat panel because debris gets stuck between them. I cut that out too, it's also flat. It was in AMAZINGLY rust free condition in there. It seemed to be evenly coated with a dark grey primer, this shell must have been dunked in a vat of this primer at the factory for it to be in there. Just for good measure I flooded it with Zinc primer. I did the passenger side too, just to check it was in even better condition. A little pitting, but no pinholes. I tried to take a photo inside but my phone didn't want to use the flash.
2 points
-
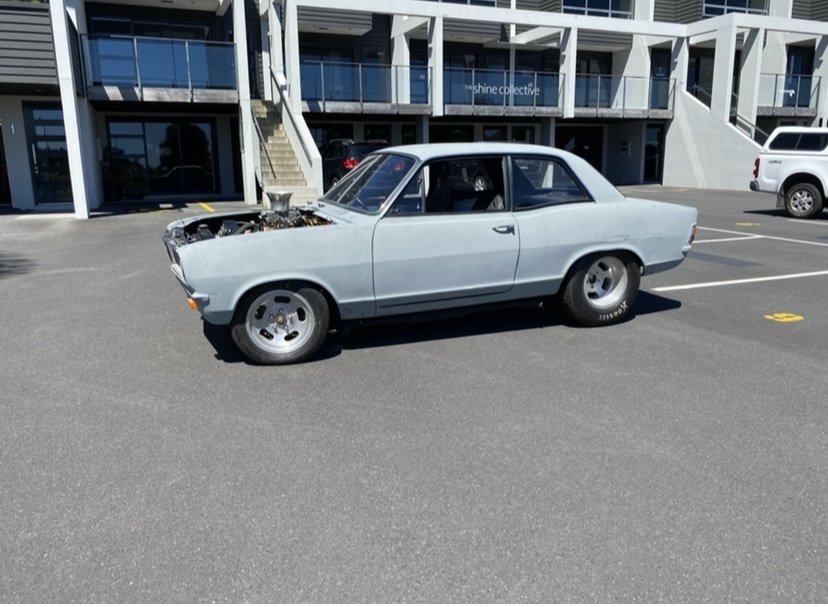
The HB Viva went to a new home and have this new project arriving next week
1 point
-
So you’re saying once again carb is superior to fuel injection?1 point
-
Yeah, pullup according to documentation.
1 point
-
are you sure that a pull up resistor is correct for your sensor? it may be wanting a pull down. 5v when hall is OFF 5v when hall is ON1 point
-
1 point
-
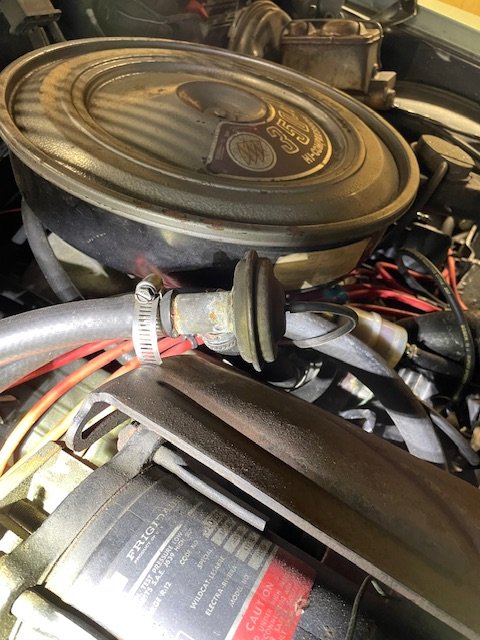
Made it home. Heater tap was the culprit. When I turned it to cold it stopped leaking. Fixed?
1 point
-
FIRST START! Turns out I'd bought a rotary thinking it was a 4AGE with the idle its currently got. Huge milestone and it doesnt make any metallic noises so thats a bonus. Its basically an unopened engine thats been sitting for god knows how long in some garage in Wellsford. Now has some extra bits bolted to it an a new ECU so Im surprised it did run okay for the 10 seconds it was on. Cant post a video unfortunately/ Now onto sorting everything else I've neglected. Theres a leak on the return line fuel fitting to sort, I probably need to extend a fuel hose down inside the tank so the fuel isnt aerating as it goes back into the tank. I need to track down the sick vacuum leak. Body side wiring to do, not all the gauge cluster works atm. Clutch fork retaining clips (due to some photo found, I did this already! woohoo), some oil in the gearbox is probably wise. Carpet seems to hide a multitude of sins...
1 point
-
No worse than pontiac tri-power.1 point
-
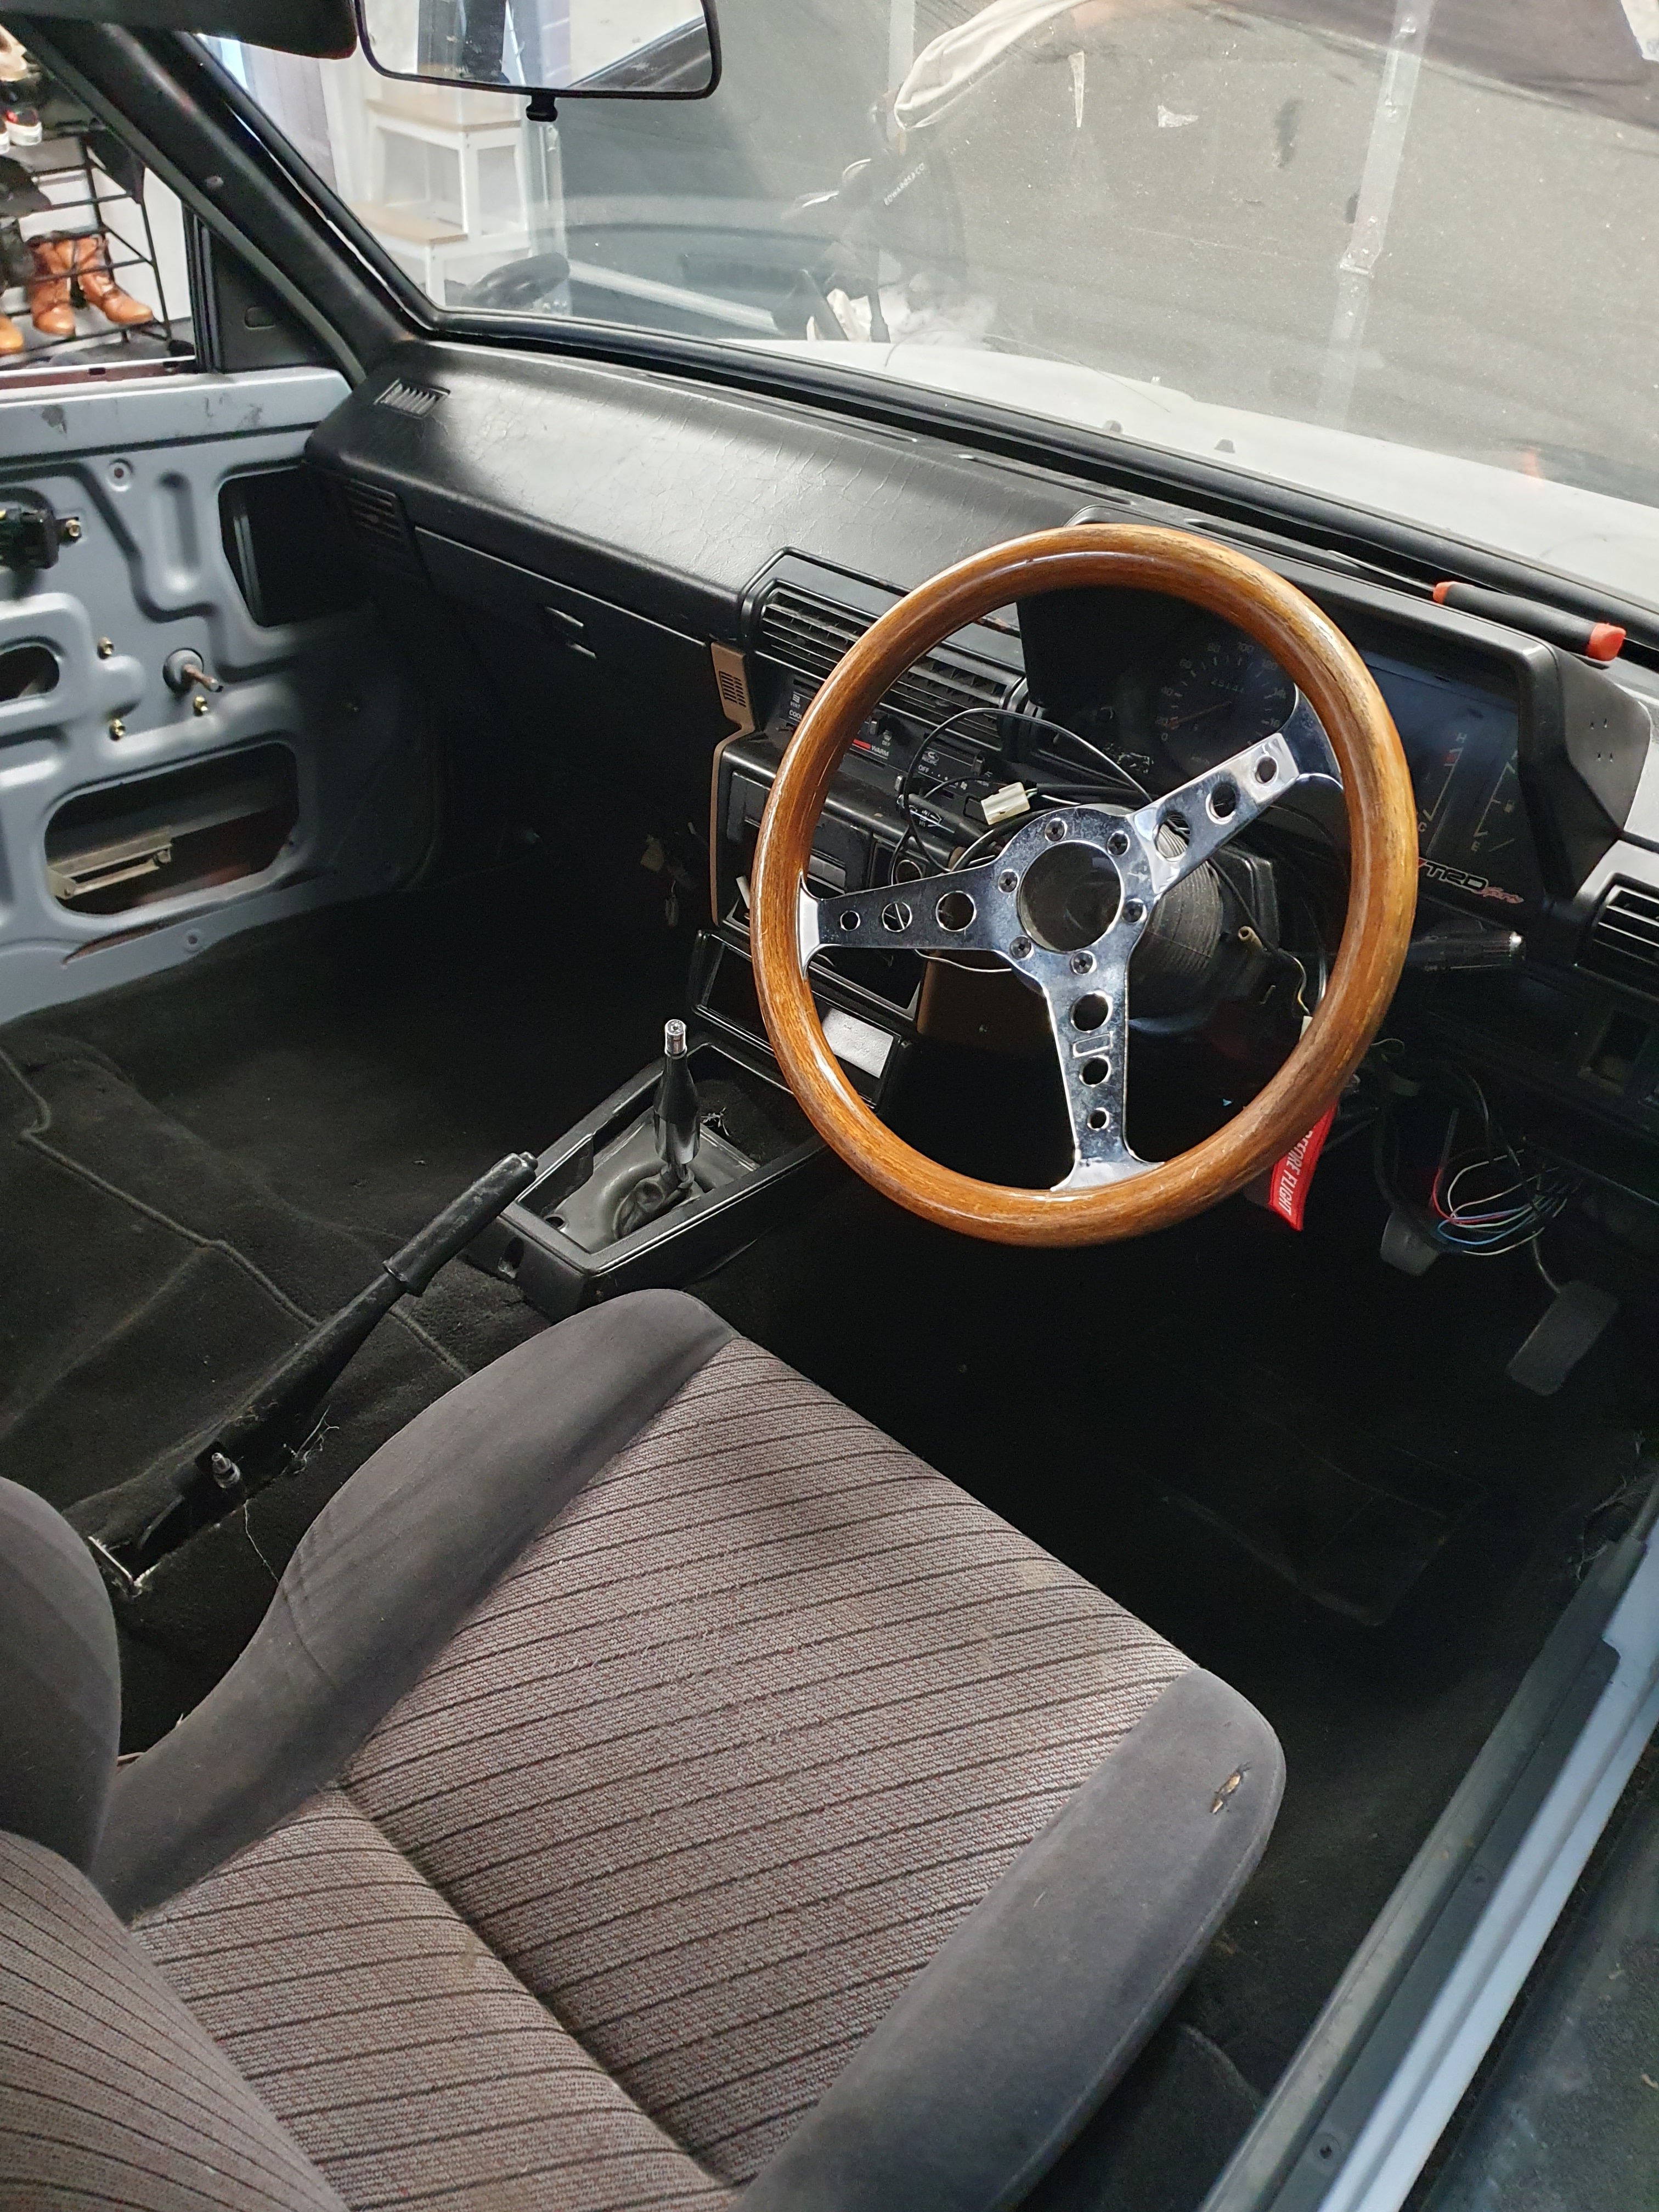
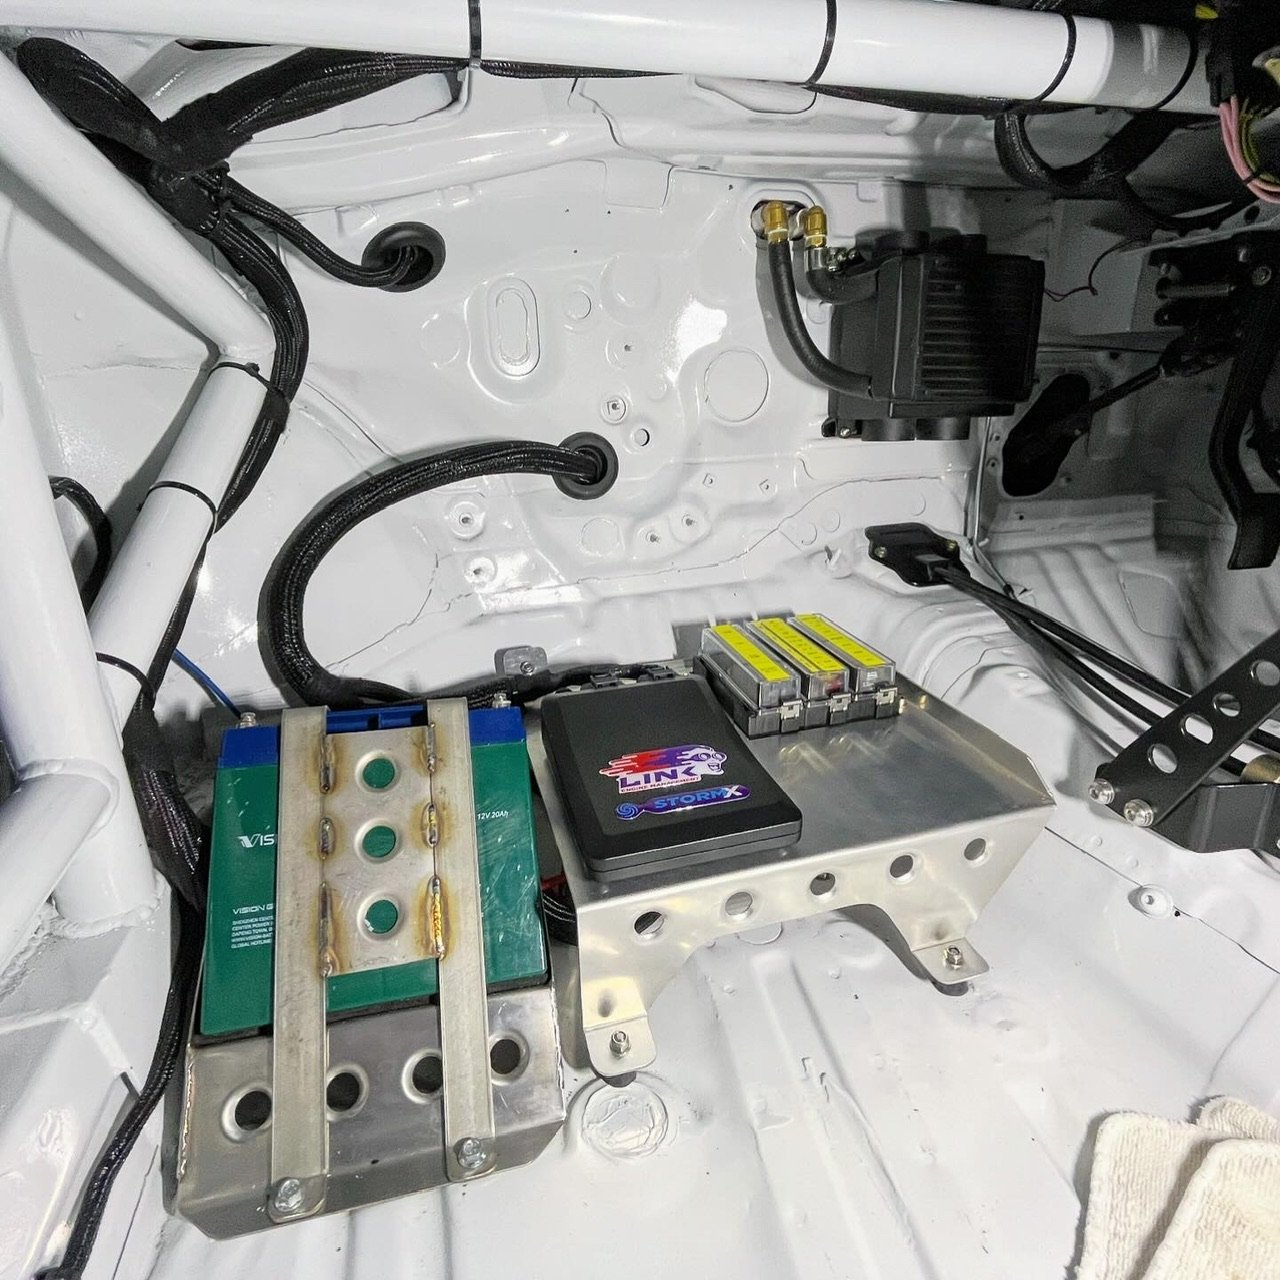
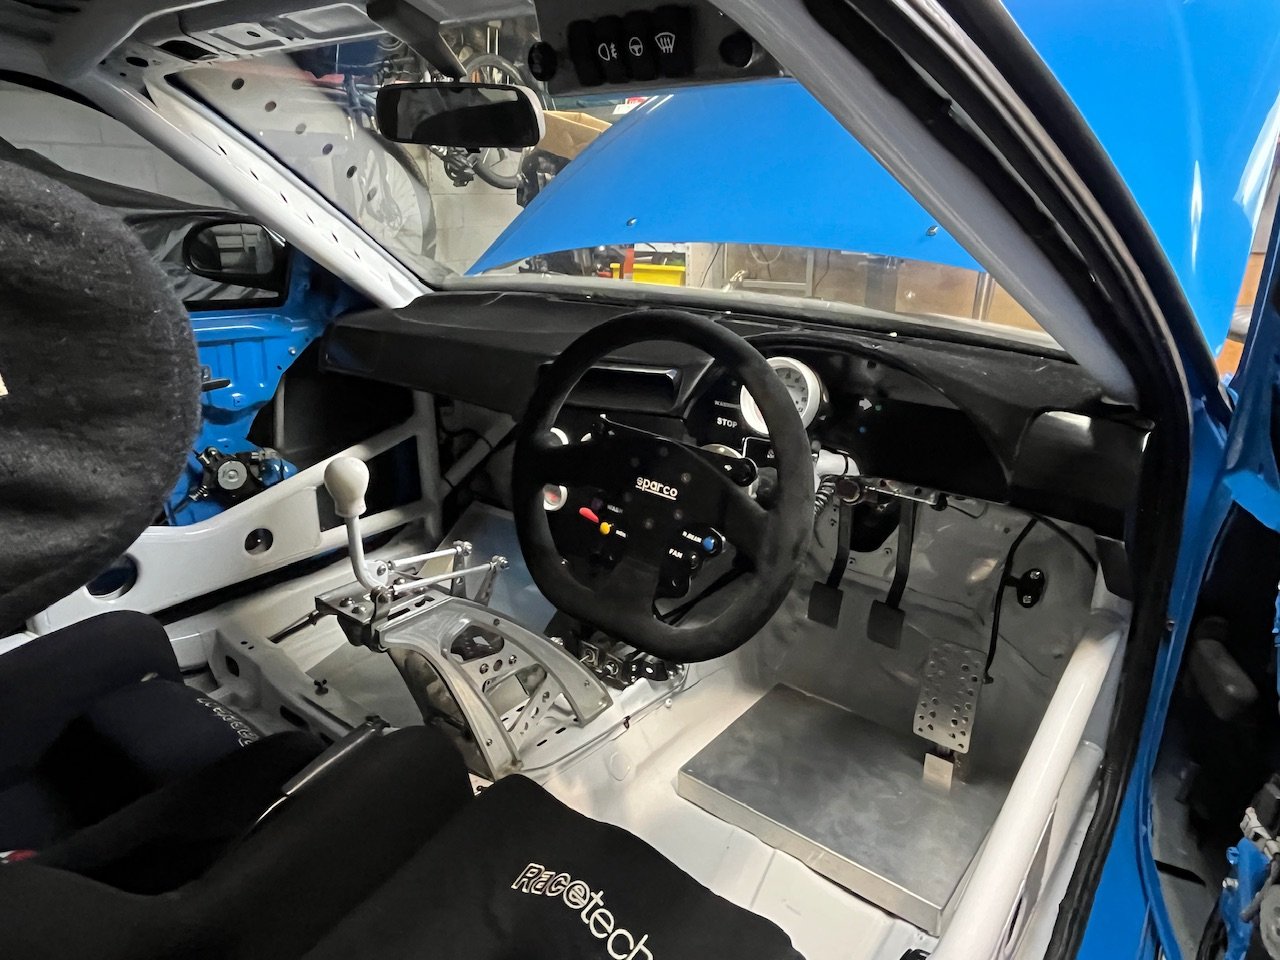
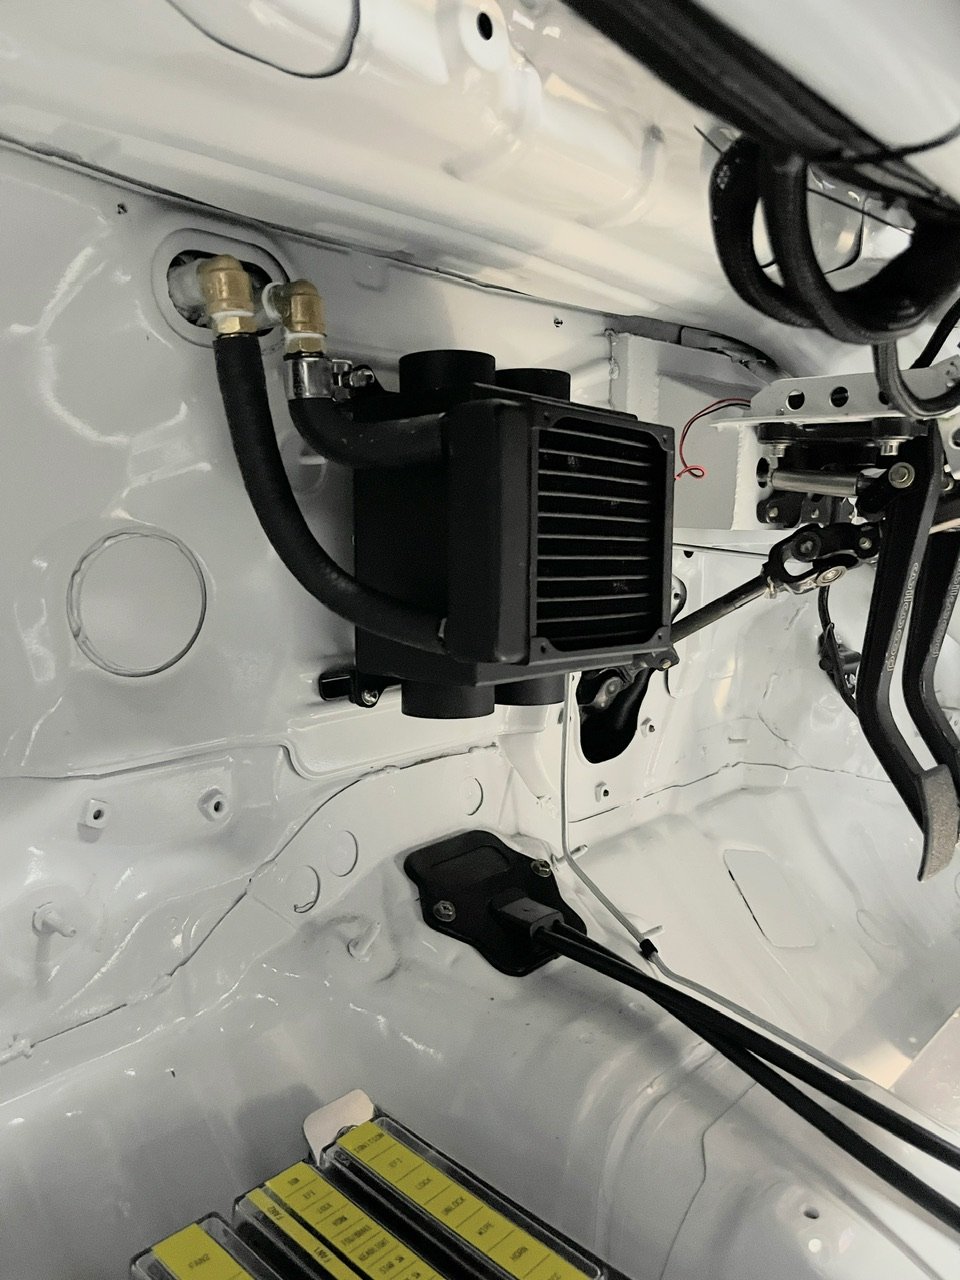
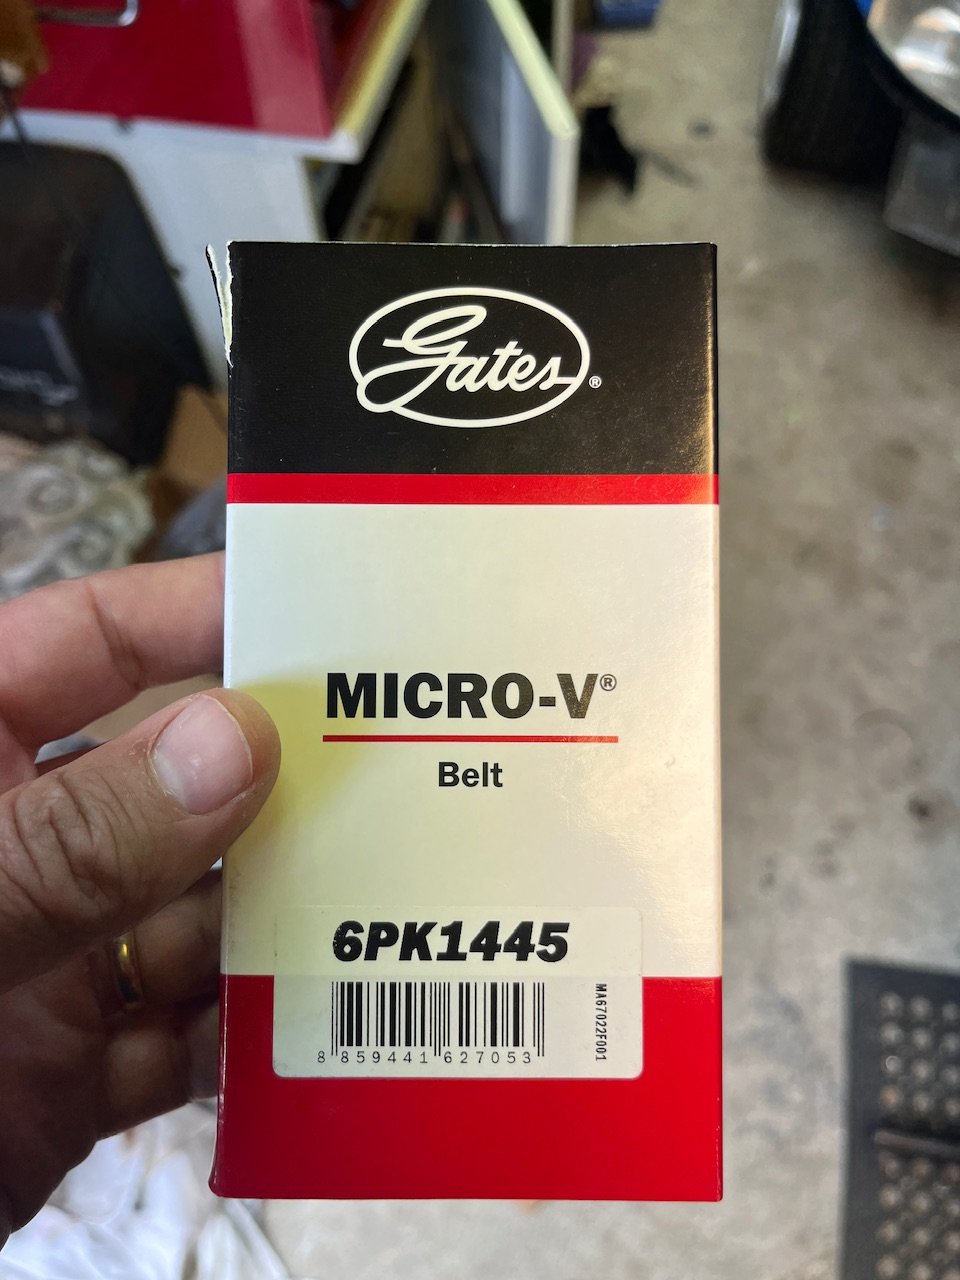
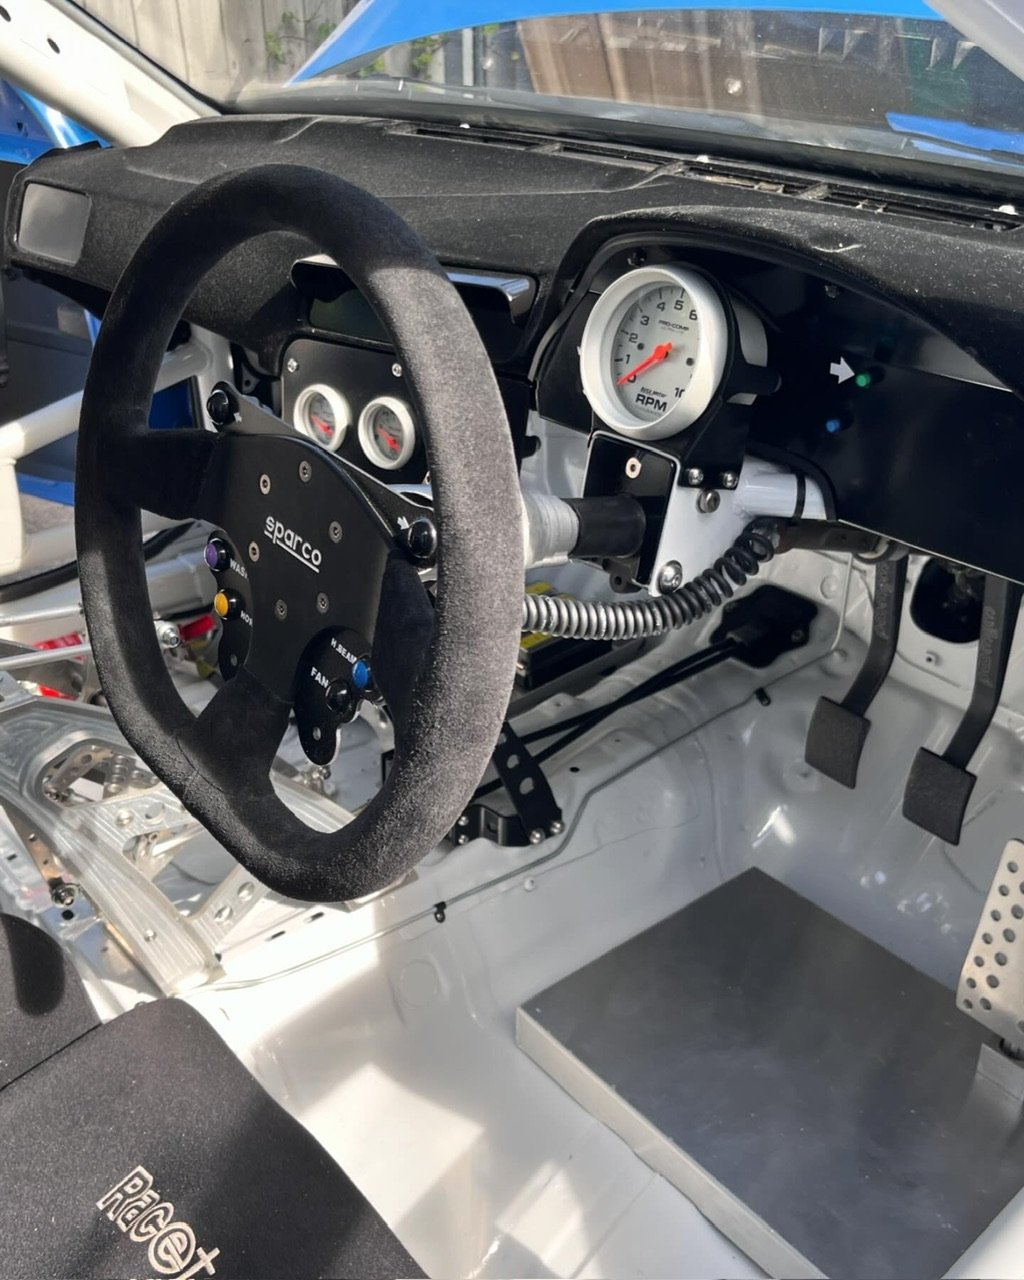
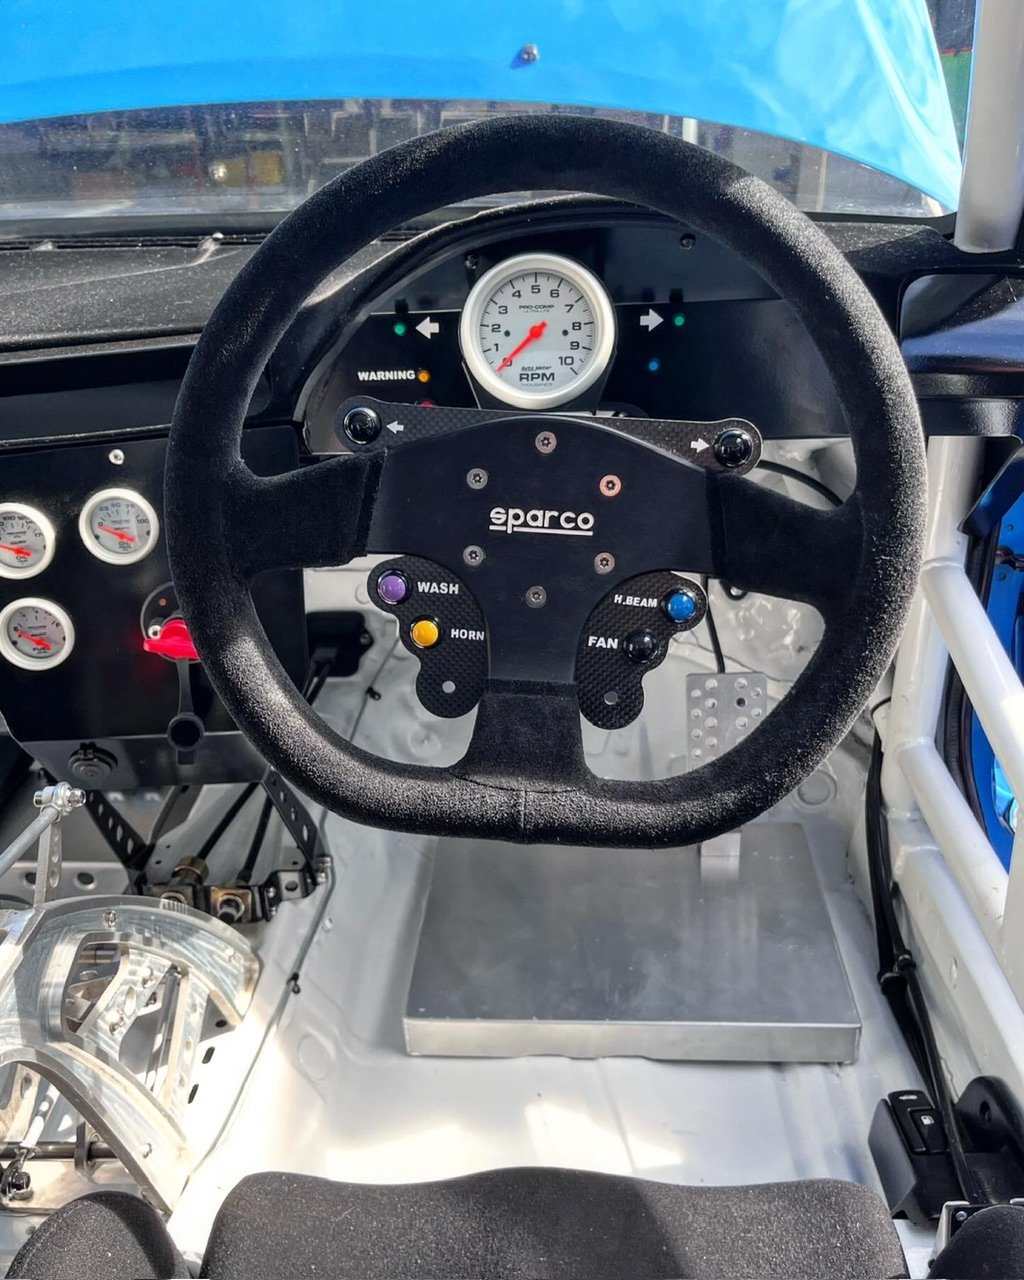
Quick update. Been busy over the past month so this has taken a bit of a backseat. Got some stickers made for steering wheel/dash. Makes it feel a lot more finished. I’m not 100% happy with them yet but they’ll do for now also tidied up the curly cord mounting. Looks legit now. So the set of pulleys I brought back from the states didn’t fit my alternator (which turns out is from a 1zz fielder). So jeffy came to the rescue and made a bush to suit. For future reference..1445mm belt works with no PS, and underdrive alternator and water pump pulleys. This took quite some time to figure out found a wee molded hose to finish up the heater piping. Still need to 3d print an airflow thing for the dash heater ducts. Cooling system is now sealed and ready for a pressure test (pending a few extra hose clamps!) Also replaced gearbox axle seals and filled with oil for first time in 10yrs. Hope not too much damage has been done from sitting around. Bought and sold another Levin to pay for Link Storm g4x and engine wiring loom. Loom worked out great looks very hidden away. Some small mods to make but all simple enough. next up; 1. fix stripped thread in engine mount 2. replace sump with baffled version 3. remount expansion chamber 4. make headers 5. first start??
1 point
-
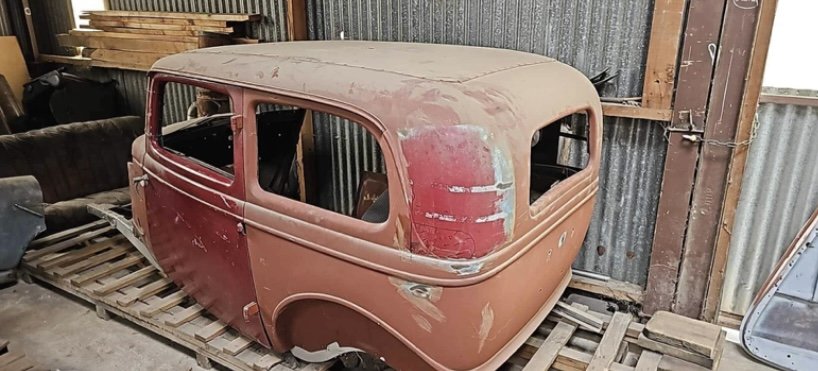
I got the viva all ready to run through final compliance and a hot Rodder friend offered me a couple of old ford Ys at the same time and I’ve always wanted to build another hot rod so had to make a decision. The vivas gone to a great home so made the sale a lot easier for me. I need to learn how to chop a roof and am excited for the challenge.1 point
-
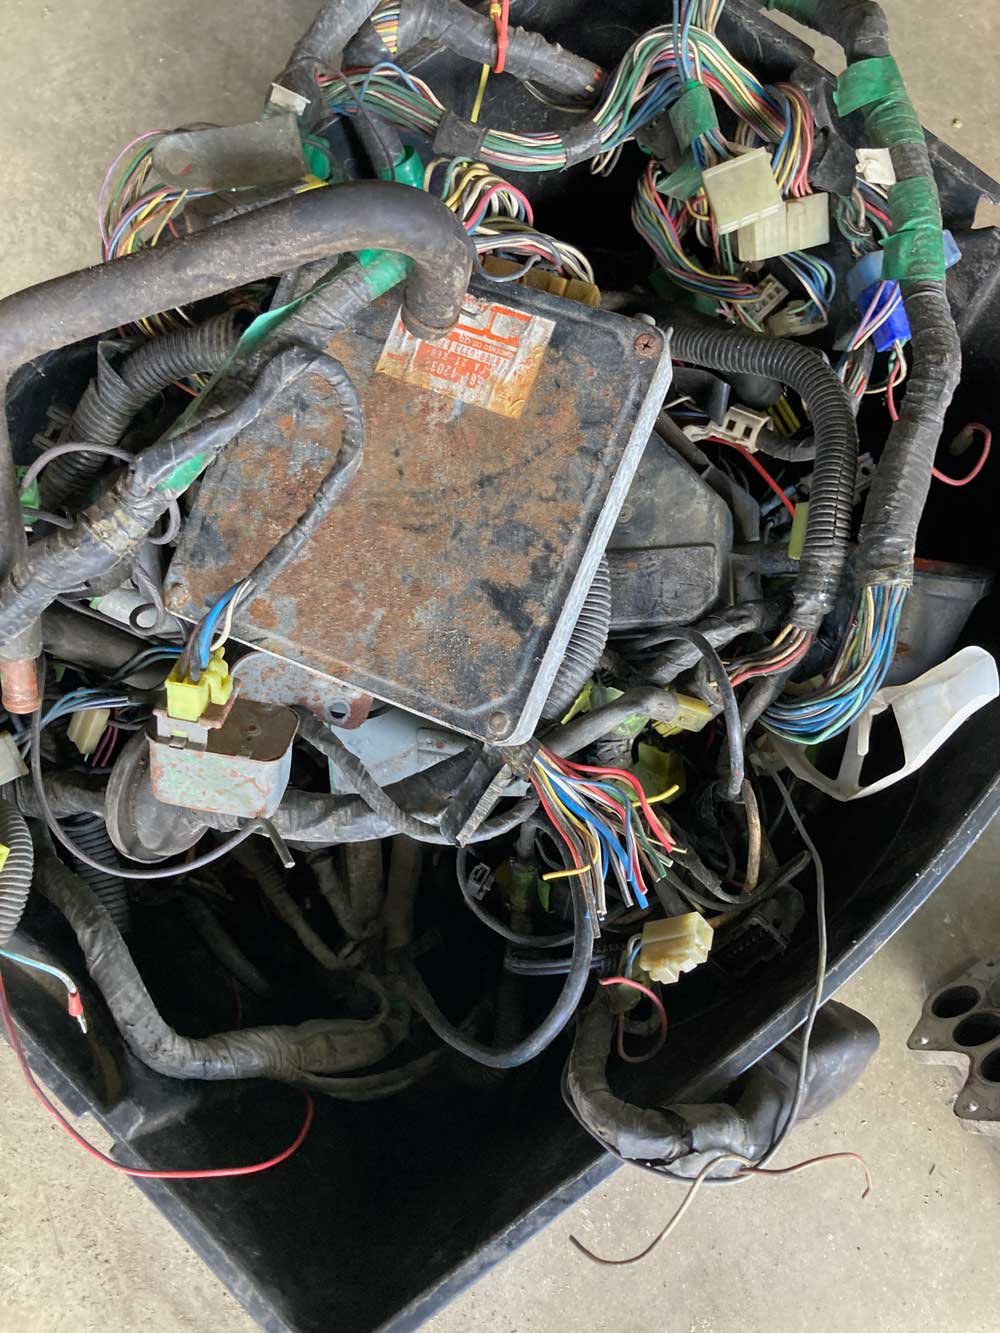
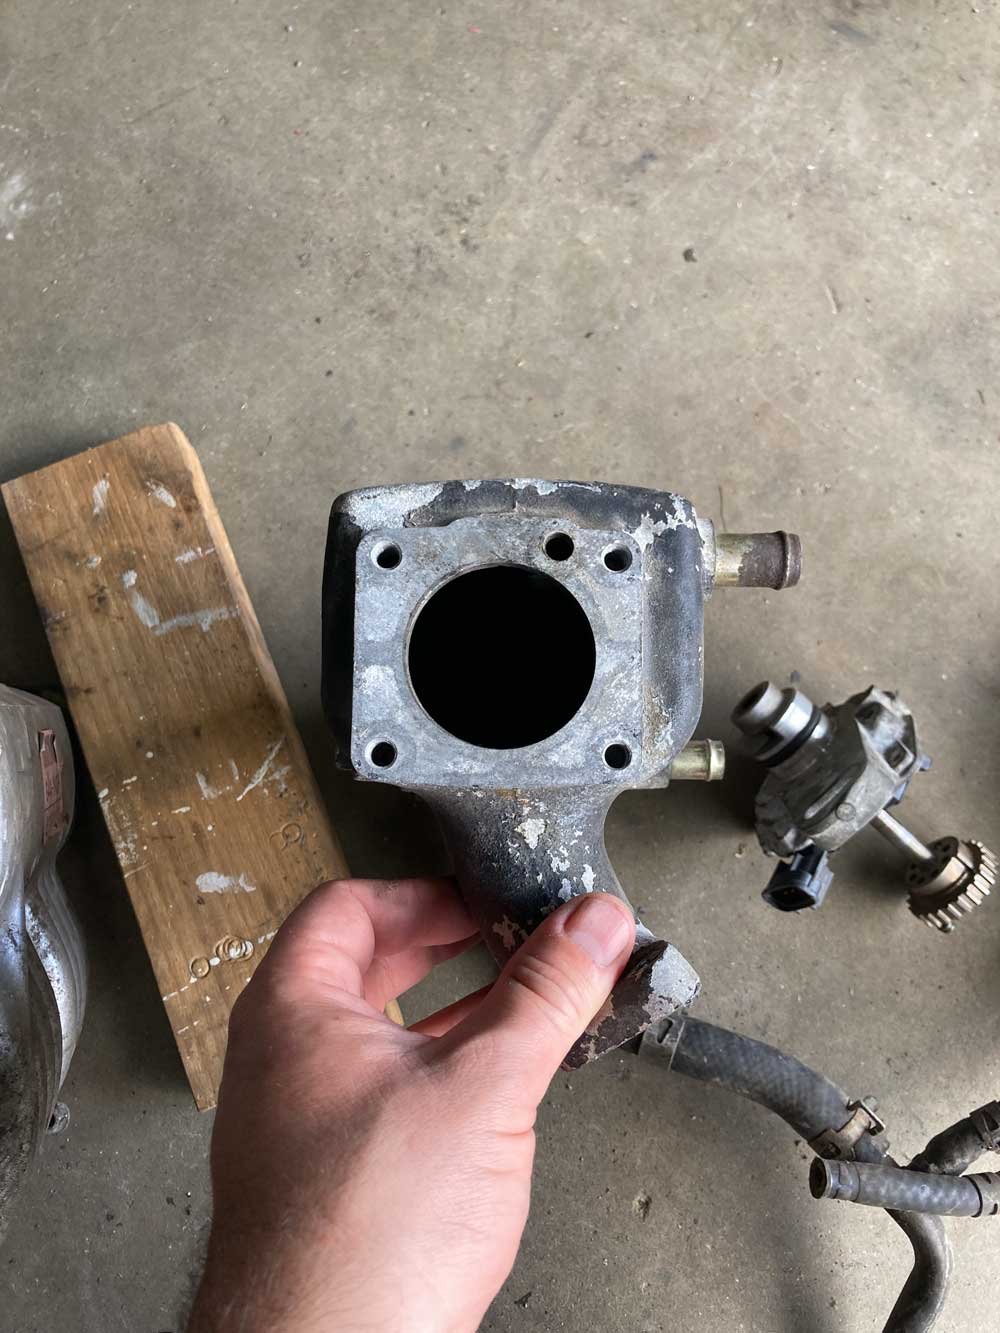
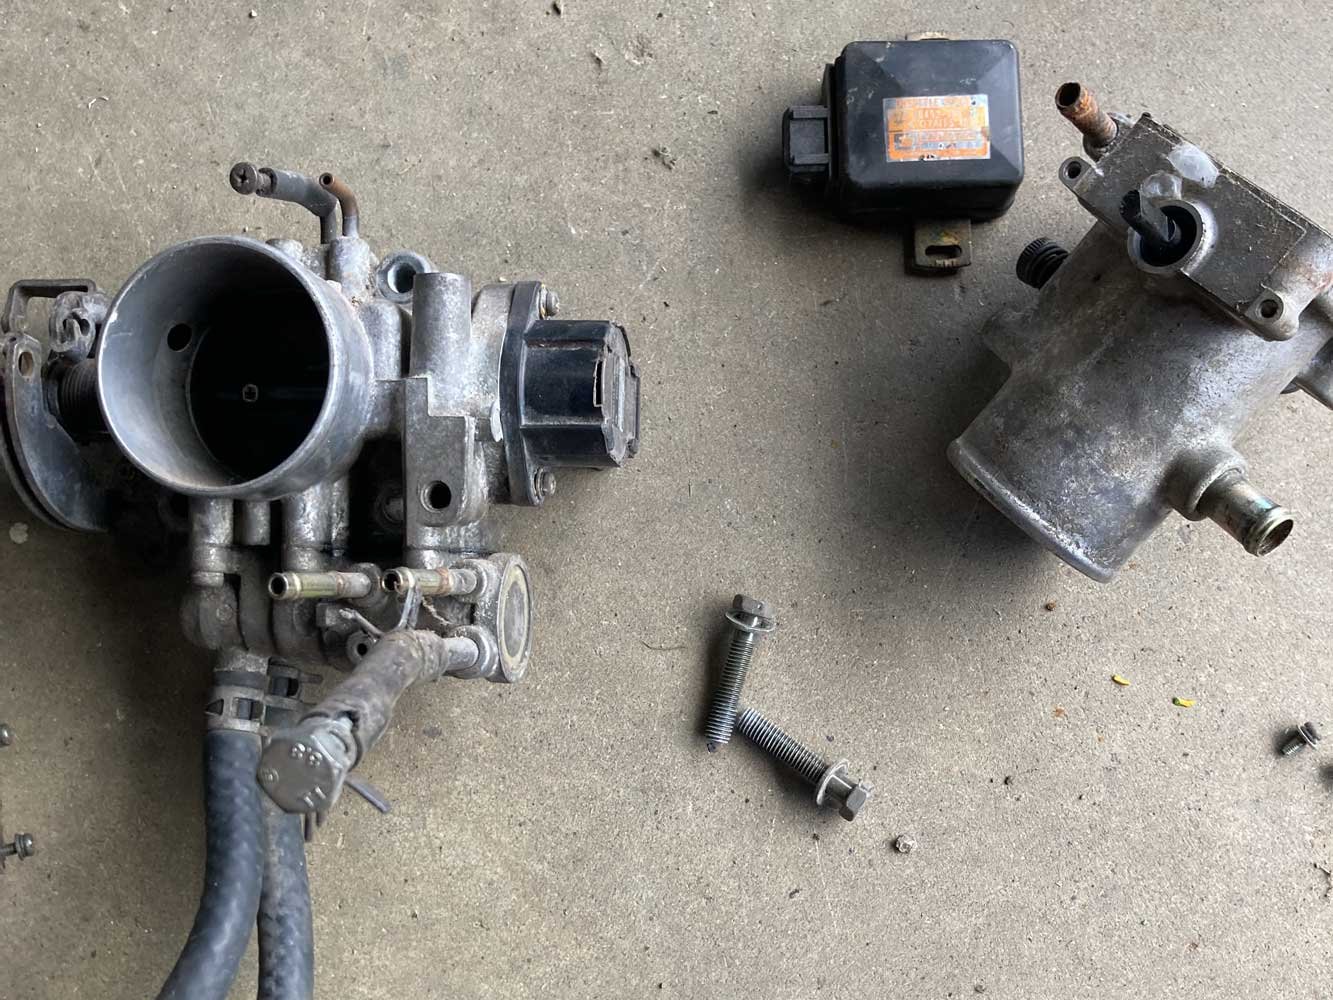
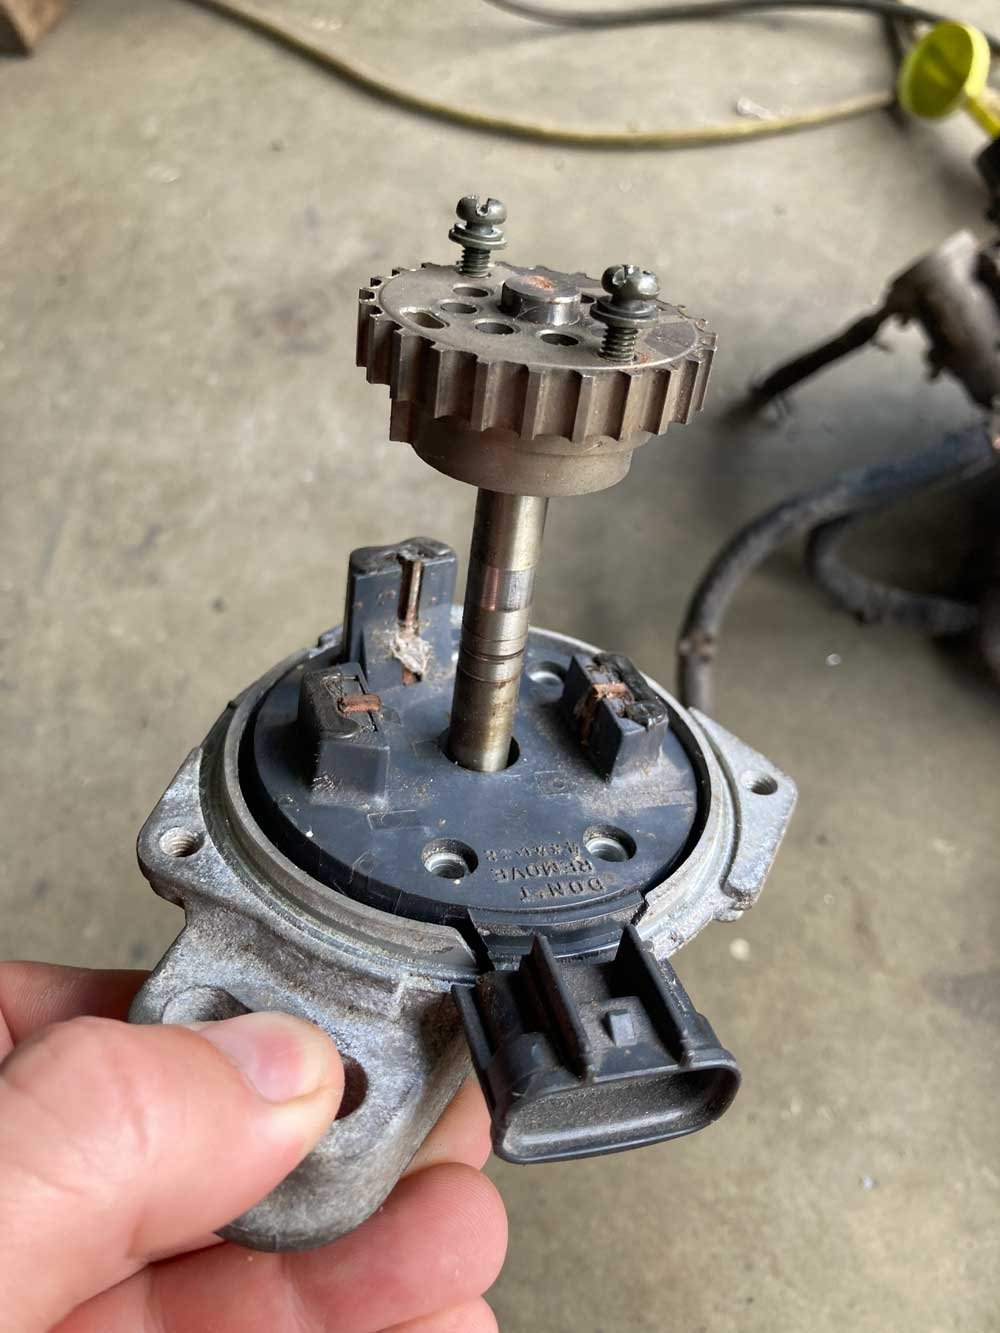
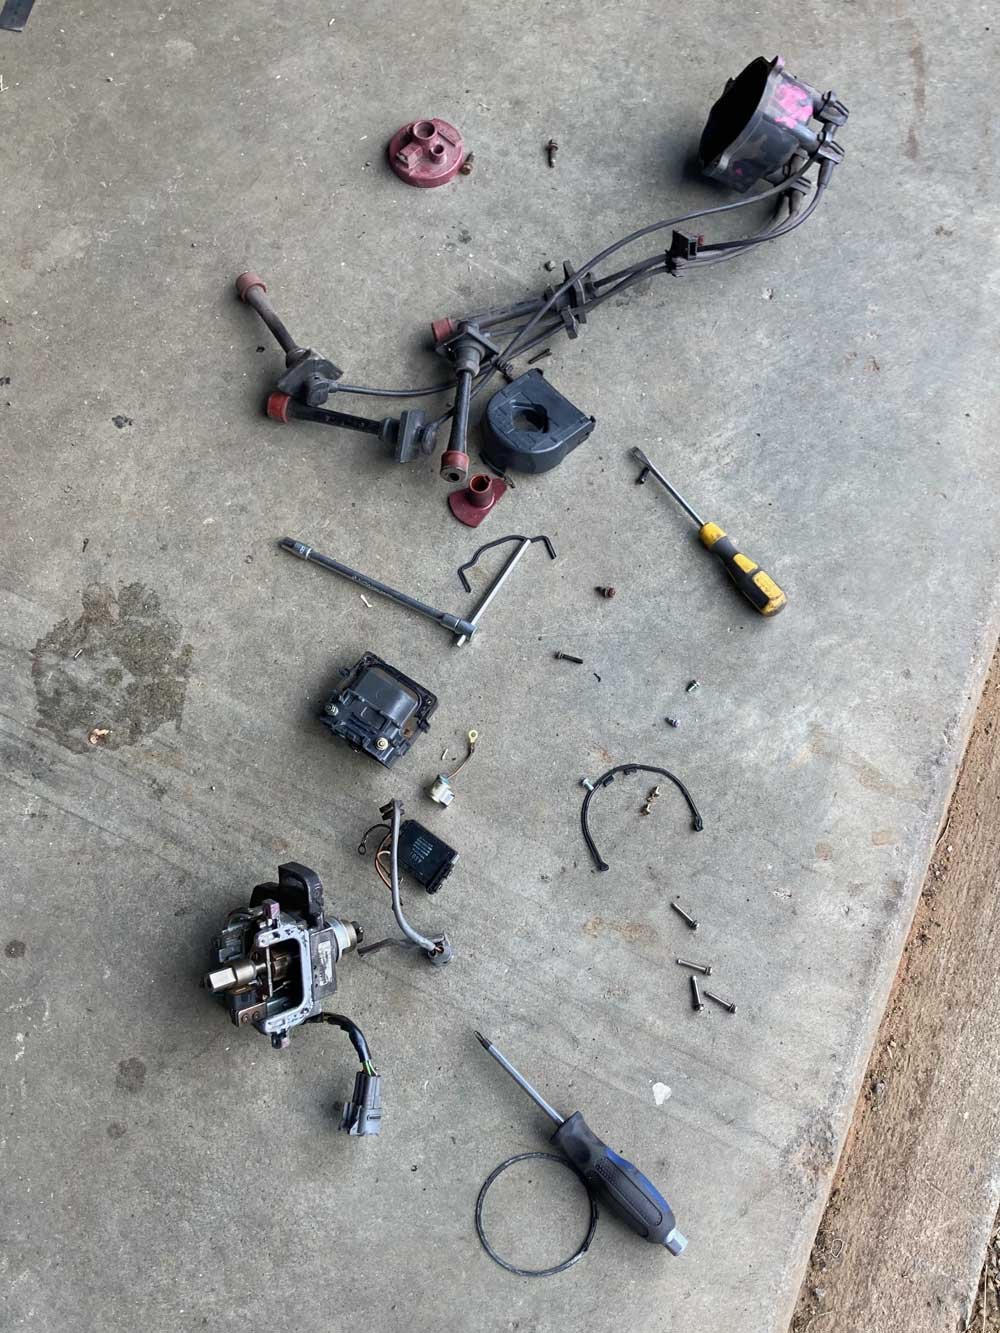
So because I have a big job to finish at the moment and am under immense time pressure, I got distracted and had a fiddle in the shed after staying up late last night doing research. This is my 2TG pile. First I had a fiddle with throttle bodies and TPSs. On the left is a TVIS Redtop 4age throttle body and on the right is the 2tg one. The 4age has a potentiometer TPS vs the switch type of the 2TG The 4age inlet manifold is on the left, and the 2TG one is on the right. The bolts are the same width apart, but the 2TG ones have a smaller spacing vertically. There is also a 10mm difference in size between the two TB holes. The nerd that can't weld alloy in me has been working out how to design a bolt-on adapter plate to bolt the 4age throttle to the 2TG inlet, but the logical option is probably to make a weld-on plate that the 4age throttle bolts to. We looked into switching the TPS over, but swapping the whole throttle seems to be less fiddly and results in a bigger throttle, and bigger is better right? The next little mission was trigger wheels. We searched through the shed for old Toyota distributors and found an AE101 5AFE one and a Blacktop 4AGE one. I pulled them both apart and decided the 4AGE one on the right was a simpler setup, but will take them both to Max and see what he thinks. I've read about how ideally you want to run your trigger on the crank due to distributor slop etc, but this seems a whole lot less ugly. Hopefully, we can drop these guts into the 2TG distributor and get a cam and crank signal off it. It will be easy right? (This is what people say when they come to me for website things that don't turn out to be easy). I've found this discussion https://speeduino.com/forum/viewtopic.php?t=495&start=100 that relates to a 3SGTE that seems to use the same style of trigger wheels.
1 point
-
I live on a very loose shingle beach, all manner of 4x4s get stuck here all the time. We have a basher SWB V6 Escudo on 33x10s for beach duties, it does well but its a turd grubby thing and I want to replace it. W163 is pretty high up the list for replacements as I am a Benz foamer. So, what are they like on the loose stuff? I worry about buying a 2 ton 4x4 and it not being usable here. I'd probably stick some 315/75R16 all terrains on the stock rims and lift as required for clearance. Doit?1 point
-
Used a D shackle and a pin from a door hinge out of a 1930s bungalow. Will attach it with a bit of sink plug chain or something sonic doesn't get lost
1 point
-
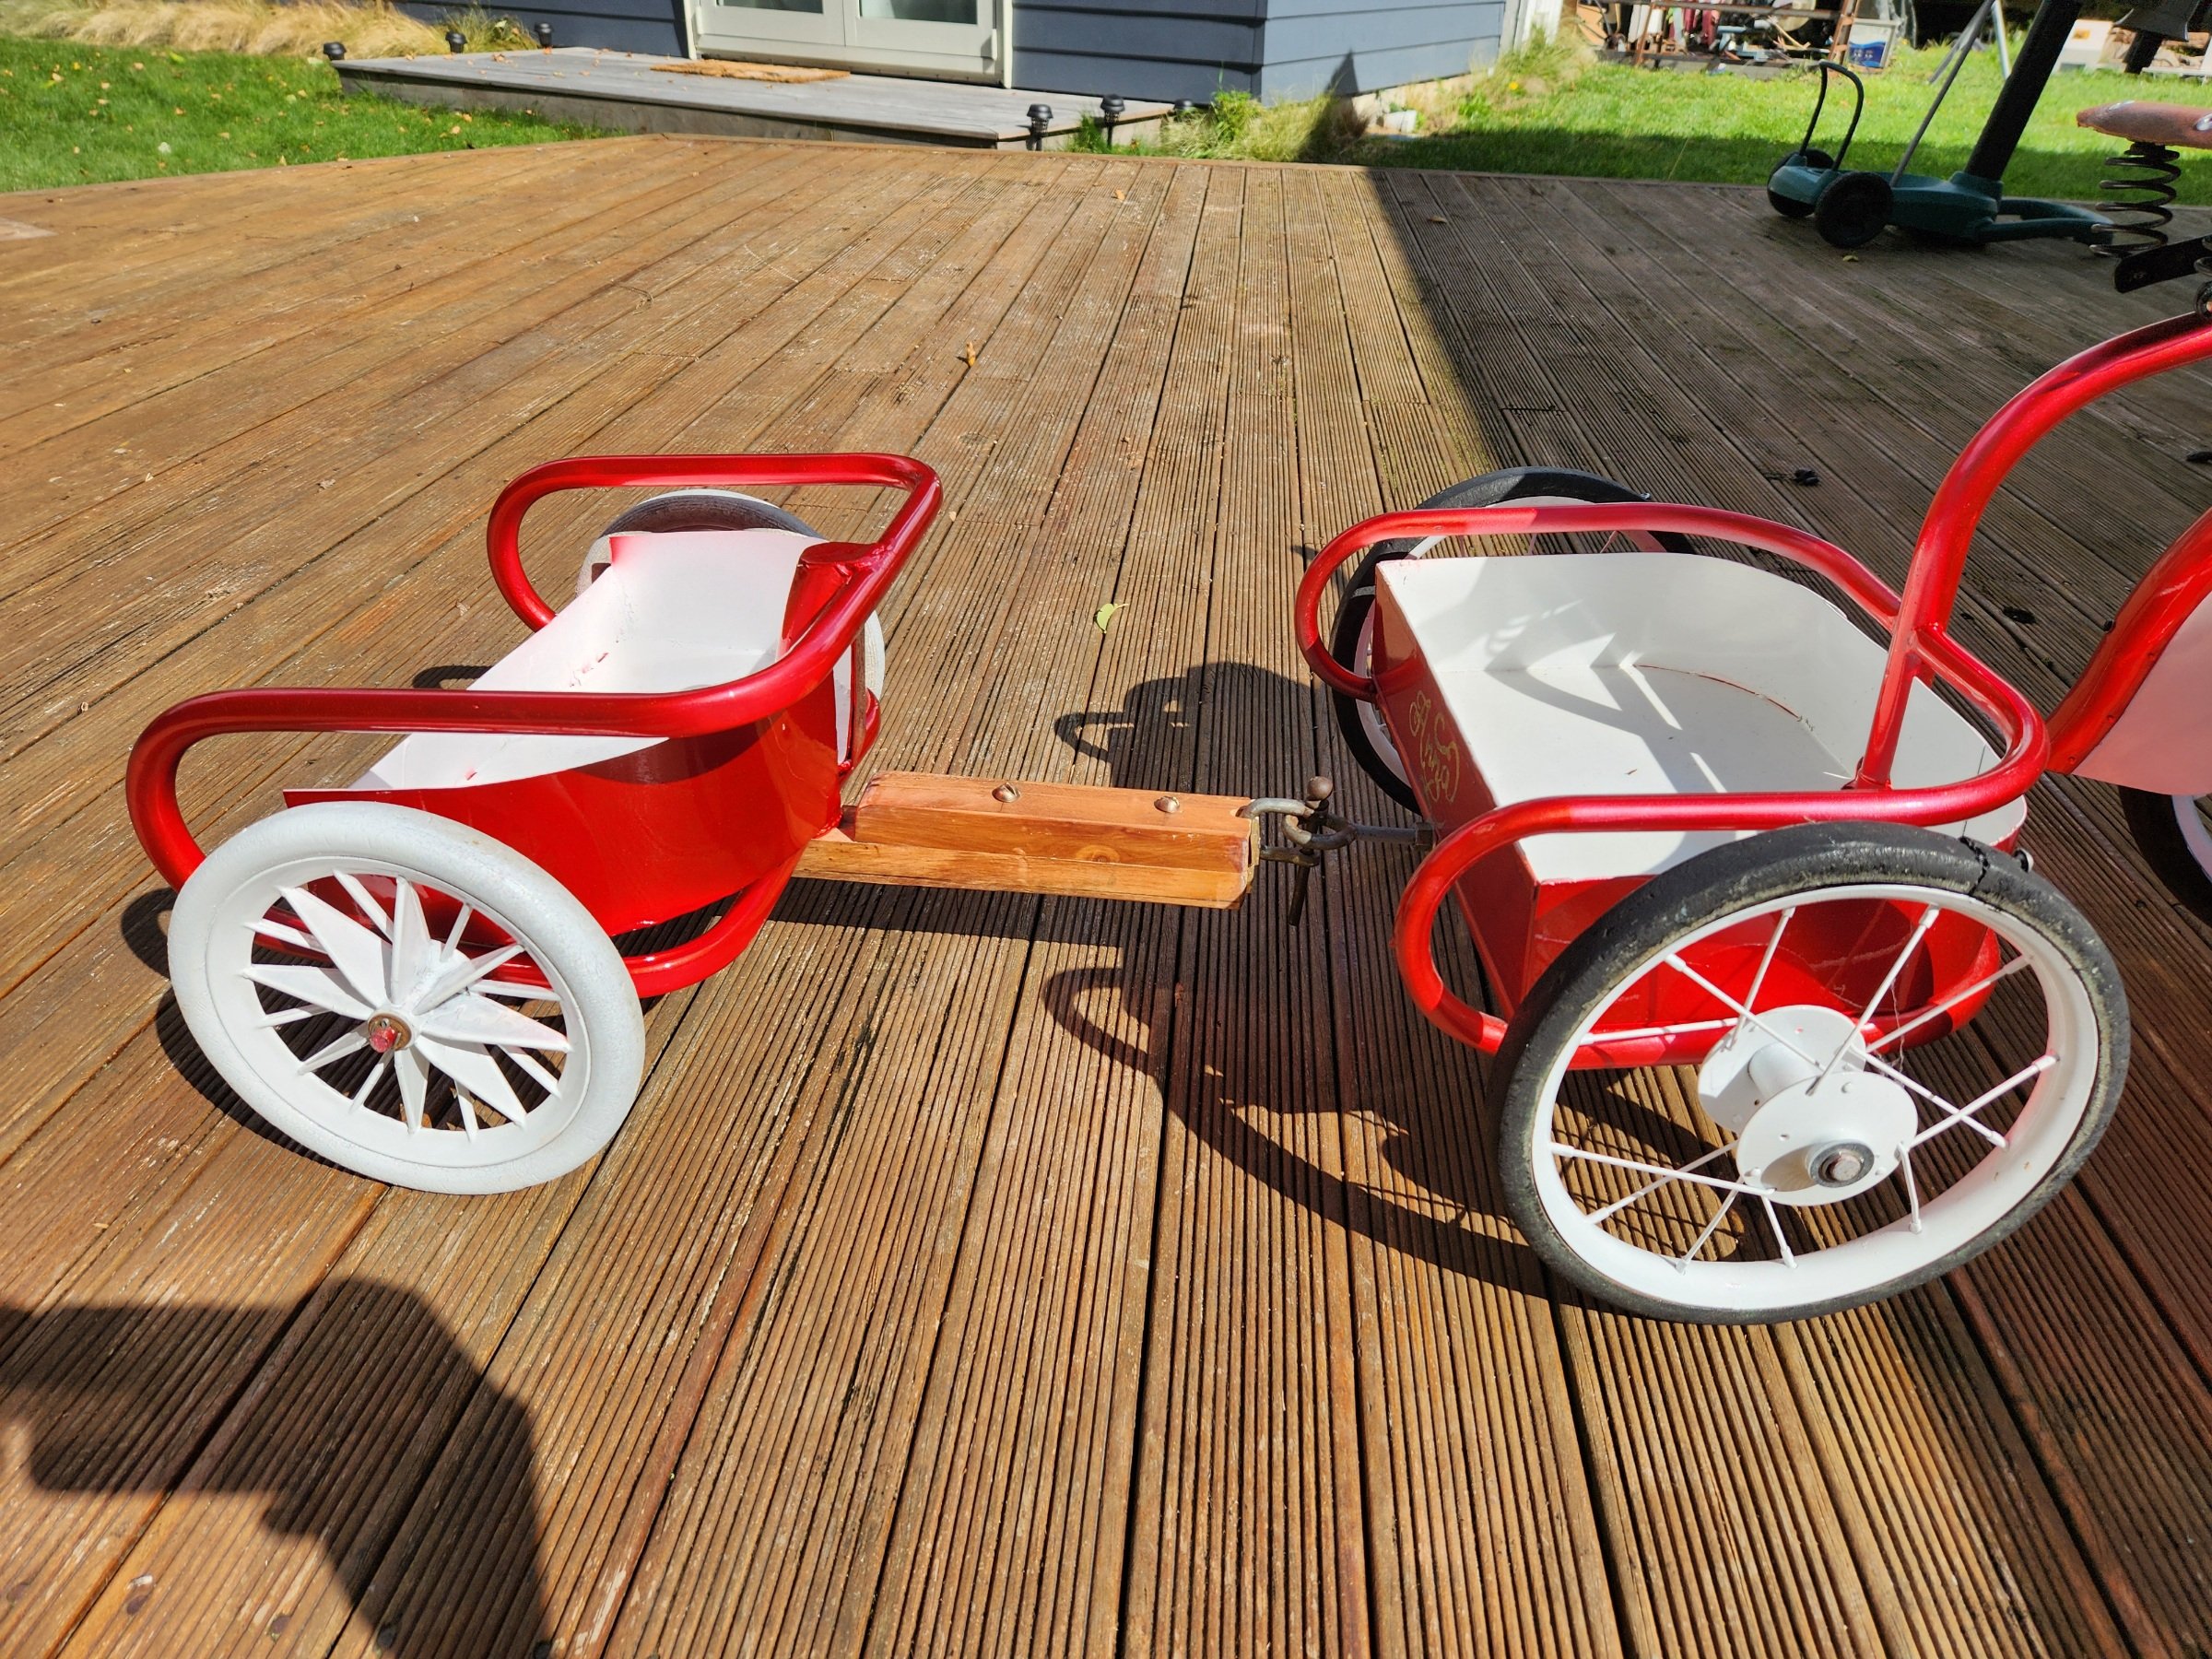
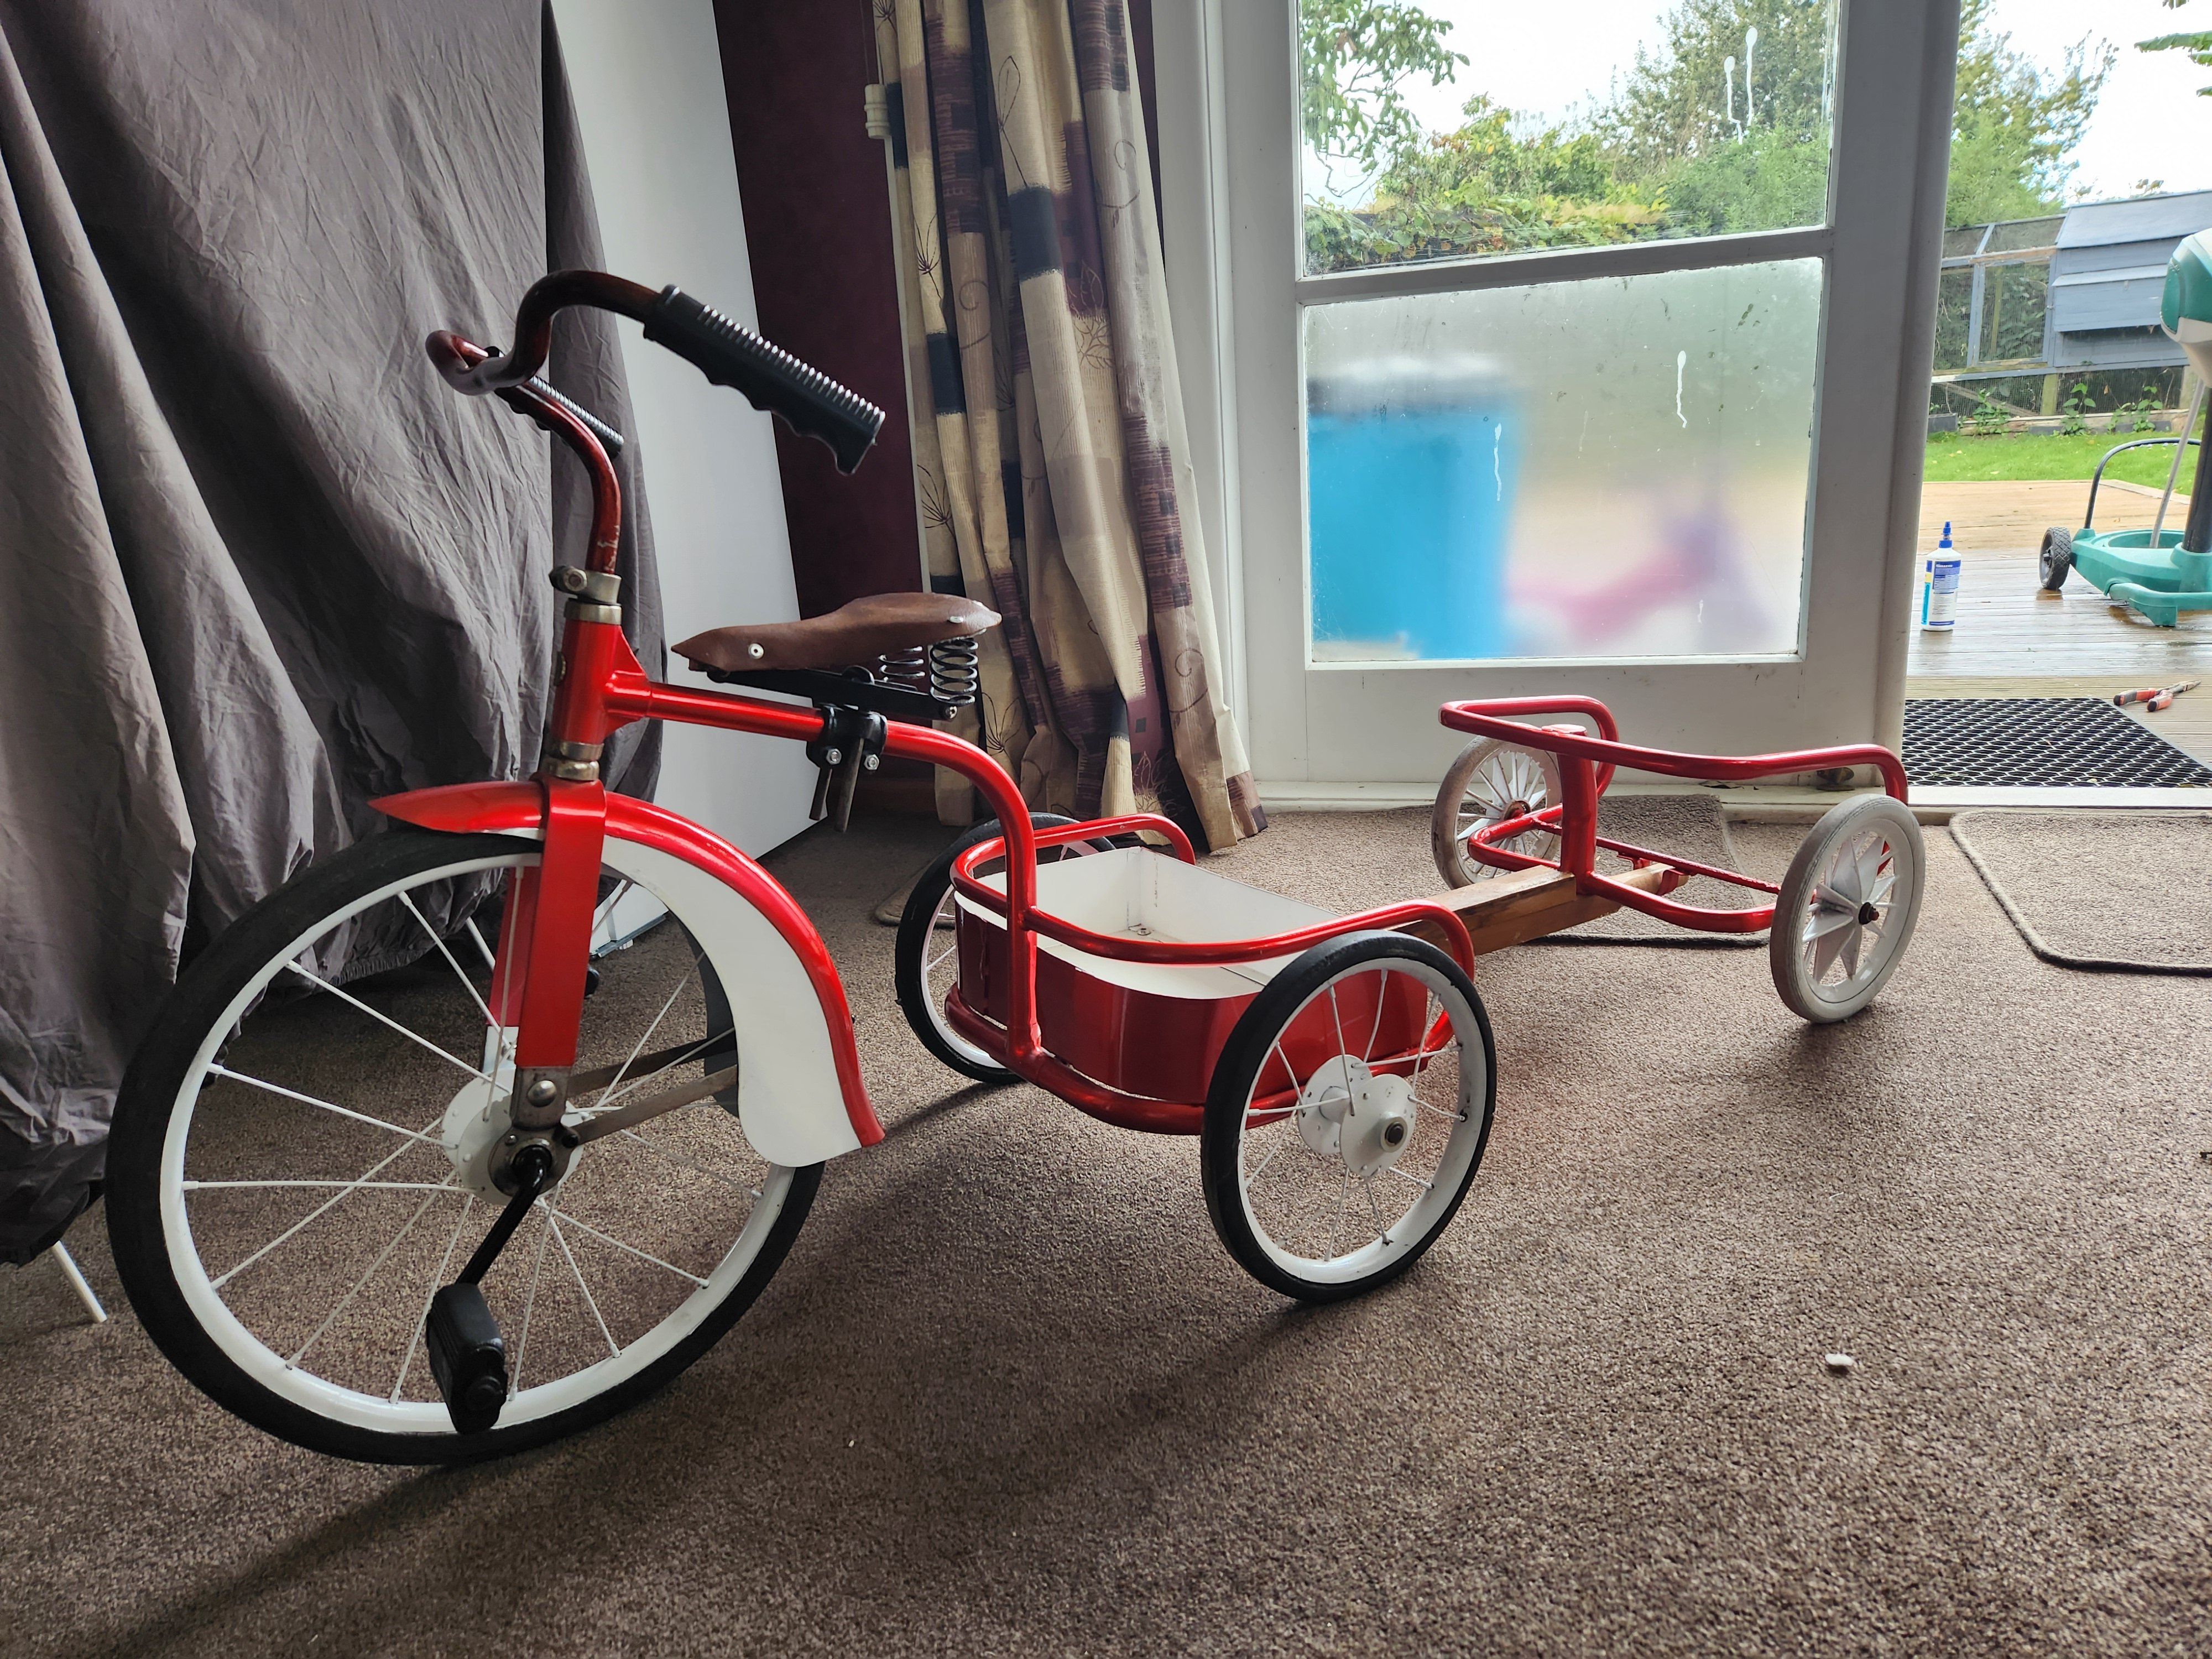
Threw some brass and beeswax on the drawbar. Put some big brass screws through the 2 sections, I knew I was saving those for something. I think it looks suitably vintage
1 point
-
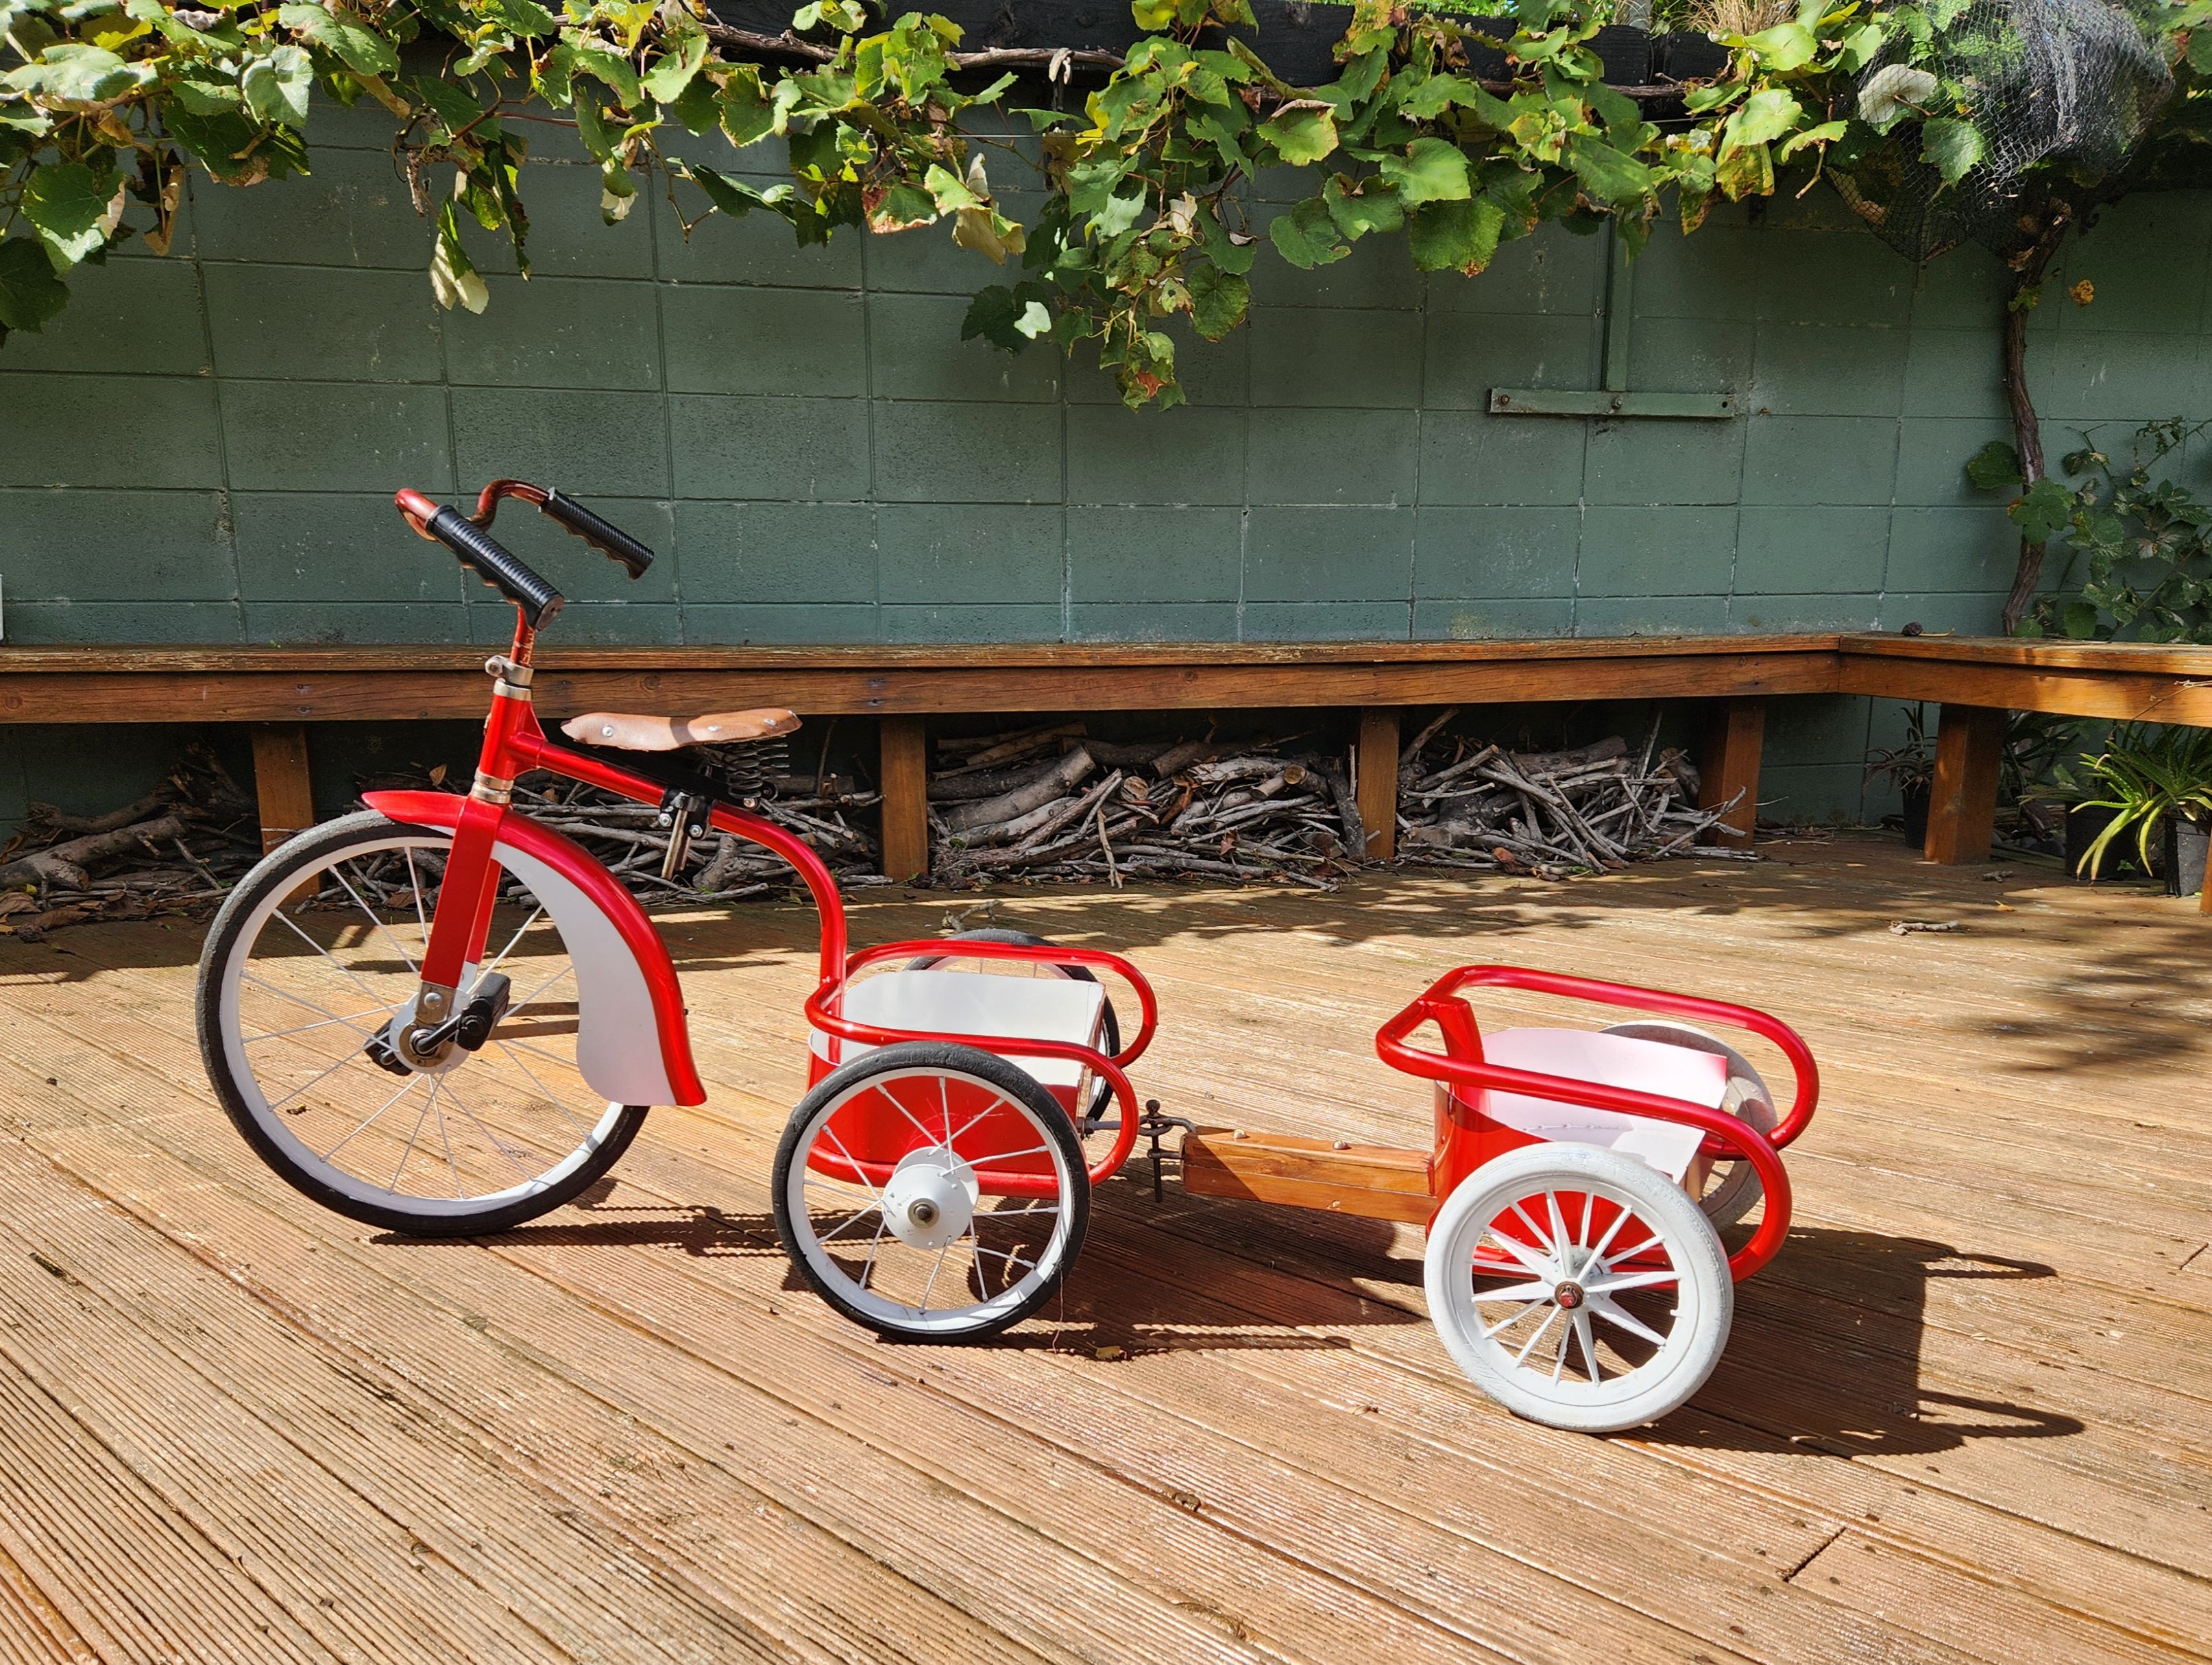
But then I got it out of the shed!
1 point
-
There are things to learn before you commit, I really should update this thread properly with the gl tales. I would say if you don't mind spannering your own vehicles (you are on os clearly...) they are really coming into quite good value for money territory compared to anything suitably capable/comparable. I think this is what scares people most about owning Mercs is they hear horror stories of repair bills. But that's from people who don't know which end of a hammer to use.. Cost of parts is pretty reasonable through rockauto. I've done more than I expected to due to buying a less than mint example, had I have been a bit more patient I would have brought better with probably a bit lower KMs (brought at 210, now around 232 in 9mths) Hasn't let me down. Is a very easy car to live with, plenty of grunt and good on juice.1 point
-
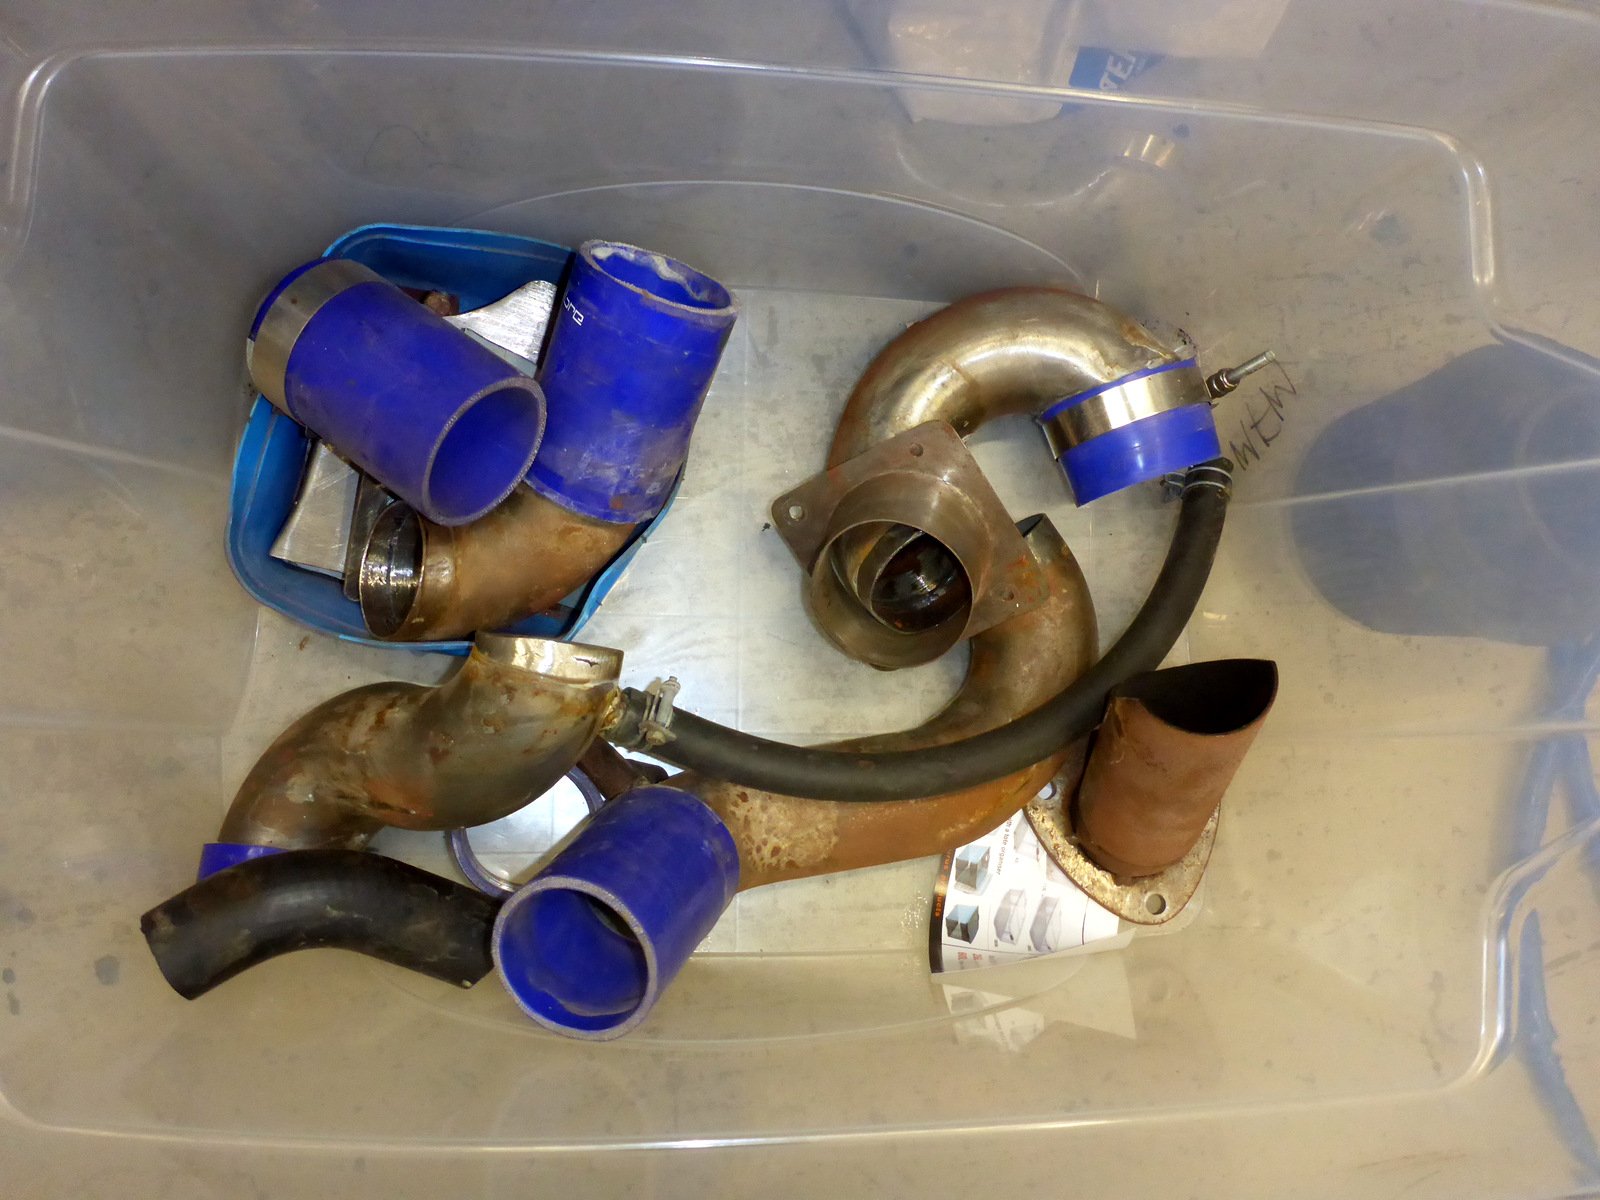
One the plus side I labelled the plugs On the minus side they have mostly faded. Dug out the intake piping, surprisingly well made I thought considering that I did it, but needed a good clean up Inside and out. I don't think I had roloc discs back in the day, they are good for this sort of job. Squirted some good old black zinc inside, will do the outside tomorrow then look at my silicone tube and clamp supplies. IIRC the radiator needs to go in first.
1 point
-
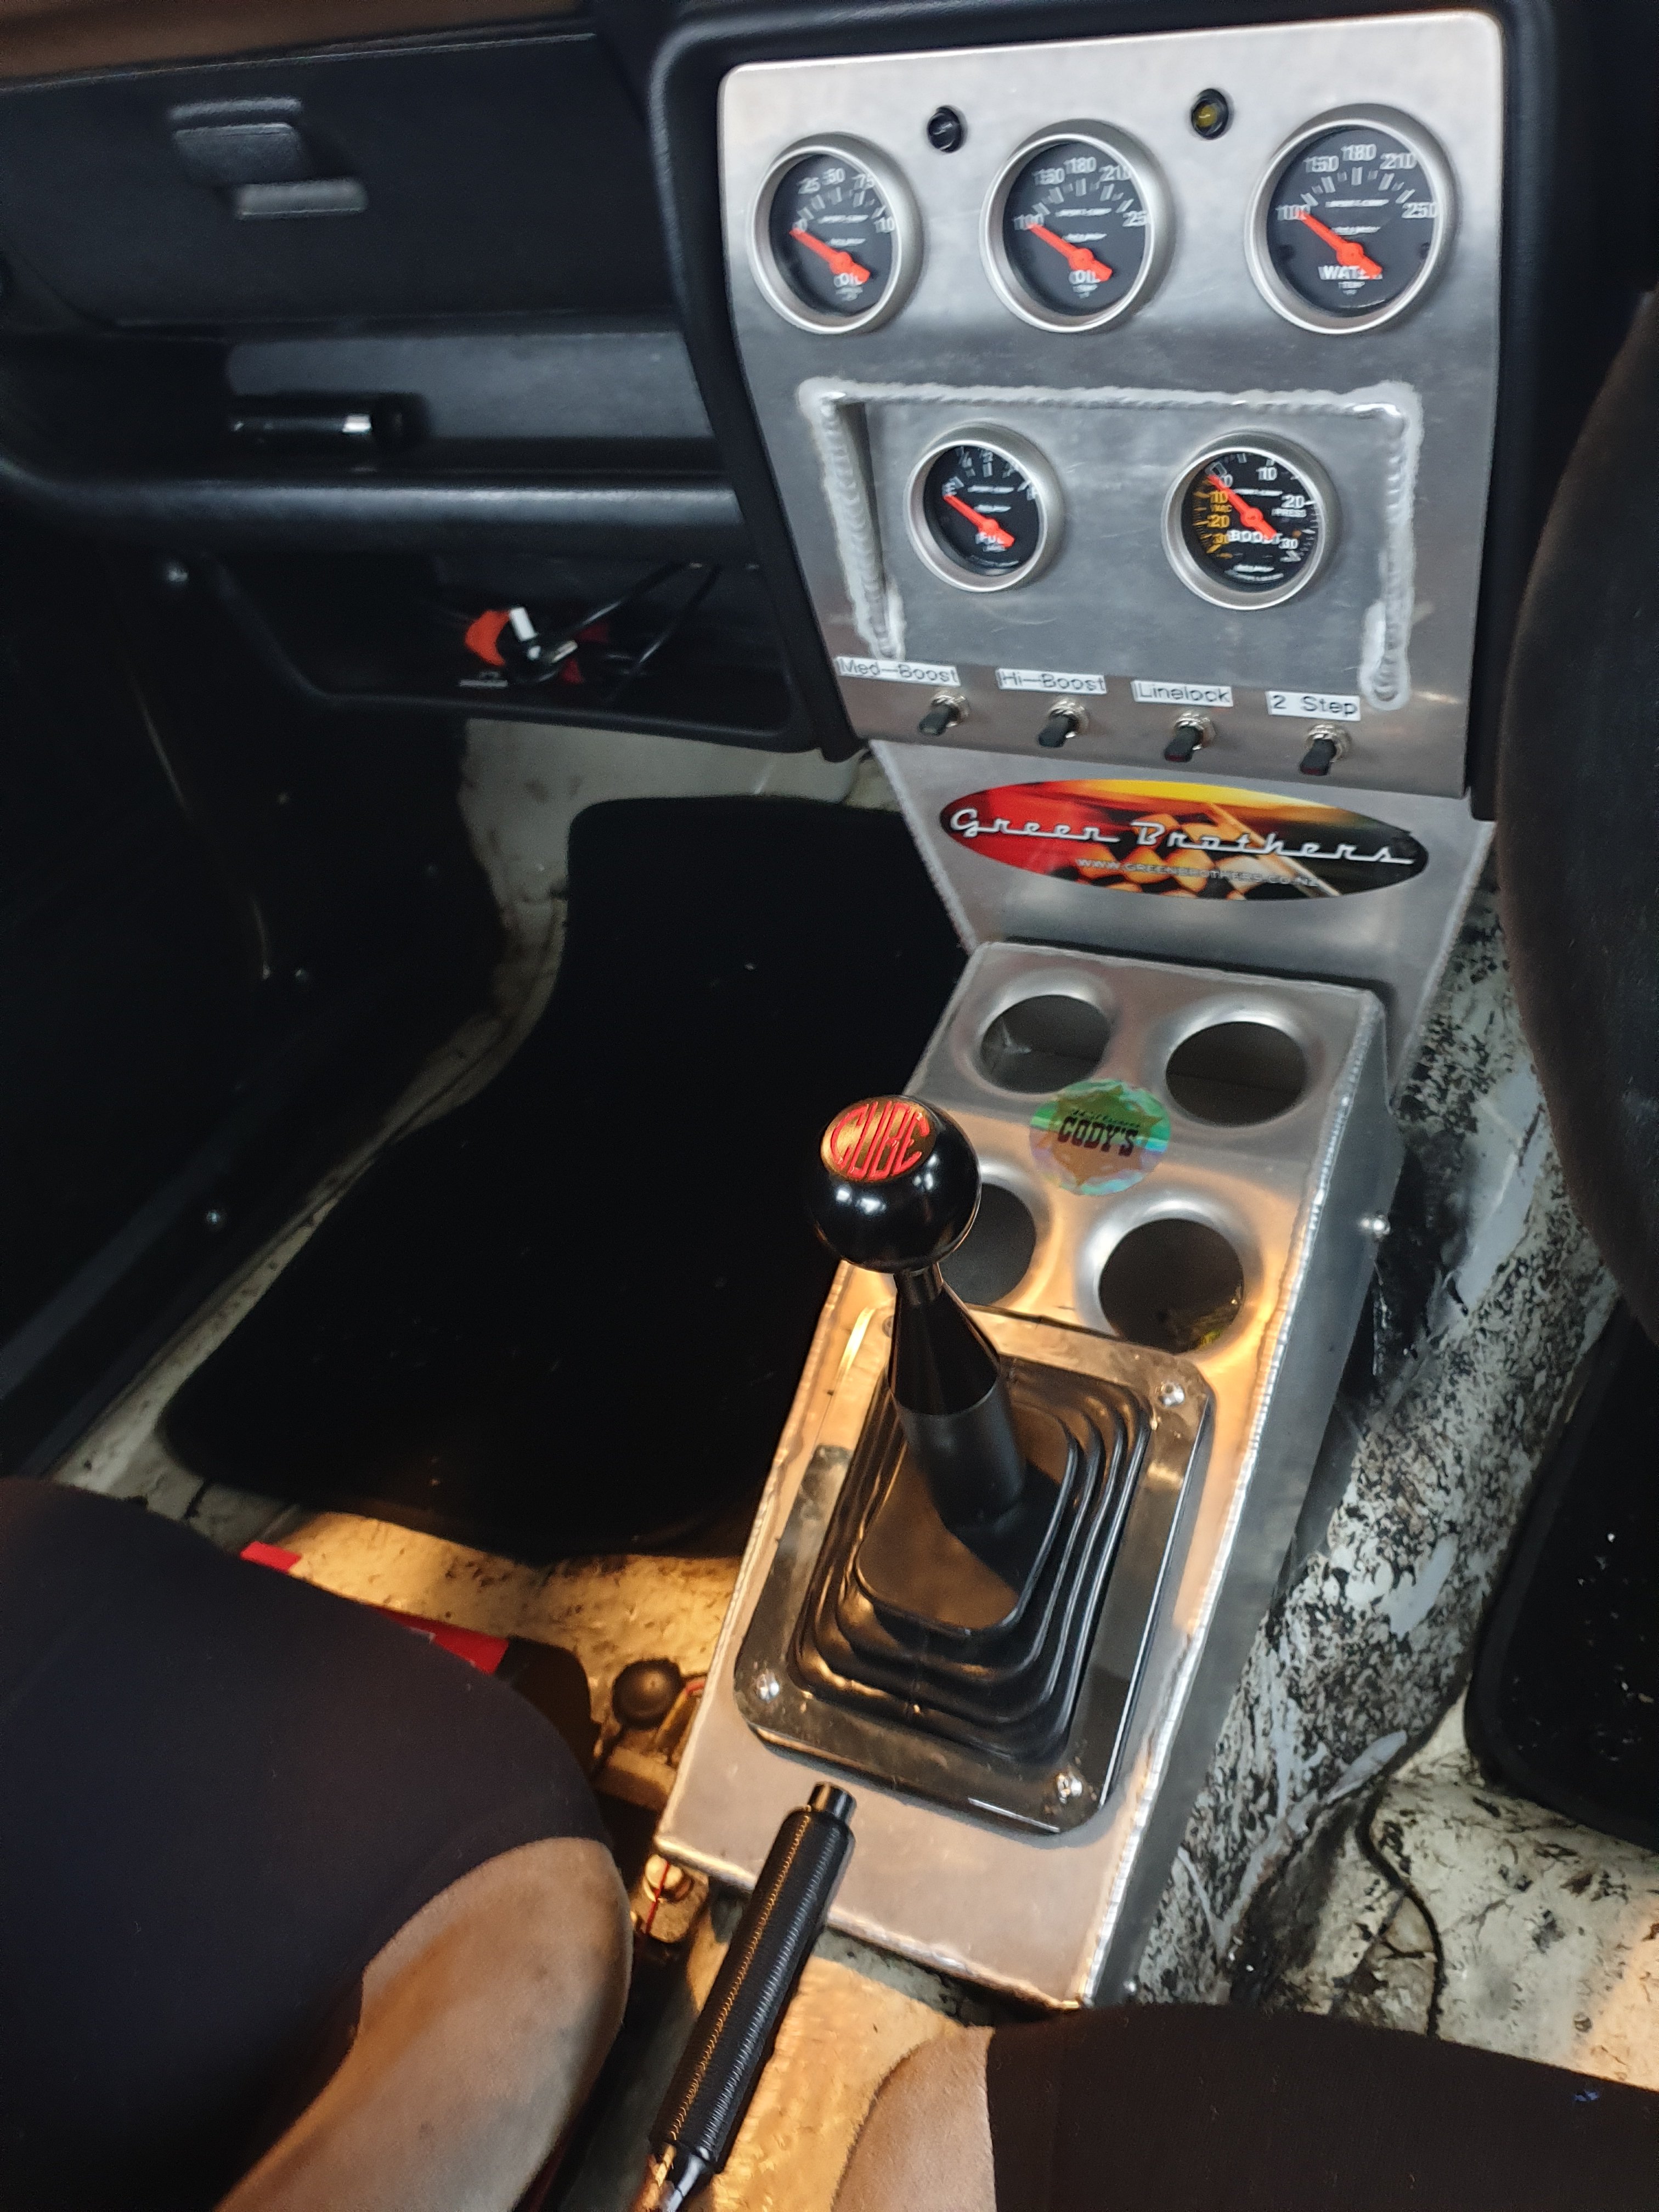
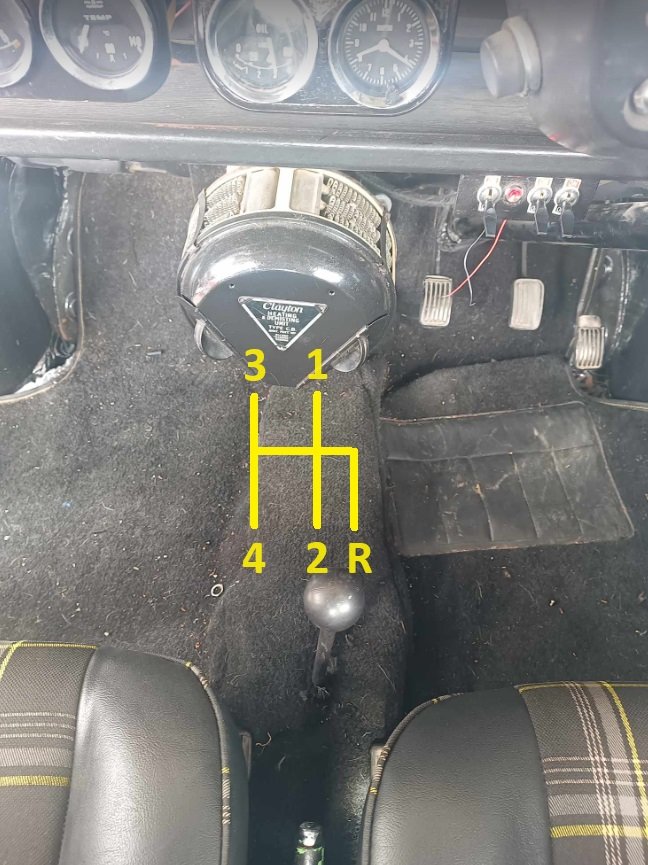
Cube speed shortshifter
1 point
-
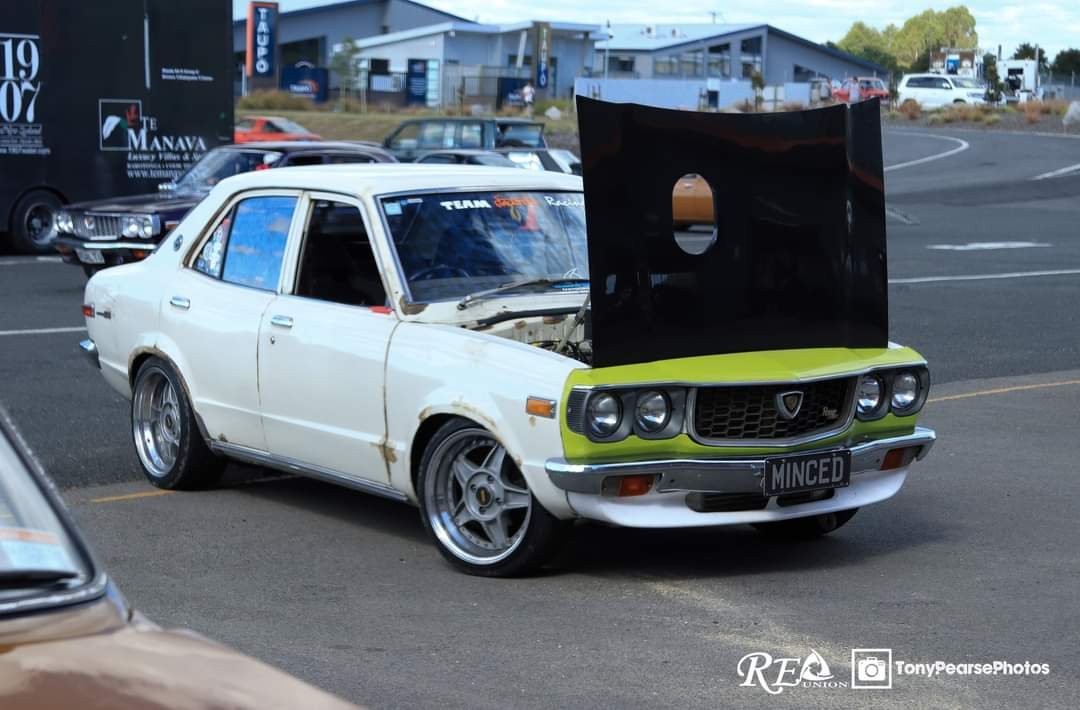
I got the charcoal bonnet off a mate who wasn't guna use it i thought it would be funny to put a k&n out the hole just to keep people guessing (nearly got to race in n/a class at summer drags a few years back)
1 point
-
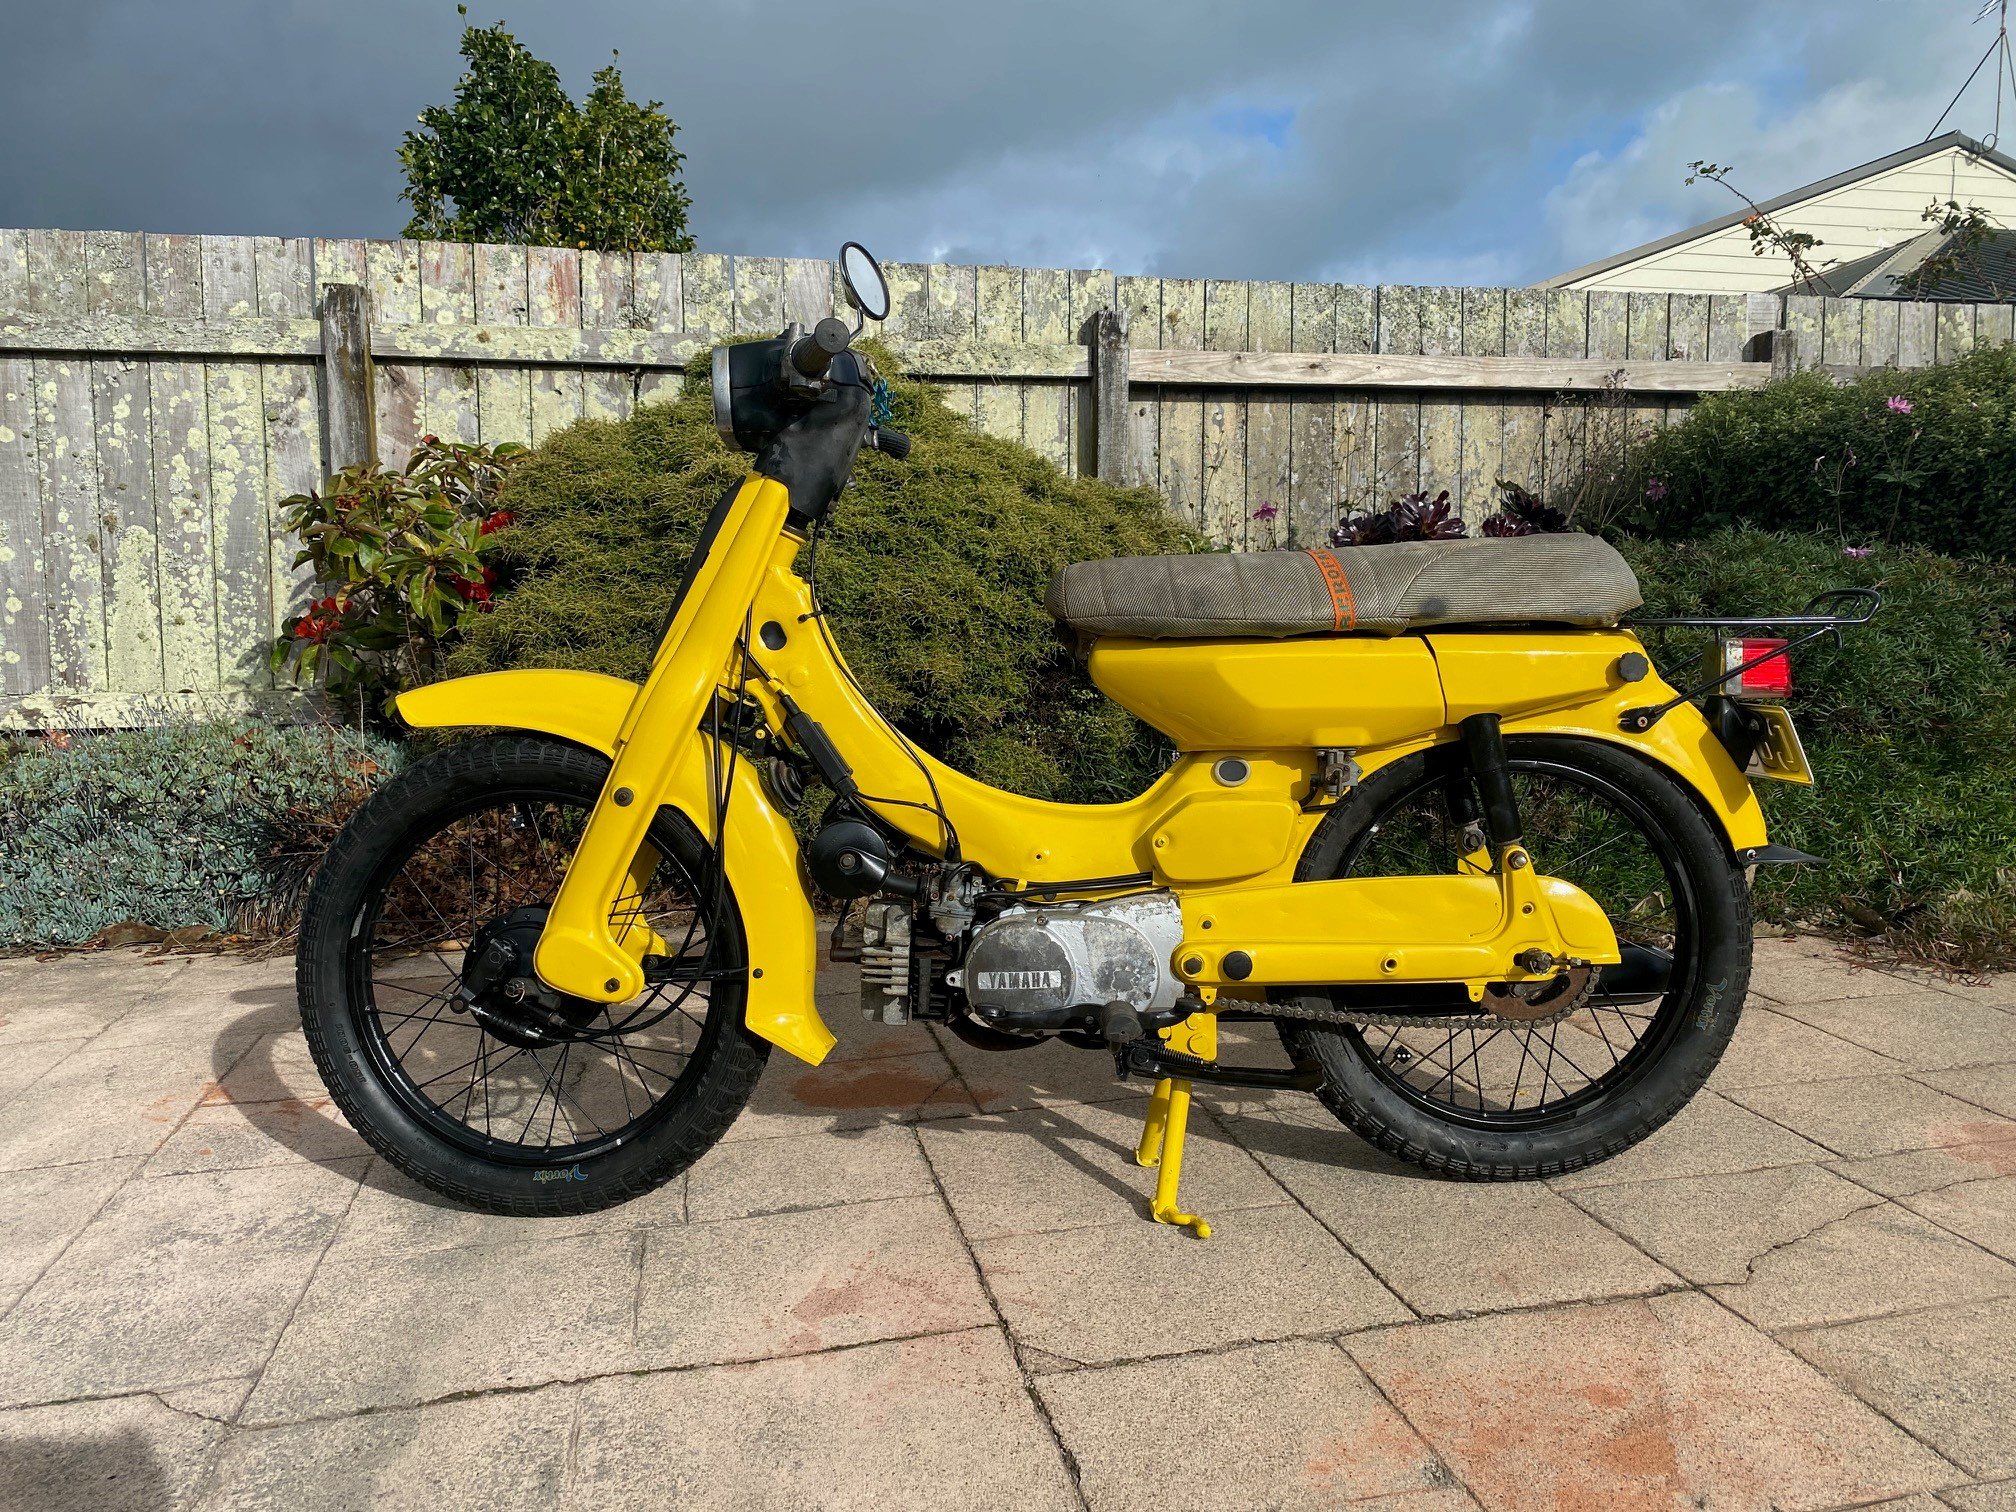
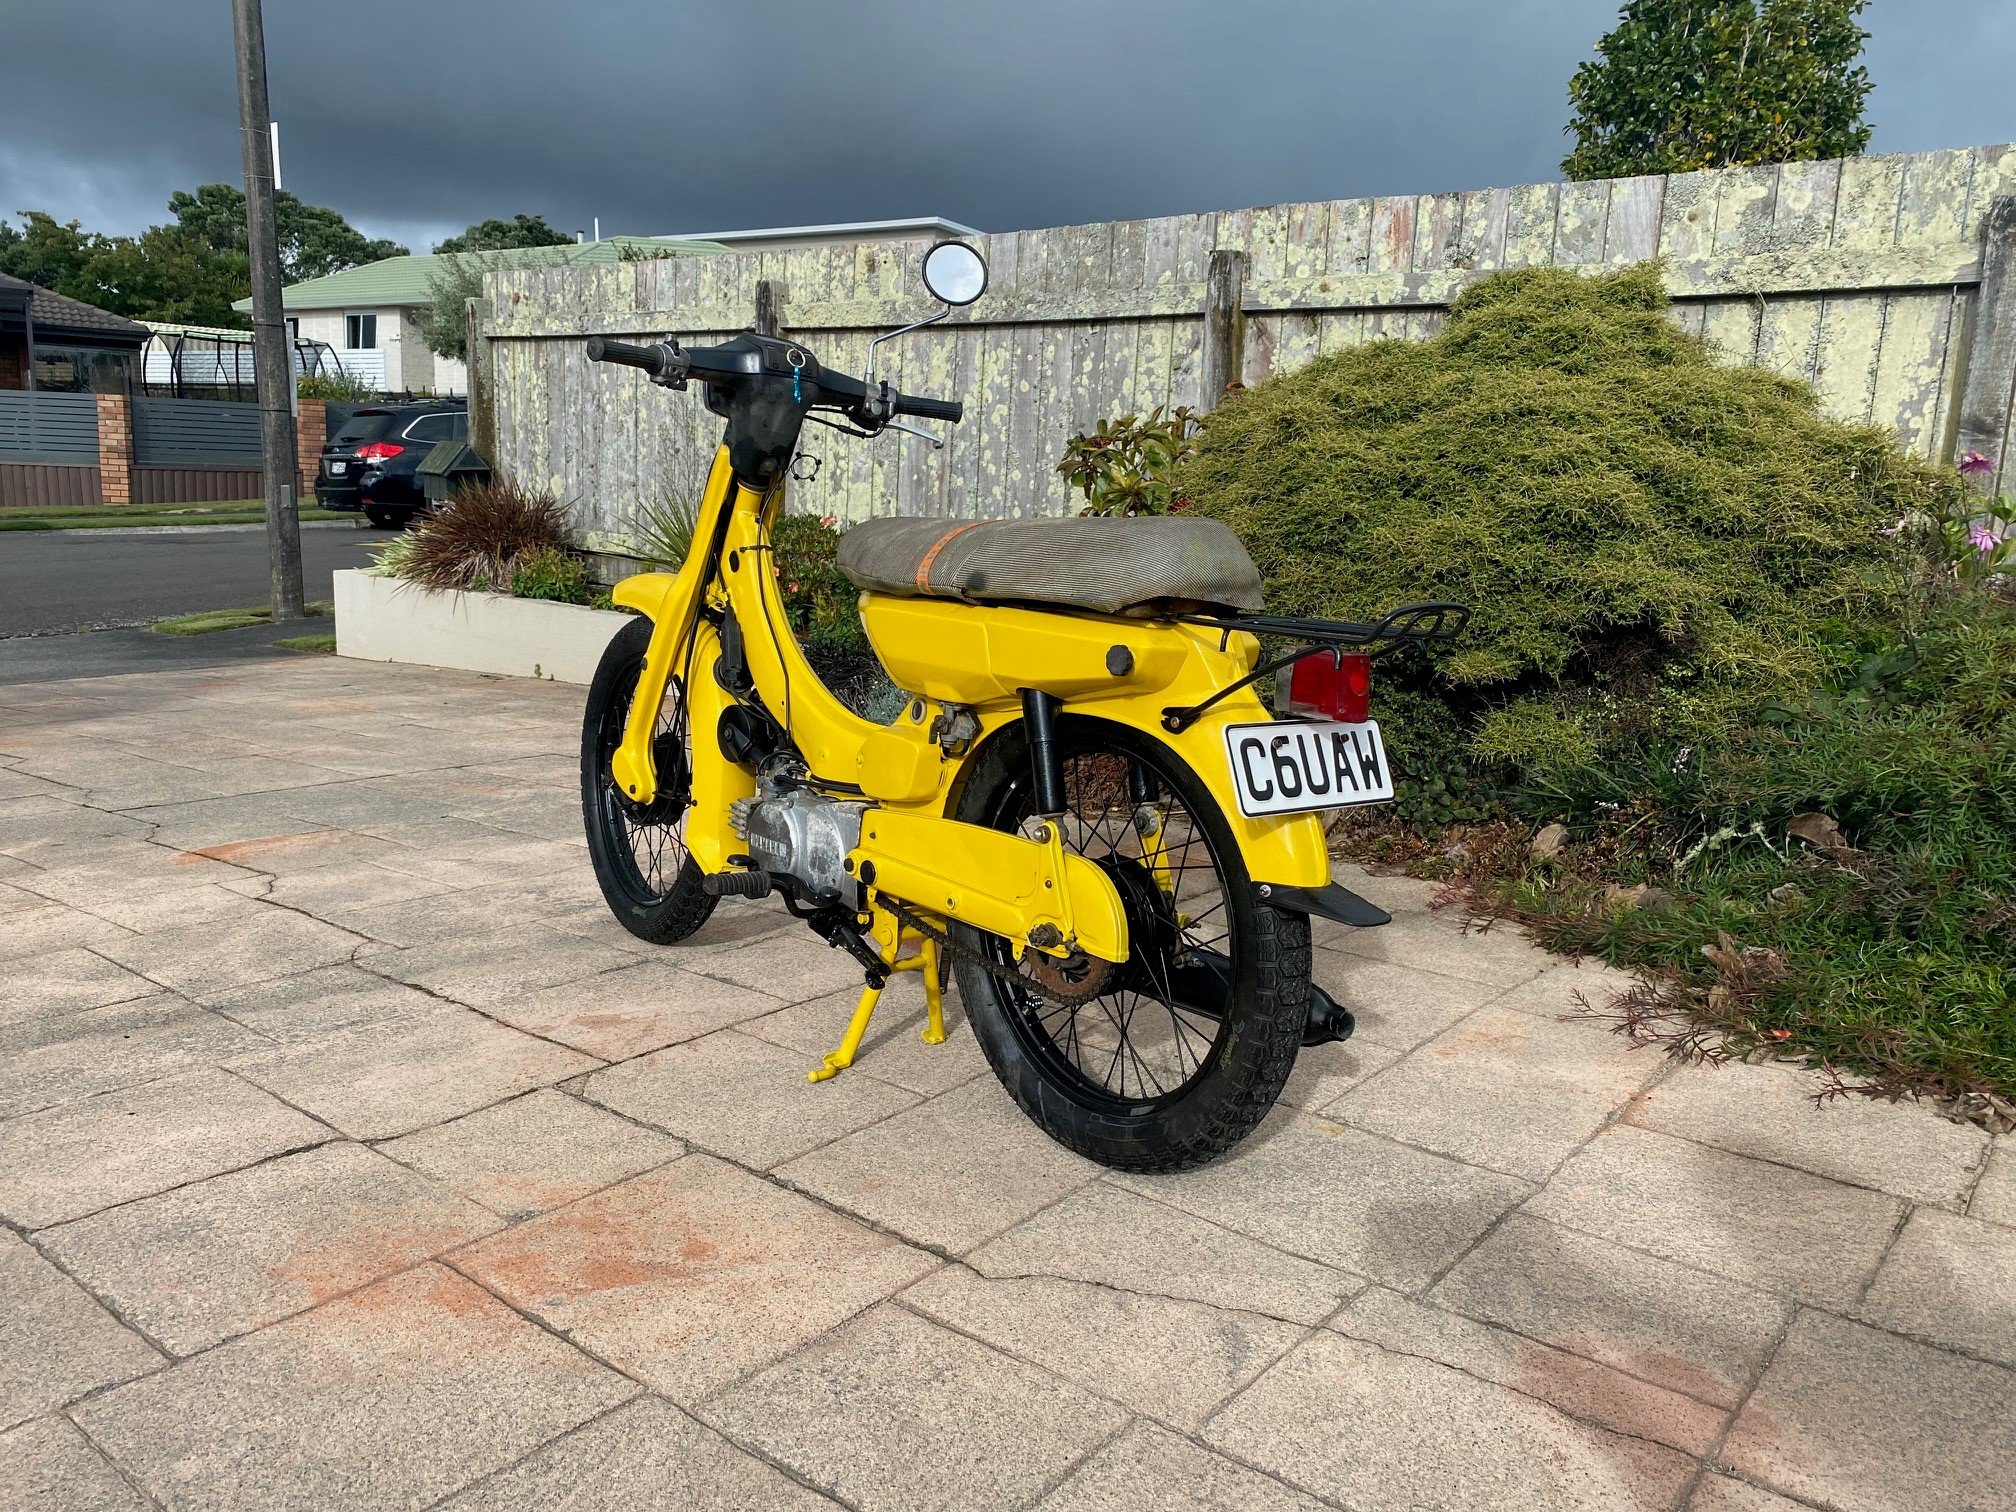
I got ants in my pants this morning so I took a coffee break from work, connected up the wiring, filled the fluids, primed the auto lube pump, mixed up some oily petrol for safety, and kicked it in the guts. Stoked!1 point
-
Bout that time again
1 point
-
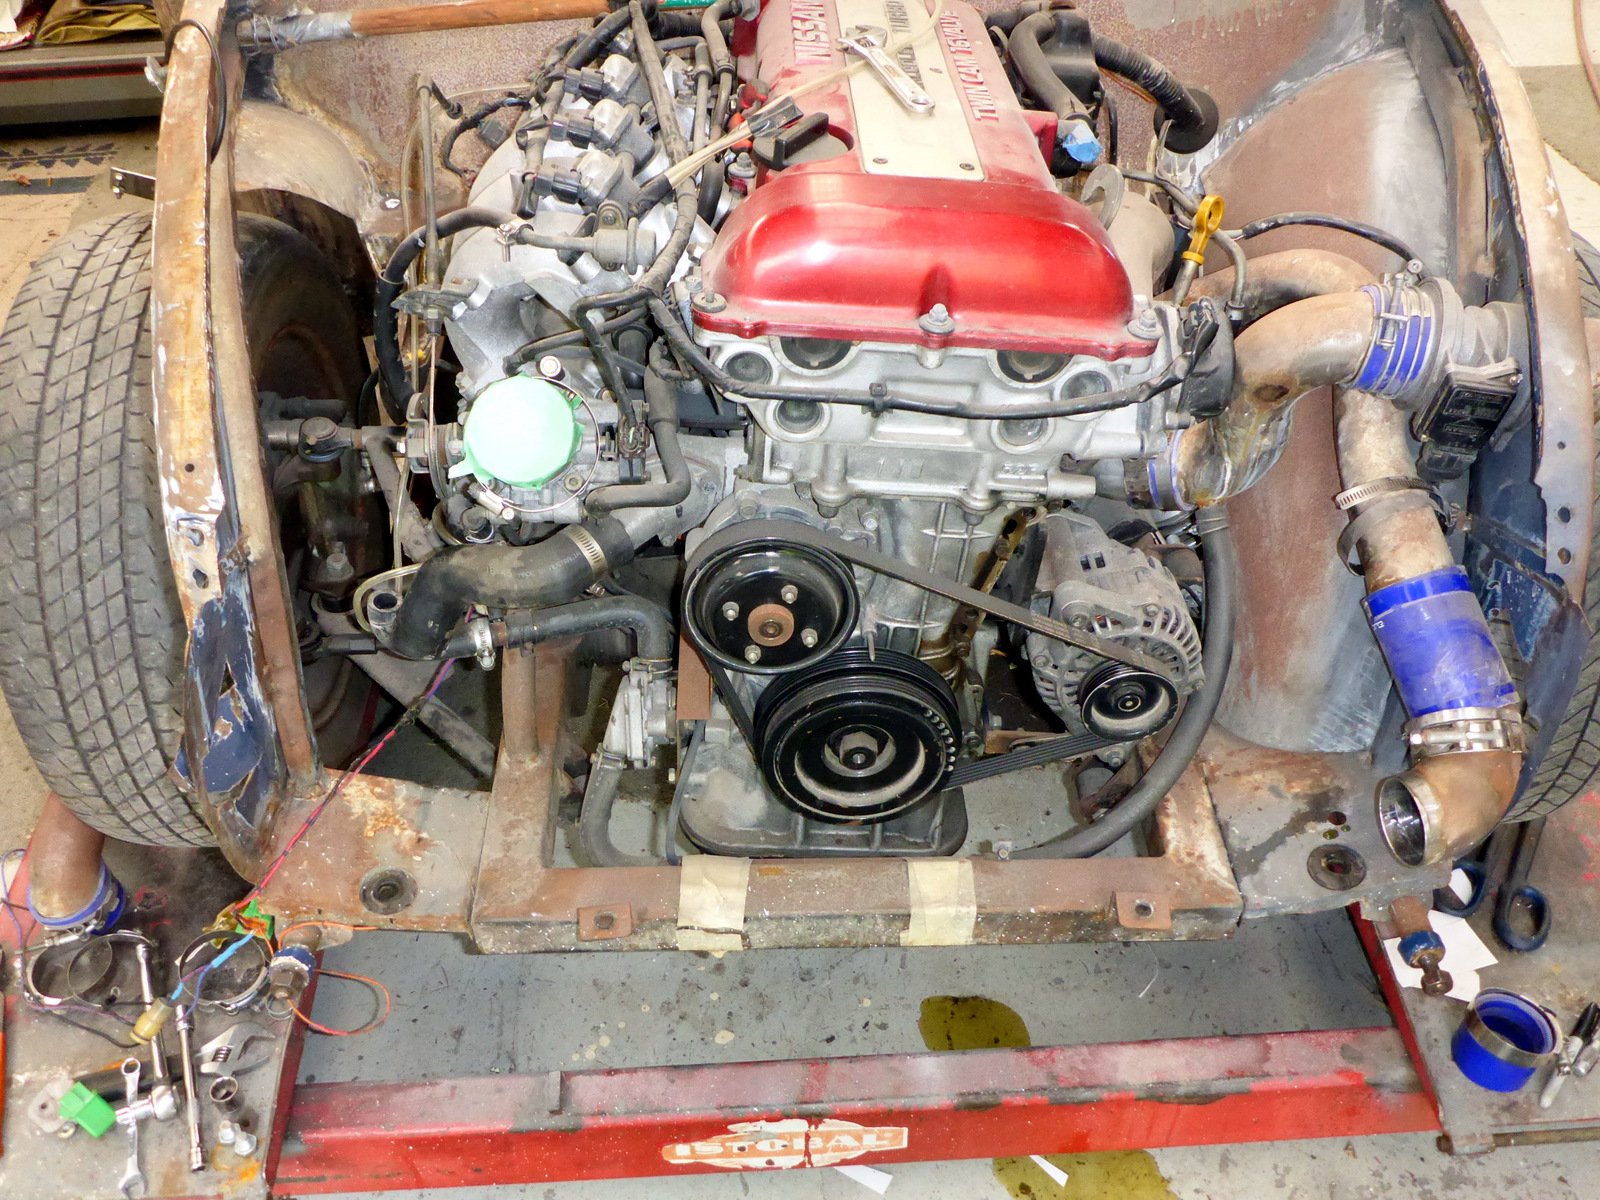
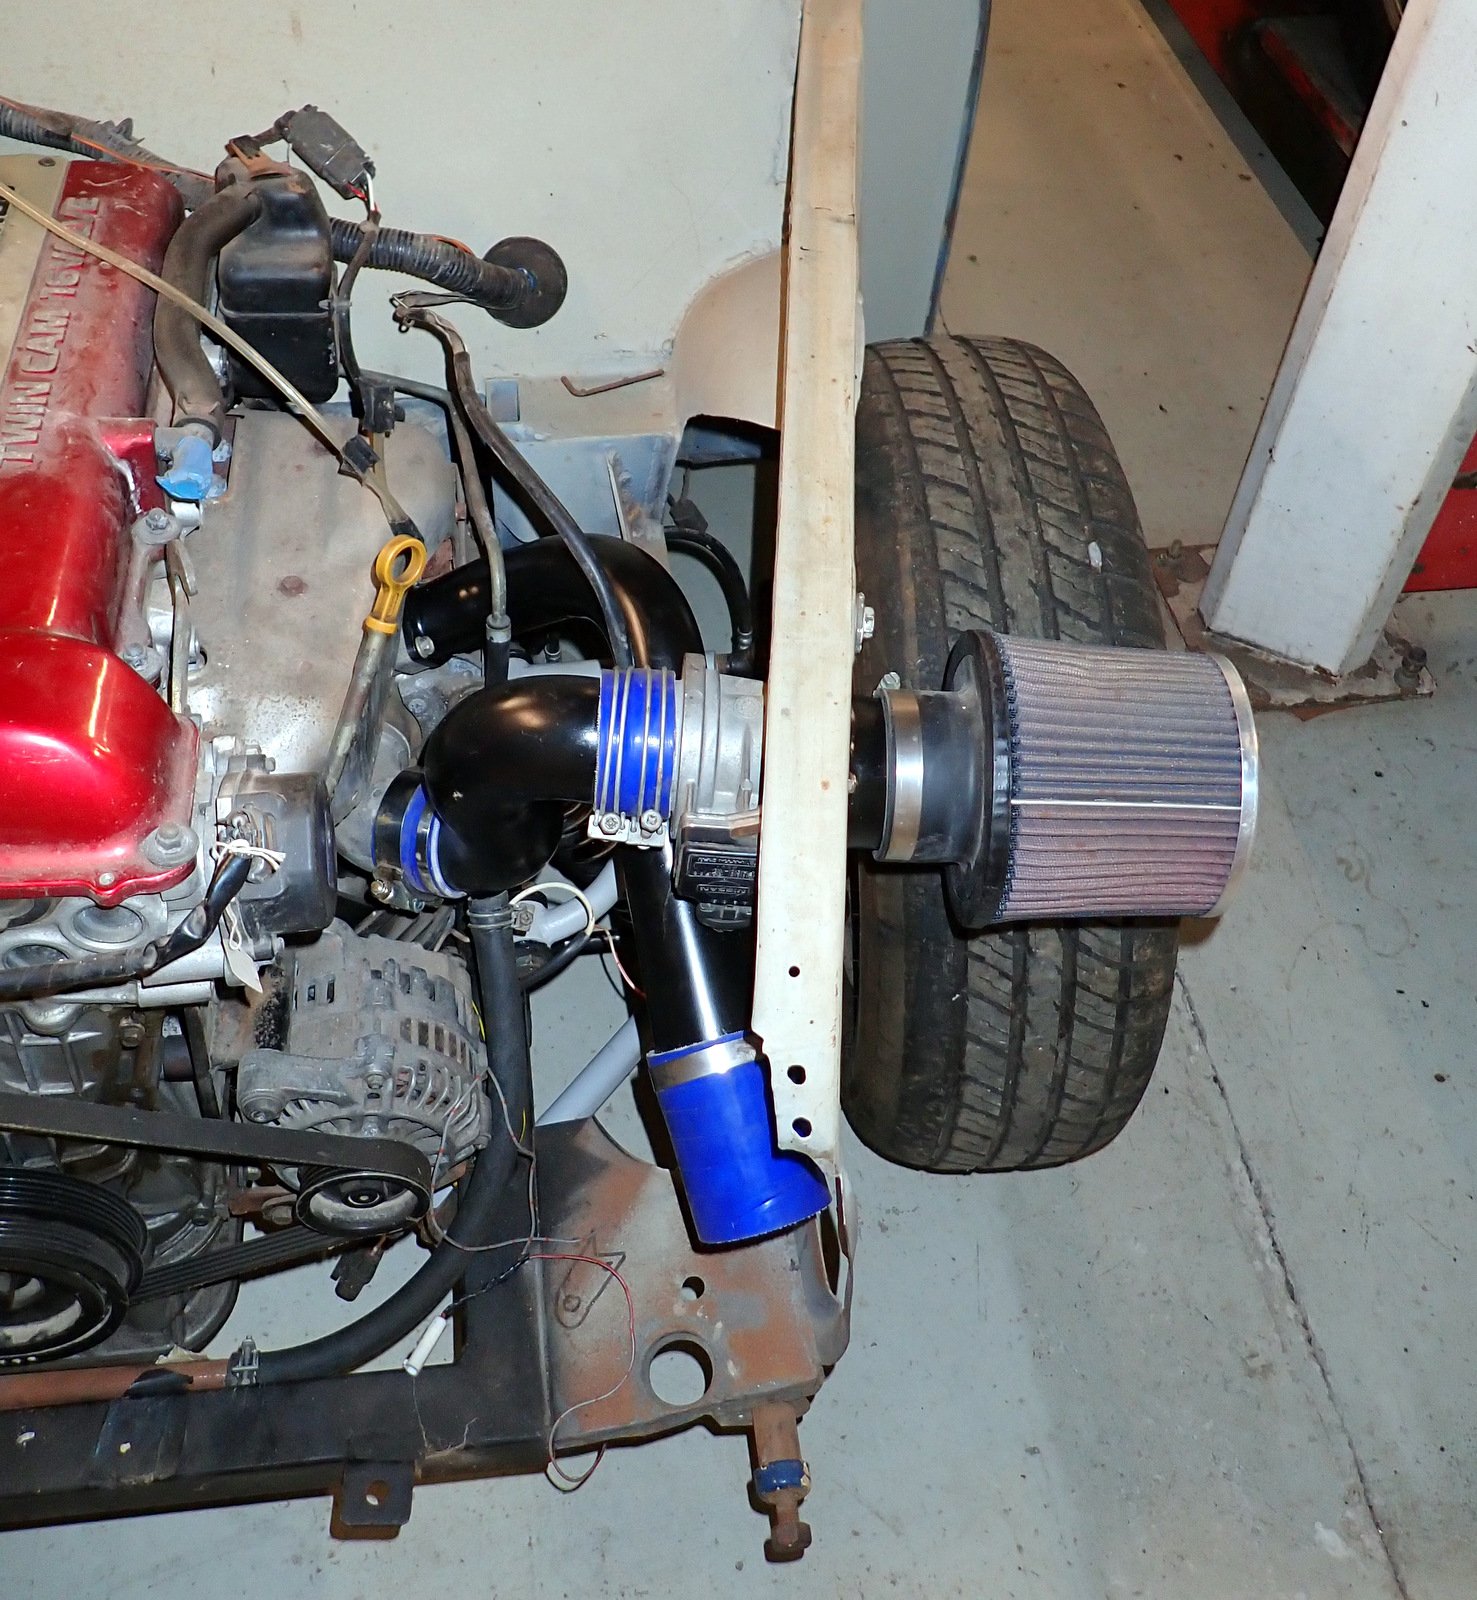
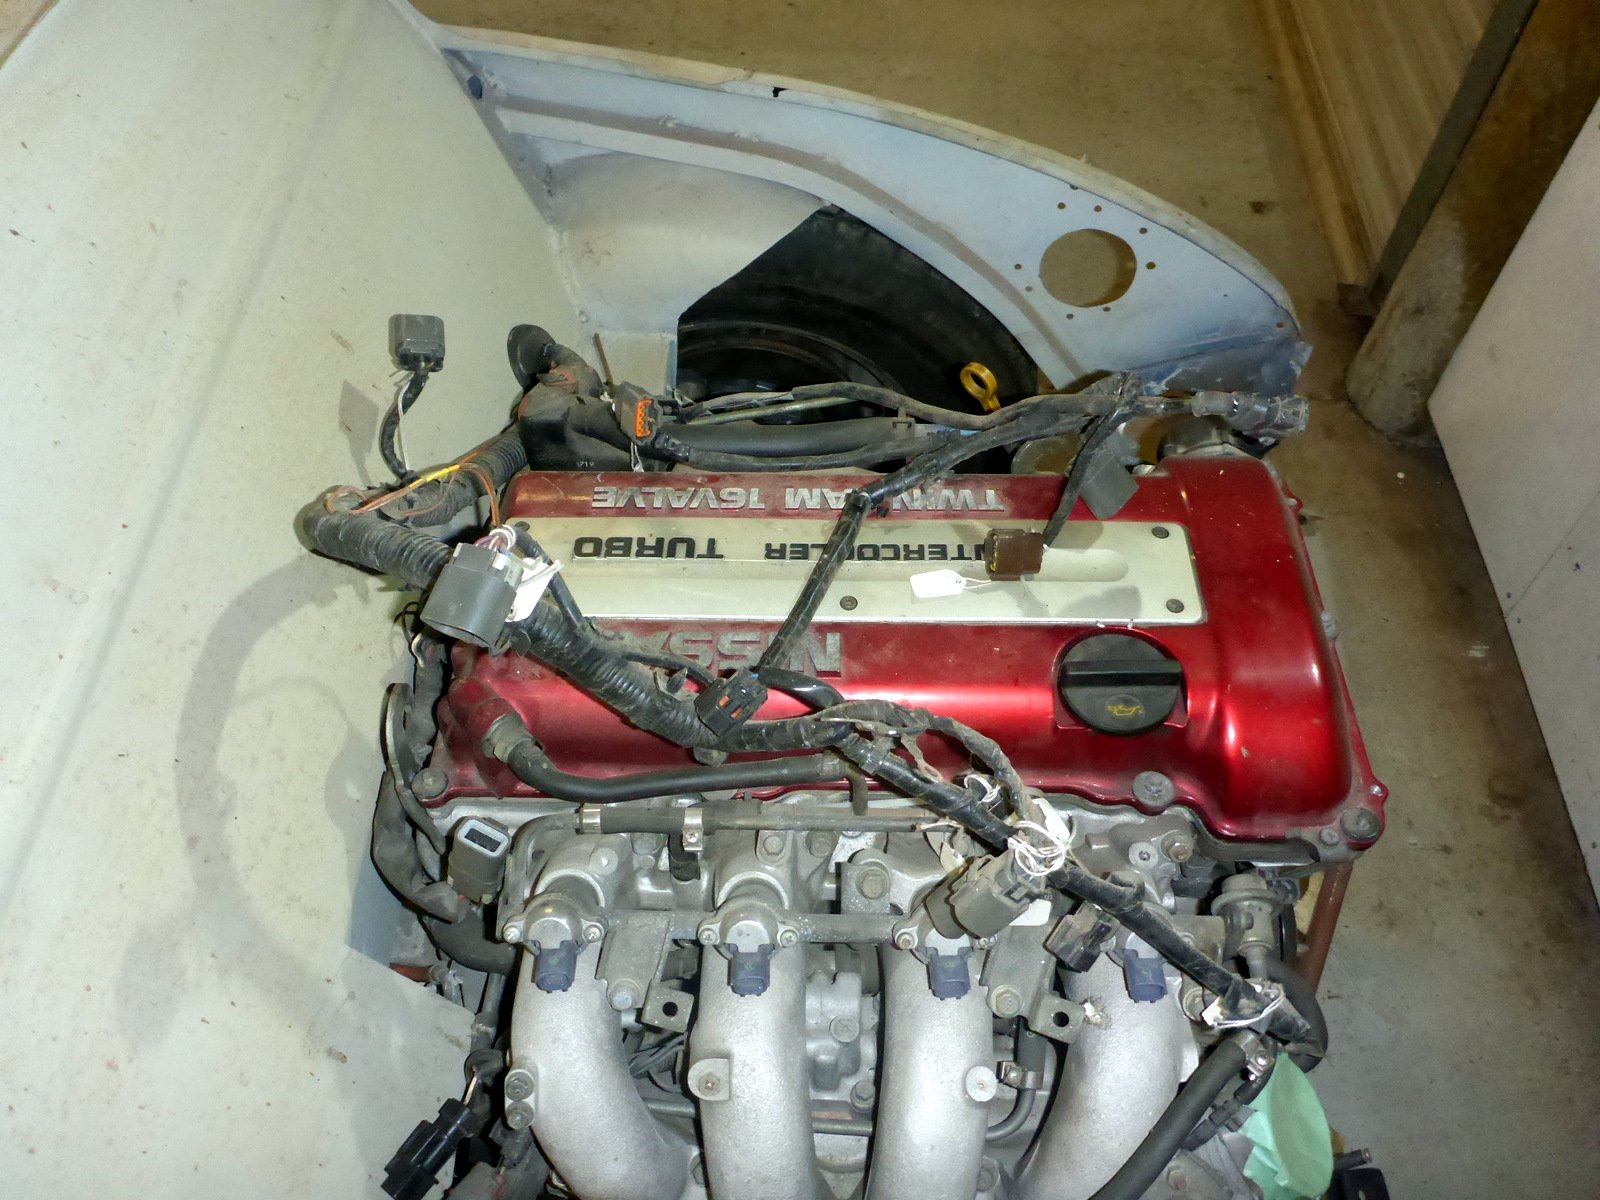
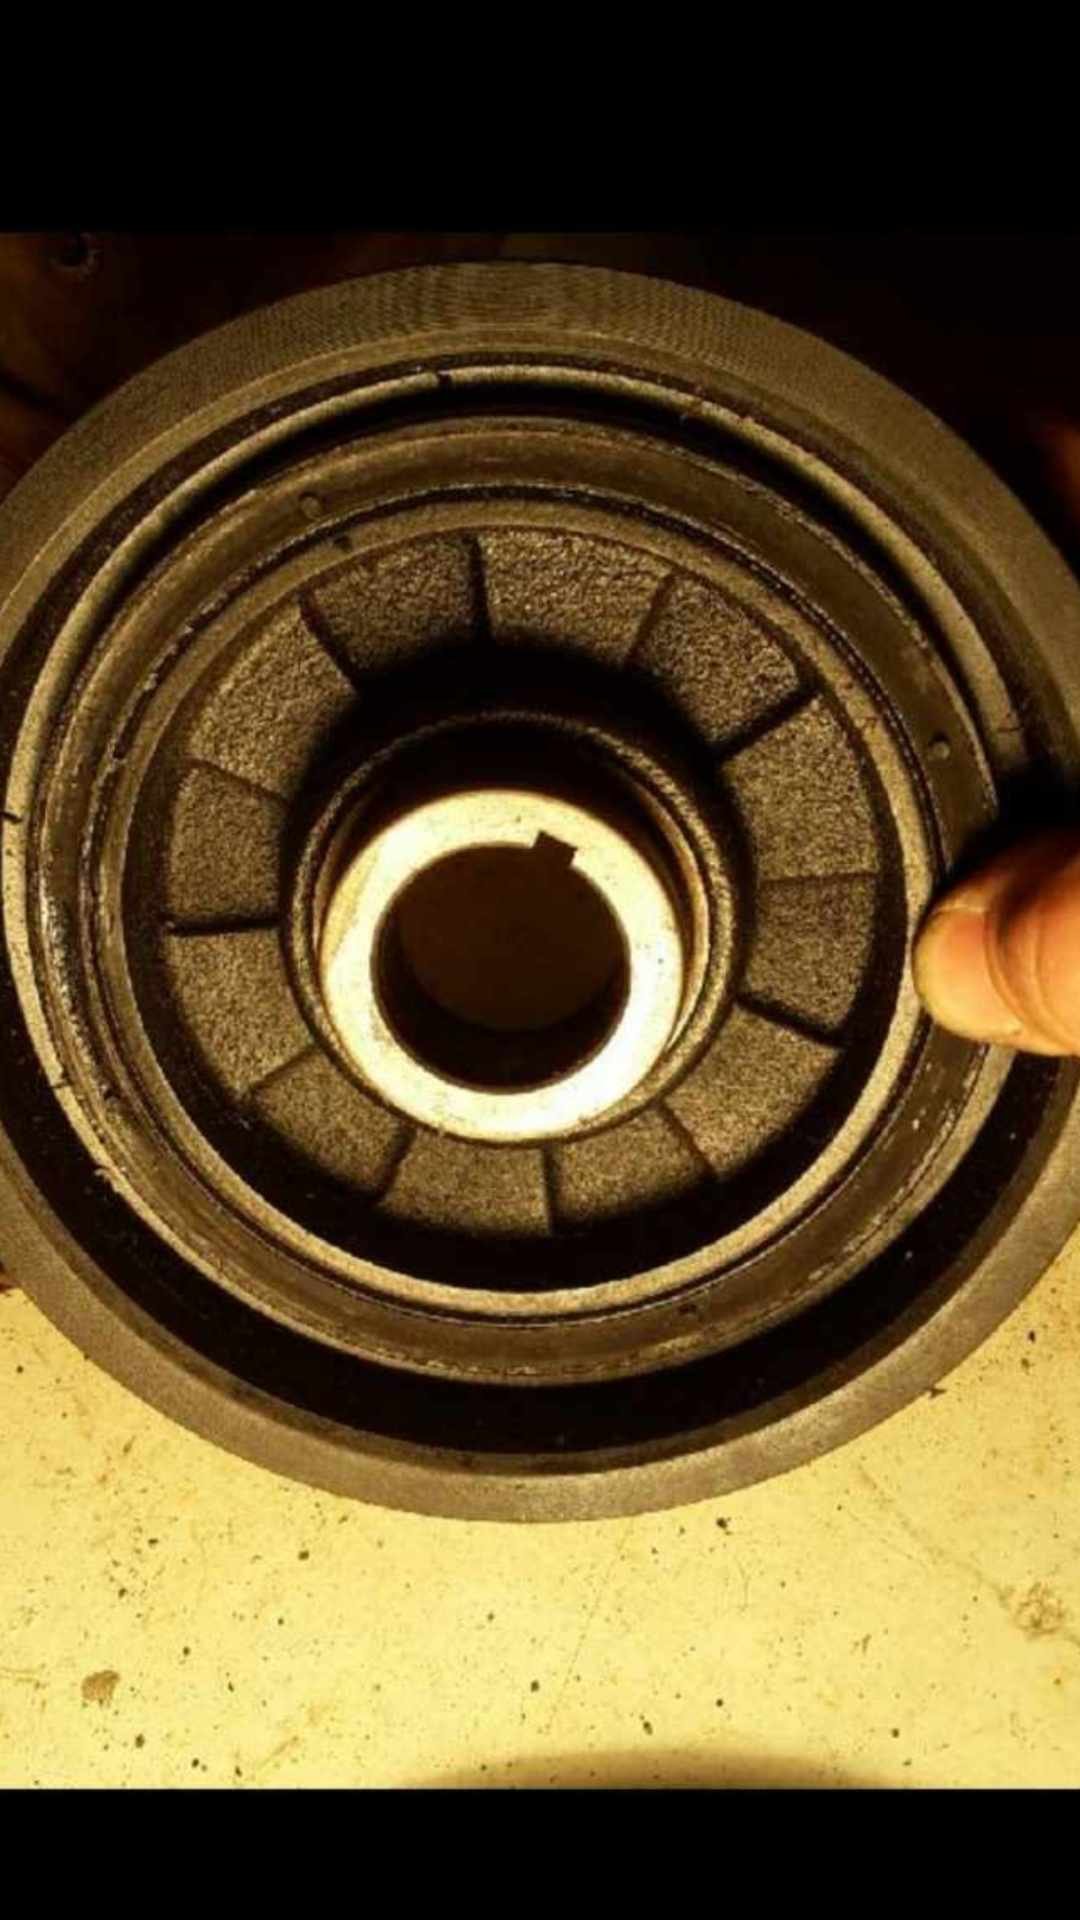
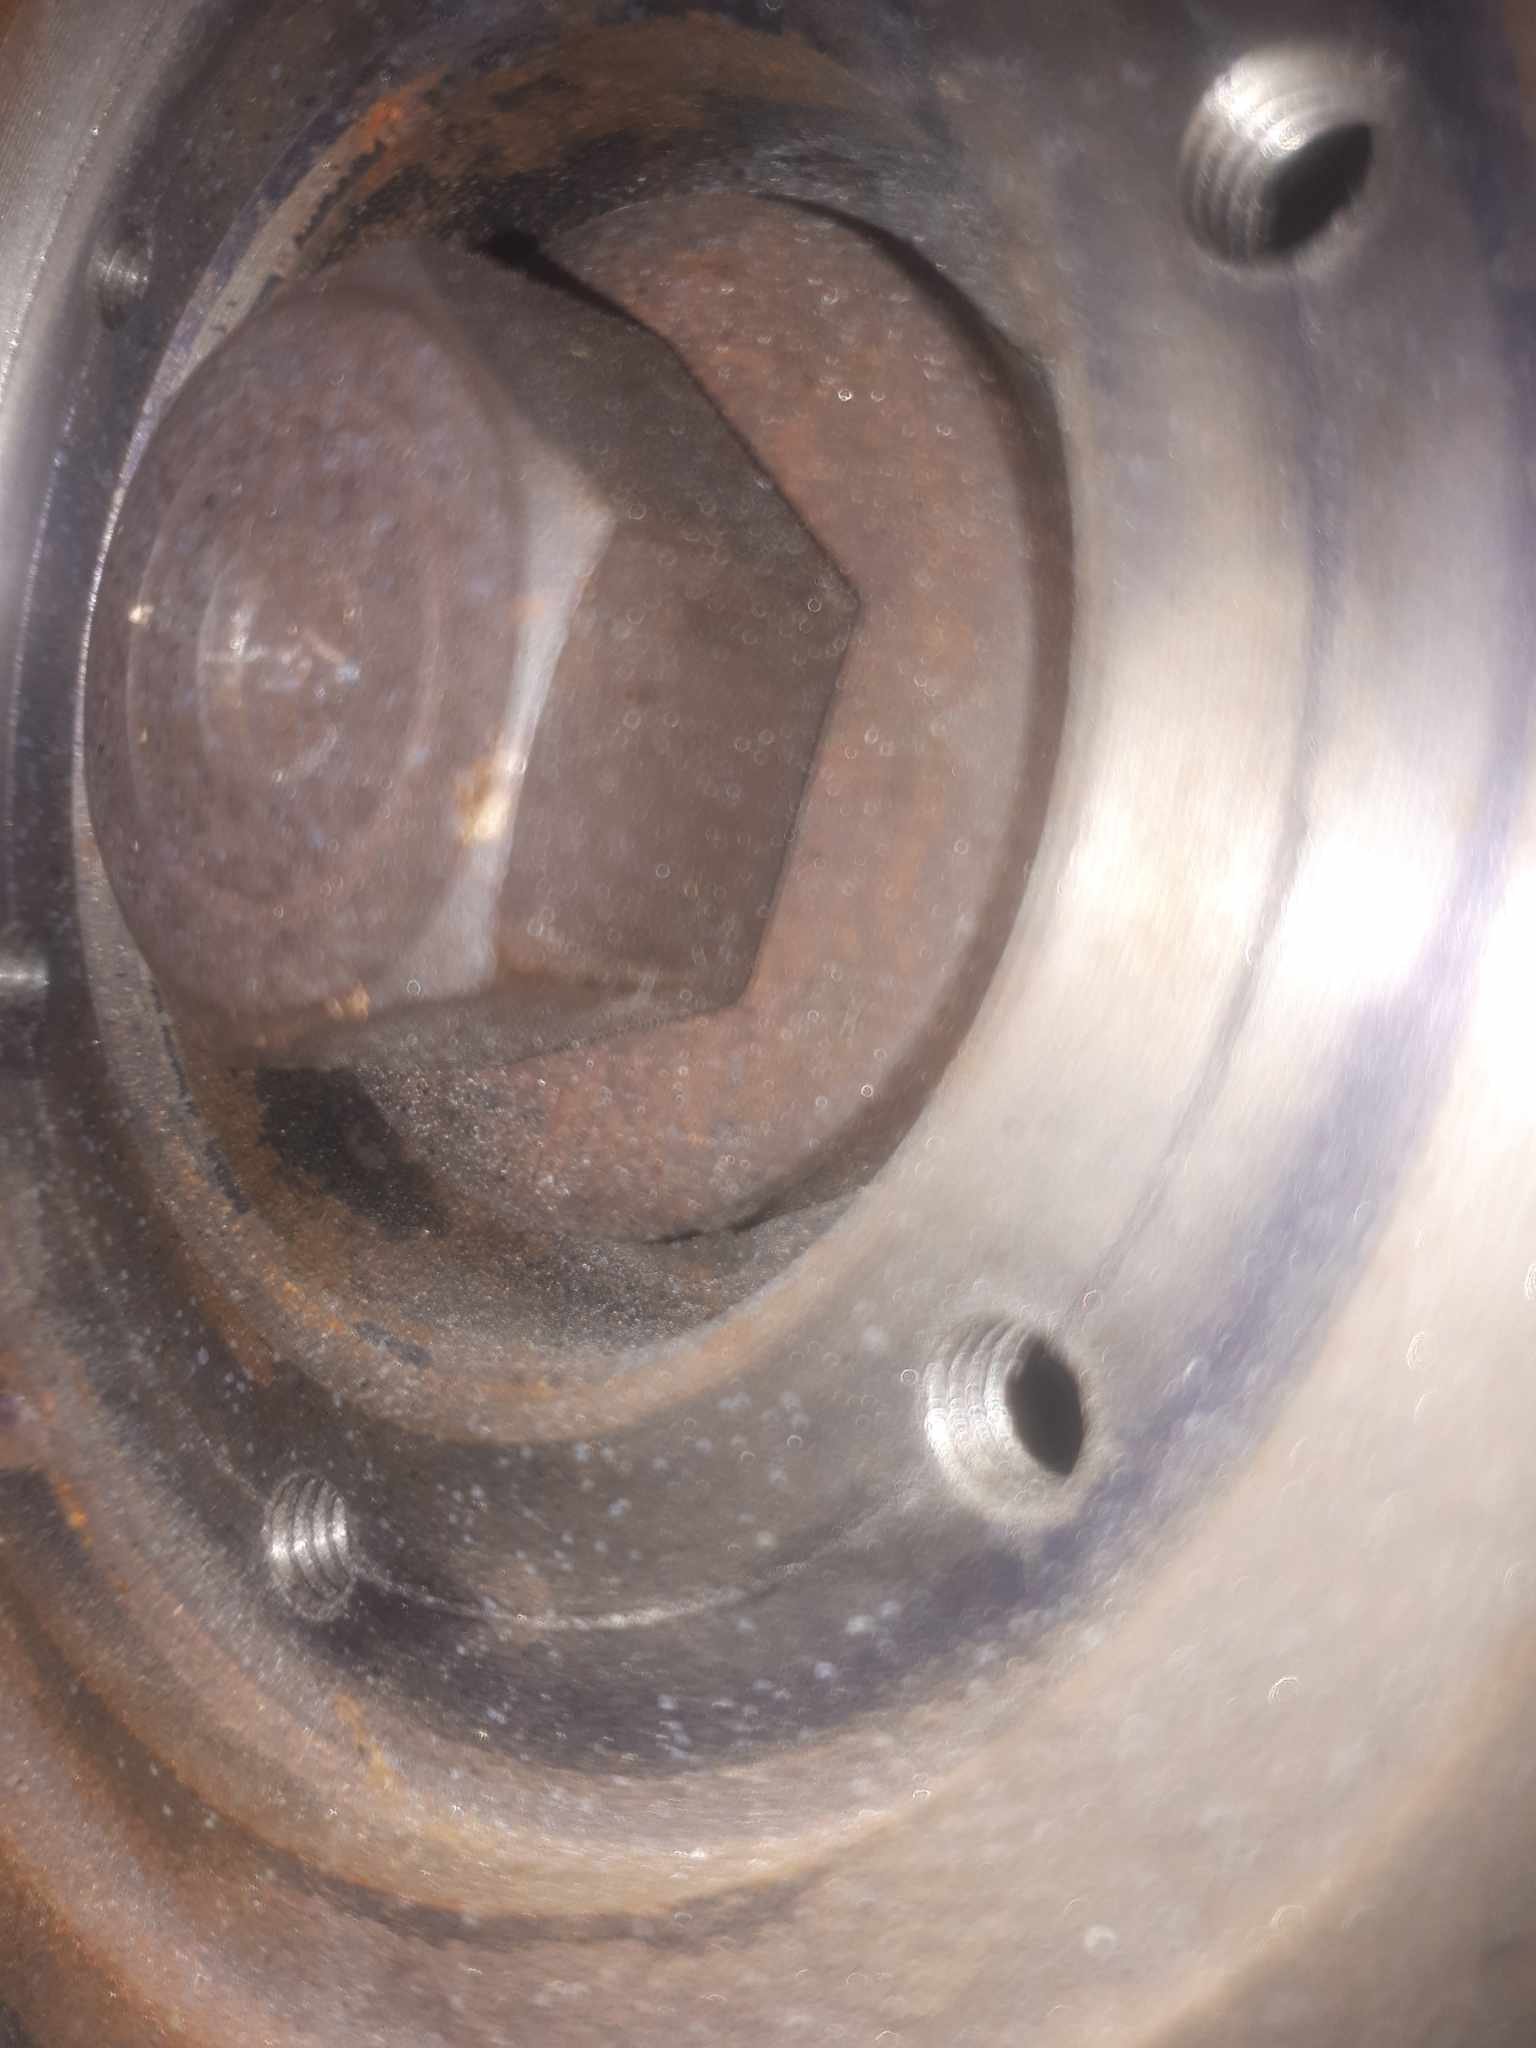
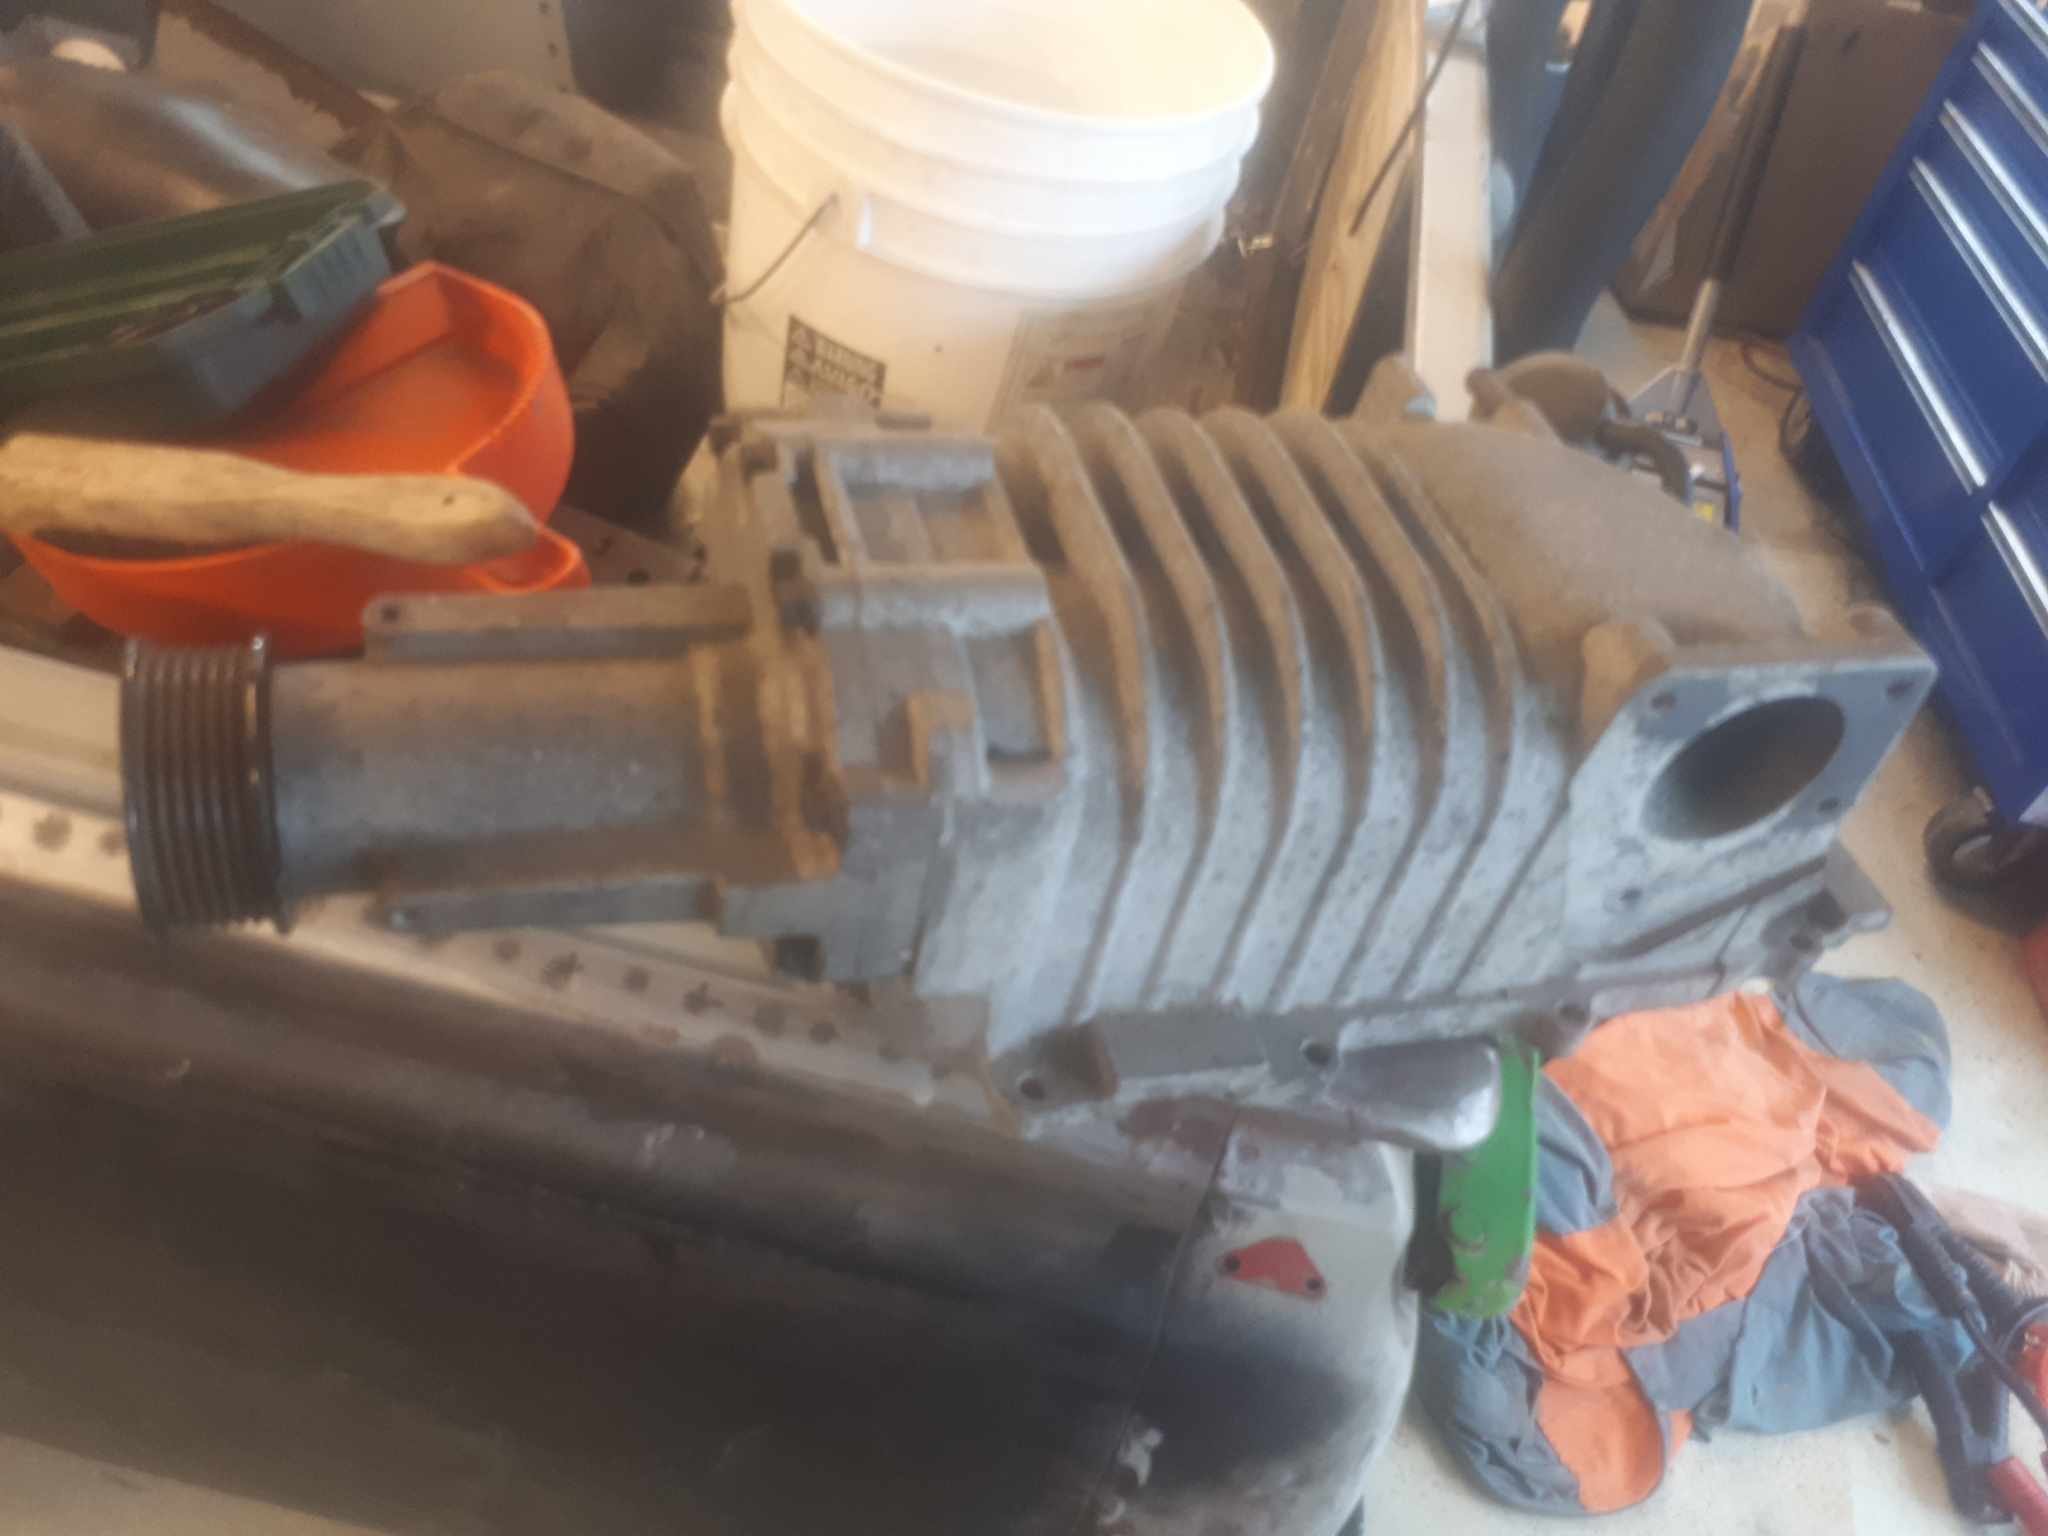
PNot an update as such, more a musing/potential future upgrade. Upon procuring the engine, id noted the front crank seal had been leaking. I whipped the crank pulley off, and much like the pinion seal on the diff, the seal journal was quite rutted/cut into. A speedy sleeve put this back to new. While i had the crank pulley off, i noticed an interesting shape was present. So i figured while it was off, it would be a travesty not to machine off the power steering pump pulley, (these are attached to the main hub, not the dampered pulleys that drive the water pump/alternator/AC) A nice spigot was machined on, and some holes drilled and tapped to correspond with those nice bosses. This is very hard to photograph in the car. Quite a while ago, the old boy picked up an Eaton M62 supercharger off Ebay. It came off a USDM nissan frontier truck, with the nissan VG33ER. (The larger version of the single can VG30 which were once common here) i basically told him, i was commandeering it. And back when @Vintage Grumblewas a cool kid, he had some SR20det injectors which he kindly gifted to me. So in the unlikely event 5his wreck ever sees the road, it wont be too big of a stretch to turn the wick up.
1 point
-
Was each side of the floorpan designed by people in different rooms who refused to talk to each other? The raised sections of floor are not visible inside, there is a second 'floor' that the seat bolts to. Those are pretty much identical. WHY the different shapes?! Is the floorpan also used in the Stag? Is there something there in the Stag?
1 point
-
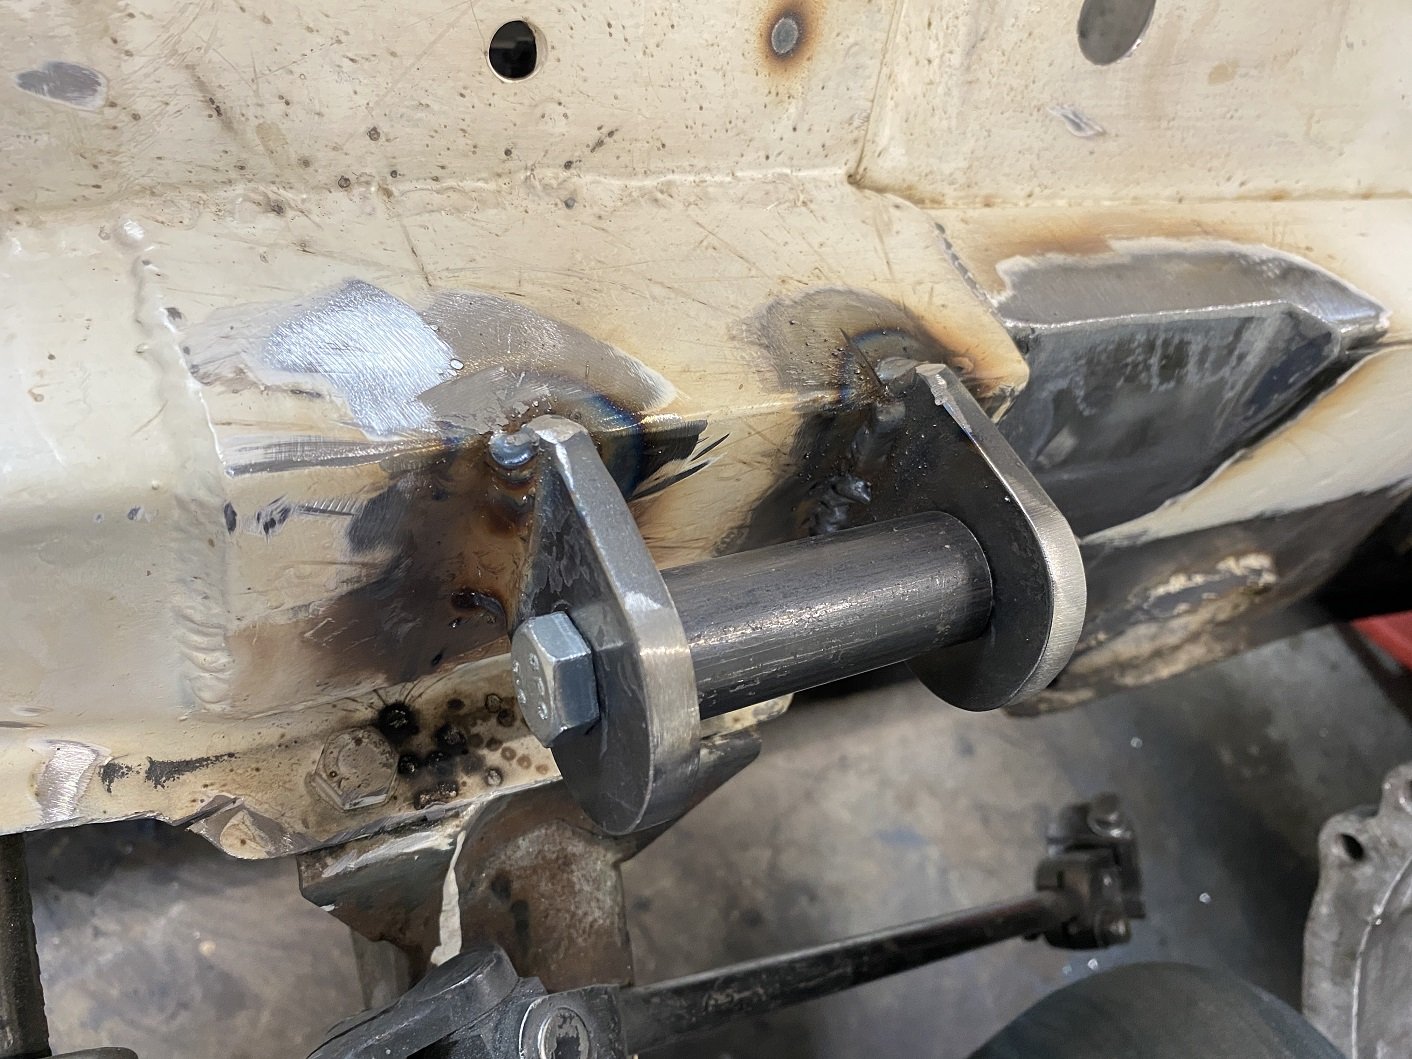
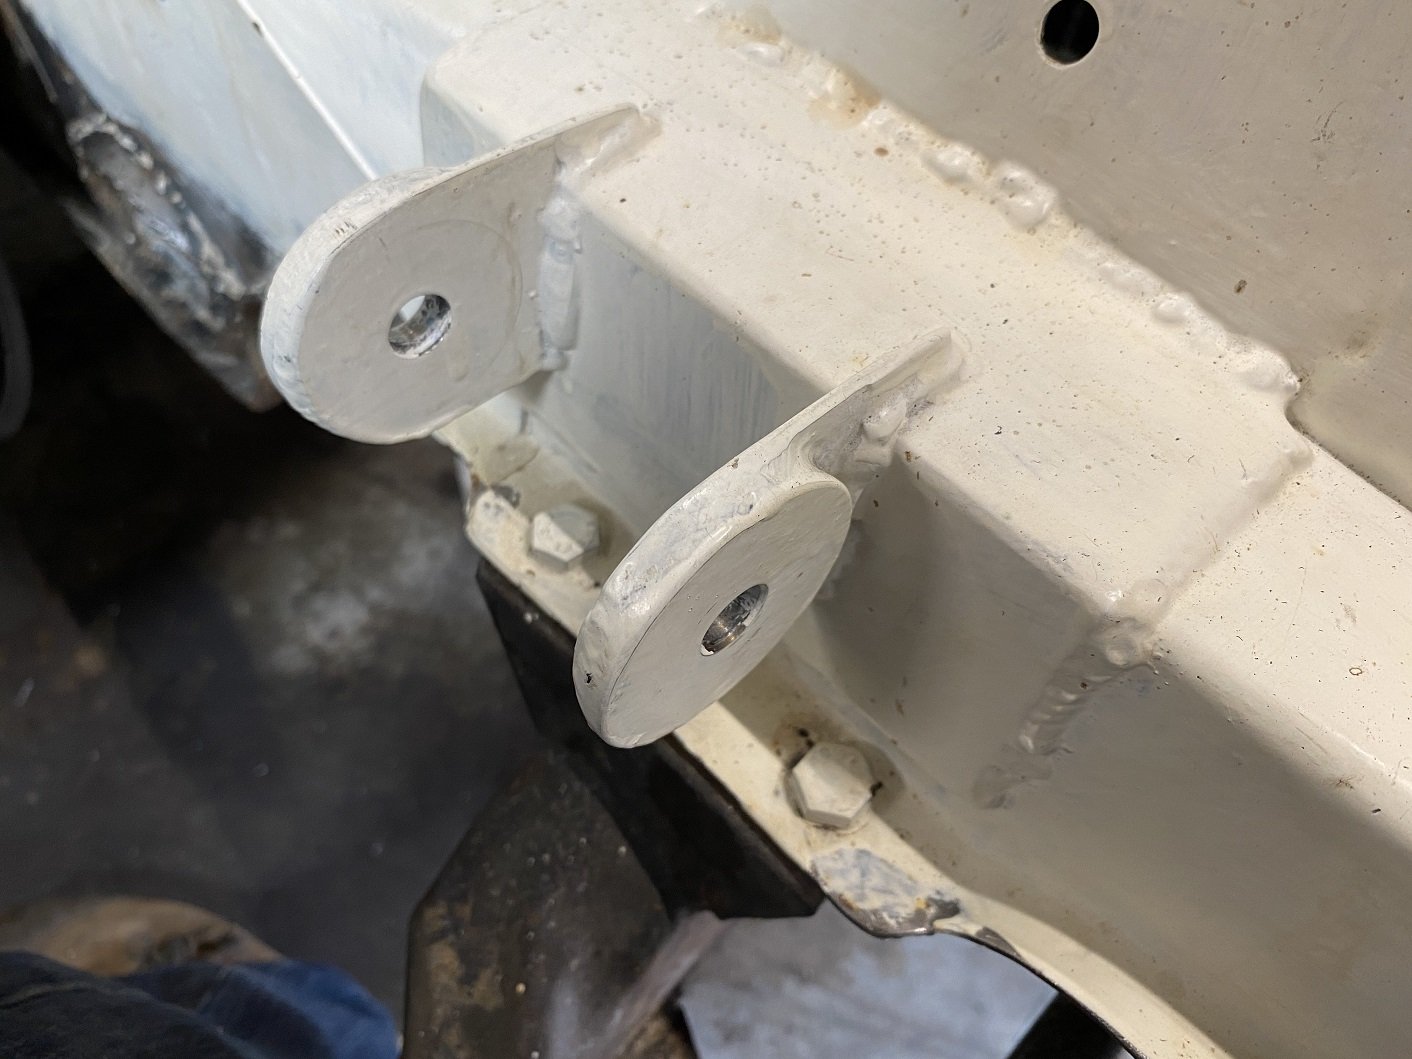
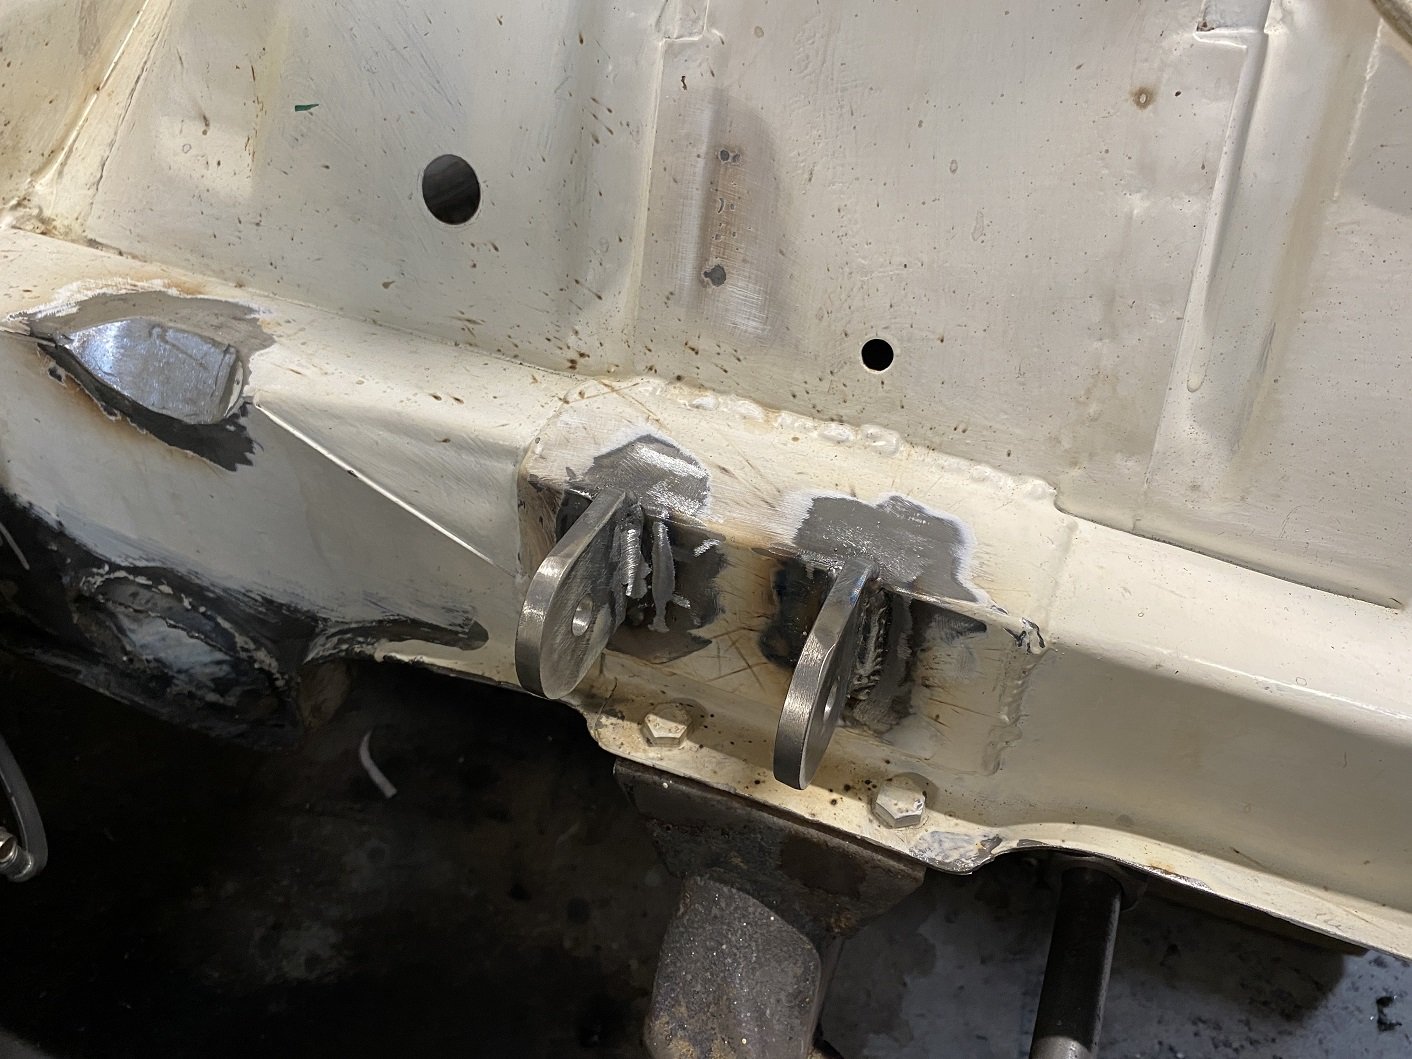
Engine mounts redone in thicker material as advised by the man. 8mm should do it. I machined up a spacer and did half at a time so I could use the original half to keep the alignment. But I also added a 4mm spacer when welding on the first new half to shift the engine back a tiny bit and give me just a little more clearance between the cross member and the sump. I hope that doesn't come back to bit me in the arse later. When welding in the second half of each mount I replaced the 4mm spacer with a fibre washer as a shim so it's not such an uber tight fit to get the bush/sleeve in there.
1 point
-
Reminder for myself next time I wonder why it is taking off so slowly.
1 point
-
So I started on the body. Did some CAD modeling, And then started hacking into 18mm ply, Then I took the old temporary seat and floor off, and made a new seat etc. I then started screwing everything together, And where it's at now, The back corners are meant to be rounded, but that's too hard for an amateur woodworker like myself. The floor and firewall will stay on the chassis, and the rest of the body will lift off. The bonnet and front mudguards will be the hardest part to do, but I have ideas, will find out soon if they will work. Oh and I decided to make it a BJ/FJ land cruiser (maybe it should be an EJ?) because the kids cousin has a Jeep already, and because I'm forcing them to like Toyotas, because not doing so would basically be child abuse. Regards, VG.1 point
-
This is cool, especially the sleuthing you have done. This is my pocket watch that I have had for 20 years or so. I got a toolmaker to make a new winding axle(?) as the old one was slogged out. Its missing a jewel but still seems to work pretty well. I might have to have a go at dating it now that there is internet. It says 'A. Mardirossian, Constantinople' on the face. should try to get some better pics probably.1 point


.thumb.jpeg.e0a4bff61111e0c8c7396950fcc94da1.jpeg)


.thumb.jpeg.b39a639a8ff8a614681c3c9dca730a70.jpeg)


This leaderboard is set to Auckland/GMT+12:00