
Leaderboard


Popular Content
Showing content with the highest reputation on 03/11/24 in all areas
-
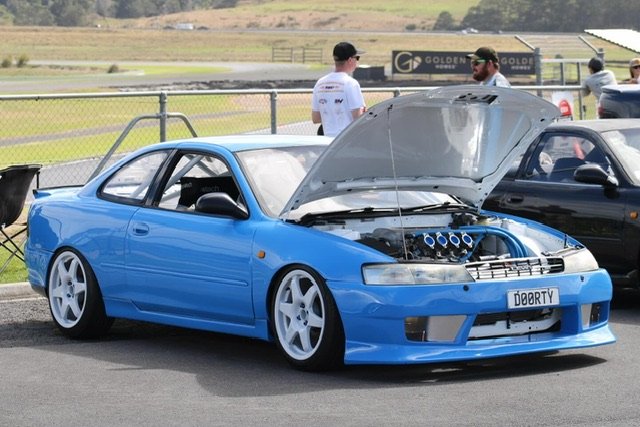
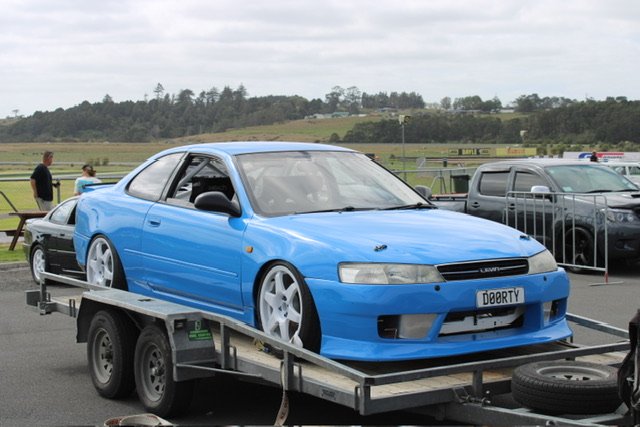
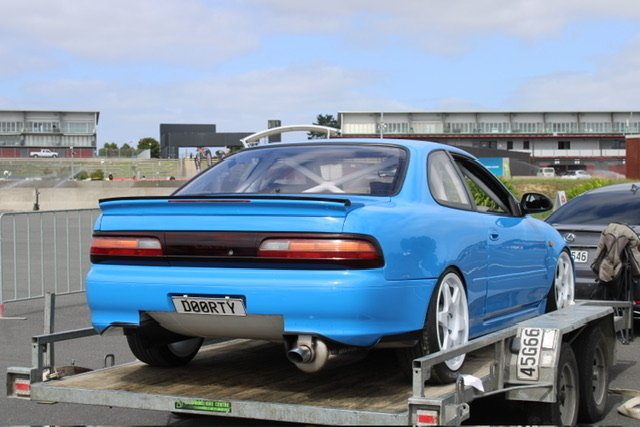
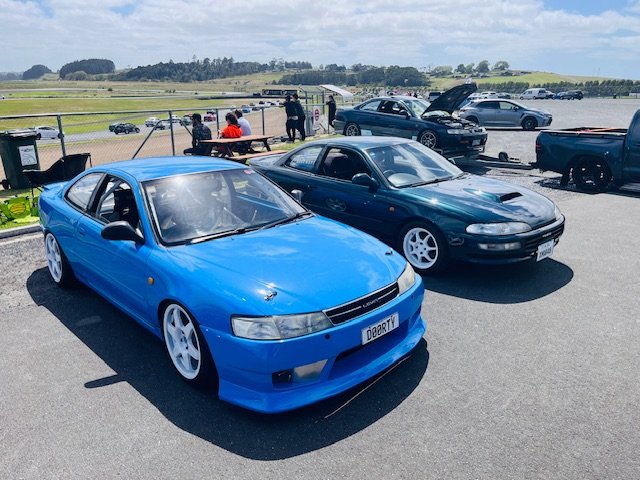
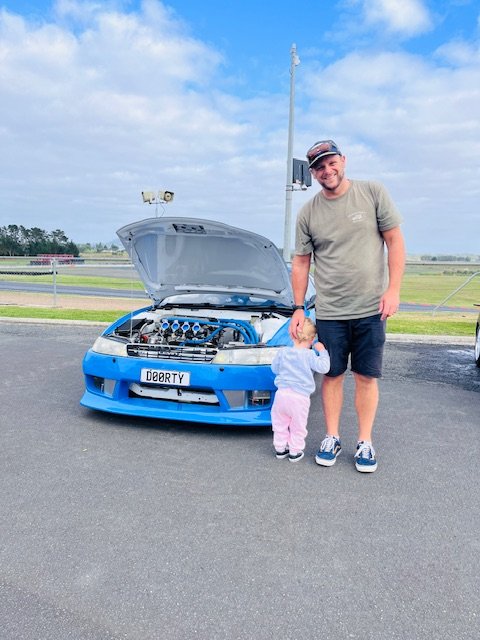
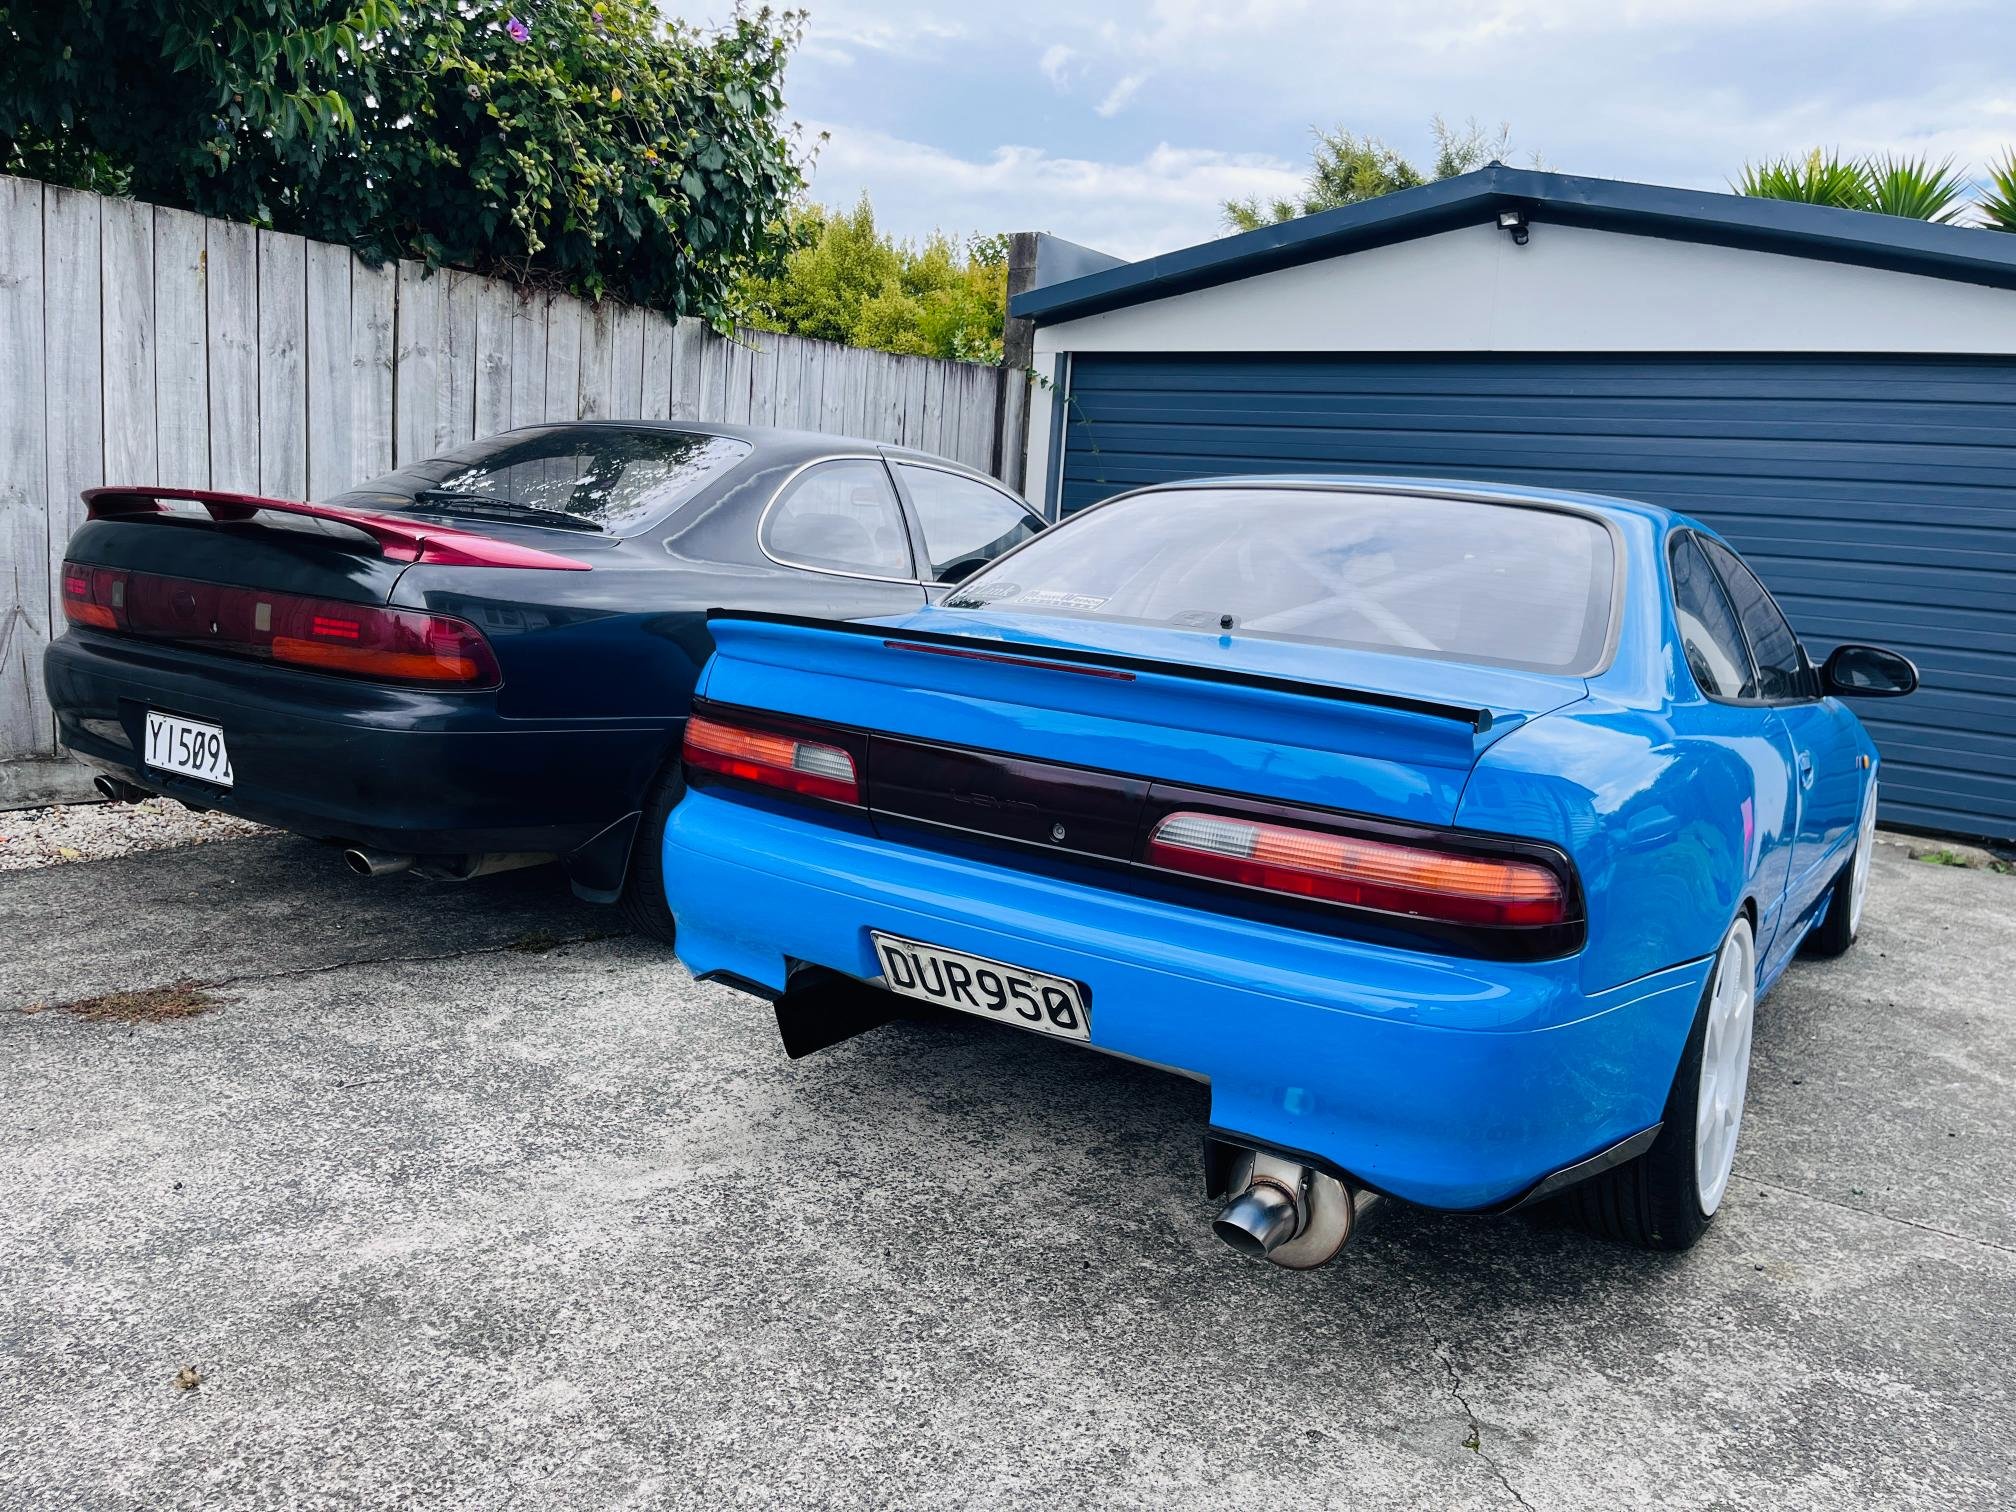
A few snaps from Toyotafest. If anyone got some feel free to share as well. Great to get the car out and chat to lots of people about it. Lots of motivation to finish it now! Trailer queen for first and last time hopefully Finley loved it too
 13 points
 -
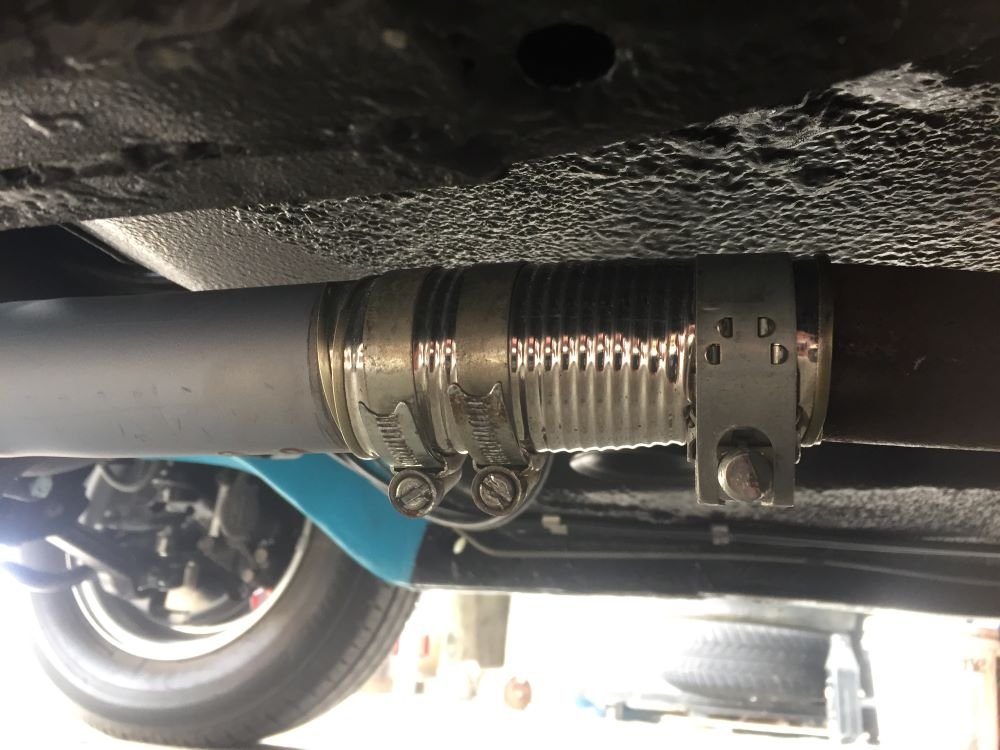
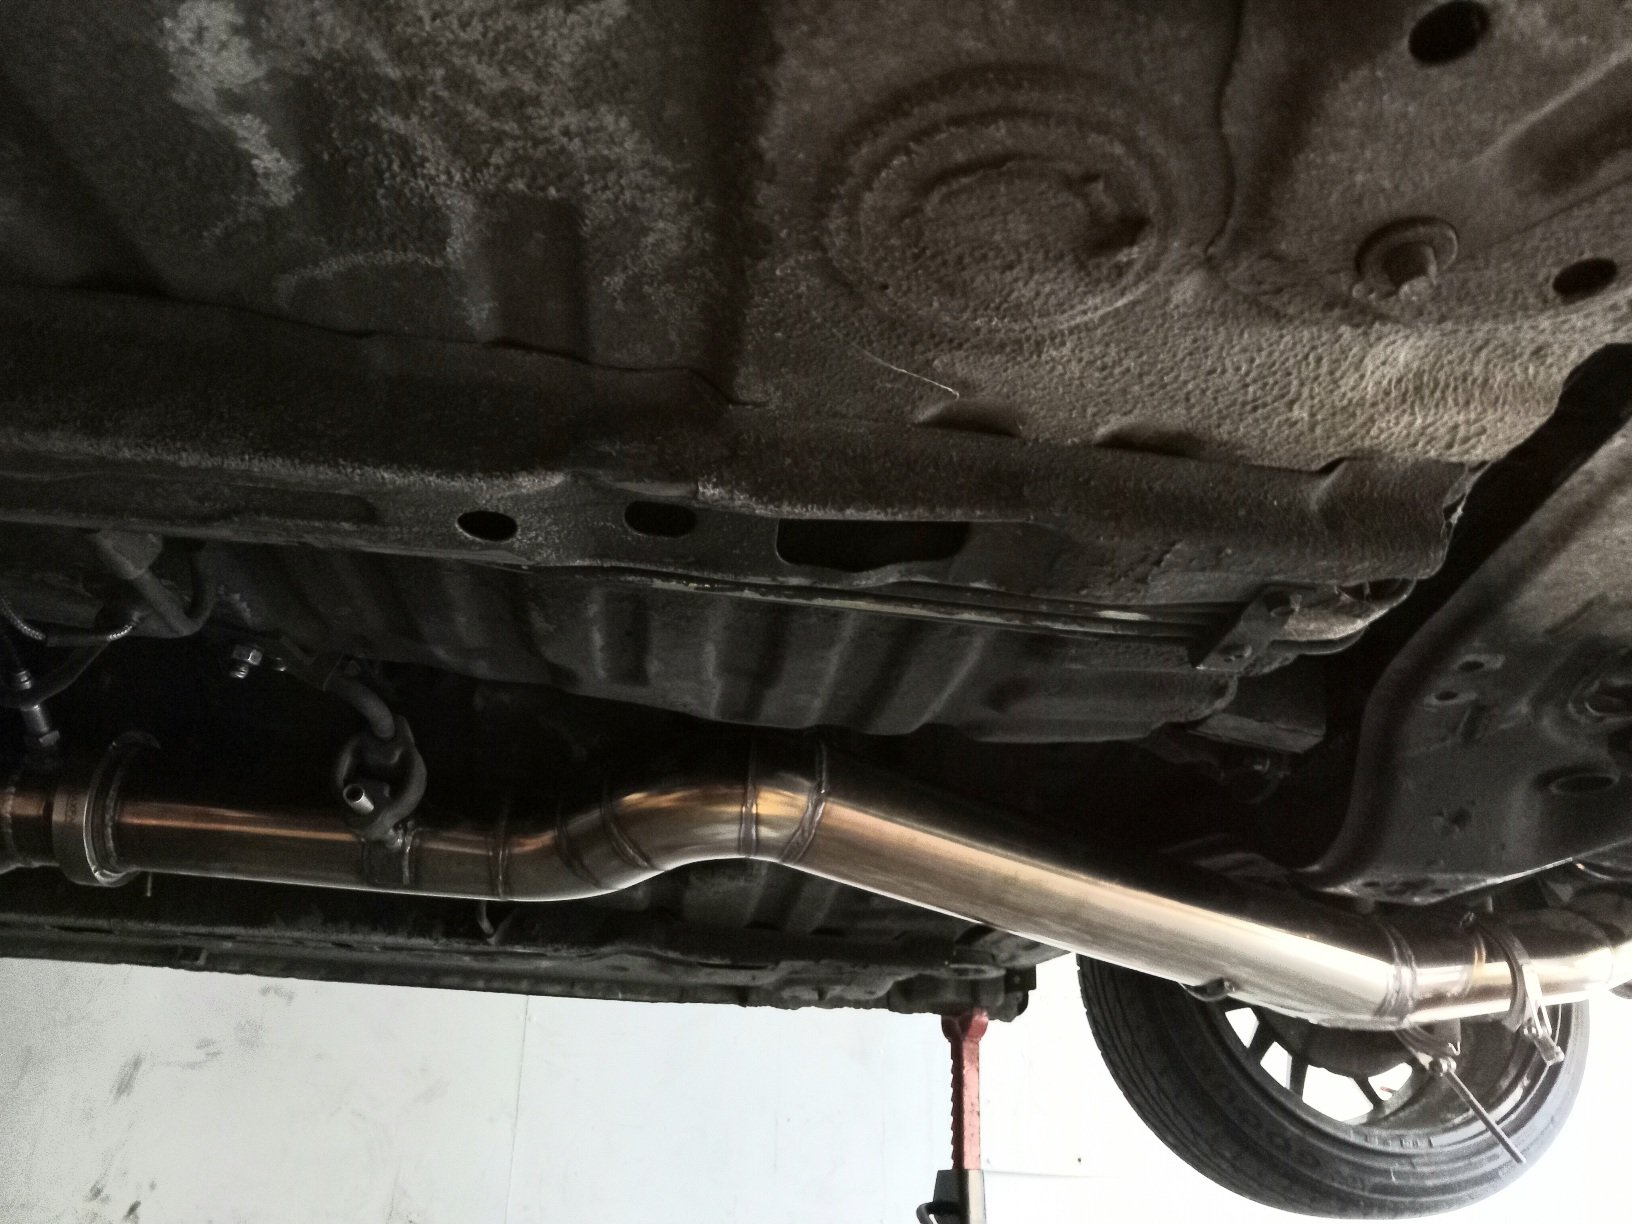
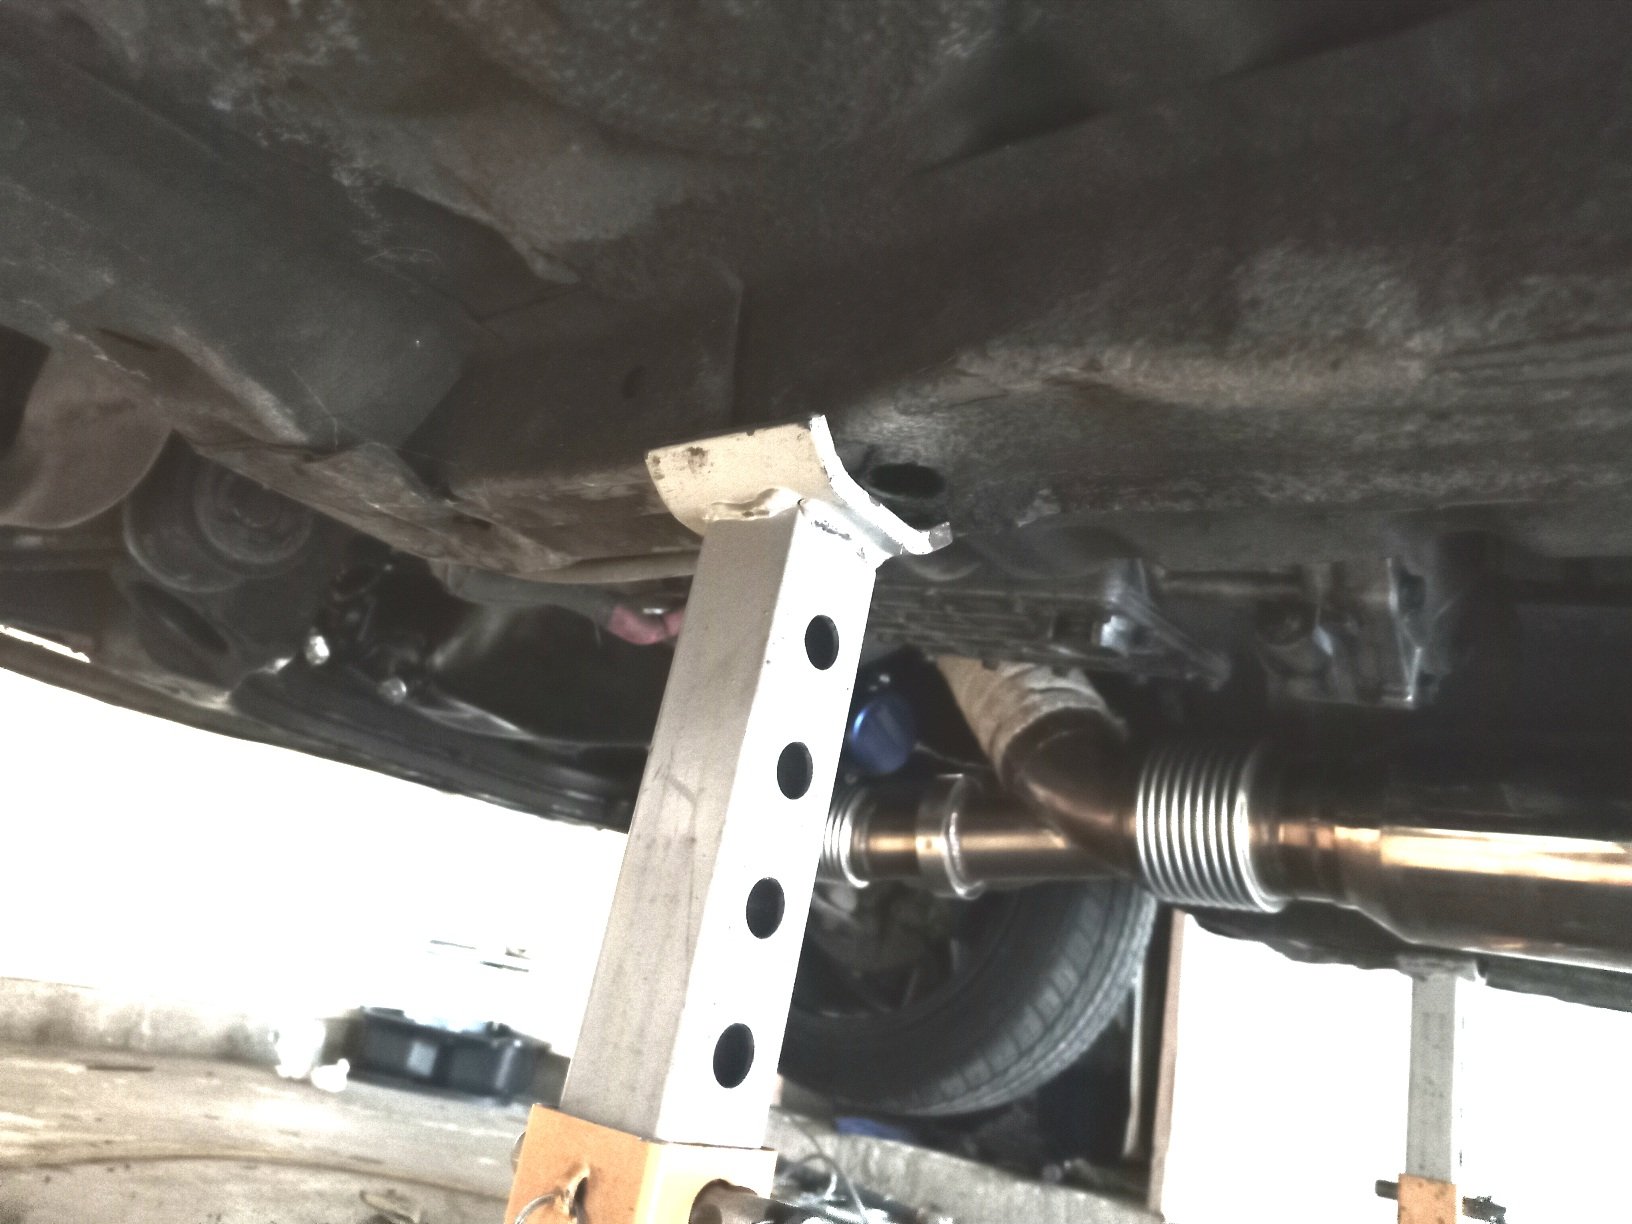
Nearly ready for first startup. Just a couple of jobs to do, one being to attach old exhaust to new headers until i'm able to get a proper system made. Don't laugh but I cut both ends out of a baked bean can, slit it down the side and with the help of some hose clamps, made a sleeve and clamped over both pipes. Should be ok for a while. Checked all fluid levels and filled radiator with hot water as mechanic suggested as been sitting for a while since build. Removed plugs and cranked motor until oil pressure light went out. Replaced plugs and turned key. Motor started straight up and sounded really good. Ran it up to temp and checked for leaks of which there were none. Time for a trip around town. Goes well but needs a tune. Brakes are good and everything else works except fuel gauge. If anyone has a suggestion of where I could get my 32/32 weber carb tuned around Christchurch could they leave a message on Project Discussion page. Cheers Project Discussion https://oldschool.co.nz/index.php?/topic/84912-petes-mk2-escort-1600-sports/page/3/#comment-2618039
10 points
-
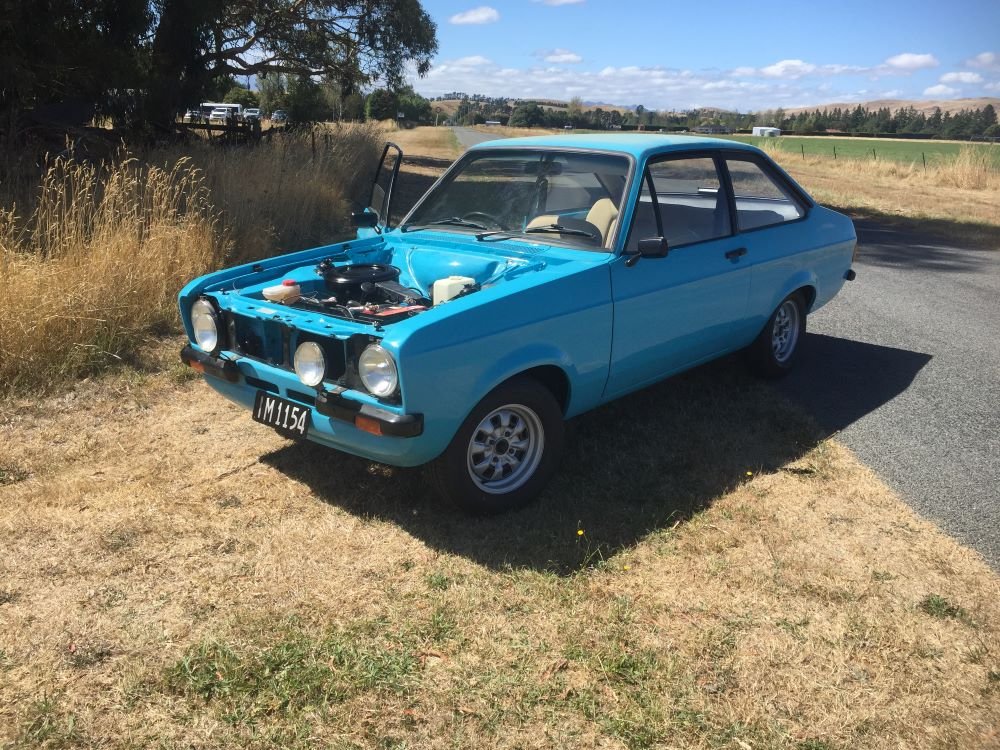
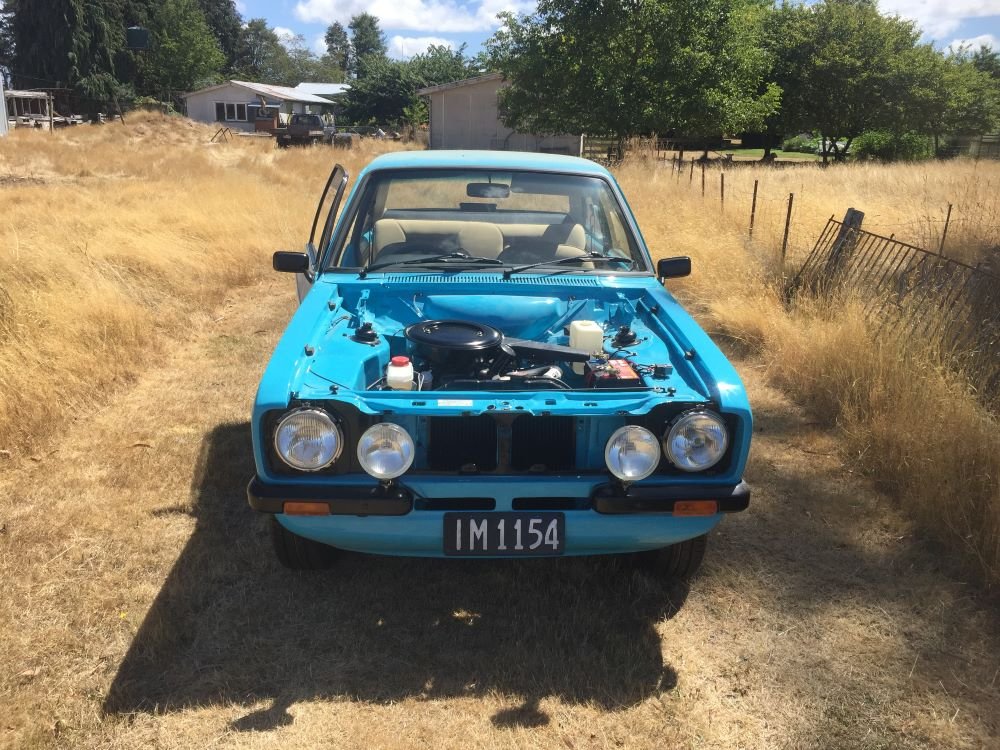
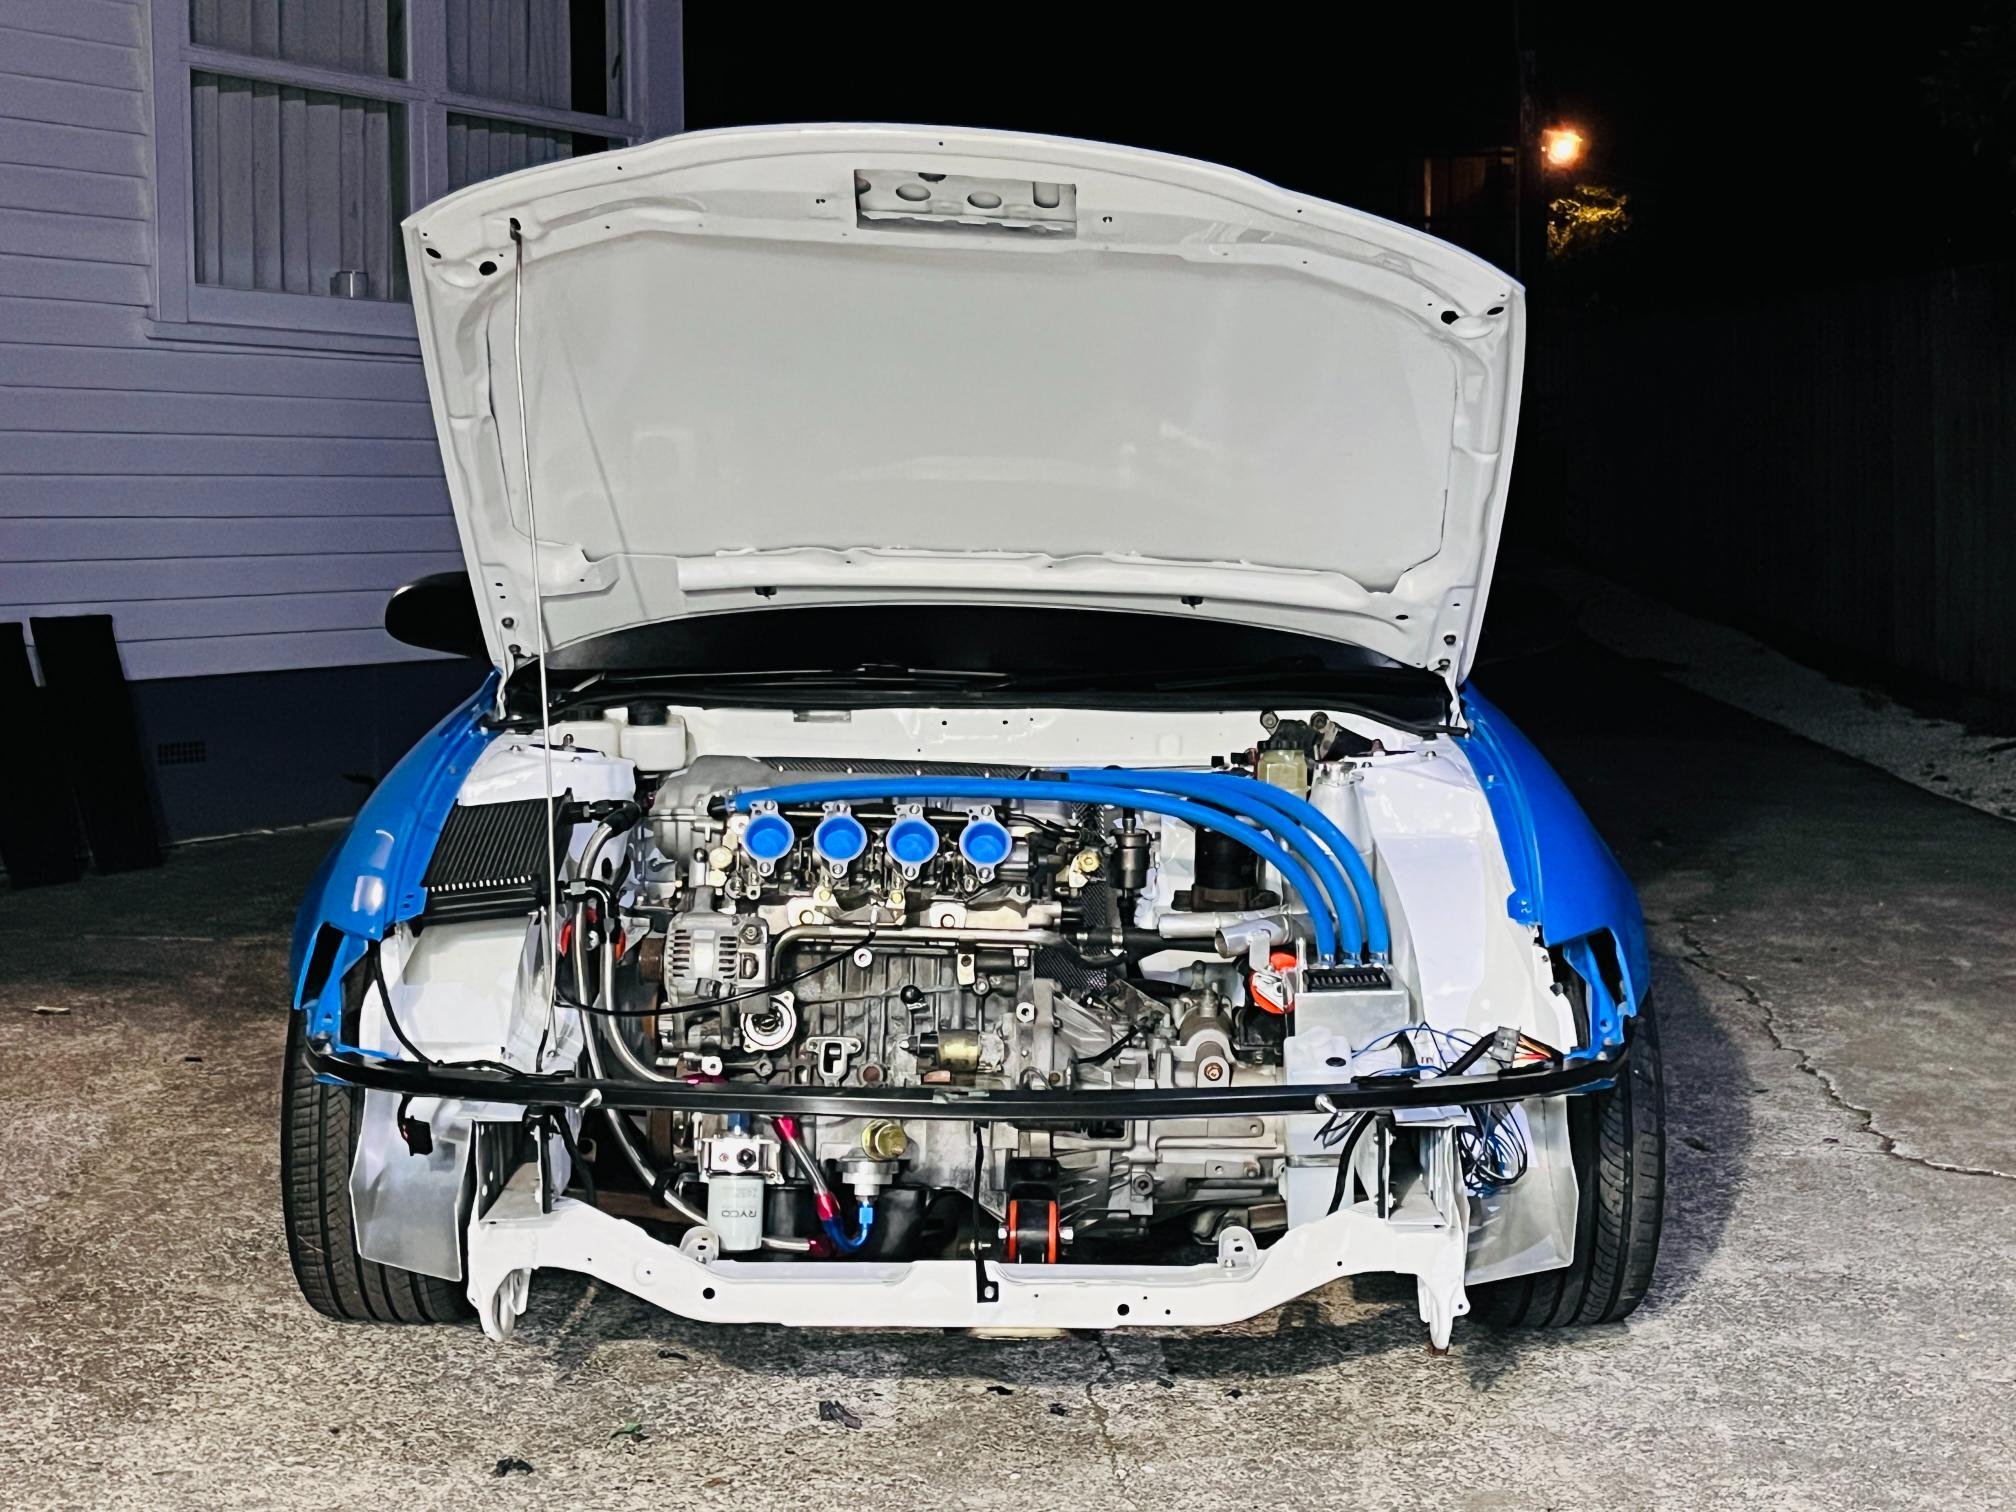
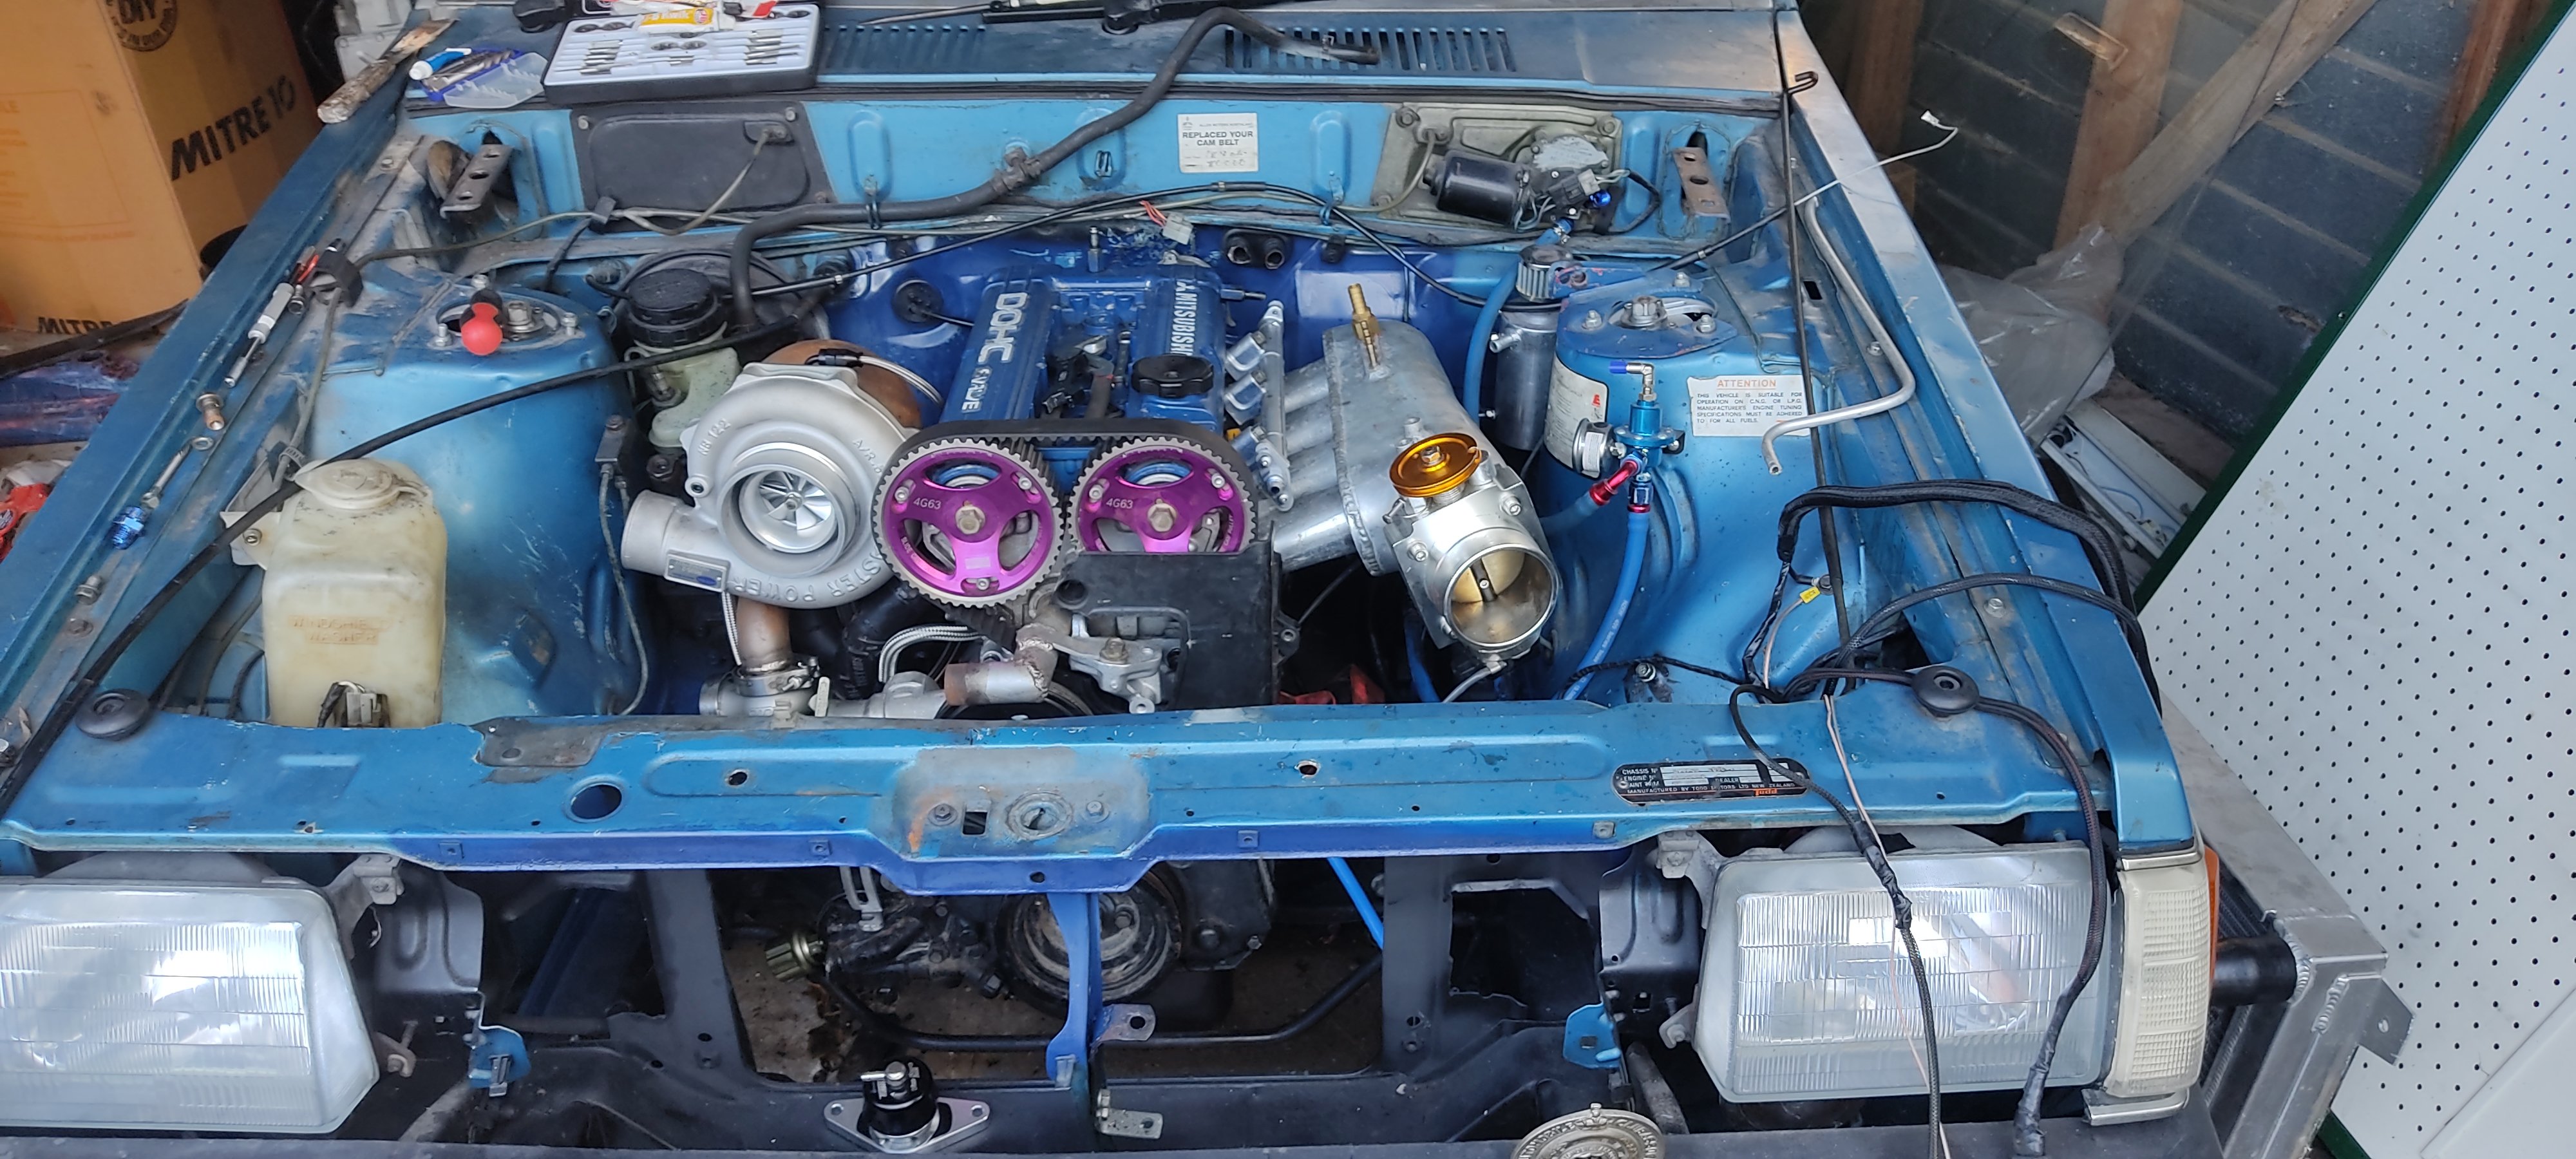
Have also been mucking around in the engine bay, i fixed a bunch of split hoses, put the strut brace back on that came with the spares for this car, cleaned up lots of areas, some paint, cleaned the wheels inside and out, put new tyres on the back took it for a drive and its running good, bit of a miss when it first goes into boost at low revs but im working on sorting that, still lights the tyres up in the dry pretty easily, but they are only 225s on the back ... Hooked up the boost gauge lighting to power so i can read it, and tidied some wiring away, i still need to buy parts for it, but these jobs all help, definitely will have to sort out some paint but i want to get all the parts on and working and warrantable before i do anything like that so excuse the mismatched colours and that haha
9 points
-
Bolted more shit on. I thought I had better reassemble the doors and check their function before chucking them on, and shortly I noticed that this little tit on the door latch had broken off, which would mean I would have to unlock the passenger side and reach over to unlock the drivers. See that tit on the diecast part? This actuates the lock from the door key; Commence bodging And it worked! I was quietly pleased with that as those latches are pretty much unobtainium these days Then I realised that I was trying to use the passenger latch in the drivers side, so that was all a waste of time. Except that the boot and engine cover latch levers are in the shut off of the passenger door. So actually it will be pretty useful to be able unlock the passenger side to get to those. I seem to recall this not working previously. So fuck all left to do really; Windscreen Box on and engine in Final wiring connections in the engine bay once the engine is in Passenger door Boot and engine cover Carb tune I am assuming the brakes will probably need rebuilding, we will just have to see. And whatever other fuckery arises.8 points
-
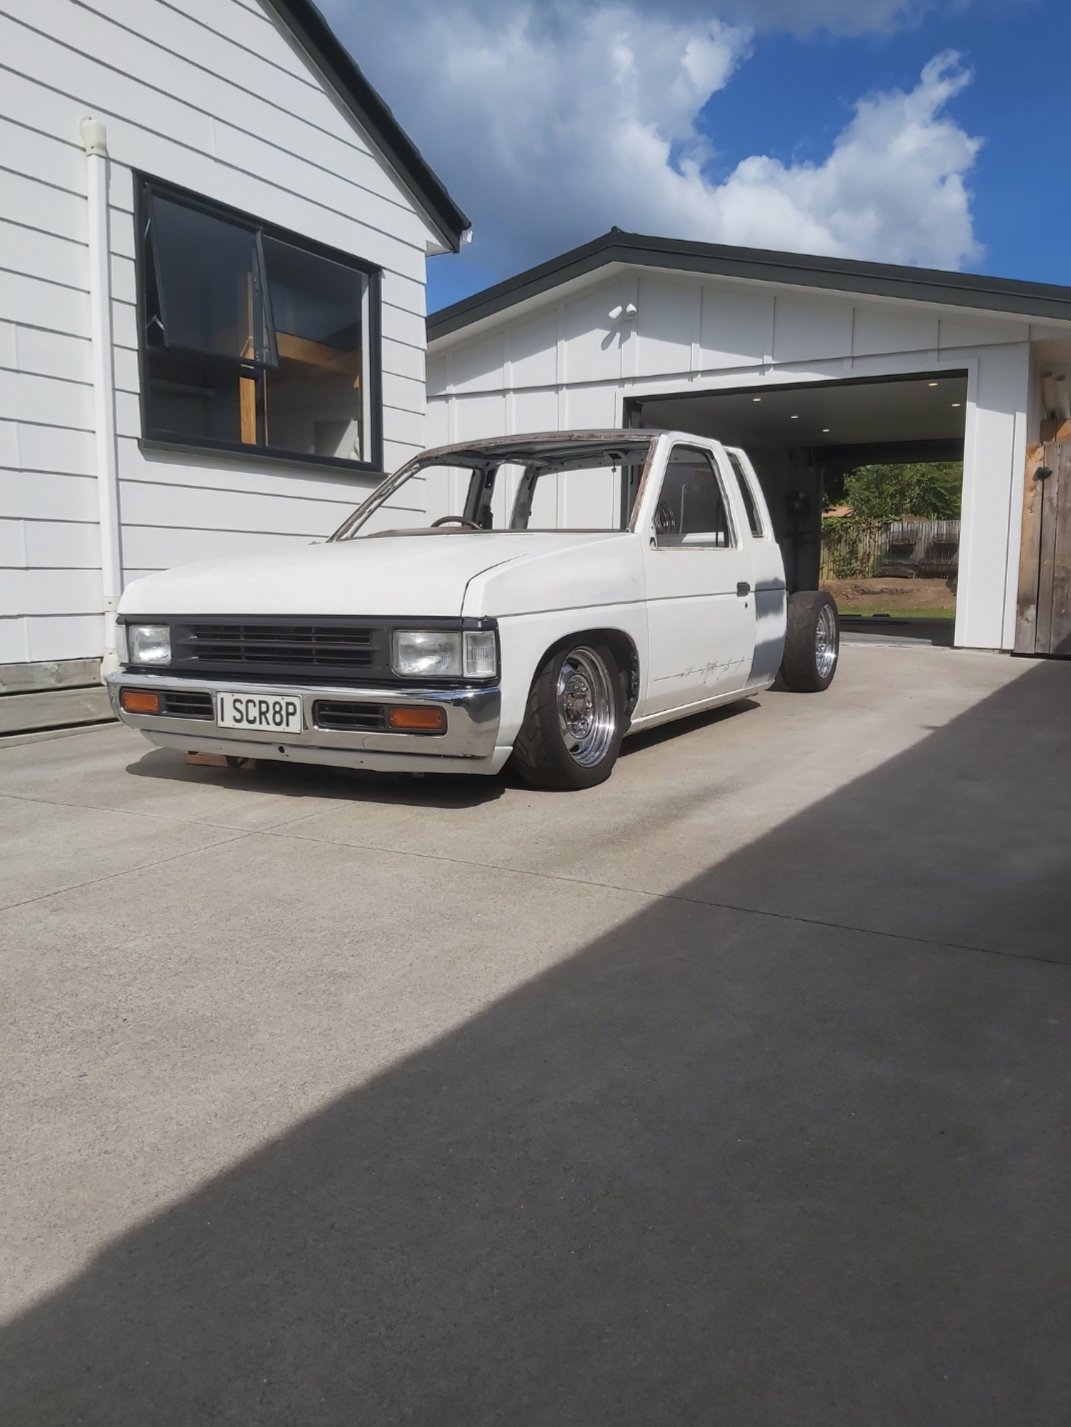
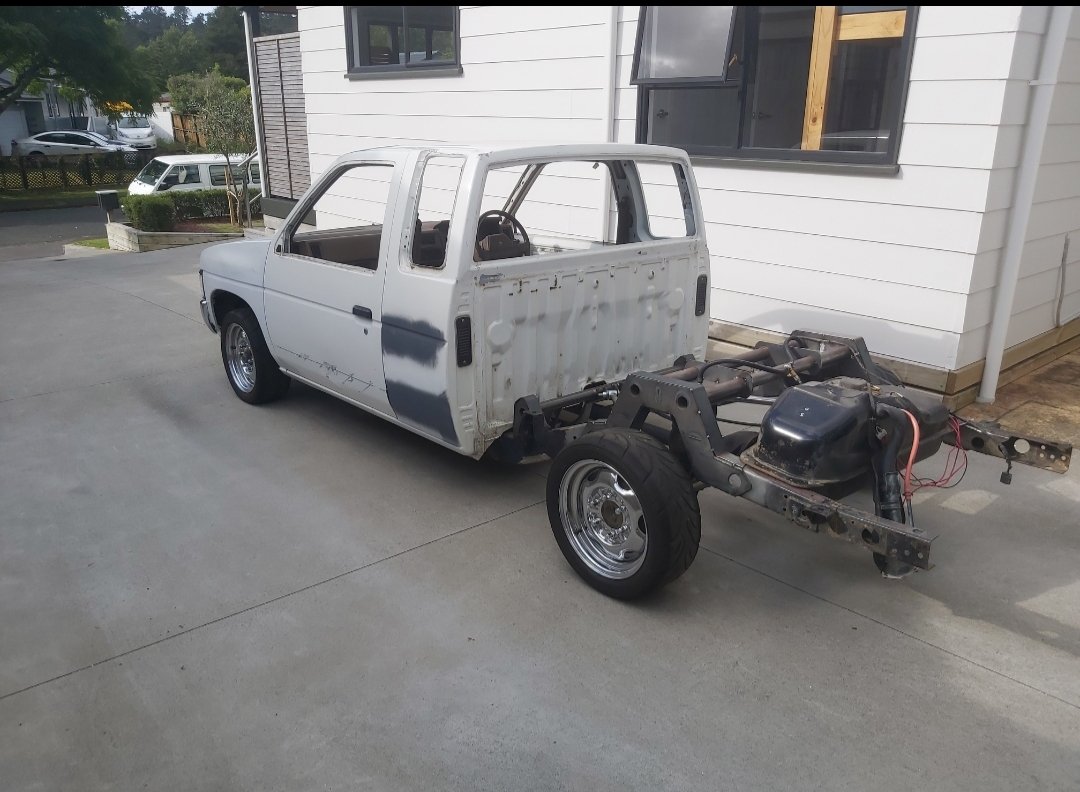
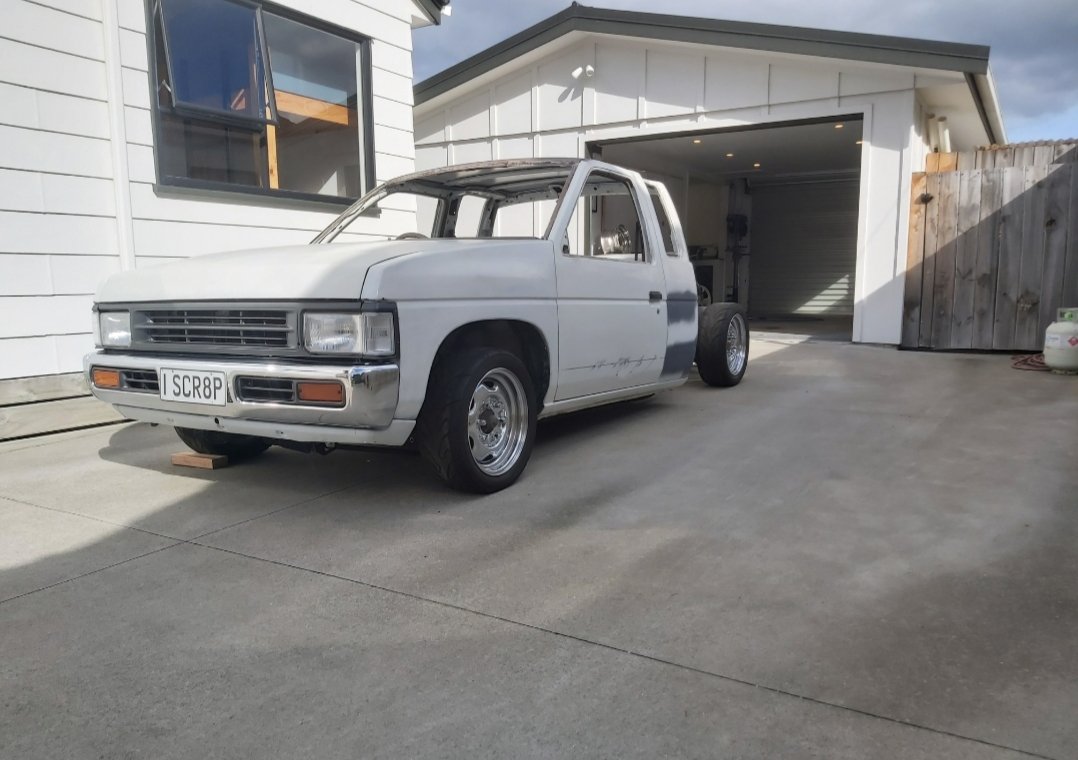
Been through a few ups and downs with this lately. Pardon the pun. Took it off the axle stands to get the full lay frame experience but unfortunately my bag mount bracket on the diff is a bit to tall. Same with the top link bracket. Unsure if it's also got something to do with the front not being fully slammed yet. But once the 15s on it sits quite healthy on the ground. Pushed outside today for a bit of sunshine. Here are the results. As far as progress is concerned there has been none apart from planning how I intend to rectify the problem. Thanks for looking.
7 points
-
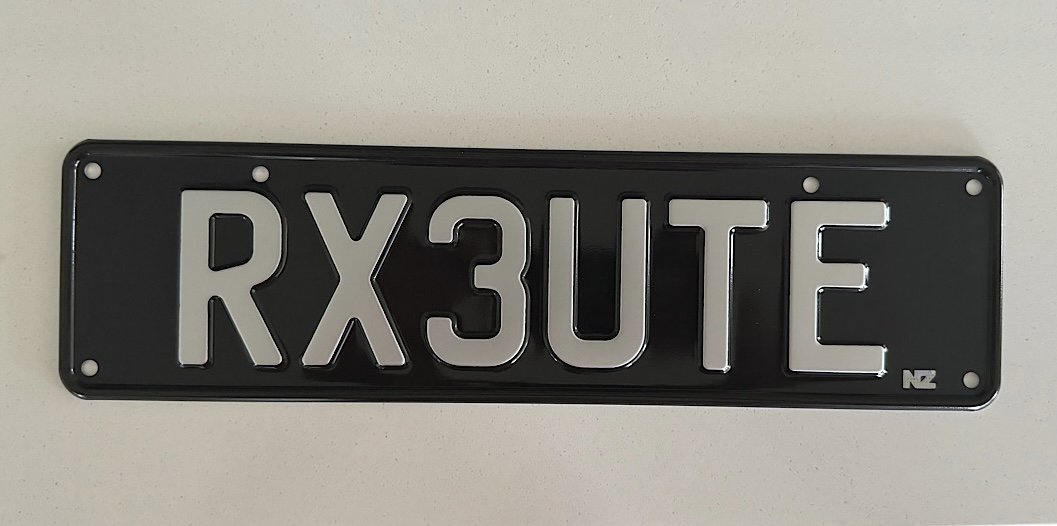
Got home from Low Key Nats to find a nice package had arrived.
7 points
-
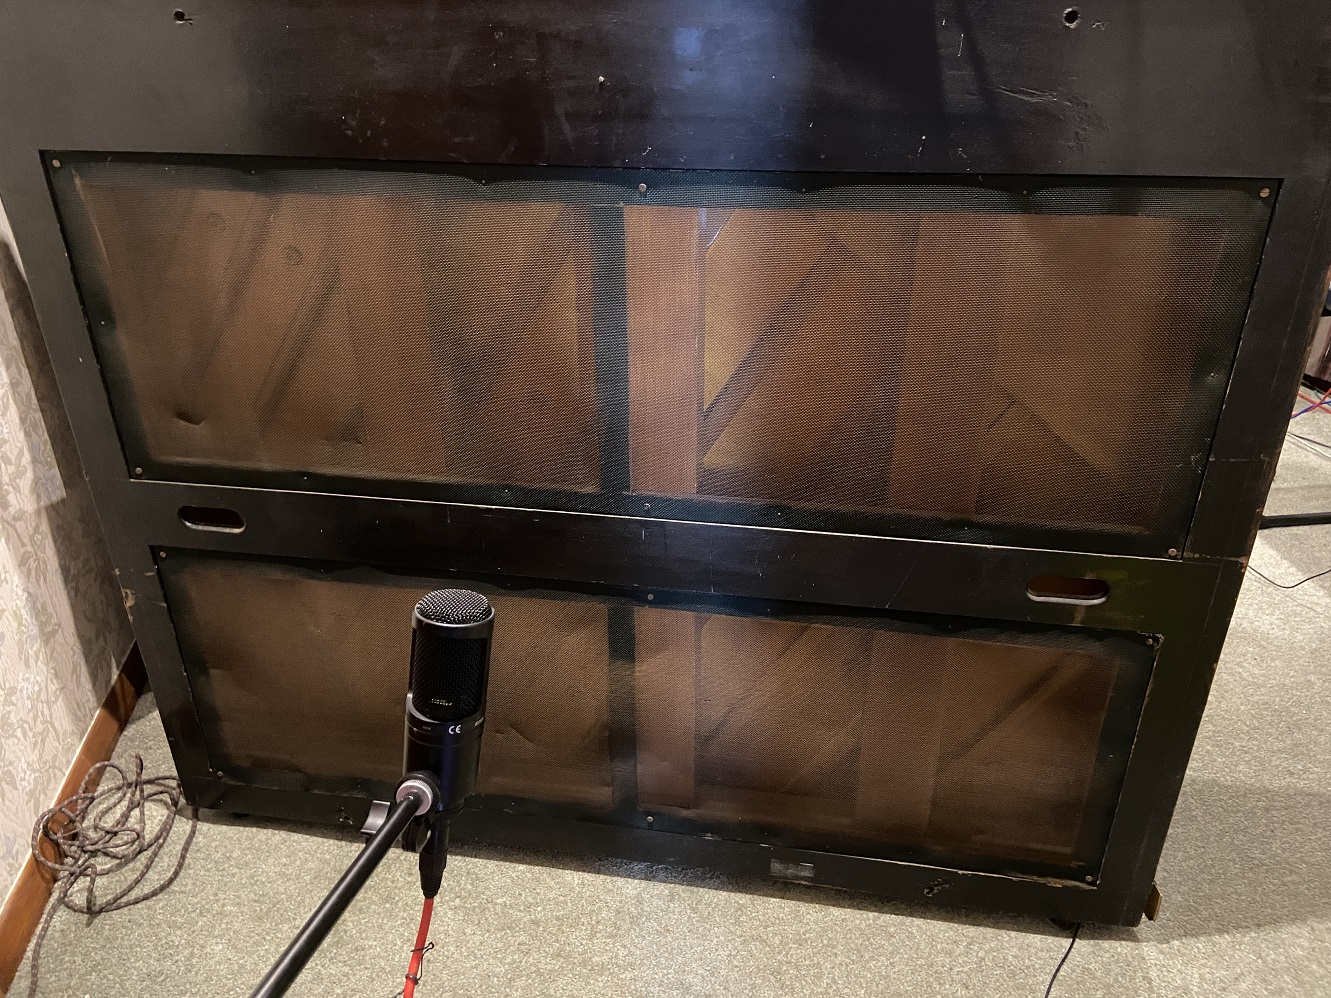
I'm behind schedule on this and I haven't posted anything because of no progress. I put the piano in the middle of the room and set up some microphones. I found that you could hear the rattling of these wire screens on the rear of the piano: I took them off. The next problem was too much typewriter clatter from the piano's action when recording with the upper front panel removed. I know I should expect unwanted noise from something ancient, British and worn out, but the level of rattling was a bit much to be excused as character. With the upper front panel back in place, the mic doesn't pick up the clatter as much but I lose a bit of clarity. So the technician took the whole action away to replace the bushings responsible for some of the clatter, and to reshape the hammer felt to remove the grooves and compacted areas. I got the action back last week, but now it's a matter of working through which new bushings are too tight or too loose, fixing the already-broken bits we found, and fixing the newly-broken bits which resulted from working on something so old. So far the tone and the dynamic range are a bit better. An old piano like this is never going to set the world on fire, but I encountered four other old pianos over the course of Nats and they were all miles worse than mine. The bar is low. I have been tasked with playing the piano and making notes on what's still not right for the technician's next visit in April.
6 points
-
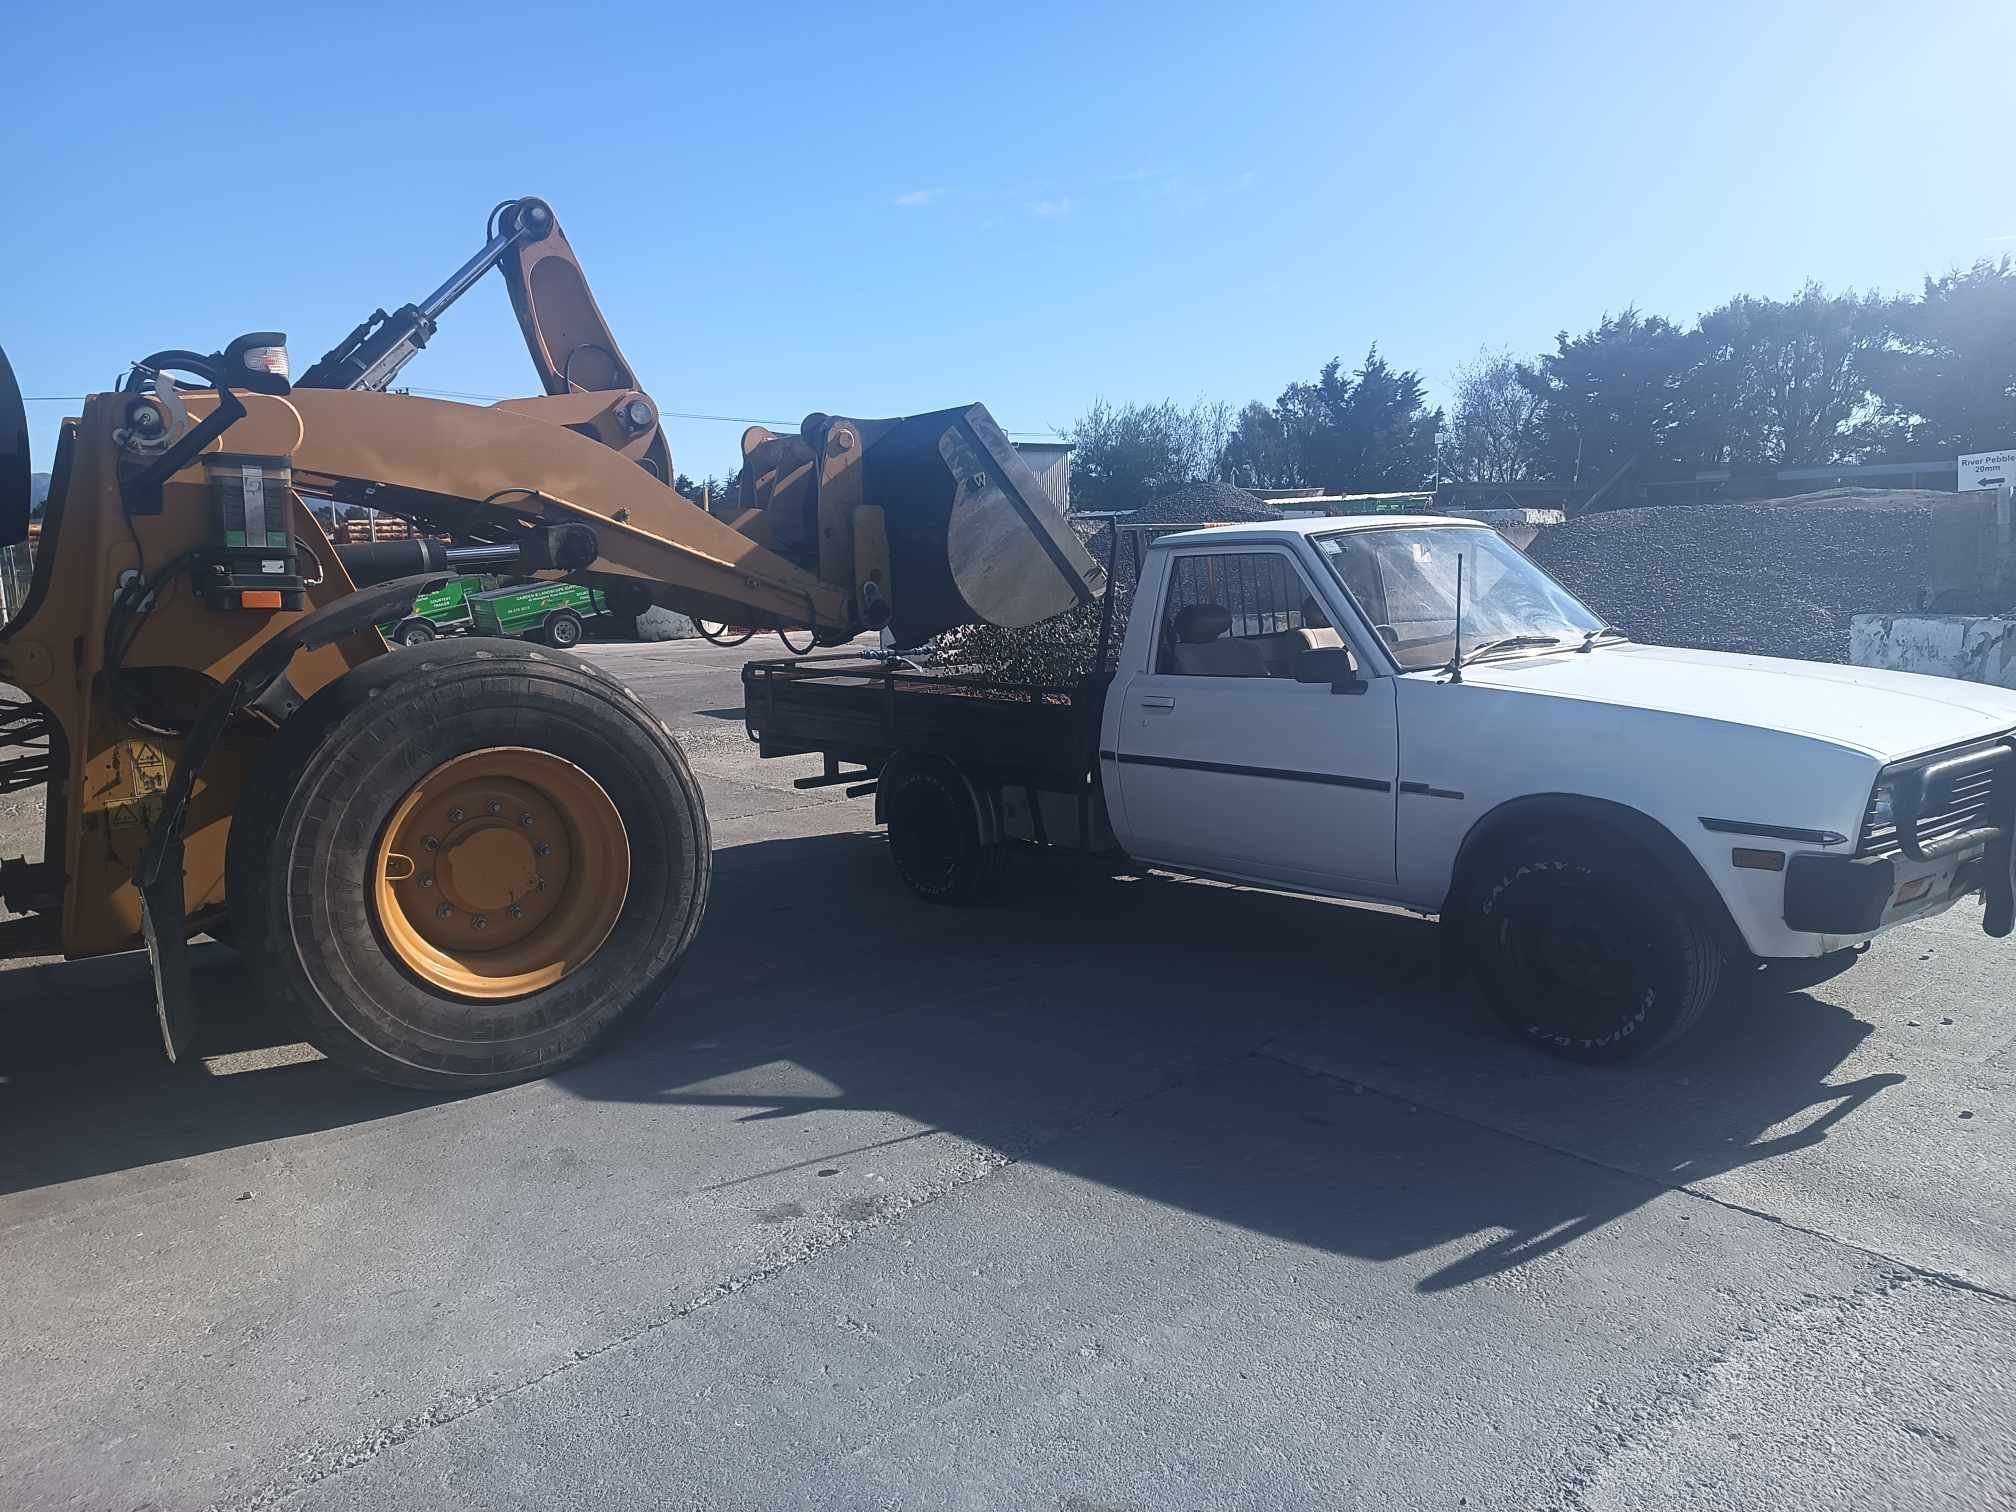
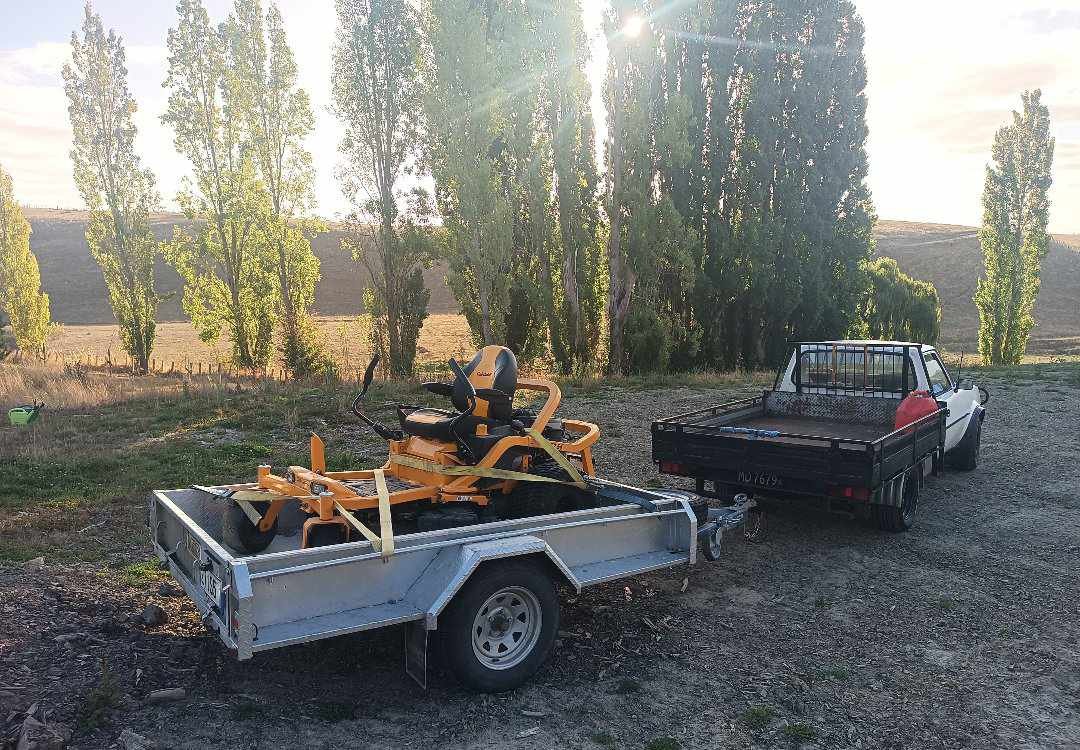
Still need to sort out the belt situation at the front. Needs a full redesign but one of those things where it still works so I keep driving it and I am resisting the urge to make it into a project before I absolutely have to. I should probably pick up a spare long block and take bits off it to swap it all over. Maybe when the Imp is on the road. Anyway this weekend I managed to put 600kms on the clock driving all over the shop to the bush block for mowing and more trips than I would have liked to get gravel for an underground greenhouse I'm building presently. It can fit 1/4 cube of 20mm pebble in the tray so I just took the trailer which can take half a cube. As the fuel gauge is sketchy I took some figures down and it gets 13l/100kms pulling a load. I'm guessing it'll be much better with no load but already it's nearly twice as good as the chev.
6 points
-
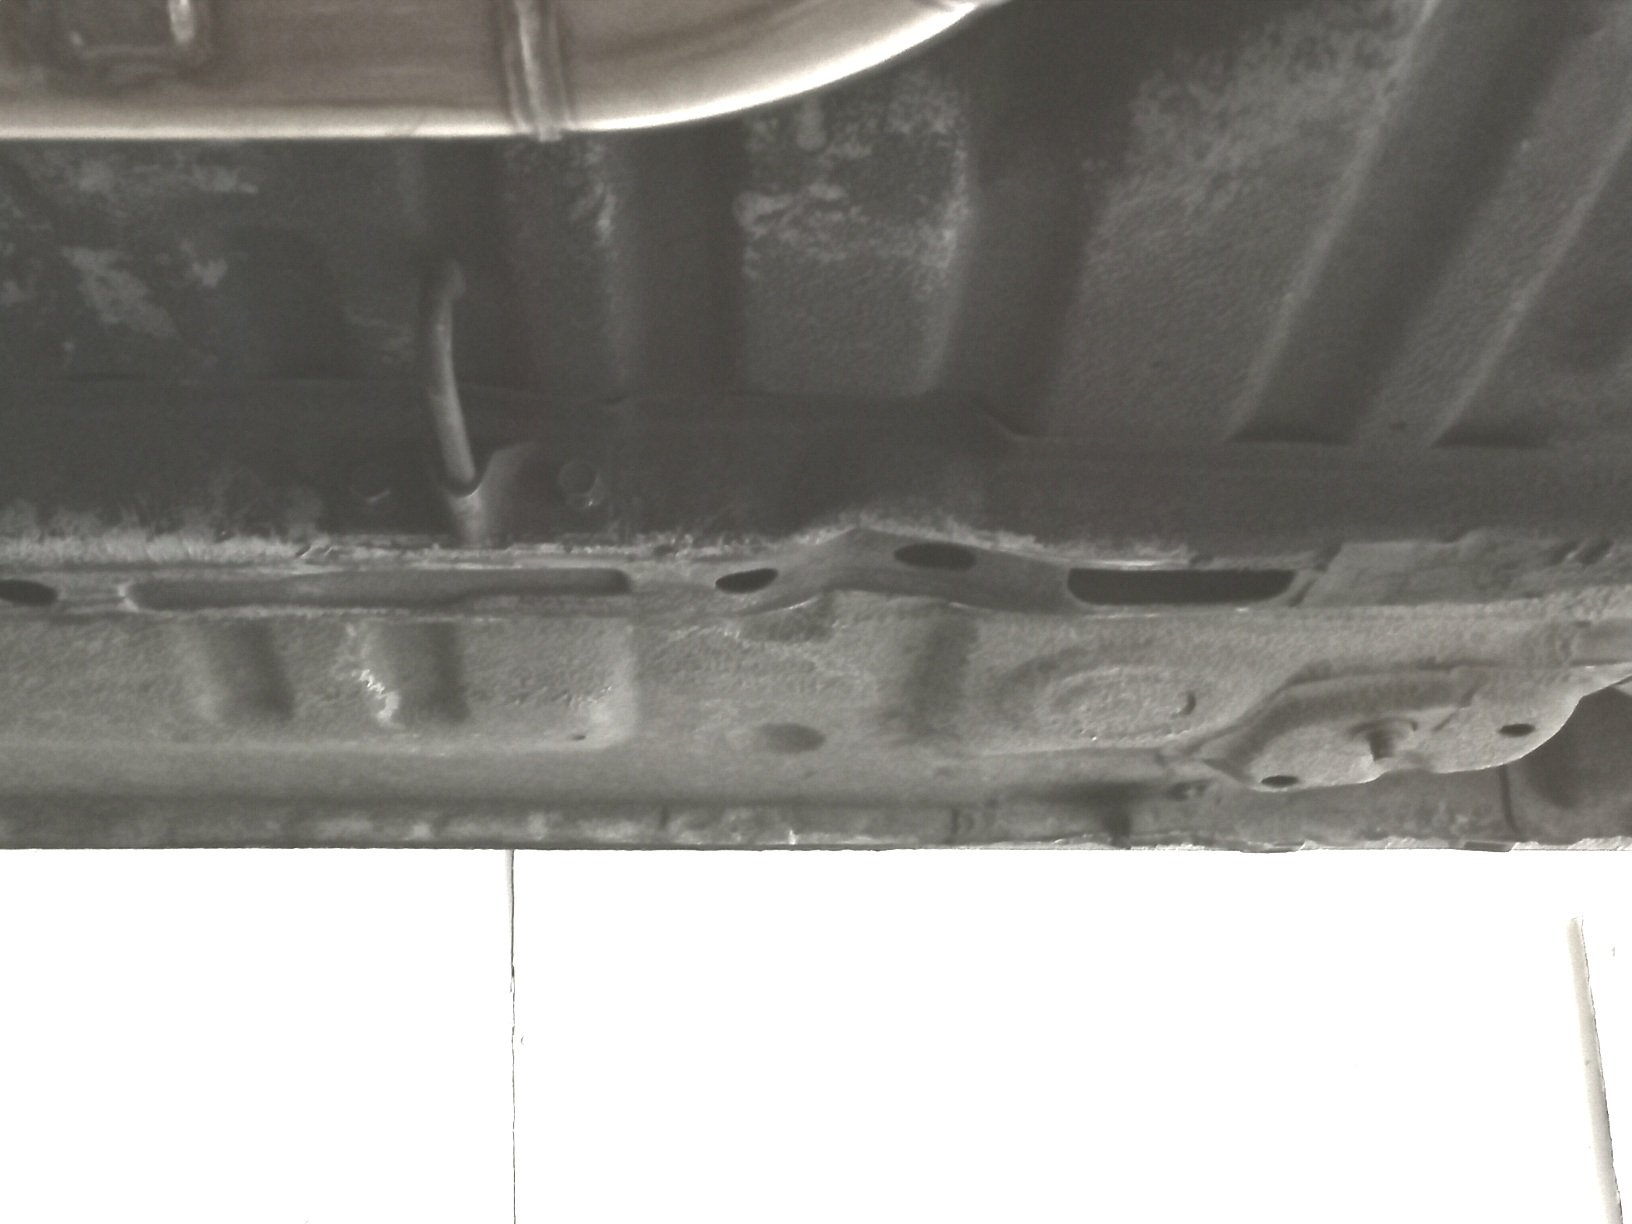
My chassis rails were a bit pushed in, and most likely would have failed a wof, so i took it to blairs panel repairs, he did an awesome job and even fixed the pinch weld areas that were also bent up, and undercoated it all for a great price and all done in a day, couldnt ask for more really, one less thing to fix on the road to a warrant ..
5 points
-
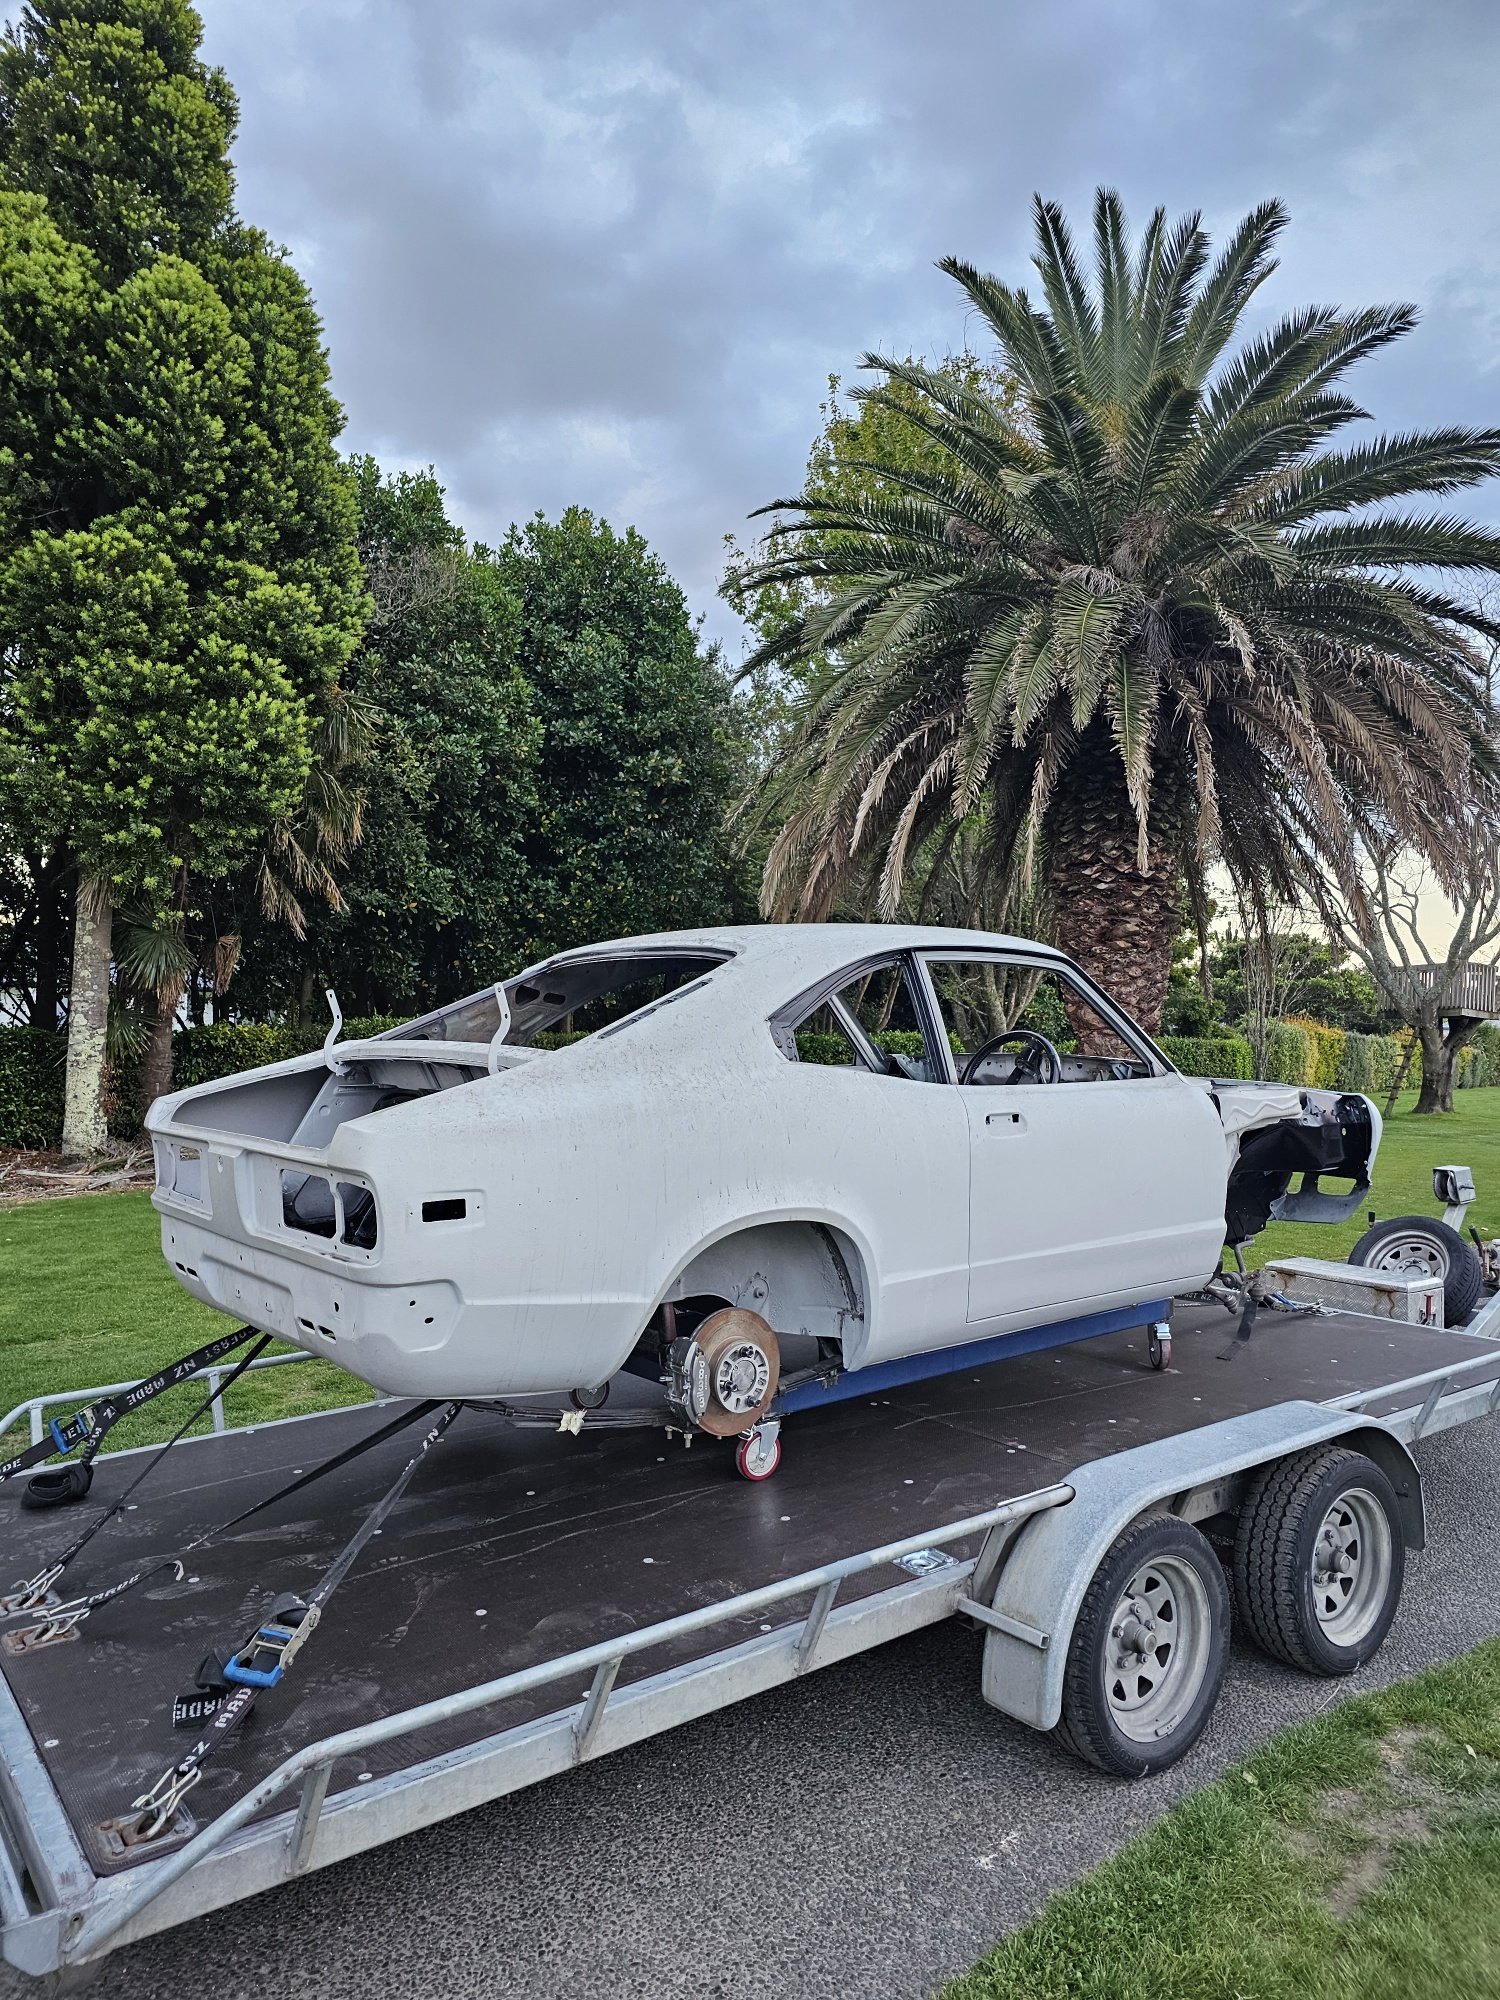
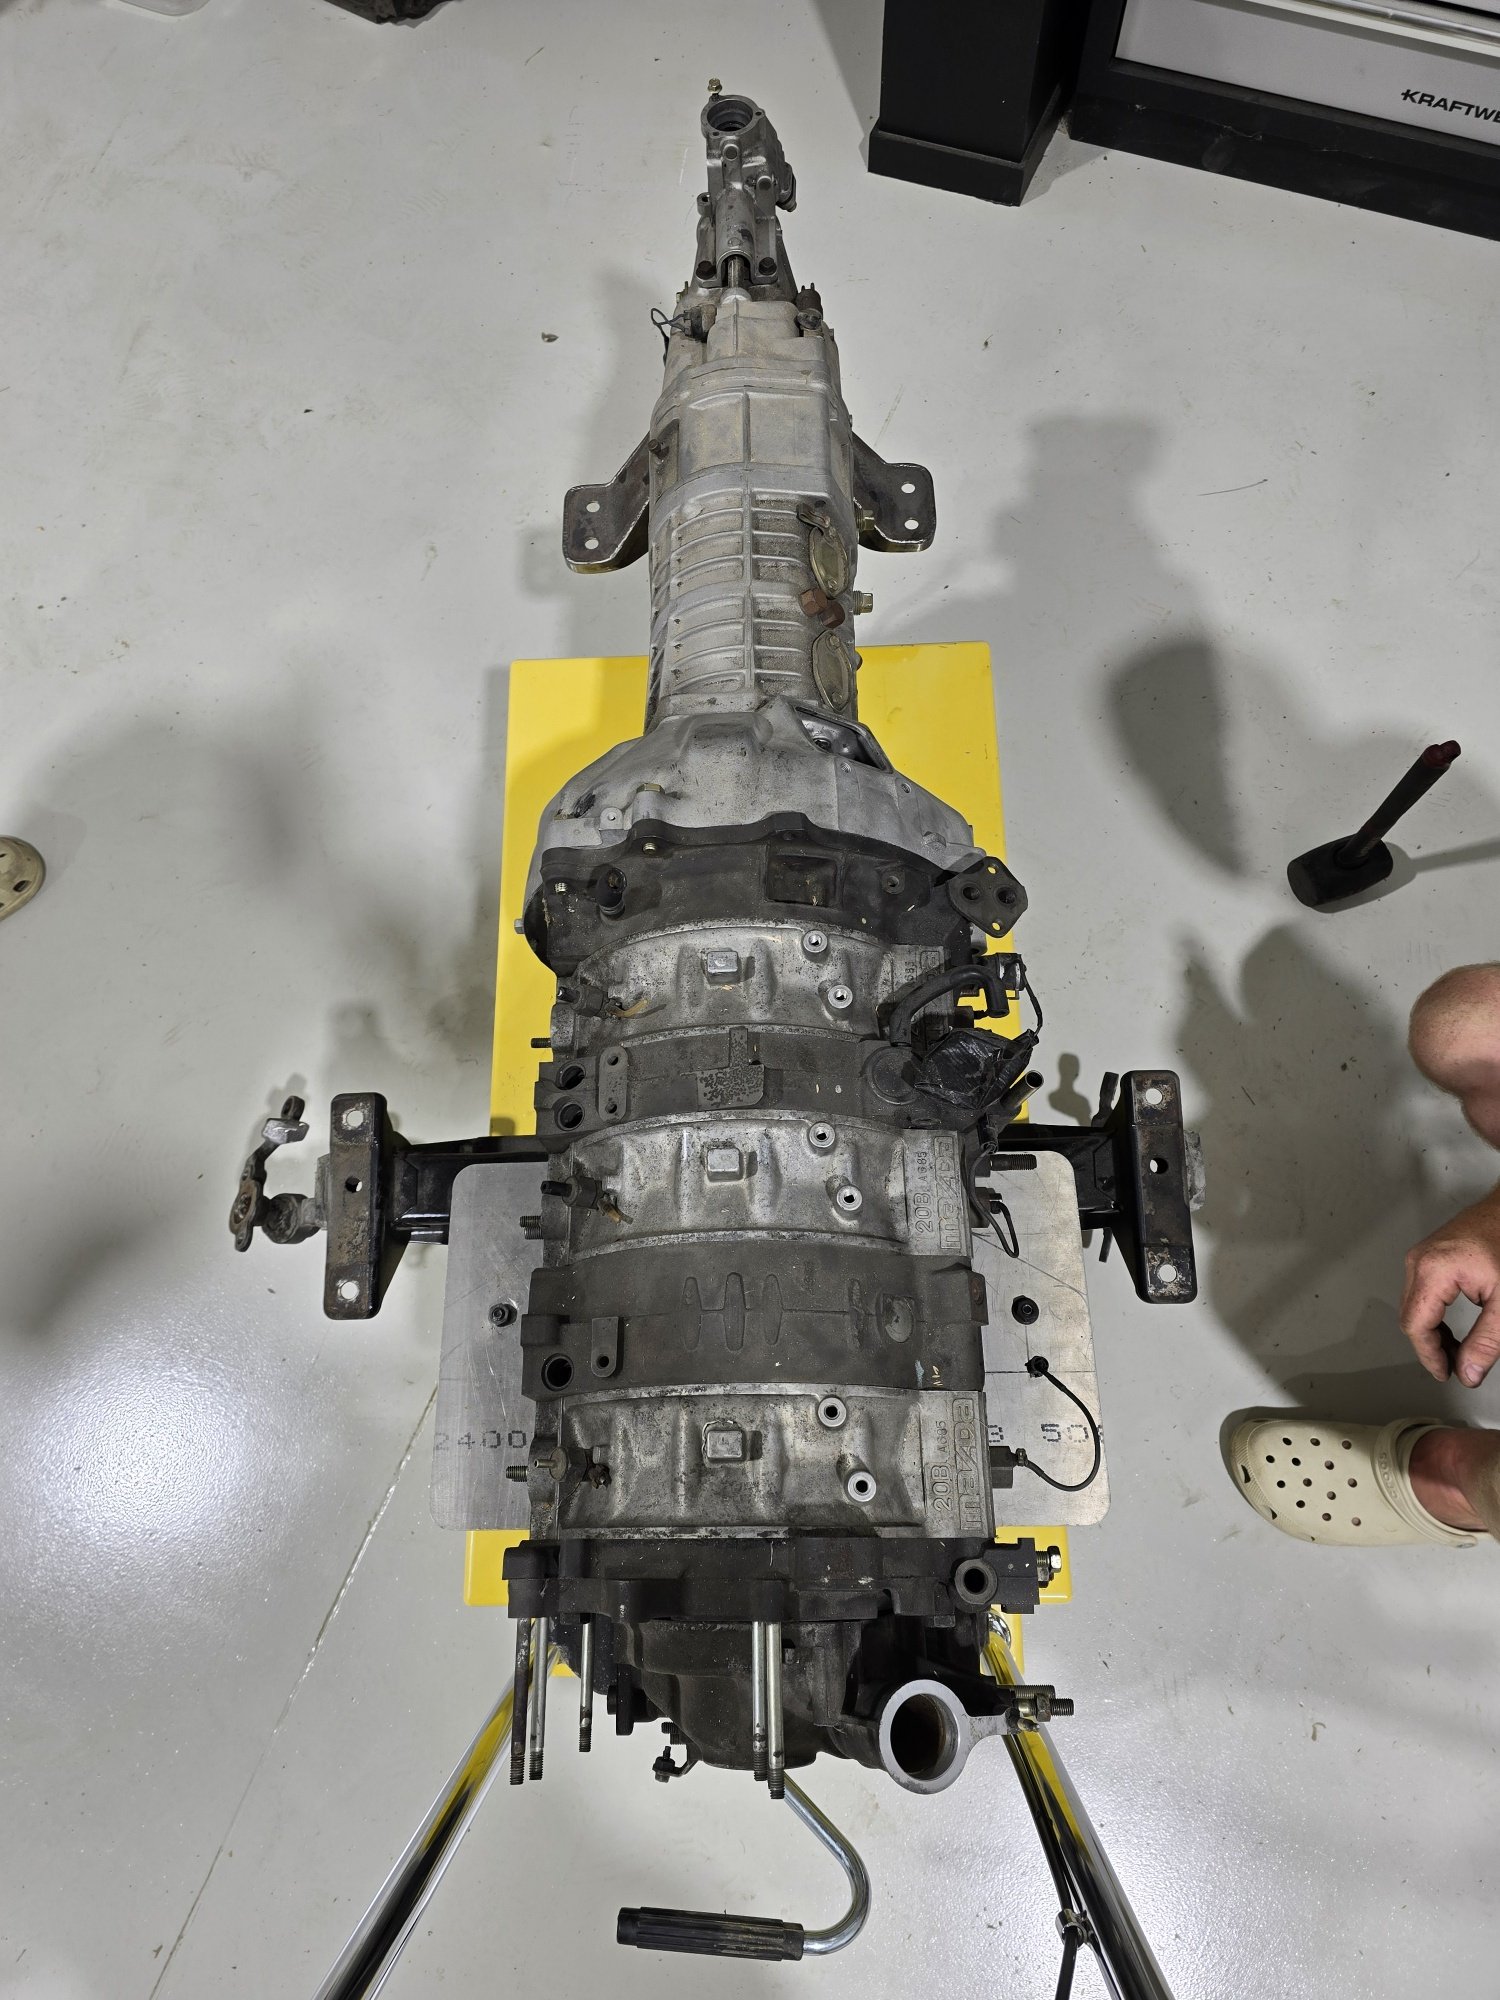
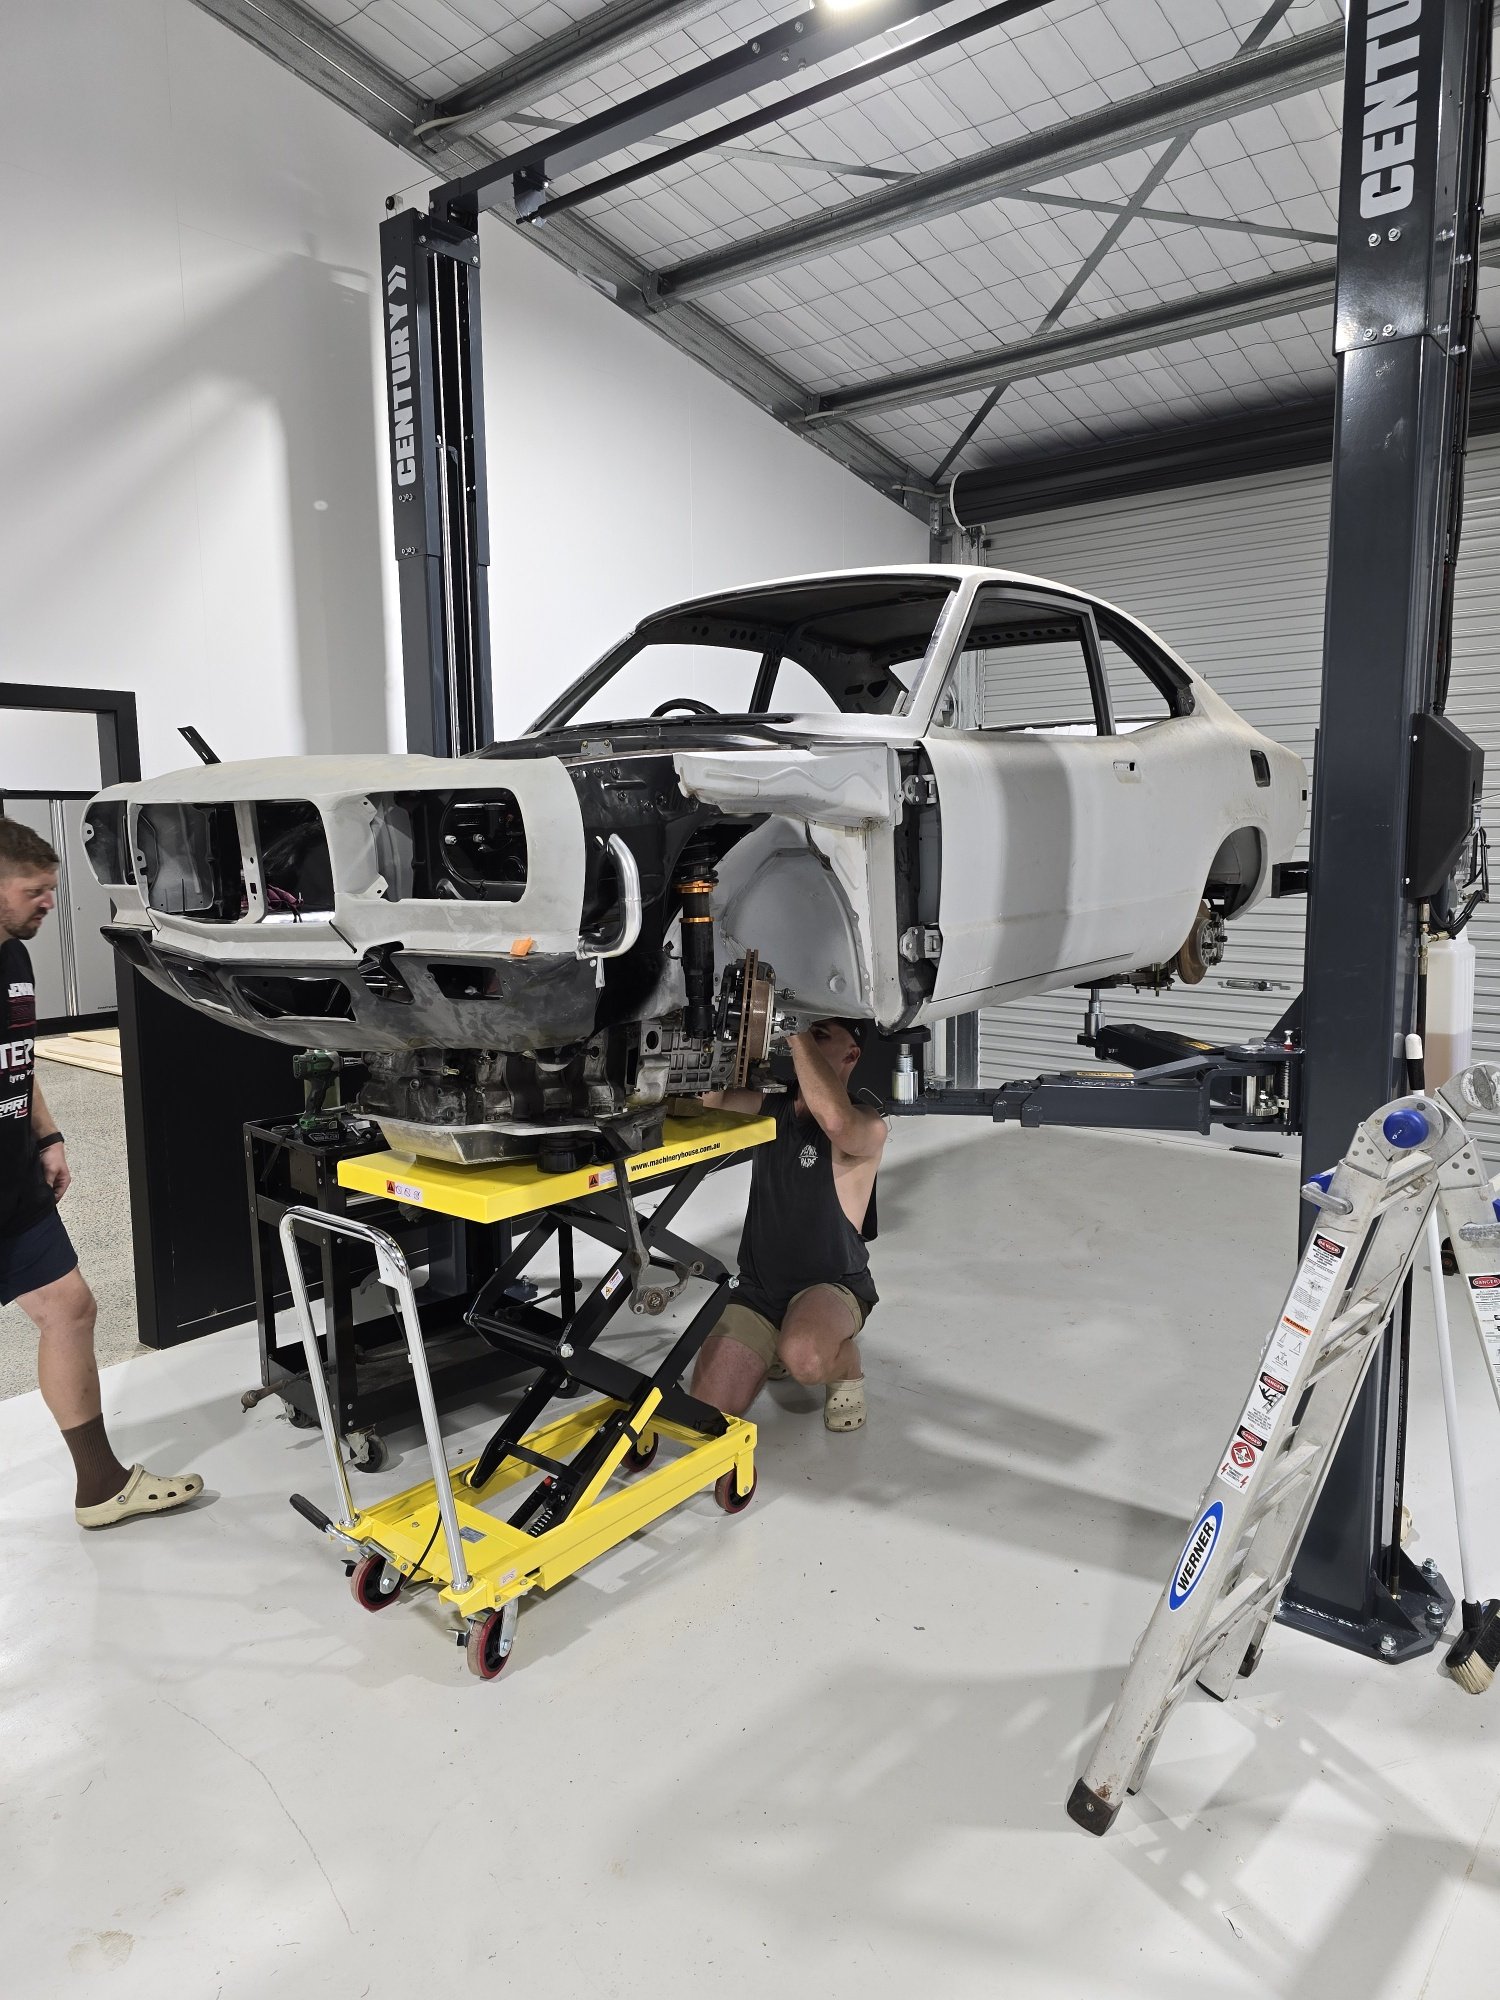
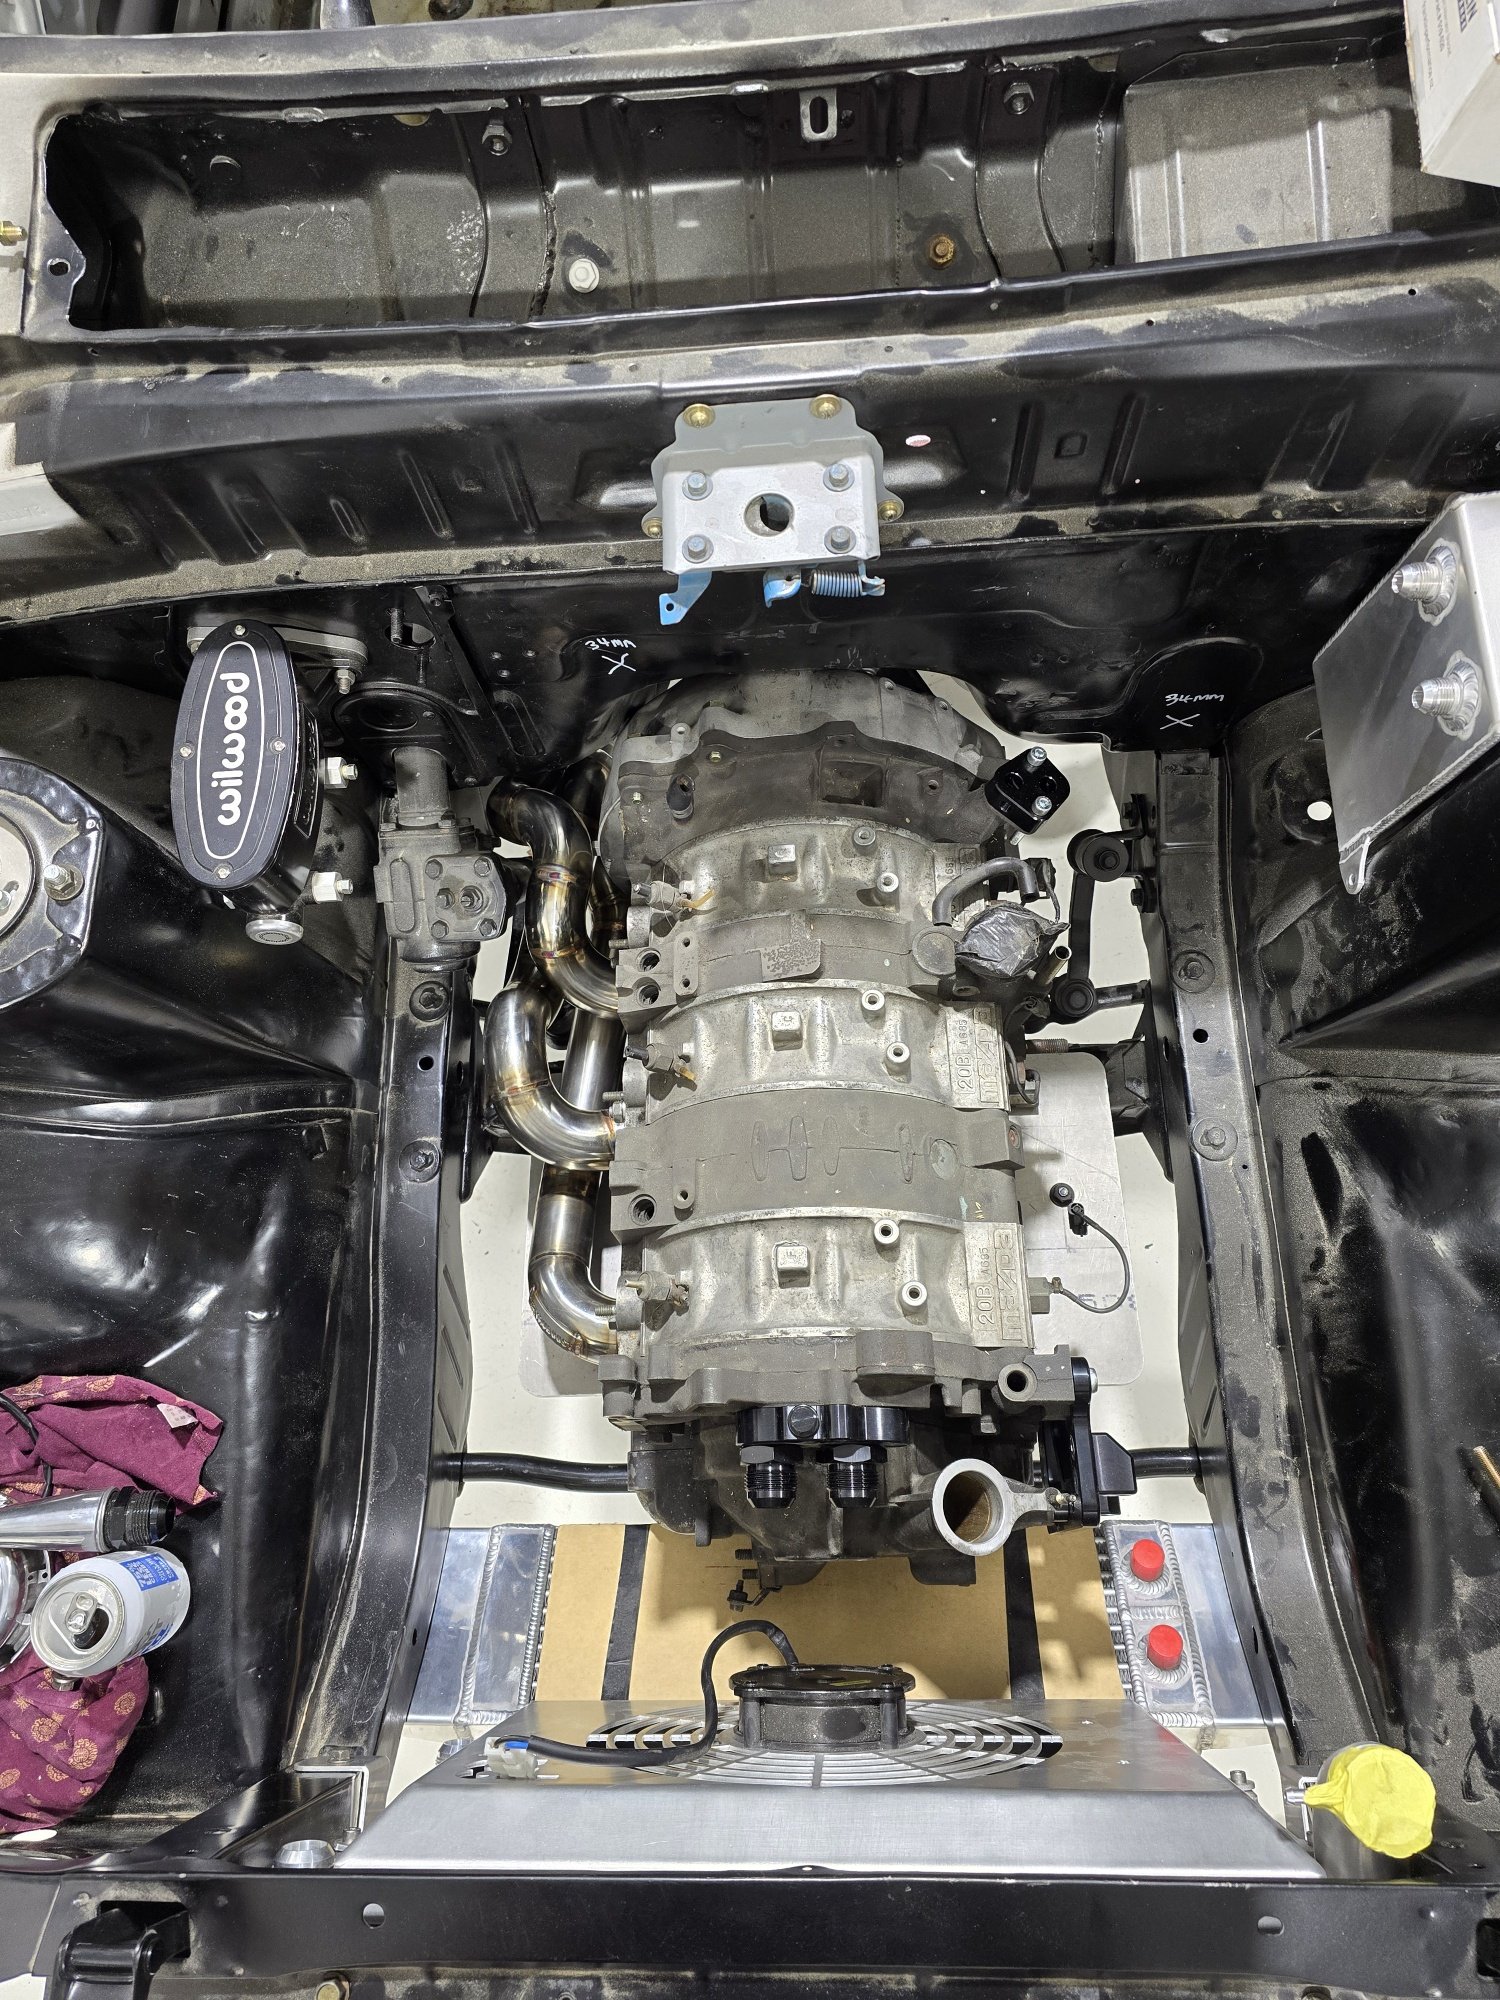
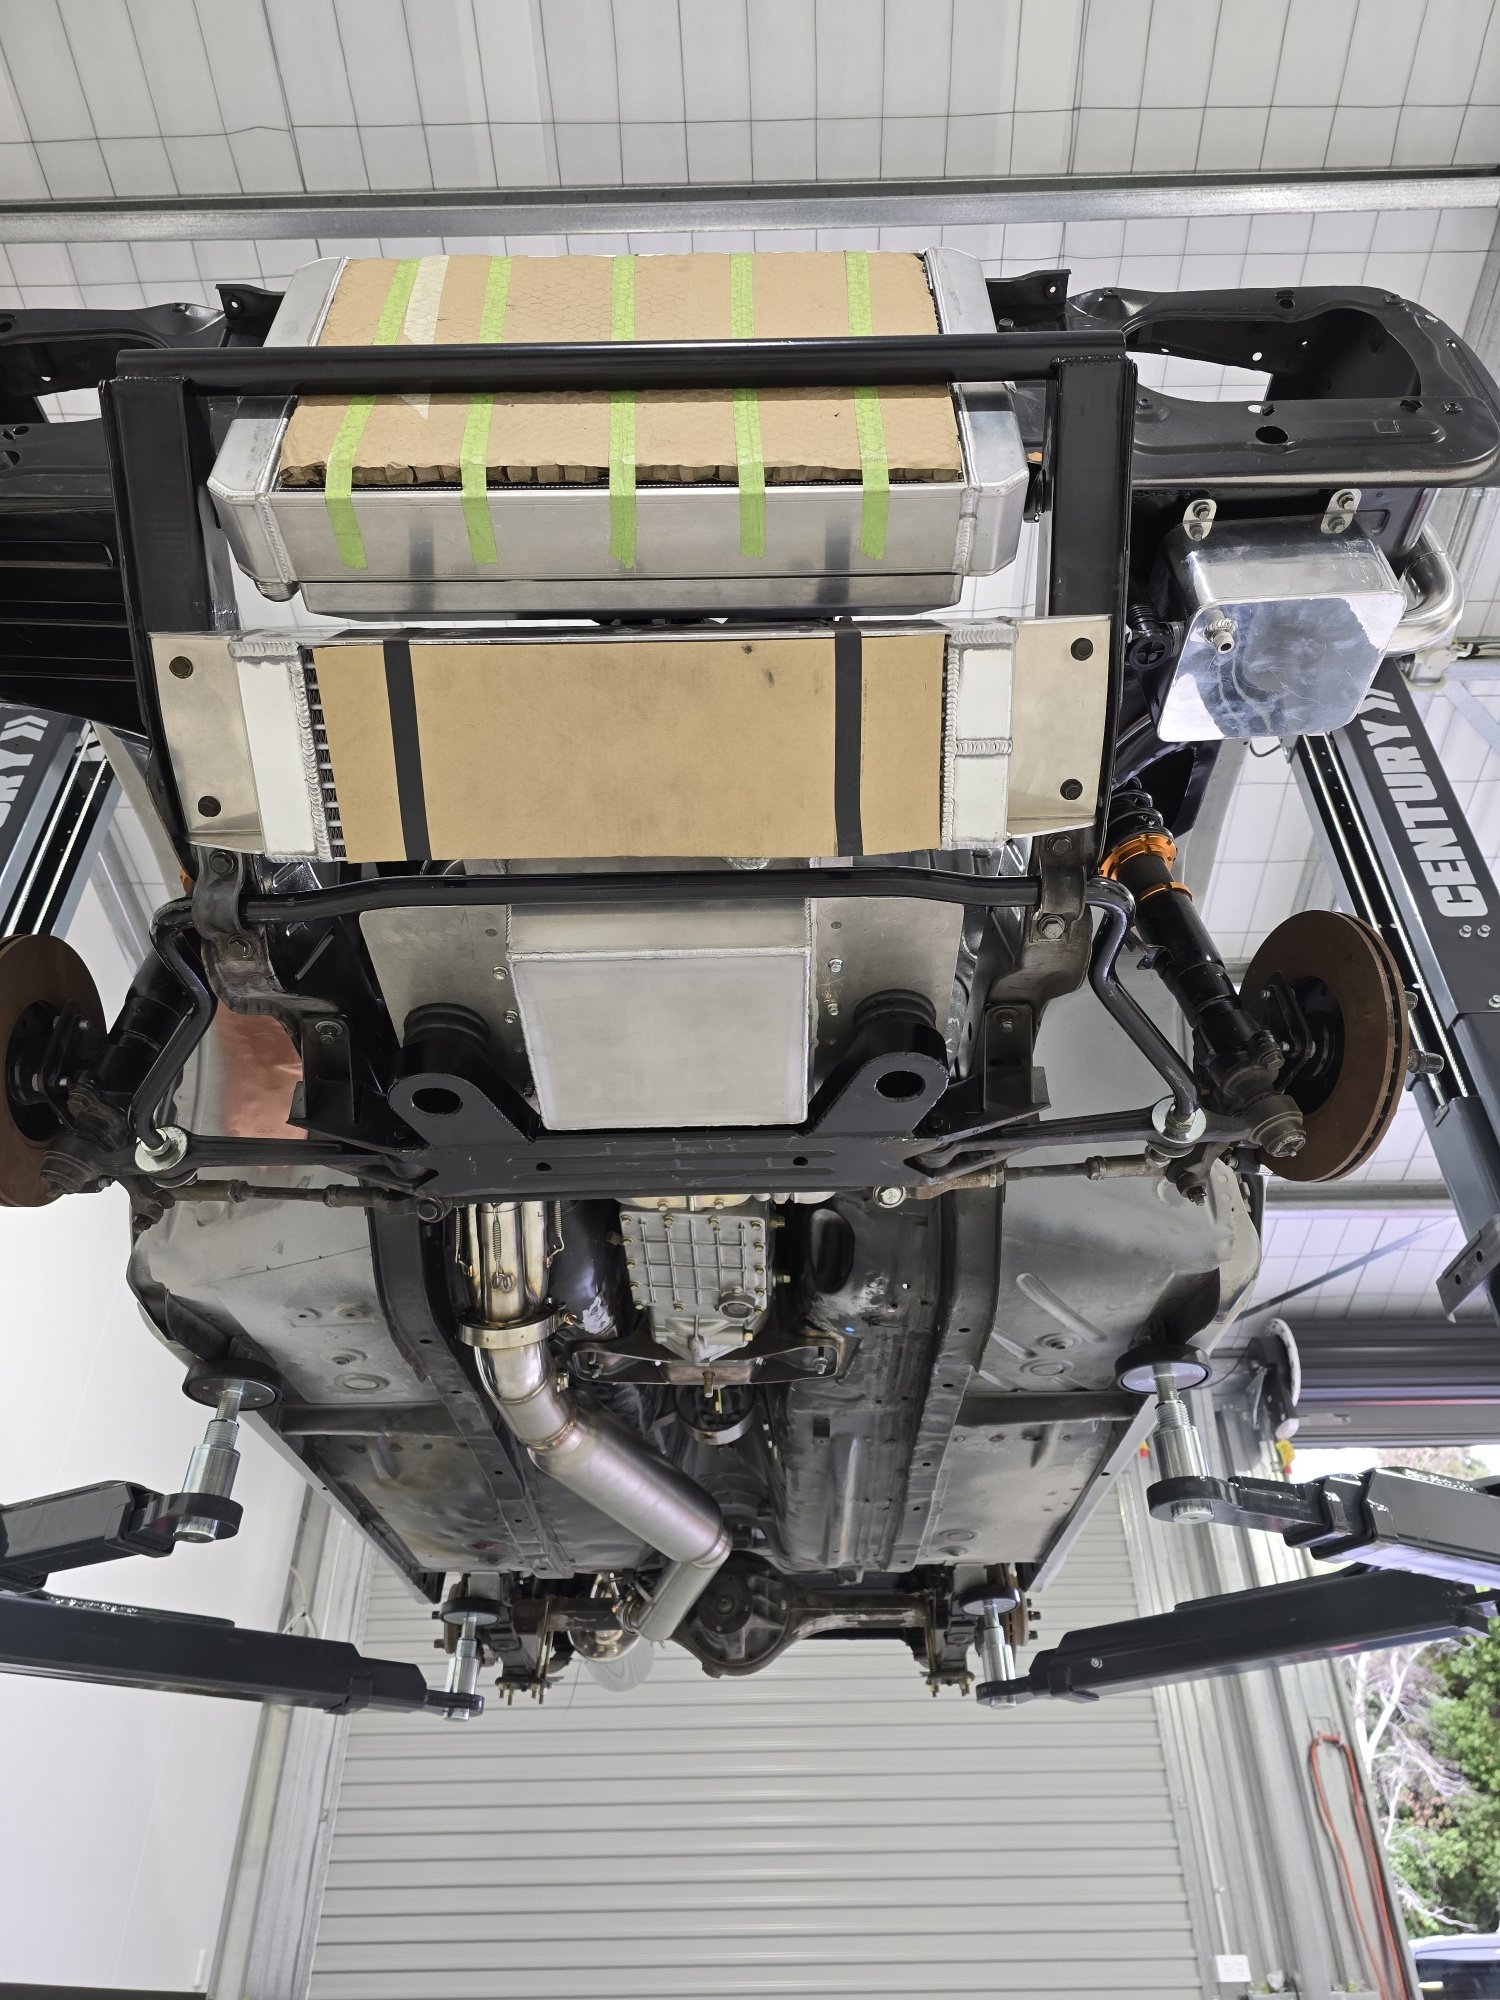
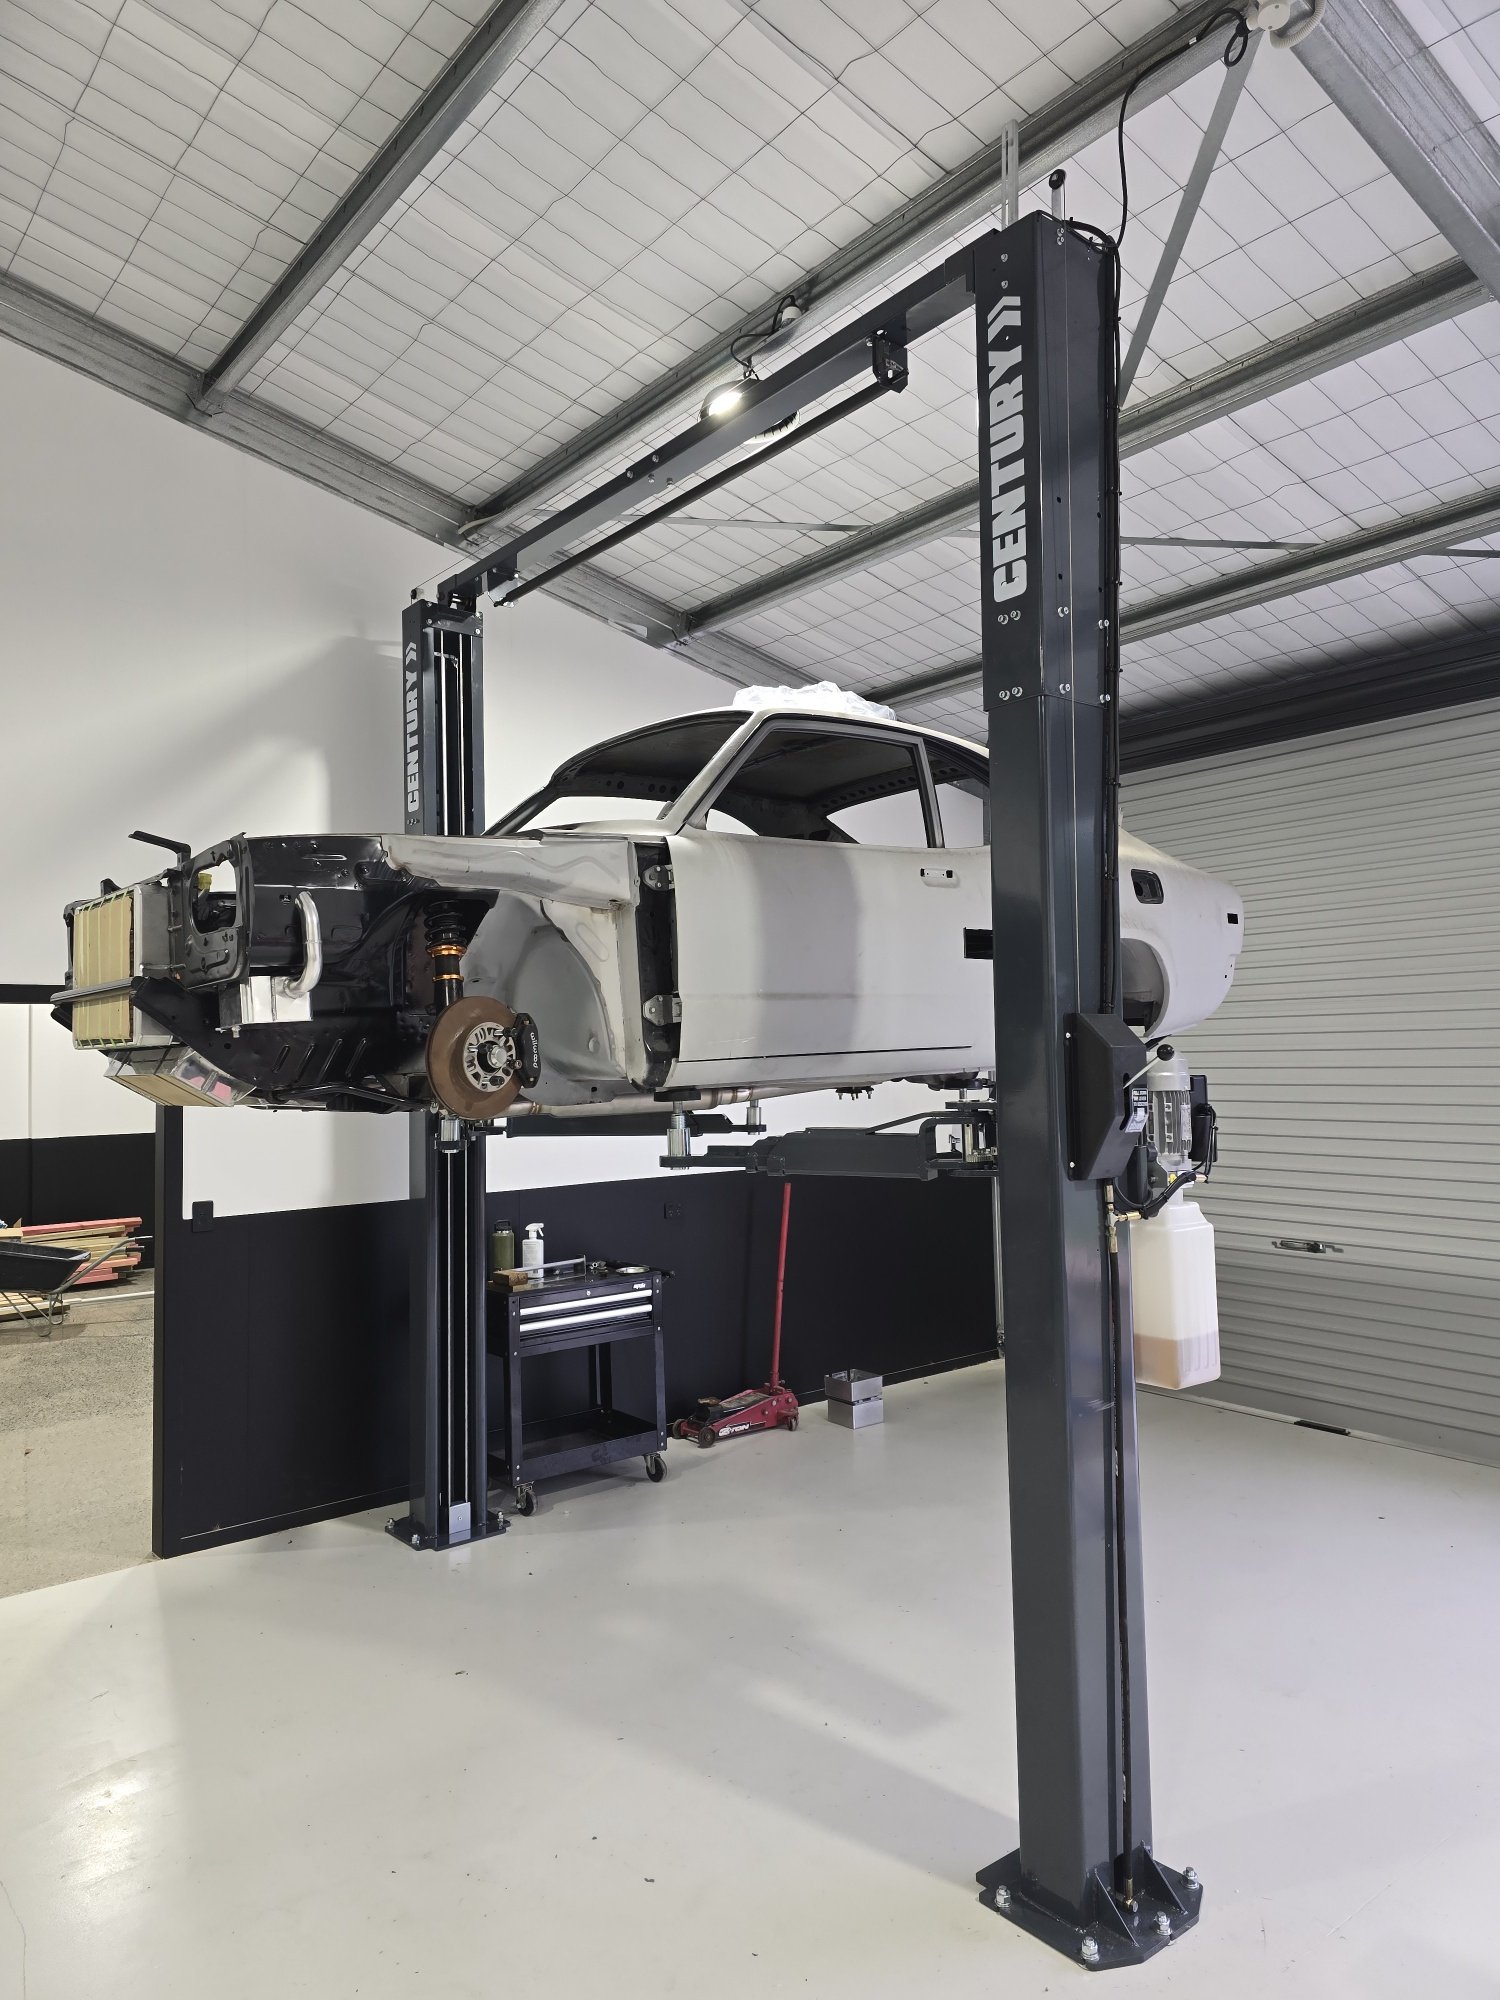
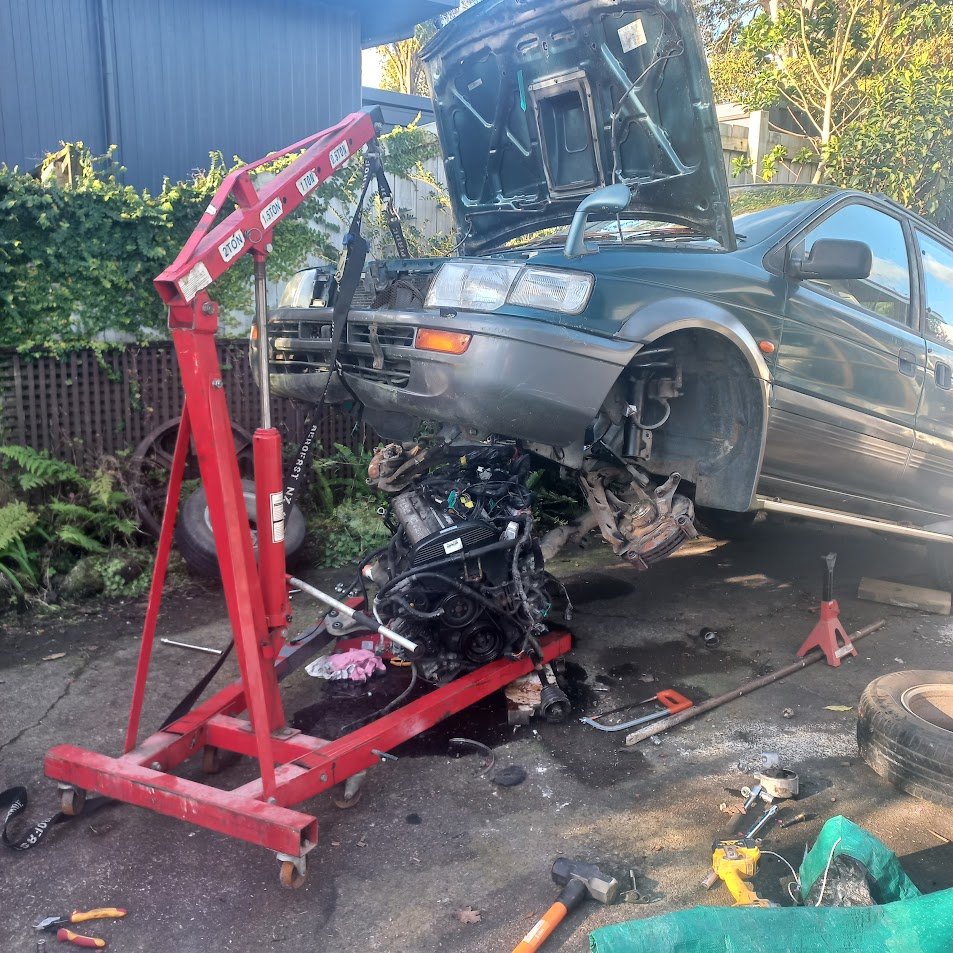
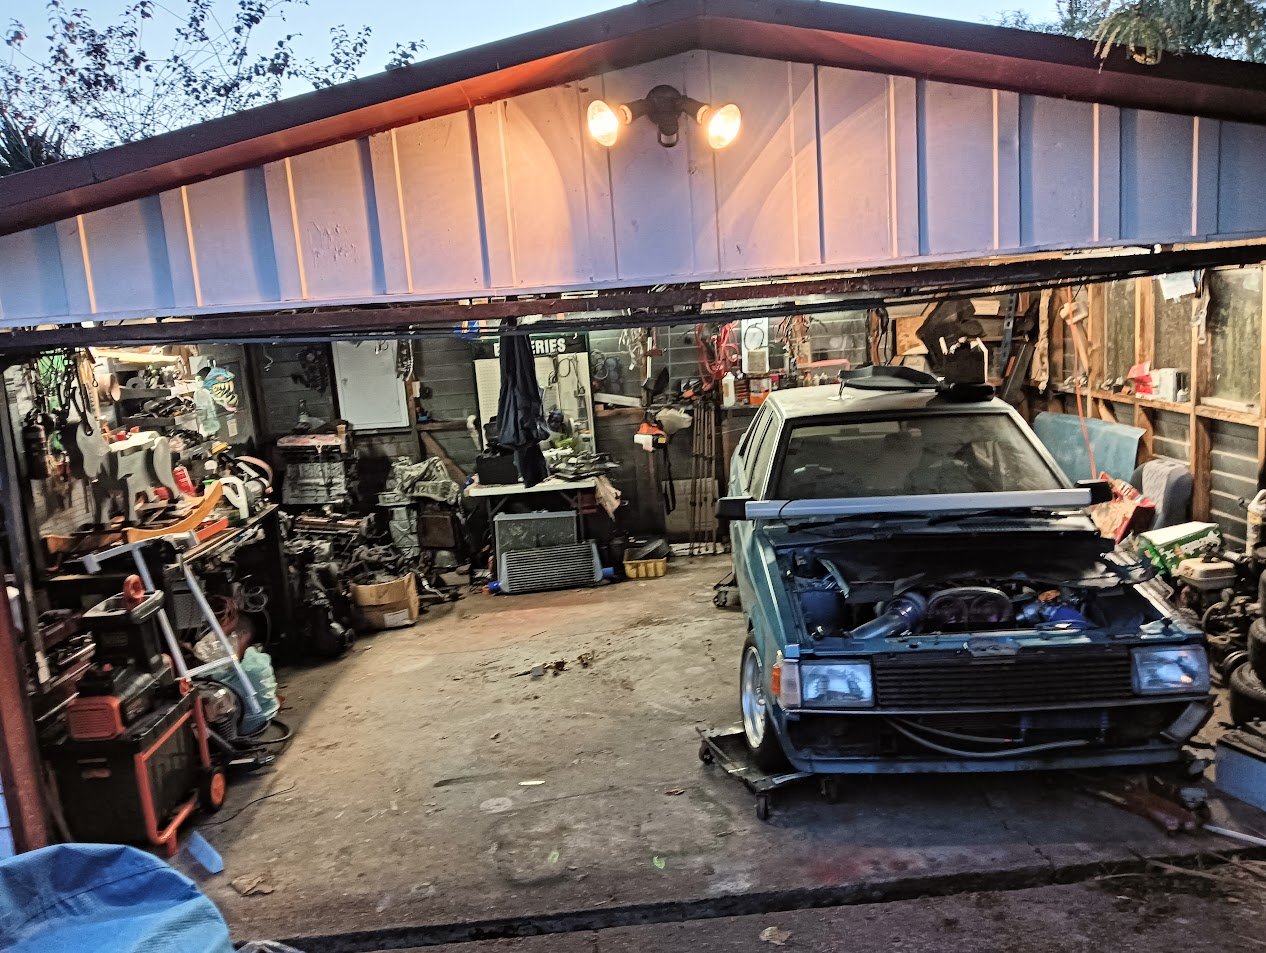
Been a bit slow last few months as been trying to get new shed finished but finally in there and got hoist up so back into the car. Motor and box need to go in as one piece from underneath with front subframe so bought a trolly lifter thing which made life so easy. Chucked the motor and box back in with the cooling system last weekend to work out a plumbing list to order all the oil, water, fuel braided lines and fittings. Also working out brake line routes and working out what else i need to do to finish off prep to strip it and get it back to the painter. Basically want to have the car dummied up in full then get painted/motor built etc so once painted its just assembly to finish.
5 points
-
4 points
-
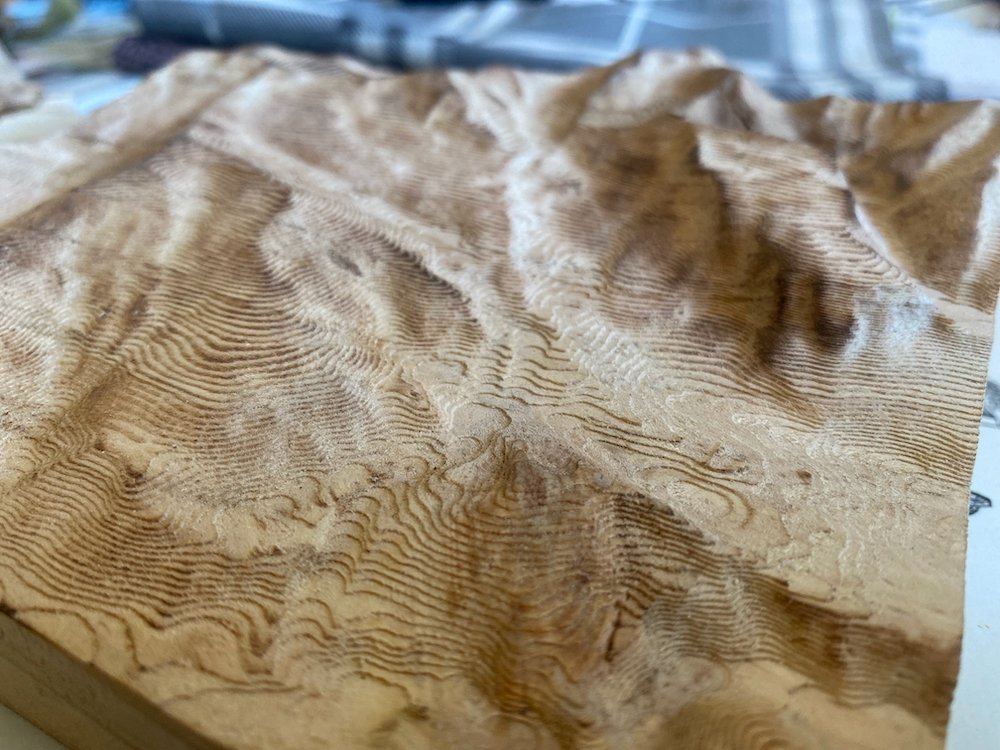
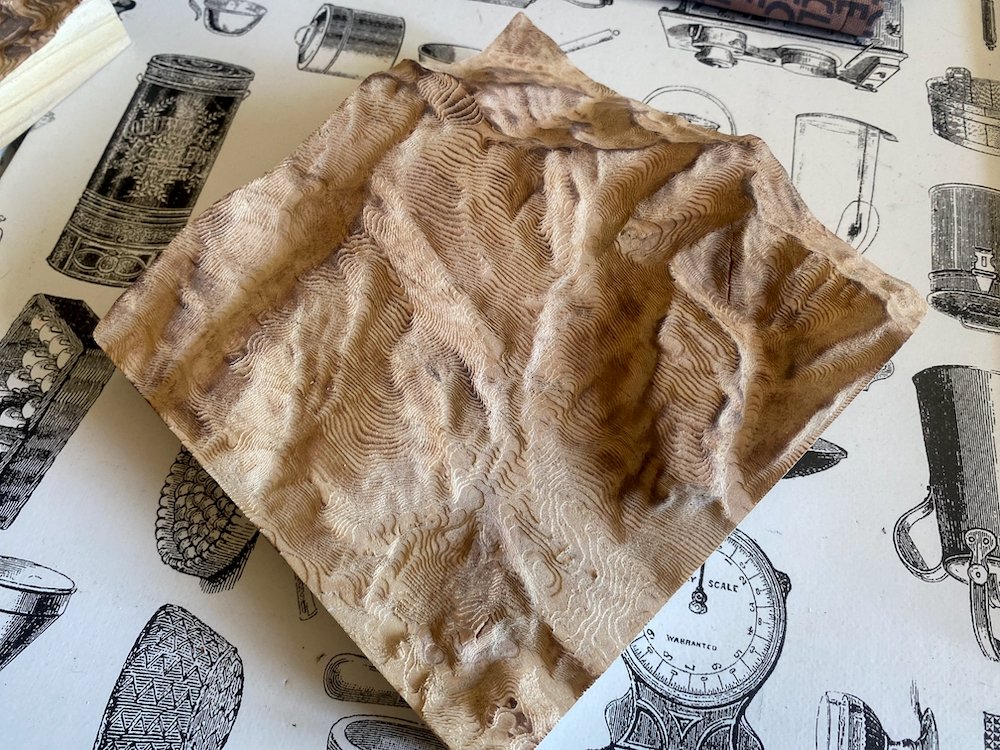
Making some thank you gifts for friends that looked after us on our recent trip overseas, reliefs of the mountains they call home. Carved out with the cnc to replicate contour lines on a map then run over with the gas torch to highlight the ridges.
4 points
-
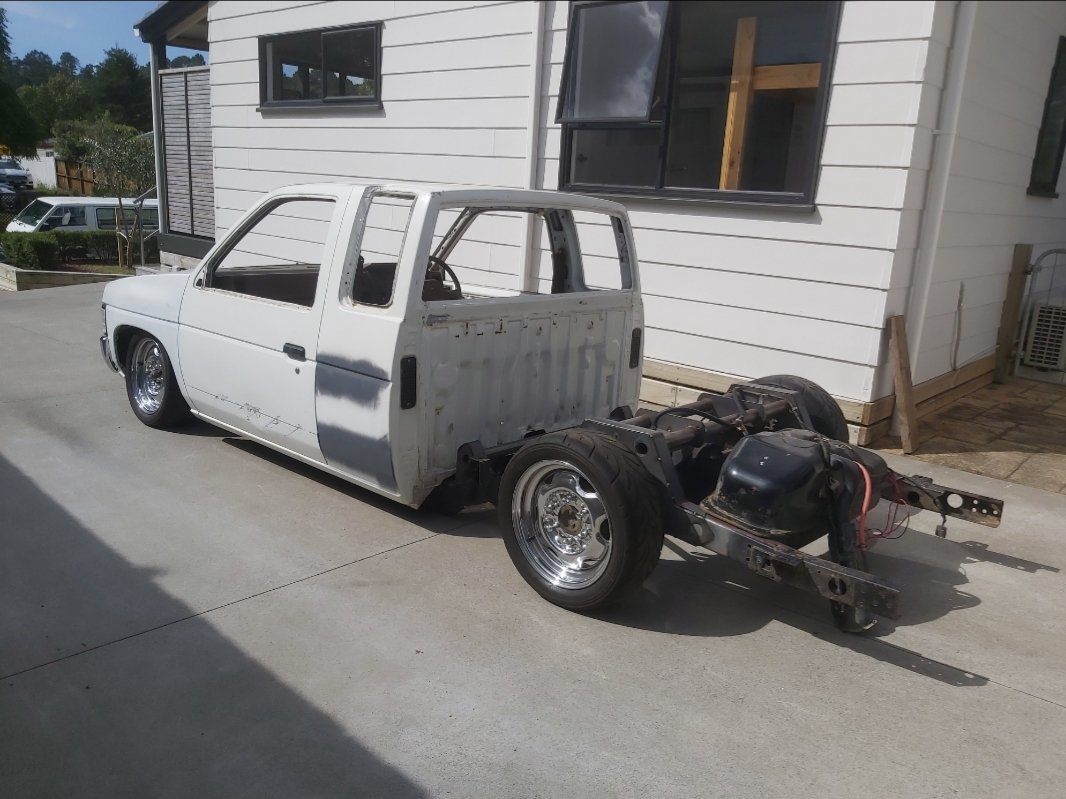
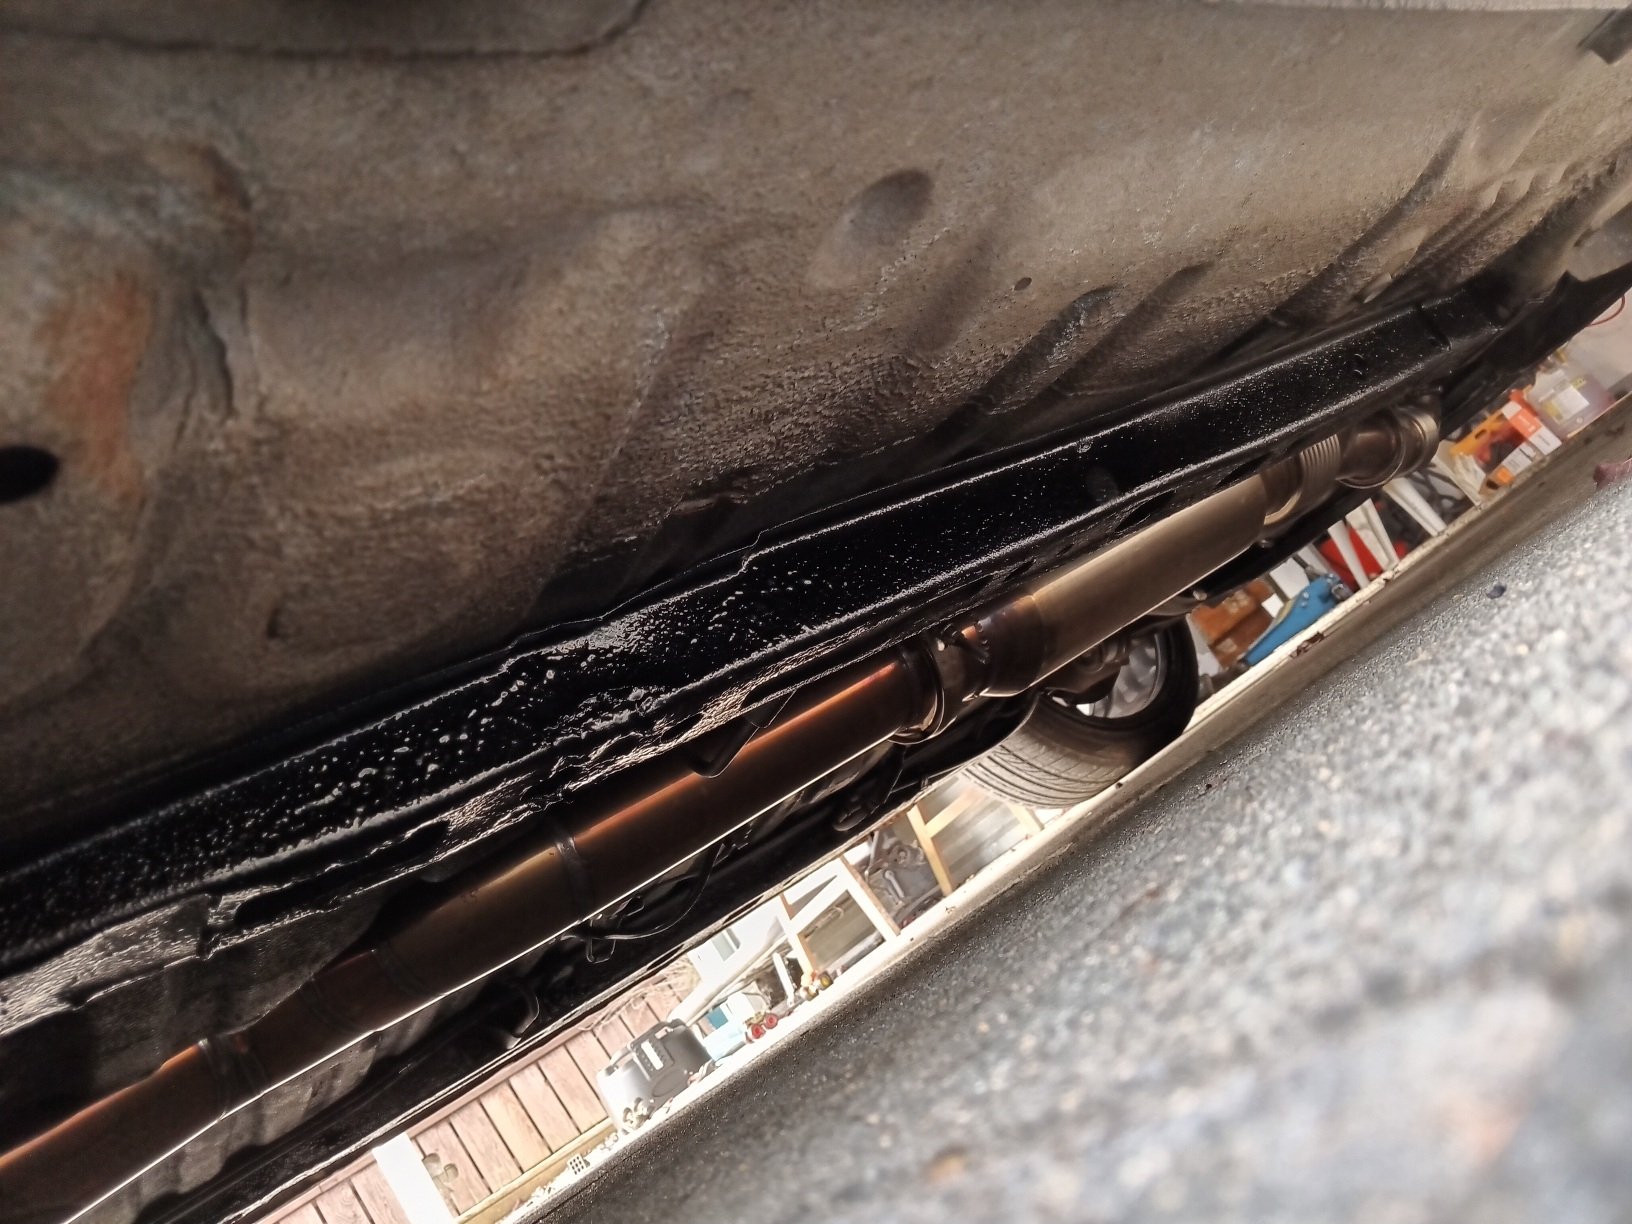
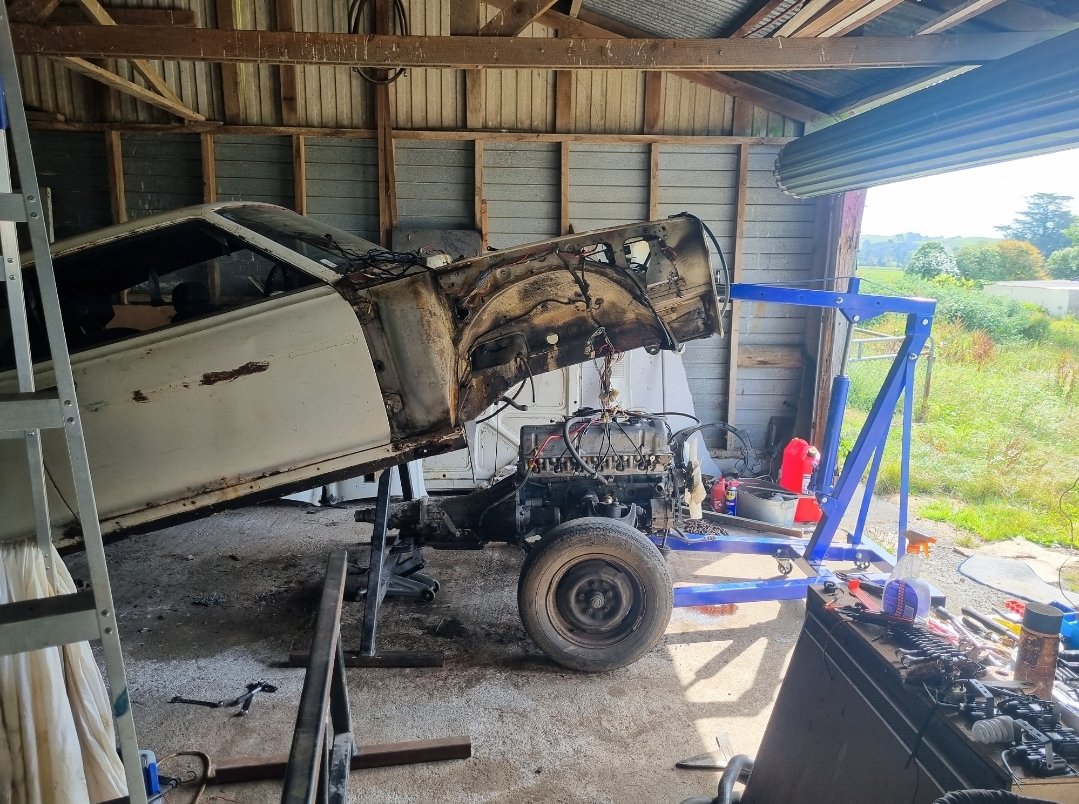
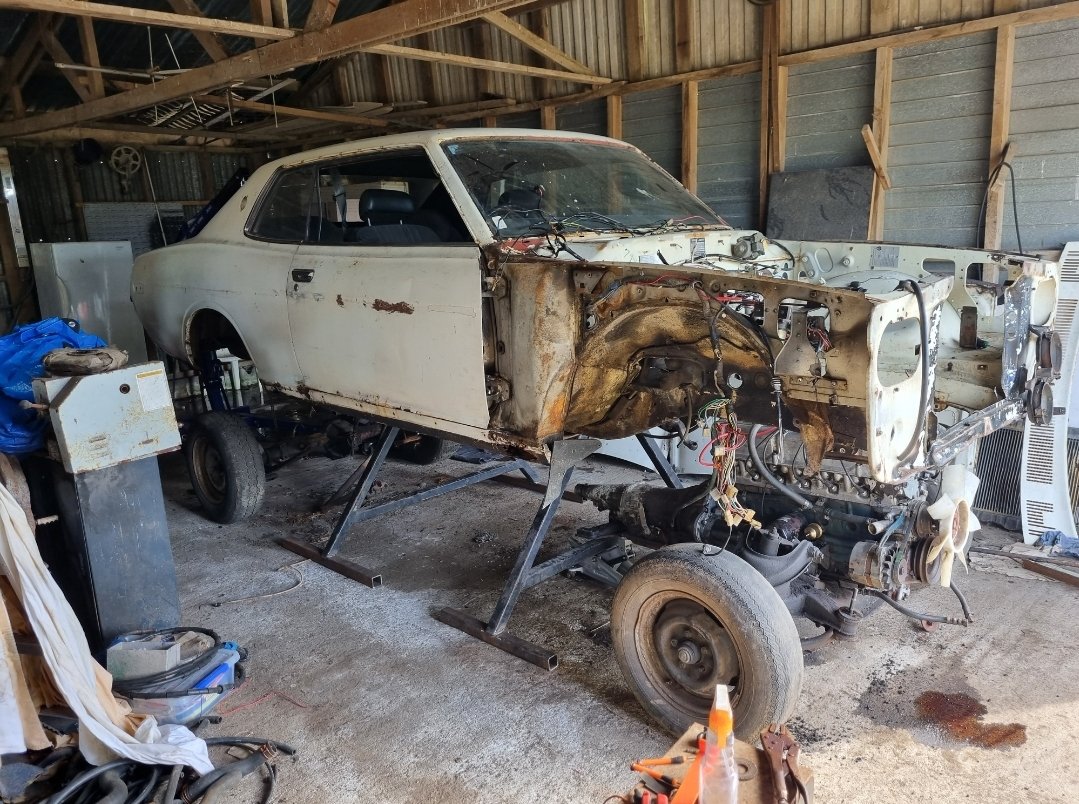
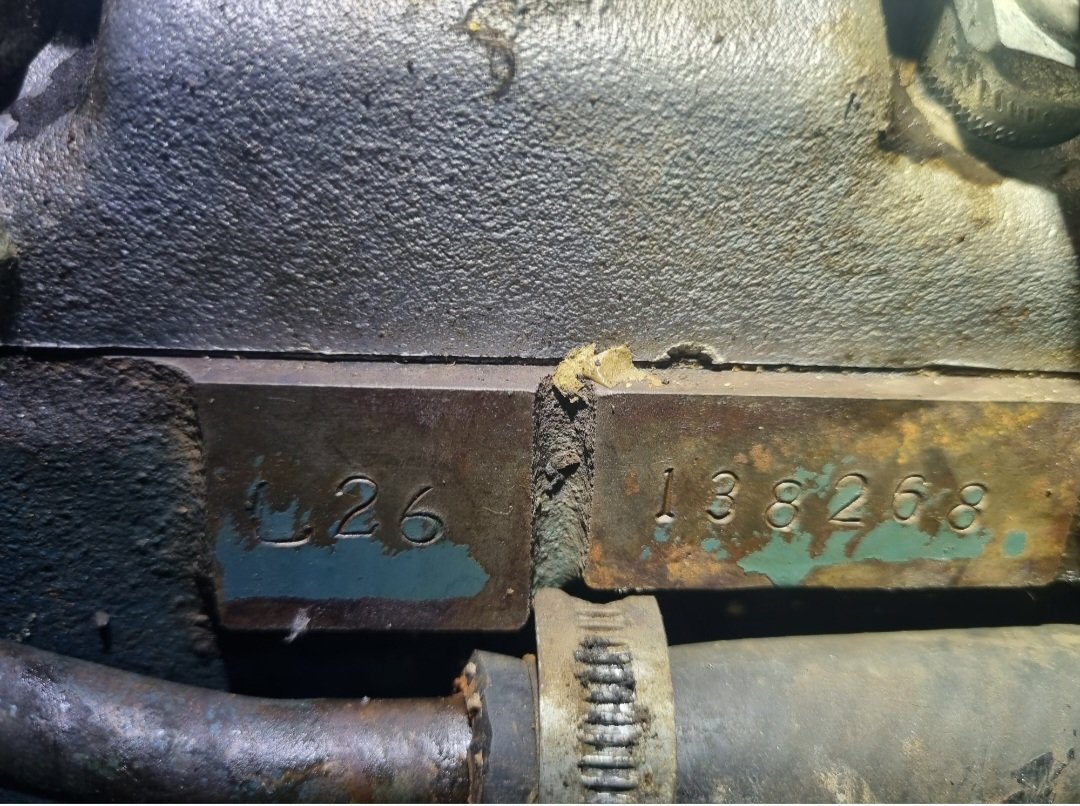
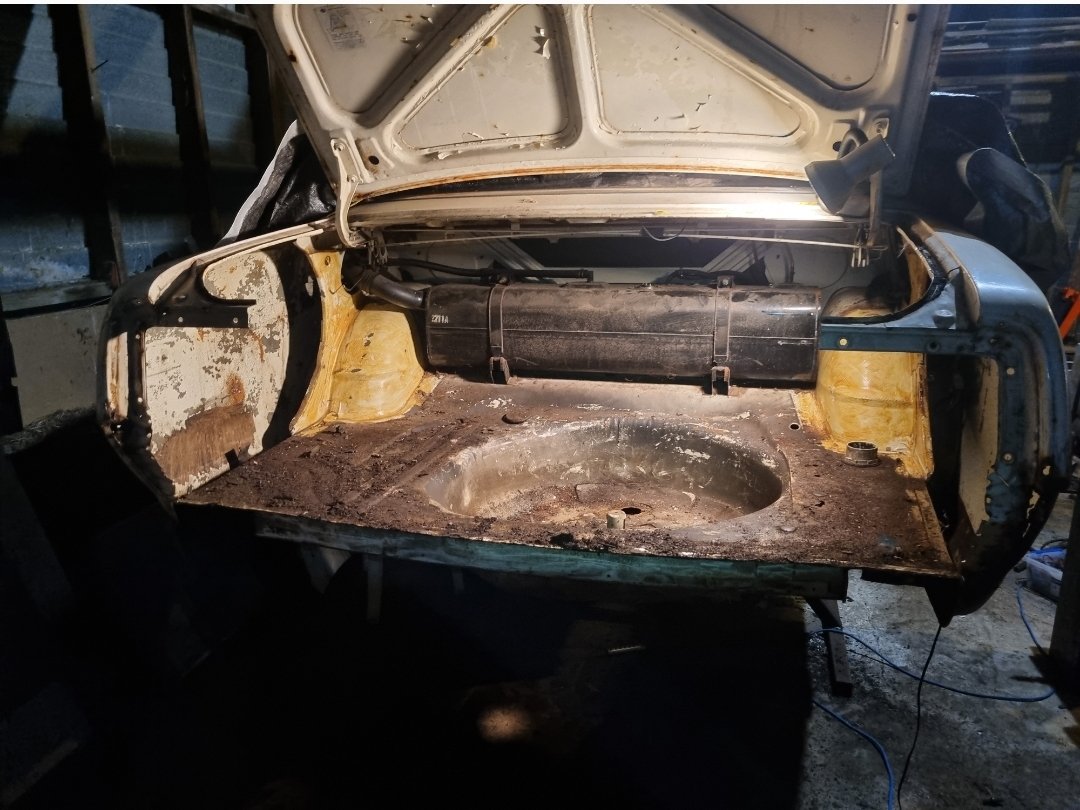
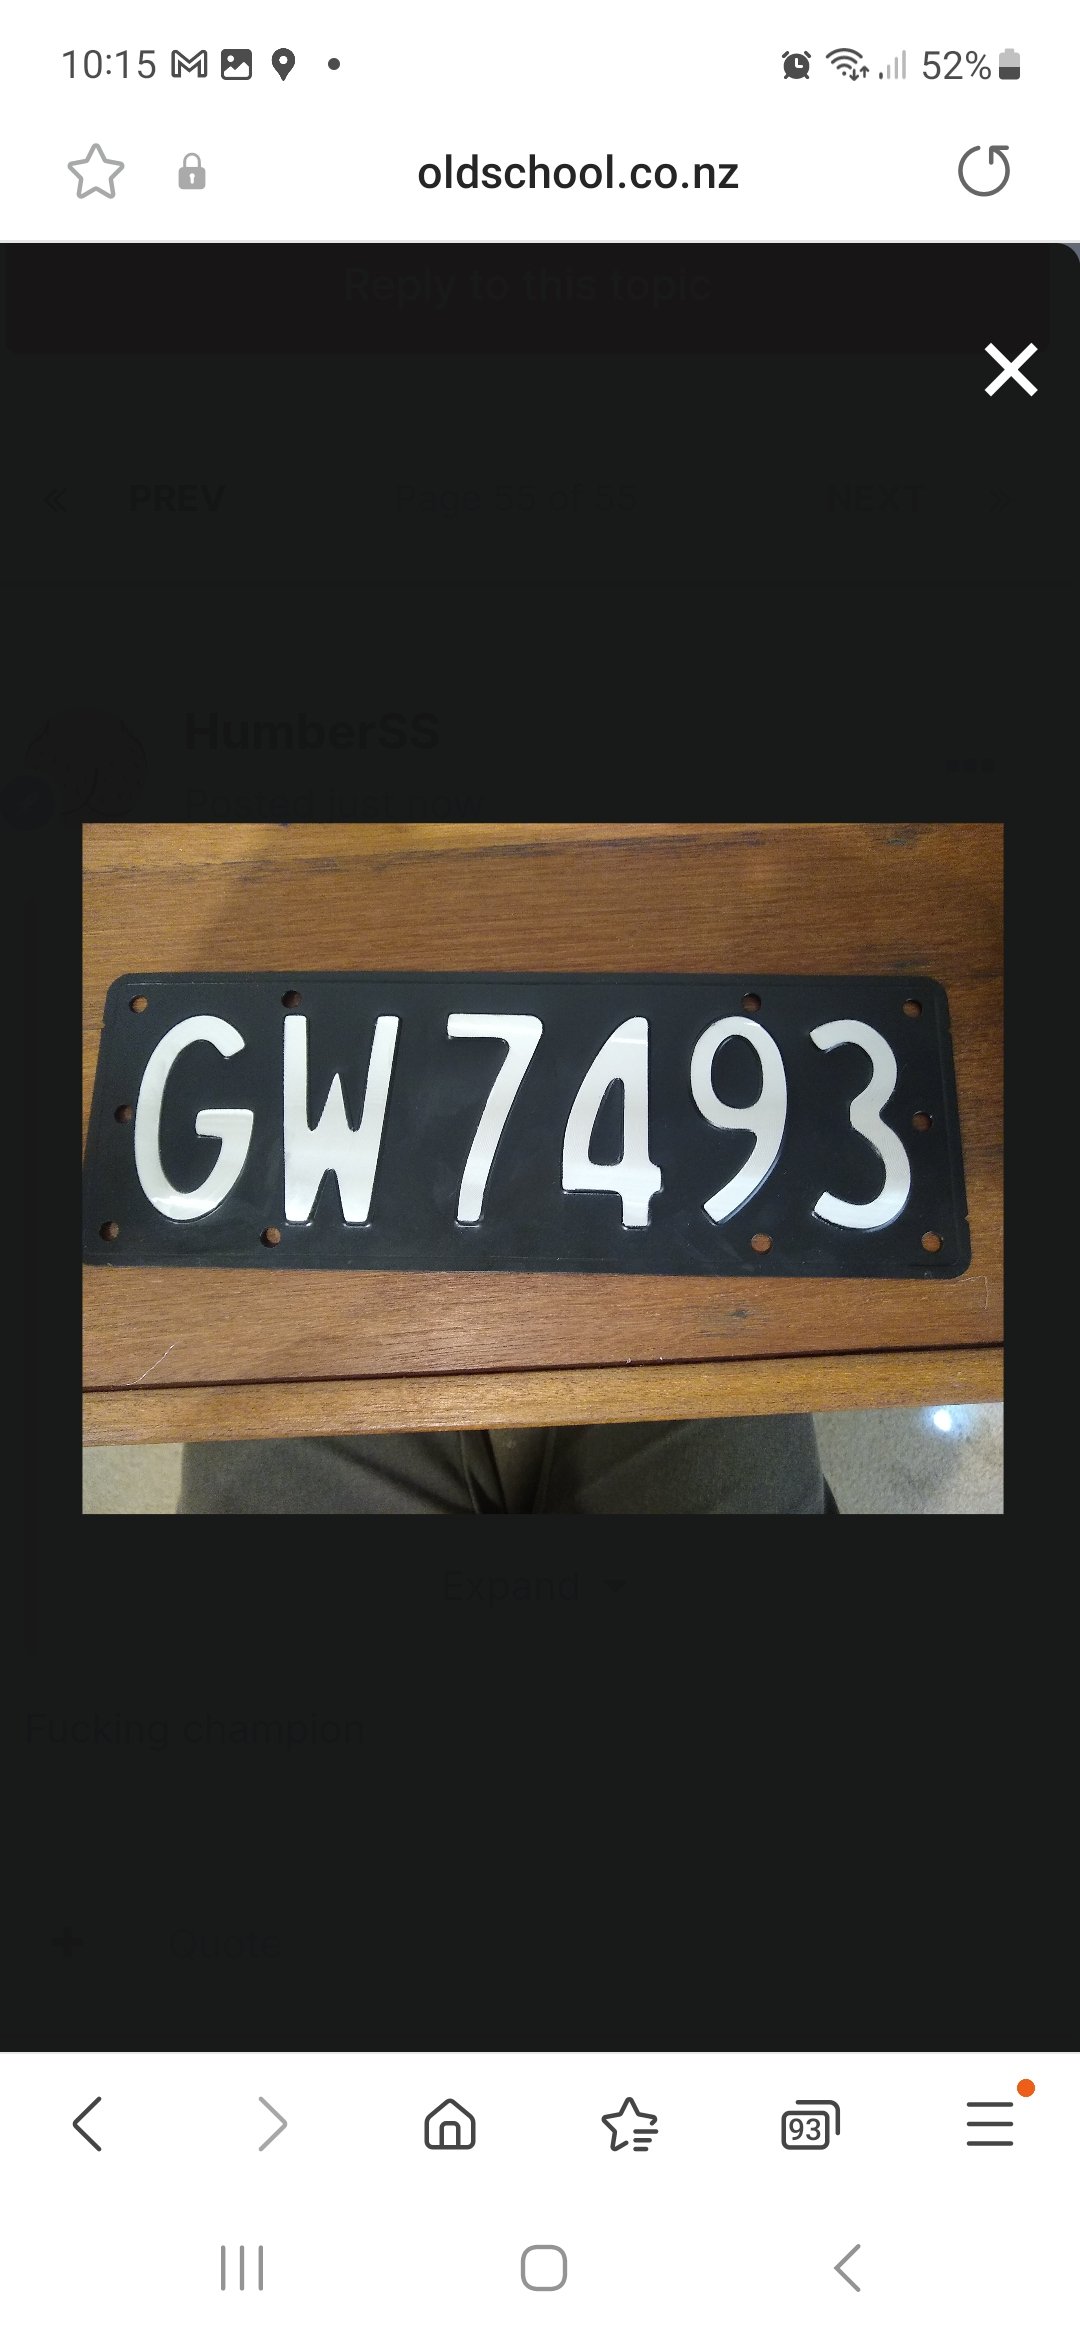
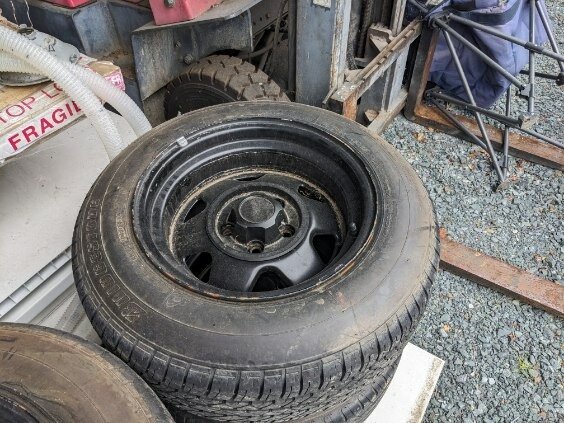
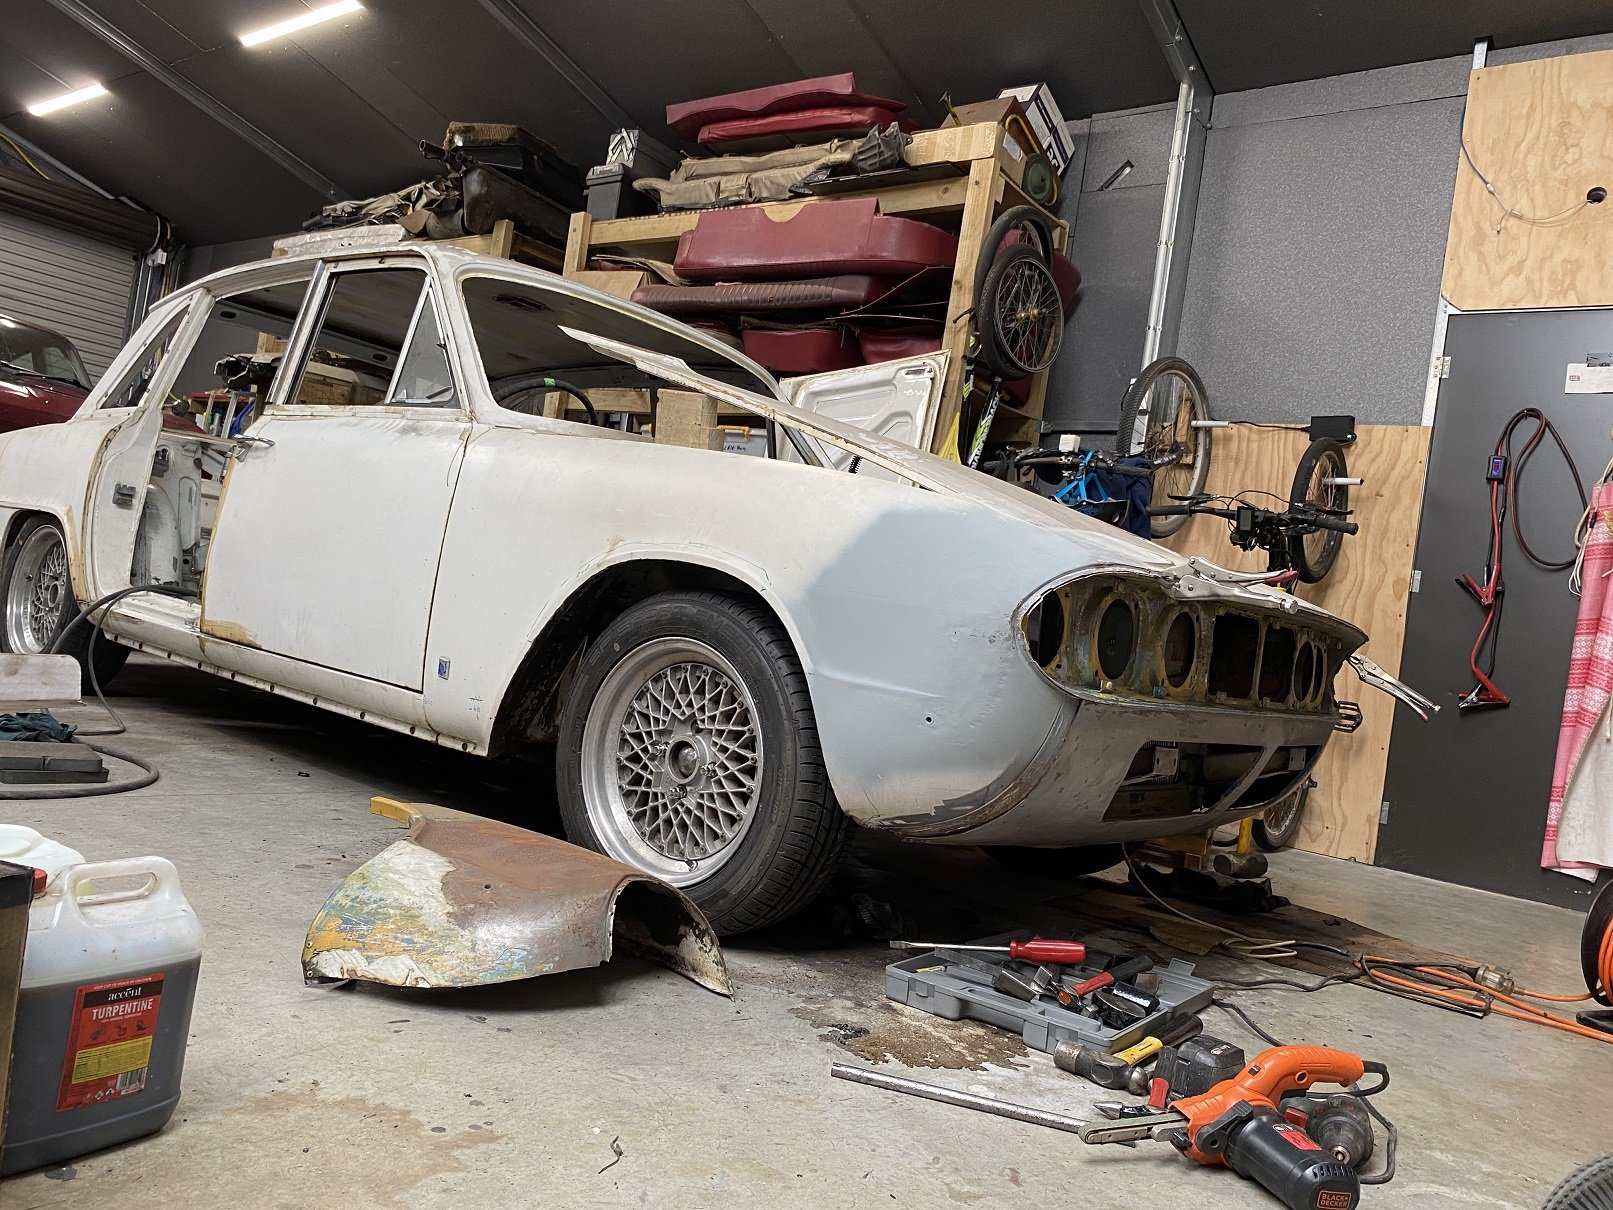
Sporadic sunday morning update. Intention with this project was to do the bare minimum and get it to functional. So that doesn't appear to be happening, shock horror. If it's worth doing, I guess it's worth doing right. Or burying myself deeply it in and selling on OS in boxes for $500... Finished tidying up and rewrapping all the loom in the front. No pics. Decided to get it up off the ground so I can make the floor all pretty, I figure with revinning I'm not going to fuck around and have them pick holes it it, the jobs just have to be done. Easiest way to do that was drop the running gear out and lift the body off on to some stands I hacked up. It was a surprisingly simple task. Might turn it into a brodozer on 37s... I haven't taken many pics, but I've scraped all the under seal off the underneath from the doors back, it's really sound and haven't revealed too many other gremlins. I've dropped the brake and fuel hoses out as these are toast. Thinking I'm gonna get a little pot sandblaster to deal to all the surface rust, then brunox/paint/under seal. Also discovered another 20hp under the bonnet. Not sure if they get picky on this shit for revin?? Meant to be L24.. I wanted to start at front and work my way back, but I need to bits to ensure I can align everything, so until such time I decided instead to attack the rear. Drilled and cut rear panel off, have started cleaning shit up and deciding how I'm going to attack the patch work. It needs new floors either side of spare wheel well, but weirdly the well itself is fine. Needs ne bottom quarters and a little bit of inner quarter and inner wheel tub work,so I'm just gonna start picking away at all that. I'm enjoying the process. Also, @ajg193 found my missing plate under one of his presses. And @ThePog found me some sweet widened Jeep rims which I'm gagging to get my mitts on
4 points
-
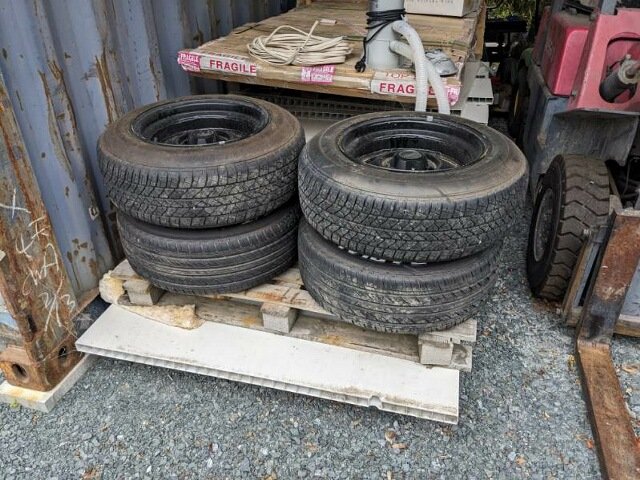
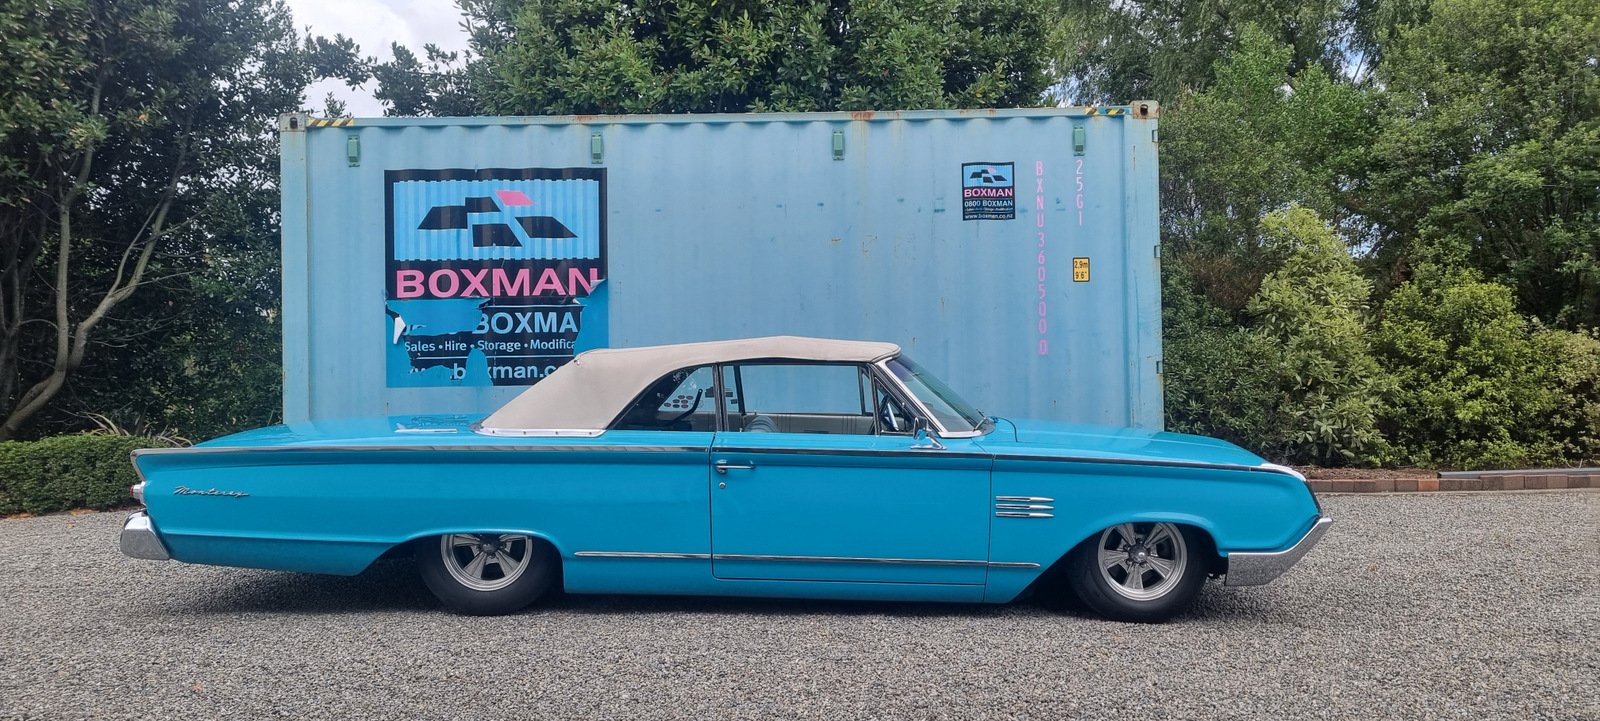
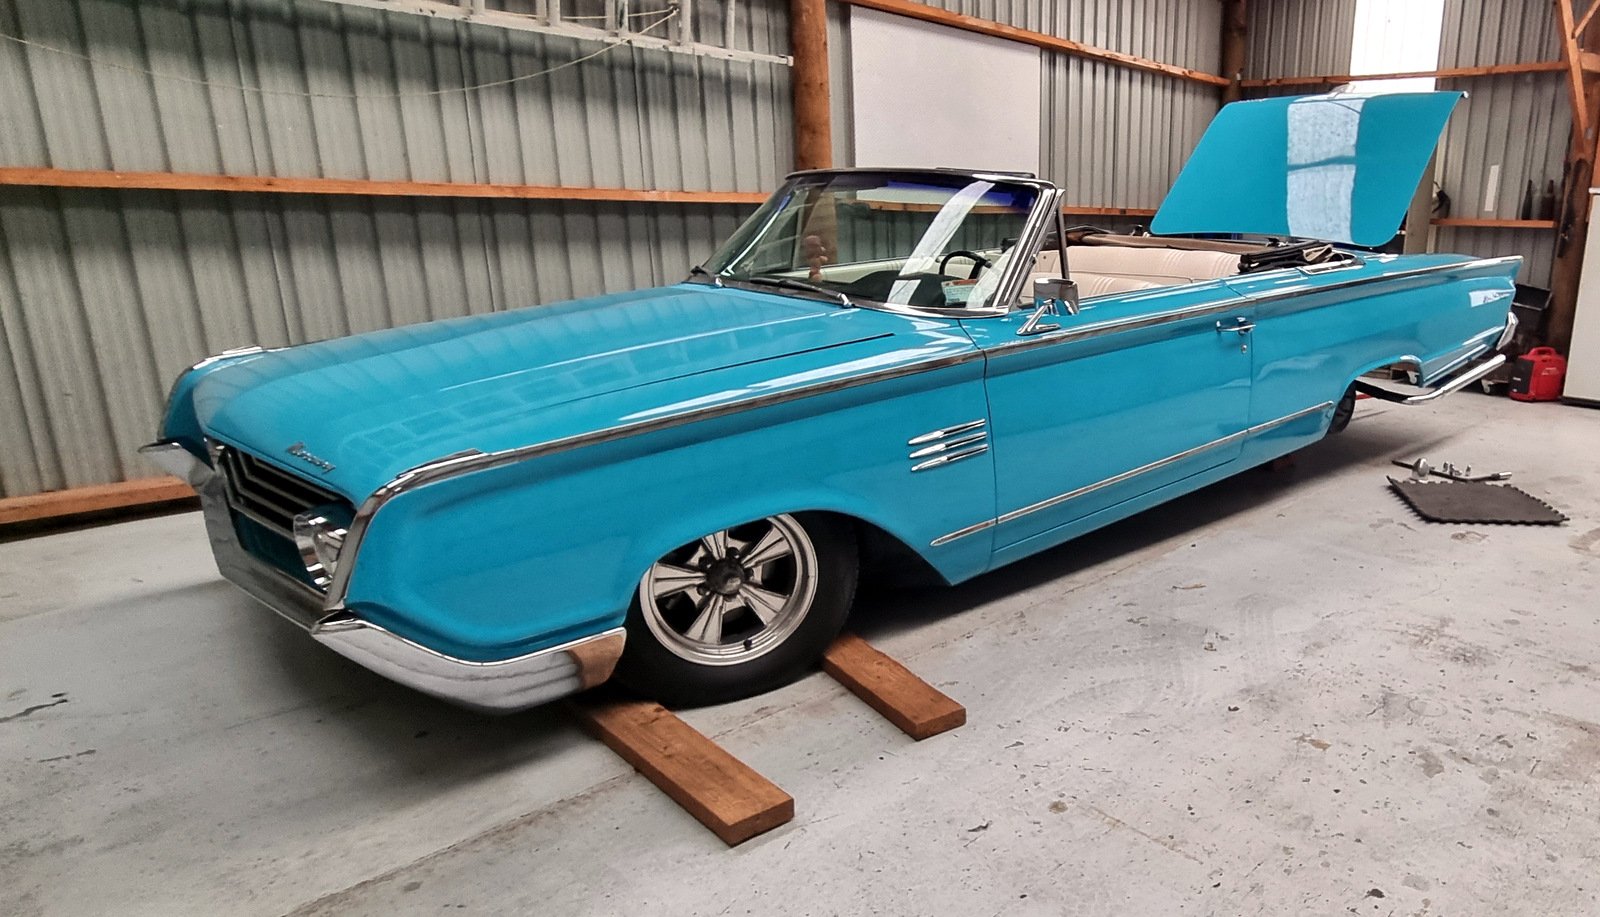
Collected from the paint shop on Tuesday basically a closed door repaint in the stock colour, nothing fancy Had a bit of reassembly to do, the bellflower pipes and the back seat and associated trim. Also had to find a bolt to fit one that went missing from the convertible top linkage (you can see the disconnected link in the photo above) Might have to hit up @ajg193 to make me a proper one as it is a special shouldered design. Looking it over the rear tyres looked a bit sad, so I pulled the wheels (which needs the tyres deflated) and got that sorted. WOF acquired today so have paid rego too. Just needs a bit of a clean up for the Beach Hop.
4 points
-
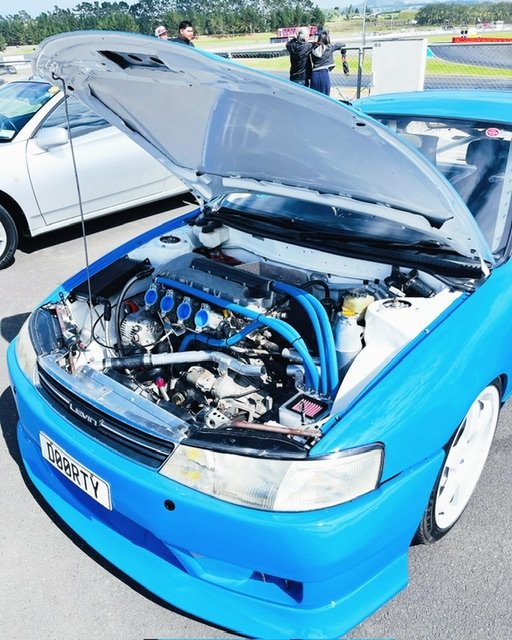
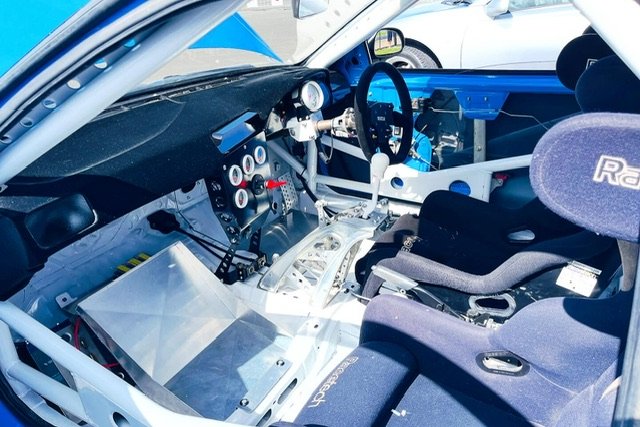
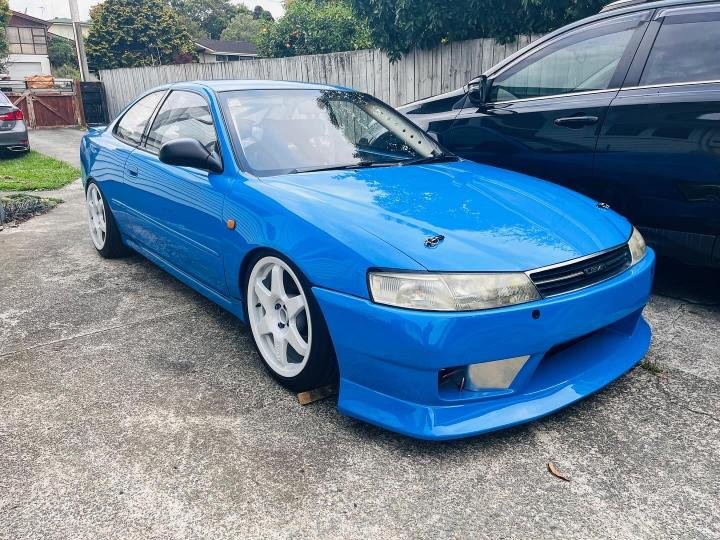
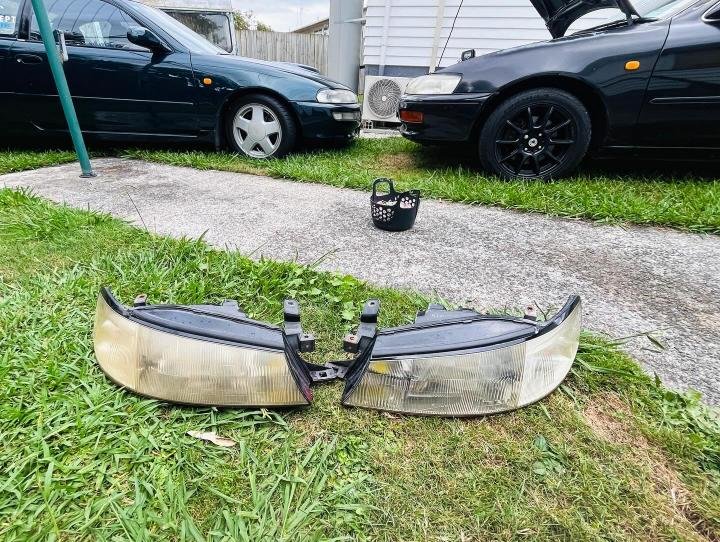
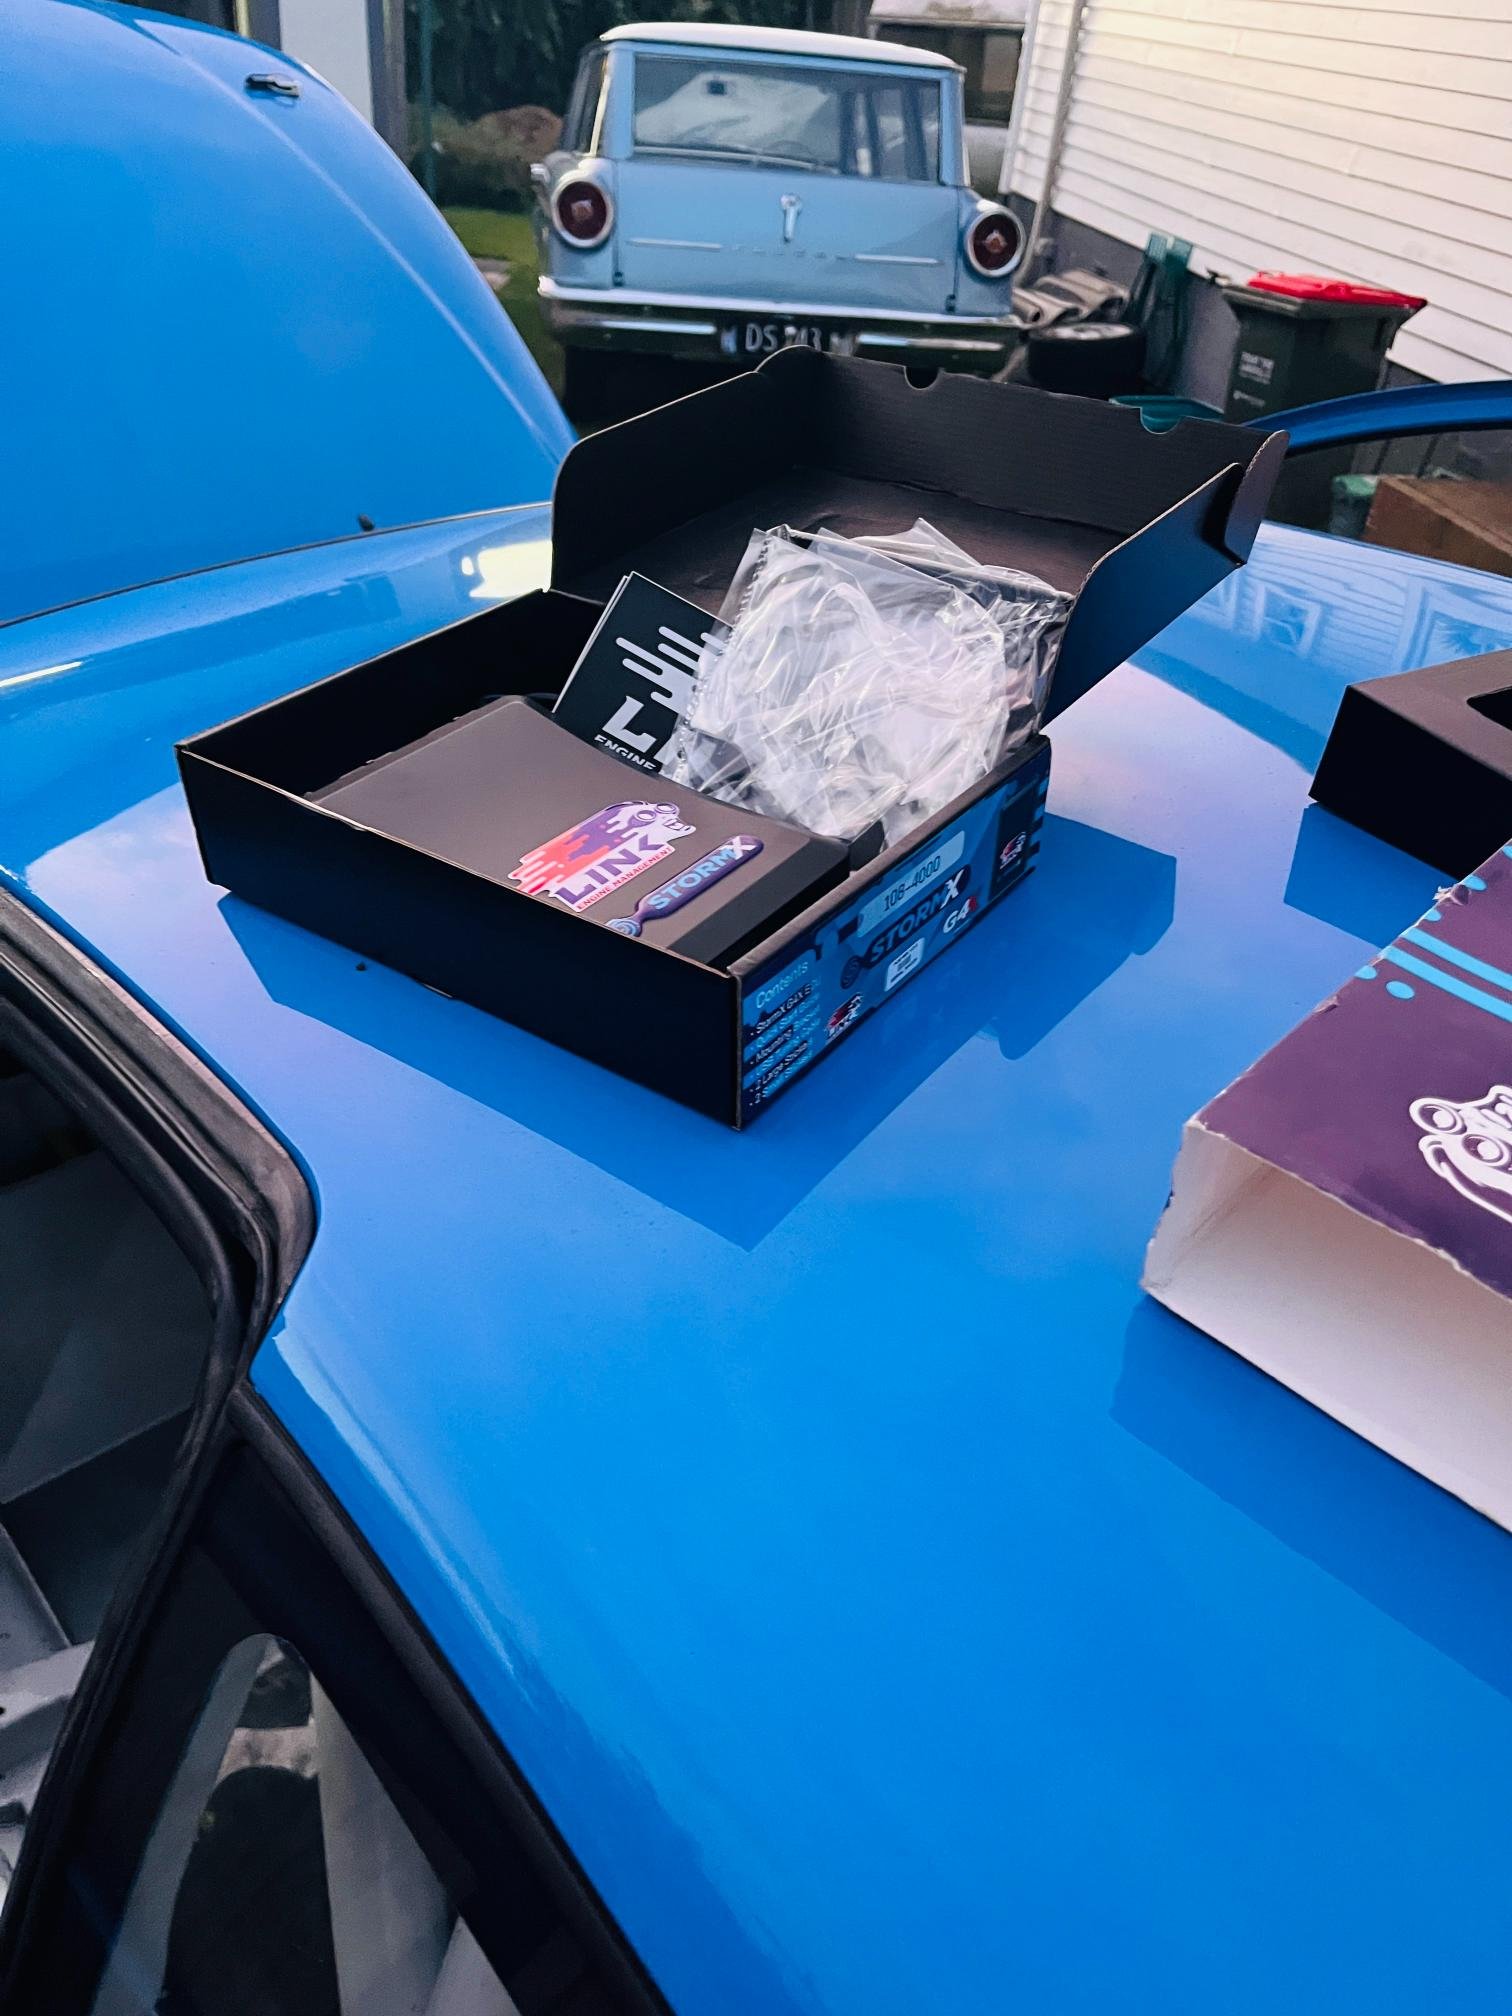
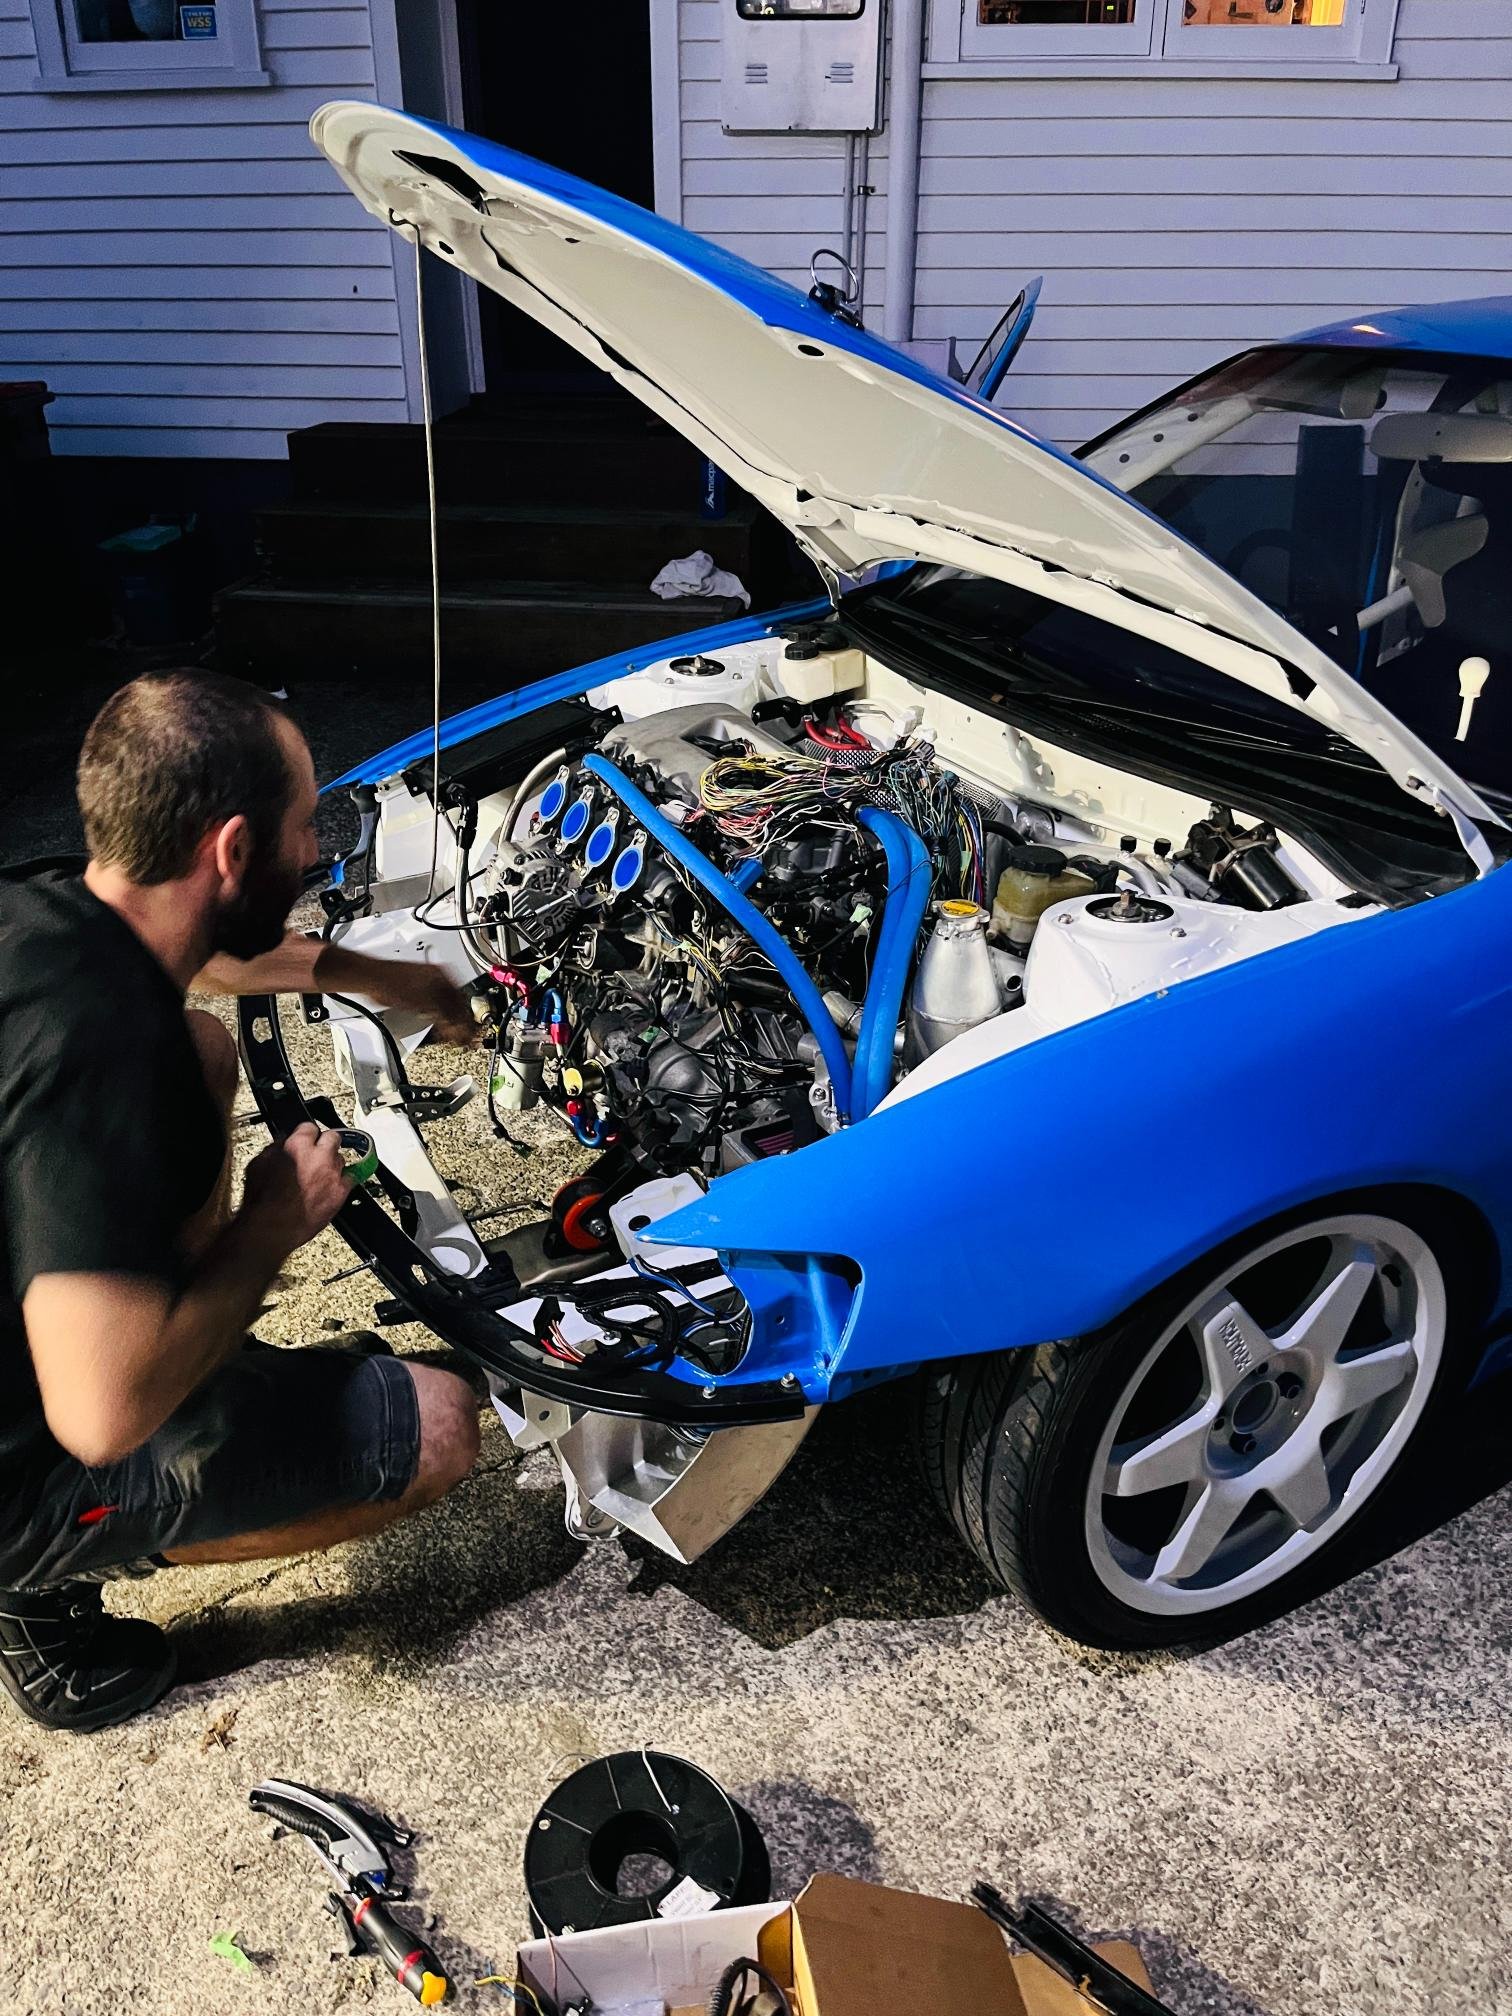
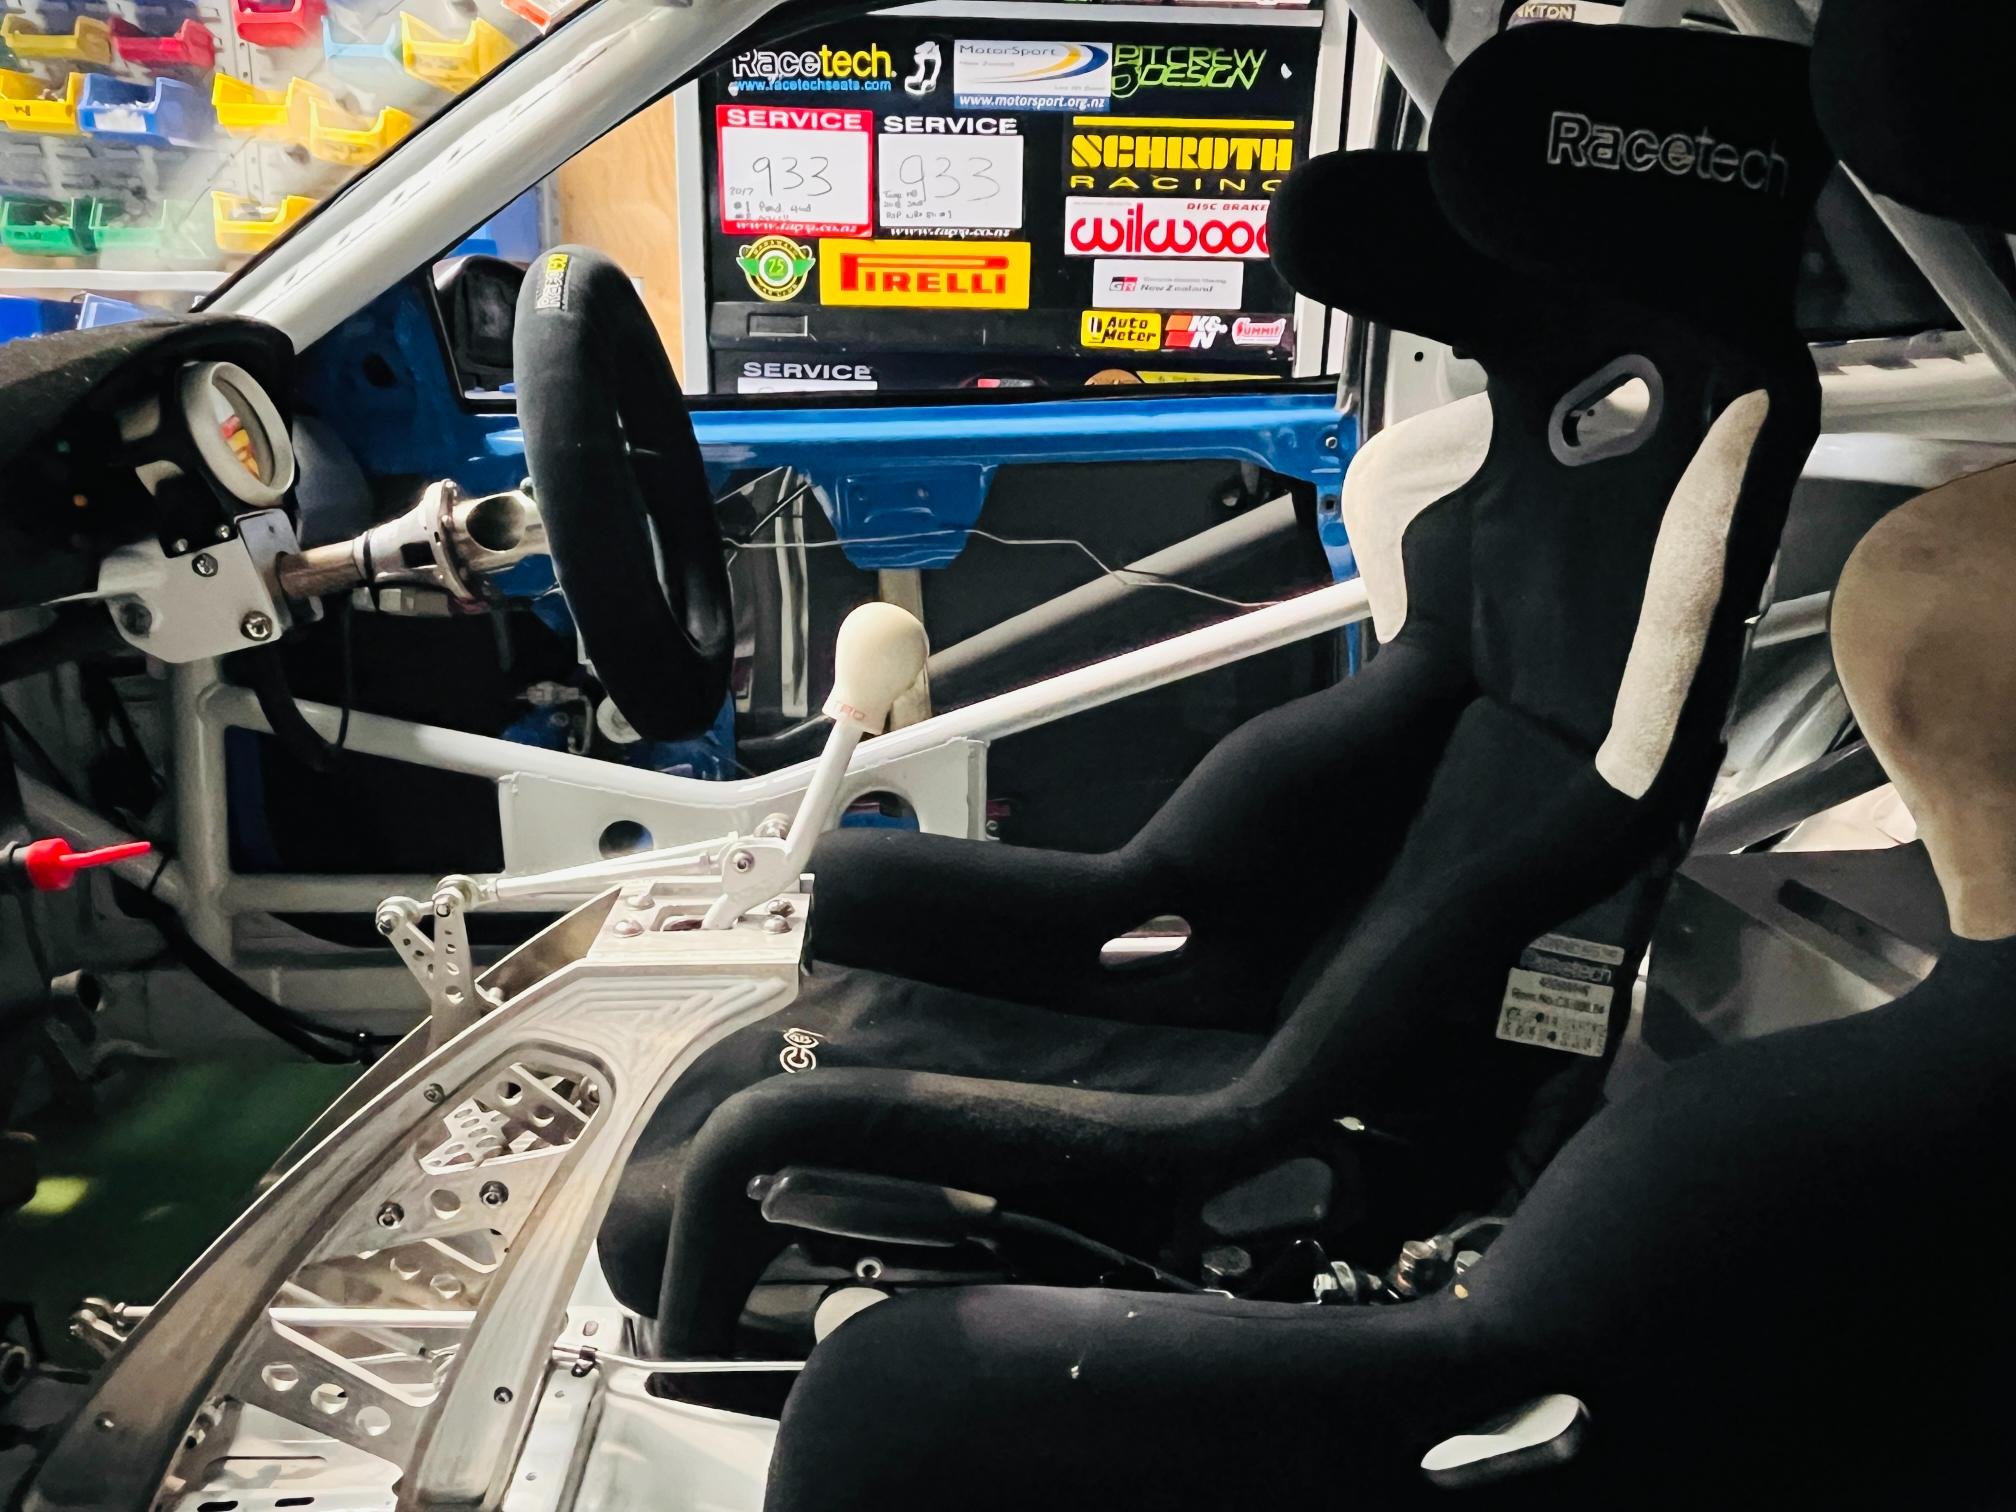
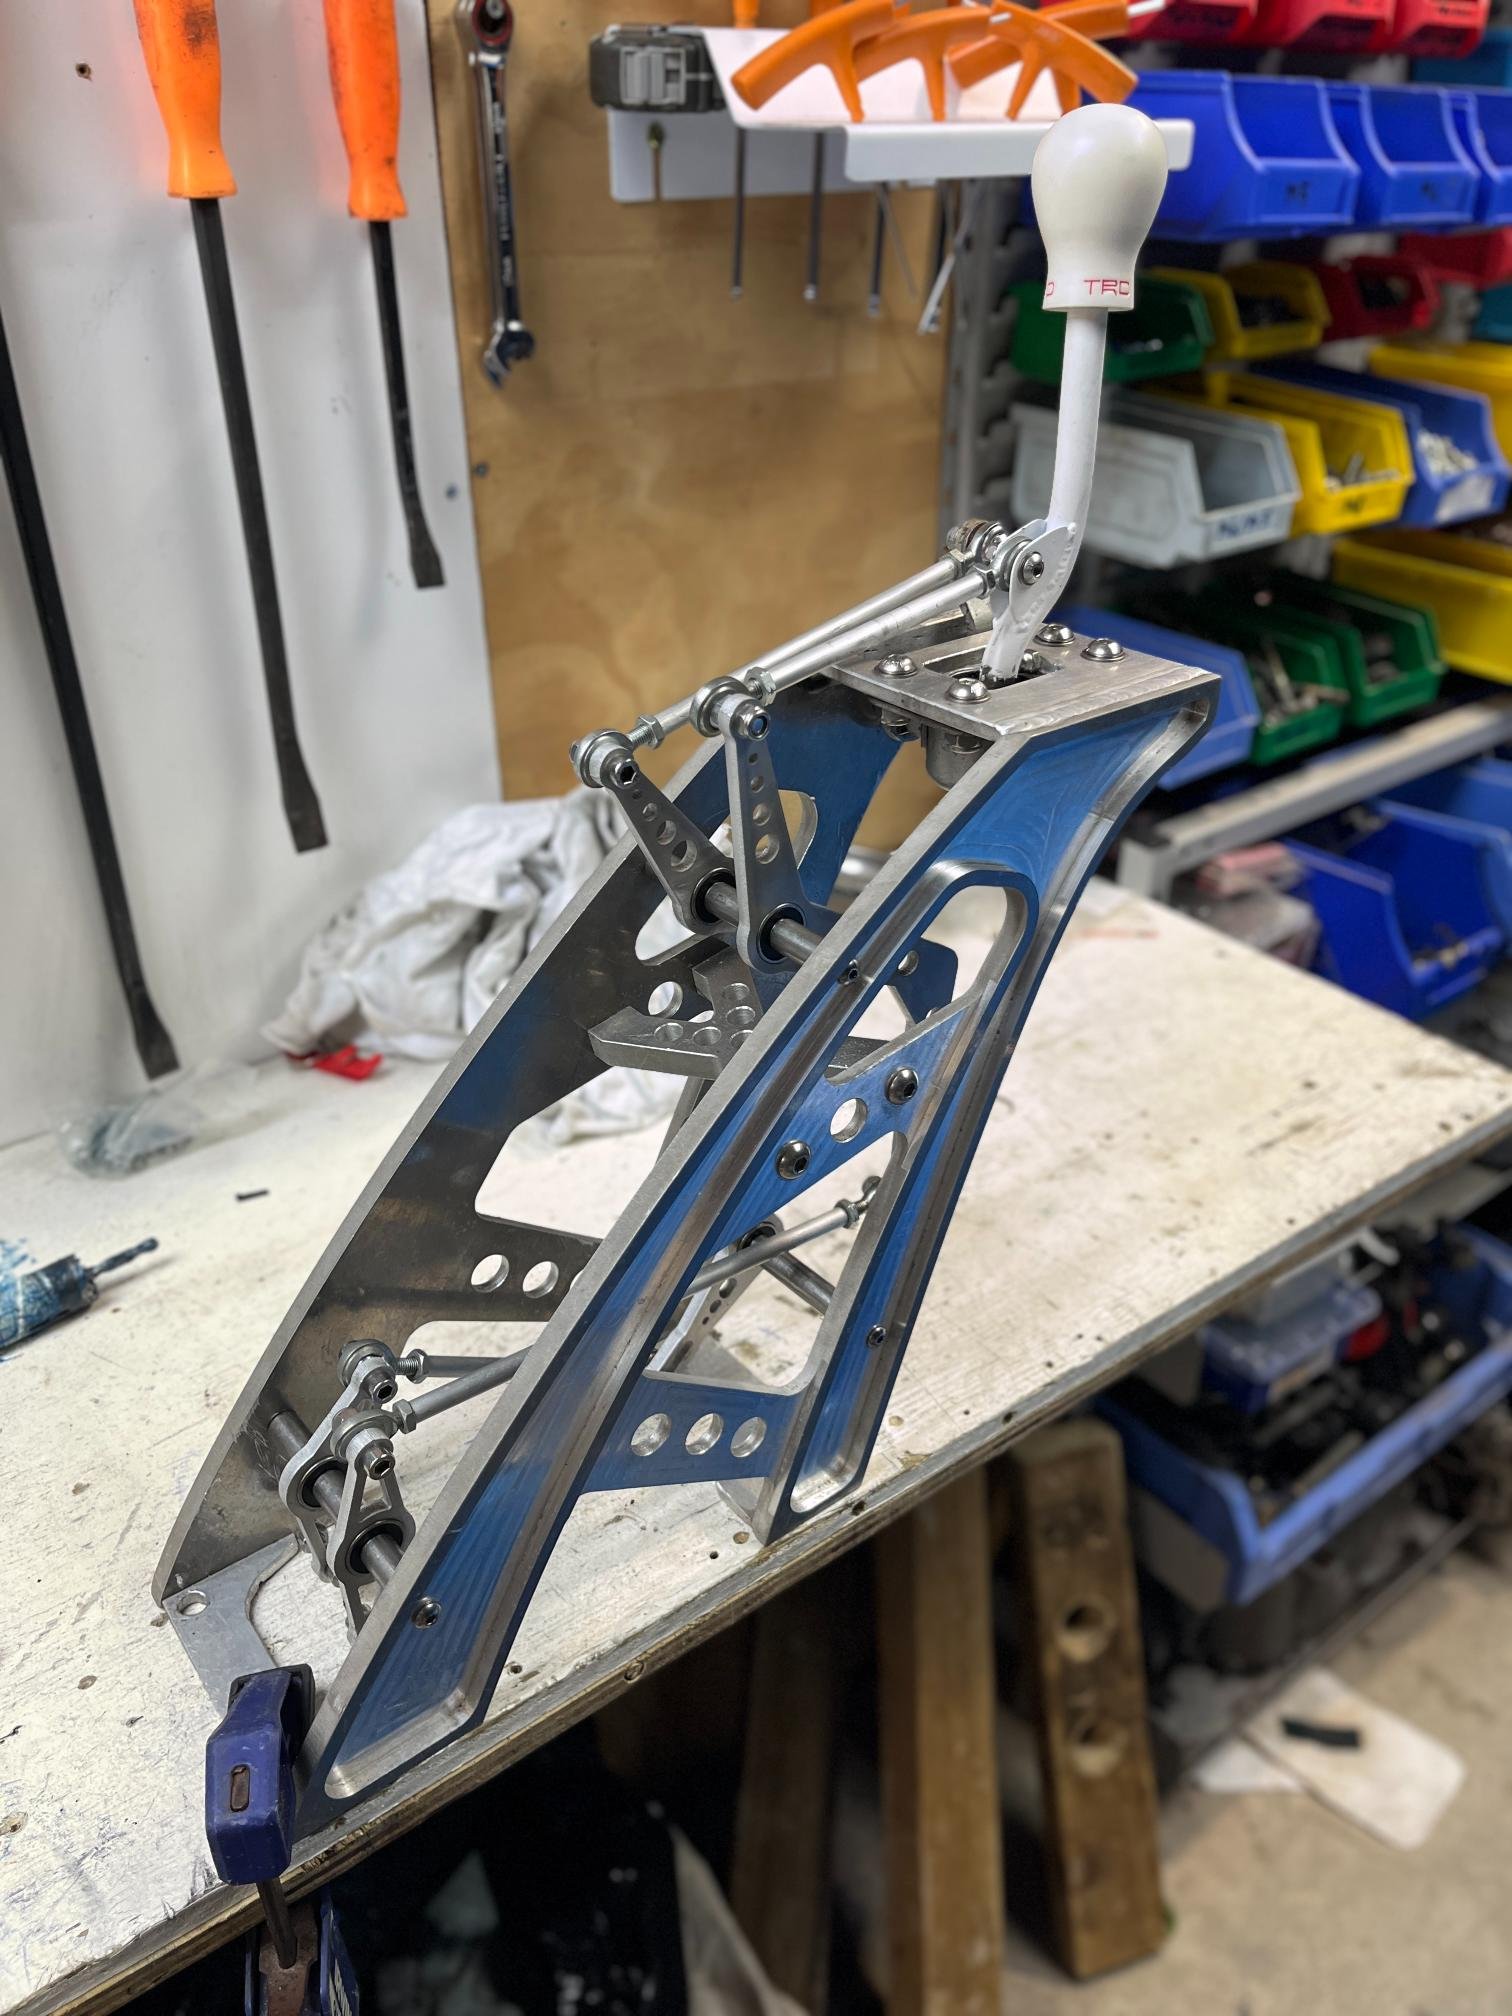
Lots of finishing details taking lots of effort with this project. Stuff that's been sitting on the shelf 'finished' for a few years always needs adjustments or I need to remember how it was supposed to be installed... Final adjustments made to the gear shifter. Locked skateboard bearings in place with Loctite (they are a gentle press fit). Also replaced axle seals and got driveshafts in place. Gearbox is ready to roll once I add some oil... Polished up the headlights finally. Look great, but could be better still. Repainted mirrors in repco 'trim black'. Turned out great! Decided to paint gurney flap black as well. Not sold on it but unsure what other options would look any good? Also, its amazing to see how unlike this car looks like a factory Levin... Dropping a car 4" will do that! Pulled the front apart to do final welds on headlight frames. All comes apart in less than 30mins which is great. Wasn't stoked to need to remove radiator again though (it's a bitch of a job!) And because I hate AN fittings & braided hose.... I sourced some Continental heater hose for breathers (not rated for oil but is no pressure and has 150deg C temp rating so should be fine). Bonus that it comes in almost an exact colour match to my car. Still one more hose end to fabricate for the final breather. 2zz has an obscene amount of breather ports so why not use them all!? Less crank pressure = more power. Last night Drew popped around to do a final measure up on engine loom. Added a few things and adjusted the factory loom to suit. He also brought some goodies with him. This is probably the biggest financial piece of the puzzle left so happy to make this step. Assembling the car and touching things up for Toyotafest at Hampton this saturday. Entered show in 'under construction' category. It's bittersweet because it feels good to finally have something worth showing/sharing with people for my 10+yrs of effort, but still so much work in the finishing touches. Next year I'll be driving it!!
4 points
-
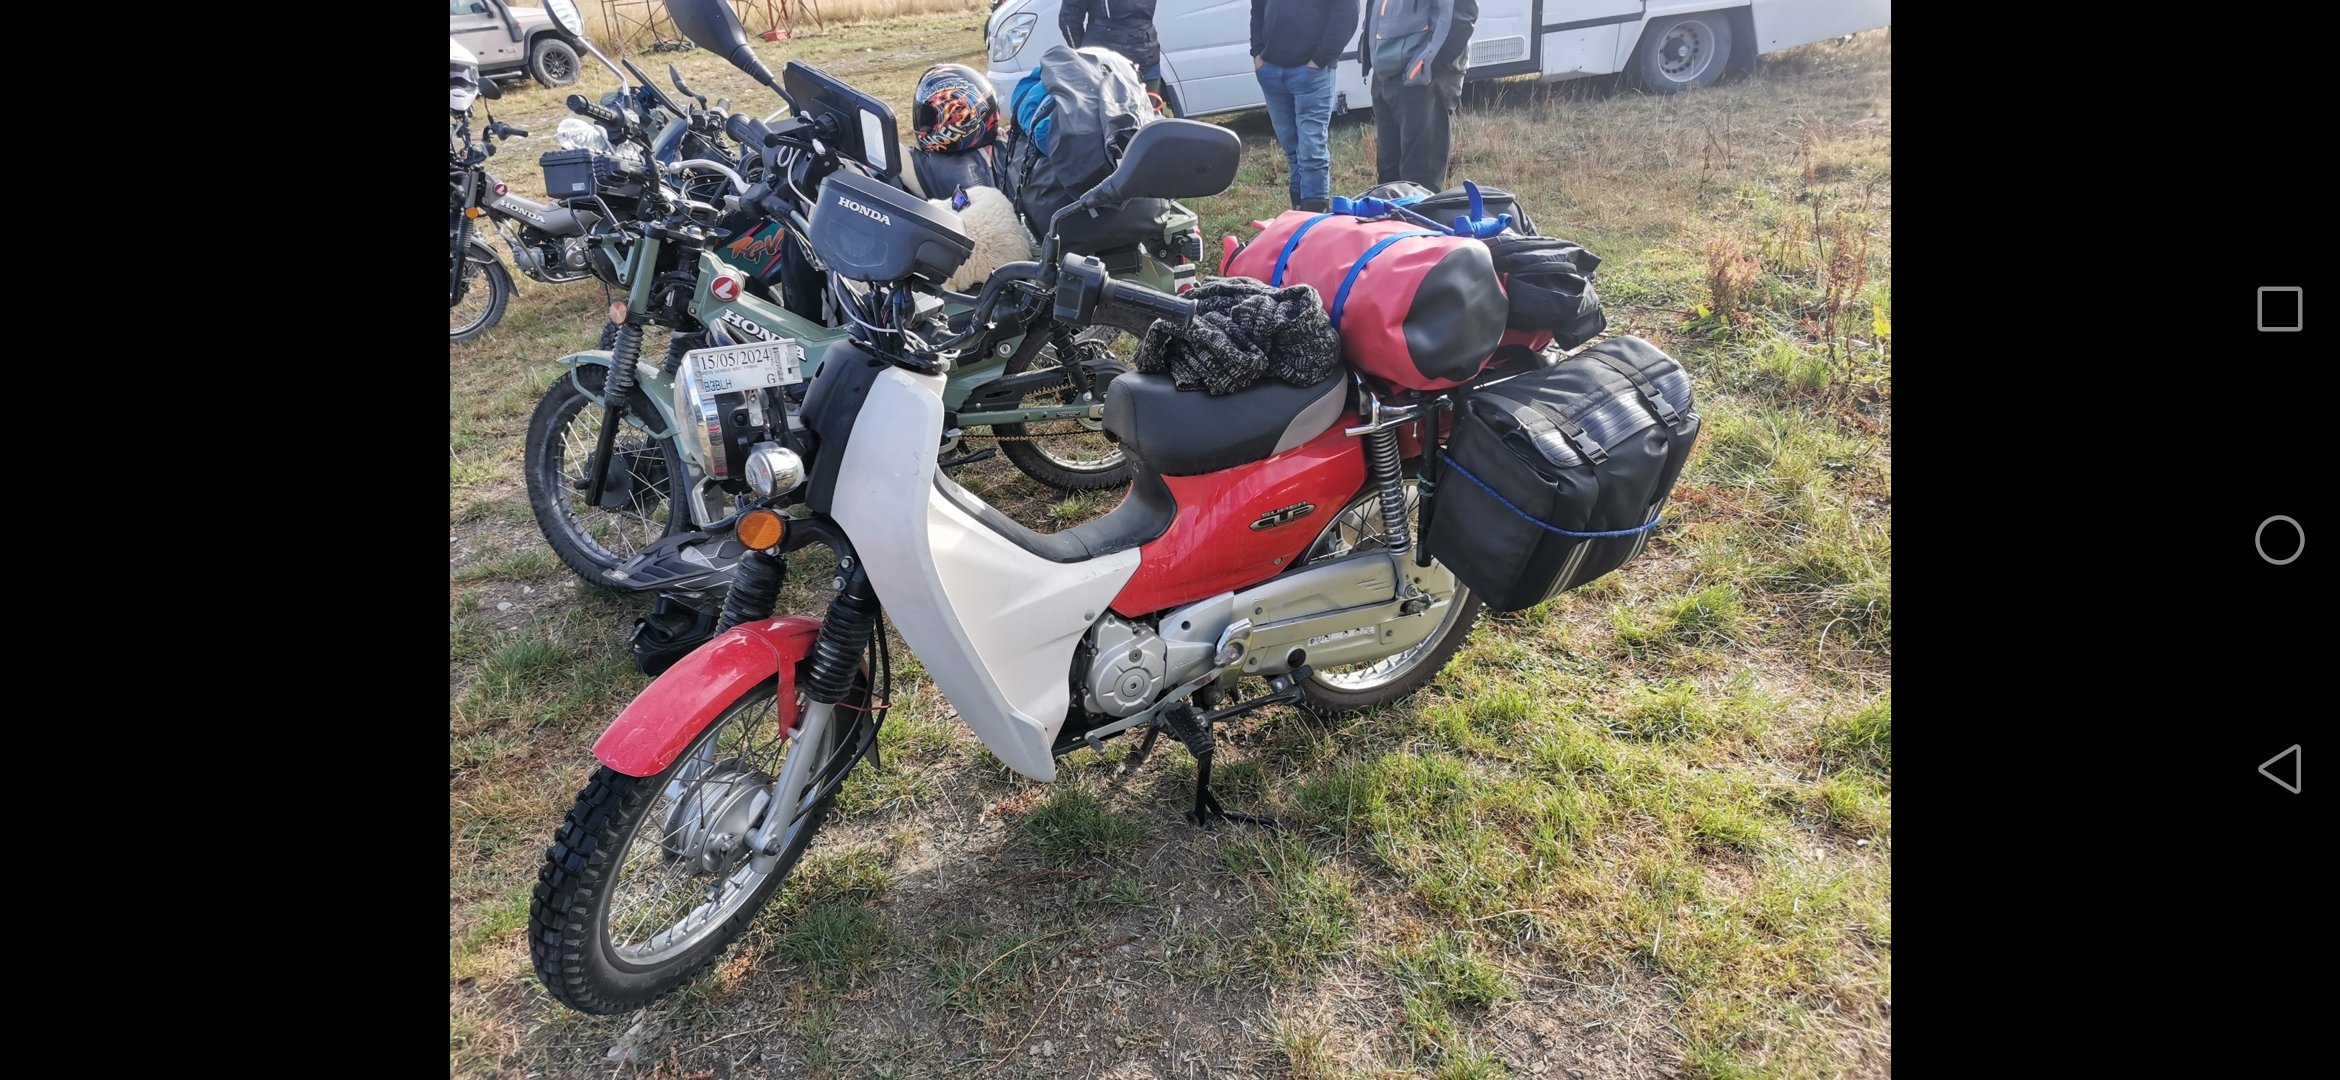
Join the Moped Melee 2025! The places you'll see, the people you'll meet. You'd be a fool to miss it.
3 points
-
You've opened Pandora's box here. Once you get into 2 stroke tuning you can go down some serious wormholes. Find A Graham Bell's 2 stroke tuning on line - there are free sites with it. Download it and read it. It's basic by current standards but it'll do you. Rebore as small as possible. Leaves some life in the barrel - and you aren't moving port edges very much.3 points
-
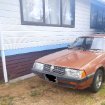
Starting to do my bi-annual work on the car
3 points
-
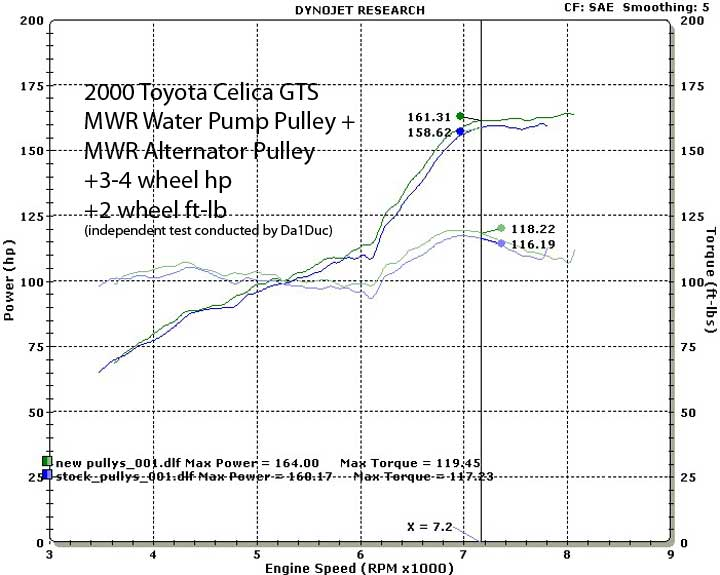
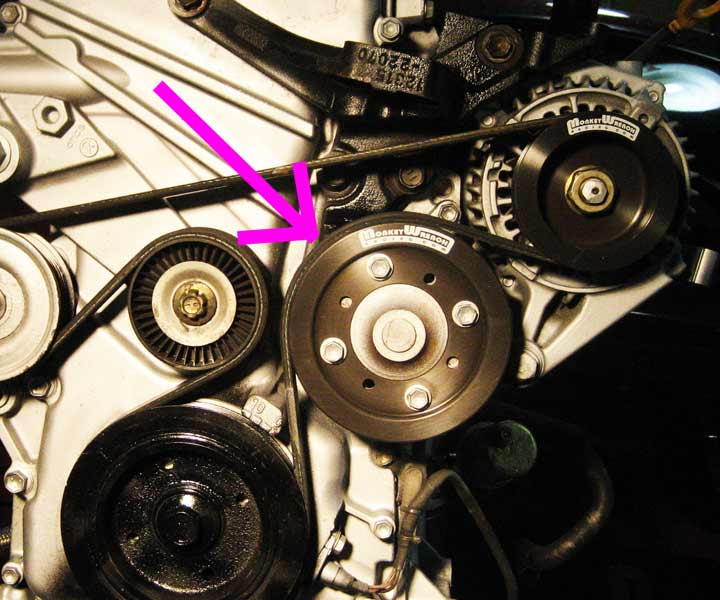
Also quite excited about purchasing alternator and water pump undersized pulleys from Monkeywrench racing. Interestingly, they claim a 3-4HP gain on a factory motor, which combined with my lack of belt-driven powersteering, higher compression, ITB's and exhaust could potentially add up to 5-8hp total. Might even get close to K20 power? This few HP is probably the cheapest $$/kw I'll ever make so stoked to have this piece of the puzzle coming together. These are waiting to make it into our suitcases when we visit the states in a few weeks..
3 points
-
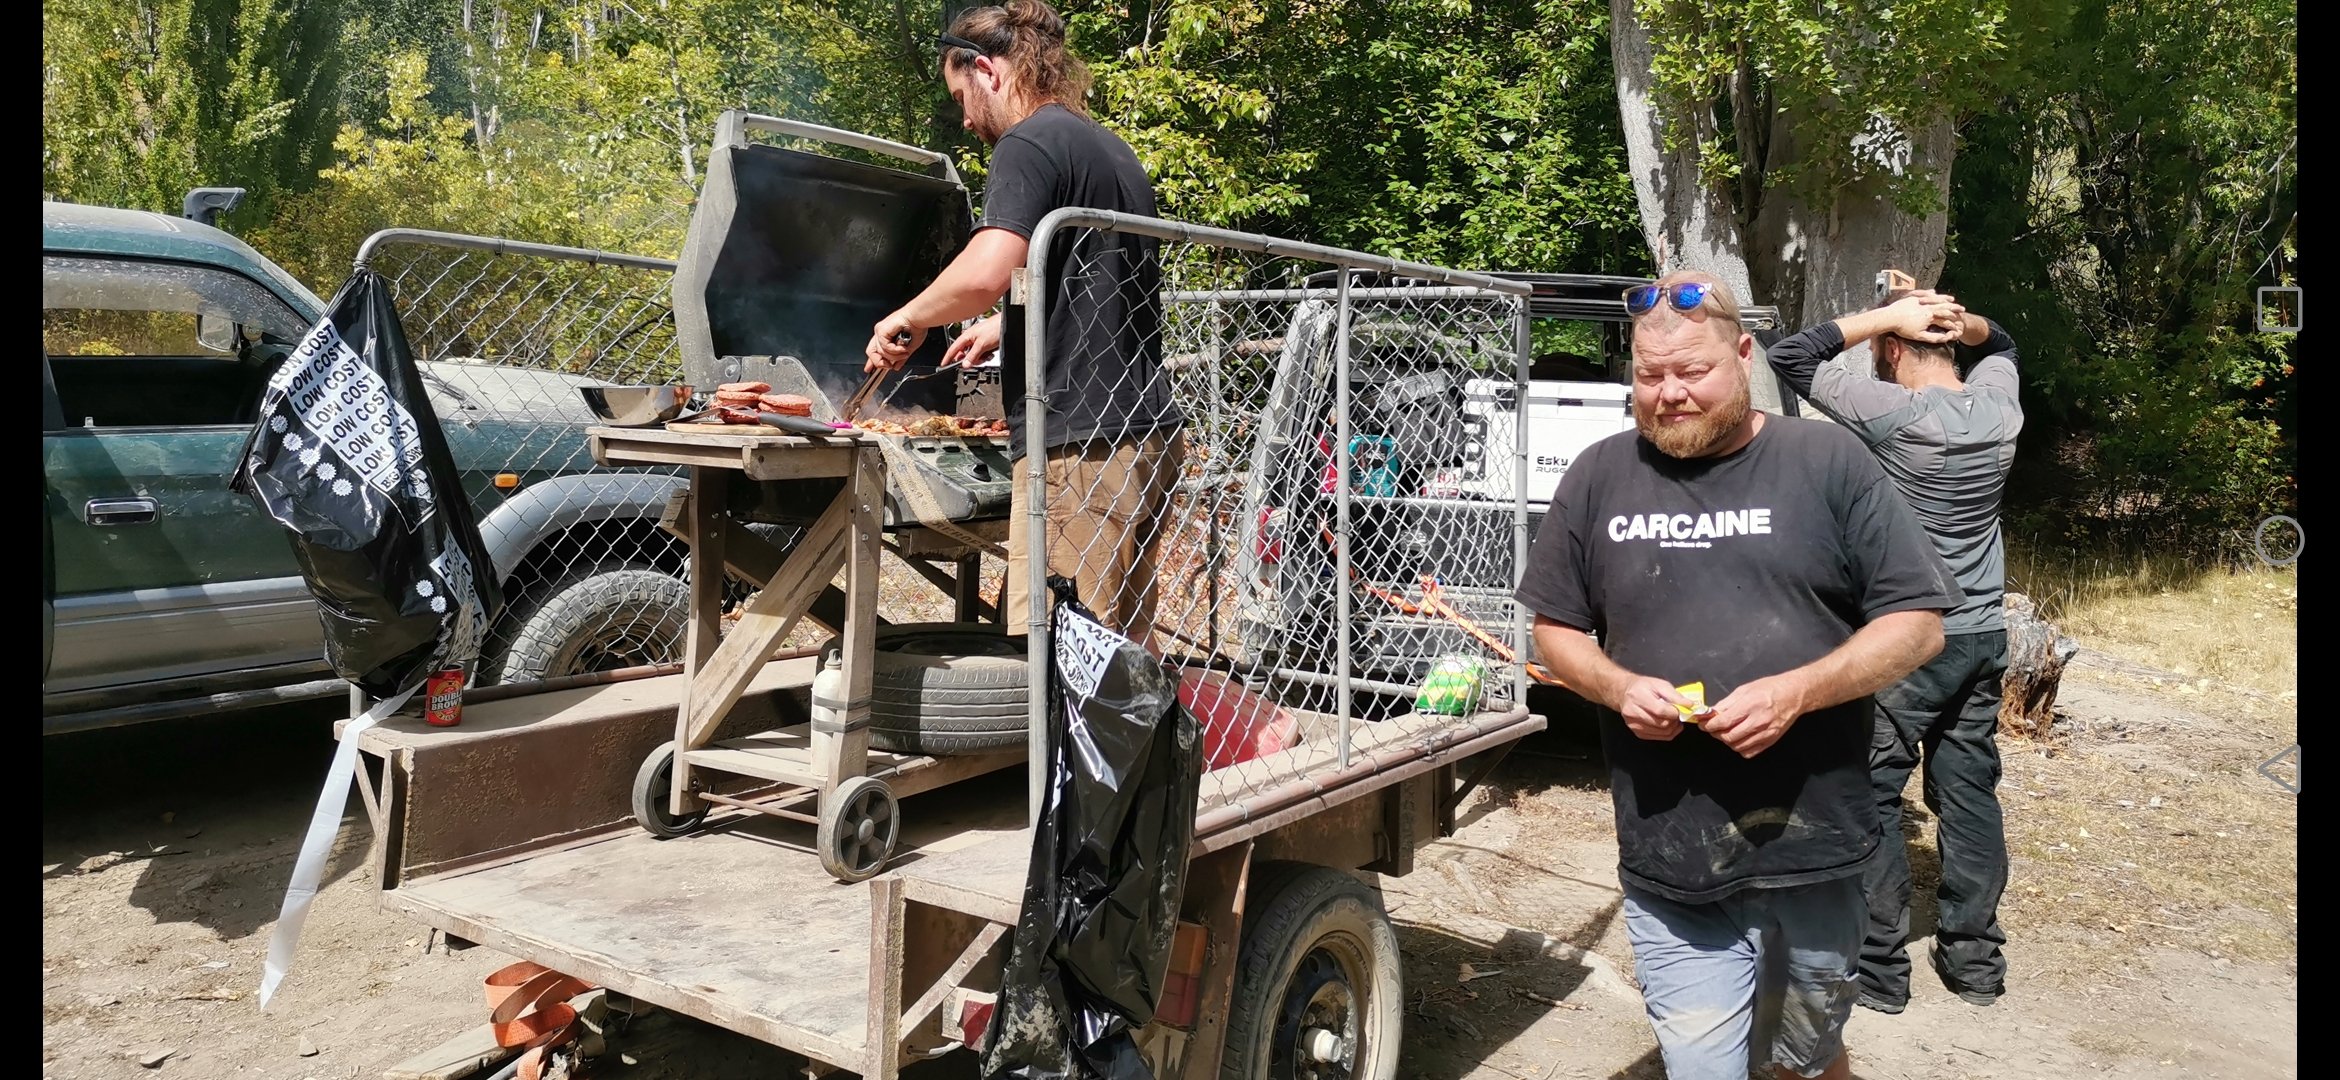
These 2 absolute fucking legends (and Josh) making it possible. Feeding and watering the troops as well as the odd rescue where required. Even taught this old dog a thing about Old School values, rescuing the Subaru fools. Top effort fellas, you're fucking awesome
2 points
-
Had a great time catching up with the fella over the 4 days. Only known this guy @RUNAMUCKfor 41years. Hoping to convince the other 2 horsemen in future years. Looking forward to our next drink fella, MEOW
2 points
-
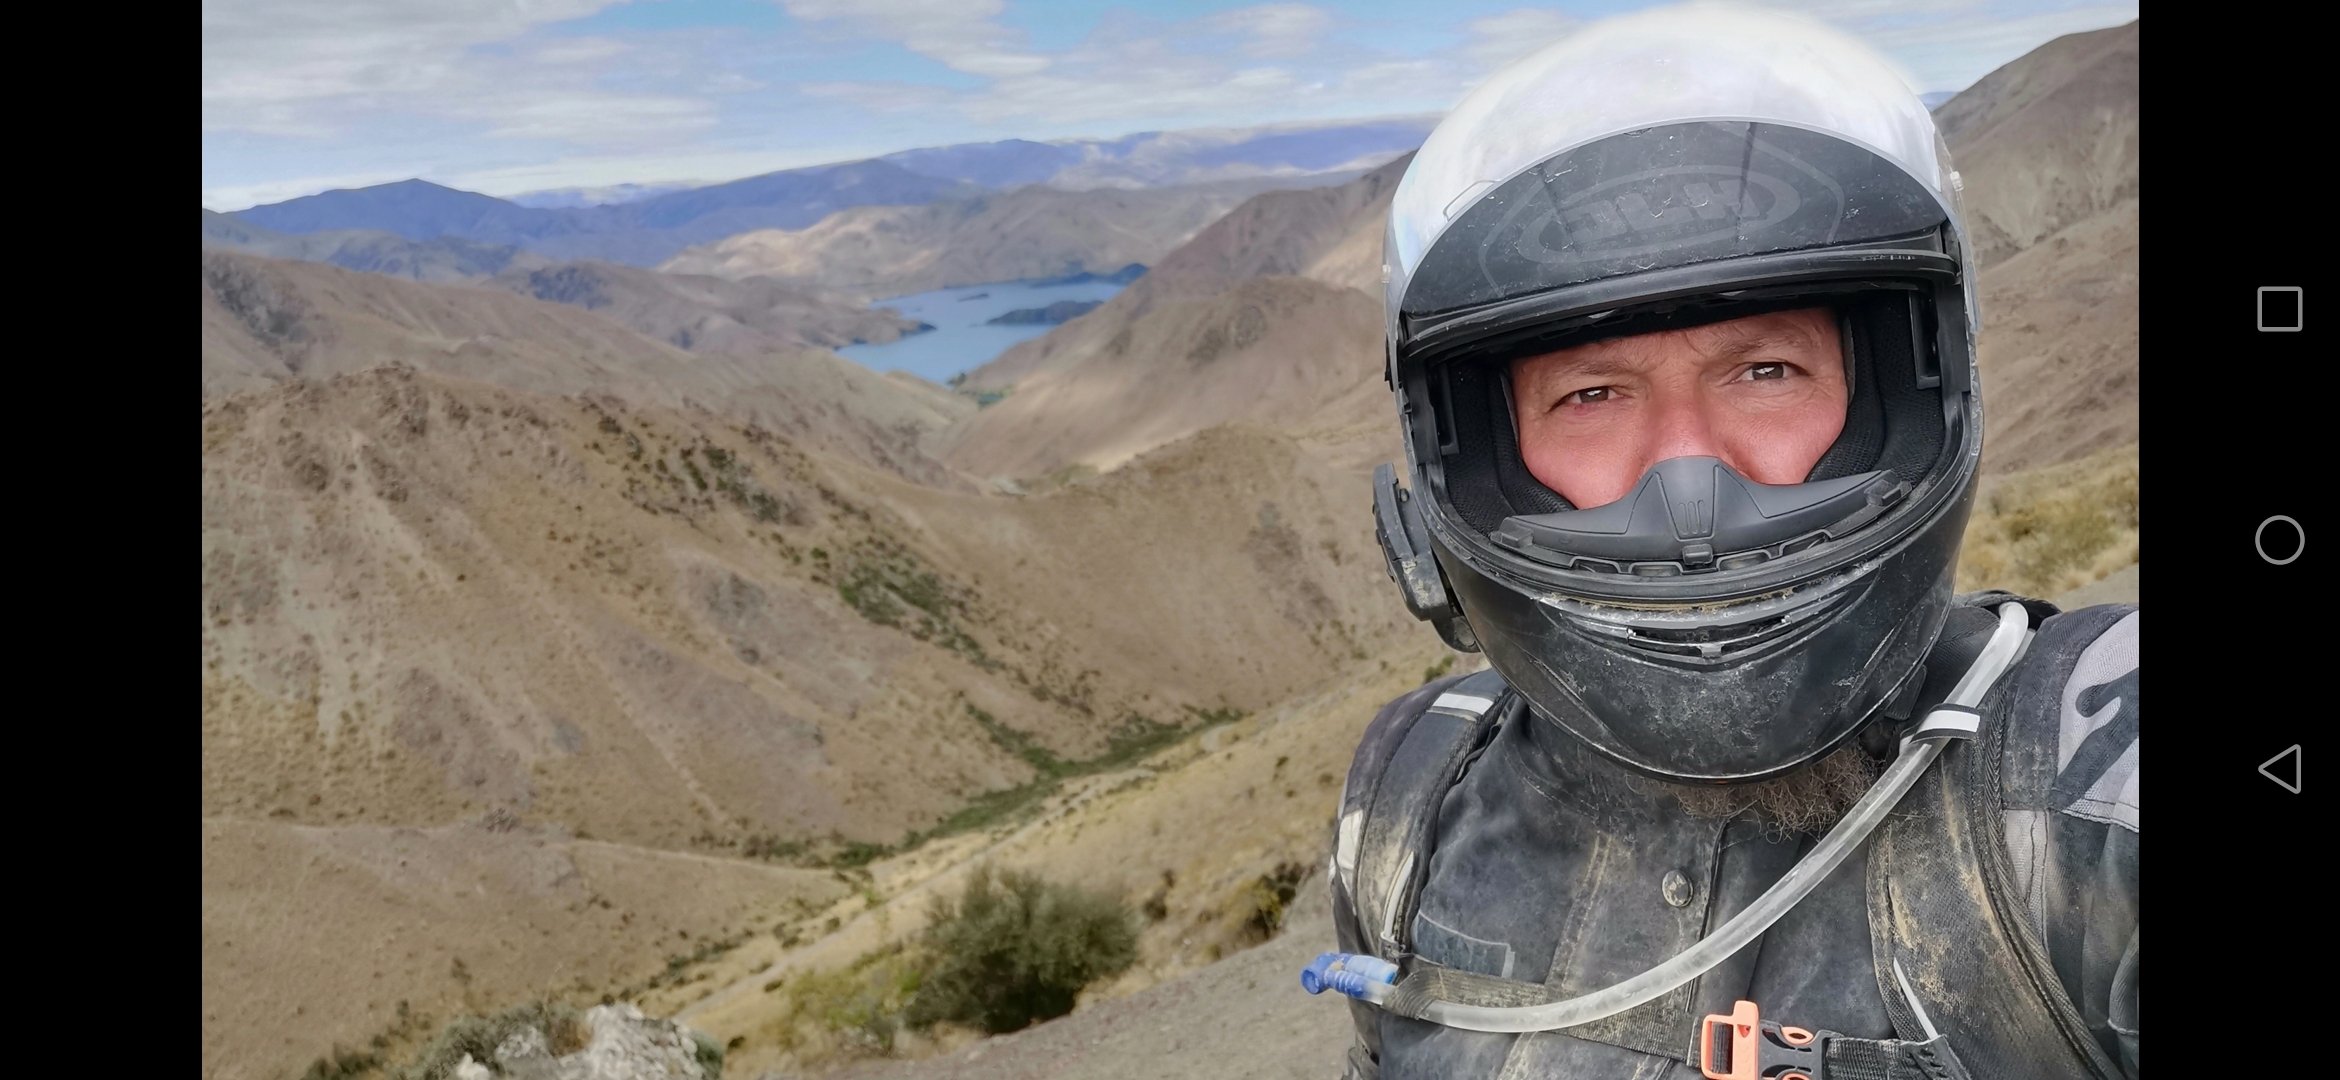
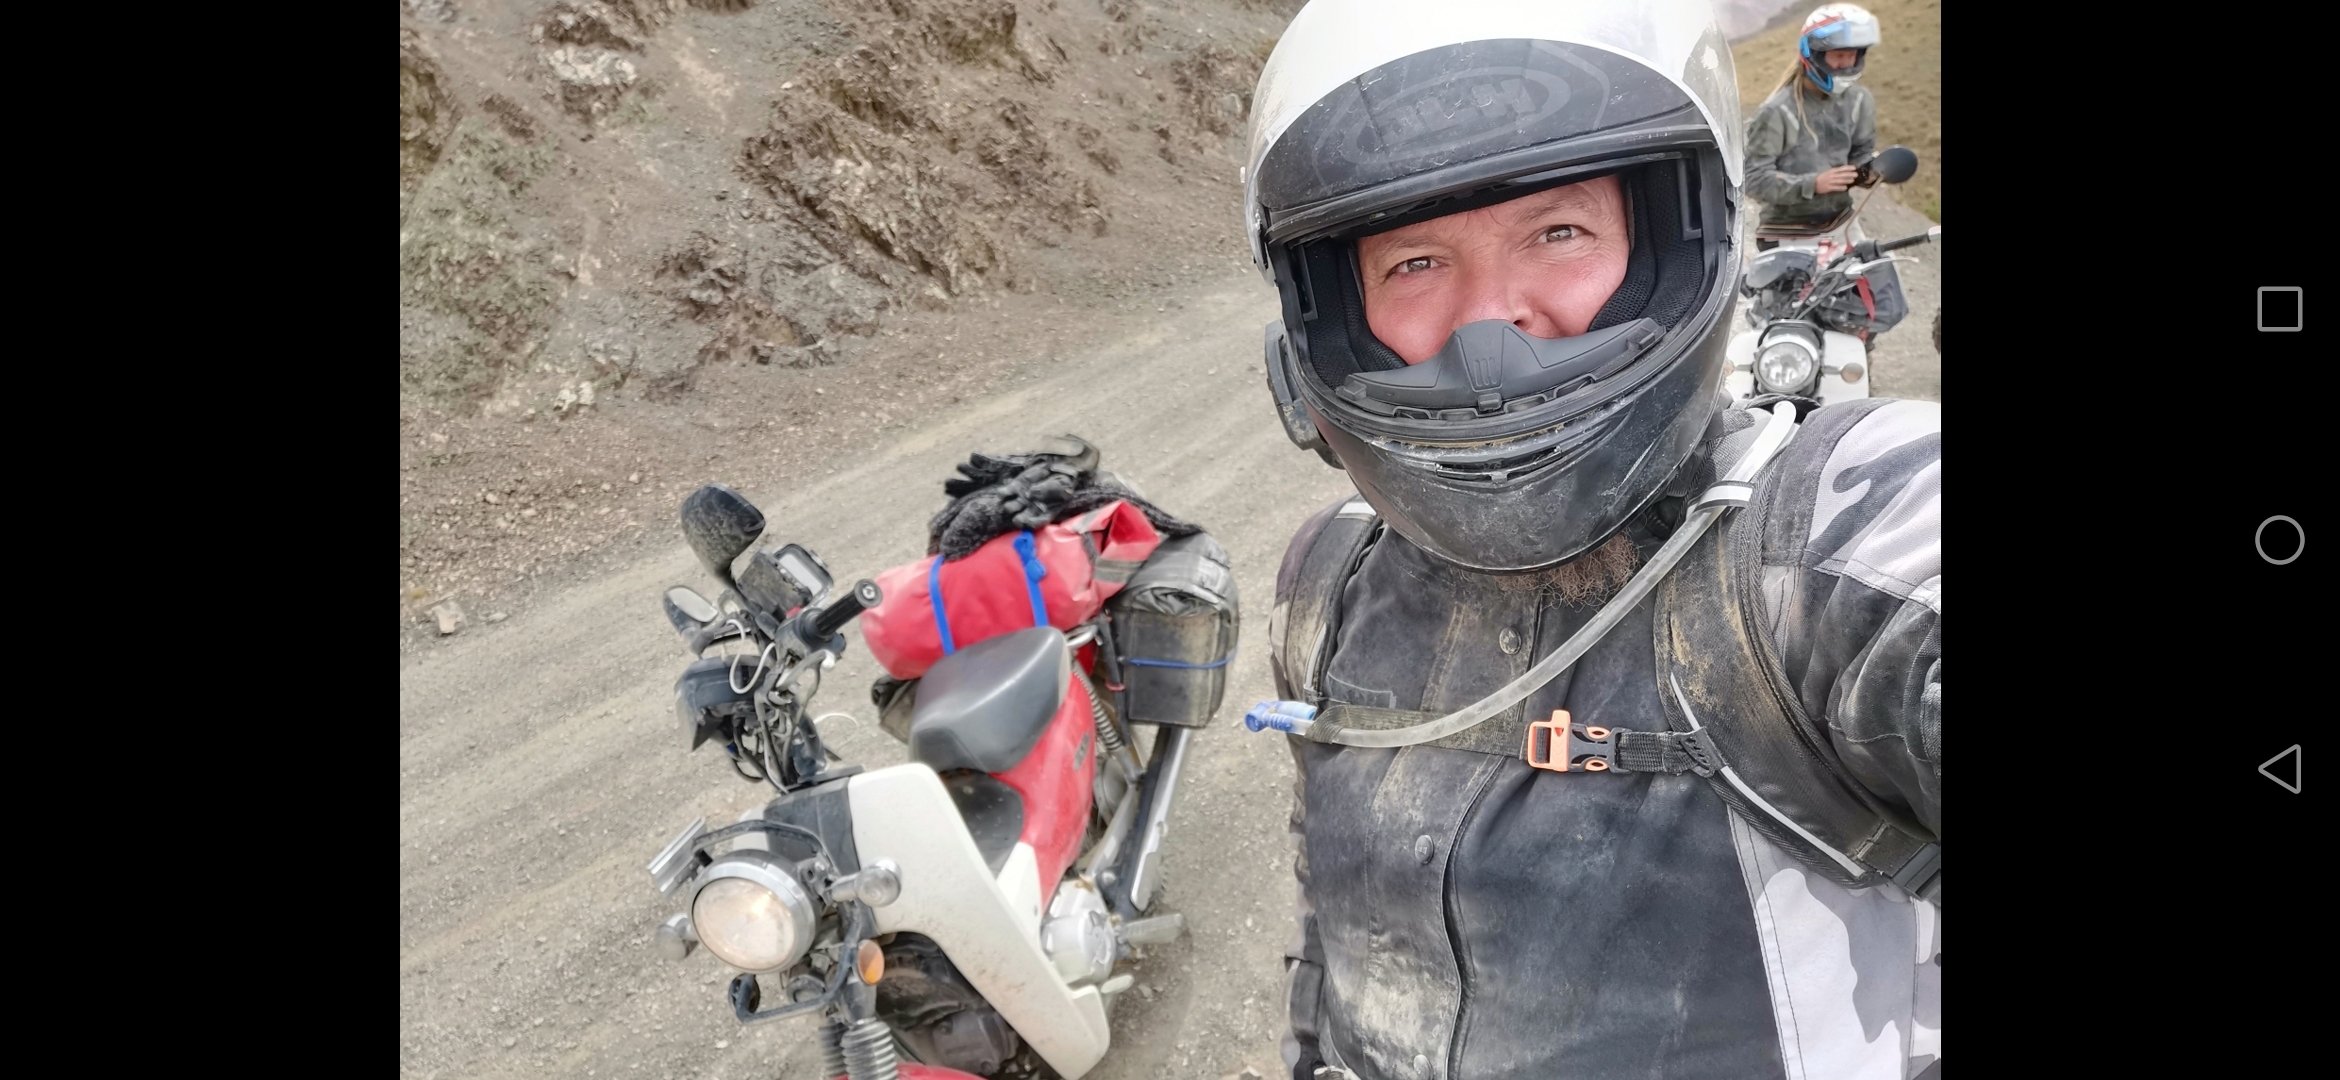
Headed out on my first moped melee this year. Really appreciated the invite @RUNAMUCK. What an awesome group of legitimate GC's. Had an absolutely amazing time and already looking forward to doing it all again next year.
2 points
-
pulled another RVR apart for the motor. I might put it in my GSR or Ex who knows haha
2 points
-
Doing the late nights cause now I have kids and I cant work during the days anymore at least after the last 10 years I got parts to finish it
2 points
-
More pics. Also, I only have 7 original plug leads and they are not flash, and one oddball. I'm really struggling to find replacements that fit and would appreciate any Intel on sourcing something suitable. Amayama list but no stock.. wondering if maybe I could butcher some 7M leads perhaps?
2 points
-
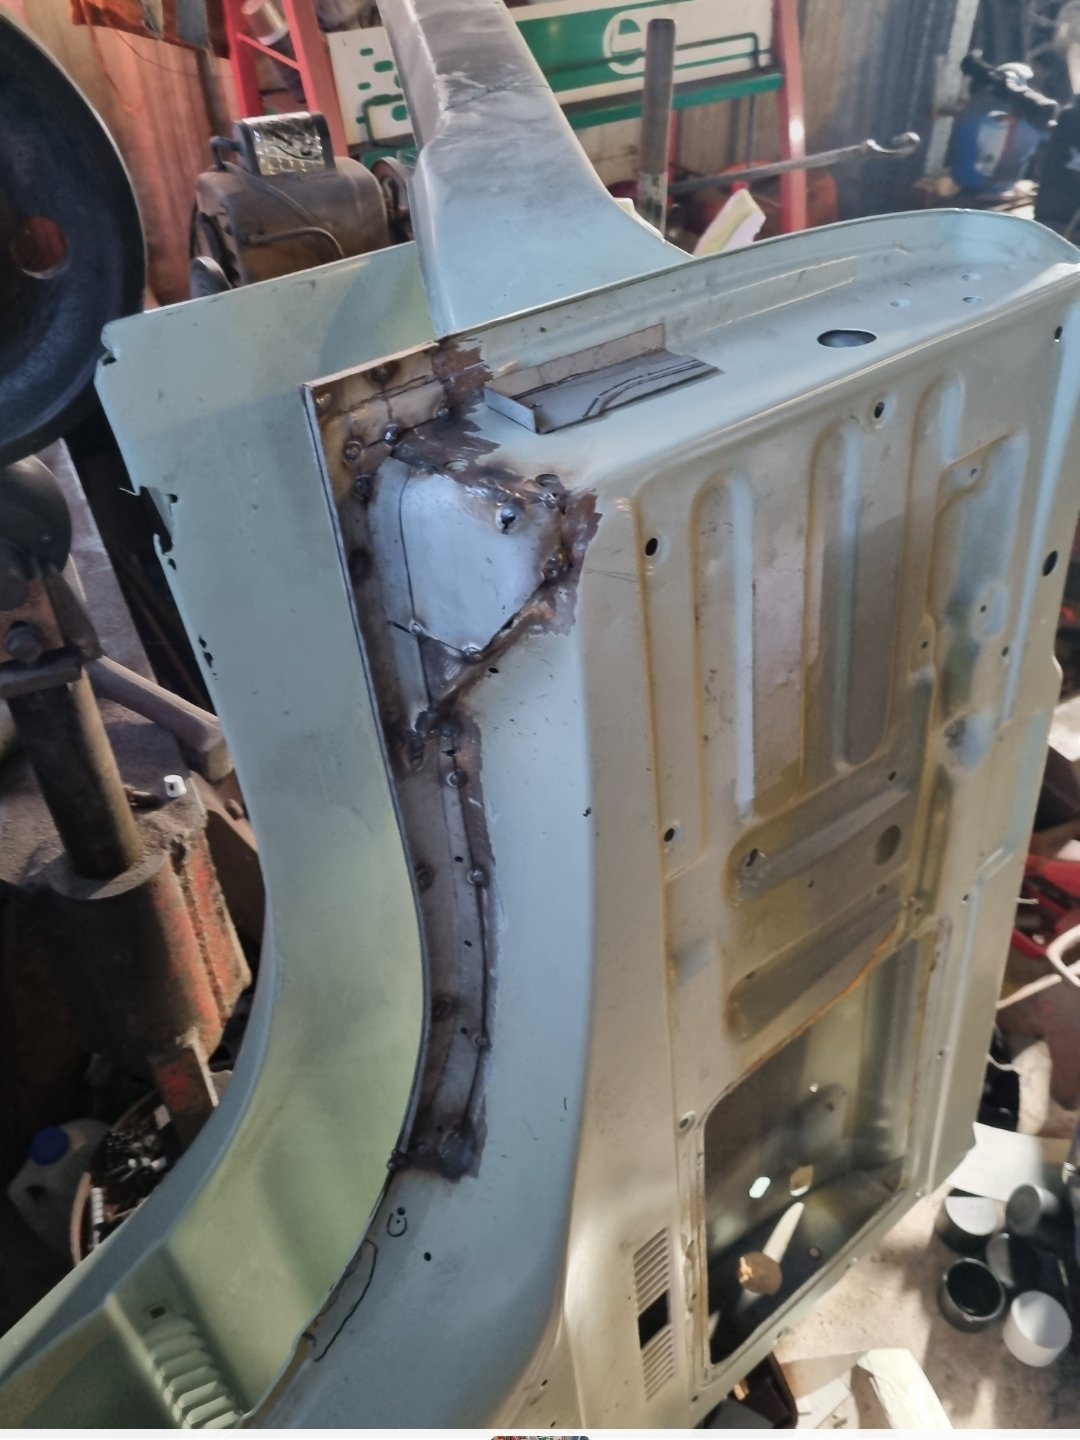
I had planned to have to weld in the front portion of the yellow guard because I deemed the panel damage beyond my skill to repair. The step thing on the corner had been totally flattened by someone else's previous attempt. I had a go at it myself maybe a year or so ago. But then the other day, I thought I'd have one more go, if I fucked it up I could still weld in the other panel. So I just hit it much harder... I think it's acceptable now, I reshaped the step and didn't fuck up the two... ridge line things. Should only need minimal filler. I also trimmed the doner front panels so I could trial fit them. This car had run into something and pushed in the front panels, folding over the lower front seam. I was unable to get the panels the budge with a slide hammer, so I decided I'd use the front panels from the yellow one, which were surprisingly rust free, unlike the rest of the yellow car. Front panels look like there will be no issues fitting them. I'm not ready to weld the panel back in, I still need to prep behind it for epoxy.
2 points
-
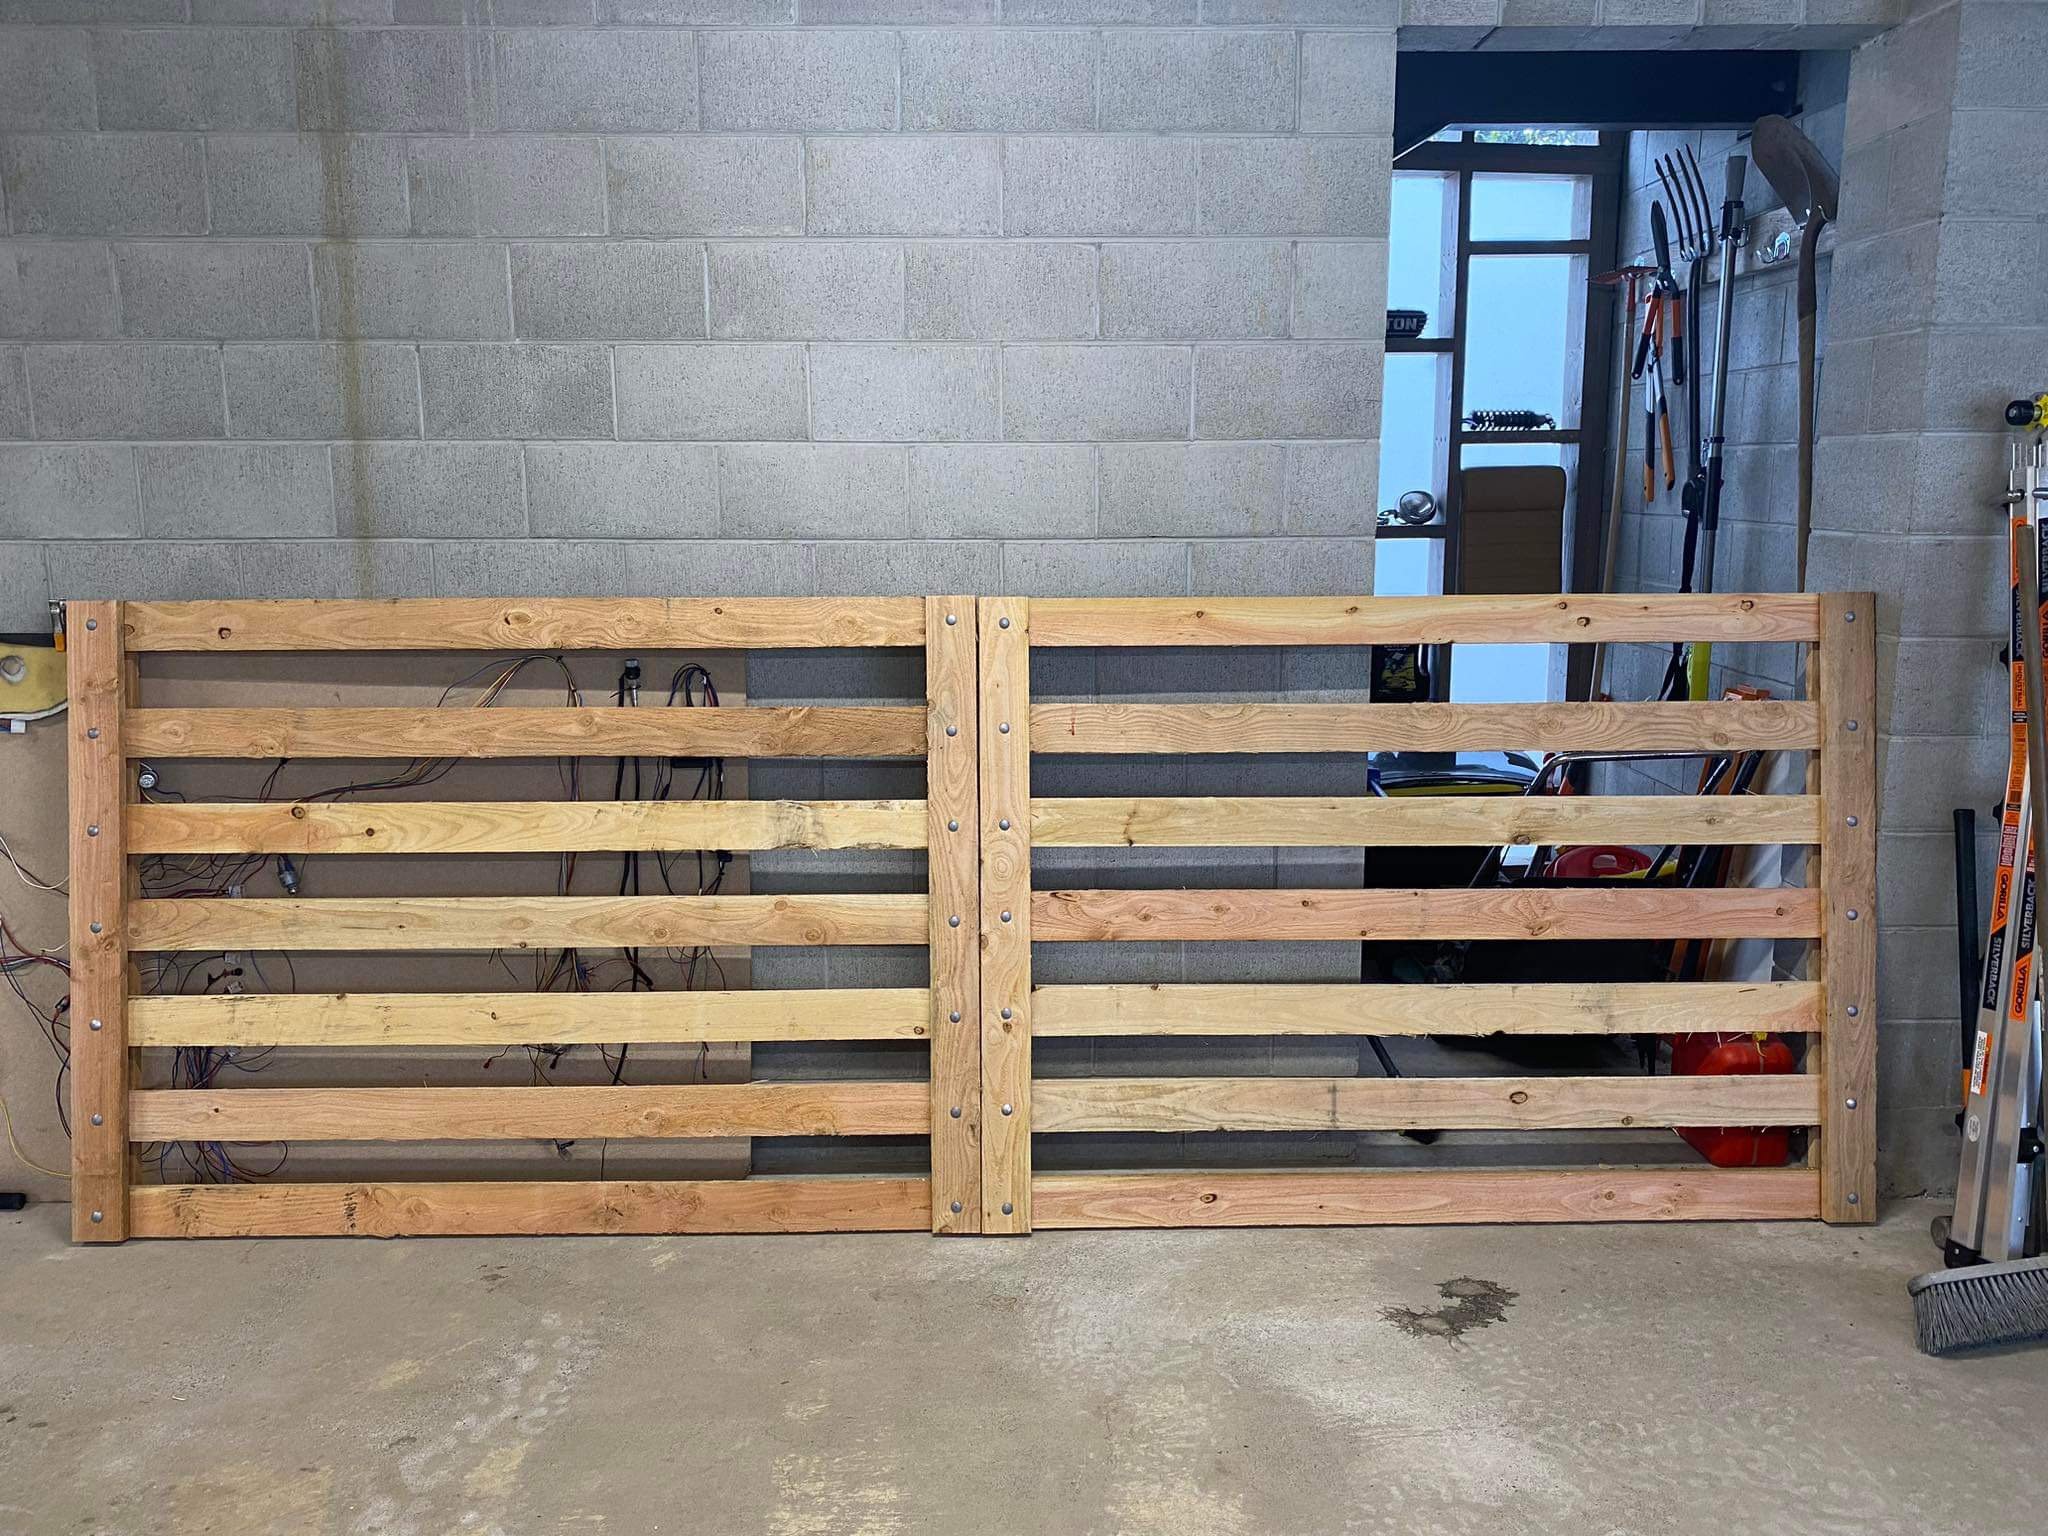
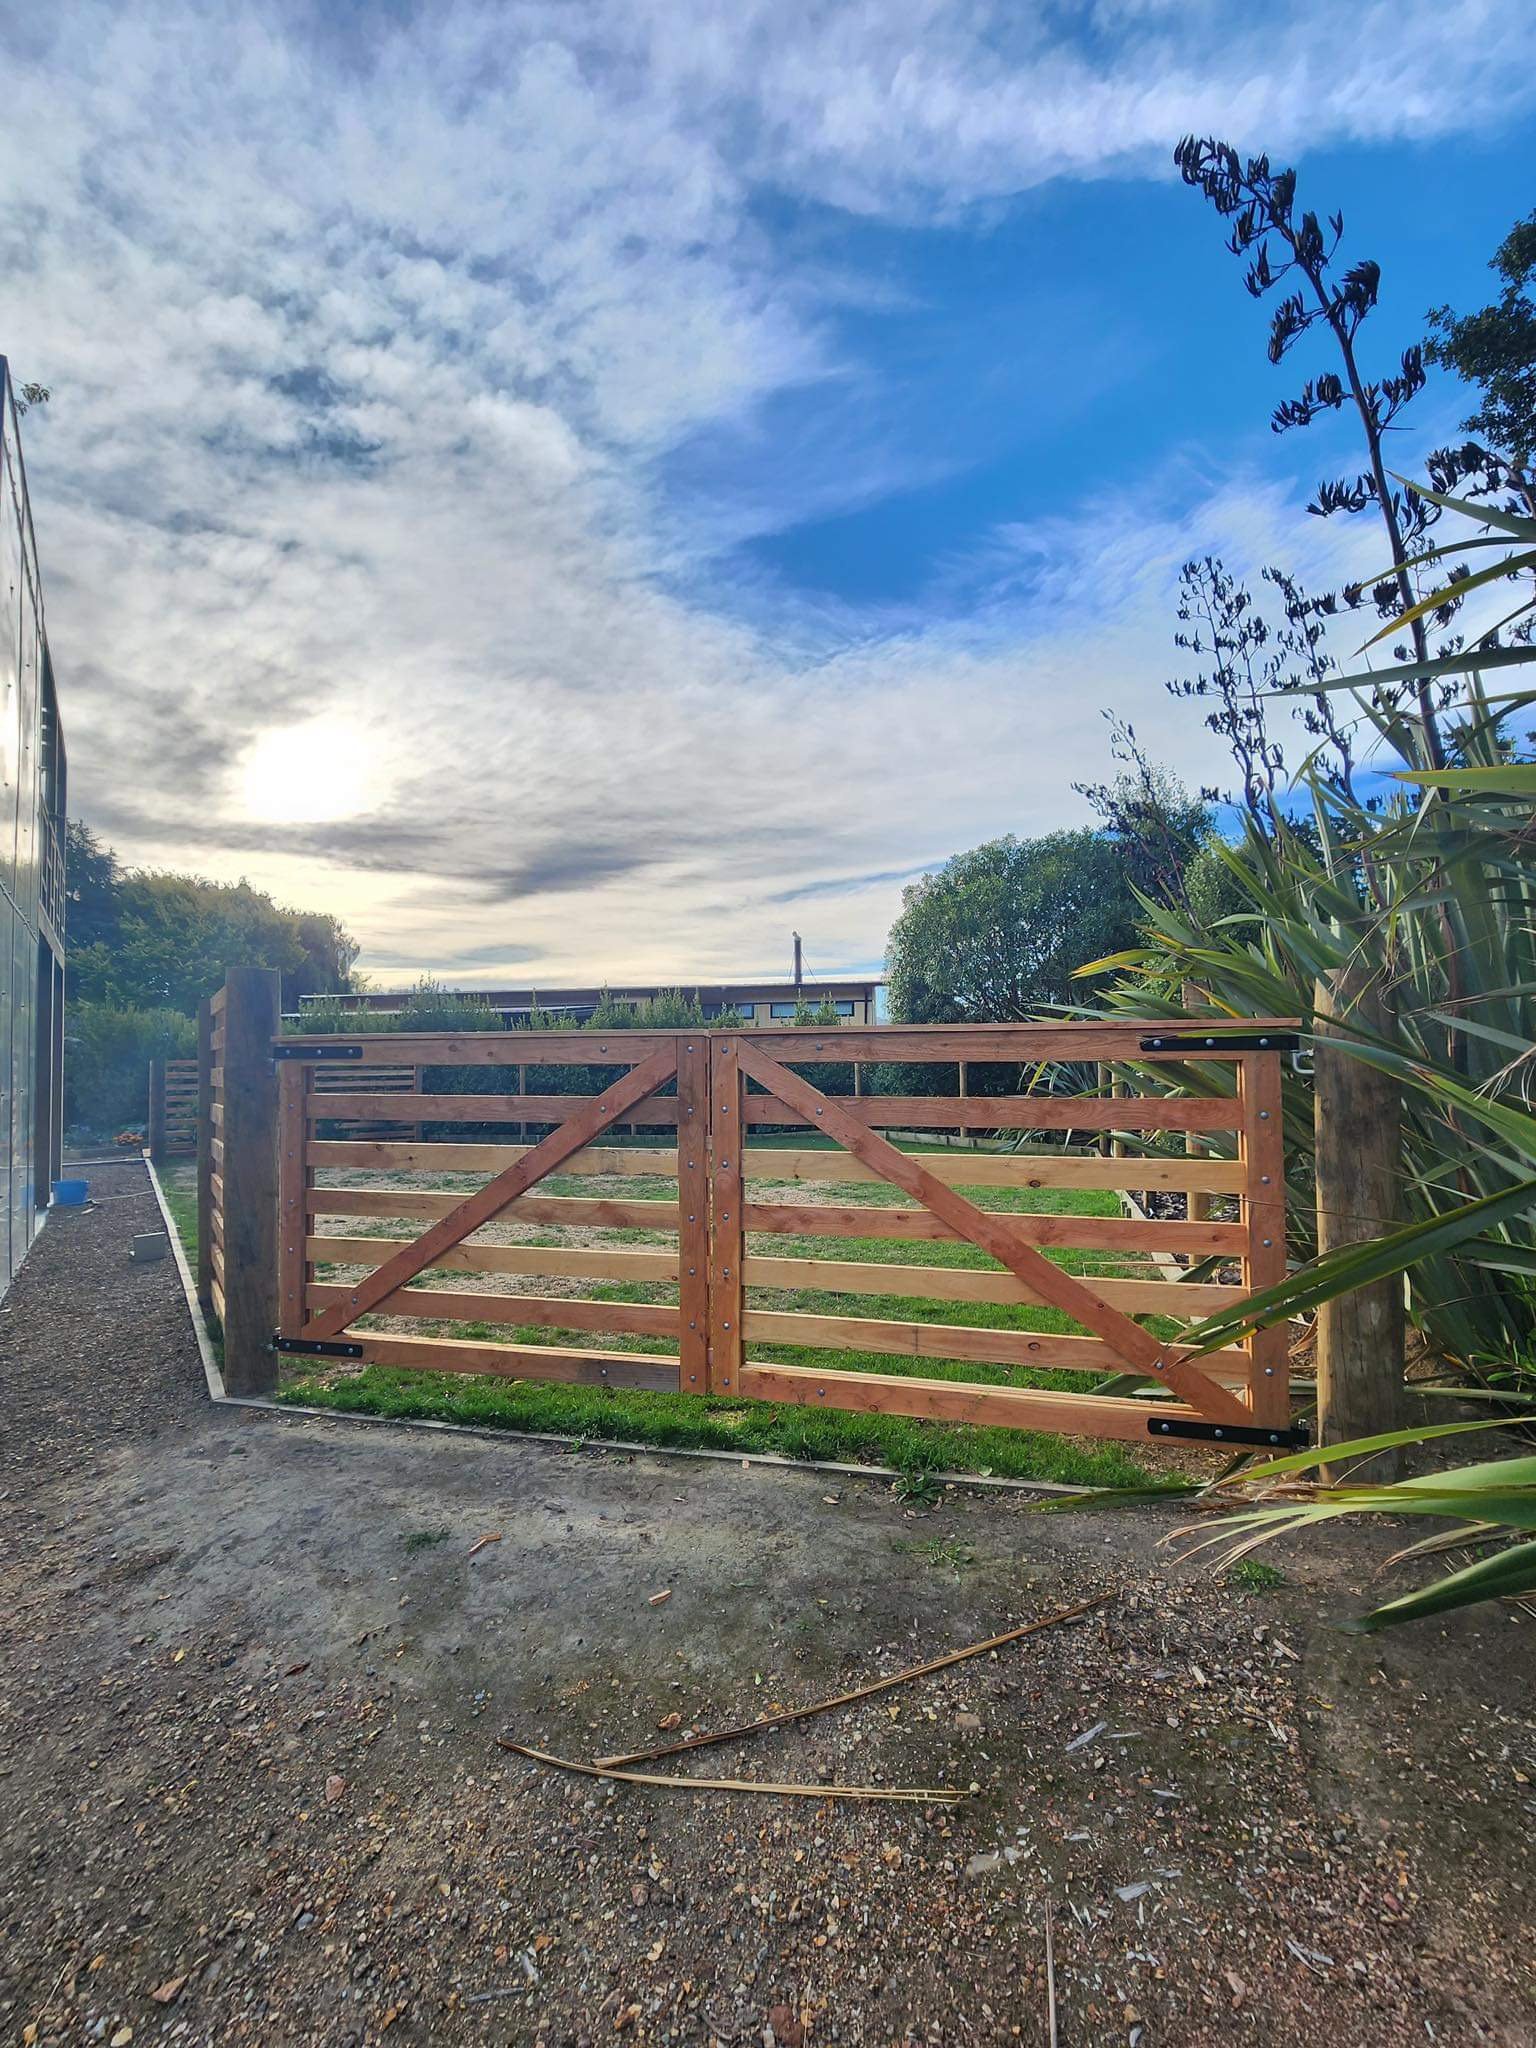
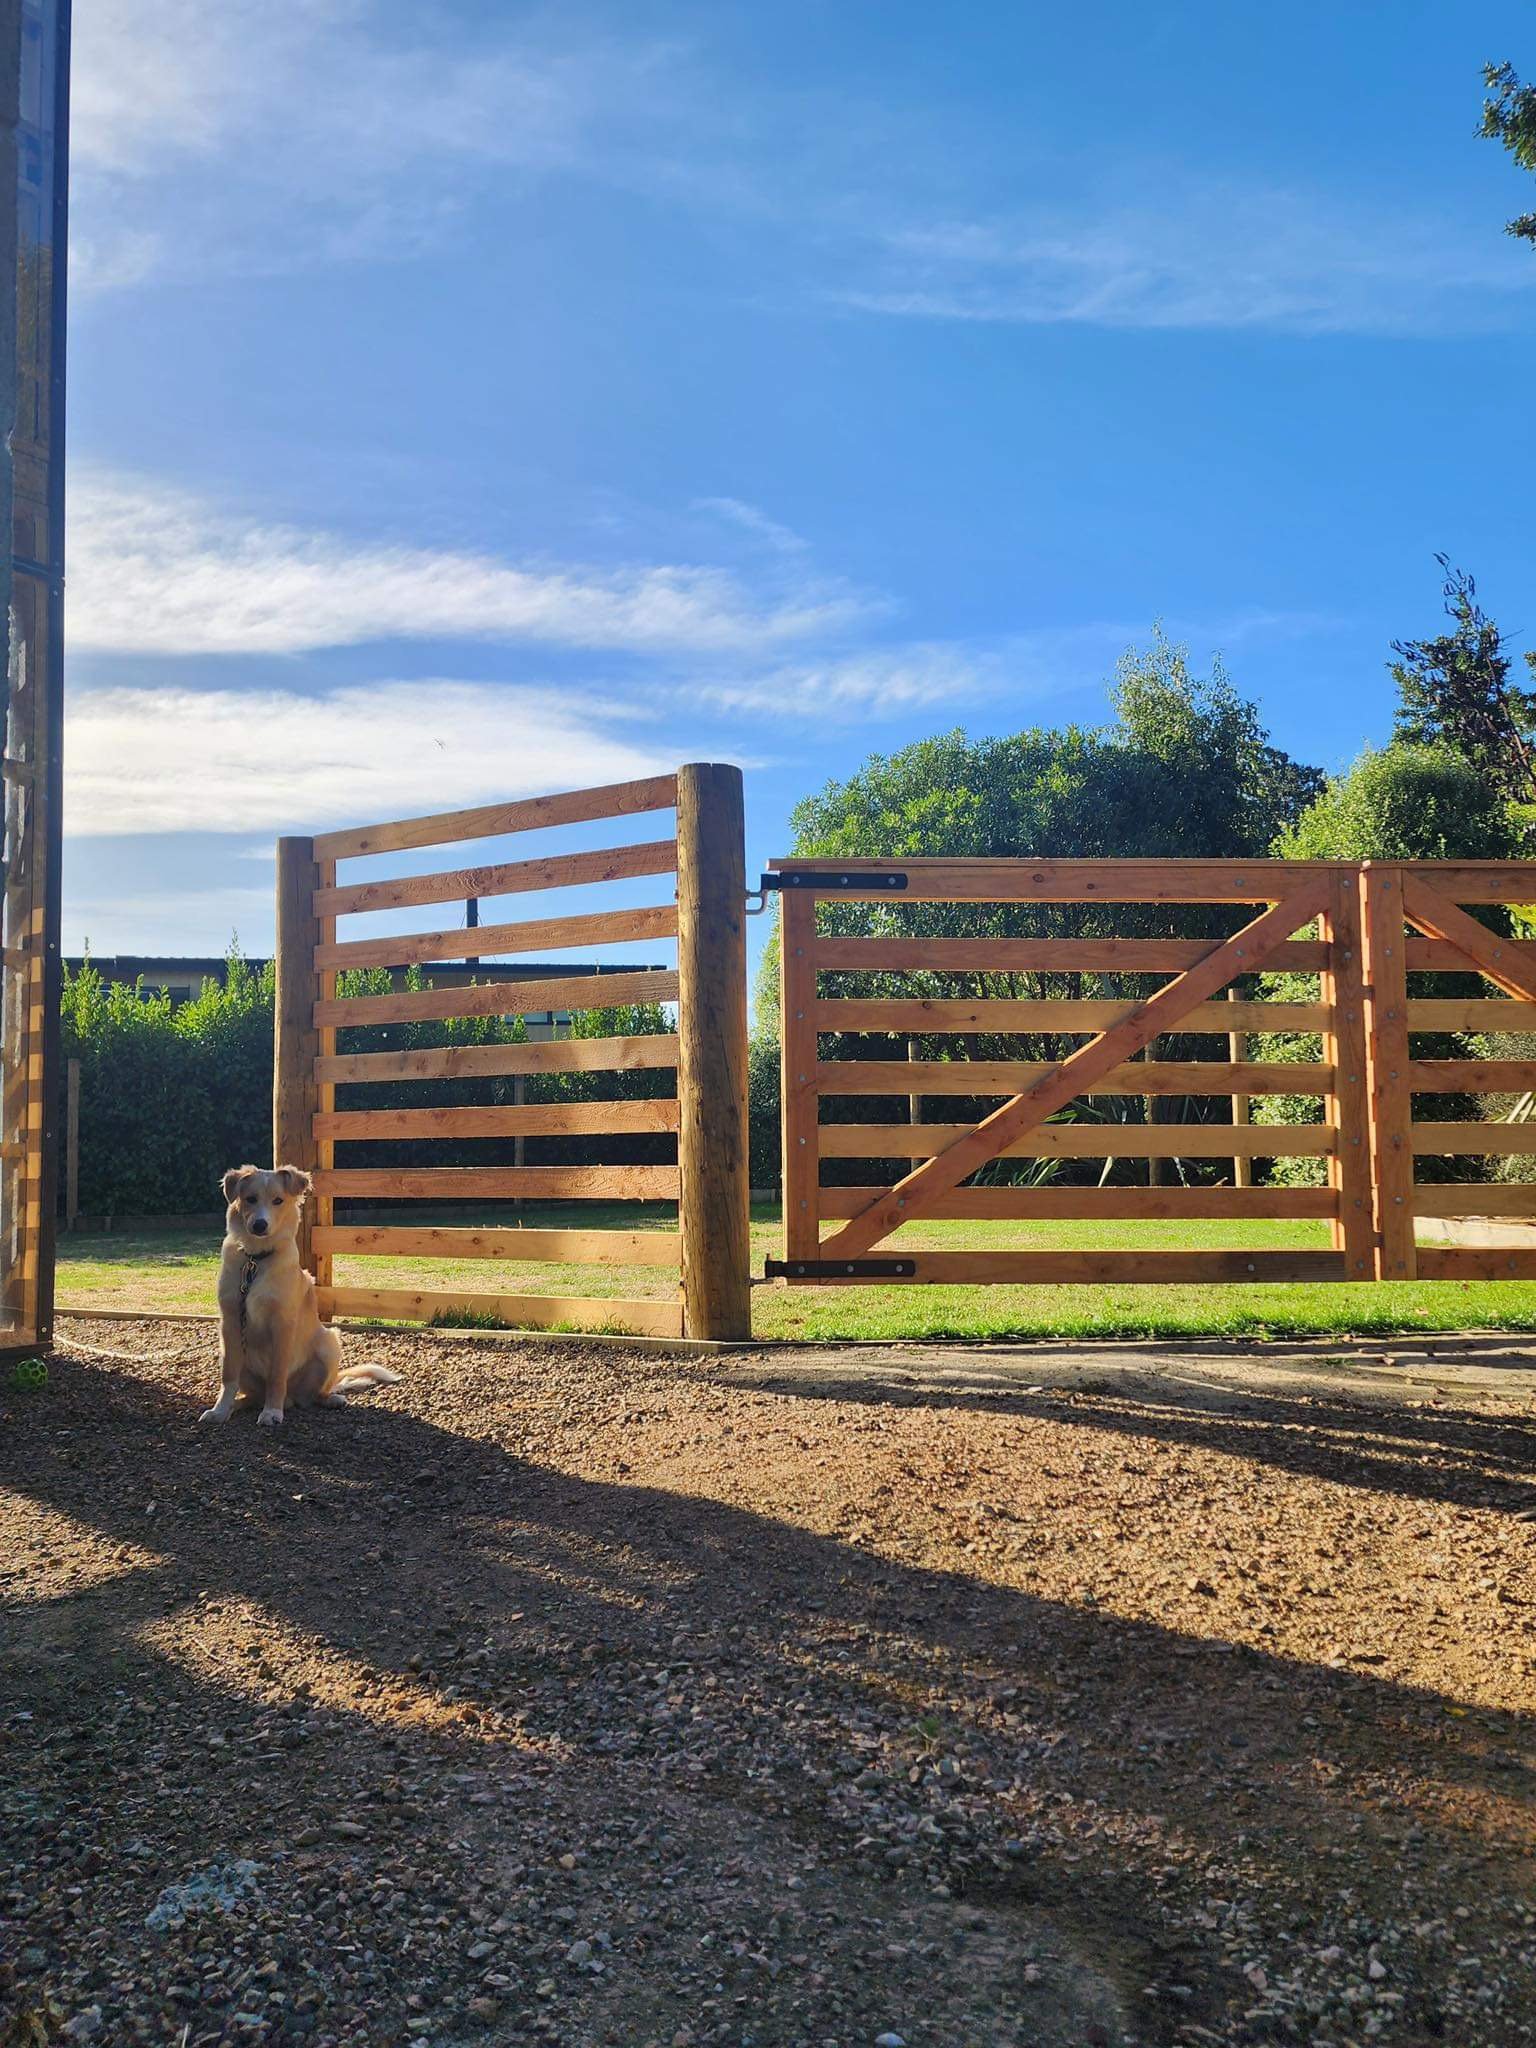
Made some gates so Finn has a nice place to hang out off the lead. Gates are 100x25 Oregon and 200mm round strainers for each gate post buried a meter per side, pretty sturdy: He was keen to show that he could still escape if he wanted to… Alcatraz it is not… yet…
2 points
-
In January 2024 I suddenly needed somewhere to live in a hurry ... so I figured on building something small out of scraps of building materials I already had.. There's no power, water, sewer on the property, but 10 days ago we got most of the driveway in. I'm the kind of guy who thinks a fair bit before I act, so after some further thought most of the scrap timber/plumbing/etc. I had available got pushed to one side as they just weren't going to work. Queue more invoices for better timber (plus freight) I think this project will take until spring 2024 to be weathertight. Shipping delays and huge freight expenses will add to the timeframe and budget. For example I have $500 of under concrete insulation here at the port. The freight bill for that insulation alone was $1,200. The proposed dwelling will be single bedroom and about 60m2 I always start very well but never finish anything. Let's see what happens this time.1 point
-
Don't laugh but I cut both ends out of a baked bean can, slit it down the side and with the help of some hose clamps, made a sleeve and clamped over both pipes. Should be ok for a while. Have done the same back in my early car Mod days when all I had was an arc welder to use. Though i didn't look at it at the time as a tempory solution. Though it always was when it decided to part company.1 point
-
@Out of time 88 bring on the pomeroy next year!1 point
-
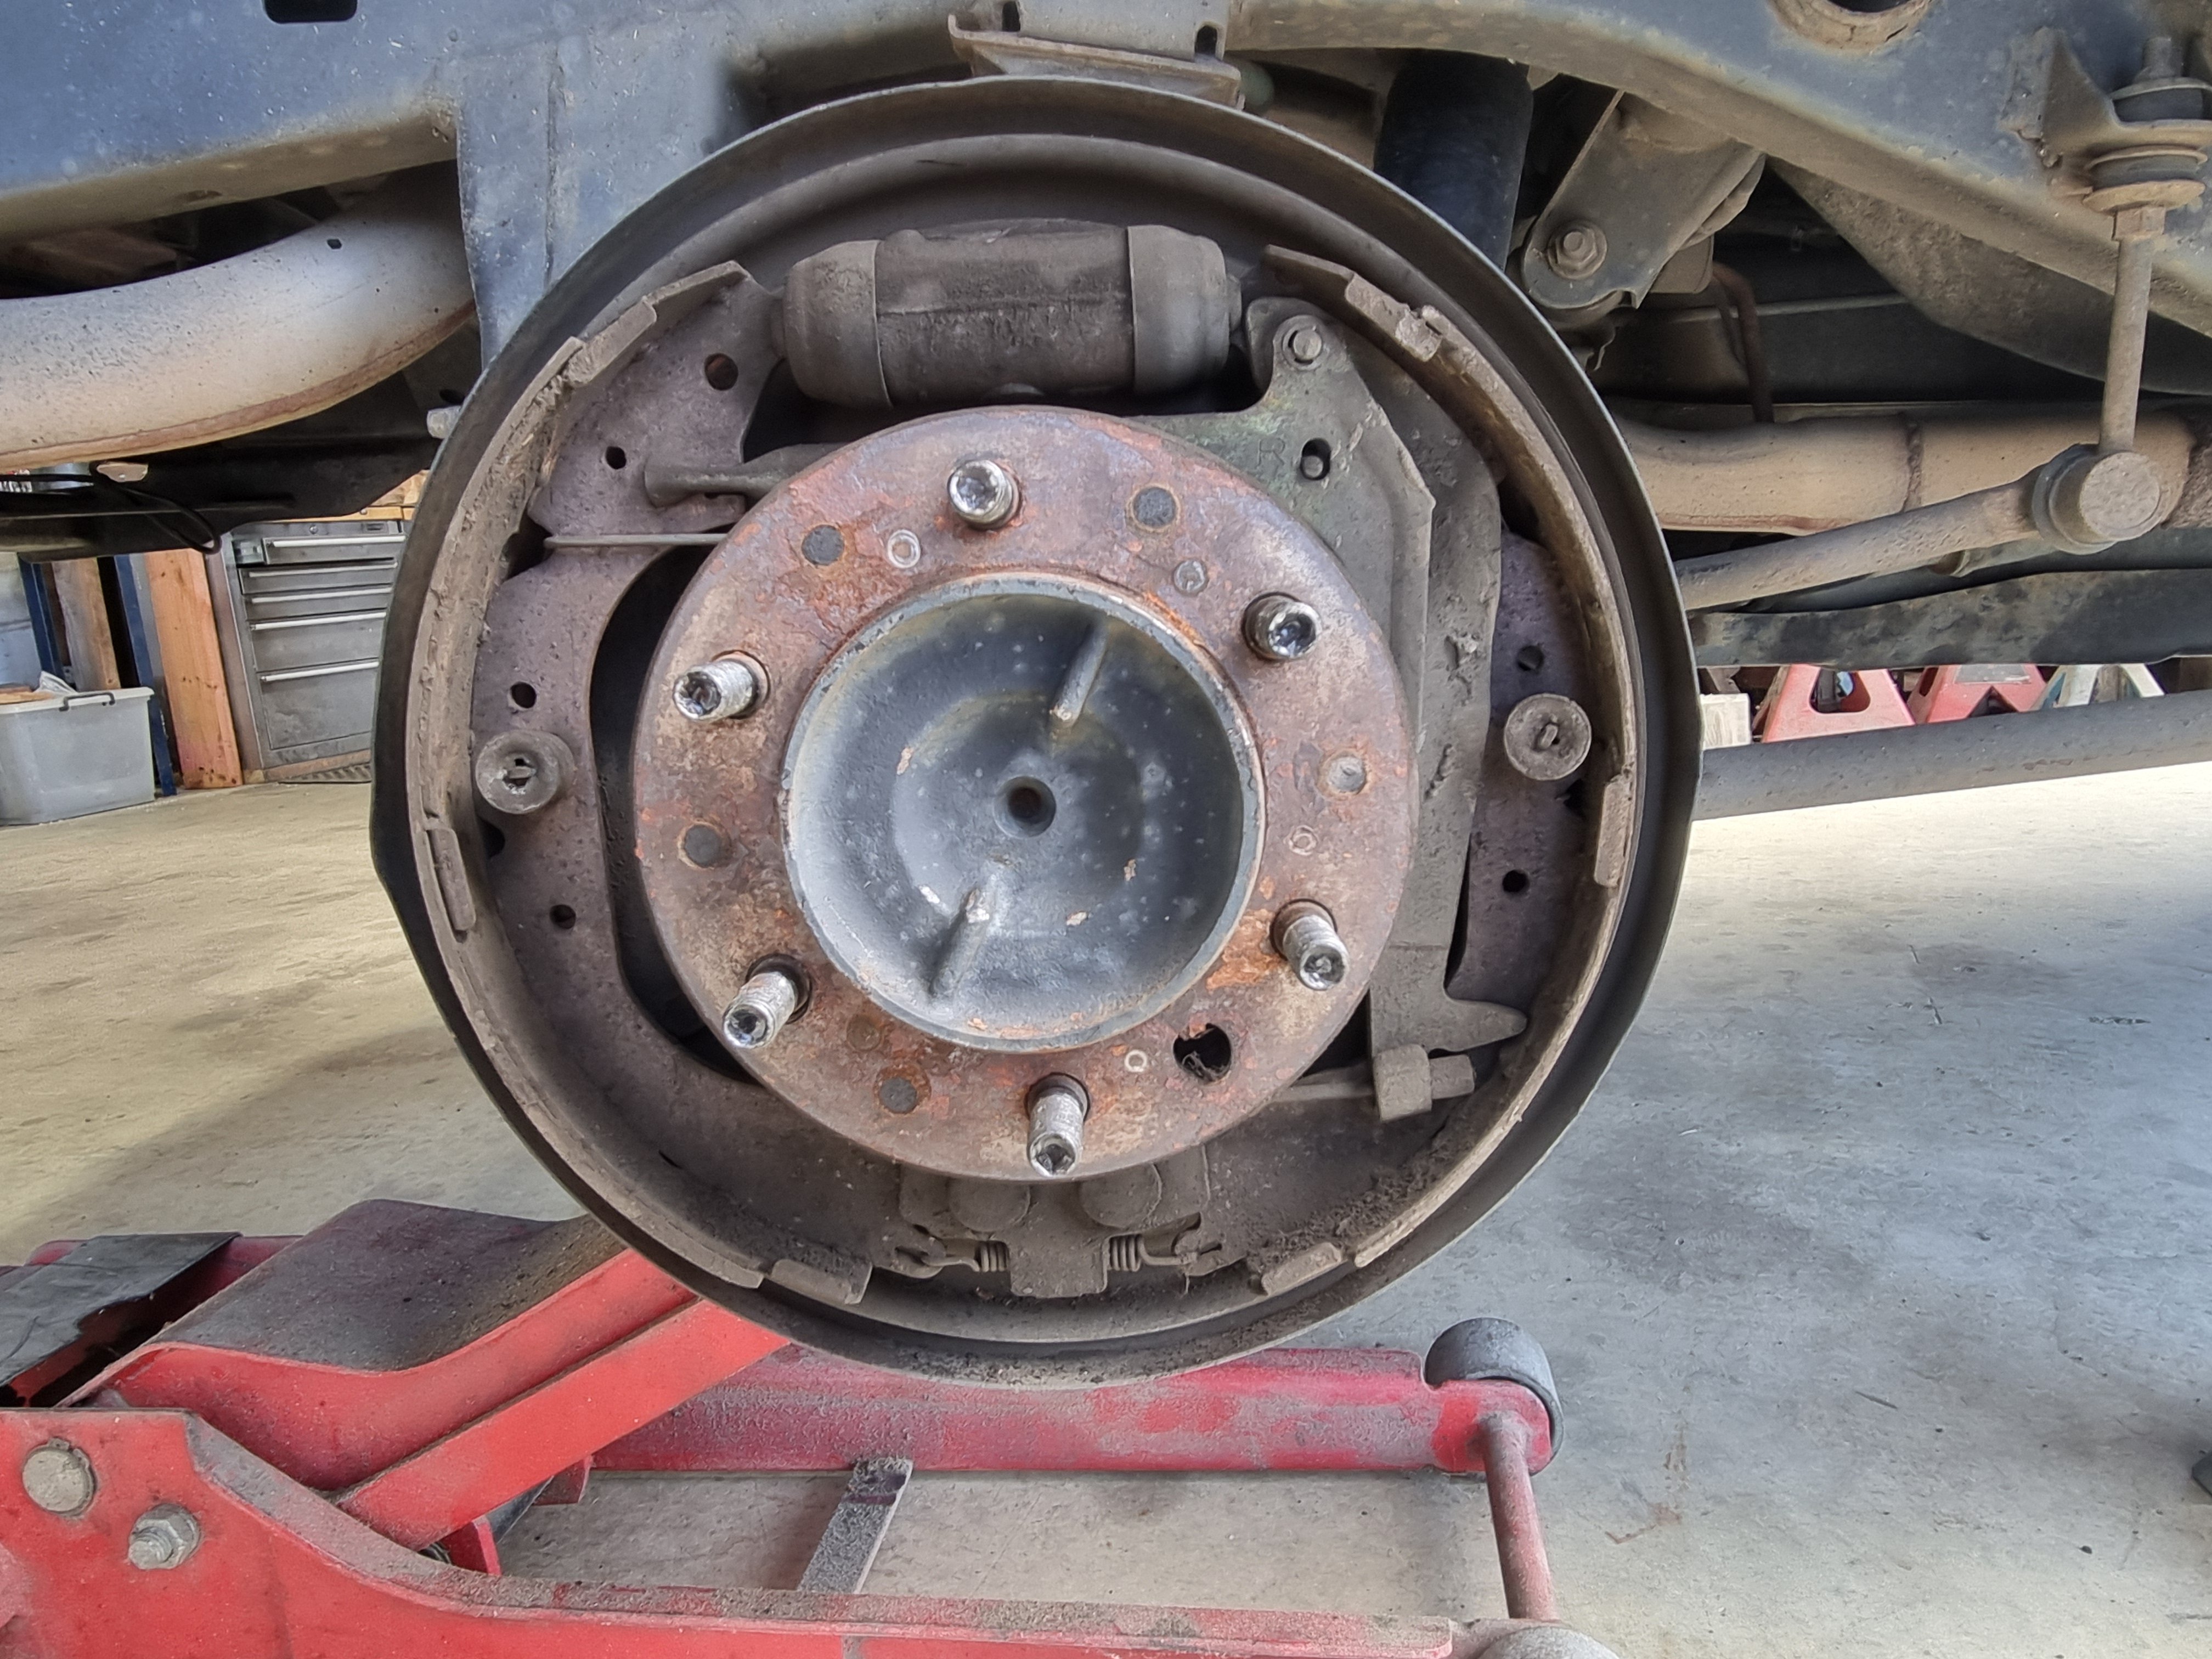
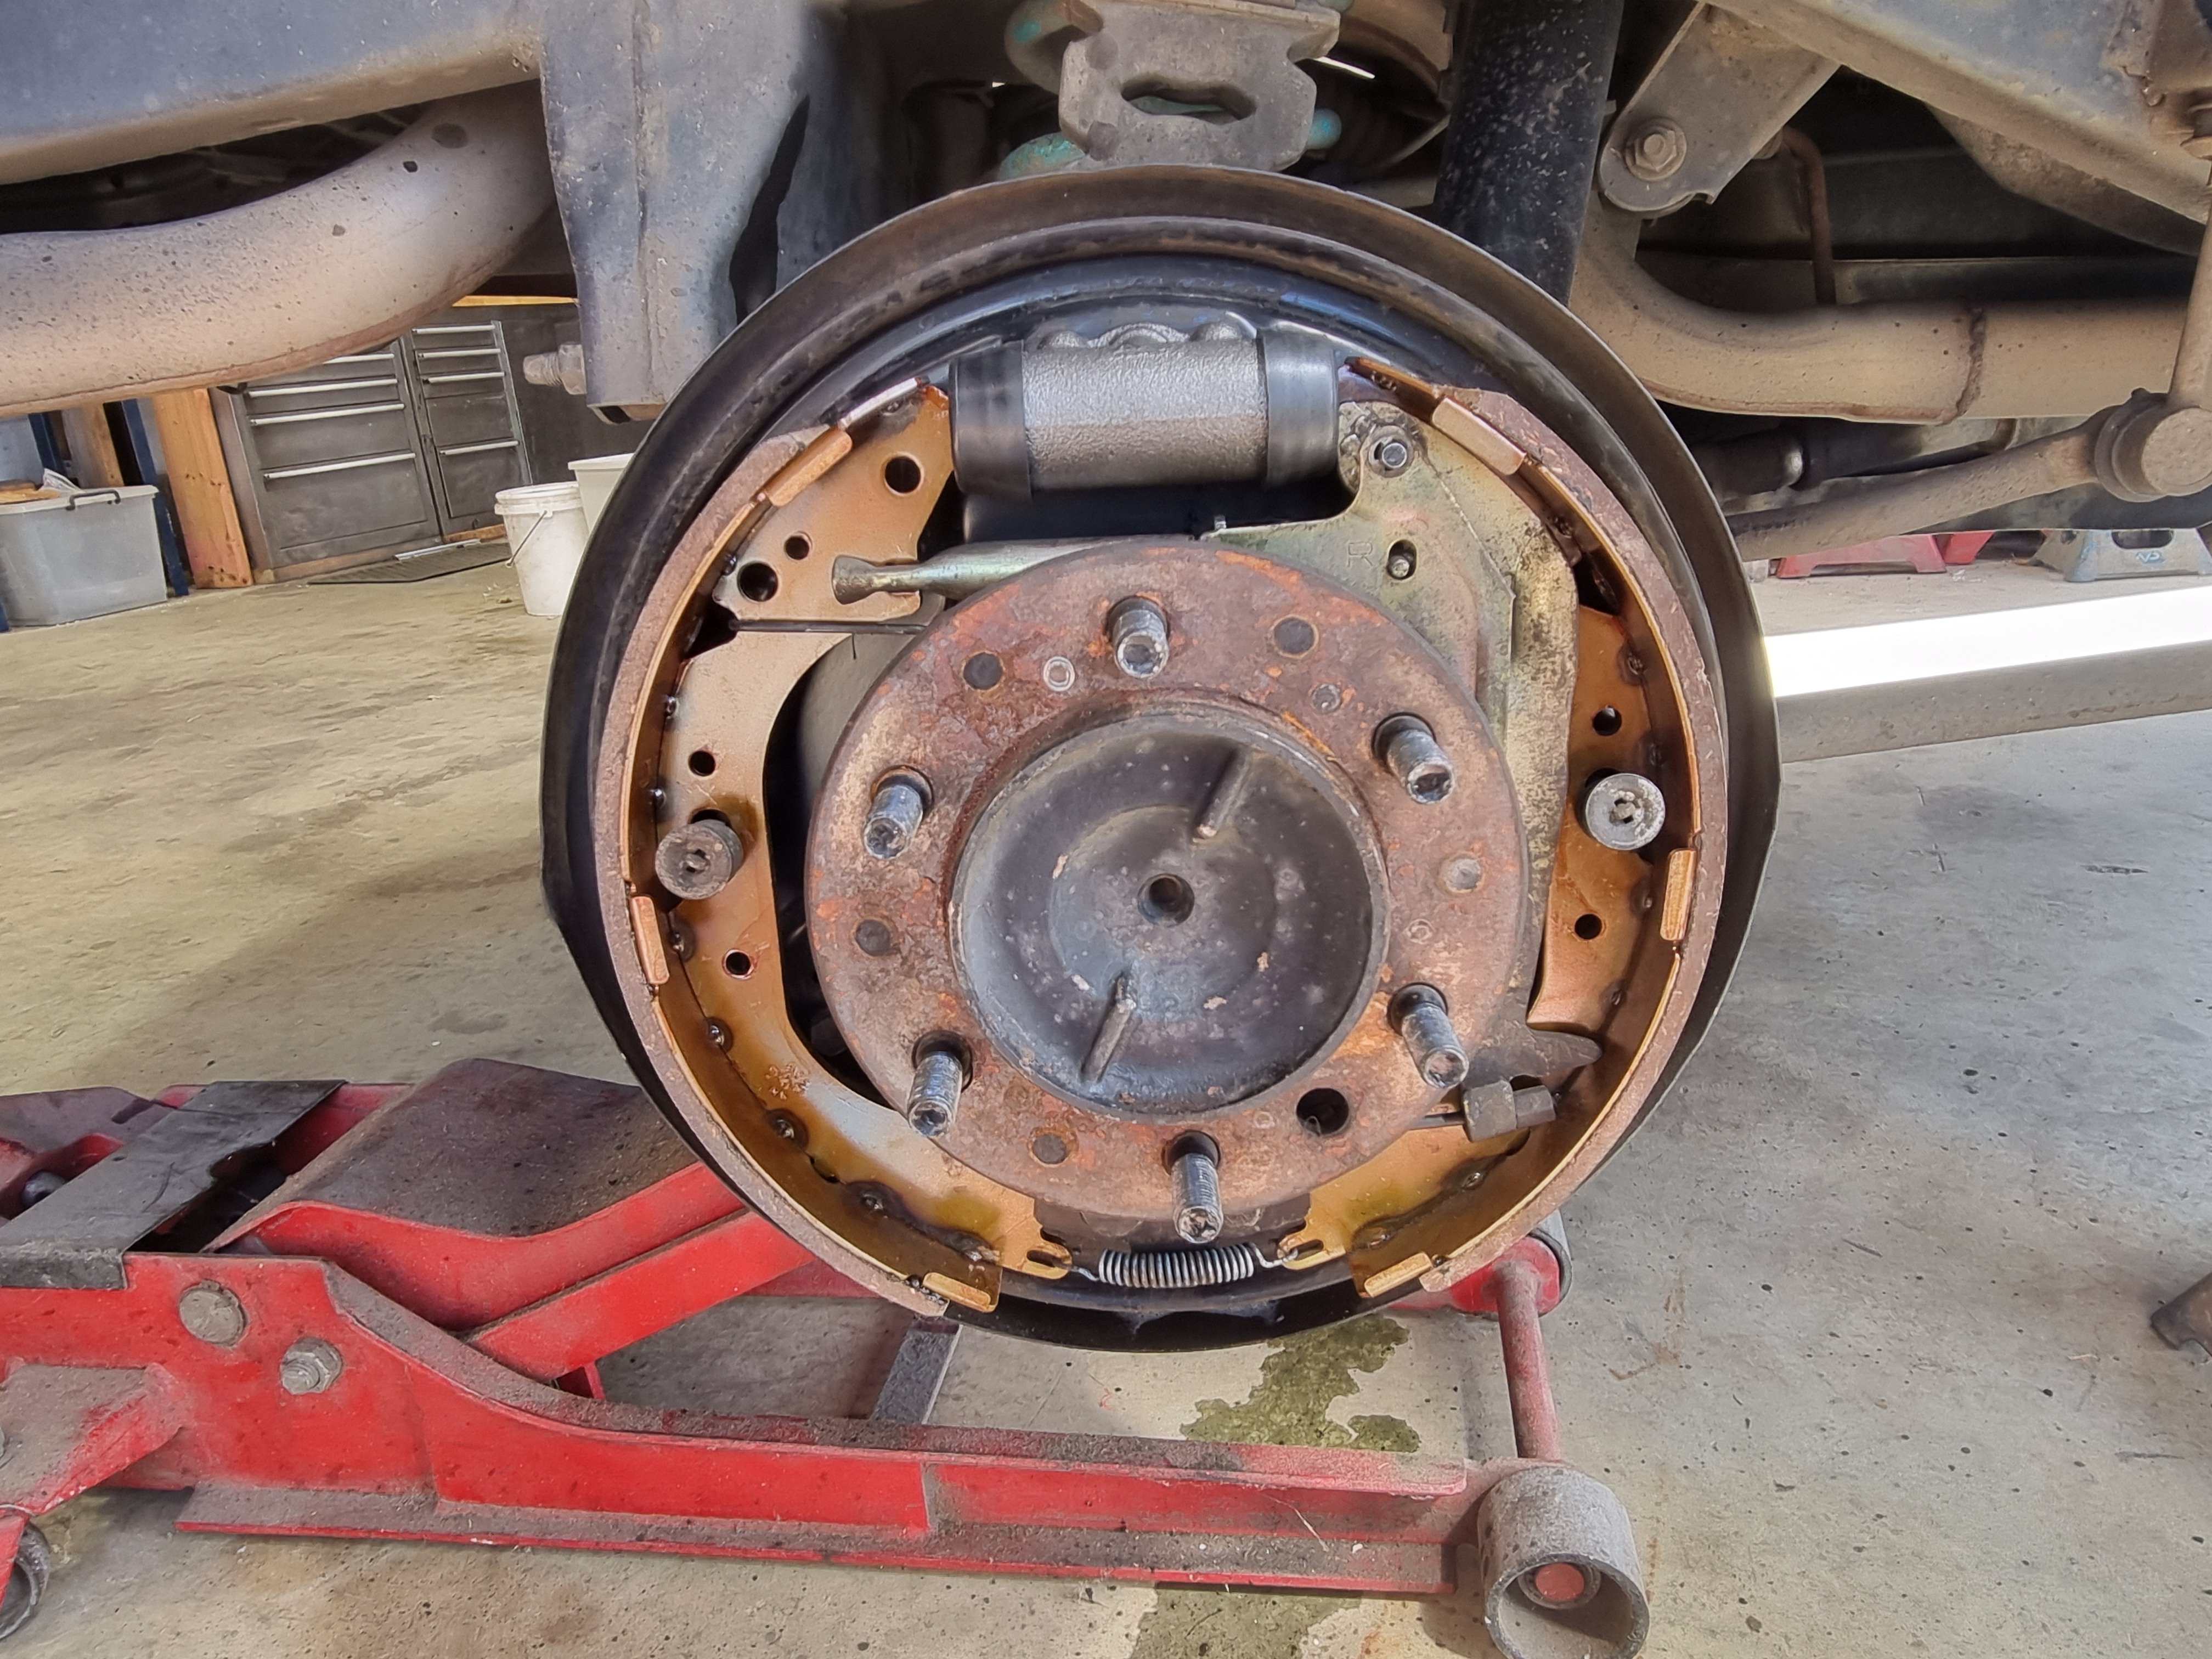
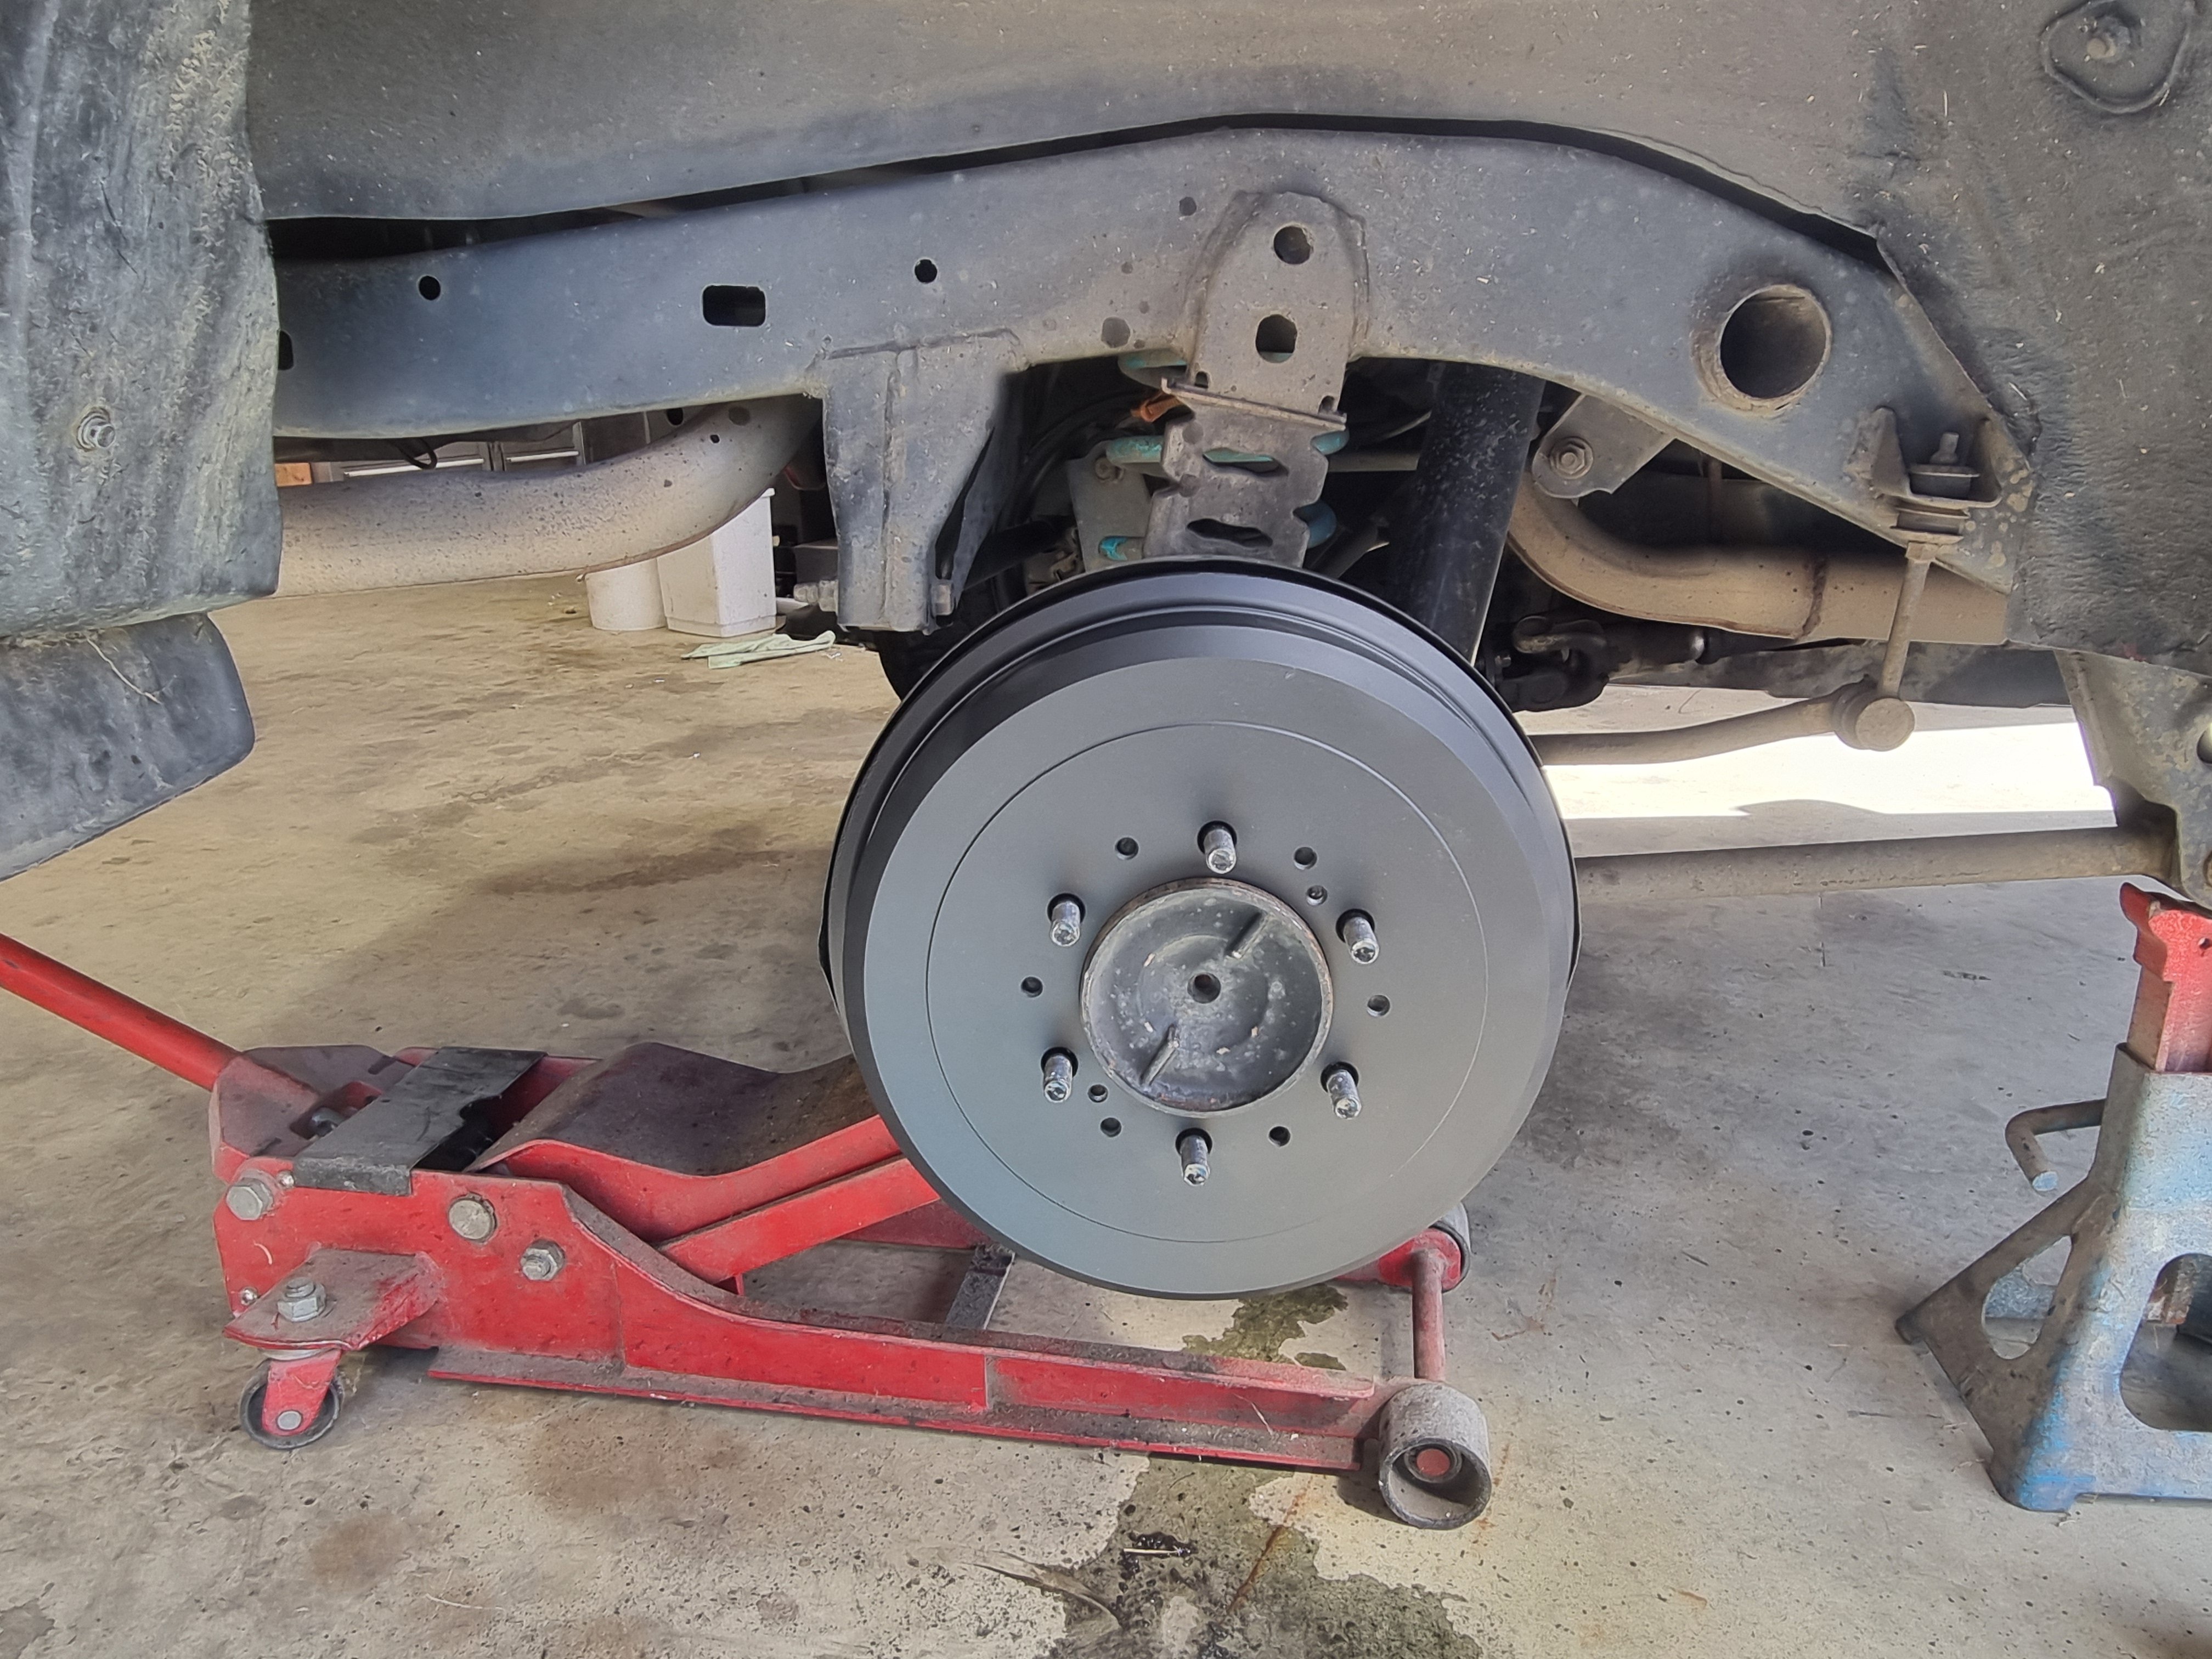
Finished up the new brake install. New shoes, new wheel cylinders and not pictured new front brake pads. To say that it stops better now is a bit of an understatement.
1 point
-
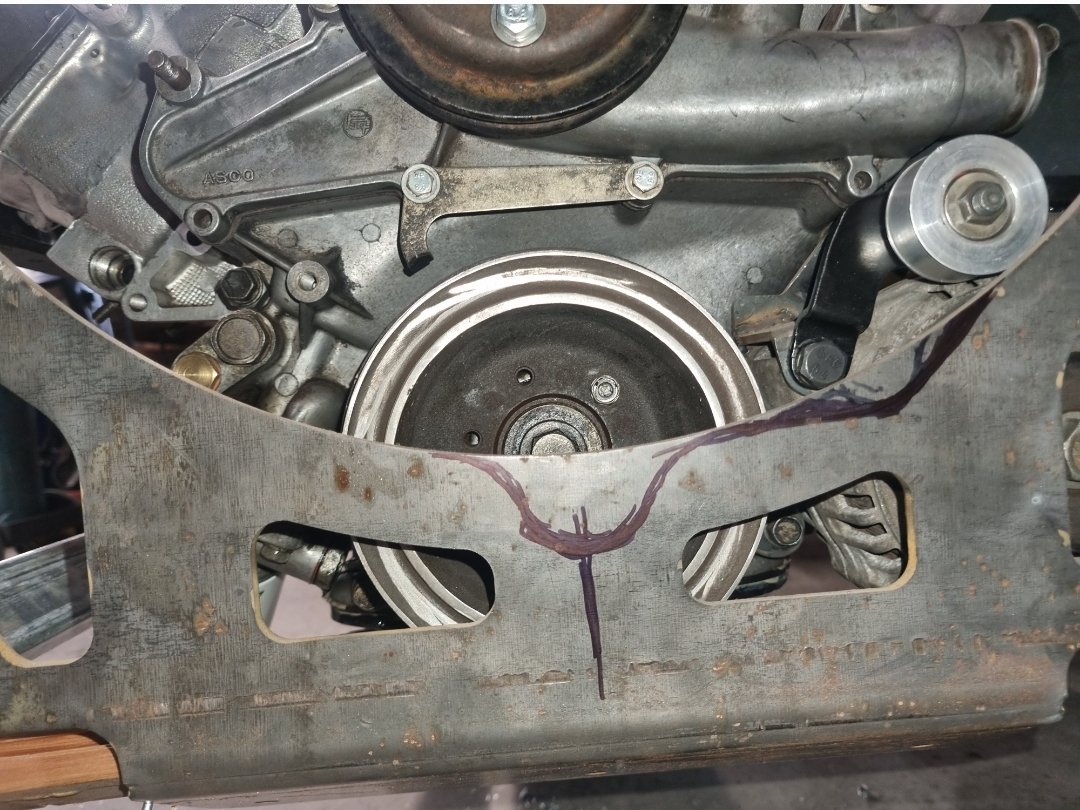
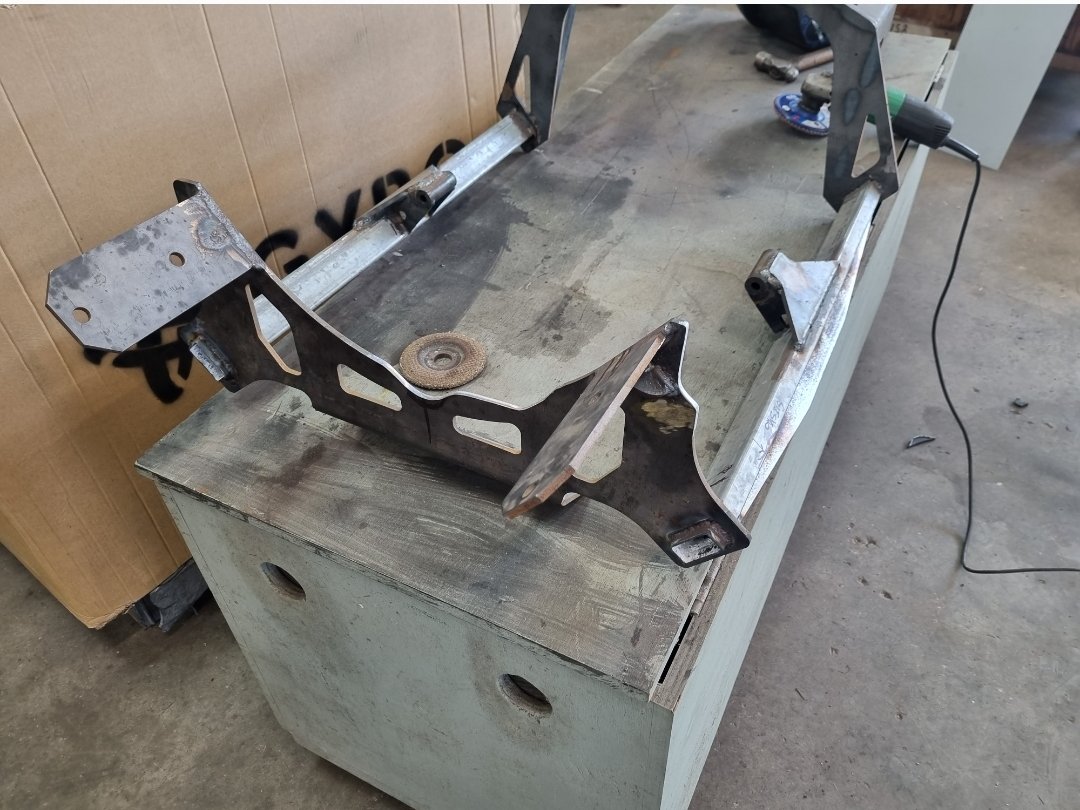
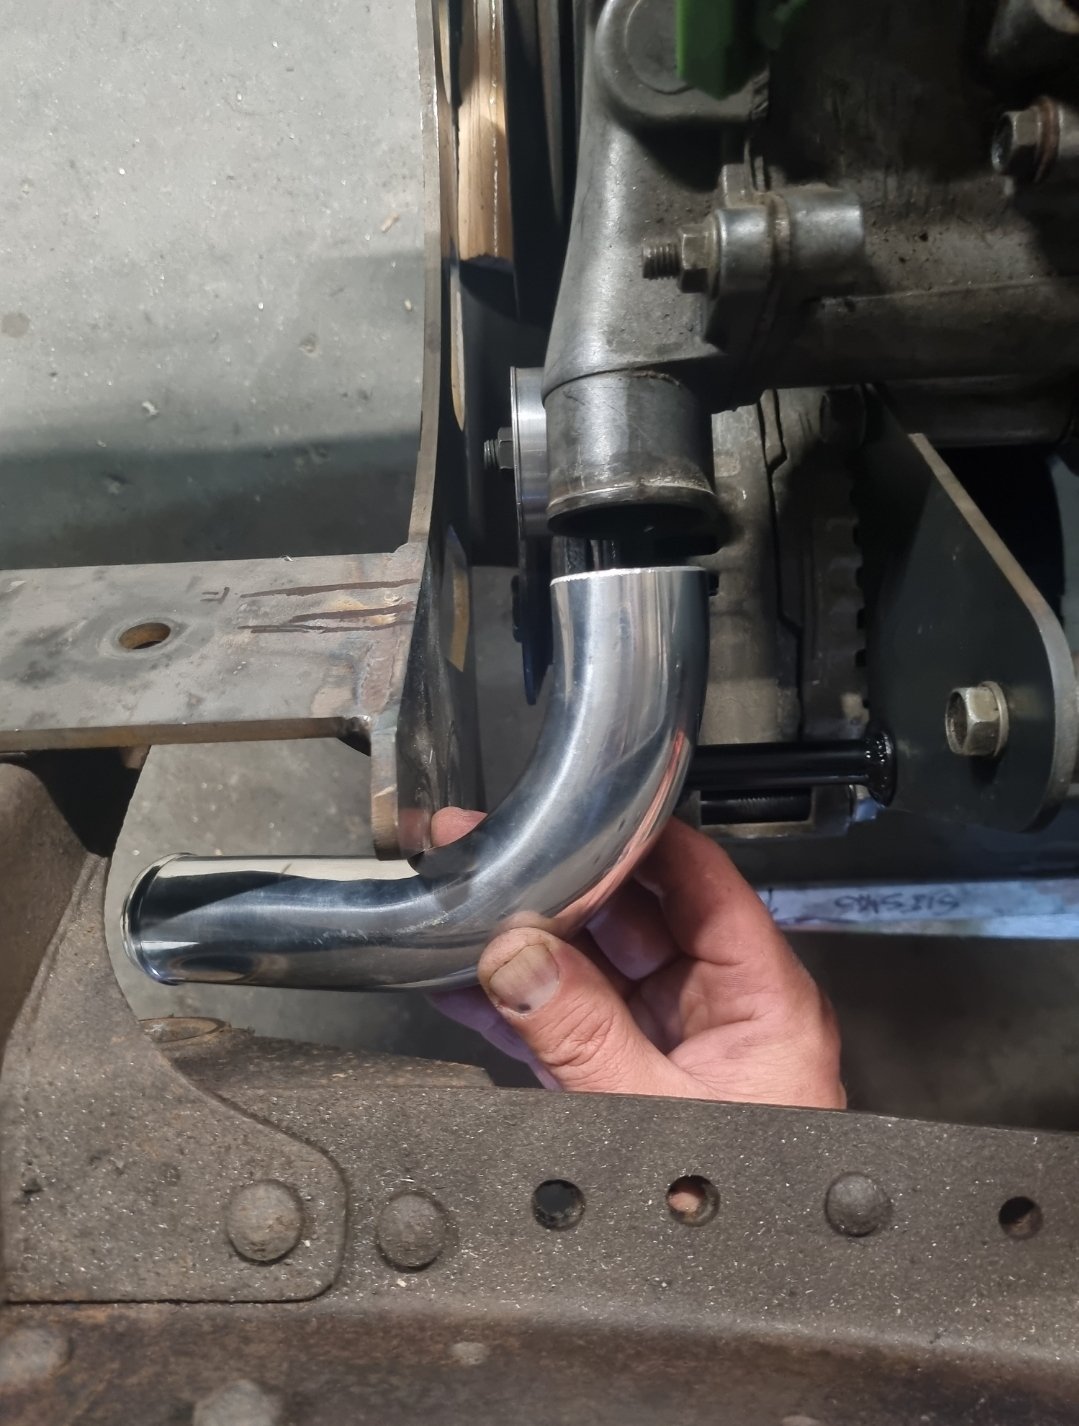
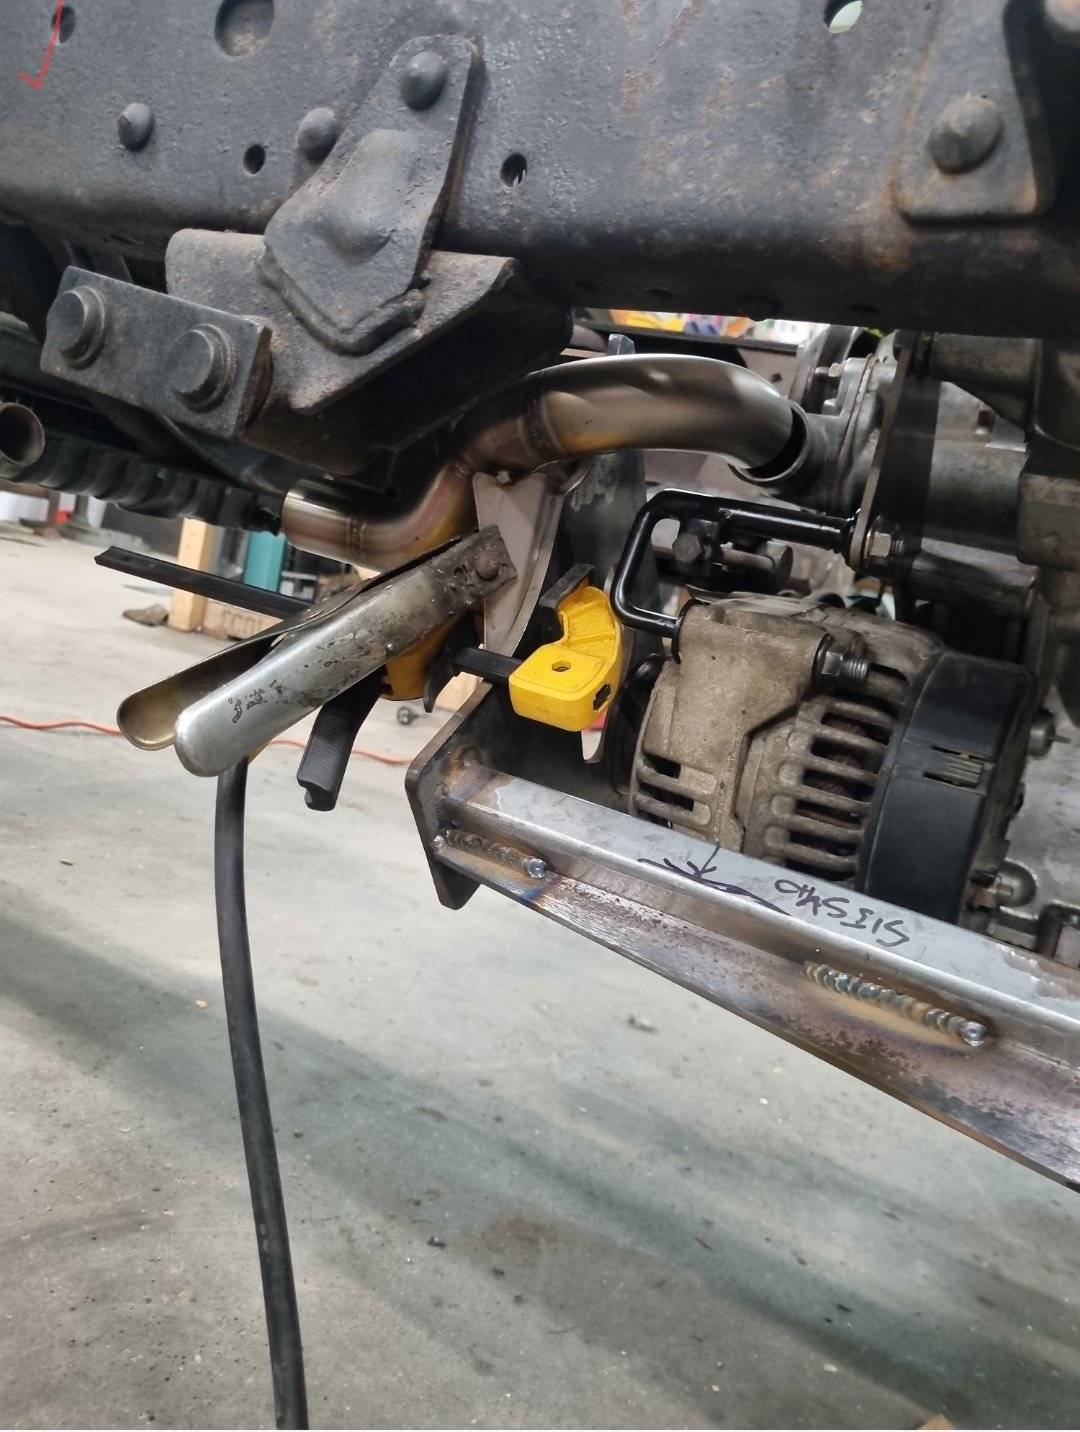
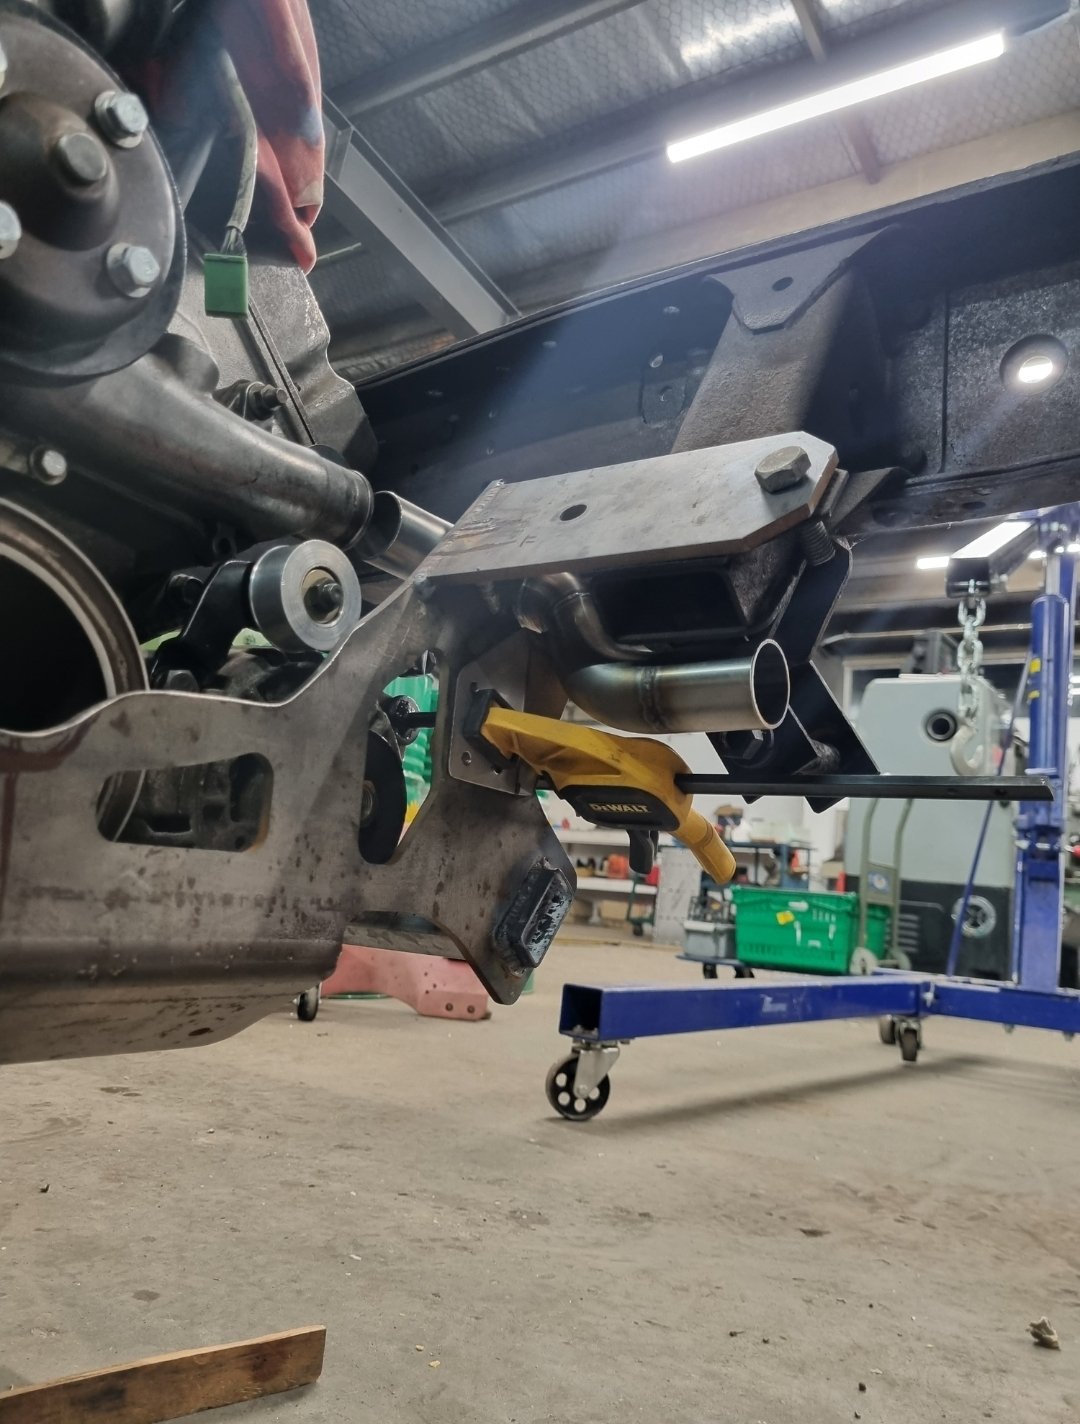
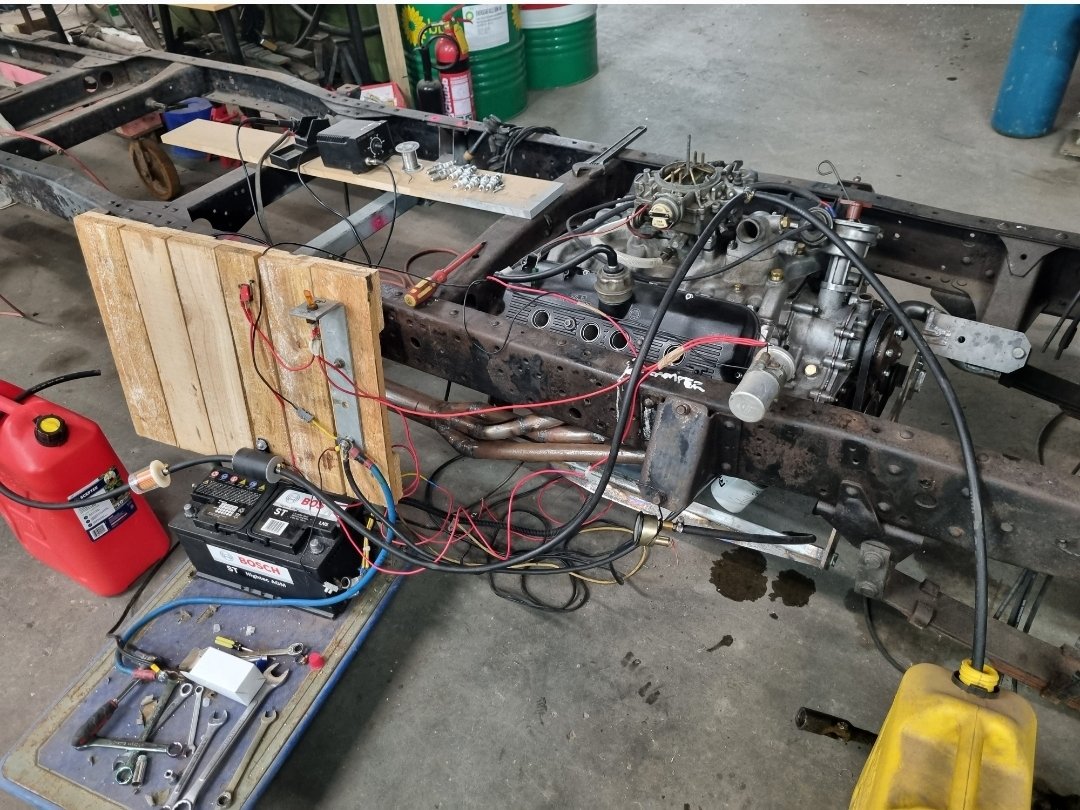
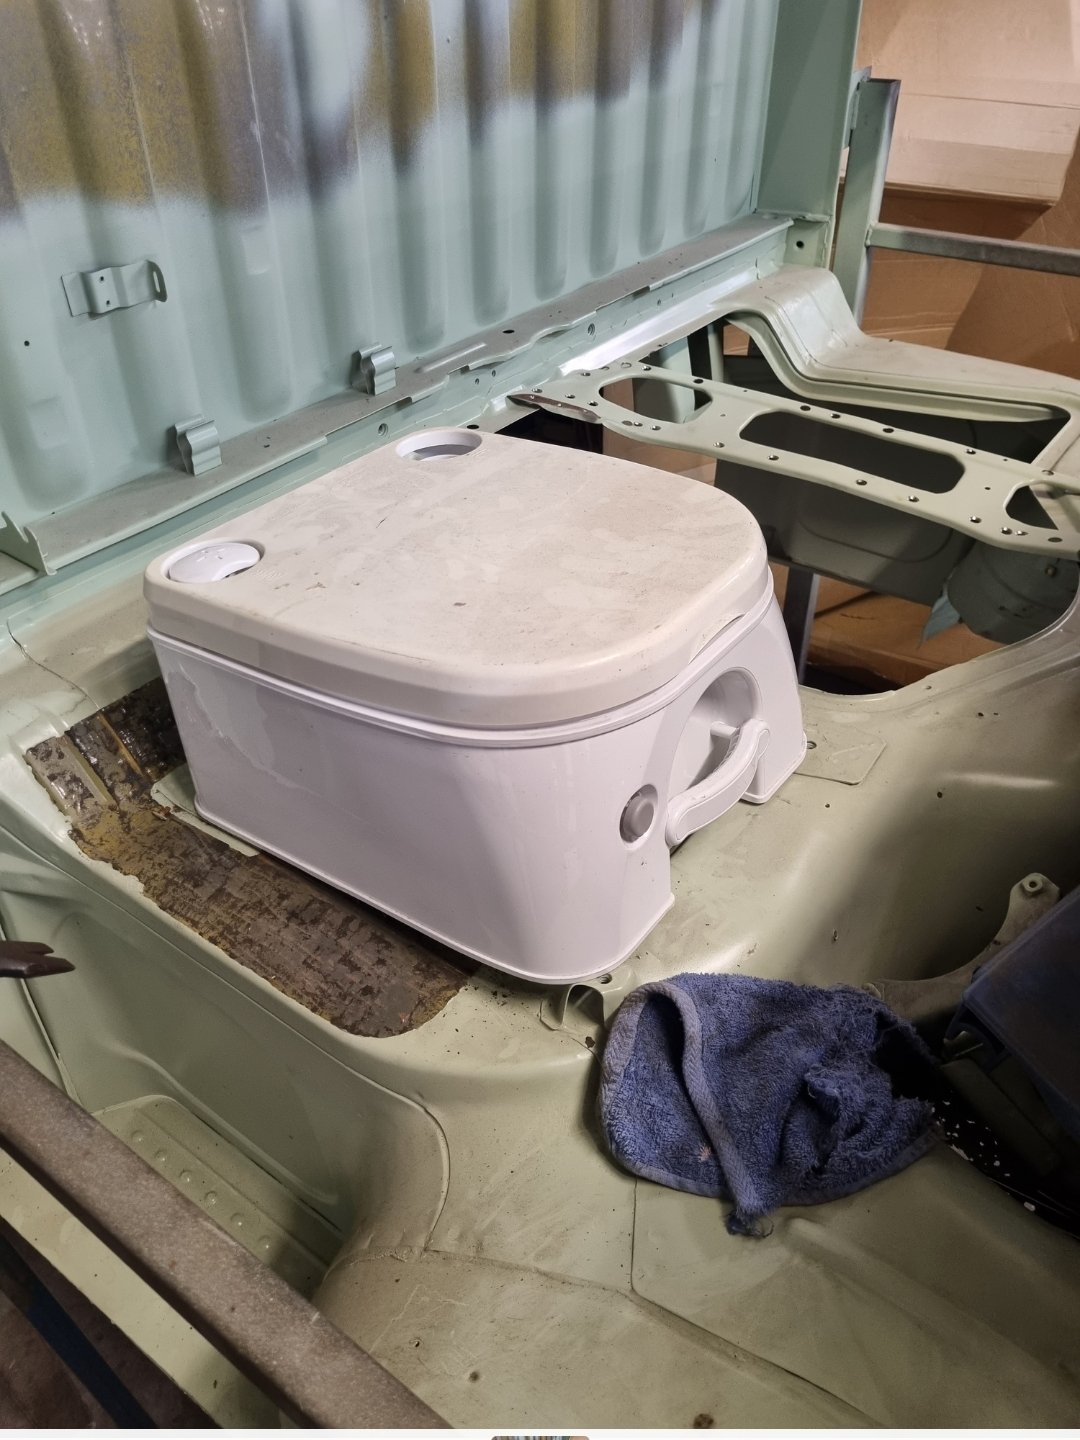
Well behind on updates here. Slow progress, school hols and general business has not seen the results one ambitiously thinks will happen in the desired time frame. #projectlife. Where to start? Have now finished engine cradle including a few notches for critical engine bolts. Made a complicated pipe to move water around. Started with ally bends off aliex but ended up going with tighter ss bends I had. Have since swaged ends to help with pipe retention Next stop has been to get engine to a point where I can start it. Got a belt, made a dummy wiring rig for startup. Cunt won't start, have spark, suspect I m not pouring enough fuel down the hole, and also haven't checked if I have 8 sparks, so need to do that. Pretty sure I've got the timing bang on. It's using and early chev hei ignitor. Was hard to find definitive info on wiring but eventually got there, and spark at plug tells me I have done something right.. before doing that I used some clay to measure my seal thicknesses and ordered these, buttoned up rocker covers with fresh coat of wrinkle black, Im happy with the look. Really want to hear this bitch now. I managed to get in touch with the original engine builder, it was built about 20 years ago. It's had head work, skimmed, block decked and cam reprofiled. On cranking I was seeing about 40-50psi oil pressure which is reassuring. Other things. My mate has been doing some of the bolt on panels as he owed me a favour. I've also been partaking in my other favourite pastime of staring at other parts, using motivational herbs, and figuring out next moves. Toilet will go under drivers seat, under the D40 Navara rear bench seats I acquired some time back.
1 point
-
Clutch cover is away getting stiffer springs put in. I have ordered many specific X1/9 bits from a UK company that pretty much only do X's and Lancia Montecarlo's. So many little things that I was going to have to fudge and now won't have to, so thats nice. In the last couple of days I slapped the last of the paint on so it is (mostly) one colour, and this evening has been all about bolting shit back on. Quite a few little trim bits seem to be missing but nothing to prevent function or legality so far. Nice from far, far from nice.1 point
-
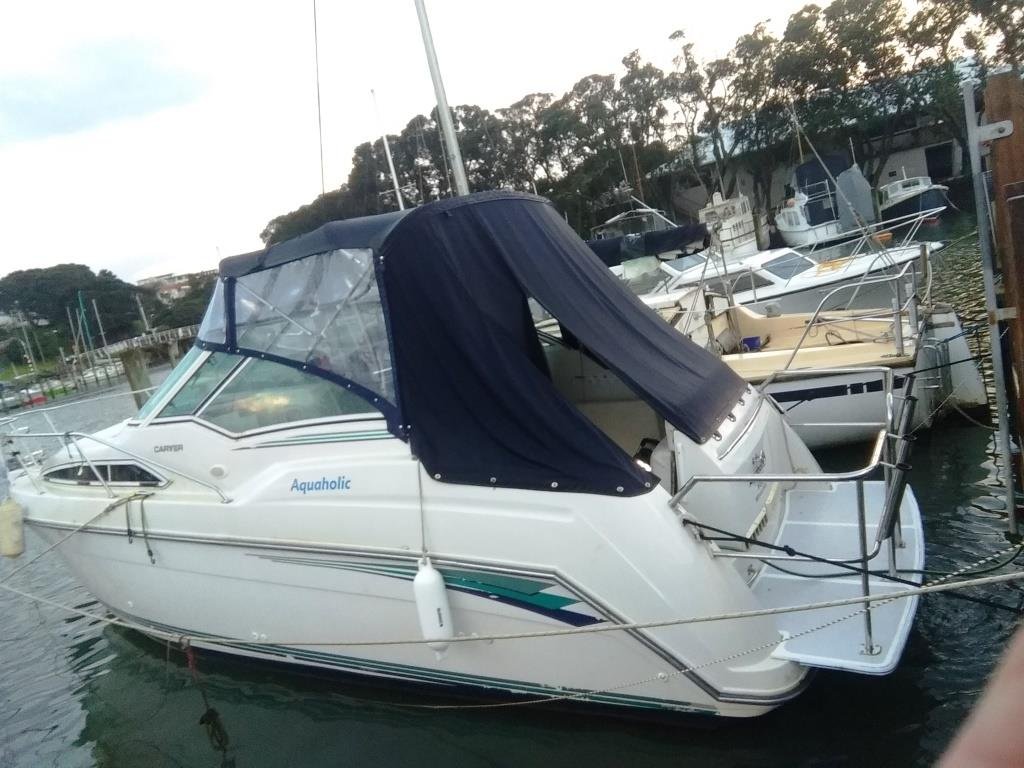
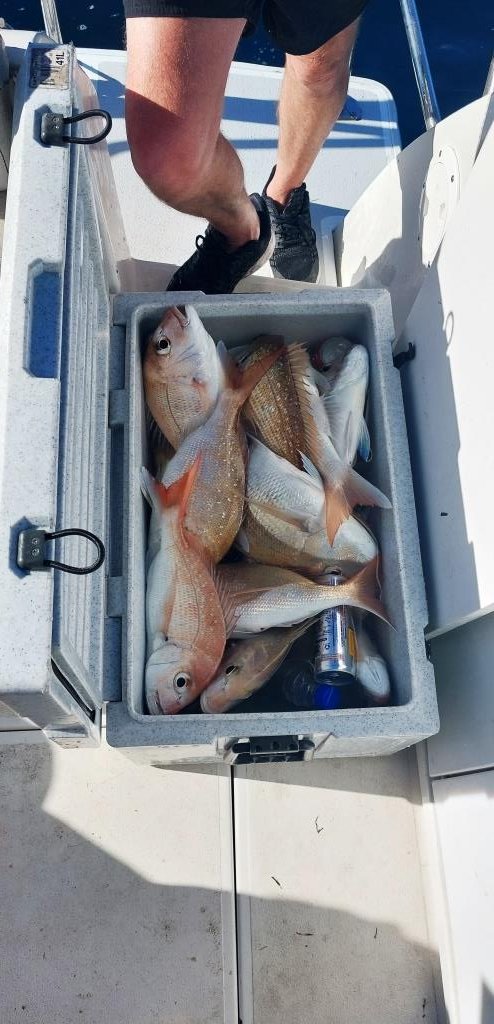
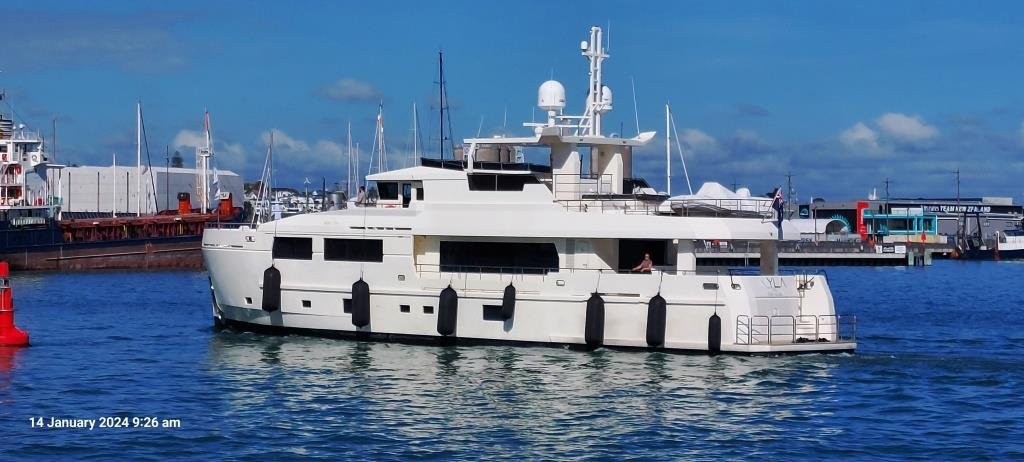
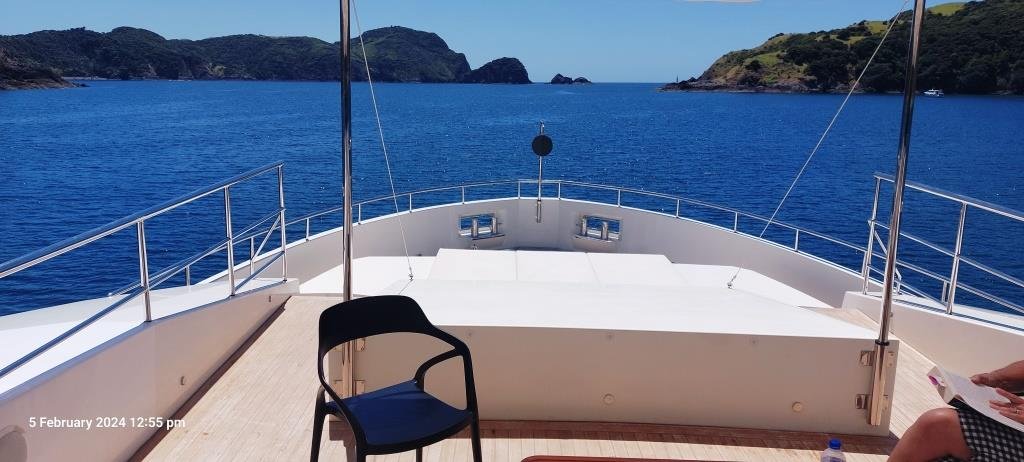
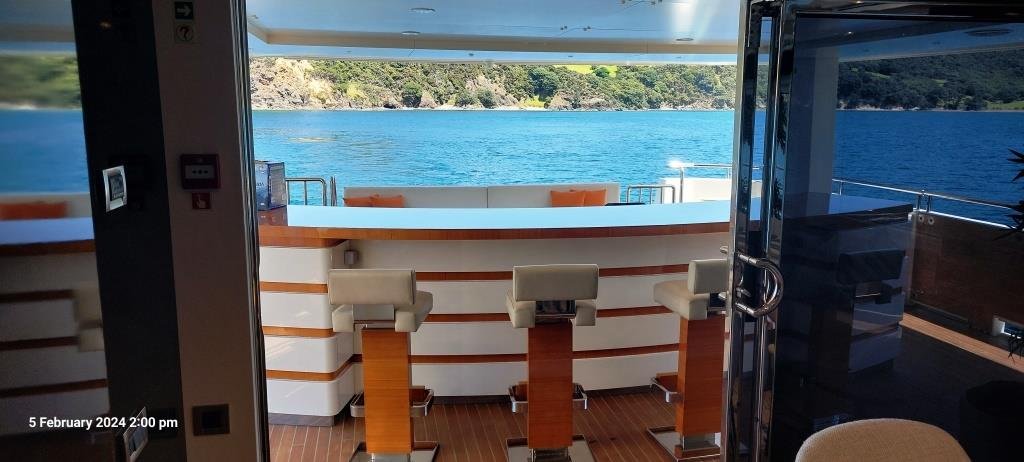
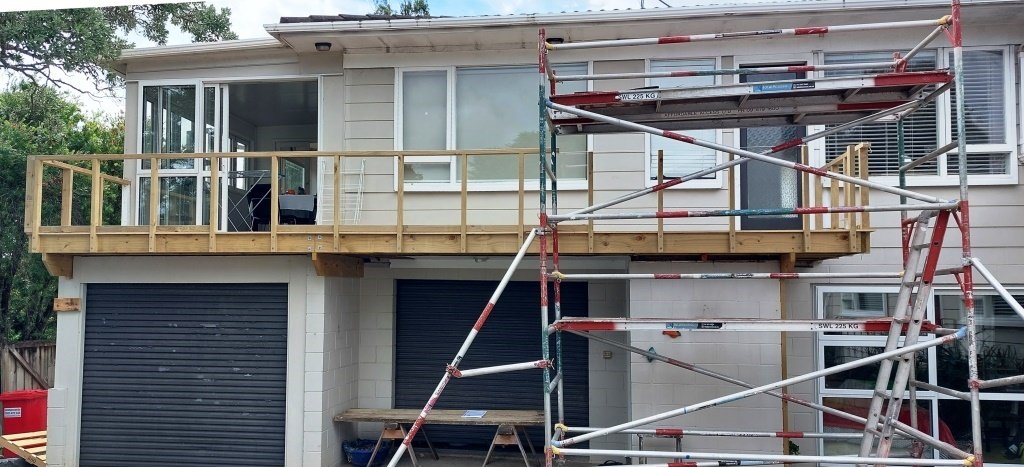
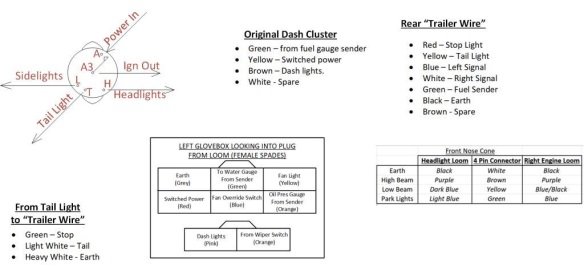
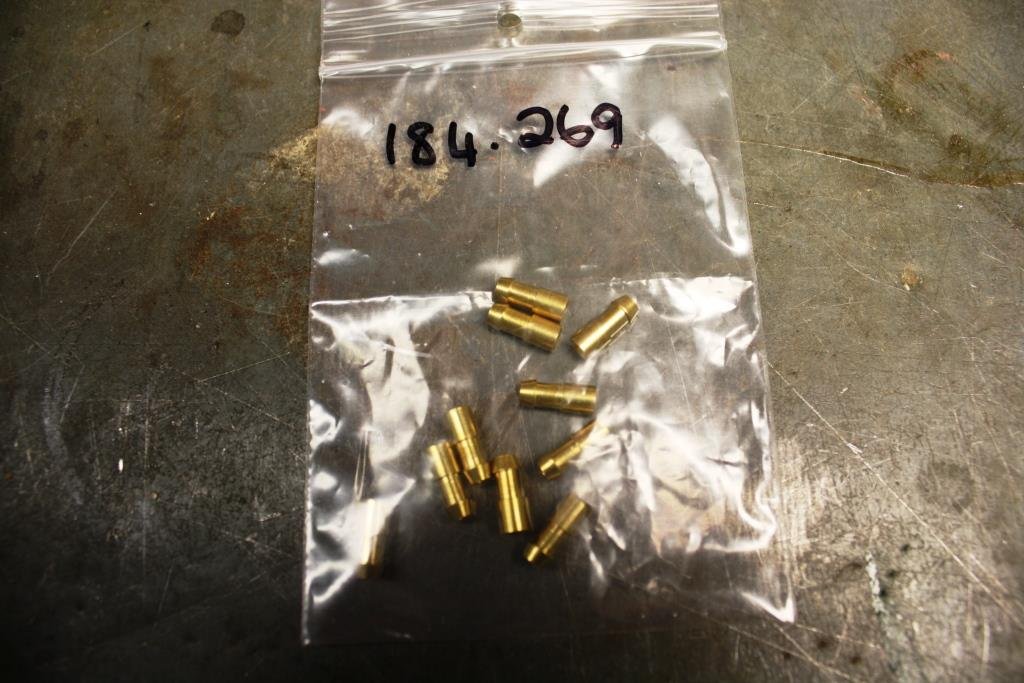
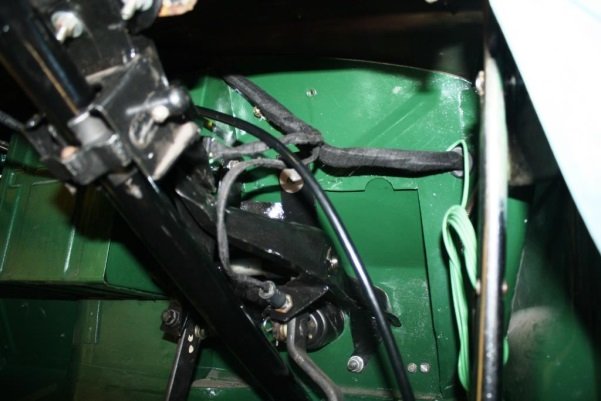
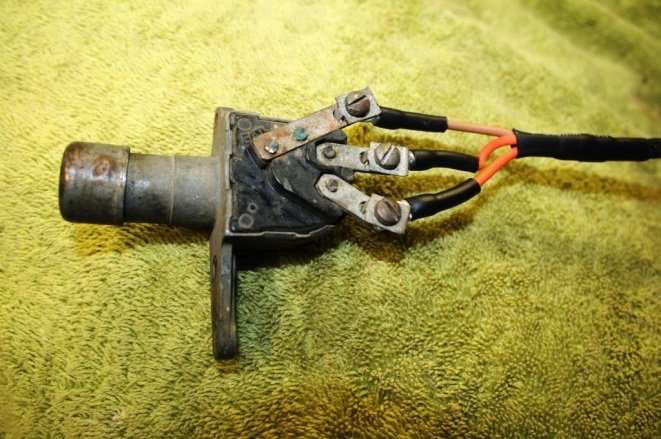
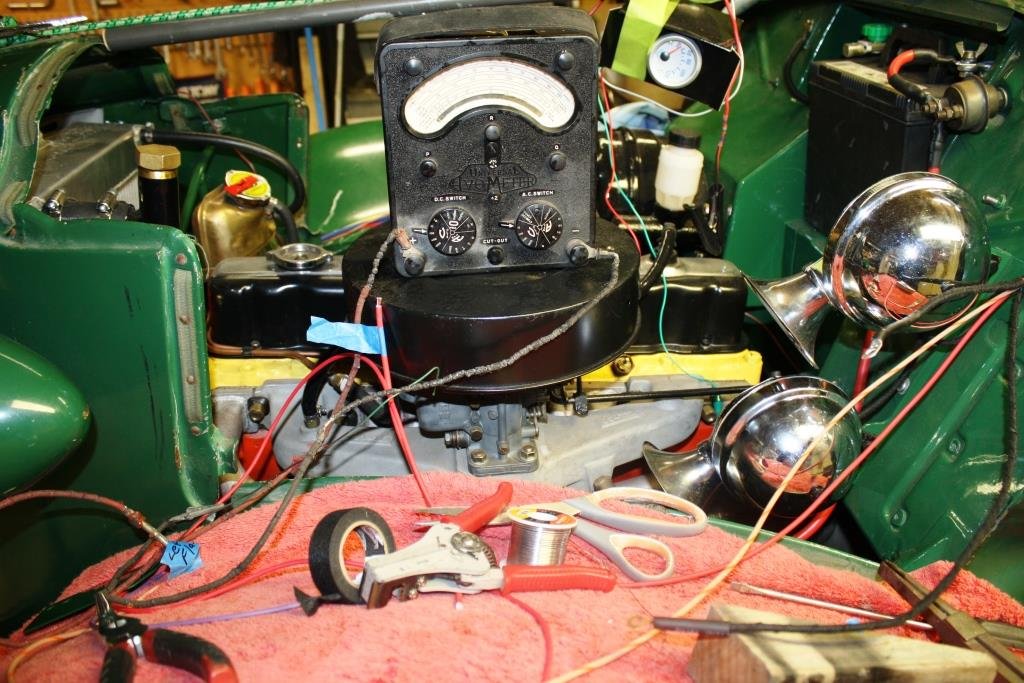
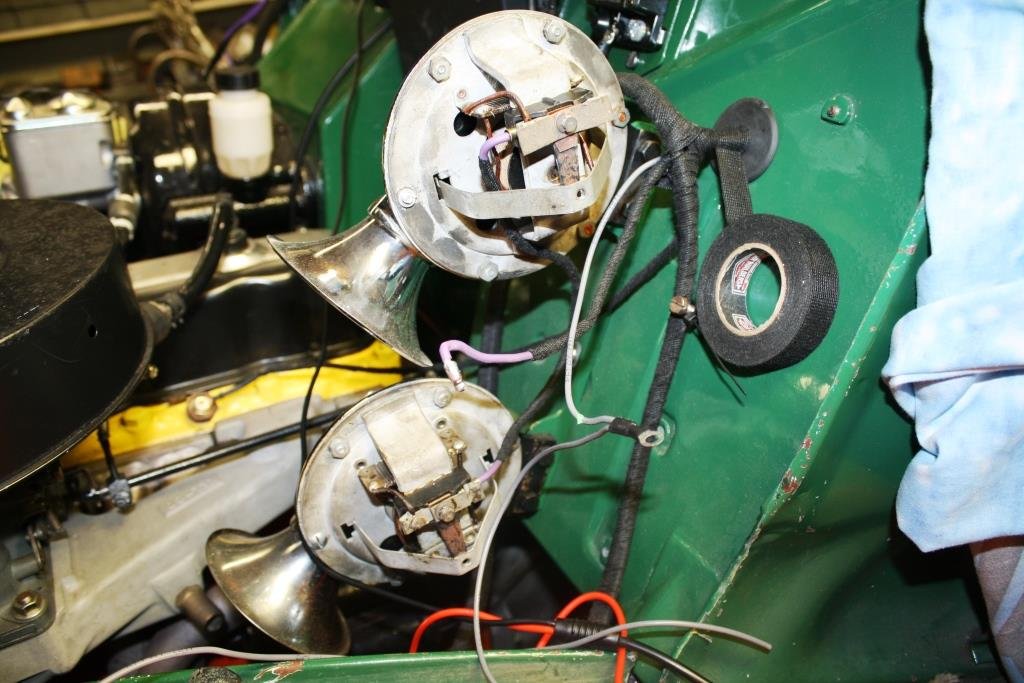
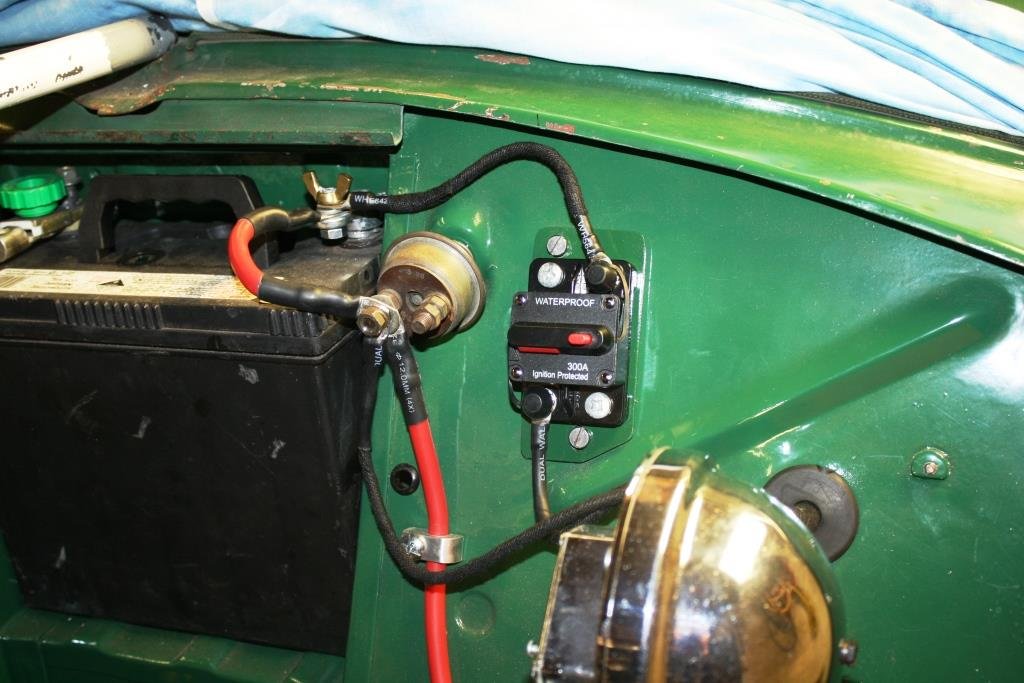
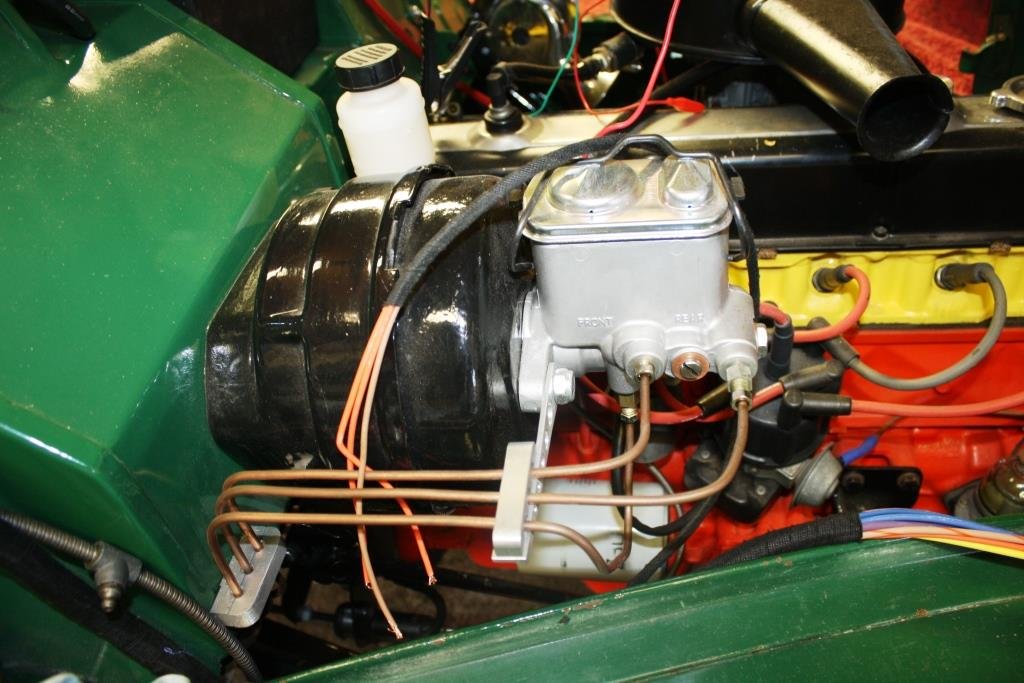
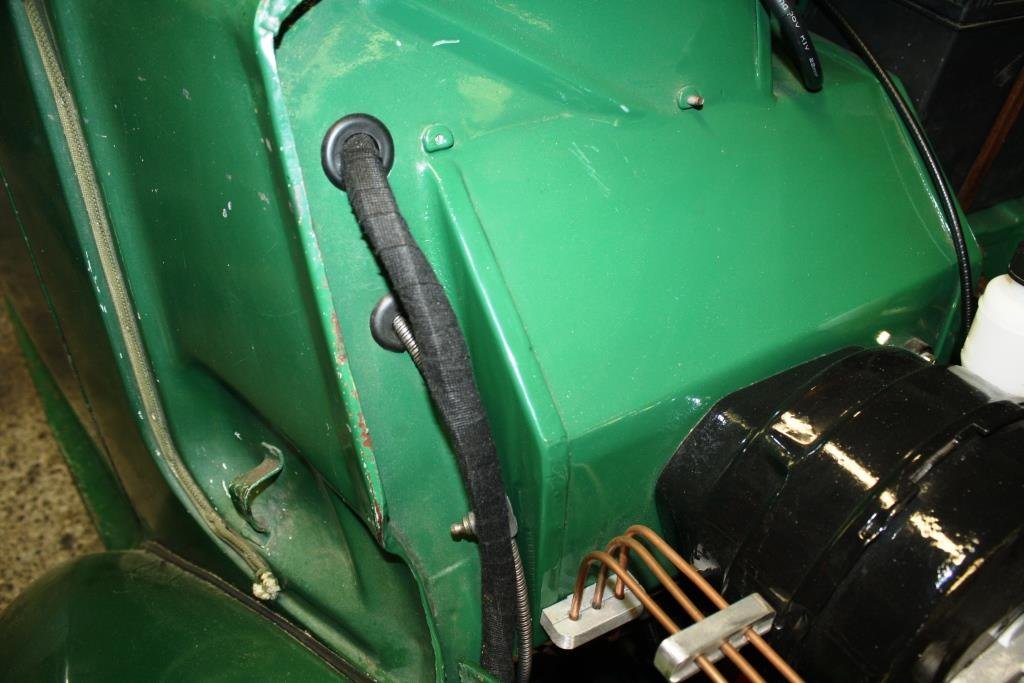
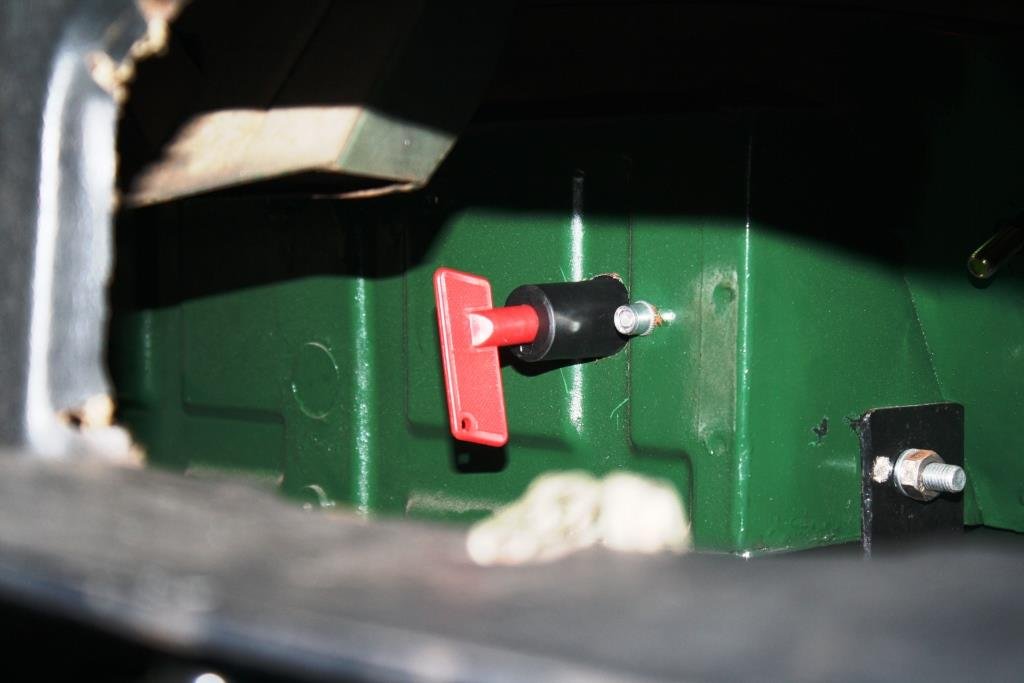
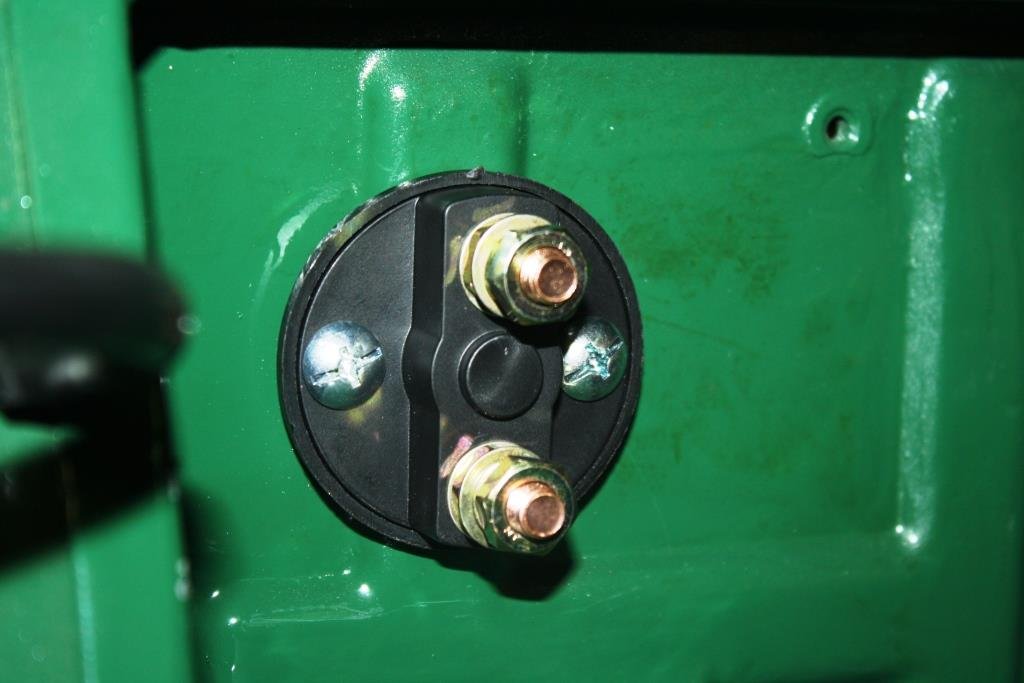
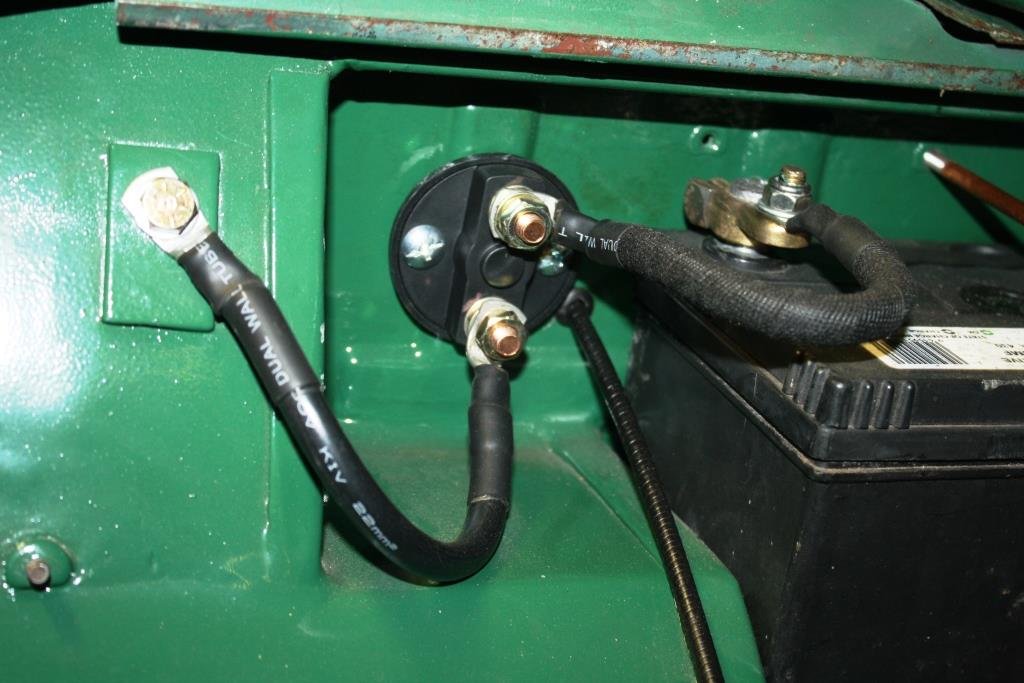
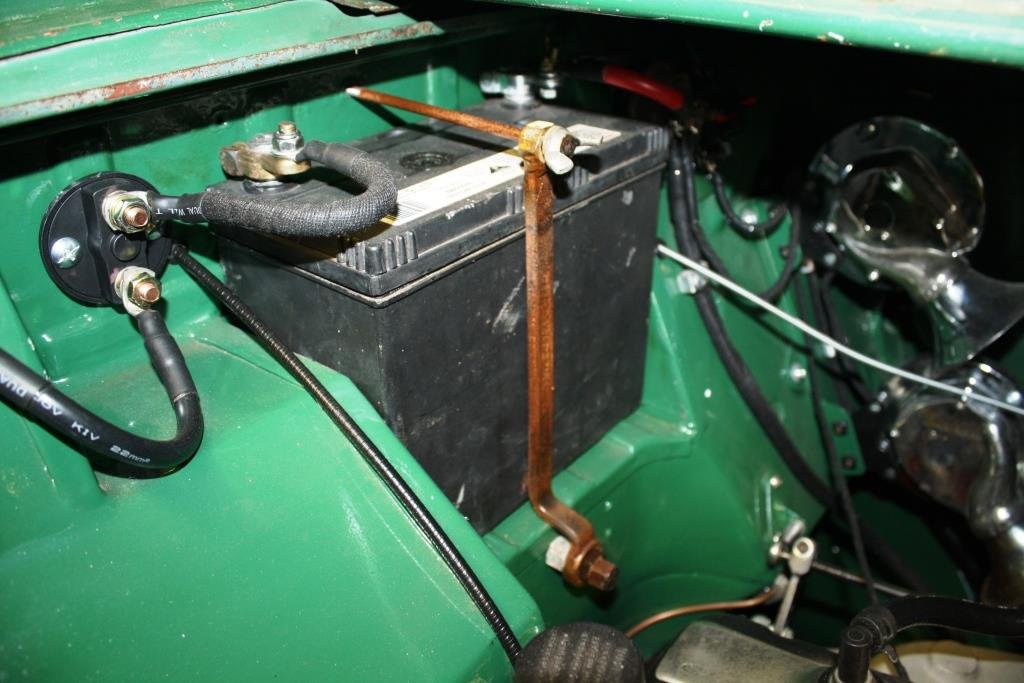
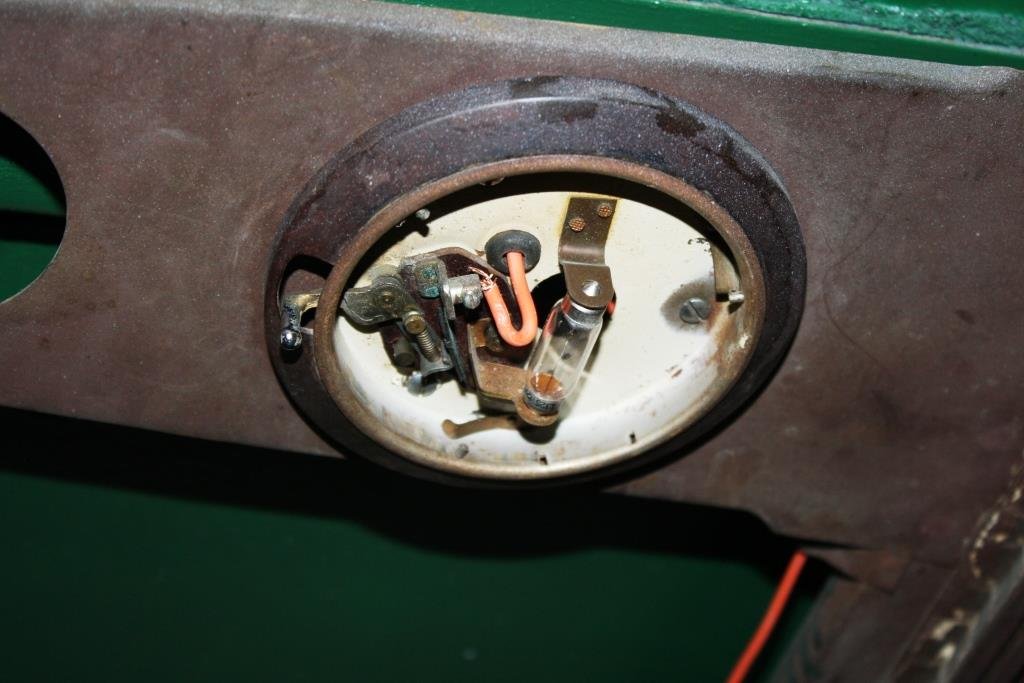
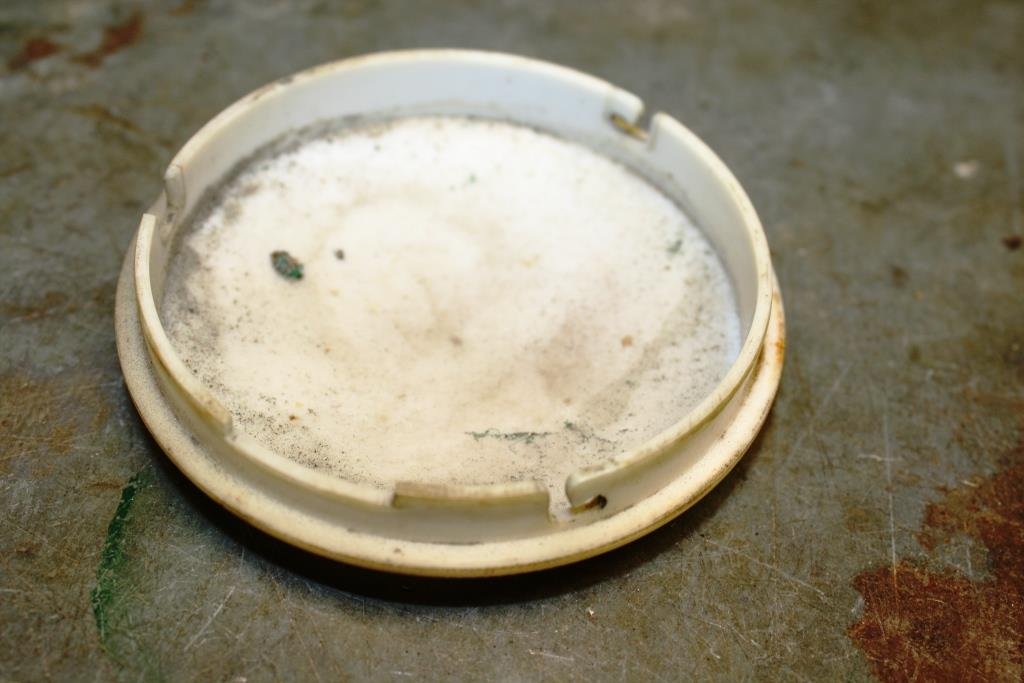
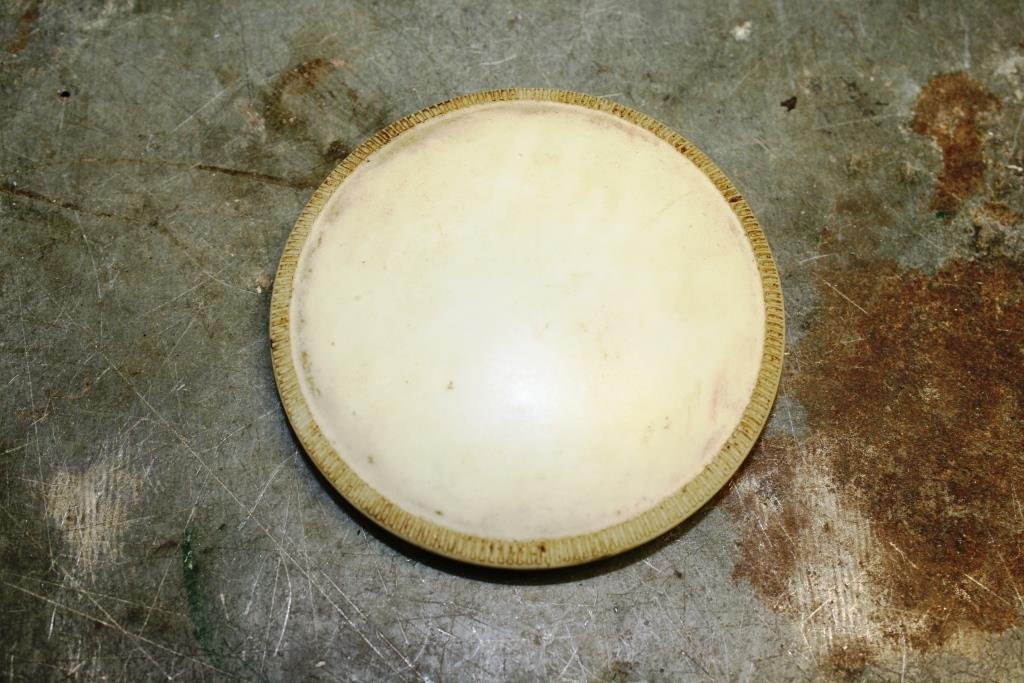
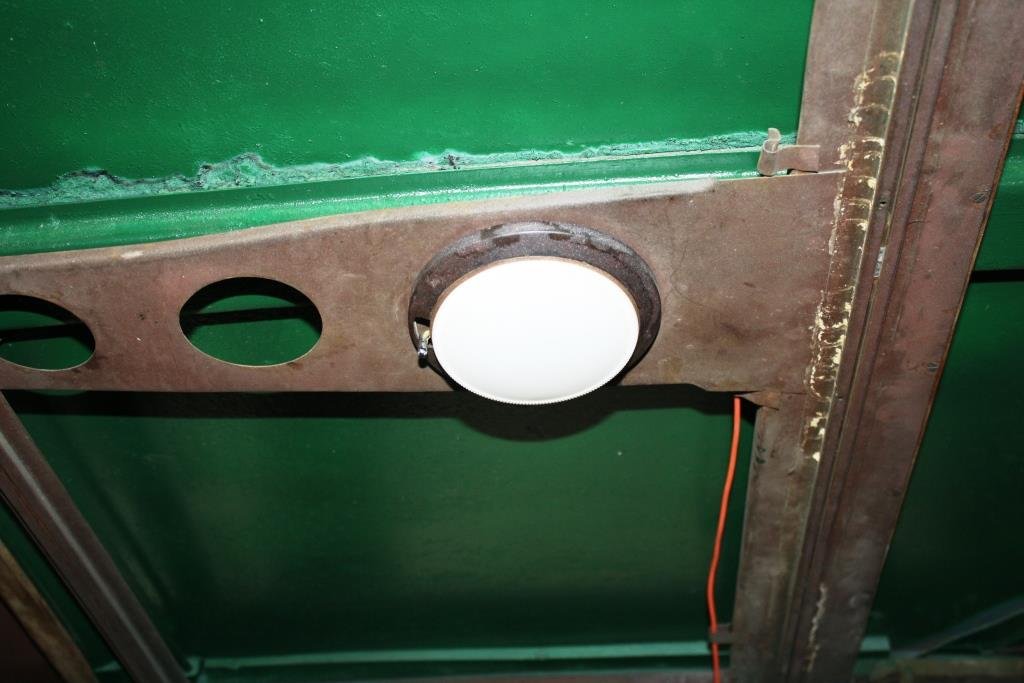
…………Yes I know I’ve been a slack prick, re: this thread. With final arrival of summer the good ship Aquaholic insisted that I take her and some of my disreputable mates out fishing… (What could possibly go wrong?). It was a hot day, we got thirsty, we drank heavily and we “got fush”…….(as you do). A few days later my brother turned up at the Viaduct in this bloody monstrosity, and the good ship Aquaholic (and a certain part of my anatomy) felt very, very, …. small…….(Sibling rivalry can get complicated!). ….so we headed north. The view from the bridge was cool…… Accommodation wasn’t too shabby…. …. And the lounge was bigger than the one at home… Thankfully there was a bar on board for self medication! Back home I was stricken with a bout of the much feared “home handyman-itis” and I accidentally started rebuilding the front of the house… (Note the cunning accumulation of Brownie points with the “ever lovely Mrs. sr2”). After the above brief hiatus I’m finally back to Rigamortice’s wiring. I’m trying to document as much as I can because my memory is like a sieve. I managed to source some cool old fashioned bullet connectors…. I’m almost finished under the dashboard, getting sick of working upside down. The dip switch still works so I hit it with some contact cleaner and we’ll see how it lasts. I’m running relays on the lights so it won’t be carrying the amps that it used to. I’m using my 70 year old meter just because I can. The horns are all wired up but they sound like two strangled cats, I’ll have to do some research on how to tune them. Circuit breaker in place instead of a fusible link. Mounted the battery earth cut out through the fire wall Repurposed an old offset ring spanner for a battery clamp. Managed to get some life out of the interior light with a new bulb and fresh wiring. Cleaned a ton of crud of the diffuser…. And it works.
1 point
-
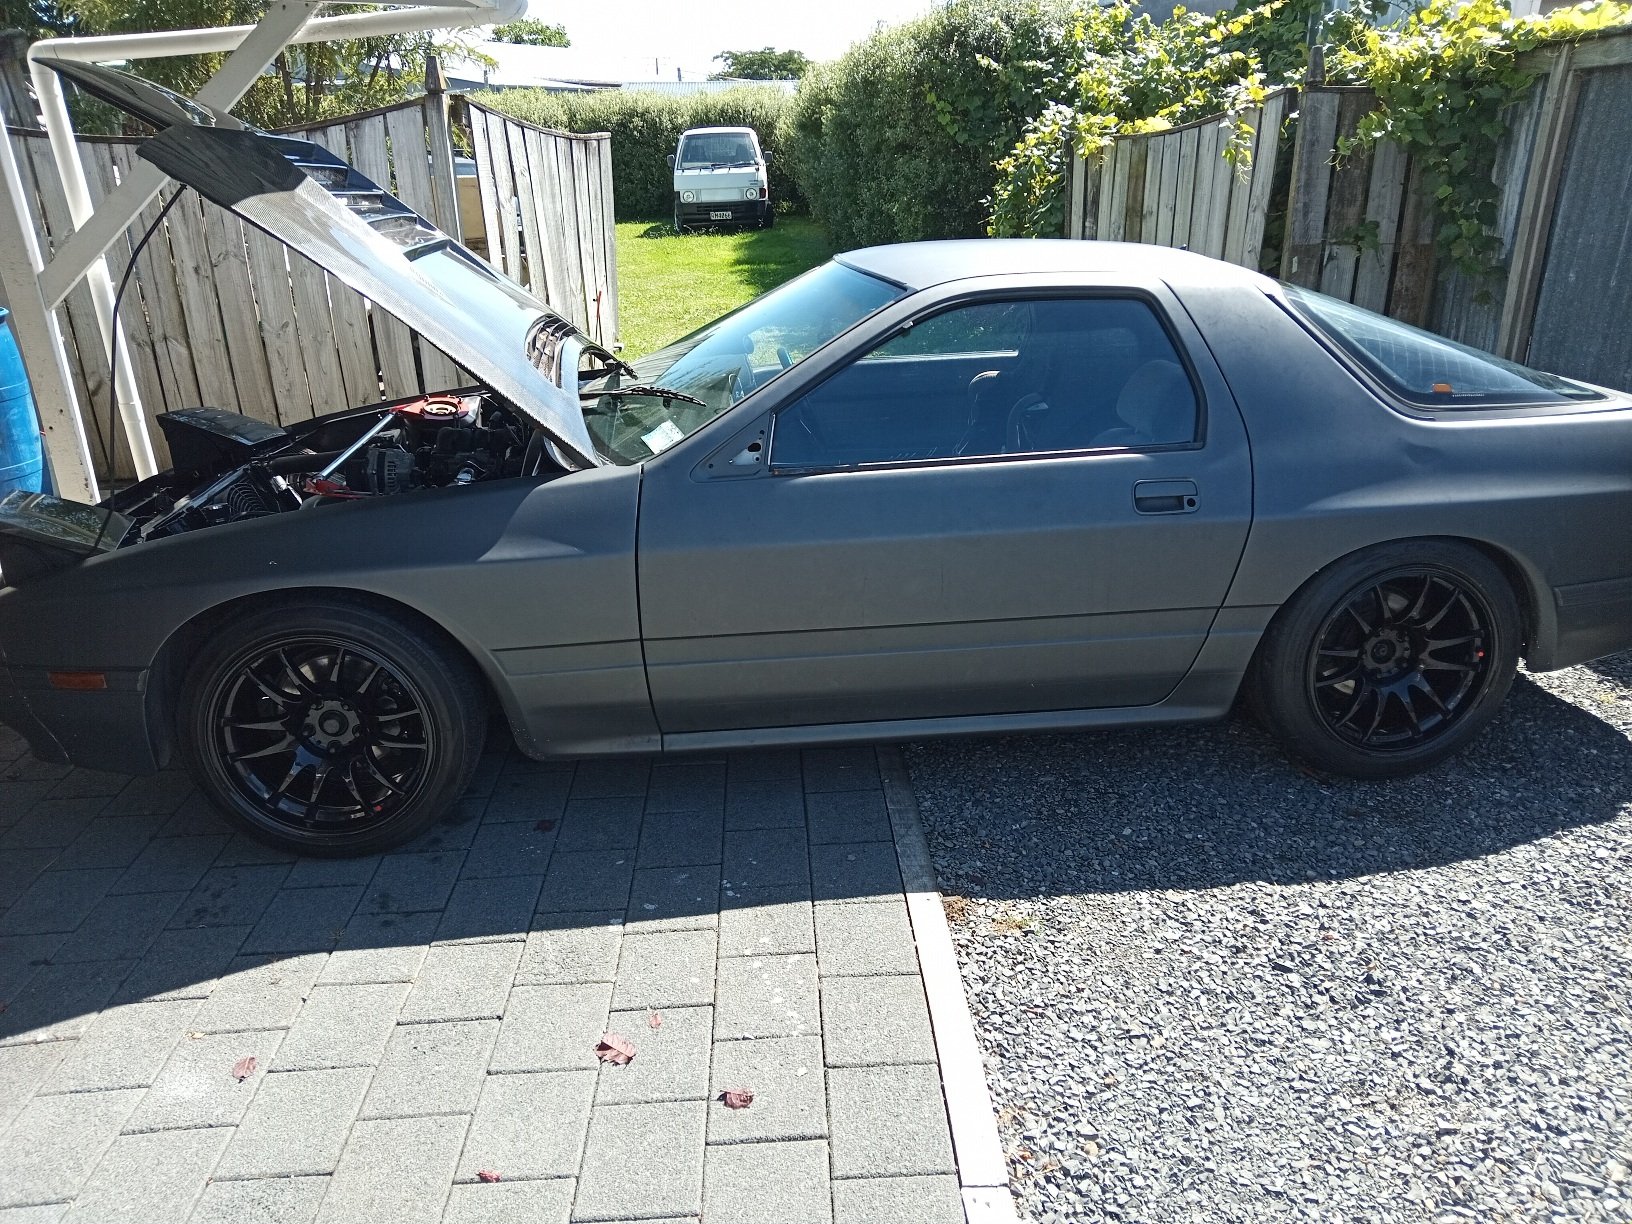
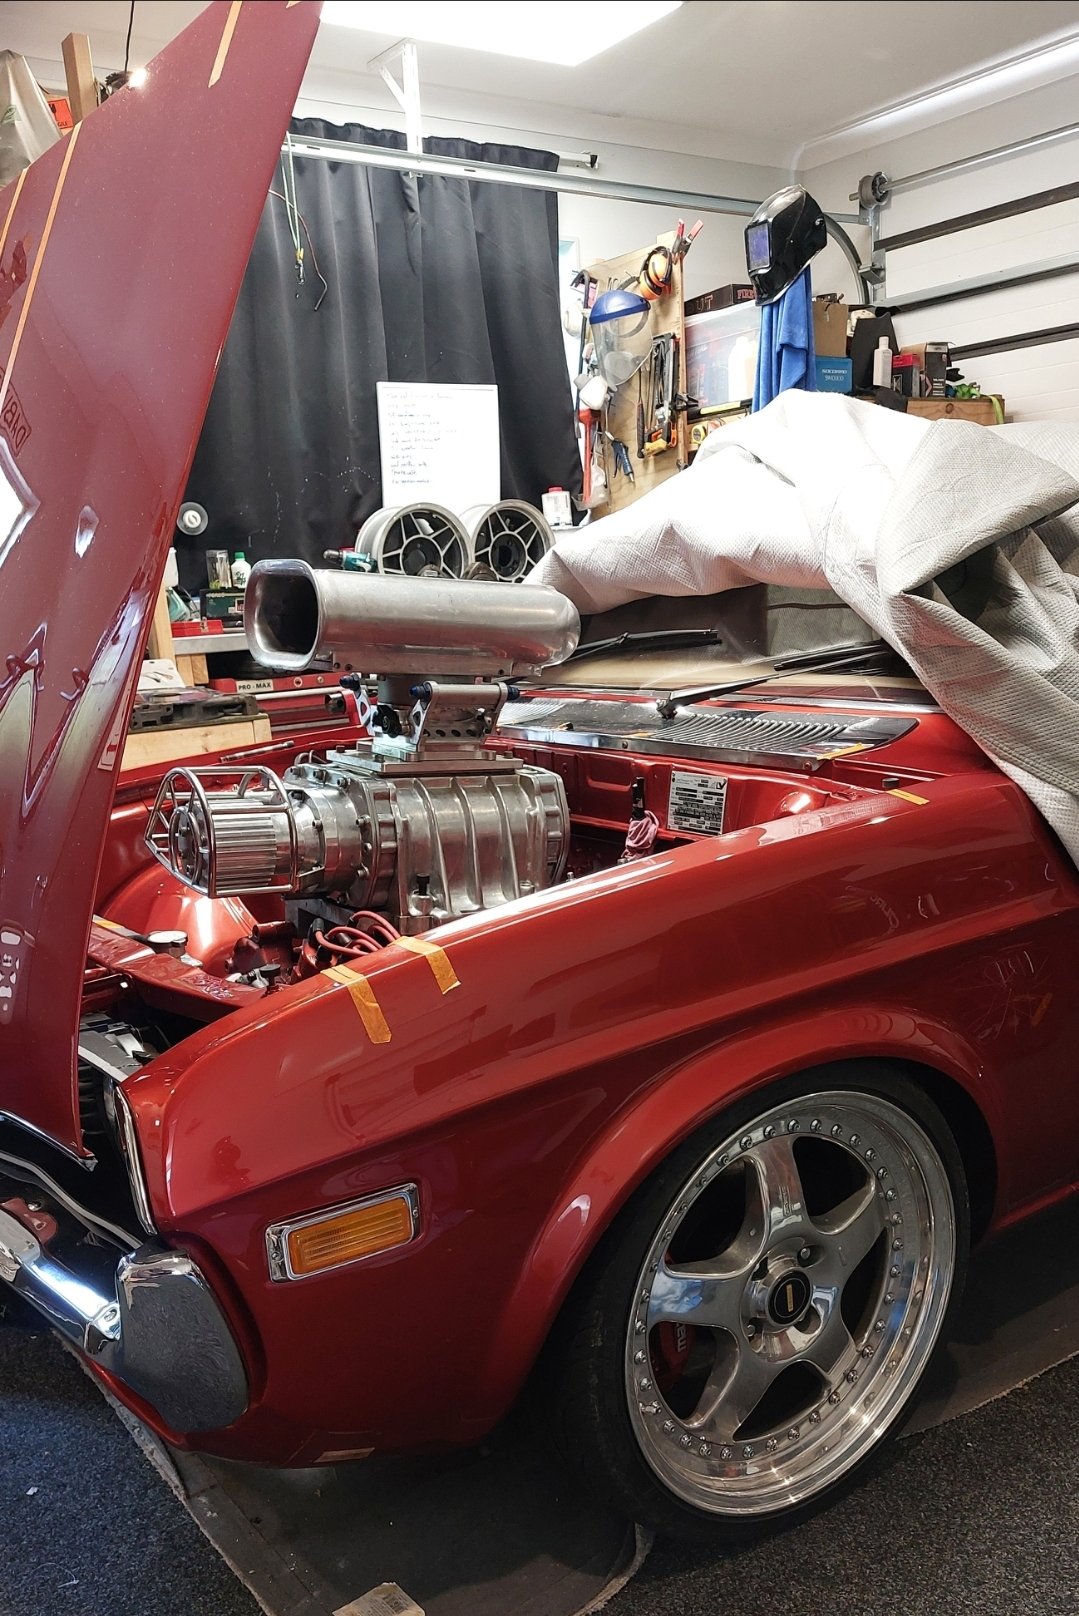
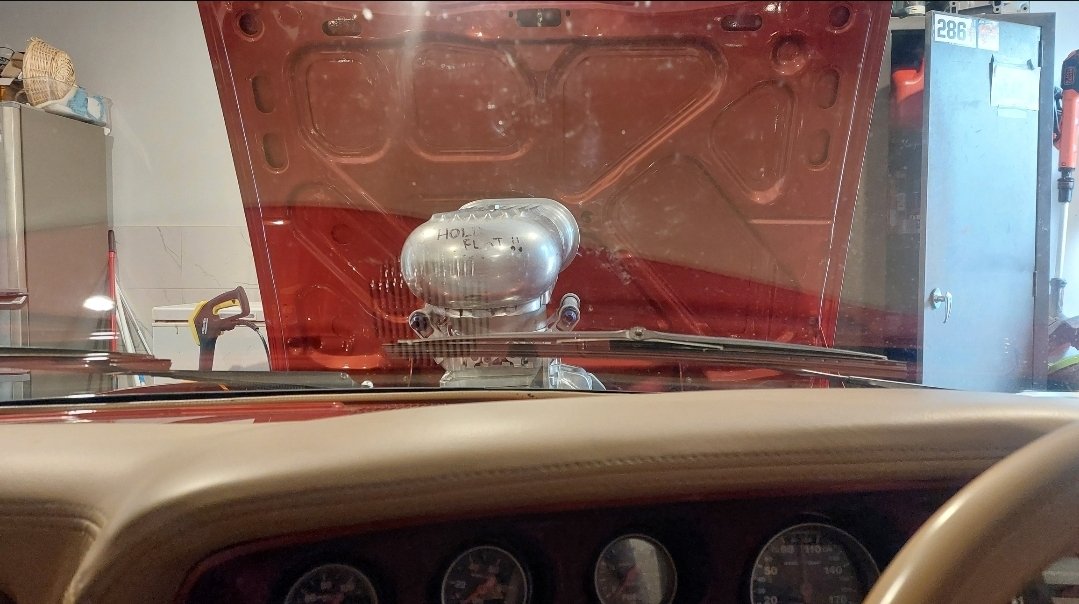
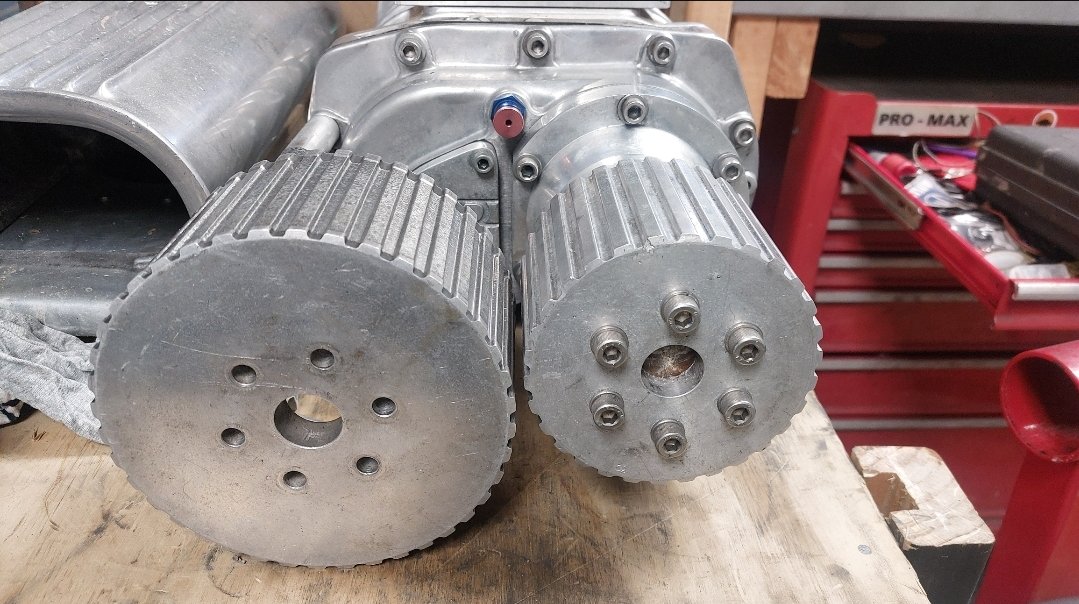
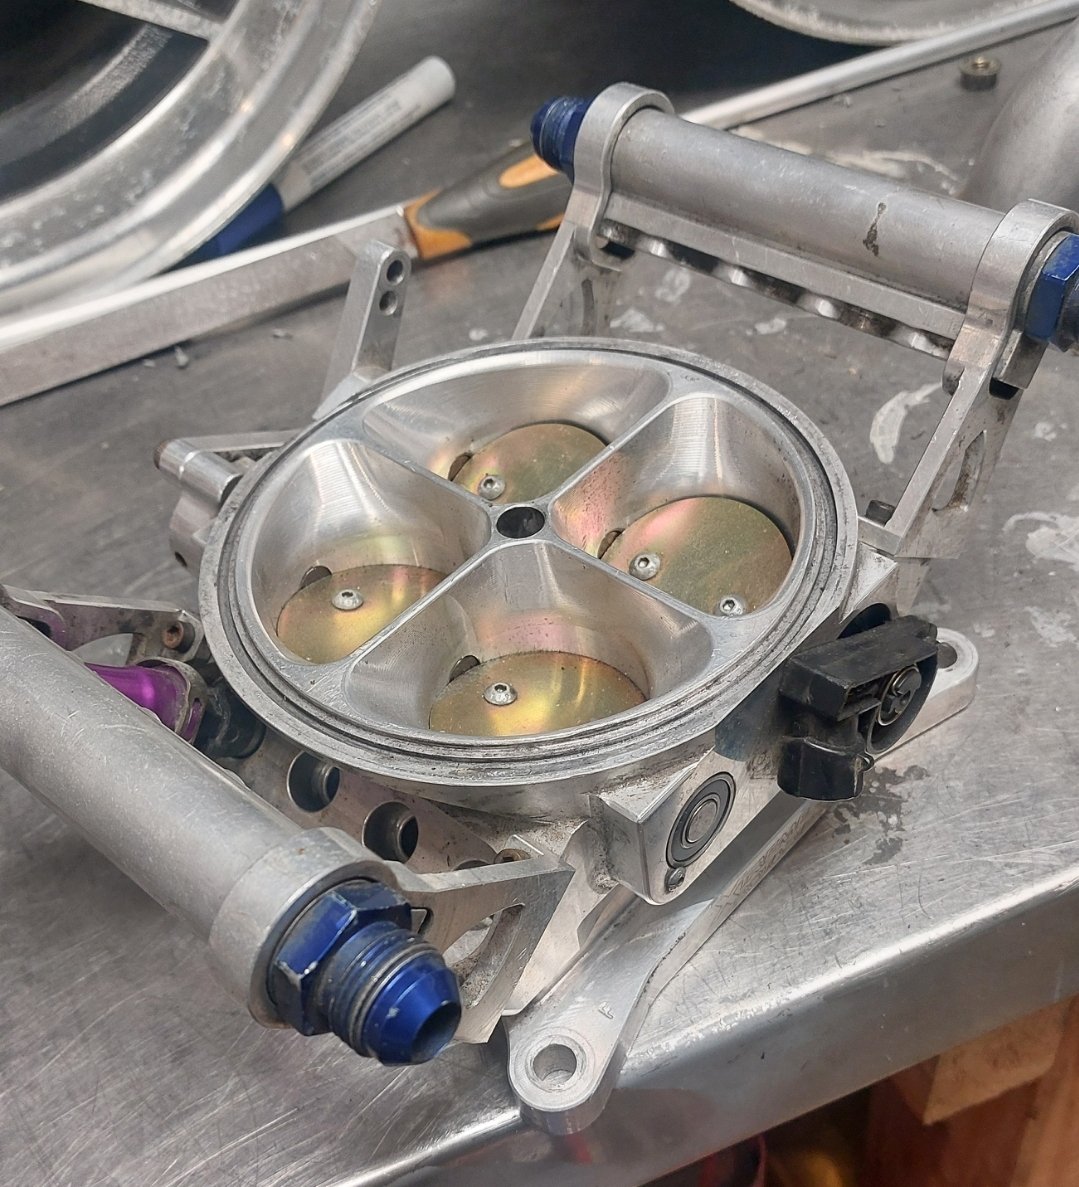
Sold the ROTECH BP, but before I whip it out, have dummy mounted the blower to check cut lines for the bonnet, so I can put a massive hole in it. 40 vs 30 tooth (1to 1) pulley, Unfortunately I'll have to run the under driven pulley to get it through cert which is only 7-8 psi. The small pulley will be double that, but intake temps will skyrocket, and I won't have enough money to get car legal as well as work on cooling. Water meth will be on the cards, as is maybe Water to air intercooler. I'll just focus on redesigning the intake, building a fresh new block, setting up EFI and a host of other items before I worry about decent power. Also that scoop won't pass, so I need to find a low profile solution for air filtration into the Xtreme rotaries 1200cfm 8 injector throttle body., I'll only need to run 4x 1000cc injectors for what I'm doing
1 point
-
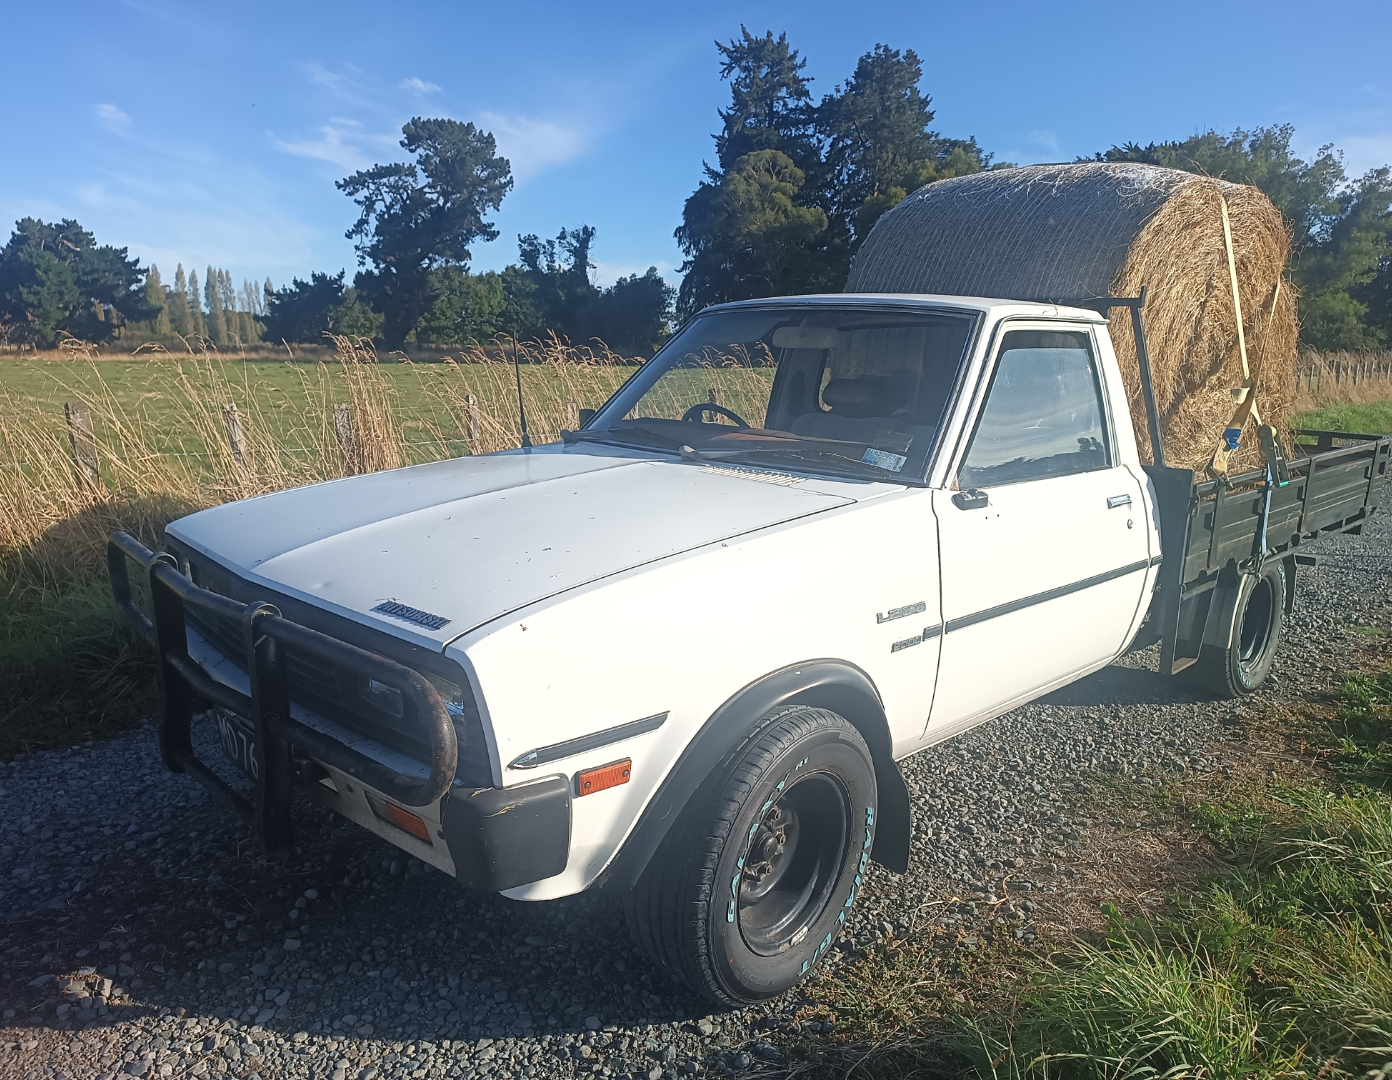
Put her to work again. Hardly noticed it were there.
1 point
-
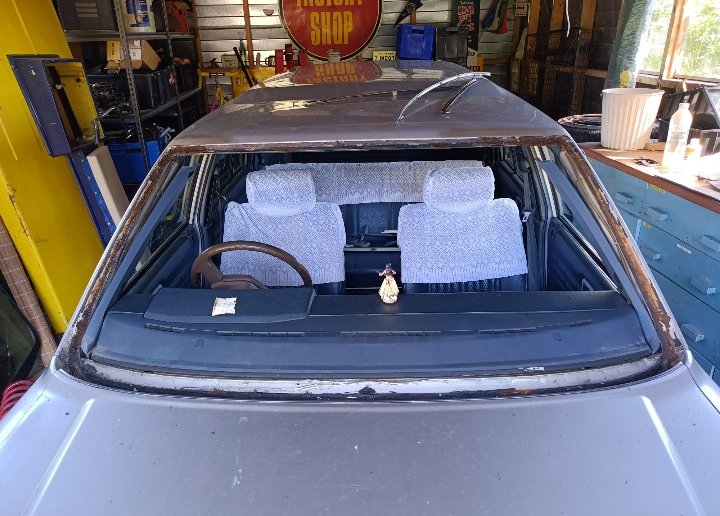
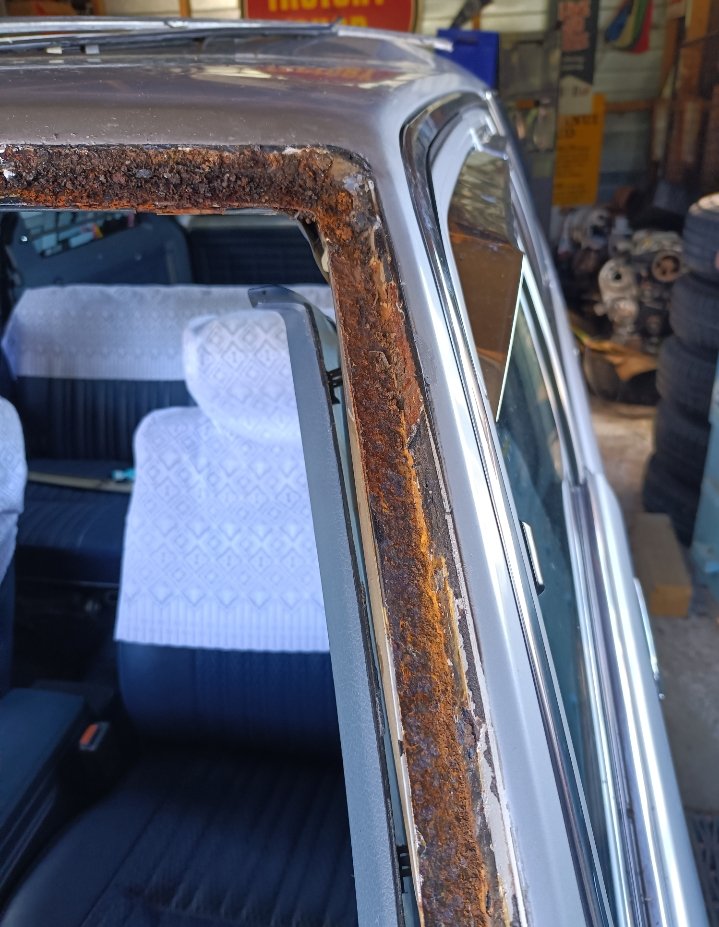
Progress! Bit the bullet and pulled the windscreen (cracked and rust around the outside). Pretty crusty and a couple of pin holes but should come up OK with a good wire wheel and some welding.
1 point
-
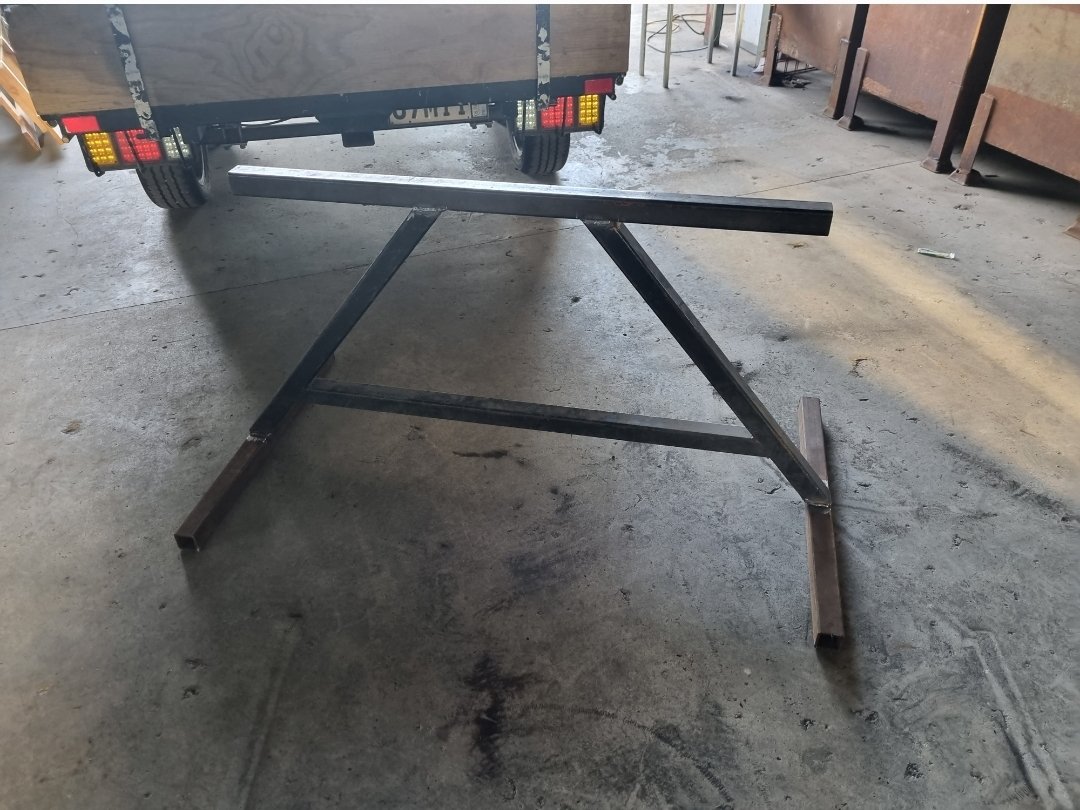
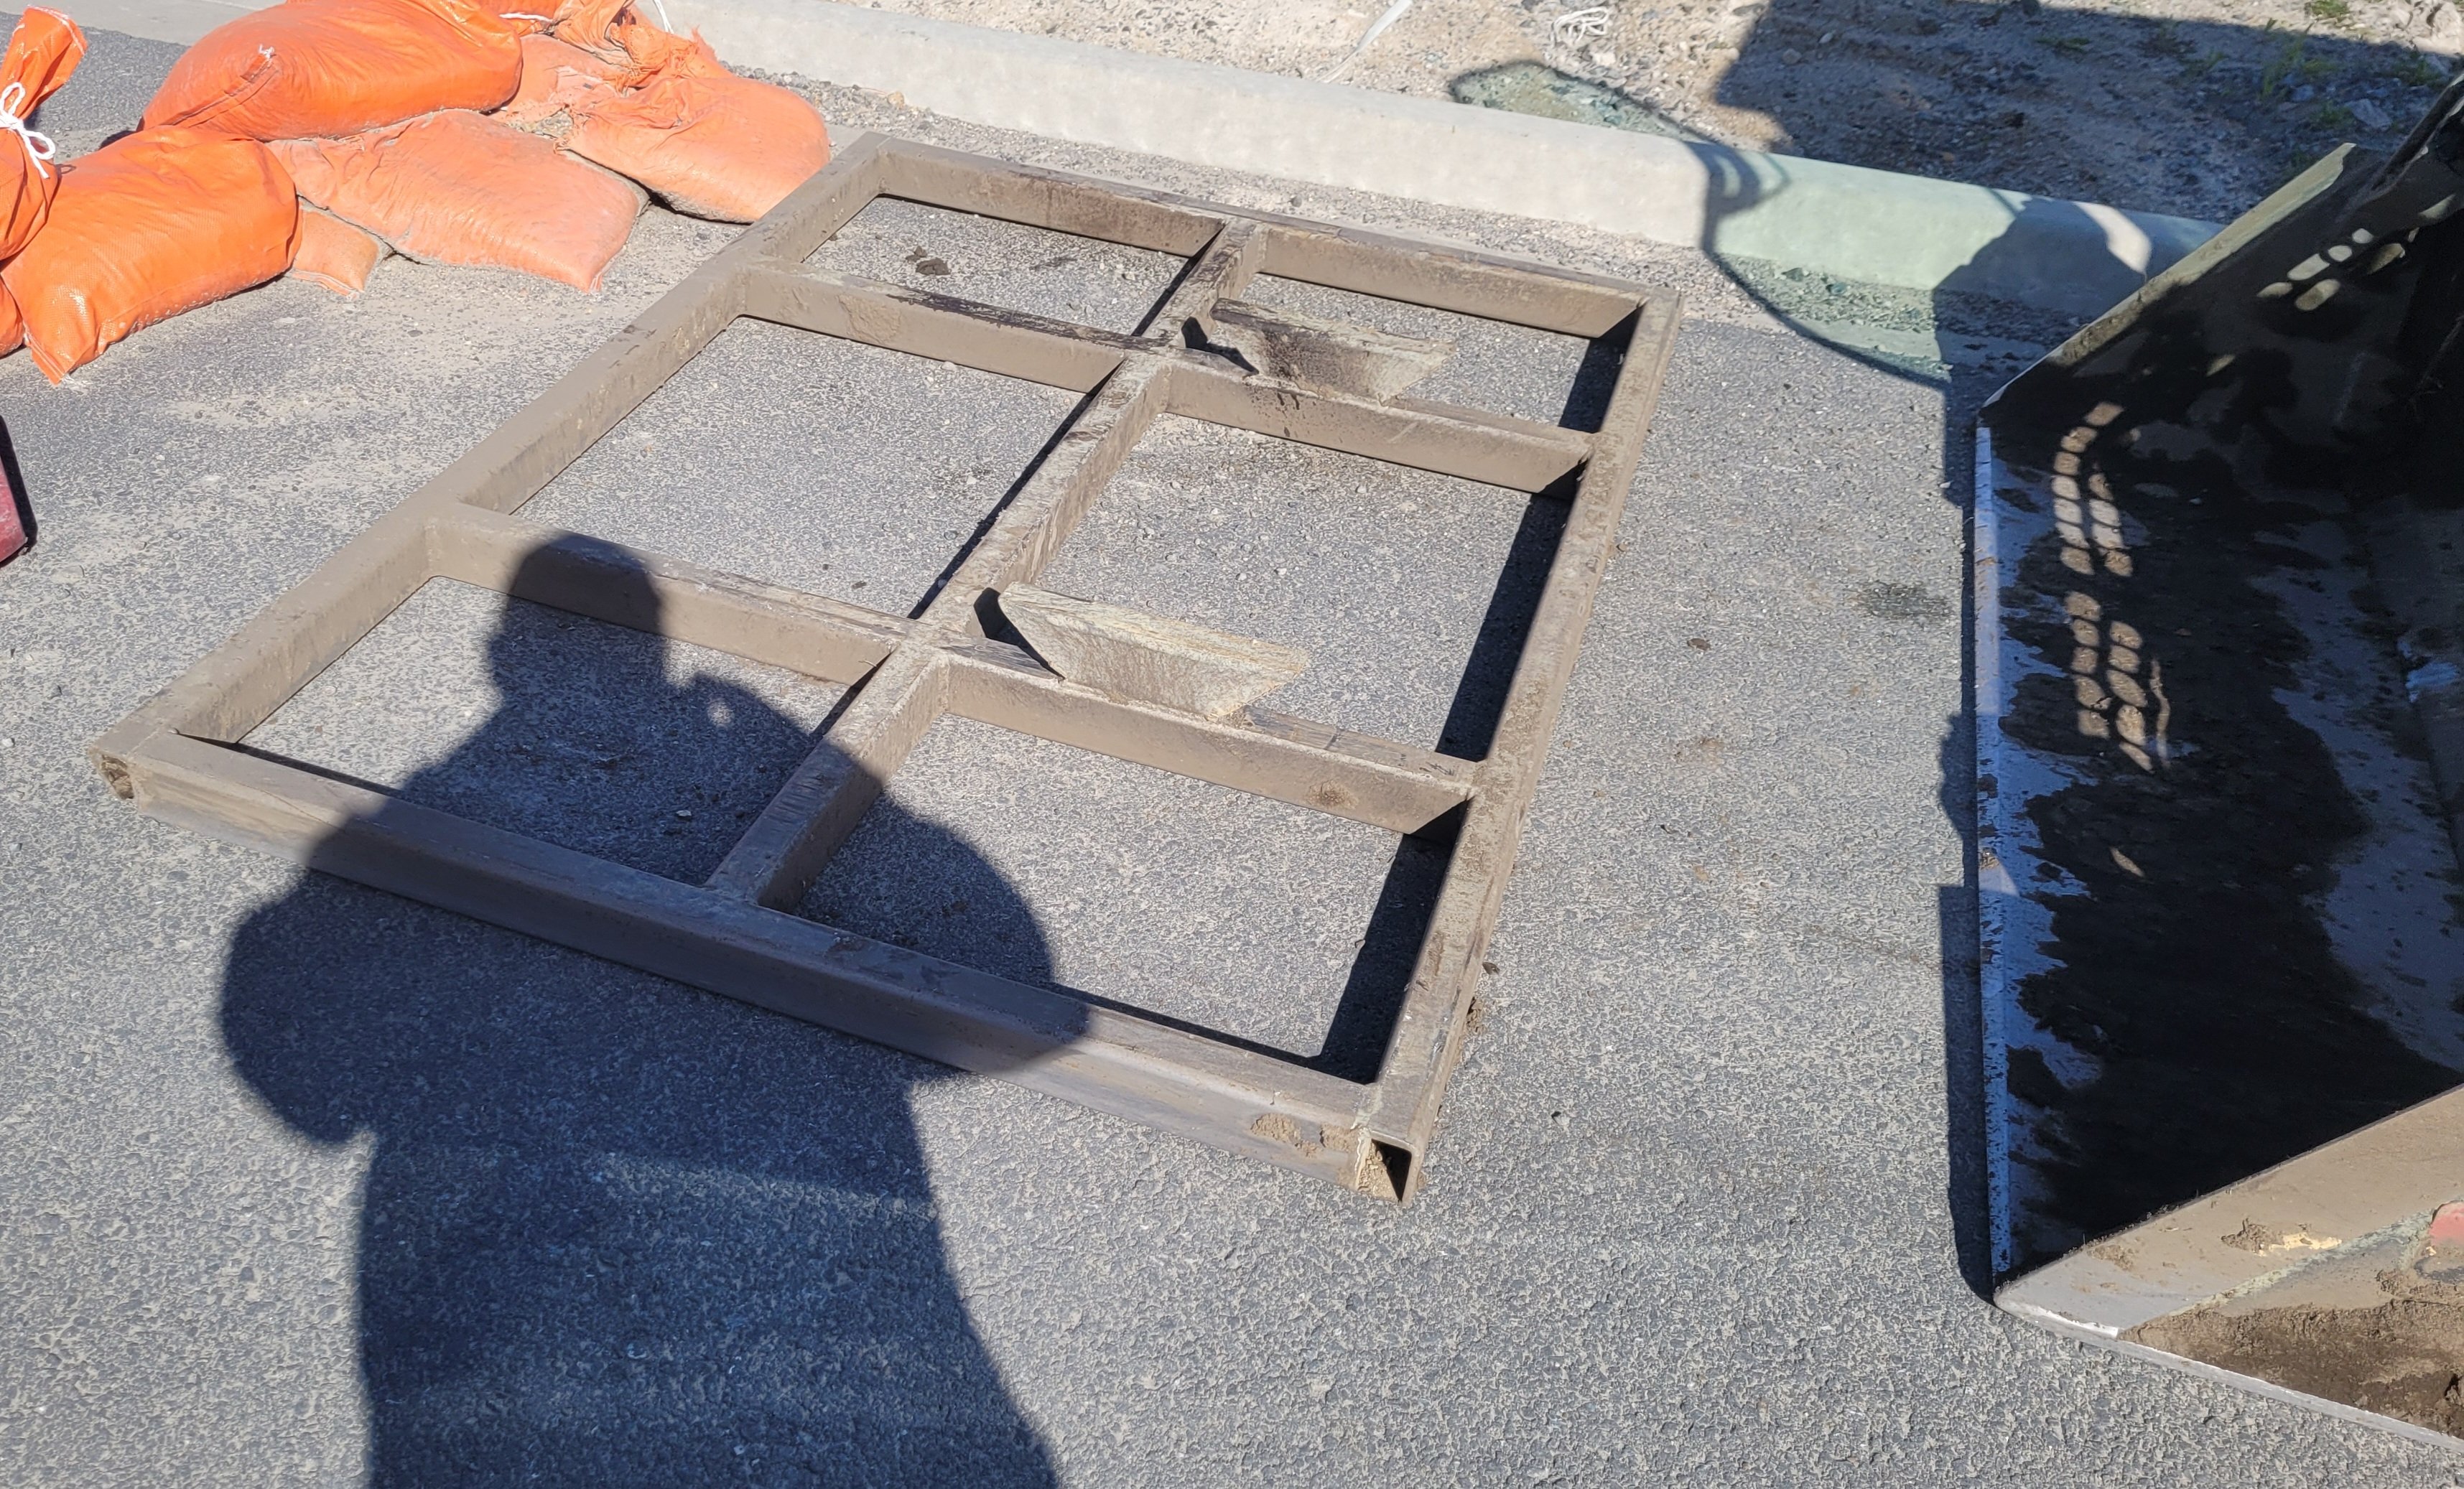
That looks like a 4in 1 bucket on the job. I'd recommend whipping up one of these. Leveling bar you just grab with the bucket.
1 point
-
I've been chipping away a fair bit lately. I managed to find some radiator suport panels. This was my first time doing any sort of panel work, after a fair bit of tweeking I managed to get them good enough to where I was happy. I also filled in the 2 big holes in the engine bay. Years ago I hacked off the washer bottle mount to make room, luckily I kept the remains of it. I made new ends for it to replace the bits I hacked away. Replaced the battery tray. I did a test fit of the engine to sort a few things out. The main things were the gearbox cross member and where to fit a clutch master cylinder and sorting the exhaust. Not a hell of a lot of room, but it worked out OK. The wee fella helped modify a toyota gearbox cross member. I've just finished painting the engine bay today. It's not going to win any awards, but I'm happy enough with it. I'll start the final reassembly now. I sorted out the flywheel/clutch issue too. The guys who did the engine work (Kennally Cams) did some magic to the fly wheel and machined it to accept shouldered bolts to locate the pressure plate as it's being torqued down. Hopefully this week I'll get the engine in for the last time.1 point
-
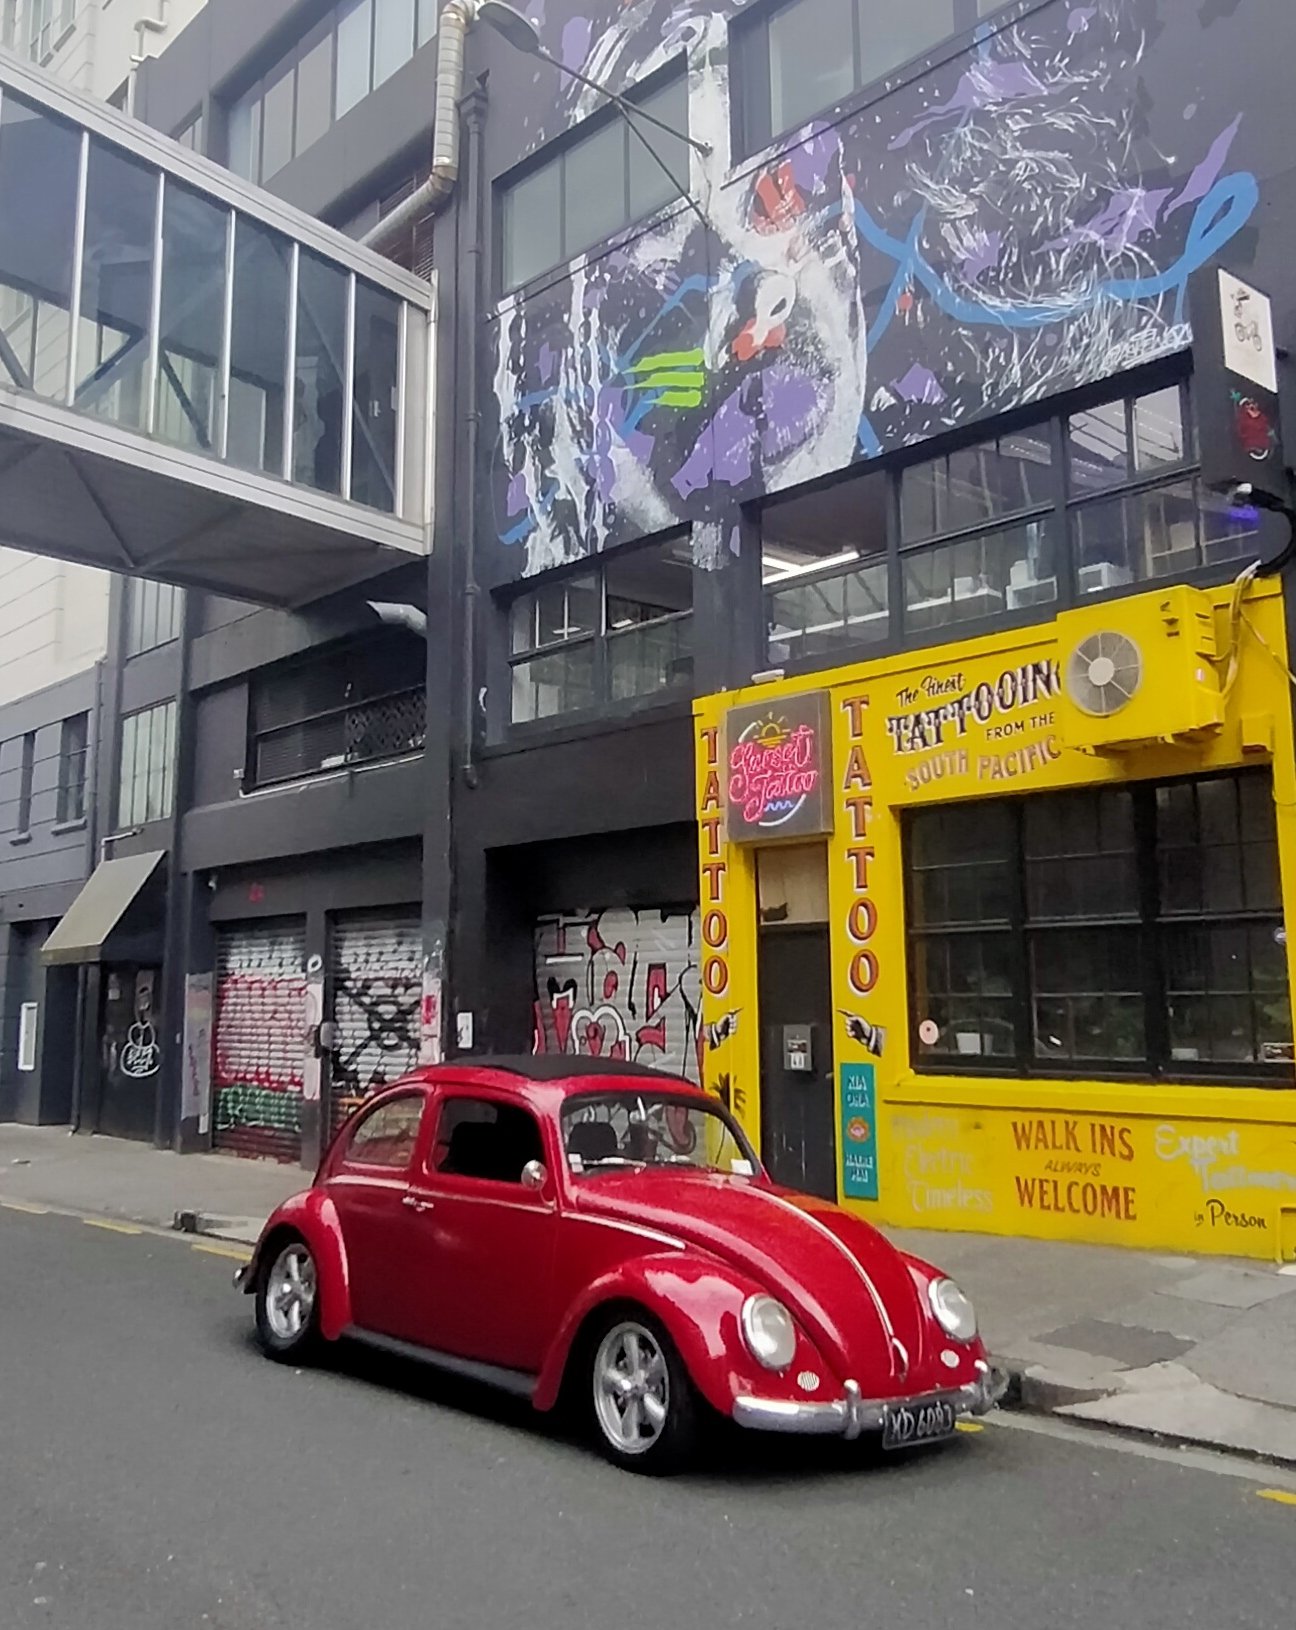
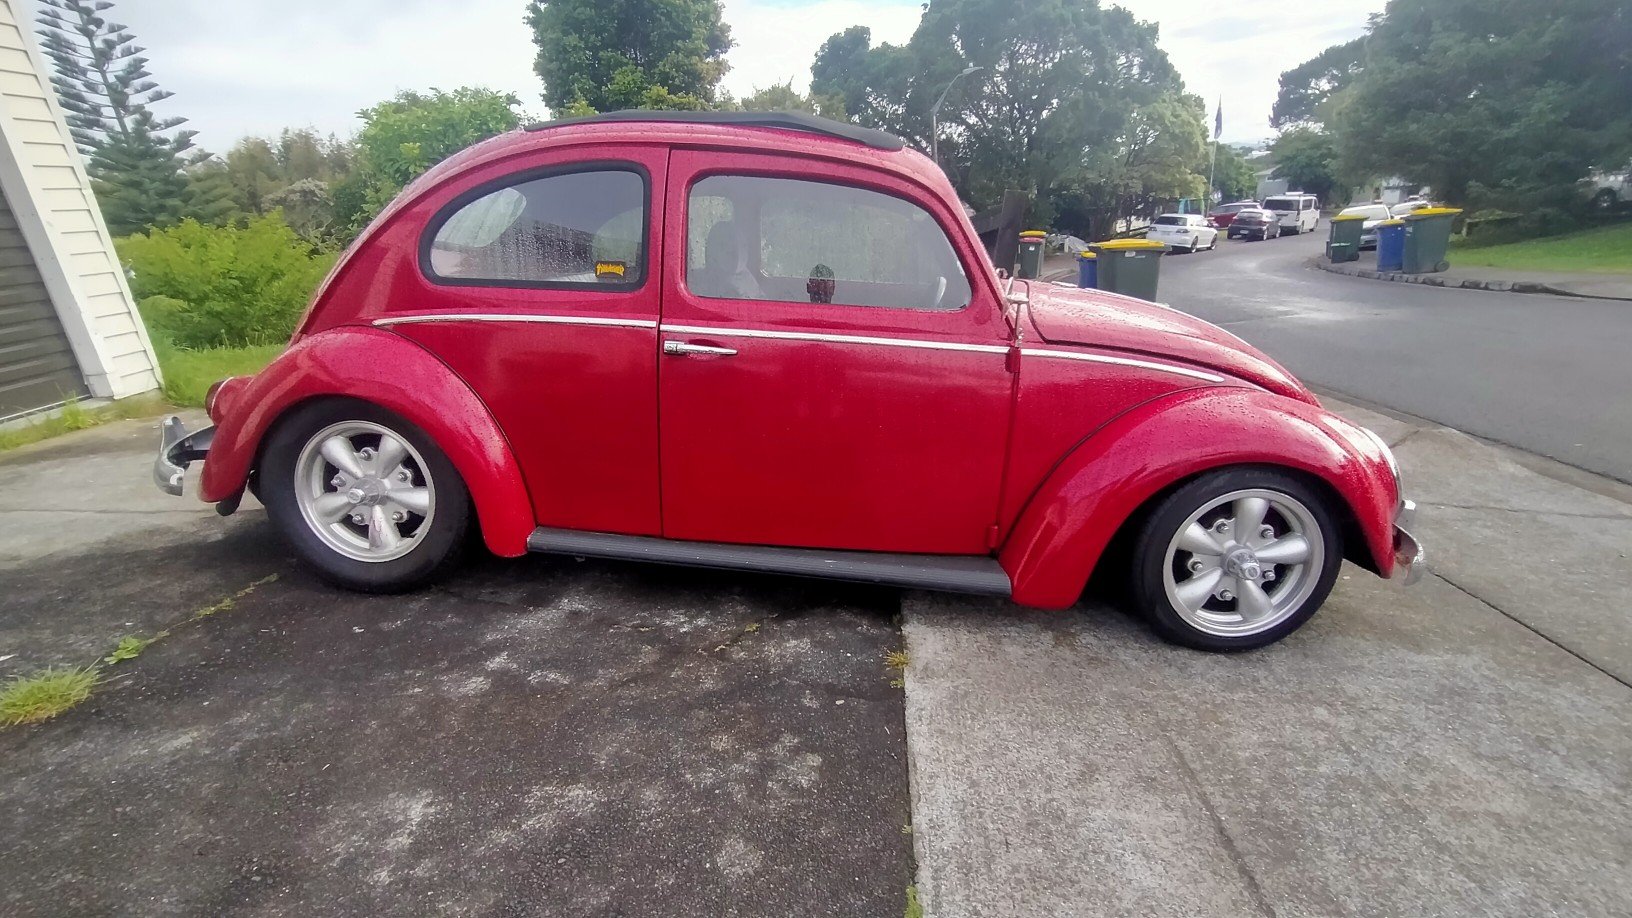
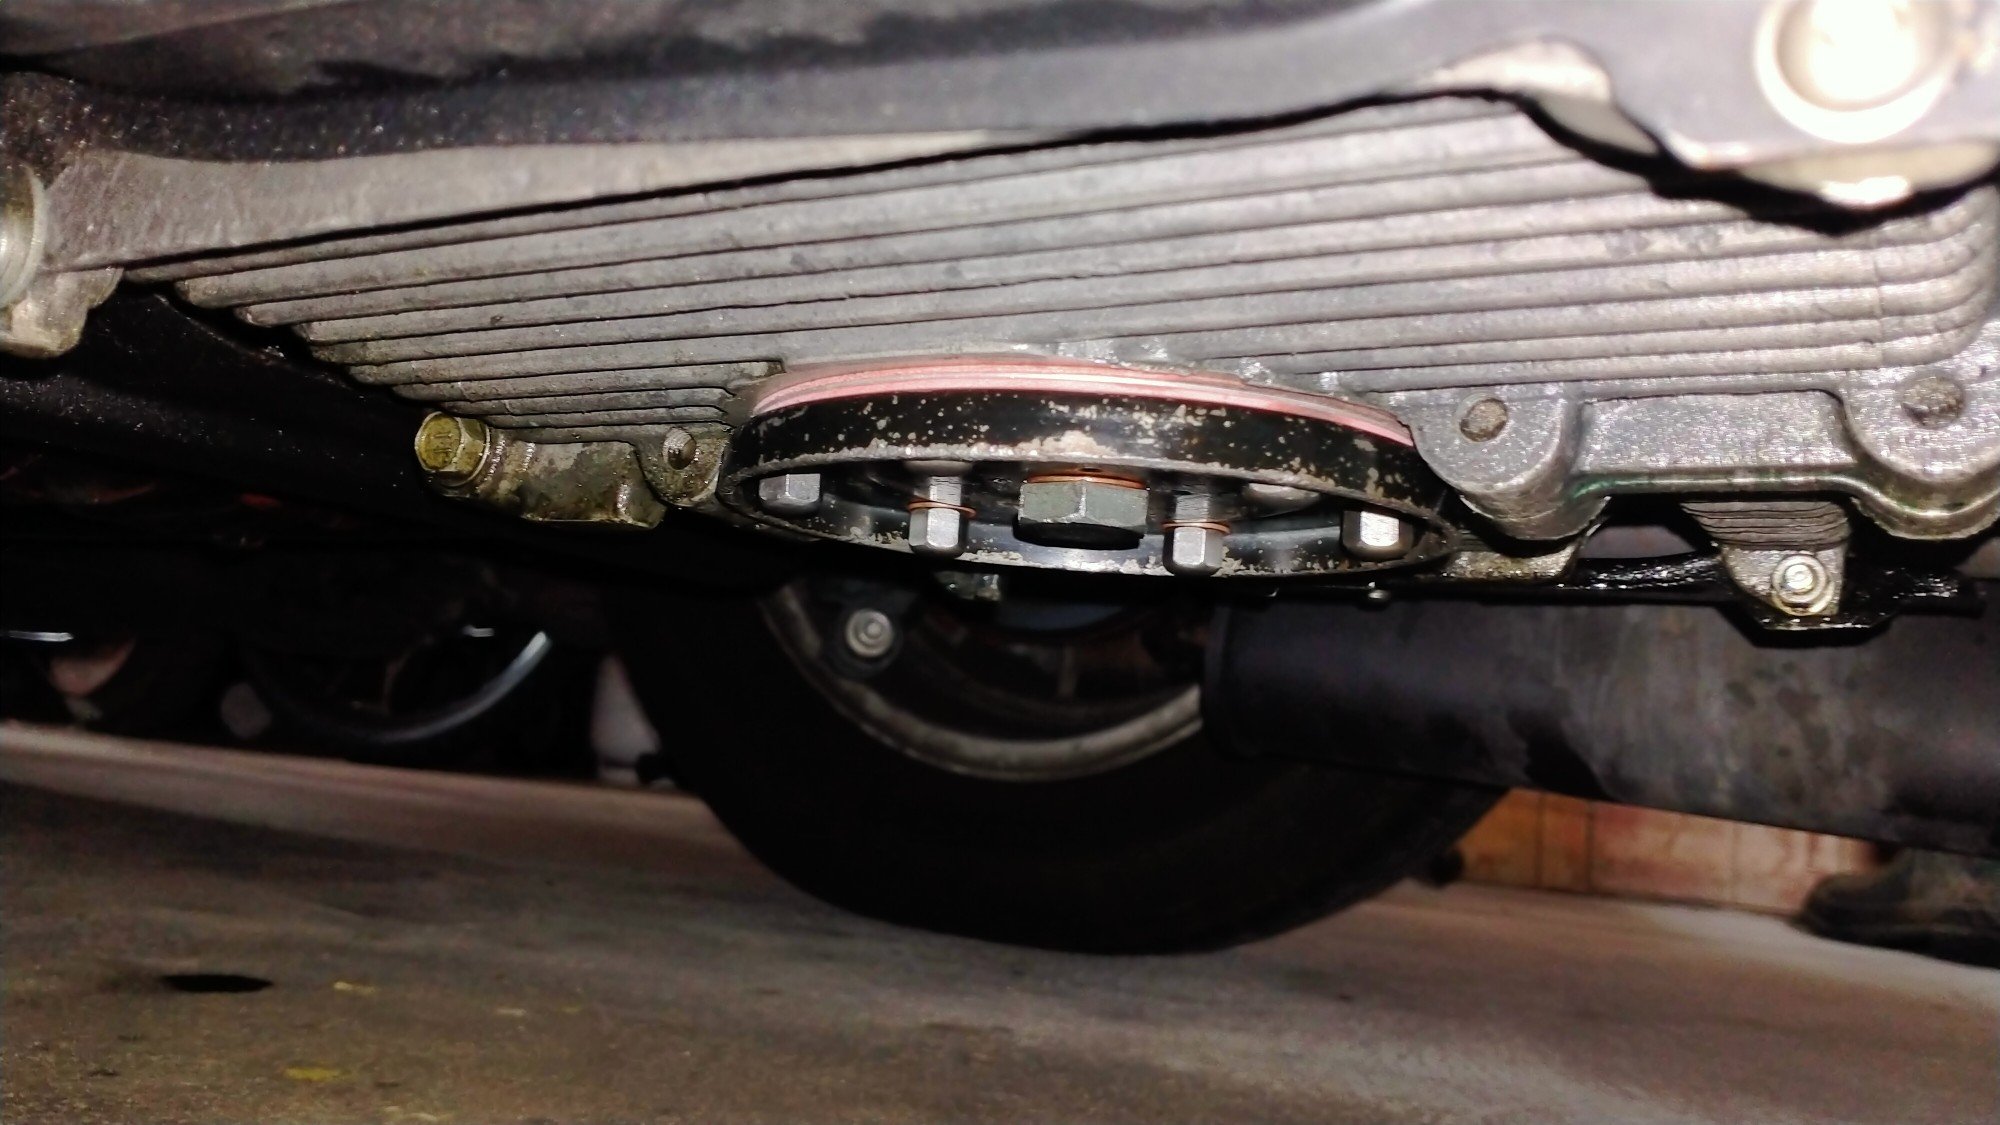
Always looks better after a wash. And from my favourite angle. Finally got around to changing the oil, really should have been done sooner, there was so much crap in the sump, all that lifter paste. VW's don't really have a sump, or a filter, just a sump plate with a tea strainer around the pick up. Ignore the big square sump in the picture, that's aftermarket and my car is probably to low for such things All was going well until I went to reinstall the tea strainer plate arrangement. The gaskets in the oil change kit have recently gotten at least three times thicker, so now the six little studs are getting very short. Only had just enough engagement, one but had to go sans crush washer. Have continued tuning the carbs, @sluggy suggested cranking the accelerator pumps, so I've been doing a little at a time, everytime it's gets a little better and nicer to drive, idle is very low but very smooth and doesn't stall, just seems weird not having it shake the car at the lights. Mrs even commented on it.
1 point
-
Did a chunk of the back end wiring today, not much to see as I have tried to keep things tidy so it pretty much blends in. I tried to fit a new power plant, amazing that for the size this unit only makes one pogpower.1 point
-
Well its a month later and I am getting back on form, hence this effort today; Plenty of room to finish off the wiring now. There was a minor mishap during engagements, now I need to figure out which Fiat Uno that distributor is off. I'll give the donk a clean up, new oils and filter, new plugs etc. Might drop the sump to see the state of play. For some reason it has way more oil than it actually needs, not sure why.1 point
-
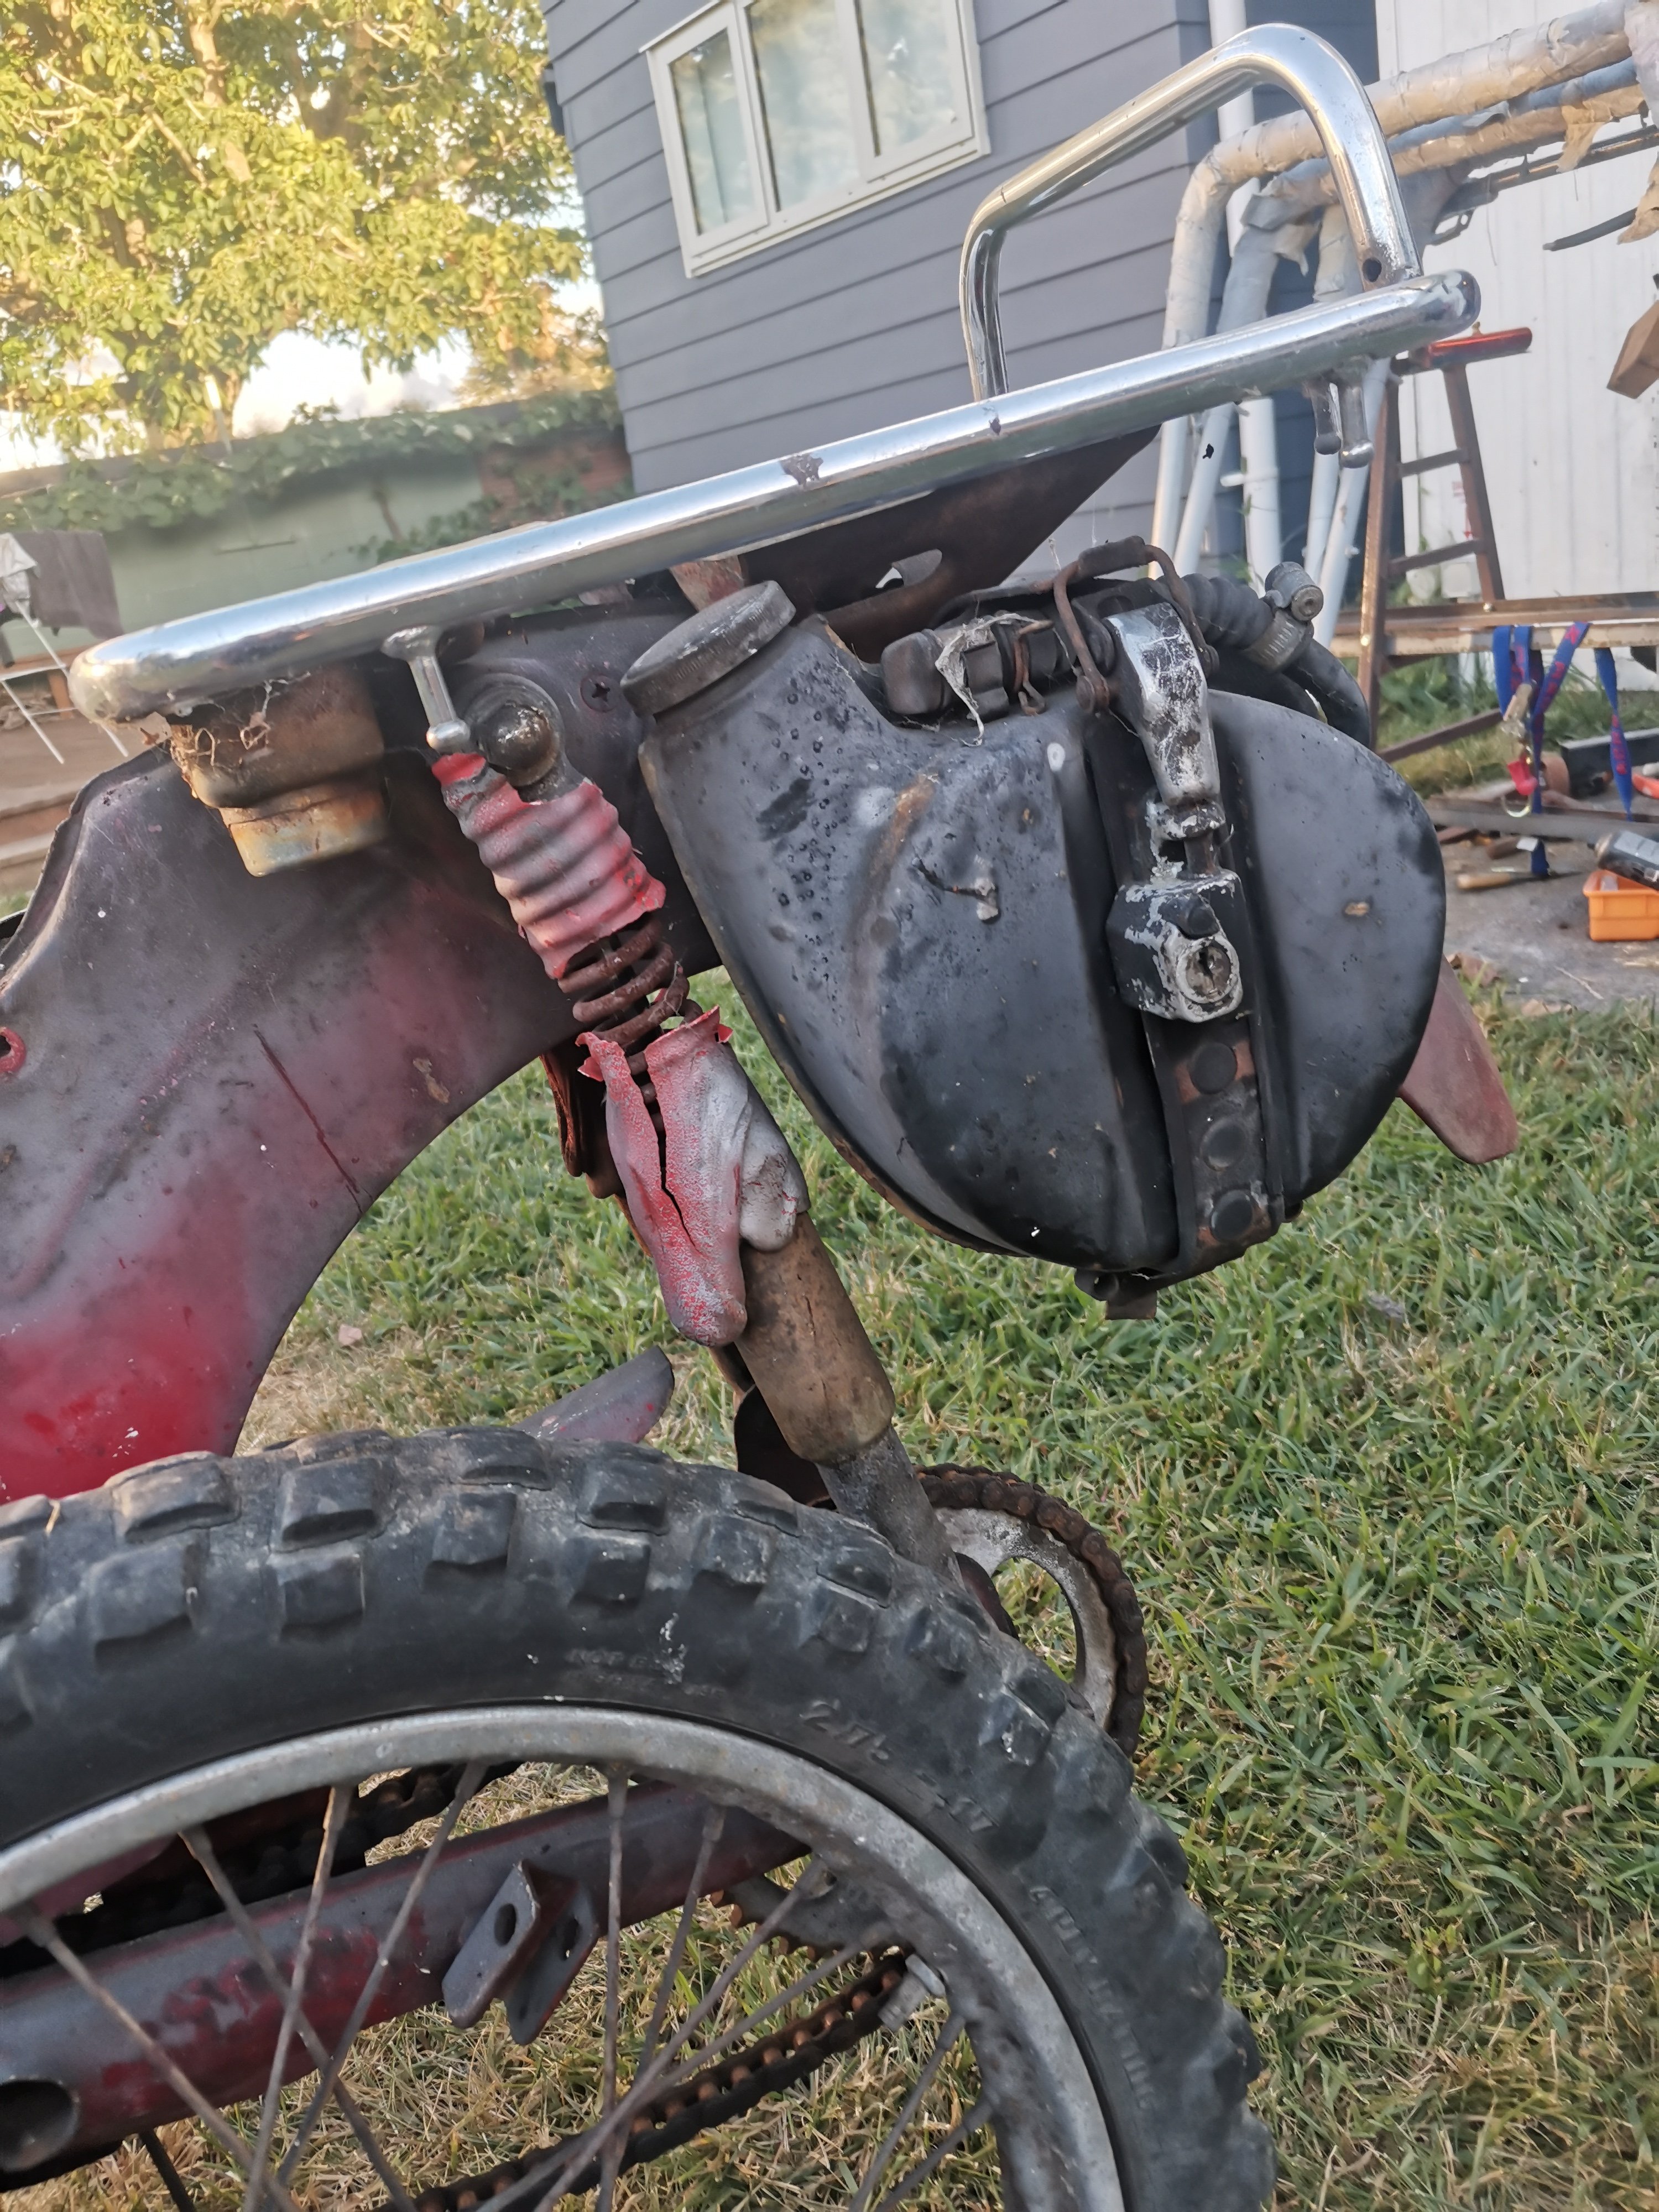
Luckily the aux tank and hose is still in good cond The shocks front and rear, well.... Do they actually have any fluid in them? I think the fronts did, as there's black smoo all down them.
1 point
-
End of weekend engine bay shot. Made a nifty heat shield for the firewall to keep the important stuff like brake masters and fuel hoses from melting. Rocker cover is off getting a parts wash to get all the swarf out from drilling breather holes out. Sump needs to same treatment after I added an oil temp sensor hole.
1 point
-
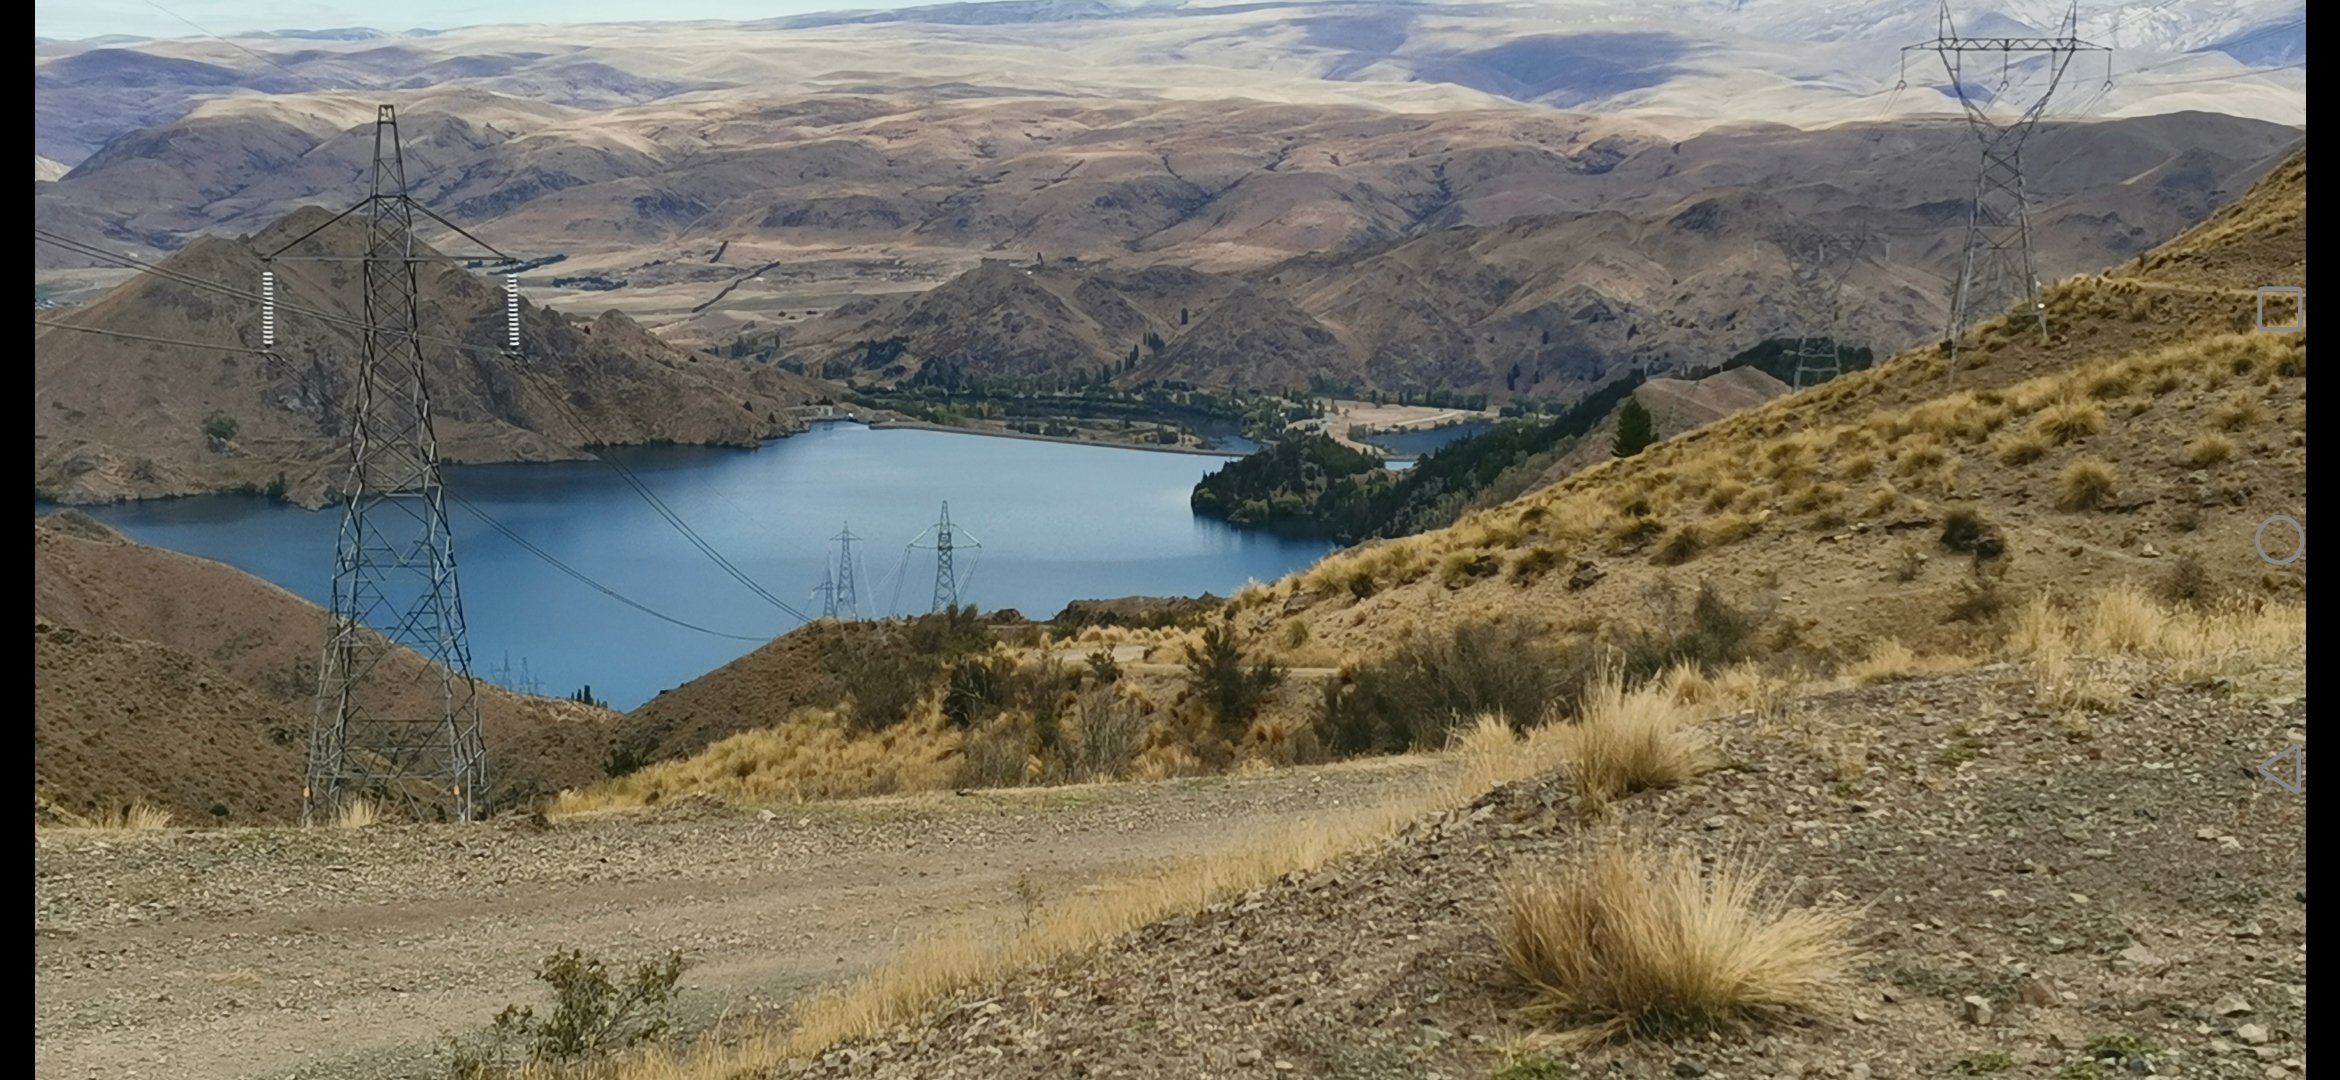
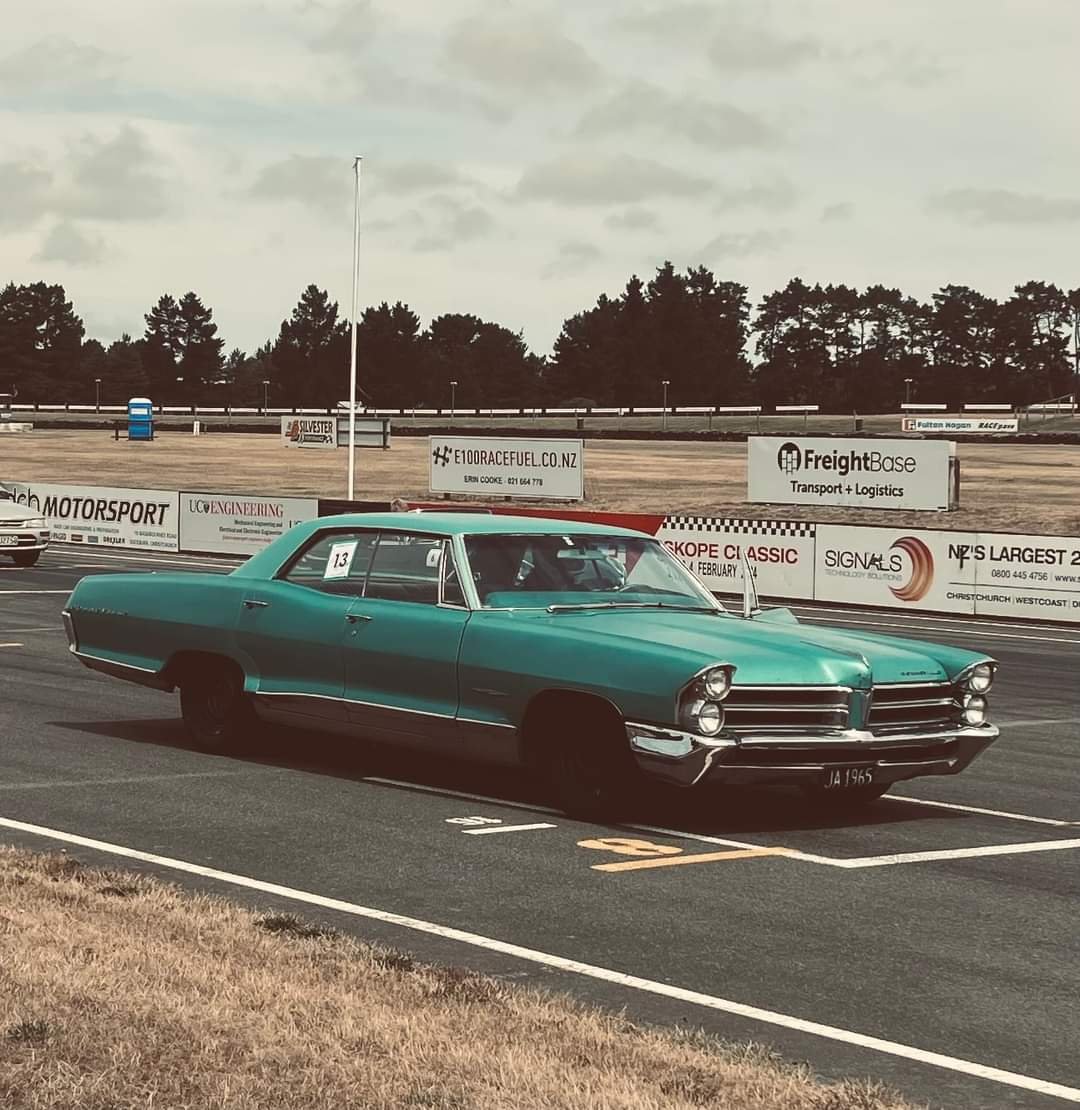
I also did the vcc Pomeroy trophy out at ruapuna the other week along with @Sanfiddy and (/insert jareds handle ( /I don't know what he is on here )). Driving tests included a standing 1/4 mile, a flying 1/4 mile, a braking test, a slalom test, and a 20 minute high speed reliably test on the reace track trying to achieve a set number of laps given from a convoluted handicap formula Got taxed pretty heavily due to 6300cc of engine but otherwise made 9th out of 29 in my class . Managed 115mph at the end of the main straight and with 80s competition brake pads never ran out of stopping power either . Which was a miracle having to stop 4400lbs of car
1 point
-
Guess ill have to make a new profile or change my name somehow lol1 point
-
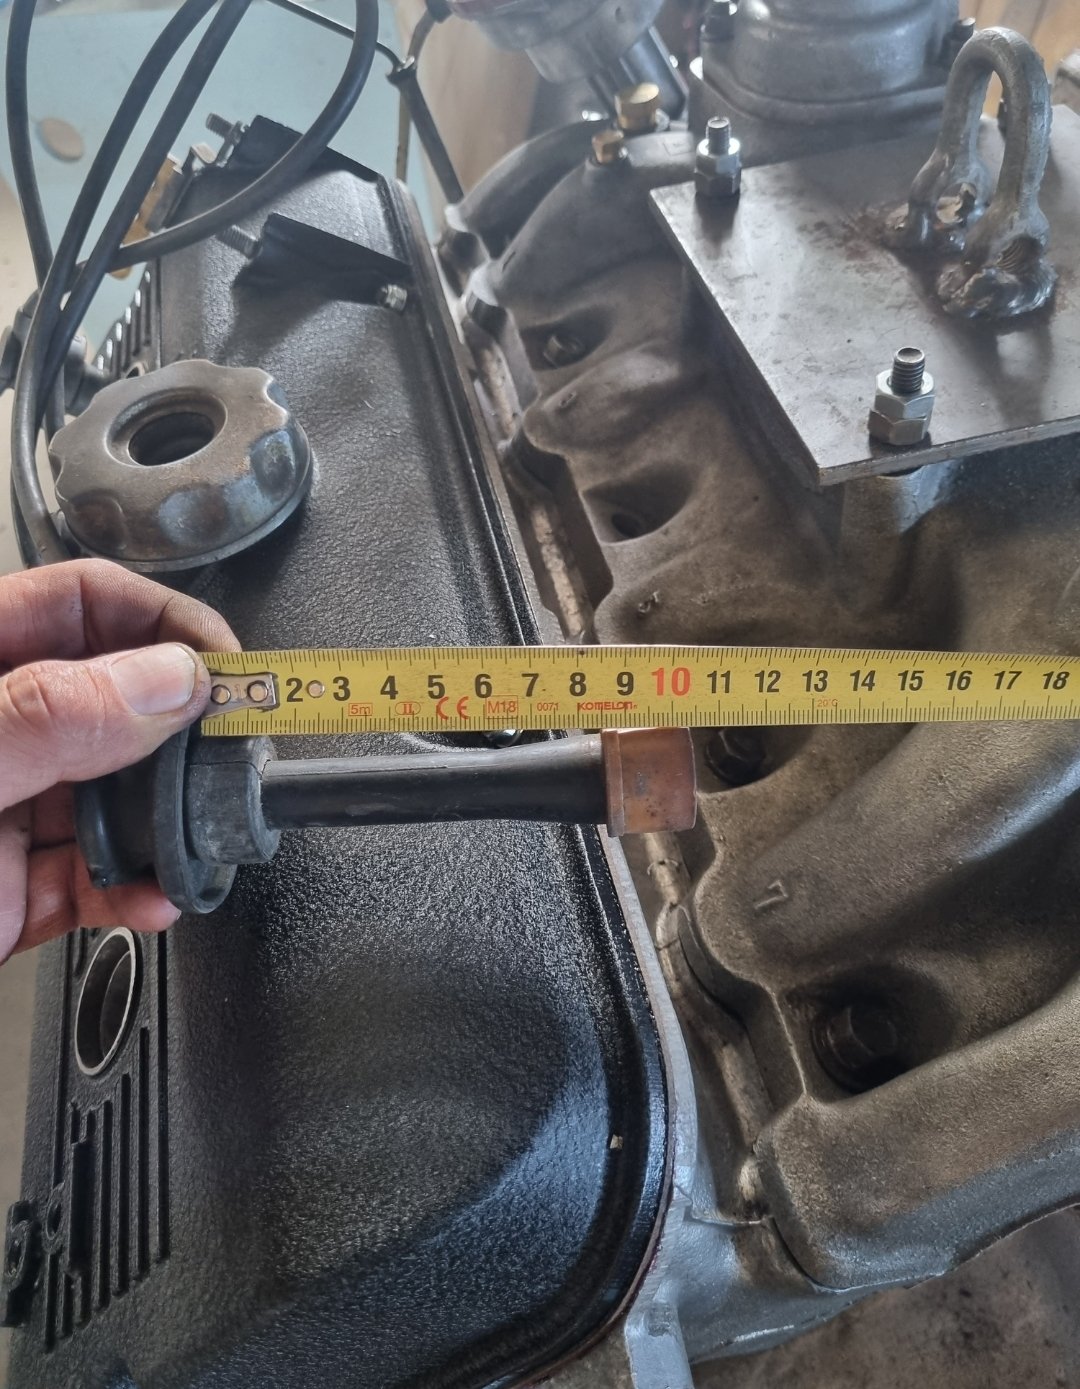
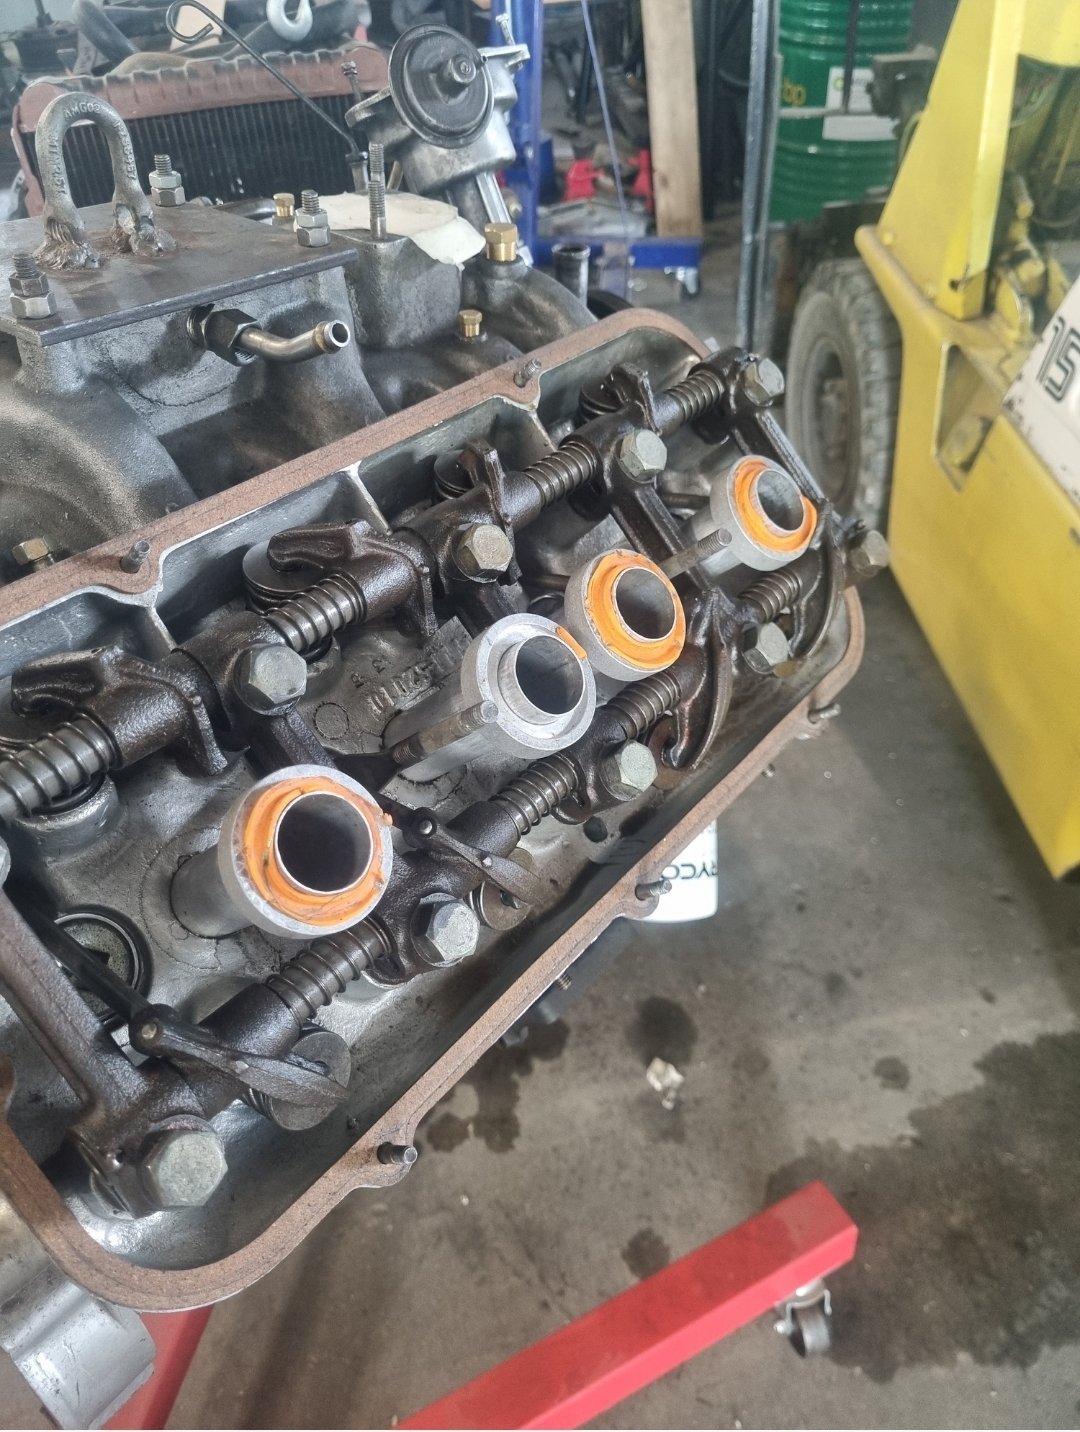
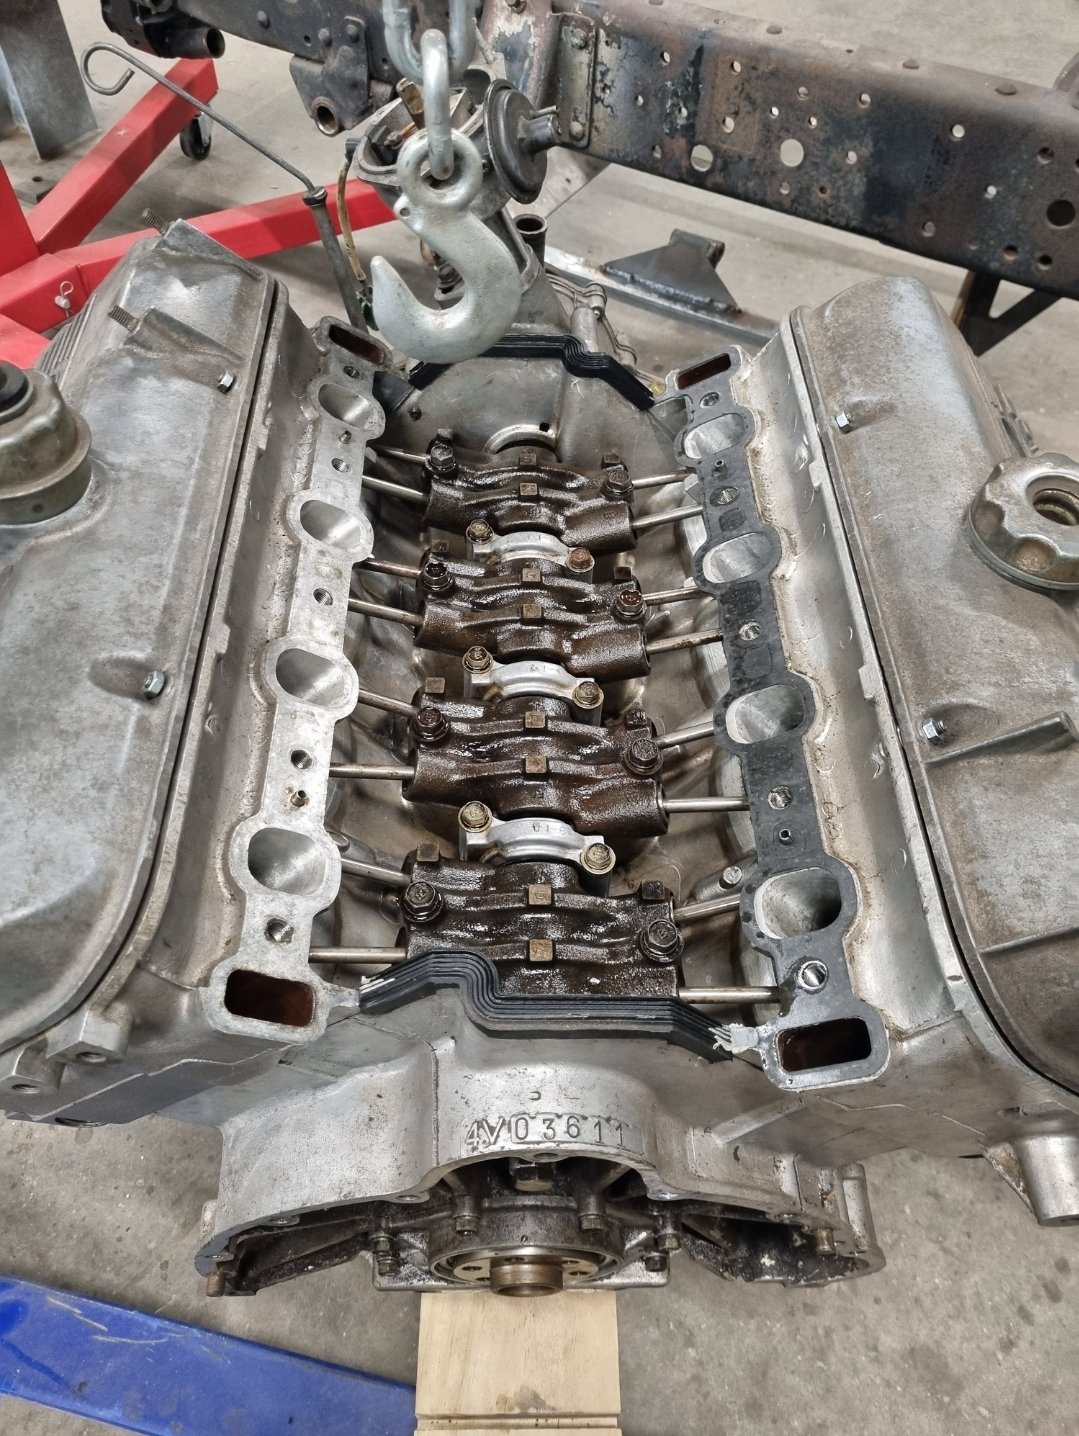
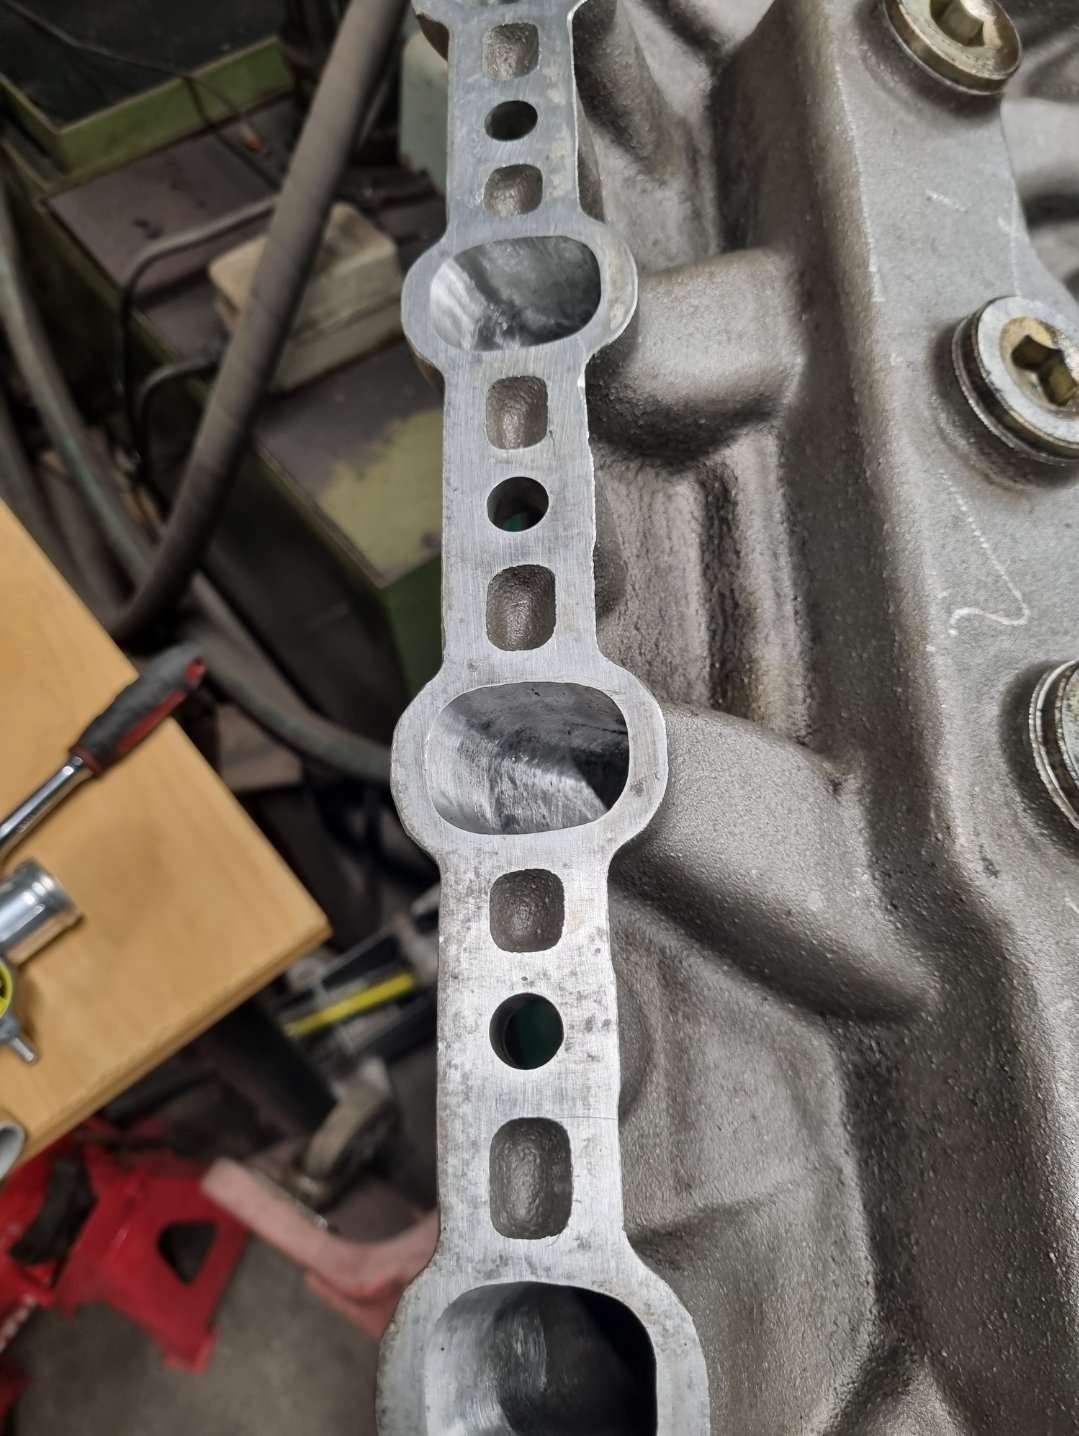
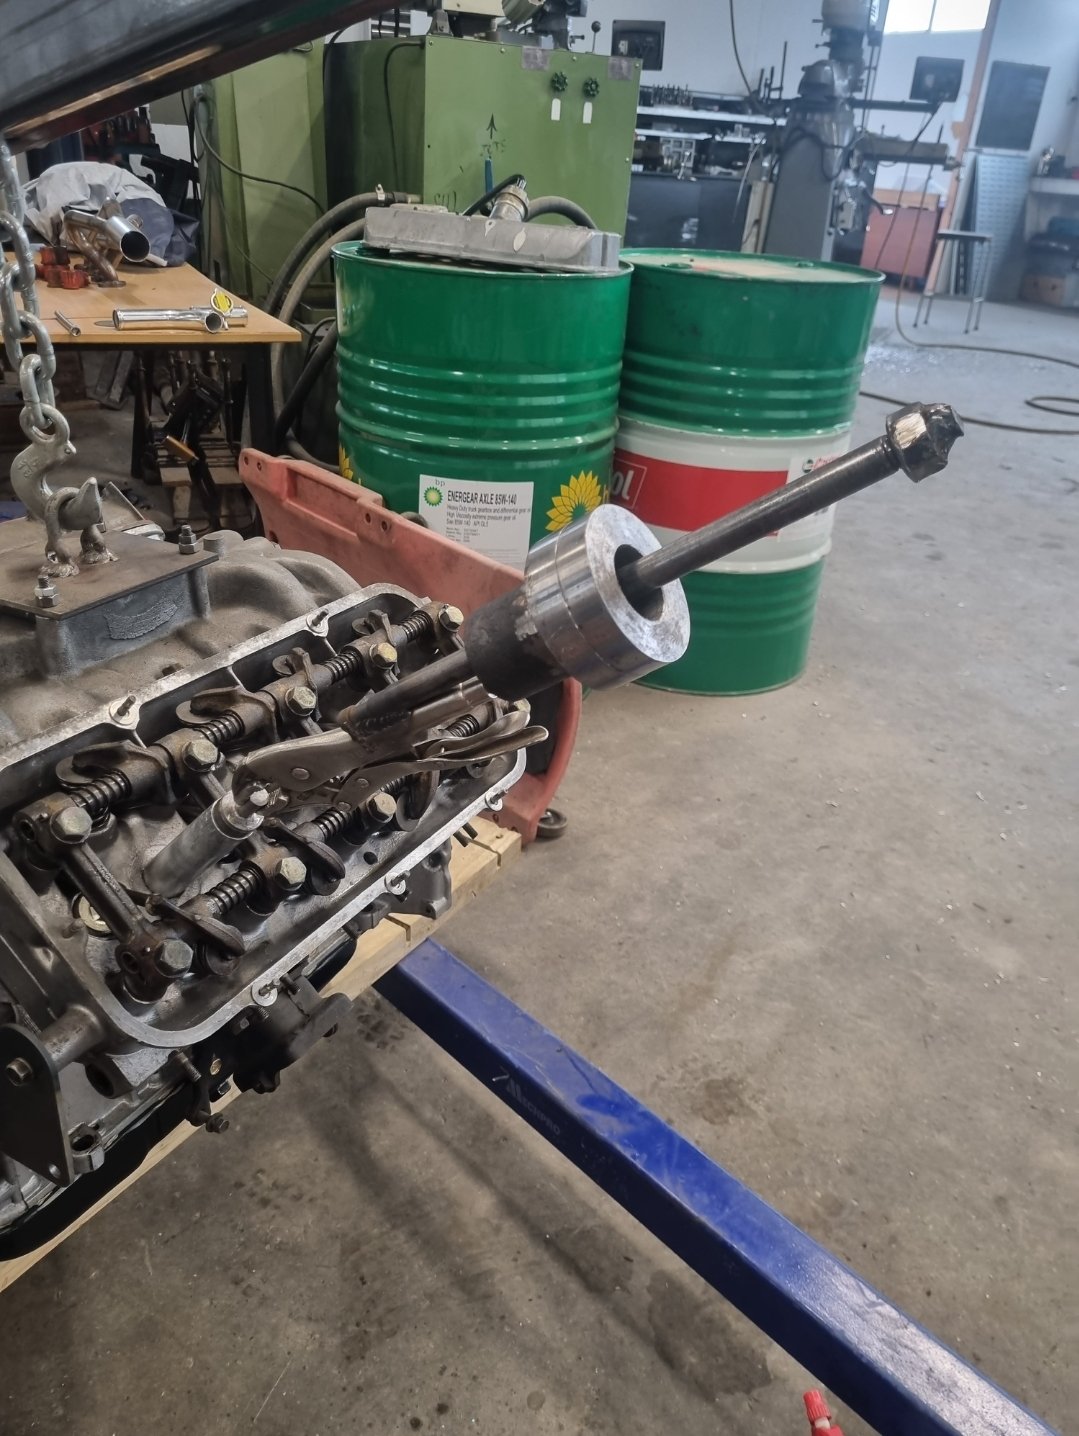
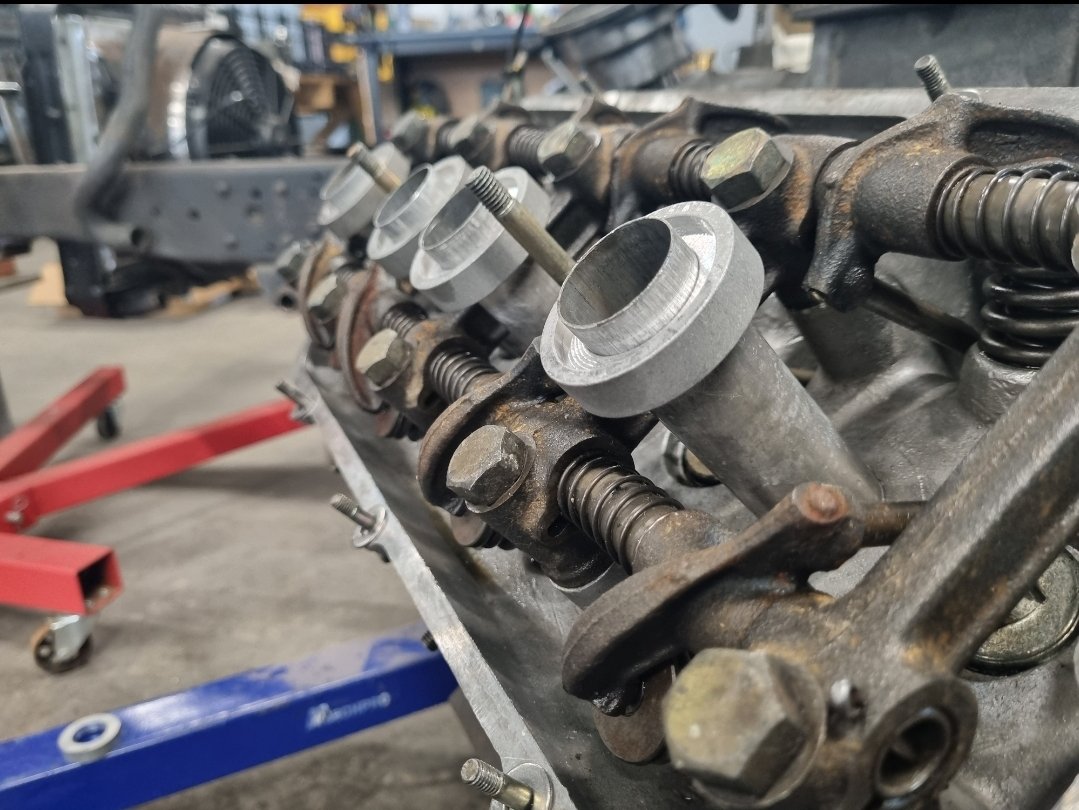
Gave inside of heads a thorough clean from any potential debris that may have gone wayward. Blocked off oil return gallery prior and removed manifold afterwards to ensure nothing made its way into the valley through the pushrod tubes. Took a pic of some of the porting on the manifold and headsfor brags. Gasket was overlapping a couple of ports too so sorted that.
1 point
-
Something something something maybe I'll get it together this weekend
1 point
-
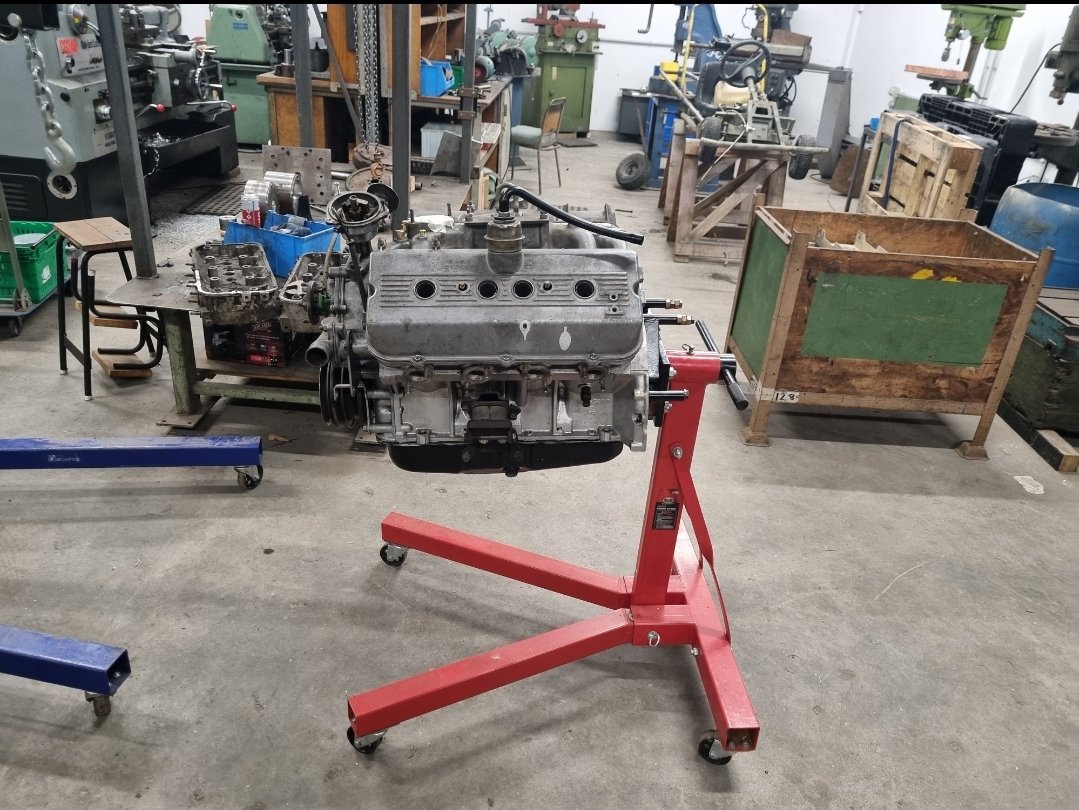
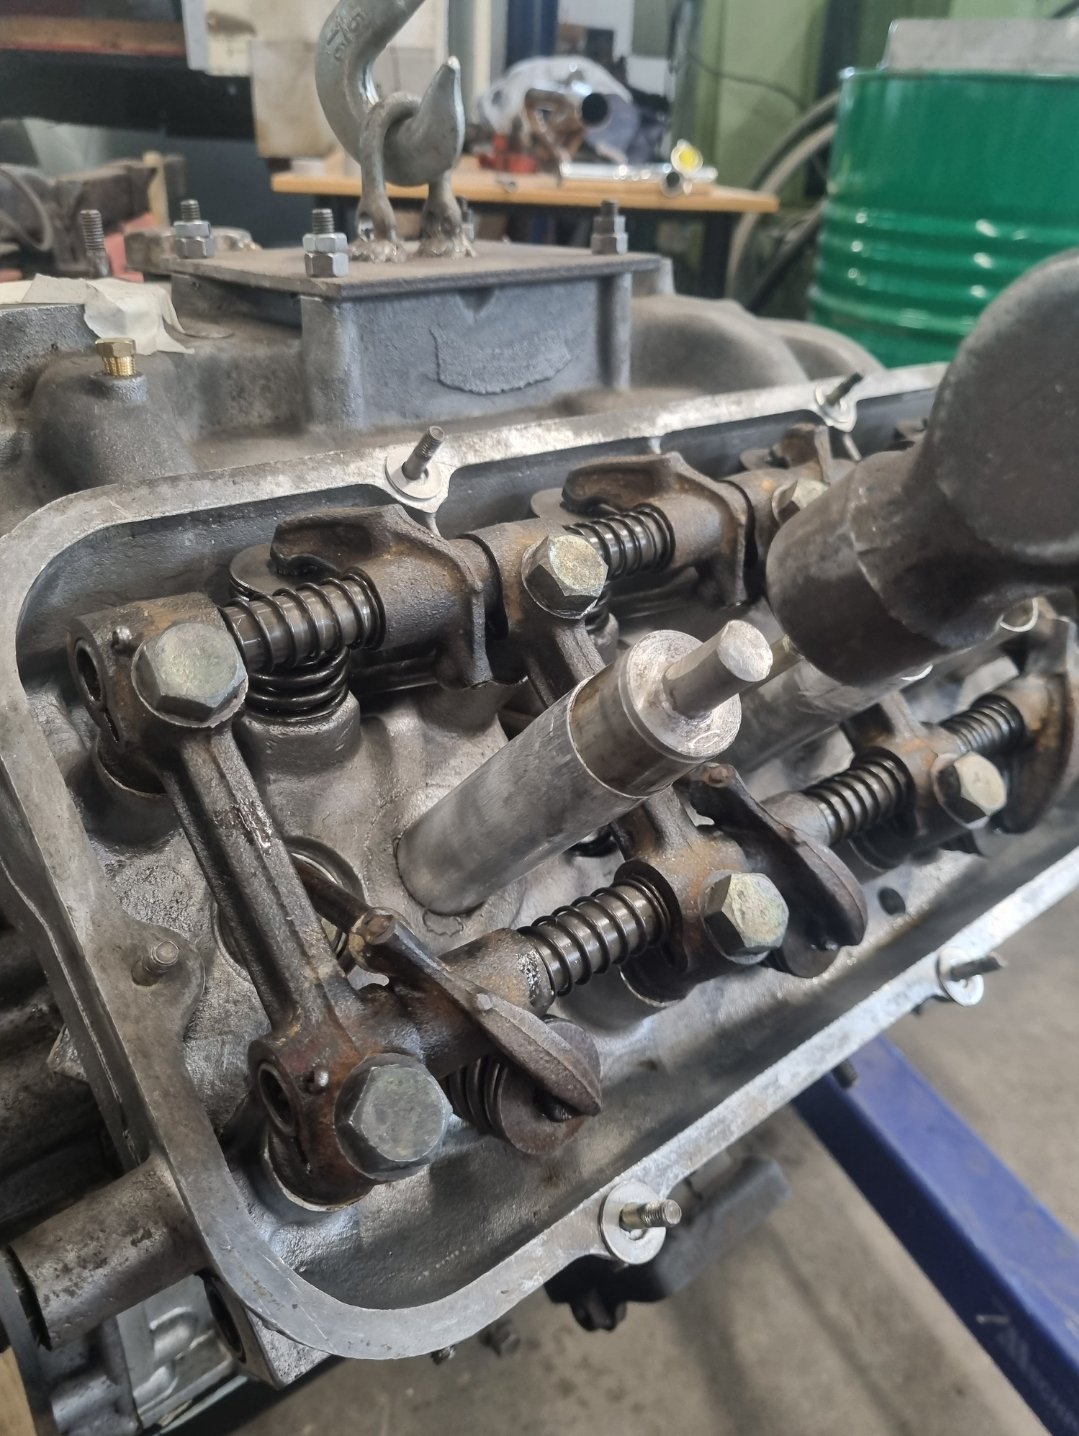
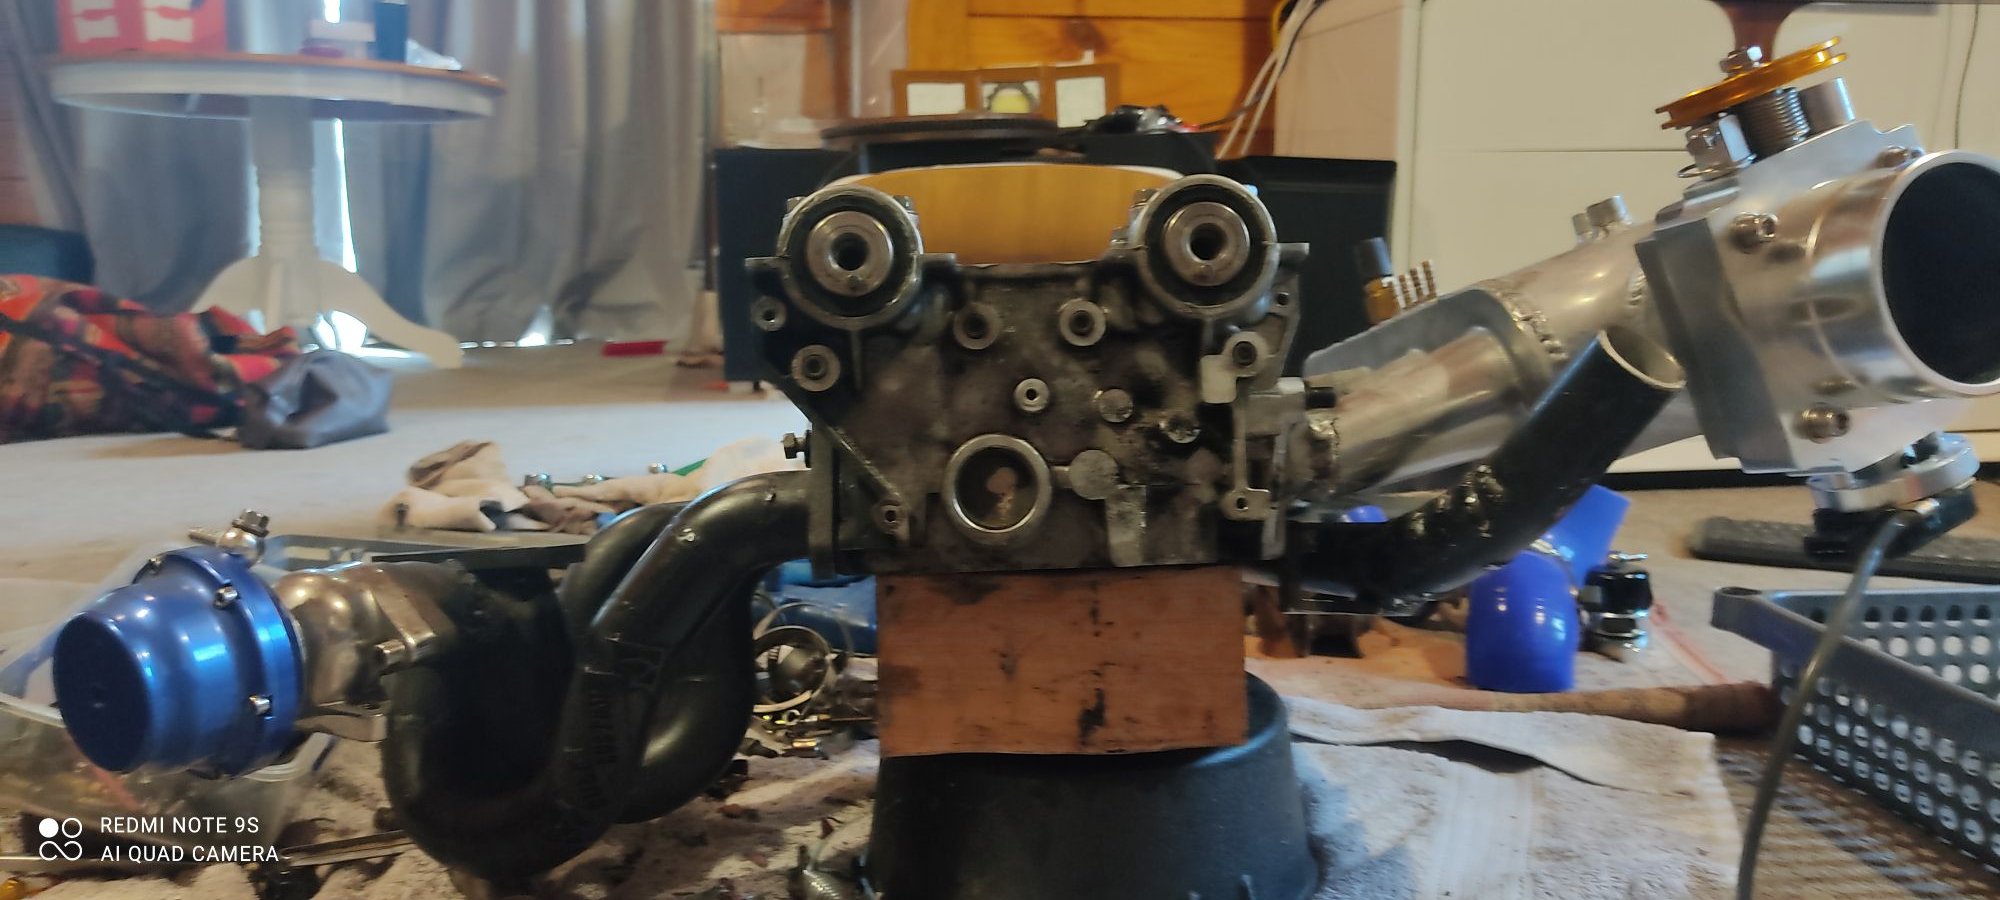
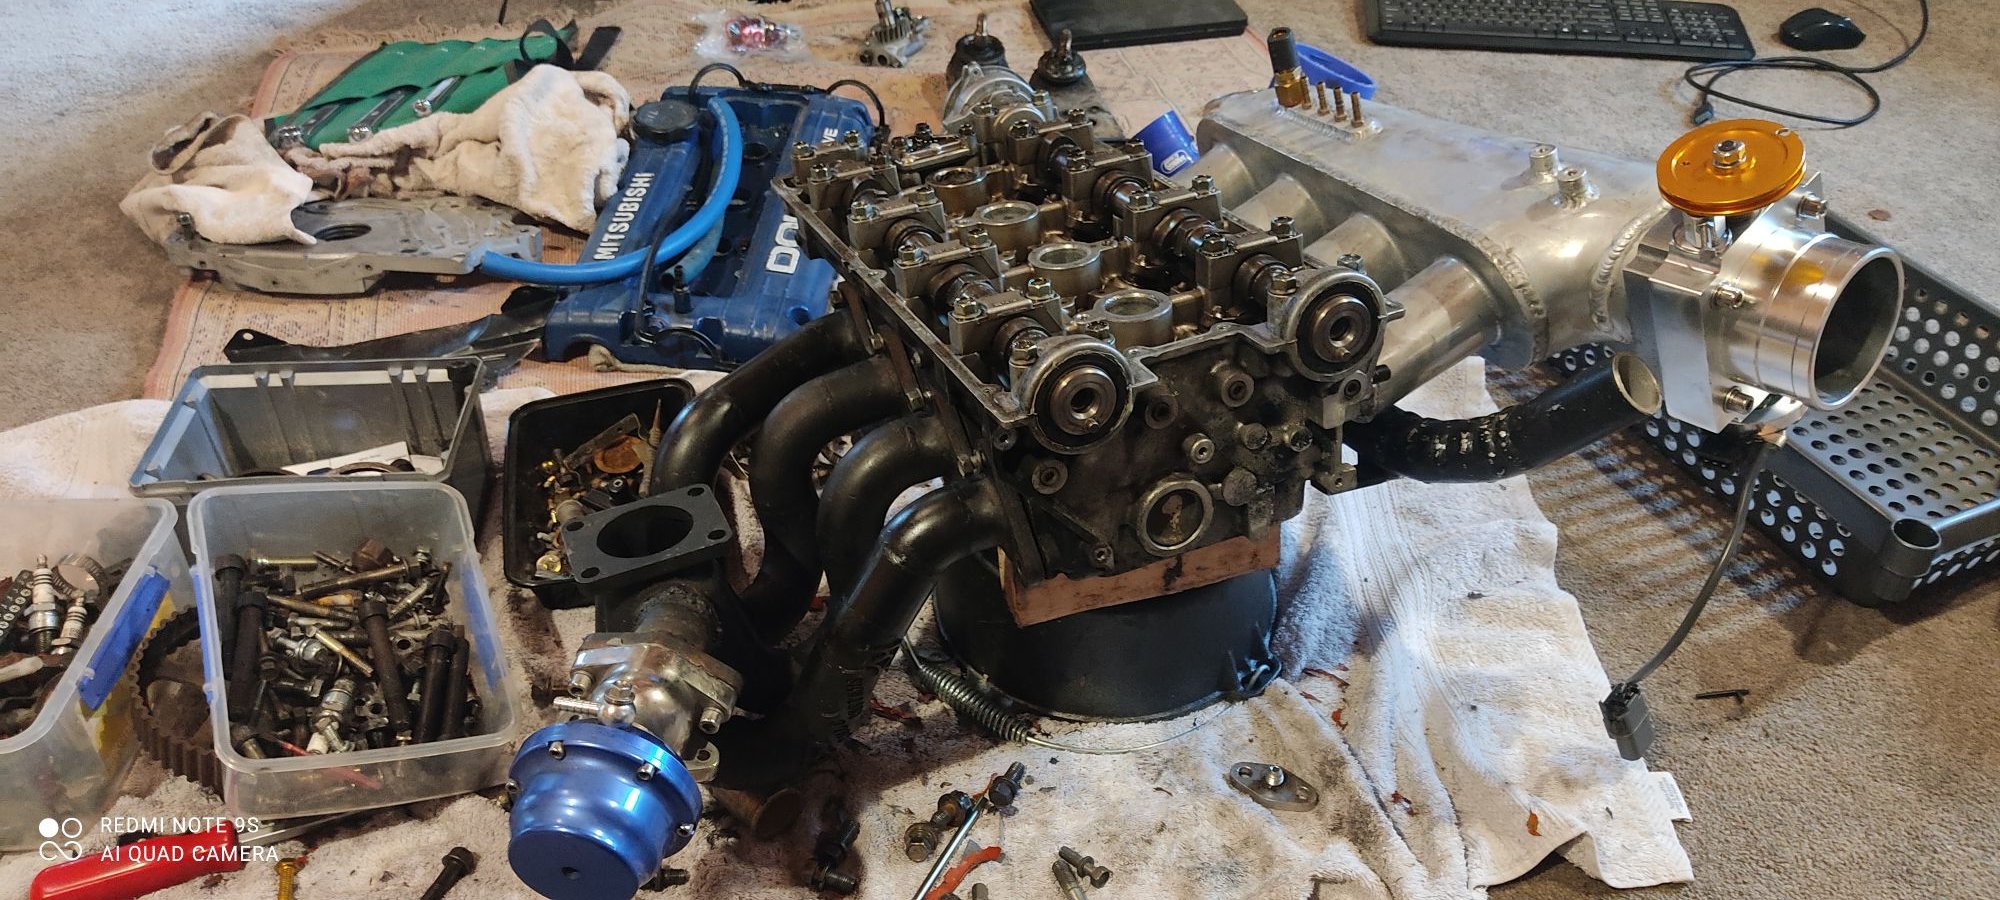
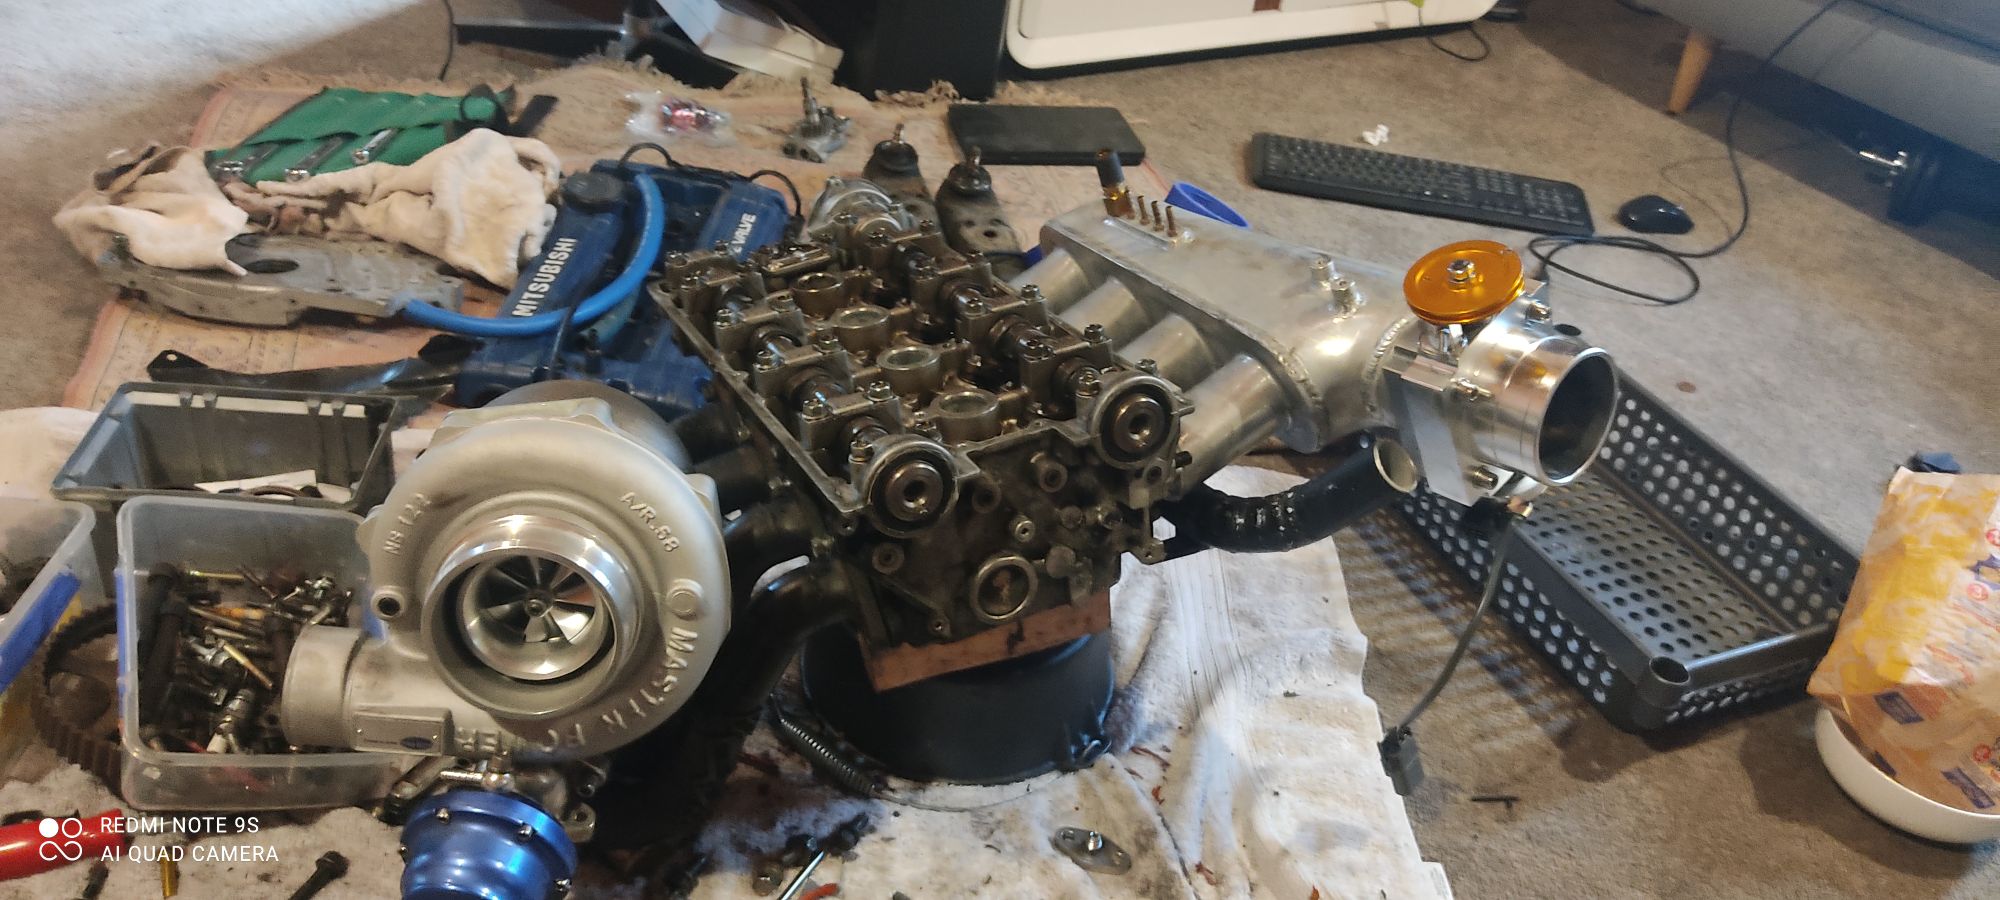
Yup heads off and I'm putting it together fairly half assed to just check what works so far so good
1 point


.thumb.jpg.570970b401ac8d26ce9af7c1bf2bd8cd.jpg)


.jpeg.3d2734e1be46c4b230b2cafddc6c95e6.jpeg)

.thumb.jpeg.e0a4bff61111e0c8c7396950fcc94da1.jpeg)

This leaderboard is set to Auckland/GMT+12:00