
Leaderboard


Popular Content
Showing content with the highest reputation on 03/10/23 in all areas
-
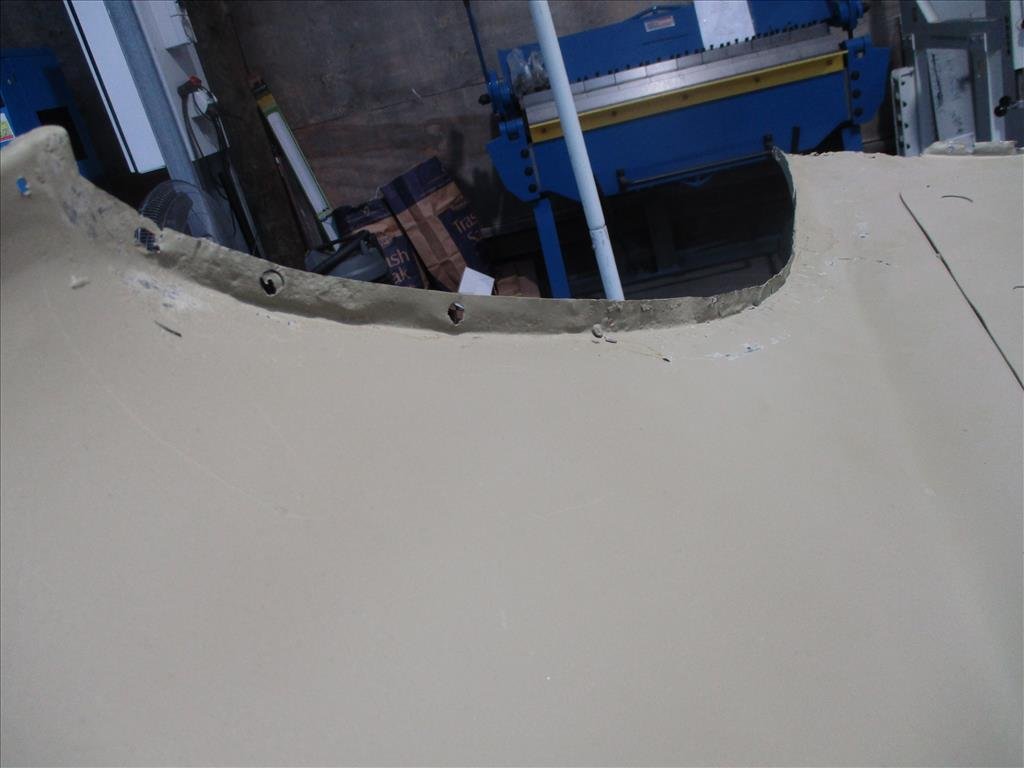
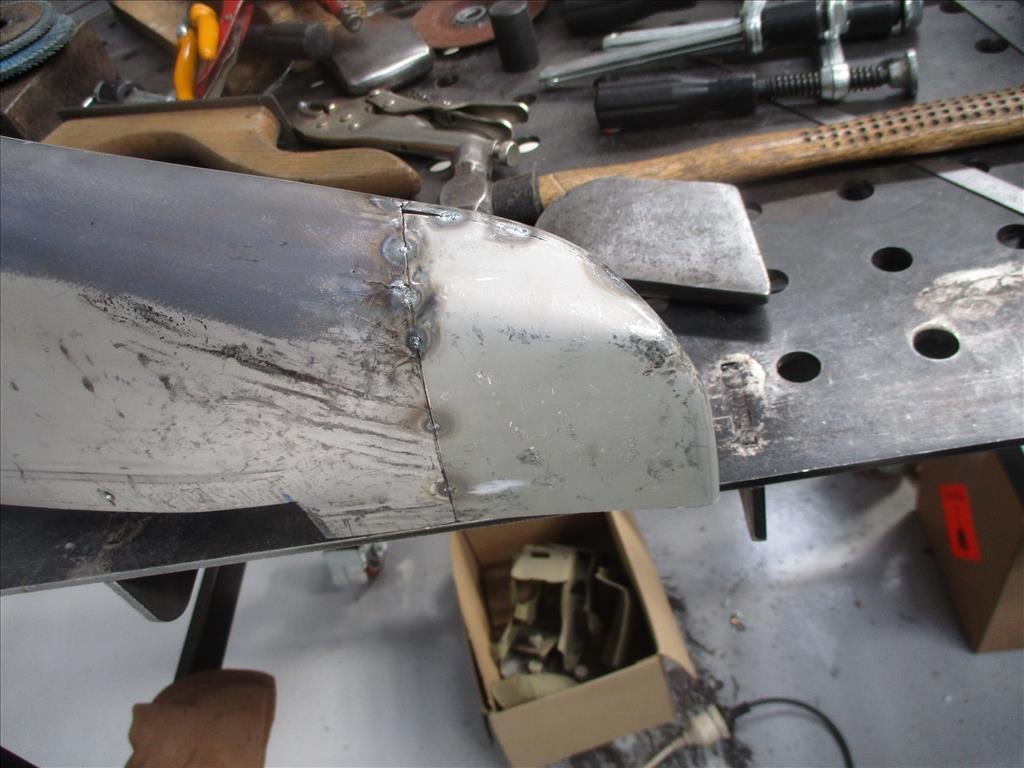
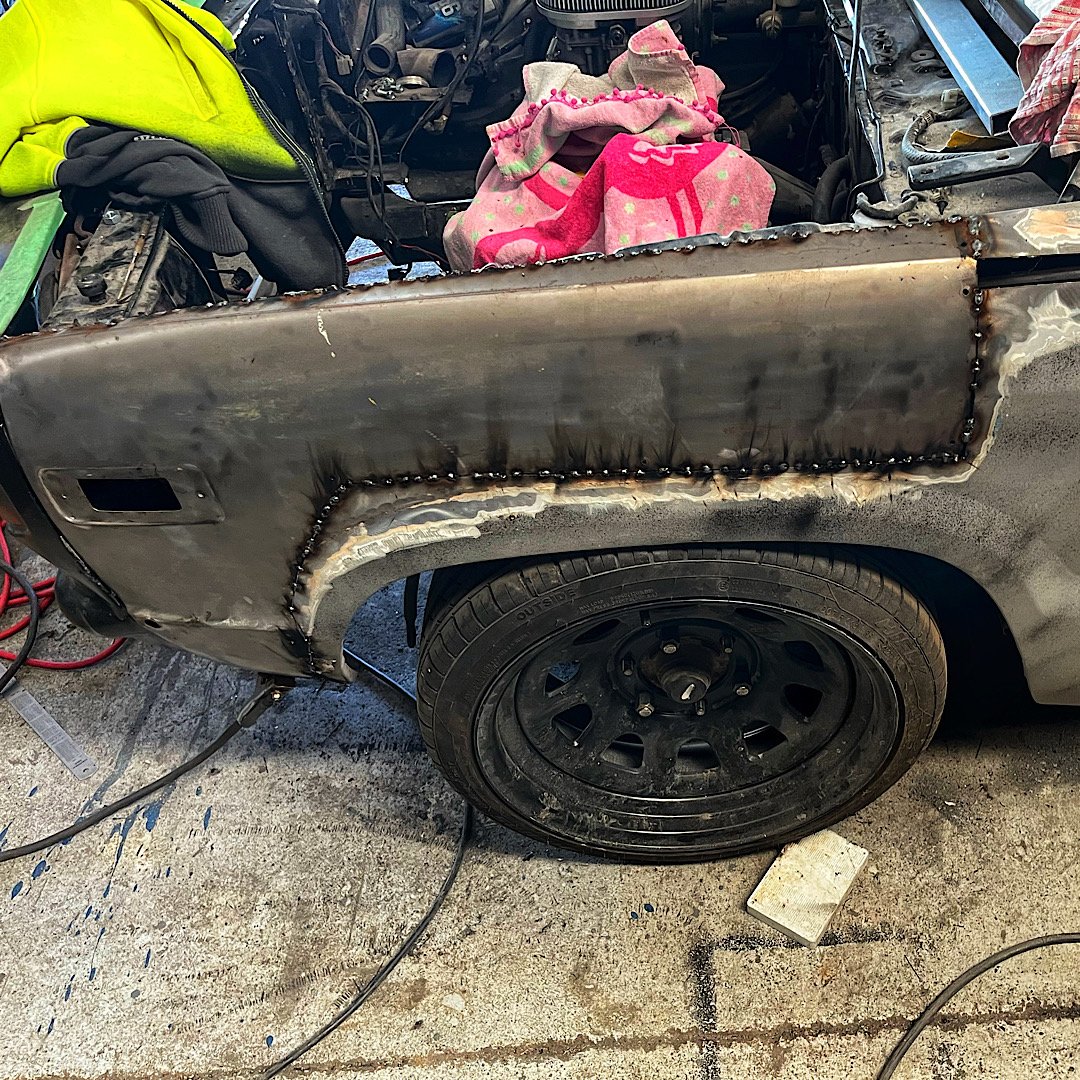
Another timely update from Mr Panel Barry arrived today. He's finished with the rear arches now on both sides and has tidied up some of the other boot floor area bits too. He's now going around the edges of the rear quarters to tidy up the mess there so they well nice and line up as best as possible. Still a little work to do but it's coming along really nicely. As you can see it's pretty pitted and mangled before. I think we're nearing the home straight for this rear end. The arches were one hell of a job and he's done excellent work.
 7 points
 -
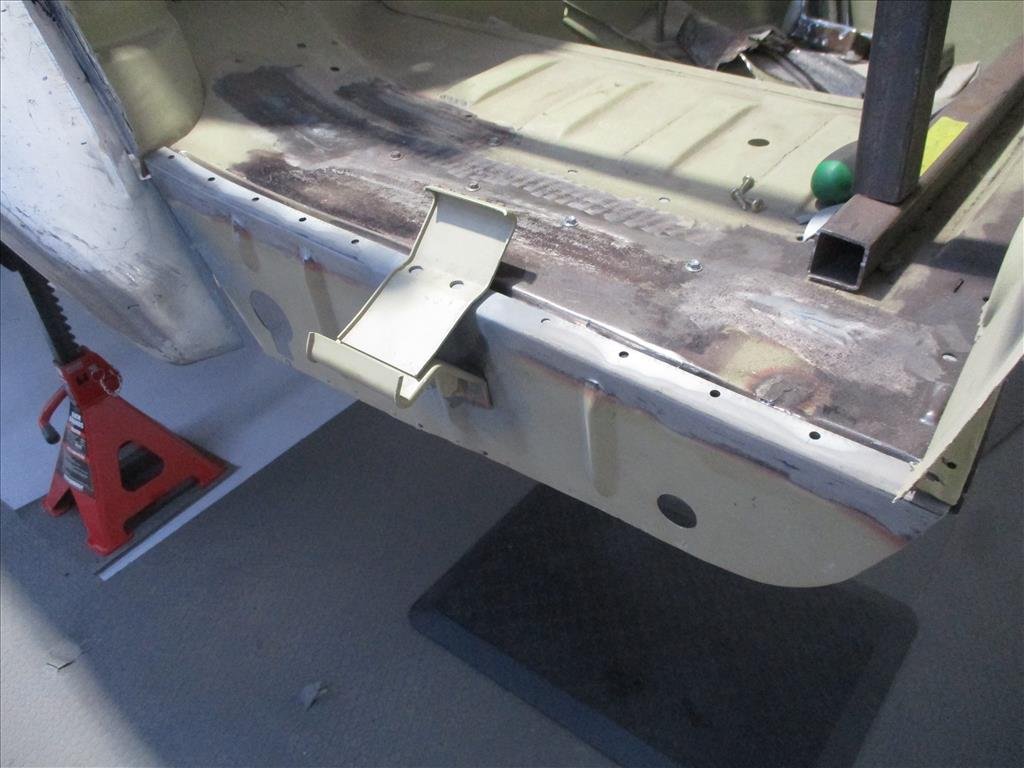
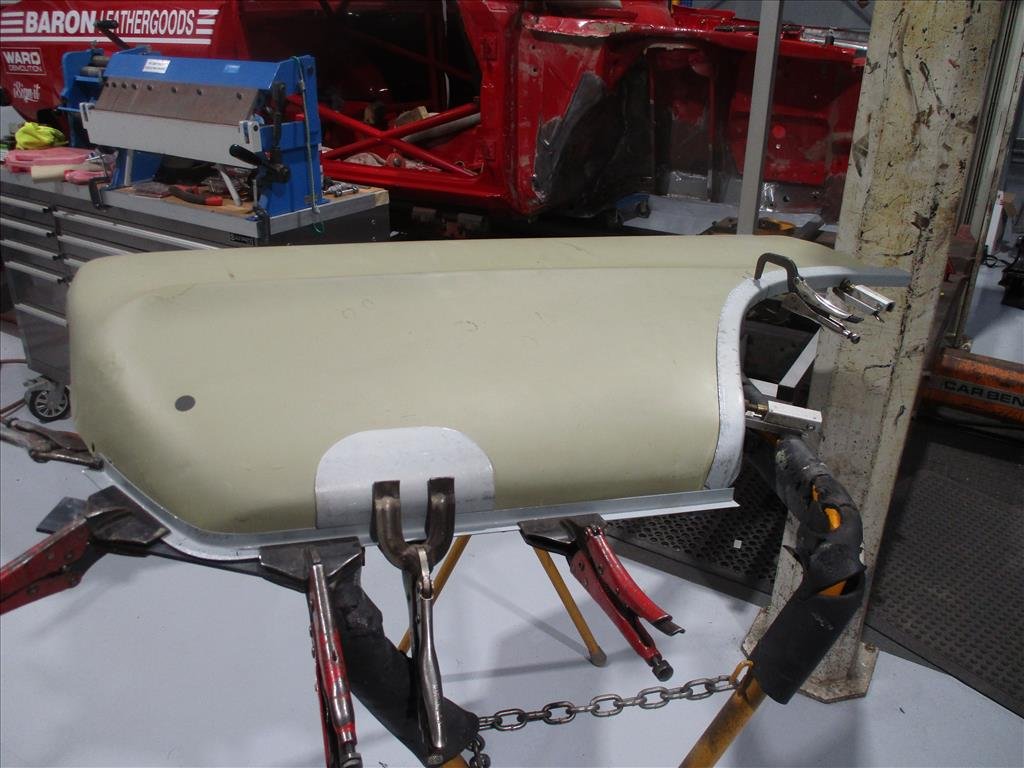
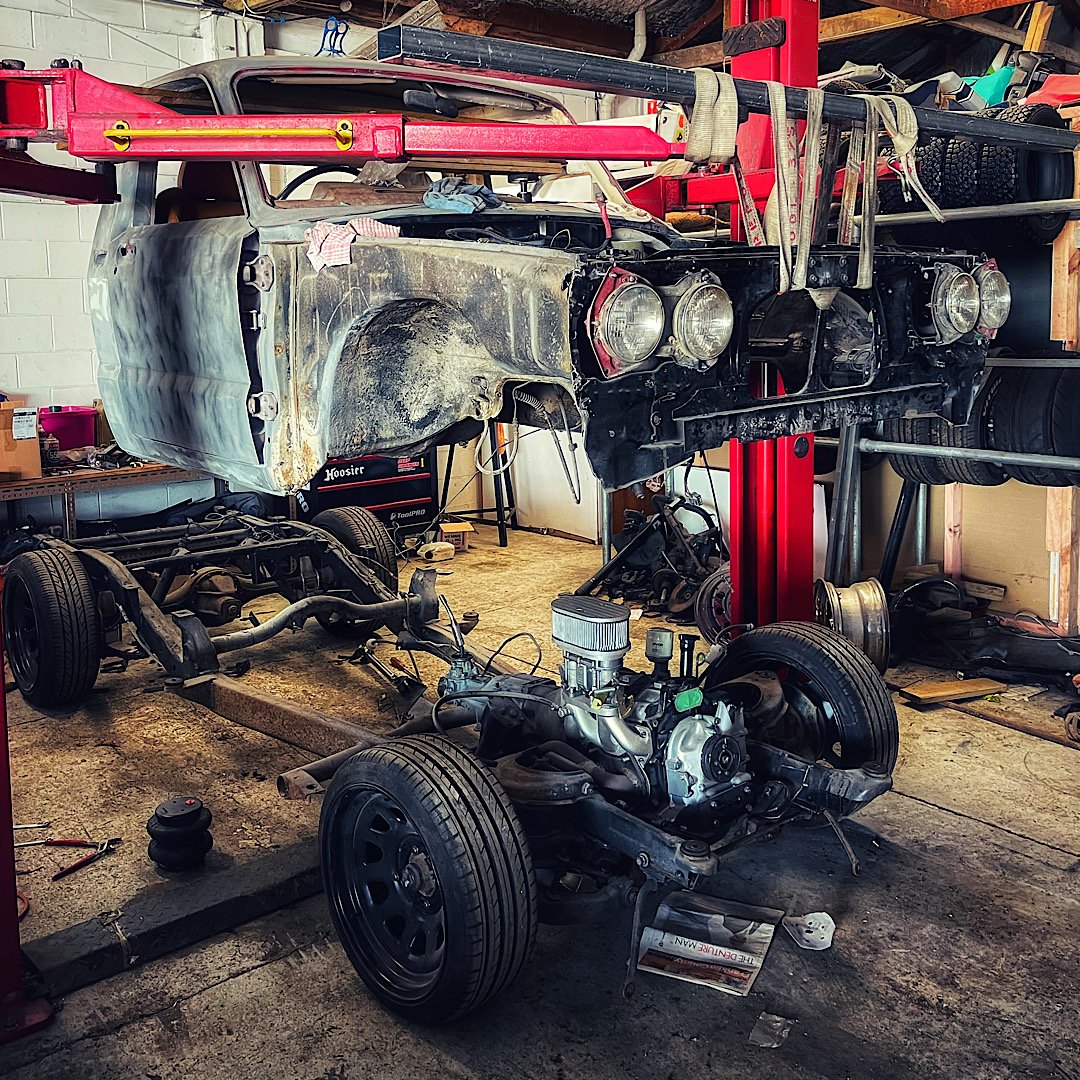
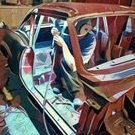
Decided to lift the body off the chassis today. so had to tack the 2nd guard together. got it mostly done, then started with the upper fillers, but called it there. pulled the guards and nosecone. lifted the body up. now I can figure out the front bag mounts. looks like the only way to go is to cut the entire upper spring cup away from the chassis. the upper A arm mounts to a bracket over the top of the rail, so doesn’t touch the spring cup at all. the lower A arm will have the spring seat removed and a cup and plate fizzed in. upper bag brackets will mount off the rails and be gusseted. should be all G
6 points
-
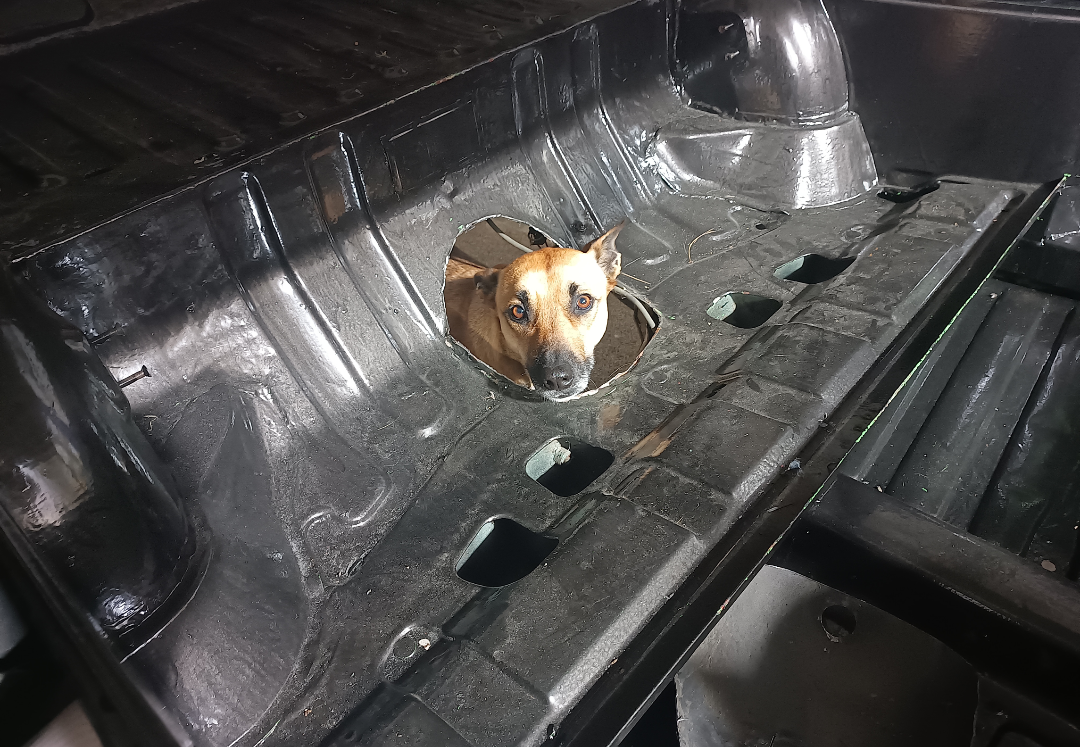
Yeah DaveScience and Hunter (The Durp) are now friends
5 points
-
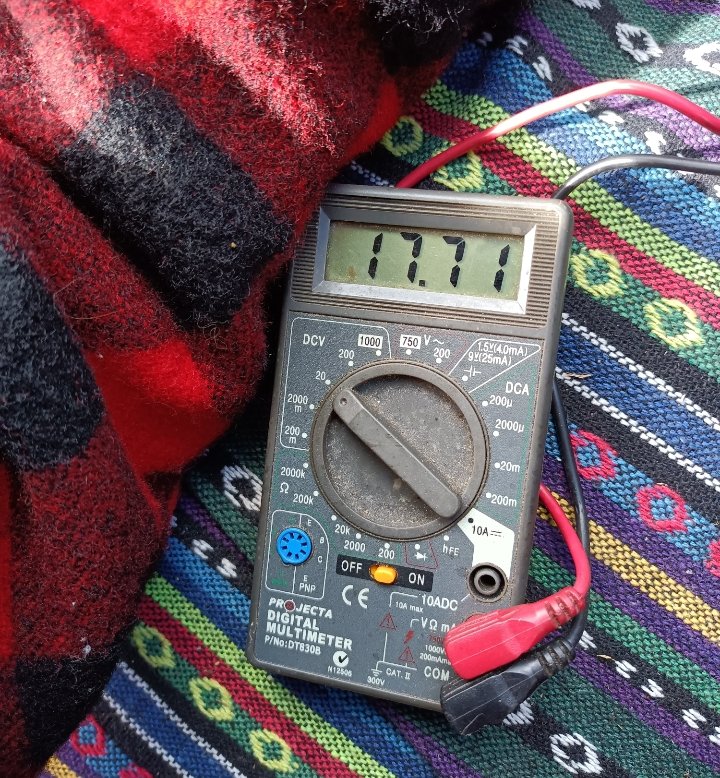
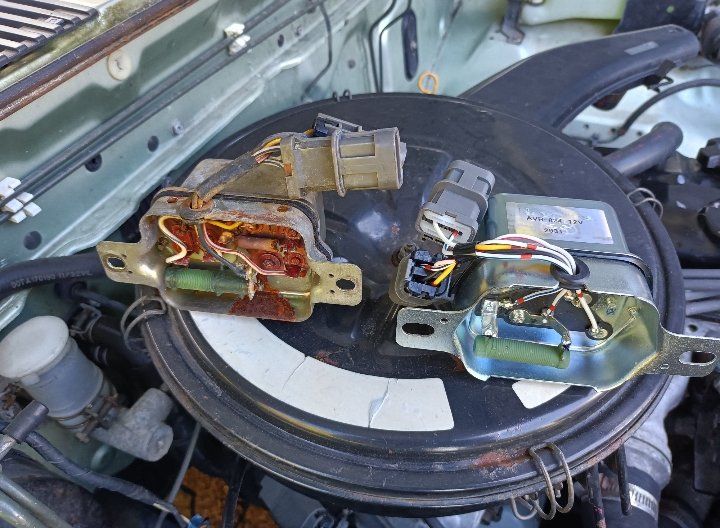
So I put in a new head unit a few months back (how good is Bluetooth, no more silly aux cords). Anyway, it soon gave me errors (check wiring) and would turn itself off frequently. Now I'm no wiring expert but like to think I can install a car stereo good enough. Rechecked all the wiring and connections, nothing obvious and no change in performance. Gave up for a while then the other day it was as repeatable as ever and would cut out once driving and then come back on when idling. So figured it may be voltage related. Threw the multimeter on and hey presto. That ain't right. Tracked down a second hand alternator and gave the same results, at which point realised it was externally regulated (facepalm) so concluded the regulator was bust. Given the corrosion on it, it seemed reasonable assumption. Tracked down a new one, and everything now does what it should (14.5ish V at idle) and I have consistent music!
4 points
-
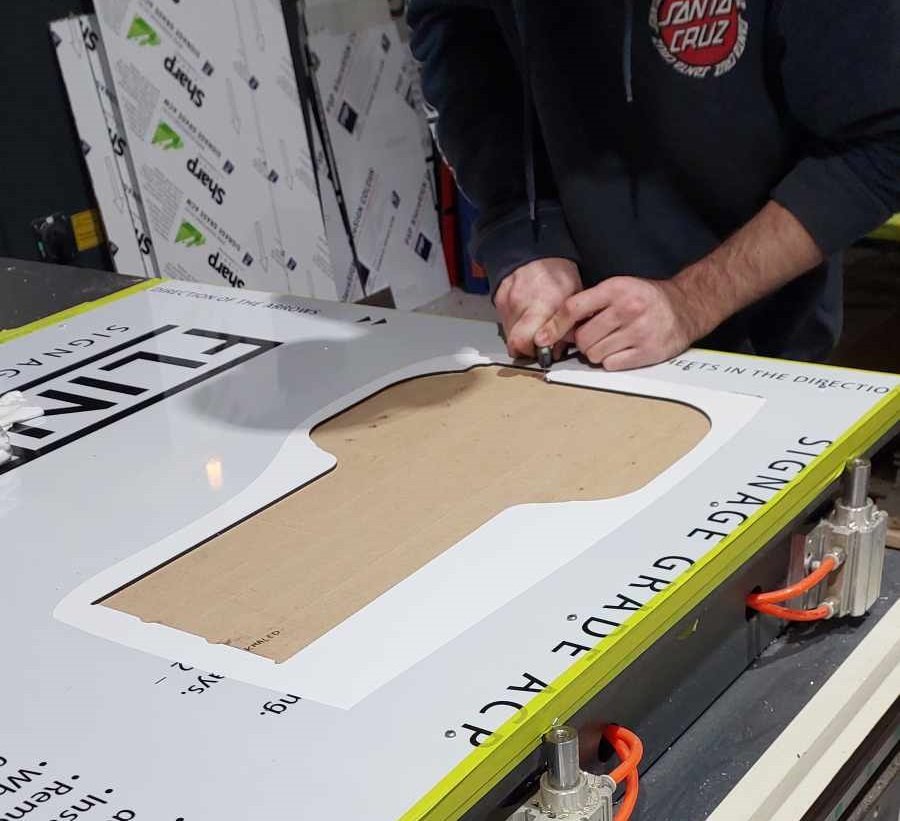
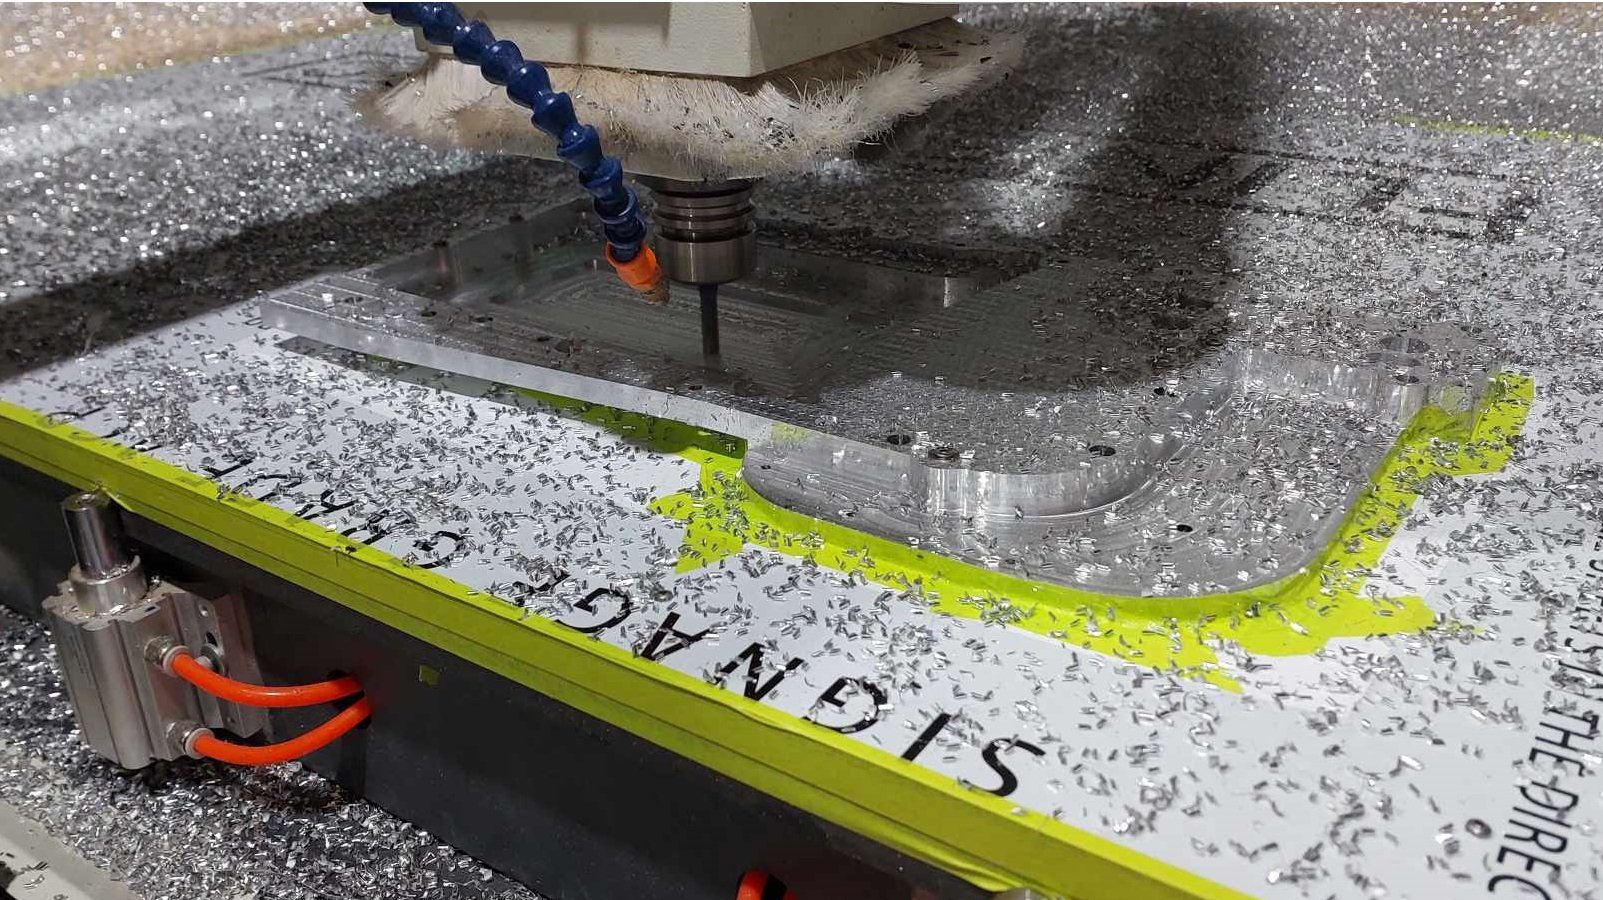
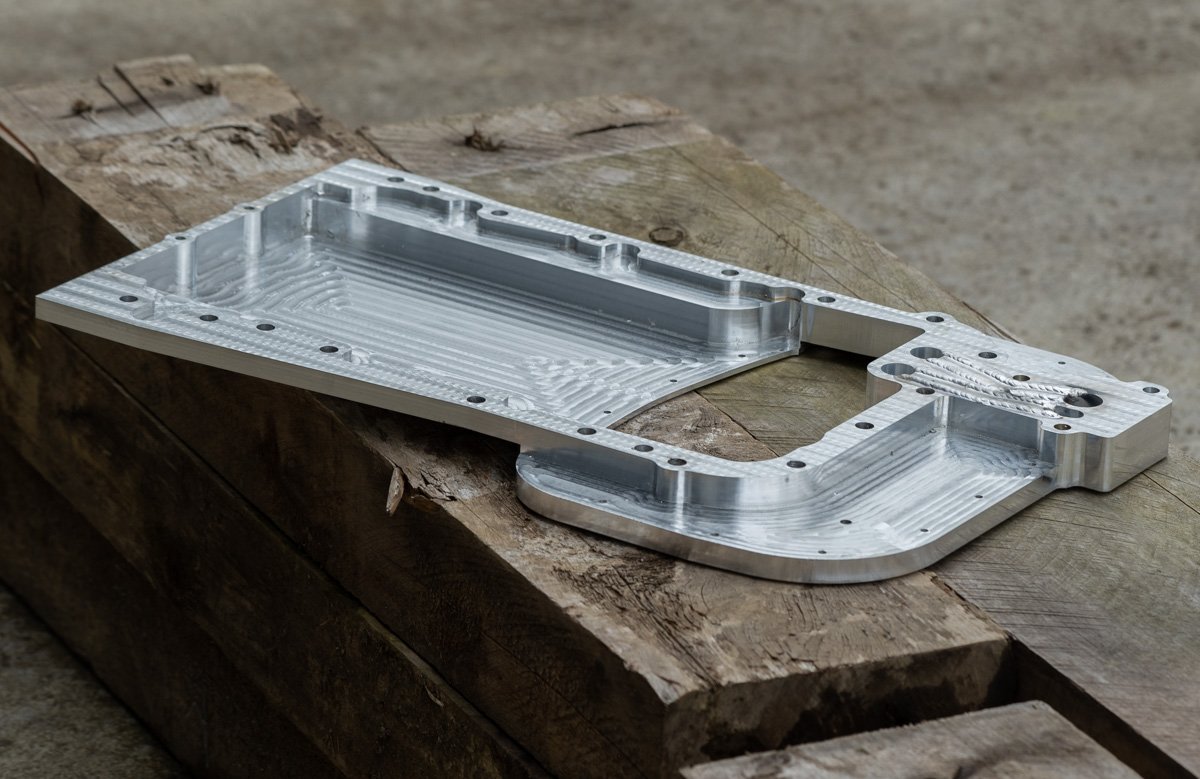
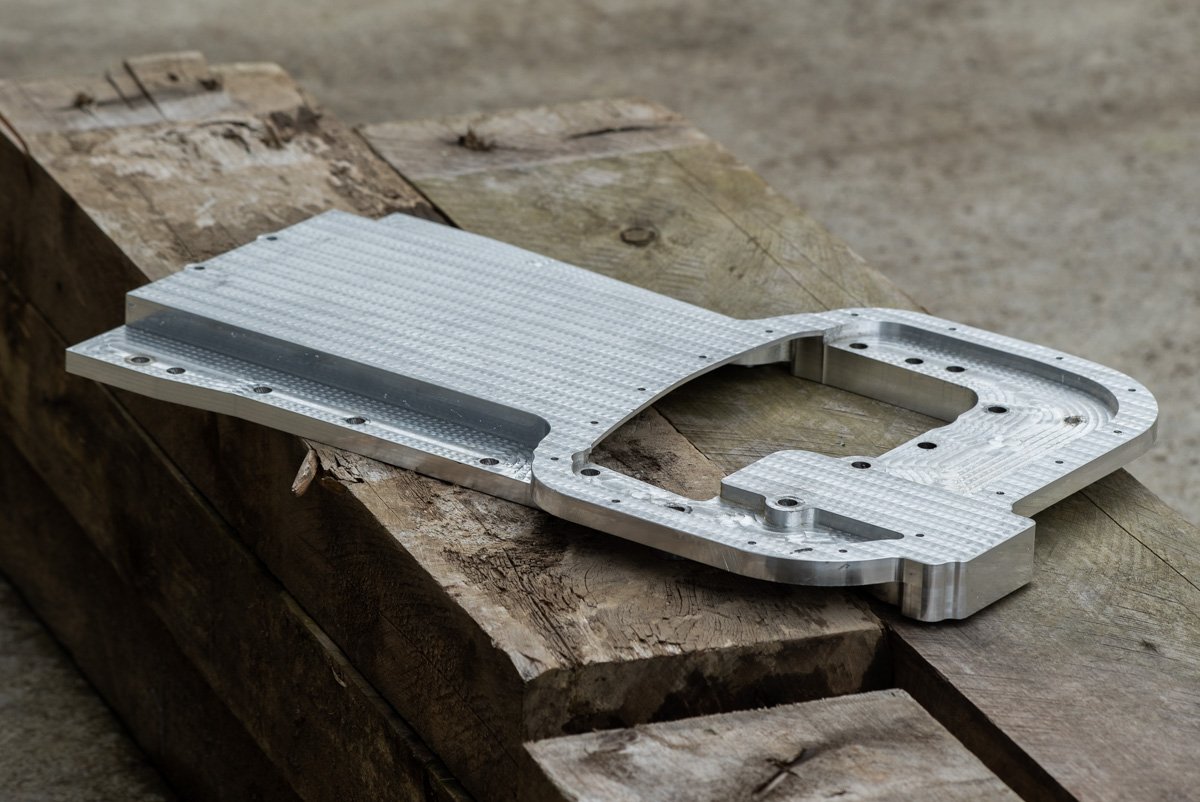
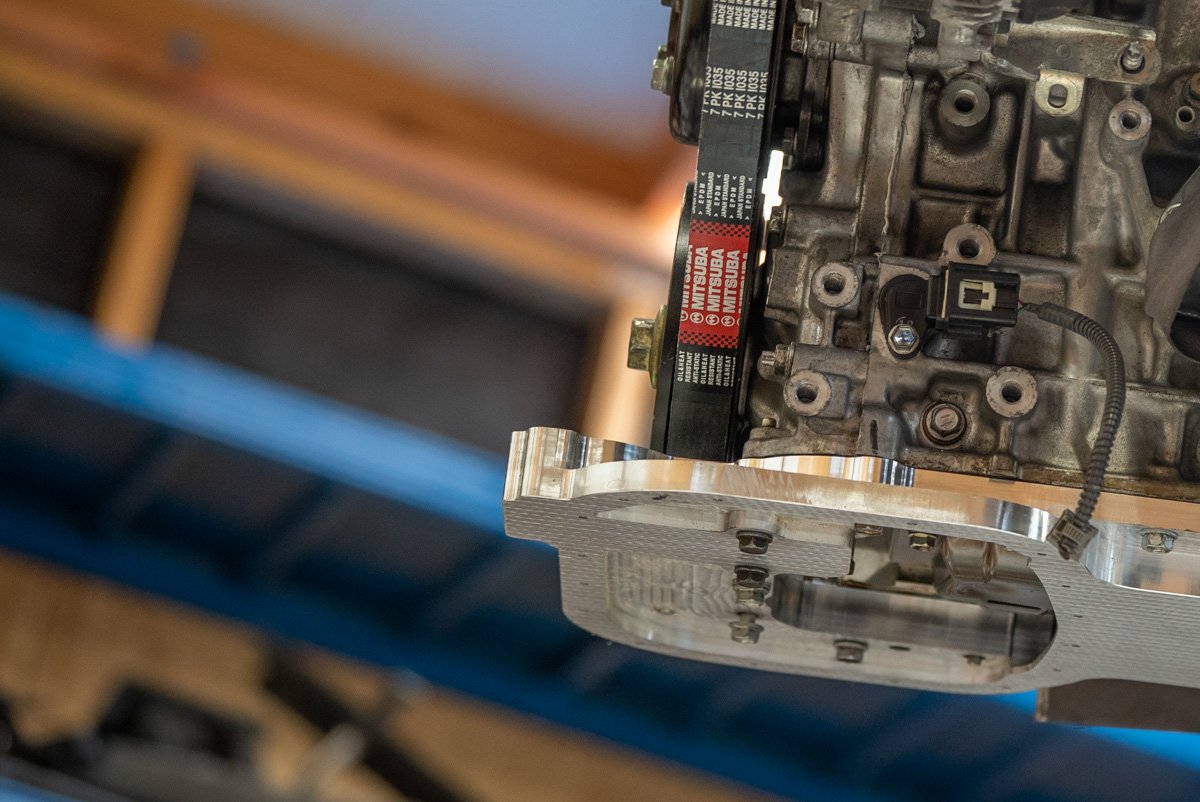
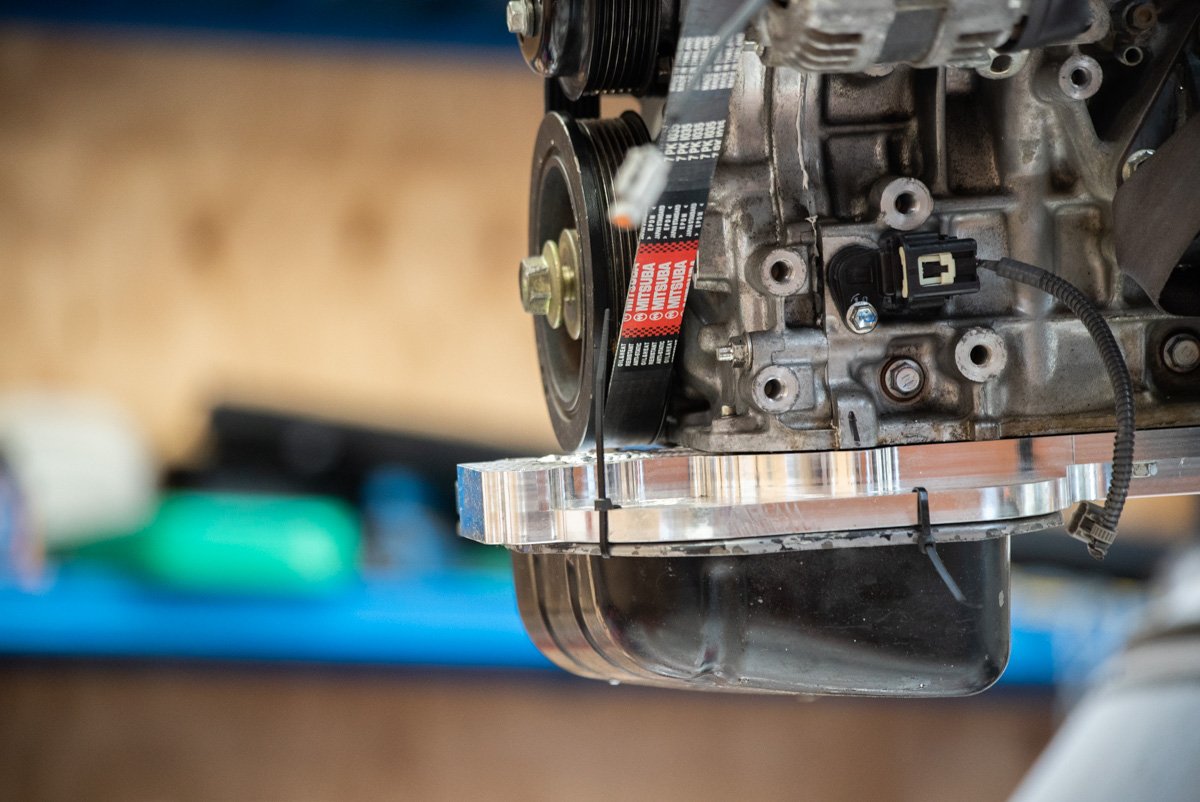
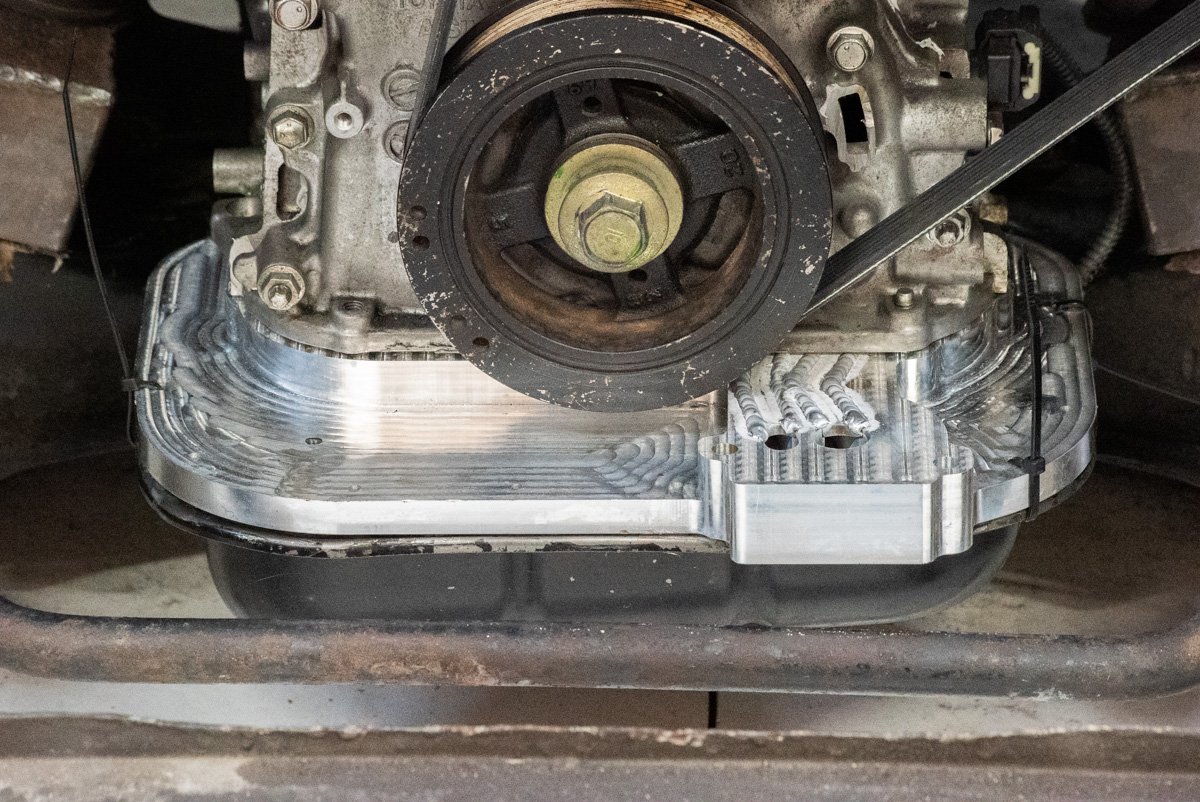
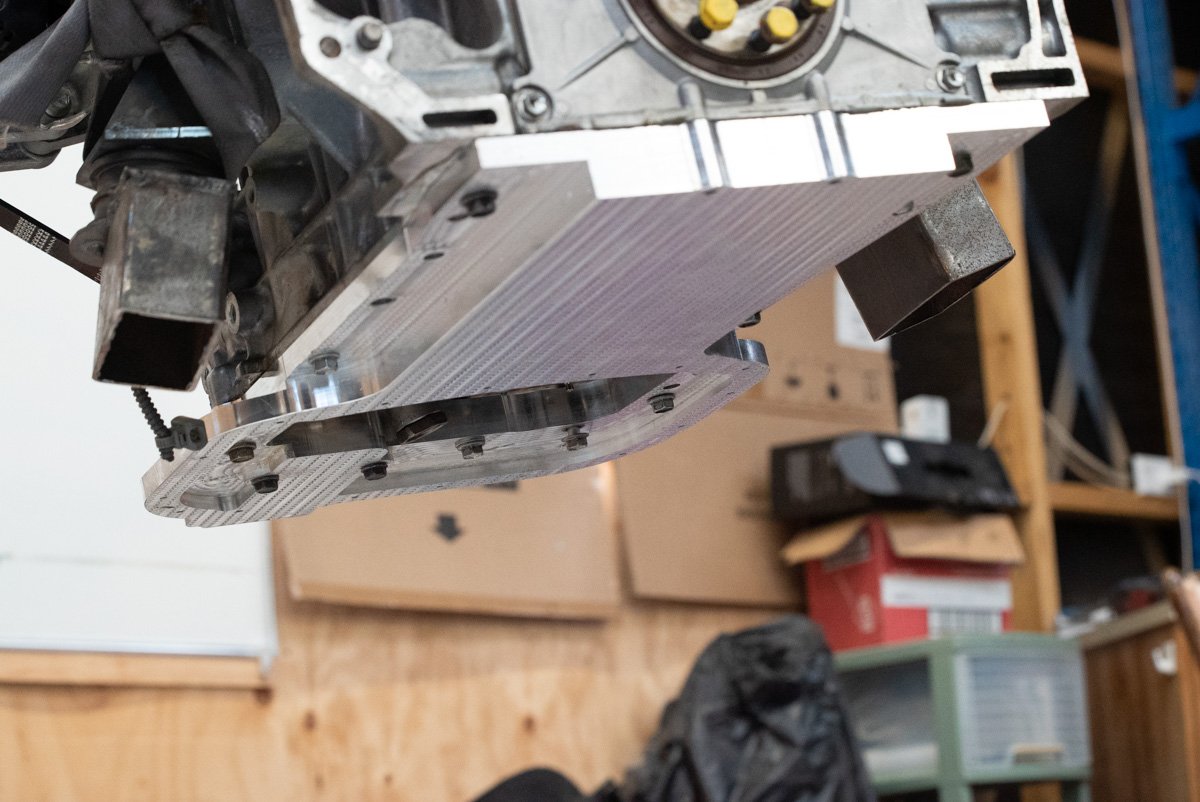
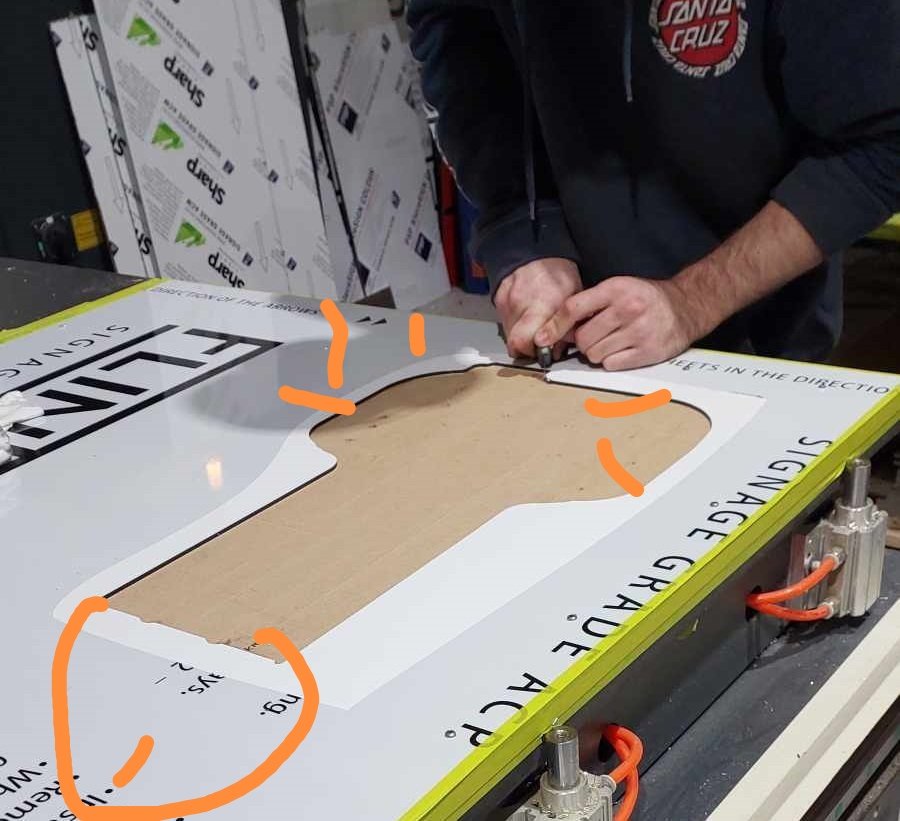
Oil pan activities! Absolute GCs @Stu and his workmate Sam found some time in their incredibly busy schedule. To spend a night programming some cutting paths and cutting a big slab of alloy down into an oil pan. I went along to watch and learn some things and it was awesome. Firstly, start out with a 22kg block of 32mm thick alloy plate. Then align this onto the bed of the router, and the it gets sorta vacuum sealed against the bed. Then one side was machined, making an absolutely hectic amount of mess. Then it was flipped over, and a a template was cut to align it onto the bed again. Making zillions of glitter carving out the other side. Then once it was all cut, we are down to around 1.8kg from 22. So there were plenty of chips for me to sweep up, haha. we needed to look at drilling the oil galleries for the filter, that I mentioned a few posts ago. Problem - the depth needed was too long for any available tooling and the height of the machines etc. So we decided to mill two slots in, and then weld a cover plate over the top. We made the slots do a bit of a zig zag, so that they would avoid one of the threaded holes for the oil filter housing. Which previously penetrated through into the oil gallery as there was no other way. Then Stu on the tig to zip it all back up: Then ready for a test fit. How good! (It still needs the welds flattened off and some threads tapped, havent done this yet) Much to my relief, it fits up great. Just zip tieing the oil pan on for now, until I can tap the holes. and back in the car... everything good! So that's one of the last remaining big tasks mostly sorted. And a big relief that it looks like everything is going to work as expected. Hugely grateful for the time spent by Stu and Sam to help get this done. I think its the most complex and coolest car related thing I've ever drawn up. Next steps are to thread a few holes for the oil pan and oil filter, flatten off the welds, and make an oil pickup. then I can fit it on for good, and fill the motor up with oil. Getting closer! Exciting.
4 points
-
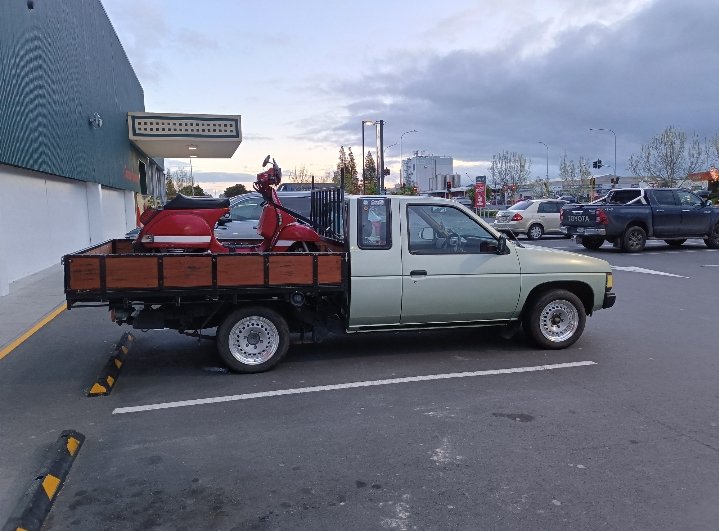
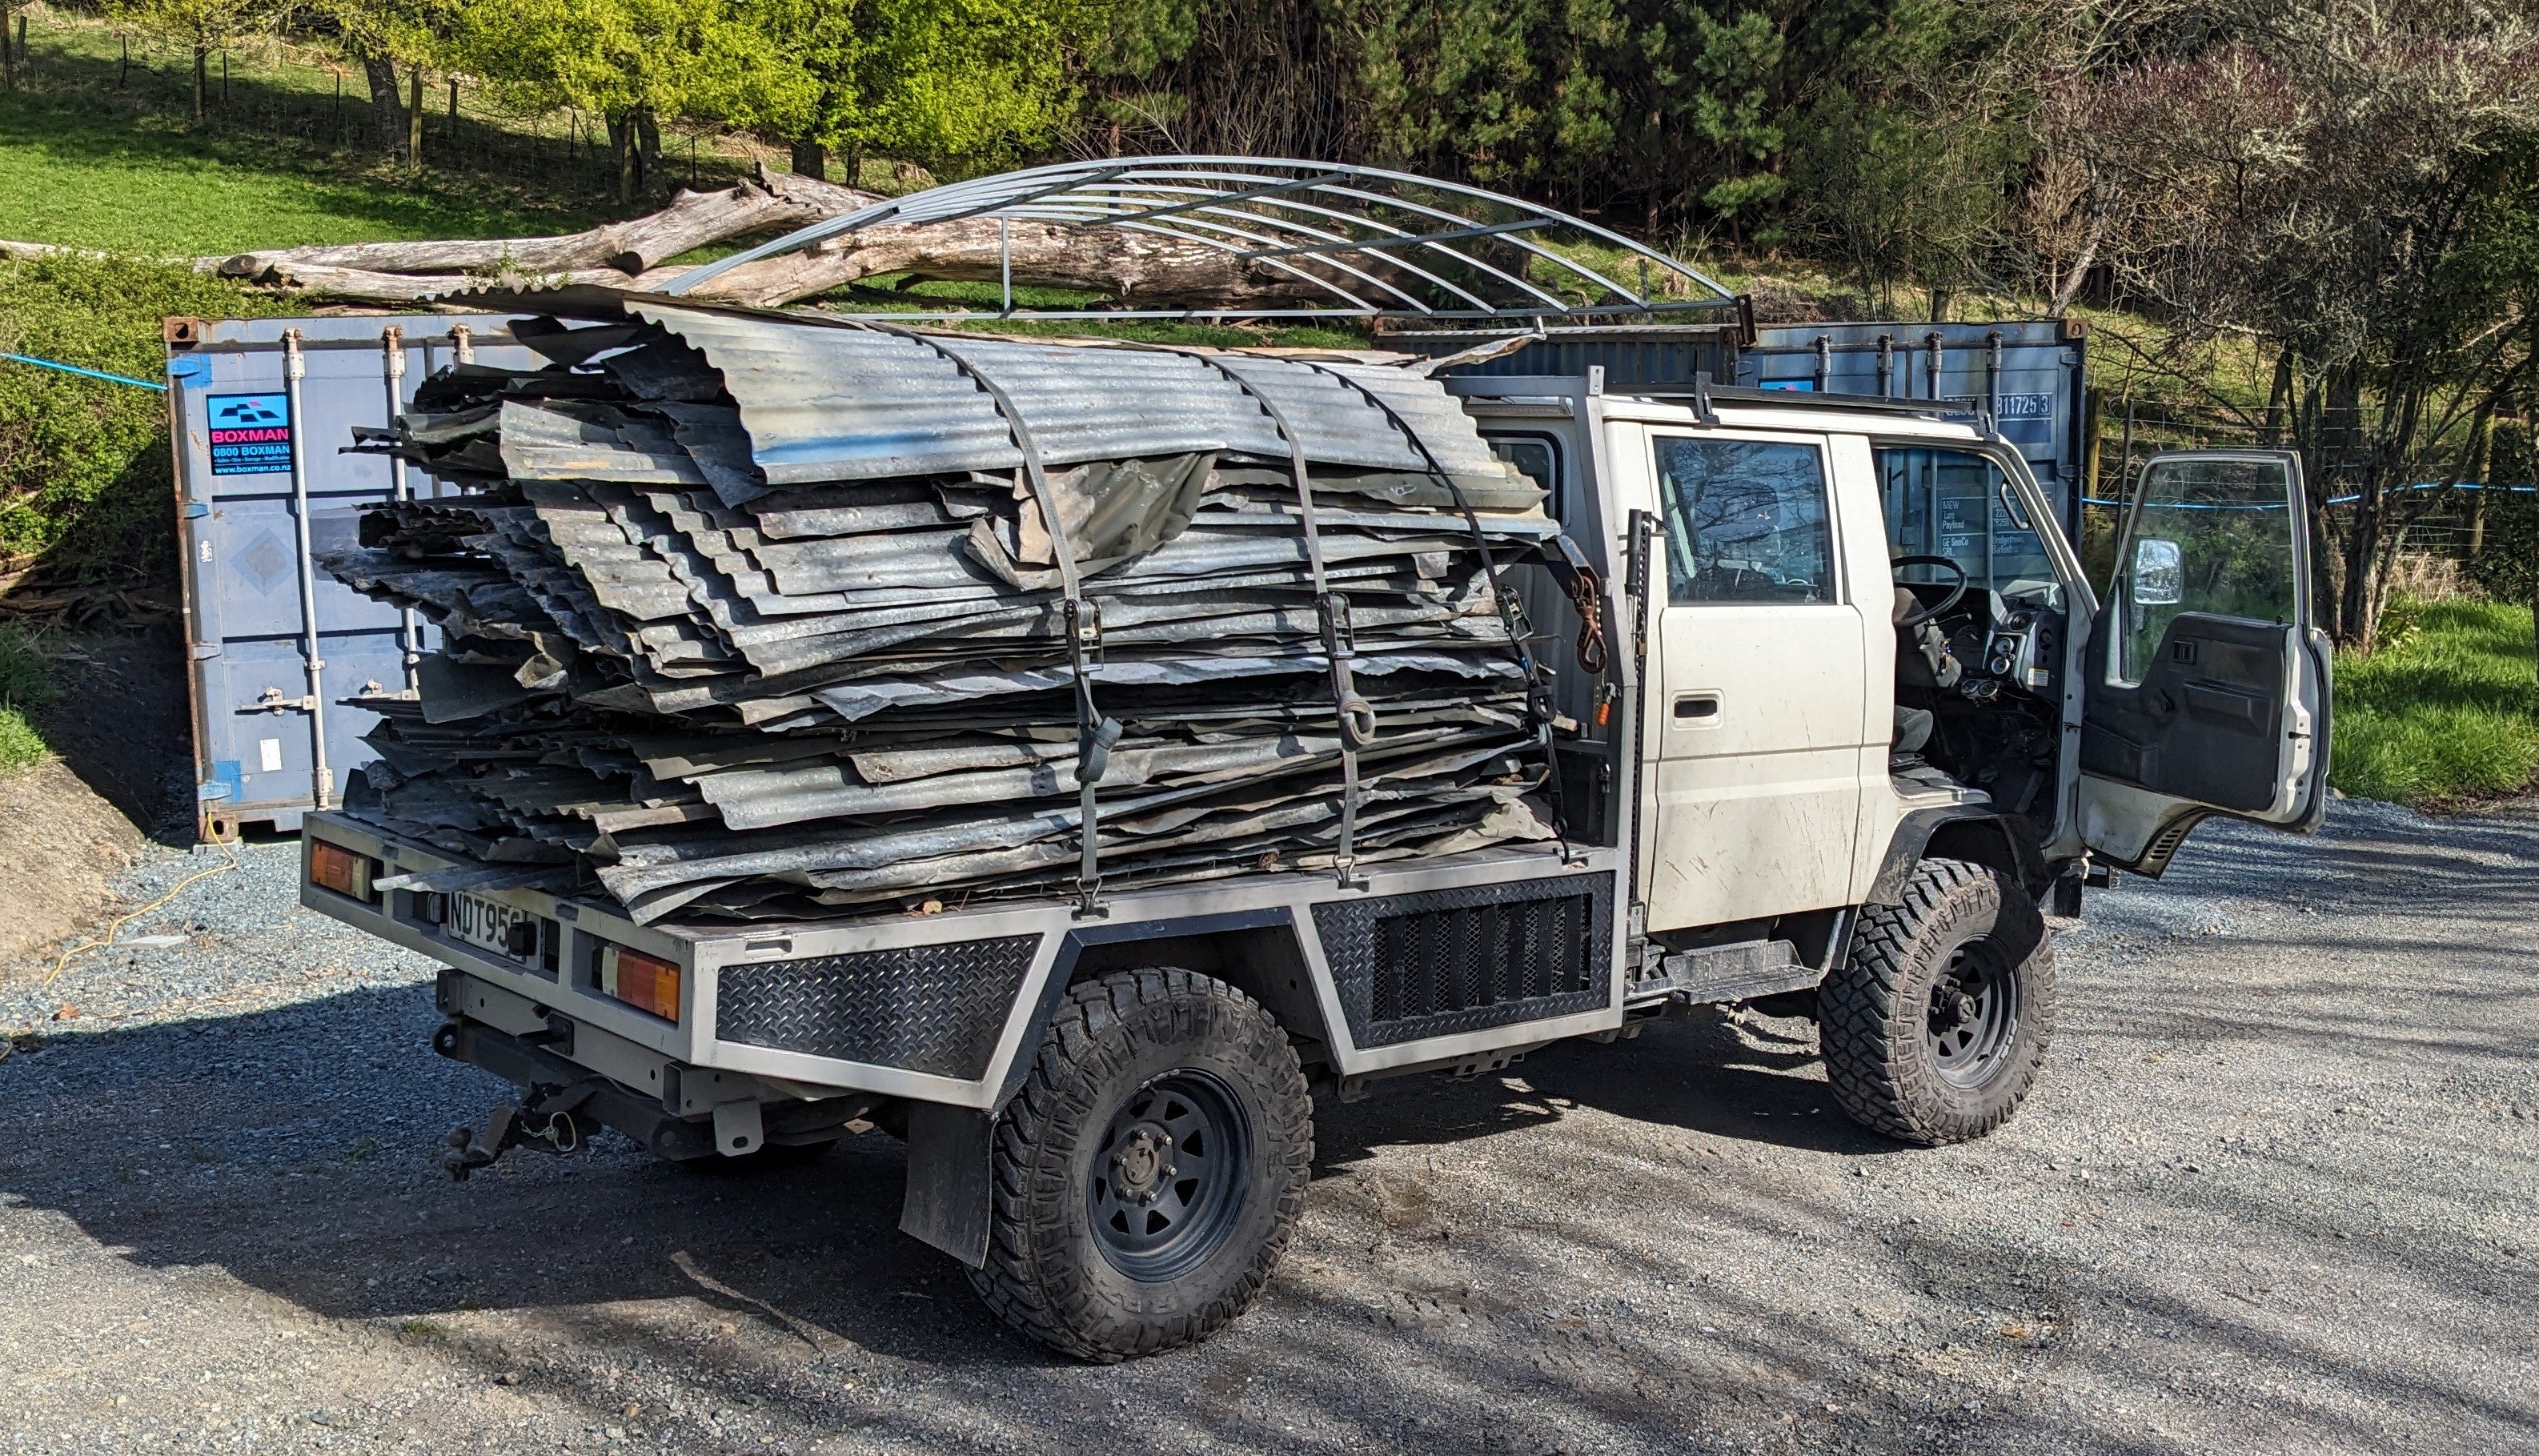
Oh and hauled some more bikes. Didn't get any pics of all 3 loaded up
3 points
-
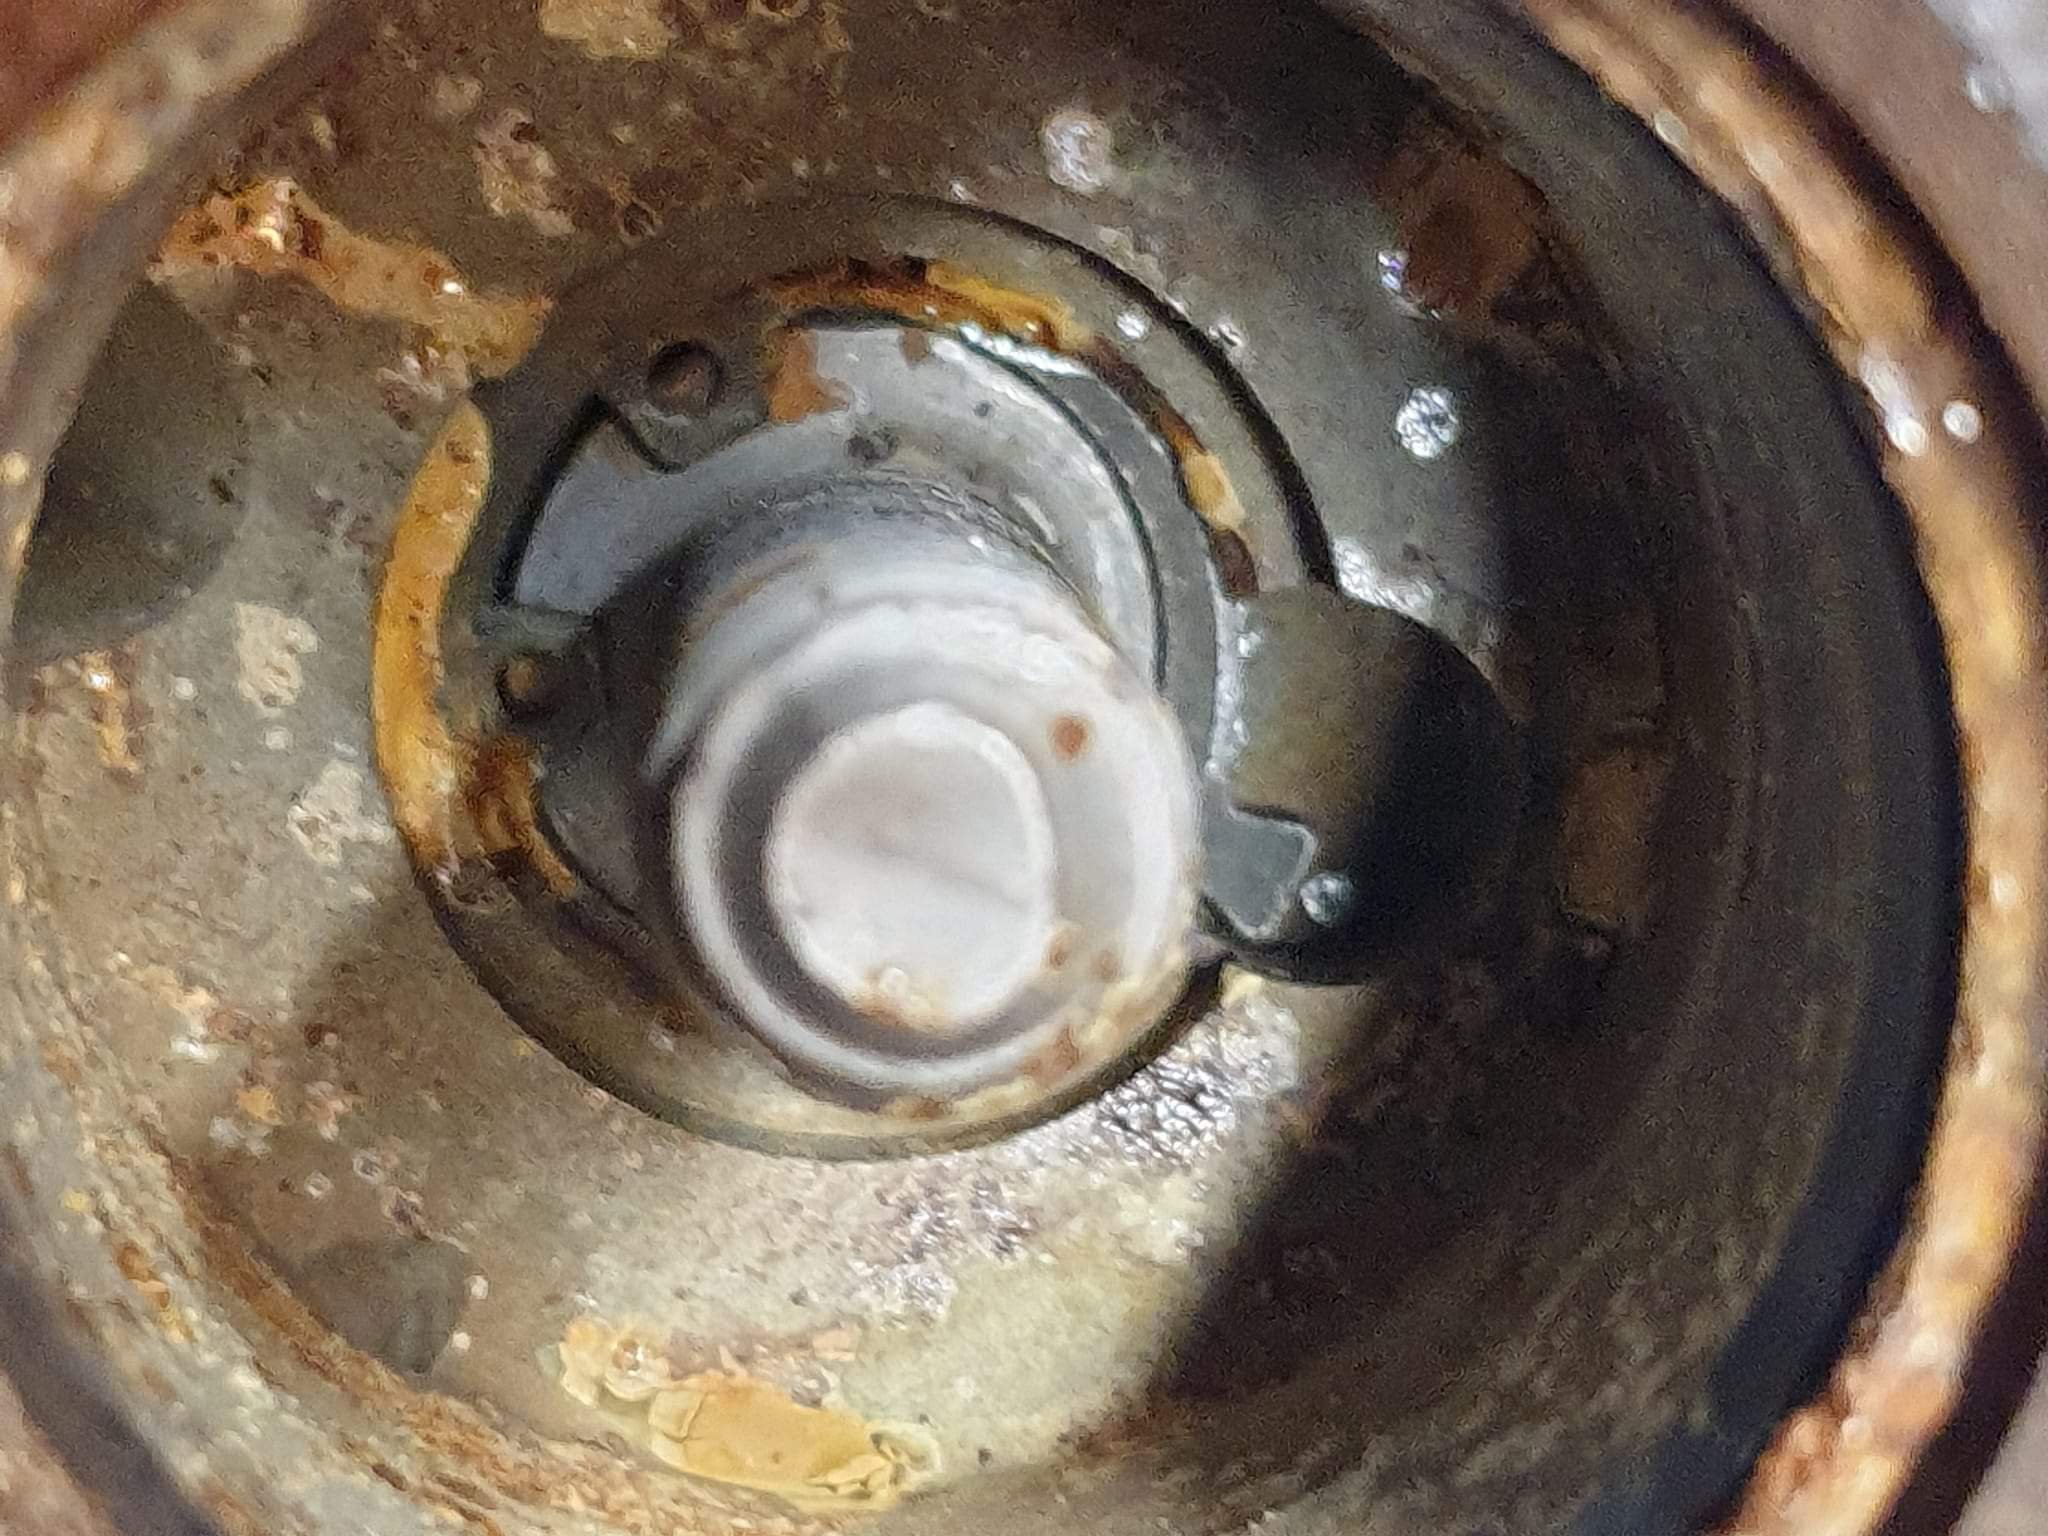
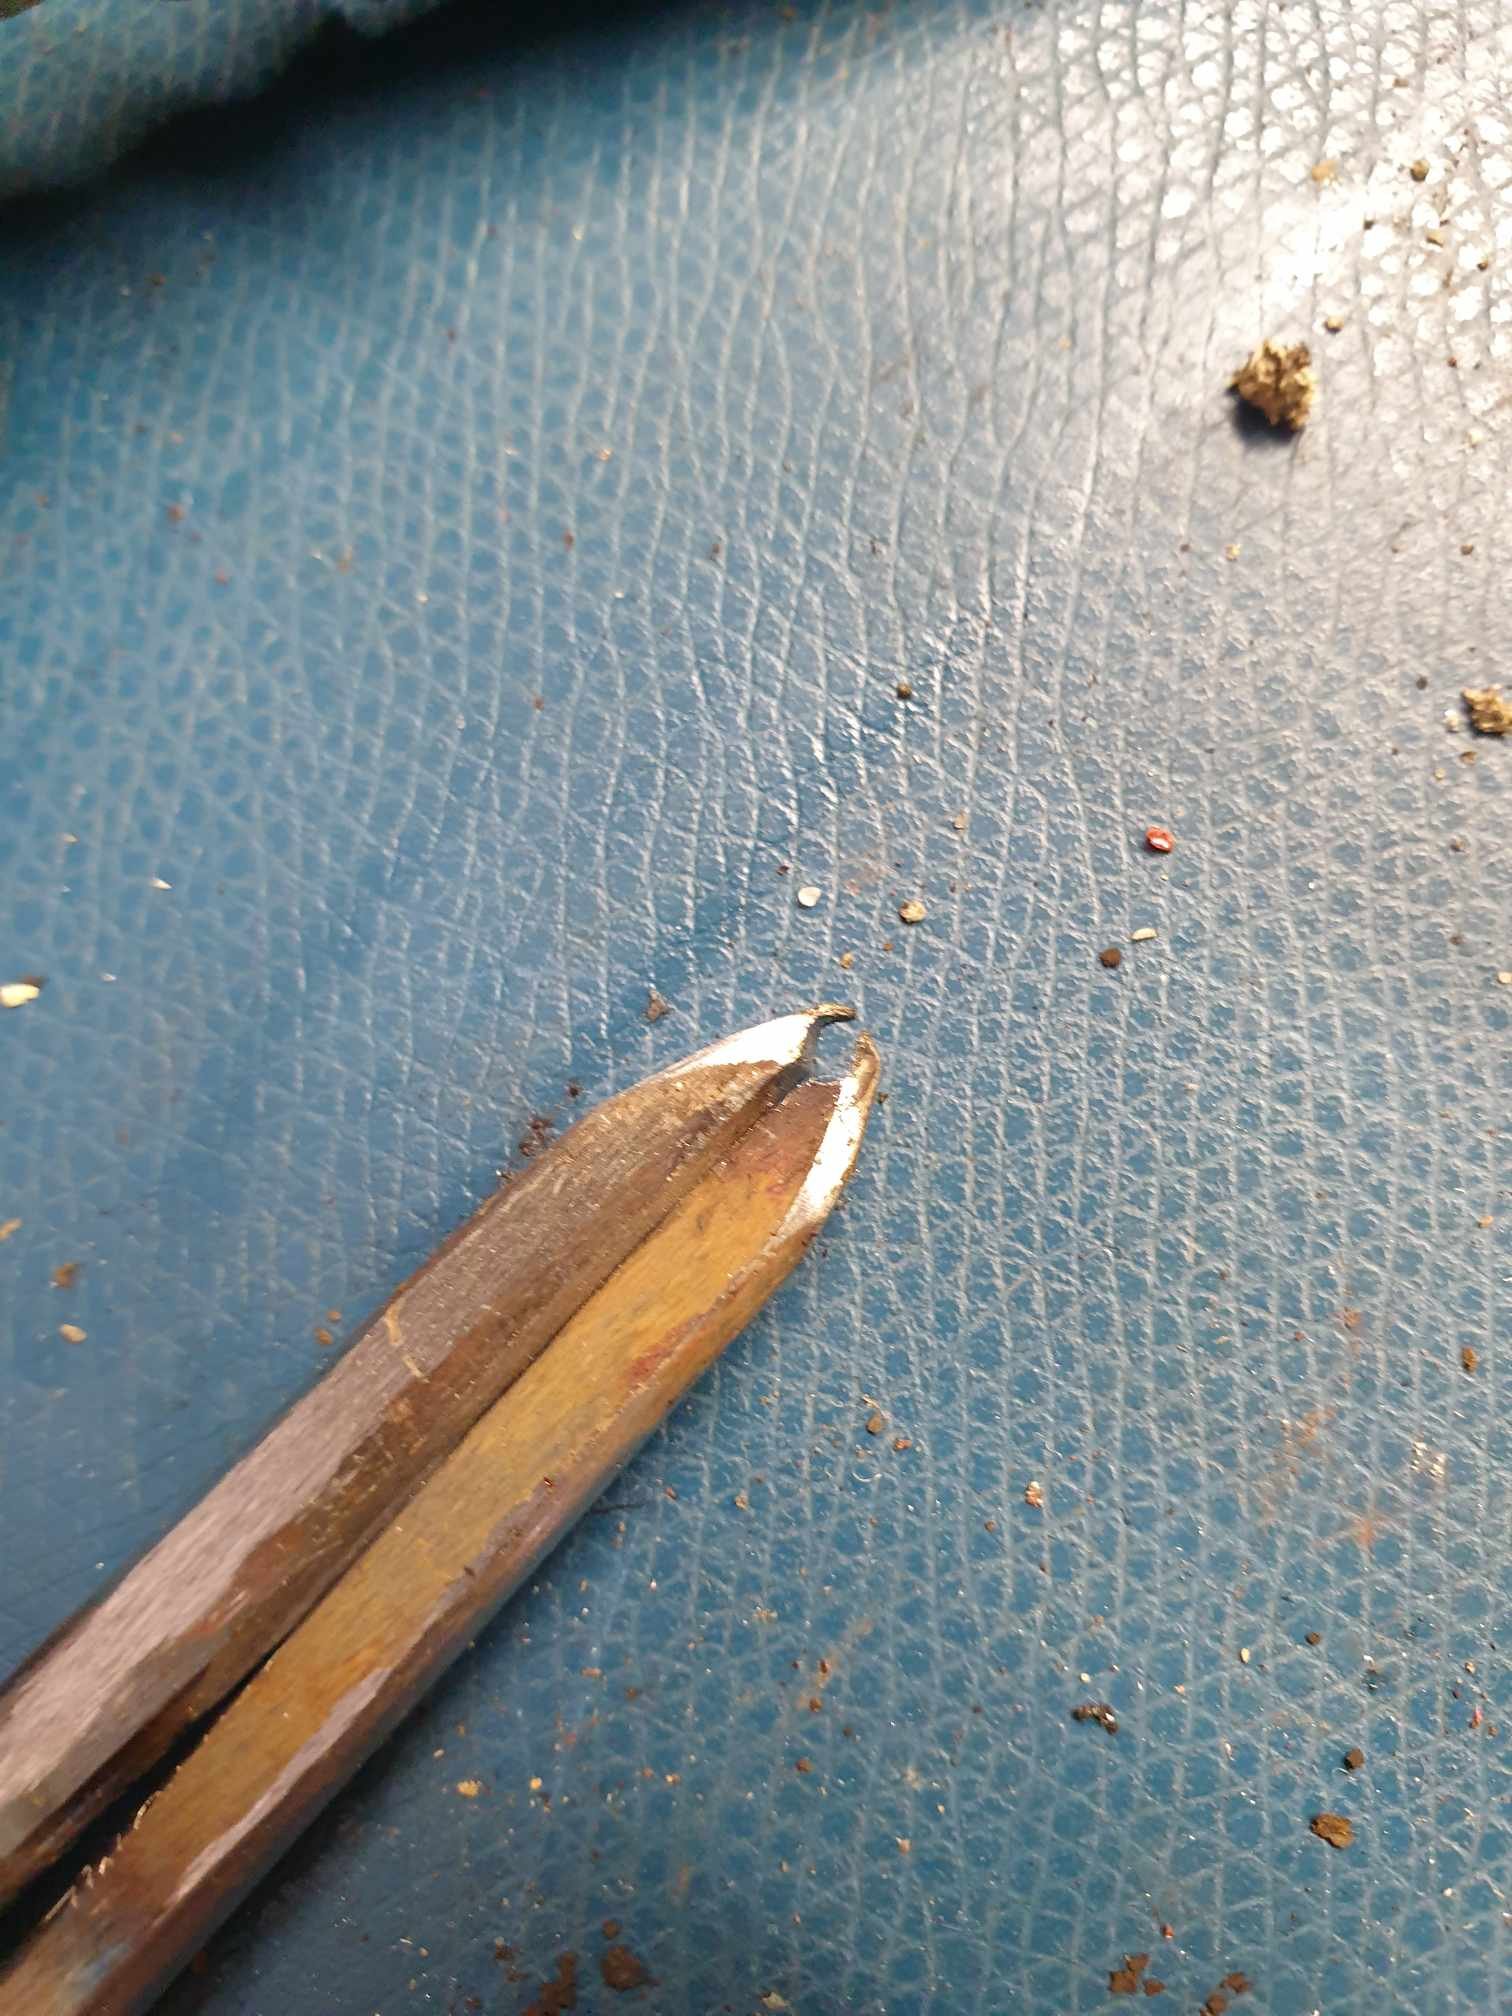
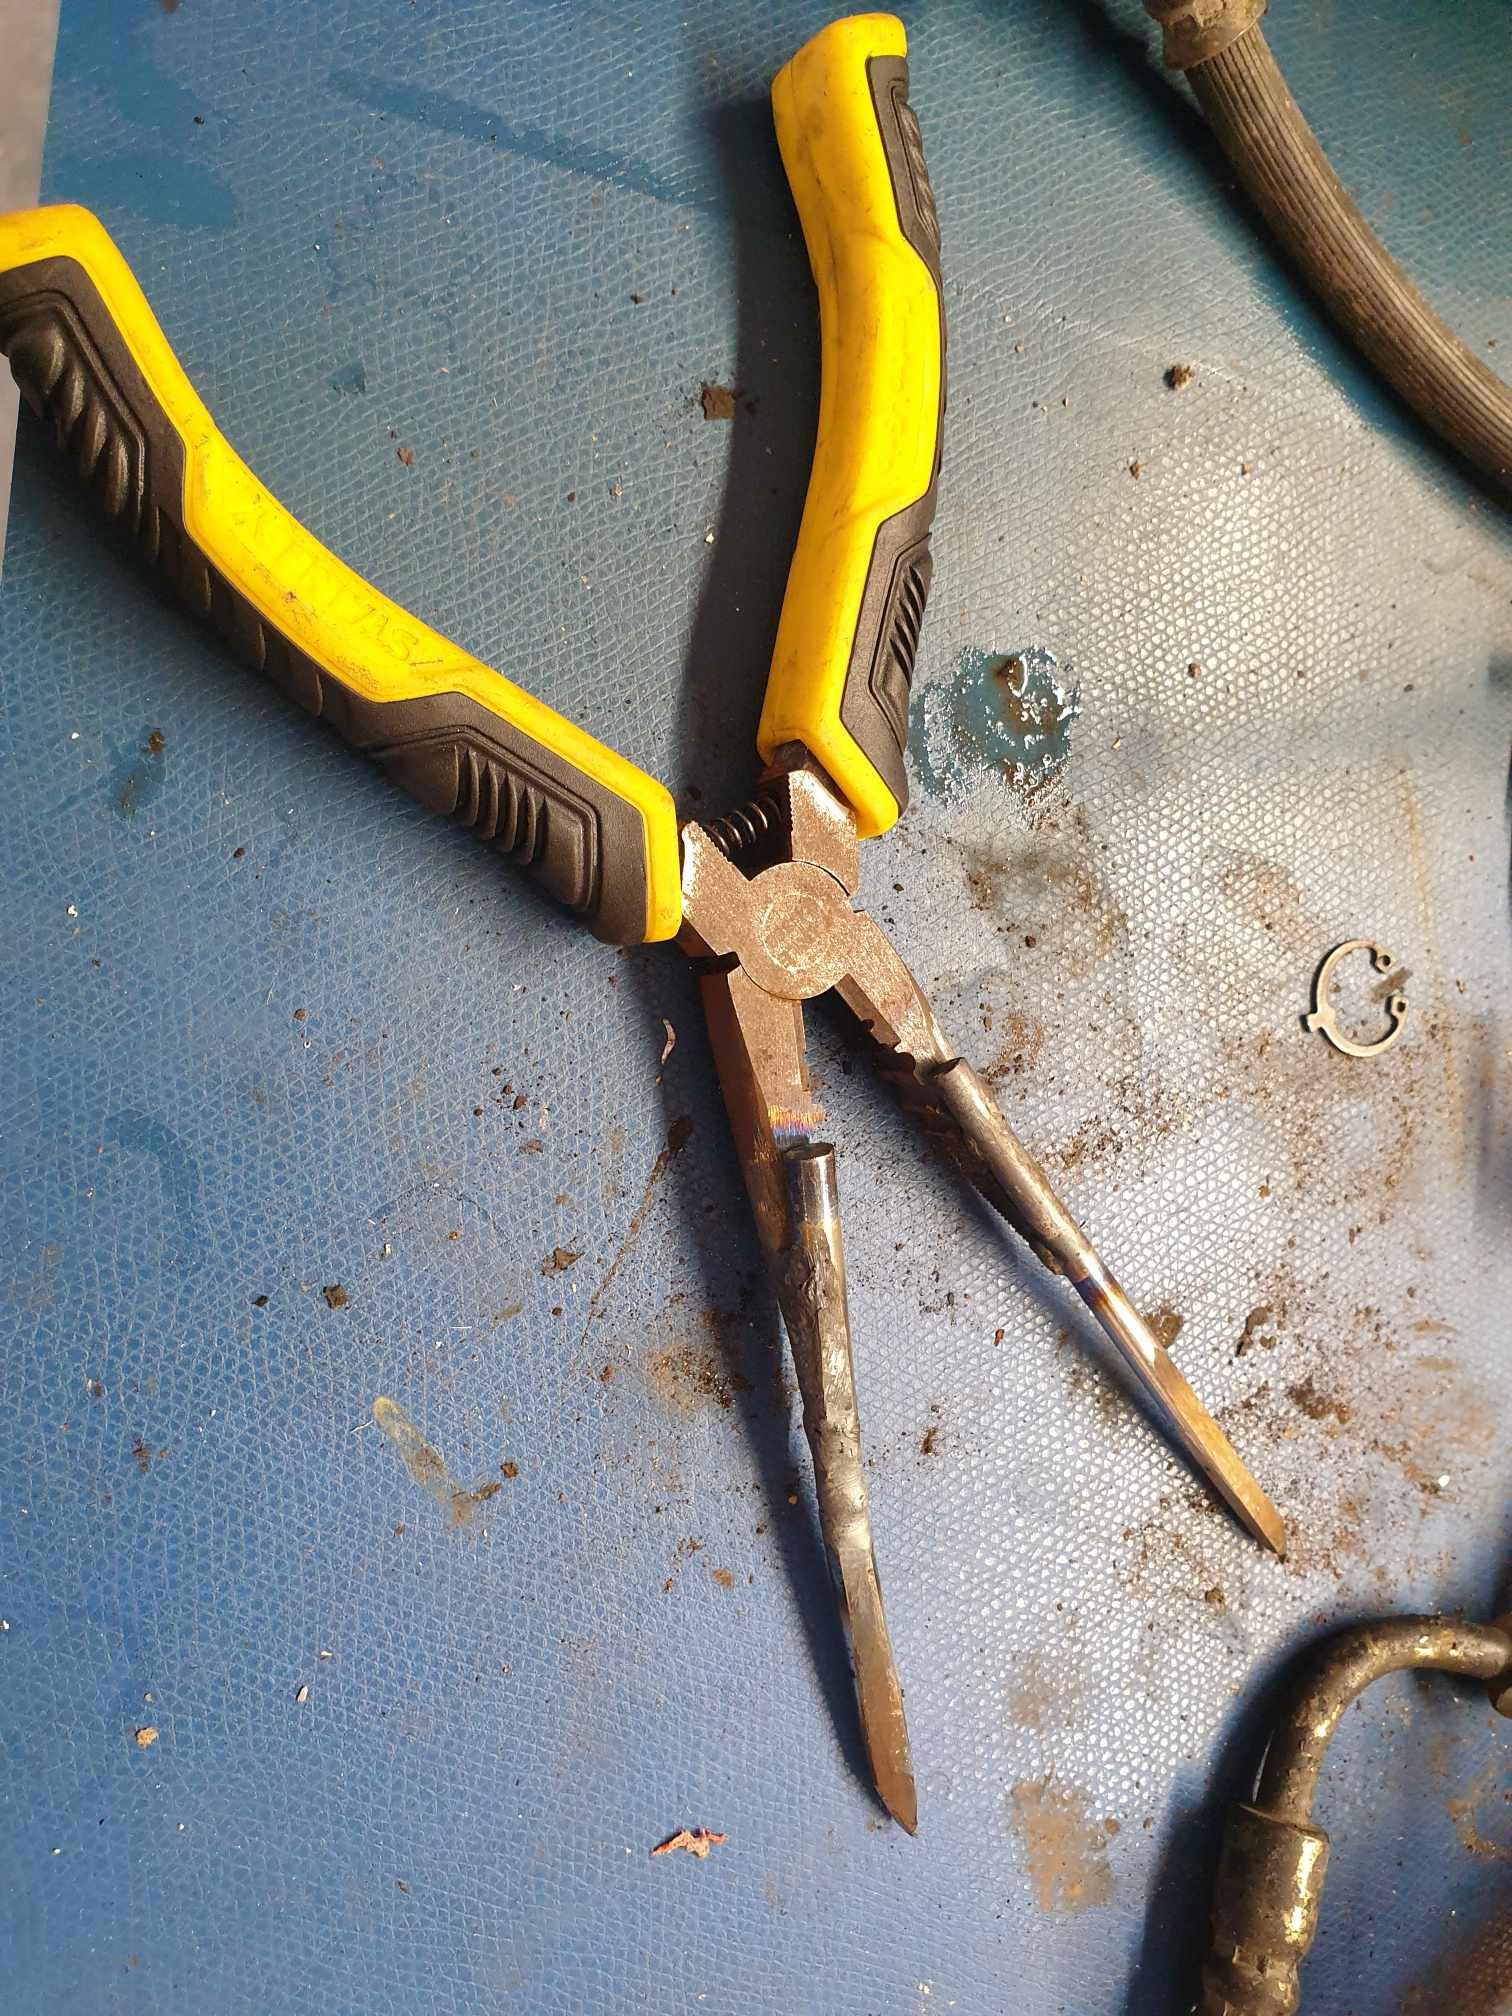
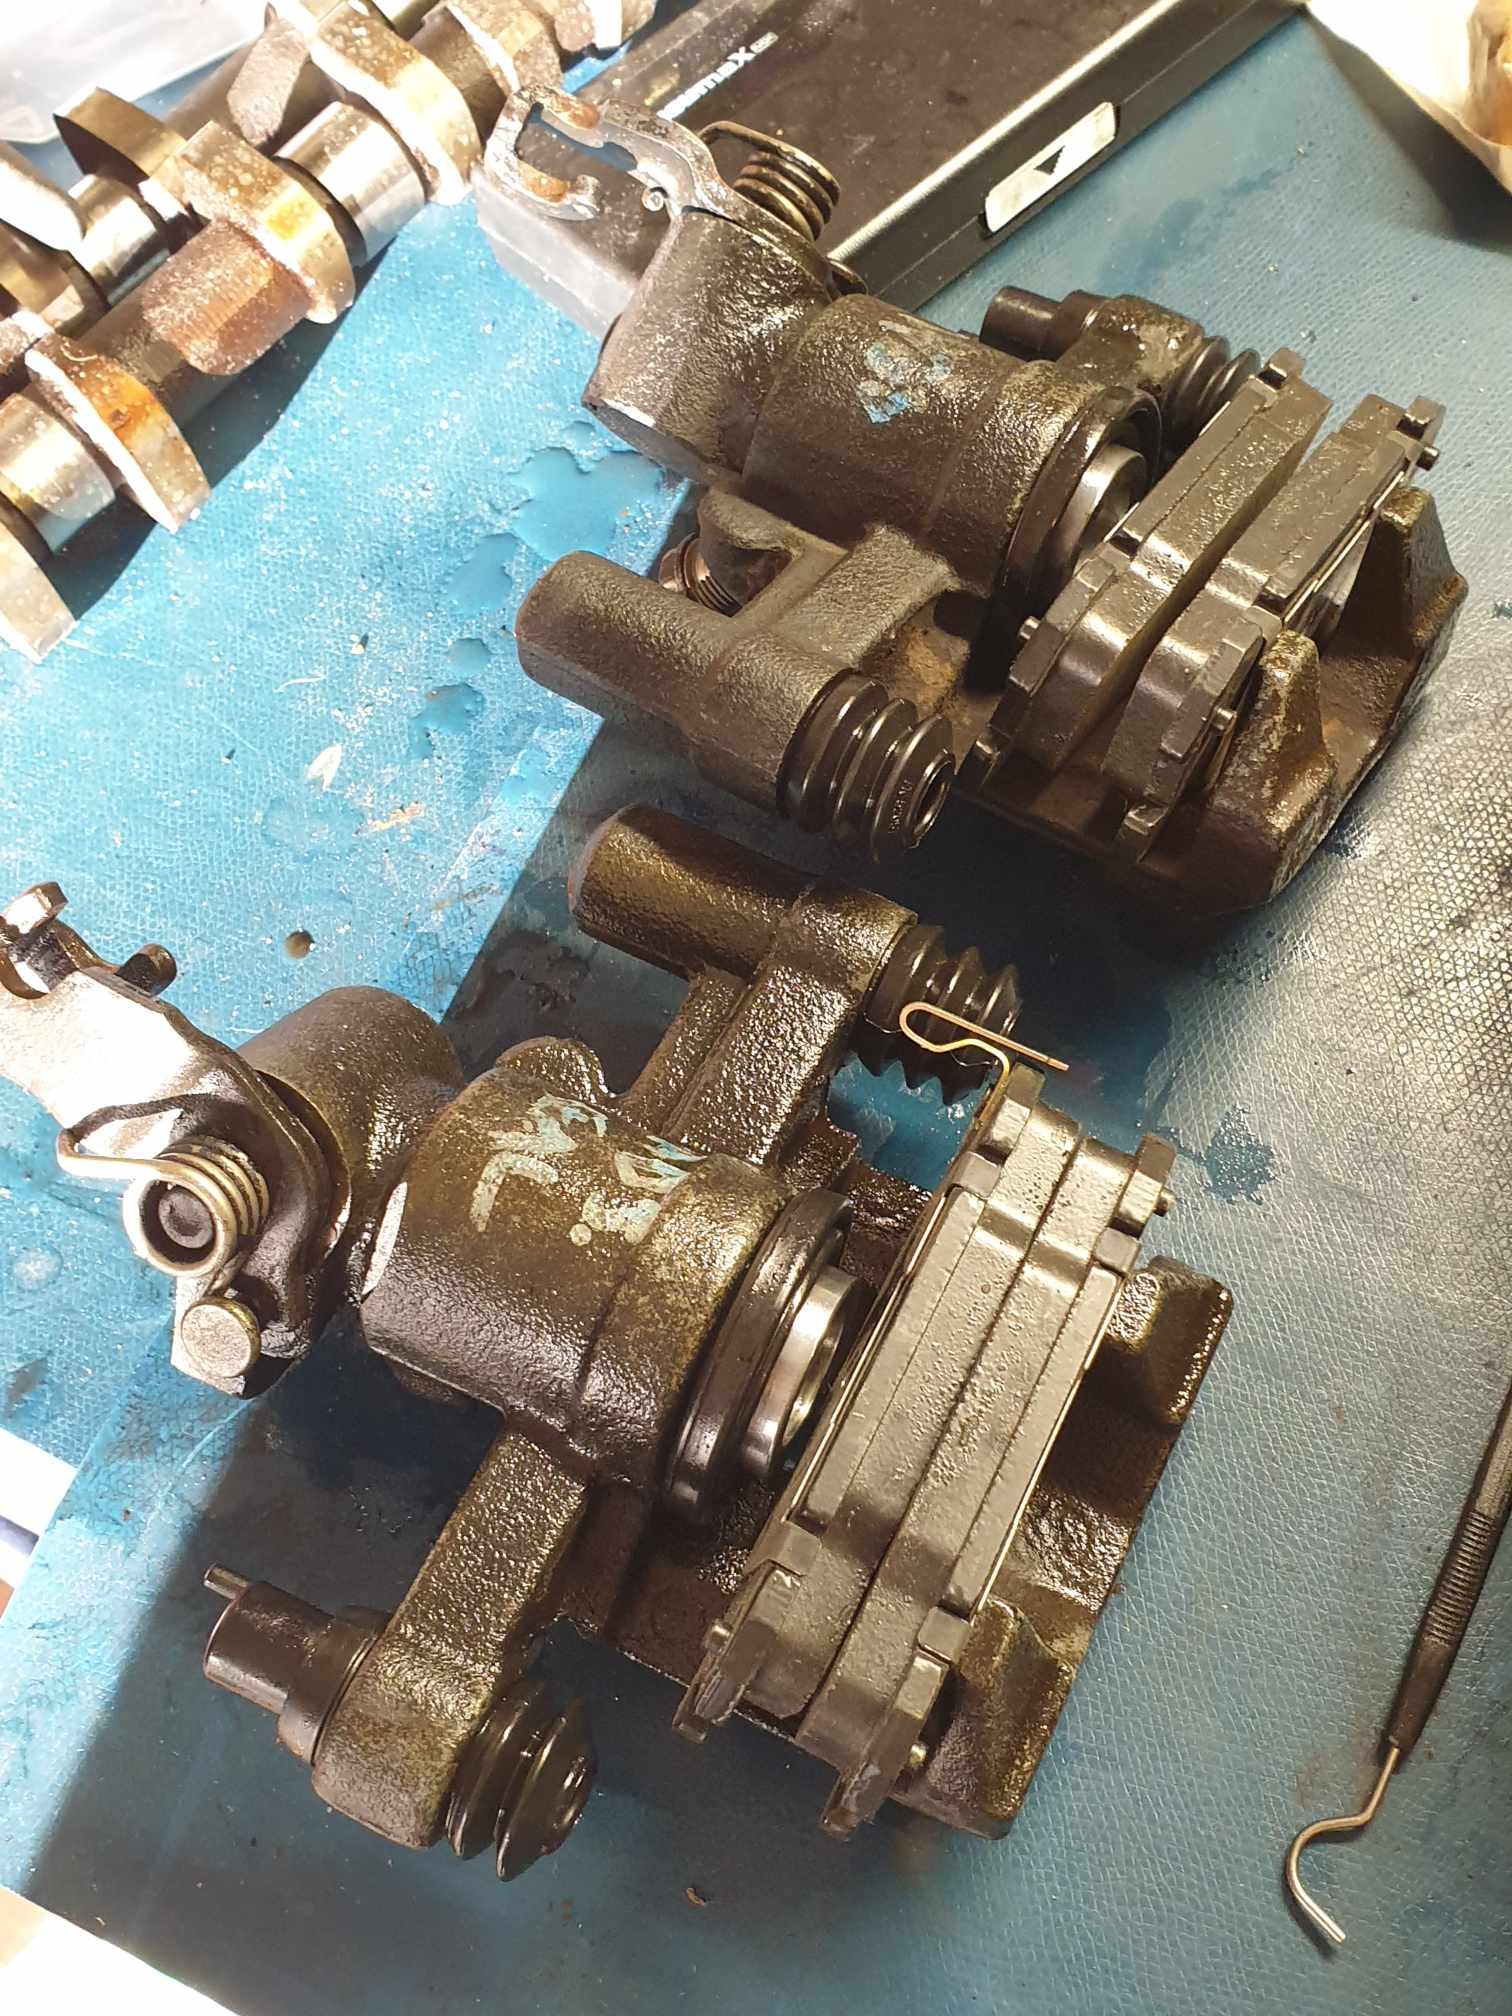
Completely unrelated to any important task at hand, but I've found a box of calipers that "we" gave up on a few years ago, and started working on them again. The fronts were already reassembled, rears have a painful circlip around the piston adjuster mechanism. They're down the back of the bore and really difficult to get at, so I had to make some ultra long circlip pliers. I don't think this ranks in the top-50 on the list of sketchiest things I've done. It did however get the job done, so now I have some rebuilt rear and front calipers to go on my car. I'm hoping this will help with my non-existant handbrake before the next motorkhana in mid October. Also my car is probably far overdue for new brake fluid and I can now kill 2 birds with 1 stone.
3 points
-
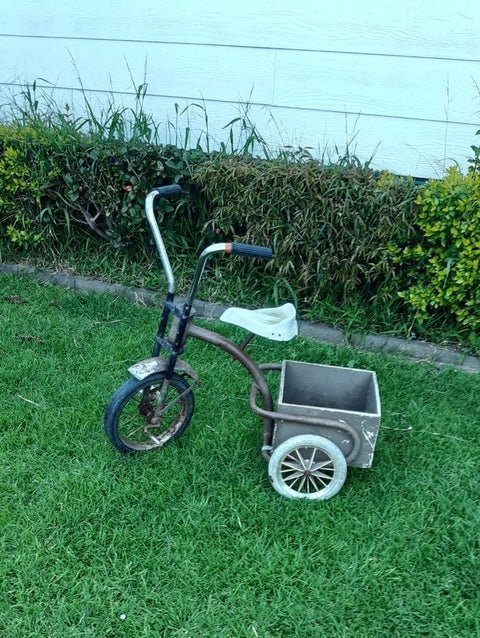
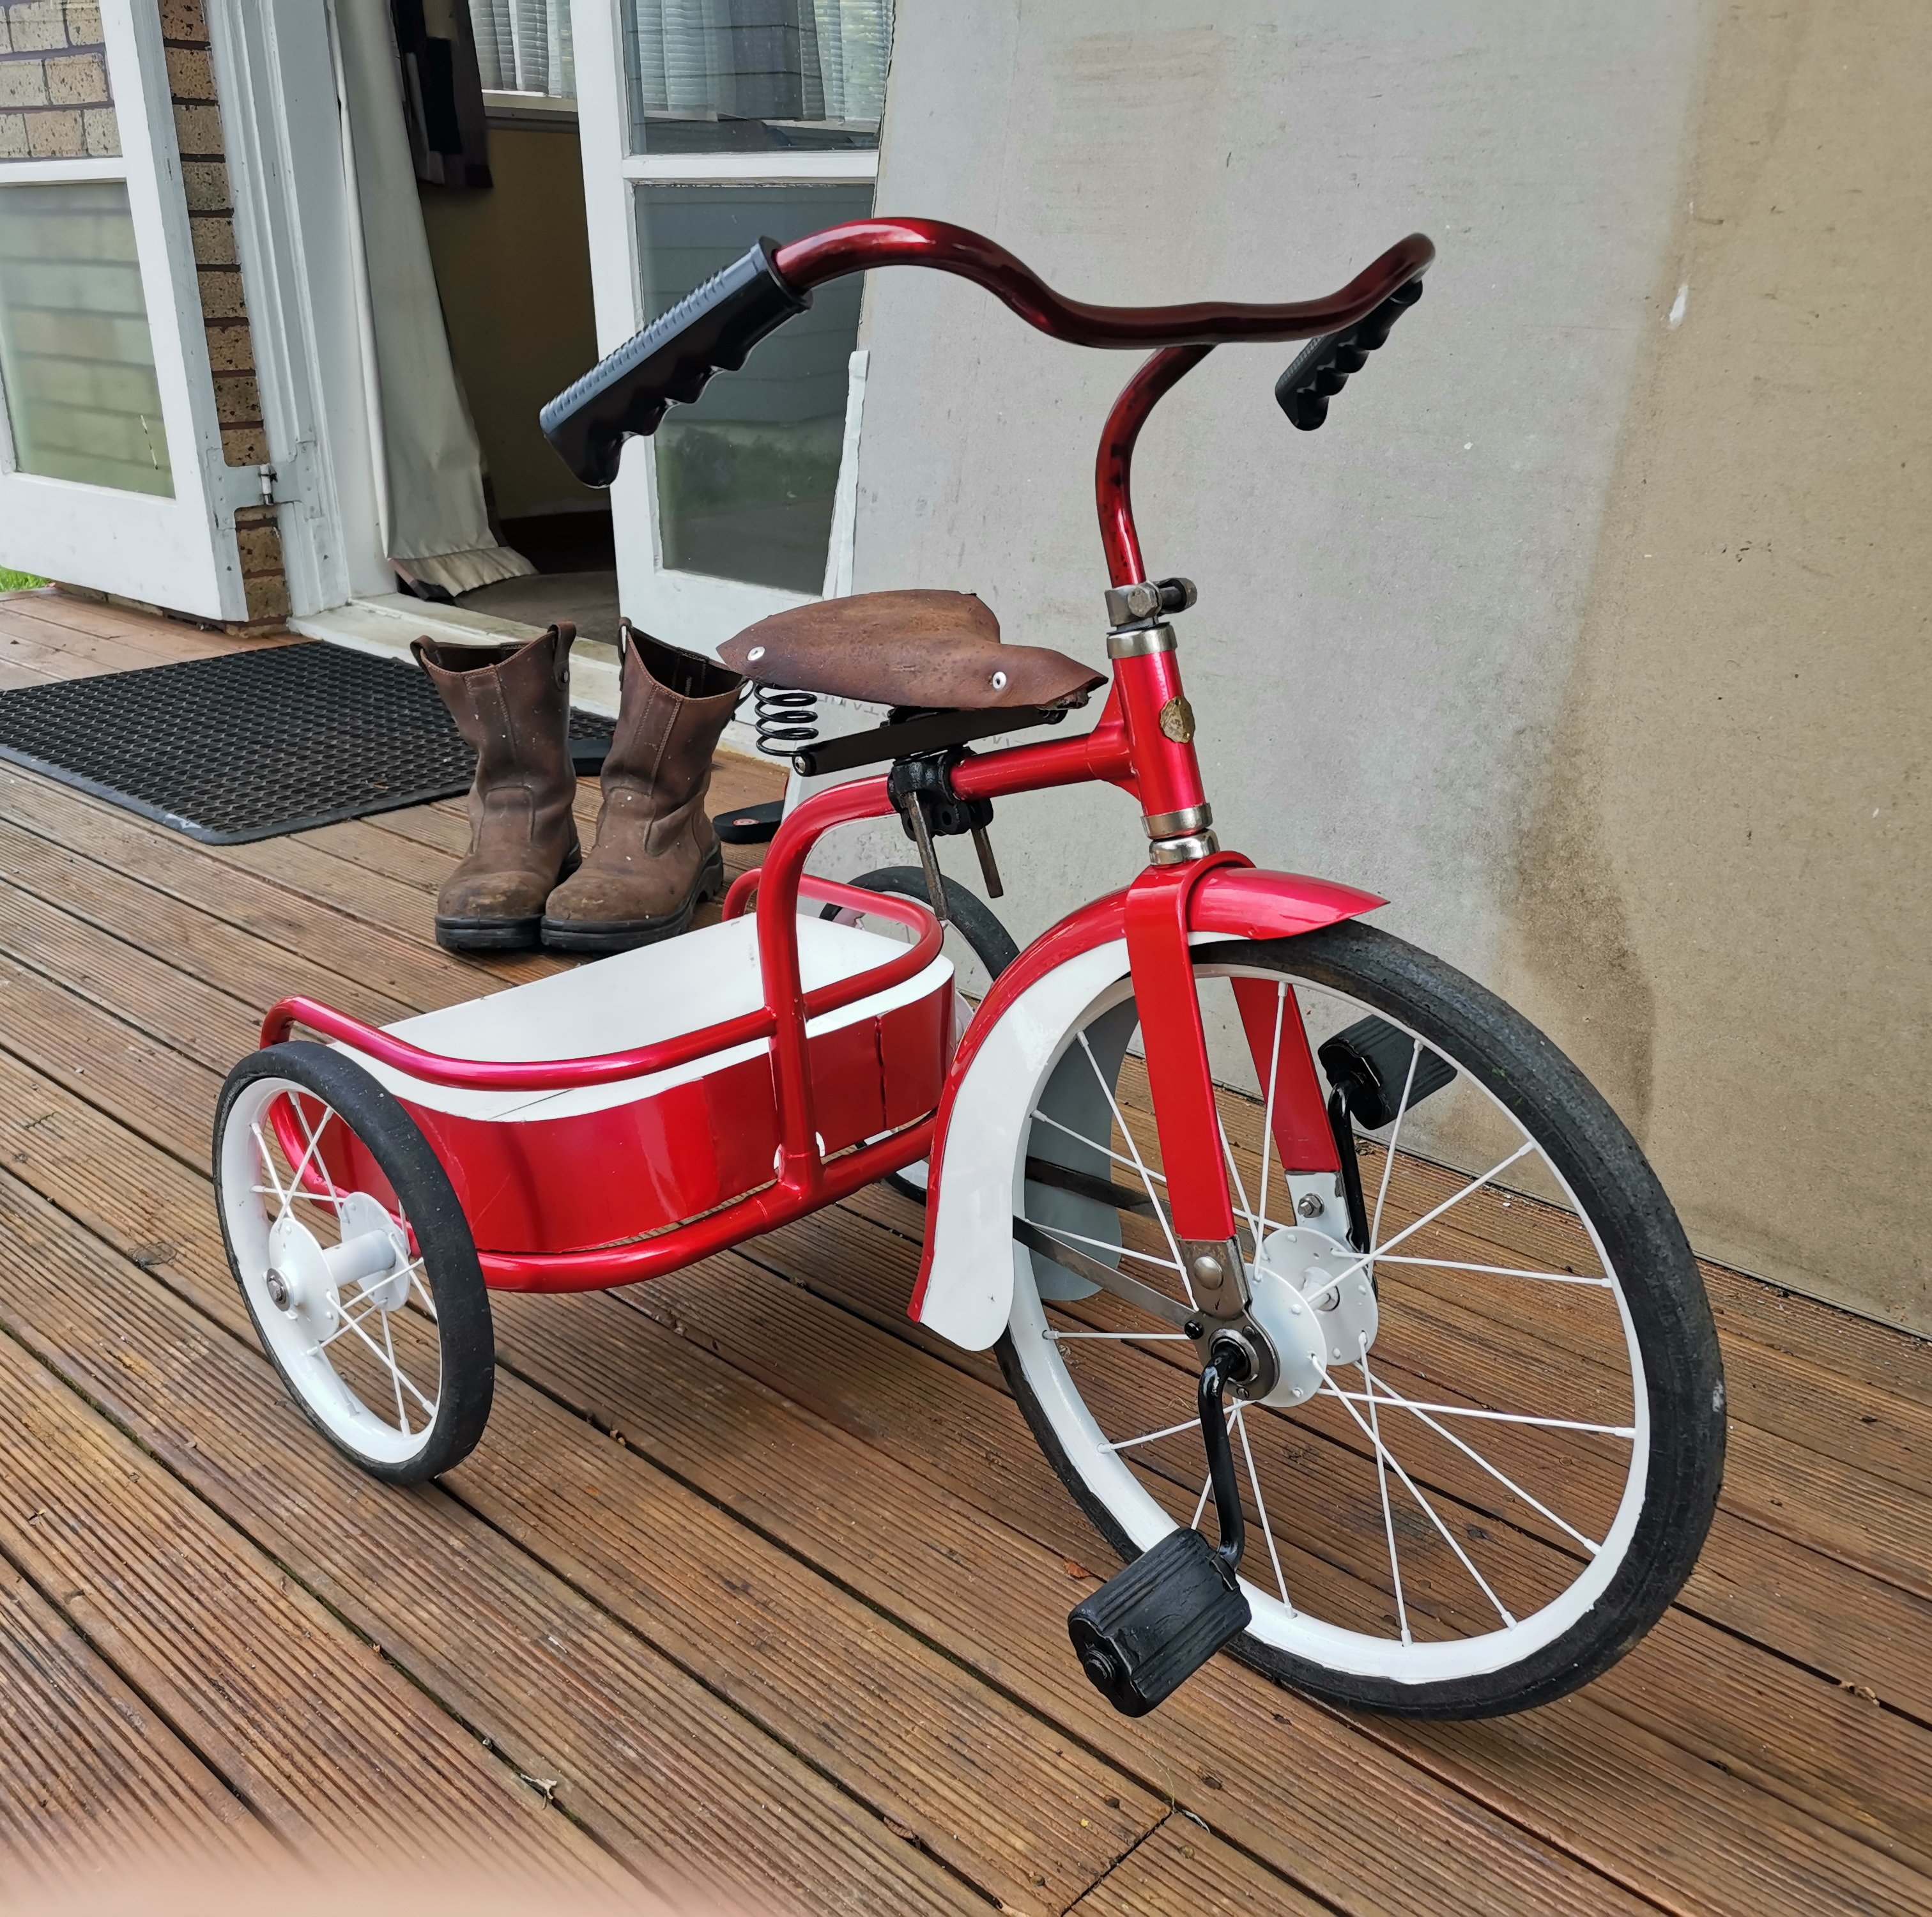
Bought another trike Probably a triang, tuff? Or some variant of that Very well used, front tyre and spokes are stuffed. So good candidate for a trailer
3 points
-
I might be missing something, but if this was a known to be loose from before current ownership, why wasn't it fixed when first noticed? Rolling around with loose suspension doesn't sound like a good idea. Yeah should be picked up, but seems like it was known about so should have been sorted before check really. Devils advocate etc. If it was purely just from driving it and noticing a knock / wobble, always worth a look with an unknown car history.3 points
-
Sounds like that's always been there from factory. Especially since it's the same colour and covered in road grime and what not from many years of driving etc3 points
-
Yeah we cover the vac bed to increase the suction and sometimes use tape to help seal up any gaps. Its more OCD and being overcautious than any real risk of even small parts moving on the bed - old habits really (ask me why). Masking tape doesn't seal completely, but its easy to apply and more importantly clean up compared to other tapes, plus we have seriously kick ass vac pumps so there is usually zero risk of anything moving on the bed. Plus the bed is broken into various size sections with valves to suit standard sheet sizing - the vac gauge was almost pegged off the dial. #cncbarry3 points
-
Haven’t done a heap, still waiting on structural repair report then we’ll be very swiftly into compliance. My warrant guy has a Val and a Charger street stock so had lots of parts, he hooked me up with a sway bar to test fit. (A sway bar was a tick-the-box option for these) The main mount brackets suit the K member profile great but the length wasn’t quite there. I work at Mount Shop, so had endless possibilities. I ended up with a Mitsi Challenger drop-link that I used a universal whiteline saddle clamp and D bush to clamp on the Radius rods.. they are bushed at the front and rigid at rear so plenty of support. Will drill holes and attach after compliance. Has since been blasted and painted, ignore my bundy long mock-up bolts. The seat upholstery kit finally arrived from Canada on Tuesday so got straight into that this weekend. Everywhere in the states is backorder only and could be years, one place had a front set but no promise of me finding a matching rear so I found PG classics in Canada..they were the k my company to list a SET and only in one style. I just had to jump on it and I’m glad I did. It’s very well made with heavy vinyl and foam padded ‘inserts’. The rear seat base was real legit,the only one.. but green. Easy strip down.. dad was going to send his hog ring pliers up but hasnt so far, so I pulled all the originals out, straightened and re-used with a series of different pliers. Was a tiny bit baggy but I’ll live with it, can always re-visit down the line.. I also used up all my padding so.. The back was wasted, filled with vermin nests and wasn’t going to cut it. Ended up binning all the padding and making my own from foam sheet and a douvet cover folded in 3rds. The front covers slipped on great but the edges were baggy and the whole feel was off so I dug out a big chunk of Auto carpet underlay I was saving and went to it. Worked so well! The foam wasn’t too bad but I added material to some low spots, made some 80’s ‘shoulder pads’ and glued underlay over the whole surface. Then today the sun came out so reversed out the shed and wound the windows up and let ‘er cook so it can ease out creases and such, worked well but needs more time. I’m super stoked, they are comfy AF and look so much better as-is and I know it will improve after a few heat cycles and some use!3 points
-
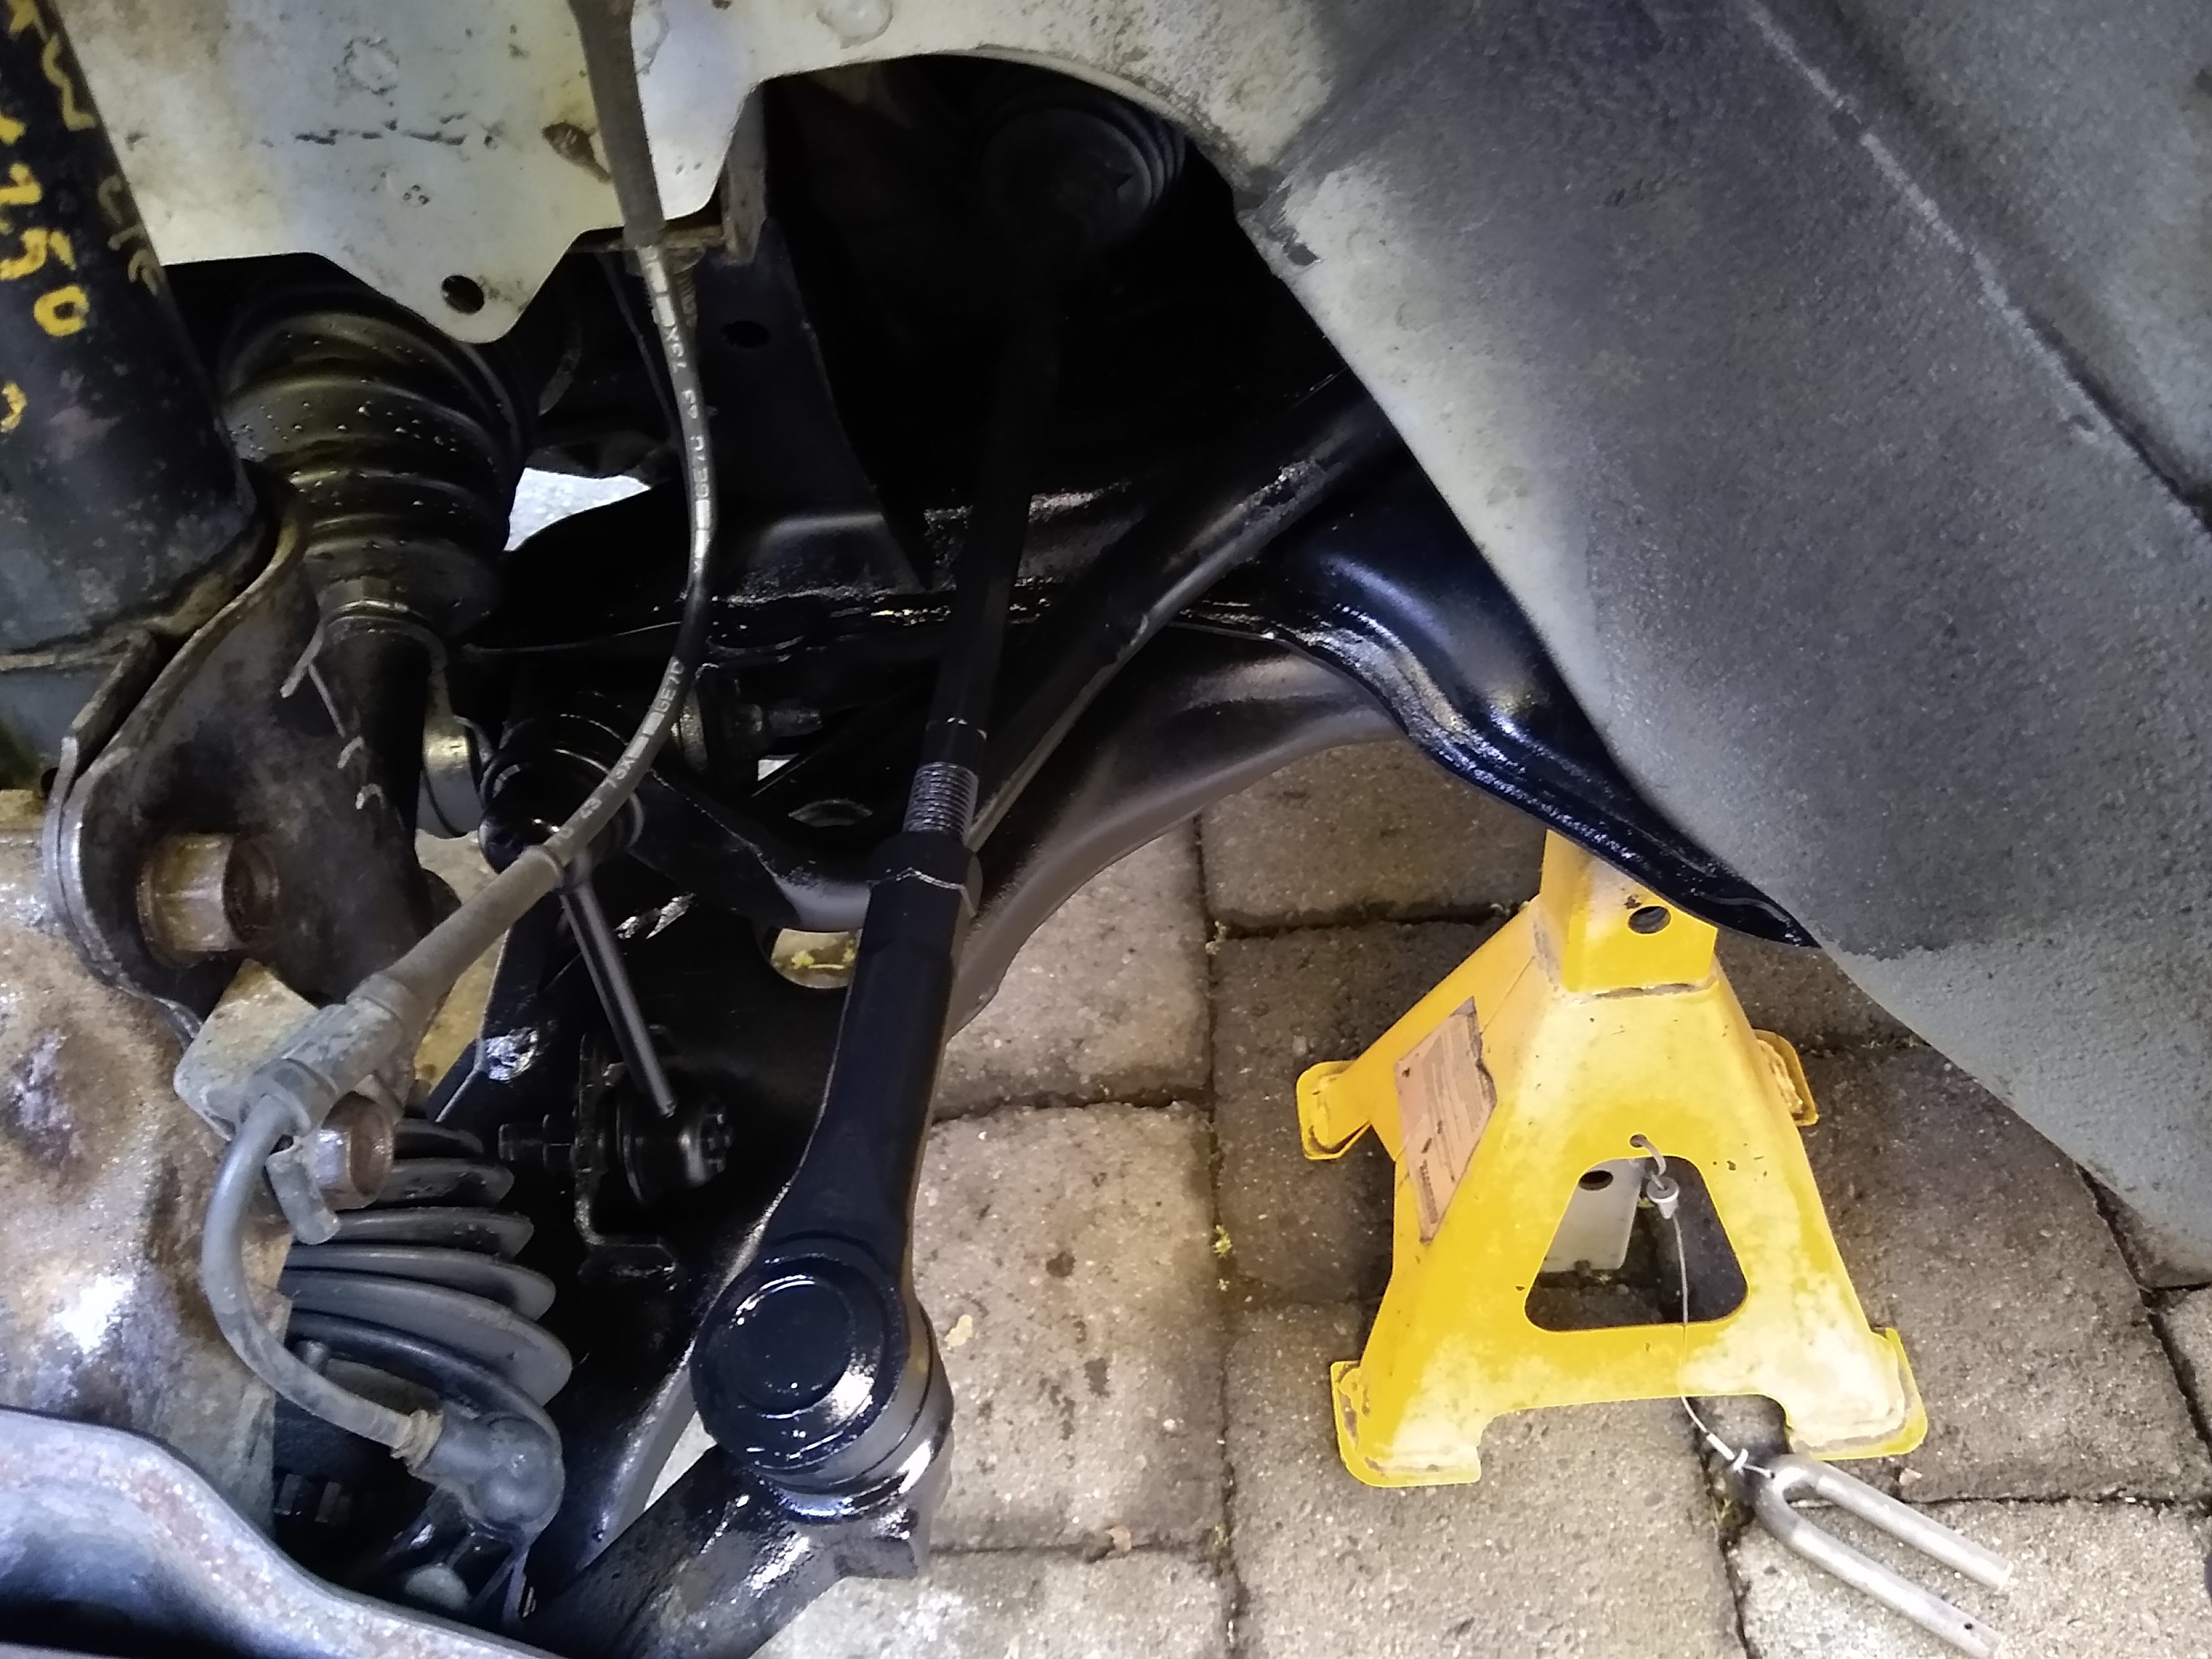
Wasn't known loose but we hadn't been near that bolt so was therefore loose for a while. I wouldn't ever drive with loose or knocking suspension. Anyway, here is what it looks like after Andrew cleaned the area that is worse than the Titanic
2 points
-
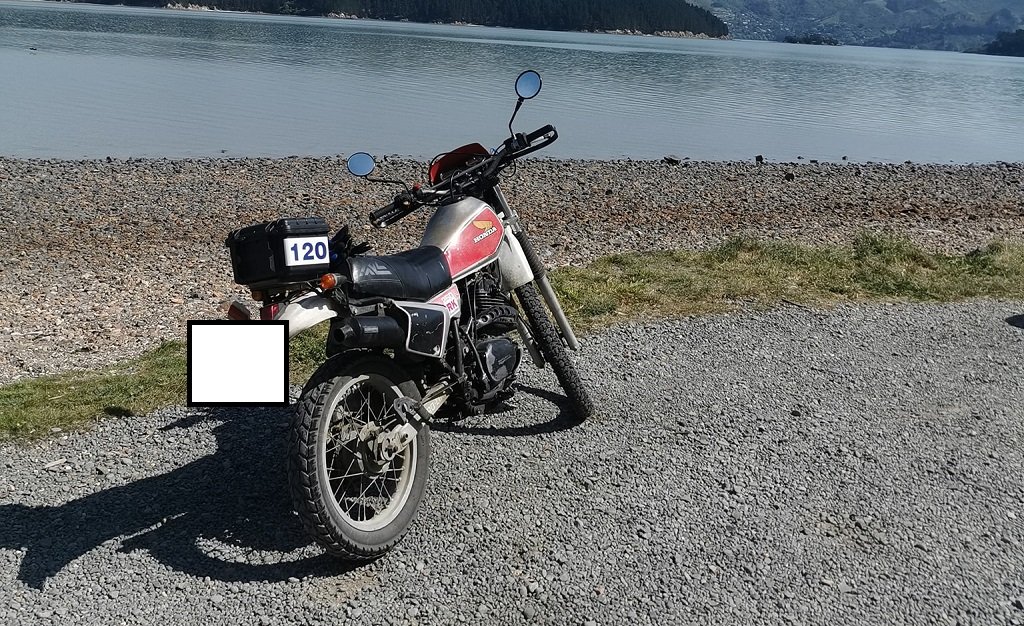
I bought this about 5 years ago and never considered insuring it, but it seems their value has only gone up and worst case, I'd like to be able to replace it. It has just had new brakes, bearings, tyres and a few others bits, waiting on a carby from AliExpress (I asked around and after market seems like the only way, for pretty much all parts?). The WoF has been on hold the whole time I have owned it, but I am now in a place to spend money on it to get it to its road legal, fresh glory. What should/shouldn't I do cosmetically? I'd like to repaint and upholster it. I hear you can get original stickers for them? This beautiful bike is not lost on an amateur like me, it's the second I have owned (first one got stolen) and I wouldn't sell it even in my most dire times. I will maintain it for the rest of my life. Can someone please give me a proper appraisal from being road legal as is? I appreciate any and all advice. For those in the know, it is a "Silk Road" version I have been told.
2 points
-
if the china carb doesn't work out, they have a few options and adaptors to use og airbox https://mikunioz.com/shop/1-honda-xr-250-mikuni-tm33-8012-pumper-carb-kit/?v=13b249c5dfa92 points
-
Agreed. Almost sounds like he was of the opinion that it was an old car that no one would care about, so rather than put his name to it, it should be scrapped. I hate that attitude, my wife got it a lot with her Alto years ago and I'll no doubt encounter it with the Marina at some point.2 points
-
Accusump, I do wonder how effective these things are, I'd say a typical engine oil pump might be doing 60 litres a minute.. say there is 5 litres of oil total capacity, and a litre of this is off doing things like sticking to the walls of the drain back and hanging out under the cam covers etc..whilst the engine is running. (Probably more) We then assume that this "surge"( oil moving away from the oil pick-up or not returning to the pick up point in sufficient quantities that subject the pump to a condition where it can draw air).. Typically these accumulators look to be about 2 litres or thereabouts, so it's safe to assume that there is something like 2-4 seconds of stored oil pressure in there? is that enough to make a real world difference when full throttle max rpm on the exit of the final corner at Hampton Downs? I dunno maybe it is or maybe these things are just shiny additions people bolt into their car? PS the sump and the sump making process is indeed pretty cool, and makes my modified sump in the mx5 look very caveman in comparison..2 points
-
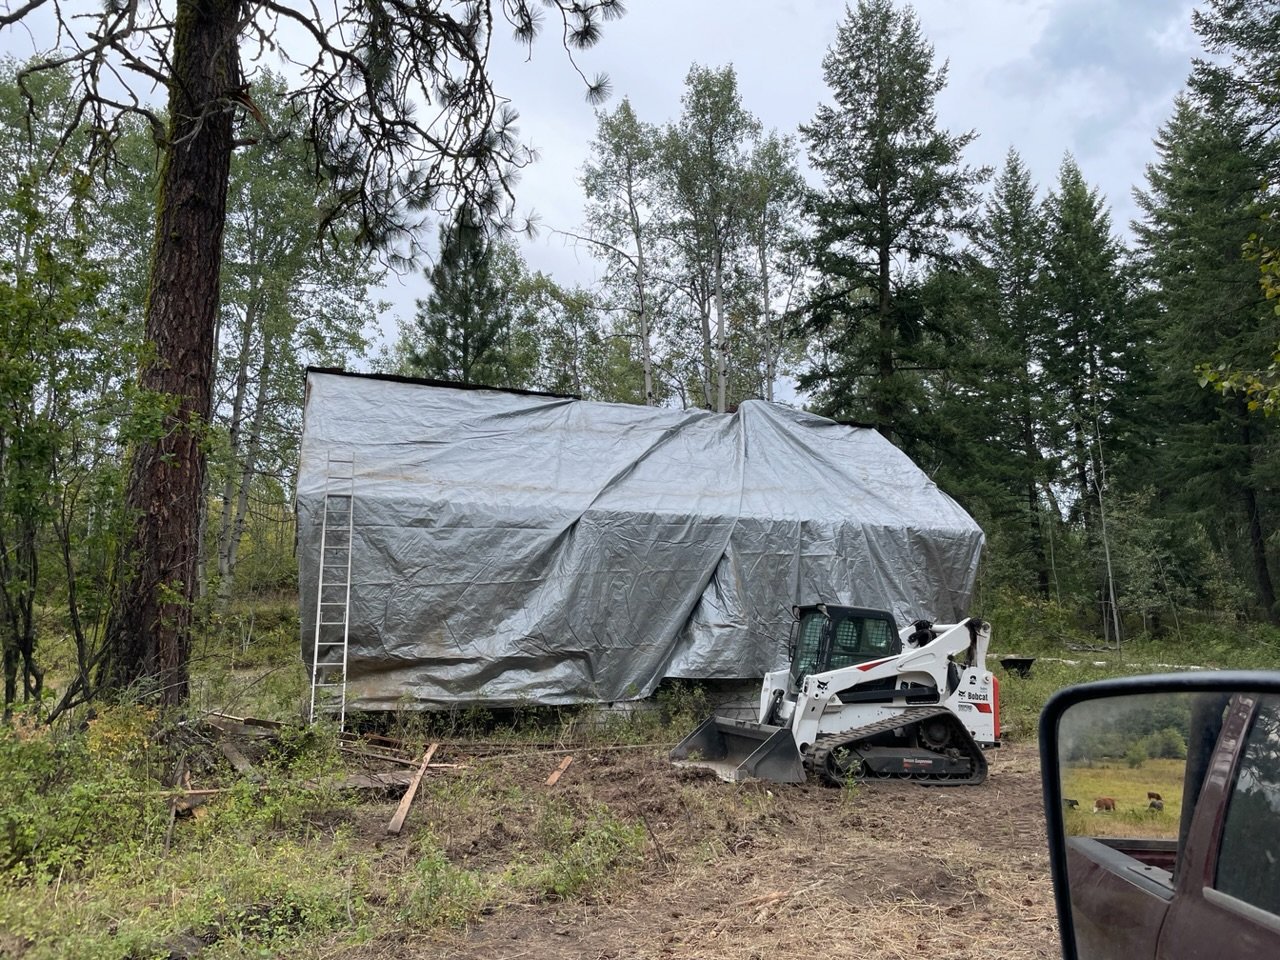
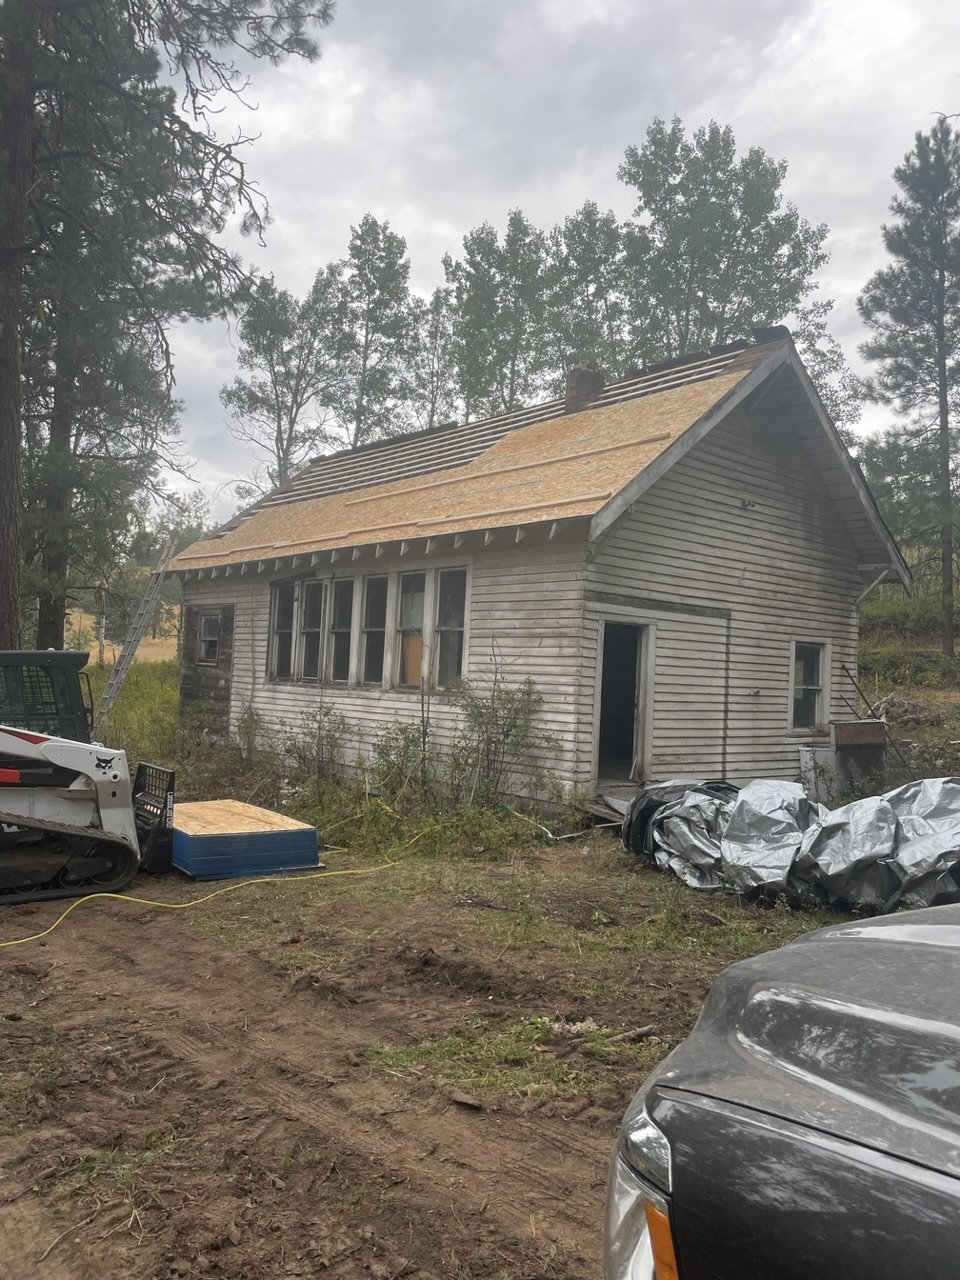
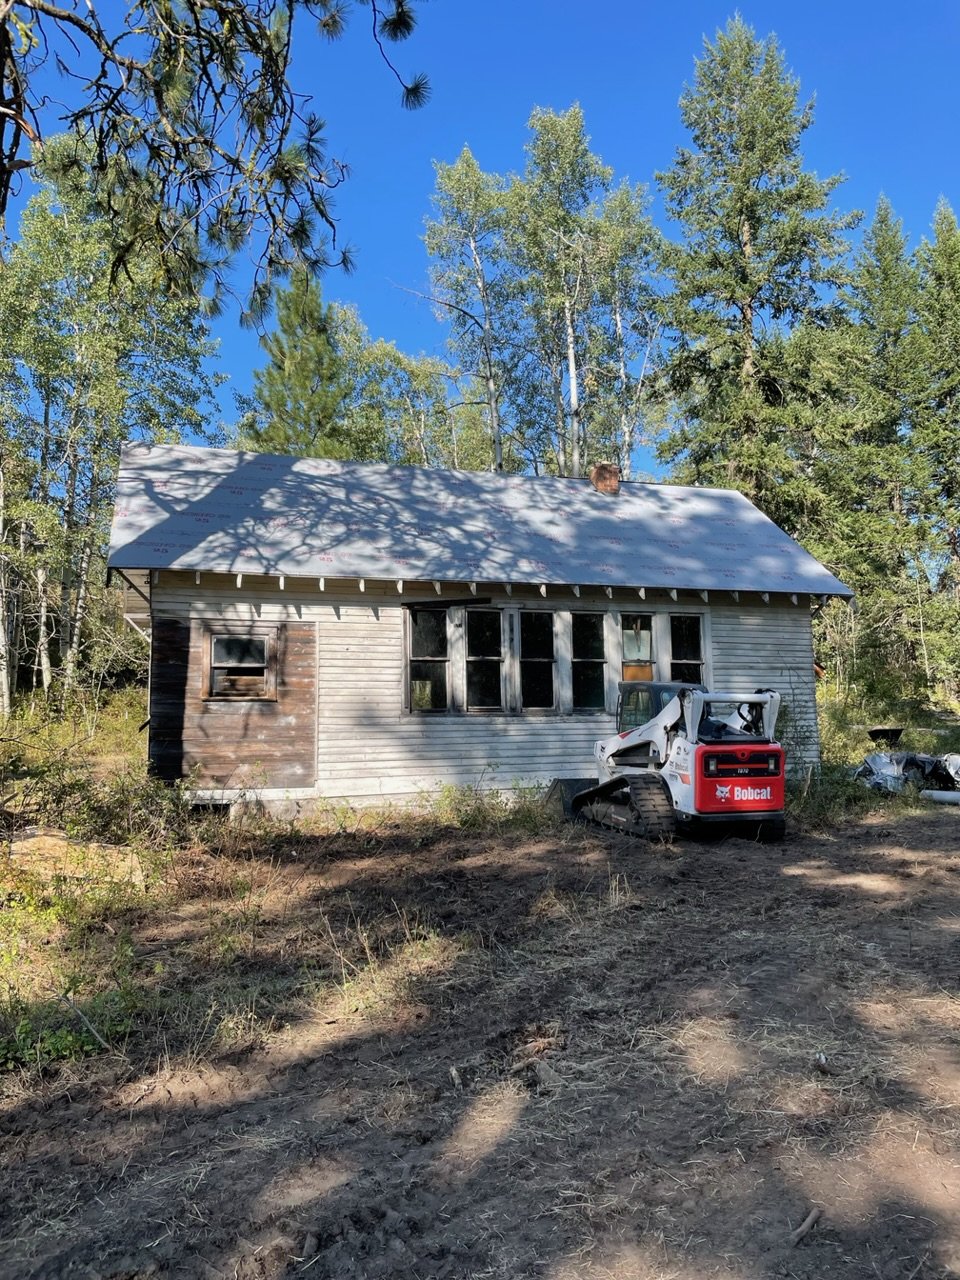
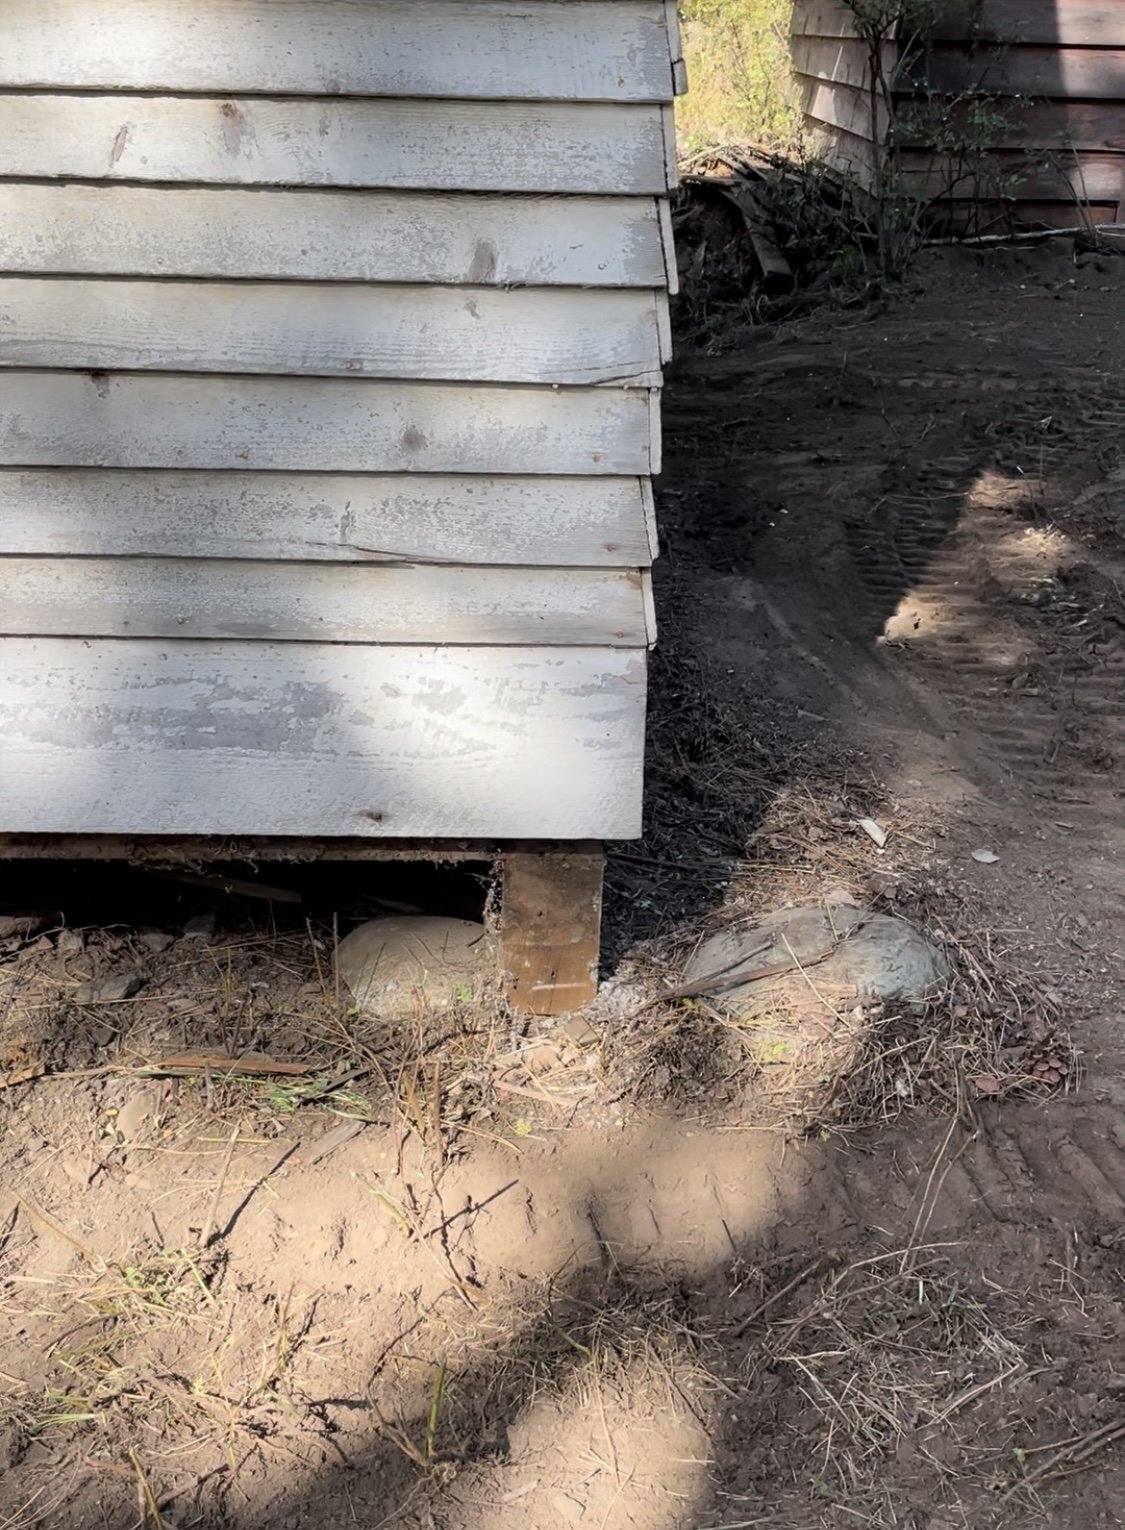
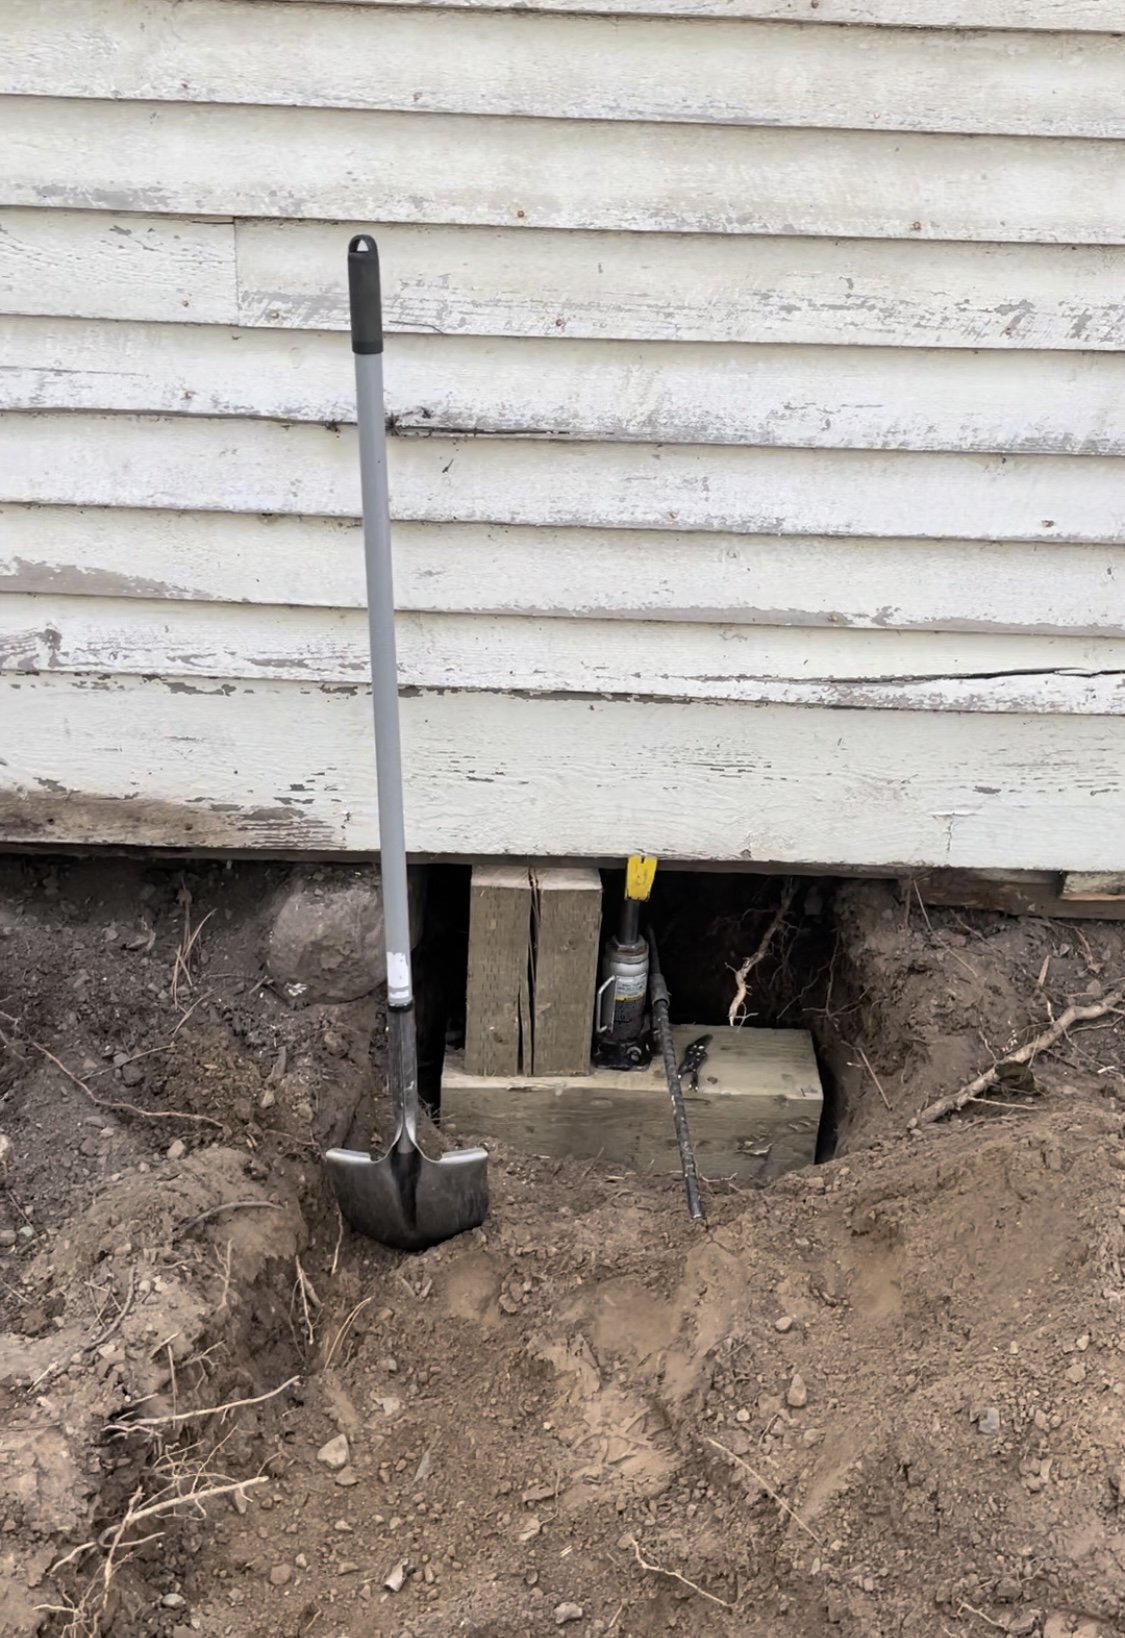
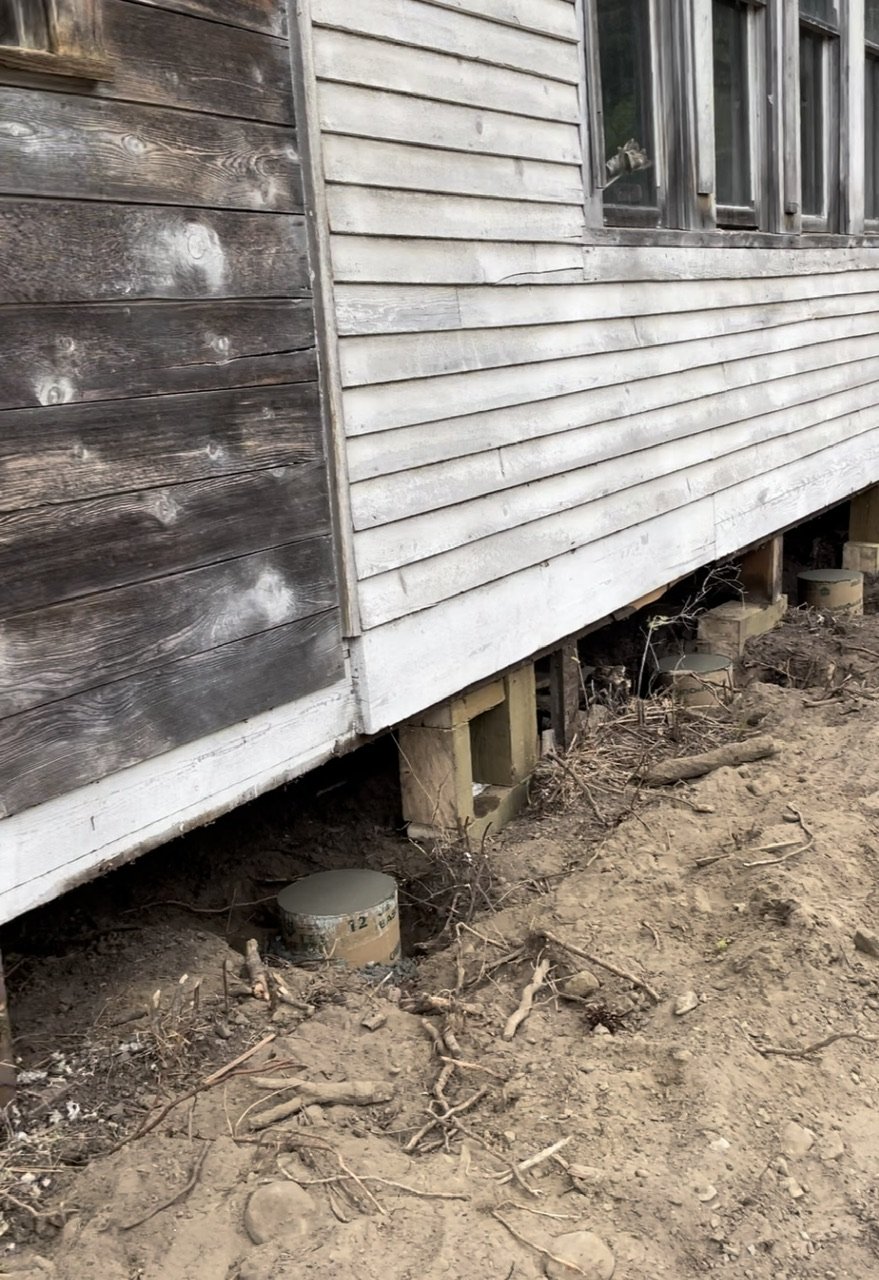
Of course after months of no rain all it took was opening up a roof to scare up a shower. Sheeted the roof with 7/16 osb as is standard practice on new builds. I left the original soffit boards intact and trapped them under the new sheeting, something I now regret…….. And covered with synthetic roof underlayment. Stuff is amazing and would probably last at least a year without being covered So this side was fairly straight but the other eave (the north side) had quite a dip. In fact a level on the floor inside showed most of it needed to come up about 3”. So we looked at the foundation…….. Hmm fir posts and large rocks. Well actually medium size rocks. So I jacked up and supported the building on some temporary posts so we could excavate and pour concrete under the existing post areas. And ready for some mud. These sonotubes are about 3’ deep and sit on some very hard and rocky soil To be continued
2 points
-
2 points
-
Generally calipers with integral handbrake don't really have the mechanical advantage to supply even 1/2 of what you might need to execute a decent handbrake turn on a sealed surface, so I wouldn't get you hopes up.. but getting the mechanism working properly and callipers rebuilt is still a great idea to prevent a whole bunch of possible problems..1 point
-
Missed a spot.1 point
-
was the old one stuffed? could likely get all parts for it as keihin still make carbs etc1 point
-
Andrew has been working on cleaning off the surface rust and recoating with some black zinc. Literally no pitting at all. I fail to see how the corrosion is a safety issue if it can be fixed with paint. Will sort the brakes out this week and then take it back. I think the main issue is that they just pump the wofs out at full speed so never actually stop to closely inspect anything. When I got him to put it onto the hoist to show me the "completely corroded" suspension mounts on the subframe I immediately pointed out that the nut holding the lower control arm to the car was loose (and had been loose since before Andrew got the car). How the inspector could possibly have missed it is beyond my comprehension.1 point
-
Nice rig! I have a thread about mine on here somewhere they are very cool and capable bikes. Be interested to see what the quality of the ali carb is like. Keep it as original looking as poss. Plenty of haggard ones come up for sale, but there are very few left that are in tidy original condition and I haven’t seen a road legal one come up for sale for a long time. I saw a road legal XL250S (model before this with 23” front wheel) recently sold for 5k wof reg and was very tidy. They are somewhere around there for mint examples1 point
-
Yeah I think they're more about mitigating transient losses in oil pressure. Like little flutters of starvation that might not be an issue at 1500rpm but would cause havoc at 7000. I suppose it's a (comparatively) cheap bit of insurance if your race engine cost 10k to build...1 point
-
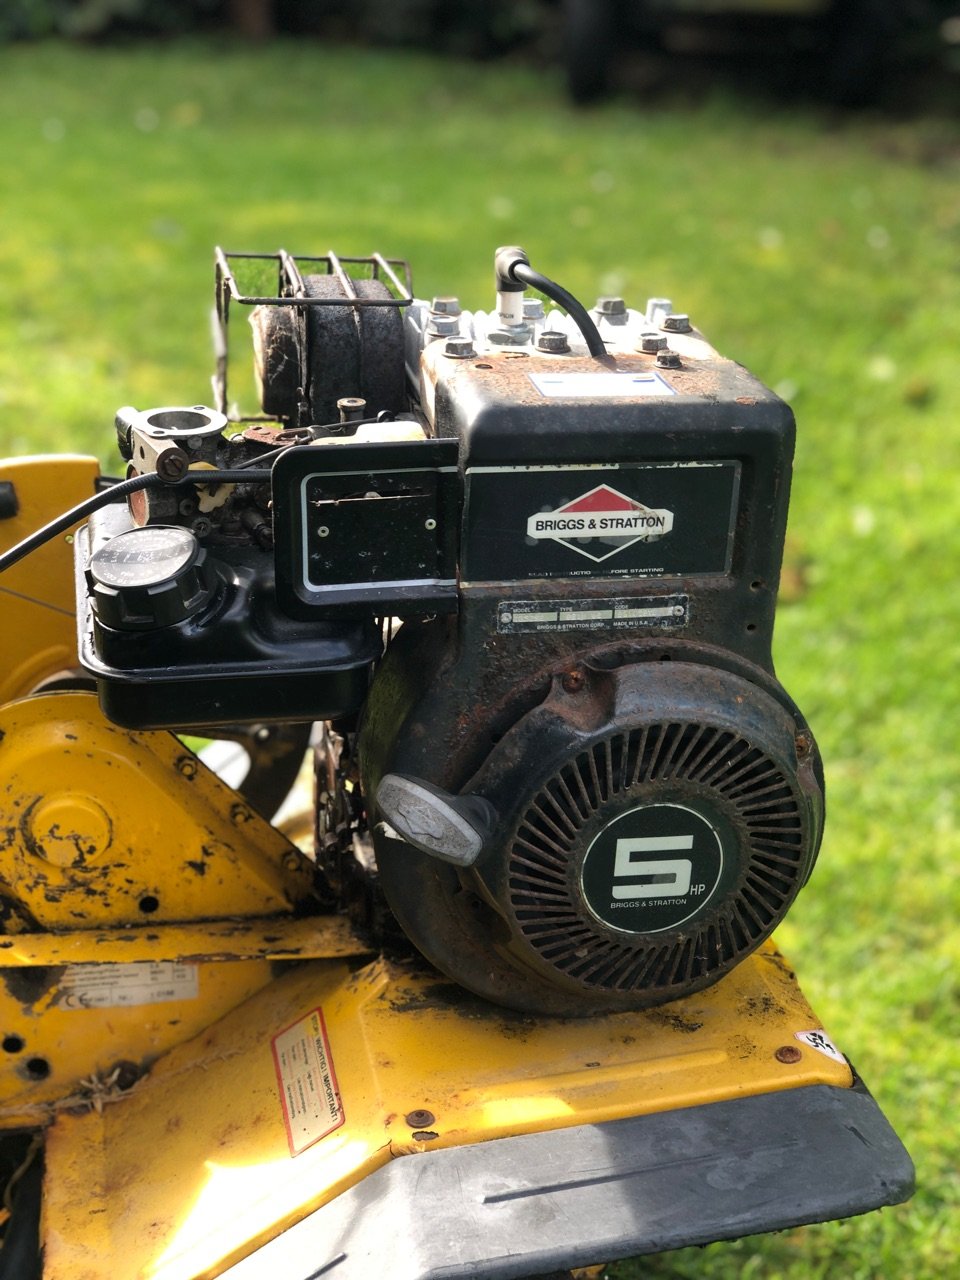
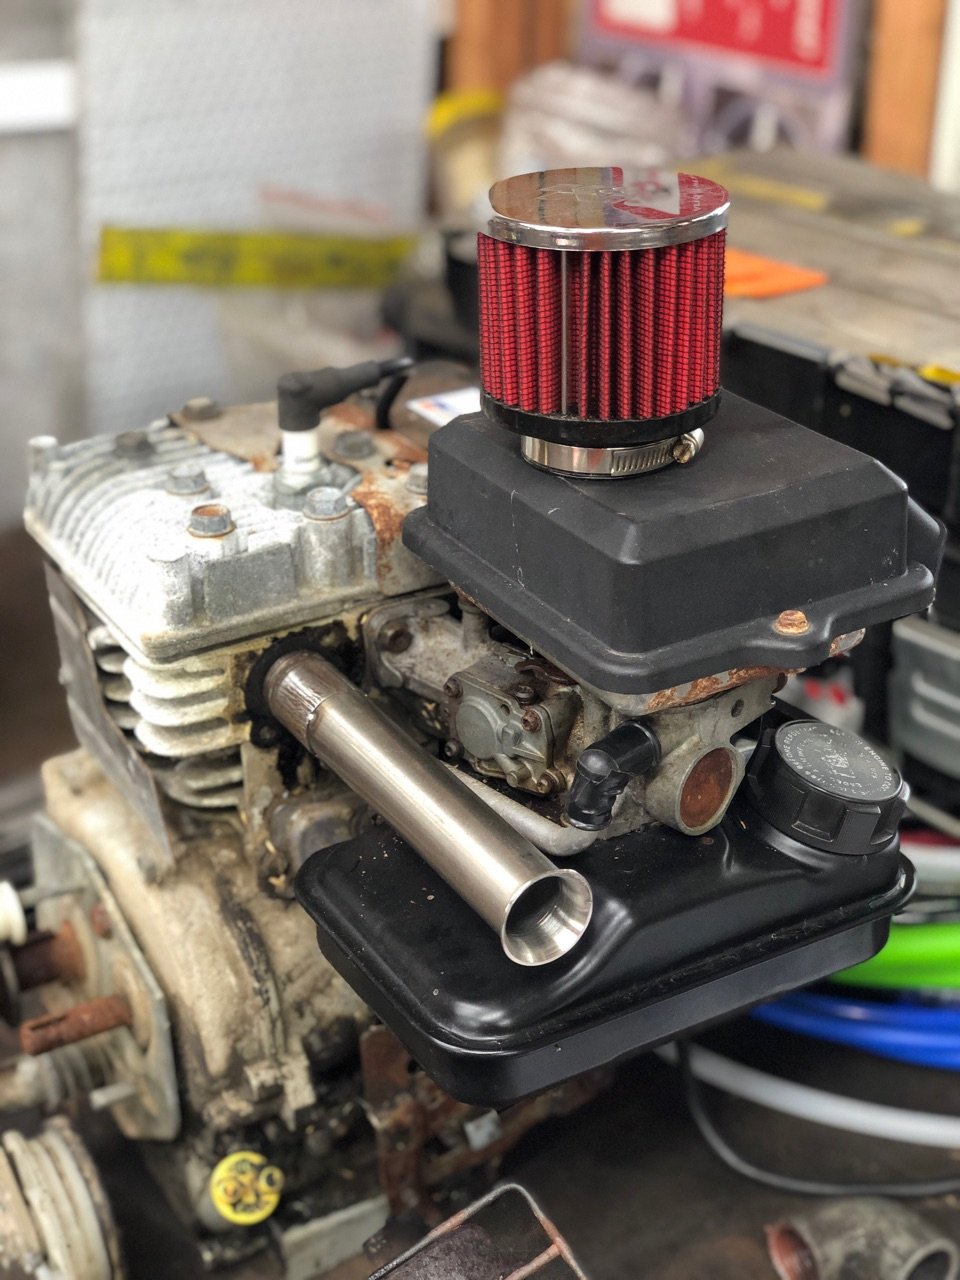
Turns out the previous owner had hard wired the kill wire to earth so it was never going to run. Disconnect wire, squirt of CRC, couple of pulls and it burst into life. 5hp should make the shopping trolley boogie. plus bonus noise making bits.
1 point
-
It was so cool to watch and be involved in it, even if I was only in charge of manning the broom and patting the dog. Definitely learned a lot, as well as it just being exciting to watch the final part taking shape from the big piece initially. On the weekend I got the welds flattened off, tapped all of the holes, and did an absolutely horrendous job of welding the oil pickup. But it's nearly all ready to put it all in place and goo it up for good. I've only noticed one small thing I wish I did differently. The area that the dipstick hole pokes through is only very thin. (3mm I think) I should have left that thicker so it could support the bottom of the tube. I guess I should have spent some time sorting out the dipstick at the 3d printing phase. However that's easy enough to work around. On the whole I'm super happy that it's all worked out so well.1 point
-
No idea. I got it for the Scimitar but it doesn't fit the chin profile so was in the spares bin. Pretty sure I got it from Trademe. I'm just trying to push more air through the radiator. That I'll look like the coolest kid on the block with a chin spoiler is an added bonus. I might copy that mesh below too.1 point
-
Undercar Service Centre did all the brake work on my diff before they moved to Hayton Road, skimming some rotors would easy for them i'd say. They skimmed my drums and rebuilt the lot including supply of new master. Good service IMO. /thought you had a lathe1 point
-
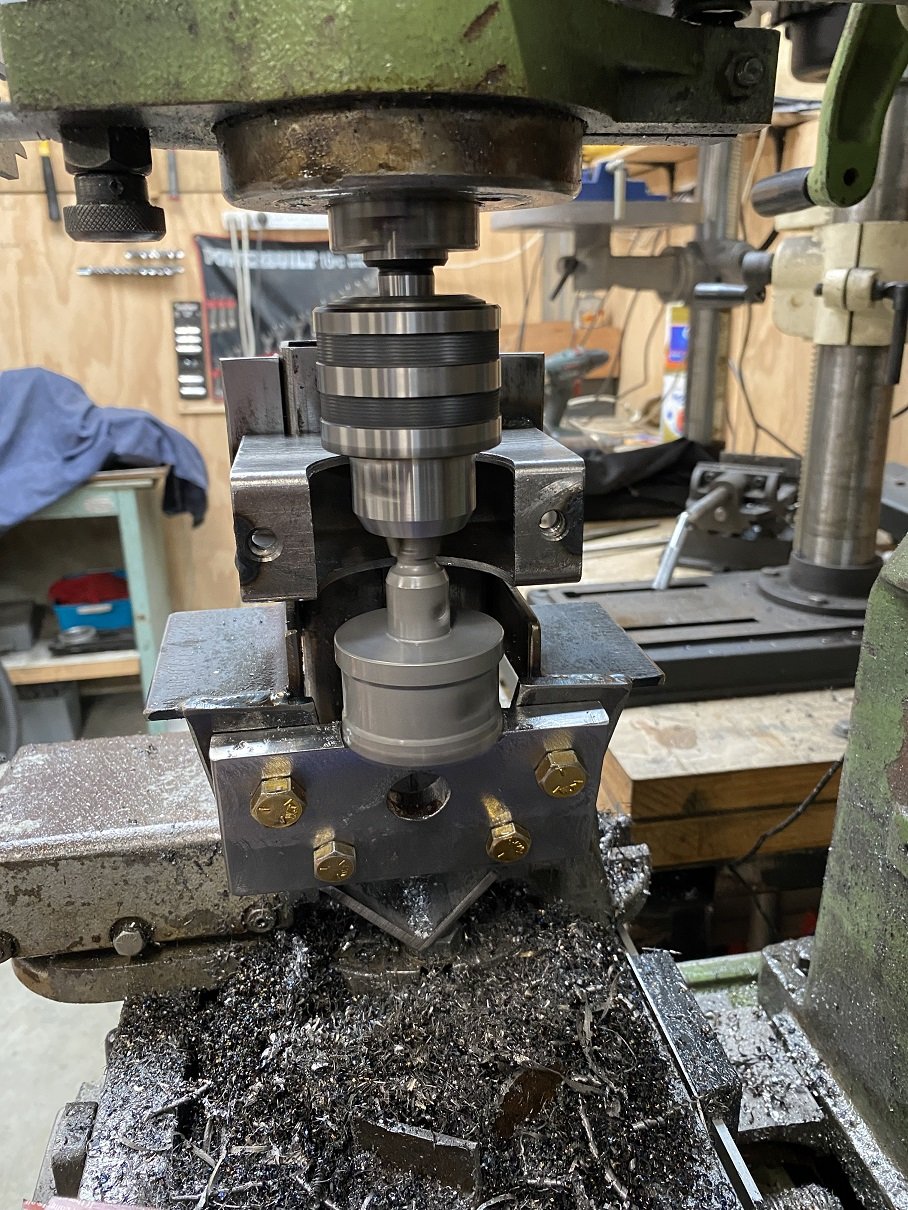
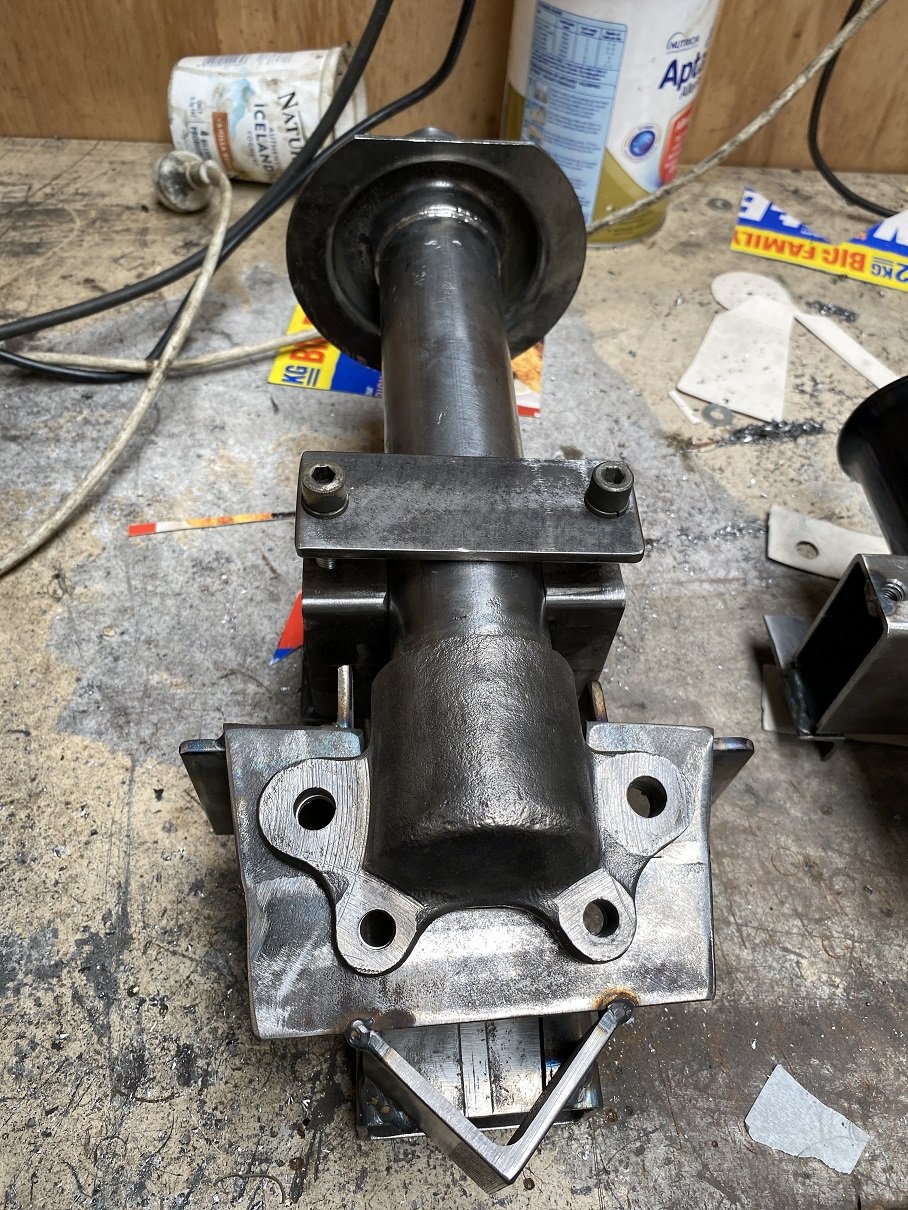
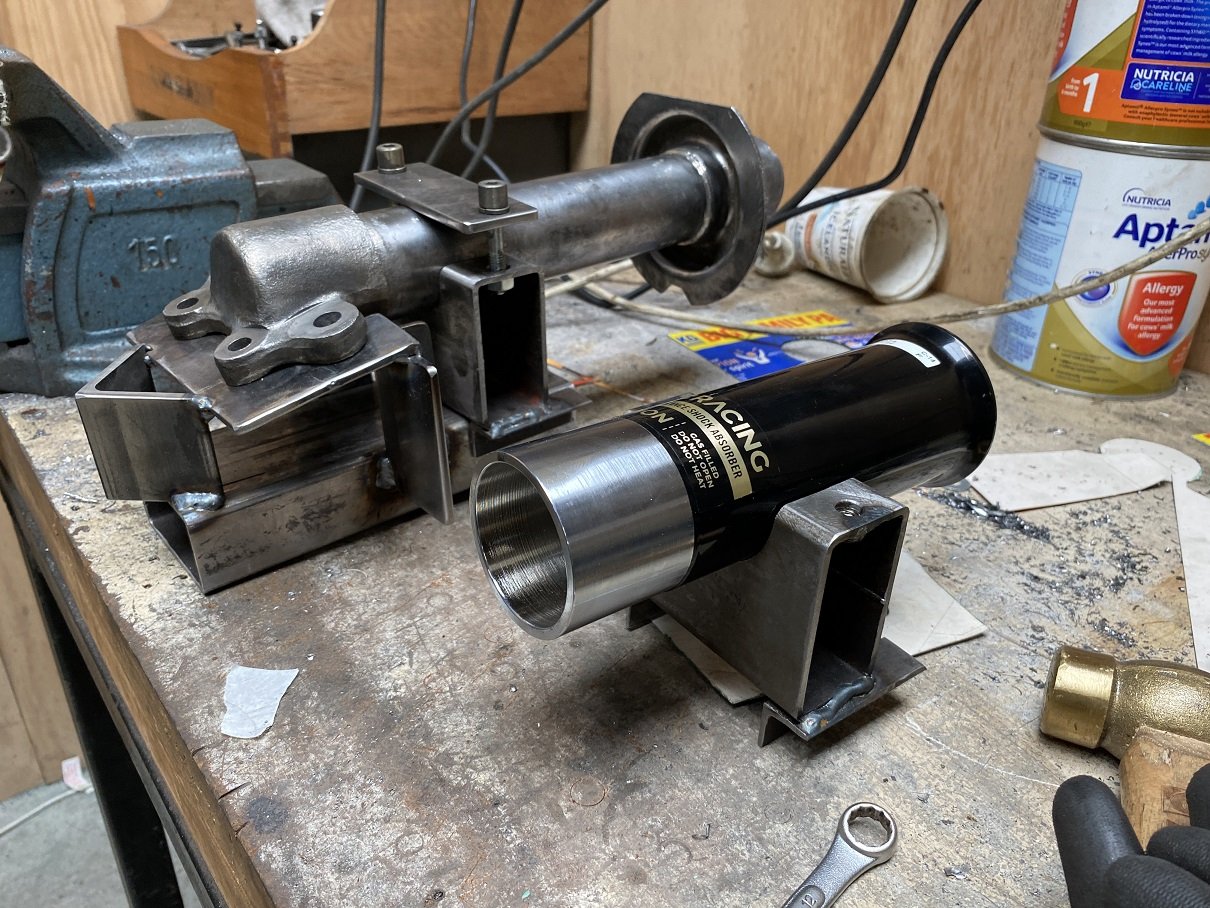
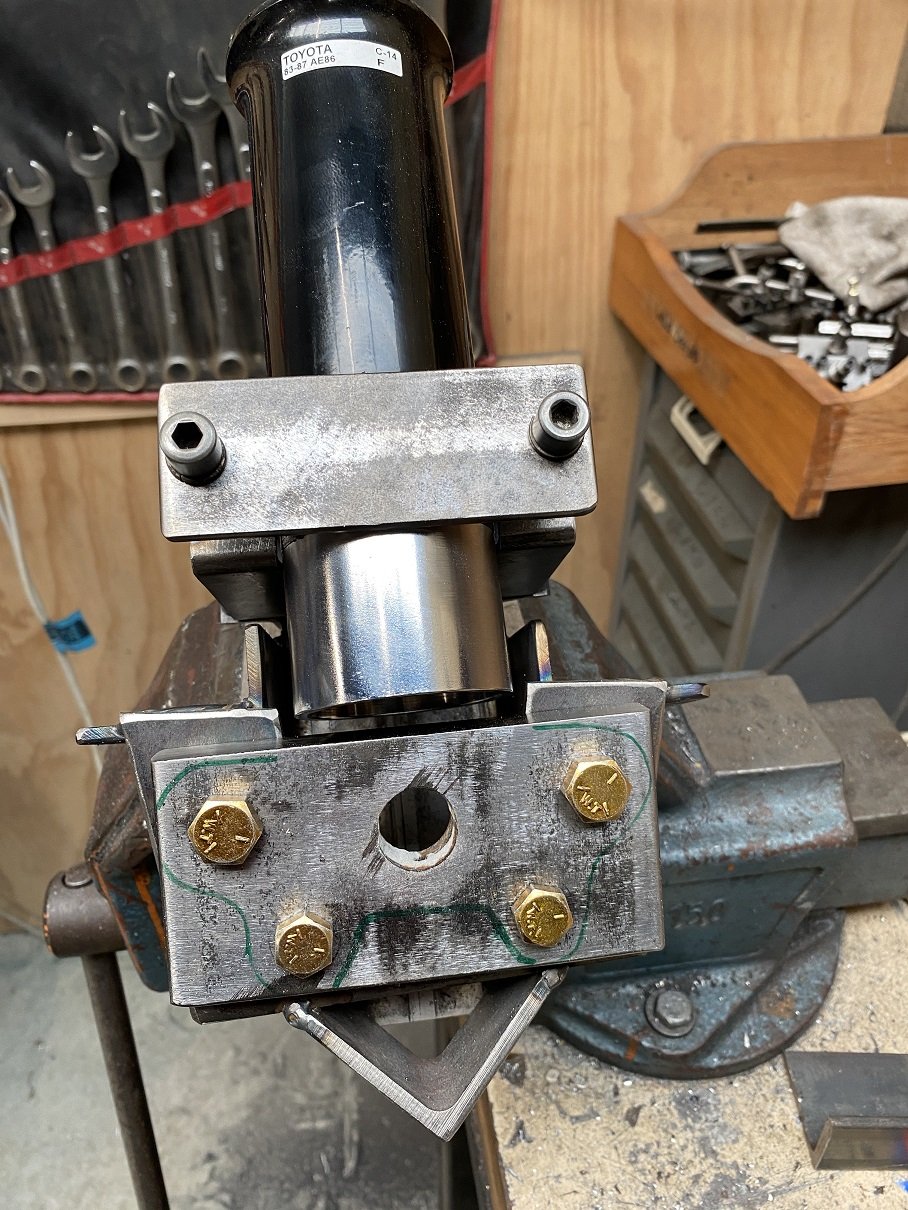
Well, the holesaw in the mill kind of worked, right up until I tried to push it too far and it jammed, chipped a tooth and bent the holesaw shaft. I finished it off with the vertical bandsaw and powerfile.
1 point
-
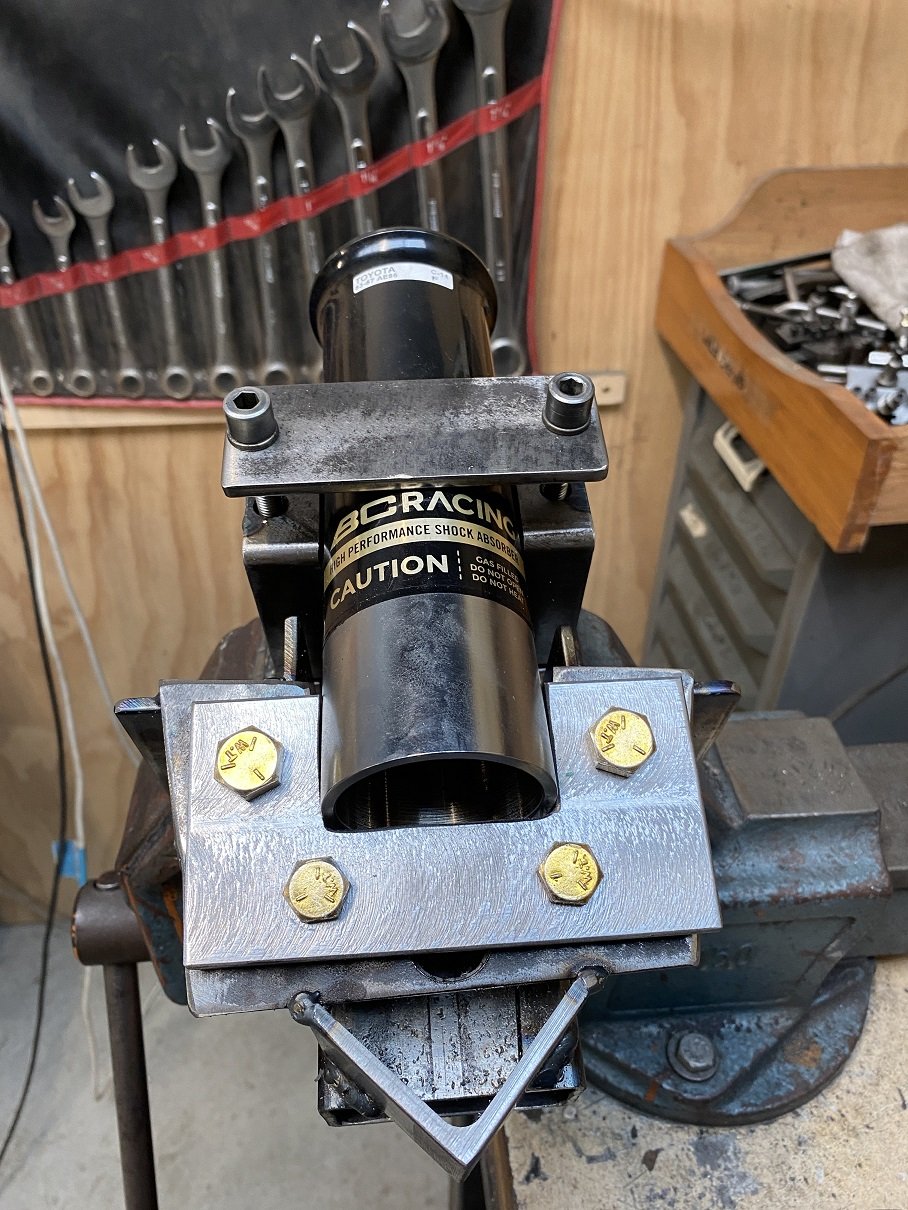
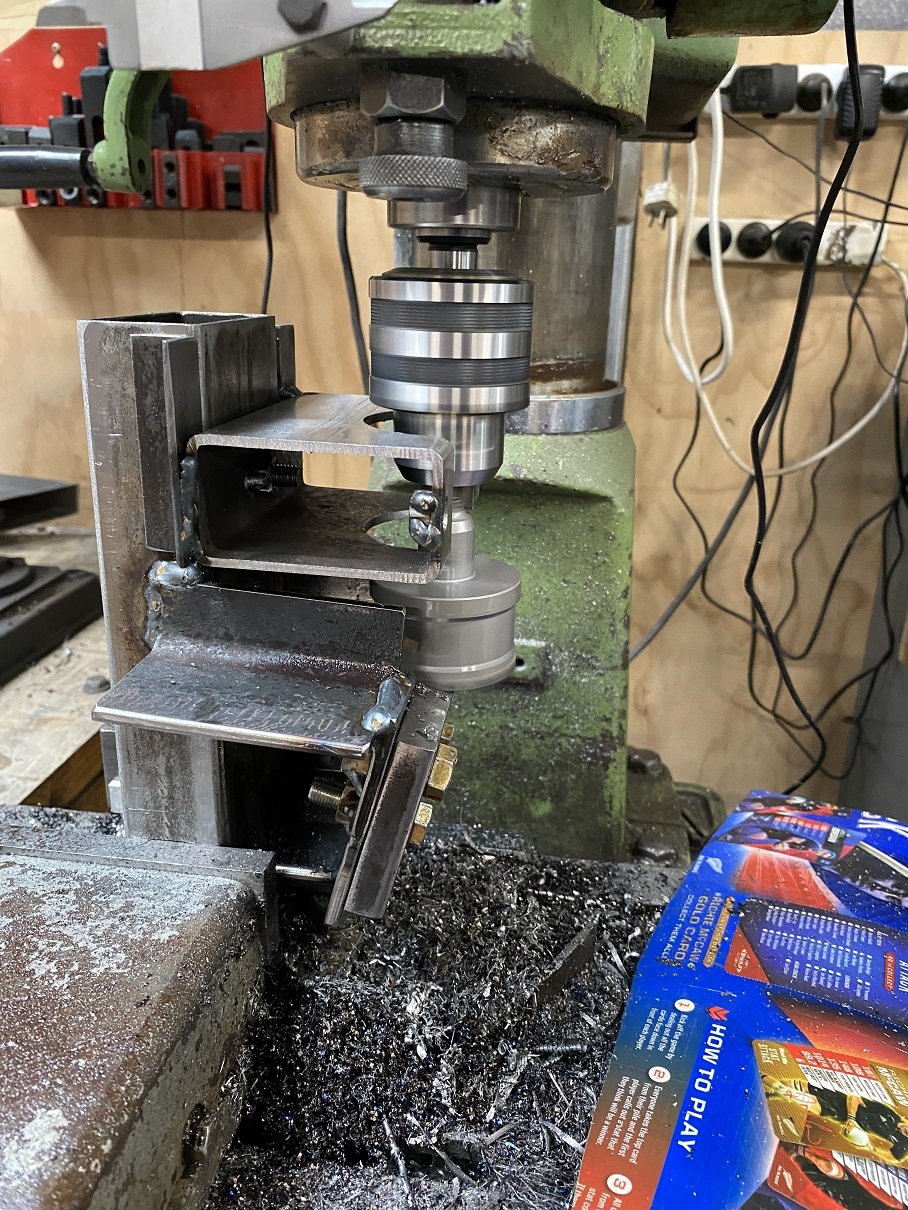
Making a jig to align the flange on the coil over tube. Fortunately the left and right sides are the same, so I only need one jig. I'm hoping I can stand the jig on it's end in the mill and use a hole saw that is the same diameter as the tube to cut the middle out of the flange. The flange still needs milling flat, and it's 2mm too thick.
1 point
-
Just doing Dynafari things
1 point
-
Coming along nice
1 point
-
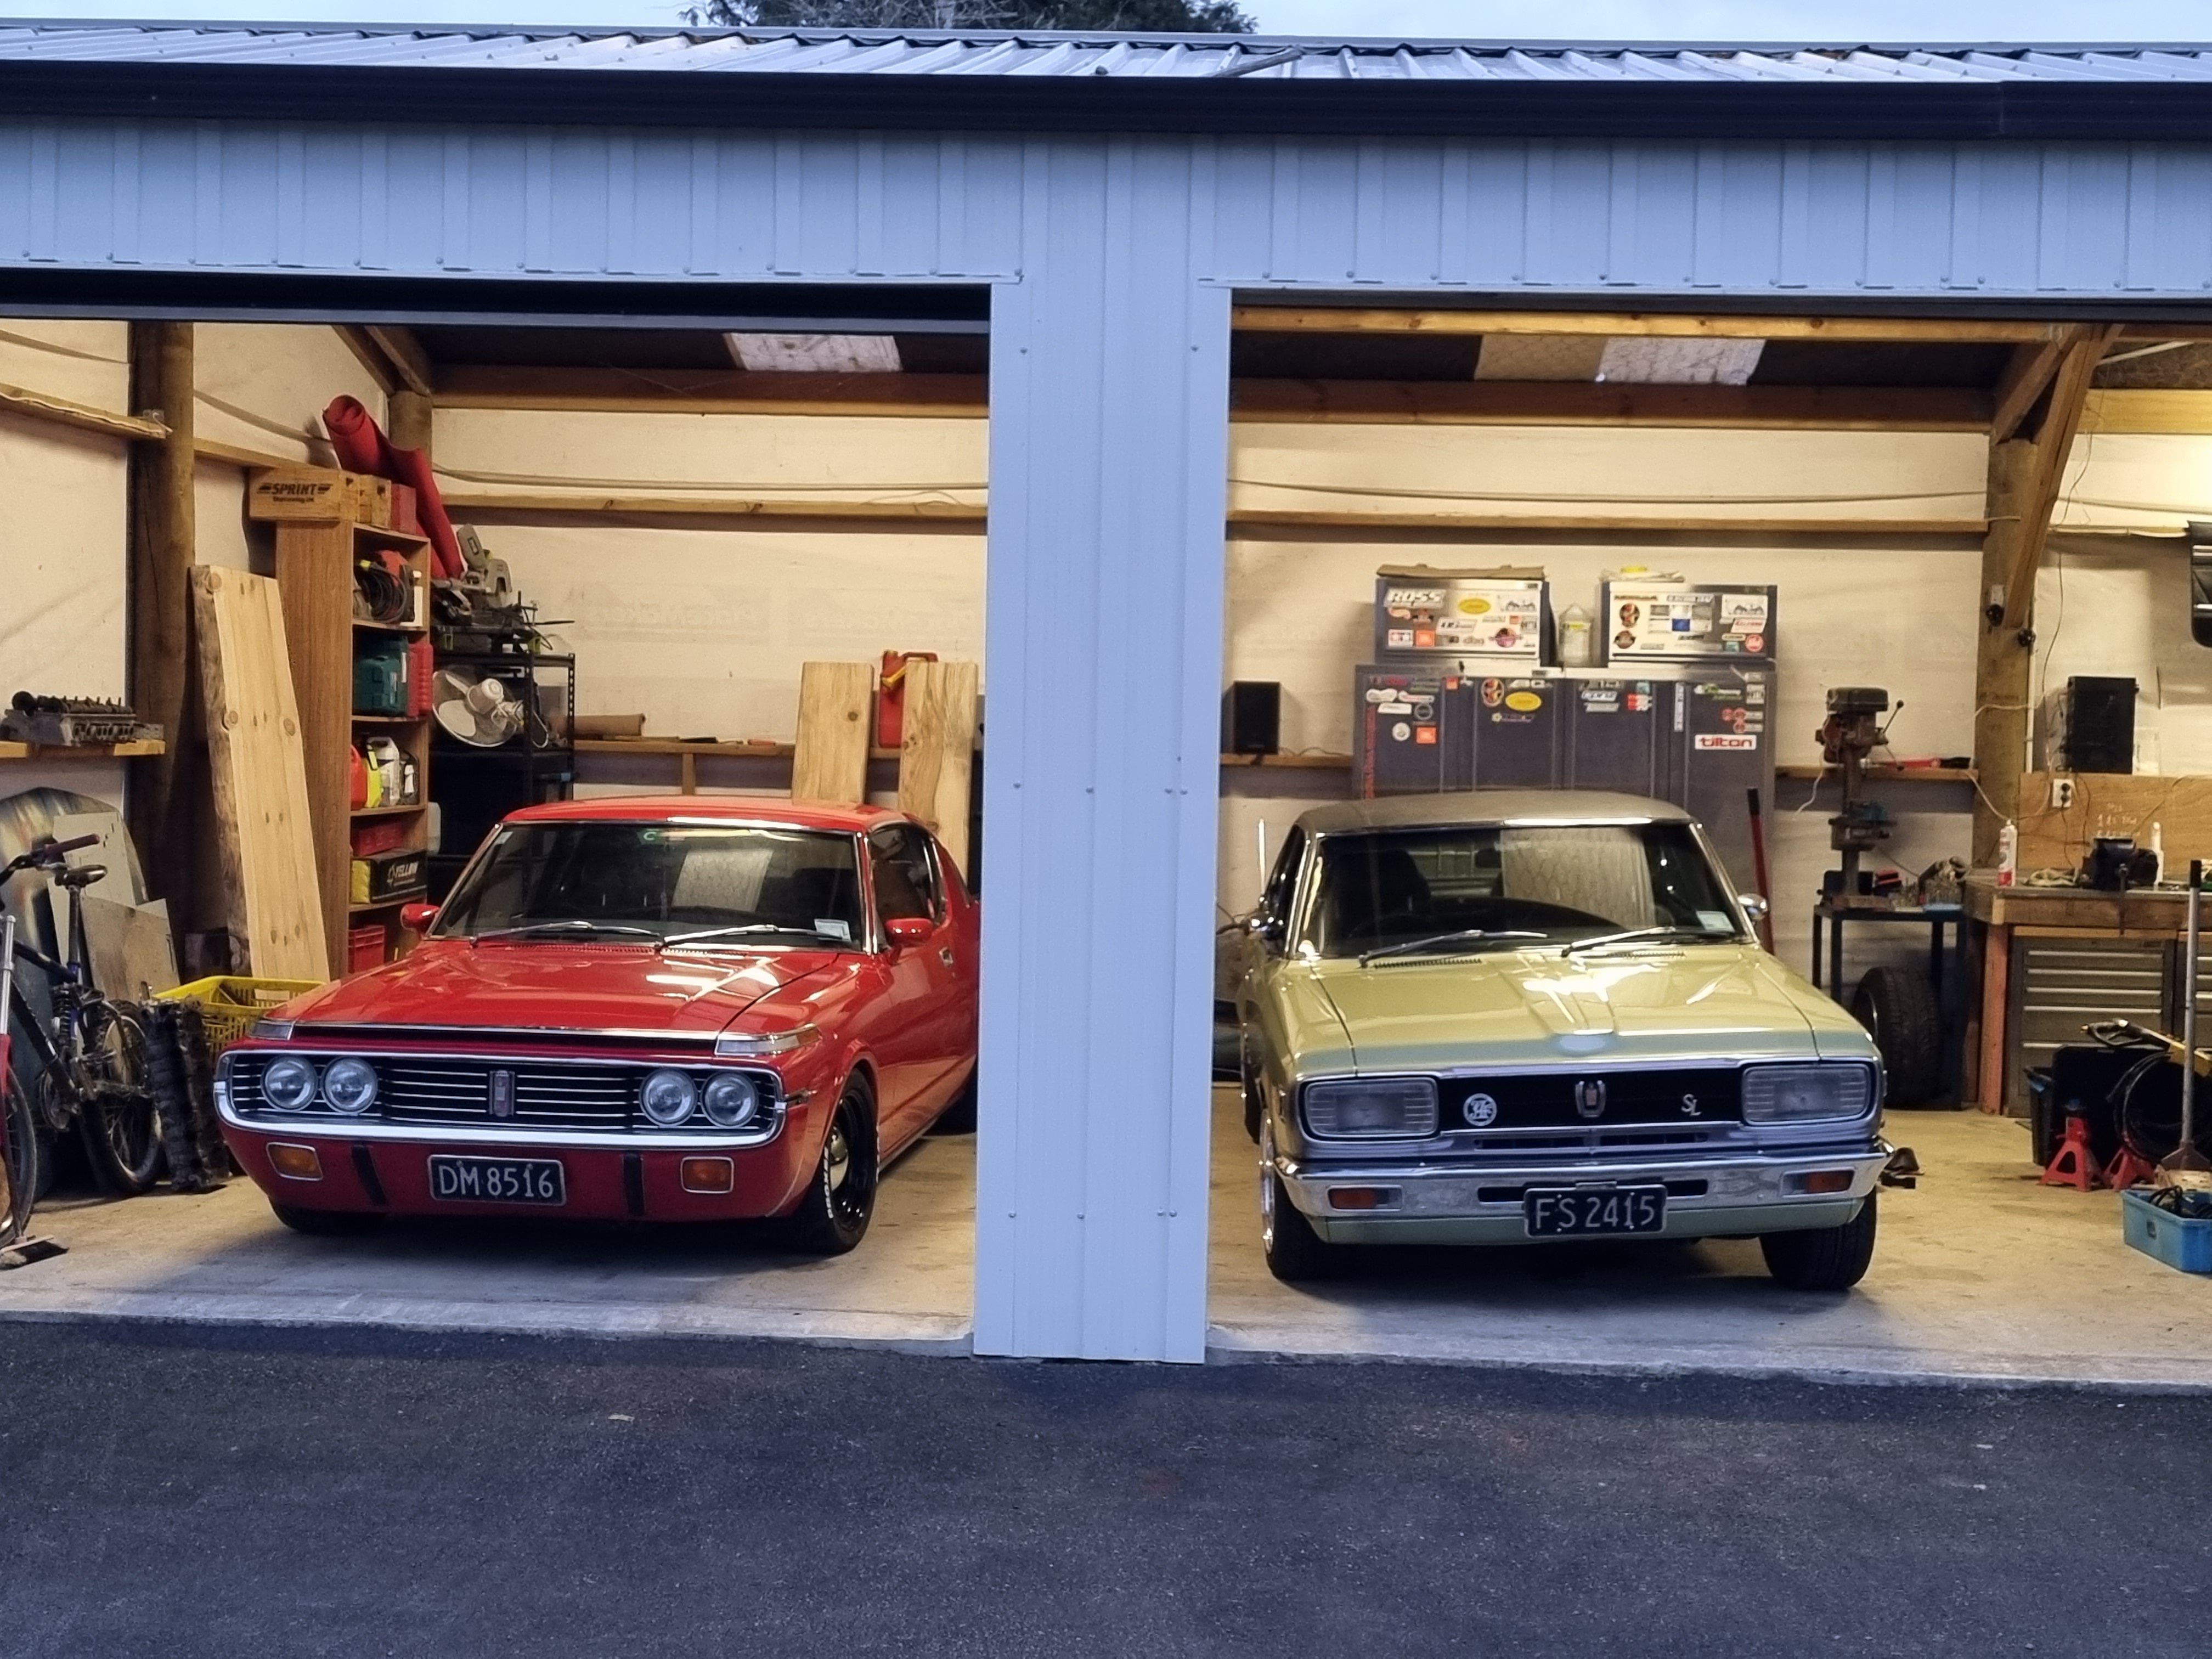
Well after both crowns being in storage for a year and a half I finally have them back. Couple of maintenance jobs to do. New clutch slave and replace a leaking axel seal. Pretty easy stuff really. Then it's warrant and drive. This car is still ace just fyi.
1 point
-
fuck that explains it lol I weld like I make love; with little ability but maximum enthusiasm1 point
-
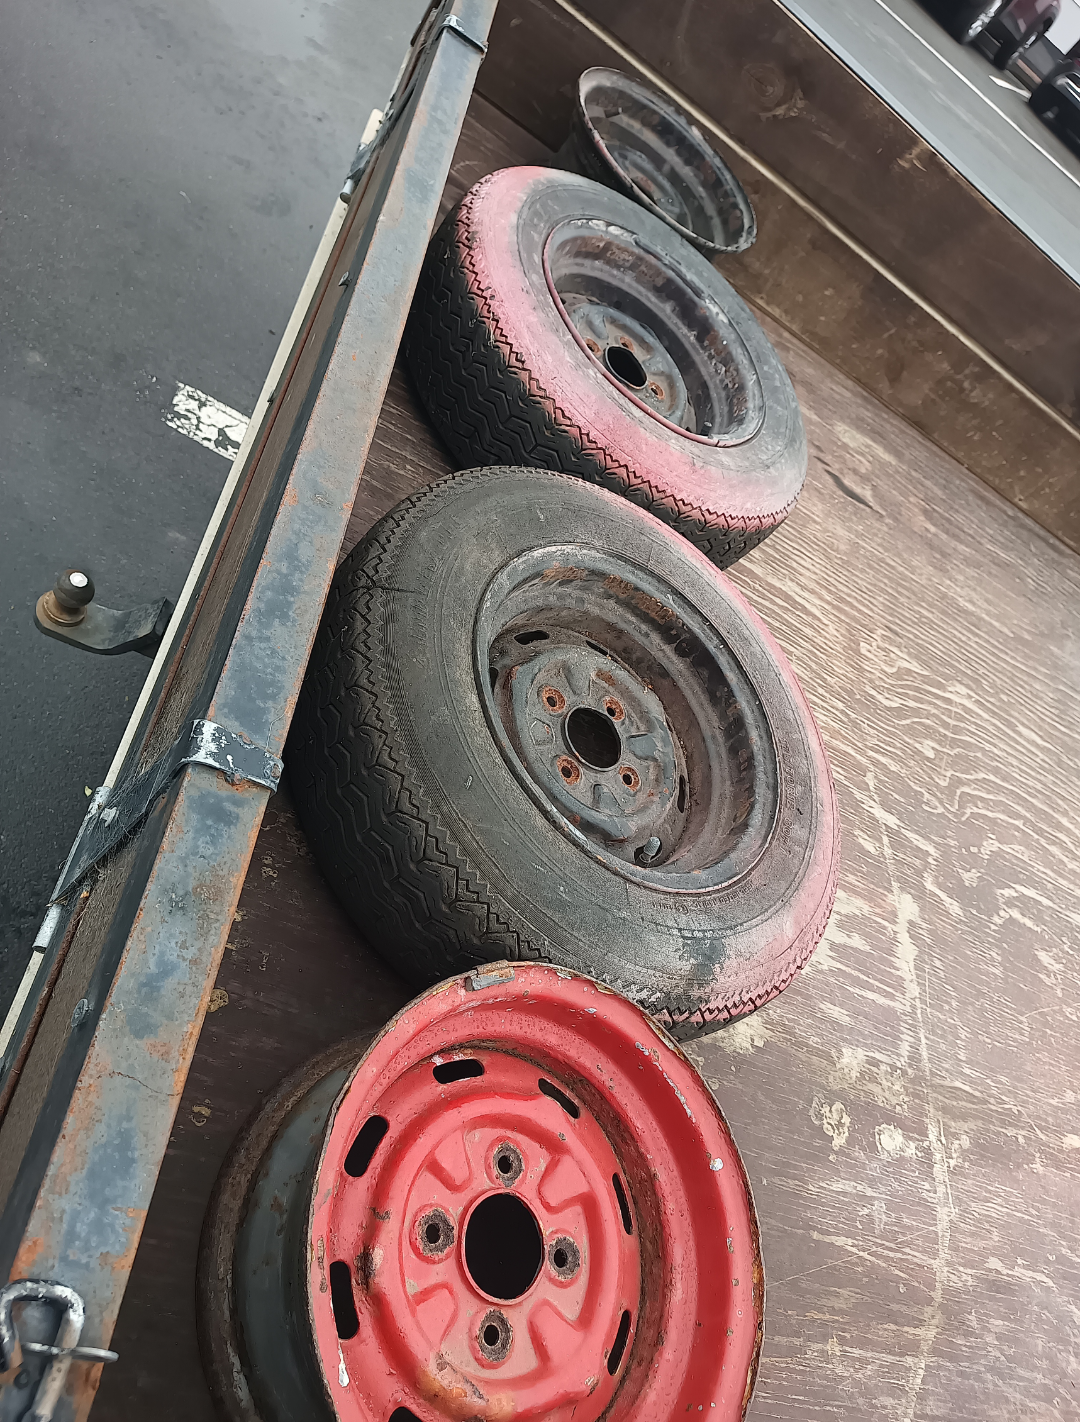
Took these cool steelies in for sandblasting. Fella at the shop suggested I bring in the Imp van. SCOPE CREEP
1 point
-
Dogleg gearbox1 point
-
Cheers, Willy.
1 point
-
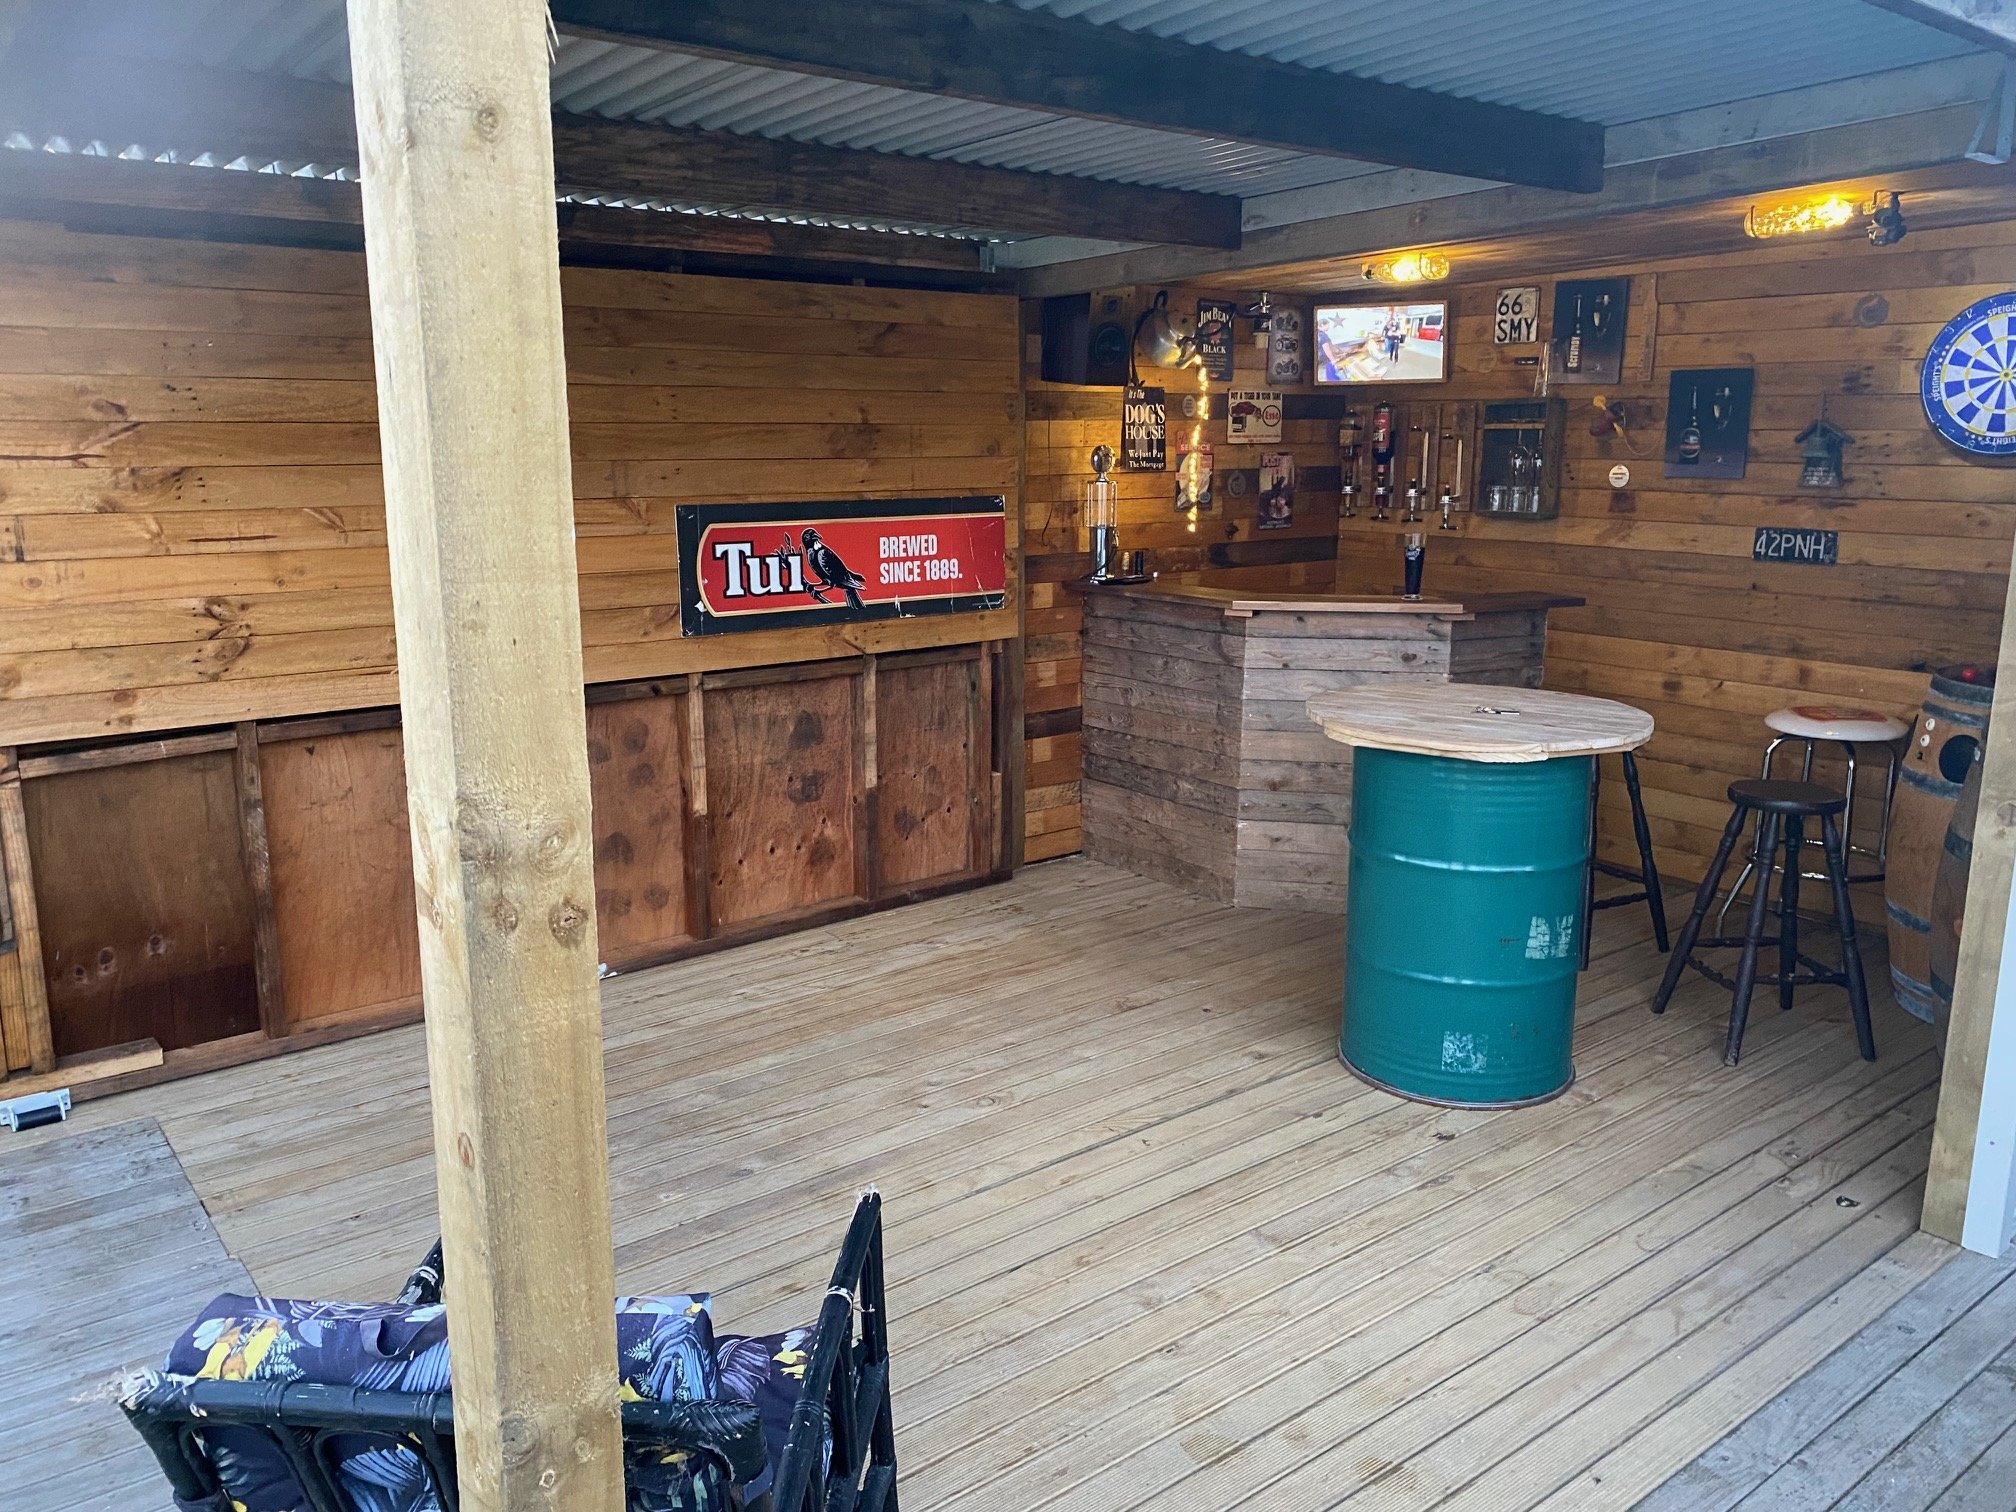
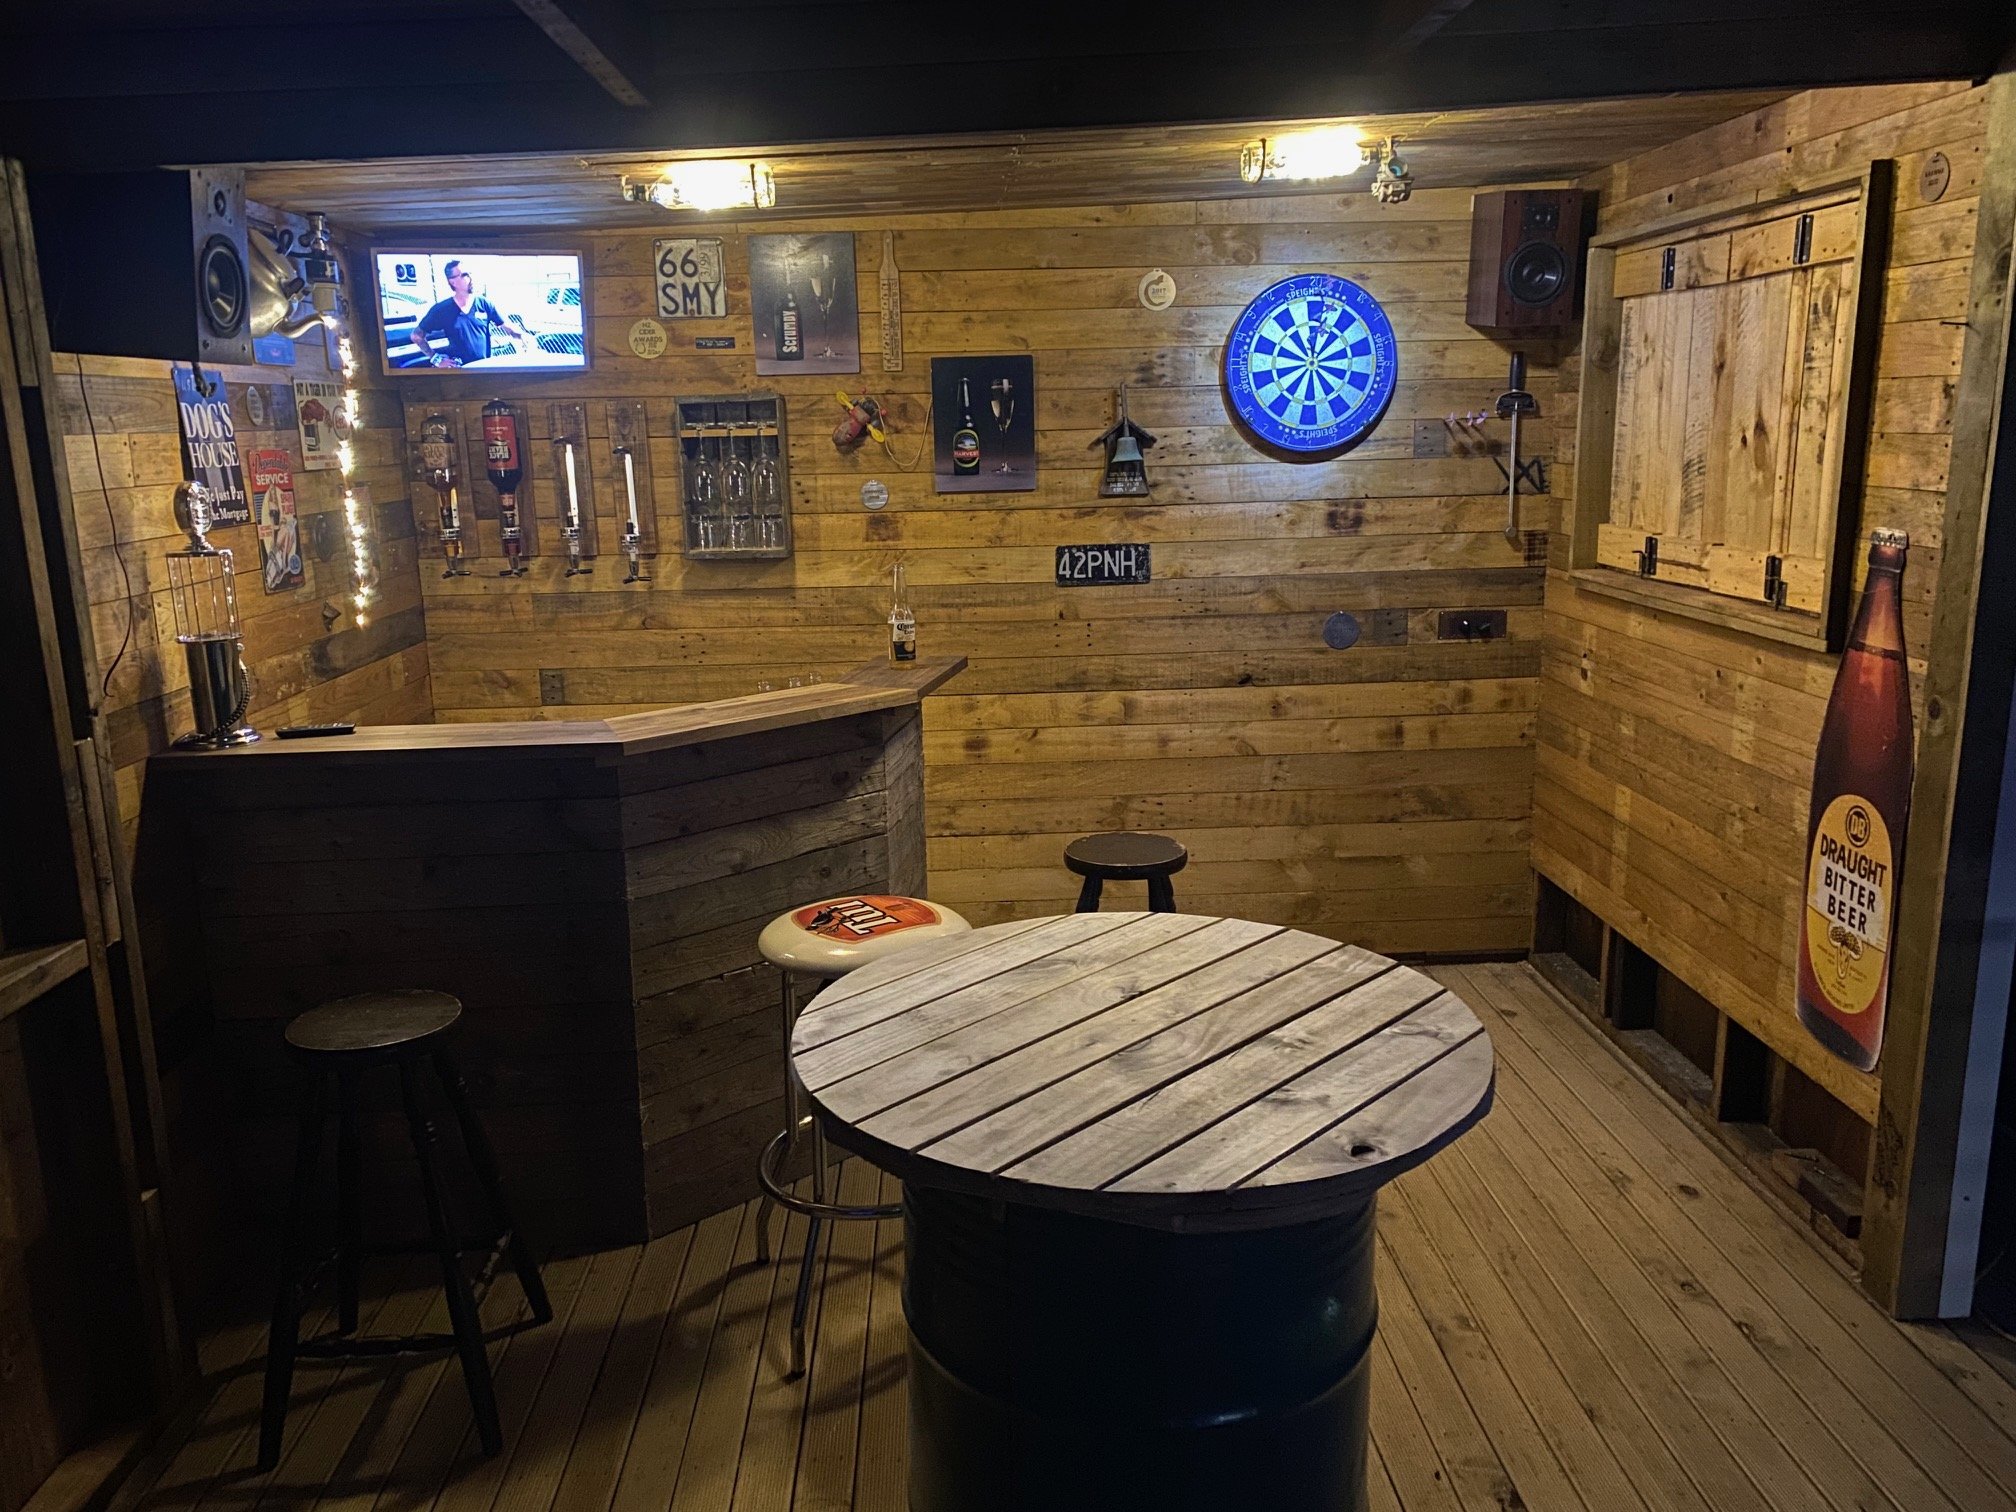
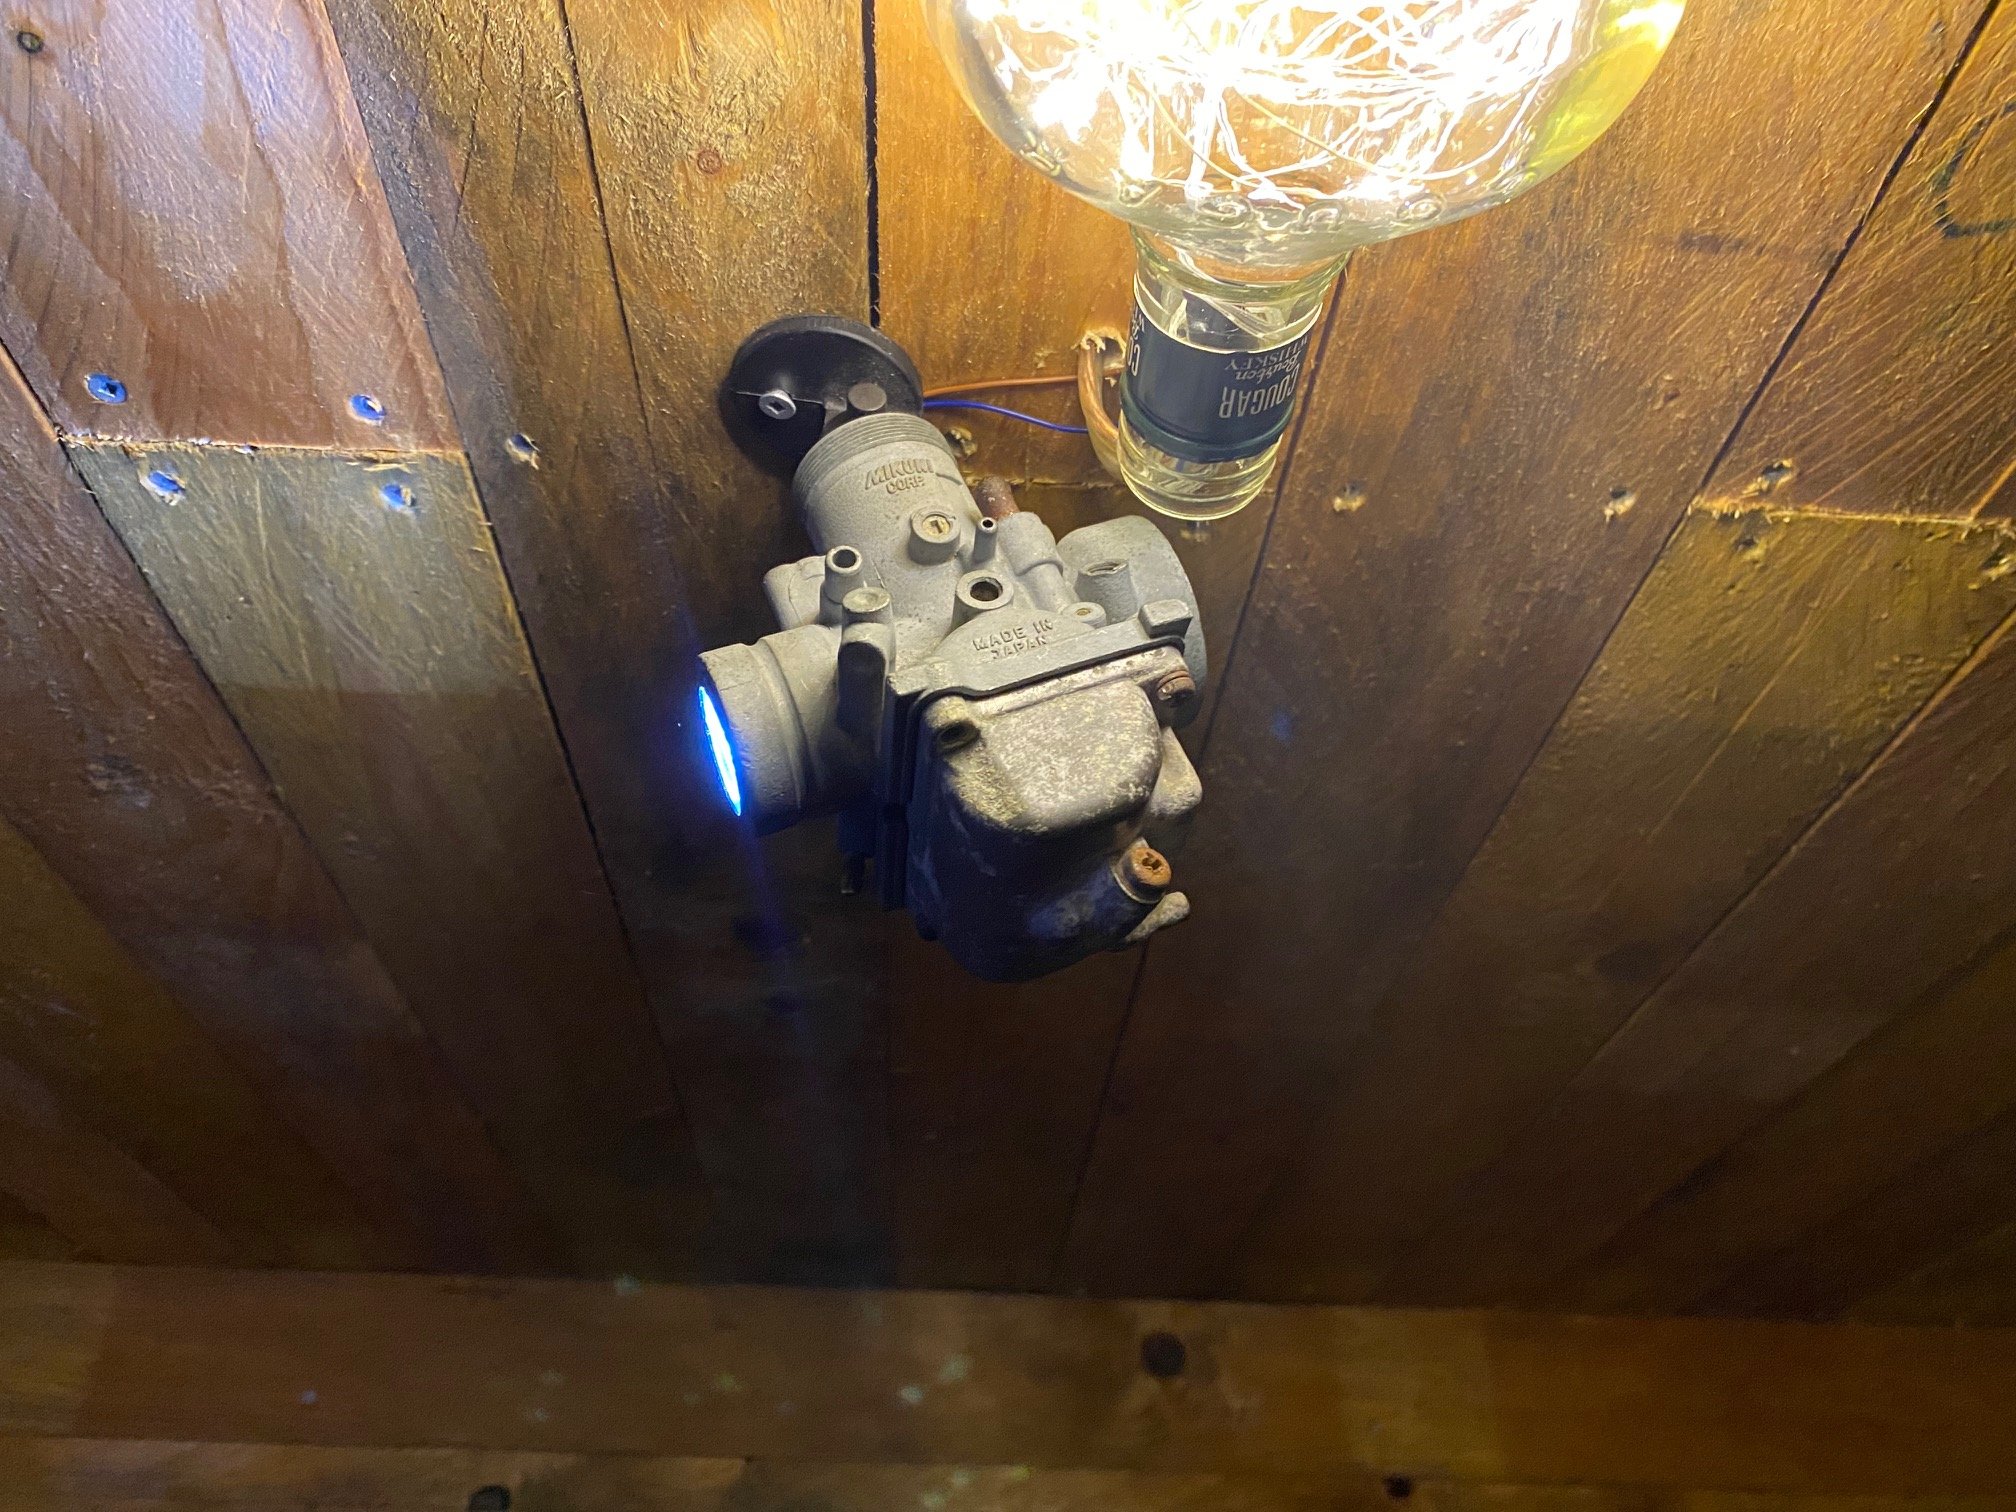
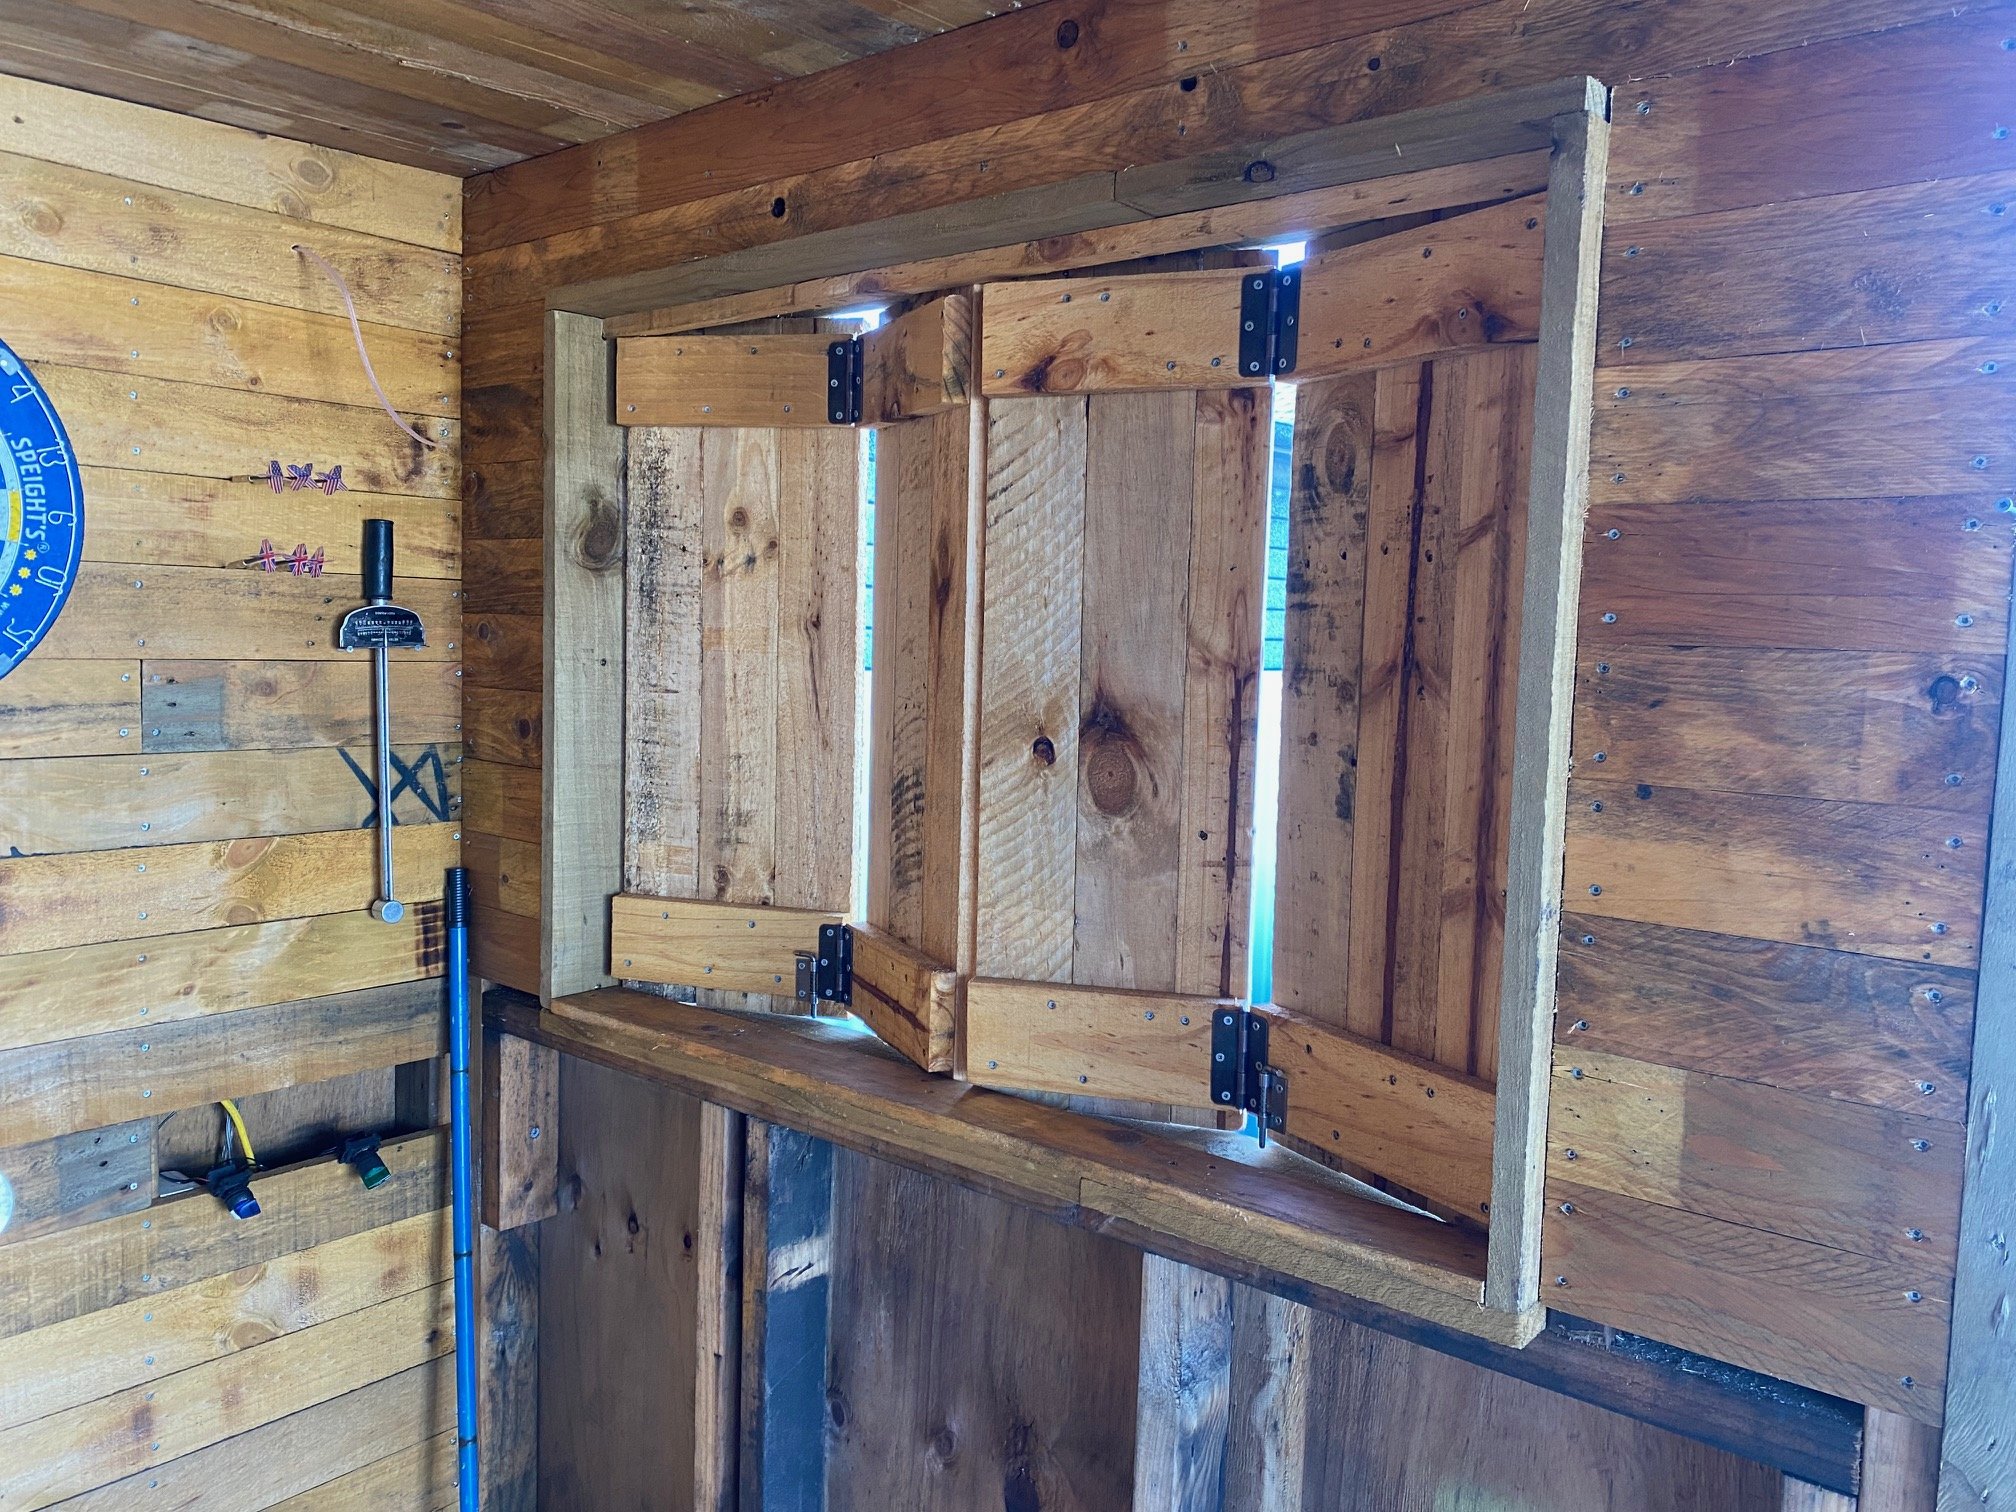
Tiki bar getting there, lined most of it and well over cutting apart pallets etc. Oiled it all before going up and pretty much the look I was thinking. Small tv connected to Wi-Fi, the old home theater receiver from the house set up even has blue tooth. Stoked with the bifold window shutters and carb spot light for dart board.
1 point
-
So now you're down to just three? Or did you find some more you haven't told us about?1 point
-
True, but Al's mum does this 4 times a week. Yeah I am now convinced that a lot of companies like ARP simply buy a factory head bolt, then remake it as a stud without any testing. With the 1NZFE (sorry to pollute with Toyota chat) if you buy the ARP head stud kit. Then the VVT solenoid doesnt fit anymore, and it breaks off the end of one of your fucken cams when you torque it up. Have heard similar reports from some other engines. This is an awesome build. It's awesome to see some RFB stuff done properly.1 point
-
My 4 link kit from Kruzin Kustons arrived. quality is on point. Glad I paid more than the low budget imported gear. have got a set of RX3 coupe flares coming from Andy Duffin that he’s dropping off next week. it’ll check fitment to see how they look. might even be able to run a spacer haha so far I have most of the air ride stuff here: bags compressors 5 sensor gauge and switch unit Fbss valve block 5 port air tank just need to sort fittings, water traps and air line, and obviously bag brackets.
1 point
-
3 days after the last update I whipped the screen out and trims off ready for the vinyl roof install. Yesterday I got the call to drop it off and just collected it. Looks awesome, can’t wait to button it up again!1 point
-
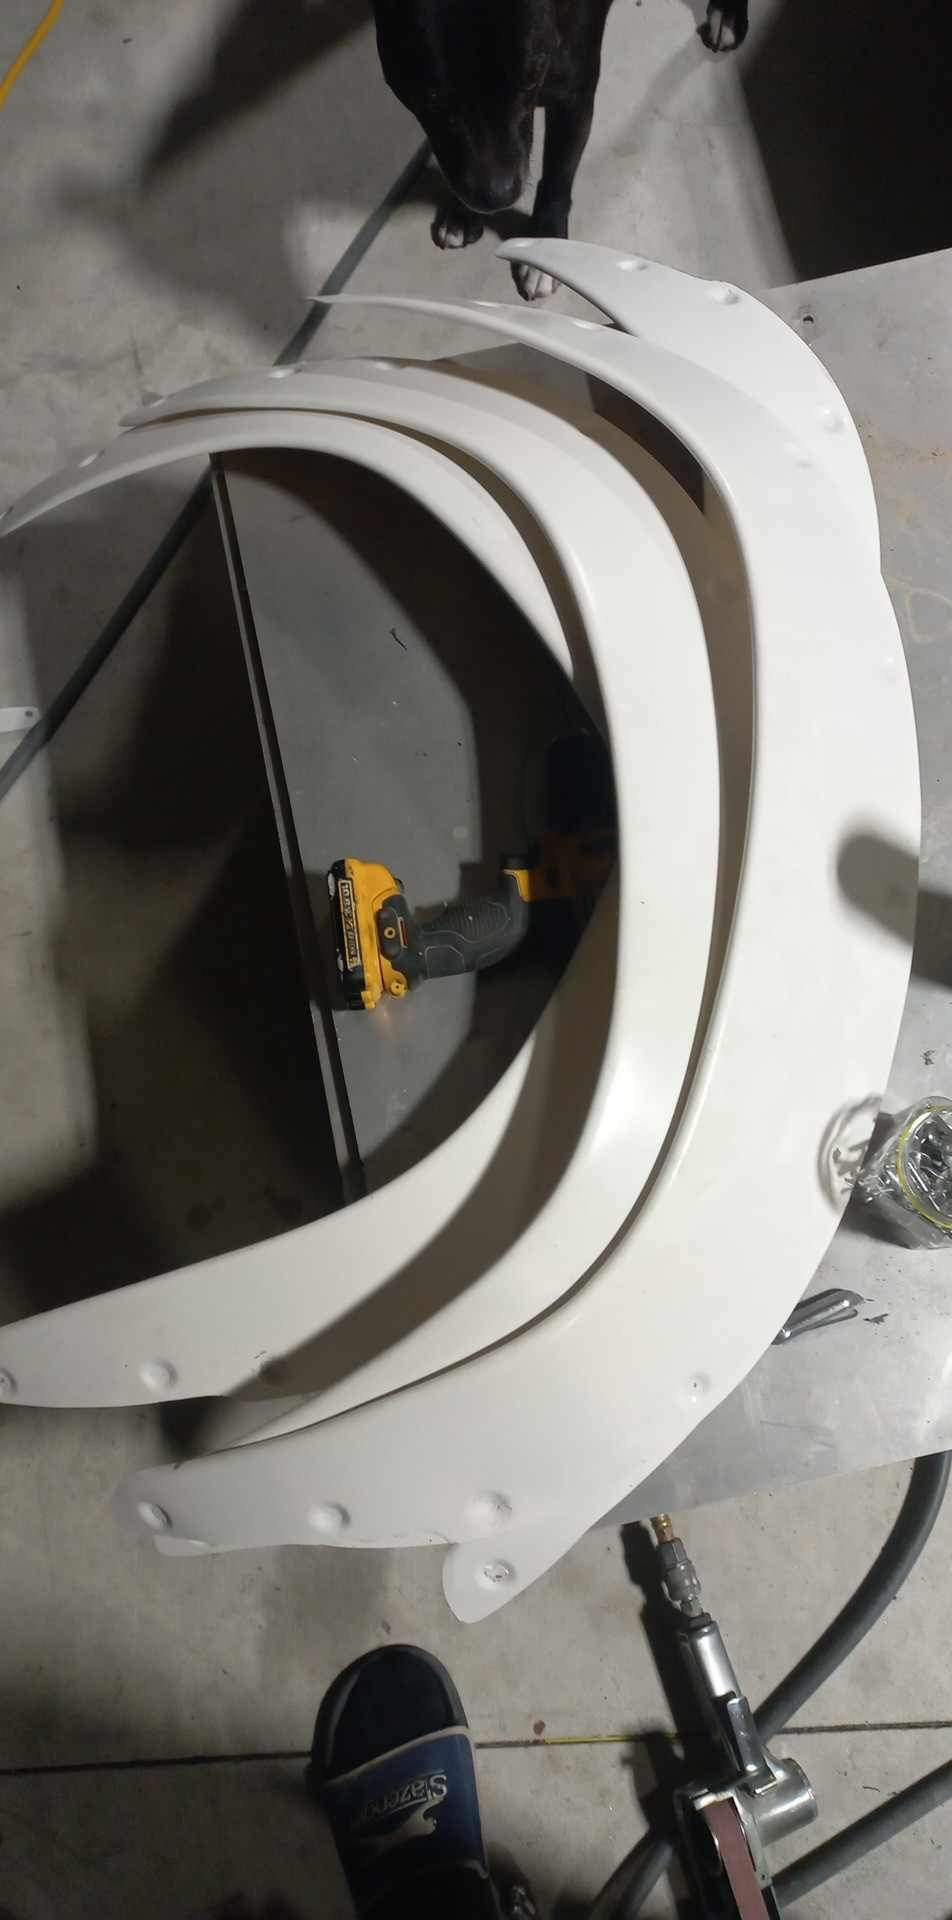
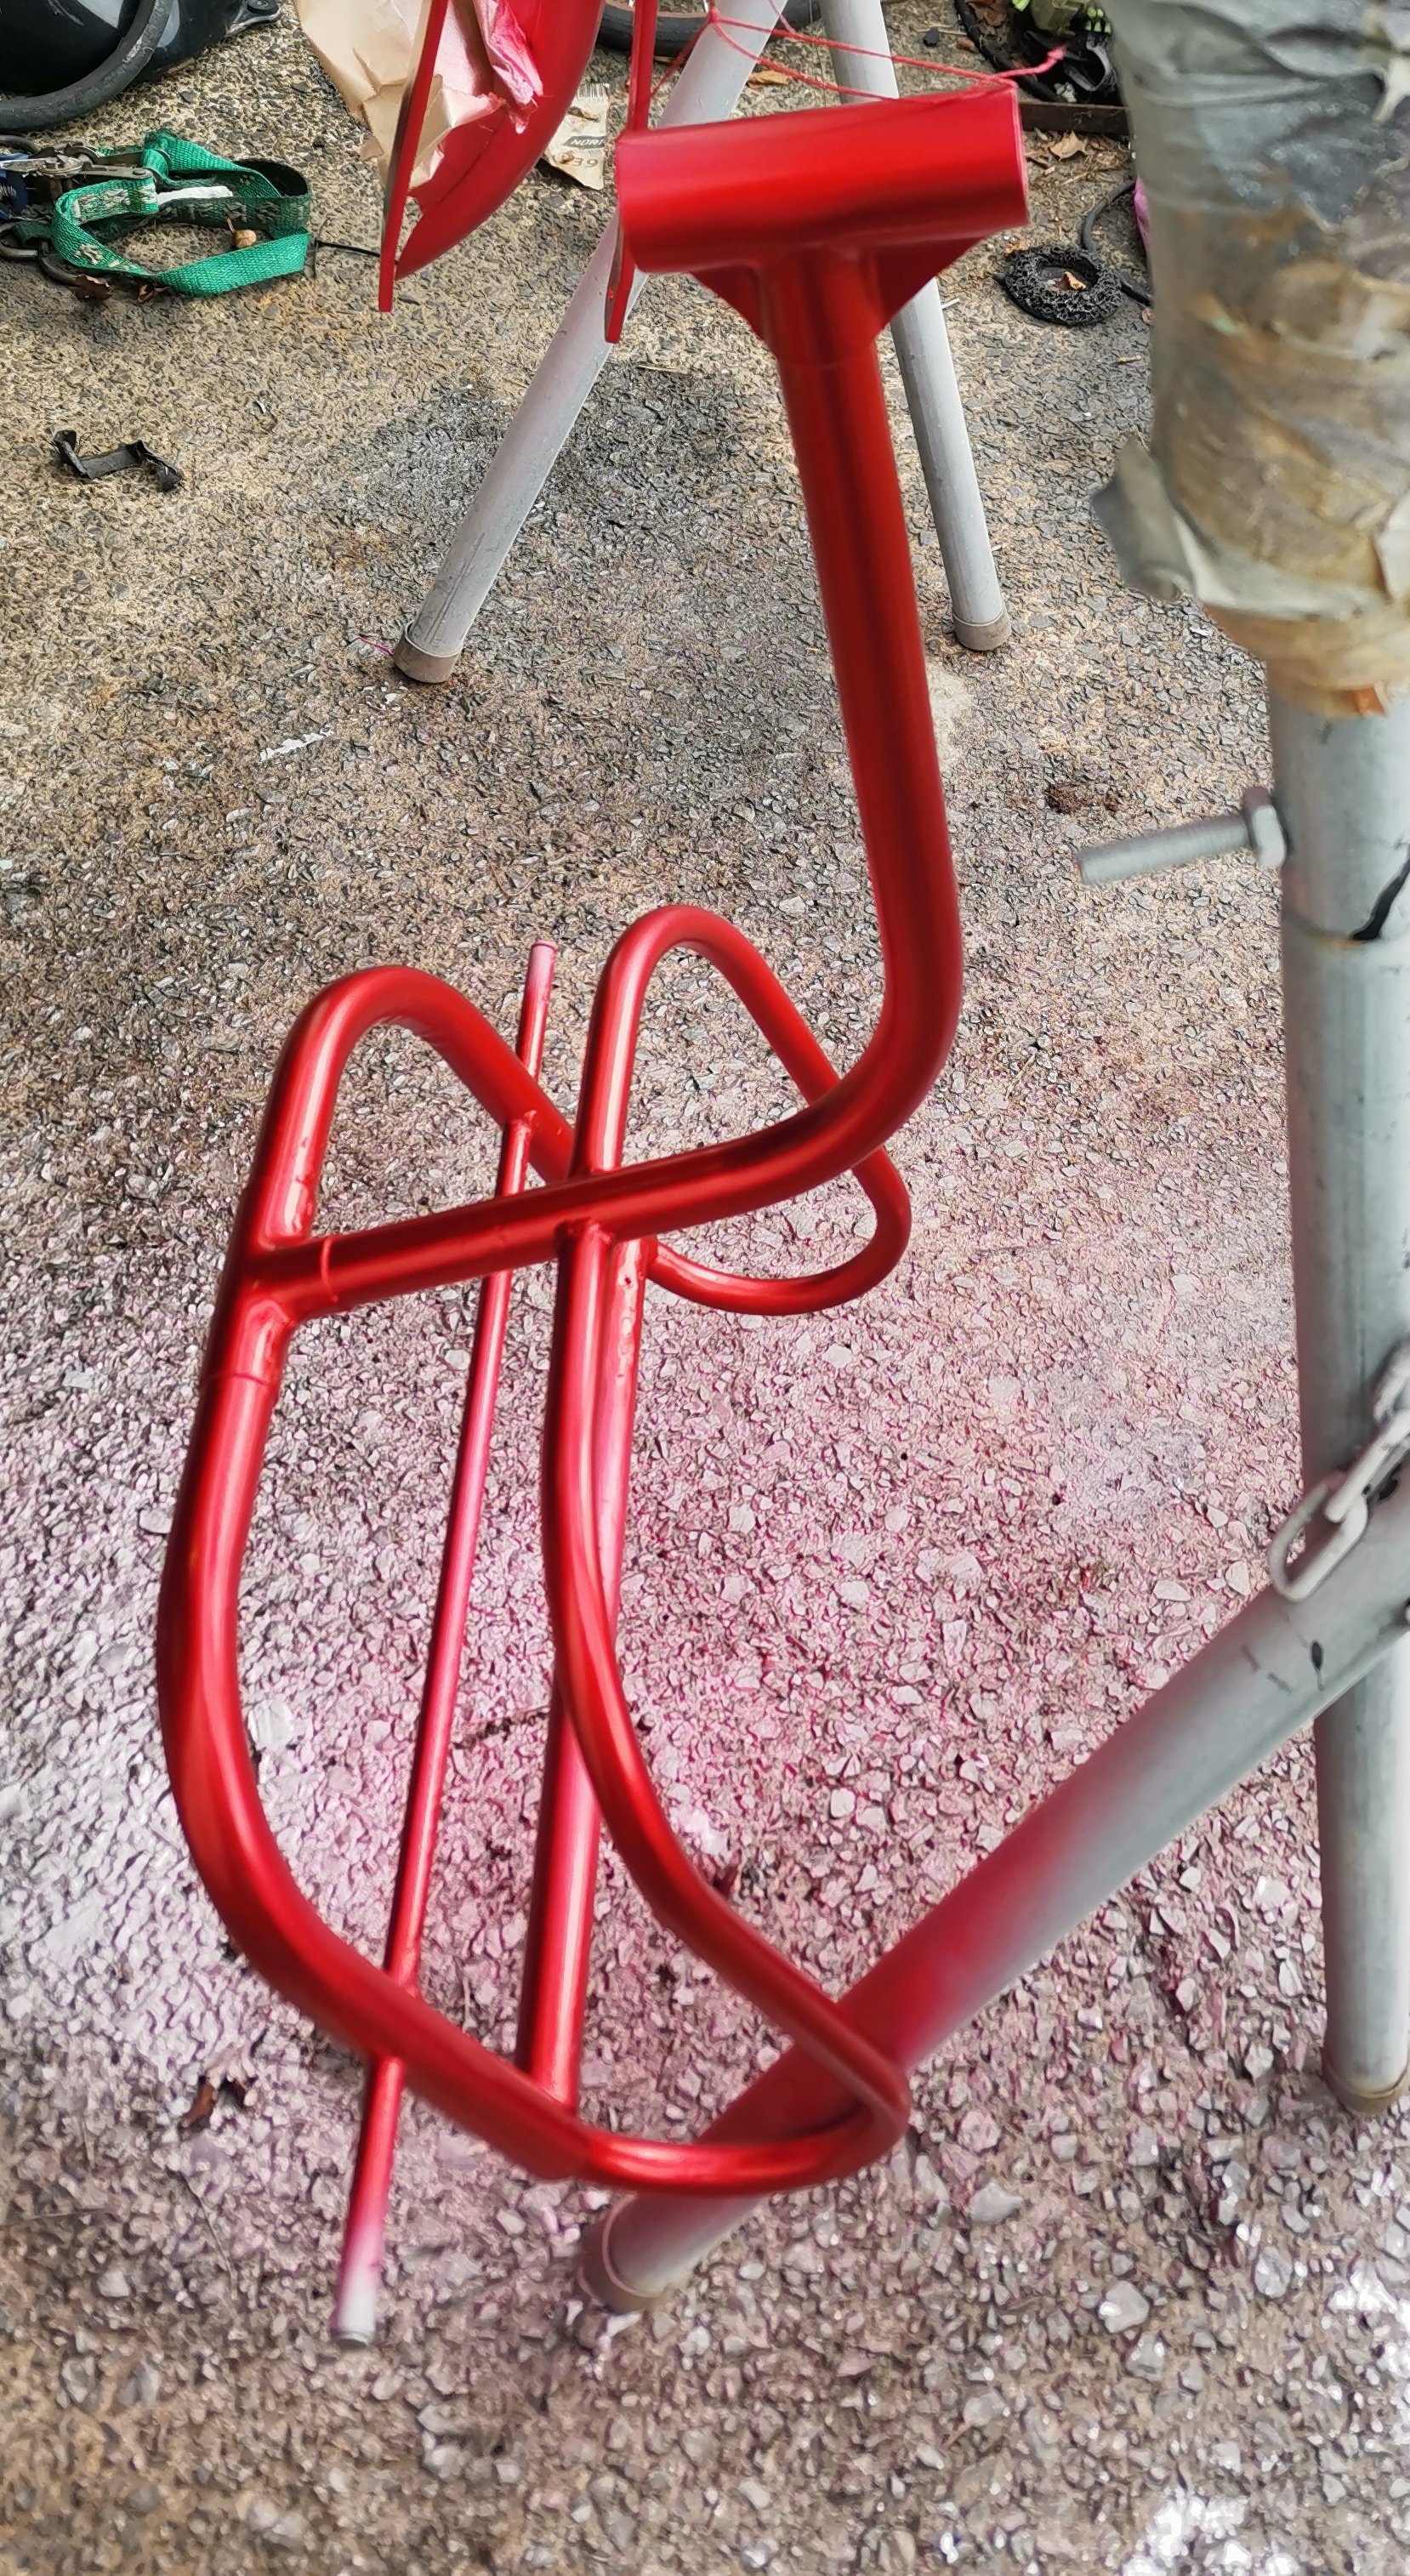
Brush plating the bars wasn't really working, so some candy red ontop
1 point
-
Decent for outside under a tree tho tbh. Just got a little bit of leaf in the inside of the tray. Which I painted white as well. Obviously in use that won't stay white for 2 mins
1 point
-
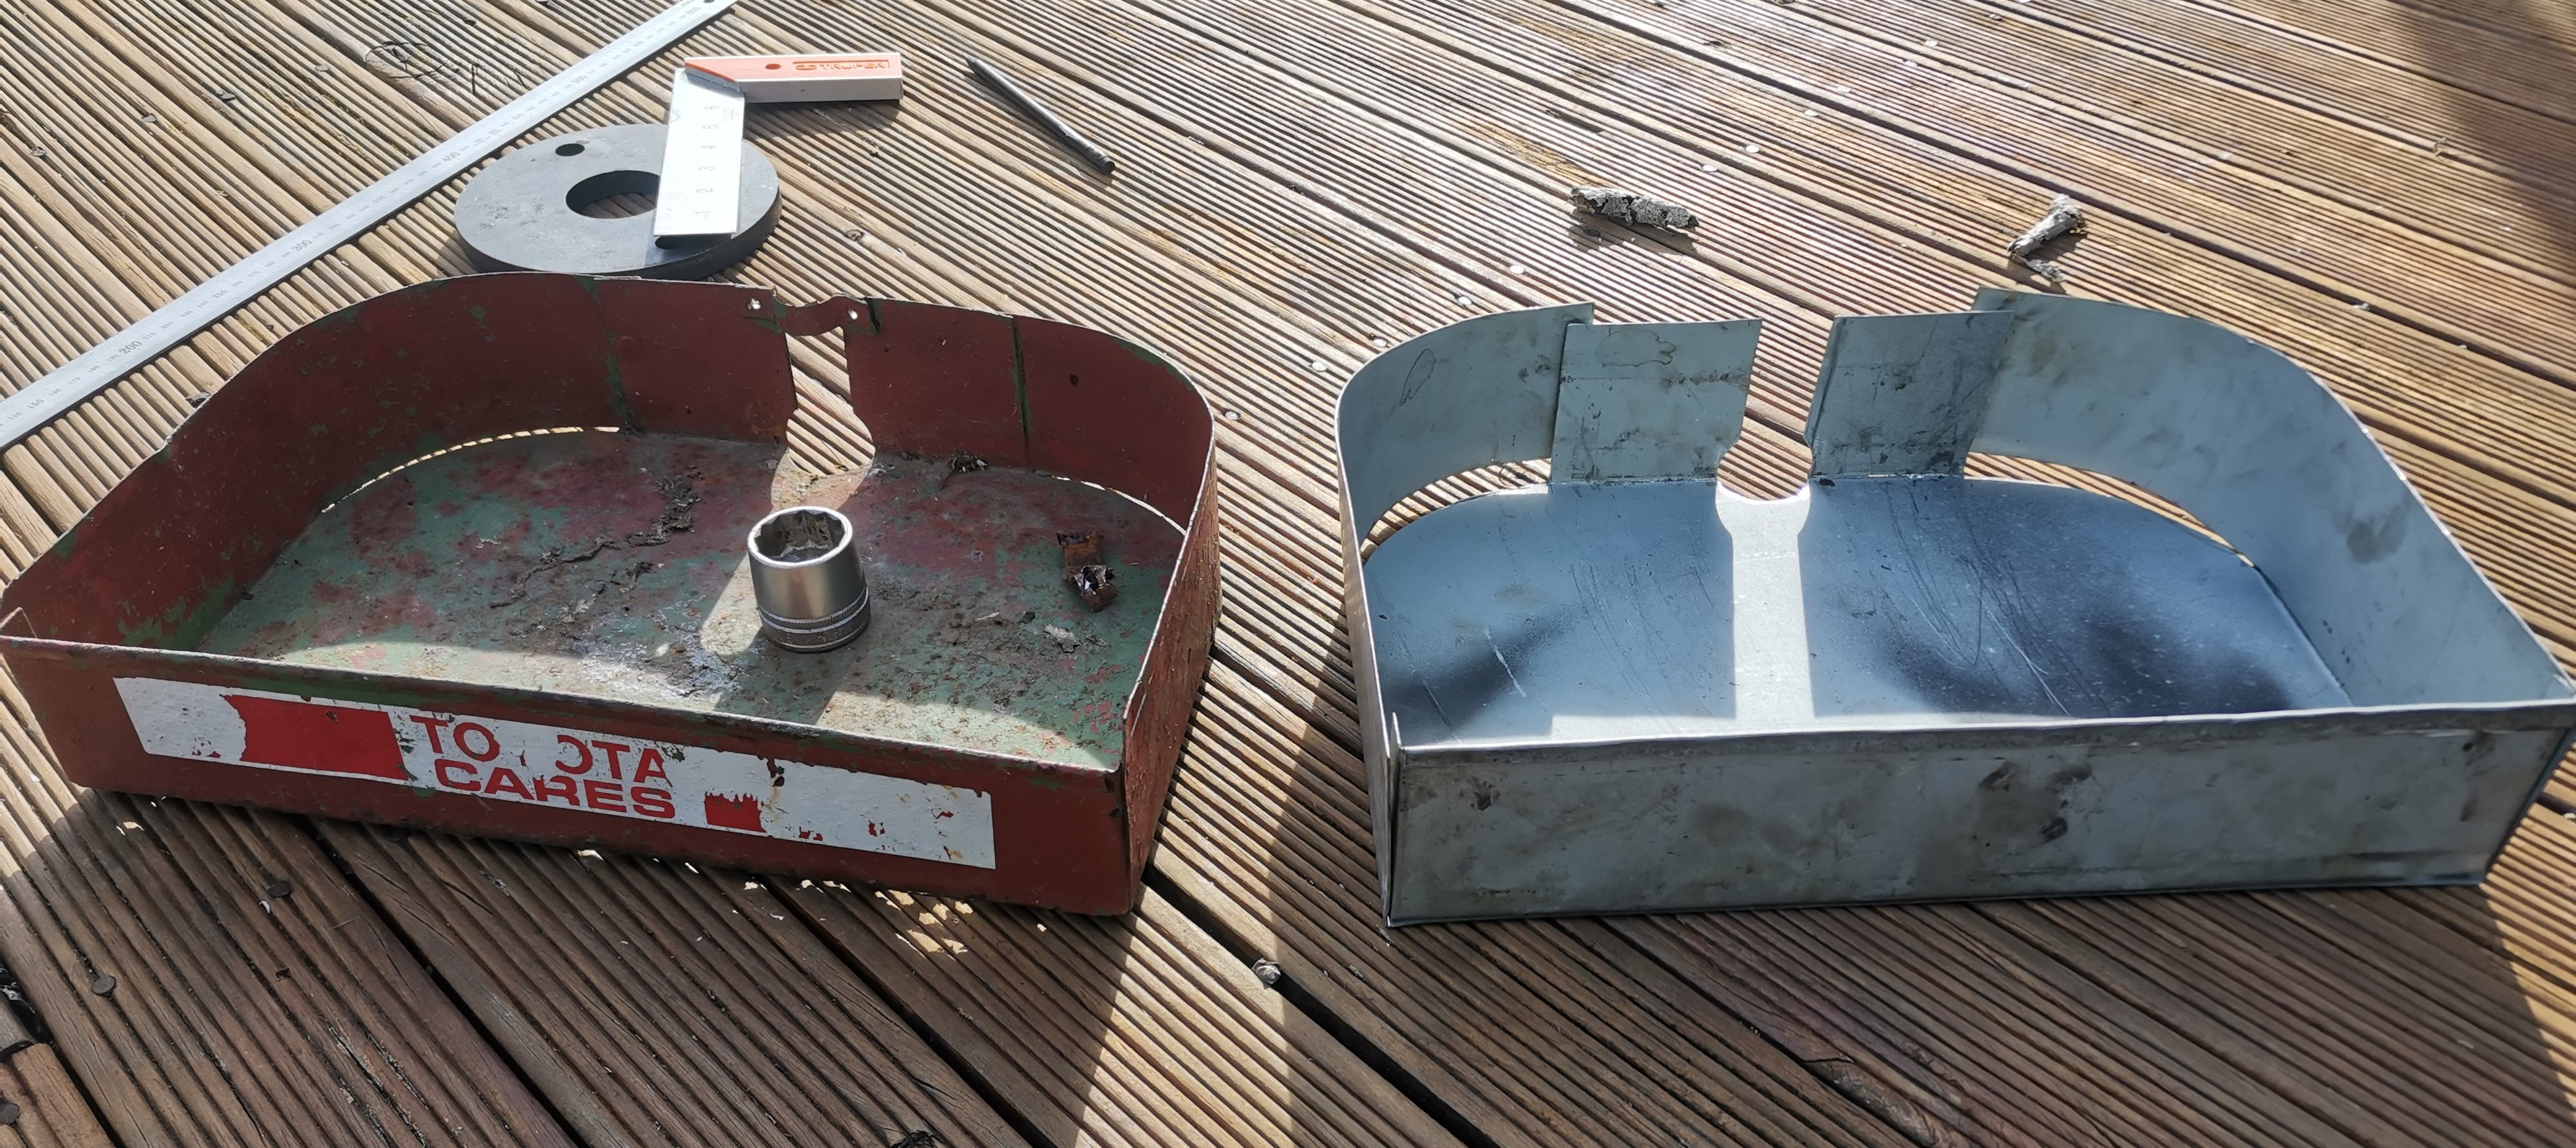
Needs tacking together, but you get the idea, will be much nicer to paint. Yes I made the back bit level so it's not a perfect reproduction. I'm going to put rivnuts in the frame so it bolts on rather that hold it on with 2 tack welds at thr back and 2 at the front of that saddle thing The rear tyres are penny farthing style with the wire that runs through them, front is one piece plastic. One of the rear wheels has been given new spokes. Every spoke is deadly loose. Not sure how much I can dismantle the front wheel assembly, the bearing holders/fork mounts are riveted together. Might see what I can do without drilling those out. Oh I have just noticed I don't have the front fender. I do, but it's "somewhere"
1 point
-
I got Elite wheels to move the centres 30mm outward, bringing the tyre in and away from the wheel arch. We now have clearance and a much better stance! Always a shame to lose max dish, but still plenty there. I’ll risk tangling with the guard if I put lowering blocks in..will let everything settle and re-assess the situation. Have not achieved much else to be fair, the electrical shit has me beaten. I did get some rubber to go between the guards and engine bay (it was dum-dum paste originally but it would stick like buggery and cause damage if I need to take it apart in the future) I haven’t been lazy though, I built a lean-to for the Escort and then tore the Falcon down to finally do a quick panel & more importantly, paint!1 point
-
Well, I made the fucking deadline! I didn’t have time to tune it properly, the rear tyres rub and the brakes need bedded in but those arefuture problems1 point
-
Another few hours in the garage today, doors are assembled and hung properly. Almost forgot to spray underbody deadener in the guards! Smashed some more cavity wax in the doors and guard structure and my face. The guts of the fittings for the tail lights and rear panel are a bit flogged out so I’ll have to get a kit, half of them holding for now.1 point


This leaderboard is set to Auckland/GMT+12:00