
Leaderboard
.thumb.jpeg.384ff72c8d2b0ee0d34a7bdedb55bdcf.jpeg)


Popular Content
Showing content with the highest reputation on 01/06/21 in all areas
-
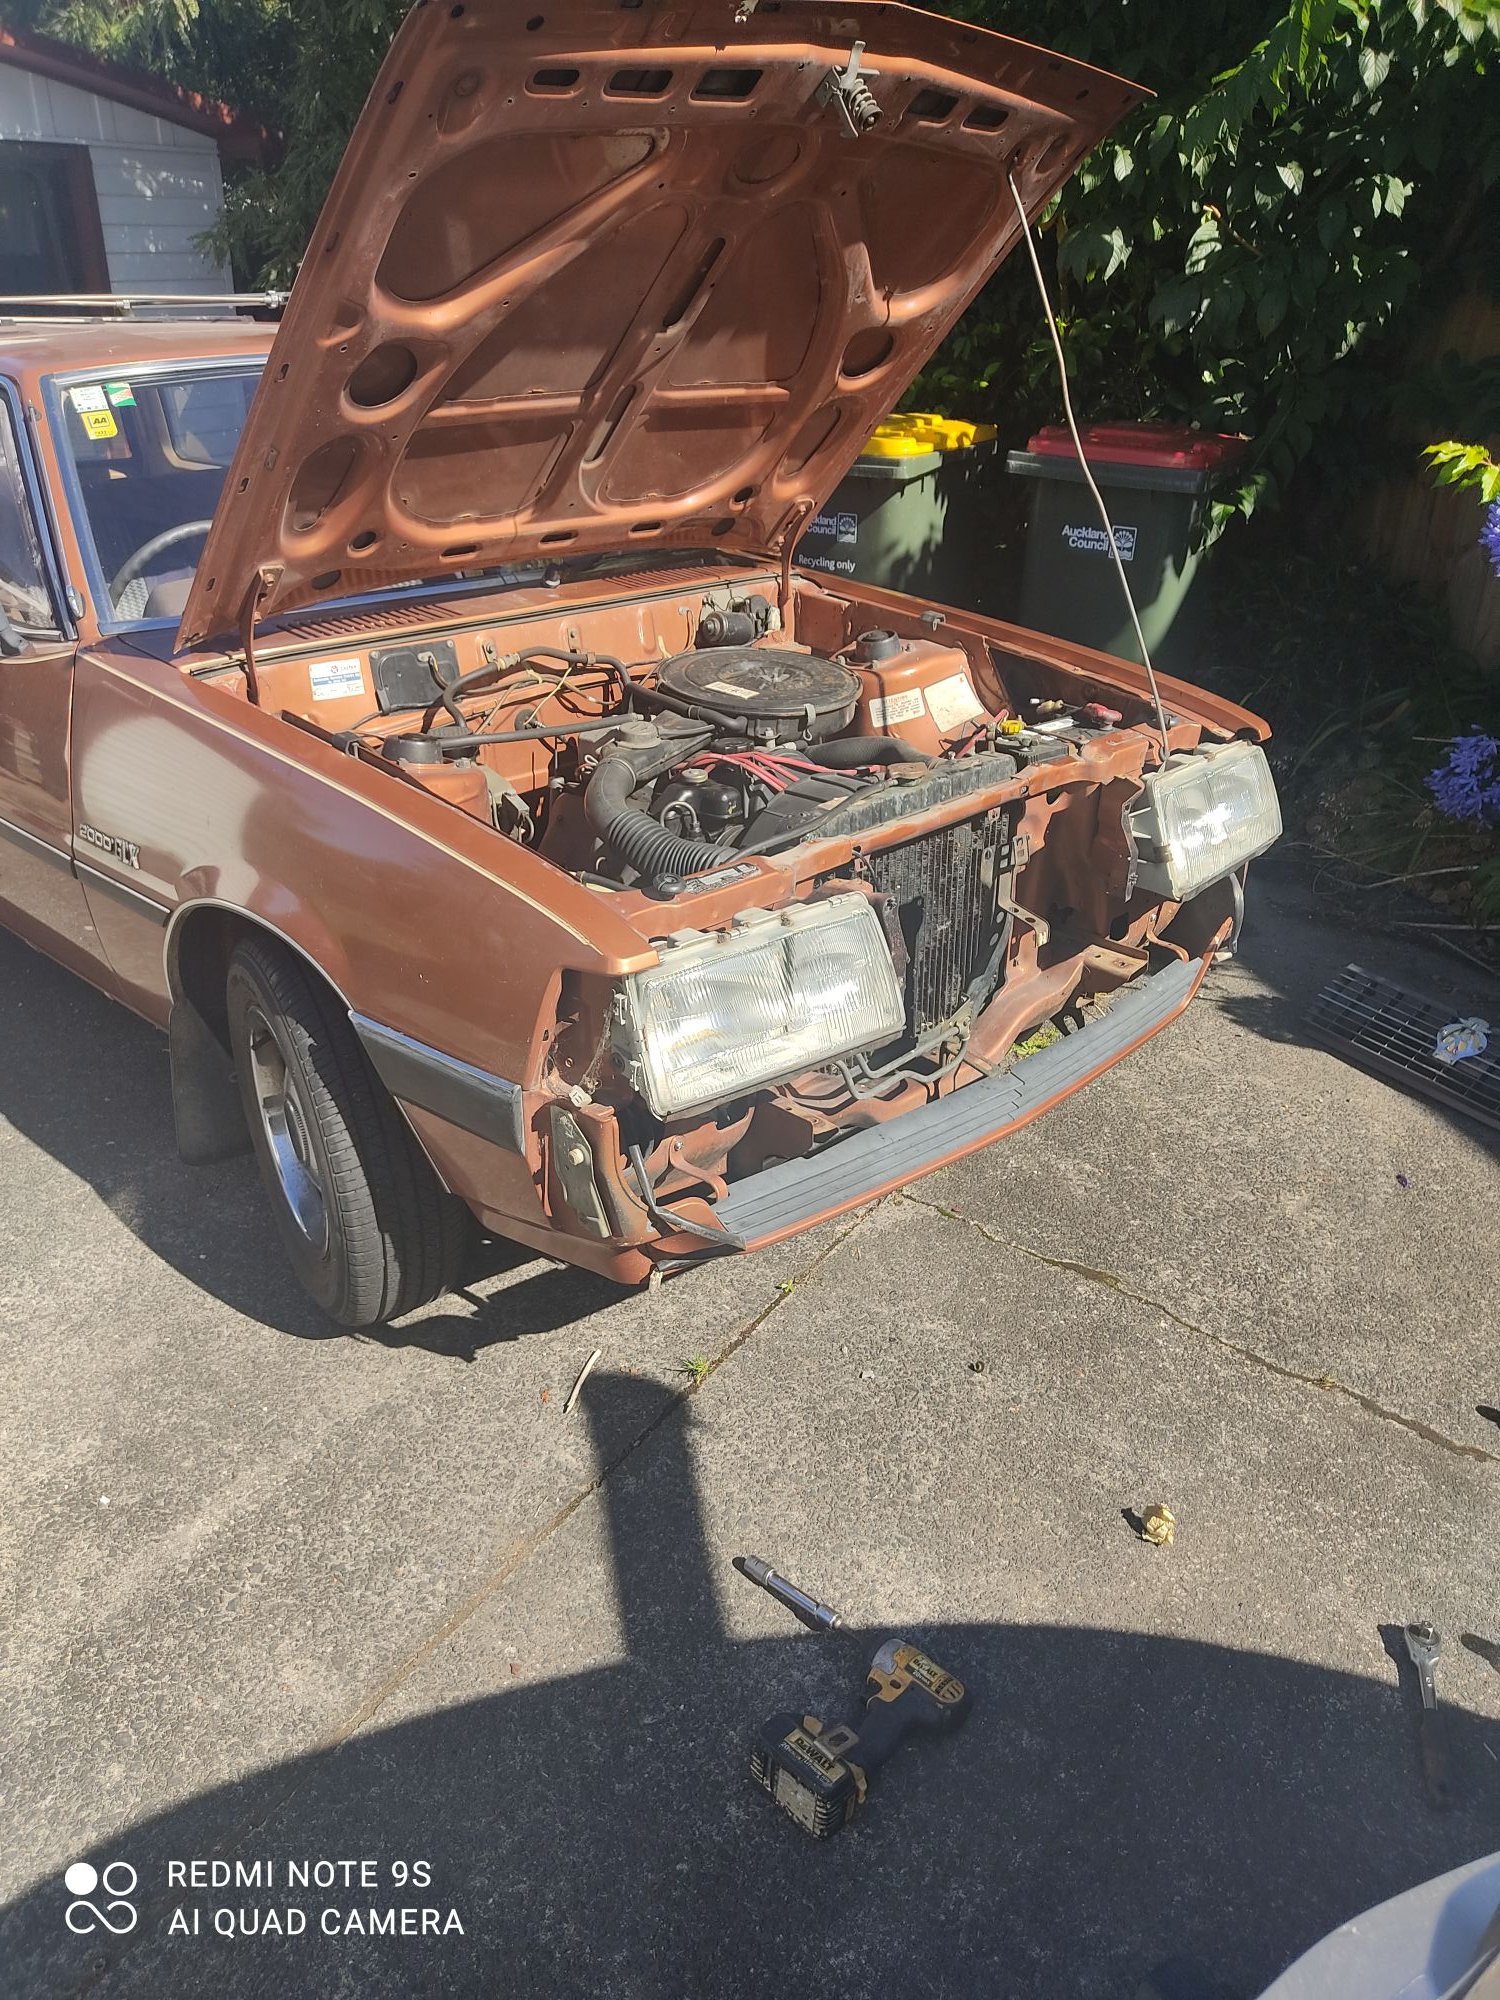
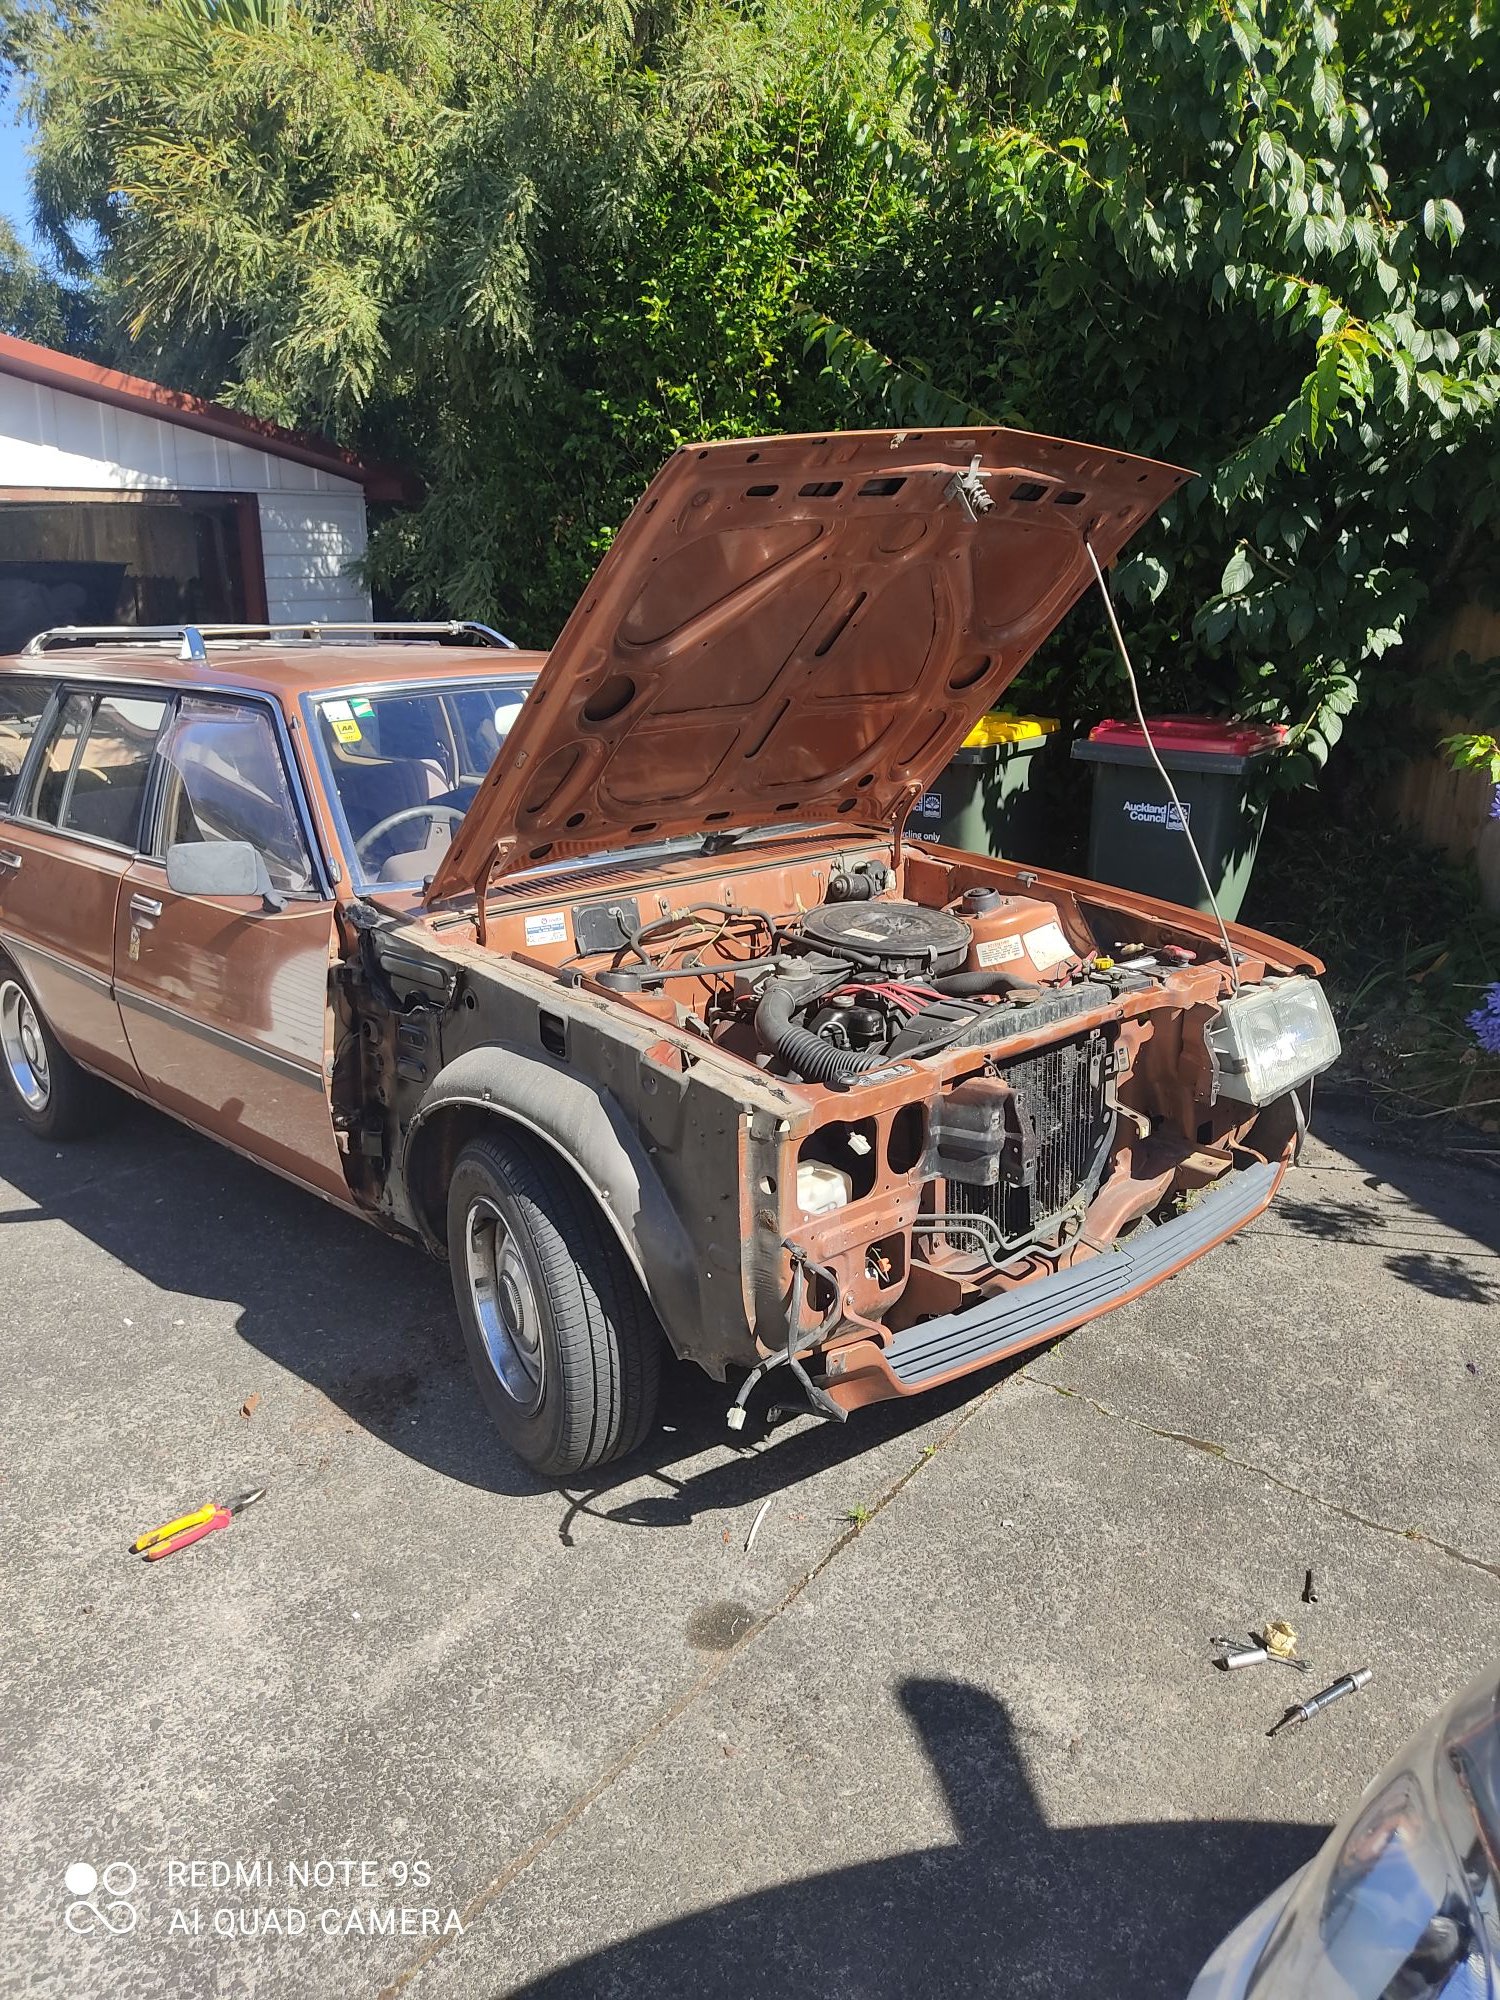
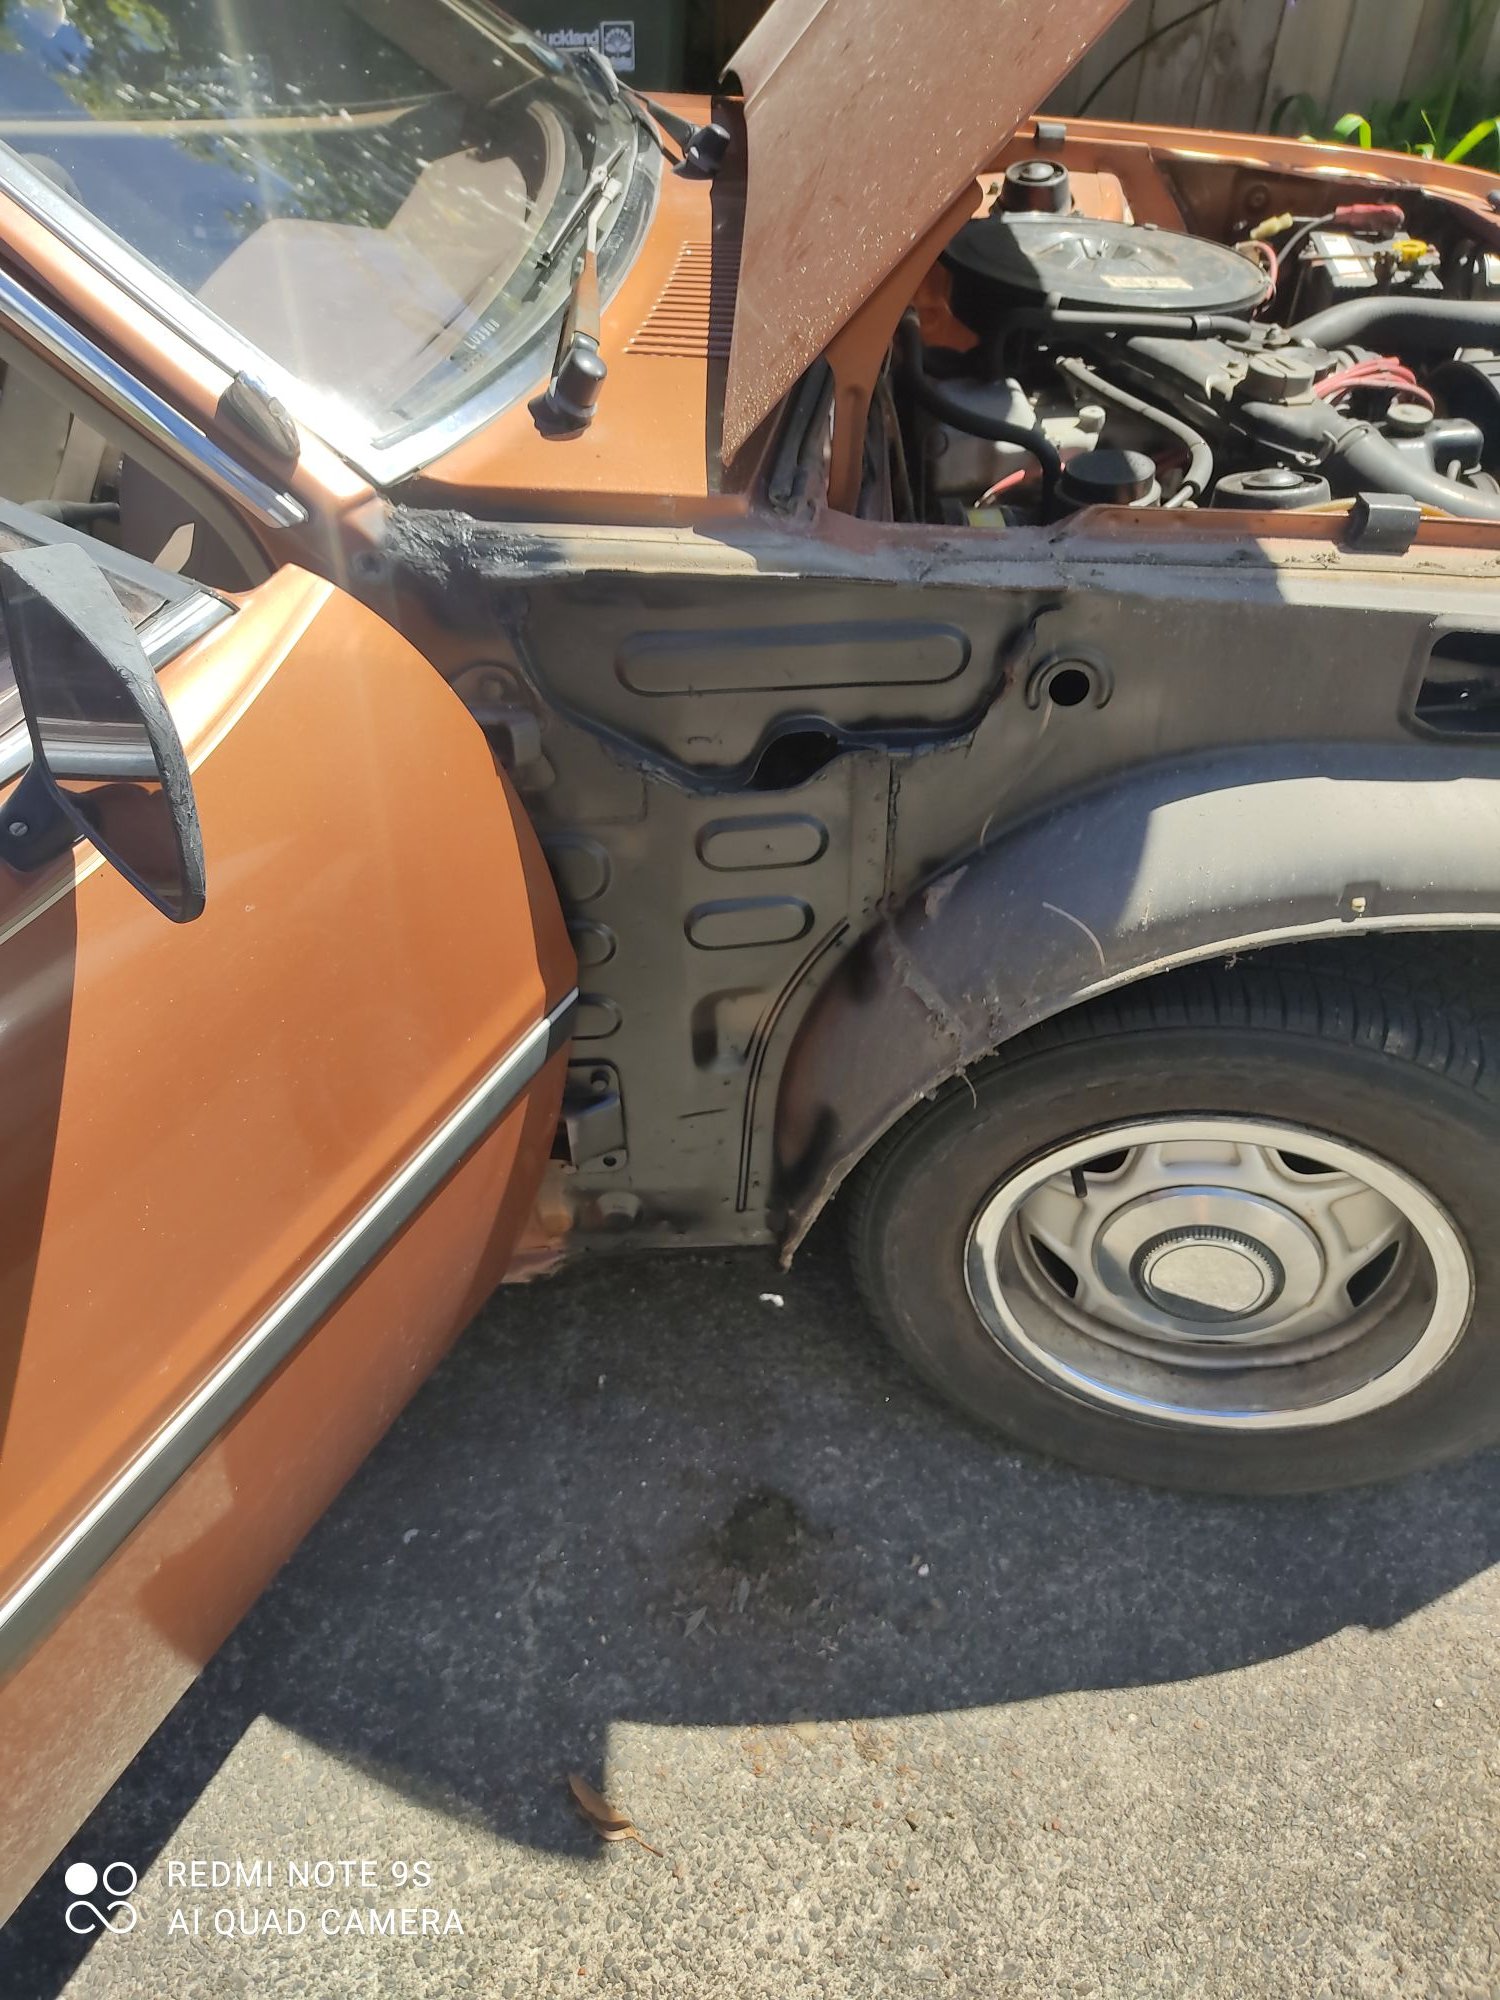
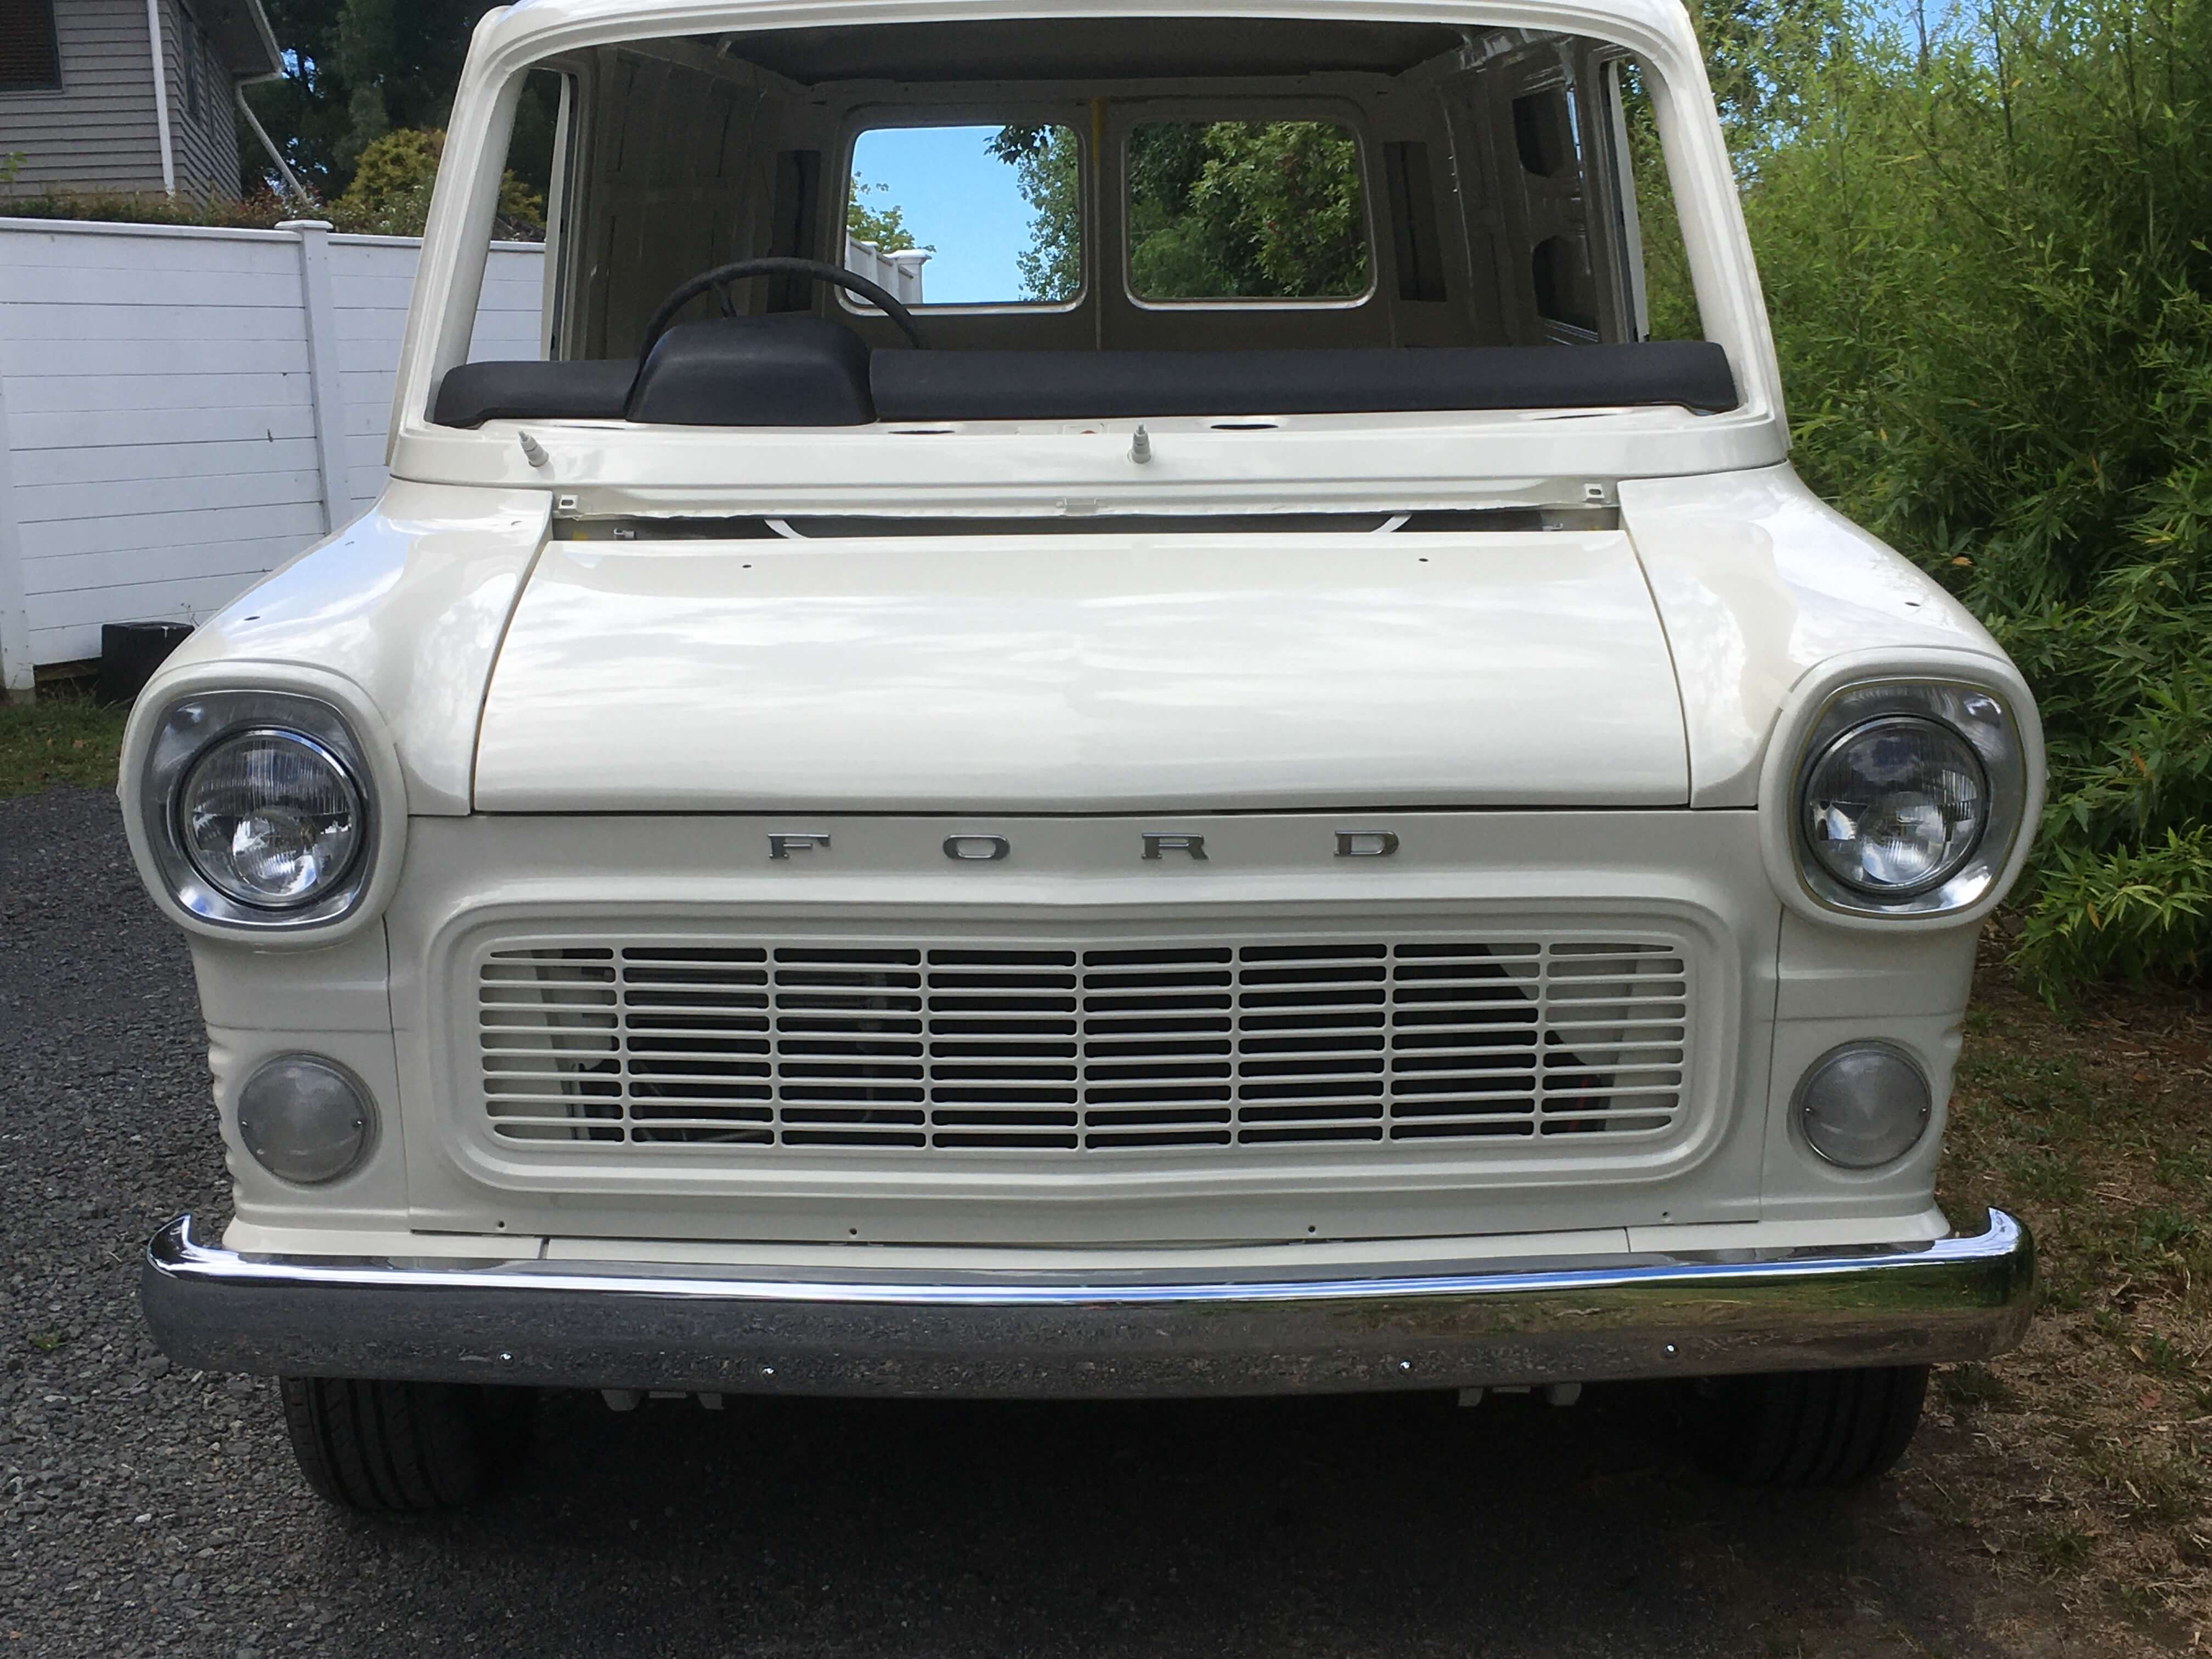
Bolted more stuff back on
 9 points
 -
Shouldn't be too hard to get it good enough for the next rodeo on Jan 23/24th. It can stay a bit rough and will finish it when I've got new doors to get the lines right.
9 points
-
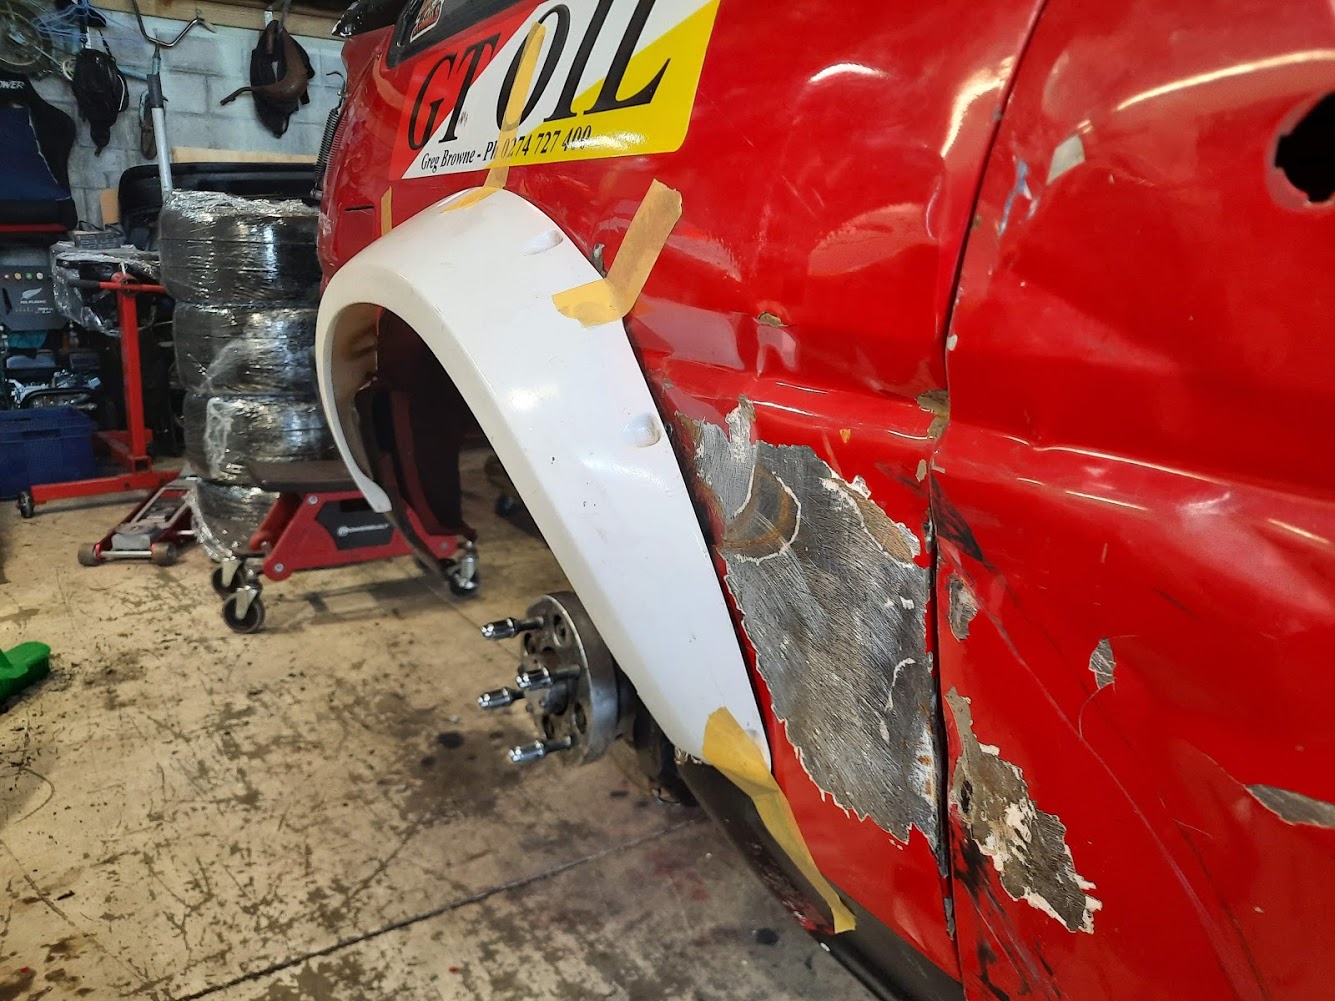
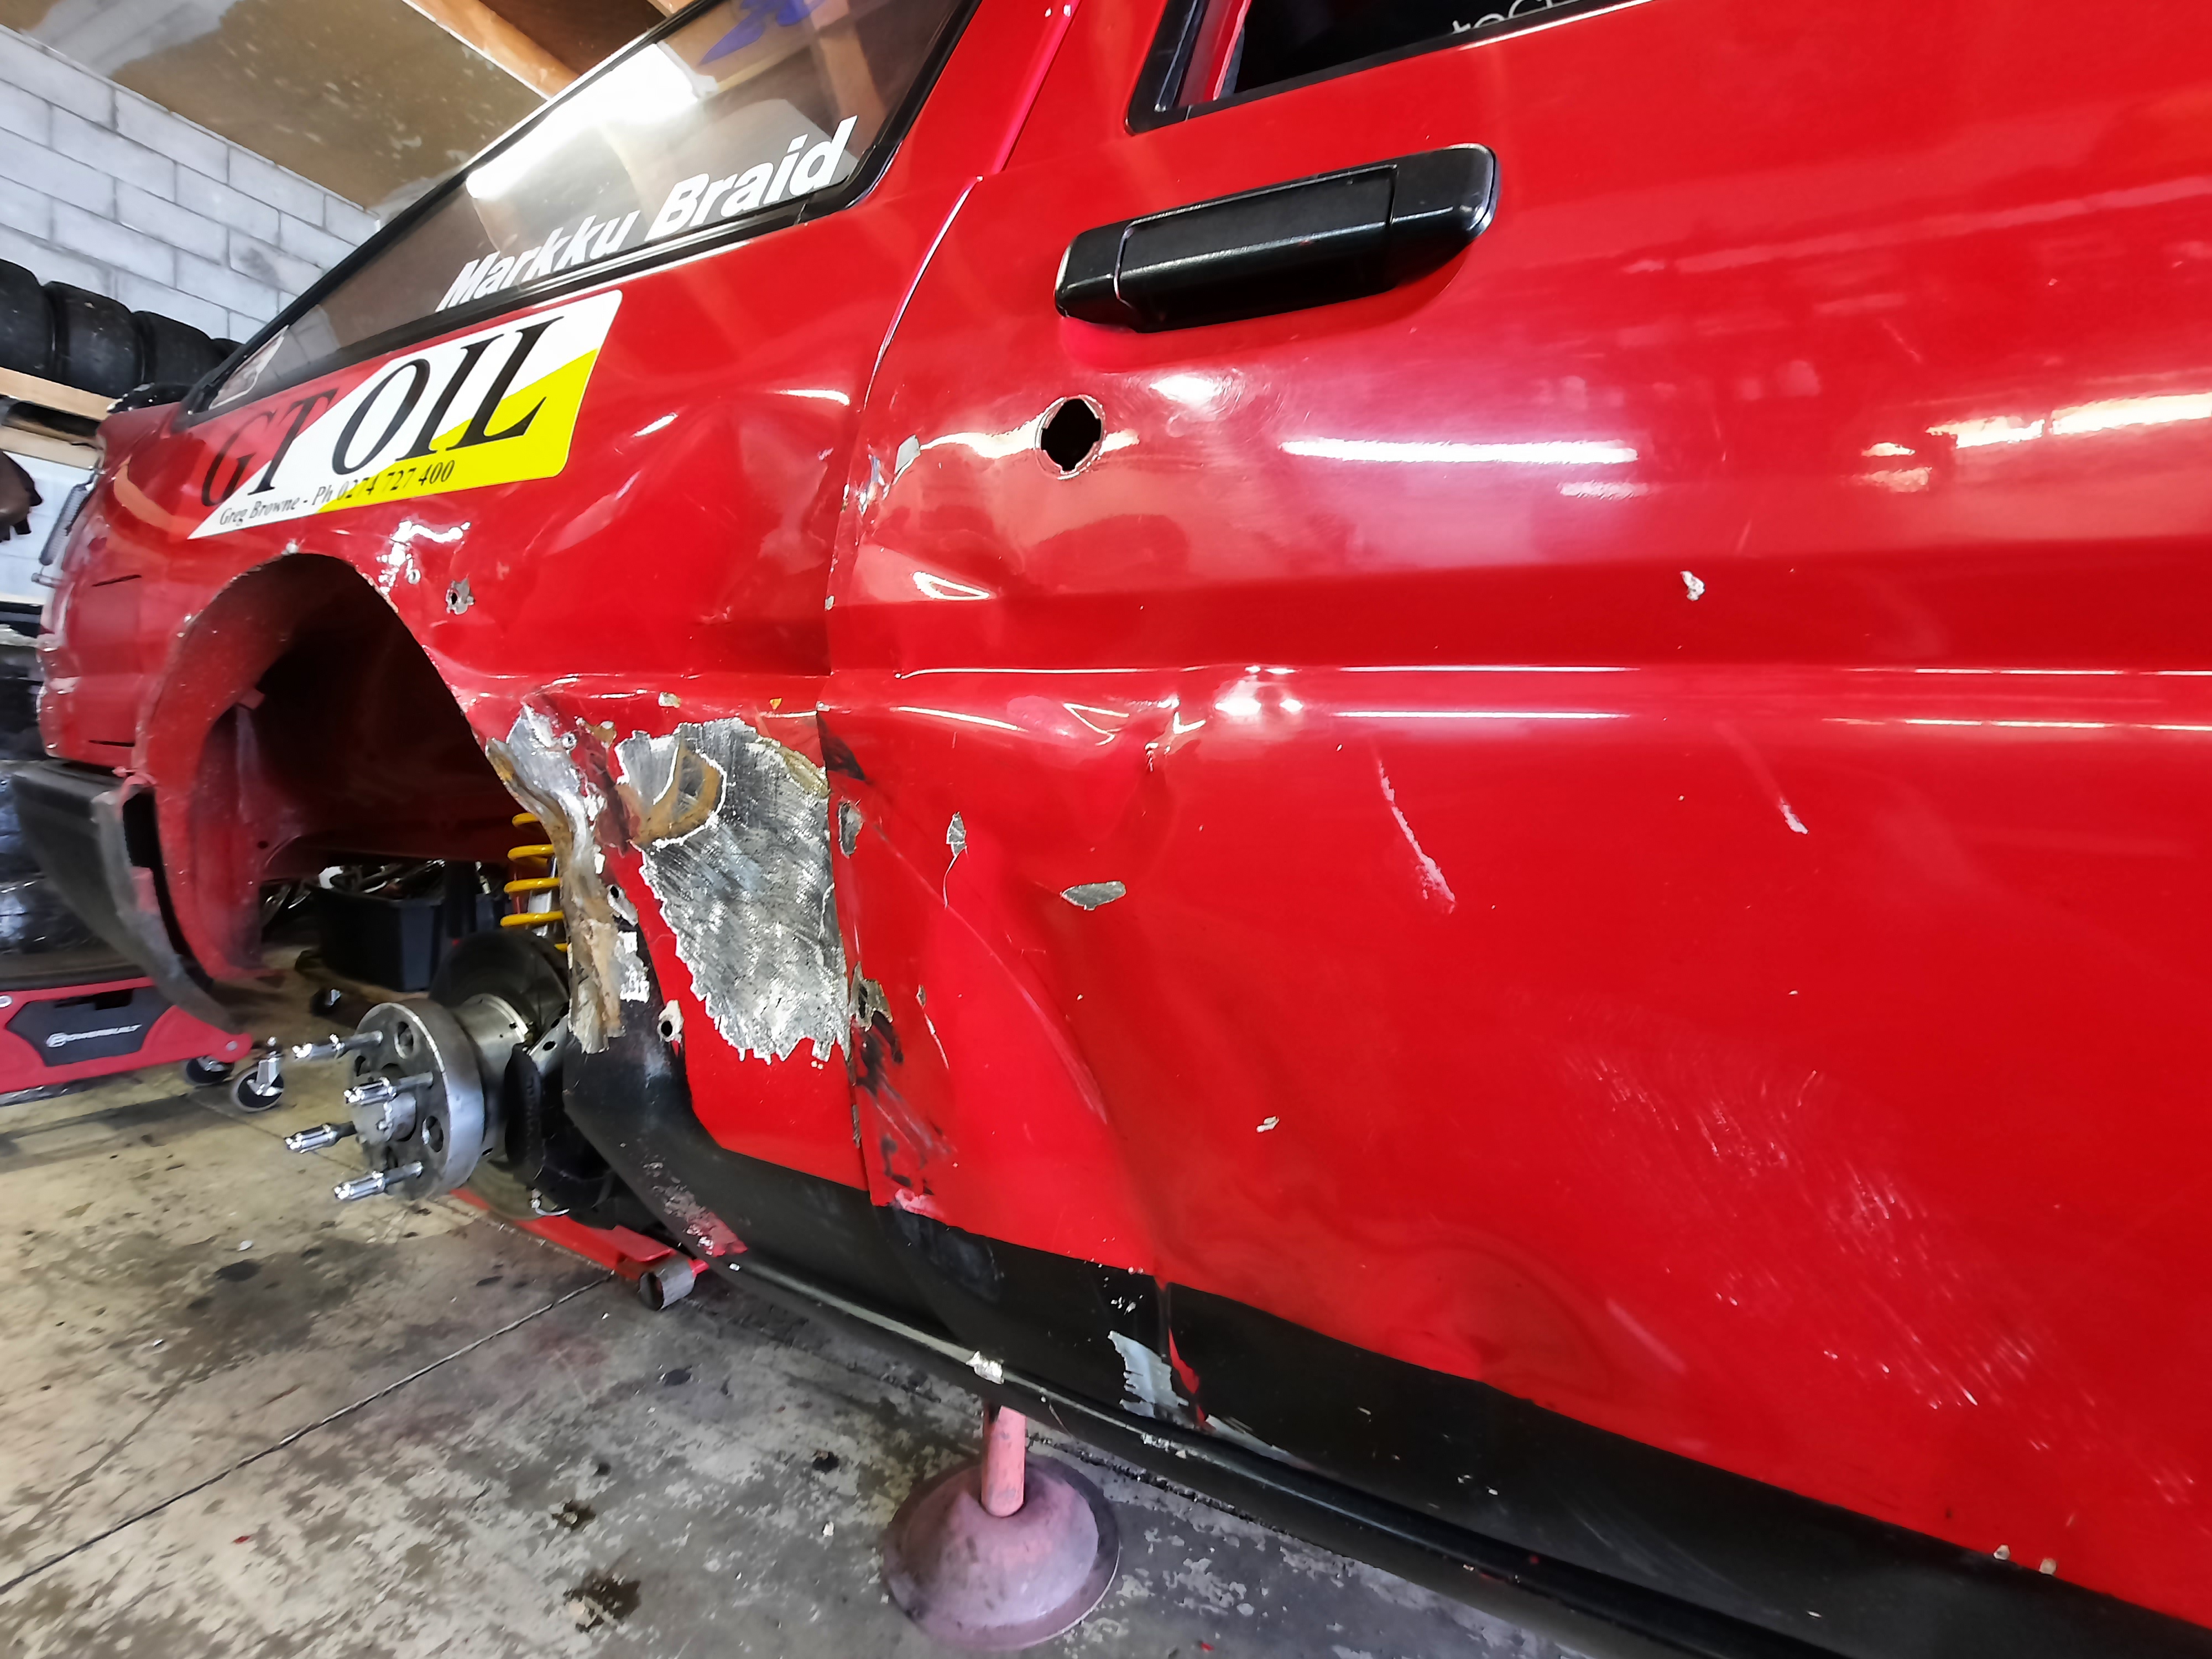
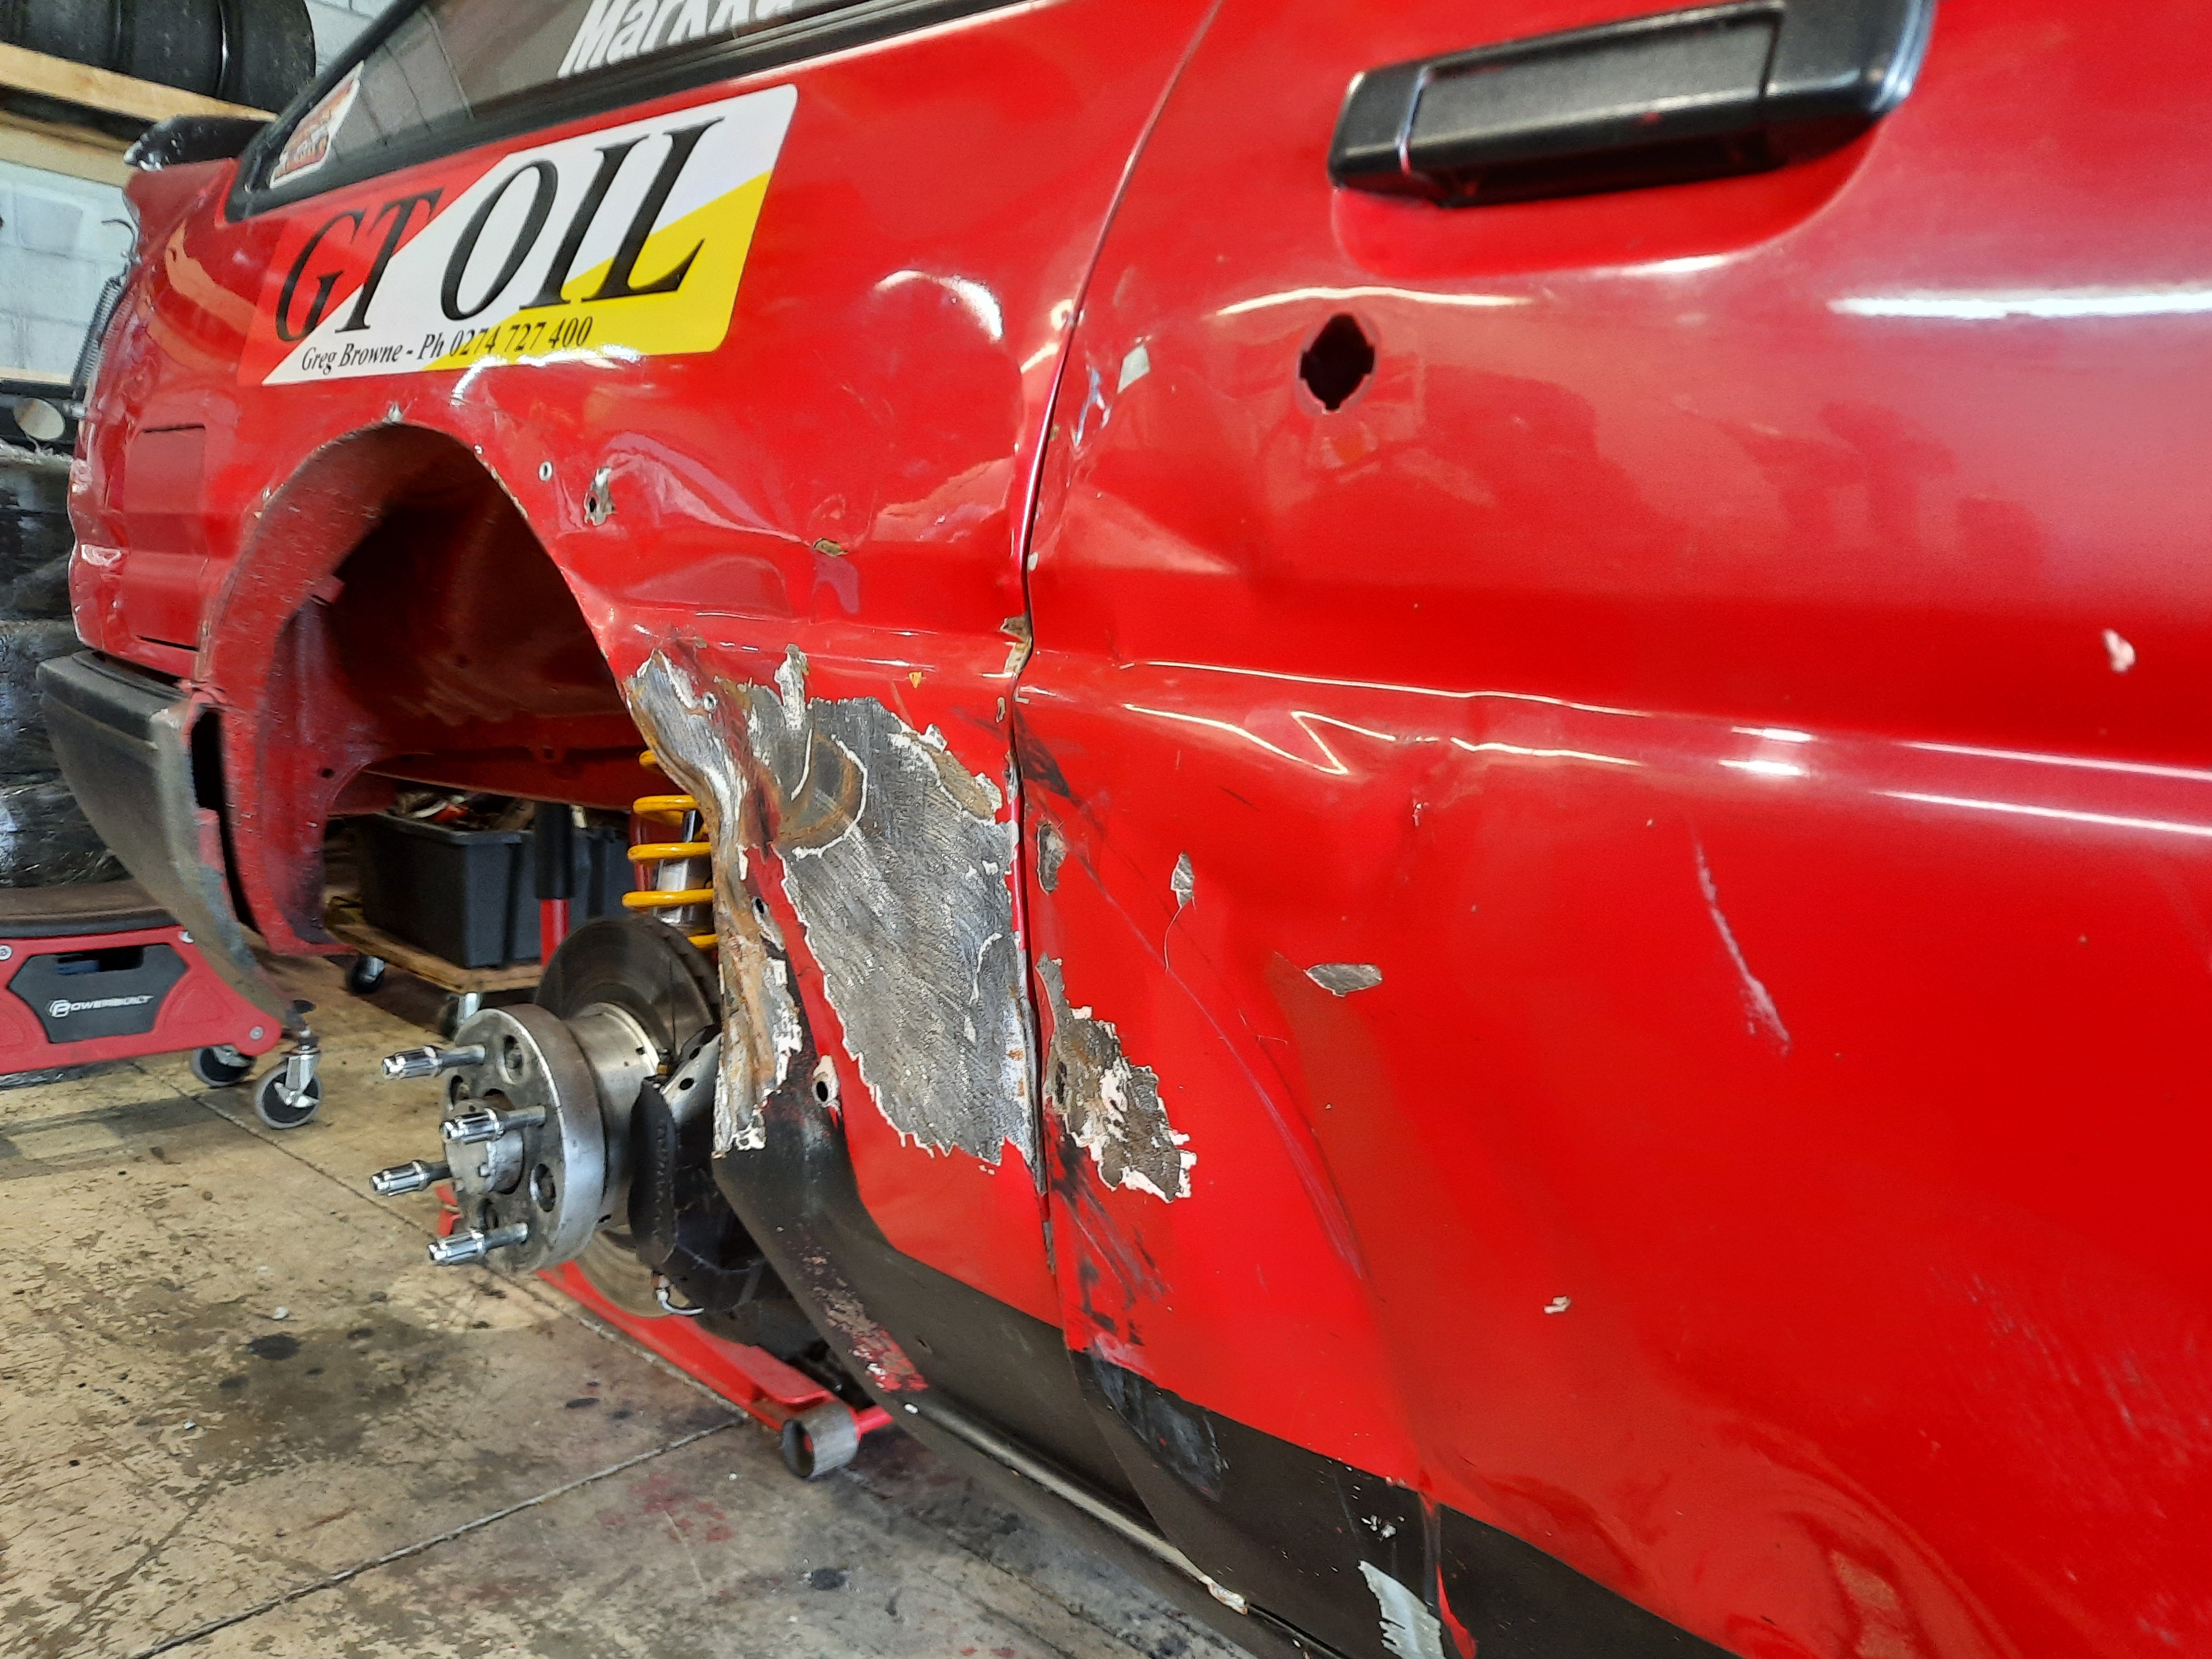
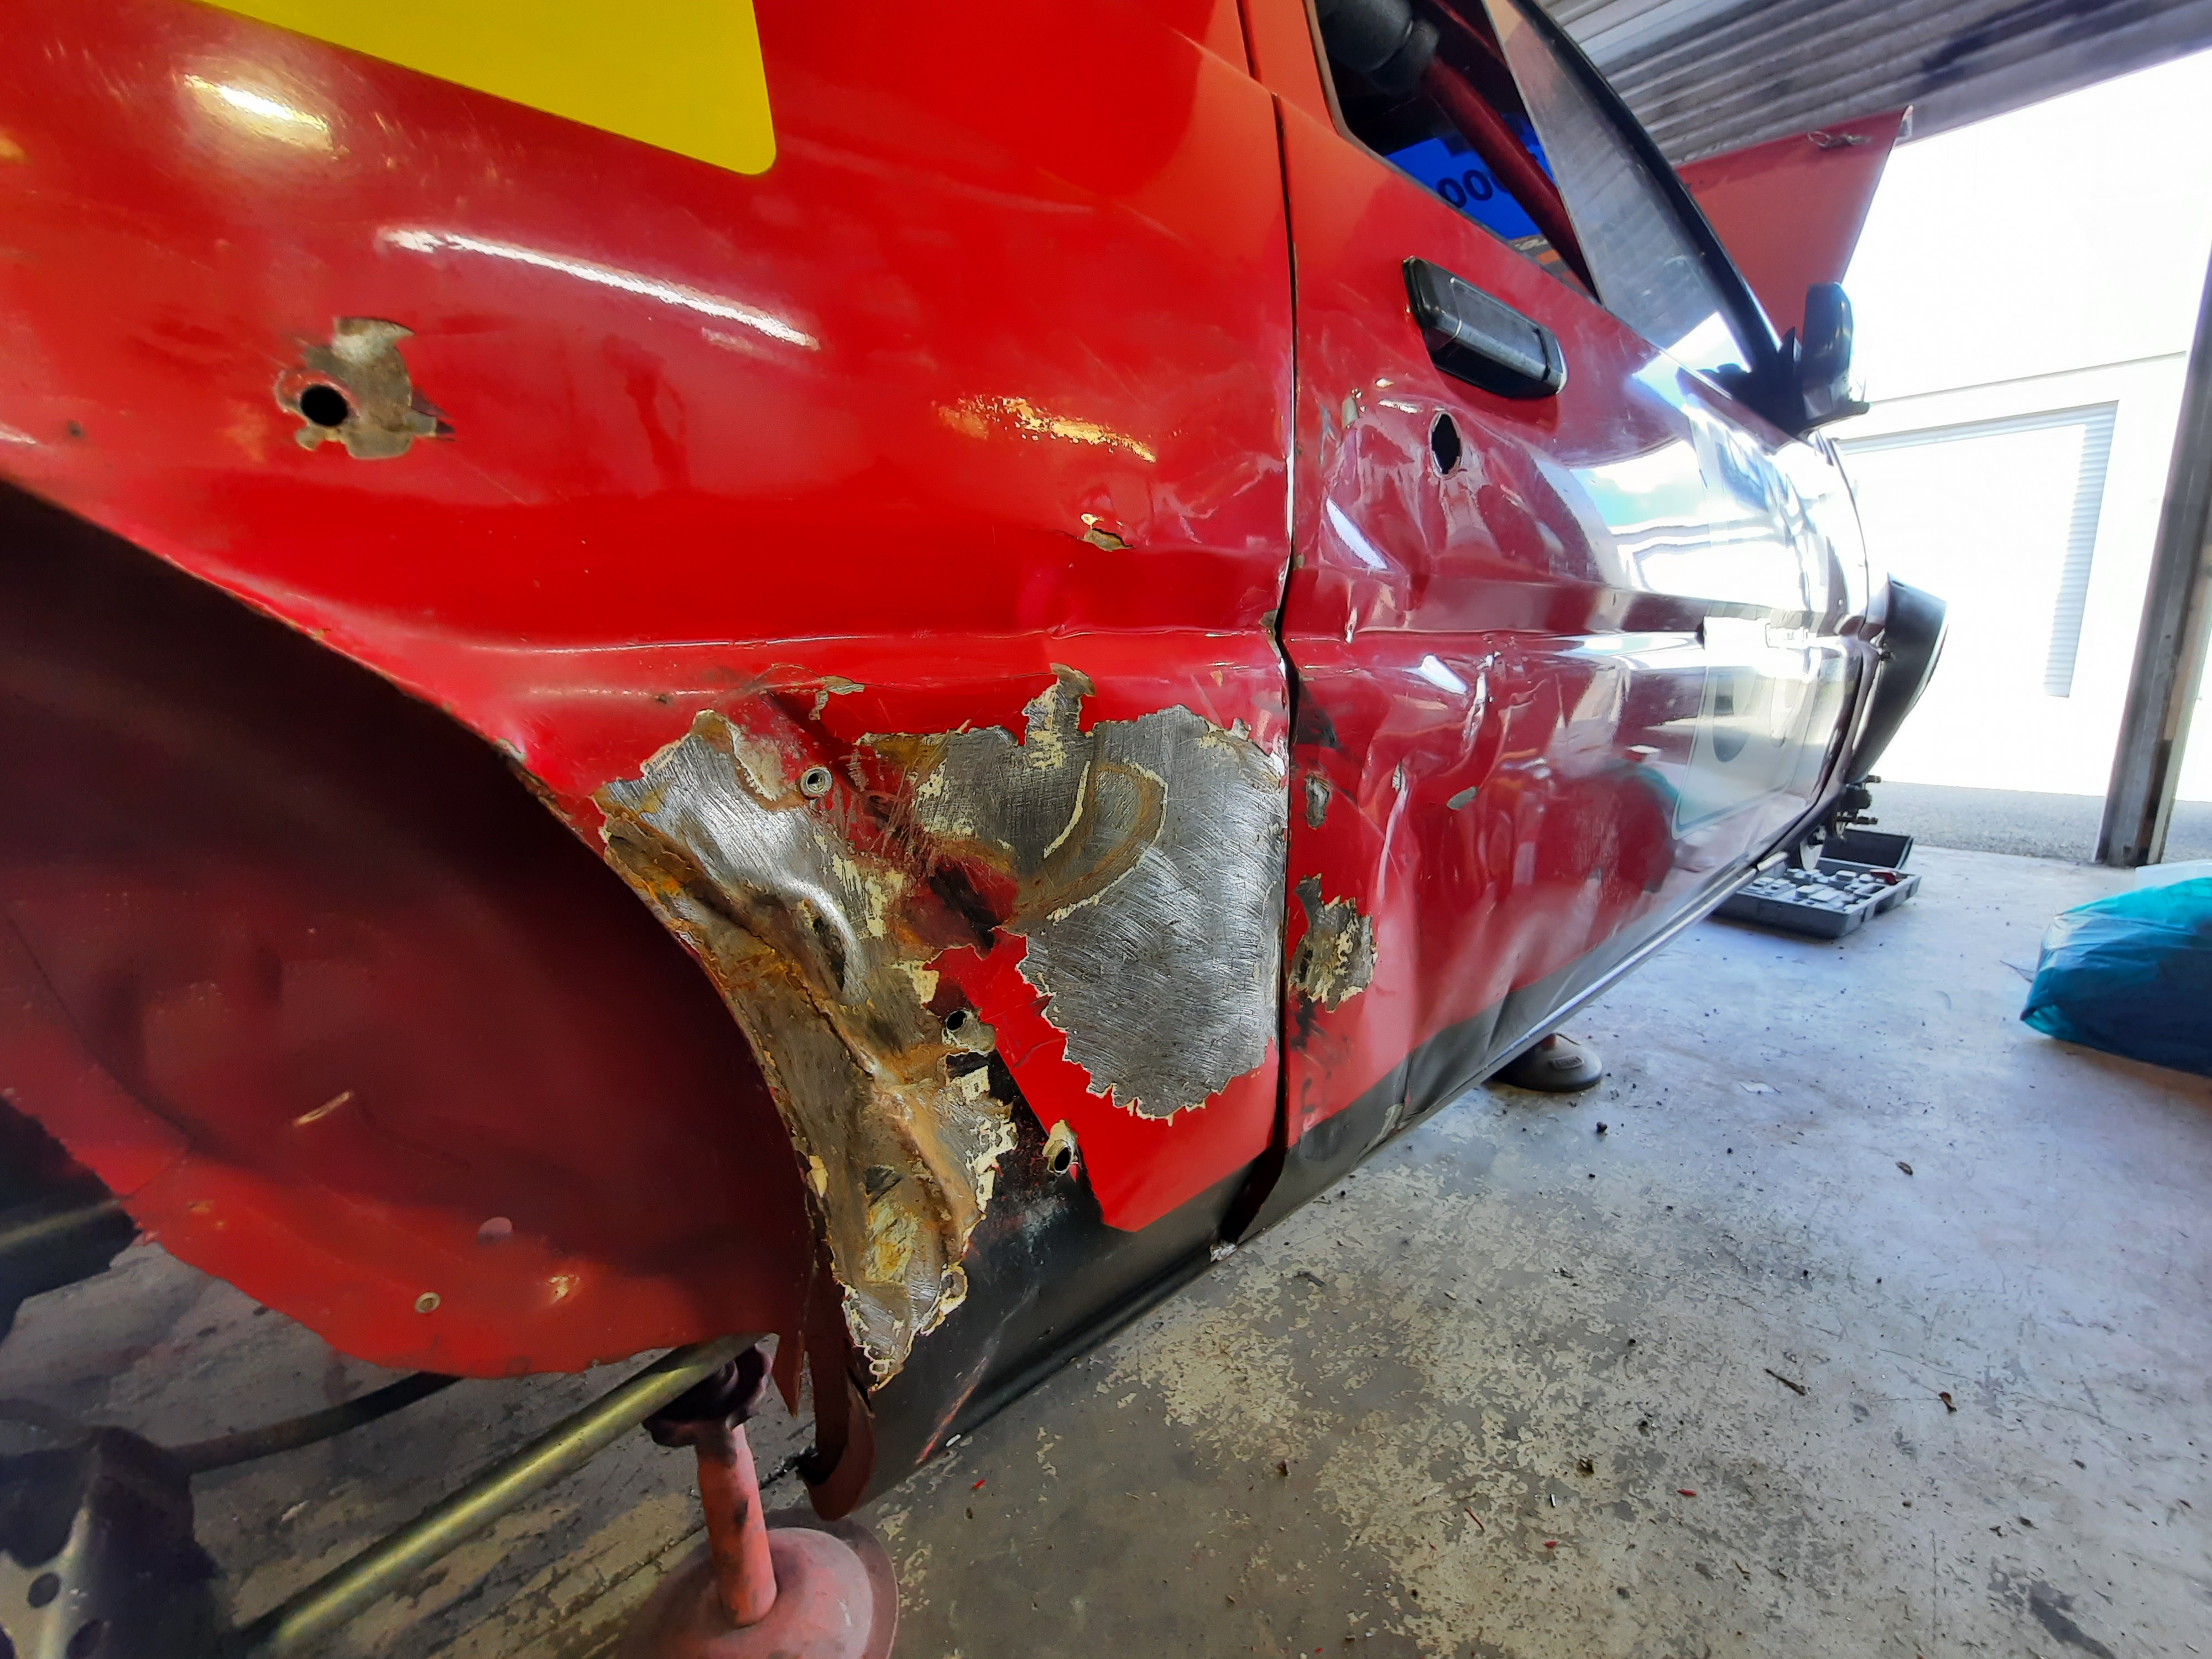
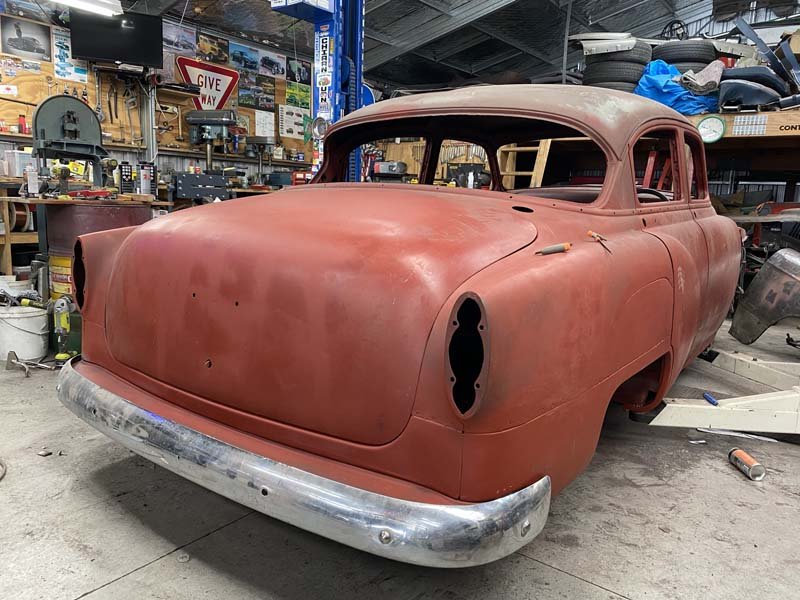
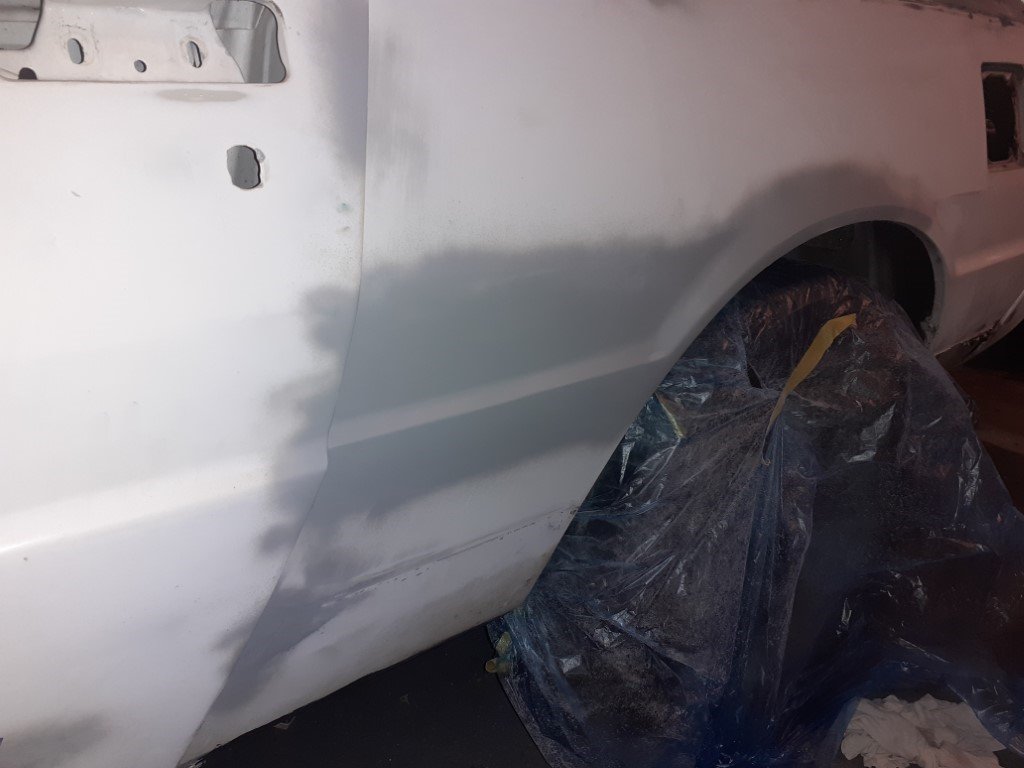
Made a start on pulling the dents out. My shed neighbour let me borrow his porta power. Managed to get most of the shape back into the panel. The door will be replaced at some stage, so I'm not too worried about getting that straight, but will spend a bit of time getting the quarter panel as straight as possible with a hammer and dolly. After some initial kicks and chipping off bog (it's not a virgin panel, haha) Then after a poke with the porta power: It's got a few ripples! But already a big improvement.
8 points
-
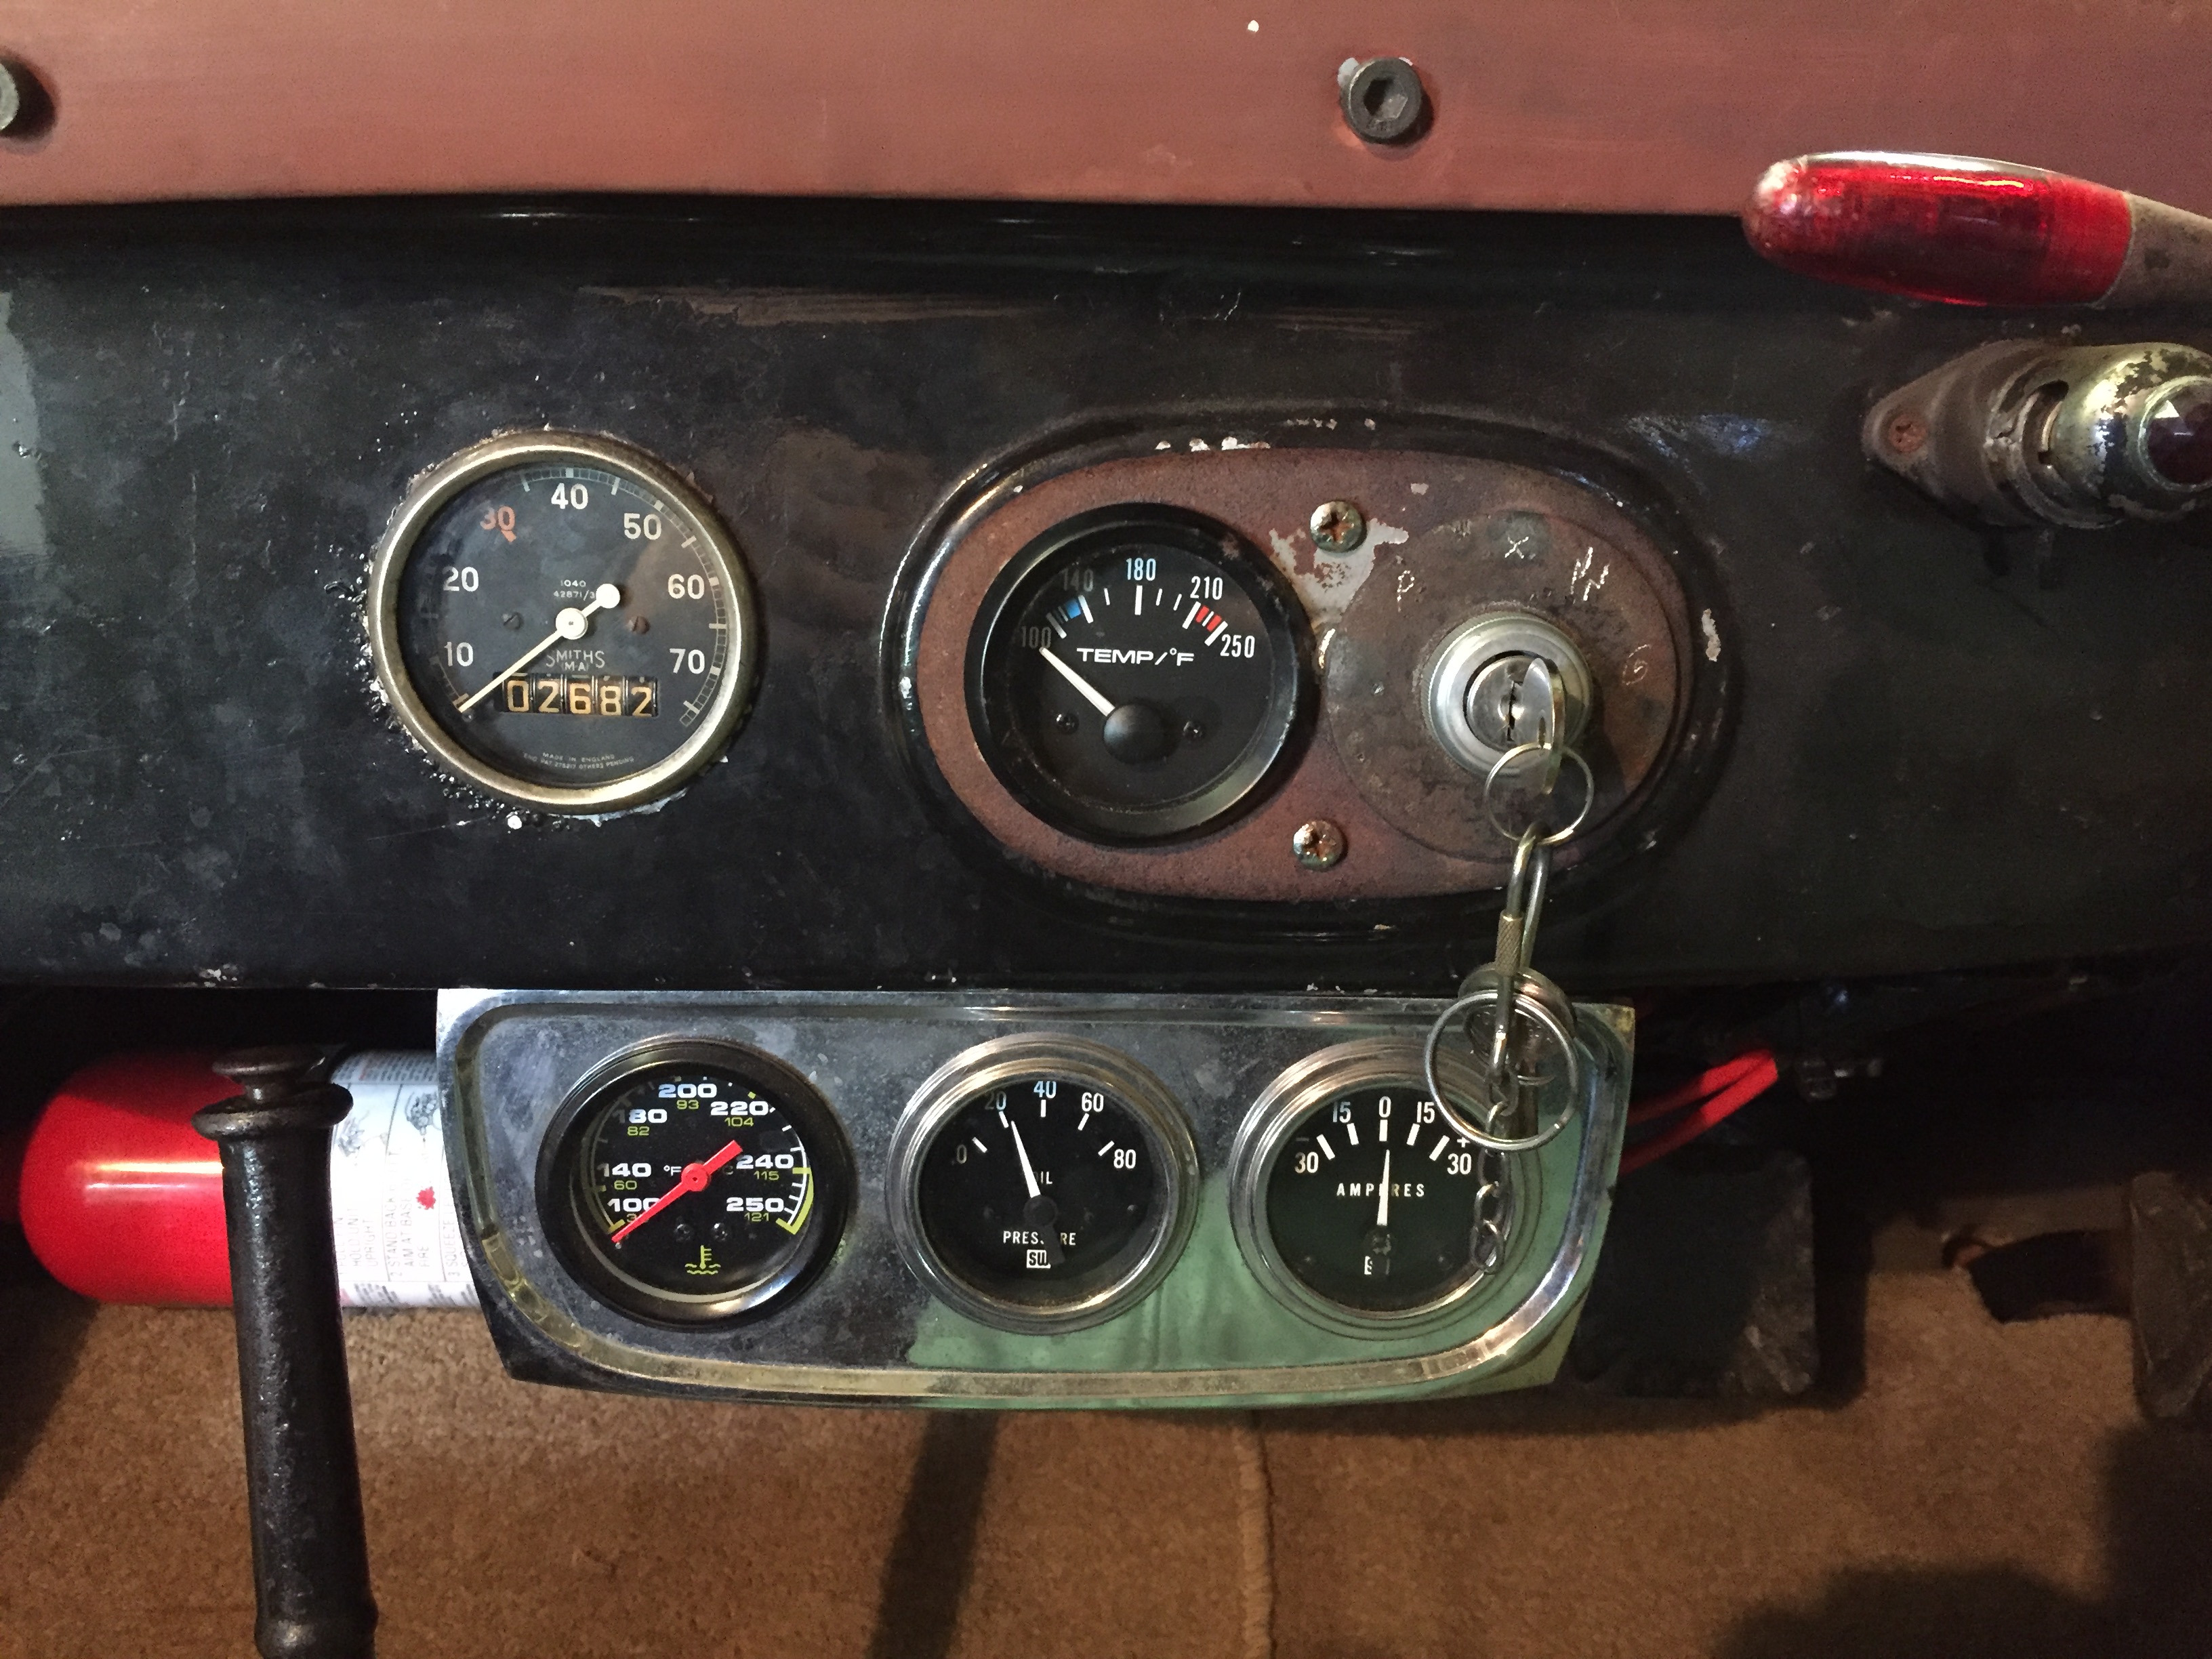
Found something I made a long time ago when I planned to have 2 gauges in the middle of the dash, welded a washer in one side for the ignition, I will move the oil pressure gauge up next to the ignition and install the 2nd temperature gauge down below. It would actually look cool if I set all the gauges in the dash but I cannot be bothered,
7 points
-
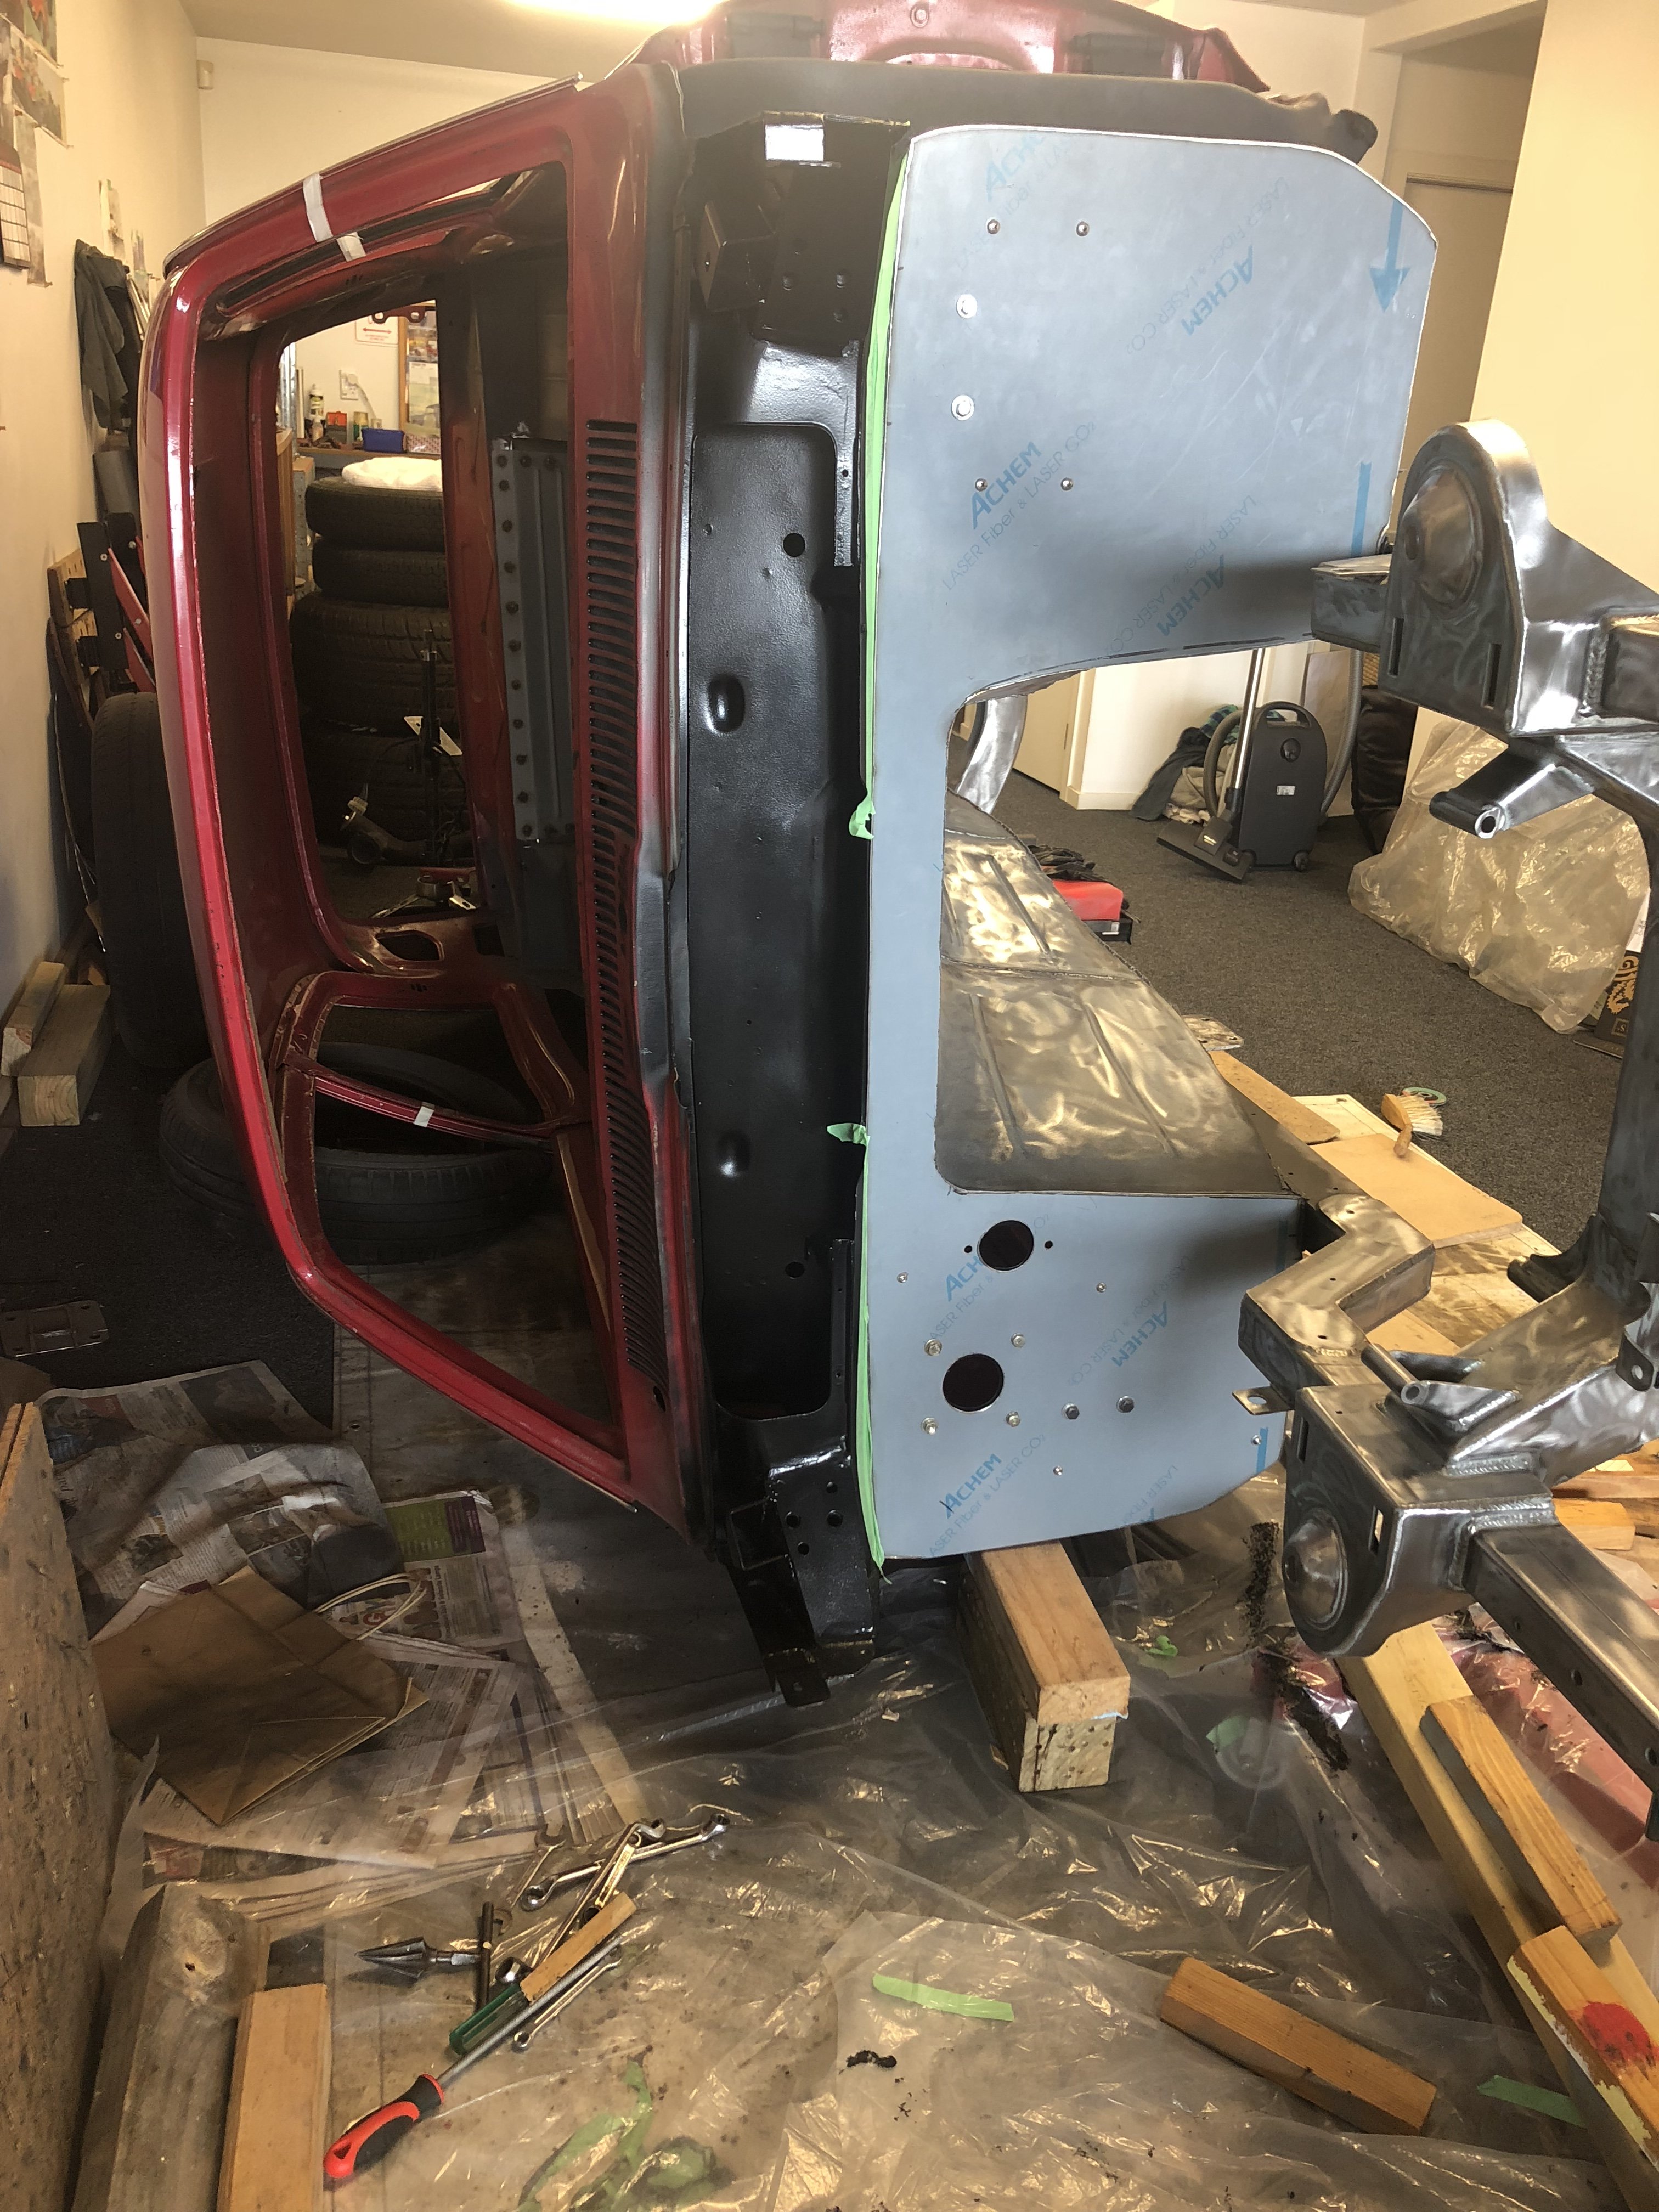
Polished firewall is all templated and holes drilled ready to panelbond in place. will do this once the front clip is painted gloss black.
6 points
-
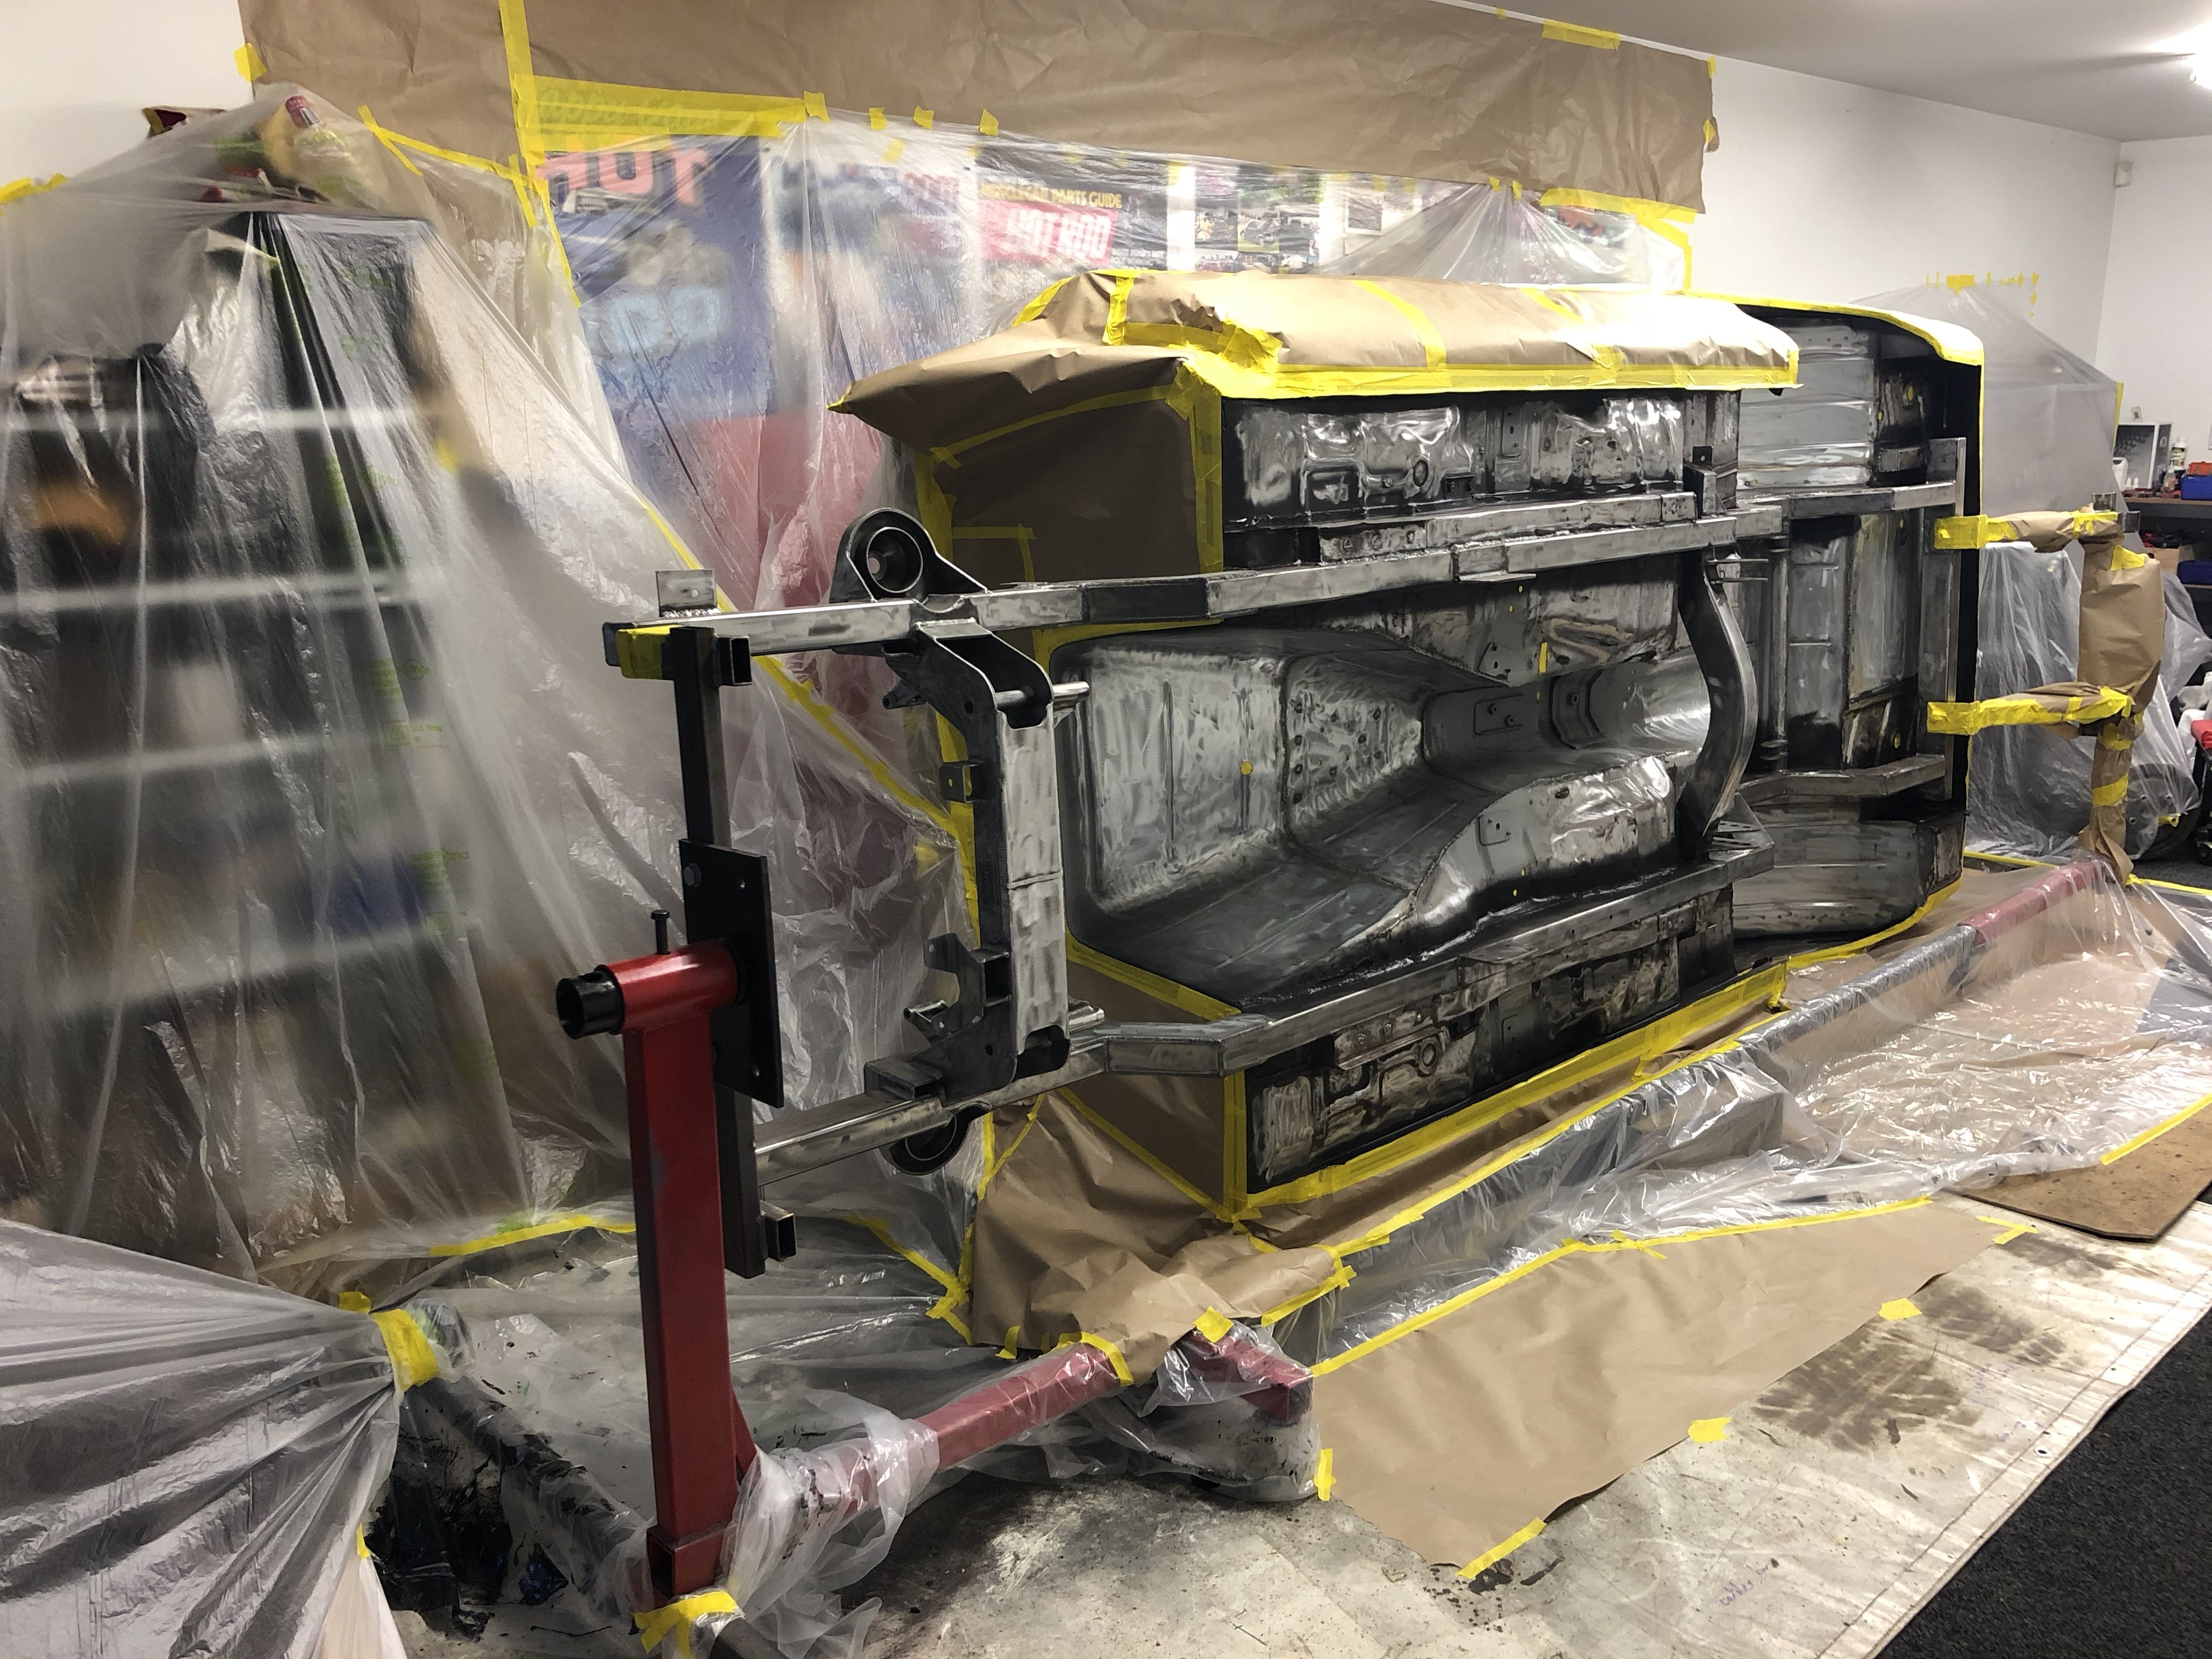
Hope everyone had a good break over Xmas and new year. i didn’t get much done as we have a new lab pup so plenty of sleepless nights. painter mate dave come over today yo start masking up and prepping the last little bits. with any luck will get the epoxy primer and underseal done this weekend.
6 points
-
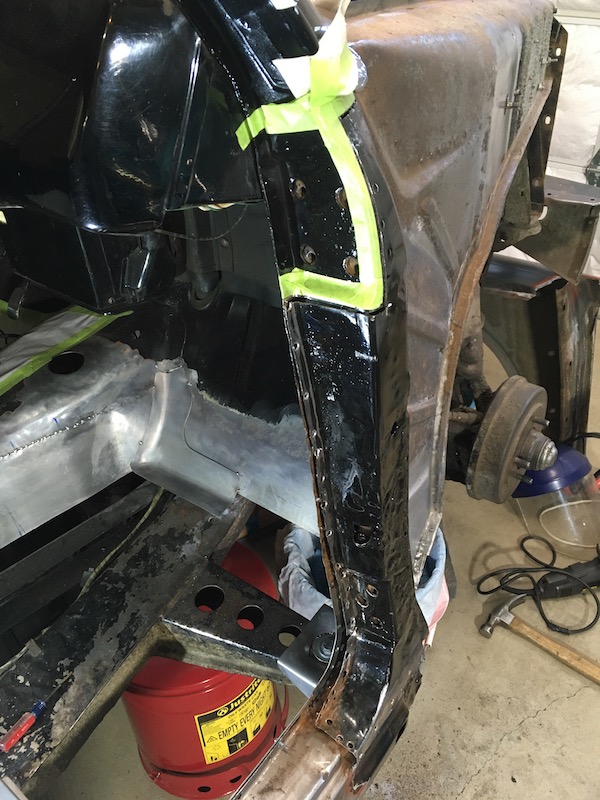
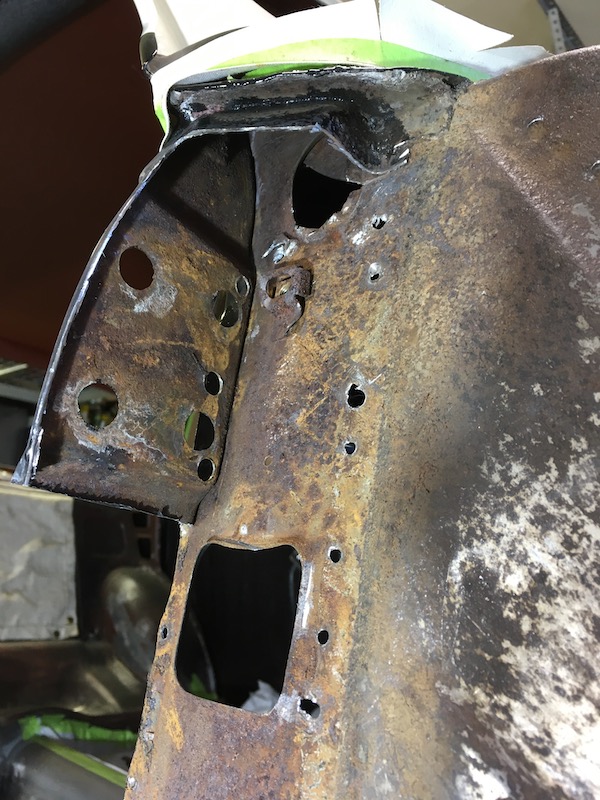
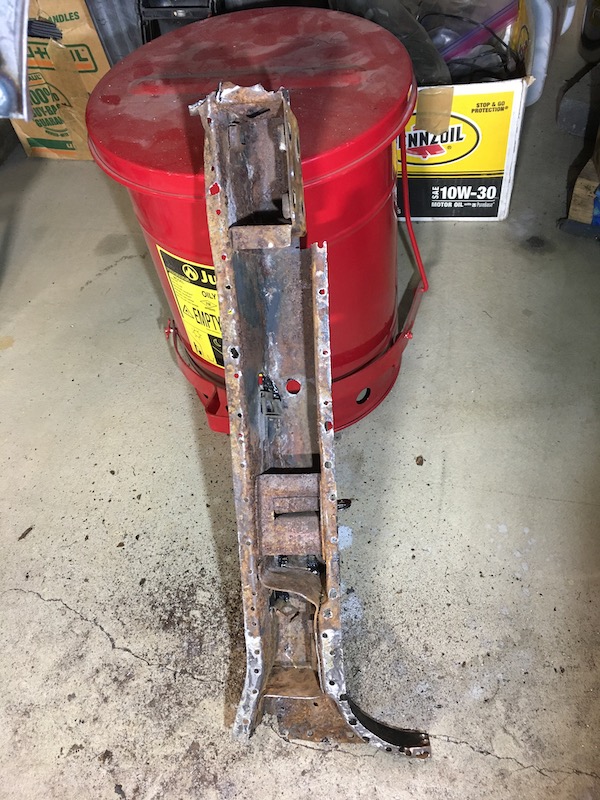
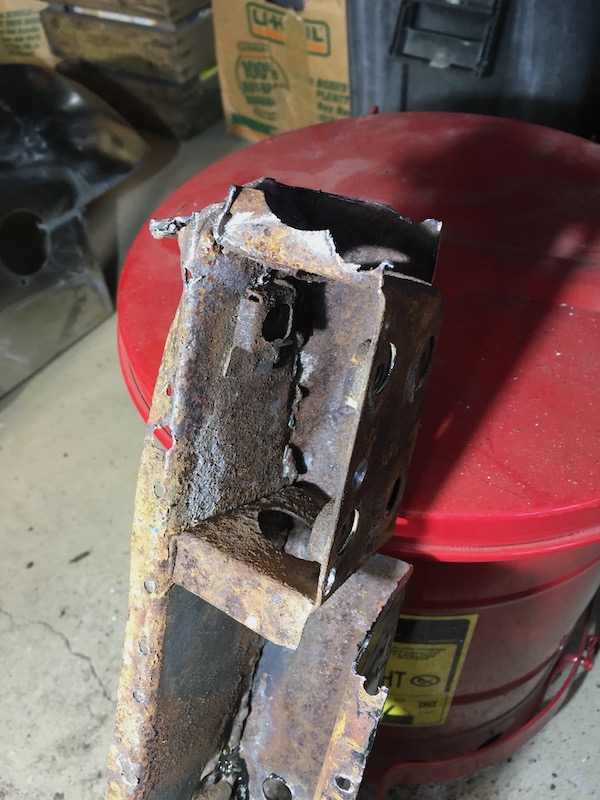
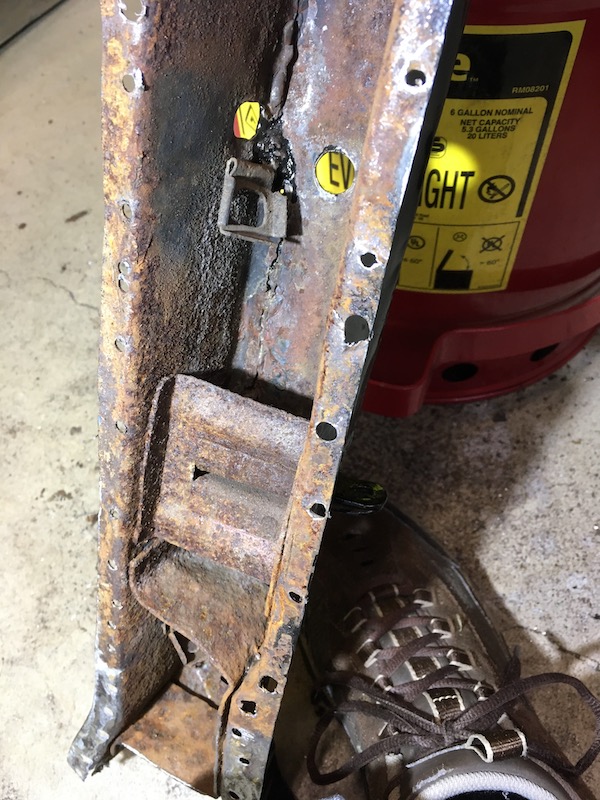
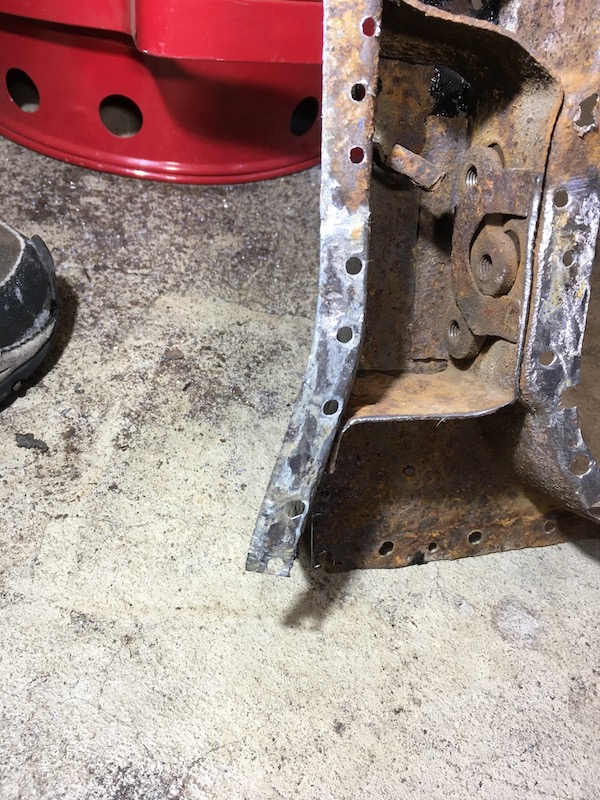
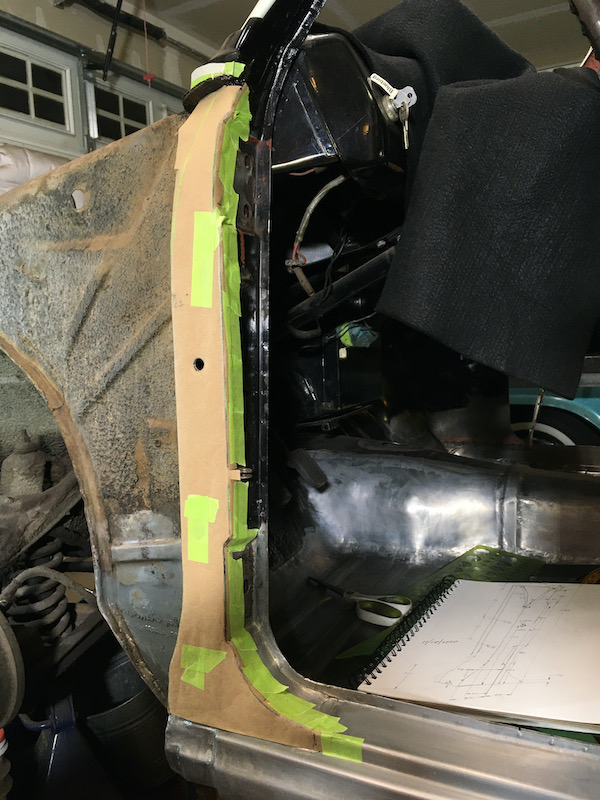
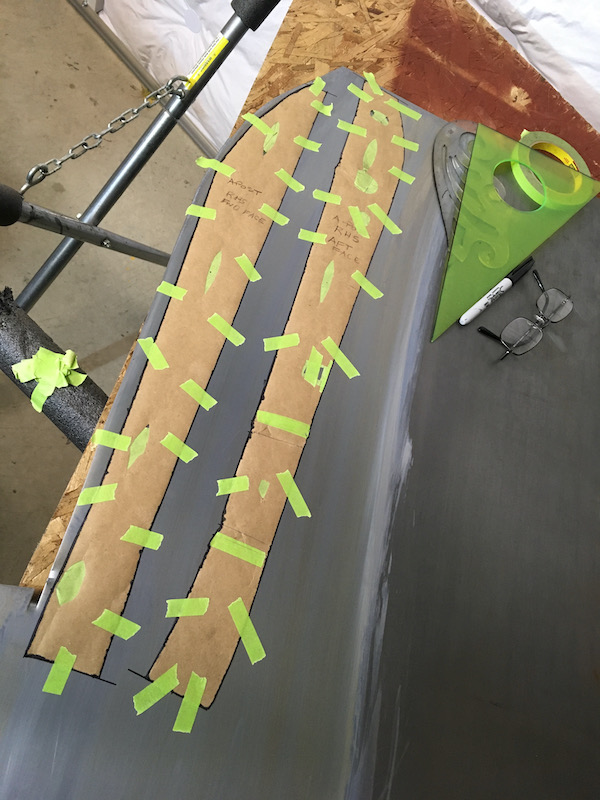
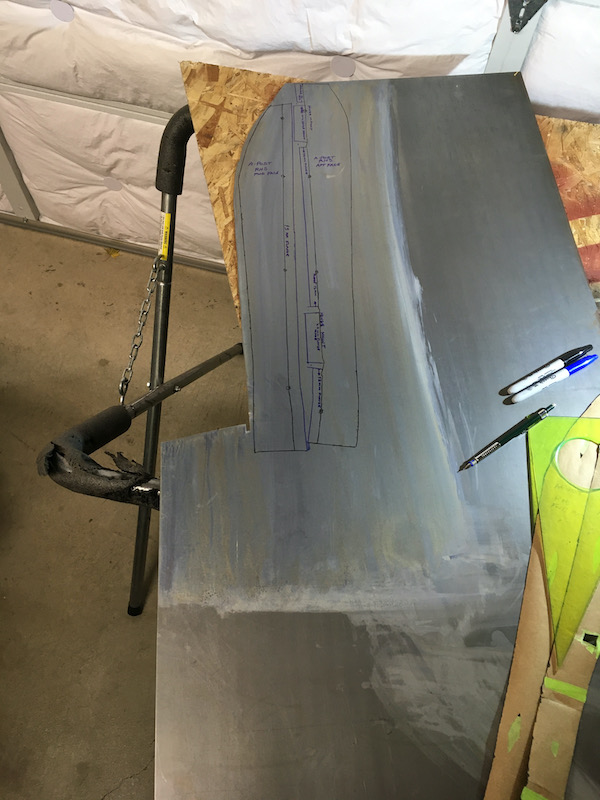
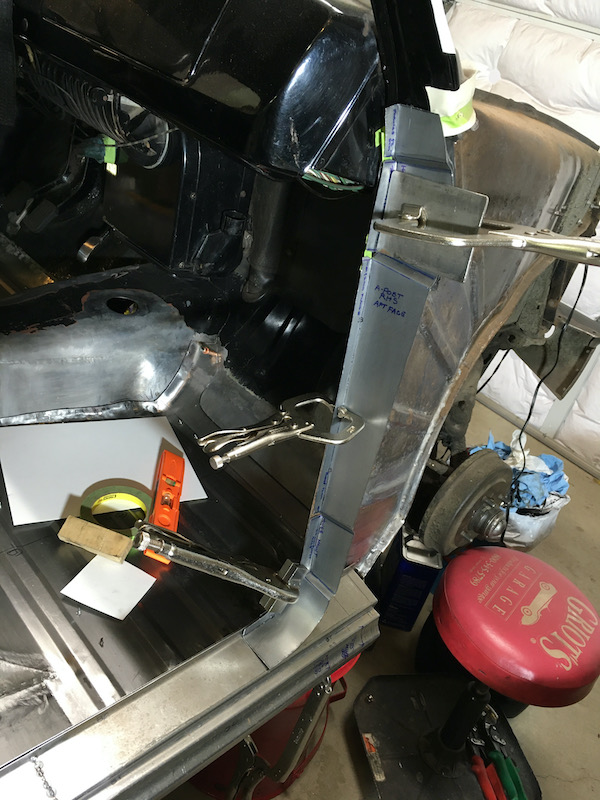
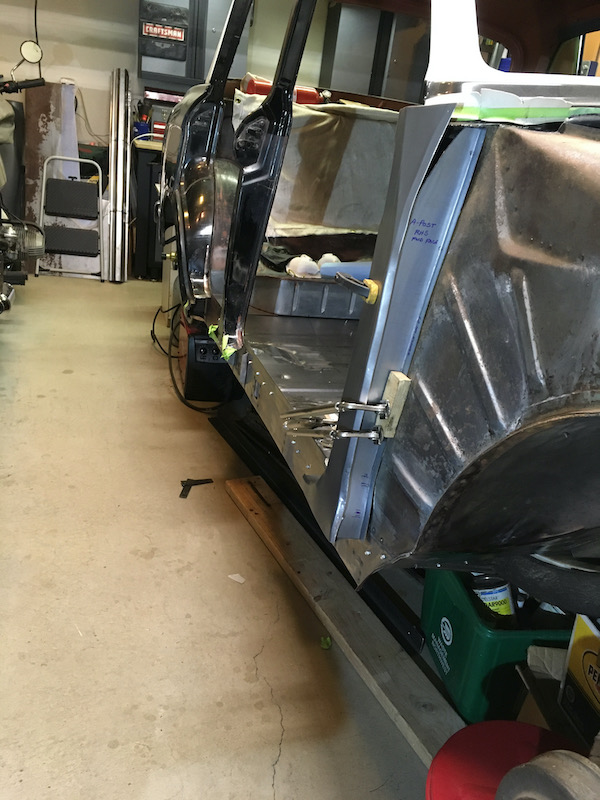
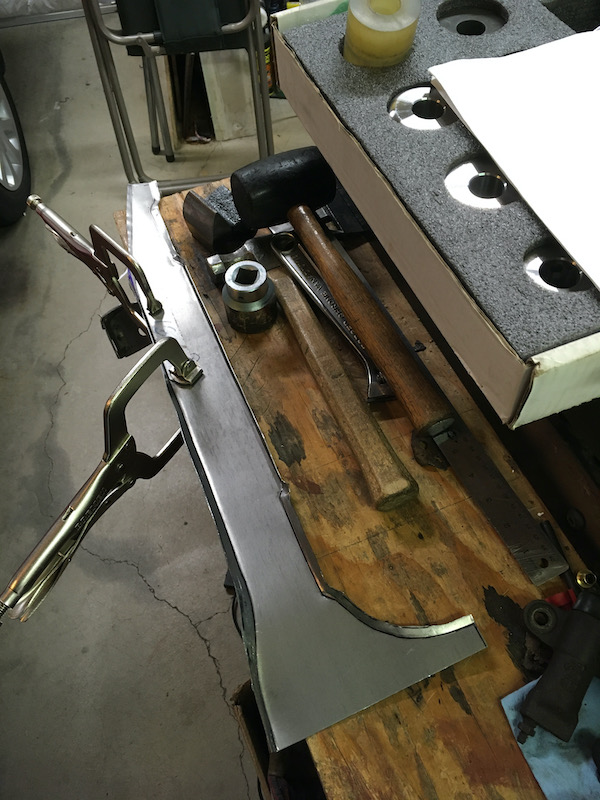
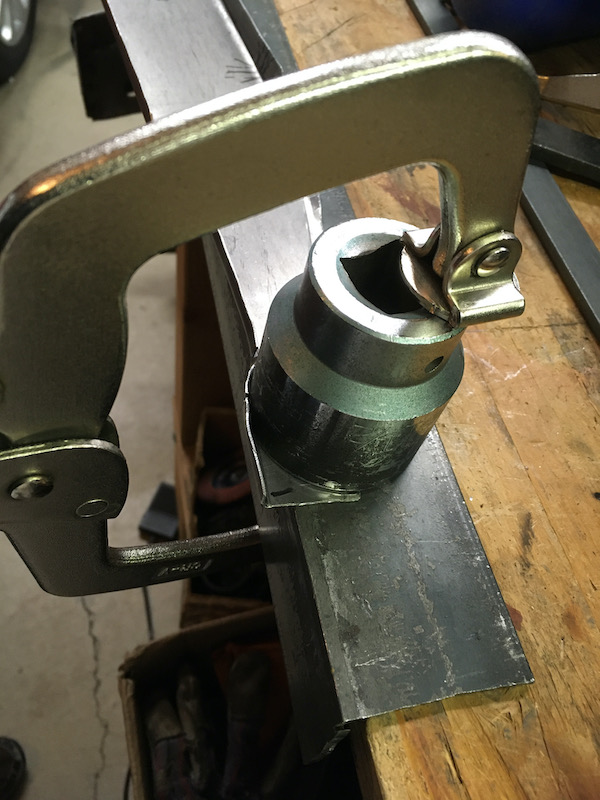
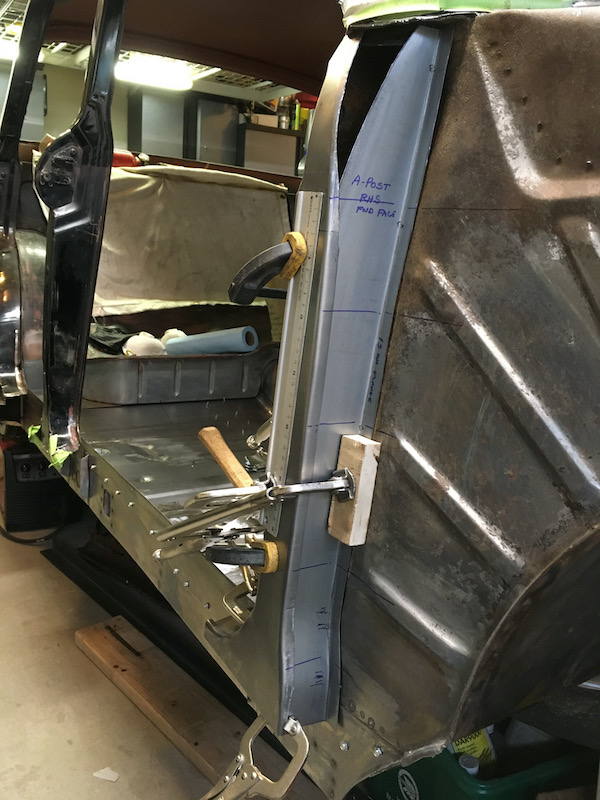
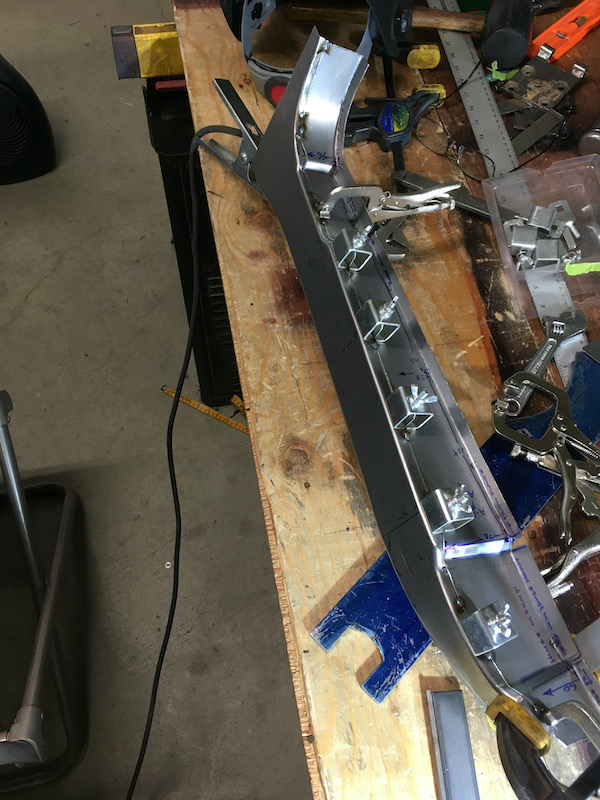
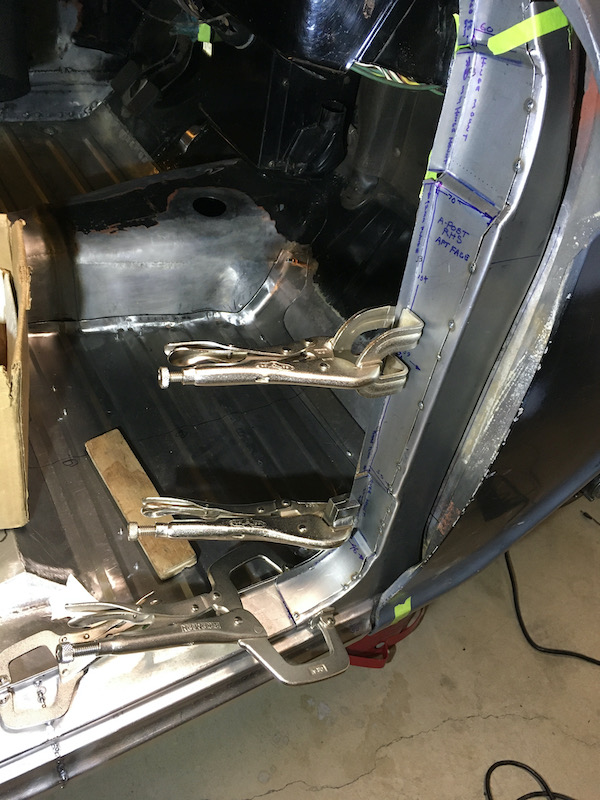
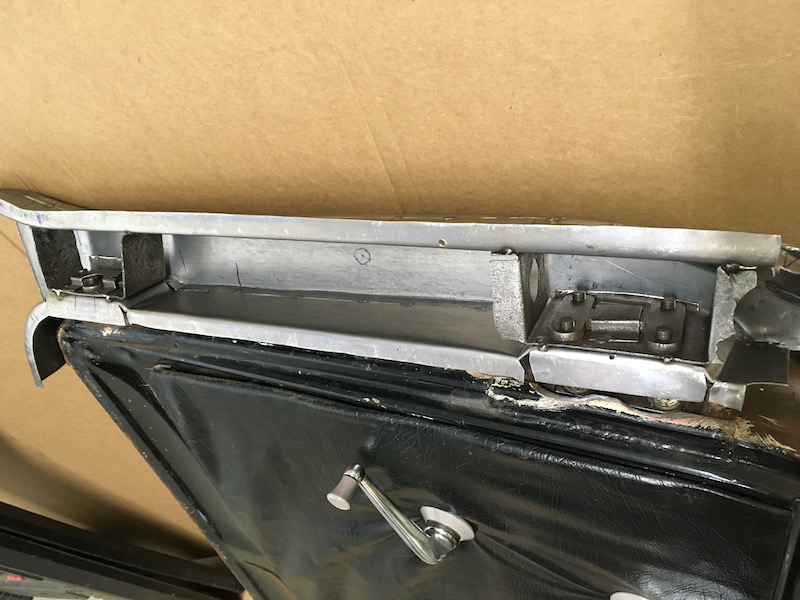
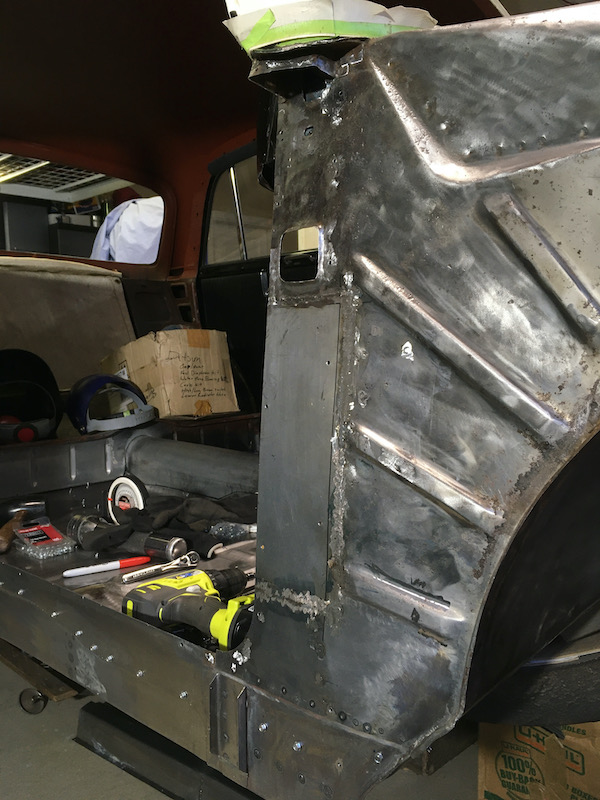
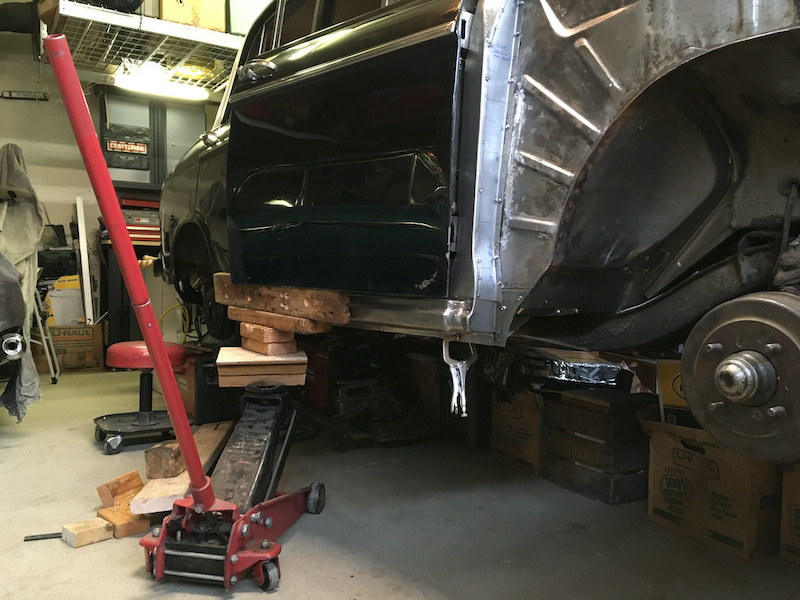
Building the 1961 Datsun 310 Bluebird - RHS ‘A’ - Post Scratch Build. Original A post was not salvageable due to multiple accidents (t-bone, roll-over, etc.) and ham fisted "repairs" with large hammers and cutting torches. Drilled out the spot welds and cut it off but left the upper hinge mount temporarily as a datum. Marked for cutting. I began to be concerned. I did a bit of a hack job cutting it loose at the top. This is a serious piece of structure removal and the metal underneath doesn't look so great either. Will the Bluebird ever be made whole again? I'd never attempted anything like this so took it slowly and methodically reverse engineered it based on the LHS A post. it turned out quite well.The fitment with respect to location on the body was the only minor issue. i had to install it several times with Teks until getting an okay fit with the the hinges, latches, door gaps and all the other adjoining metal work mocked up. Finally resorting to a floor jack under the door to "fine tune" it. Original after removal showing the attached internal bits. Patterns taken off the LHS A-post. Then cut out the outboard face with an extra margin for bending over just past the fore and aft edges. Fore and aft patterns set up for metal cutting. I intended to make it out of just three pieces but that didn't work out. So later on I made the little triangle section at the top separately. I ran each piece through a bead roller tipping die at the bend lines and followed with hammer and dolly to beat the flanges over. Early checks of the individual pieces on the car looked promising. Aft facing piece shown. The early outboard face piece shows the attempt to include the upper triangle. As mentioned, that was the intent but didn't work out. Forming the tipped edges with various panel beating tools. Further on-car refinement which permitted making scribe trim lines into the fore and aft faces. Leading to tack welding it together. Back on the car, it's beginning to resemble an A-post! Fits quite well so far. With a bit of hinge bolt hole drilling, and cleaned up inside bits salvaged from the original A-post, I carefully worked on fitting the tacked assembly to mate up with the rebuilt door hinges. Oh yeah, regards the hinge pin replacements, I used an 8mm hinge and bushing kit that I believe was for a Toyota Hilux. Normally this is a routine repair job but not in this case. The old hinge pins were a terrible job to remove because of each pin being previously broken internally into three pieces. If pushed on, the inner bits just kicked over and jammed or mushroomed up. No amount of force was going to make them move at all. I had to extract the splined pin end by TIG welding a plate to it and using a large slide hammer meant for axle pulling. And even then I had to drill some of the remaining stuck bits out. That was not fun. The door catch/stop bit was tacked in later (not shown in above pic). Then did multiple fit check iterations on car until frustration set in and finally doing this in below pic. More new metal on the inner body and a slight "adjustment" for optimum gap with the outer sill. And yes, the upper sheet metal is still a bit sketchy. I fear catching the car on fire! For fire safety, I'll eventually have to remove the instrument panel, wire harness and nearby insulation and only then fix the upper sheet metal since it's got rust craters and other significant surface damage. The new A-post assembly weld to the remaining post/front glass pillar will be via lap joints. The door fits good all around and latches perfectly. Leaving the RHS A-post as is for now until all the RHS metal fab and fitments are done, only then will the assembly be fully welded. More later, currently focused on the RHS B-post. Discussion: Build: https://oldschool.co.nz/index.php?/topic/60264-marts-pl310-61-datsun-bluebird-sedan/
6 points
-
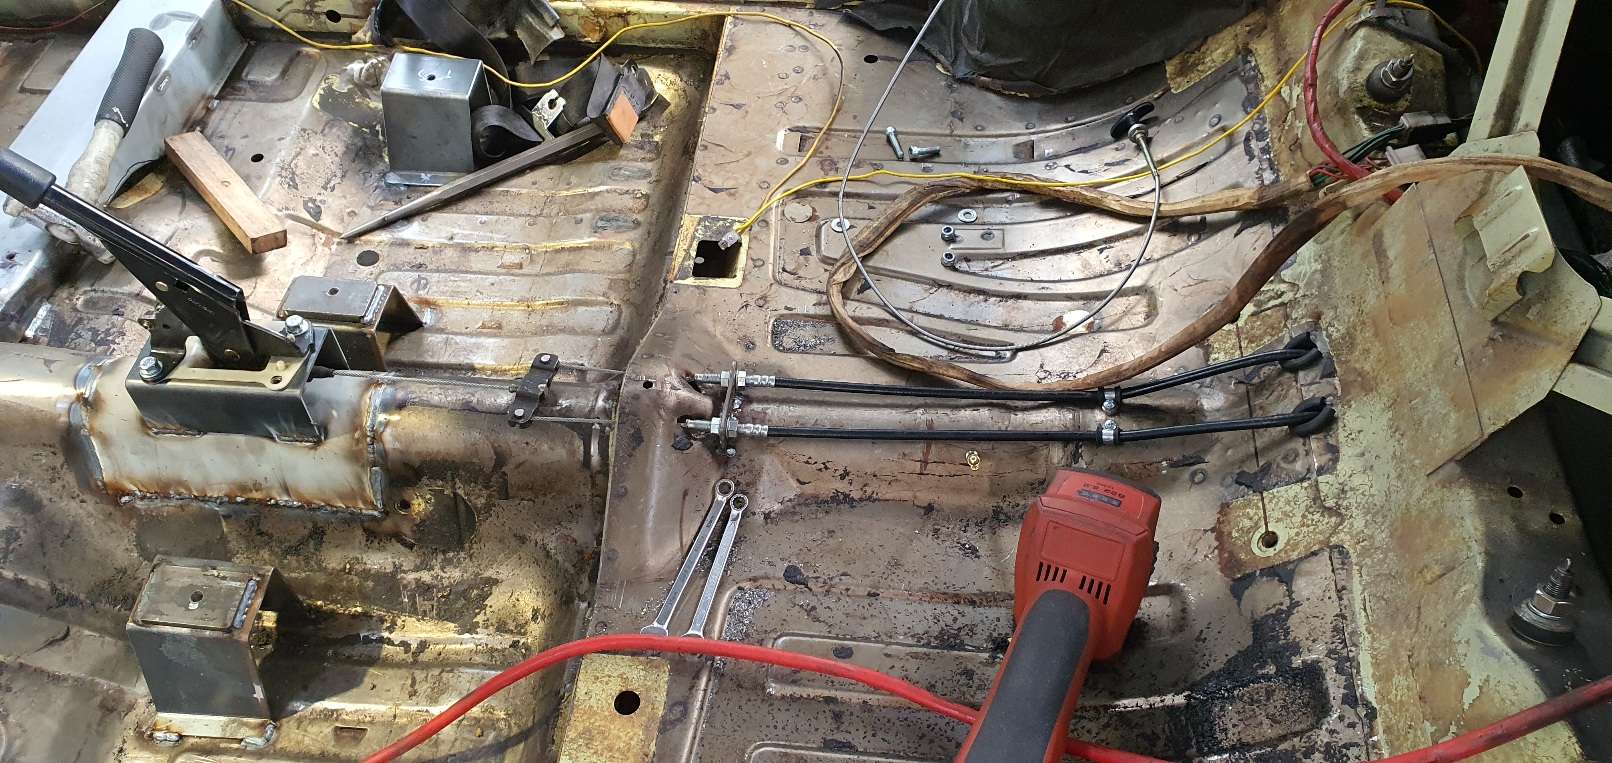
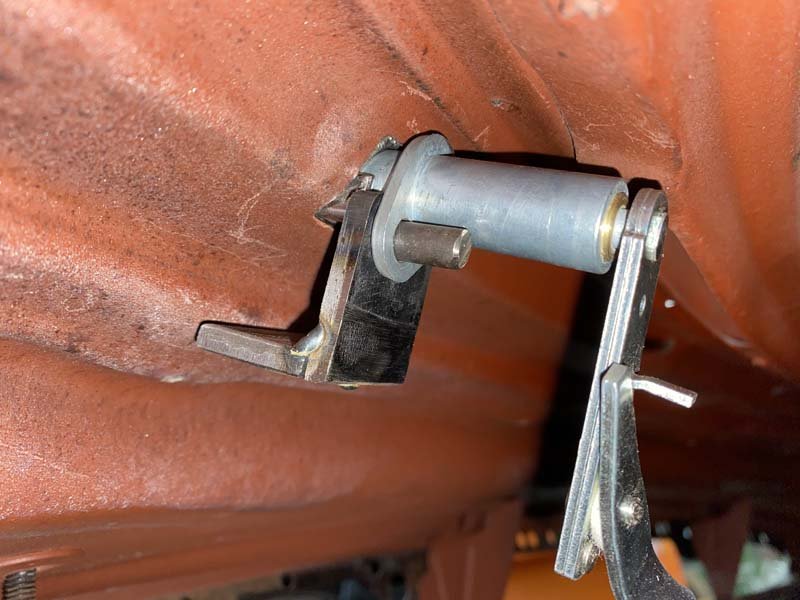
Managed to get most of another job ticked off over the last couple of nights. Running the handbrake cables internally. Due to the fact that the cables were already rubbing on the driveshaft and that the cars going in for more lowering in a few weeks I decided to get creative. Everything's working nicely. I will have to make up a cover and some little mounts for the cover so that it can be removed if it needs any repairs but the majority of its there. Its nice to be getting these things sorted. Hopefully the cert man doesn't shit himself
5 points
-
No where near final but my goal was to have it driving by end of holidays so it's close, of course I diddnt compromise on the quality unless I know I have to buy parts to do it, generally it's just small things that will improve, those will come later
5 points
-
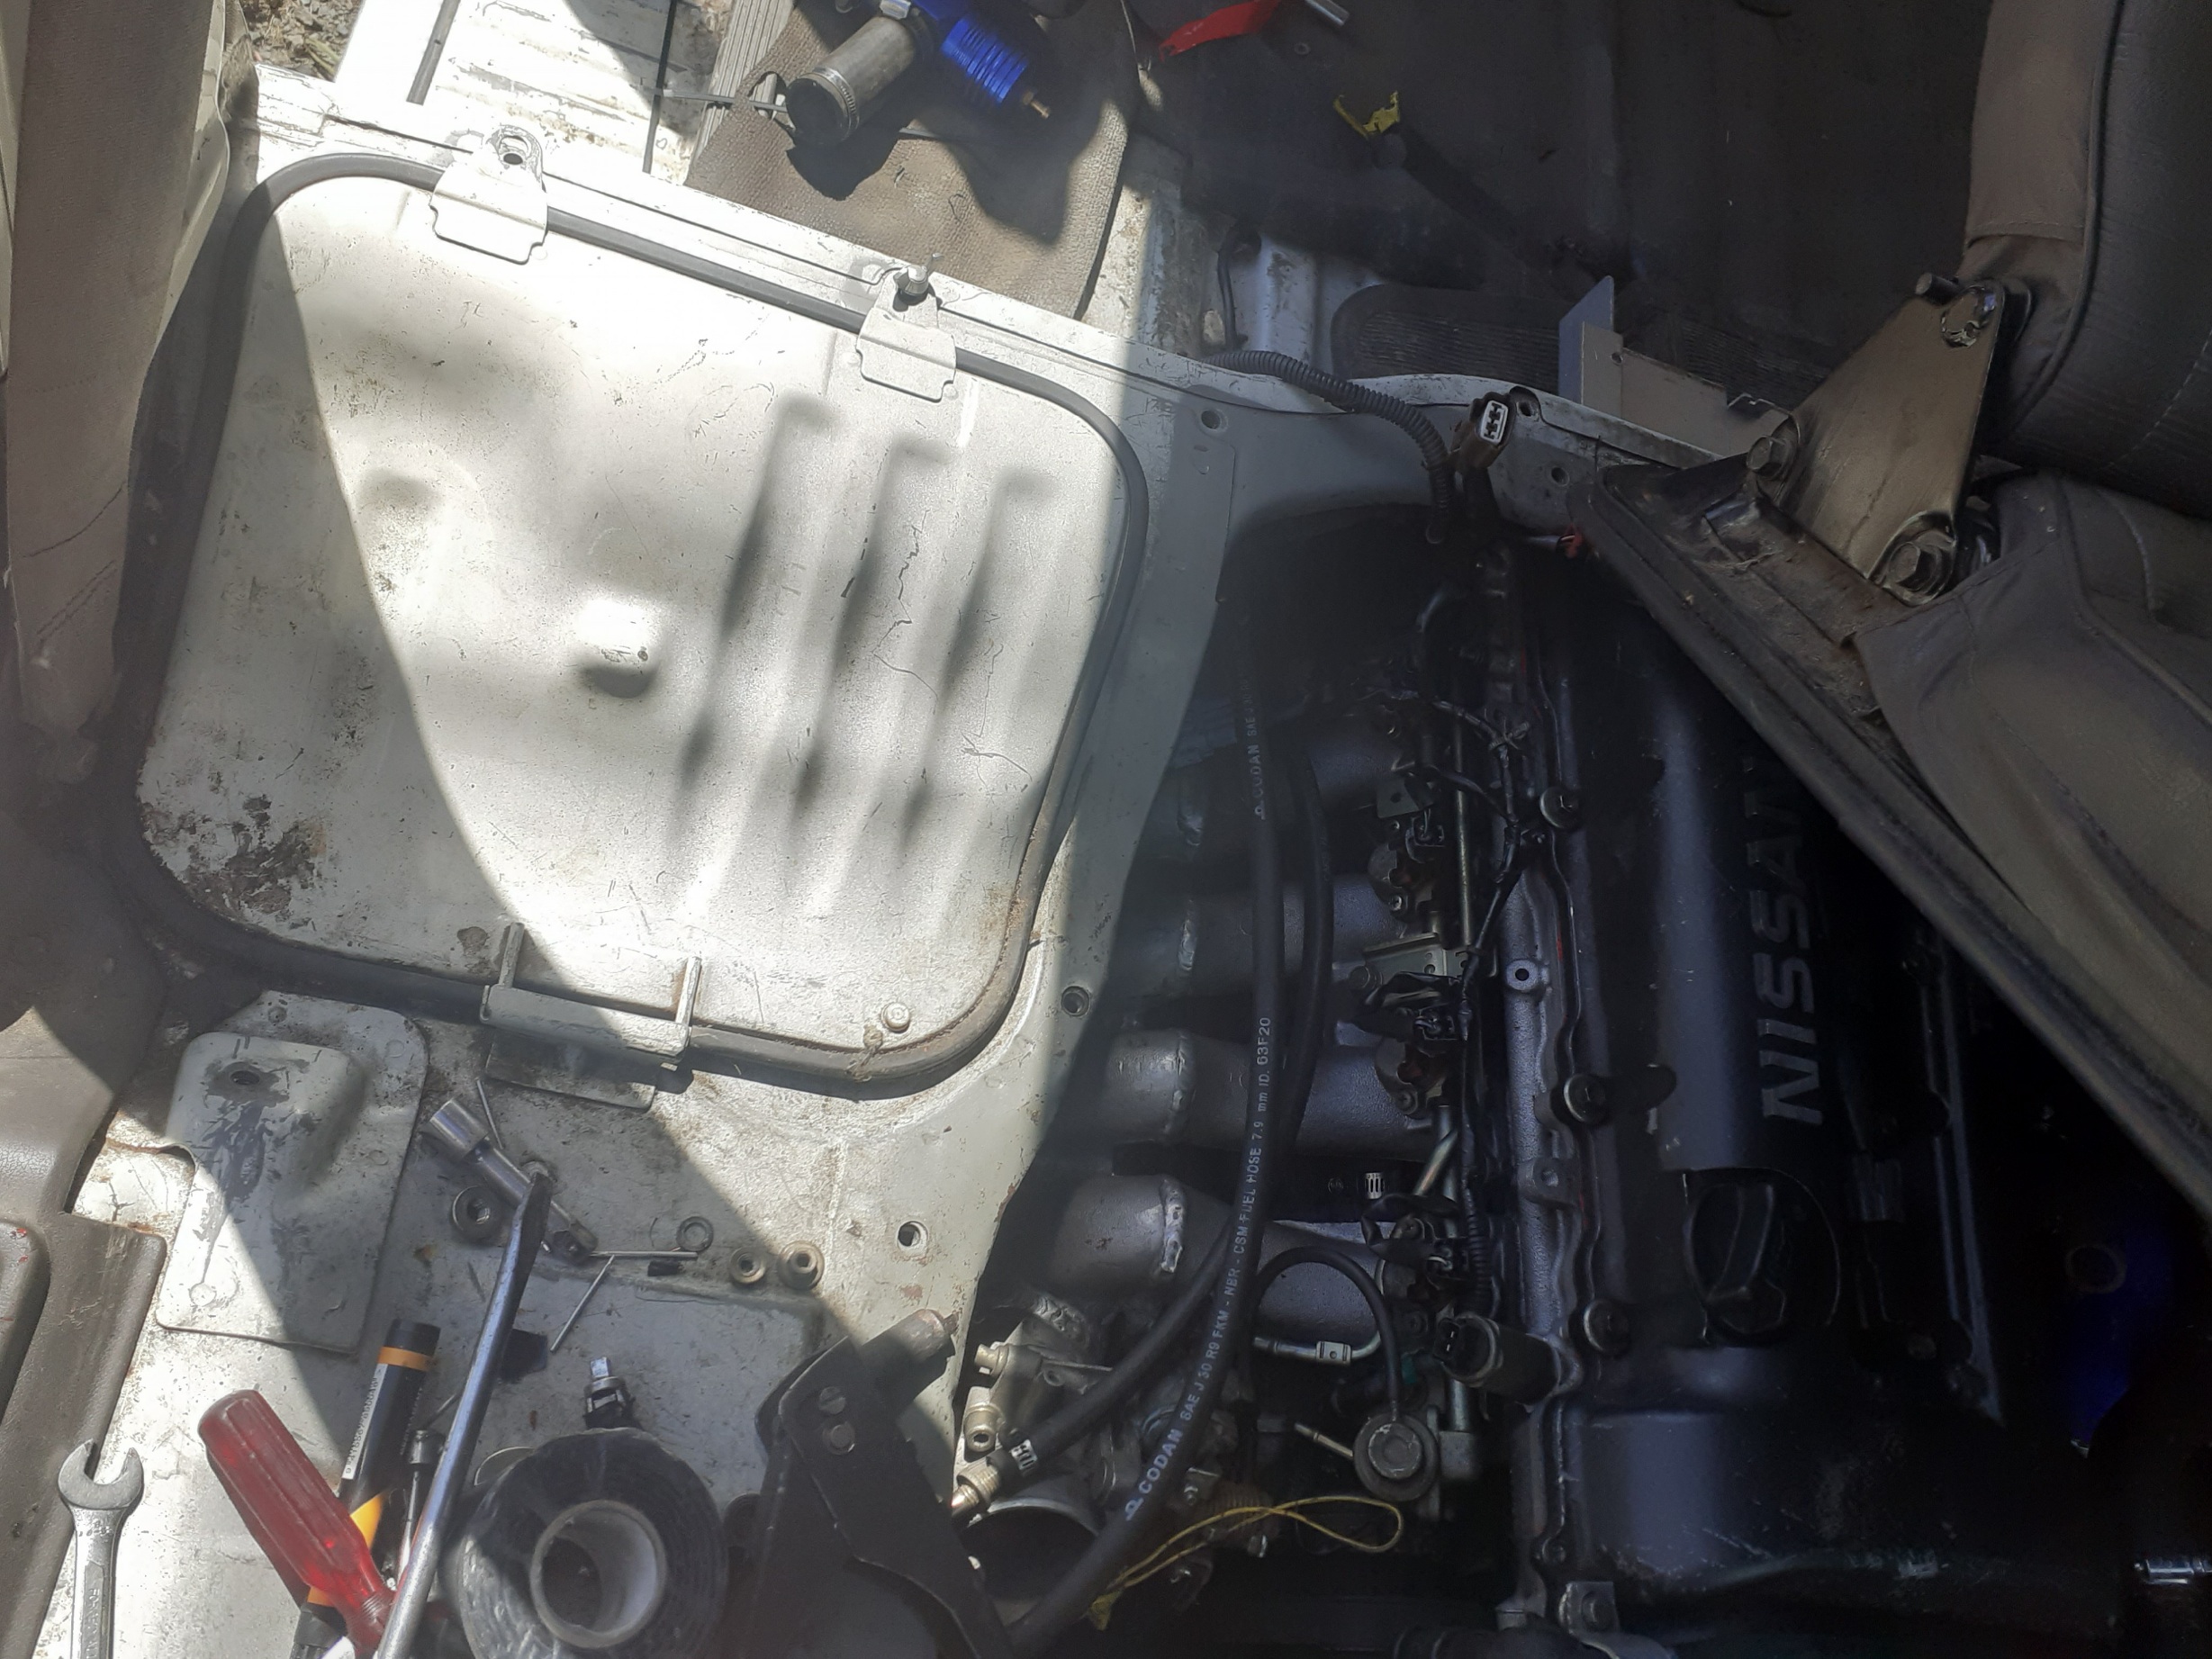
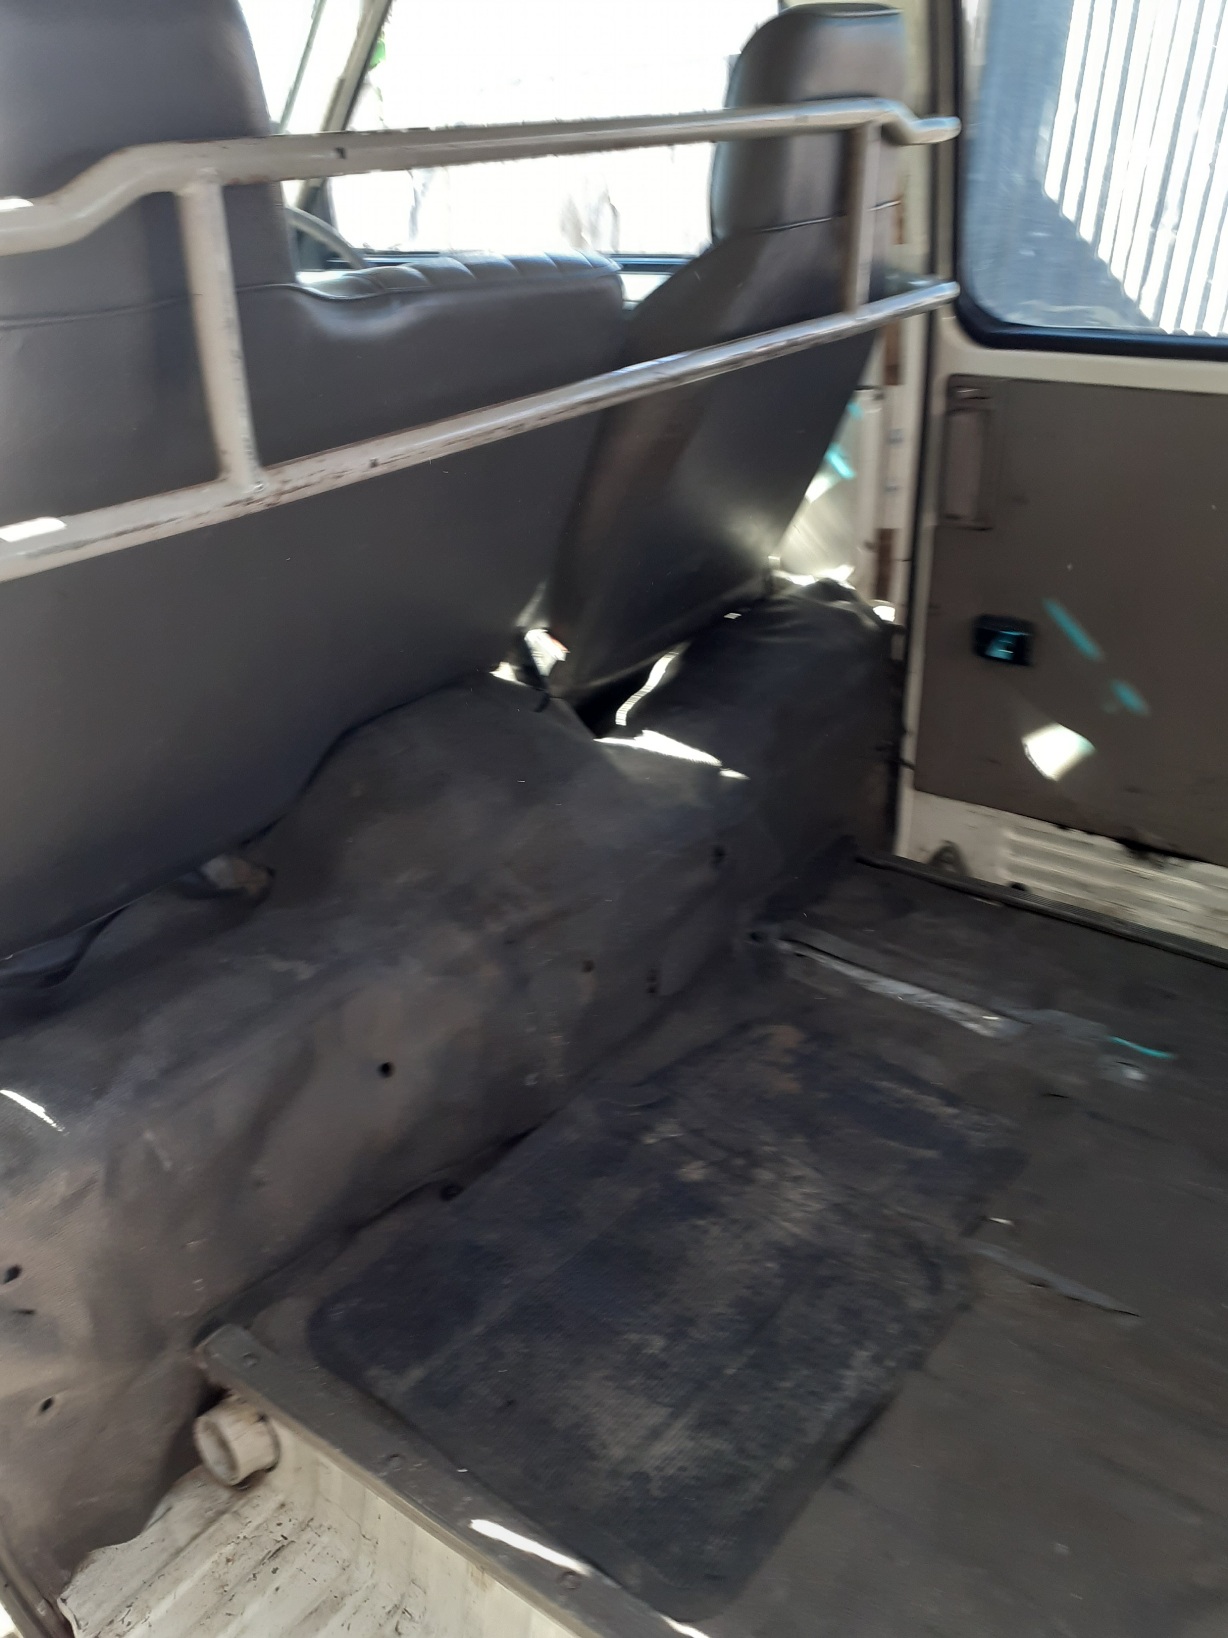
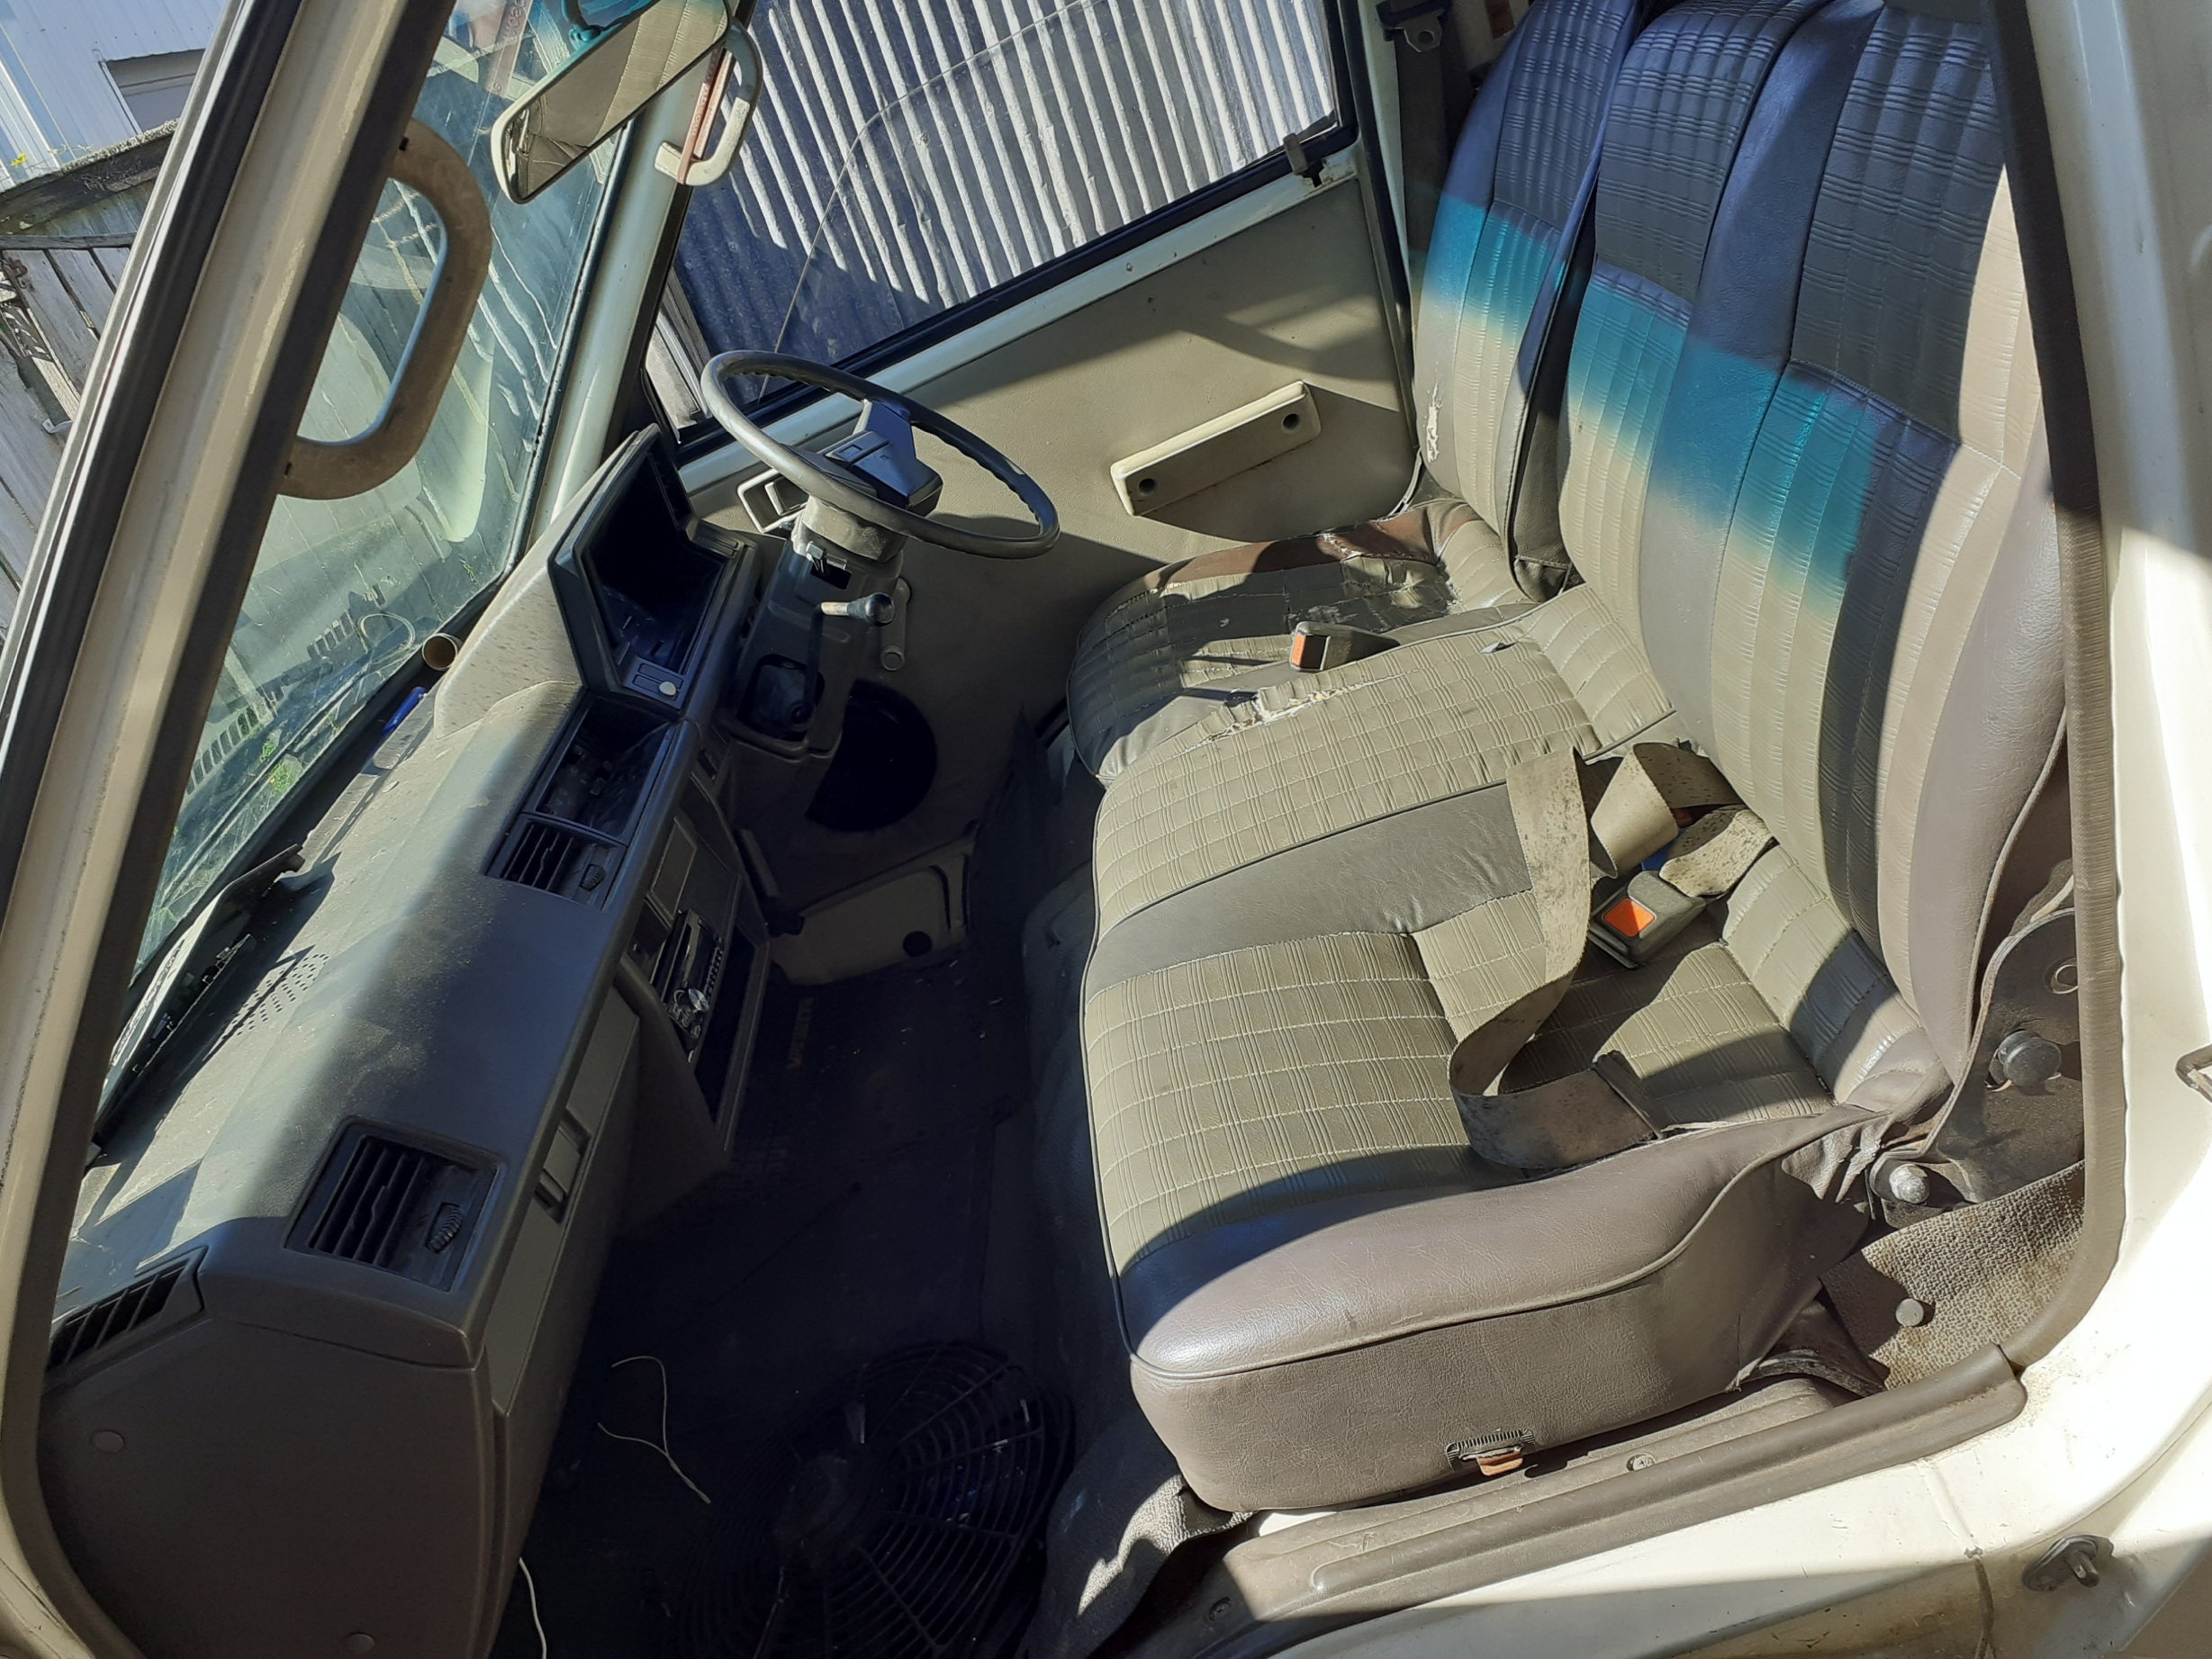
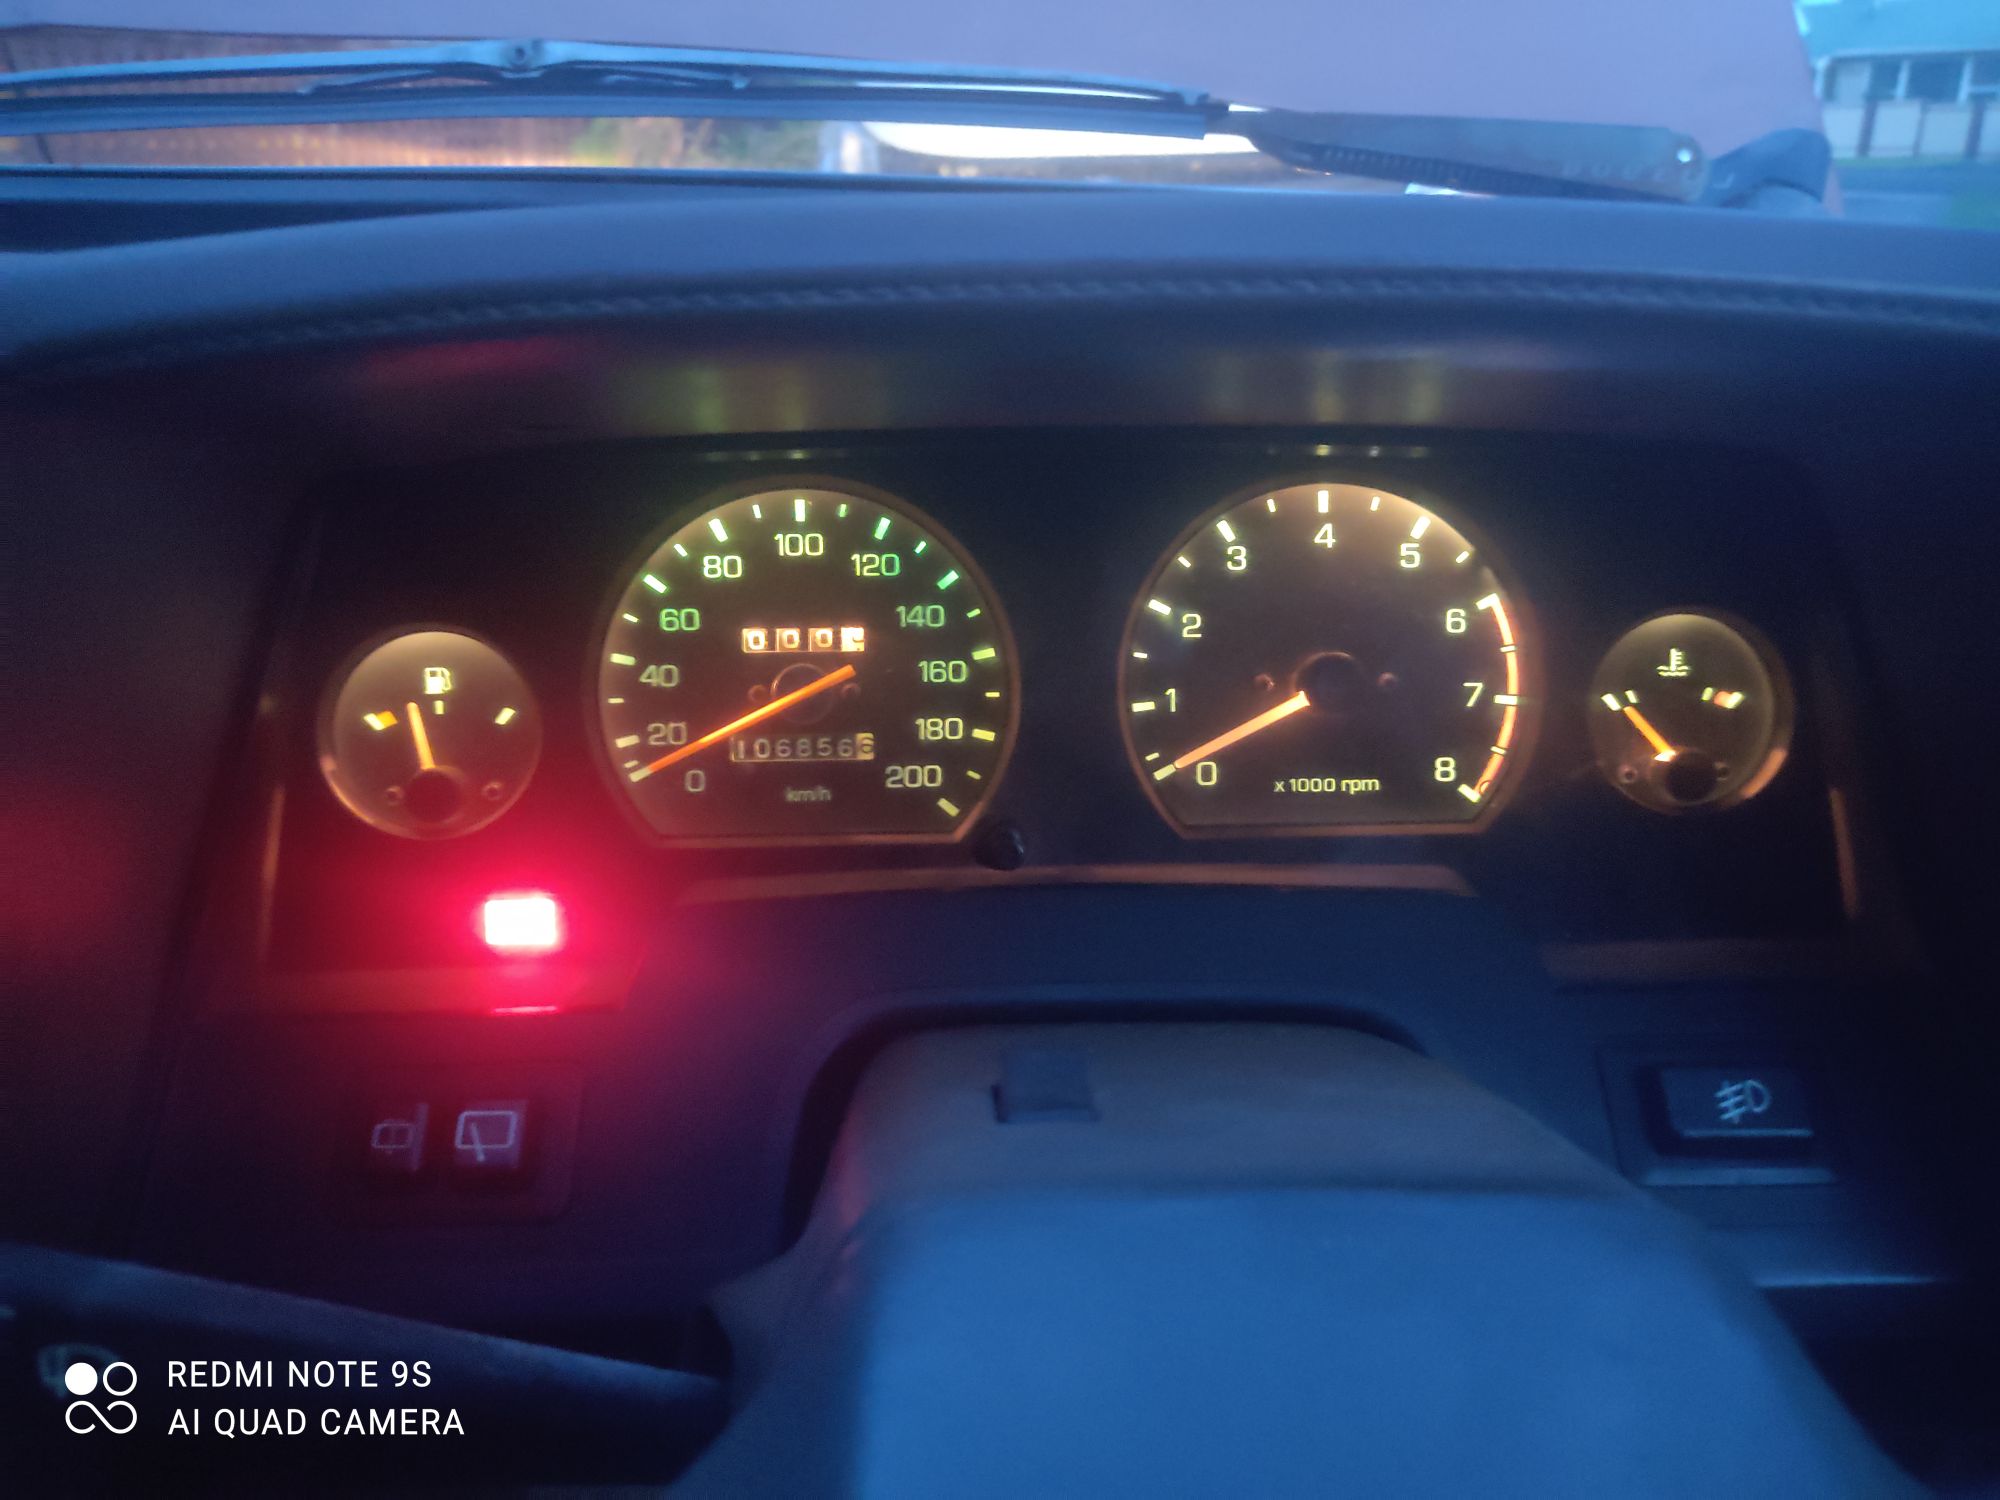
It's now all done and working except for tach, will now just need oil for diff and gearbox, have put water in but needs a flush as heater core is full of rust, no coolant corroded everything, just a couple of things and it will drive!
5 points
-
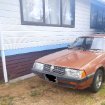
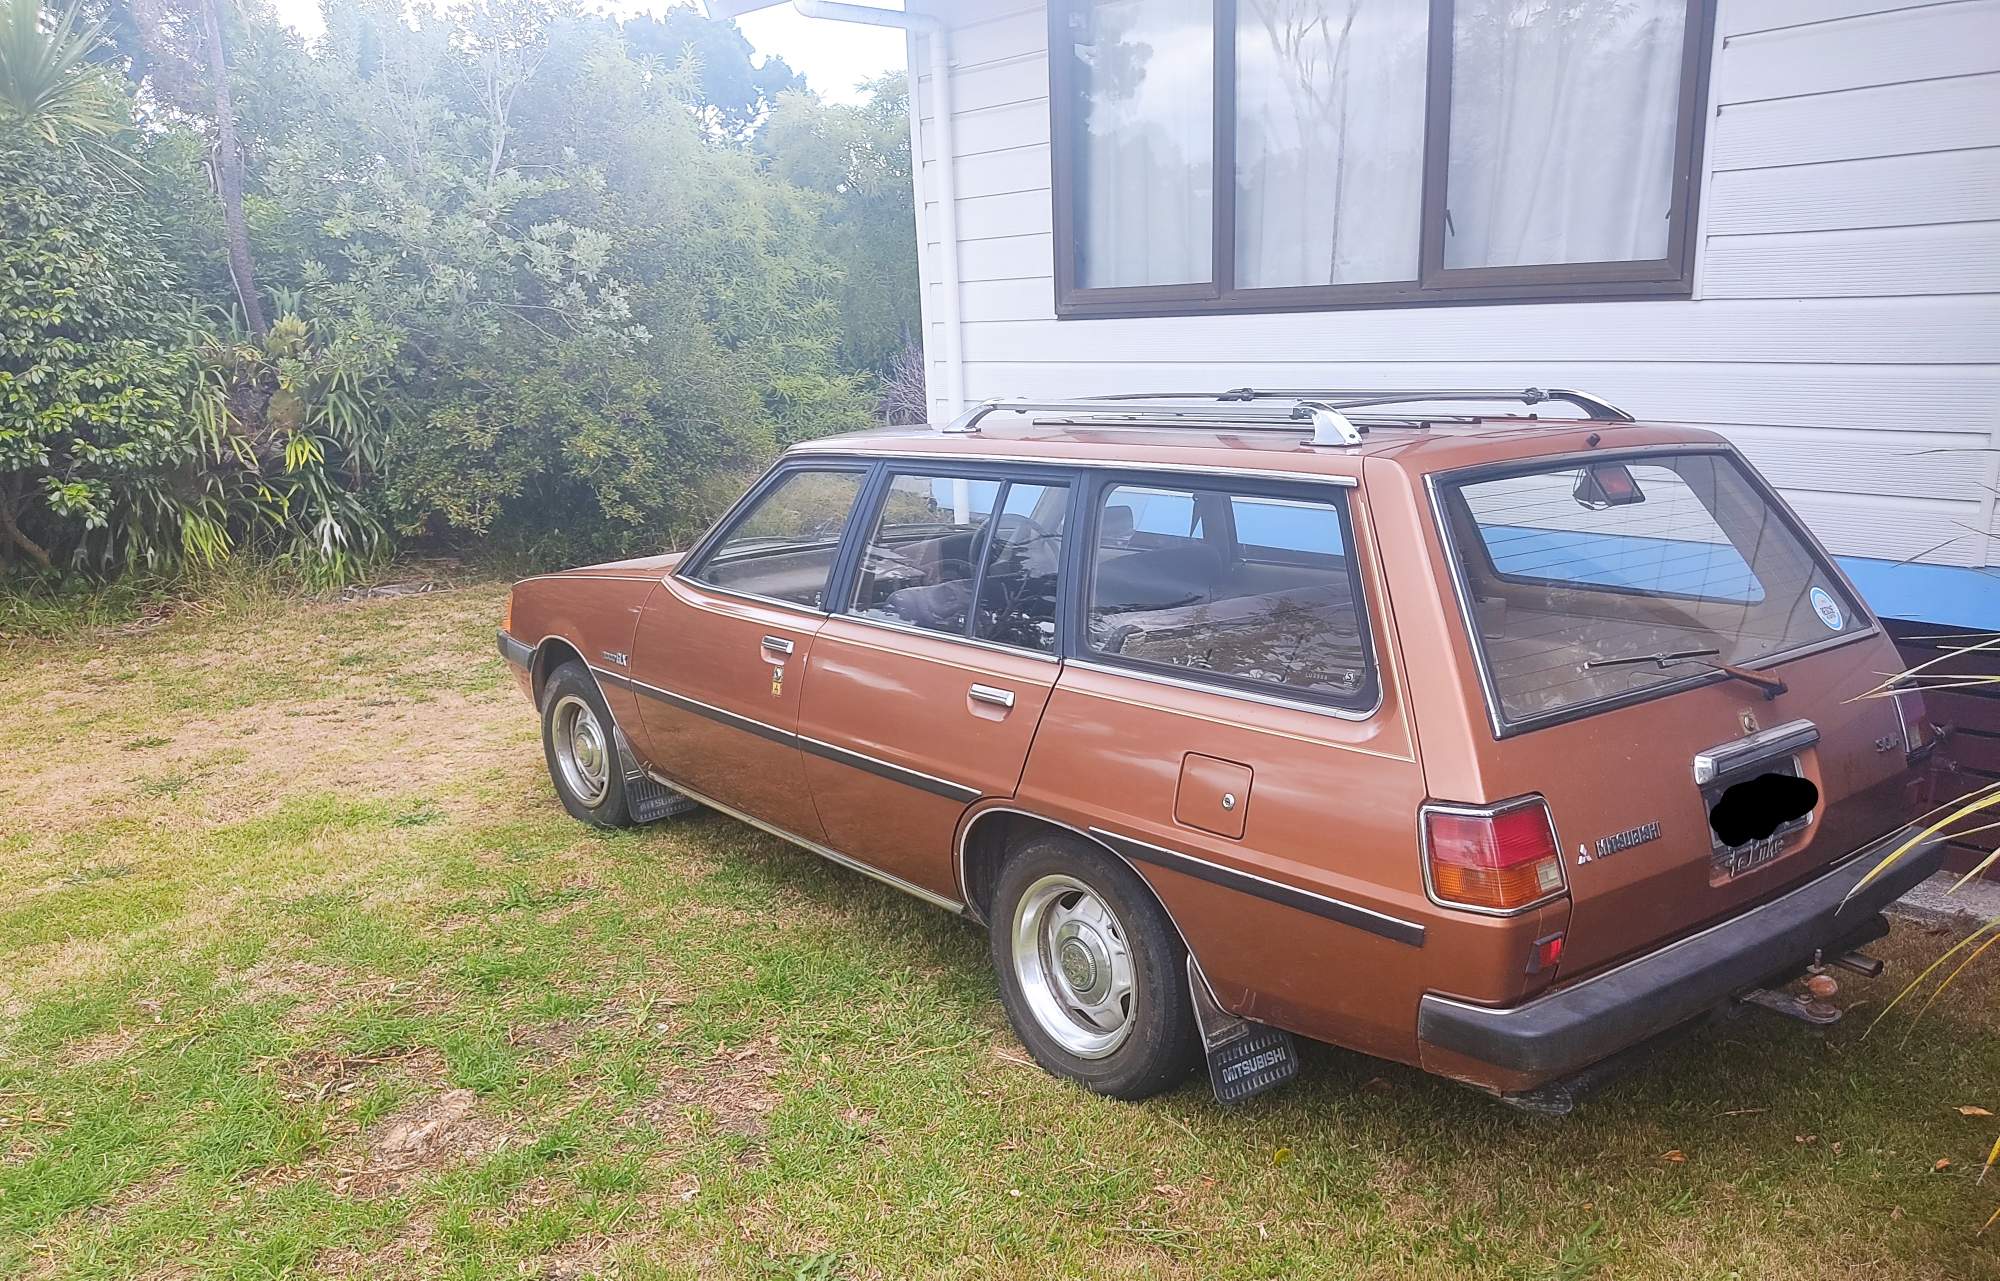
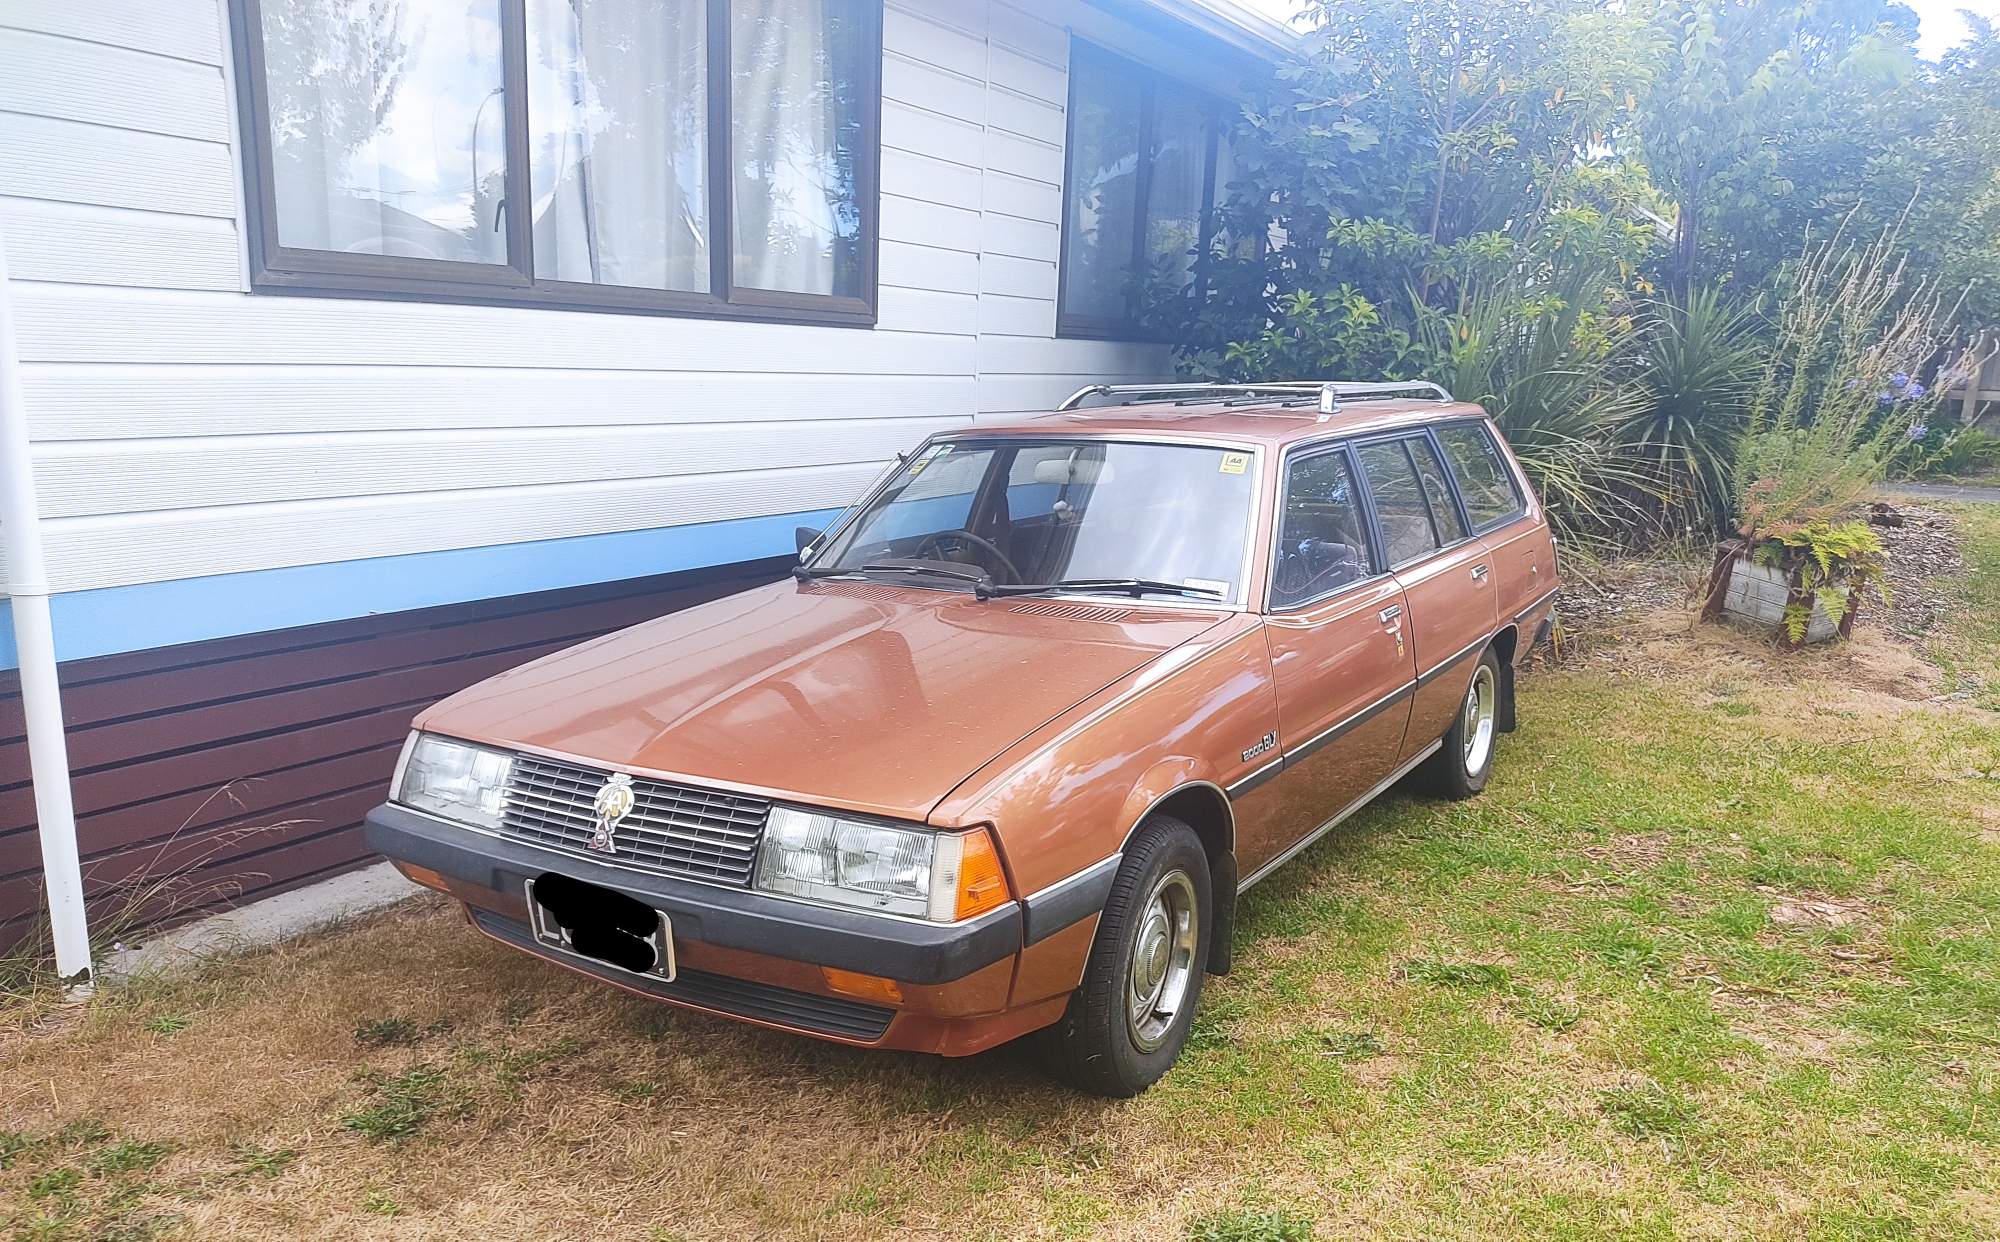
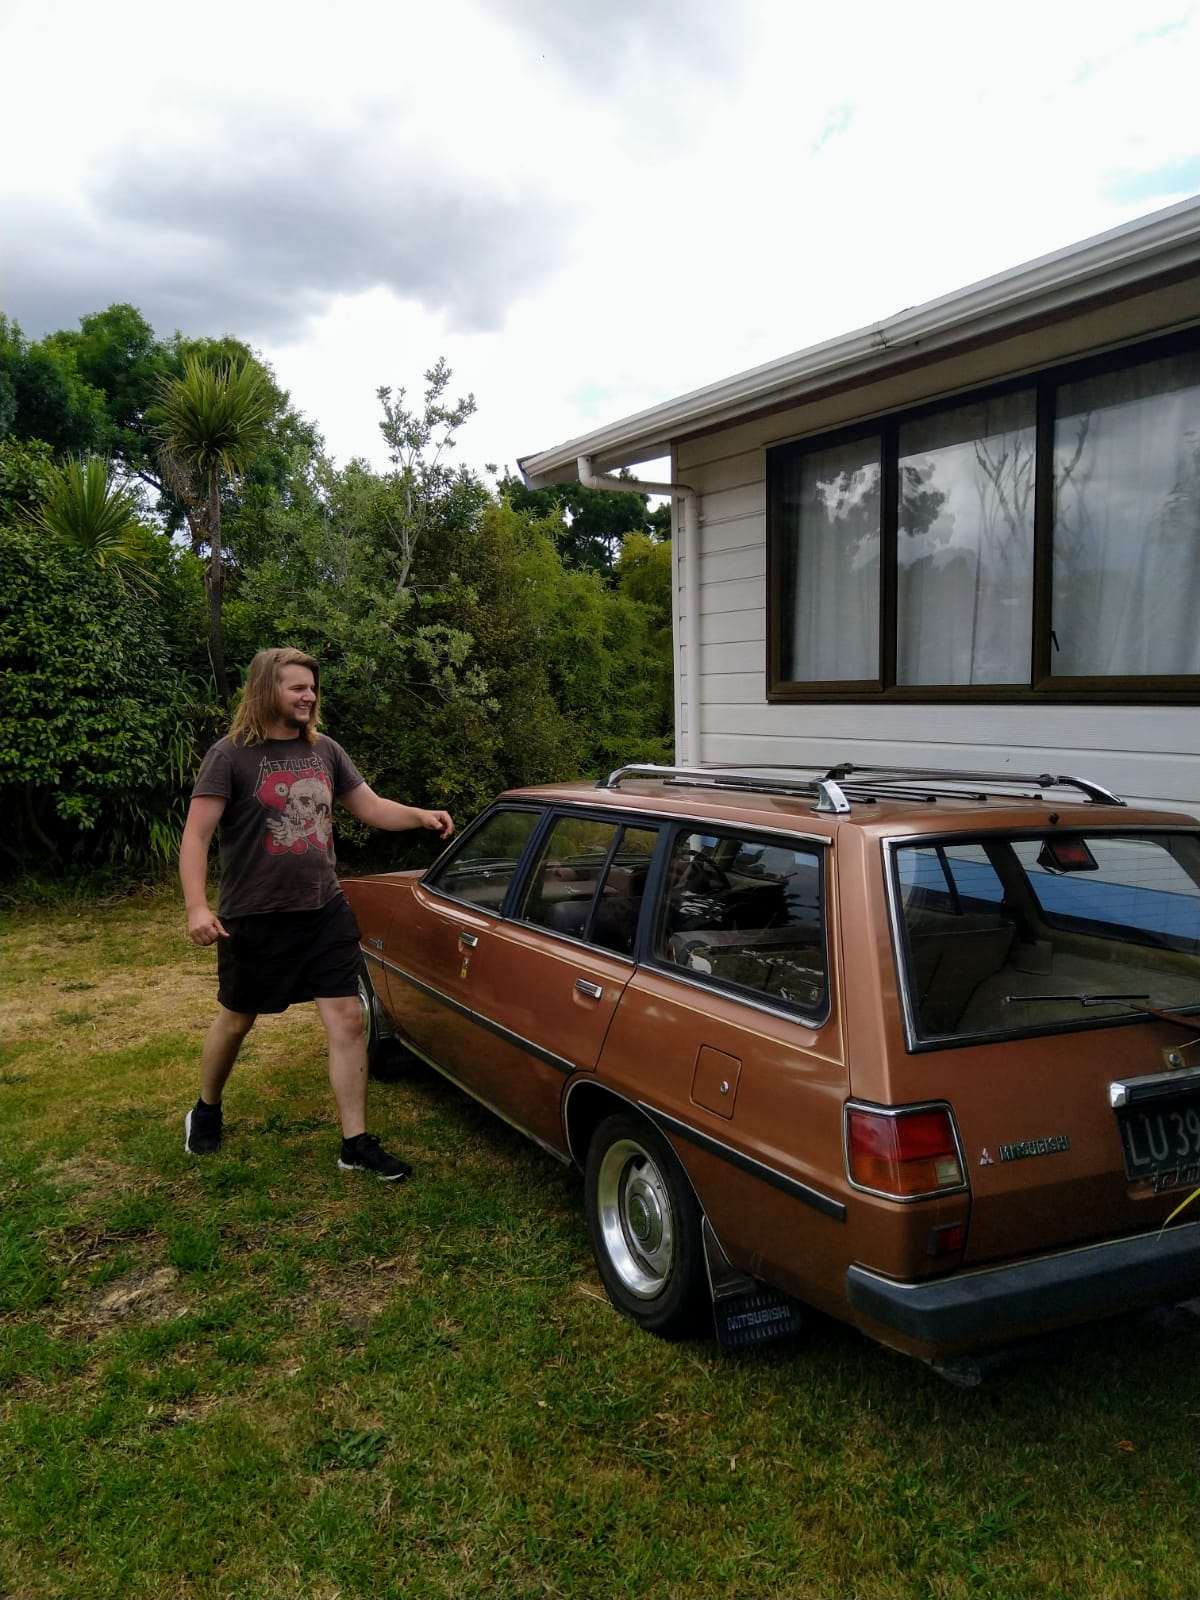
So I bought another sigma 1984 sigma wagon 4g63 sohc auto pictures to follow no wof no Rego but I'm gonna drive it home
4 points
-
Enough teasing
4 points
-
Fitted a China cheapo hour meter tacho device the other day. Went out for about an hour last night, still don't have the nerve to hold it WOT for an extended period of time (because questionable twostroke). Seems pretty happy on the plane at 30-50km/h, did squeak it up to 60 at one point, has more in it, but I didn't have anyone to tow me back to the ramp if it shit itself. I imagine a bit more speed will be unlocked with an efficient pump. Around 4Krpm at 40km/h ground speed (plus or minus a tiny bit for water speed). Seemed around 7Krpm for 60km/h. Bad footage is bad. I still don't know where to set the variable trim on the nozzle at different times, I find myself adjusting it all over the place with only very minor effect felt. Only travelled about 3k out of town, but covered about 26km in total on the return trip. Had to slow down a lot in order not to swamp swimmers/kayakers/rowers/fishermen/ducks. Boat river journey 5-1-21 by John Bell, on Flickr Good fun though, just need more time available, and maybe to carry some extra fuel, it does seem to hoon through a reasonable amount.4 points
-
Hello Summer. WOF booked for next Monday, hopefully it passes, it's only done about 30 Miles since the last one!3 points
-
I'm actually getting the quarter done
3 points
-
Some more bits
3 points
-
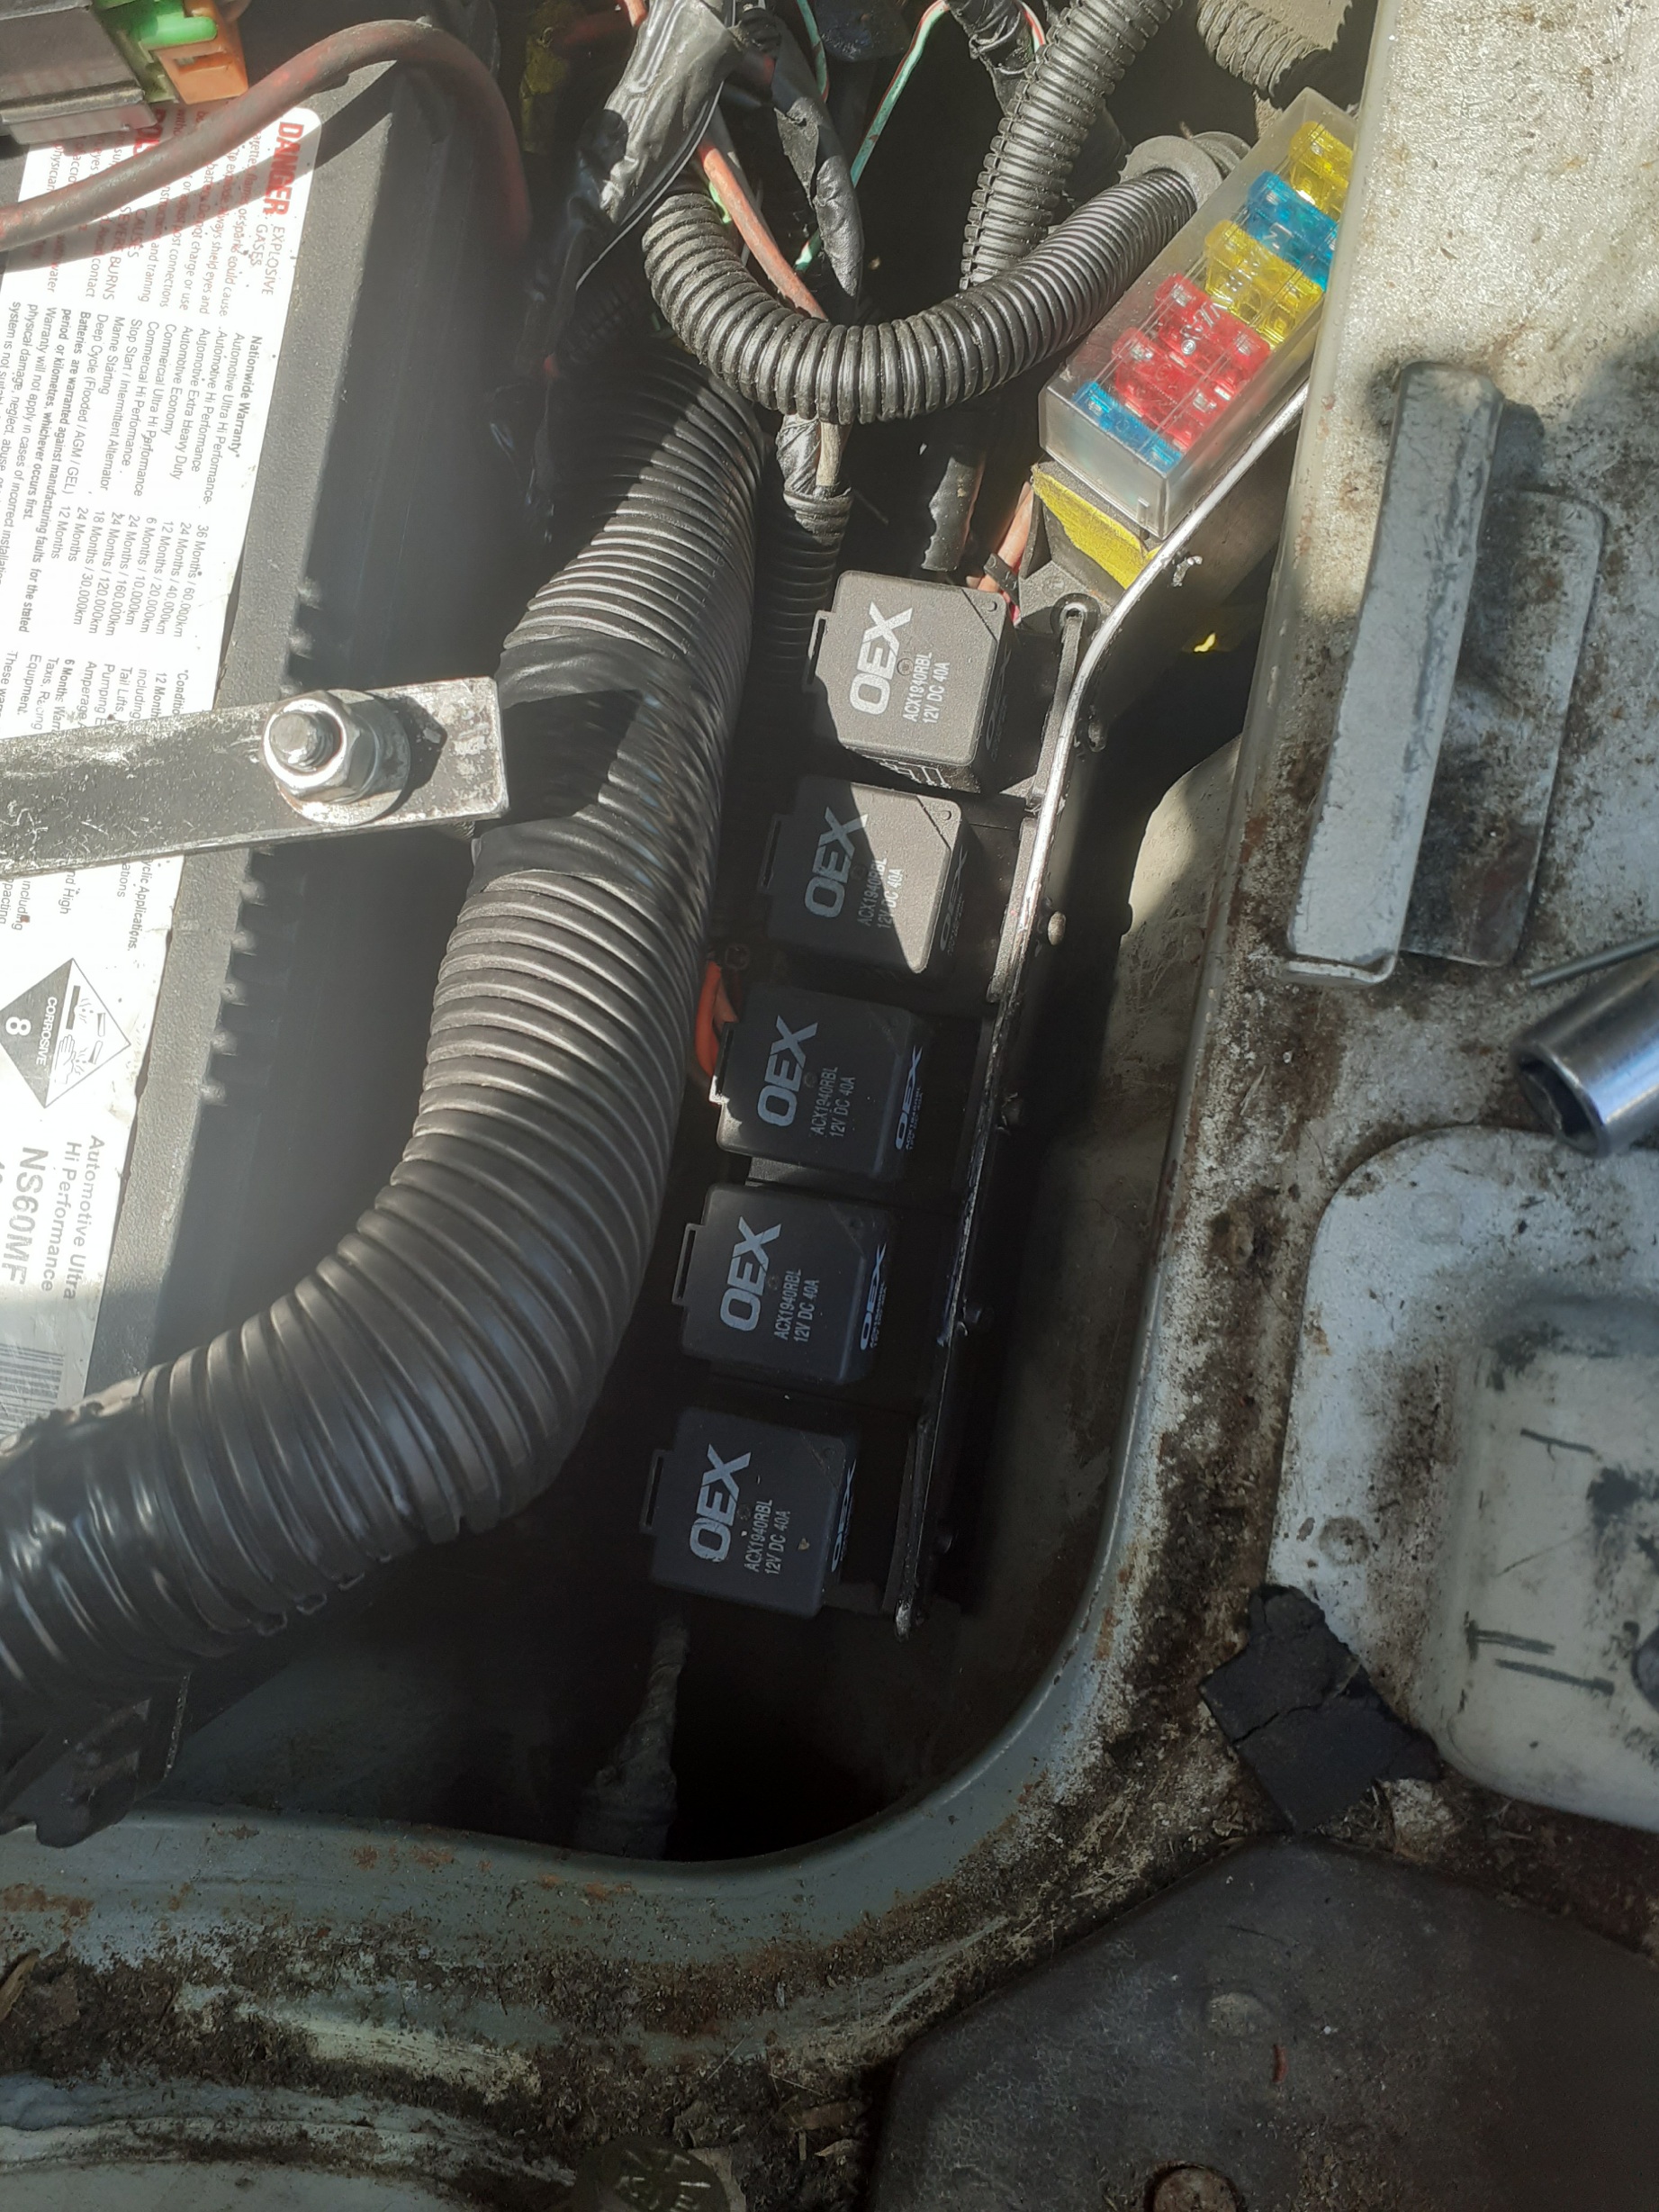
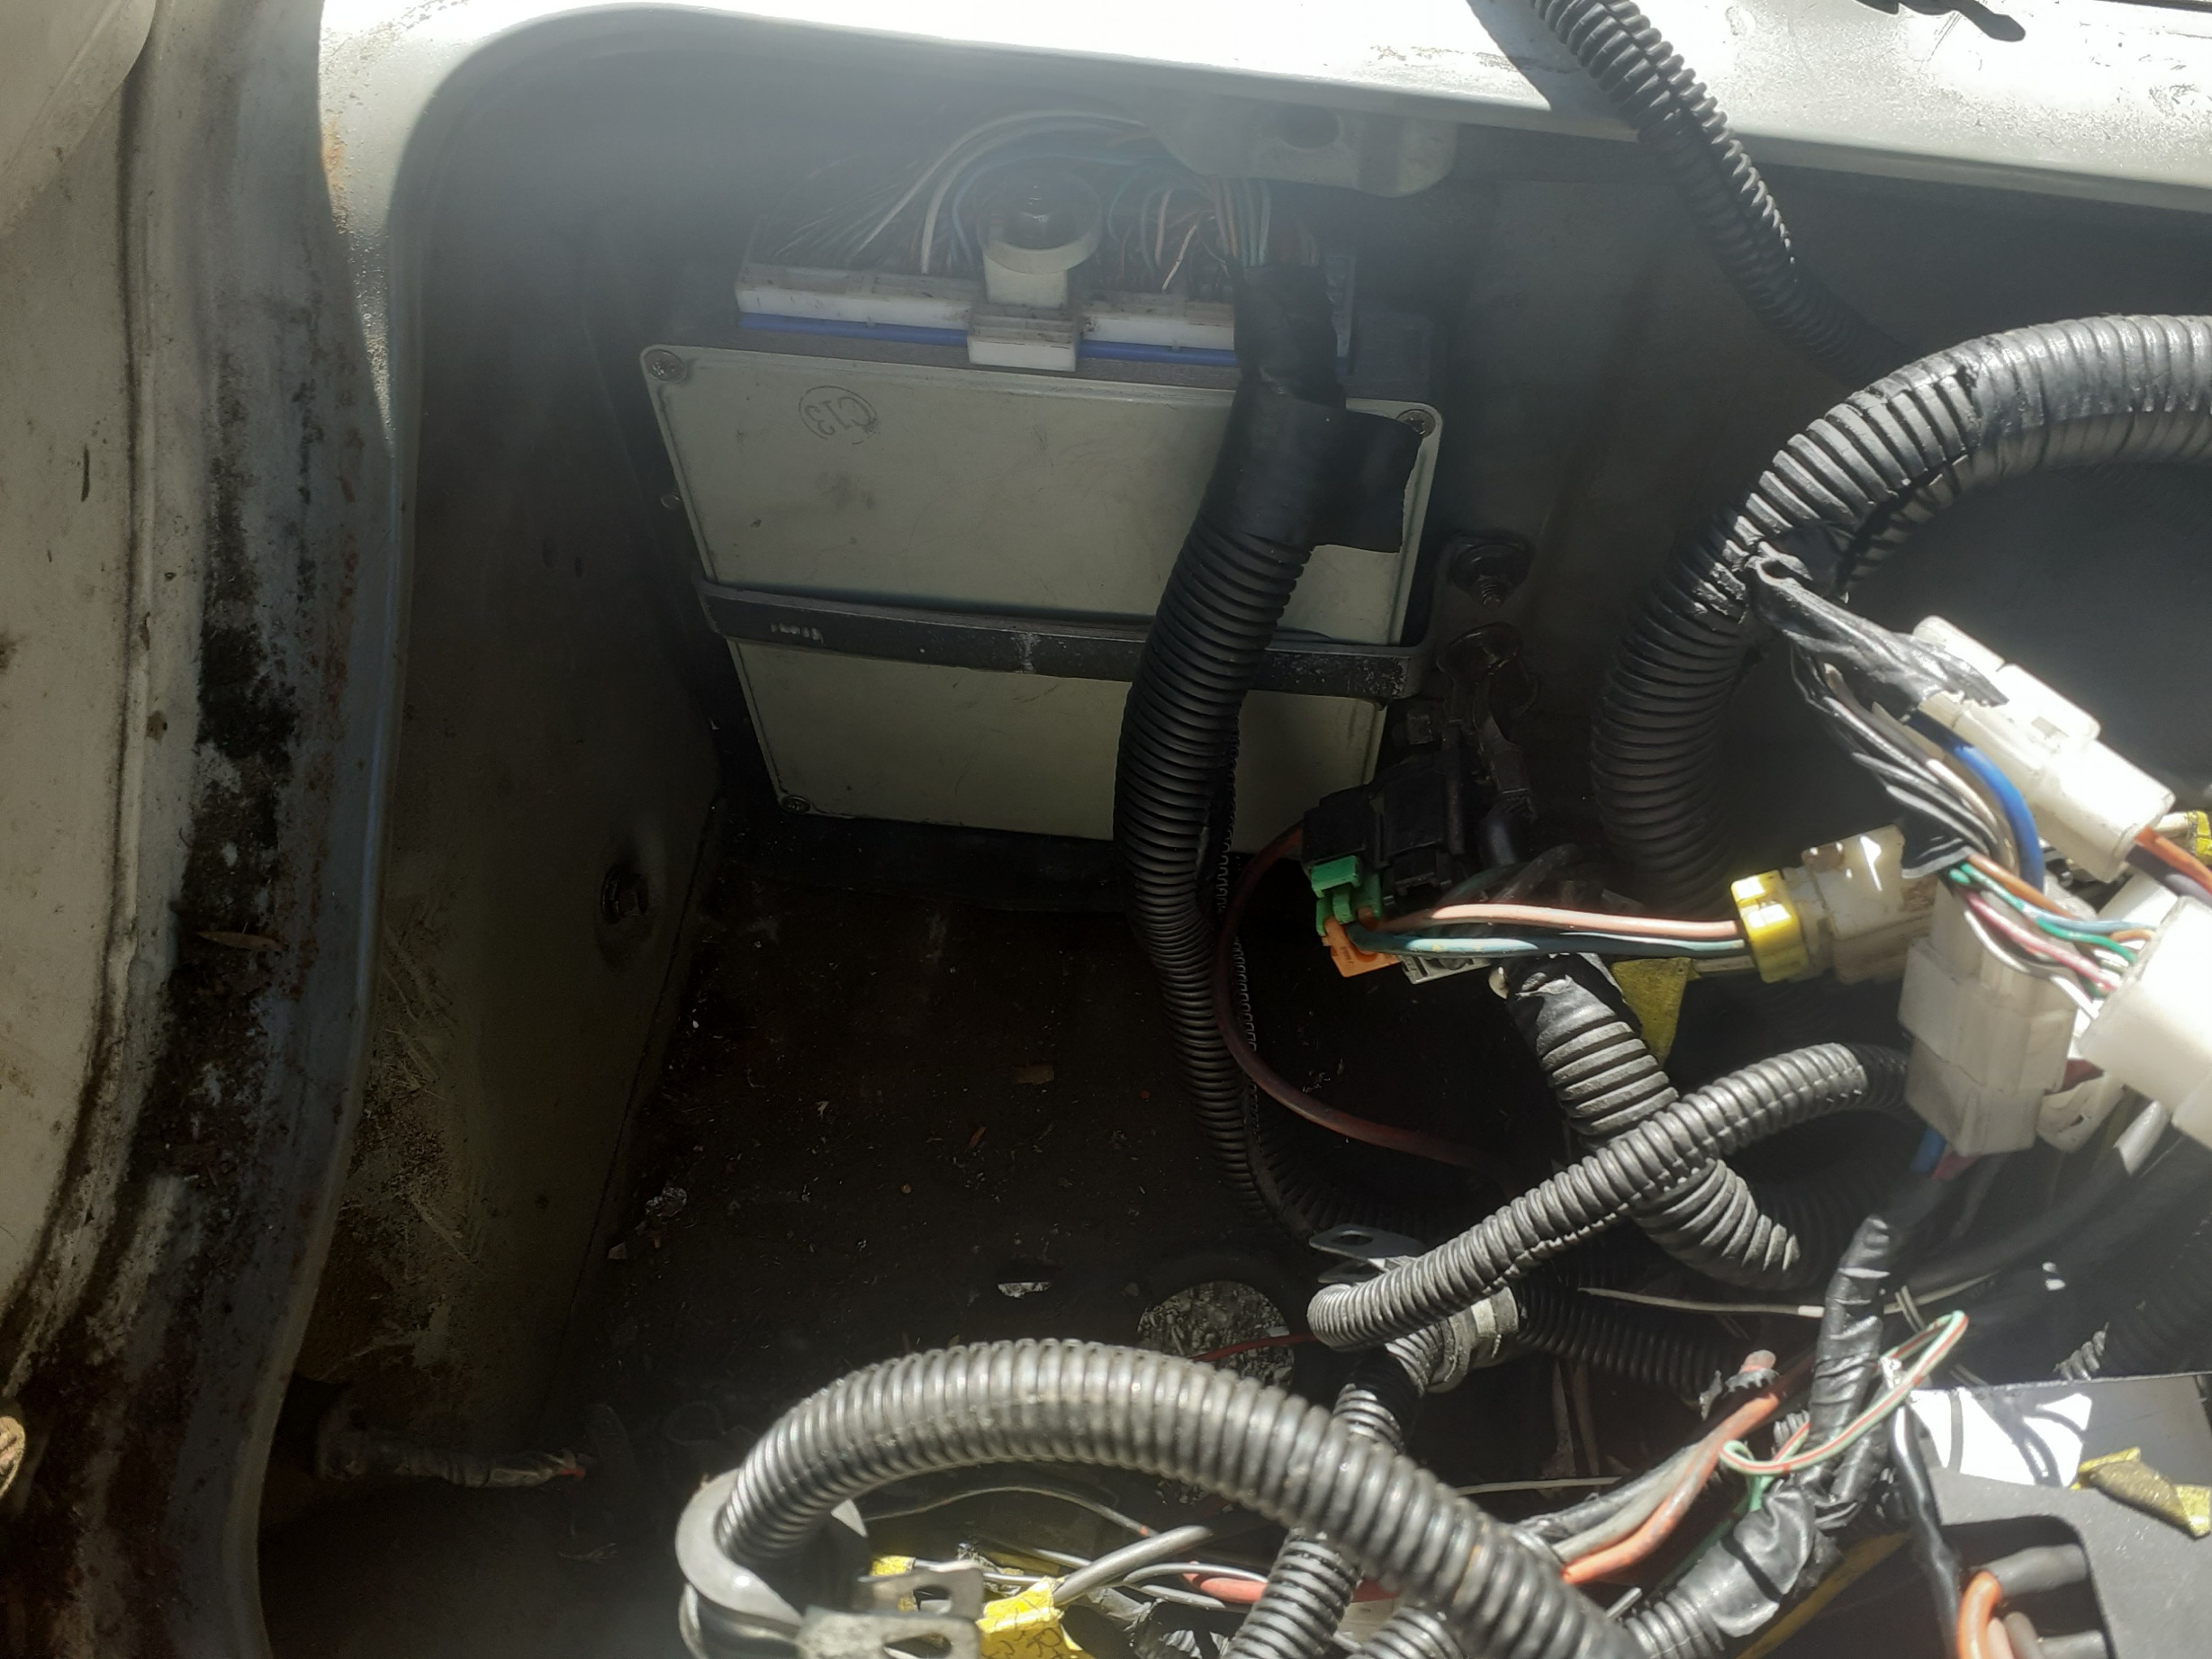
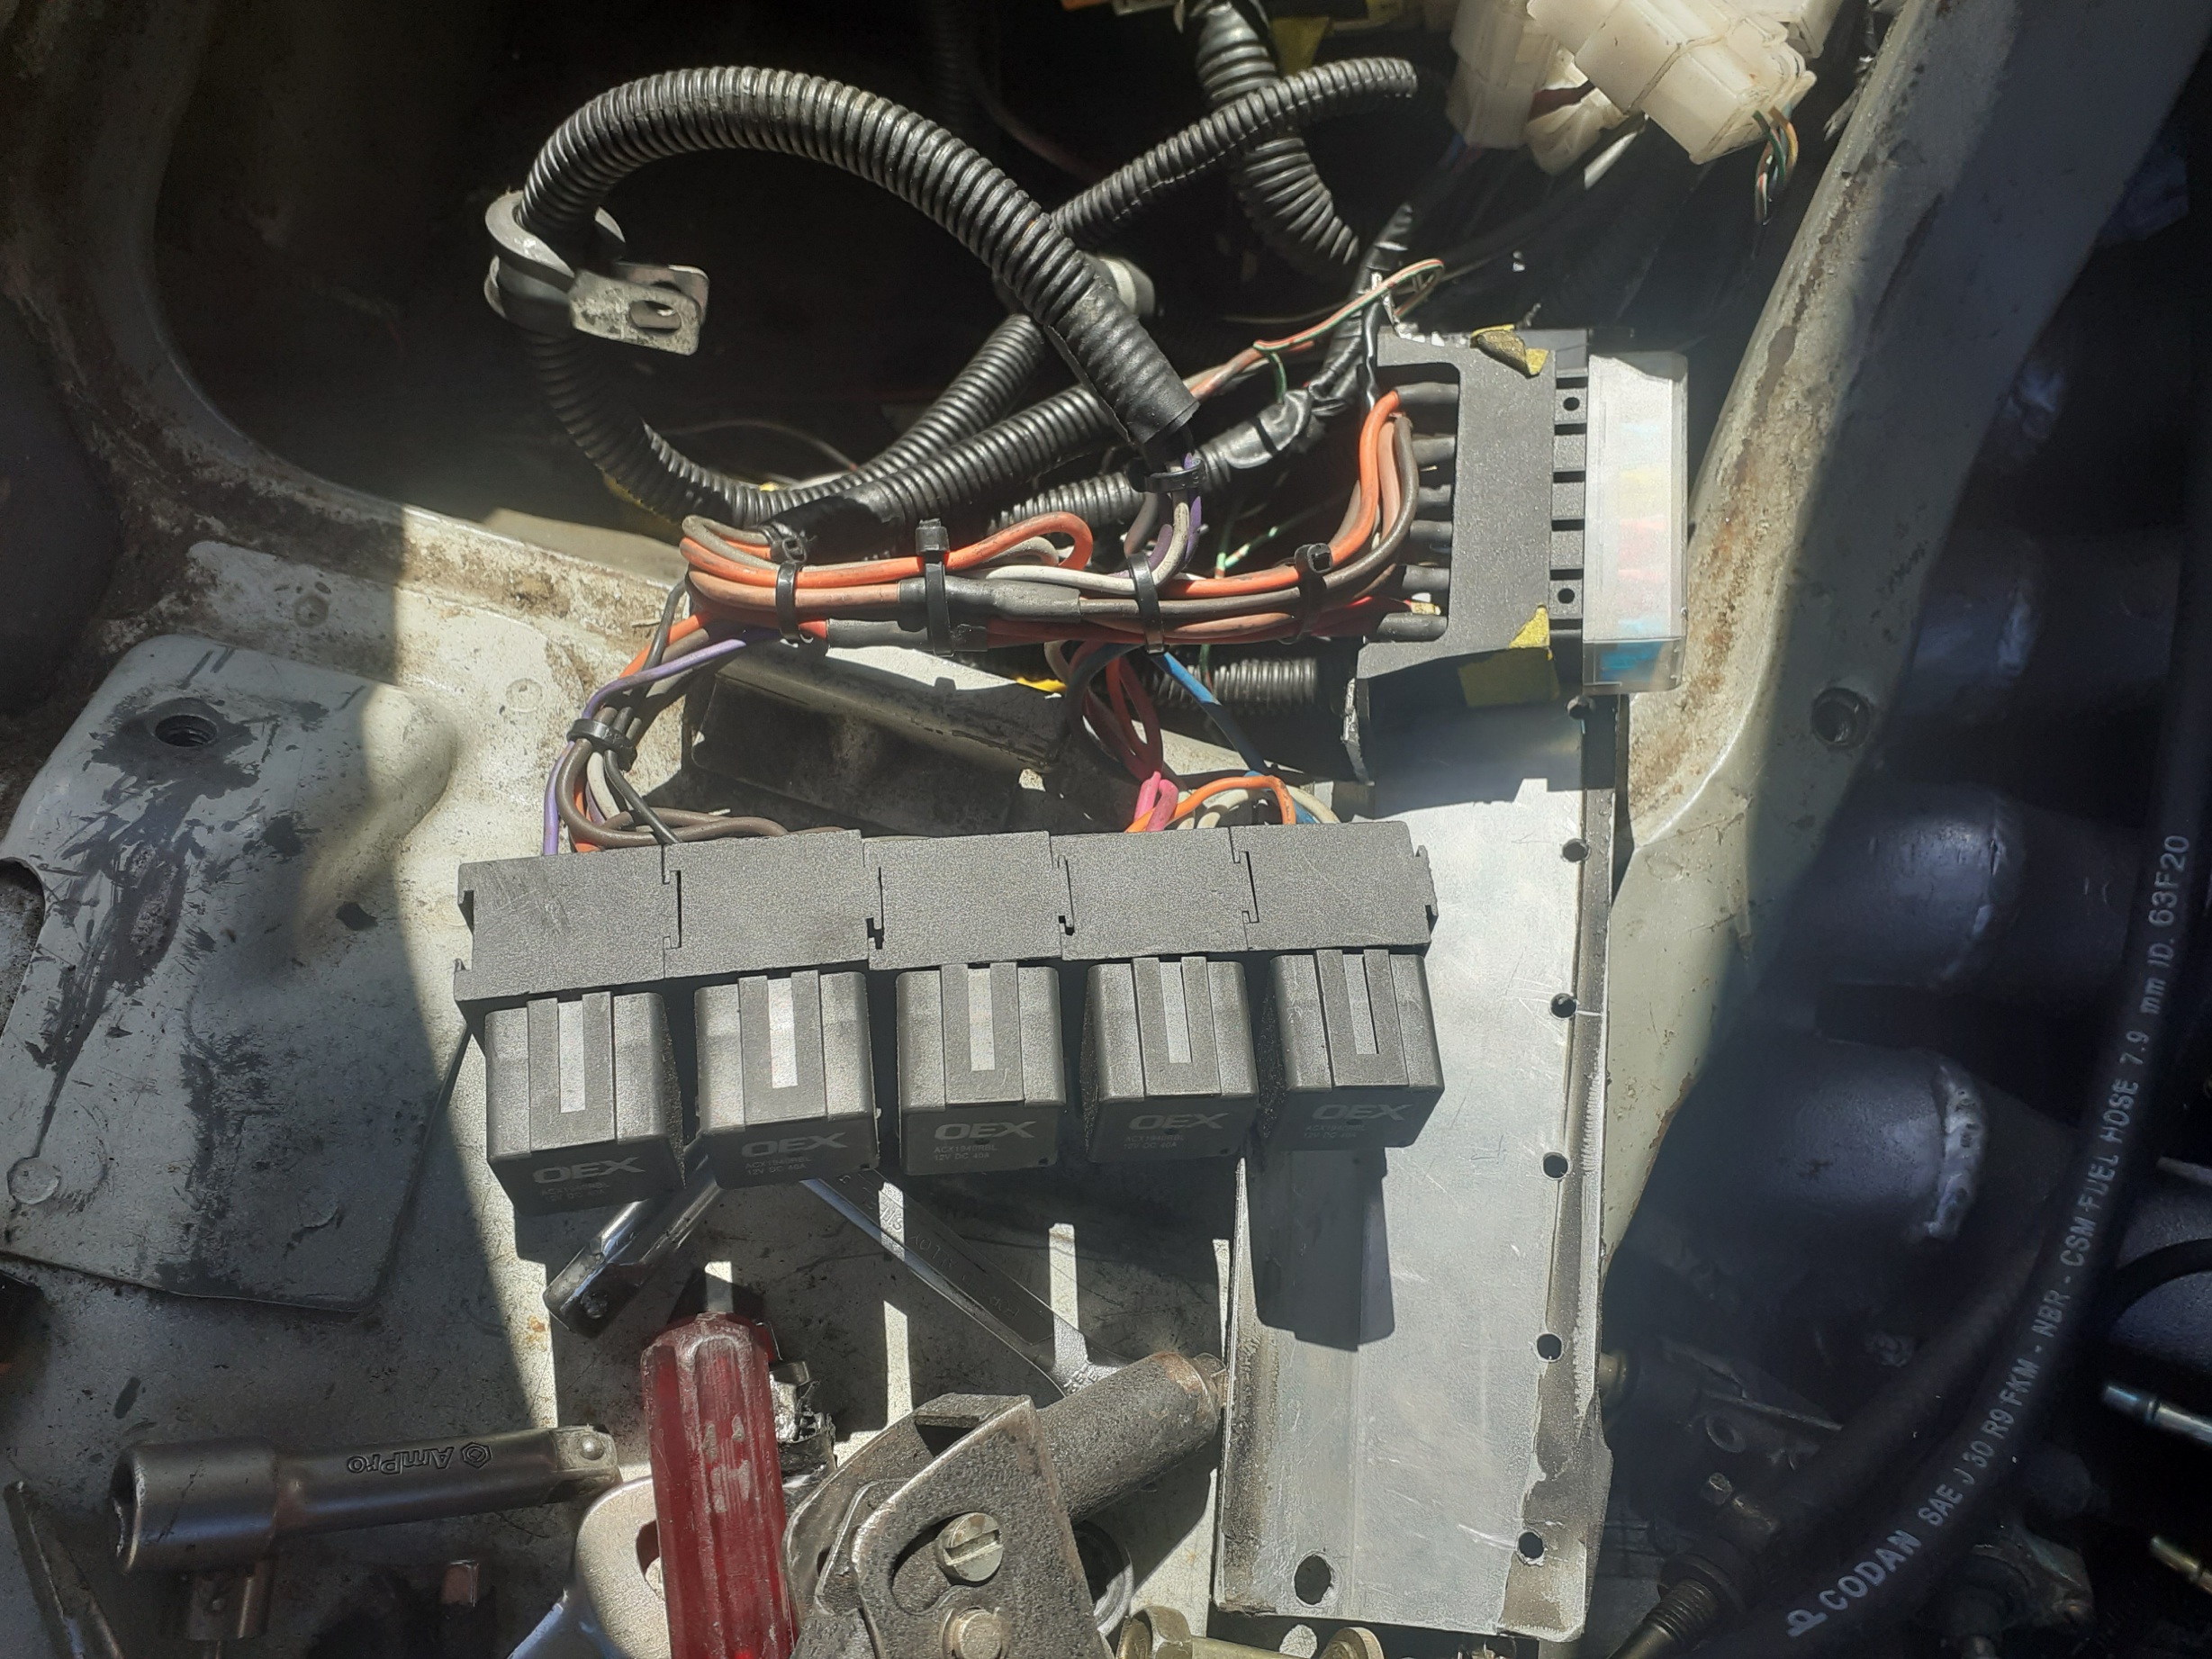
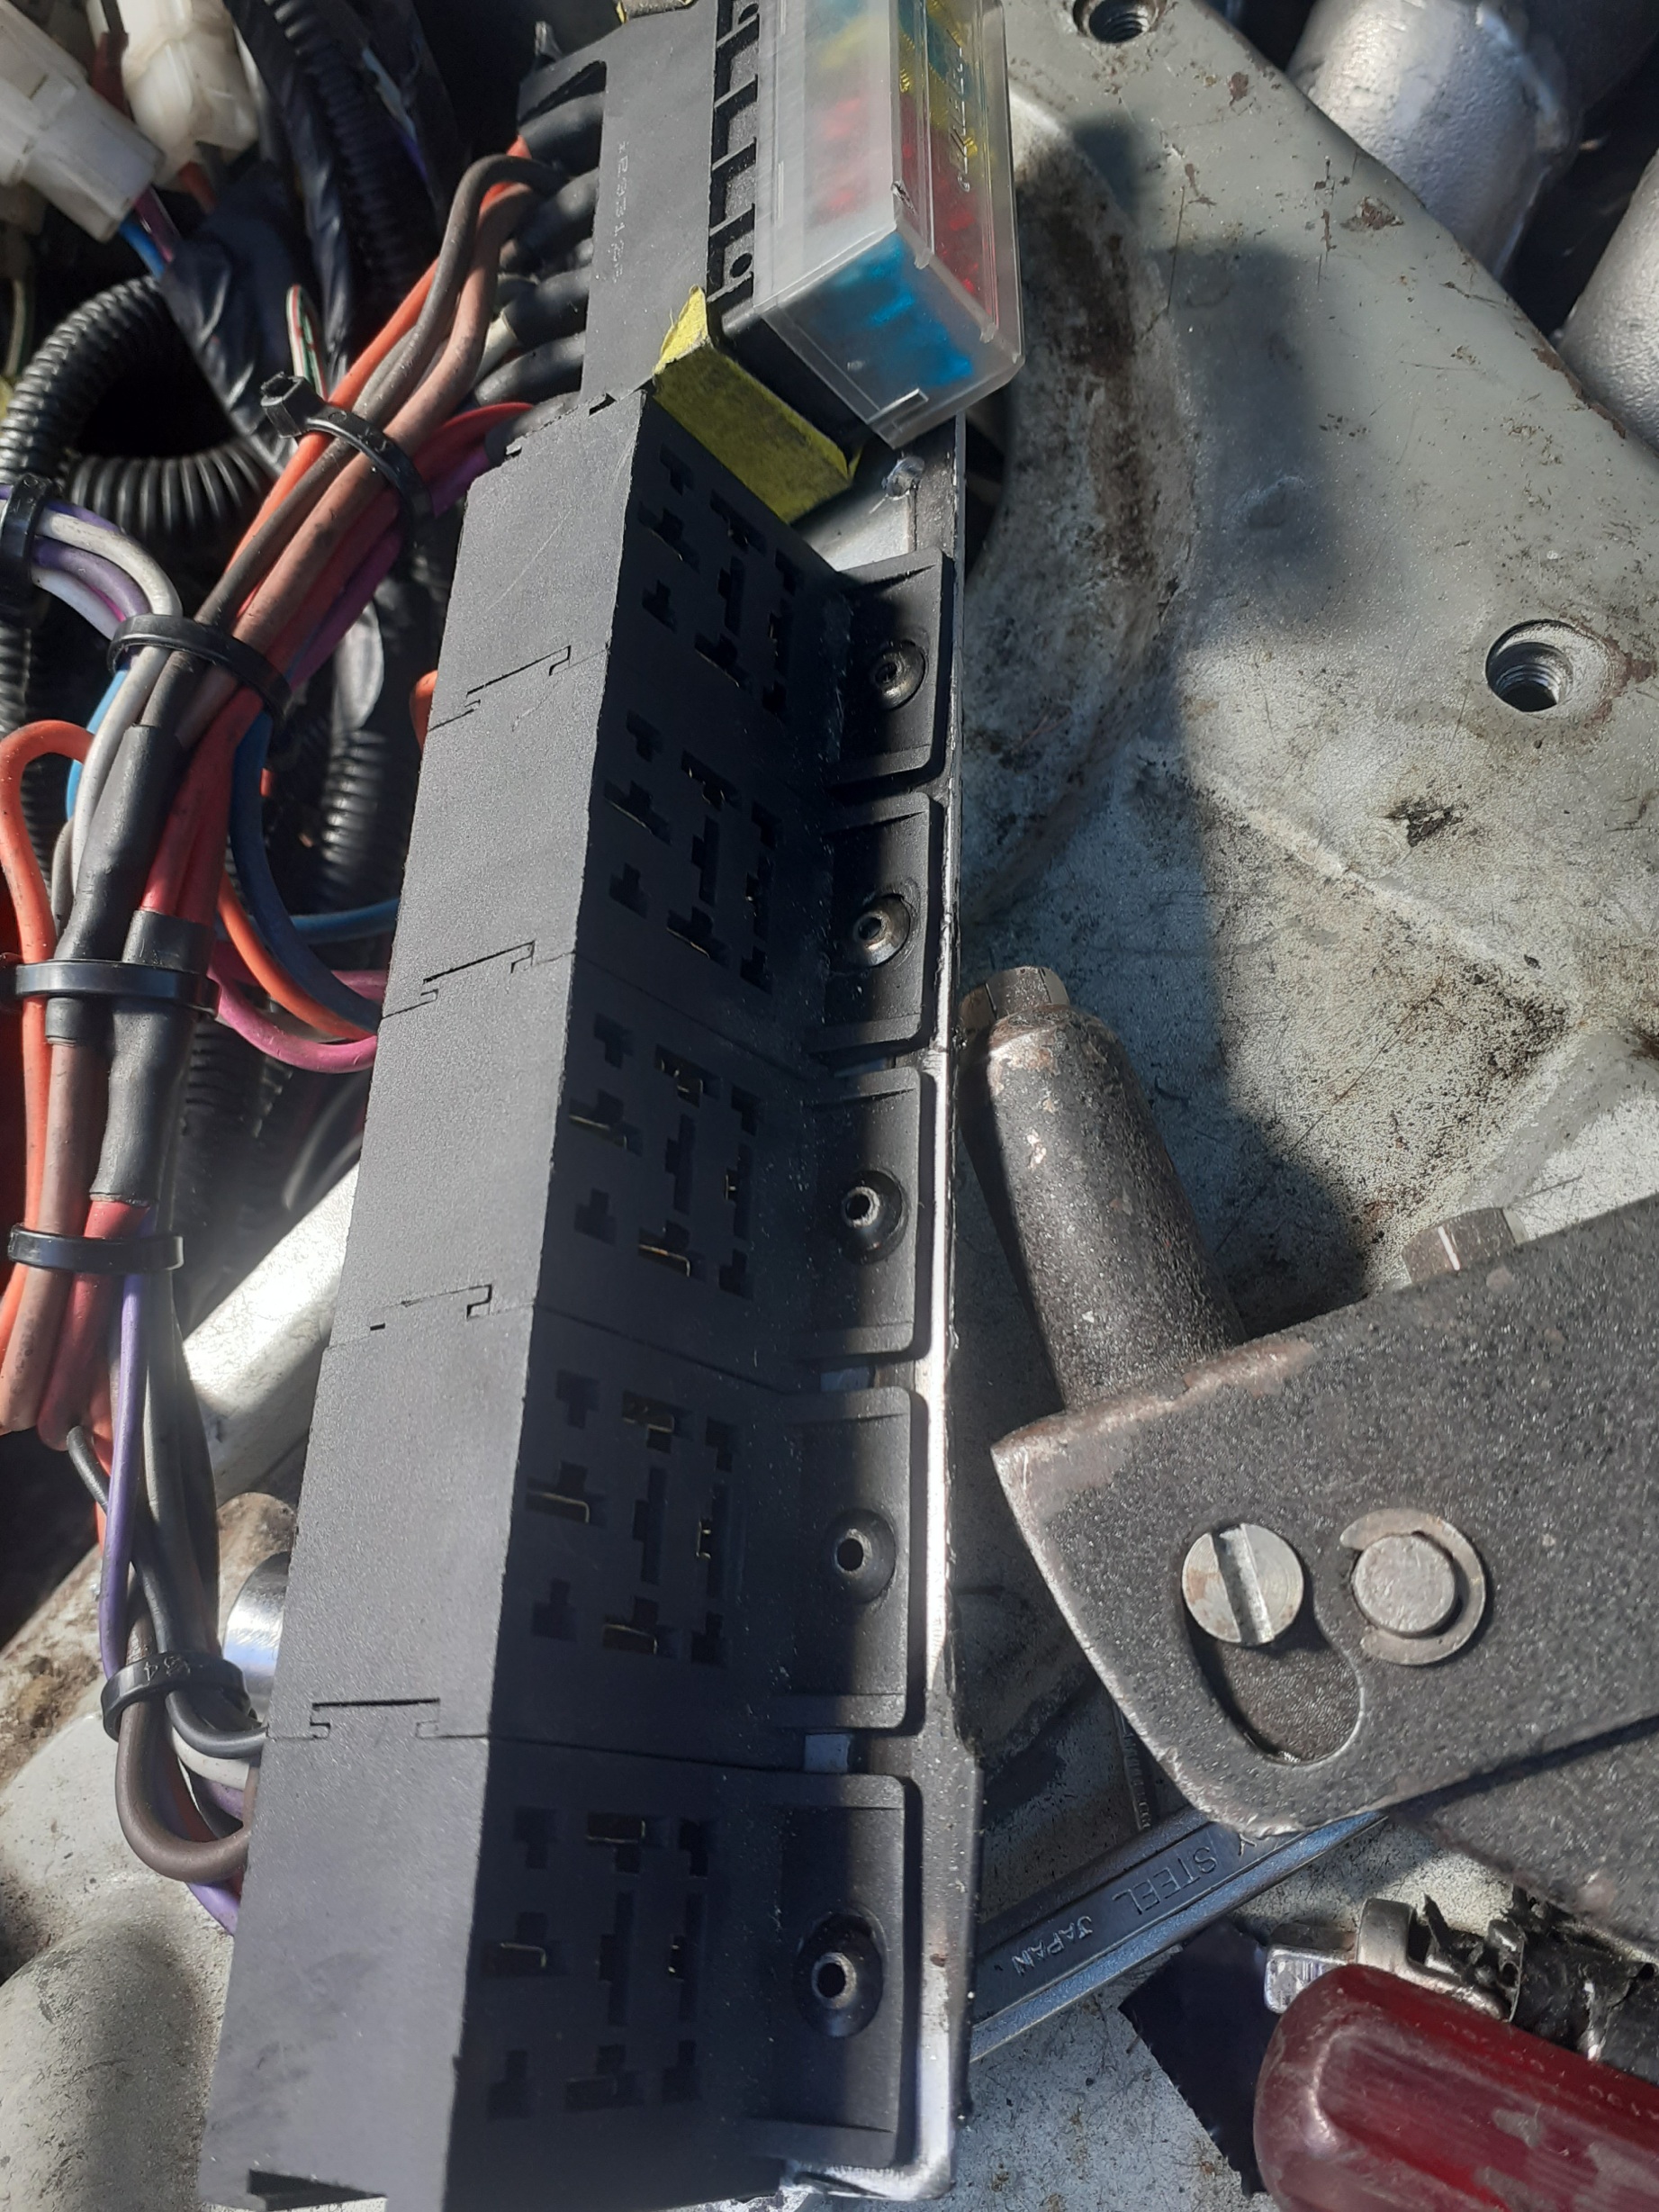
Did some more tidying up of wiring
3 points
-
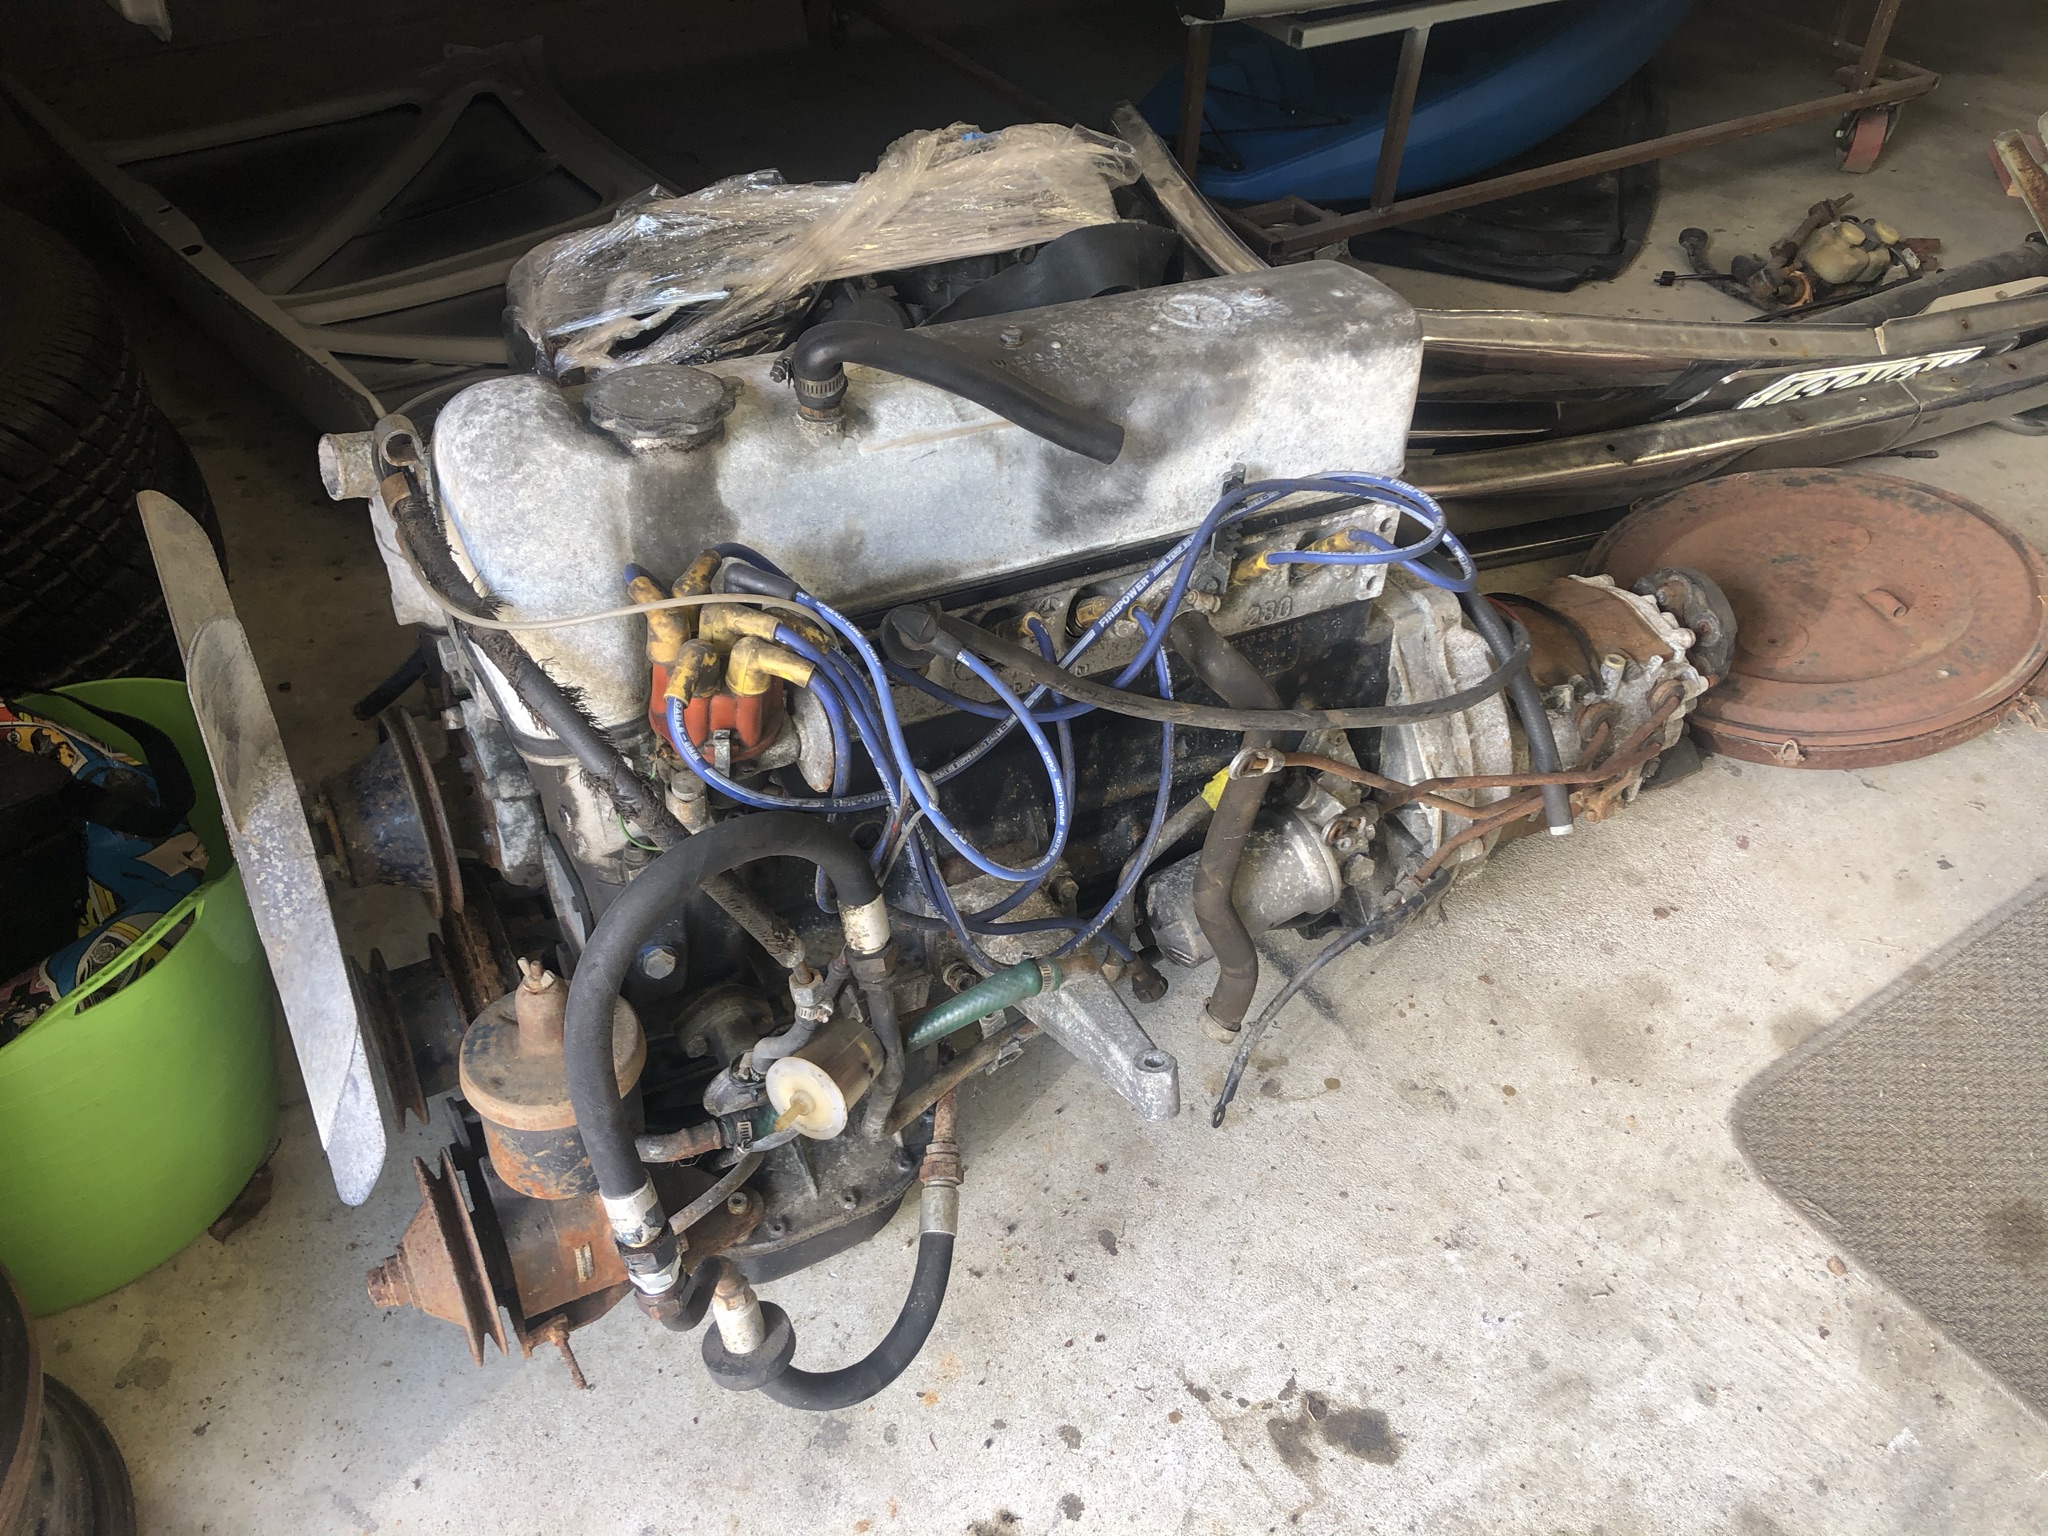
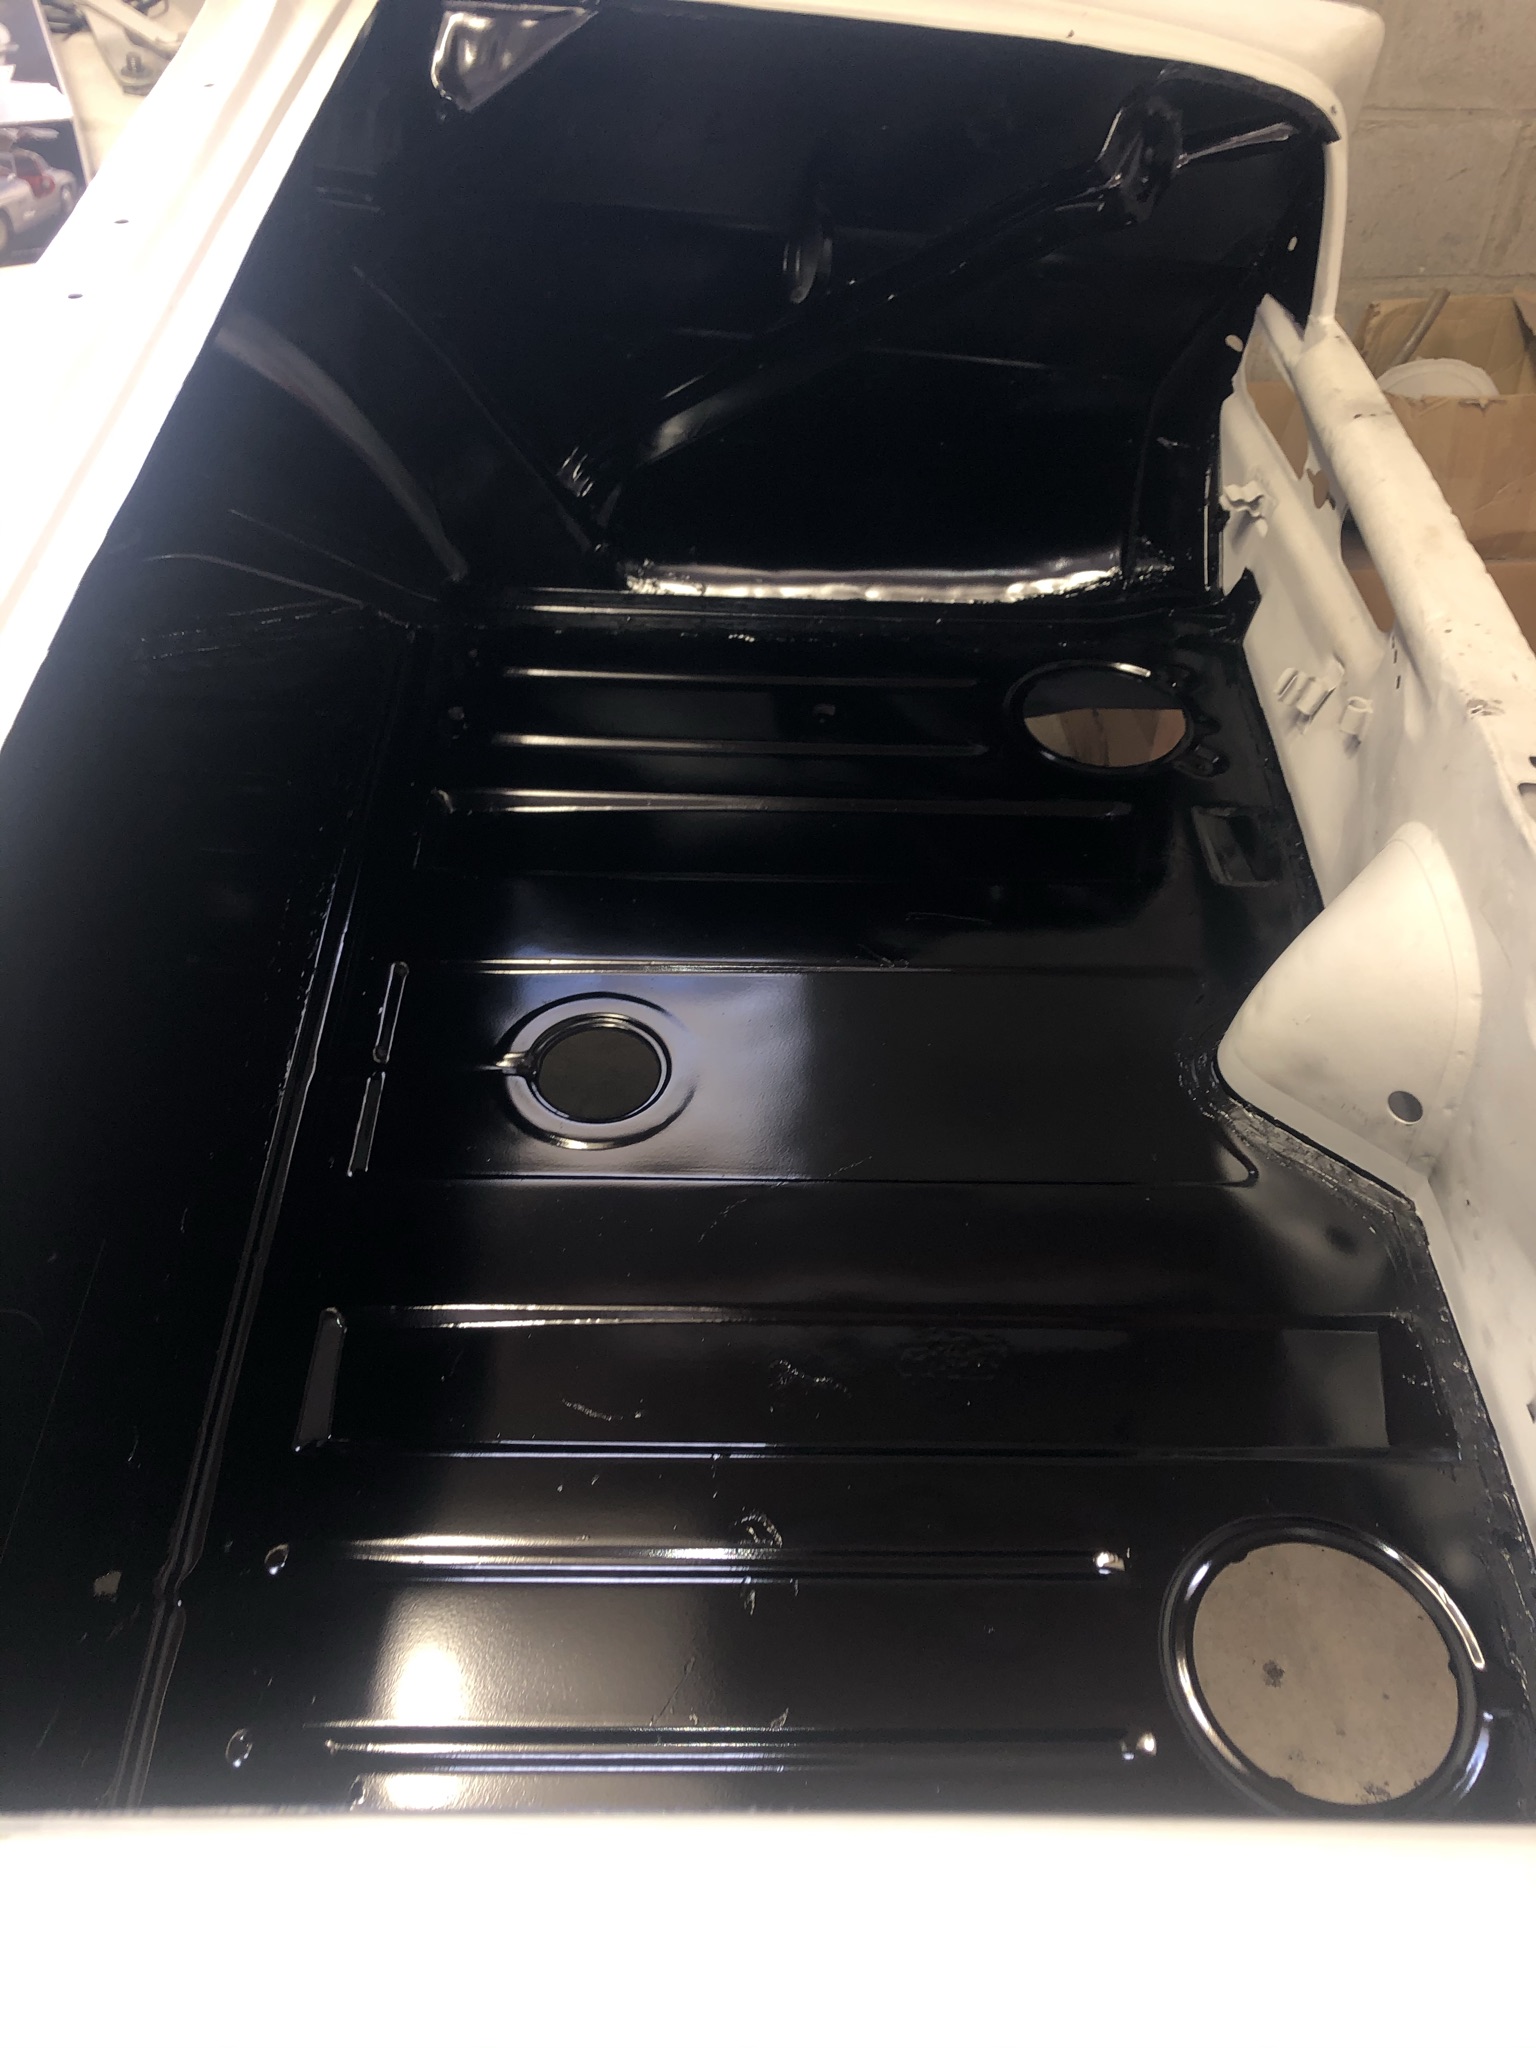
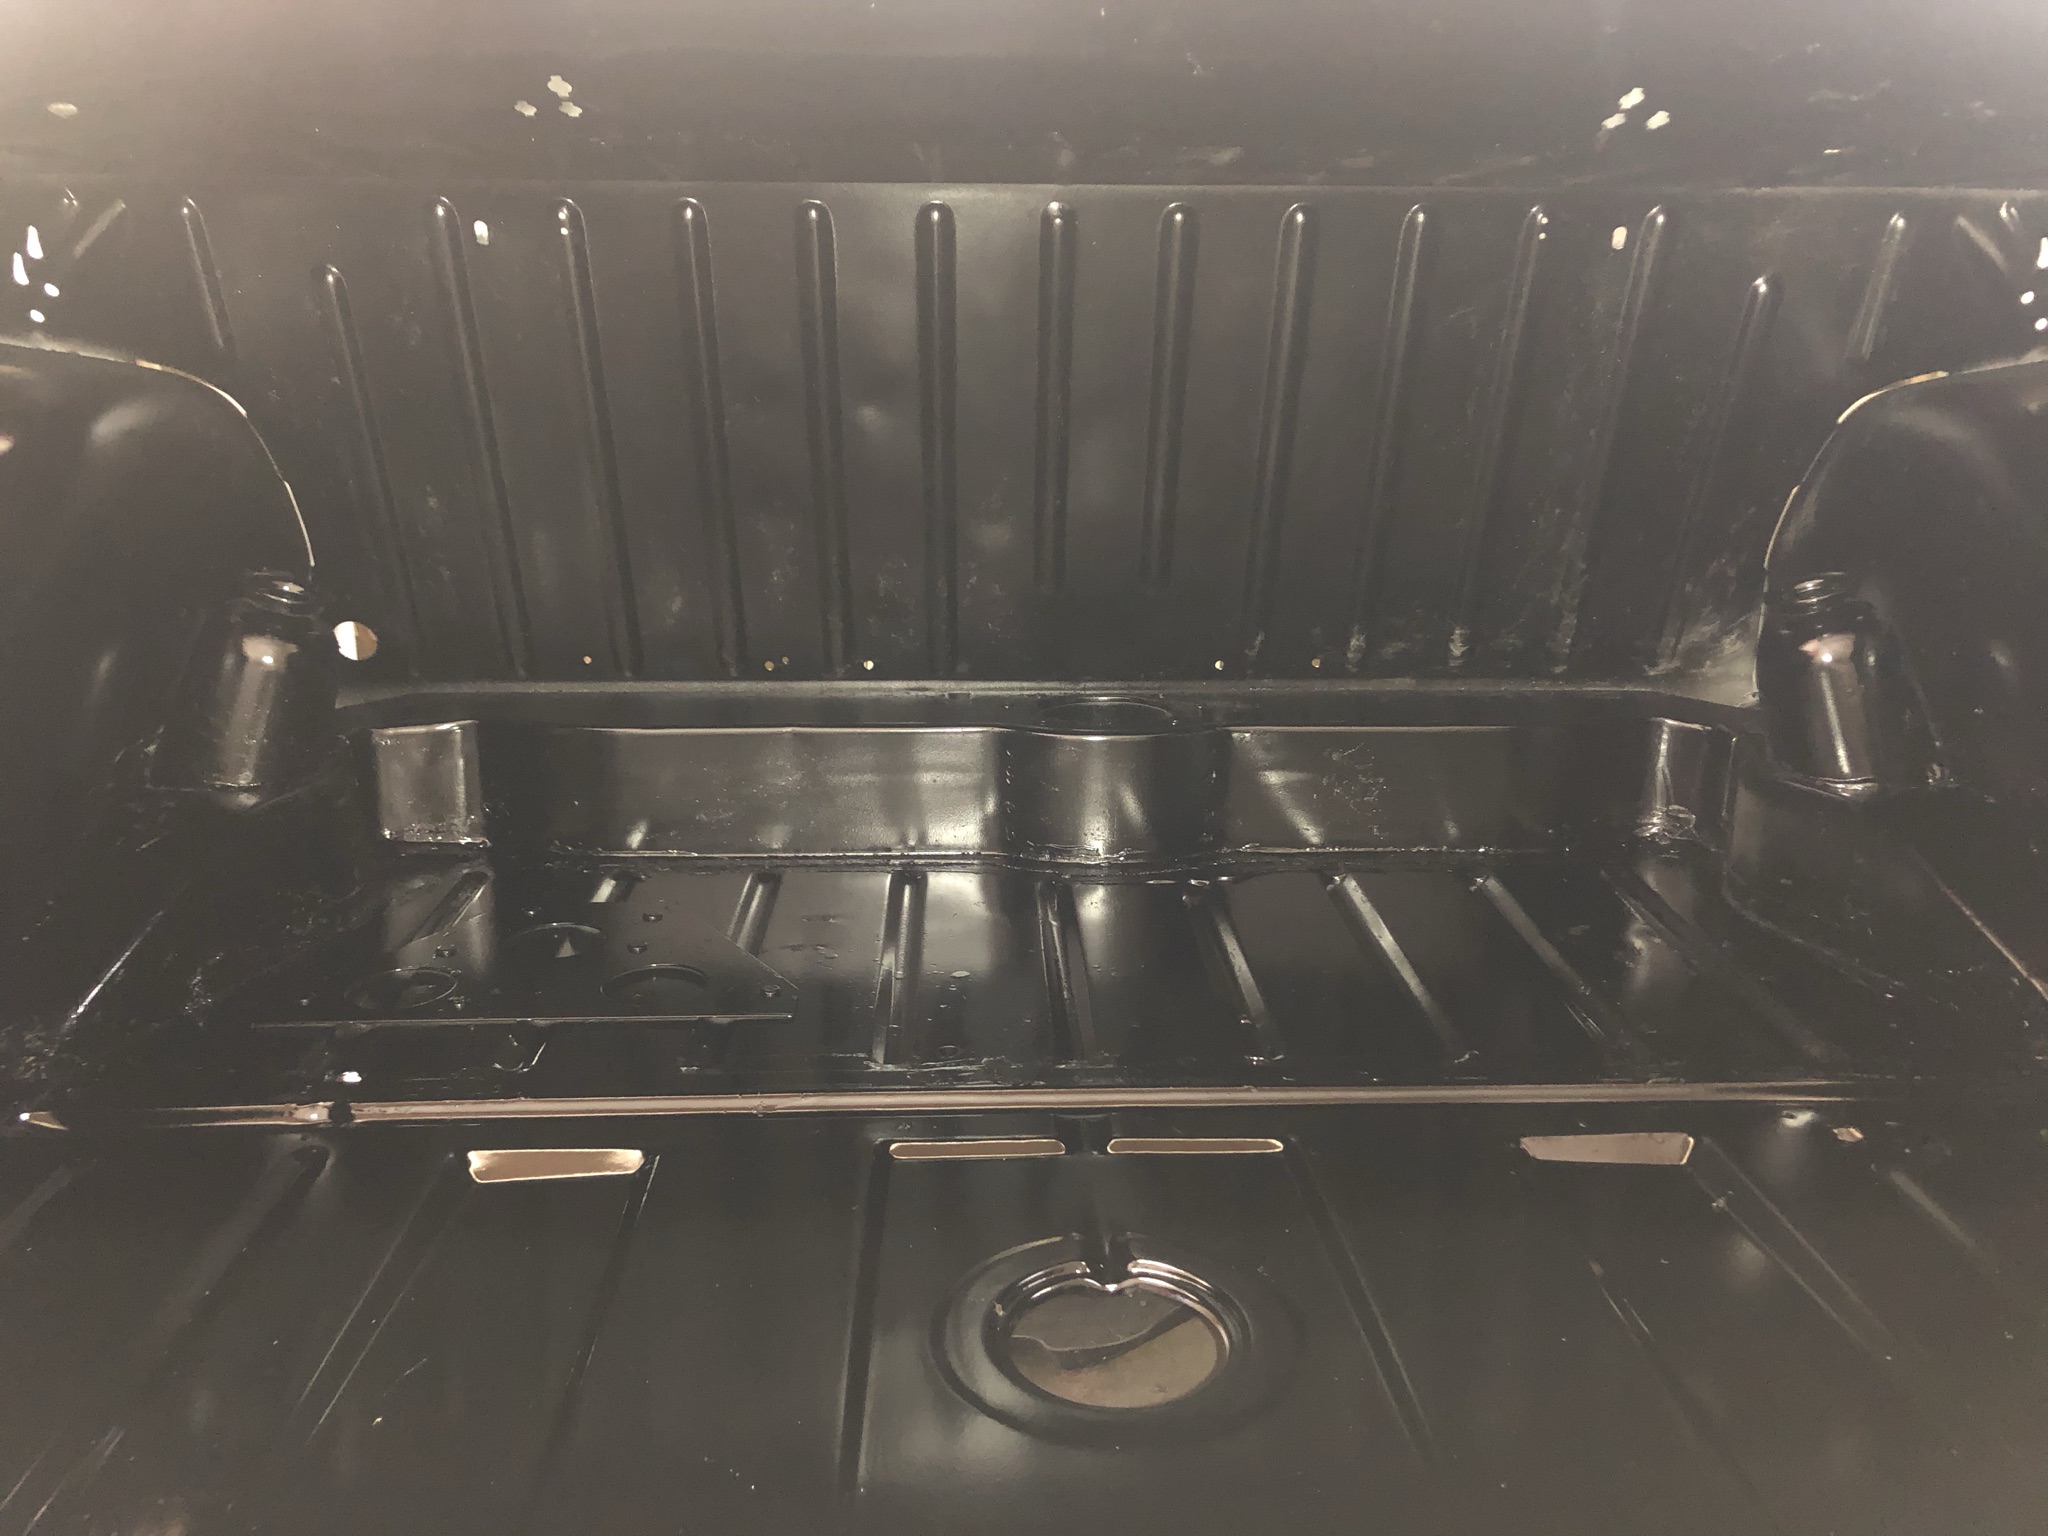
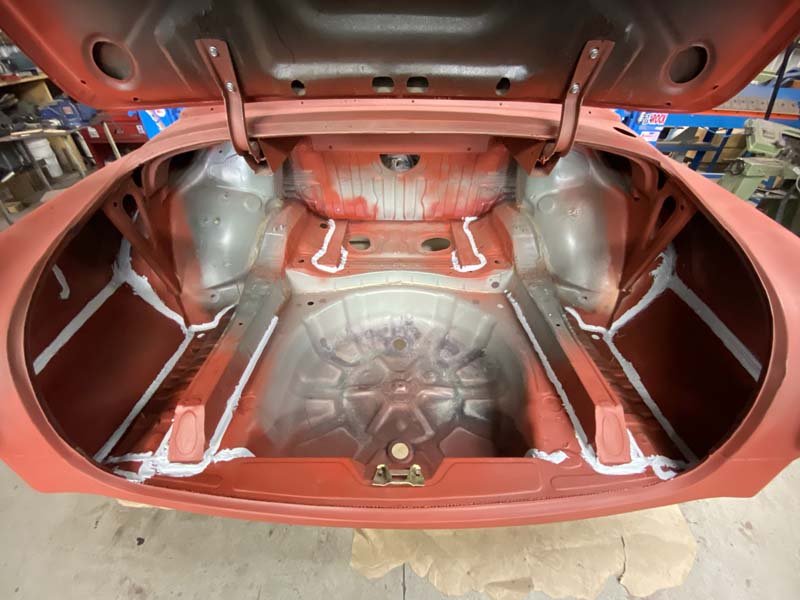
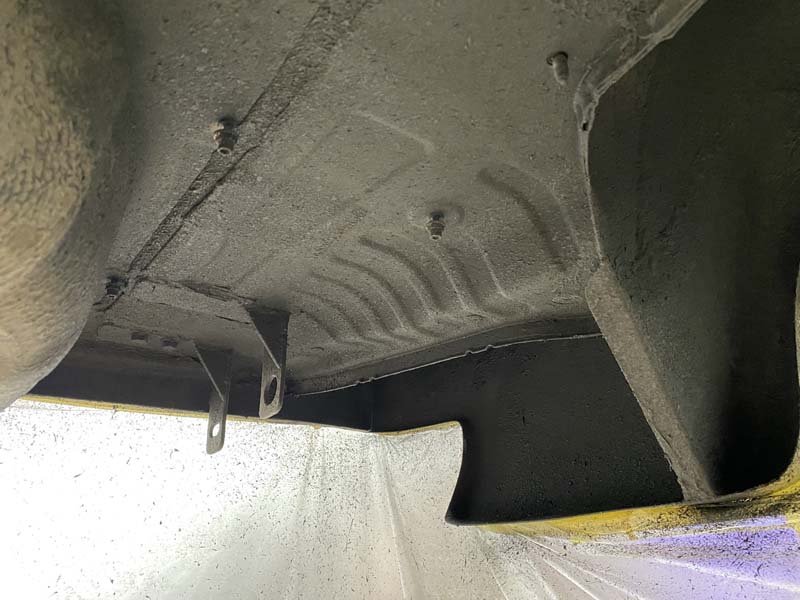
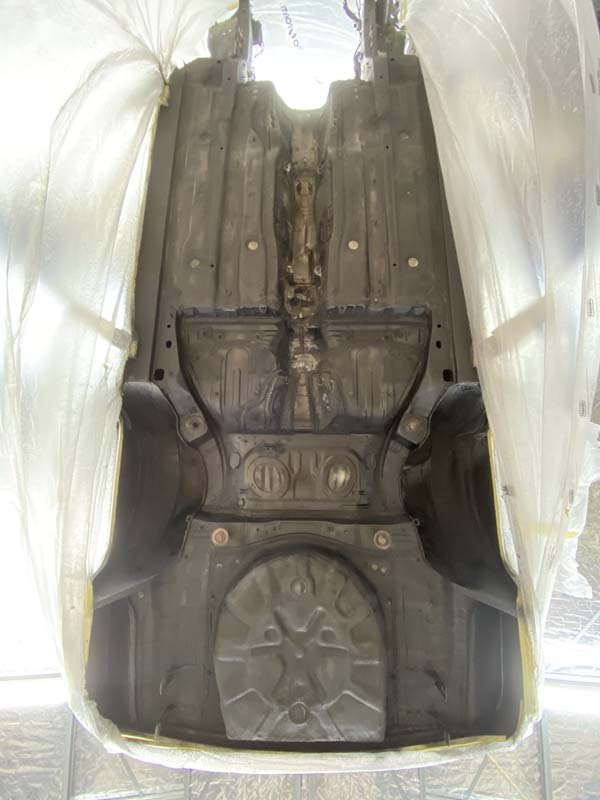
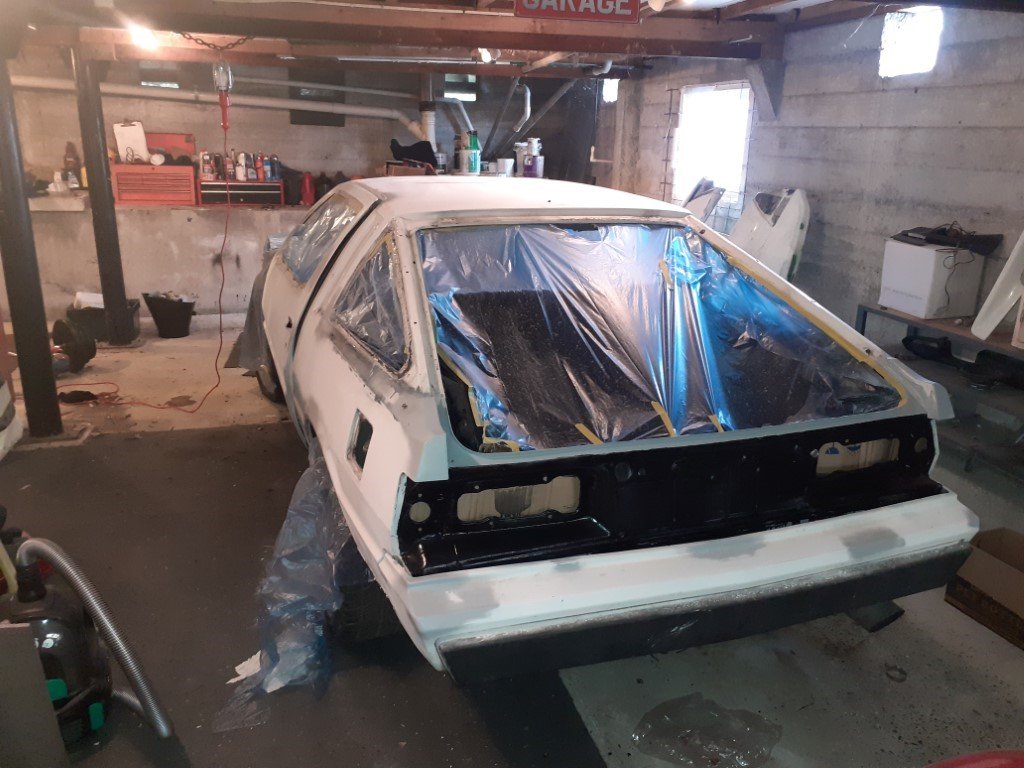
Howdy, been awhile. Life got in the way there for a bit; moved out of Auckland (subsequently moved house a couple of times with the Merc spending a bit of time in storage), had a baby etc. but Xmas holiday period has allowed me to make some progress. I wasn’t happy with the tabs I had welded on the upper rear airbag mounts, so ages ago I drew up some flange things and had them laser cut, finally got around to cutting the old tabs off and welding on the new flanges so thats all much tidier. Drilled some holes in the car so the aforementioned mounts have some way of attaching to the car, front two bolts come through from underneath the rear seat; the rearmost hole had a captive nut welded on the topside as it’s inside an enclosed box section of the car (welding upside down can suck a pineapple) Gave it a prime and a paint to match the rest of the underside The engine I mentioned is in no hurry to rotate, I spent some time trying to free it up with various liquids and heat but nah, Piston 1 isn’t budging. Was scrolling Facebook marketplace one evening looking for a transmission and stumbled across a guy selling another engine for cheap approx 800m from Sentra Daves place in sunny Onehunga so bought that. This motor is an M130 out of a W108, the last variation of the M180 engine family. Displaces 2.8 litres (vs 2.2l), make 160ish hp when new with improvements including larger valves in the head and 7 main bearings vs 4 in the smaller displacement versions. This one runs (although the cam has seen better days). An added bonus was that it came with a power steering pump attached and the power steering box from the W108 it came from - which bolts into a W111 as they’re the same chassis, So I need to source a shorter steering column from a W108 to suit and then I’ll gain power steering. (KY if you see this I still want that V8 so don’t panic) Spent the last couple of months leading up to Xmas buying various supplies to put some paint on things, including a couple of spray guns based on YouTube recommendations. Got a chance to give the boot floor a sand up then smooched some seam sealer around the place and waited for it to stop raining. Got a chance to mask it up, wipe it down and blow over a fresh layer of epoxy primer followed by some 2k satin black For my first foray into spraying paint it came up not bad.jpeg, couple of rookie balls ups mainly consisting of me dropping the air hose on the boot floor whilst trying to reach under the parcel shelf etc which has left a couple marks but it’ll all end up hidden under a rubber mat/carpet so I’m happy as with it. Rear tail light panel will end up body colour (which isn’t black). I’ll probably need to go back and brush on a couple bits that I couldn’t get the gun too. Progress feels good though.
3 points
-
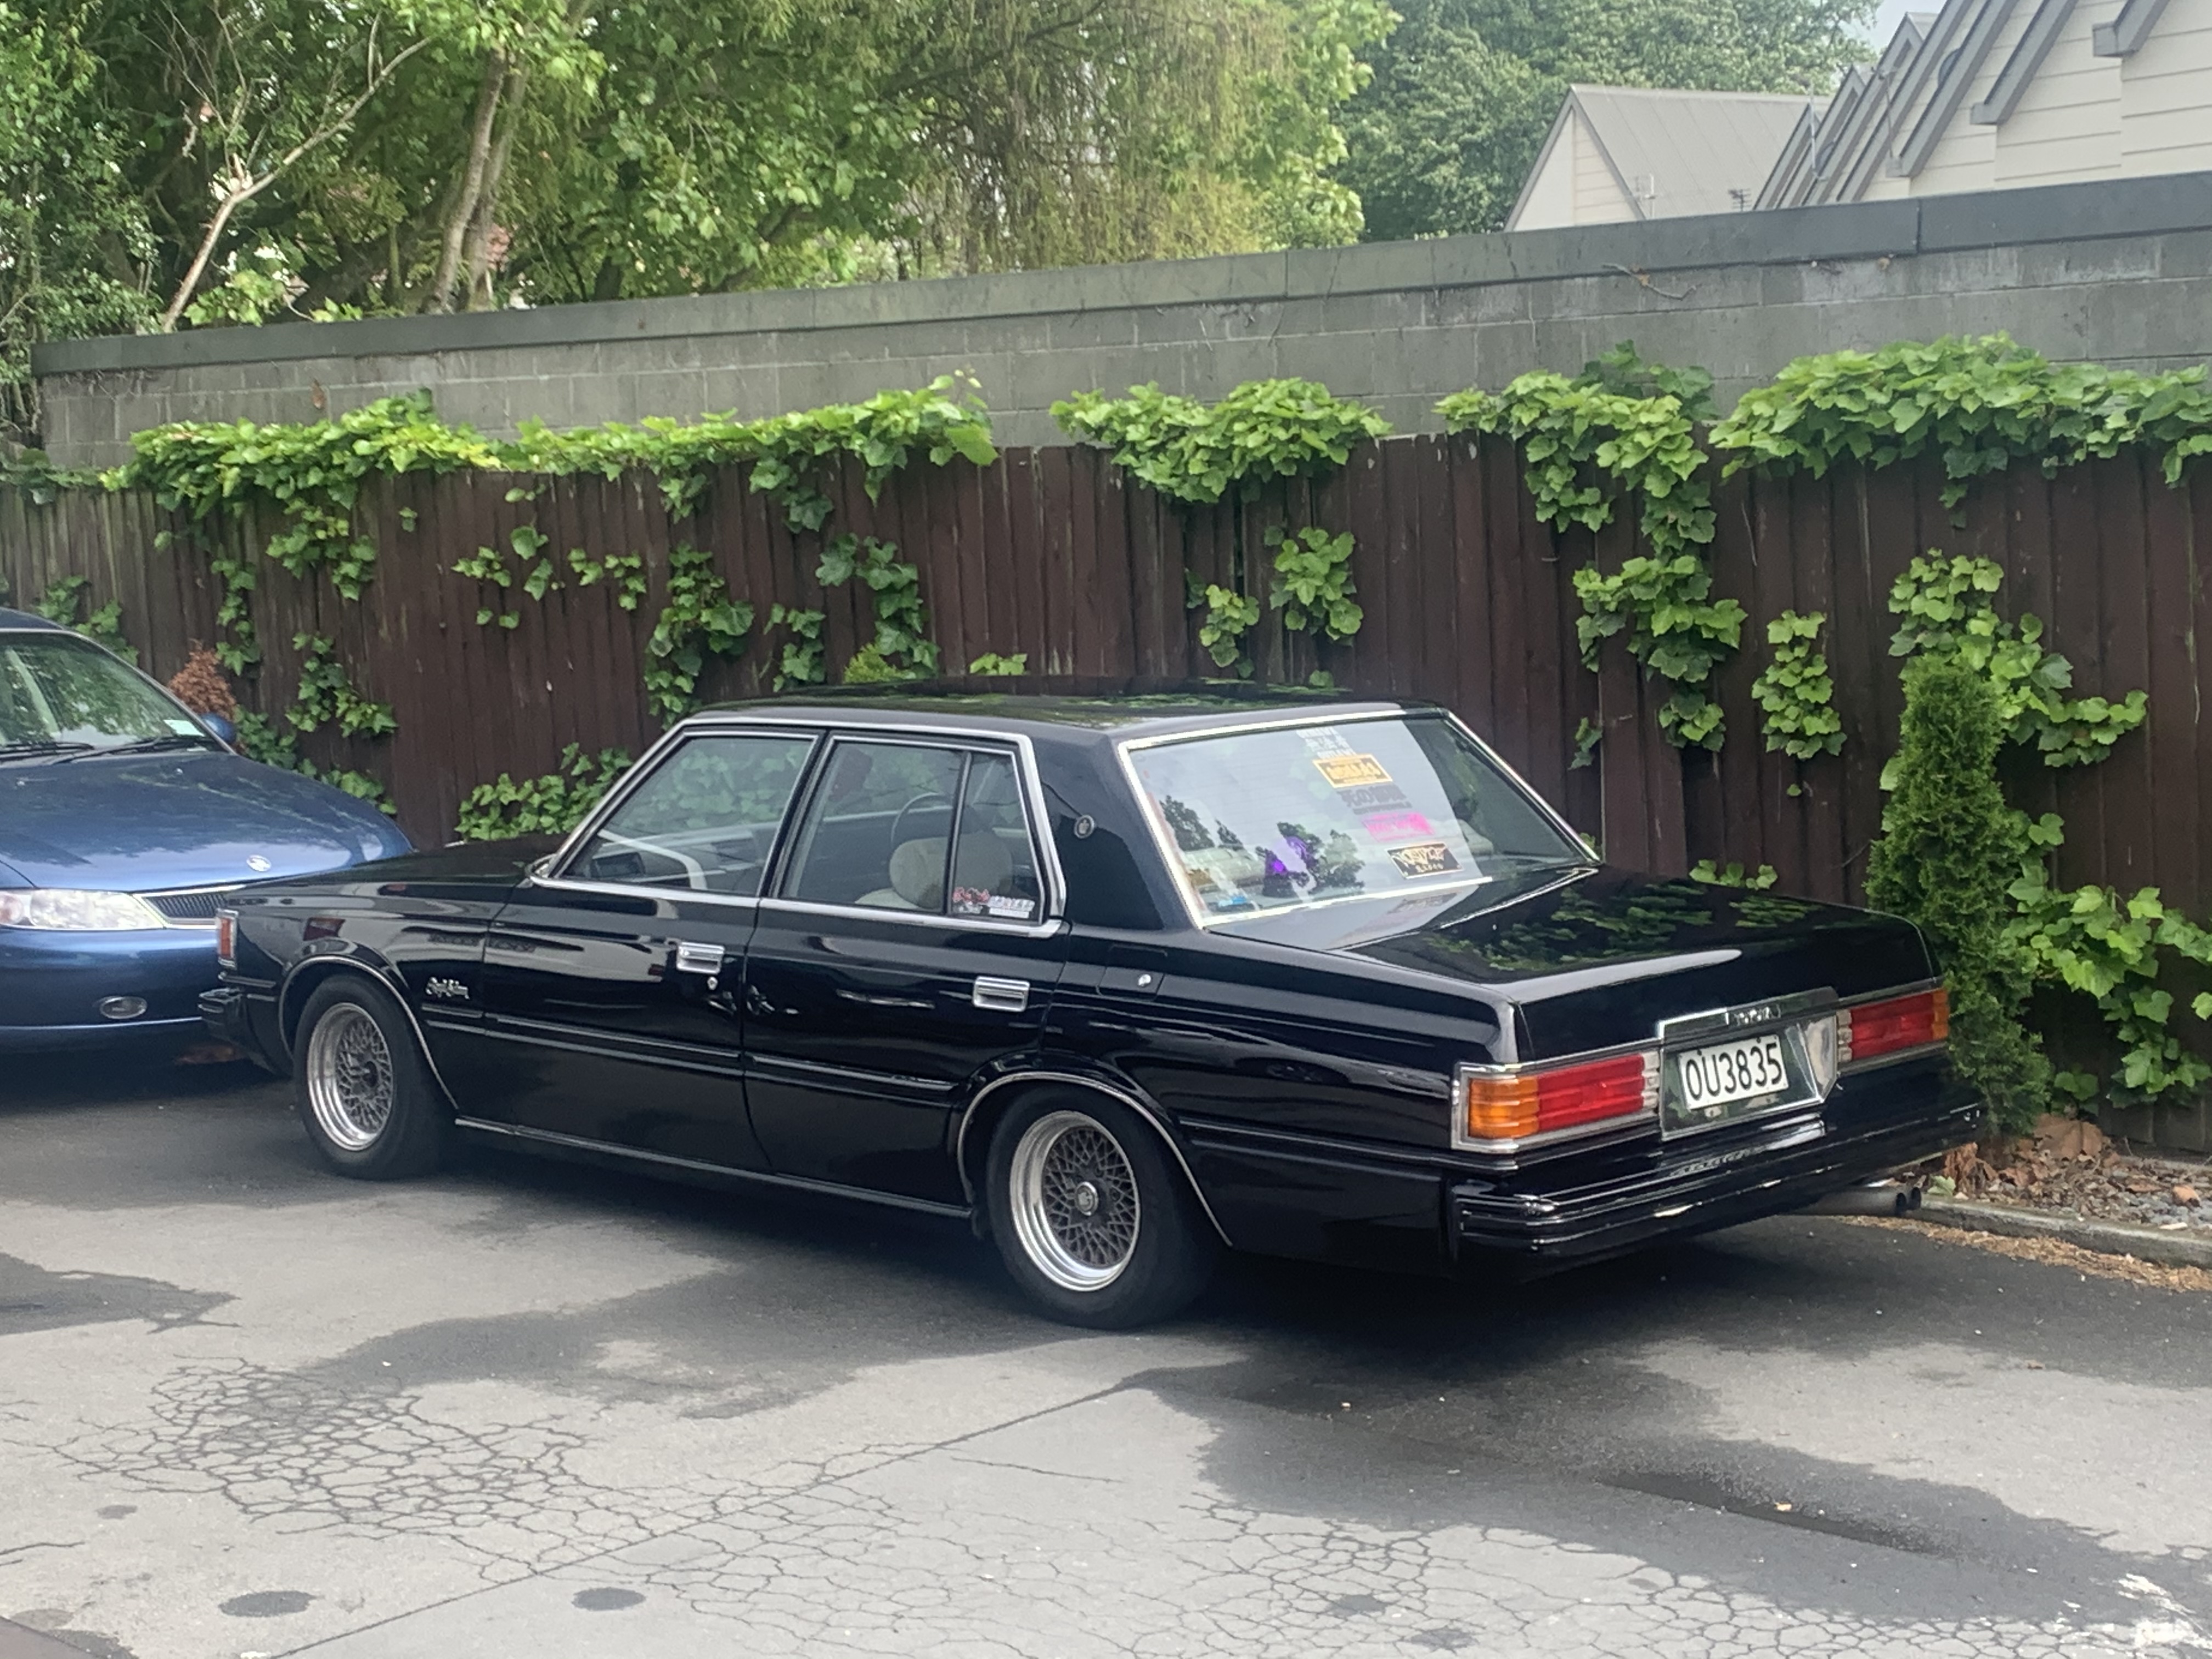
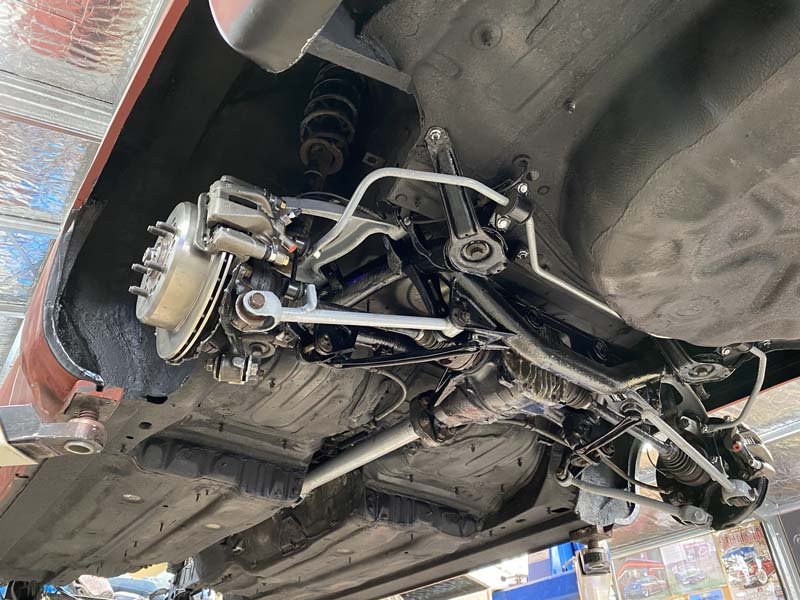
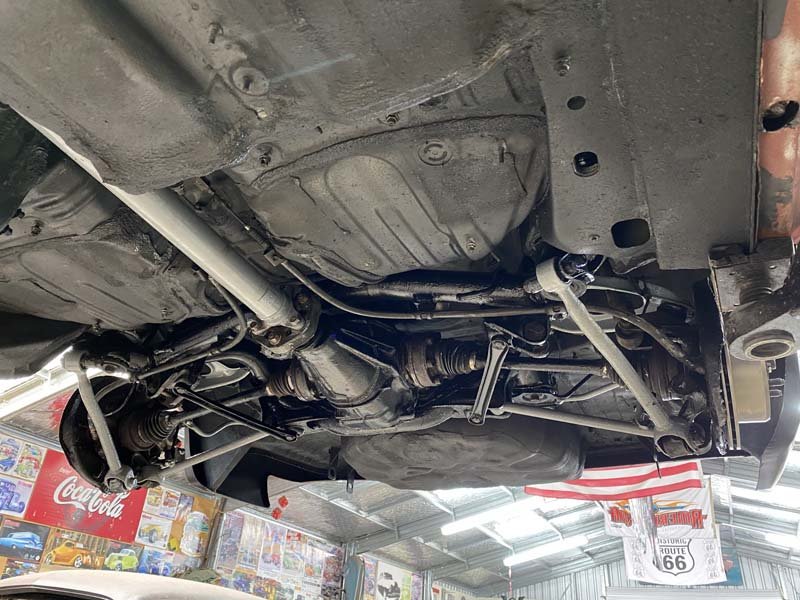
Hey team, Wondering if anybody on here has gone really low on their S11X Toyota Crown, as I’d like a bit of info on how you’ve done it. I’m currently running lowering springs in the front (which needs to come down a few centimetres) and cut factory springs in the rear (which is a good height but I’d ideally like to go a little lower, since the front is coming down too). It’s low... but not as low as what I want. I’ve got the idea of changing my tyre setup from a 195/60/14 to a 185/55/14, which would give me 3cm less chassis height. I’d cut my already chopped rear springs a little more and replace rear bump stops with the universal blade on body style ones - ones I don’t mind chopping down to suit, just to close the arch gap. Being live axle, I’d also need to find an adjustable panhard to fit... maybe RA40 Celica or AE86? A lot of ideas for the rear, but the front has me stumped... If it wasn’t double wishbone I’d be straight into the adjustables but yet my budget isn’t huge for bags. If anyone could give me any info on how they’ve lowered there Crown, that would be awesome. Sorry for the spiel. pic for reference.. my current setup. cheers Tom.
2 points
-
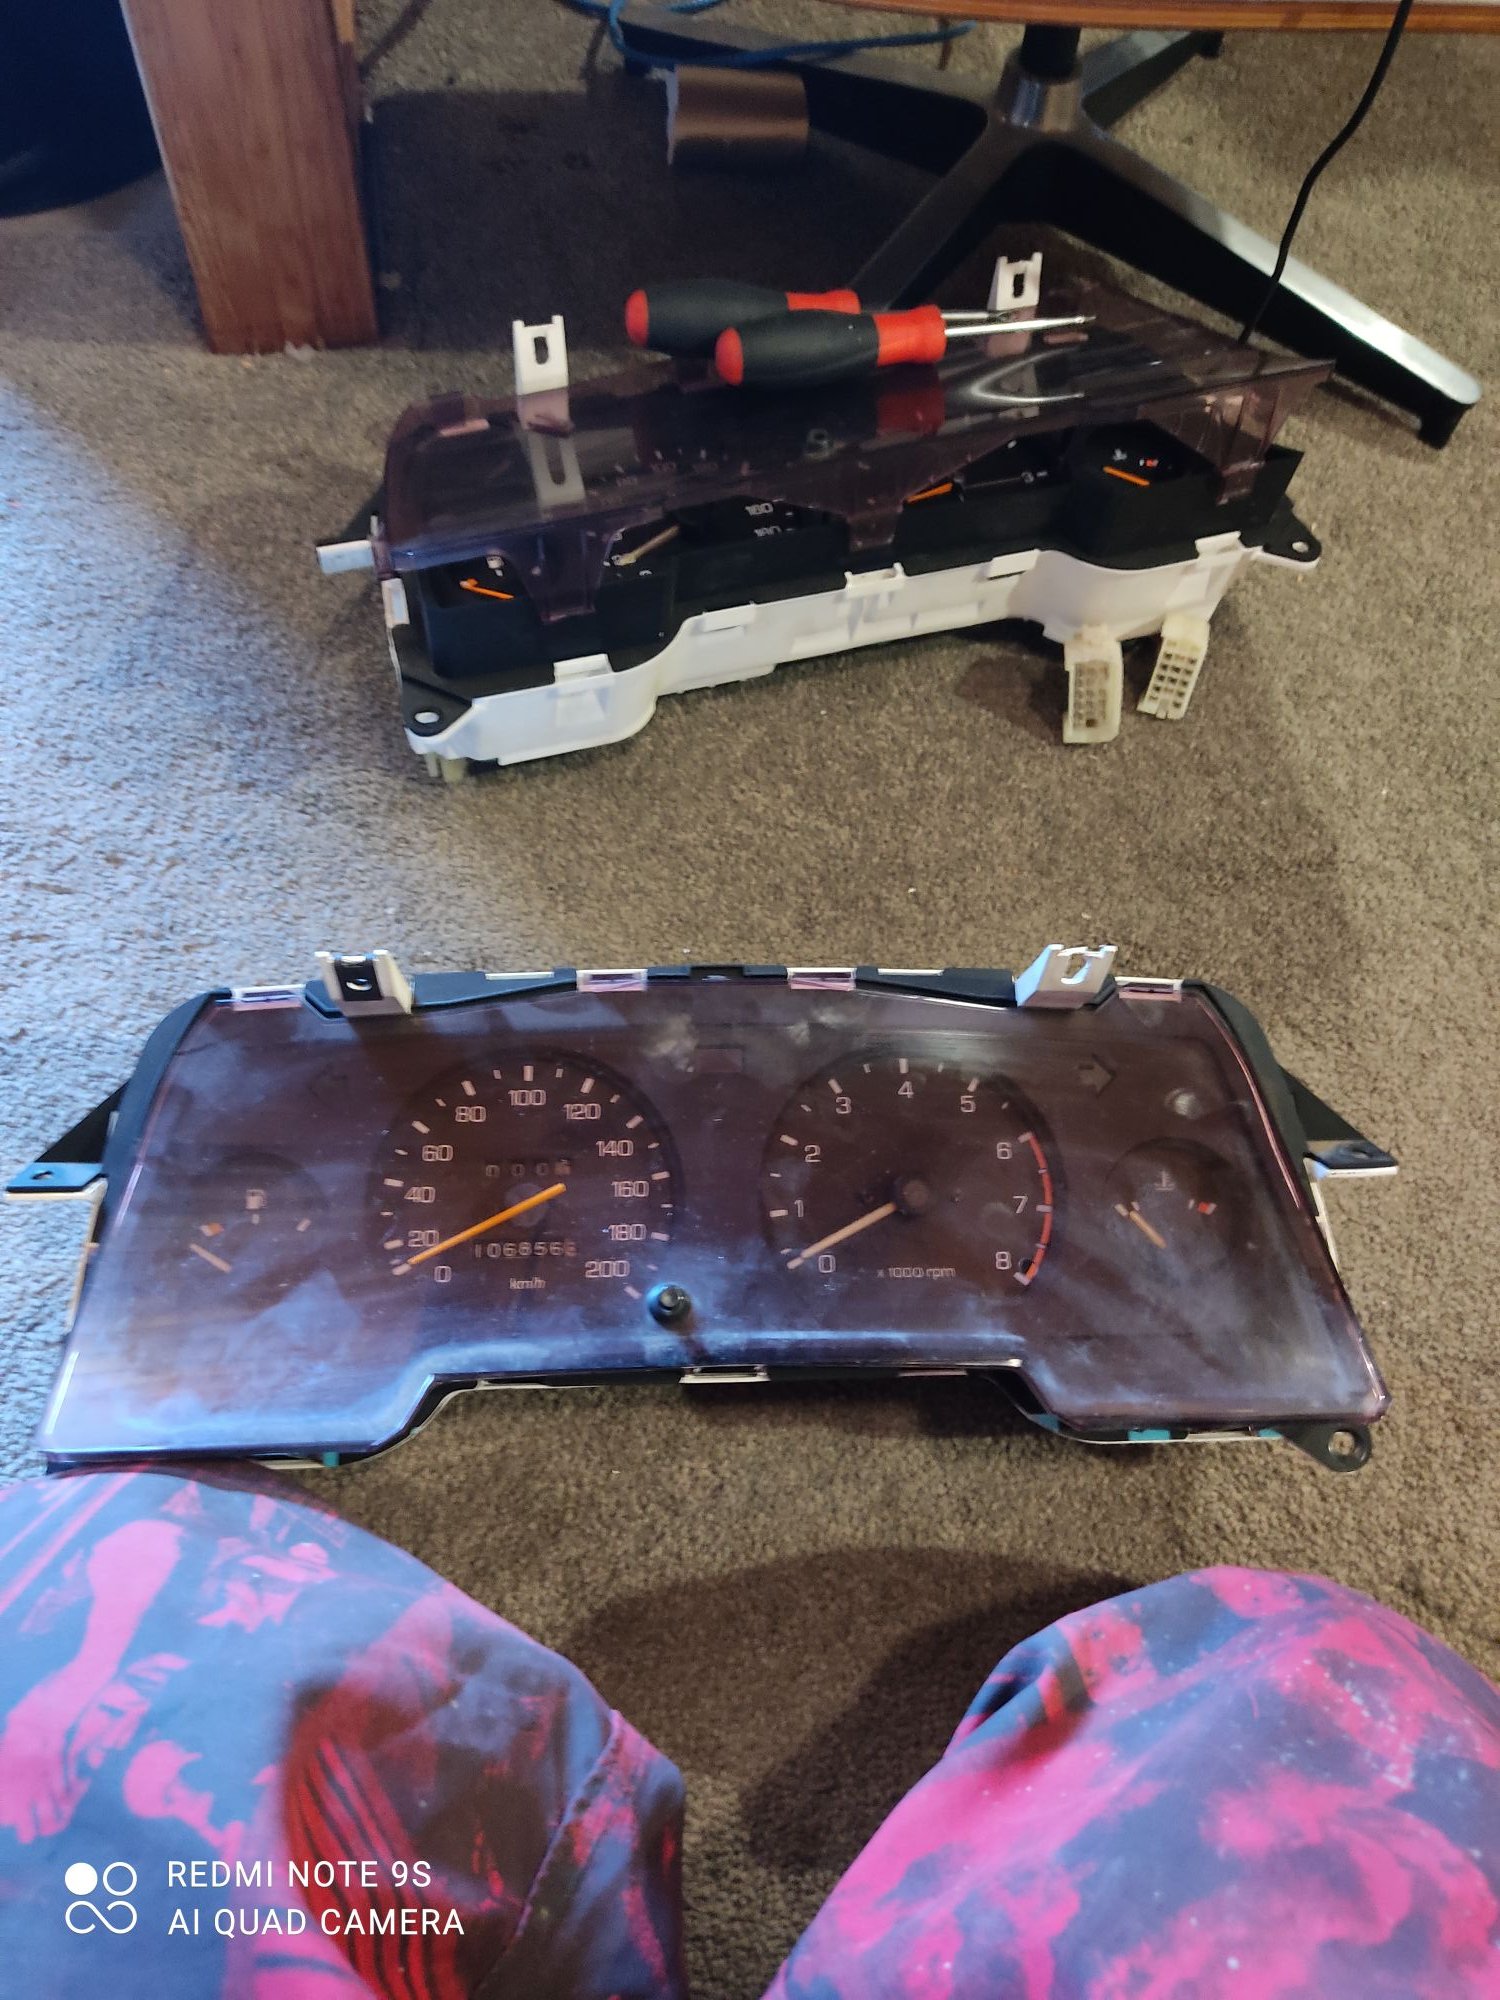
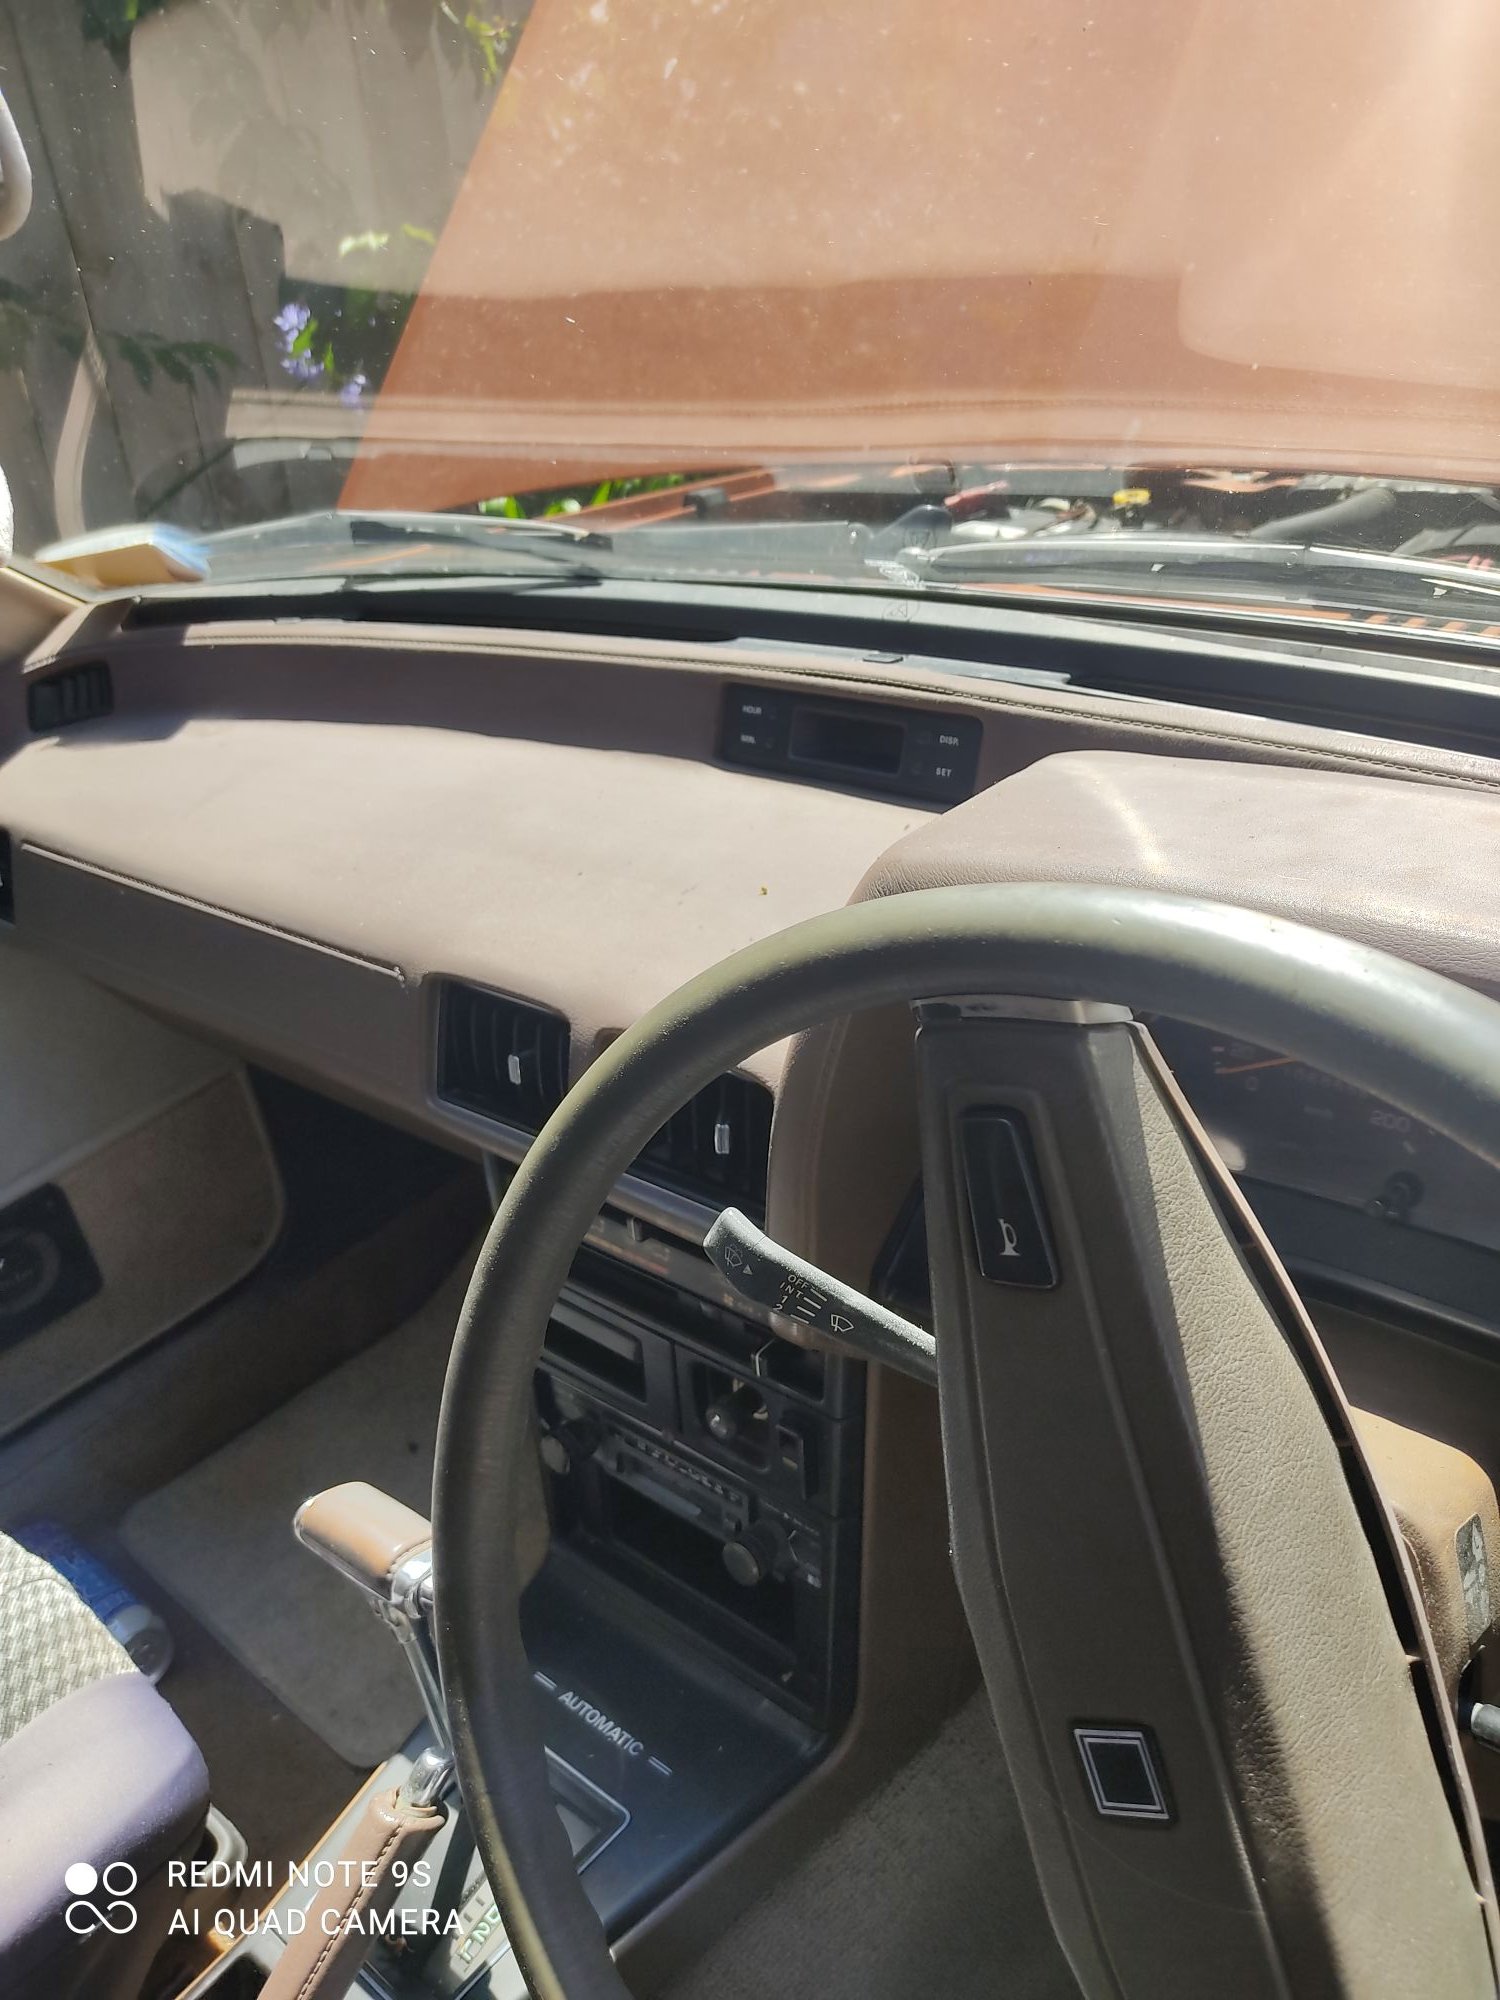
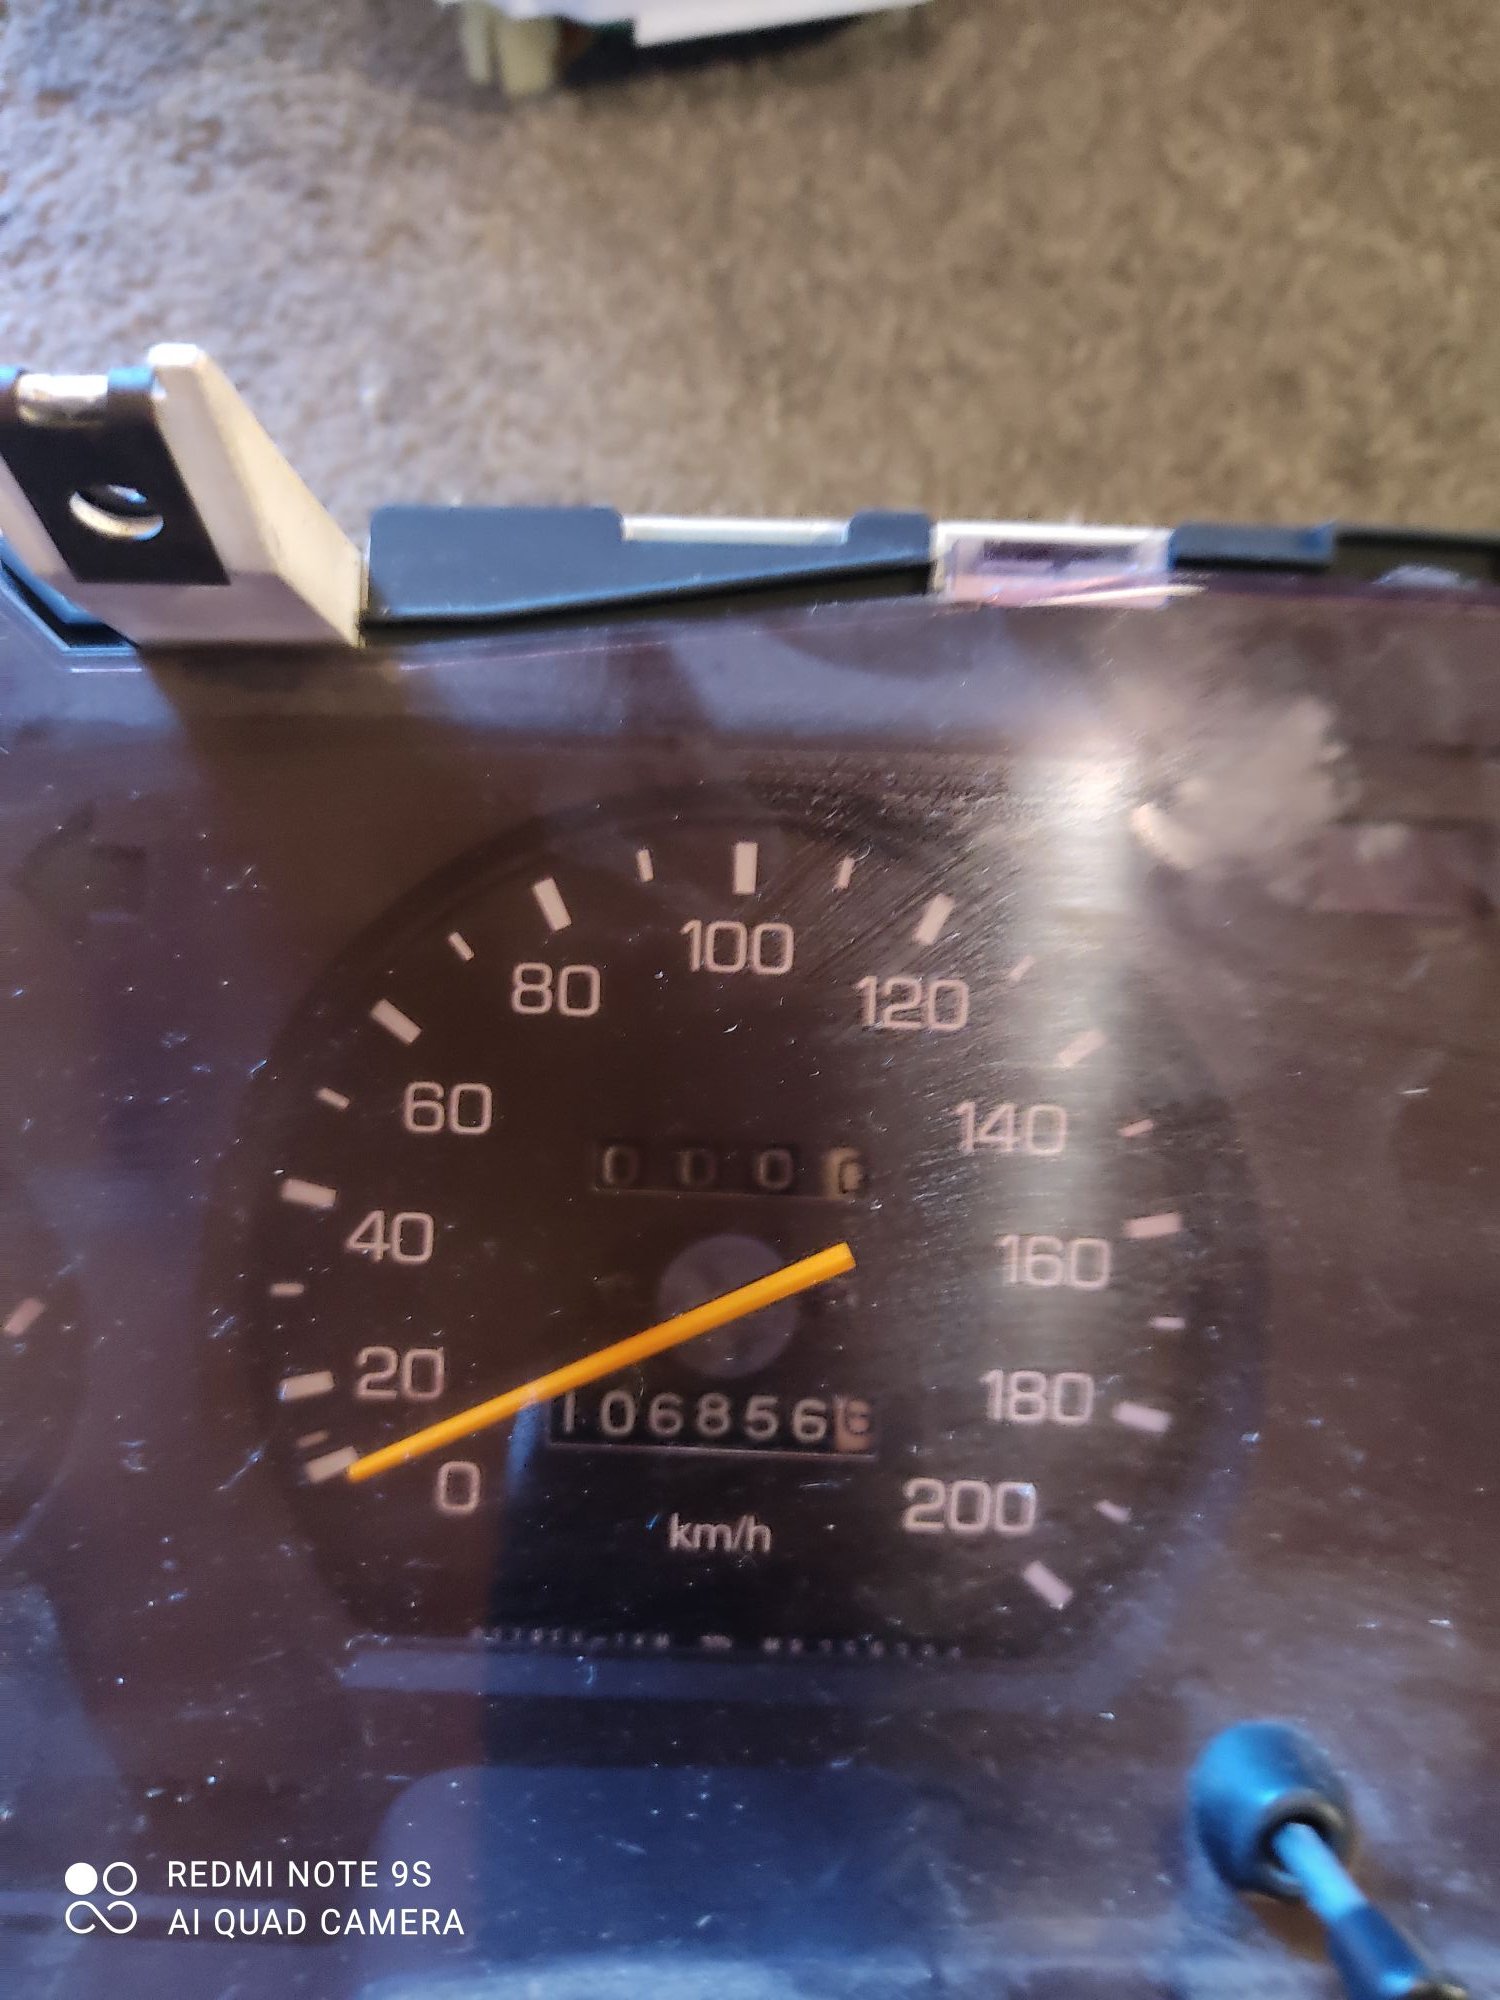
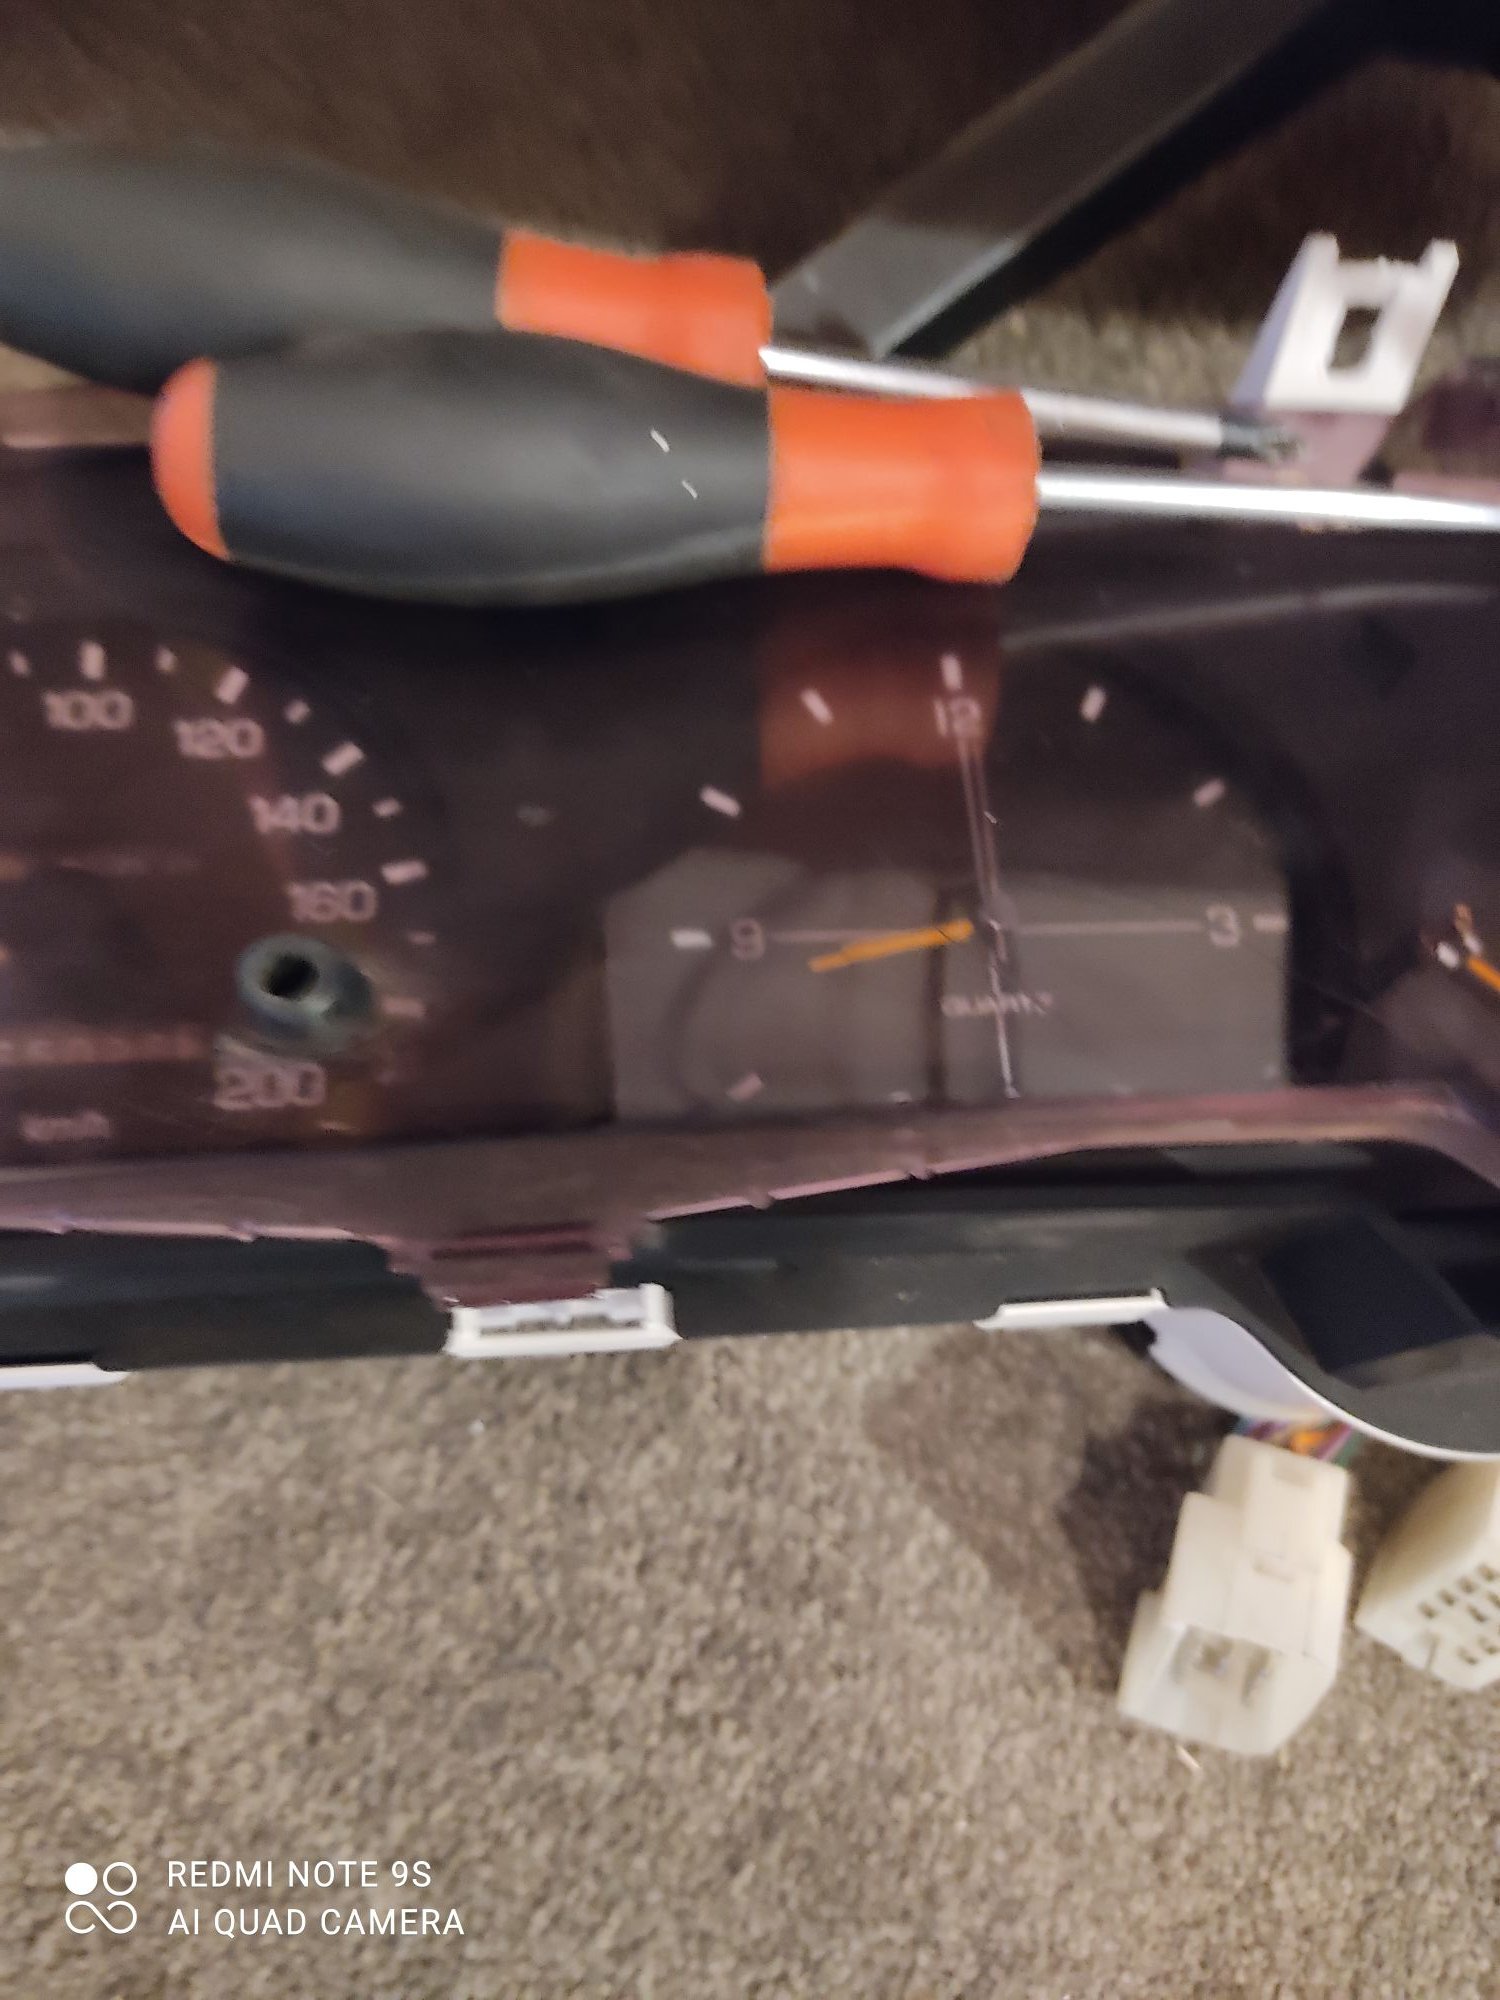
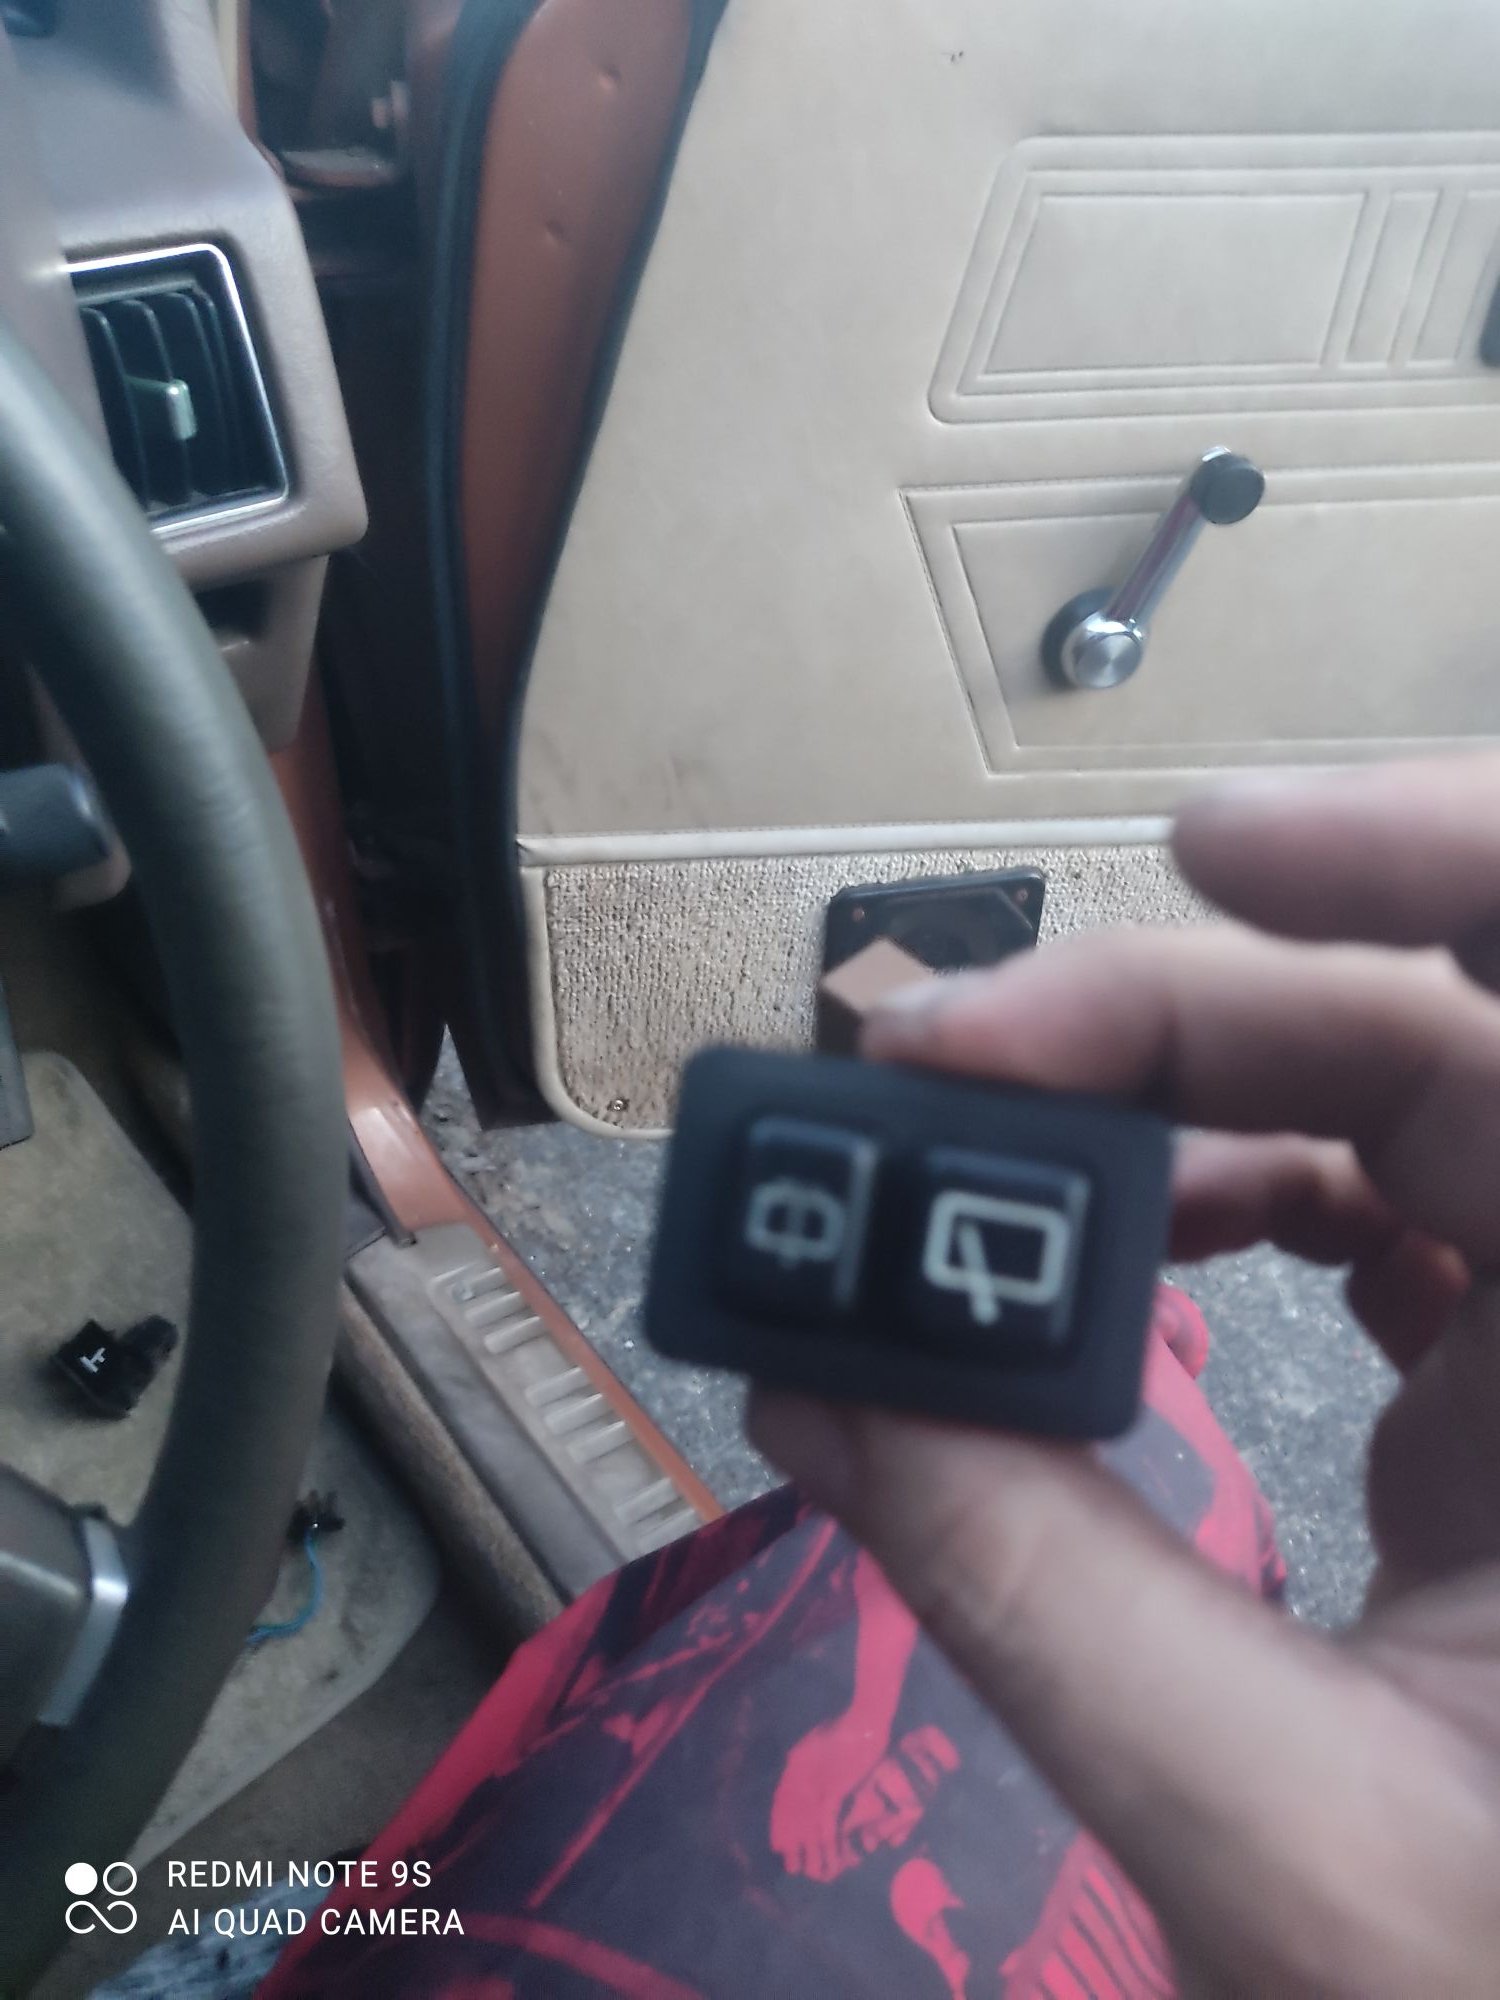
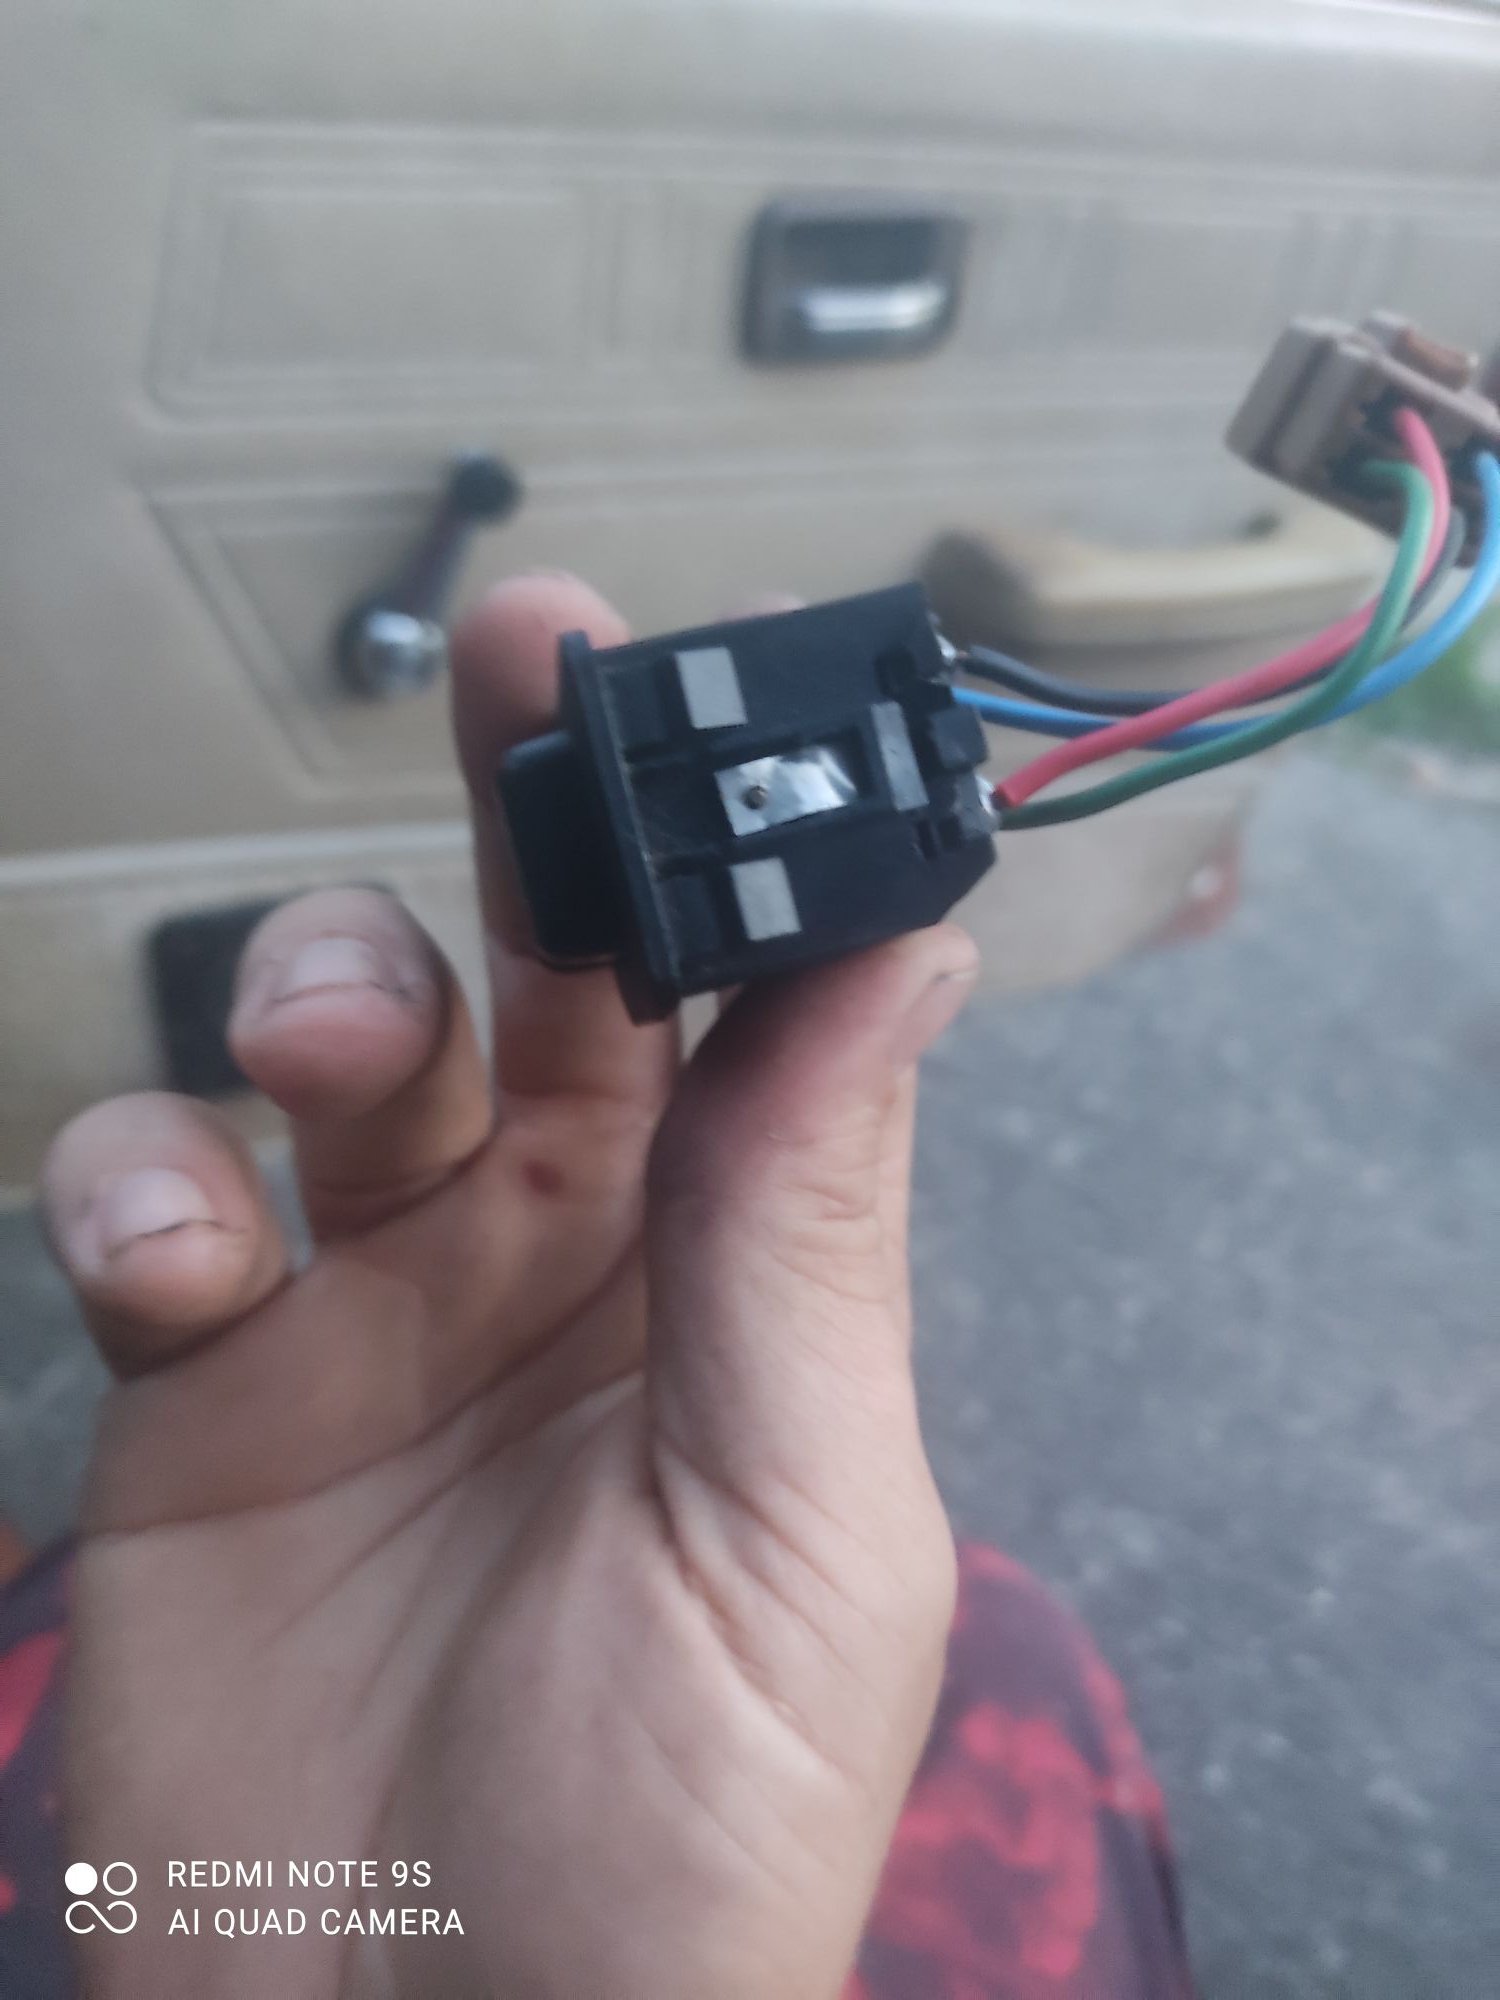
Installed a few things I've had in my garage for a wee while. Digital clock took me a hour longer than I'll like to admit the I started trying to make a cluster with a tacho but I wanted to keep the Kms the same so I started the long hall. Got the cluster in tacho didn't work talk to a mate and he believes the tacho doesn't a connection from the coil. During the change over the rear windscreen wiper button fell apart lucky I had two spare ones haha
2 points
-
Sorting a few of the typical rust spots that these sigmas have I mean I've owned 3 of them so I should know by now. Rust replant and underbody coating
2 points
-
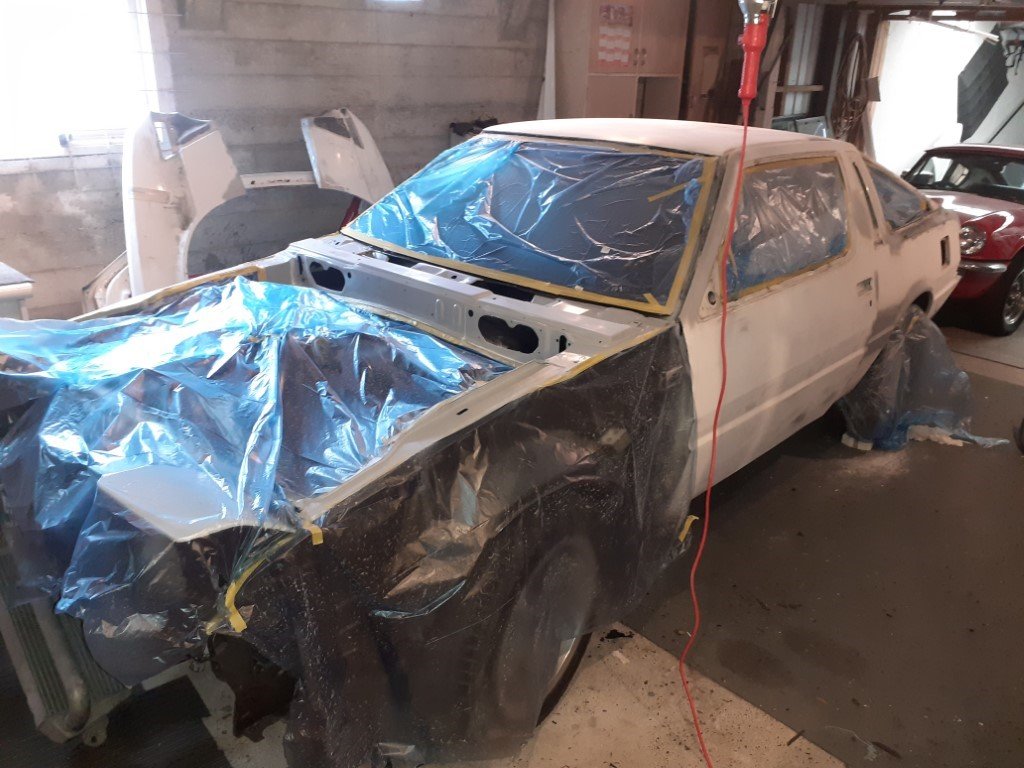
had another wonderful day of pushing shit up hill and trying to paint my car with it. decided that the amount of faffing around with the side spoilers warranted a can of high build primer, to save cleaning the gun a trillion times. drove to town and bought one. pulled the trigger and it promptly fountained paint all over my fucking hand. drove back to town and hit up the paint shop guys for an exchange. "no, you mustn't have shaken it up enough, here.... OK i've cleaned the nozzle out and gave it a real good shake up, works like a charm now" drove back home feeling like a bit of an idiot. went back to work on the car, grabbed the can and hit the trigger: if you can make out the picture through the tears of rage which somehow permeated the camera lens itself, this is what happens when a motherfucking geyser of paint from a shitbag fucking paint can hits 1k filler primer. well what you can see is from after i quickly wiped it off.. too bad it'd already taken the paint with it. not sure if leaving to dry would've been any better. guess i shouldve tested it first :/ didn't go back to the paint shop again, too mad
2 points
-
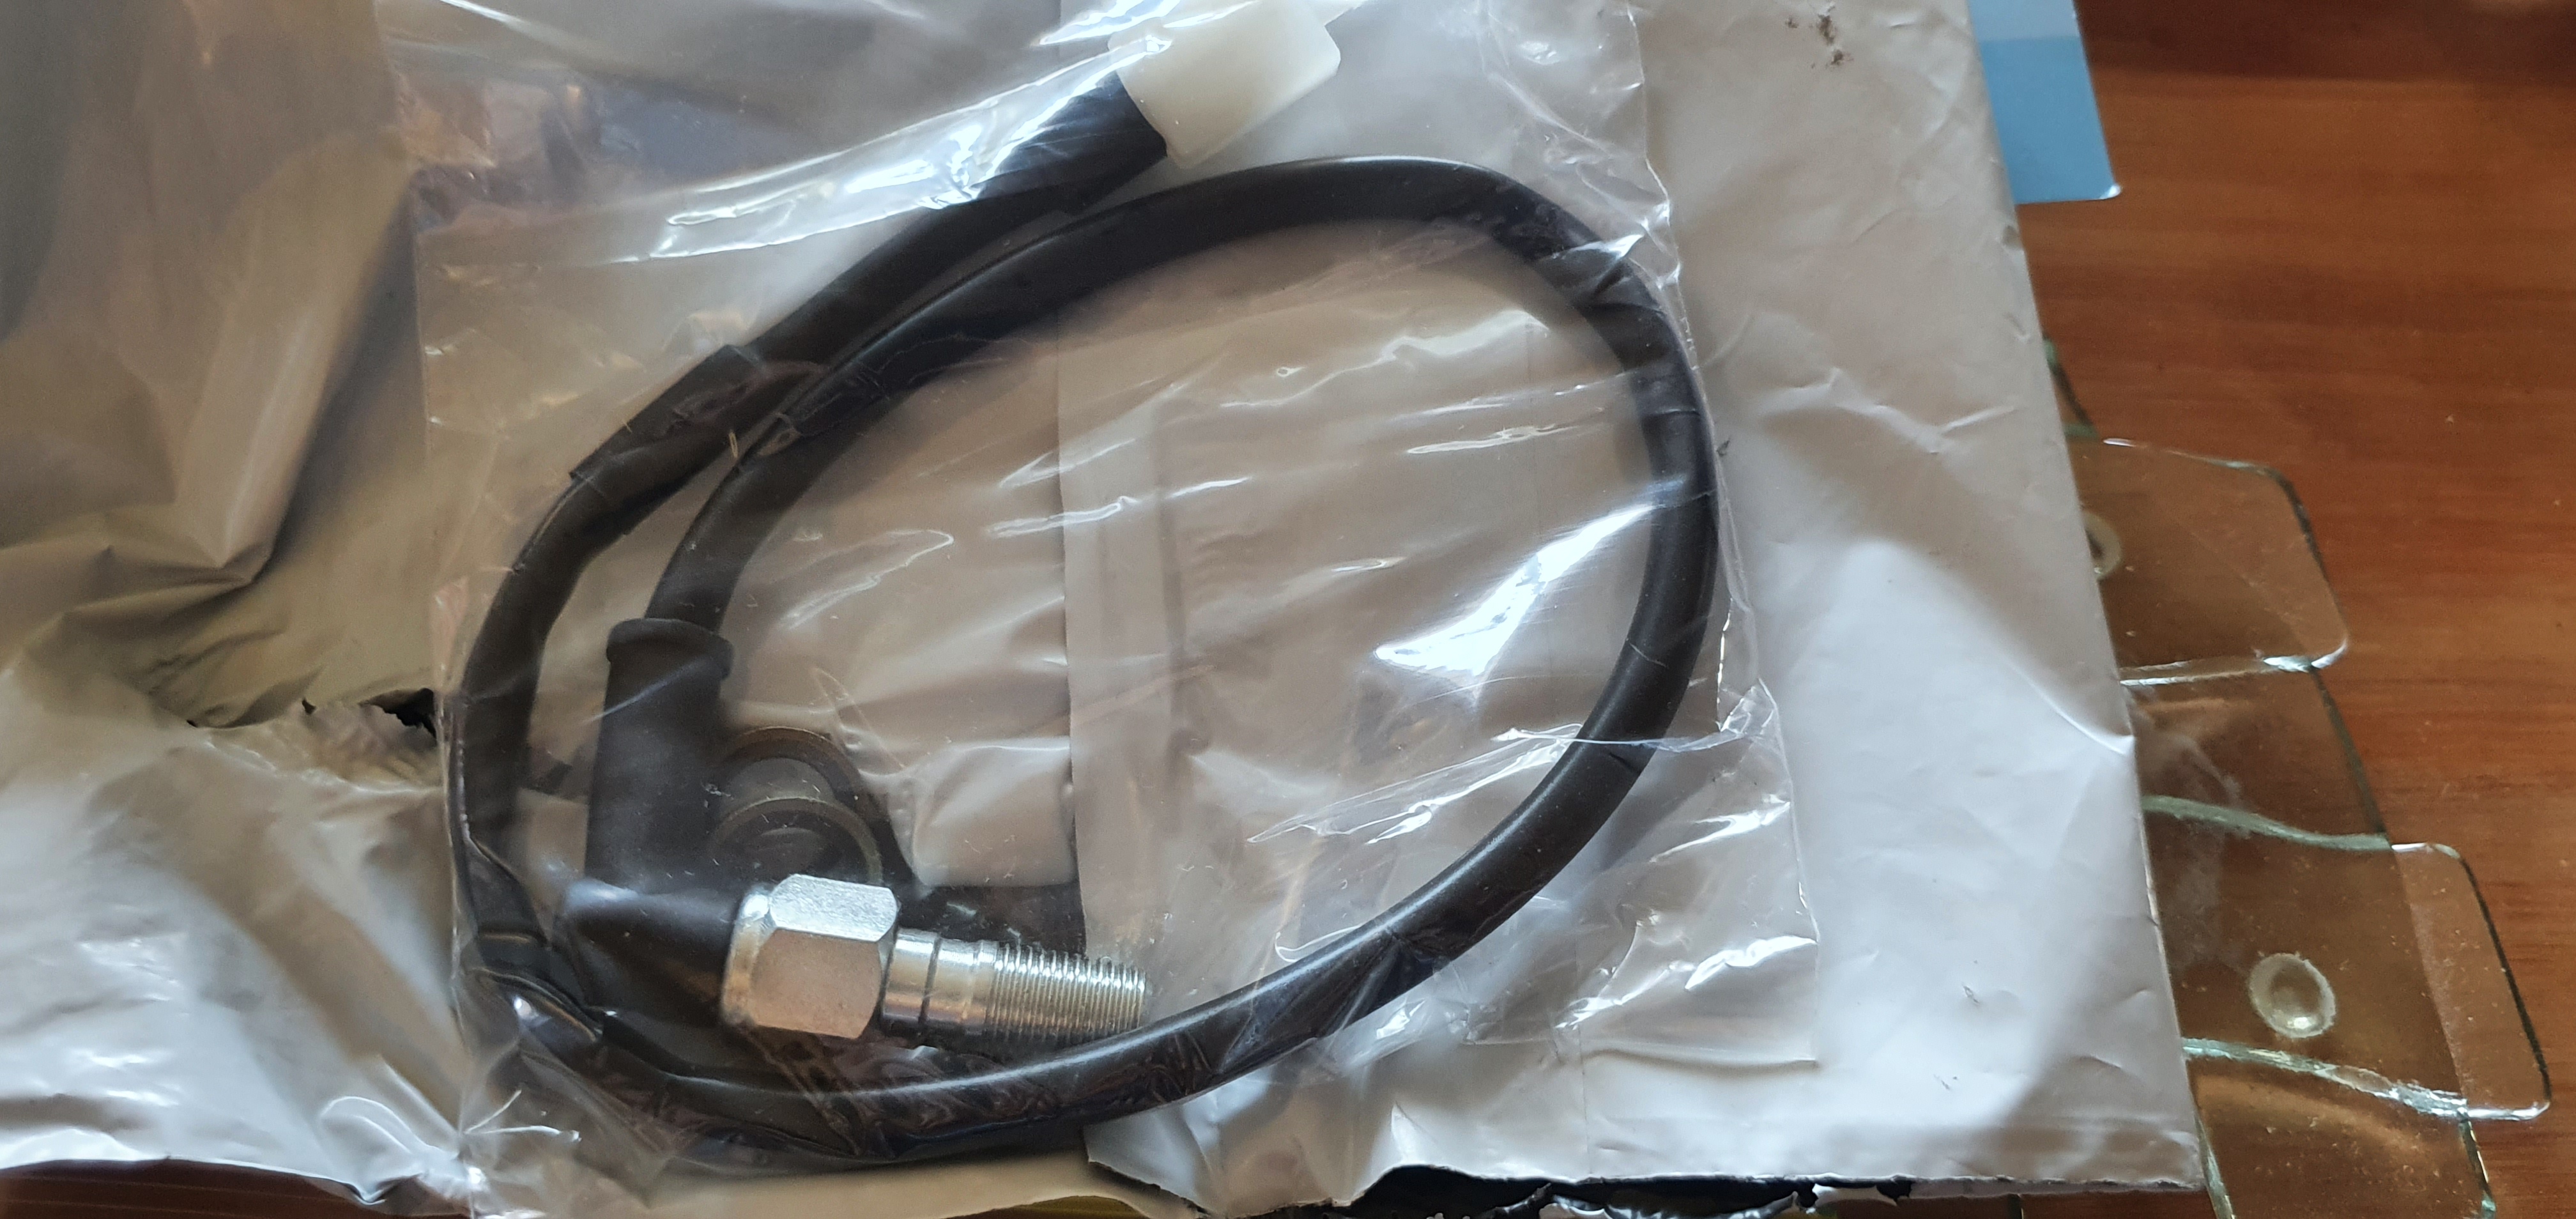
This arrived. It converts brake pressure into a closed switch, hence giving rear brake signal to non electric sensor brakes. Think it'll do the trick.
2 points
-
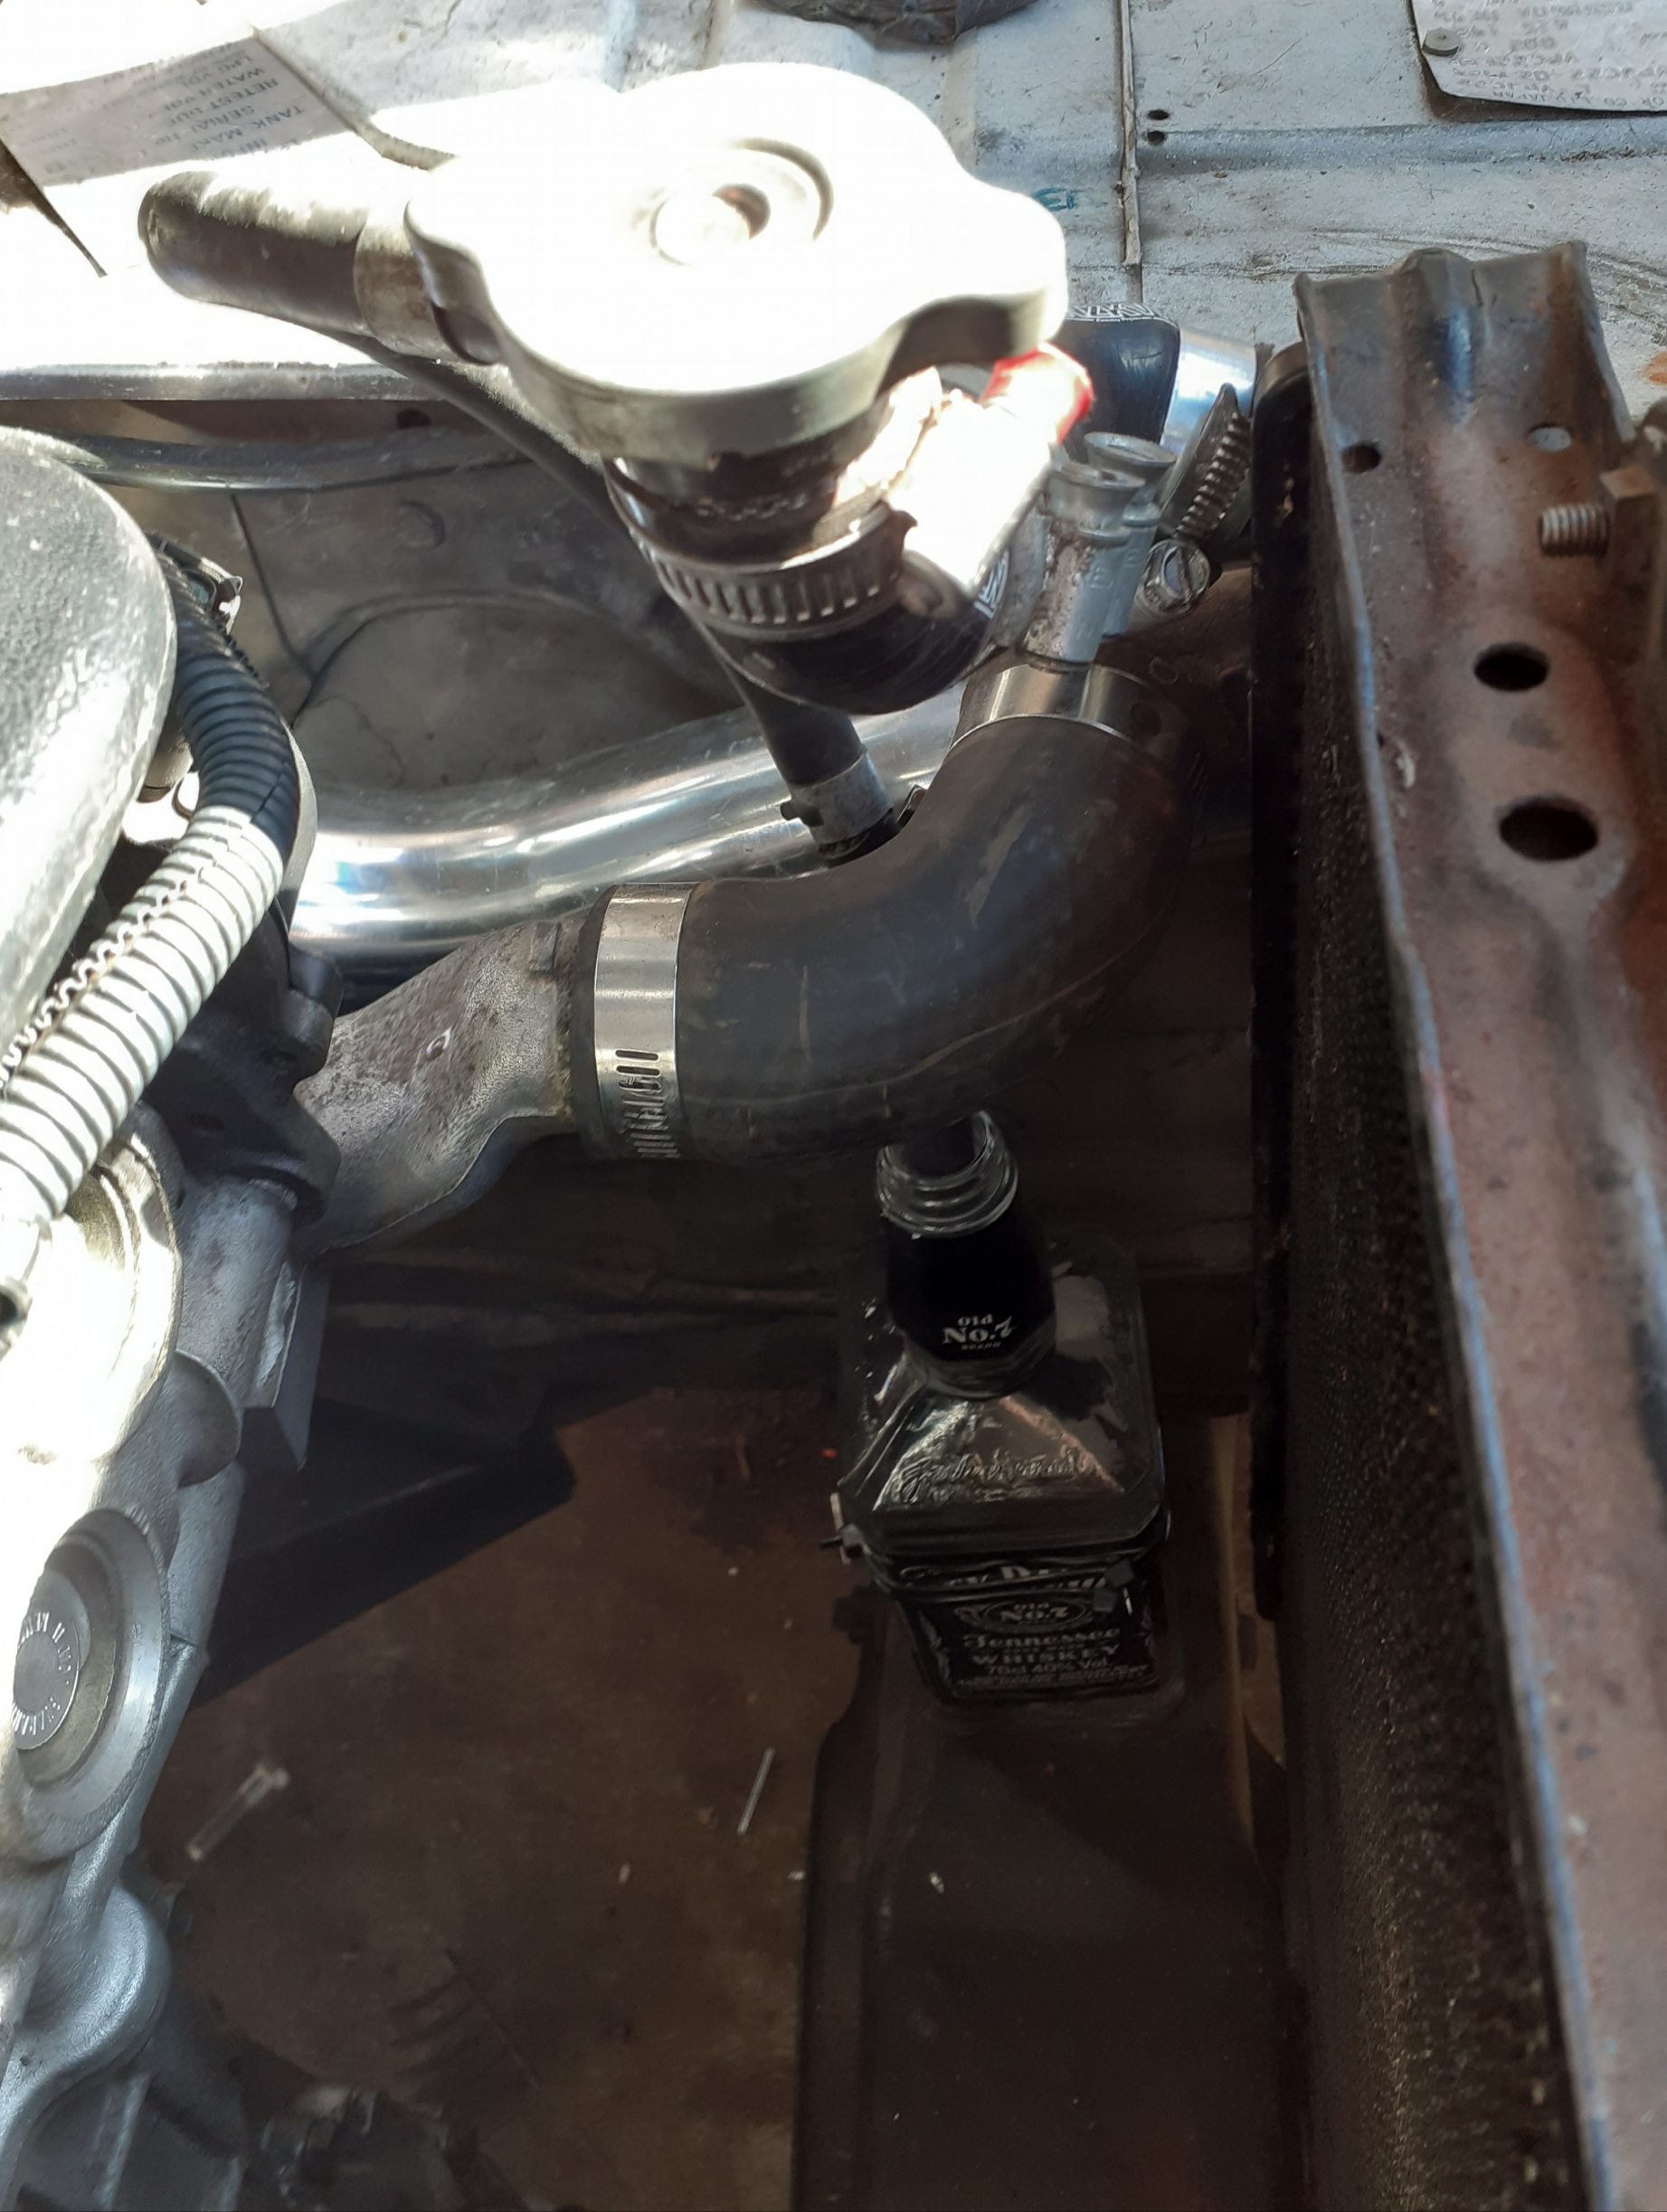
Fill that bad boy with vinegar and let it marinade for a couple of weeks. It's the cheapest option for converting rust.2 points
-
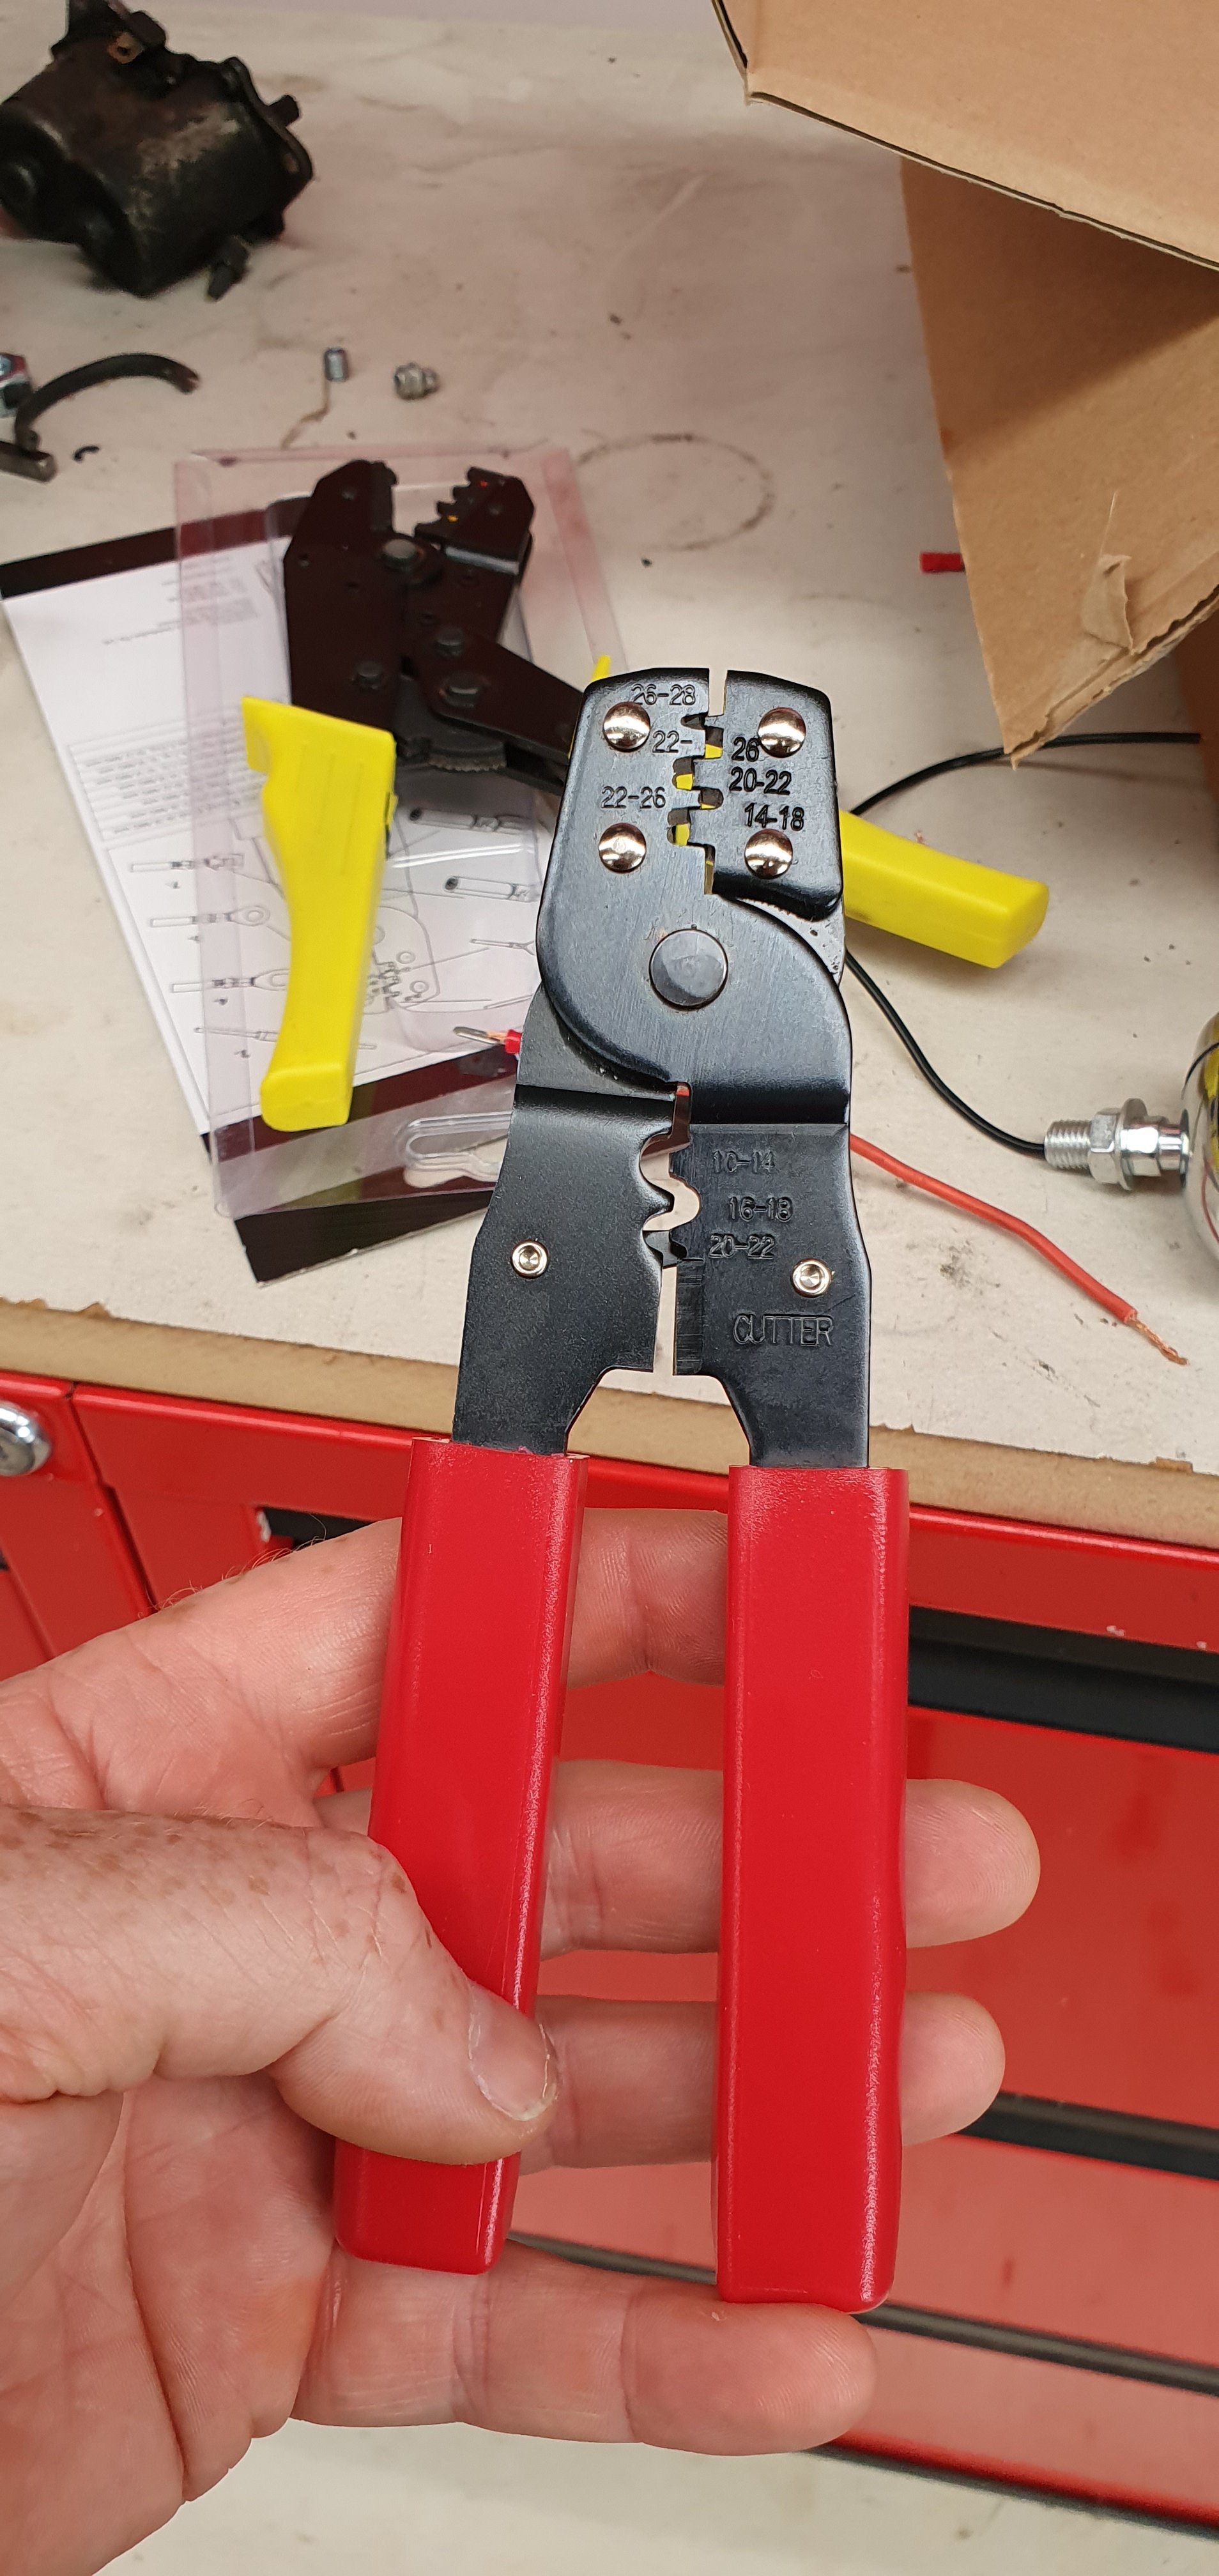
thats crazy money for a DT connector, i can supply the 12 pin for $30ea, (my suppliers RRP is $37) downside is need special crimper for DT pins2 points
-
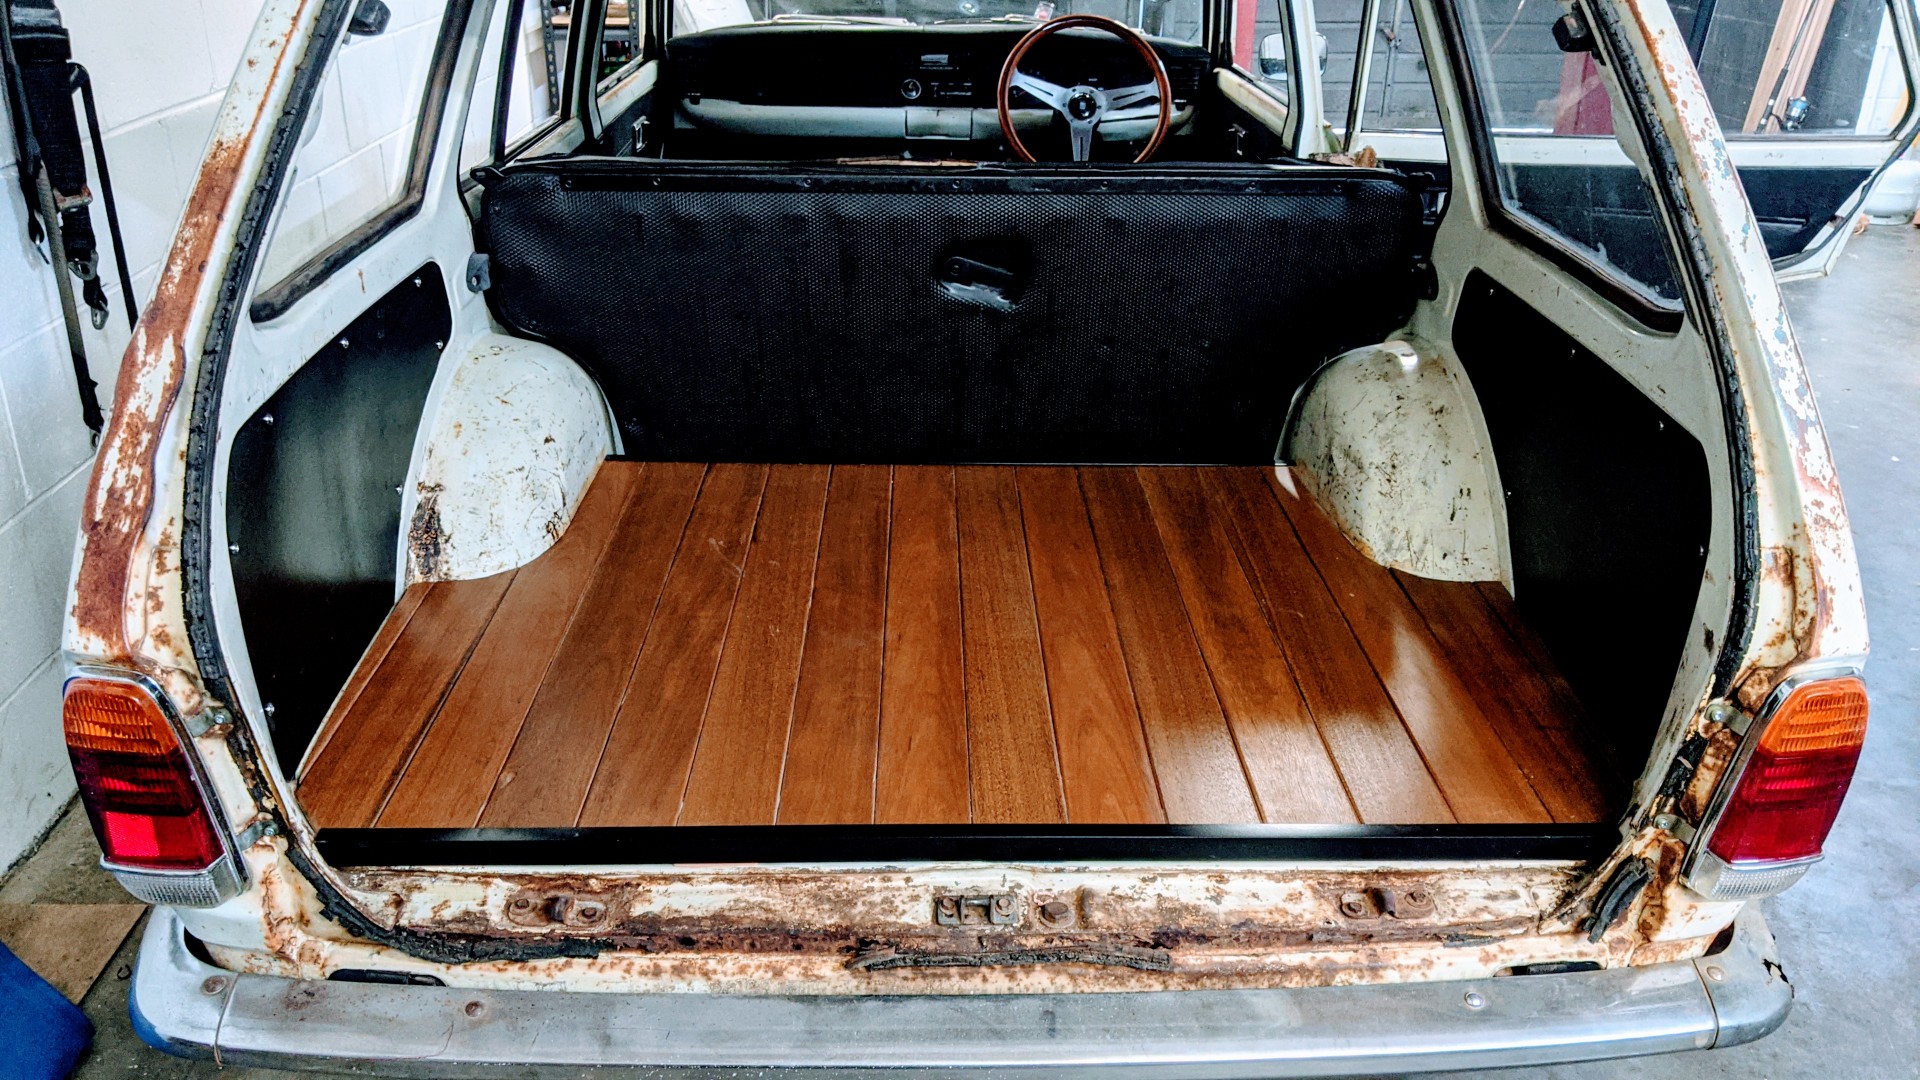
Finally finished the boot this past weekend. Won't be everyone's cup of tea, but decided to do a spotted gum floor.
2 points
-
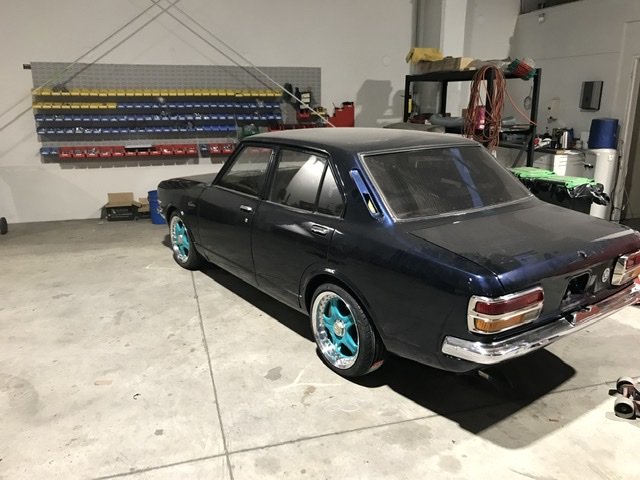
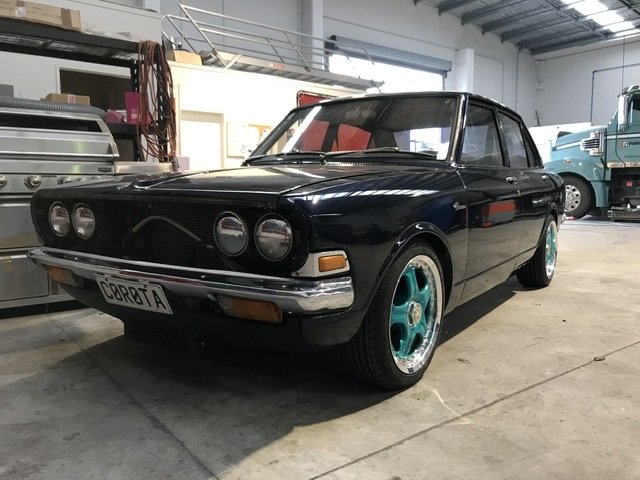
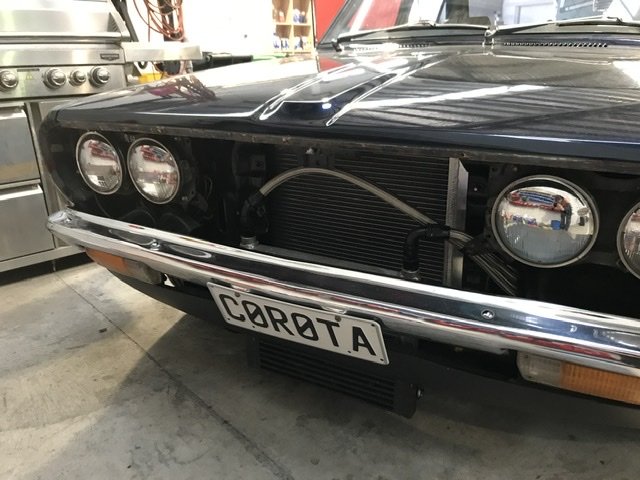
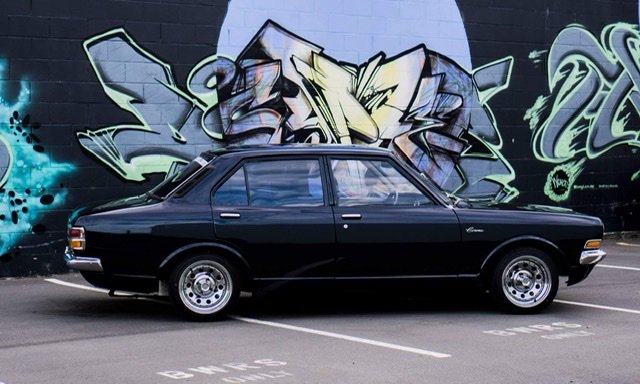
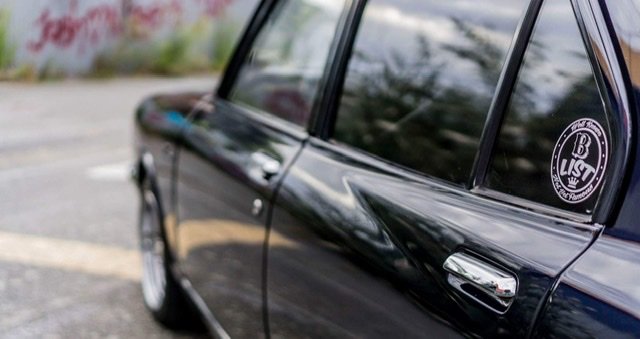
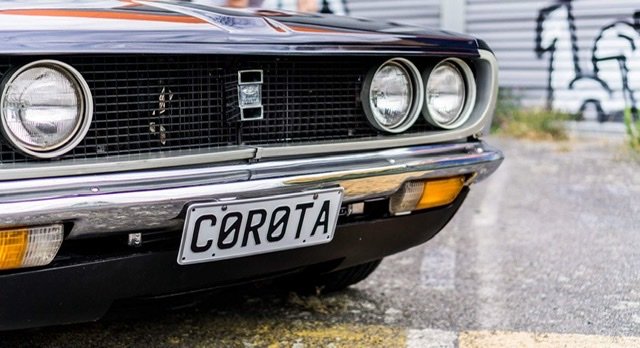
I spent a few hours today bolting on some parts; lots of NOS parts which I have been collecting for this project. Headlights temporarily fitted, new bezels, bumpers, clear front indicators, tail lights and rear reflectors. The headlights I bought a few years ago are an interesting thing for trainspotters like myself; a pair of Cibie Biodes. Invented in the late 1960's, before the H4 dual filament halogen bulb was invented, they take 2x H1 halogen bulbs. There is a separate reflector in the lower part of the headlight (which you can see) that is the high beam, and the upper bulb, which has a shroud and is not visible is the low beam. These were the choice of works rally teams in the late 1960's and early 1970's such as Ford Escort, Porsche 911 and Mini Coopers. Although very old technology, they are still give off an extremely good light output, even by todays standards. I was quite lucky to find these, they are extremely rare and sell for ridiculous money on Ebay.
2 points
-
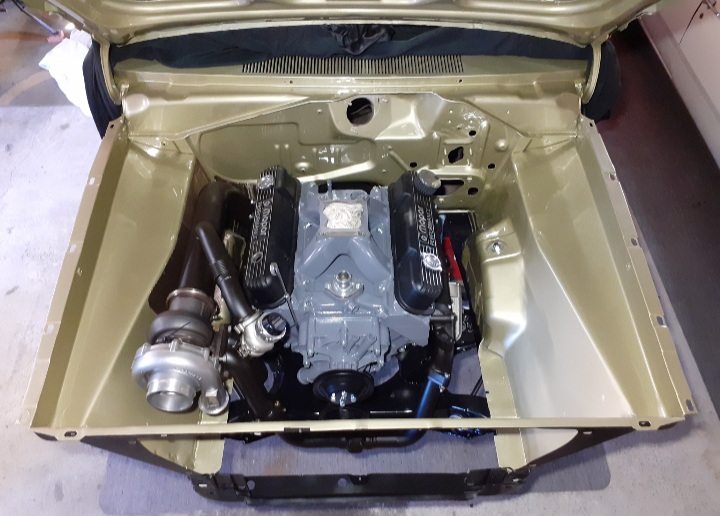
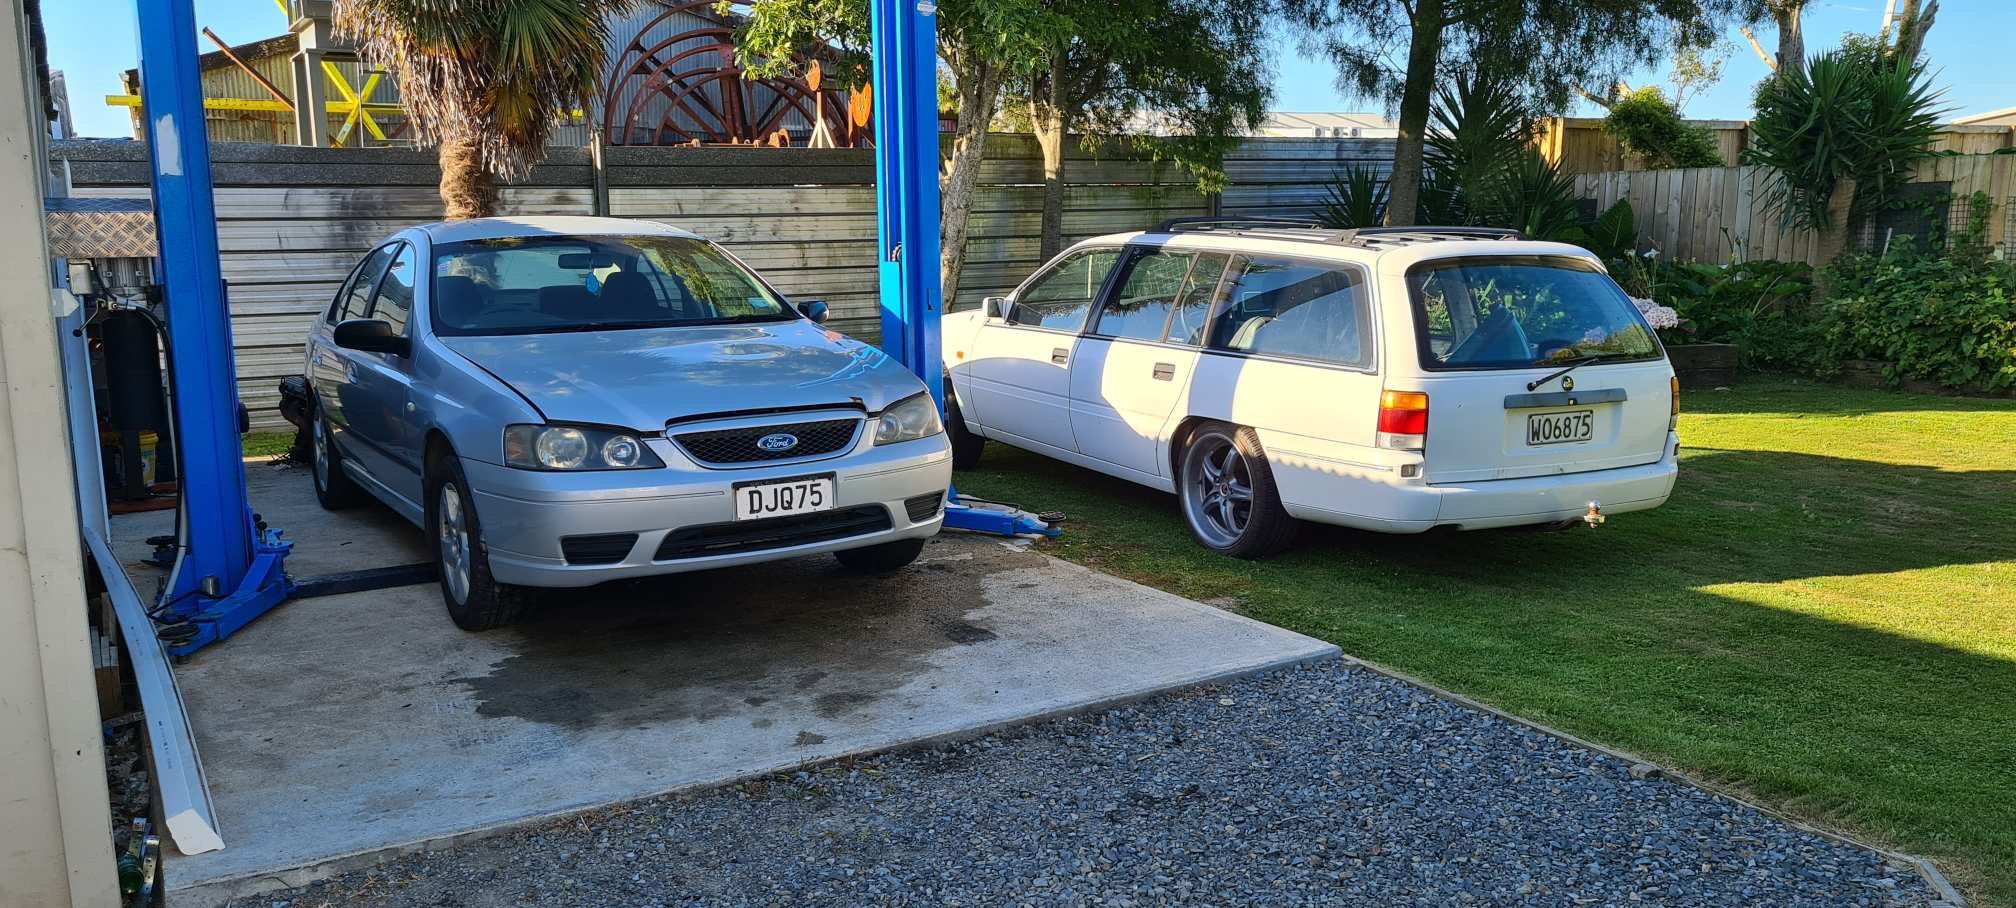
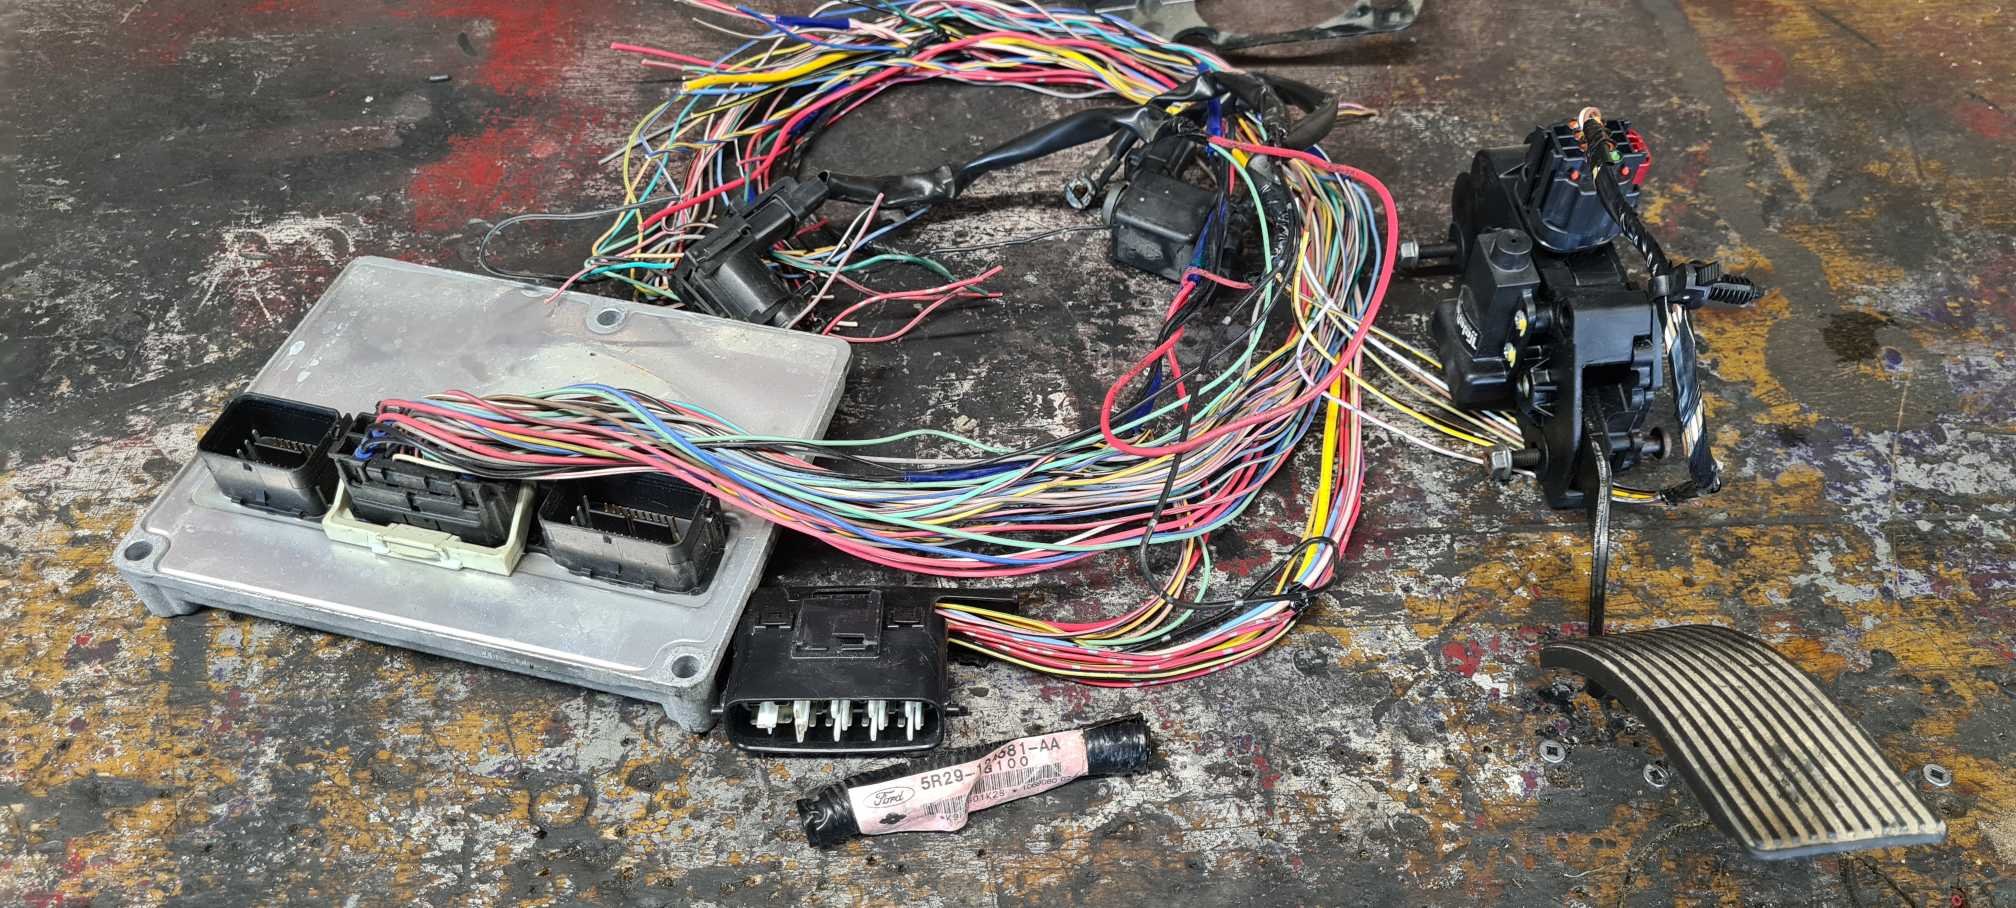
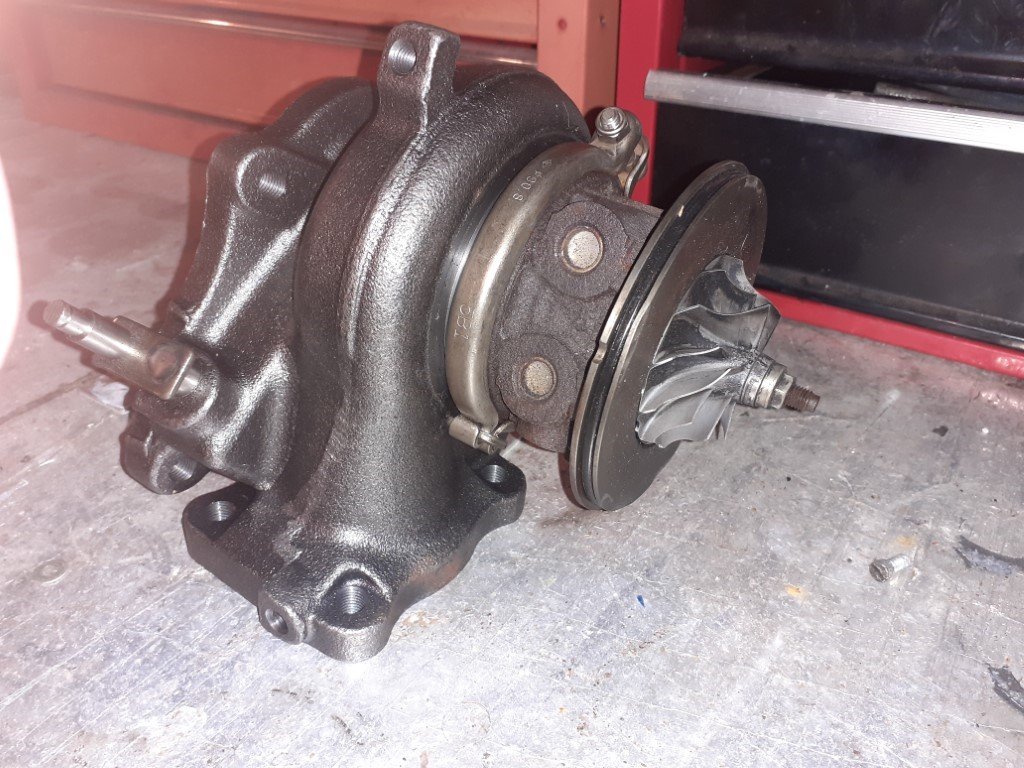
Pulled the engine out of the falcon and got all the turbo goodies bolted up, been setting up the ECU to take the Fg throttle and injectors and converting the tune file with HP tuners while on nightshift, should have the engine wiring finished off in the next day or 2. Getting rid of the falcon body soon so will get the wagon back on the hoist and look at getting the engine in and mounted
2 points
-
Made some more progress today, gave it an eyed up wheel alignment, fitted up the new booster and master cylinder, repinned all the door hinges, refitted the cert plate and cut off the old exhaust ends. Also pulled out the pedal box to give that a small birthday while it was easy to get to it. Back on its own 4 wheels for the first time in 9 months.2 points
-
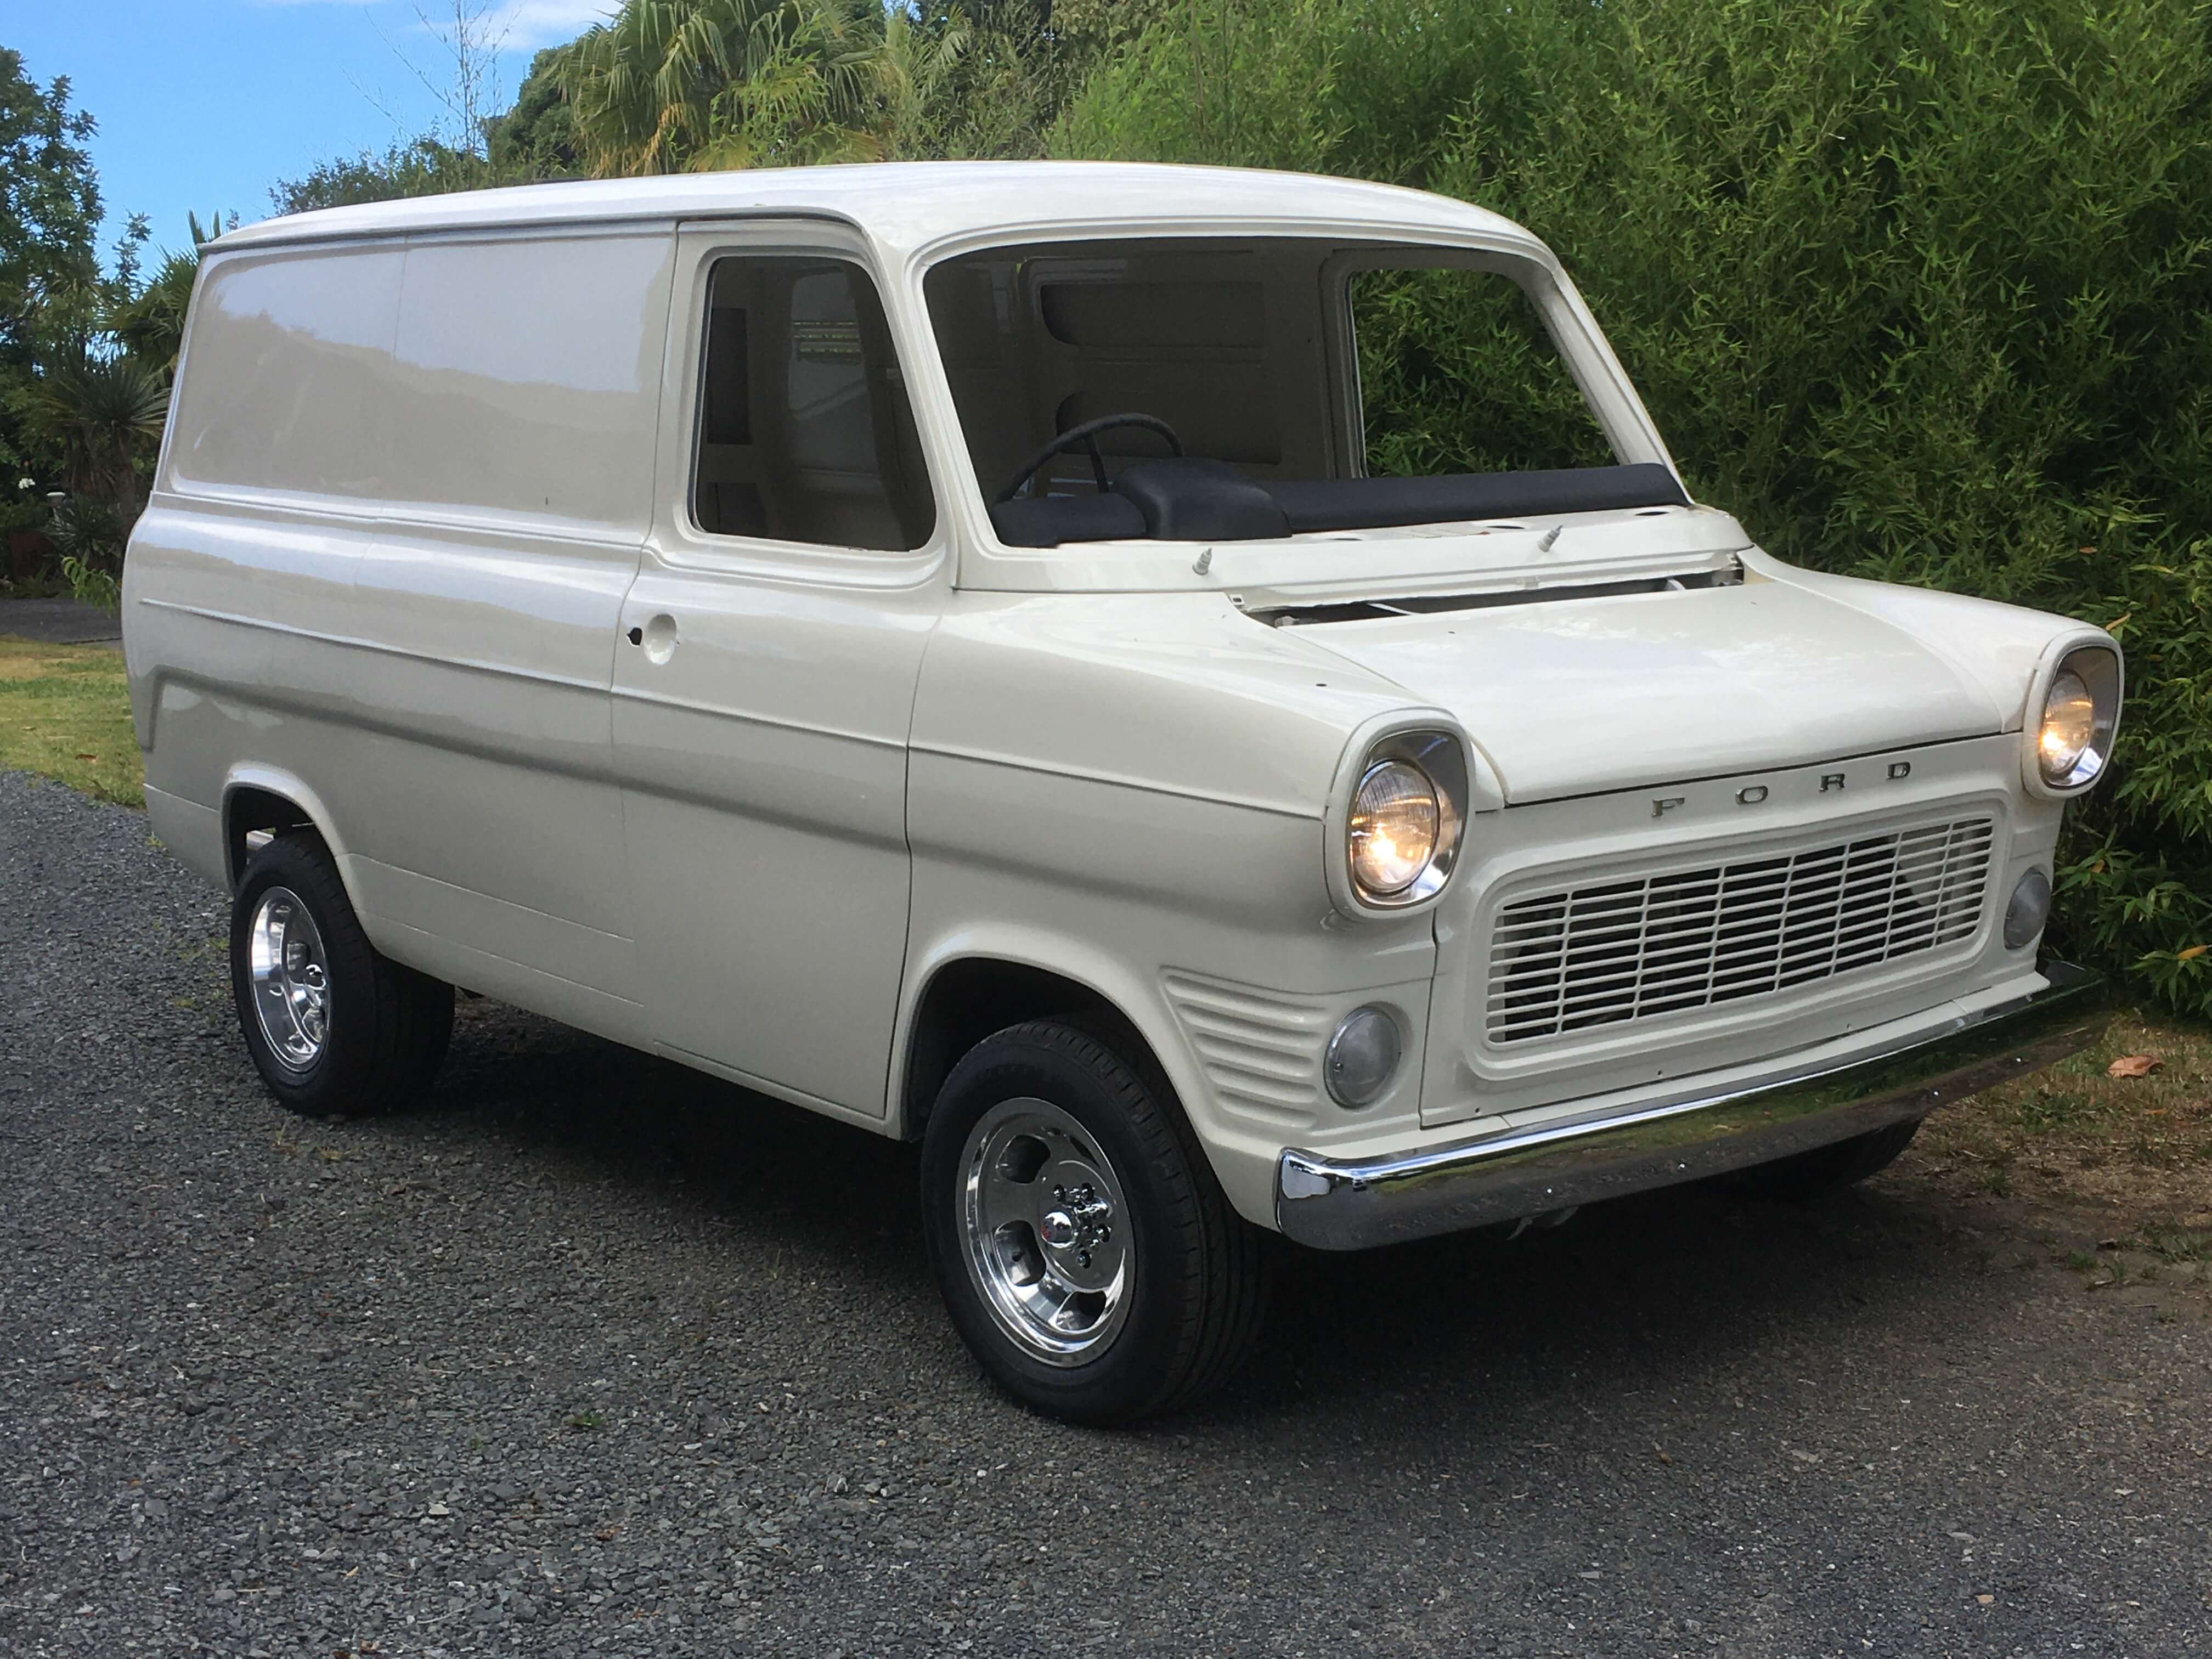
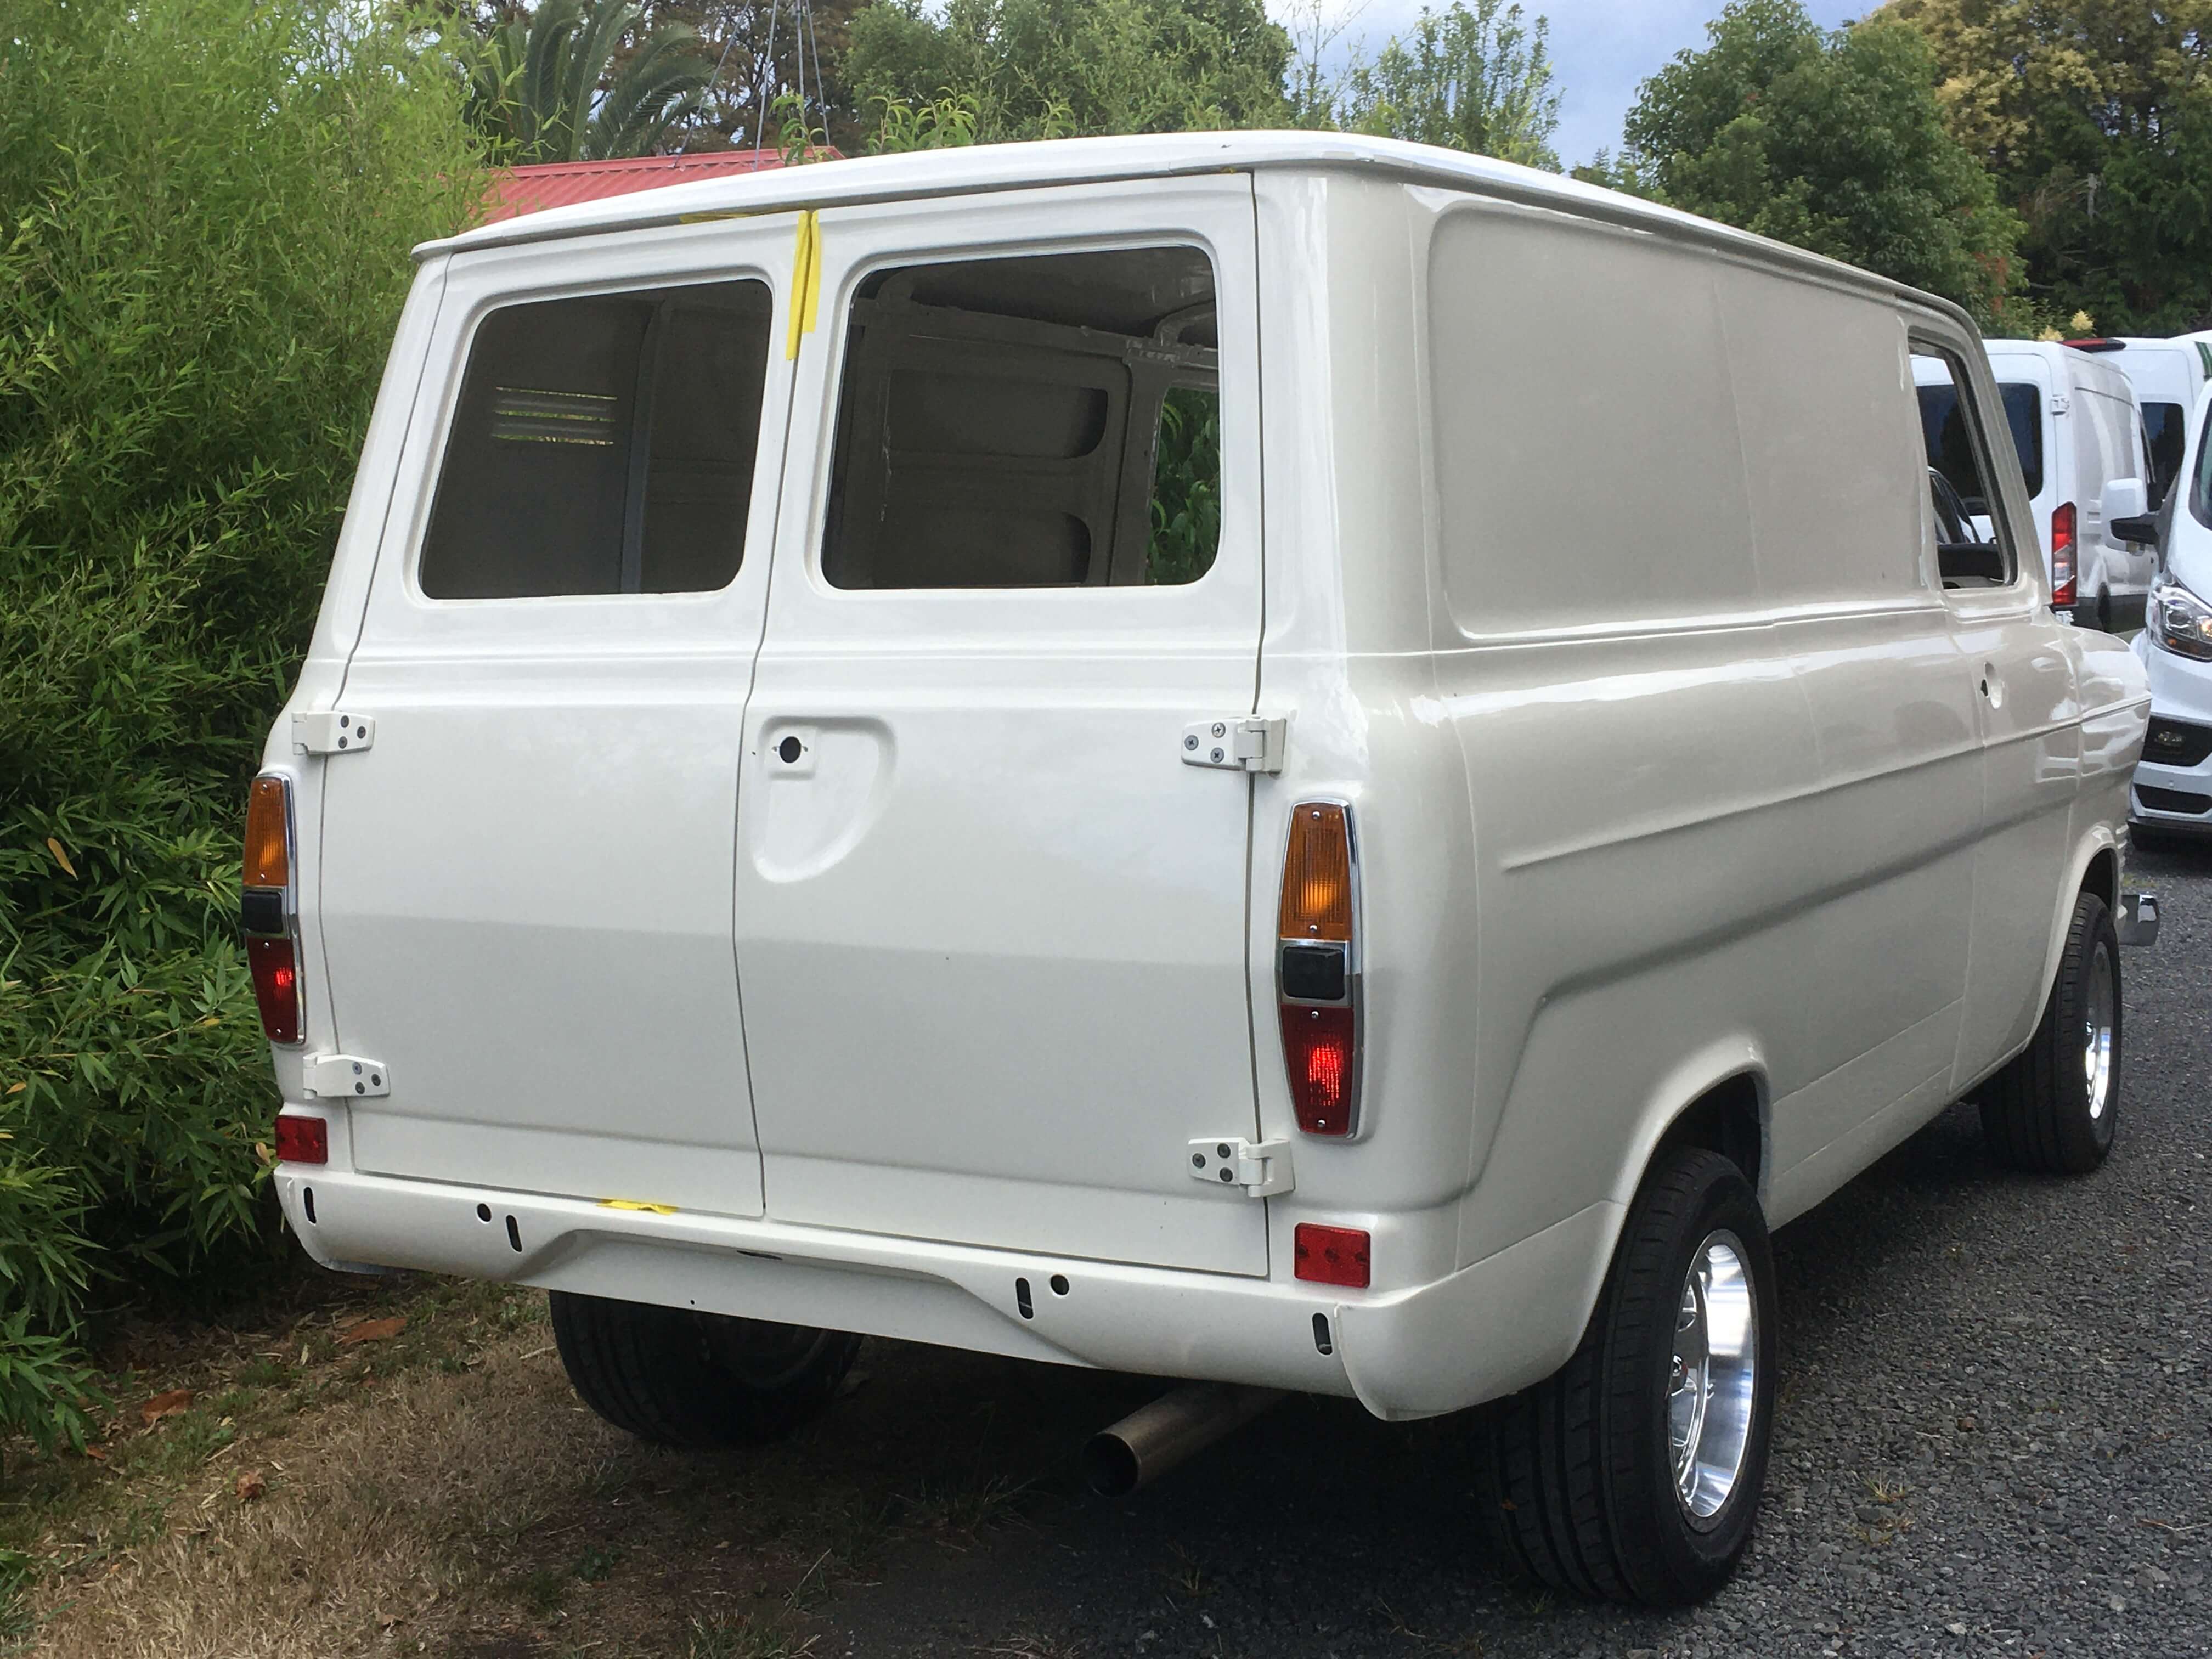
Got the body in primer about 6 weeks ago It then took me all that time to get it up to a reasonable state so that it could then be painted. So then a couple days a go we loaded it up on the trailer (only just fit!) and dragged it into the spray booth at work. Sprayed the base and clearcoat on, it turned out pretty good! A few runs around in places, but nothing that can't be fixed. Pretty stocked really! Could of easily gone wrong haha. Gonna leave it in the booth for a few more days to harden, then take it home and get some underseal on the underside. In the meantime get the rest of the panels ready for some paint too.2 points
-
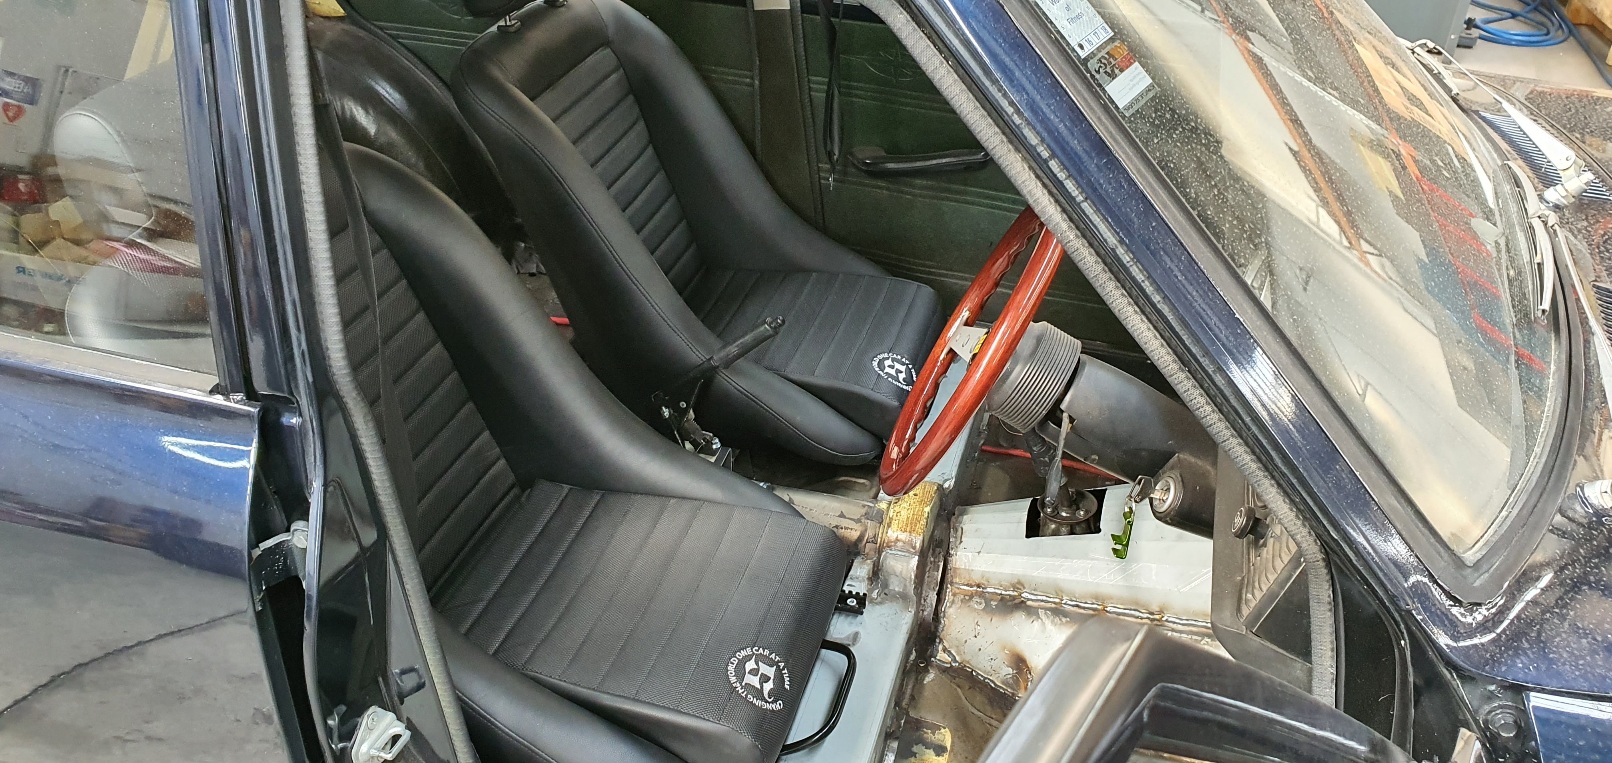
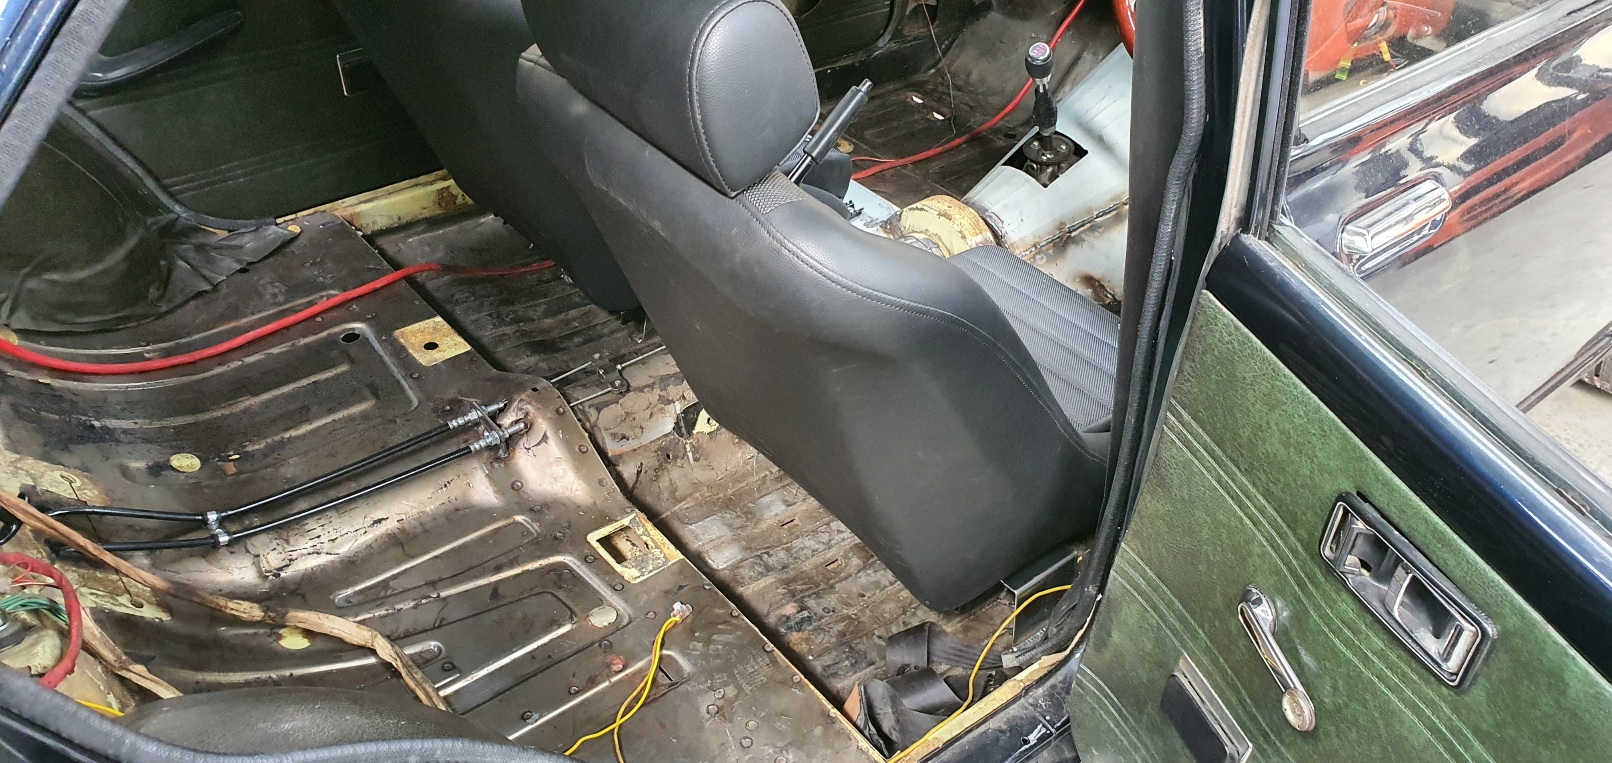
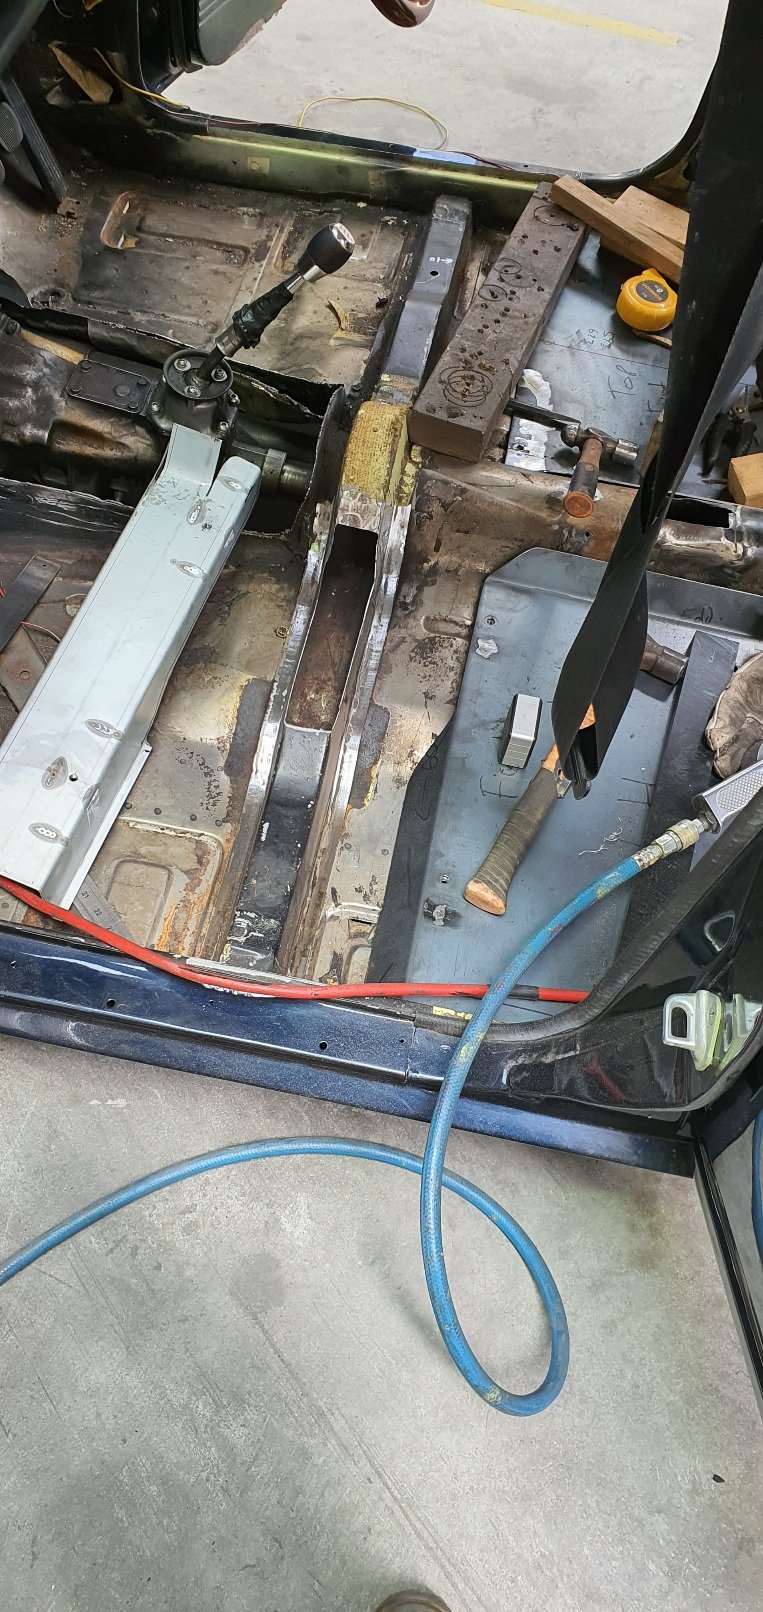
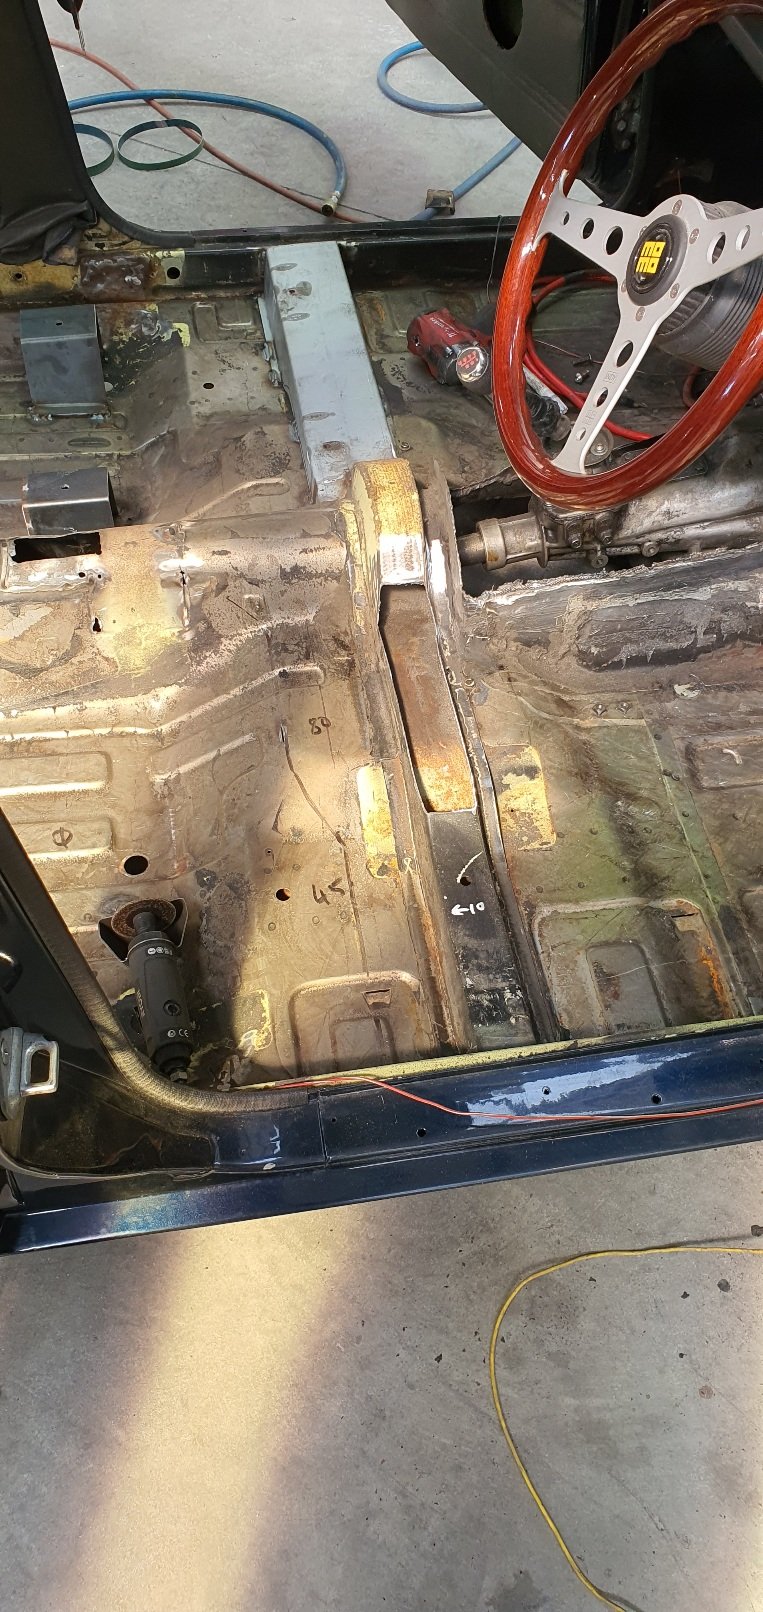
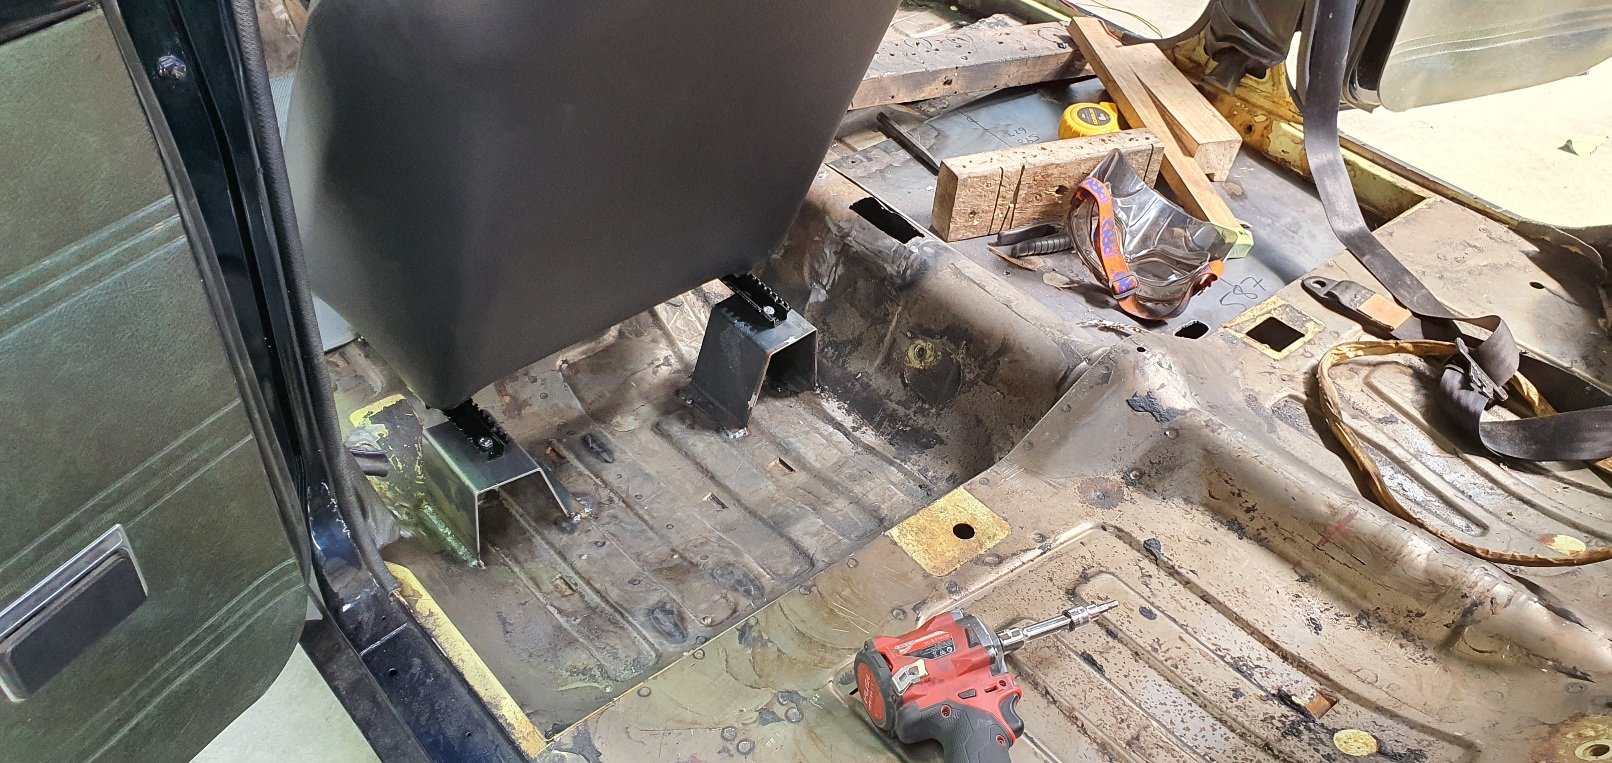
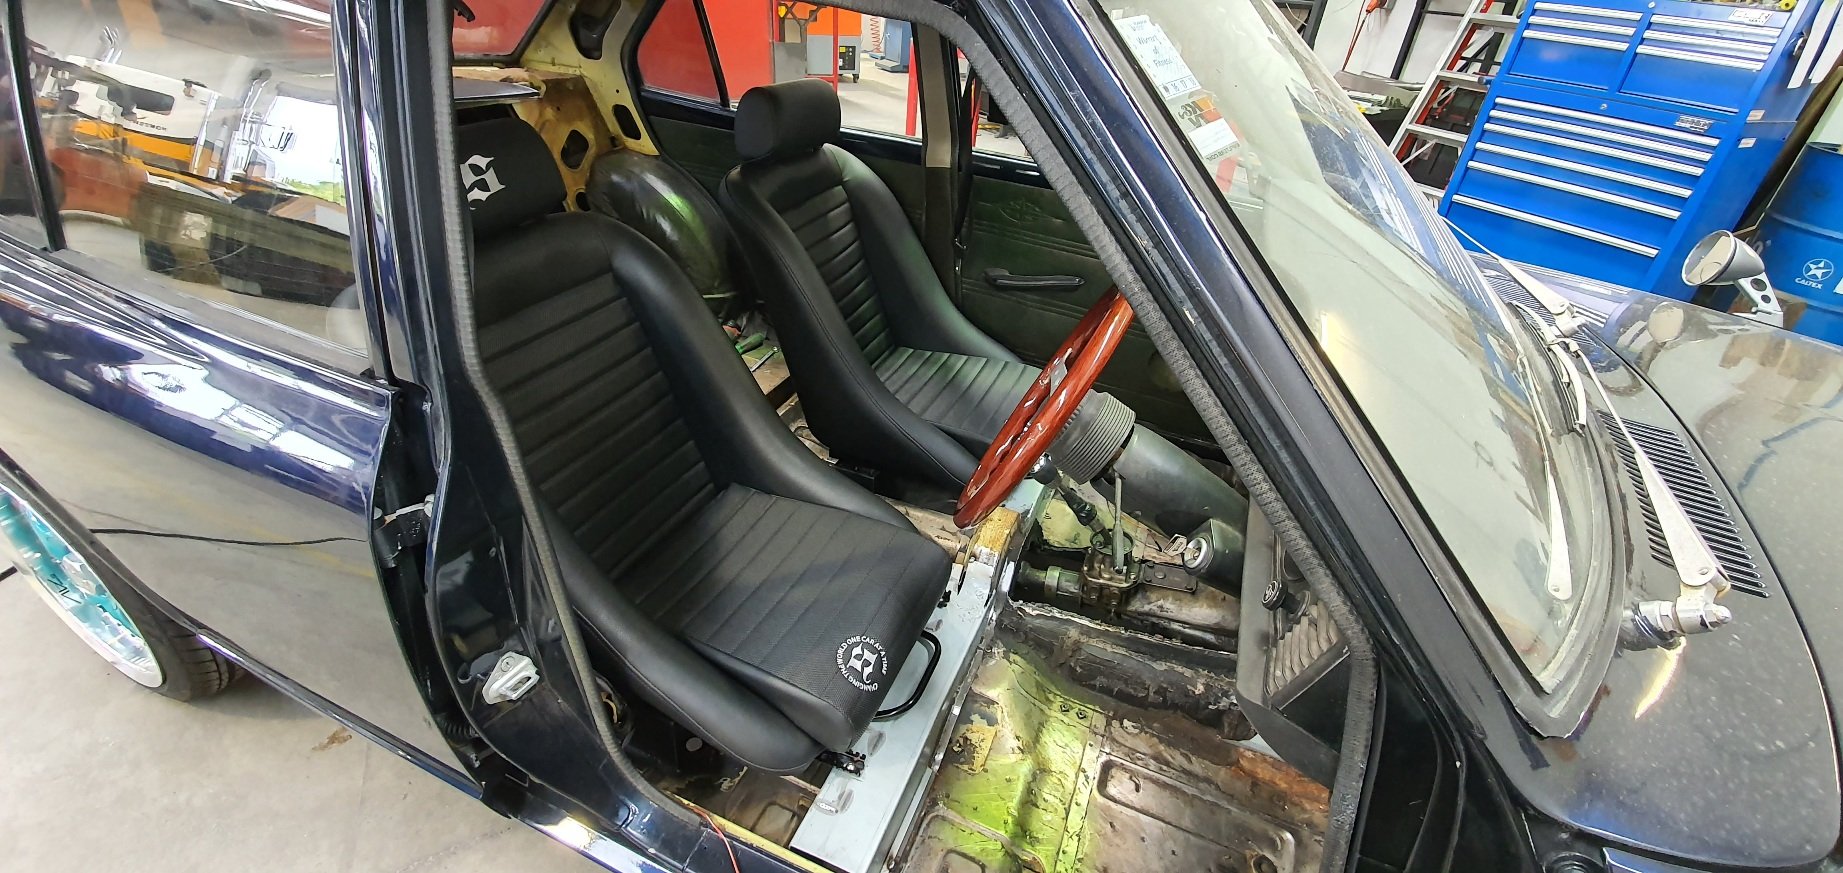
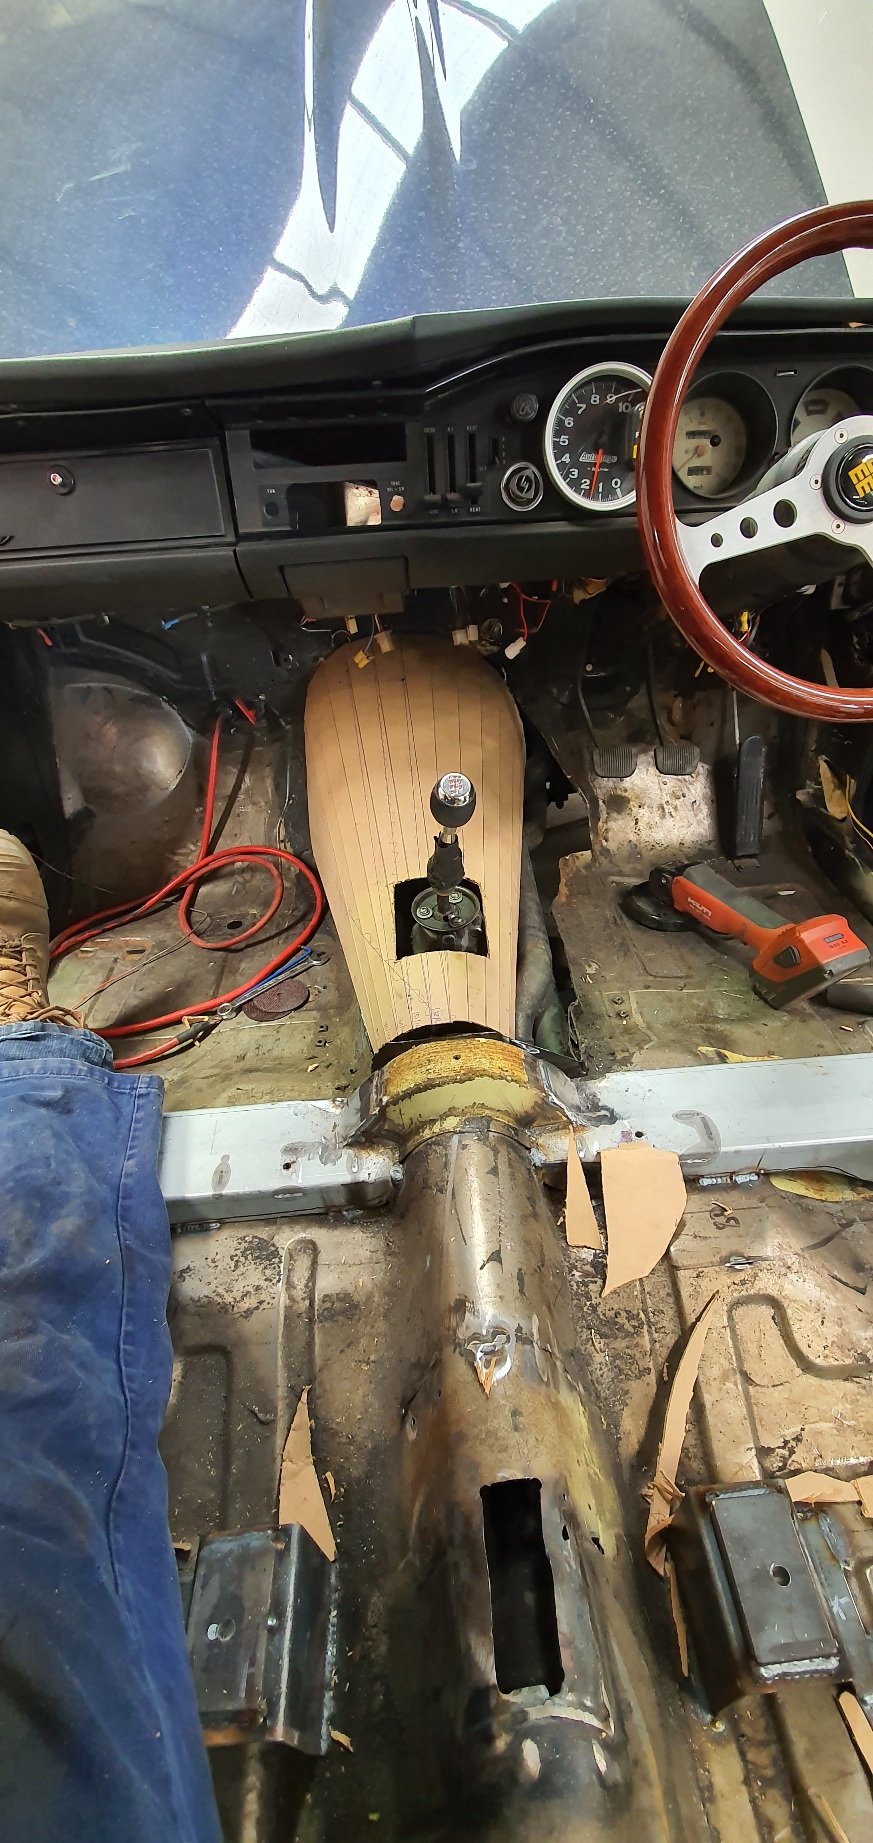
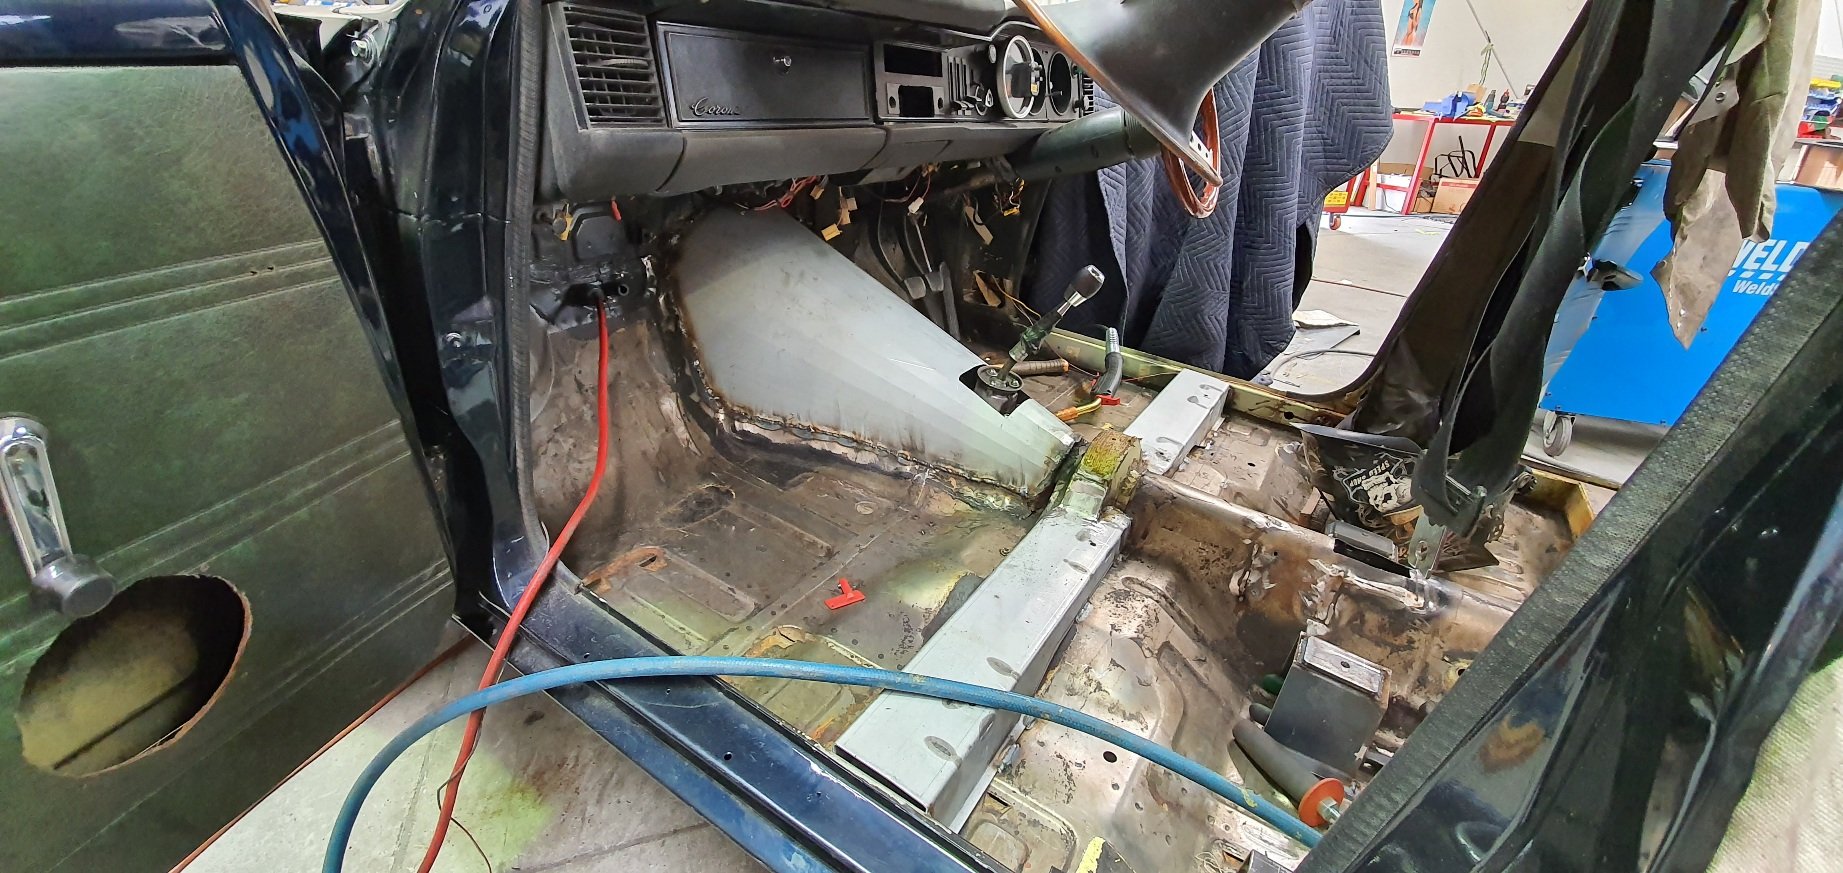
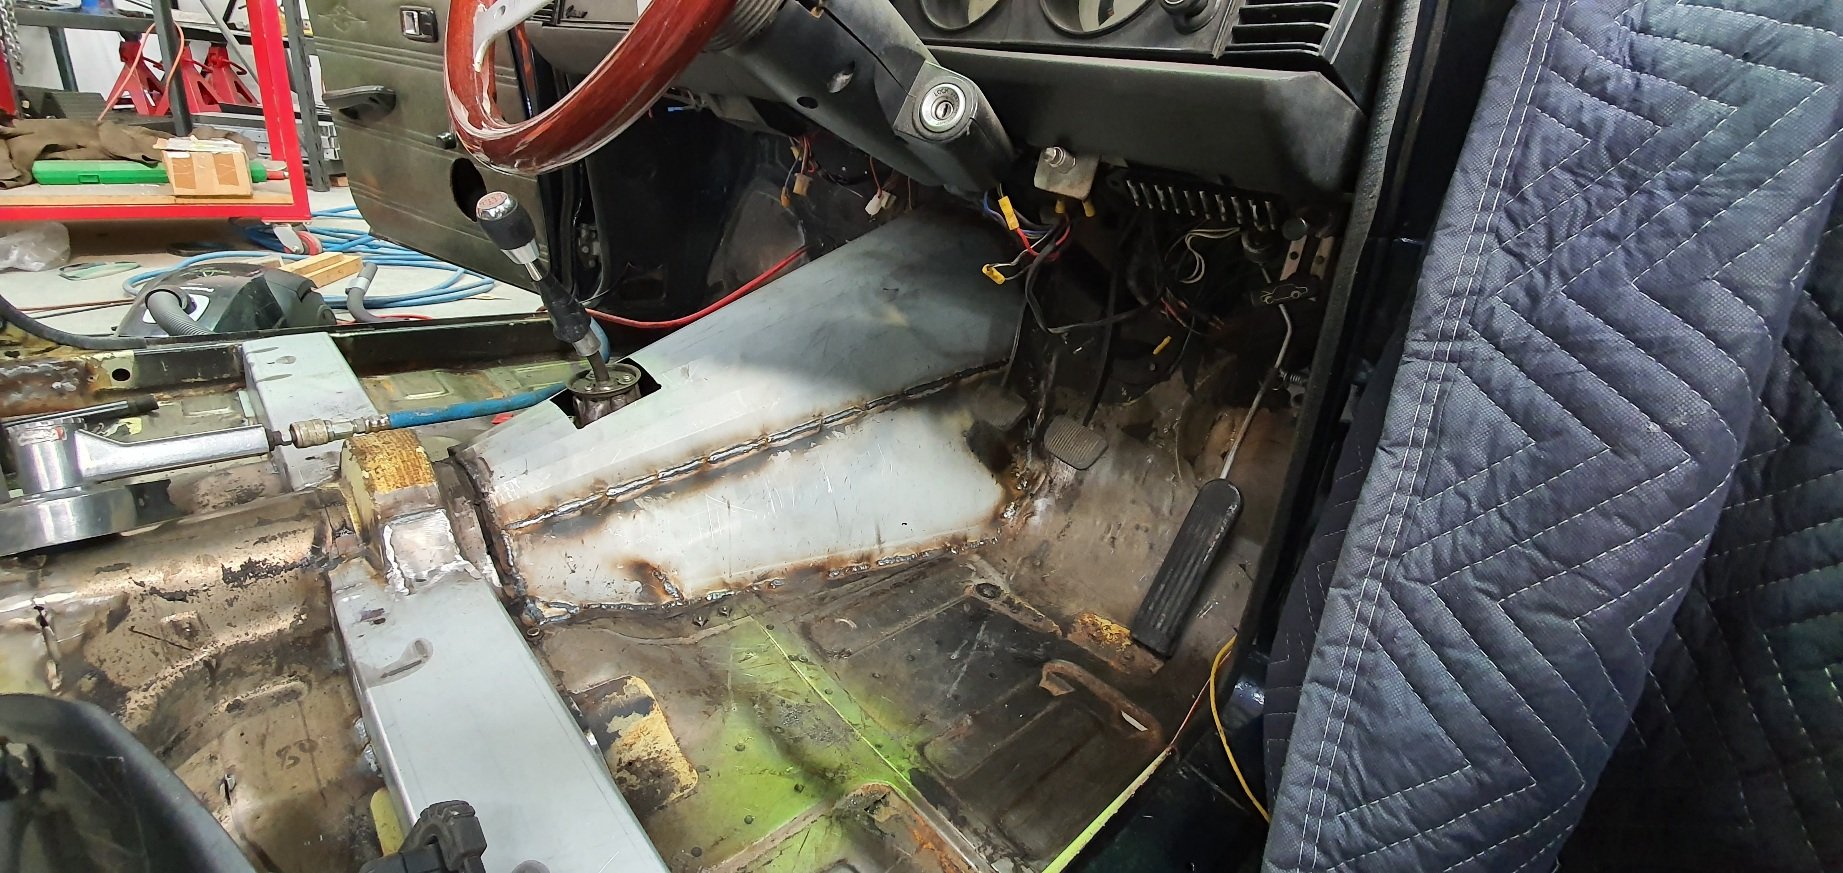
Well after staring at this in the workshop for the last 3 months while we've been massively busy at work and I've been caught up on the weekends entertaining my son I finally managed to get a couple of days to spend on this so I managed to mount my seats and get my tunnel fab'd up. I had to change my plan for the seats as my original design ended up too low and too far back surprisingly. Also the cert man wasn't happy with me removing the stiffer running the width of the car. So, I went back to the drawing board and came with this Then I made up a cardboard gearbox tunnel. And decided I better turn it into steel Happy to have those big jobs ticked off. I do still have to pull the engine and box to weld underneath but the hard work is done for the tunnel fabrication which is great
2 points
-
Managed to get it outside for a wash
2 points
-
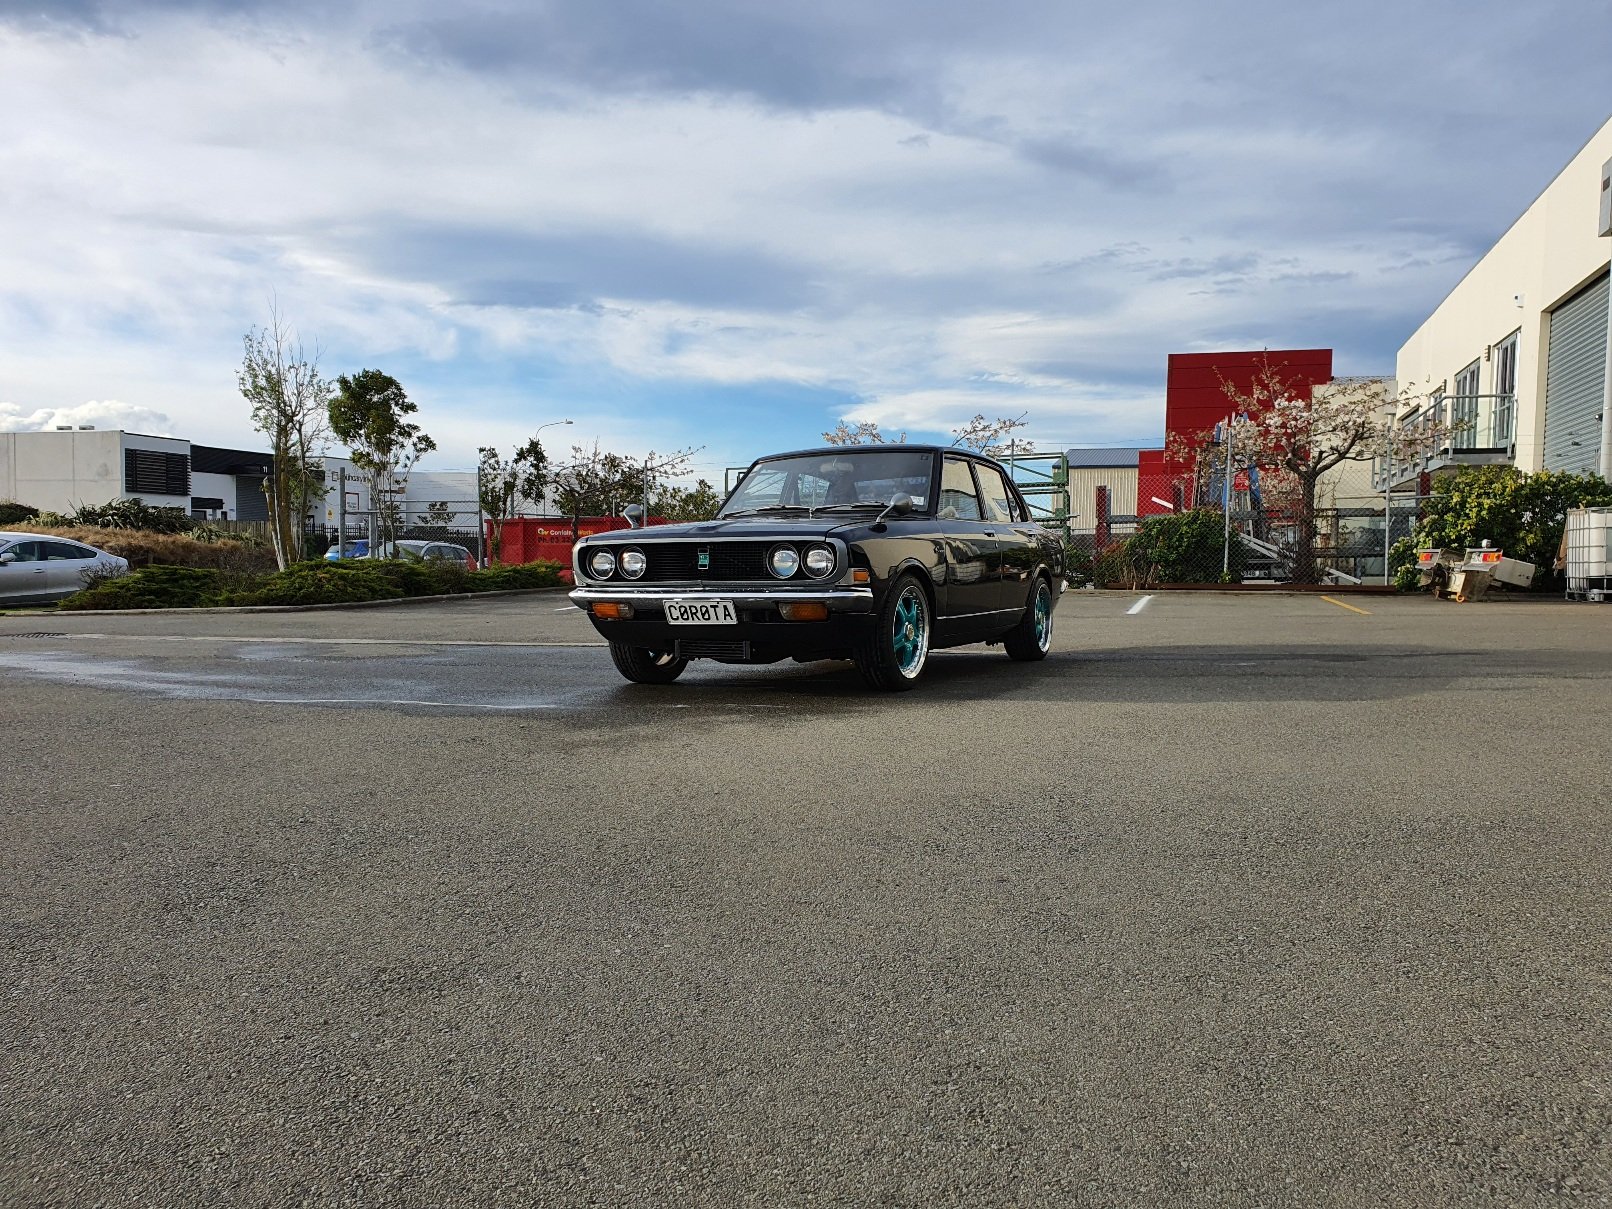
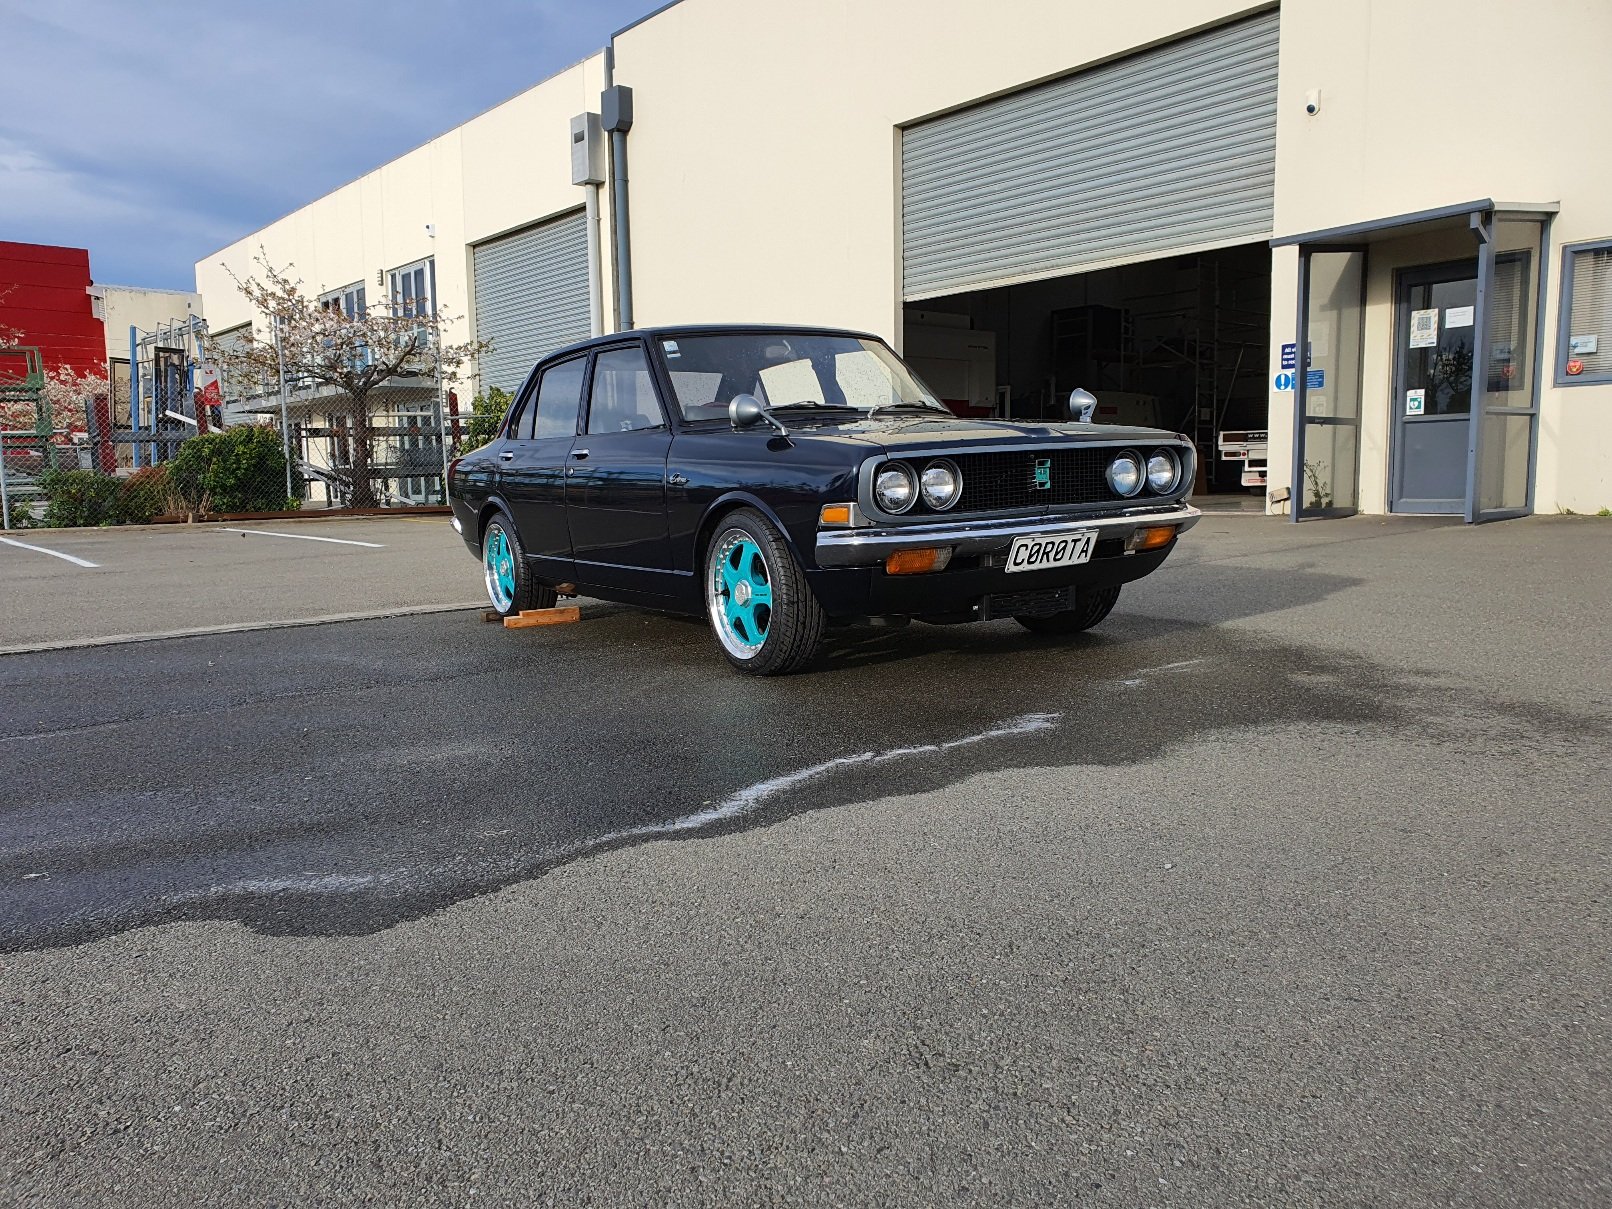
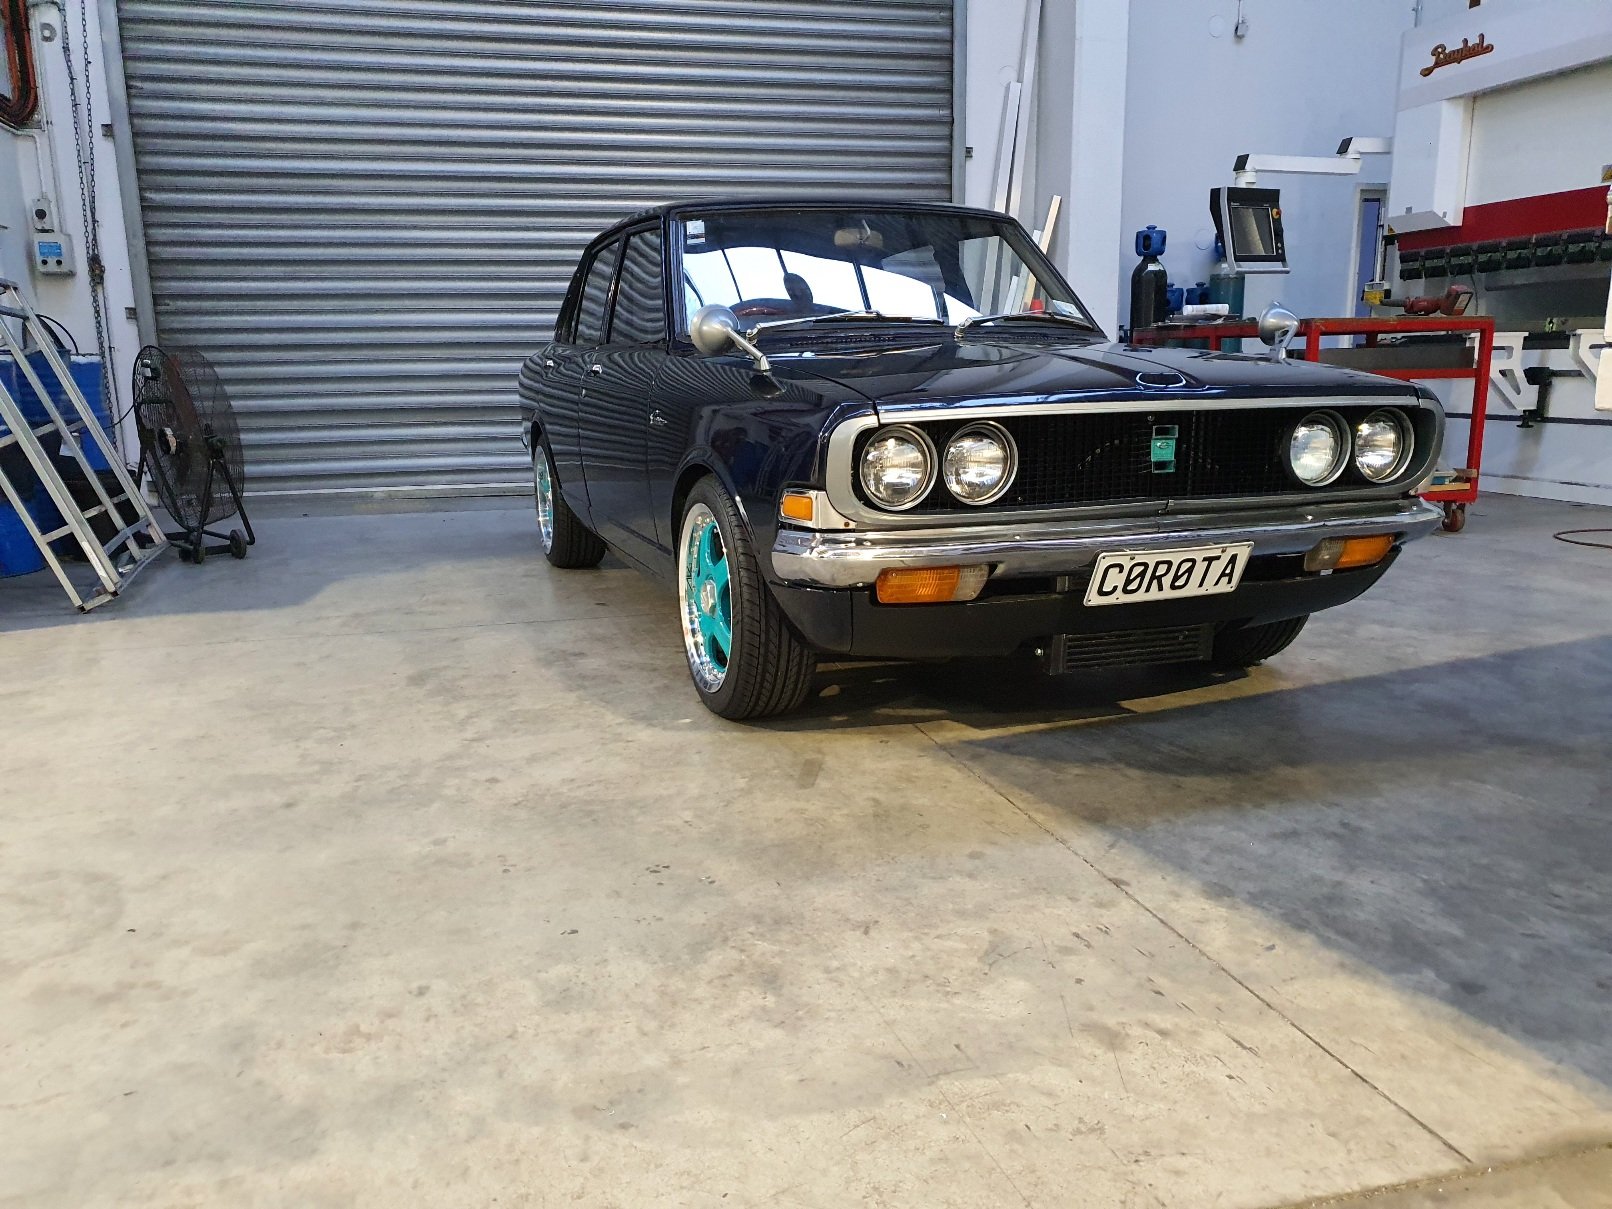
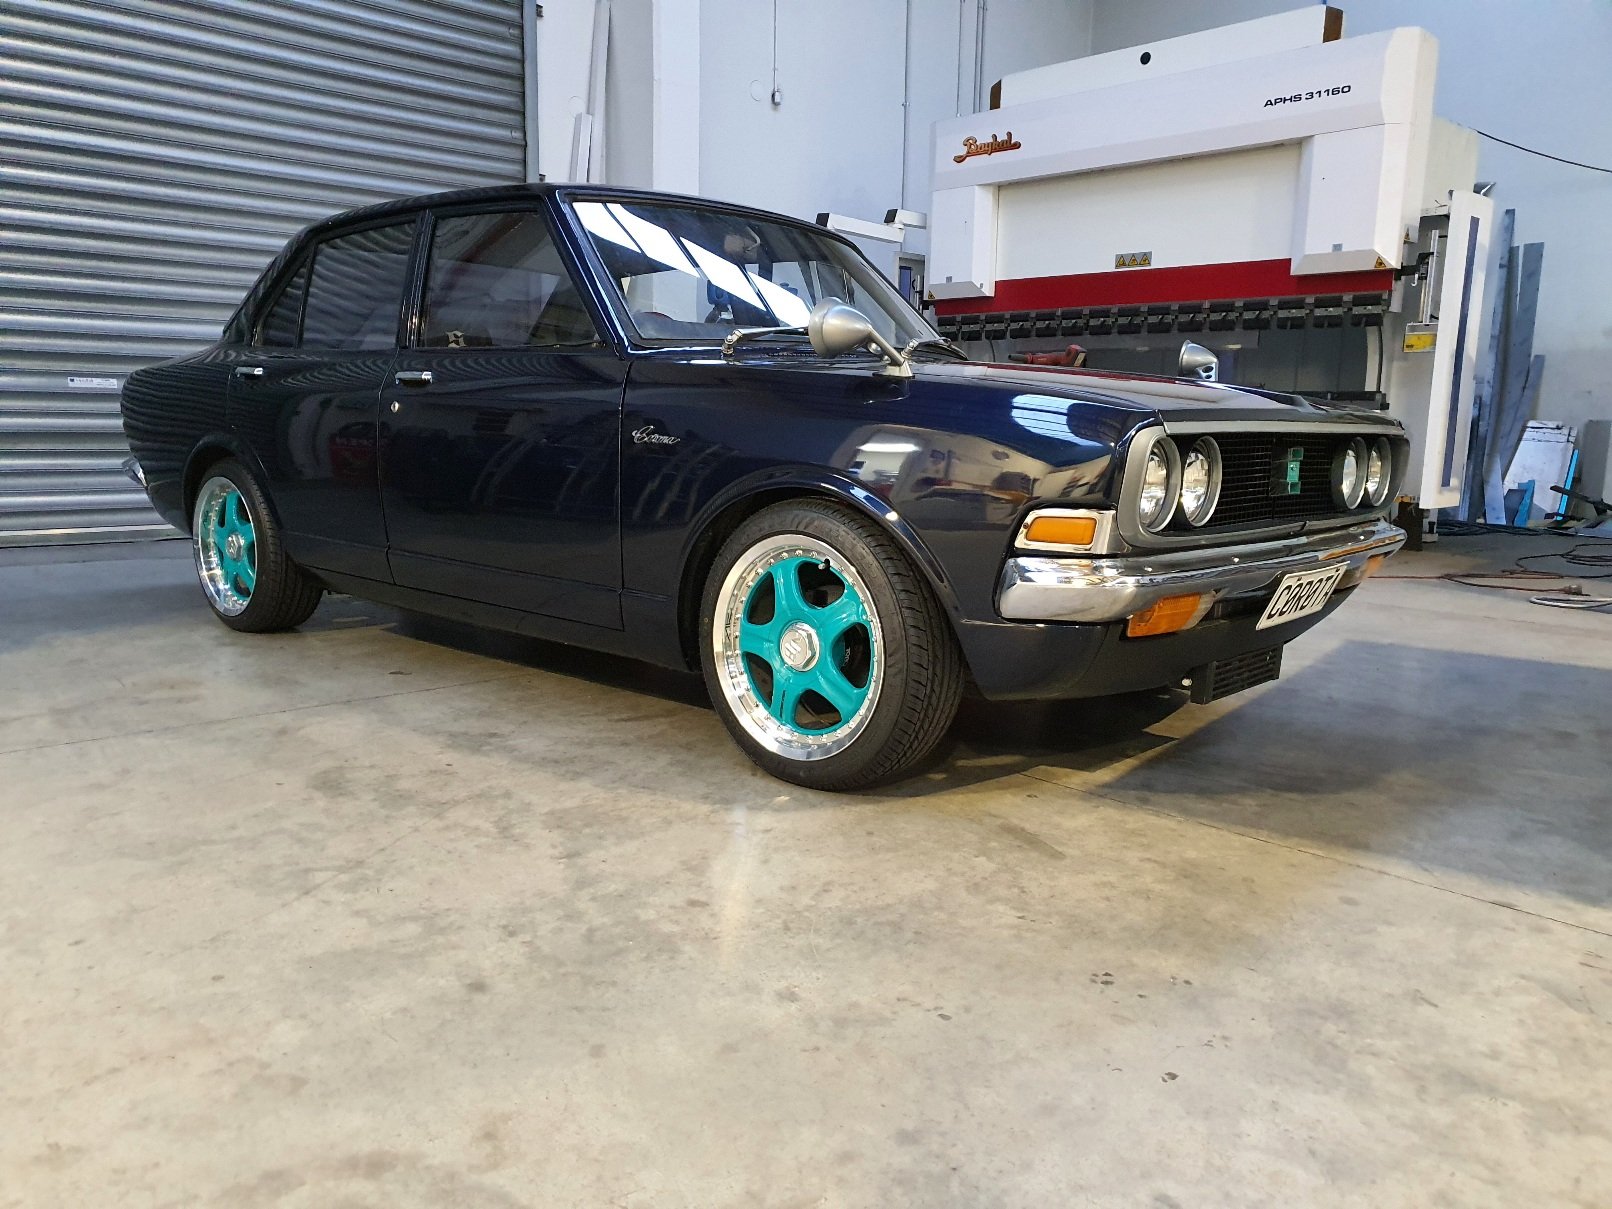
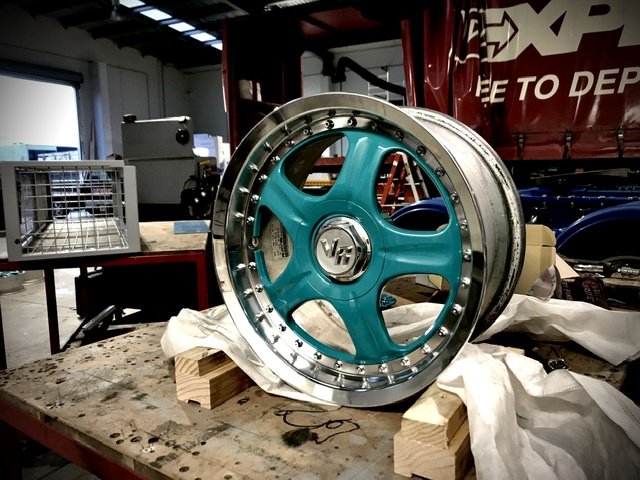
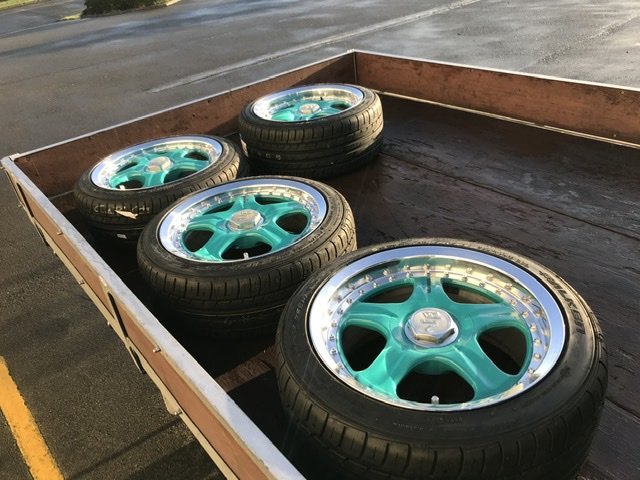
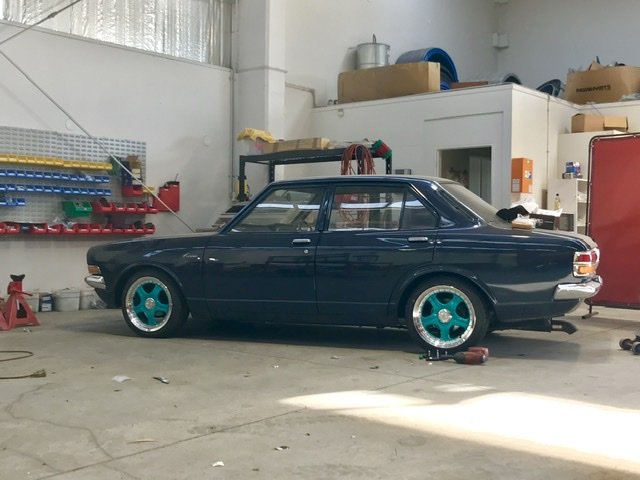
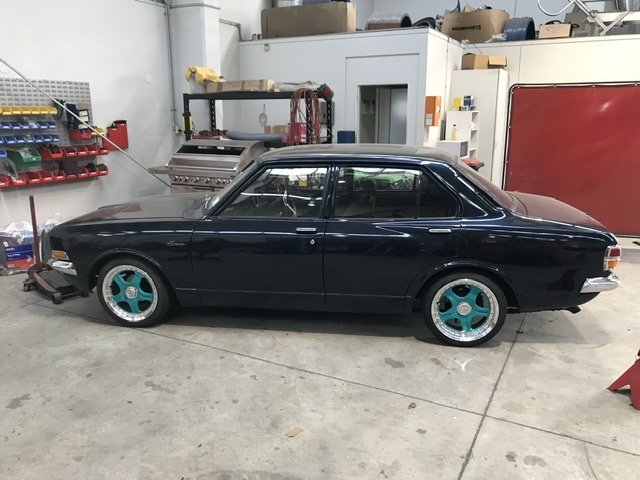
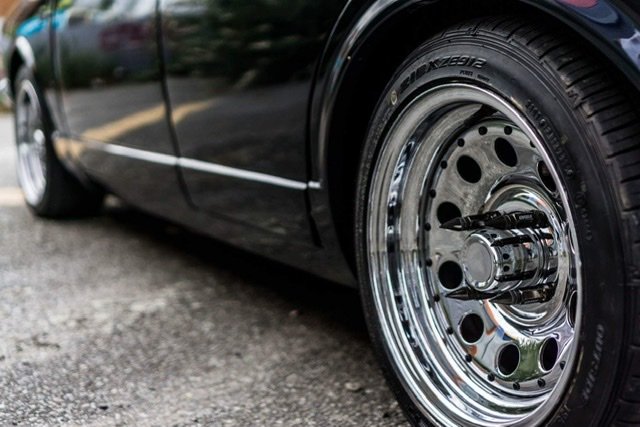
Fuck I’m hesitant to post these photos! I kinda went pretty out the gate on the wheels. I wanted something different and I thought the japs used to have pretty crazy wheel colours back in the days. So I present to you my new wheel set up. This sure as hell won’t be for everyone but I’m really liking it. Please keep in mind the cars getting dropped significantly, I got the wrong size rear tyres so they’re being changed and also my spacers haven’t arrived yet. Anyway, I’d love to hear people’s honest feedback......... Again, discussion here:
2 points
-
couple more pics for fun had the old scuttle sandblasted. Lucky it wasn't going back on RH door is kooked. Panelman said he could fix it but it'd be a fuckaround. LH door is spotless. In fact I've never seen a starion door rot out at the top like that Donor door has a tiny ding in it but is otherwise perfect. I have an entire unused container of bog (starion strength) which I have lost the hardener for, I'm disproportionally upset about this EDIT: found the hardener, score! My offspring attempting to torch the project. This guy is also the reason the brake pins went missing and I only found them days later when I turned the dryer on
2 points
-
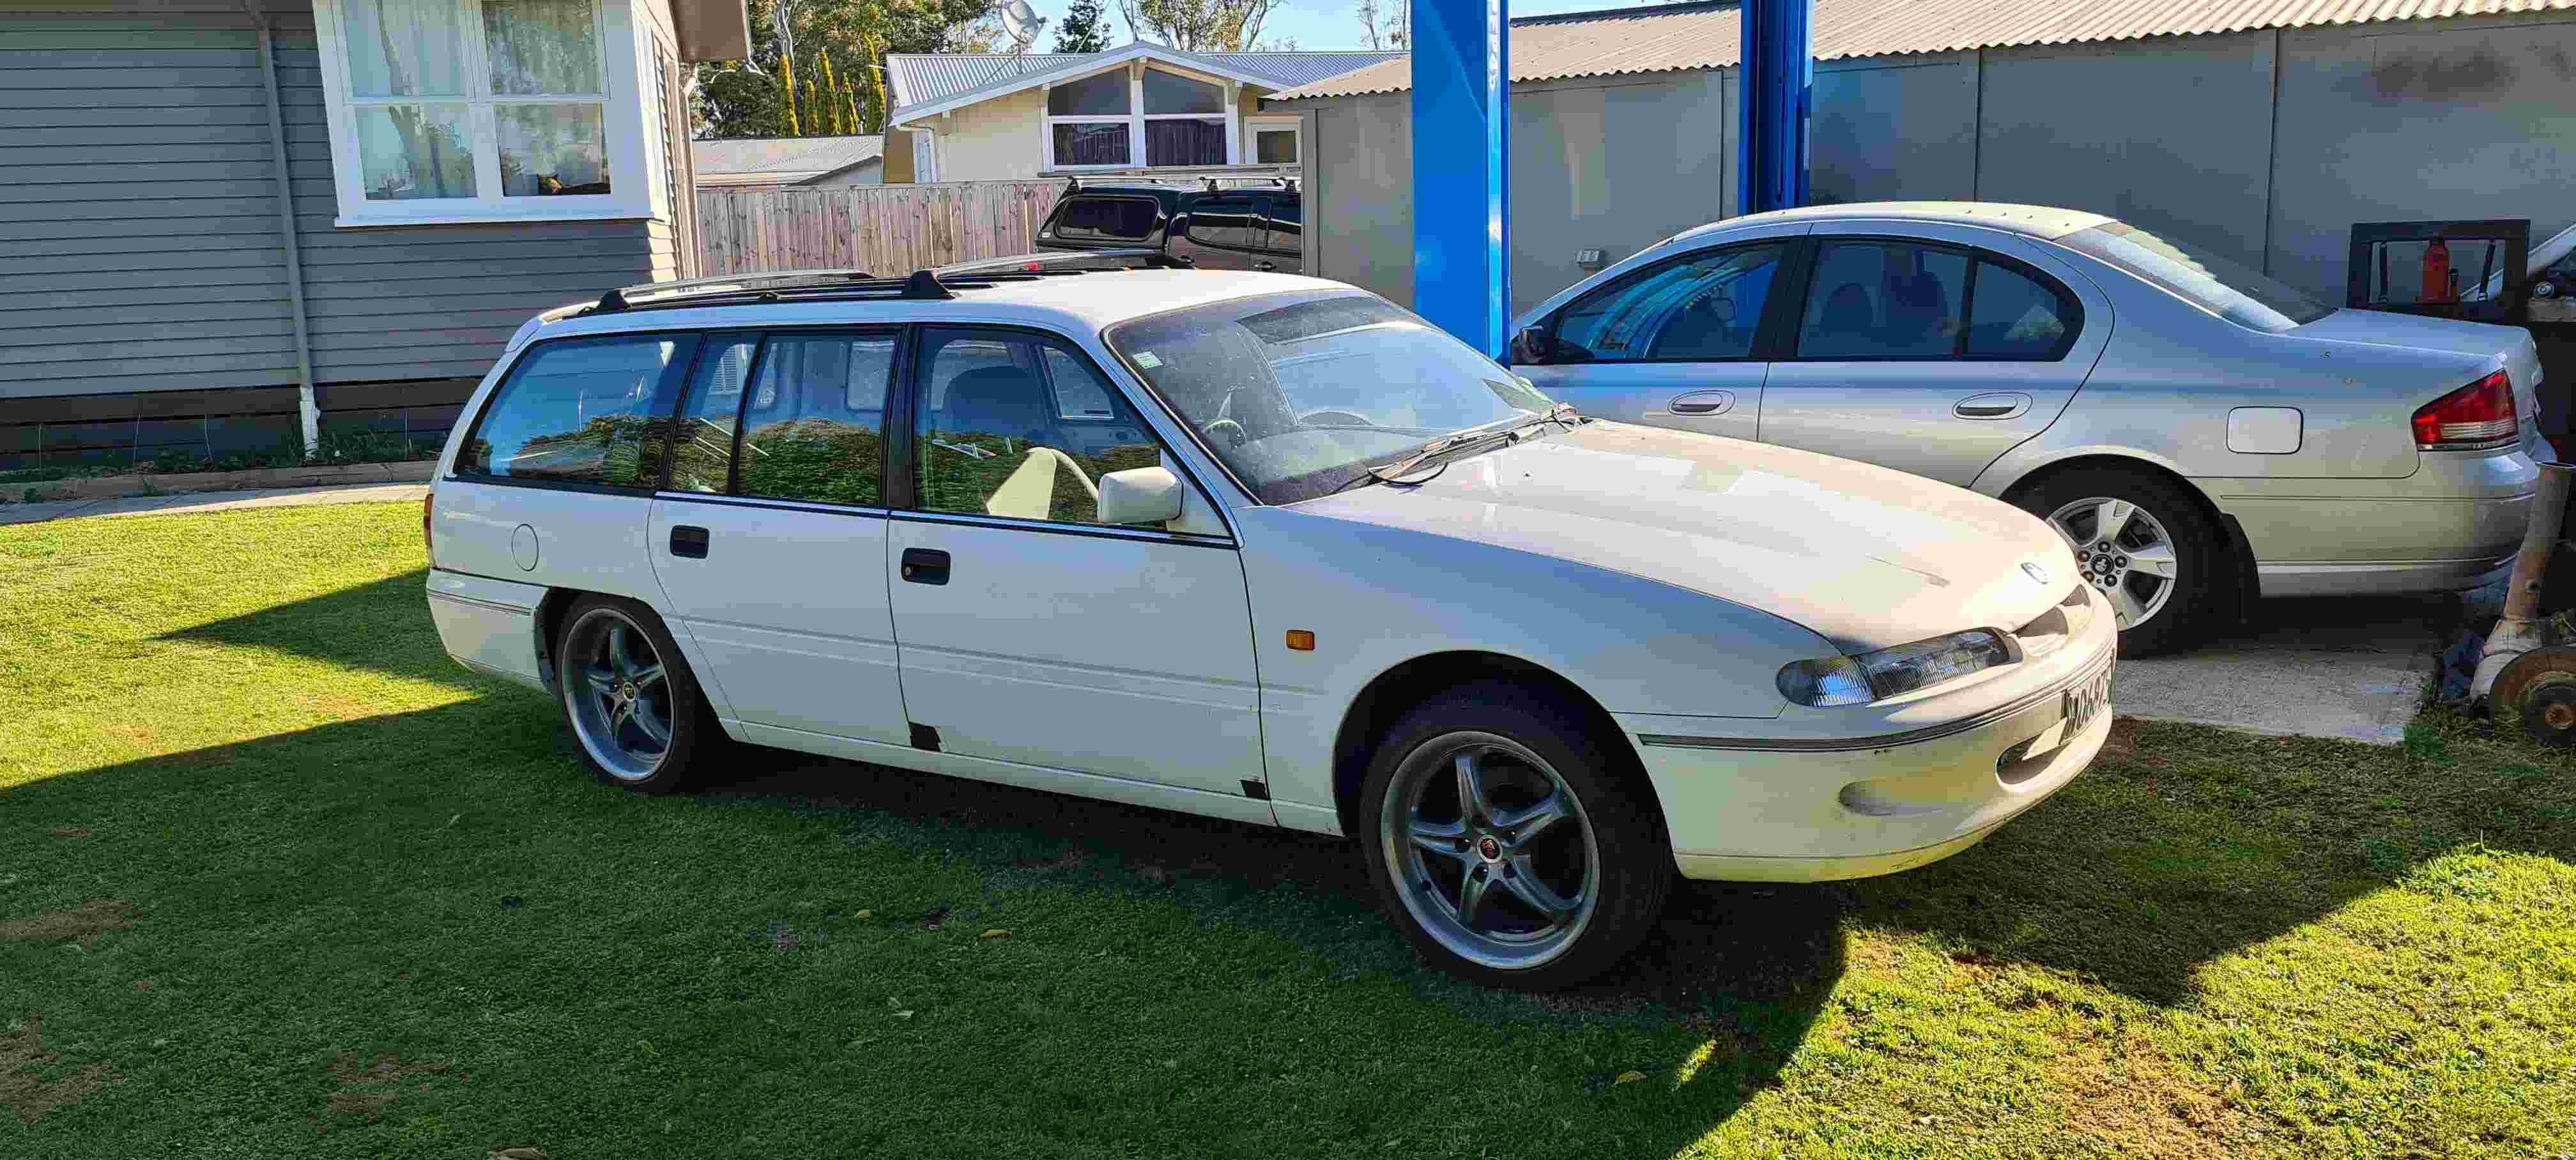
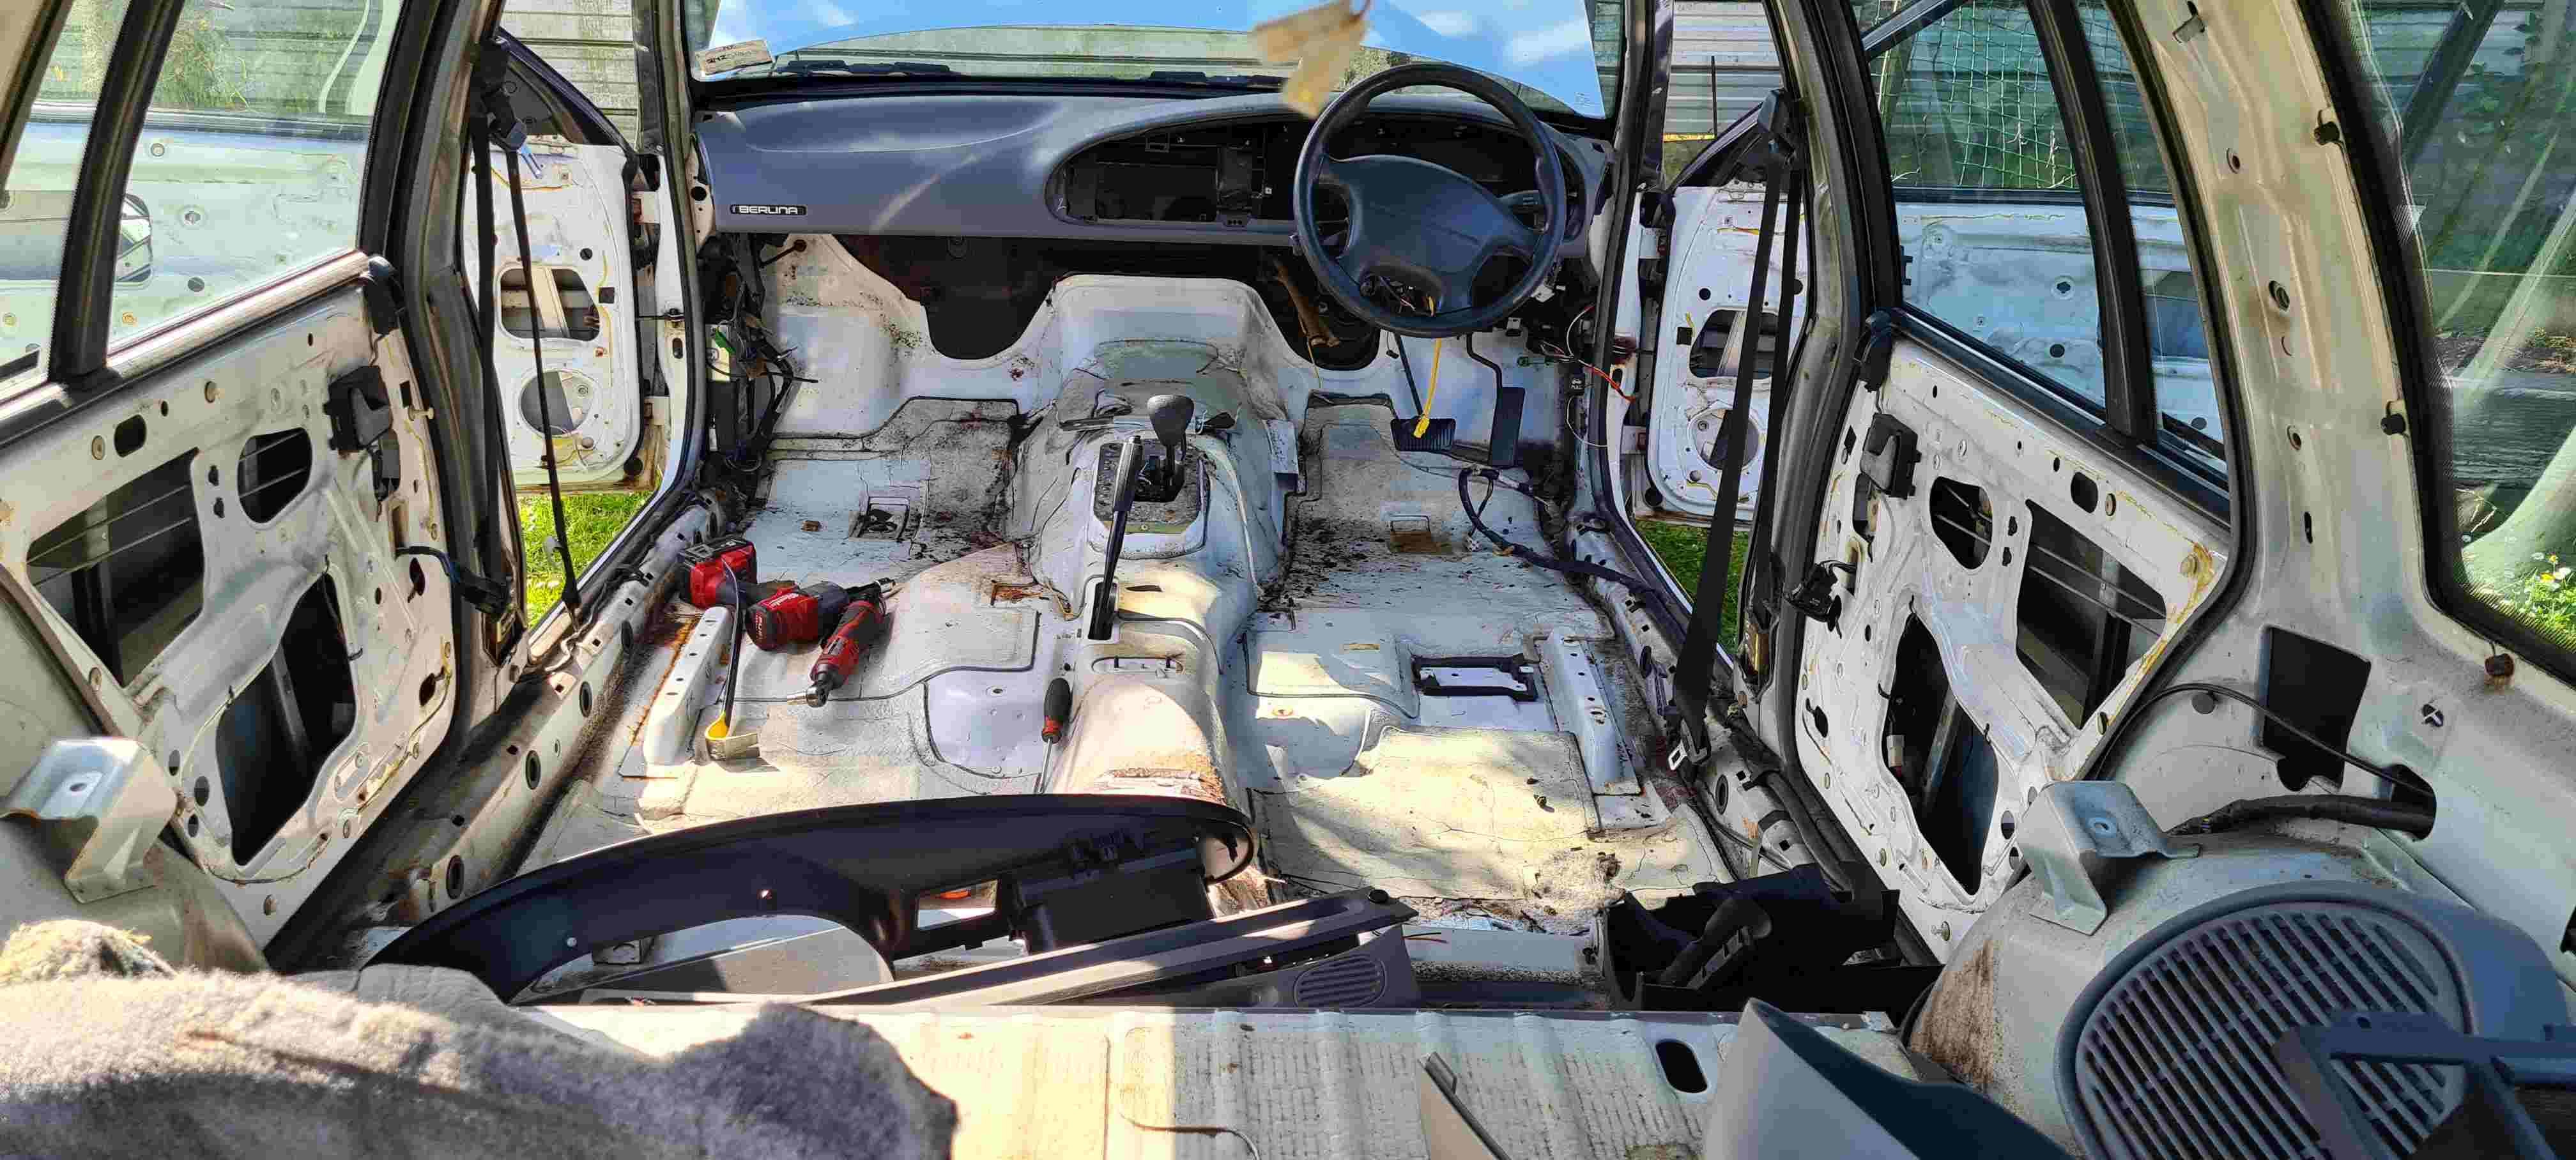
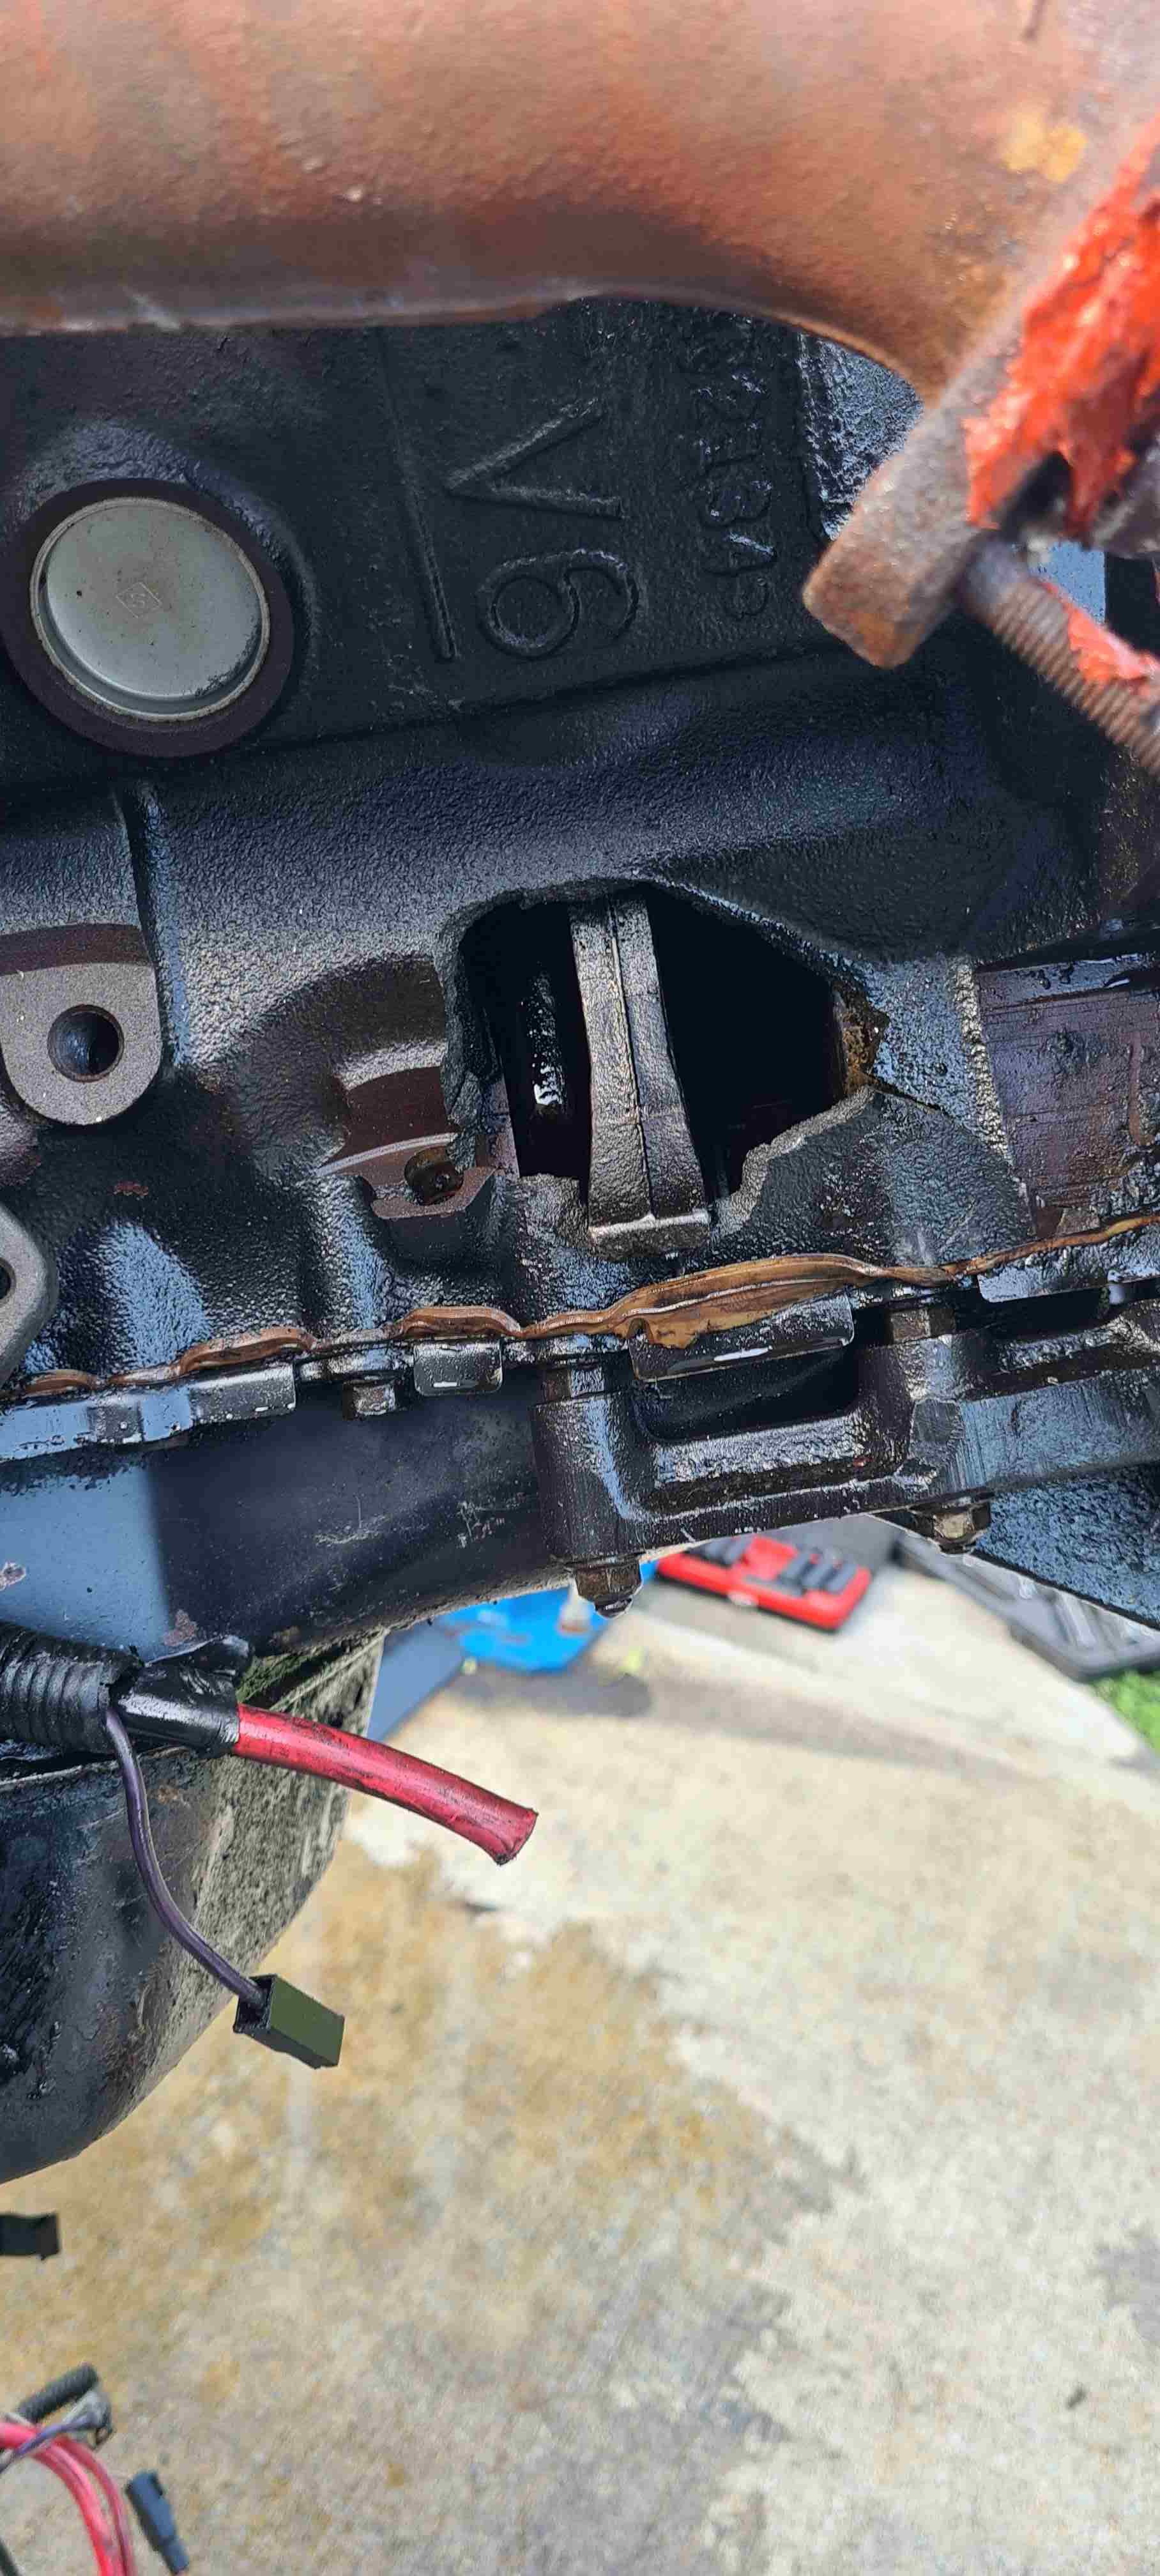
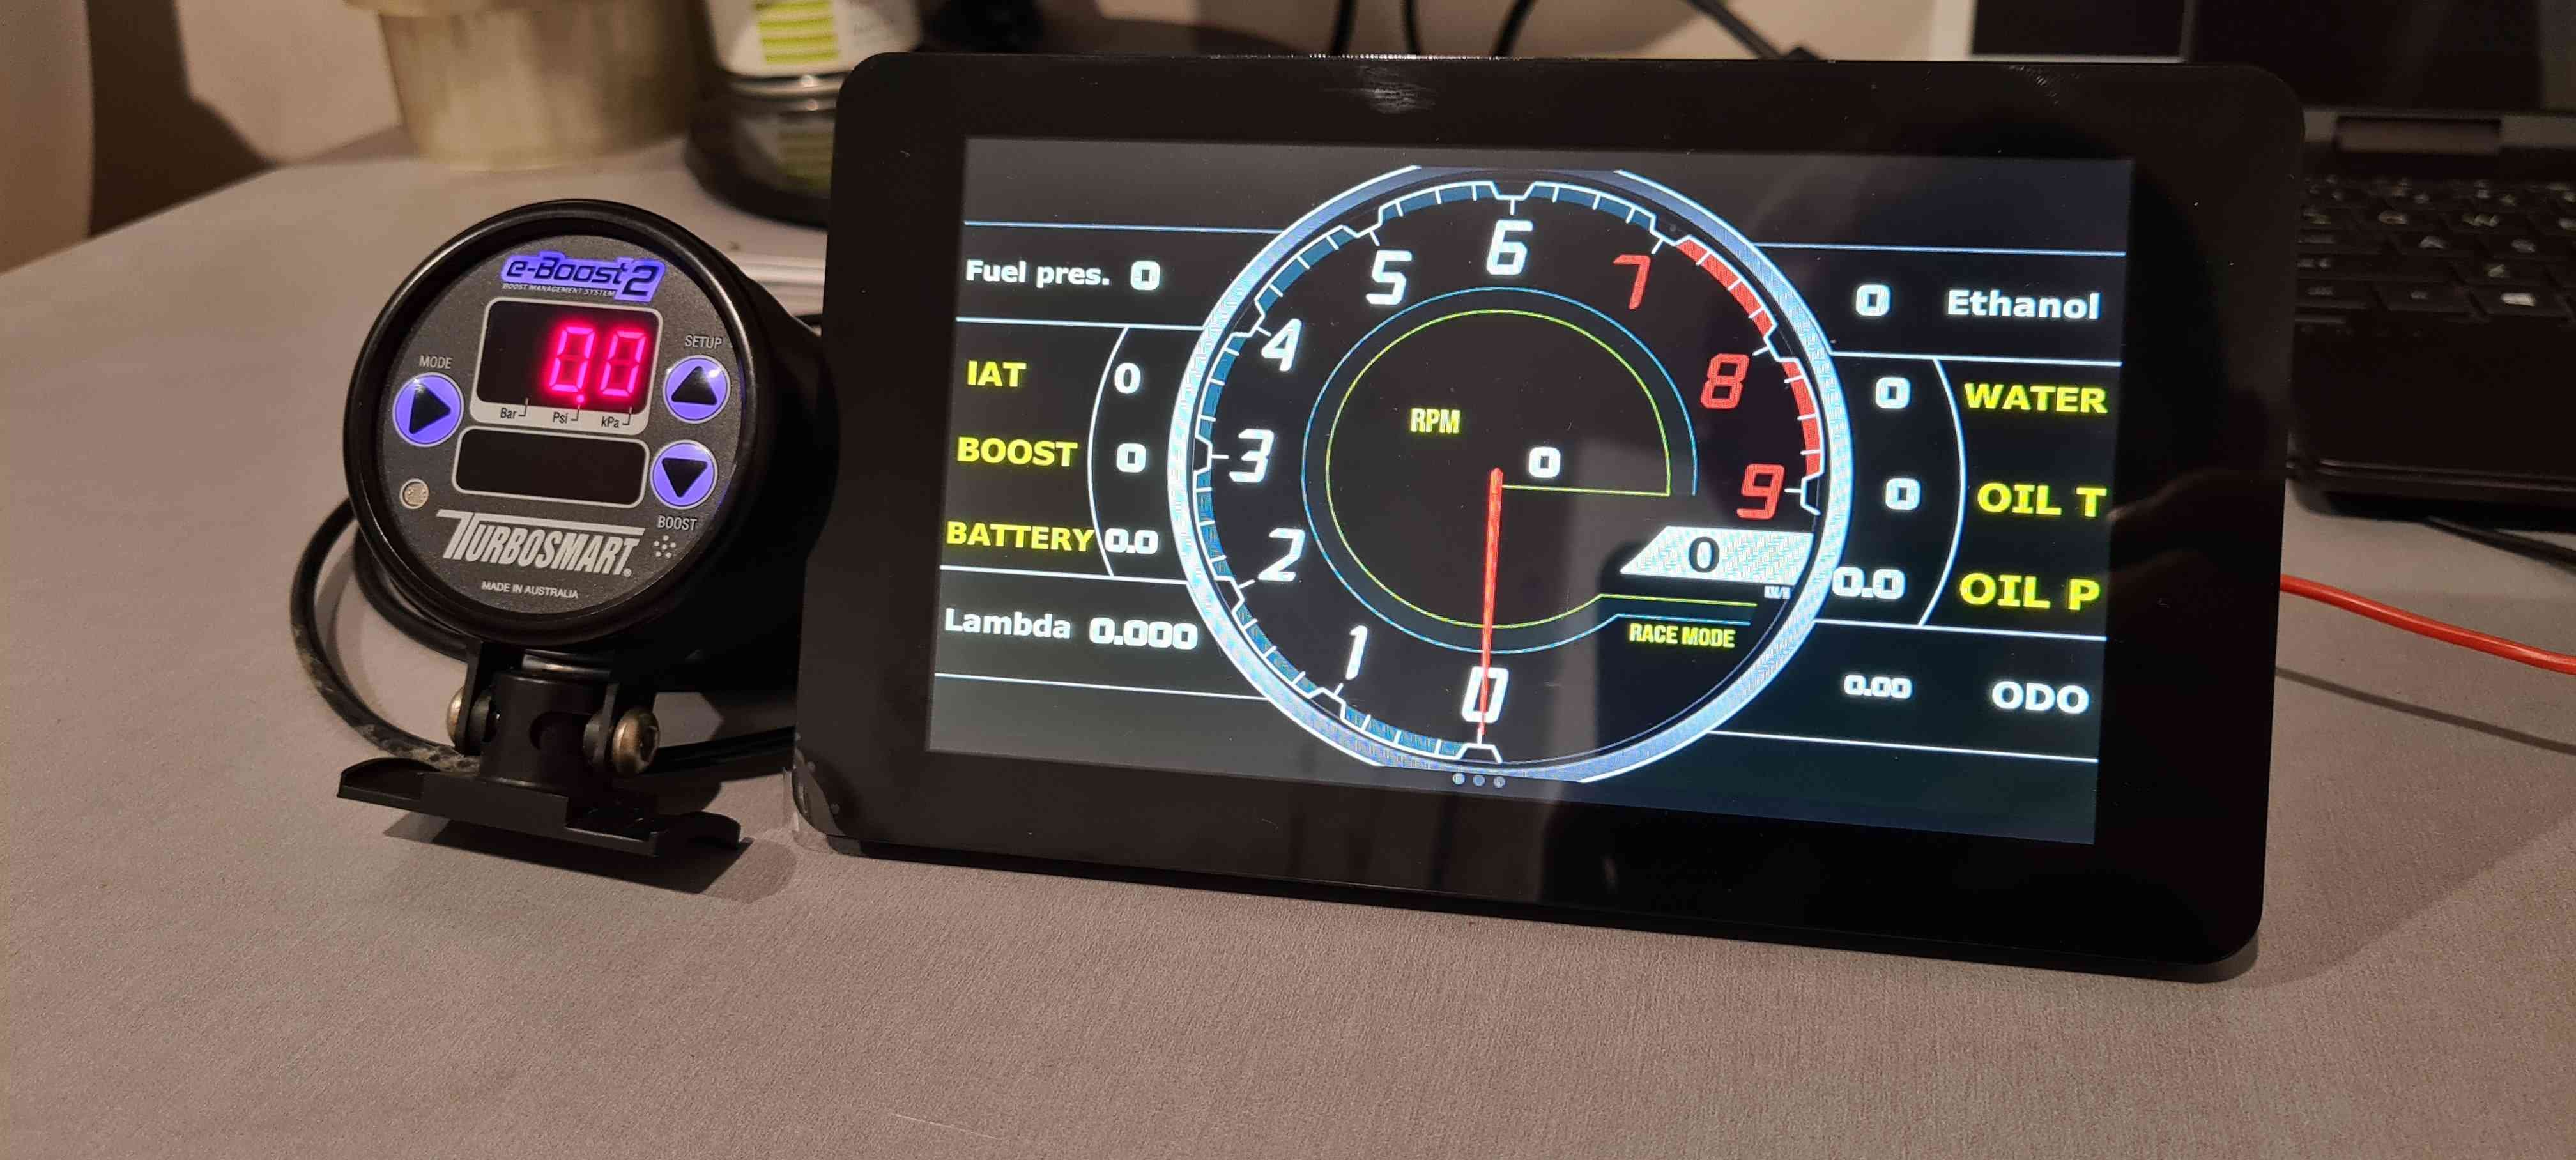
Time to chuck up a post about my latest project since iv just started pulling apart the donor car, starting with 1 VR commodore wagon the old 3.8s rod came knocking and put a window in the block. Iv stripped the interior of that, to make way for a 6 point sfi cage and rear tubs to the rails to accommodate wider rubber and a parallel 4 link 9", to be commenced early/mid 2021, Now the fun part the bf falcon some of you may know from such shenanigans as palmy/fielding 2020 swapmeet is giving up its engine for the repower to be backed up by a th400, now let's see what the stocker na can do with an FG xr6 gt3576 strapped to the side of it. Already got some goodies a powertune digi dash to run off the factory ford pcm and eventually the link g4 when it goes full send, also picked up an e boost2 to keep the boost pixies under control. Plan is to make it fully street legal and be able to swap wheels and tyres and go full send on the drag strip/power cruise and chrome.
1 point
-
Yeah, zero customer service and pretty poor information. I'm not 100% sure what I've got. But still believe that this is an easier way to go, given i have nothing to begin with, so I'm kind of painting a picture of something I've never seen if you get what I mean. I've got all the layout sorted,cknow where each wire goes. Just waiting on parts to arrive. But a little bit of knowledge can be a dangerous thing, so very happy to receive any advice or warnings thanks.1 point
-
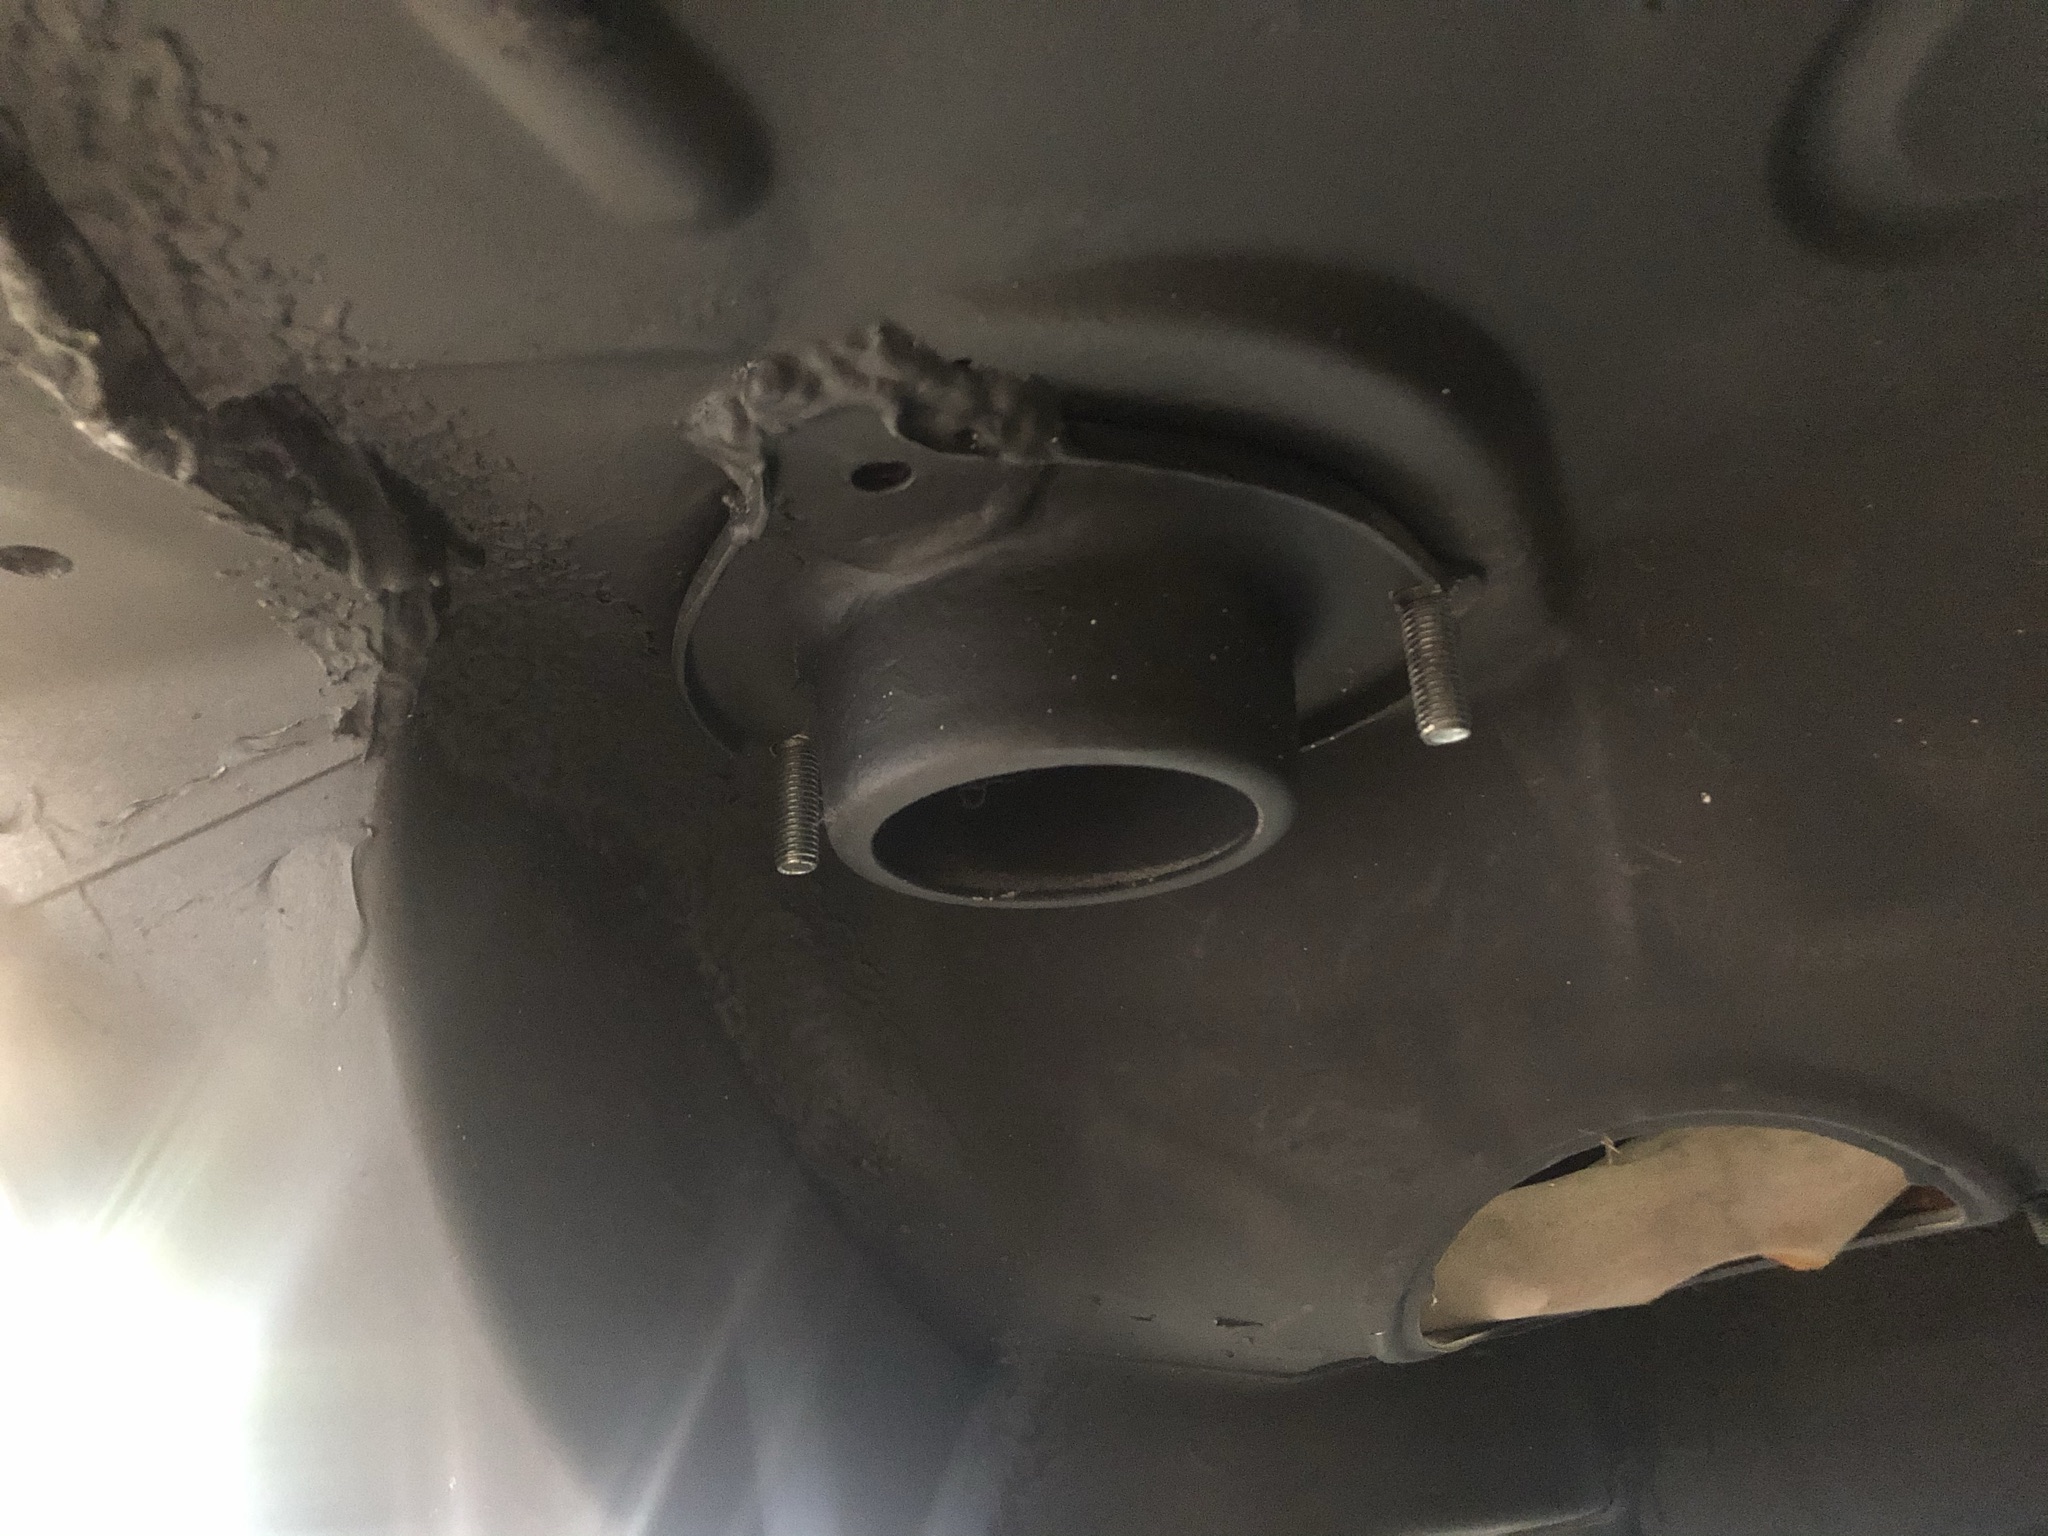
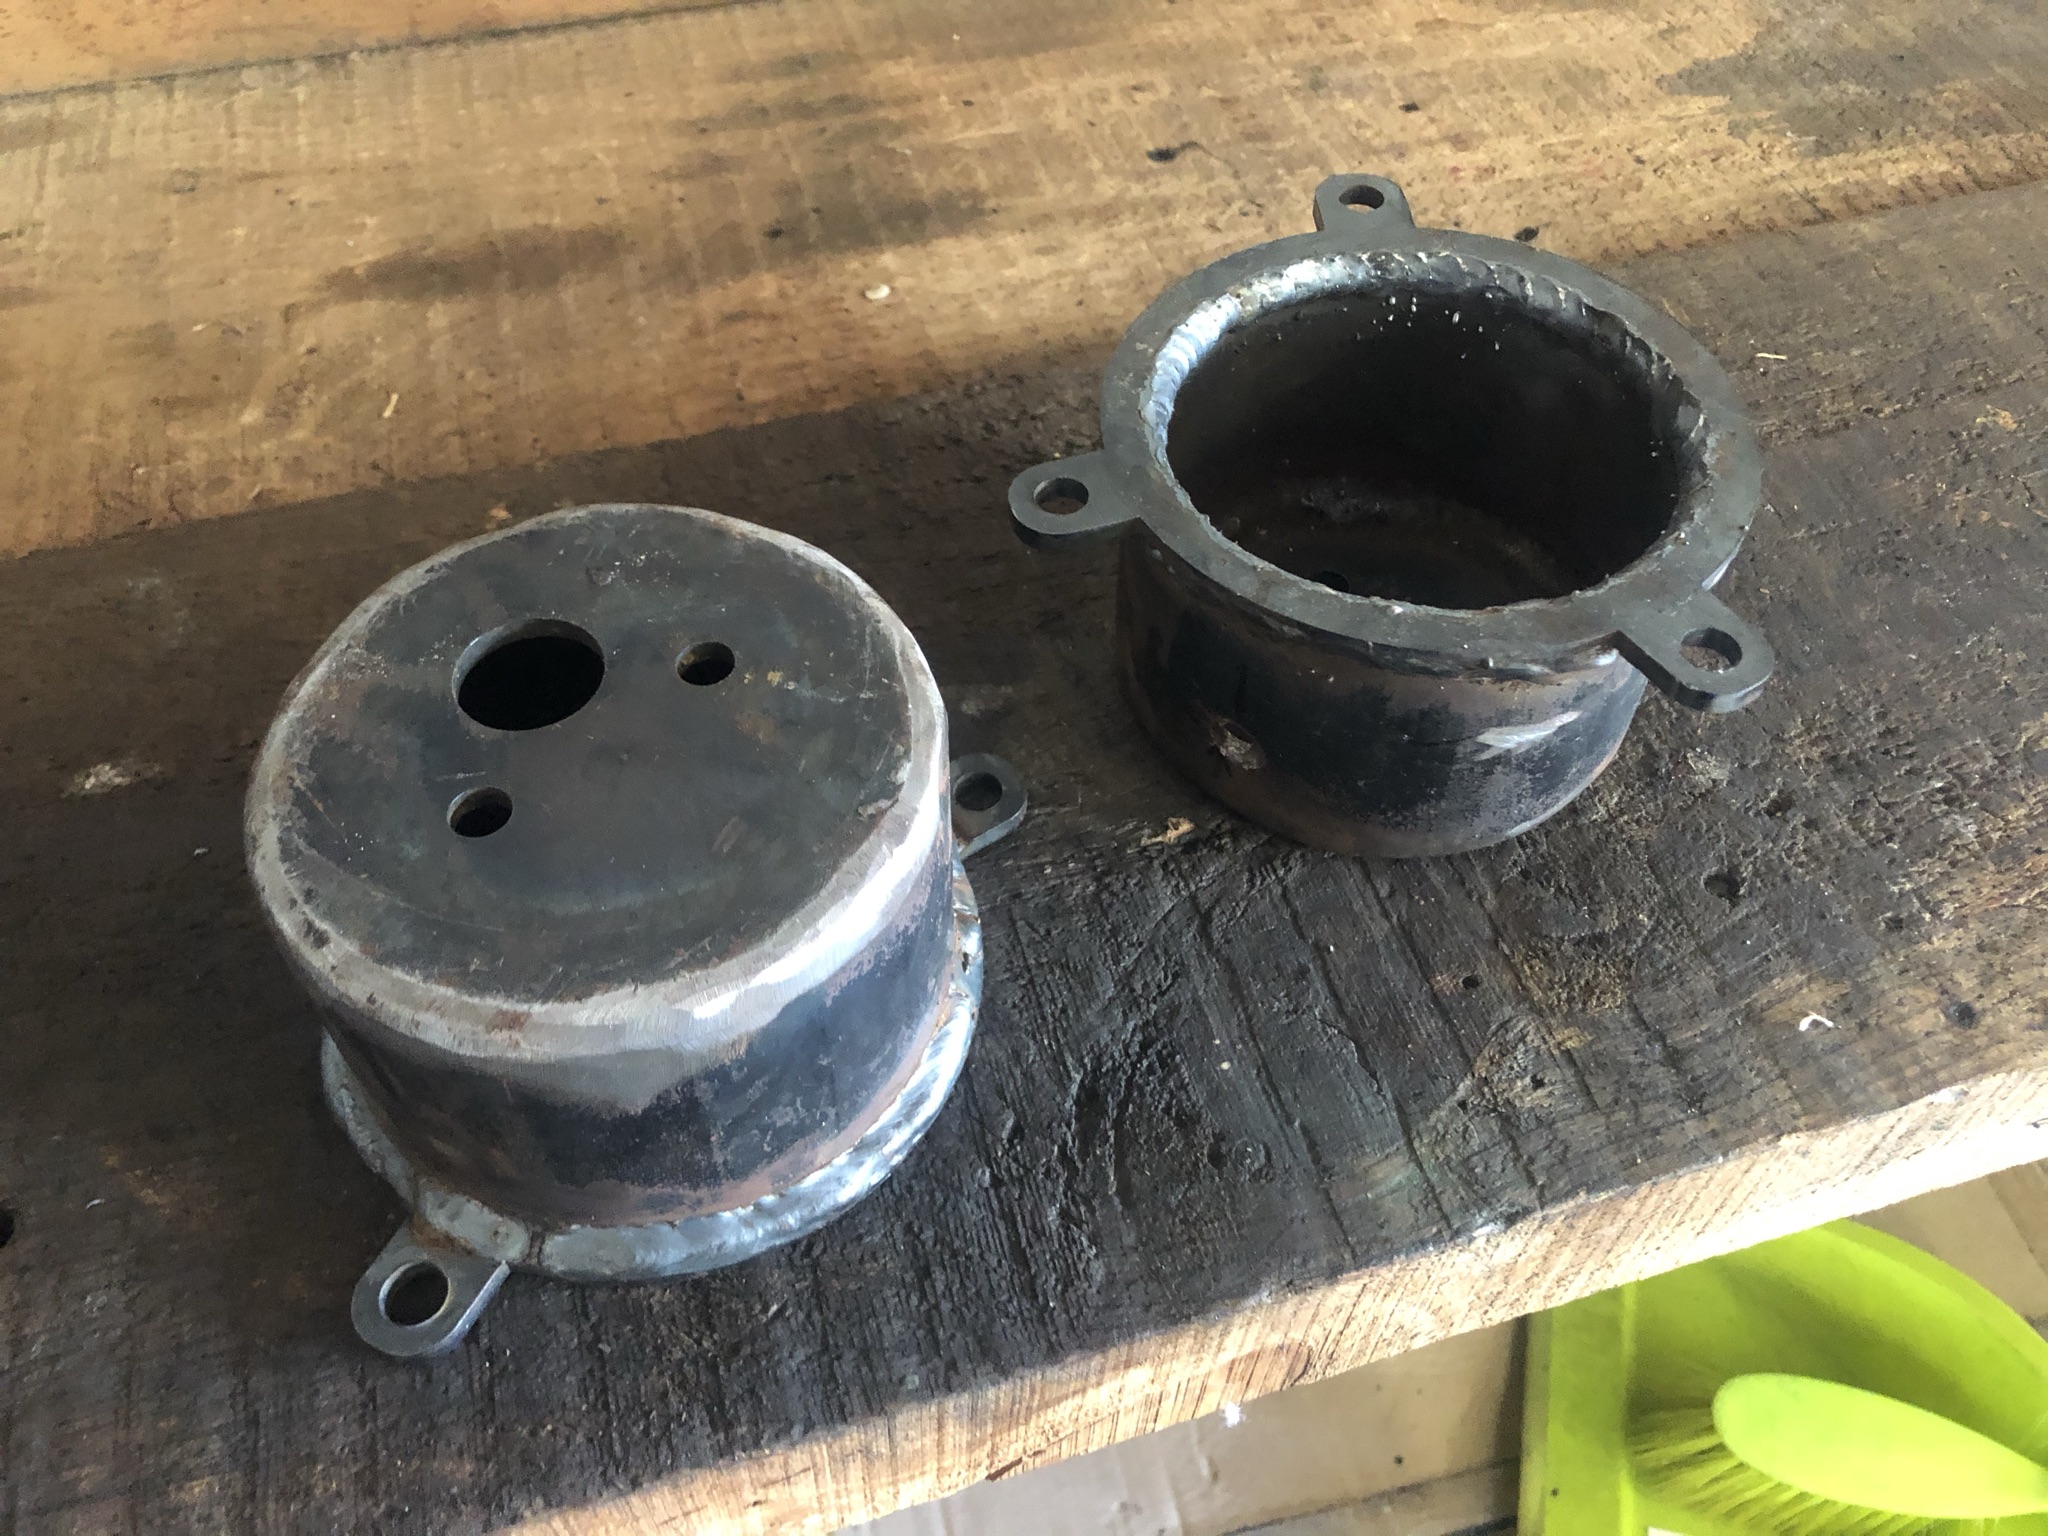
Got the sump inner core pattern assembled and painted. Should be a lot easier to sand than the outer pattern! This gives a visual on what its making. The main inner core. A couple of smaller cores attach to it.1 point
-
Brought these from jaycar. They work amazing!! Only $20, super happy with them. Im sure there's much better ones, but even on insulated connections they make an unbelievable tight grip. Wish I'd had these years ago. I have 4 other sets of crimping tools...they're all just rubbish compared to this.
1 point
-
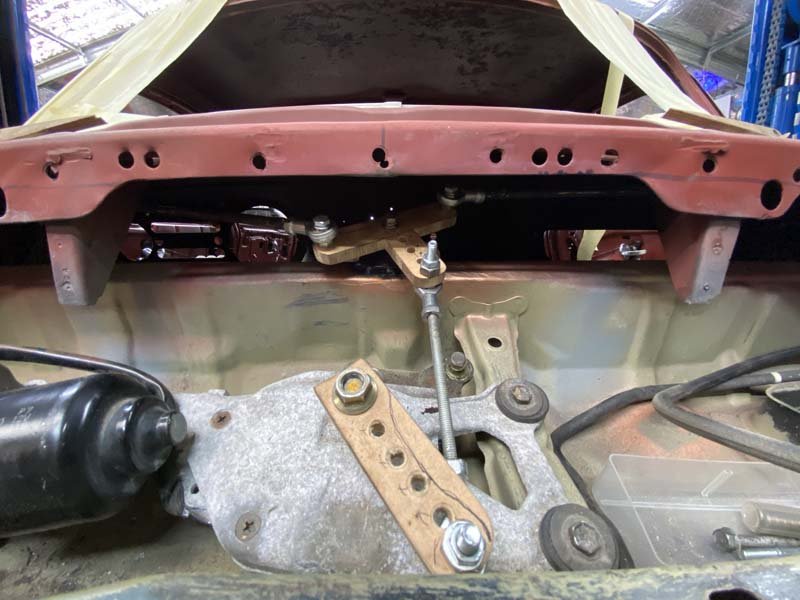
Seam sealed beneath and in the trunk. Undersealed over the seam sealer beneath. And while waiting for that to dry etc. I made a start on mounting the 50s chevy pickup wipers. Work well and much easier to purchase than the sedan's cable driven factory units. Then made a start on connecting them to the cut down lexus wiper motor. Is working Well. Even has an extra motor to park the wipers. Which should bring them to a rest on the windscreen rubbers very nicely. Will continue once Ulrich is back open again. So I can replace the wood. Today I reassembled the rear subframe and reinstalled.
1 point
-
If the bearing is chooched, I know a guy that can get four point/QJ bearings for reasonable prices.1 point
-
Starting 2021 rite like pesking palmerston north early morning
1 point
-
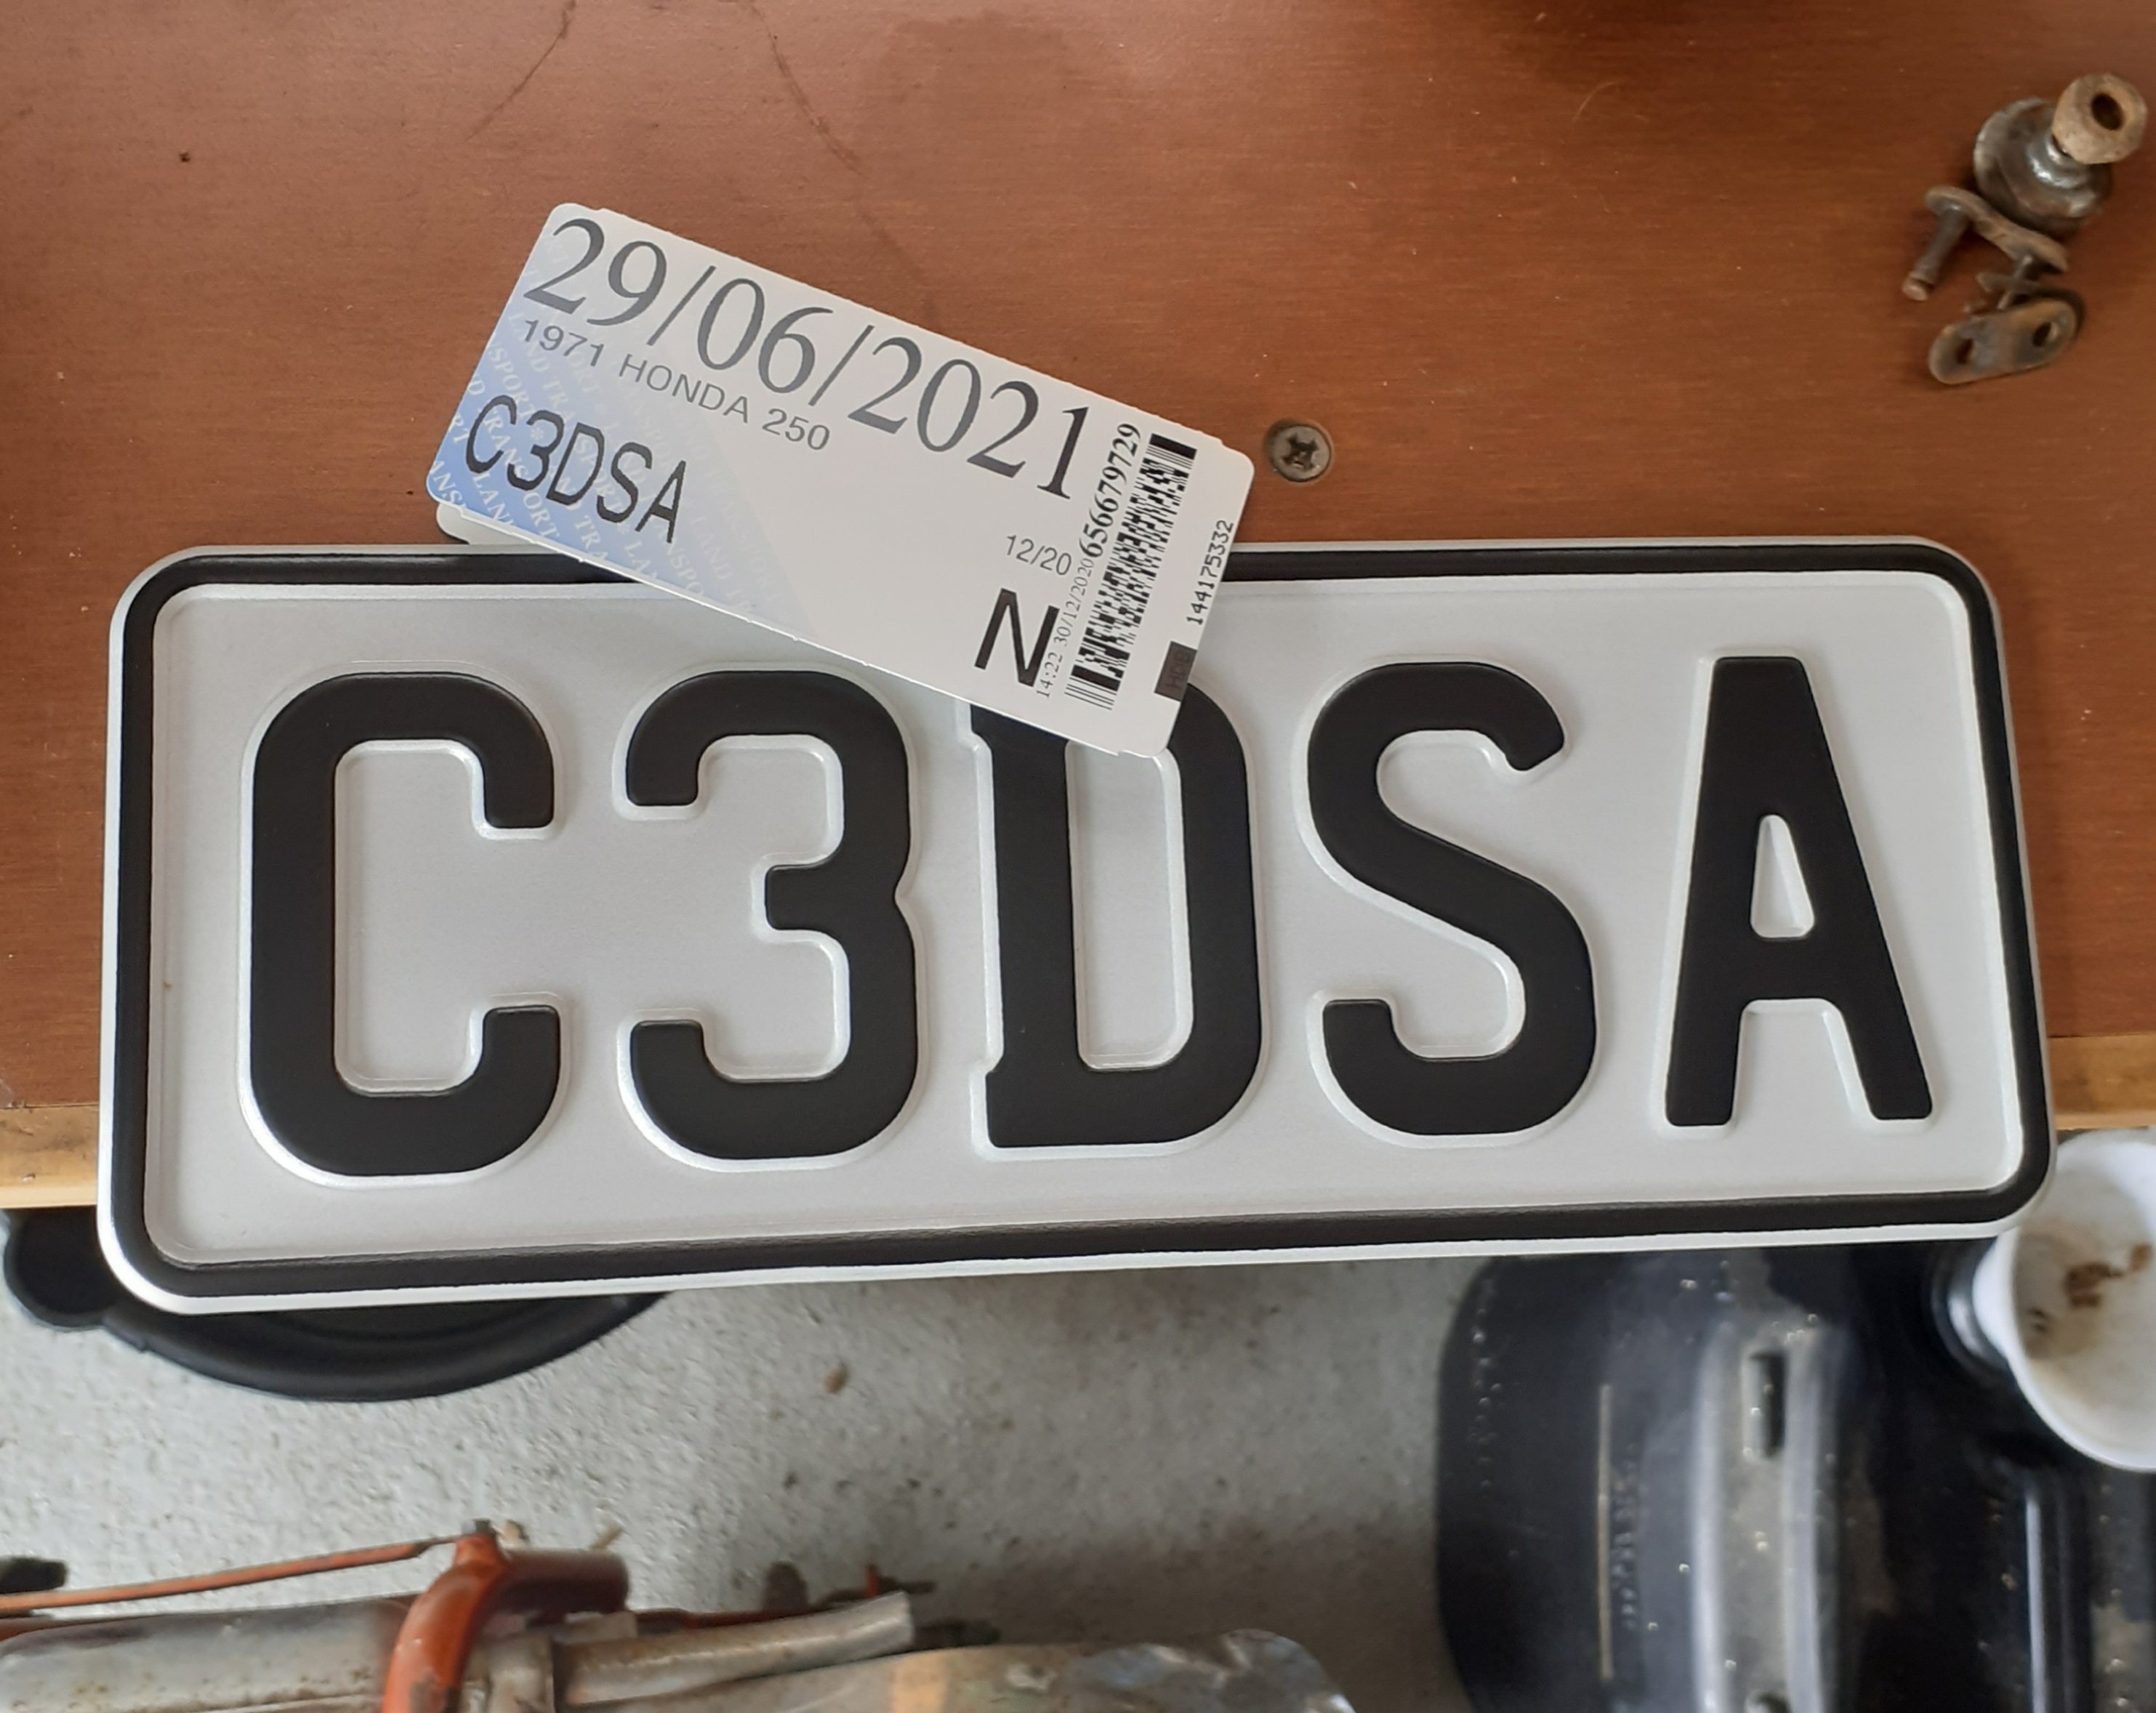
Successful day. Thanks to @BlownCorona and @Raizer for some advice after first attempt was a fail. Shame the lady couldn't read my scrawl and incorrectly typed 2 50 instead of Z 50, but I'll do the paperwork to get that changed.
1 point
-
angery cow moo1 point
-
Have all the interior door handles back on. Modified the rods and clips from the Lexus doors. To join the Chevy Handle mechanisms to the Dakota Digital Bear Claw Latches. I had to modify/weld the lever on the Dakota Digital bear claw, so it would pull forward/Back, instead of Up/down. And had to cut the existing holes in the door a little bigger. They work beautiful and reliably so far. Latch smoothly. And have a good amount of movement in the handle, before they release the doors. Next up was the brackets for the rear bumper. Folded up a couple of 50x5mm steel brackets to bolt onto existing m12 holes. Couple more to make for the front of the bumper irons. Then all will be spot welded through the double skin beam in the floor, that the factory tow bar and hooks is mounted to.
1 point
-
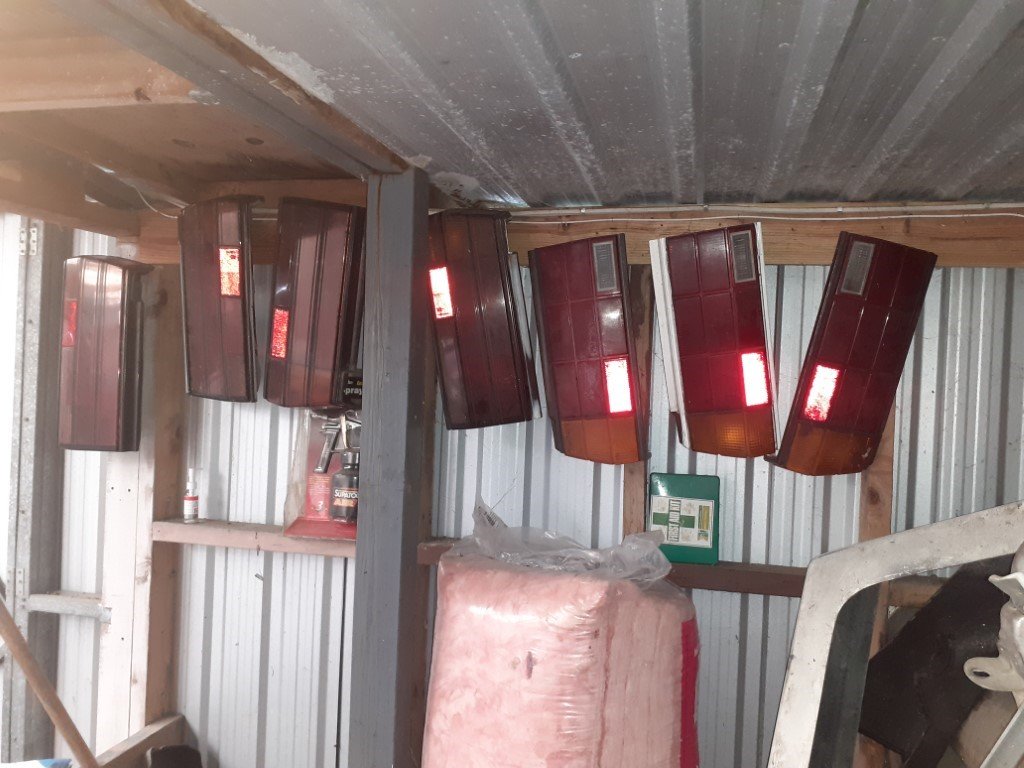
sort of an update, more to show that I'm still alive. Maybe not for long, having inhaled a few cubic meters of bog dust over the last couple of months. Caught up with the panelbeater as he had to weld up my other car to get it's WOF. I asked if he knew any good painters "sure I do, remember that Escort that was in my workshop? they just painted it, it came out absolutely awesome.... cost the guy about 12k if i recall" So yeah I'll be handling the paint job at home. So i've been bogging and sanding and bogging and sanding and bogging and sanding and bogging and sanding and bogging and sanding and bogging and sanding and boggind and sanging sag broggin snd srntibafhfsda;lkjdj,ngbdk;ljhfad;lkjs,k learned a lot of dumb and obvious lessons with bog (which I somehow hadn't clicked on to in my youth); 1. every little bit you put on, that you don't actually need, is going to have to come off again 2. just because you have some left over, doesn't mean there's still somewhere that needs that little more more added to it. 3. no the paint won't hide that I also chassis black'd all the sills, front quarters under the guards, and in around the rear light recesses. I haven't really looked at the bonnet, guards or donor RH door, just been concentrating on the shell. It's all there, it's all straight... just there sure are a lot of little nicks and scratches when you start hunting for every single one of them. my favourite pastime recently has been obsessing over this section just in front of the passenger rear wheel. There was a little patch of rust here which had cracked the paint, and the more i picked, the more came off, including over the ridge of the body line. So when I sanded it all back, the radius of the ridge was sharp in some places, and smoother in others. Then of course I started looking around all the other ridge lines on the car and could suddenly see where they'd been sanded back over the years for various repairs. So I spent a considerable amount of time shaping tiny ridges of bog to try and sharpen up the lines in a number of places. Meanwhile everything that's going under the bodykit got a shrug and a scuff. pick your battles. a while back I picked up a sweet tubular exhaust manifold to suit a sohc 4g63 (maybe off someone here?). but the turbine inlet port was too big for the teeny weeny starion turbo. likewise the stock downpipe is horrific and I wanted to replace it with something nicer, which would require porting the turbine housing of said teeny weeny turbo in order to make it worthwhile. So i said bugger it and bought a small 16g subie TD05H and lucky dip chinese pot metal ebay 8cm turbine housing that at least will match the manifold and downpipe. likewise the subie compressor housing isn't really suited for starion duty so that's another thing to go hunting for Then I cleaned up the garage a bit because I'm fucking sick of bogging and sanding and would rather do literally anything else. cleaned out a whole nest of tail lights which had been breeding up in the back of the garage, yuck The boss reckons we'll knock off for the year at the end of this week, so then I should have some time to get some actual progress made
1 point
-
Prior to Te Urewera ride, Adv50 got stripped down for a tidy up after the frame started to get REALLY bad surface rust and and some other bits needed attention. Got the frame and that back from my friendly painter and started reassembly. Got another set of second had forks to replace the ones on it that were bent and a few other new bits. @Kass came through and upholstered / refoamed my seat base for me. Diamond stitching and it fits the tank very well! Completed Te Urewera ride again no worries. didnt even have to refuel each day. Trouble free motoring. Time for a clean, and maybe a suspension upgrade for next year.1 point
-
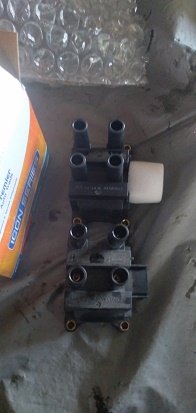
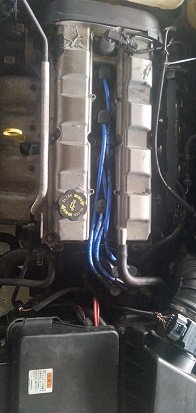
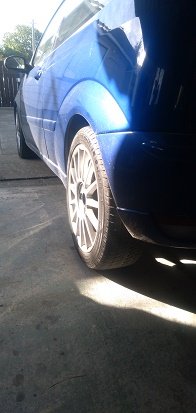
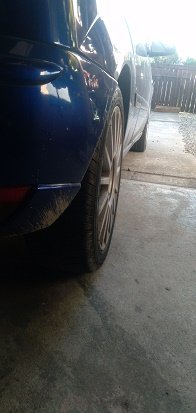
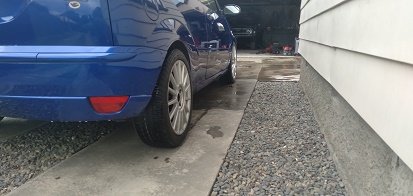
we in the vain of preempting all the problem parts ..i fitted a new coil pack and 8mm leads to go with the new plugs..(the old leads and coil pack hasnt failed YET so i put them in the spare parts box i have under the spare wheel for breakdowns lol) there is a thing that i actually hate and thats the rear wheel tuck ..they should have moved the axle out or gave it wider wheels...the front isnt to bad but i will do something with at somepoint .. as for the rear they have been racing and rallying these things for years so you can get parts and people have figured out interchangeable parts ..so i got a set of axles mounts from a ford puma sent out from the uk and its a bolt on and all the st170 parts bolt onto that and it moves the rear wheels out 20mm each side......much better
1 point
-
New tyres and spacers on. This thing just gives me one step forward and 2 steps back. I discovered a few amazing things today: The front end of off centre by 4mm. The LF wheel has 7-8mm guard clearance and the RF has 0. I will have to remove the subframe, slot the holes 4mm then weld the slot and reshape the mounting holes. The rear end has been fitted 10mm off centre. The LR wheel is flush and the RR is in 10mm. I will have to cut the mounts off and reposition them over 5mm. I have found some rust underneath that I’ll have to fix up and the chassis rails need tidying up before a wof. The car came with a receipt for the exhaust from a reputable car modification company here in Christchurch. $2500 worth. The rear muffler has 2 mounts. The forward most one is hard bolted to the chassis with no rubber so that explains the vibration through the car. The rear most mount is a cotton reel that has been mounted as a hanging set up and in a way that it has pulled itself apart. Cotton reel exhaust mounts have to be compressed! Anyway. Enough chat for today. Here’s some photos.
1 point
-
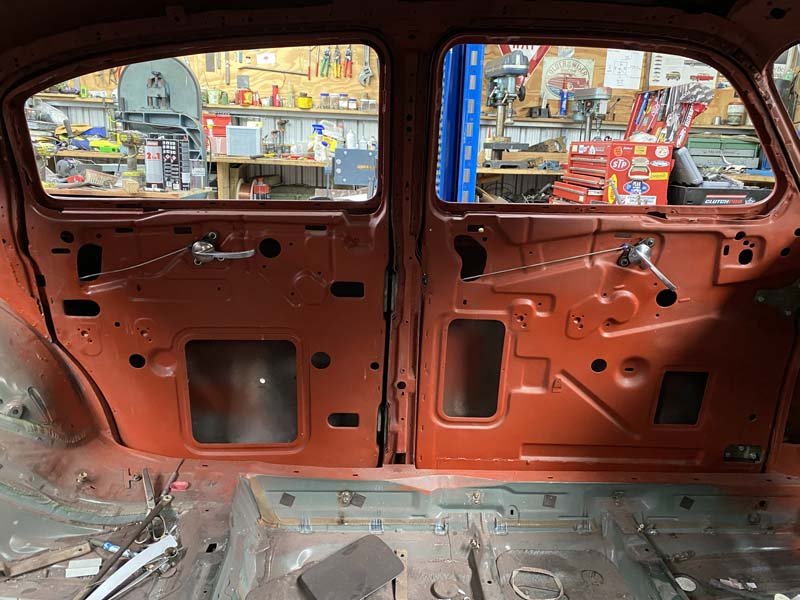
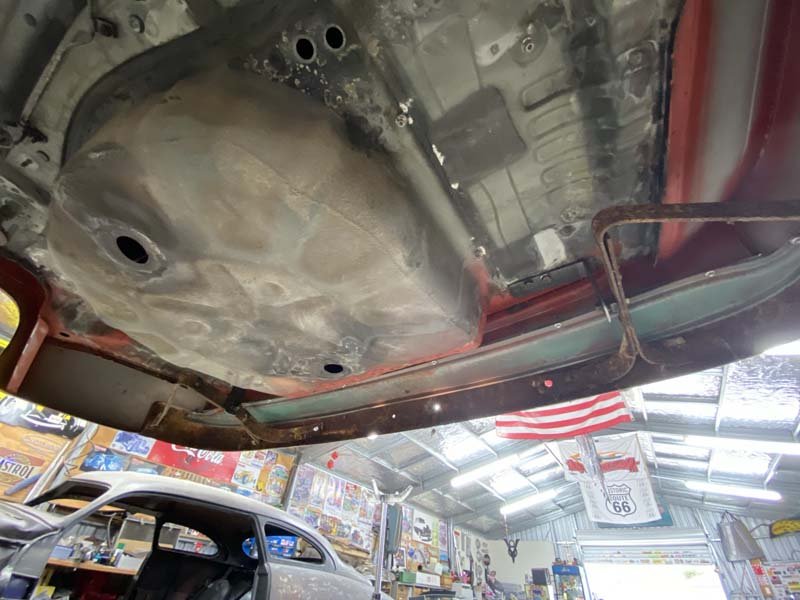
Here's how she left: here's how she came back: The next couple of posts are pics provided by the panelbeater Rebuilt upper firewall LH section New heater duct box built up/tack welded in You can see where he's unpicked that box section to get at the rot underneath (top of the pic)
1 point
-
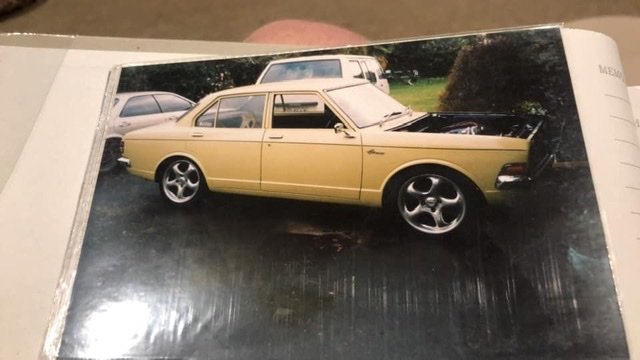
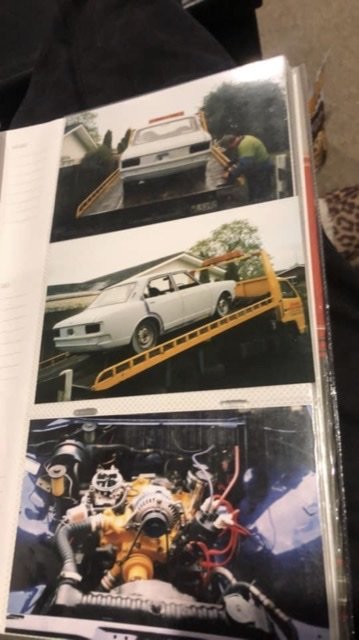
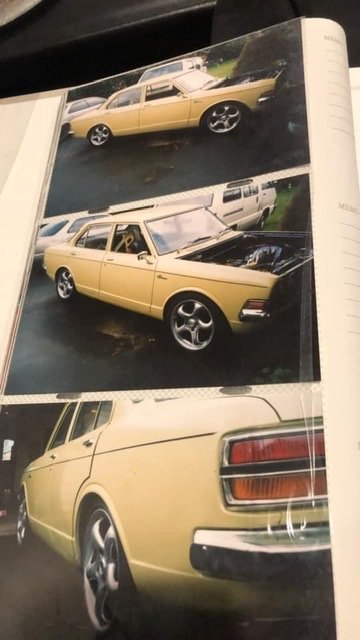
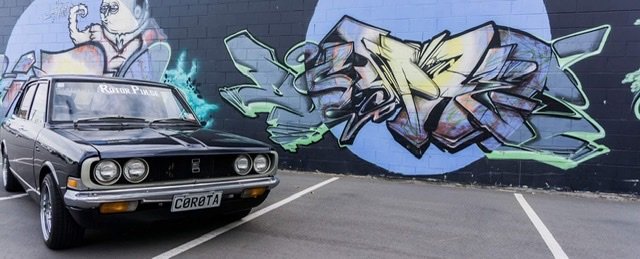
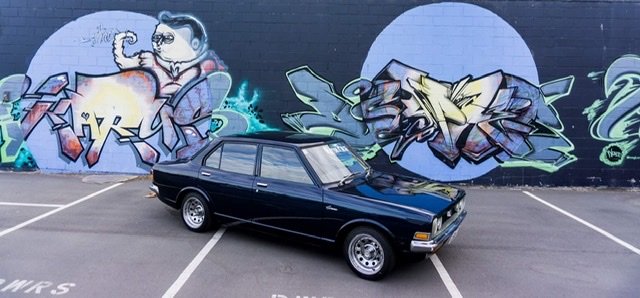
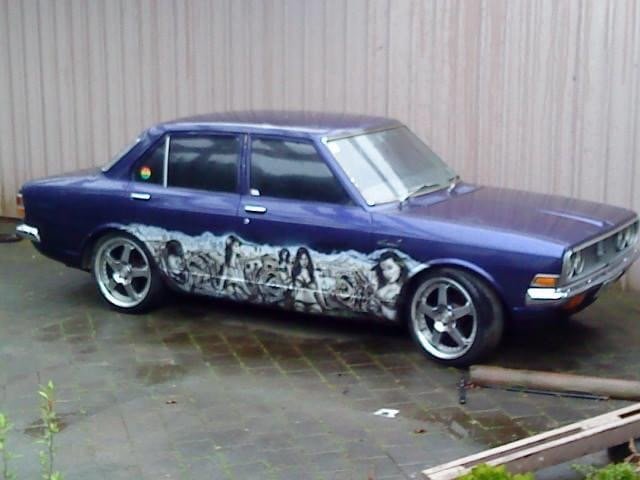
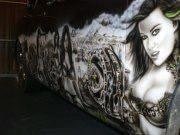
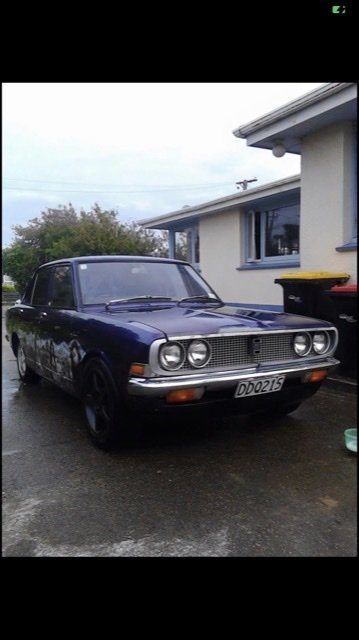
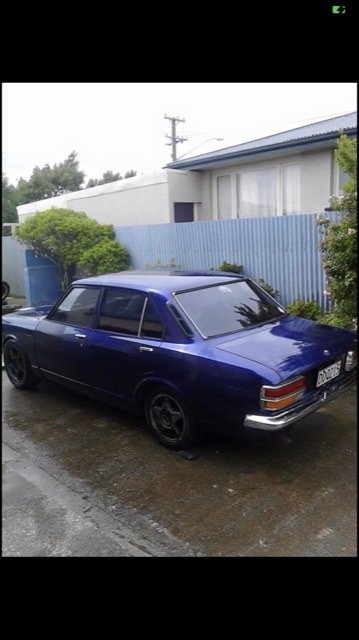
Man this things got a history. I’ve spoken to the owner that originally fitted it with a 12A in 2004 that sent me some photos of some actual photos. Then I found a couple of market place listings with photos from 6 years ago complete and then 4 years ago as a rolling body. Then a friend of mine who is close with the couple I bought it off sent me some “photo shoot” pics they did when they had it painted. I’m not sure whether to feel honored or humiliated haha
1 point


.thumb.jpeg.910c6632f6e66e8cba89476e83b41634.jpeg)


.jpg.df813b4debd8738d955aac7a2903037f.jpg)
.jpg.278f74c9107bd91321766f56c47c3c9e.jpg)
.jpg.3c557d16acc4f97abcac030d8e35989e.jpg)
.jpg.7834d7e459b5e01b094bbc1df28c82e2.jpg)
.jpg.93cac6f7db5da551f068f01ad83e927e.jpg)
.jpg.c54dd4a2ab67aad34f1f022837c4f6ff.jpg)


.jpg.7b97bf99dfc0c285ae4a316fa364b231.jpg)
.jpg.fcba37bca16497fe78461e0503a6f20c.jpg)
.jpg.727b1cf32d213ae95b1d0fe25ec3536d.jpg)
.jpg.ab8a70f6b38c5877de130e28b064c7c3.jpg)
.jpg.172f6d1f282445fad2727fc70cb20985.jpg)


This leaderboard is set to Auckland/GMT+12:00