
Leaderboard


Popular Content
Showing content with the highest reputation on 09/02/19 in all areas
-
Its still held together with G clamps and cable ties, so we weren't going too crazy, but you get the idea.8 points
-
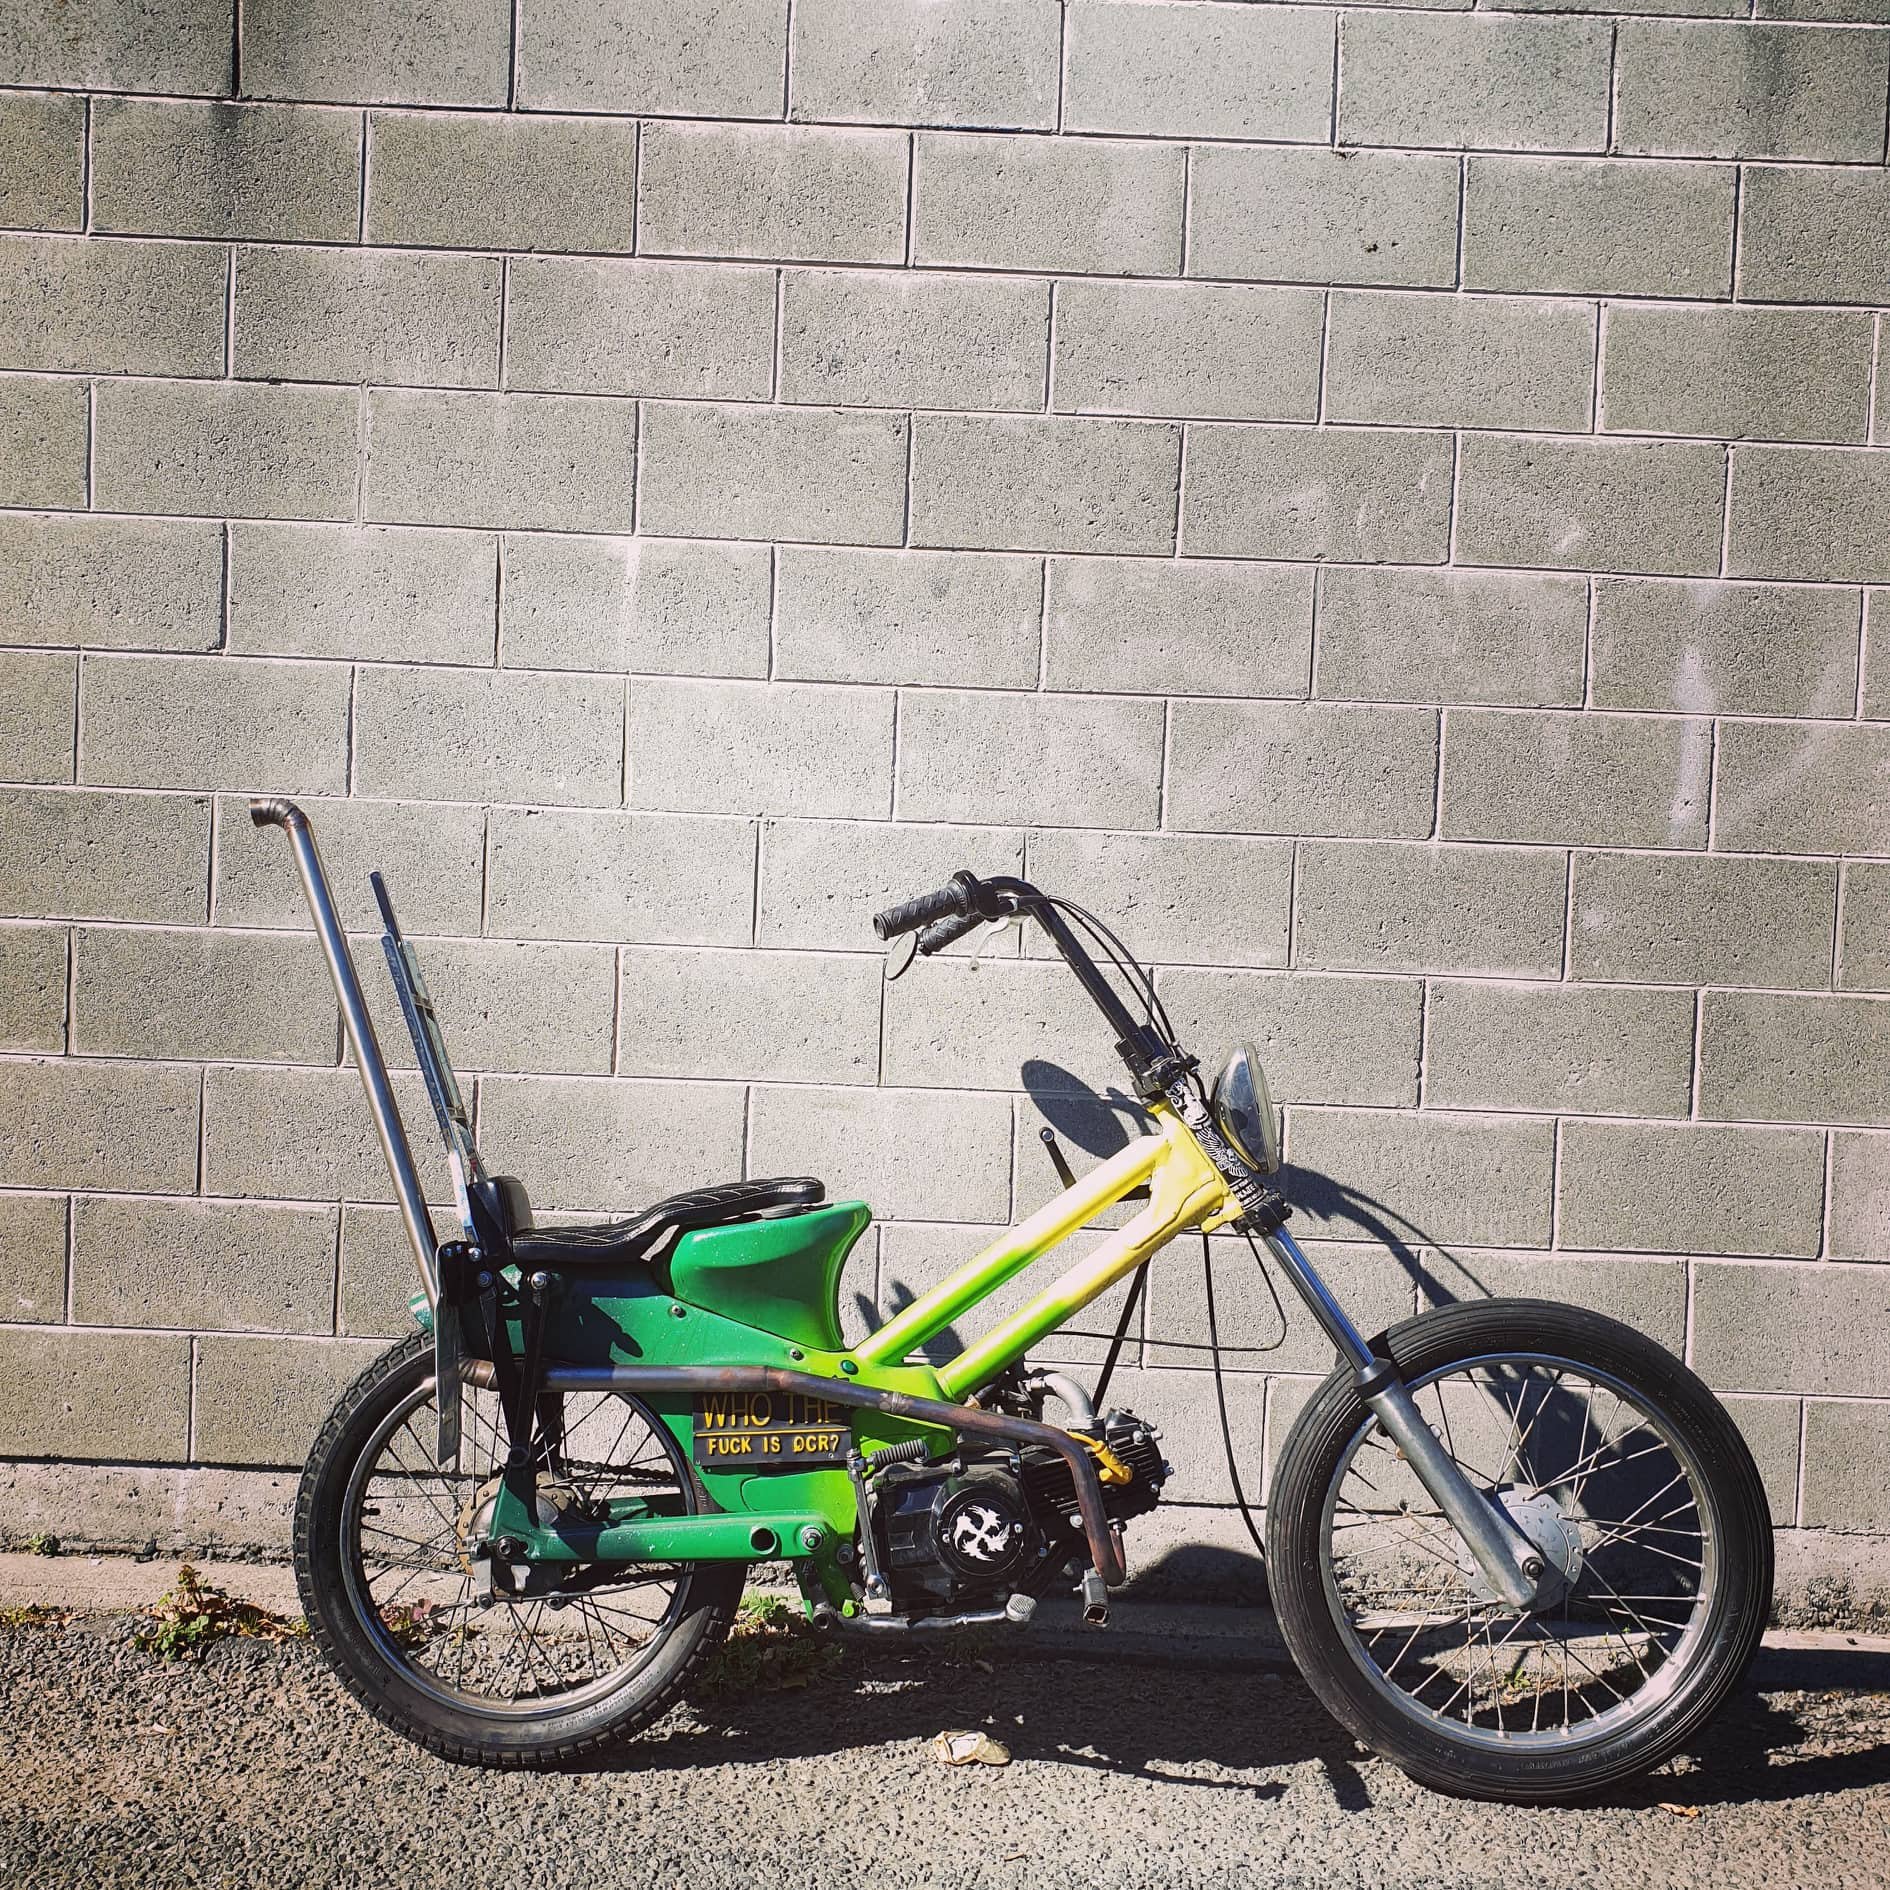
Now its done Featuring a new tall pipe from Rumbler Jesse and a suicide shifter I whipped up out of parts. Stoked as fuck with how it looks now too
 6 points
 -
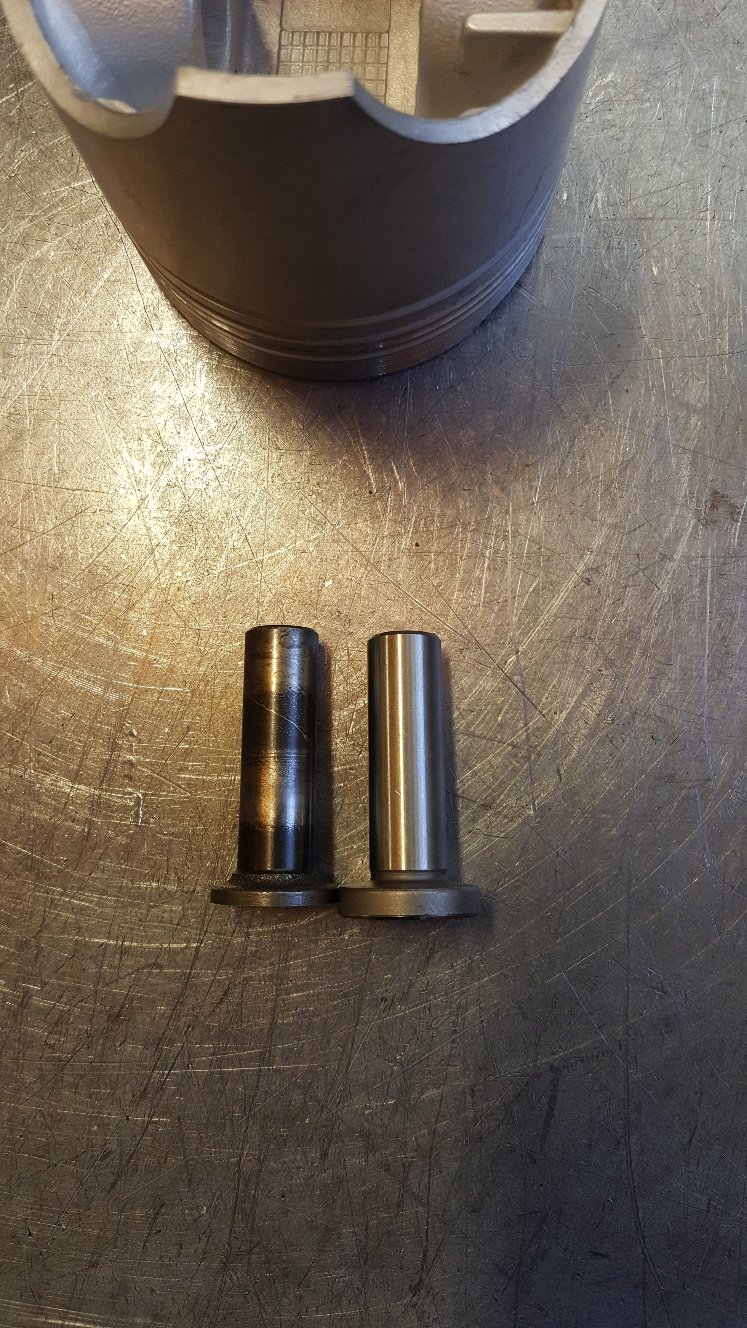
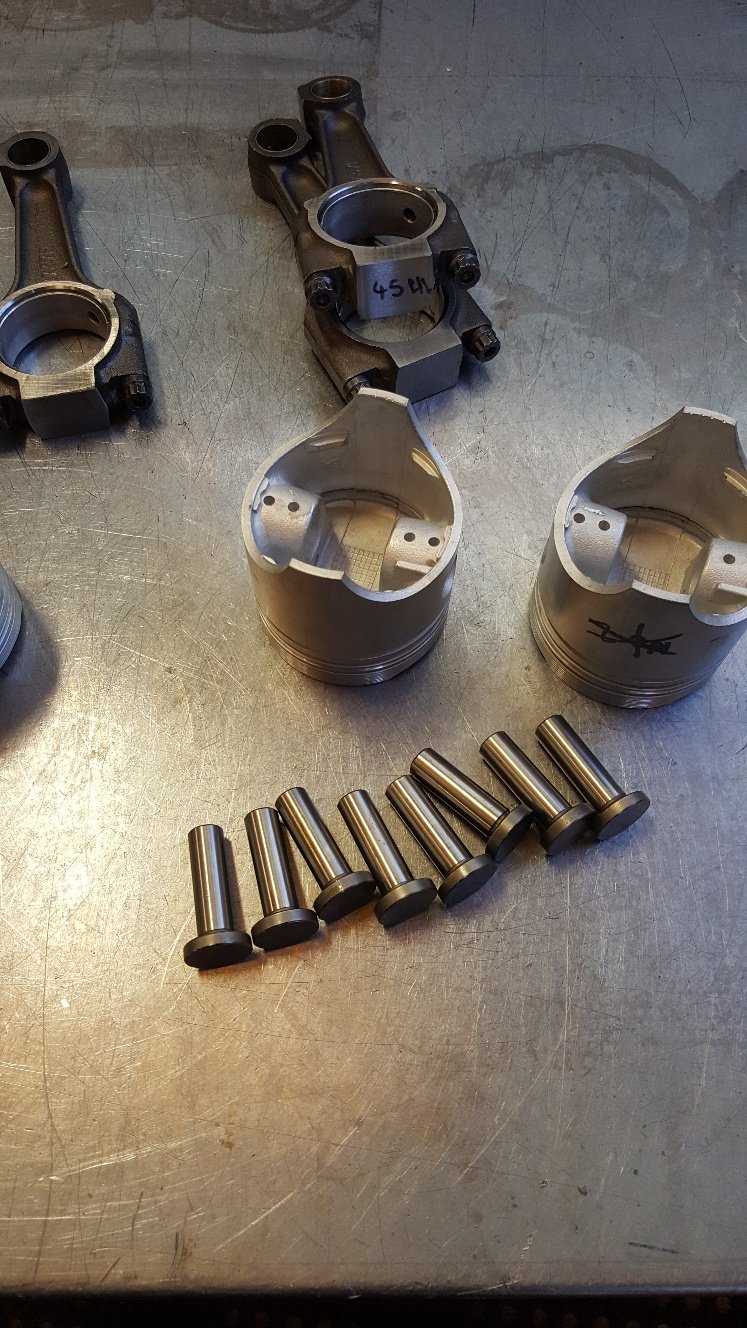
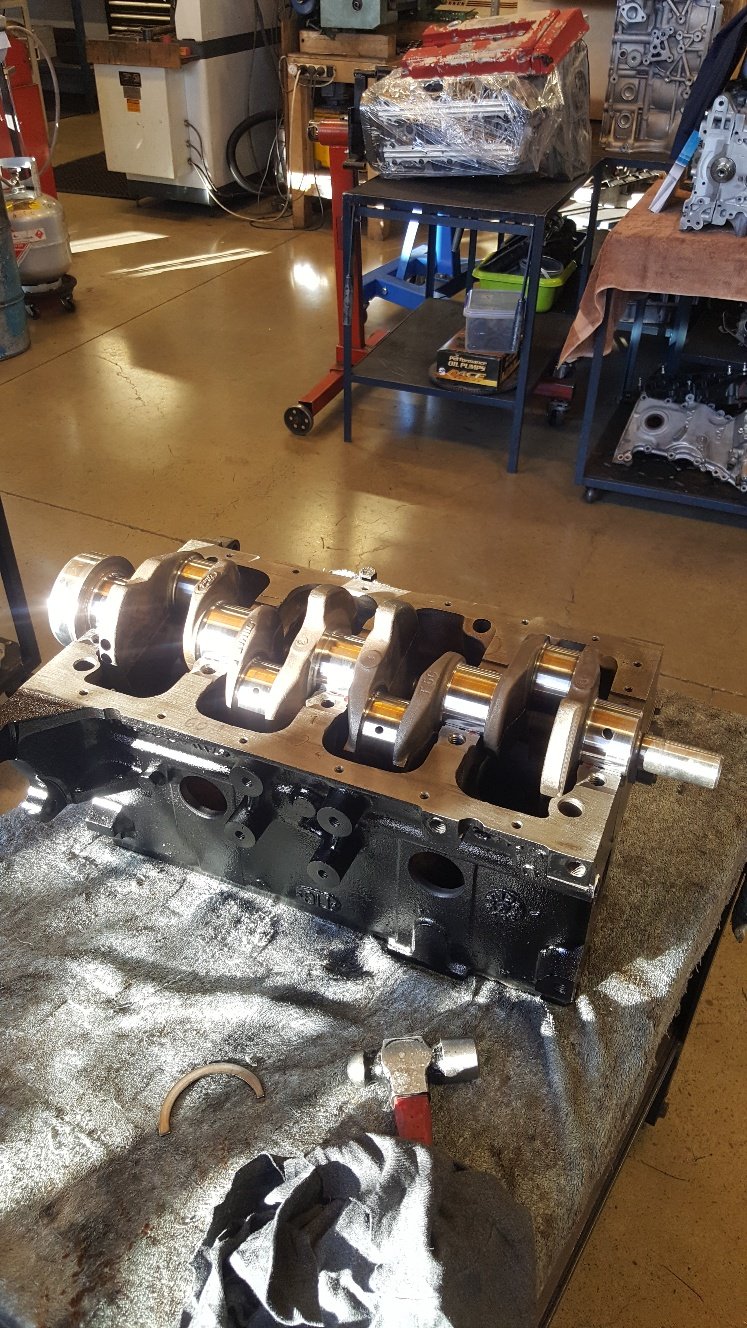
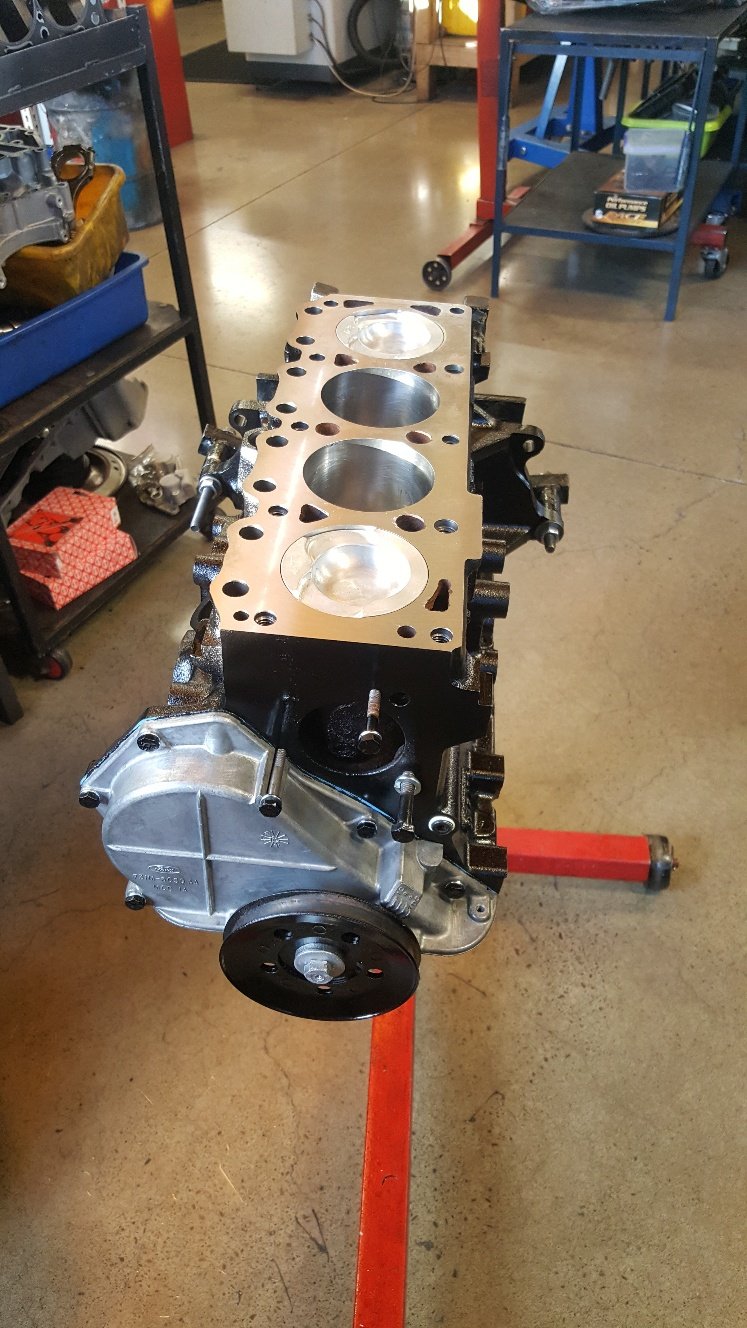
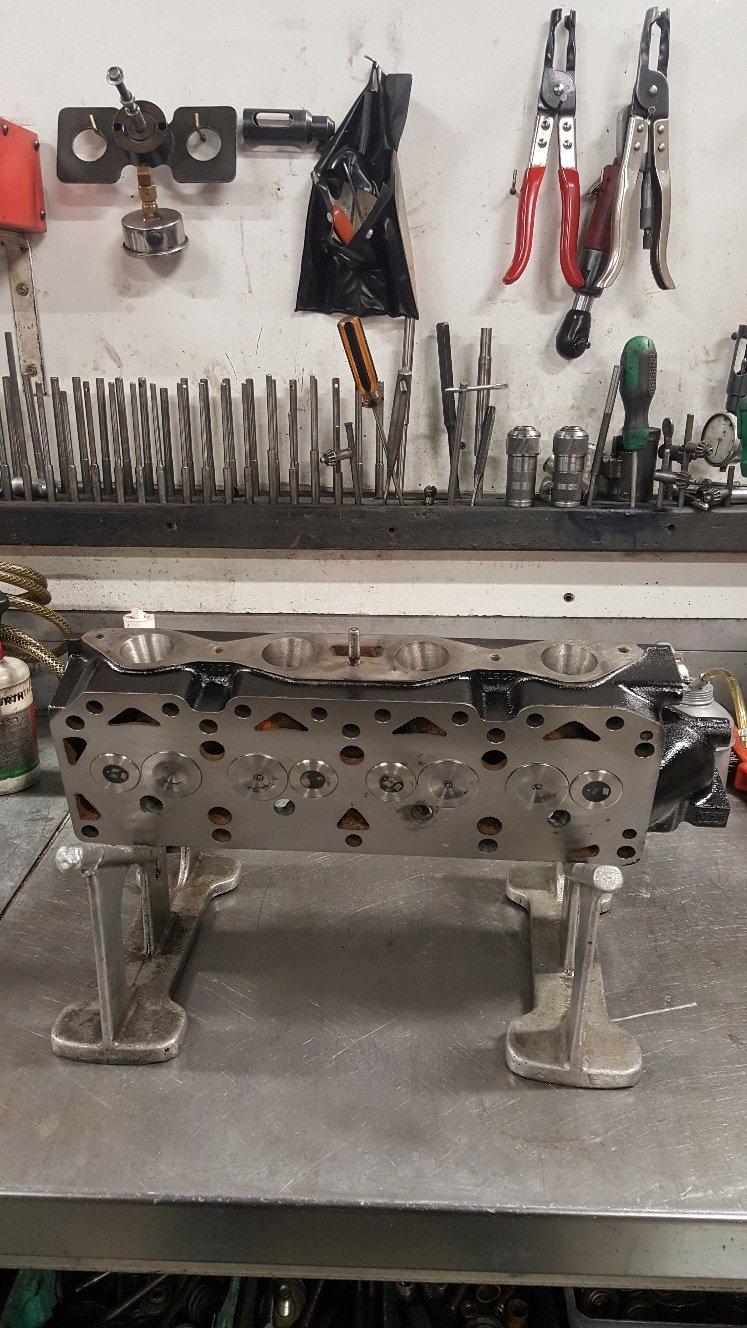
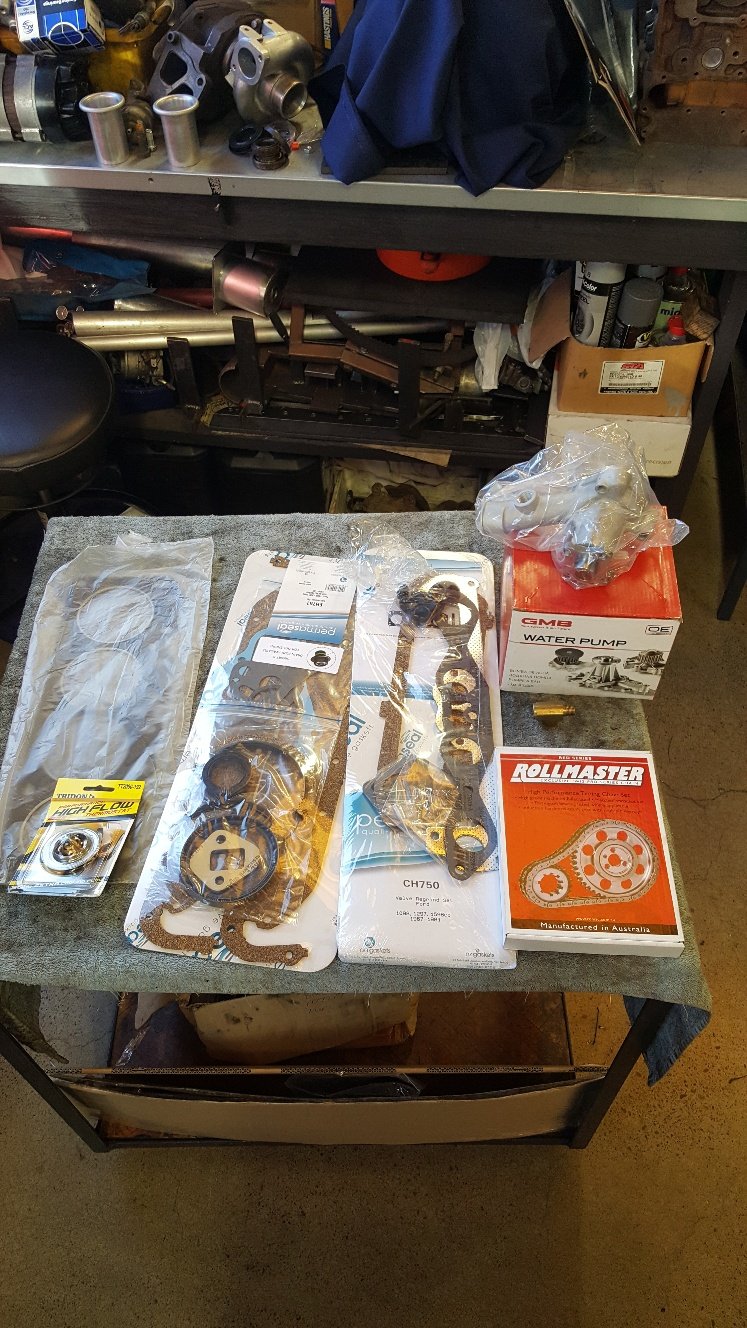
Time for final assembly. I bought a new set of cam followers as the old ones look a bit thin in the head. And I have had one break in another engine. Put the crank in. Short blocked. Checked the front pulley for tdc. It's the best time to check it. Not a common problem with solid front pulleys. But definitely common for old harmonic balancers to move and cause a headache when timing your engine. Assembled the head.
6 points
-
Also, it tops out at 120kmh, but that feels plenty fast enough at the moment.4 points
-
BEST DAY EVER. I got new leads, fitted the new plugs that came with it, and headed for the hills/forest. First off it ran like absolute shit, I was cursing the new leads/plugs, but with @keltik 's help we determined I was a dingus, and had put two leads around the wrong way. Correcting this made things much better, but it wouldn't pull past around 5.5k rpm. We removed the restrictor plate, which made things bettererer, but still couldn't get past about 8k rpms. I then half covered the intake pipe with duct tape, and BINGO, spot on. It will pull happily into the late 10k rpms, which is about what this old donkey is meant to do. Fucking stoked to get it running well so quickly. And shit me, 75ish hp seems like a lot in this thing, it's quite scary. Thrashed around in it for a few hours with pretty much no issues, apart from grub screws in the drive sprocket coming loose. There's a few small improvements to be made, but pretty minor. I took a couple shitty vids which I'll slap up in a min. Pretty stoked it didn't disappoint me after all these years!4 points
-
With my other bike wating for the shop too make its new throttle cable why not spin around on this.. 1st time ive ridin it further than around my street. Got to say was a riot prety keen to take it around some vally roads be funny stuff
3 points
-
spent the last month getting this together and ready to paint. I flippin hate sanding Made the door return real purdy and the front bit Got a new paint gun for the top coat to replace my old one that has started spitting. $18 delivered. Flash as. Tried it out on the shuts So i could put the door on for the first time in a long time So i could notice this, and spend a few more evening sorting that till this weekend BOOM Love the contrast Most of it turned out as good as ive ever done, or could expect for doing it in a dusty garage with the cheapest tools but, i had a new issue ive not had (well, nowhere near as bad) , i got a fair few fisheyes, but all in section that followed one of my passes. Maybe my compressor coughed up a lugie, or maybe the wax and grease hadn't dried right off? . Either way Ill have the repaint that bit for sure, bums. Suggestions to prevent reoccurance?3 points
-
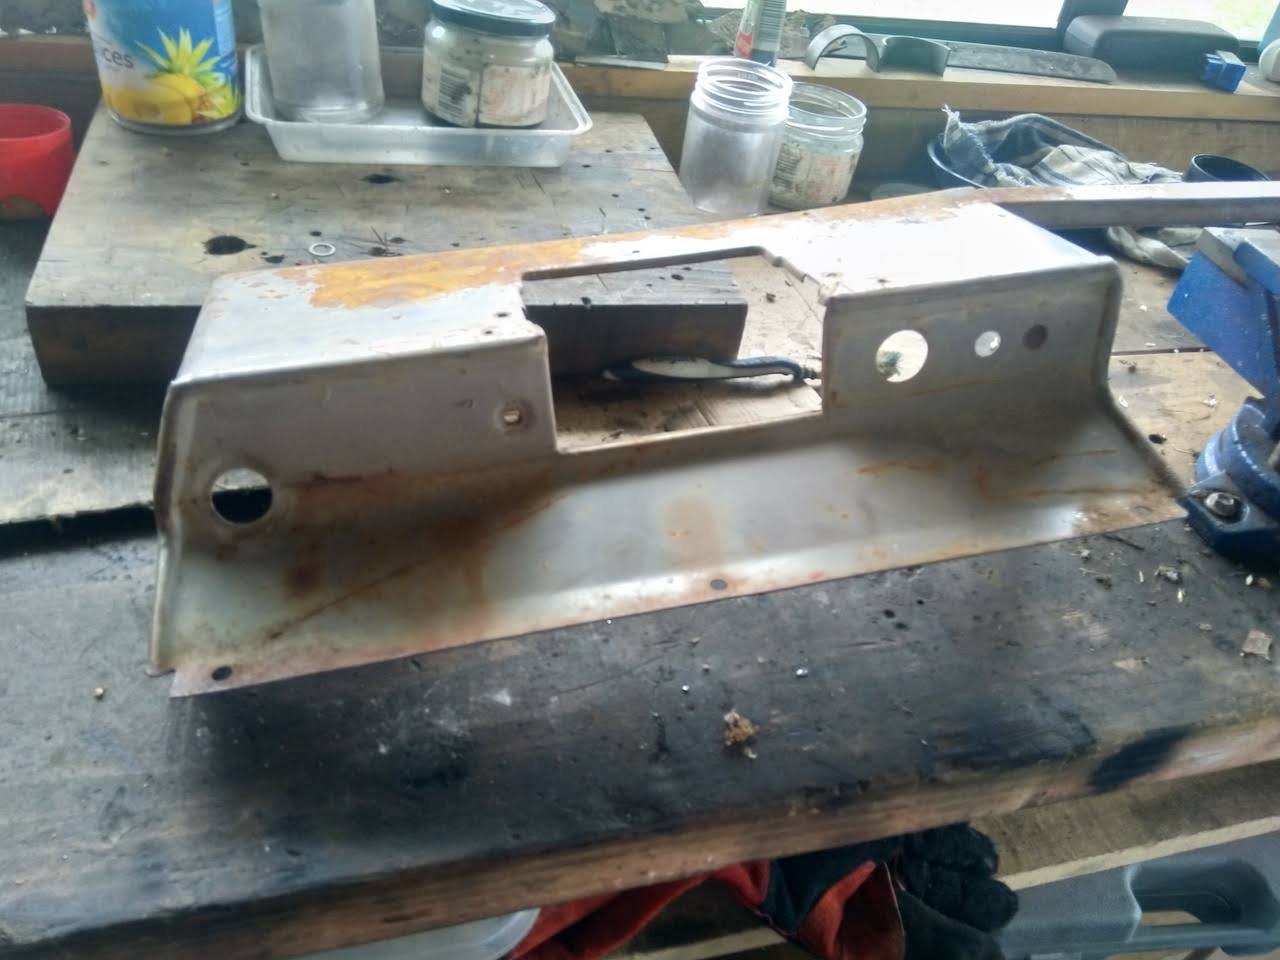
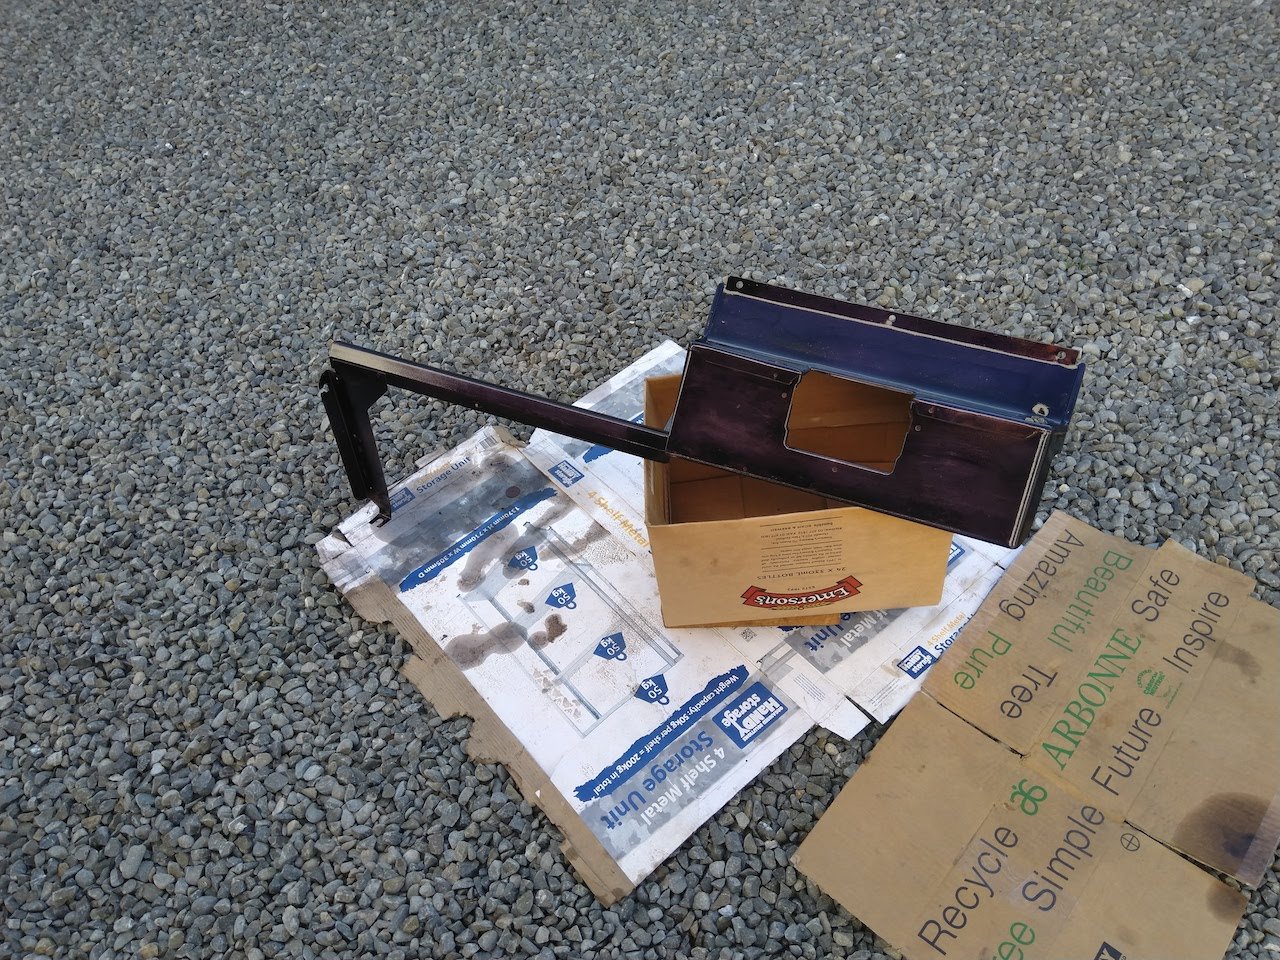
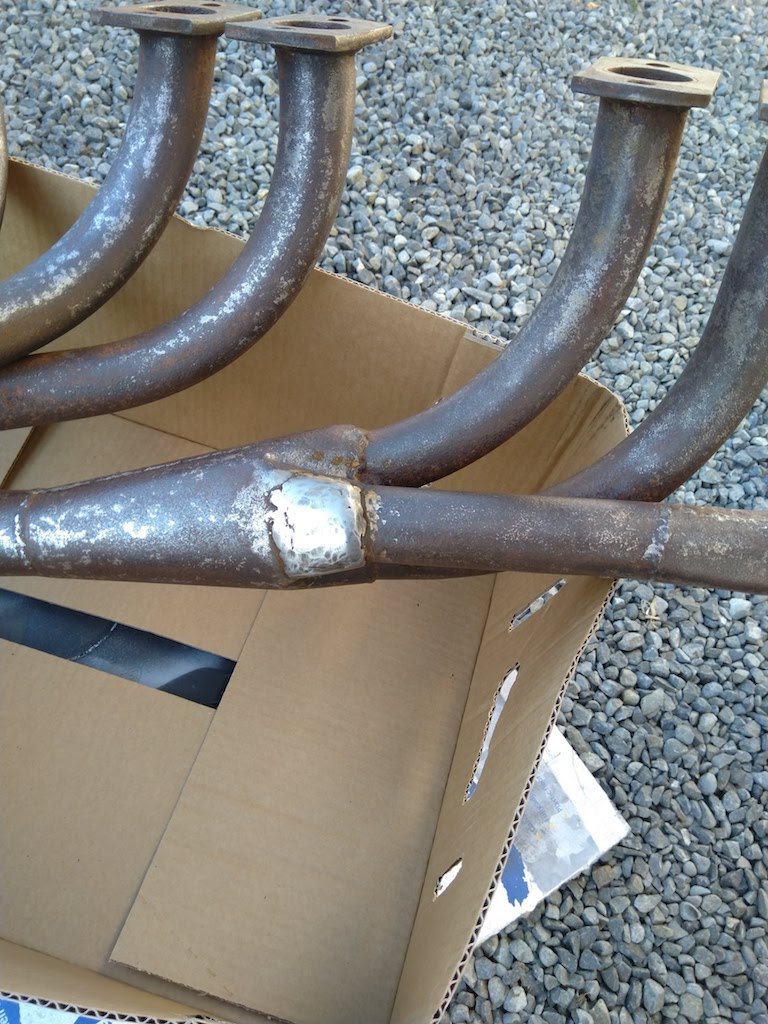
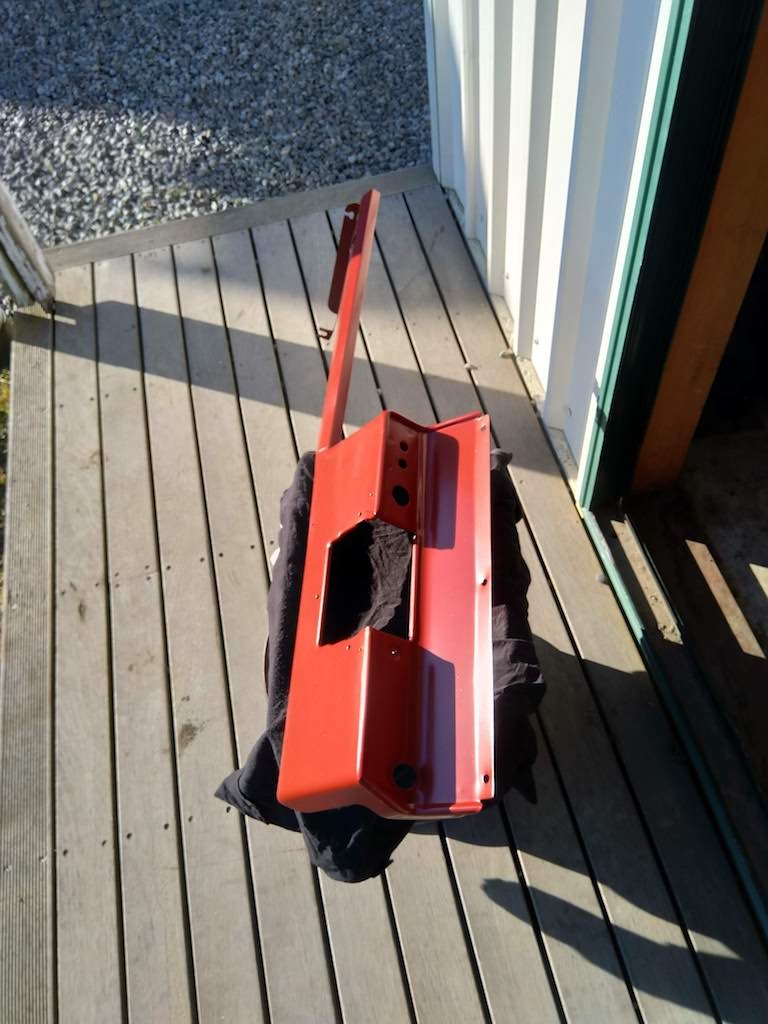
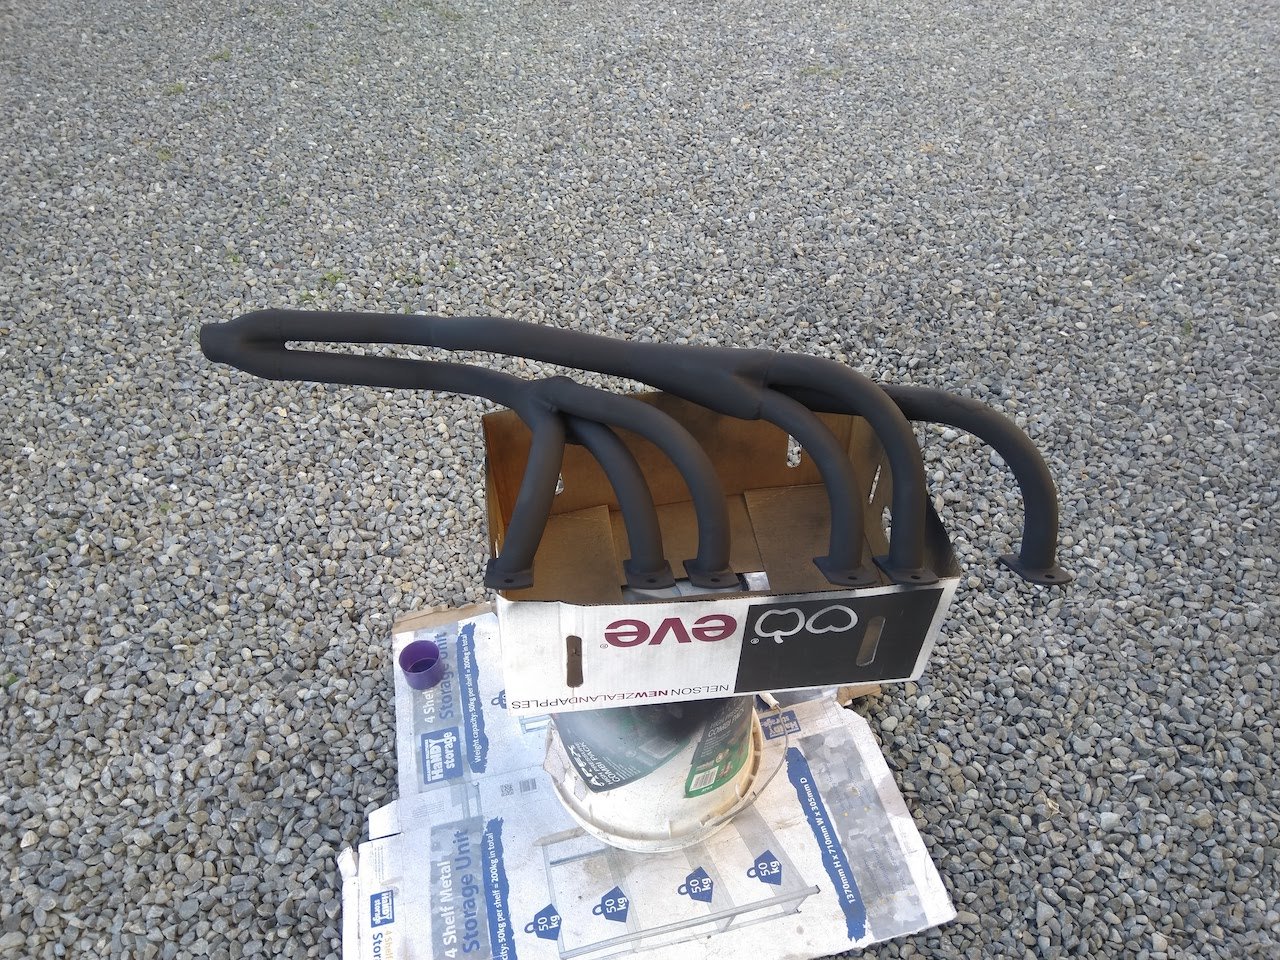
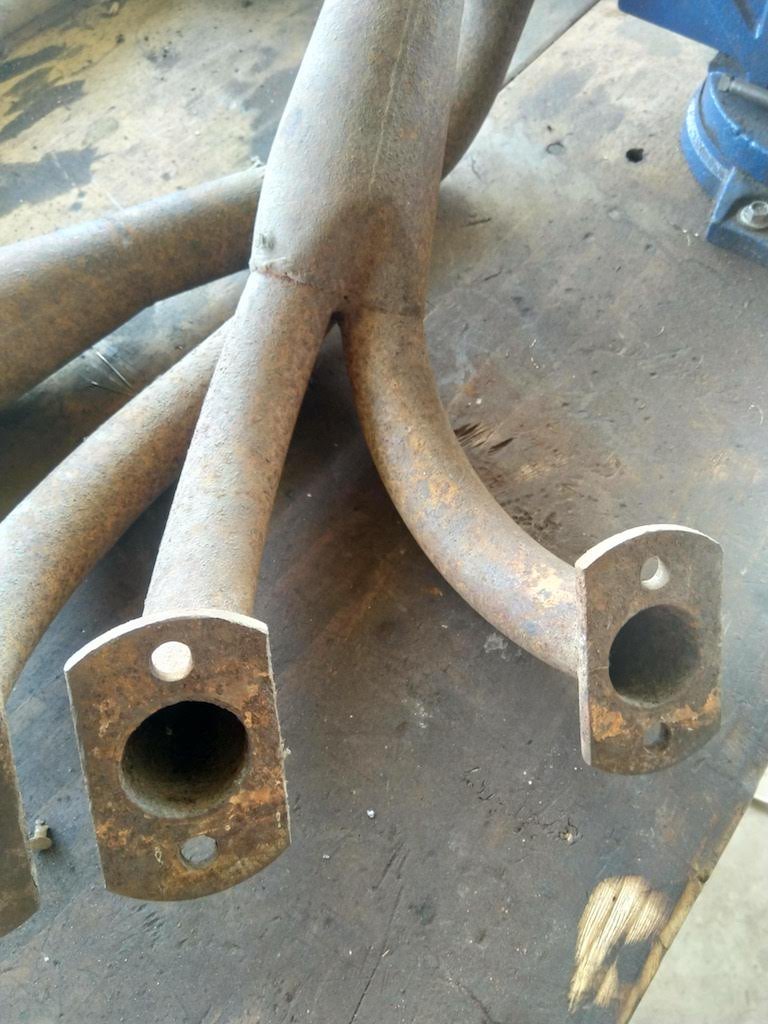
Stil haven't got much major progress on this, ticking away on the little things. I've been slowly working on cleaning and polishing the trims by hand with some autosol, most of them are coming up nicely. The original dash had been hacked up to take a head unit. The car came with a replacement, but it had some rust. Cleaned that up, painted with some Brunox and got a colour match can and some matte clear. Also made a new tray, will cover with some vinyl. Came with a set of extractors that had a couple of rust holes. Welded up the holes, cleaned off the surface rust and painted with some hi-temp paint. Doubt it will last long, but will hopefully keep the surface rust at bay until I get the car up and running.
3 points
-
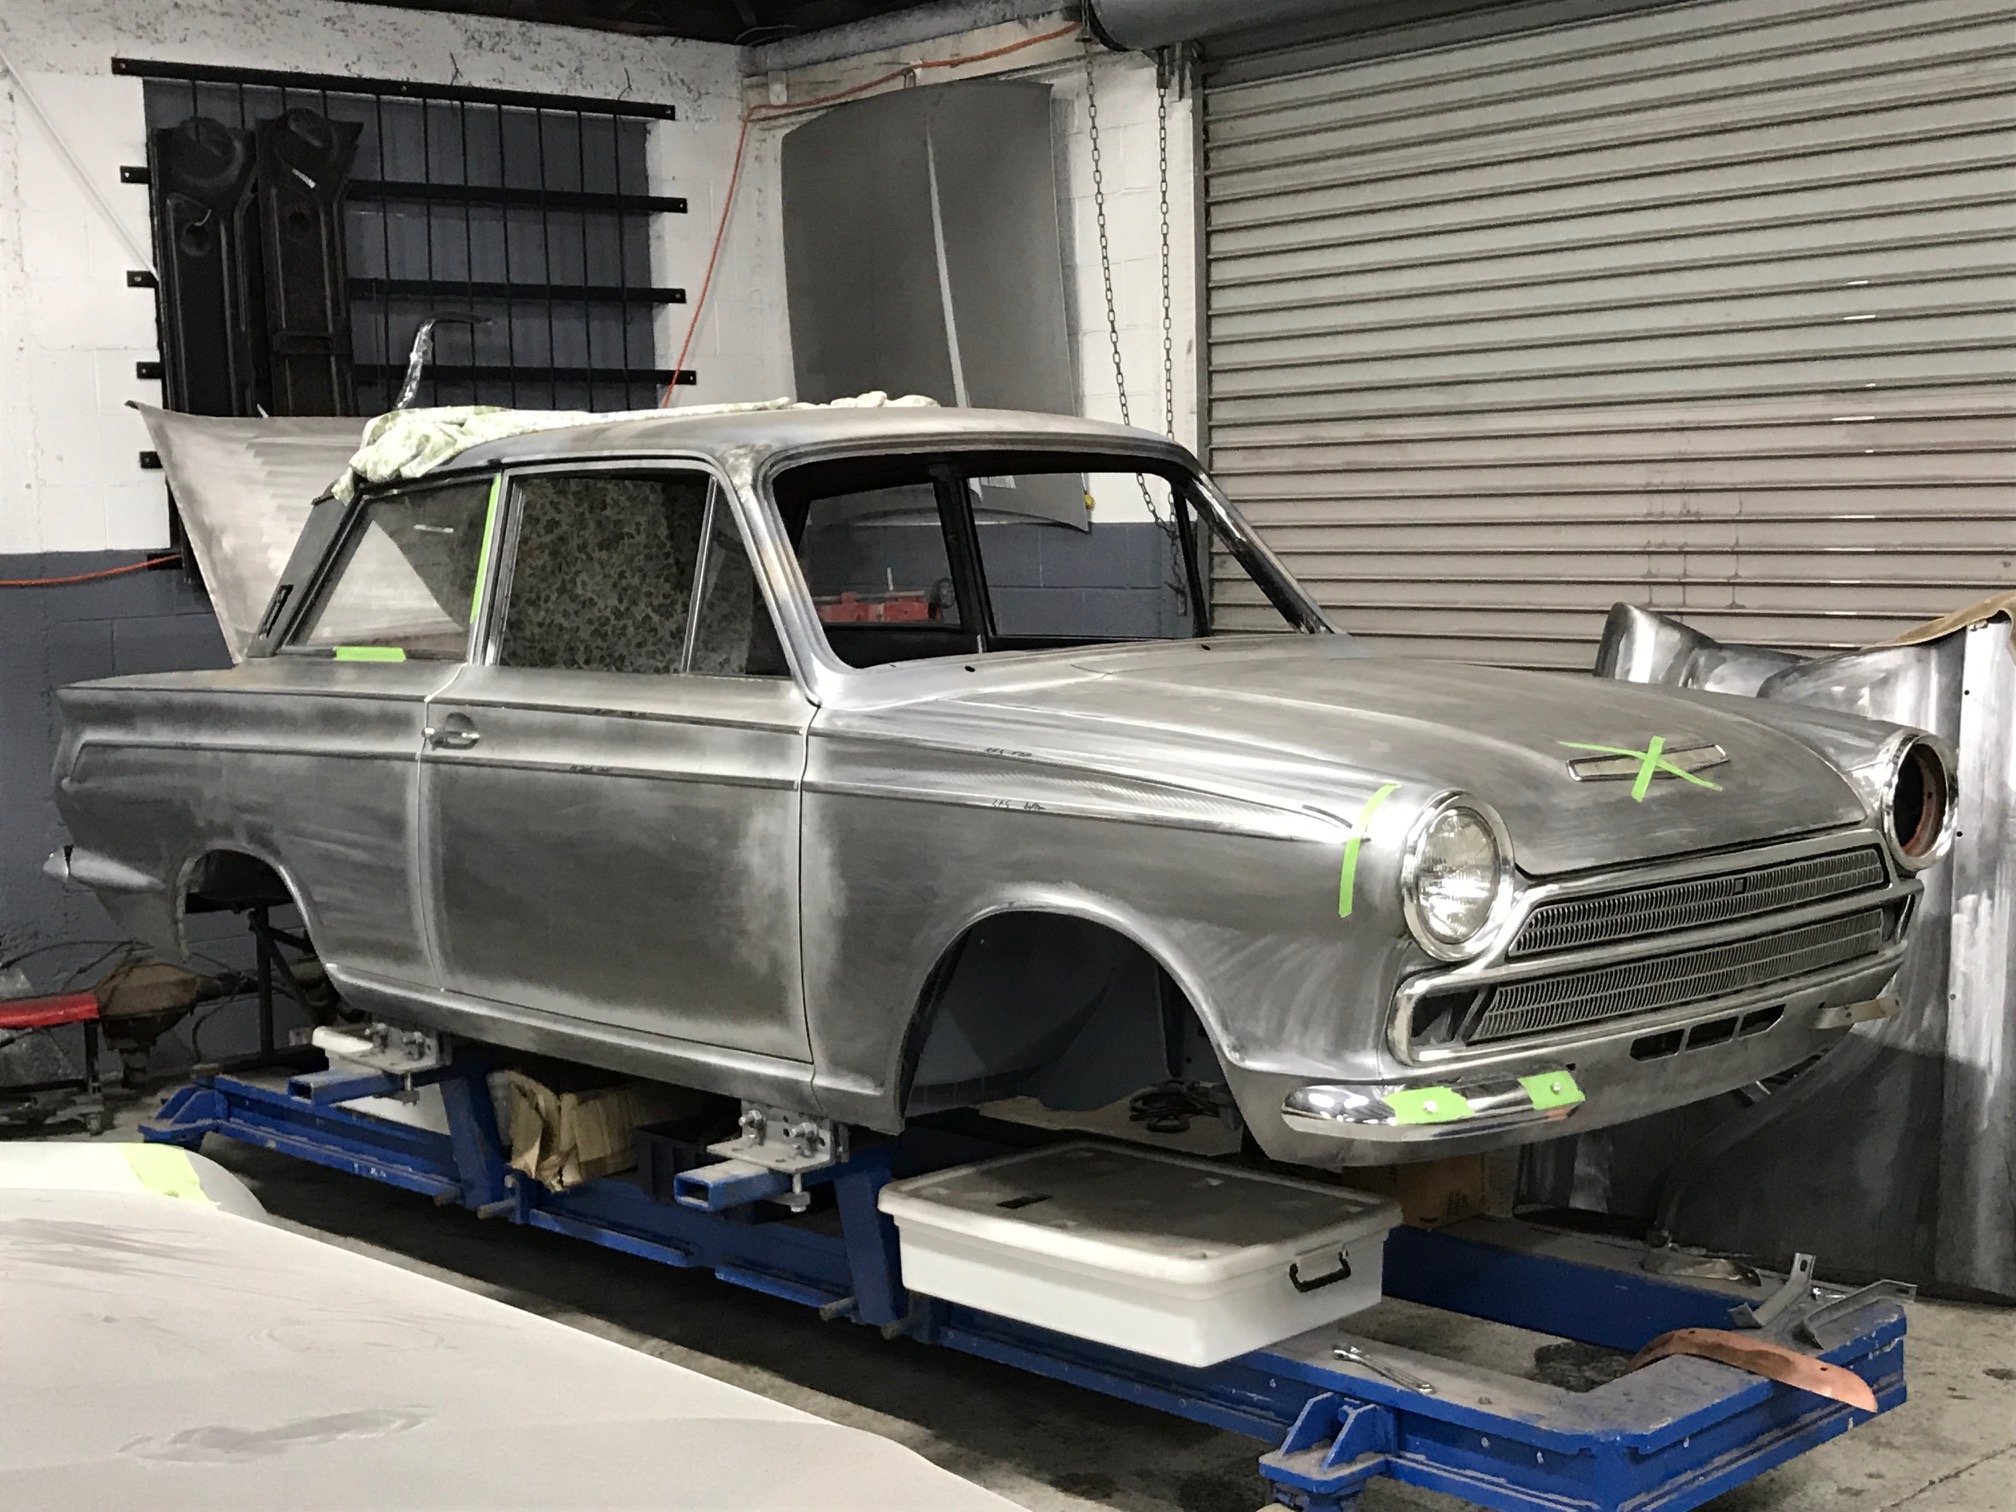
With the engine blowing on the corona bringing the plan to certify that and daily it while i build the crown to a grinding halt. i came to terms with the fact that i was probably going to have to buy a fourth car to daily while i build the crown asap because i was worried there may be rust hiding that would deteriorate the longer i waited. so with a new cheap cheap boring daily acquired. this weekend i set to stripping the crown down, initially for rust and body work, and then for paint! Big pile of parts removed and stashed untill the mythical day of reassembly? Surprisingly i found very minimal rust. found some where i didnt think there was any (under the rear windscreen) and found next to none where i thought was quite bad (around the tops of the screens) ive yet to remove the front and rear glass so this could change but it looks solid. some minor rust at the base of a couple of doors. but only on the inner skins and the lip that the boot seat presses on is quite bad. none of this will really be my problem anyway, ill just have to pay the money. If your the cunt who bogged over the rust under the rear window. im going to punch you in the dick. some people just shouldn't be allowed out of their cage.3 points
-
Tested plenum on kp, looses power with side panel on. after cutting stuff up, seems taper tubes or slot aren't a restriction, as does the same with them removed. have come to conclusion kp engine doesn't like a plenum, or at least one this size. possibly the bellmouths need more space to the roof of plenum. either way cant do much about it. so going to weld it up and see what it does on hilux got bit more done on throttles, bosses welded on vac rail. Throttle plates etc modified and back in. linkage rail re-drilled. pretty much everything needs modifying / butchering to get the throttles close enough together. Found a plug on aliepress that vaguely sounded like the right one for the tps. after a few dollars and the usual wait it actually fits Dug out this smaller 55amp alternator, fits on current lower bracket, will fit up close to block once have added more adjustment to top bracket. Was pretty toasted, so chucked some new parts at it. Never really attempted to rebuild an alternator before, was pretty easy Even found a sightly bigger pulley in my pile of junk alternators,3 points
-
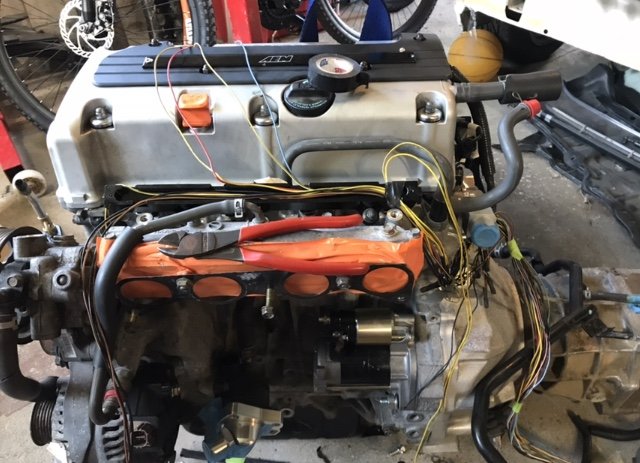
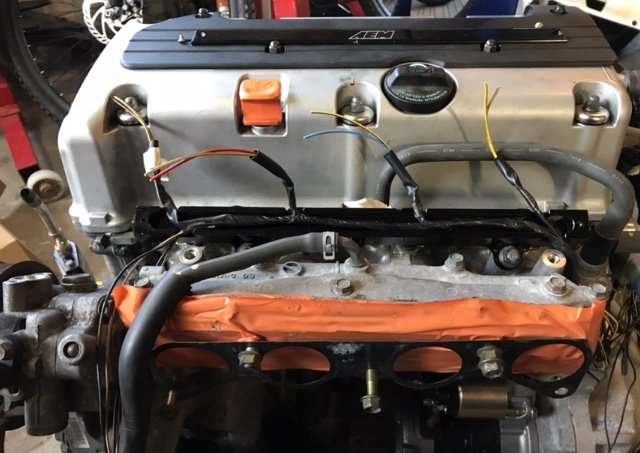
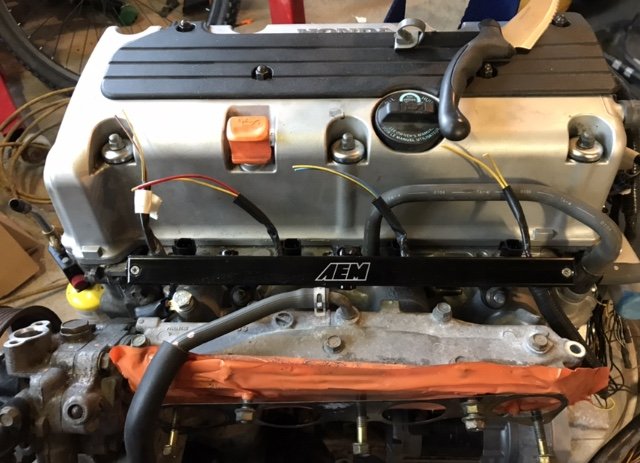
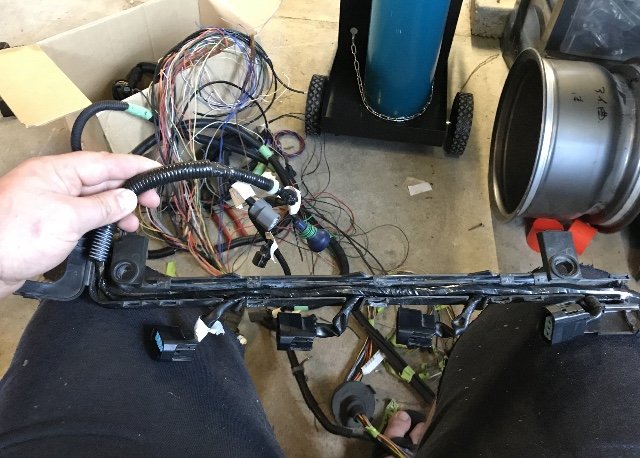
Sorted the loom out for all the sensors, coils and injections. really liking the fuel rail cable support! starting on power harness witch is a bit more tricky without it being in the hole. going to move the battery to the intake side. Witch should also free up room on the turbo side. Try find a large OEM filter box that fits in there nicely. maybe something off a later model 4wd with snorkel and large panel filter
2 points
-
AFAIK Thats the way, and fresh fuel, ie dont leave the same fuel in the tank for years2 points
-
Leaking out the shaft seal? For minors it's a case of 10ton press to remove the arm from the shaft, pop out the frost plug in the back, machine the housing for modern seals and refill. The thicker oil will work for a little while. But in a couple years they are Gona really leak. Usually it's easier, faster, cheaper to exchange your old ones for already rebuilt ones. * Reread and sounds like you have a potentially good one. Open top cap and drain bolt. Hand pump the lever arm to pump the old oil out. Top up with your flavour of monograde sae oil. For minors I think it was 40. Again for minors you can bump that up to 90 for racecars but the thoughts are that this puts more stress on the valves and will eventually damage the shock till it bypasses internally.2 points
-
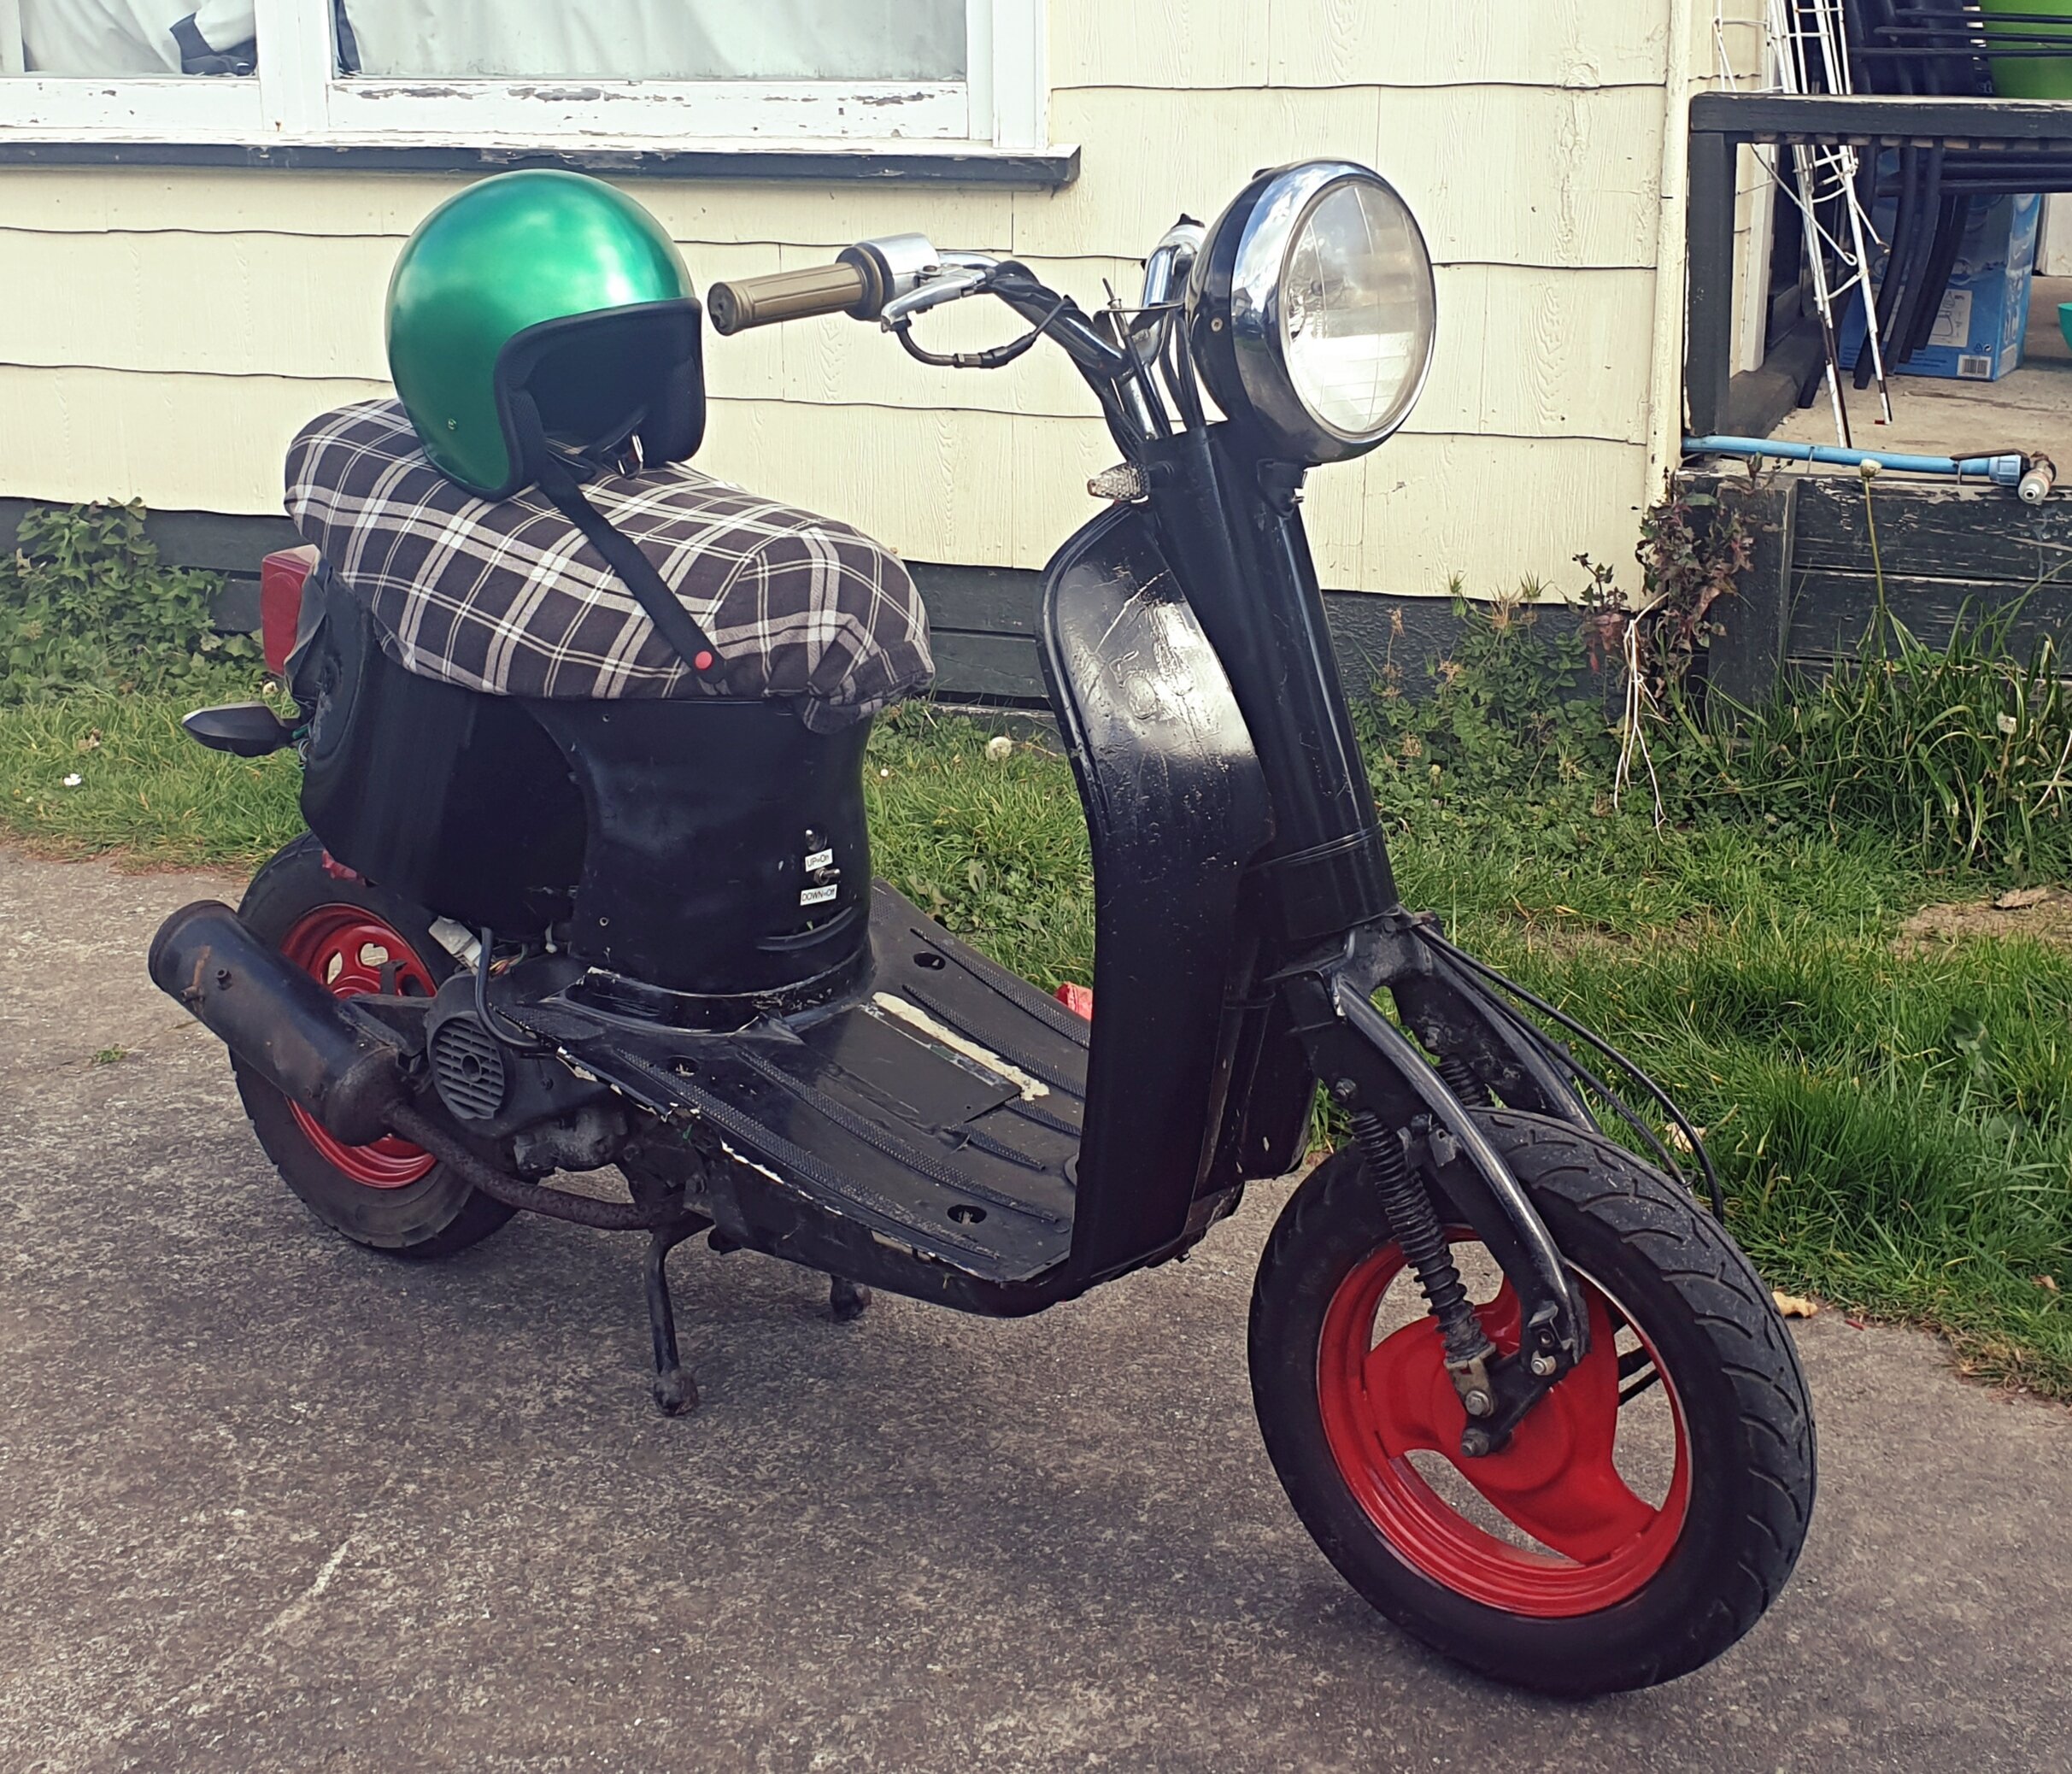
Finally kicked this thing into life this arvo. Started easy as and sat there idleing like a champ. Stoked the motor is working as it should have. One step closer to the DGR ride! Still have so much to go, mainly wiring as the indicators don’t blink, starter motor is dead, rear set linkages etc.....
2 points
-
Awesome1 point
-
Man so good. Wish I still had my sidewinder with a 600 in it for d1 battles against this1 point
-
The plan now, is that I have a pressure testing kit on the way, along with new plenum gasket and injector O-rings. Im going to smoke test the intake, and fuel pressure test for main and control pressures. After that, the plenum will come off, and injectors out for flow testing and to check the pattern.1 point
-
I was reading about this the other day on a zephyr forum and someone said drain them, clean them and put hypoid 90 oil in to make them a bit stiffer..1 point
-
I dont believe these use inserts, but I have a set of Viton O-rings on the way. I also have a smoke machine on the way to smoke test in the intake before i pull it all apart.1 point
-
Indicators not flashing will just be the bulbs/l.e.d not drawing enough current from the relay. Swap it out with another one. Its a nice build man, tidy!1 point
-
Right, so some super dodgy testing including a timing light and reversing up my busy street, I can confirm that when the engine cuts out it still has spark. The timing light still flashes as the revs drop. Also tried another coil. Have just cleaned the KJET air flap disk thing, and throttle body. Neither made a difference, but the issue is getting much worse the more i run the car. I can't get to the end of the street now, and if I push on when it cuts out it pops and crackles from the exhaust. I suspect it may be lean? Guess the next job is to remove the plenum and take the injectors out and see what their flow is like?1 point
-
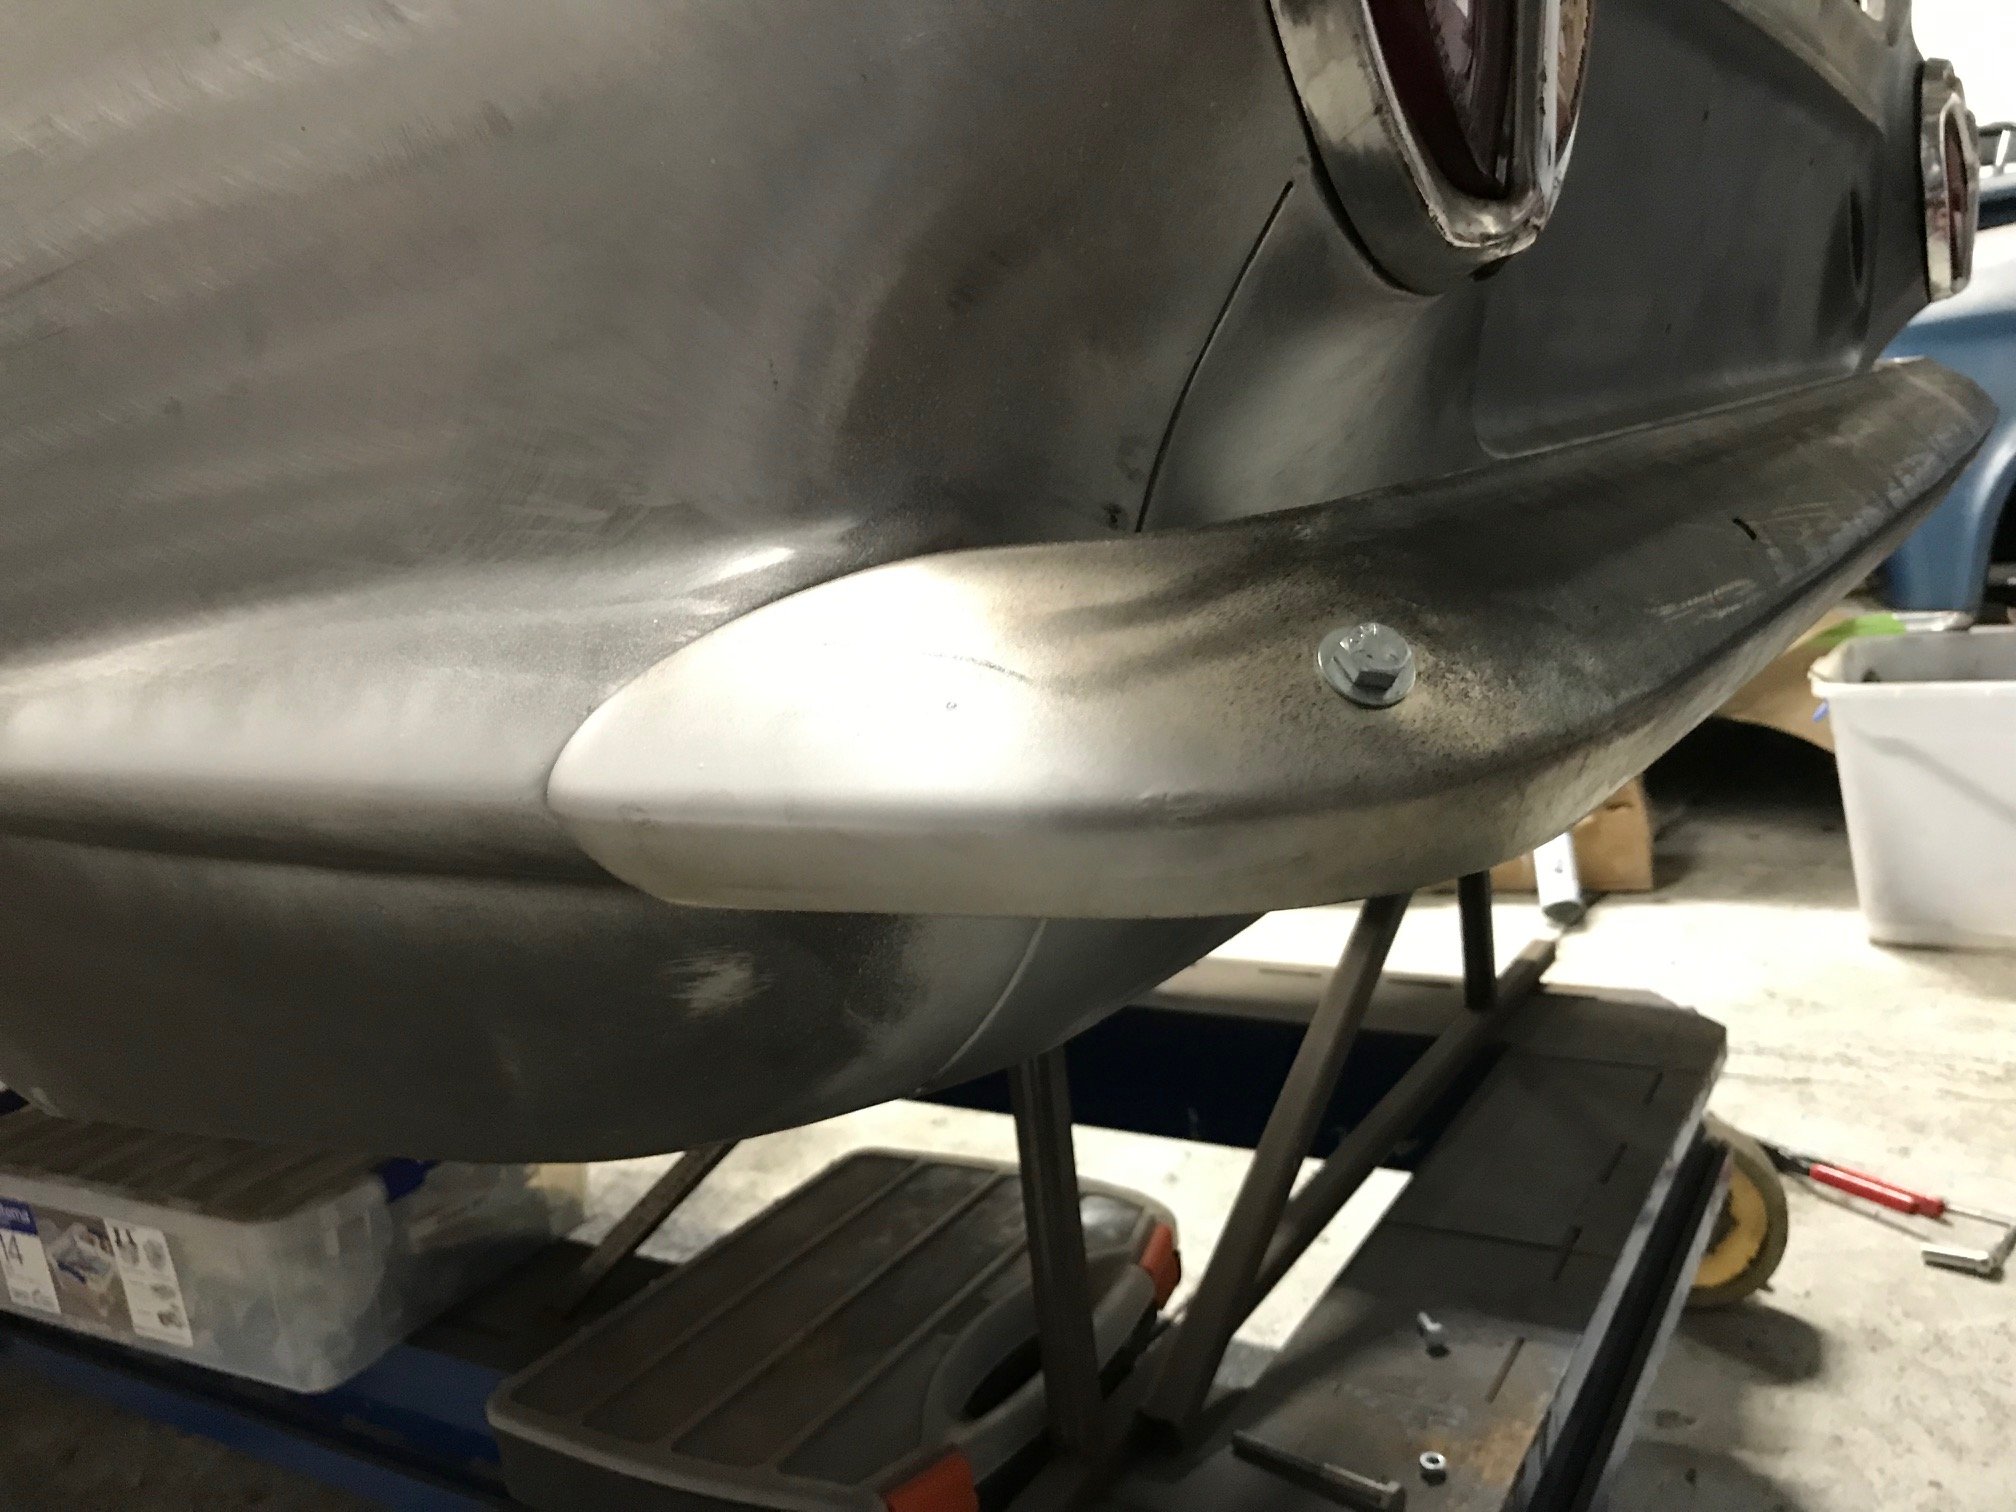
Rear bumper has been straightened up and trial fitted. Looking mint. Just needs a file up and off to the chrome players again. Down to the last few small jobs and off for the final blast.
1 point
-
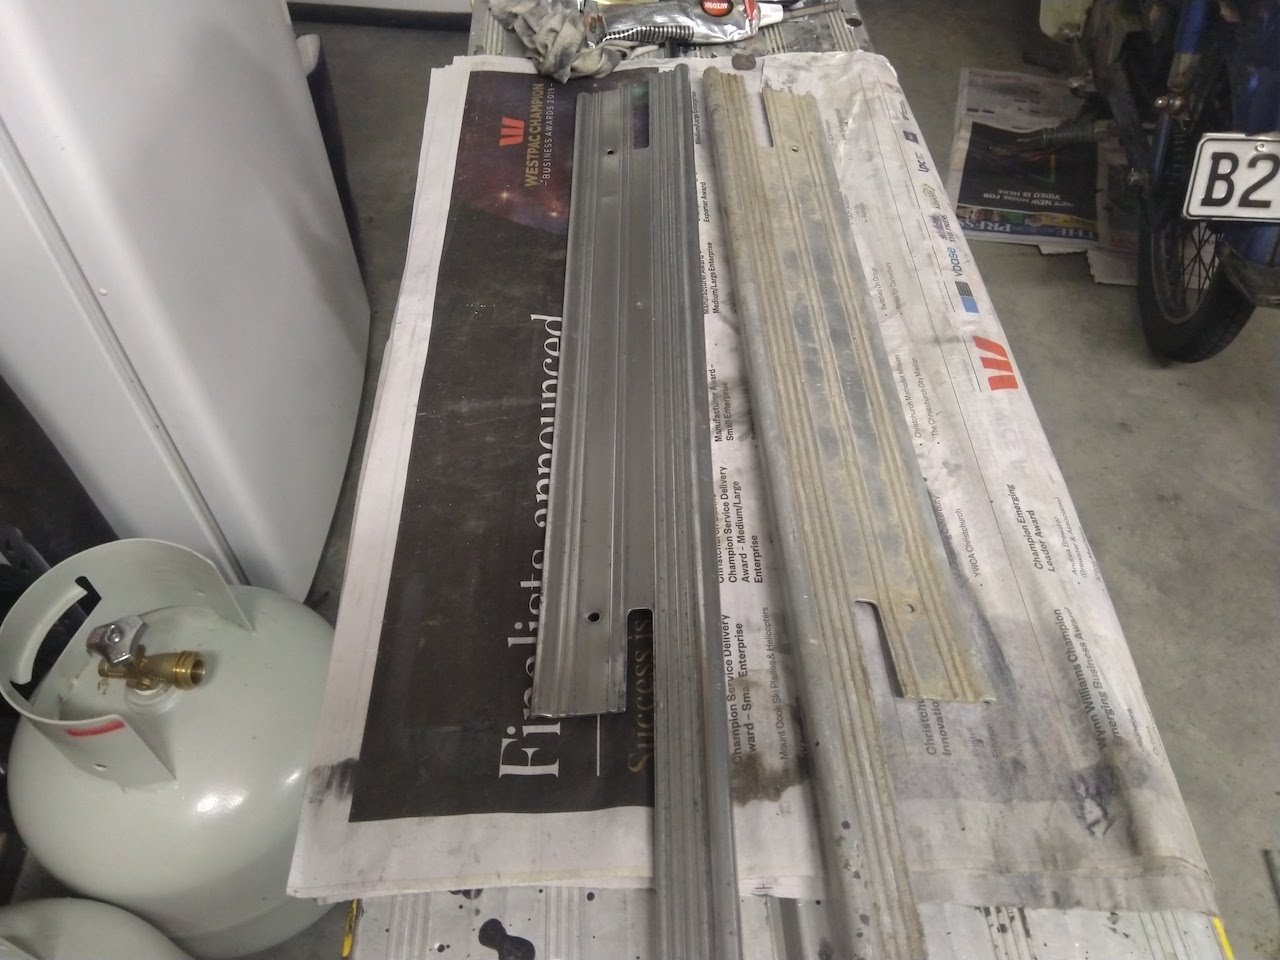
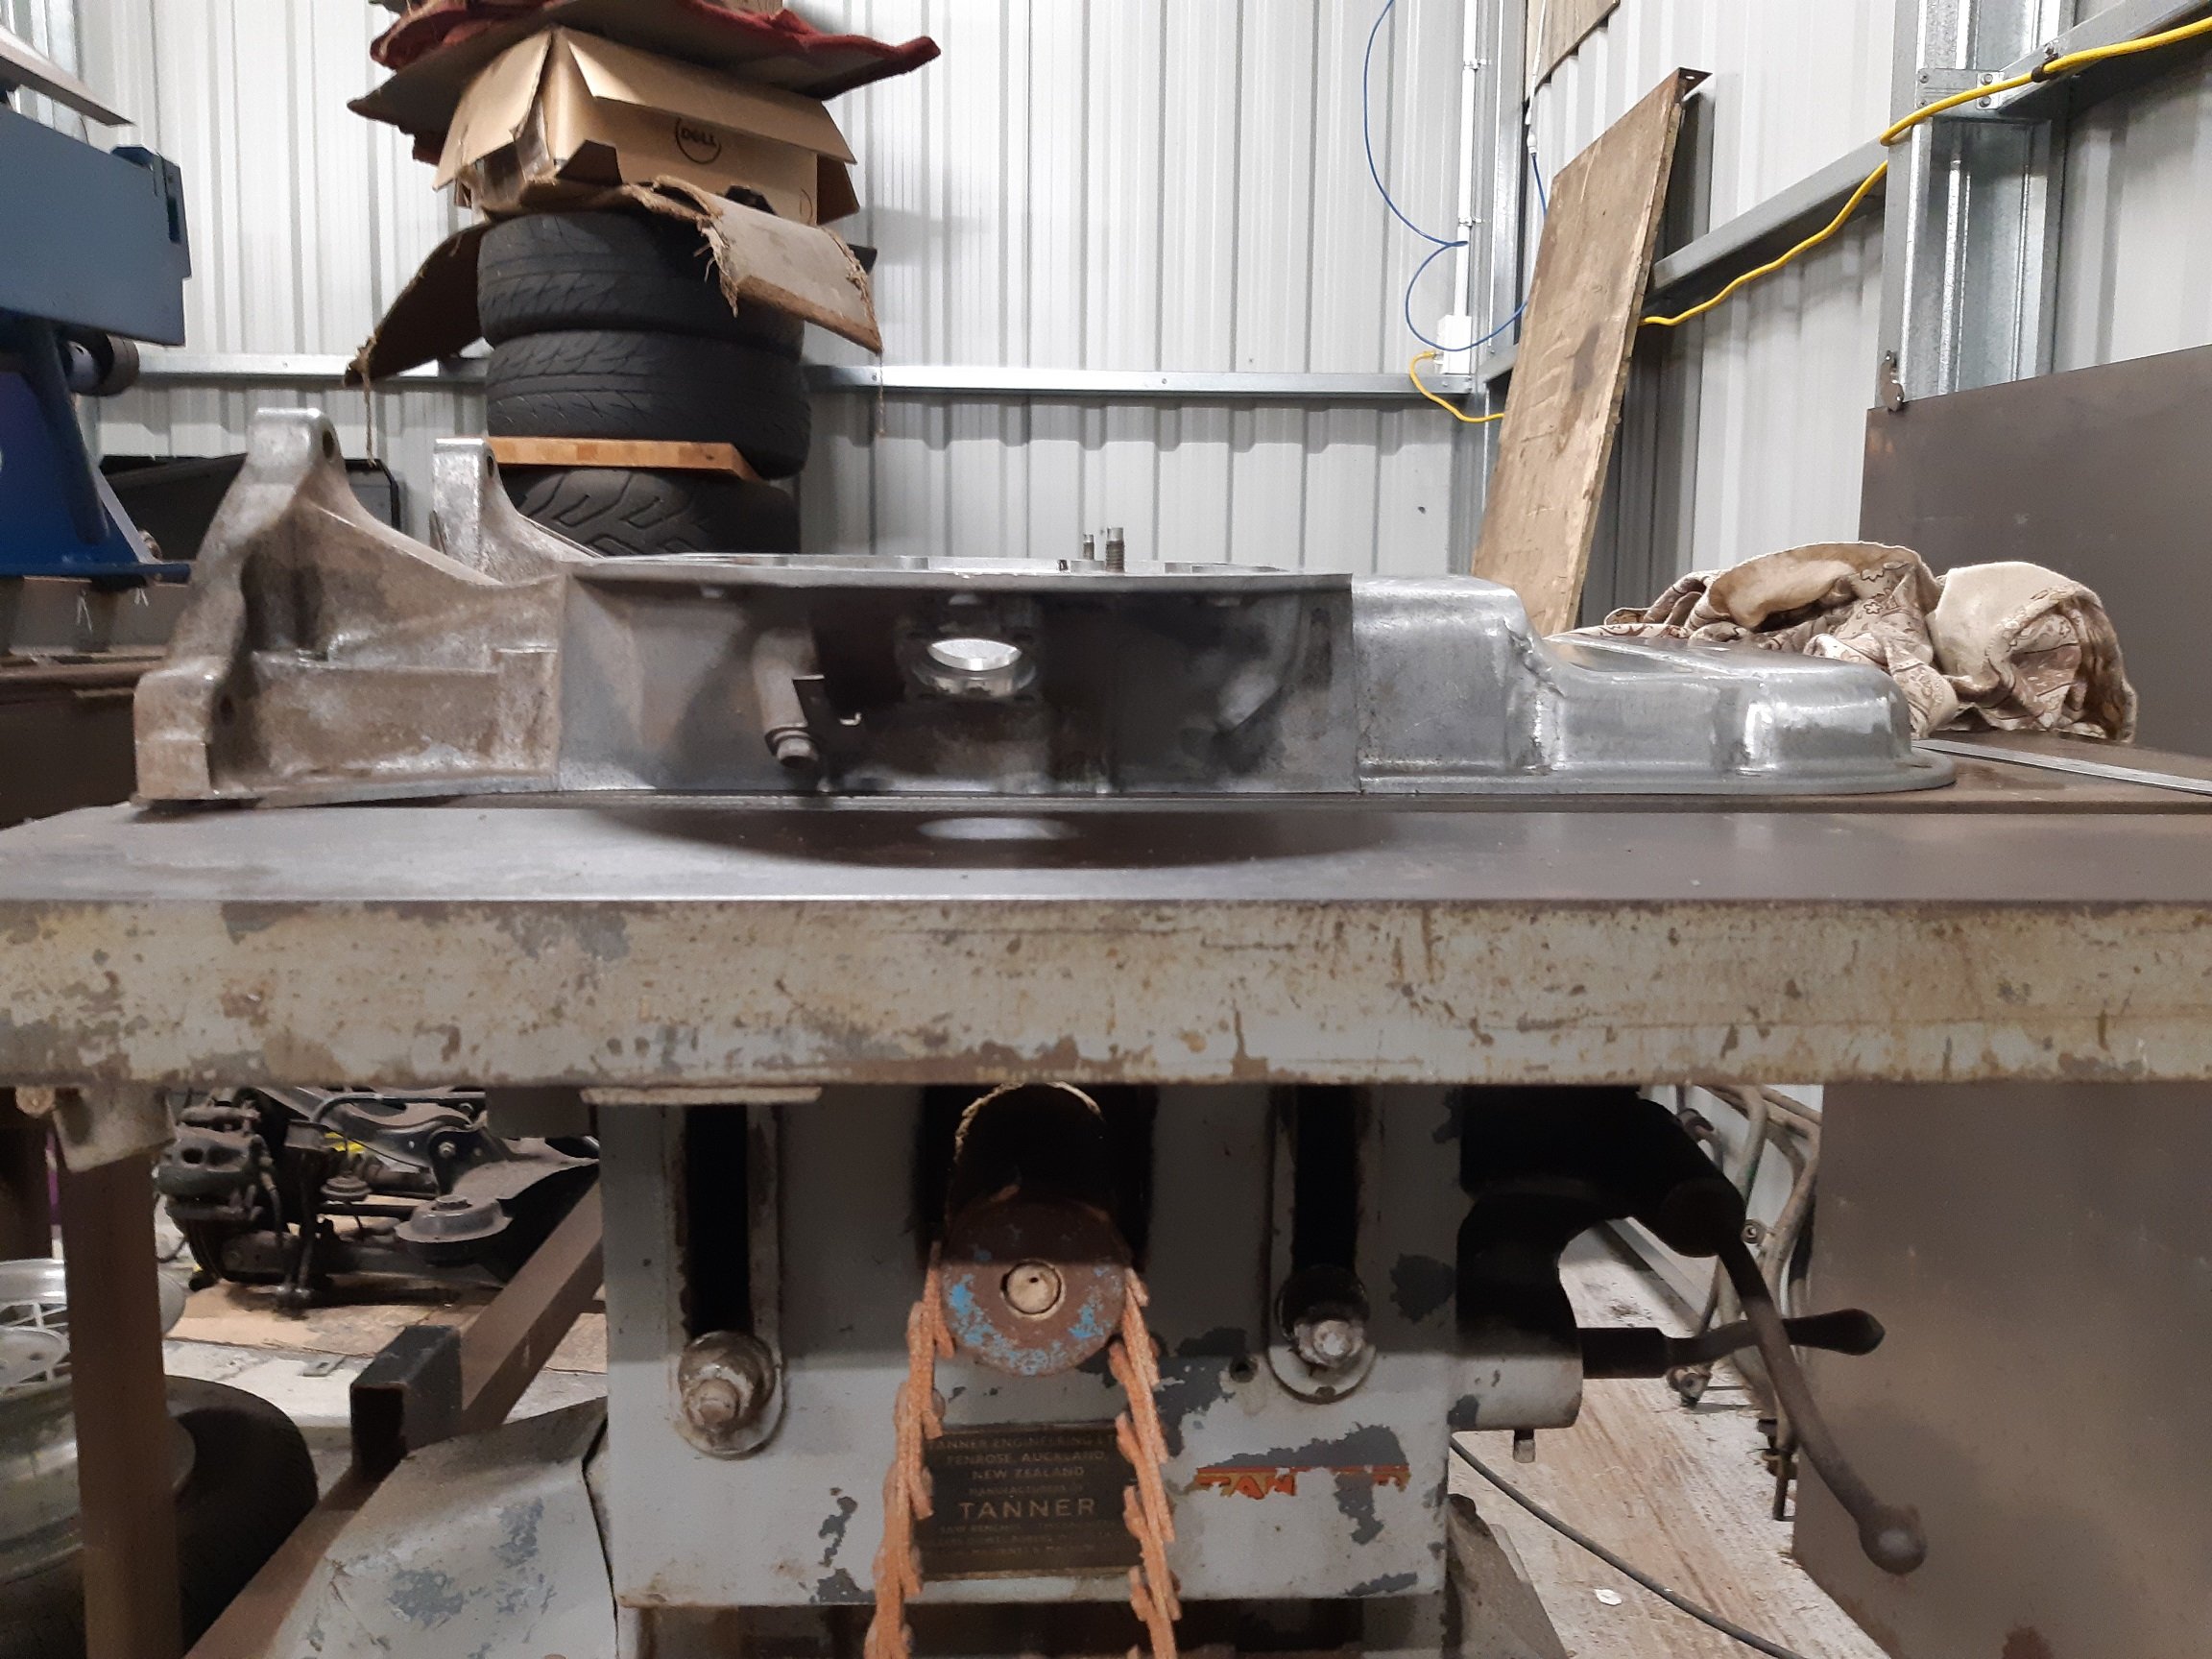
So I found a local place that could anneal my sump which would allow me to pull it flat. Dymo Manufacturing in Wingate. They put it in their kiln with it bolted to the jig. It was heated up to.... hot, then allowed to cool down slowly over many hours. ~10 I think. $70. The heat seems to have baked out any oils and cooked the sealer that was still in the grooves on the mounting face. The sealer just crumbles and turns to powder when I scrape at it. Only down side was it caused some of the small M6 bolts to seize in the jig which I wasn't expecting, so I broke one and stripped at least two more. So I'll have to find some suitable bolts to bolt it back to the engine. Oops. But it's more or less flat already. So I am happy to bolt it back to the engine, the sealer will sort out any tiny gaps. Cast iron table saw top is the flattest thing I have. I did try move it around a bit, just in case the table saw top was bent. It's the same which ever way I put it. There is still a tiny gap at the front of the sump, but it's no bigger than 0.5mm and if I put some weight on it, it closes up. Yay.
1 point
-
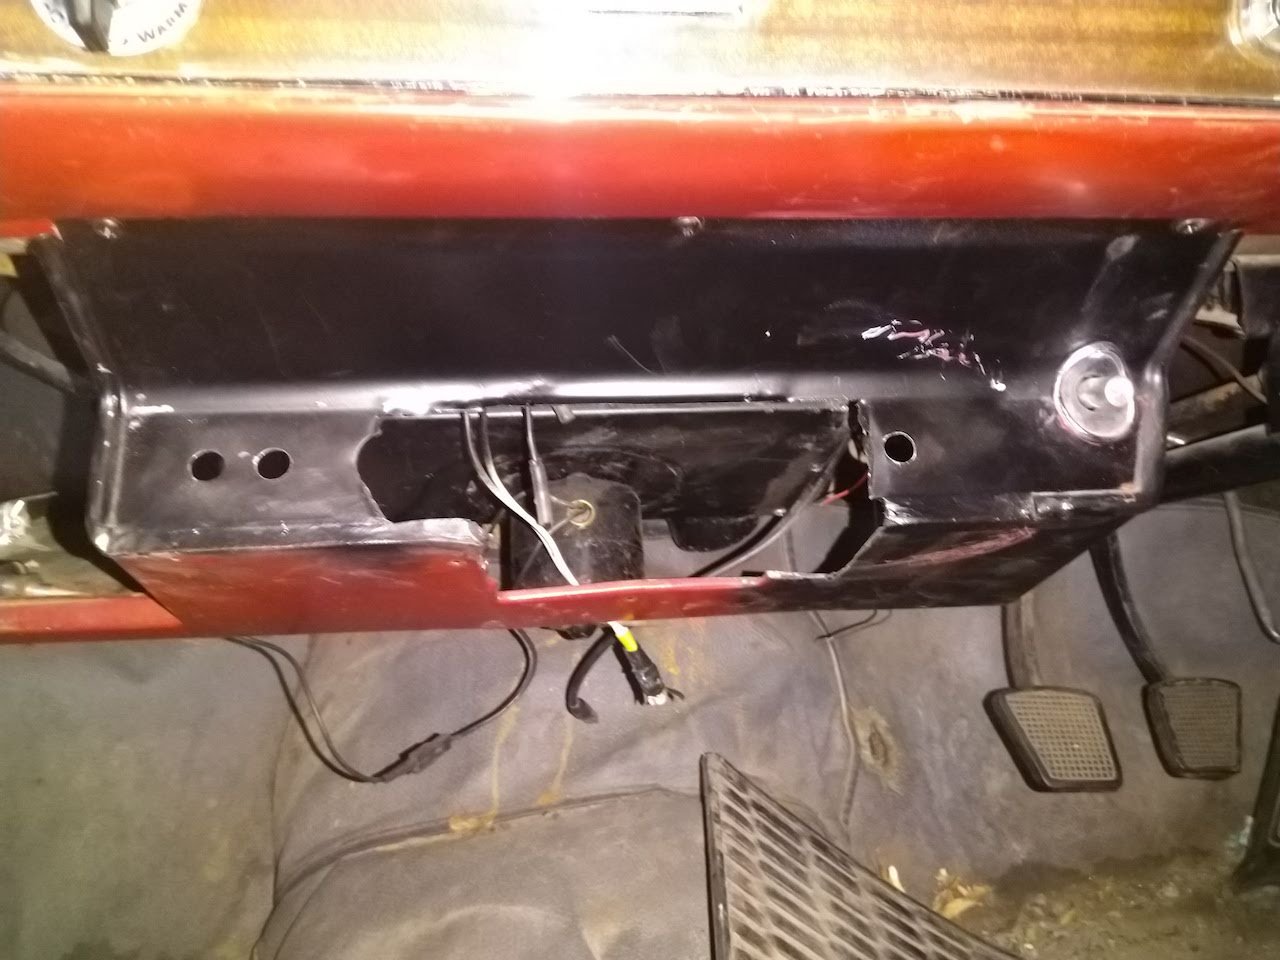
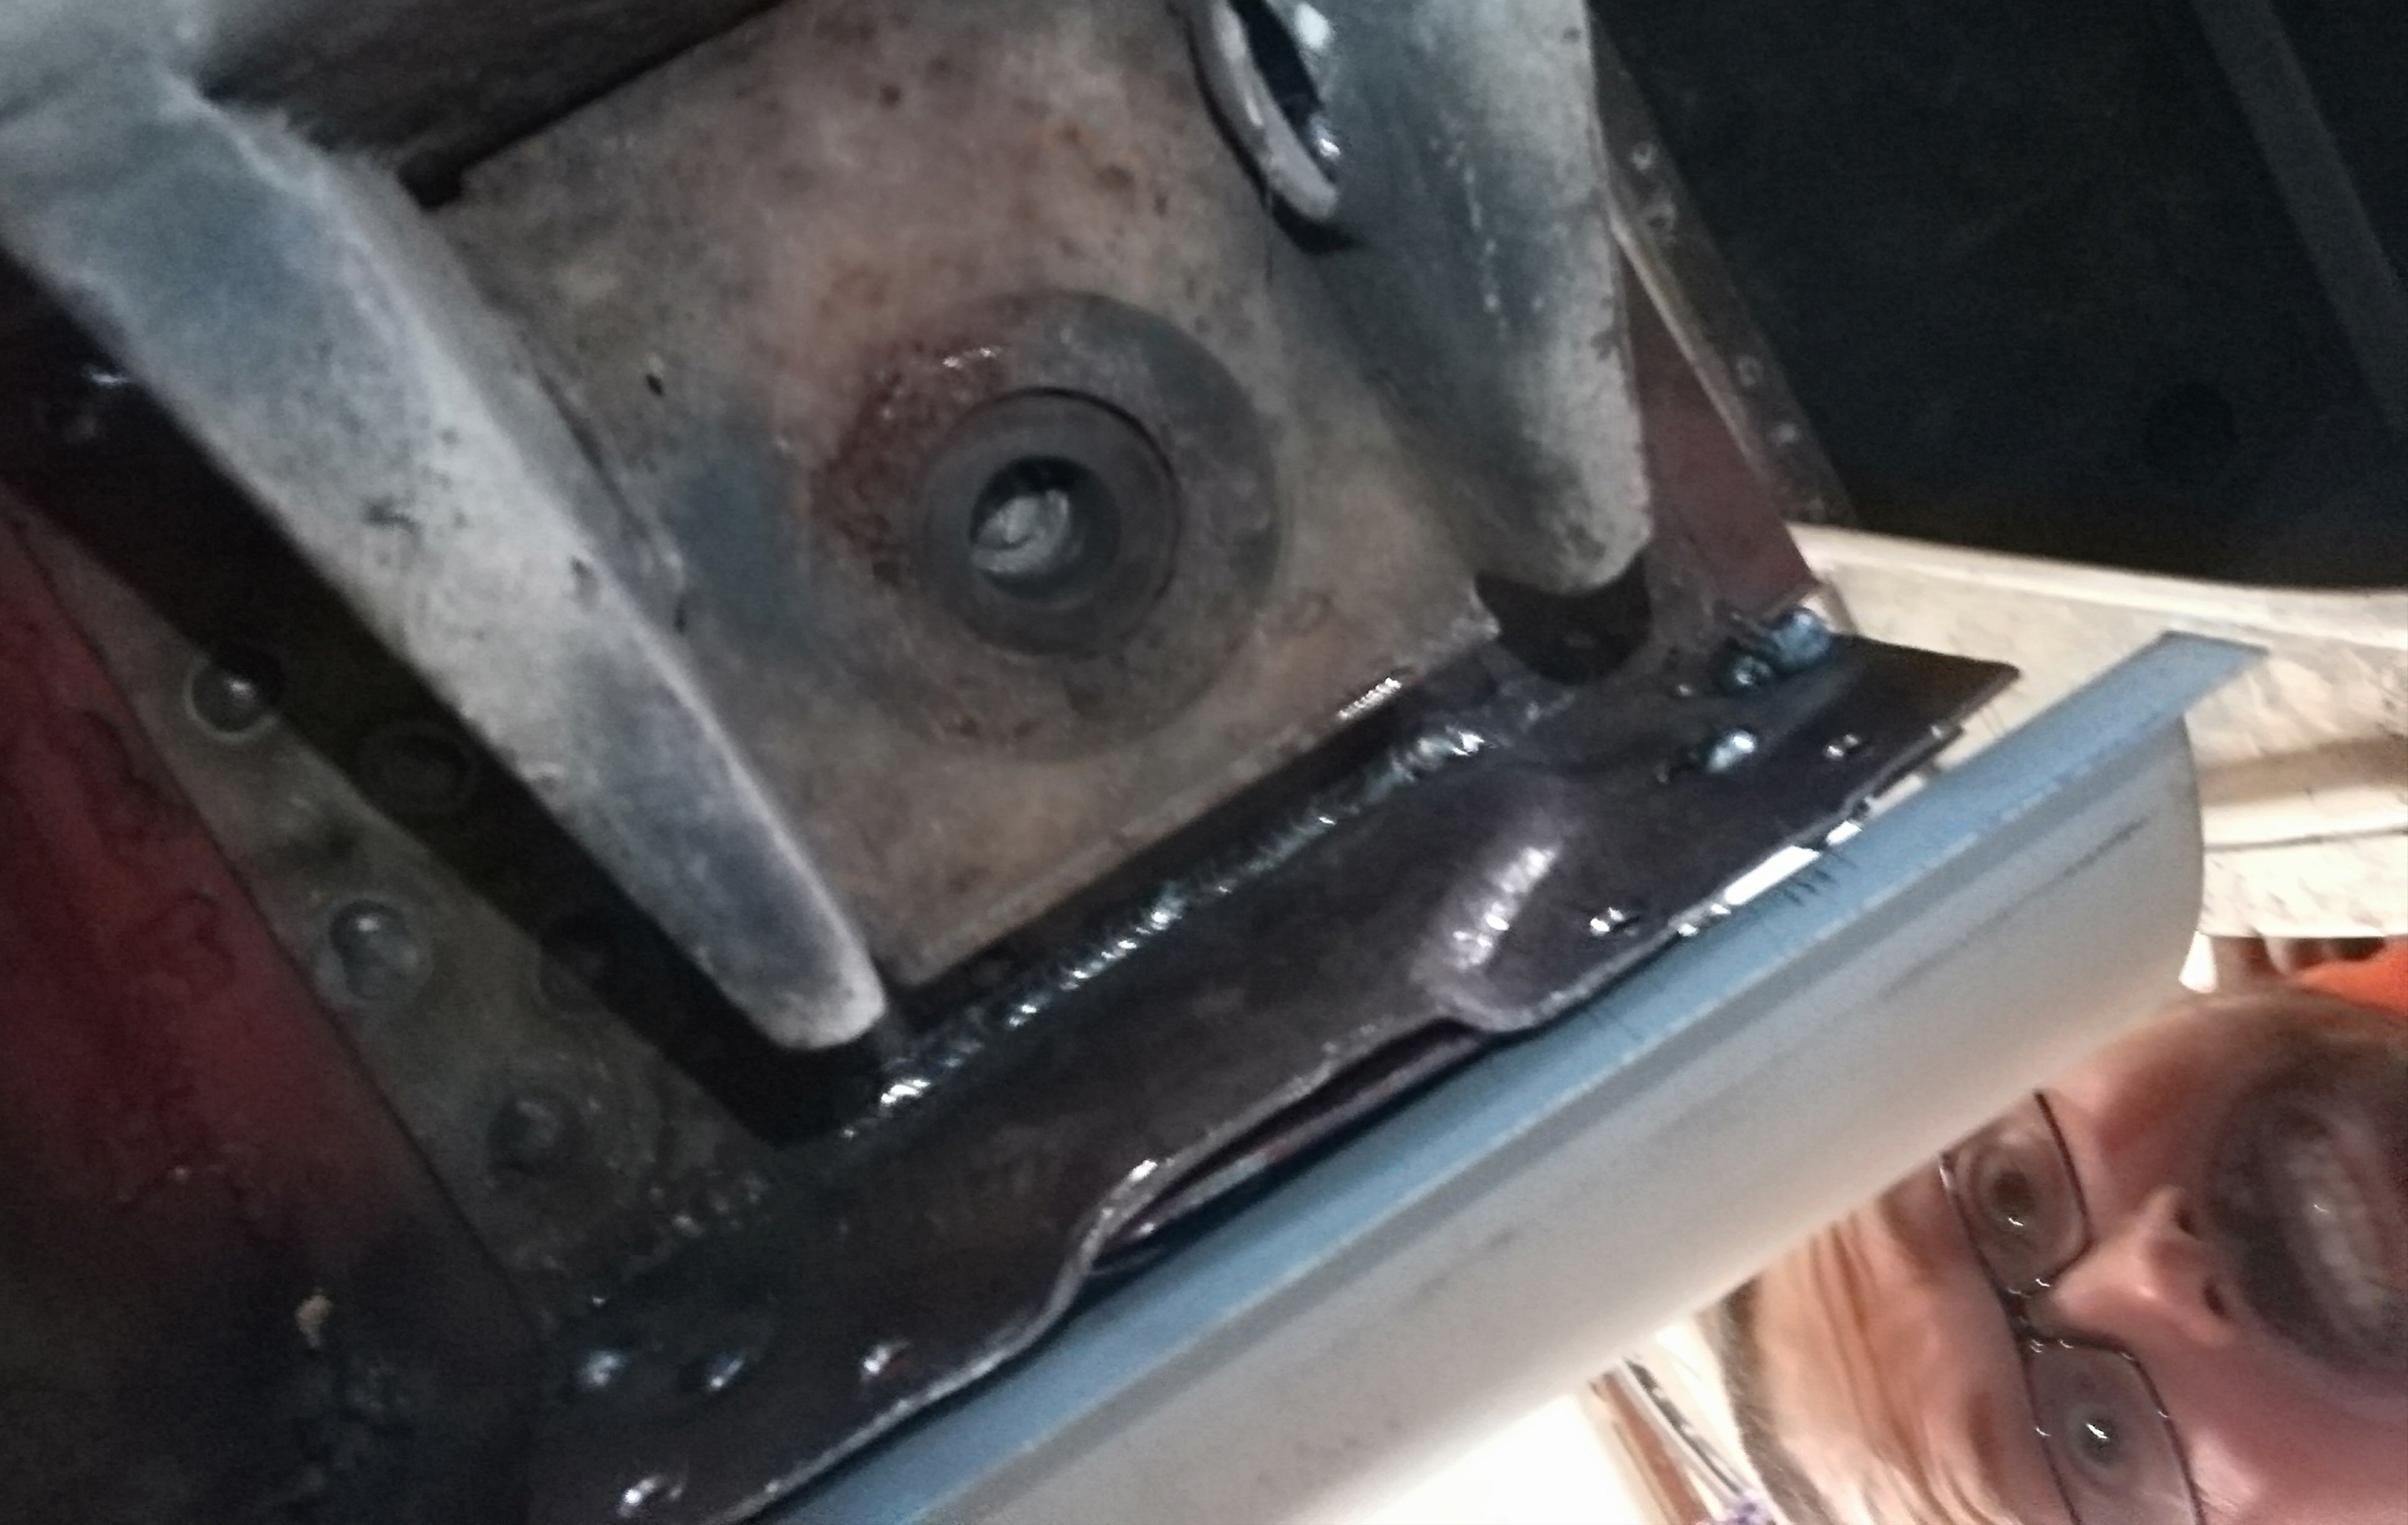
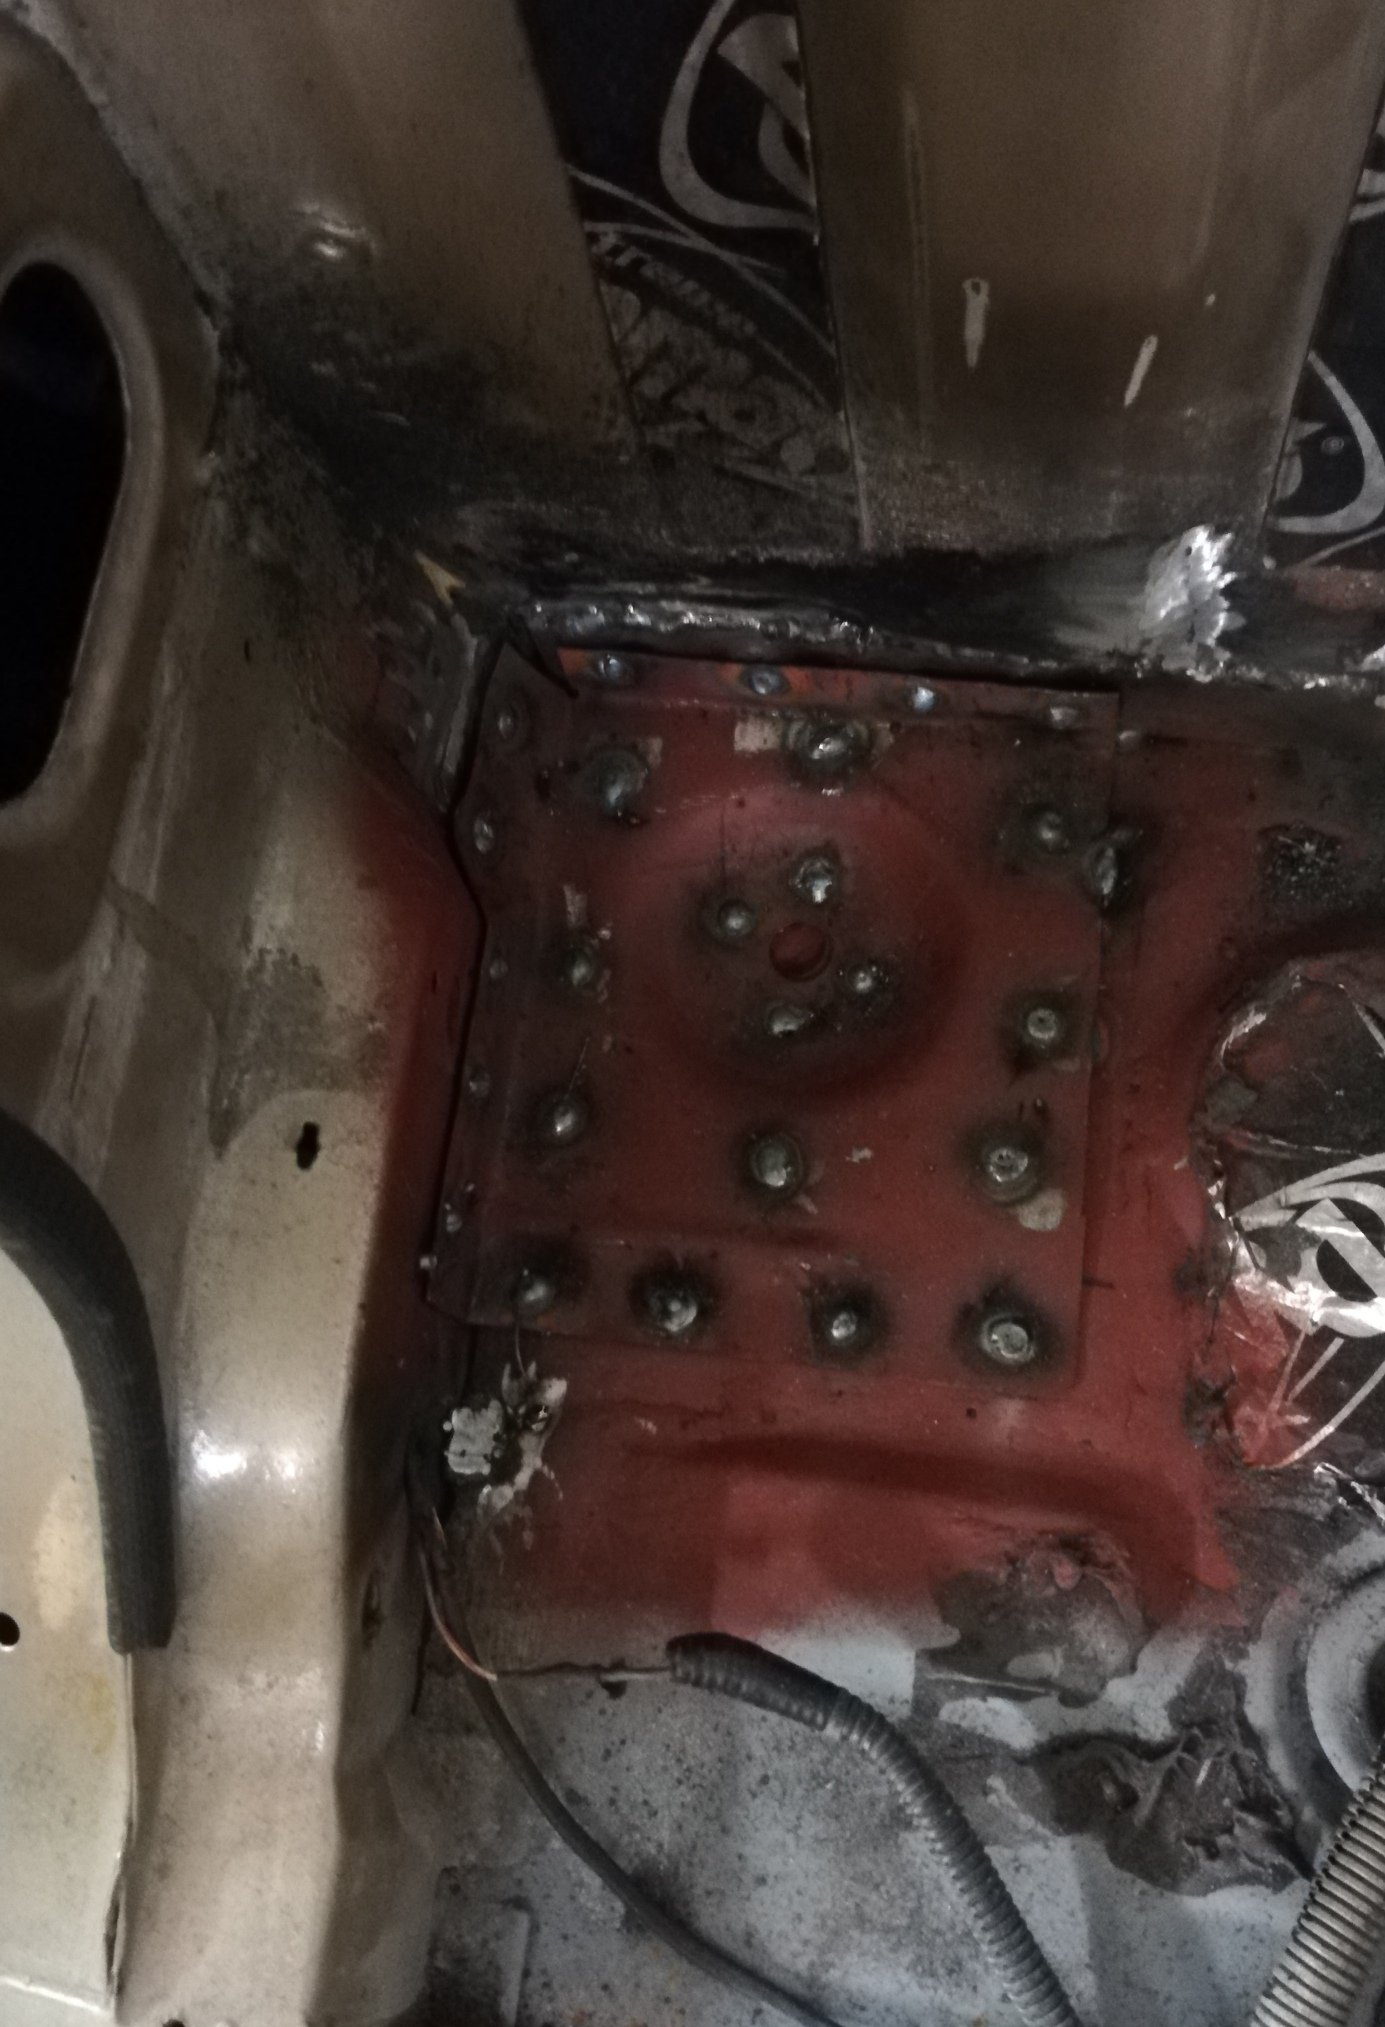
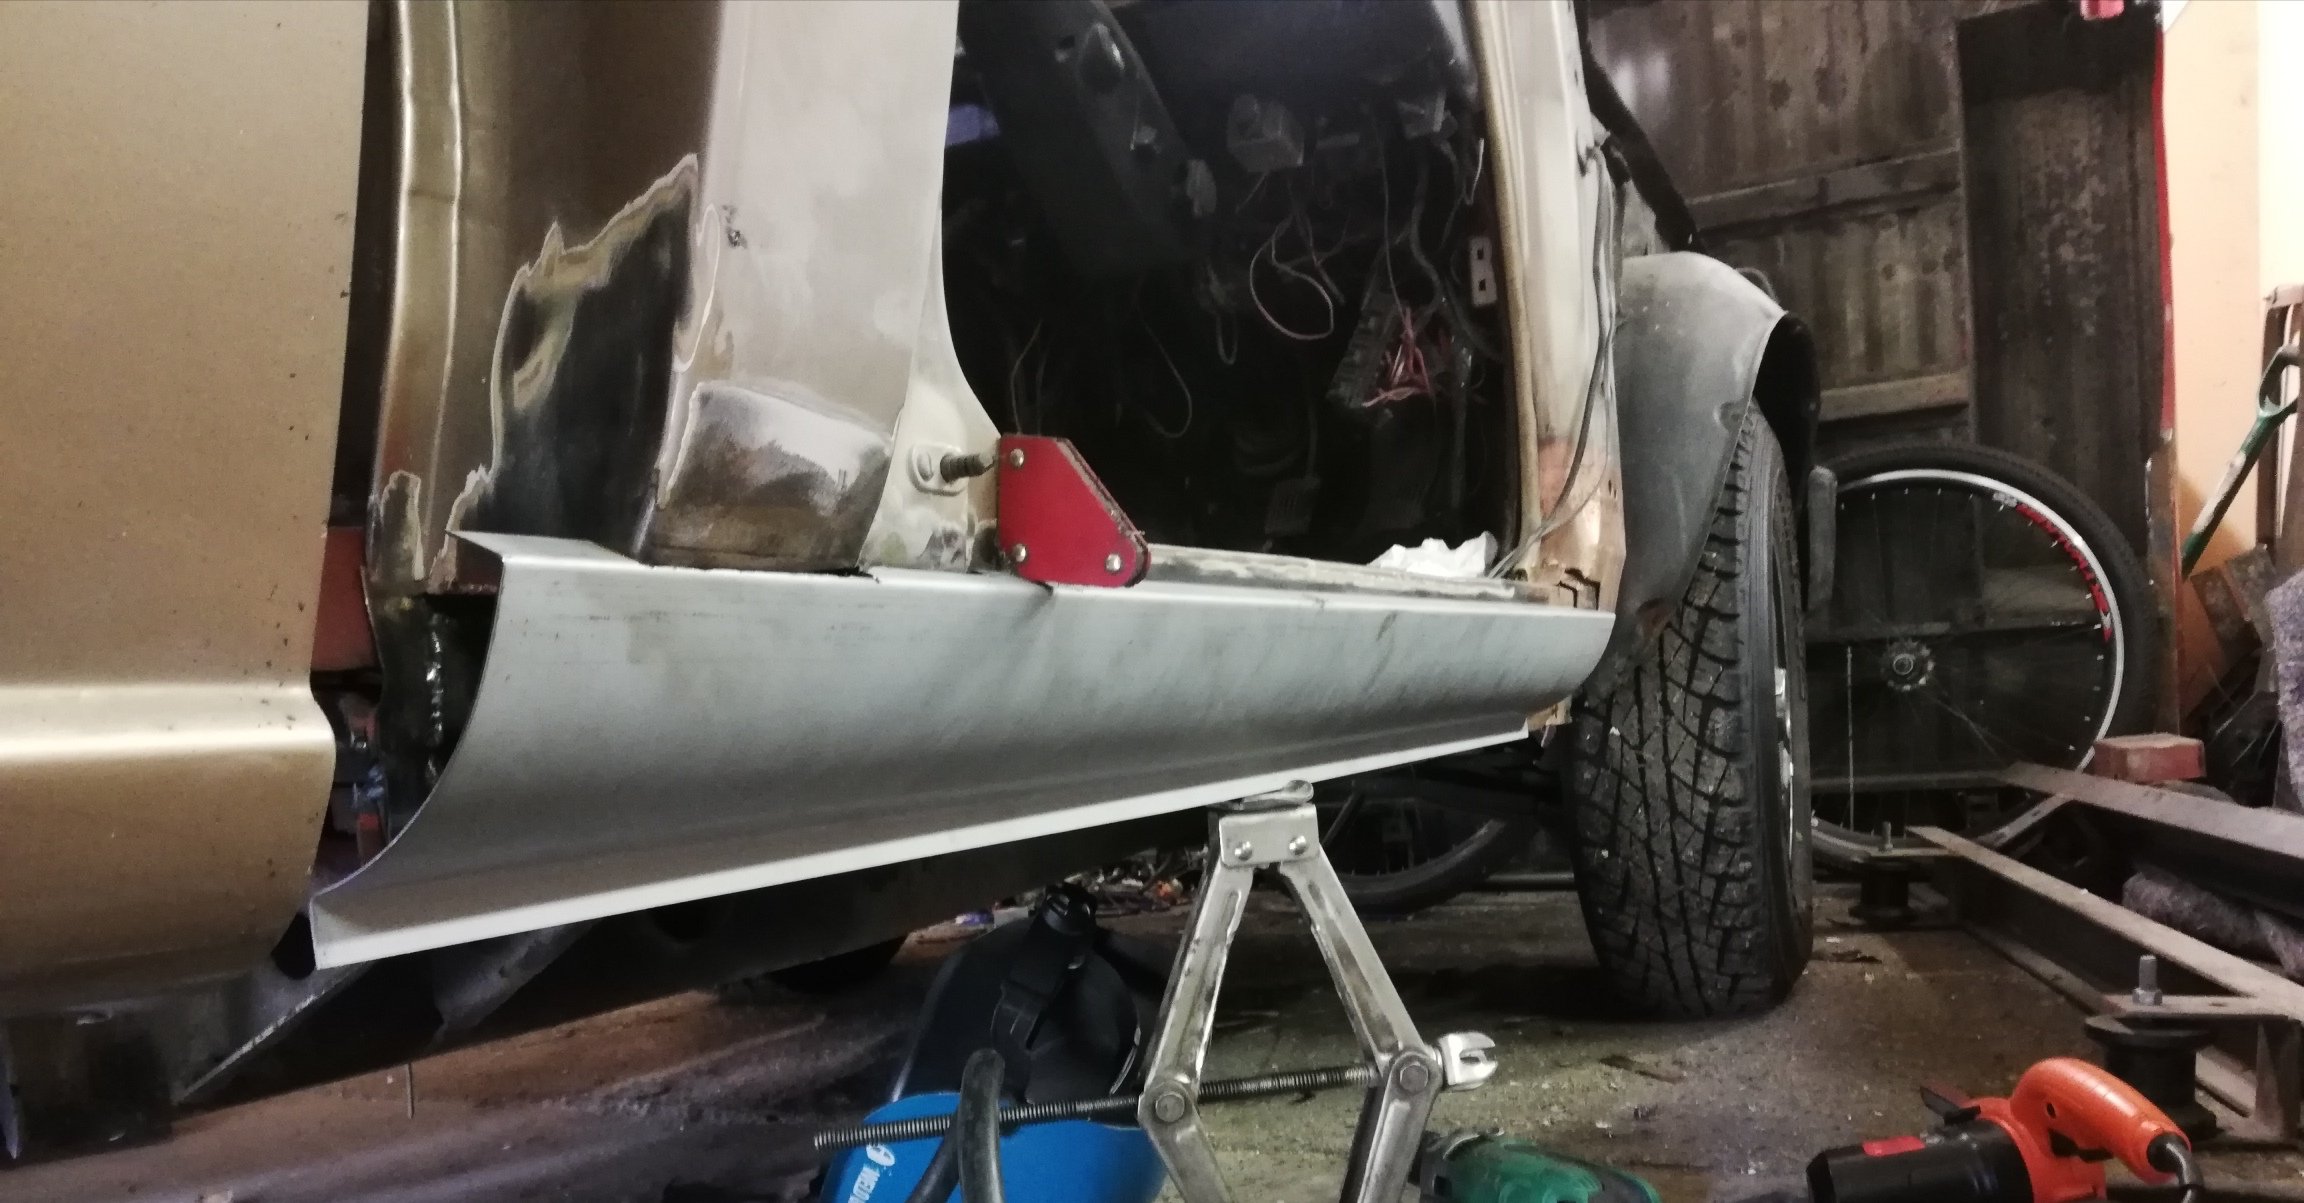
Ok ok What a balls of a job Floor is in Inner sill is in Cab back patch is in Inner cab mount plate is in Outer cab mount is in New sill getting trimmed to fit Not sure if I need an inside sill bracket like what was shown gas axed above, doesn't exist in my parts book.
1 point
-
So it took longer than expected to sort the wiring, which still isn't finished, as I need to make a dash plate and get some new switches n shiz, before I can finish the wiring off. I've been having problems with my trailtech dash giving weird rpm values, and I was darned if I could figure out why. Turns out Dave, being the Barry he is, installed solid copper leads on the motor, so I get an rpm signal even when the wirings not connected to the trailtech, so much zap, lewlz. I might have to put standard leads on it, as I kinda need the rpms to read correctly. Anyways, this evening I halfassedly finished the wiring and put cable ties all over the place, and decided it was a good idea to take it for a quick test drive. In the dark. With no lights. Up my residential street. It was quite exciting. All the controls work well, which is nice, but the motor is not running correctly. I think it's leaning out up in the revs, not that I know how many revs it's doing, so I will have to play with the tune. The gearing seems good, it's definitely not over geared now. After a couple of rips around the neighborhood, I had a quick look over it, and noticed one of the rear sprocket grub screws had stripped out, so I had to pull the rear end to bits so I can drill the 8mm grubs out, and upgrade to 10mm. I'll loctite the piss out of them too. I'll try sort a few issues out, and hopefully take it somewhere this weekend for a second test drive, to see if things are better. But yeh, not too bad, but still lots to do. At least it's now moved under its own power for the first time in nearly two decades, so that's a win. Regards, VG. xoxox1 point
-
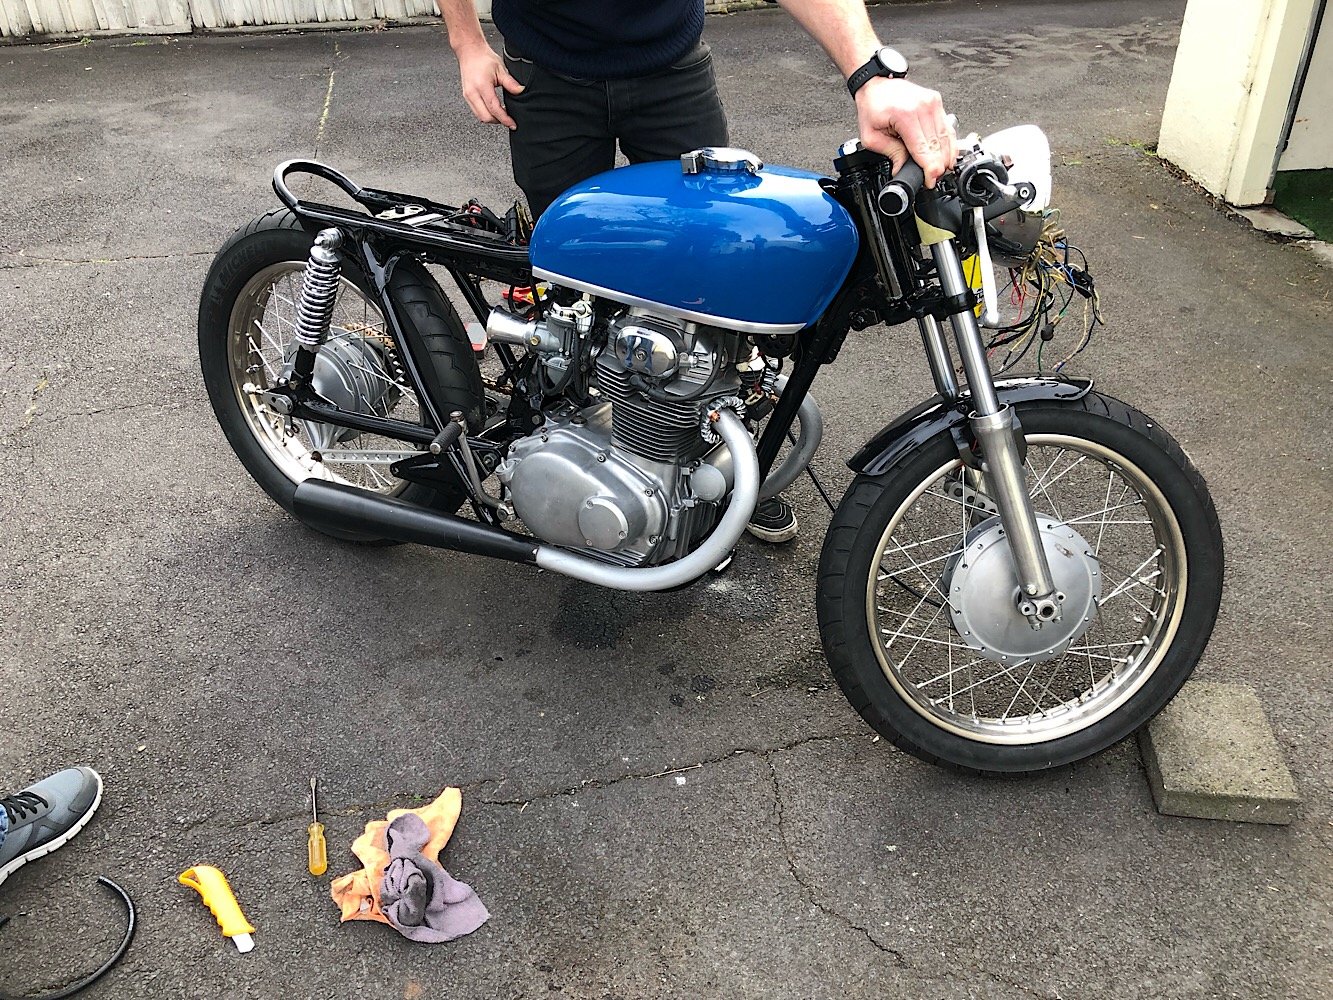
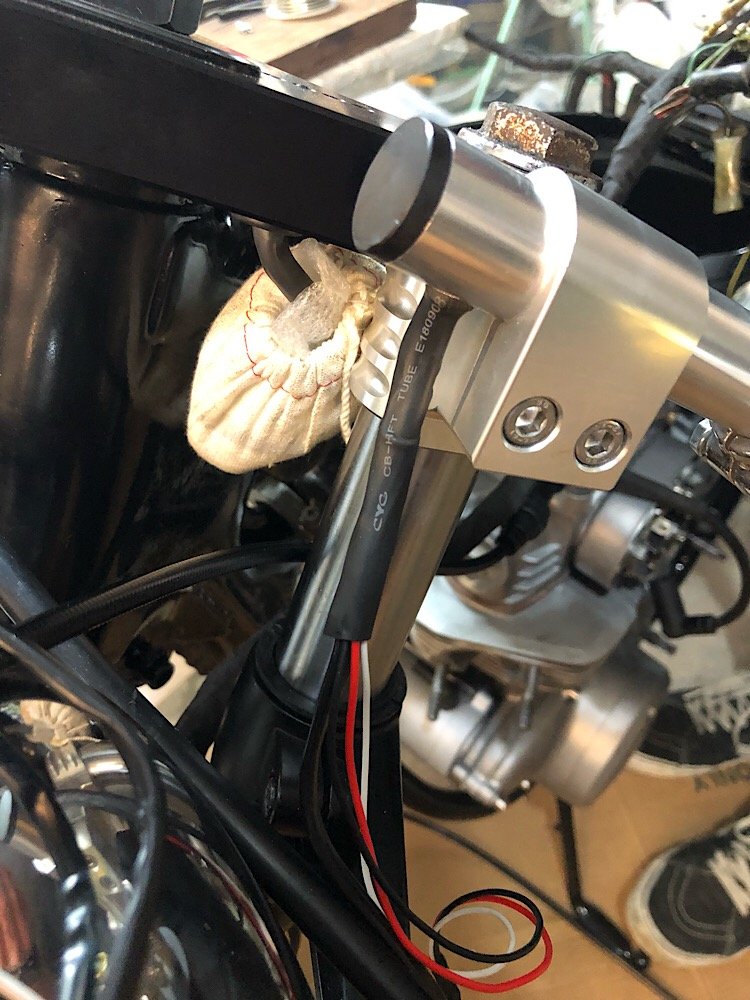
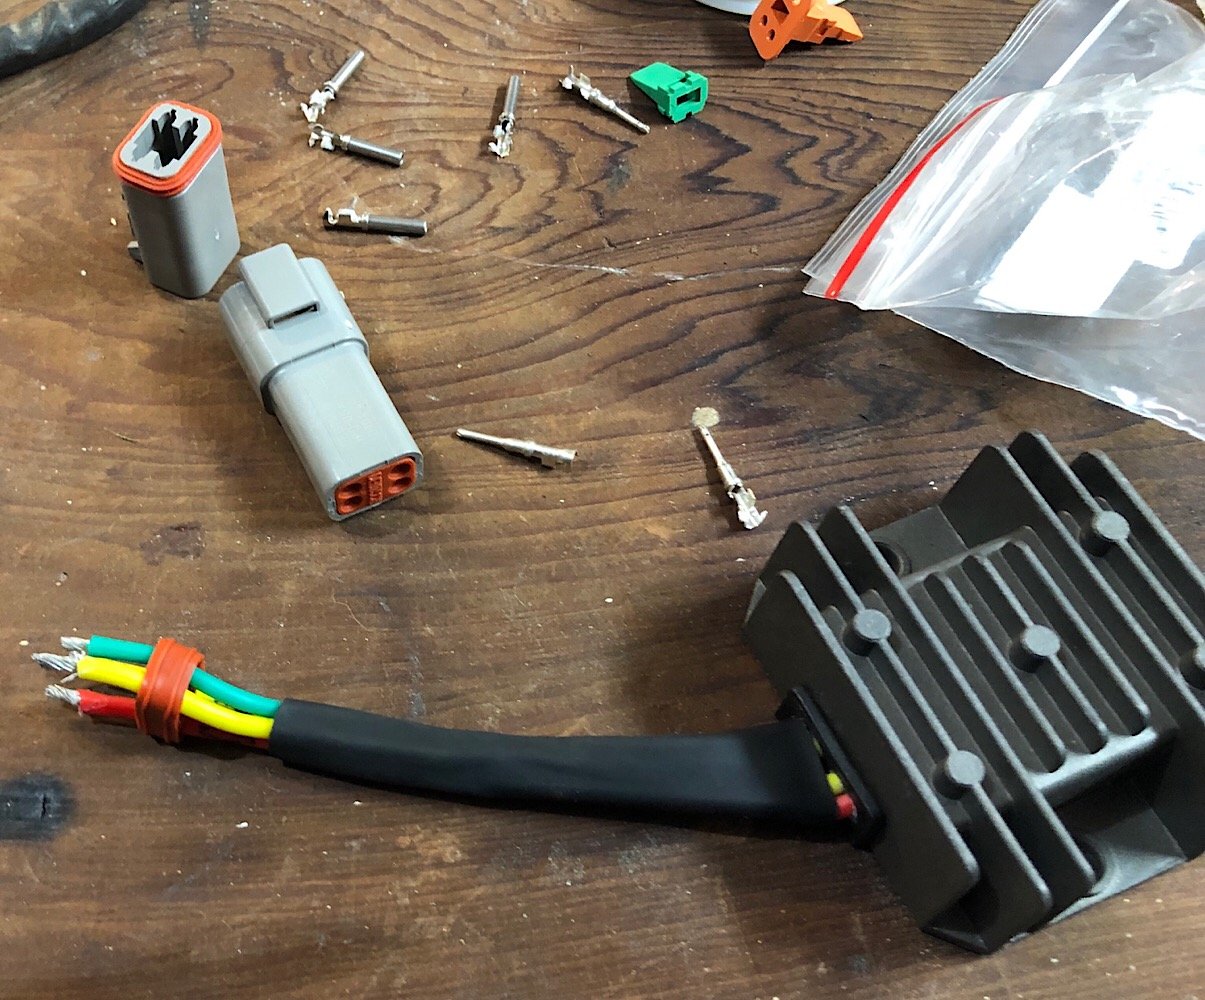
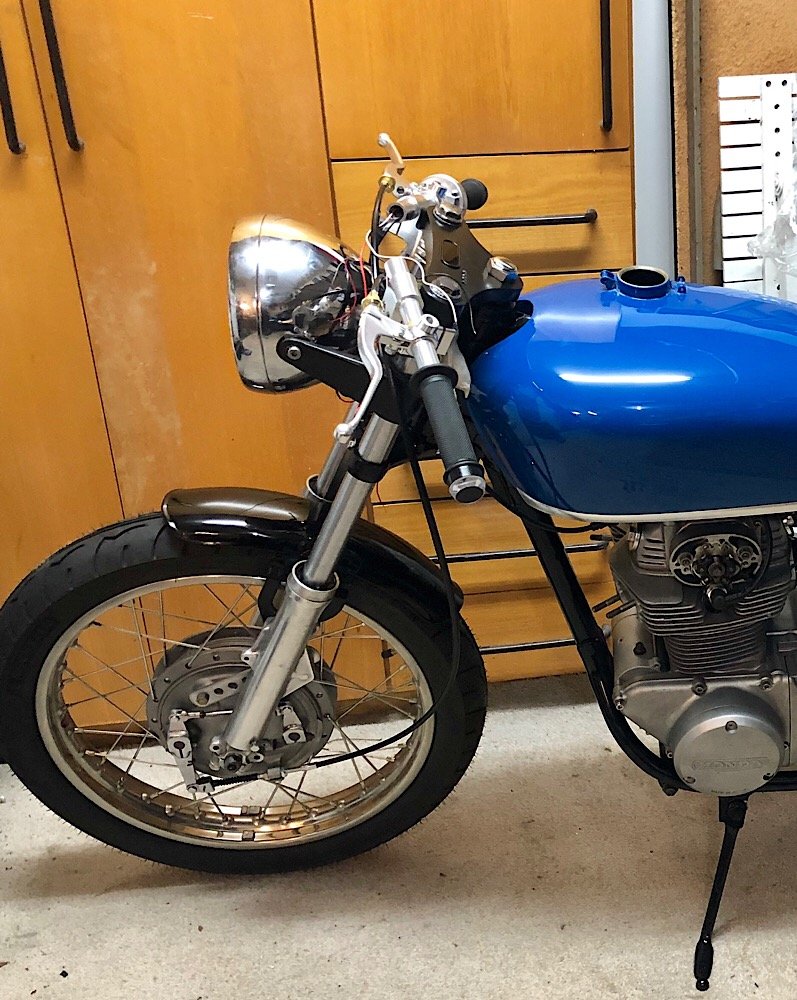
Carried on with the wiring, cleaning up all the old connections and added in modern plugs. Added in a regulator/rectifier to replace the old Honda ones. Drilled holes in the underside of the clip on bars to feed the wires out and down into the headlight. Trying to keep the wiring tidy with some going through the centre of the frame. Had my other Honda round to compare factory spec to cafe spec.
1 point
-
Been dailying it for nearly 4 months now! Awhile ago I took it to Napier and got Simon from Airride NZ to paint on some whitewalls. Looks so much better! A couple weeks a go I drove it up to Auckland. No issues, other than the speedo dying on the way up in Thames. Have been emailing Classic Instruments about the gauge, to see if they can find whats wrong. They have since stopped replying after I did some tests and they figured out it's completely dead. Not the first issue with it either. Have already sent it away to get fixed once, as the odometer wasn't working when I first got it. Not impressed, since they aren't exactly cheap! Brought back an engine and gearbox, a couple storage boxes and a set of wheels from Auckland. The Hoonigans also shared it on their Instagram. Some comments are pretty entertaining haha. Have some bear-claw latches to install one day, as the doors are a pain to get closing properly, keep popping open and rattling. Need to sort some electric solenoids to lock the doors first though.1 point
-
Stripped most exterior stuff off, except for the doors. Have cut off the a-pillar rain gutters after ajg193's suggestion, cleaned up all the rust underneath and plug welded them back on. Found some spots of rust on the hatch after removing the window. Most of it is just surface rust. Got carried away and stripped all the paint off the exterior side. Previously someone has stripped it and gone over all the rust spots and ground them out. Which I wasn't too happy about, but it seemed to have stopped it rusting further. Has a little patch welded in on the lower right as well. This top bit, just below the water squirter had a few small holes. Cut it out and made a patch to weld in, after I cleaned up the rust inside and painting it. All welded and cleaned up. Picked up a new engine! 4AGE 20V Blacktop!!! And a J160 6 speed. It already has the SQ Engineering adapter plate. The clutch/pressure plate and starter is already set up ready to bolt the two together. Pulled out the old 4K. Empty and dirty engine bay. Gave it a steam clean, came up heaps better. Test fit of the J160, definitely going to need to pull out the grinder! Laser cut out a 12mm stainless exhaust flange. Planning on building some high-rise headers at some stage. Ordered some goodies from SQ Engineering. Bought some Cusco AE86 engine mounts. Also have an AE86 water pump set up and some other bits on the way.1 point
-
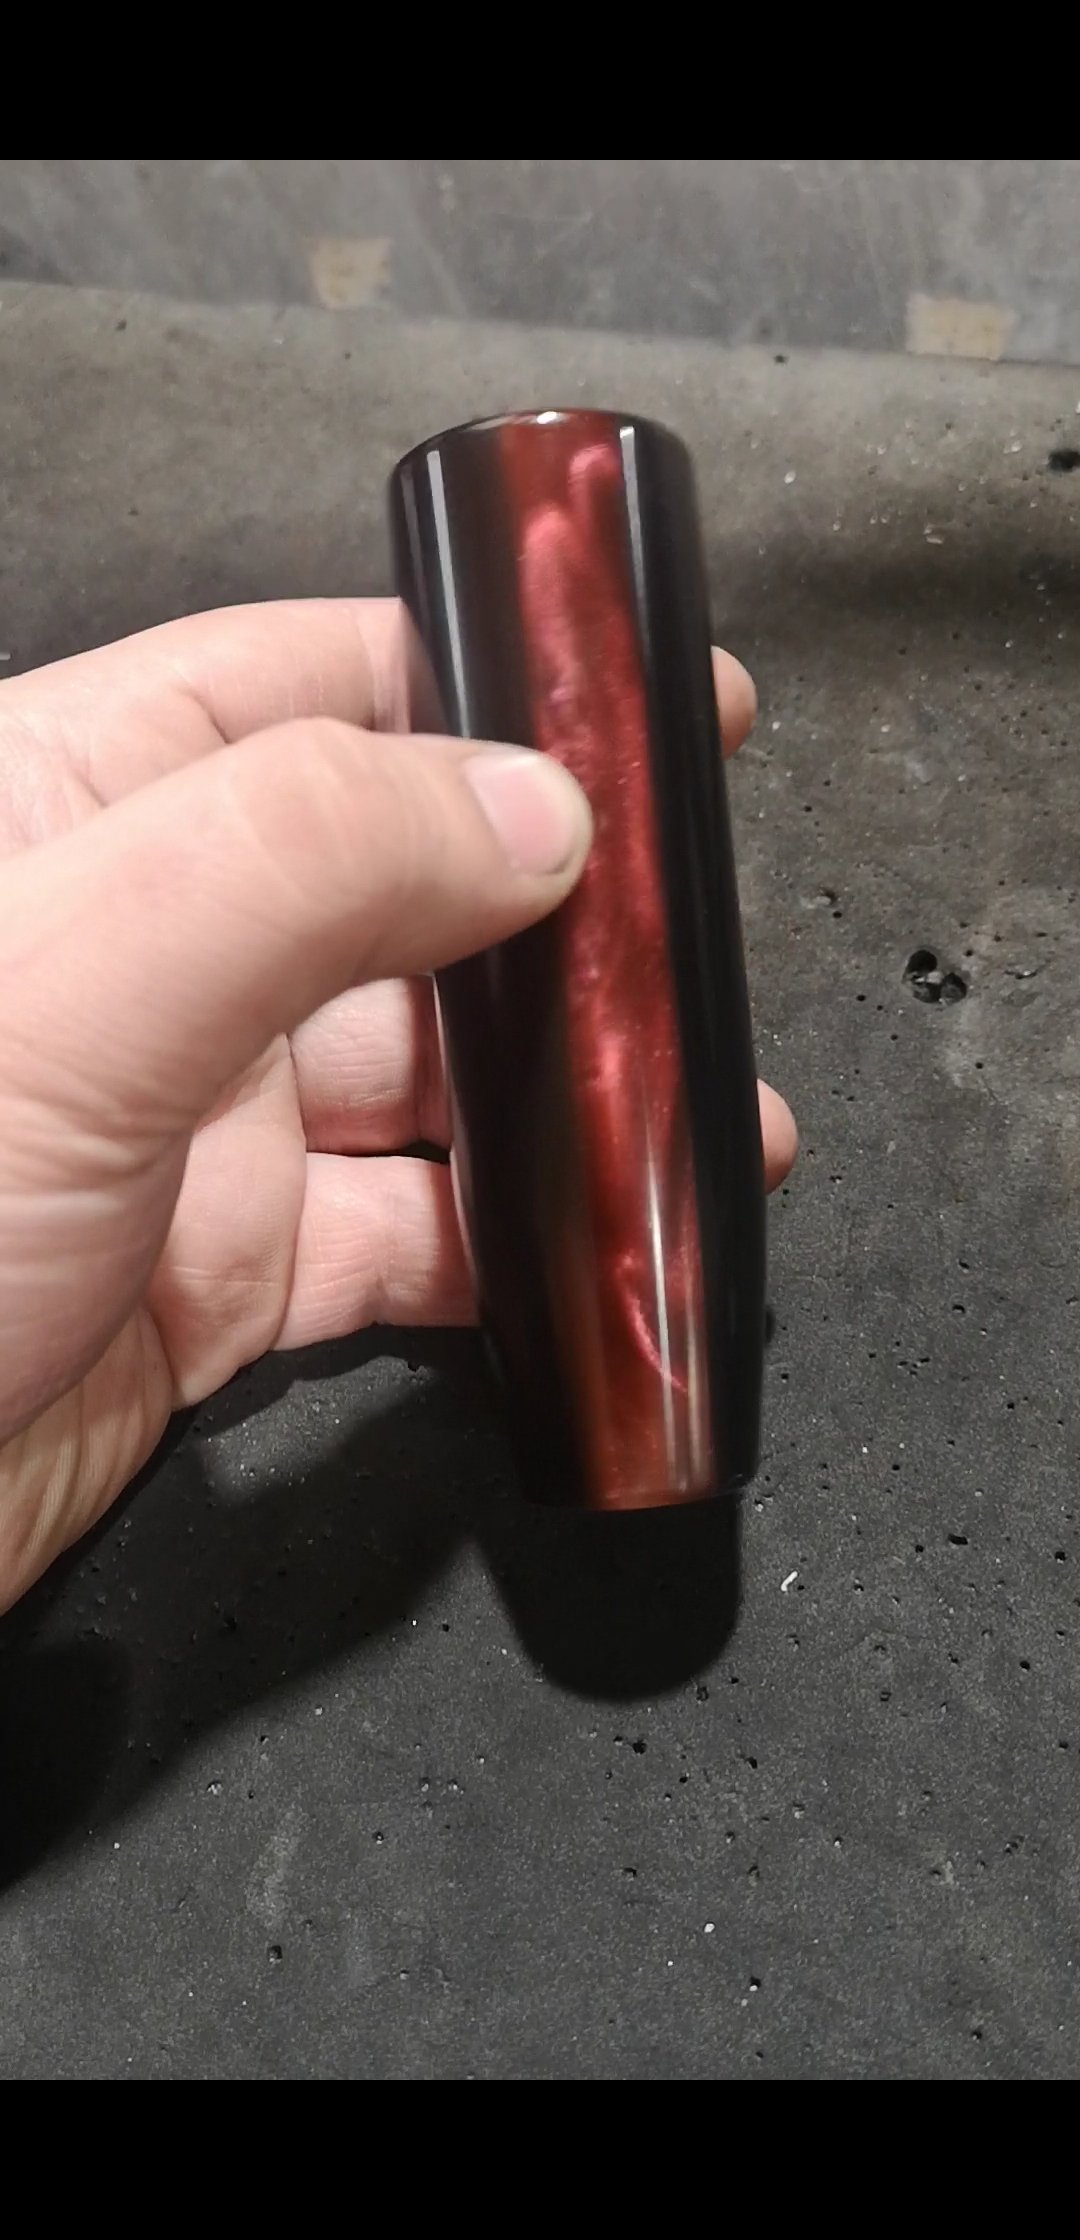
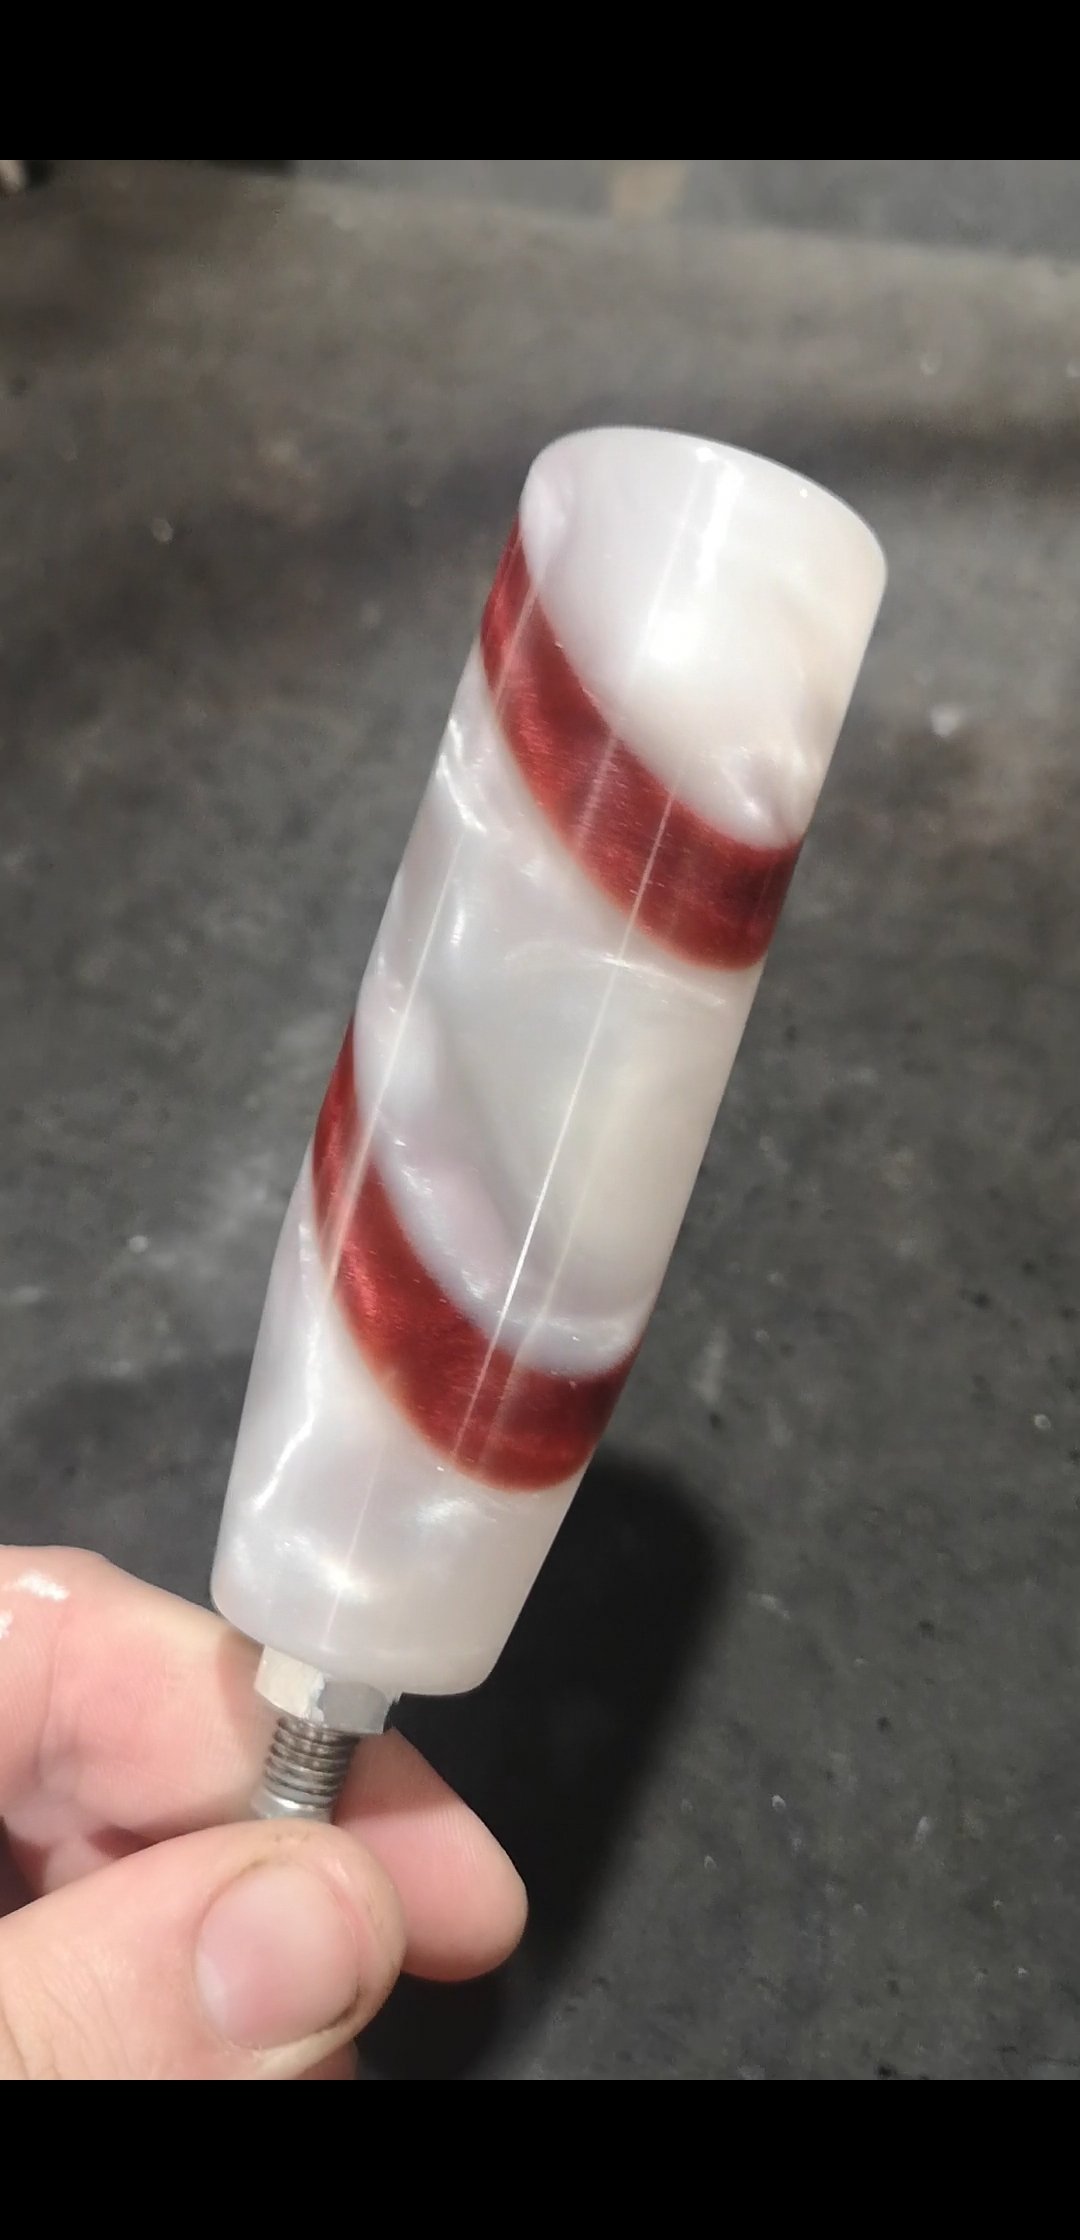
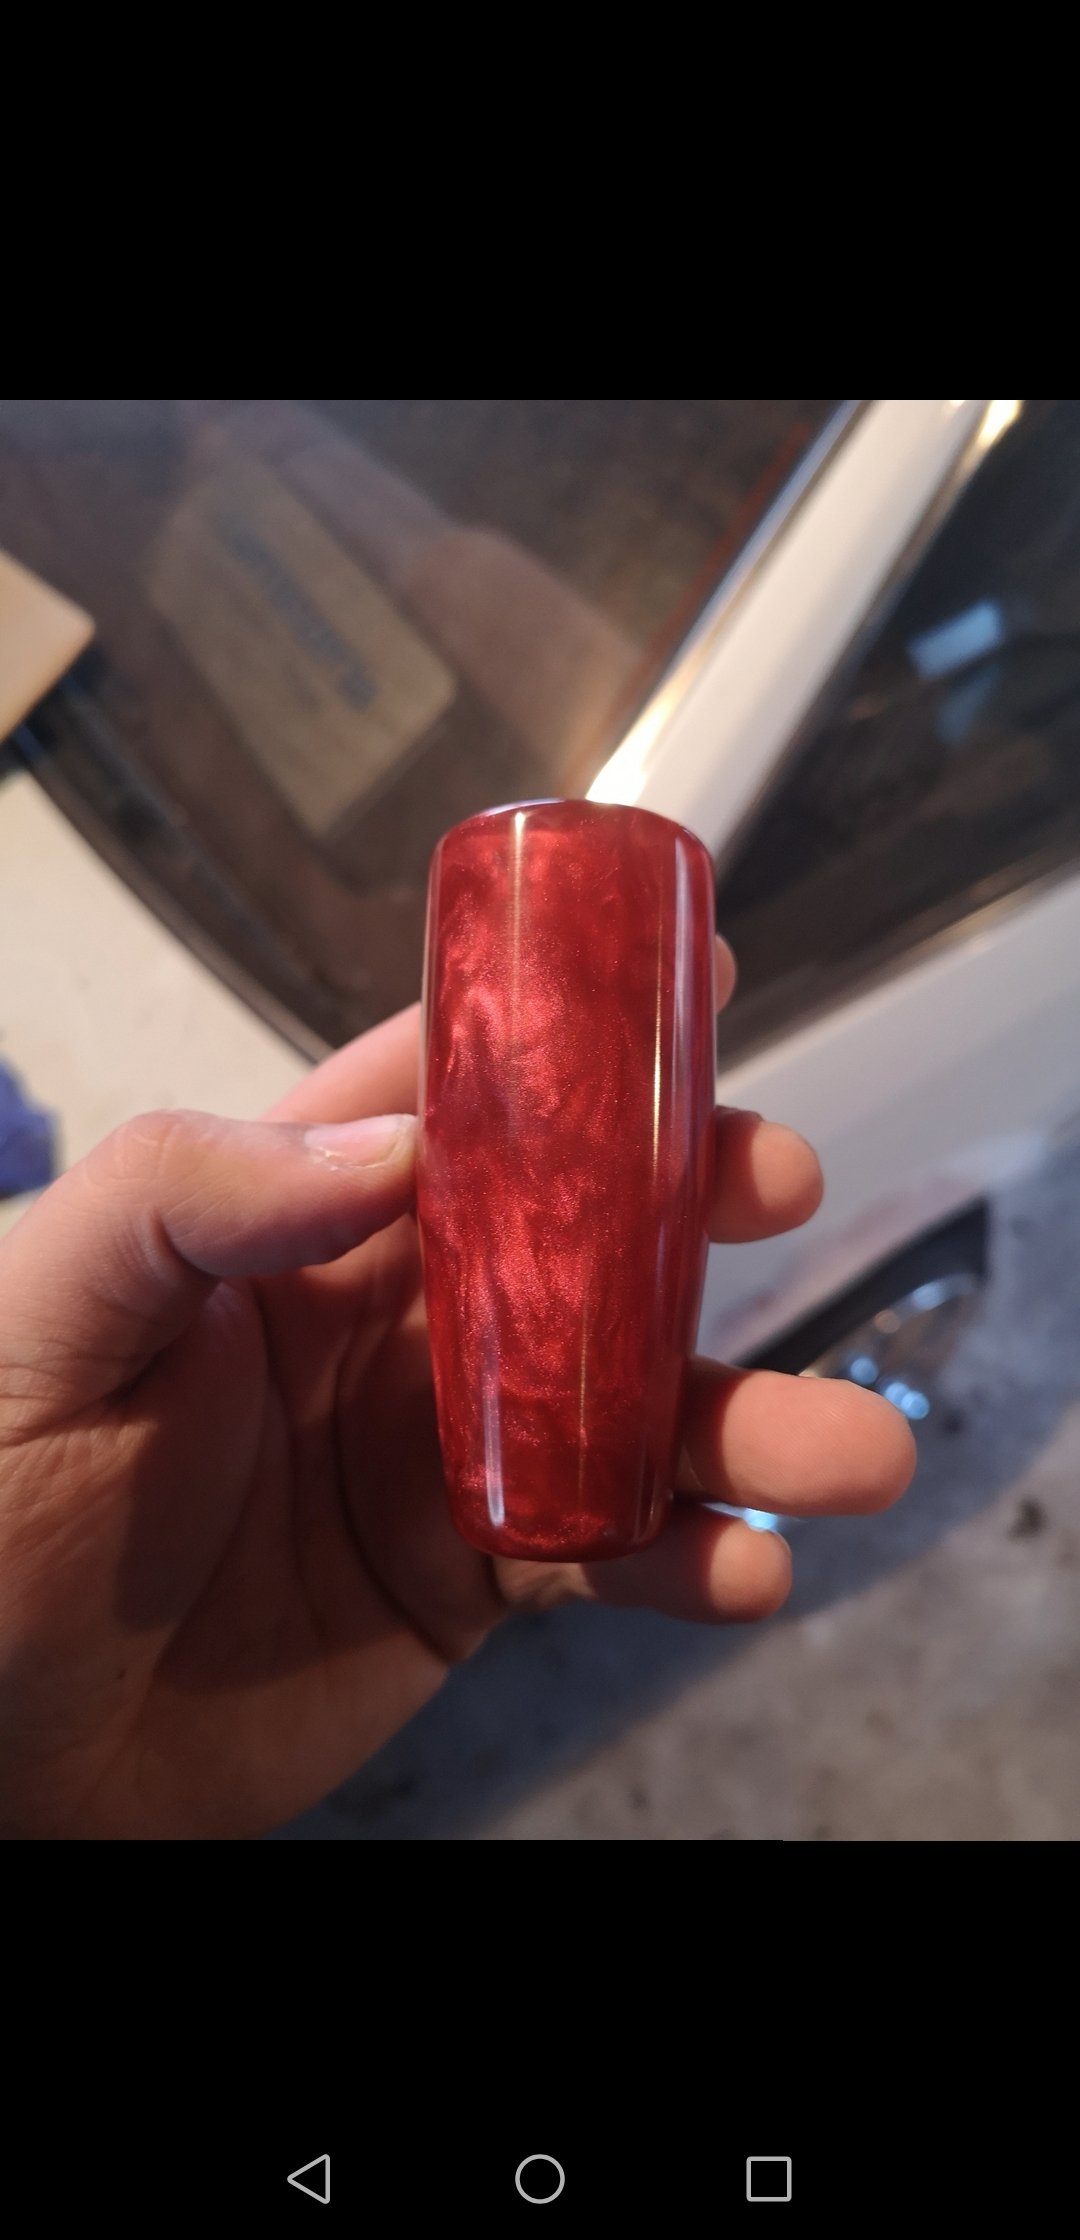
Been making some gearknobs recently for the intention of selling them eventually. A couple of done so far
1 point
-
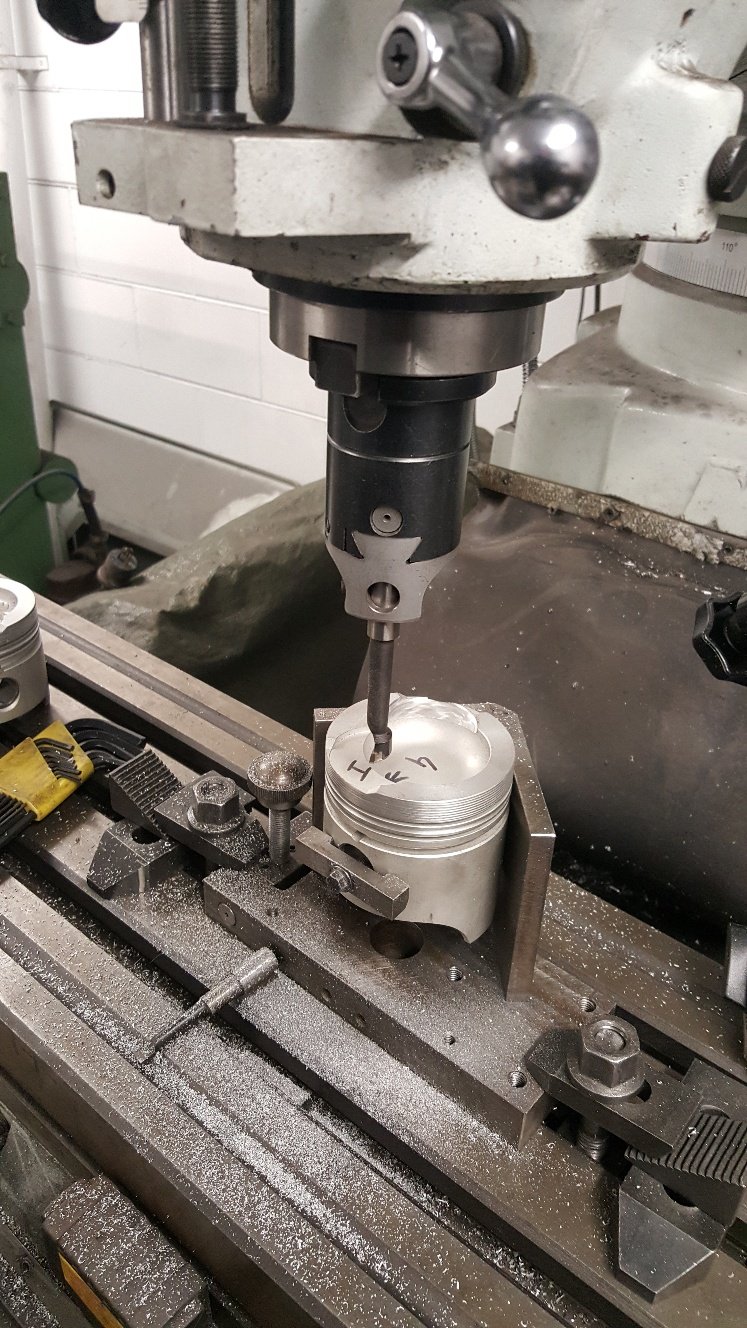
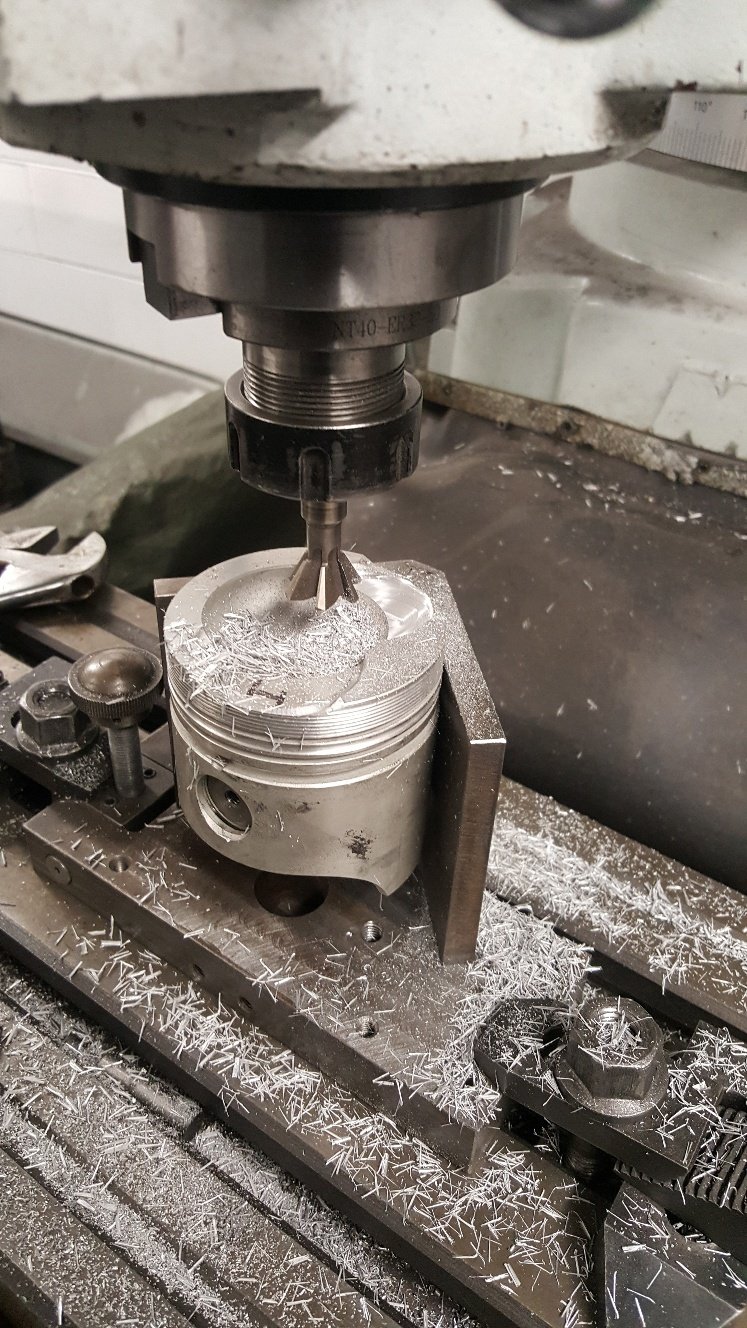
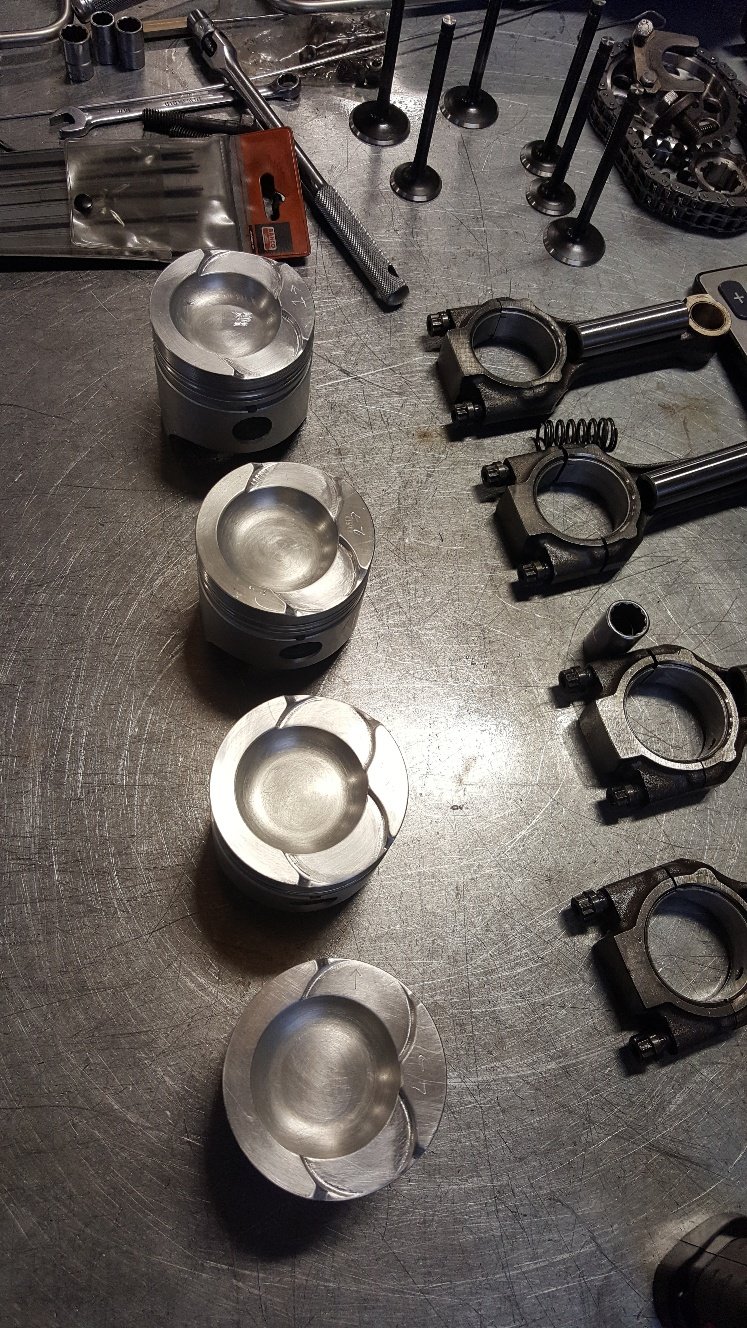
So now I know I definitely need to make the intake valve pockets bigger OD wise by 2mm. Which was no surprise as I've increased the valve size a good amount. I also found I need to deepen the exhaust pocket by 1mm. So I used a the mill to machine the pistons. We normally use a guy to do our valve pockets as we don't really have the gear to do a really nice job of it. But I'm doing this on a budget so I had a crack. This the tooling I used to take the OD out. Above And this for deepening. They came out ok. But we would normally out work this job. I gave them a tidy up with wet and dry and a small file. Tried to take the sharp edges off the top of the piston. Here's a pic of a few parts. I wasn't going spend $250 on the double row cam chain gear kit. But it had to happen.
1 point
-
Been putting the front together. Added in heated elements inside the clip on tubes for those cold days. Indicators are now bar end indicators, they have a white LED and orange LED in them so we’ll hook the white to the headlights and the orange to the indicator relay. Connected all the cables up, we used short versions which were perfect with the clip ons. Found that the headlight bracket we fitted made the headlight stick out too much. On the hunt for brackets with shorter arms. May even use the factory ones as they are short. Ordering some gaiters to fit over the fork too. Anyways this is as it stands at the end of the evening.
1 point
-
So yeah it's pretty much finished, except... Bathroom: First idea was to flatten out some copper cylinders we had to line the wall, so after scraping back all the insulation and probably getting a mystery disease in the process, then cutting them to tiles, we decided it didn't look great. So instead used one of the best looking pieces as a feature in the bathroom cupboard storage area. And subsequently lost the cupboard storage area as it looked too cool to cover up. Bought a concrete pot plant thing to use as a vanity, painted the inside black, but didn't like that either. Bought railway sleepers, but cutting them up seemed like you would lose the point of them being sleepers. So we have a sink, pot, and sleepers just hanging out here now. However, we did definitely want exposed pipework, so got the external copper pipe bent around which looks fantastic against the black wall, and my flattened copper. It finishes now where it will eventually be behind a "floating" mirror, and down into the valves and taps. The old stool is the makeshift bathroom shelf, it's helped paint and waterproof the place, oh and I have successfully managed to kill that plant now. Stephen even bent the original pipework from the bathroom into a towel rack which looks sweet And finally used some leftover pipe to create this vision I had of a hanging rack for my favourite rally jackets. Stephen's dad referred to the place now resembling a second-hand shop. Which is perfect by me. I want to end up wrapping the rack around the wall and including shelves for the huge collection of Mazda shit I own, but we are waiting for the concrete dudes to come back and coat the walls prior to making it a better fit. Other than copper pipework and my rally memorabilia, the interior has been gradually added to downstairs, but gets changed around a lot as things move on or come in. The plinth was made for the Sachs rotary bike, but has now ended up as the desk upstairs which is far easier. And that brings me to the rotary storage... it was meant to be for the RX2 Coupe as a priority. But I ended up storing my 808 here for a while, which was bloody cool to wake up to. However, we have managed to break Stephens 808 after a mission to the snow on Friday that ended with a tow truck from Smash Palace to Auckland, arriving at midnight on Saturday. So it's temporarily a piston workshop but it might need an engine upgrade so might sneak a rotary in while it's here as payback for dropping petrol on the concrete and stripping a circle of coating off. (have managed to get rid of most of that stuff on the left now so it's getting tidy) Also birds on tin roofs are hilarious. This little guy smashed his apple core on the clear-light but it bounced back and spooked him so he's left it for the rest of the bird bro community. Hopefully next time we will have a bathroom sink...1 point
-
Had a play with the headlight. Managed to order the wrong size so it’s huge haha but was keen to see how it looked with a yellow tint. Once the smaller one arrives I think we’ll keep the yellow as it pops against the blue. Next is the wiring, so much to do before the Distinguished Gentlemen's ride in Sept!! Edit: man that rear tyre looks huge, thinking of down sizing as it looks a big out of proportion in the profile shot.
1 point
-
The 20 year wait is almost over, I remember waiting 10 years to have a hoon once. I hope you have a better experience than mine. In the 10 years the chassis had sagged, there was gravel rash and excessive piston slap. Mind you I only got a bottle of Marque Vue into her as prep, you have done the full rebuild. Well done Sir!1 point
-
i paid for parts about 7 weeks ago.. yet to get them..he said he'd refund the money 3 weeks ago, yet to see it.. no longer replying..0 points
.thumb.jpeg.384ff72c8d2b0ee0d34a7bdedb55bdcf.jpeg)


This leaderboard is set to Auckland/GMT+12:00