
Leaderboard


Popular Content
Showing content with the highest reputation on 08/09/19 in all areas
-
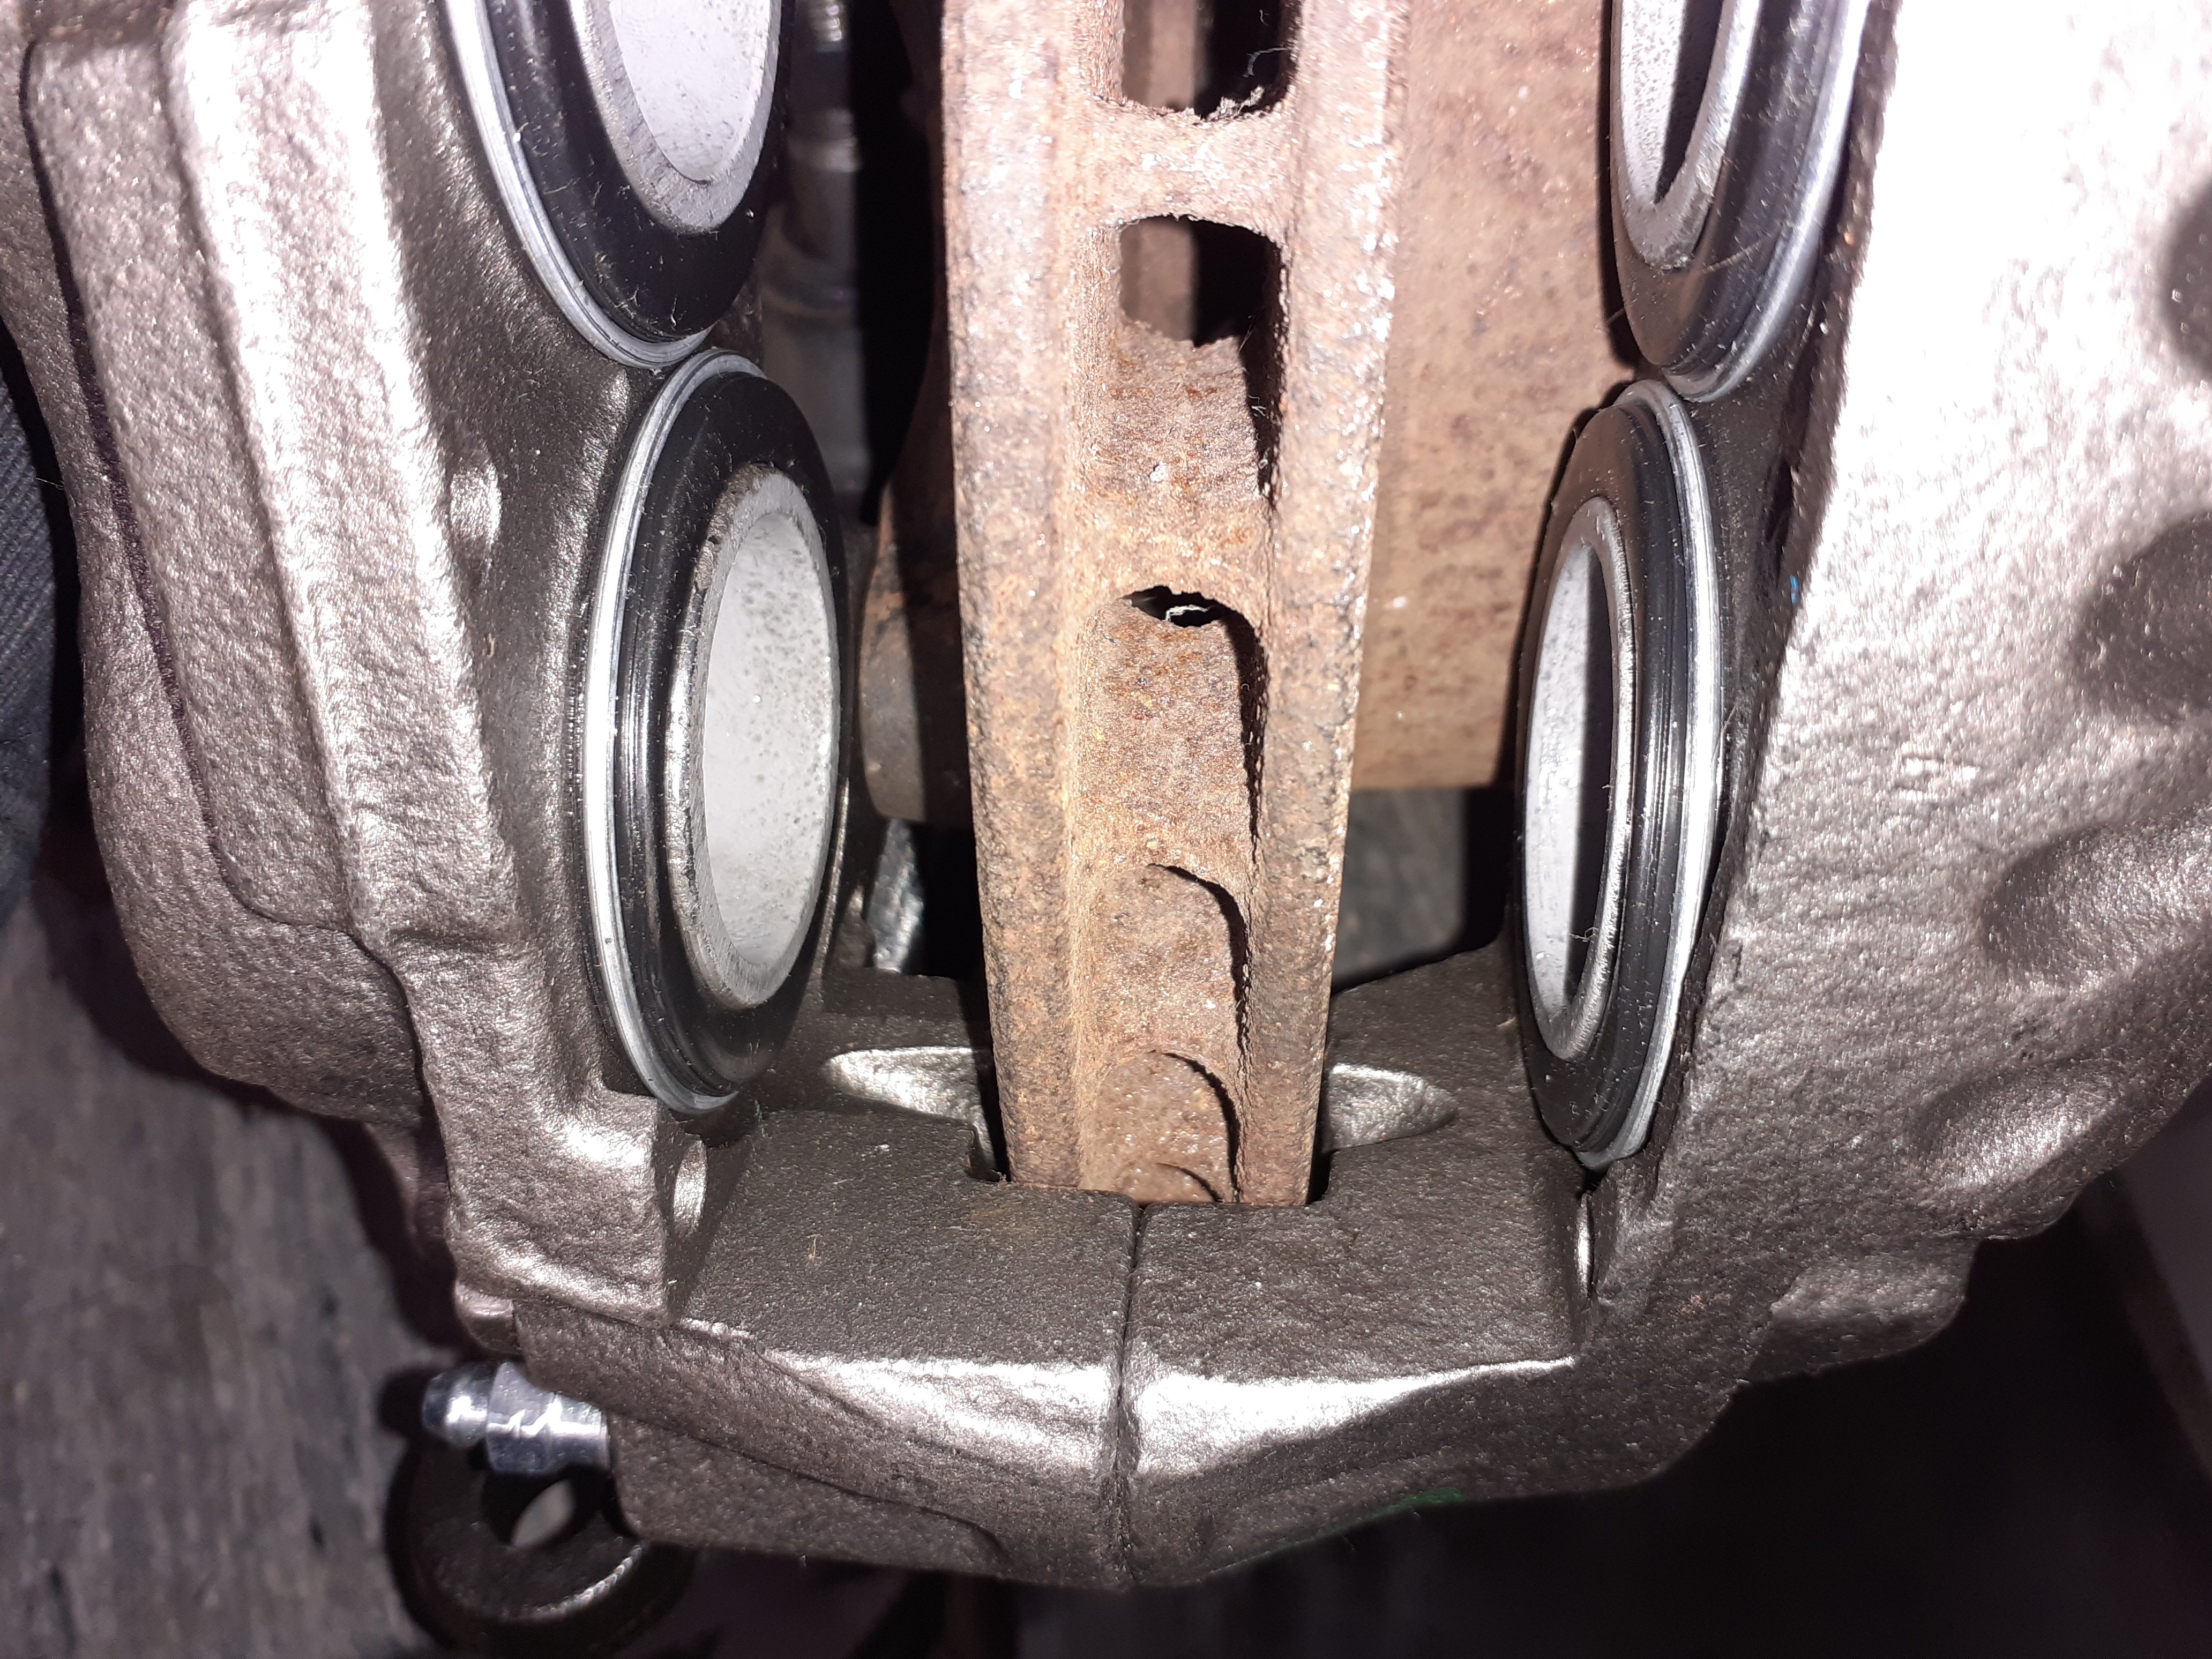
I love rockauto. Have been fiddling about with brake calipers for the front, I had previously got some 4 pot surf calipers from pick a part but the surf disc is narrower than the valiant ones and slightly smaller diameter so I was going to have to mill the caliper slot bigger and then I wasn't sure if the pads were going to be too fat I went to cardwells to see if there was wilwood caliper that was a bolt on, and there was 1 option, but it would have needed a bigger disc and I don't think they would have worked with the wheels I have I was doing a cert on a surf the other day, and saw it had fatter discs than the one I had got the calipers off, went on rockauto, found a v6 one of the same year had the bigger discs so ordered a pair of reconditioned calipers, $25usd each and here within a week. So now all I need to do is get the disc diameter machined down 3mm or so and it will all bolt up, yuss
 19 points
 -
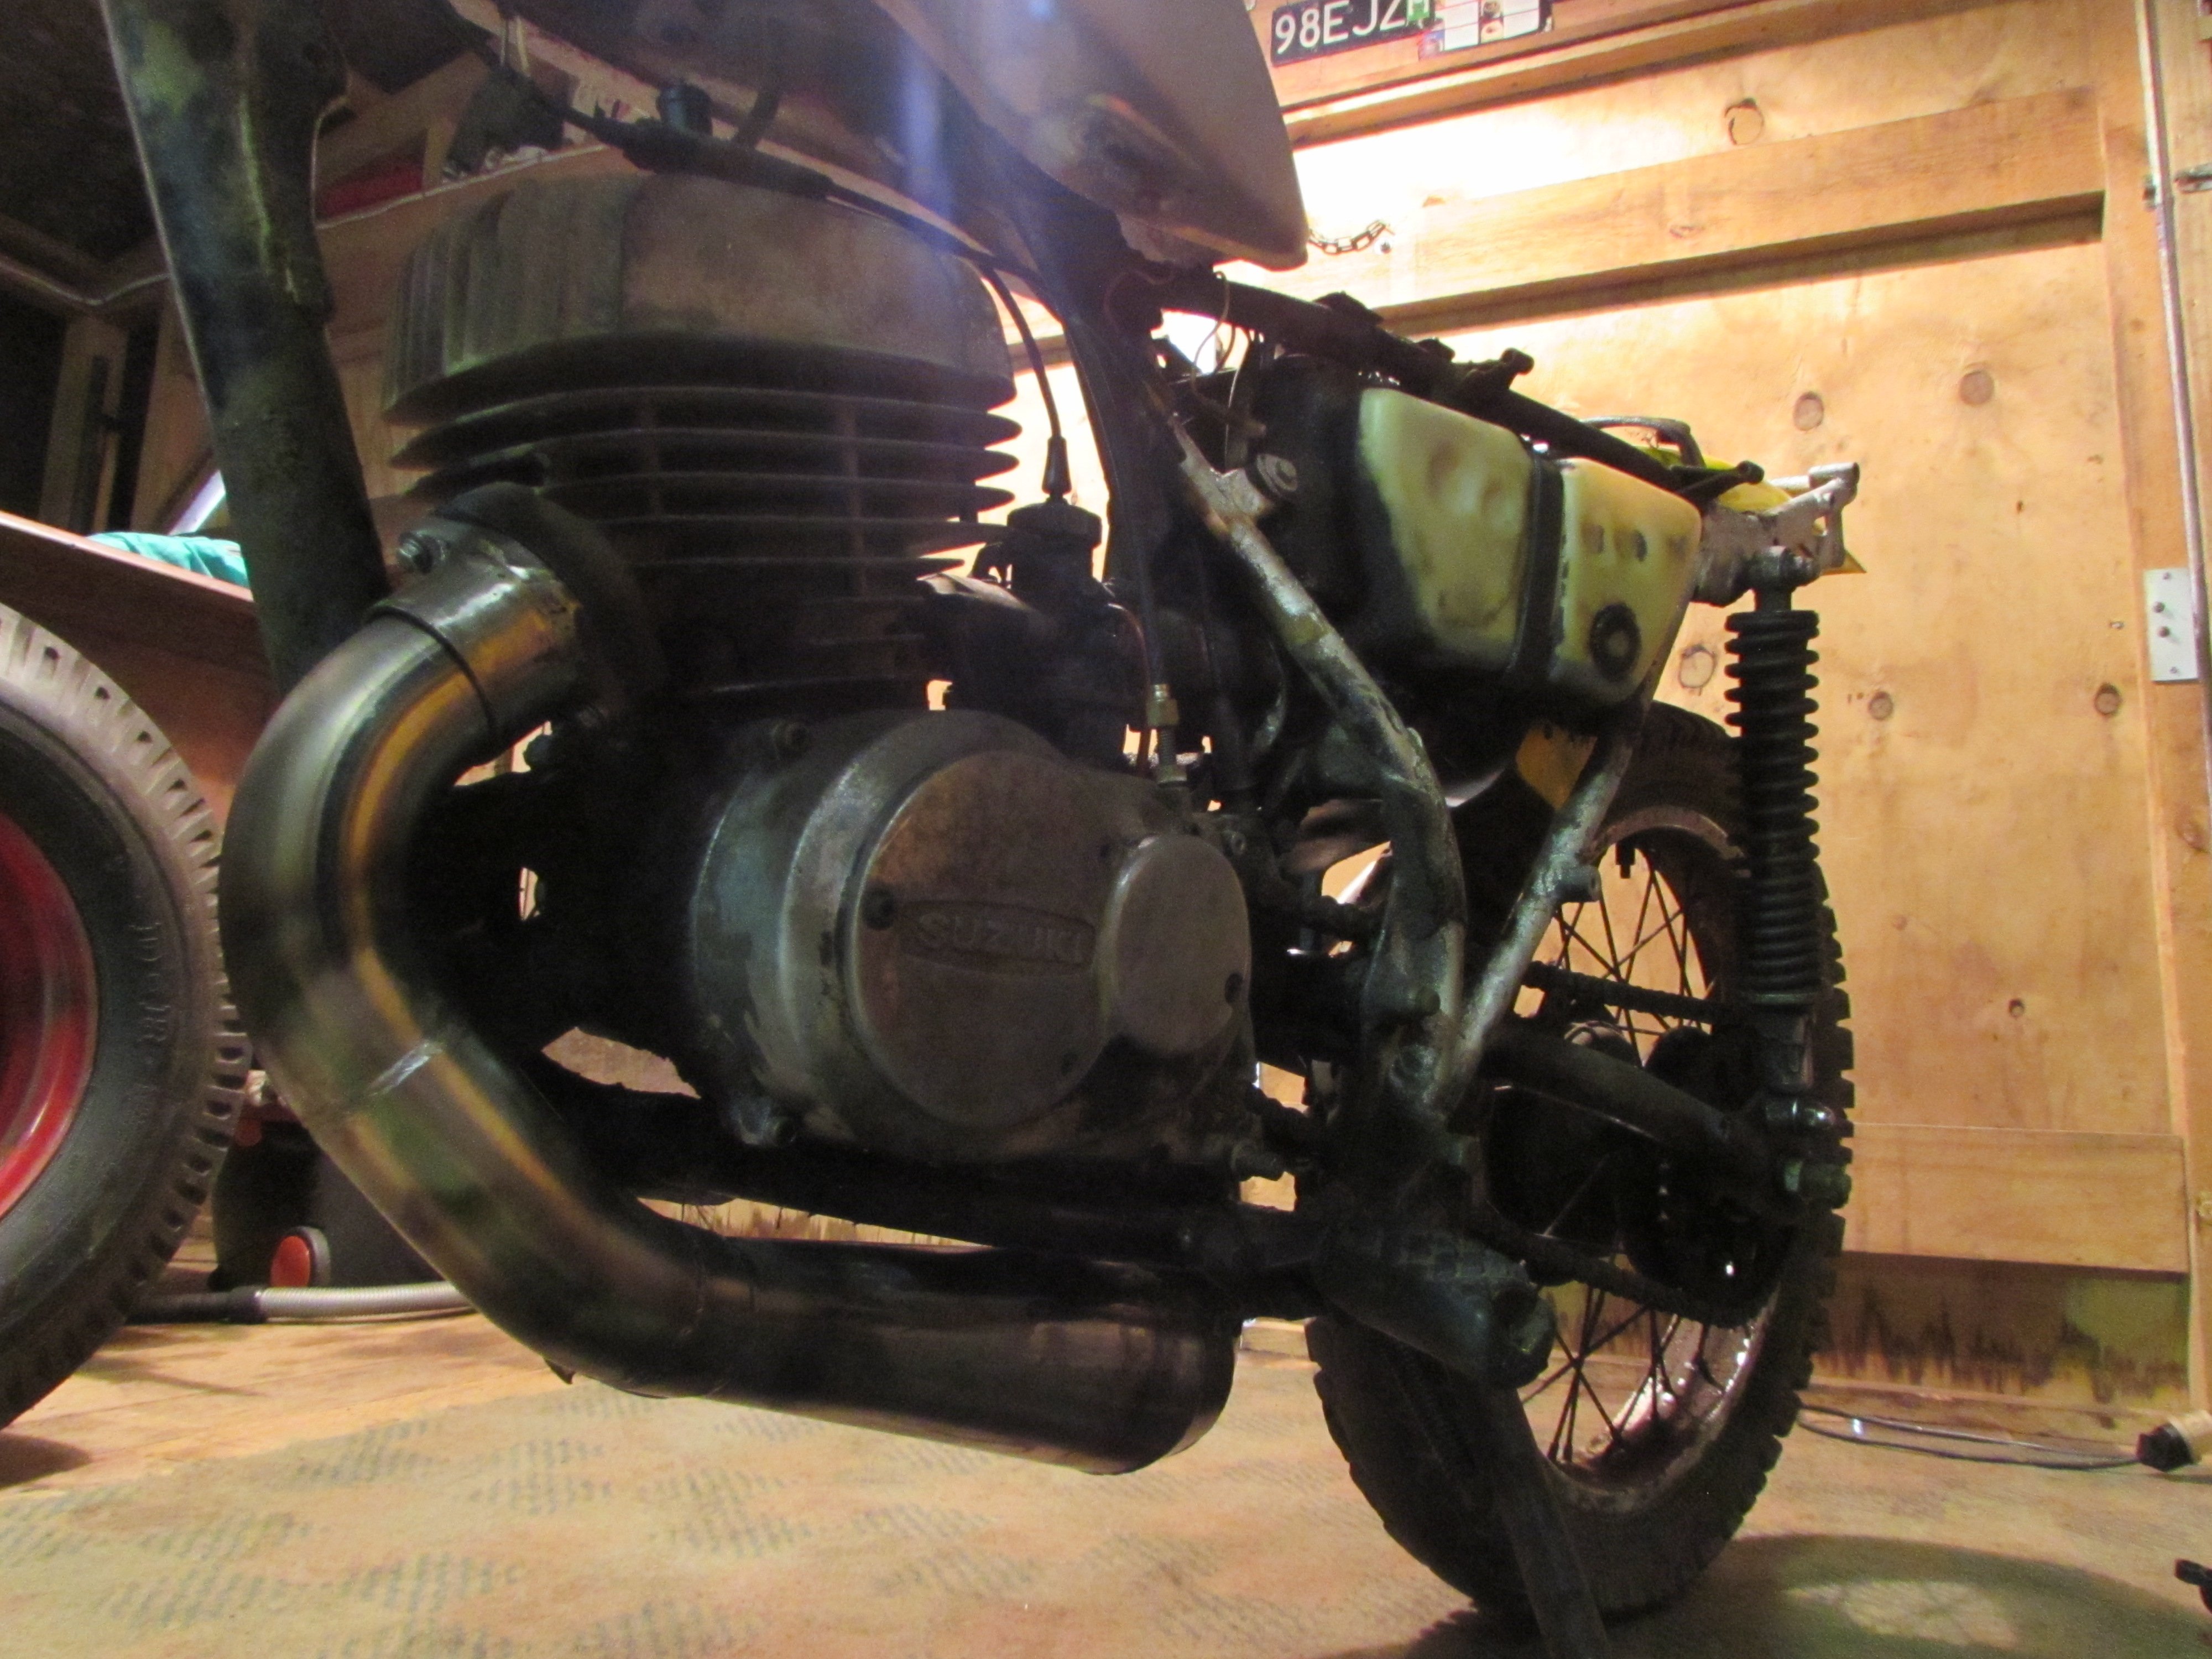
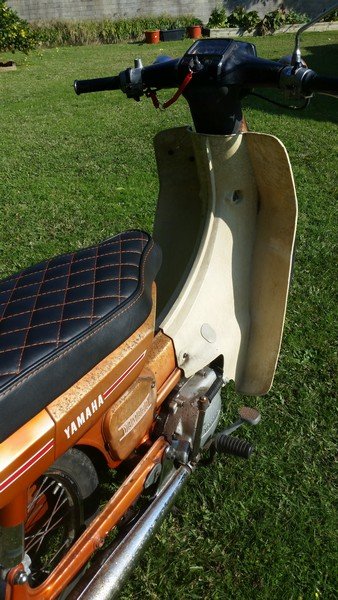
Hi, I’m Shakotom and I have a Motorcycle addiction. It all began with just one FA50 and I’ve been addicted ever since. It just starts with something small and then next thing you know, it spirals out of control and your looking for a bigger fix and that has led me to where I am today. A while ago I had a Suzuki ax100, I really enjoyed the classic aesthetic of that bike but it was punishingly slow for paying $500 a year in rego. I sold that and purchased a ‘87 2KR FZR250, and that’s a weapon of a bike, but sportsbikes aren’t really my jam, and I’m still to cheap to be paying that much in rego. Ive pined over the timeless styling of a Honda CB for many years. I think there a beautiful bike in stock form, and a versatile canvas for creating everything from a full blown classic race bike, A scrambler/Cafe racer or if you get wild enough with a welder, a chopper. Id been looking on and off for a while, I’d decided I wanted a Twin cylinder -either a 350 or a 360 just to keep the weight down. It had to have a minimum of Rego on hold and be pre 79 for cheap rego. Back in April I found a bike that happened to meet all of those requirements at a pretty good price, but I was due to fly out to America in 4 days. So I did the only sensible thing I can think of and went to view it. 8 hours before I was due to be at the airport I was dragging my new acquisition home... It’s a 1974 Honda CB360, black plate, rego on hold, failed cafe racer attempt, that’s been sitting since 2012 that I am very happy to call my own. Its not the prettiest at the moment, but it’s got good bones. I’m fairly happy with the fact someone else has done the initial job of ruining what was a tidy complete bike at some point in its life so I’m not going to have any second thoughts about changing bits and pieces on it to make it fit my requirements. Basic plan is getting it running again, do the basics to it to get it in to see what it needs for a WOF, and ride it a little bit before getting to carried away. First step is sorting out this rats nest of disconnected cables, horrible clip ons, hoses that are the wrong length, loose everything and general terribleness. It’s had the generic cheap clip ons that move if you pull on them fitted, along with headlight and indicator mounts that don’t really hold anything securely. I got a few minutes in the shed and wanged the original bar clamps back into the top plate, and a set of old bars to allow me to throw the clip ons in the rubbish bin. These will do for now to initially ride it on when I get it running, but end goal is some nice Chrome bars. So that’s where I’m at currently. I have the carbs apart and soaking as they’re filthy, waiting on a few ignition parts to fit to replace old junk, wiring for the lights and switches needs a going over, and so do brakes. Basic stuff to get it running and riding and then I’ll write a more comprehensive list once I acquire a WOF. For now however, I’m just happy to have found a bike that fitted all my requirements and here’s to hoping what I’ve learnt from playing with smaller bikes helps out with this one. At this present moment in time, my end goal is to have a fairly clean, simple and reliable bike I can ride daily that will do everything from looking good outside a cafe in Ponsonby to chucking a backpack on to going and find some gravel back roads for an adventure. Stay tuned as I get in over my head and realise I have no clue what I’m actually doing...14 points
-
Slowly but surely4 points
-
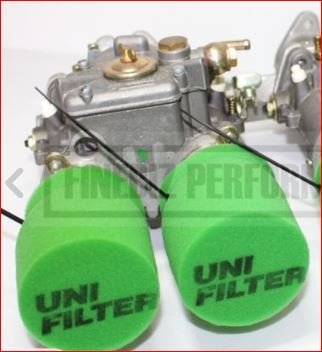
not much of an update really.. been waiting on an airbox to arrive from nelson, has only been 4 weeks.. but I ordered some uni filter trumpet socks for when it finally arrives. green socks just came in stock, more suitable than the red ones. also need to do a few laps around the block with the brakes dragging before I take it in for a wof and hope it doesnt need anything else..
3 points
-
If my calculations are correct it should go well, I still have to advance the exhaust port to get the full benefits, this is going to be horrible on the ears.
3 points
-
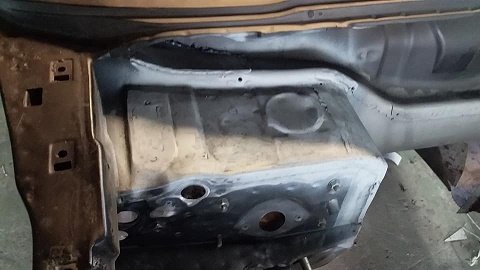
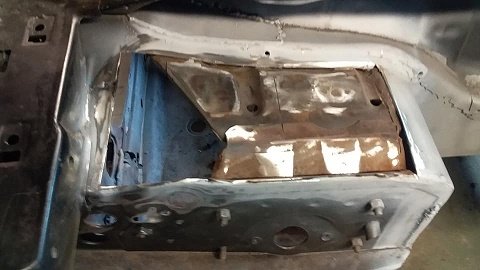
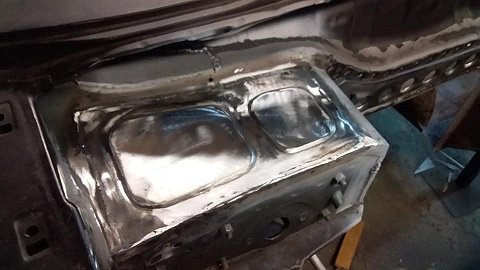
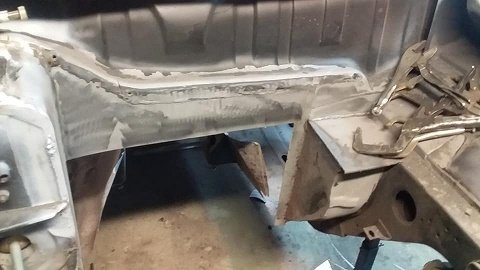
The better half and my self have been honing our skills of late. Thats right boss. Hours of hard yards have been put in out in the garage. You all know it and have no doubt also spent many hours doing it. .... Standing there with a beverage staring at an old jalopy, talkn shit and do'in sweet fek all. But seriously what have we been up to other than throwing back jars and chin wagging you say whilst dressed in trendy garage attire. Well ladies and gentlemen wait no longer for here is yet another riveting update to cover the little bit of work we actually did. Radiator all plumbed up. the finned metal hoses bend and hold shape well. like how its kinda central in the engine bay. Replaced the hose clamps that came with it with stronger jobbies as I couldn't be feked with hoses blowing off and coolant going everywhere. Moved on to hooking up the column shift to the trans. Using an IDIDIT GM/700R4 universal shift kit. Thinking being since im using an IDIDIT column it would all just be bolt on. Well that was the theory anyway. Basically it would work fine if I was LHD. the instructions are nice and simple and kit straight forward and well made. Would just bolt in. Being RHD its all opposite though and naturally the American brand dosnt included any instructions and when I contacted support I got no help and basically told me to fek off. LHD shifting would pull the cable out as it moves from park through the gears. RHD we push it in as we move through the gears from Park - 1st. Rejigging at the column is an easy fix. just throw the car in park pull out the cable and hook it up (As pictured). Basically doing opposite as instructed. The bracket that fits to the trans had to be bent so the tab that holds the cable pointed upwards not downwards. Then an extension made up for it. Reason being that the shift arm on the trans is made to point downwards and pull through the gears. Since im pushing through the gears it had to be mounted up top. So the bracket that holds the cable in place had to also point up. Simple enough I know but thought since IDIDIT support and engineers where about as useless as tits on a bull I would flick it up encase any other Kiwis or RHD owners needed a bit of help. Shifts easy though the gears. Clicks from Park to 1st. Ordered a heap of fittings for the fuel system. But before I start hooking all that guff up it was deemed time to finally finish up the gas tank thats mentioned in a previous post. Its made to nestle up nice and happy in this rather large hole that was cut in the boot/trunks floor. Its hard to tell but the hole has been braced up fro the underside so when its all together the floor will be sandwiched and nice and sturdy. Since the lid was still off it seemed a good time to put together the in tank fuel pump. Overkill to be sure since its only driving a few carbs and not fuel injection. But it has good reviews and is supposed to be pretty quiet so I was like mehhh seems easy enough and should be "hook it up and forget about it". Its an Aeromotive Phantom in-tank carb setup. Basically meaning it has a regulator (pictured there front center) that drops the 320psi pump down to 15psi. Also has its return blocked with a removable cap. Comes with pre-filter pictured along with that sponge tube that you cut a tad higher than your tank and acts as a filter and a baffle. Also put together the Dakota Digital universal sender. As with all there stuff its a nice bit of kit with simple instructions. Has the ability to fit in a huge range of depth tanks and works with many gauges. Anyway lid all TIGed up. Thanks lads at Kirk Irrigation for that by the way. Also got them to attach the filler neck and drain. Holes added before assembly to make life easier. Then the sender and pump just all dropped on in to place. Under the car it sits up nice. tucked just above the lowest part of the chassis. Should be no scrub line issues. Also still has a nice amount of clearance from exhaust - its why its an odd T shape. Up top it is about level with the lip of the opening. Will have a floor mounted above it latter down the track. The rest of the other bits of the fuel filler neck still to attach pictured above. Also pictured is the cradle to hold the battery box that we wiped up to hold it all nice and secure on the right side. Just using a standard marine battery box. Fits up nice in the back fender as shown. Can vent it through the floor. Will have a panel to hide it from view down the track. The battery only just fits in whats good i guess - no slipping about. The big bugger should power everything I need and flick over the engine no worries. Looking at either welding cable or 1guage wire to carry the current up the front. earths all over the place of course. So picture the above with panels. sides to hide the battery and tool kit along with fuel neck that will live on the other side. floor to protect the tank then front panel to hide the airtank and amp whilst also adding sound deadening to the shut up those two pumps. Now getting back to my original comments in this post. That being the standing staring at the car. Maybe moving something a fraction taking a drink and repeating the process. Side pipes seemed like a good excuse to practice this. We had to go through the process of draining a few cans to use to hold the pipes in place first of course. Sacrifices we make aye. Note the said cans are crimpled in the middle otherwise they are much to high to suit the air out stance with the pipes. Front grill also seemed like a good excuse. Pondering a 1950 Buick grill. Middle section should fit in well once pushed back but its overall width is wider than the car. Dont really want to cut the chrome as it is so nice so I guess if we use it we may need to flair the guards a bit. Already planned to do this a bit to get better wheel travel for steering when air out but hmm I think this is something a few more brews and staring might require. All this is much down the track of course. Tiki - such a great helper. You got a wire he will attack it. Drop a nut and he will soon have it flying across the garage floor ending up down the side of some thing out of reach or under some other heavy obstacle. Told him I would stuff him is such a pose if he keeps annoying me. Guess he is happy with that idea as the little shit hasn't stopped.3 points
-
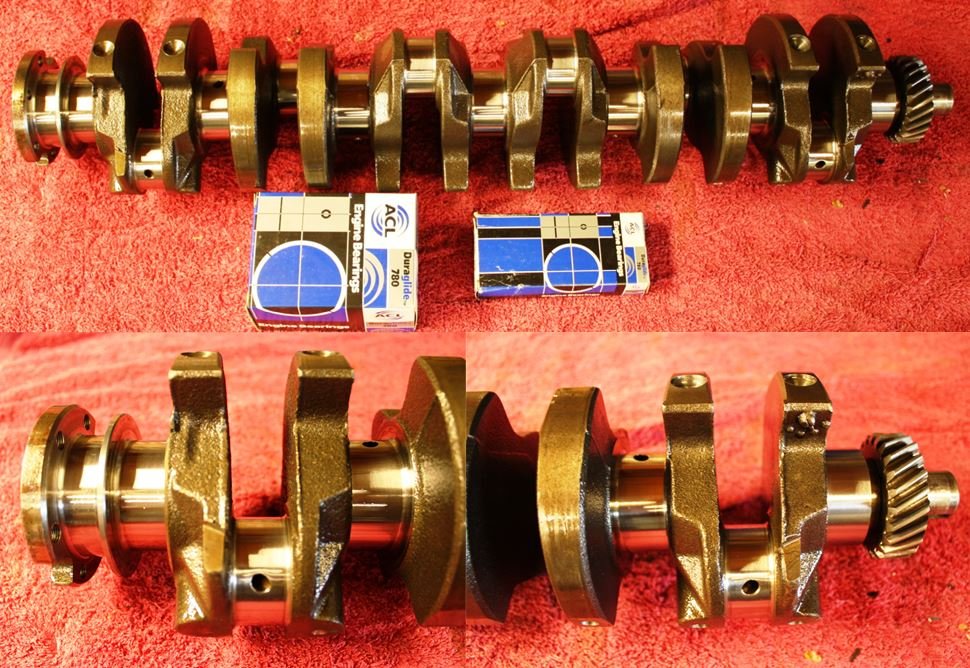
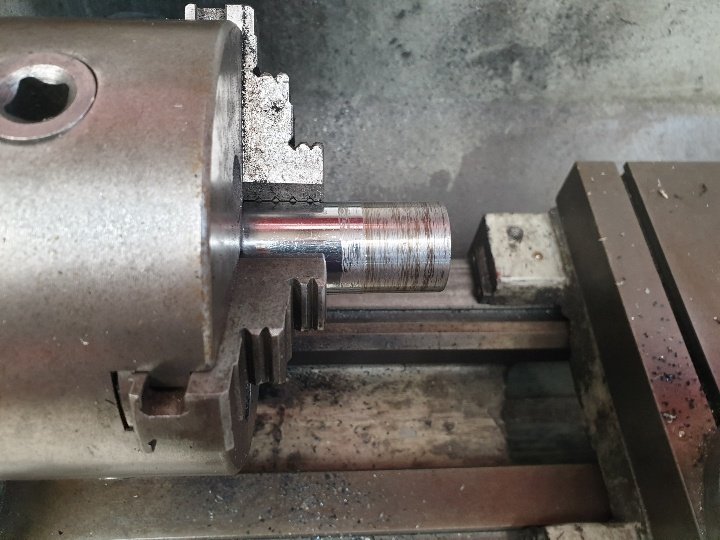
Finally picked up the finished counterbalance crank; big thanks to Engine Specialties for a not cheap but a hard job well done, good value in my books-thanks guys. Crack tested, big ends ground 10 thou, main journals reduced to fit the X2 186 block, rear seal converted from rope to neoprene (once more to fit the block) and a full balance. They insisted on supplying their preferred bearing shells and how can you argue with a bunch of guys taking full ownership of their work? For an old Holden 6 junkie, this is nothing less than pure crankshaft porn!
2 points
-
I want to tell people they have done a shit job face to face2 points
-
Has it definatly got the right coil in it? Using a non ballast coil in a ballast ignition can cause problems2 points
-
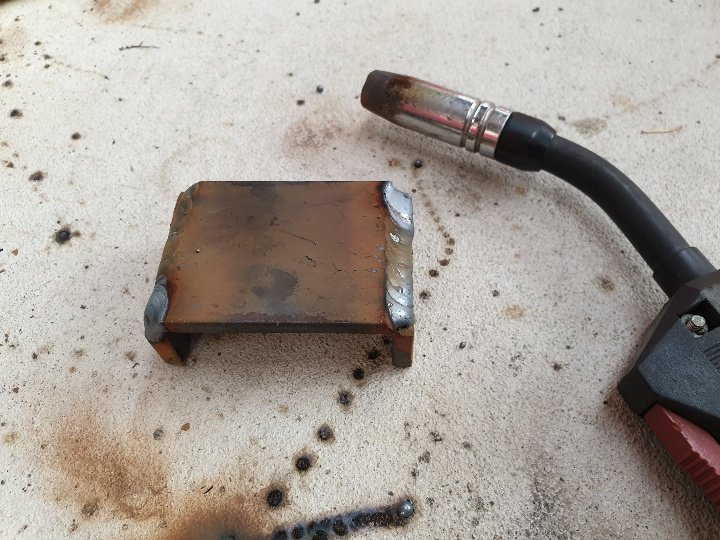
And winding up my mate ("Handmaids Tail", reference those without Netflix). Two more tabs to weld on to mount fuel tank and done. Only problem is I haven't received the fuel tank yet... so boredom has kicked in and I'm making funny cardboard plates to occupy my ADHD.
2 points
-
Hell yes!!! So close... just waiting on a few parts to arrive in the post.
2 points
-
I had a lot of issues with the printer. Clogging, warping, delaminating, poor quality 10kg of material wasted and 3 weeks changing parameters but learnt a lot and got it sorted. Now I need to figure out if I can recycle this stuff!2 points
-
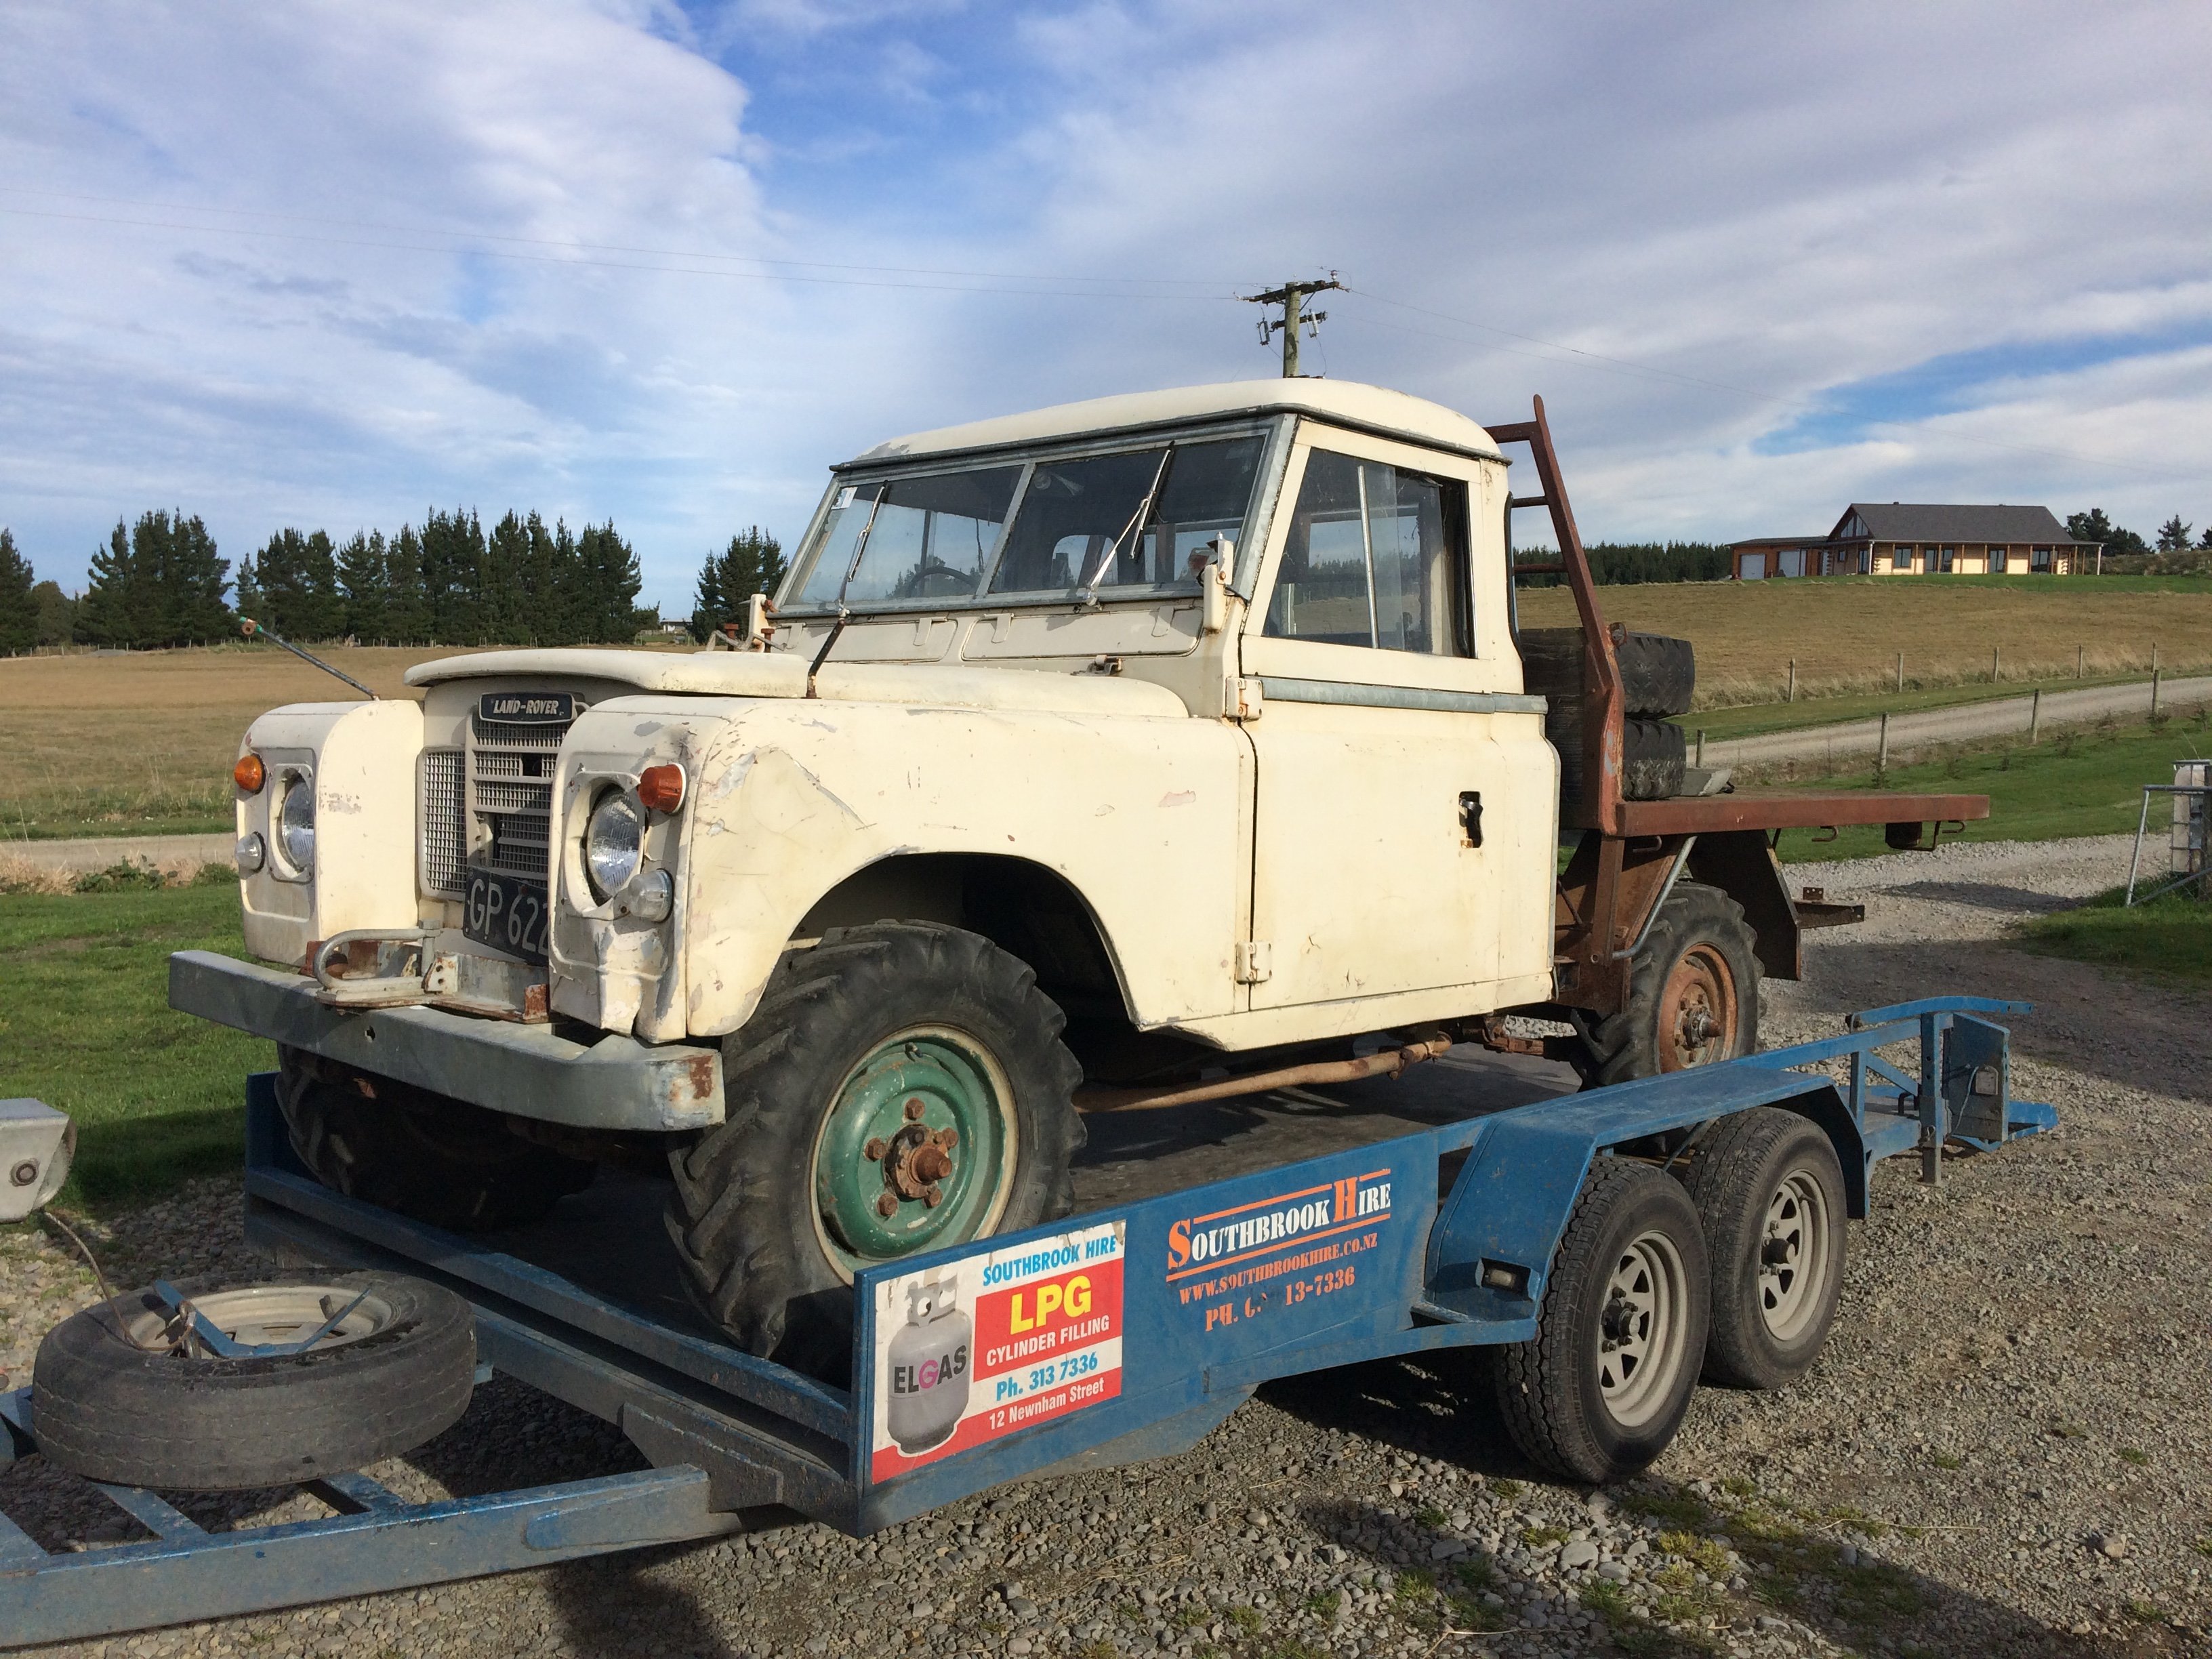
I am practically a farmer so I need a truck. Made sure my Tetanus shots were up to date and got this. But I really don’t need another project. Wow, I suck at this. Mean tractor grips though, so WIN. Thread of discussion
1 point
-
Hello and welcome. Due to popular interest in another small bike endeavour, this year we plan to not do what we've done, and do do, what we don't done. This has been on the want to do list for a little while, but thought it was a bit hard logistically to link it up with anywhere else on small bikes. After looking at things a bit closer, it seems doable while staying off a lot of the main roads. There are some sections unfamiliar to us, but if Google says you can drive there, we can drive there, there is one place Google says you can't drive there, and we're still gonna drive there. The date will be 2019 Nov 29, 30 and Dec 1. Still over 3 days this route appears shorter than previous East Cape trips at about 540km, but I believe there to be significantly more gravel so your average speed will be down a bit overall, exact route might get some fine tuning if we manage to get some recce/expert advice. An estimate of the gravel portions of this ride comes to ~250km. Play along at home here https://goo.gl/maps/w5Z1CH4tkfX5SiyR9 ride '19 final by John Bell, on Flickr Day One, Nov-29. We believe day one will be the most taxing. ~200km. Starting right off the bat with ex rally stage Stanley Road. From there we head over East over an ex-rail bridge, through Awakeri and over Matahina hydro dam. Decent gravel stretch on Pokairoa Road, head past the Kopuriki store ,Galatea area, and further south to the borders of Te Urewera. Onwards onto rougher roads through Ruatahuna and finally to stay at Lake Waikaremoana Holiday Park (or nearby). 2019Day1 by John Bell, on Flickr Day Two Nov-30. This is easy day, from Waikaremoana out to Gisborne. ~155km. Hopefully some opportunity to look at hydro power stuff. Back roads, maybe lunch at the Tiniroto pub and hopefully more gravel. Hopefully time for recreation on getting to Gisborne. I'm not particularly familiar with much this days ride. 2019Day2 by John Bell, on Flickr Day Three Dec-1. Medium day. ~180km. We sneak out of Gisborne parallel to SH2, gravel on ex rally stage Whakarau Road in the direction of the Motu village. From Motu its familiar going on another ex rally stage to the Bay of Plenty coast. Through Opotiki, and headed back to the starting point via a few bonus squiggly gravel bits. 2019Day3 by John Bell, on Flickr Fuel is probably less available then up the cape, I reckon less people too if thats even possible. Less food opportunities also. Night one will likely be a frugal, quiet one, pretty sure theres no pub or restaurant there. Save party time for Gisborne. Theres proabably more to say, but its early days yet. There'll be a lot to discuss, but if you could keep the complete spam to a minimum for those looking for info. Holla at cha boi. Okey, Not everyone on the list has usernames, they might be real people outside of the internet. 27-11-19 @johnnyfive @Vintage Grumble @MopedNZ @GuyWithAviators @Shakotom @cletus @tortron @datlow @keltik @Truenotch @TimShadboltfan27 @WankBankA100 @BLIZZO @MaxPower @Dolan @Mitch.W @Tumeke @Tumeke's brother Brett @UTERUS @Ned @RUNAMUCK @Atex Lee Dan Shannon @Deano Mike @mark105 @Geophy @Duke Blackwood @Geophy's Dad @peteretep @Beaver @Archetype Lance/Julio Ryk Chris/Tofa @anglia4 @anglia4's Dad Paul ThatSlowGuyOnTheRuckus/Dan @slacker.cam @sentra Entry form now available, please ensure you have accommodation secured at Waikaremoana before completing form, as this will be the limiting factor for numbers.1 point
-
PPSC will rug up and tug up in our tents together tbh1 point
-
I put a msd dizzy in my holden, not sure if EH are wired the same but I just ran a wire from the back of an accessory fuse to the coil for when it's running and kept the original ballast wire hooked up to power coil while cranking. I used a msd blaster aswell but any non ballast coil should be sweet.1 point
-
Still trying to decide where to go with colour. i like the green, I also like the orange, but I think im going white. Vin plate shows paint code OQ, i cant find out what it was originally . blaster found green, blue and yellow. Be good to know how it started. Phil1 point
-
tents sites booked for both nights for the PPSC 65th regiment. Ready for hilarious $6 tent eminent failure fizzing like a dropped pepsi1 point
-
Sick. Love it. Great little bike. As you were.....1 point
-
replaced all the lip seals on the crank and both ends of the gearbox. tapped and fitted some 1/8 NPT hose tail fittings to the fluid cooler lines and then i put the box in the car. it fits. dont have the gearbox crossmember in yet, ill make the mods to that tomorrow night. 2019-08-08_07-51-57 by sheepers, on Flickr 2019-08-08_07-51-47 by sheepers, on Flickr1 point
-
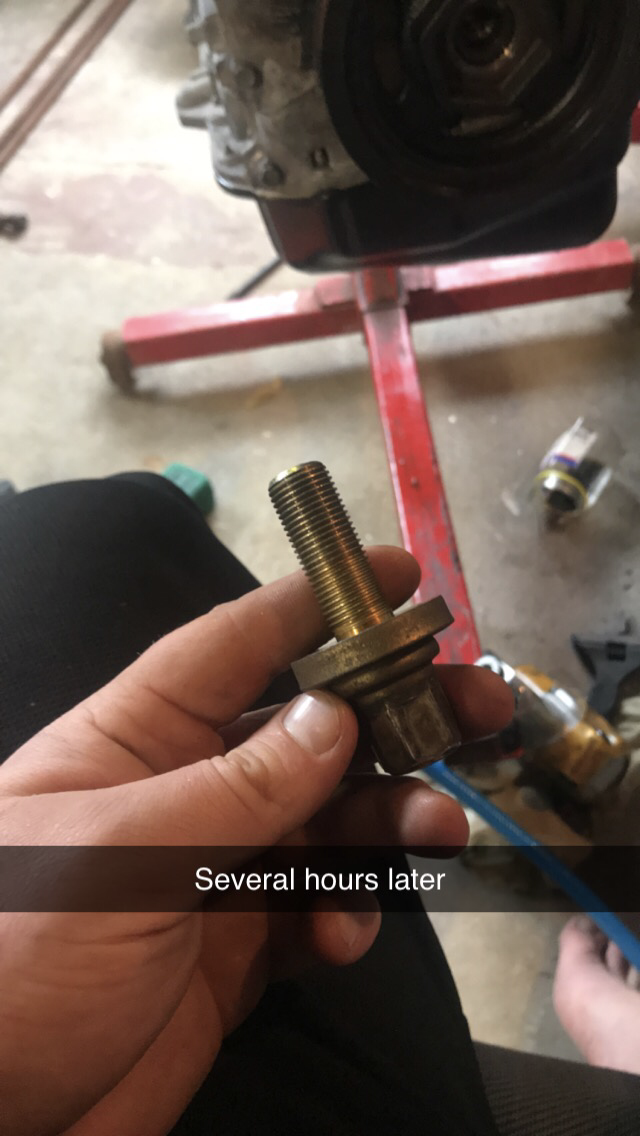
I assembled a store bought kit, incorrectly.1 point
-
Chain guard and reservoir bottle brackets made and then welded in place. About all I can do until the postman comes with all the shit I ordered off trademe last night.
1 point
-
On a side note distributors/coils seem a common issue with B series. Seen a few friends racecars have them fail1 point
-
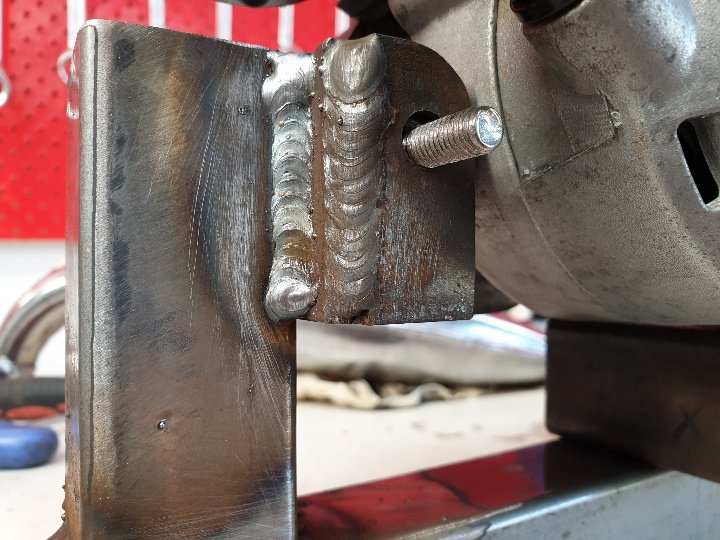
Wow, that looks really good!1 point
-
1 point
-
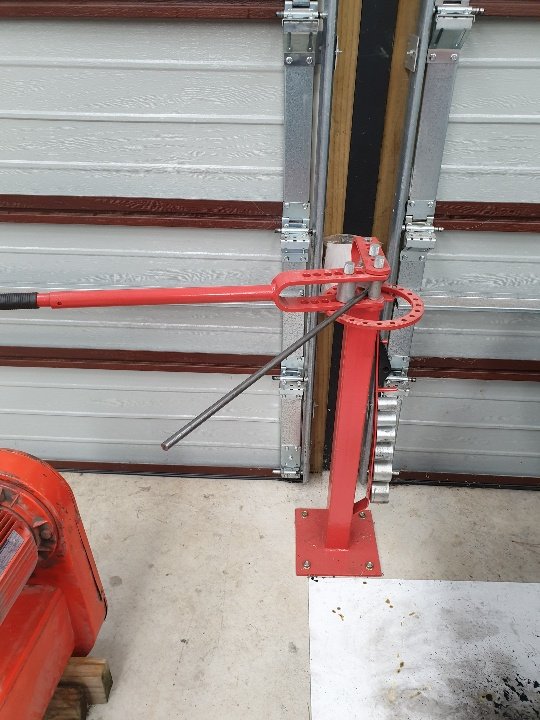
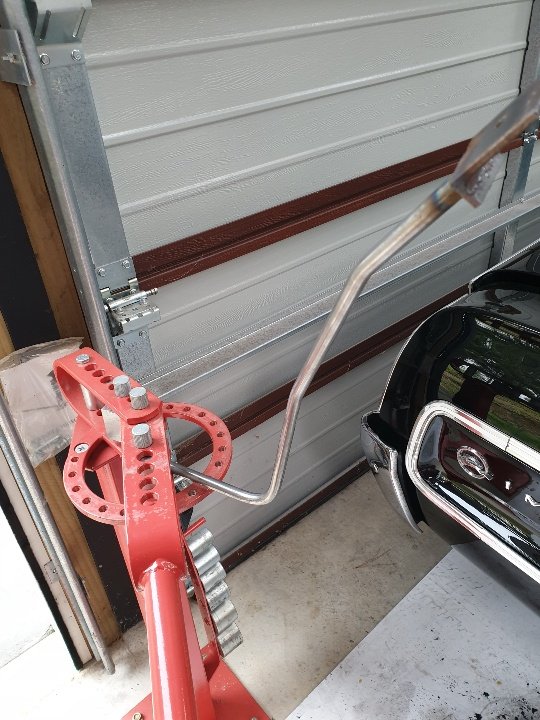
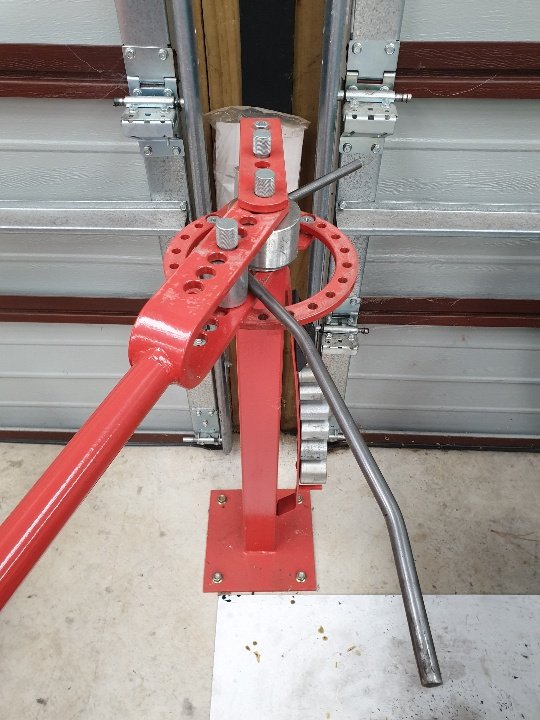
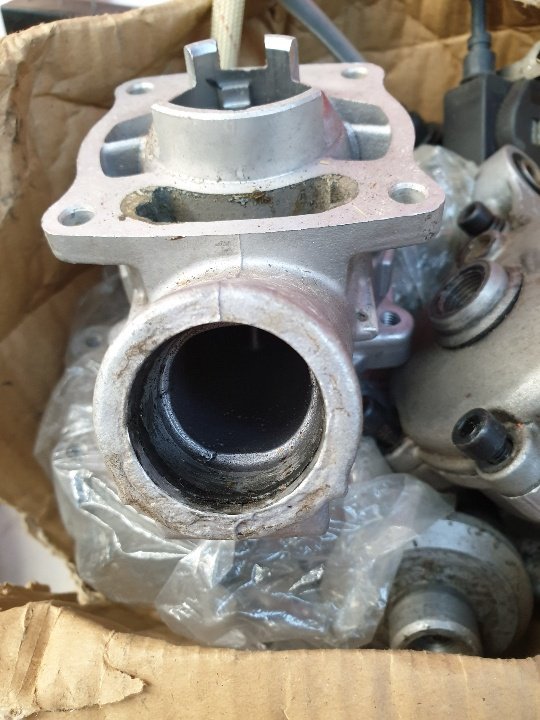
They come back for repair? People drop them or use them for carving?1 point
-
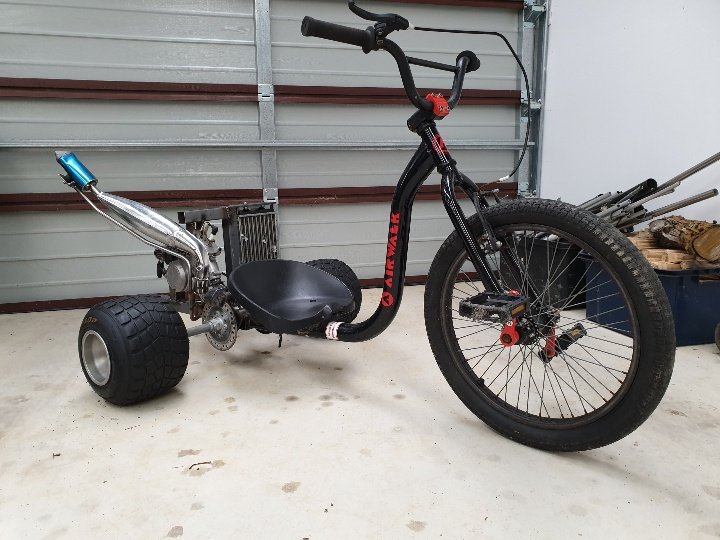
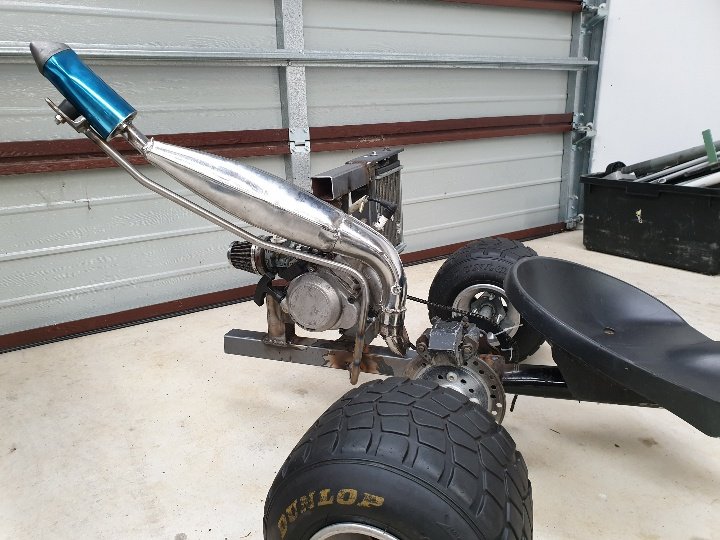
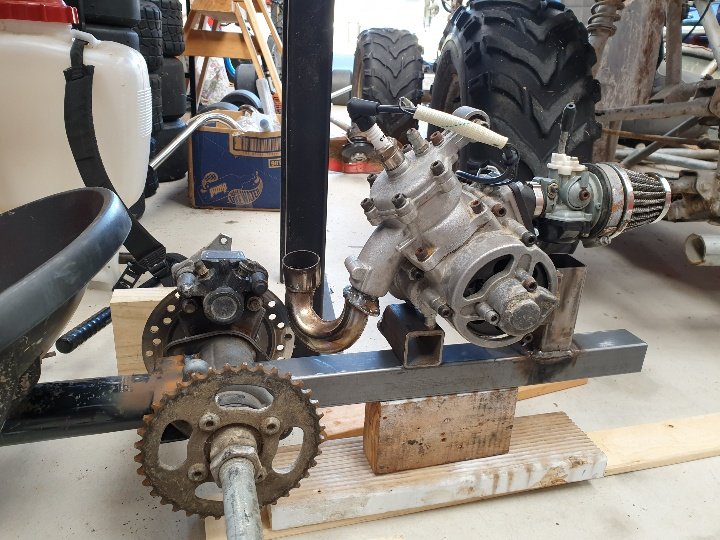
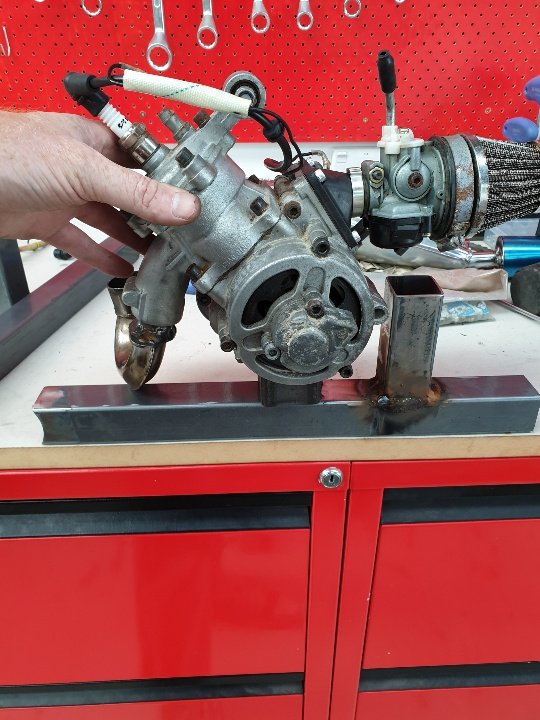
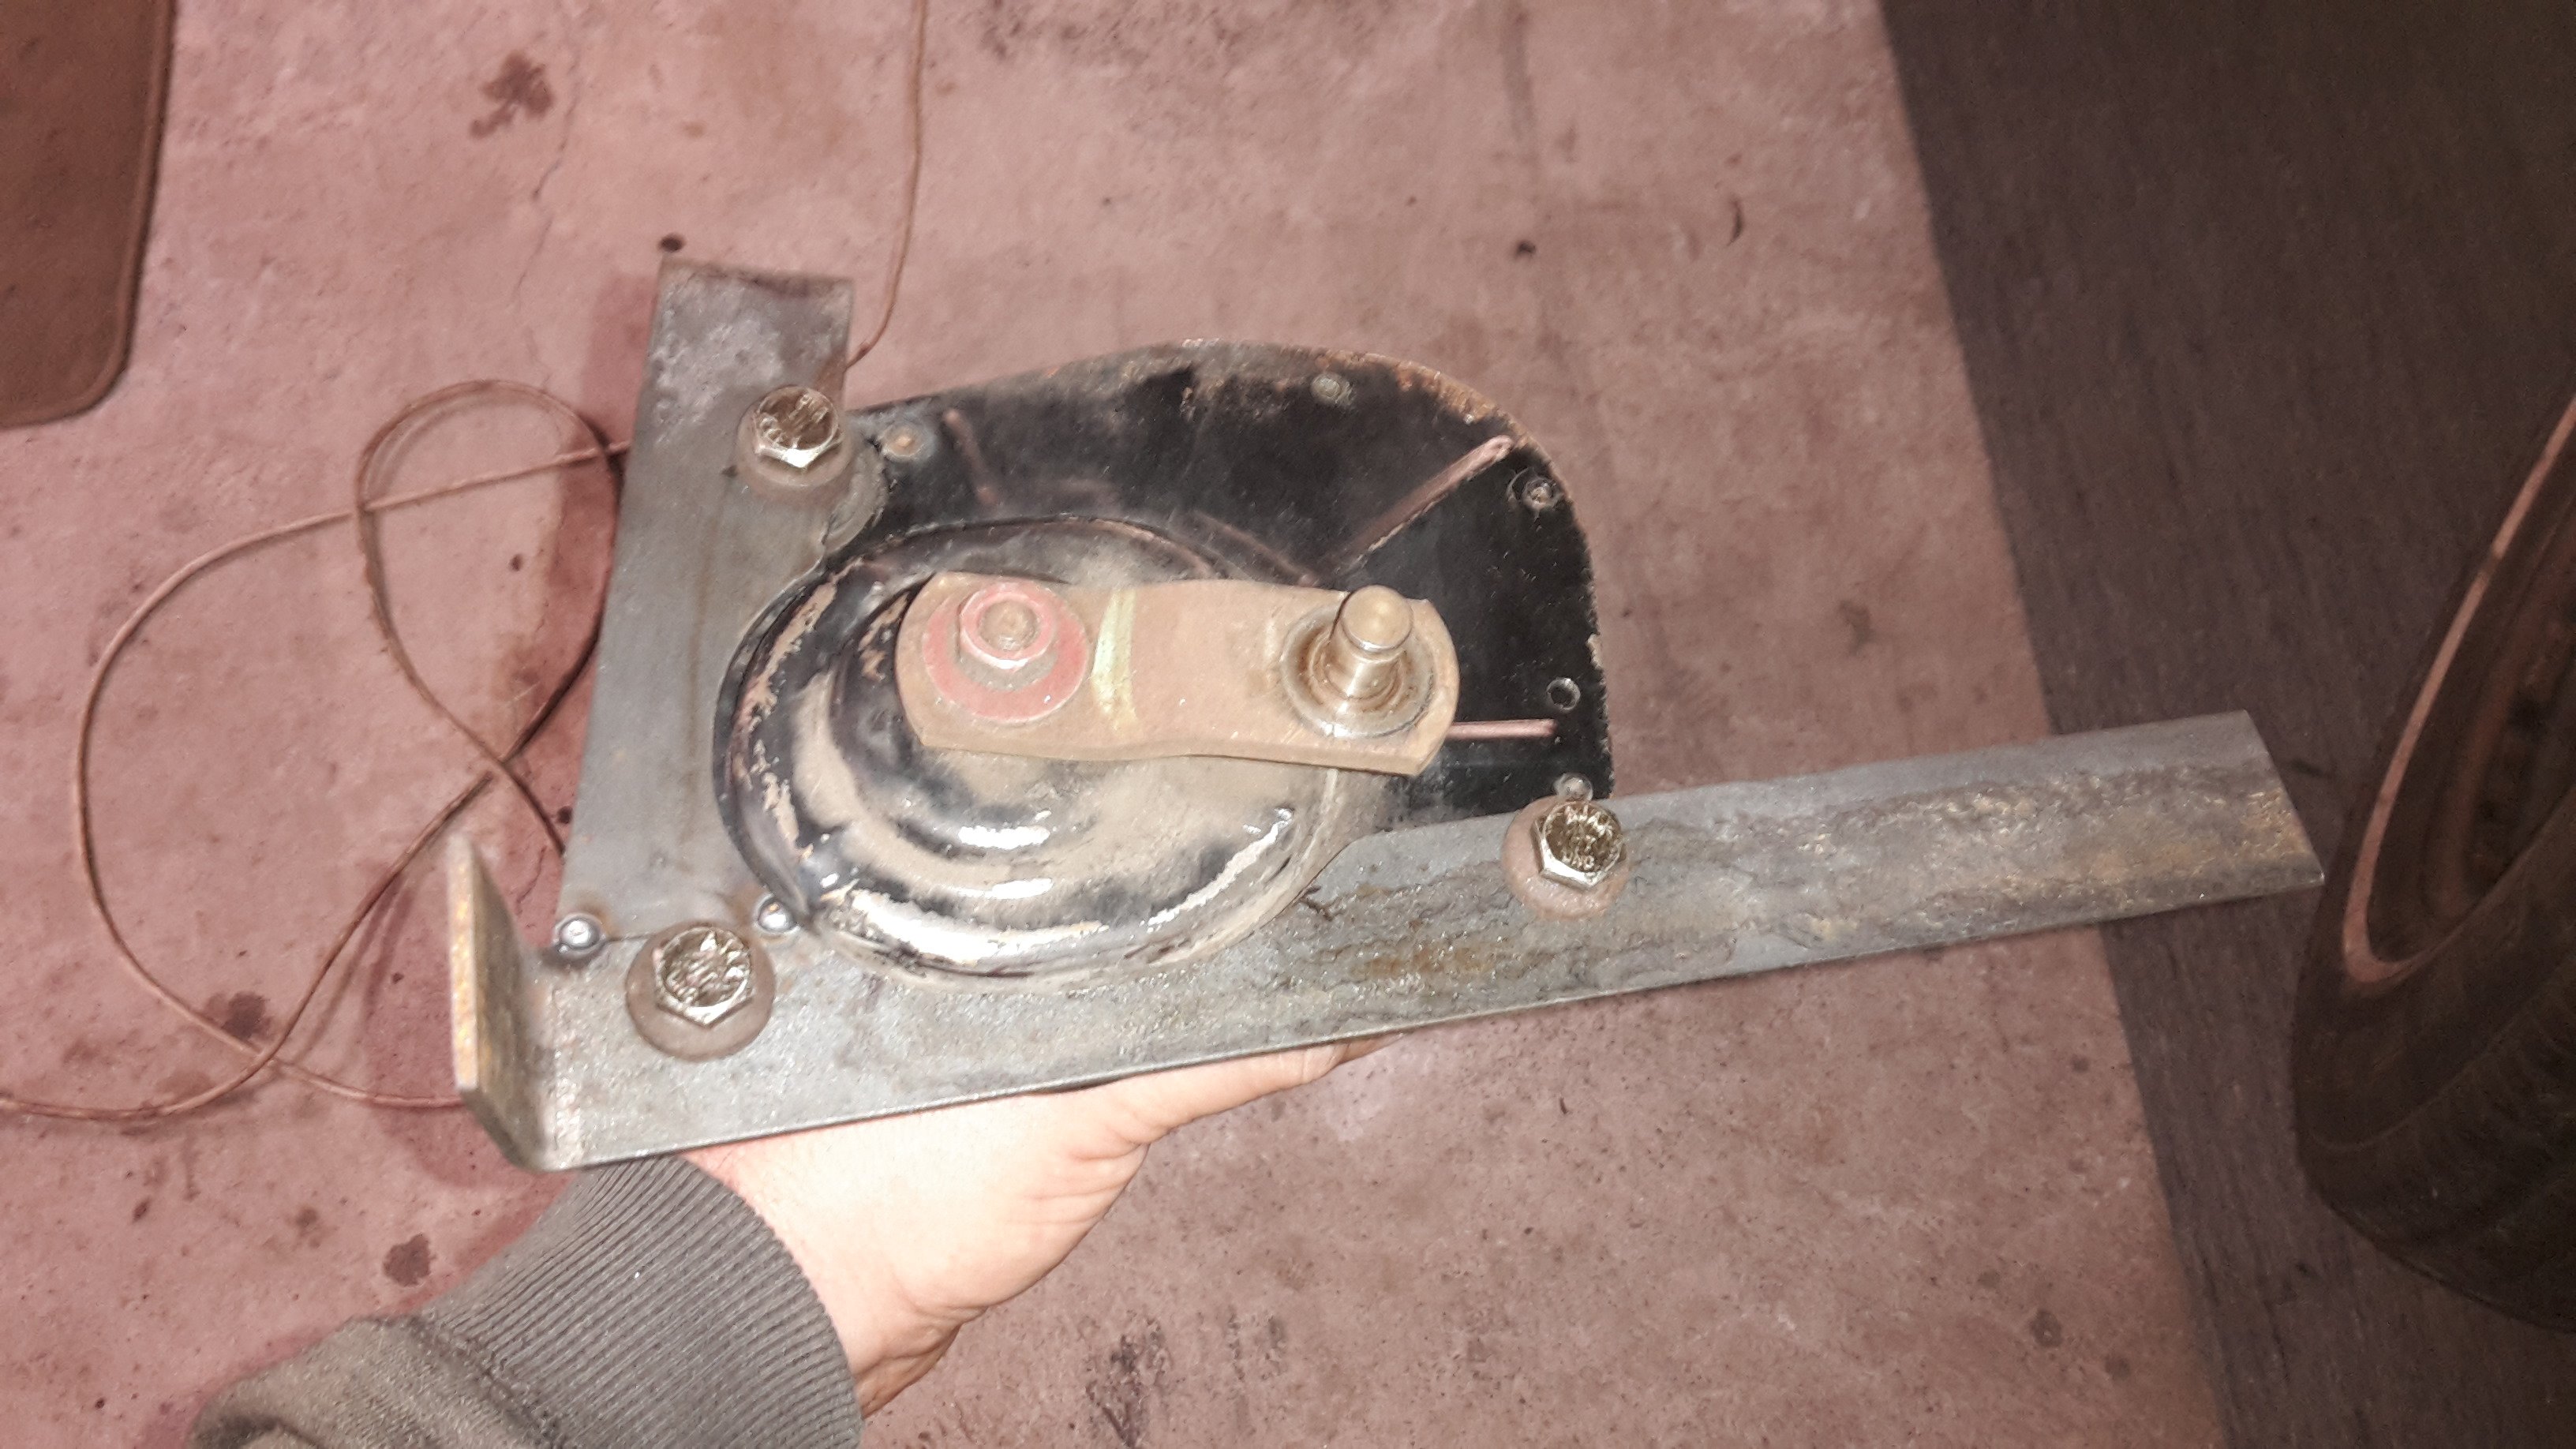
That's my offroad gokart. Its rough as...but such fun! My mate nicknamed it "the Somali battle wagon" It's got no working brakes, but engine compression works good enough to slow you down. In that video I was been a pussy, as I'd just fixed it and was testing my fix. Its solid as now.1 point
-
And a few hours later... Its starting to come together.
1 point
-
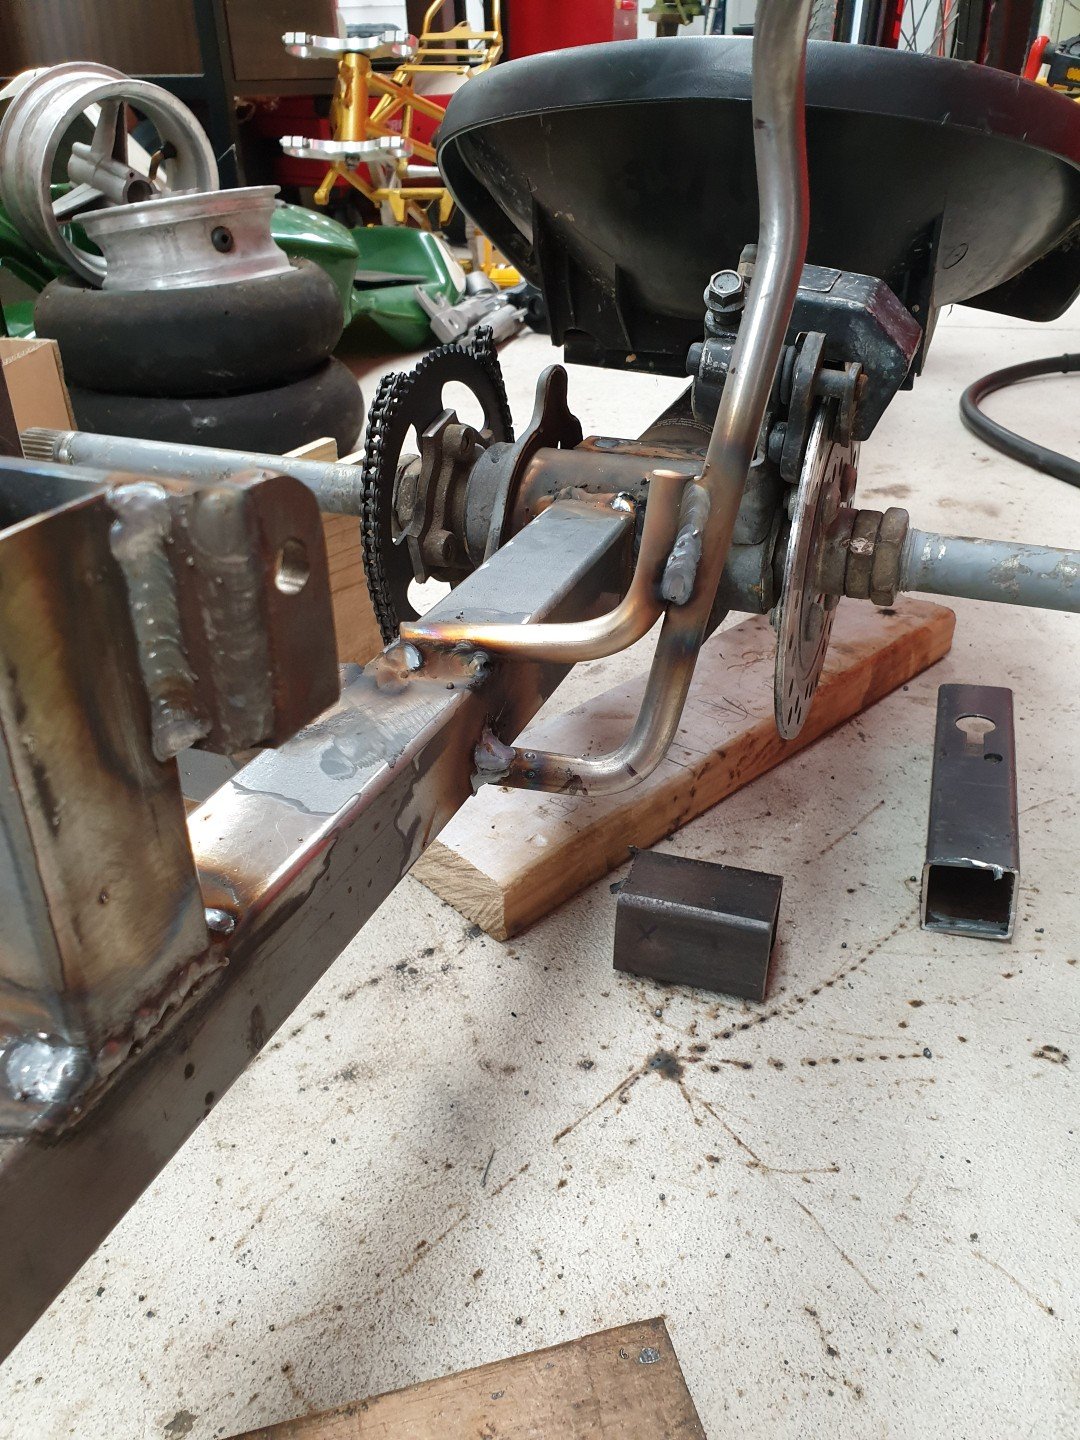
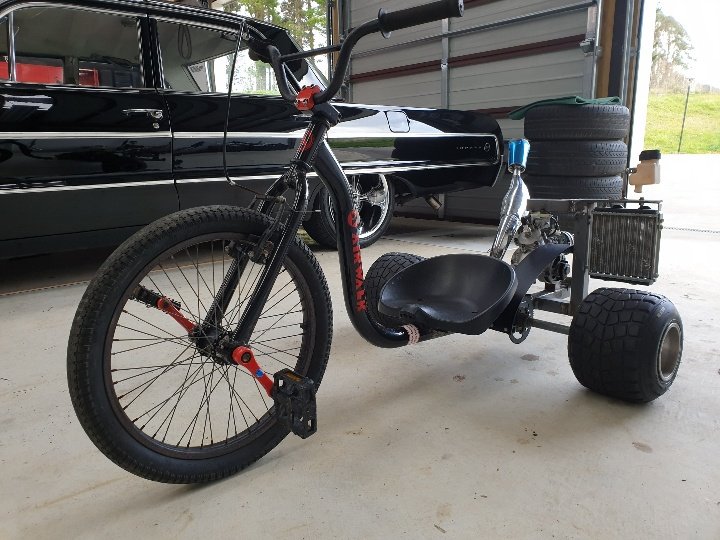
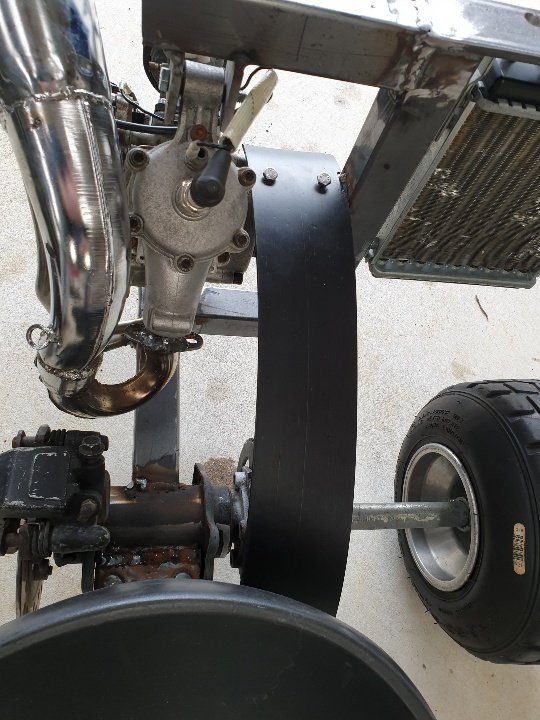
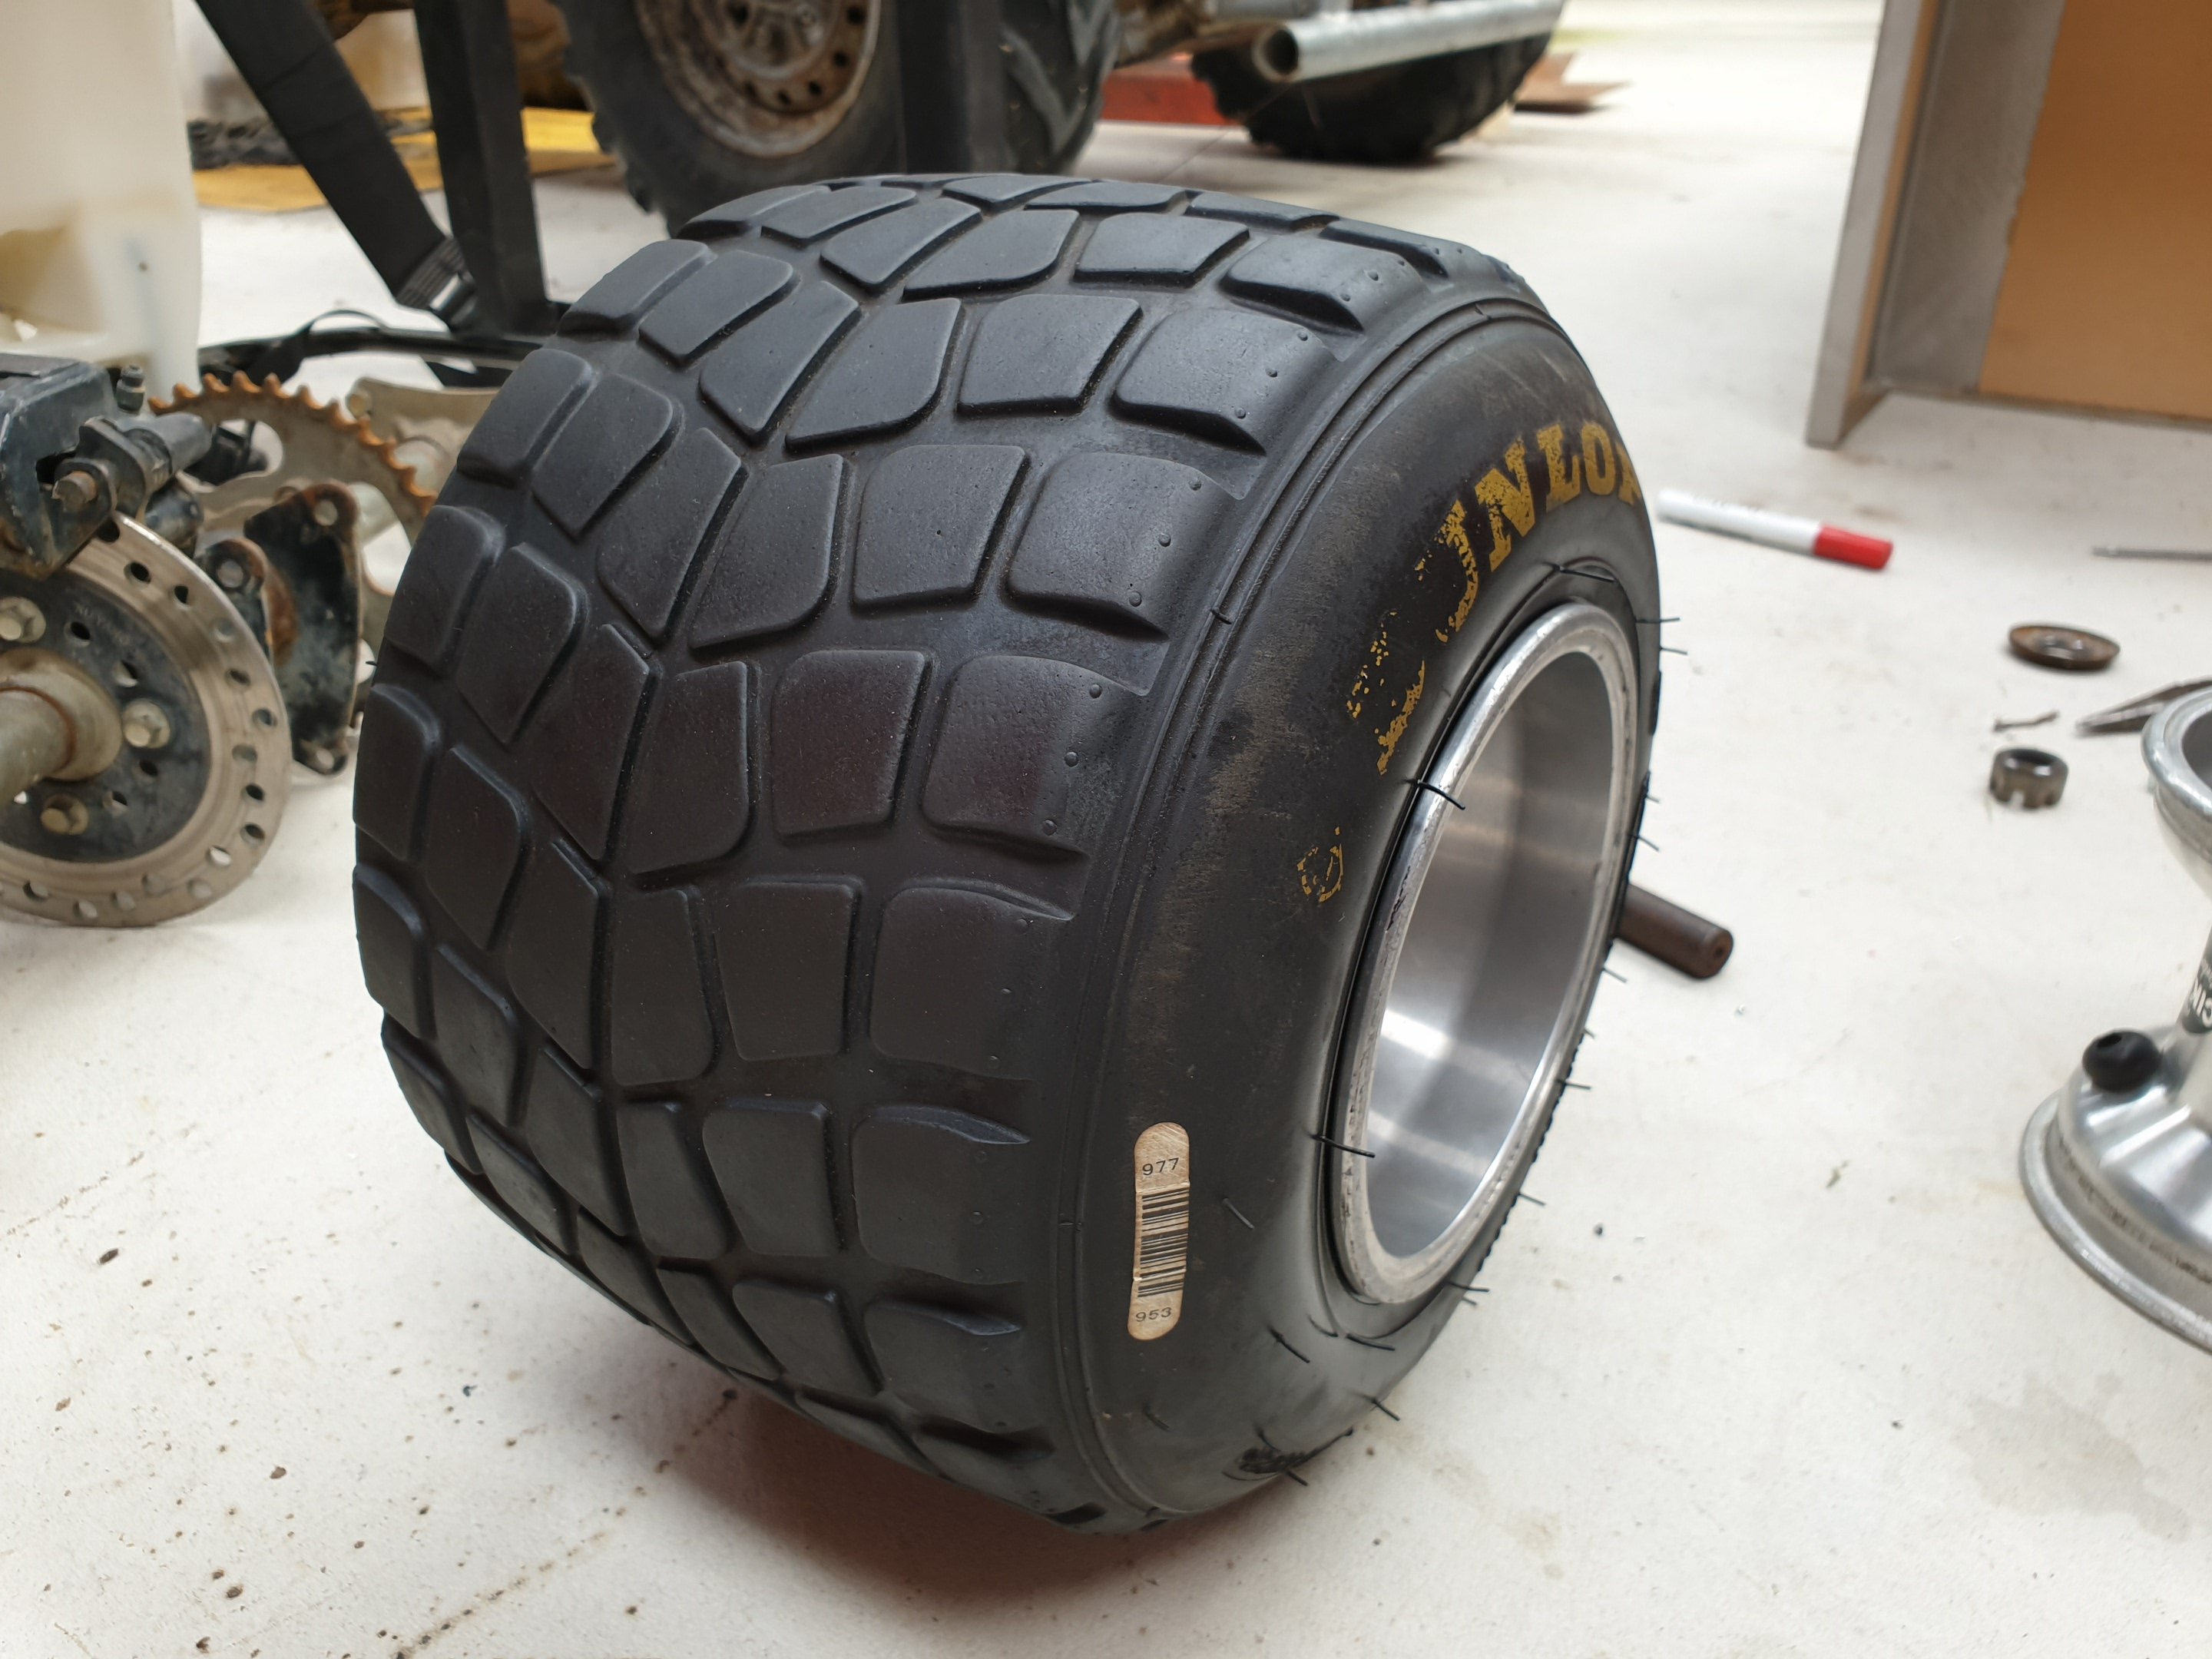
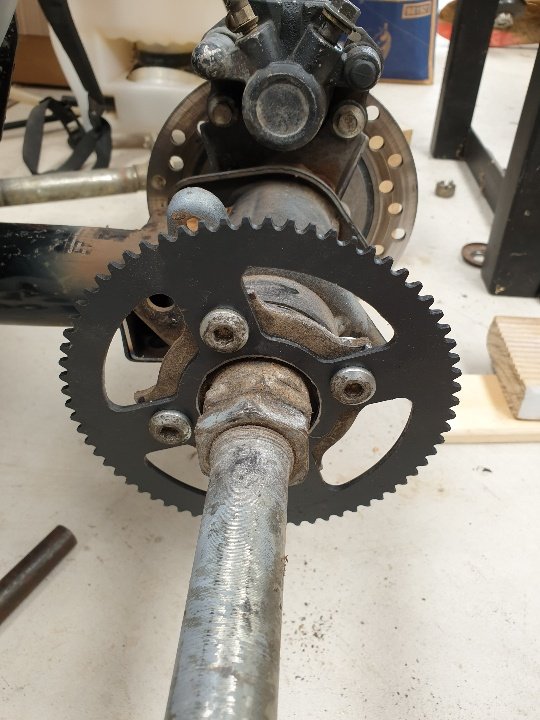
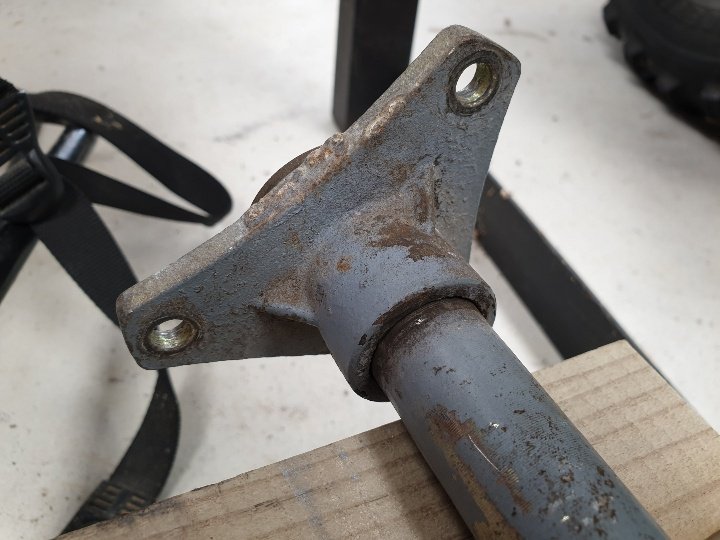
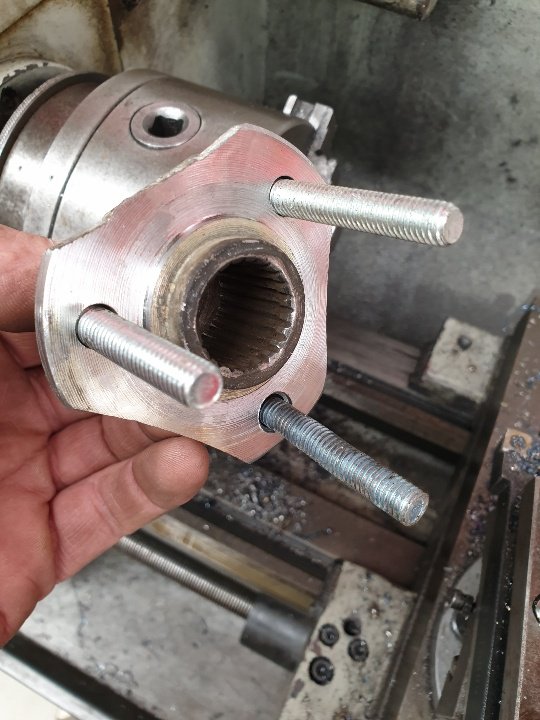
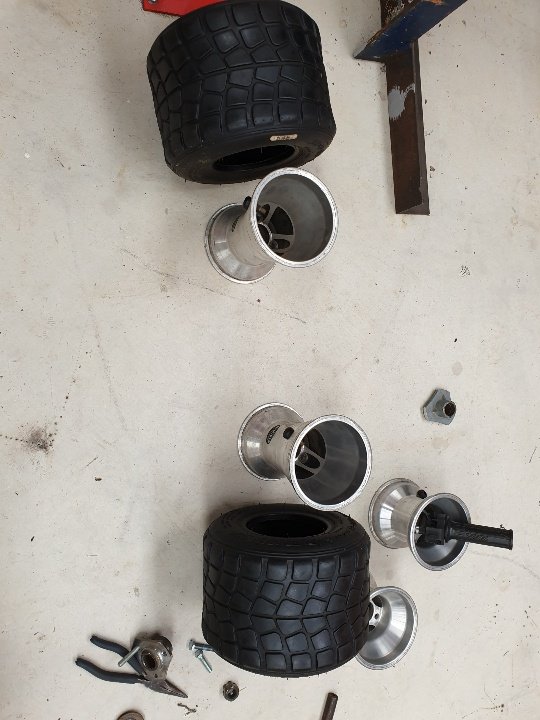
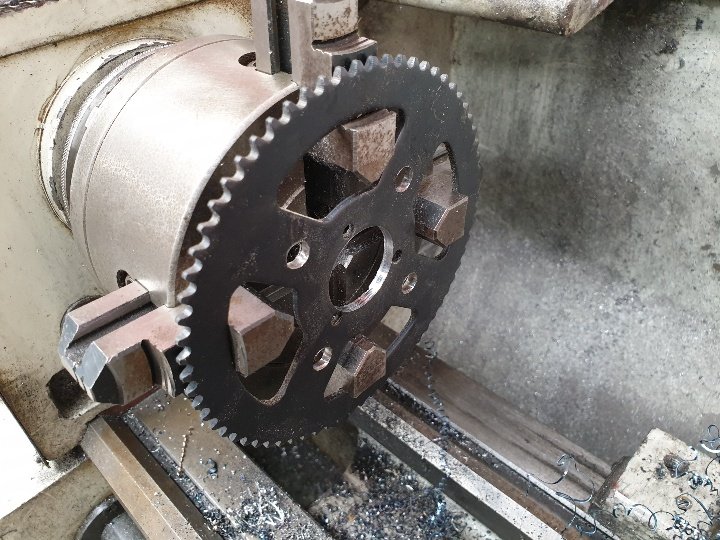
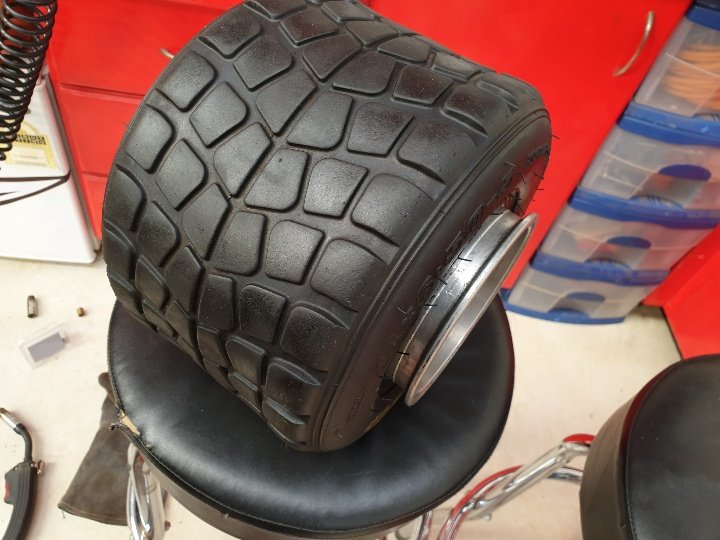
Put 4hrs work into this today, picture time: Exhaust all sorted. Hubs cut down, latched, re-drilled new pcd. So much work in these...its the hardest part of the build and the least fun to do. Got stance? Stretched tyres onto much wider rims. Sprocket: new pcd drilled, centre bored out, old sprocket cut down and used as a spacer. Engine mounts. Only solved half the problem so far. Need to fit other stuff before finding a solution for the next bit. But happy with progress so far.
1 point
-
Finally after two years of sitting down viking spec for a shower.. Was a bit of a fuck around trying to find something other than that mactrack shit. Ended up going for a round extrusion from a company in Hastings, had almost the exact same bend radius I needed (300mm) so because they couldn't do a full 180 bend I had to get two halves and join them together.. The reason I went with this is because I wanted to be able to move the curtains 360deg around the track.. Made a couple of joiners out of plastic, Then I screwed and epoxied them together.. The one thing I didn't think about with this method was how, once I got one end together, I was gonna get the other end in. Solved it in the end by just pushing the joiner 80% off the way into one side, aligning the ends and sliding it back.. Was a cunt1 point
-
Kids wanted to do better skids on their pedal kart so a quick hunt thru the offcuts and random stuff at work got me a short length of mains water pipe at almost a perfect id to go over the wheels. A bit of pre heating of the sleeves to soften then then worked them on with a hammer. A quick test run tonight proves it has enough traction to get speed up and can drift with enough entry speed I need to fold up some flat bar to lock the diff so to speak then it should slide alot better.1 point
-
I thought that bulb was for inserting in your anus and it blew up when you got on boost. Just so you knew how hard to push it.1 point
-
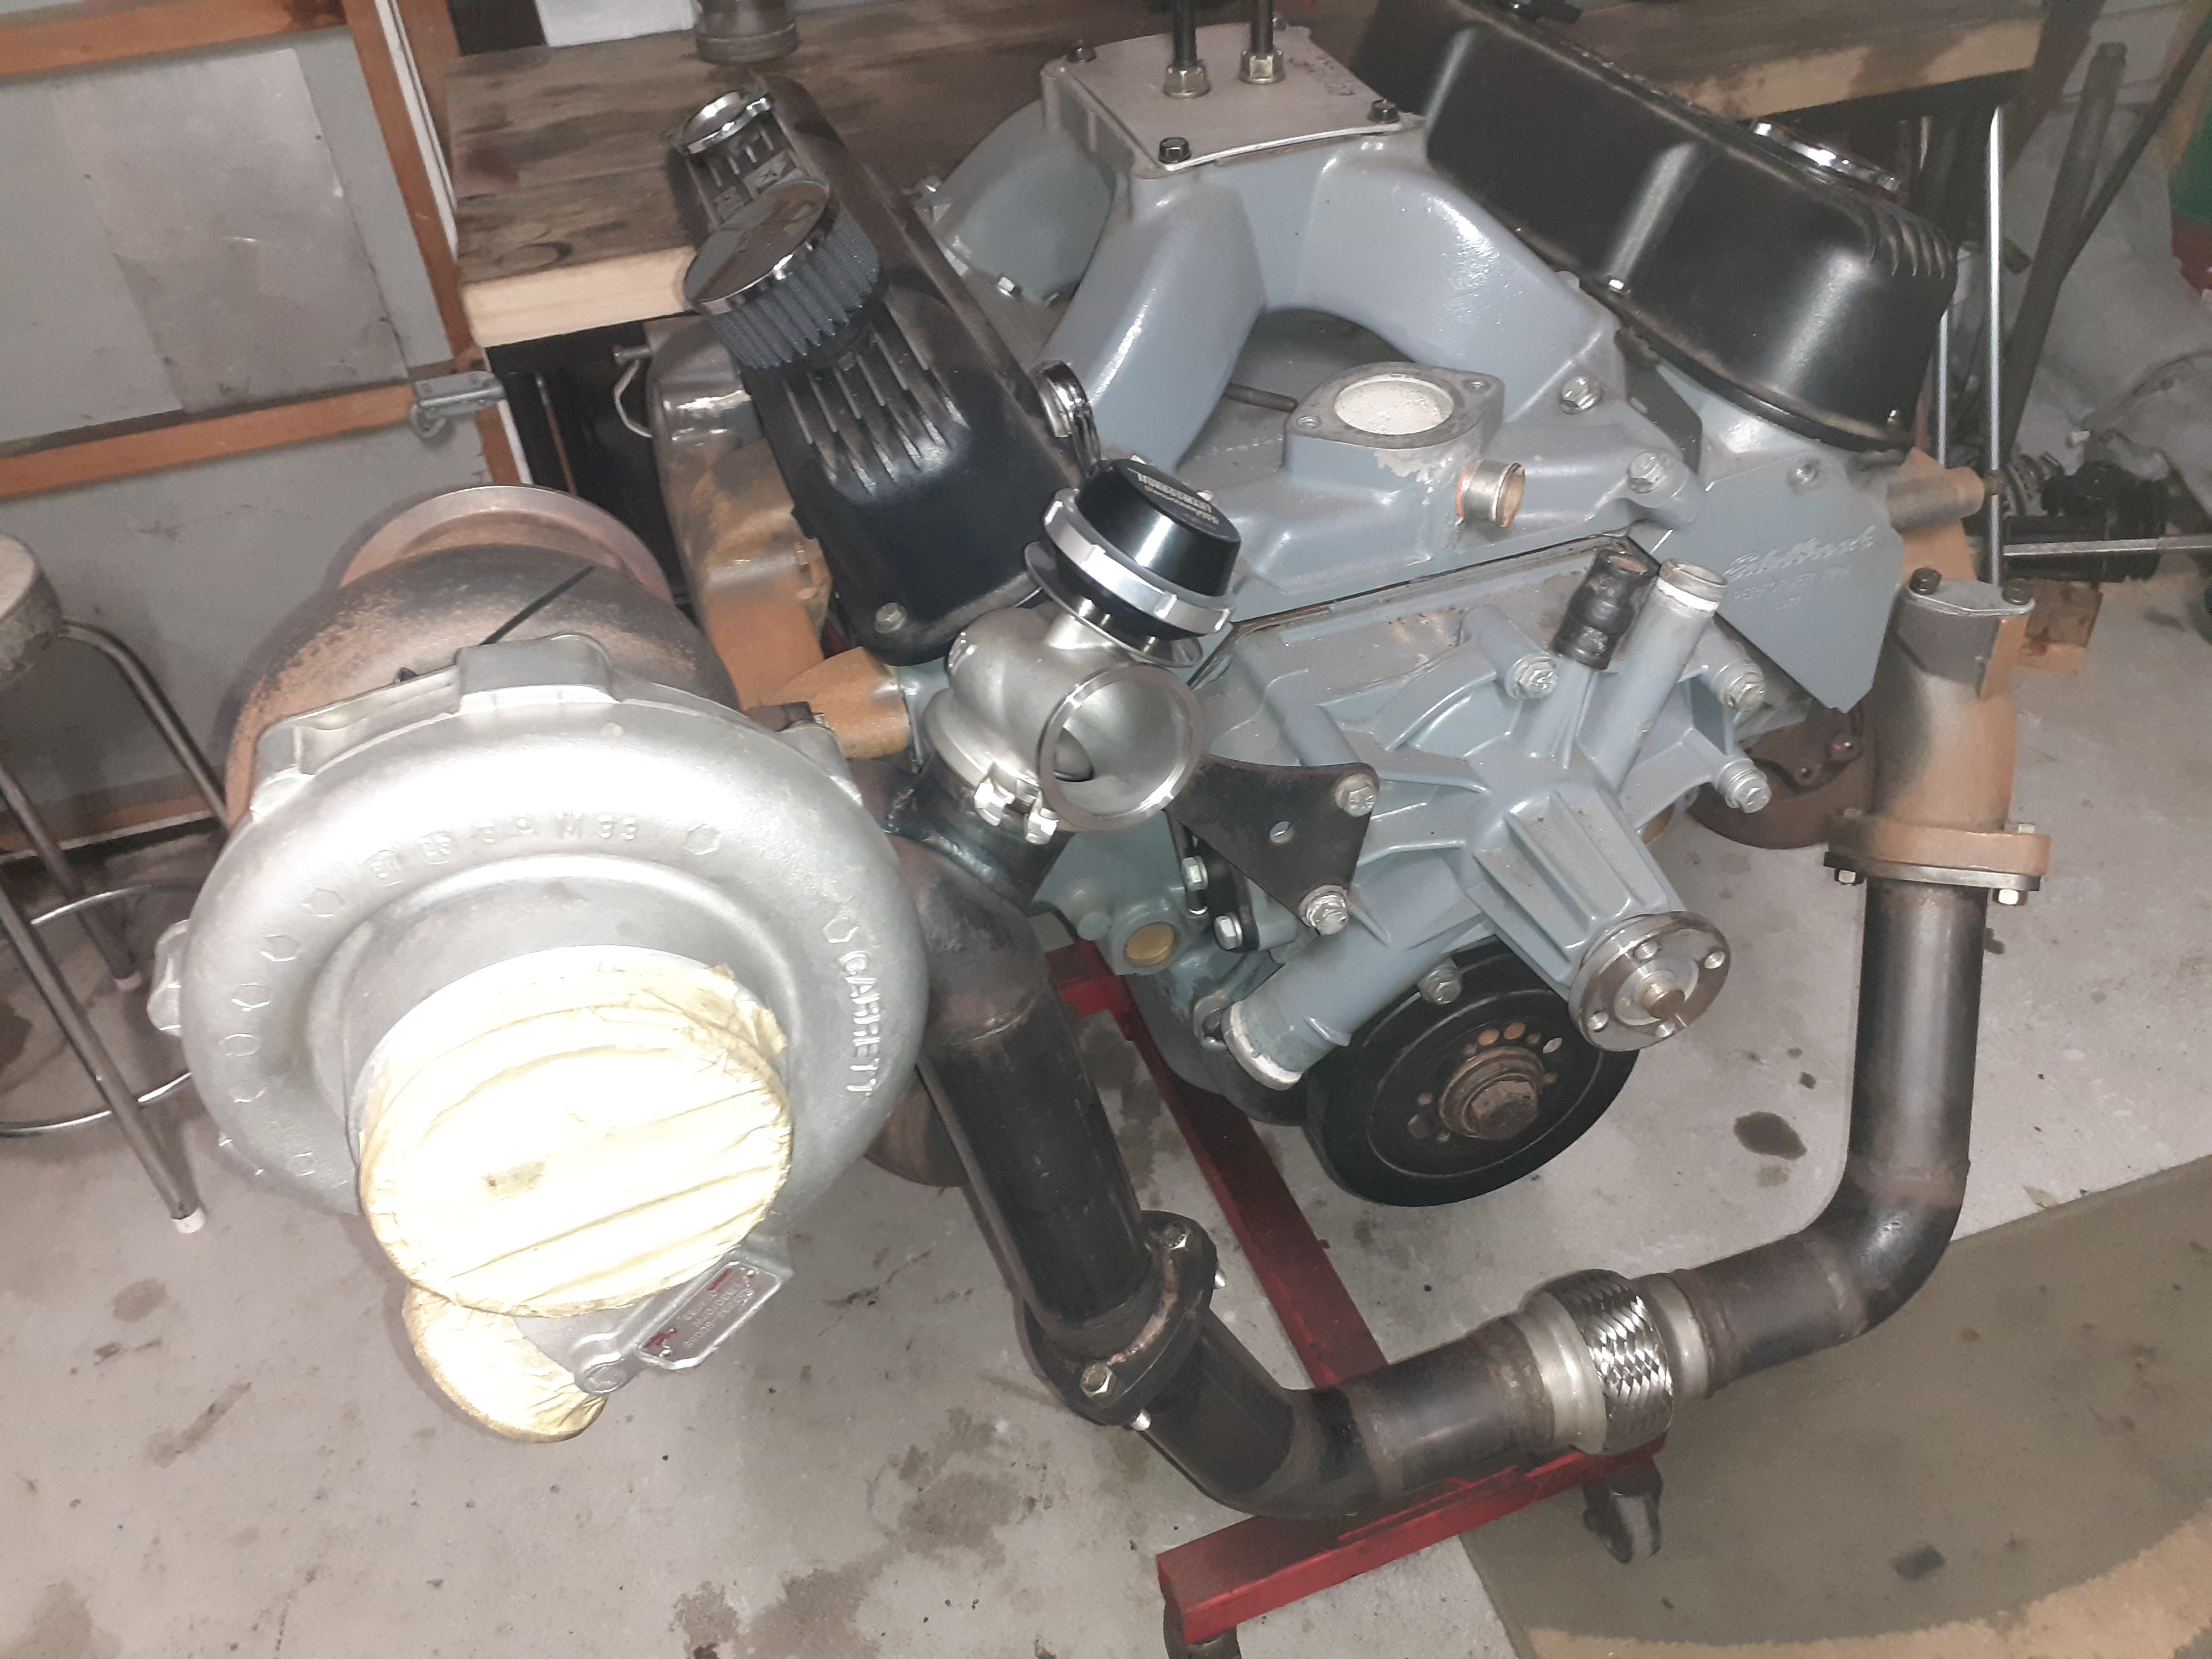
With raglan nats already organized I thought that would be a good target to aim to get this done by. Parked motorbikes at the back of the garage to avoid distractions for now Ordered a few bits for it this week, fingers crossed rockauto solves my brake caliper issue. and fitted a wastegate this weekend. I think the next step is put the engine in the hole and start making exhaust and intercooler piping
1 point
-
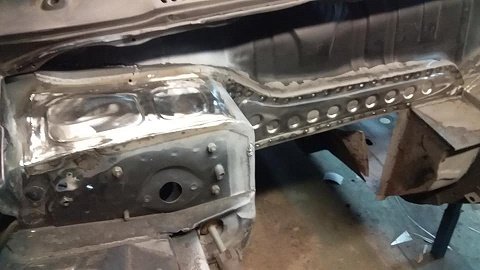
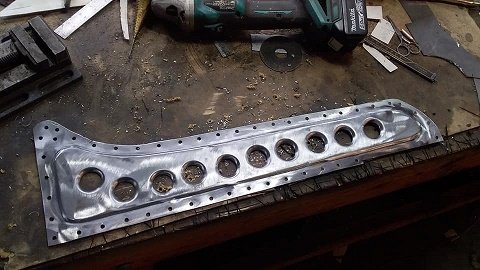
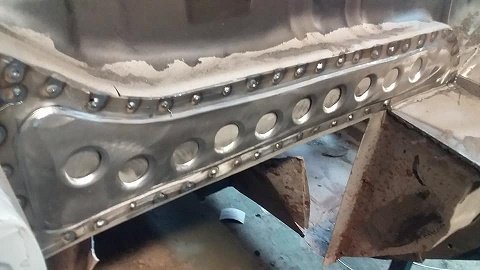
Floor, firewall, sills and door posts so far......
1 point
-
1 point
-
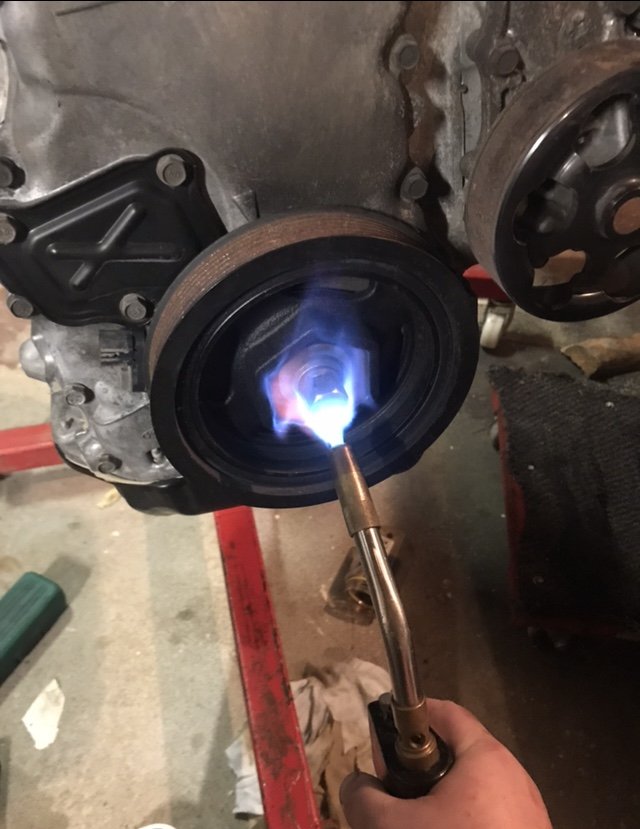
while im waiting for my engine hoyst back i thought i would clean up some parts of the engine starting with the area at the top that has the fuse box .....also welded up all the engine bay loom plug holes. then i looked at the wirewall didnt want to start from scratch but it needed to look cleaner . much better
1 point
-
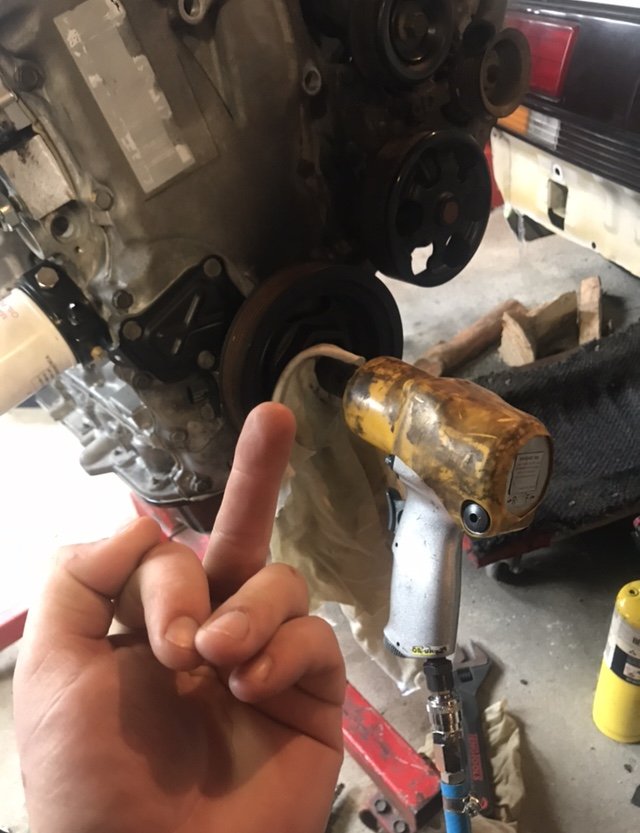
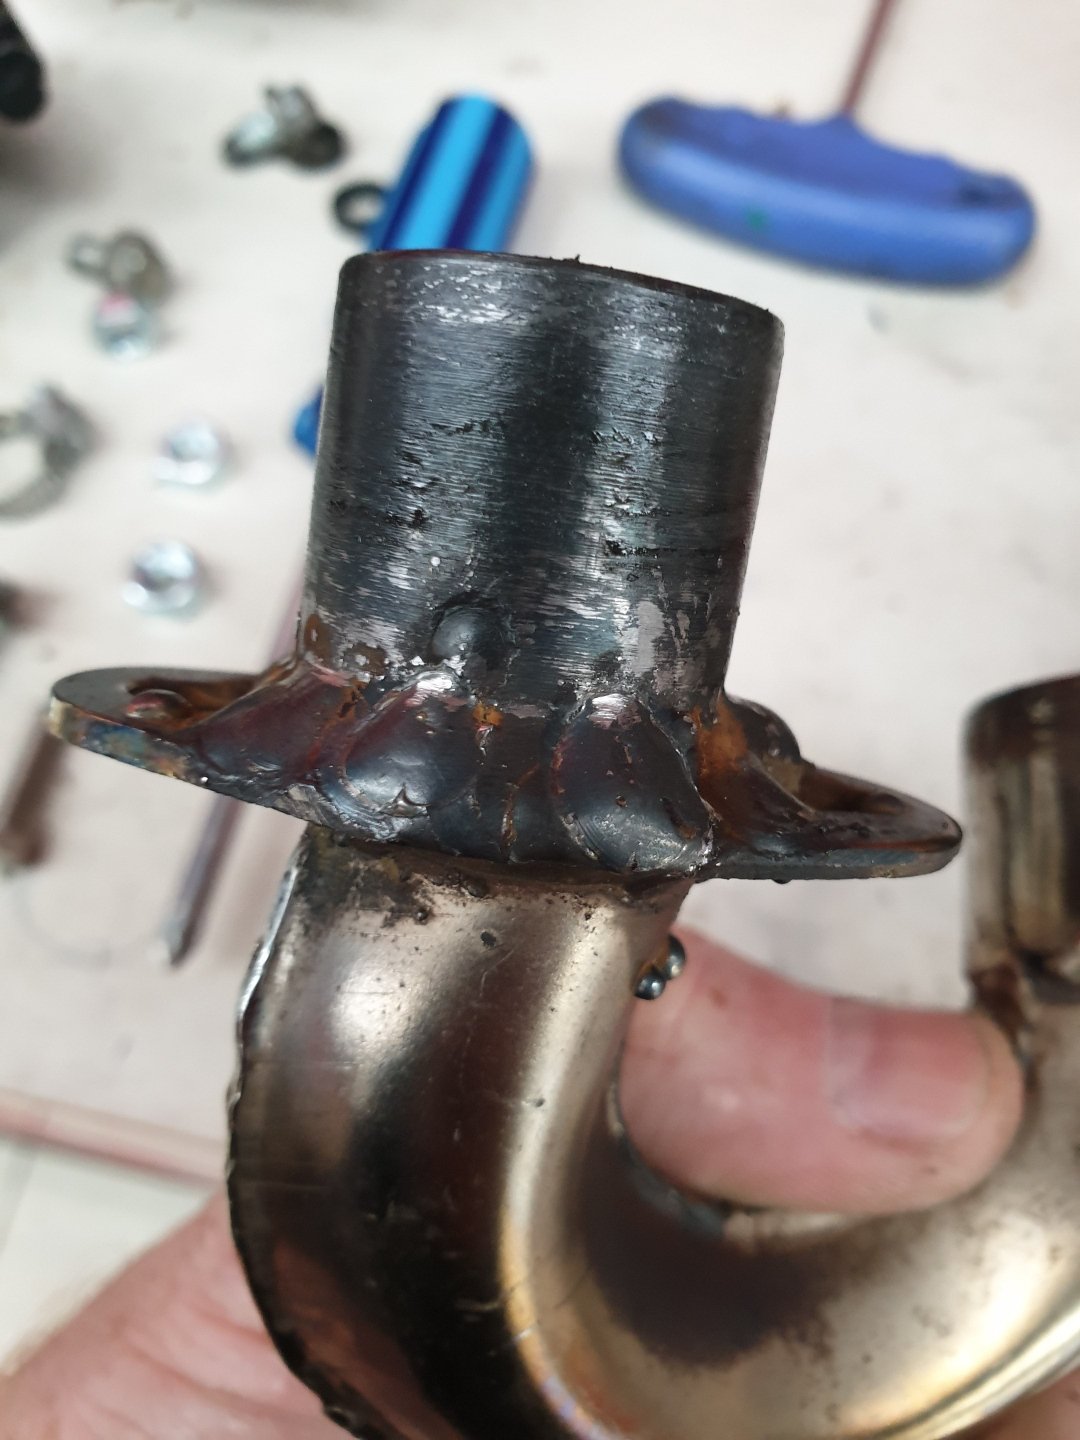
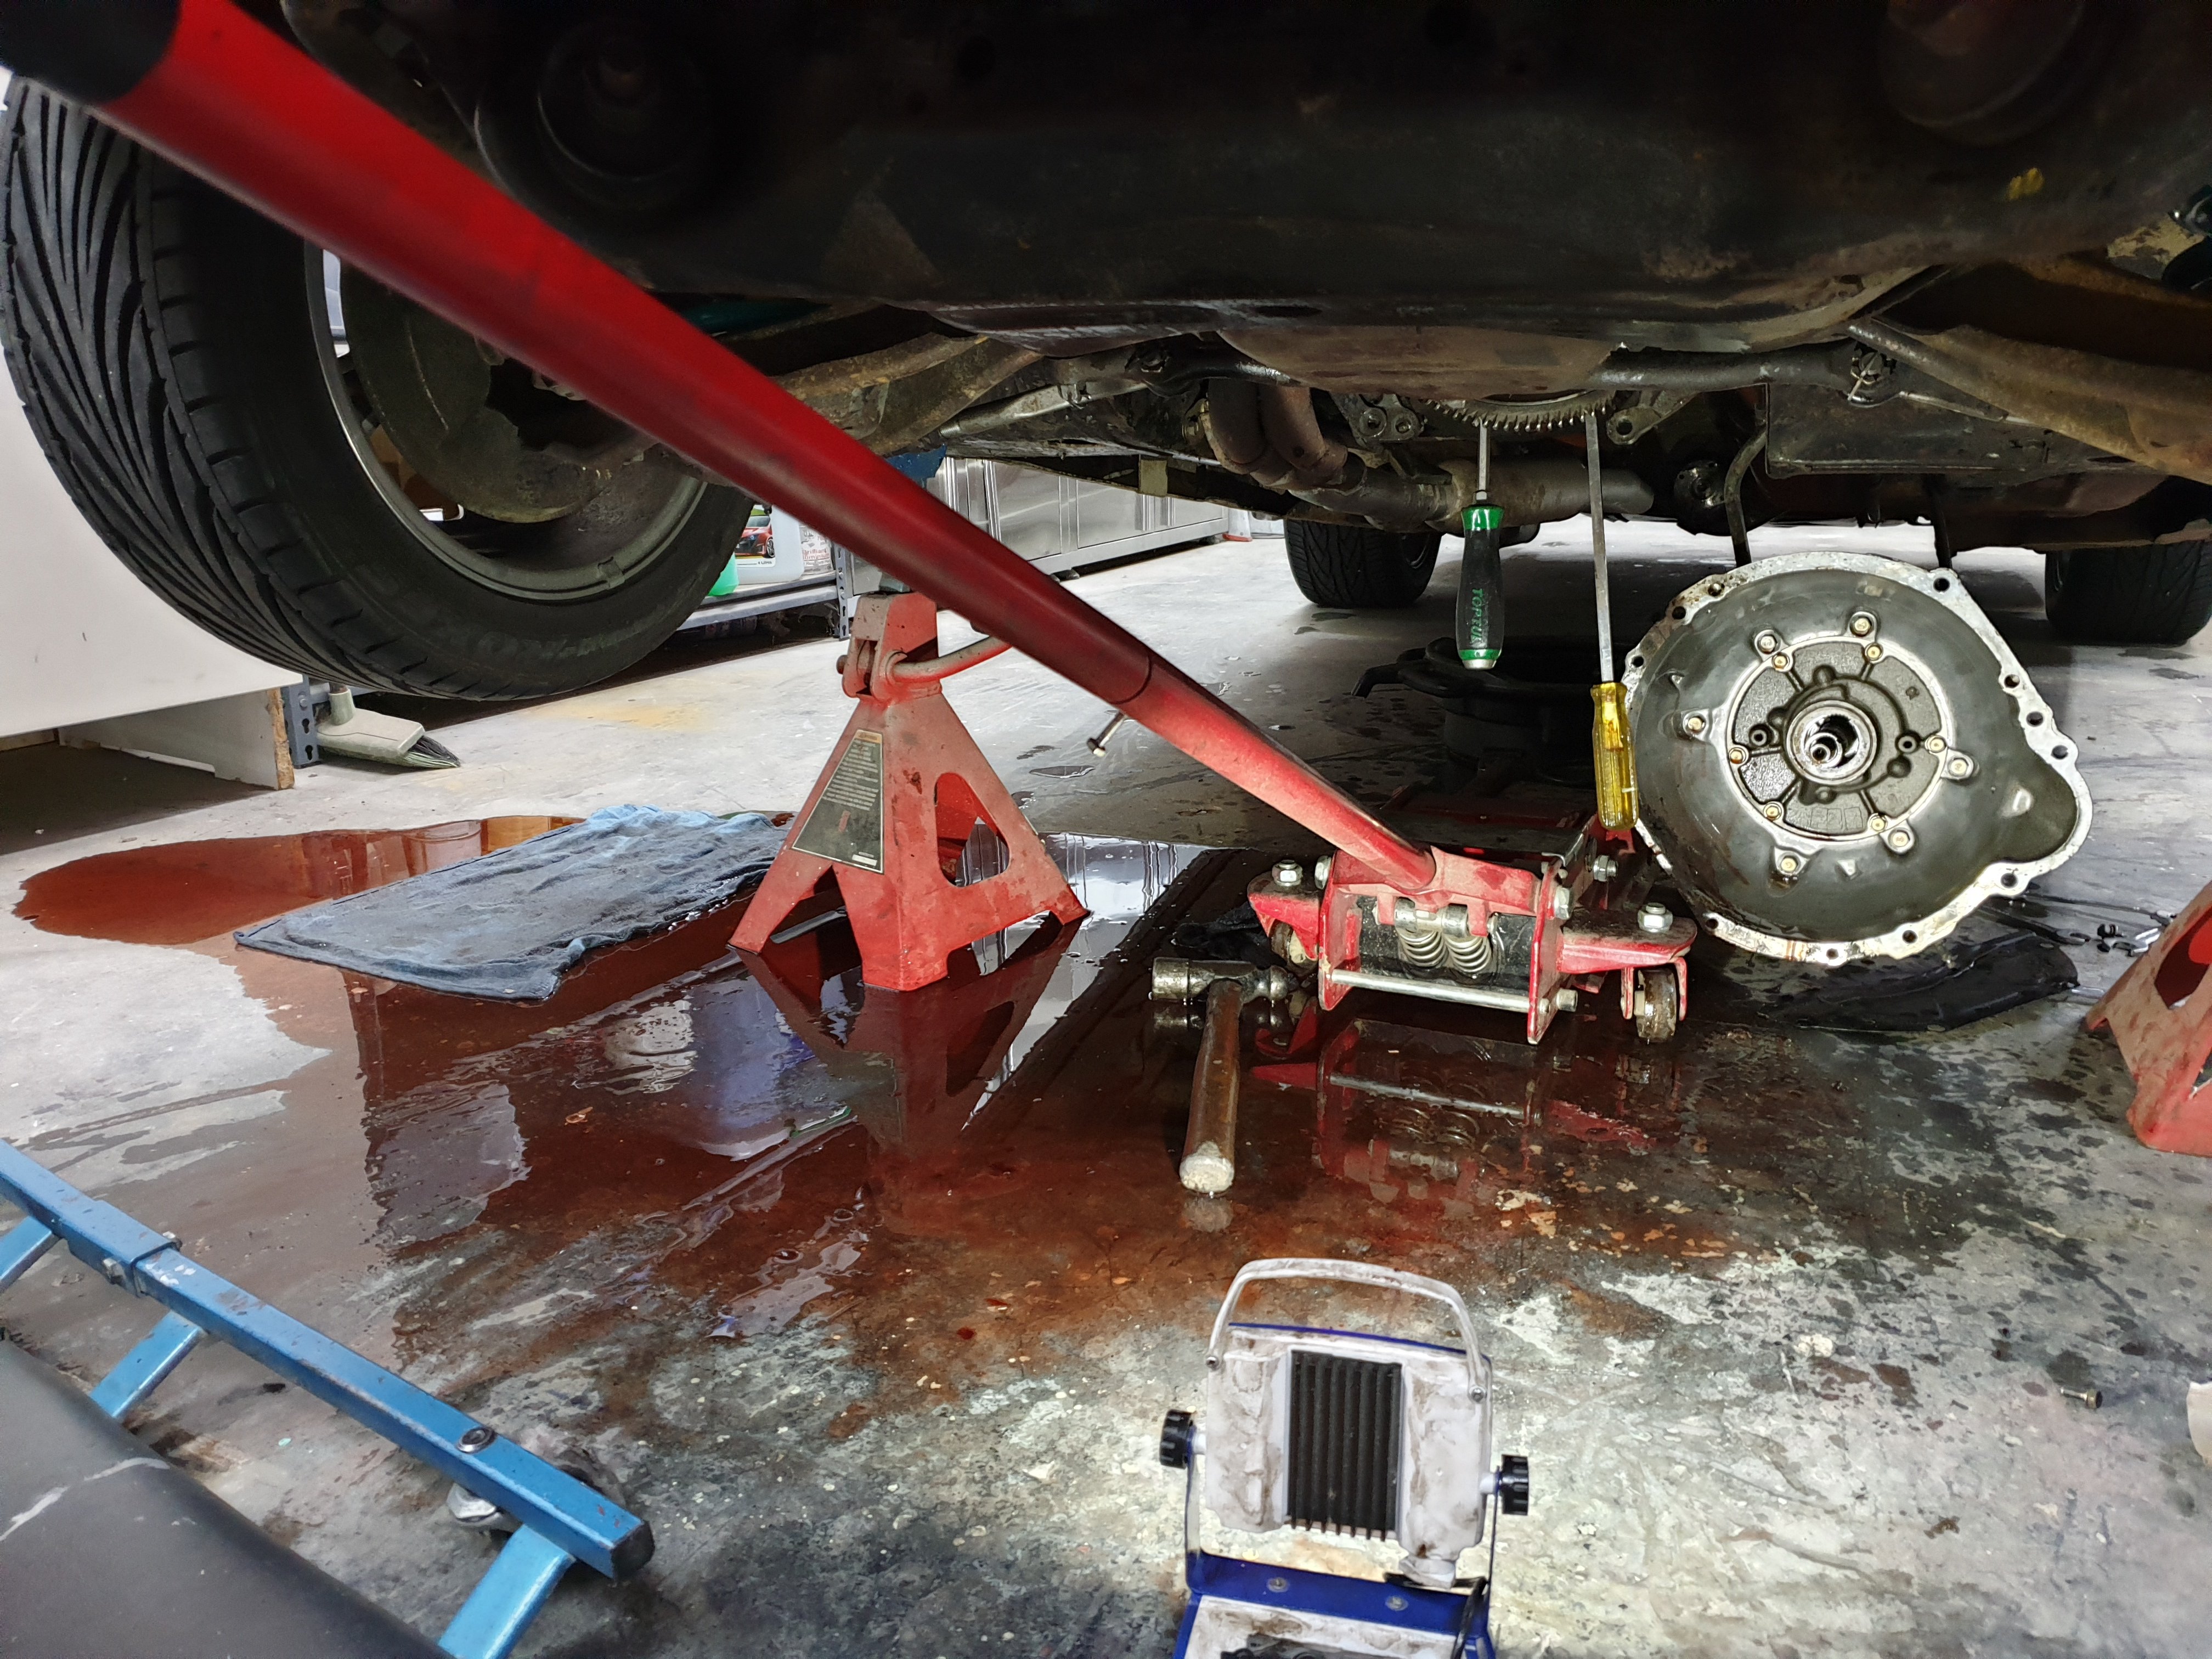
That did not go according to plan. The converter is stuck on the flywheel and I couldn't get it out. Anyone who has removed an auto trans from a 60 series crown will know that getting the box out with the converter still attached is truly the closest thing to impossible on this planet. Somehow after 2 hours I got it out but the converter is still fused to the crank. Note the screwdrivers I've used to strategically bend the flex plate.
1 point
-
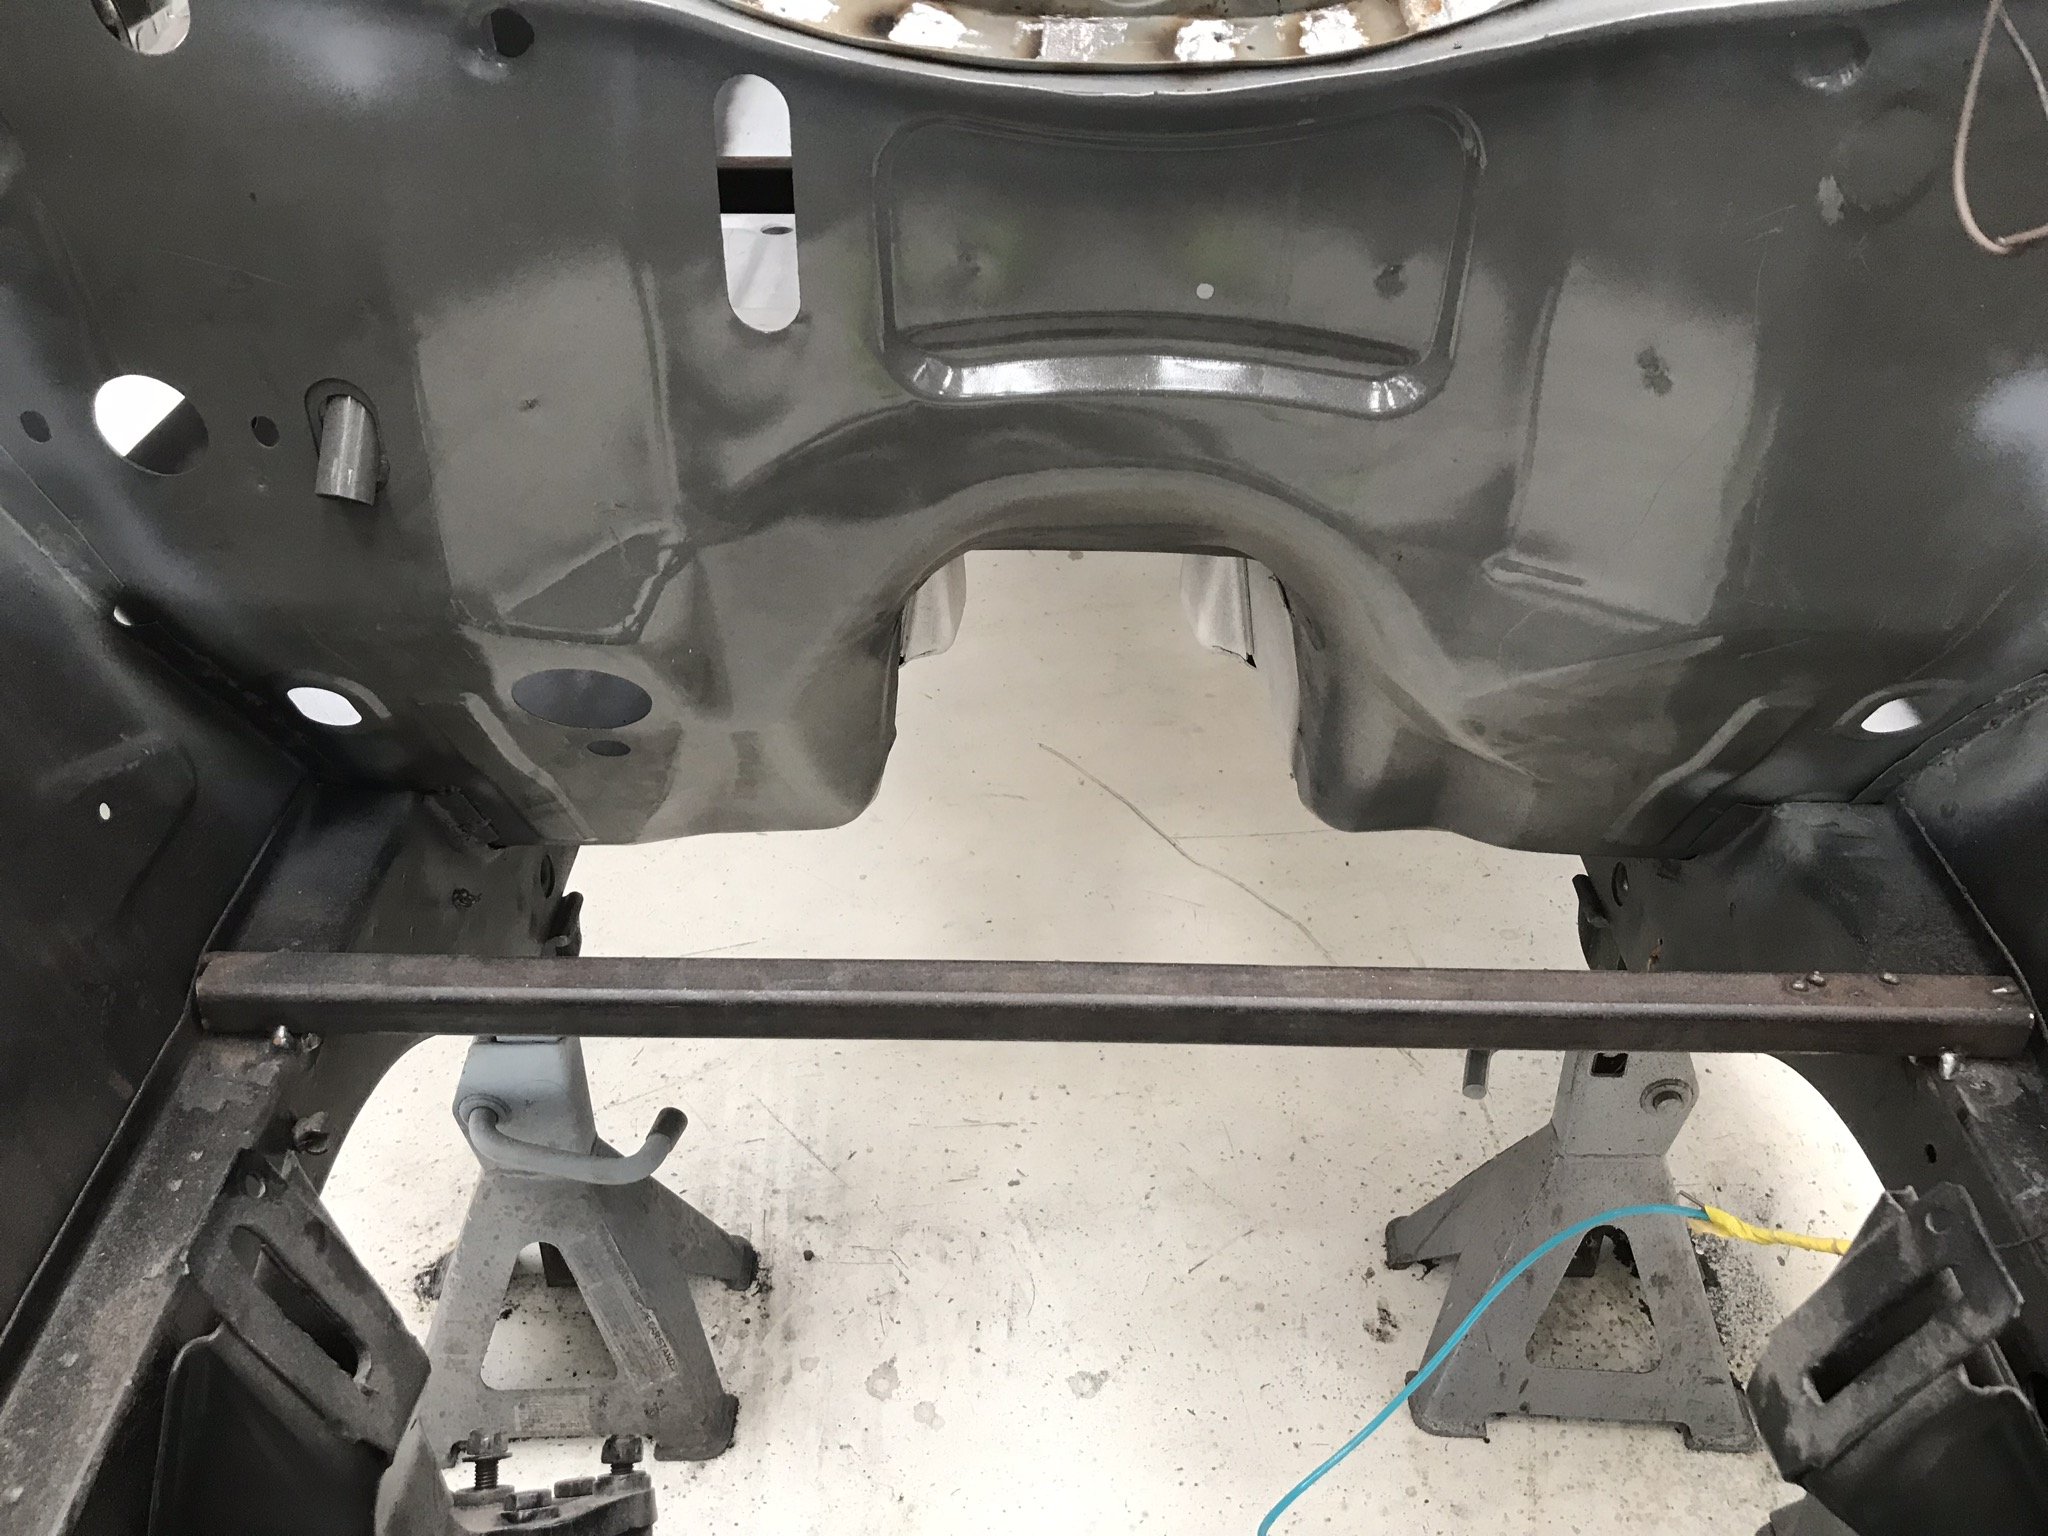
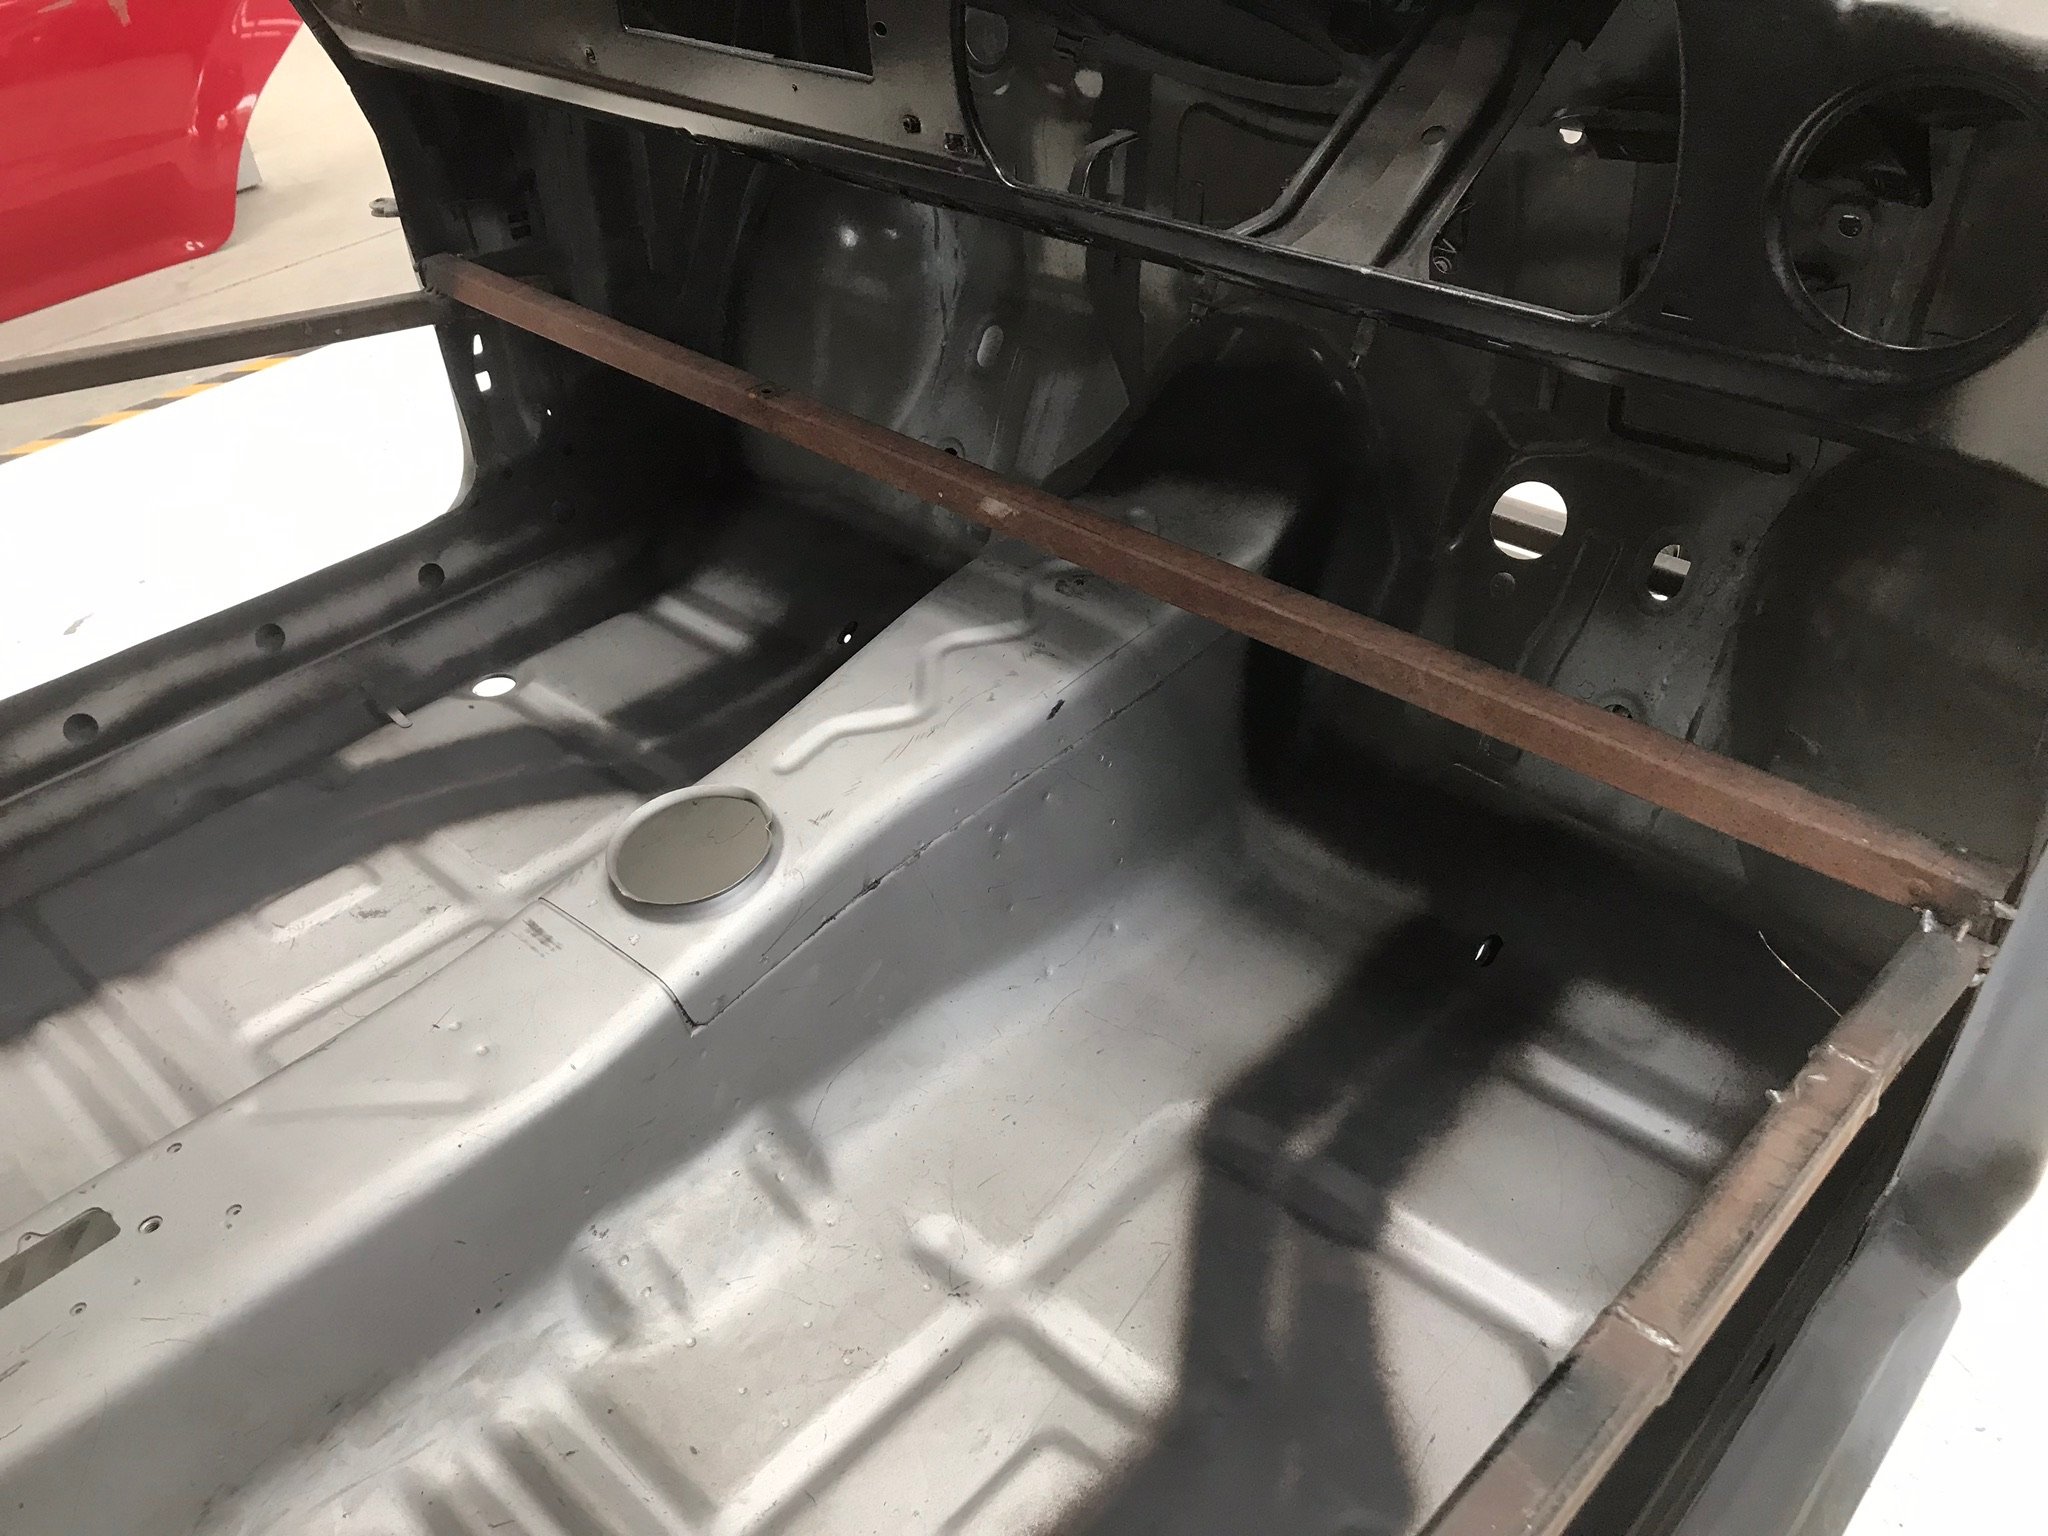
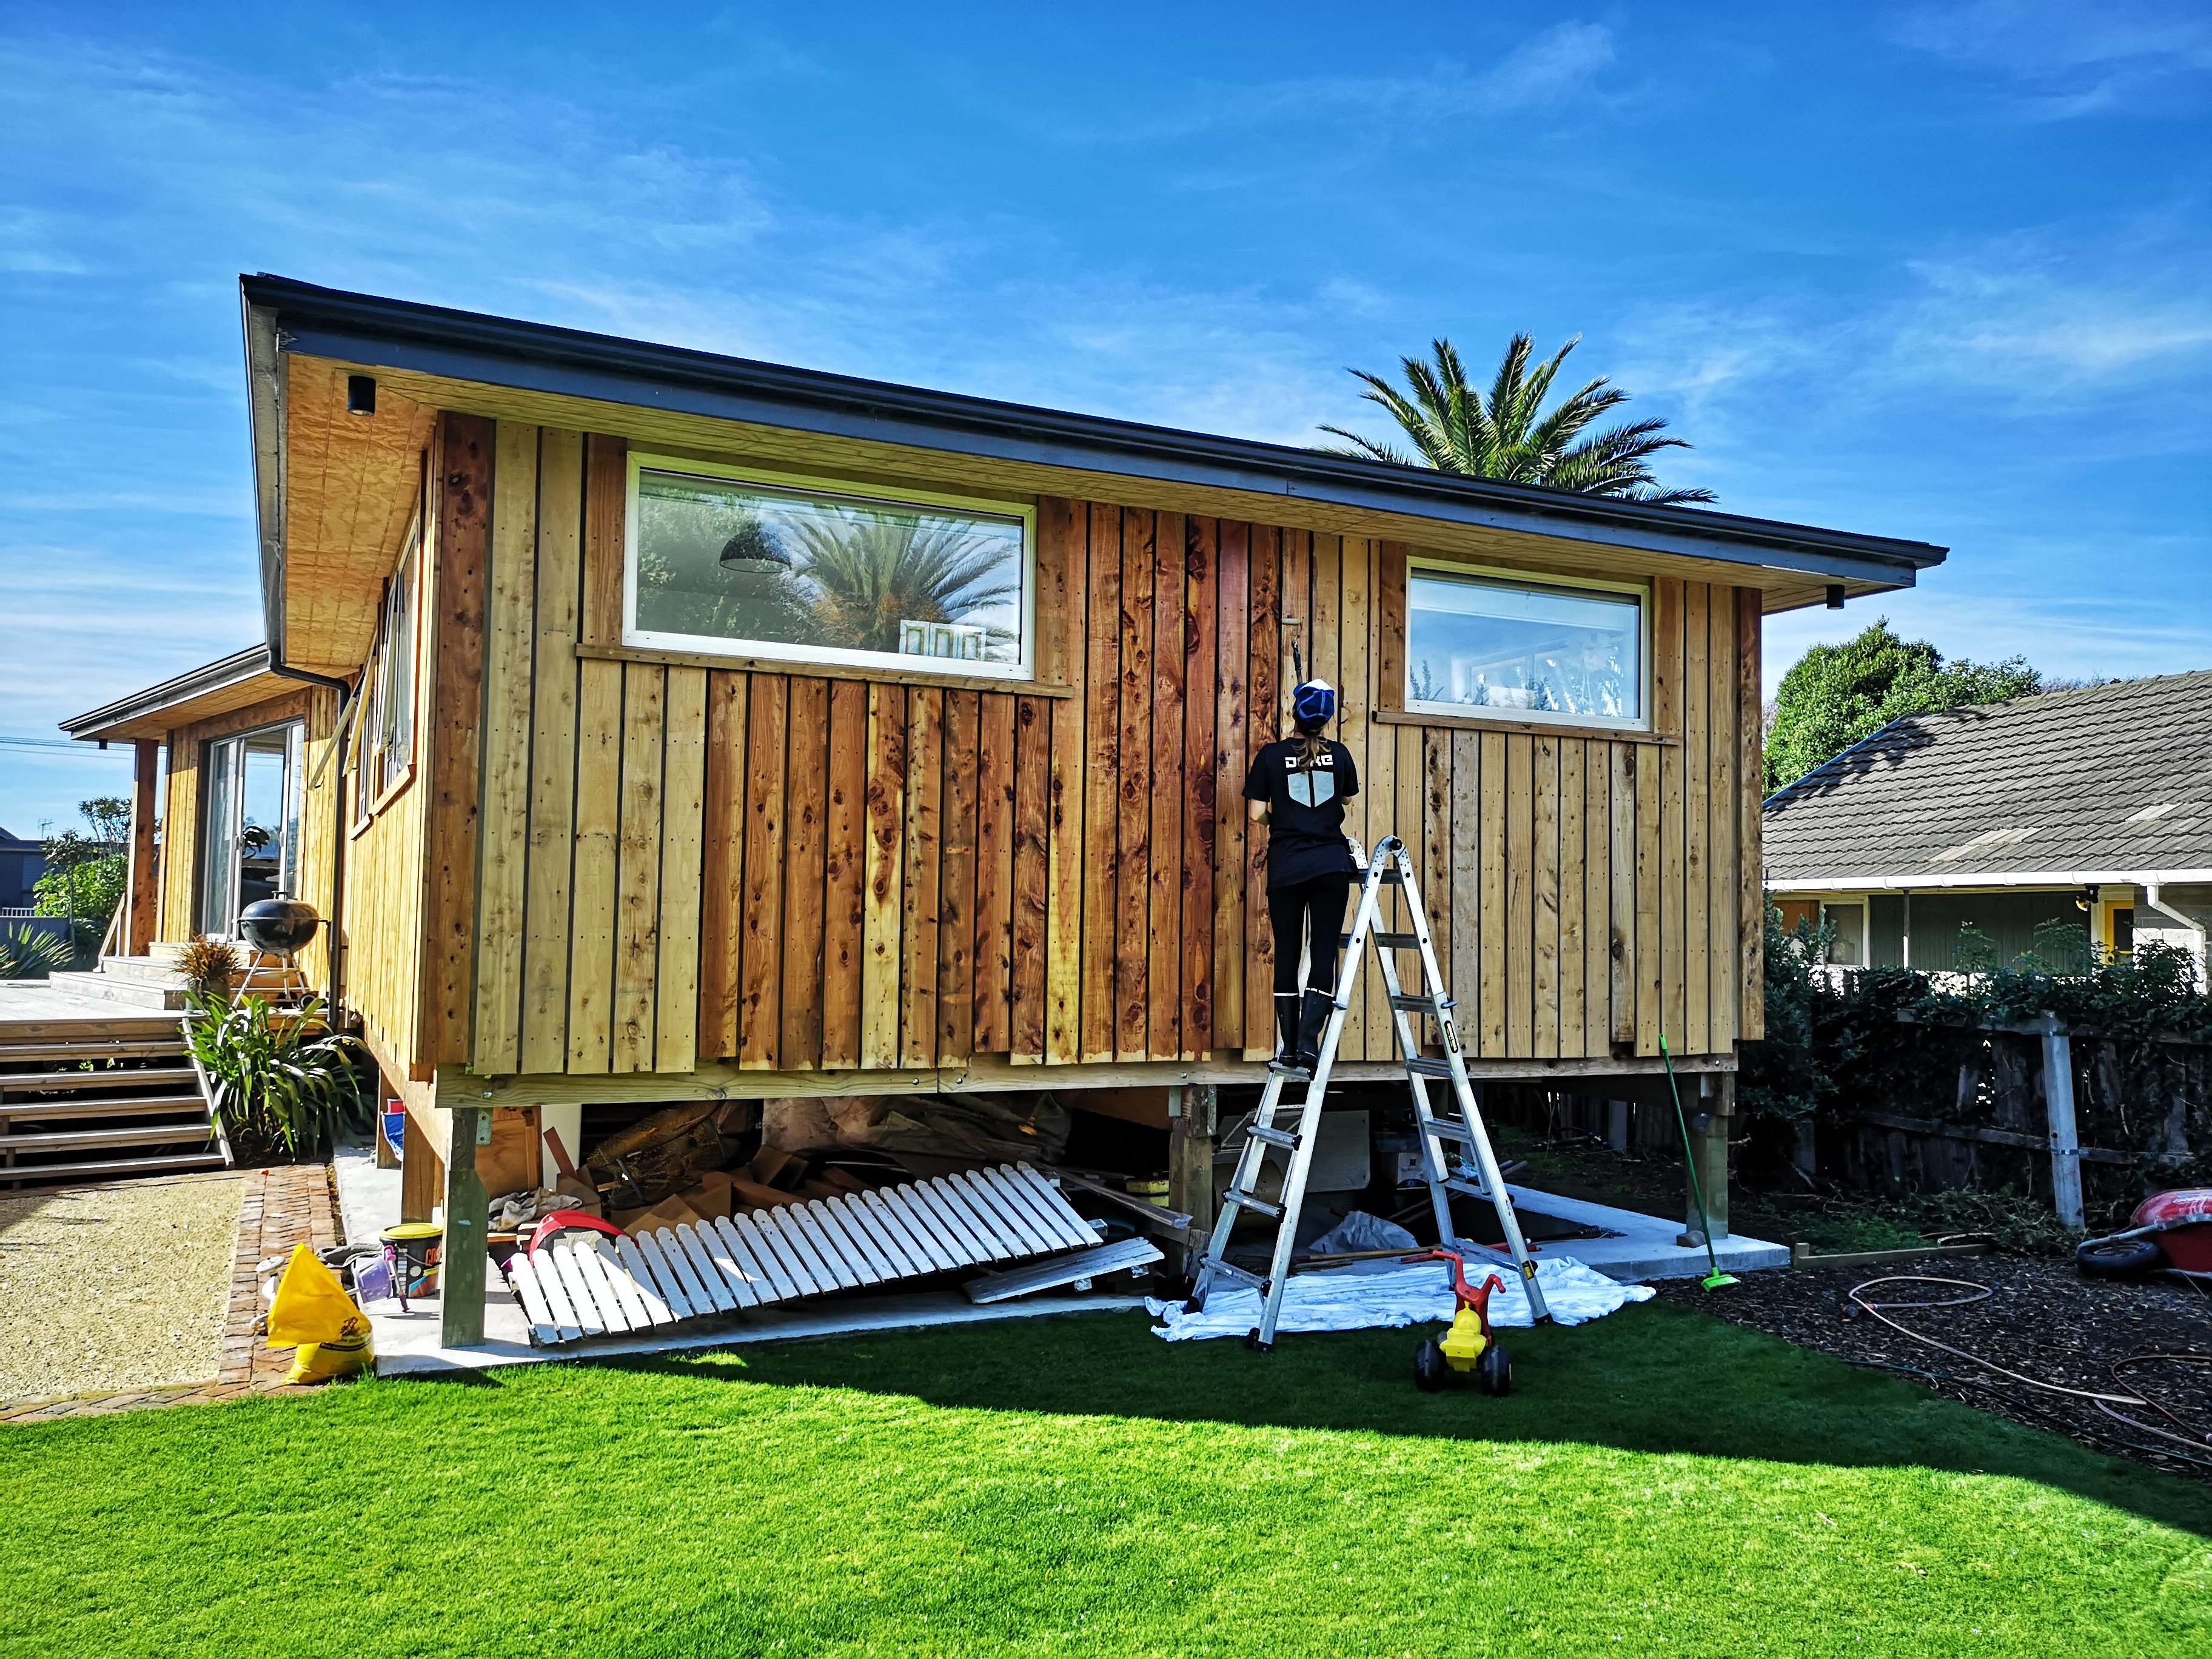
Just thought I would update this just so it didn't disappear into the nevernever, but then realised I had actually made progress since I last posted on this thread. So firstly my excuses for not doing much... Got hit by a drunk driver, (he was speeding, no license, no WOF/reg since 2008, etc, real winner), lost control and crossed the centre line at well over 100kmh. Hit us and we did a barrel roll (at least one, not quite sure). Mum and our little dog were in the passenger seat, were mostly fine (Mum headbutted the window) but luckily avoided worse through sheer luck (it didn't actually land on her side at the front, went driver front, passenger rear, etc) and Mum held the dog as we went over so she came out unscathed. I however fractured my spine (roof came down to say hi to my head), luckily nothing too major as far as spinal injuries go (compression wedge fracture in my thoracic spine, loss of about 35% height on one side of one of the vertebra), but meant that I couldn't lift anything for what turned out to be about 3 1/2 months. Stupid thing was I was also reaaaallllly gutted about losing the van too (I know "it's just a vehicle, they're replacable, bla bla") but it was a 92 4WD 1KZ-TE Hiace Supercustom, and was fucking awesome. In really good nick, only 200,000kms on it (not a lot for one of them). Only had it about 5 months. Anywho, have mostly recovered from that (happened mid March), and then the other thing that has eaten my time is the tiny house in the background. Been working on it off and on, a lot of off while I did my study etc, for about 3 1/2 years, and it's finally almost done, move in in August is the goal. Will share photos in another thread at some point once it's finished and looks less like a building site. On to the ute, before the accident, I had actually made some progress and taken a few photos, so here goes: Bought adjustable arms for the rear, RAW shocks, Dobinson 4" lift springs, as well as an adjustable panhard rod, all roughly set up until I get the engine properly mounted and the front done so I can measure the angle on the output of the gearbox to get them equal. Sat the body on, and the shortened tray. Need to lower the cross bar to the height of the piece of timber that's clamped on there. Body is just sitting on the pieces of timber at the moment, but that puts it at the right height for everything to fit Mocked the front end up, tacked together the shs rad support so that I could mount up the radiator and intercooler (which is probably to small, will likely get on same thickness and width, just taller and notch the bumper so it sits in, then holesaw the front for airflow. Have done a bunch of research, small jobs, bits and pieces etc, since then, but not a lot. Once the container is done in the coming month, this will start getting time and money thrown at it again. I desperately need to get some paint on it soon (probably just primer until I have everything properly mounted and can do the bodywork), as the fine rust film on it is getting less fine, and it is a Datsun. A big part of going forward with this is getting the engine (RB25/30DET) so that will require some financing, hopefully in the form of selling my Mitsubishi Challenger. If anyone knows of one, preferably a runner as I don't want to do a refresh on it (for the sake of time/expense) at this stage, let me know. Also need to order some parts from Superior Engineering in 'Straya, so that is gonna cost some money too. Let me know what you think in the discussion thread: Cheers, Hayden.1 point
-
Yeah, each one is given away to mates I went to school with...theirs to keep. Each year we aim to meet up and have a race, talk shit, get fucked up and enjoy each others company. Not a bad way to spend a day. I think this is number 13? I don't have the energy to make many more, but probably have a couple more left in me. I'm at a point where I'm thinking my time is better spent on finishing some more substantial projects, like my Harley or Impala. But who knows?1 point
-
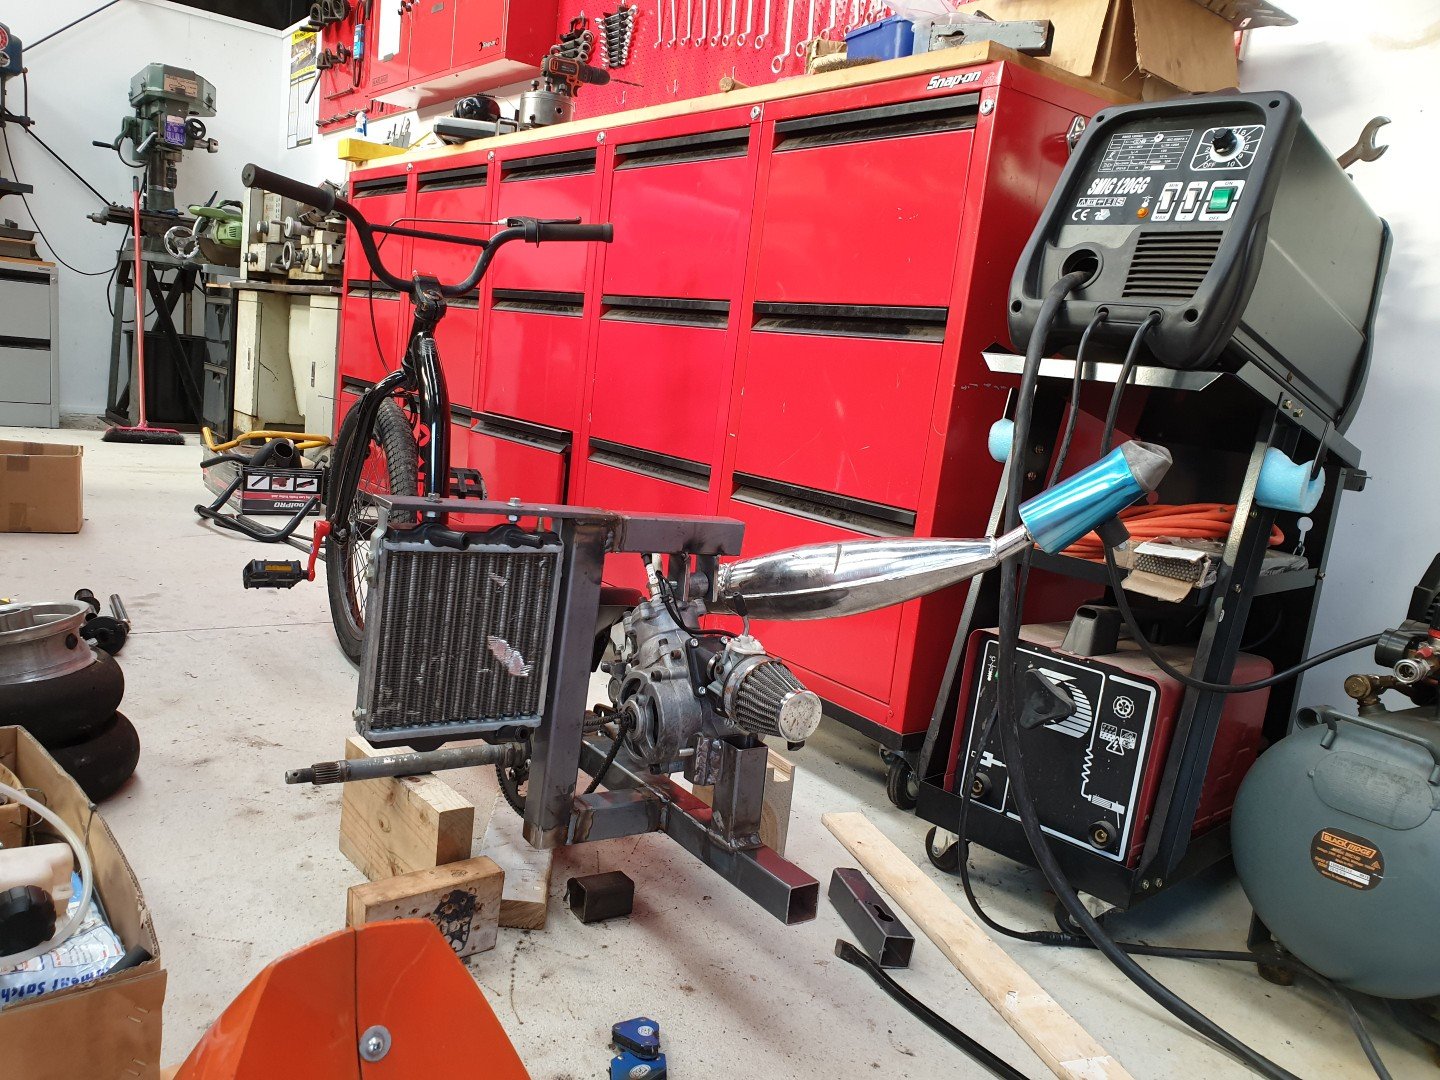
Suzuki Adventure50 builds coming along well.
1 point
-
Little bits and pieces starting to come together now on the 86 - painfully slow but any progress is good progress right? I've fitted the new water pump, cleaned up and painted the coolant bypass hard lines, picked up new radiator hoses and have the heater hoses ordered and on way. Front of the engine is coming along with the hall effect sensor on the crank mounted, still have the sensor for the intake cam pulley to do but hoping to knock that off next week. I've found and mounted up an ae85 radiator overflow/washer bottle in the front drivers corner of the engine bay as the ae86 one will melt over by the headers I think. Found a brake reservoir sock thing to cover tidy up the faded gayness. Am in the process of cleaning up and painting the brake lines so I can refit those, have some braided lines to go on. The drive shaft is now in with new bolts and a new gearbox rear seal. Tidied up and painted the strut brace mounting plates. Exhaust is almost done, just have about 200mm of pipe to do from the merge collector to the rest of the system to build. How its looking currently Also picked up this which is now fitted: And this which isn't fitted Pulleys are sitting on the cnc machine so will have them done next week all going well.1 point
-
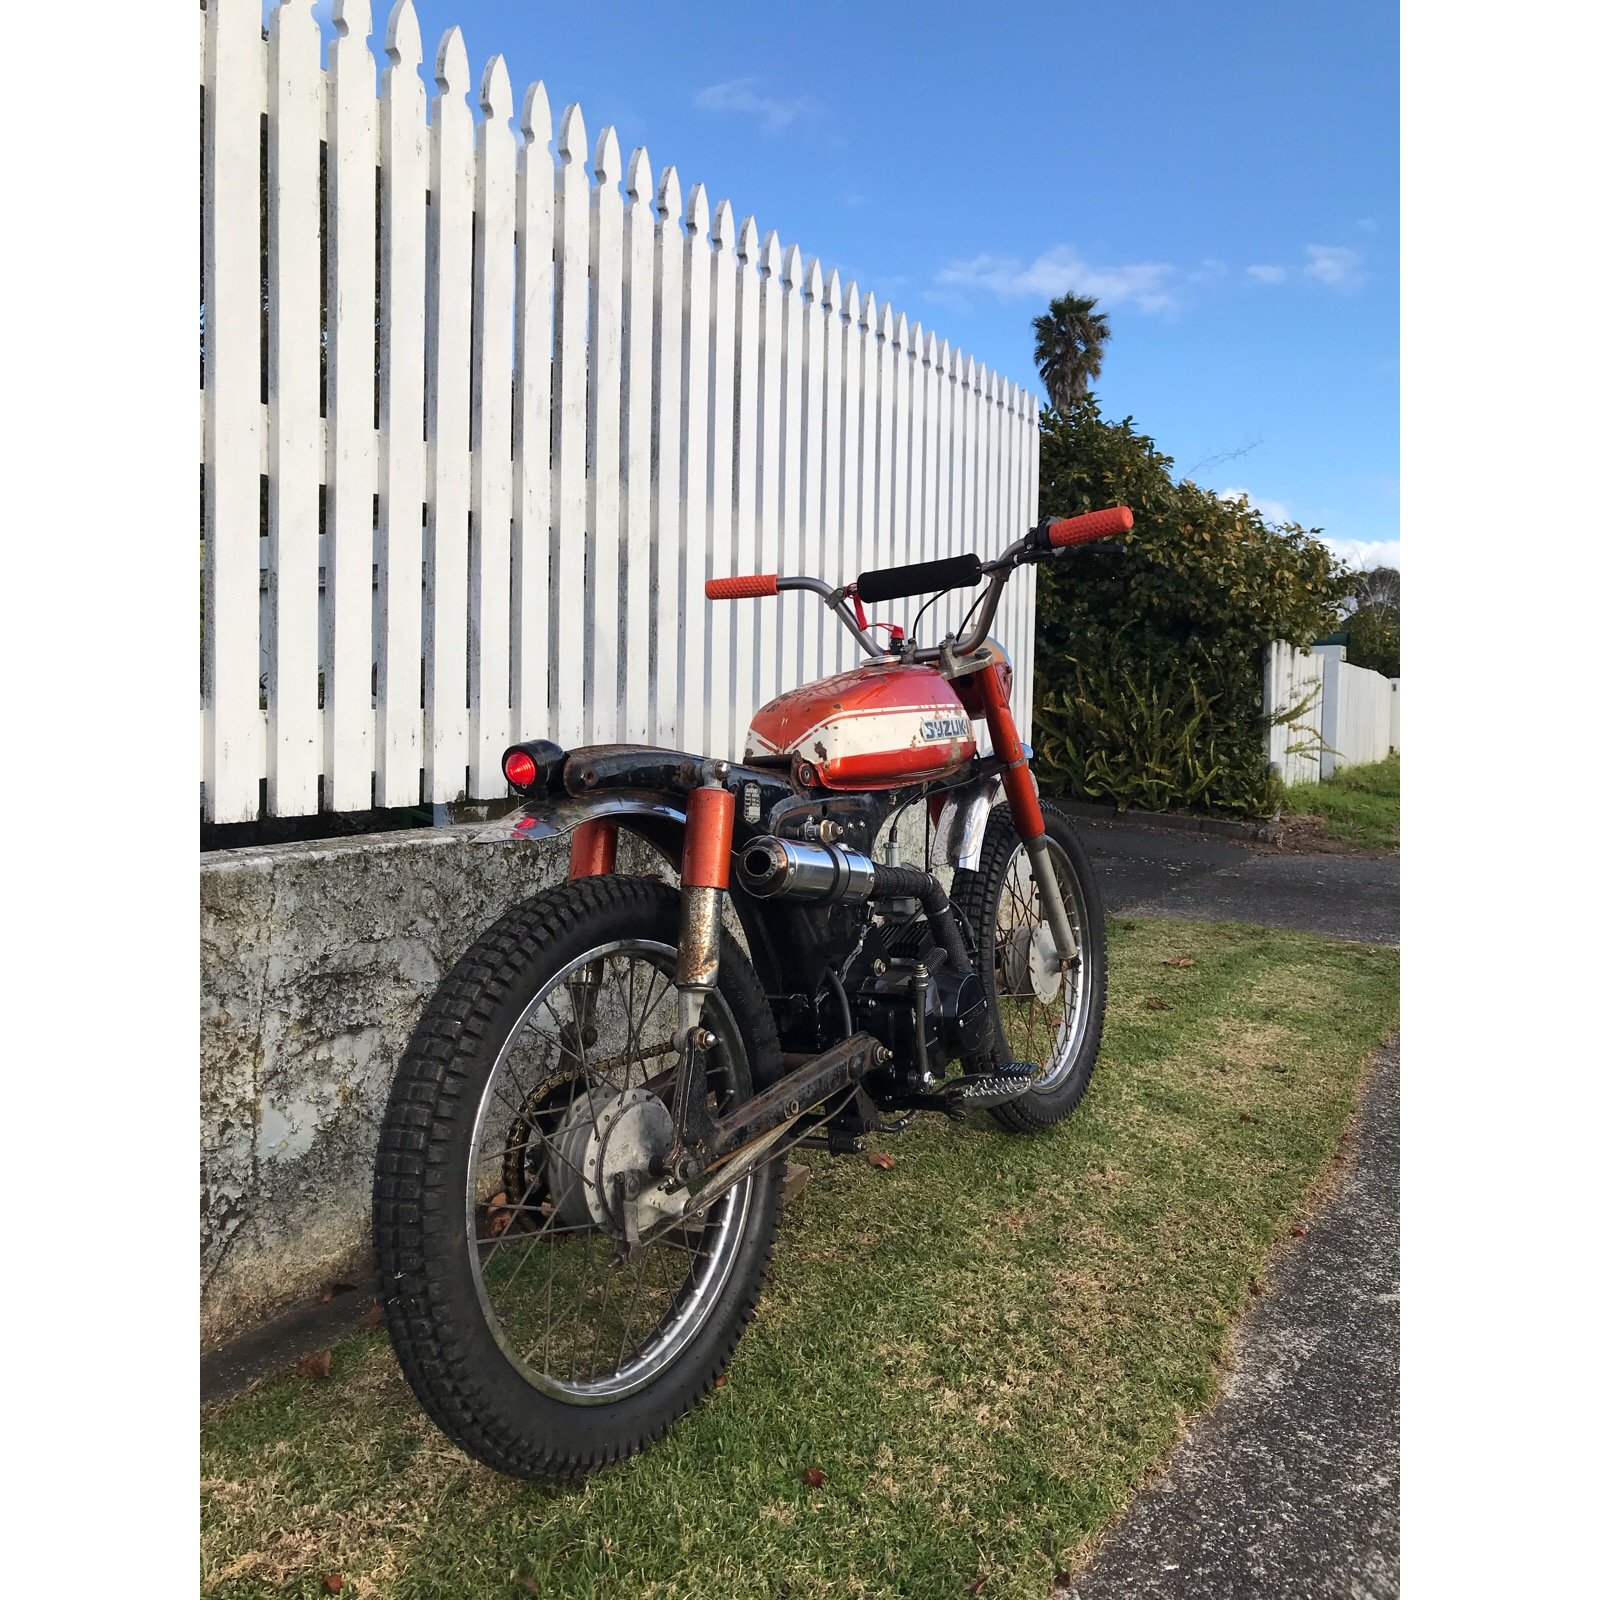
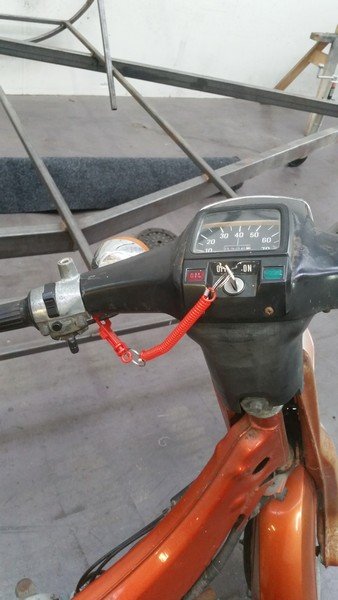
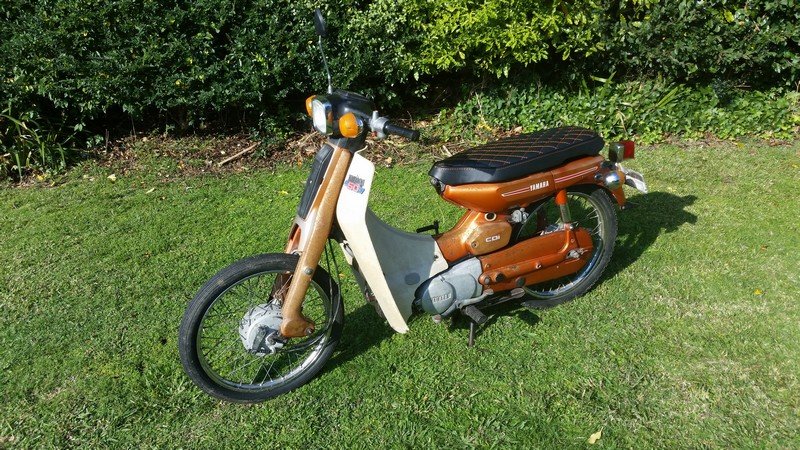
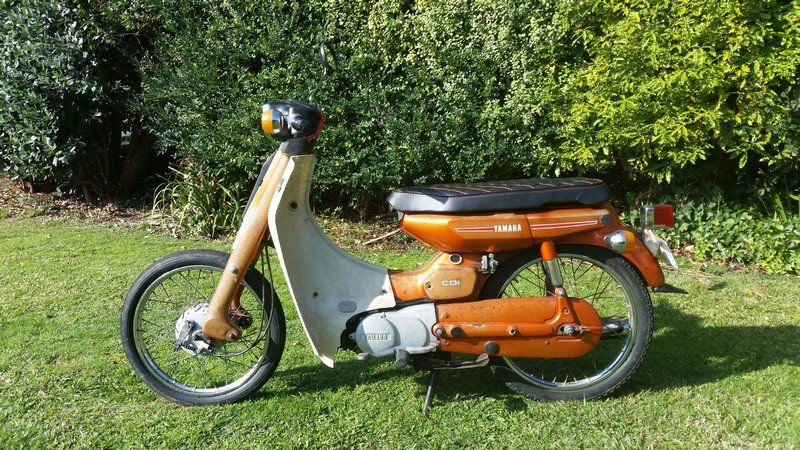
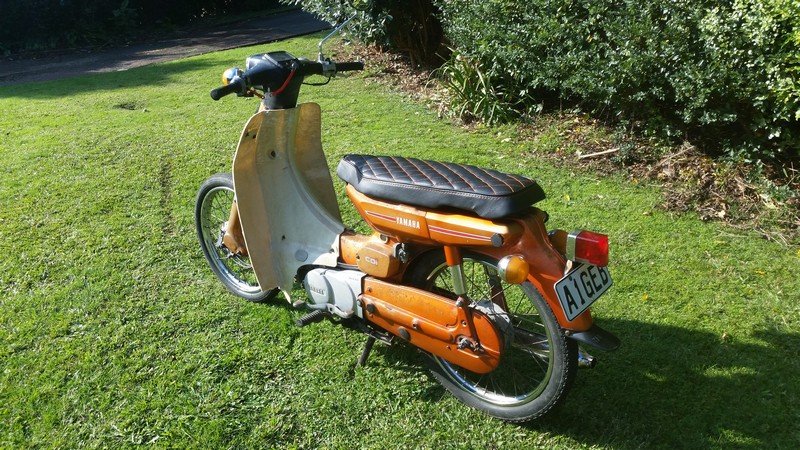
In the mean time, the old owner managed to track down the leg shield which he reported was fucked, but I wanted it anyway. Turns out my standards must be lower as its perfect. Perfectly aged! I also ditched the front guard as it looked weird as it had faded to grey and sat waaay to high. Looks much better without in my opinion. And to keep the barrys happy, here is my solution to stop me from losing the key (it is just a random key that works but rattle out when riding). Perfect. Next are plans to big block/chuck a lifan in. Not really going to touch the bike otherwise, as I like the idea of a originalish looking bike but with enough grunt to go adventuring.
1 point
-
Got the missus to oil me wood a bit..
1 point
-
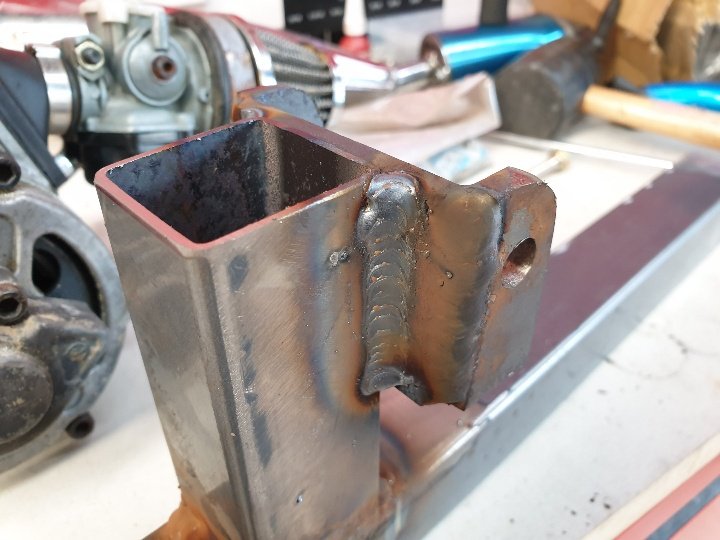
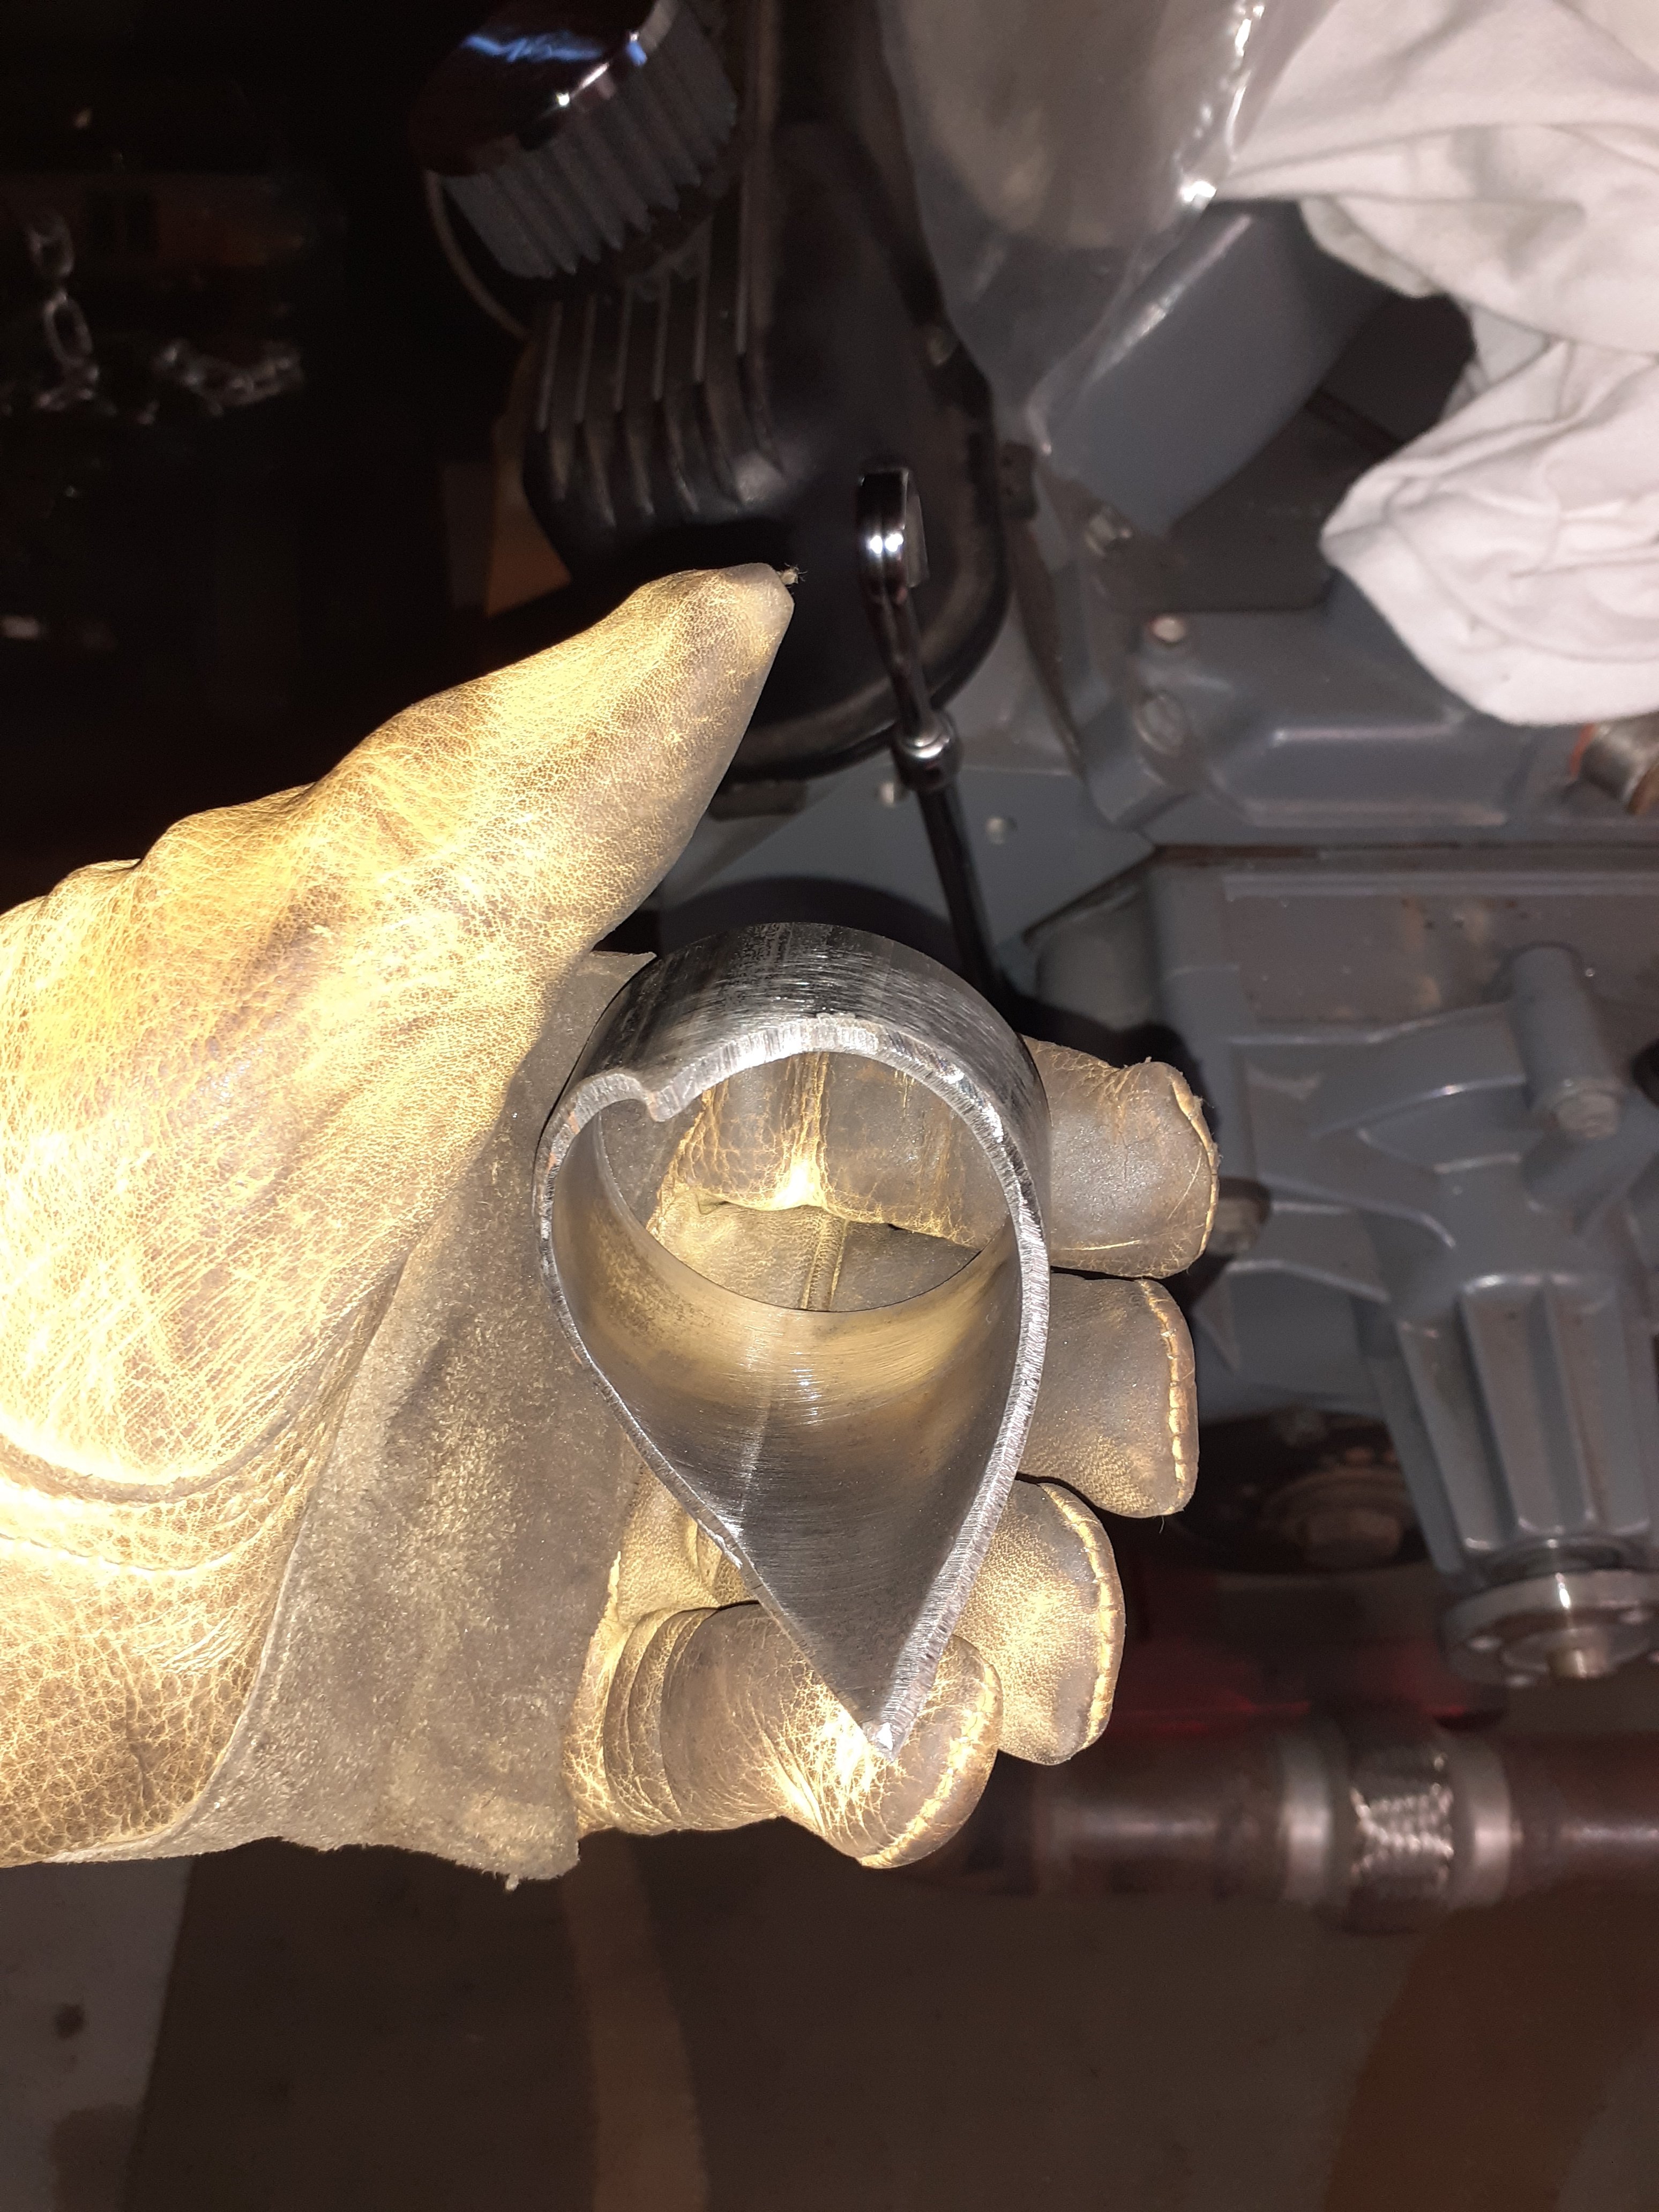
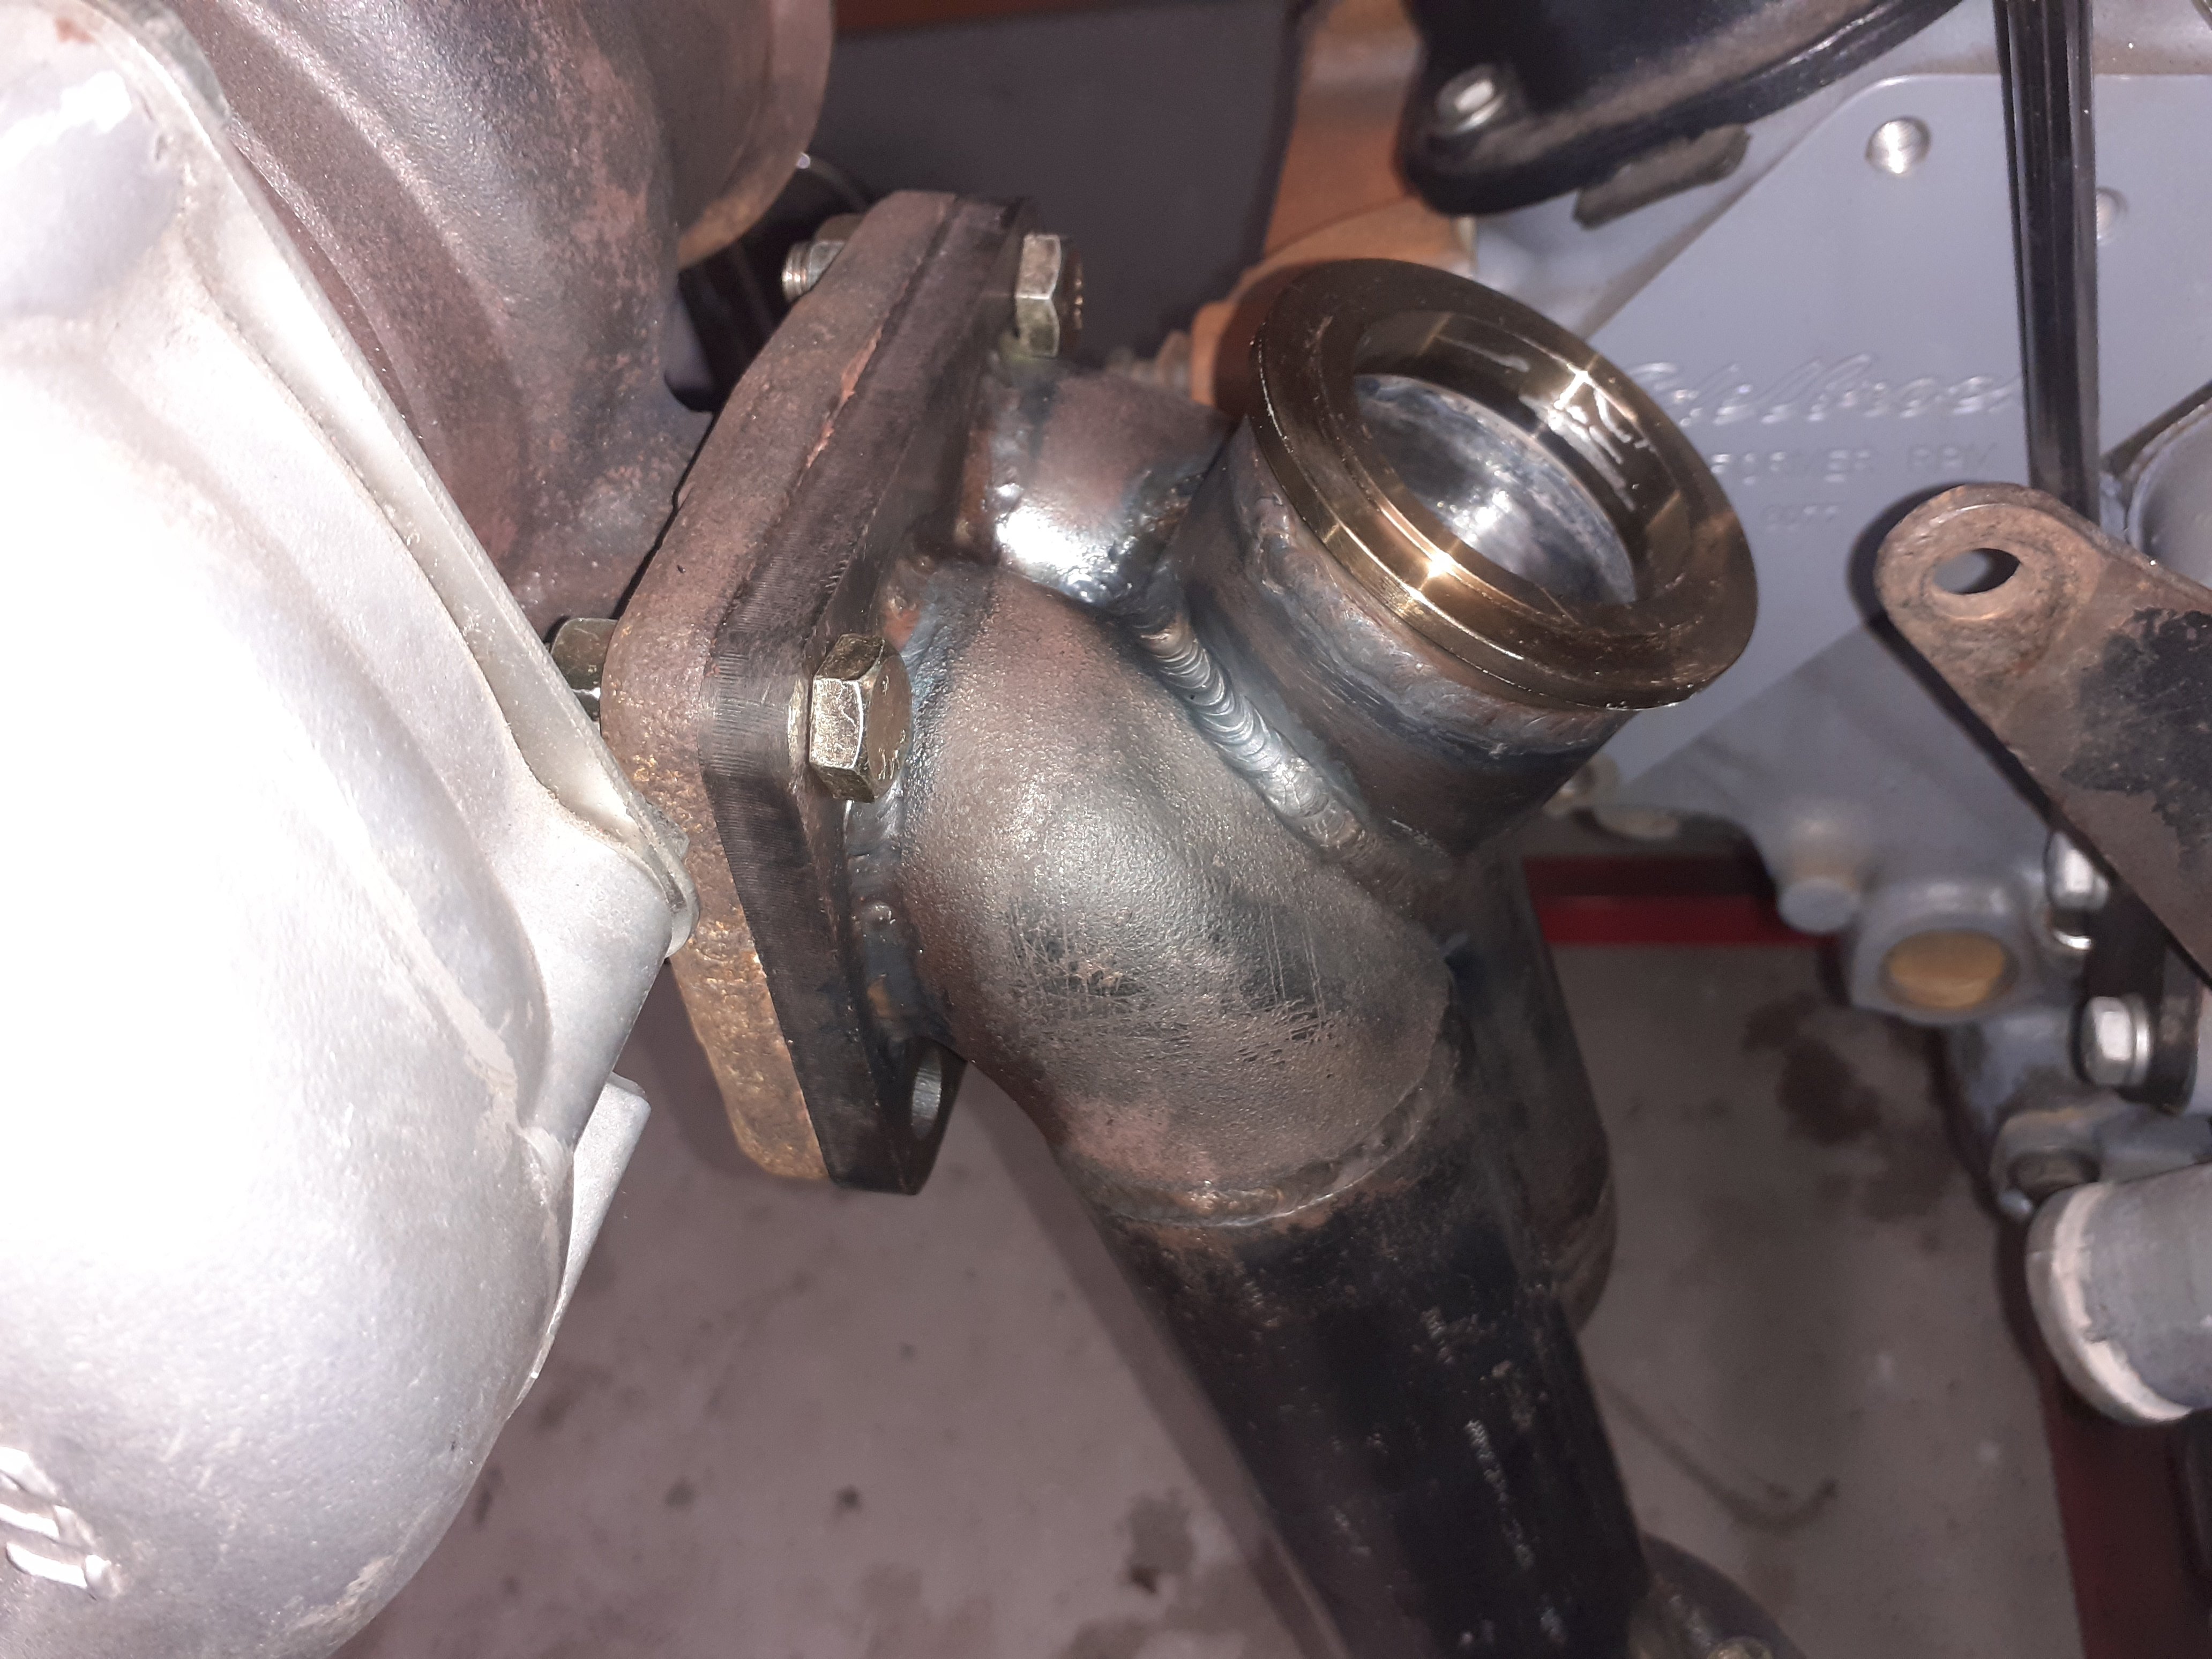
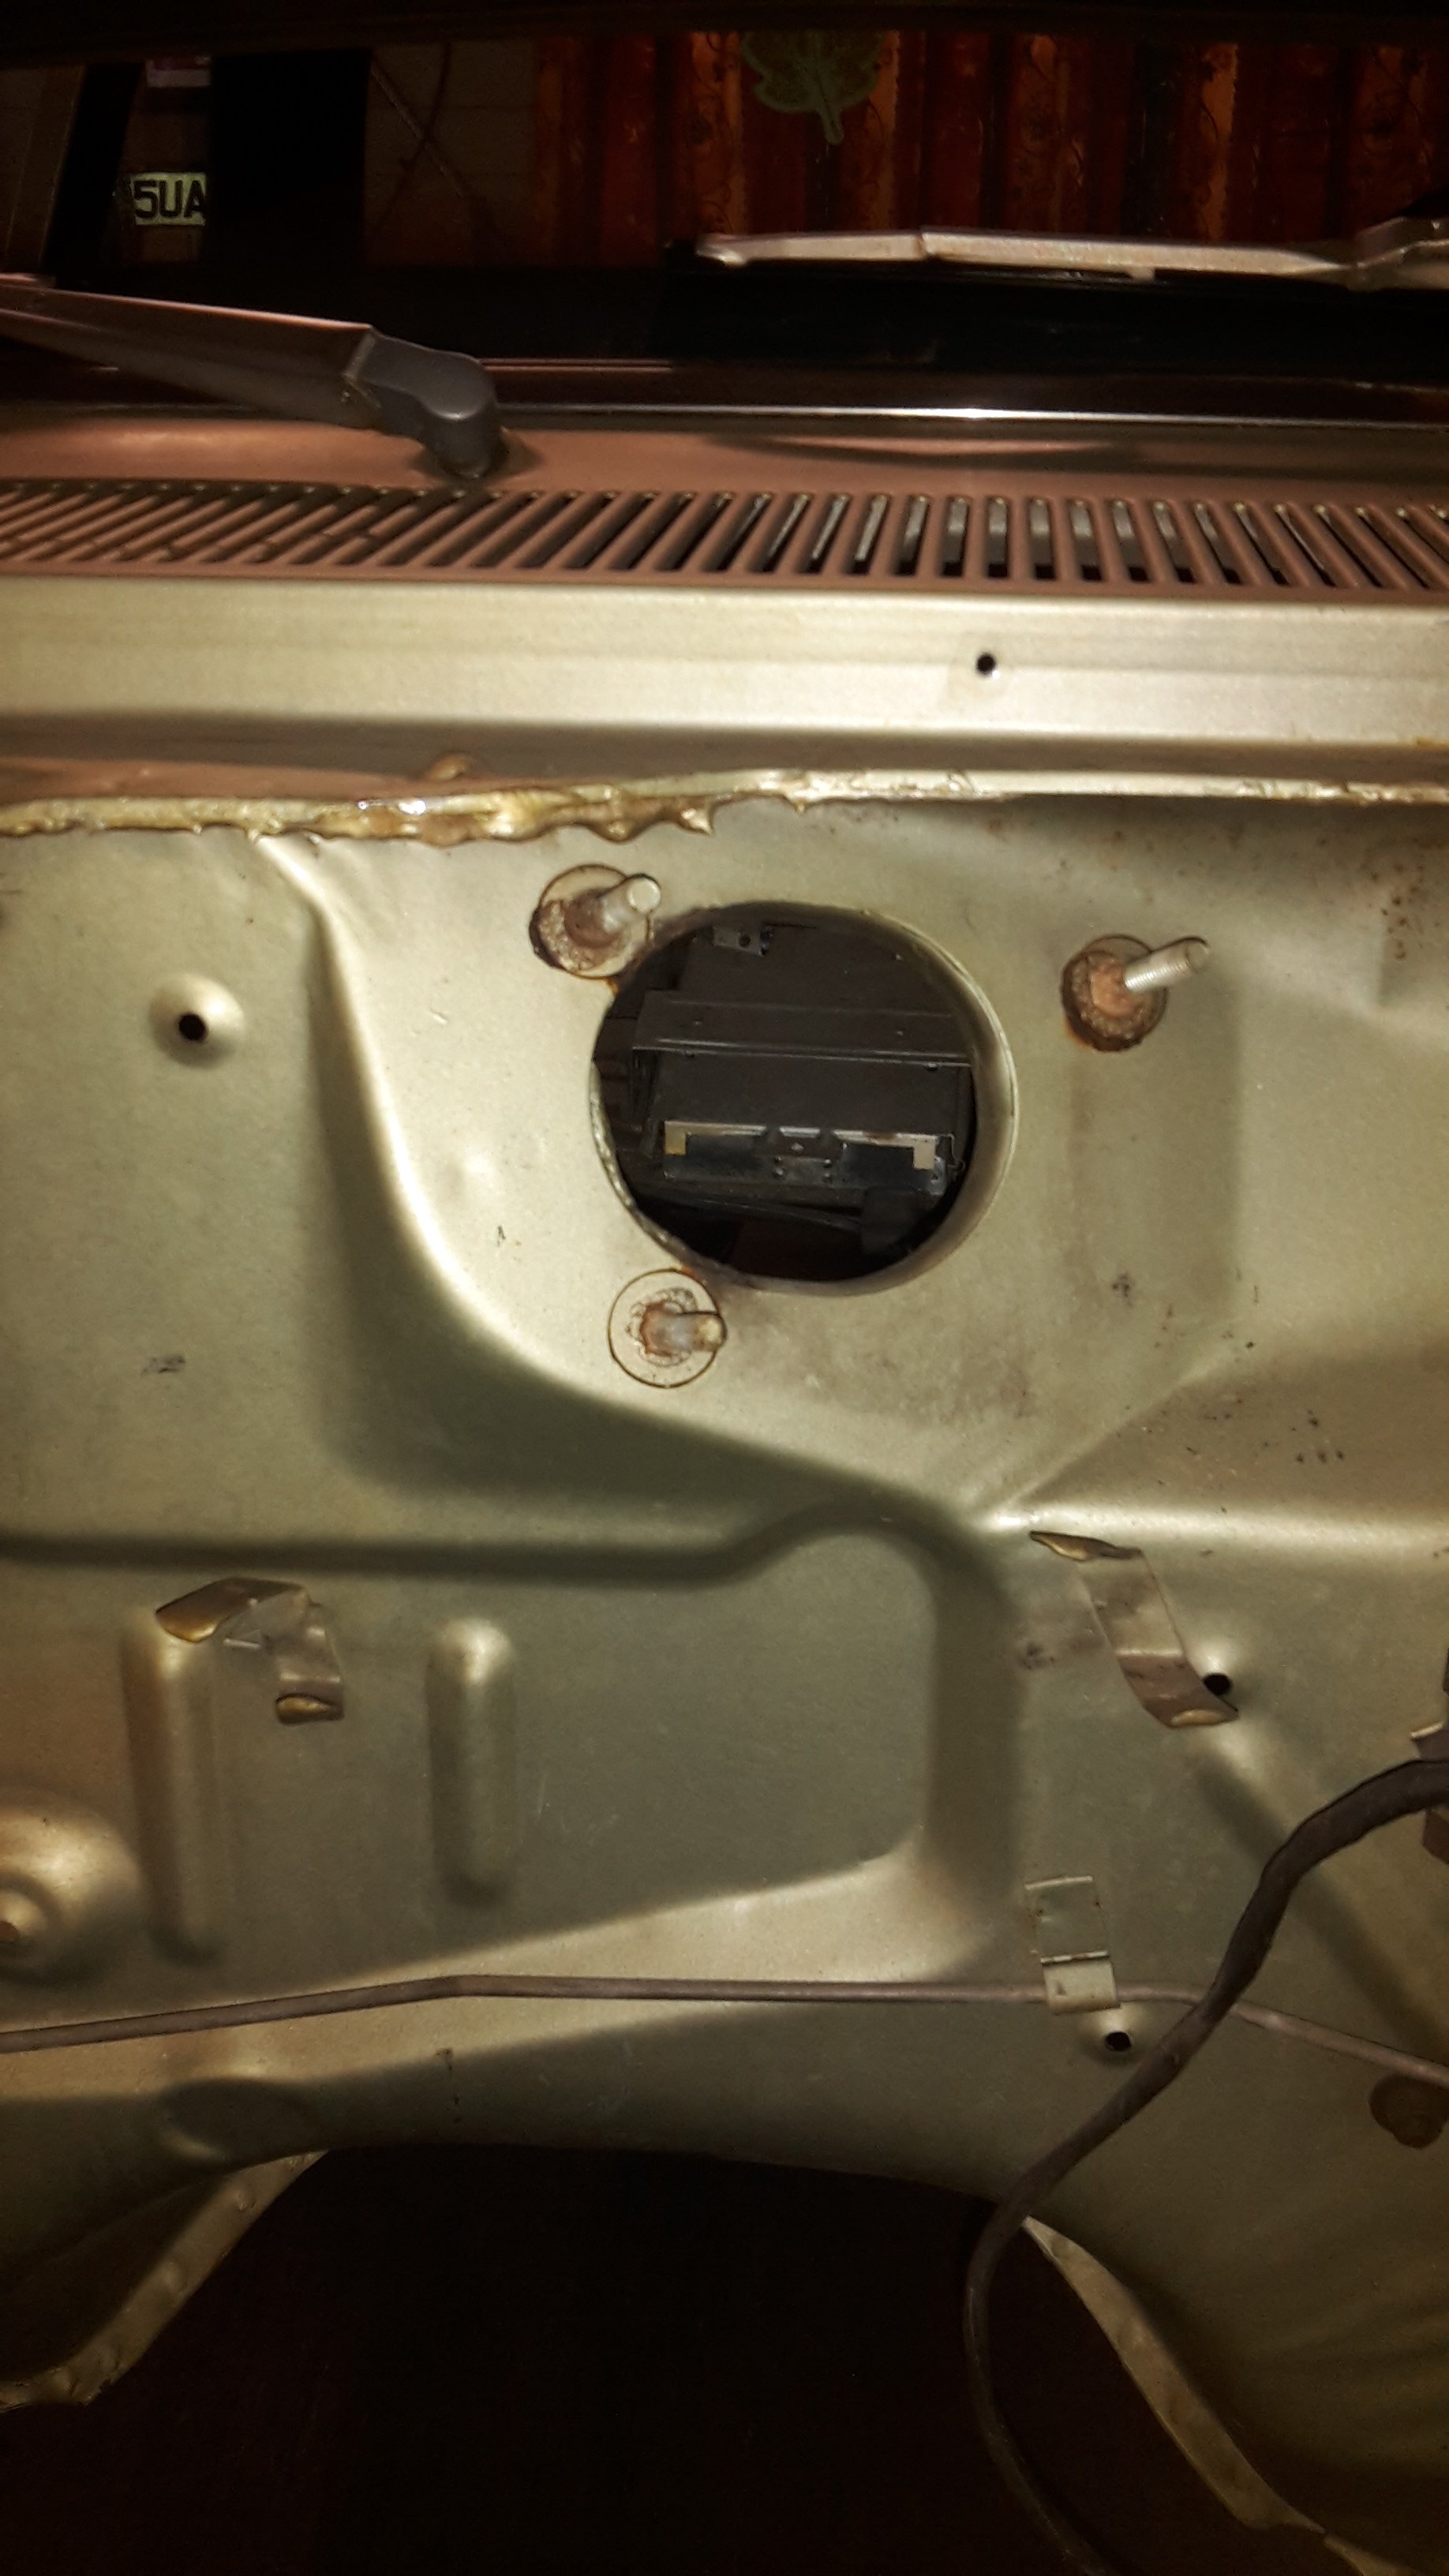
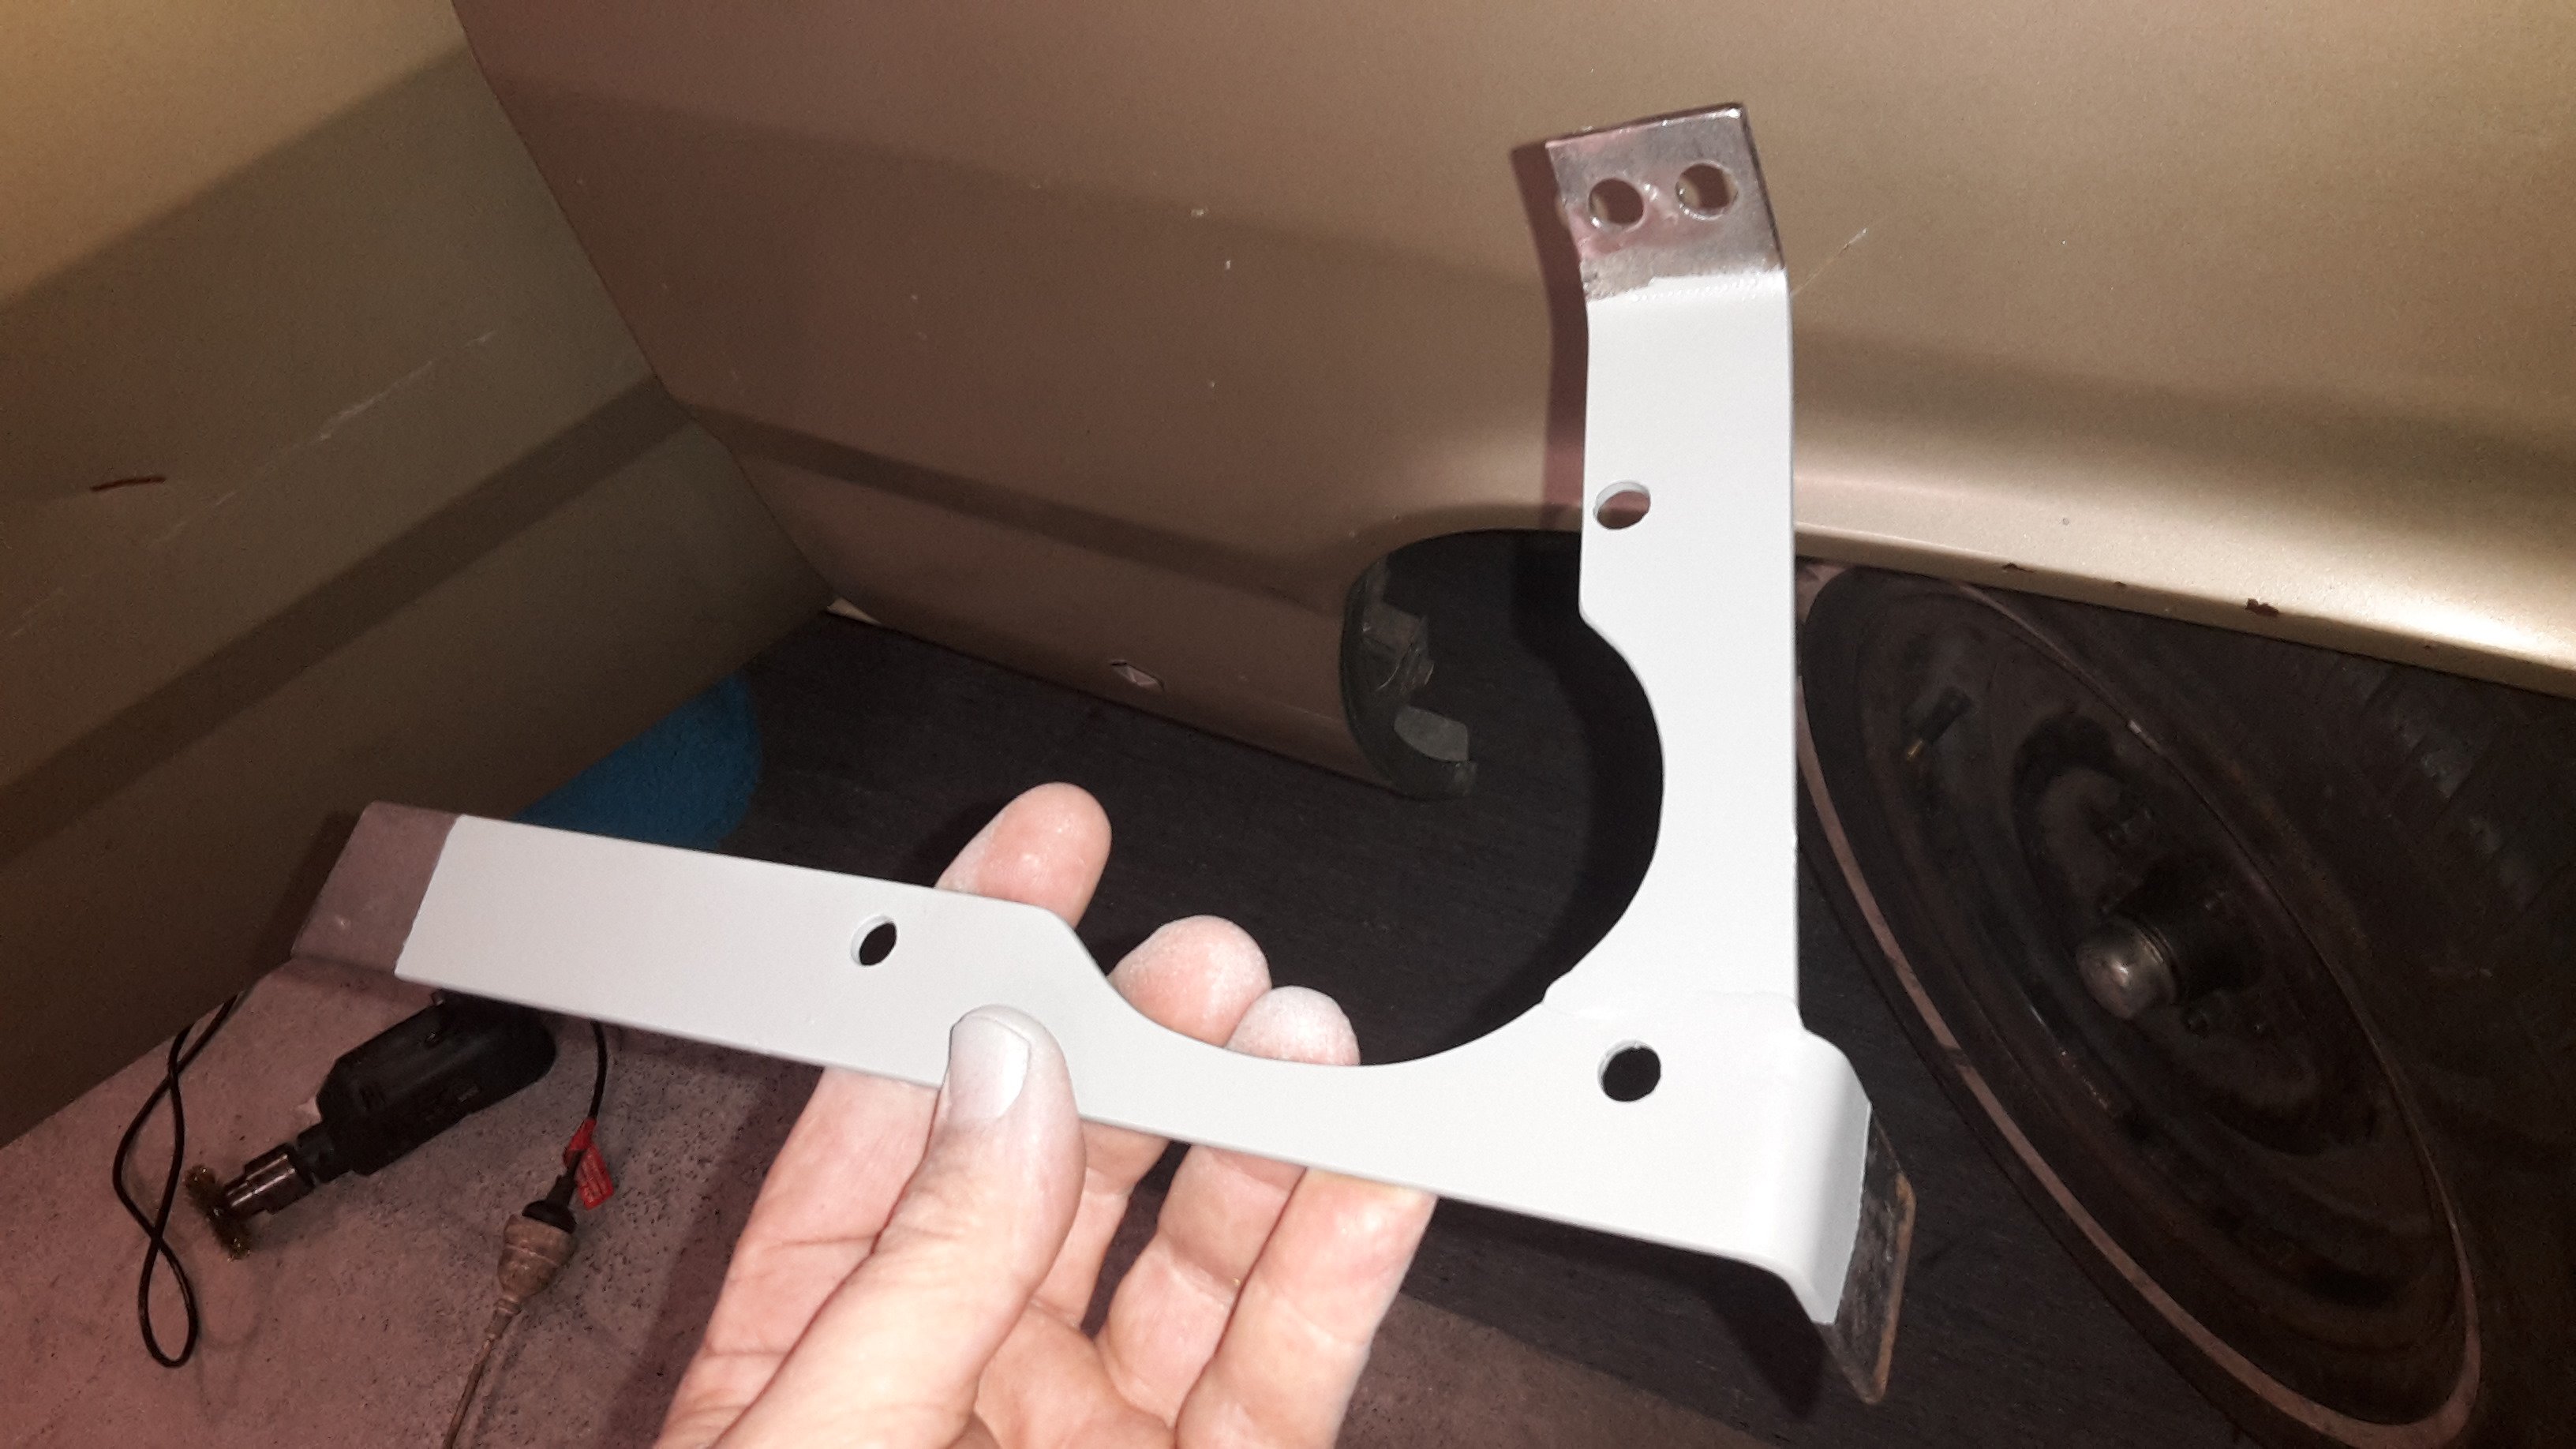
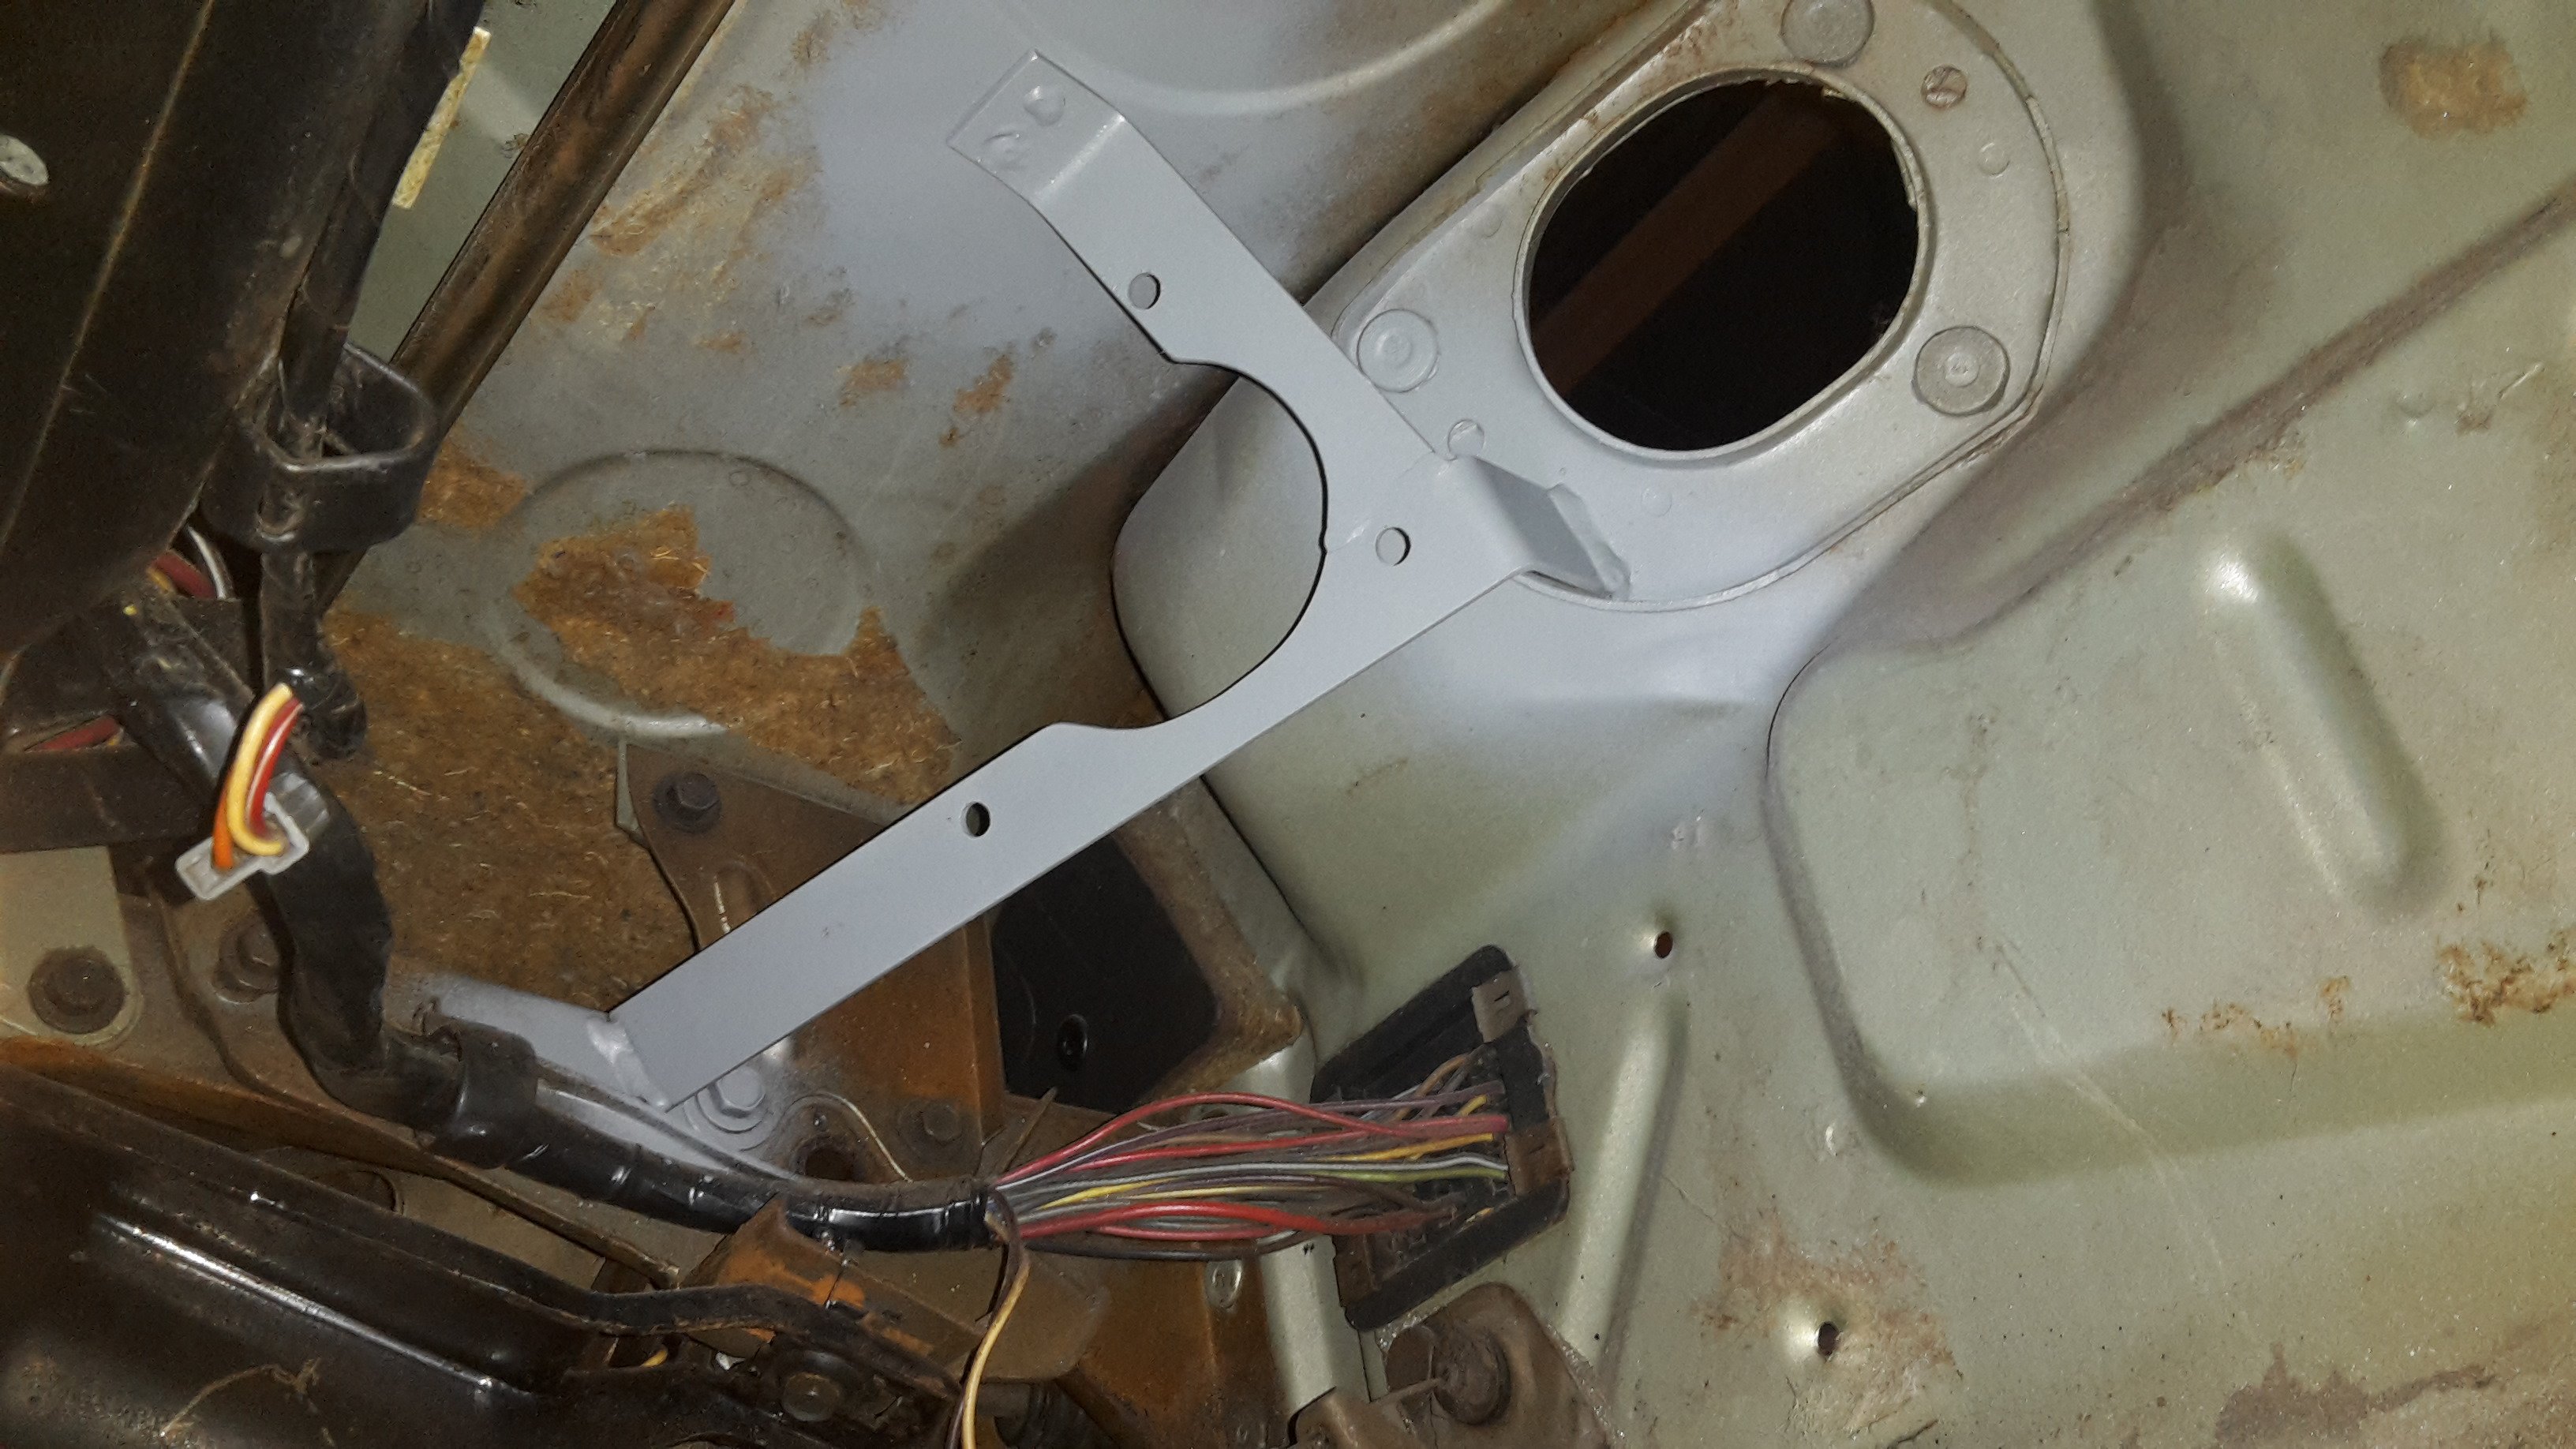
Have decided to use a water air intercooler this time , I'm going to mount it in the passenger side footwell/ up against the firewall where the heater was This means the intercooler pipes can be somewhat hidden. I'll run a pipe from the turbo under the rh guard thru the firewall . Out of the intercooler there will be a pipe thru the hole where the wiper motor was, straight into the carb hat This meant I had to shift the wiper motor to inside the car under the dash which is also a bonus cause it's very ugly. So I mucked around for ages getting the position right and made this thing. Shit update but it's progress at least...
1 point
-
Long time no share... no gains made
1 point
-
Finally on the ground. image below for an idea on air up height. And air out. Note it will have side pipes that will make it a tad lower still. A+B=Fun.1 point
-
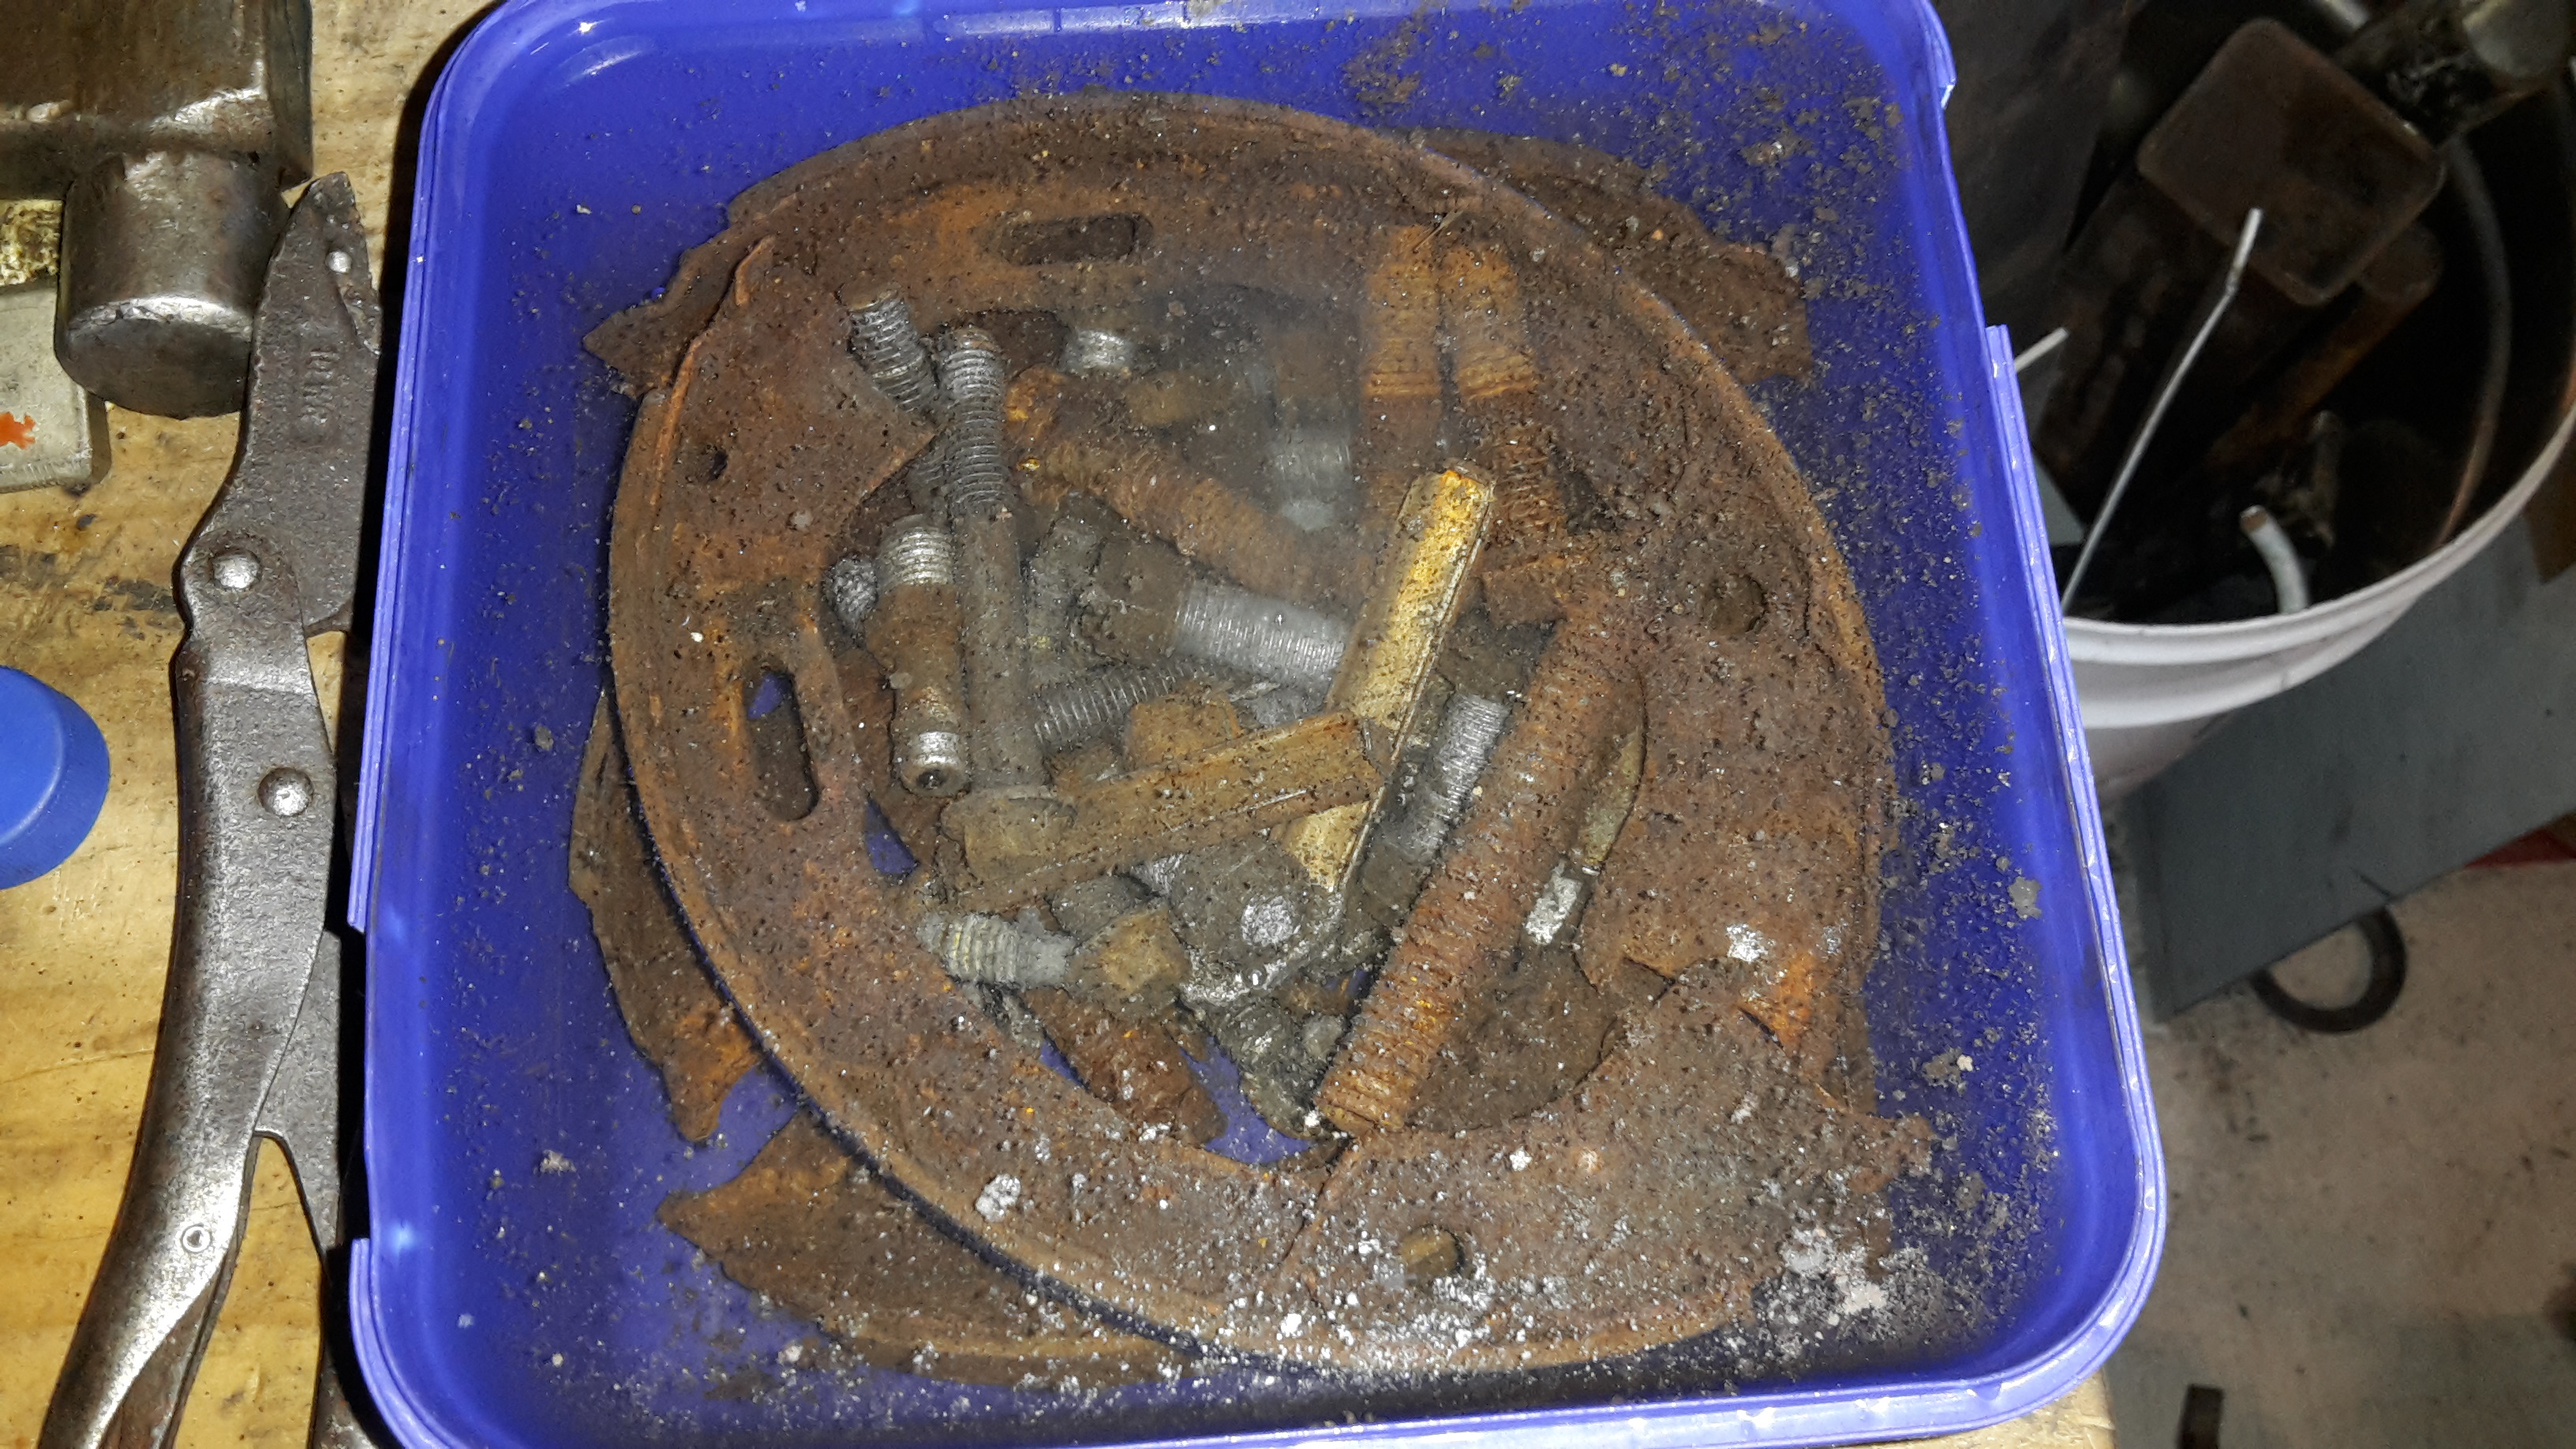
And vinegar for de rusting fiddly bits
1 point
-
Went to hamilton today to pick up this fine specimen. It's a 8.8 ford diff out of a 91-99 explorer. There are a few reasons for using this. They are cheap ish, have discs and a decent handbrake setup , lsd, 31 spline axles, same diff as a mustang so plenty of aftermarket parts available, and if you narrow one axle tube 3" and use 2 short axles it makes it just the right width and pinion offset for a valiant. I do have a 9" that I was going to use, but it has already been narrowed but not enough. New housing and axles was going to be 2k, plus rebuild the diff and get a lsd center, plus brake conversion, was probably the best part of 3.5- 4k. And yay, wheels fit over the brakes.
1 point
-
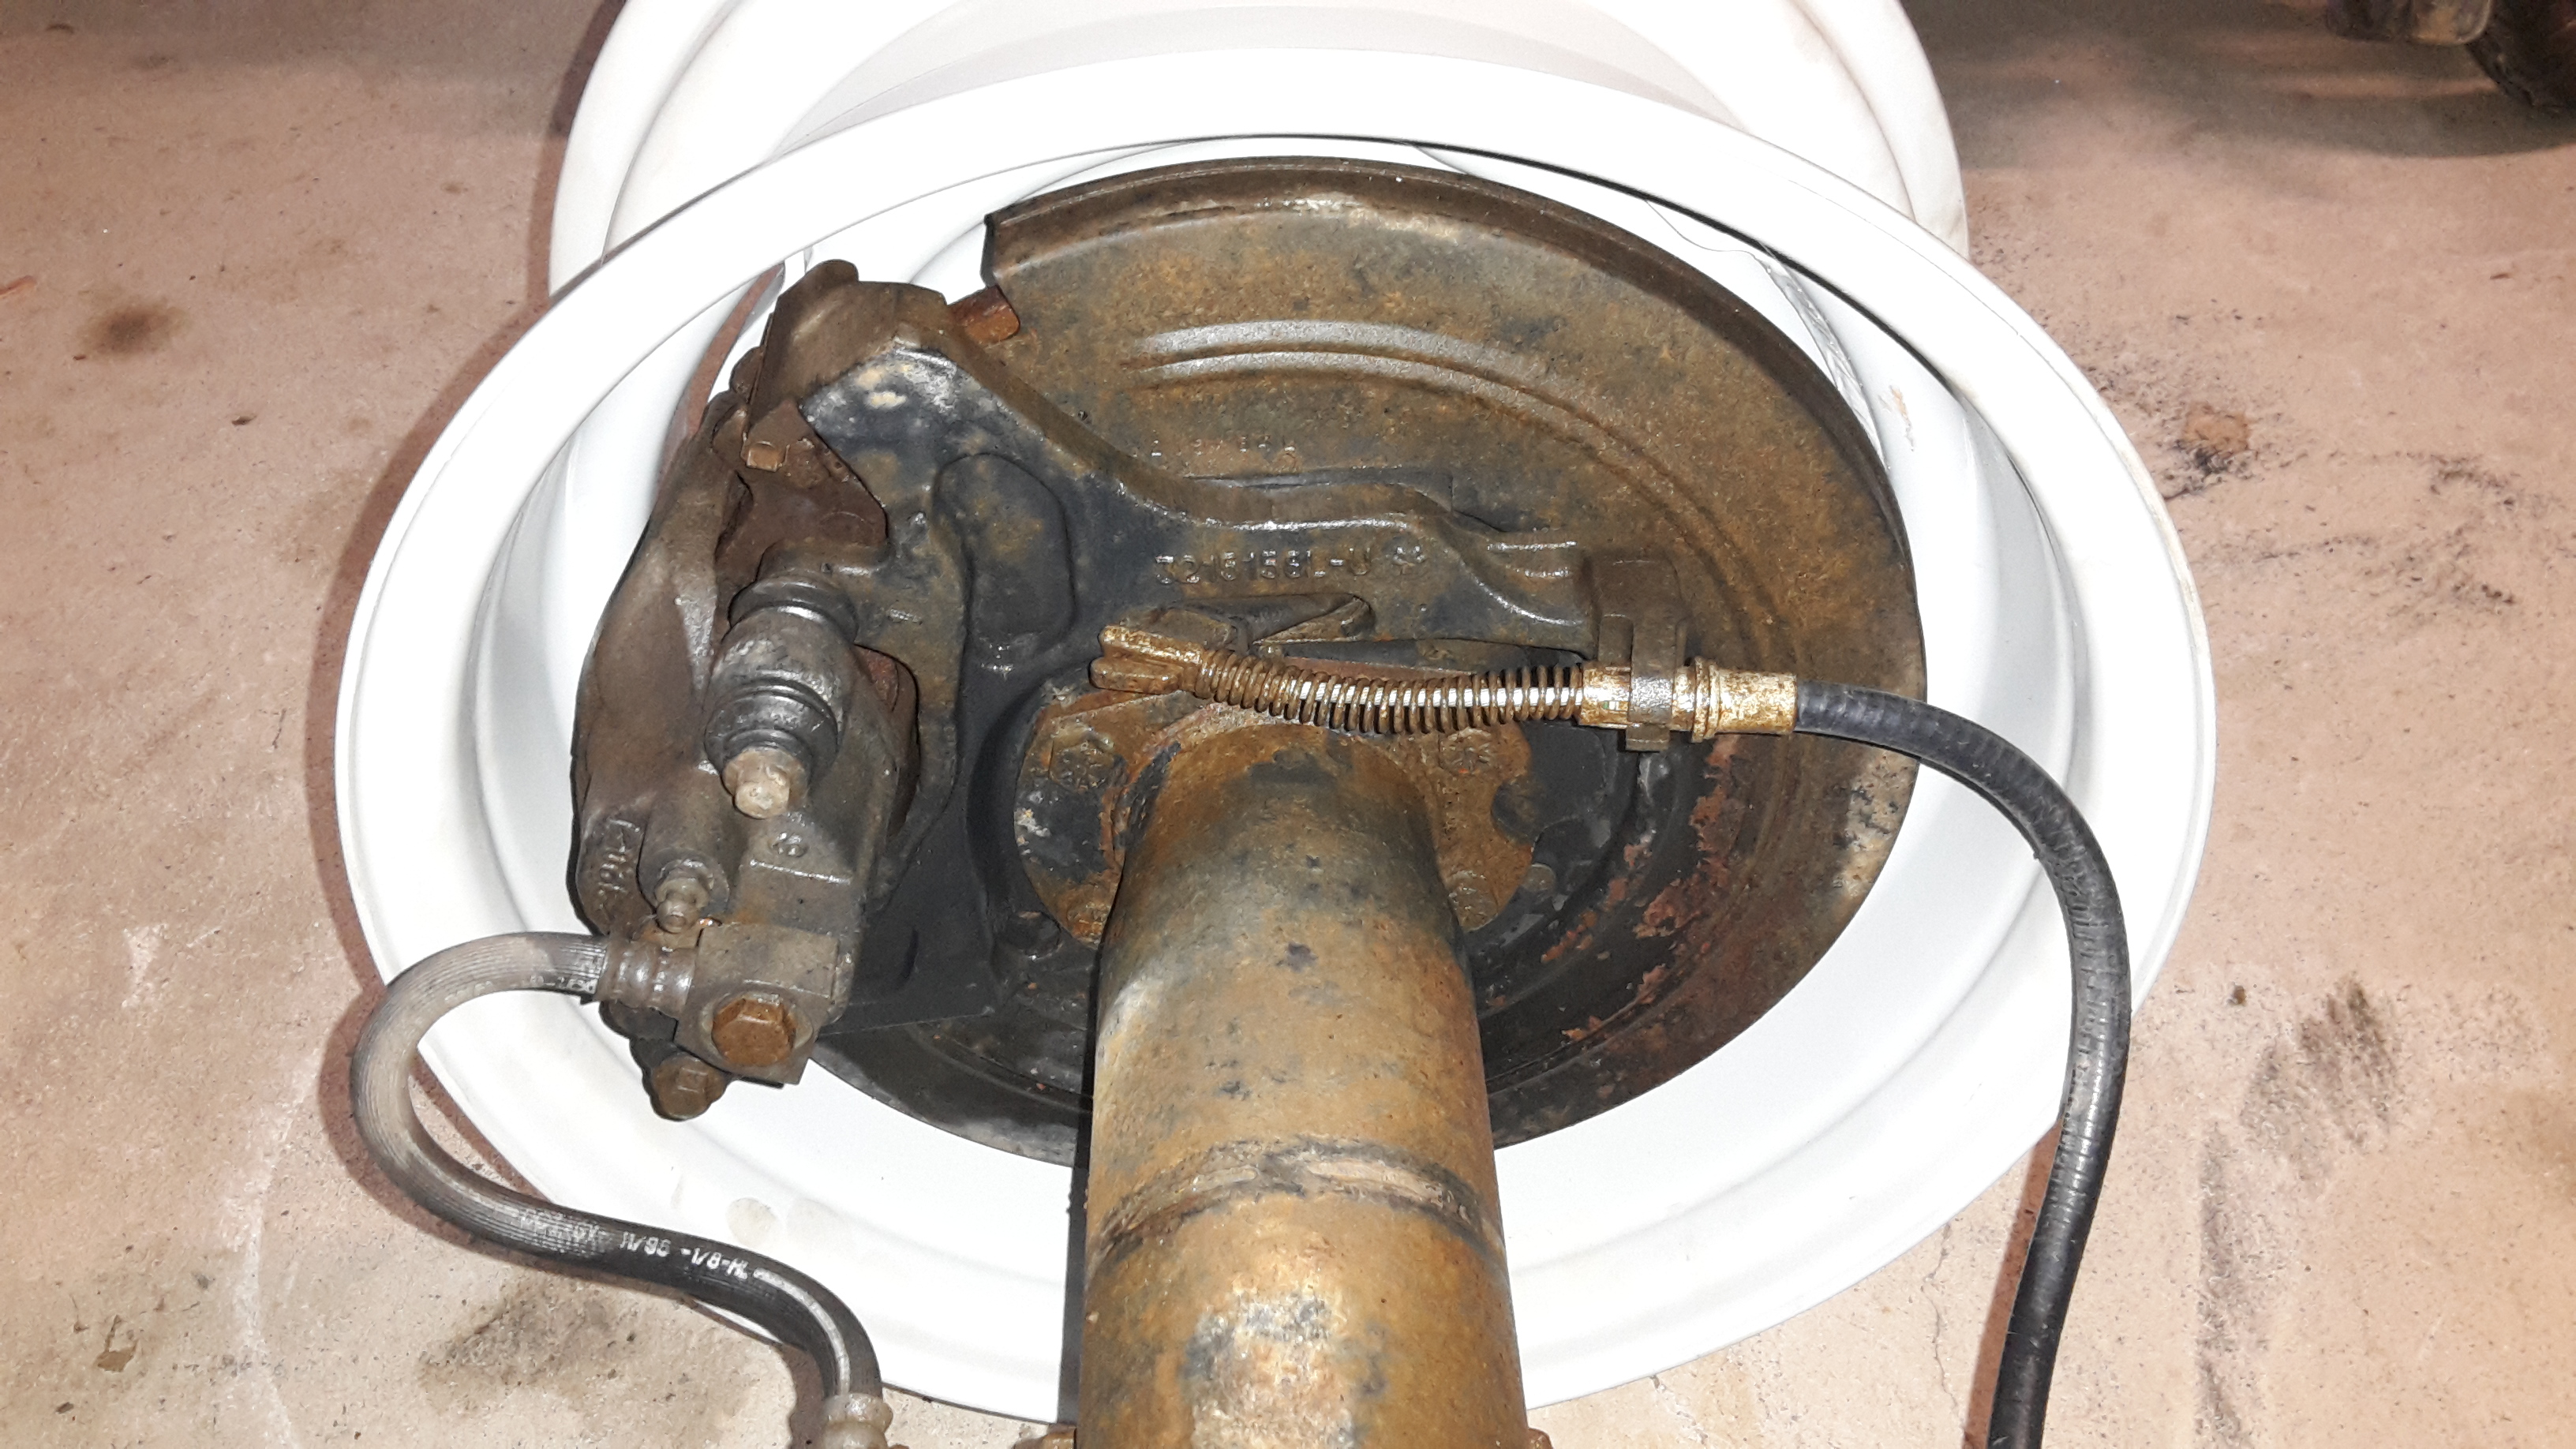
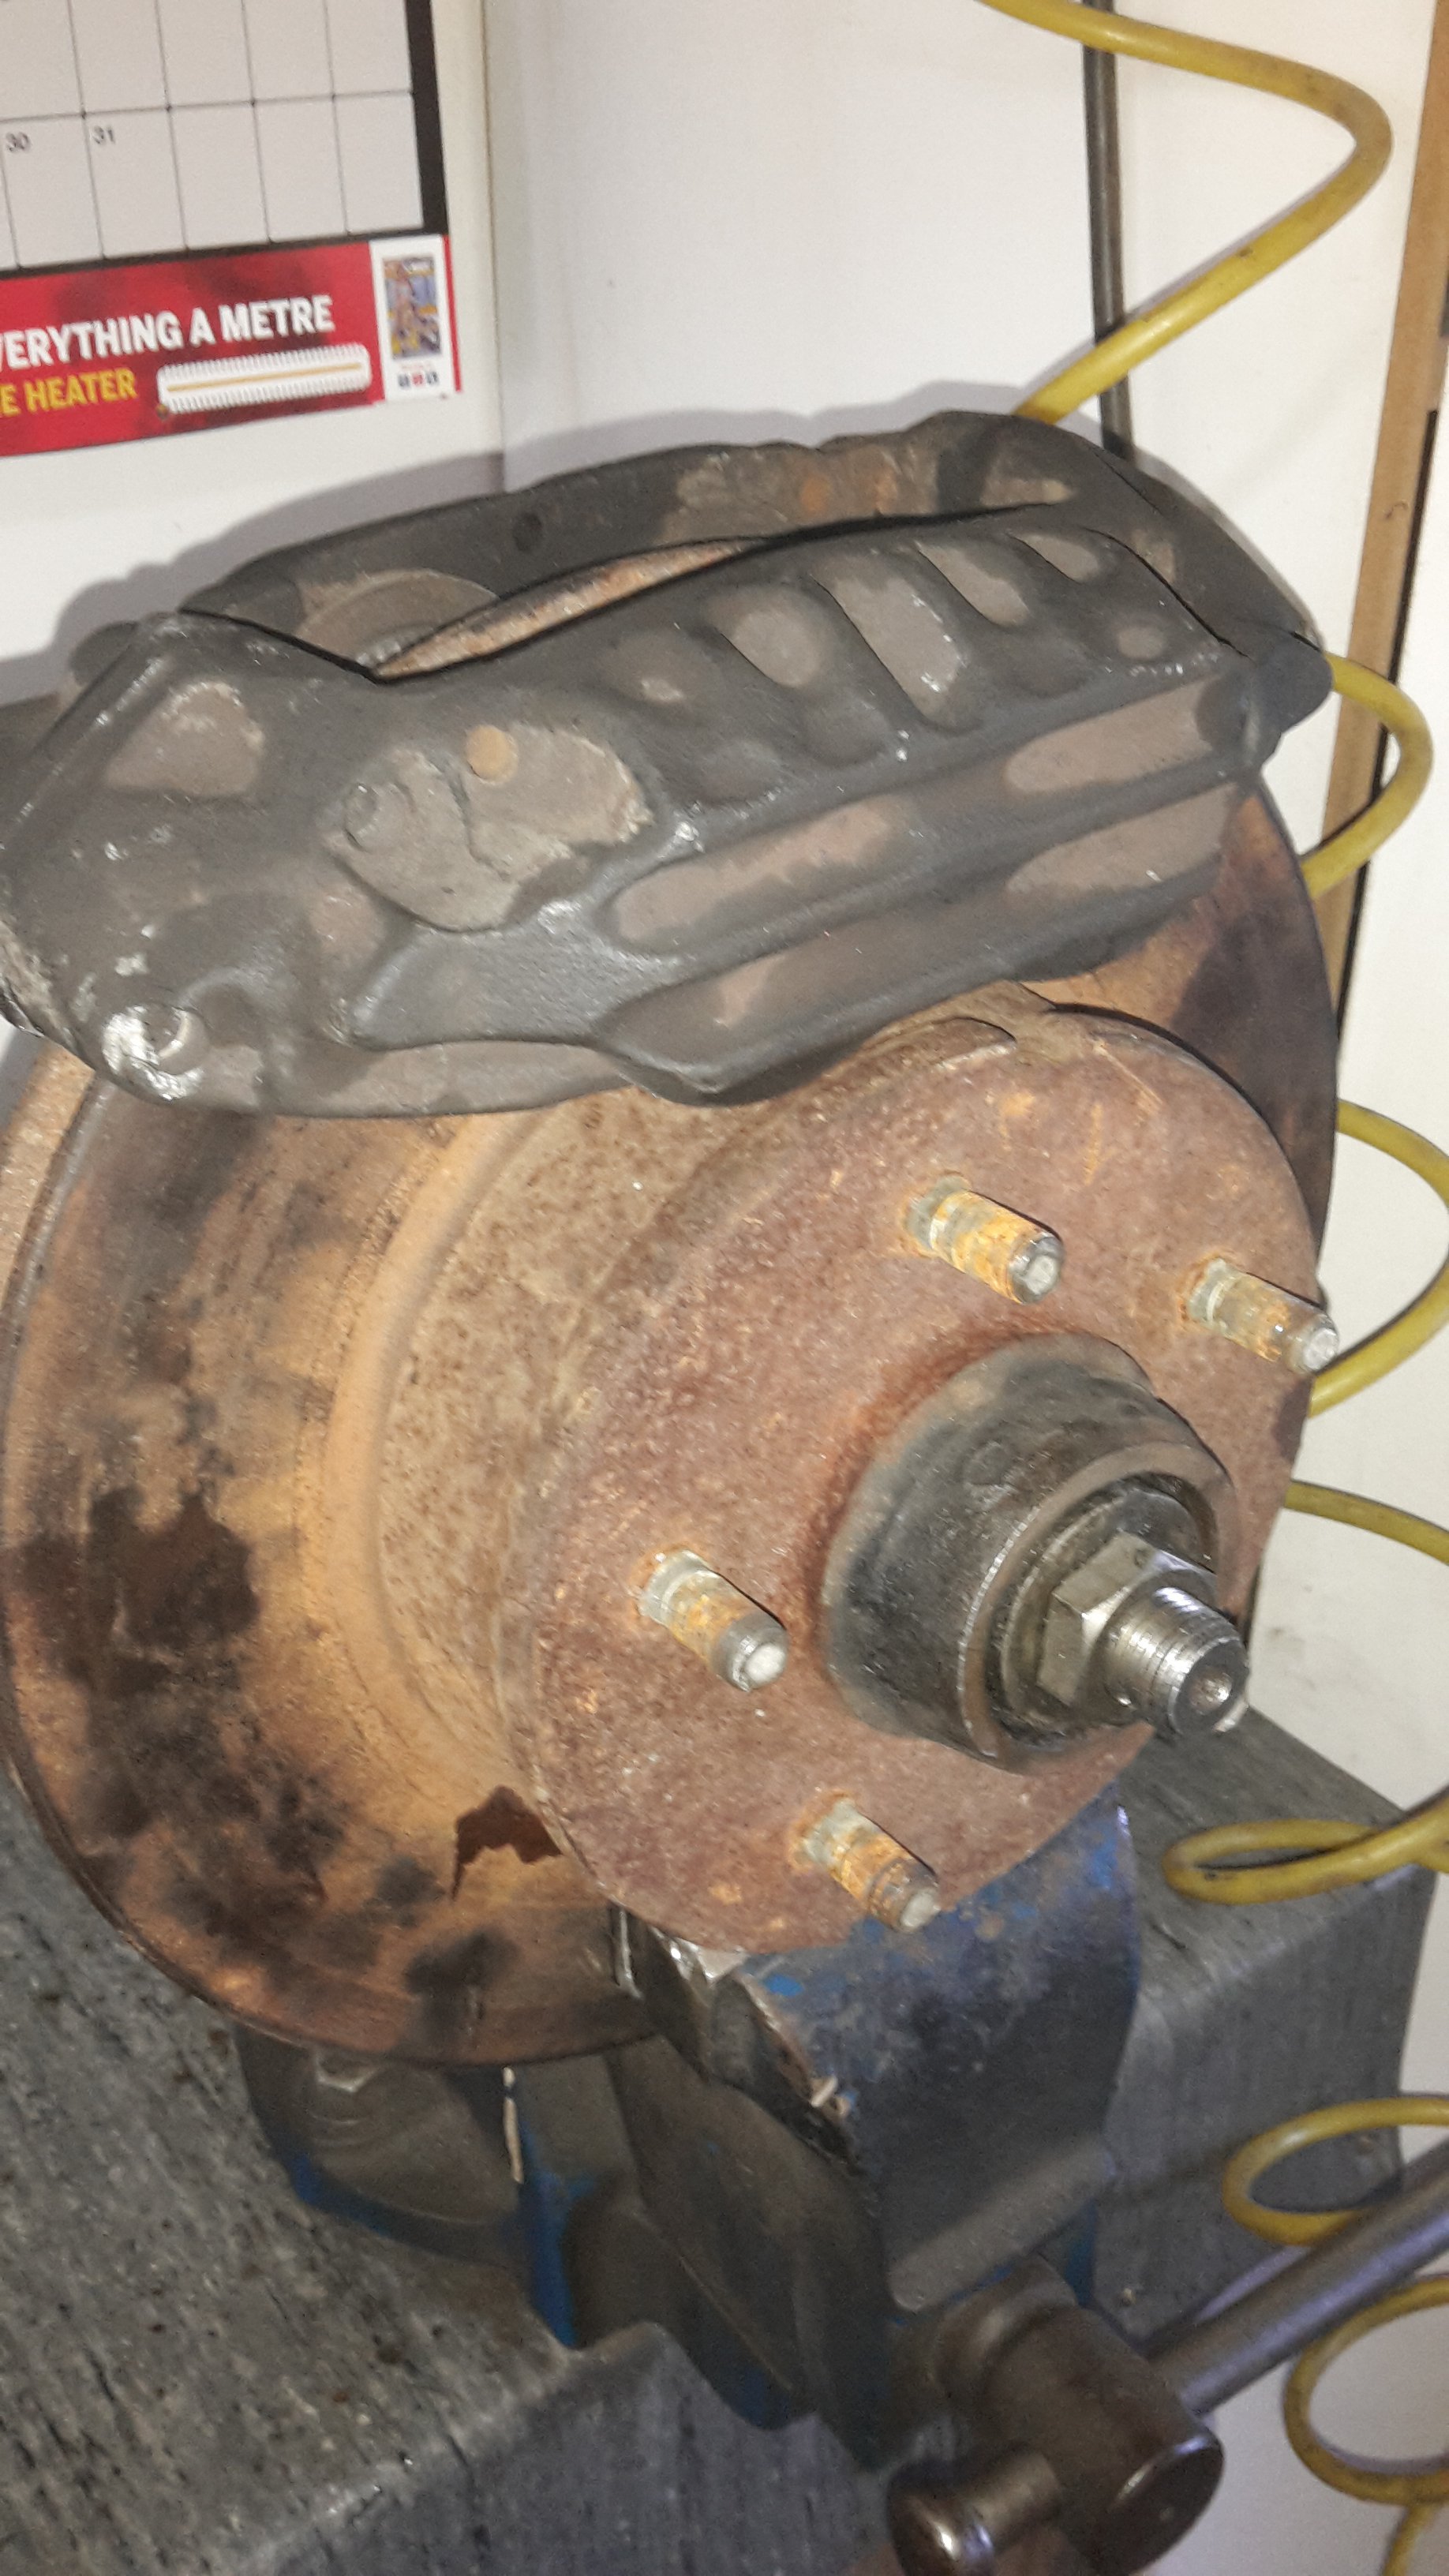
Safety cletus says drum brakes are dumb. Fortunately I had hoarded some spare disc spindles off a car I wrecked. I took a disc and spindle to zebra, because I'd heard that surf brakes are an easy upgrade and I figured there would be heaps of surfs there but there was none. I mucked around with some other things, found mazda axela disc and caliper would nearly bolt straight on, but having 4 pot calipers sounds better. went to pick a part in Avondale cause they were the only place that had a surf. There were some dudes pulling the front of the surf apart and had already removed the calipers so that was easy. I think my arms are a bit longer now after carrying a pair of cast iron calipers, disc, spindle, plus all my tools around. Anyway, I'd bought CL -CM discs cause they were thicker slightly, but the hat height is different. So I'll get some new VH-VJ discs, need to machine 3or 4 mm off the od, machine the disc slot in the caliper slightly, and they will bolt on, and fit inside the wheels. Yay
1 point


This leaderboard is set to Auckland/GMT+12:00