
Leaderboard


Popular Content
Showing content with the highest reputation on 07/28/19 in all areas
-
Alrighty bitches, time for the drawers. Real drawer slides are really expensive, the ones I wanted would have set me back $450 ish even at trade prices, so I decided to make some rollers out of bearings and some extrusion from Ullrich. I had already sort of tried to do this with a round rail extrusion and some steel round but this was deeply unsatisfactory. Bearings mounted on a bit of drilled and tapped flat bar, tacked in place for now. Cut out the sides from some checker plate I had lying around, I wasn't too sure about it cos of the generic checker plate wankery that goes on but it looks pretty good. I had stealthily snuck a couple of sheets of 1.2mm electrogalv into the shed on Friday, I made some big patterns for the box and bent them with the finger bender. Then a shit load of weldy weldy, grindy grindy. Then creating the same thing for the other side. During these activities my 5" grinder let out a really considerable amount of smoke and ceased to function. This meant a trip to mitre 10 for a quite expensive replacement. During this I also ran out of gas so dragged out my big tank of co2, I pretty much immediately managed to knock this over onto the concrete and let out quite a lot of gas. This bent my regulator in unfortunate directions. Miraculously it still works so I replaced the snapped outlet and carried on. They are big drawers, 800 wide, 600 in, 350 deep. The extra shelfy bit at the back is for a secondary drawer that will sit on the top and slide away for access to the main box. Should be heaps of room. Here you can also see my modified super sized porta power pump. This now holds enough fluid for my crane to move through its entire possible range. Yay for me. In other news I mounted the fuel filler, this meant moving one of my battery trays, but this worked out ok. This will be covered with a lockable checker plate hatch in the near future. In other other news I made a place for the plate and light. Somehow my deck build calculations failed to take into account the size of the license plate, this meant I had to make a wee mod to the deck. Might buy another of those lights to make it even. Still no word from fucking engine man. @yoeddynz gave me the name of the local safari foamer, he reckoned to open up my engine and have a look to see how fucked it is. If it is at all salvageable I think I will use this. I also got the radiator dude around to check things before getting to carried away with the custom rad, but he was happy so will build it. He will mock it up for me first. This will be super expensive, it will be a 5 row triple pass beast. This is needed as the space is not super wide and I need proper cooling, particularly if I turbo it. Rather pleasingly he said it was the best project he had seen or words to that effect. Yay for me again.15 points
-
So fast forward nearly 2 months and took it first test this morning. So much fun. Massive props to @Geophy who helped out with pretty much everything. Still need to tidy things up and sort wiring, but yeh, so stoked to have it ridable. Was being a bitch so didn't do a high speed run but goes plenty fast enough for what I want
 12 points
 -
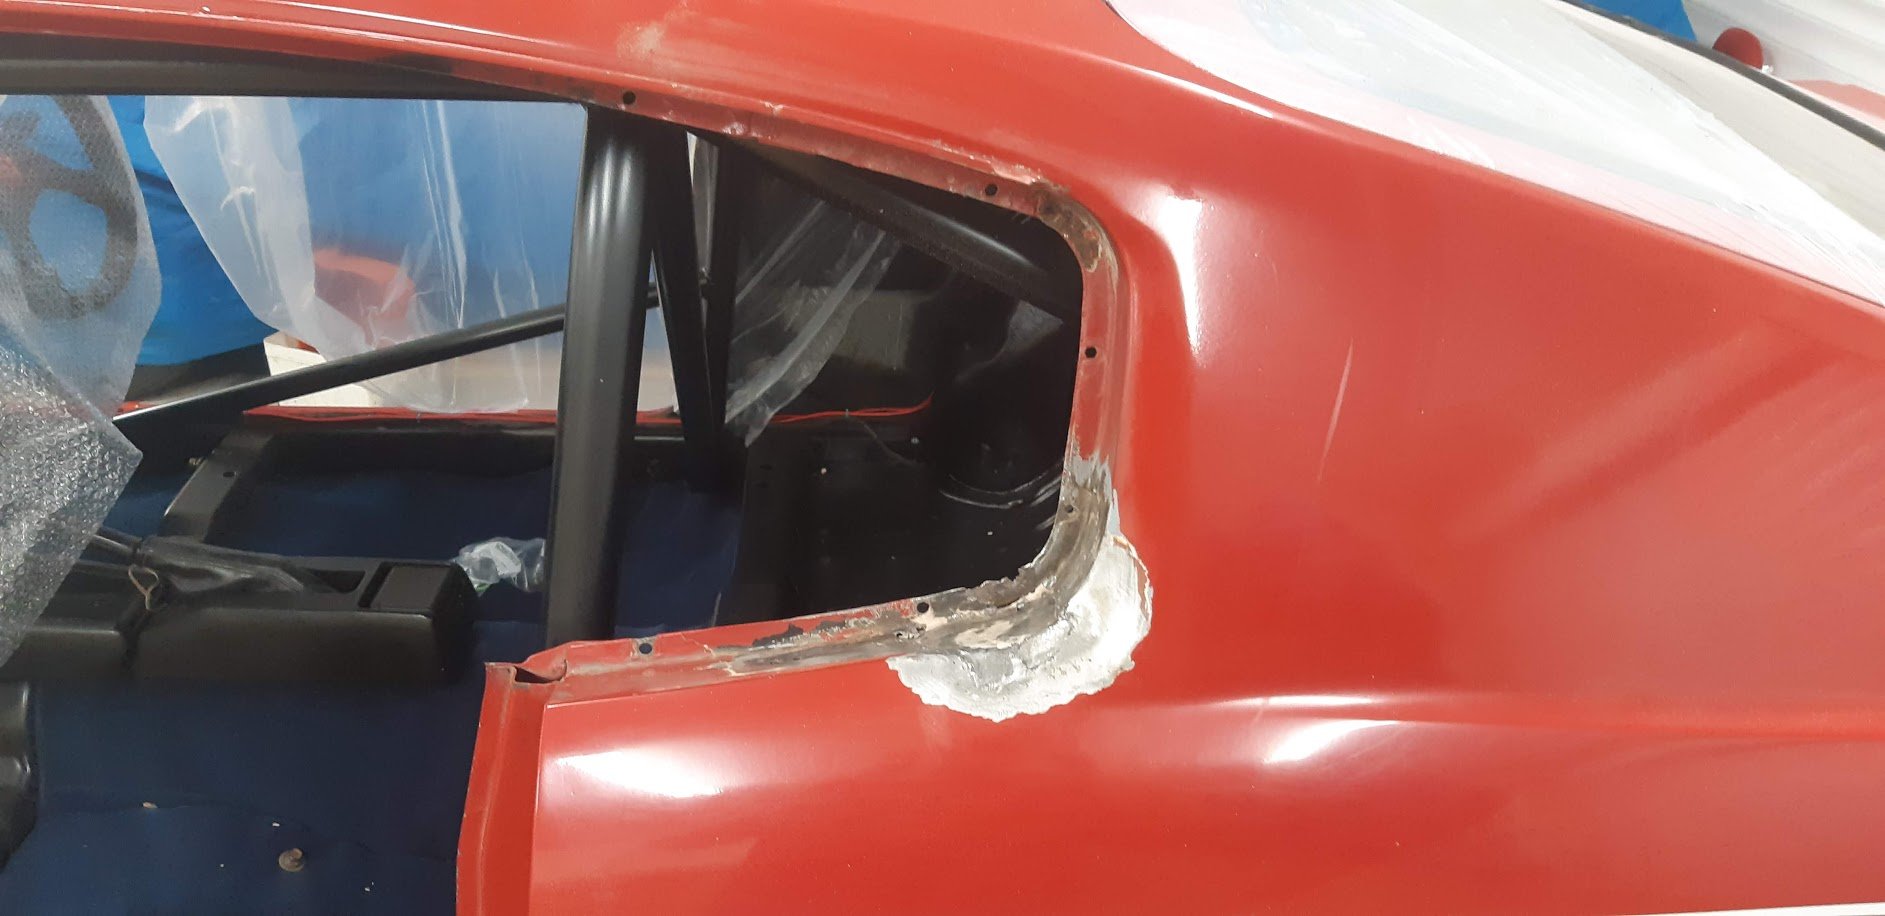
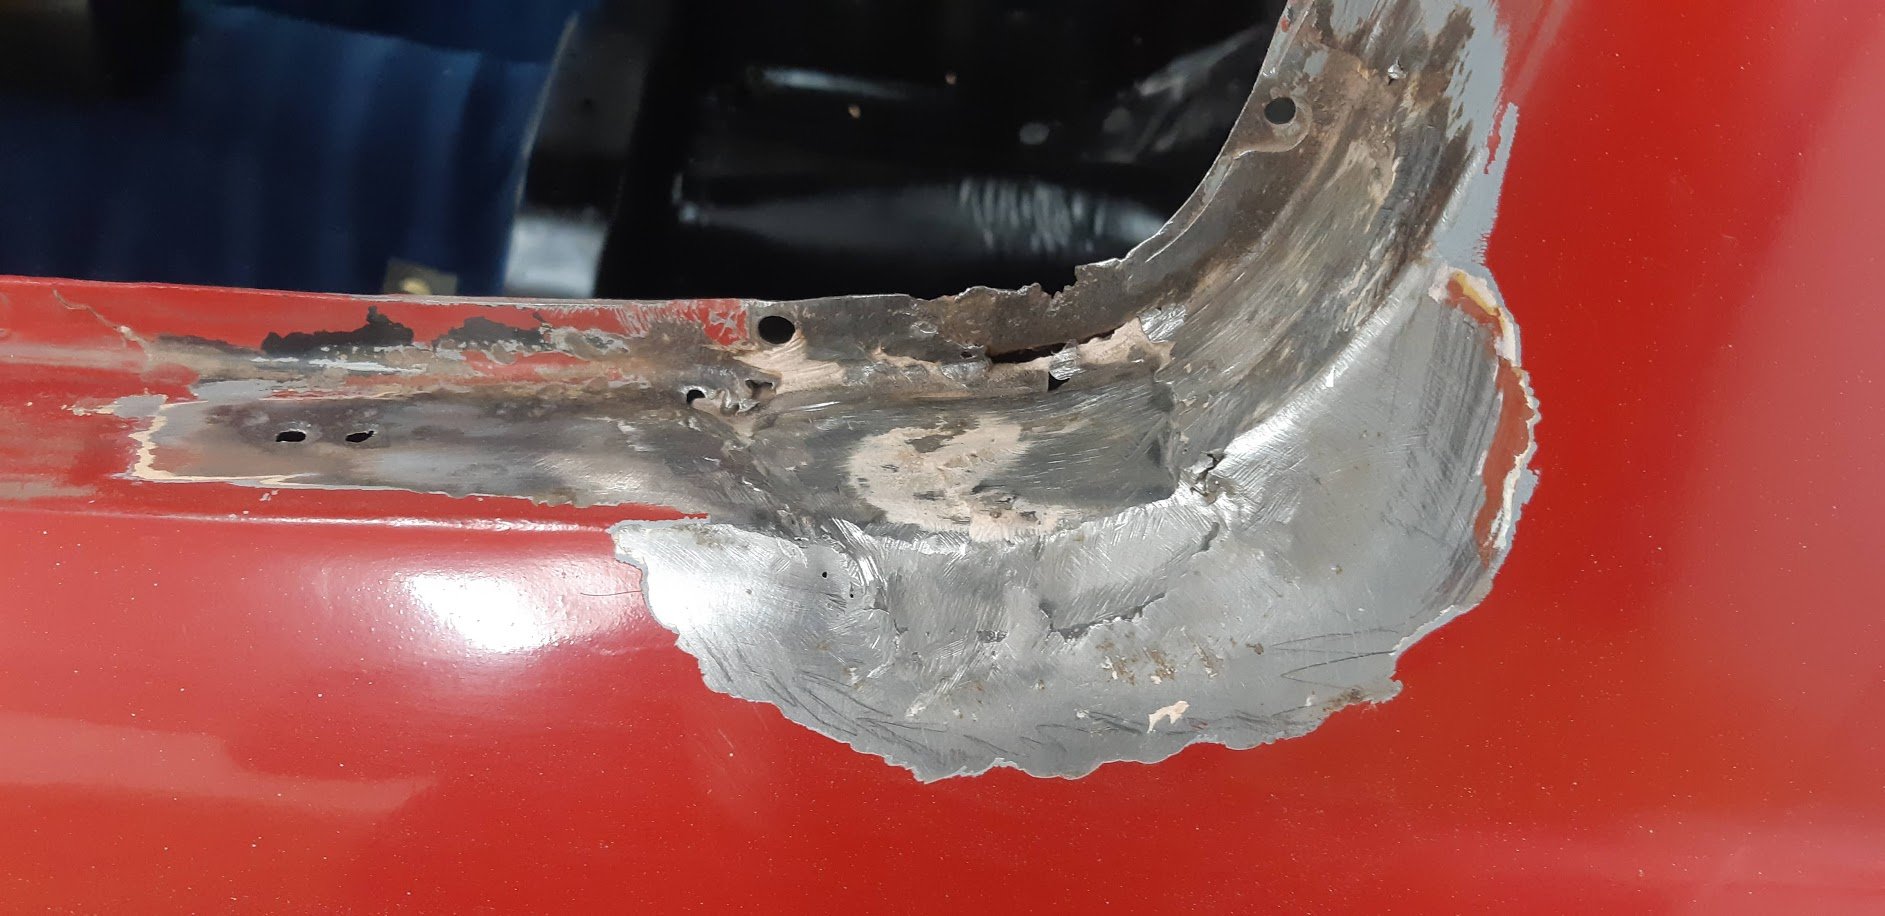
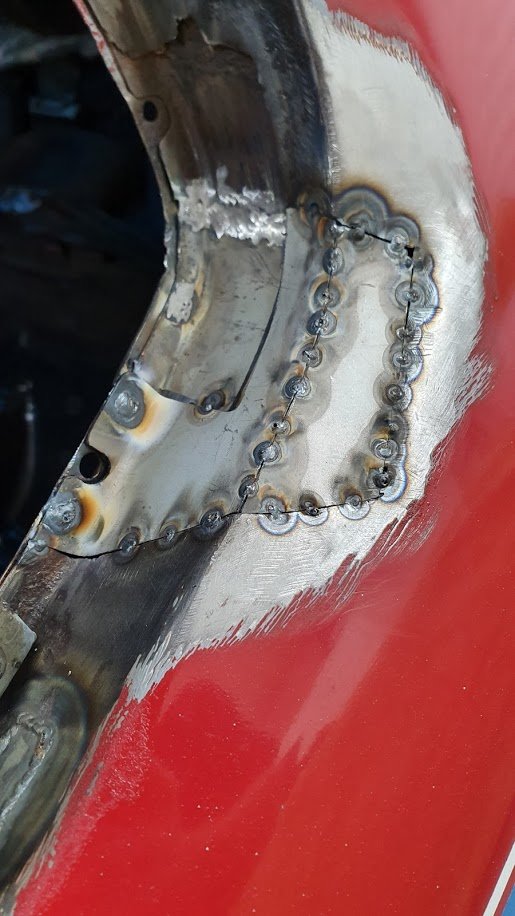
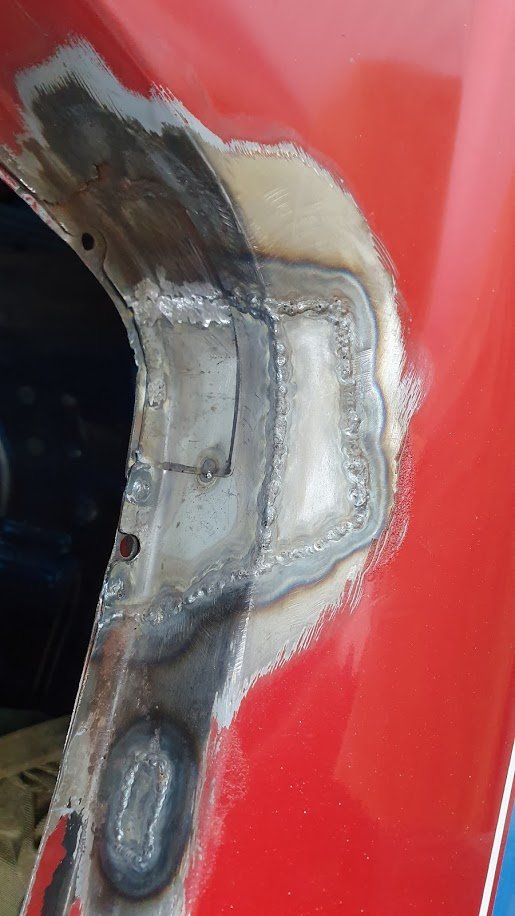
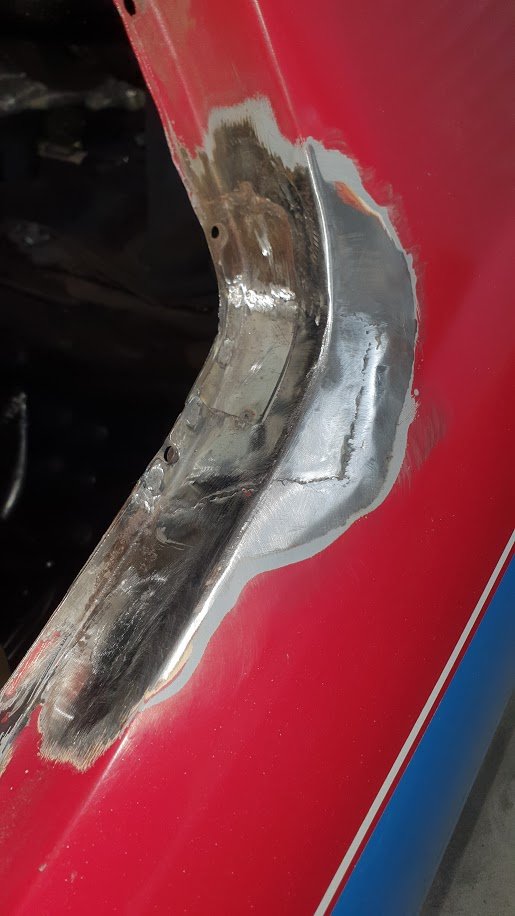
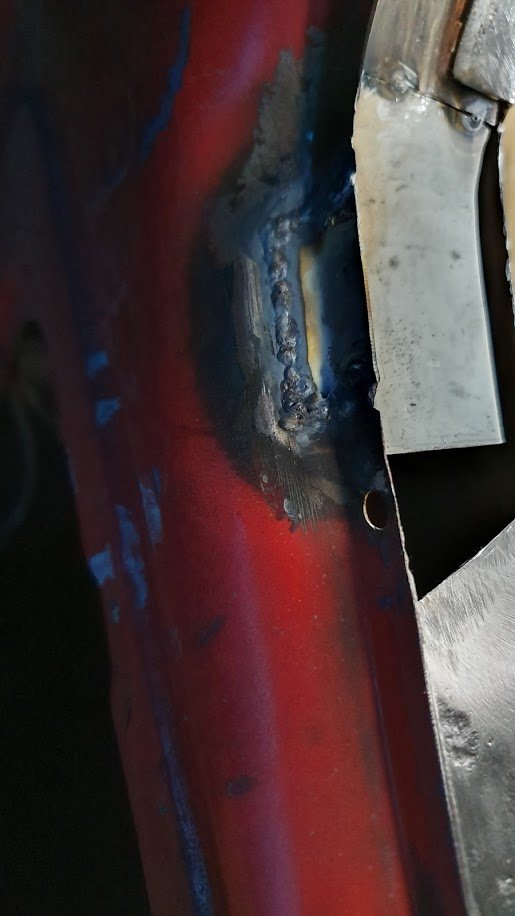
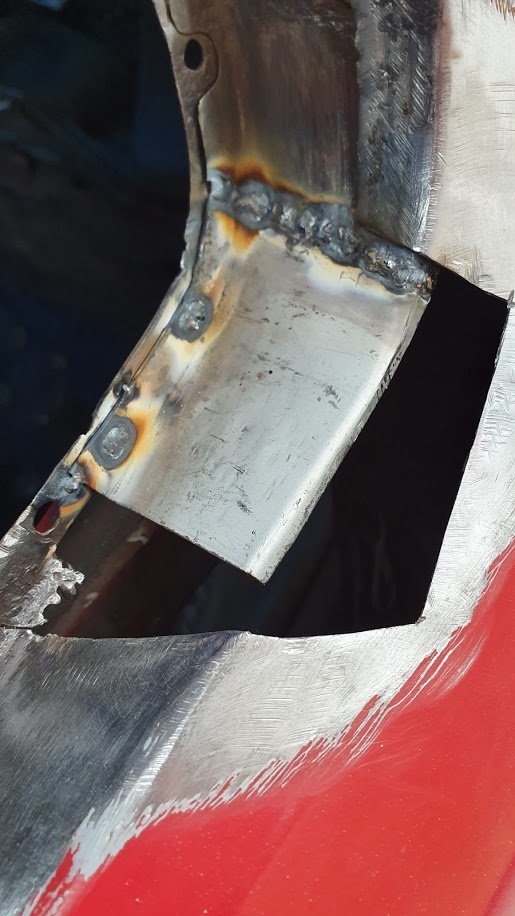
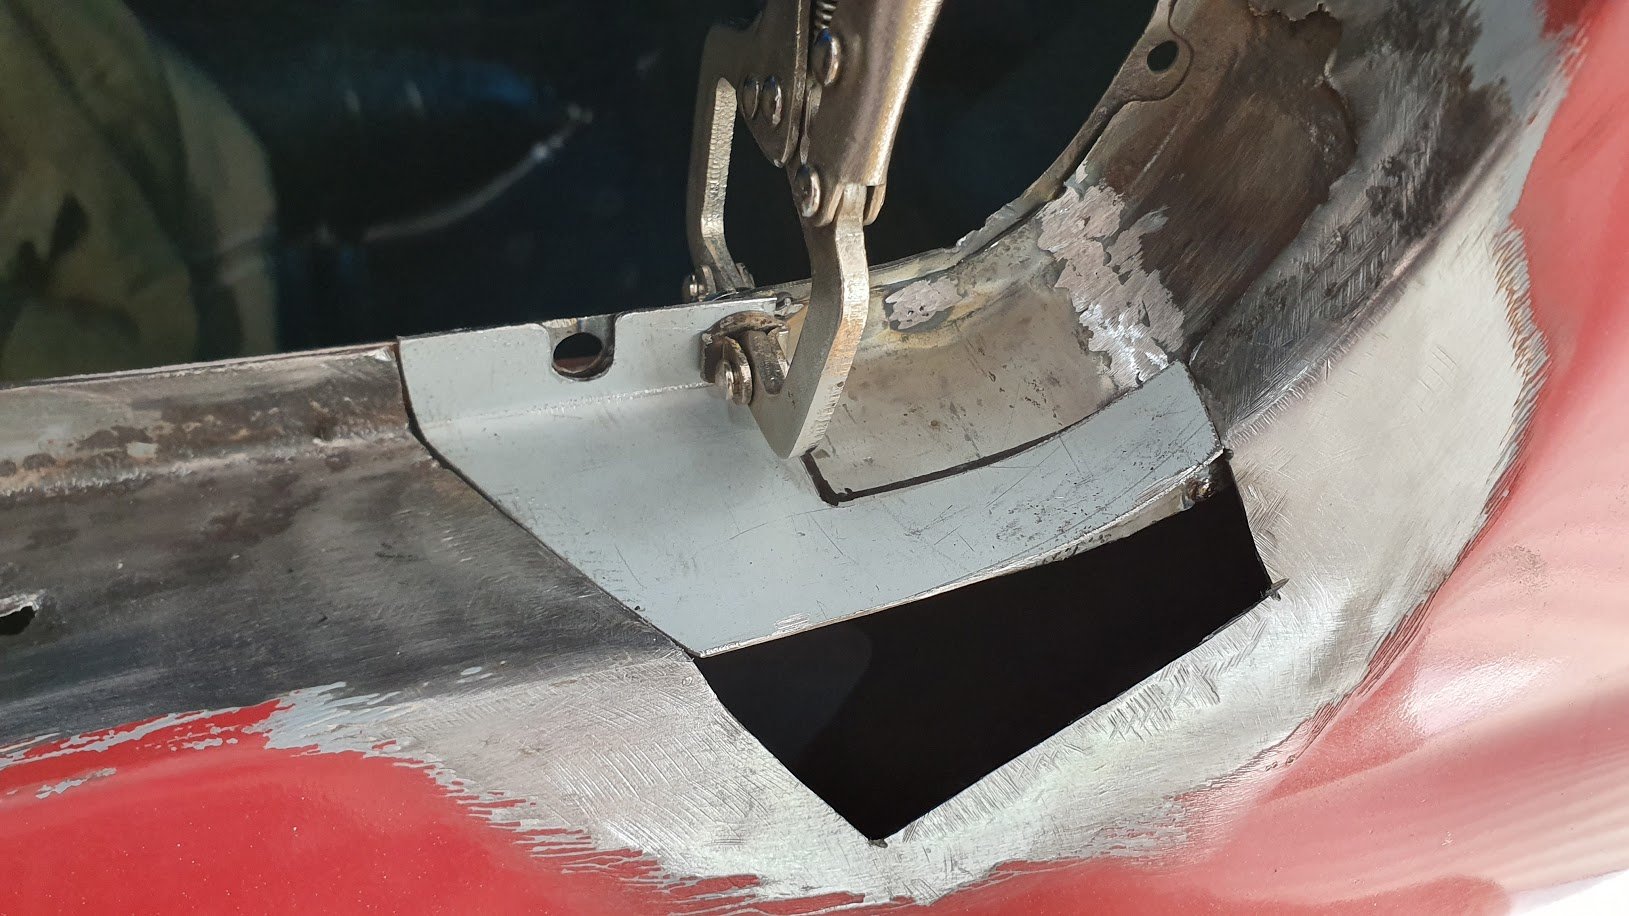
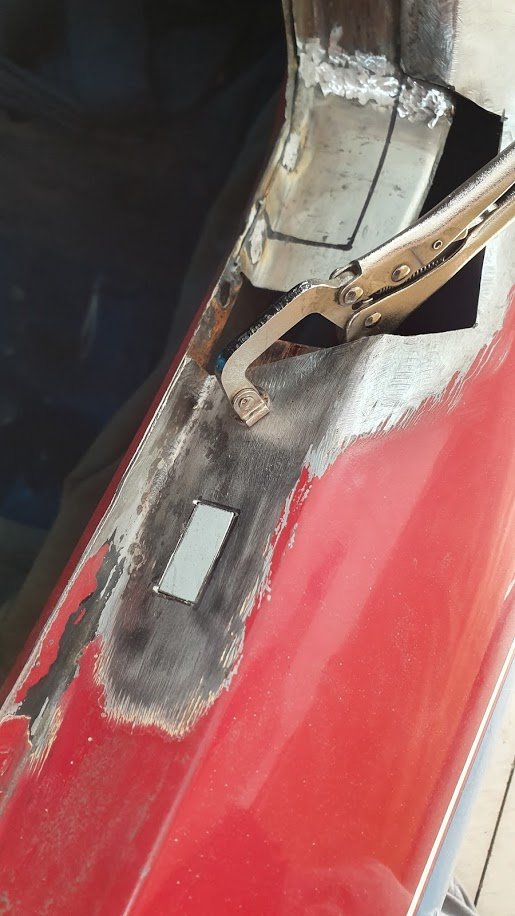
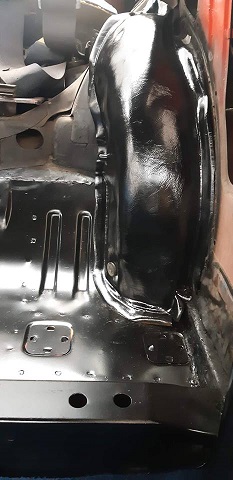
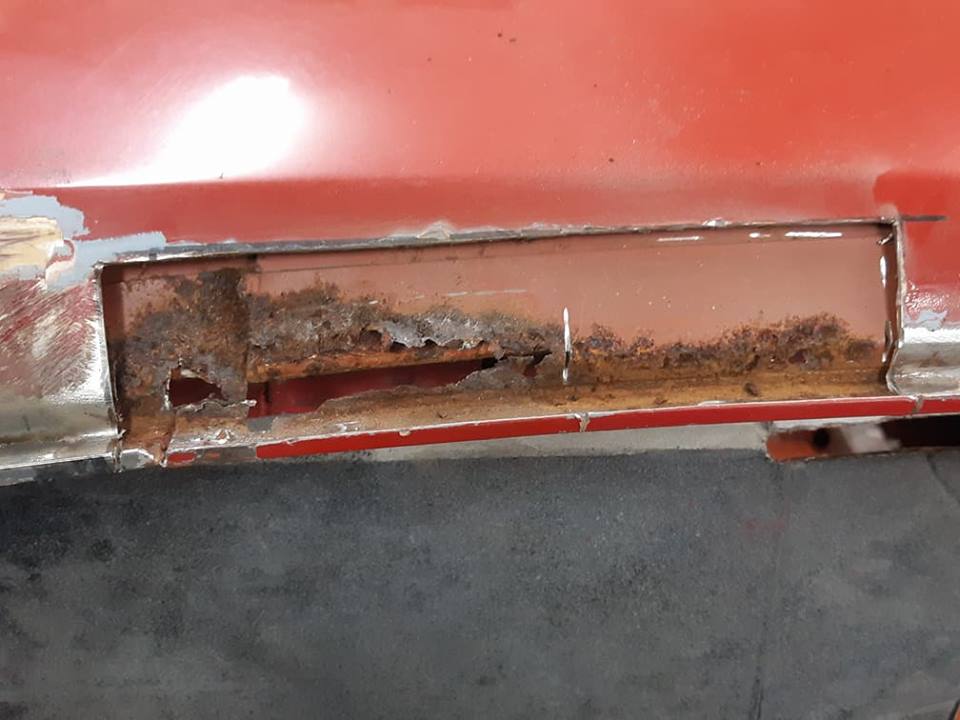
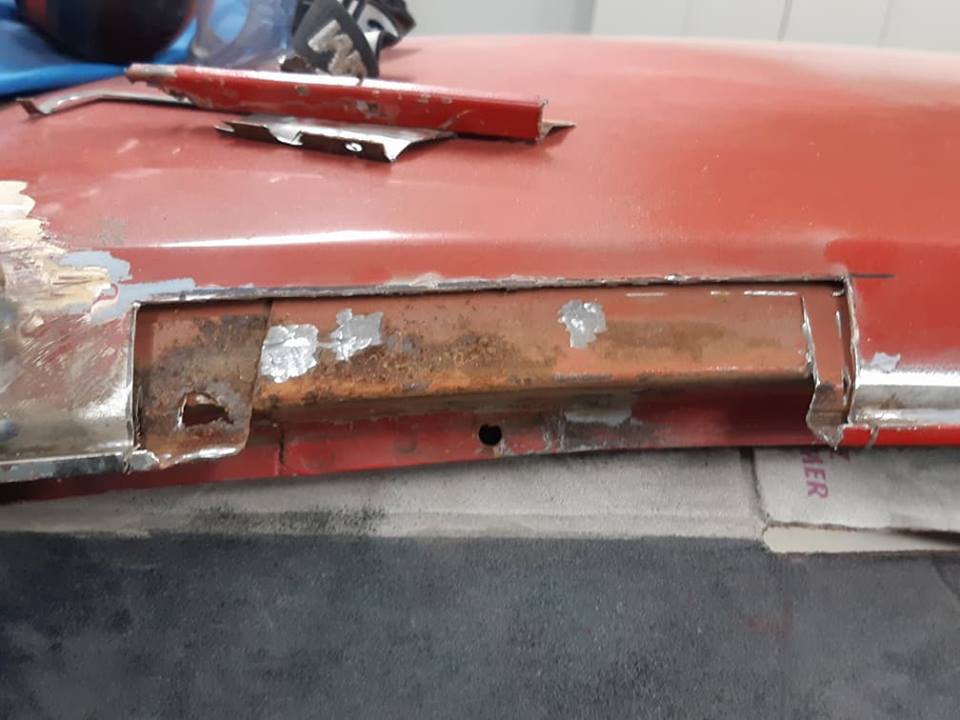
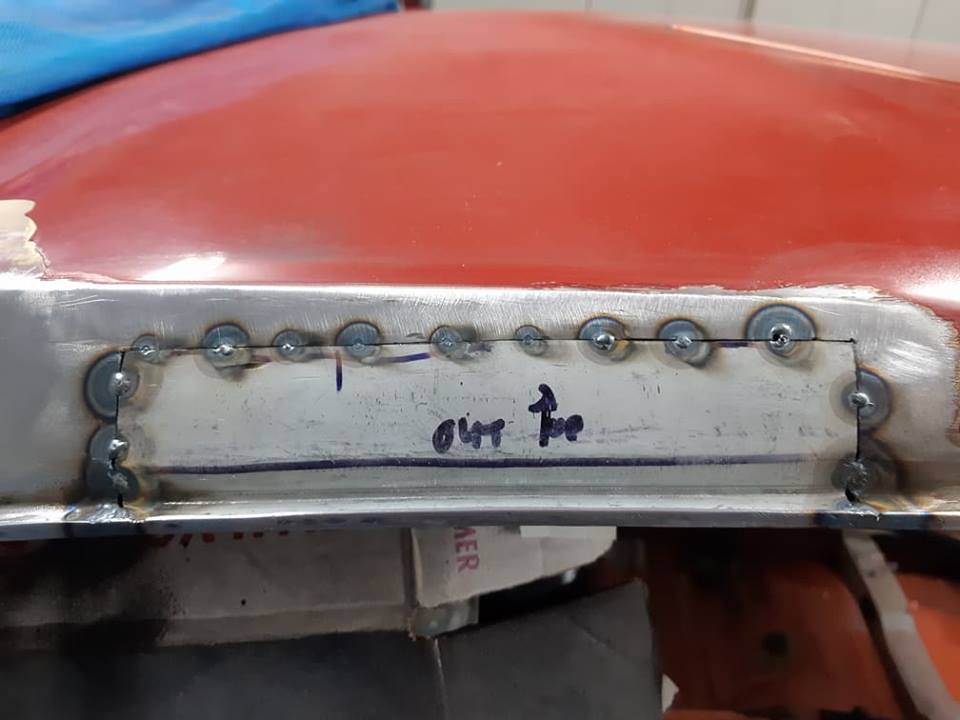
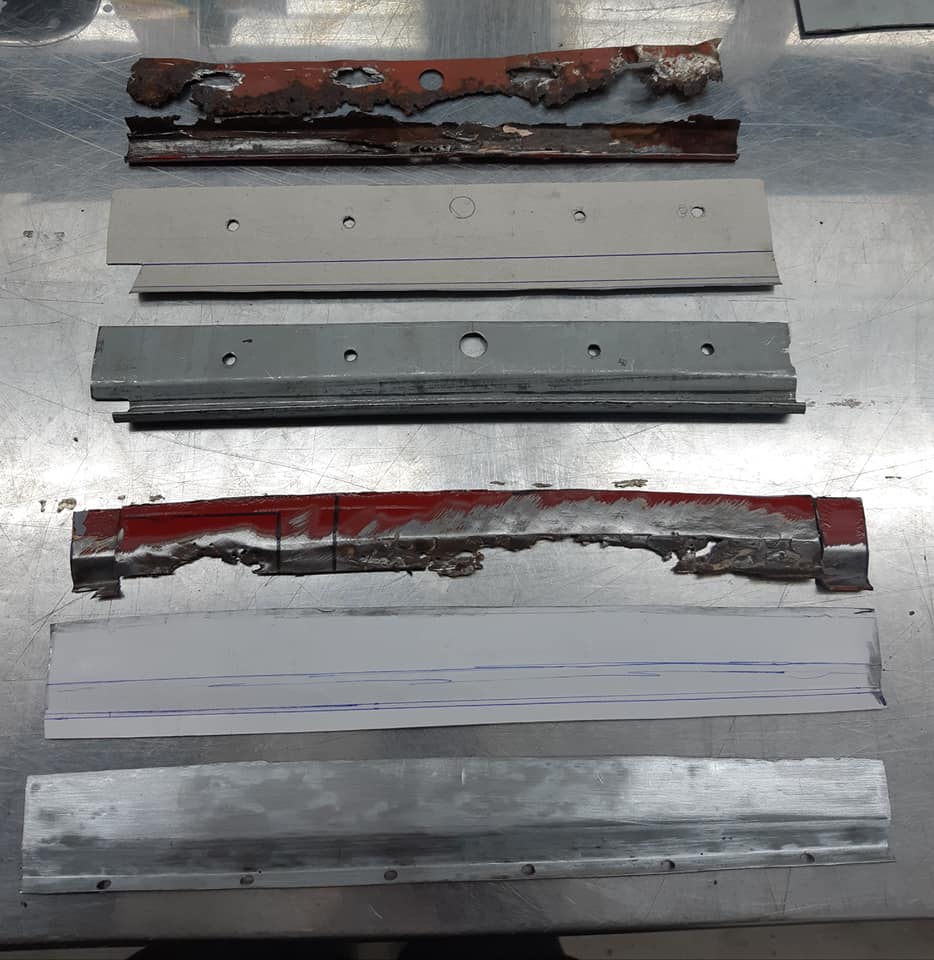
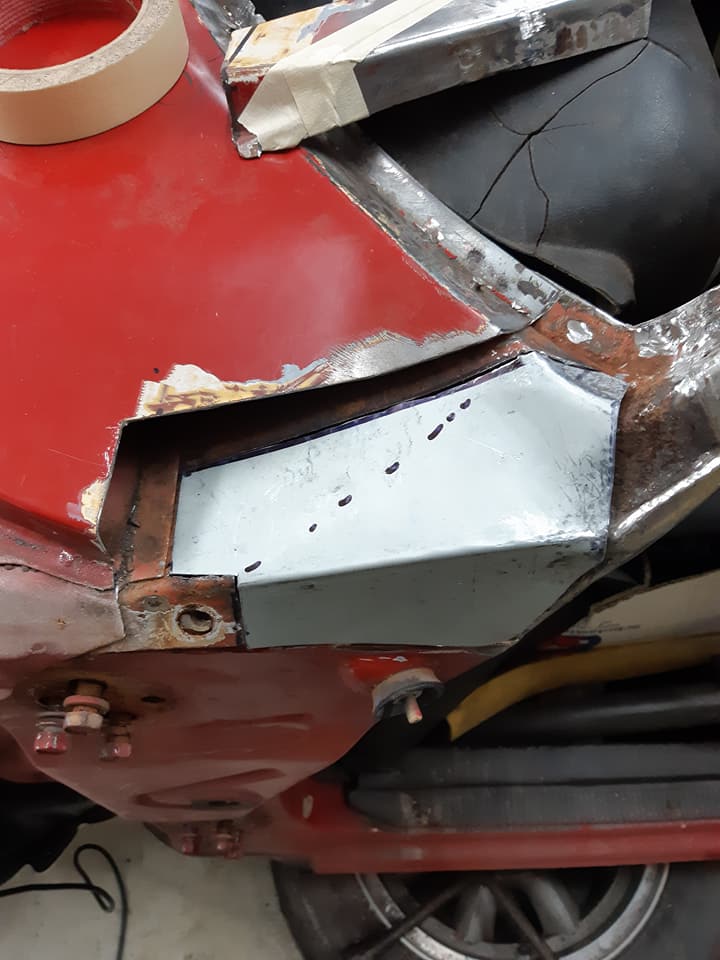
With the welder out for SLEEEK's floor repair, i figured also fixing the other quarter window on the racer was probably long overdue. Some BS repairs from the past that were 90% bog. Repair the inner bit and the reinforcement. Fill other rust holes. Measure and make the outer bits. Glue it up. and 200% betterer...
9 points
-
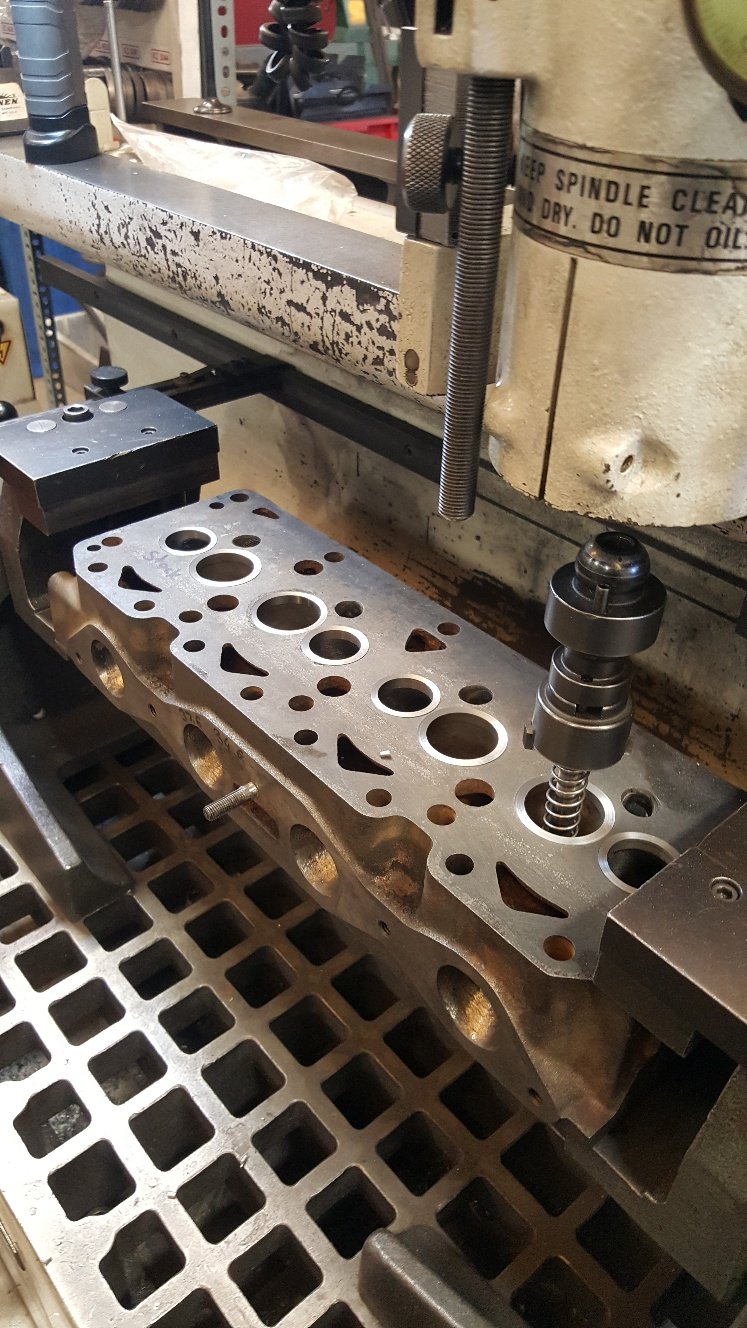
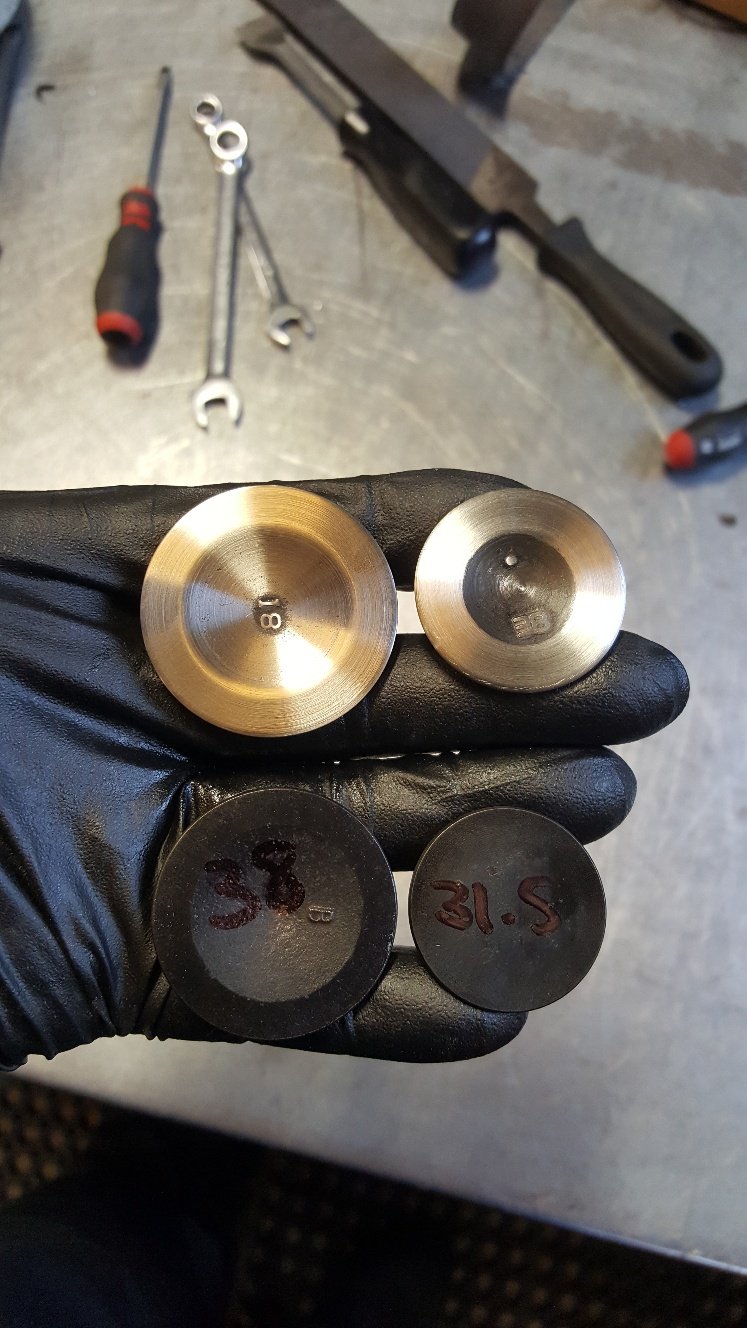
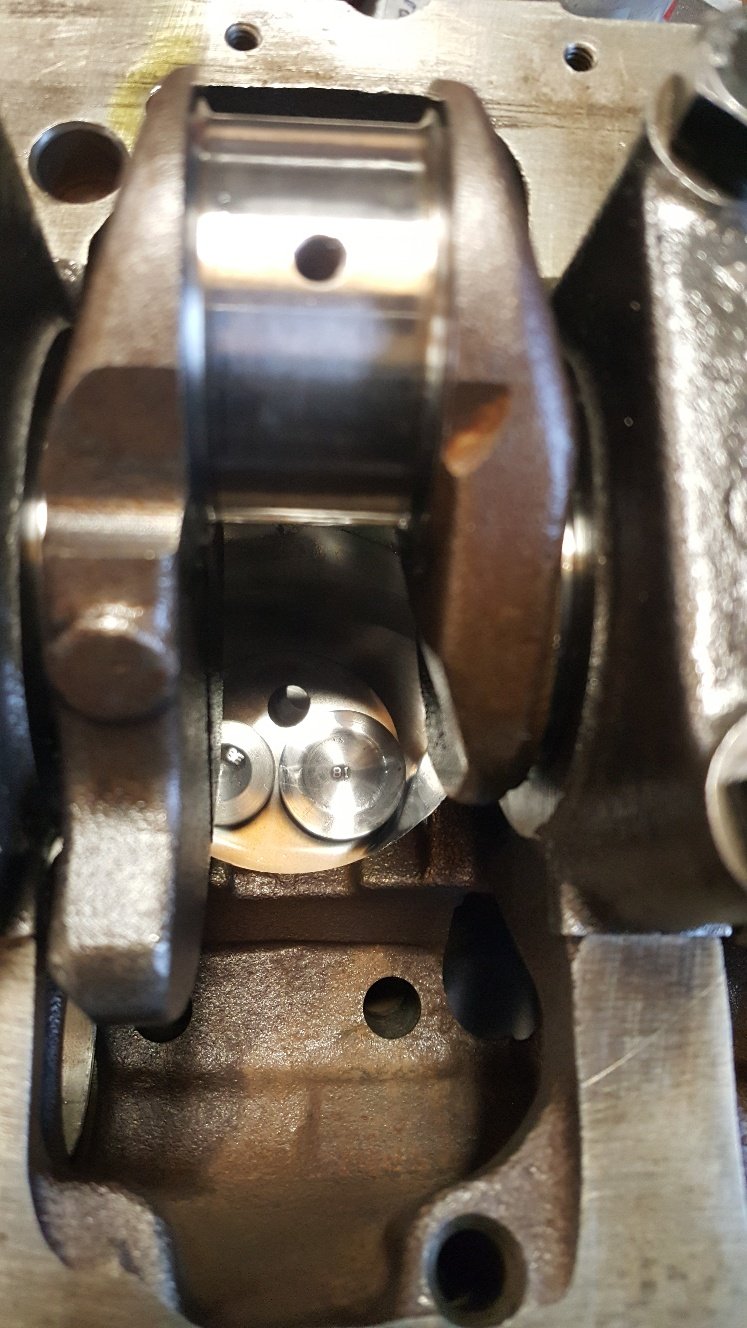
Time to cut some holes for valve seat inserts. We have a Sunnen VGS for all our head work. First picture is setting up the tool cutter to cut the hole. We are looking for between 3-5 tho crush. Once holes are cut just hammer the inserts in. Then turned down a intake valve and a exhaust so had something to check valve spacing and clearance of the side of the bore. I detopped the inserts in the VGS and then surfaced the head. I didn't get a picture of it in the surface grinder as there's pictures of that previously. Here's the valves. And a shot of the head bolted on to the block looking into the bore to see how much clearance the valves have off the side of the bore.
8 points
-
conclusion: bmw throttles make no more power. injectors in bmw throttle instead of head, no change. have revised throttle linkage setup. still not as good as the setup on the 20v throttles, but a whole lot better But have gone with this setup as it heat soaks less. both the throttles and the fuel rail are isolated from the head, with a thermal gasket and 25mm bit of plastic. should be bit more consistent, since hot air and fuel suck Also found that cylinder 1 was running a touch leaner than the rest, after checking afr per cylinder. so have added a fuel trim to add a bit more fuel on cyl 1,8 points
-
Random slightly cool things working together.
7 points
-
today i drove took the car for a decent drive, first drive since power steering install. fuck me, its a different car. the old steering box was fucked which didnt help but man its a different car, both in carparks and on the motorway. so much better! and during the night time i decided i wasnt happy with the sub box i made yesterday so i made another one today. its much better, sub faces forward instead of sideways and the box fits into the car better. the internal volume is closer to what i was trying for as well. every body's a winner! 2019-07-28_04-20-39 by sheepers, on Flickr7 points
-
This morning, we fanged across to Caffeine and Classics, then rolled straight back home, where I had intentions of mowing lawns and doing general yard work. Anyway I started cleaning something in the engine bay. Next thing you know it was 6:30pm and I'd just finished cleaning up - after giving the whole engine bay a bit of a tickle with some cleaning products and a range of brushes and micro fibre cloths. Shit I used included - diluted Simple Green (beware, some people have had this stain alloy), Armor All Multi-Purpose cleaner (this shit is amazing on damn near anything) and Interflon Foam Cleaner (beyond incredible cleaner, kind to plastics and electronics, also a weapon on upholstery). Brushes ranged from a toothbrush, up to a soft dish brush. Start - this is in the battery tray corner, the general filth on the firewall is indicative of all the painted surfaces in the engine bay when I kicked off. DC2R Phone (18)-Edit by Richard Opie, on Flickr No real in-progress shots. I did snap a wee comparison of the old cam cover and the NEW HOTNESS just prior to fitting it up with new seals/gaskets etc. DC2R Phone (19)-Edit by Richard Opie, on Flickr It looked good before right? But how much is the difference when you line it up against a brand newie! DC2R Phone (21)-Edit by Richard Opie, on Flickr Basically the end result. I am aware I need to remove a few painted brackets etc and get them recoated. I've also put wheels in motion to buy a whole swag of OEM fasteners to replace anything a bit tarnished/rusty etc. Mainly M6x16 factory ones in the grey zinc finish. DC2R Phone (22)-Edit by Richard Opie, on Flickr This thing positively glows. It's a thing of beauty. DC2R Phone (23)-Edit by Richard Opie, on Flickr Even the letters have a shine and crispness beyond anything I've ever seen on a B-series. Machined OEM finish! DC2R Phone (26)-Edit by Richard Opie, on Flickr Likely the most boring photo I've ever snapped. But it illustrates the finish on the firewall/paint at the end of the proceedings. Turned out pretty good. It's not perfect, no, but it's definitely up there as far as 20-year old engine bays go. DC2R Phone (27)-Edit by Richard Opie, on Flickr And a parting shot. Pretty chuffed with it all, will carry on with a few more jobs to sort in the bay, and also clean the underside of the bonnet which is quite grubby. Toodle-oo.6 points
-
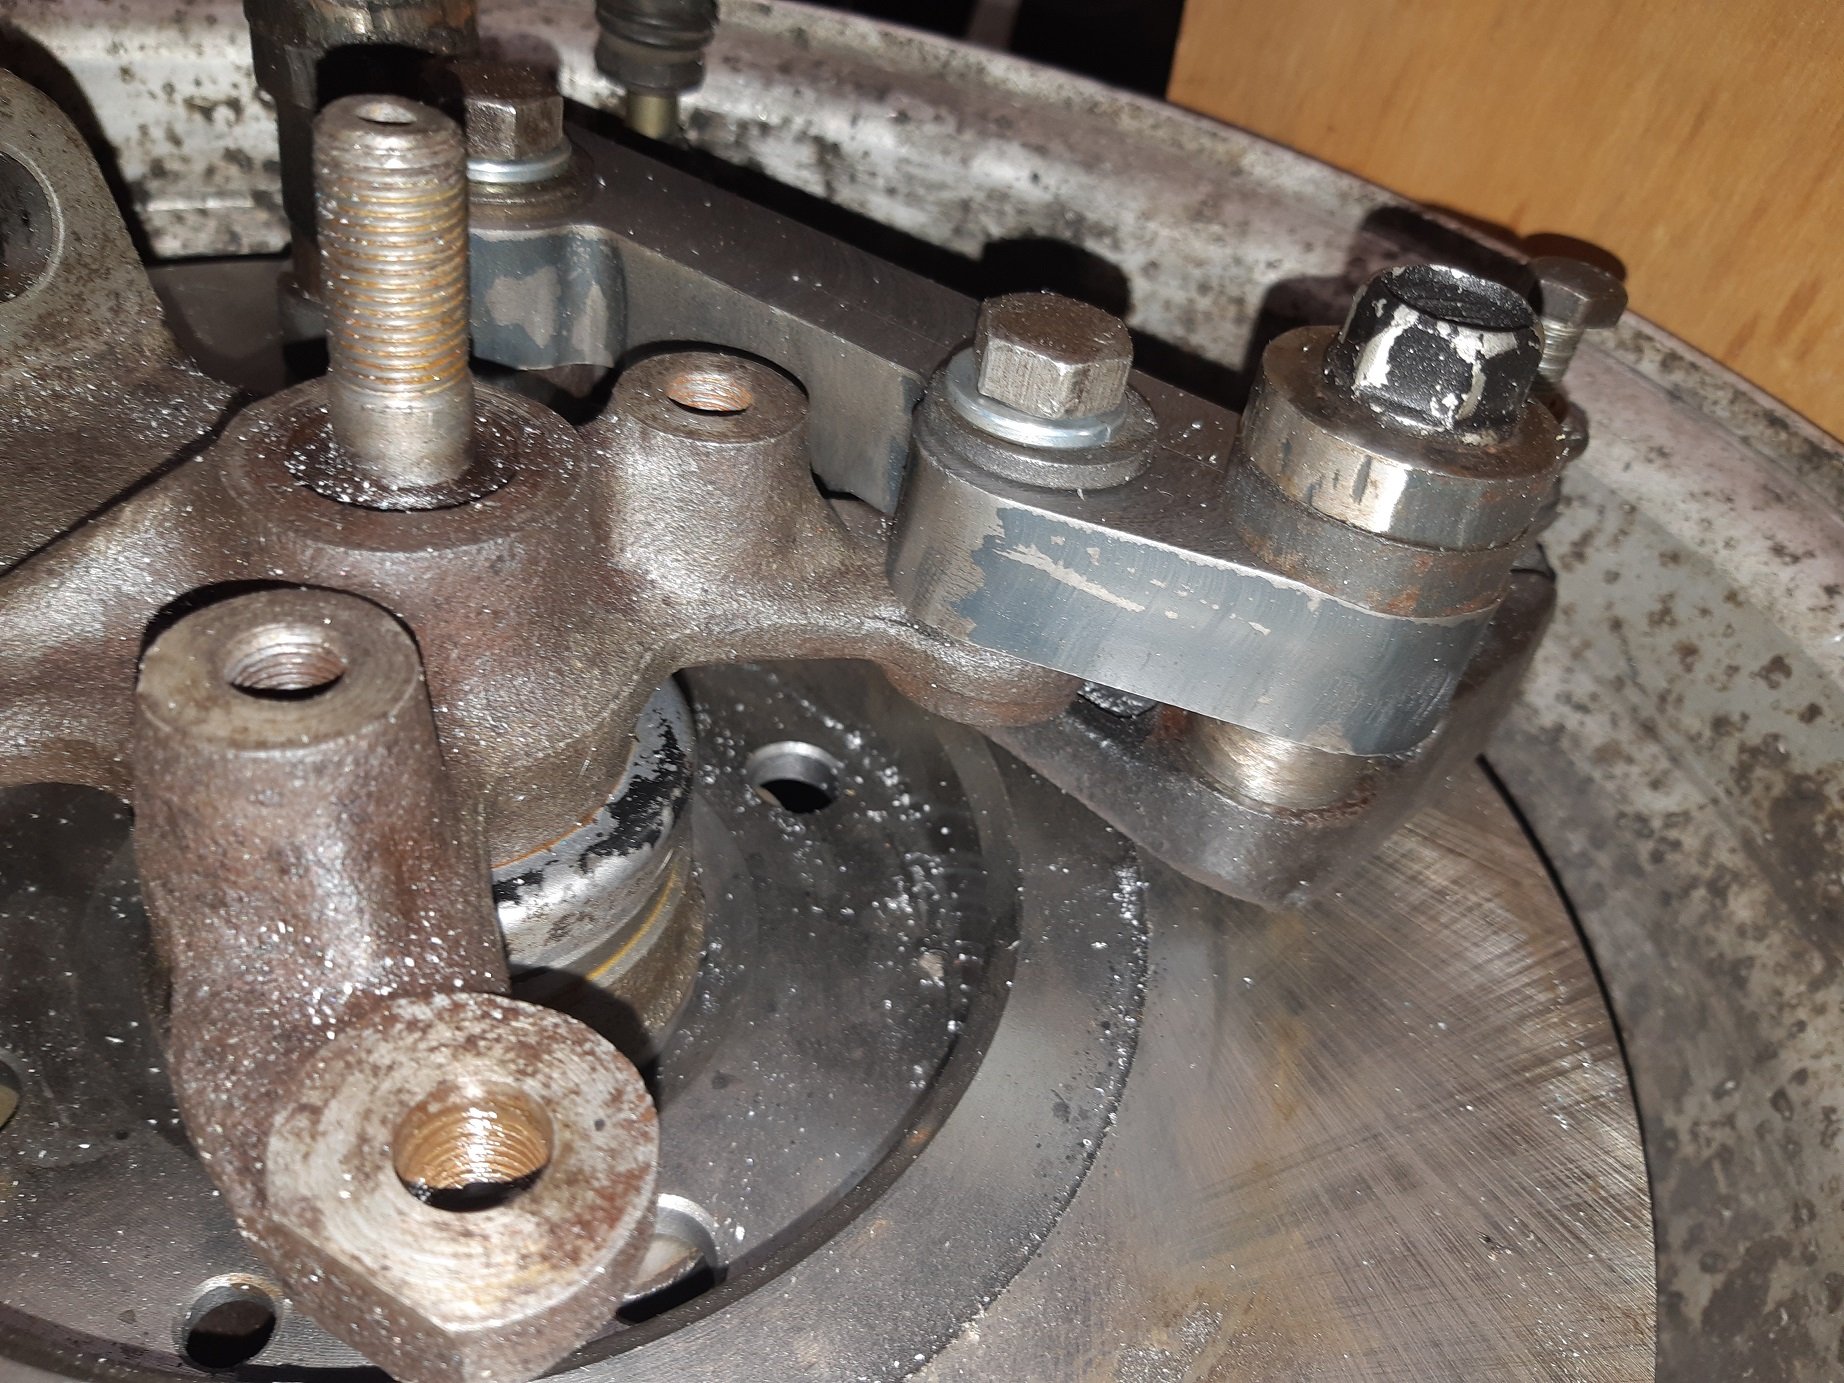
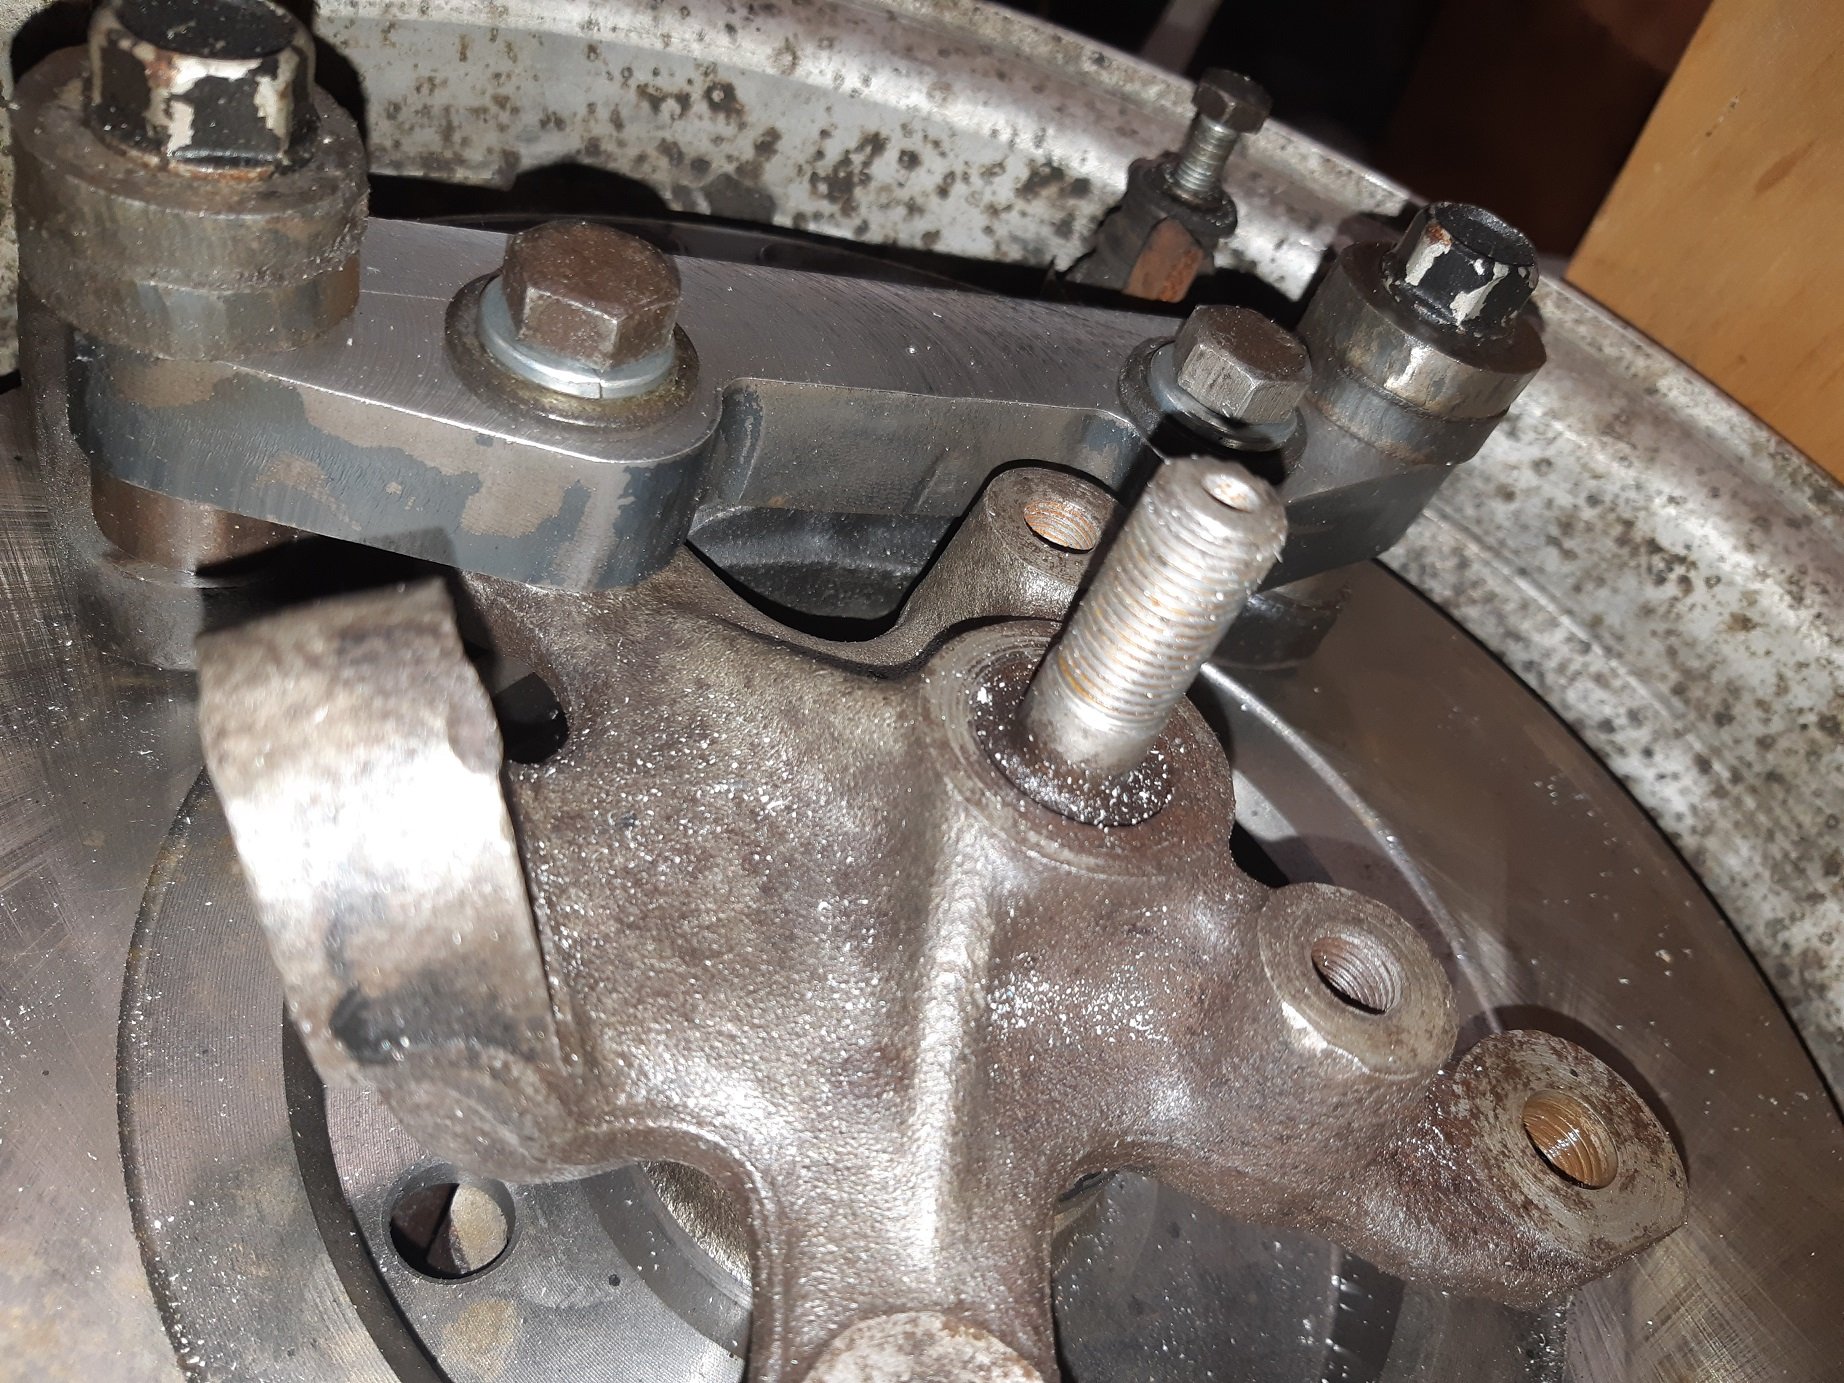
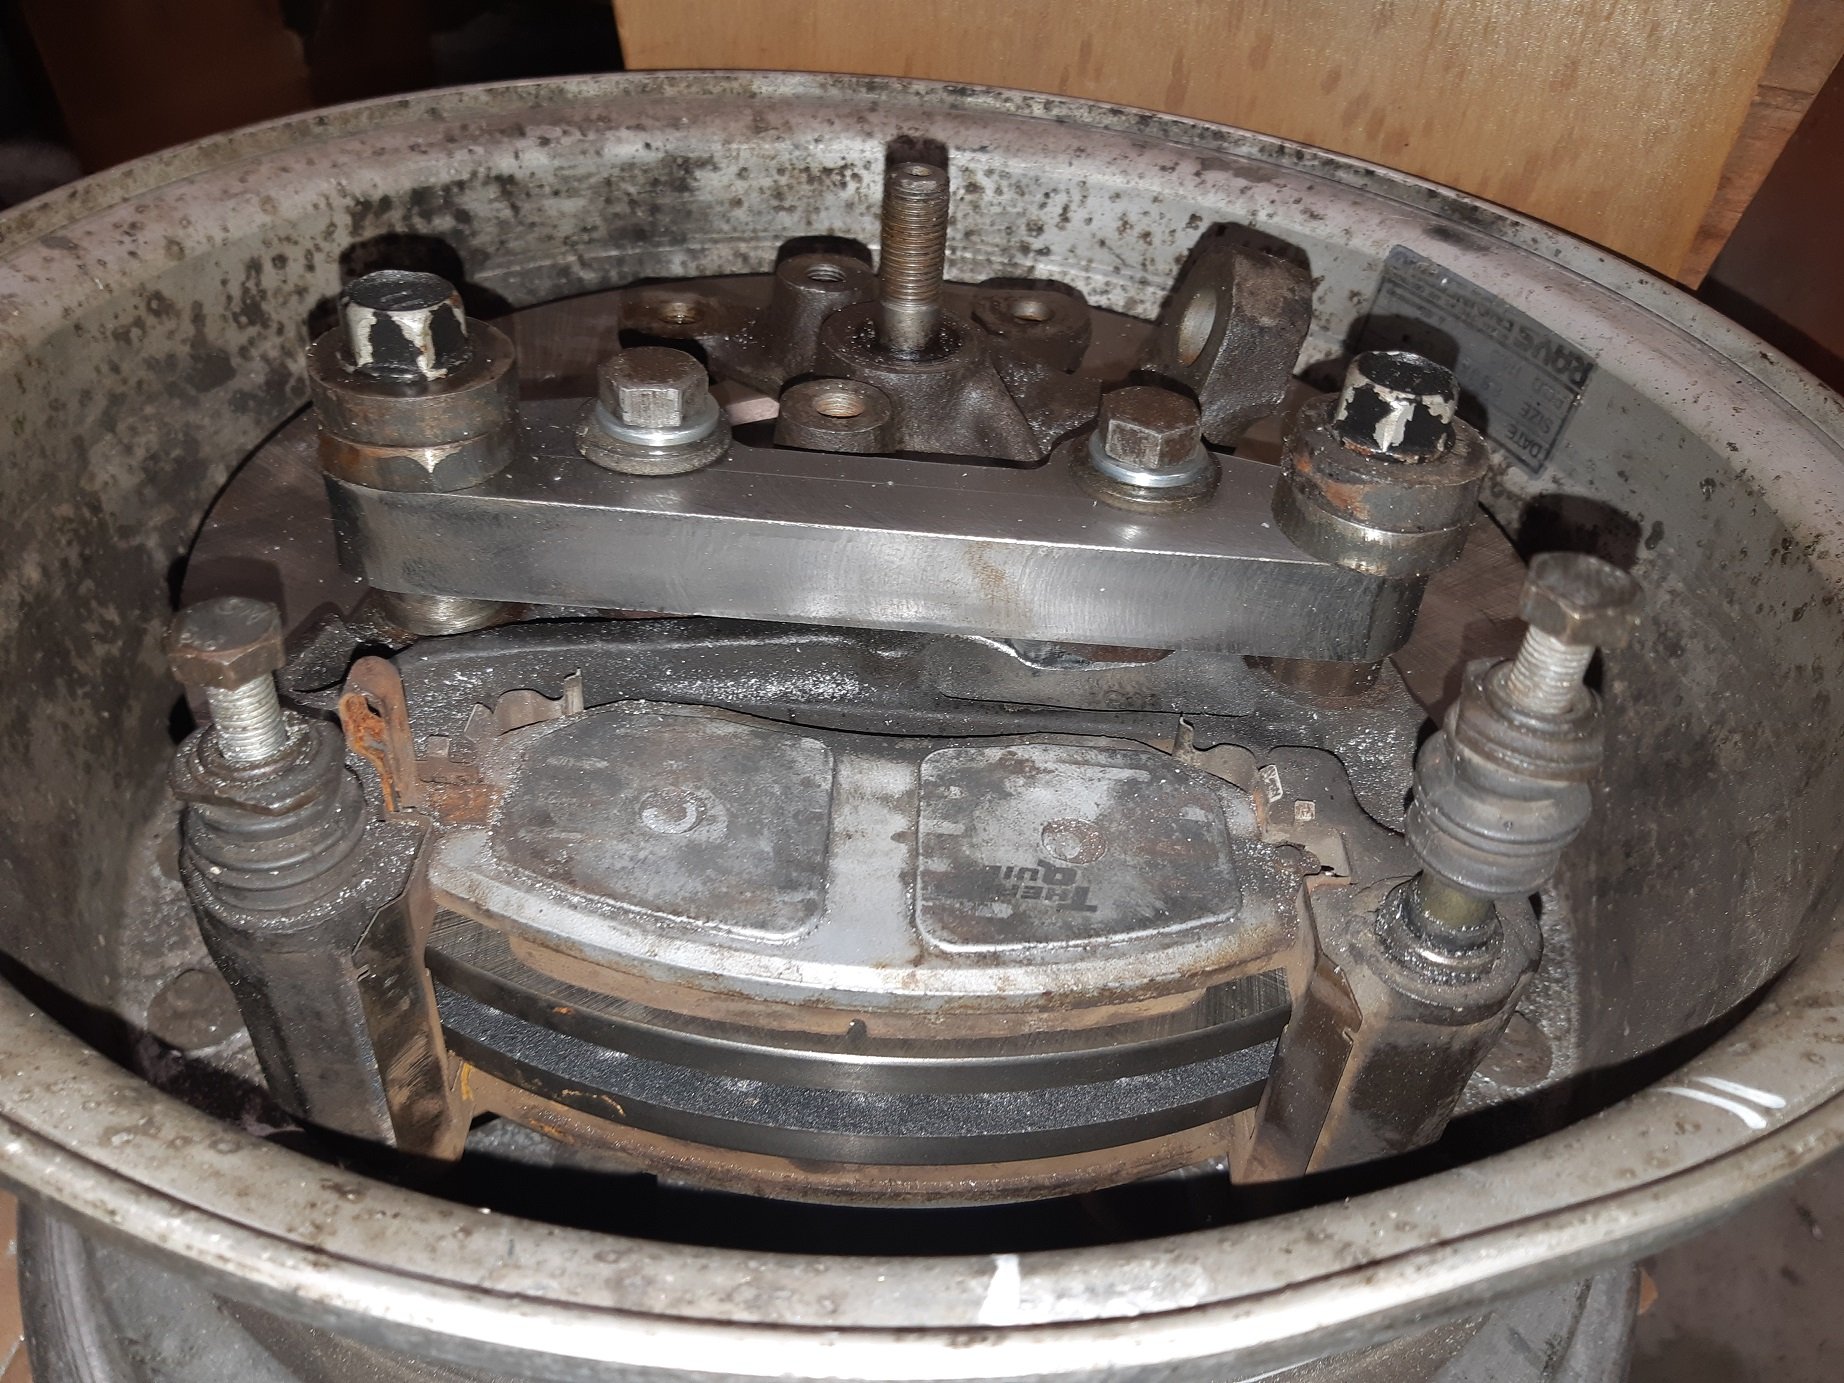
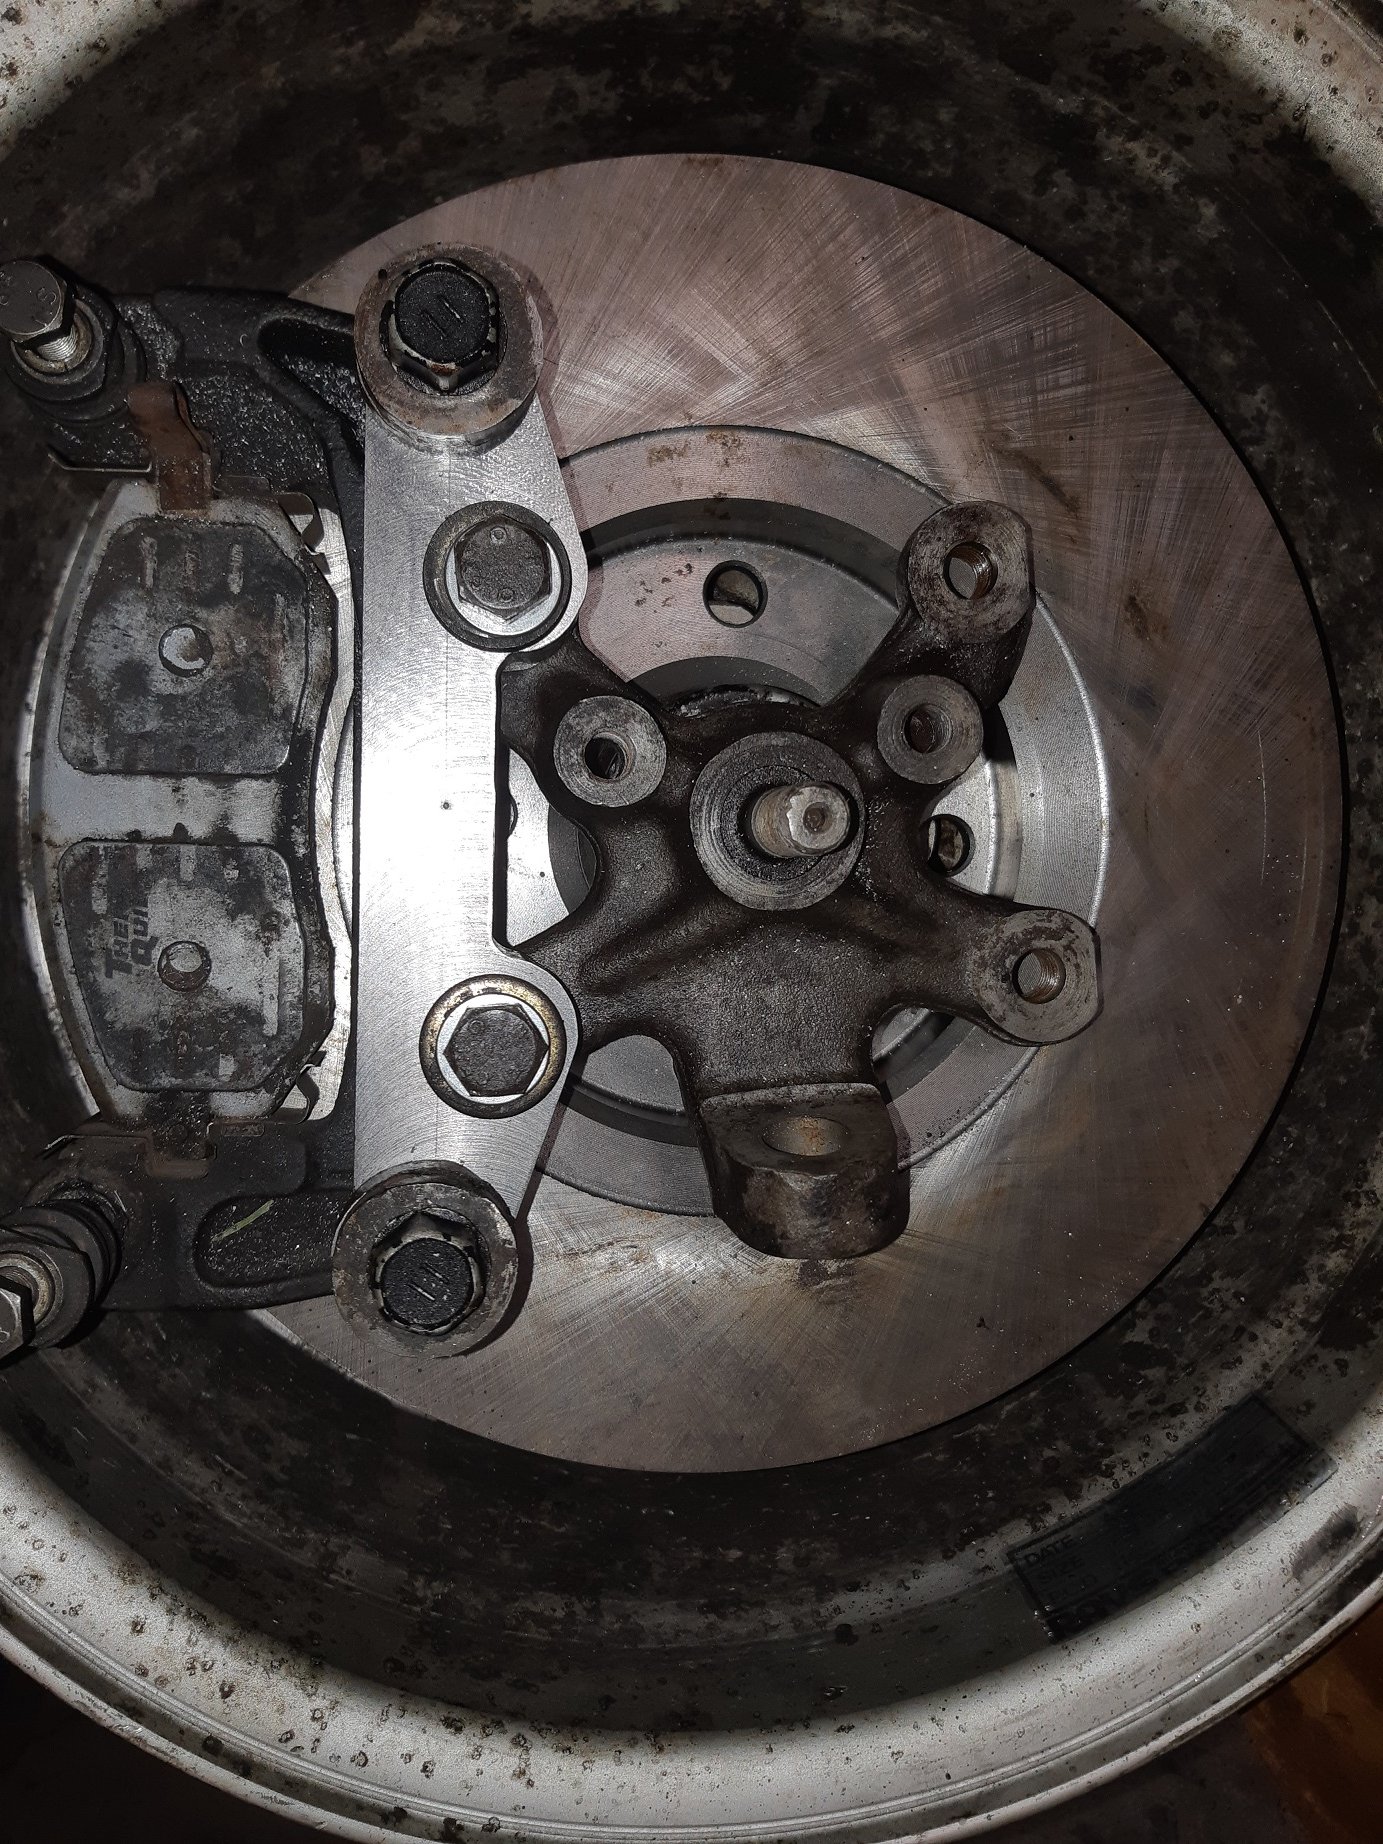
Got some 20mm plate plasma cut. I had a one spare cut in case I fuck it up. I started whittling at it with the mill. Managed to drill 4 holes in EXACTLY the right spots on the first one! I used the dial thingamies on the table adjuster wheels. I still need to machine it down to 15mm, make some 11mm spacers and get some bolts the right length.
4 points
-
DC2R Phone (11)-Edit by Richard Opie, on Flickr Here's a pic from this evening, it basically looks exactly as it did in post 1. But honestly, I have done a lot of things to it.4 points
-
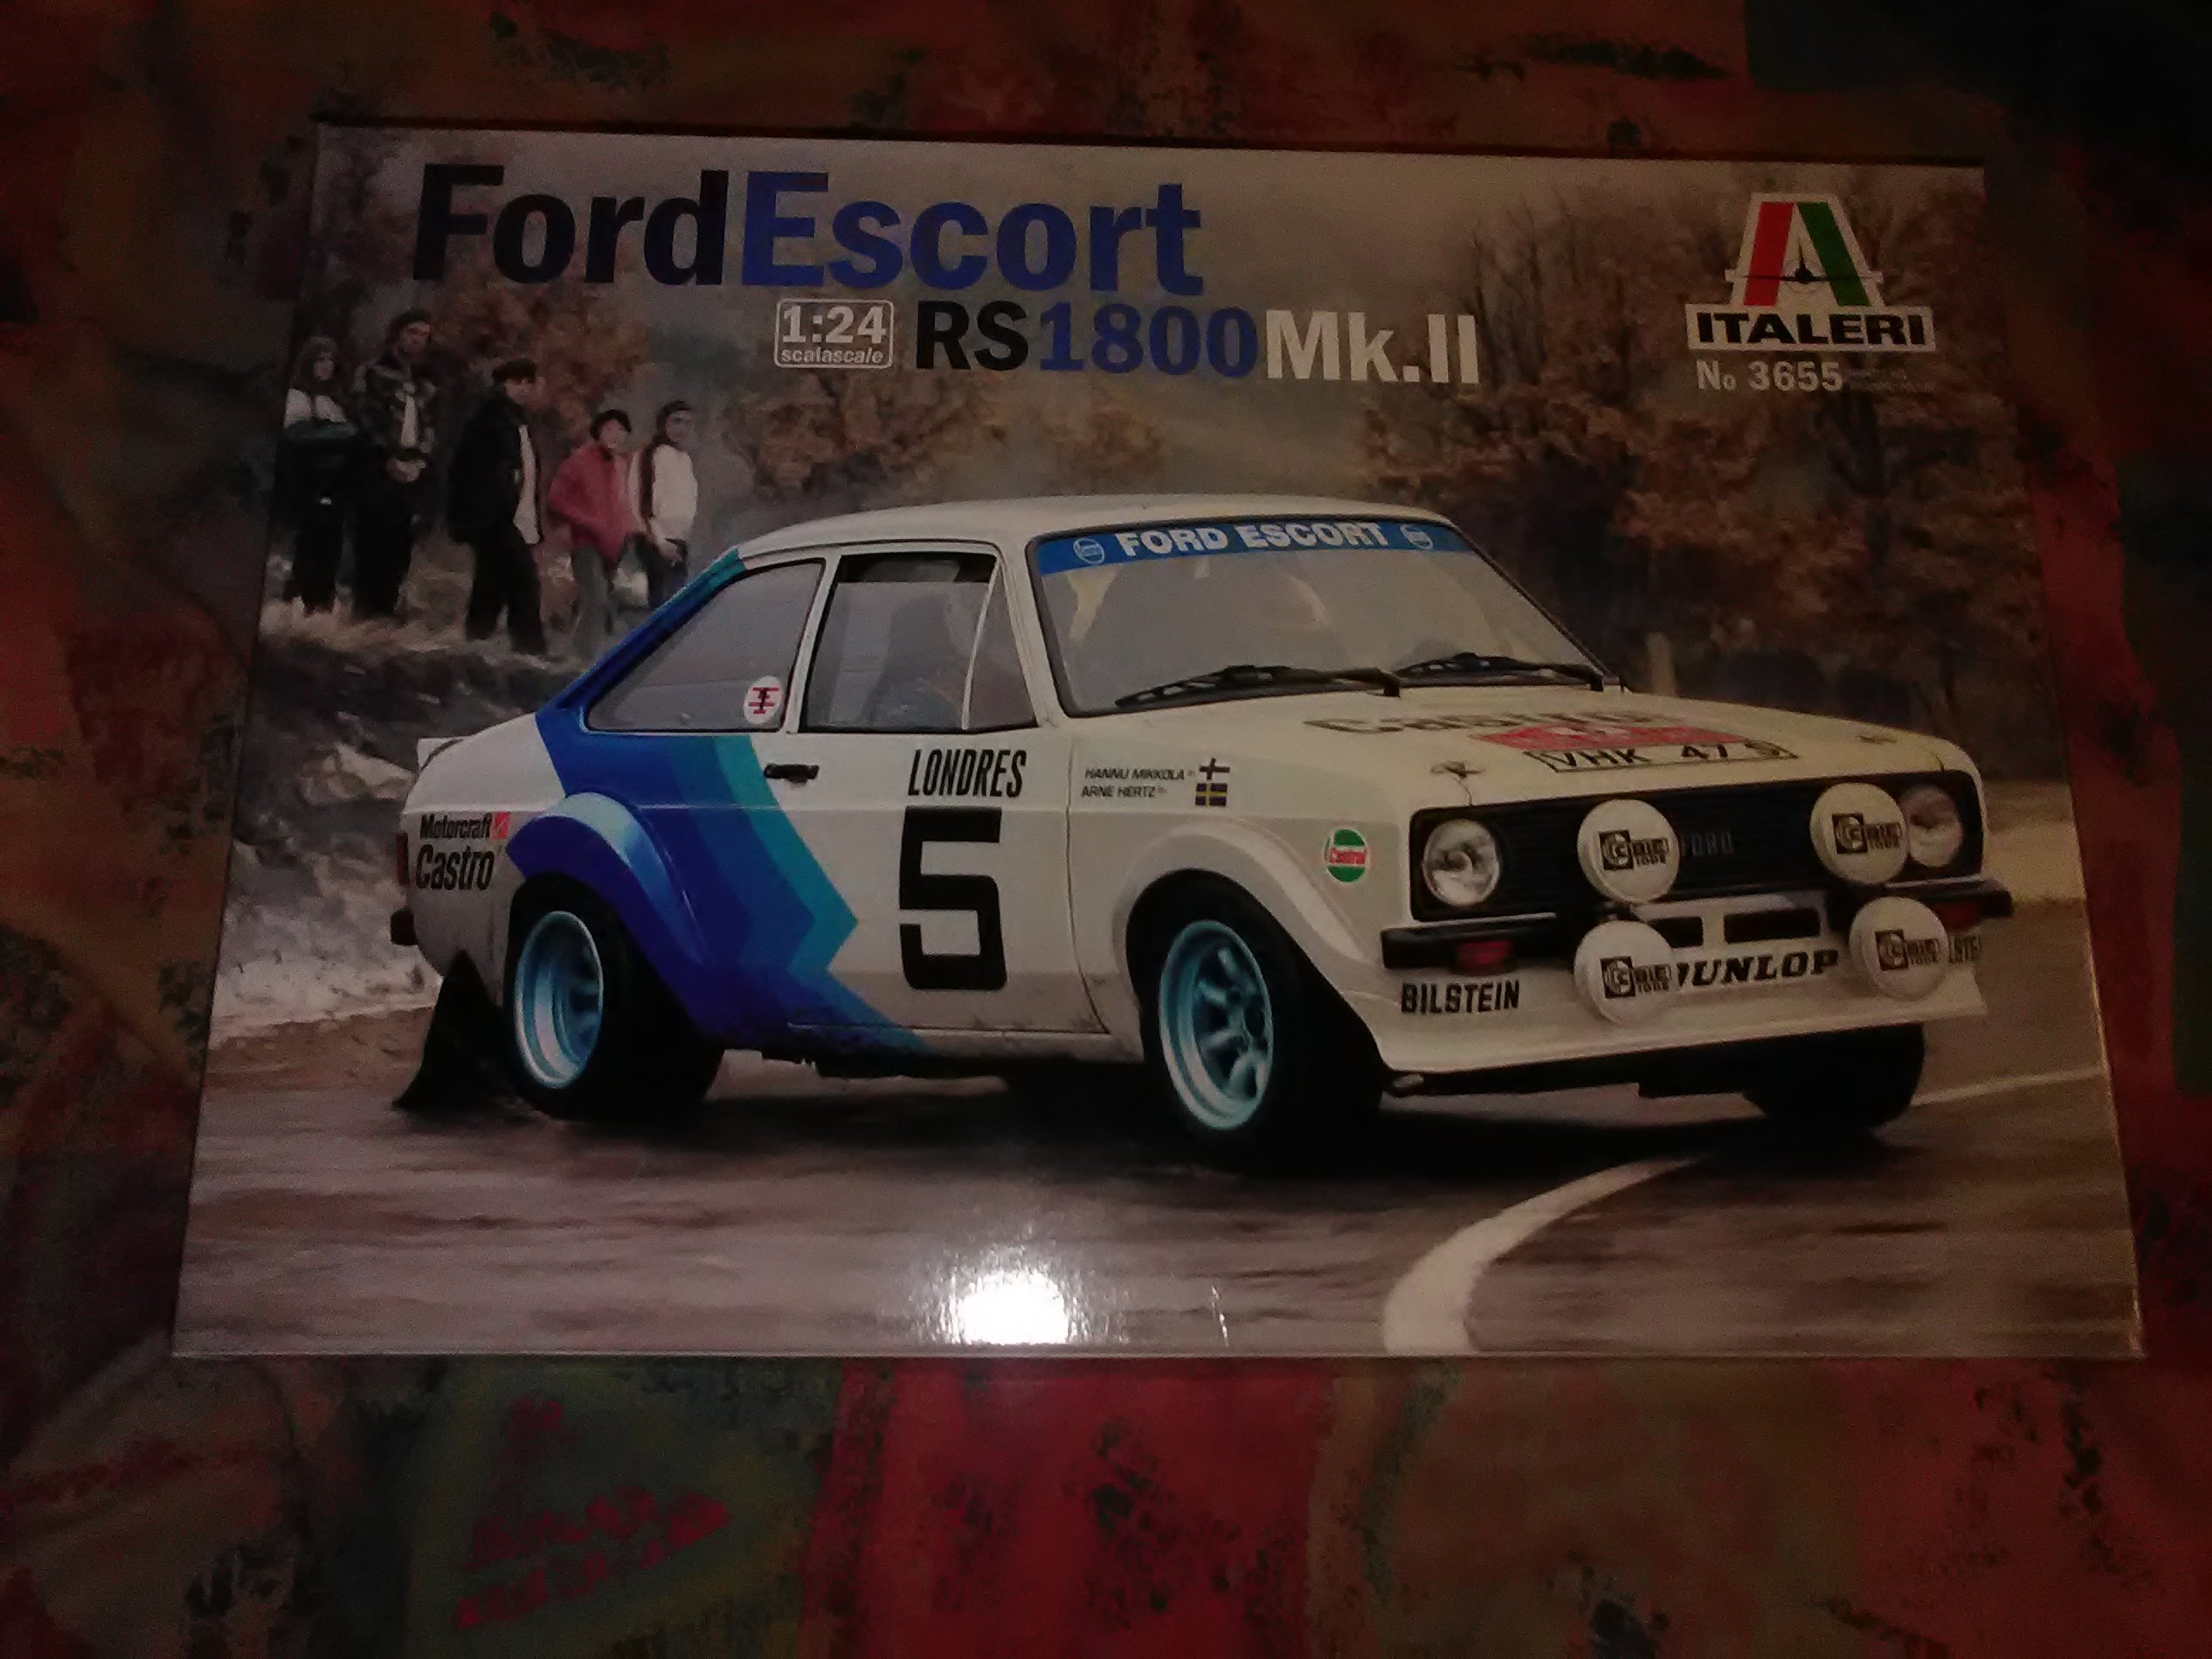
Guy at hobbie store twisted my rubber arm..
2 points
-
Driveline down here just took a turbo td42 from the workshop in bits. It dropped #4 liner, but depending on yours you might make 1 out of 2. I don't know what their plans are for it but they might be happy to move it along. Dream build btw, love it2 points
-
These are sooo cool. You should make it your goal to have it rideable for the Urewera undertaking and let strangers like me do jumps on it2 points
-
made a thing to mount the little front amp and the crossovers. it goes under the parcel tray which is above the passengers feet. its all installed and working. 2019-07-27_05-45-31 by sheepers, on Flickr this is the stuff ive used for the soundz 2019-07-27_05-45-44 by sheepers, on Flickr in other news i got the power steering sorted. with parts from @JustHarry and @Yowzer i got all the bits i needed to make it work. i had the pump and the box (which i got rebuilt) but i was missing the brackets and pulleys and shit. all installed and working fucking mint. 2019-07-27_05-44-36 by sheepers, on Flickr heres a tip for anyone doing a manual to power steering swap. the shaft that comes out of the end of the column and bolts to the rag joint is longer on the manual cars. to shorten it you can take it out of the end of the column (a cunt of a job to get it out, it has a swaged over lip that you have to fold back and its fucking difficult to do) once its out you can very carefully drill another hole approx 40mm further down the shaft and move the pin down to shorten it. then cut the end off. job done. the picture should explain this better. 2019-07-27_05-45-10 by sheepers, on Flickr also made a sub box today. i dont like the carpet stuff i used so ill re-do that. 2019-07-27_05-44-50 by sheepers, on Flickr2 points
-
Have you considered having all your projects in one thread?2 points
-
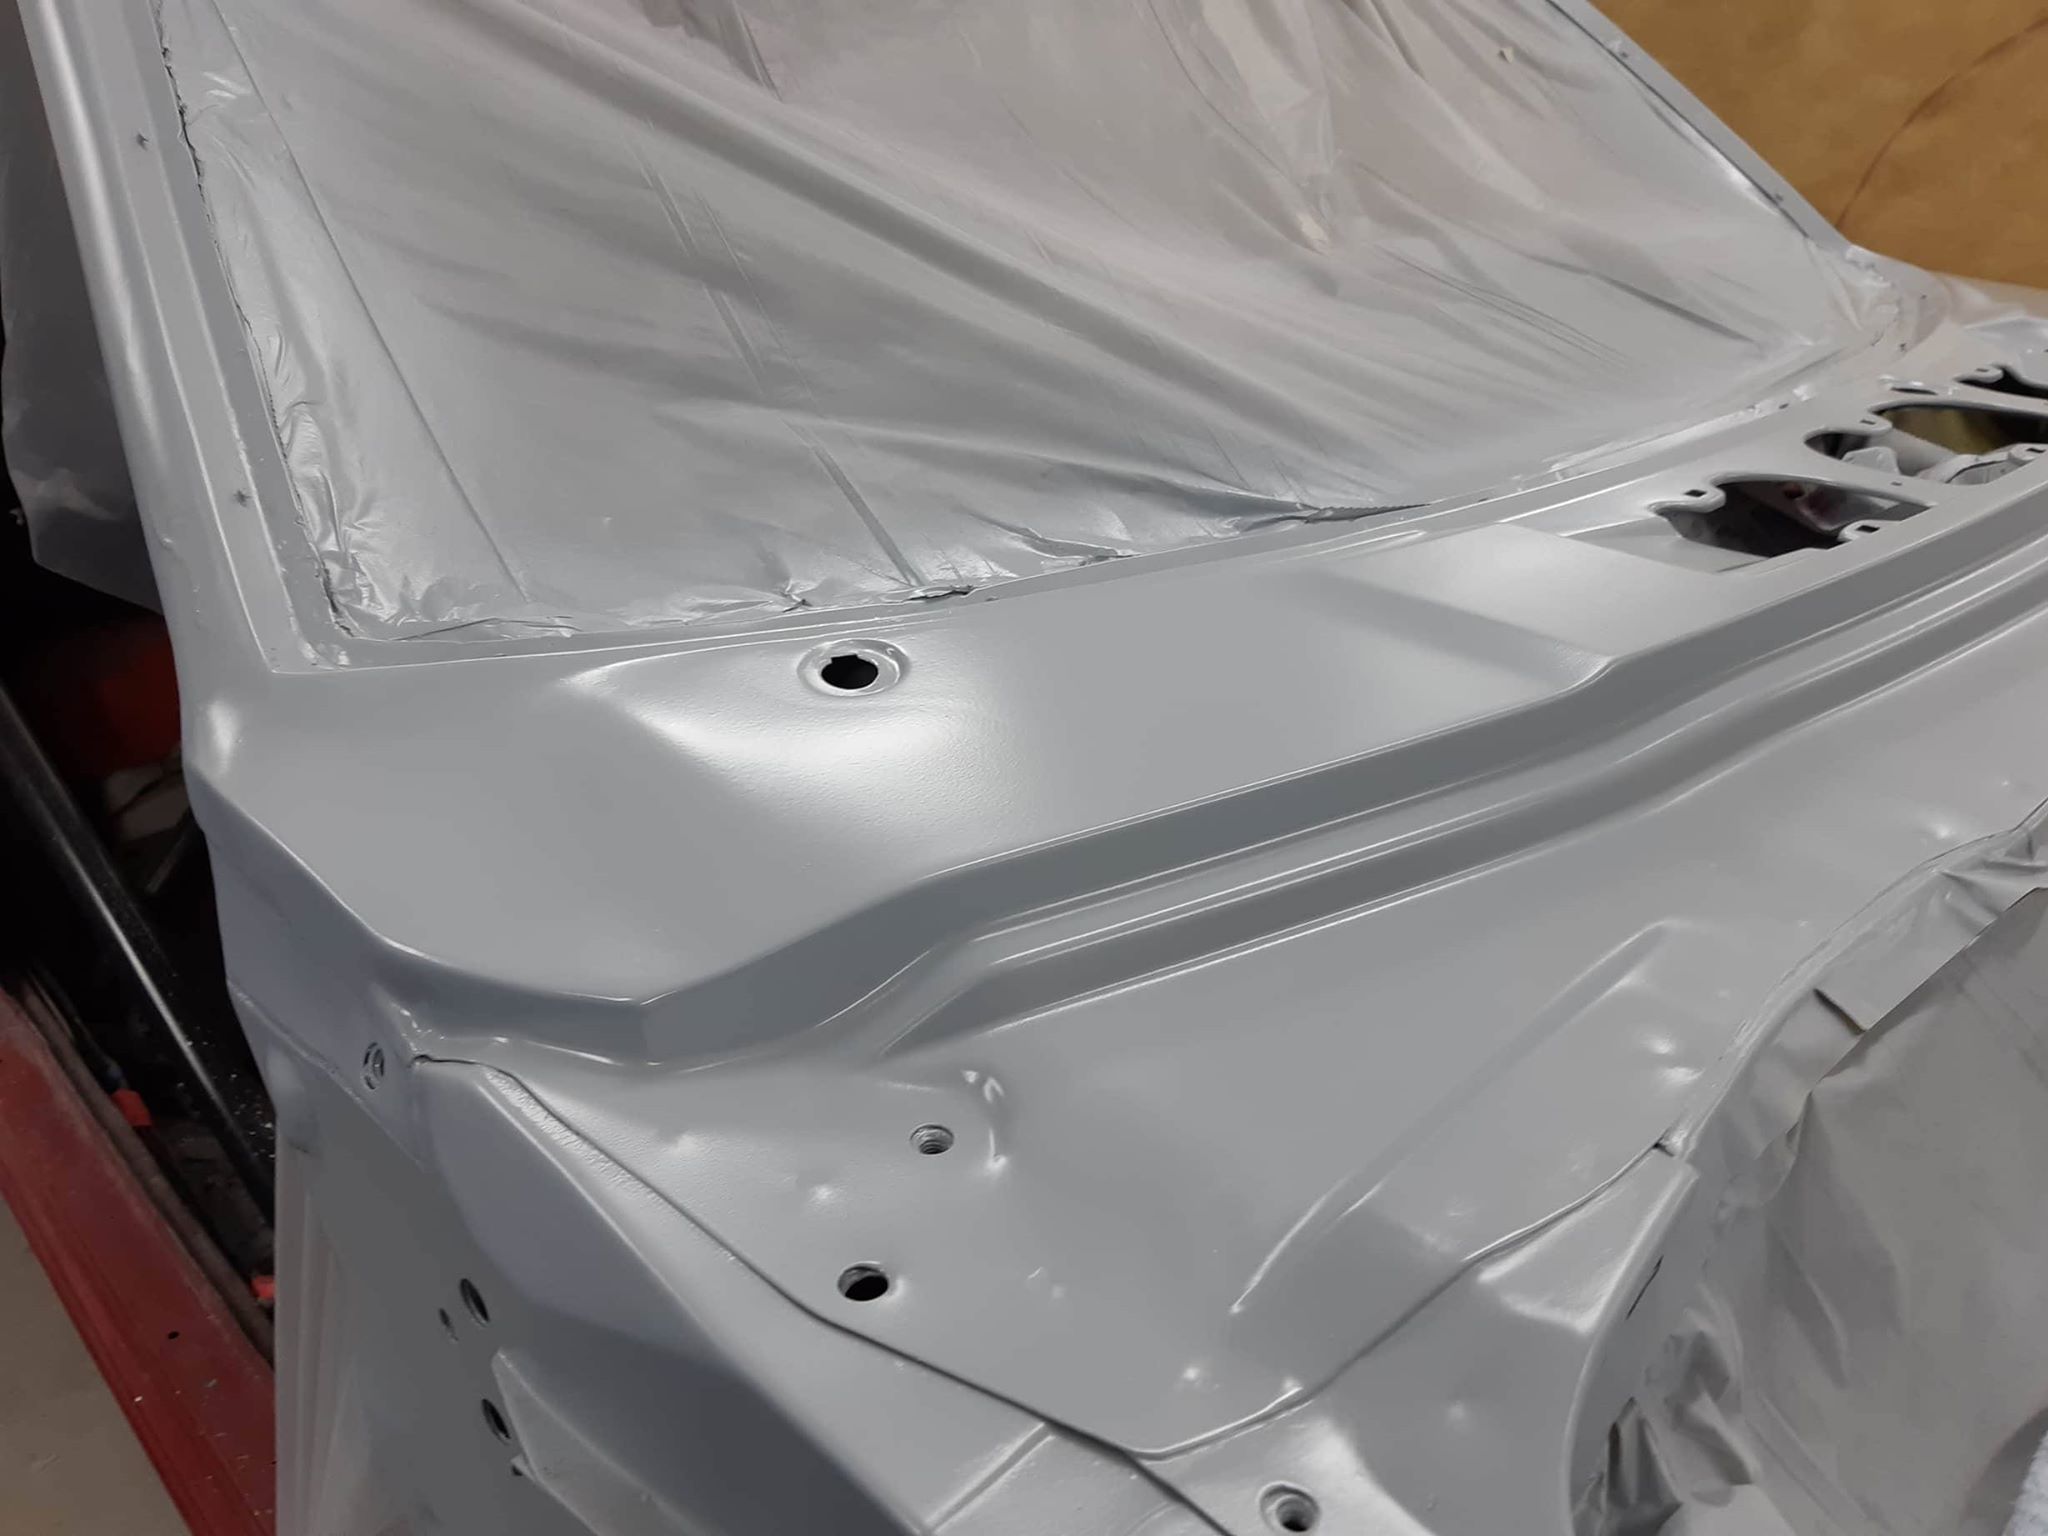
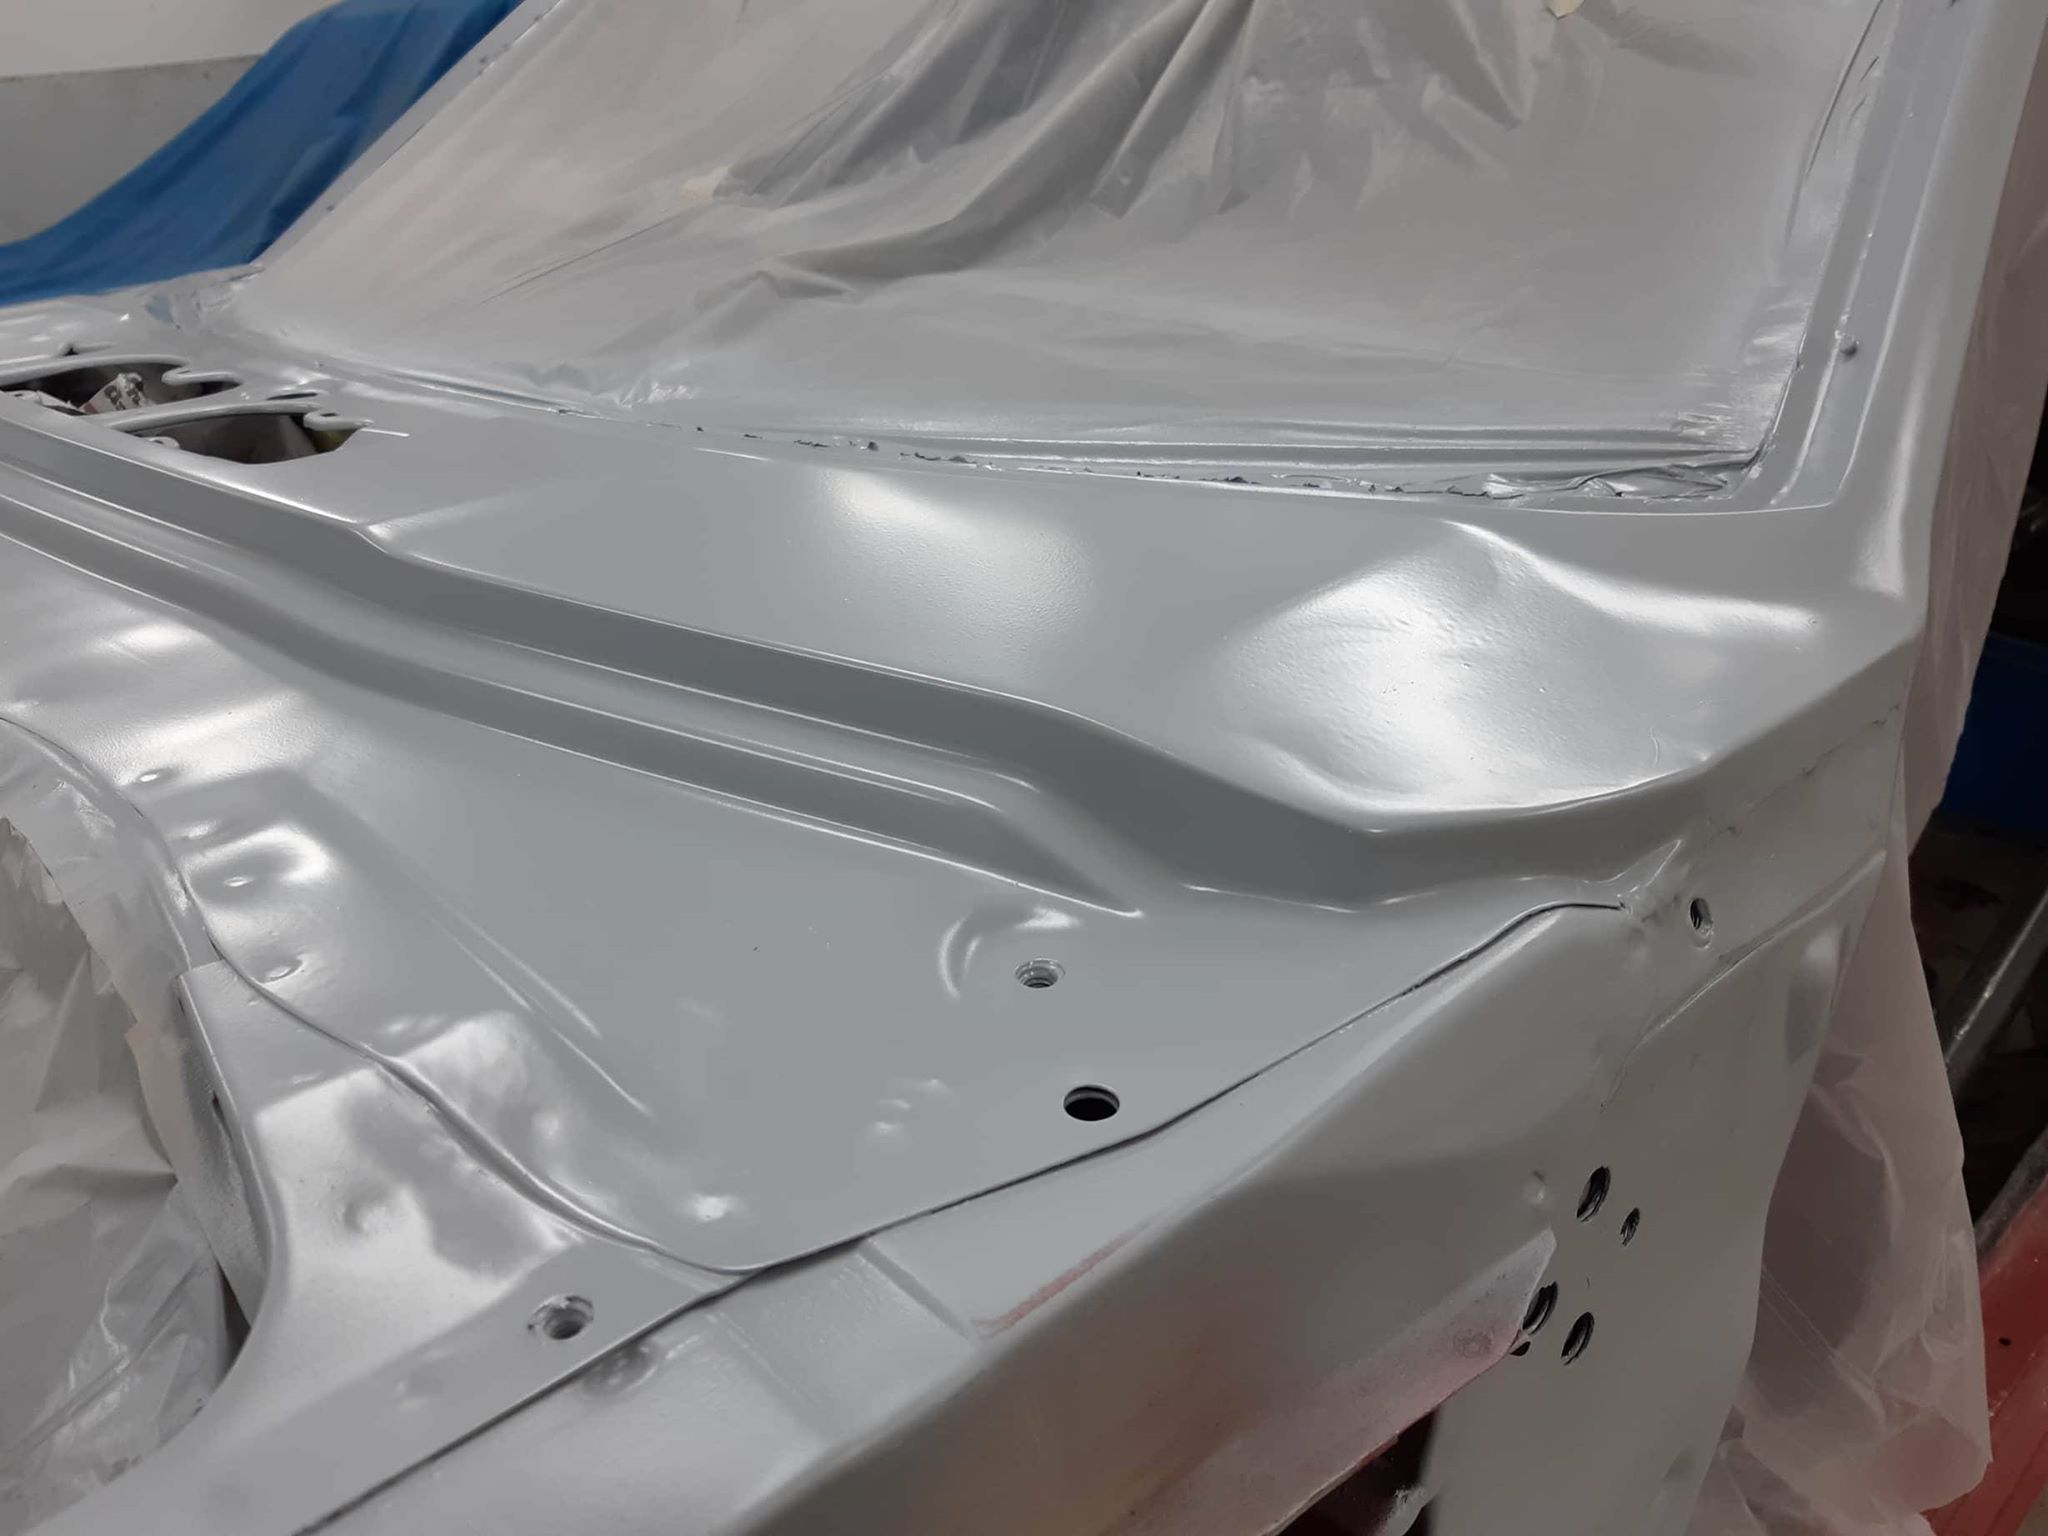
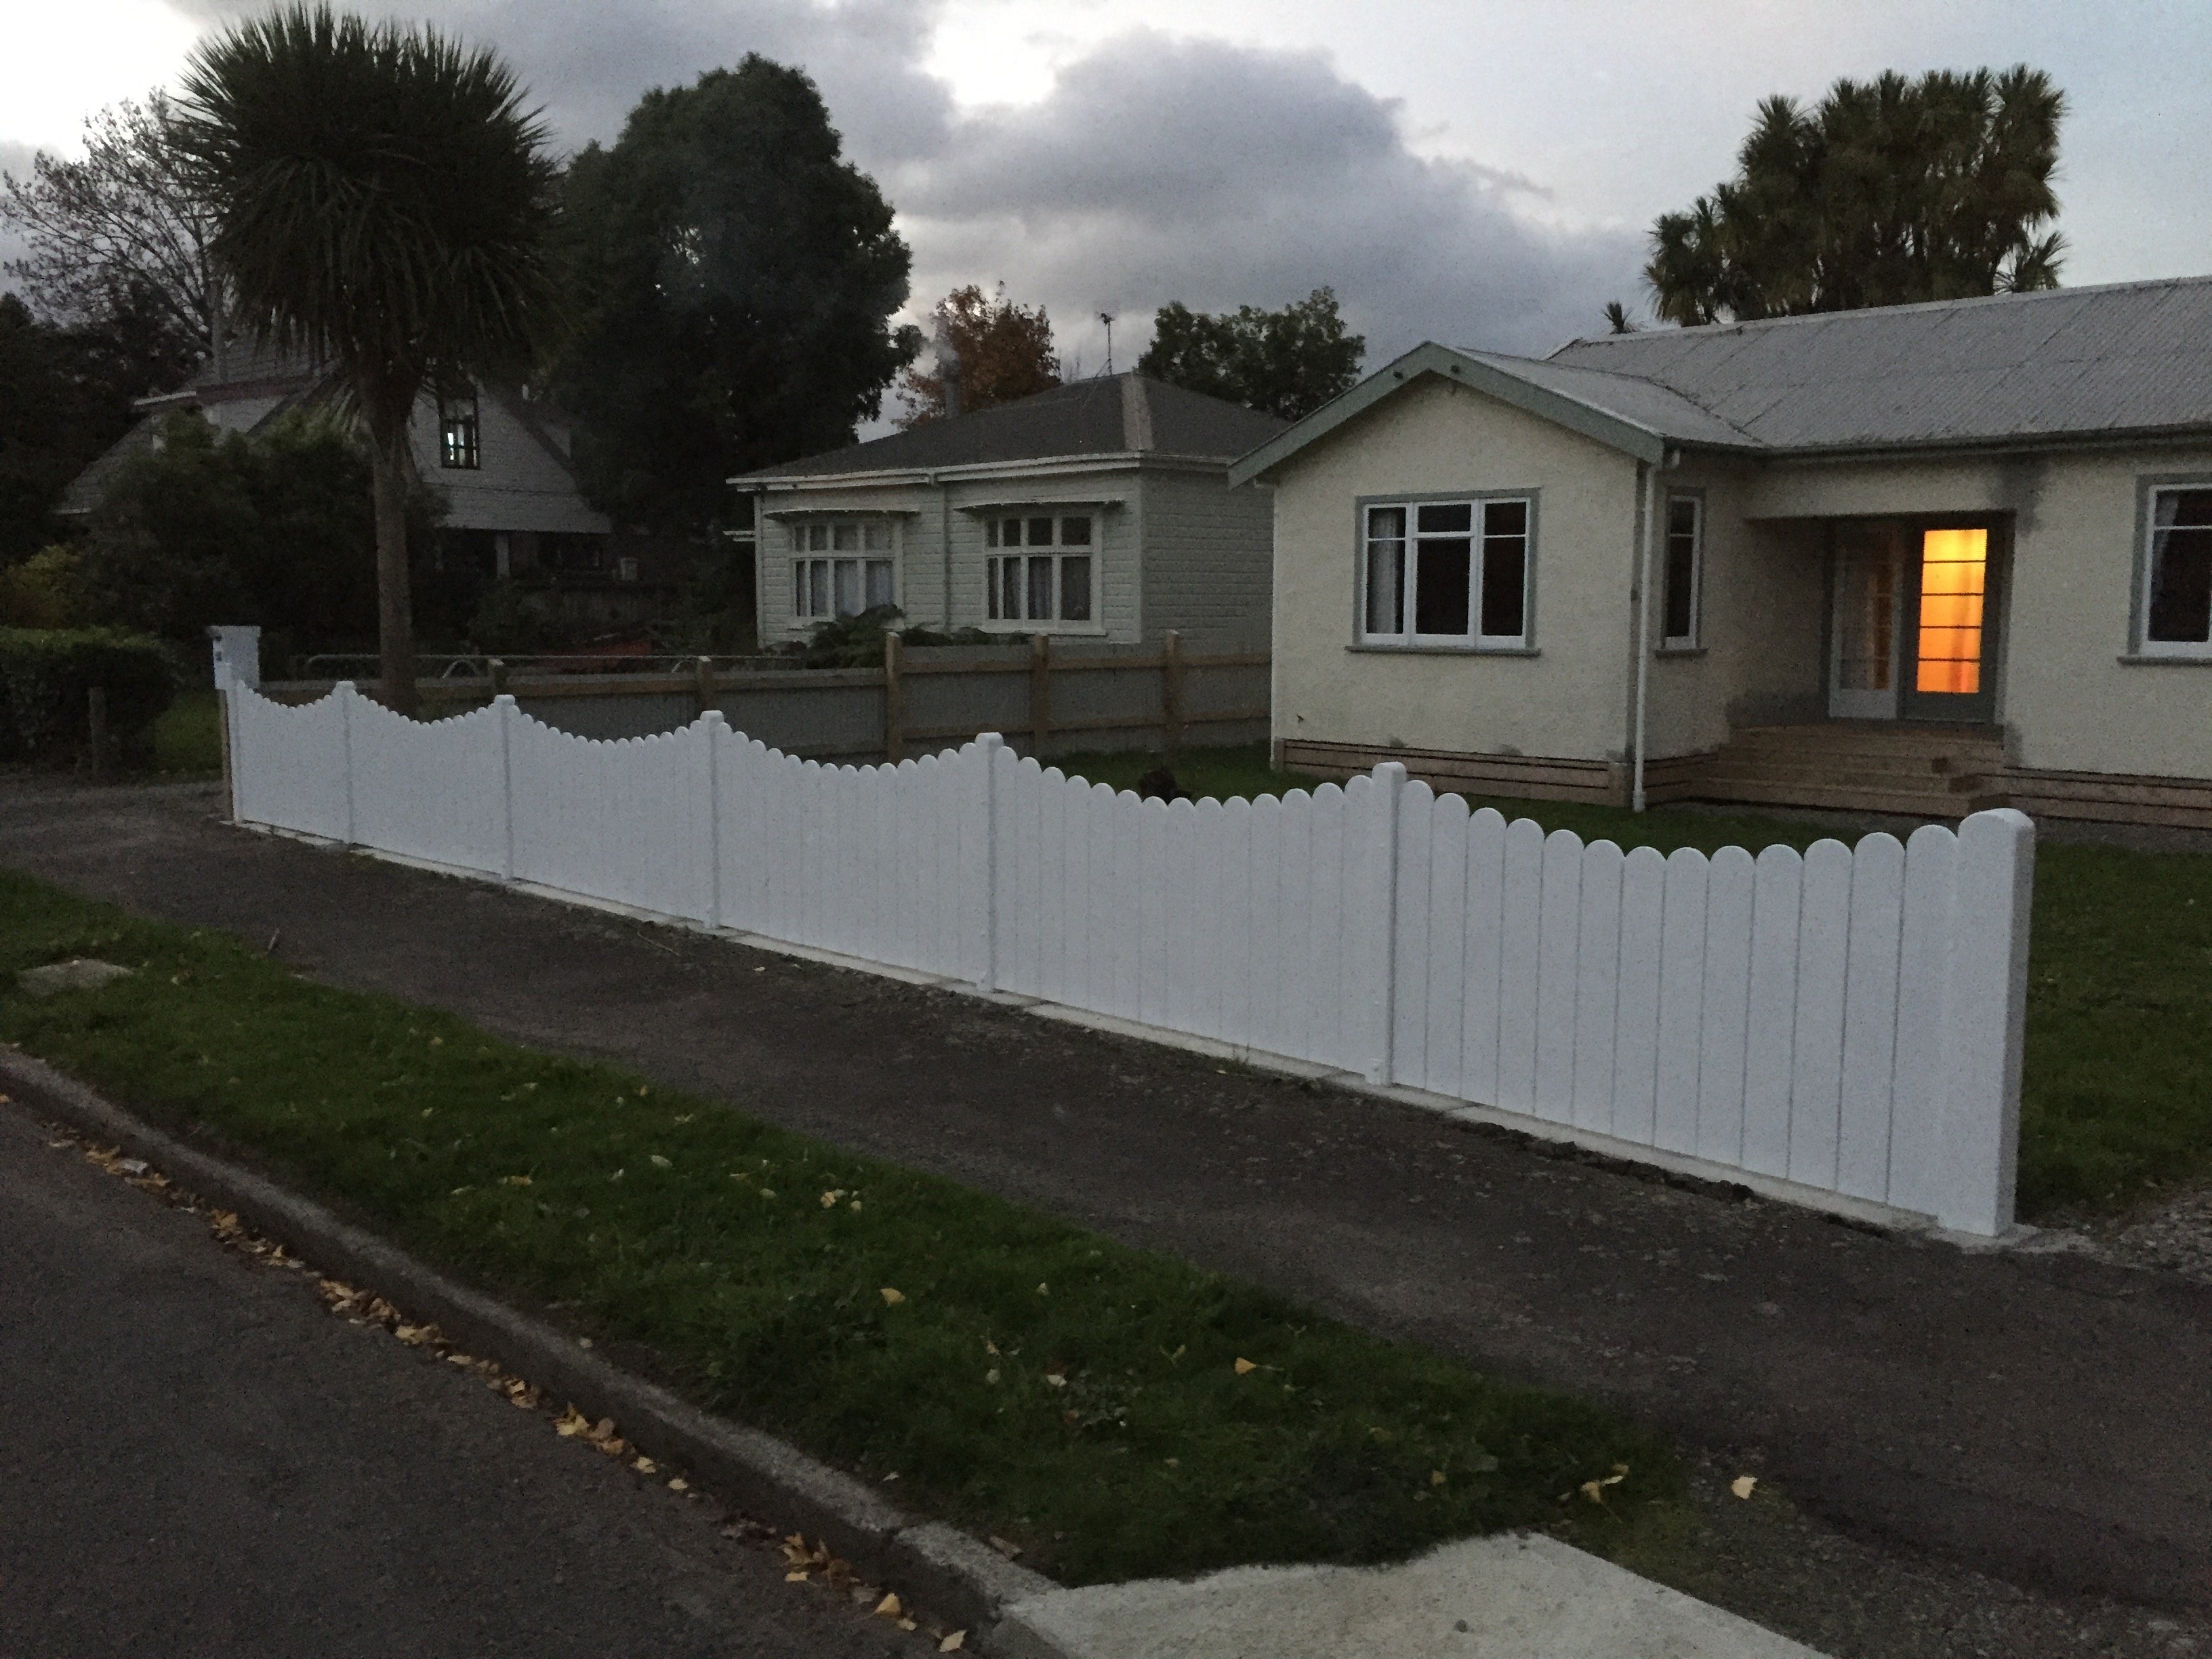
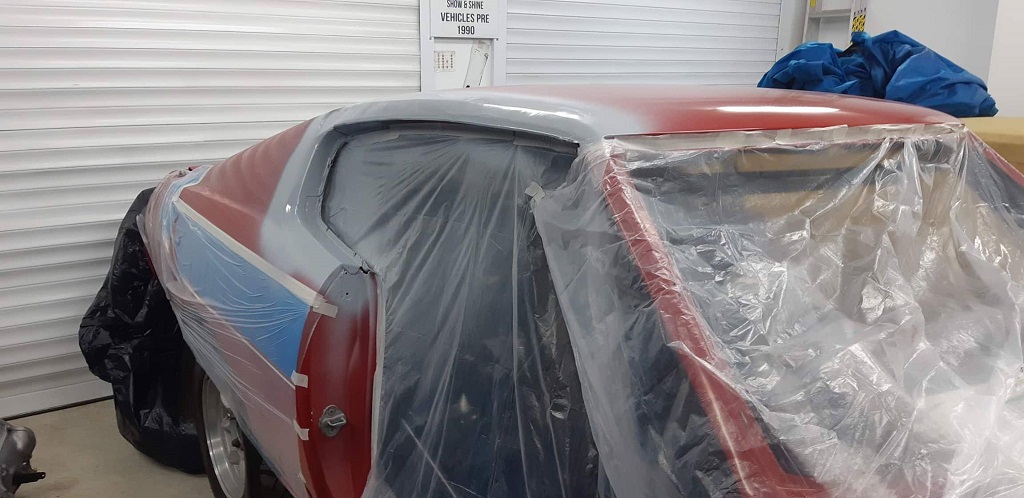
Filled and reprimed today - a little more fill and sanding and it should be good to top coat
2 points
-
Shit yea, let me know what $$ they want. I have some spare cash squirrelled away for engines..1 point
-
I had a triumph PI someone had brazed in a T into one of the pressure lines and then brazed in a return to the tank on the pump to bleed off pressure1 point
-
Hi Jeff, that little spanner is for old bikes, the smallest jaws fit the square headed bolts that hold the chain ring onto the crank. Vaguely related sharn: We had a motor grader at work that had the accelerator pedal to the left of the brake it was made in 1978. The lay out made for some excitement when I learned to drive it.1 point
-
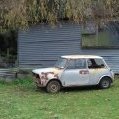
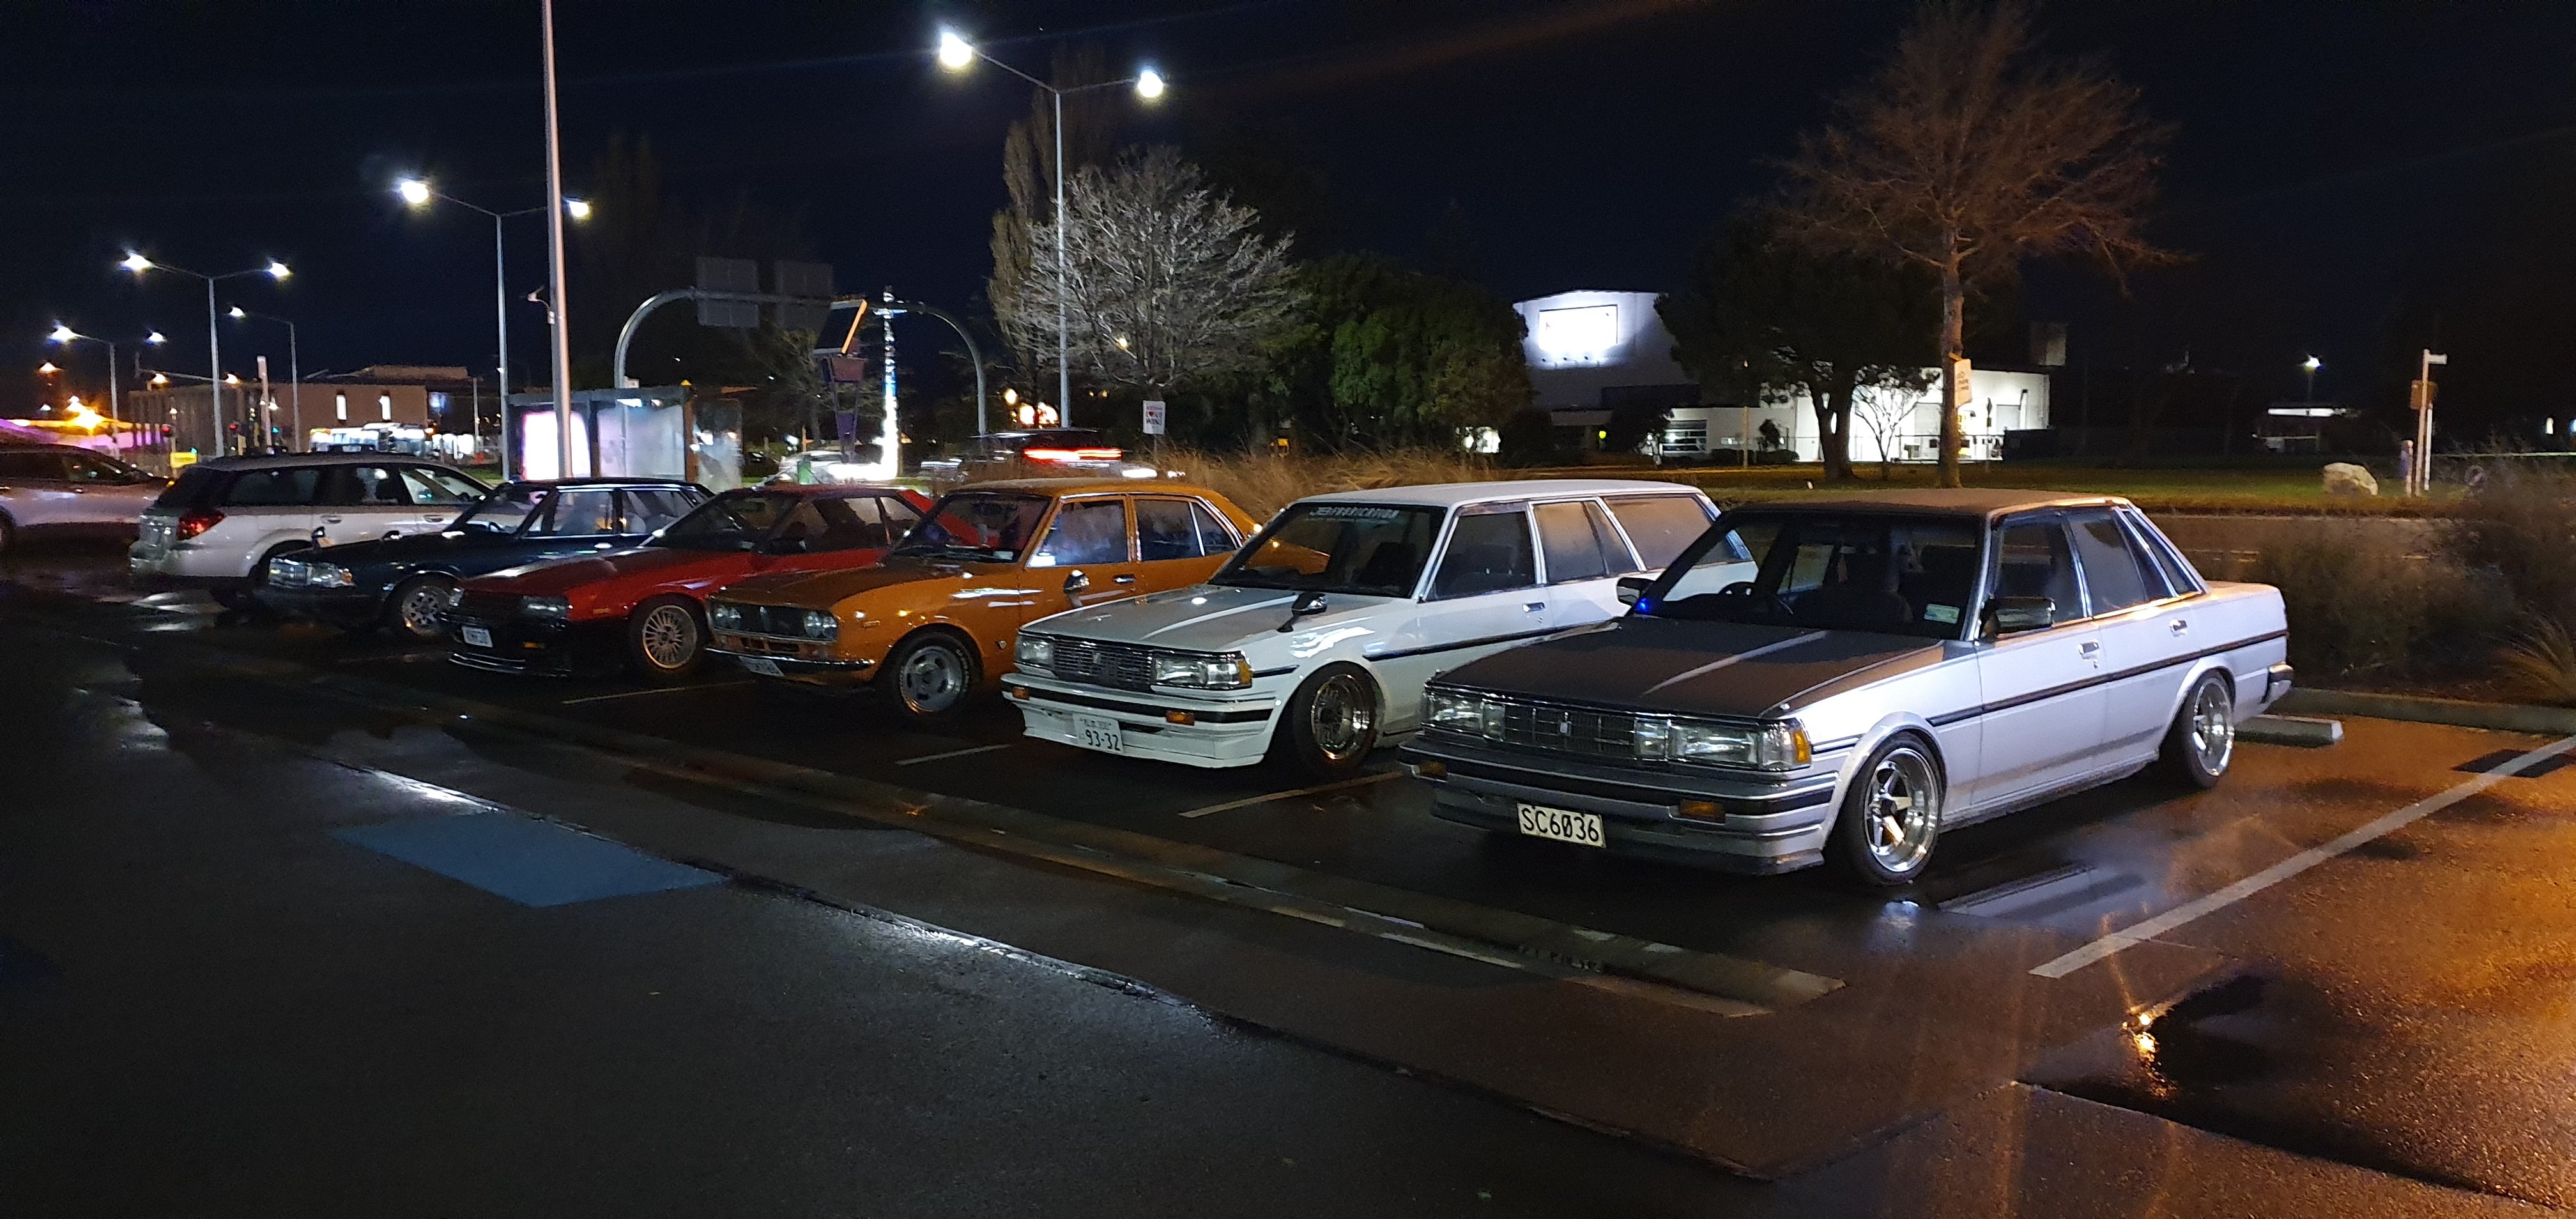
Took this on my works mid winter xmas do car rally. got this pretty awesome photo! makes the car look way better than it is, but gets me super excited for painting it!1 point
-
Not a bad idea. I’m getting a nos one out of Greece for about 50nzd!1 point
-
Here's a clip of us fucking around warming the trikes up. For some it's the first time they've ridden one. We then went on to a structured knockout system of elimination. Though towards the end the system went out the window and we just made shit up.1 point
-
I fixed a Beta clutch basket that had broken one of those clutch spring spigots, made a new one from alloy bar and got it welded back in1 point
-
honda today ? always wanted a choi nori for lols1 point
-
Unlimited potential...1 point
-
Update! I never said progress....
1 point
-
So I've done a bit more on this dirty Berty. I flipped it over to finish off the frame extension, and cut off a few unneeded bits. Seeing as it wouldn't rev or idle with no choke, I cleaned the carbs out, they had sea weed growing on the float needle things. I also welded up the plenum, and played around with restricter sizing (had to go down to a 35mm opening) this resulted in it running waaaaay better, and revving out like it should. I also removed all the washers that had been put under the needles (they were trying to make up for them not lifting due to lack of vacuum) and it ran even betterer again! I needed some way of mounting the air filter, and remembered I still had some silicon left over from the hektik Hilux, it was perfect, and pretty! Little vid of it running betterer, the linkage was a bit sticky, hence the high idle then dieing out at the end. Then I took the wrap off the headers as it was fucked, and cleaned the headers up a bit. Then I changed the muffler out for a prettier one, it's from a GSX1200, so even though it has one chamber (the other was straight through) it has a larger outlet than the original, so should flow well. I had a sprocket that needed boring and keying, but decided to go with a plate wheel and bolt it to the original sprocket hub. Bit bigger than the OG one. I then put the back end together, and ran a brake line up to the slave cylinder. Got a few hoses from the wreckers, this female - female clutch line from an AE100 Corolla made life easy, used the mounts and all. Then I made a new gear shifter linkage, as the old one was fucking rank. I also moved it forward a bit to suit me. Next was sorting the steering wheel/shaft/rack. This was a bit of a mission, but it worked out well. Managed to mount the wheel on top of the bar it used to be below, and move it forward a bit, so I can pilot the vehicle, with the added bonus of being able to get in and out of it. Also put the front suspension back together, so I could work out the pedal position, and the position of the bar that mounts the steering bearing, clutch and gas cable mounts, and the brake master thing. The brake master has to be in this funny frame thing to miss your legs and still fit under the hood. Once all that was done, I crimped the cables, but they were too short due to me lengthening the frame, so I made little extension doofers out of D shackles. Now the back ends done, all the controls are pretty much done, and it's running better, I'm getting onto doing the front steering knuckles and tie rod ends. Still much to do, but progress is being made! Regards, VG.1 point
-
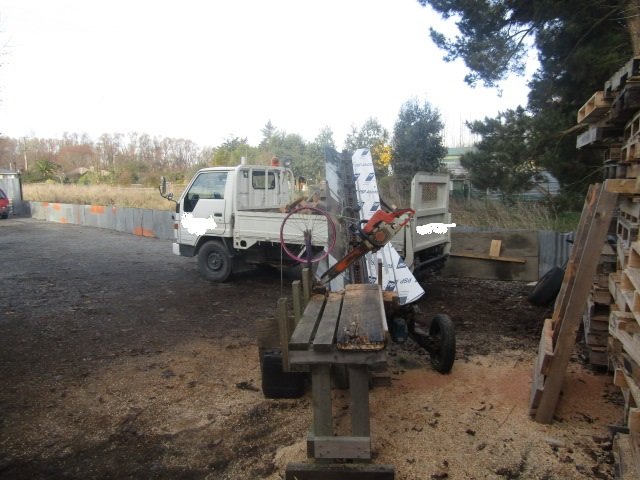
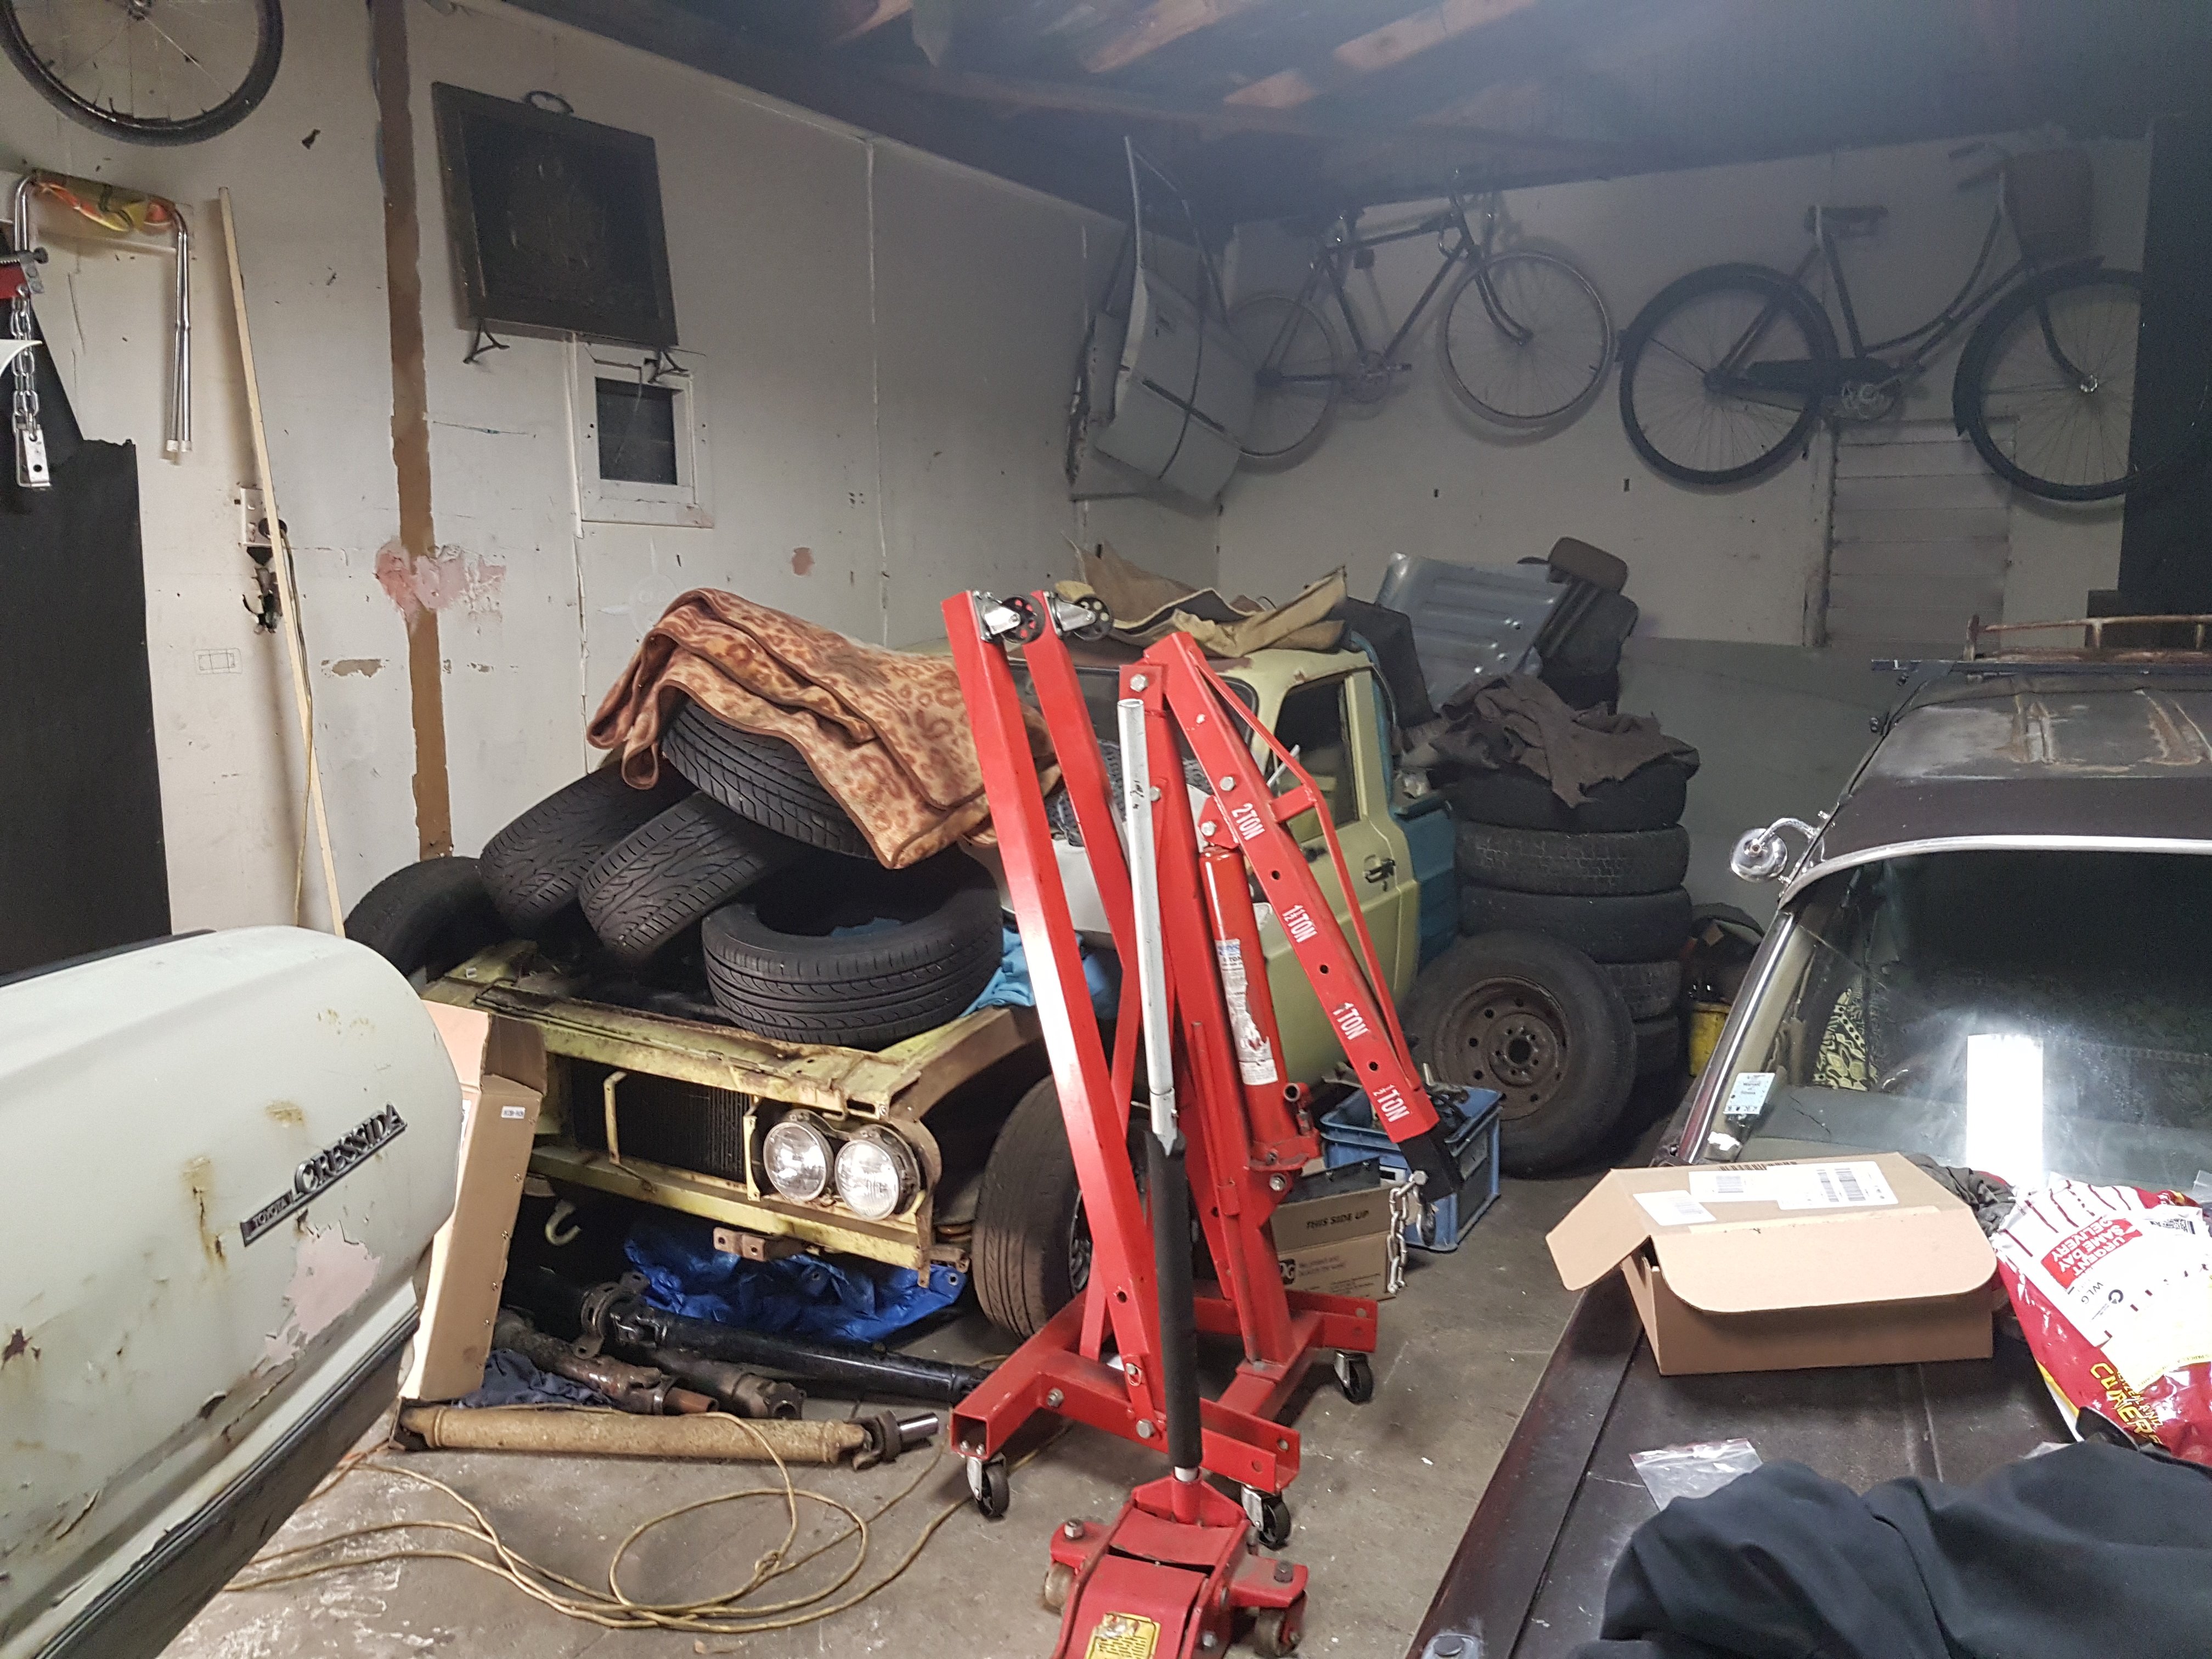
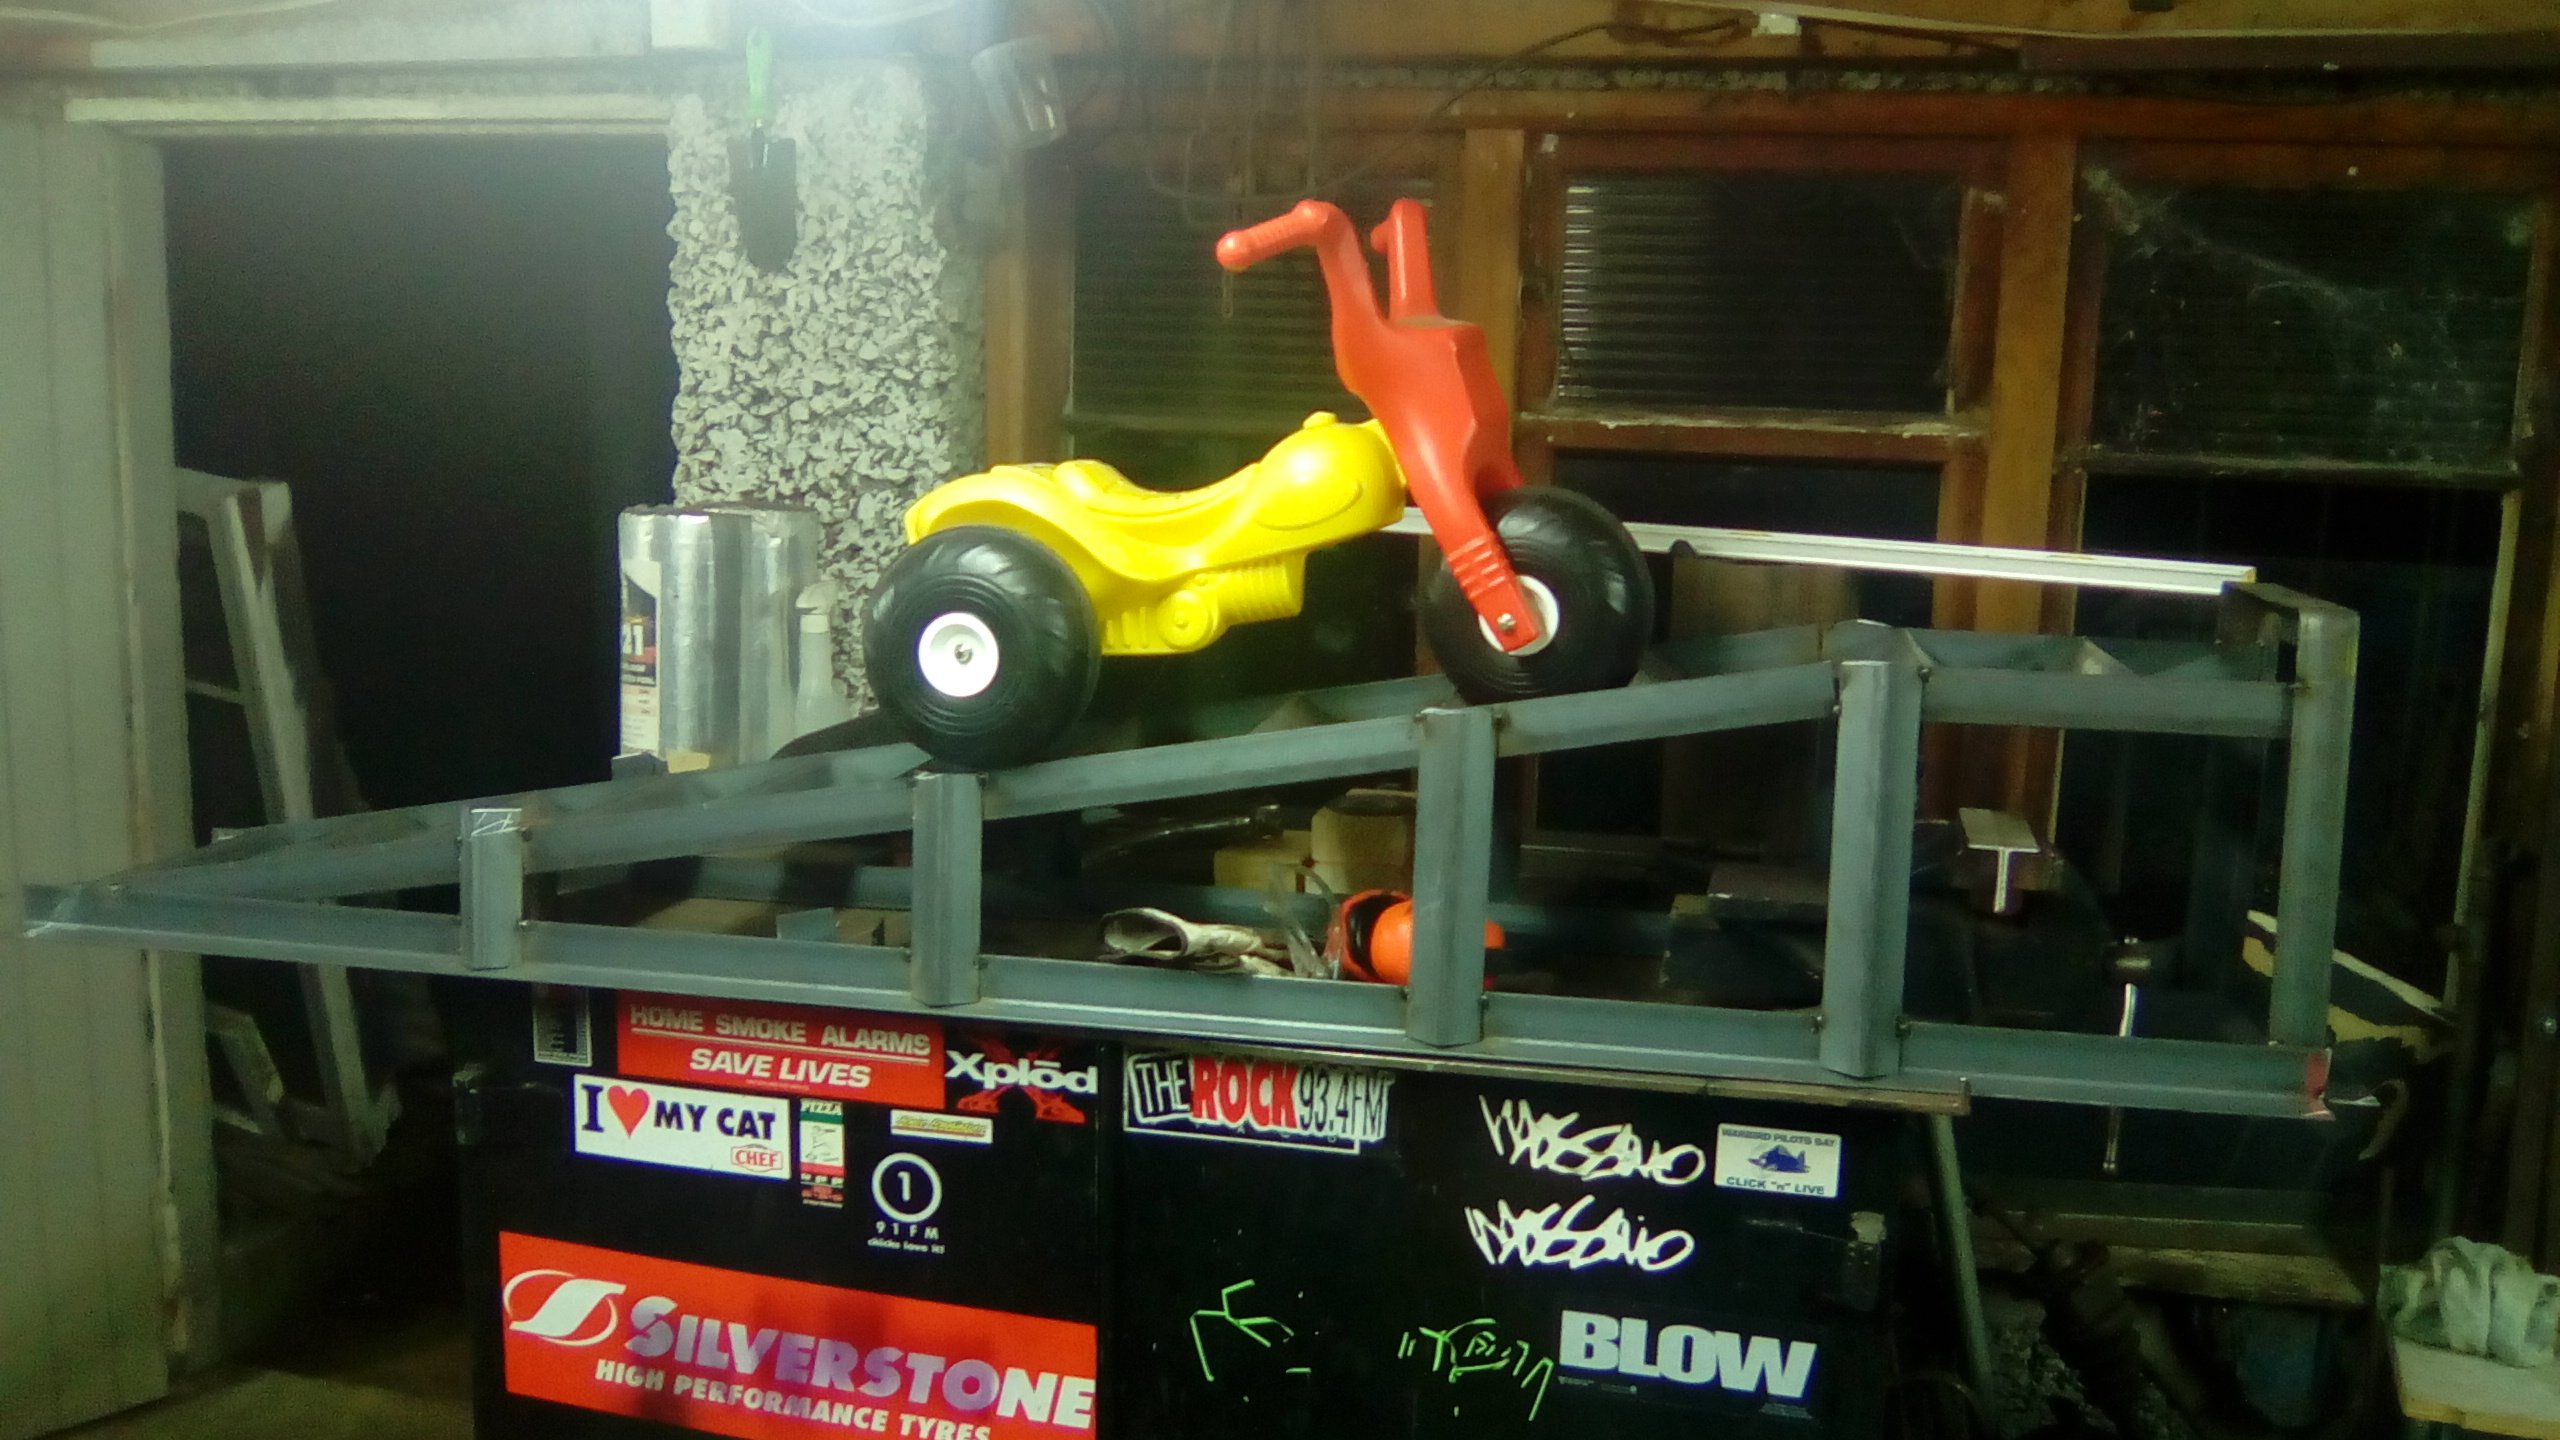
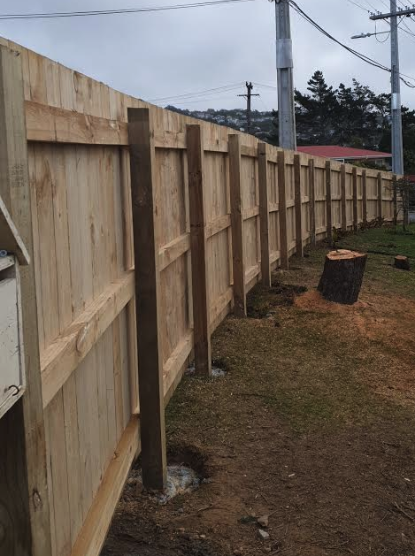
Currently ripping out a pair of these. Motorbike for scale. Measure in at 1900mm long, 300mm high. Should only need a block or 2 to get the silv onto them.
1 point
-
1 point
-
Negligible I would have thought, really. Heavier though! Yeah they rattle. I have had basically the whole interior out (including dash!), and replaced all fasteners and anything broken, with something that is not broken. And it still rattles. But so do racecars, and racecars go fast. At least that's my justification.1 point
-
I've seen MK1 and MK2 eskie coupes in 1/24 but never seen a panelvan.. Would be keen too tho lol1 point
-
Cheers lads. Still have a lot of little bits to finish off. Starting it has pointed out a few things that need attention (nothing major) leaks and such. As much as I hate to do it, it might have to come up a little bit, cross member is 105mm off the ground, that I am happy with, but the very expensive ceramic coated exhaust is only about 60mm, and may or may not have already made friends with the road. I'm not sure if it's normal, but the mazdaspeed lsd sounds like a bag full of hammers clanging and banging away. I knew it was going to be tight, but shit. But all that means fuck all. I am just happy I finally pulled my finger out and got shit done on it.1 point
-
Proof that I am now an auto sparky and fuck anyone who says otherwise; Should have cleaned the smeg off my lens for that last one. Then on to the engine cover, but first I had to build a bit of the intake to make sure I could get it all to clear. There is a sweet spot just behind the cab that will fit a 600x 300 intercooler, I am hoping I can get to that area without modifying my gear linkage too much. Made a rim for the cut sheet metal so the floor was stiffer and the cover had something to bolt to. The intake had to be low otherwise the folding rear seats would hit it. Welded and cleaned up. Looks kinda cool. Then some time honoured 'frame it up in solid round then smash sheet metal onto it' fabrication. It's tight. There was a wee bracket thing that hit the cover when the seat was down so I whipped it off with the grinder only to immediately realise it was the hook to keep the seats up. So now I need to replicate it. Like a cunt. I initially used some real thin galv sheet I had but it was clear I was never going to be able to fully weld it without chasing holes all over the place, plus it already sounded clangy and tinny, so I found some 1.5mm mild steel in the rack and used the thin shit as a template. This meant I could get a nice fold where I needed it using the finger bender. Still yet to do the other side and fill in those gaps, but good progress. Front driveshaft assembly is in getting shortened and balanced at considerable expense. Still yet to hear from engine man. I might have to spend that money on coating the chassis etc and hope I can find some more later on. Or find some more shit to sell. As you were.1 point
-
Been on hols, got back today and had a couple of hours in the shed tonight so I mounted the Safari cluster in the Dyna dash. I had mostly fitted the dash before we went away. Shit will fit ok I reckon, I had to trim the cluster hole quite a bit bigger. Factory looking eh. It's all 1992 So no stylistic clashes happening.1 point
-
noisy version of above1 point
-
1 point
-
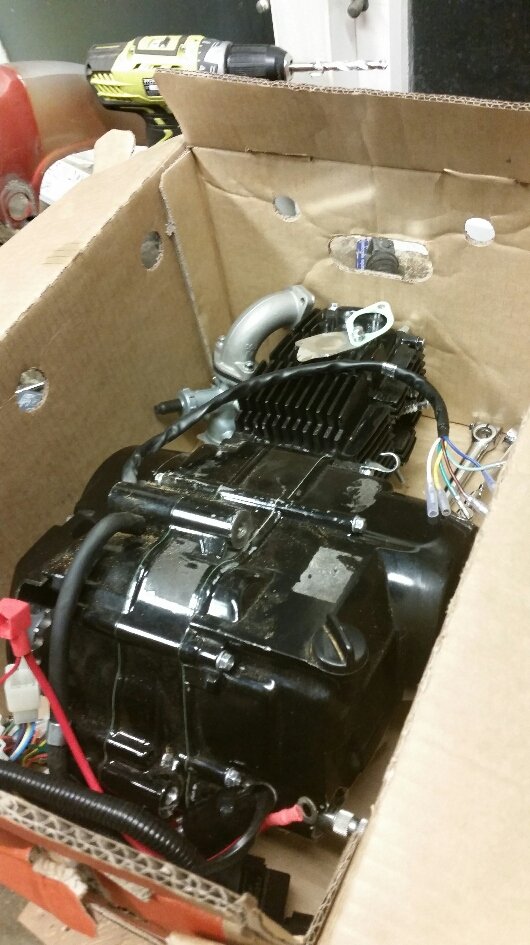
Special delivery! 125cc semi auto lifan
1 point
-
So I fixed the main problem, I now fit in it. I made up little 120mm extensions, with a bit of tube hammed into them, to add a bit of strength. Welded them into the frame, and then added side and bottom cross braces. I just have to sort out the top pipes now. A few of the problems this thing had, that Dave sorted out, were the steering rack that kept snapping rack ends due to bung geometry. It had a rack out of some grotty old english car originally, so Dave shortened a KP60 starlet rack to suit, He also made new knuckles to fix the bung geometry. The next big problem was it was way over geared. Apparently they hardly ever got out of second. So we got a big ass sprocket for the back, which should cause it to top out at 140ish kmh. It also used to have a motorcycle brake disc and calliper, which didn't work so well, so Dave made a hub to take a car disc, and calliper to suit. Apparently it also never quite ran right, which they put down to it not having an air box. They made up a plenum, with little trumpets inside. Another thing Dave made, was a double layer heat shed with an air gap, to stop the exhaust melting the seat. I'll probably make a top shield to protect the driver from the fuel tank, thats located behind your head. I'll start putting the front end together next, so I can finish off the steering gubbins. Regards, VG.1 point
-
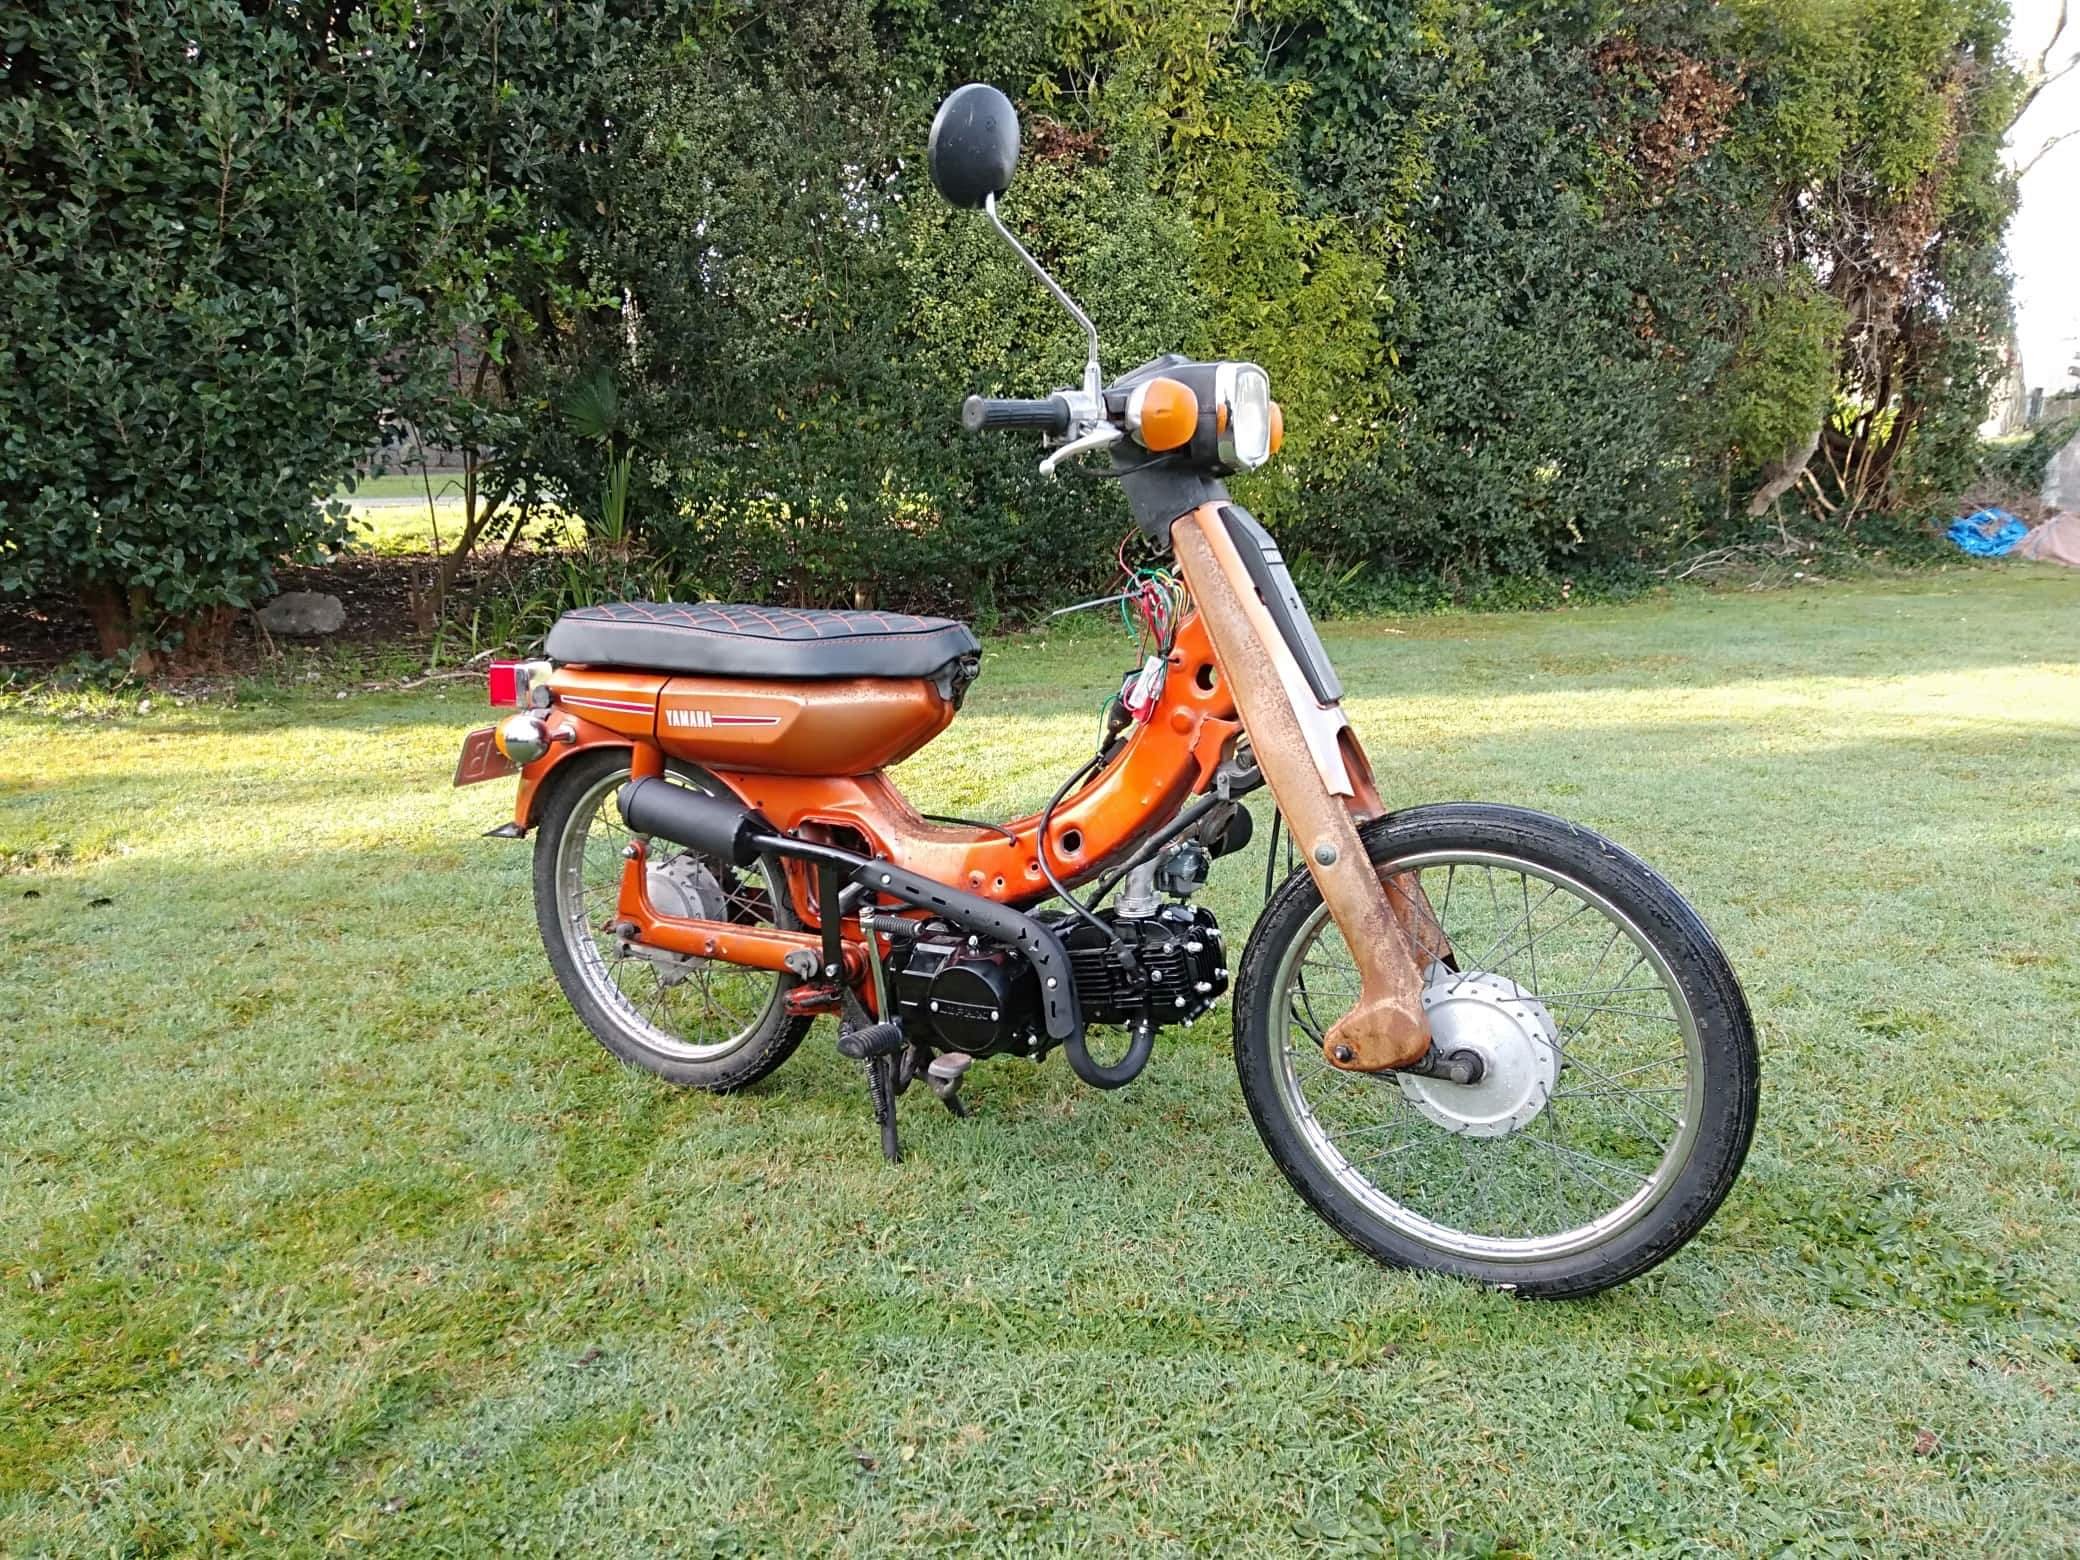
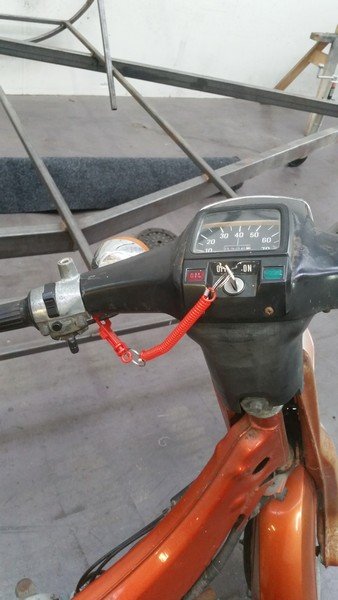
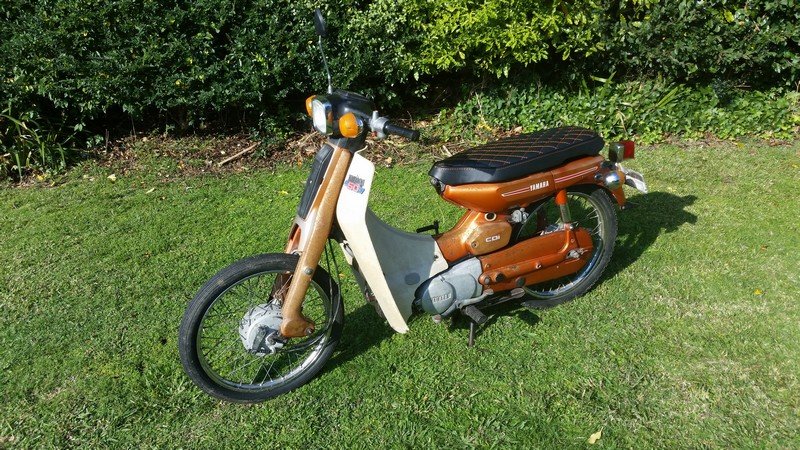
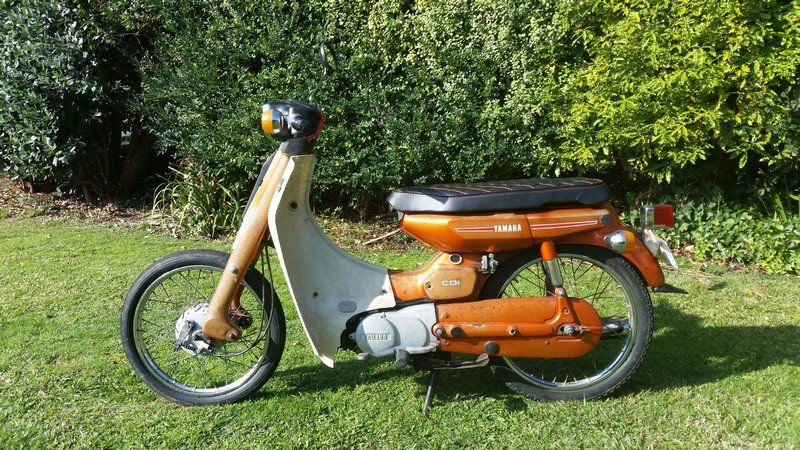
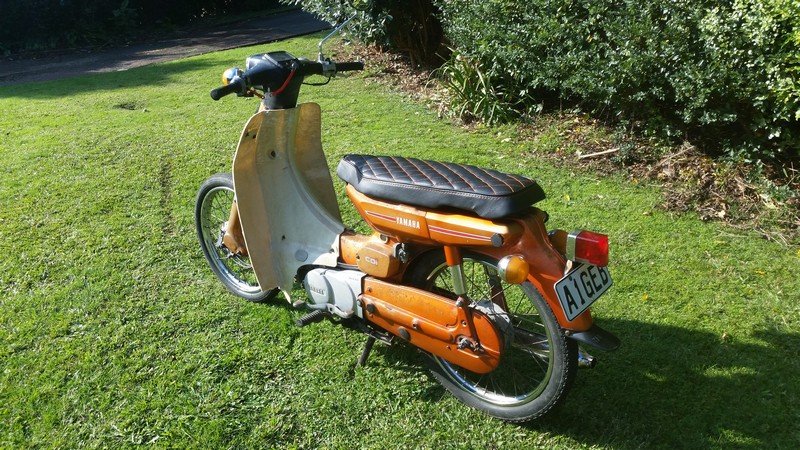
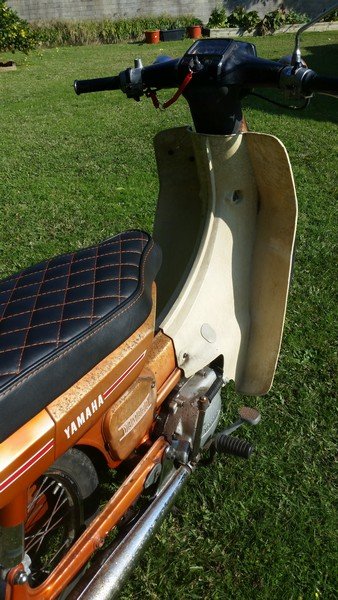
In the mean time, the old owner managed to track down the leg shield which he reported was fucked, but I wanted it anyway. Turns out my standards must be lower as its perfect. Perfectly aged! I also ditched the front guard as it looked weird as it had faded to grey and sat waaay to high. Looks much better without in my opinion. And to keep the barrys happy, here is my solution to stop me from losing the key (it is just a random key that works but rattle out when riding). Perfect. Next are plans to big block/chuck a lifan in. Not really going to touch the bike otherwise, as I like the idea of a originalish looking bike but with enough grunt to go adventuring.
1 point
-
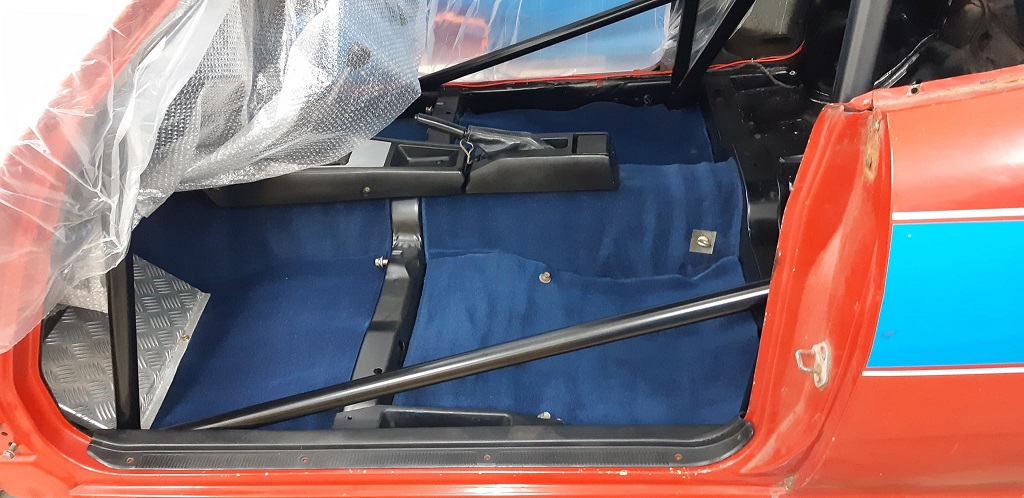
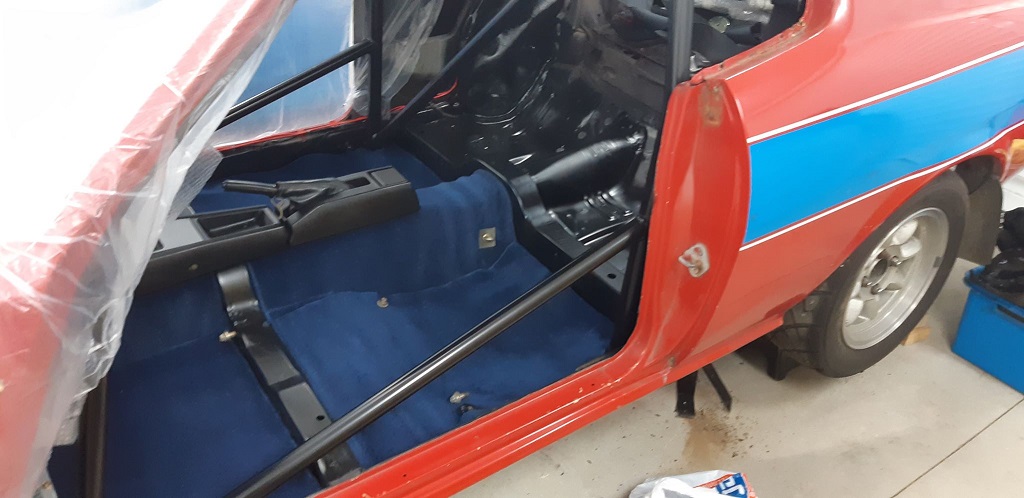
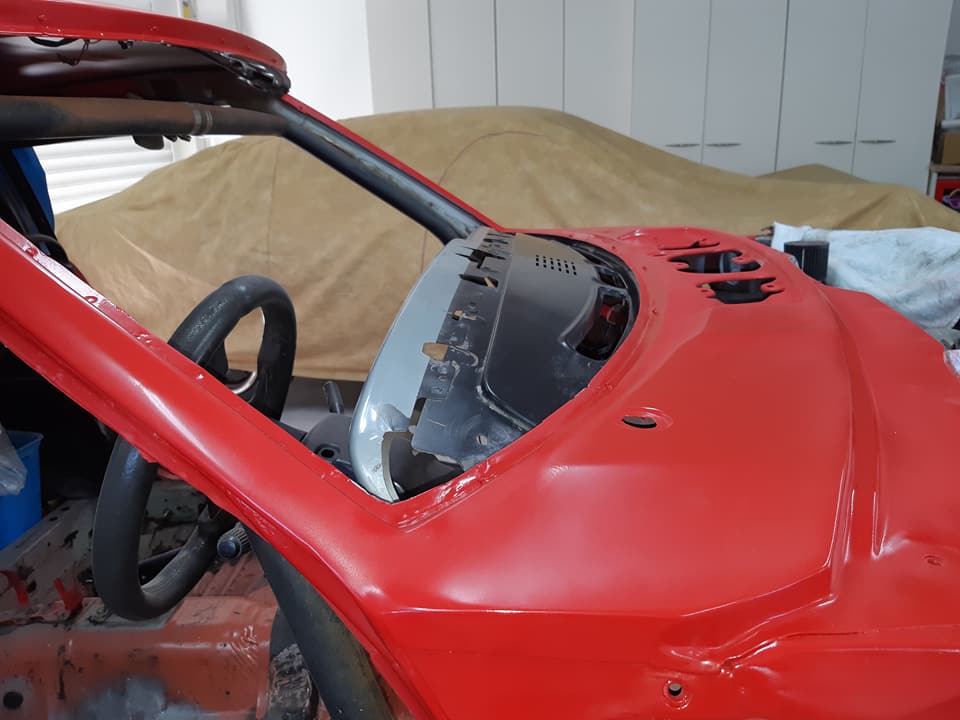
Getting more confident at this metal foldy bendy stuff.. Centre console bracket was missing from this car so i copied the one from my other celica. Carpet all installed Back seat area all cleaned/painted Wheel arch vinyl was tired so i resprayed it And finally stopped procrastination and primed the drivers side roof
1 point
-
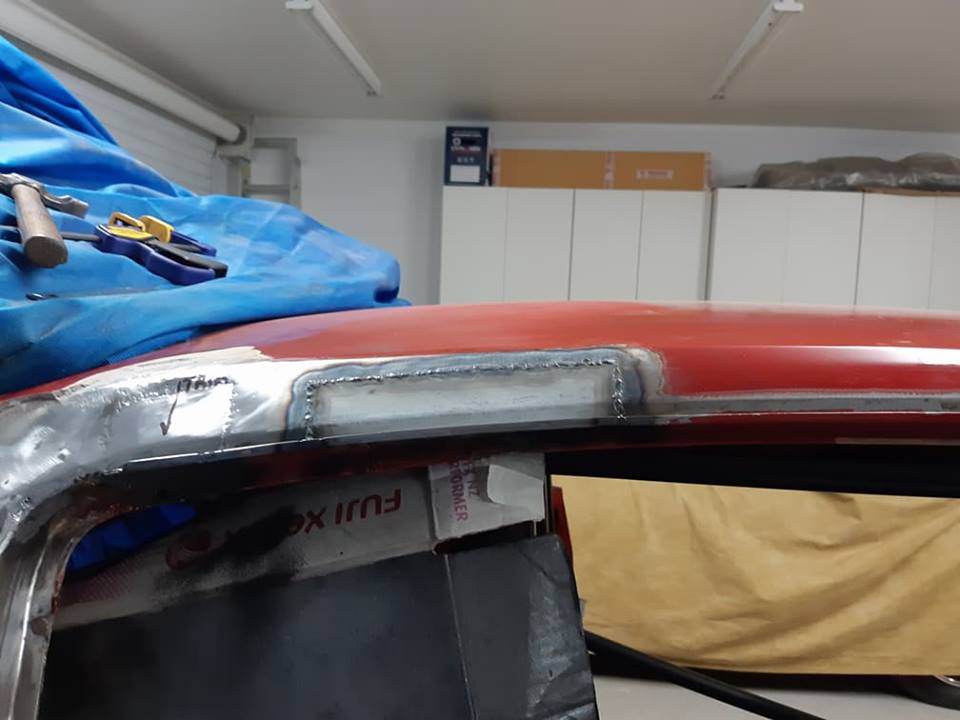
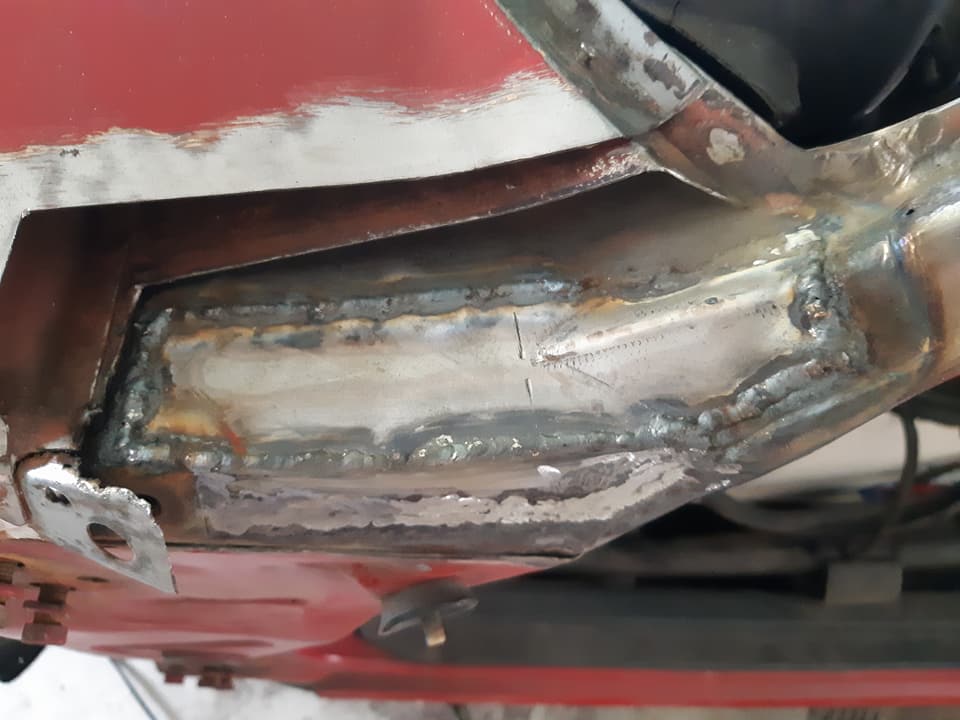
The Drivers side roof drip rail was a little bubbly so this was also investigated for rust. BOY oh BOY did I open a can of worms. The drip rail and outer roof has 3/4 been replaced Now for more paint/sand/paint/sand....
1 point
-
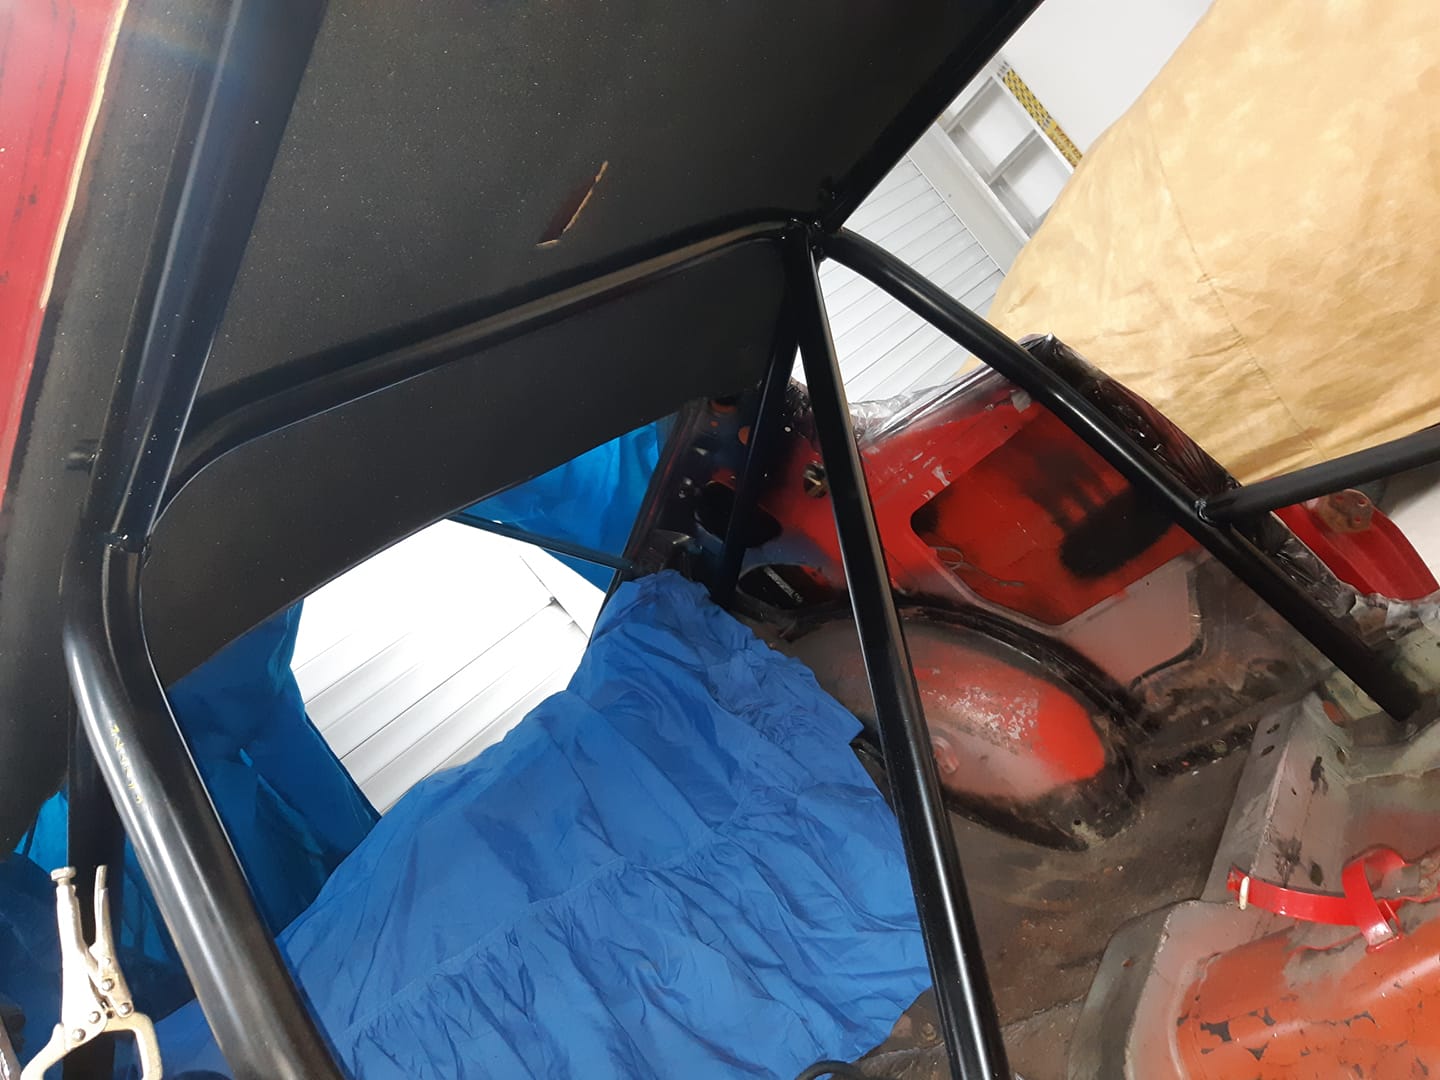
Dash in, cage painted and headlining in.
1 point
-
1 point
-
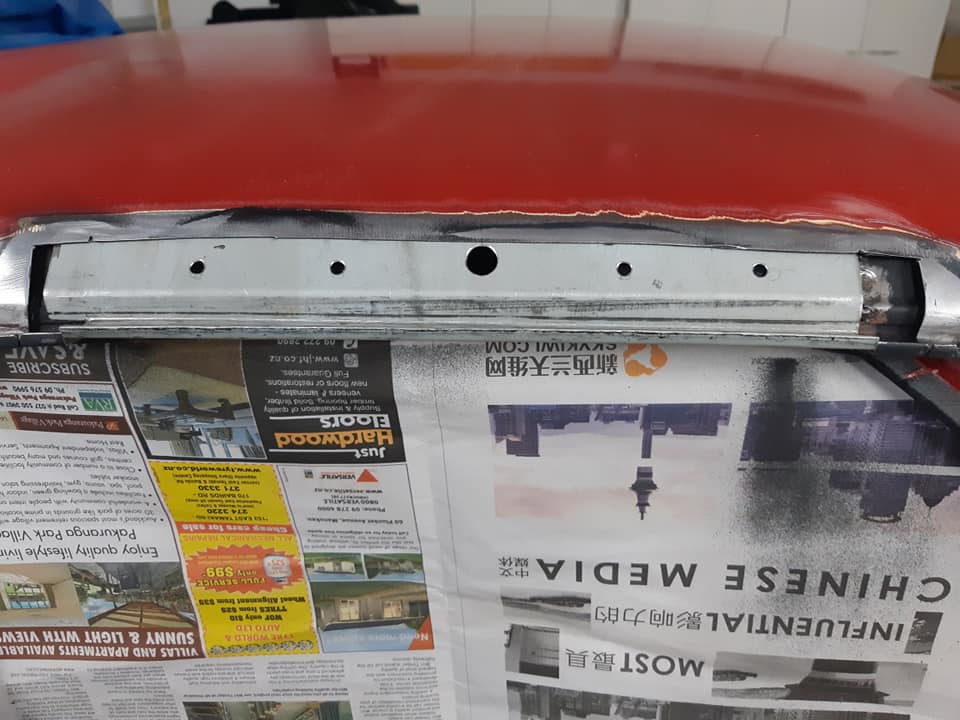
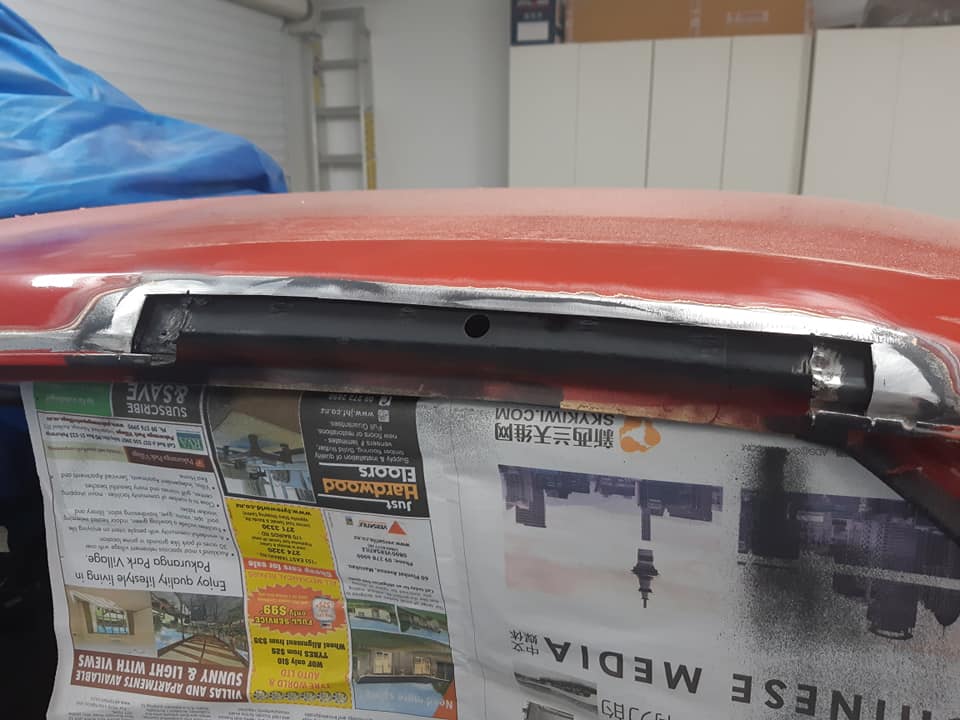
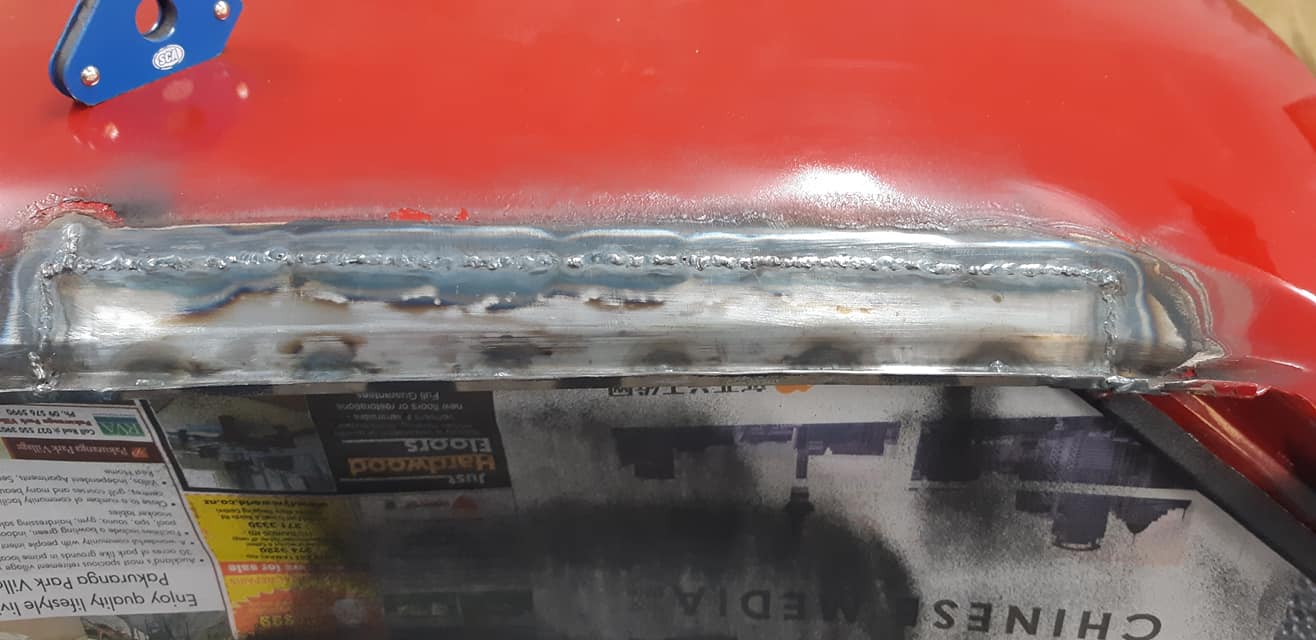
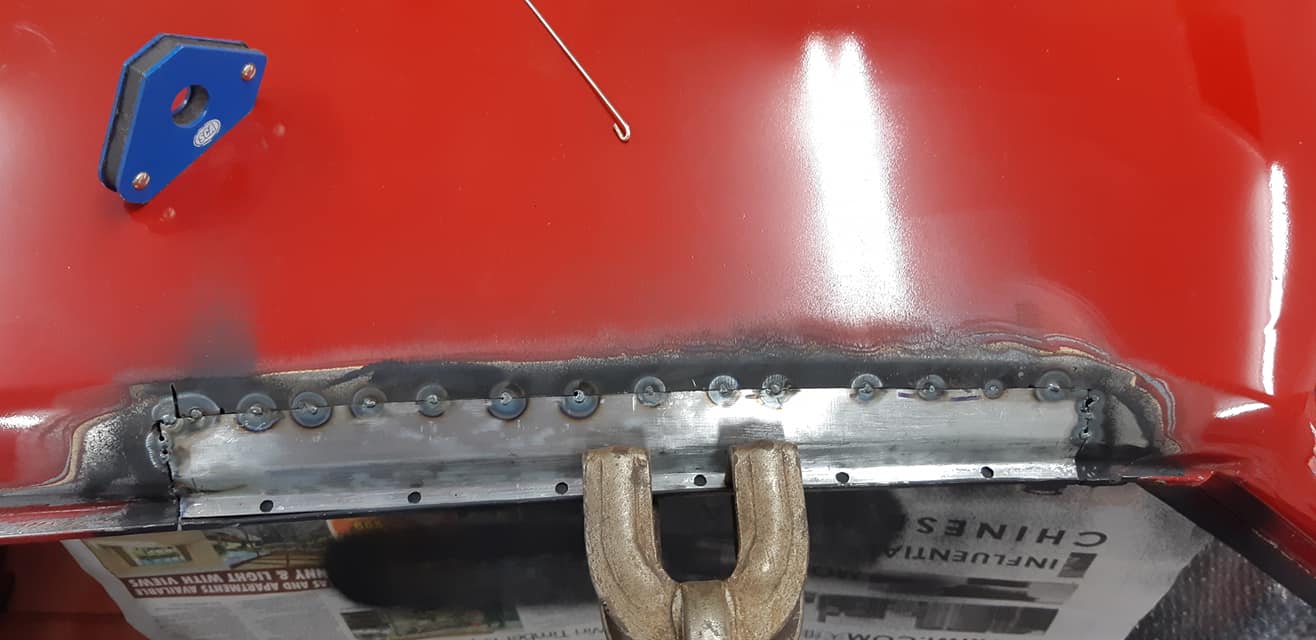
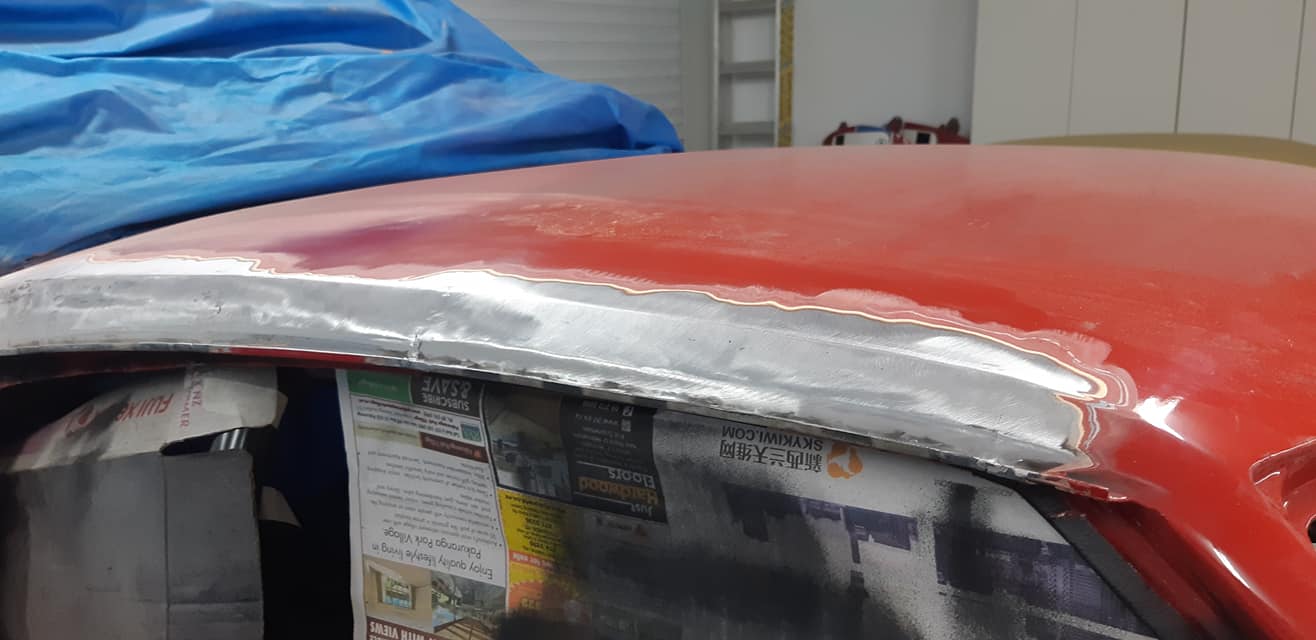
Dads TIG welder was sitting idle at his place so one day i got it... watched a few youtube videos and got some instruction from dad. Test pieces all over the show and welding improved quickly Then promptly dove headlong into the dreaded windscreen rust. the base of the A-pillar on the passengers side being the biggest horror. Welding 1.01 well and truly mastered
1 point


.jpg.419fa298e2d0e54da445eec3b78f9c95.jpg)
.jpg.f29fb048178ff1065a621e7eea5277fd.jpg)
.jpg.fad084fe446608465f7c0af112e953ce.jpg)
.jpg.751d99e600c4bd5ff389dbe2554b0cb5.jpg)


.thumb.jpeg.384ff72c8d2b0ee0d34a7bdedb55bdcf.jpeg)


This leaderboard is set to Auckland/GMT+12:00