
Leaderboard


Popular Content
Showing content with the highest reputation on 05/28/19 in all areas
-
Phase 1 complete. lifan aquired.5 points
-
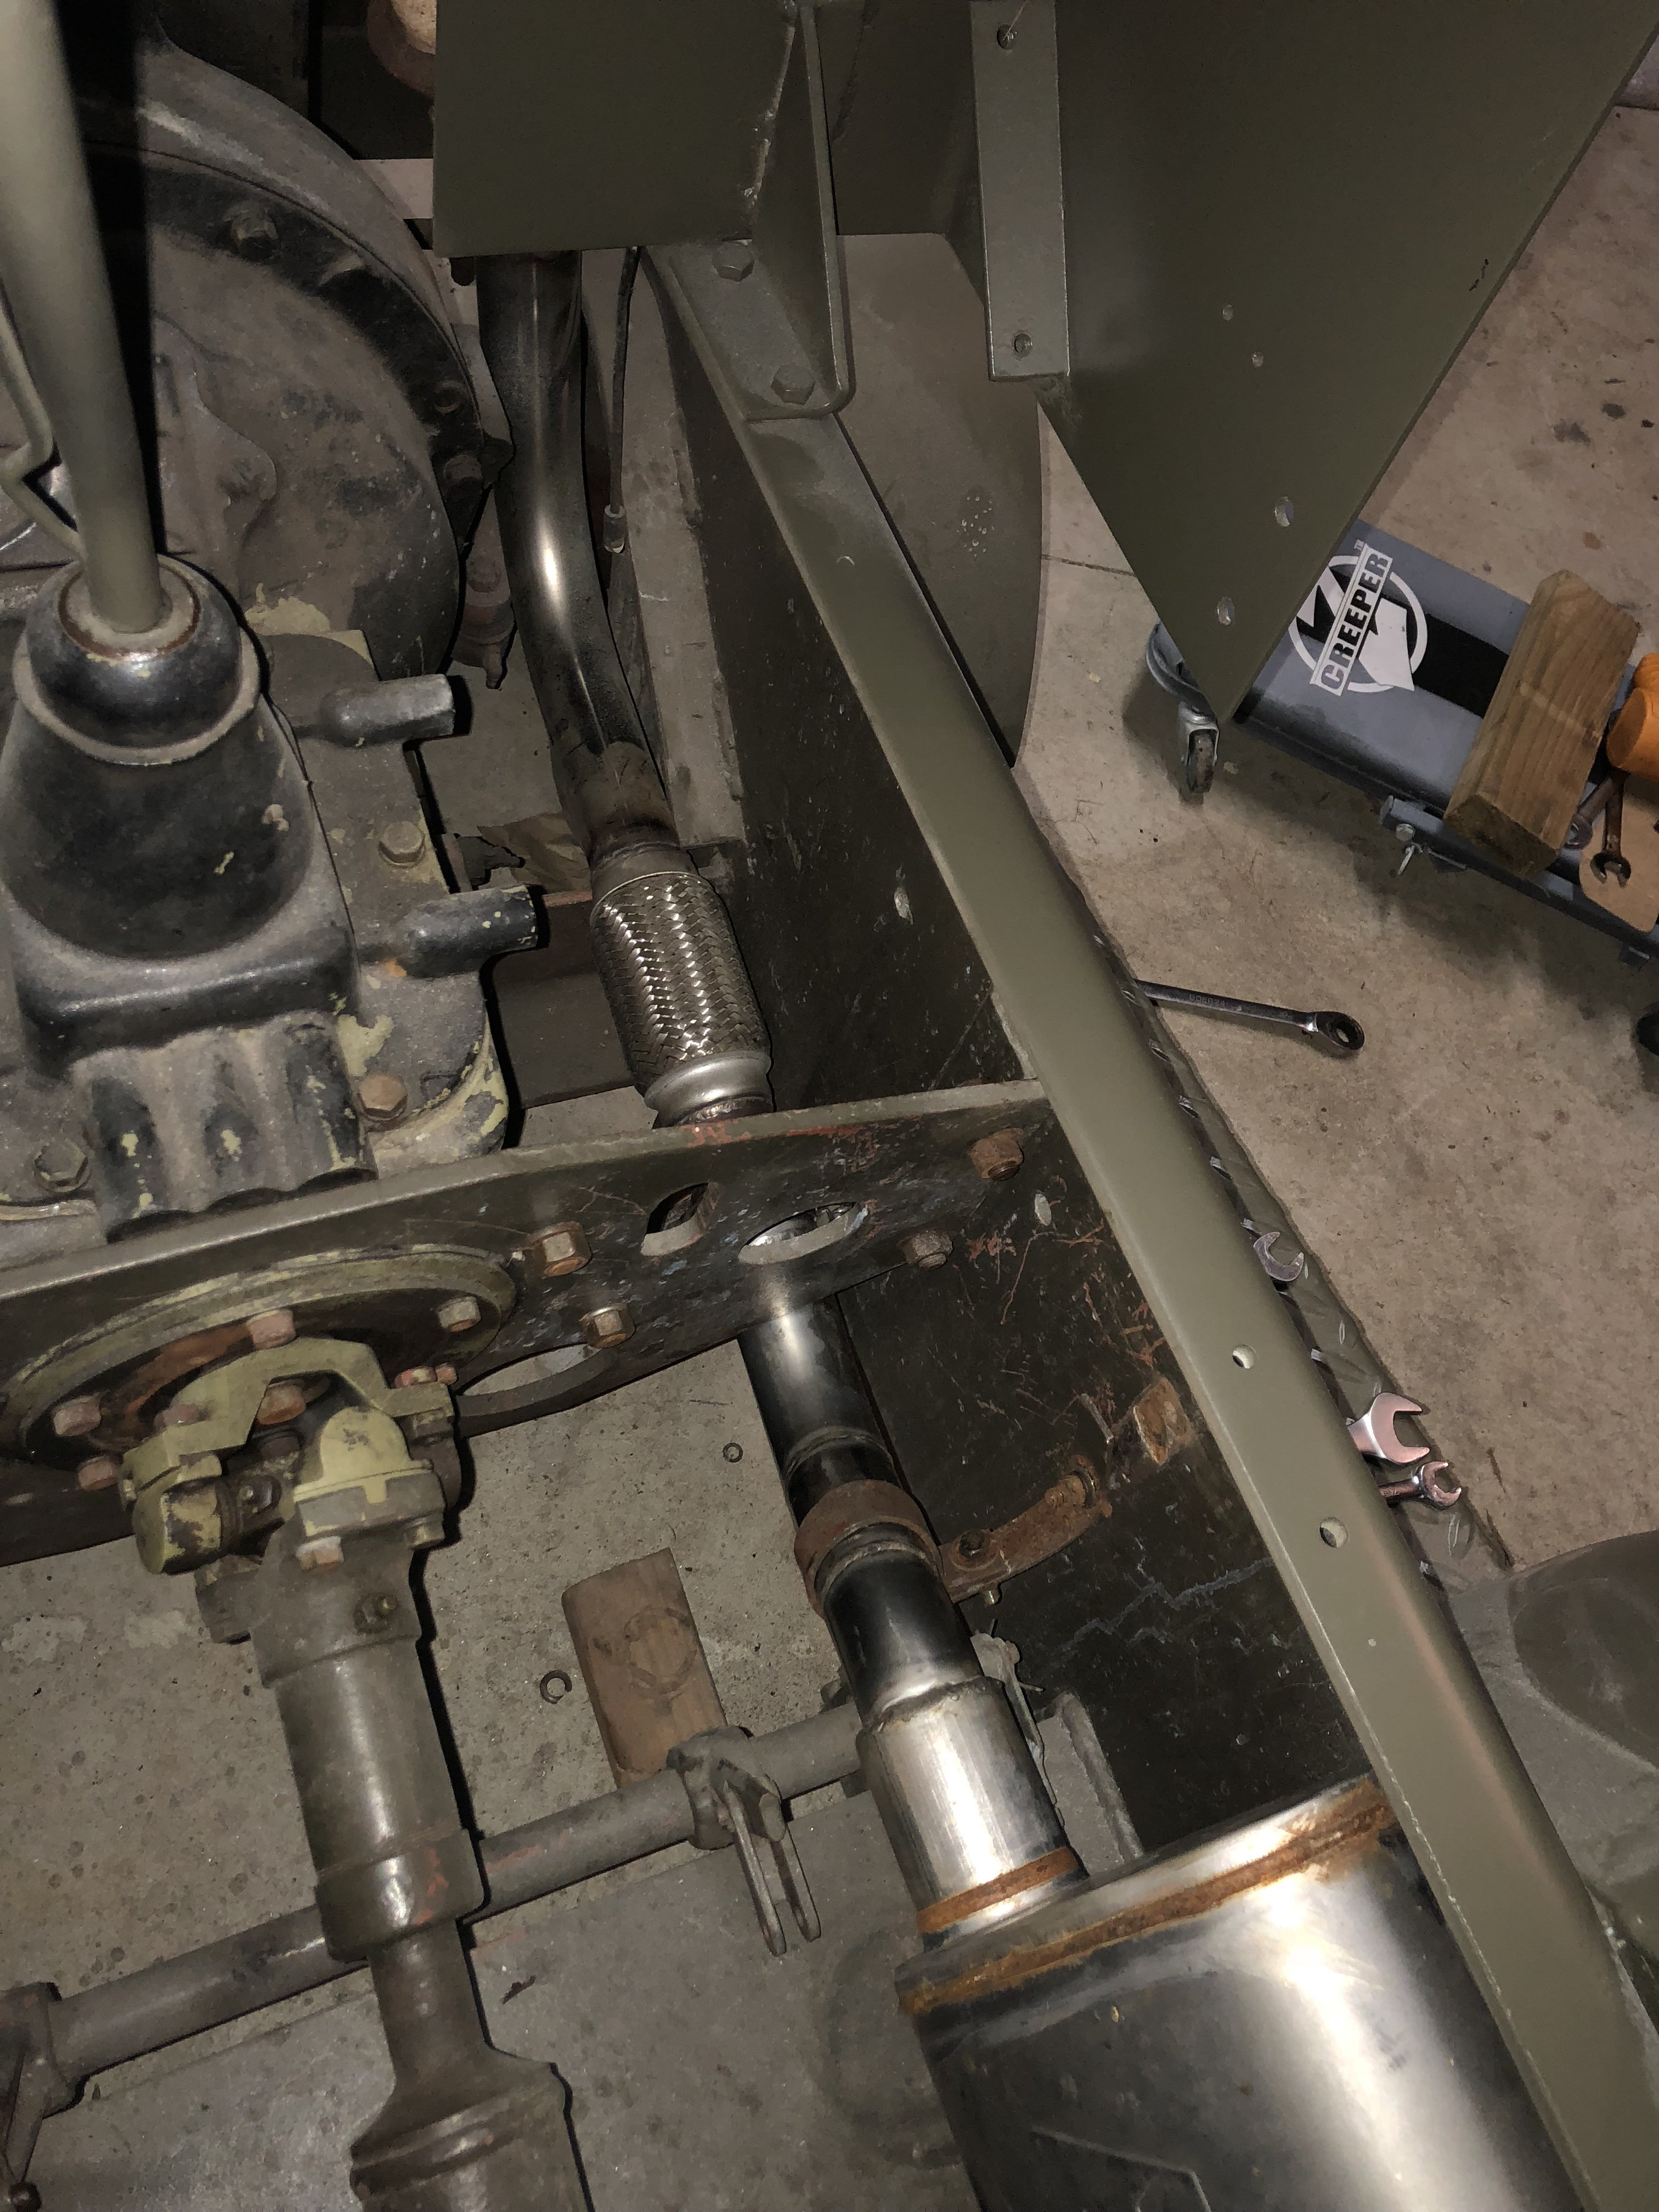
The hardtop got engaged this week. New wagon needs boatloads of work, but more focus is on the hardtop. New shocks finally arrived after much waiting as they got lost in shipping. The new rear shocks are from an Isuzu elf and stiffen the car up nicely. Currently being driven to the point of insanity with the headlights. When turned on, the dash lights and rear lights work fine, however I get nothing at the front. No headlights, parks, or indicators. Not even hazards. Only thing I can think to check is the modules, even then I'm not sure that's my issue. When I turn the lights on, I can hear a click from the engine bay relay but nothing much happens from there. If you can help me, I would love to hear from ya. Next on the list is to redo sections of the exhaust, secure lower p/steer lines, and put the front together.5 points
-
Its a miracle! Only took about 8 years to get the engine in the hole....
 5 points
 -
My oldest was super excited, he's done quite a bit on it over the last 2 years. Stoked to finally get it moving! There is still quite a bit to do before it's on the road, but the motivation is very helpful!3 points
-
V3.0 Bottom end All the ARP's Threw the bottom end in the car, before attempting to put head on, since don't have an engine stand. One small issue. 16v sumps are a little bigger than the 20v one that was in there. Hits the bash plate/ brace. will probably modify the engine mounts engine to lift the engine 5mm or so. cbf'd taking sump back off.3 points
-
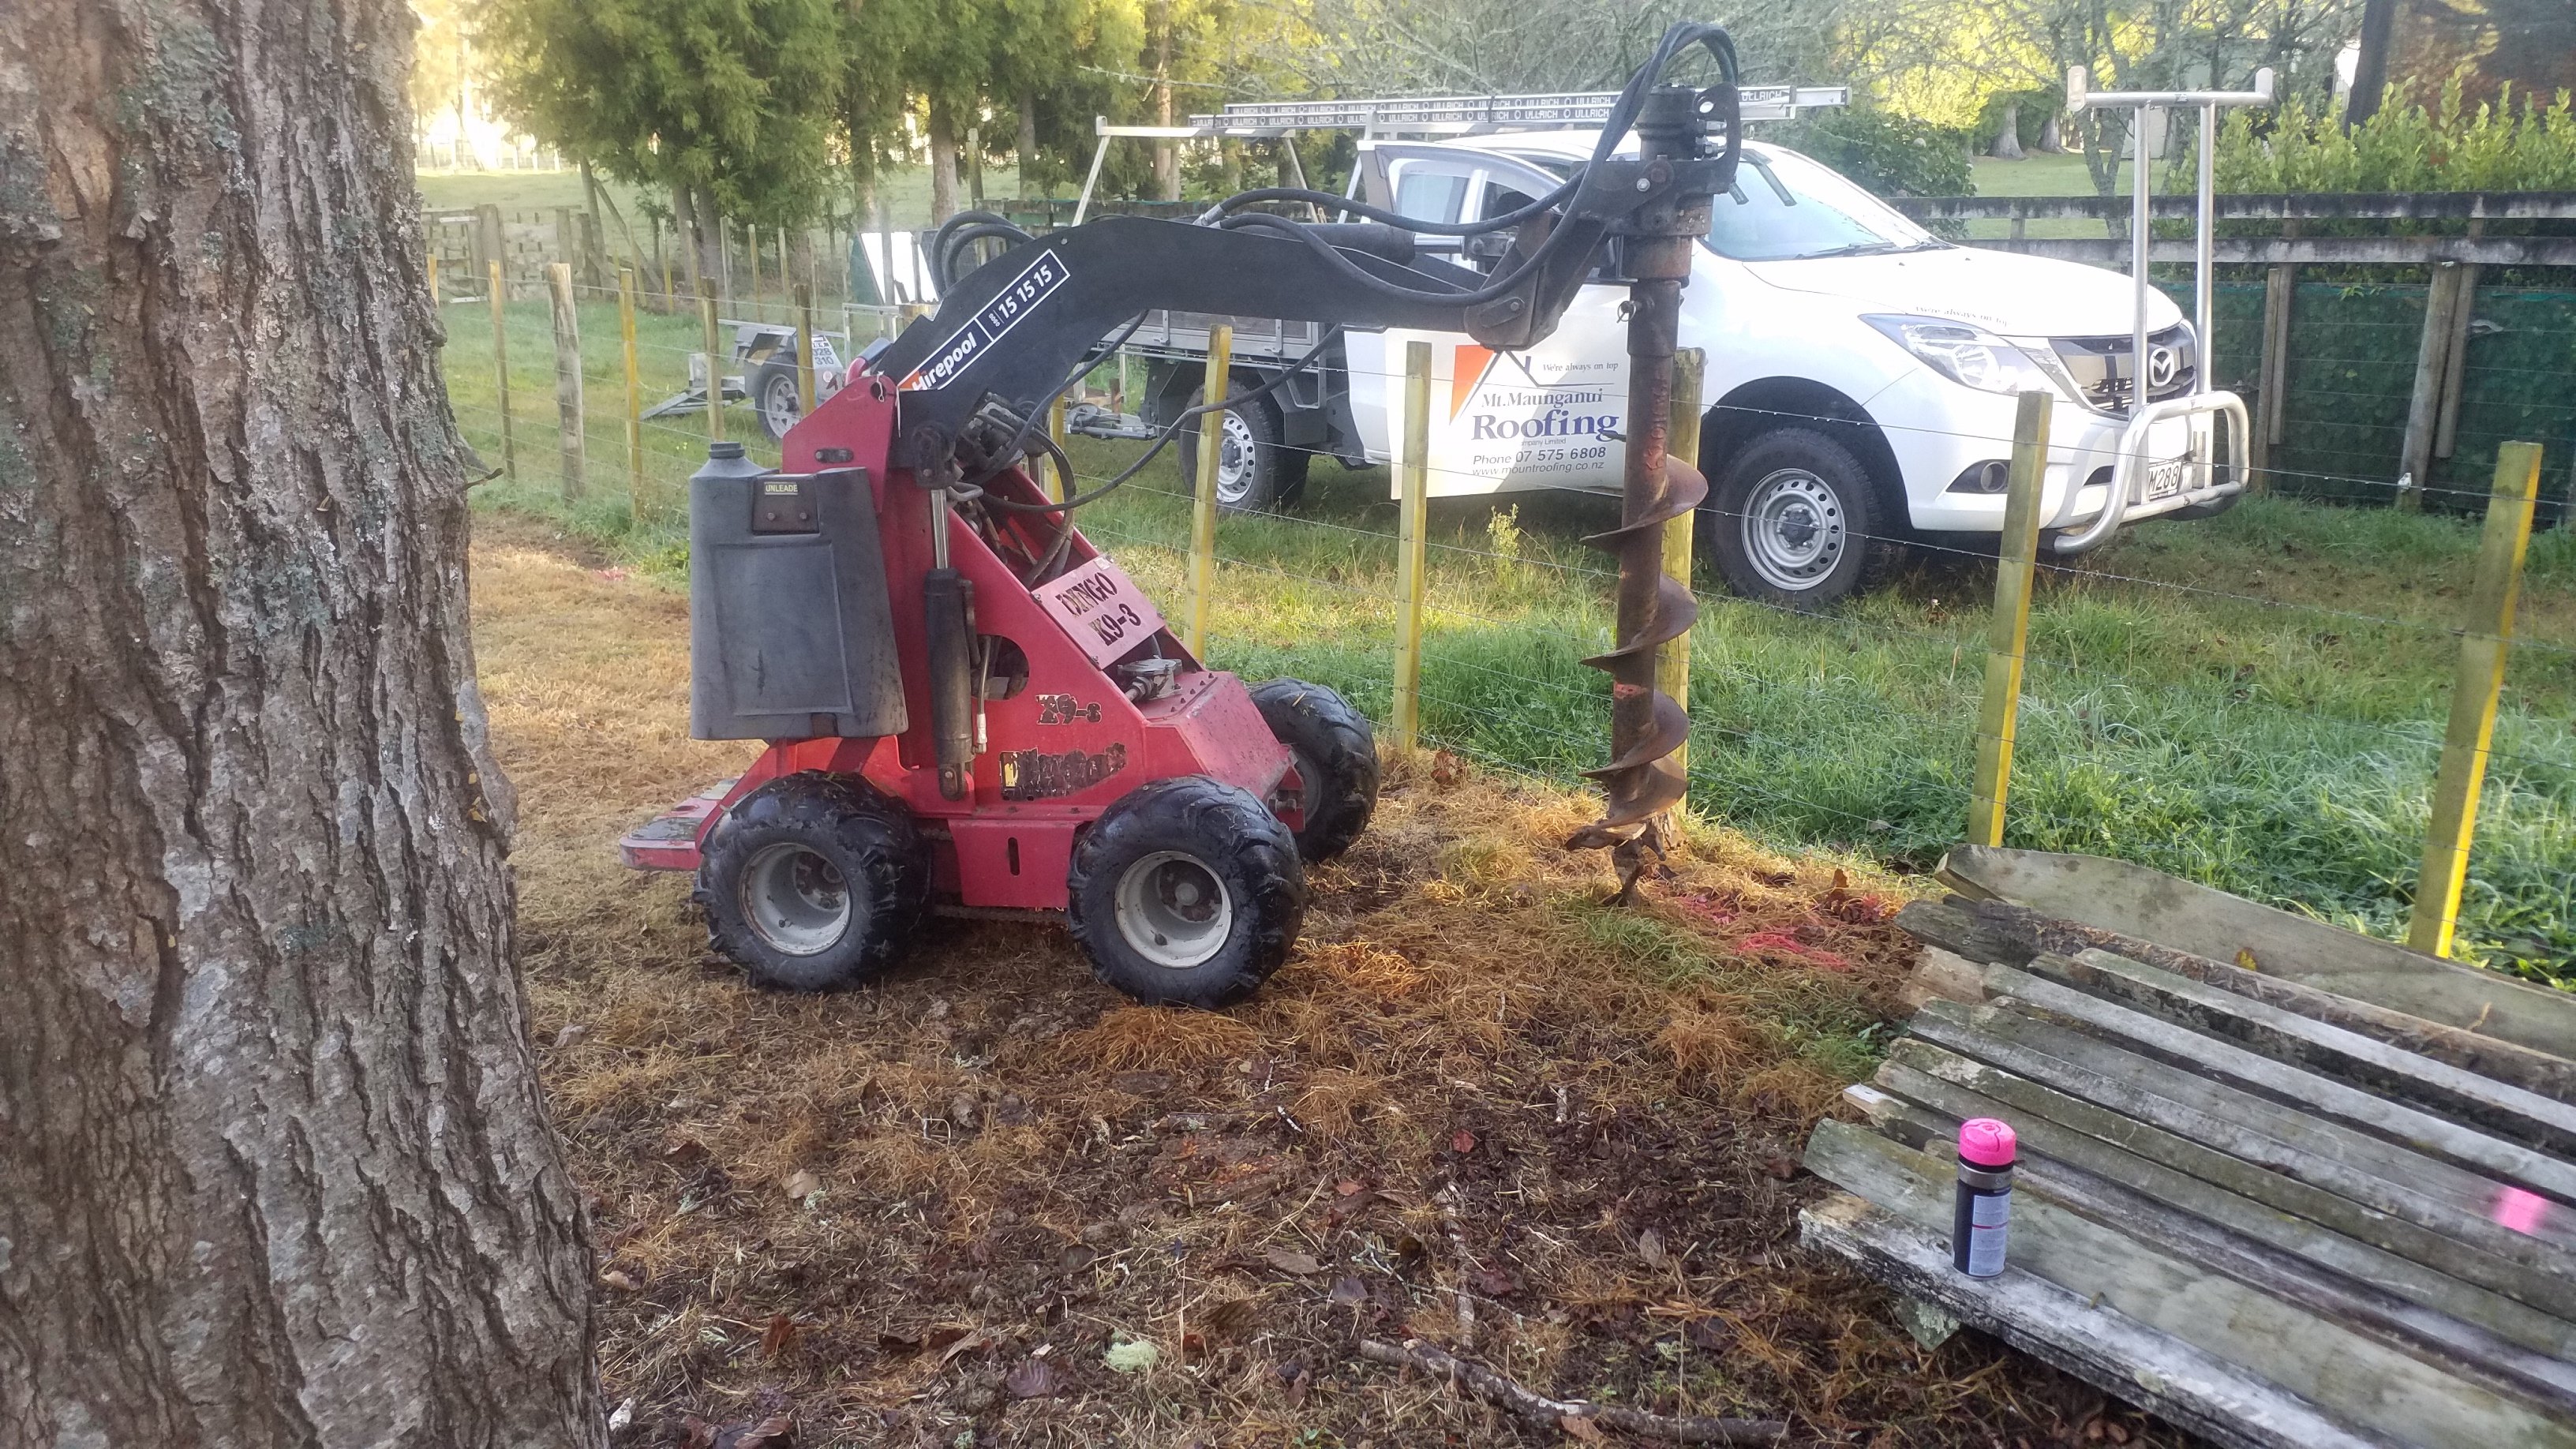
Can roll work ute, bt50 freestyle cab for four up nuts to butts support vehicle and trailer Deck is slightly smaller than the holden on this but should still get 4 bikes on.
2 points
-
I just cut open a hose that looked all good on the outside but inside was super swollen and restrictive. Cheap way would be to swap hoses side to side, rebleed system and see if the problem has moved sides. New hose made up was $352 points
-
Super stocked won this trade me auction for spot lights for 40$. Stooked exacually what i wanted for my low key 80s rally spec vibe im going for. So now i waite like a little kid at the door wating for his favrote uncle to arrive to recive. The most wated dor present stoked. Heres a photo of thy style in shooting for
2 points
-
Sunday night update time. For a start it continues to look fucking banging. I mounted some trad looking but actually LED tail lights. I added a mount spot for a Ute crane, pretty sure I have found one cheap. Then I sucked in my gut and pretended I wasn't scared and started laying out the loom. It took all weekend to get to this stage lol. Mostly it was separating things out to where they need to head to and figuring out what wires did what for the steering wheel controls. I also broke the heater blower and wiper stuff out of the Dyna loom so I can feed them from a DC DC converter. @moparmuppet kindly dropped a convertor off to me and had a perv the other day, although it might not be chunky enough, it is rated at 8a continuous. I also pulled a whole lot of important looking shit to do with glow plugs and such out of the Safari loom. Interestingly it doesn't look like the new loom has relays to run the main lights, but I have pilfered those from the Safari setup as well. I am feeling surprisingly comfortable with all this which I was not expecting. Maybe tomorrow I will apply power to it and let the smoke out. That will be halarious.2 points
-
New stainless exhaust is in. Wheels are back on. Not far to go. Will get more pics once she’s out of the shed.
2 points
-
Stripped the Ute down for round 2 or rust work last weekend. Had to drop the steering column and pedal box to clear everything so that the rust in the rain gutter could be sorted properly. A couple before and after...rain gutter and also the drivers side wheel well frame (unsure of correct name) Whilst a mate was doing the welding I started to play around with the new Vitex timber for the decking. Quite happy with this. Will be oiling it and securing it this coming weekend. Need to cut down two lengths by 8mm each and we will be away.2 points
-
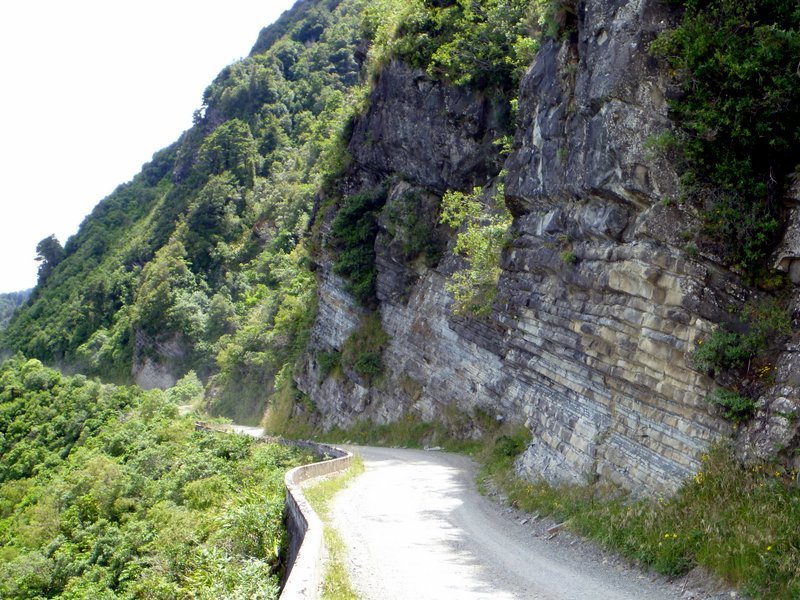
Nice part of the country
2 points
-
If the underseal is solid as fuck, i'd probably 2 pot the lot, then underseal it all. Would want to be sure moisture can't get in from behind mind you. Don't want it rusting from the inside out.1 point
-
Been meaning to do the waikaremoana trip at some stage by car so perfect excuse. May not be a winter trip though, will see how weather/life goes and if nobody has done a recce will do so and report back. Id imagine there will be next to nothing re:gas after murupara and before gisborne? Will see how the mrs is closer to the time before I can commit to the ride, may have Dax done by then also depending how carried away I get with the spacy1 point
-
Cheers for that. Yea, super satisfying. You never know if the engine you're pouring hours into is a dud or not till you hear it bark. I'm pretty sure the main reason for doing the swap in the first place was for the noise.1 point
-
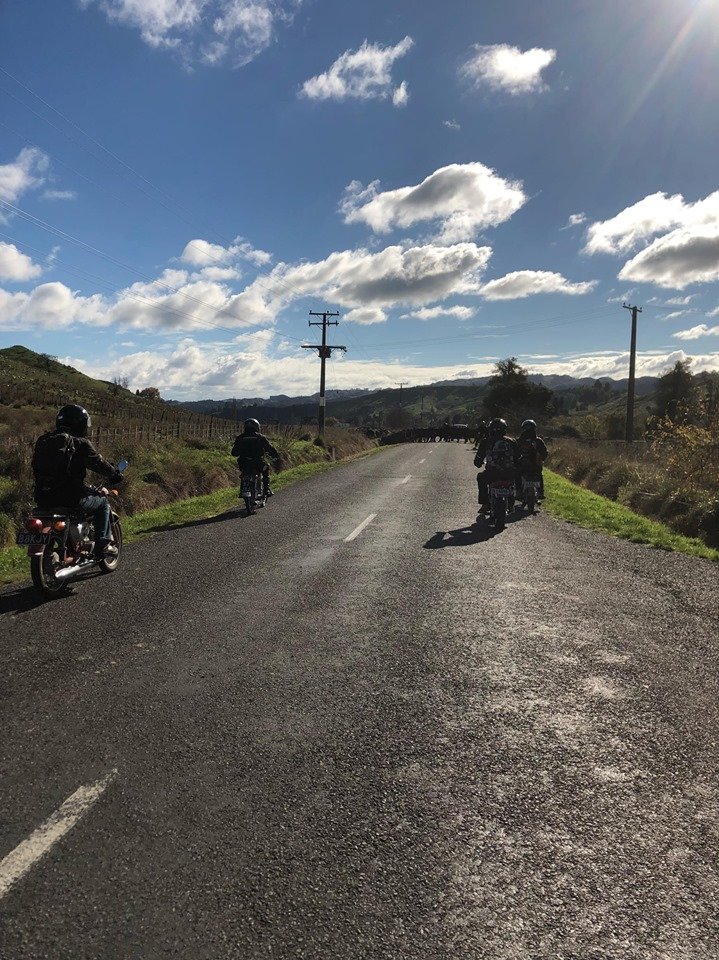
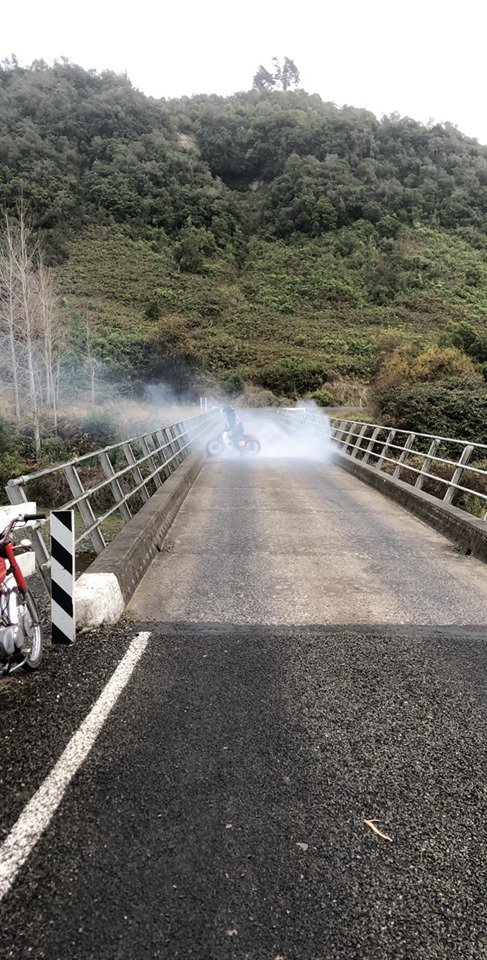
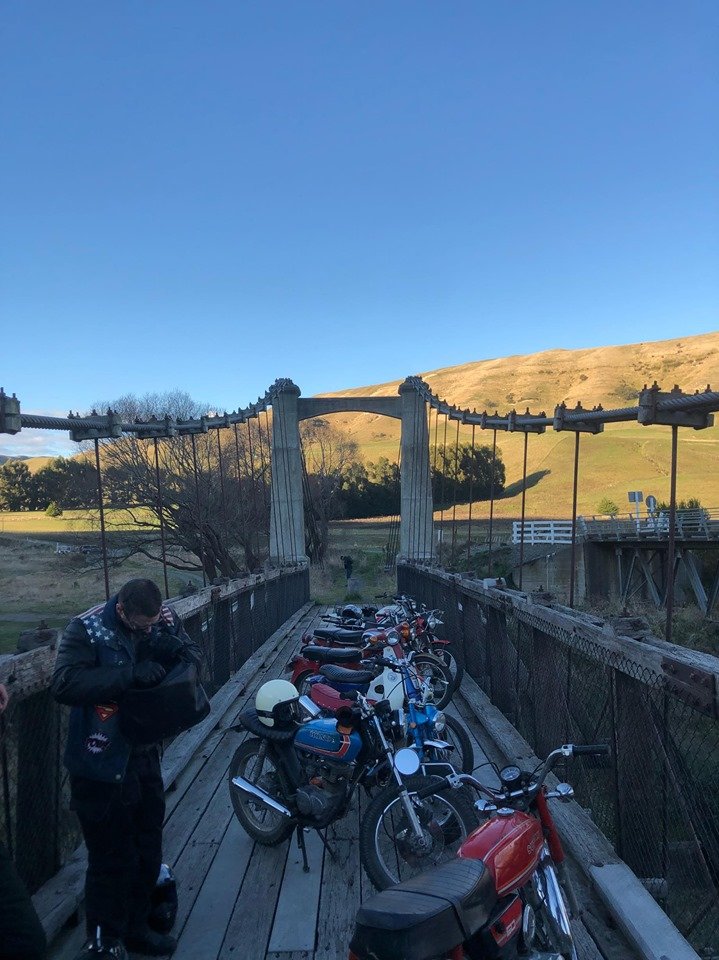
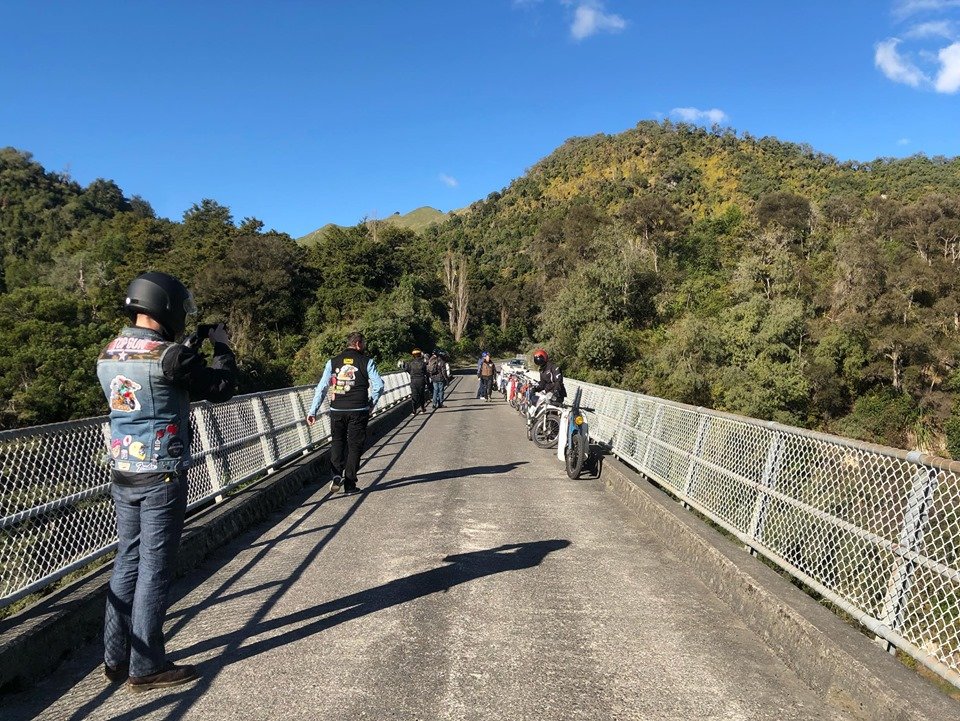
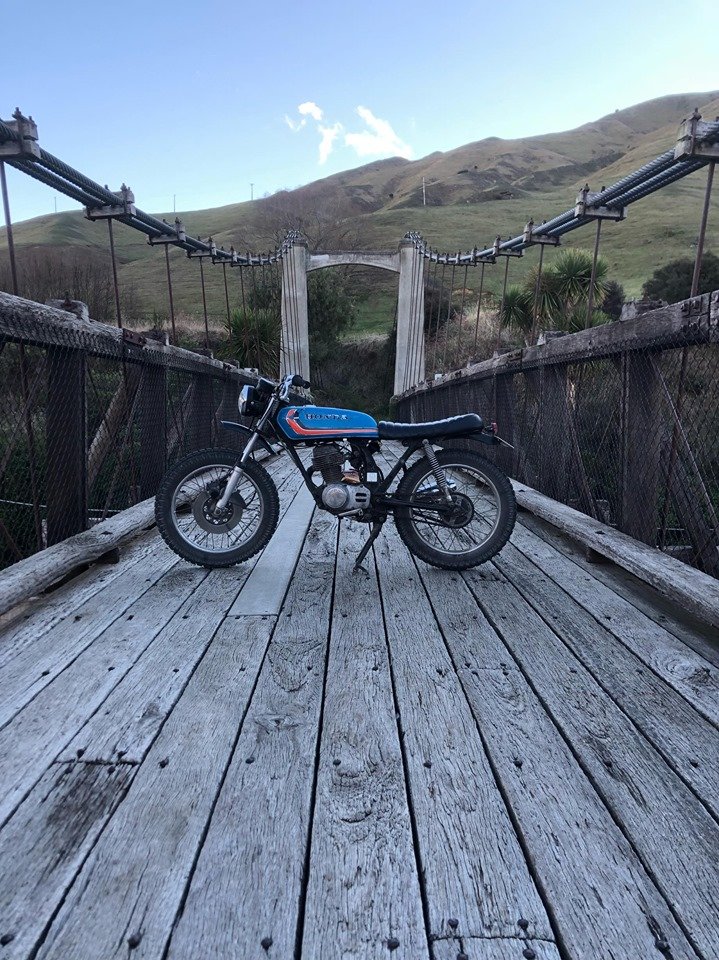
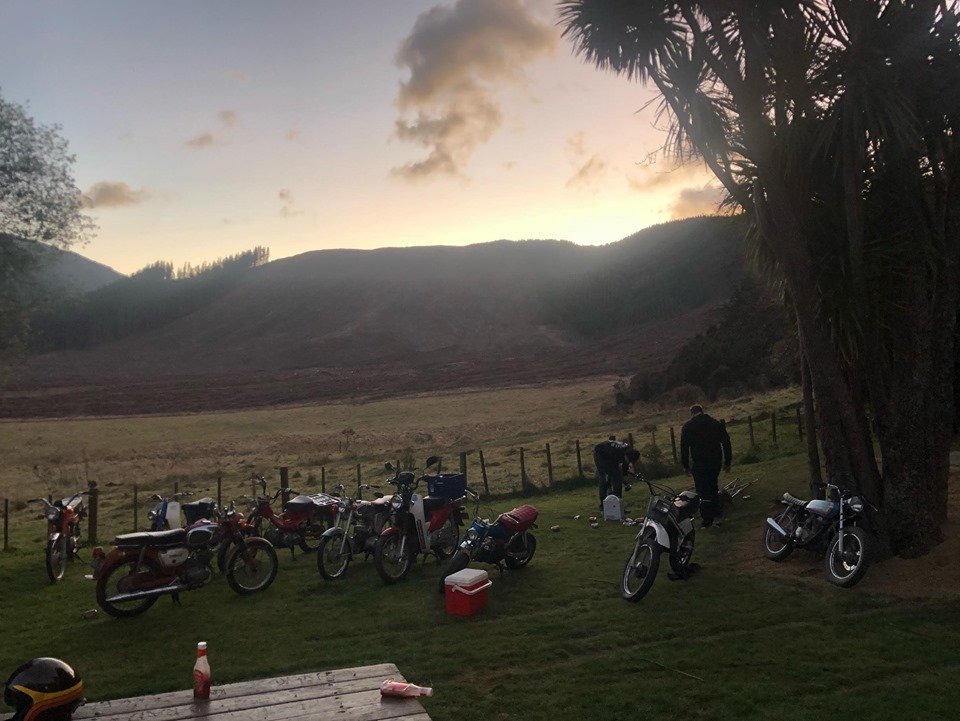
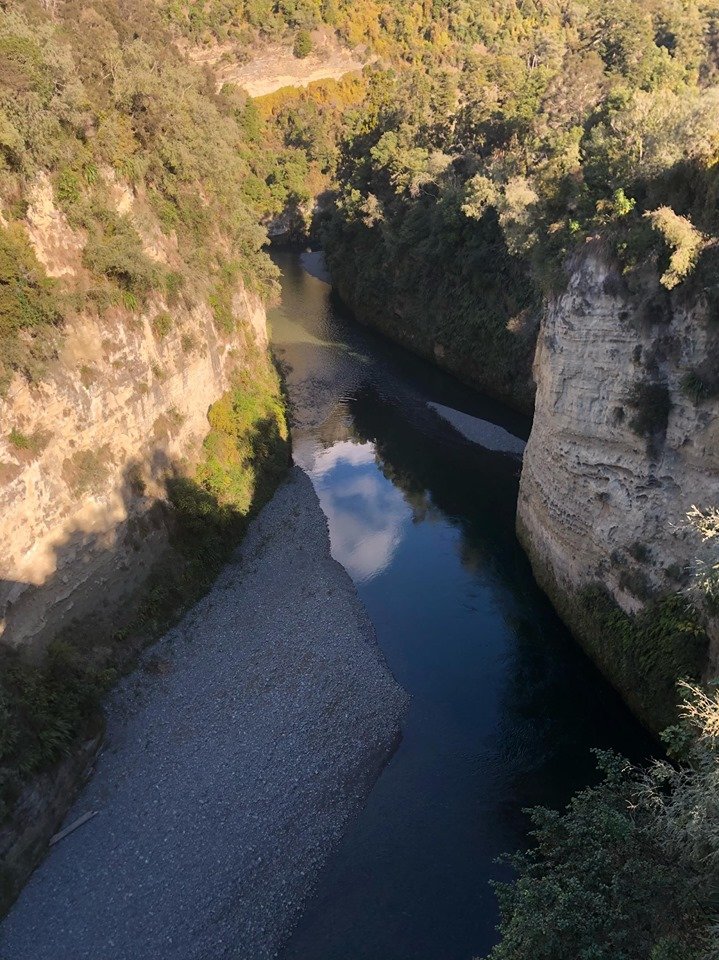
what a wild weekend just been, PPSC clocked up 550 odd kms doing a return trip from Feilding to Kuripapango, on the Napier side of the Napier-Taihape Road. taking nothing but rural back roads through the beautiful inland north island, including plenty of gravel, suspension bridges and angry wife-beating cockys doing a shit job at moving stock, climbing some 900 metres in altitude along the way. To my pure amazement the MT50 rose to the challenge and sat at WOT doing 9000rpm all day with no dramas at all. considering 24 hours prior to the trip we had welded up a very pesky hole in my exhaust which has been an ongoing debacle. after being unable to weld up the hole due to its swiss cheese/rust construction, Blizzshop managed to tack a piece of steel over it. This thing is incredible. I carry a reasonably solid tare at 90 odd kegs, and this weapon sat comfortably at 65-70km all day and climbed hills at reasonable pace, showing no signs of weakness. There's something to be said about nanging a 50cc 2 stroke at its limit, sustaining minimal traction on a gravel road, one of life's greatest pleasures. It takes a lot of riding to keep it in the power band at all times and time your gear changes perfectly to maintain momentum up hills. Perhaps if i can be fucked i might track down a 17" rear wheel and swap the rear, it looks quite funny with the 19 front and 16 rear. And of course keep blasting gravel roads into the sunset. Pic dump for Fred1 point
-
the exhaust ive got on my cs80 engine is just straight pipe with a BMW f800GS muffler that i saved from the scrap bin years ago. i doubt it does much wonders for power but i was going for quiet so we could use it at local parks. that said, i still get angry old cunts coming over to have a whinge so perhaps a screaming expansion pipe is what i need!1 point
-
I've been hooning this thing a bit. ran into my first issue which was the lights stopped working and we couldn't find where in the original loom the break was so ended up just wiring the headlight and tail lights straight to the stator through the trail tech which worked a treat and that also ment i could ditch all the original handlebar controls and ignition switch and rip out the entire old loom which tidied the bike up a whole heap. bike ended up dieing on me on my way home from work and had to push it home, it had lost spark so i pulled the side cover off and turns out one of the screws out of the stator had made its wat out and had a bit of fun behind the flywheel and knocked the points and one of the windings. so i chucked my spare stator in and after mucking around with the weird timing advance setup these use managed to get it going just in time for the penny pincher's first big ride. We managed to travel around 550km's over two days all on back road and gravel which was super fun my bike ended up making it to the lodge where we stayed the night then when i when i was full cut and tried to start it to do a drunken skid as ya do there was no one home and we couldn't get it to fire up at all the next day which was lame, have a feeling something to do with the points is fucked again so it may be time for a xr100 motor with a cdi setup for reliability. i ended up riding one of the other boys a50's on the way home and that was a great time, really have to work hard to keep those things humming up hills and just in general. Note: the Irvine's mince and cheese pipe sitting on the engine casing, i recommend 50km @9000rpm to warm i through throughly Next plans for the bike are to get it going reliably, ride it more, i am wanting to play with a fibreglass mould for a new seat pan and recover it in some brown leather, also i managed to destroy the speedo drive in the original speedo on this ride so may end up getting some nice small desecrate rev and speedo gauge, also get a good quality tail light as the aliexpress ones seem to rattle apart easily this being the second one i have killed.
1 point
-
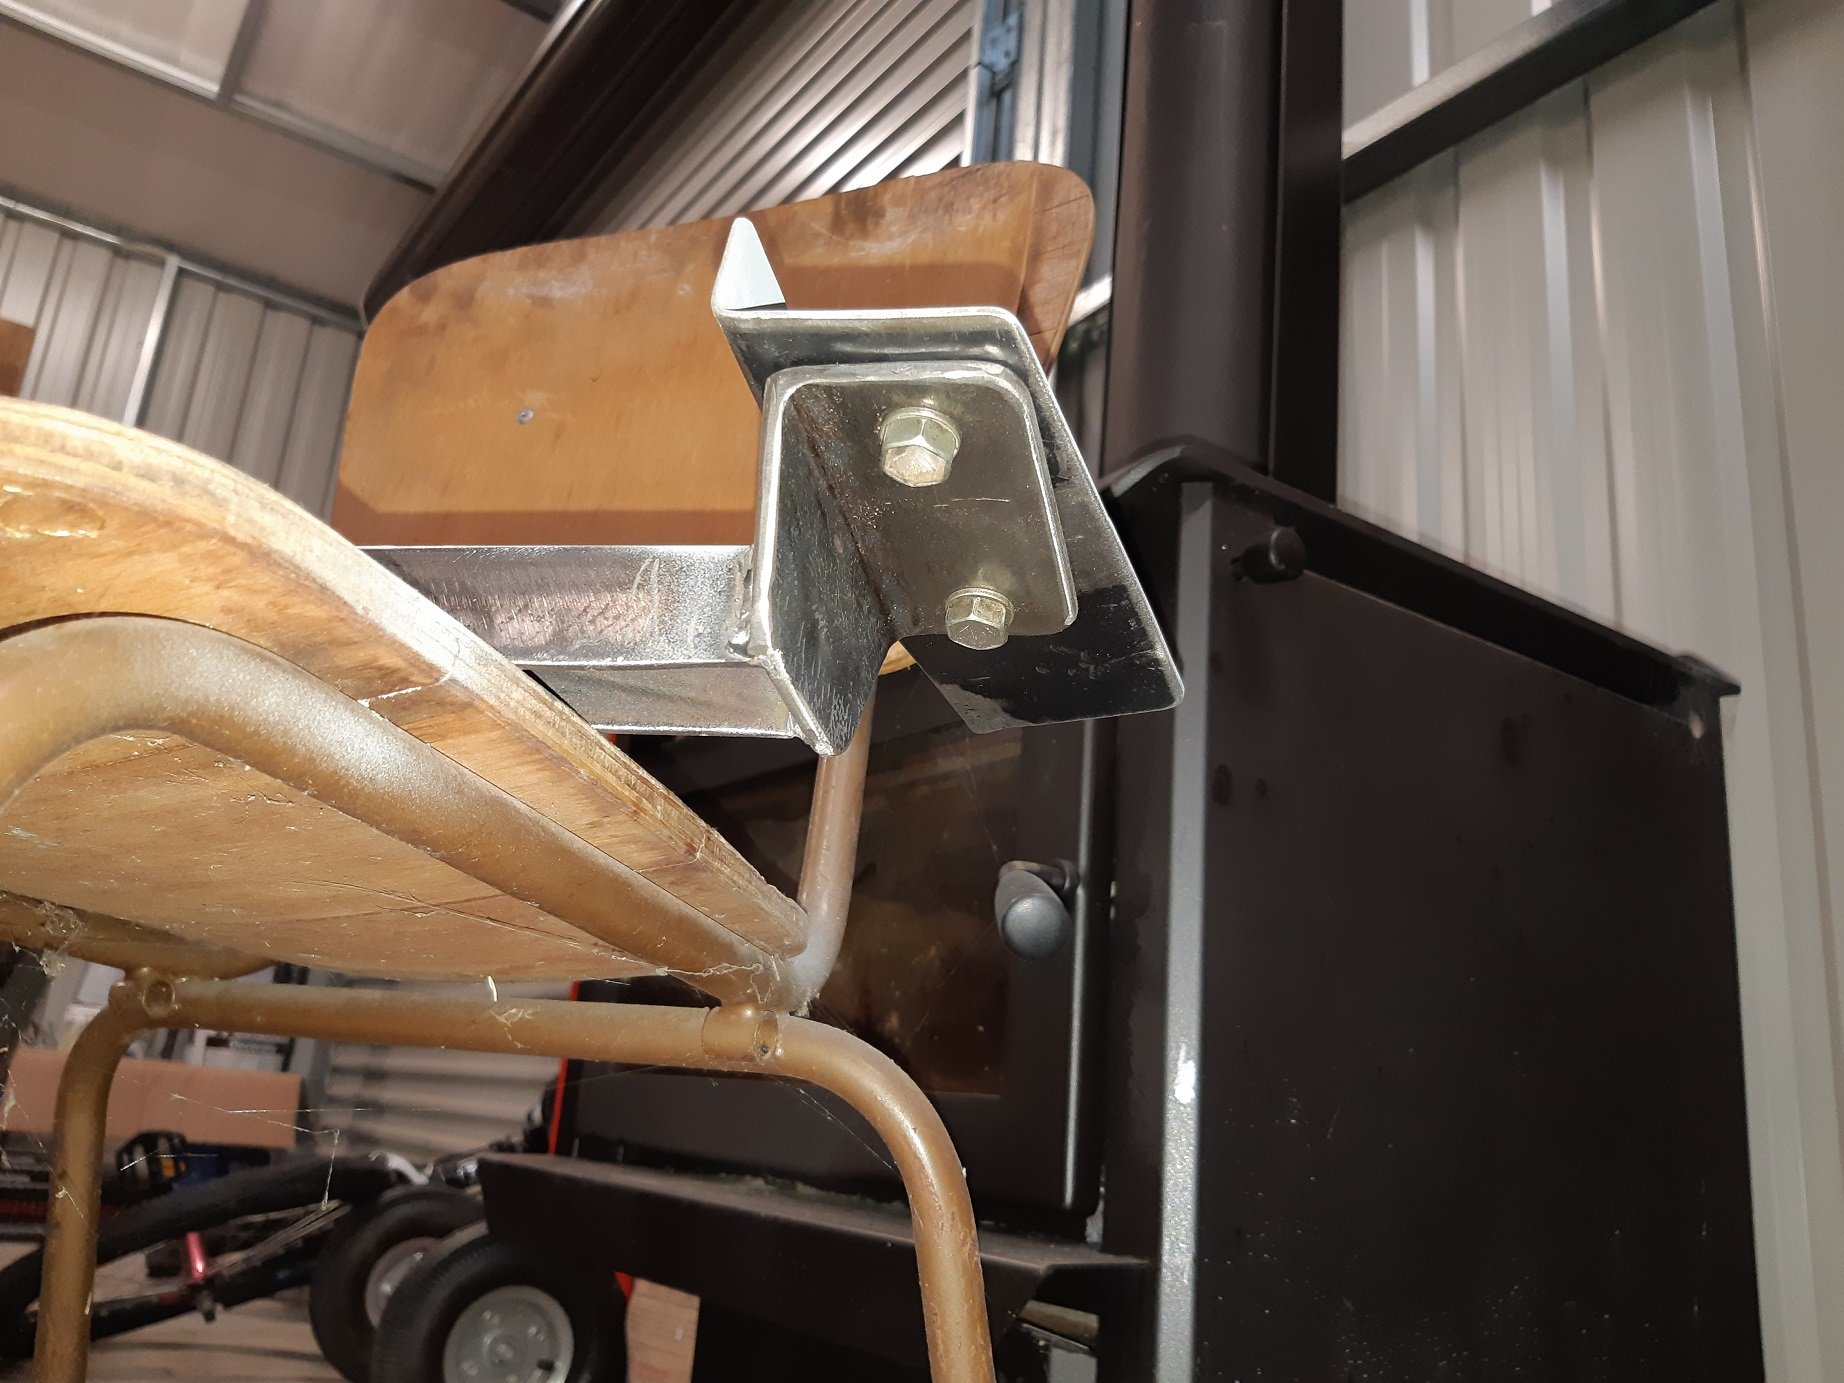
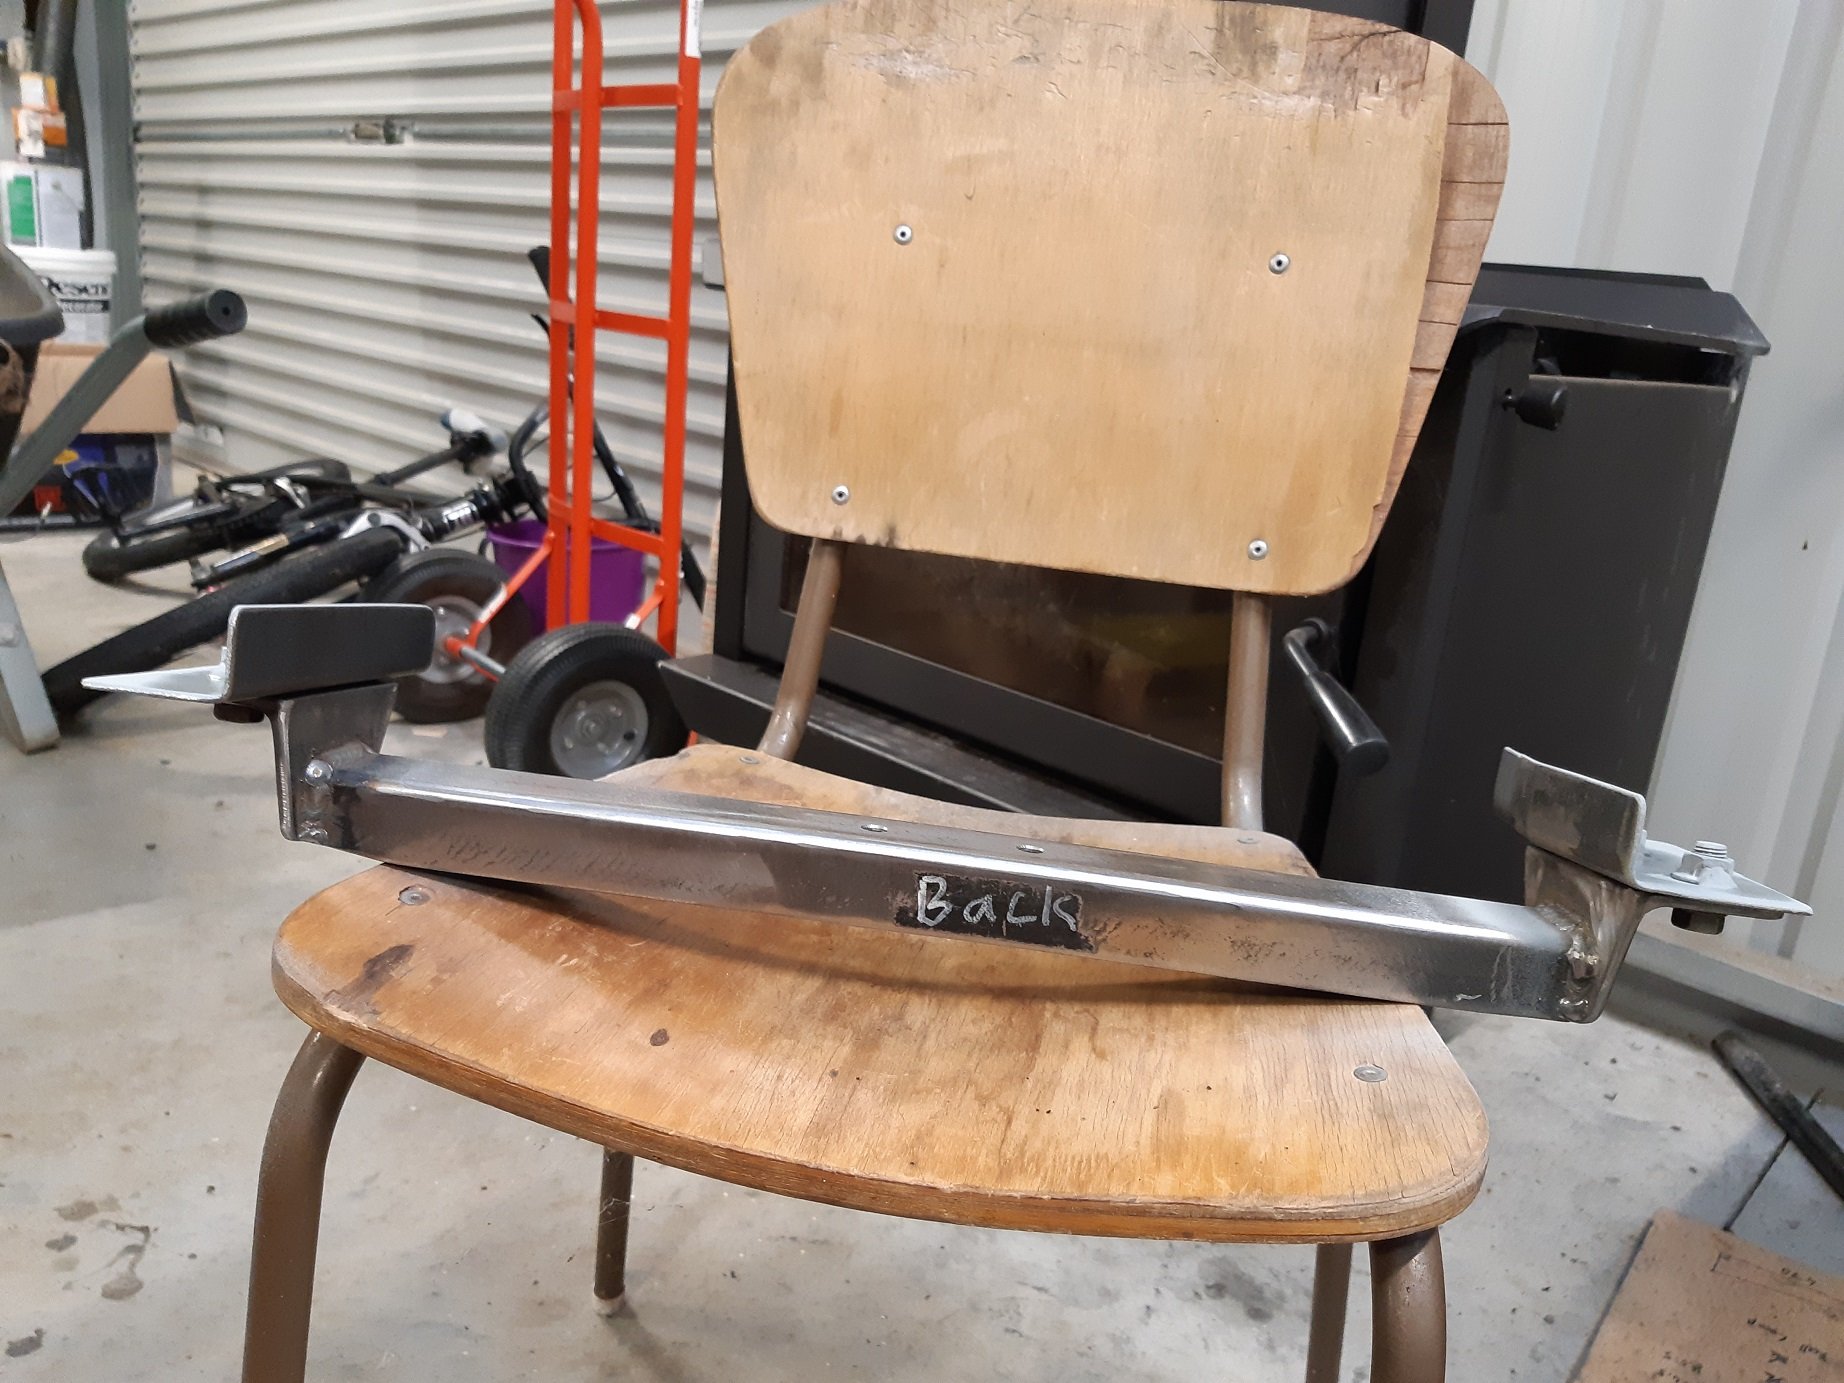
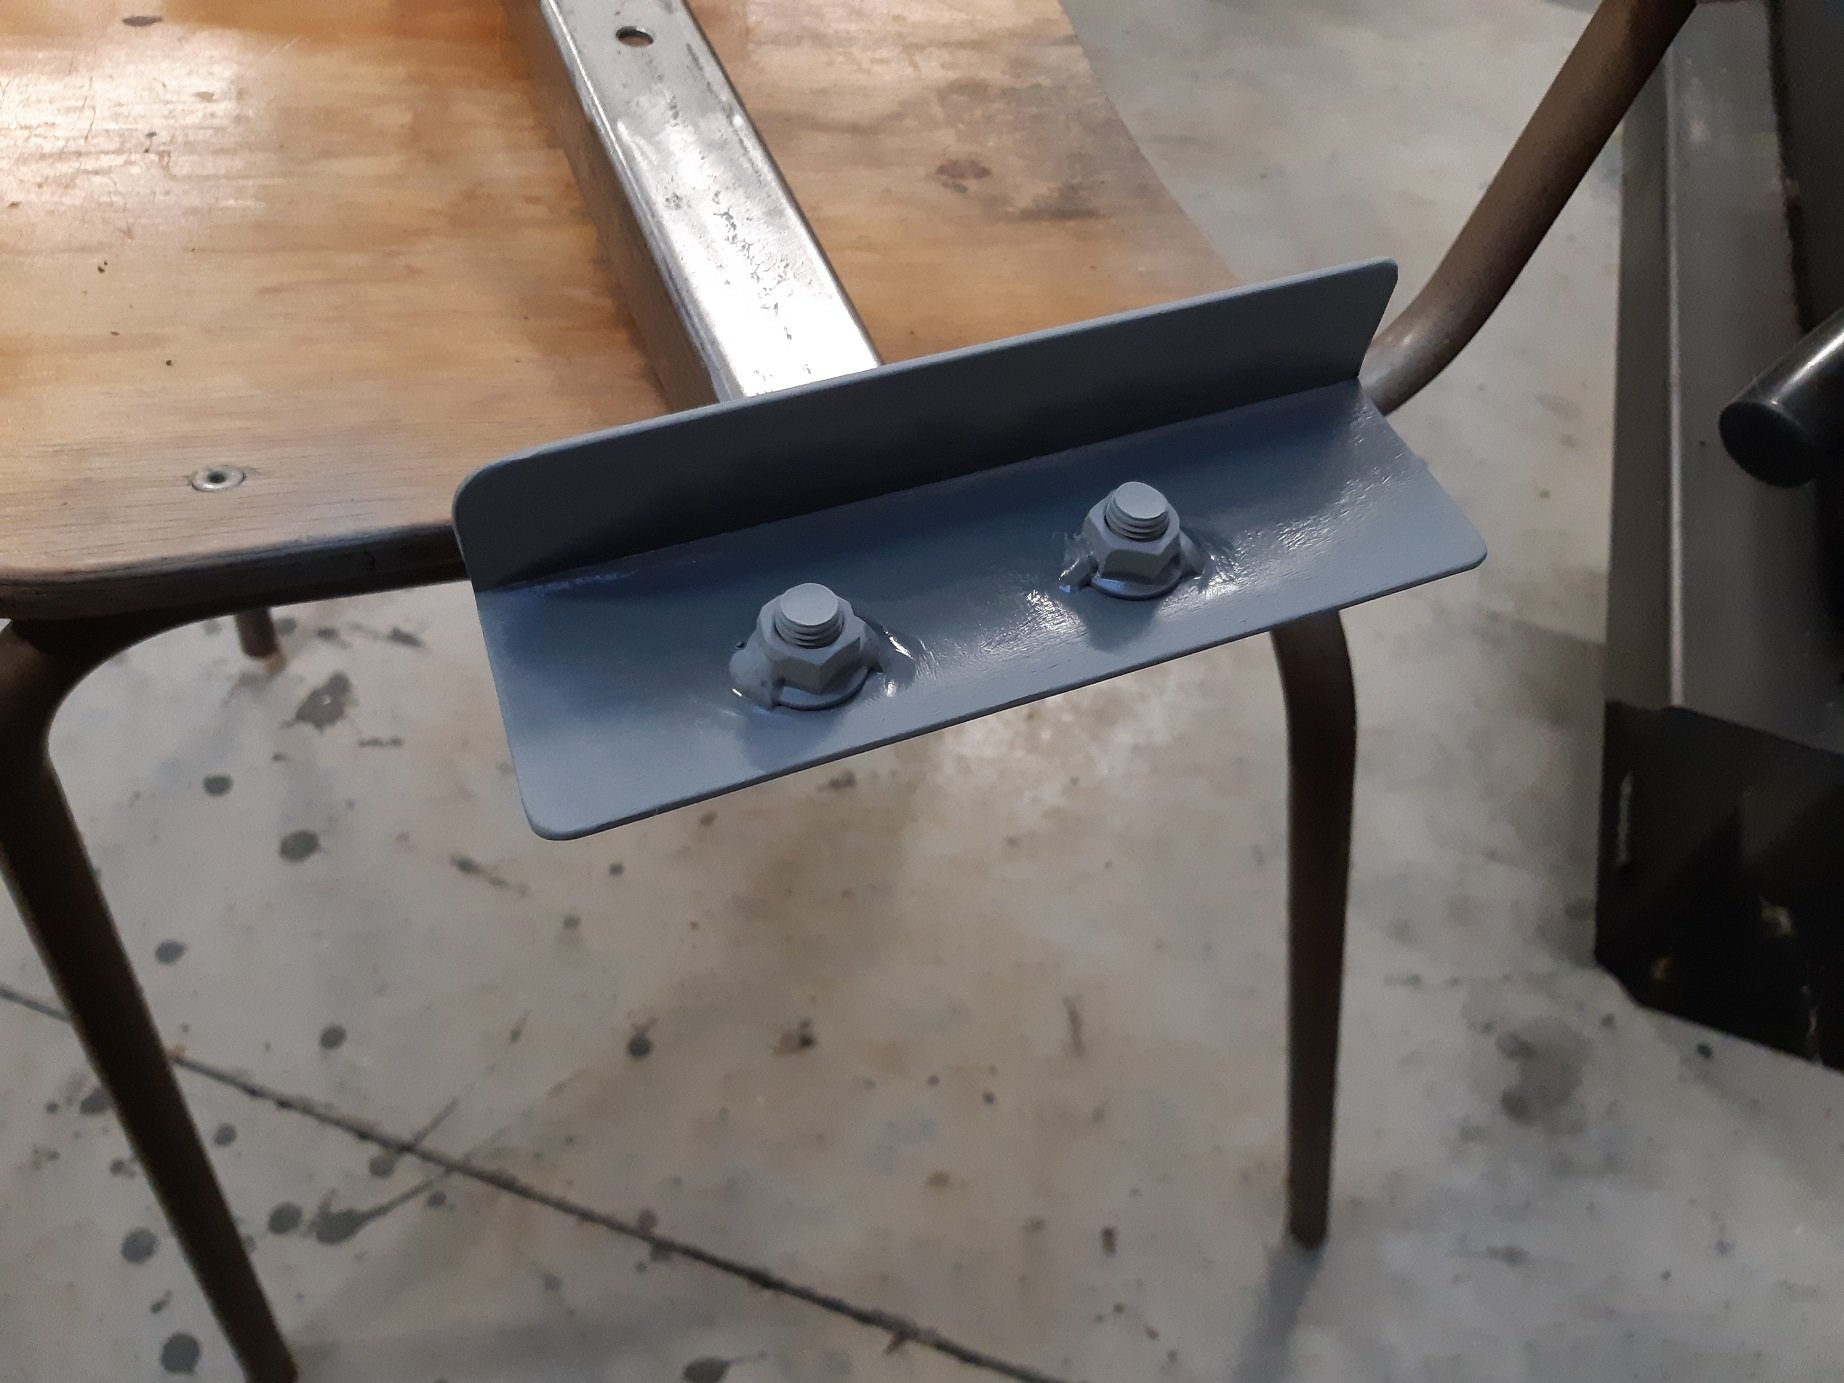
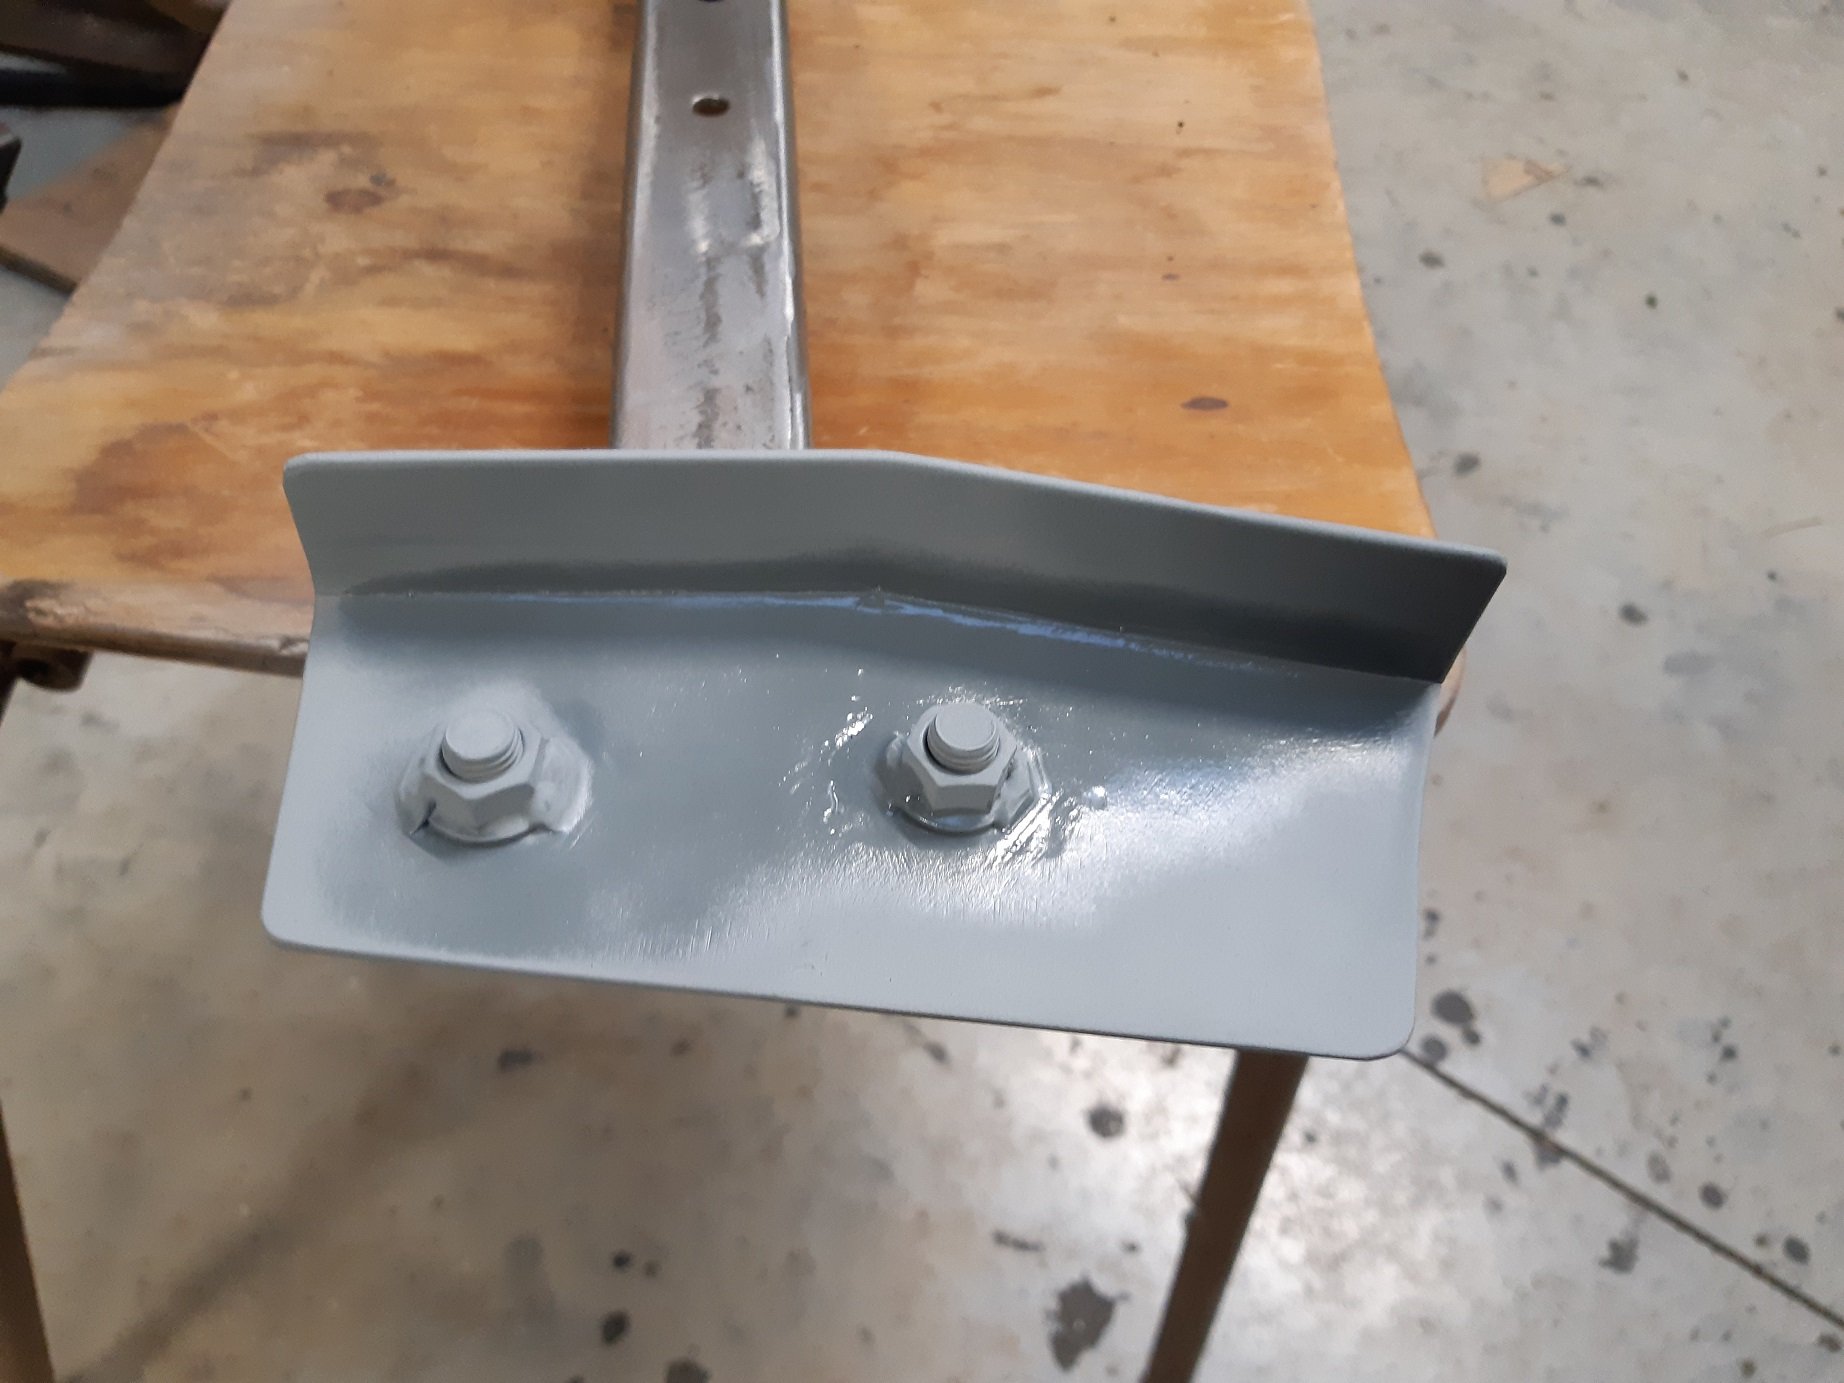
I had worked on this last weekend but didn't take any photos. Captive nuts welded to strengthening plates. Straightened welding warpage in strengthening plates. Embiggened holes in chassis rail to clear captive nuts. Cleaned, sanded then acetoned chassis rails before spraying with some zinc 'weld through' primer, that I'm totally going to wire brush off where the welds will go. Sanded the strengthening plates and zinc primered them too.
1 point
-
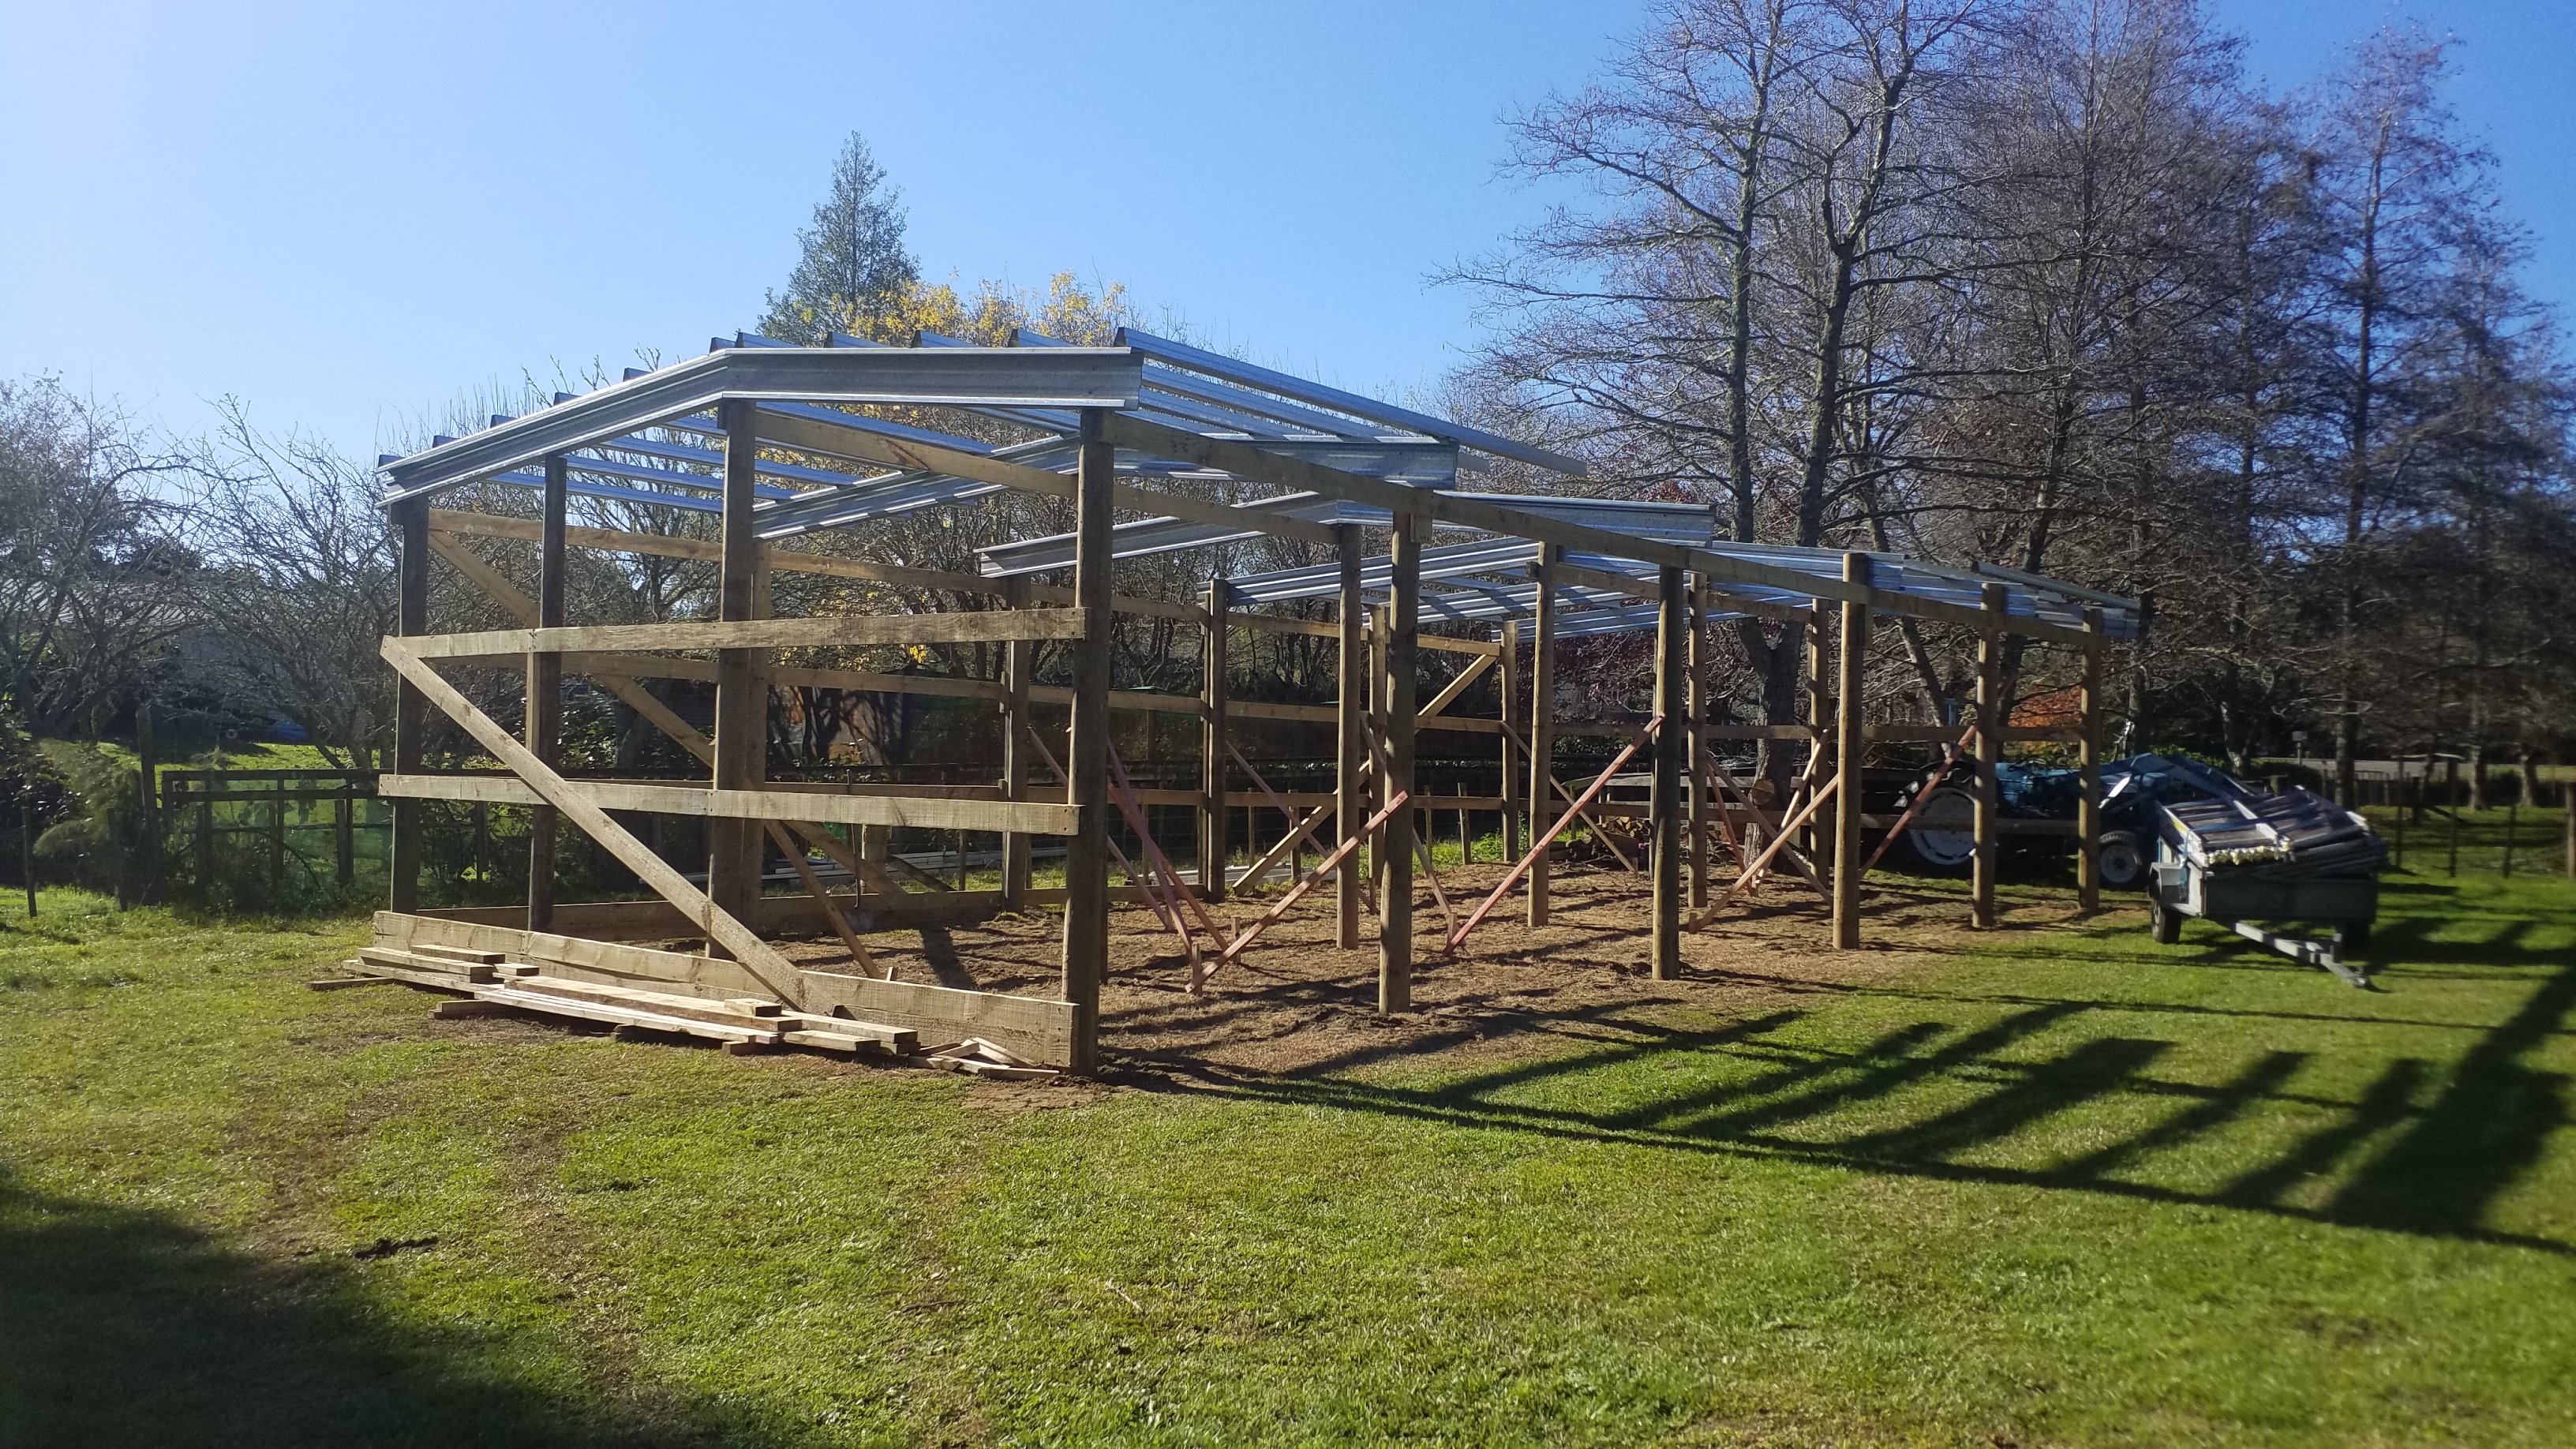
And some of this.Got enought frame up to measure for roof and walls, Will aim for delivery late this week and roof on Saturday, walls on sunday. Overall a productive weekend.
1 point
-
So I fixed the main problem, I now fit in it. I made up little 120mm extensions, with a bit of tube hammed into them, to add a bit of strength. Welded them into the frame, and then added side and bottom cross braces. I just have to sort out the top pipes now. A few of the problems this thing had, that Dave sorted out, were the steering rack that kept snapping rack ends due to bung geometry. It had a rack out of some grotty old english car originally, so Dave shortened a KP60 starlet rack to suit, He also made new knuckles to fix the bung geometry. The next big problem was it was way over geared. Apparently they hardly ever got out of second. So we got a big ass sprocket for the back, which should cause it to top out at 140ish kmh. It also used to have a motorcycle brake disc and calliper, which didn't work so well, so Dave made a hub to take a car disc, and calliper to suit. Apparently it also never quite ran right, which they put down to it not having an air box. They made up a plenum, with little trumpets inside. Another thing Dave made, was a double layer heat shed with an air gap, to stop the exhaust melting the seat. I'll probably make a top shield to protect the driver from the fuel tank, thats located behind your head. I'll start putting the front end together next, so I can finish off the steering gubbins. Regards, VG.1 point
-
I'll probably remove it and restamp with an appropriate/funny one1 point
-
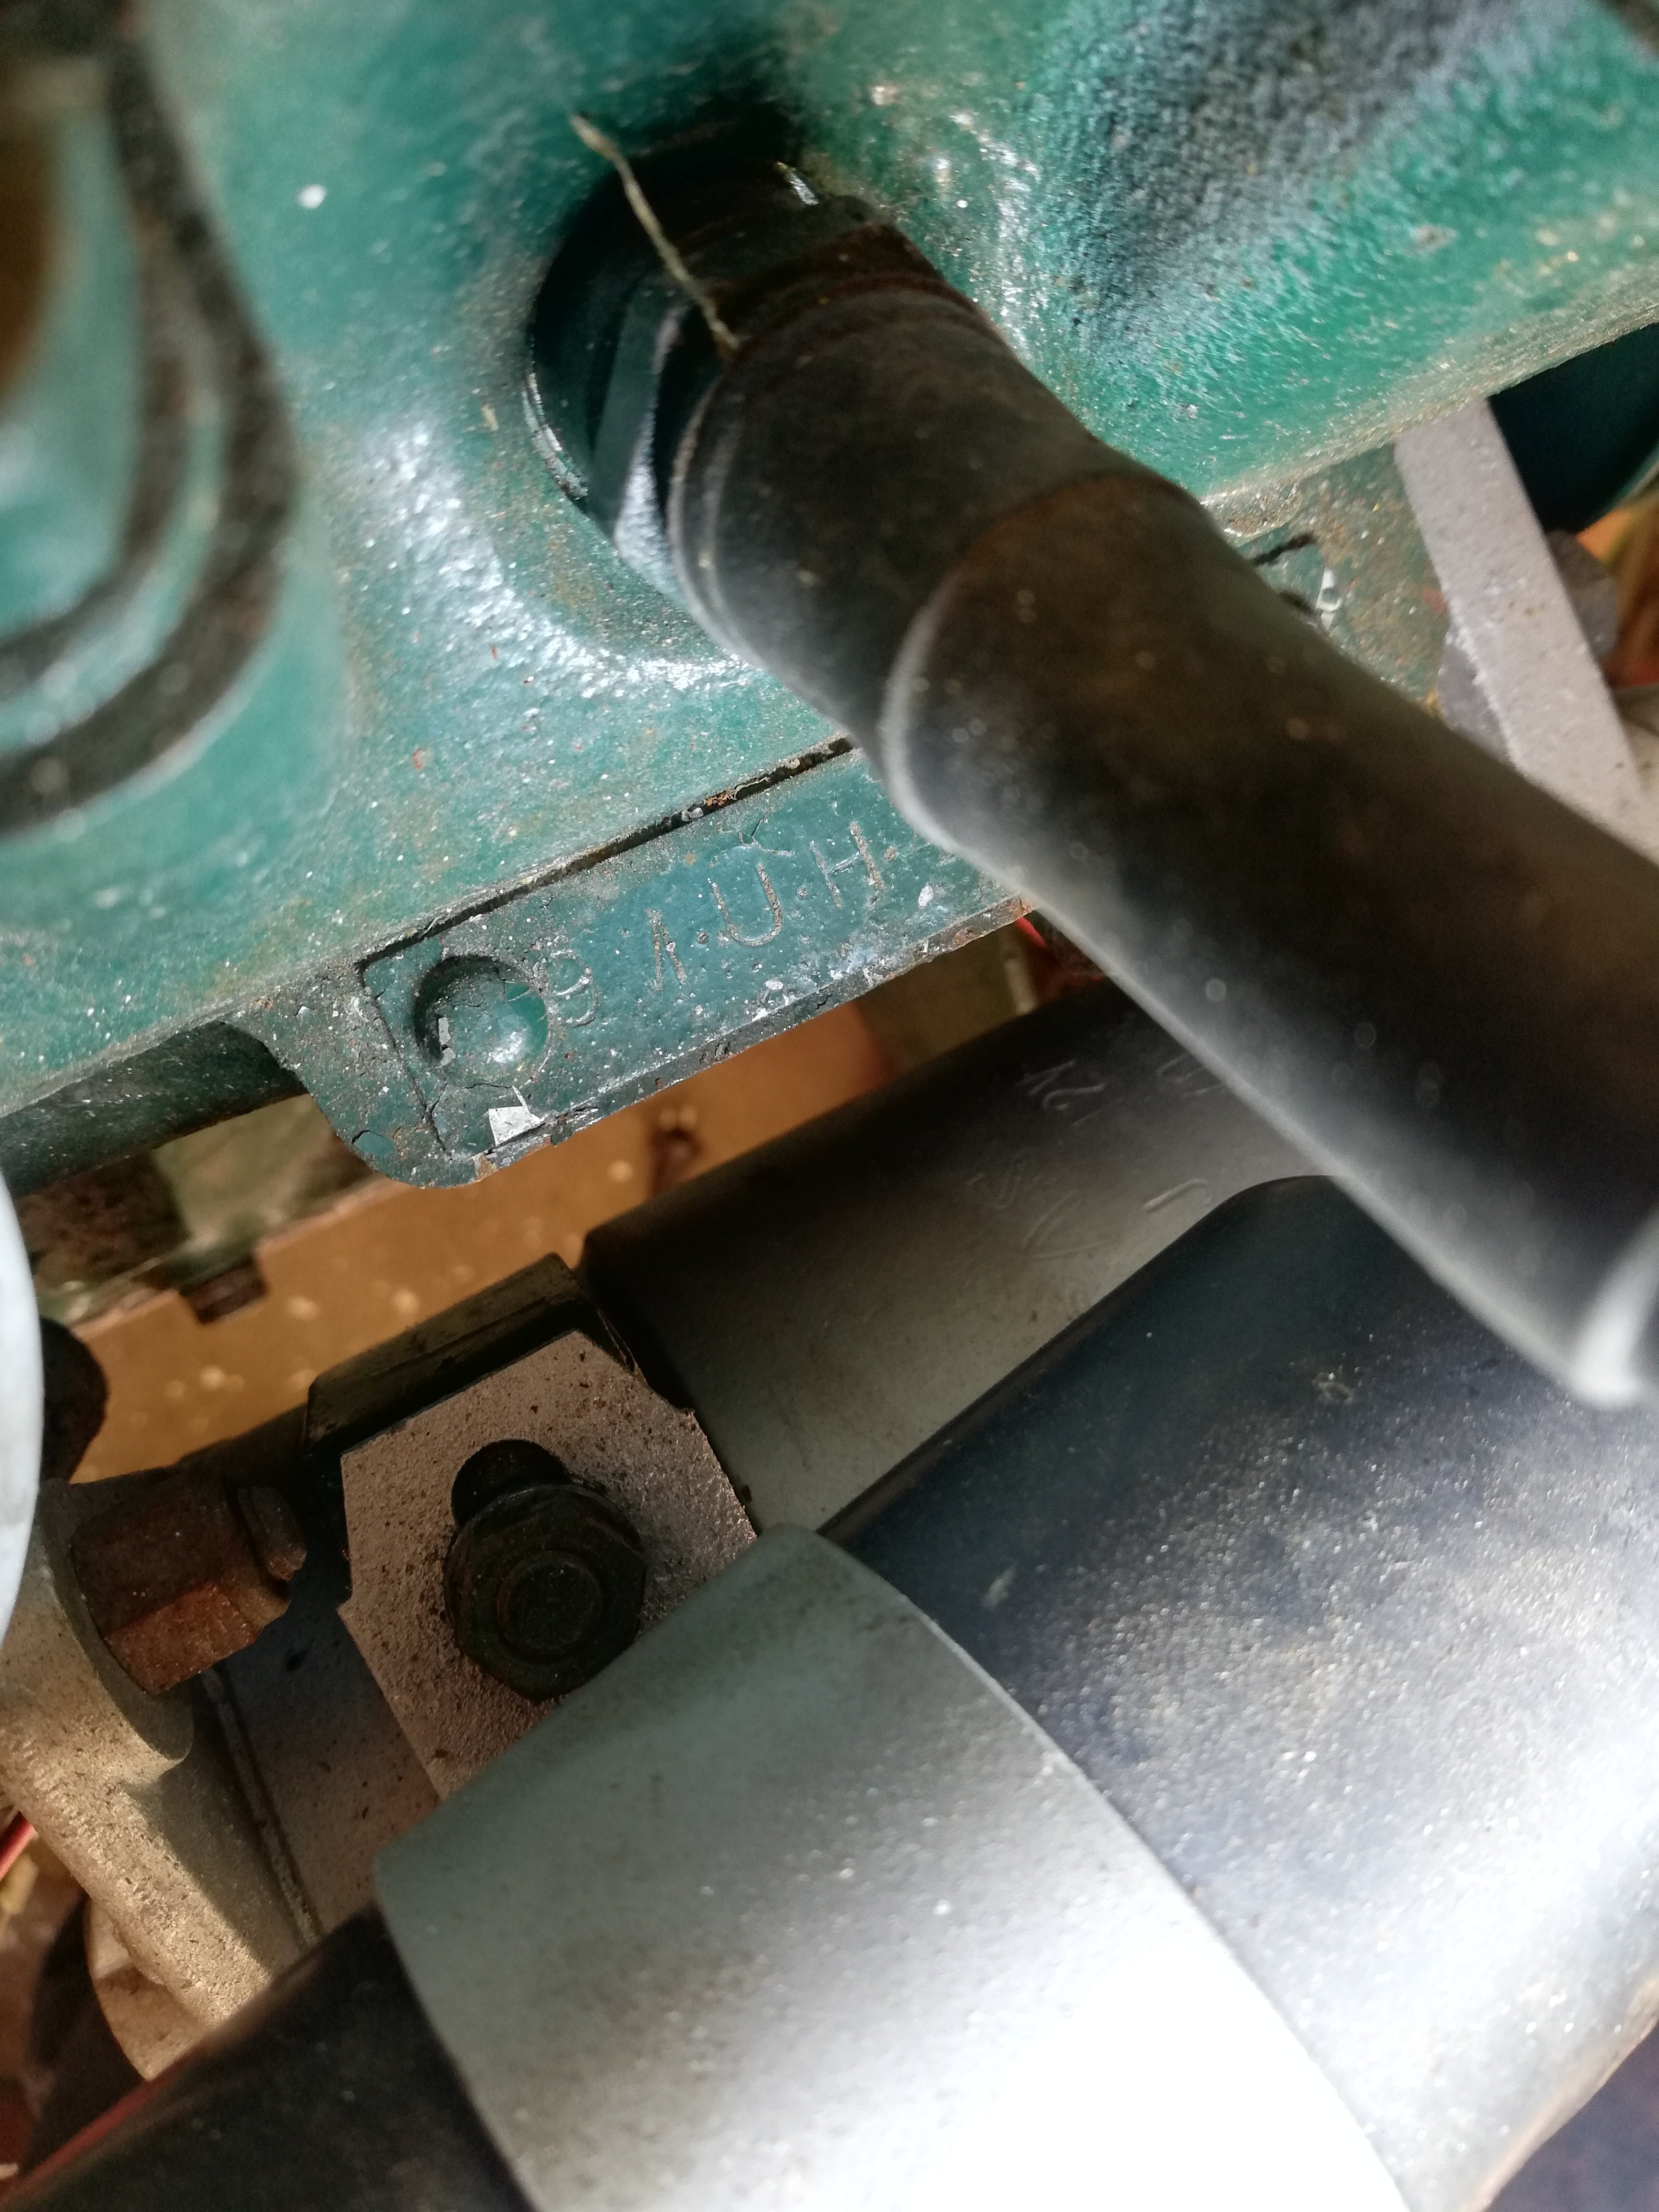
Absolute skullduggery 9MUH engine tag on a block with an upright oil filter at the back
1 point
-
I don’t think we have ever had more than 3 Hawke’s Bay people at a local meet before, seems like no one ever wants to exit their caves. /let’s do some stuff1 point
-
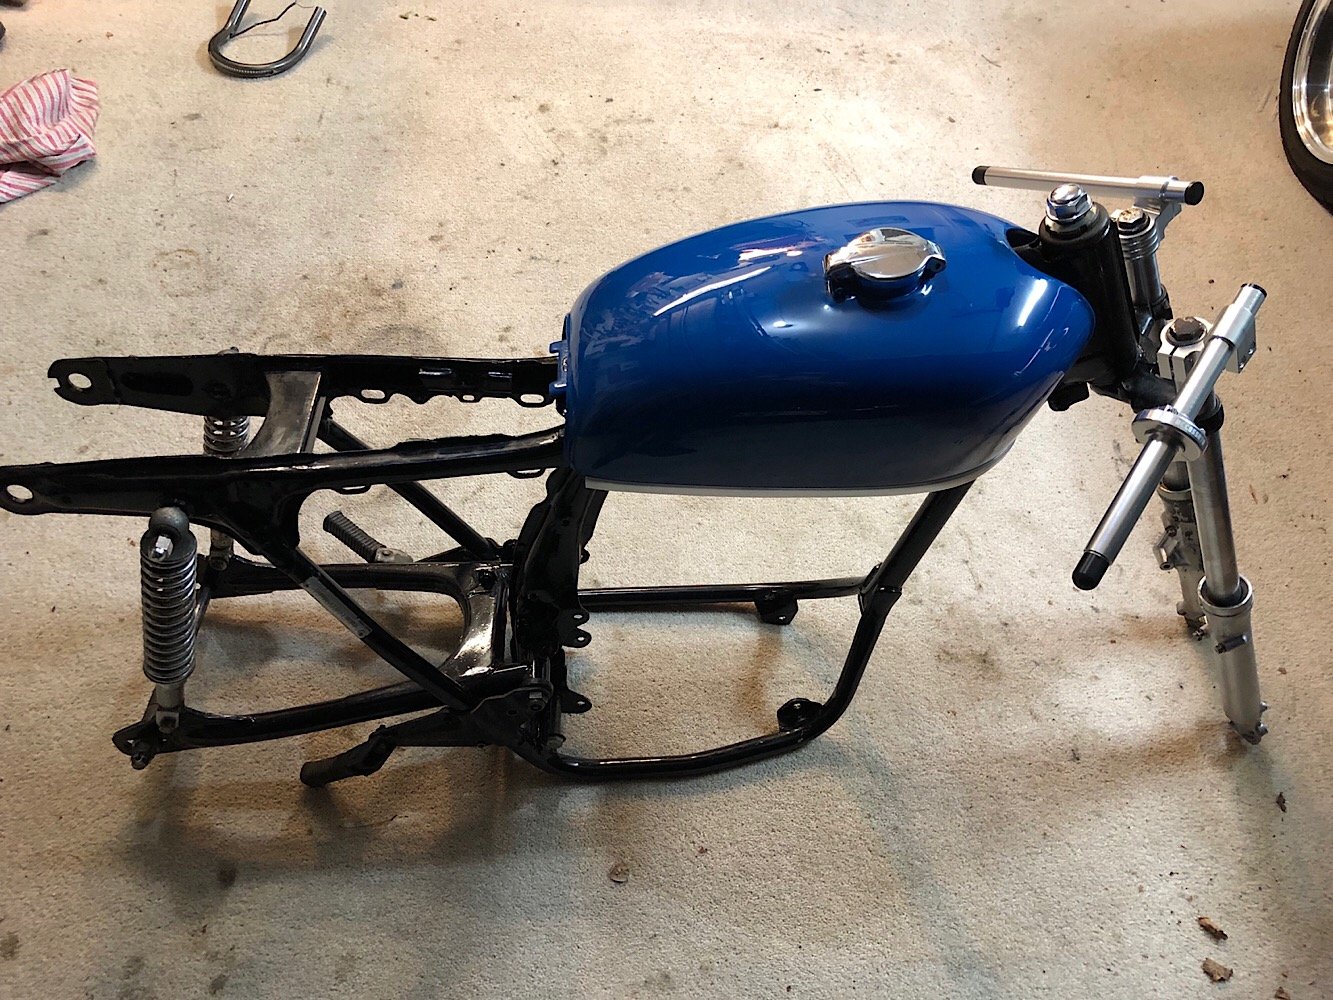
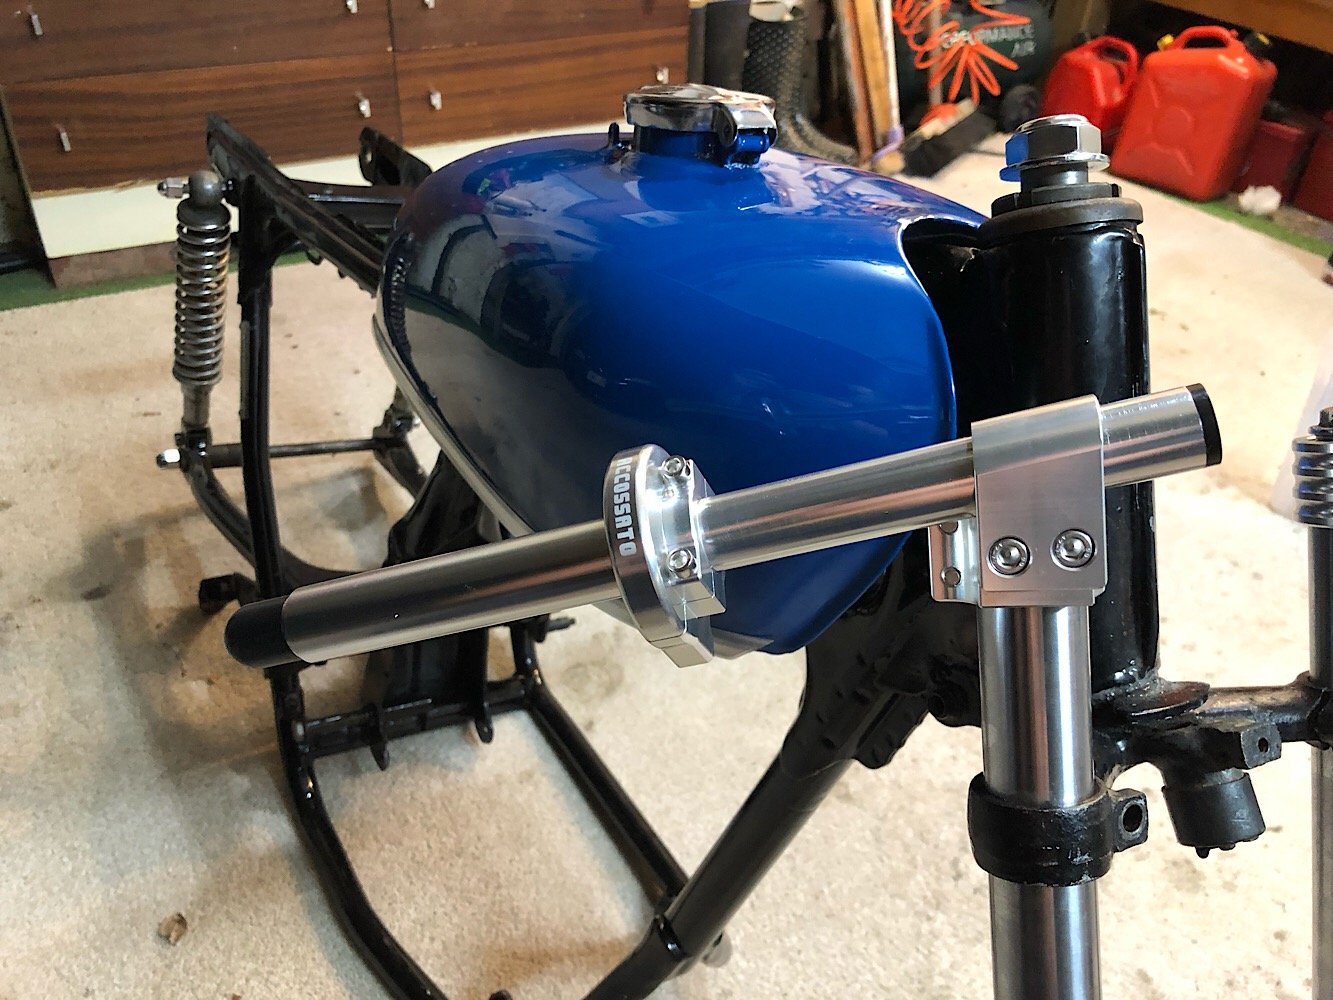
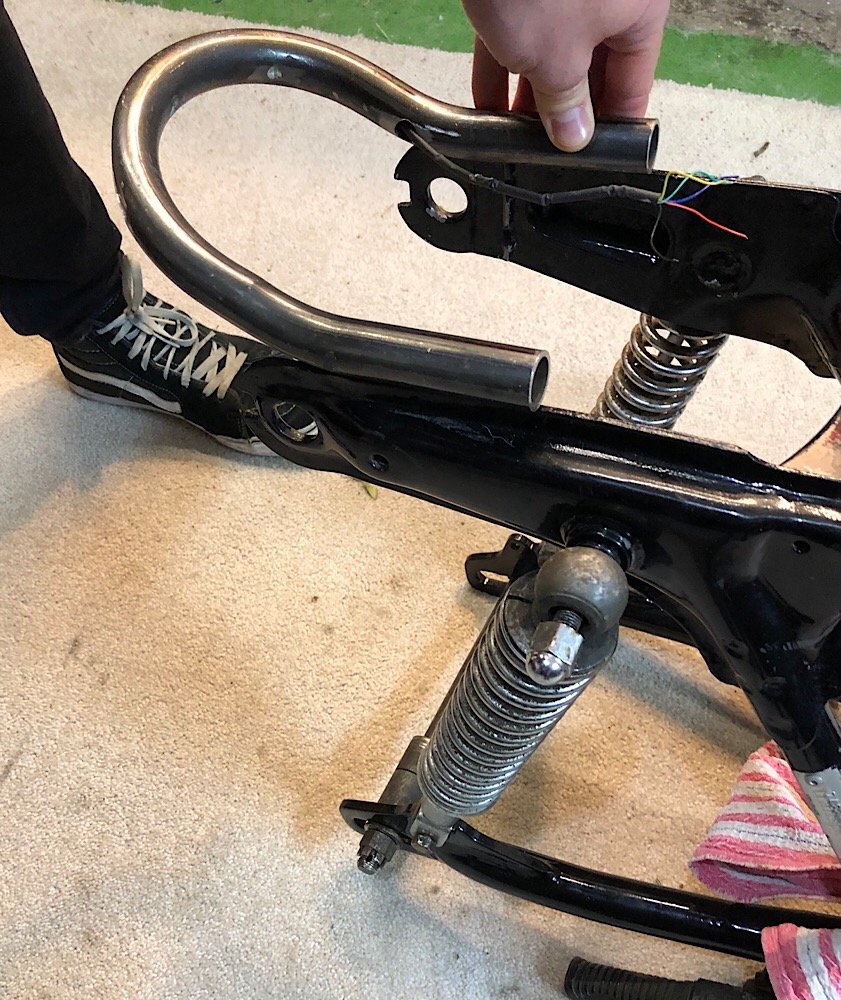
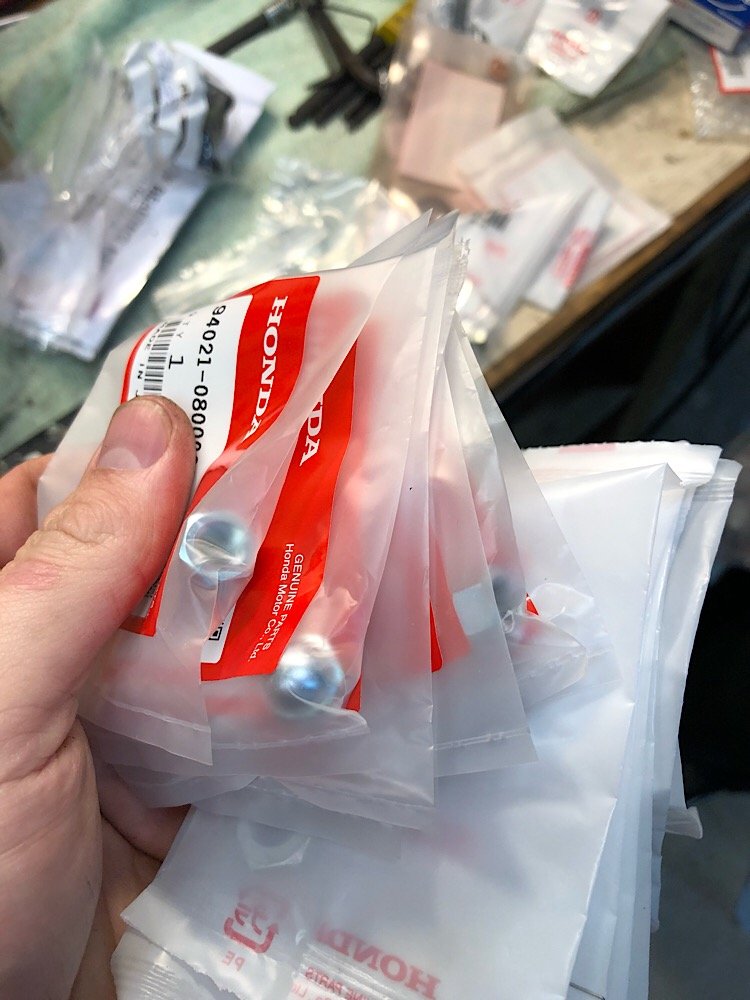
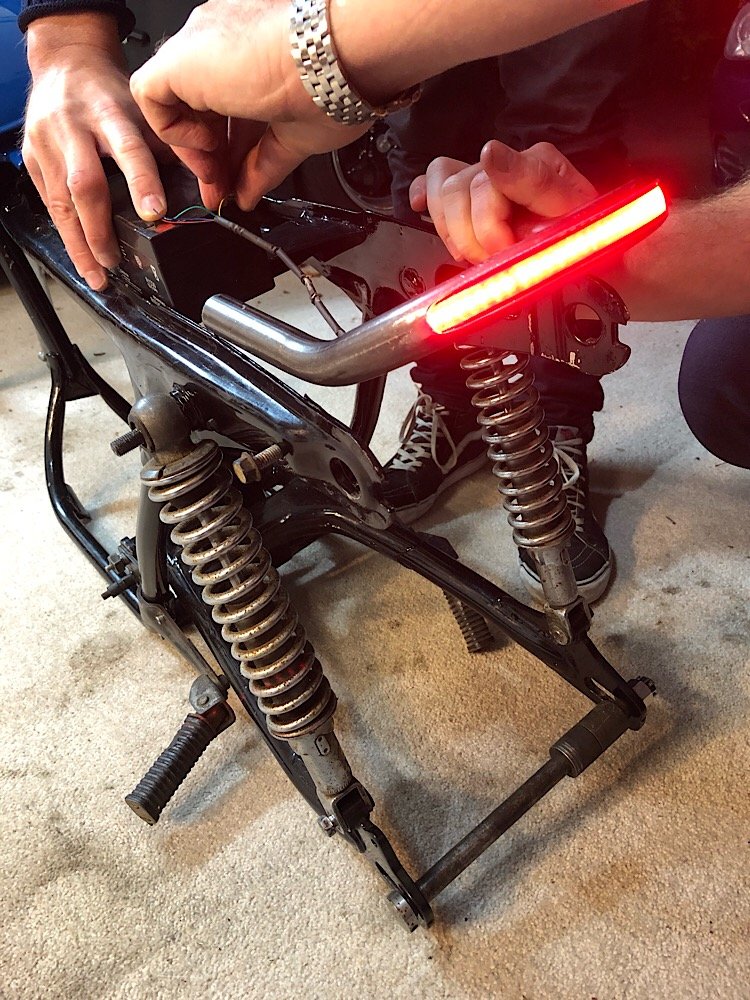
How’s progress? Mocked up the frame with some of the parts this evening and were pretty stoked with how it’s all looking. The blue tank pops against the raw alloy silver finish on the fuel tank strips and clipons. Test fitted the rear hoop and it’s bang on the right width so we’re figuring out the best way to attach it to the frame. And all those part number lists = genuine Honda parts for days! Even the washers come in their own Honda bags. Rims are on their way from the UK, ordered 1.85 x 18 fronts which are up from the standard 1.6 and got 2.15 x 18 for the rear up from standard 1.85 in stainless steel, be nice to have slightly bigger feet on this for looks mostly. Hopefully we get the engine back together this weekend.
1 point
-
Oh yeah and something i've done on the "big chobs" is cut out a smaller section, and replace that, even if the edge is rusty. Then cut slightly into the new repair, and extend the hole to remove more of the rusty area. If that makes sense. Rinse and repeat. Means that on areas where getting the original shape back might be hard, it's easy. As you're only replacing small bits at a time, while the cars shape doesn't change as the previous repair holds it together. I've had to do this quite a bit, as doing it in one piece would be near impossible to recreate the original section as it was. tl;dr: don't always try replace a whole area in one hit, small bites works well.1 point
-
All of the rust repairs i've done on current car are rusty lap joints. So I would lean towards butt joint as there is nowhere for water to get in. Butt join is more work, as fitment has to be pretty close. But i'd consider it a better method. Everyone is going to have different strokes though. Whatever you do, coat it all to stop moisture getting to it again. And as someone mentioned, if wanting long term fix, you'll need to cut more out till there isn't rust on the edge of the patch. Cut it out till you have good solid metal to work with.1 point
-
Planning meeting underway.
1 point
-
IMO you only want butt welds where you joining mid panel to mid panel so its invisible, basically where you are replacing rusty sections with new panel sections. Use lap joints (with plug welds) to replicate the factory spot welds where they would have existed before. Lashings of seam sealer to keep the moisture out of the overlap. As Valiant says, there is a bit of trick to thinking about the order of assembly re getting the grinder or mig torch in especially in the inner corner of the floor - eg maybe butt weld the floor section in, build up the inner sill to the new floor datum, build the outer sill (butt to the fender and sill, plug on the bottom lap) and plug weld the floor lap to the new inner sill last. Also that patch looks pretty rusty - best to cut more out untill you get to good metal, as its easier to make a bigger patch now, than try to weld to rust and then redo the repair in a year when the weld blows out.1 point
-
Why not both? It looks like you need to repair your Inner sill and floor section before you add the pillar and outer sill over the top. Seperate the floor pan from the inner guard at the seam in the left of the picture, overlap and plug weld it. Overlap the flat part of the floor pan. Butt weld as the factory have done down the left edge of the pillar and butt weld the sill at the right hand side. That's how I'd approach it.1 point
-
Hour away could be convinced for a Ice block1 point
-
Designed for a boxer 4 so wide and short 65 cm between the lever arm bodies About 52 cm from crossmember to radiator panel About 41cm between the chassis rails More or less as tall as you like. Generally you have to cut out the crossmember to fit anything decent. Also the steering rack is directly below that. So that's in the way of most gearbox bell housings. Tube front ends seem common enough1 point
-
It probably is good to keep that information secret so there's less people capable of keeping these things on the road. The greater good. Keep calm and minor repairs.1 point


.JPG.b1f88a00ccdf0564c5d143eae4841bde.JPG)
.JPG.27b4b537d25447fefb8019e9badb0191.JPG)
.JPG.725253a564d64619374d2cab01e6de37.JPG)
.JPG.9381d40823e6c3f12a6b60dfca95e447.JPG)
.JPG.2c909330dd68a9dc7ad71840aefef3c0.JPG)
.JPG.cbc5f7001073462f1d631346e45ef601.JPG)
.JPG.5a786f93b3b2ff0ab89116e3681f57df.JPG)


.thumb.jpeg.384ff72c8d2b0ee0d34a7bdedb55bdcf.jpeg)


This leaderboard is set to Auckland/GMT+12:00