
Leaderboard


Popular Content
Showing content with the highest reputation on 09/09/17 in all areas
-
The crown made it into this months 250th performance car mag,in the under construction section.pretty stoked with that. motor,gearbox is in hopefully for the final time.driveshaft hoop made and now just having to do the small bits.panels are back on,vacuum lines run.Just need to order a link g4 storm ,have it wired and get it going.
 7 points
 -
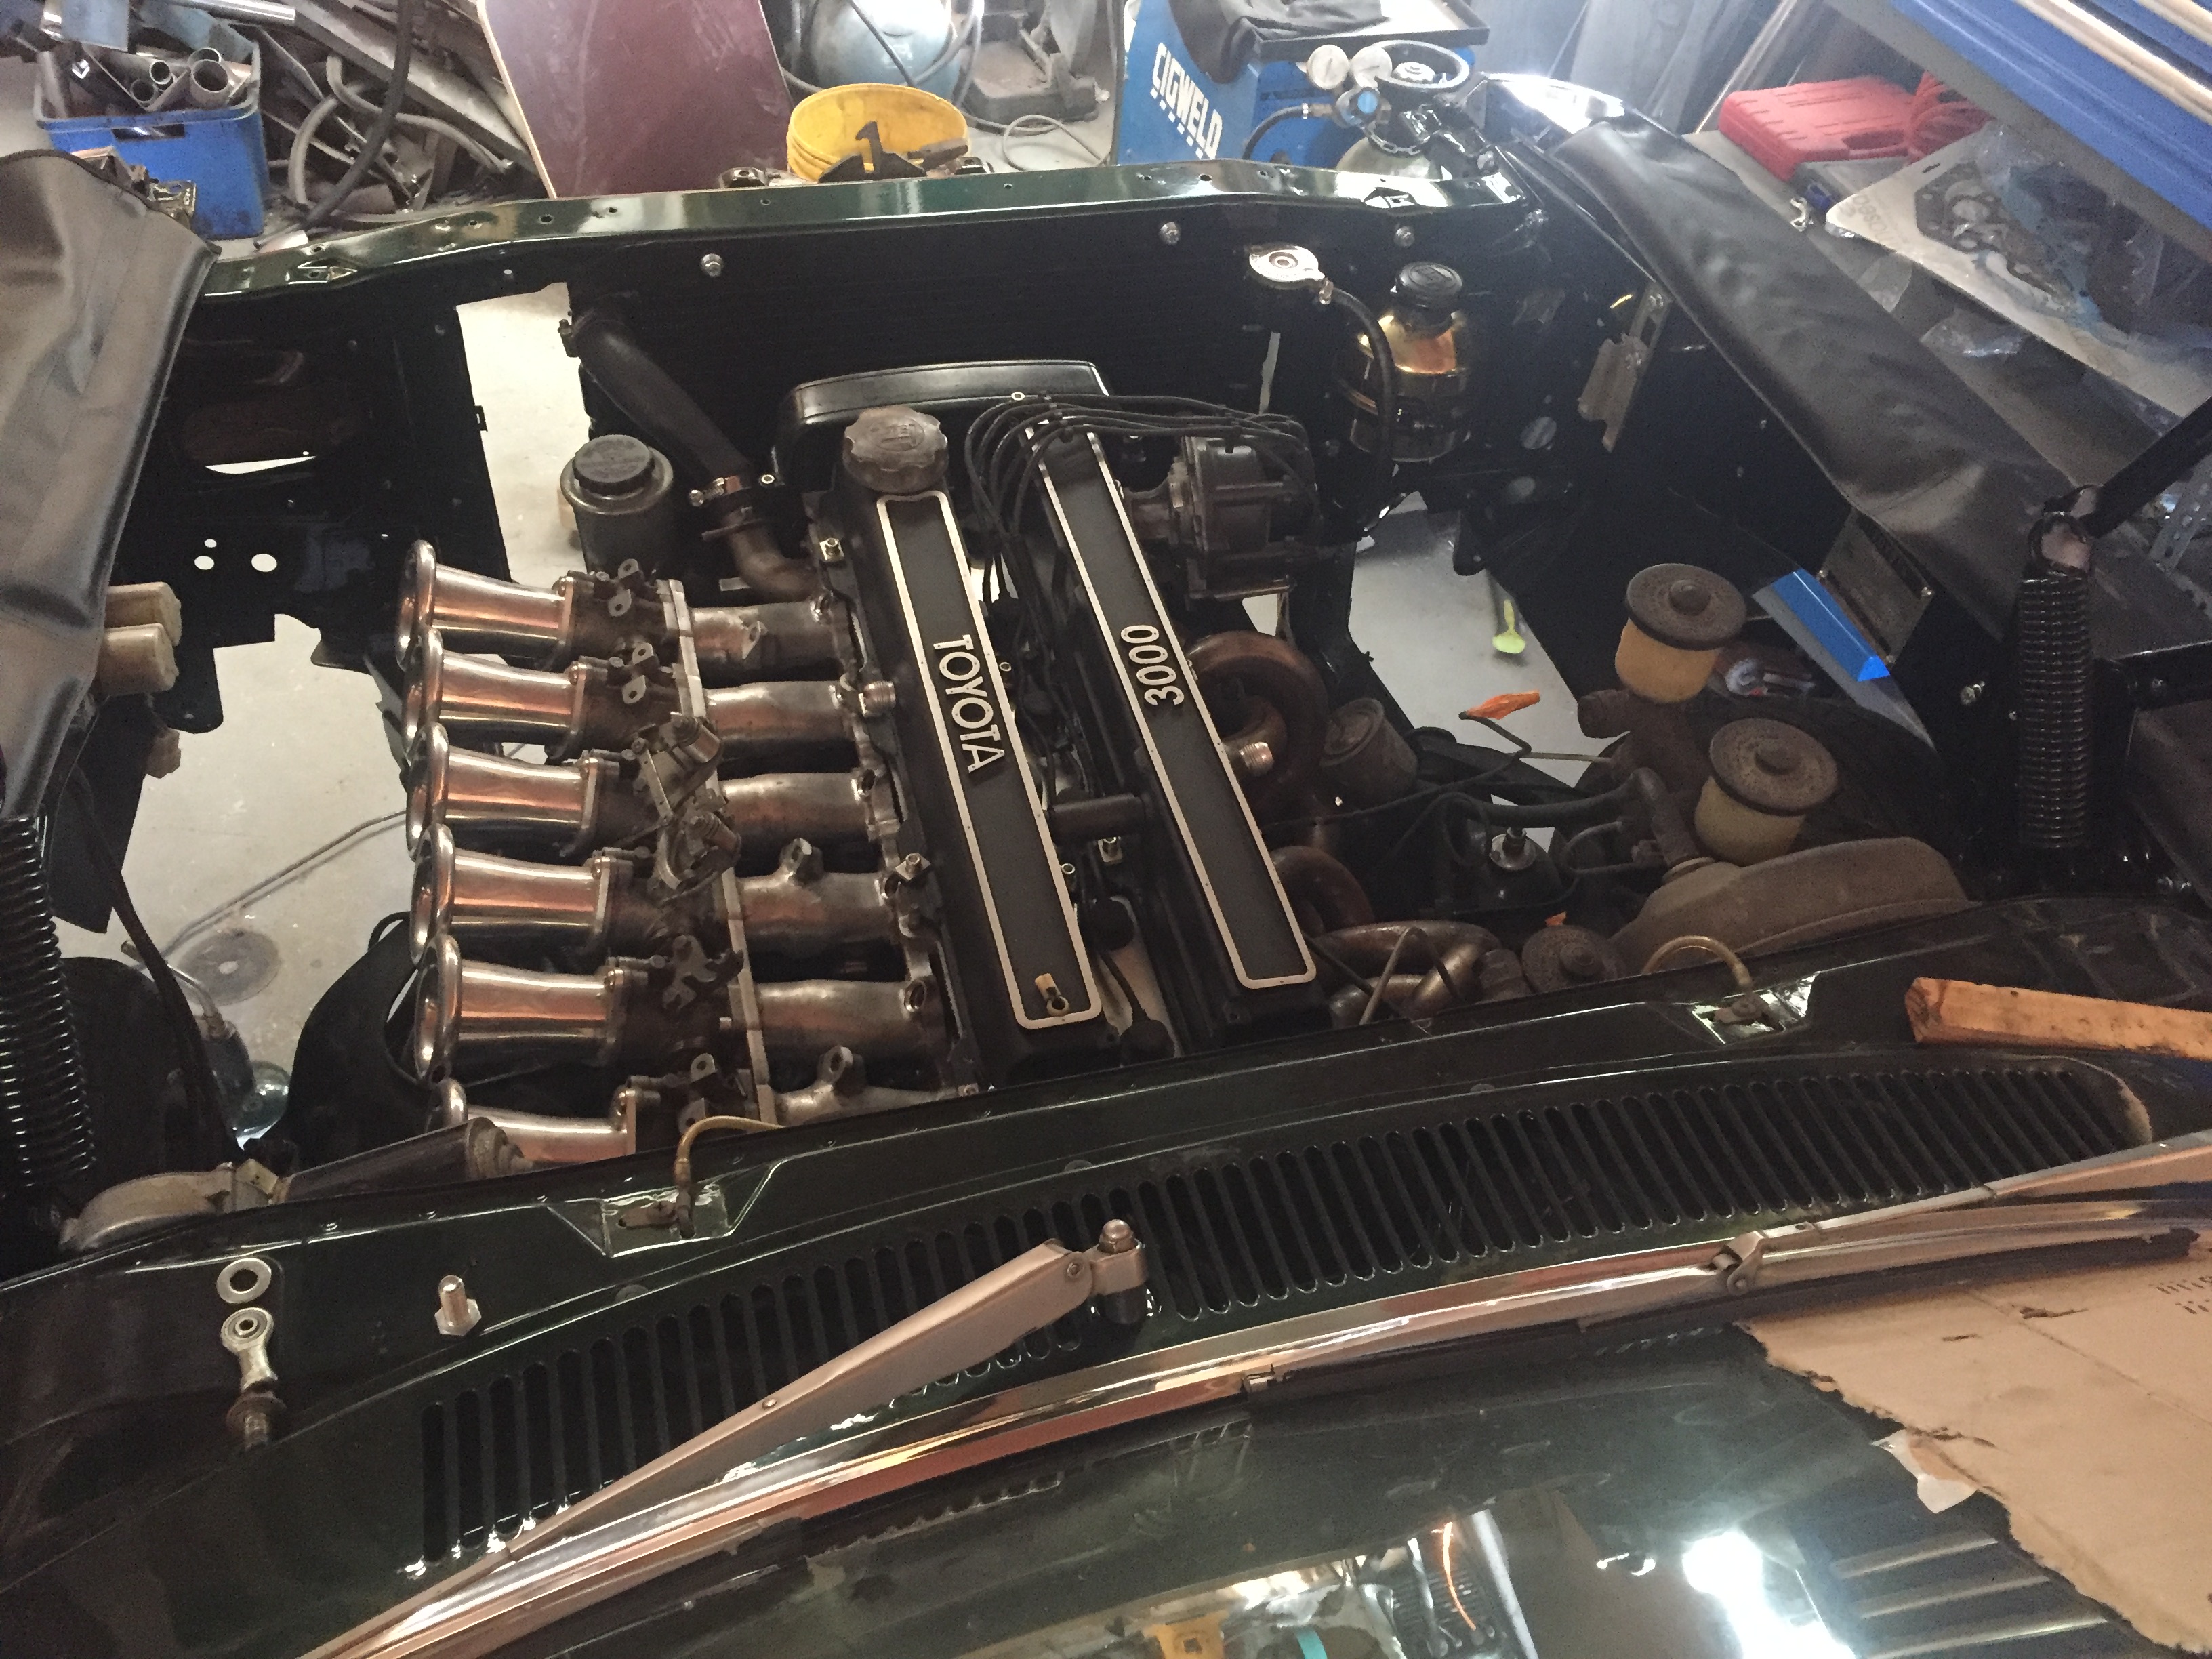
New clutch finally in. it runs the 230mm ae101 4azge clutch, and there isn't much around for them. heaps for the smaller aw11 /ae92 225mm. ended up going with a toyota clutch plate and exedy hd pressure plate. holds the power fine but unsure how much abuse its going to like. New turbo seems to work all good. full boost threshold isn't alot different. but it seems more responsive at lower rpms. Been having boost creep issues. unsure if the old turbo was doing the same, as never really check it after i changed the manifold and wastegate pipe. should run around 10psi but it was creeping up to about 16psi. 16psi isn't really any drama for this engine. but driving slow doing 4wd stuff, it heat soaks pretty bad and has enough power to do what it needs. so keep it lower. Suspected it may have been the long wastegate pipe. so pulled the bonnet off and made a zoomie test pipe from next size up tube It dropped the peak boost from 16psi down to 13psi. so still creeping a bit, but i can live with that if it means i don't have to pull it apart again Made a new pipe to exit in same location as last one. runs the same 13psi peak as test pipe. old pipe 38.1 tube. new 44.5mm tube.6 points
-
Whilst prepping the raditor overflow tank for paint,it turns out they are made from brass.so instead repainting black i gave it a polish instead,looks the part
5 points
-
The car name GYRO (gyroscope) is originally a compass, but G is great (great), Y is yours, R is recreational (entertainment), o is original (distinctive ) And the like. In other words, "I have a possibility that a fun way to use will be born one after another because it is a unique ride with excellent multipurpose (from work to leisure)" with unknown number x = meaning " I named it. http://www.honda.co.jp/news/1982/2821013.html5 points
-
just fitted a one piece driveshaft. old two piece had an original celica center bearing in it. as you can well imagine after 16 odd years of massive abuse it was fucked. you cant get a replacement that isint garbage so i decided to go to a one piece. ages ago i tried to use a much stronger center bearing but because of many issues including weird gearbox and diff angles and an inability to get it sitting in the right place it never really worked very well. so, one piece shaft. its a 75mm diameter tube and its max RPM is about 8000, or 255KPH. i can live with that. fitted it tonight and took it for a test hoon. christ what a difference. its probably about 50% how fucked the old shaft was and 50% how stunningly smooth the new shaft is. its like a new car.5 points
-
Just get a couple of wooden oars/paddles and some big eyelets mounted to the chassis as pivot points. Use the oar to push down on top of the slipping wheel to increase friction and transfer load to non slipping wheel.4 points
-
So, been finding a bit of time to try get this running again inbetween cutting never ending rust out of wifeys 68 impala. But the end is now in sight! 2.75" aluminum Intercooler pipework done, turbosmart BOV fitted, N14 GTIR radiator plumbed in and the engine ECU wired up. I started it the other day, seems to run well enough so pretty happy about that! Only thing left to do is send it off to the exhaust shop now and get a 3" turbo back exhaust system made. Then skids?4 points
-
3 points
-
Currently sitting in gisborne after driving this road today. Detour out to the lighthouse at the cape, Hicks Bay Wharf, Tokomaru wharf and Tologa Bay Wharf are well worth it2 points
-
Green tea KitKat is... interesting... Looks a bit better2 points
-
Looks like it's all going to clear just fine, will have to keep my cables routed nicely but should be mint as without having to cut and extend the stem tube. Think I might get a step mount from Yahoo in the next package, don't think I can bring myself to bolt a nice new step onto this mess even if I welded in some new steel Can get new genuine for $101.50, but they seem to be under $10 for good second hand ones on Yahoo auctions so yeah will pass on new lol Other than a stroker crank and big carb I can't think of too much else I need to order to finish this thing now, need to make my mind up on what I am doing paint wise pretty quickly and get that under way! Even if I stick with white the rear section etc needs to be repainted as it's pretty grotty and faded etc. Oh and if @64vauxhall is keen to take it on the seat needs a retrim I think and once it's all together and on the road I will start on building the new engine...2 points
-
Ha! That's awesome. Had another small package arrive from my friend in Osaka just before Got to love genuine parts! Didn't realise when I ordered it that the (rather pricy) ignition didn't come with the mounting plate which is the main ignition part I actually need Can get a new one for about $8, so I guess that means I'm going to have to order some more parts to make shipping economical...2 points
-
Good evening David Did you ensure that the rear suspension can bottom out firmly on the bump-stops without your new drive shaft fouling on any part of the vehicles driveshaft tunnel? Best regards Clinton2 points
-
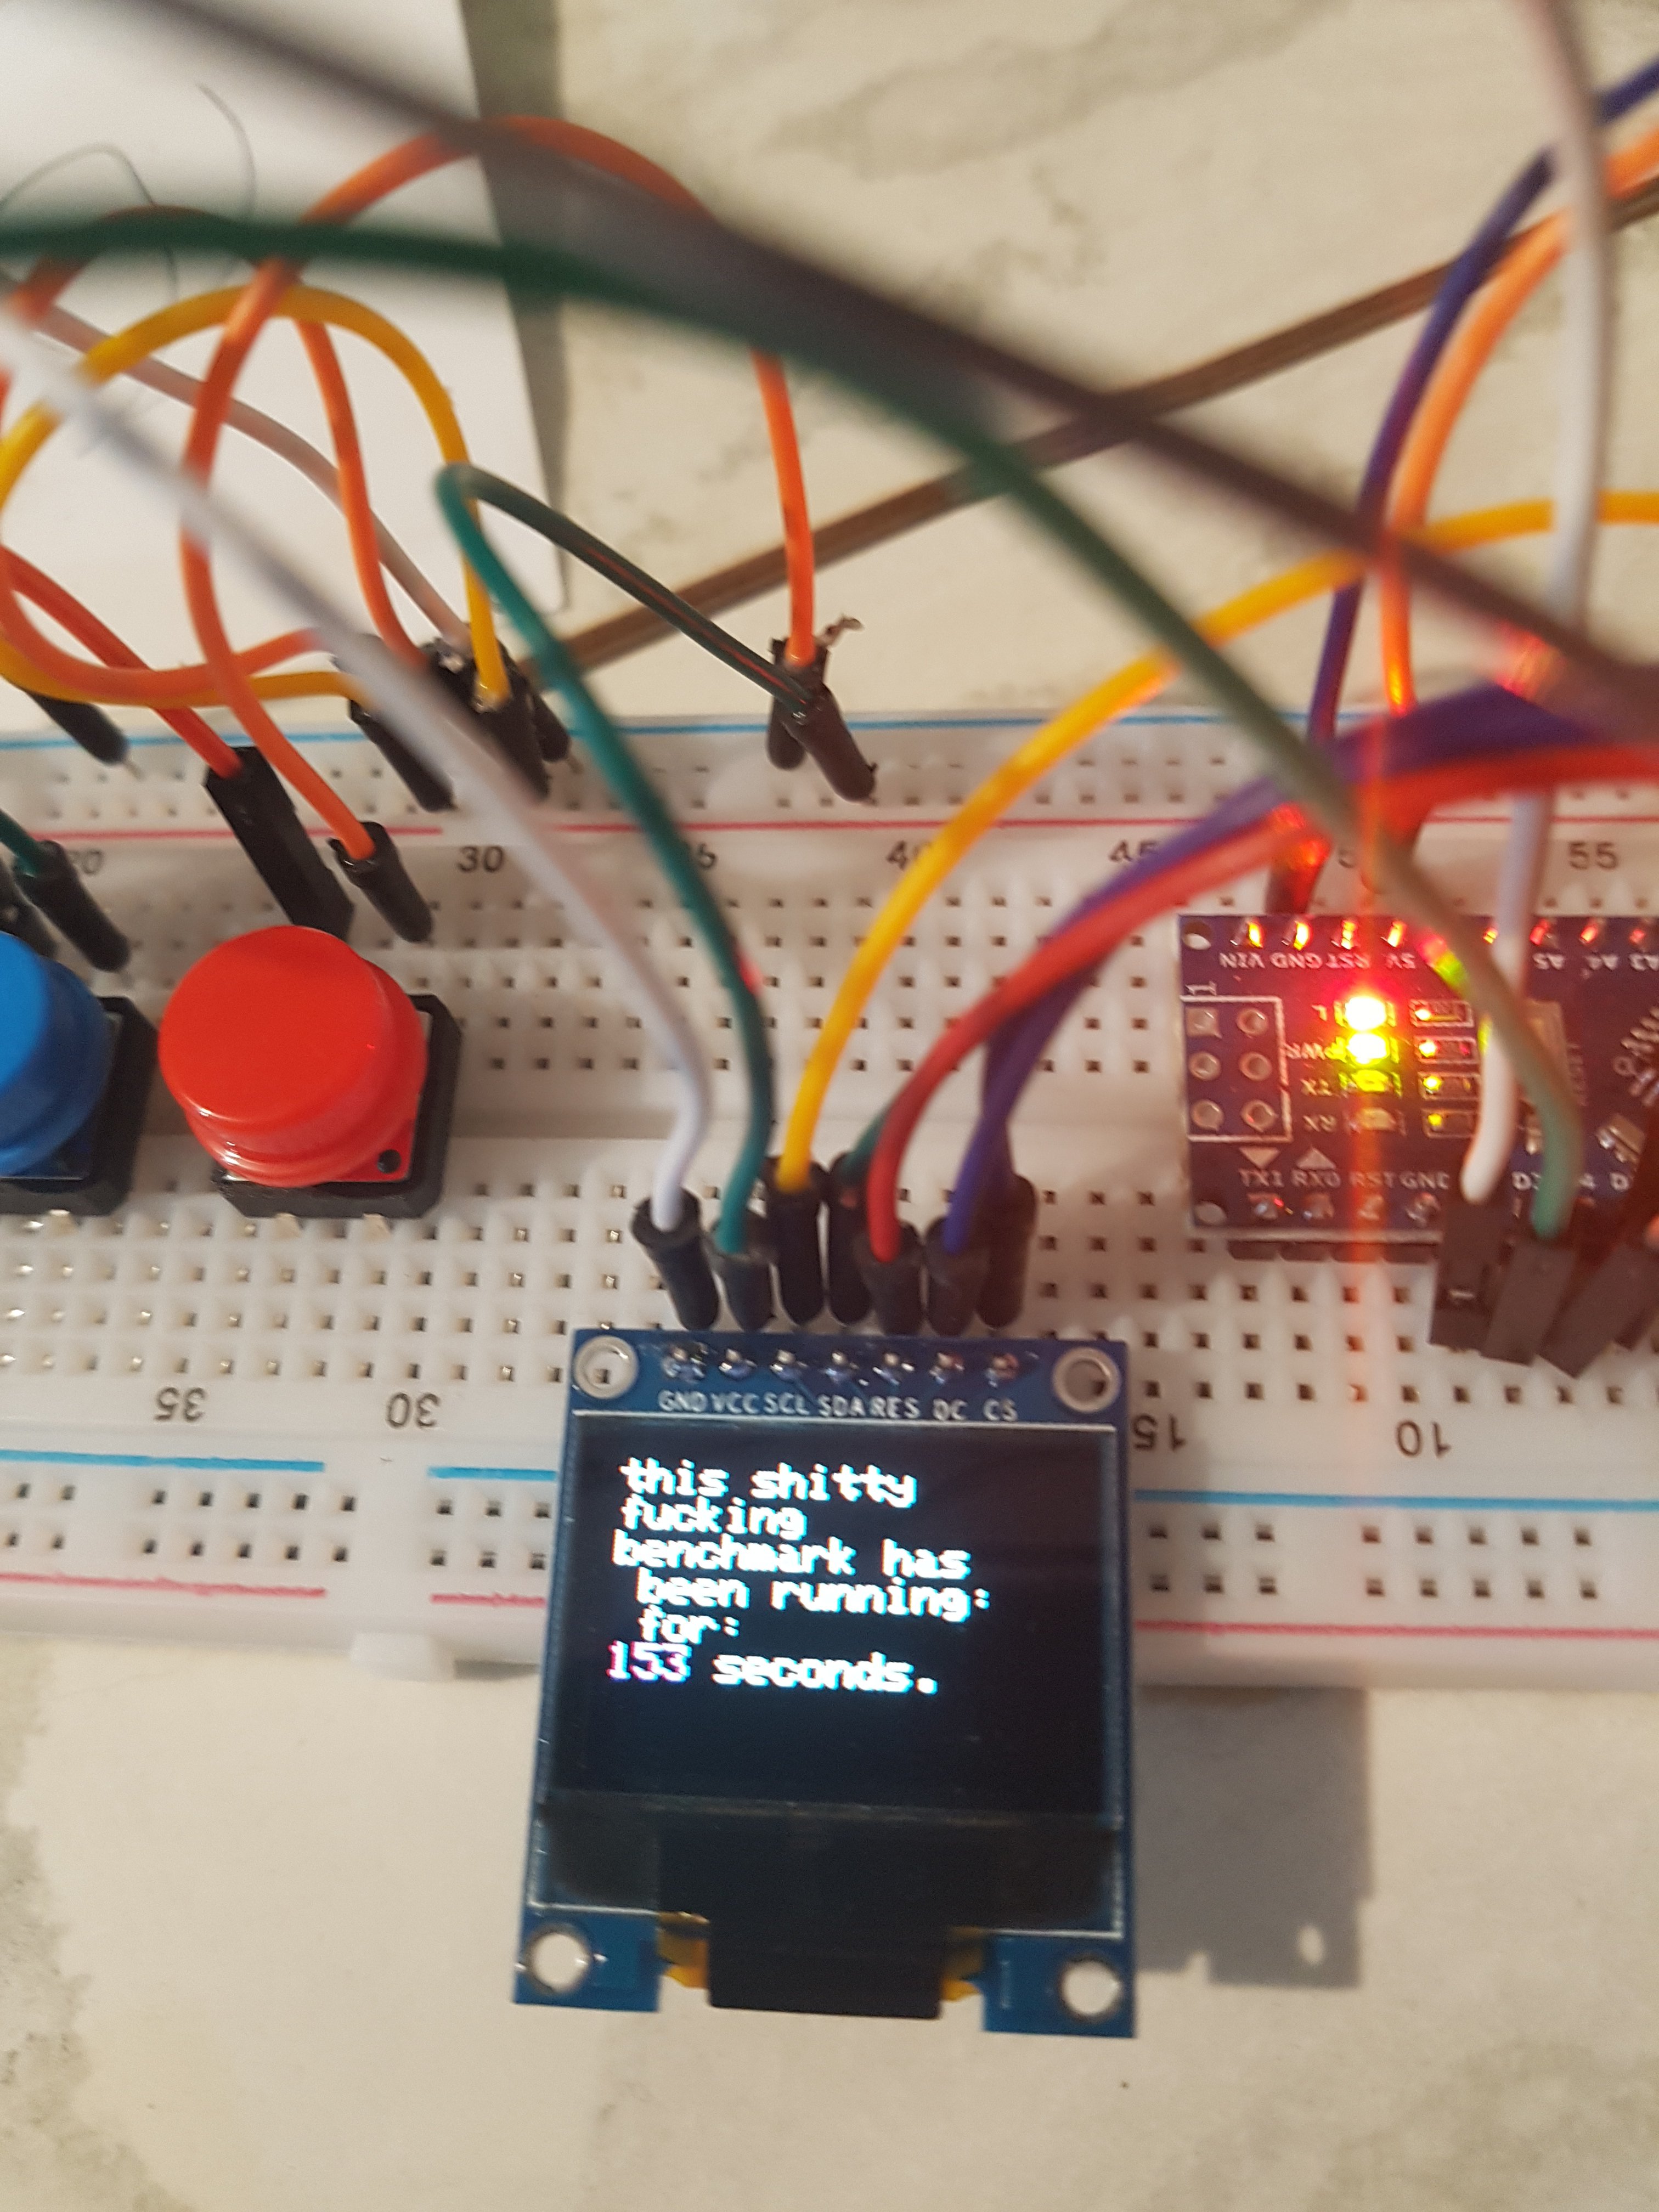
I have had a huge amount of success since these last posts- my biggest is a change from the CRAP adafruit library to the one on this link https://github.com/sumotoy/SSD_13XX/blob/master/README.md This new library is fuggin amazing- a tiny change and my benchmark drops from the 33 seconds I was happy about above to FOUR SECONDS. I'm now happy I took the time to produce the quick benchmark program and actually record the times. All logos/warning lamps are now BMP files converted to code like this I was starting to lose interest because it took a visible amount of time to draw each icon! now they appear instantly..oh and theres a seriously wanky startup logo now
2 points
-
discuss2 points
-
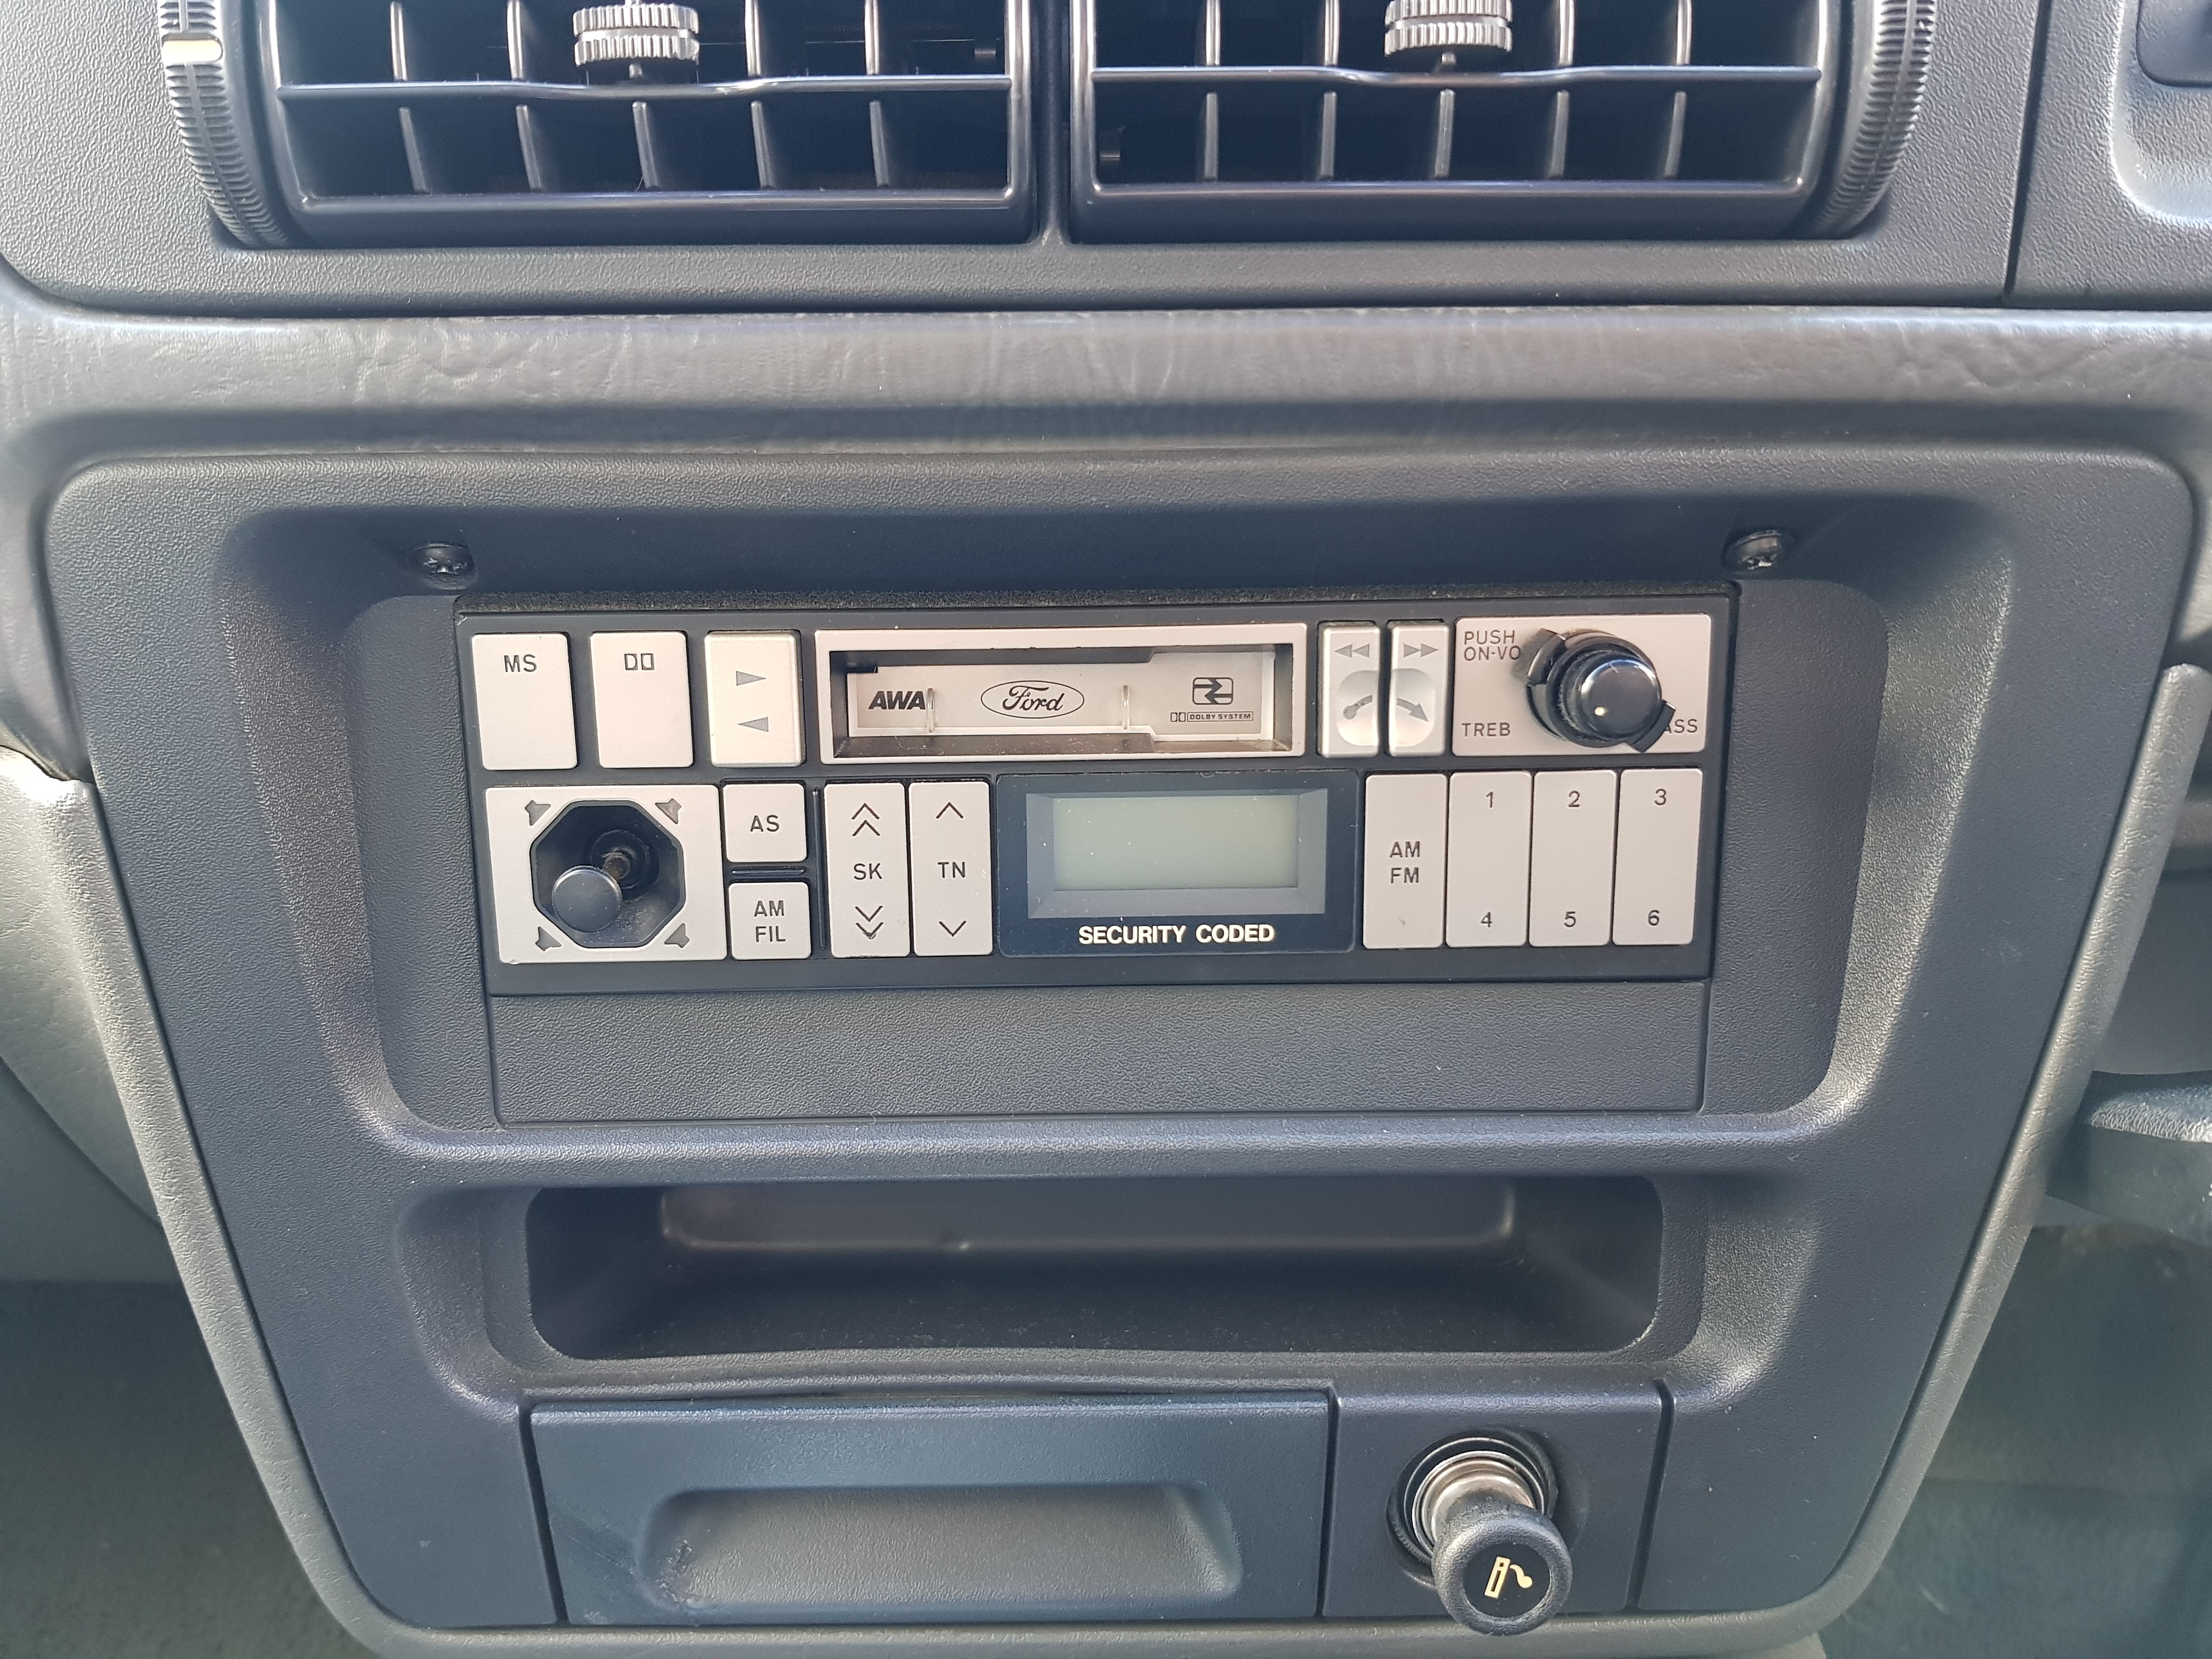
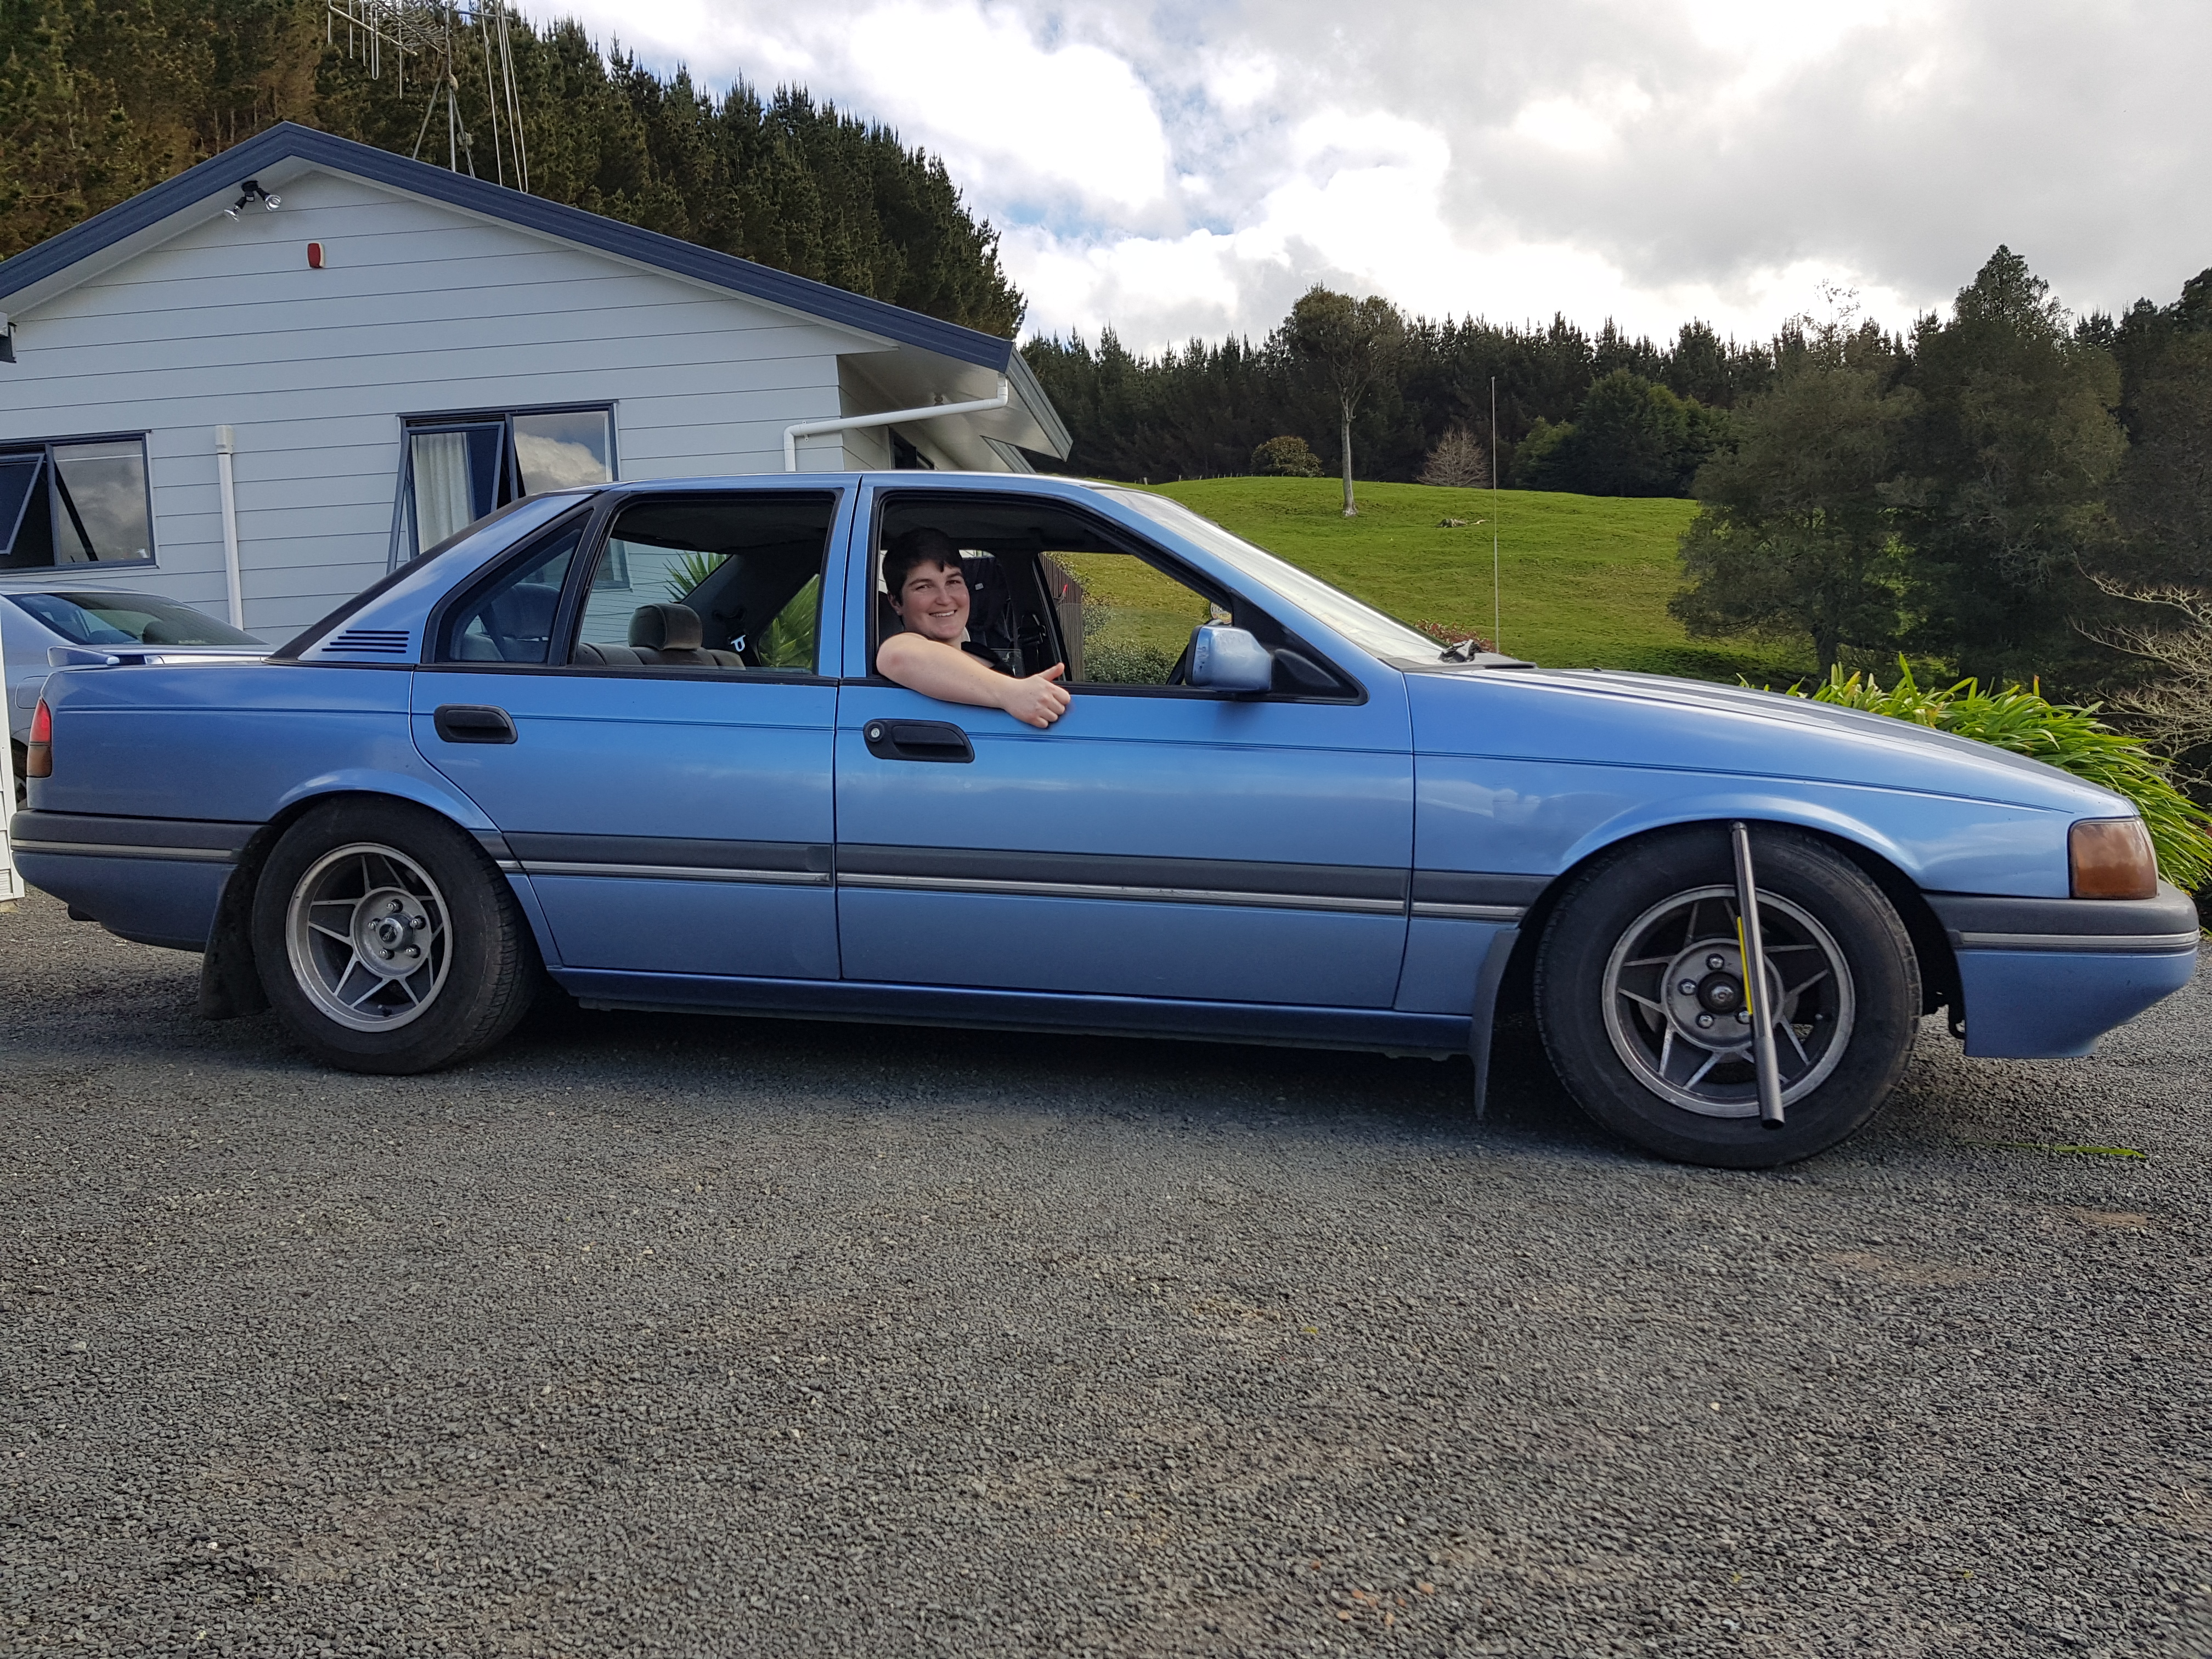
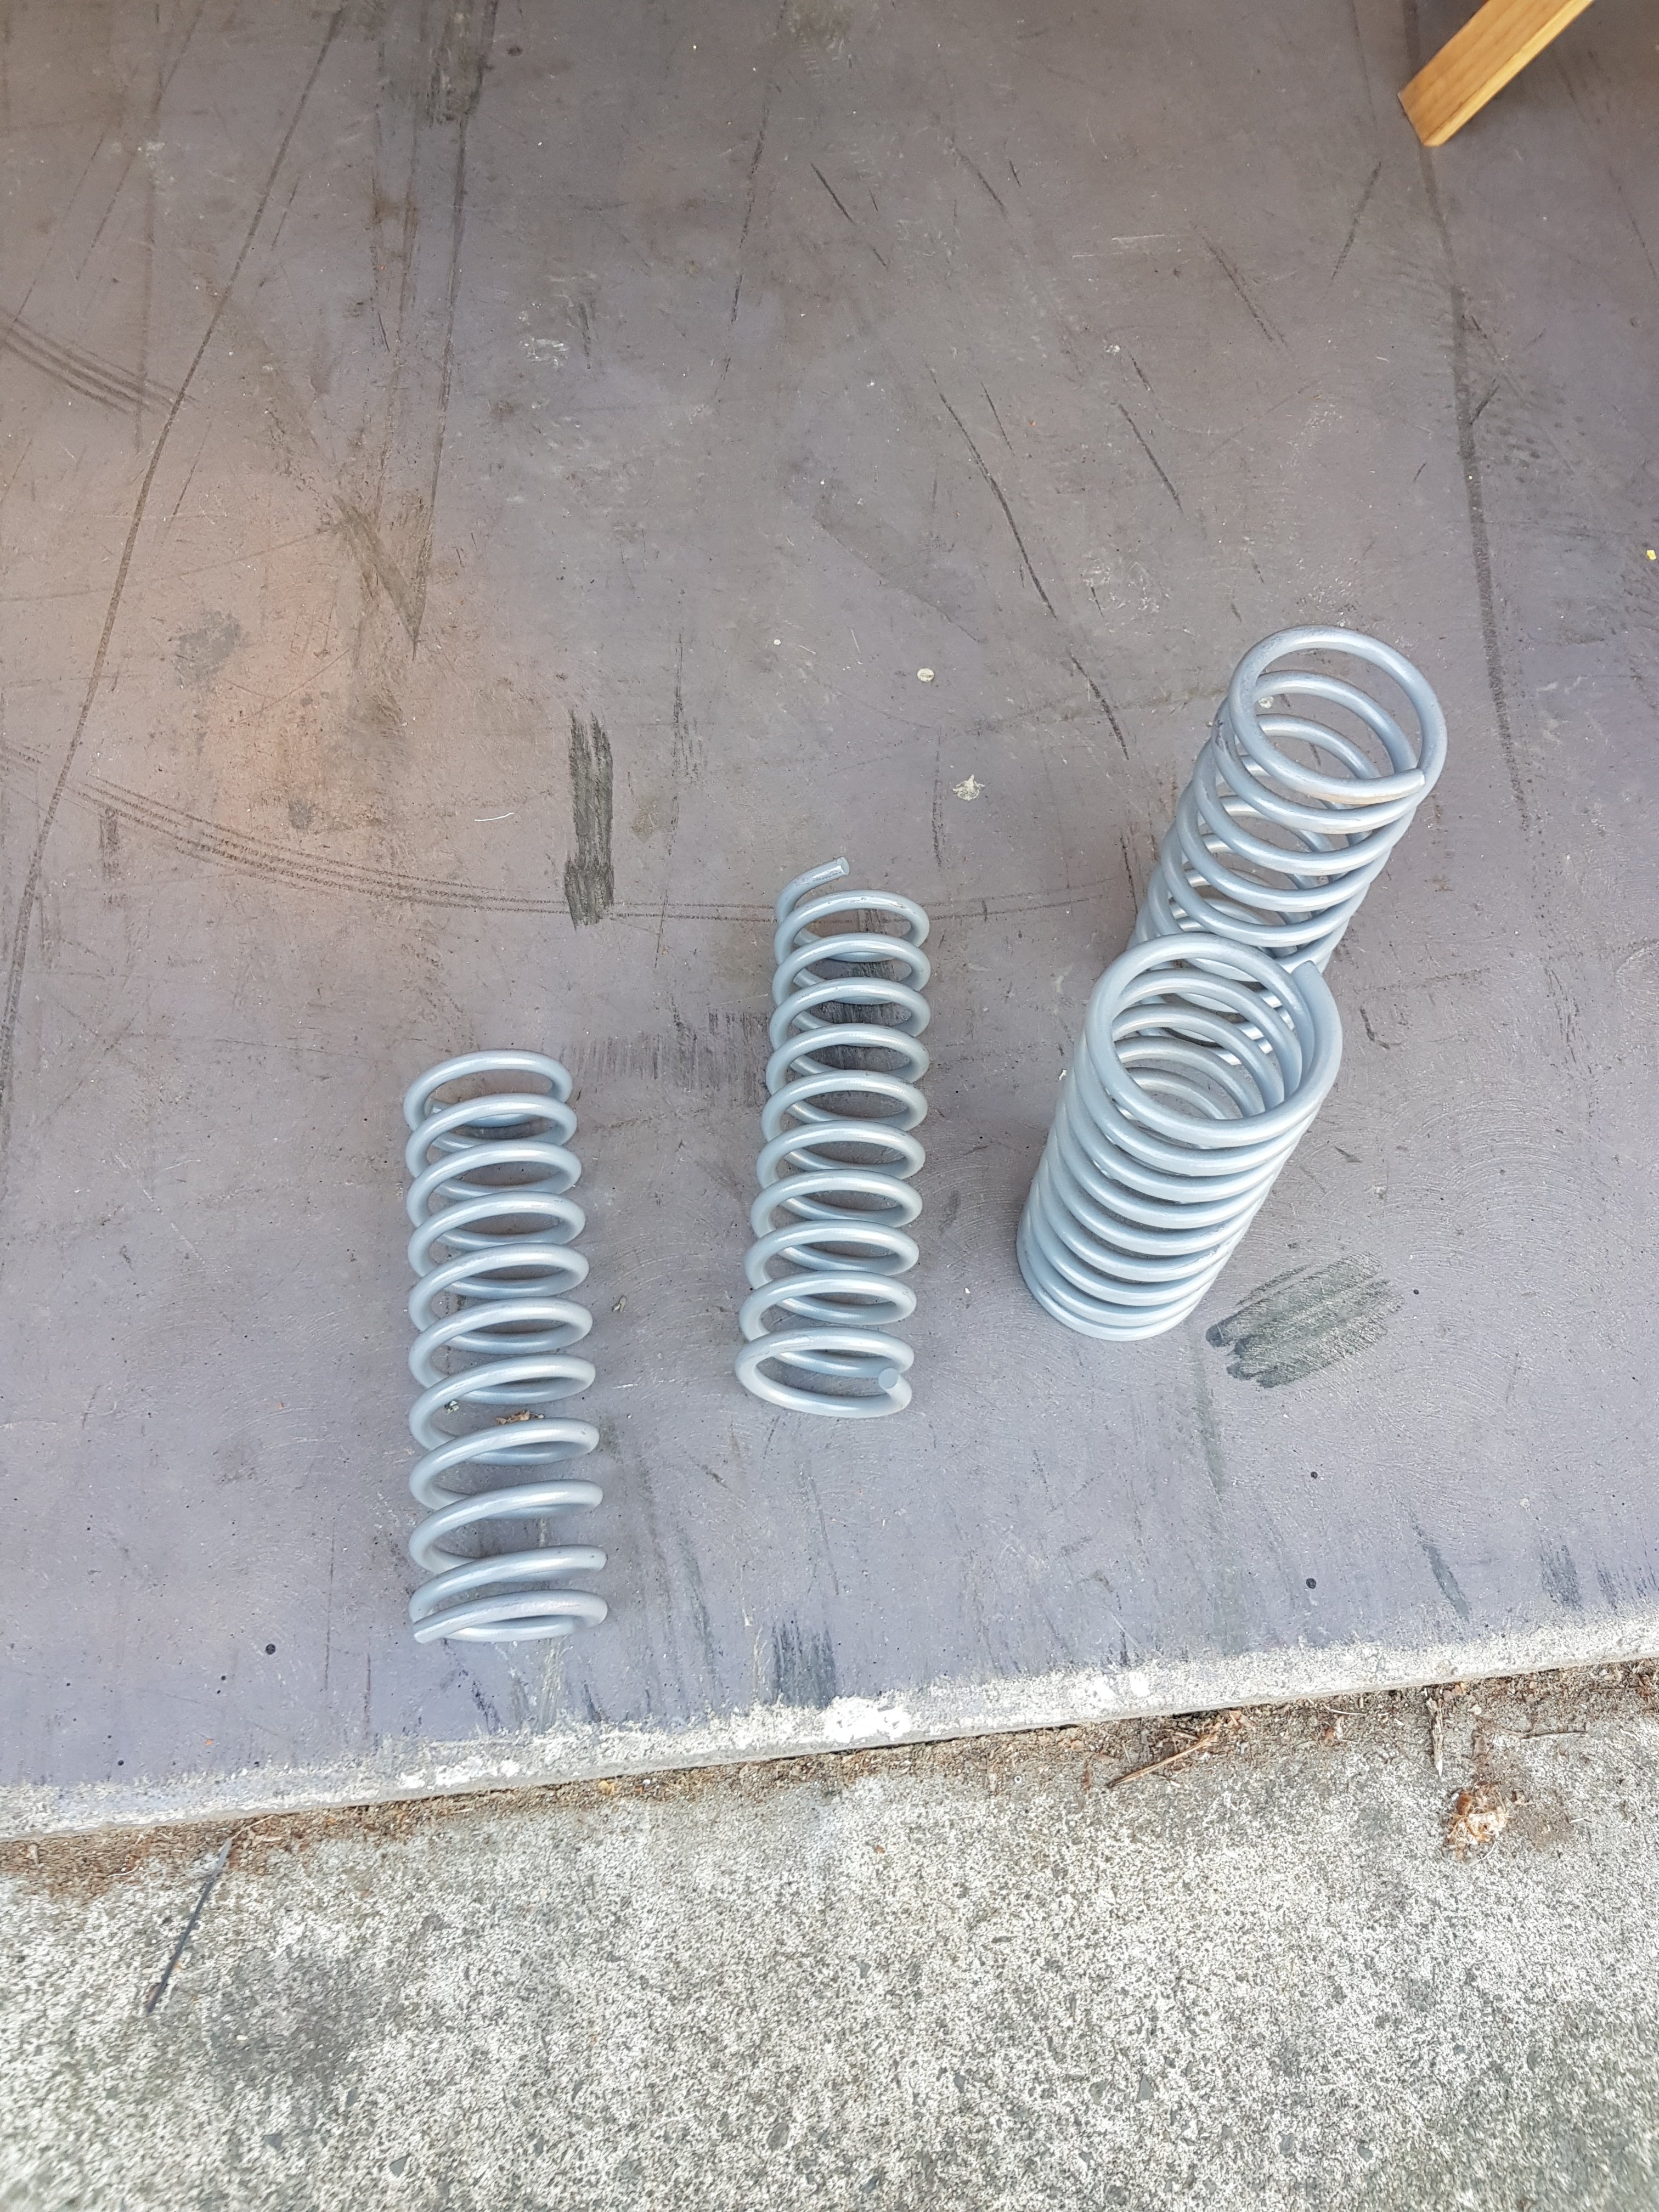
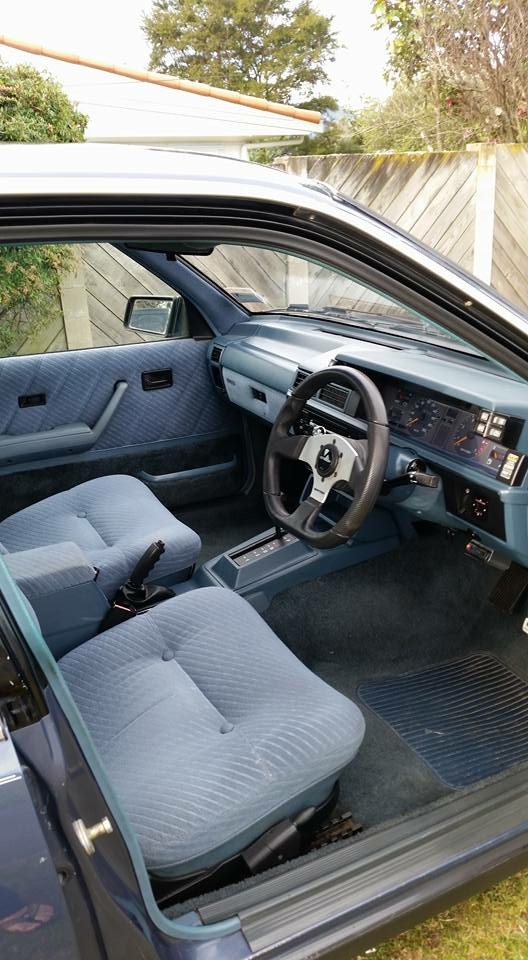
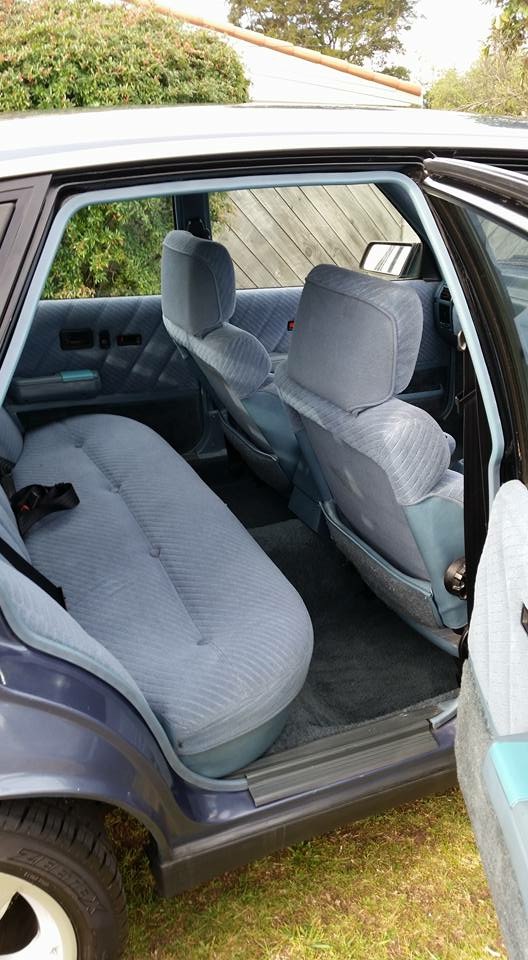
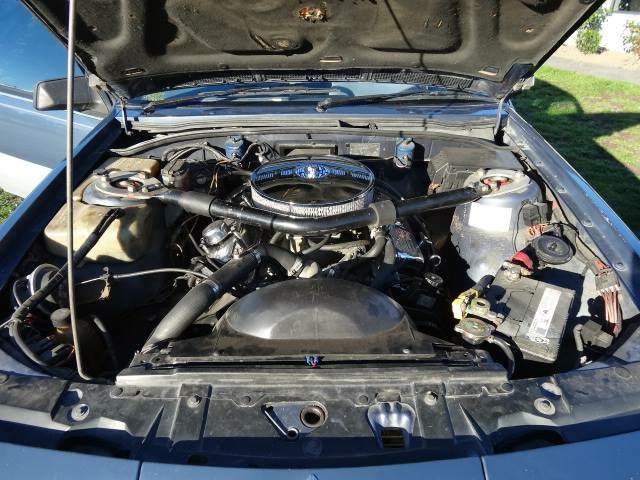
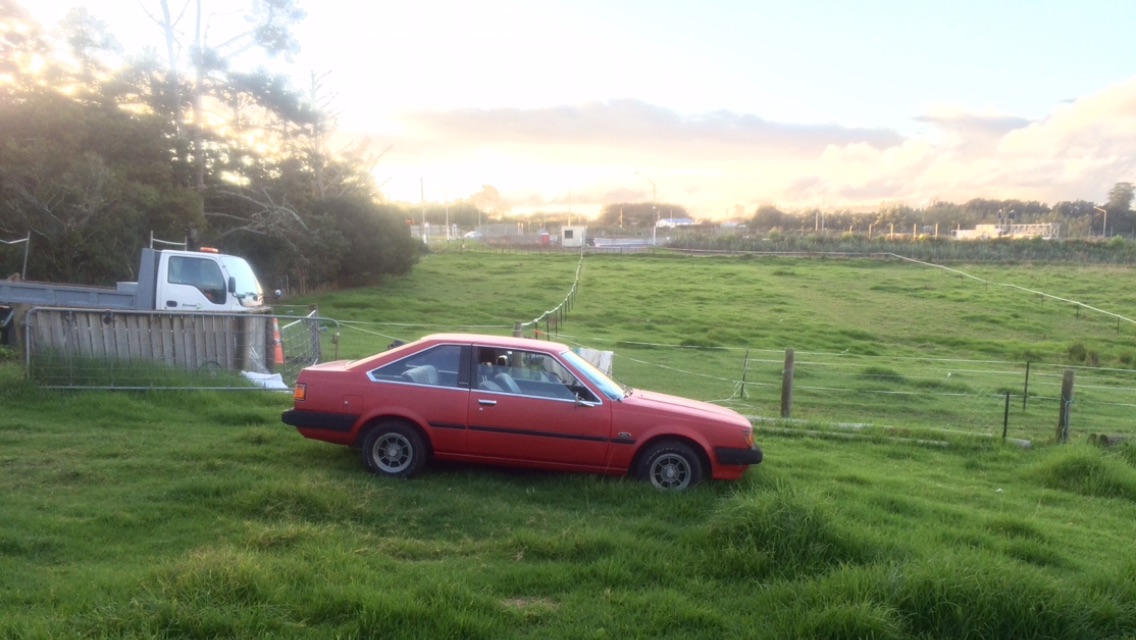
So as a few of you probably know. Beth had a little car crash and no longer has a golf. We said we would buy myself a cheap run around and she can have the Subaru and put the rest of the money else where. So I brought a ea coon. I brought it cause previously I had one I brought for the globes and I then sold it. Kept the globes though. I rang a couple of places to get lowering springs... Scratch that Ill get them Compressed at spring town in Frankton. Time to lower the the bad boy again. Had to roll the guards a little bit. Chur to the help of @Mrs 64valiant Still got factory radio in it. The battery went flat last week. Luckily I still had the owners manual with the code in it to unlock it. The interior is in pretty good condition. Hahahahahahaha They sure don't make them like they used to any more. Currently scrolling the net at turbo set ups. And I need to lower the rear a bit more.
1 point
-
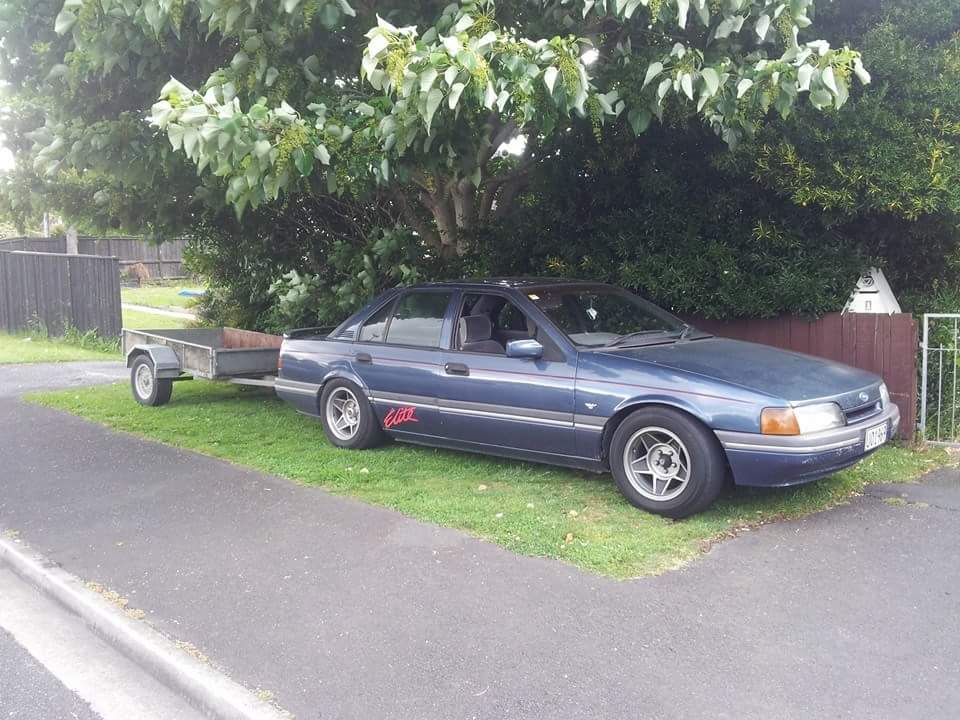
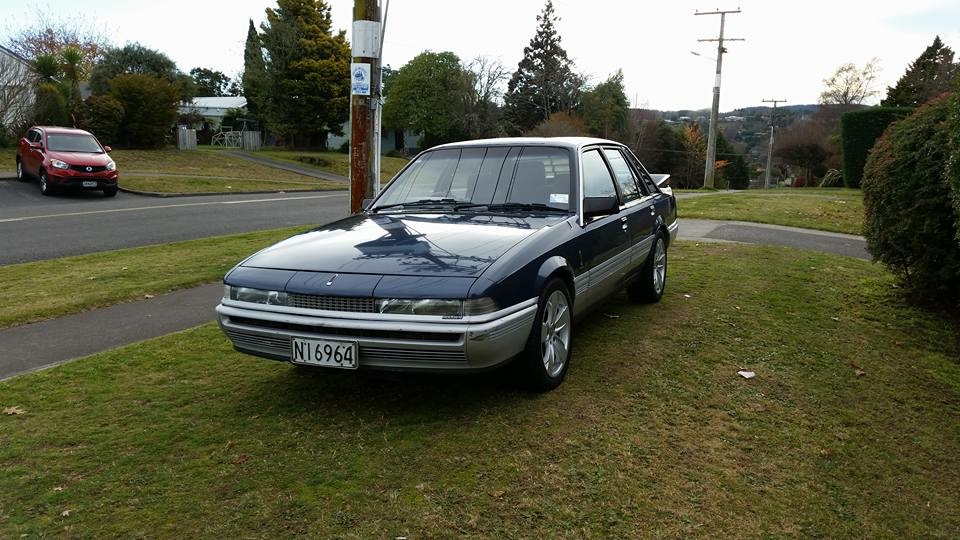
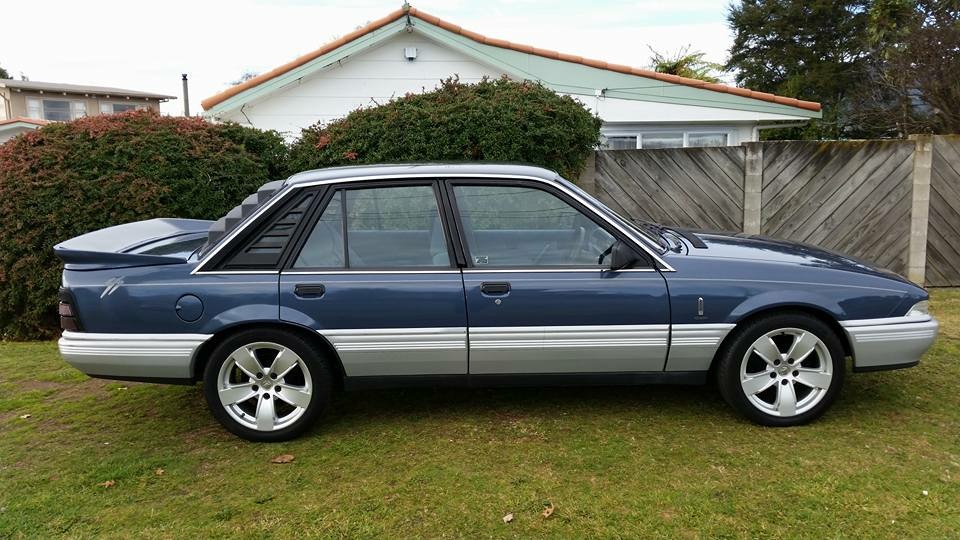
Having sold my last VL to fund taking the Belair to the next level, I had told myself that once the Belair was done I would get another first gen Commy as there was lots of things I wanted to take the Royale too but sold it before I had a chance. While I had actually been looking for a VK, noting of any worth was out there, it was all over priced rusty shitboxes, or it sold before I had a chance to look at it. And then I thought to myself, my old mate Jimmy has a nice VL Calais that's gathering dust, maybe I'll see if he is interested in selling it, turns out he was, and he was happy to sell it to me at a very good price. it's genuine V8 Calais, 150km on the clock, one previous owner (before my mate) who had had it for 18 years and was a mechanic who did a fair bit of work to it. It's got: ACL flat top pistons Crane "group a" camshaft 1.6 ratio roller rockers Double row timing chain with adjustable sprockets Big valve cylinder heads Port matched manifolds Brock VK SS Electronic dizzy Rebuilt Rochester four barrrel carb Holley fuel pump an reg PAcemaker headers with 2.5" exhaust, backed up by a built Trimatic with extra clutches, a shift kit and 2400rpm torque converter. Hardest part is that I have to wait until the 16th to pick it up.
1 point
-
@yoeddynz or get me your injectors and i'll make a latency table up and characterise your injectors. Then it will be bang on.1 point
-
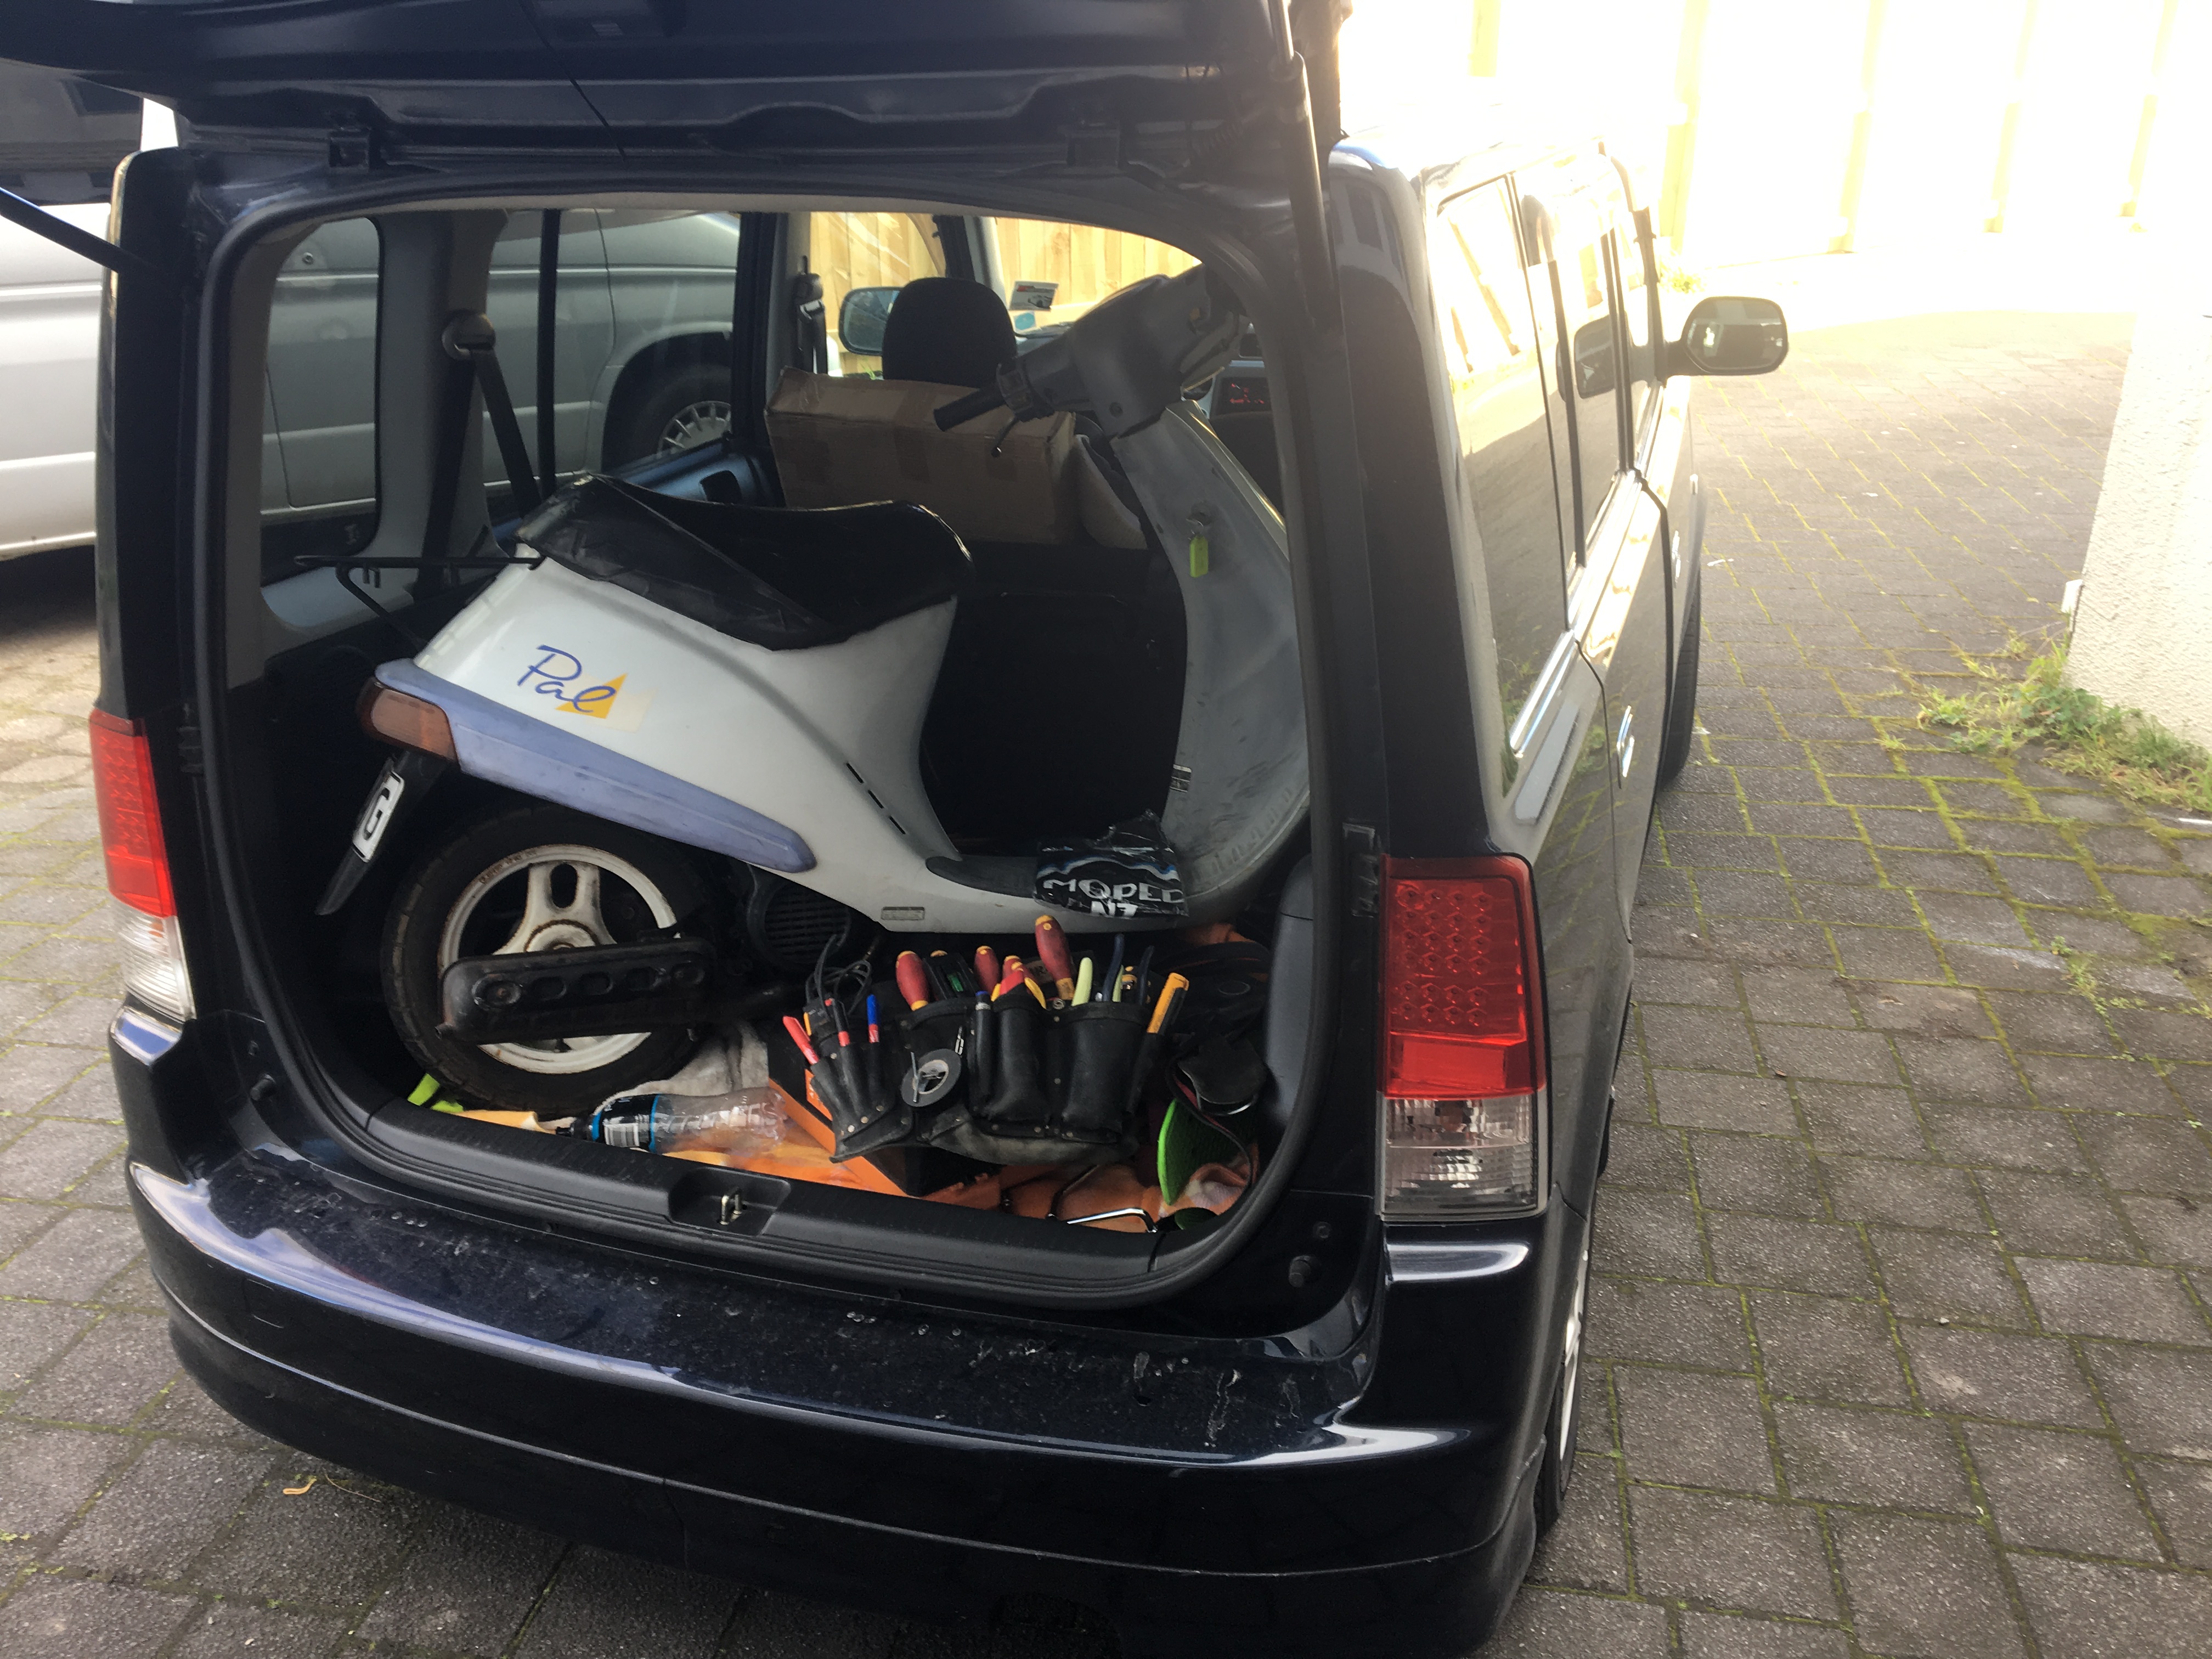
Okay so Honda Pal appeared for $200 so why not. Always wanted a '90s smoker and the shape of these is lush. Body work is okay. Engine is haggard. Will have a proper gander tomorrow and see if any life can be had from this epic acquisition. With any luck we'll be skidding away. Oh, got another FZ trans so I'll be taking that to pieces this weekend too. Imagine 2 bikes running at once? What a dream.
1 point
-
Streetstocks are allowed locked or LSD diffs now However, what they actually did was run 3 beads of weld around the end of the axle tube beside the diff head, the heat and weight of the head would effectively pull the head down - loading the spider gears & giving the cars a small amount of negative camber. I know a old boy that fills his historic speedway cars diff with White metal or lead I cannot recall which, for an event, then once hes done he melts it back out to flat tow it home....1 point
-
Hood tie down strap made from a leather belt. The belt is so long it forms a loop for someone 3 times my size. Could wrap that around my waist 3 times before it met the first belt hole, and it has a functional lock in it. Why would it have a lock? So i don't know if i should start a technical thread on "How to make trembler coils" as mine are toast and one of the borrowed ones died today. Never successfully made an ignition coil before, i think i'll need help of the electrical gurus on here.1 point
-
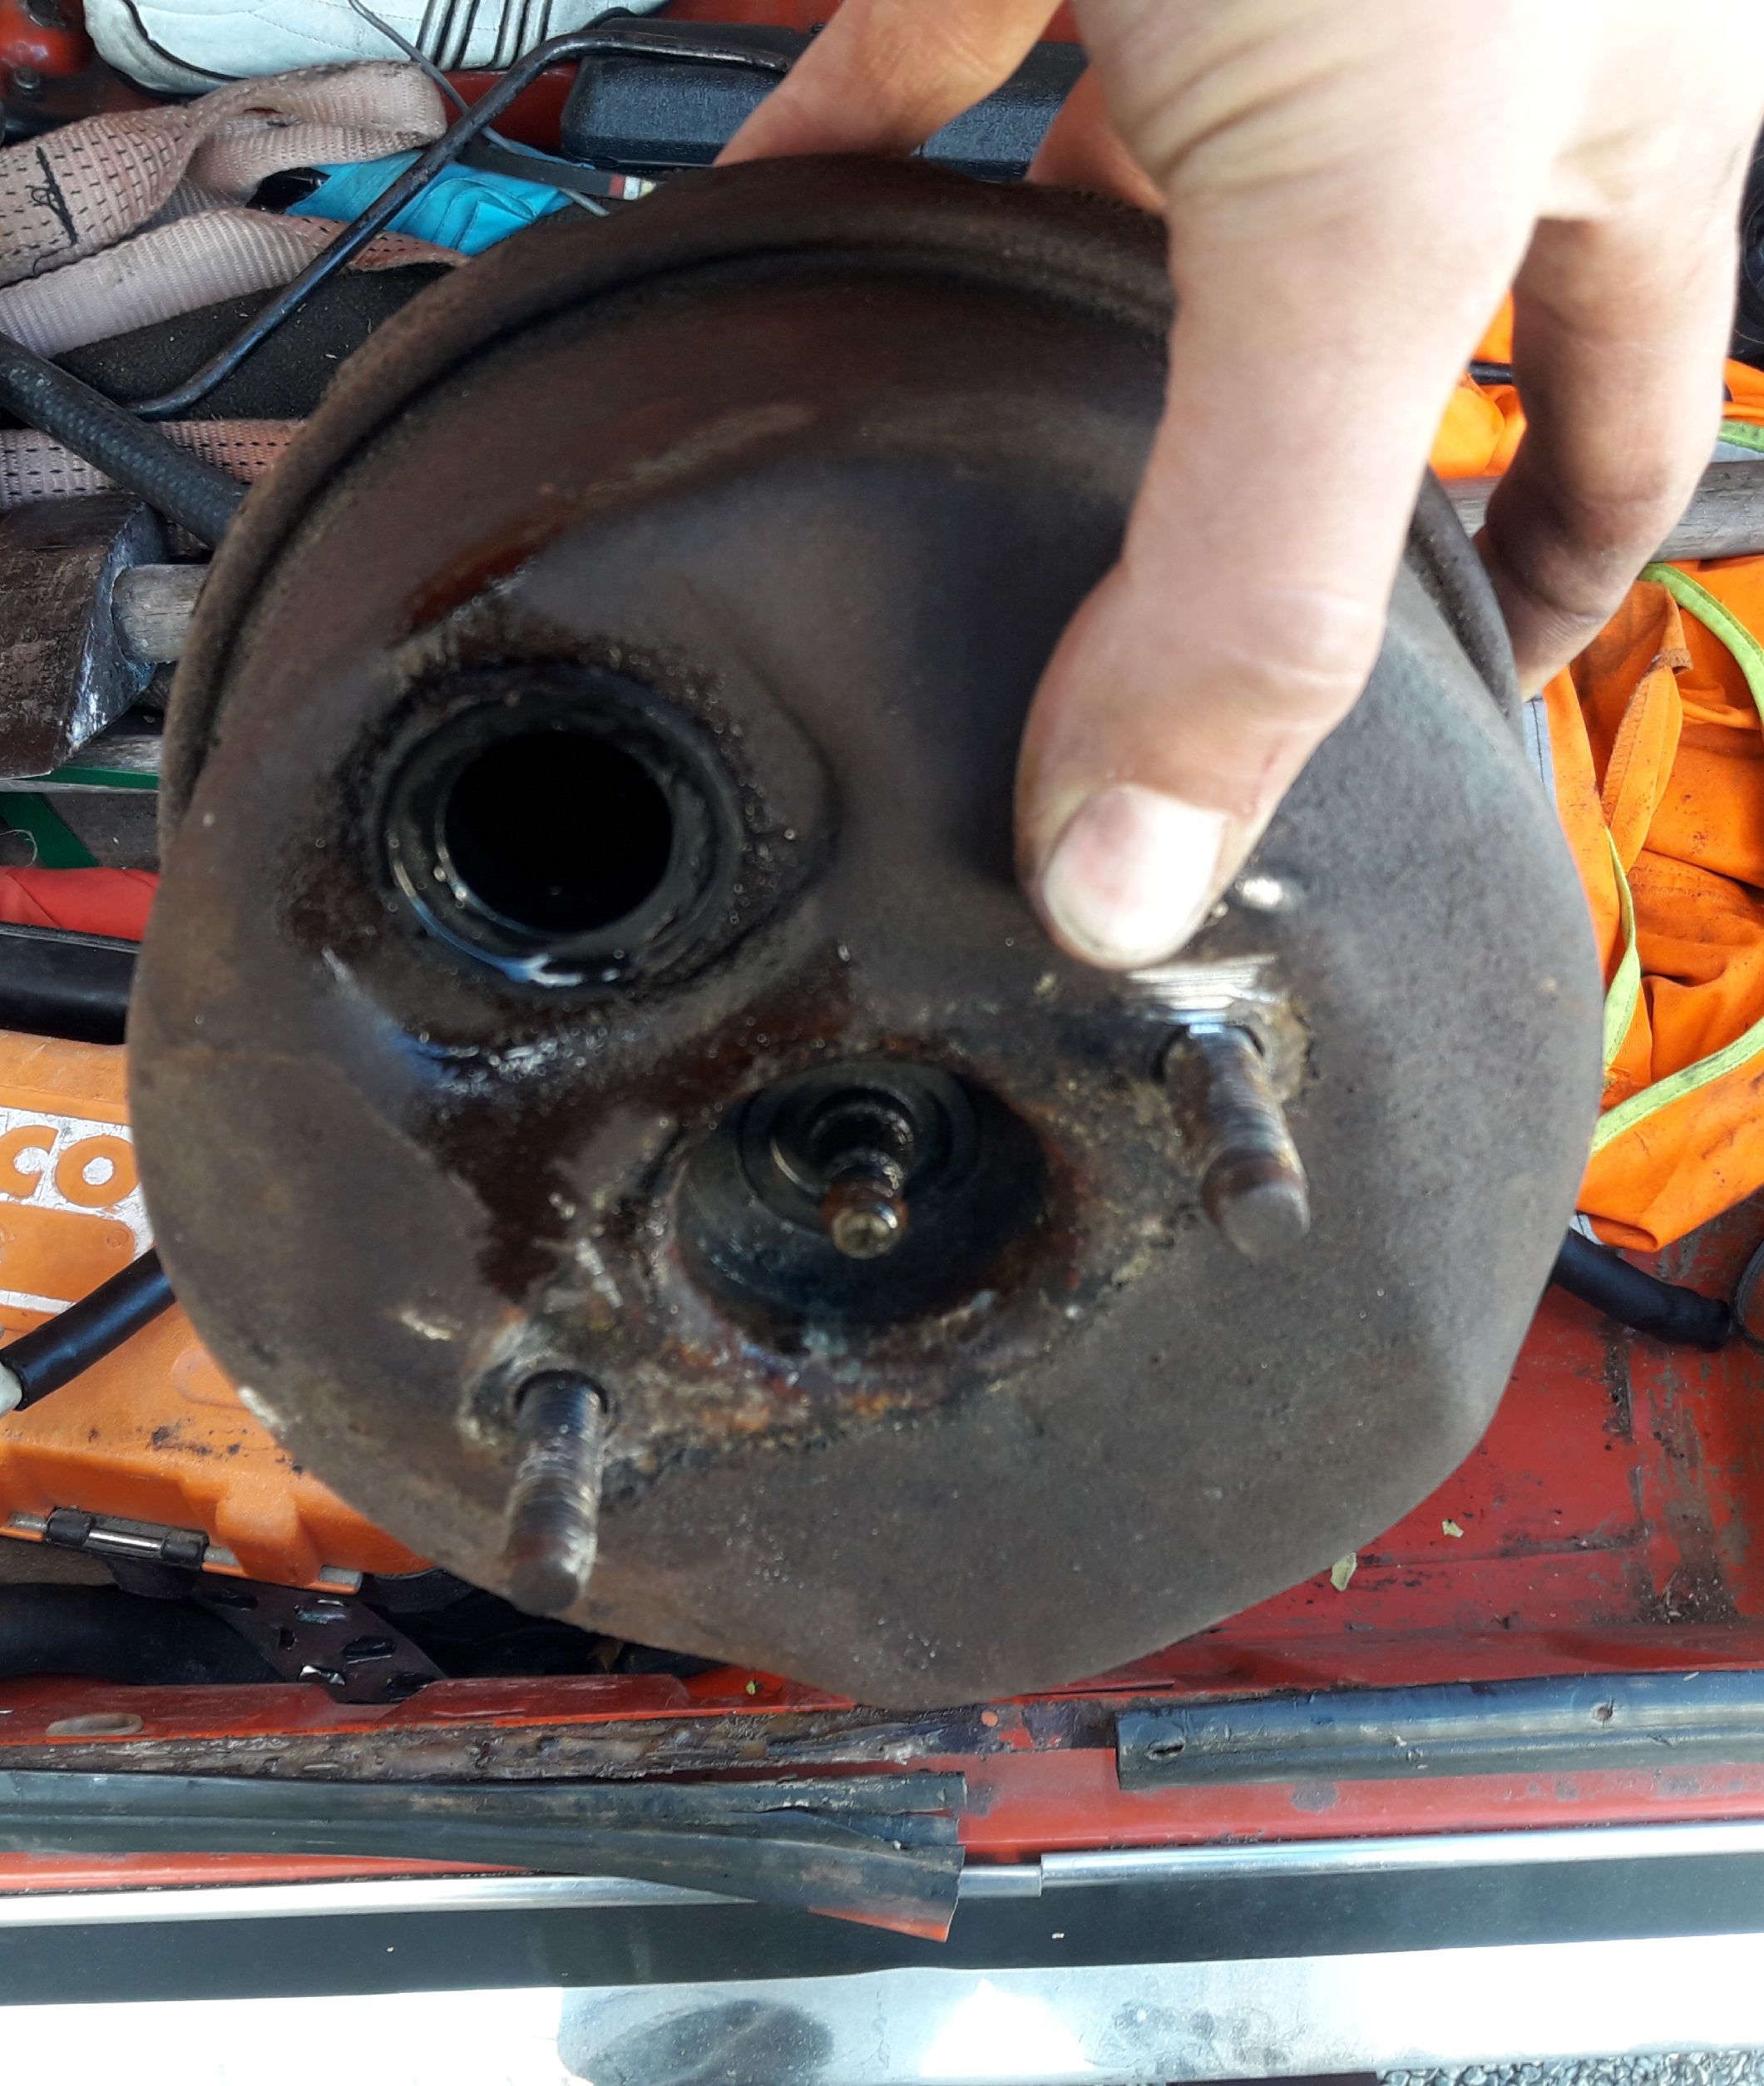
Odometer 104084'ish Mad brake fade so new booster hose, didn't fix it so Brake booster swap time Old one had fluid in it and managed to find the one out of my original '78 Avenger that I rolled and scrapped in 2007 (image attached) Much better
1 point
-
Rules are made to be broken1 point
-
Certainly improved, would be happy with it if I hadn't already driven er with bike carbs on ... Now has a bit more noticeable punch I reckon a few more tweaks to the actuator shape and I'll be getting somewhere1 point
-
find some rusty scrap and simulate heaps of practise repairs gee, wont take long to see what happens and what helps.1 point
-
I would make the trip up for a swap meet. The hoarder in me says I need more bits1 point
-
Started on my cuts as I have sourced all of the replacement sections that I am needing Found a patch on the car, shame it's rusted through. the whole thing will come out After many hours of using paint stripped which did absolutely next to nothing, i went with a wire wheel on a grinder. Will continue more next weekend after I drop the subframe out etc. Discussion https://oldschool.co.nz/index.php?/topic/56136-pbaines-1977-toyota-corolla-ke30/#comment-18443191 point
-
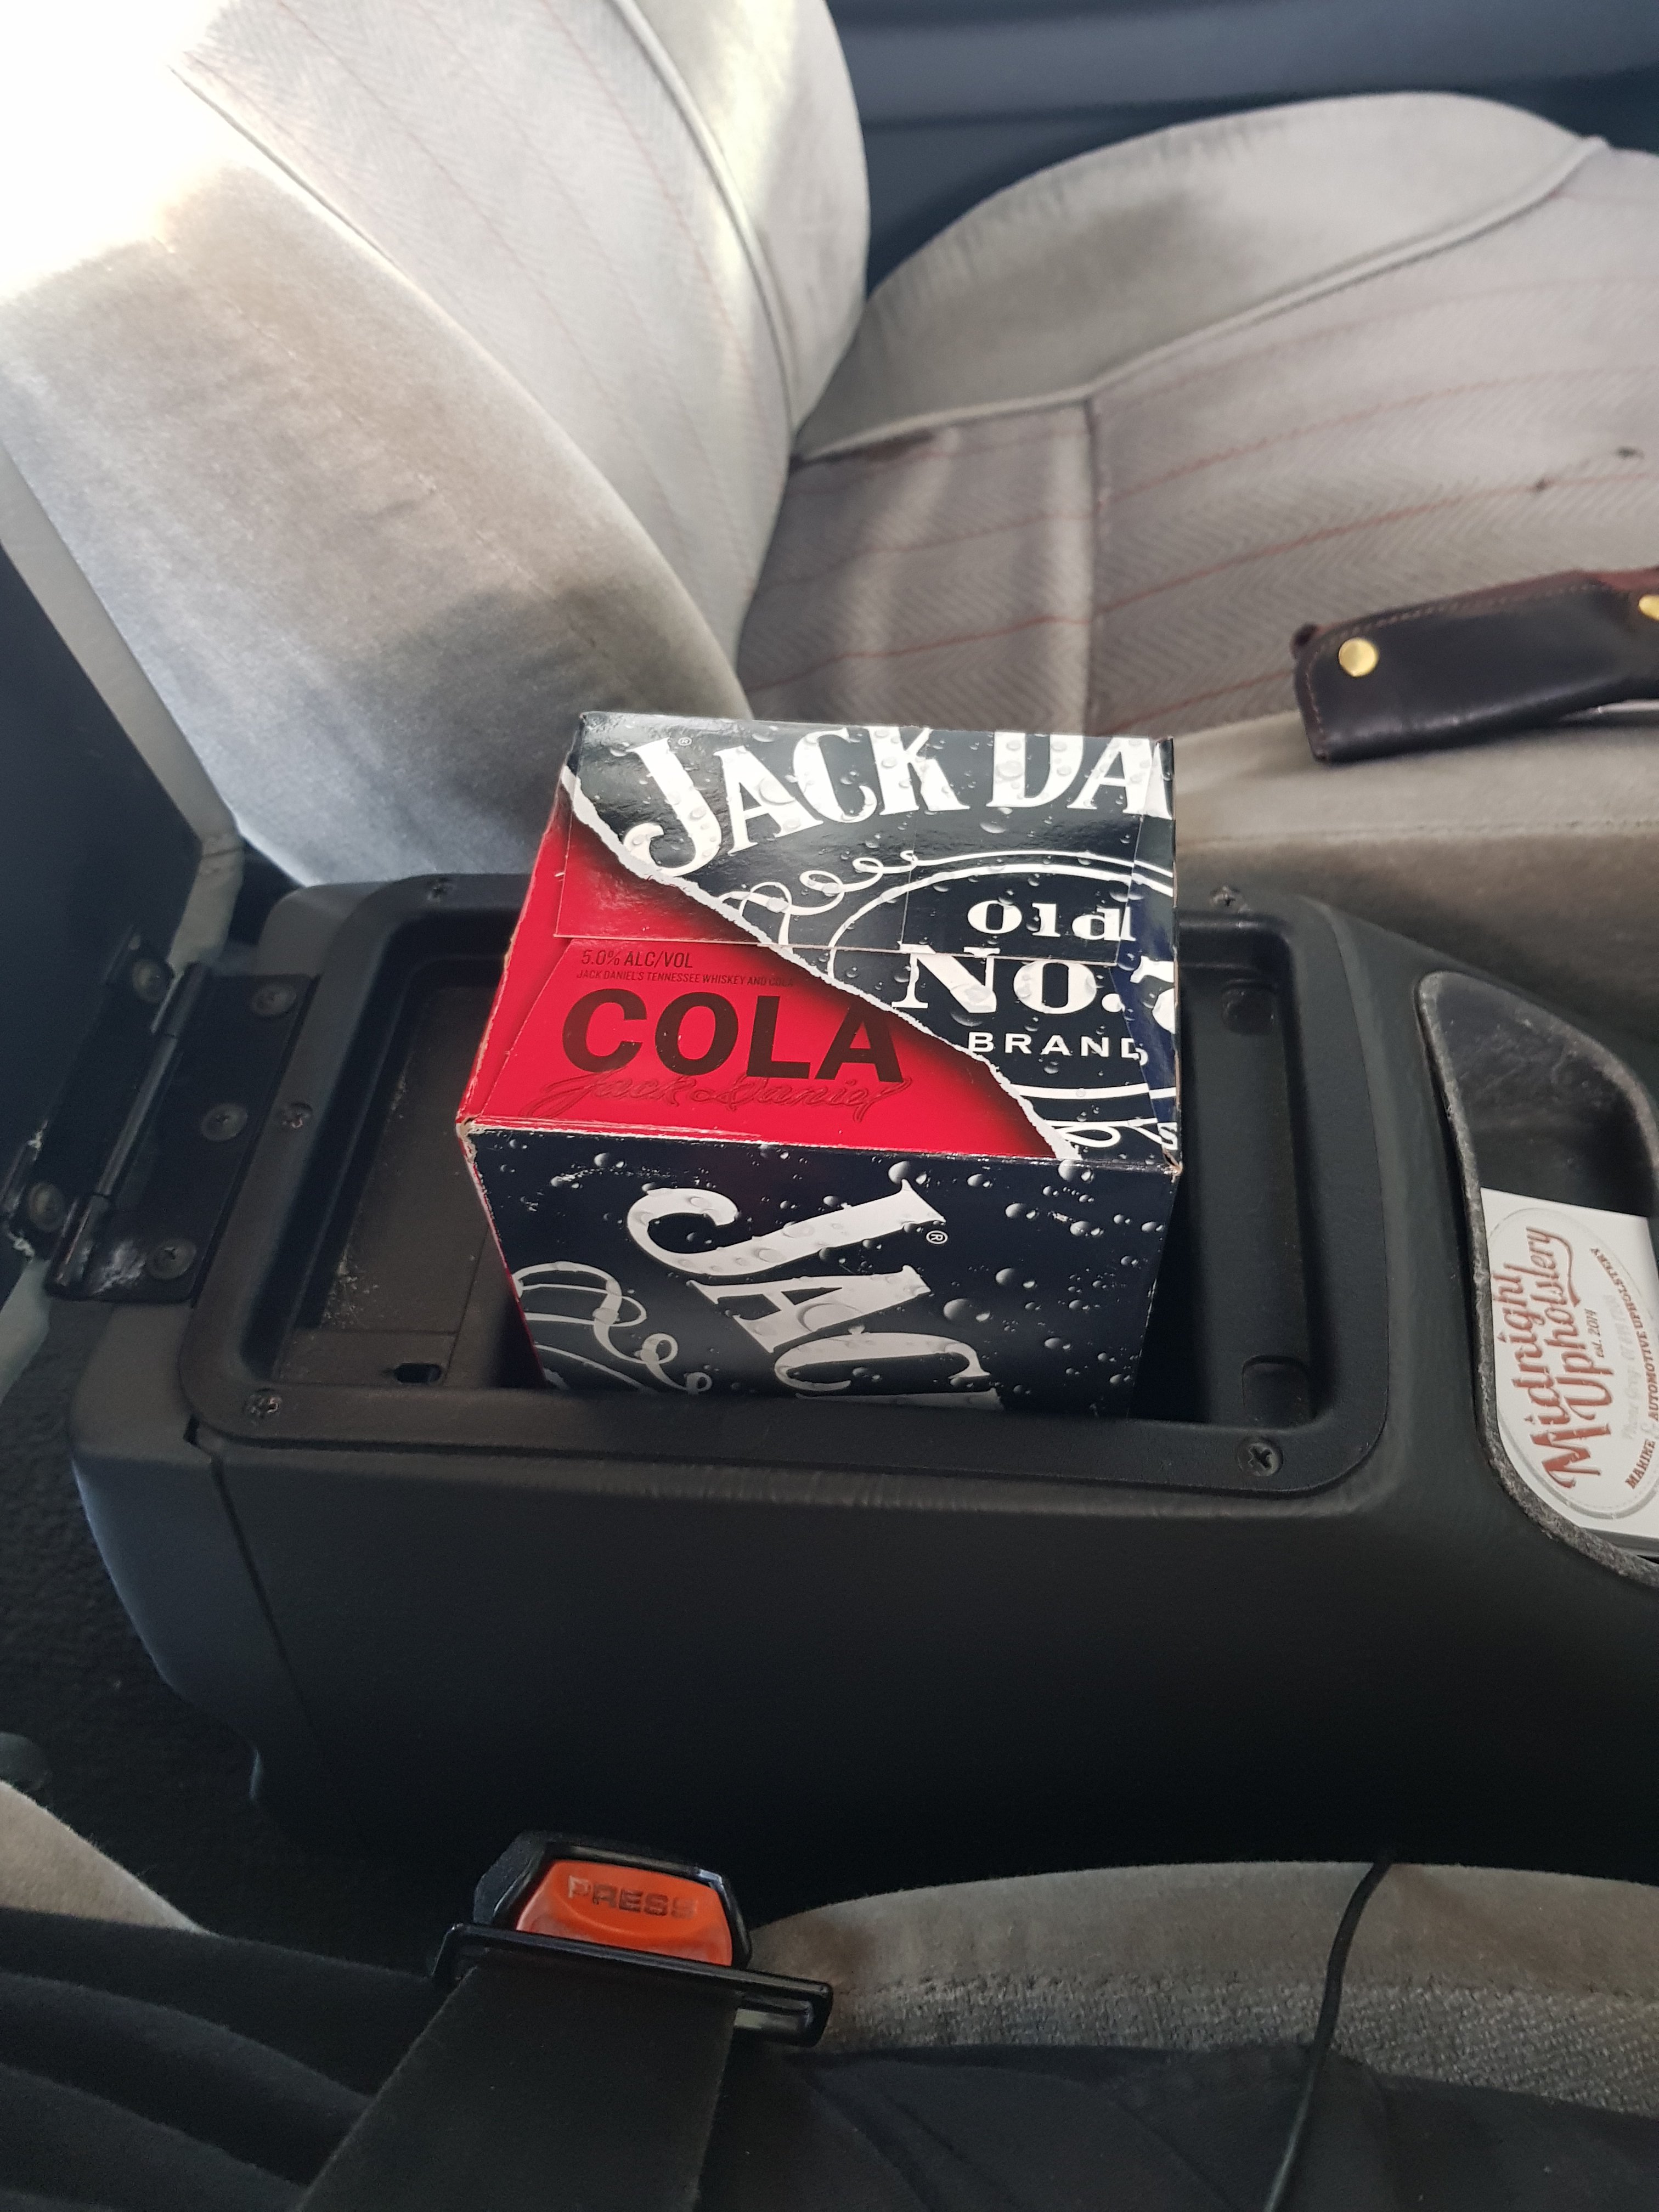
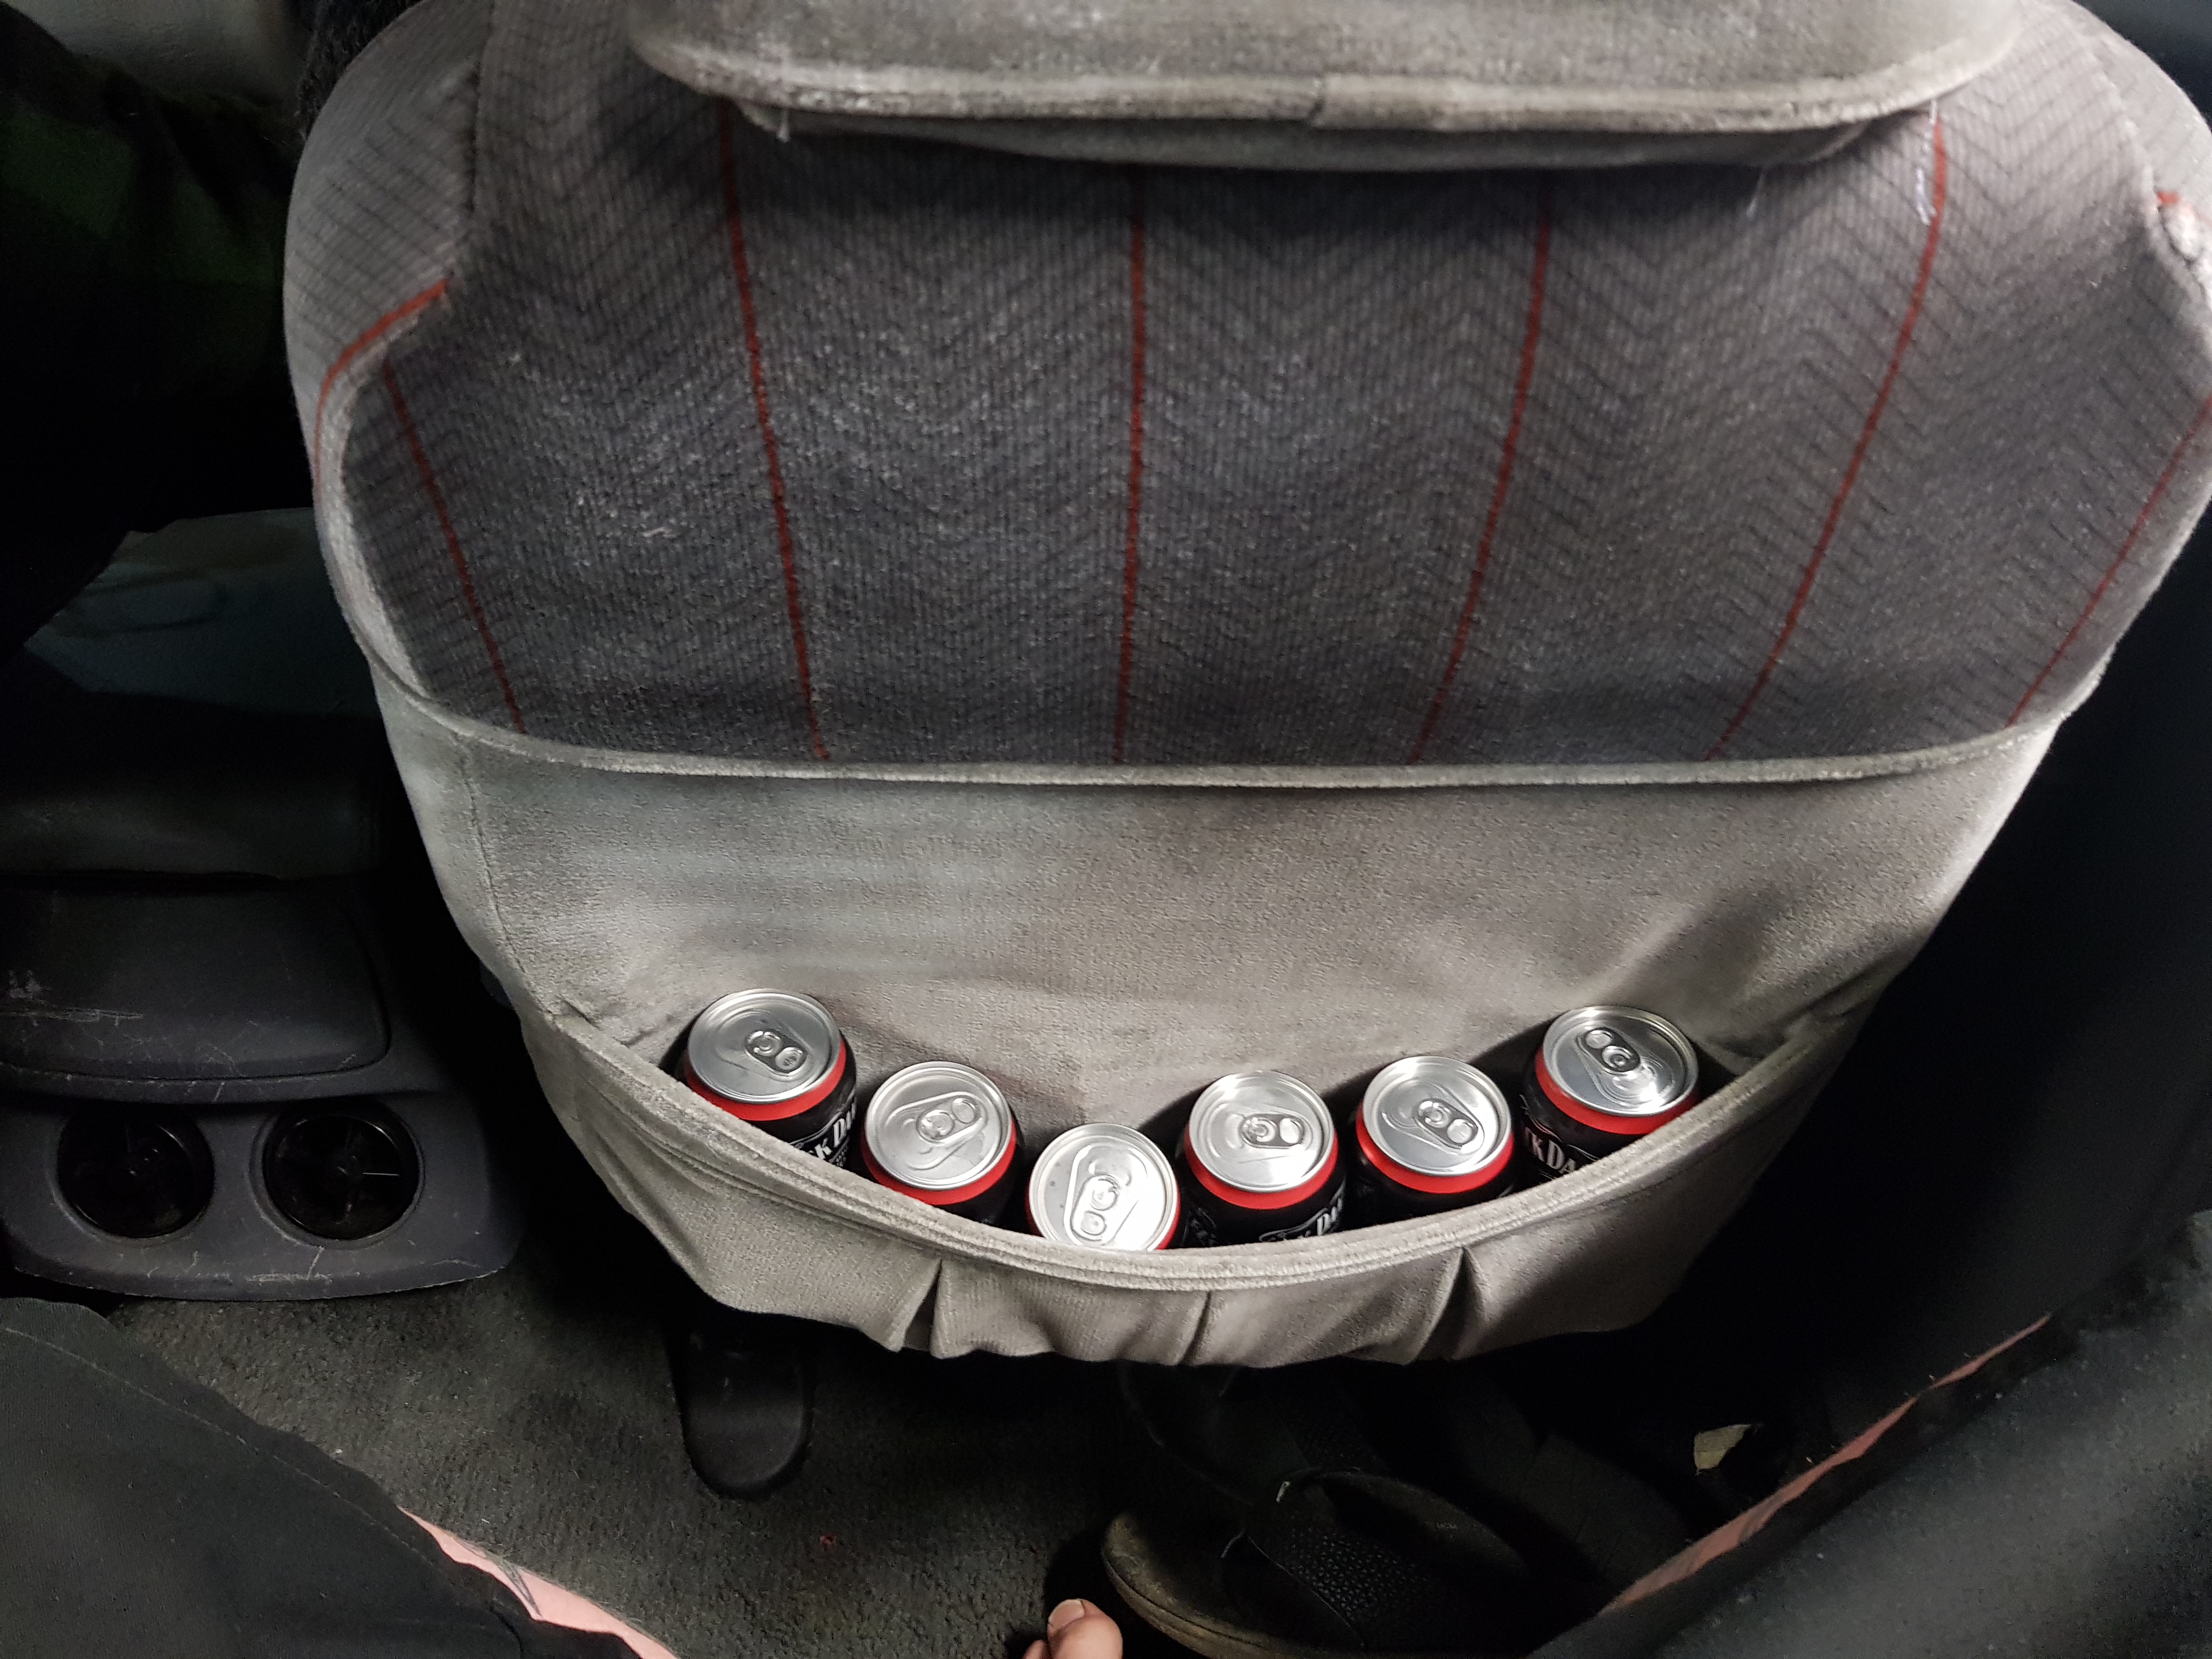
No point having all that power if the glovebox cant handle it. what a waste of money1 point
-
Attempted making some brackets to mount the lights yesterday, came out OK-ish until I tried to bend them and fucked them right up Spent a while last night doing a bit of CAD modelling (that's Cardboard Assisted Design) and worked out what I needed, took my template down this arvo along with a few beers. Bit of scrap 2mm steel Quick linish and a moment in the massive press bender Picked up a length of M8 all-thread and some nuts on the way home, used it to brace it all in position I swear the second one came out nicer! Nothing a sec with the grinder won't fix! Ready to go! May need to cut and extend the steerer tube on my stem, looks like the park brake assembly may foul on the fairings, will leave welding that to someone with a bit more skill as having the handlebars come off at speed can't be a good thing! Had a quick look through my stash of shit at the in-laws, turns out I've had Jog-style controls sitting in a box this whole time.1 point
-
Bit more cutting, bending and attempts at welding Good grind and paint/heat wrap will solve it Only one little leak that I can find! Need to get a throttle control that will fit with a disc brake lever in place, a late model Gyro park brake lever assembly and ignition now1 point
-
Tapered the end of one of the mandrel bends so the ID is a hair bigger than the port of the Malossi cylinder. Obviously went back and filled the gap I missed lol Attacked the exhaust from @MopedNZ with a hacksaw, almost fucked it, dunno WTF China blend metal they used but it really didn't like the welder, had to drop the amperage way down to stop the edges melting away and it just wouldn't weld cleanly (likely user error but still) Getting there, gives me plenty of room for improvement when/if I attempt MK21 point
-
Been pesting around in this over winter, been sweet, but yet to do a run to the mountain. MIL will be staying in it next week which will be the true test. Went surfin/rallying Doggo! Went up north, Matauri Bay, noone around, mint. Bit of a change from summer to be sure! Absolute Waterfront Sink set up completed, and curtains pretty much done, want to get some of them tiny super magnets and sew them into the corners to hold them in place against the bottom and sides. The last van had dome poppers to do the same job which worked well but were a bit inflexible. Tractors Goals1 point
-
Just realised I've had this thing for 5 years now When I got it and now Not much else to add, just been tidying up the brake booster as it was a bit ugly. Here's an engine bay test video I did a while back (need to do another one somewhere I can run through the gears)1 point
-
Well, today the engine came out. I decided to check, if in fact I did have the original motor in the car. Yuss. Turns out I do! Fantastic. Very happy to be giving this KE a full makeover and put the original heart back into it. Just so I remember how all of this went. The rest of the bay is pretty self explanatory Also showcasing that, I really should have checked if the gearbox had oil in it. Turns out it did, and my efforts of adding an ice cream container 80% through the drainage process didn't really achieve much. #It'sTheThoughtThatCounts. And behold, the bare nude bay. Considering if I should get this entire shell bead blasted or something, just to get rid of all the rusty holes once and for all I will be going in tomorrow to get some stripper and strip they bay, and also some dry ice so I can get rid of the sound deadening.1 point
-
it's surprising how much work can be done when no one is around and there aren't any distractions!1 point
-
Finished off the sink unit, nice teak super yacht ply from my buddy who used to work there. lower shelf is a bit frufru compared with the rest, but meh. Sink drains through the ash tray and out a grommet underneath. i have also added a hand pump tap to a 20L water container that lives under the bed Used up the last of the checkered vinyl to cover the grotty brown panels Went for a surf mission to Port Waikato, had a meet with another high roof caravaneer, a slightly later facelift one. Surf was a bit shite so drove the coast road to Raglan. 2 hours of windy gravel though some lovely country, Raglan was better but still shit, Van went great tho, and looked cool doing it Ive bought some awnings (2xfor $20 each!) so apart from adding something to connect them too above the door, finishing the curtains, a bit of underlay/foam for the bed a nd some minor electrics shes already for missions1 point
-
Bulk progress since the last update! .All the new Superpro bushes are in and the front end and suspension parts have all been painted in hammerite black paint.Next on the cards was to make a belt tensioner .i cut and modified a ford falcon item and also made it work in to hold the powersteer pump,looks tidy and has heaps of adjustment.So currently i am now building extractors.Extractor pipe is 38mm OD and is ruffly equal length,im rather going for looks that peak performance with them.after they go into 2 3into1's it will be a short length of 57mm then the main part of the exhaust is 63mm with a couple of mufflers chucked in the middle
1 point
-
Oh and I bought some of these and fitted because money pit.1 point
-
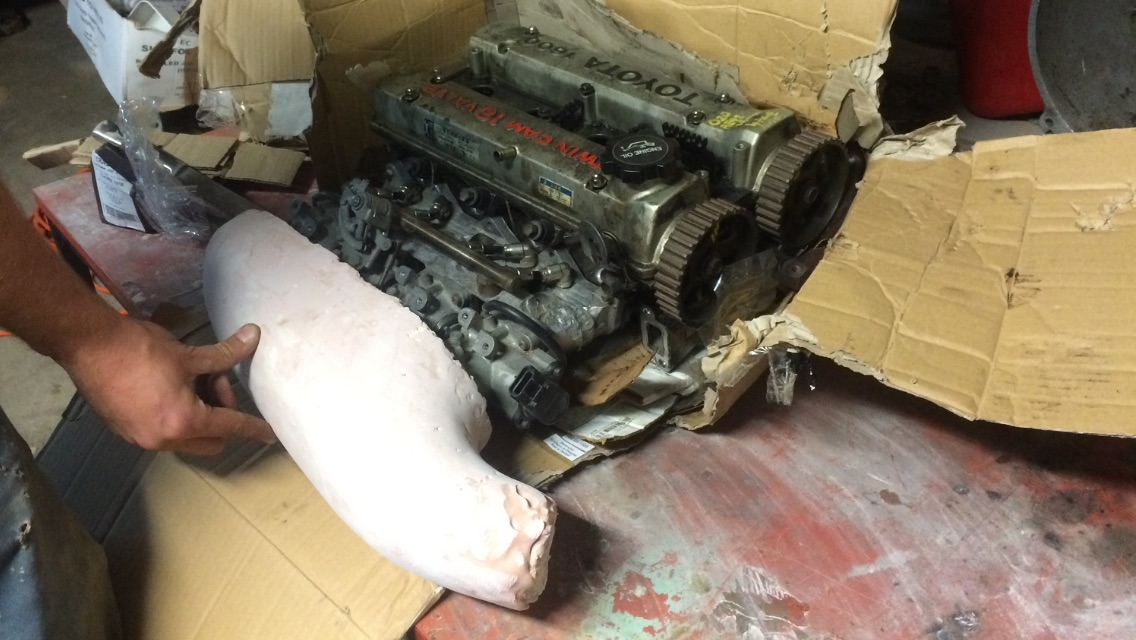
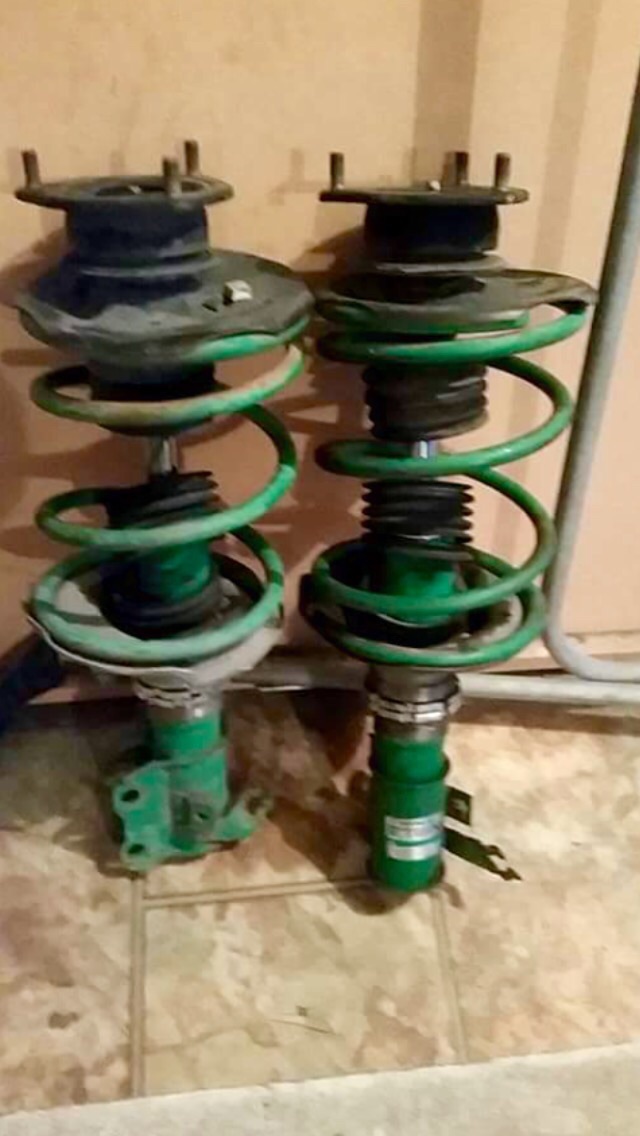
Some good news! I've found complete front AA60 strut assembly's! Wahoo! So I can get these jacked up rona struts out and get it to cosure hight In the build side progress is good Picked up a mint J160 with a short shifter Small port head, ITB's with RWD linkage Mold for a carbon intake plenum is nearly done. I've got some forged 7A rods and several sets of 4agze Pistons I'll haft to see how much gets skimmed off the head and the block before choosing witch Pistons as I've got 8:1 and 8.9:1, but the 7A setup means thoughts Pistons ended up giving higher comp anyway Something closer to 10:1 would be cool. High, but it's not meant to be a big boost build, more a responsive motor with usable power, with a little turbo just for a bit more kick. If it cracks 200hp if be happy as
1 point
-
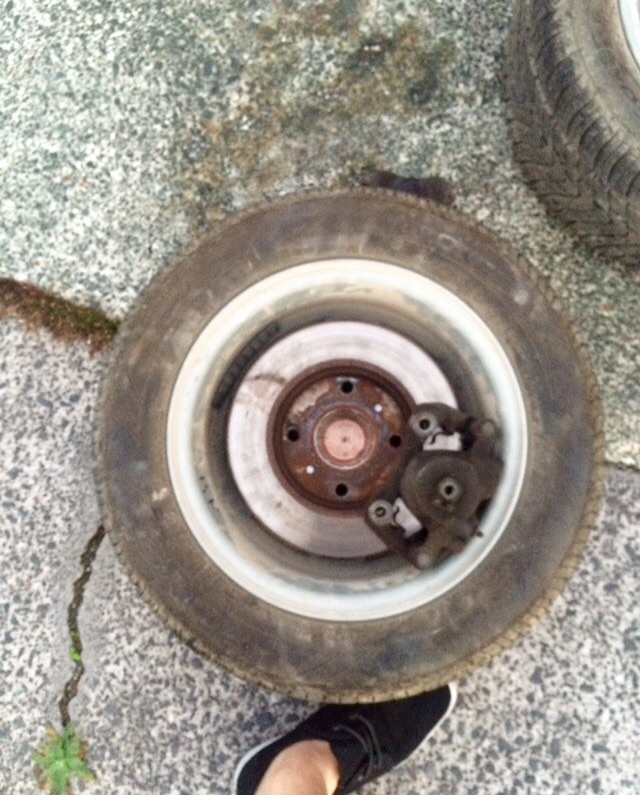
Brakes are gonna be tight! Fronts sorted, just need to find some time Just need rear shocks n springs. Fixed but will get a shock insert with adjustment
1 point
-
Took it to beach hop, runs well 3A definitely didn't cut it up the hills. More I drive it the more I want to keep it oldschool, thinking how I can get the 4agze in there and keep it looking factory..
1 point
-
Believe it or not this is not the fabrication disaster thread, i really did make the deck lid from a discarded road sign that was run over by a car, and then another car. And this is the inside of it.1 point


This leaderboard is set to Auckland/GMT+12:00