
Leaderboard


Popular Content
Showing content with the highest reputation on 09/03/17 in all areas
-
22 points
-
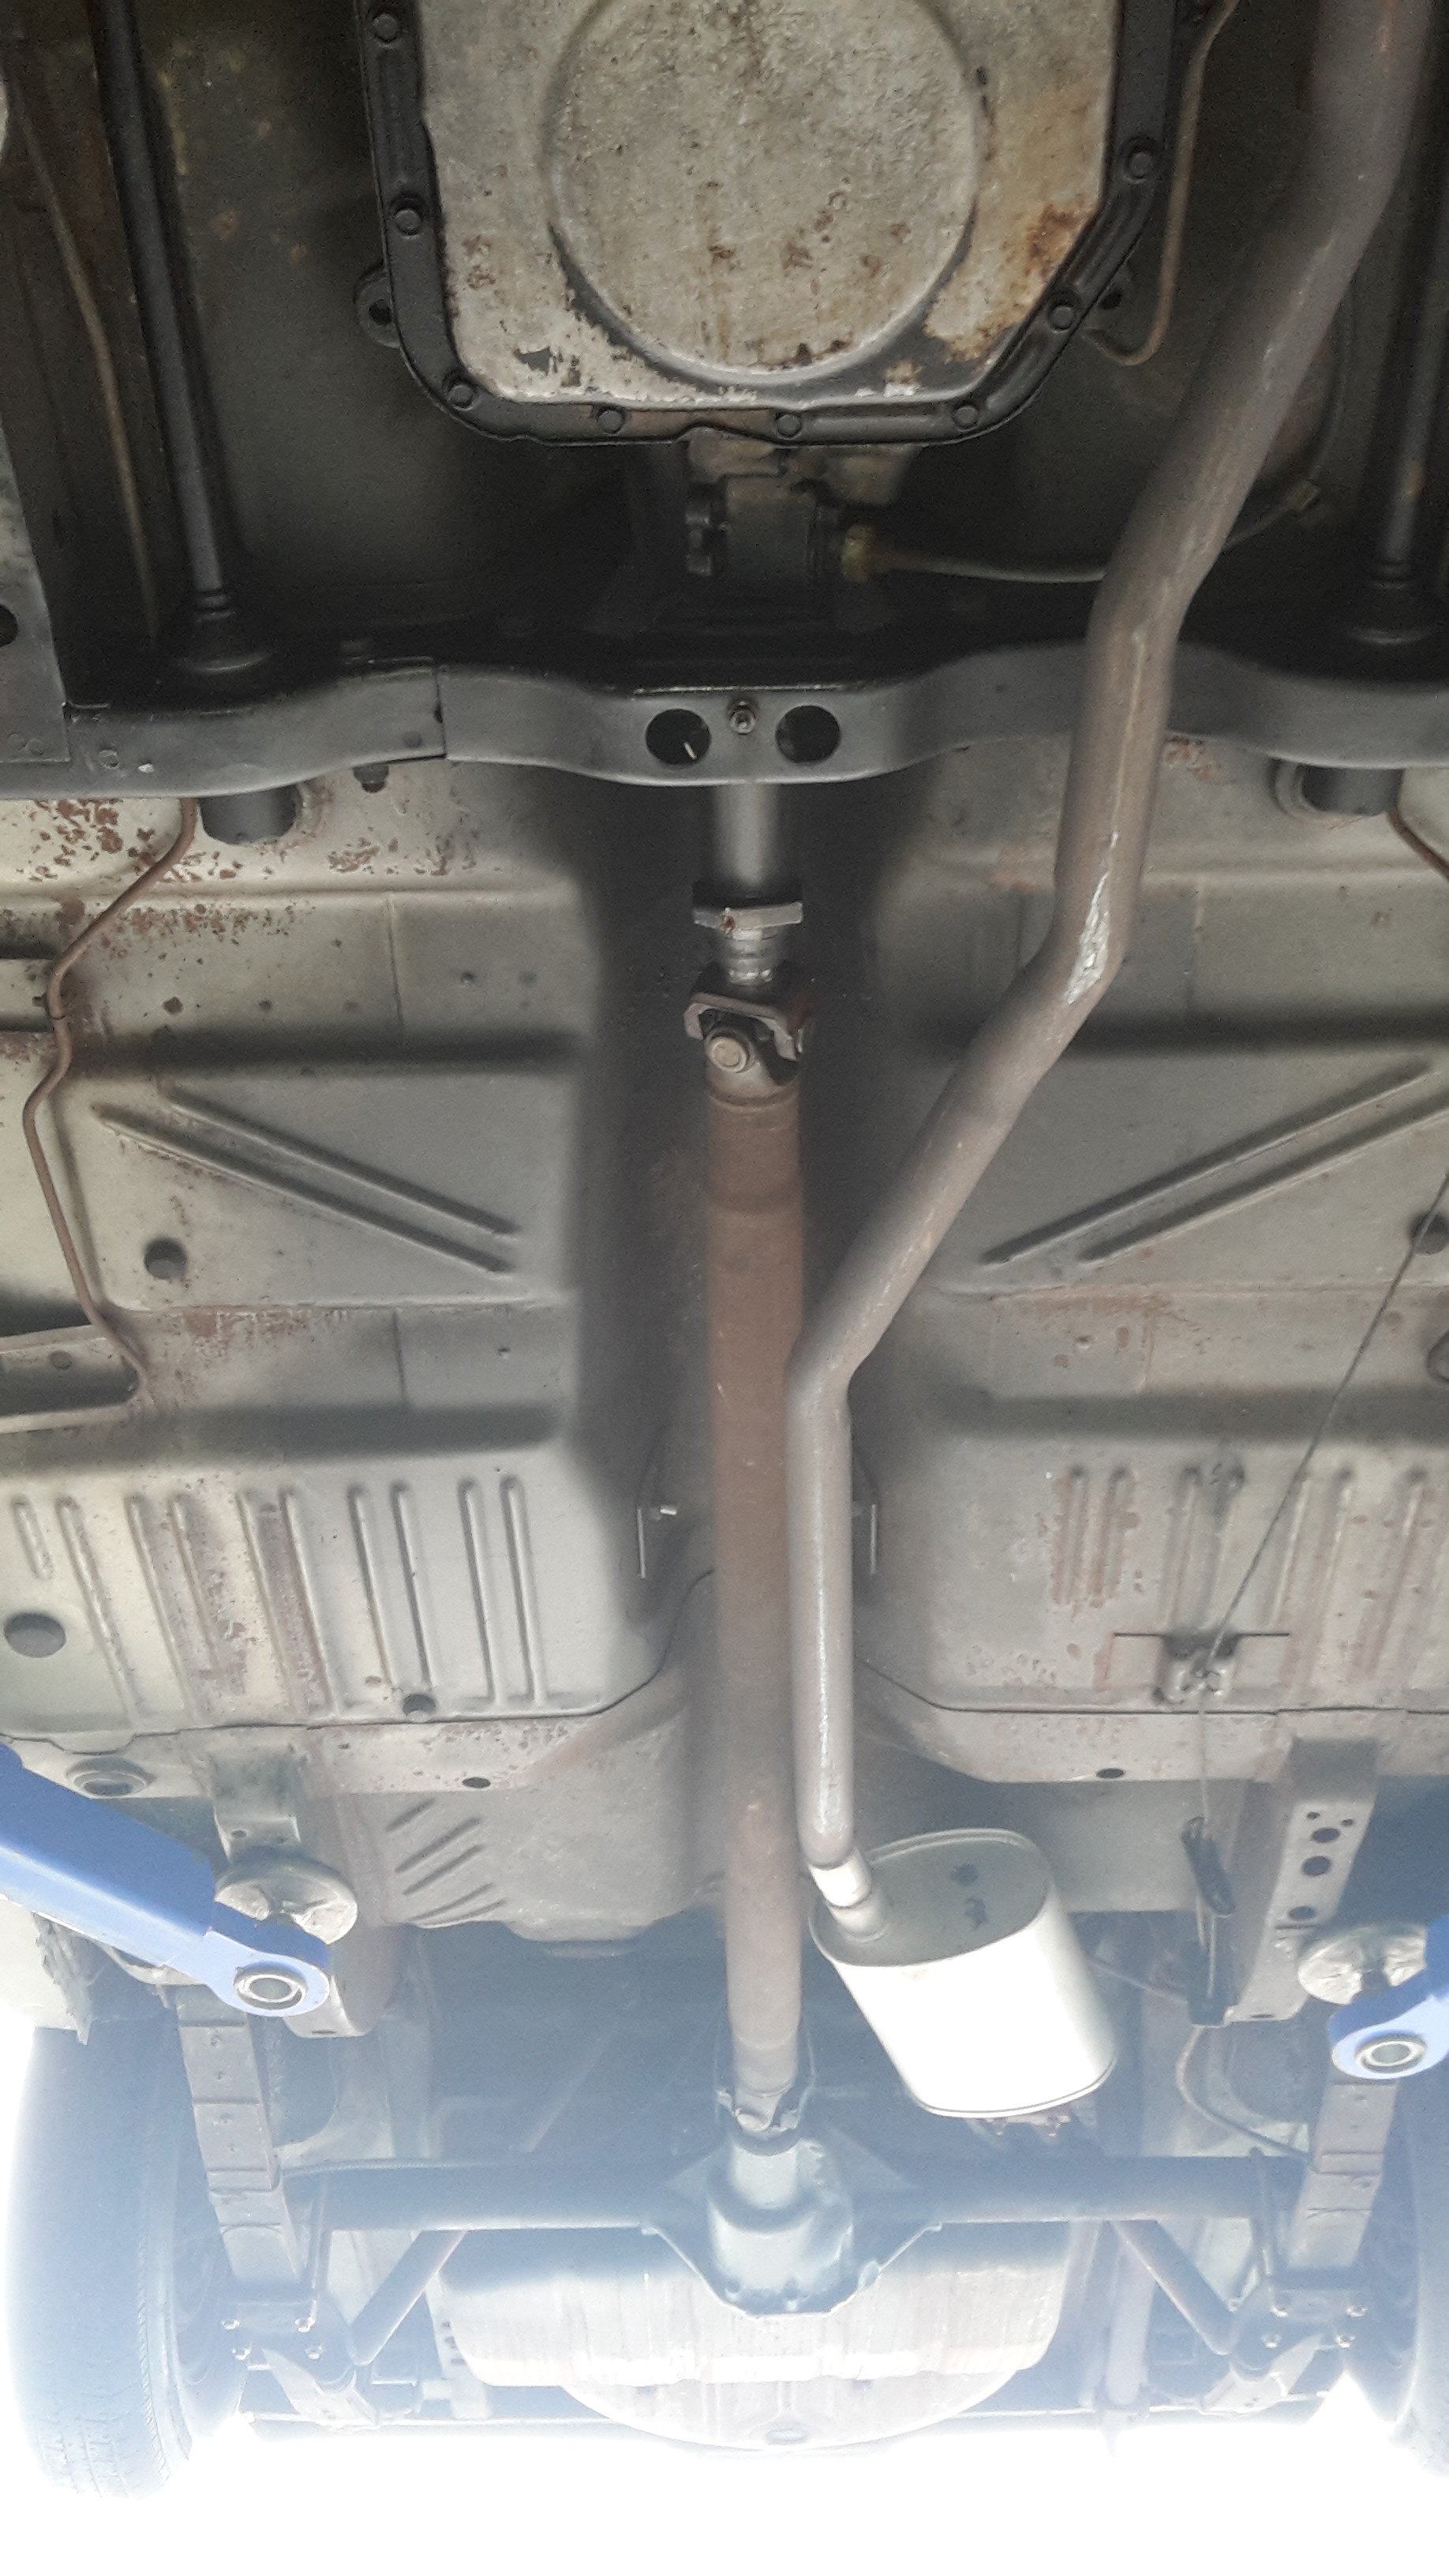
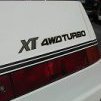
Have been sidetracked with some other stuff but have now got all the bits I need for the diff. Rebuild kit, new 3.23 gears, carbon lsd clutch pack (mustang parts there, look out pedestrians ), another short axle, robbed the center out of a low km explorer to get better spider gears -the ones in the diff I got originally were not great and new ones are surprisingly expensive-and a fancy pants alloy diff cover with a brace Went and got a wof today and here's a pic of its undersides for no real reason
 13 points
 -
Redone the gusset on the front end because I wasn't happy with how it looked, should be much stronger now. Made a start on the handbrake linkage thing. Used some $2.50 block bearings from aliexpress, as I was not keen on paying over $100 for two in NZ that weren't even the right size (needed 12mm ID ones and apparently 12mm is a very uncommon bearing size) so would of had to sleeve 20mm ones to fit. The china ones seem decent enough for what they're being used for. My dad had an aluminium air bag tank that he was planning on using for another car, but it fits this perfectly apart from the mounts being on the back instead of the bottom. So might buy it off him, cut off the mounts and re-weld them in the correct place. Made up some more plates for seat belt mounts, this time for the floor. The retractor bolts onto the back and then the lap belt bolts on to the part sticking out. Also has a doubler plate underneath the floor with some captive nuts. Stripped everything off the doors to see if they needed any repairs. Yes they did. This is the worst of the two. Was hidden under a rubber seal and the strip that holds it in place. Left side door isn't as bad but still needs some patches as there was a few rust holes. Found some on the outside skin which is a bit annoying, but the patch shouldn't be too visible anyway. My parents are heading off to America soon so I made up a list of all the parts I need. Everything is so cheap but it adds up quickly. Hopefully it will all fit in their suitcases.12 points
-
Drove it today. !!!! Had a fathers day fiddle. (With the van) stuck a ali special electric fuel pump in and cracked the bleed nipples on the front brakes. Let it dribble out for 5mins and has just enough spongy rubbing sound to haul it up from 50kms im still buzzing. Dont really remember driving it was way to excited windscreen wipers are fucked and the screens very dirty thats all I remember. And it needs 1st to get up my diveway. So all up less than a hundy buck. From dead to driving.10 points
-
Attempted making some brackets to mount the lights yesterday, came out OK-ish until I tried to bend them and fucked them right up Spent a while last night doing a bit of CAD modelling (that's Cardboard Assisted Design) and worked out what I needed, took my template down this arvo along with a few beers. Bit of scrap 2mm steel Quick linish and a moment in the massive press bender Picked up a length of M8 all-thread and some nuts on the way home, used it to brace it all in position I swear the second one came out nicer! Nothing a sec with the grinder won't fix! Ready to go! May need to cut and extend the steerer tube on my stem, looks like the park brake assembly may foul on the fairings, will leave welding that to someone with a bit more skill as having the handlebars come off at speed can't be a good thing! Had a quick look through my stash of shit at the in-laws, turns out I've had Jog-style controls sitting in a box this whole time.6 points
-
Nah fail, it was better but no full secondary's. Pissed about with it all afternoon but never got there. I noticed the dizzy wasn't advancing so I put mine in, tweaked the feet of the secondary's so it's just about touching the primary's actuator. pulled the diaphragms off and they checked out, put back on with some sealant on the gaskets. I though maybe the airbox might affect the vacuum situation so I also sliced the bottom of the air box, pushed it down to where it cleared the bonnet and filled the gap with panel steel. Didn't get to test drive it but didn't seem to change with free revving on the spot. A keen mate decided I needed mirrors so went and scored a few from some wrecked Cedrics, I made a pair from the best of them, cleaned up well. Stoked with the look, sedans look best with rectangles as opposed to round sporty ones. were now cooking up some 13" wheels so I can utilise the golf shocks and lowering springs I got a few months ago. likely have to reset the leaves too but it needs to come down. I like the current wheels but they..aren't 13s6 points
-
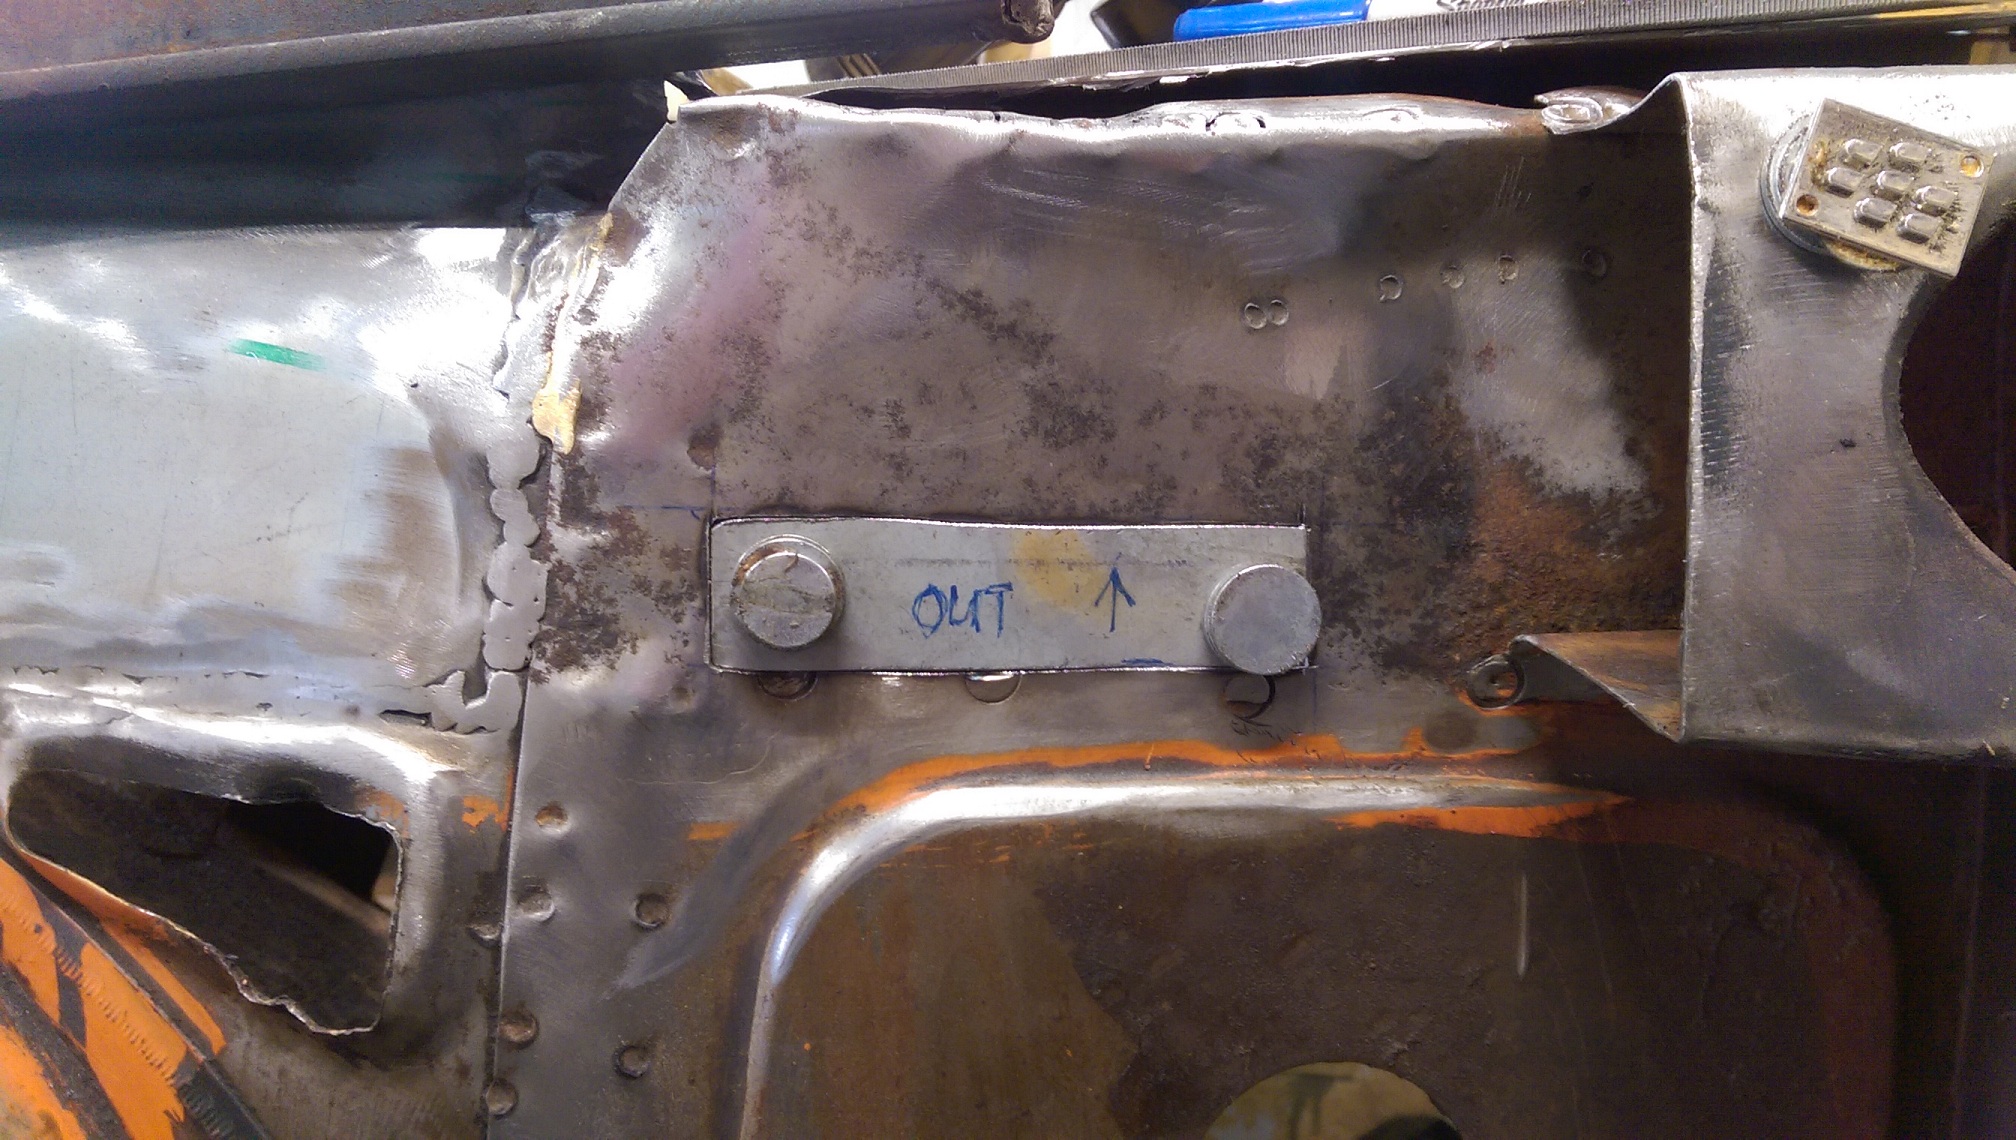
Alright time to make up for the time I've been away. Prepare for a pic dump for the ages. I've been working on buttoning up the bottom front corner of the driver's side inner wing. In the last post I got the outer skin of the chassis leg all finished up so now I'm working on the other side. I sprayed the inside of the rail and the back side of the bumper mount reinforcing plate before I clamped it up ready for welding. I tried to position the welds close to where they were originally for no reason other than neatness. Then I welded it all on, including some tacks to the crush tubes,. This might seem a bit on the weak side but that's what was holding the original pieces together so once again, good enough for Uncle Henry... And cleaned it all up while I was there. Now it was time to start thinking about fitting up my inner wing repair panel that I made up months and months ago before I realised just how much of a mission all this front end work was going to be. This part is going to dictate where the front valence panel will mount so it's fairly critical that I get it in the right spot. Thankfully, some clever bloke thought about all of this before hand. When I went to all that trouble to make my guards bolt on, I made sure they bolted to the front valence in a way that held it tight to the inner wings while they were still there at the time. Therefore, I should be able to clamp the front panel up to the upper inner wings that I already know are in the right place, bolt them to the guards, and then clamp my lower inner wing repair panel to the valence to show me where it needs to go. If none of that made any sense, don't worry, I took photos. So to start, clamping the front panel to the upper inner wings. Like this. Then bolt the guards on... The repair panel actually jammed in place by itself which was handy. Then I passed some bolts through the crush tubes with some grease on the ends and spun them once they touched the new panel. This put a grease spot in the position of the hole for the crush tube which I could then center punch and drill through. Which gave me this... The holes weren't in the perfect place and the tack welds made it difficult to fit so I opened each hole out with a die grinder until it fit nicelyish. This photo shows what the panel was that I had to work with. It's hard to see properly from this angle but there was quite a gap between where the panels were and where they needed to be in order to butt up together nicely. I decided to bolt up the brake booster mount to try and brace everything a bit and stop myself from pulling things too far trying to make my panel fit Uncle Henry's. Goodness knows how effective it will be but at the very least it makes me feel better about myself. Then I went ahead and opened the hole out further to more closely fit my panel. At this point I started to go the other way and began to trim my panel to fit the hole. Once it was fairly close I started to clamp it into position. Once I had it all fully trimmed up and holes drilled for plug welds I sprayed everything with a good coat of weld through primer. Once it was dry it got clamped up once again and tacked in place with the TIG. I figured now would be a good time to double check the front valance fit before I do all the plug welds. Once they're in it'll be a real prick to try and adjust. Looks pretty good to me. So I set to and broke out the MIG to fill in all those holes. Turned out well. Good penetration all round. And that's about as far as I got. I decided to clean up a bit before I did all the TIG welding fully, as well as pulling out the cross member for better access. So that's it for this week. Next plan is to finish up the welding on the driver's side inner wing then give the fab work a rest for a bit and get my ass into gear with pulling the V6 out of the Mazda. Hopefully the welding shouldn't take too long but these things always seem to for me. I'll be sure to keep you guys posted.5 points
-
I just use the search bar if needed. Here's a link to the first post in this thread to make things easier5 points
-
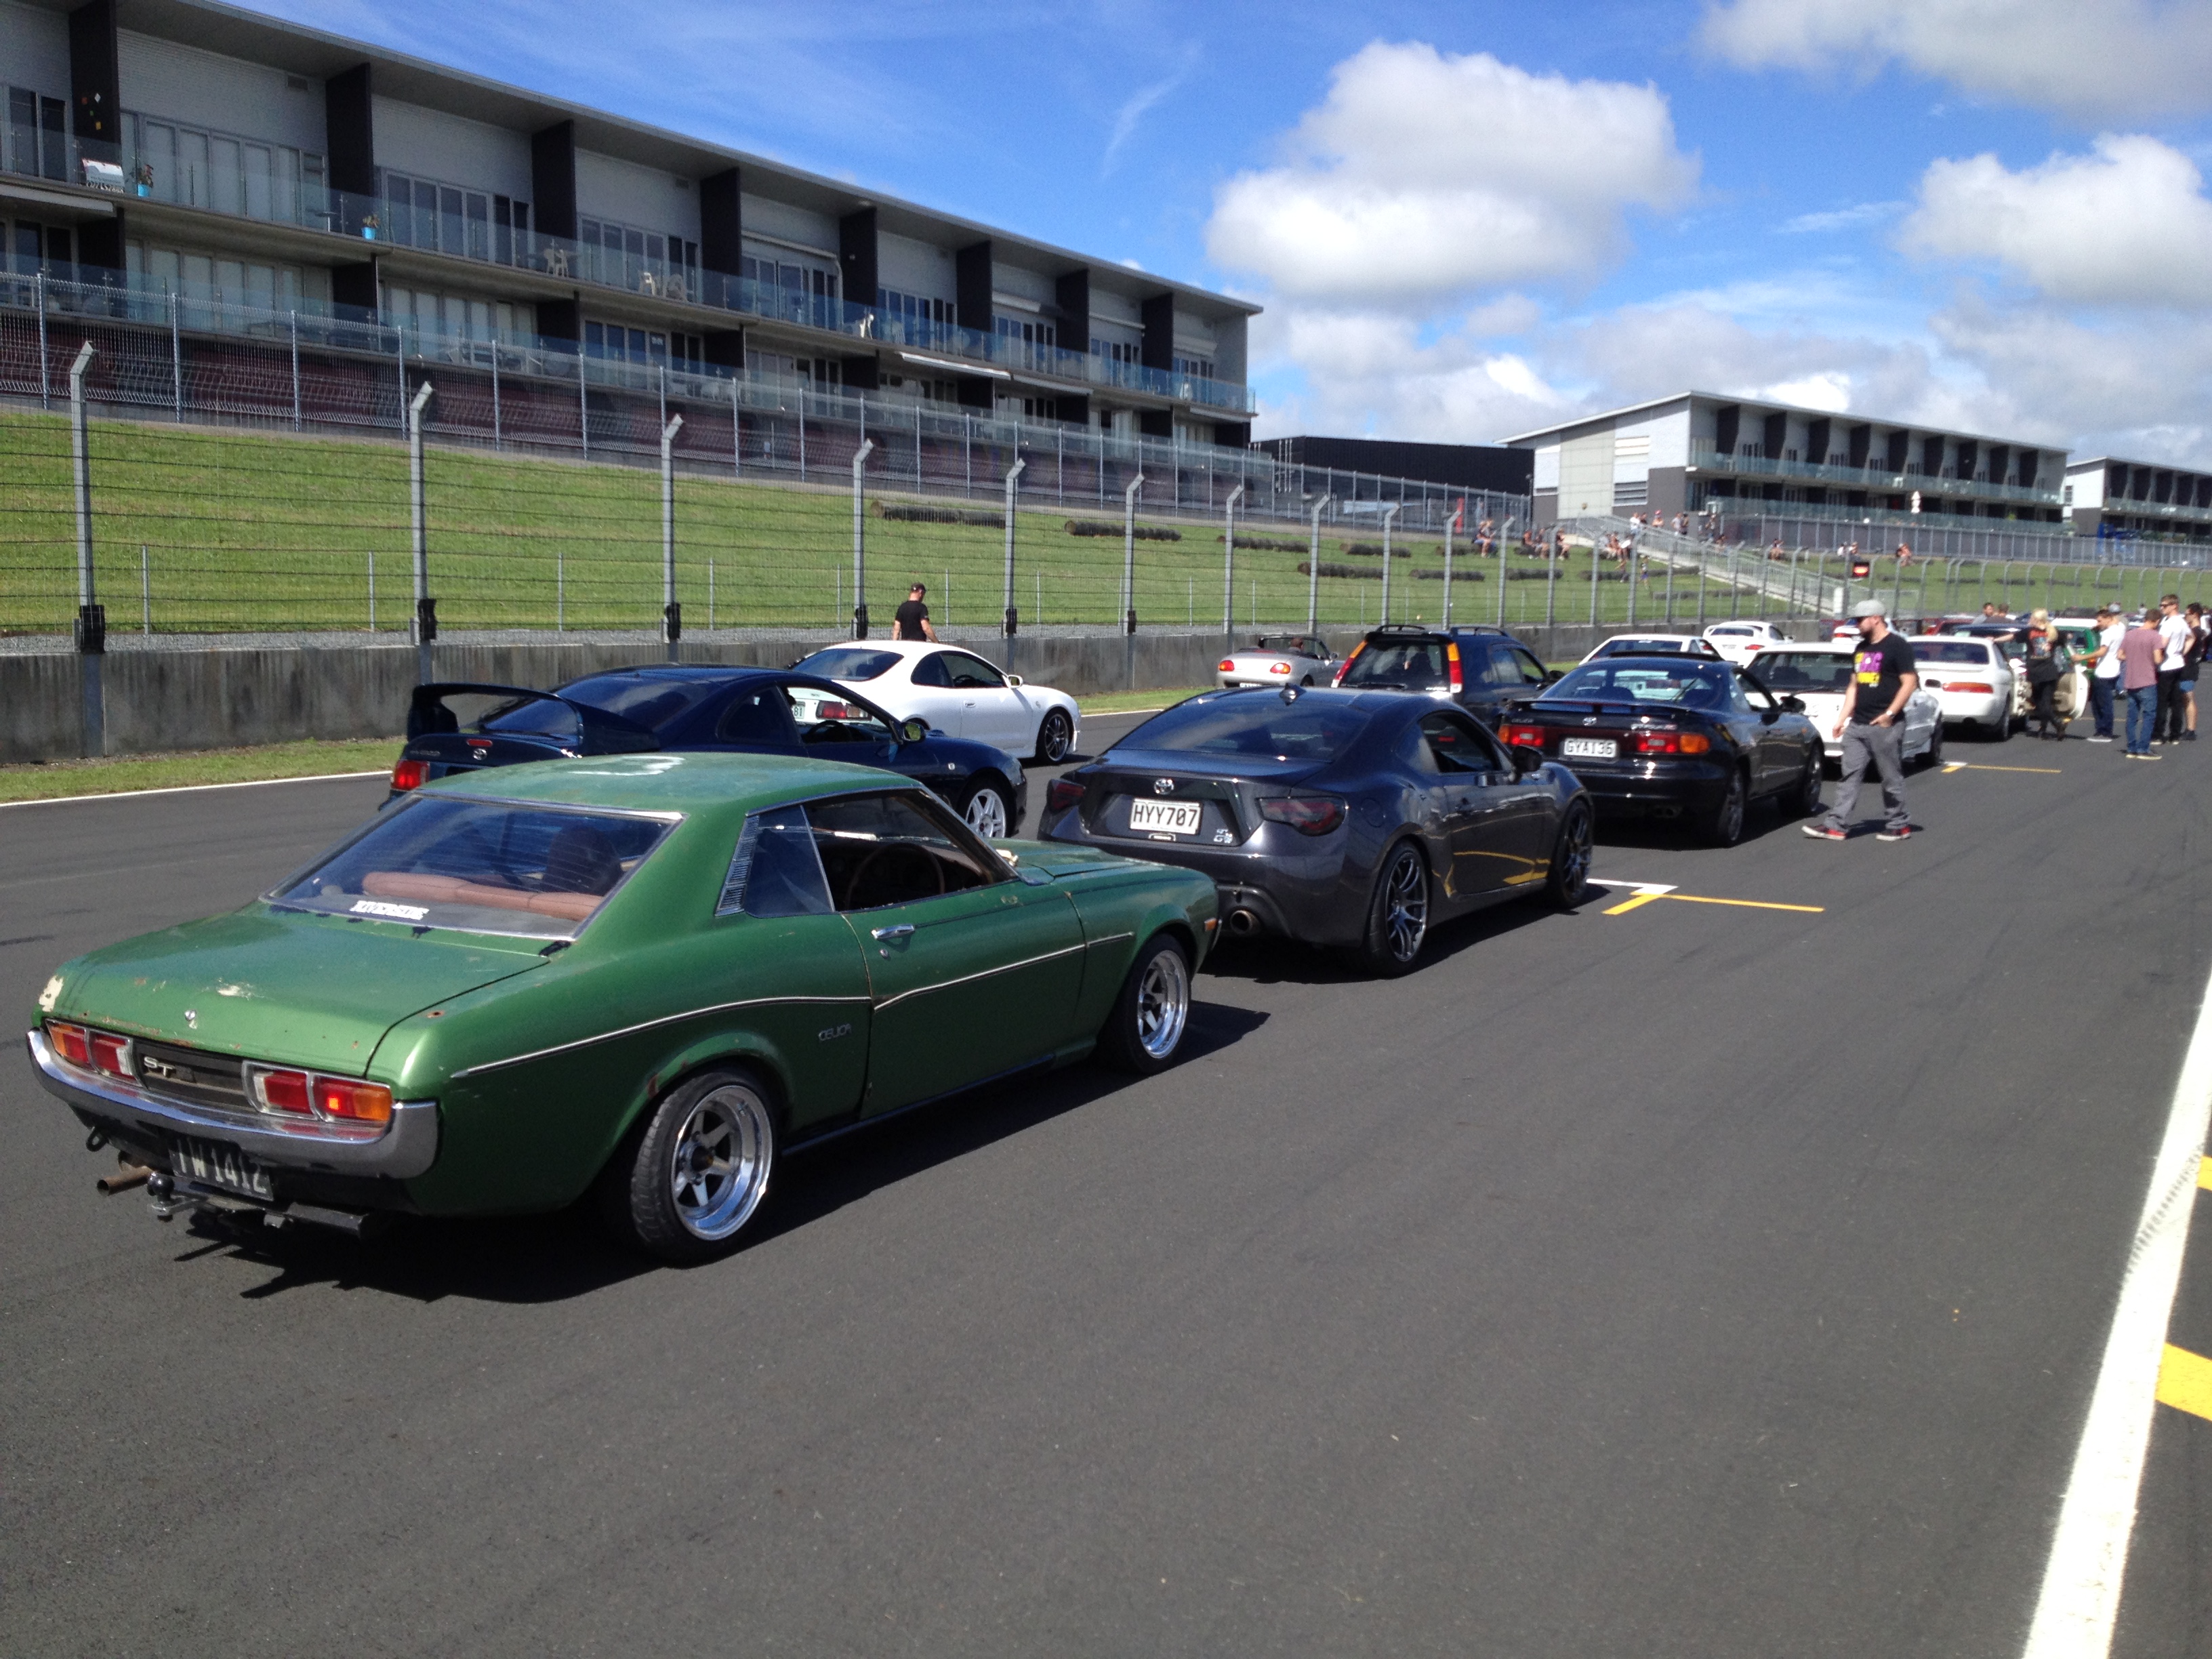
Made it to Hampton downs and back for toyotafestival even had a good hoon round the track Wasent quite smooth sailing got hot on the Napier taupo rd couple of times Developed a dirty miss under load didn't get to suss out another lead set till on the way home cheers Huntly repco!! Was an awesome journey with the boy's got to have a yarn with a number of people who blew me away with there positive comments and admiration Really was an eye opener as to how few there are on the road now days
4 points
-
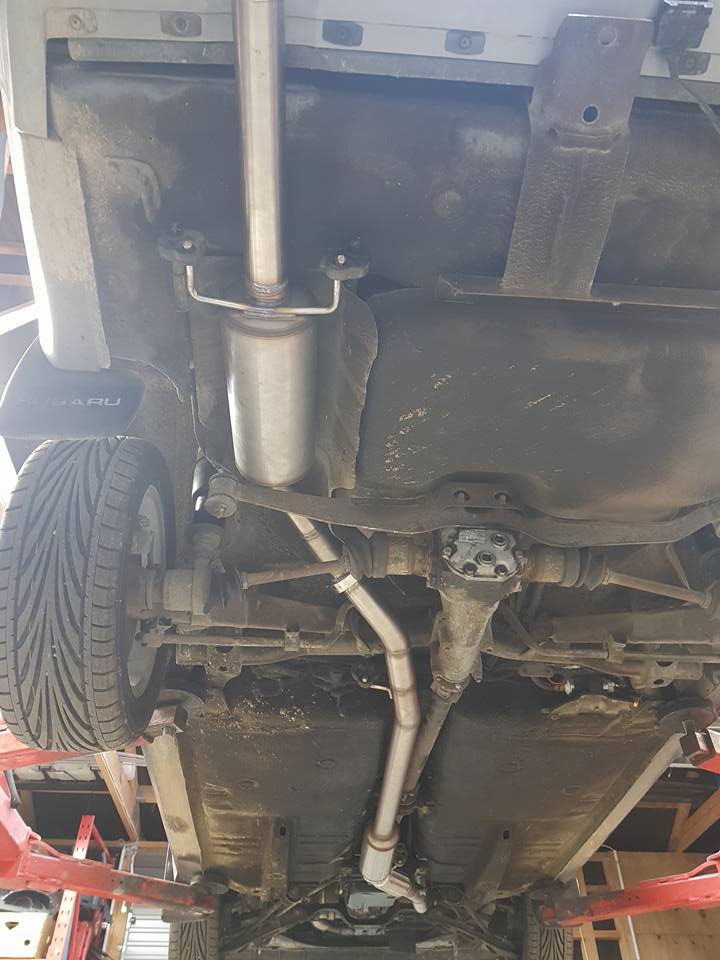
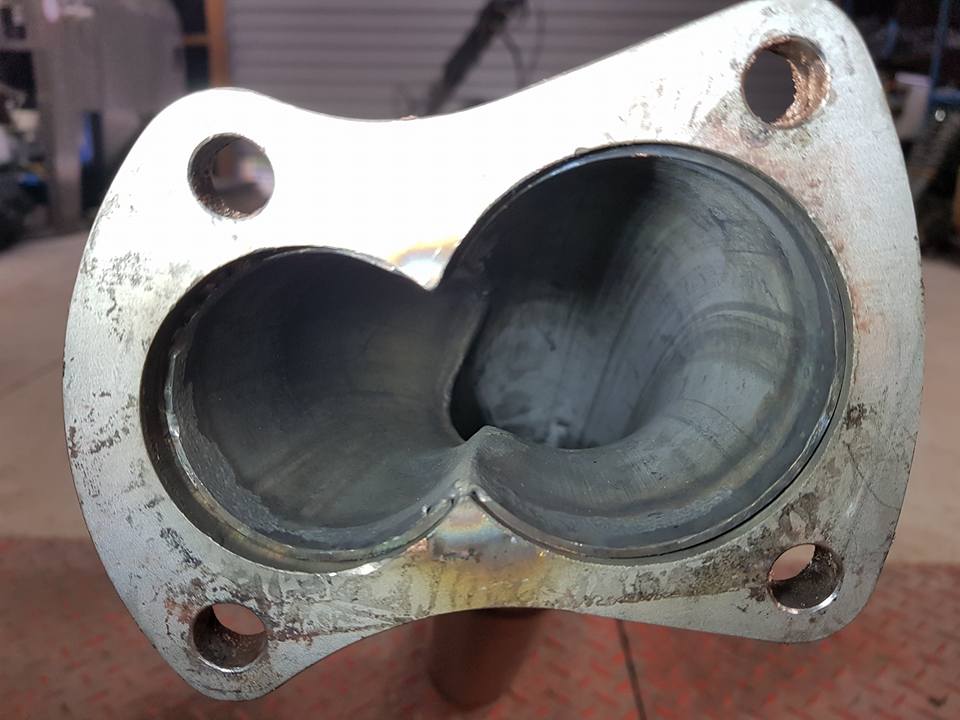
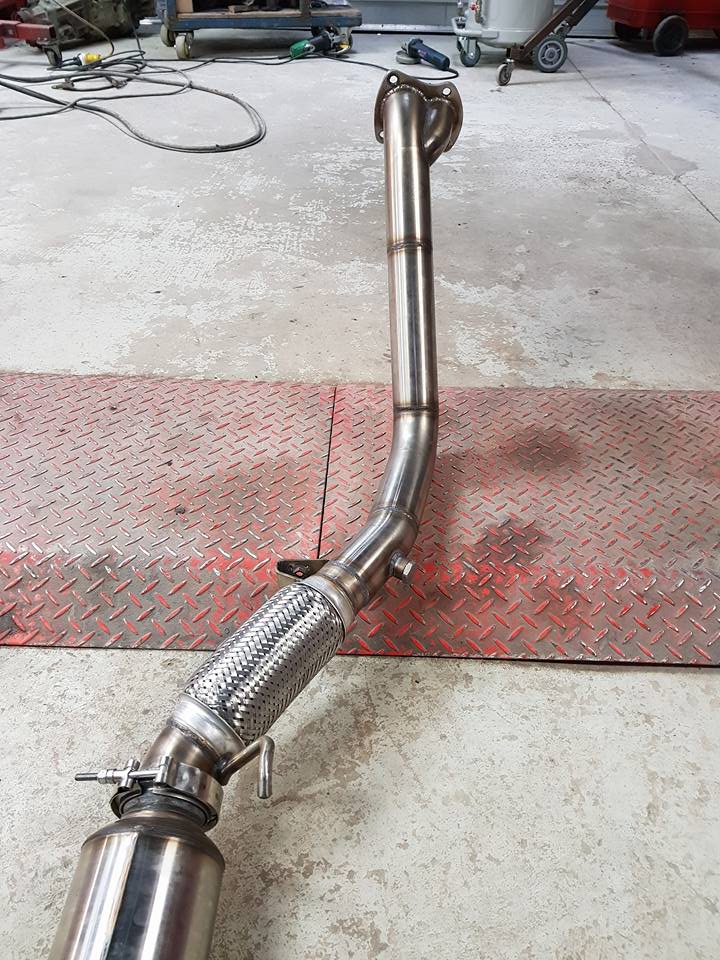
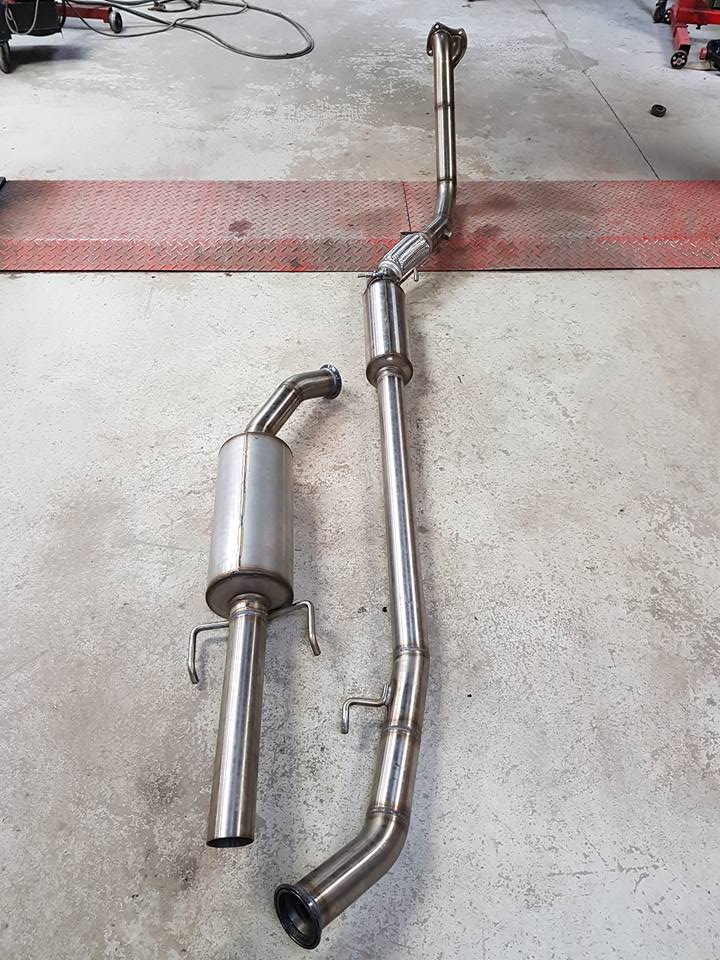
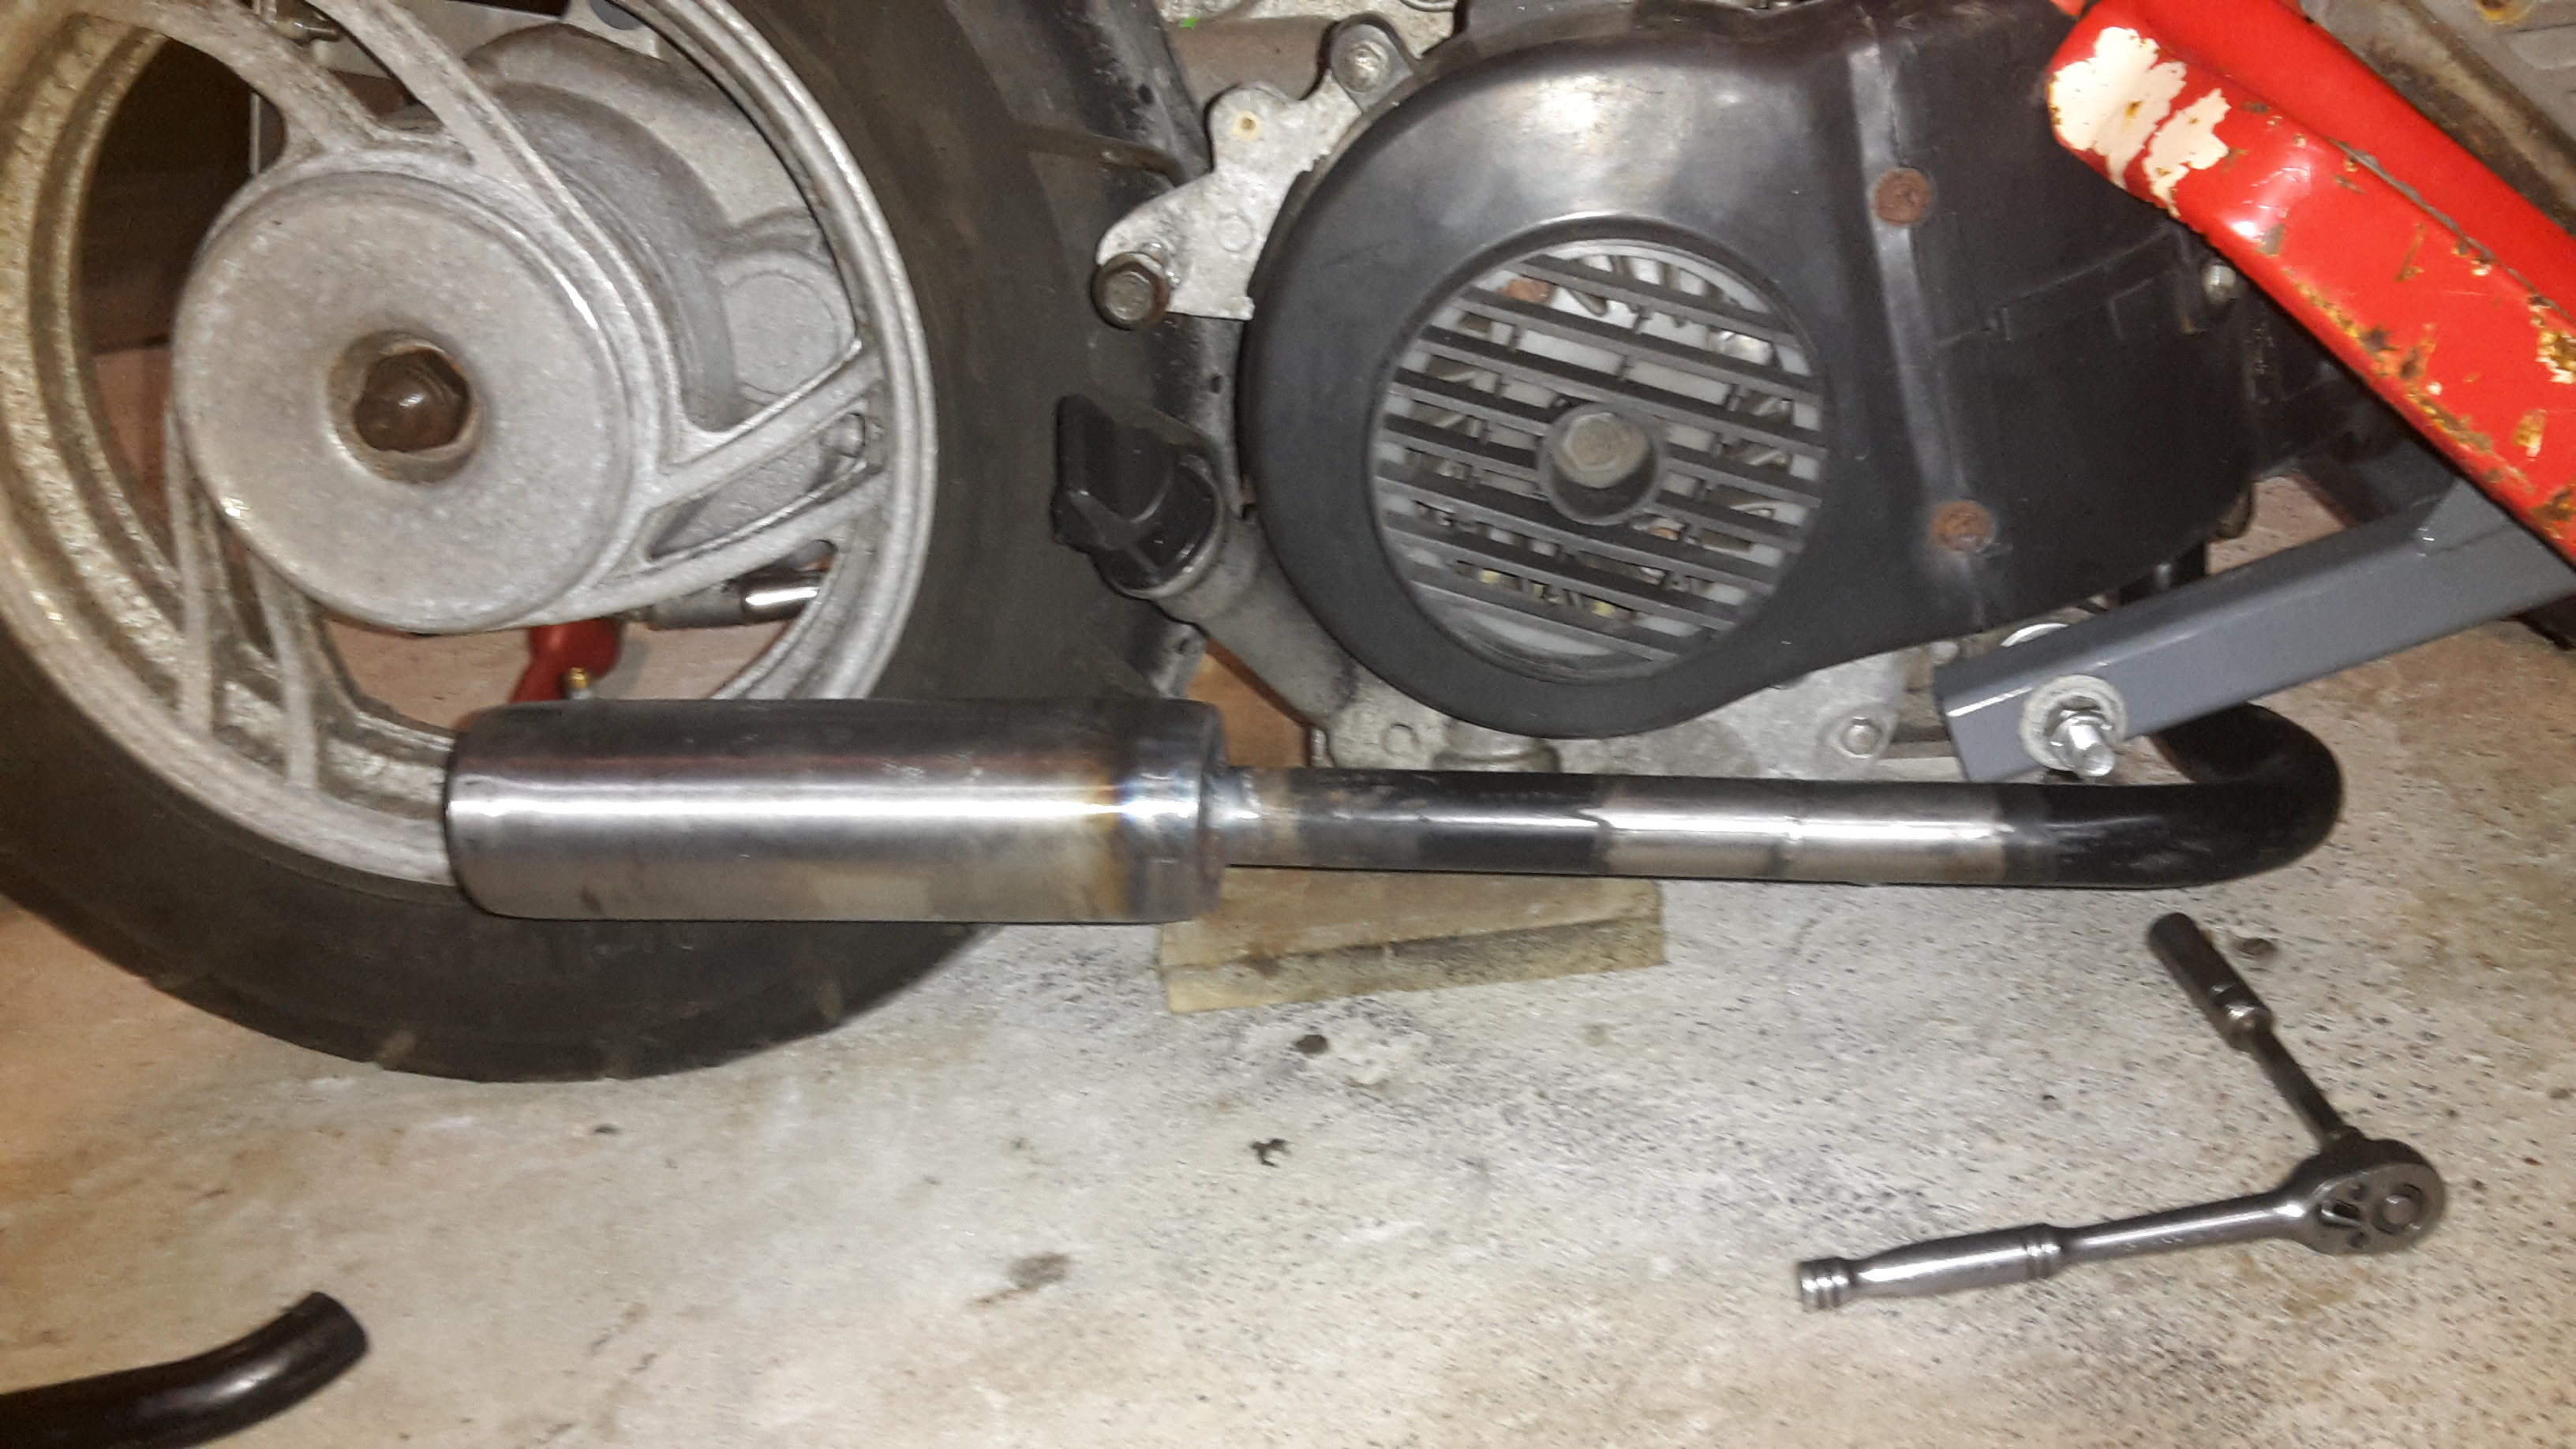
Thanks to me ole mate Richard at Specialised auto services here in Rangiora, I've had a bespoke stainless exhaust made and fitted, to help the old girl breathe a bit easier. VERY happy with the quality and fitment.
4 points
-
I'd do an auto for a car like that- *its never going to be a racecar * turbo and auto is good as it doesn't come off boost when it shifts * sounds easier to do in your case * a340 behind a 1uz I had, had a taller overdrive than a manual box so it dealt with lower diff gears better * soarer?? a340 has separate ecu for trans I think, surely there would be a non ecu controlled version also in something3 points
-
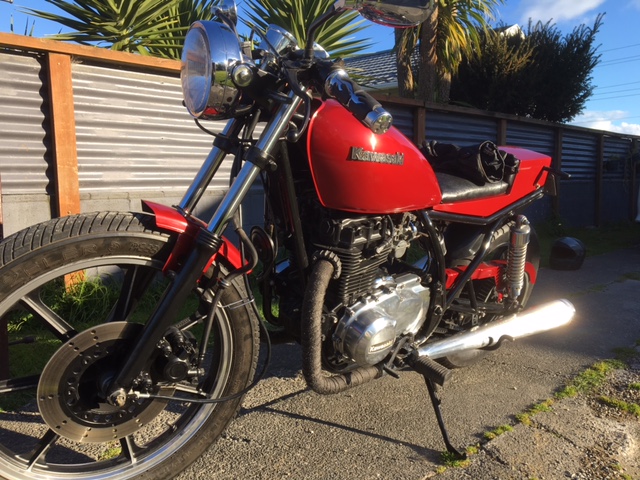
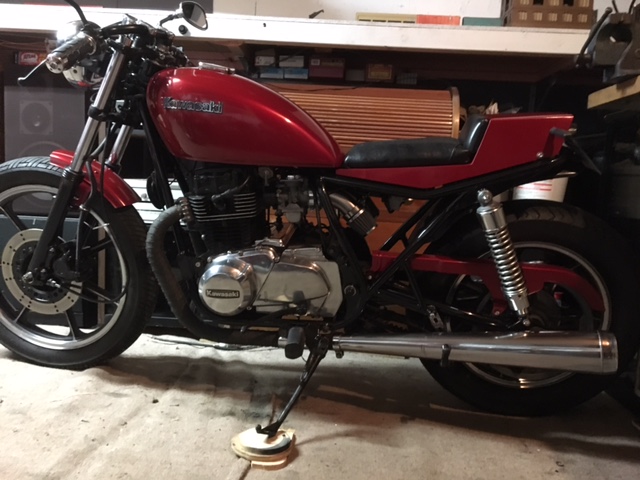
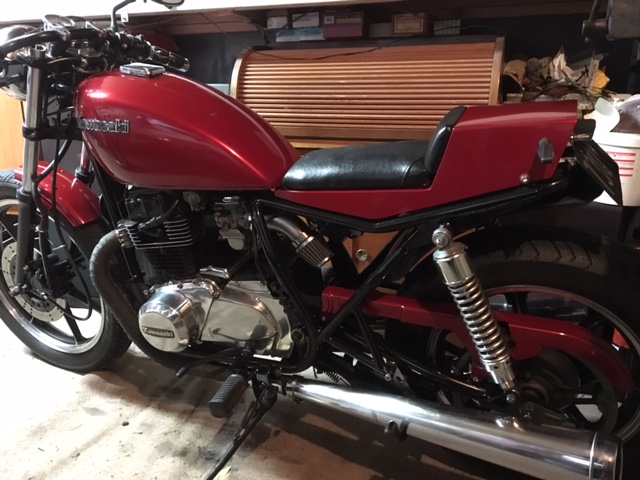
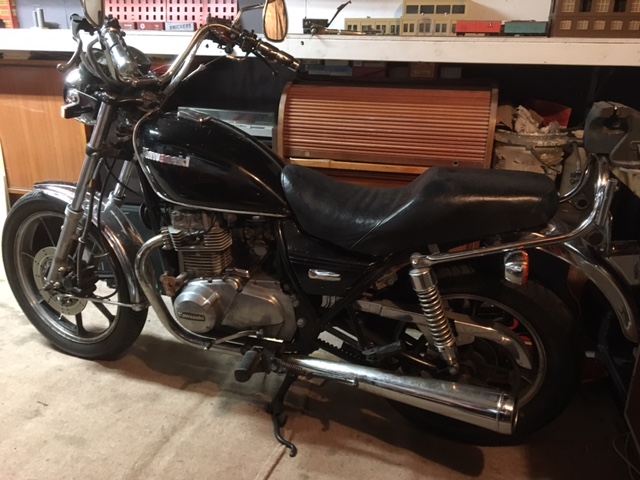
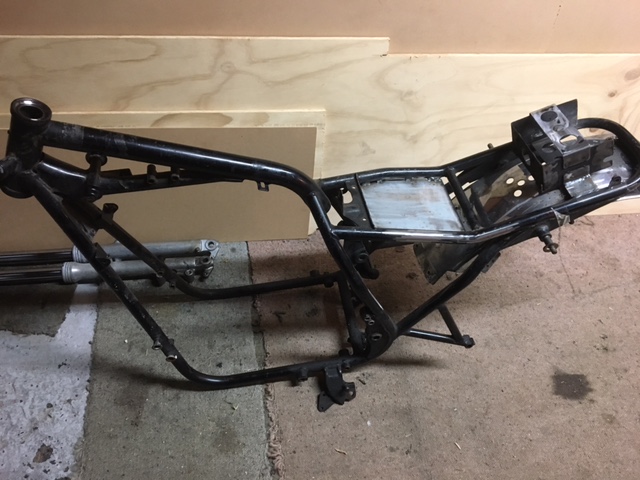
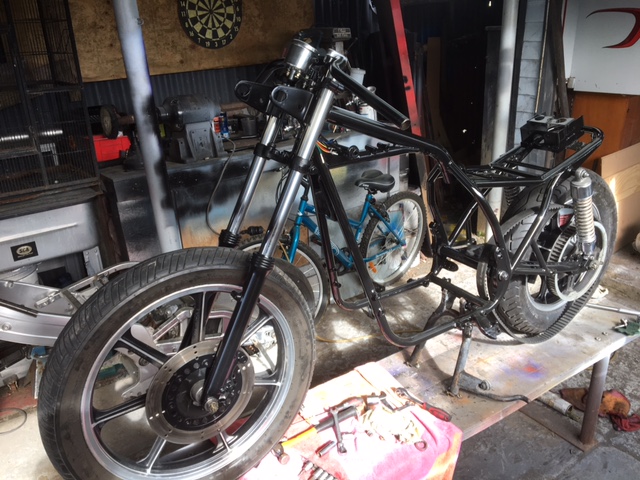
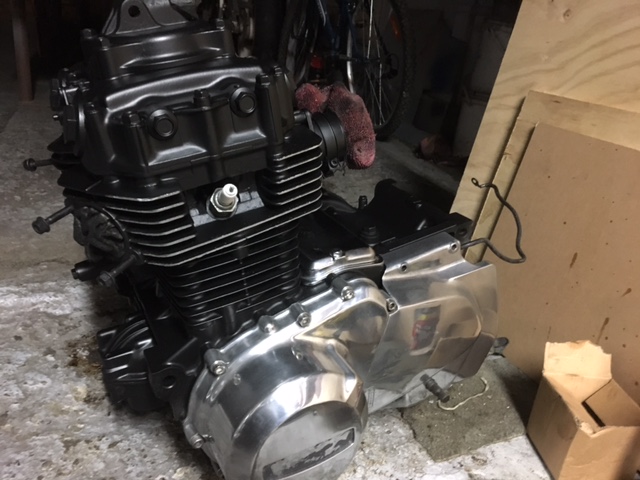
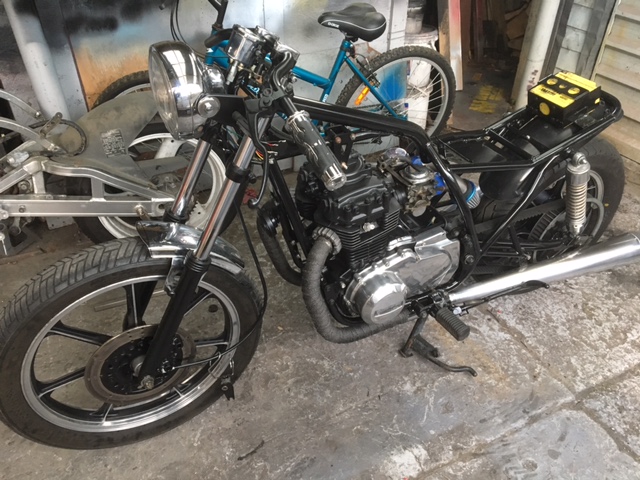
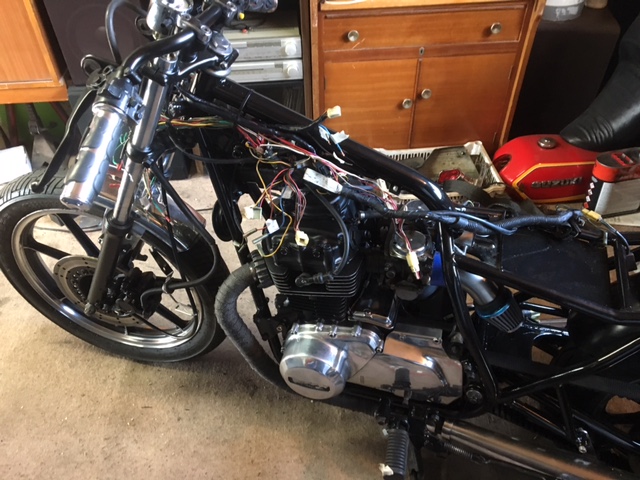
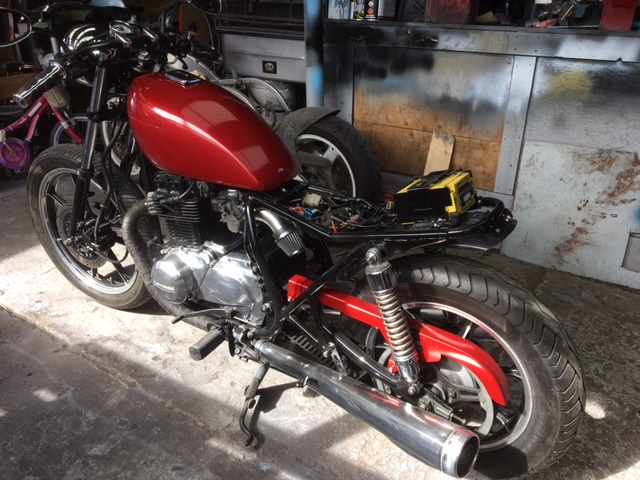
Bored and crap weather here so can't go riding so thought I would share my latest project on here. Picked up an old 400LTD 4 weeks ago very cosmetically challenged but rode ok reg on hold etc. So got it home and looked it over and decided it wasn't worth restoring and I have never done a cafe conversion so oh well might as well give it a go. fabricated a seat and electrics tray from sheet metal then set about stripping to bare frame. Detagged frame and relocated battery box to fit under seat hump. stripped old paint from frame and repainted with gloss black marine enamel. replaced engine starter clutch springs, painted engine, polished side covers and gave it an oil change. Also fabricated stainless inlet tracts to mount the pod filters to for a different look. Also fitted some restriction disks into the start of the tubes the same size as the original airbox inlet to see if I can get away with stock jetting. Started assembling and found the loom had a short at some point and melted down under the tank area so set about fixing that, took 2 days but sorted now, new wire, solder, heat shrink and rewrapped with loom tape. Shortend front guard, tank paneled and painted along with seat front guard and belt guard. Went with a old school color which is a metallic with a light pearl. did a final assembly, fired up first try, balanced carbs and off on a small shake down ride. Seemed to run ok and sounds awesome with the packing remover from the silences. Ran through for wof and the only thing questioned was the front and rear guards, he looked up rules and only found reference to width which said something about covering the width of the tire which they do so said ok by me and passed so cool now have wof but have to wait for weather to come right so can go for decent ride. Only done 21km so far. may have to look at selling on at some point soon tho as 2 RZ's, TZR, RDLC and a Intruder is making space in the shed a bit tight and have project RGV awaiting parts, AX100 project to pick up from tauranga and now looks like a RD400 coming my way if I can find a way of getting it here from Lower Hutt. Sorry if I went on a bit but as I said at start stuck inside bored.
3 points
-
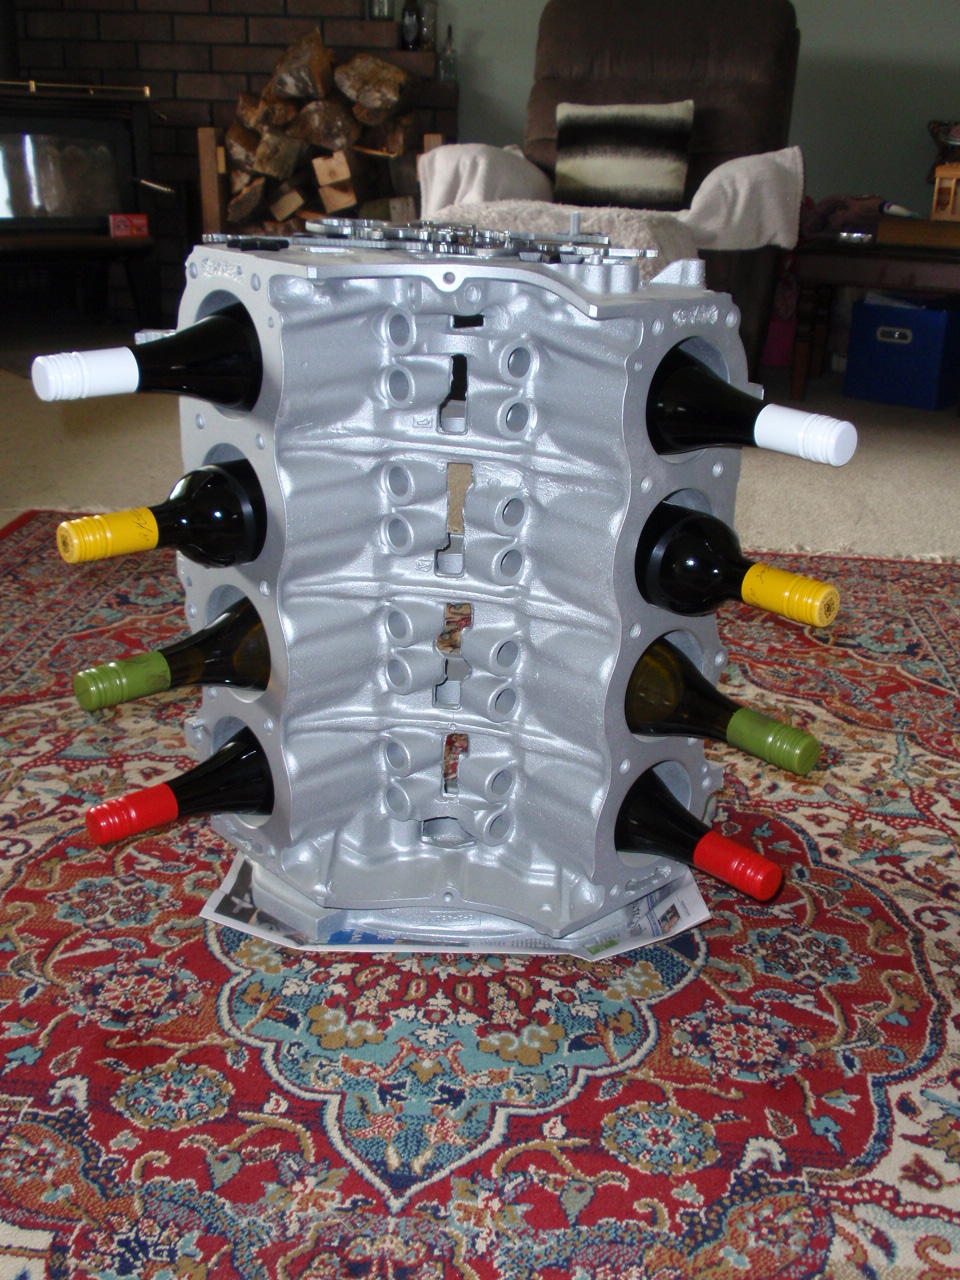
Notice the Thunder Park theme going on with wine bottle tops in the table base ... 8 cyl engine block, white top for pre stage, one amber and one green (Pro Tree) and red at the bottom for when your deep stage goes wrong, Churr!
3 points
-
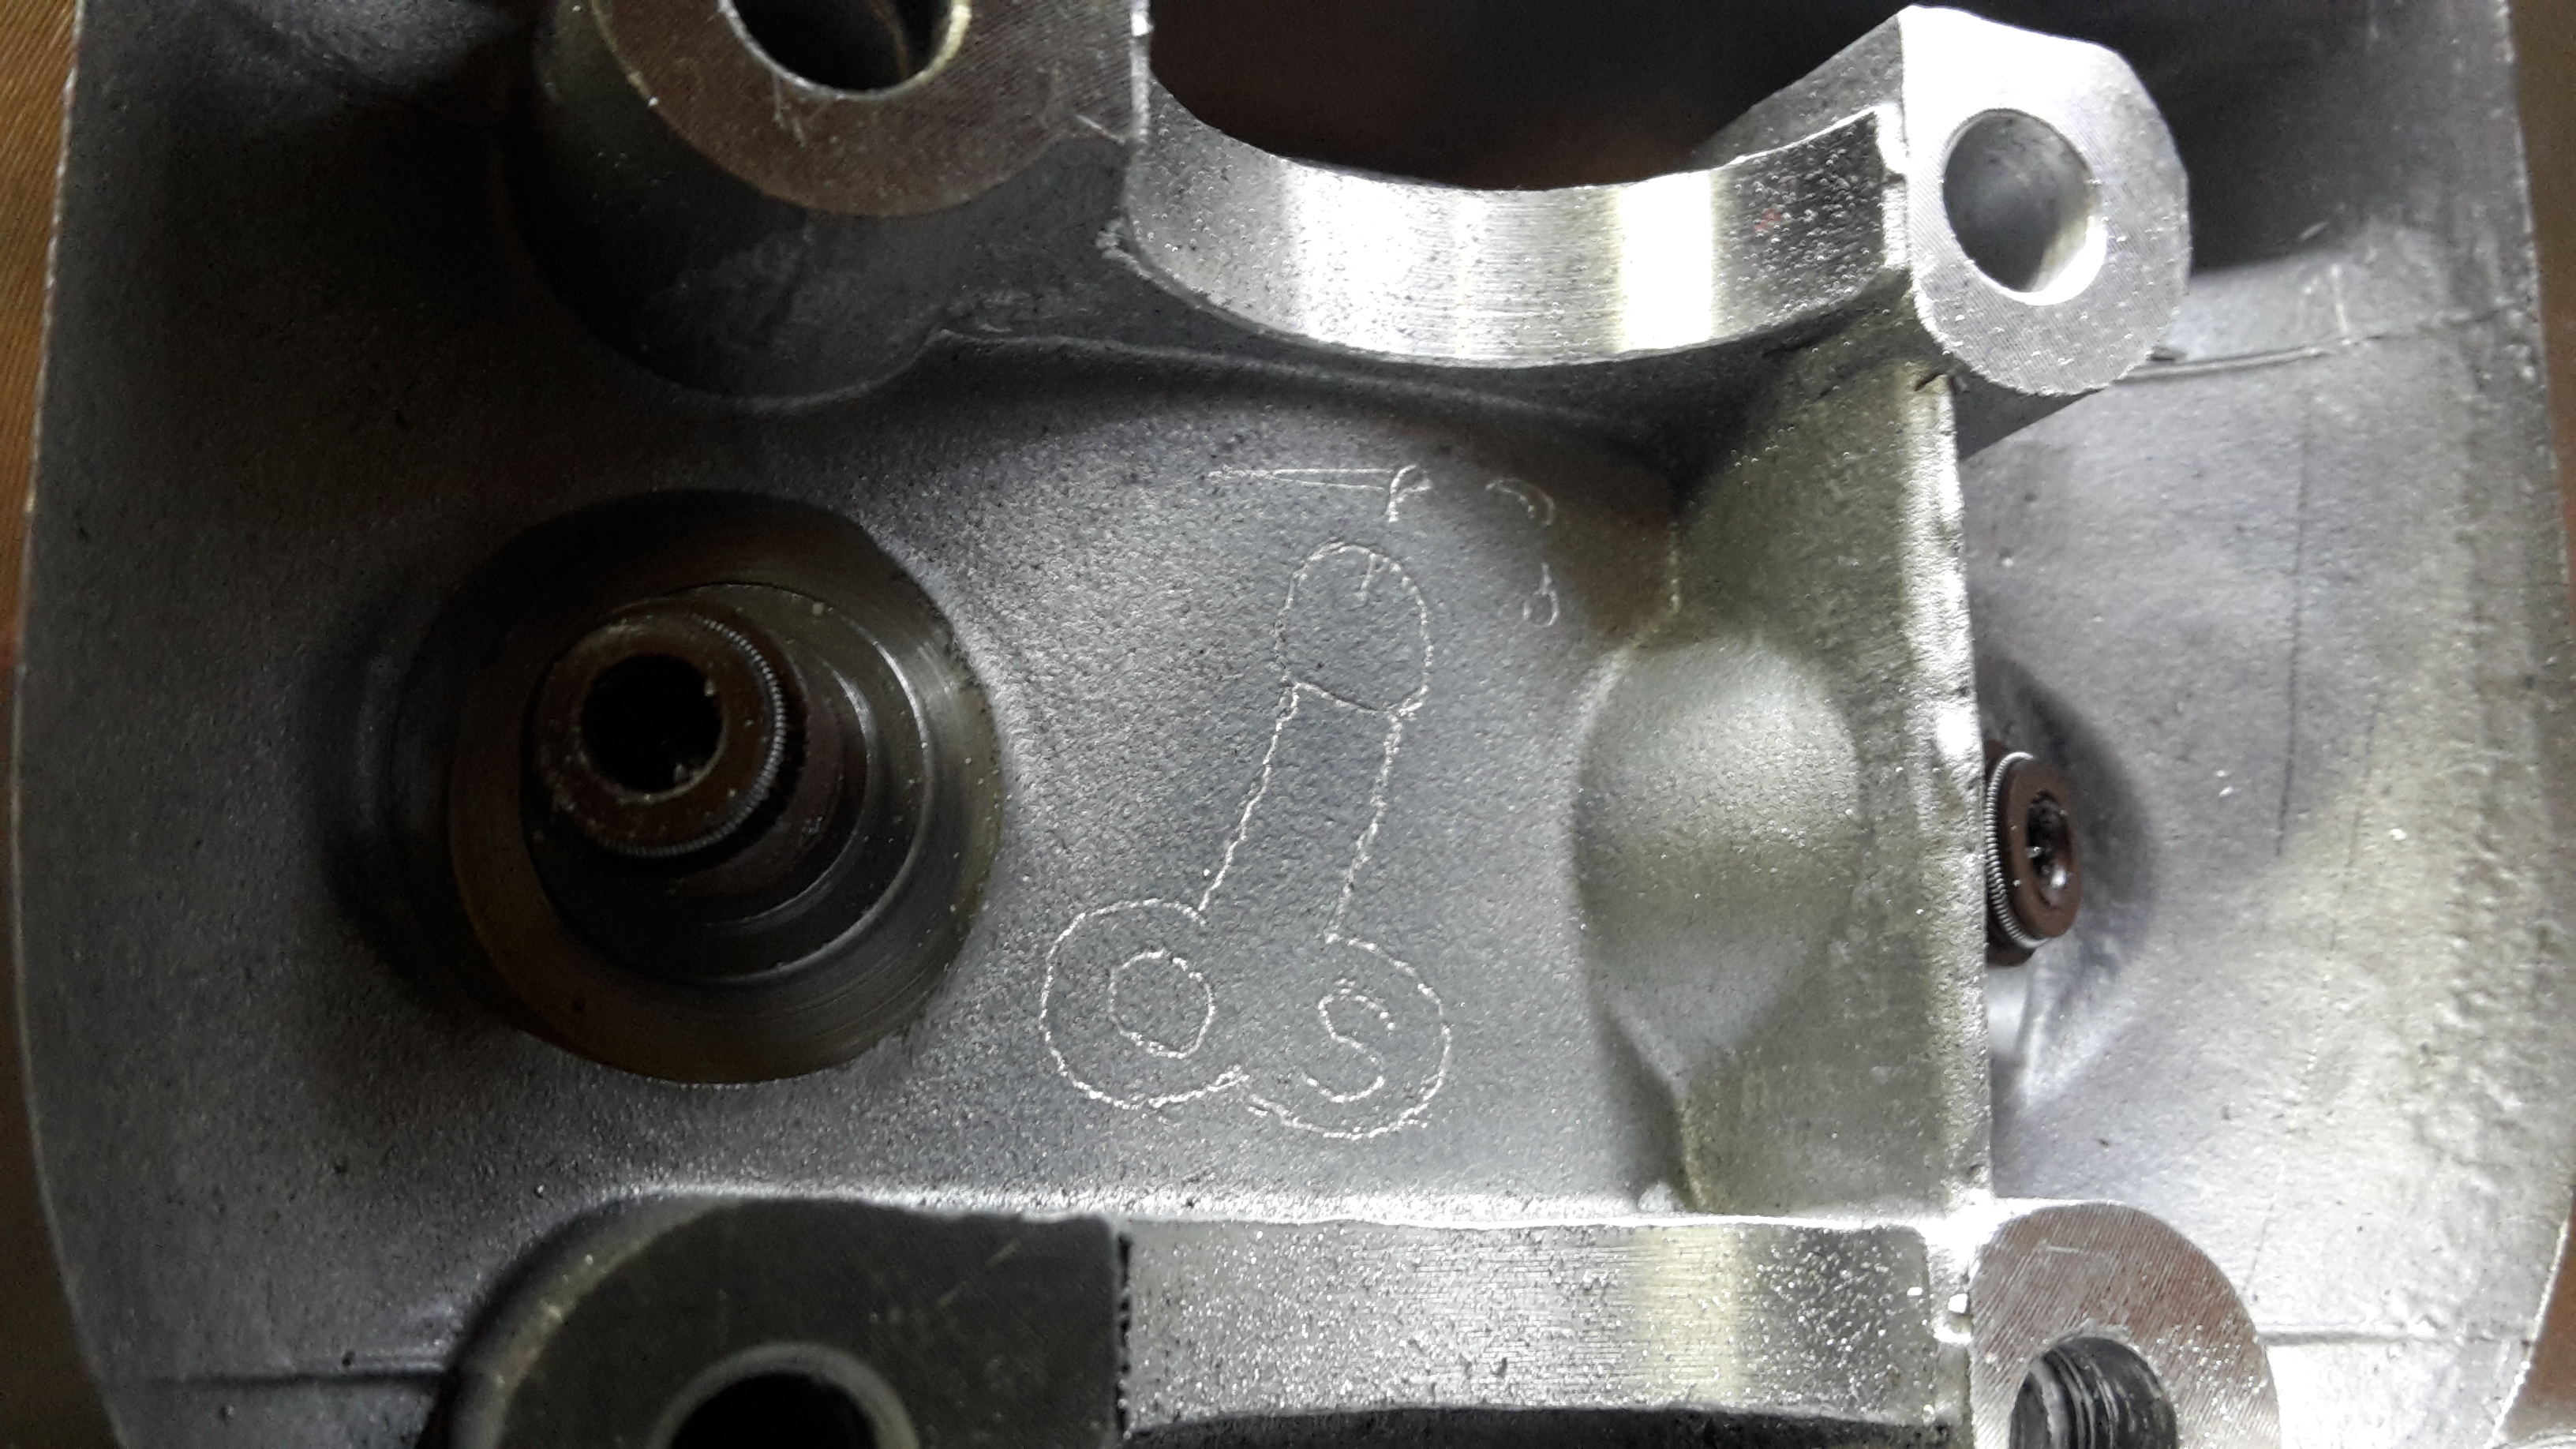
And, how about some of the spelling ???3 points
-
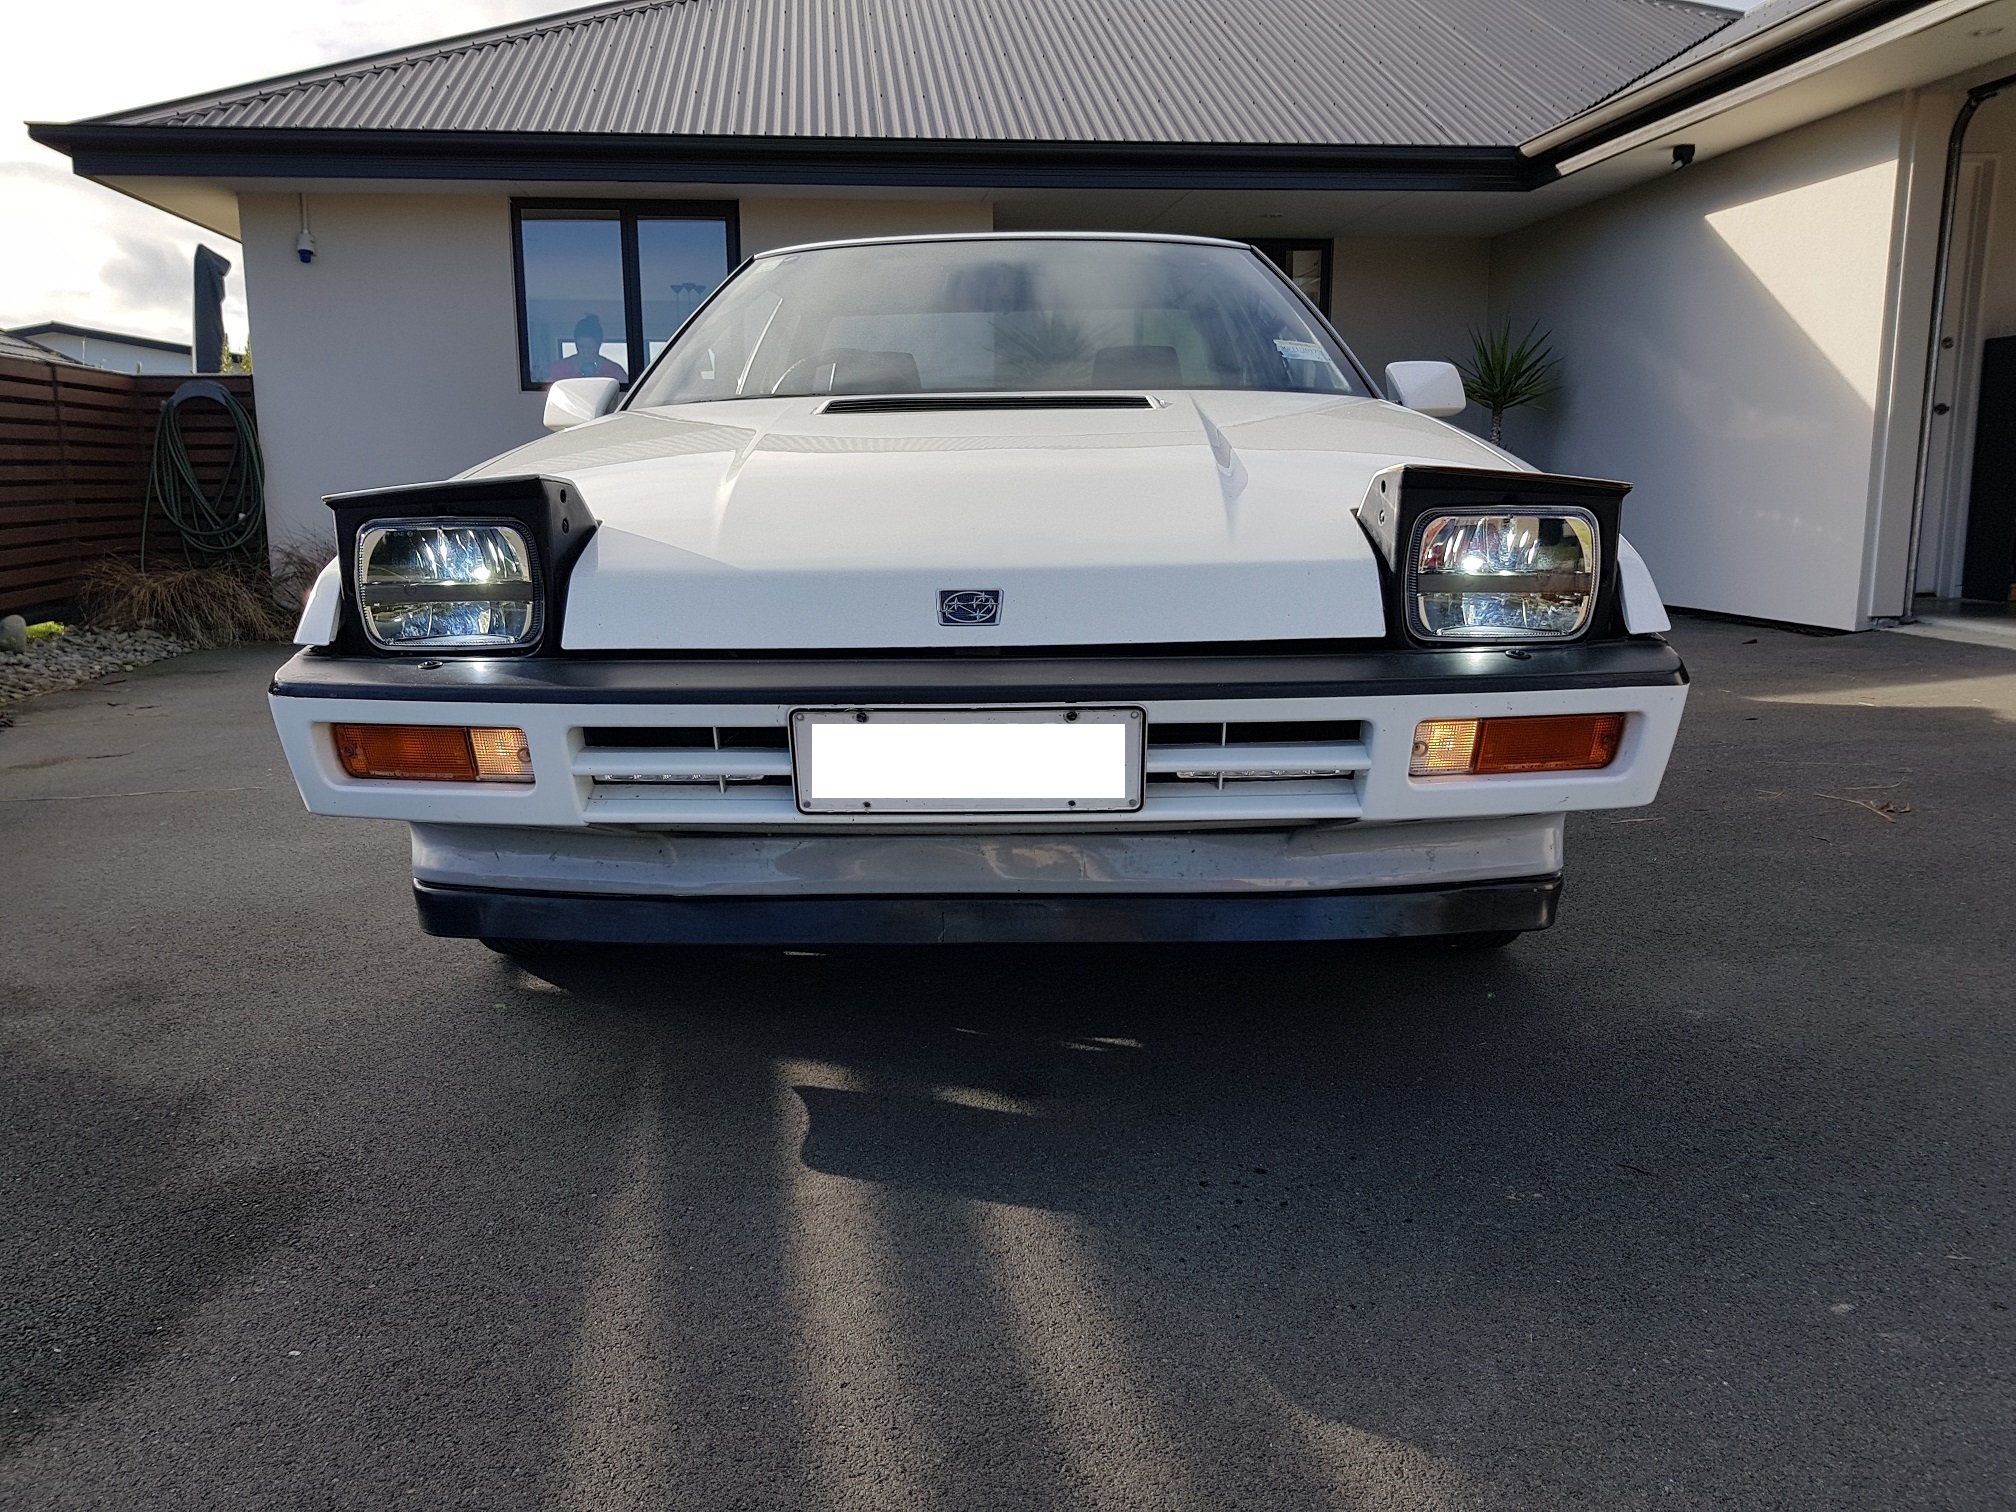
Thanks to my wife, the parts mule, ill have some lovely new fog lamps coming back with her from the UK. Ive been dying to fill the big black gaps in the front spoiler for ages, but good fog lights are REALLY hard to come by as the lenses are often broken by stones, and the reflectors and housing rust out. The set i have coming isnt perfect, but ill be able to make a good pair from the bits of old fog lights i have originally from the car.3 points
-
No, I just assumed we were posting unnecessary things in inappropriate places so went along with it.3 points
-
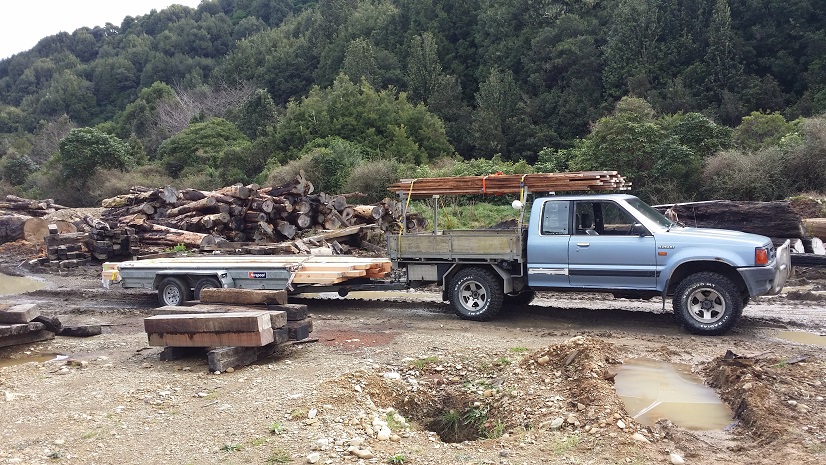
I've been collecting timber from a sawmill 'up north'. Is my ute OS? I reckon it are. It's also bloody awesome. It has self canceling indicators and power steering, but everything else you need to do yourself. The objects in the mirror are precisely their own size and I need to get out of the cab to engage the free-wheeling hubs. I love that ute. Sadly the generator died last weekend (as did a number of other things). It's a real challenge trying to keep tools dry enough to use up there, but after forking out a significant portion of the cabin budget on a replacement generator I managed to finish another frame today. I've gotten a bit better at calculating tangents... but of course there are mistakes aplenty. Sorry about blurry photo. It was almost dark
3 points
-
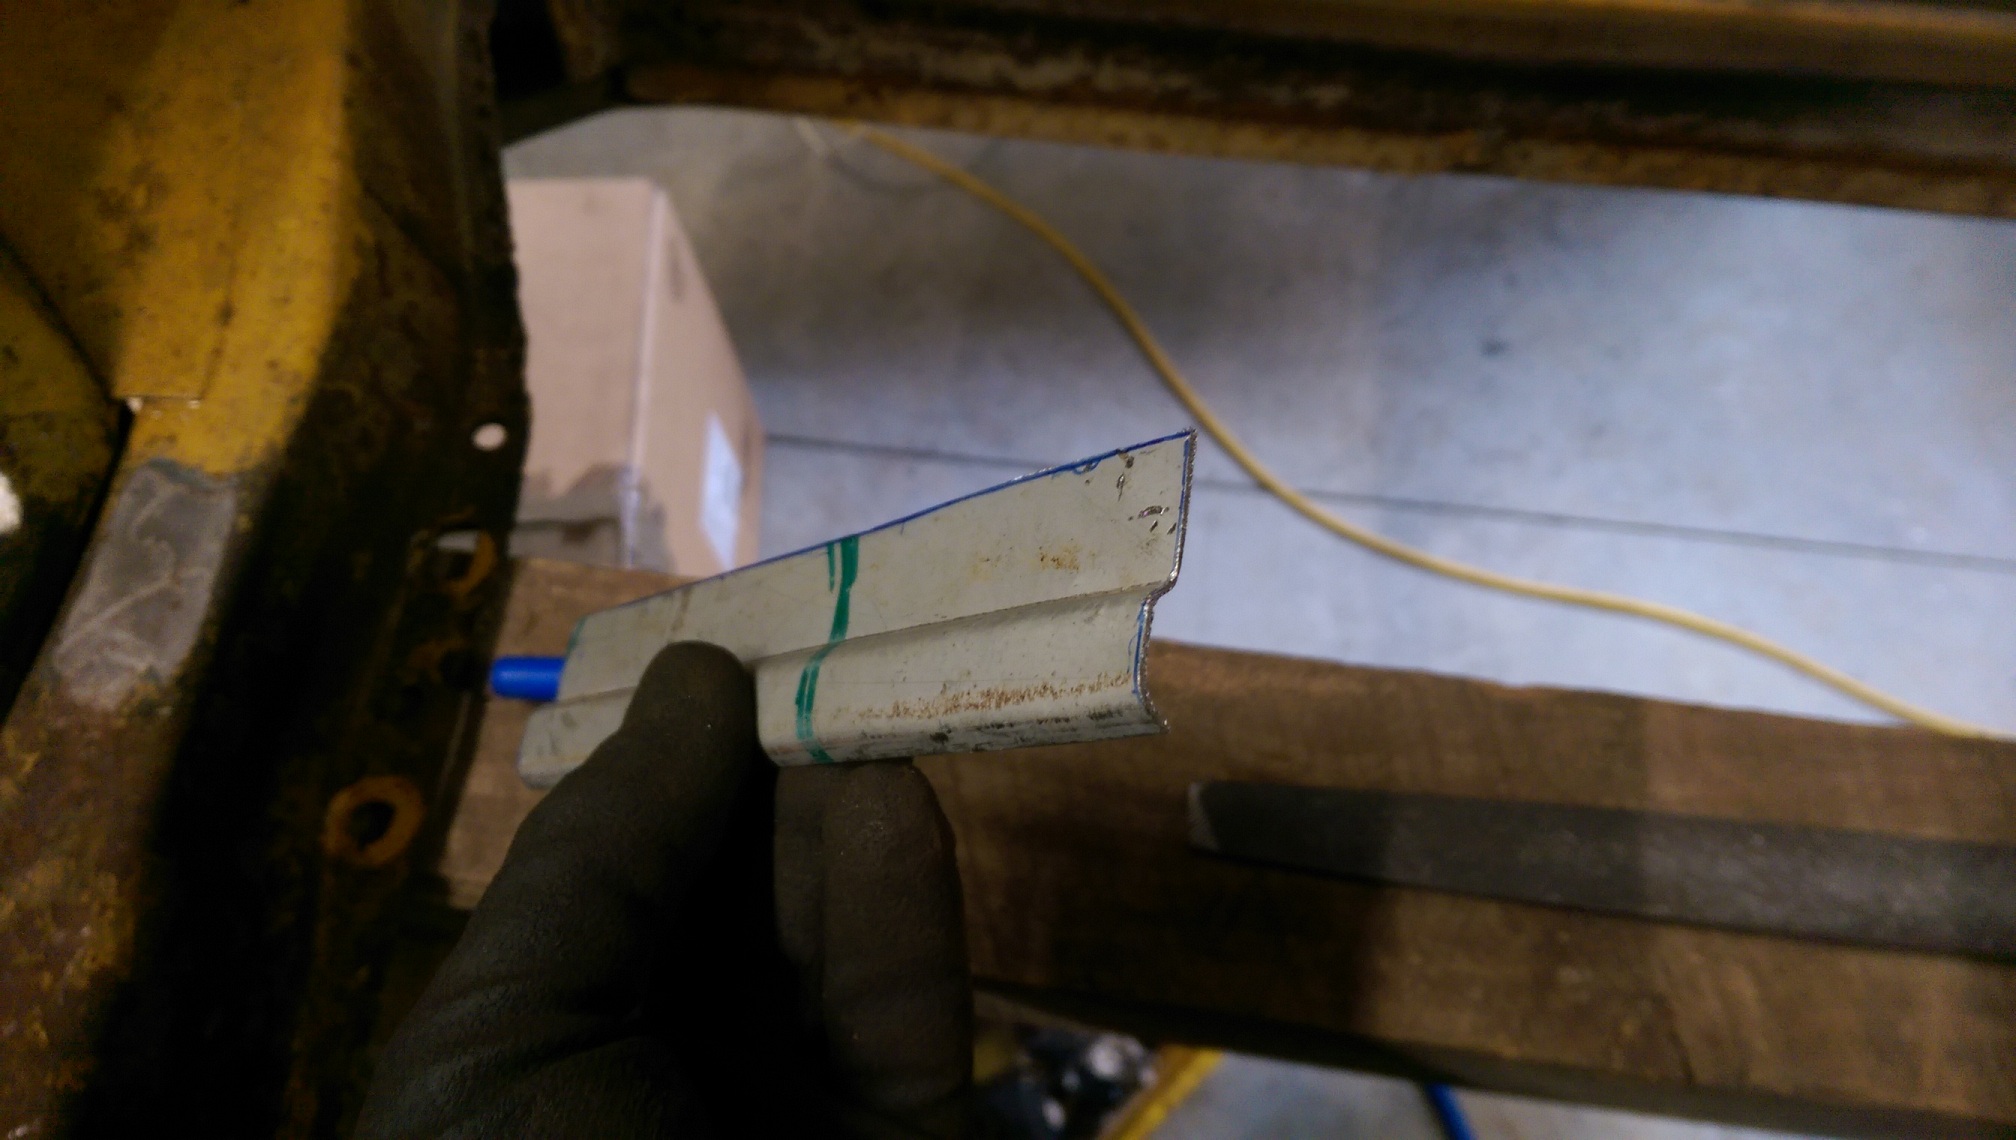
Can't get at screws from the inside3 points
-
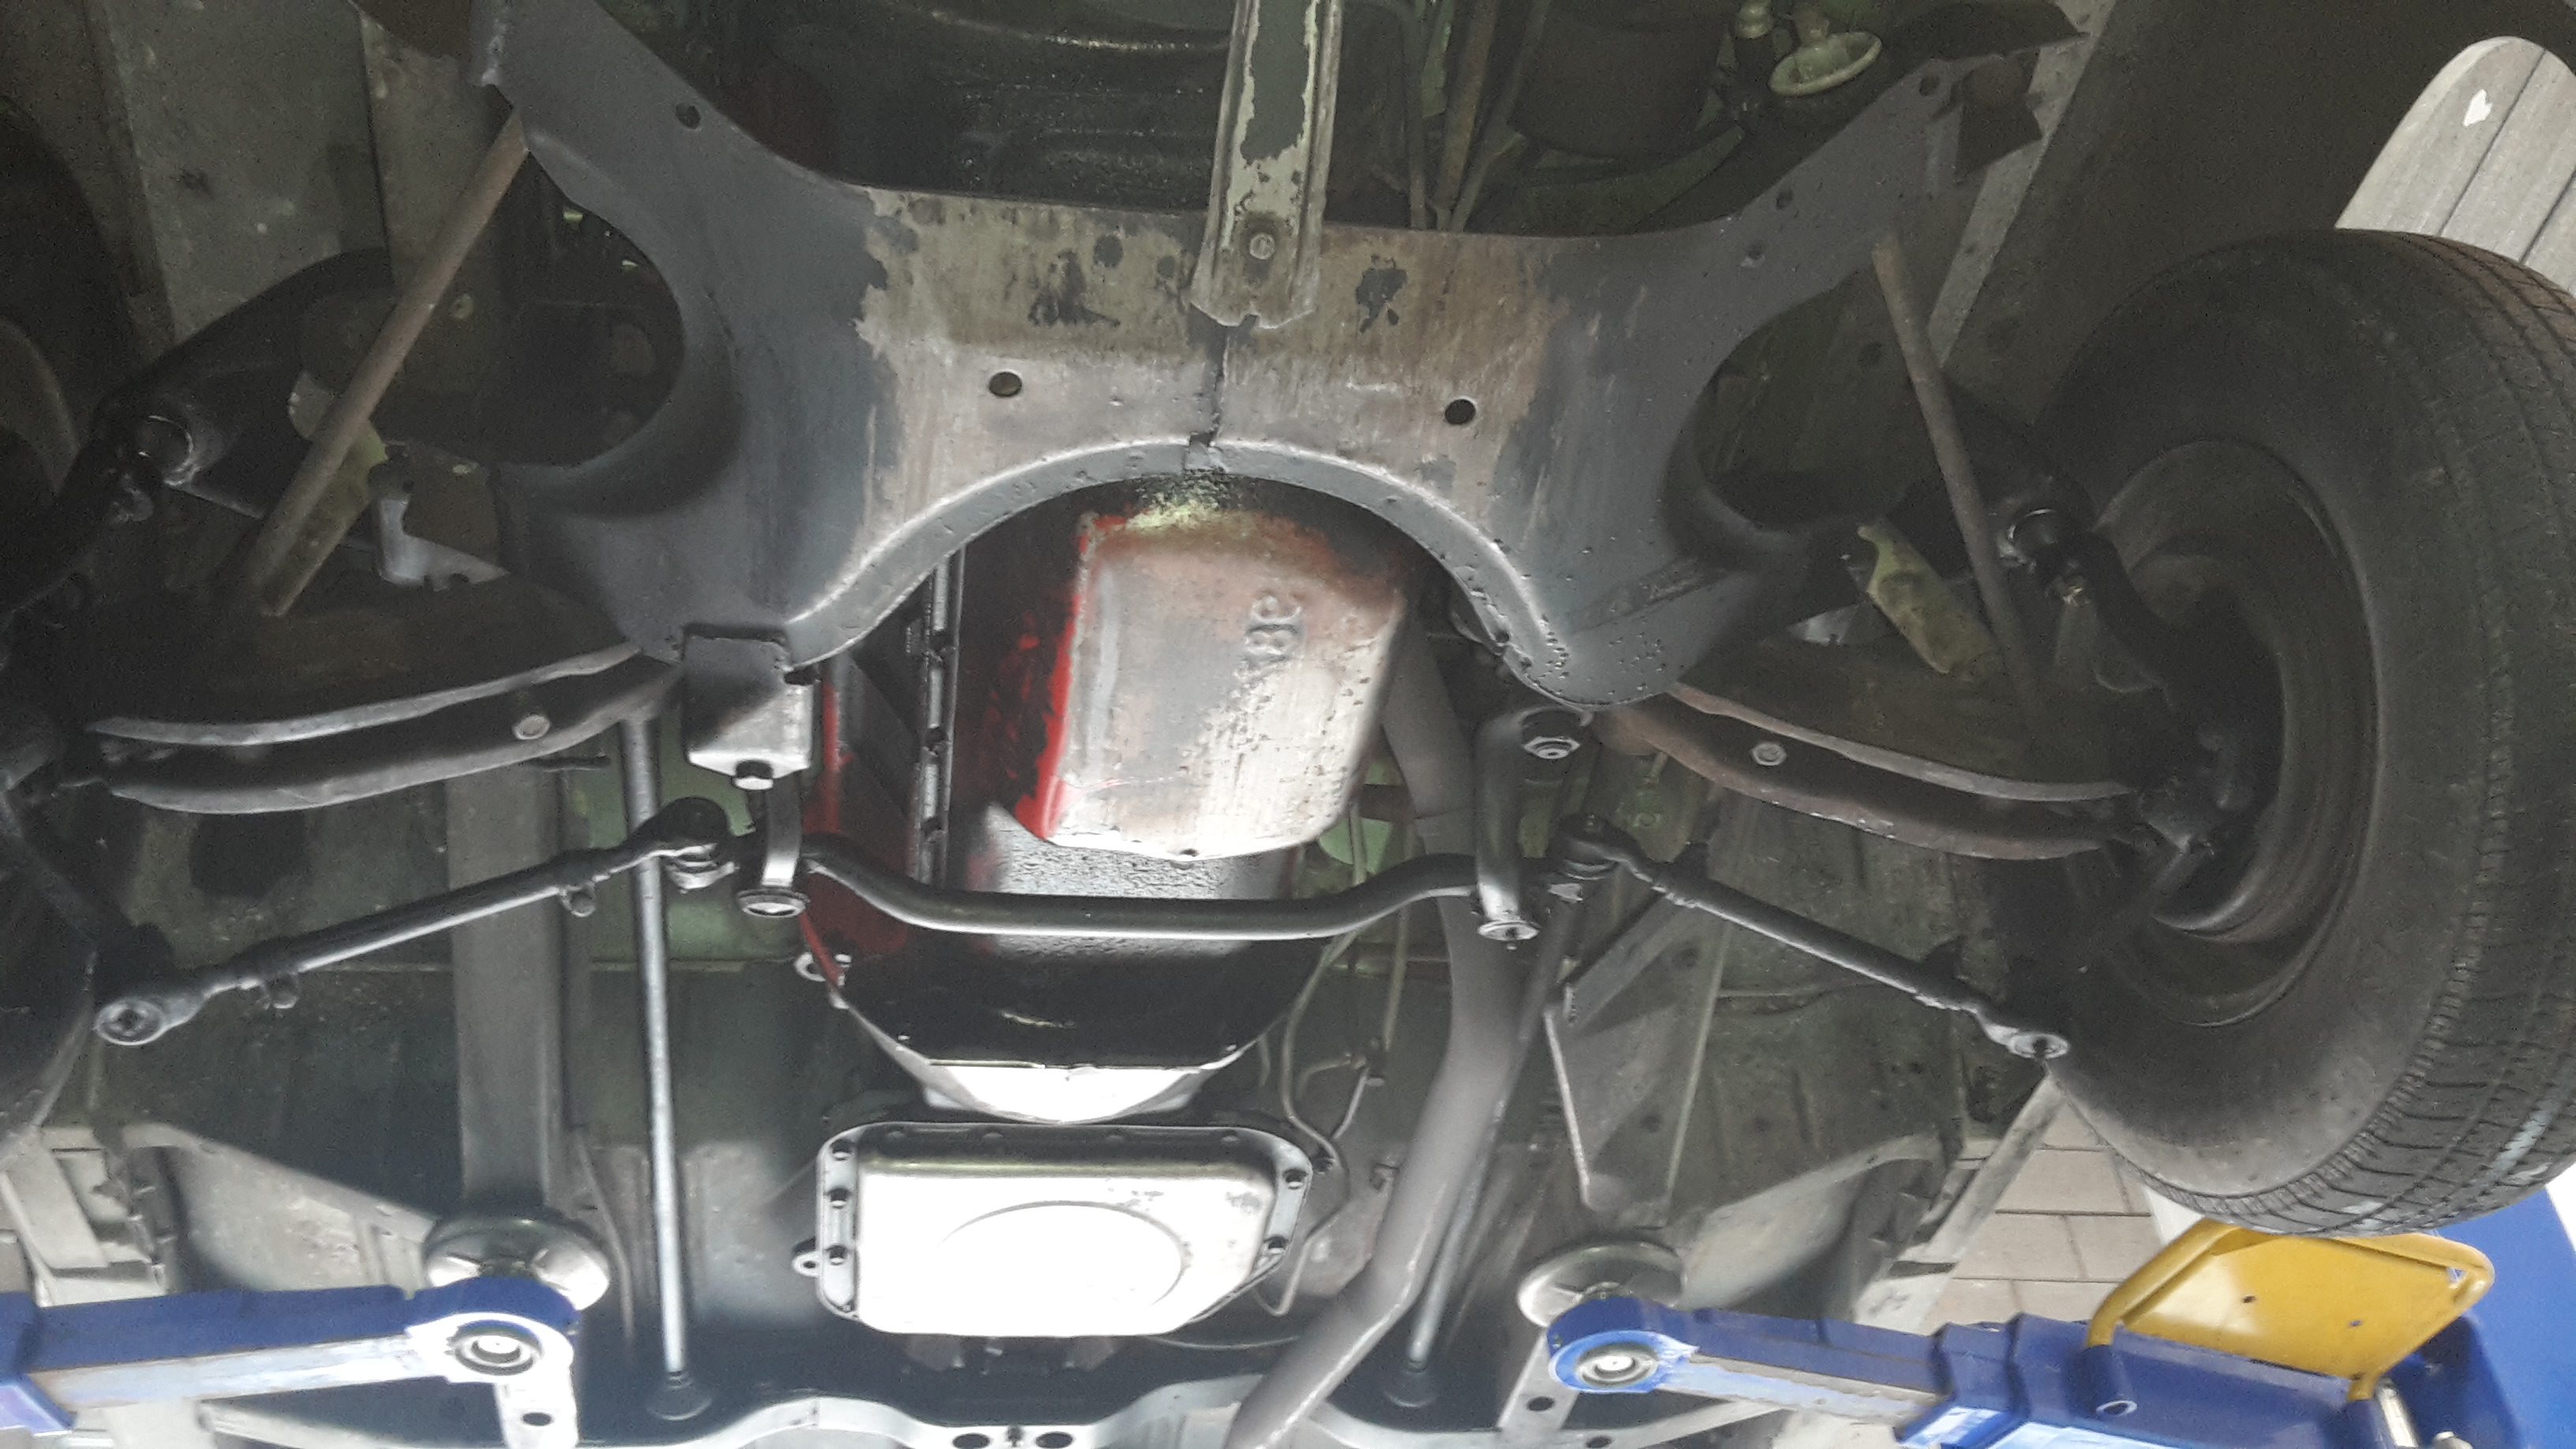
Thought I'd better post a pic of my latest family member and life long project car... NZ new, second owner and only 77 thou k's now, rust proofed when new so very very tidy, everything works including air ride, digital dash and not a single squeak or rattle while driving. I real gem I recon. Got a few reliability plans for the EA82T to keep it alive forever (under bonnet air/water intercooler to get that intake temps lower and stainless exhaust plus a few other tricks learnt over the years), but keeping it as standard as possible will be the mantra throughout. Bit of a dream car for me to be honest from the moment I saw one in 1985 at a motor show, i even had the Tamiya model of this exact car/colour/interior as a kid!. I think it's an interesting car from an interesting time that people either love or hate (both the time and the car haha) Joins my Brumby as a permanent member of the family along with the everyday drivers.2 points
-
After taking the engine/box in and out a good 20 times i think ive got the position sussed..not the happiest but im almost ready to throw a match at it so it can stay there. My issue was that basically the engine needs to sit lower as the driveshaft interferes with the hand brake whilst the engine is level, but i cant do that or else the sump almost hits the rack + i cbf'd making new mounts. so i tilted the engine back more but i found the dizzy was hitting the firewall, i also found the shifter hit the center brace when engaging 1st/3rd/5th. Cut both out sorted. next was the x-member i noticed wasnt going to work, then the trumpet was fouling the booster fff$$#!@#!! in too deep now, added a spacer to one of the mounts so trumpet isnt fouling, cut hole in firewall, completely chopped off the center of the brace now, i can use my factory x-member along with the ones i made...shouldve got that ae85.. next step is to make a few spacers for the x-member then on to making up the new top half of the tunnel..with my greeat fab skills this is going to be funn2 points
-
Got a few things to suss now Been saving up for a t50, door hinges also Have an accelerator pedal now also have the fittings for a proper choke cable setup Would really like some coilovers and new bushes balljoints etc see how it goes Good things take time Mainland cheese for example2 points
-
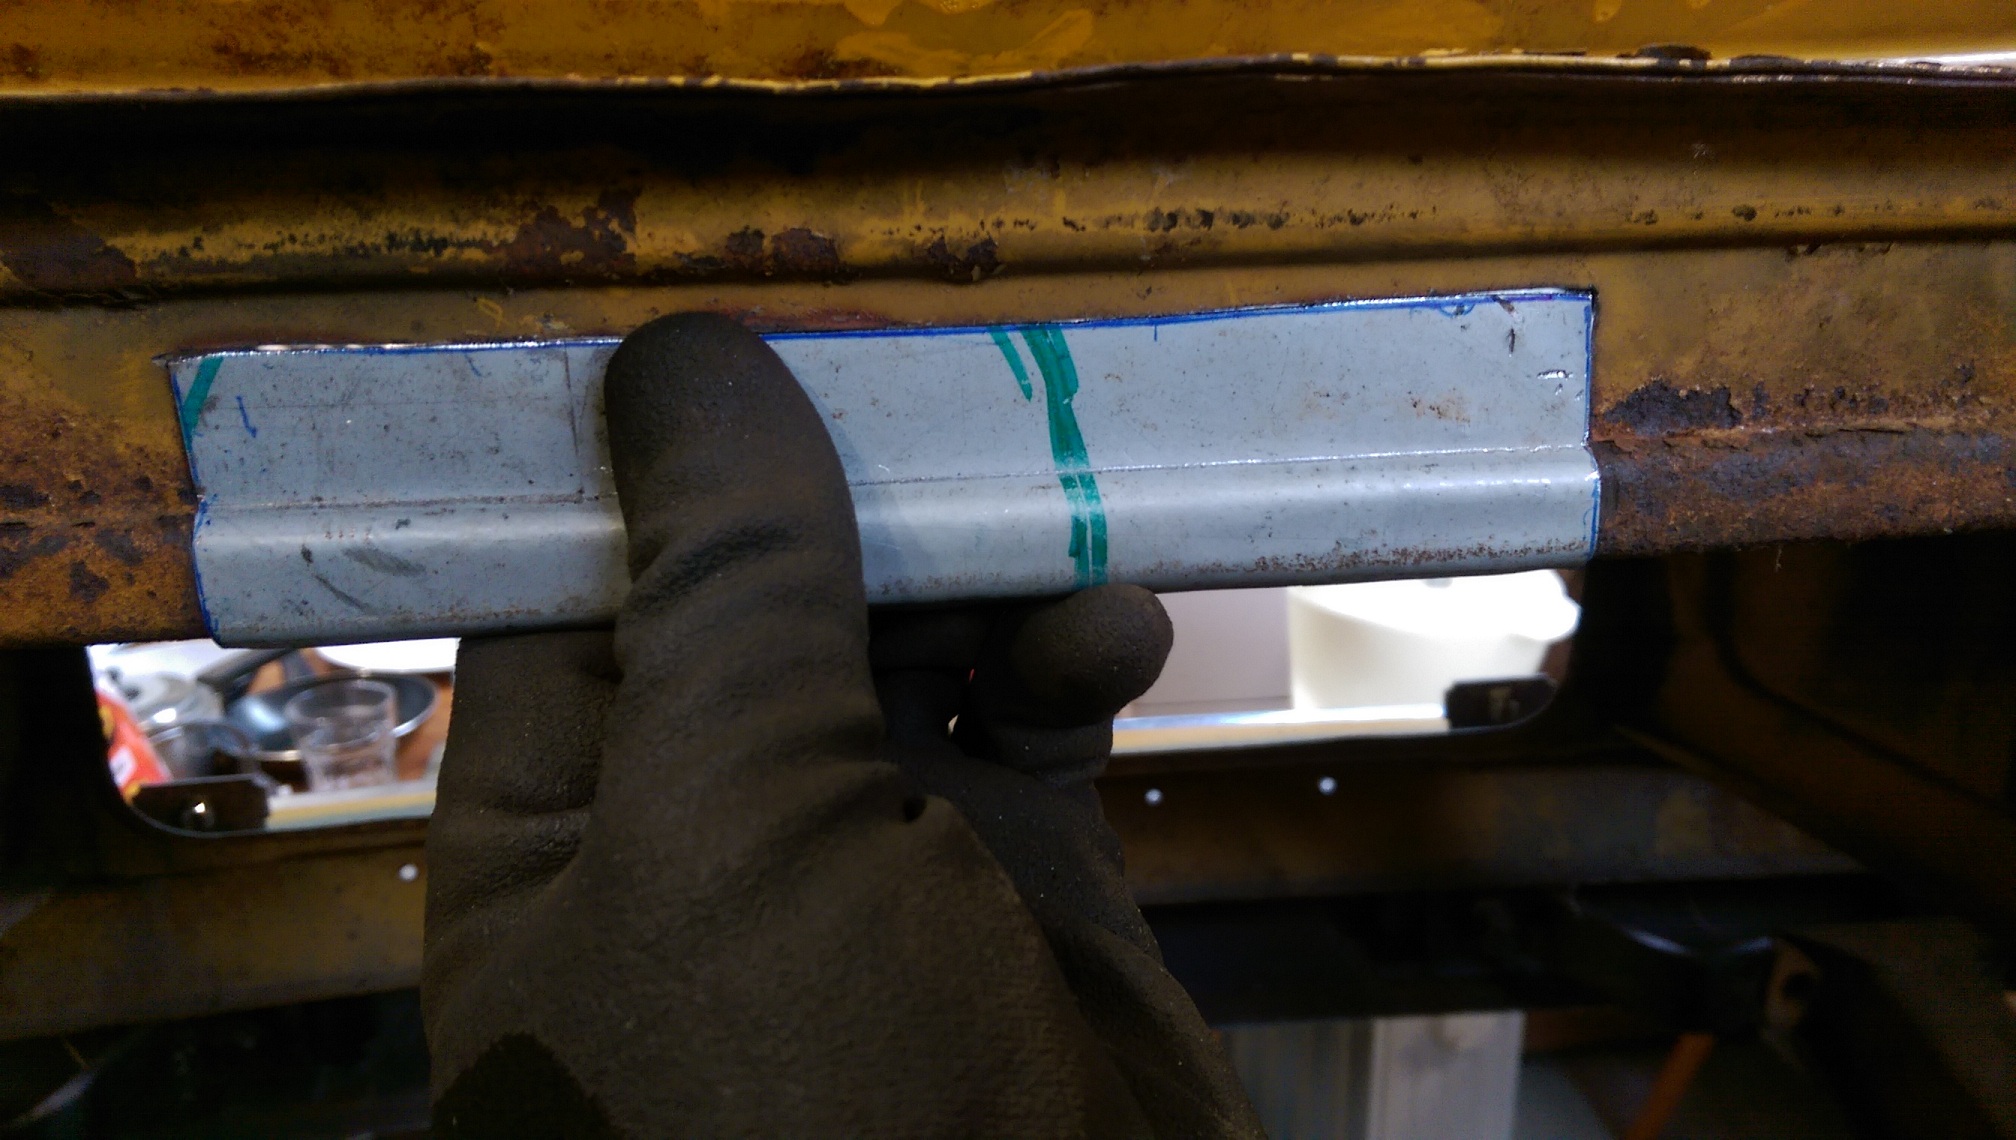
I cut out that rust behind the radiator. And made a patch. This took at least an hour to make and it's the second attempt. The first attempt took longer and was all wrong. Those little bends were hard to do so close together. I also don't have a bender. I ended up clamping two bits of plate that were just the right thickness to the bench, then clamping the patch over the 'groove' that created, then hammering it into the groove. Would be a PITA if I end up needing to cut that bit of panel off because it's in the way of something. I also made this patch where there was some rust pitting that went through. Those round things are magnets.
2 points
-
Looks good.2 points
-
Some work in progress pics taken during the project
2 points
-
People. It relly gets my goat that there are many build and dissucision threads with out links back to the partner thread. It's not hard people.2 points
-
Once upon a time there was a mod who actually did this stuff. Was handy for the reasons you have stated, people starting discussion threads with titles not always related. But I don't expect someone to spend there evening's linking threads together either. Anyway I see you're build thread is in the same state as most of mine. Dead photo bucket pics. That's the true sadness here.2 points
-
better living everybody man has a point I get pedantic about it too & annoys me when I see cool discussion but cant find the build in less than 2 clicks, 1st world problems2 points
-
Where's yours?2 points
-
the next meet is going to be on the weekend of the 23rd as there is a rumour of some Aucklanders being in town. and yes. Swapmeet should be a go. I will probably need a stall to sell some of these car parts I have recently acquired2 points
-
Also, Fitted LED headlights, amazing improvement.
2 points
-
2 points
-
Tidy Up I am a bit of a perfectionist sadly so I went straight to work tidying little odds and ends. Visors were replaced with some from pickapart as the standard ones were tatty. A dash-mat was made to hide the cracks in the dash. Floor mats were added I sent the car to a friend’s work to suss the rust in the boot. The rear window would need to be removed to get a bit more, but that’s a future problem. The only pieces I know of left are behind the rear wheels and rear window. I also had the rear bumper painted as it was an eye sore. The next job on the list was to replace the cam belt & water pump but I was beaten to it. Stop Right There! Its first journey south to the big smoke of Timaru proved to be an expensive one. Everything was going fine and stopped off home on the way back in Mayfield so I could get laughed at by my father for buying an 80s Toyota. I noticed a faint chugging sound, like the sound of a steam train when it leaves the station. Hoping it was nothing I left home swiftly and headed for Christchurch. 30ks into my journey I approached some road works and slowed to 50km/h. As I put my foot down to get back up to speed nothing happened, the car stalled and I slowly limped onto the side of the road. Thinking it had overheated as the gauge was being funny I let it rest for 20 minutes and tried to start it. It turned over but no luck. Thinking the worst such as snapped cambelt I left it alone. So Swann insurance came to the rescue and moved to car to Ashburton. Since I knew it was going to be a while for the tow truck I was just lying on my bonnet in the sun I had around 10 people stop to see if I was alright on a back road which I thought was quite impressive. Verdict cambelt slipped off. It was old and disintegrating. Luckily The 1g-eu is a non-interference engine so no damage done.2 points
-
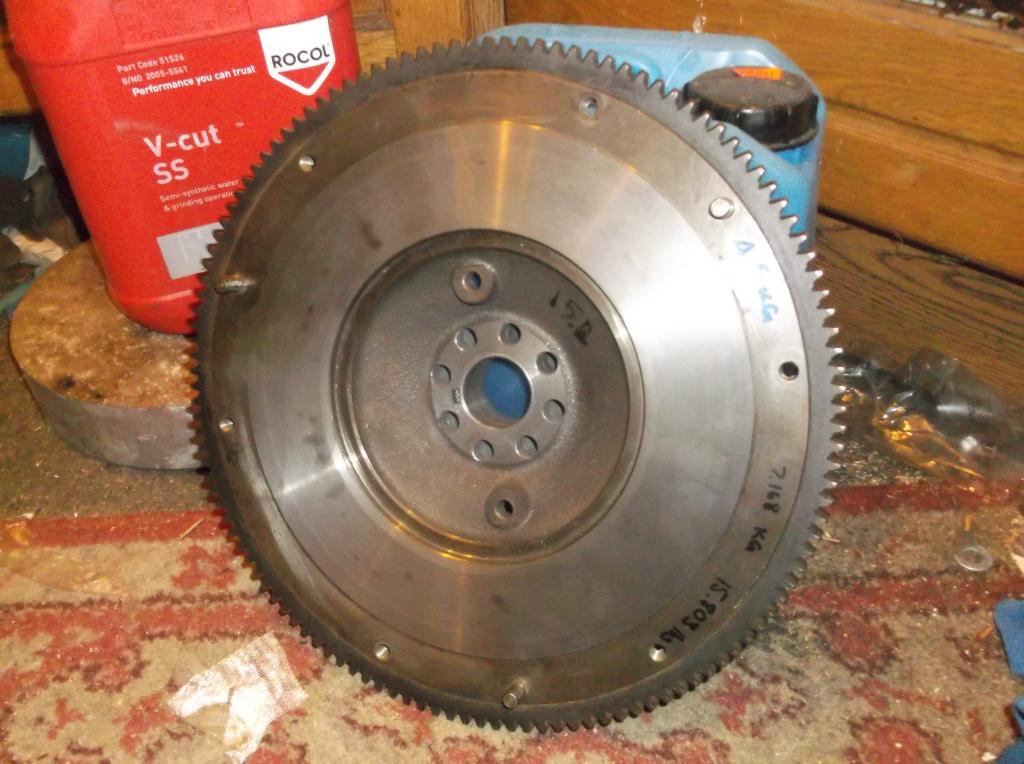
No pic update tonight. Looking for advice and opinions. I've managed to locate a gearbox in Auckland which is close enough for me to be willing to drive down and pick it up. It comes with everything from yoke to bell housing including throw out bearing and clutch lever but no clutch, pressure plate, or flywheel. So I'm at a bit of a cross roads. There seem to be two different options for how people adapt the RX-8 box to the V6. They both require the use of an adapter plate because there are no RWD boxes that bolt up the the V6 but I think I'll tackle that issue later on. For now I'm thinking about the flywheel and clutch situation. At the moment the motor I have is bolted to an auto box so I'm going to need to find a flywheel of some sort. One option is to use the rotary flywheel with a spacer adapter to take it from the single nut used on the rotary motor crank to the six bolts used on the V6. This is clairetoo's flywheel she did for this conversion. This option has the advantage of retaining the stock rotary clutch, pressure plate, and starter motor position and I already know where I can get the whole lot with minimal effort. The other option used by Alex in his Viva is to use a stock (or aftermarket) V6 flywheel with a machined spacer to bring it out to the correct position relative to the gearbox input shaft. I believe he used the V6 clutch and pressure plate which matched up the the rotary input splines. The complication of this method is that the starter needs machining to bring it in toward the flywheel center because the flywheel is 10mm smaller in diameter than the rotary one. Also I can't find a V6 flywheel anywhere but in a 626 in a pick-a-part in Auckland. Normally I'd be happy to go and pull it but I don't have an engine crane to pull the motor, and it's a long way to go. I'd be worried that I couldn't pull the motor in a day and then I'm stuck in Auckland overnight with a half pulled engine. So at the moment I'm leaning more toward the rotary flywheel because it keeps things as simple as possible and keeps the most stock parts on the car which is always a good idea if I ever needed to do maintenance. But there's one thing holding me back. I've read online that the rotary flywheels have a counterweight built in to balance the effect of the dorito wobbling around in the engine. I'm thinking though that putting that on a regular piston engine it will be totally out of balance and make a mess of everything. Does anyone know if this is the case? At the moment I'm pretty sure it shouldn't be an issue simply because Claire has already done it on her project. Finally, I'm thinking about building my own engine to gearbox adapter plate. I've looked at how much it would cost to import one from the UK and right now I'd rather have a go at making my own. I have access to a big milling machine for drilling the actual holes so I'm not too concerned with that aspect, but what I am not completely sure about is how I should go about measuring the positions of the holes as accurately as I'll need to to ensure a good mating between the two components. I have some ideas but I'd be keen to know your guys' suggestions. Phew! That's it. If you've made it this far and actually read it all then well done. I'd be only too keen to hear everyone's opinions. Chuck it all in here:
2 points
-
One of my claims to bogan fame is the fact that in the 90s, the local wrecker ran out of stock of escort diffs because of me. 2 in my escort van and 7 in my mk2 cortina. Skid-axle tramp- bang. Learn? No. Repeat2 points
-
Can you turn up to cert someones car on this please Clint. Then can you post an account of their reactions for my amusement?2 points
-
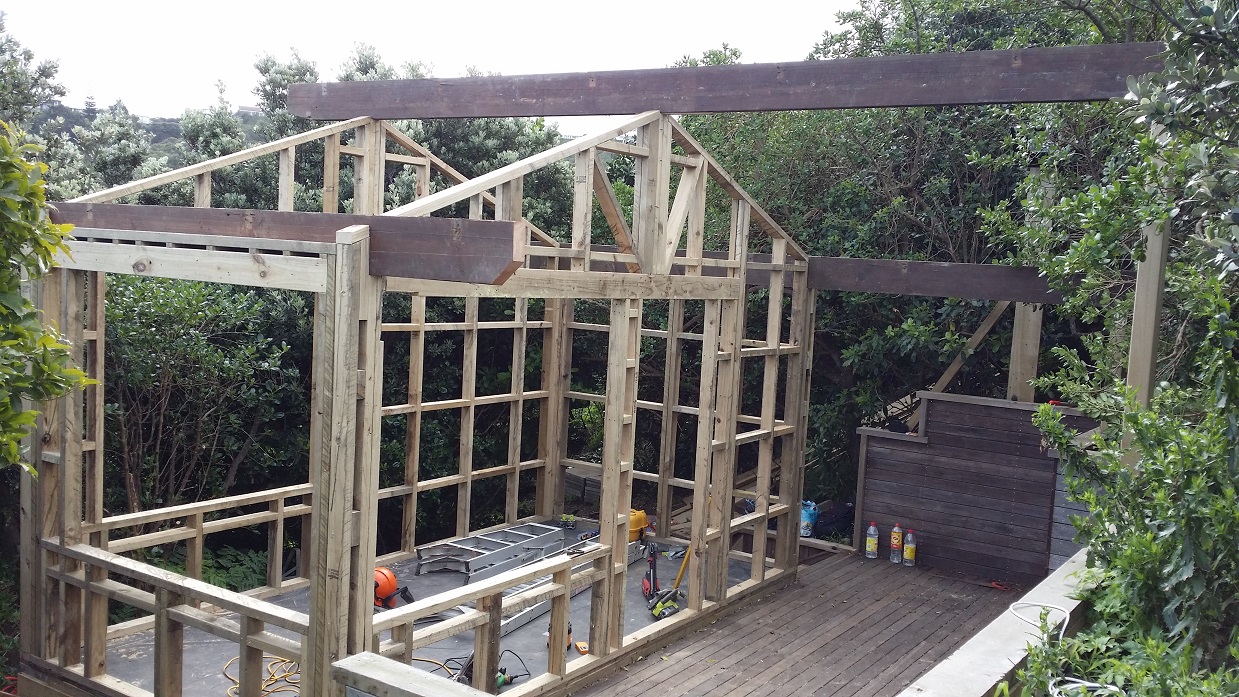
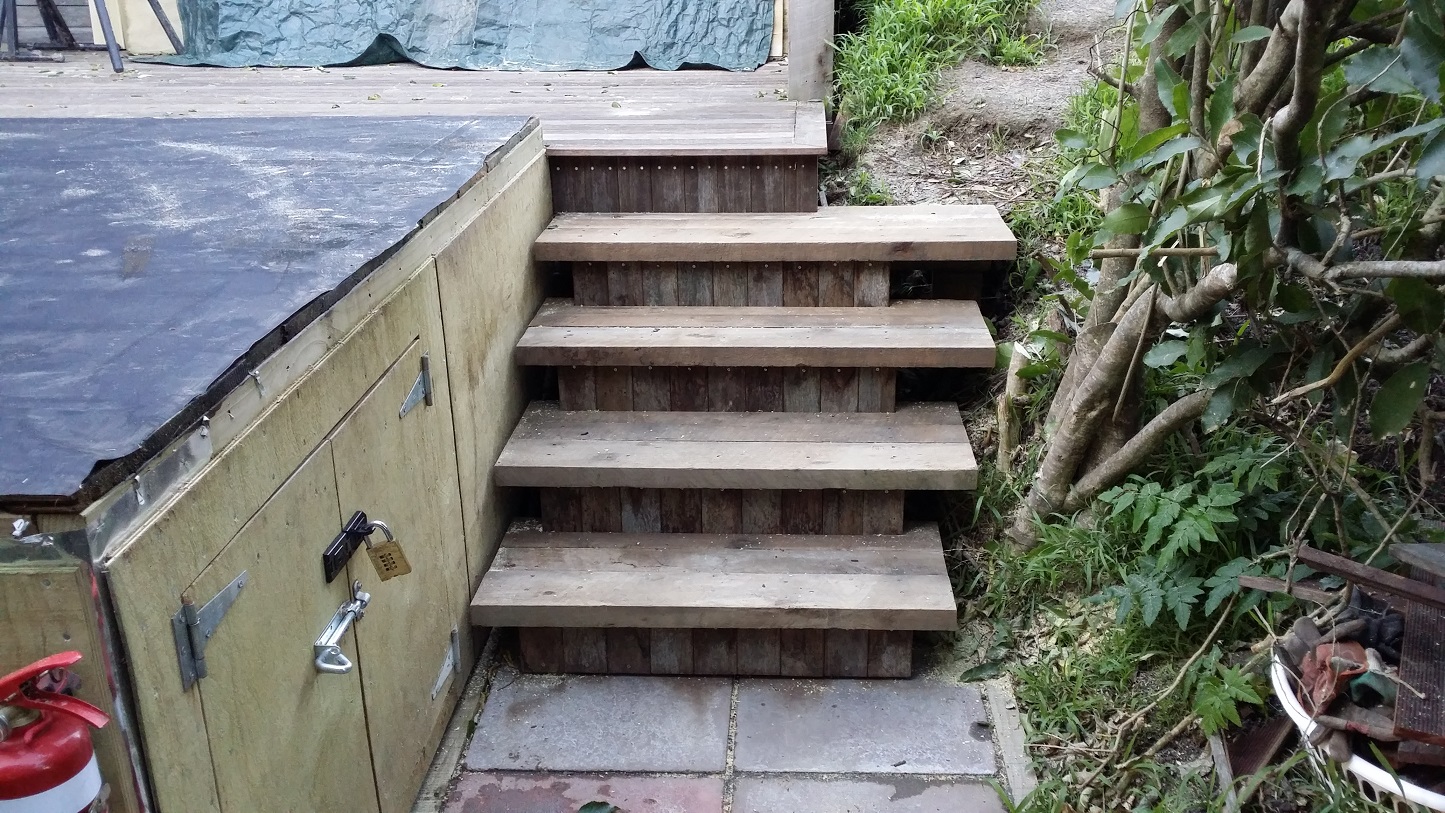
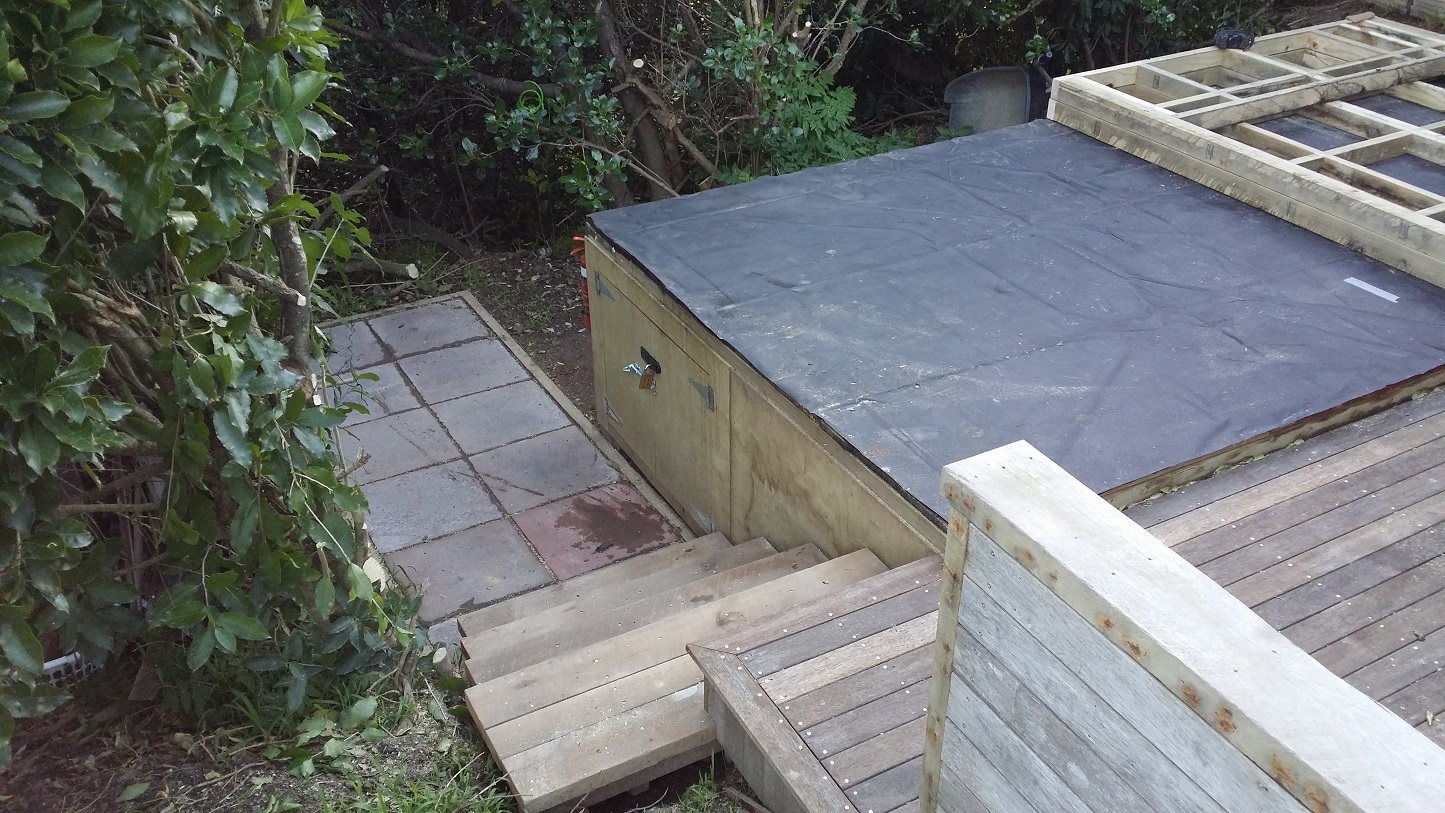
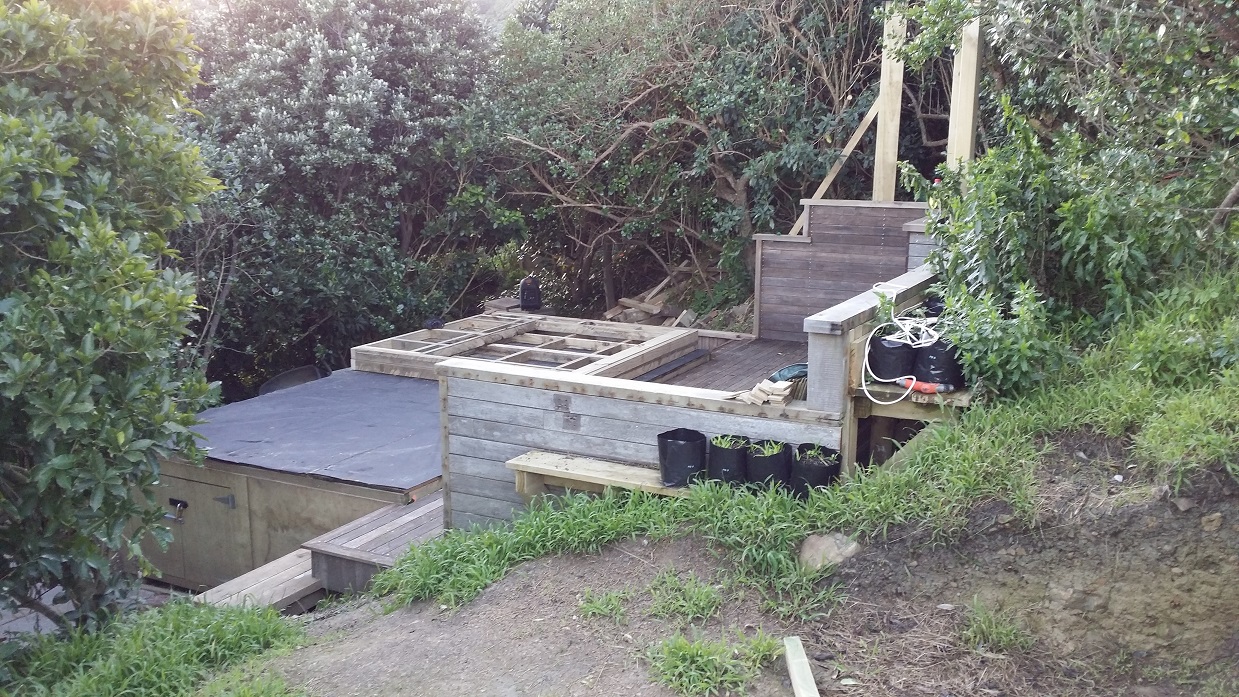
This cabin is taking forever to finish. I try to work on it every weekend, but it's taking a while. In good news there's two lots of paving down, two sets of stairs finished, about 600 baby trees moved into bags, and I've started on the cabin frame. It might be weathertight in December? Dunno. It's fun though!!!
2 points
-
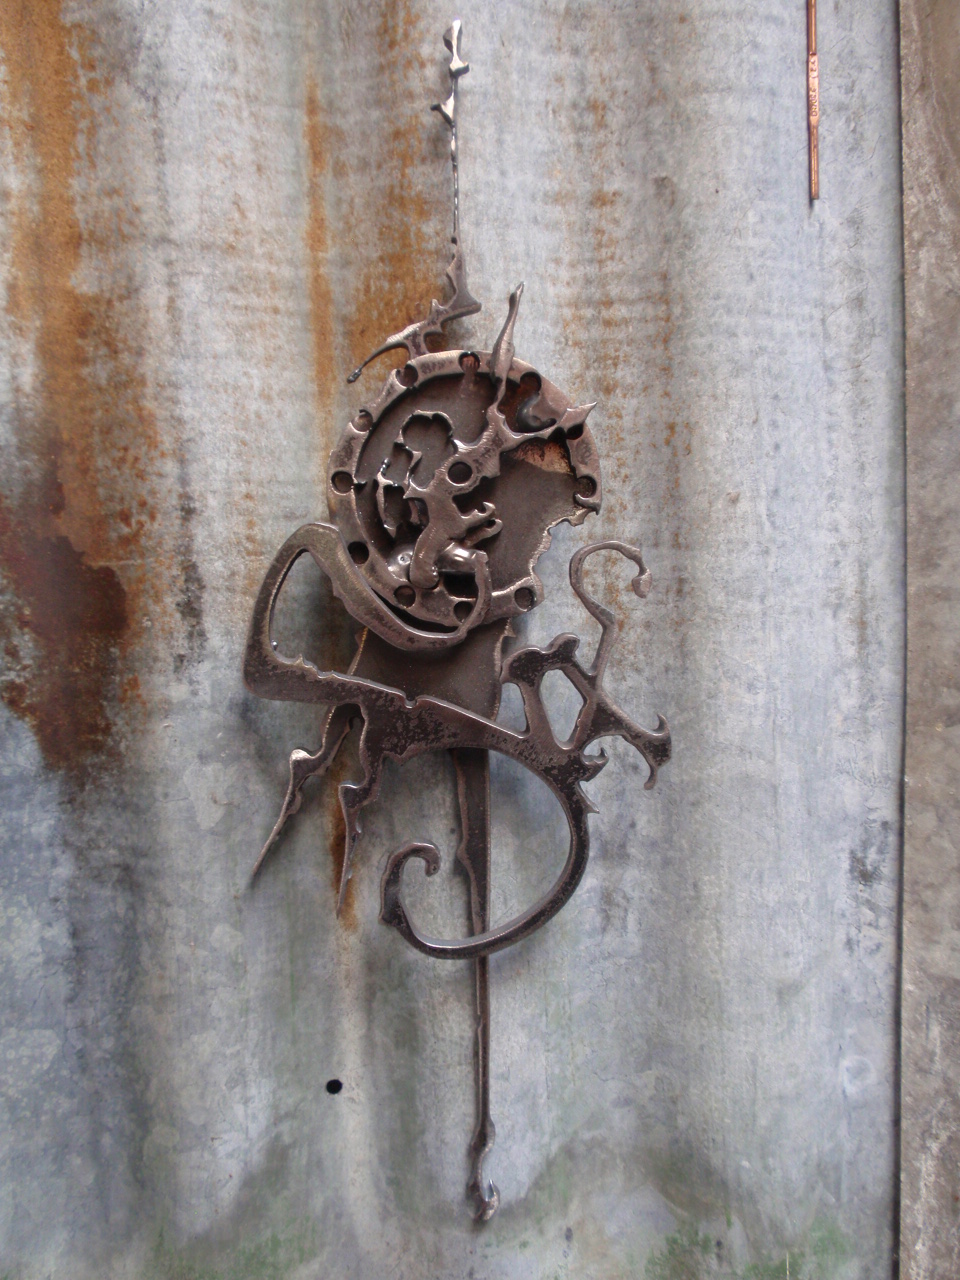
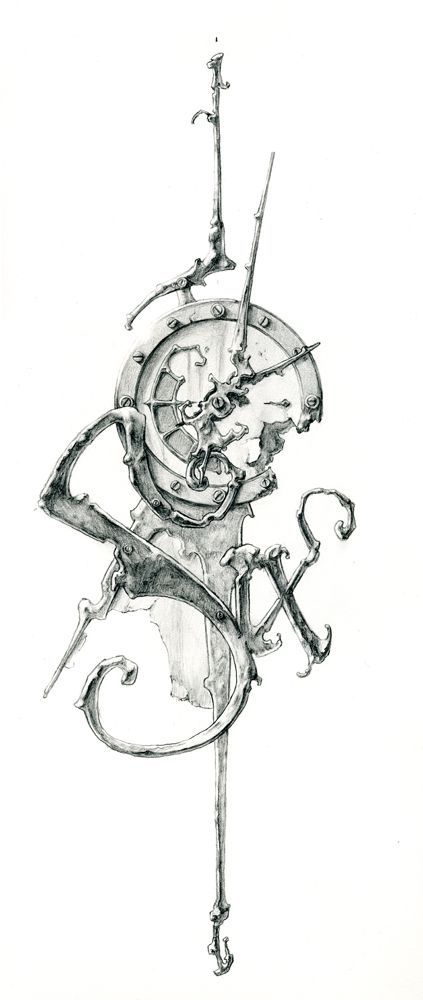
Saw this Steampunk genre drawing and made a real one.
2 points
-
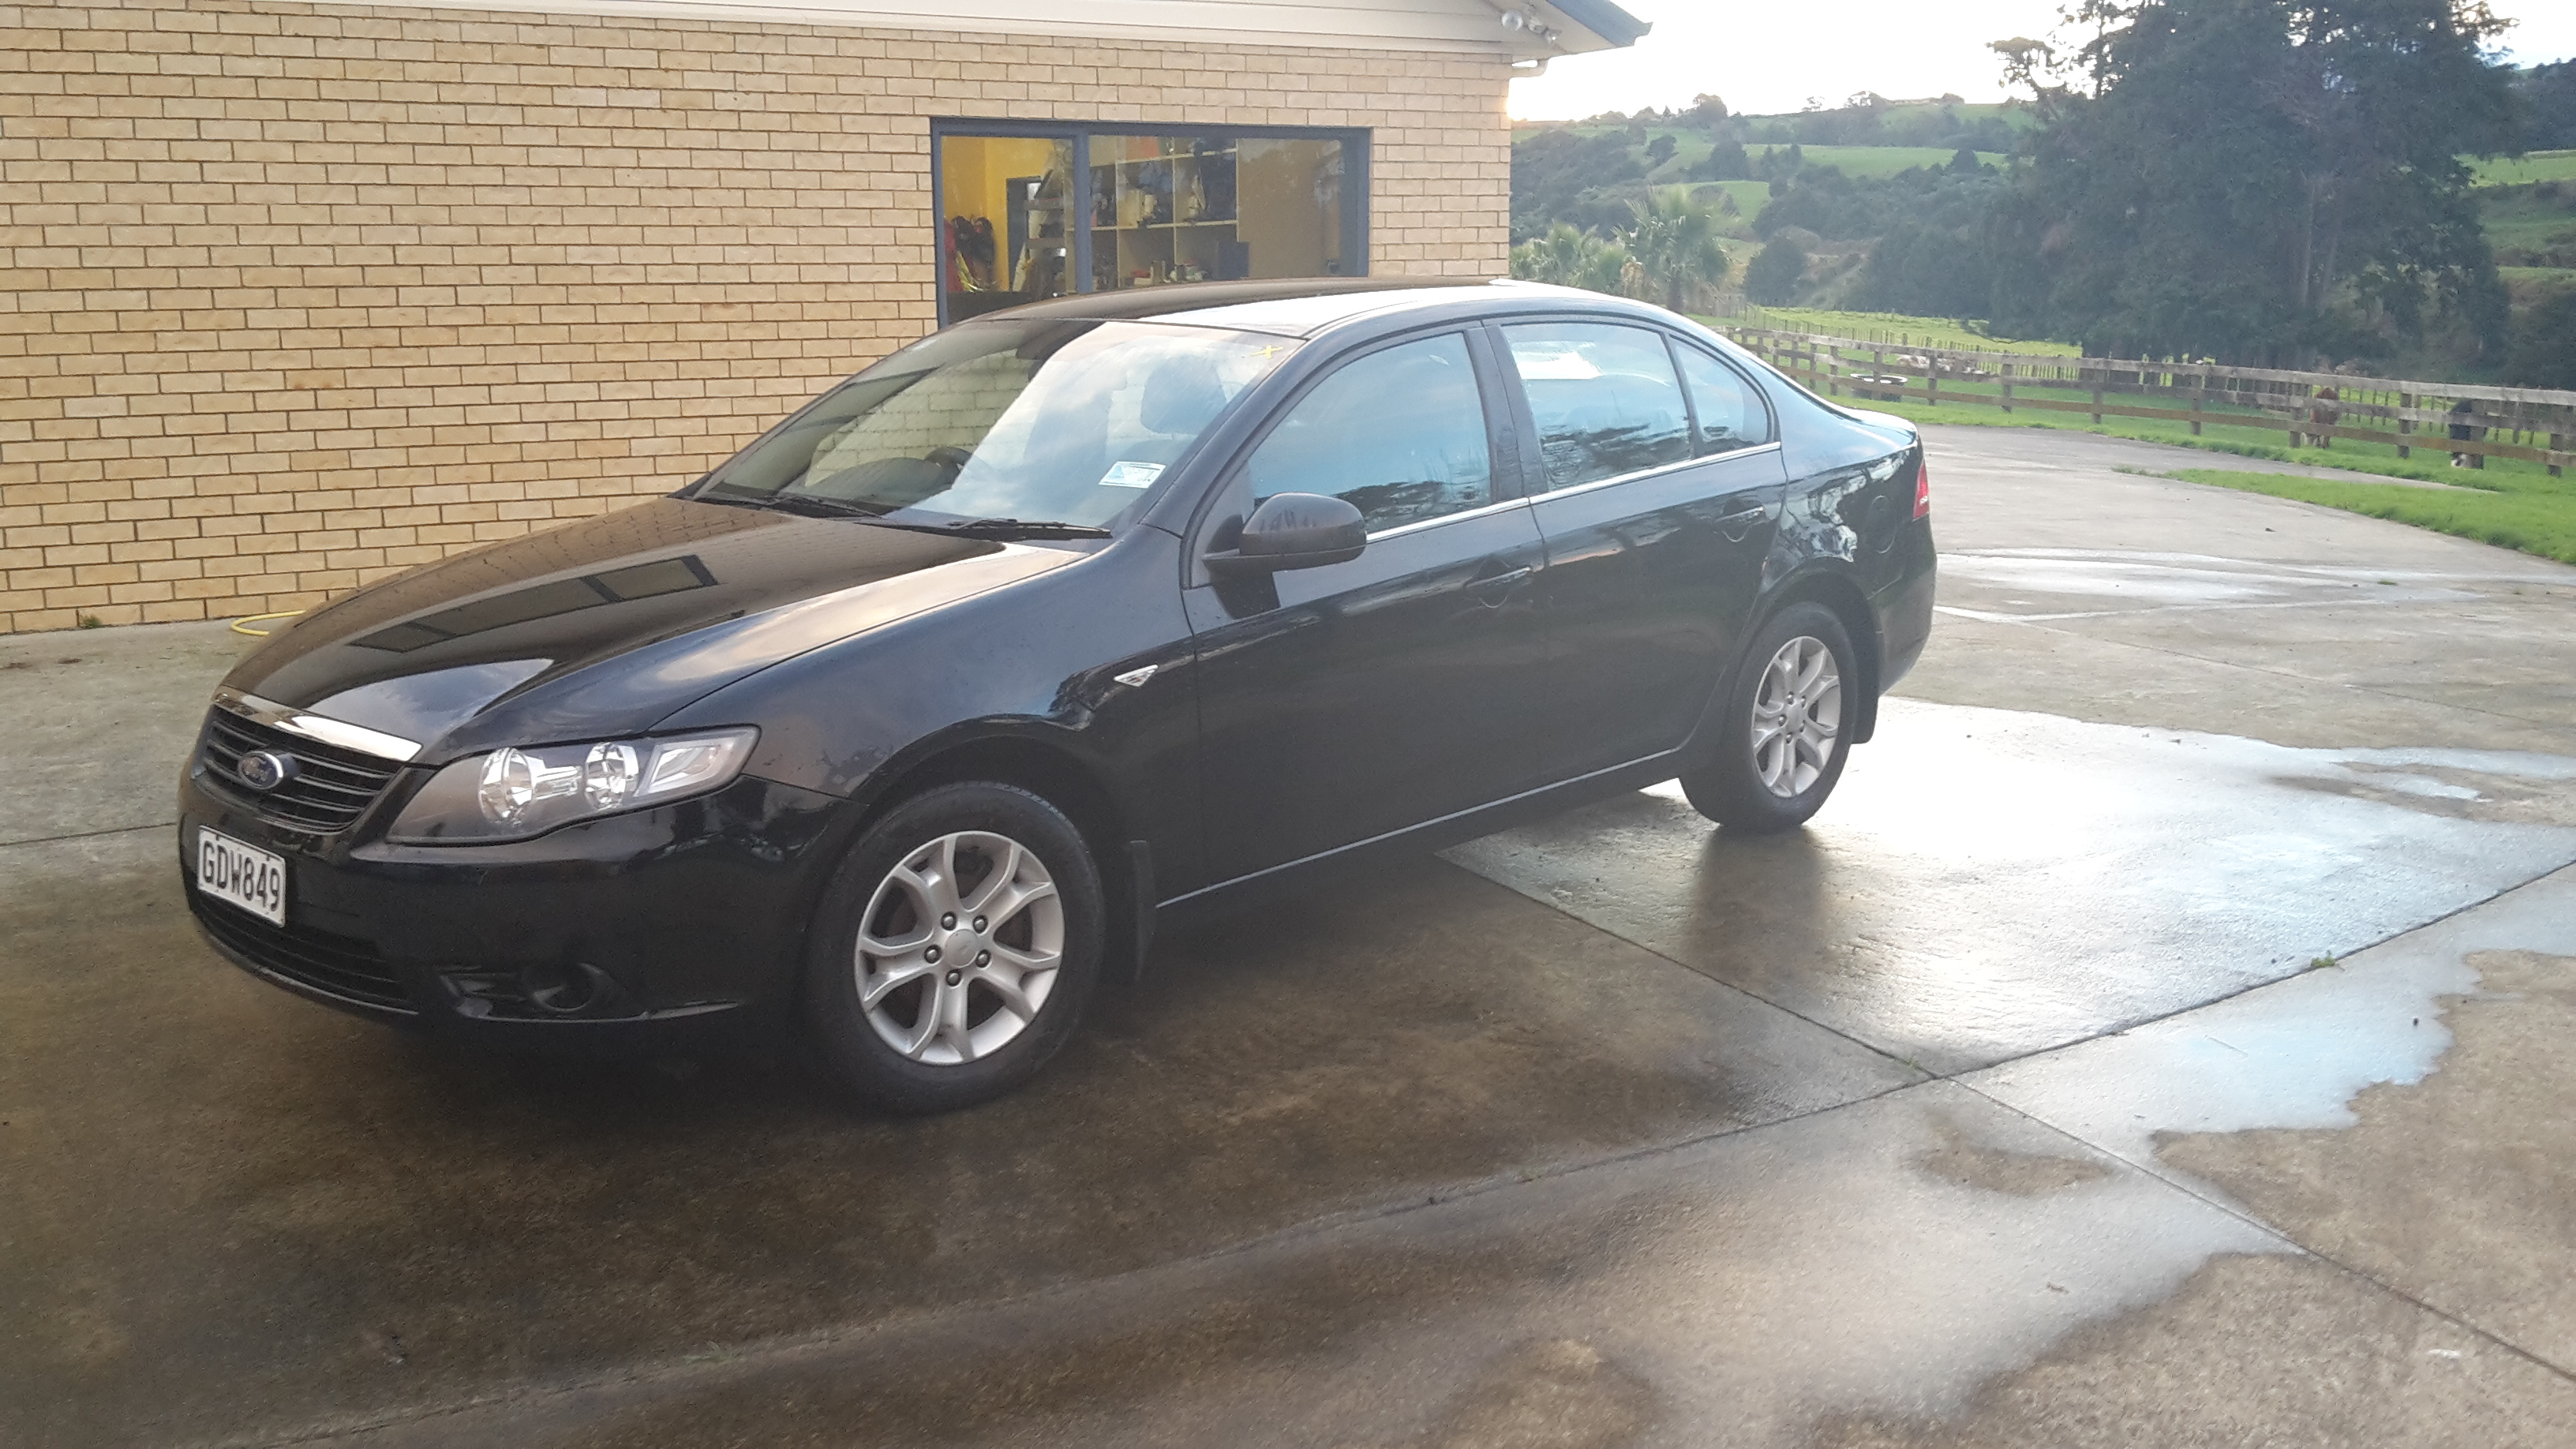
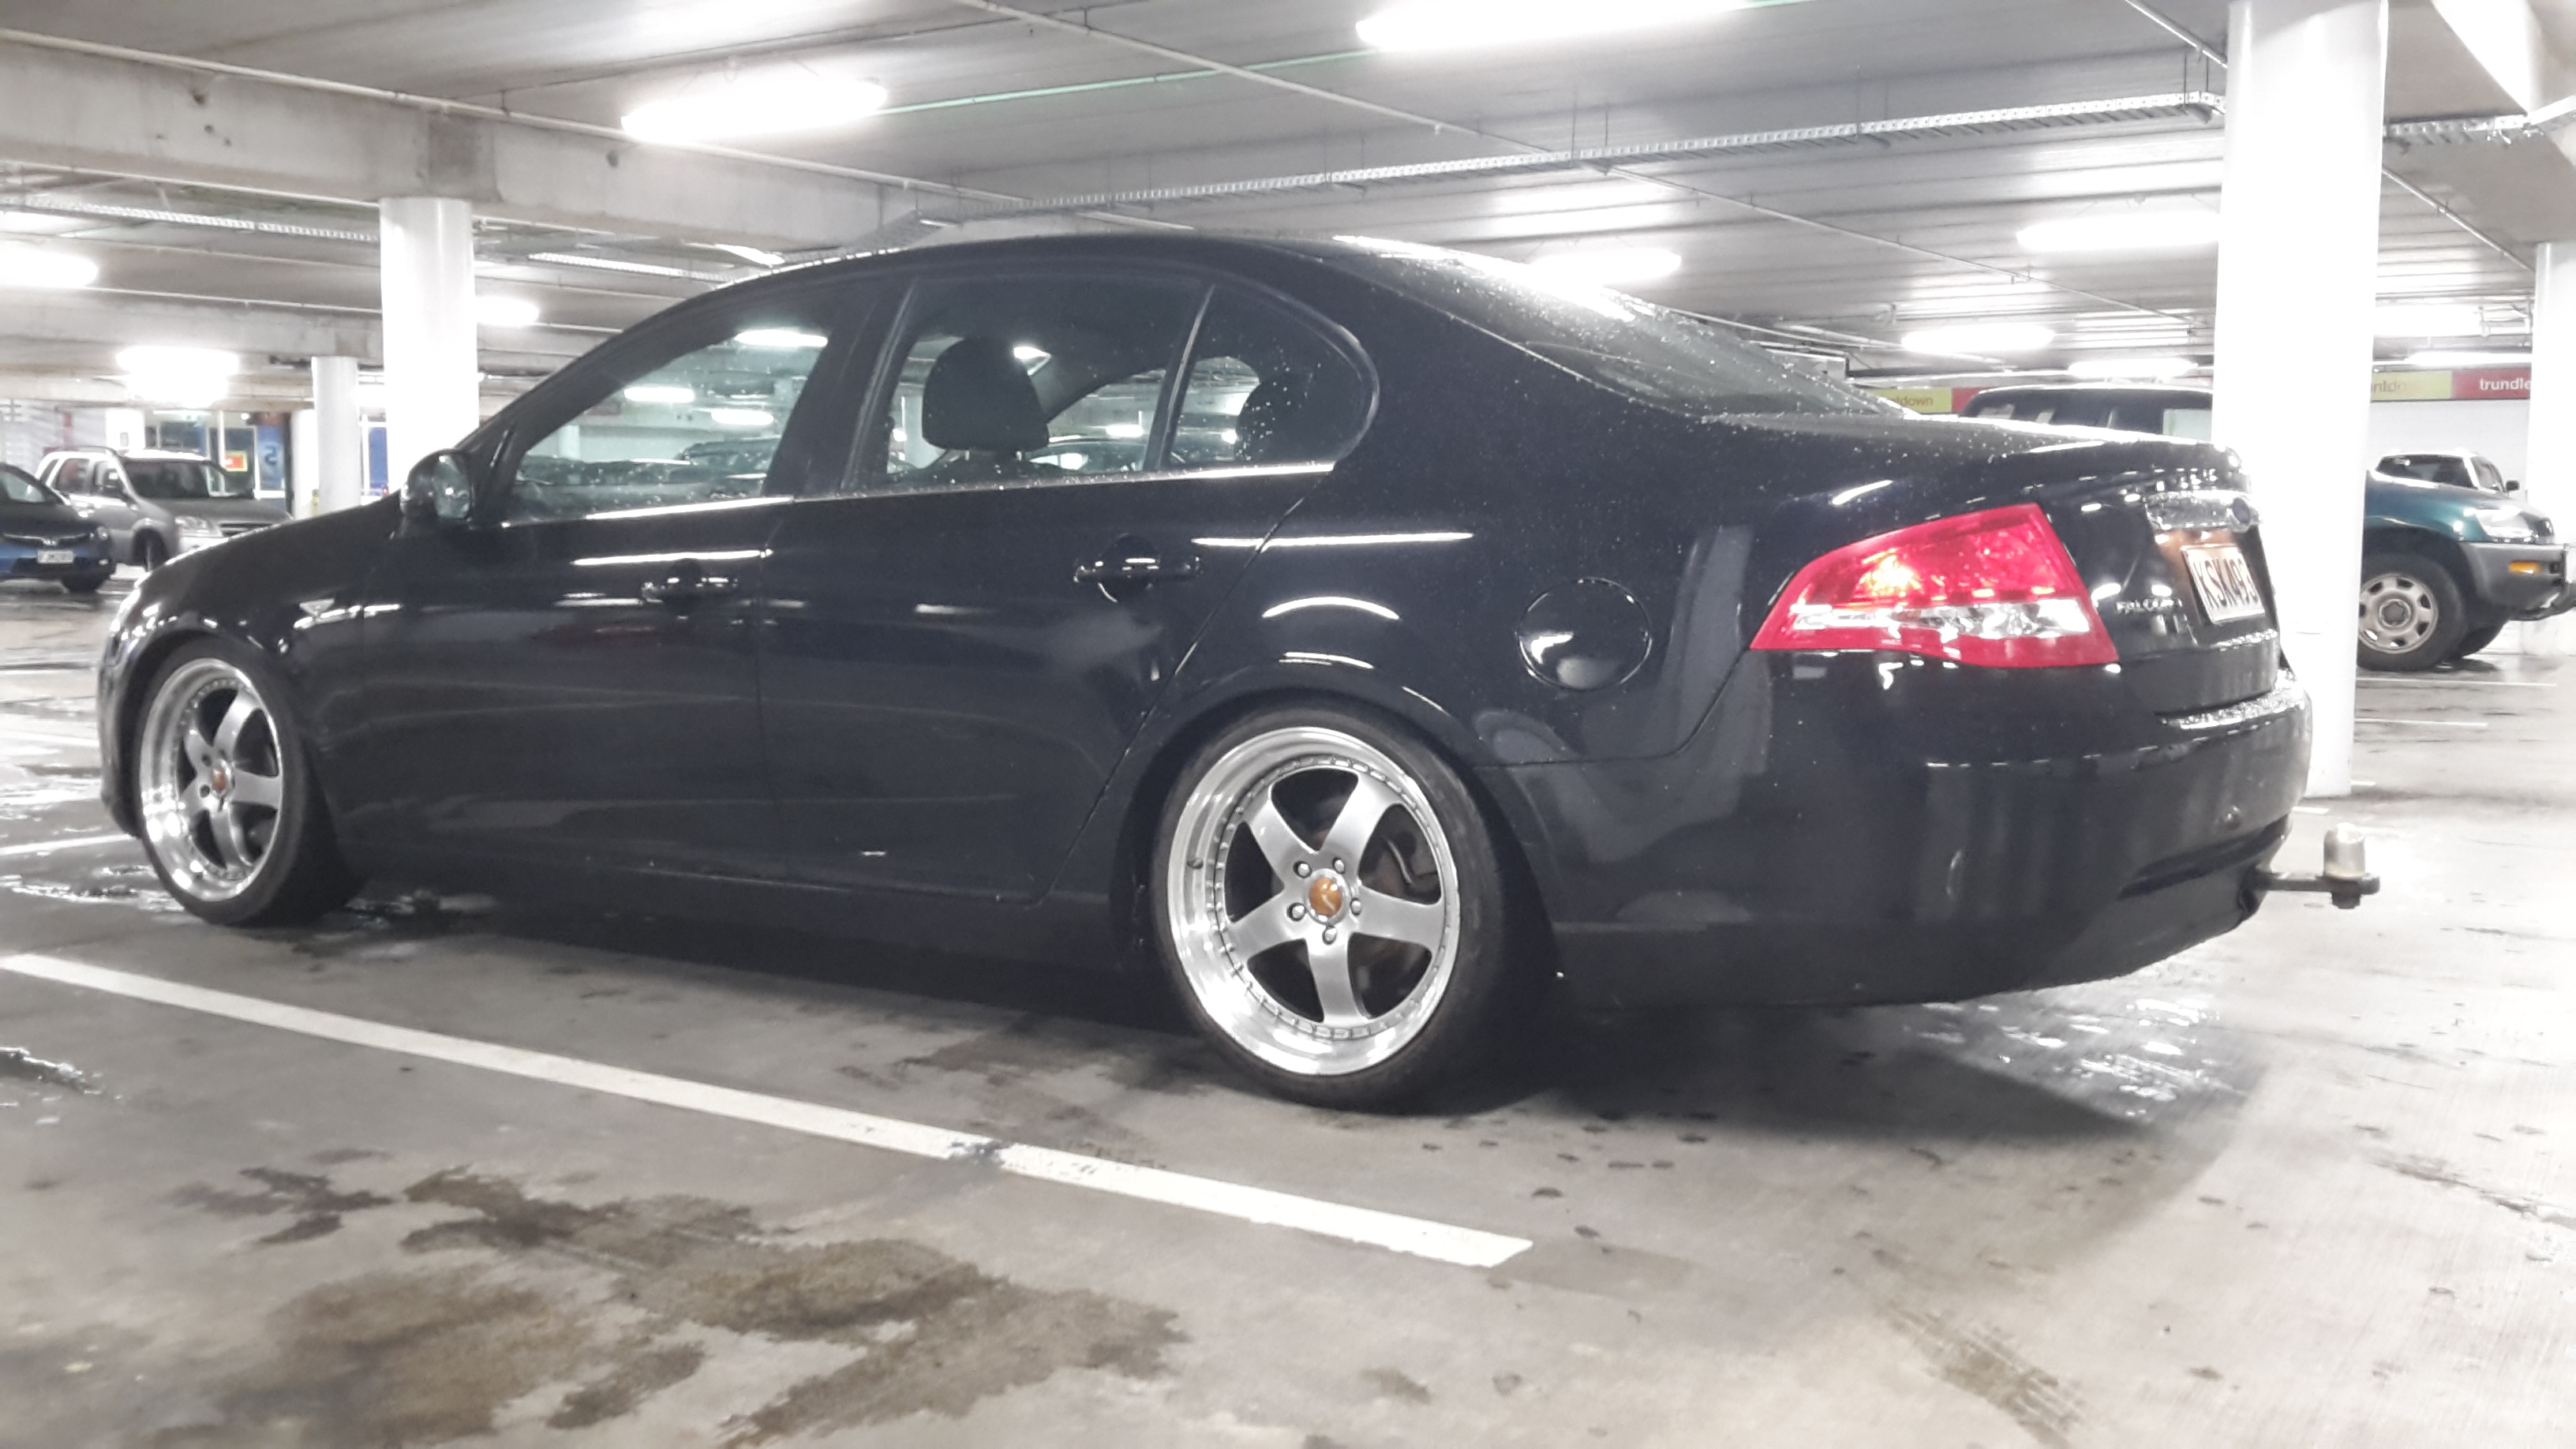
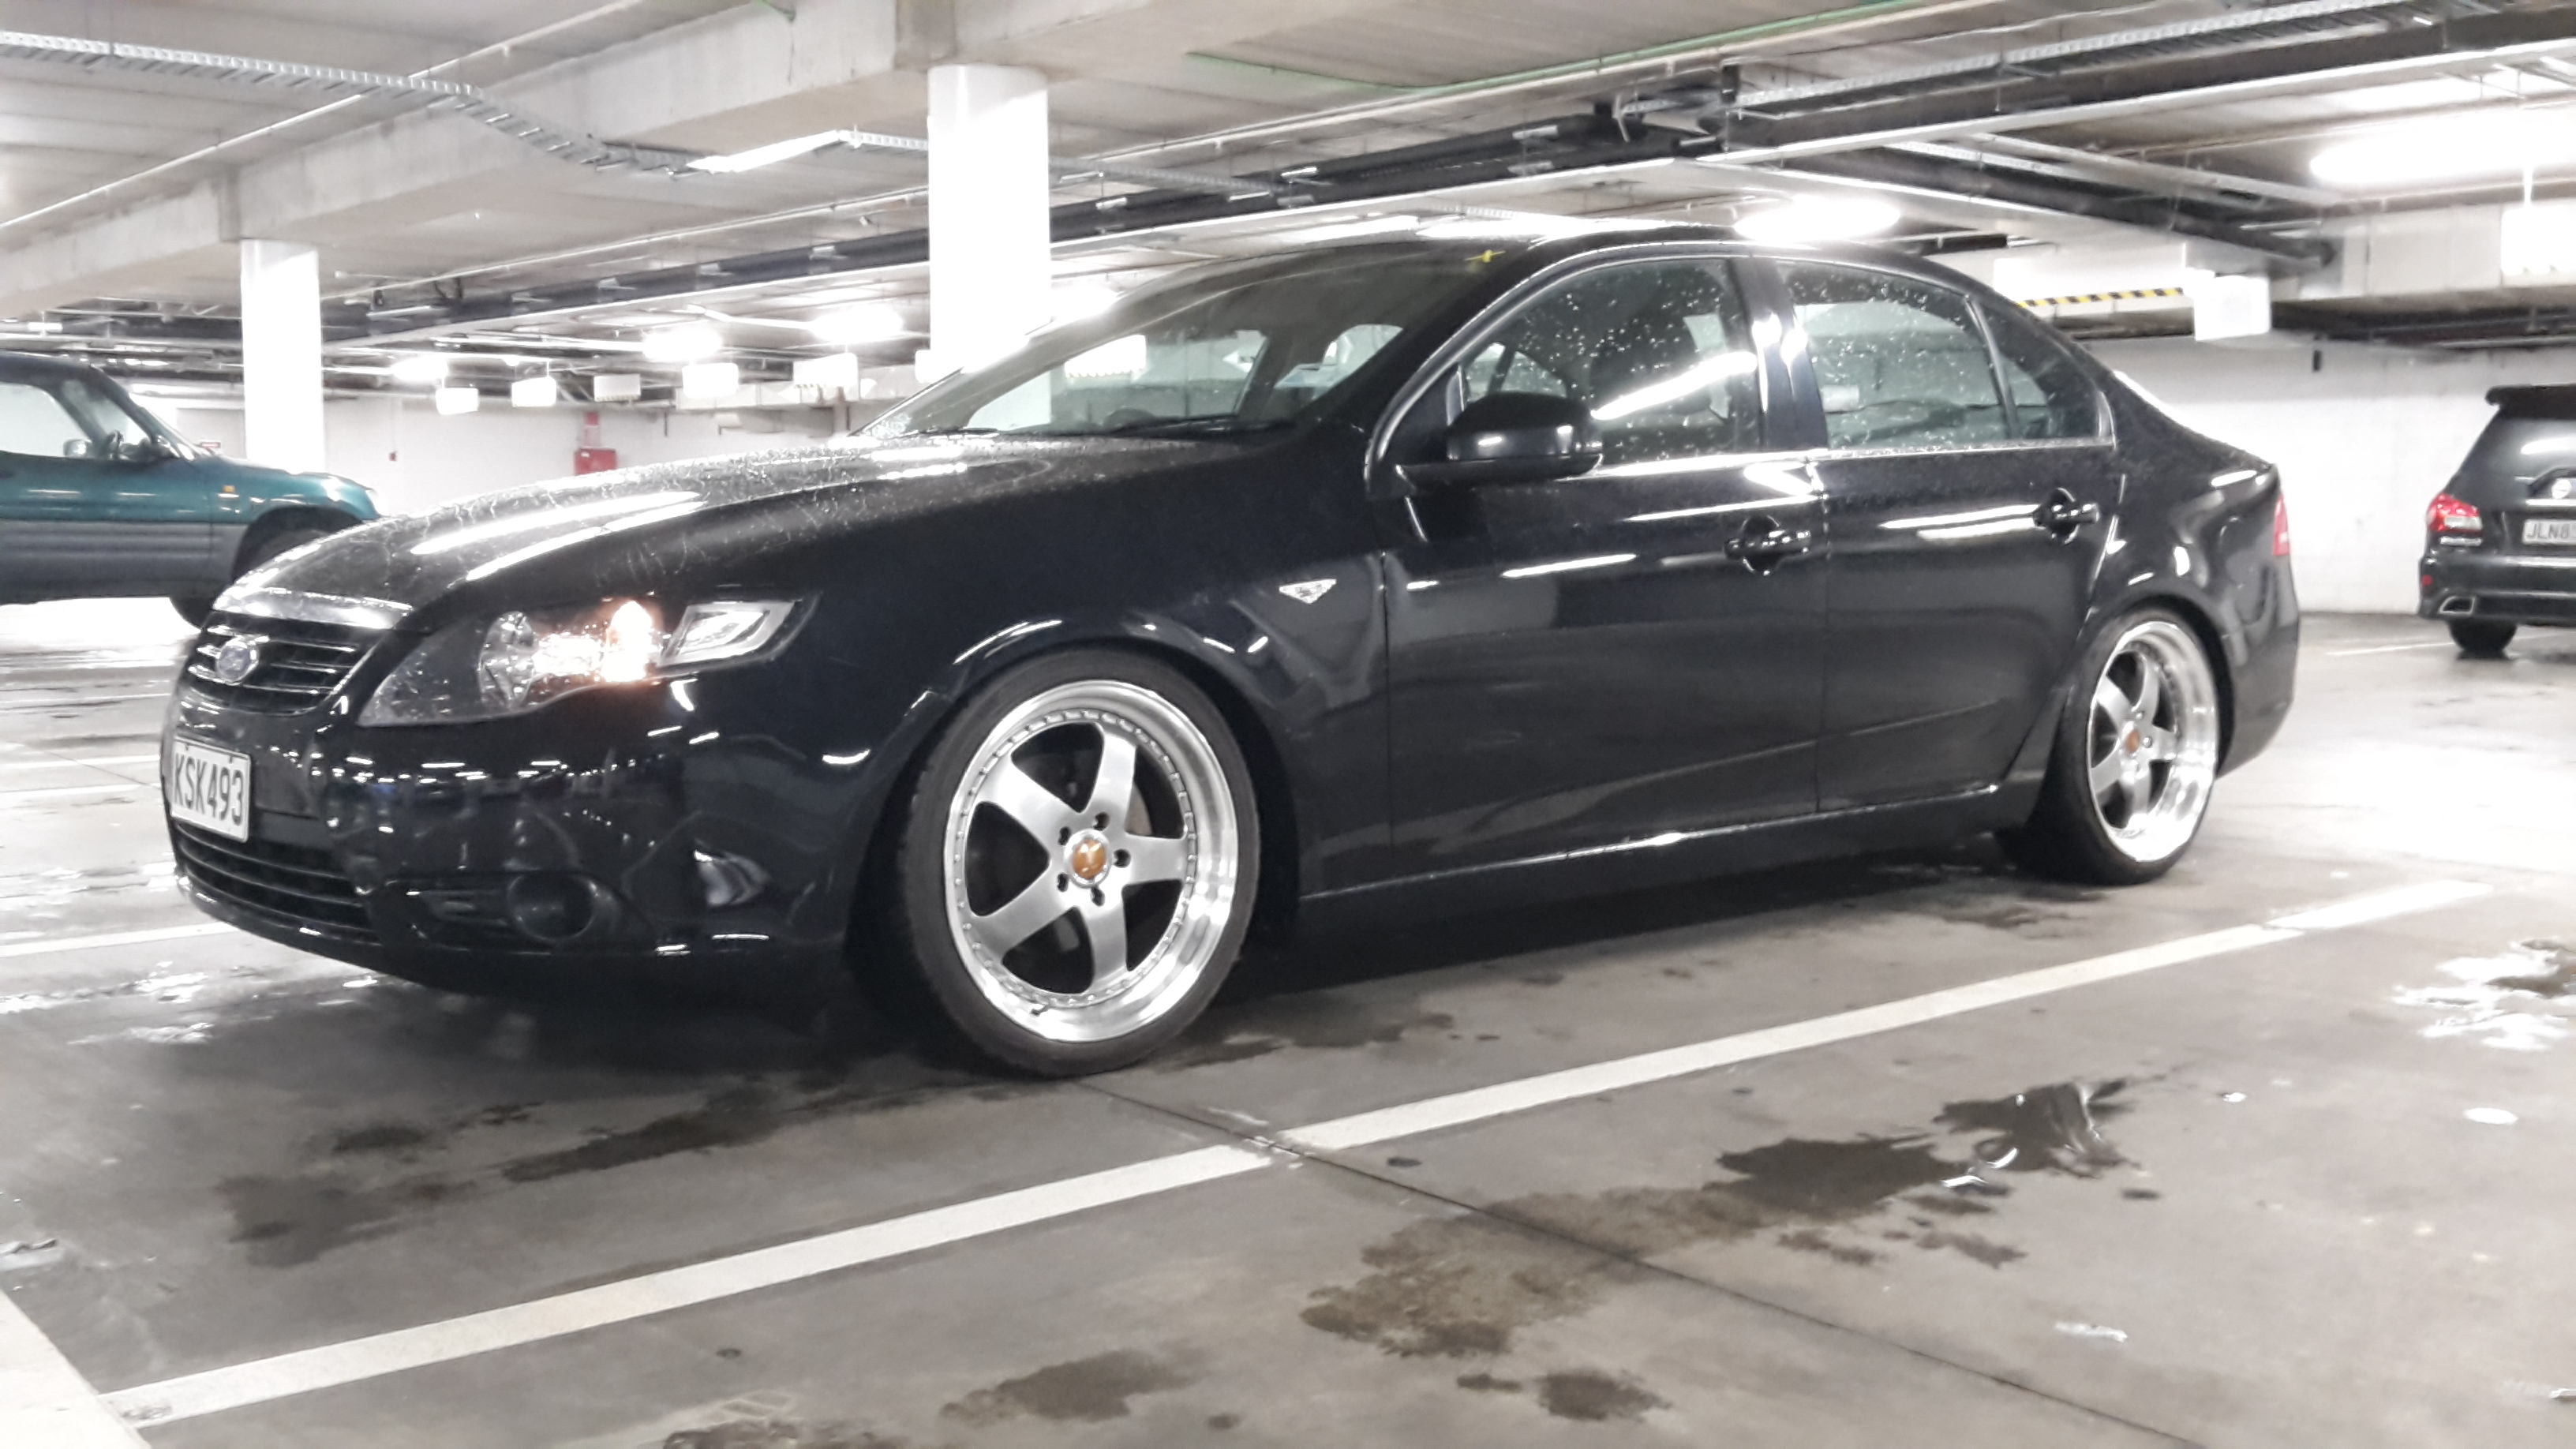
Got a new car for work to replace the wagon which was getting a bit tired. I told my boss it needed a headlight bulb and a couple of other small things and by the end of the discussion we were looking for a new car I figured I didn't really need a wagon so that made choices a bit easier, I like falcons despite the issues I've had with the wagon, they are big comfortable things that go ok and are pretty cheap, and don't cost much to fix when they do have dramas. When I got the wagon it had already done 240ish kms so I wanted something with more life in it, I looked at a couple of xr6 s but this one was similar money with 125kms and a bit newer, it's an xt which is the basic spec but it was always going to get the wheels off the wagon and some springs anyway so I did that today. Much betterer
2 points
-
Hah turns out it was already a 70cc and the new piston makes it 84cc, not 100 cc as advertised I see why people mess around with scooters, had it stripped in 30 min. Found some grey paint that matched ok so painted the bits of frame that were modified The variator rollers were worn with big flat spots so hopefully the new ones make that work better .
2 points
-
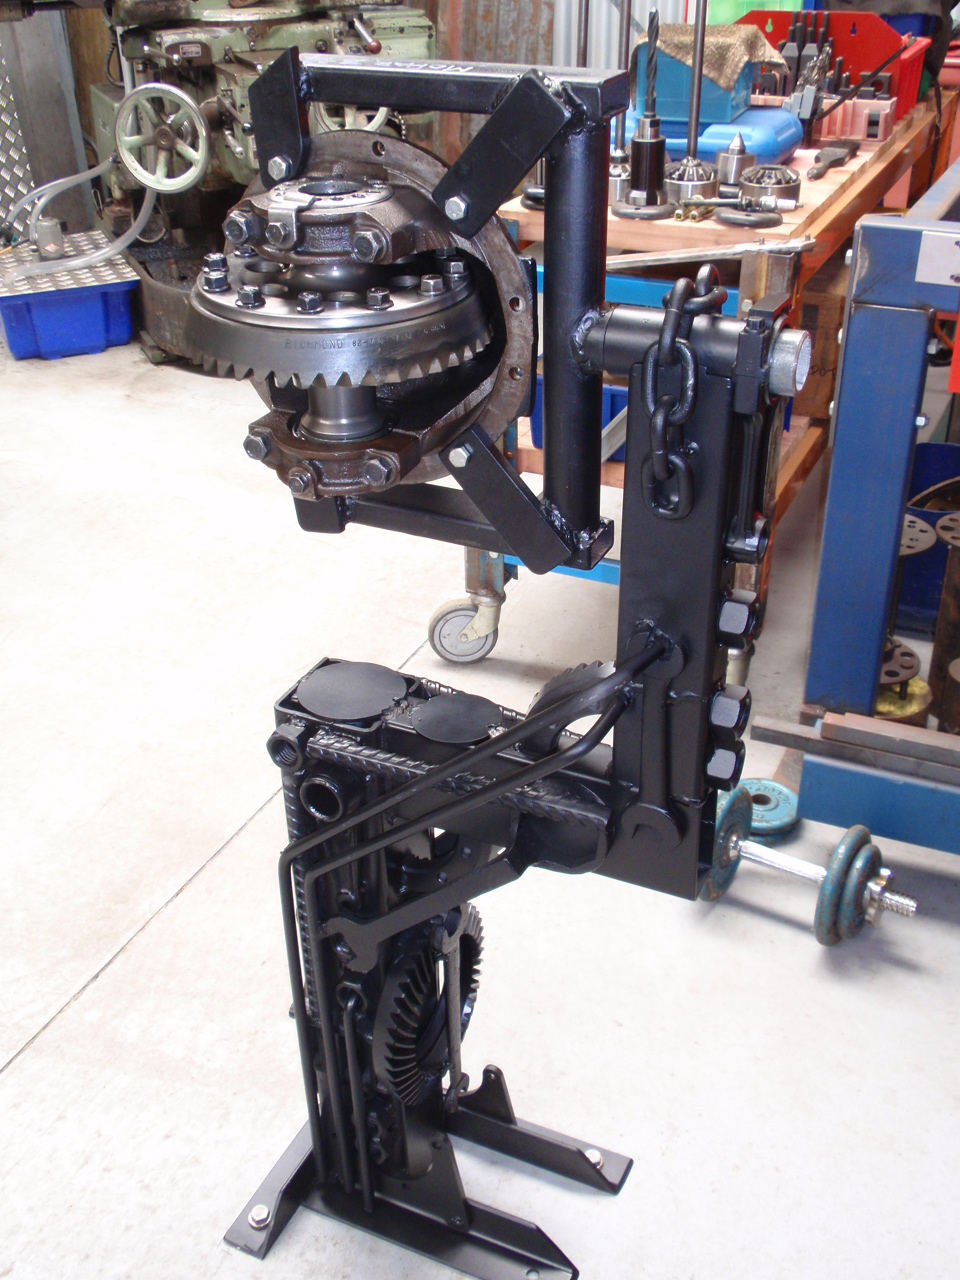
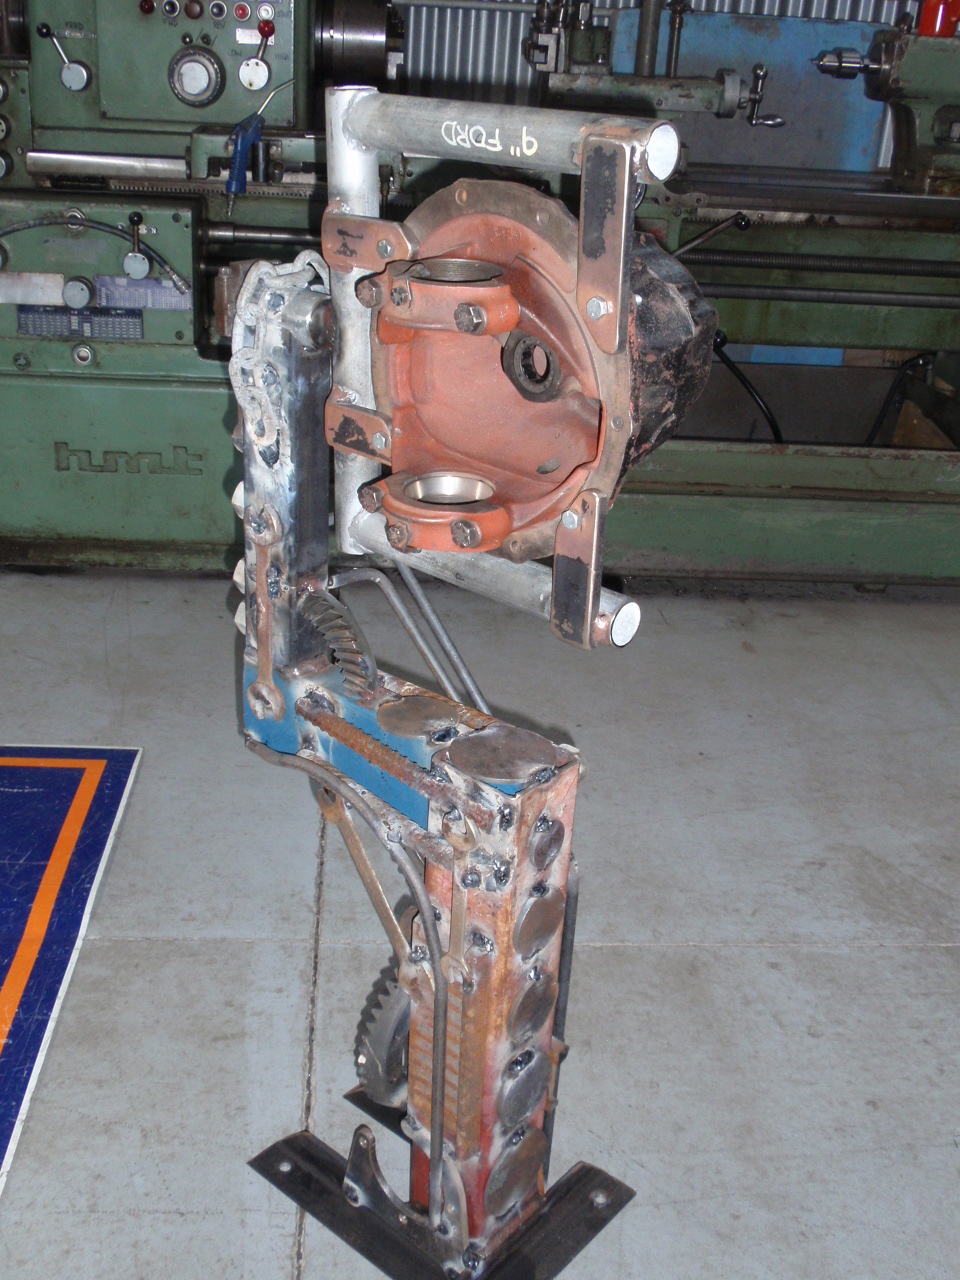
More practical application of scrap in the shed. Sick of chasing diff heads across the table when torquing down the cap screws? Do more than a few heads at times? Get one of these. Bolted to the deck with nothing going nowhere. Head able to be rotated 360 degrees for spanner application anywhere you might want to try some. Have multiple jig thingie/head holders to suit the differing heads i muck with. Looks Steampunky/Shedratty cool. Makes me dosh. Put together with the same loving care and dirty arsed 50's era stick welder all the heavy iron projects get around here. Churr.
2 points
-
Ooooh fancy waterjet etc. jealous. if that was me it wouldve been pencil, hacksaw and a file ha lights look good!1 point
-
True, I'm sure Bill used to own this for a number of years as I talked to him like ten years ago and he mentioned the motors just been built but their is still the body to go. Anyways looks like the car is being well looked after now. Looking forward to the updates1 point
-
very tidy.1 point
-
Last night I welded up the 2 little leaks I found on the exhaust, one I had just finished the weld about 1mm short leaving a pin hole, hammered the flange flat so it actually seals against the bore which got rid of a major leak and a lot of the excess noise. Then I went back through the carb to see if I could figure out why it was running so rich, turned out I'd missed that the needle had been lifted to it's max height so yeah dropped it back to the centre slot and reassembled everything. Should have got a video, but it's running so much nicer, still a bit of tuning needed I'd say but we'll see once it is ridable again. Courier came again this morning! Placed this order on the 13th of August, thanks to the big summer holiday it wasn't sent from Japan until the 22nd but it only took 4 days to get here, and that's when the fun started! Customs tried to charge me an obscene amount of $$ to apply for some special permit or license as they had decided this was a commercial order and that I must be running a business etc. Took so many phone calls and emails with everybody I talked to giving me a different story about what was going on and what I needed to do to get it cleared. Finally yesterday I managed to convince someone it was just bits for my own scooter and had it released, annoyingly between the 13th and yesterday the NZD/JPY exchange rates had changed and put the total over the threshold so I still had to fork out an extra $120. but thats much better then the $650odd I was being told earlier in the week!!! So enough words, you all just want to have a nose in my box right? A whole pile of genuine Honda goodness!! Would have really liked the rear plastic too, but not for $500 before shipping! So now it's pretty much time for paint and to tidy up all the little details, sort out bar controls and other smaller bits. If the rear plastic wasn't so far out of my reach I may have even considered sticking with the white, it's so crisp looking all fresh and new lol1 point
-
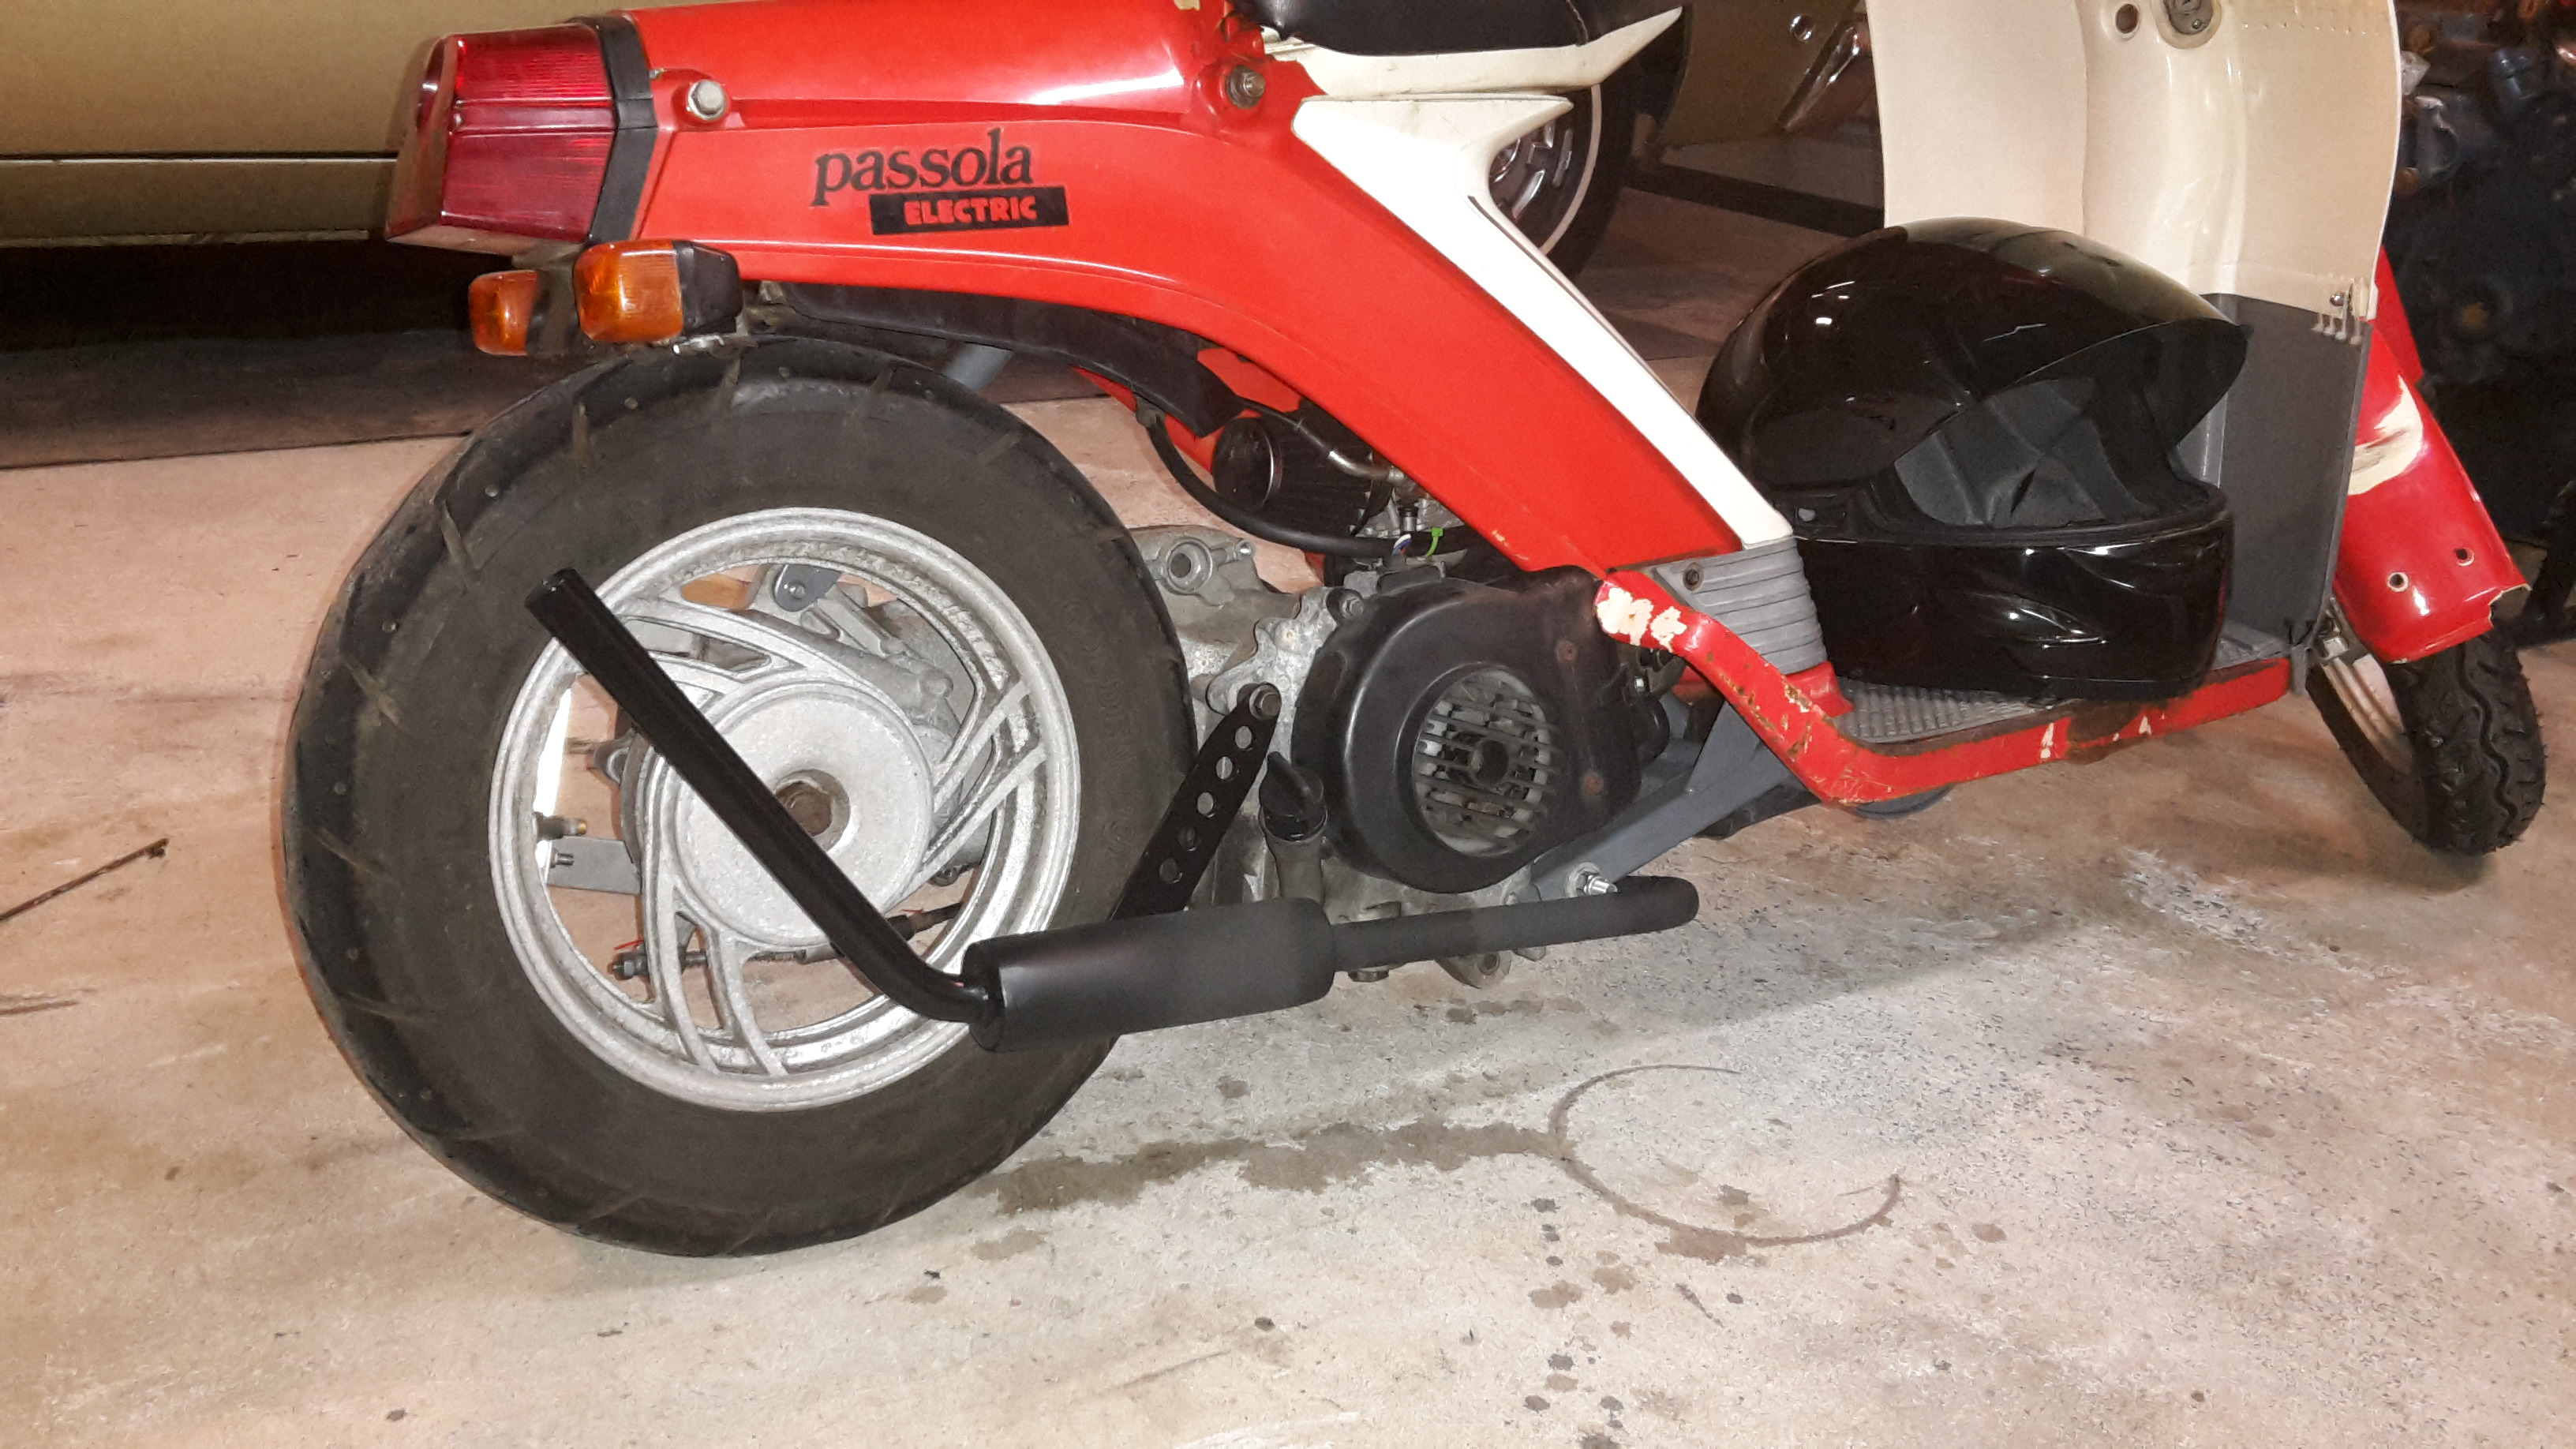
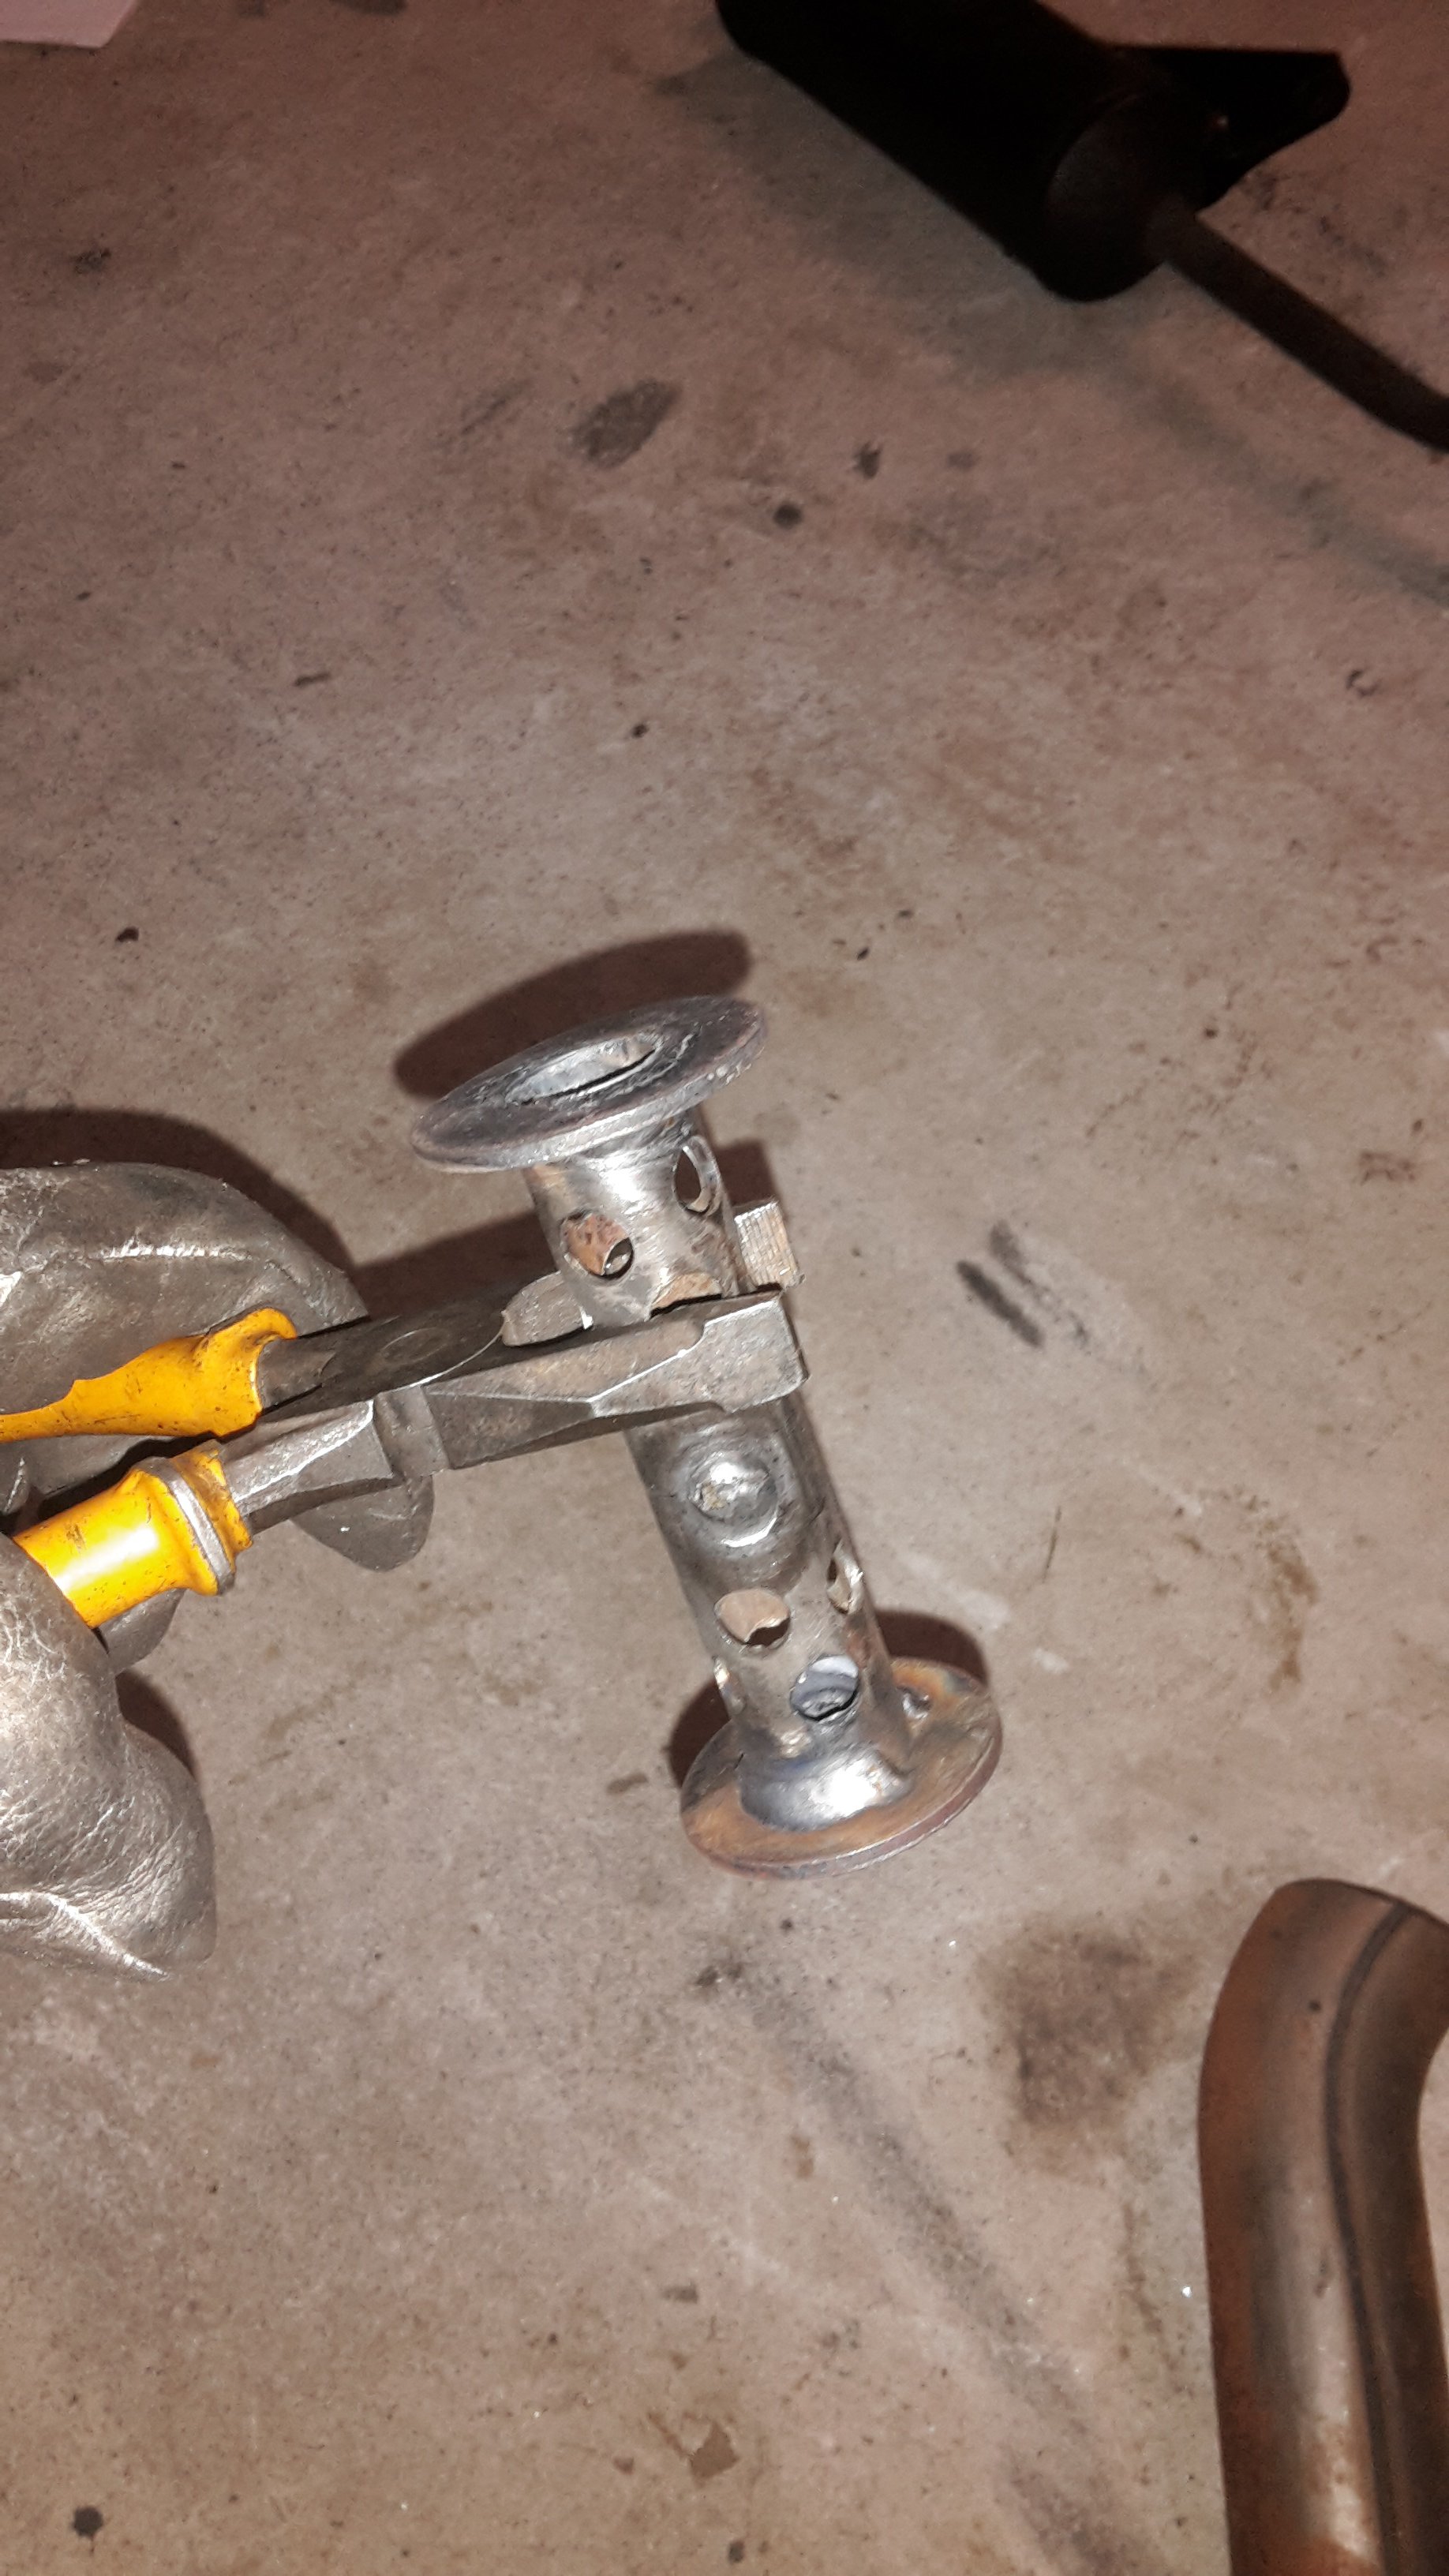
Needed more ground clearance, so made a new front pipe, too rowdy with no muffler at all so made one. Whole exhaust is made from an old lawnmower handle and a bit of 2" pipe and some big washers. Good chance to practice with tig welder, I haven't done much for ages It's probably still a bit louder than I'd like
1 point
-
Got to the go ahead to modify so a few pie-cuts and welds and the exhaust was clear. got it running last night after figuring out which of the various hose tails was the fuel inlet, and blocked the (anodised purple) vac block off as I have no brake booster, and finished the exhaust and a little more tidying today, drove out of shed. the throttle cable is lacklustre and I need to come up with a nicer bracket. Got a good bark to it, quite funny watching it jiggle away at idle. Will need to readdress the exhaust as now it's a lot closer to the floor in one spot and the idler is almost touching1 point
-
Went to bnt hillside road today. Asked for points and condensor for a 1977 ford transit. He asked me for the rego number.............. here we go. Left with out points and condensor1 point
-
I squashed a non-dominant finger yesterday so didn't weld rust like I was going to, instead felt light dutys included cleaning and engine stuff. Everything is cleaned, bolts are still soaking, Block is honed and painted, pistons spotless and new rings on, mate took my front cover away to bead blast. I'll likely throw the bearings in this week and button up crank. Also pulled the Mazda carbs apart and cleaned, came up good so now to bribe someone to fizz together a manifold. Cam and followers are away to be gooderized and head stripped for a skim to bump up compression a little.1 point
-
Finished off the front shock mounts. Made some driveshaft hoops.1 point
-
Cut some new metal. Also need two new reinforcing rings that mount the headlight. Rust city. Scratch up some 3mm plate Cutting this stuff is a bit of a workout for the Nibbler, but it is quicker/cleaner than using a grinder with cutting wheel, especially for curved bits. Need to be hammered flat then welded into rings.1 point


.jpg.27415e420274596778ffef5e9c8290c7.jpg)


This leaderboard is set to Auckland/GMT+12:00