
Leaderboard


Popular Content
Showing content with the highest reputation on 08/01/17 in Posts
-
8 points
-
Just got the engine crossmember built. I wanted to make a proper crossmember with engine mounts welded to it, rather than the original style setup where the engine mounts just hang off the side of the chassis rails. So I got some 63mm black pipe bent to shape, drew the engine mounts and had them laser cut and folded, and got our fabricator to trim them and weld them up. Really pleased with the result, ties the chassis rails together, and is very strong.
 8 points
 -
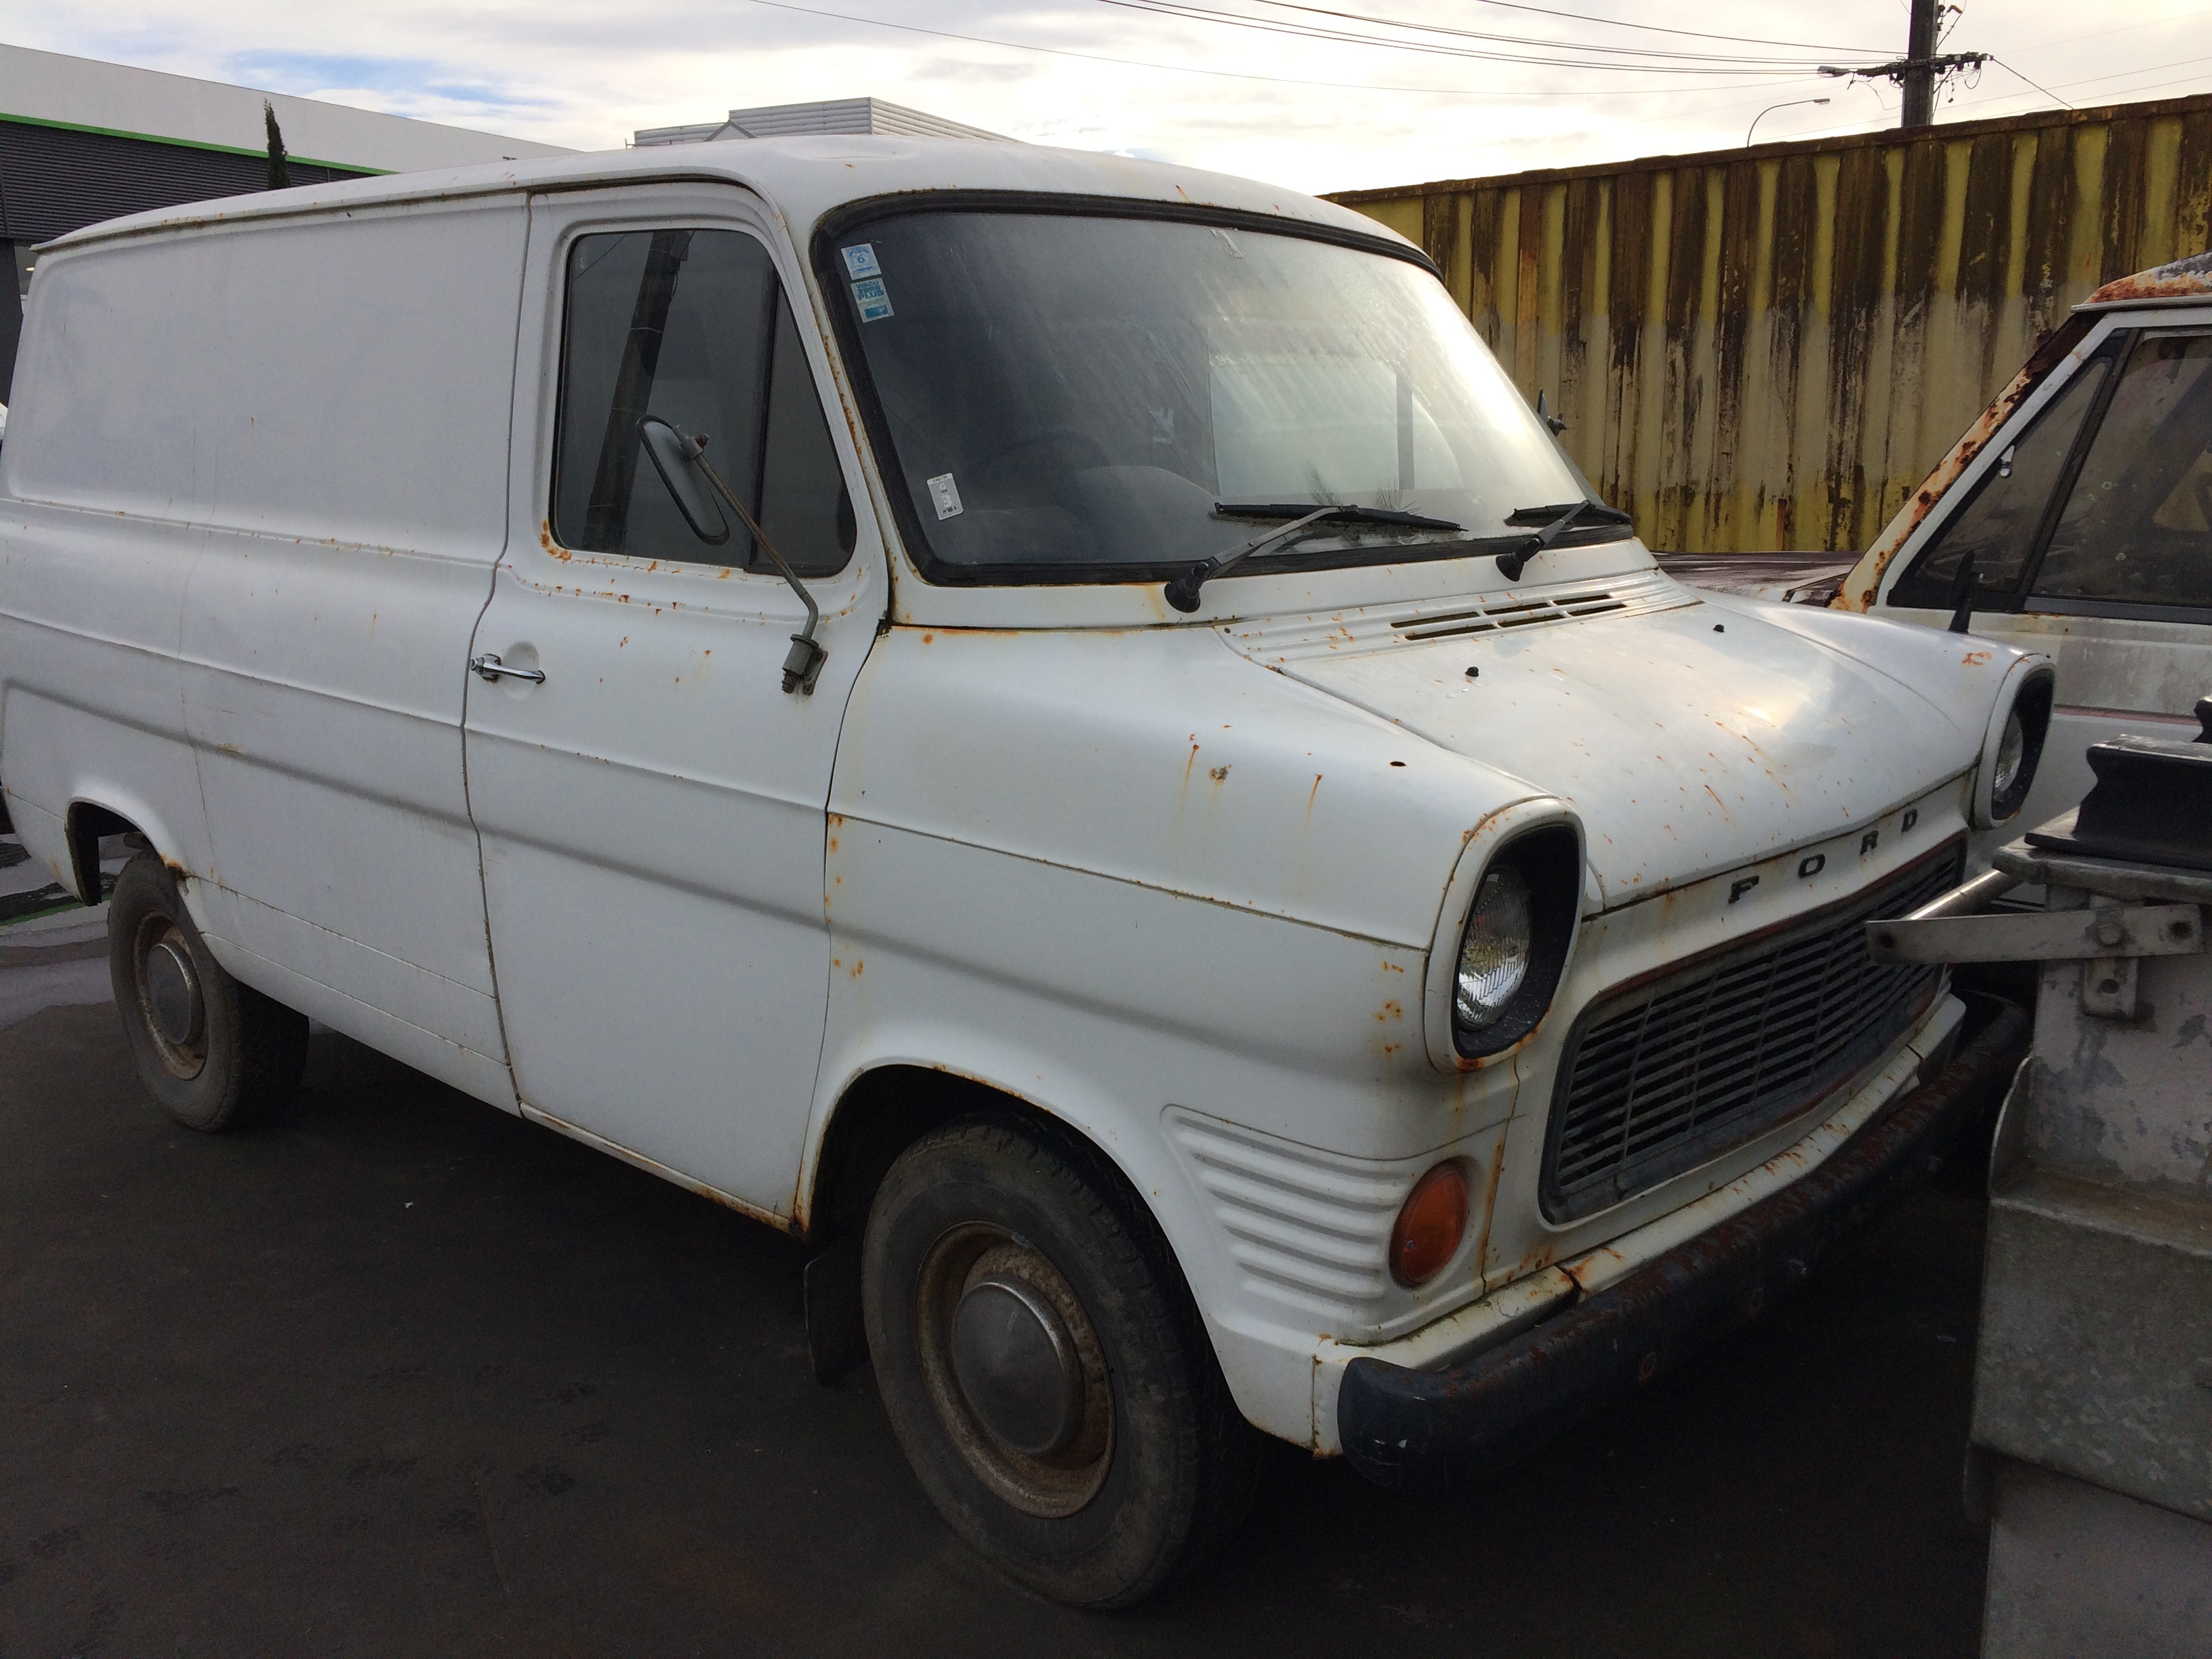
yeah g'day. so i spun a yarn at work saying i needed a wagon and something to move me furniture and go camping with. along came a chap with a friend who had 'this old wagon chilling at his place'. One thing led to another and i was dragging this old Crown wagon out of a tree. It's been sitting for 3 years, hasn't been turned on and is pretty well dormant. I chucked a fresh battery into it and she ticked over first try. Won't idle but i'm open to theories as to what would cause that - seems a bit trial and error at this stage. Will need a few parts here and there, but as it's a Crown, she's packed with lush interior and random knobs and bits all over the place. 'Royalty'. Anyway, here's pics. How it looked after we pushed it out of the tree situation. Weta for scale I need one of these if anyone knows a guy that knows a guy etc cheeky spot of rust that'll need sorting How she's chilling currently. Can't open the front passenger door either, so if anyone has any ideas, gizza yarn my way. Cheers.7 points
-
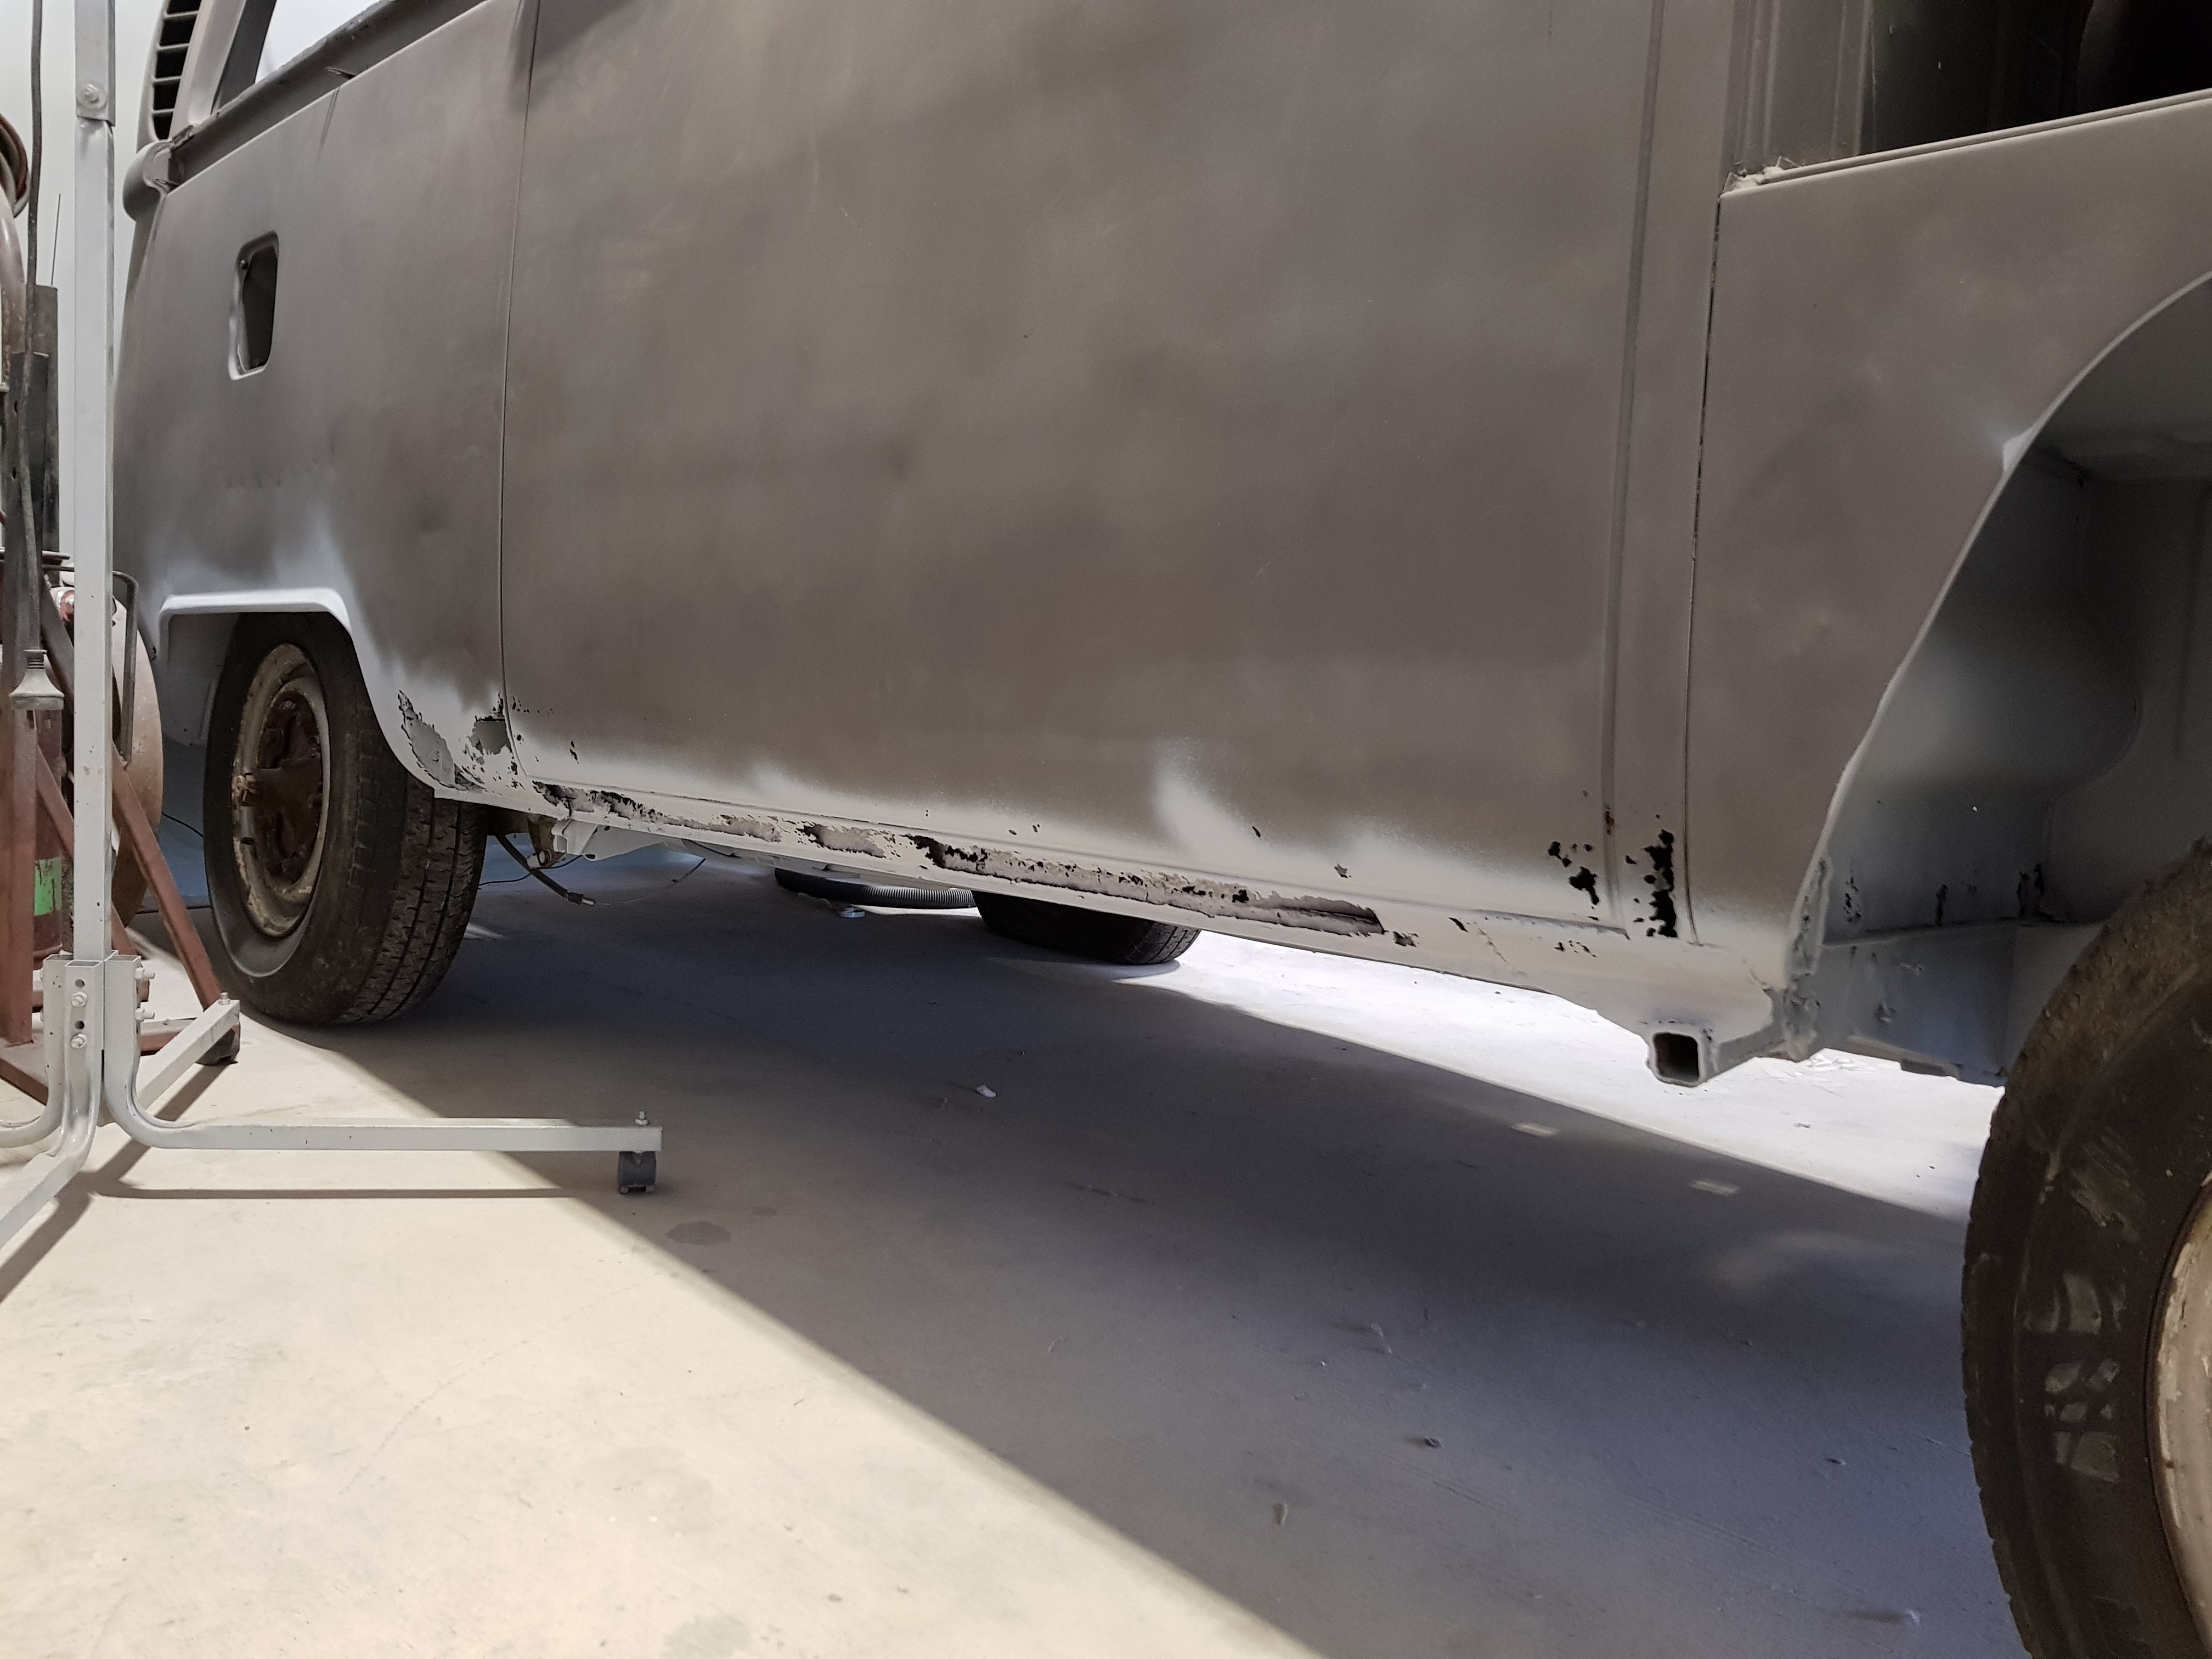
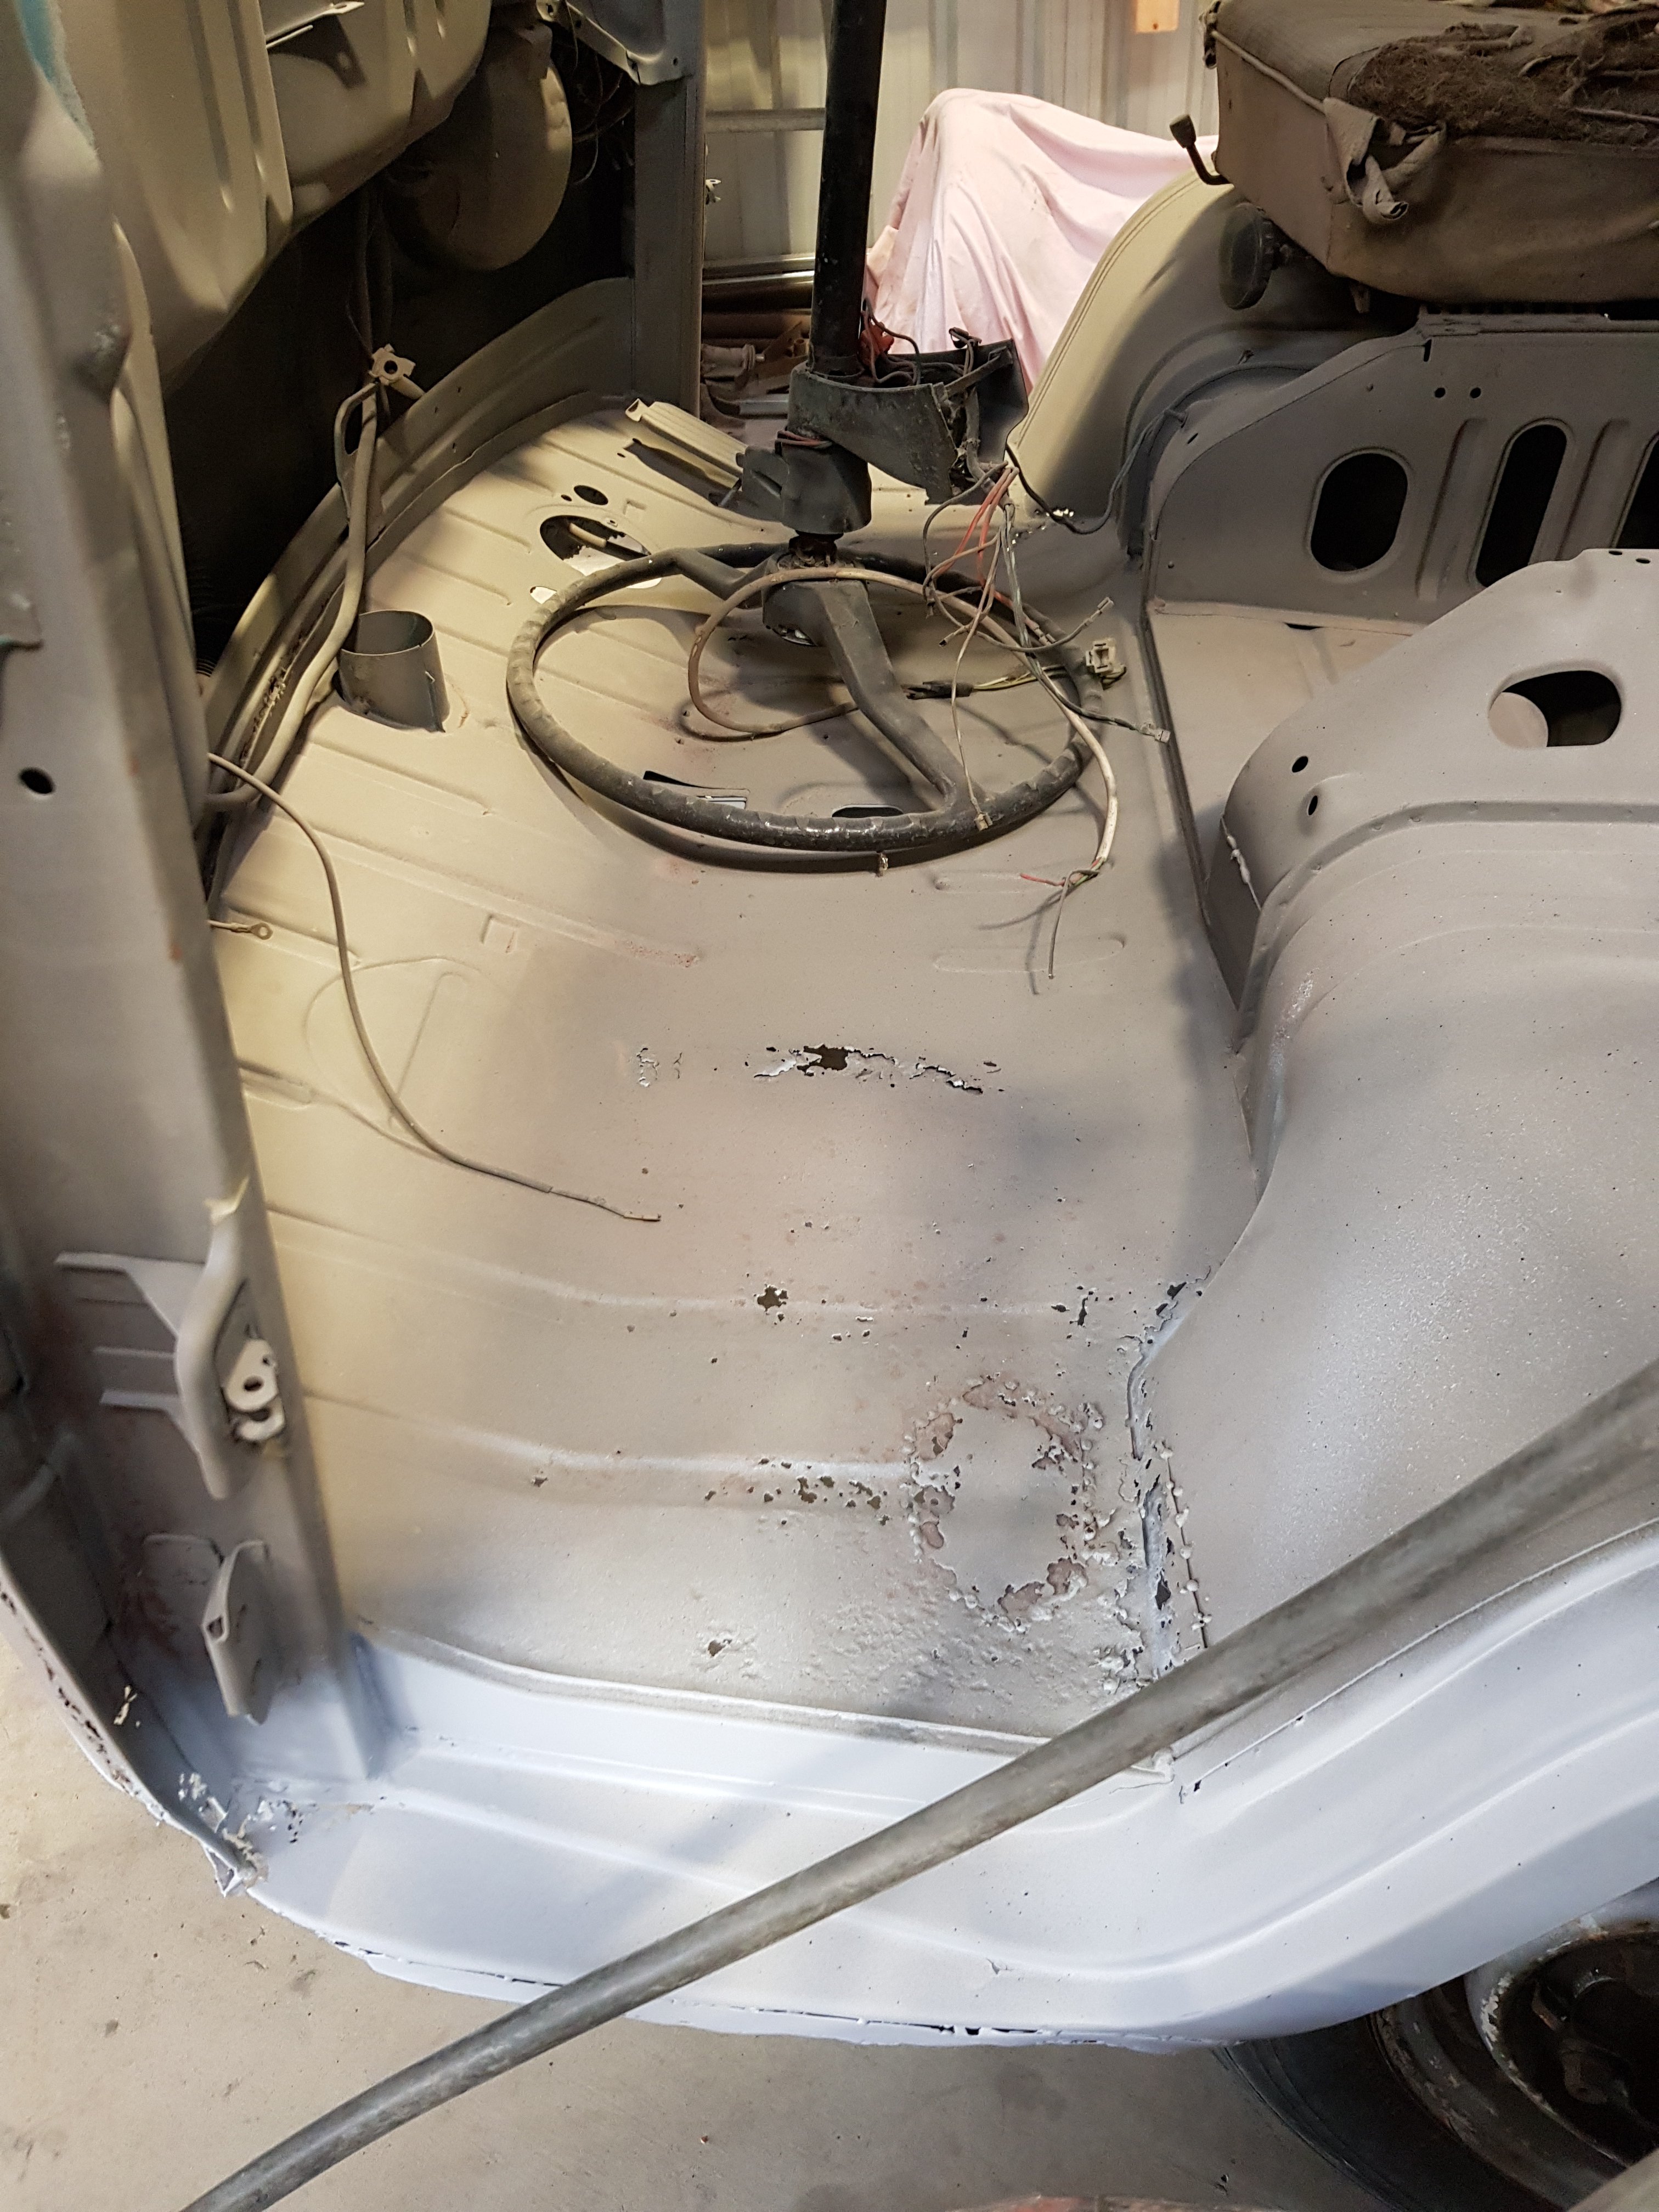
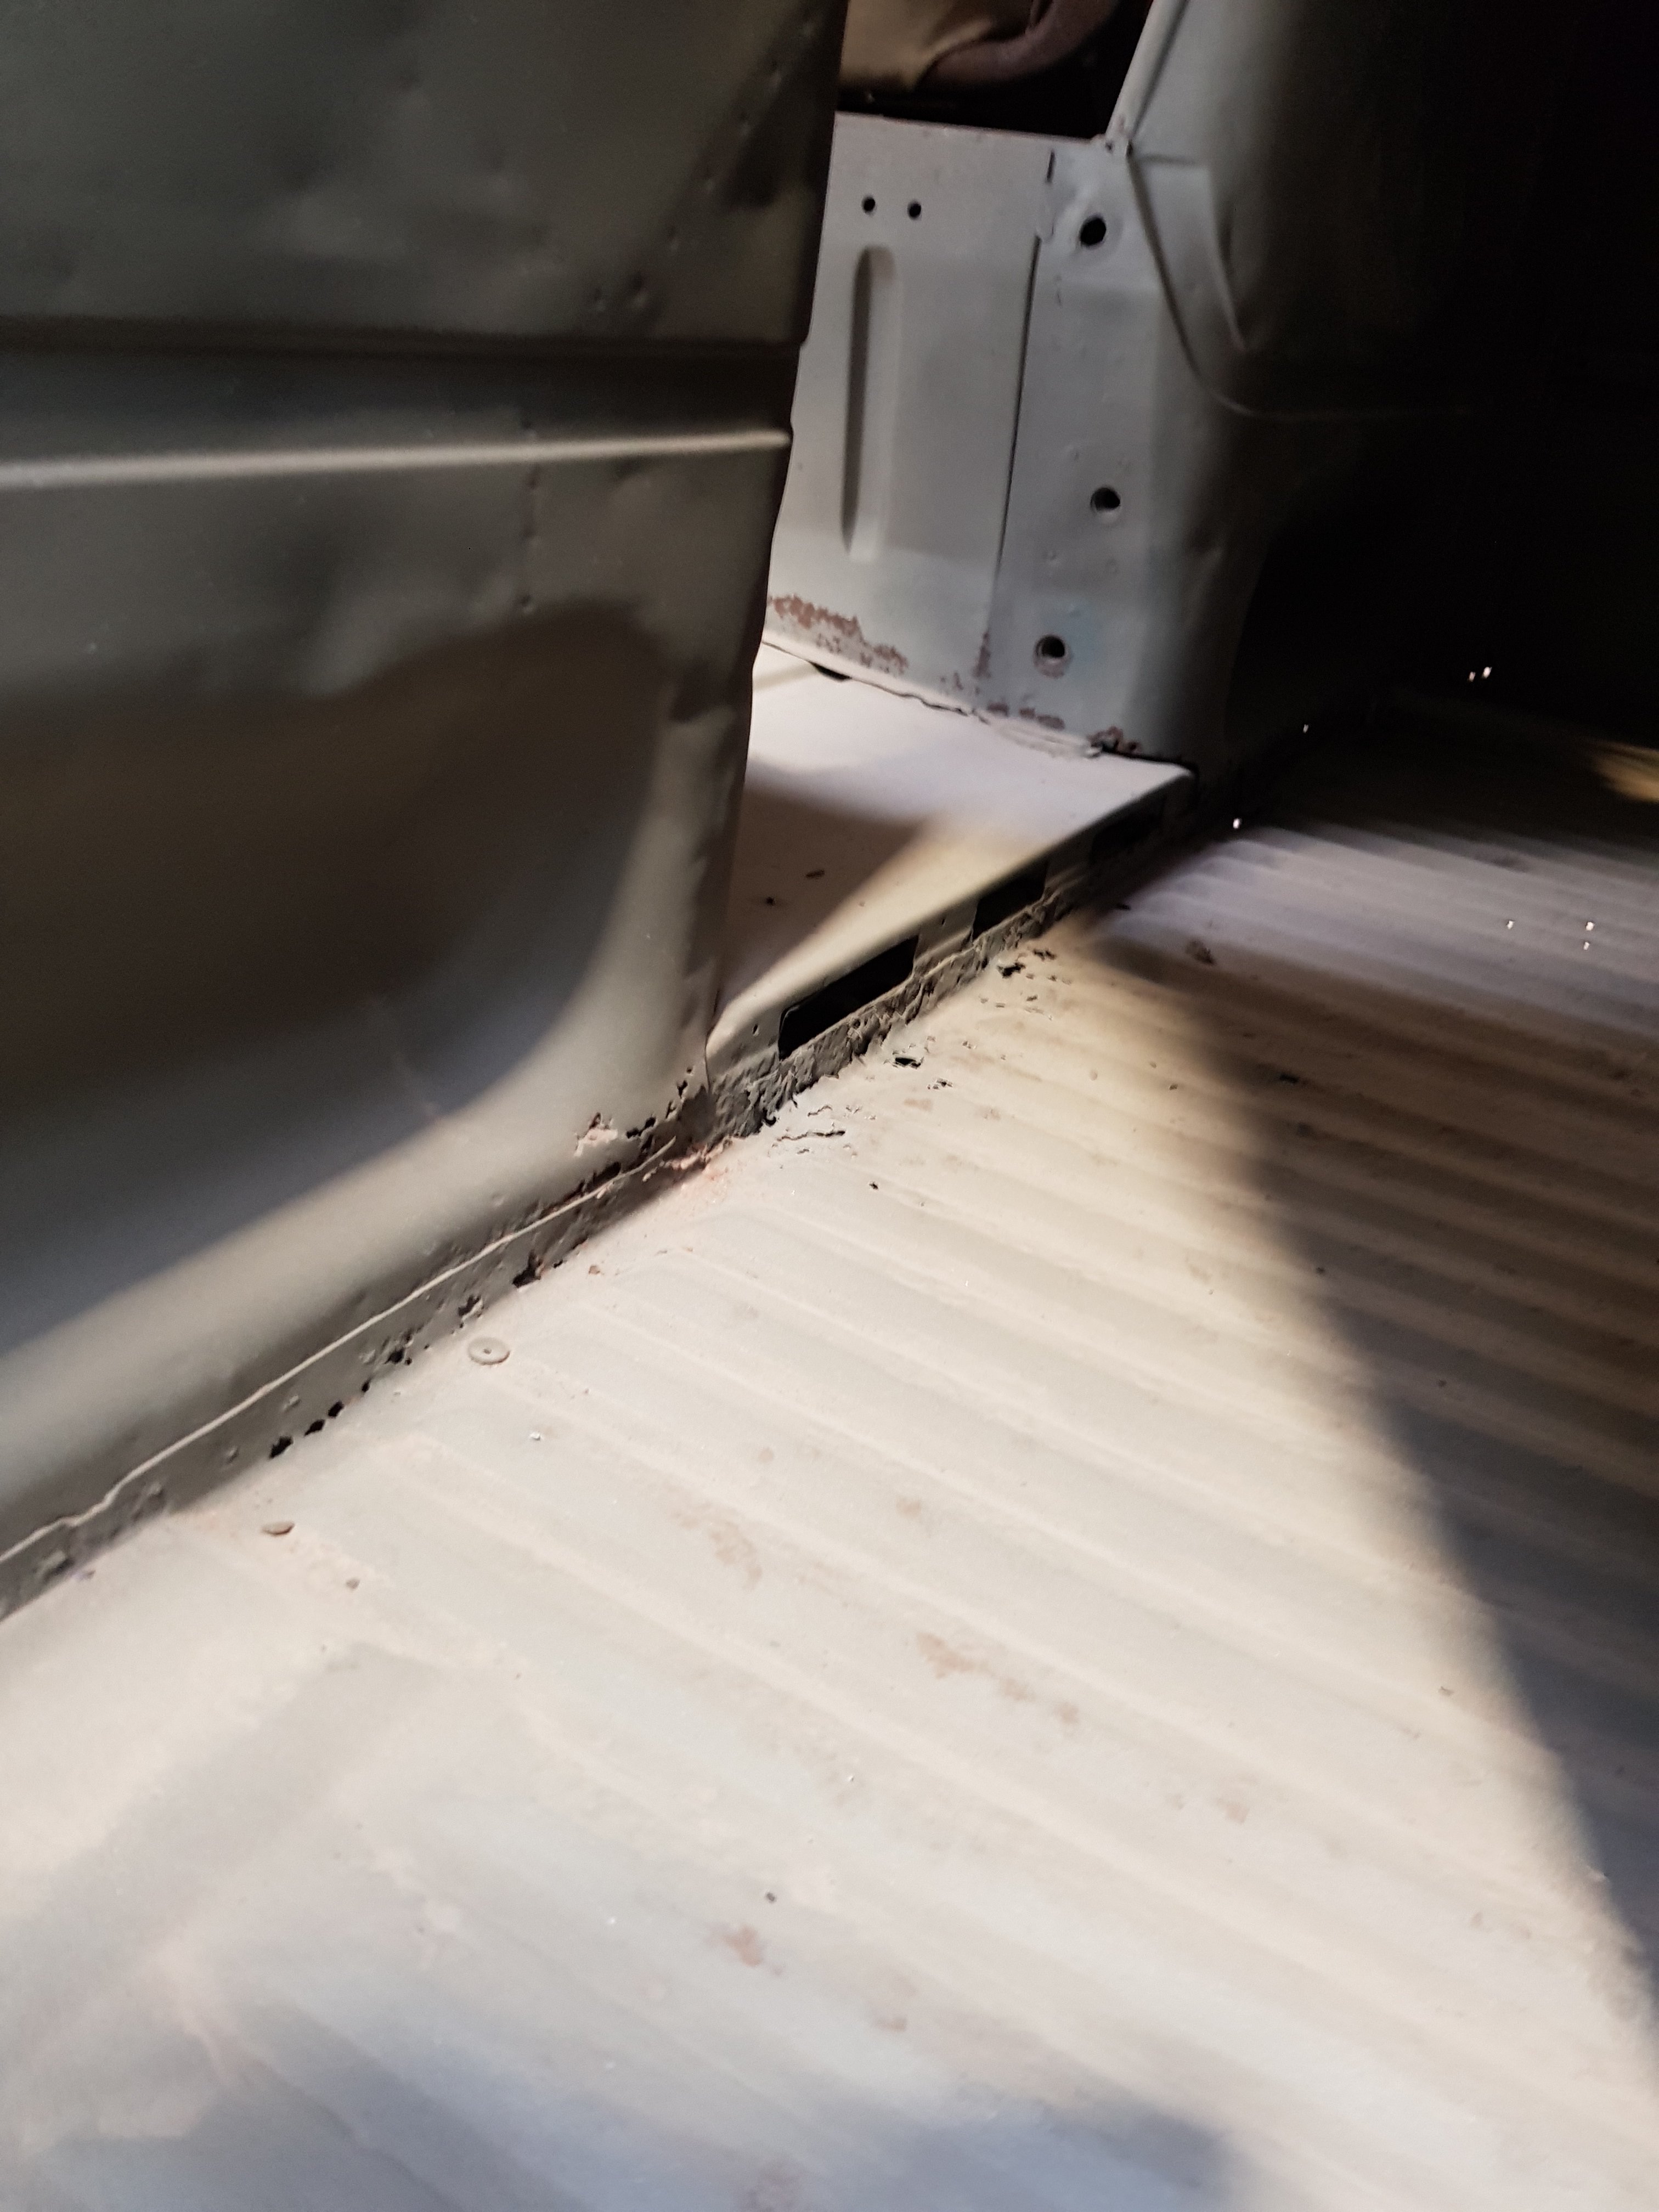
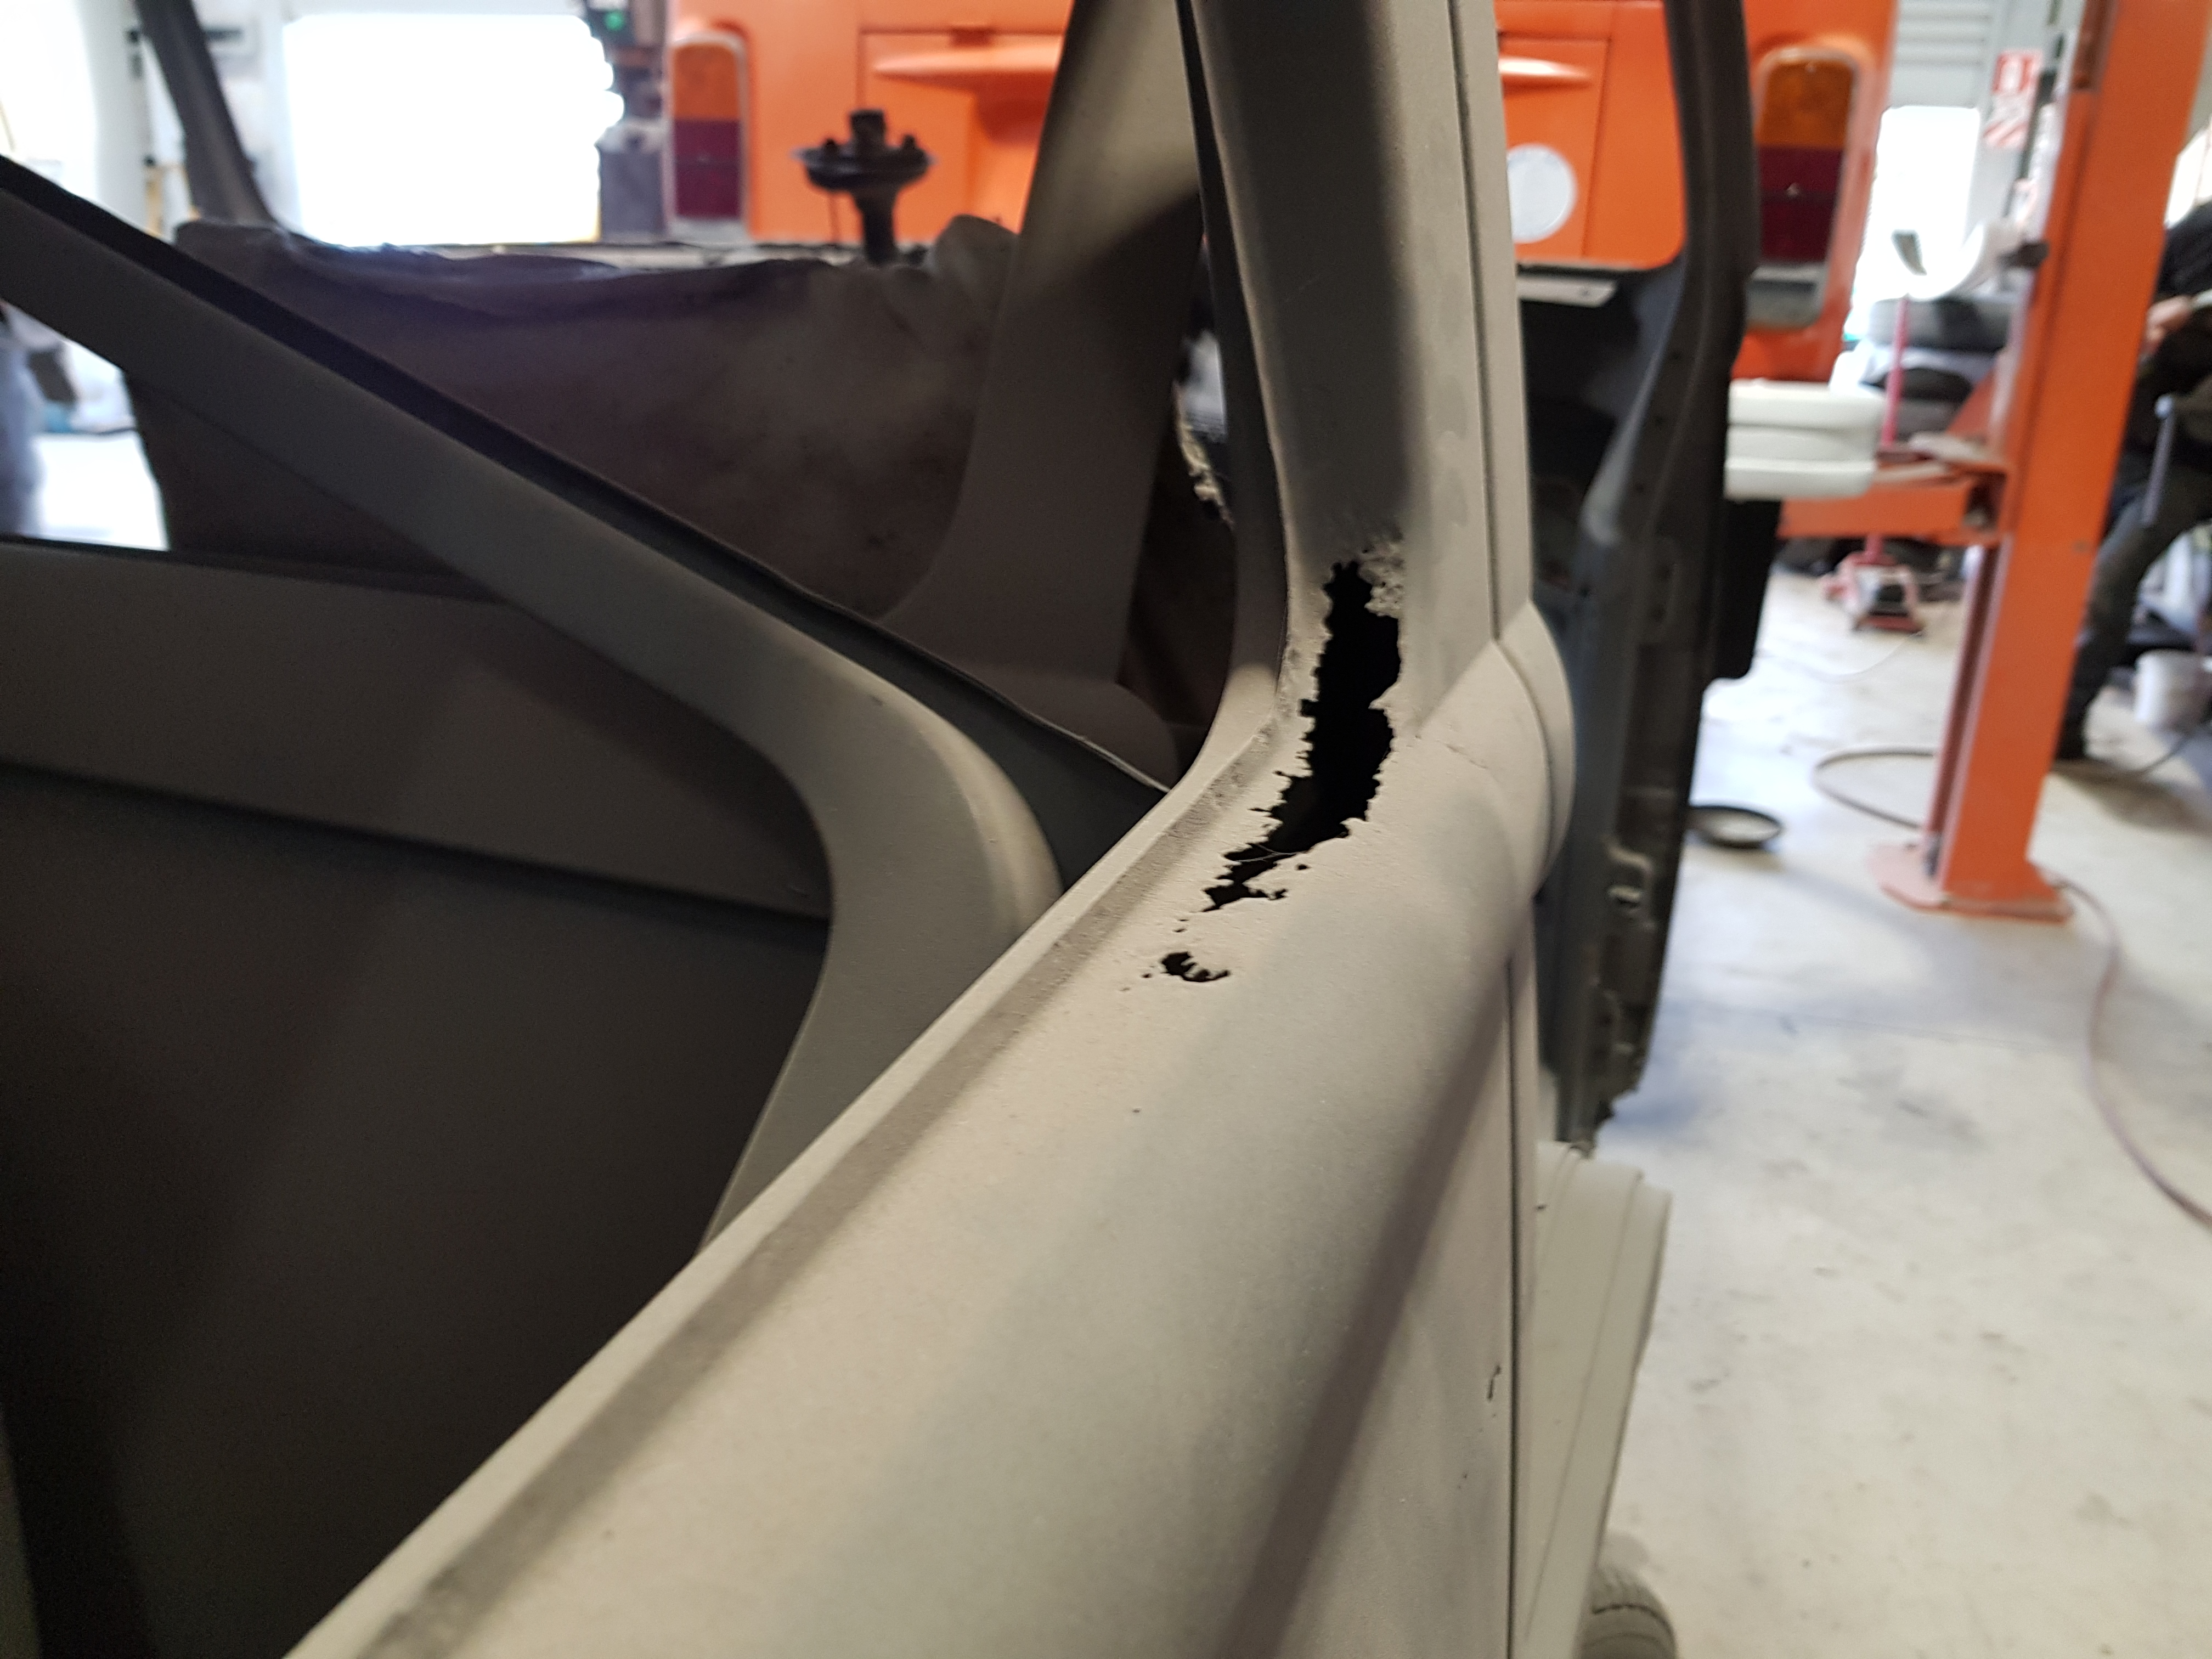
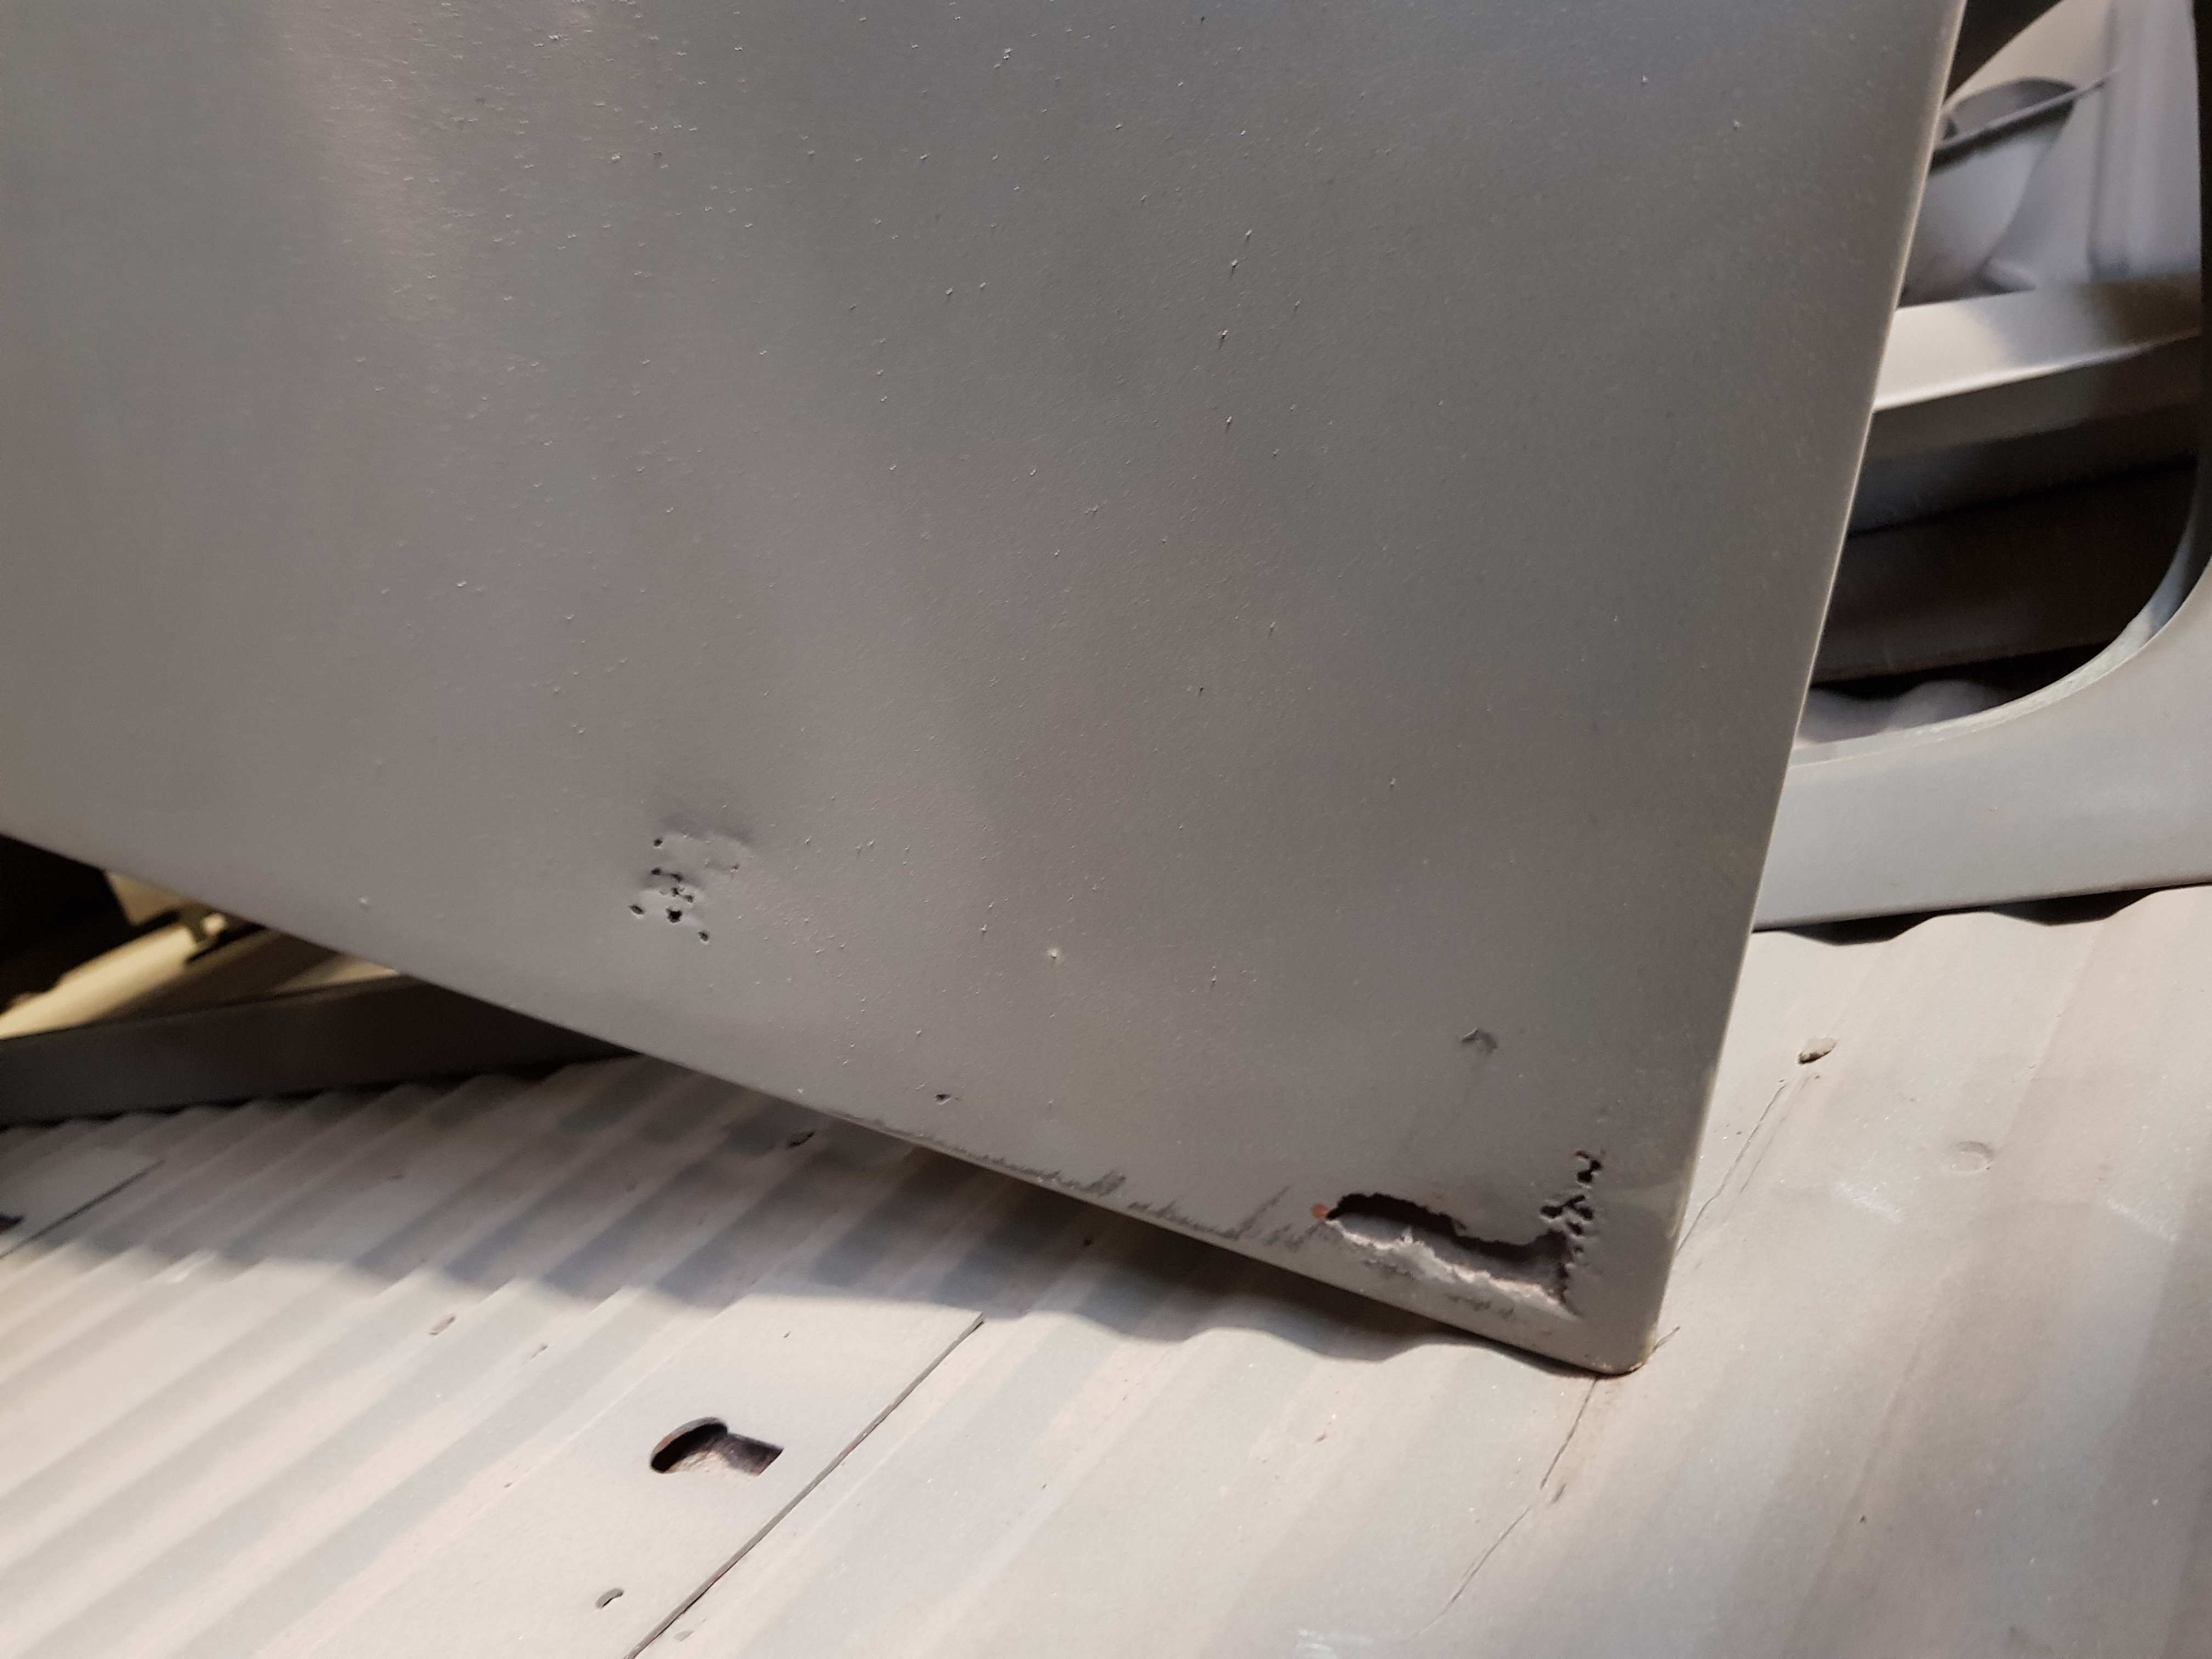
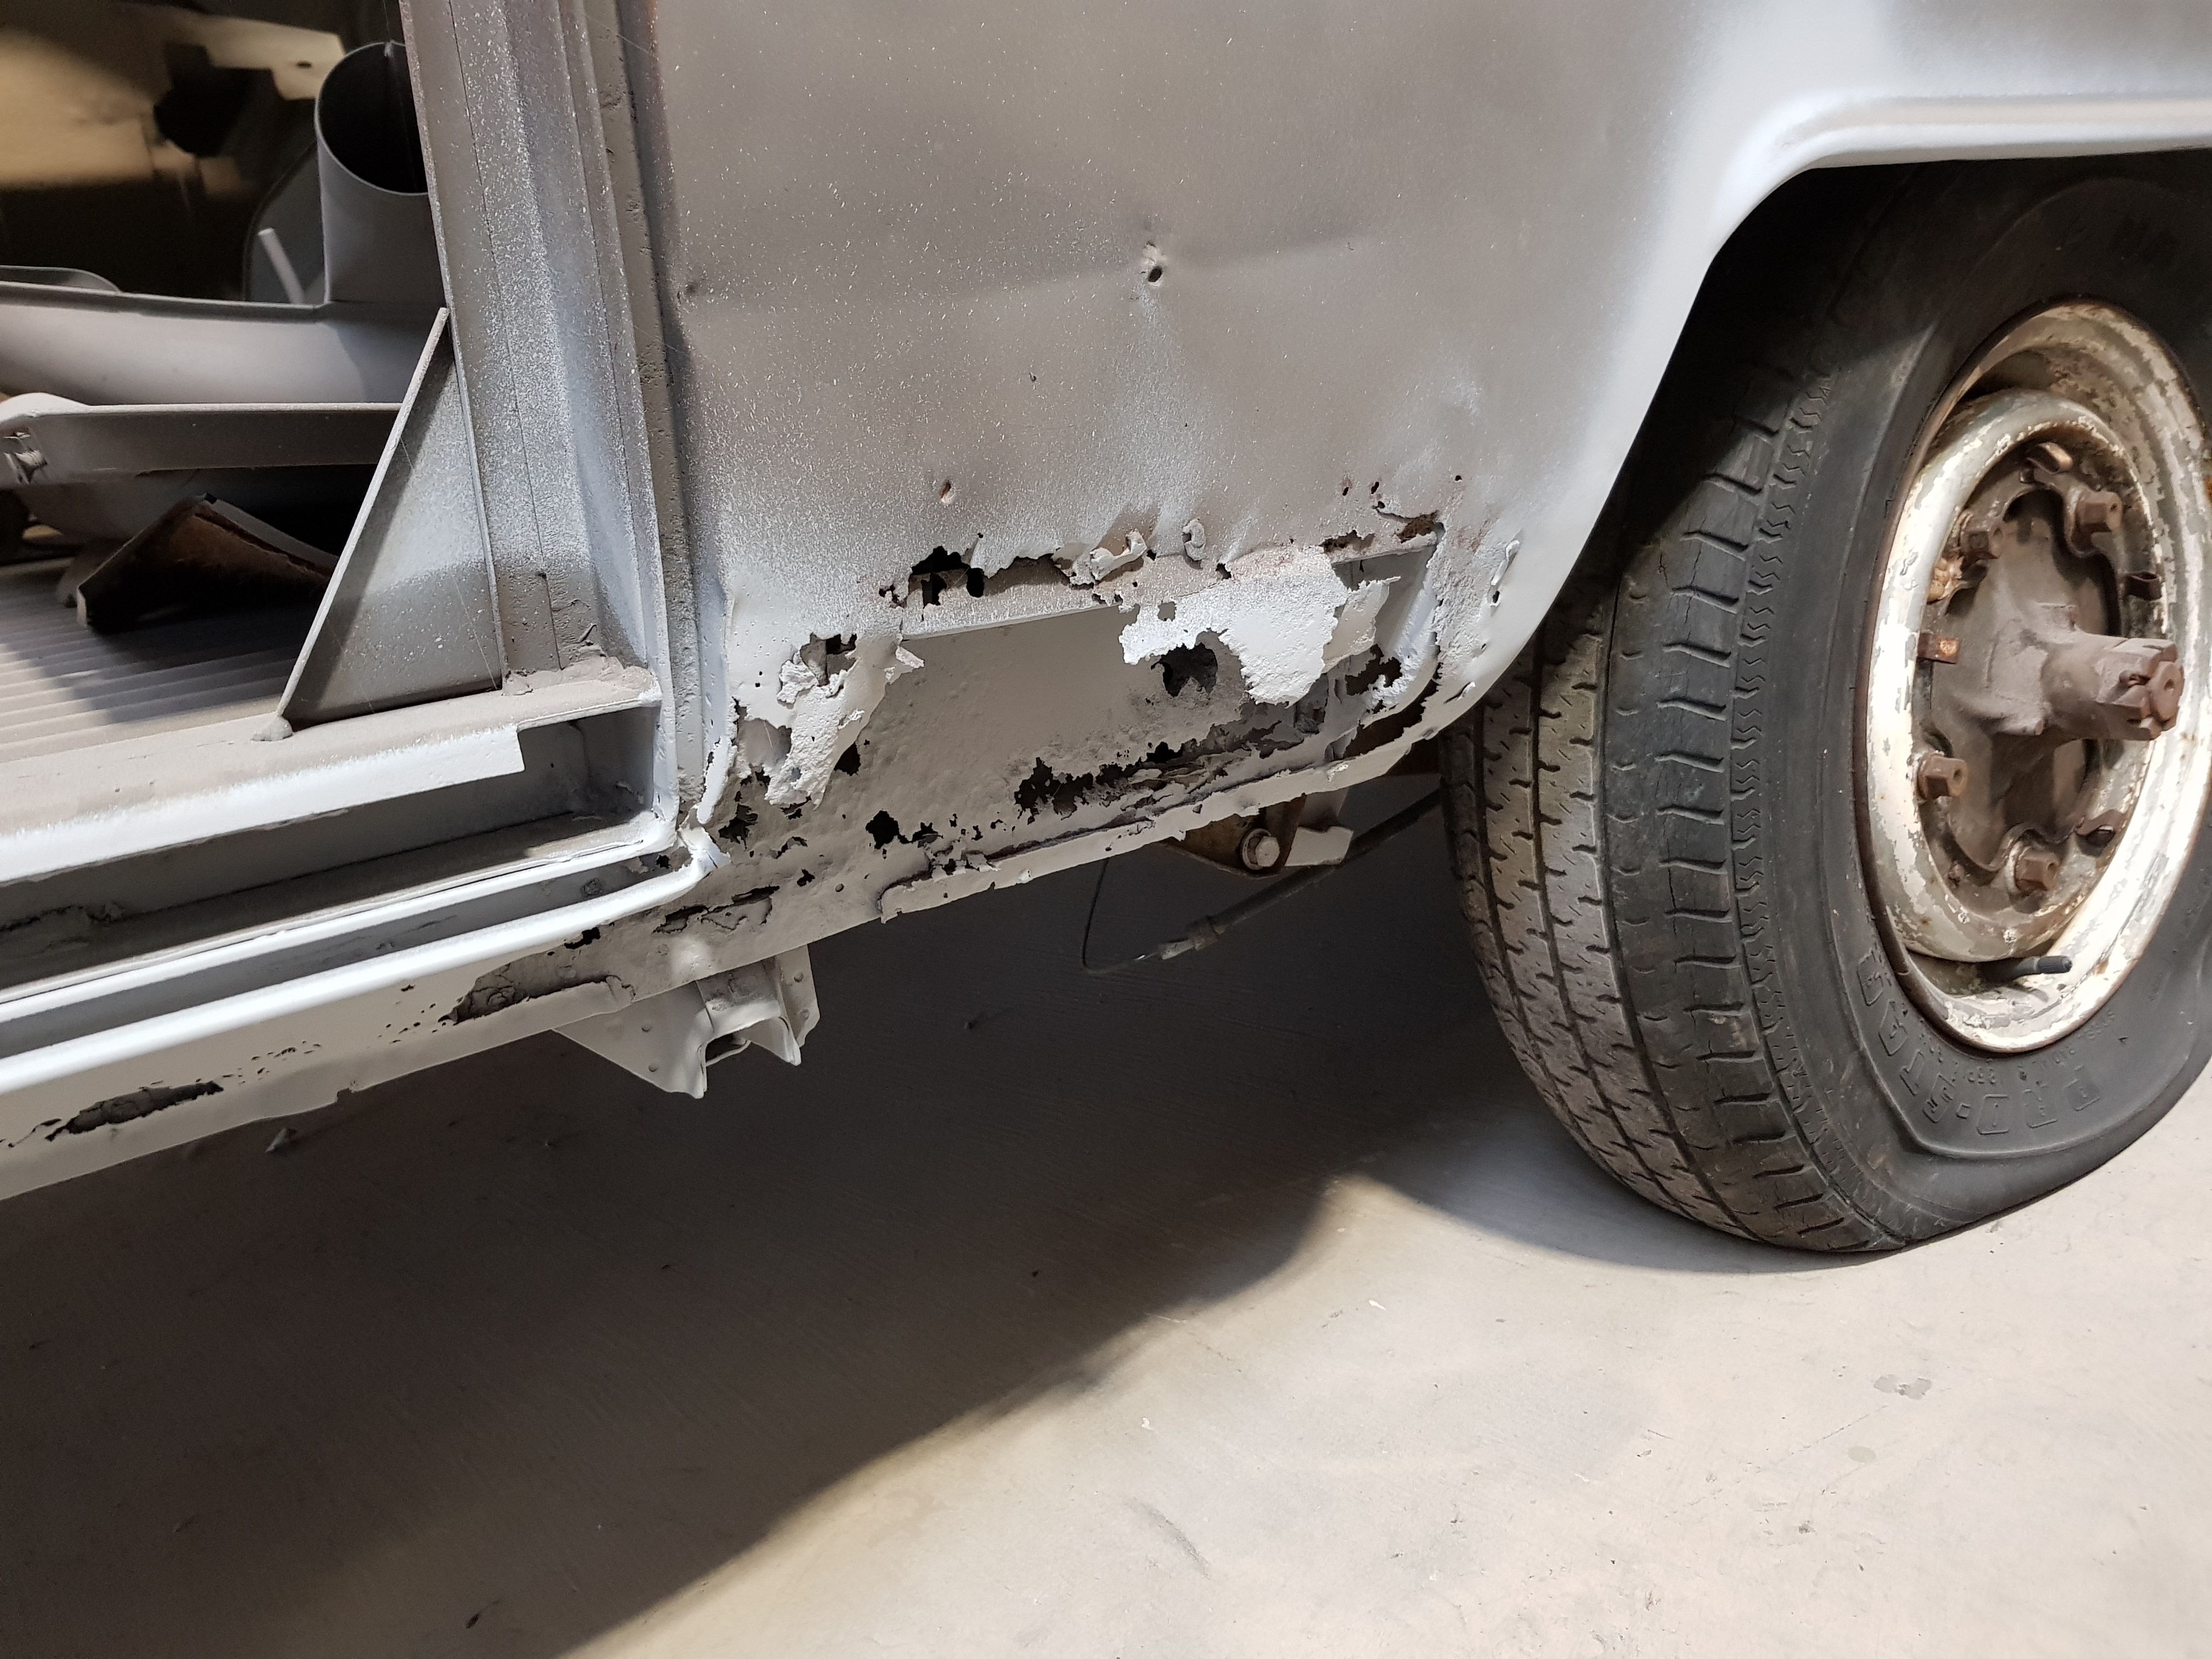
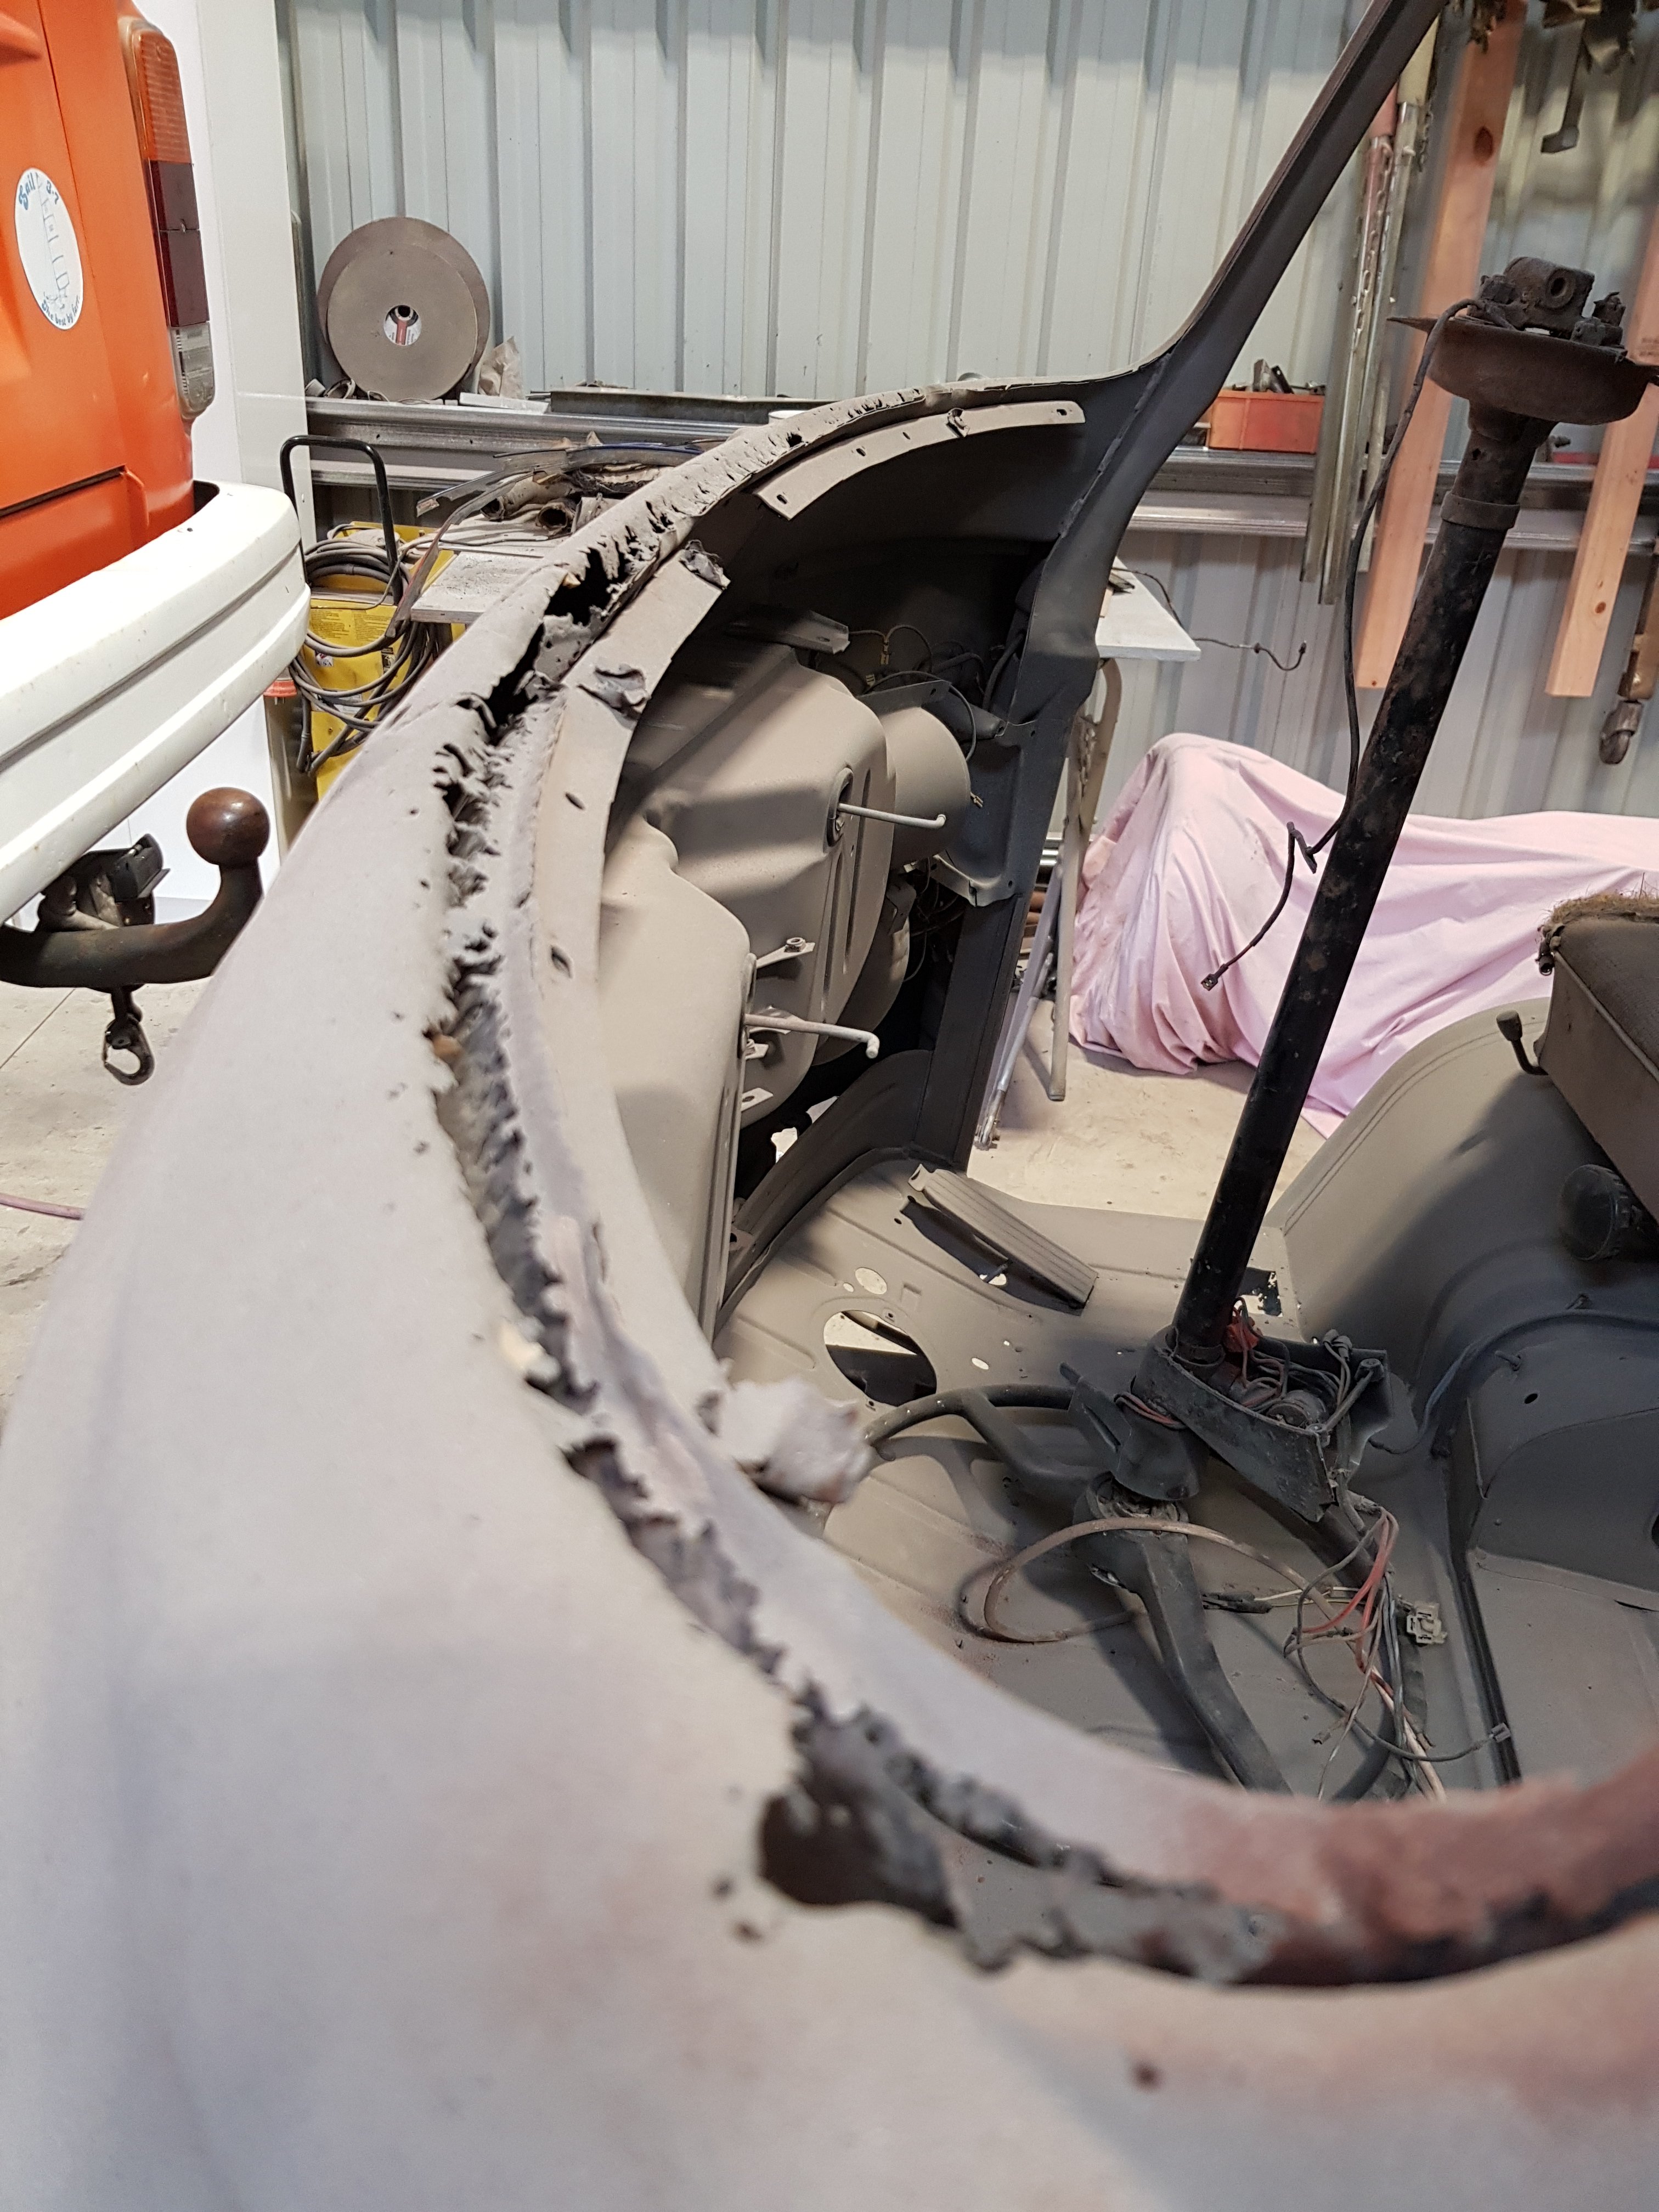
Ah so yeah most definitely will be making this thing a lot lower. Couldn't fit it in the shed without letting the front tyres down. Here are some more photos of the rust/not metal. For example on what a peace I brought. This back left 1/4 is pretty terrible. Some one has had fun filling it with bog before. Bottom of the sliding door Yeah... Some one must of drove into a nice pole at one stage. Bottom 6 inches like normal. Just easier to replace the hole front. Yeap. Few holes in this part. Just looks pretty when I put a torch under the floor in the dark. See heaps of stars Drivers door. Just behind the drivers door. Passengers door Behind the sliding door. And the bottom of the front window. I'm going to be a great welder or grinder by the end of this.
6 points
-
Just returned from Dirt Masters Mk4, few oldschoolers around. Thanks to @Born Loser for organising such an amazing event! Ended up taking two bikes down the F50 and CD90 https://www.facebook.com/chris.wells.is/media_set?set=a.10159586542285725.1073741861.663260724&type=3&pnref=story5 points
-
4 points
-
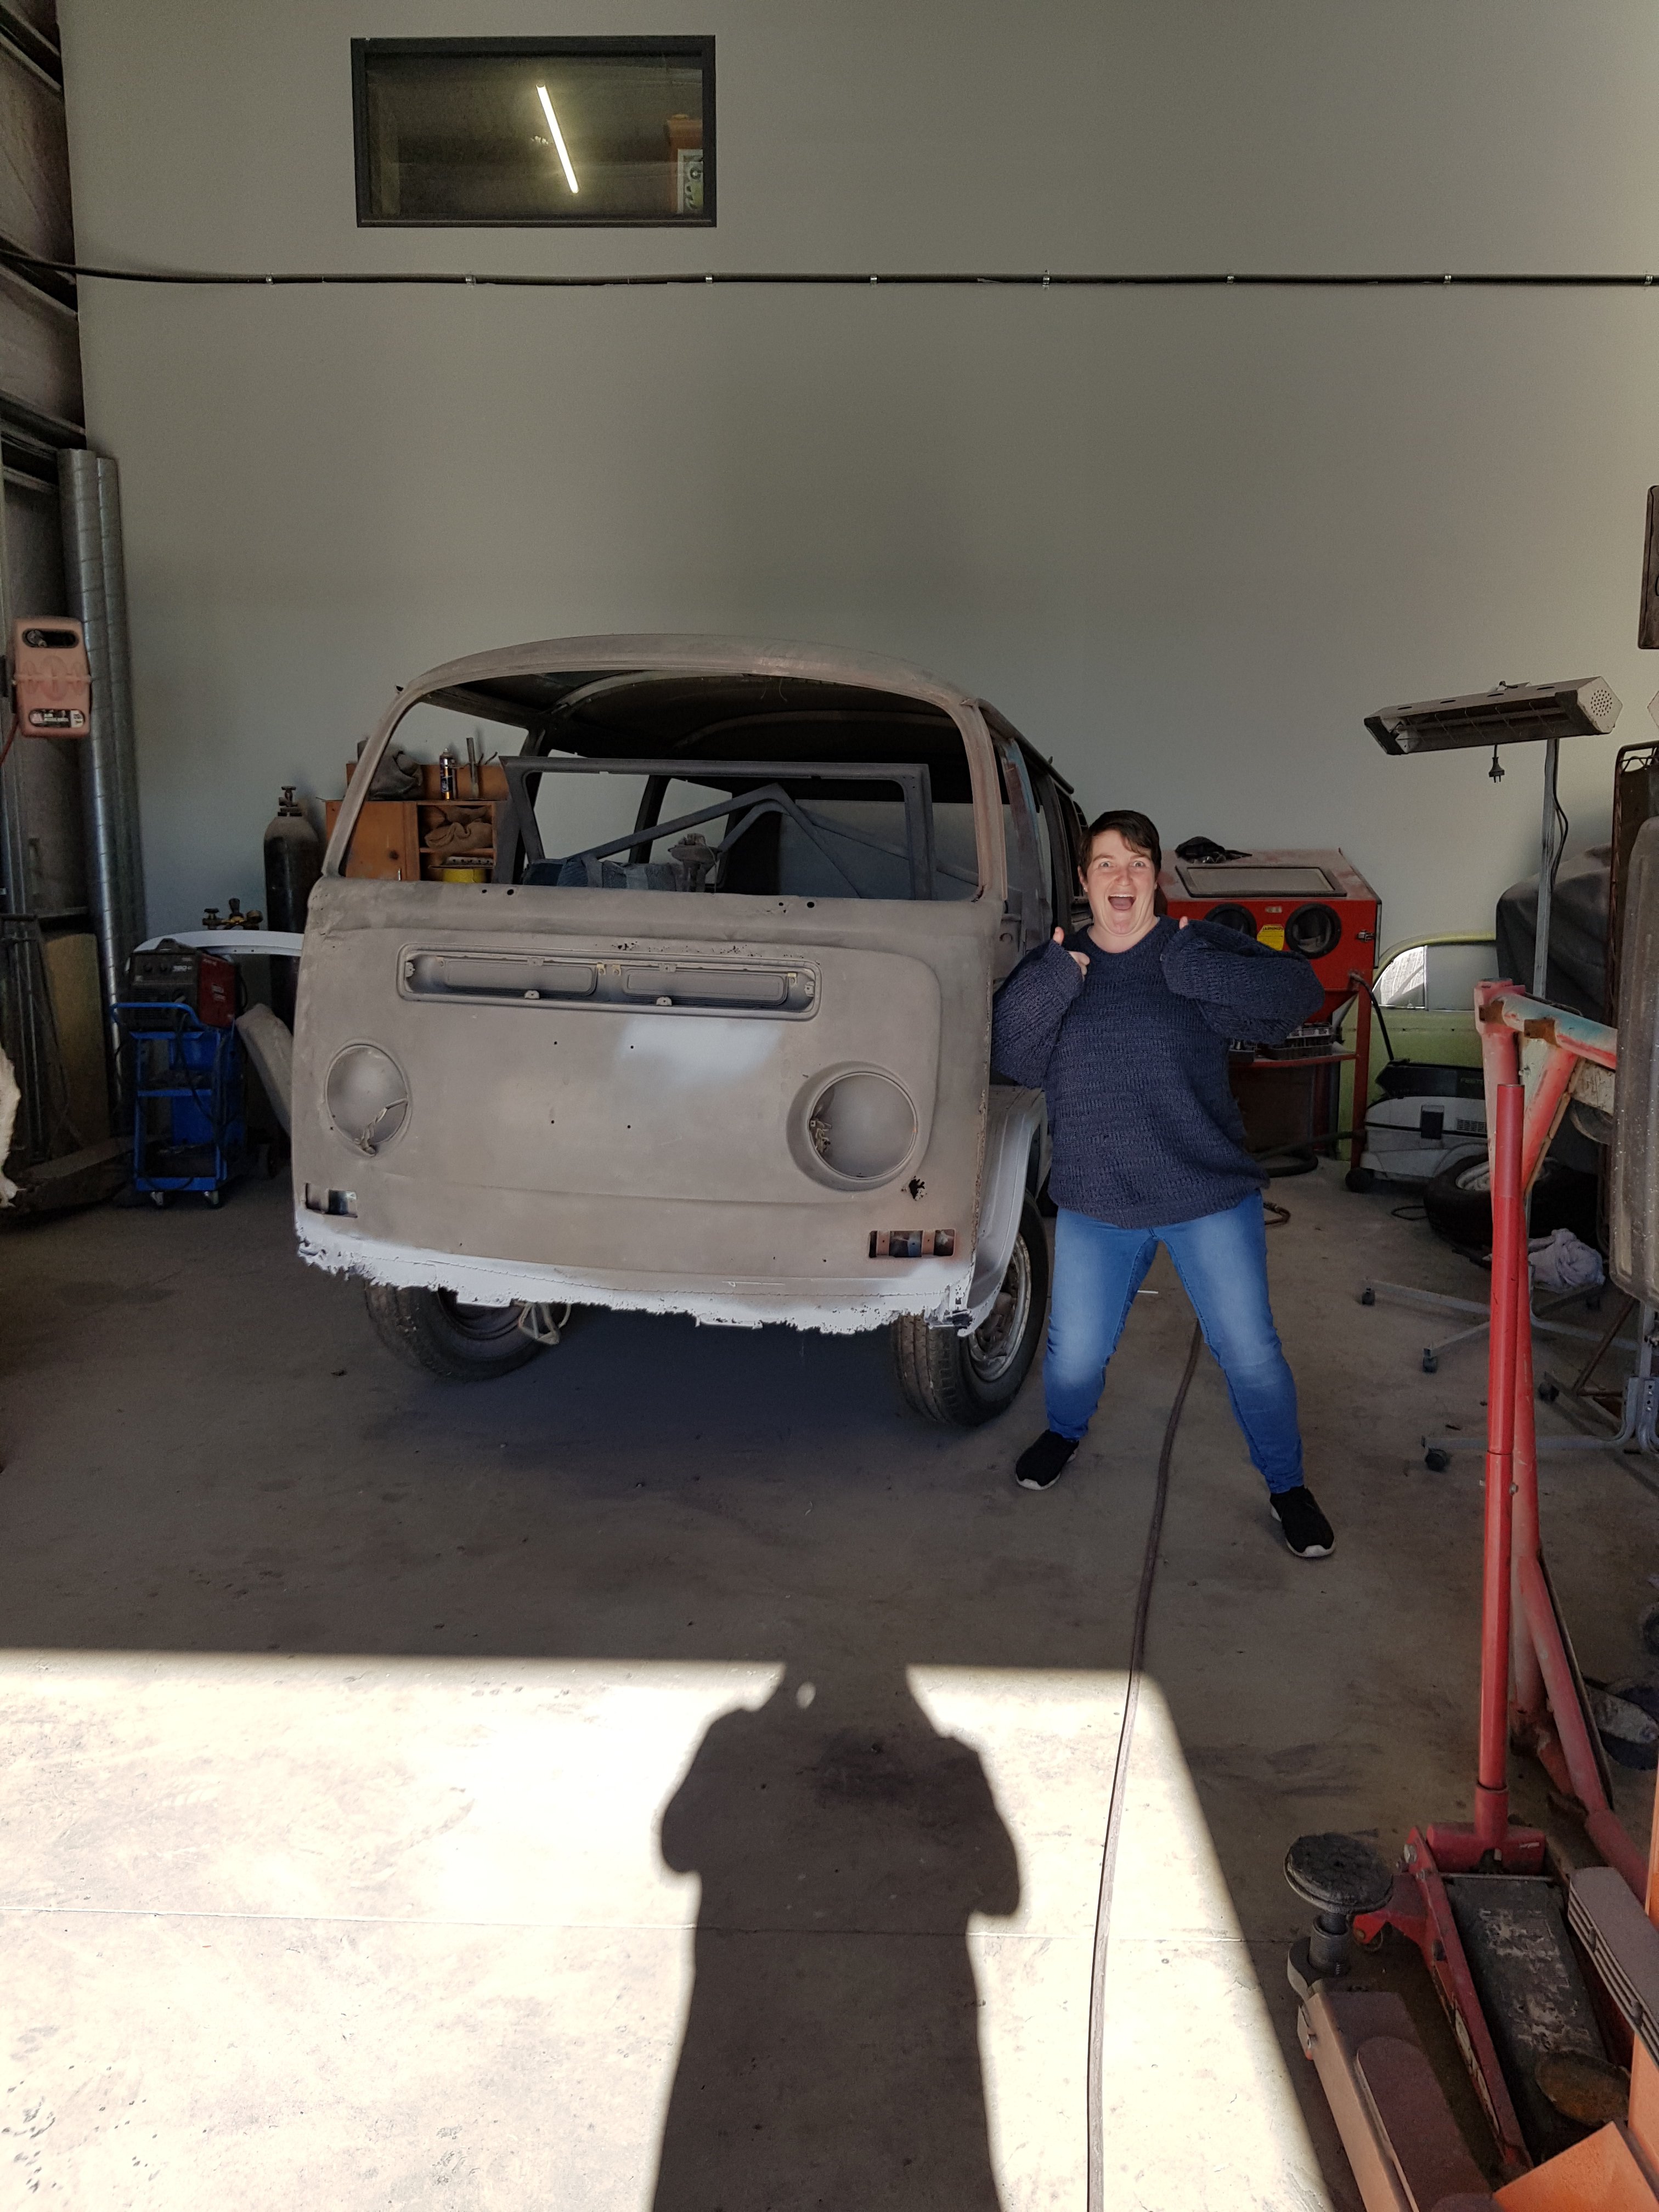
@Mrs 64valiant was super excited about this build she even joined oldschool.co.nz. No covering up my tracks now..... Gotta be careful what I say in here haha.3 points
-
I'll have number 4 please. Have been enjoying the recent updates too3 points
-
A small but important part to getting a car legal on the roads. Really need to be black.It's funny, this car has been a shell for so long, every time I attach another part it's like I get some kind of shock, I don't like it, it looks so cluttered! after a day or two my brain has caught up the new part look normal again. uh-oh.time for a clean and a paint.and a couple new seals, the inside of the fan shroud has a nice coating of oil.no rust at least!3 points
-
So had some drama today. Had previously noticed a bit of coolant venting when in traffic due to heat and after a run up the mway today to caffeine and classics we hit the queue to get in and airflow across radiator stopped and the heat got up. Started to get worse by the time i got through to find a park and then POP It dumped coolant and the top hose had popped off the radiator. Thankfully no parts damaged. The OS boes came to the rescue lending tools water bottles and filling them up. And holding the bonnet up for me haha. Had to take the airbox out, which we found had some curious mods, to get to the radiator as its angle mounted in the nose. Got the hose back on and topped up with some coolant and checked out all ok. Its possibly the radiator fans arent coming on from the temp switches. One comes on when AC is on so I can use that for now. Also seeing Clint the RB anorak loves these motors he cast his certifying eye over the turbo and spotted the waste gate actuator not hooked up and the wastegate itself was just flappin in the breeze. I knew i had an issue with lack of boost but hadnt even started to look. When I got home I hooked it up and whacked a split pin through. Fired up and it started making the noises you here when its a rainy night. Went for a doort through the tunnel and yup it does hunnits now. So just like that Clint solved my problem...pic of the culprit now restrained3 points
-
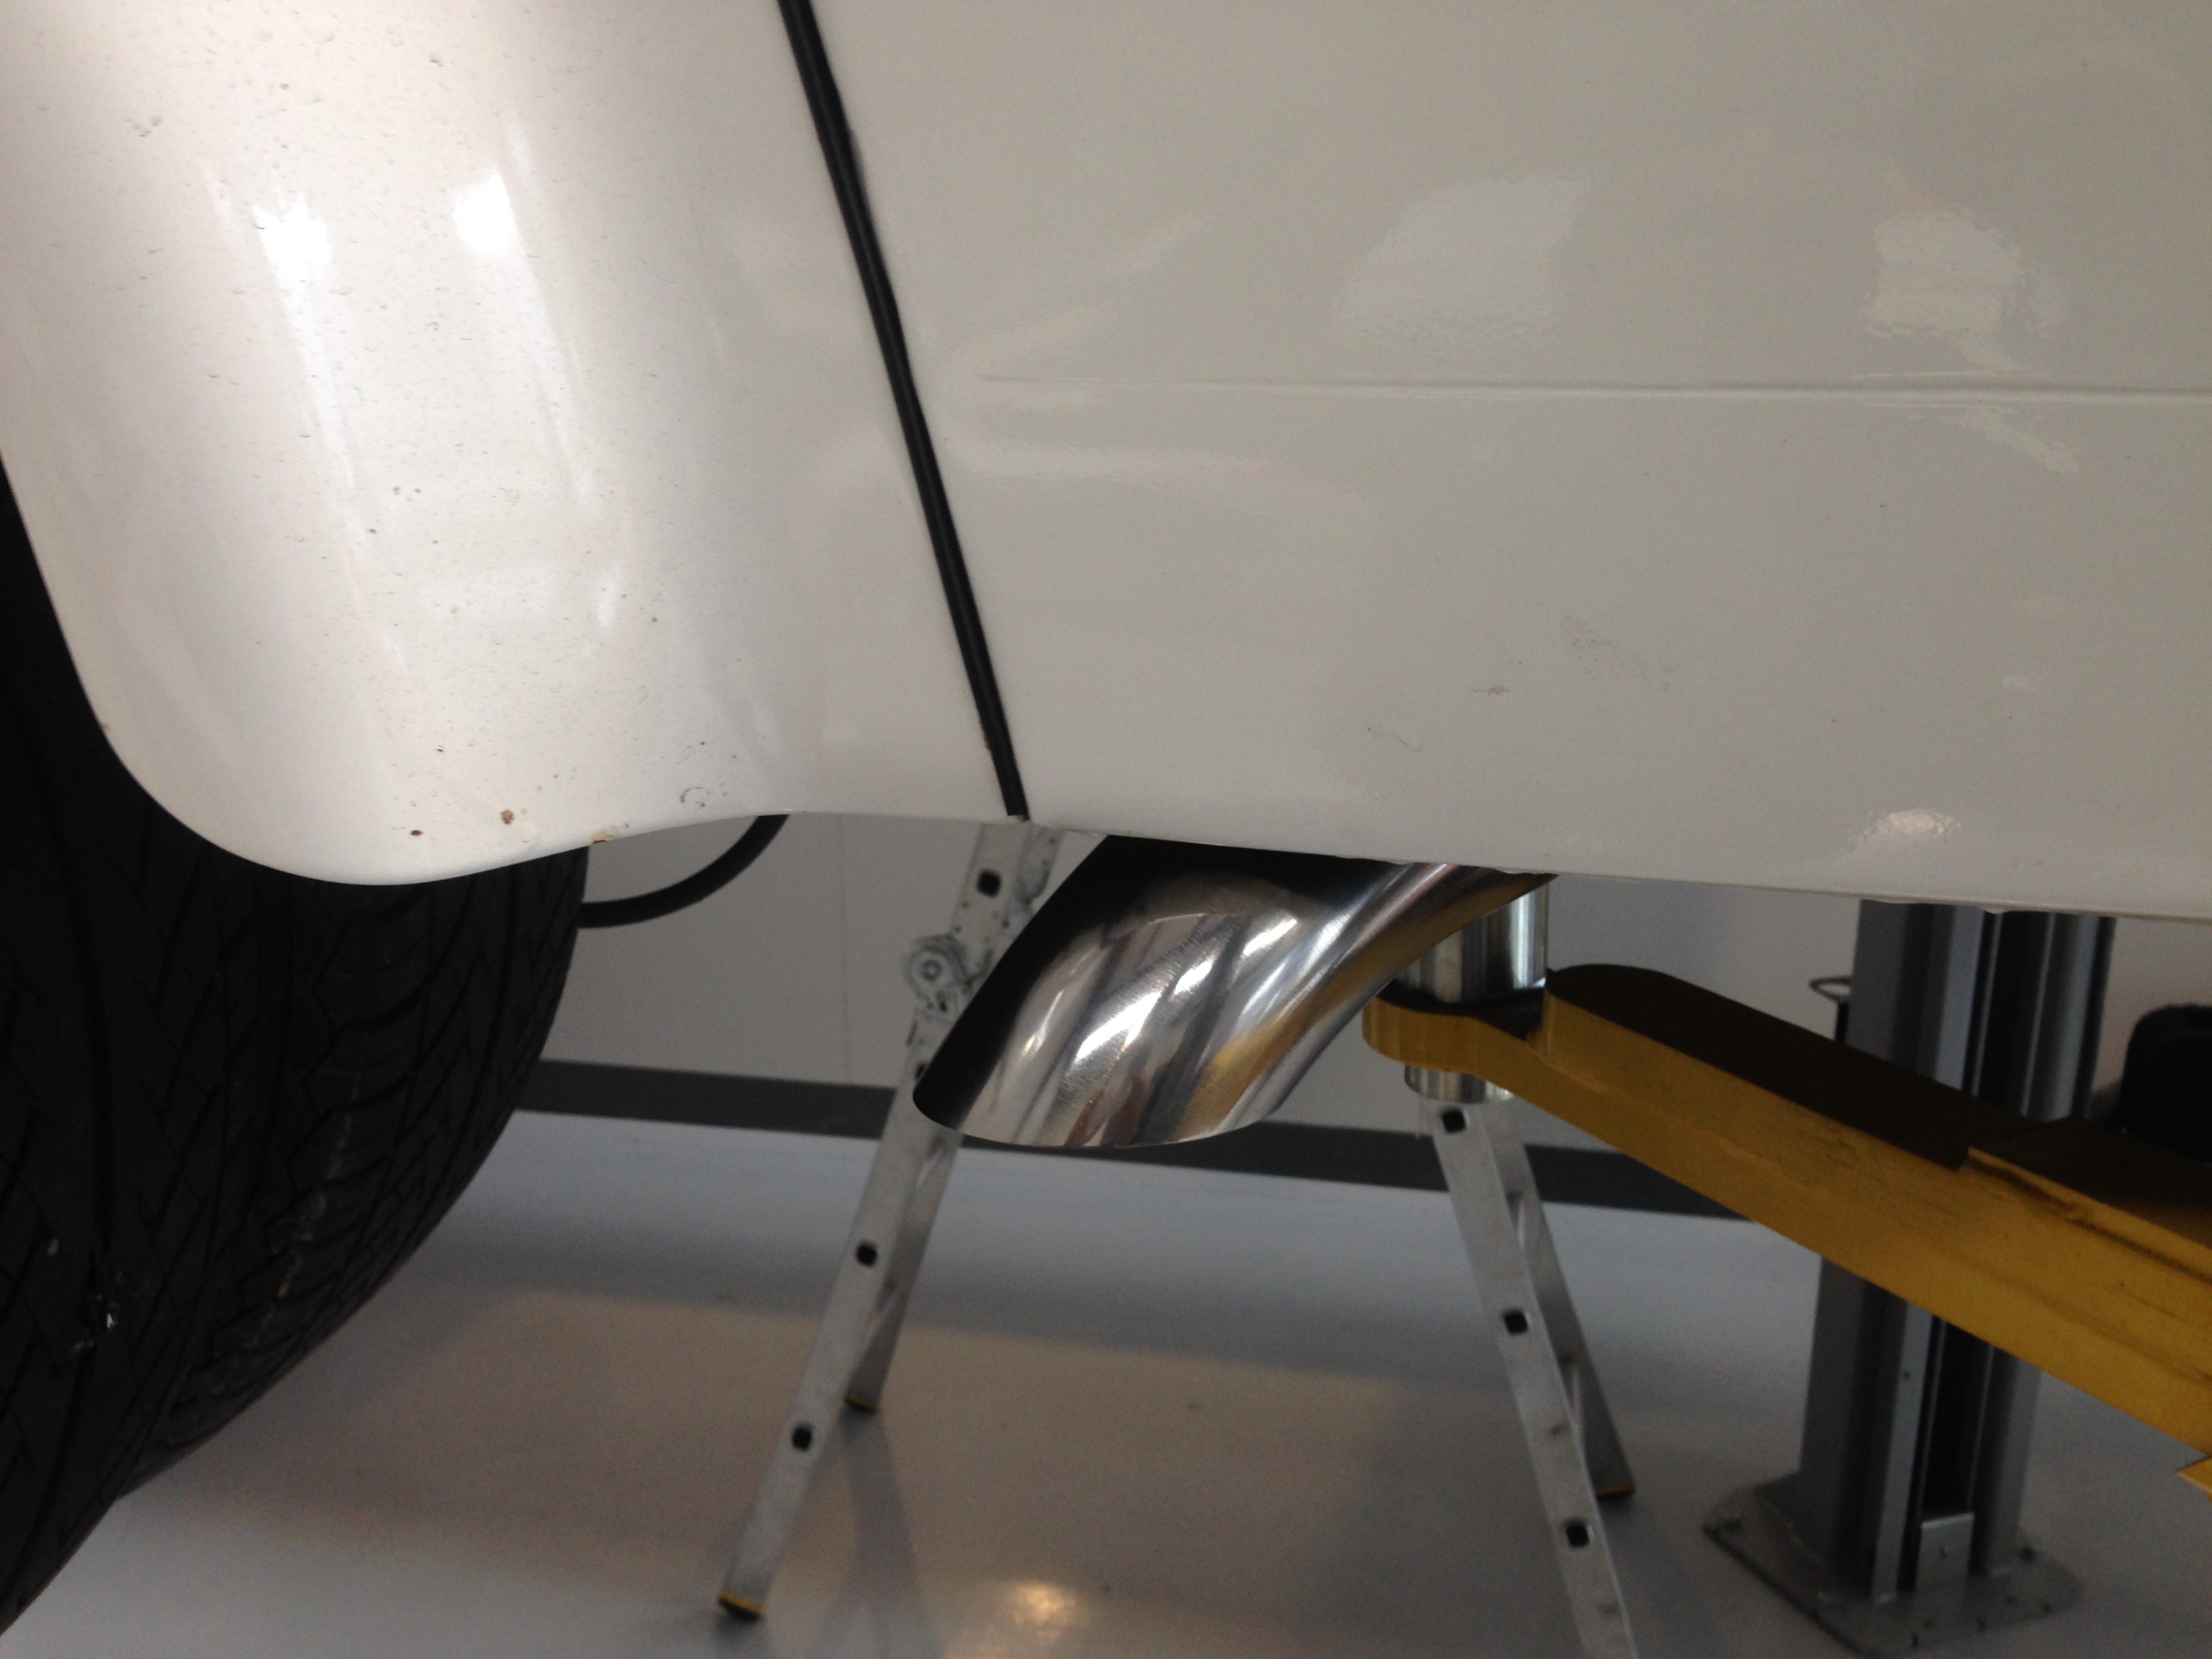
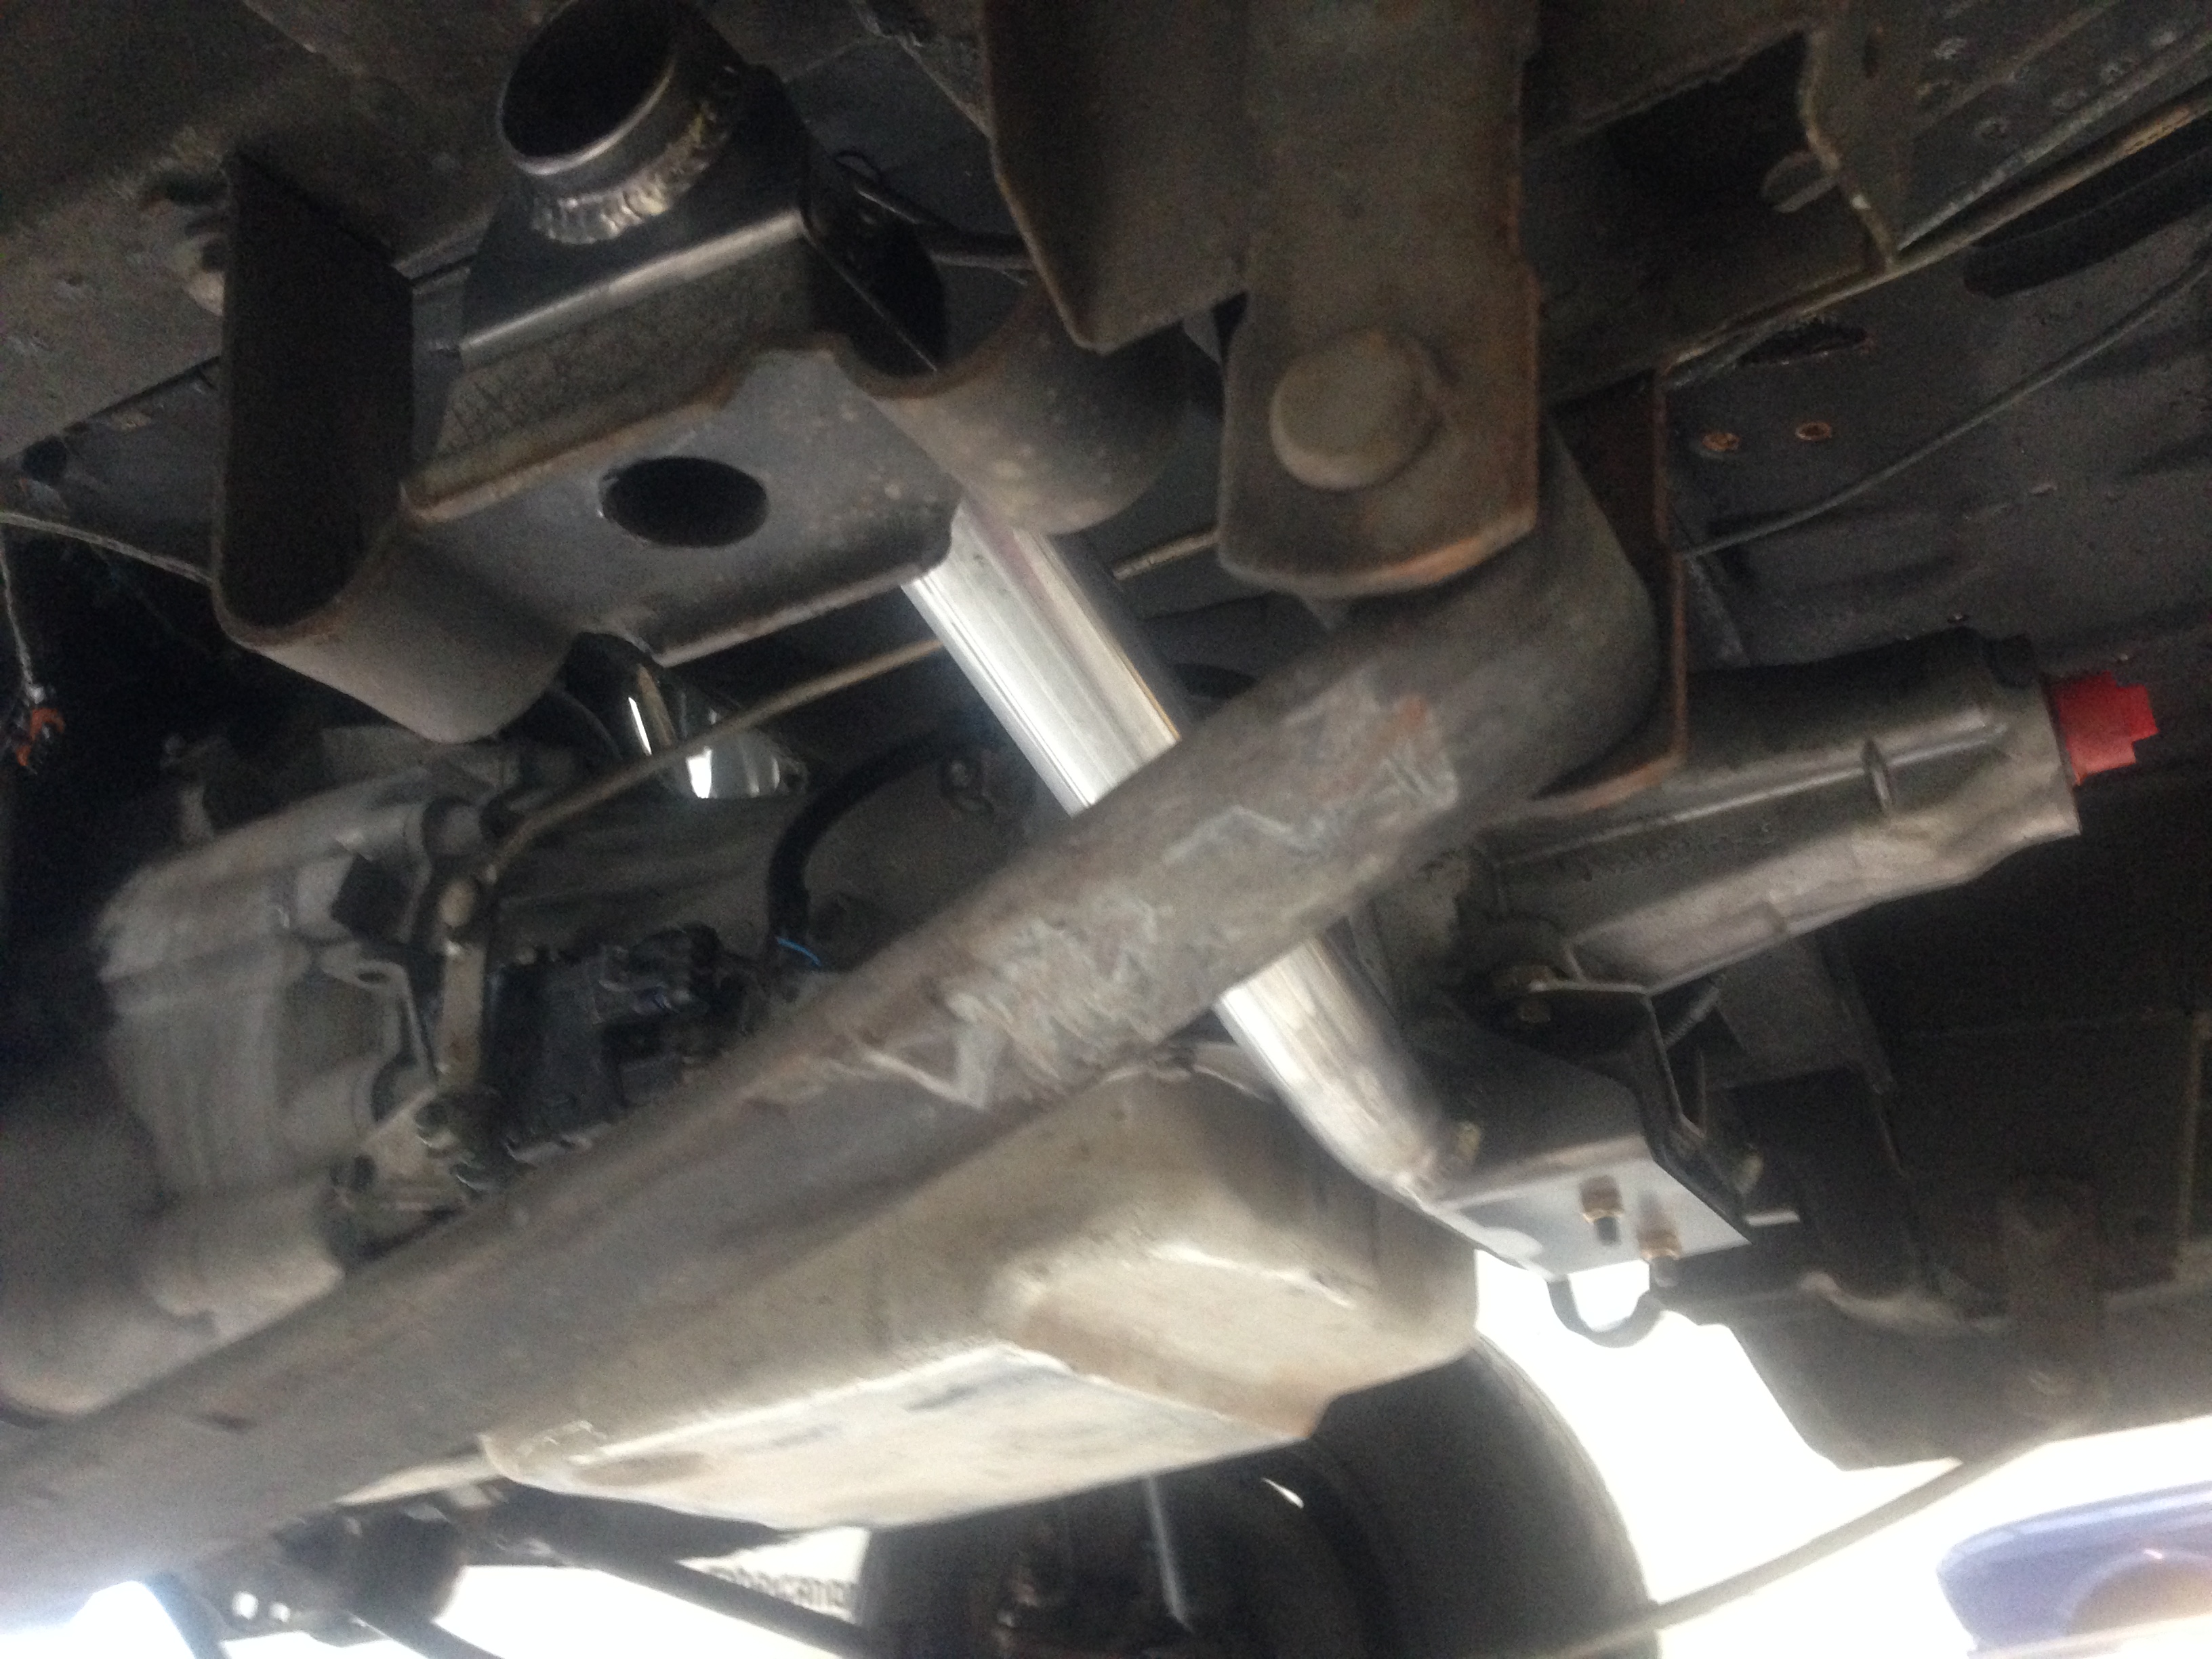
exhaust fitted today
3 points
-
Hi team. After a bit of attention in the whipping a v4 thread i figure there is some love for a dirty old transhit so here we are First impression Discussion:
2 points
-
gyro550 by John Bell, on Flickr2 points
-
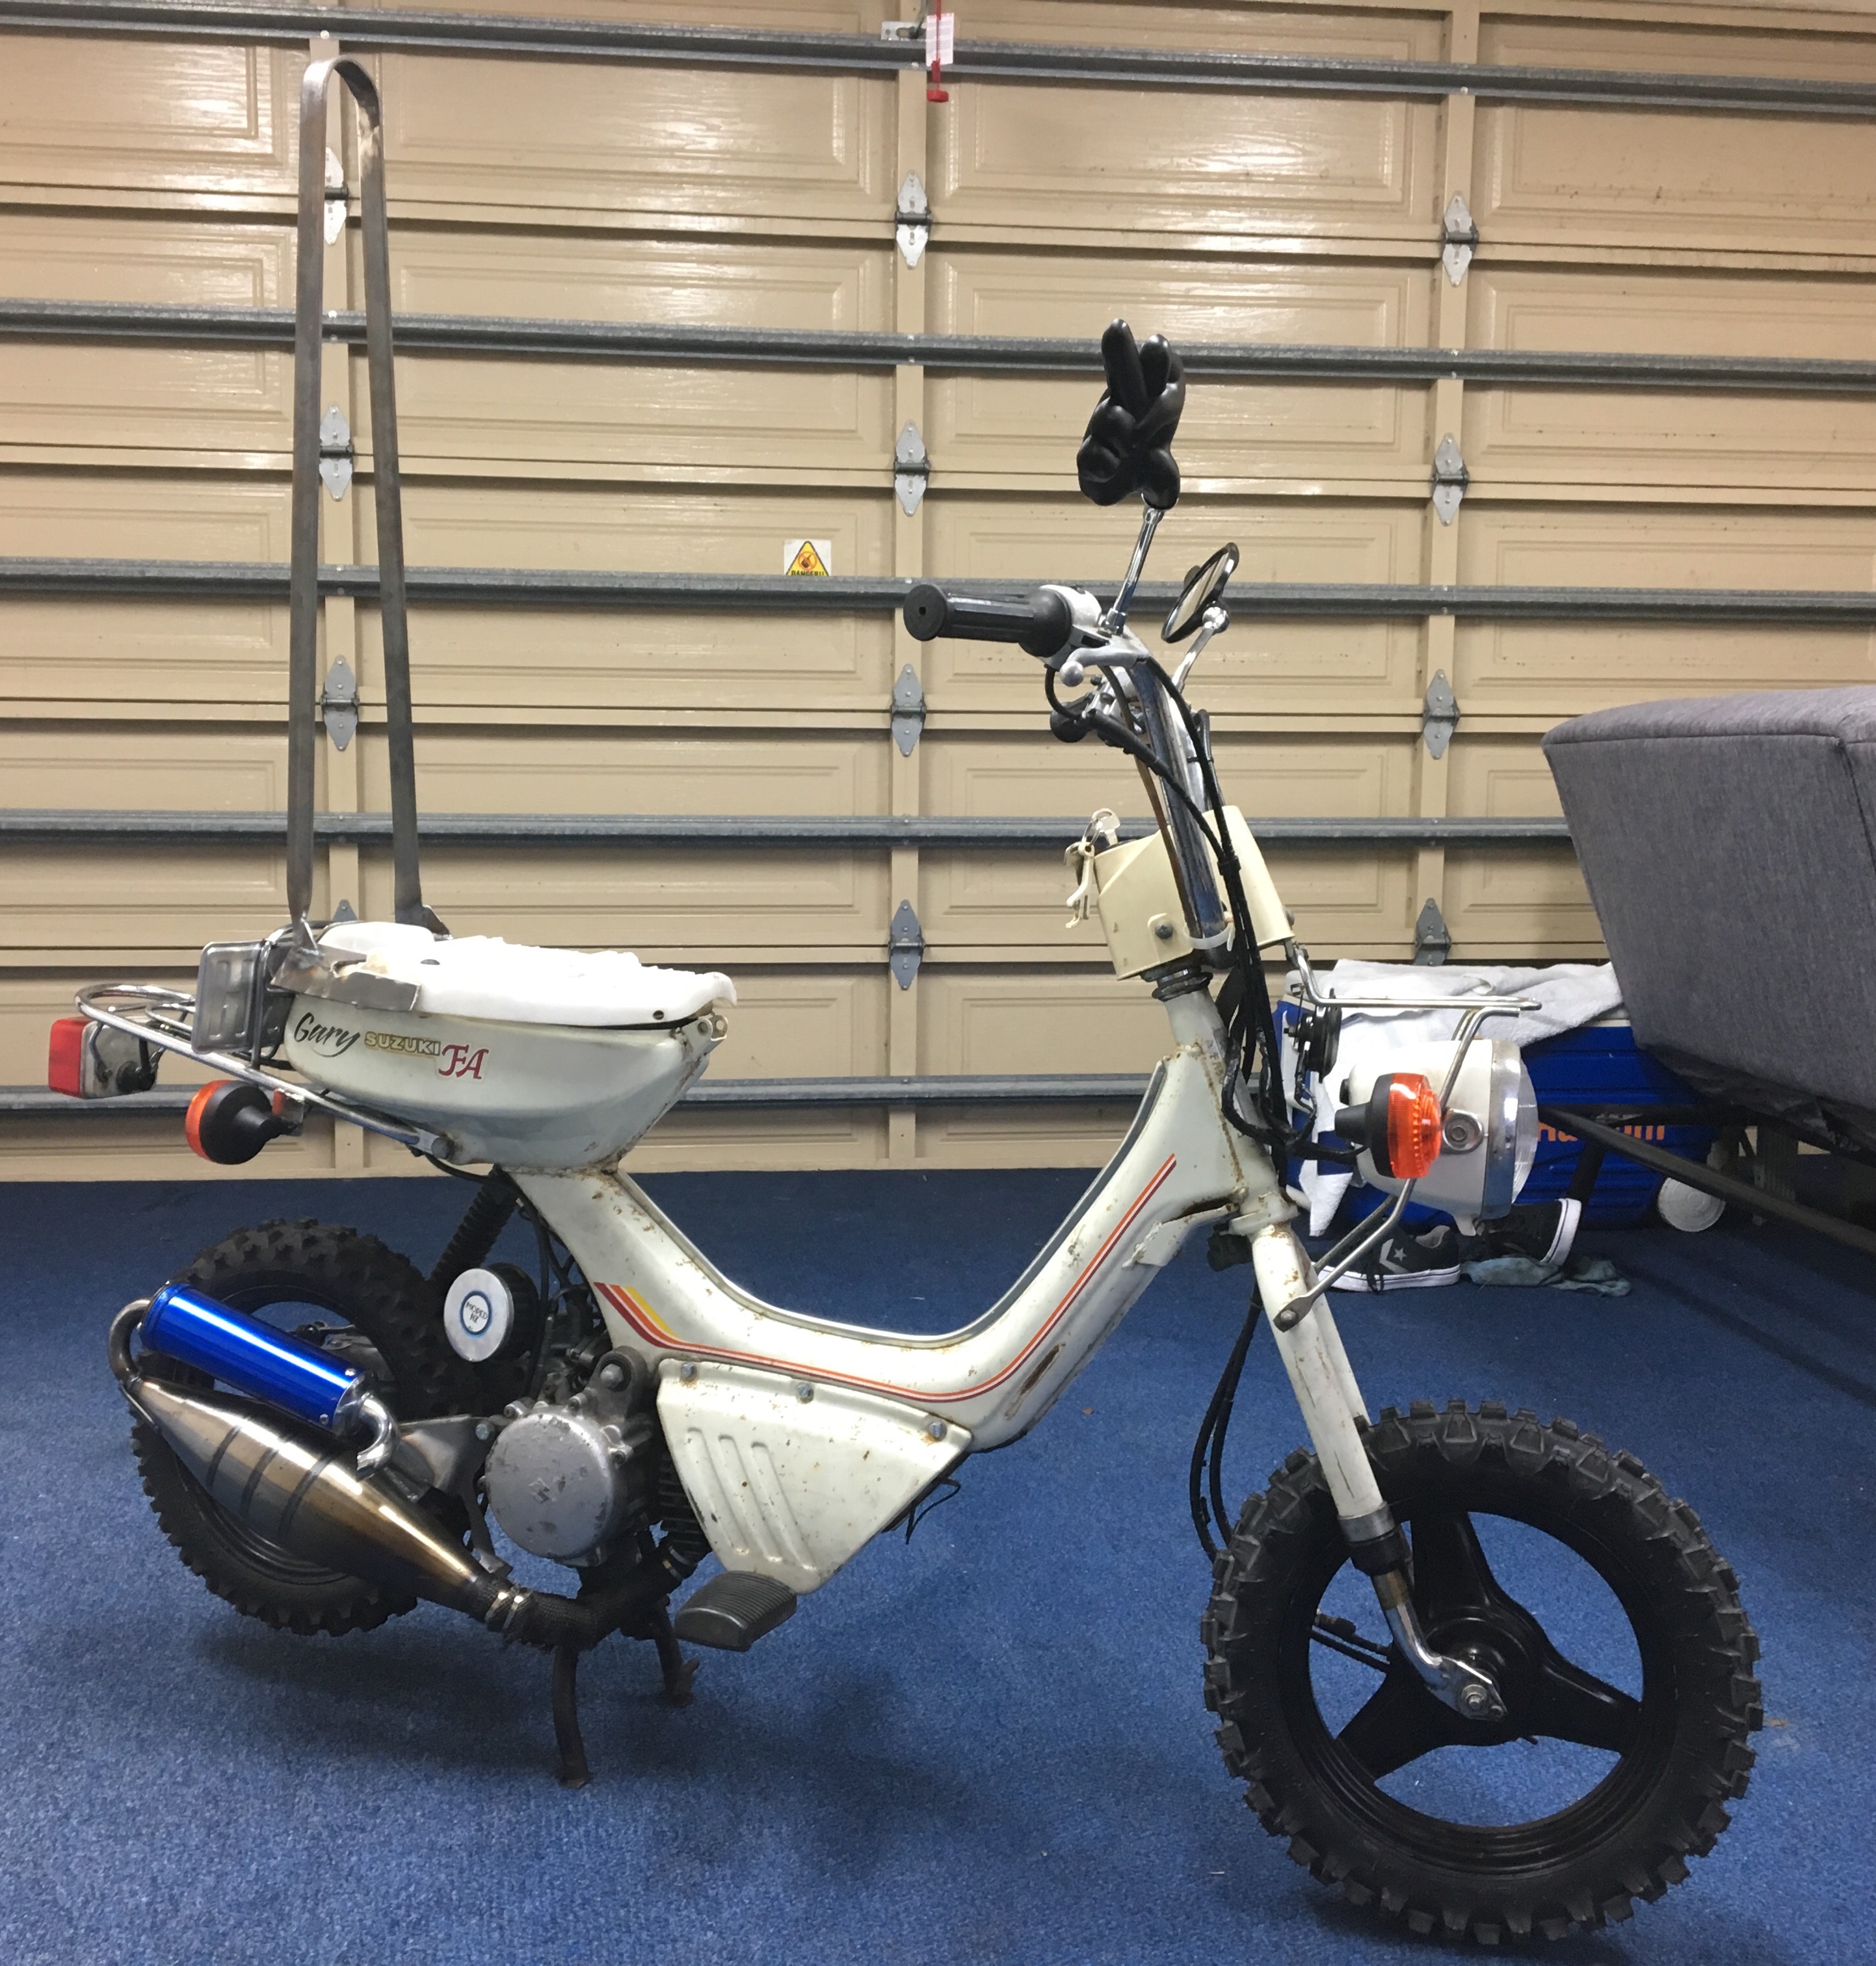
Seller pulled the auction for that pipe with 3min left to go even though the reserve was met, a mate in Japan reckons it happens a lot when bidding isn't high enough for the seller. Was re-listed 2 minutes later too. Little bit more progress today, discovered the basket case 14mm crank engine has some thin fibreglass looking reeds in it, they may come in handy in future! The factory throttle and oil pump cables were miles too long, on the original engine they went along the inside of the engine cover sides right to the rear then came forward over the engine to the carb and pump. So I cut them shorter and crimped on new fittings, well I cut the oil pump cable shorter and then used an old Suzuki throttle cable and made a throttle cable from that as it already had the right angled end for this carb unlike the stock cable. /\ Oil done, was working out length for throttle. Came out well, at WOT both the carb and oil pump are at full open and there is no way those crimps are letting go in any hurry. Am struggling at bleeding the oil pump though, can't seem to get anything out of it, I'd seen videos saying to hold the lever full open then use a syringe on the line that goes to the carb to draw oil through, but even with a bit of pressure in the oil tank as well I'm getting nothing at all out of the line. Routed the cables and ran most of the wiring though the frame Still need to work out the White/Green and Yellow/Green stator wires, can't find a Gyro Canopy wiring diagram that isn't for a 4t with a completely different set up. That's not the stator I'm using in my engine, just the same type for comparison As I mentioned in my last post, the rear brake cables are a bit short for this engine mount, I tried a couple of times to get hold of the guy I got the engines from to buy a Canopy cable, to no avail. So I picked up a length of m6 all thread and then swung by my old work and had these spun up on the lathe Perfect! Chopped the adjustment thread on the ends of the cables down, added a lock nut and threaded on a long nut, then attached the all thread. Now once I go get another long nut to replace the one that vanished under the bench and finish the other side it'll have rear brakes again. At this point I think it's just a case of changing the carb's float bowl as this one is leaking from the mangled drain screw. Prime oil pump. Figure out that stator wiring (may just get it running with it unhooked and check the voltages, then if possible just ignore the 2 extra wires...) Make a mount for the coil. Replace the front shock bushings. Then it should be ridable again! Got an email just before, my first Gyro goodies from Japan are on there way! Still need to find decent plastics, front rack, carrier, 10-12" wheel, exhaust then pull it to bits and paint it/have it painted... Oh and maybe build a 70cc engine with new bearings, soda blasted cases, Daytona CDI, 10cm mount stretch etc...2 points
-
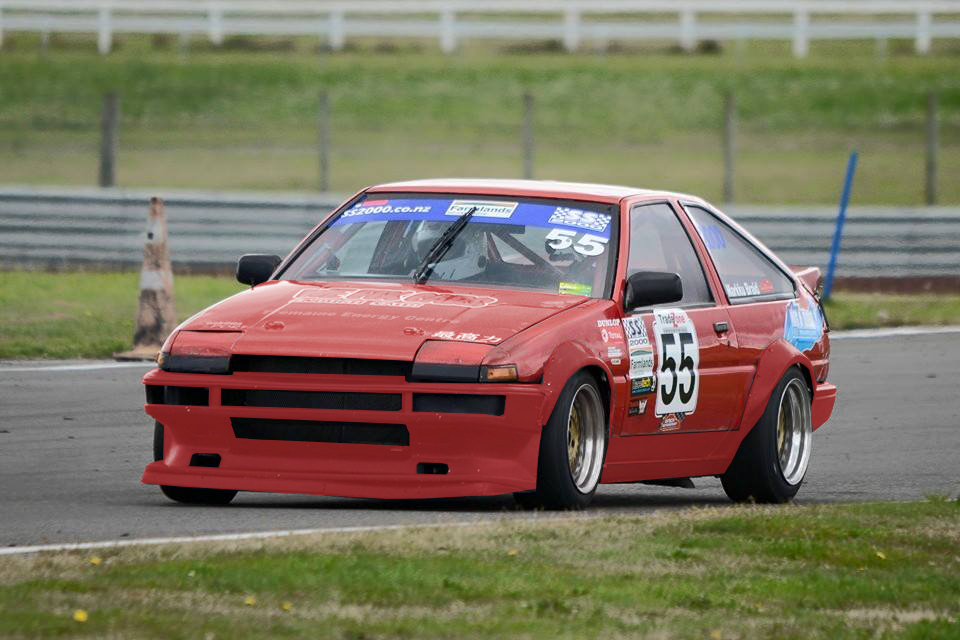
Rainbow AE86?
2 points
-
Rode this thing at Dirtmasters. The torque! High compression big block goodness.2 points
-
Report for spam.2 points
-
Sure i'll go get my arc welder warmed up. What are the runner lengths you require?2 points
-
Disable all your warmup and cranking enrichments and then tweak your fuel map until it starts hot. Then fiddle your cranking enrichment until it starts faster hot.Then redo your cold fuel enrichment if necessary.2 points
-
Can get them for $200nz plus gst2 points
-
fucke yeah this is awesome! skid vids plz2 points
-
pics so I remember how it goes back together.scored some bike wall mounts, made some room.might be able to get the car out now.suspension has settled a bit already.pics coz awesome. Cleaned up and painted the two bows for the sunroof, I have one screw I can't get out of the front part of the mech, The large part that carries the catch, trying real hard to not have to drill it out, these parts aren't easy to find I would imagine? I've got it soaking in ATF and thinners.getting close!!2 points
-
Nothing too exciting has happened, just lots of little things, hence why there hasn't been many updates, but I thought I'd better do one before I get too many more photos. Rust killed and painted the back of the dash today. I'm tempted to weld it in to the cab but I know that I will regret it when I need to fit the wiper motor, heater etc behind it. Pressed the holes in on the airbag tray, looks heaps better! Needed to weld some box section behind it as it warped quite abit. I'm thinking I might paint it with some black crinkle paint. Had the certifier come and have a look at how to mount the seat belts, since the upper back of the cab is a thin double skin. Came to the conclusion that we needed to slide in and weld some plates in behind the skin and door frame. Hard to see in the photos but the inner skin has quite a weird shape to it; curves out and then back in and around to the rear window. It also slants down at an angle, so that's where these brackets come in. Took awhile to figure out how to make them as I started off trying to shape them to fit the curved profile but that was a fail, then realised that they could just be flat plate at the two angles. Drilled some holes, hoped they were in the right place. The plates fit through a gap up by the headlining. I could only just fit my hand in there, caused a lot of pain trying to get them fitting right. They were perfectly in the right place so plug welded them in. Also another two plugs above and below the nut. Scored a handbrake for a few dollars from the vintage car club Cleaned it up and cut some holes in the floor Because the dash has been swapped from LHD to RHD there wasn't any holes in the firewall for the support brackets. Instead of drilling holes and having some horrible looking threads and nuts sticking through, I made up a mount and shorted the bracket to suit. Need to do the same on the other side now. Welded in the cowl vent pivot/gutter thing as well. Gave it all some decent coats of paint so hopefully it doesn't rust again. Put the rubber seal in but it's too thick and hard so the vent sits a little high, will have to sort a new seal one day.2 points
-
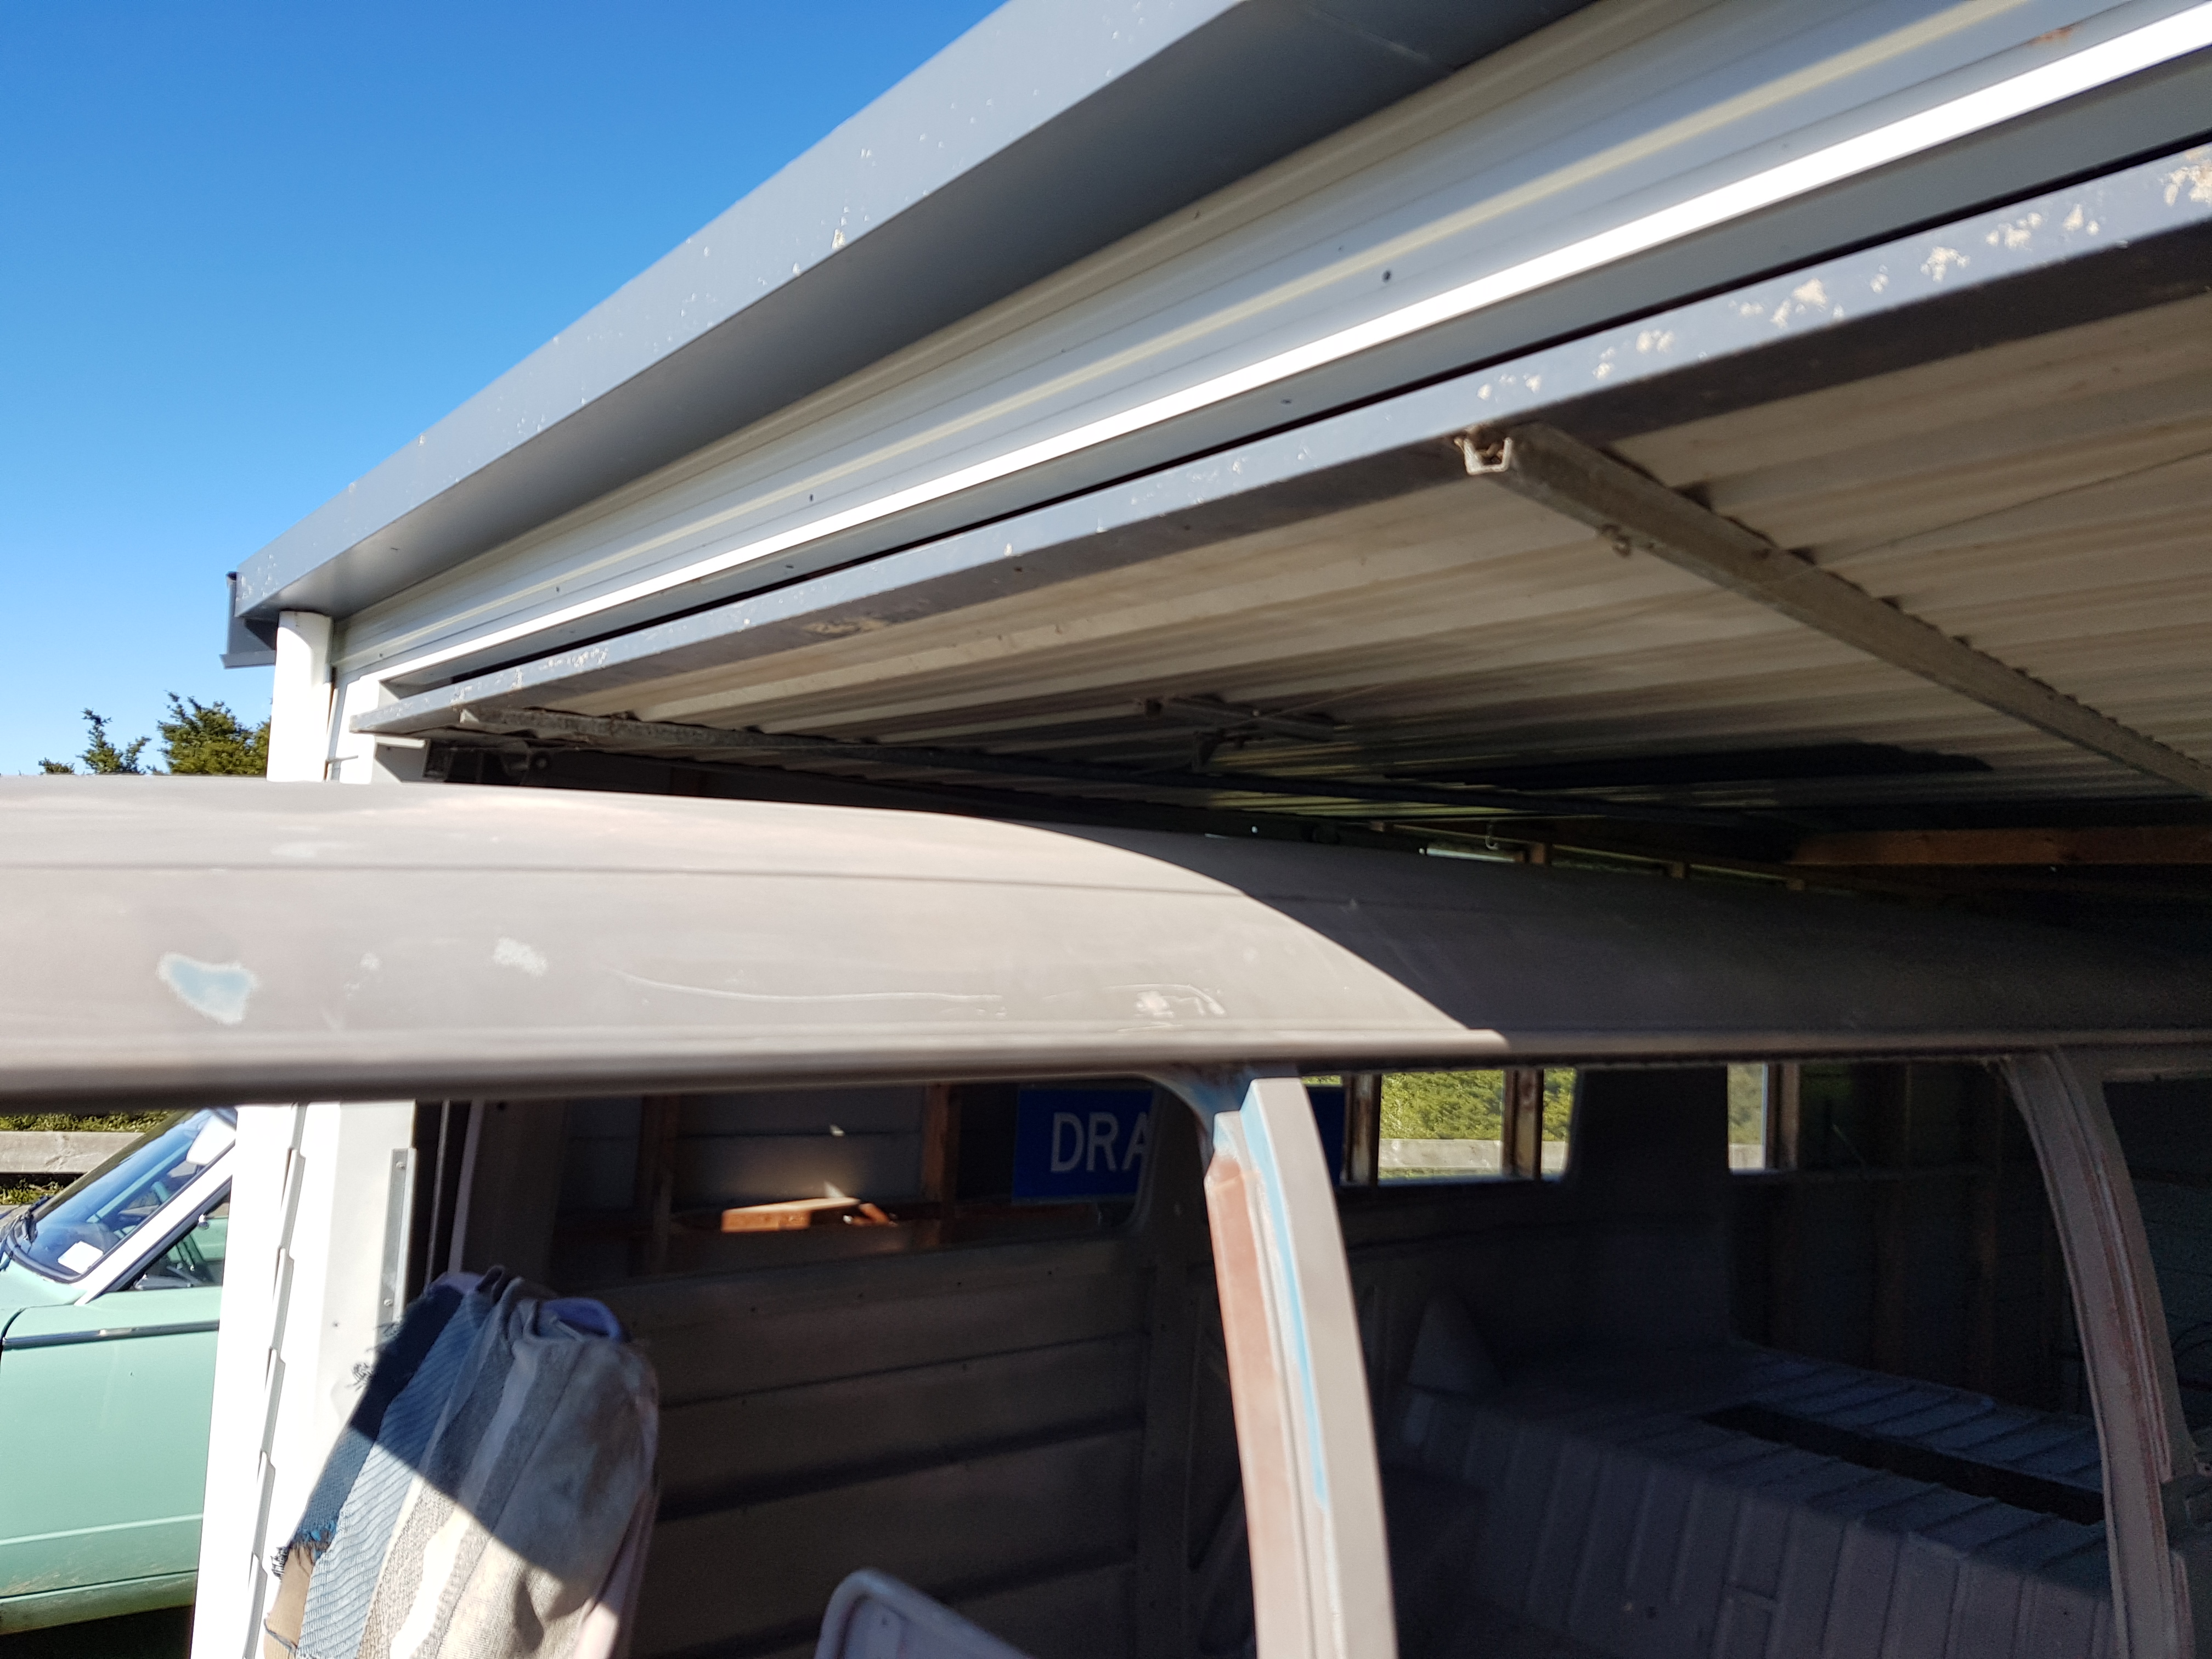
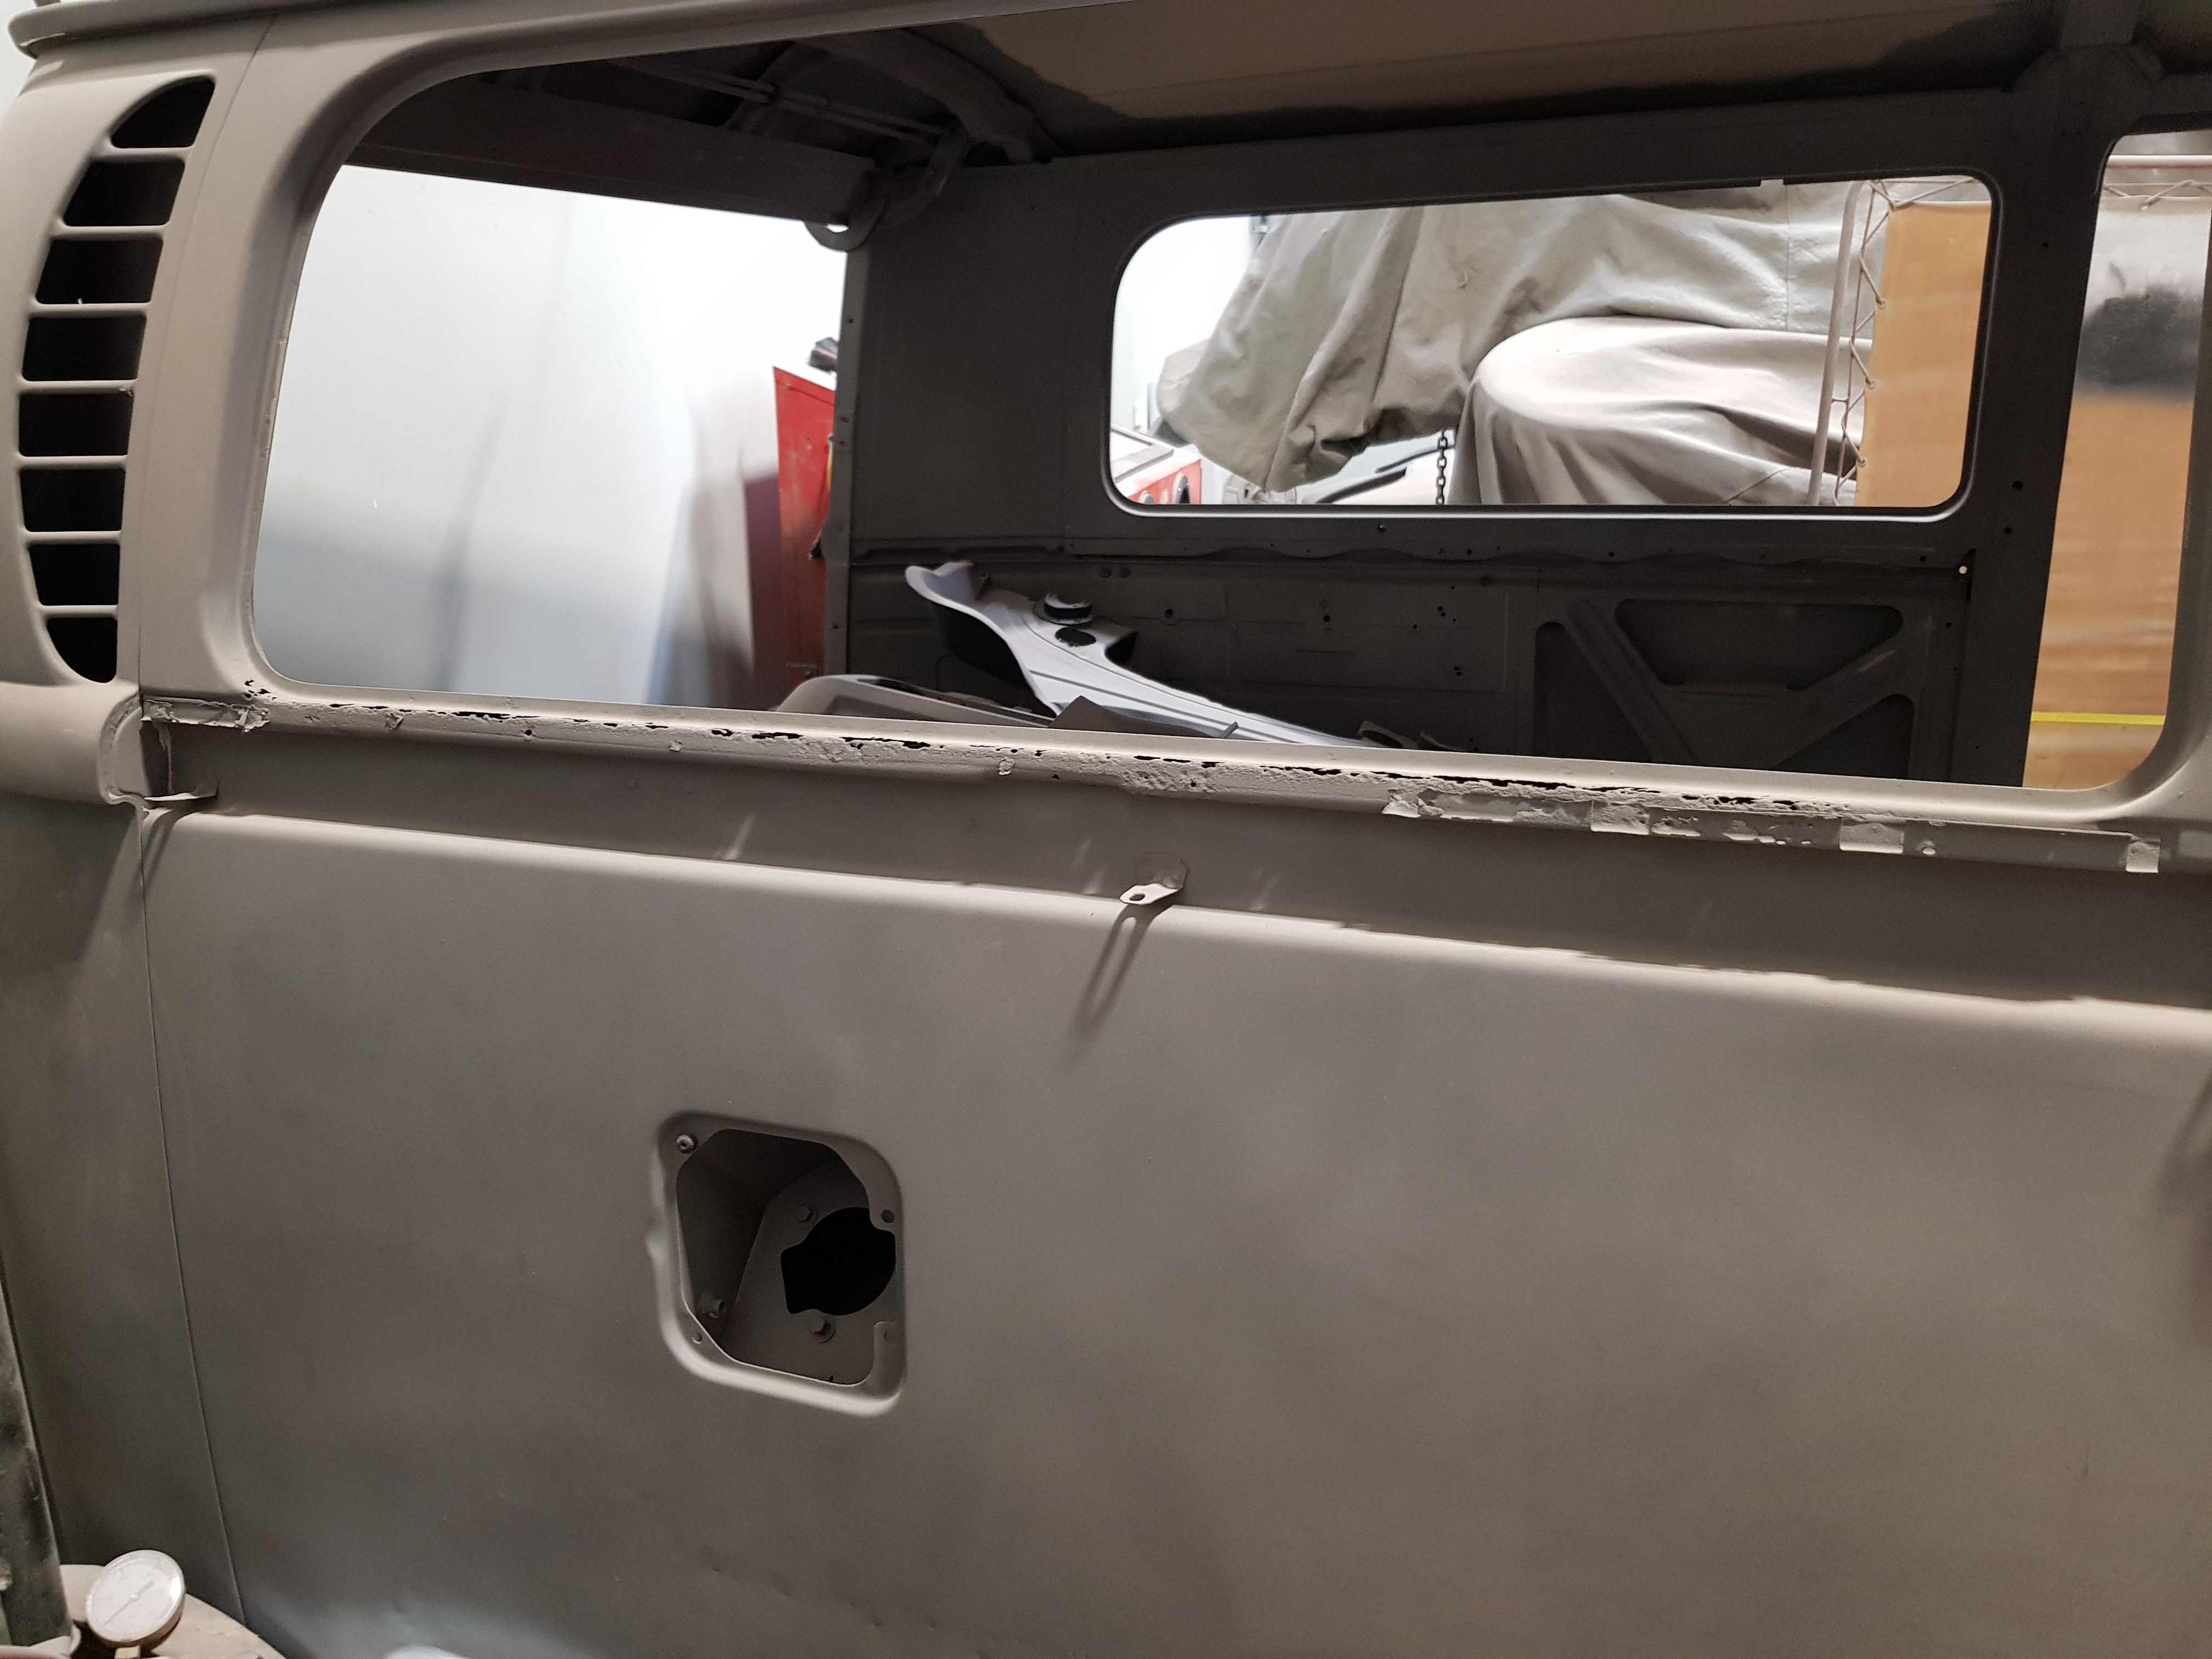
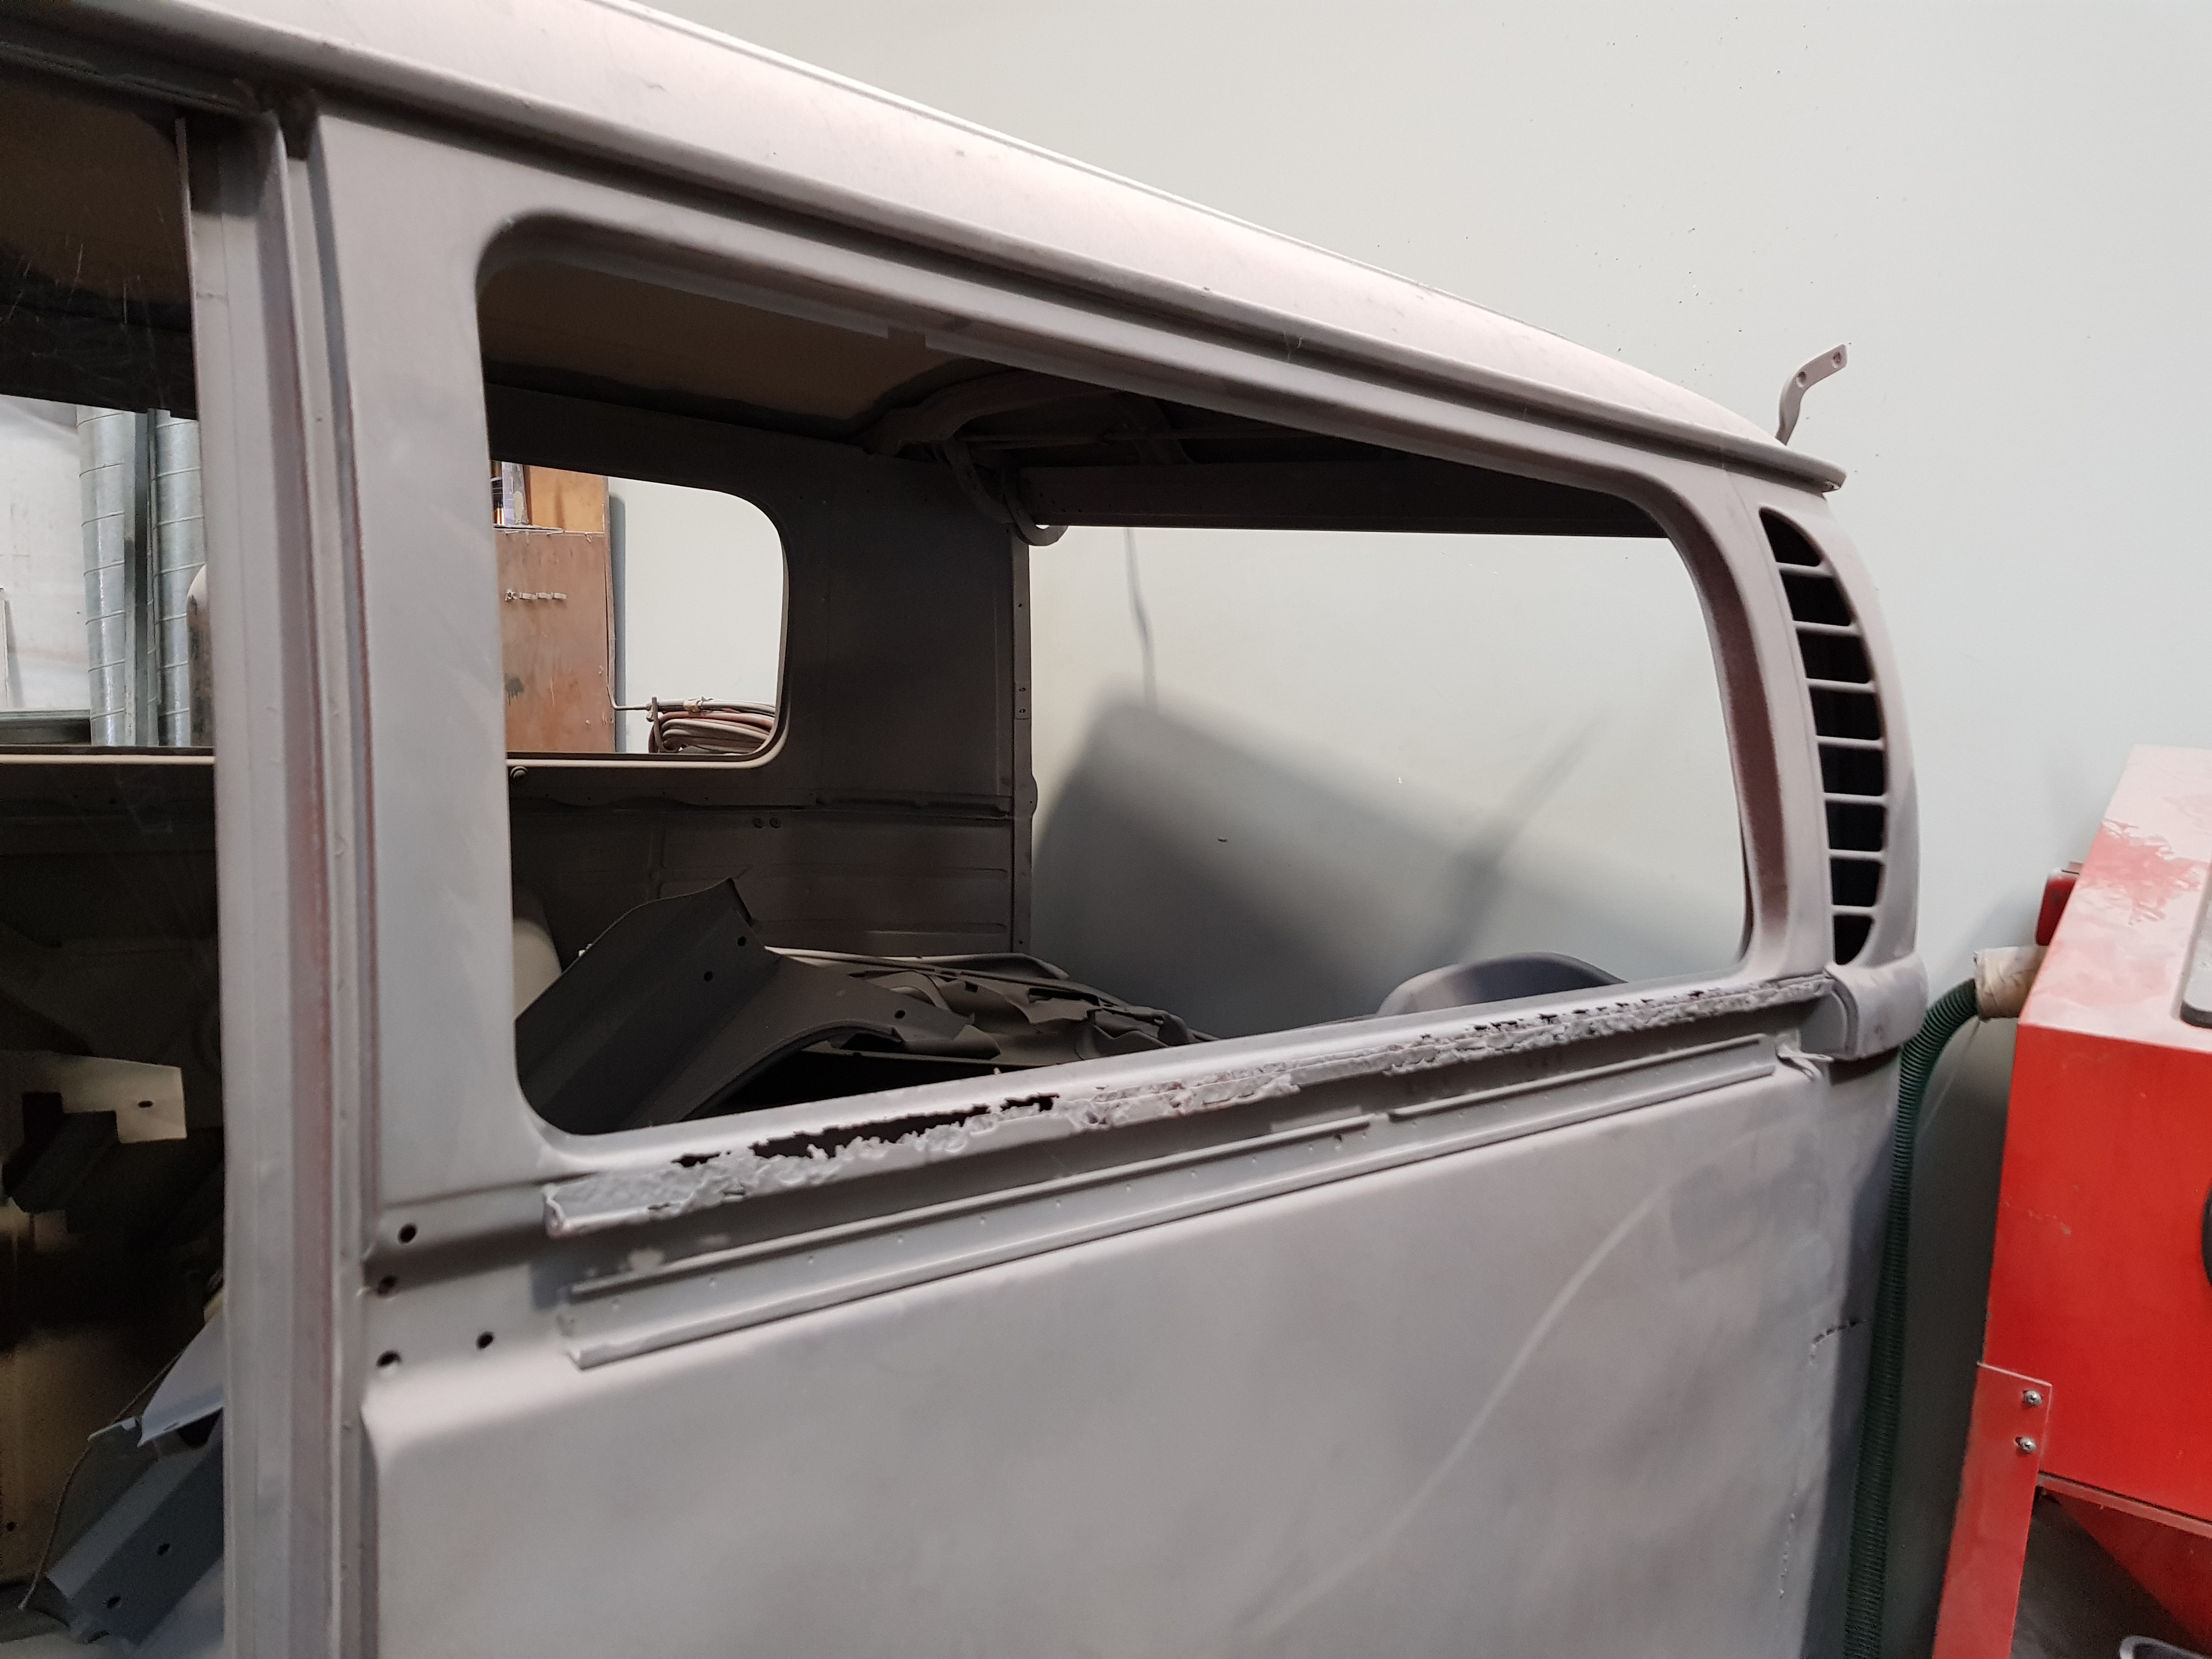
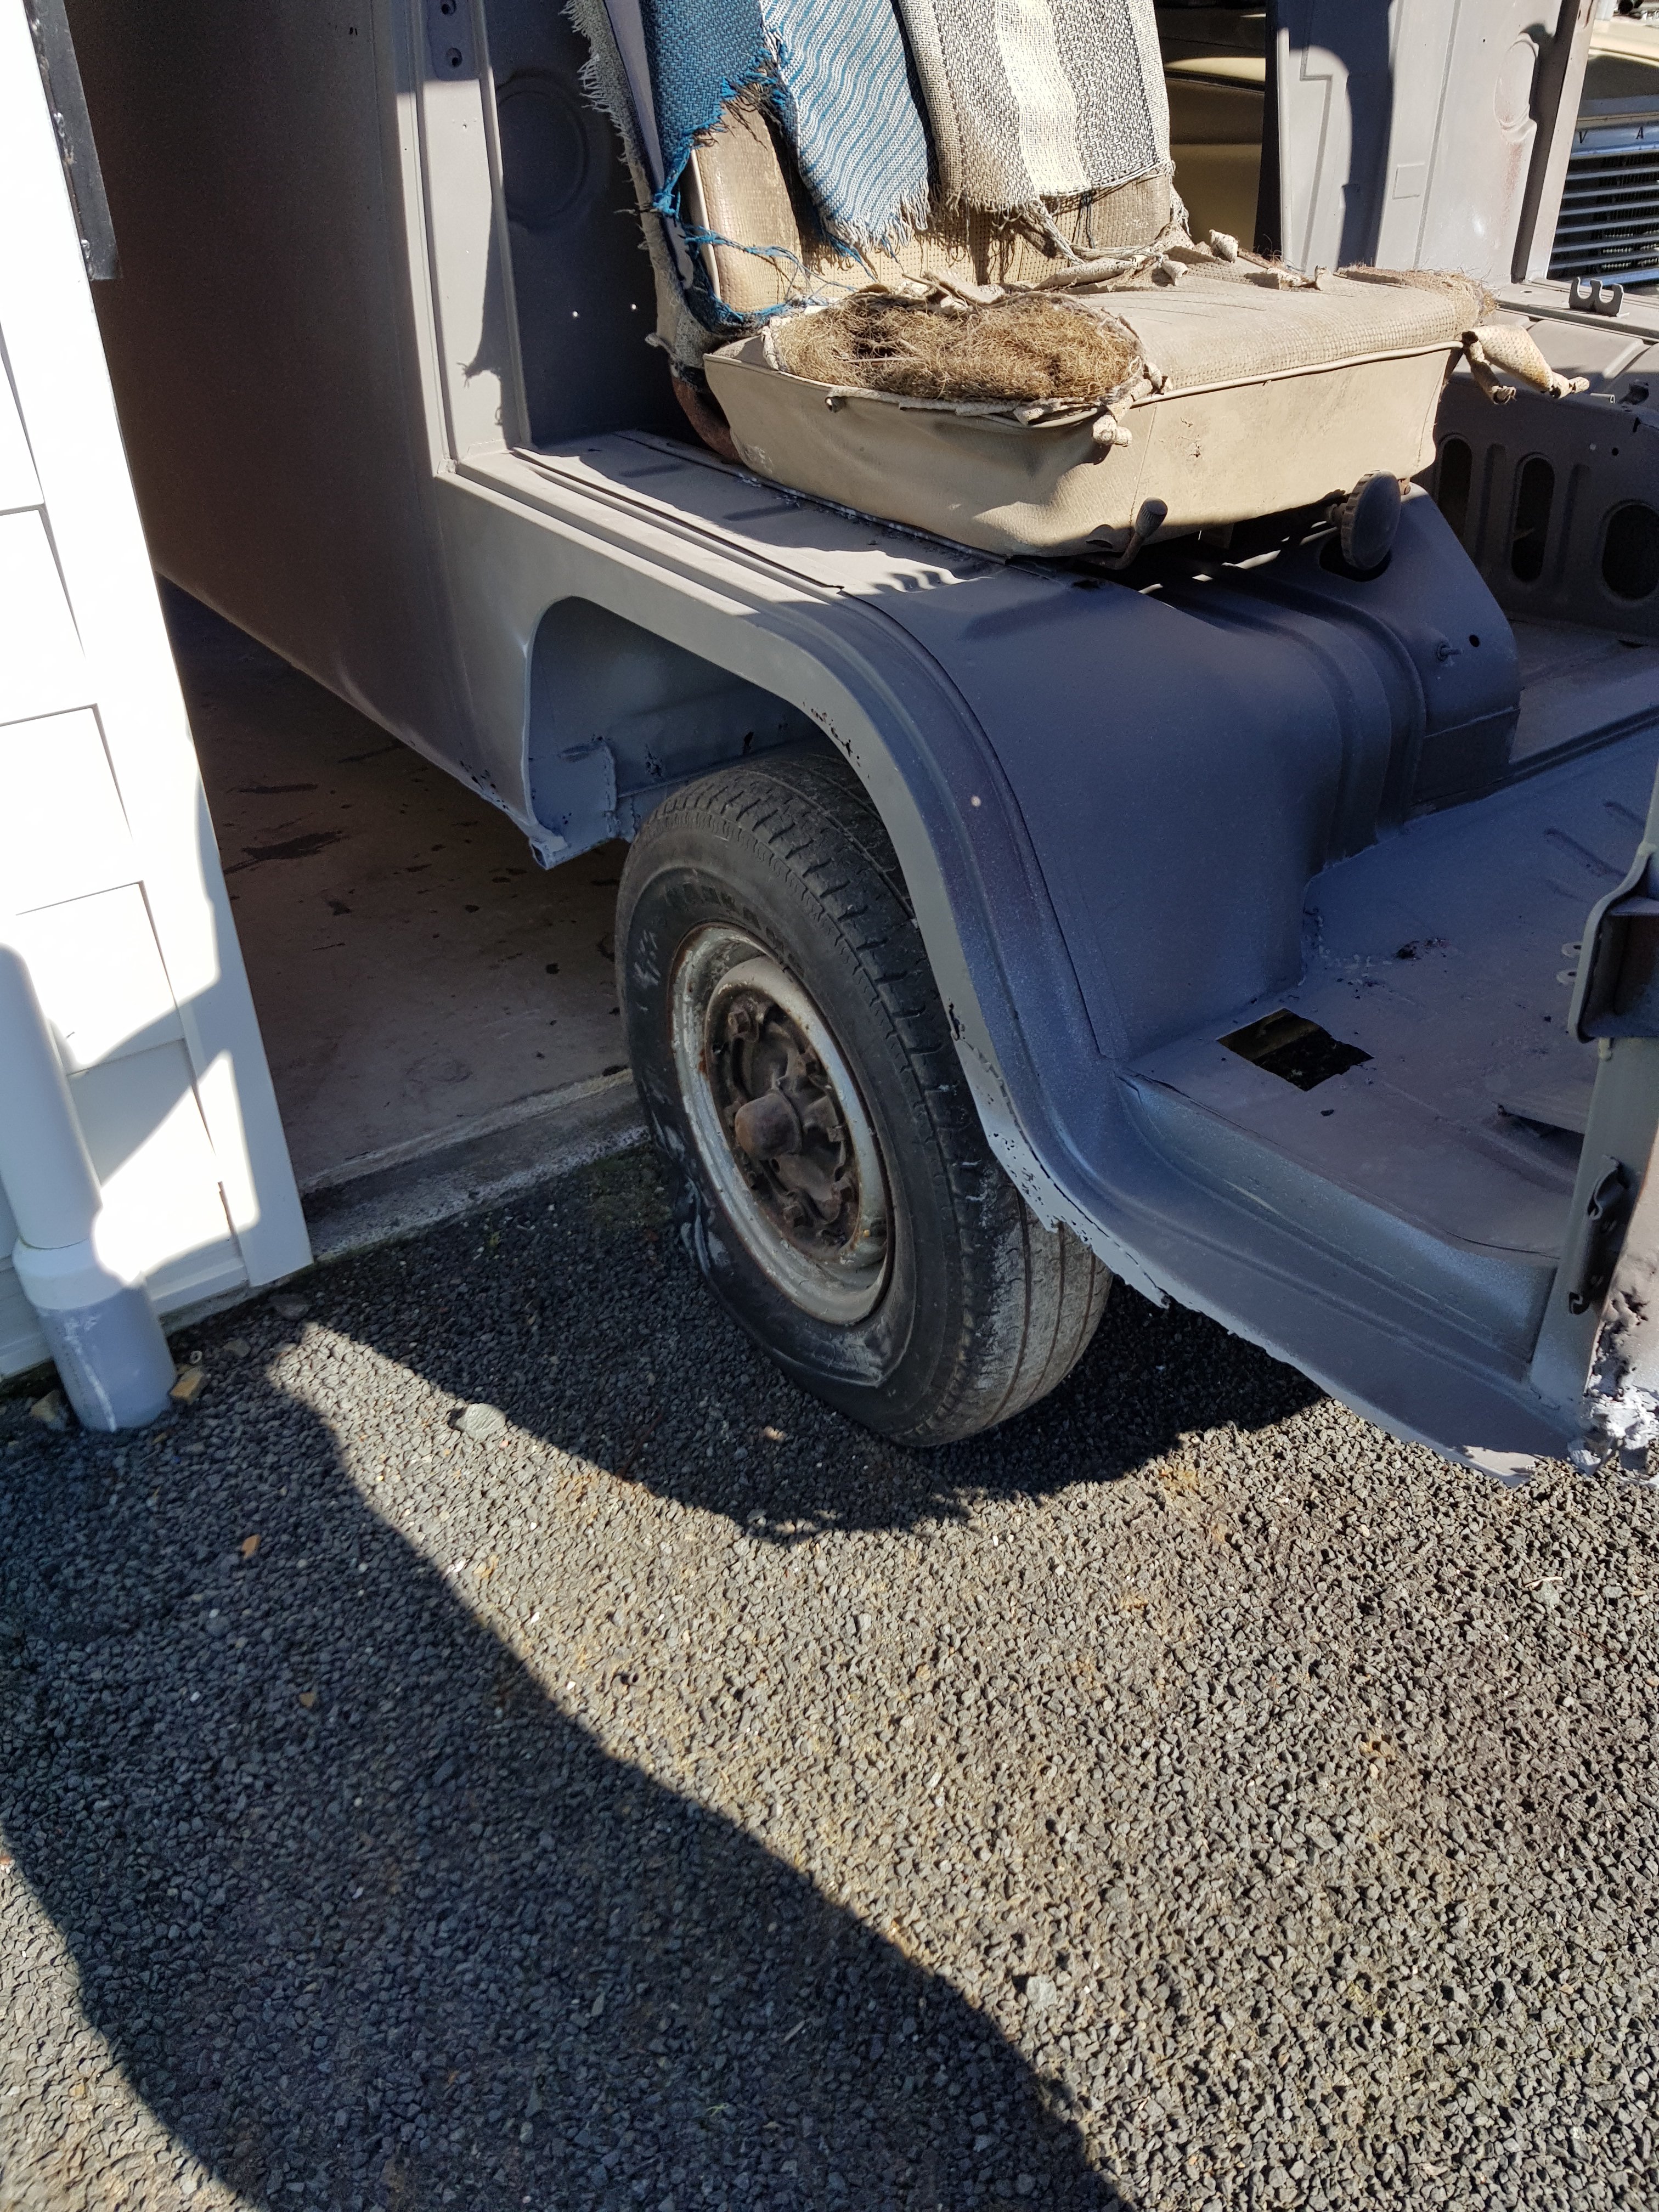
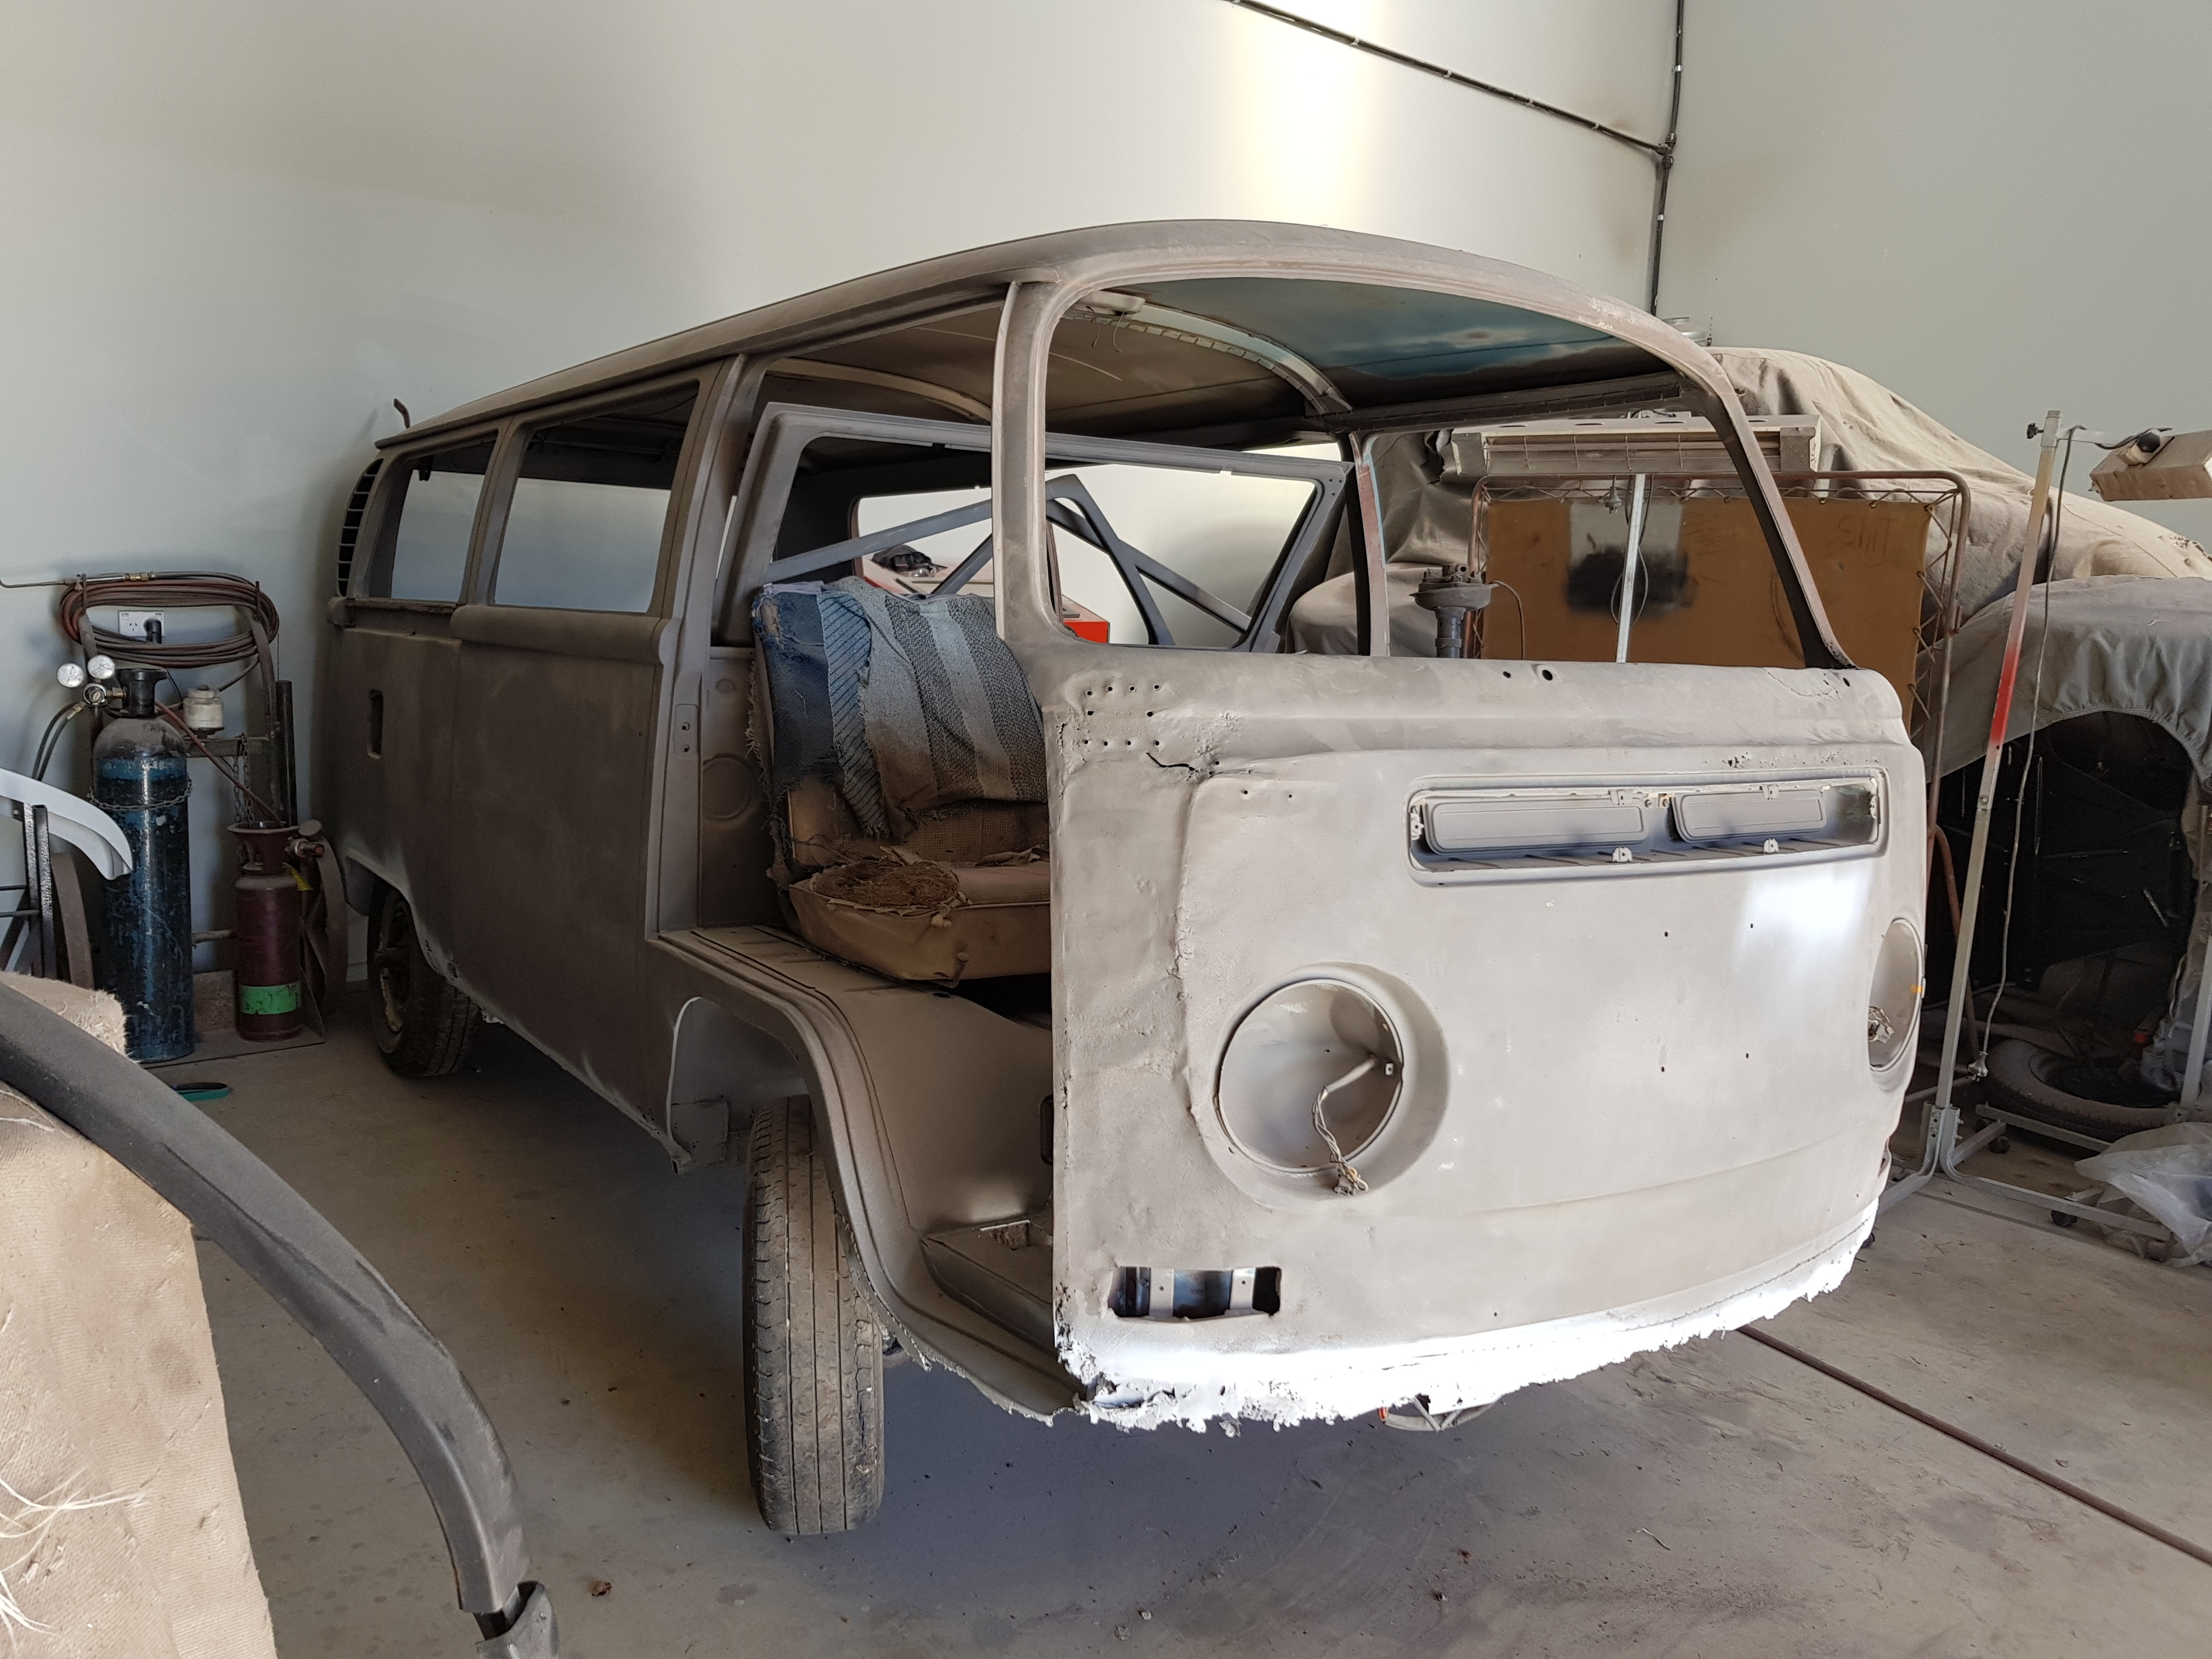
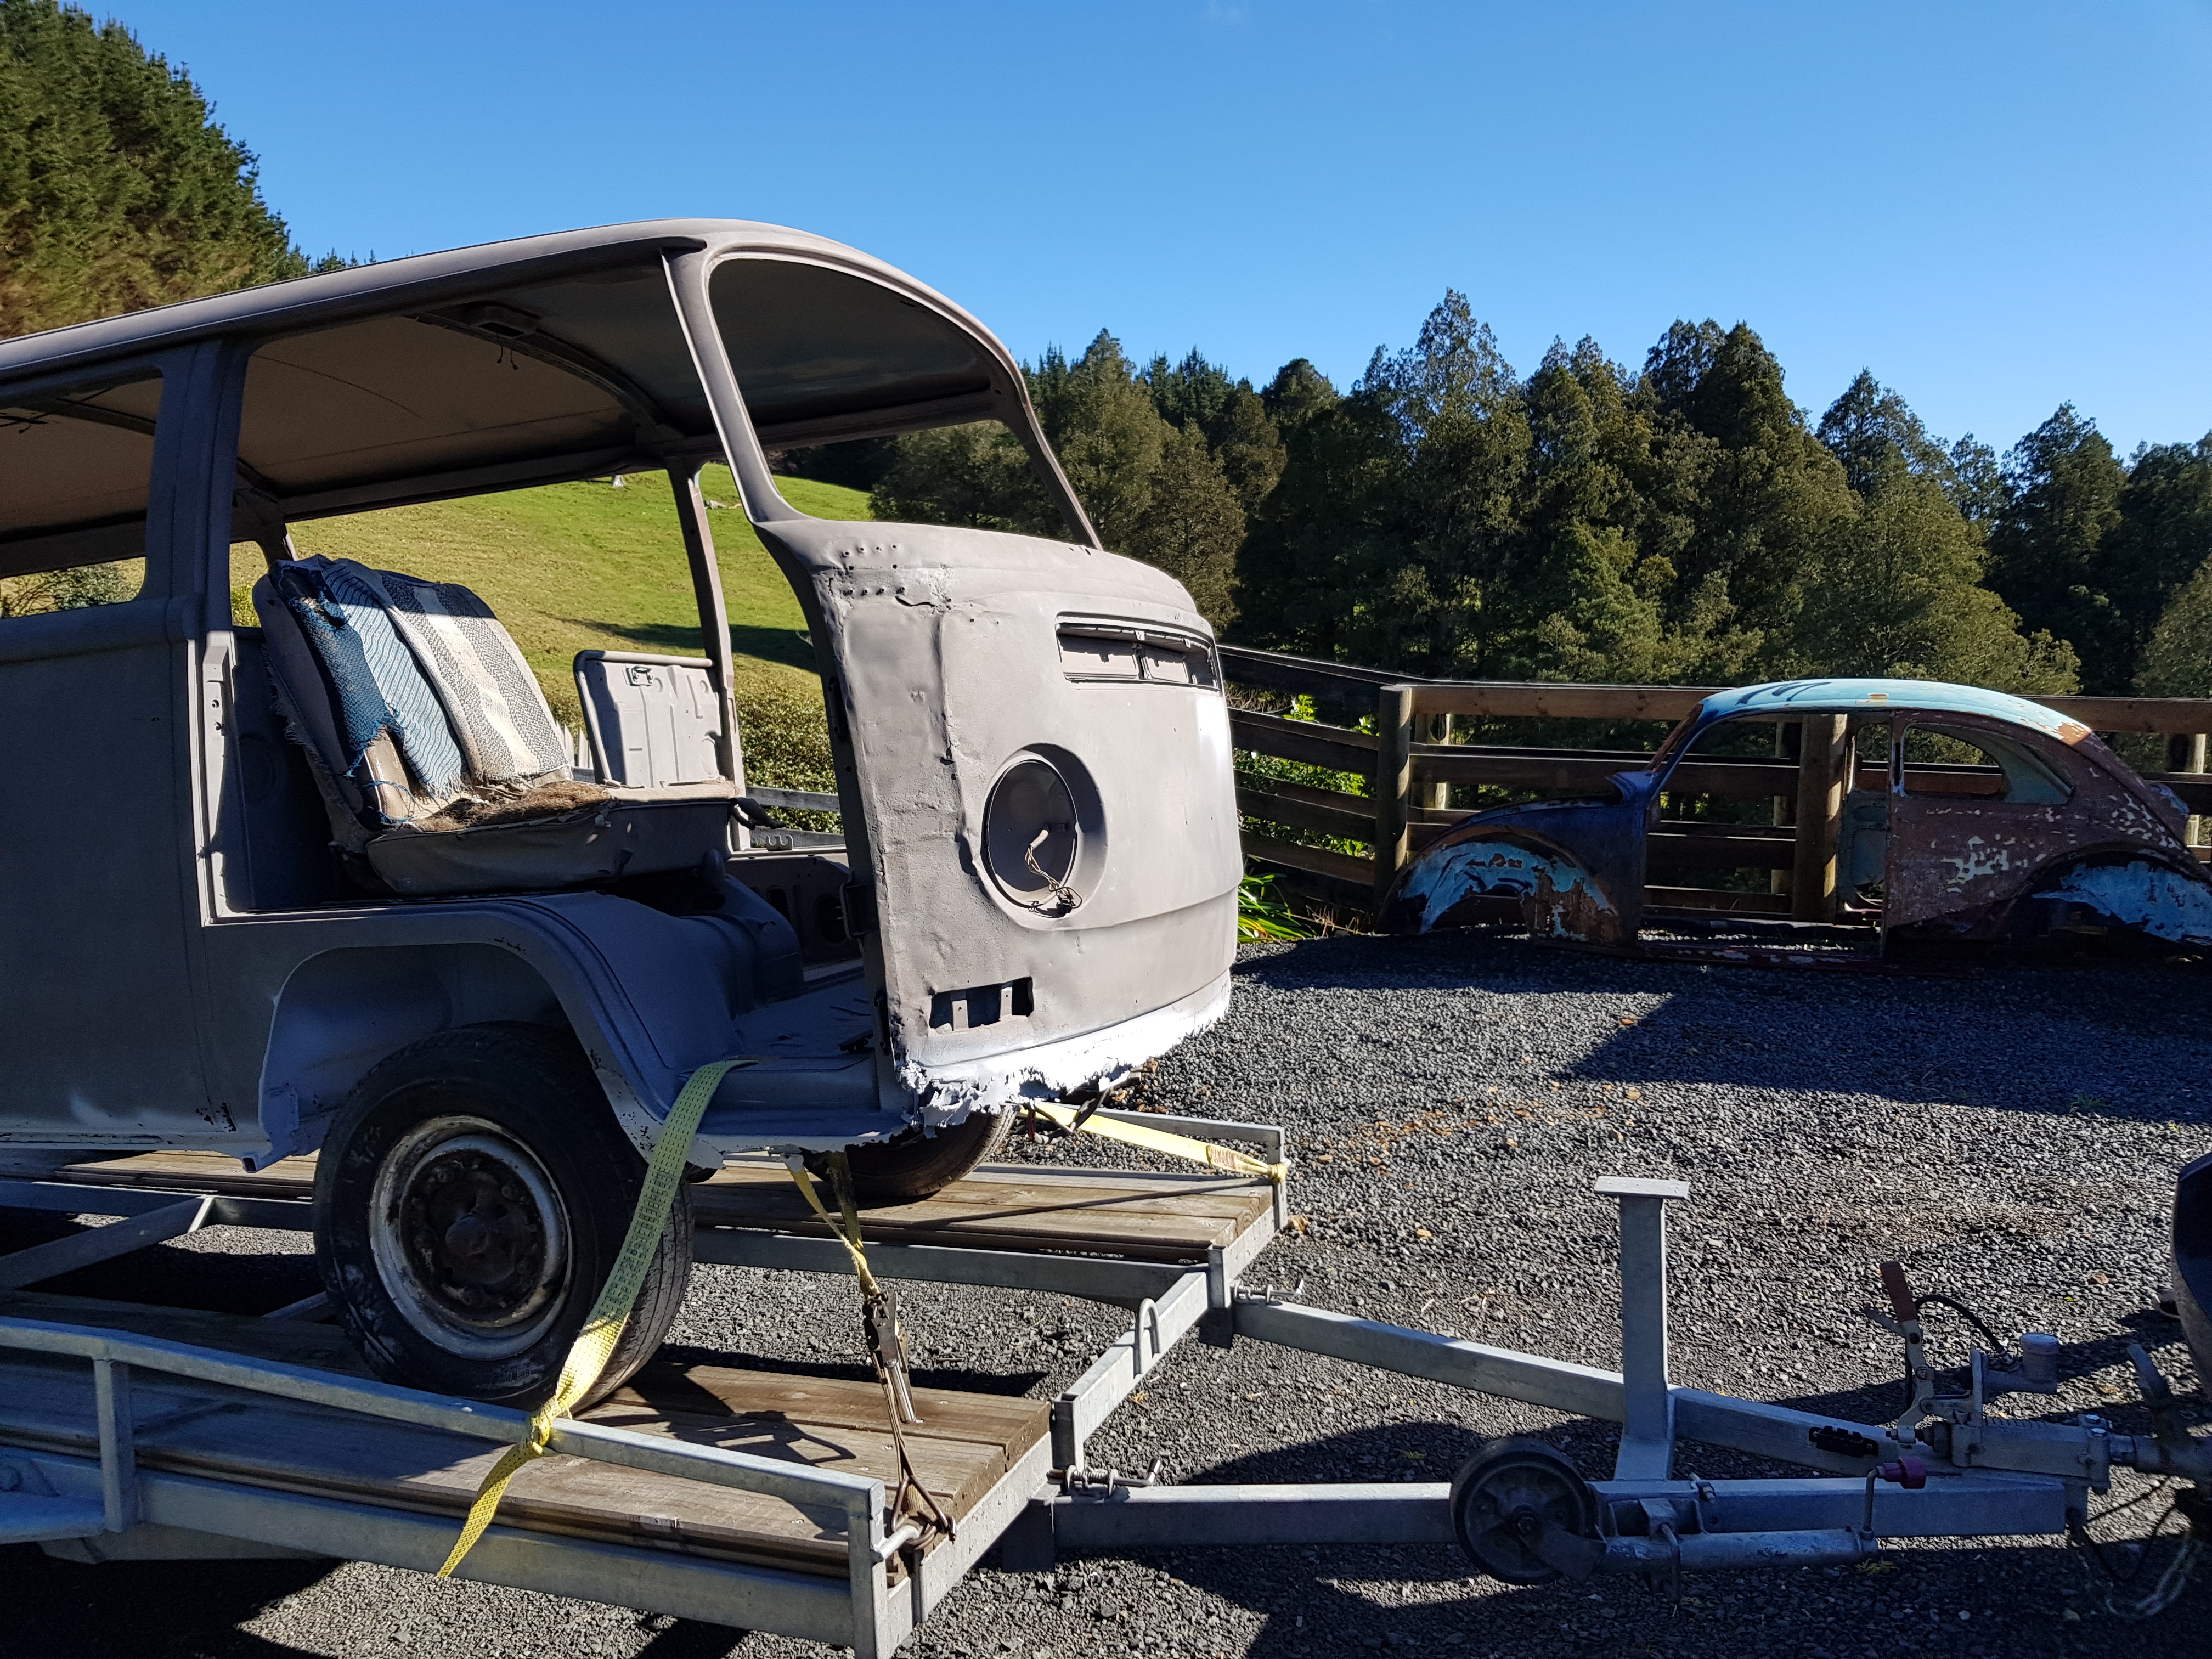
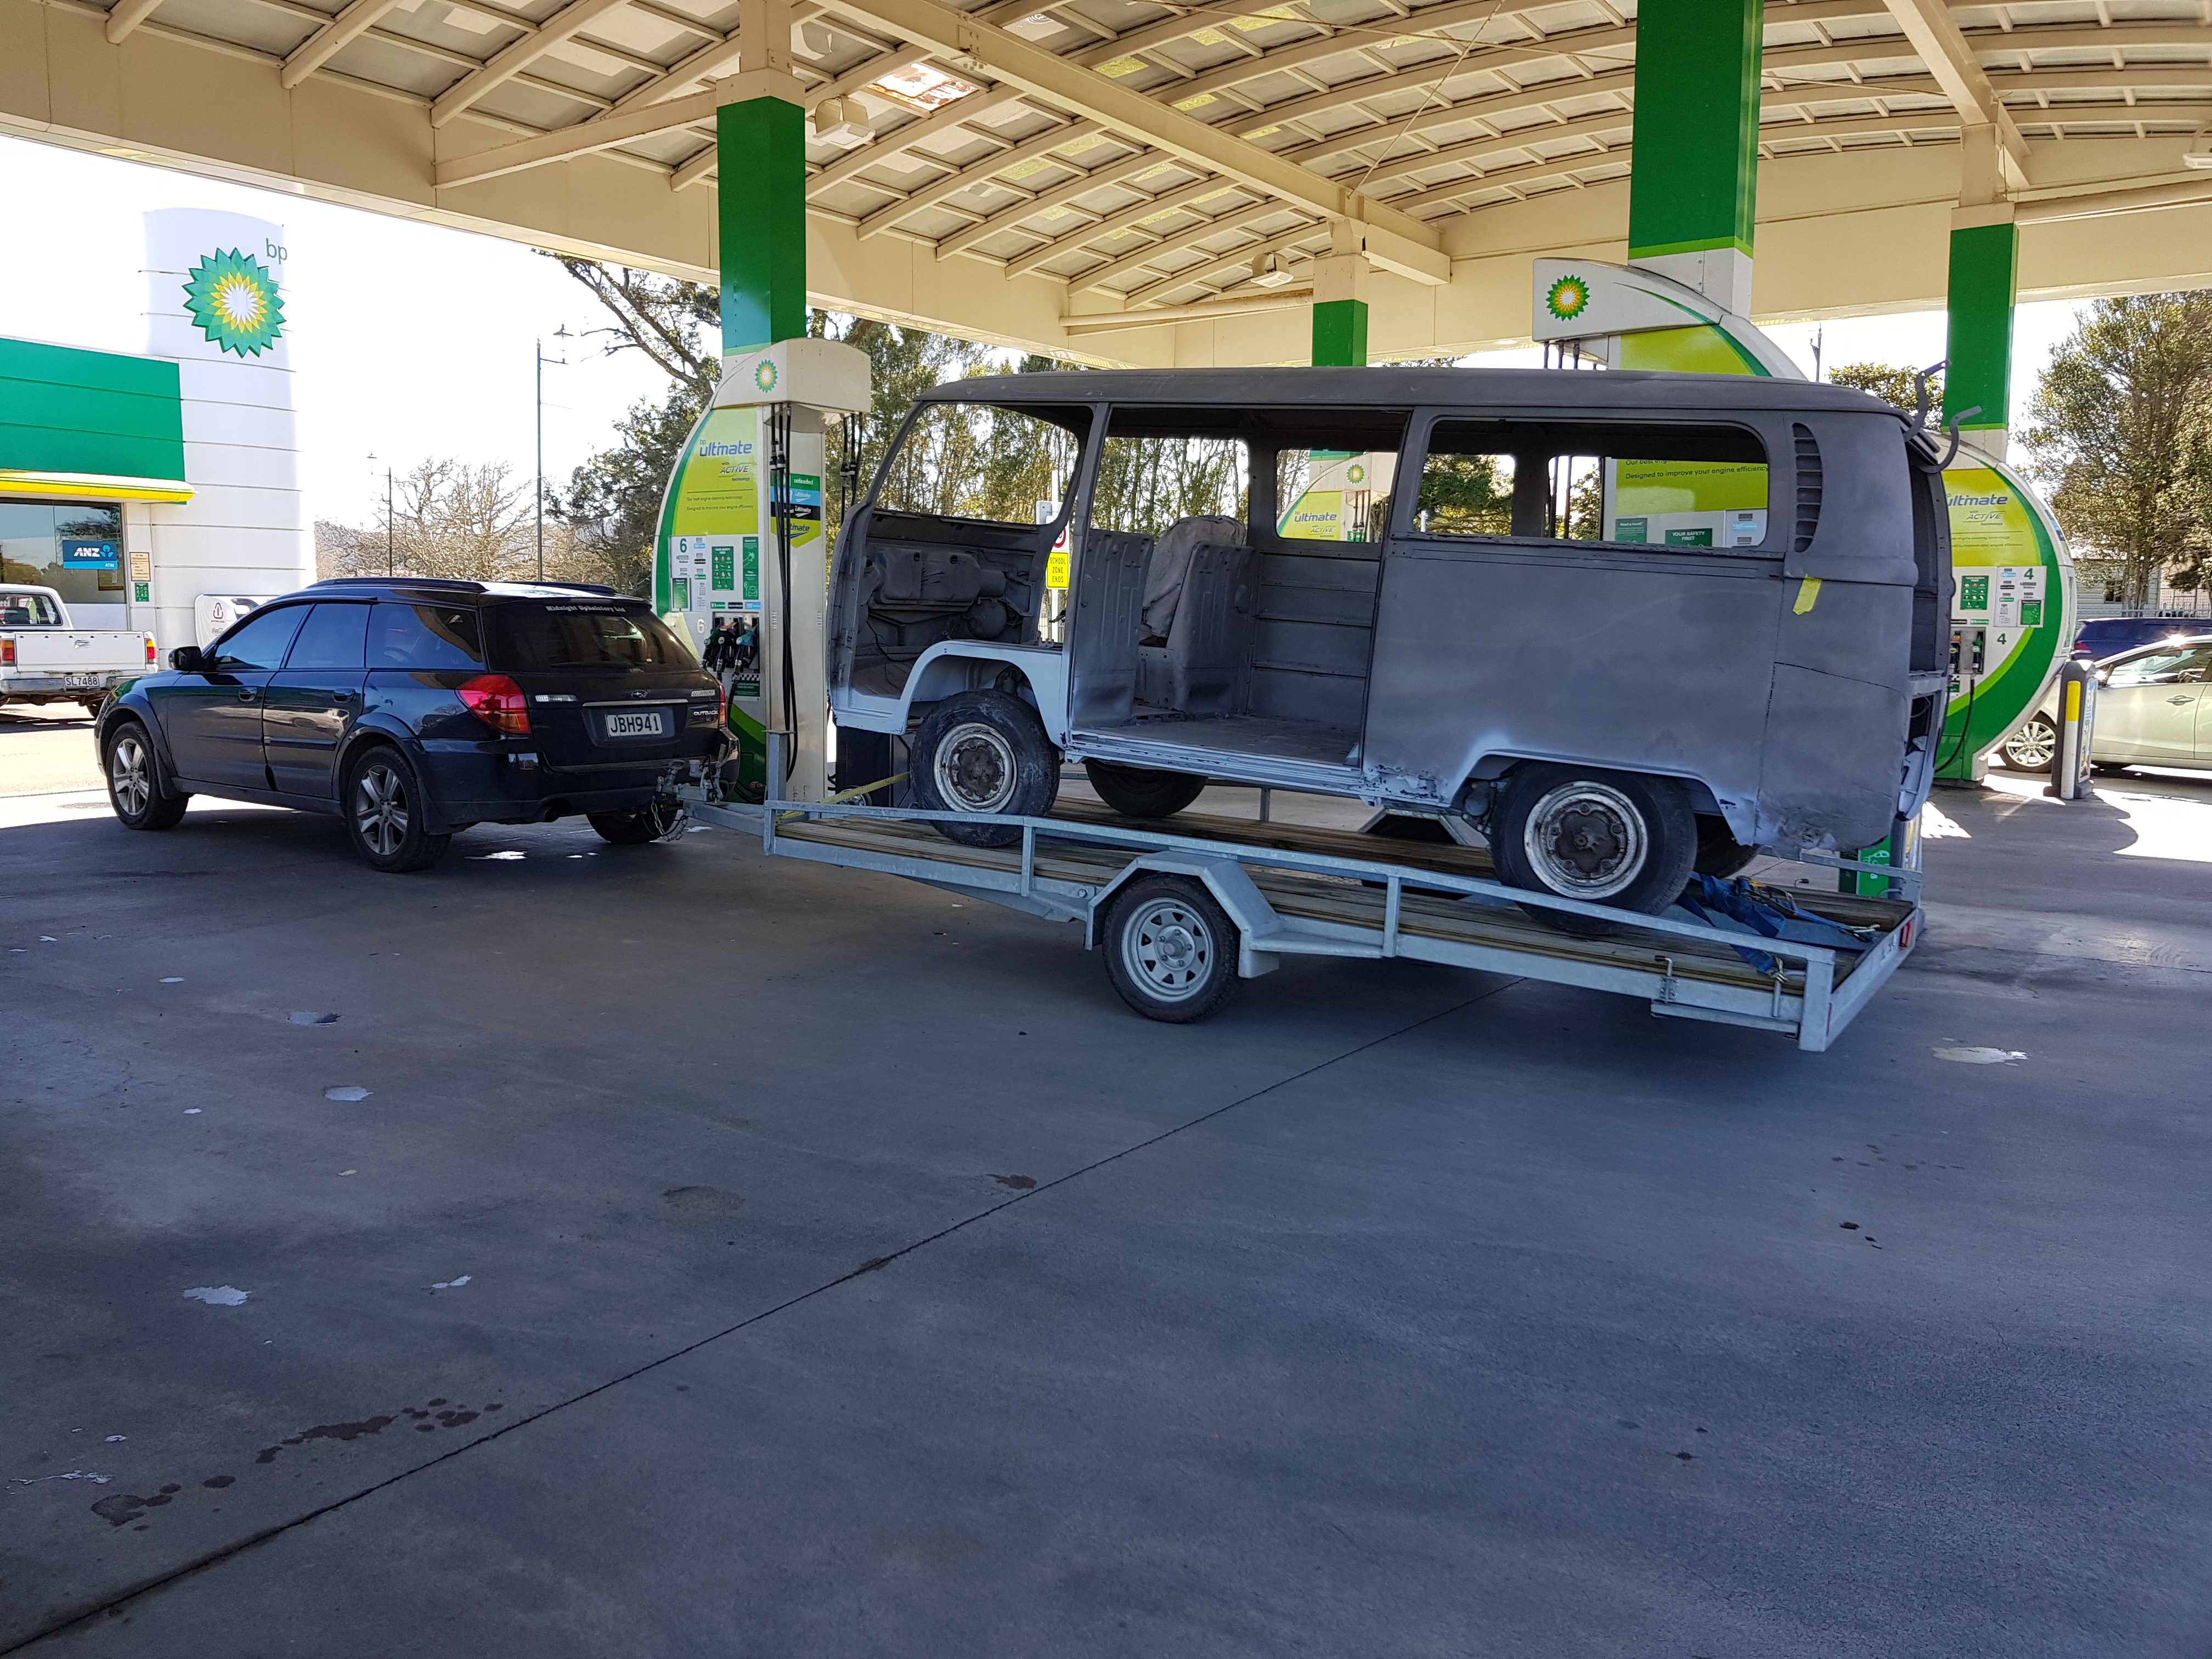
Well it all started with getting along with the guys at the vdub shop. They had the low light there for a we while had been stripped and sand blasted. The owner was been hard to contact and wasn't doing much. I made a silly offer and got no where. In the end they wanted it gone. Several emails from me to the owner ended up no where. Aiden and I had been talking at the vdub shop trying to help him get it out of his way so he emailed saying sorry we have had enough and have pushed it out side. Saying good luck with the sale it's just going to rust. I then got a email back from the kombi owner saying sweet we have a deal you can pick it up when ever. Meanwhile aiden hadn't put it out side was still in side. Anyway picked it up today. This is pretty much beths kombi as I'm not aloud another car. Got to many bills to pay. She had been sitting a while in the same spot collecting some dust. Token petrol station picture of the new car. And now I collect rusty volkswagens in my spare time I had priced up all the patch panels before going in with the deal so this shull be fun. I also have to finish my valiant before I can start on this. We will see how that goes. Chat about it over here
1 point
-
The idea of going all red is growing on me for this reason:
1 point
-
There is nothing on Earth like the rage thats starts within me when the welder makes the sub audible hum when the shitty wet old sticks get stuck trying to get the arc started on the thing iv tried to weld for the 17th time running.1 point
-
mayte no need for a welder I've got some jumper leads here1 point
-
Double dose of lol's. Gotta take the fire too it and introduce it to the bent way of life. Getting there for the AKL ride on the 27th.
1 point
-
Success Dax and DJ1 have new plates. Wish Id been able to keep the DJ's original plates (22RUM) but apparently the system wouldnt let her renew them. Took the DJ for a fang, tops out at an Indicated 60kp/h, not sure if this is above averaghe or not. Forgot to measure the 8"rim for you @Raizer but am grabbing the 10" ones in the next couple days. Only issue to sort is broken rear lights which I cant find a replacement for in NZ and the ignition relay needs to be smacked for it to switch on and let the lights work.1 point
-
I like 4 but can't help but think a proper scheme would be best.1 point
-
6 seems to be the one that grabs my fan-dango1 point
-
1 point
-
4 or 6 please1 point
-
Number 1 looks good to me1 point
-
Bidding on a pipe in Japan, stacked's next container is months away yet so if I win it I'm going to try out Import Monster Australia. Have also ordered a decent belt and high speed variator etc from WeBike Japan earlier on too. Got a few hours in the shed tonight, cleaned up the best of the 2 variators, went to fit the NOS rollers but the ones that were in it already are like new Just a bit dirty. Spent ages cleaning up the less rusted of the 2 clutches, it is pretty stuffed though so will need to replace it asap *Ignore that belt* Discovered that the fully seized engine has a 14mm output shaft while the other 2 are 12mm. More or less ready to come off the bench. After a bit of creative work with a trolley jack and a few decent whacks with a plastic faced hammer it's in!! The engine sits a good 30mm or more further back than it used to, which in turn means the rear brake cables and the parking lock cable are all too short to reach. The engine came with a Canopy parking lock cable attached, just the fore-section is about 100mm too long and I doubt it will fit under the plastics, so going to have to get creative I think! Here is a good example of the difference in width, the old engine had the wheels sitting flush with the body, if not a touch inset Not sure what the 5kg 10kg sticker is about. *Edit: Loading of loads. Front side - 5kg Back side - 10kg So at this point I need longer inner cables for the throttle and oil pump, longer rear brake cables, wire it up and it should be all go! The pivot feels soo much nicer too!! Have sent the guy I got the engines from a text, hopefully he's got a good brake cable at least. Cracked into the fully seized 14mm output engine too as I was curious. Yum. Took a lot of hammering with an alloy drift to get the bore free, bottom end wasn't locked up Well that ain't pretty! Turns free, but the big end bearing feels like absolute shit, bugger. If I don't win that pipe up there/chicken out at spending an idiotic amount of money on a spannie disguised as a fart cannon the other option is to adopt a much more common pipe, like this Pretty sure that is a Dio pipe that's been modded.1 point
-
The guy I did the kombi for piped in to the workshop to day so I asked him about the panels the good ones were only about $50 more expensive plus he's got a 2l ( I think he said 914 engine in it ) scary at over 100 kms and your over taking going up hills , his own words lol1 point
-
@rusty360 25 each mate. He grinds/etches off the writing using this machine then paints it on using a roller type hes been doing it for many years n im more than happy with them1 point
-
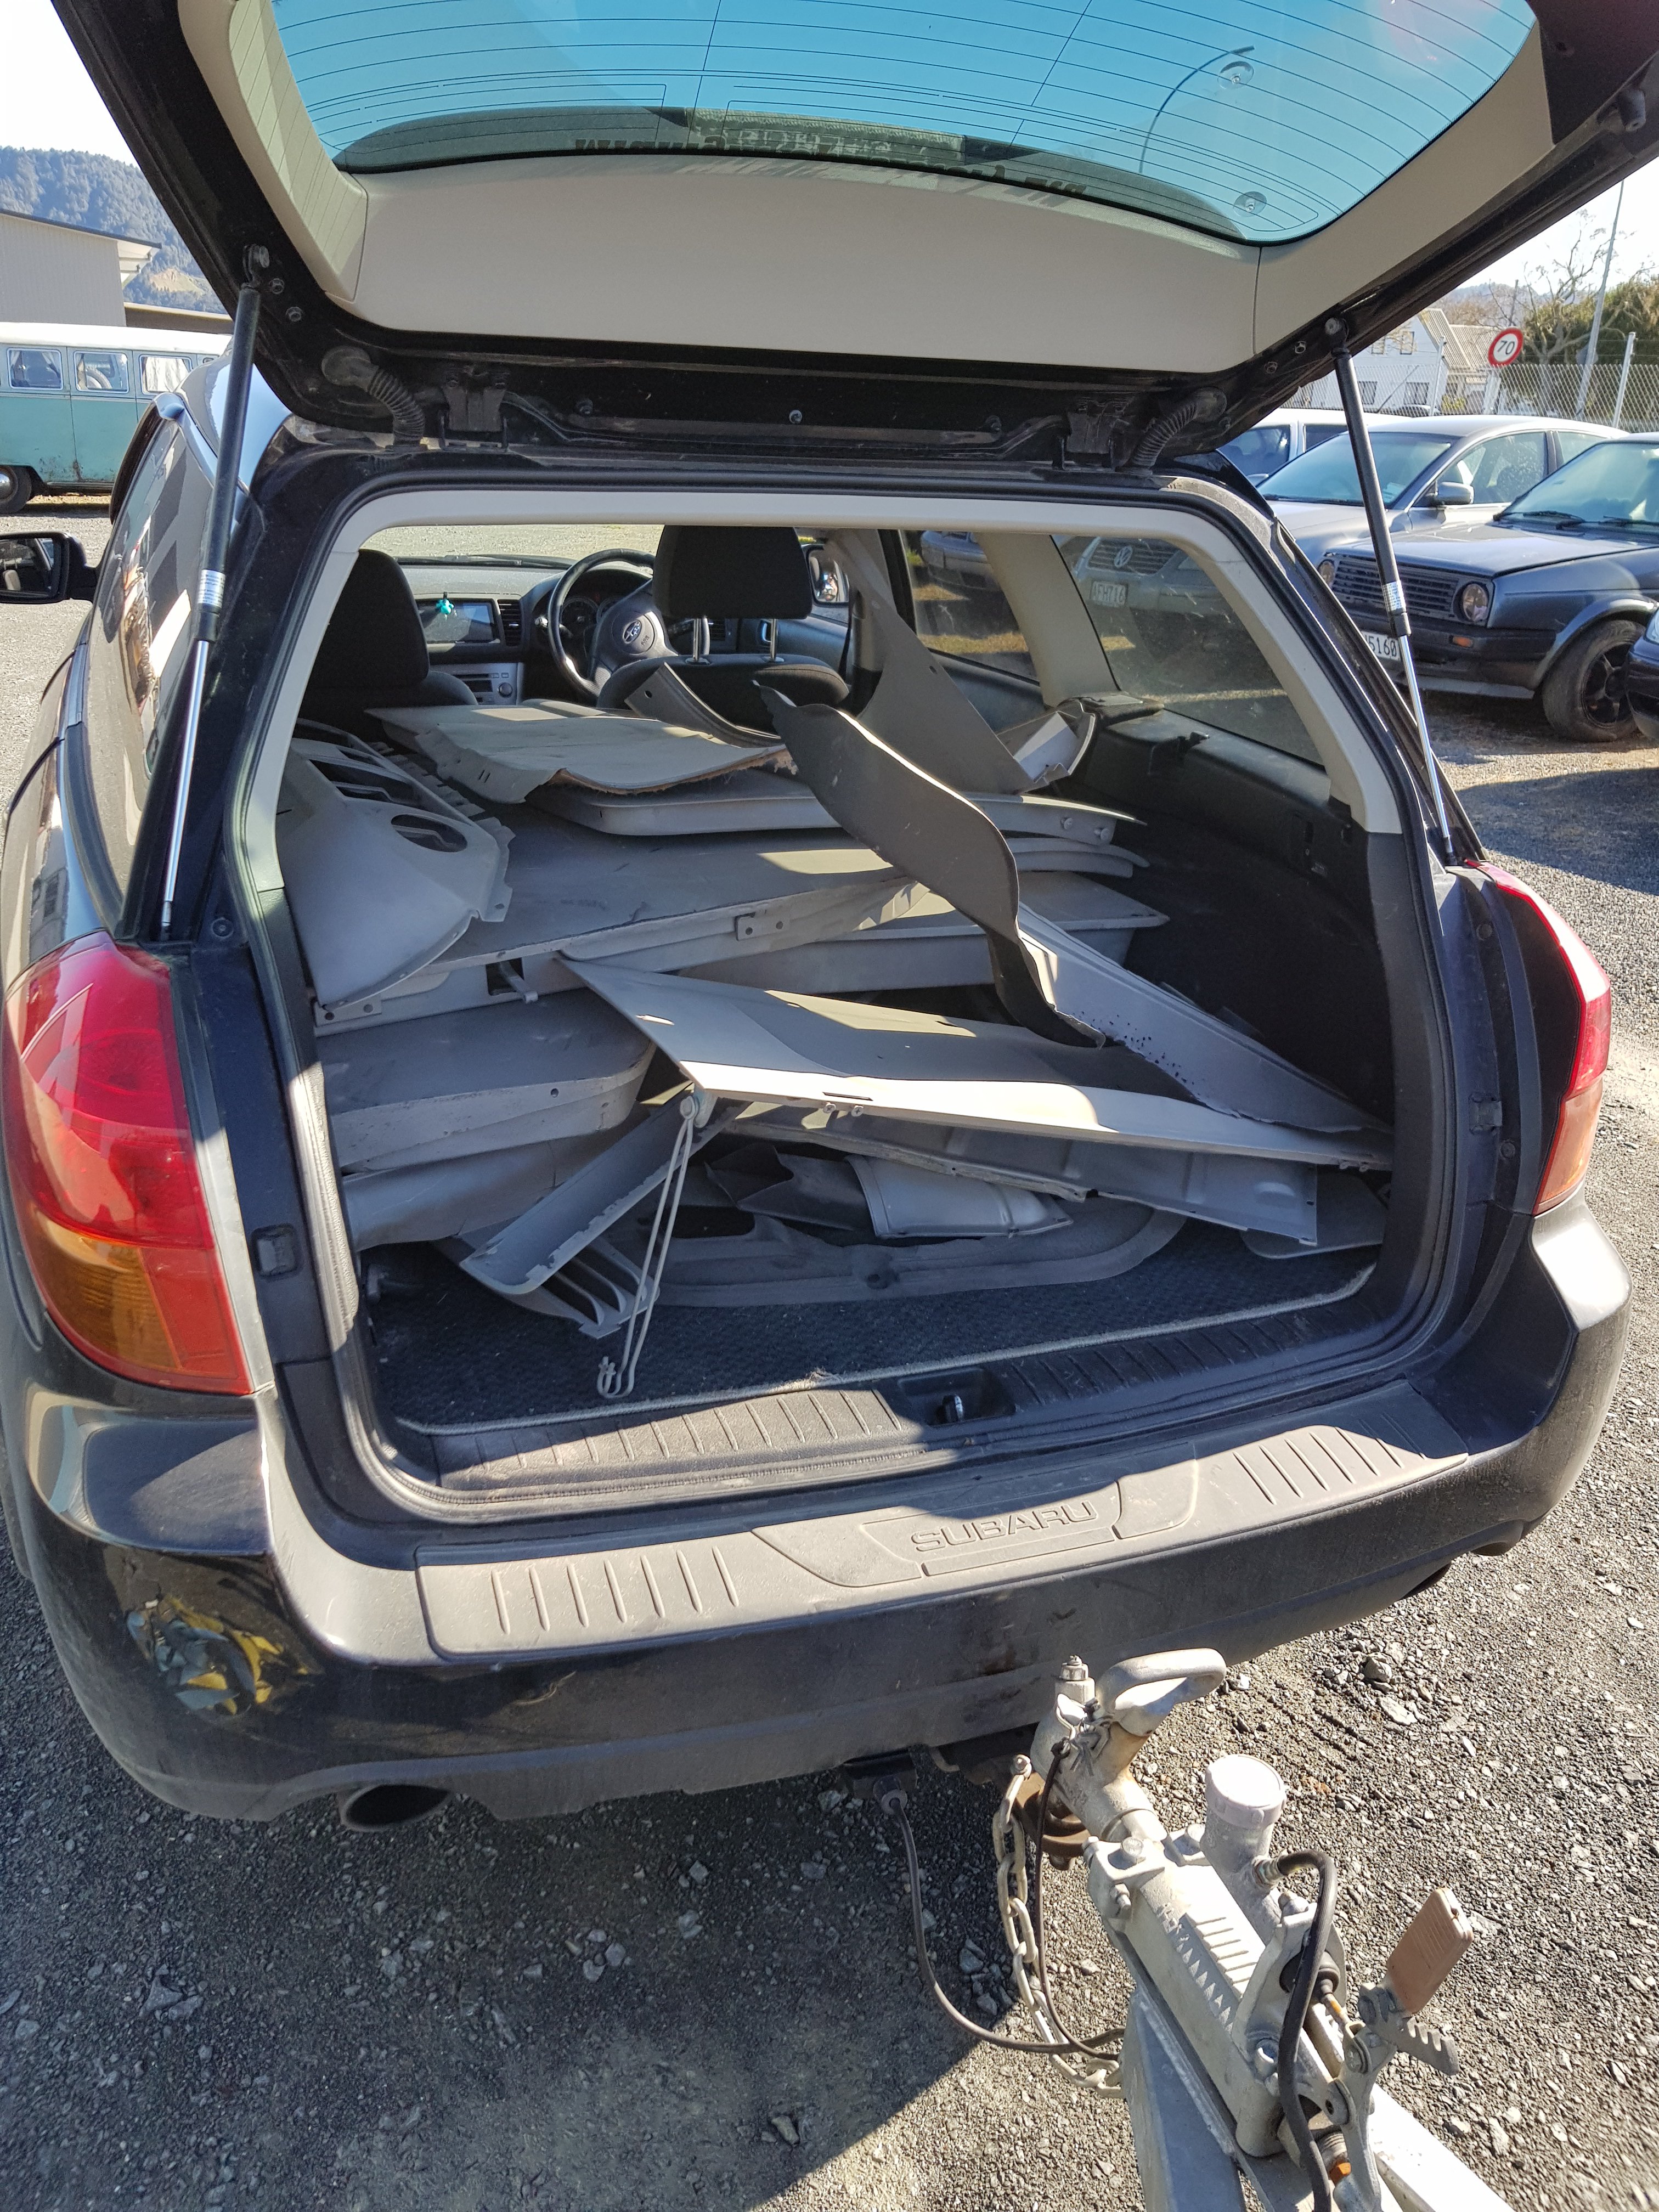
The weird thing is that he had been told a total of what the build would be and had heaps of time to say no don't go ahead on the job. But they went ahead with it and then couple months later they hadn't heard anything back from him and he just became really hard to deal with. They ended up trying to sell it on trade me for 3k and had no luck at all. I said I'd give him 800 dollars they said no they had been offered 1000 for one door........ Vw people are crazy. I then emailed him going at 1500 and settled at 1800. So I don't know what he was upto. He still owes the vdub shop money for the work/sand blasting of the buss. Aiden and I have a funny feeling he lives in Australia now and just gave up on it. Also the side doors are huge. Don't fit in the boot of the wagon. So roof it was.
1 point
-
Isnt it amazing how time flies almost a year since i updated this! Its been a very busy year. Mrs n i brought our first house here in pukekohe auckland so in the mix of renovating the crap out of it i enjoyed this car during the summer until its WOF expired and put rego back on hold n put her in dry storage! Im not finished with her yet! Made it to OS drag day had an awesome day out! Made it along to some meet ups also. Fun times was had. Also finished off the interior got some front seats and a dash mat to complete its look and a front chin spoiler! Pic dump! Mind the white plumbing pipe needed wipers hooked up for wof Bootlock has since been installed! That moment i almost lost my loose taillight.. phew Kumeu hotrod show! I brought another project to keep me busy in the mean time. A 1966 prince gloria. Should be good Cheea1 point
-
Radiator is all fitted up to our VK now. I think it was worth getting the OE style copper item in the end simply for ease of installation. It's a 2 core item and the quality seems to be very good, cost no more than an alloy one in the end but needed to phone around a few places to find somebody who was prepared to do a good price.1 point
-
This could be a stupid goal to reach to.
1 point
-
The turbo might be a very late after thought when it does come to it. Mainly for psssssshhhh sounds cause lol who would have ever thought a kombi to make those noises. So will start with the ej25 and go from there. Pretty excited about starting it. So really need to get my a into gear and fix the valiant.1 point
-
Can't get at screws from the inside1 point
-
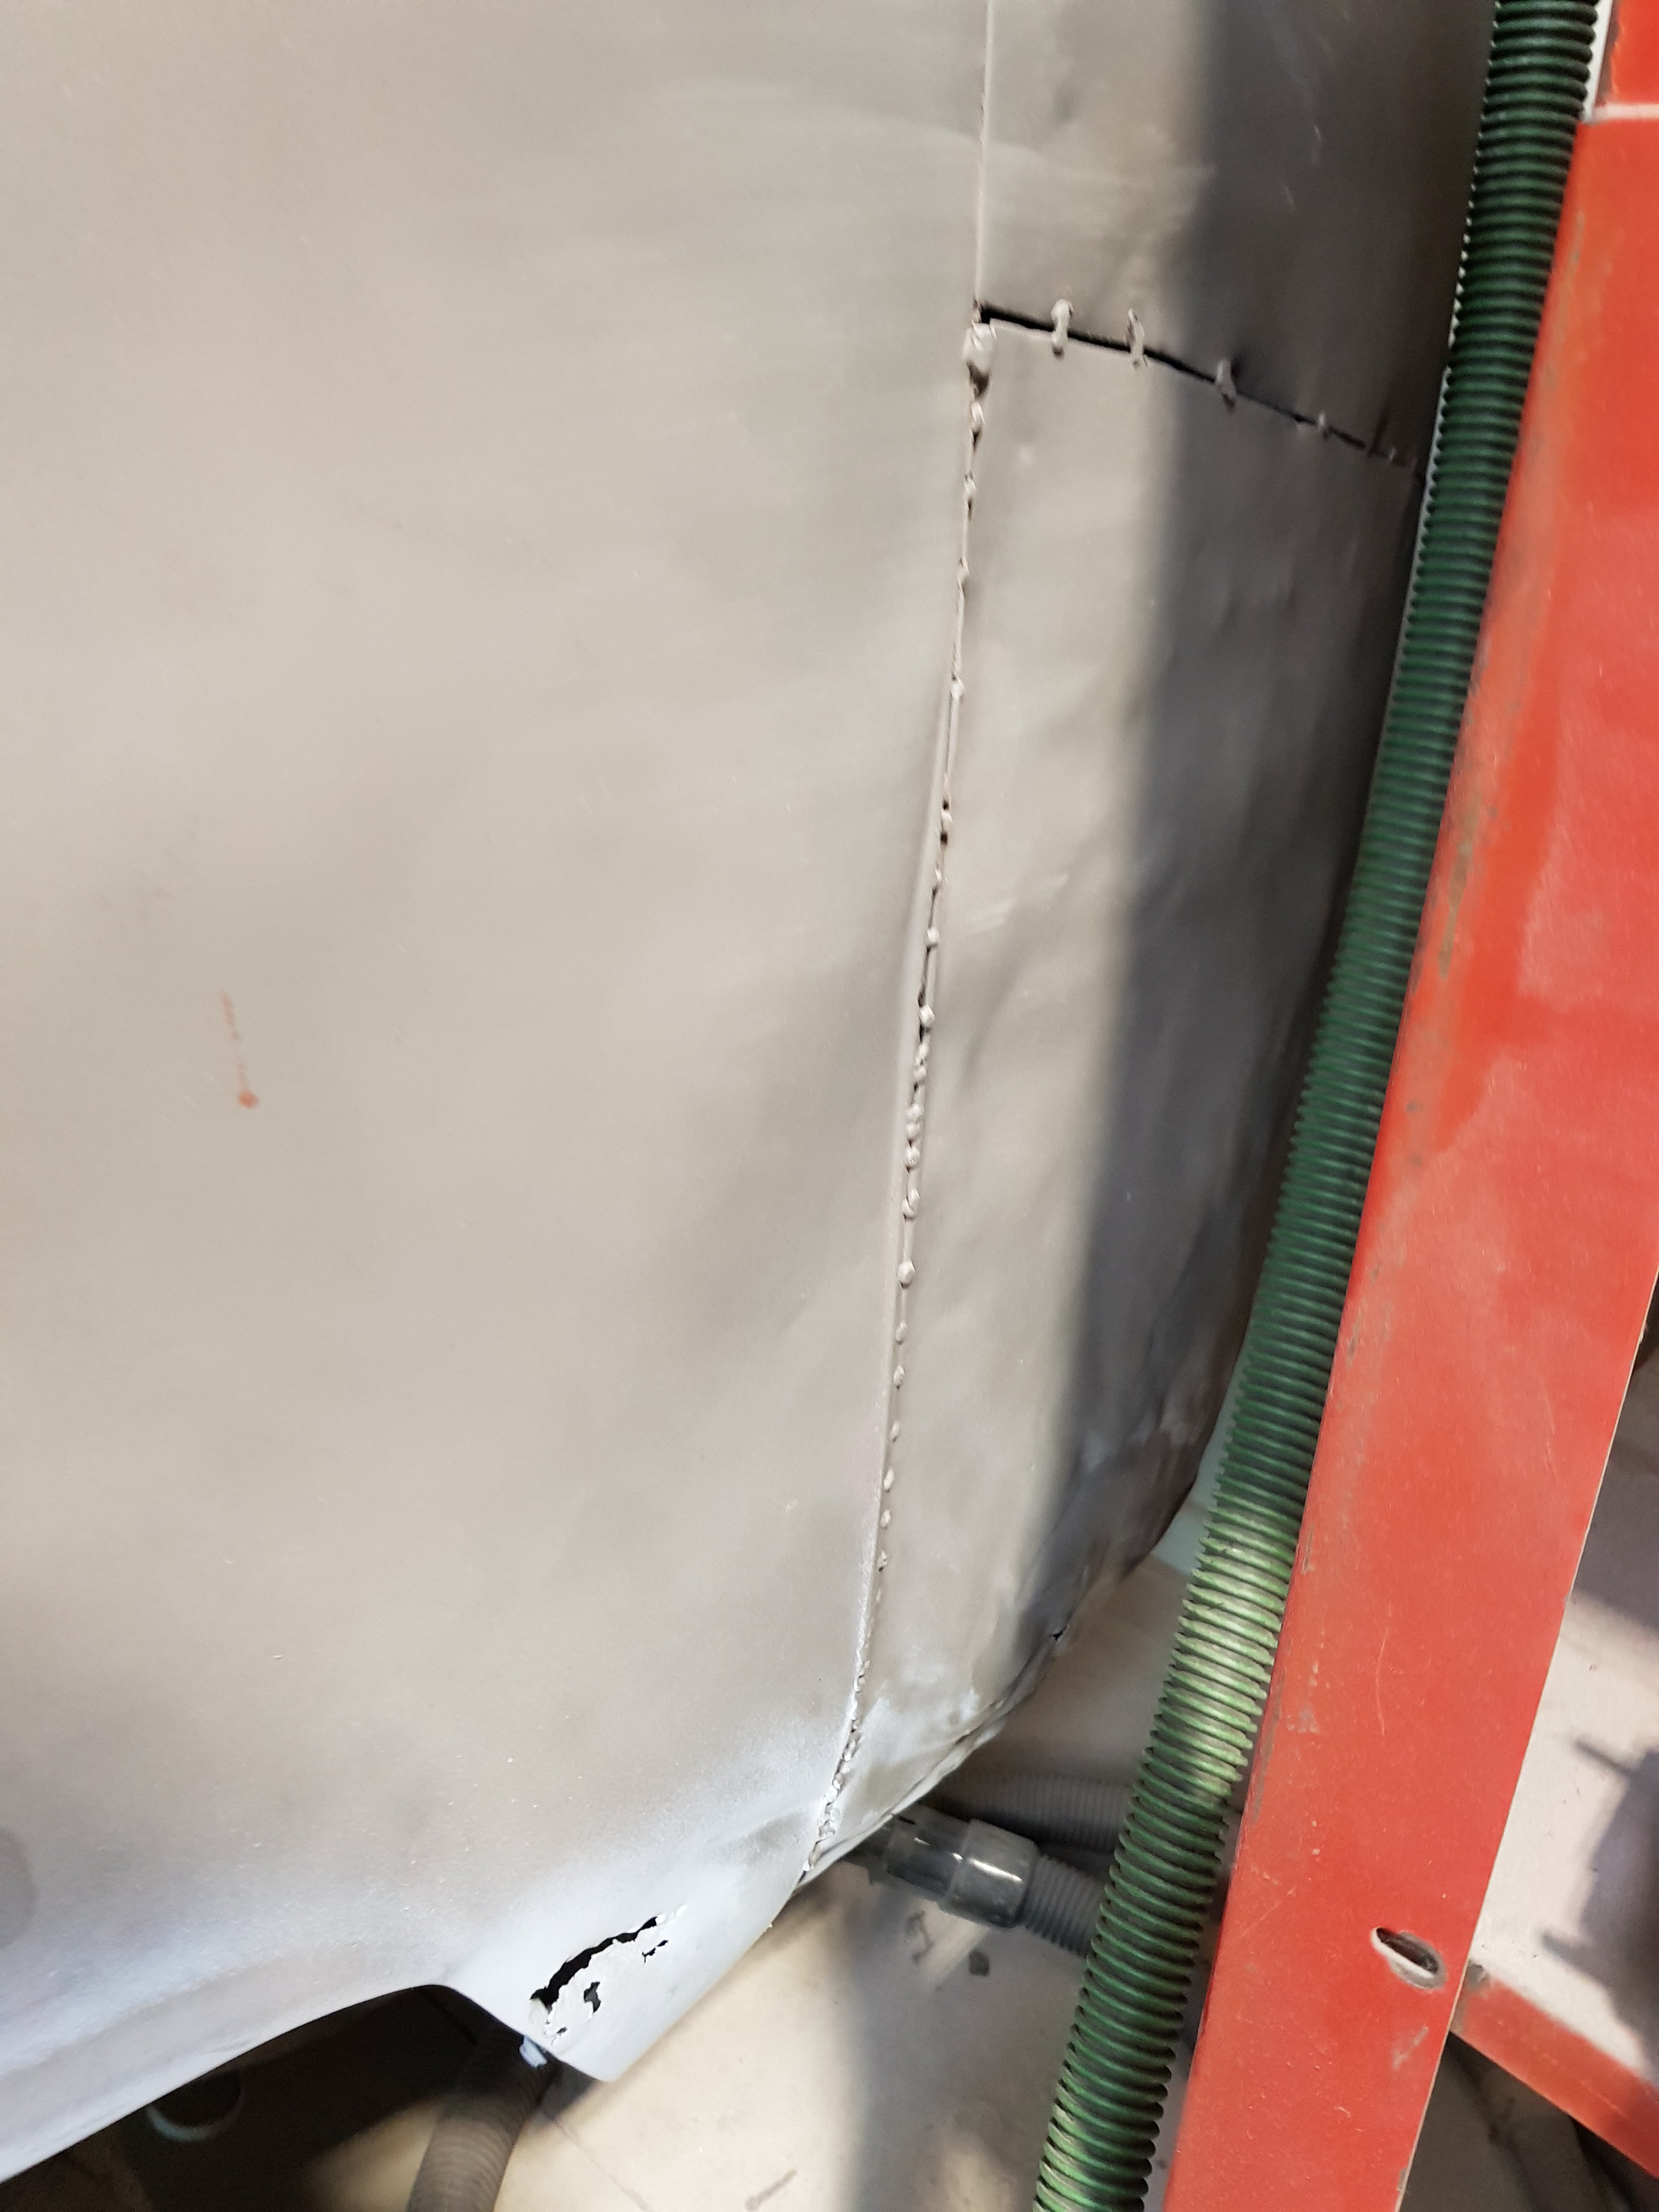
It's been a while because I'm back at school now but finally the weekend happened so I got back into it. I didn't take any photos of the other repair panel but I did it the same way as the first. Then I moved on down the front edge of the wing. This is what I had to work with. I decided the best way to deal with it would be to cut most of it off and rebuild it. I started with a paper template. Started to transfer it to steel, Once it was close I cut out the rotten steel and began to offer it up Then I started to trim the panel up to fit the hole. It was about now that I decided it was all going to well and that I should fuck it up to mix it up a bit. So I cut off too much and had to fix the cock up. Finally I got it trimmed and fitting nicely and clamped it in place to check. Primo. I ran out of time to tack it in but I checked all the measurements and it's centered and square so I'll tack it up when I get a chance. I also picked up a new (to me) bonnet which is full of fish oil or some sort of greasy rust inhibitor and in much better nick than my one. So that's another win for me.1 point
-
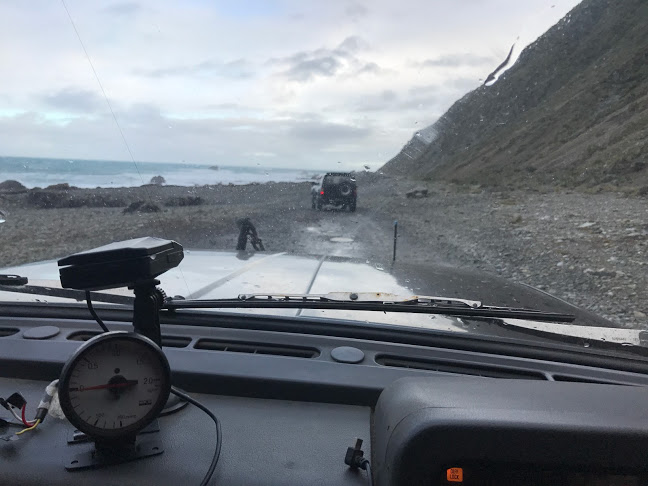
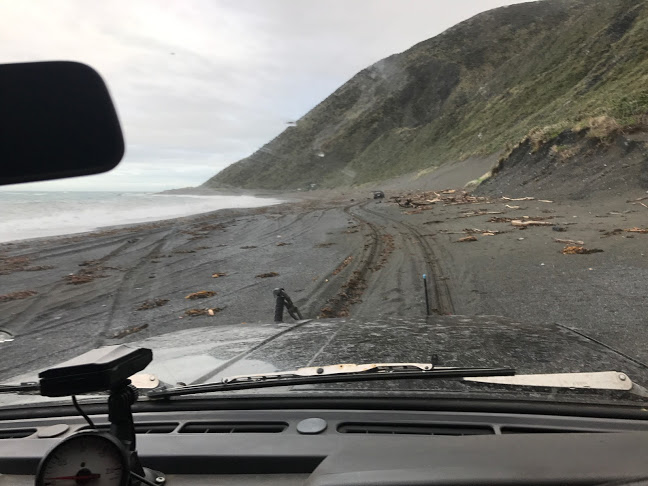
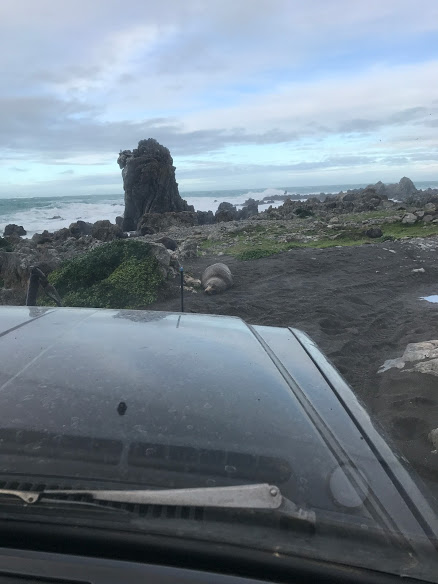
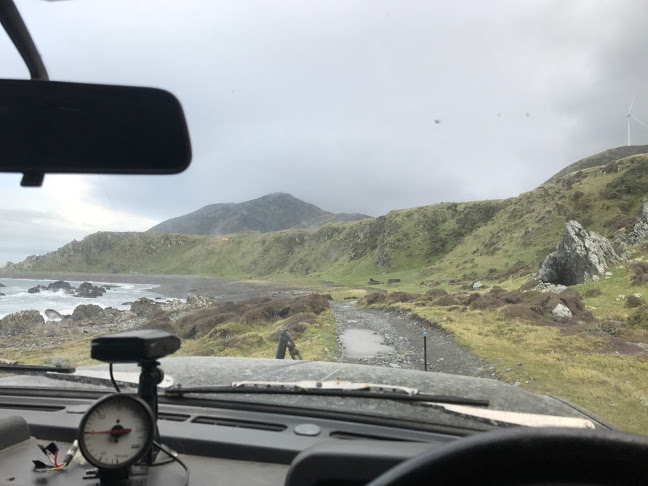
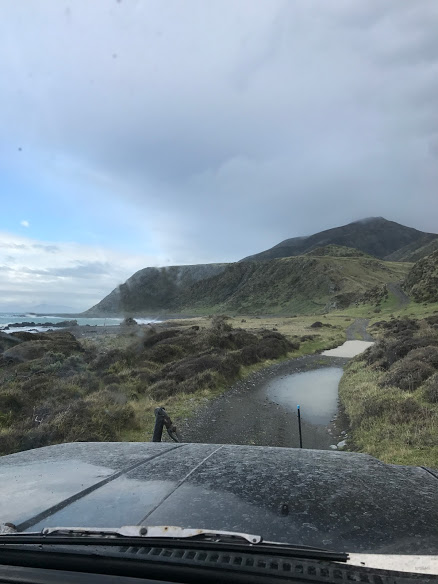
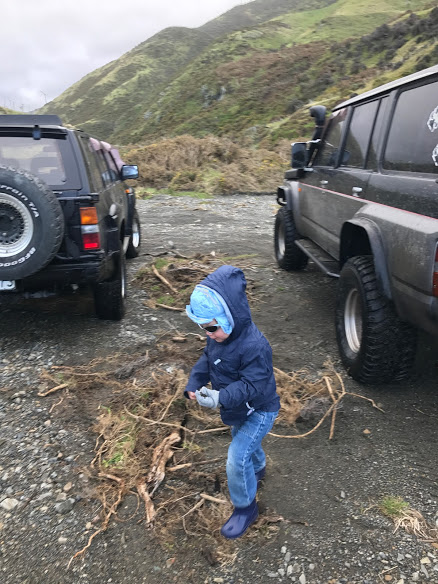
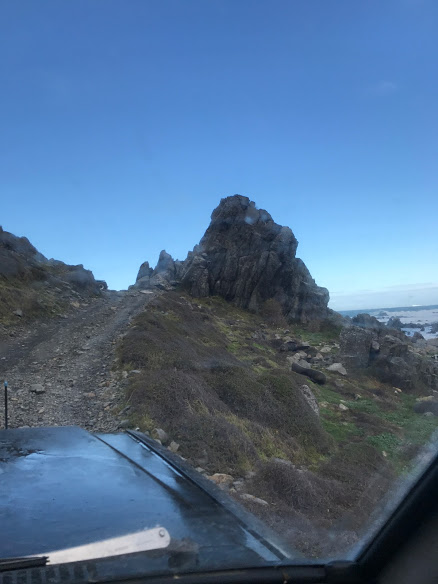
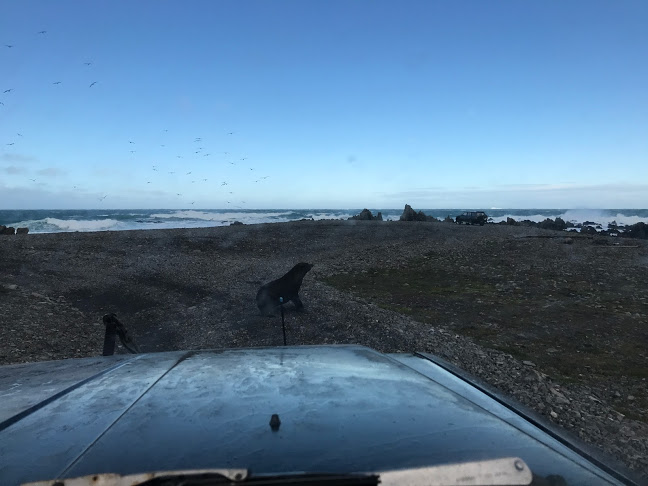
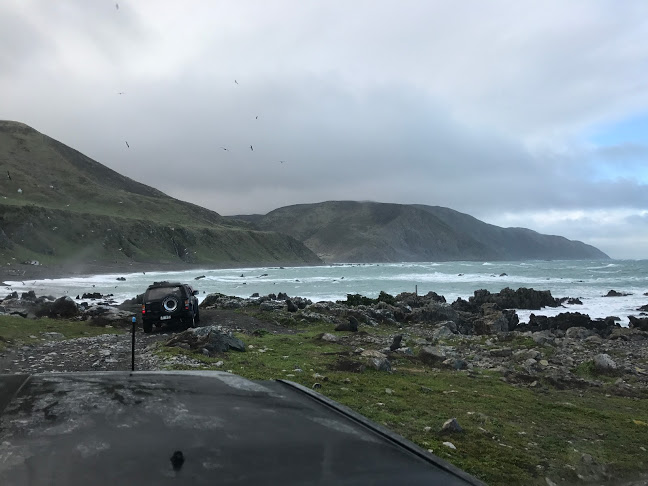
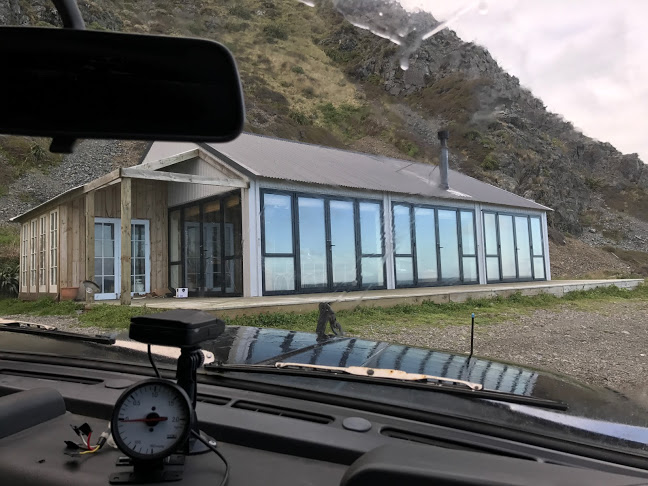
Took this to Redrocks on Saturday with my brother in his Terrano, it was 9degrees with some epic wind. Got to a valley that I hoped would be more sheltered for my 2.5yo boy to play, the wind was blowing him off his feet but he had a blast anyway. Saw some 'seals SO big daddy': This one was sleeping right on the outside of a tight corner, I ended up edging closer then climbing over a big boulder in order to not squash him: Its been years since I've come here, the few baches are corrugated iron rust boxes, then this place turns up?! Its epic, dining tables and shit. I mean in a bad storm its so close to the waves it must get battered? I thought there were limitation to new builds too...
1 point
-
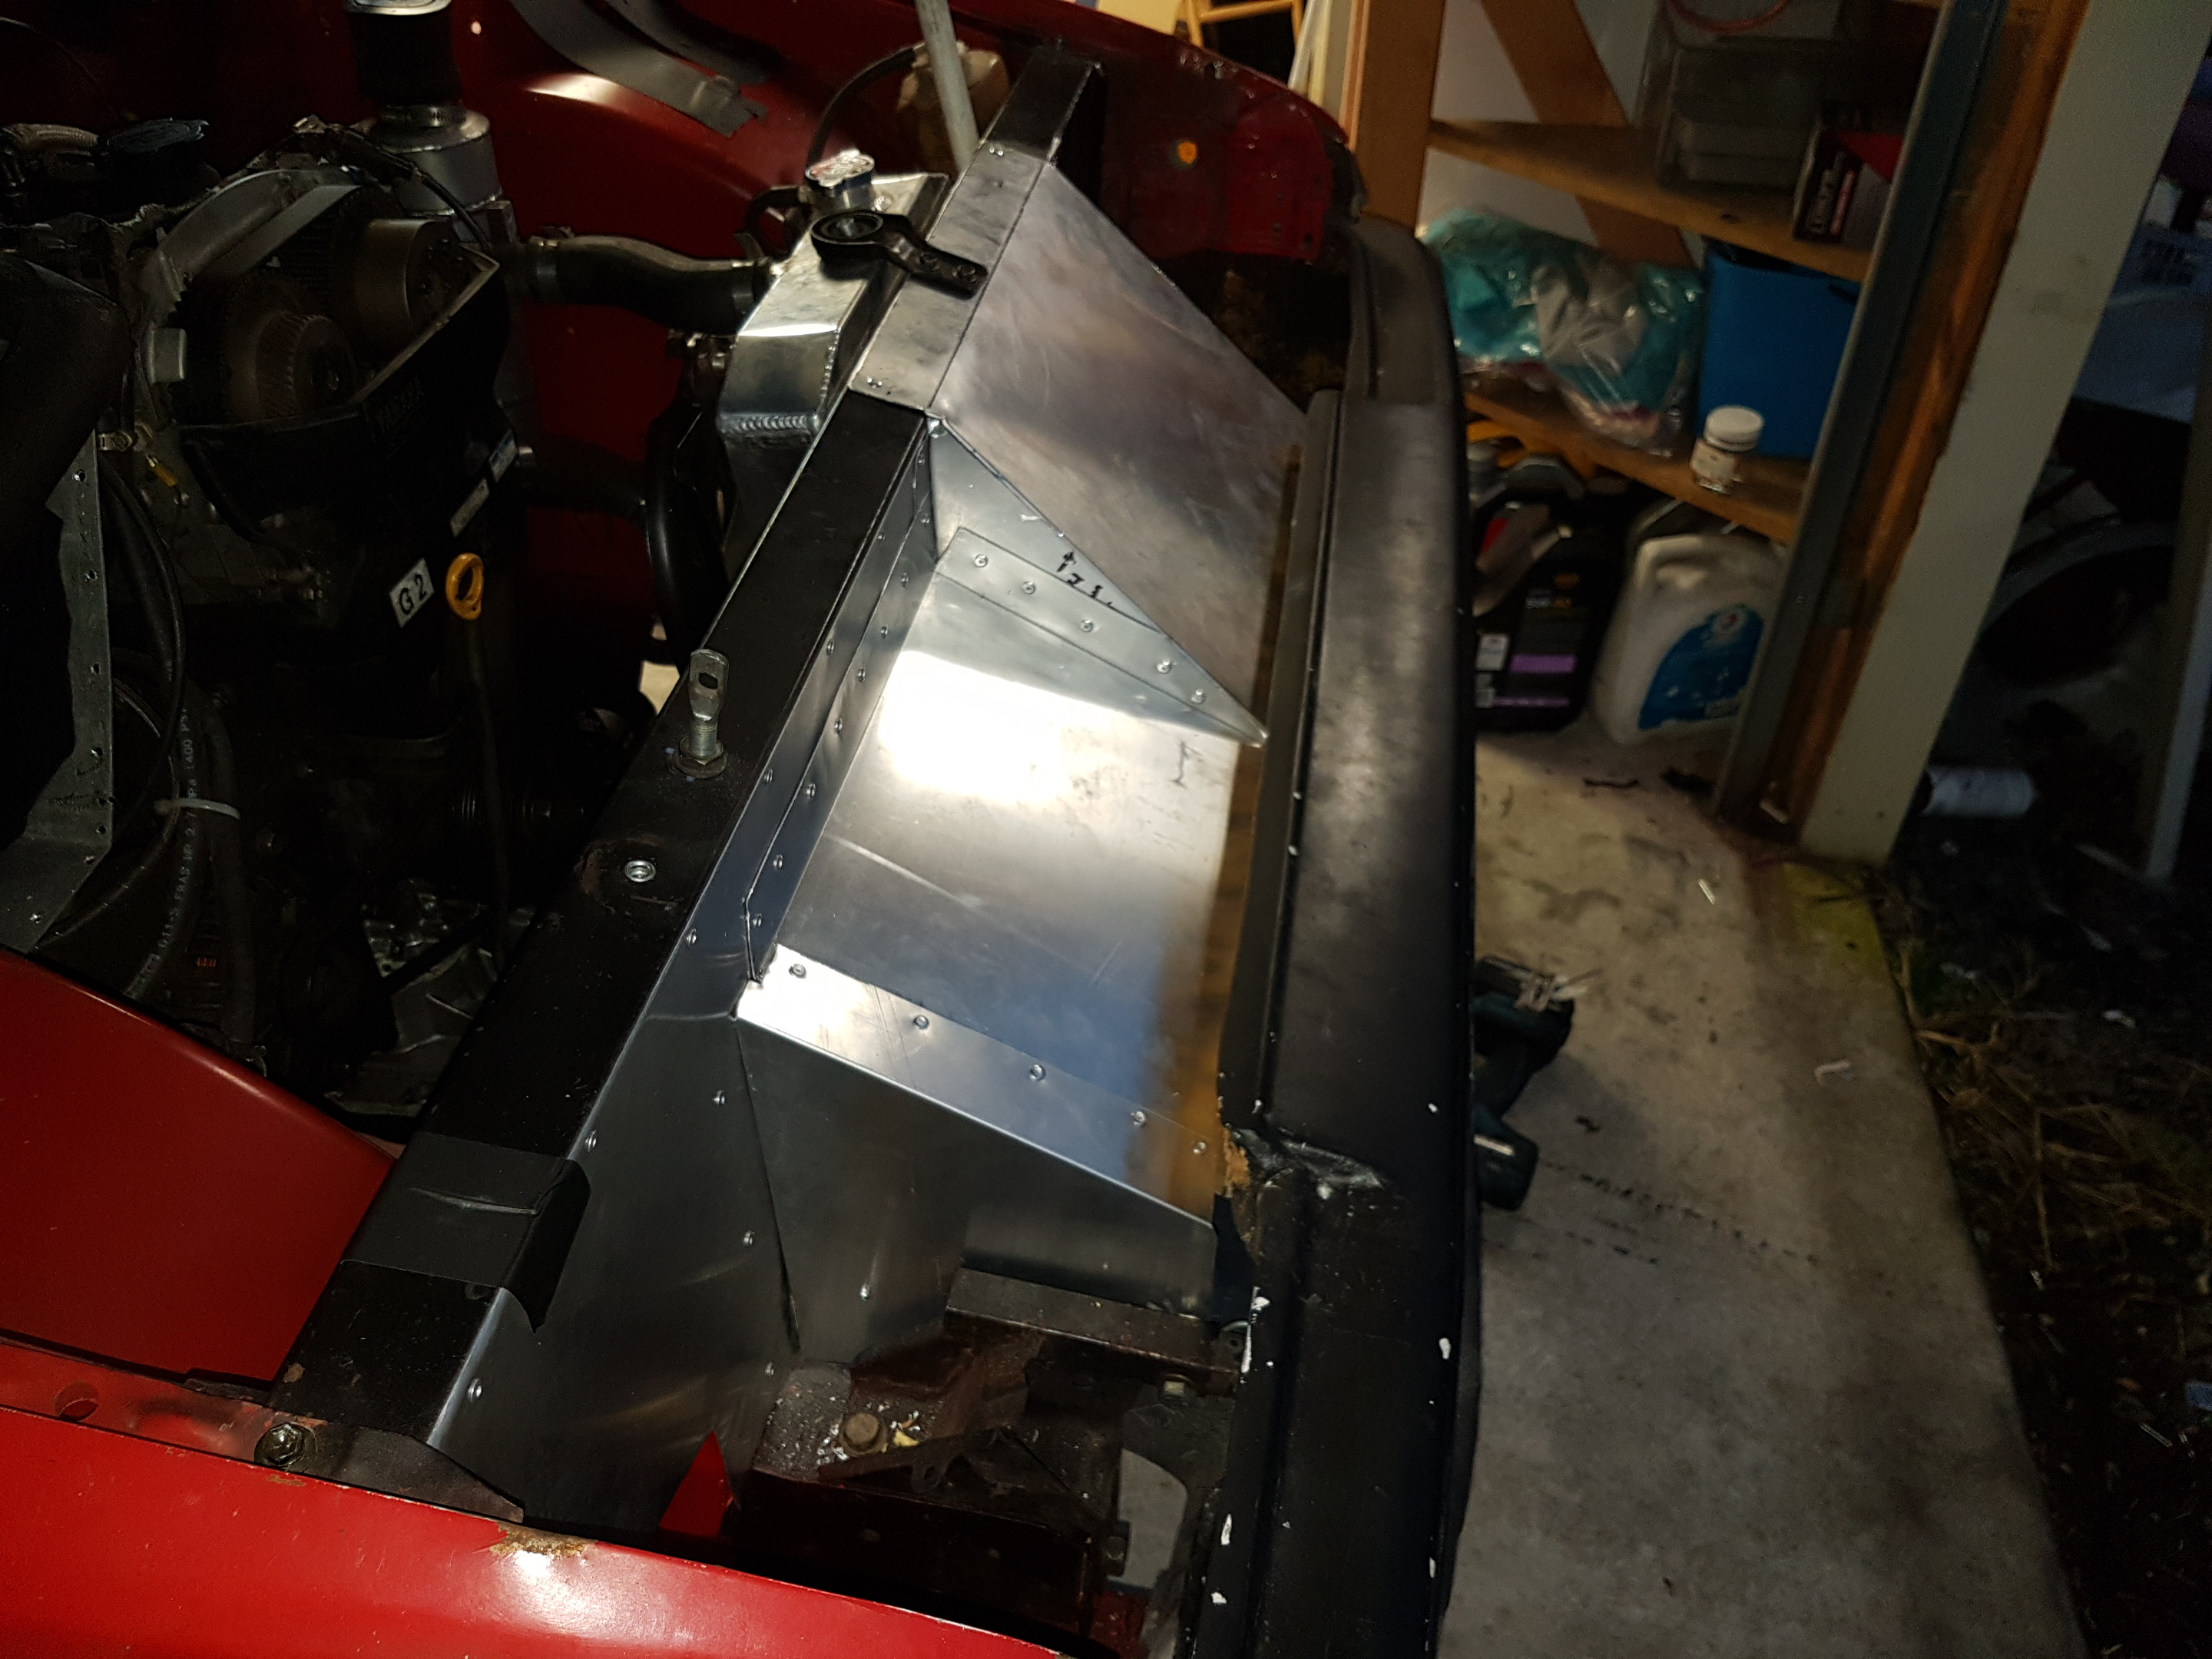
Almost finished the aluminium work now.
1 point
-
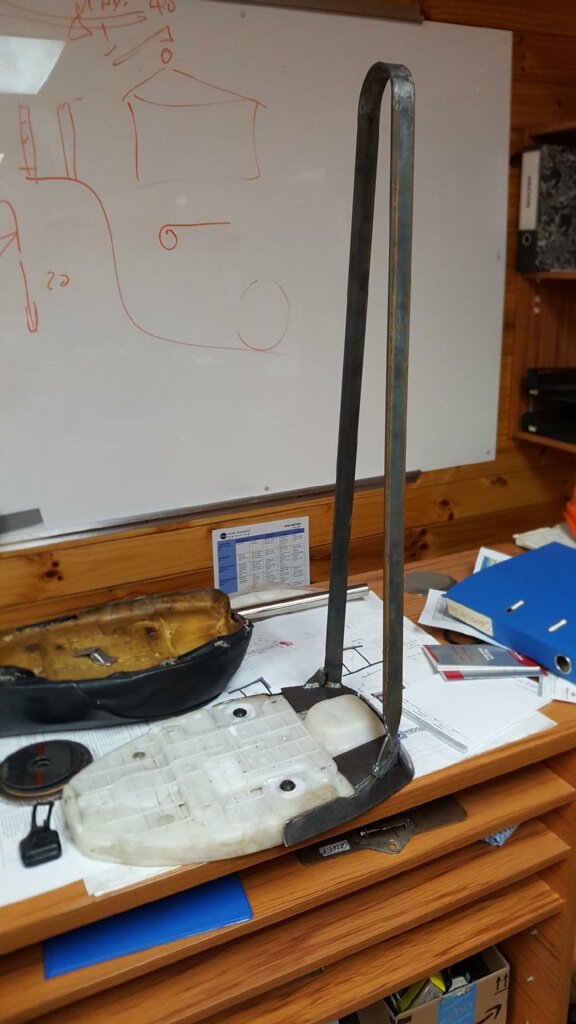
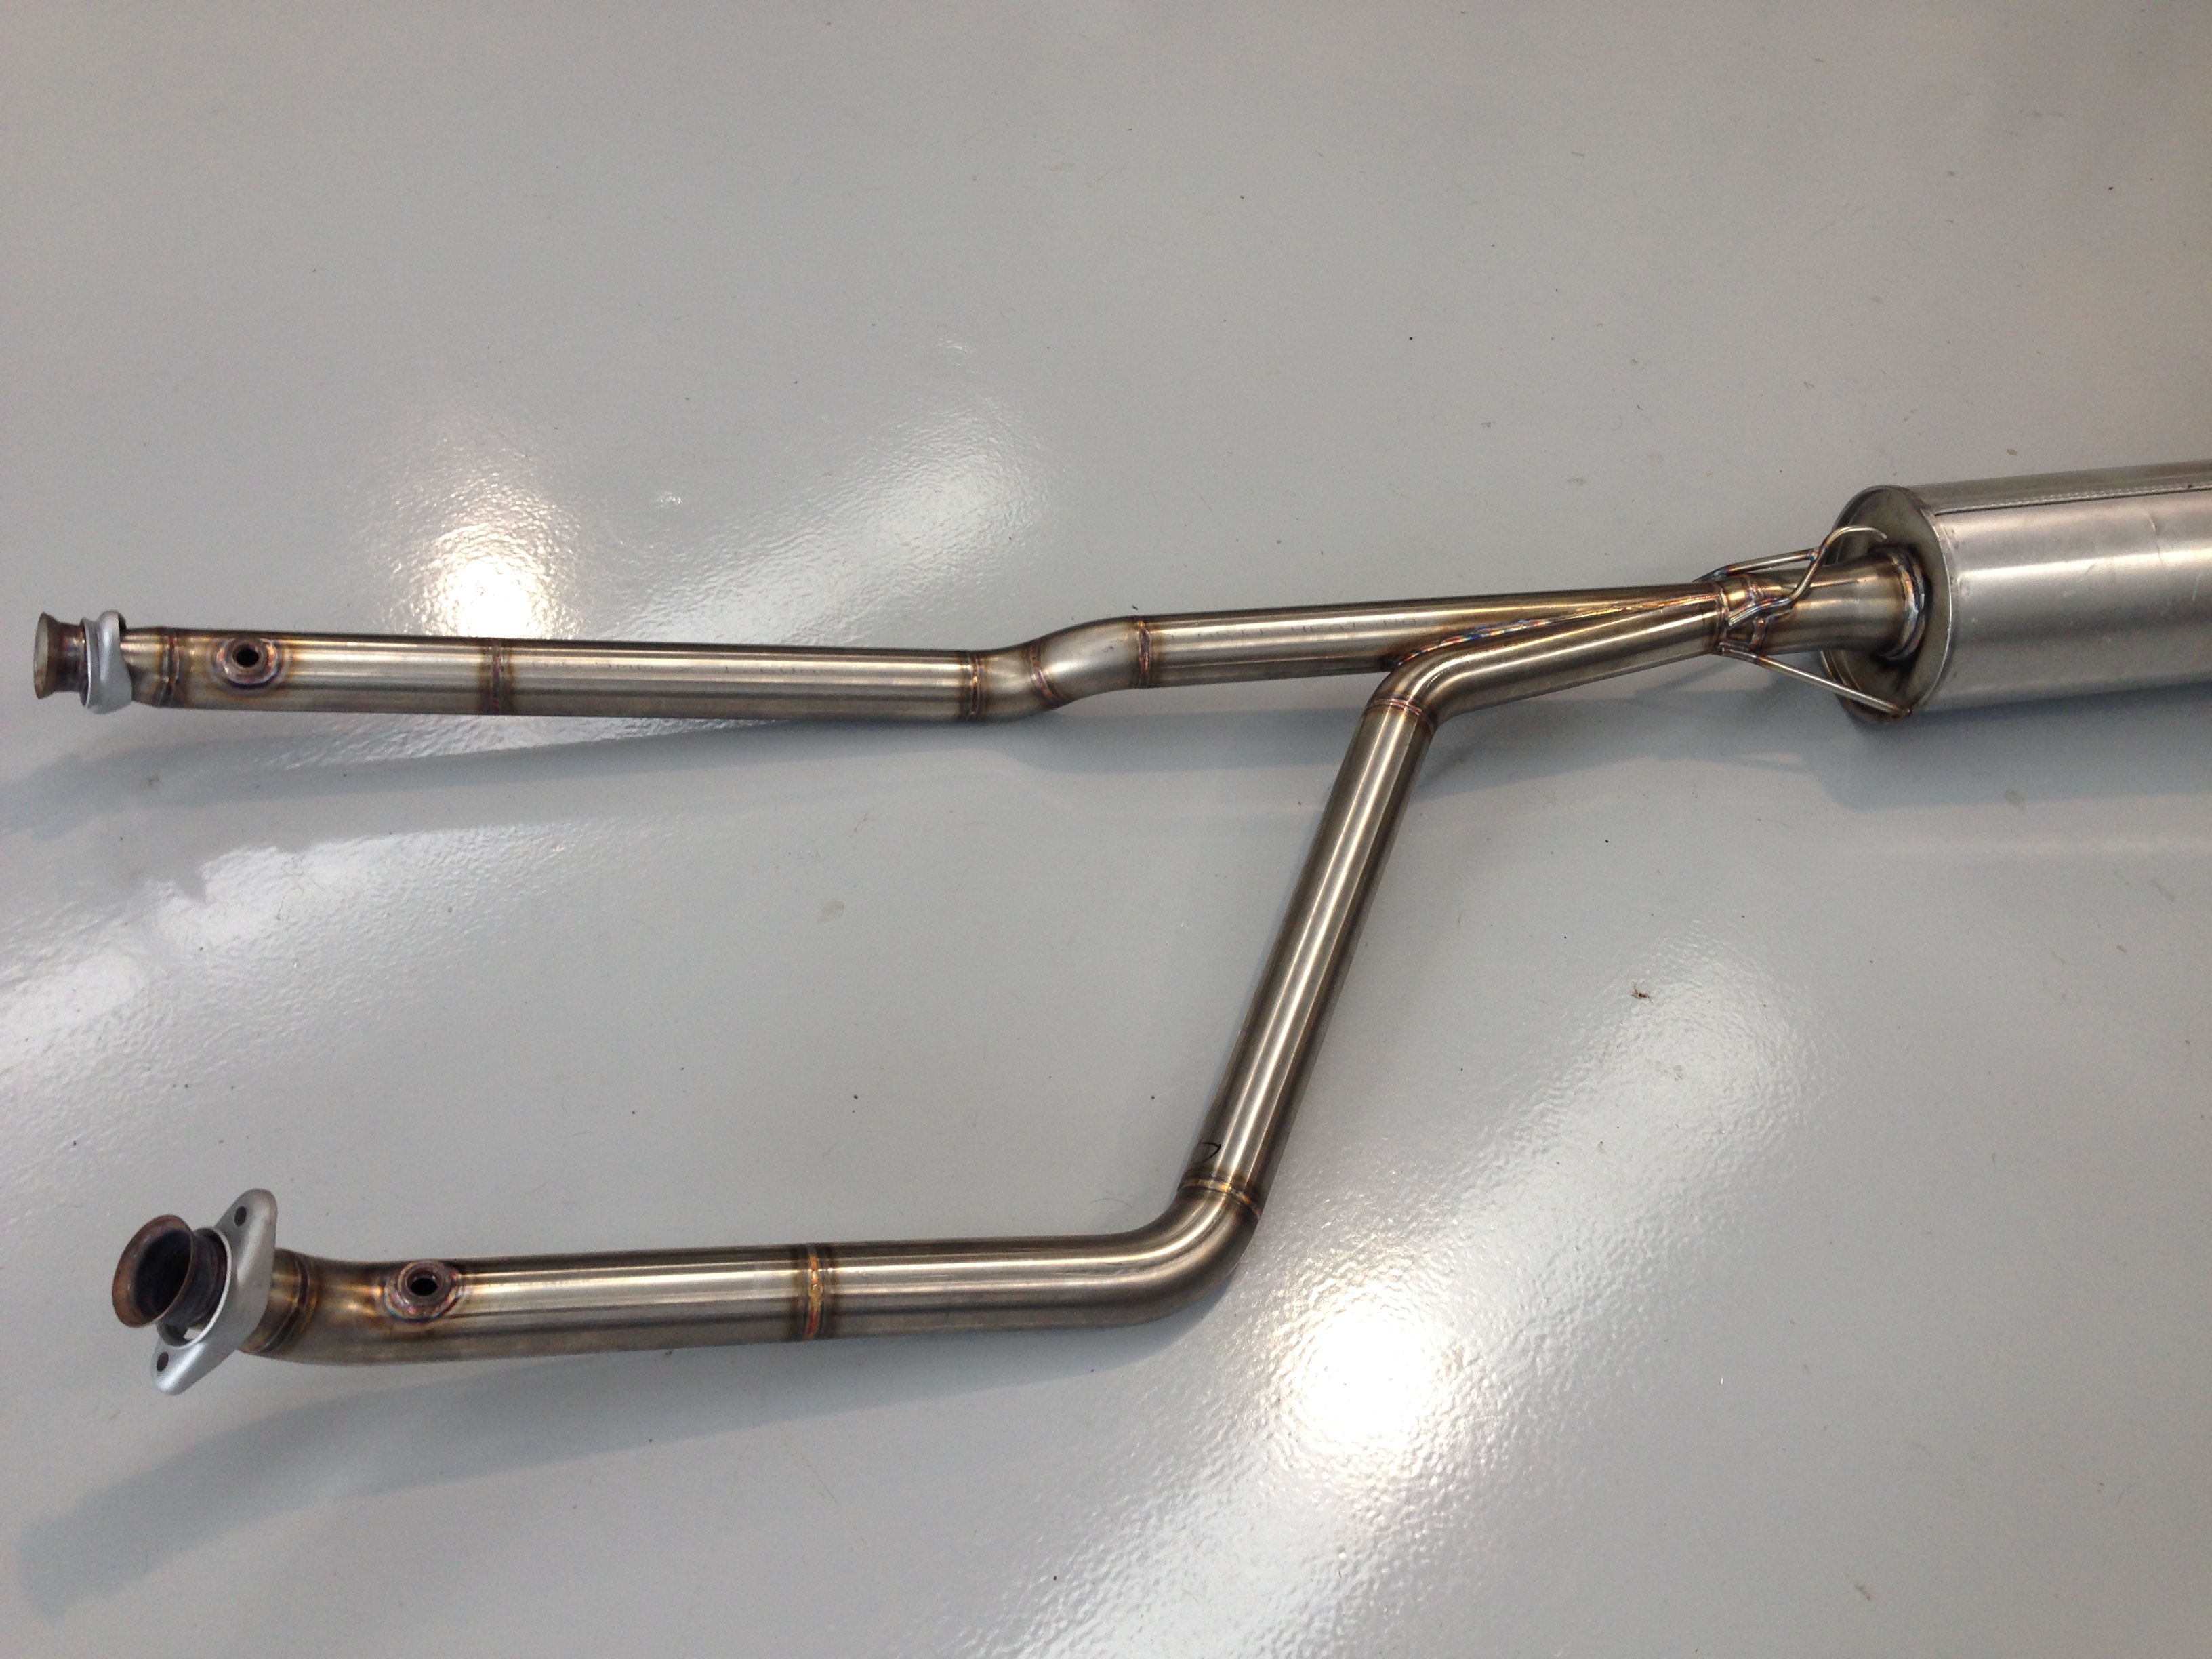
Time has been marching on, and I haven't touched the van for ages, as I have been so busy with other things.So I decided to book it in at work, as we have a new fabricator just started, and he is rather good! First job was to make the trans mount, and exhaust system. The trans crossmember is a tubular design, from 1 3/4" roll cage tubing. The exhaust is TIG welded 304 stainless, 2" primaries into 3" main pipe, and large muffler with side exit pipe. Next week will be a new engine crossmember and mounts, to a similar tubular design as the trans mount. Also a swirl pot for the fuel injection, weld in the battery tray on the RH side, wiring, fuel lines, air intake, etc.
1 point
-
I have been slowly working away on this van, and dropped the engine in yesterday. What a bloody mission! The extra height of the supercharger made it REALLY tight to get in there. I had to notch the front crossmember to allow the sump to drop down and clear it, and it is really tight for space in all directions. But it does fit! And no cutting or beating of the floorpan or bulkhead required! There are a few tweaks needed for clearance, but nothing major. Here is a pic of it sitting in place. I have also installed a MK3 Transit power steering box. The steering box was straightforward enough, remove the Mk2 mounting plate and fit the Mk3 version. For the steering column I used the Mk2 outer part, and cut it off where it protrudes through the bulkhead. I fitted the Mk5 shaft to this. And used a coupling from a Mk5 with the 2x UJ's so that I could get rid of the rubber coupling that the Mk3 has, and also keep the steering column on its original axis. There was a little bit more to it than this, but you get the idea. //oldschool.co.nz/index.php?/topic/50625-browndogs-supervan-2-yet-another-one/
1 point
-
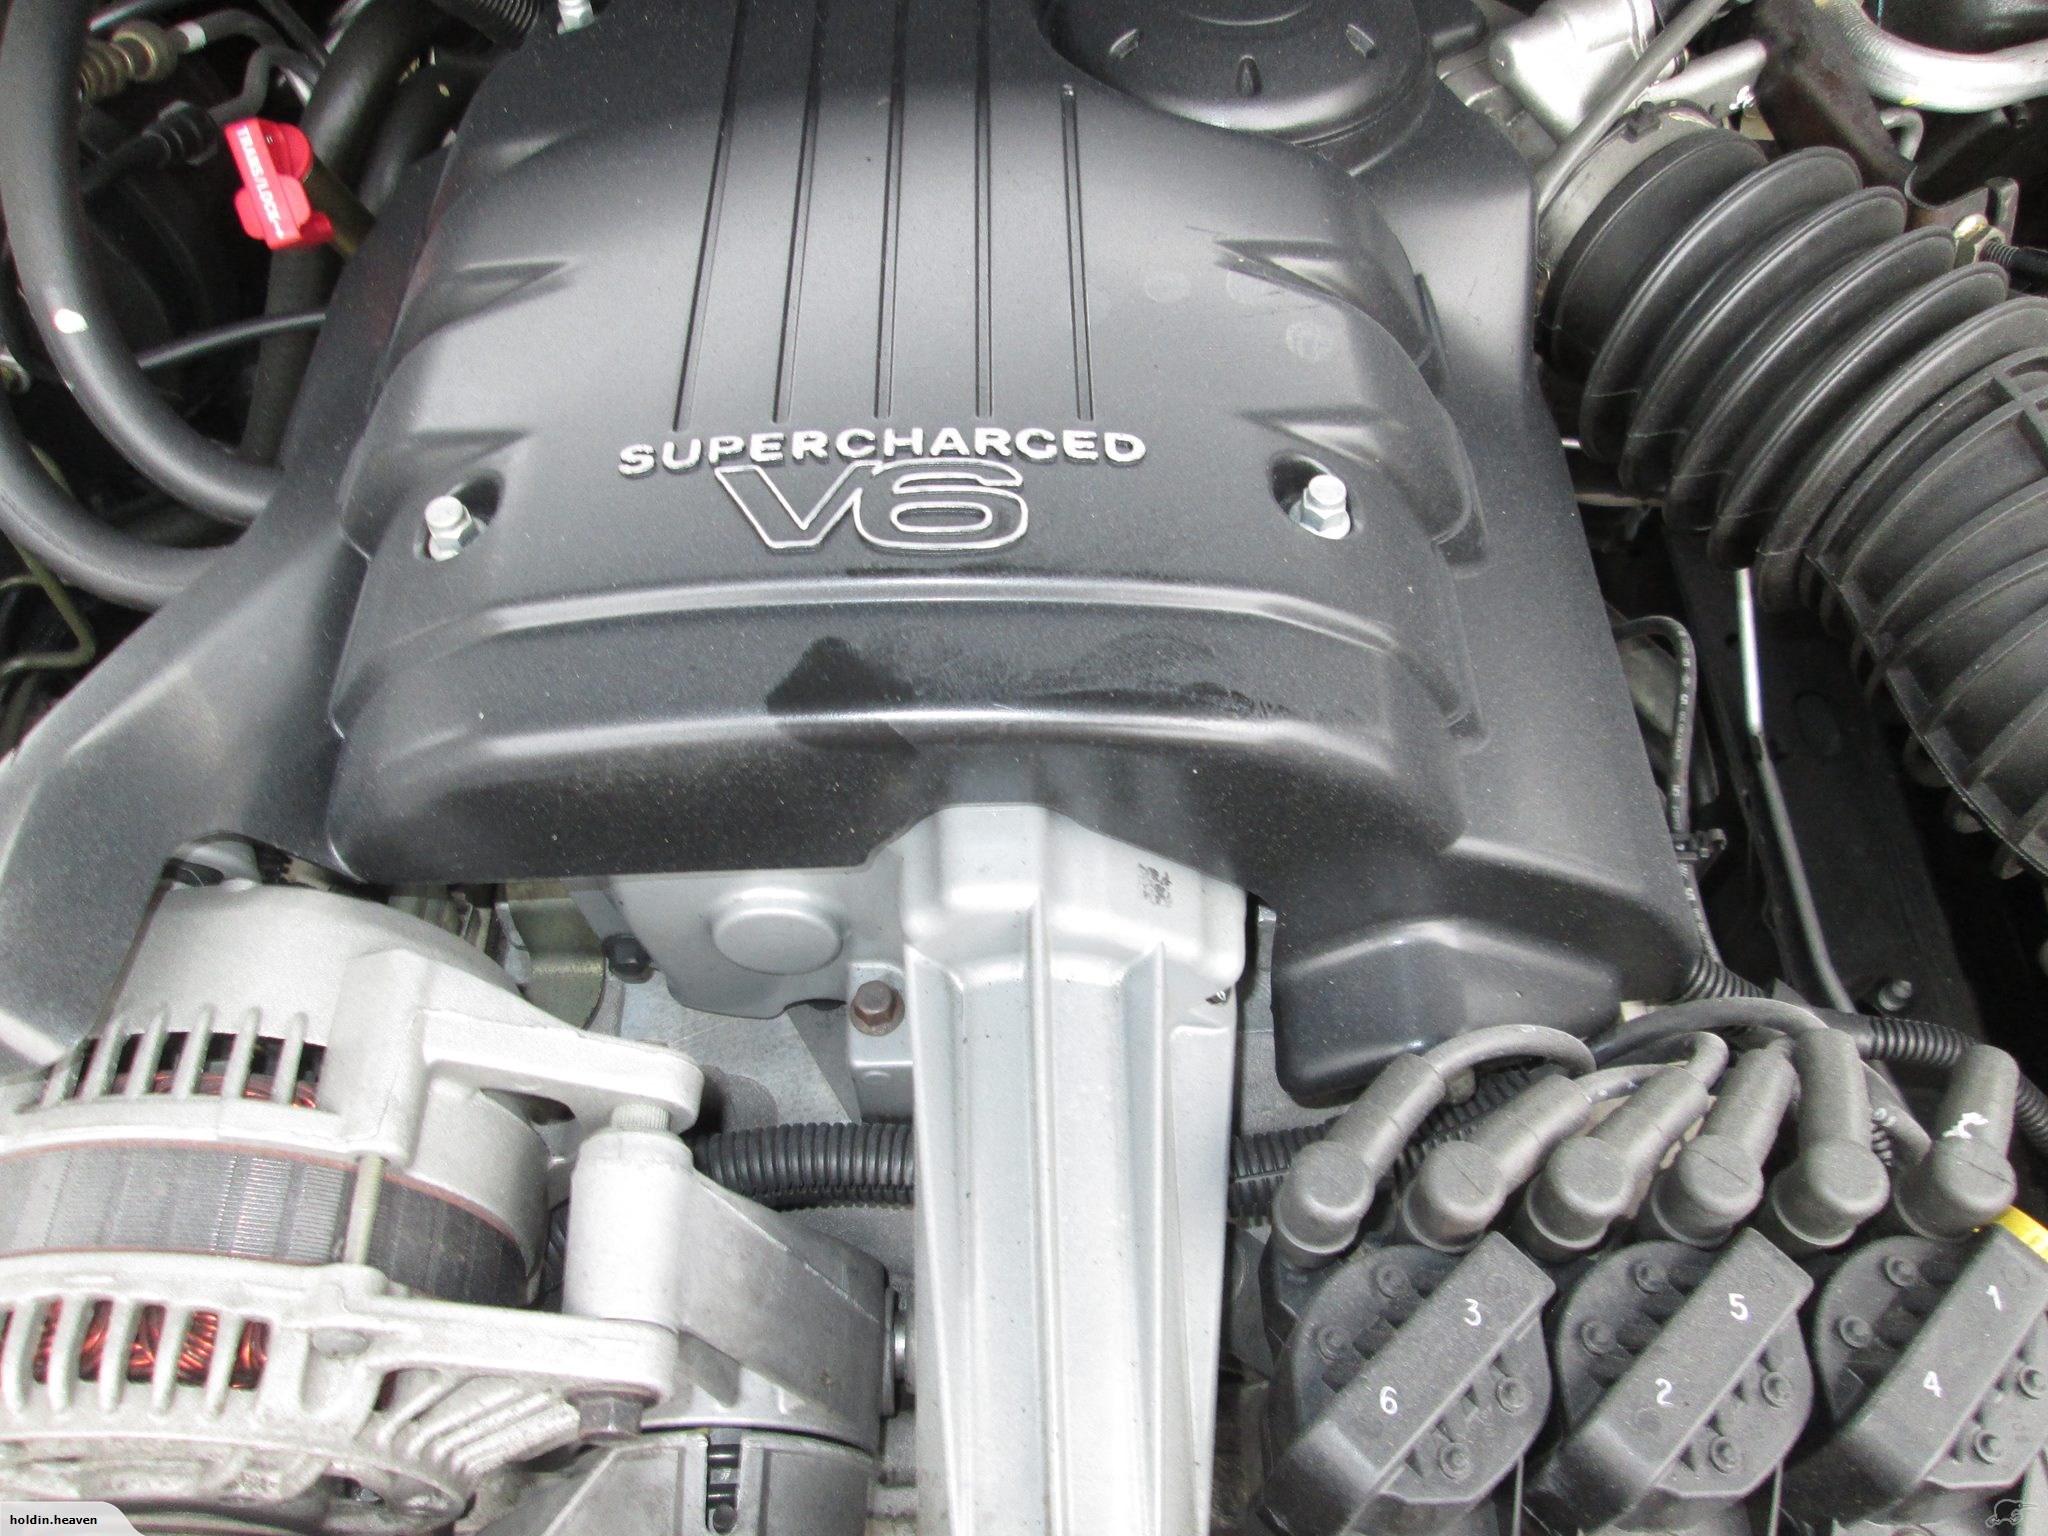
just bought another engine for SV2. Very similar to the one already fitted, but has an extra pulley on top
1 point


.JPG.b1077b1e6f283ce0e6211d768e009648.JPG)
.JPG.1d7f1833524569ad4ac1d969139a4795.JPG)
.JPG.f13fb8b89f86fed761d3ec458b9e4bcc.JPG)
.JPG.33eb853e608809416a226c3a65fbcb3b.JPG)
.JPG.0bfcf6bf51036576a090533c3a444031.JPG)


_sedan_(23230030334)(1).thumb.jpg.34d765361d66c78db614bae6ea2c156a.jpg)


.thumb.jpeg.384ff72c8d2b0ee0d34a7bdedb55bdcf.jpeg)


.JPG.48b13980a6c90d9b0813be9f3a2cd547.JPG)
This leaderboard is set to Auckland/GMT+12:00